
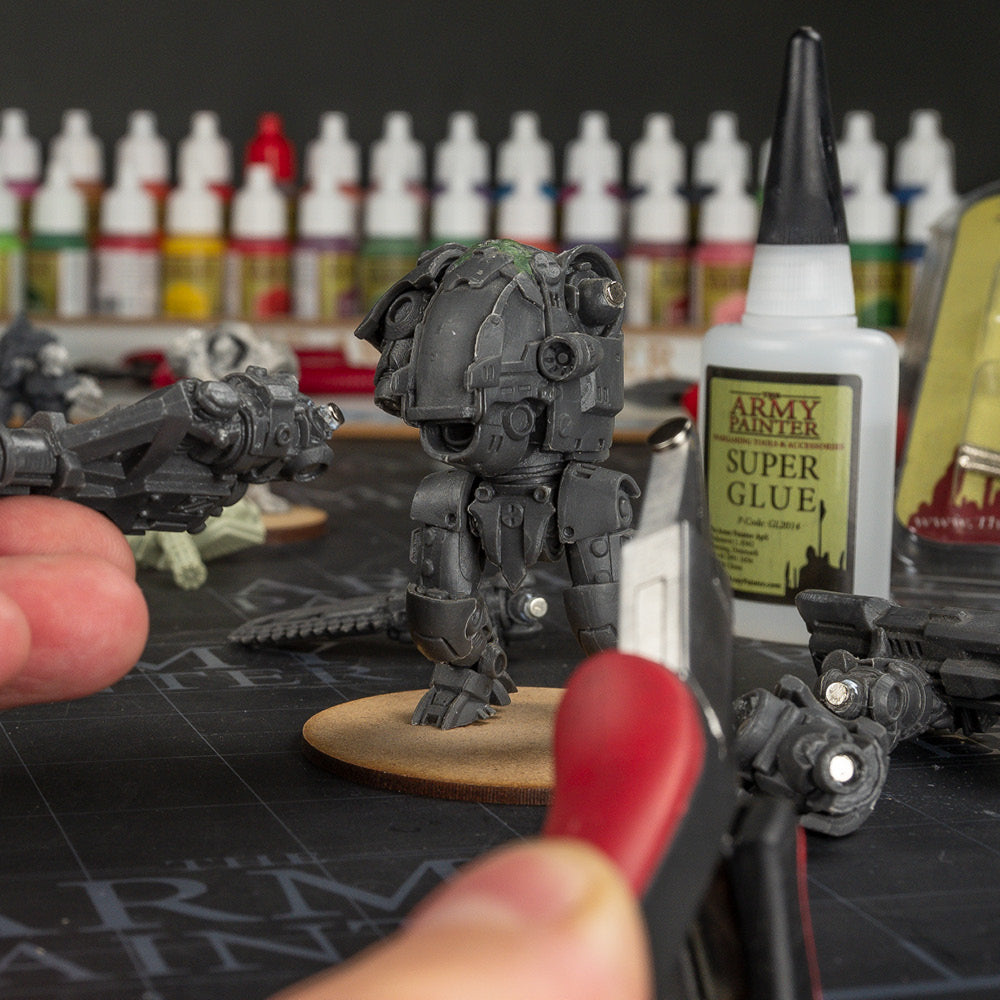
Painting a Miniature
Once you’ve assembled and primed your models – it’s time to paint!
The first layer of paint is called a basecoat. Applying an even and smooth basecoat layer to your miniature is vital to the painting experience. Applying the basecoat sets the tone for your miniature, providing a solid foundation for further detailing techniques such as washing, dry brushing, and highlighting.
In this guide, we’ll guide you through the basecoating process and give you some tips and tricks on applying paint, thinning it to the right consistency, and everything else you need to know to nail that first basecoat.
What is Basecoating?

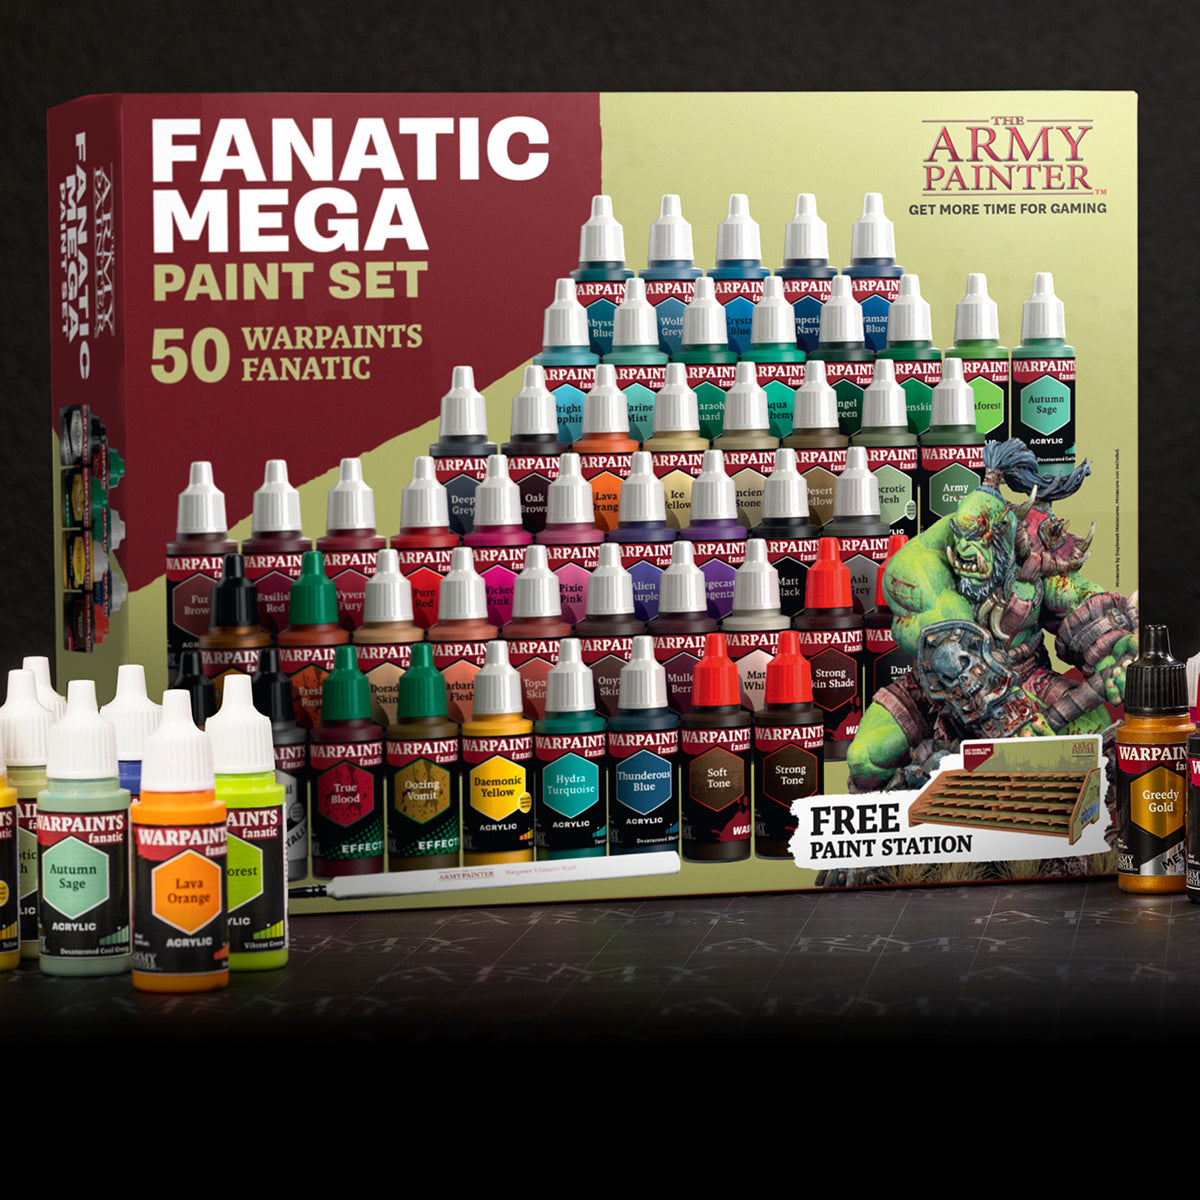
Basecoating is a model’s first layer of paint, after the spray priming stage with Colour Primers. Your chosen Colour Primer has a Warpaint Fanatic that is a 100% colour match, which you can use to fix any mistakes down the road. Using a Wet Palette (the original Wet Palette or Wargamers Edition Wet Palette) will keep your paints fresh throughout the project.
We recommend applying your paints in one or two layers to preserve the detail on your miniature. And – always (ALWAYS!) remember to give your paints a thorough shake before using them.
Master The Basecoating Process In 7 Steps
Step 1: Prepare Your Paints

Before painting, it’s important that you prepare your paints to get the perfect consistency.
Apply a drop of your chosen Warpaints Fanatic to your wet palette and mix the paint with your brush to achieve the desired consistency. This helps the paint flow smoothly and prevents obscuring the miniature’s details.
For basecoating, we like the consistency of heavy cream.
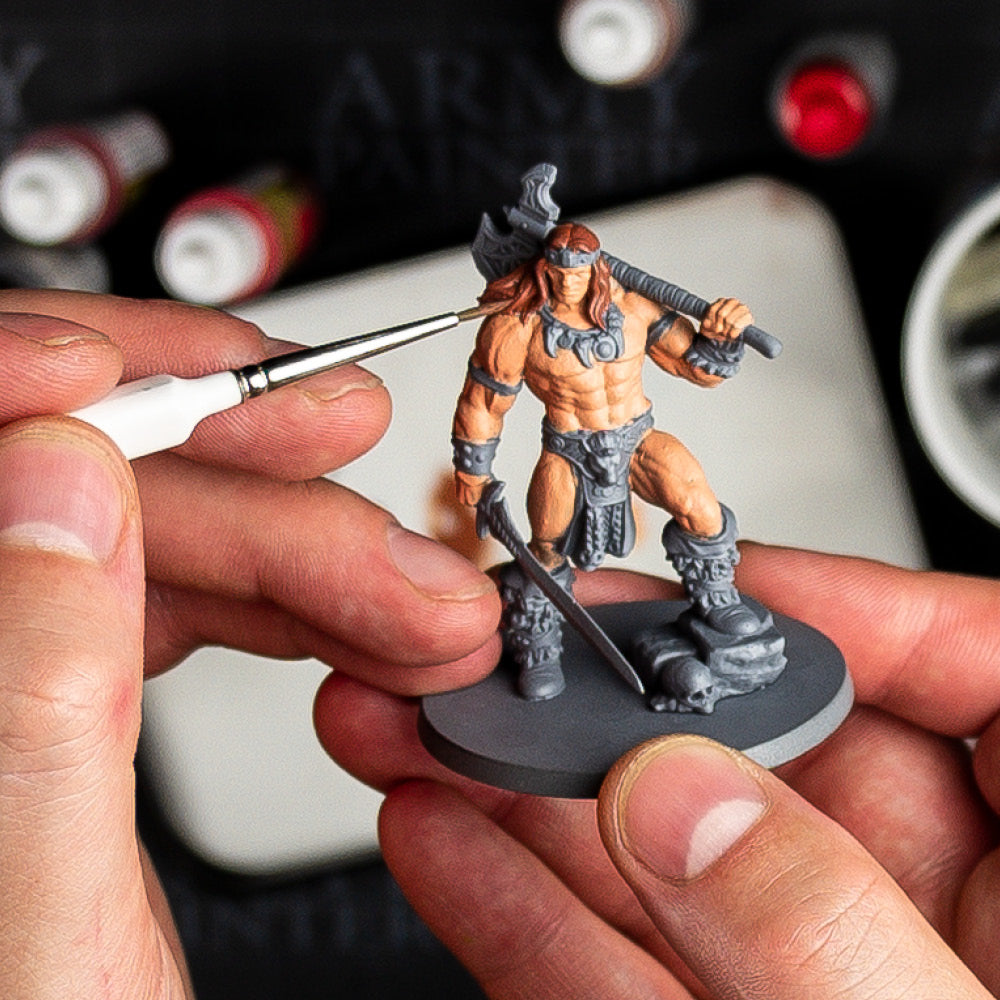
Step 2: Applying the Basecoat

Start by painting the areas that are hardest to reach with your brush to avoid accidentally hitting areas you already painted. It’s always best to apply our colours in thin coats to not obscure any of the details on the model.
Apply the paint in smooth, even strokes. Avoid overloading your brush – a little paint goes a long way. Aim for even coverage rather than opacity; you can always add another layer if needed.
Here, we are using Leather Brown for the cuirass.
Step 3: Rinse Your Brush When Changing Colours

When changing colours, rinse your brush thoroughly in cold water and carefully dry it afterwards.
Step 4: How To Make the Tip Pointy Again

Roll the wet brush against a damp towel or your palm to make the tip pointy again. Make sure you remove the tiny drop of water that always forms on the brush.
Step 5: Tip to Picking Up Paint

When picking up paint, don’t overload the brush. You only need to load the front half of the bristles.
Step 6: One or Two Layers?

Depending on the colour of the paint and the underlying colour you might need extra layers of paint. Always use thinned-down layers of paint, instead of trying to cover the area in one go to avoid covering up details.
Step 7: Repeat Until the Entire Figure is Basecoated

Move on to the next areas of colour and repeat these steps until you have basecoated your entire model with your colour scheme of choice.
Mistakes happen, and they're easy to fix in this early stage. Keep a clean, damp brush nearby to quickly wipe away any errors before the paint dries or use a fine brush to apply the correct colour if you’ve accidentally painted over an area.
Patience is key! Allow the basecoat to dry completely before proceeding to the next steps in your painting process. This ensures a smooth and stable surface for detailing. Depending on the thickness of your paint and the humidity in your environment, this could take anywhere from a few minutes to about an hour.
Time for Details

After successfully applying a basecoat to your miniature, you've laid a solid foundation for the more detailed stages of miniature painting.
To apply shadow and shading, you can use either our Quickshade Dip or our Fanatic Washes or try other techniques such as highlighting, glazing, and weathering .
Dipit Says: Practice Makes Perfect!

Don’t worry if your miniatures don’t look as good as our studio painter’s. Patience and practice are key to mastering miniature painting, and you will get better fast!
