Why Use a Varnish on Your Miniature – and How to Do It
Whether you’re looking to add a Satin finish, a protective coating to your finished minis, or experiment with some glossy effects, varnishing is the final step in the miniature painting process that should not be skipped.
Varnishing is an essential practice that elevates the quality and longevity of your work.
Let’s dive into why and how to use varnish on your miniatures and explore its effect on the finished piece.
What Is a Varnish, And Why Use a Varnish?
A varnish is a clear liquid coating on the miniature once painted.
A varnish serves two primary purposes.
First, the varnish protects the miniature’s surface from chipping and paint rubbing off. Miniatures, by their very nature, are often subjected to handling. Whether they are part of a board game, a collector’s display, or a tabletop role-playing game, they are prone to wear. Varnish forms a protective layer that shields your work from the oils and dirt from your hands, as well as minor scrapes and bumps.
Secondly, using a varnish also allows you to achieve some cool effects and change the finish of your paint job by adding a matt, satin, or gloss finish. Depending on the type (matt, satin, or gloss), they can add depth, enhance colour vibrancy, or create specific effects like wetness or shine on certain areas. That way, you can use a varnish to help bring a paint job together, making the piece look more cohesive and realistic.
Different Types of Varnishes
Three Types of Finish
Varnishes generally come in three different types of finish: glossy, satin, and matt.
These varnishes cater to various needs and preferences and understanding the nuances, and differences between them can be pivotal in deciding which one to choose. The choice depends on the desired look of your miniature.

The glossy varnish (Brush-On, Airbrush) gives a high-shine, glossy finish and can enhance the depth of the colours and make details pop. Choose this varnish when working on miniatures where you want to accentuate water effects, gemstones, or glass-like surfaces. It’s also beneficial for achieving a wet look on blood, slime, or similar effects.
The matt varnish (Spray, Brush-On, Airbrush) is the exact opposite of the glossy varnish as it removes the shine from paint and creates a flat, matt finish. As it effectively eliminates any shine, it’s ideal for historical miniatures or models where you want to achieve a realistic, non-glossy finish. It’s particularly effective when you want to avoid reflections, such as in photography.
The satin varnish (Spray, Airbrush) is a good middle-ground, offering some sheen without the intense reflectivity of a gloss finish. This varnish is versatile and works well for most miniatures. It’s especially effective if you're looking for a finish that highlights texture and depth without the flatness of matt or the shine of gloss.
As the choice of varnish not only protects your miniature from wear and tear but also affects the overall look of your figures in terms of colour, we recommend you test spray on a piece of cardboard or an old miniature first to ensure that it aligns with the look and effect you want to achieve.
Spray or Brush-On Varnish?

There are two different types of varnishes: Spray varnish and Brush-On varnish.
The Spray varnish is ideal for a quick, even coat over an entire miniature. Using a spray varnish is just like using a colour primer, where you can line the models up and spray them all at once.
The Brush-On varnish is a varnish in a dropper bottle you apply by hand. It obviously takes longer to apply varnish by hand than using a spray, but it gives you a greater degree of control. Also, you can pick out different parts of your miniature and apply different types of finish, i.e., using a gloss varnish on a soldier’s armour and a matt varnish on the rest of the miniature. This can give a nice contrast between and simulate different textures and surfaces on your miniatures.
How To Use a Spray Varnish in 6 Easy Steps
Step 1: Prepare the Miniature

Using a varnish spray on a miniature is much like spraying with a colour primer. Have some way of holding the miniature, so you’re not holding the model directly, i.e., by mounting the miniature on a piece of cardboard or wood with white tack.
Step 2: Open the Varnish Spray

Insert a flathead screwdriver in the slot and twist to break the seal.
Step 3: Shake the Varnish Spray

Shake in a clockwise/counterclockwise motion for 1 min. Whether using a spray or brush-on varnish, it’s important to shake the spray or bottle well to ensure the contents are evenly mixed.
Step 4: Spray the Miniature with the Varnish

Spray at a distance of 25-30 cm (10-12˝). Remember to only use our Spray Varnishes outside and not under adverse weather conditions. Move the spray at all times to avoid drowning the miniature, creating run-off, which can obscure details.
Step 5: Remember to Spray Thin Coats

Spray multiple thin coats in a constant passing motion, starting and stopping while pointing away from the miniatures. Multiple thin layers are preferable to a single thick one. This approach allows for better control and prevents the varnish from obscuring fine details.
Allow adequate time for the varnish to cure fully in between coats, ensuring the best possible protection and finish. Also, avoid handling the miniature until the varnish has completely cured.
Step 6: Empty the Spray’s Nozzle

Empty the nozzle upside down after each use by spraying until the spray turns clear. This ensures you’ve got all the varnish out of the nozzle. Store at room temperature, away from direct sunlight.
How To Use a Brush-On Varnish
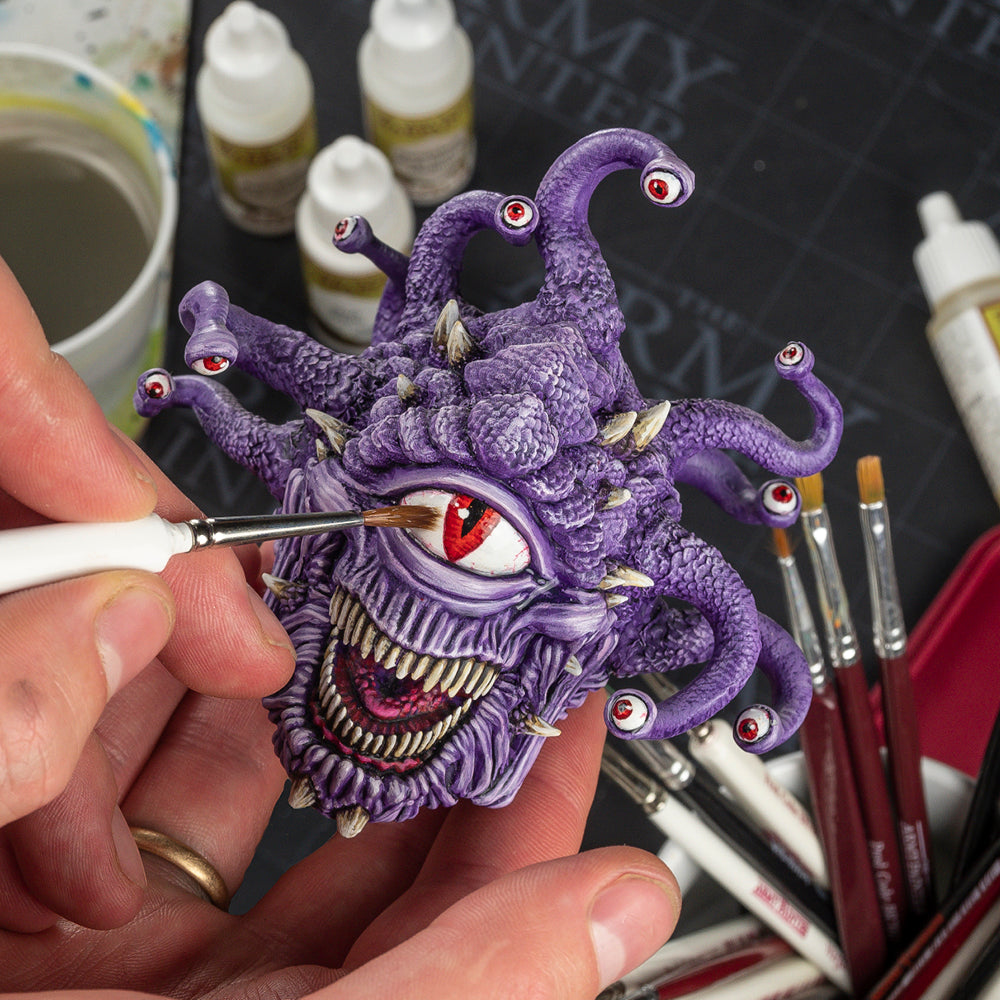
Using the Brush-On varnish is essentially like painting the model with a wash.
Start by shaking the varnish to make sure that it’s nicely mixed. Use a dry palette or the Paint Well Insert from the Wargamers Ed. Wet Palette and load up the varnish on your brush.
“Paint” your mini with the varnish, but make sure that you’re careful so it doesn’t pool in any one area. However, if it tends to pool, move the varnish away with the brush and redistribute it elsewhere around the miniature before it dries.
Allow adequate time for the varnish to cure fully in between coats, ensuring the best possible protection and finish. If any parts are uneven, remember that you can always add a second thin coat.
Always Varnish Your Miniature!
No matter the type or finish, we always recommend varnishing your miniatures when you are done painting them. It not only preserves and protects your work from the dangers of the tabletop but also enhances the final appearance of your miniature.
By understanding the types of varnishes available and knowing how to apply them, you can significantly improve the longevity and quality of your miniature artwork, ensuring that you always have your favourites looking pristine on the battlefield.


