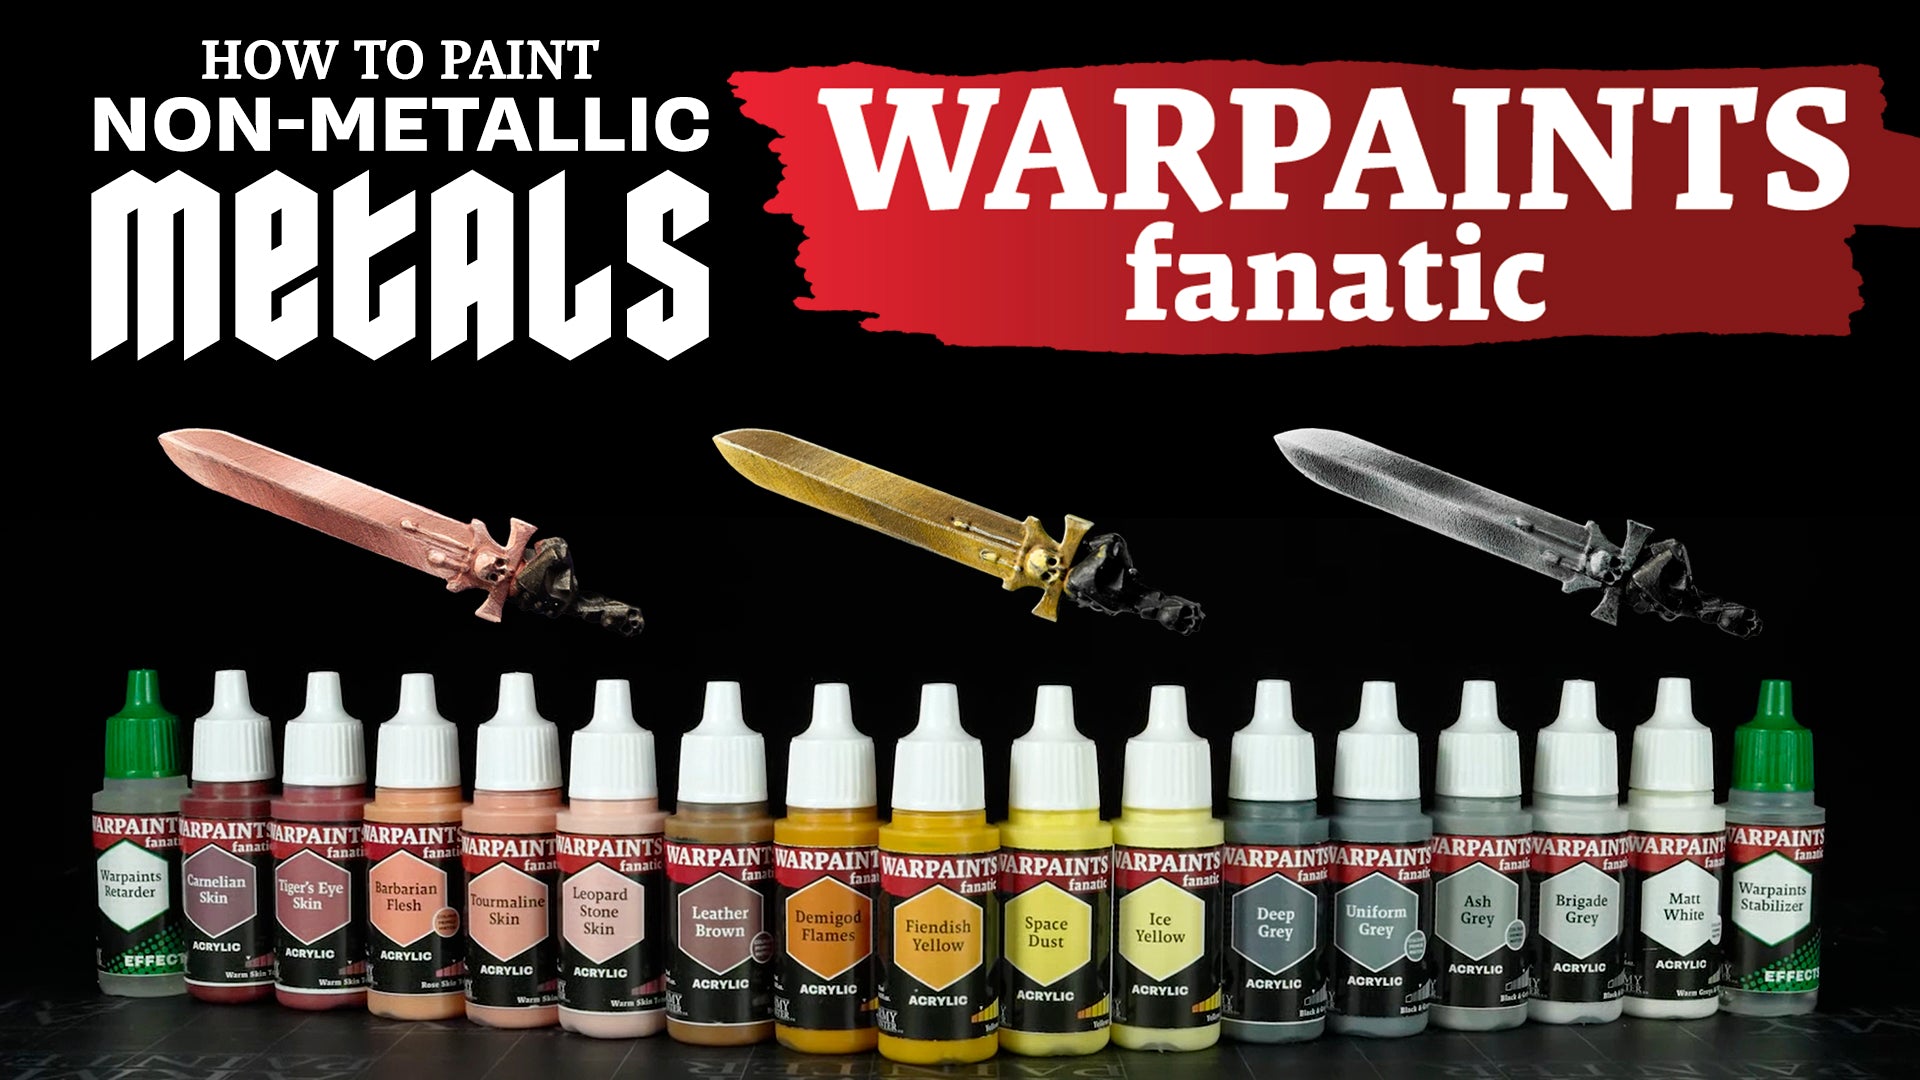
Learn How to Paint Non-Metallic Metals (NMM)
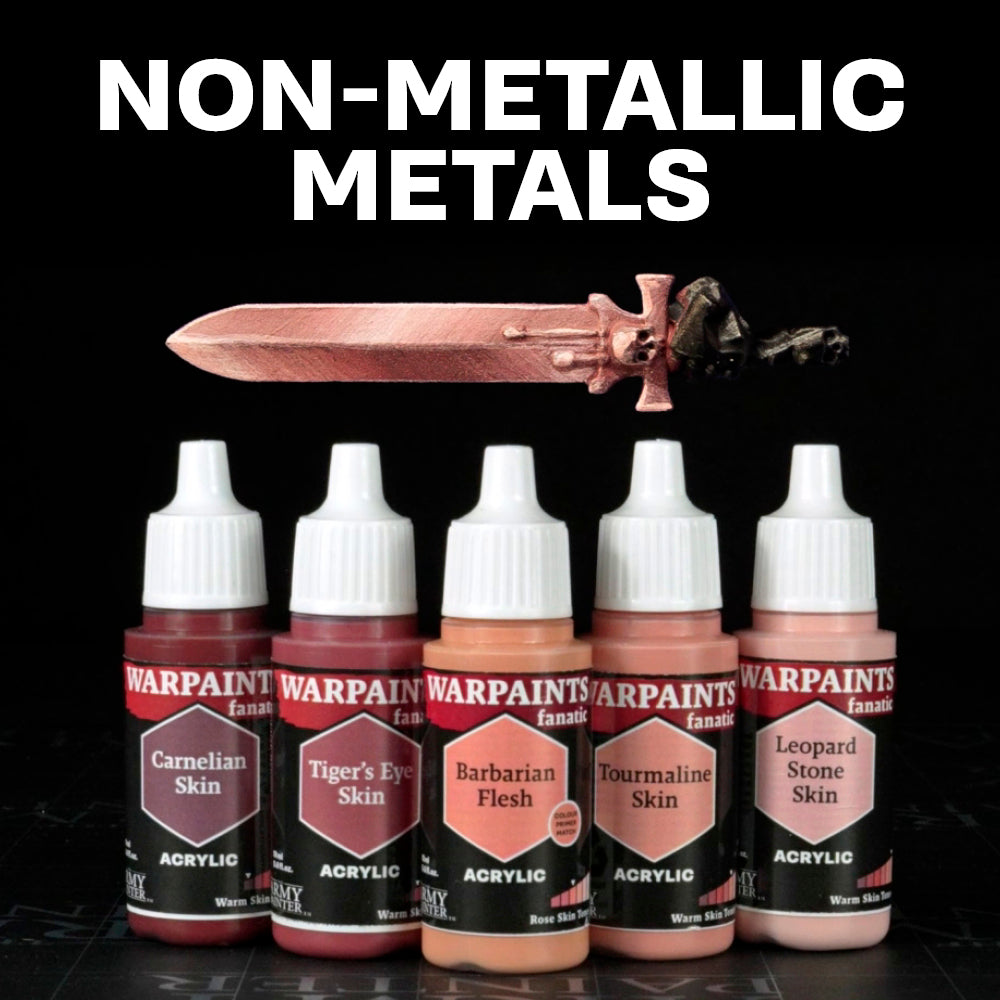
Painting NMM with Flexible Colour Triads
Non-Metallic Metals (NMM) has long been a mythical technique to master.
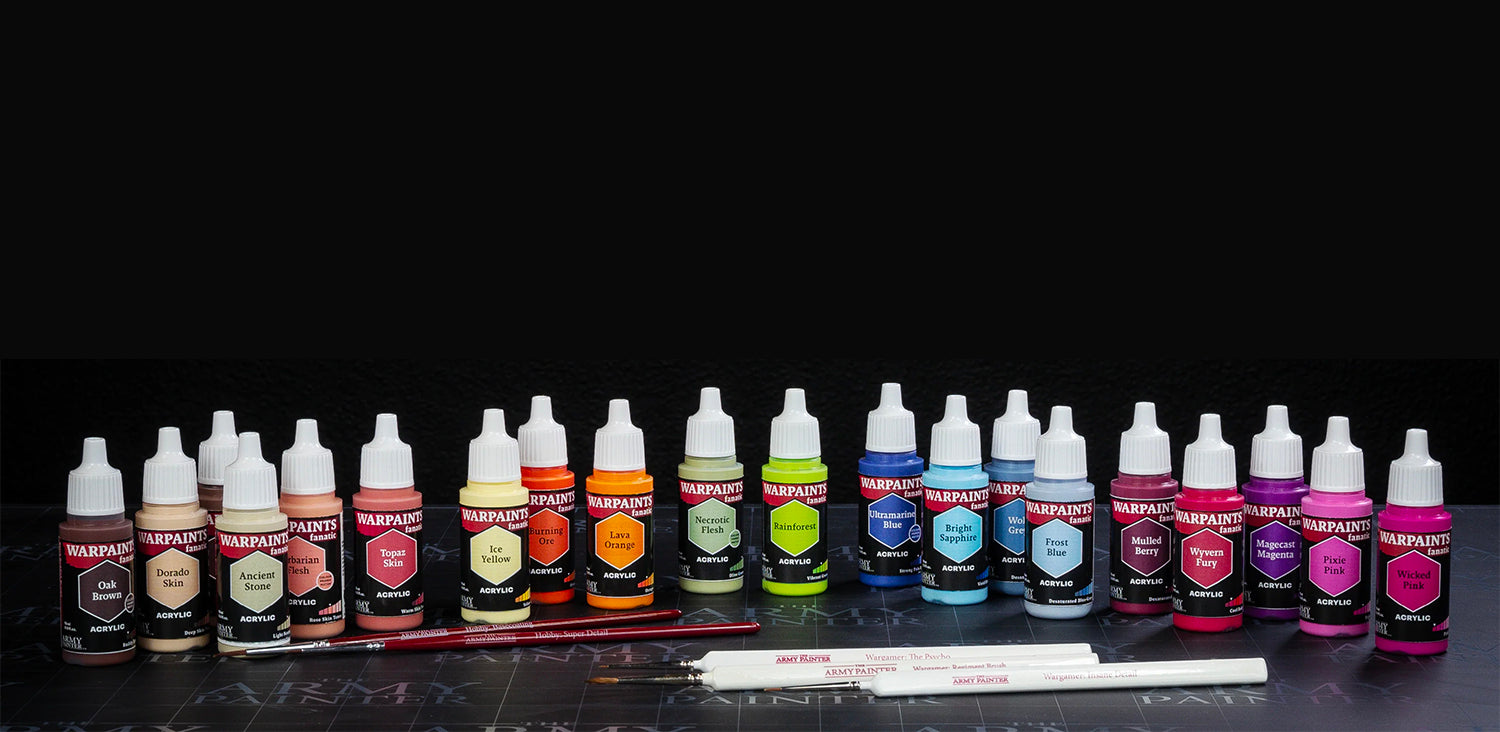
But with the Warpaints Fanatic range and Flexible Colour Triads, it’s now easier to tackle these time-honoured techniques thanks in addition to the coverage and performance of these paints.
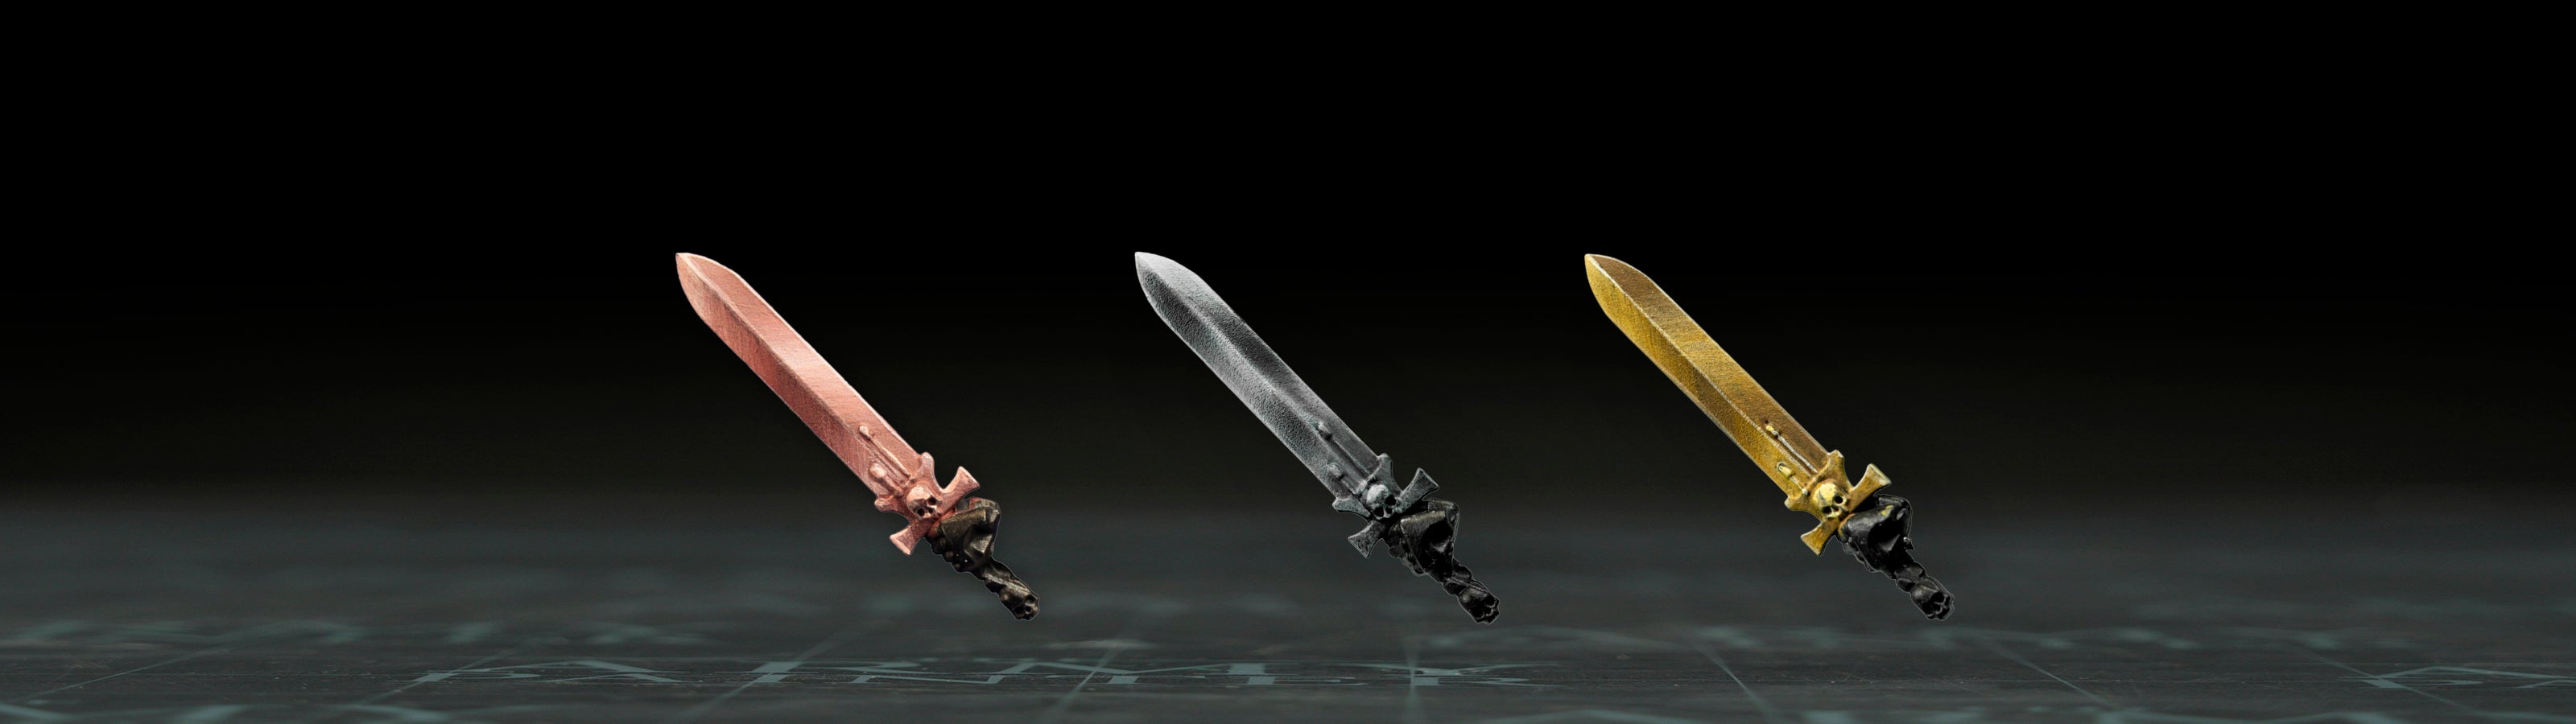
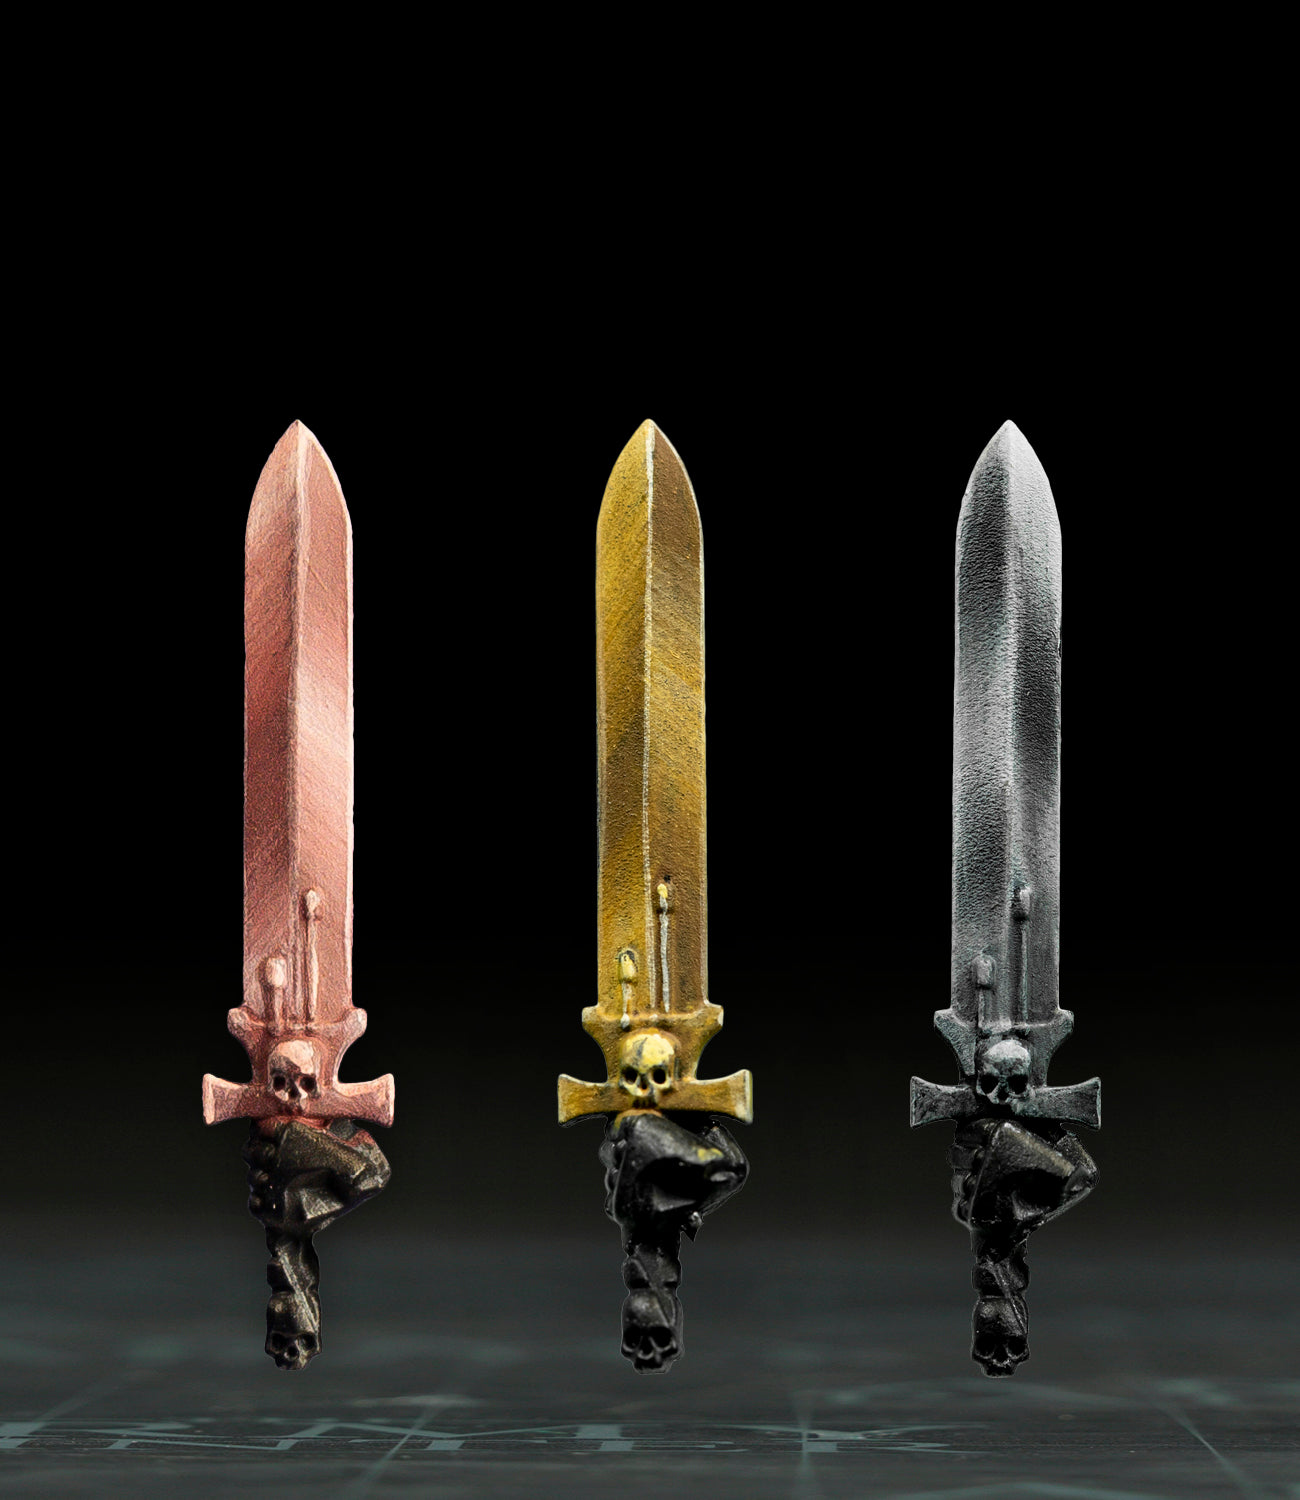
In this article, we’ll show you how to paint a bronze, silver, and gold sword – using only traditional acrylics, no metallic paints in sight!
Step-by-Step Guide to Painting NMM
In the following guides, we’ll break down the Non-Metallic Metal (NMM) techniques for painting bronze, gold, and silver using the Flexible Colour Triads.
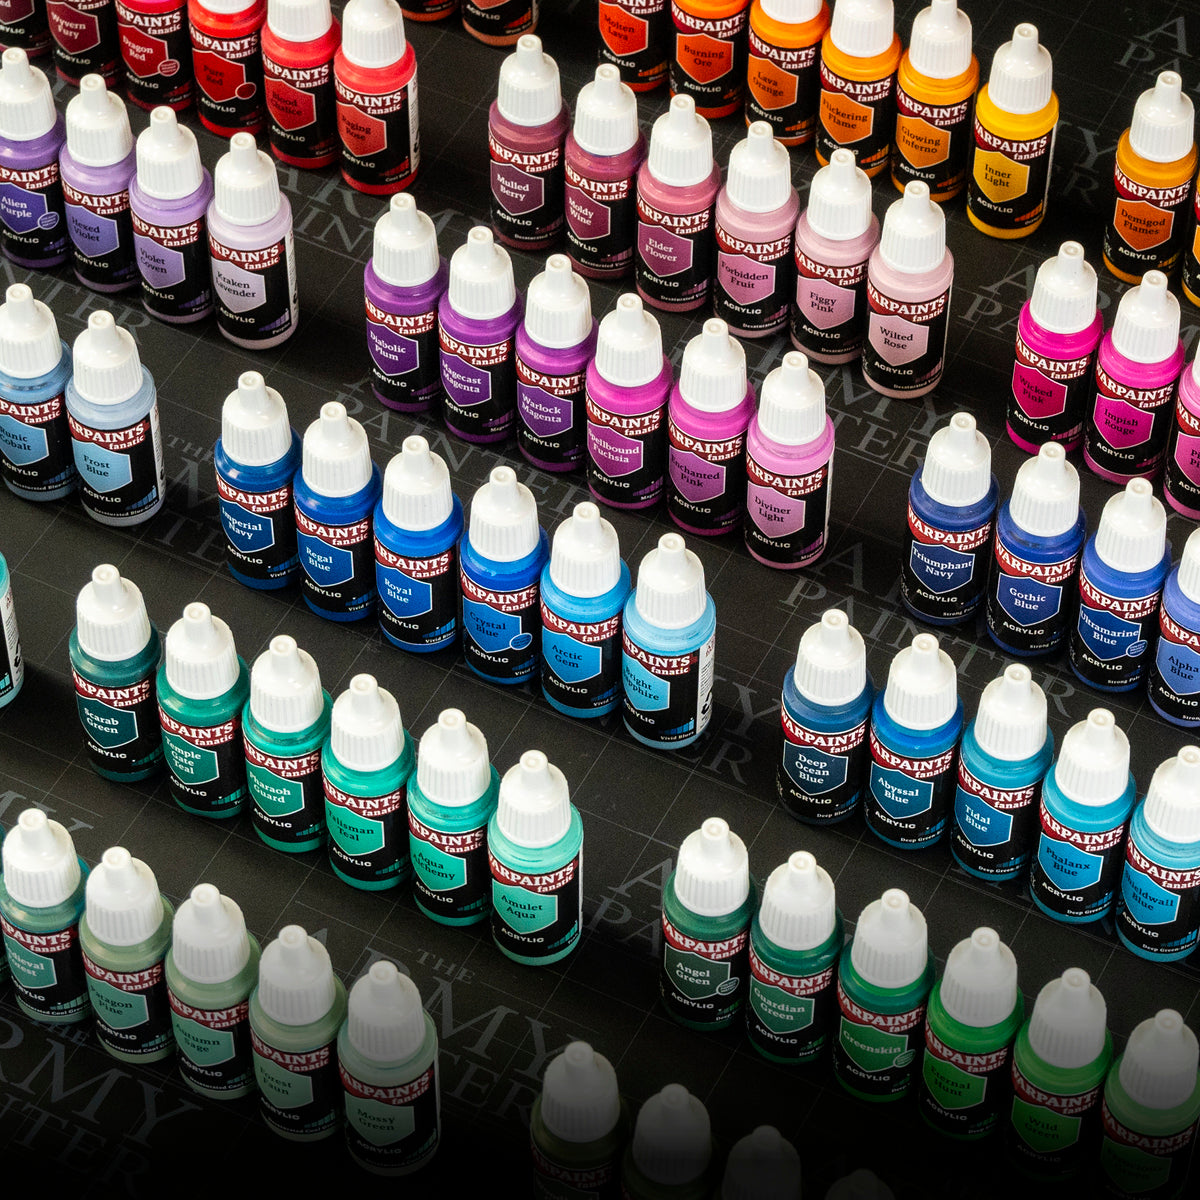
The Flexible Triad System is really useful when painting Non-Metallic Metal, as it provides you with a spectrum of colours that work well to establish both volume and colour at the same time. You can use all six in the family or a selection and even mix them with necessary colours from other triads.
Let's get painting!


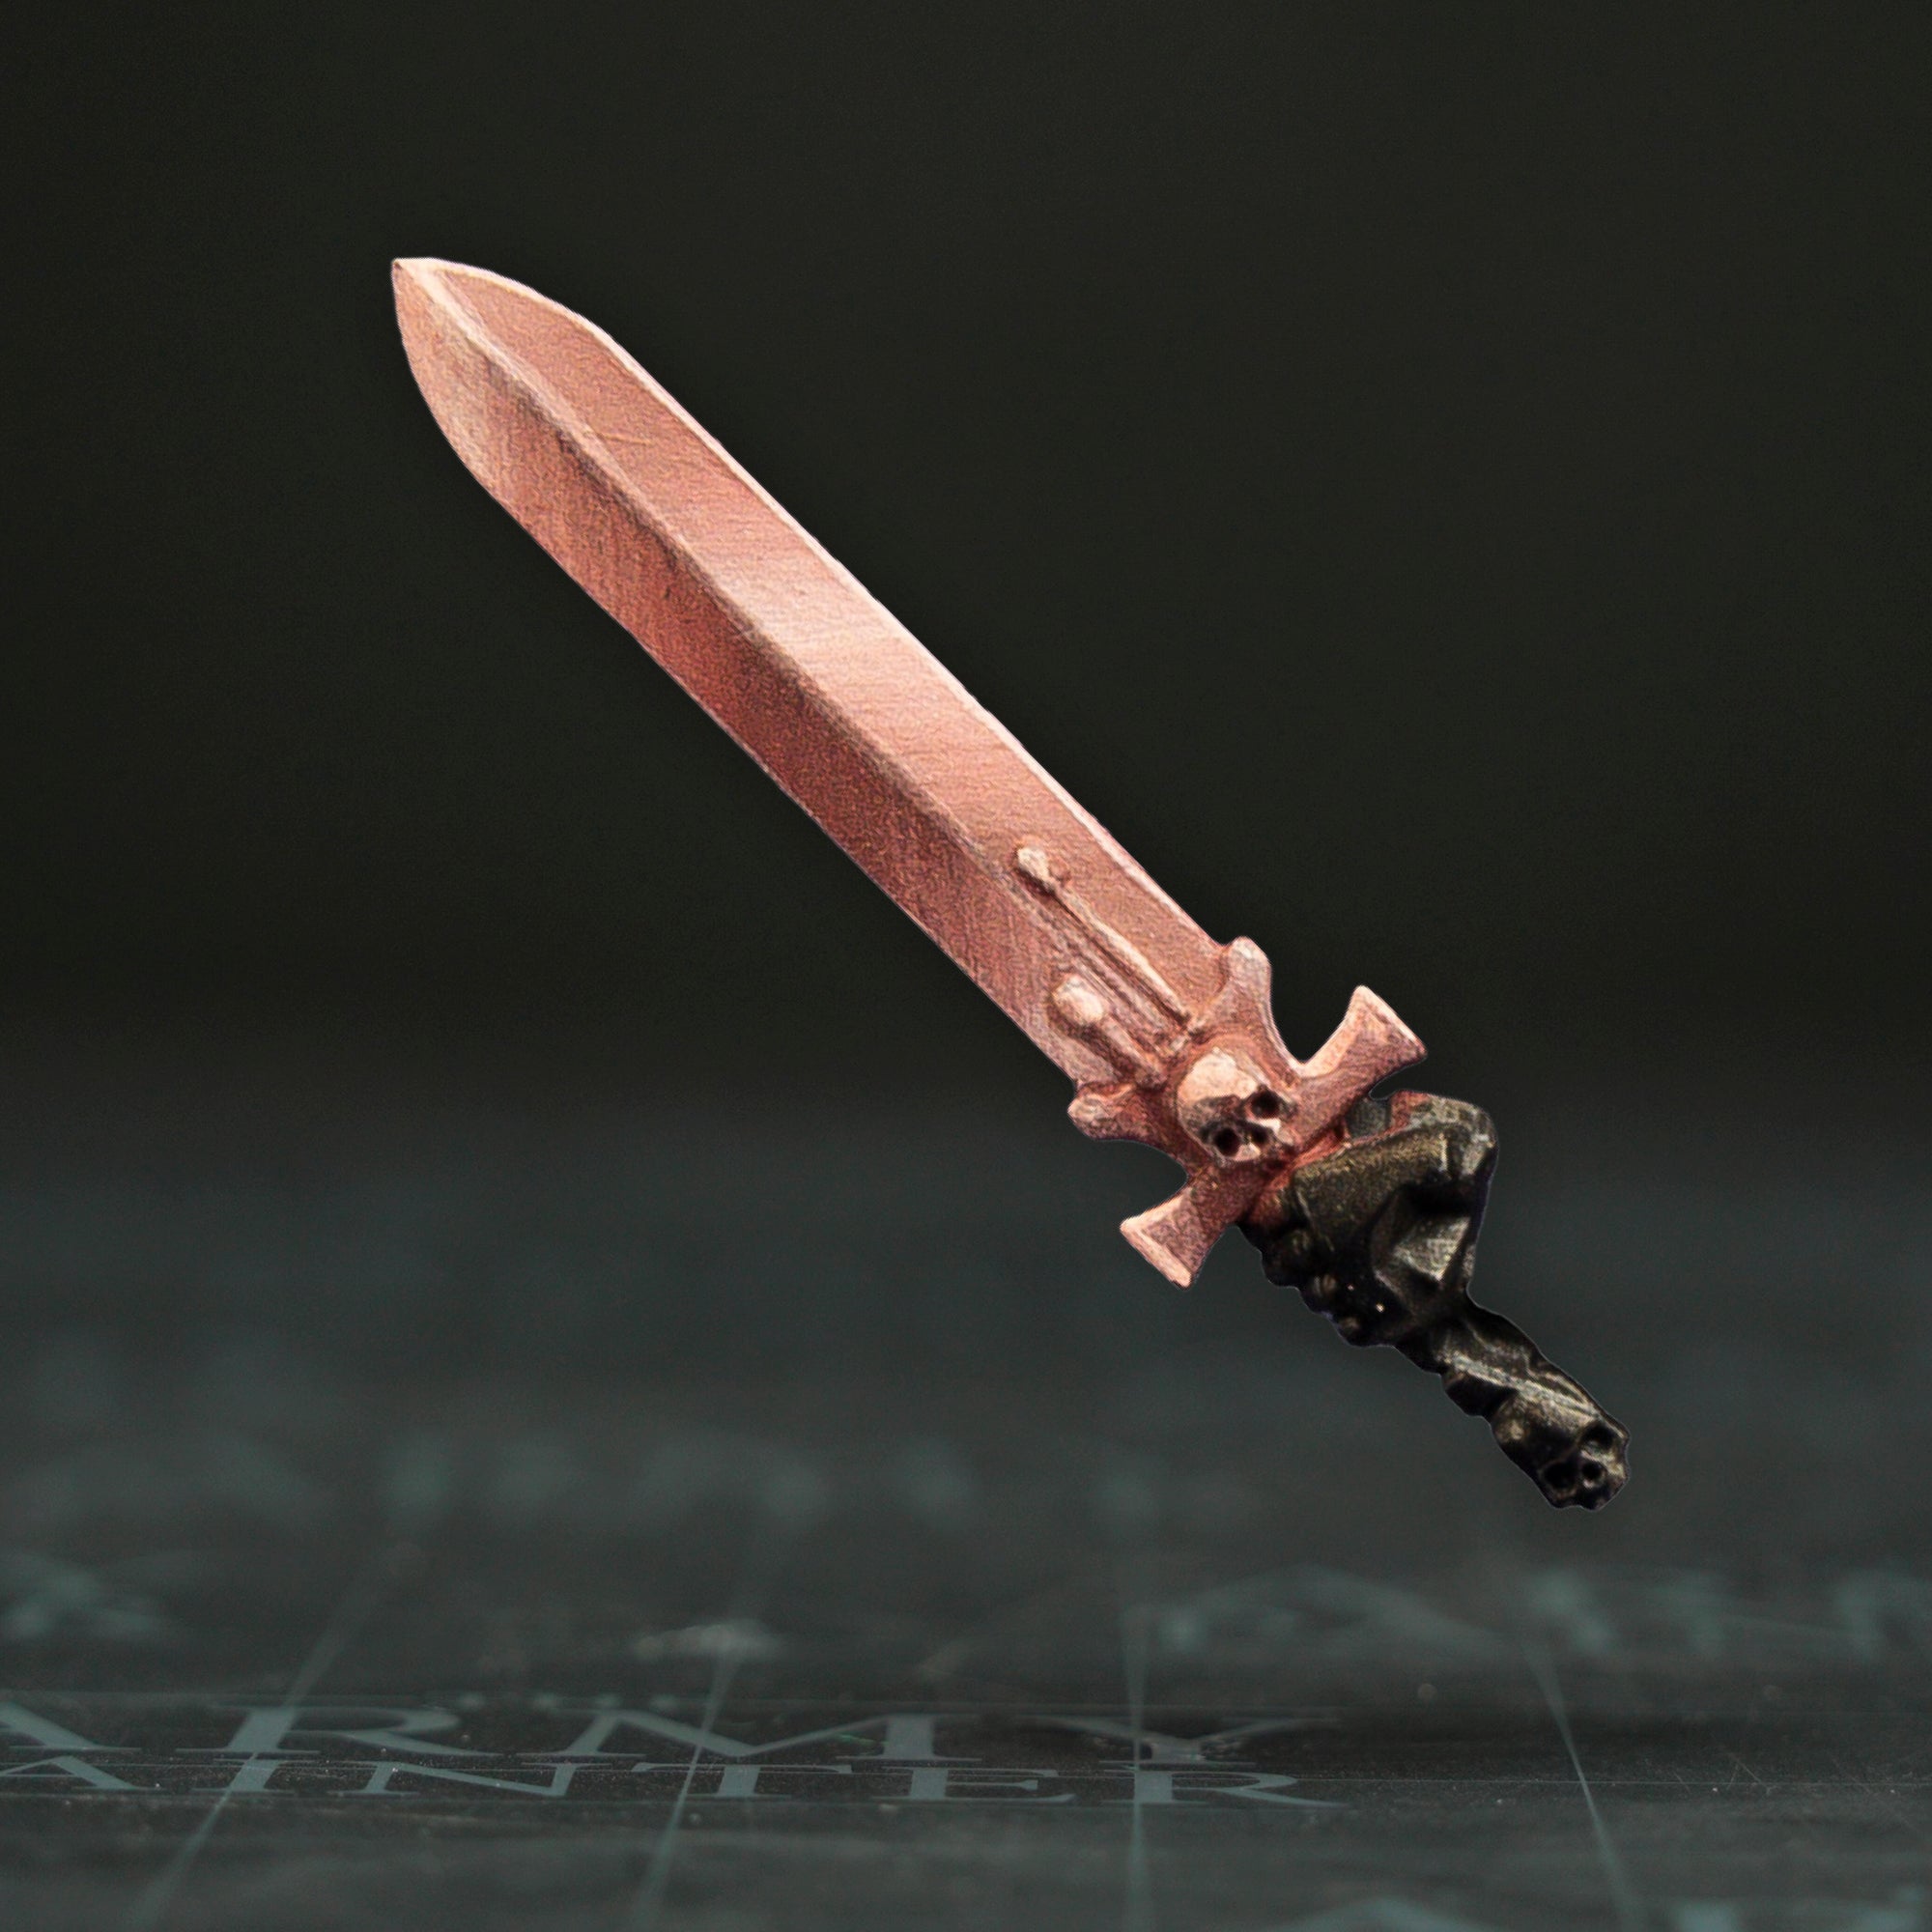
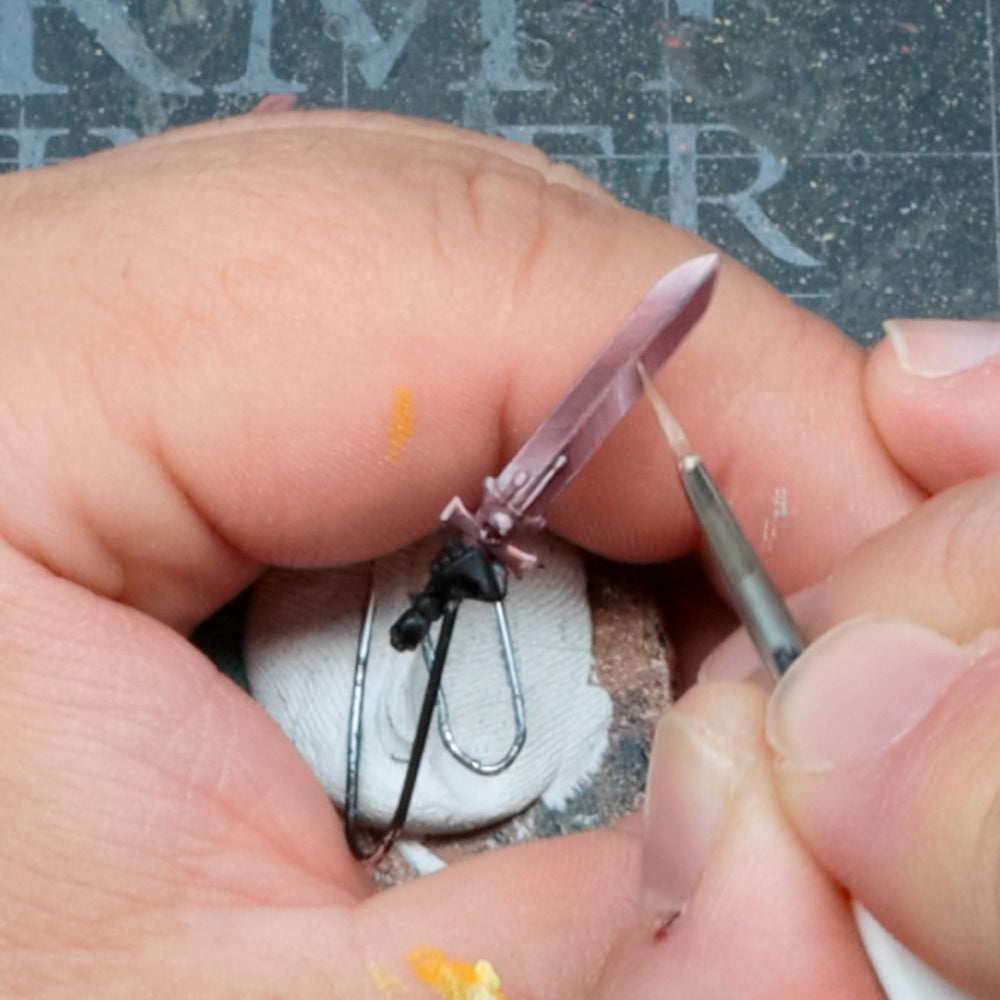
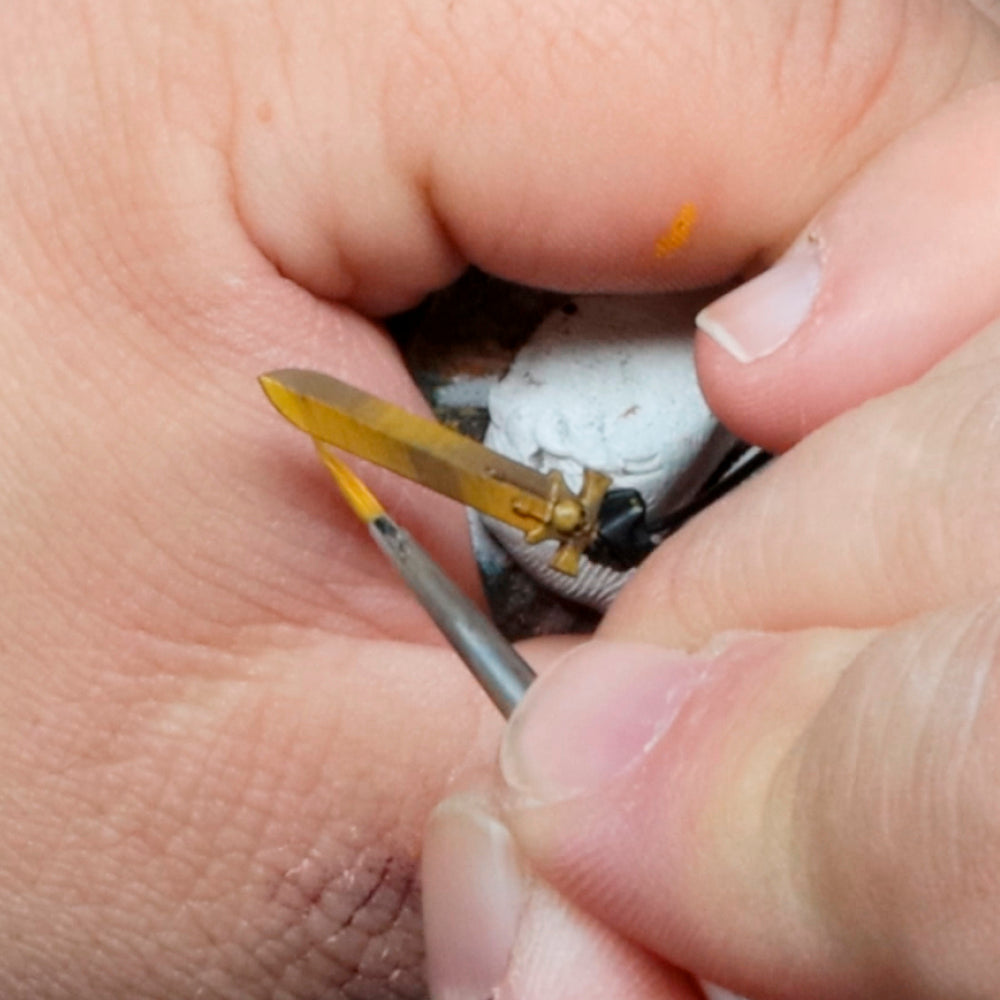
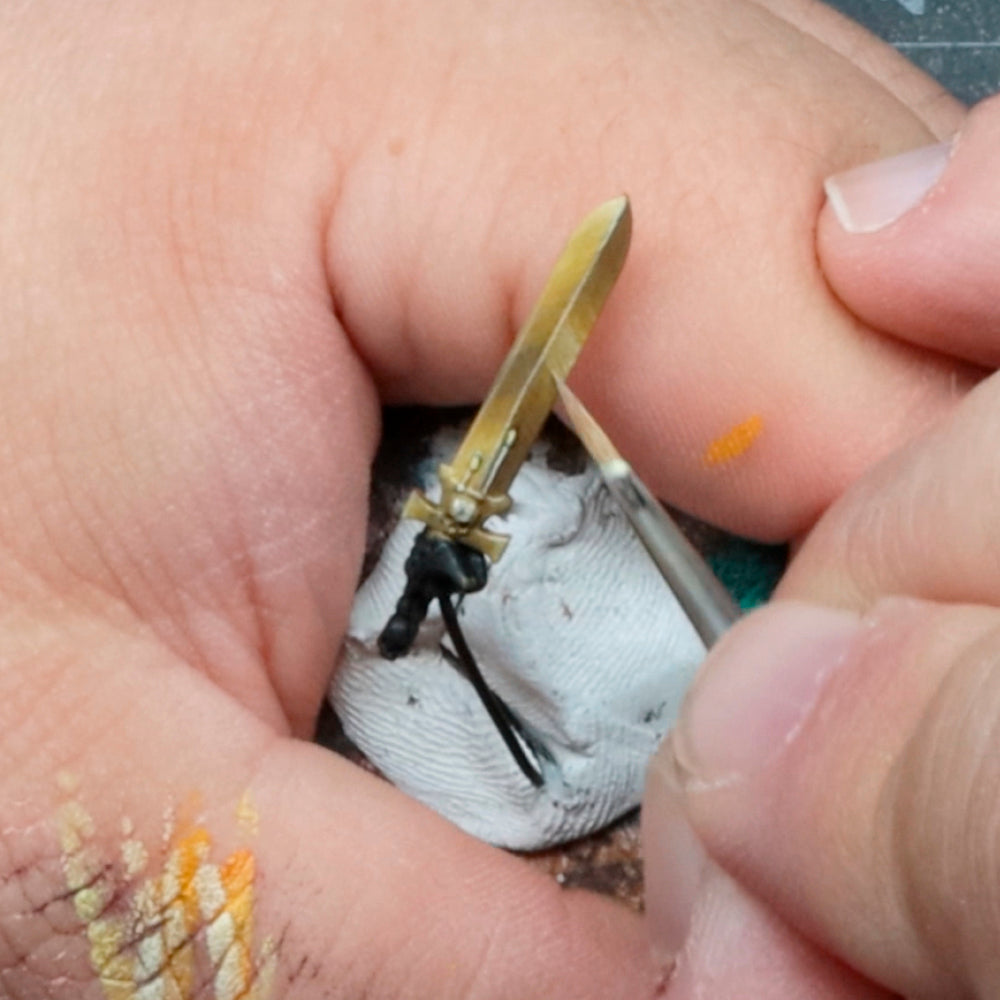
Guide to Painting Bronze NMM
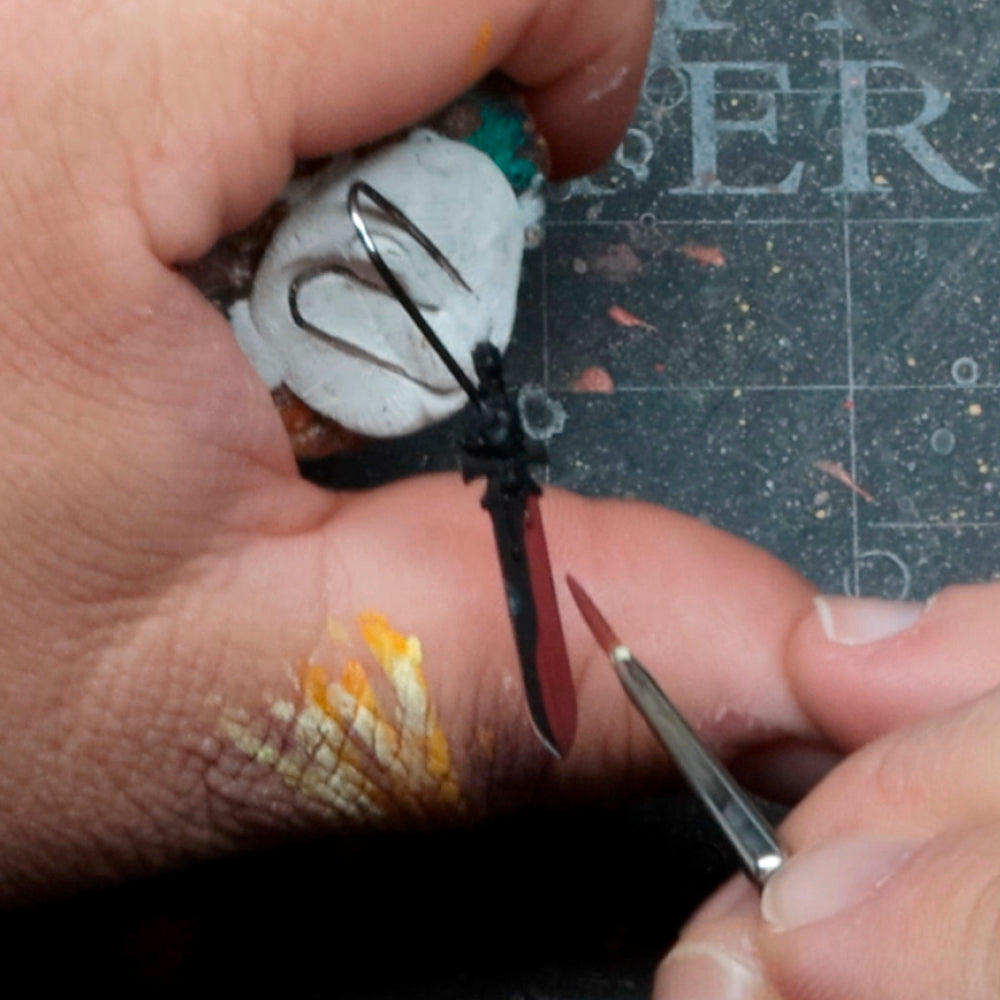
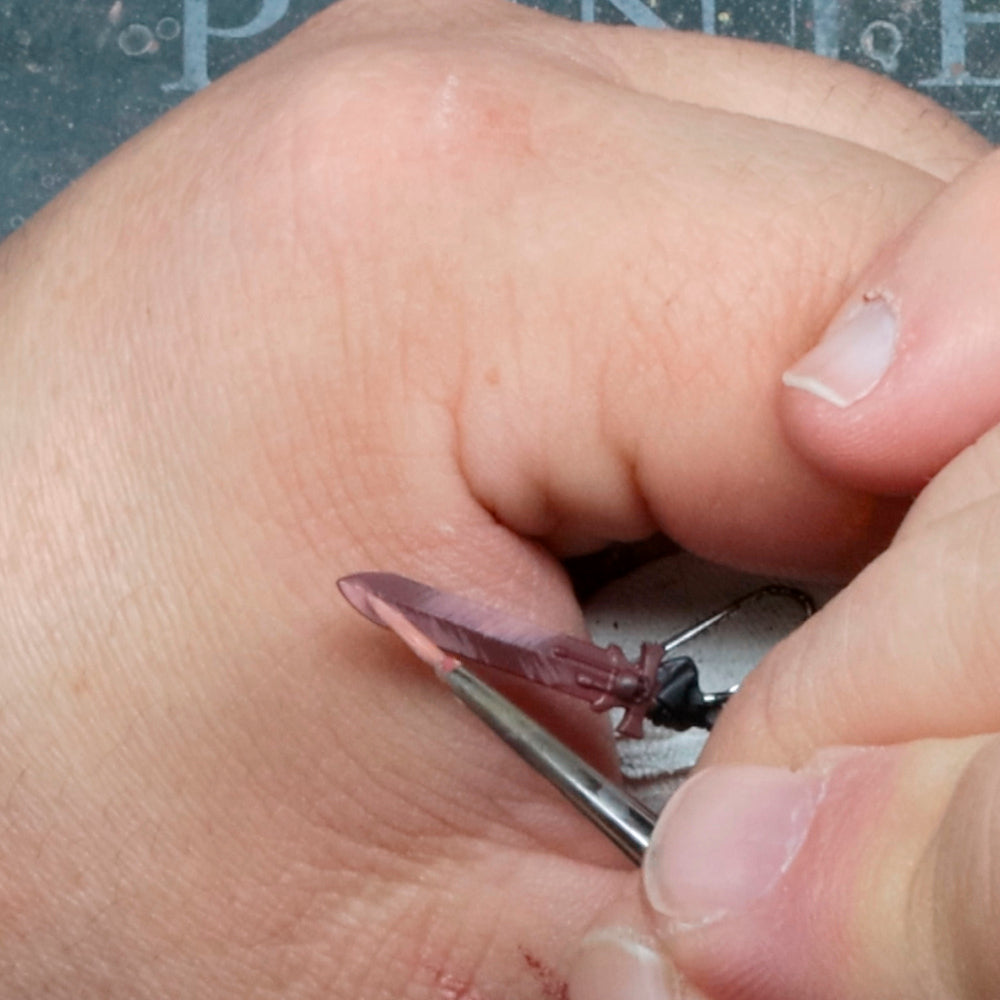
Step 1
Start by basecoating the sword with Carnelian Skin.
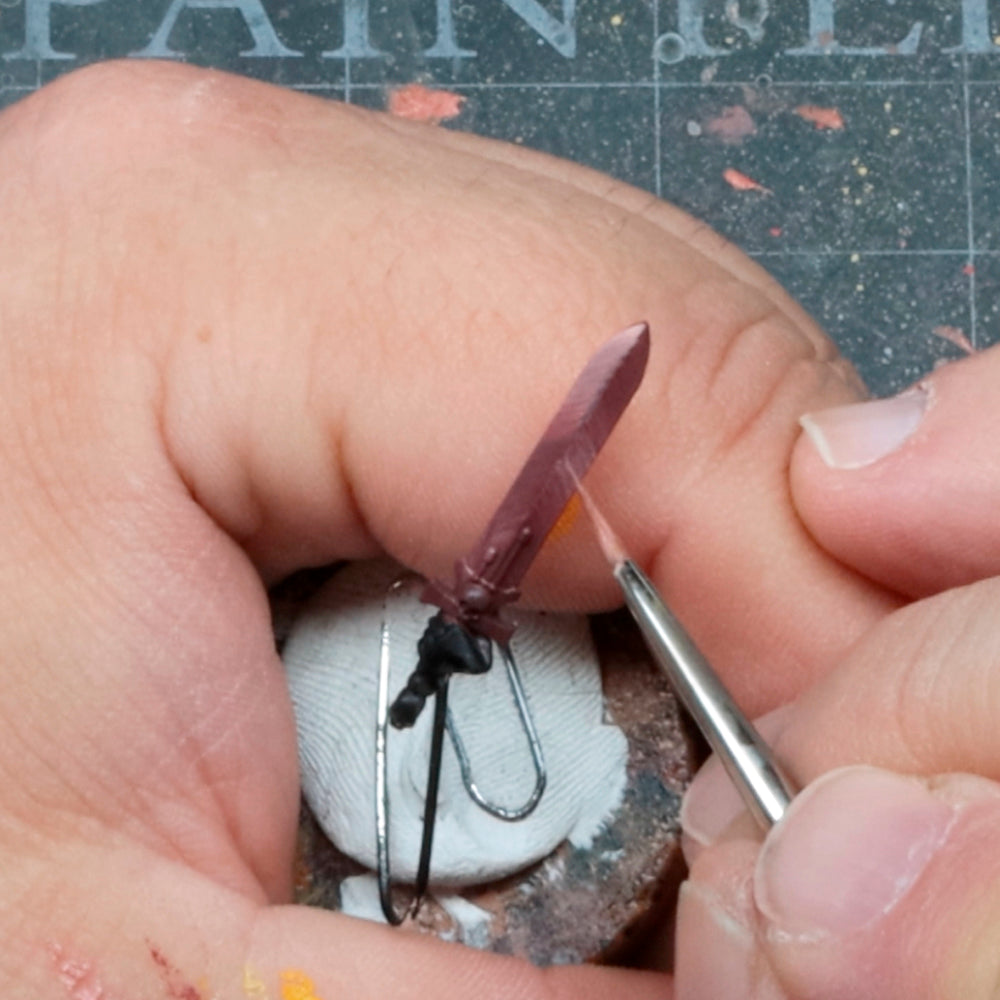
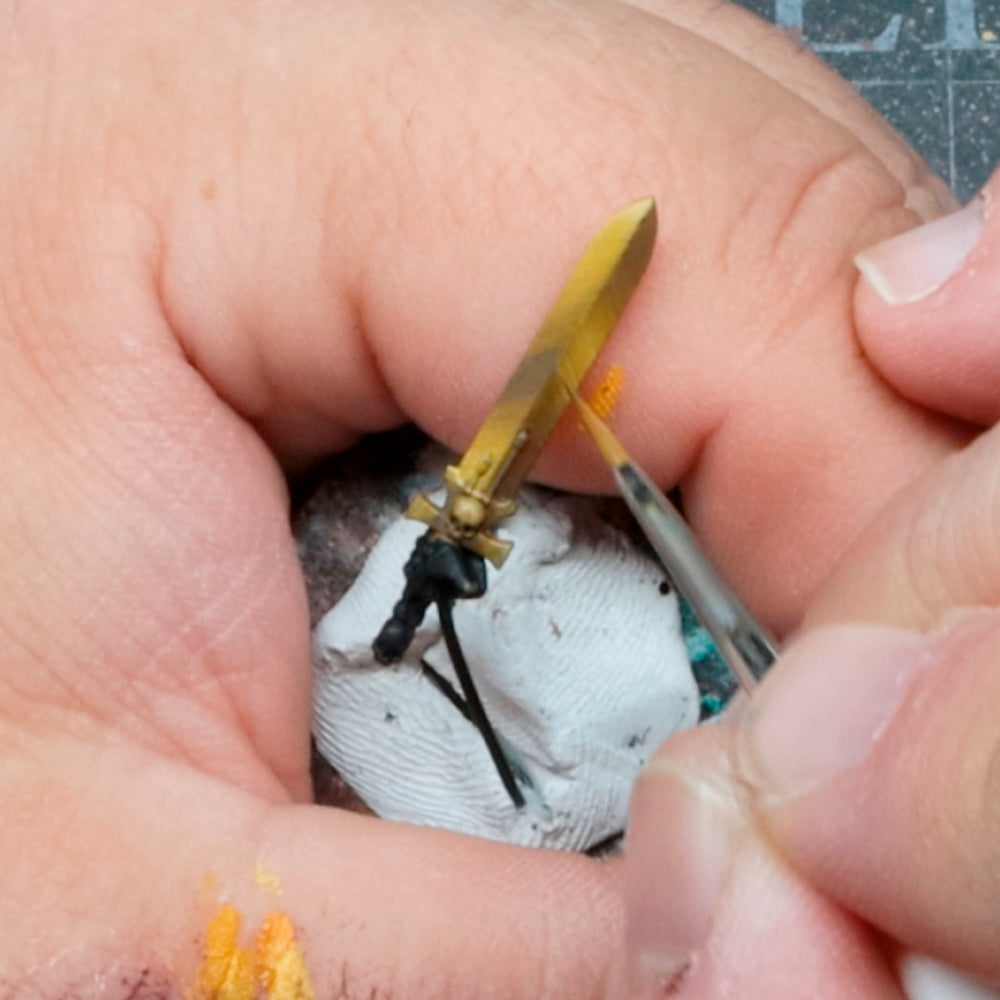
Step 2
Use the Tiger’s Eye Skin for the first highlight.
While there are many ways to blend paints, we’ve used a simple feathered approach that is easy to pull off with the Flexible Triads.
As you apply these fine brushstrokes, less pigment remains on the brush, making for a very simple gradient.
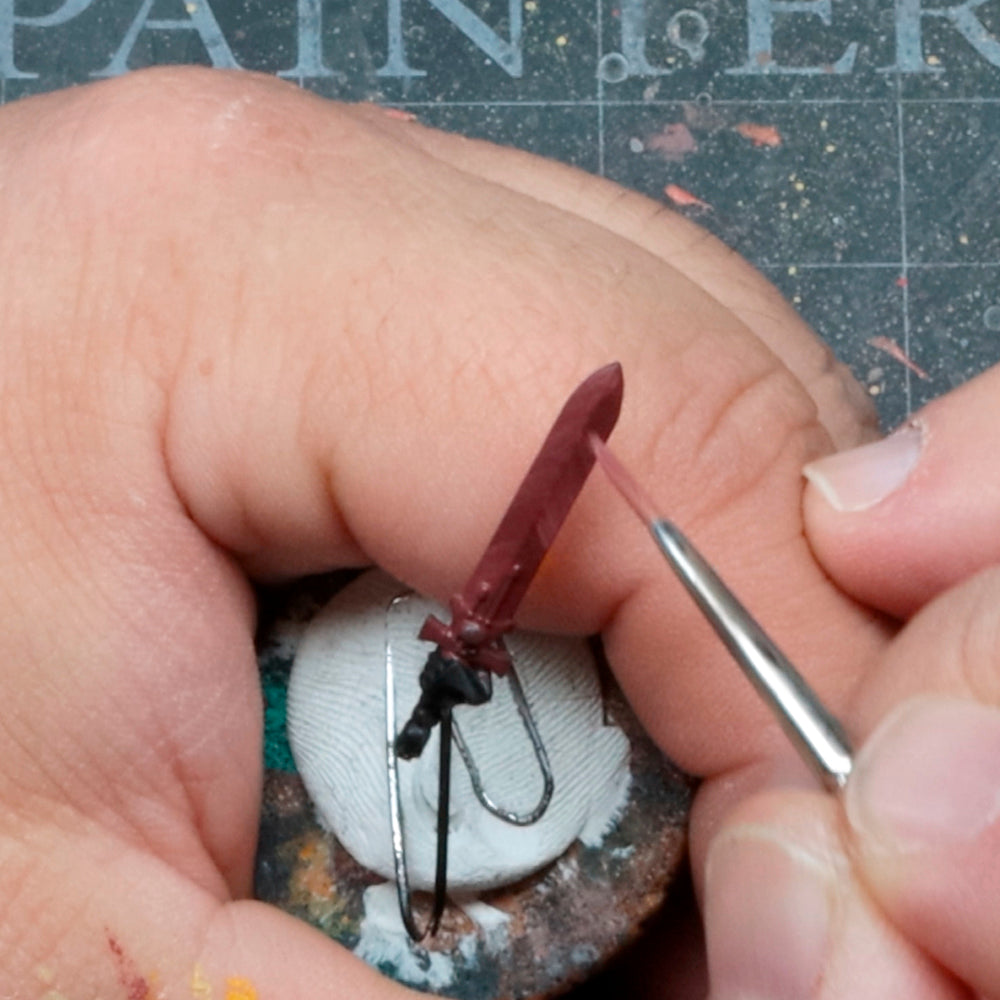
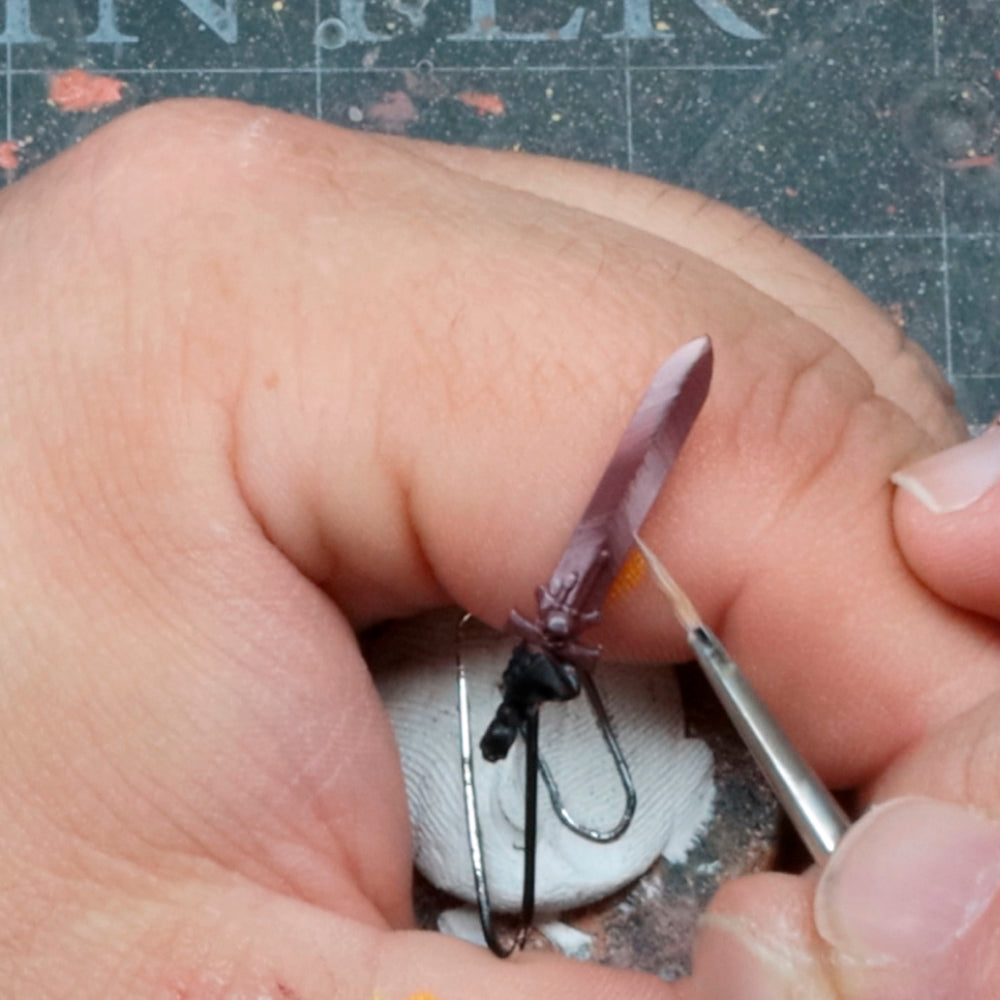
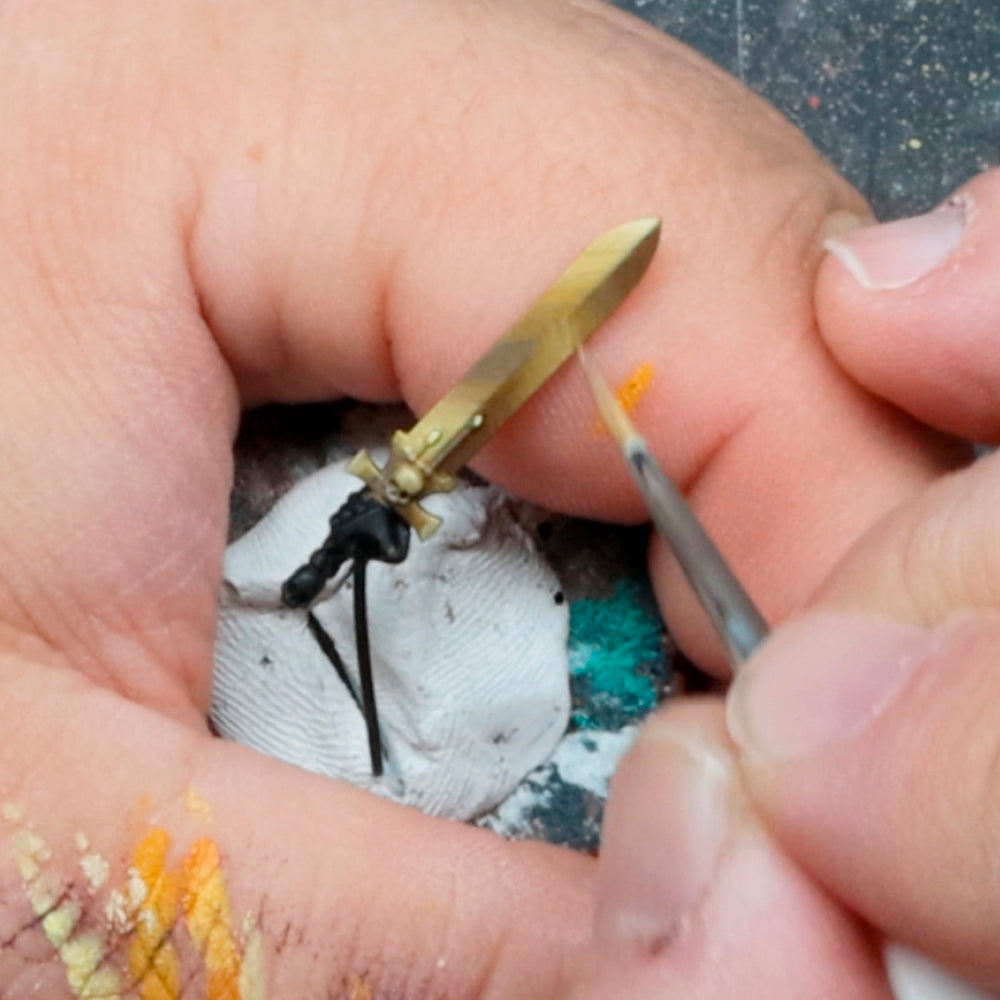
Step 3
Use the same method as in step 2 to refine your highlights in a more focused application with Barbarian Flesh.
If those feathered highlights appear a bit scratchy, that’s totally okay, as it only aids in the non-metallic effect, like you’re replicating grain in the metal.
With most blending, it’s not a 1-2-3 process. You may need to revisit some of your previous colours and go back and forth to help make a smooth blend. A Wet Palette and the Warpaints Fanatic Retarder will be really helpful with that.
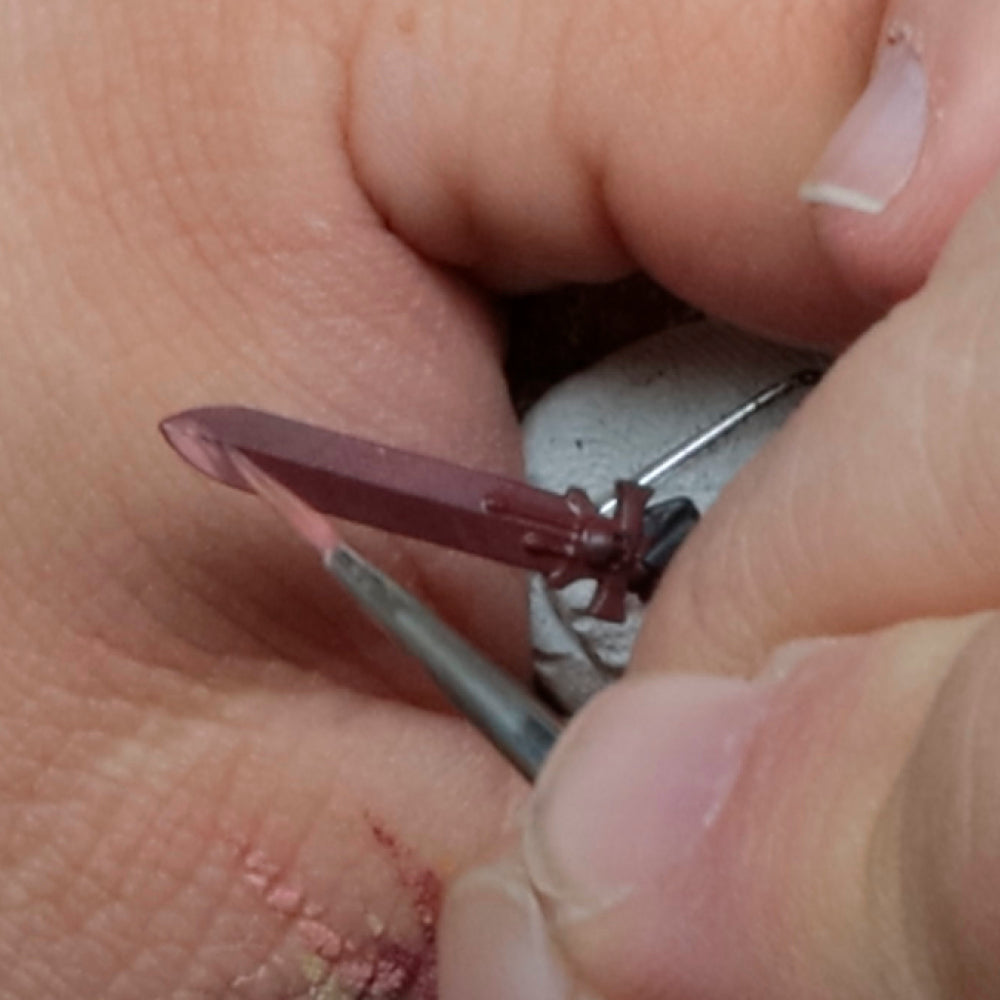
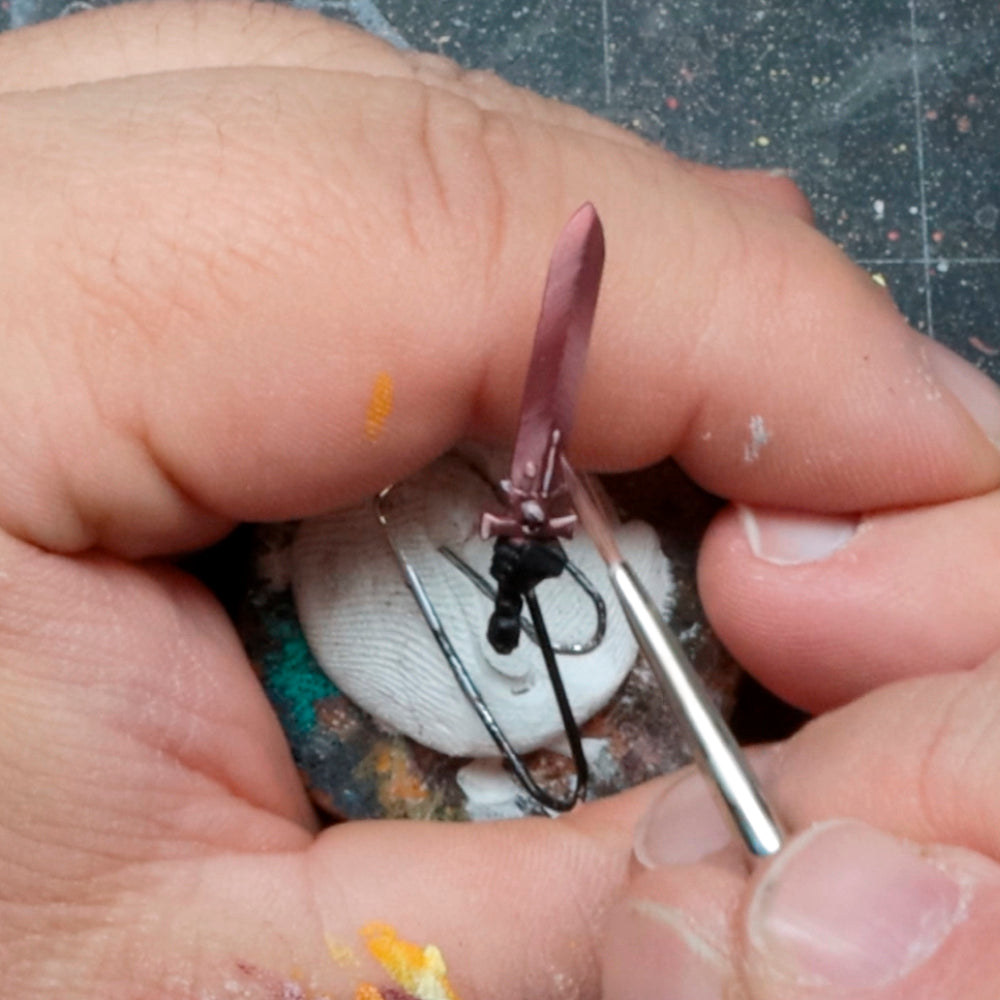
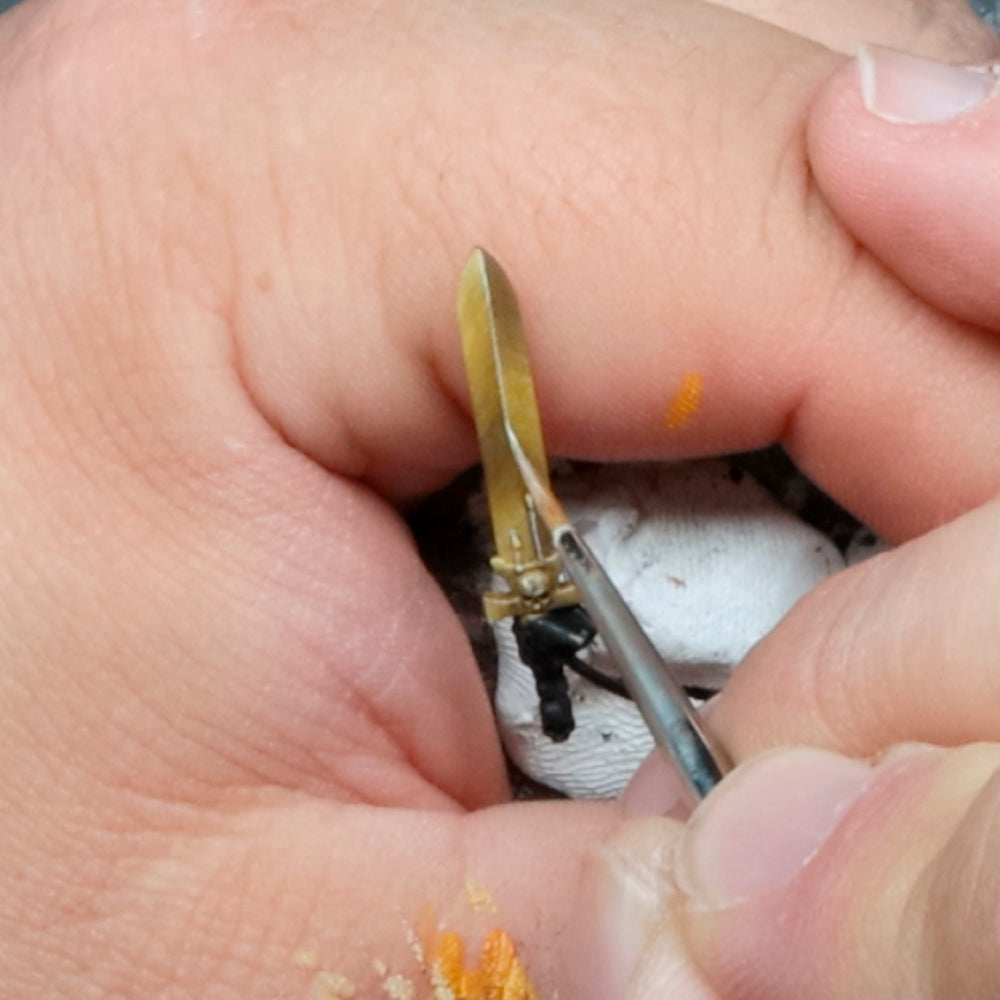
Step 4
In the next round of highlights, we’ll use Tourmaline Skin.
Here, you can really begin to see how simple and effective the flexible triads can make blending. And the best part is, you’ll never find yourself forgetting that perfect mixed ratio of paints again since there’s no mixing involved, unless you want to, of course.
Step 5
Next, use the Leopard Stone Skin to highlight and blend.
When applying this highlight, focus on keeping it within the previous blends. But don’t forget you can always go back to your palette and grab the previous colours if you overdo it.
Step 6
To accentuate the effects, we’re using the Leopard Stone Skin mixed with a bit of Matt White.
Step 7
To really sell the effect, we’ll be using purely Matt White.
To help improve control for these very detailed techniques, using the Fanatic Stabiliser to thin down your paints is really helpful.
Step 8
If you’d like to make the transitions even smoother, go back to your basecoat or darkest colour used and then it down and apply a simple glaze near the transition, always pulling your paints to the darkest areas.
Using the Fanatic Stabiliser will help to retain that pigment density and dispersion when thinned to these glaze-like consistencies as it reduces the surface tension of the paint while fastening the pigments uniformly in your mix.
When you’ve got those transitions nice and smooth, you can always go back and add a bit more punch to the highlights. Working up volumes adds a realistic tonality to the technique.
Blending is rarely a linear process, so don’t be afraid to go back and forth between your darker and brighter colours as you apply your finishing touches.

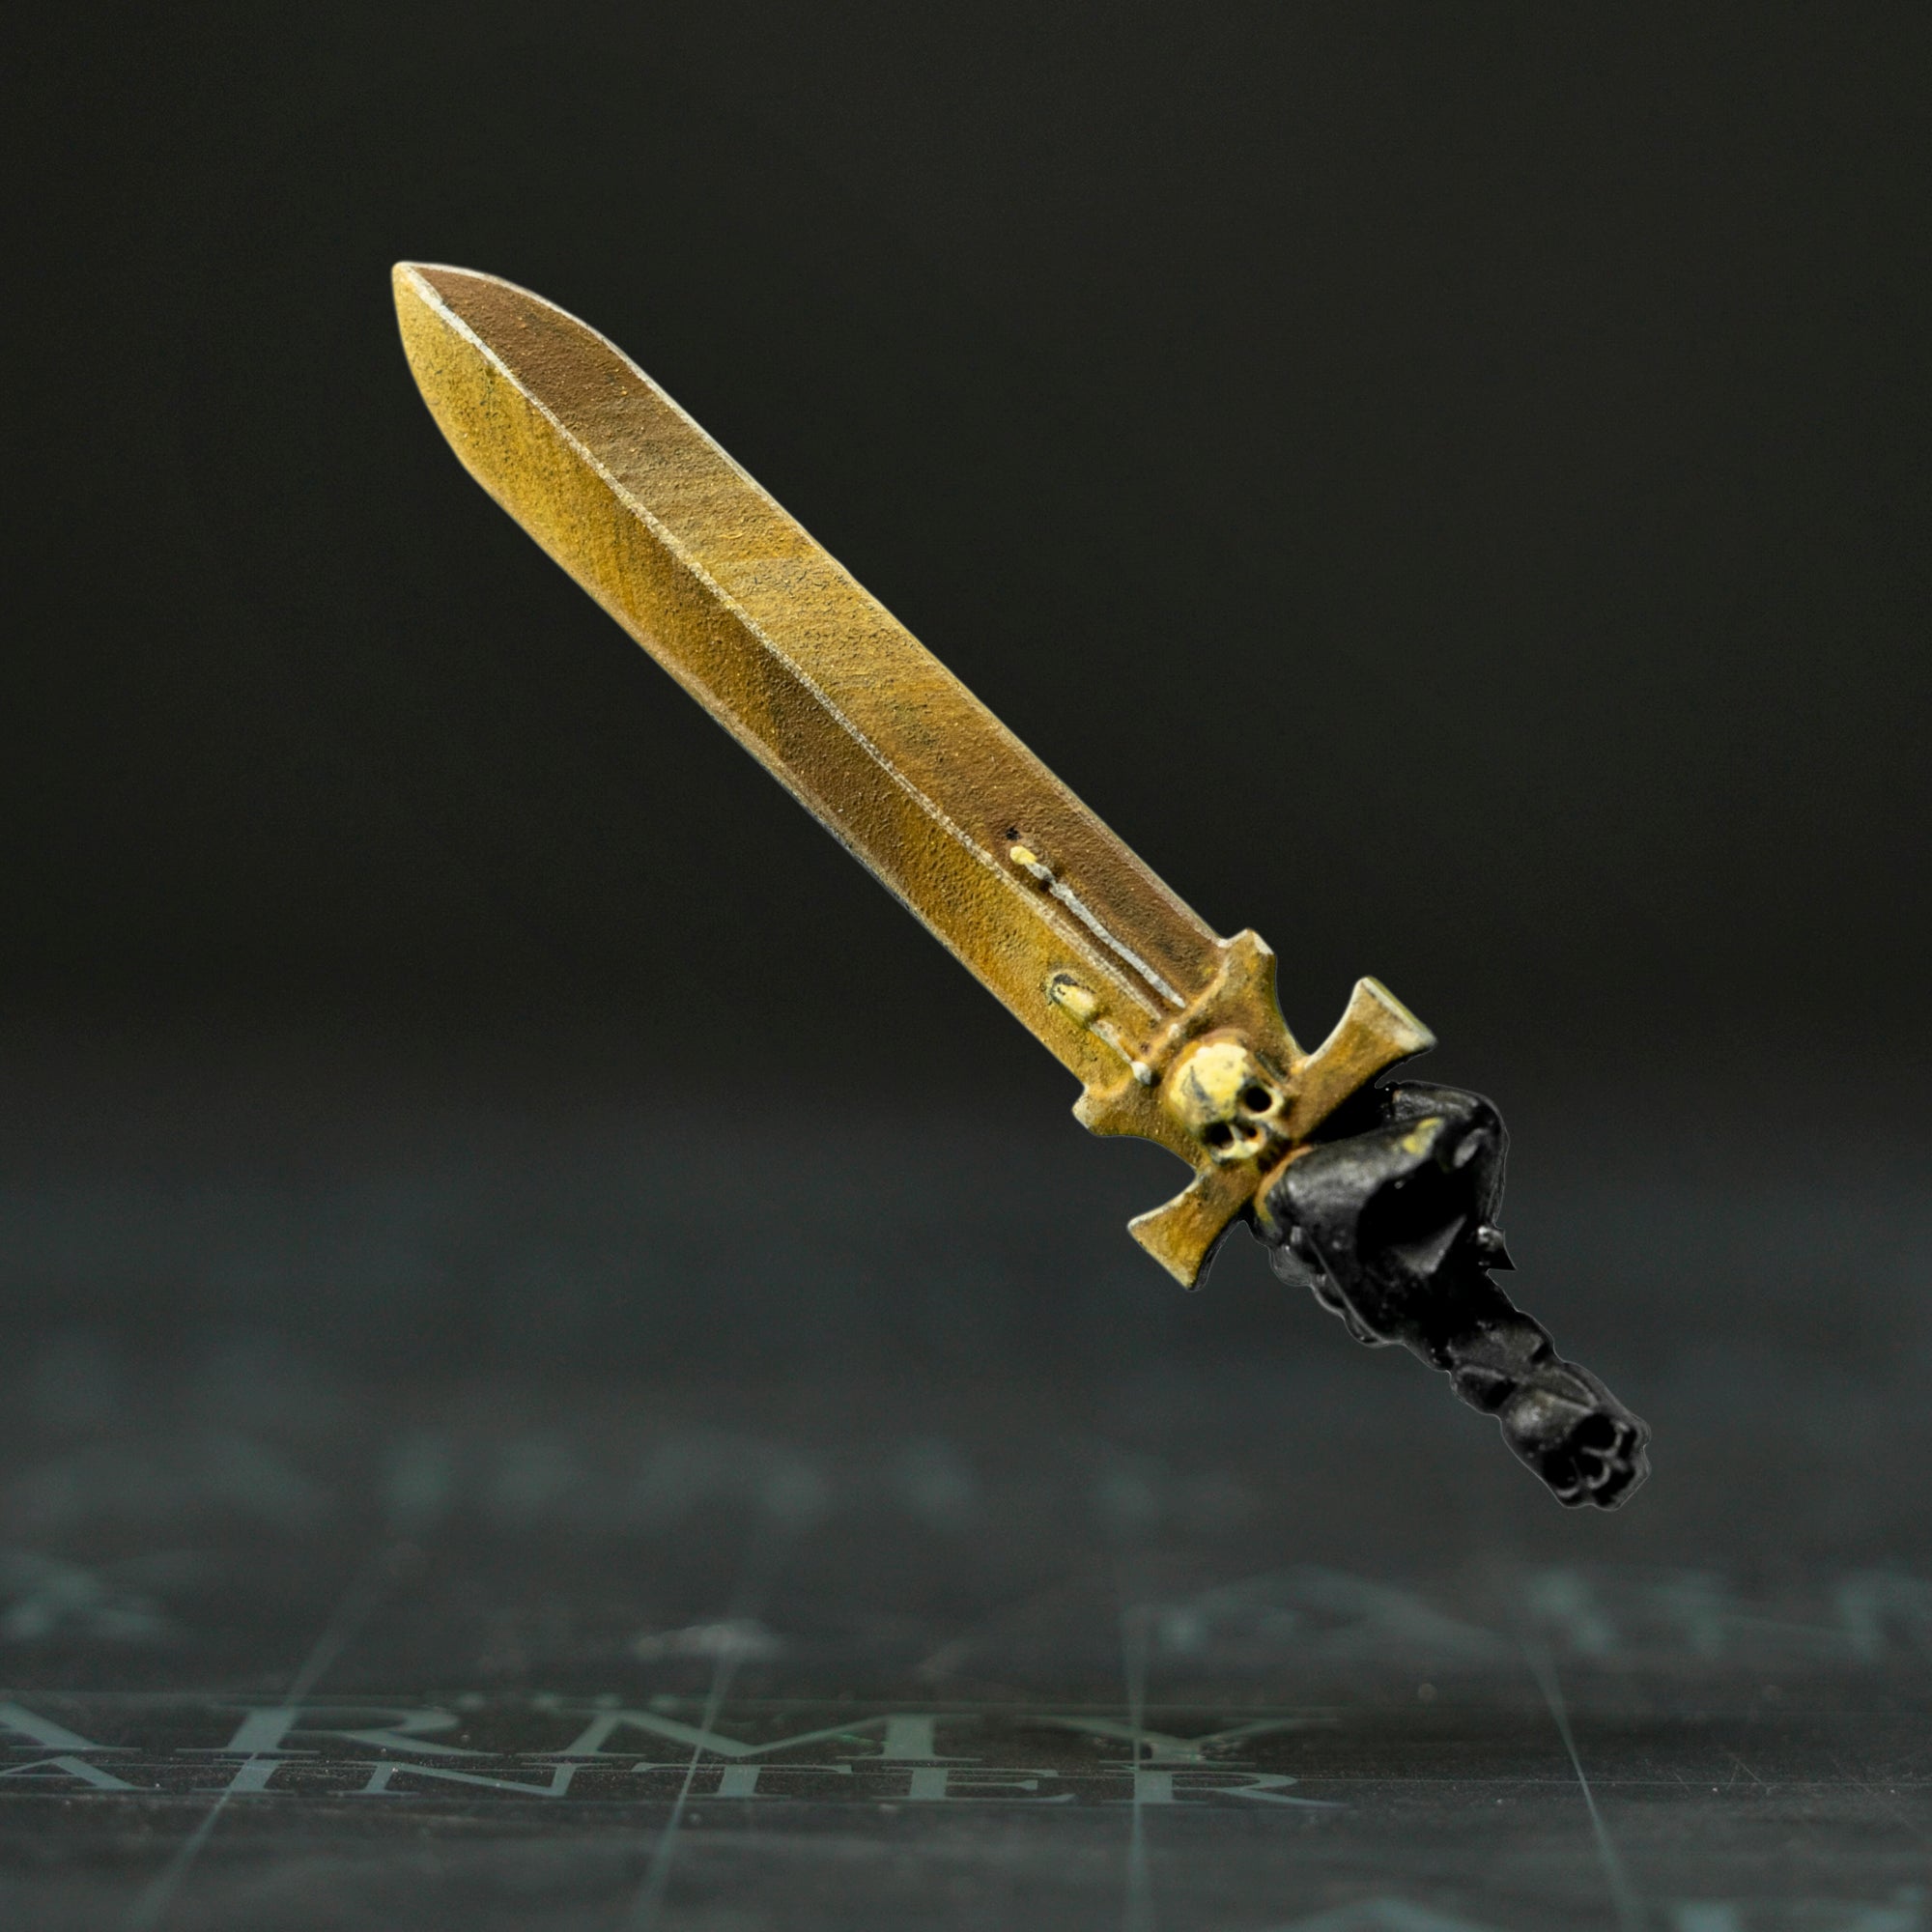
Guide to Painting Gold NMM
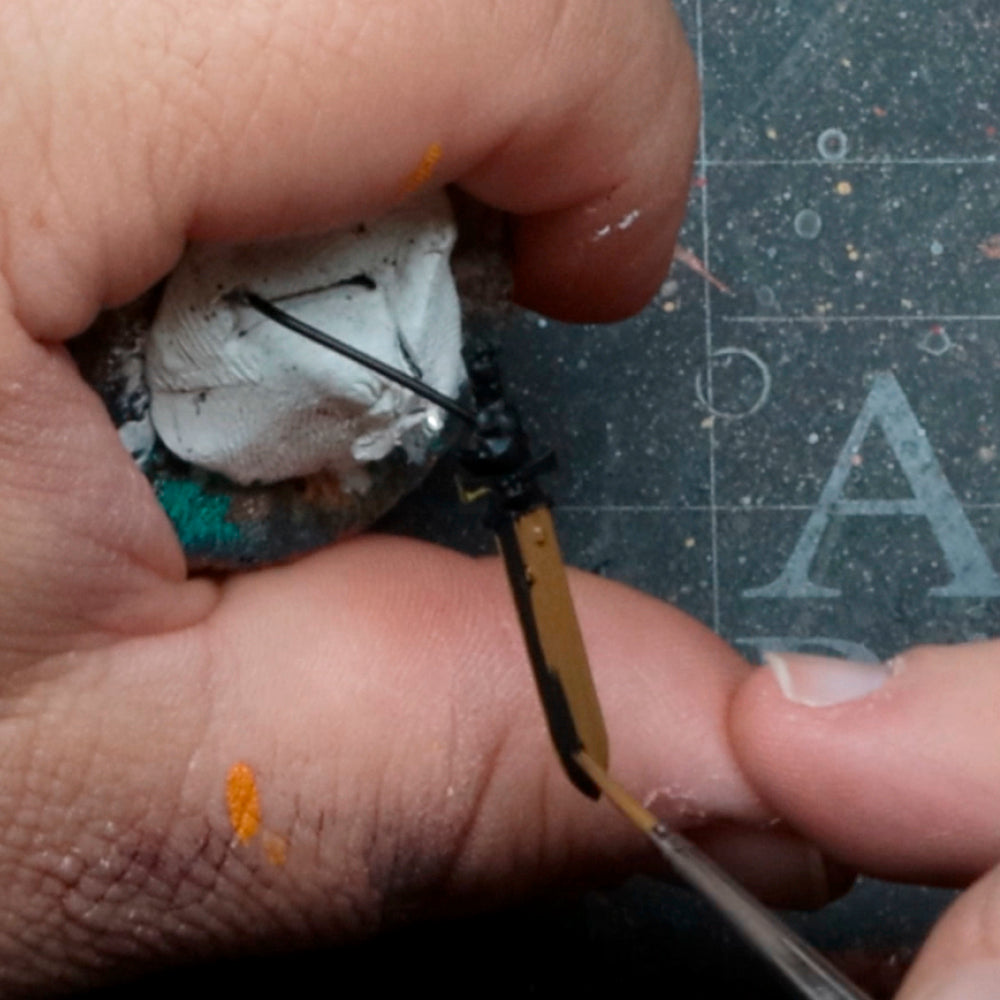
Step 1
Start by basecoating the sword with Leather Brown.
Although the paint exists outside of the Flexible Triad: Yellows, Leather Brown works really nicely when painting up muted yellows and golds.
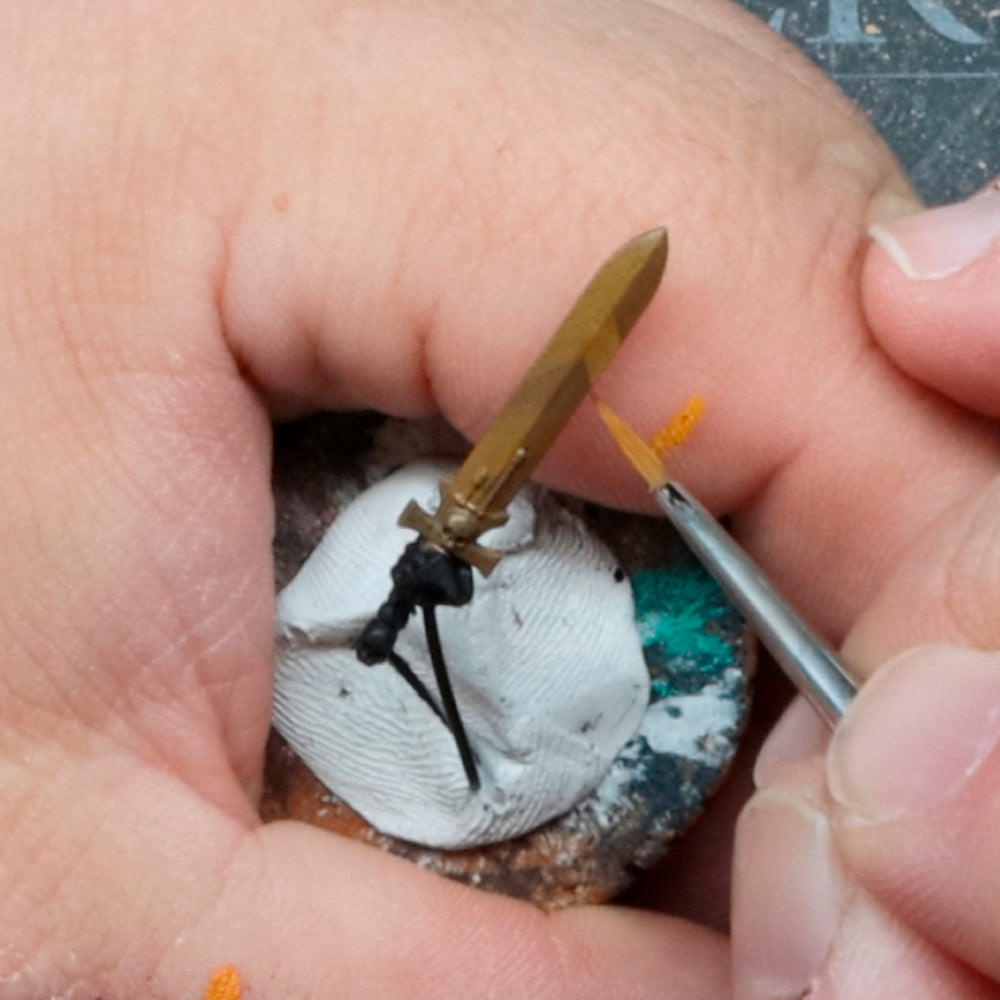
Step 2
Use Demigod Flames, a strong orange yellow, to help shift the non-metallic gold towards yellow away from that paler brown basecoat.
Step 3
Use the same method as in step 2 to refine your highlights in a more focused application with Fiendish Yellow.
If those feathered highlights appear a bit scratchy, that’s totally okay, as it only aids in the non-metallic effect, like you’re replicating grain in the metal.
With most blending, it’s not a 1-2-3 process, you may need to revisit some of your previous colours and go back and forth to help make a smooth blend. A Wet Palette and the Warpaints Fanatic Retarder will be really helpful with that.
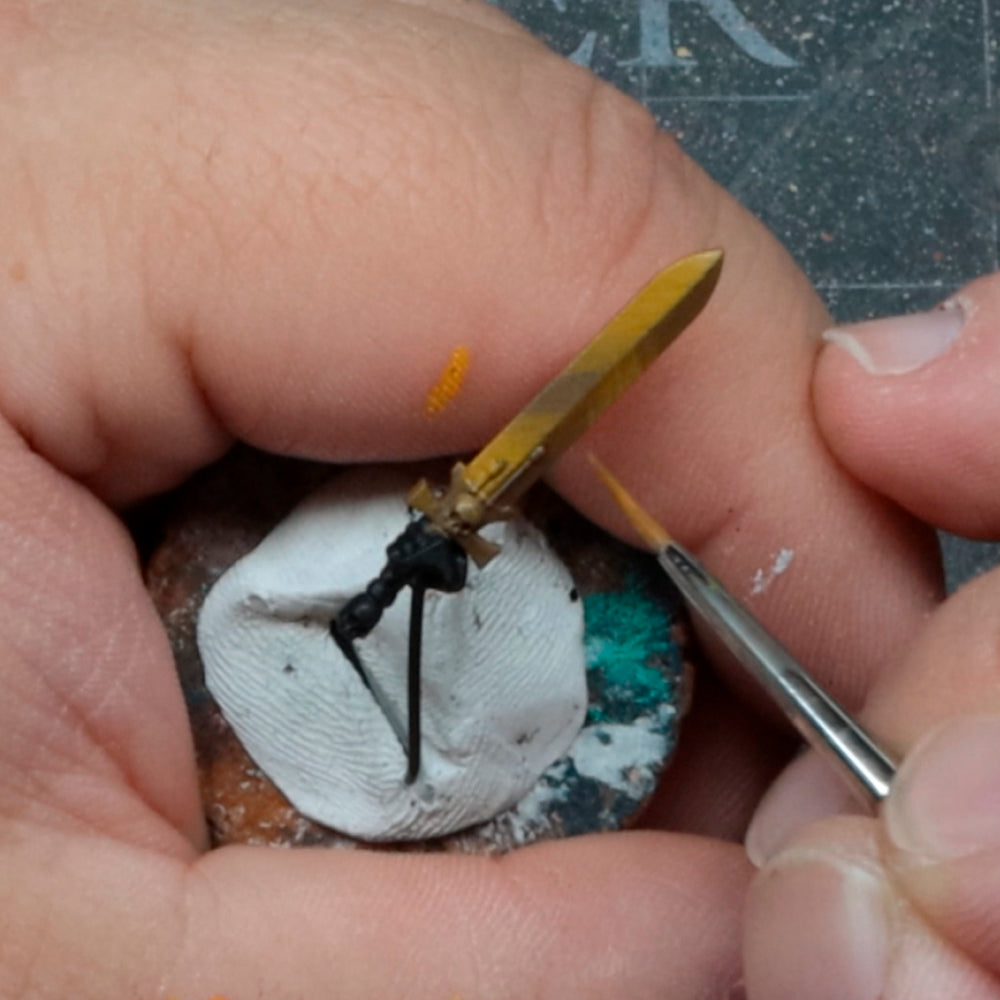
Step 4
In the next round of highlights, we’ll use Space Dust.
Here, you can really begin to see how simple and effective the flexible triads can make blending. And the best part is, you’ll never find yourself forgetting that perfect mixed ratio of paints again, since there’s no mixing involved, unless you want to of course.
Step 5
Next, use the Ice Yellow to highlight and blend.
When applying this highlight, focus on keeping it within the previous blends. But don’t forget you can always go back to your palette and grab the previous colours if you overdo it.
Step 6
To pick out any fine details and hard edges, we’re using Ice Yellow mixed with a bit of Matt White.
Step 7
To really sell the effect, we’ll be using purely Matt White.
To help improve control for these very detailed techniques, using the Fanatic Stabiliser to thin down your paints is really helpful.
Step 8
If you’d like to make the transitions even smoother, go back to your basecoat or darkest colour used and then it down and apply a simple glaze near the transition, always pulling your paints to the darkest areas. Using the Fanatic Stabiliser will help to retain that pigment density and dispersion when thinned to these glaze-like consistencies as it reduces the surface tension of the paint while fastening the pigments uniformly in your mix.
When you’ve got those transitions nice and smooth, you can always go back and add a bit more punch to the highlights. Working up volumes adds a realistic tonality to the technique.
Blending is rarely a linear process, so don’t be afraid to go back and forth between your darker and brighter colours as you apply your finishing touches.

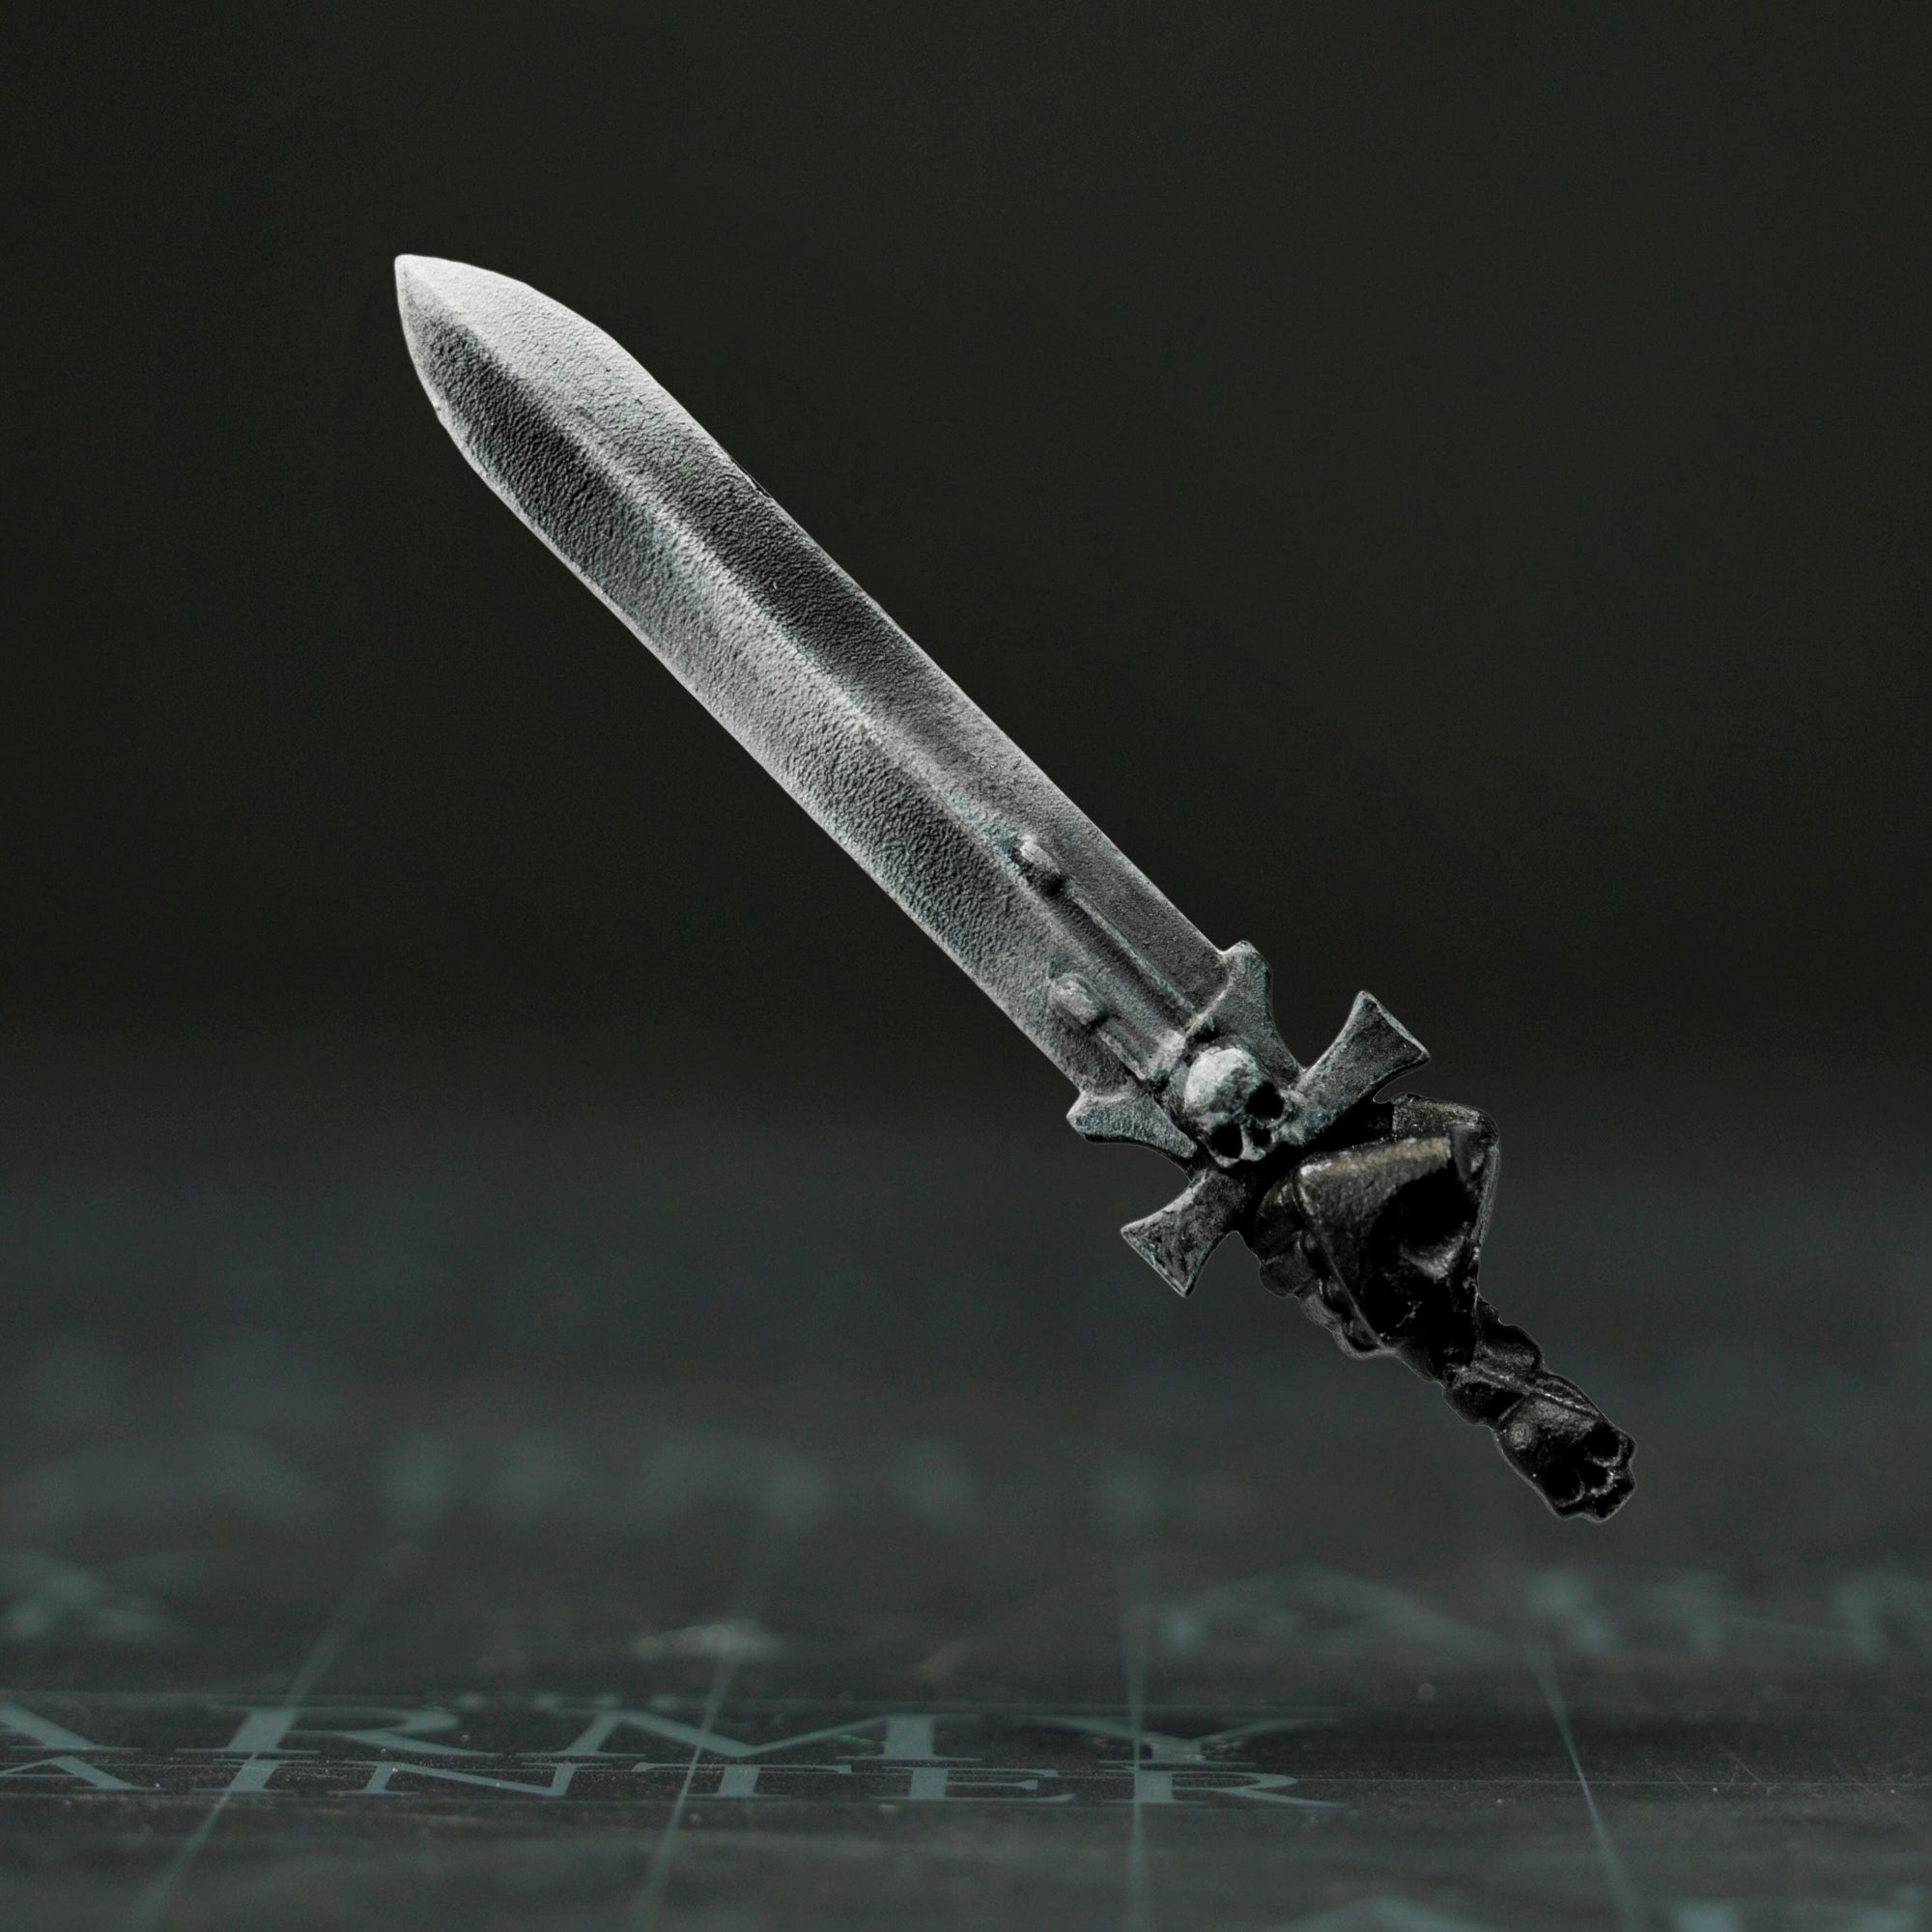
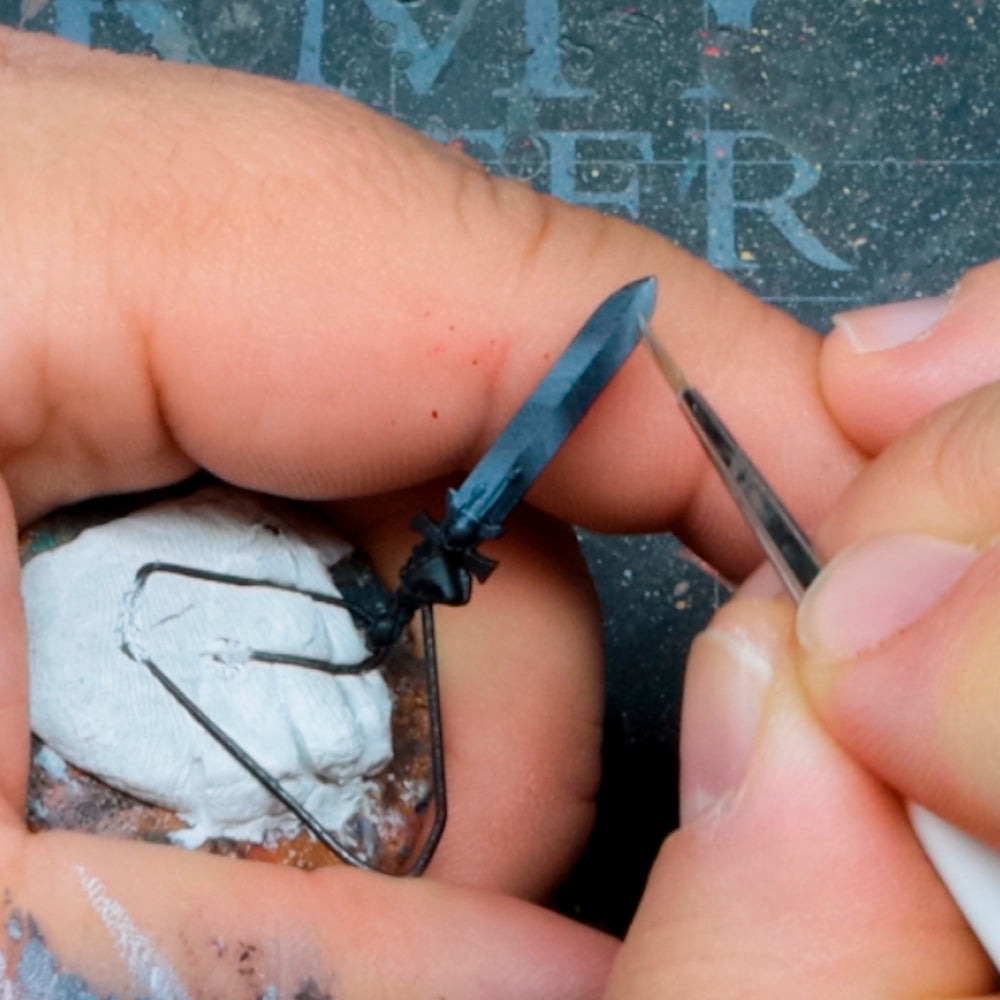
Guide to Painting Silver NMM
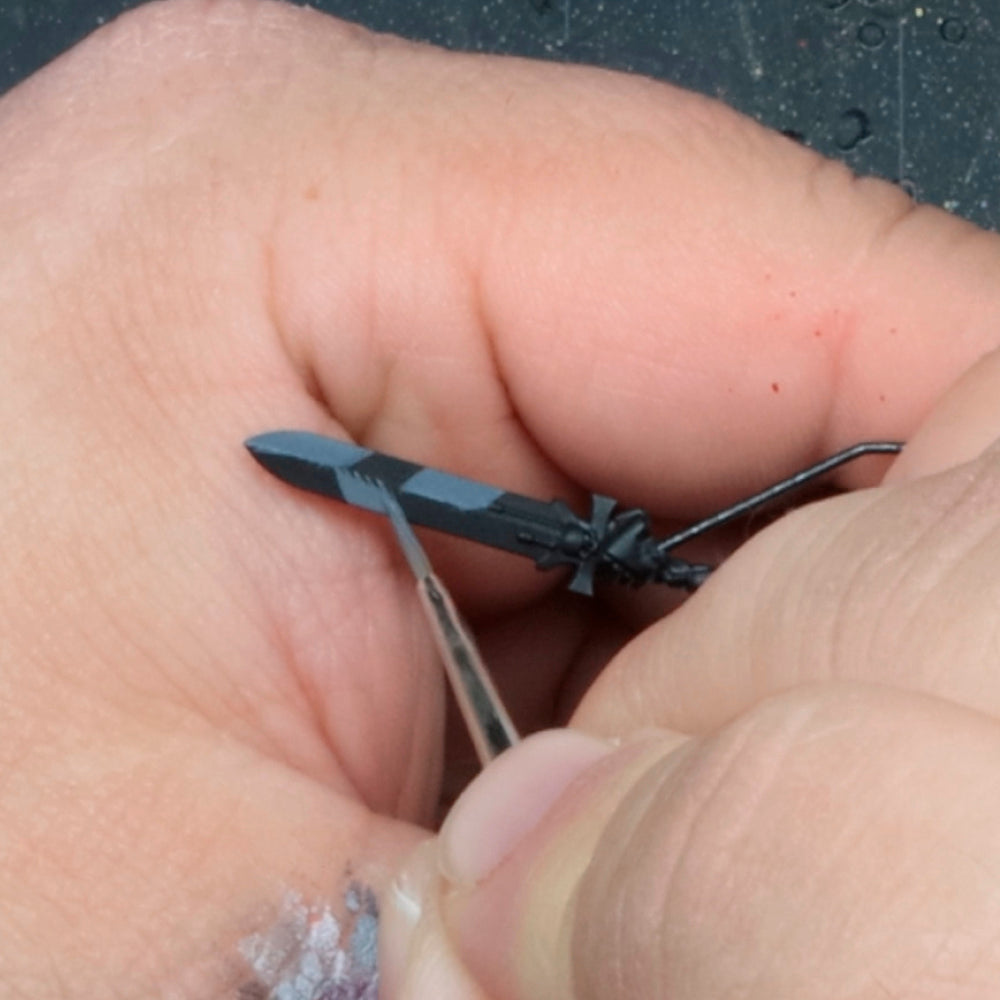
Step 1
To utilise the black basecoat, we’ve applied a sectioned basecoat highlight with Deep Grey in alternating fashion of the blade. These will be blended in future steps.
Use Uniform Grey for the first highlight and blend it into the previous basecoat colour.
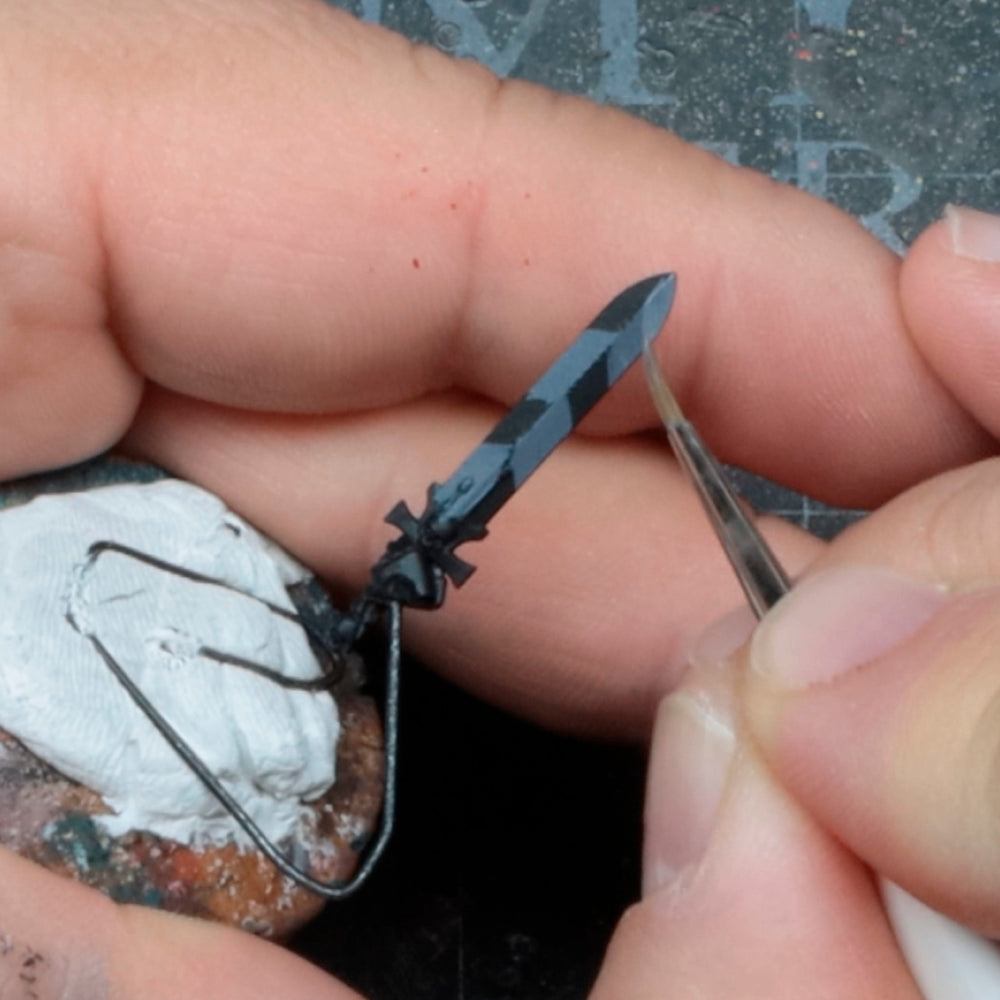
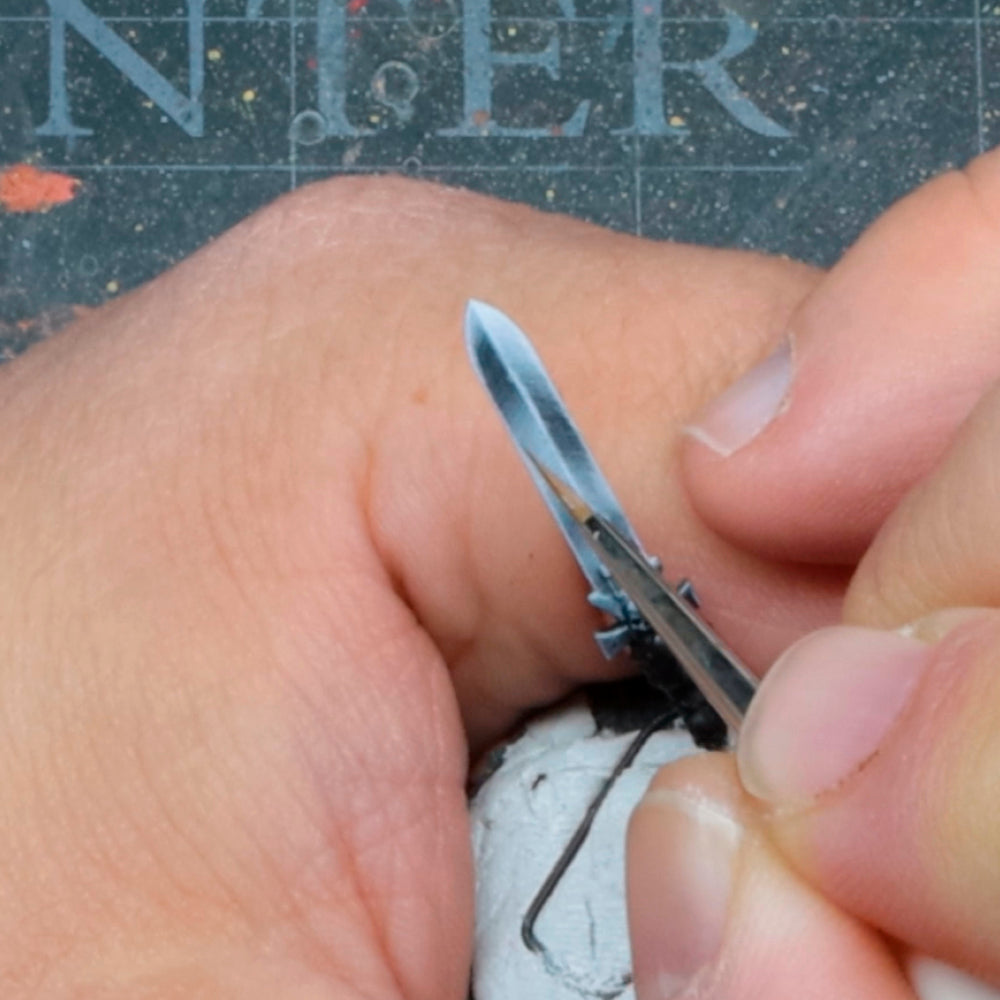
Step 2
Use the same method as in step 1 to refine your highlights in a more focused application with Ash Grey.
If those feathered highlights appear a bit scratchy that’s totally okay as it only aids in the non-metallic effect, like you’re replicating grain in the metal.
With most blending, it’s not a 1-2-3 process, you may need to revisit some of your previous colours and go back and forth to help make a smooth blend. A Wet Palette and the Warpaints Fanatic Retarder will be really helpful with that.
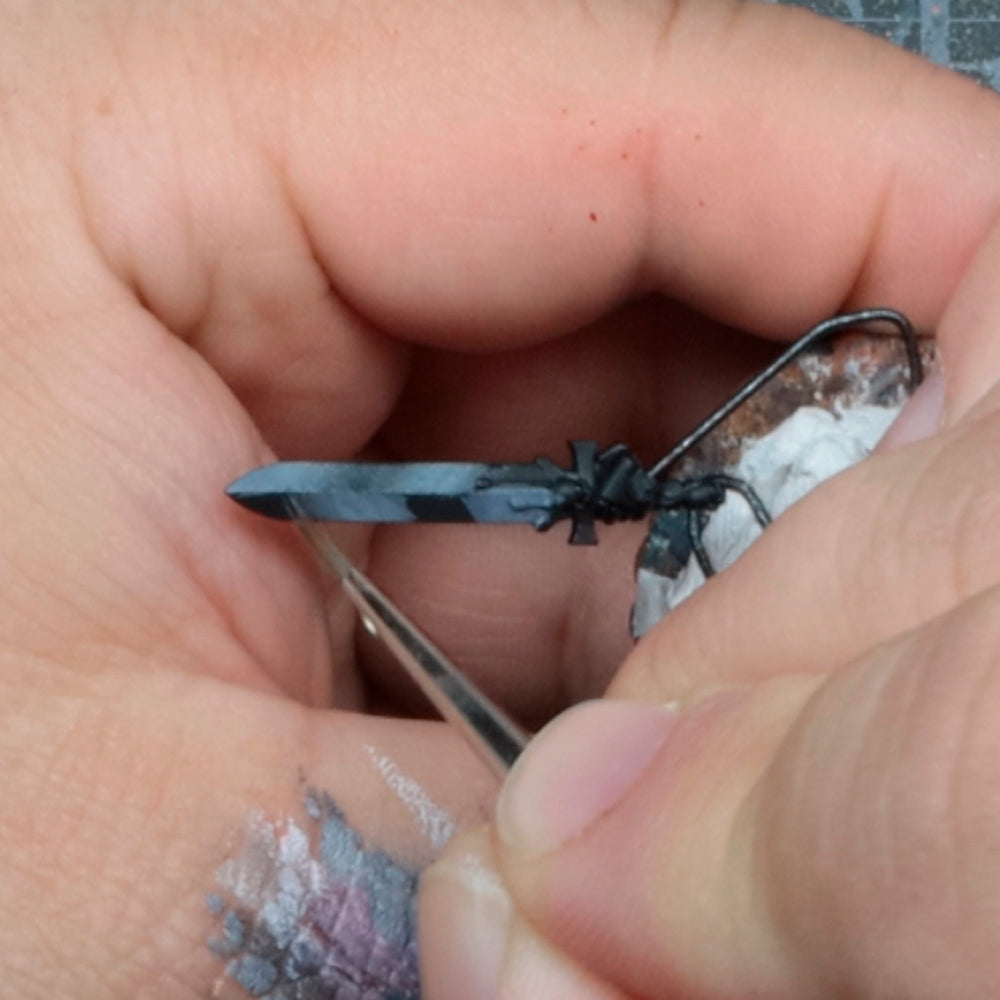
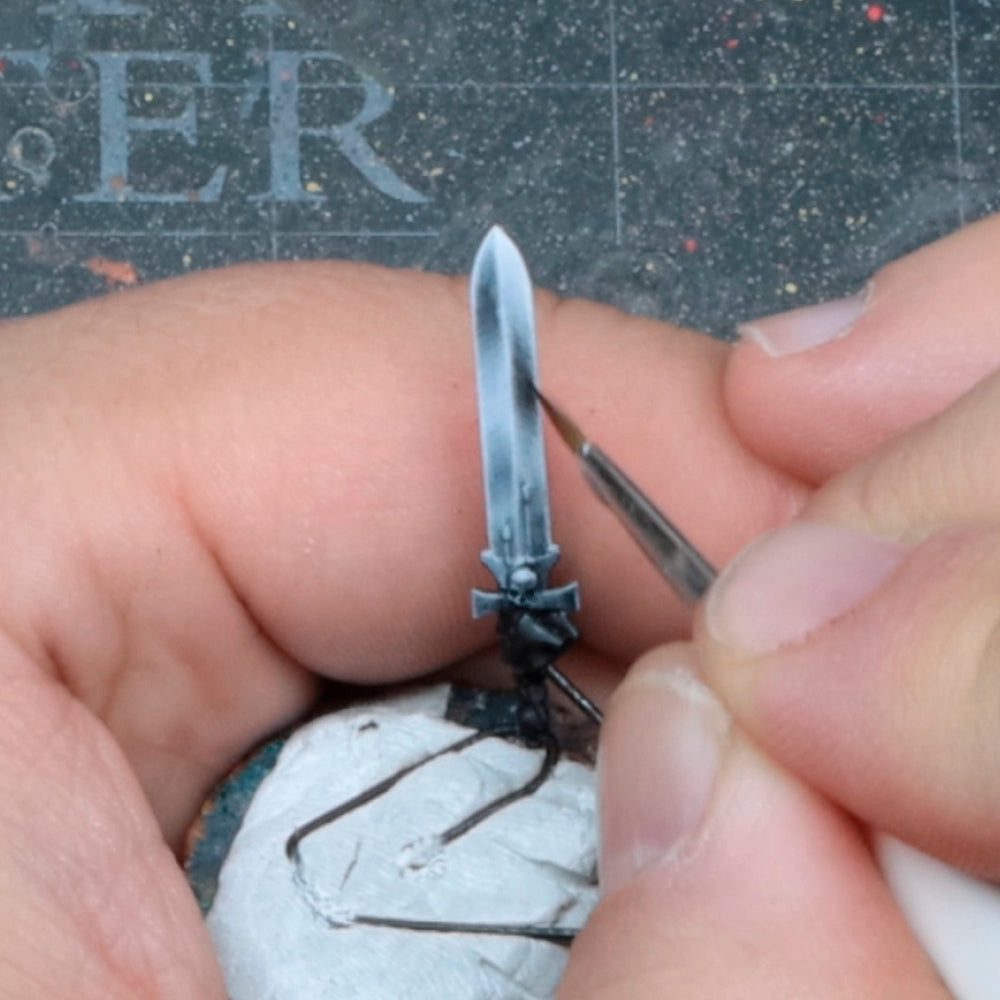
Step 3
In the next round of highlights, we’ll use Brigade Grey.
Here, you can really begin to see how simple and effective the flexible triads can make blending. And the best part is, you’ll never find yourself forgetting that perfect mixed ratio of paints again, since there’s no mixing involved, unless you want to of course.
Step 4
Next, use the Brigade Grey mixed with a bit of Matt White to highlight and blend.
When applying this highlight, focus on keeping it within the previous blends. But don’t forget you can always go back to your palette and grab the previous colours if you overdo it.
Step 5
To really sell the effect, we’ll be using purely Matt White.
To help improve control for these very detailed techniques, using the Fanatic Stabiliser to thin down your paints is really helpful.
Step 6
If you’d like to make the transitions even smoother, go back to your basecoat or darkest colour used and then it down and apply a simple glaze near the transition, always pulling your paints to the darkest areas.
Using the Fanatic Stabiliser will help to retain that pigment density and dispersion when thinned to these glaze-like consistencies as it reduces the surface tension of the paint while fastening the pigments uniformly in your mix.
When you’ve got those transitions nice and smooth, you can always go back and add a bit more punch to the highlights. Working up volumes adds a realistic tonality to the technique. Blending is rarely a linear process, so don’t be afraid to go back and forth between your darker and brighter colours as you apply your finishing touches.
Now your swords are done and are ready be deployed to the tabletop - or the display cabinet!
If you prefer to you can watch the full video on how to paint these swords in these amazing non-metallic metal schemes below.