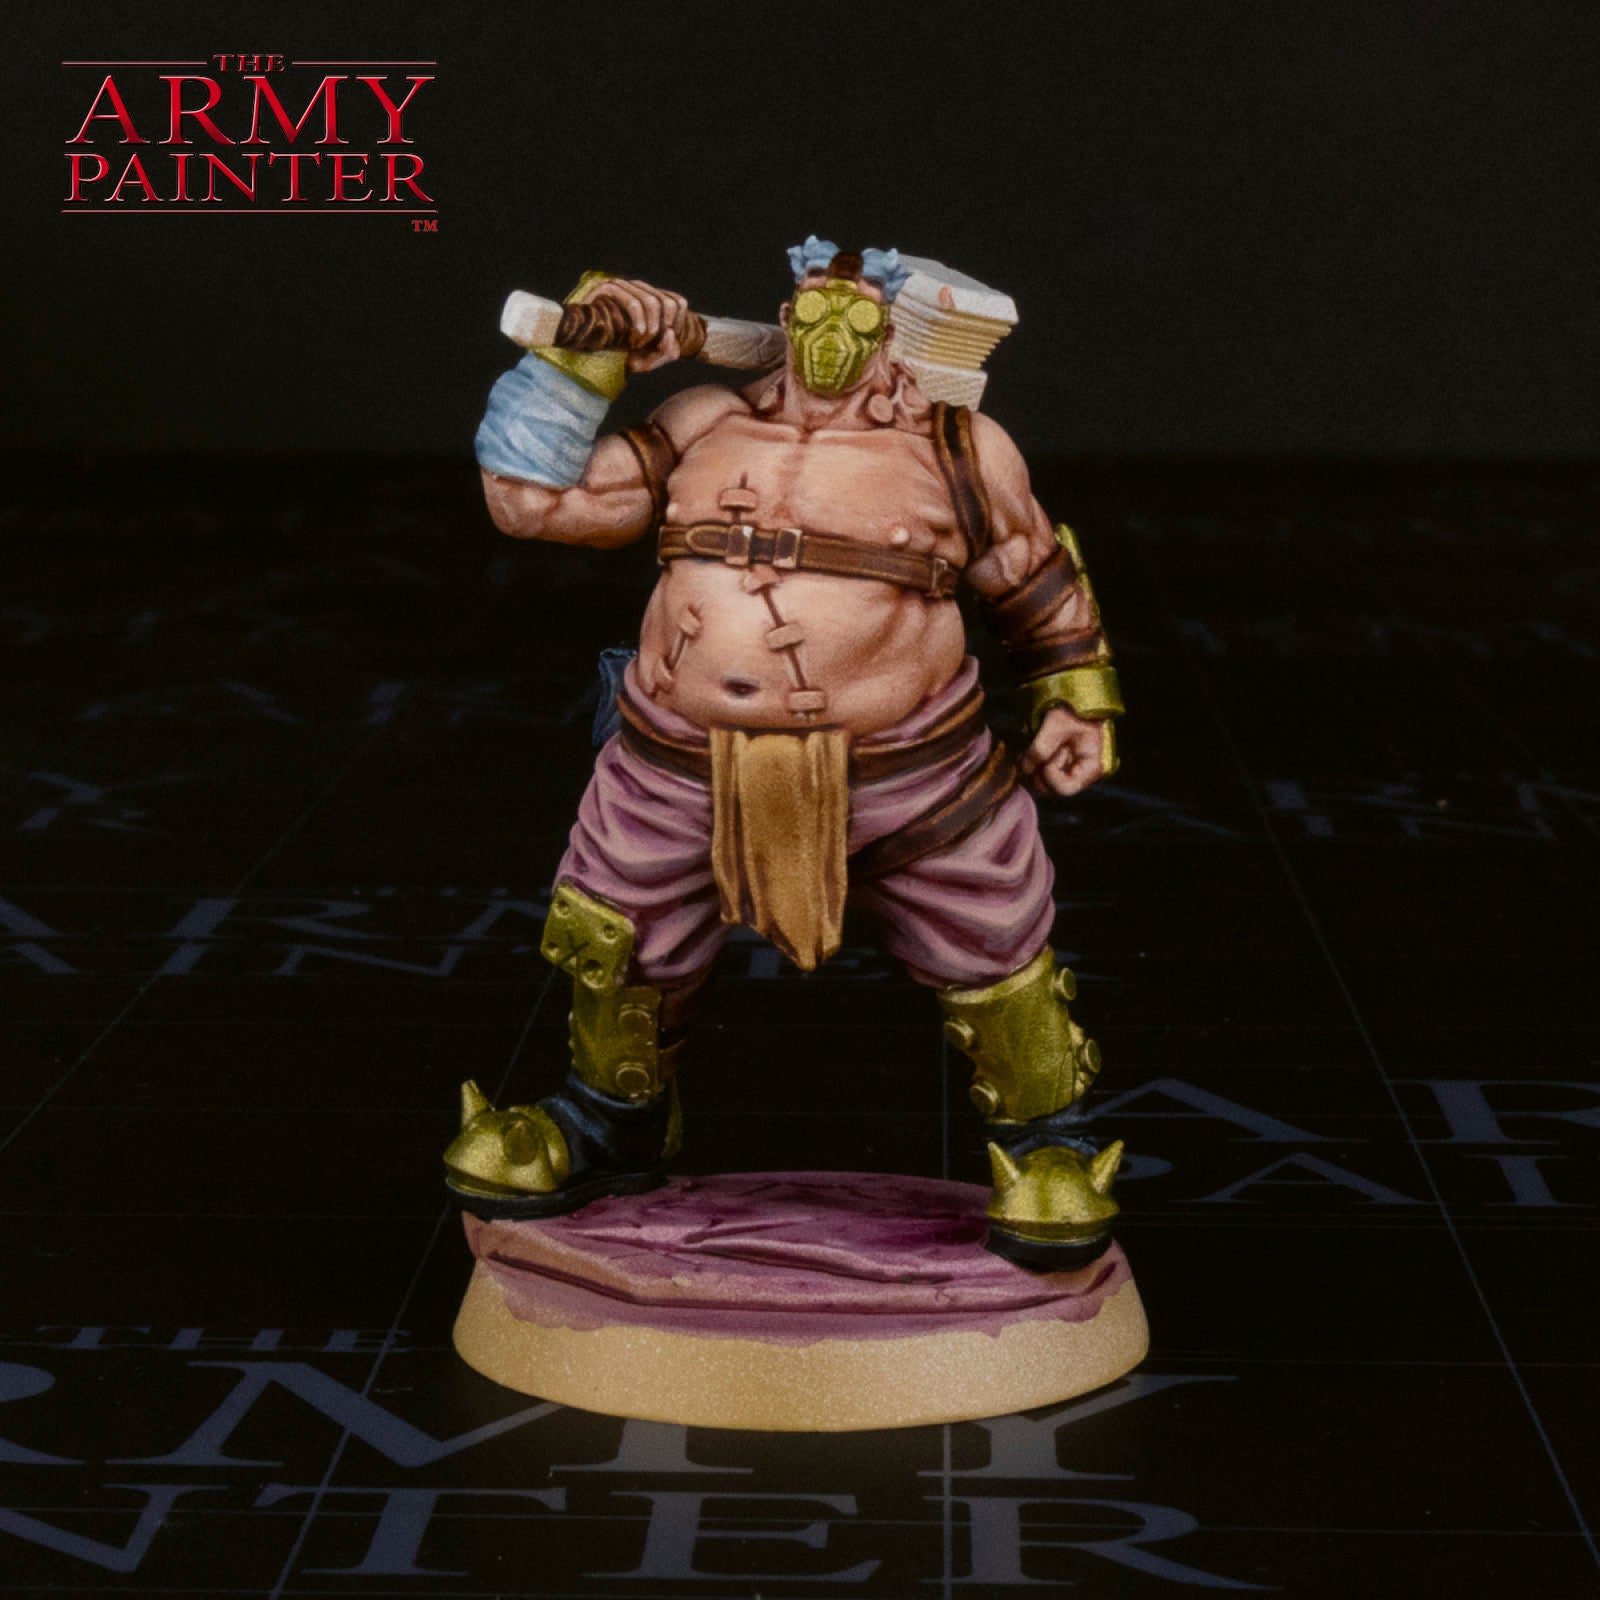
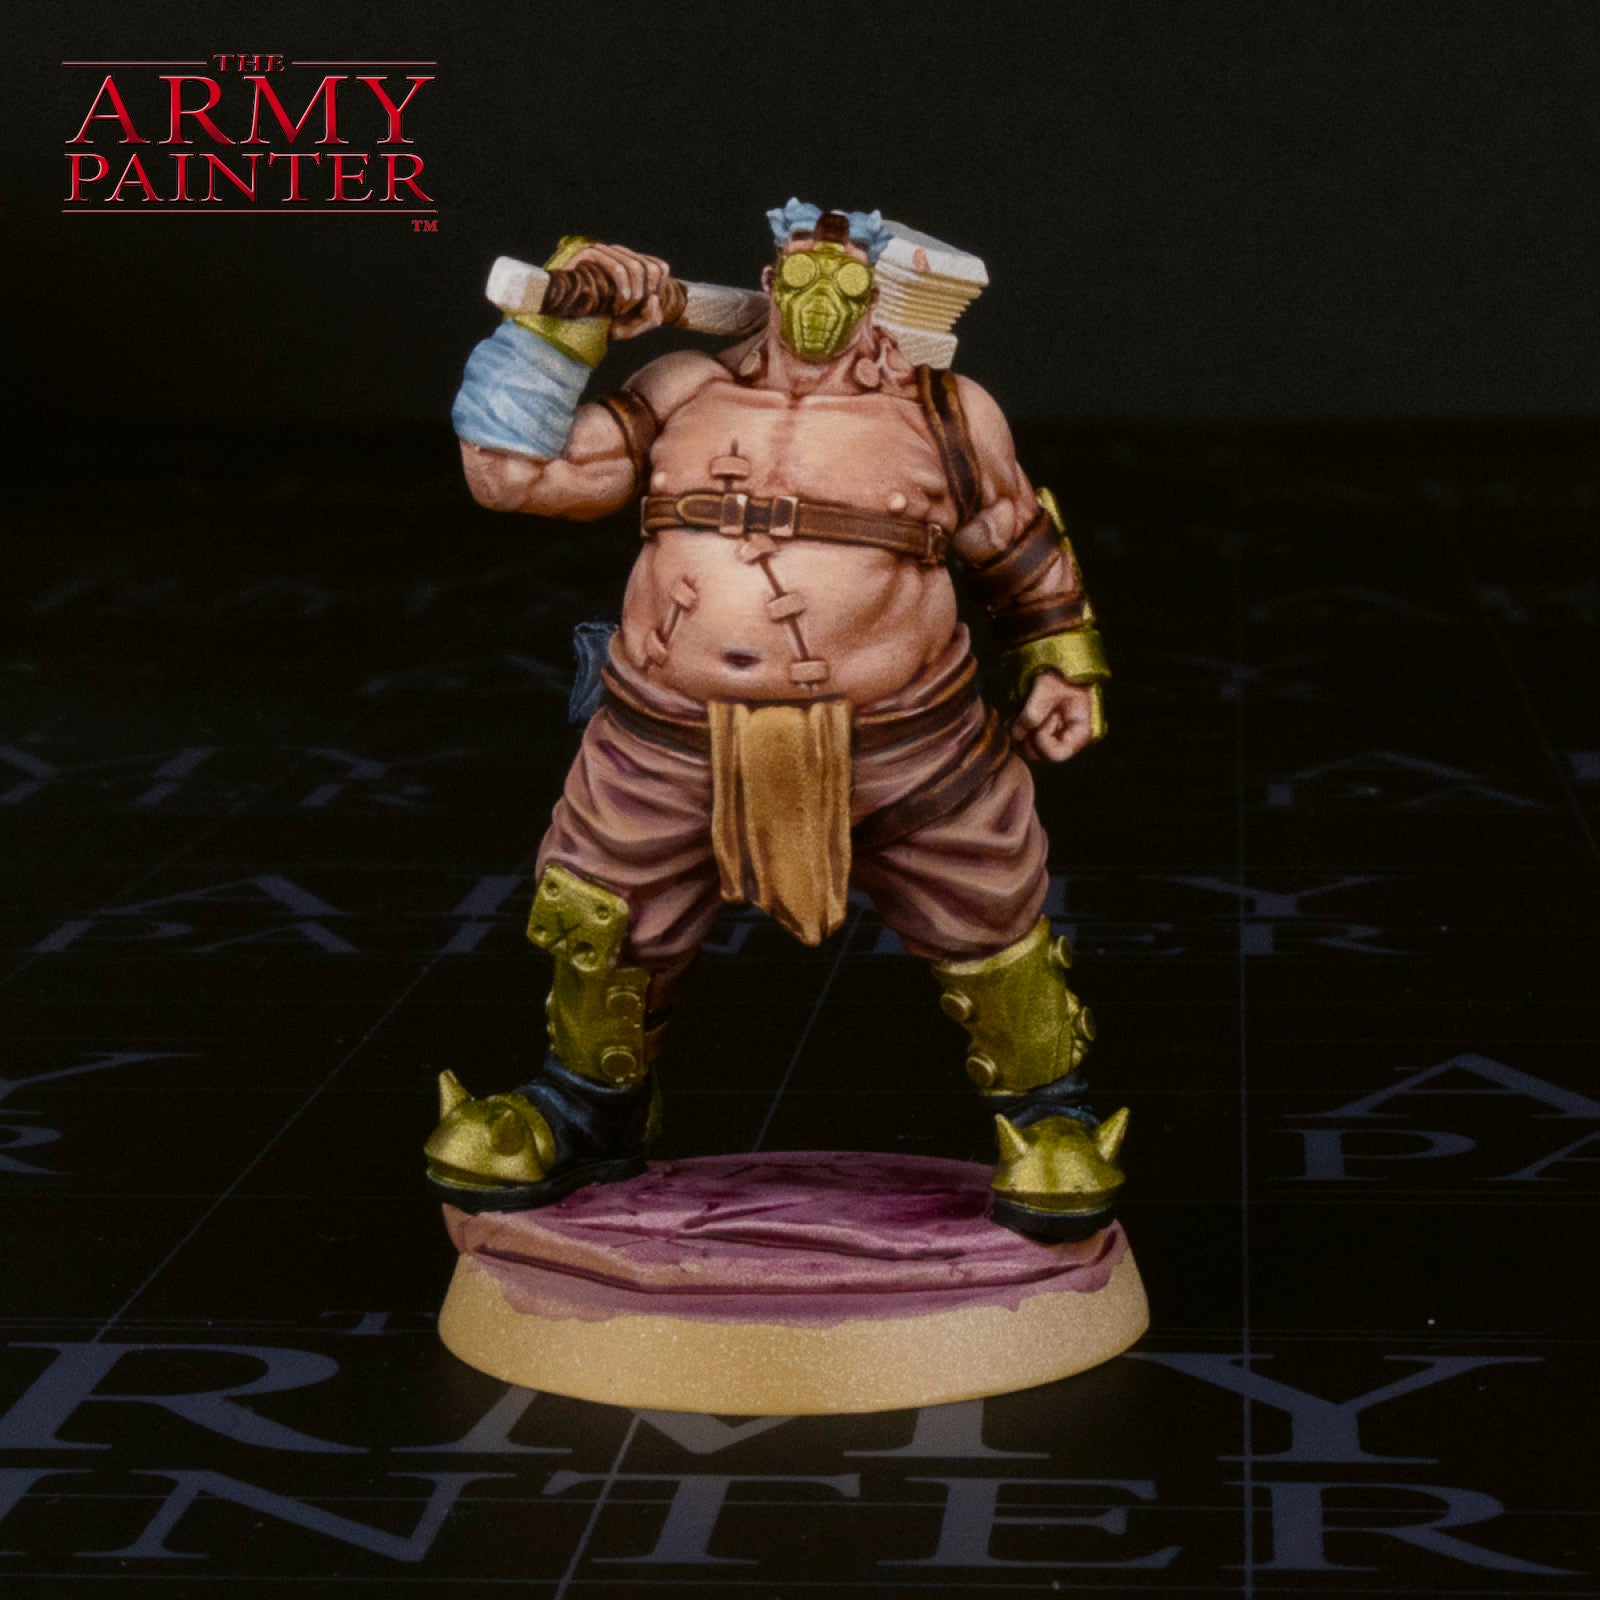
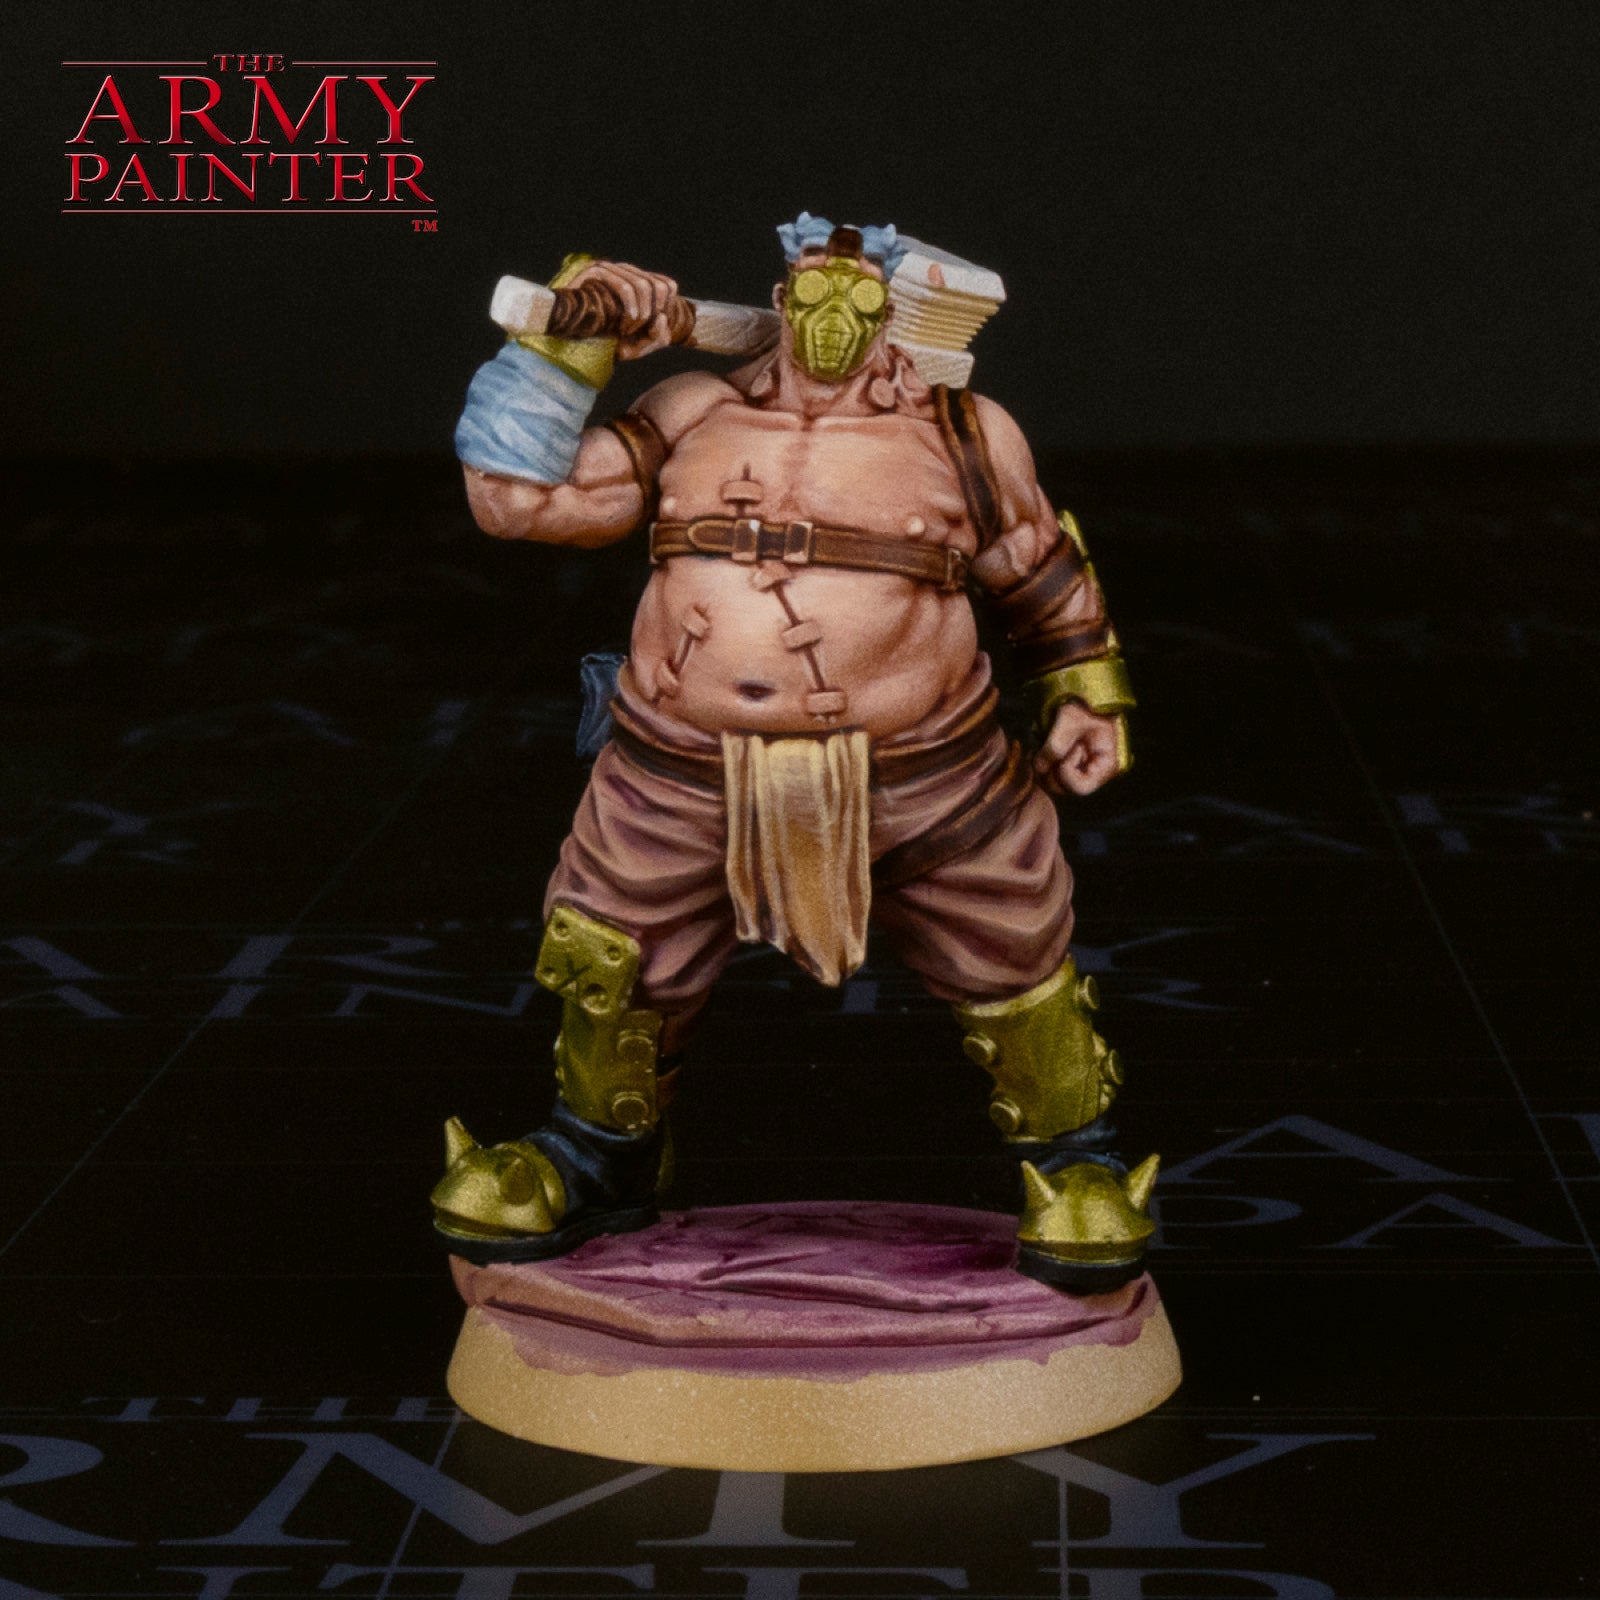
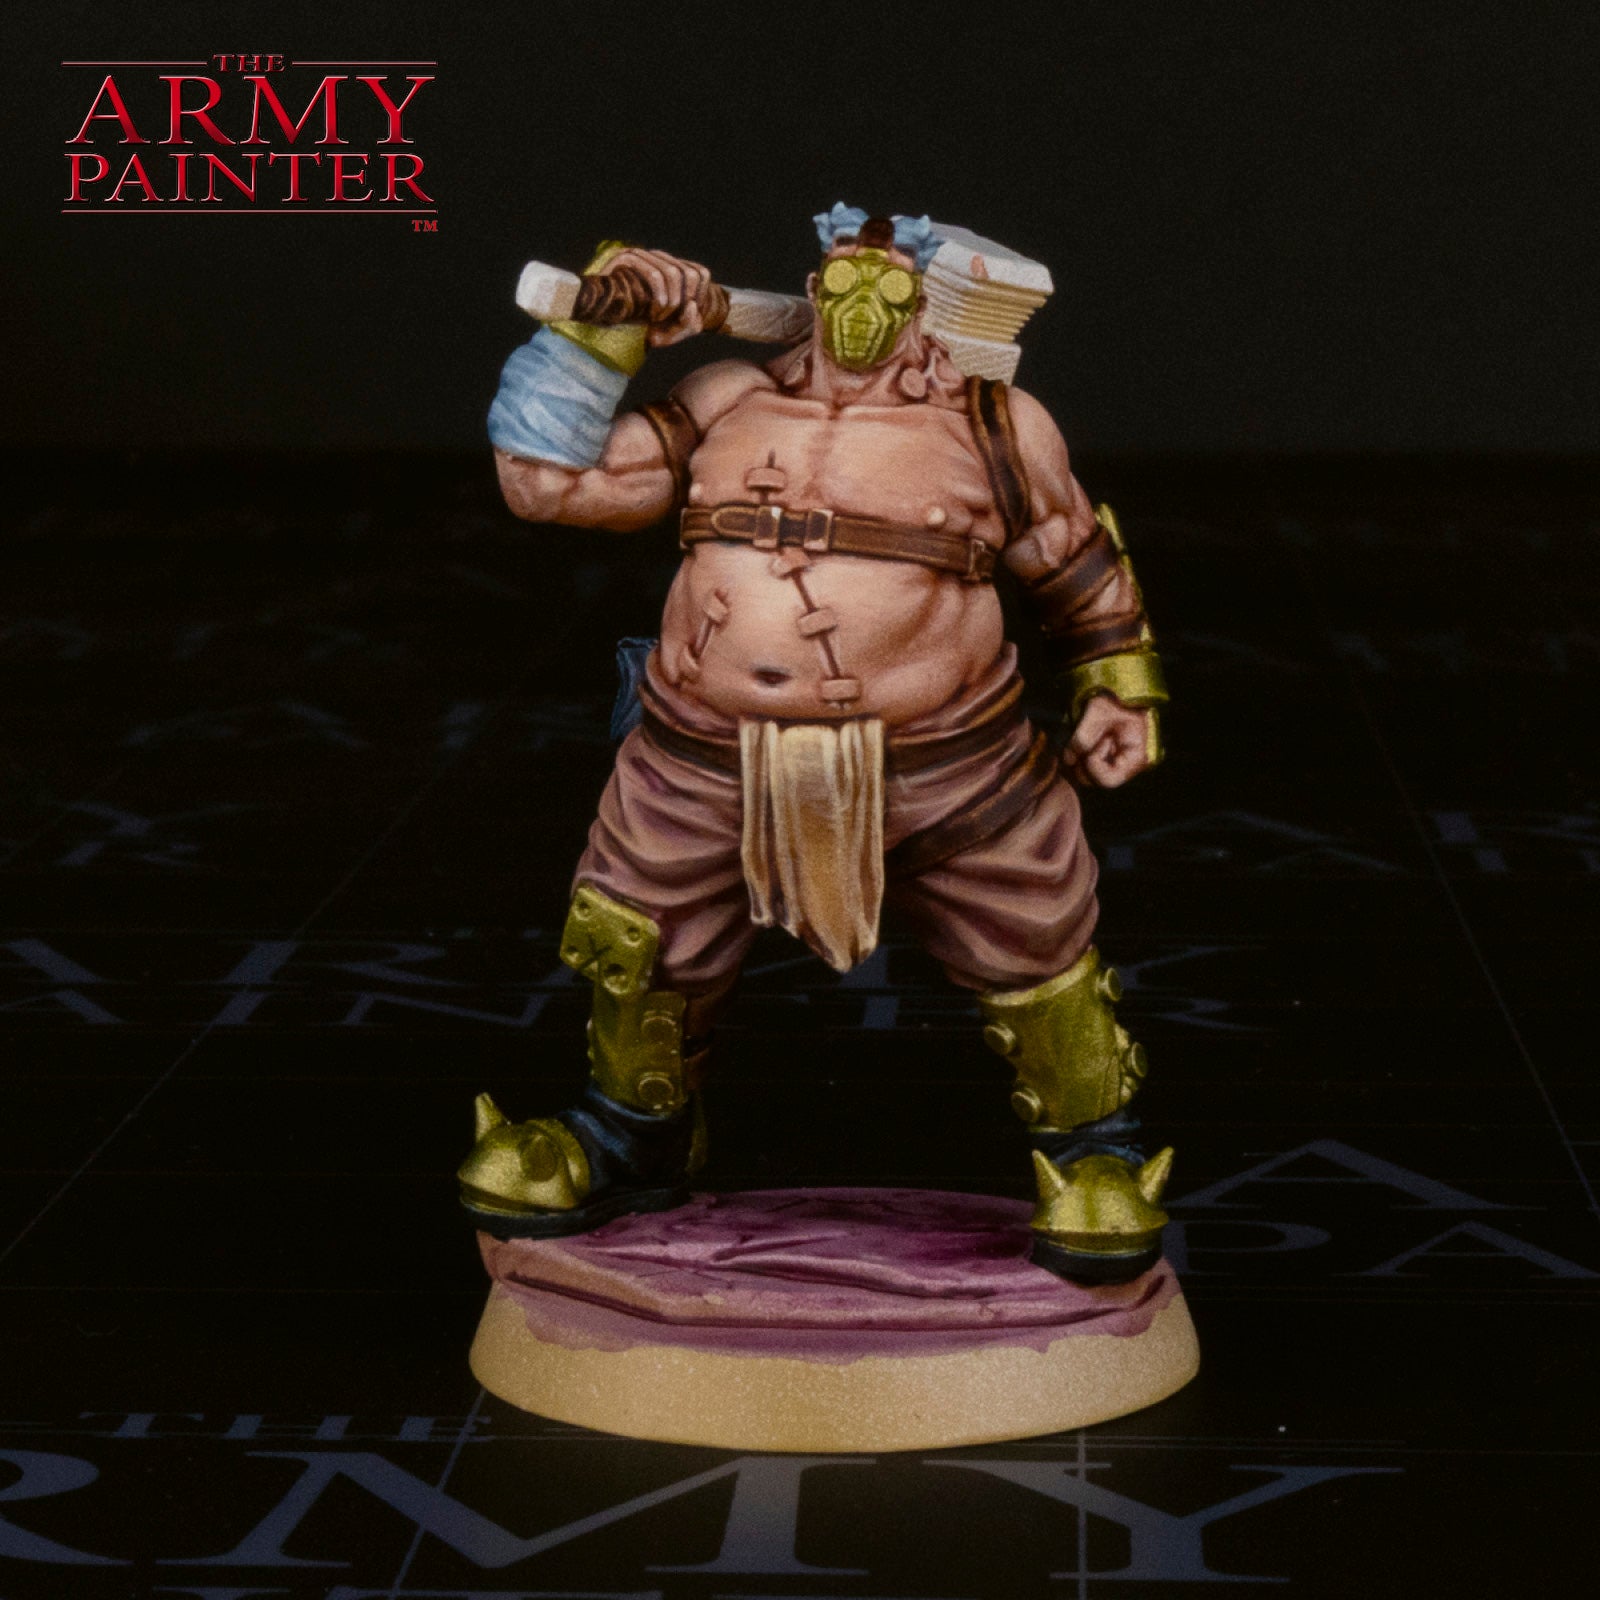
How to Paint a
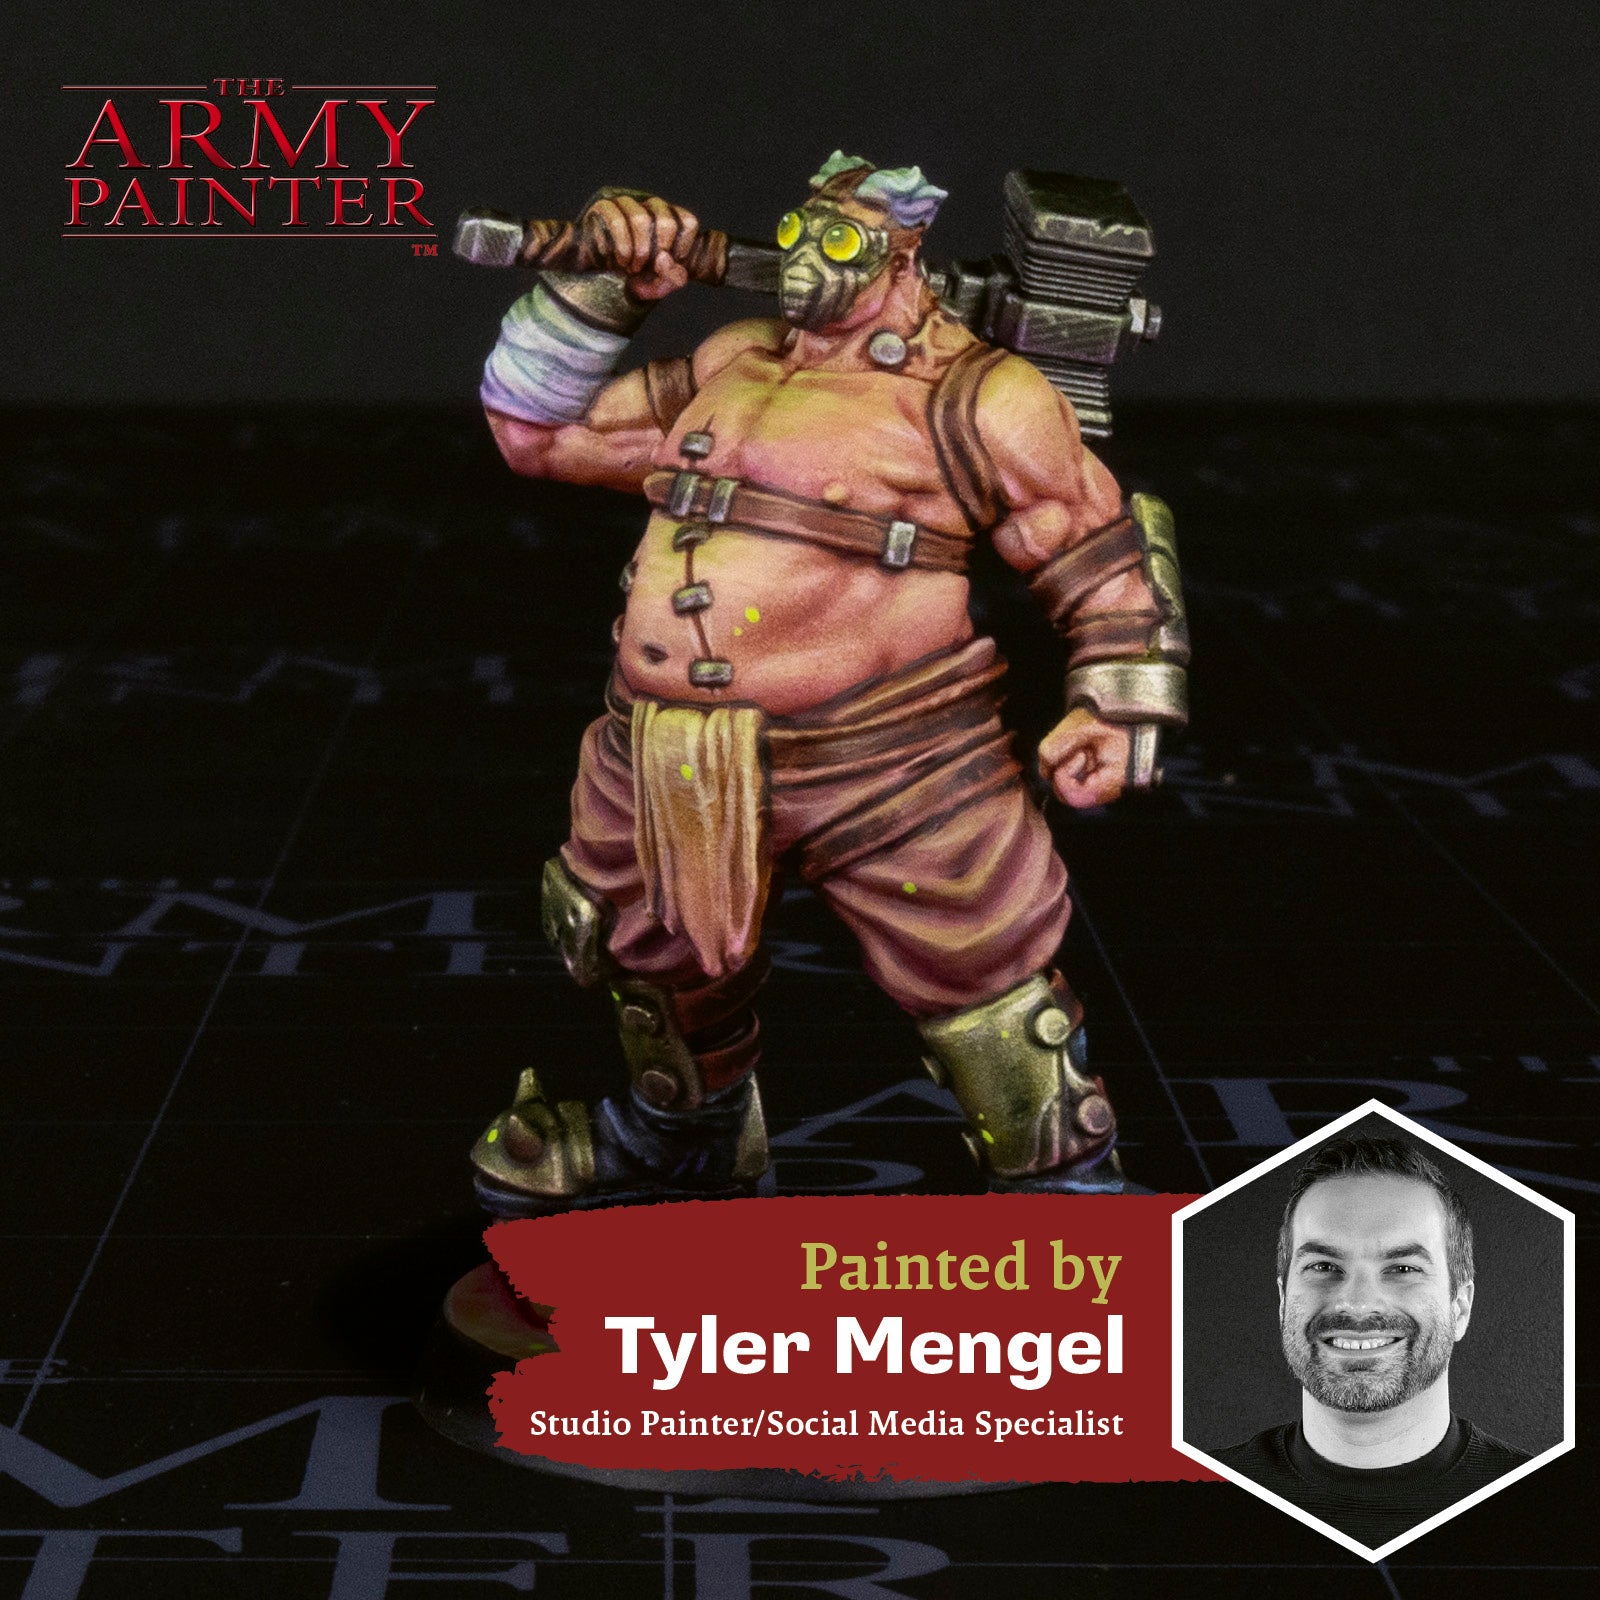
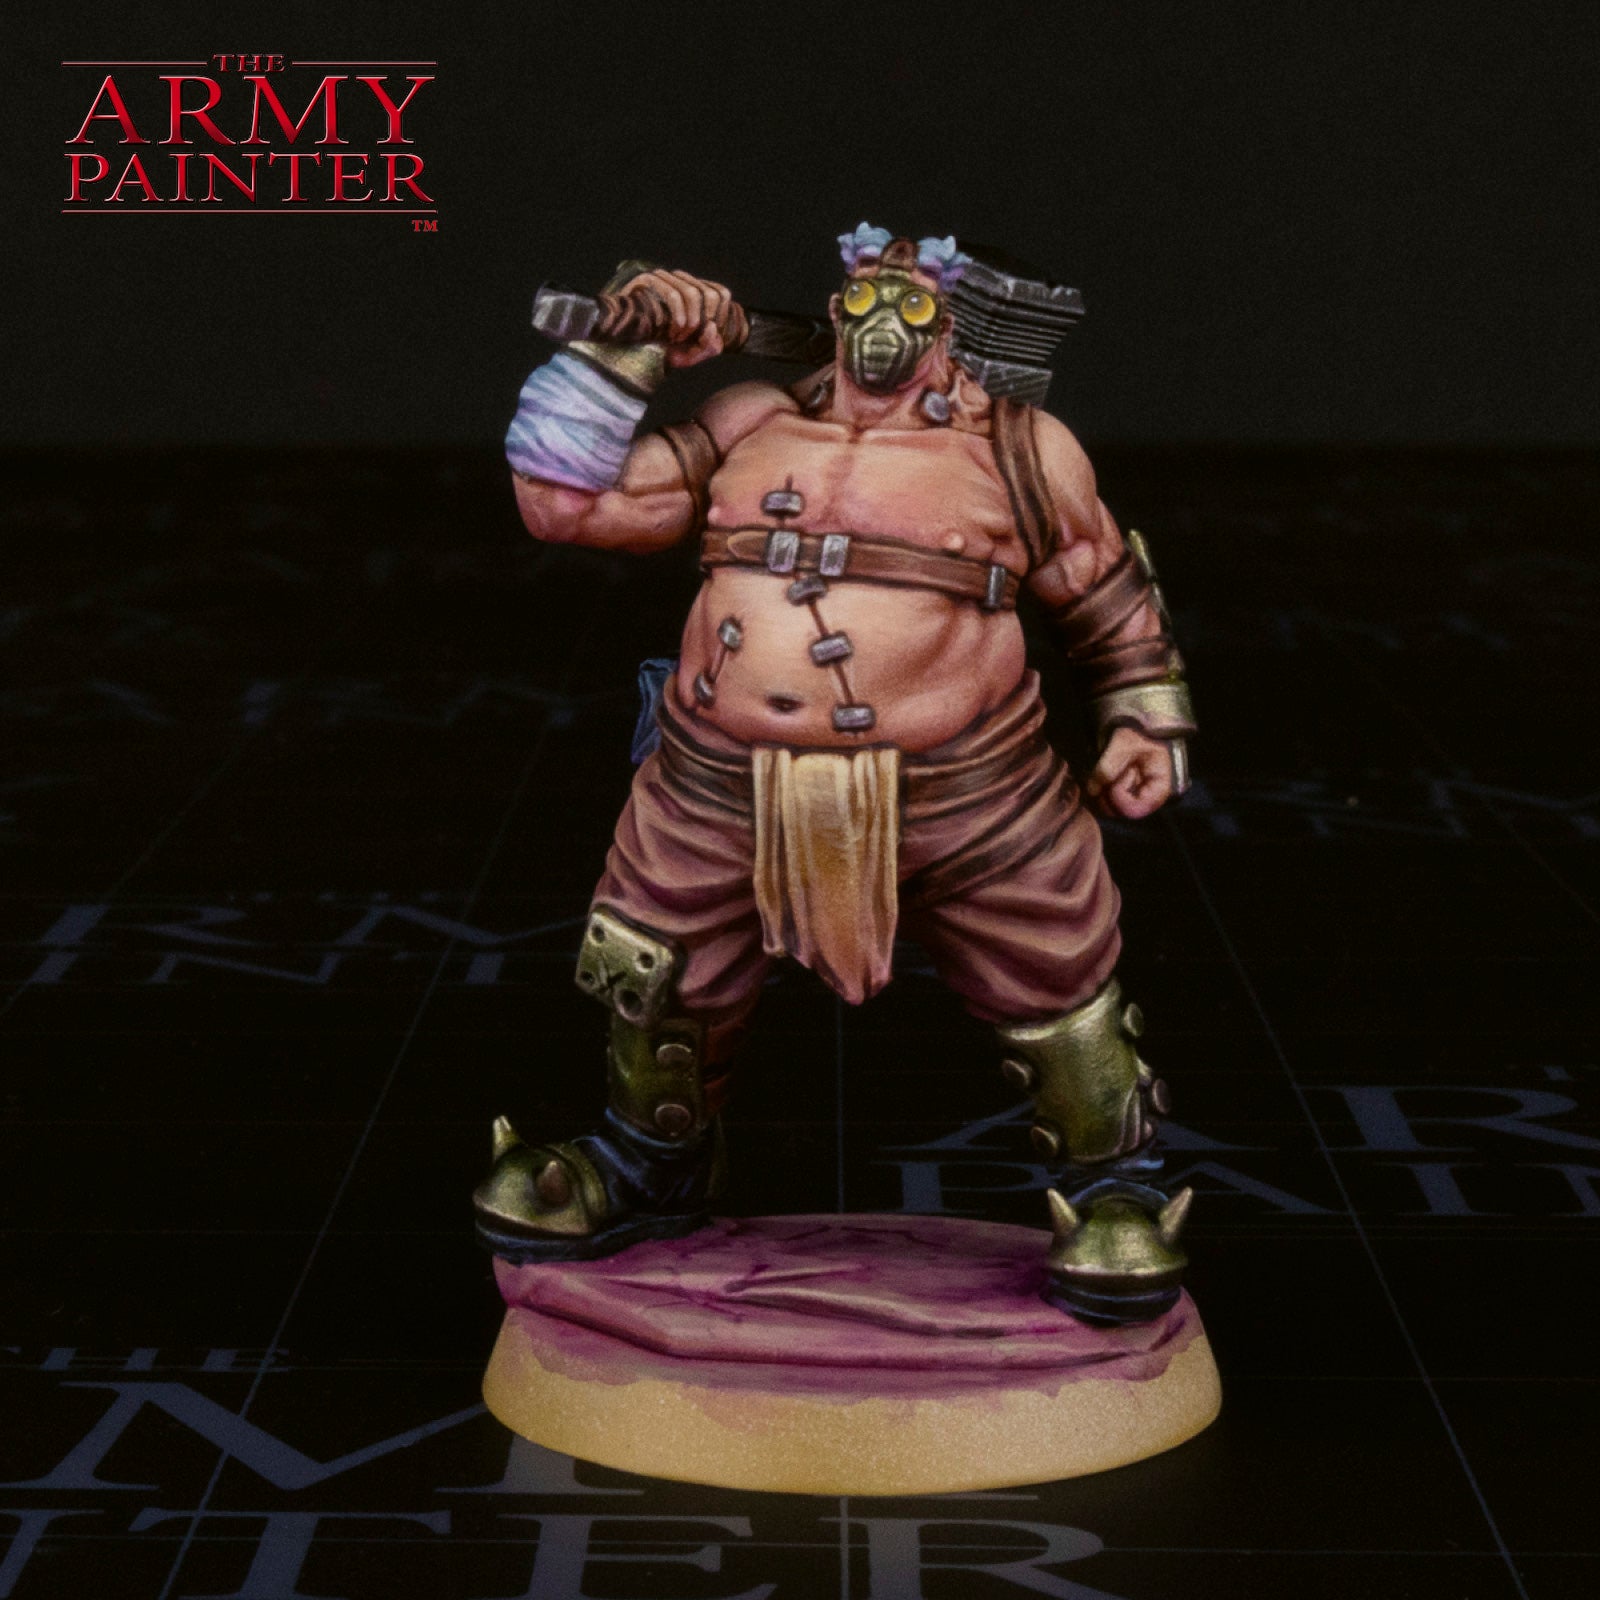
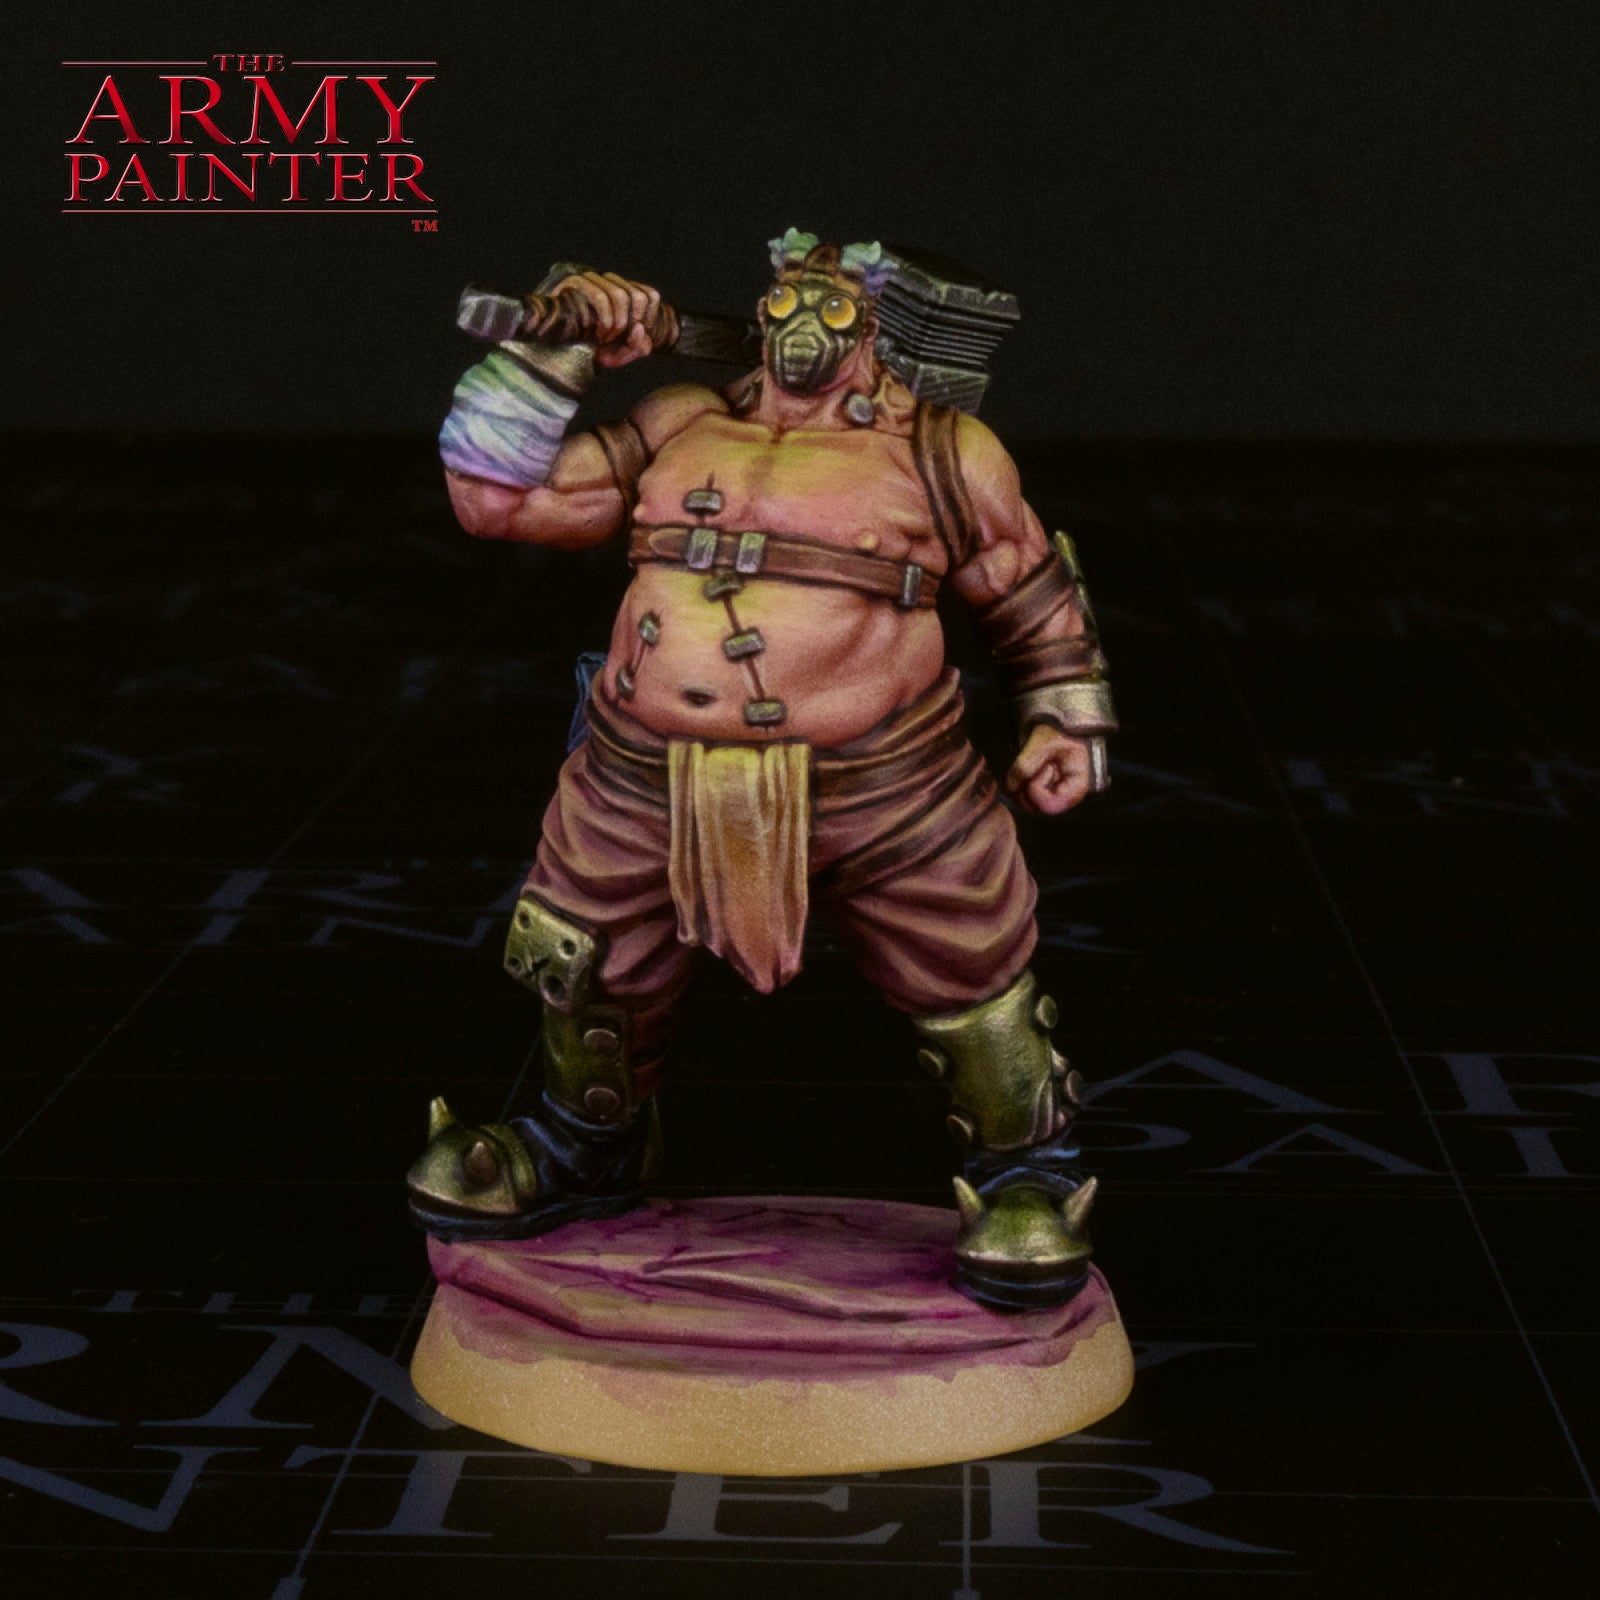
Paradise Slug Lord
Welcome to the next instalment of The Army Painter Academy: a series where we break down how we paint a miniature step-by-step, complete with pictures for every bit of paint applied along the way.
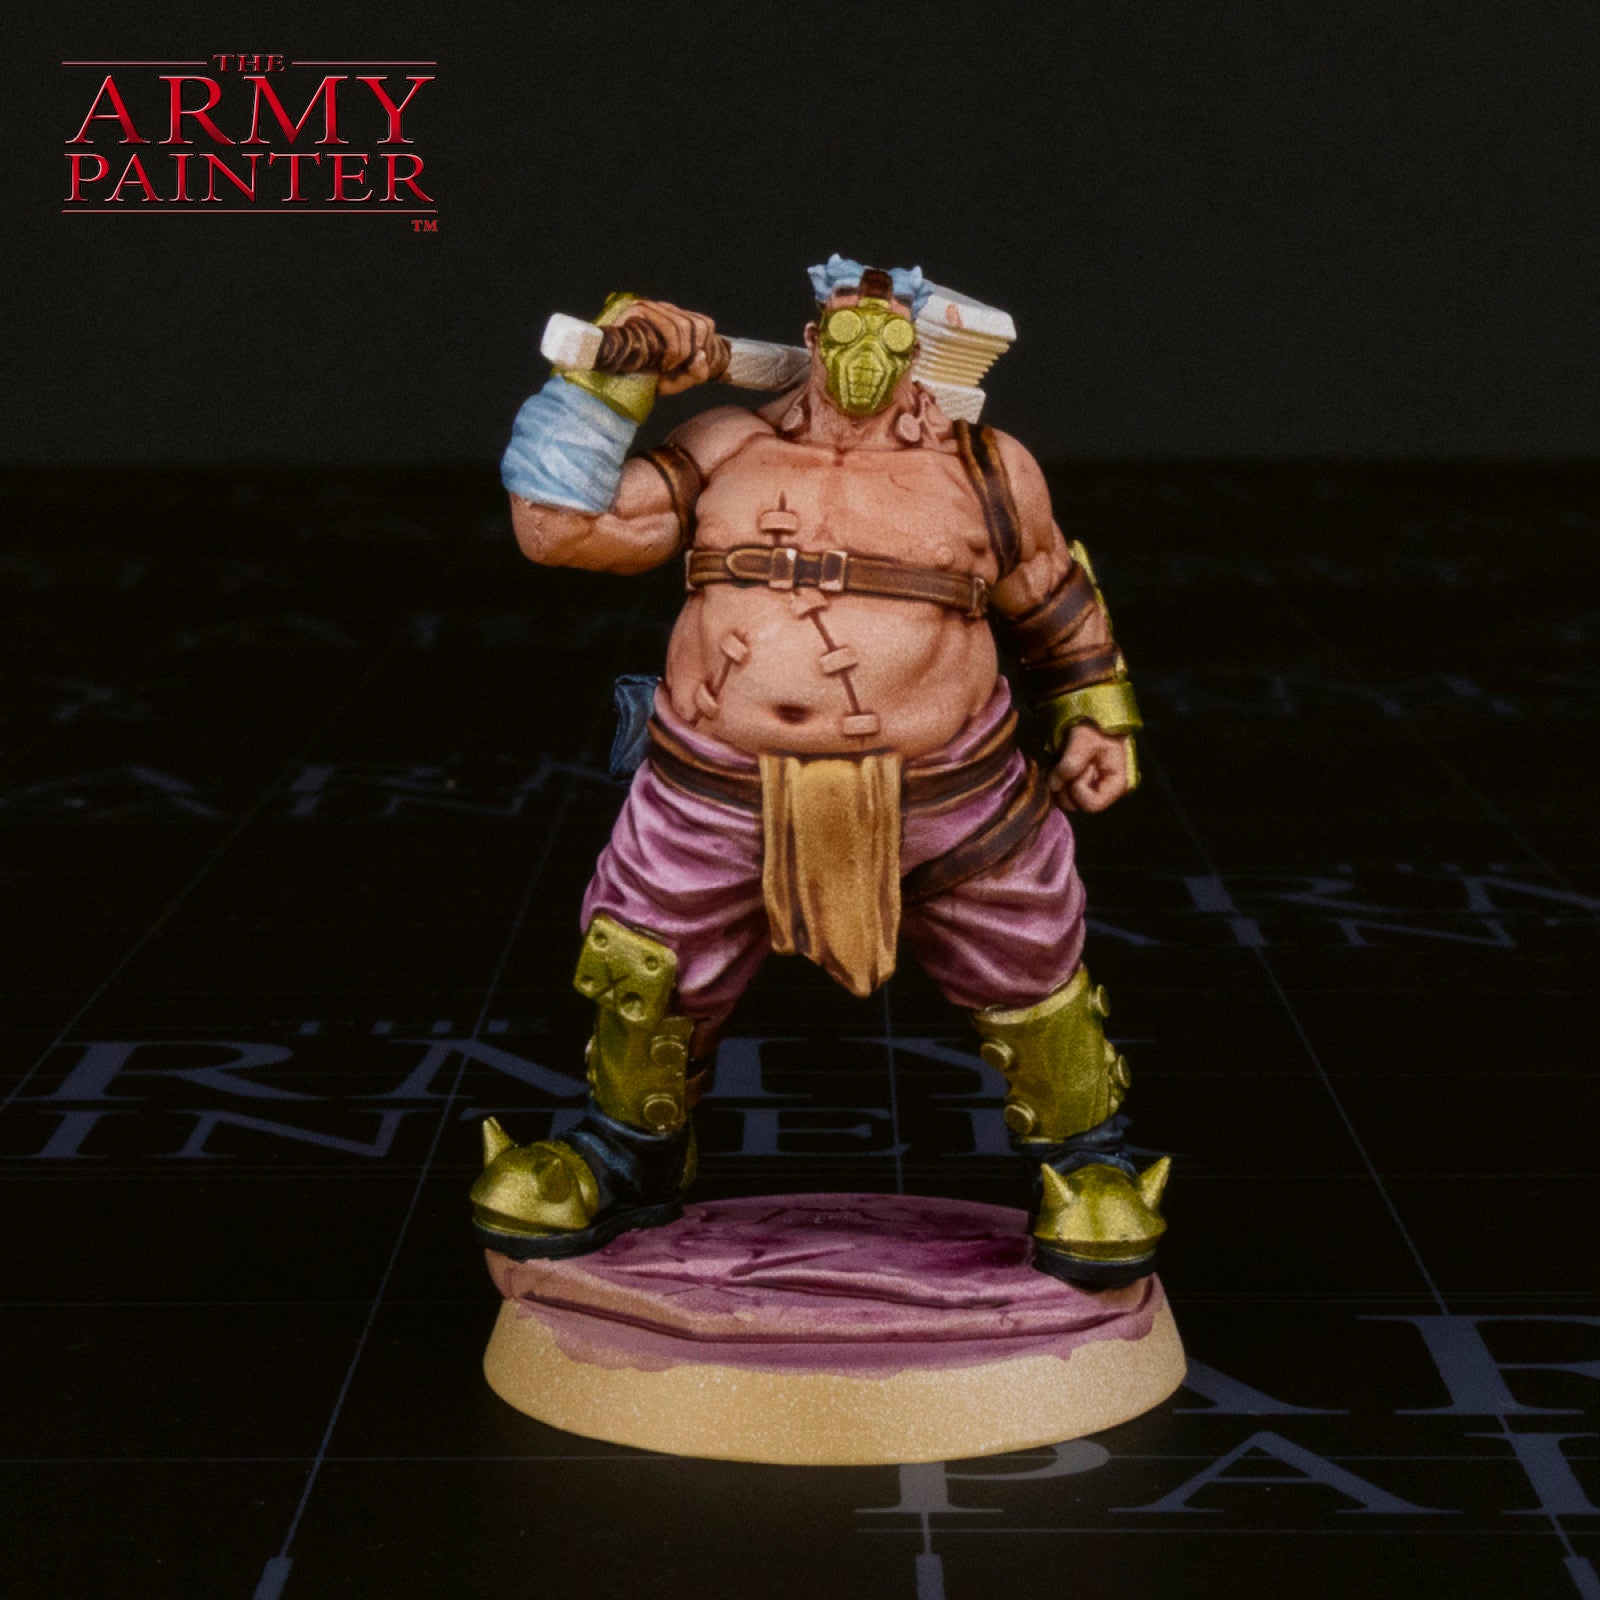
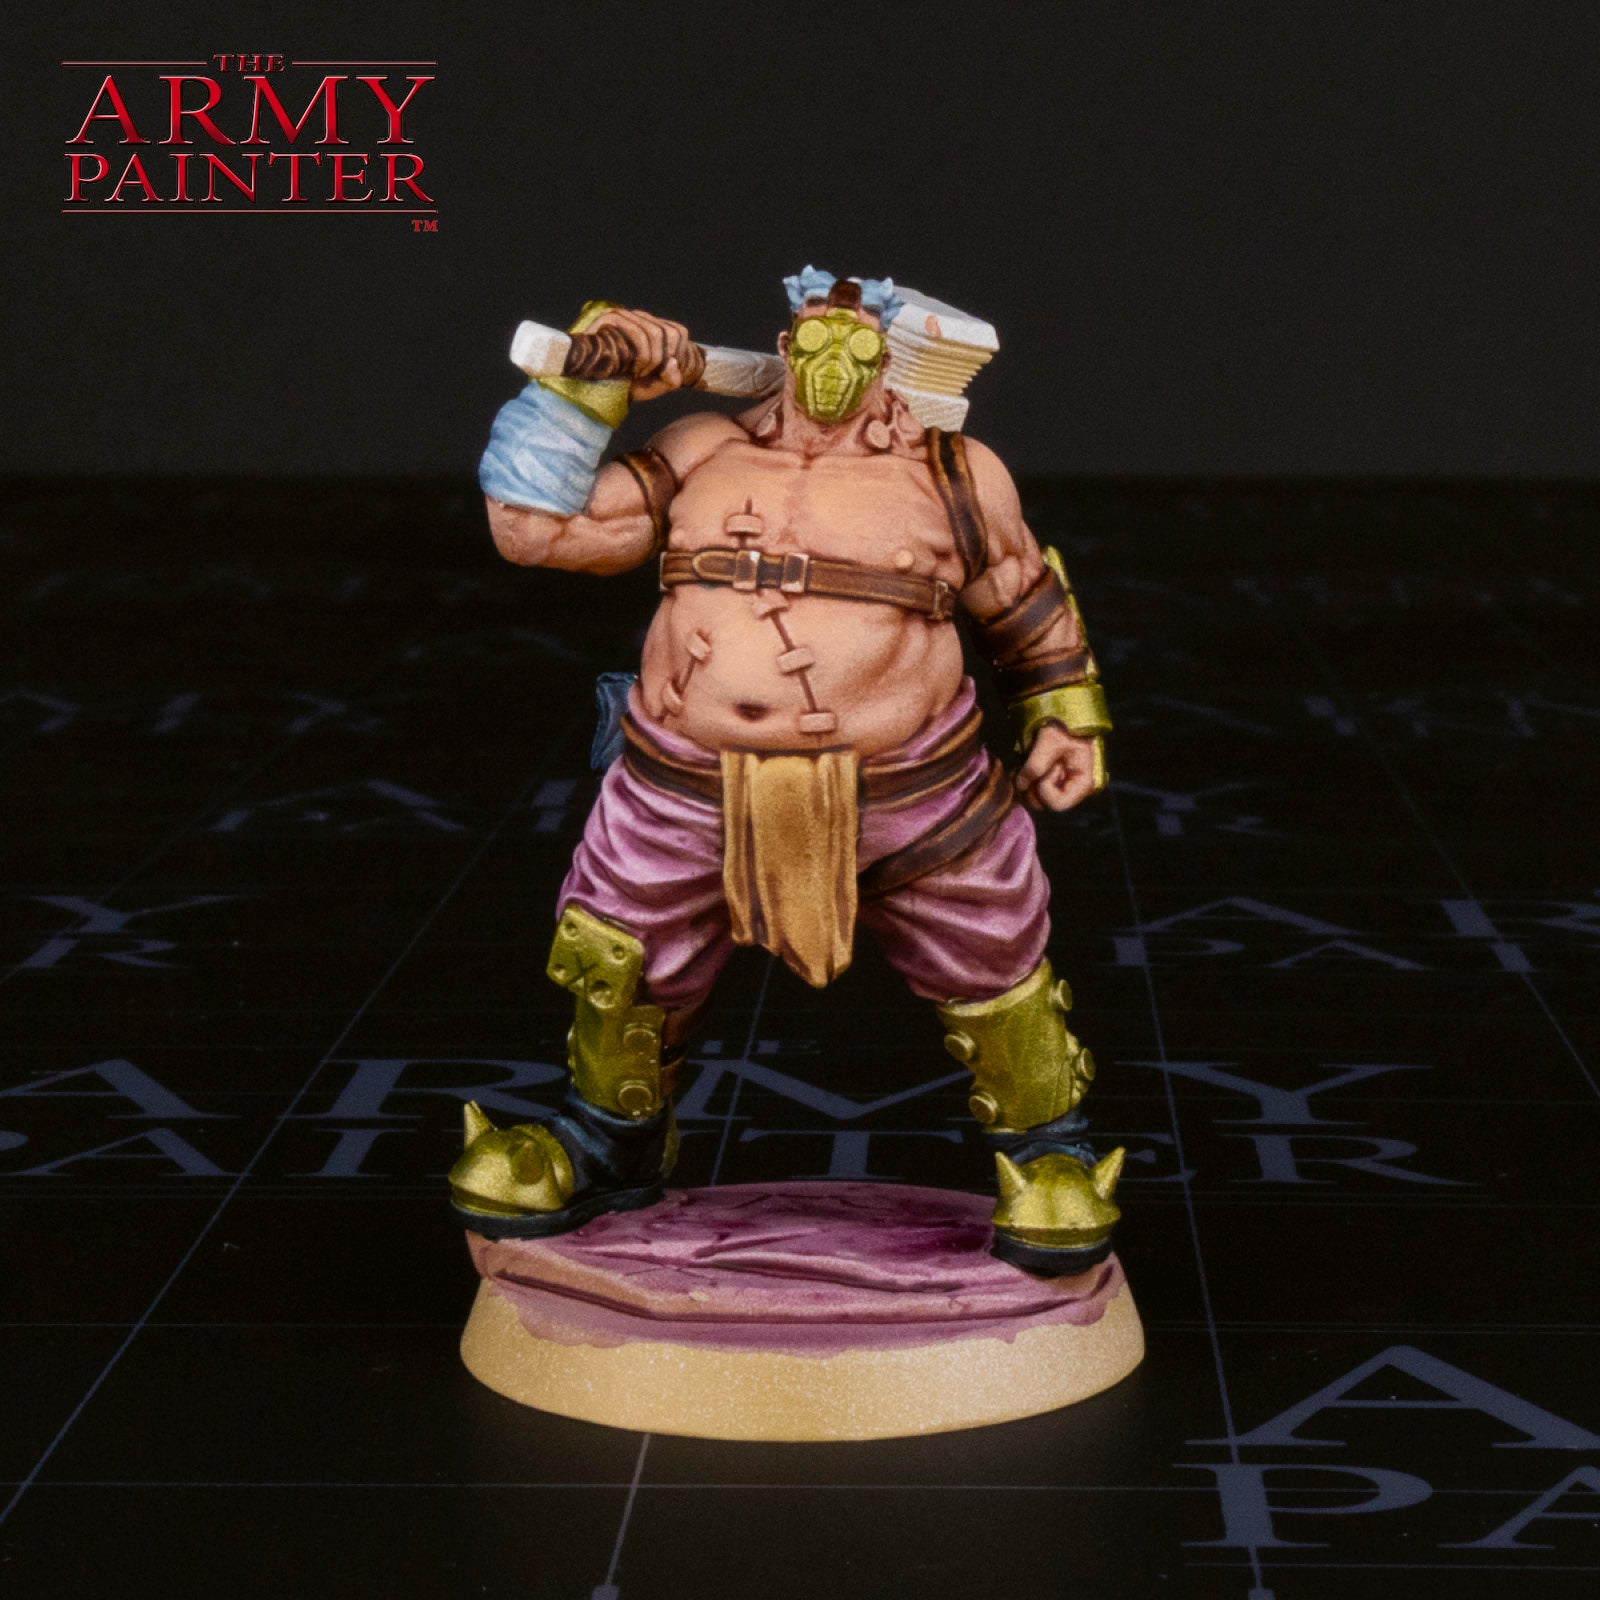
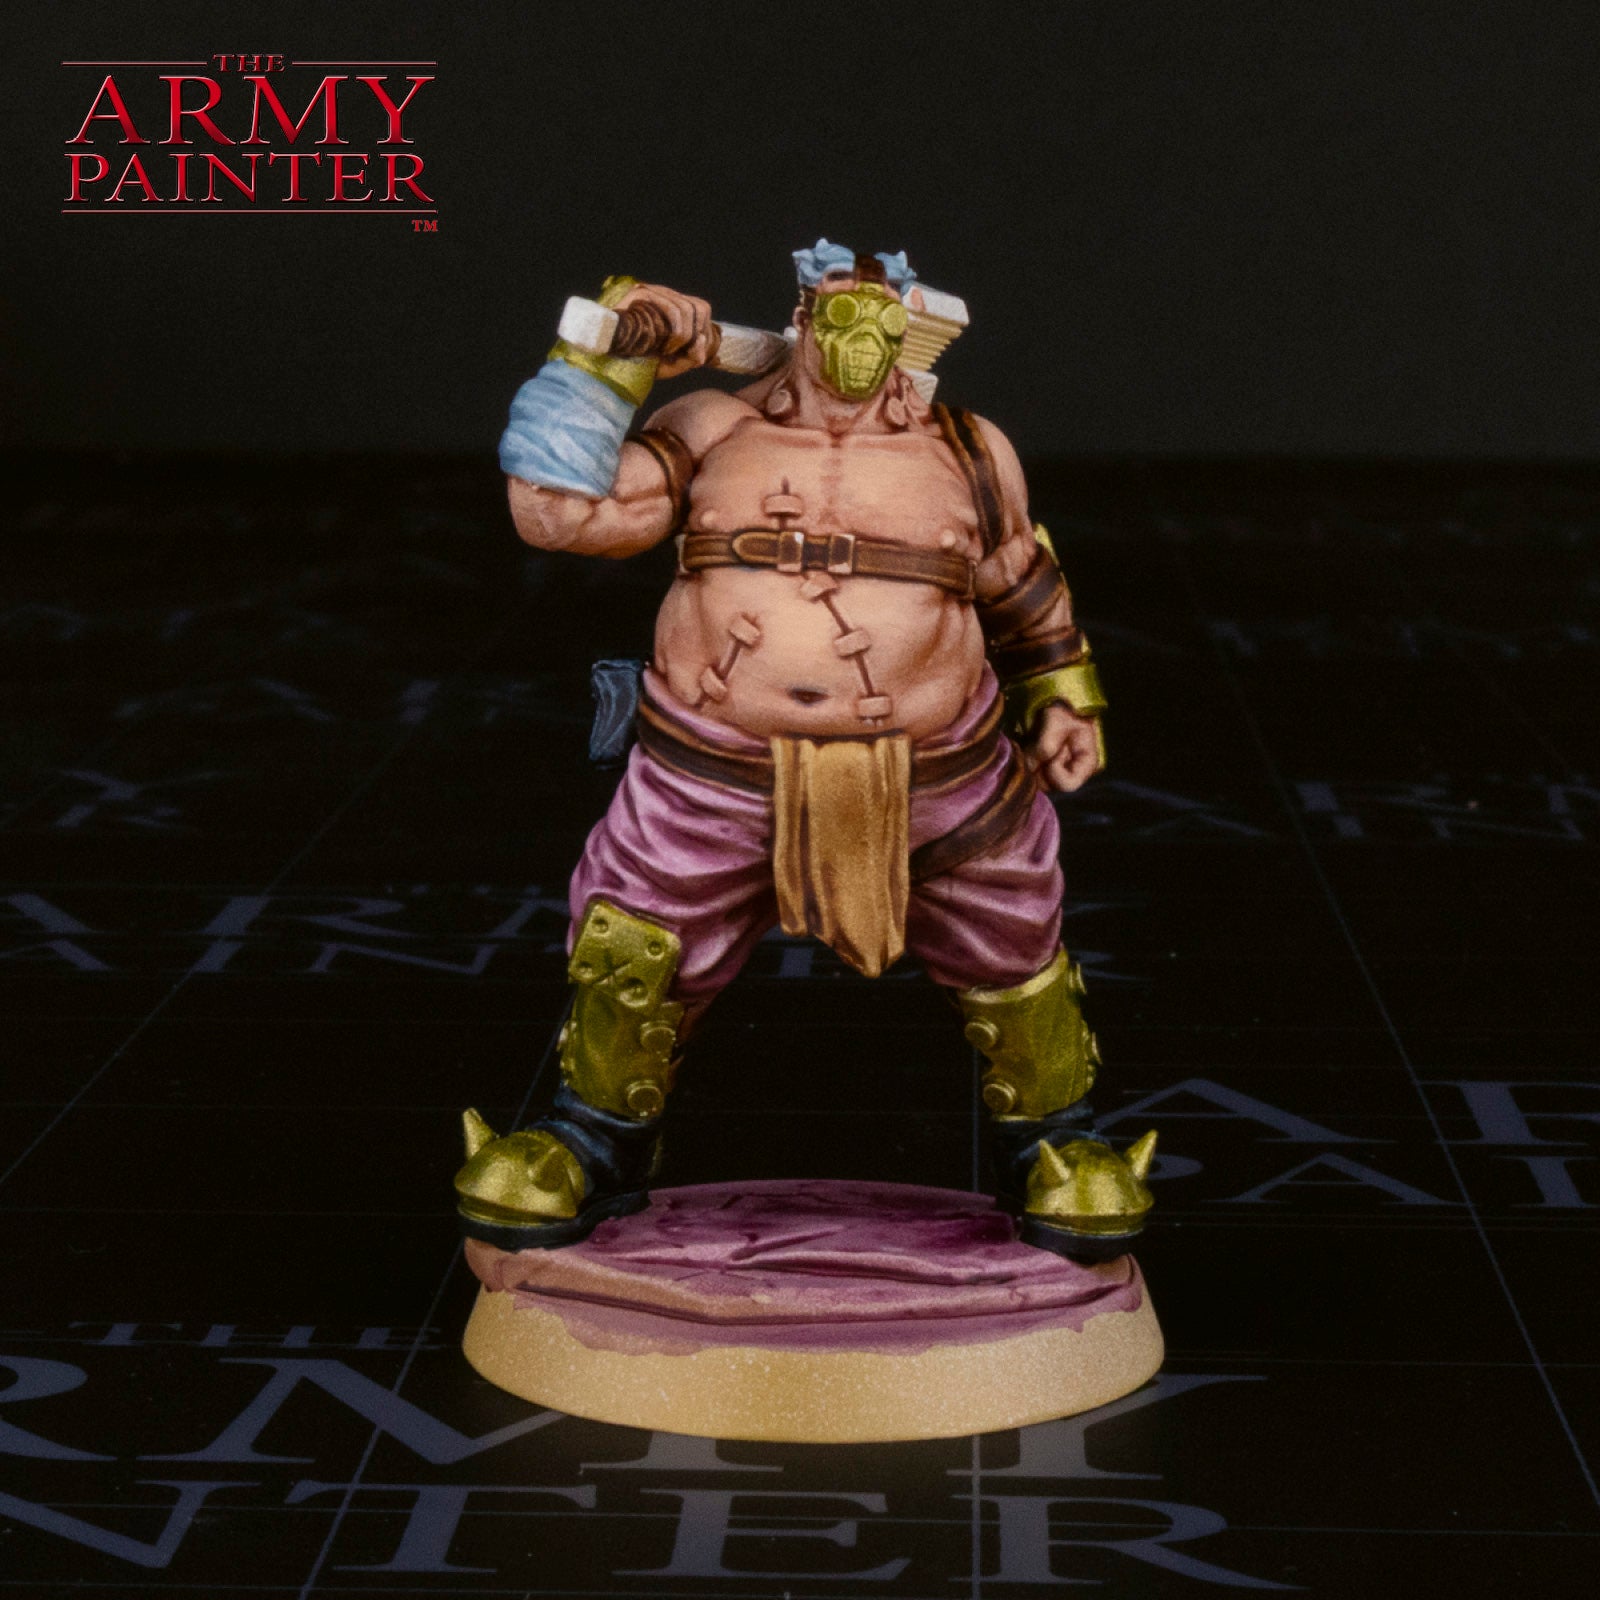
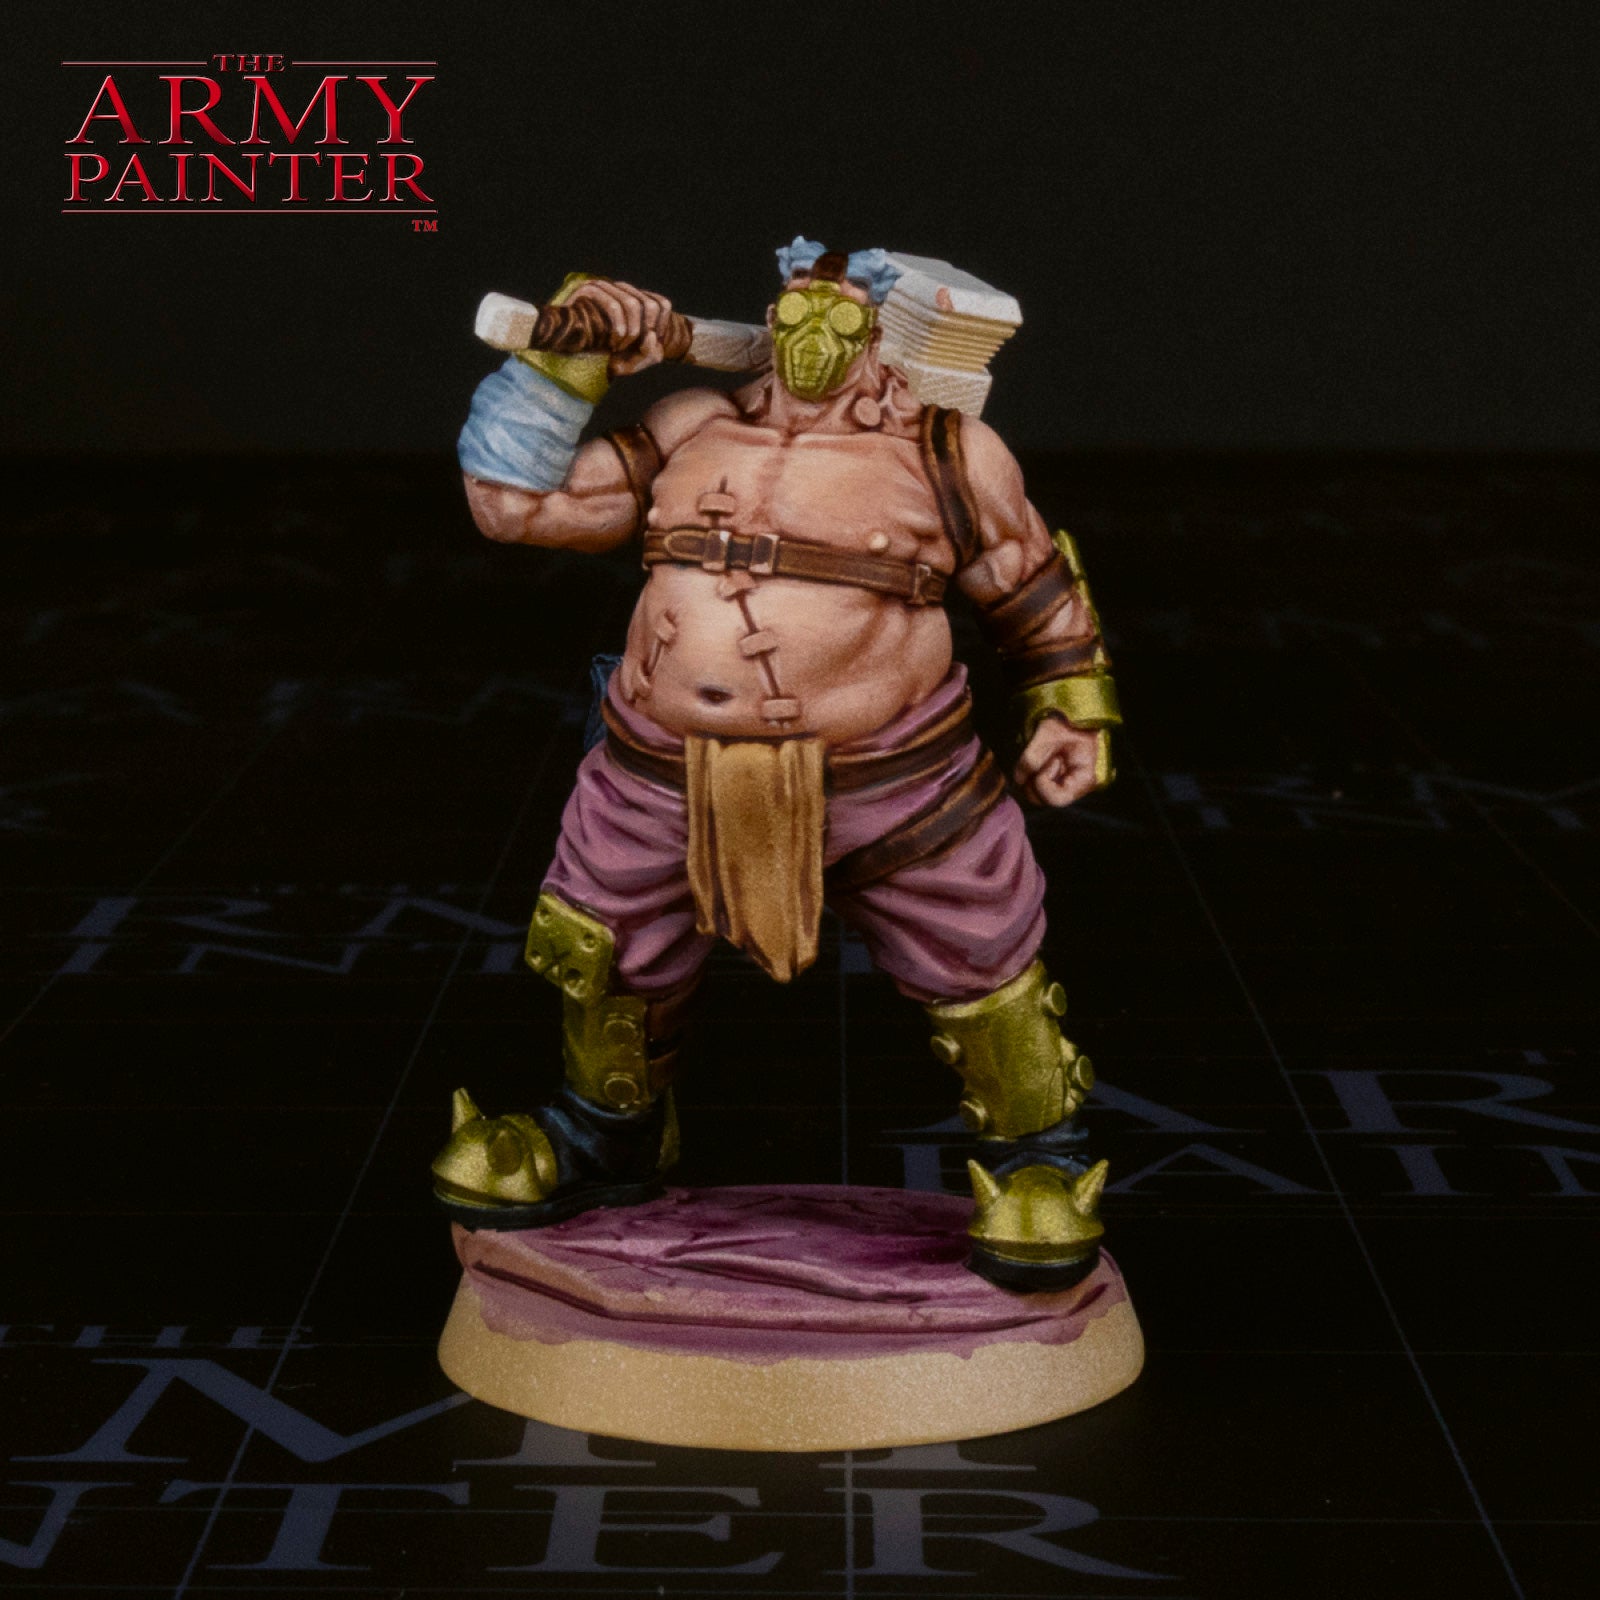
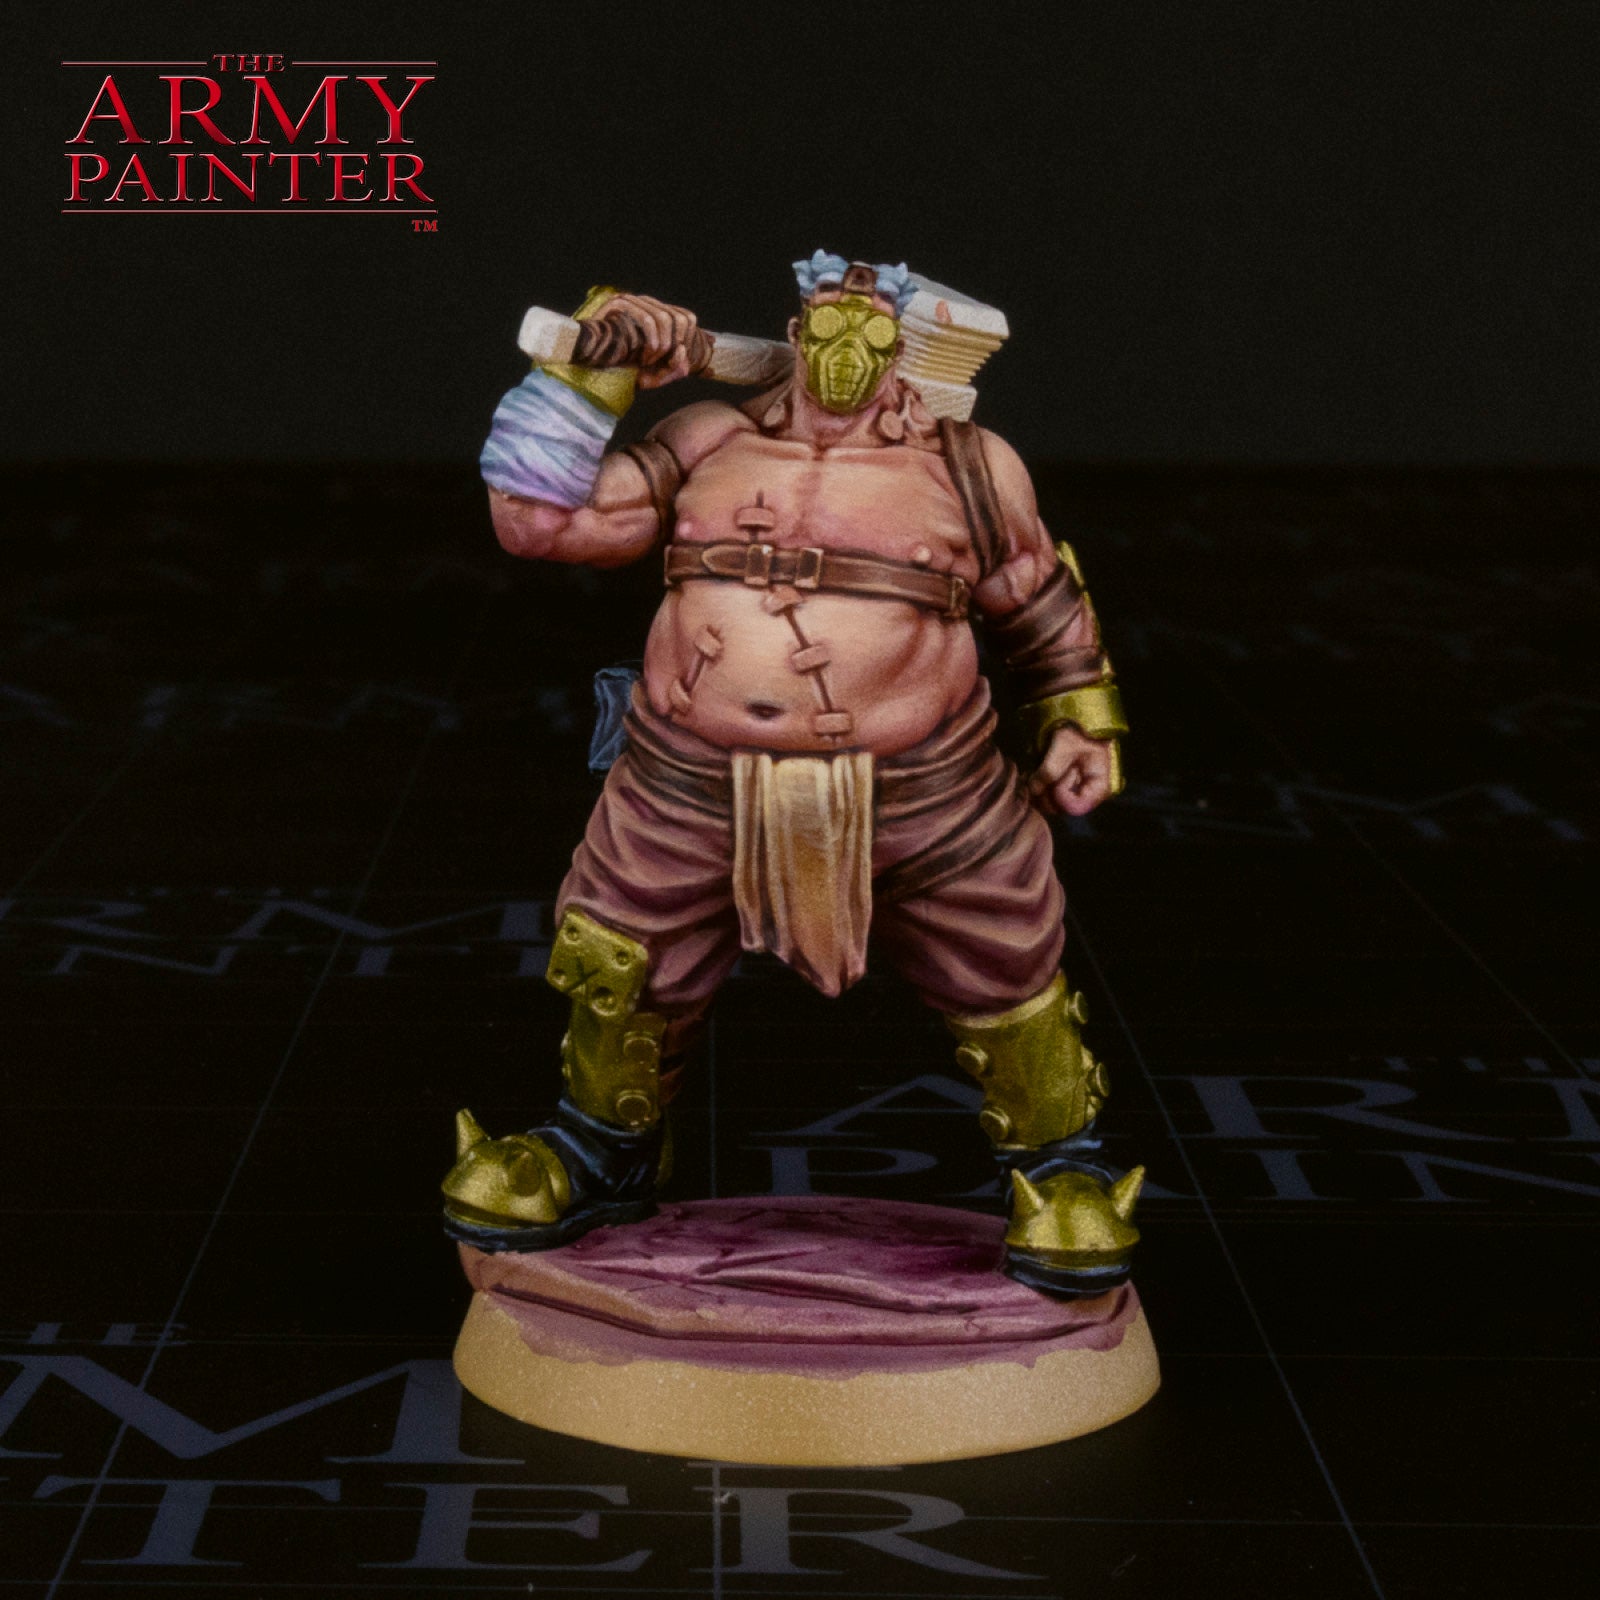
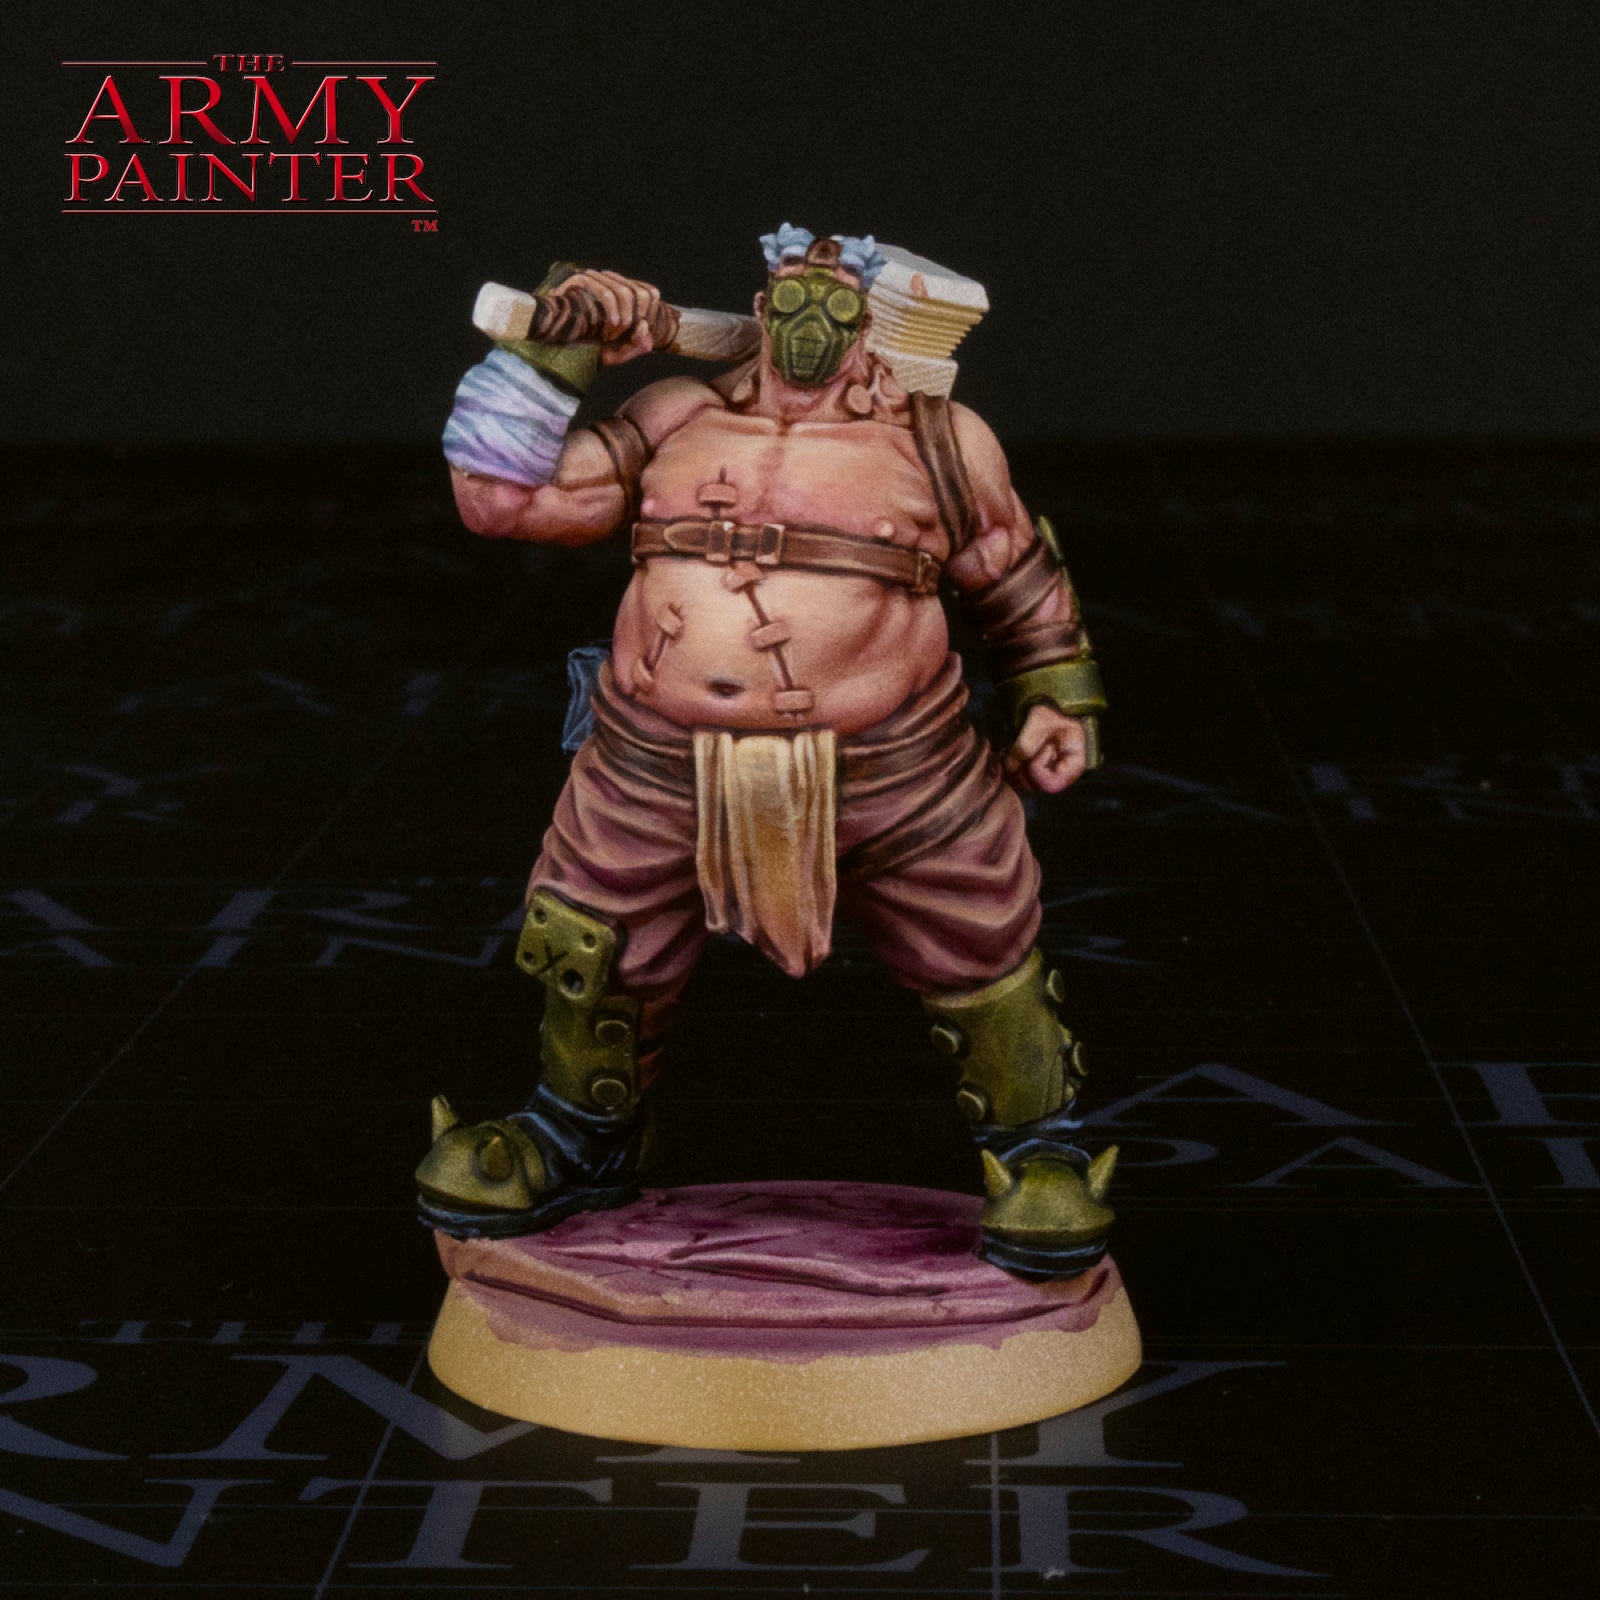
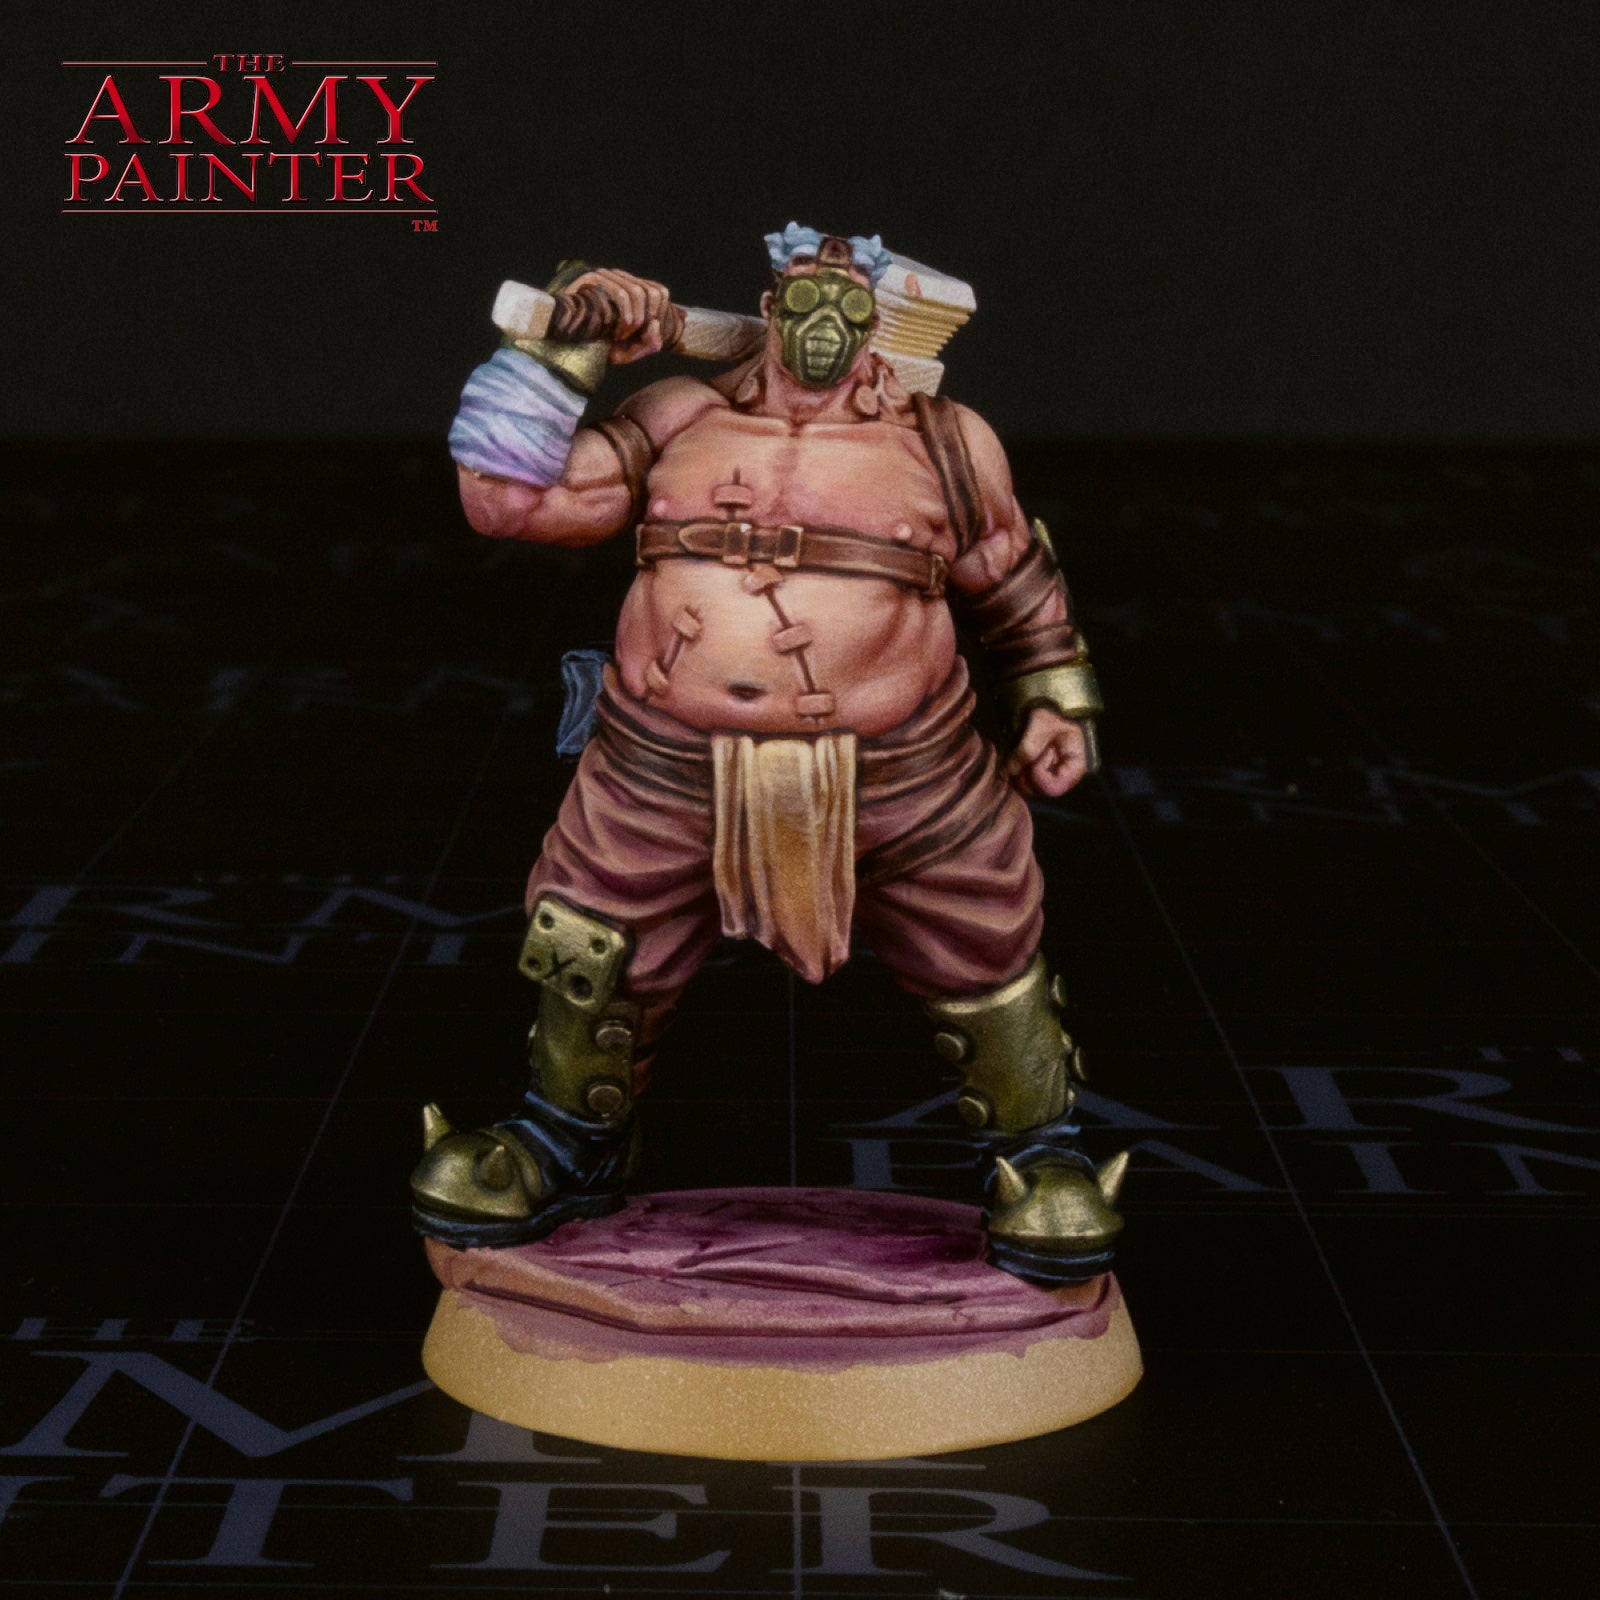
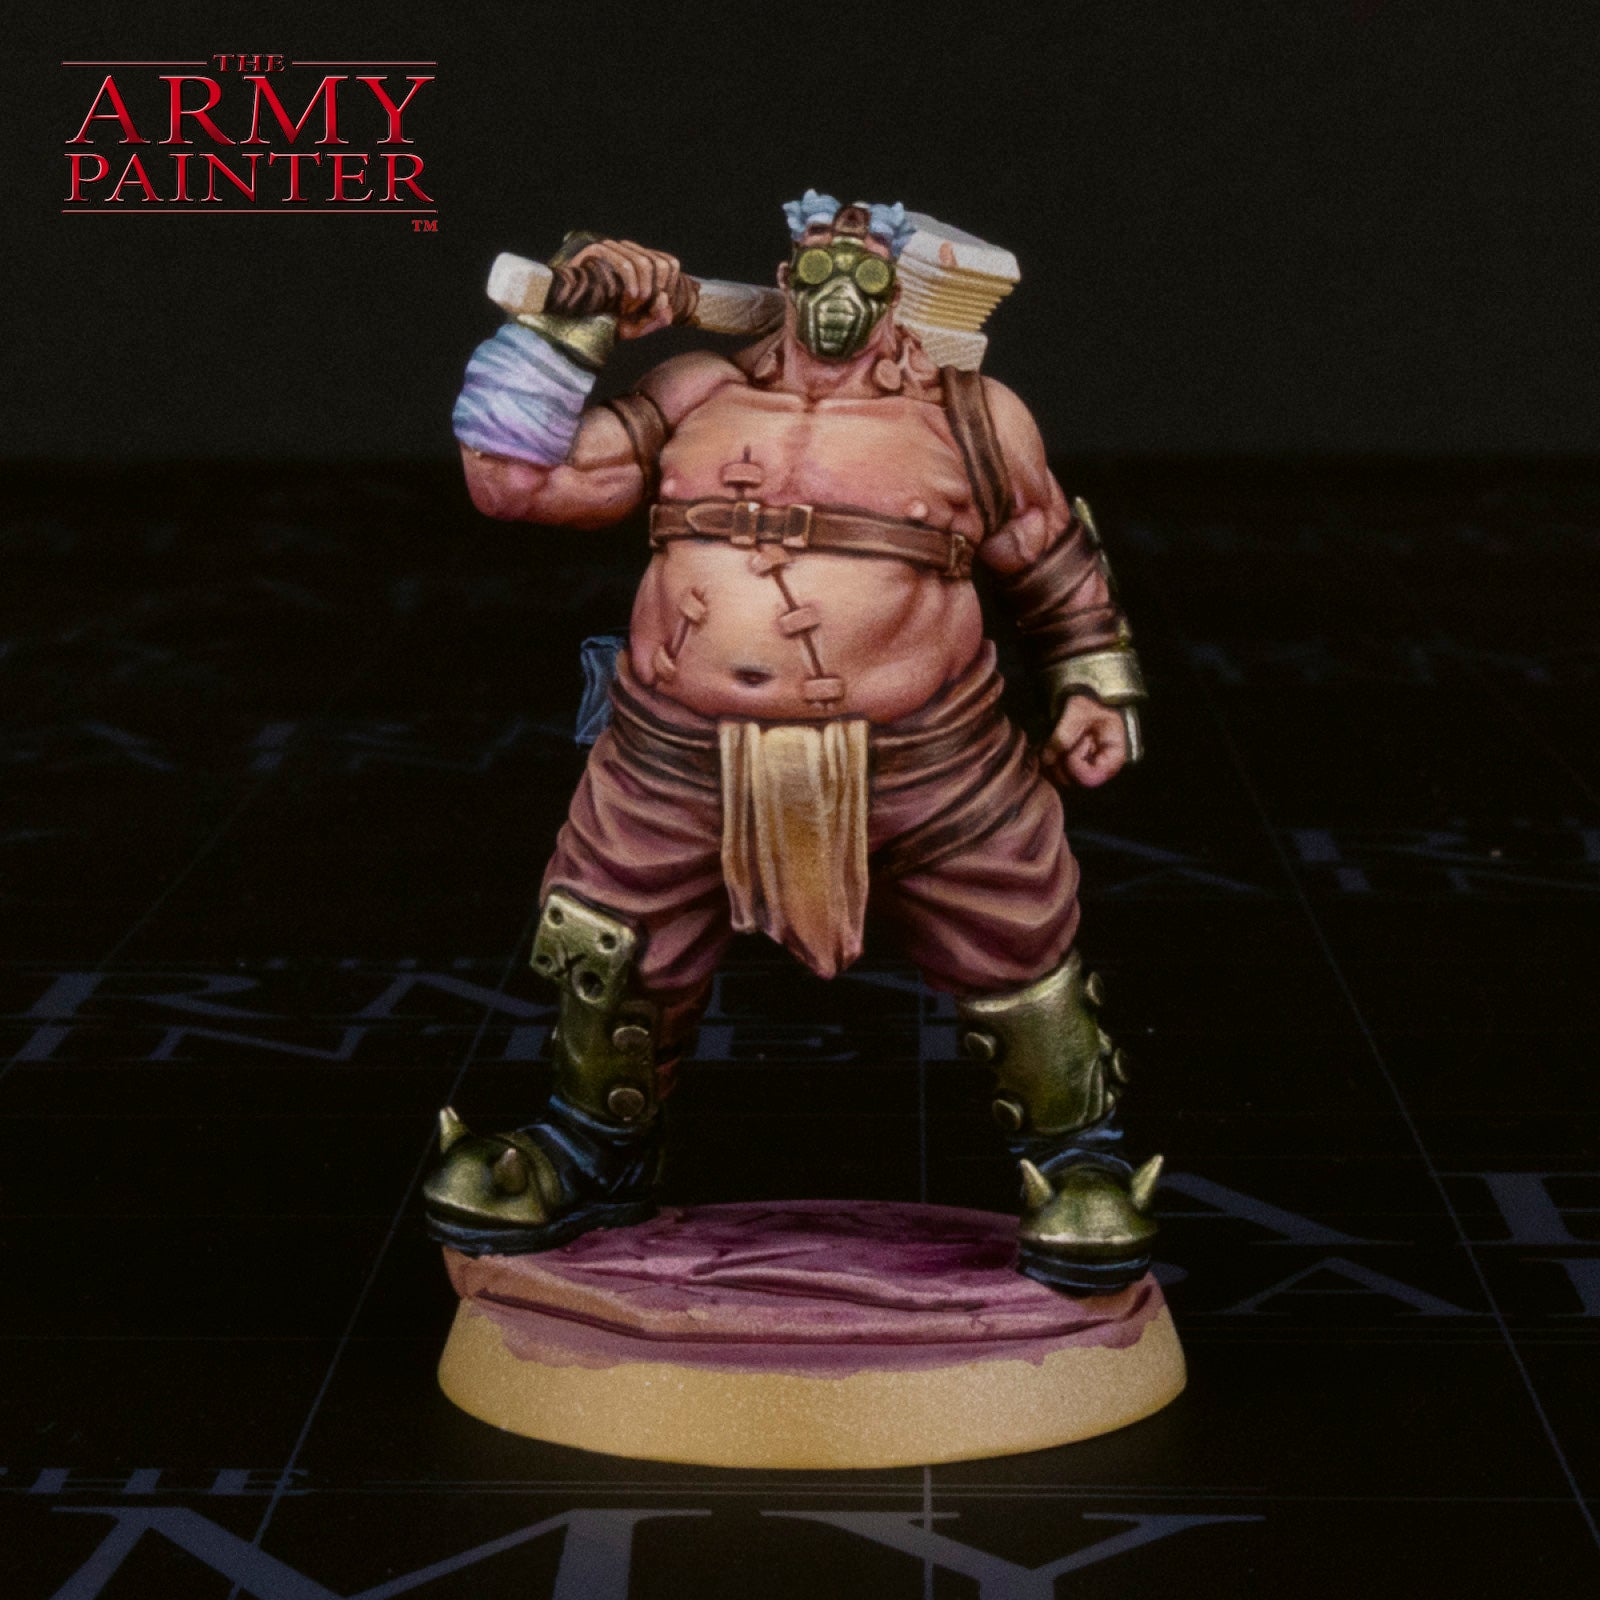
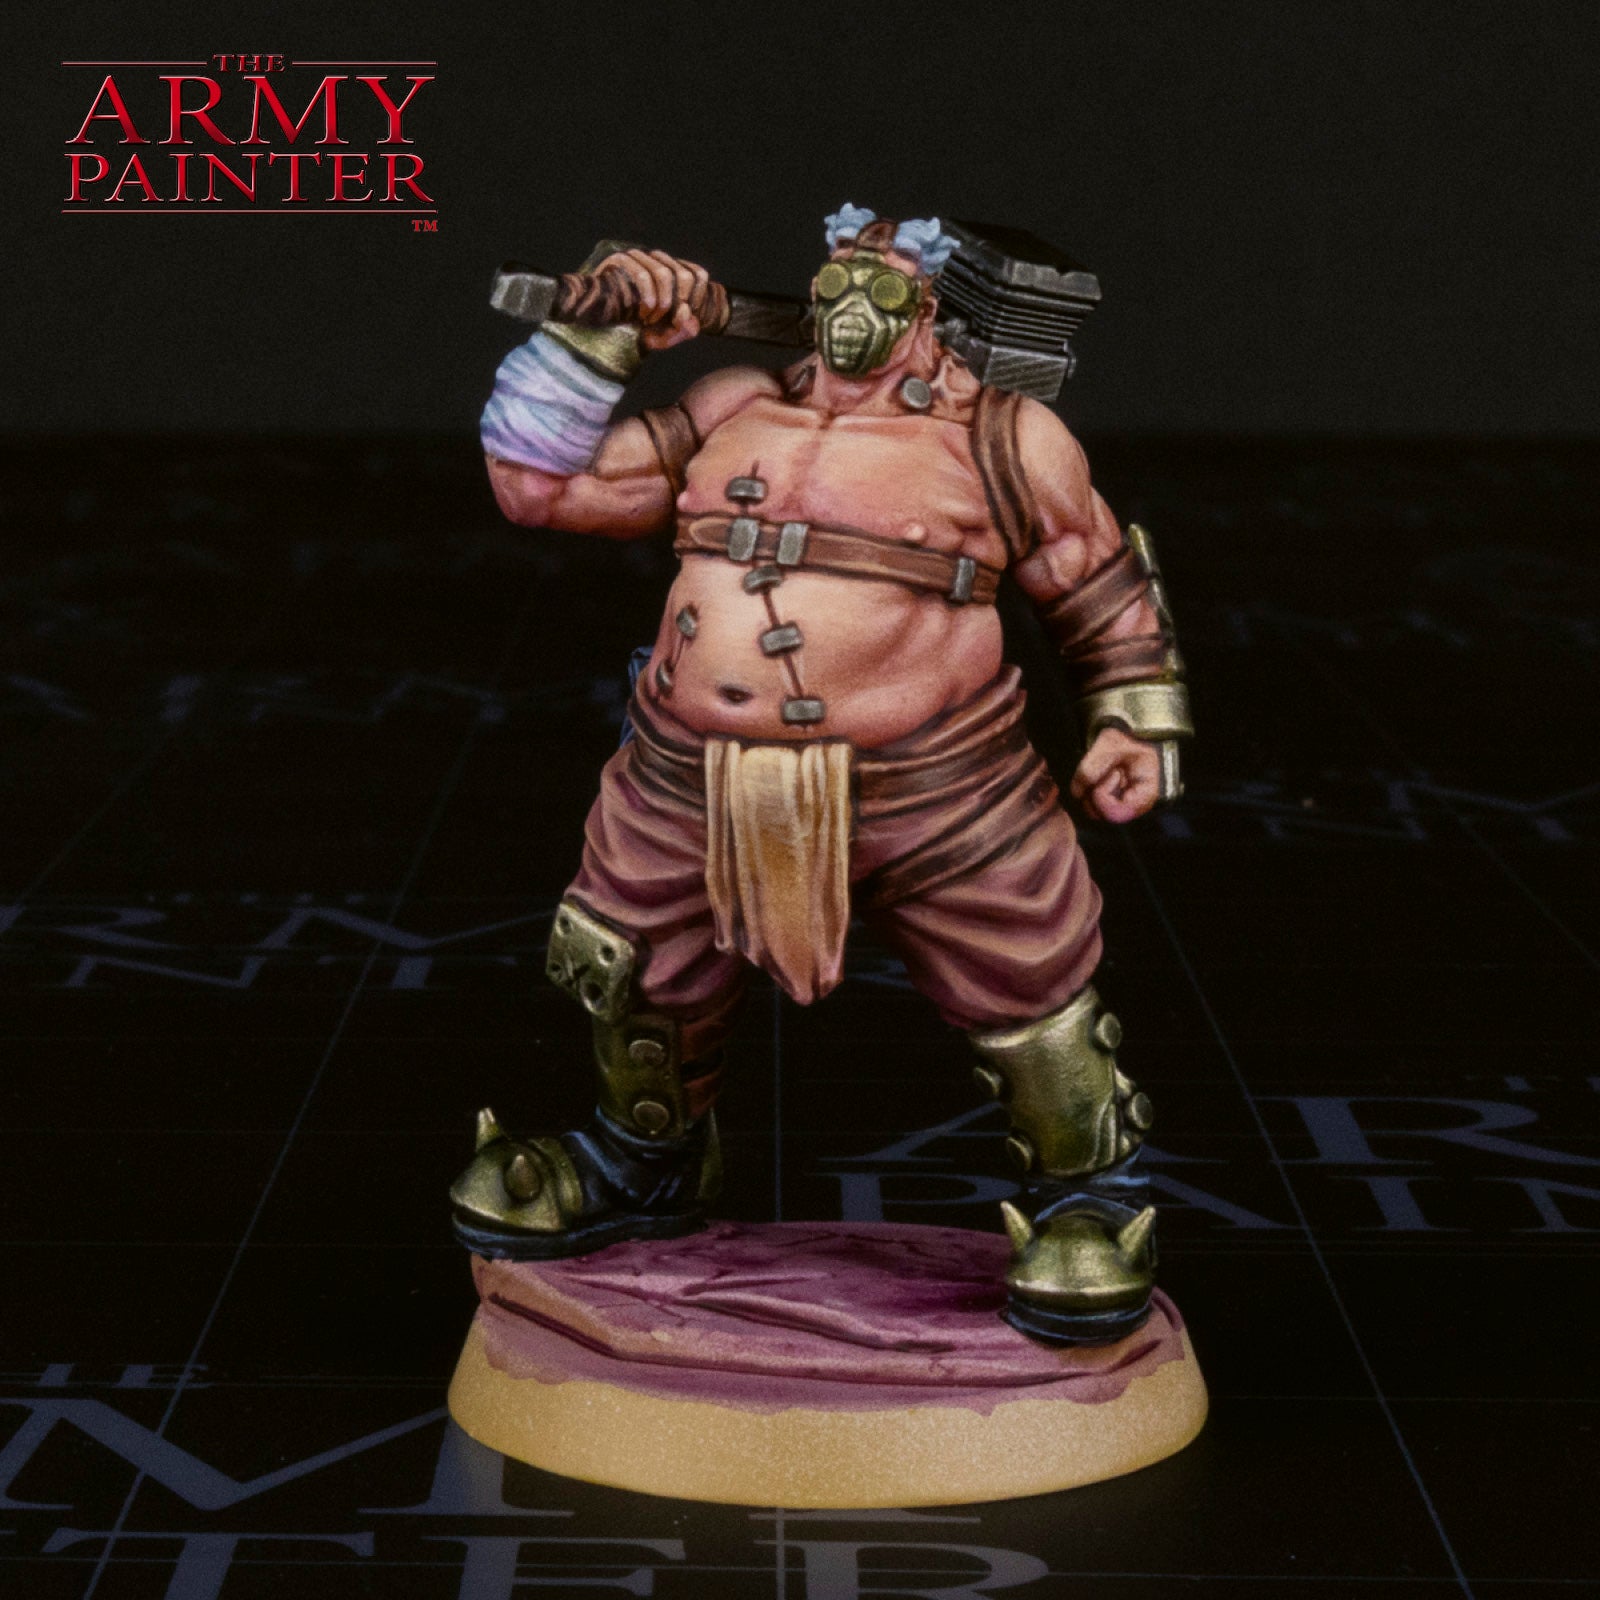
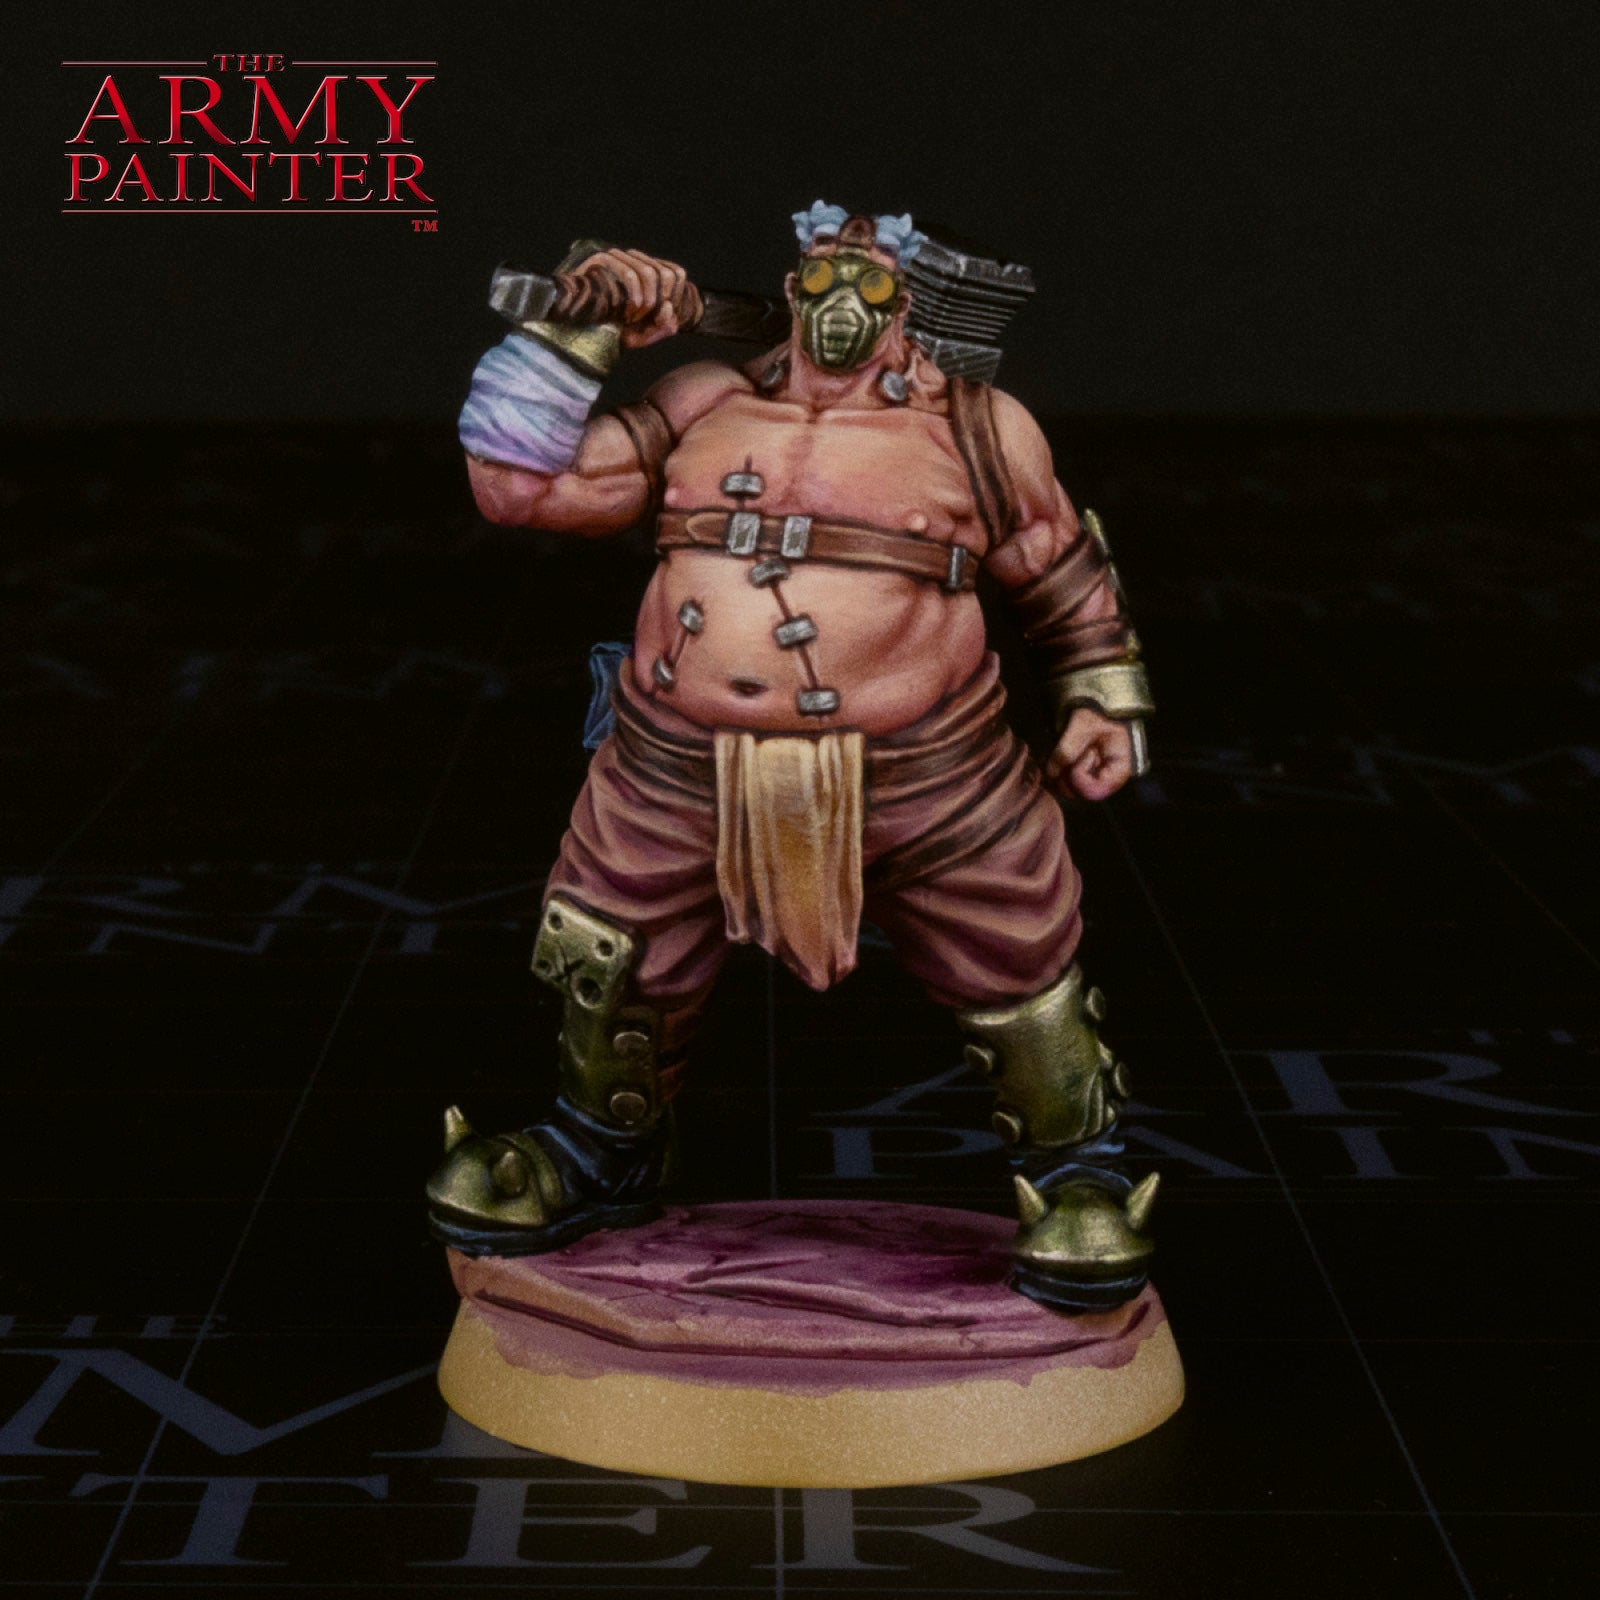
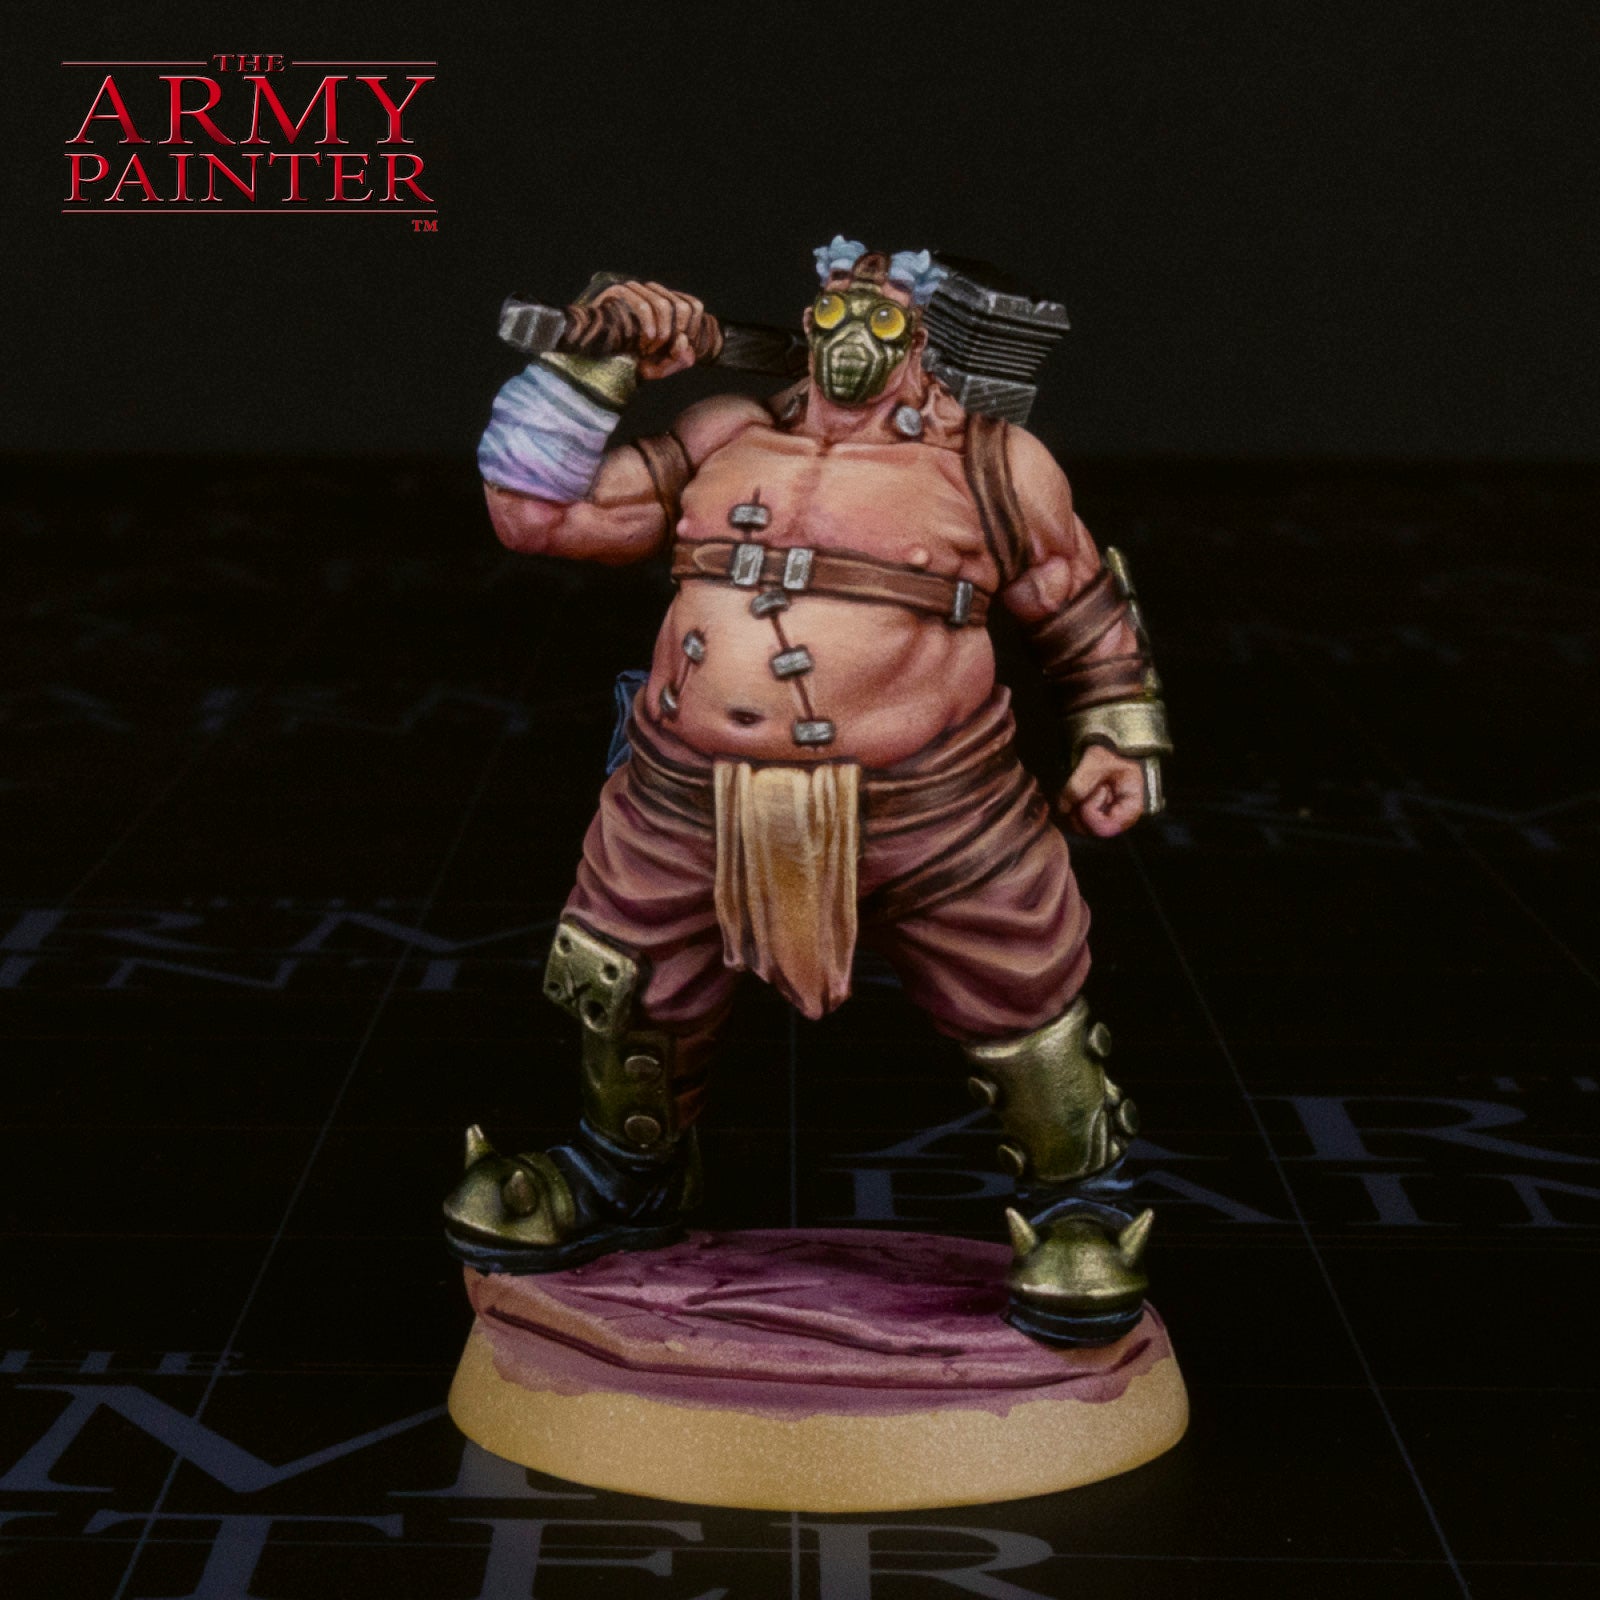
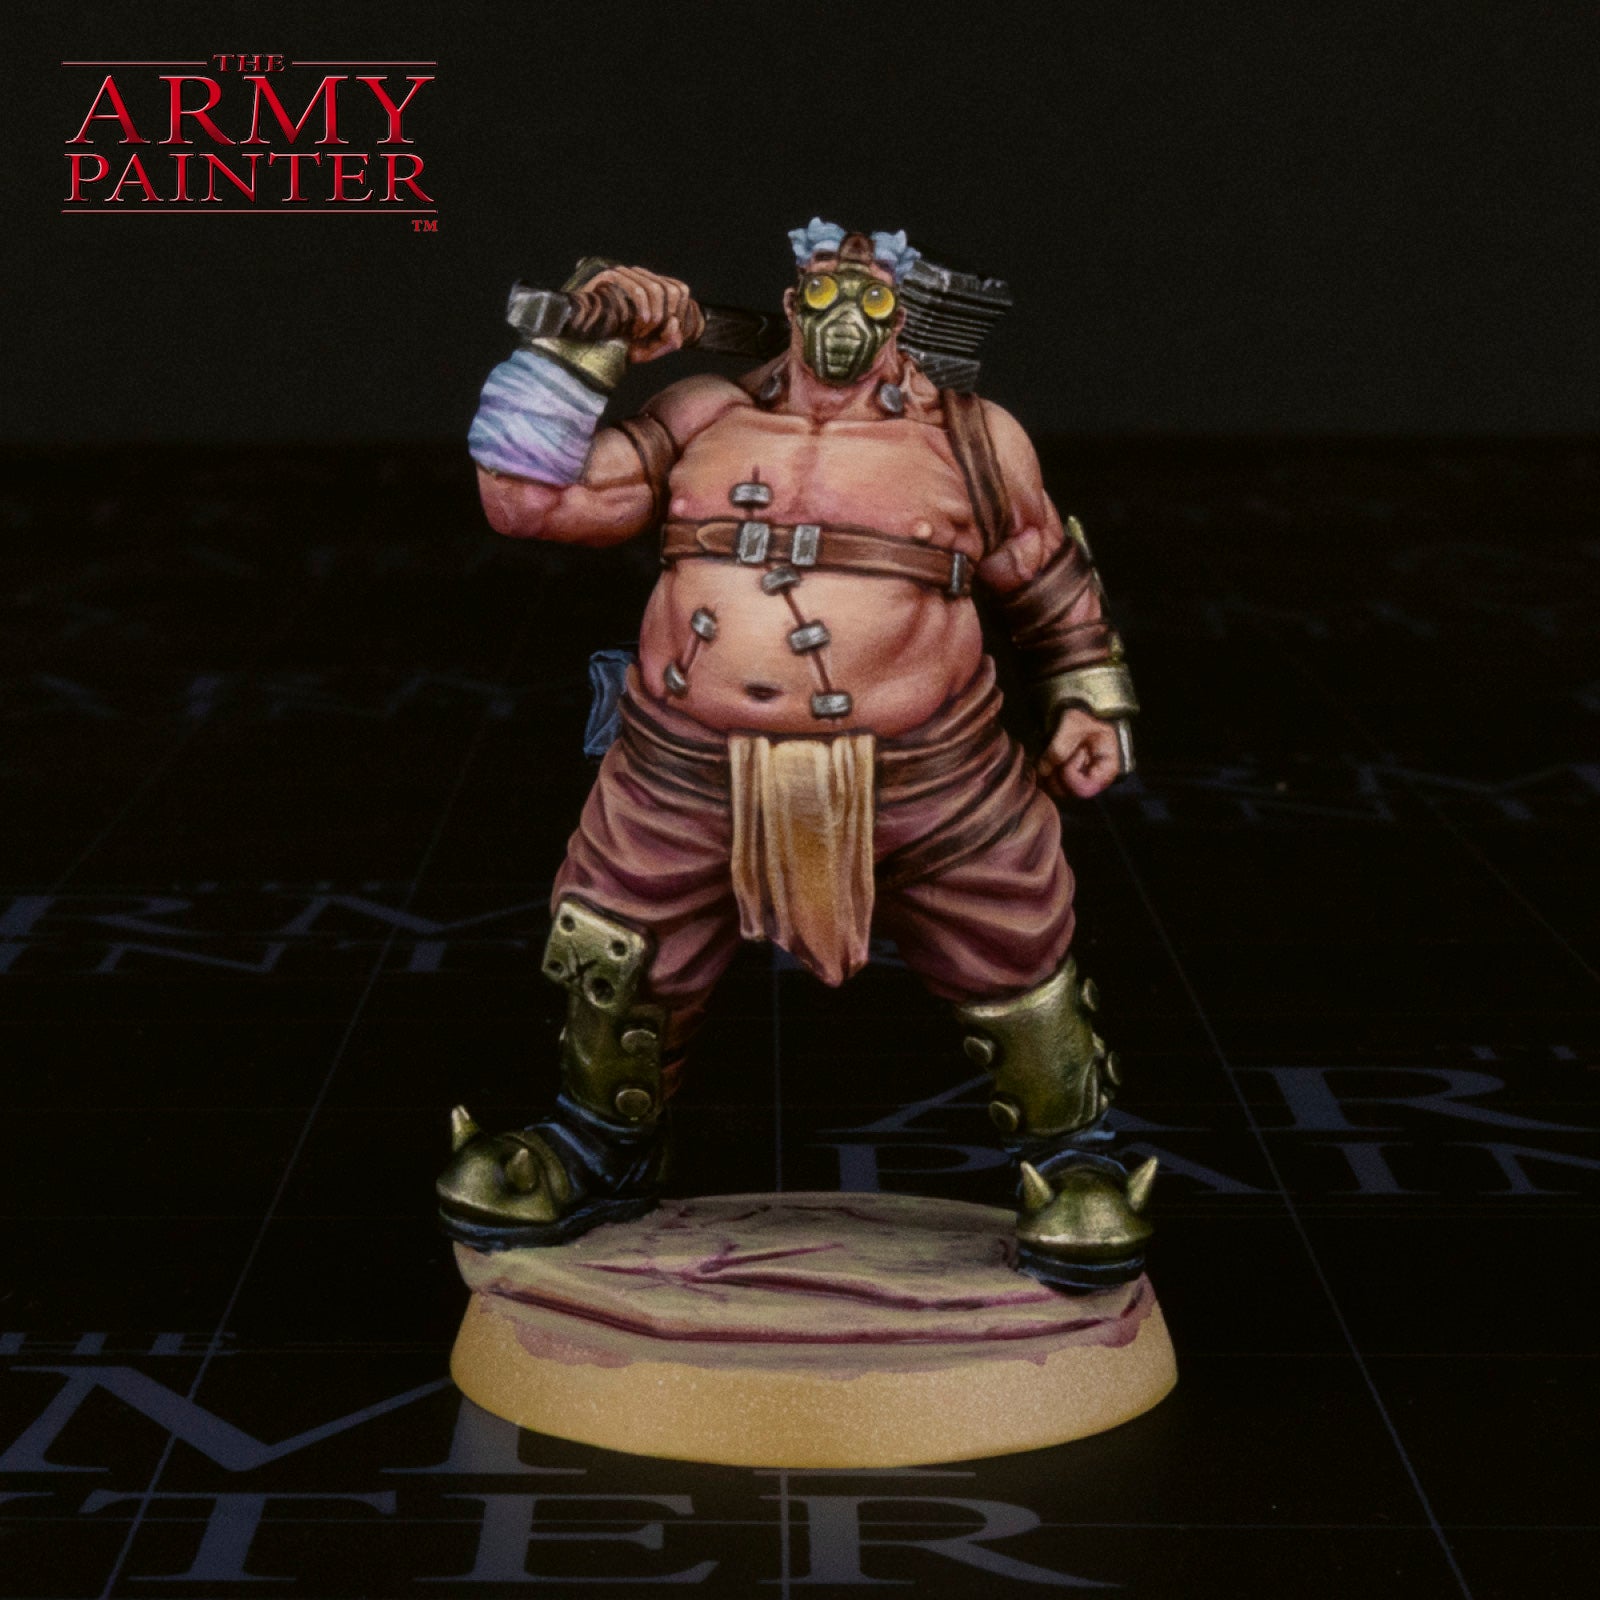
Welcome to the world of Paradise, from the extremely talented folks over at Mindwork Games. These purveyors of high-quality, resin-cast display pieces are delving into the world of 32mm gaming with their very first skirmish game set in the desert wasteland. The world as we know it has ended, and a post-apocalyptic Mad Max-style wasteland is all that remains. Fighting over the burgeoning city of Paradise are a selectionof unique and stylish factions for you to take control of, including the dastardly Slug Lords, which this charming fellow calls home.
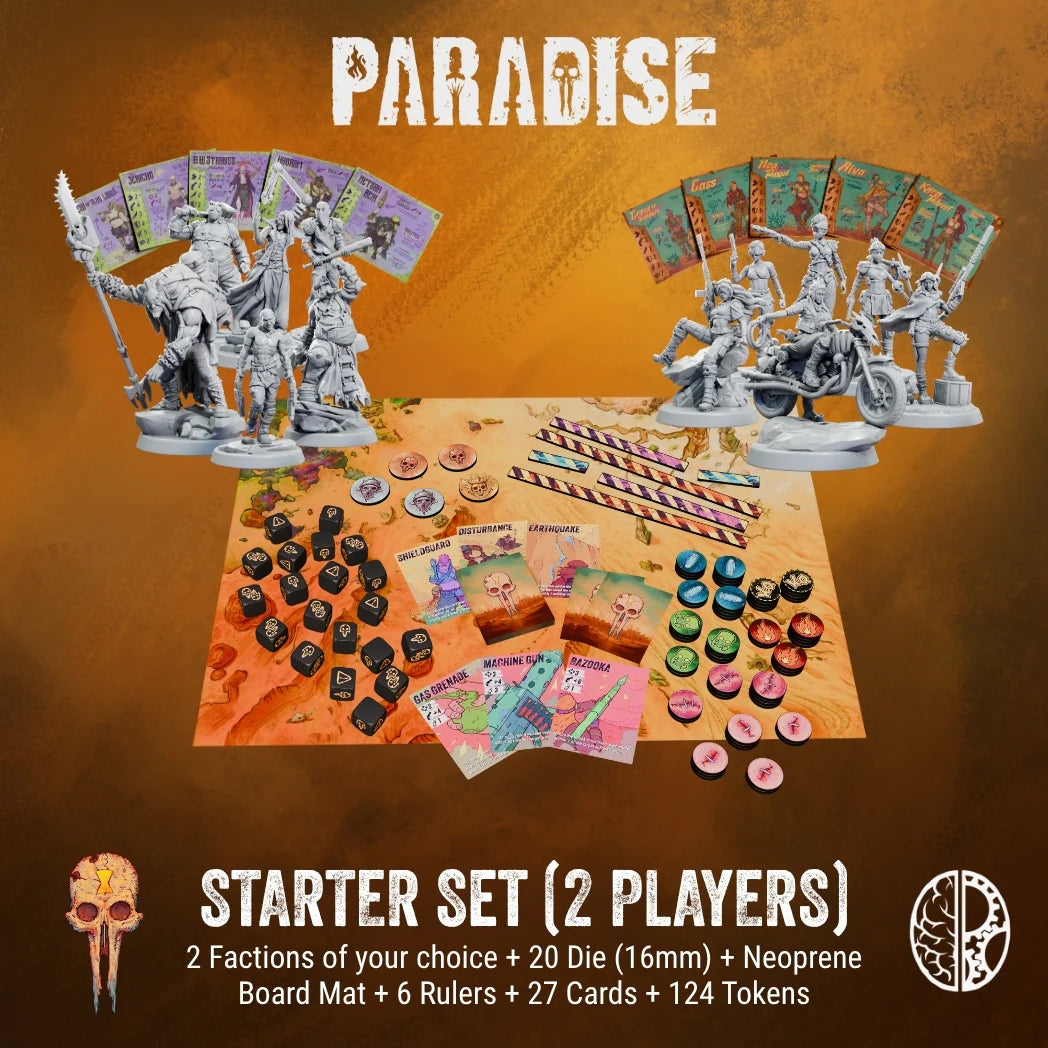
In fact, the Slug Lords are one of the two factions that you can pick to receive in the Starter Set. That’s right, you’re able to choose which two factions you want alongside a neoprene mat and all the dice, cards, and tokens you need to play.
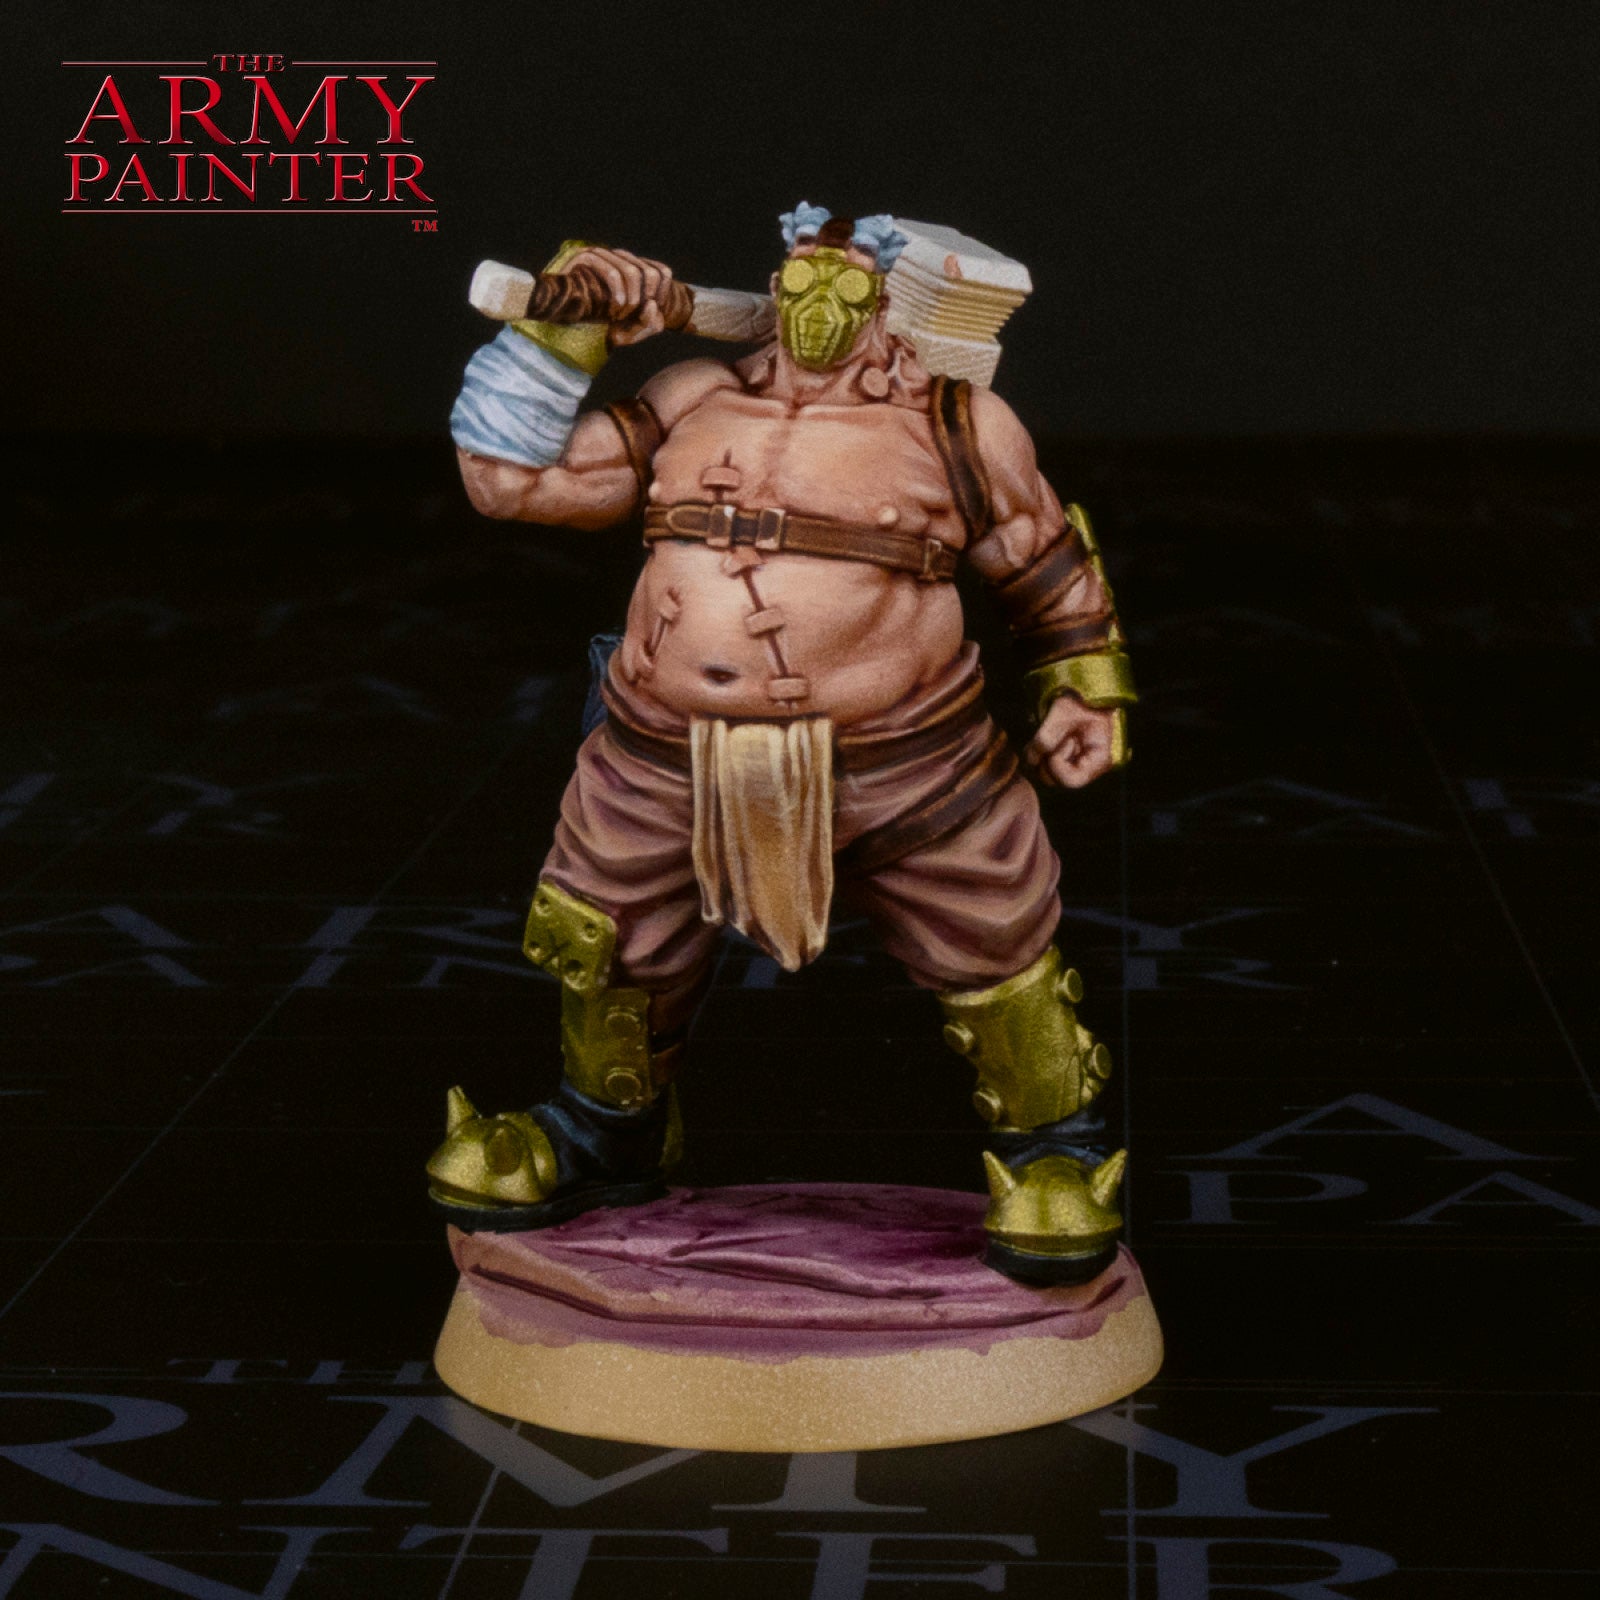
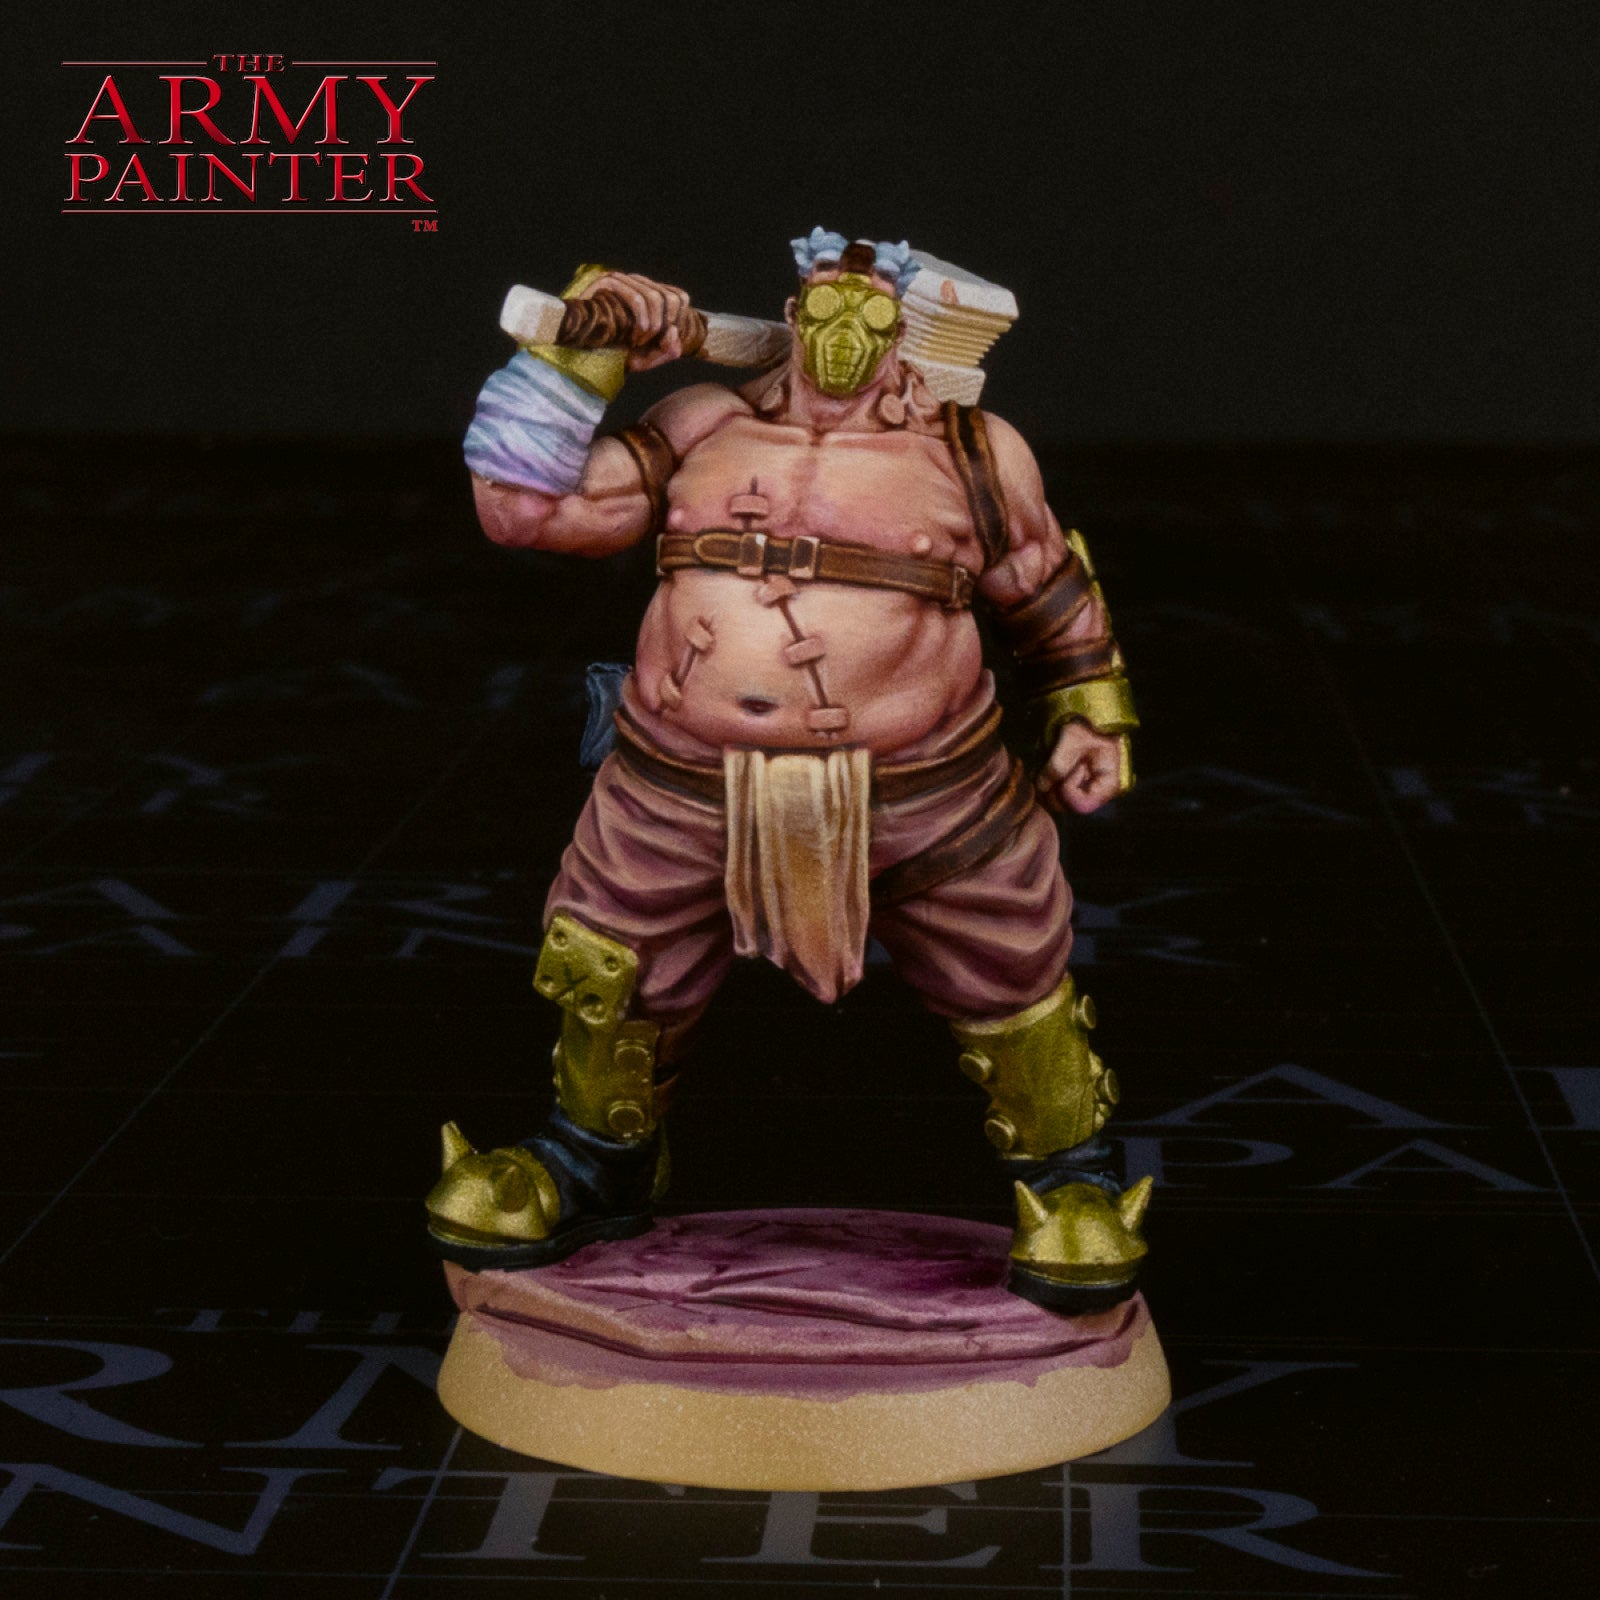
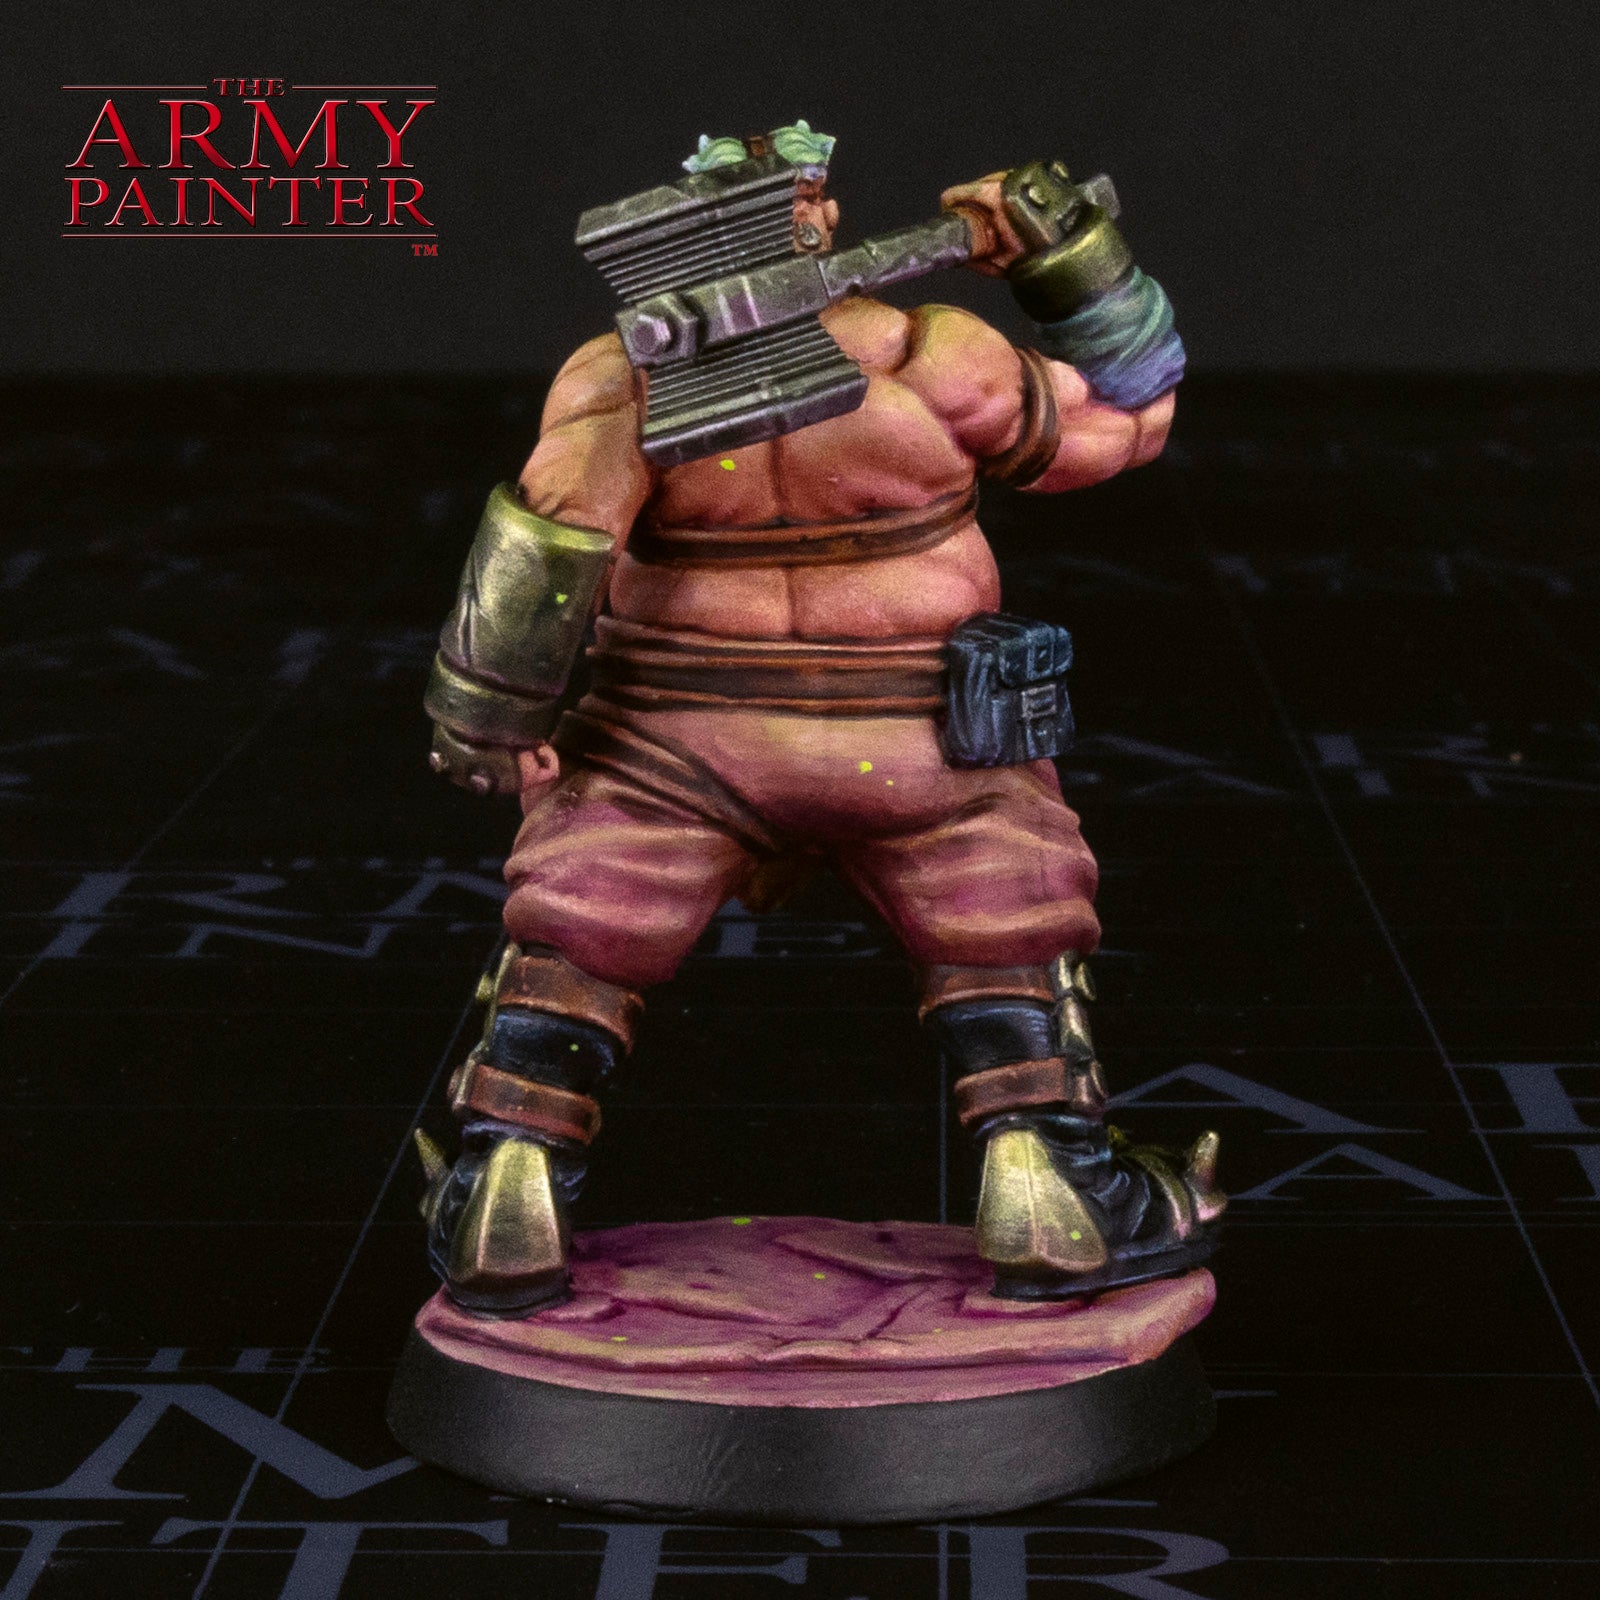
Decked out in gas masks, tubes, and other questionable-looking accoutrements, the Slug Lords received an equally striking colour scheme for their official box art. Lit in poisonous-looking purples and greens, our Studio Painter, Tyler, couldn’t help but try to replicate it with the help of the Speedpaint and Warpaints Fanatic range. Armed with the assistance of a zenithal prime, and plenty of Speedpaint Medium, join Tyler as he walks you through step-by-step on how to get your own Slug Lords ready for the wasteland.

Speedpaint Basecoats
Step 1
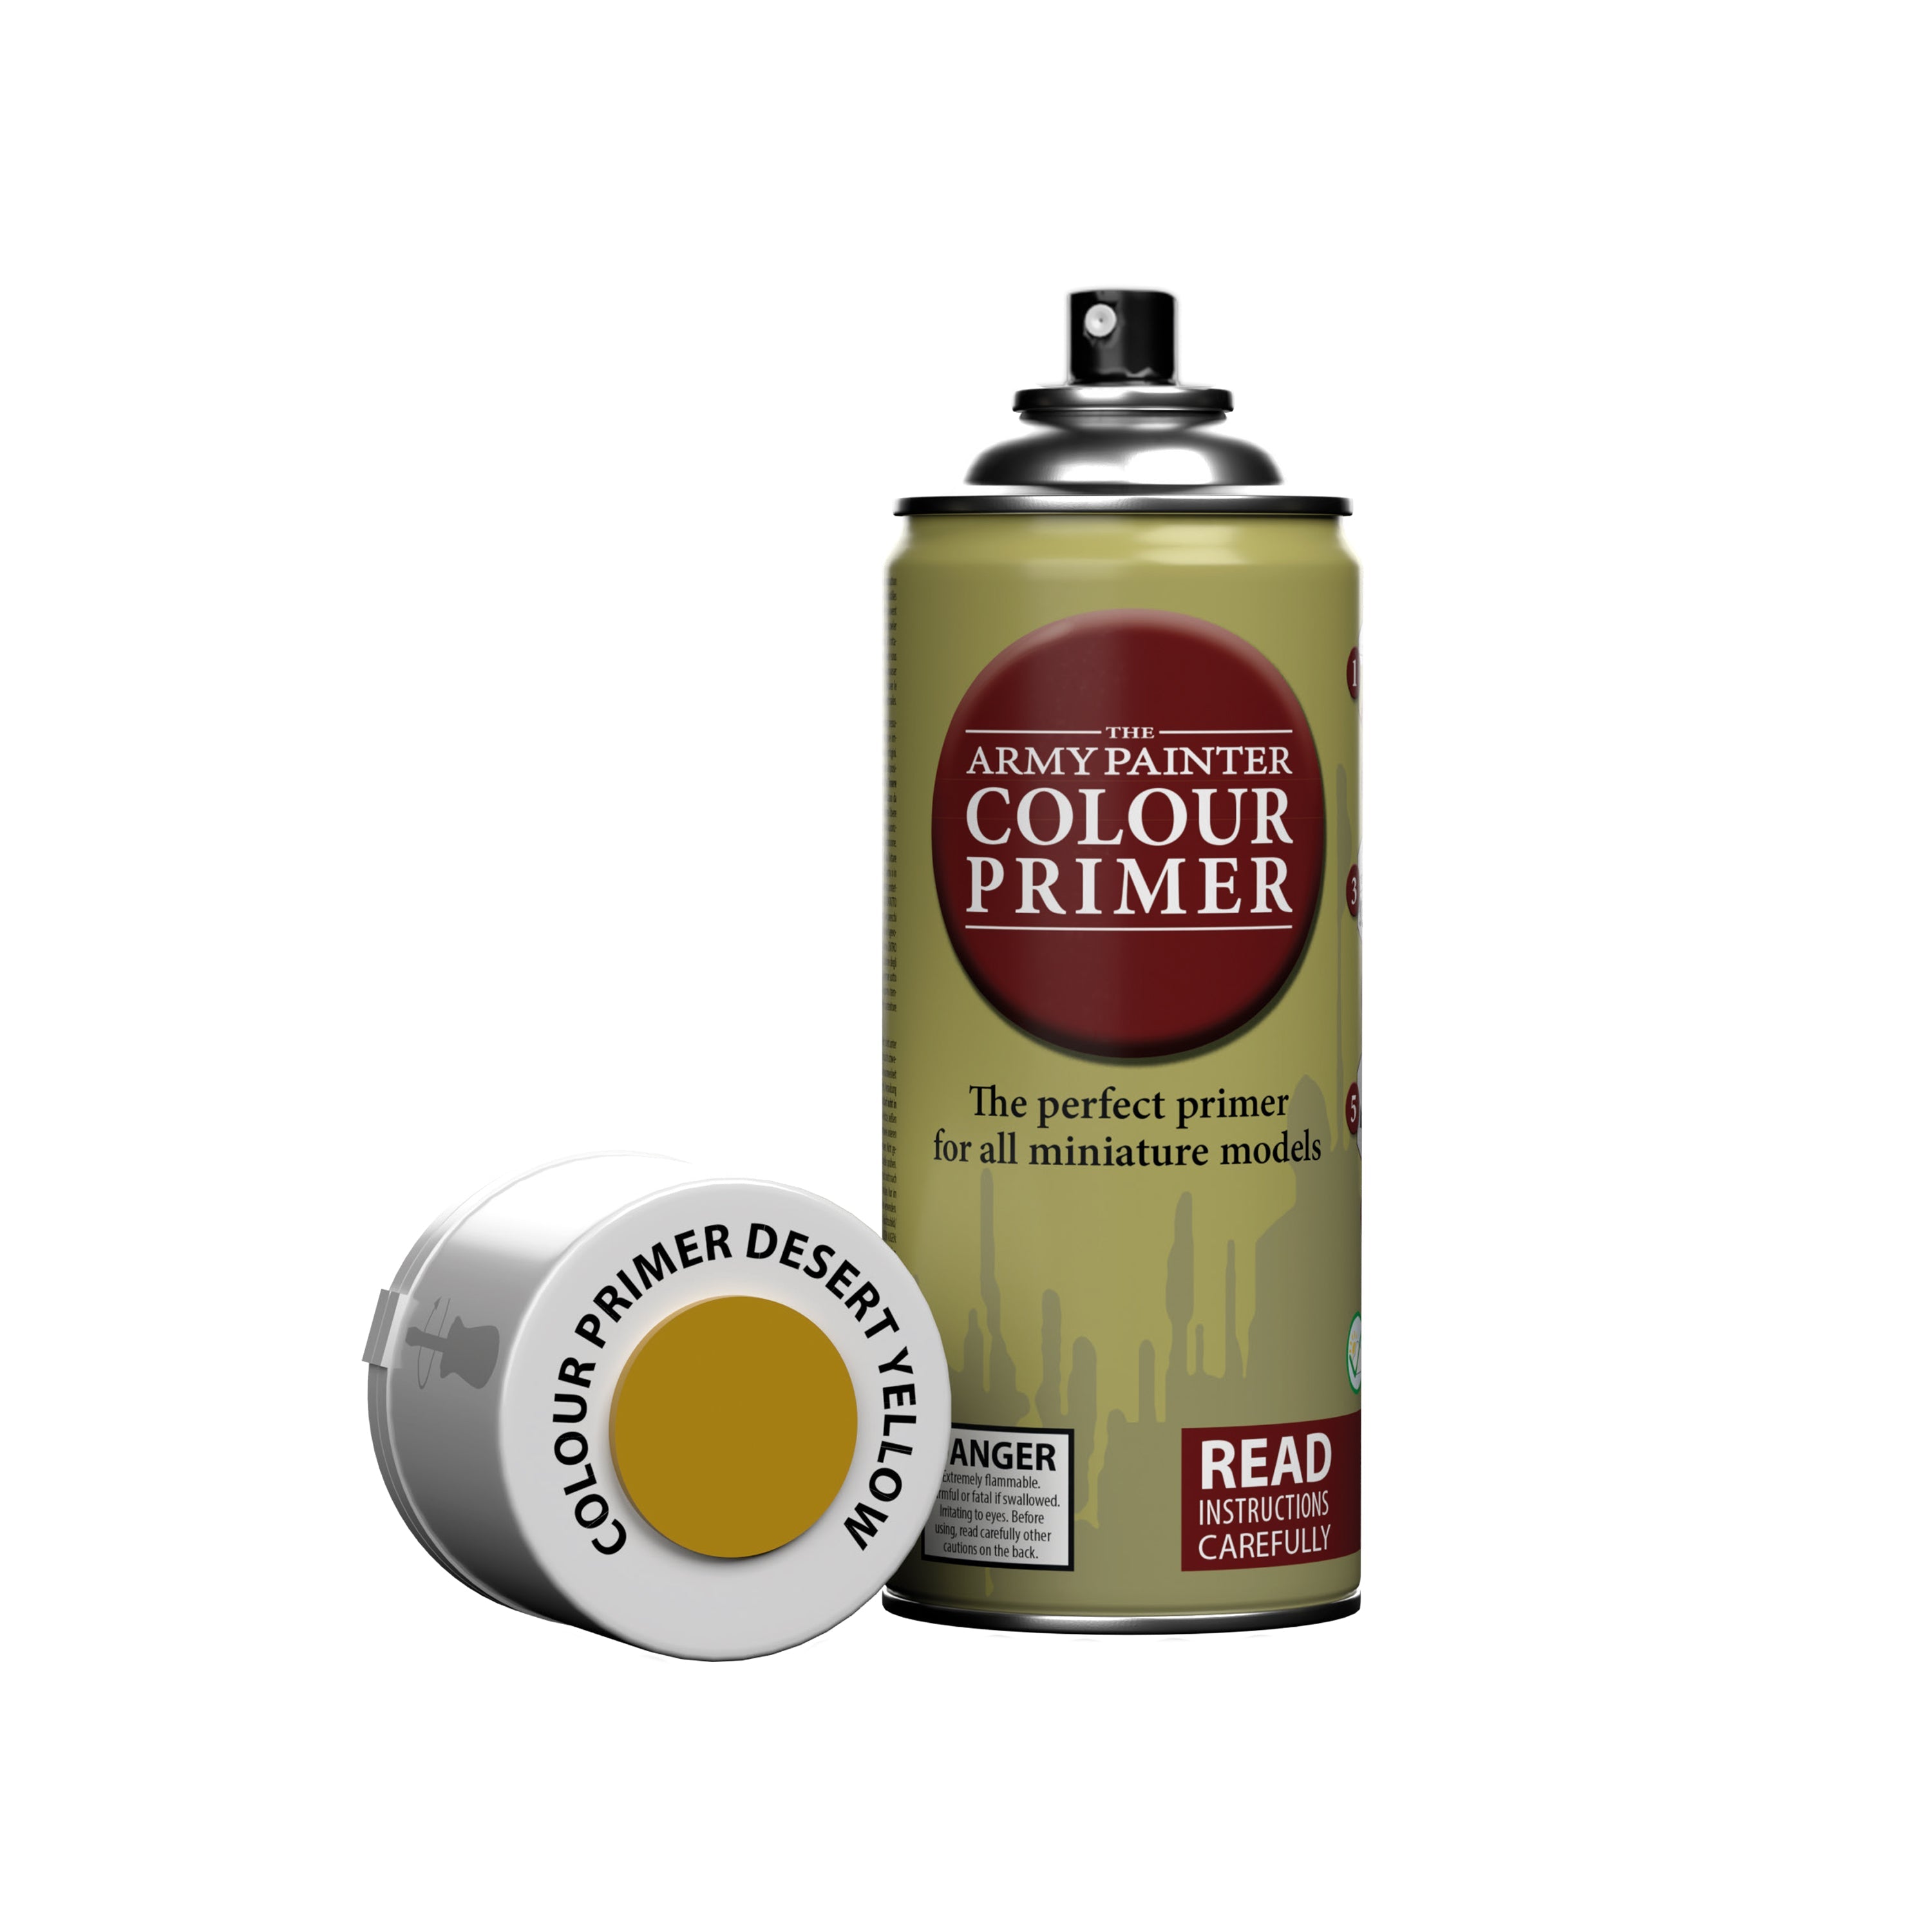
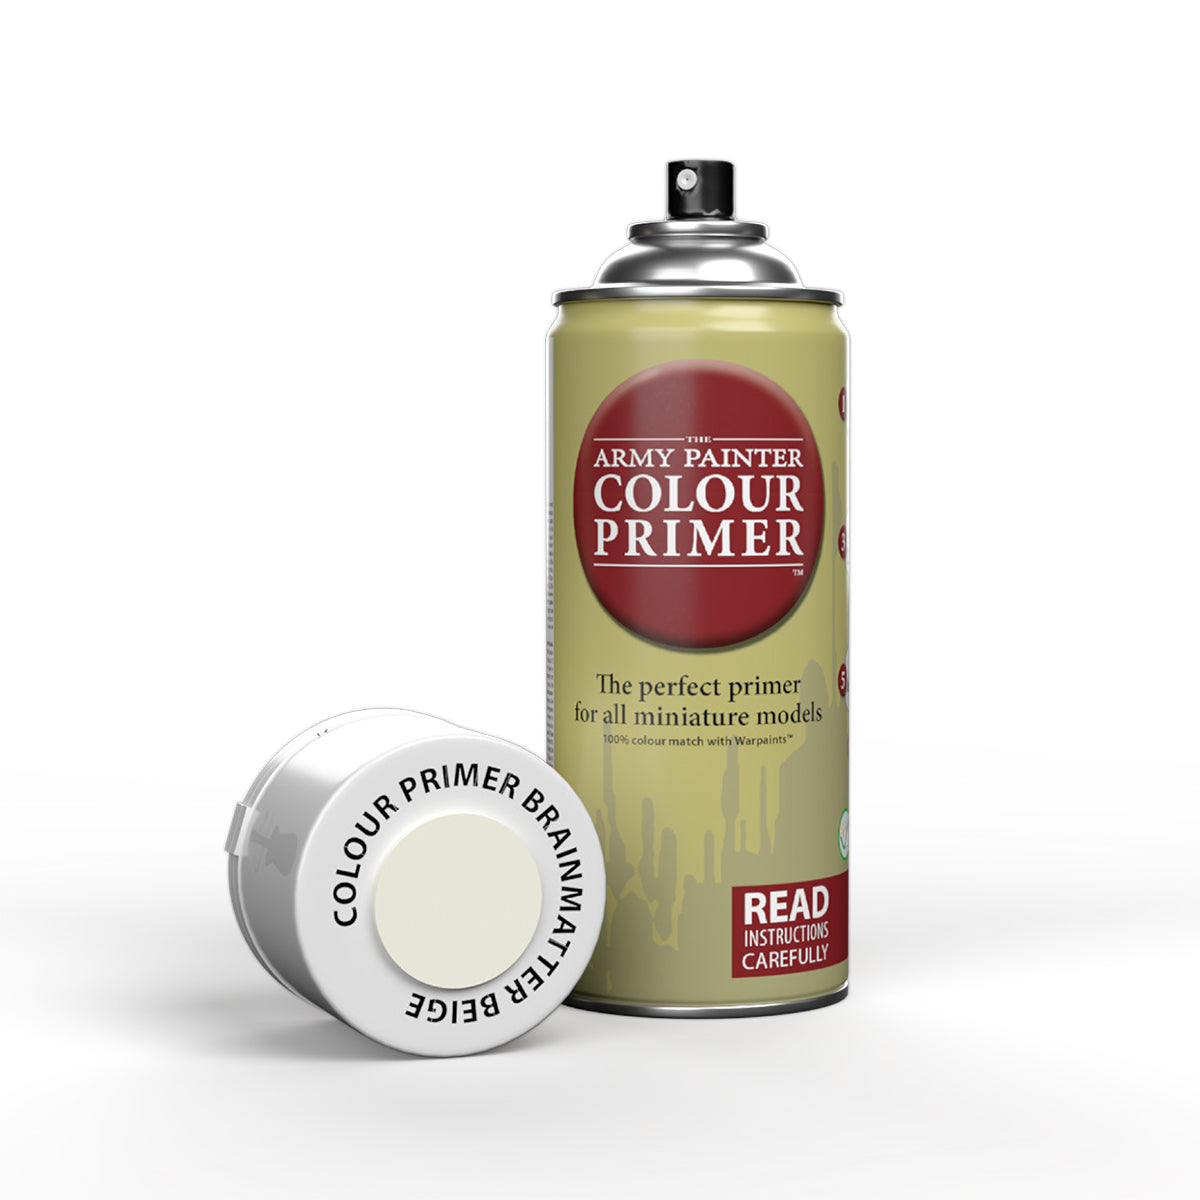
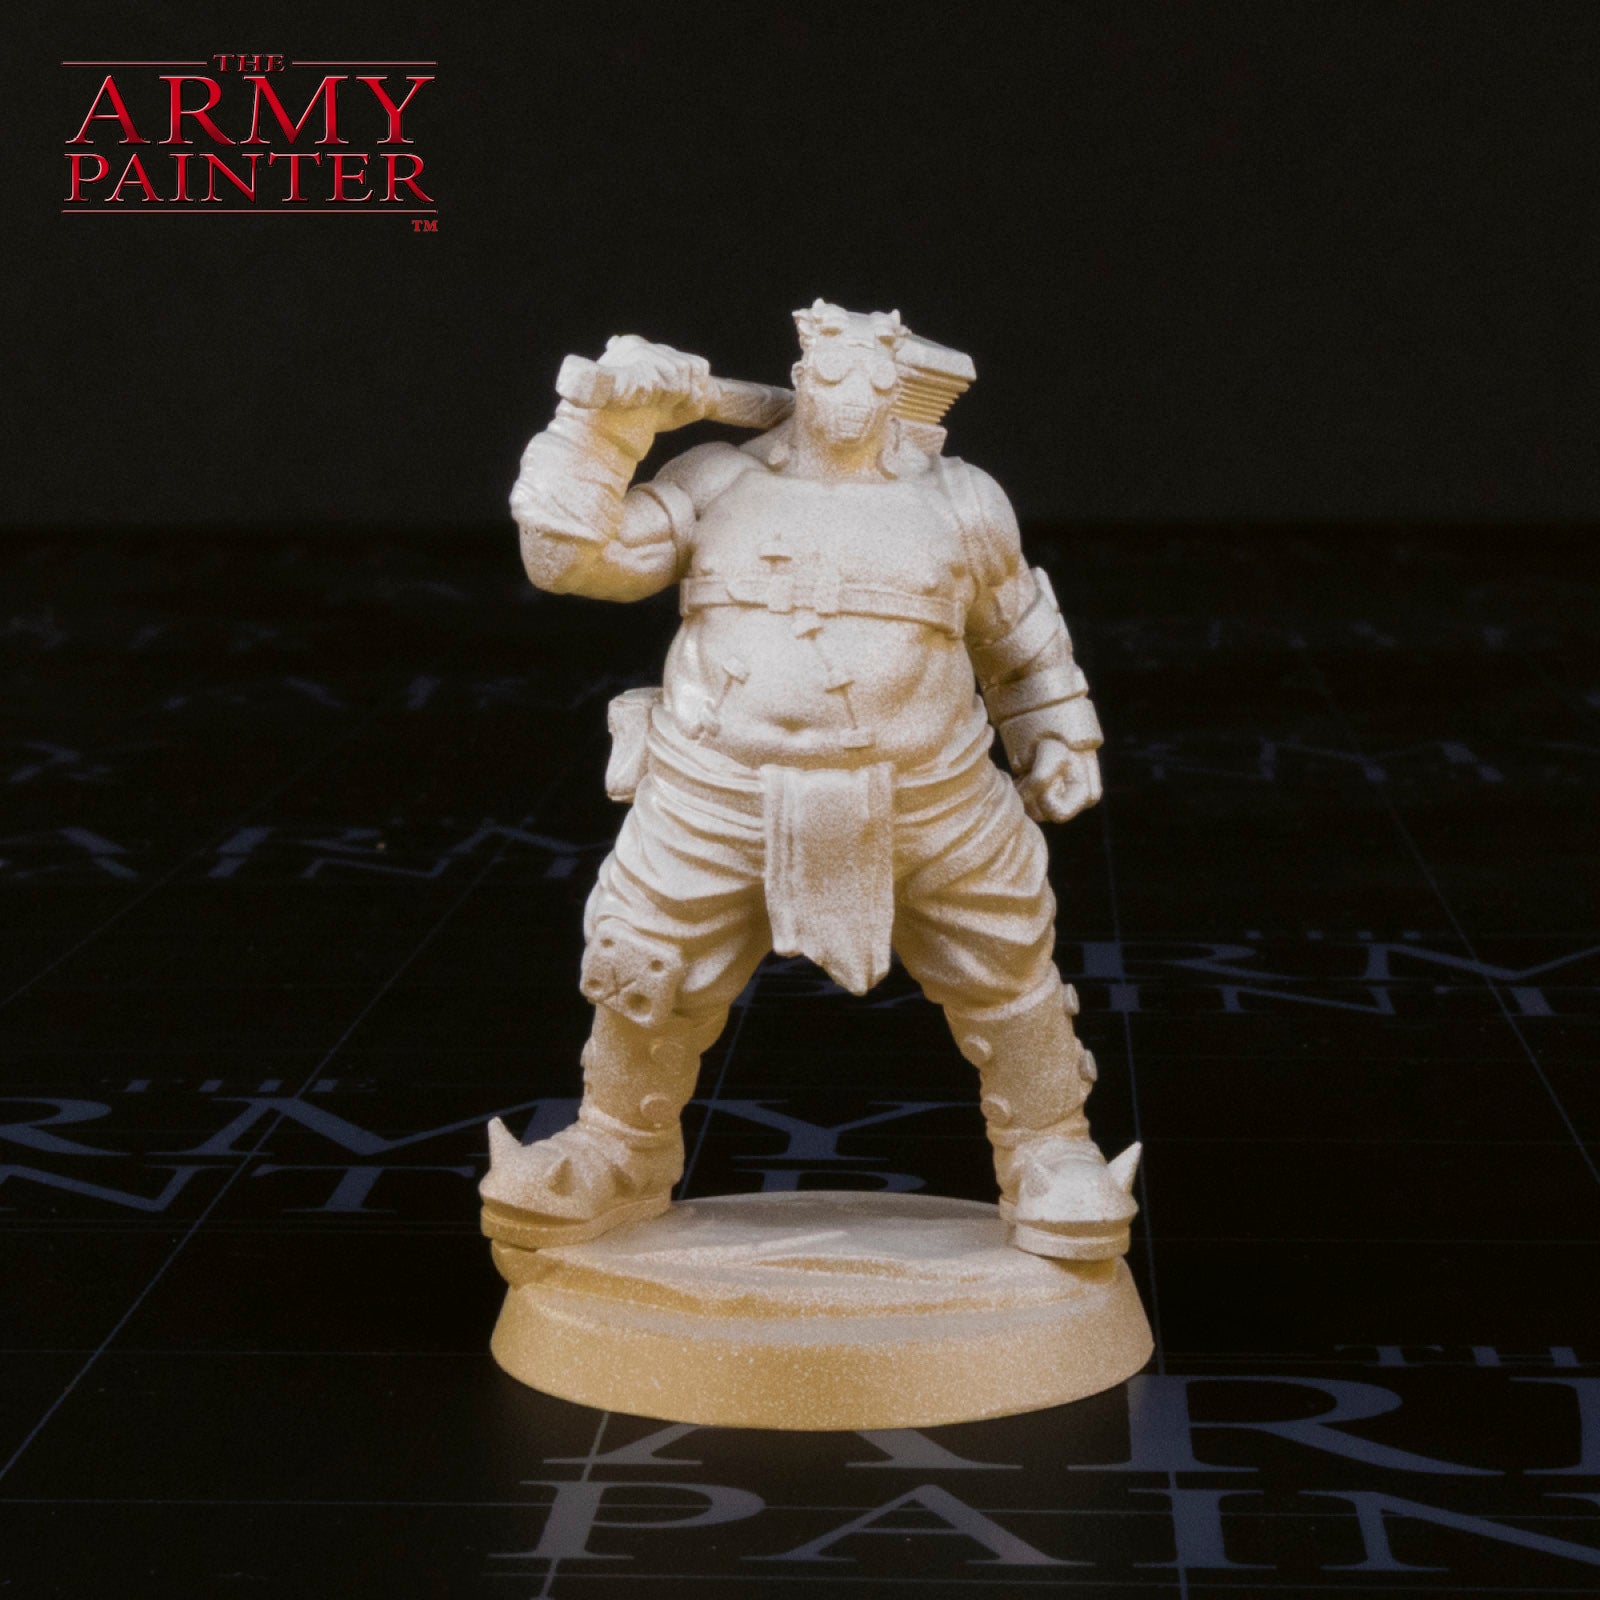
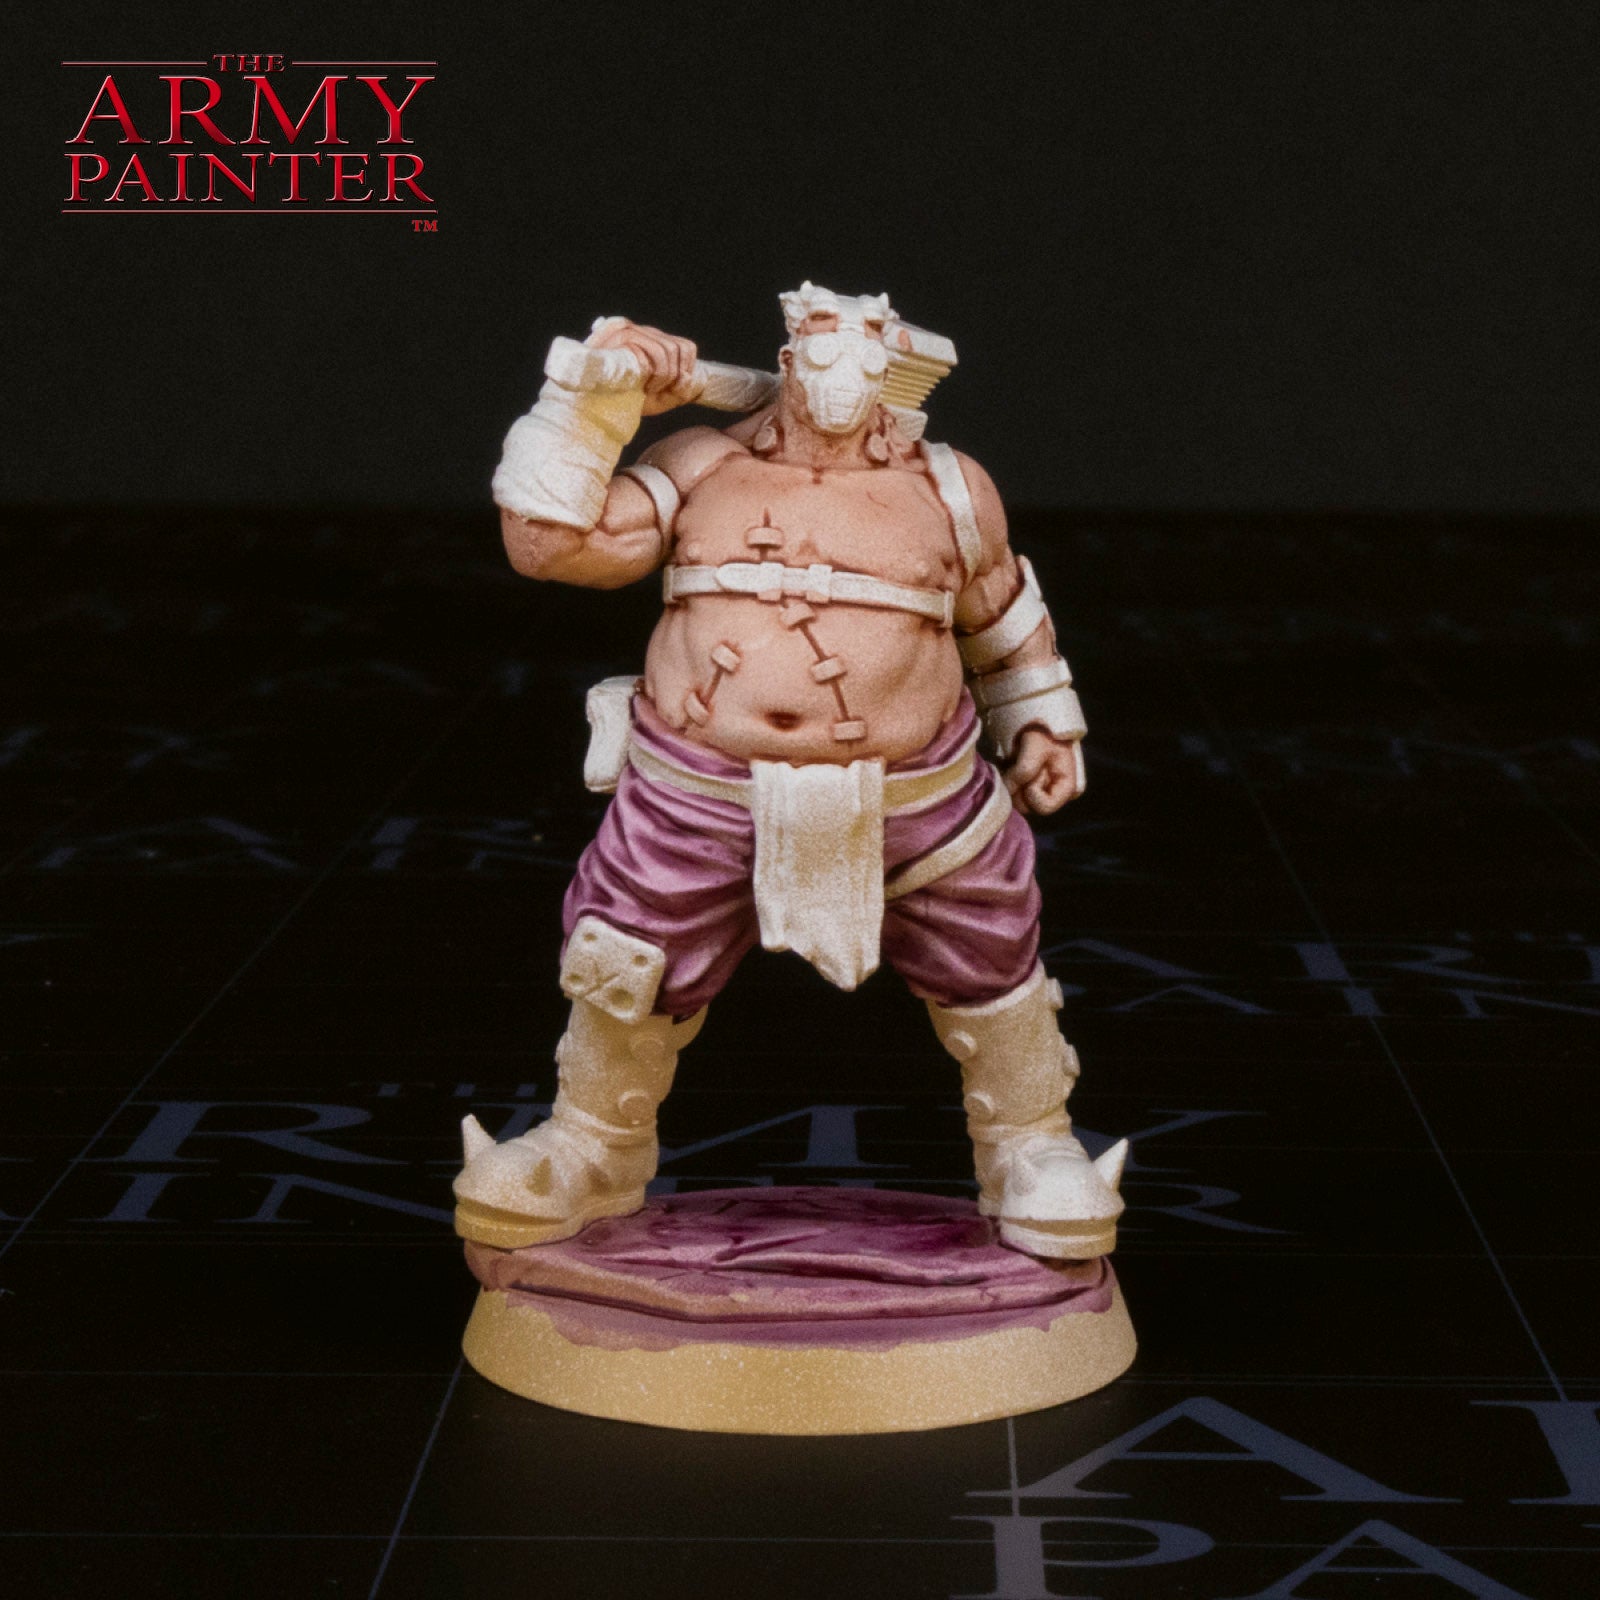
Prime the model with Desert Yellow Colour Primer, followed by a zenithal prime of Brainmatter Beige Colour Primer.
Step 2
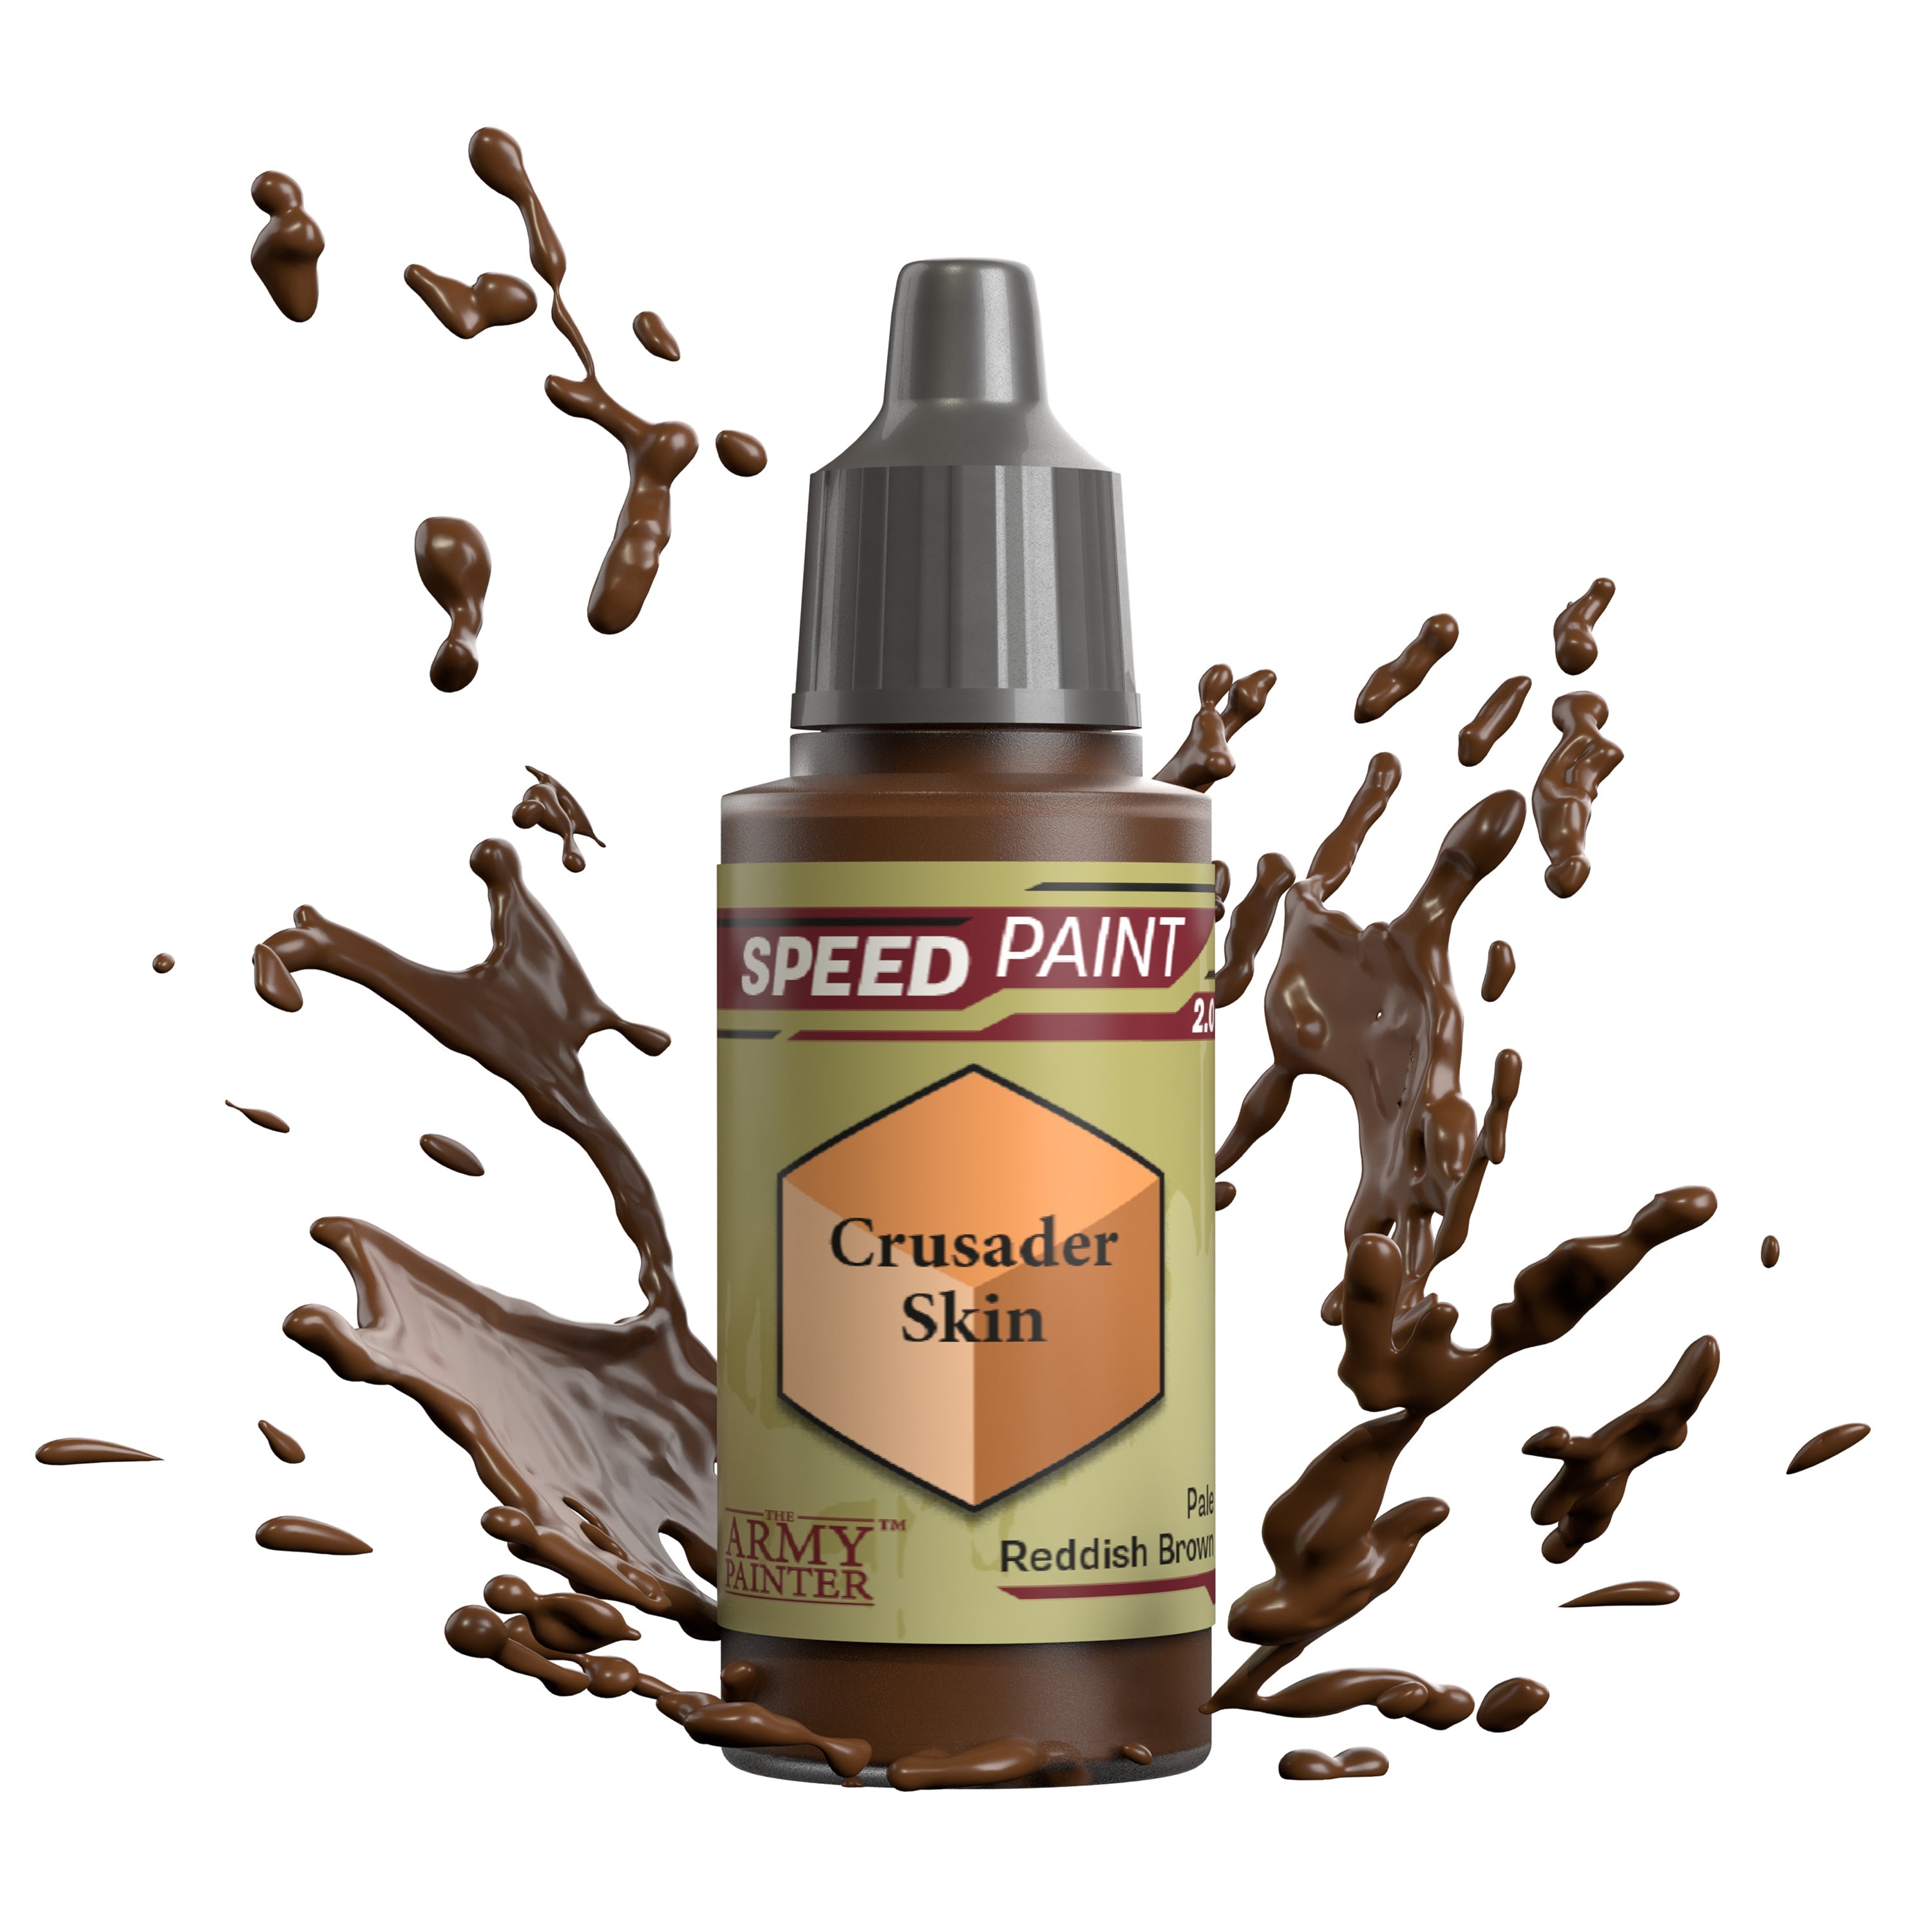
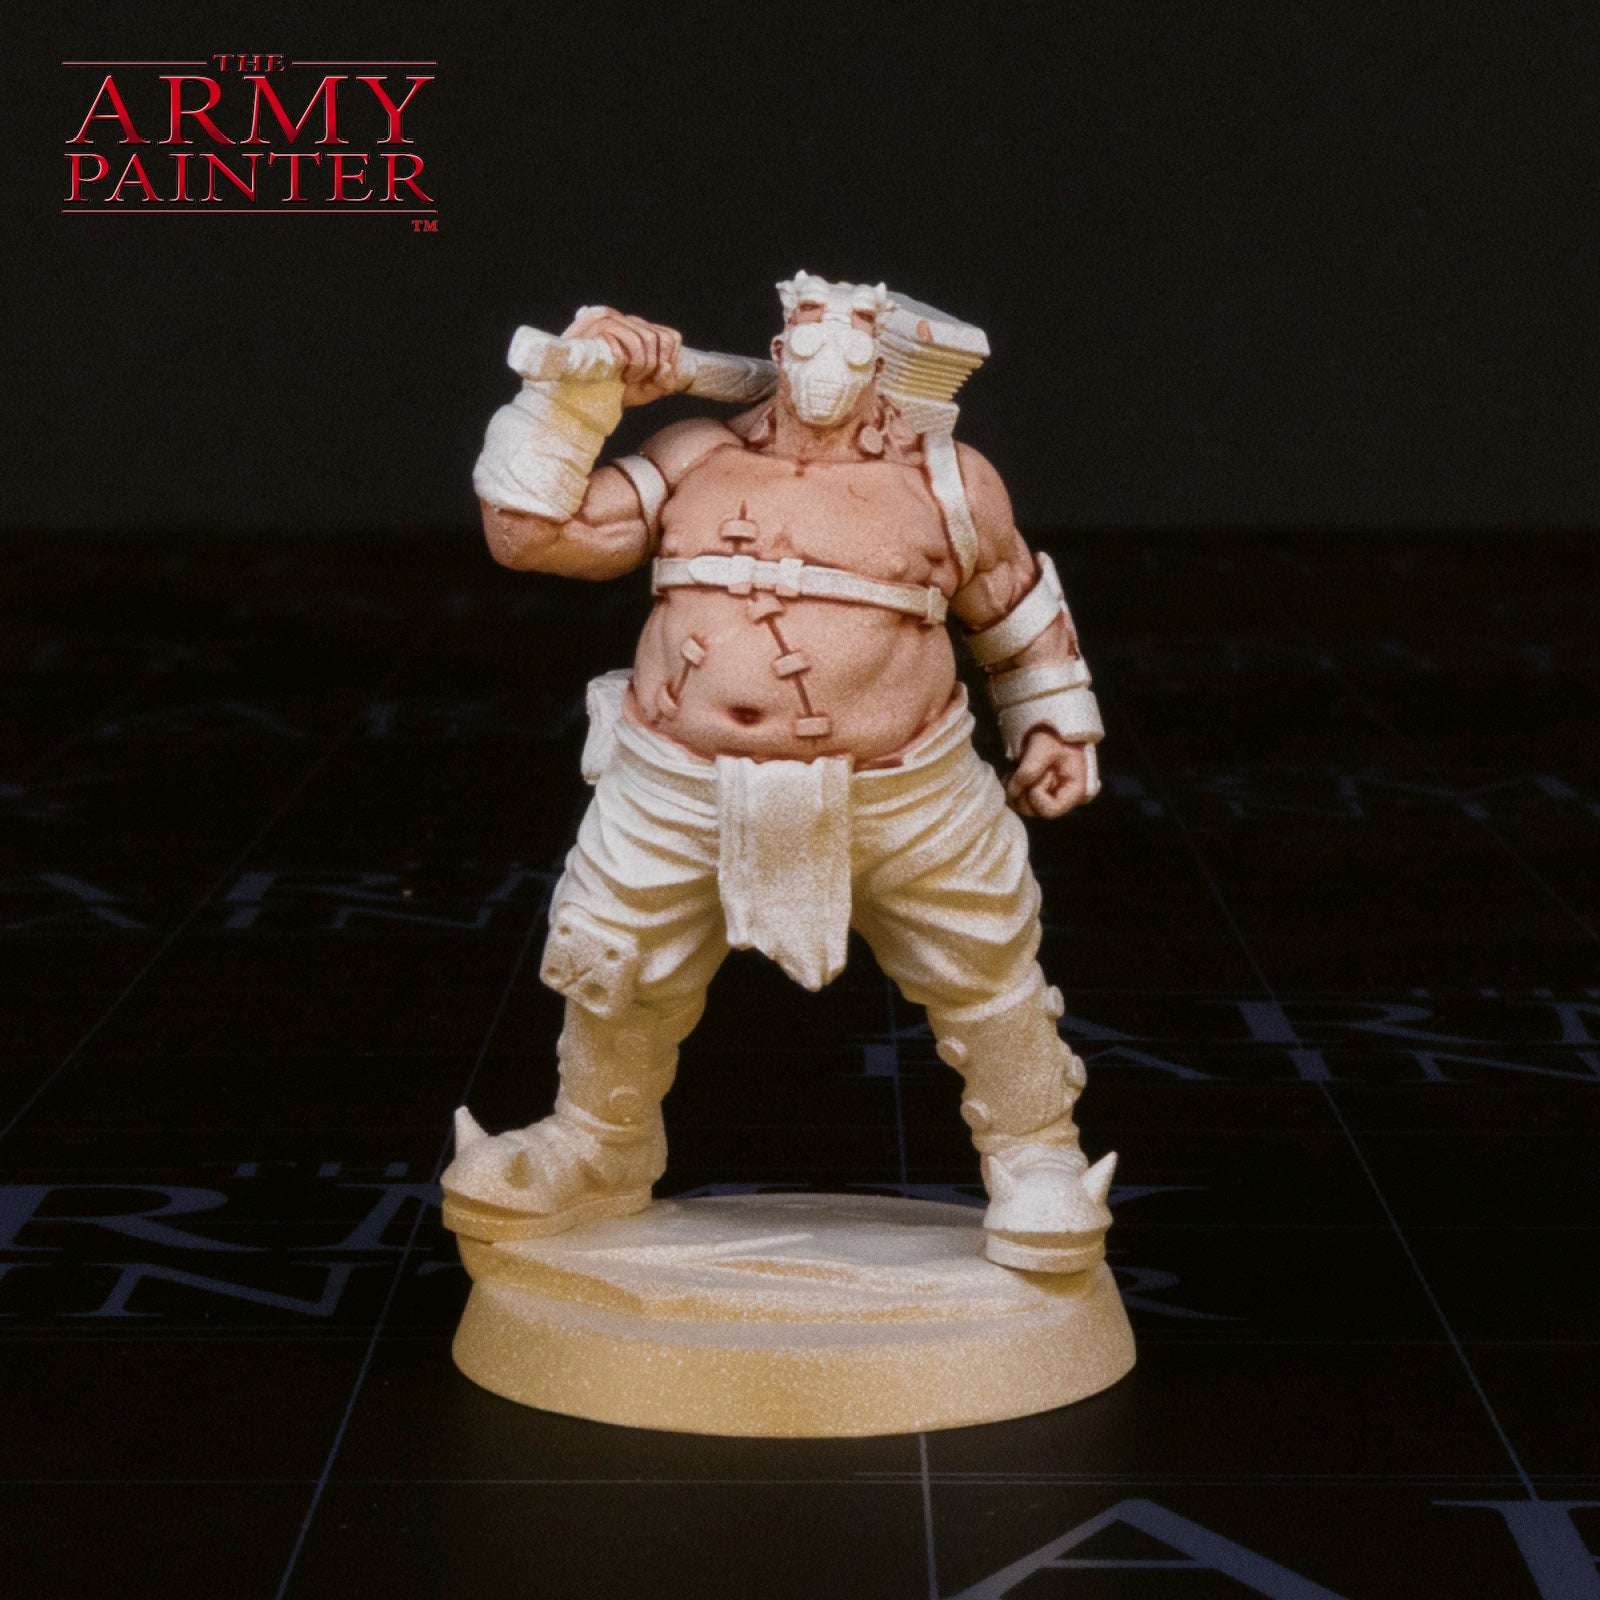
Apply a coat of Speedpaint Crusader Skin over all the flesh areas.
Step 3
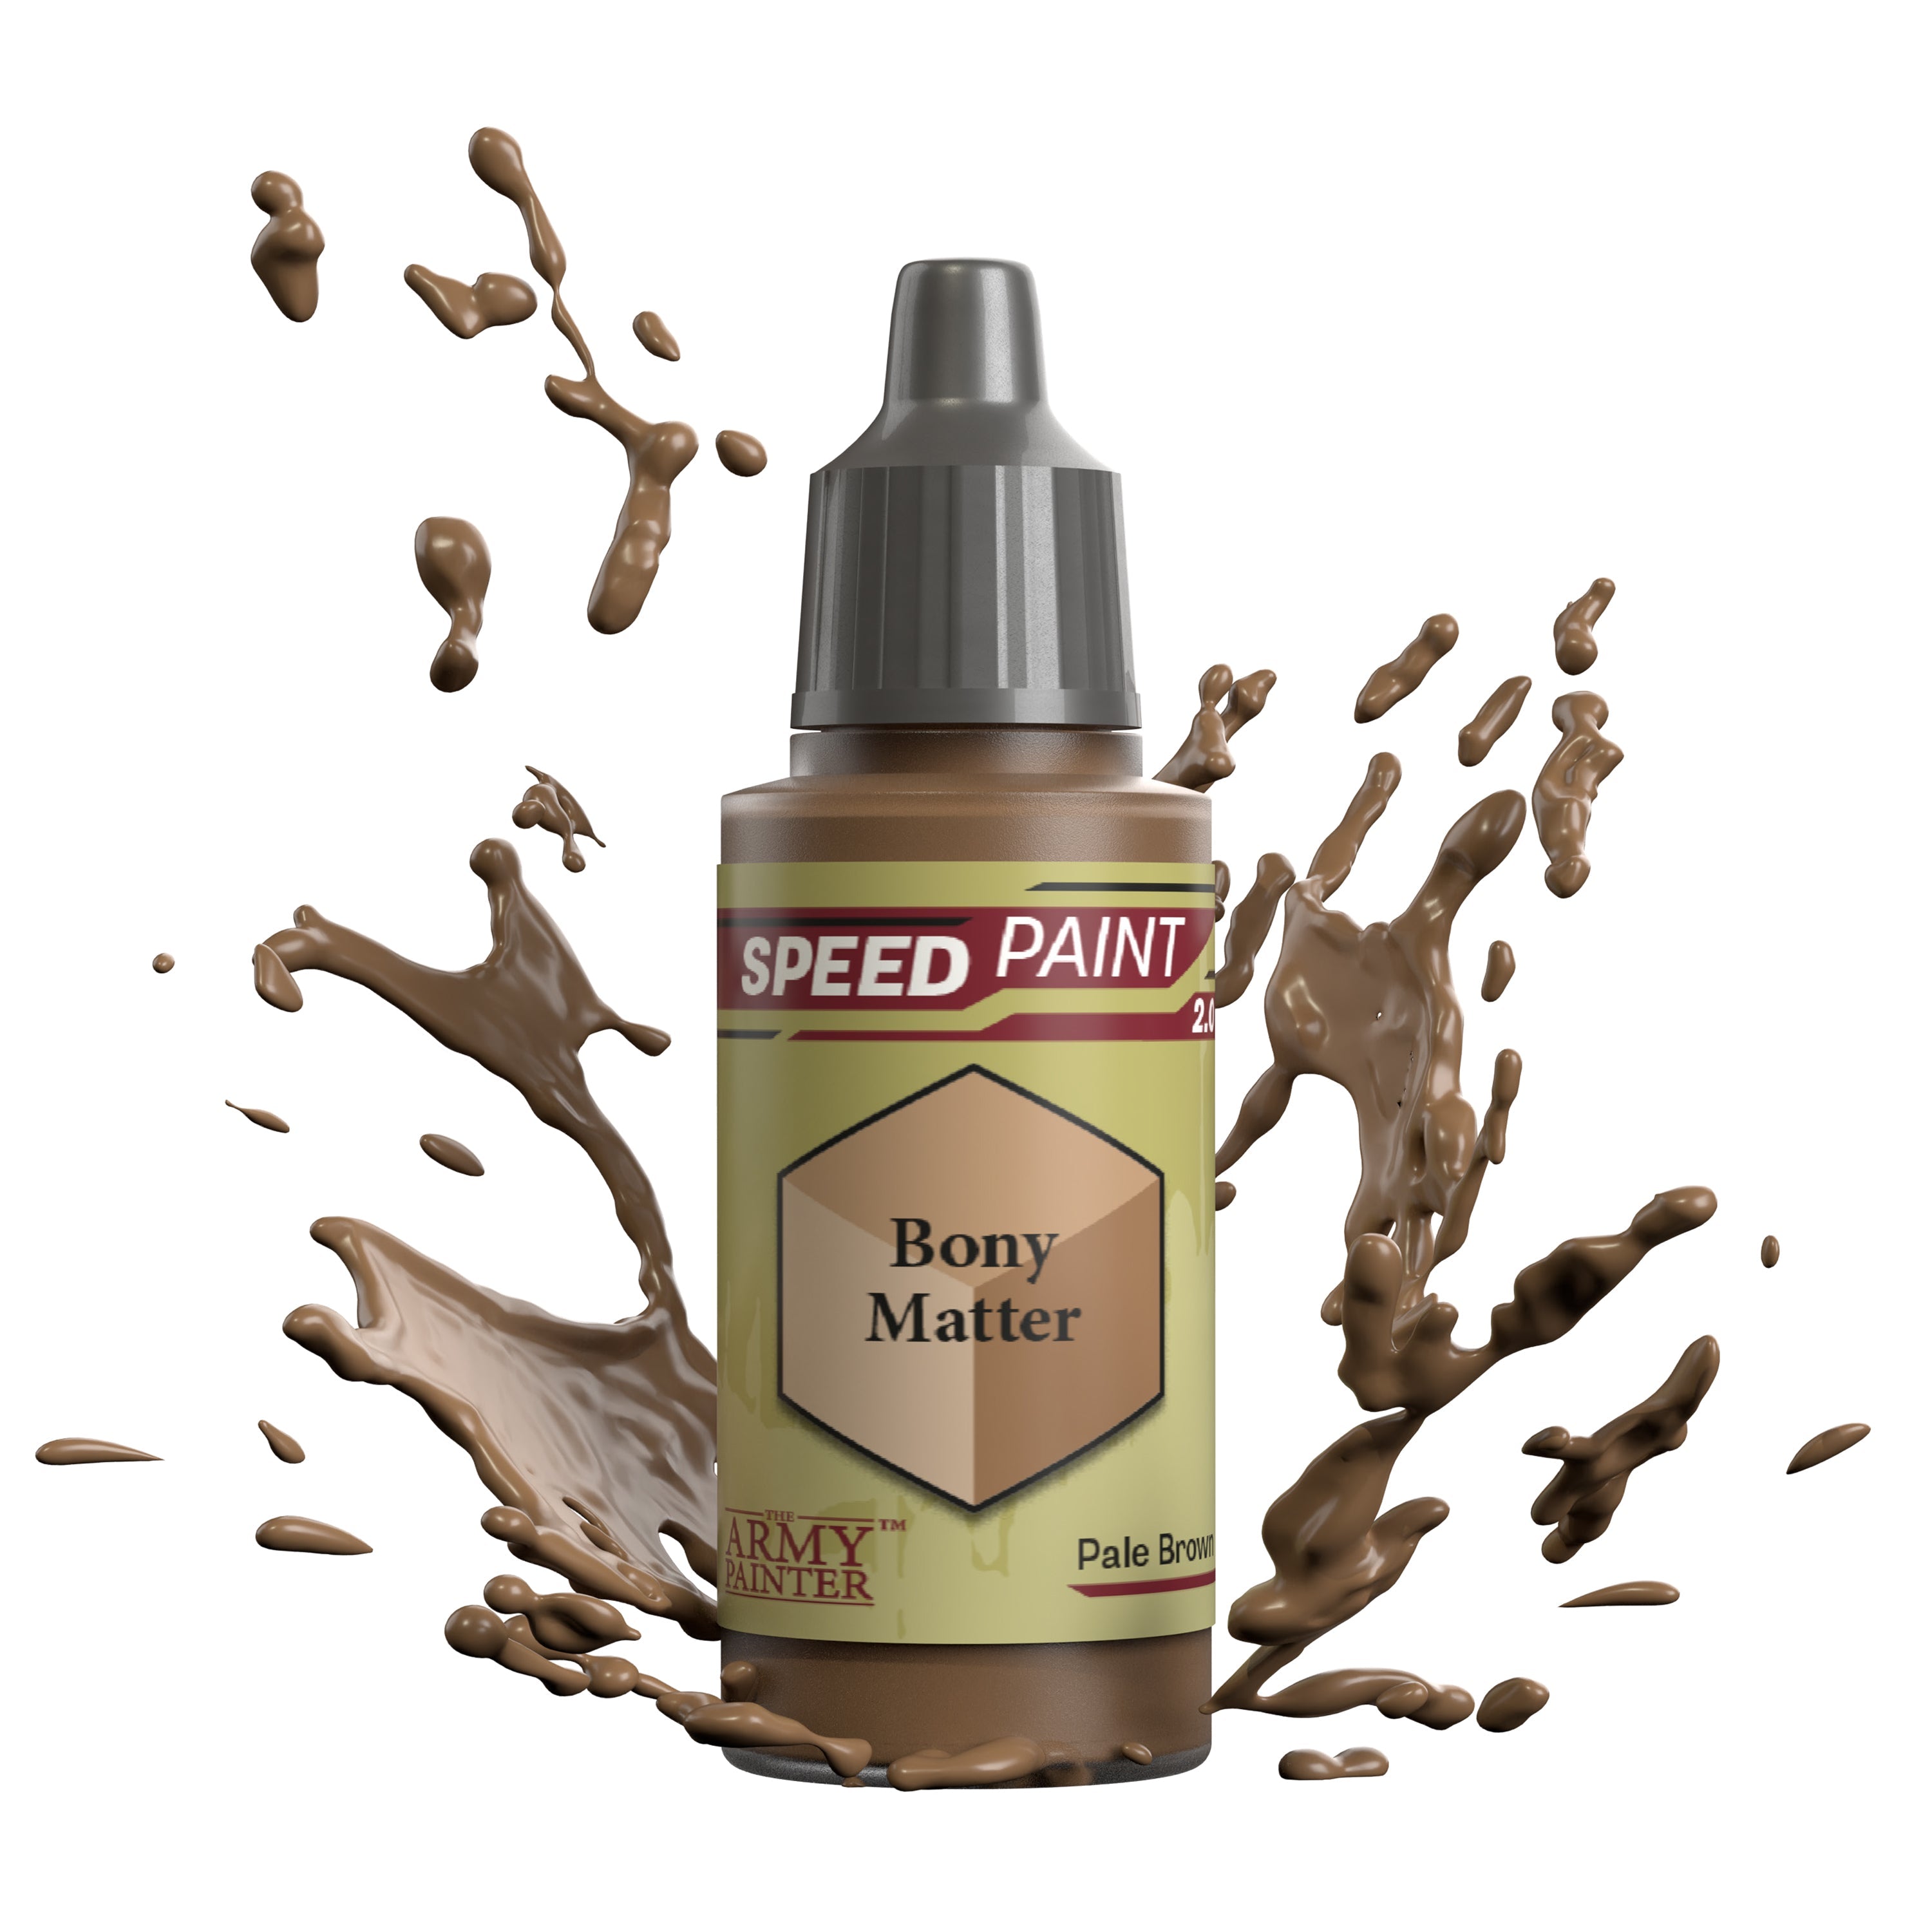
To start working in the ambient light that will reflect off the finished miniature, paint the trousers with a 2:2:3 mix of Speedpaint Moonlake Coral, Bony Matter, and Speedpaint Medium. Also, paint this all over the base at this point.
Step 4
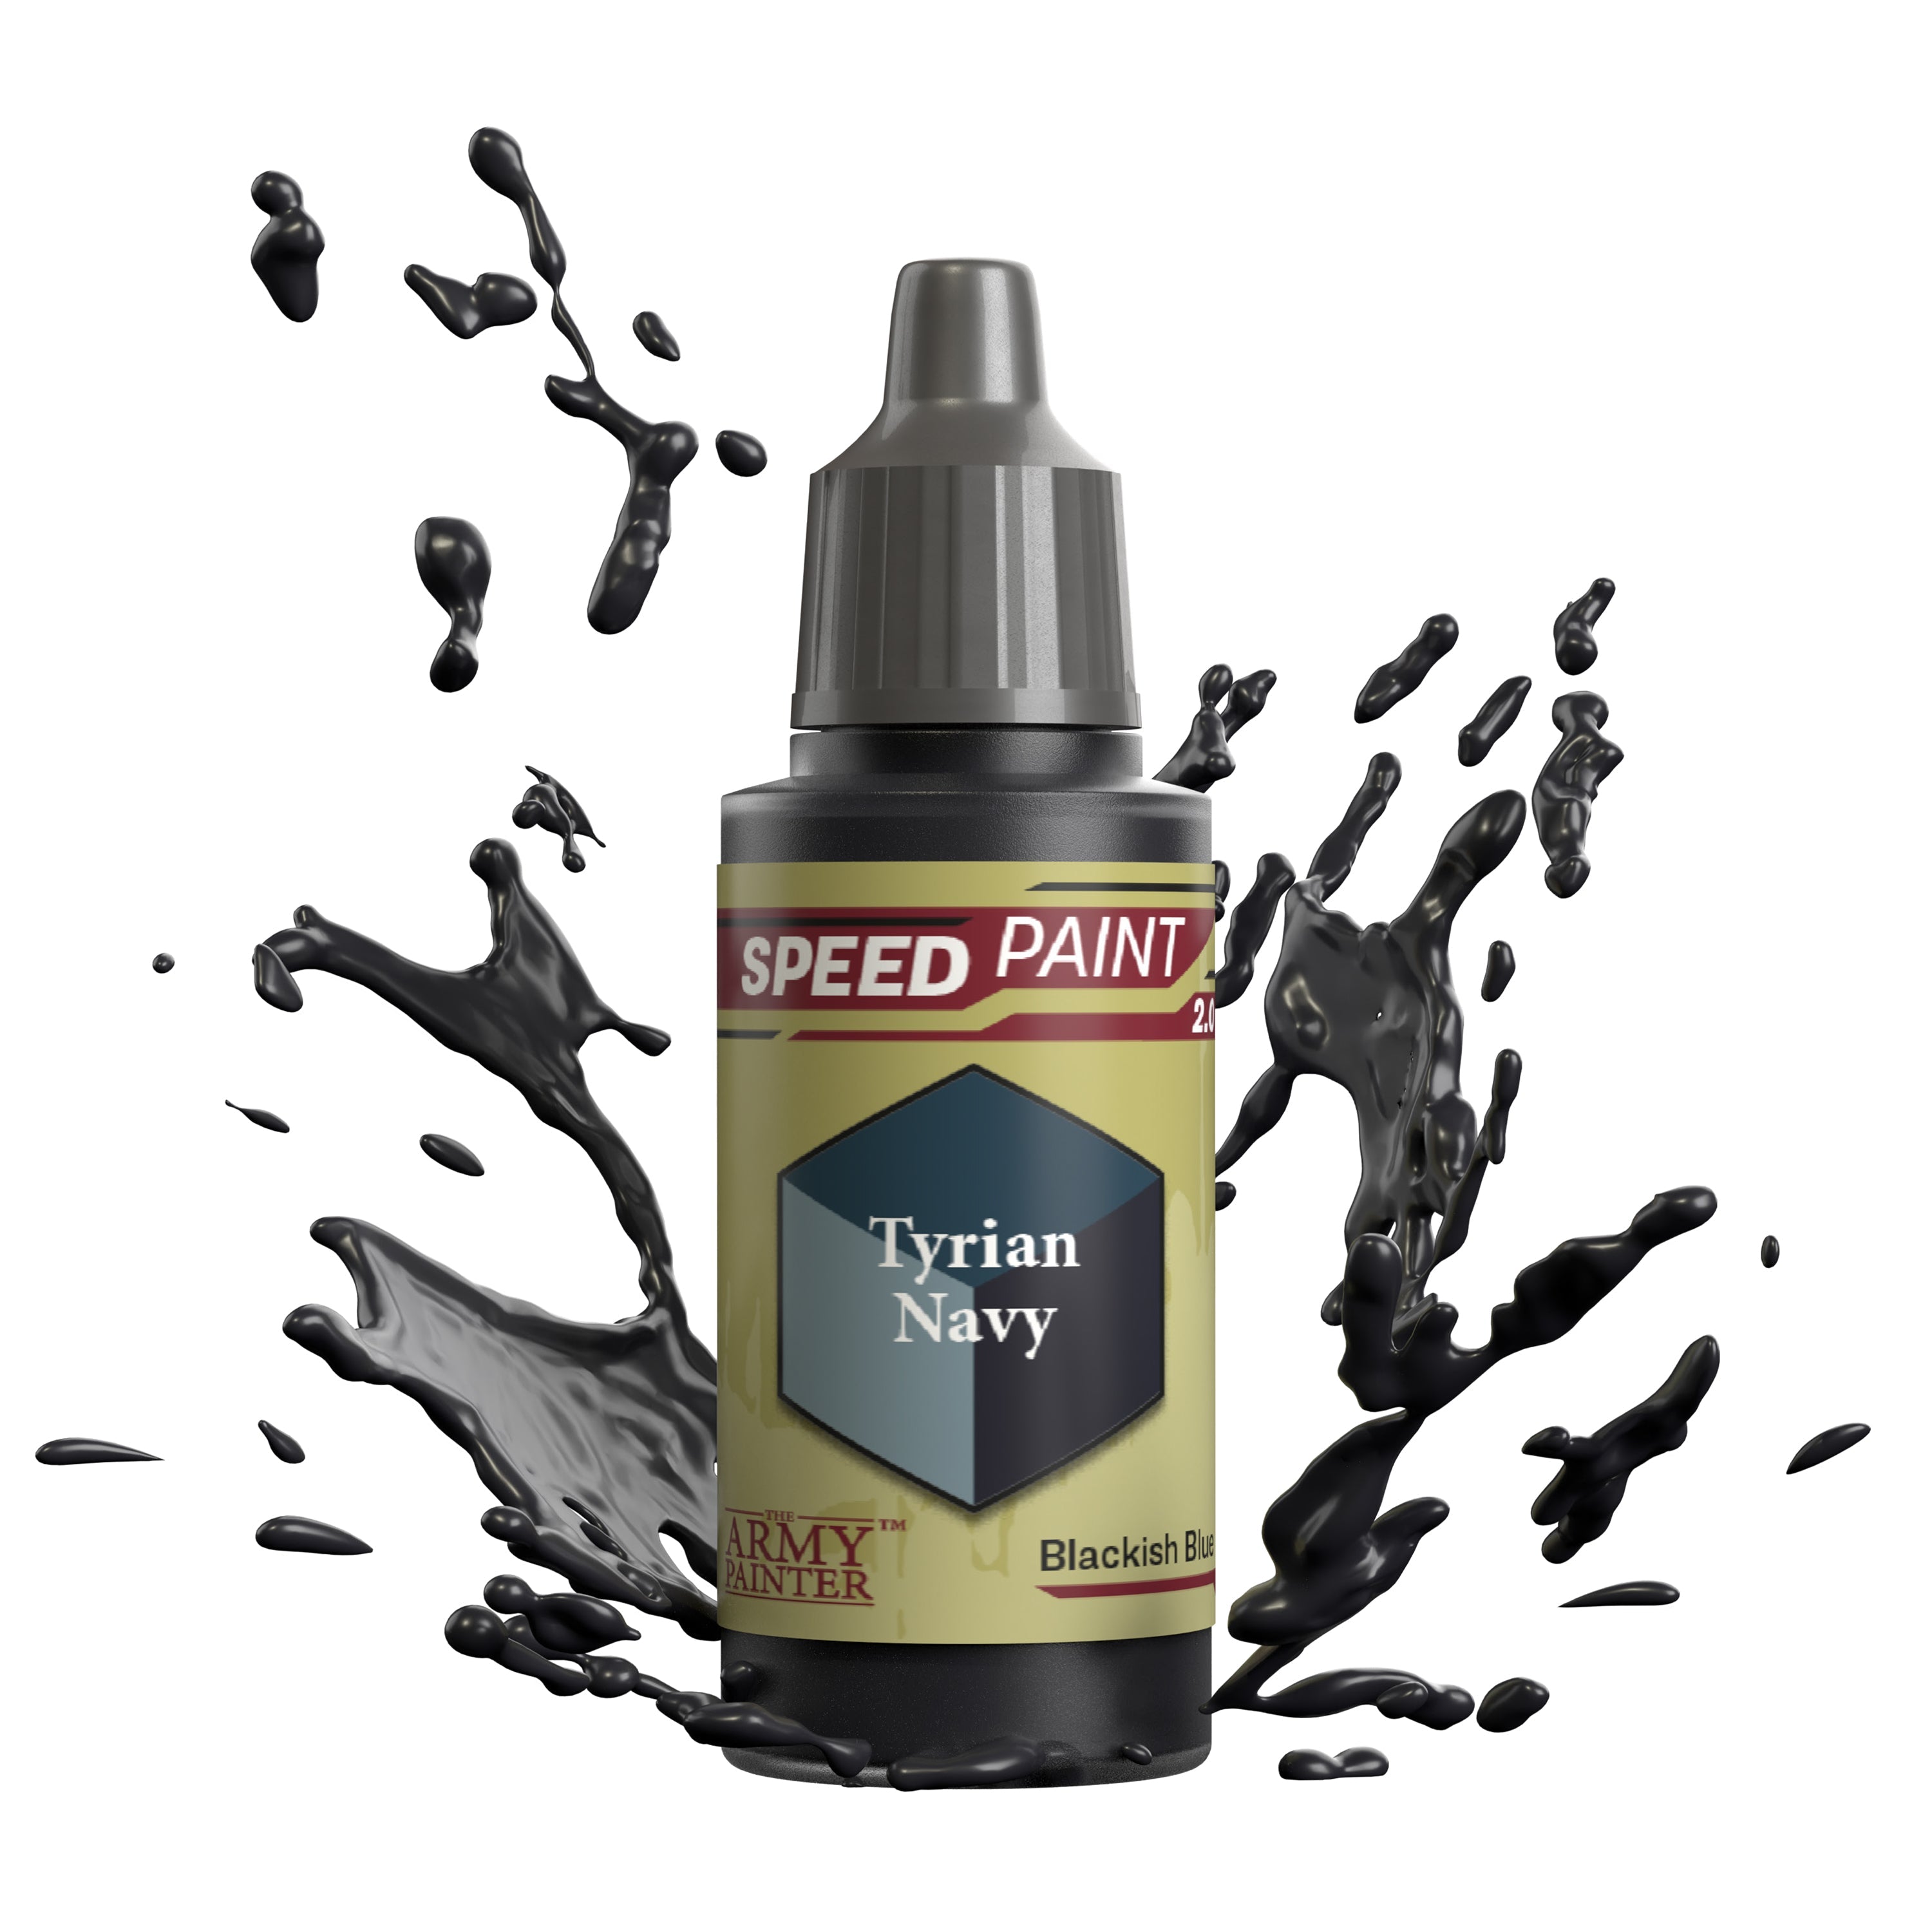
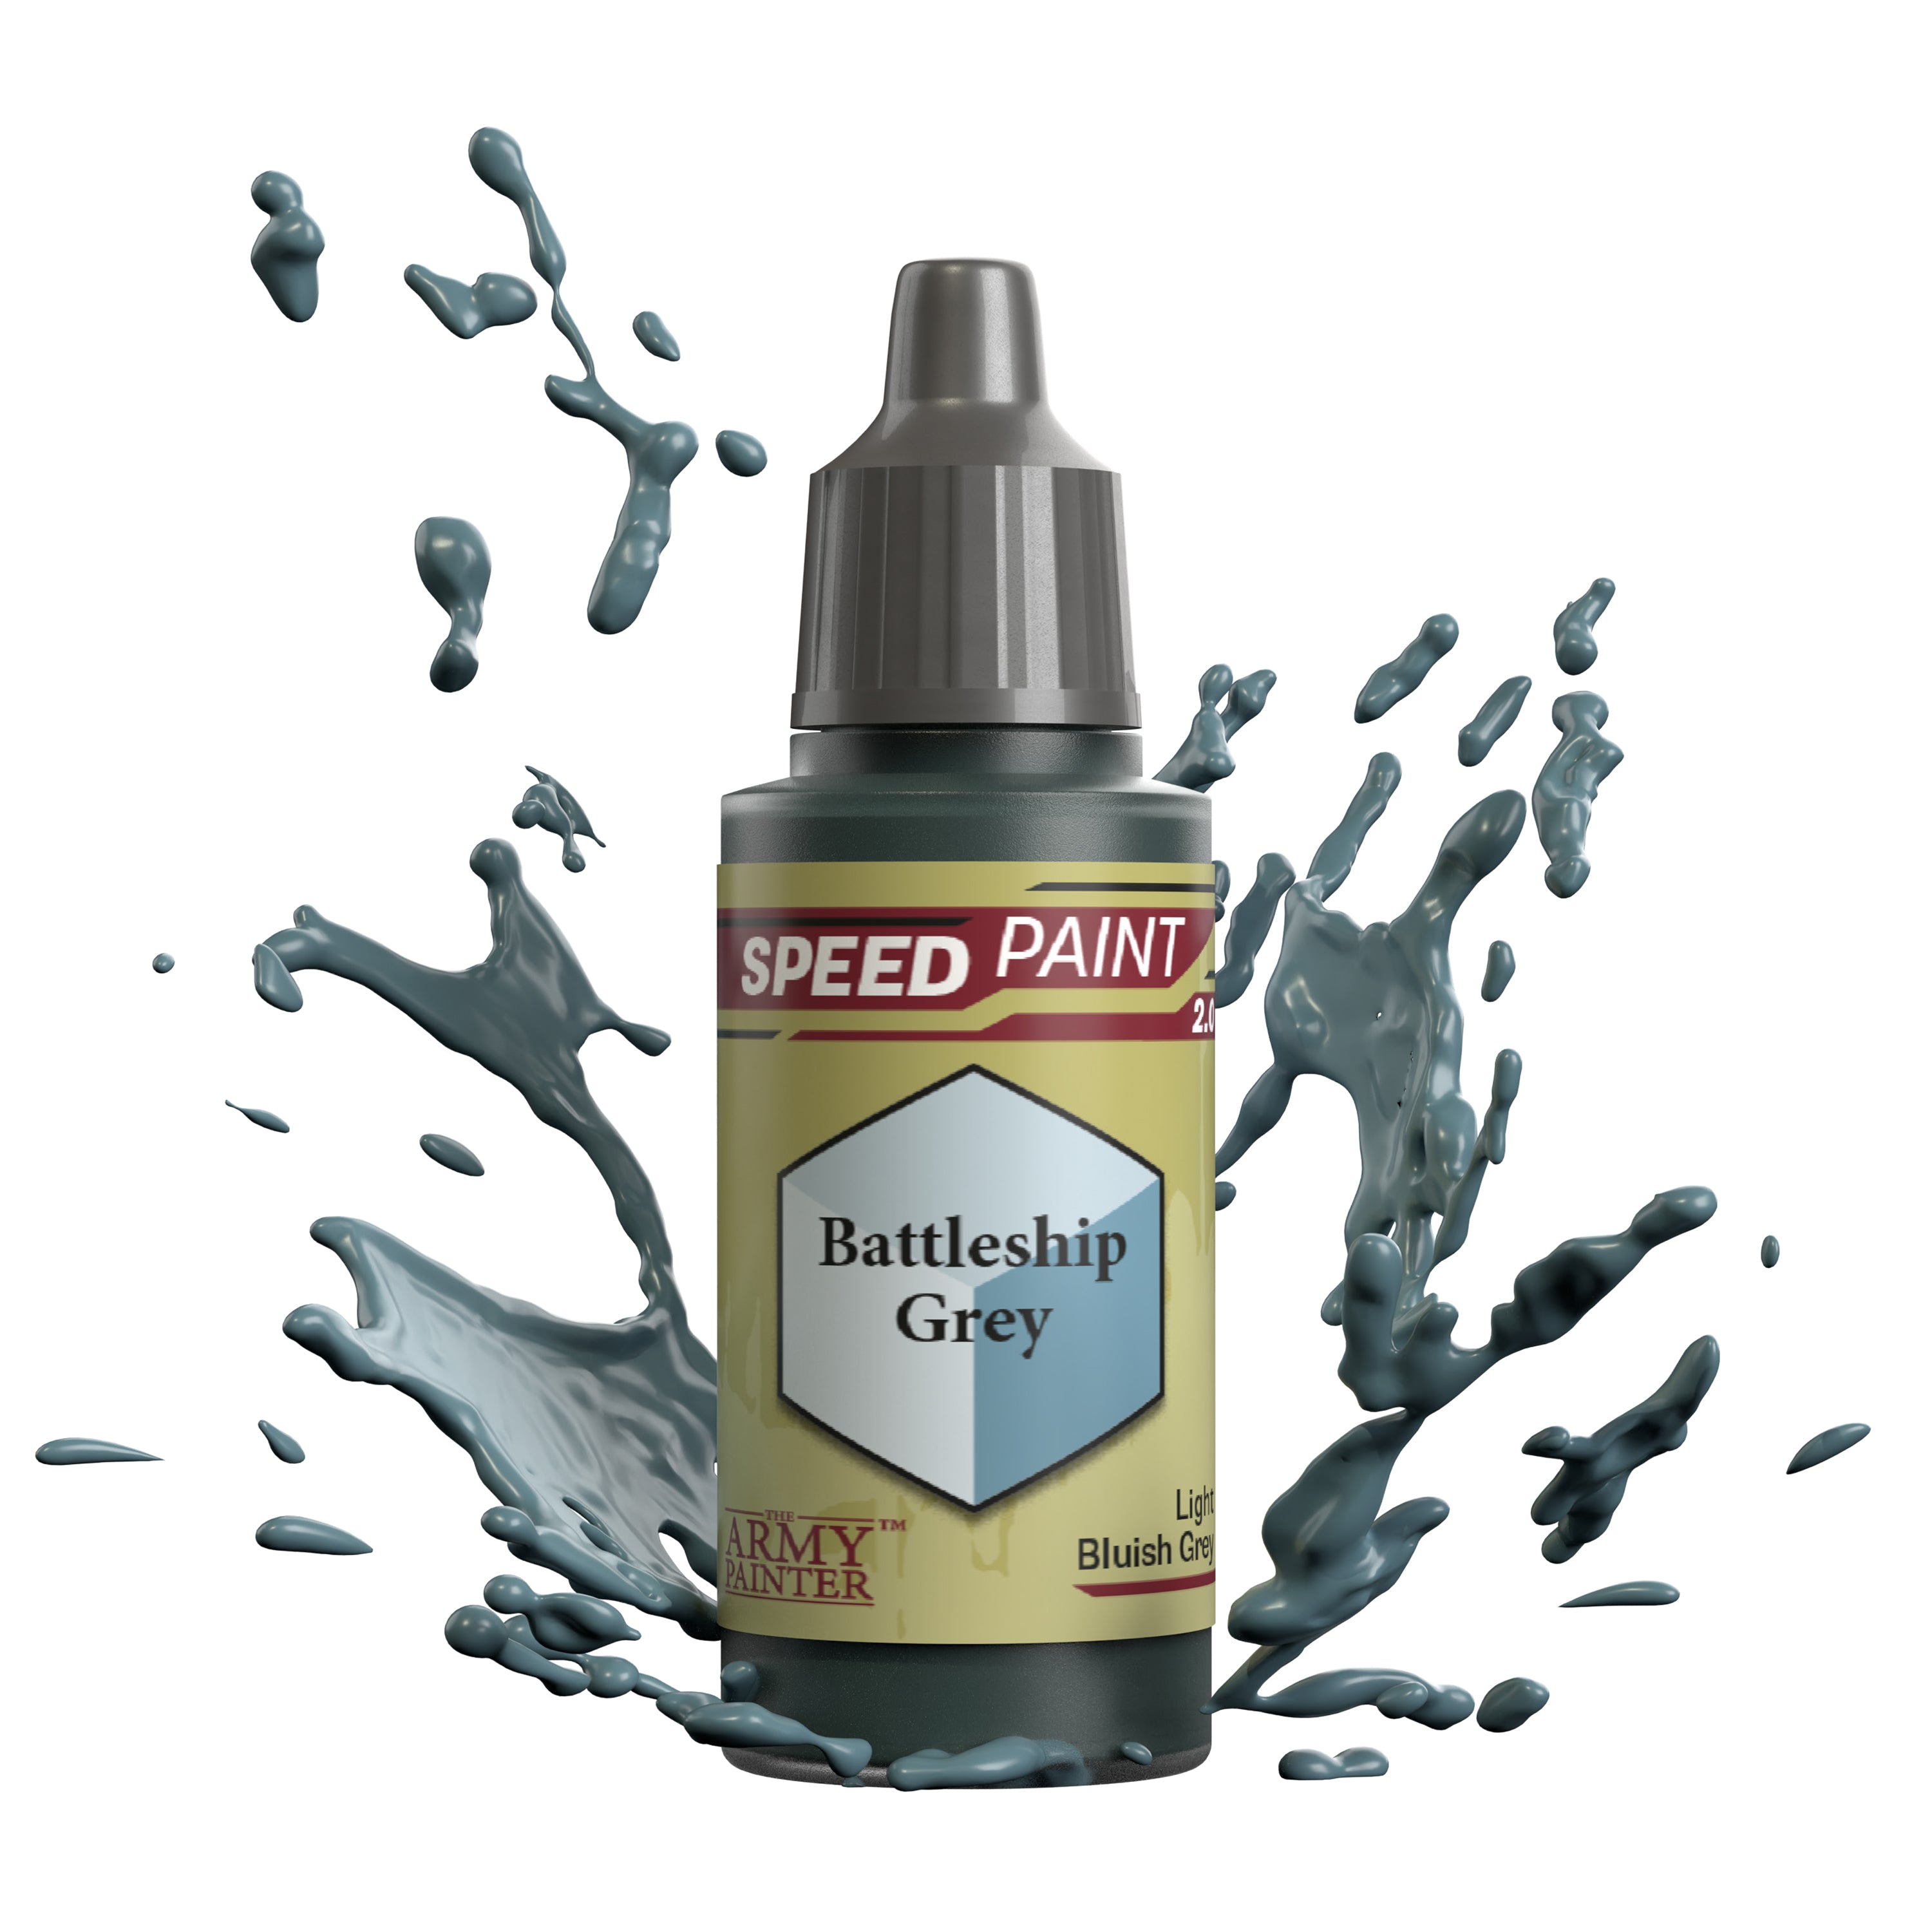
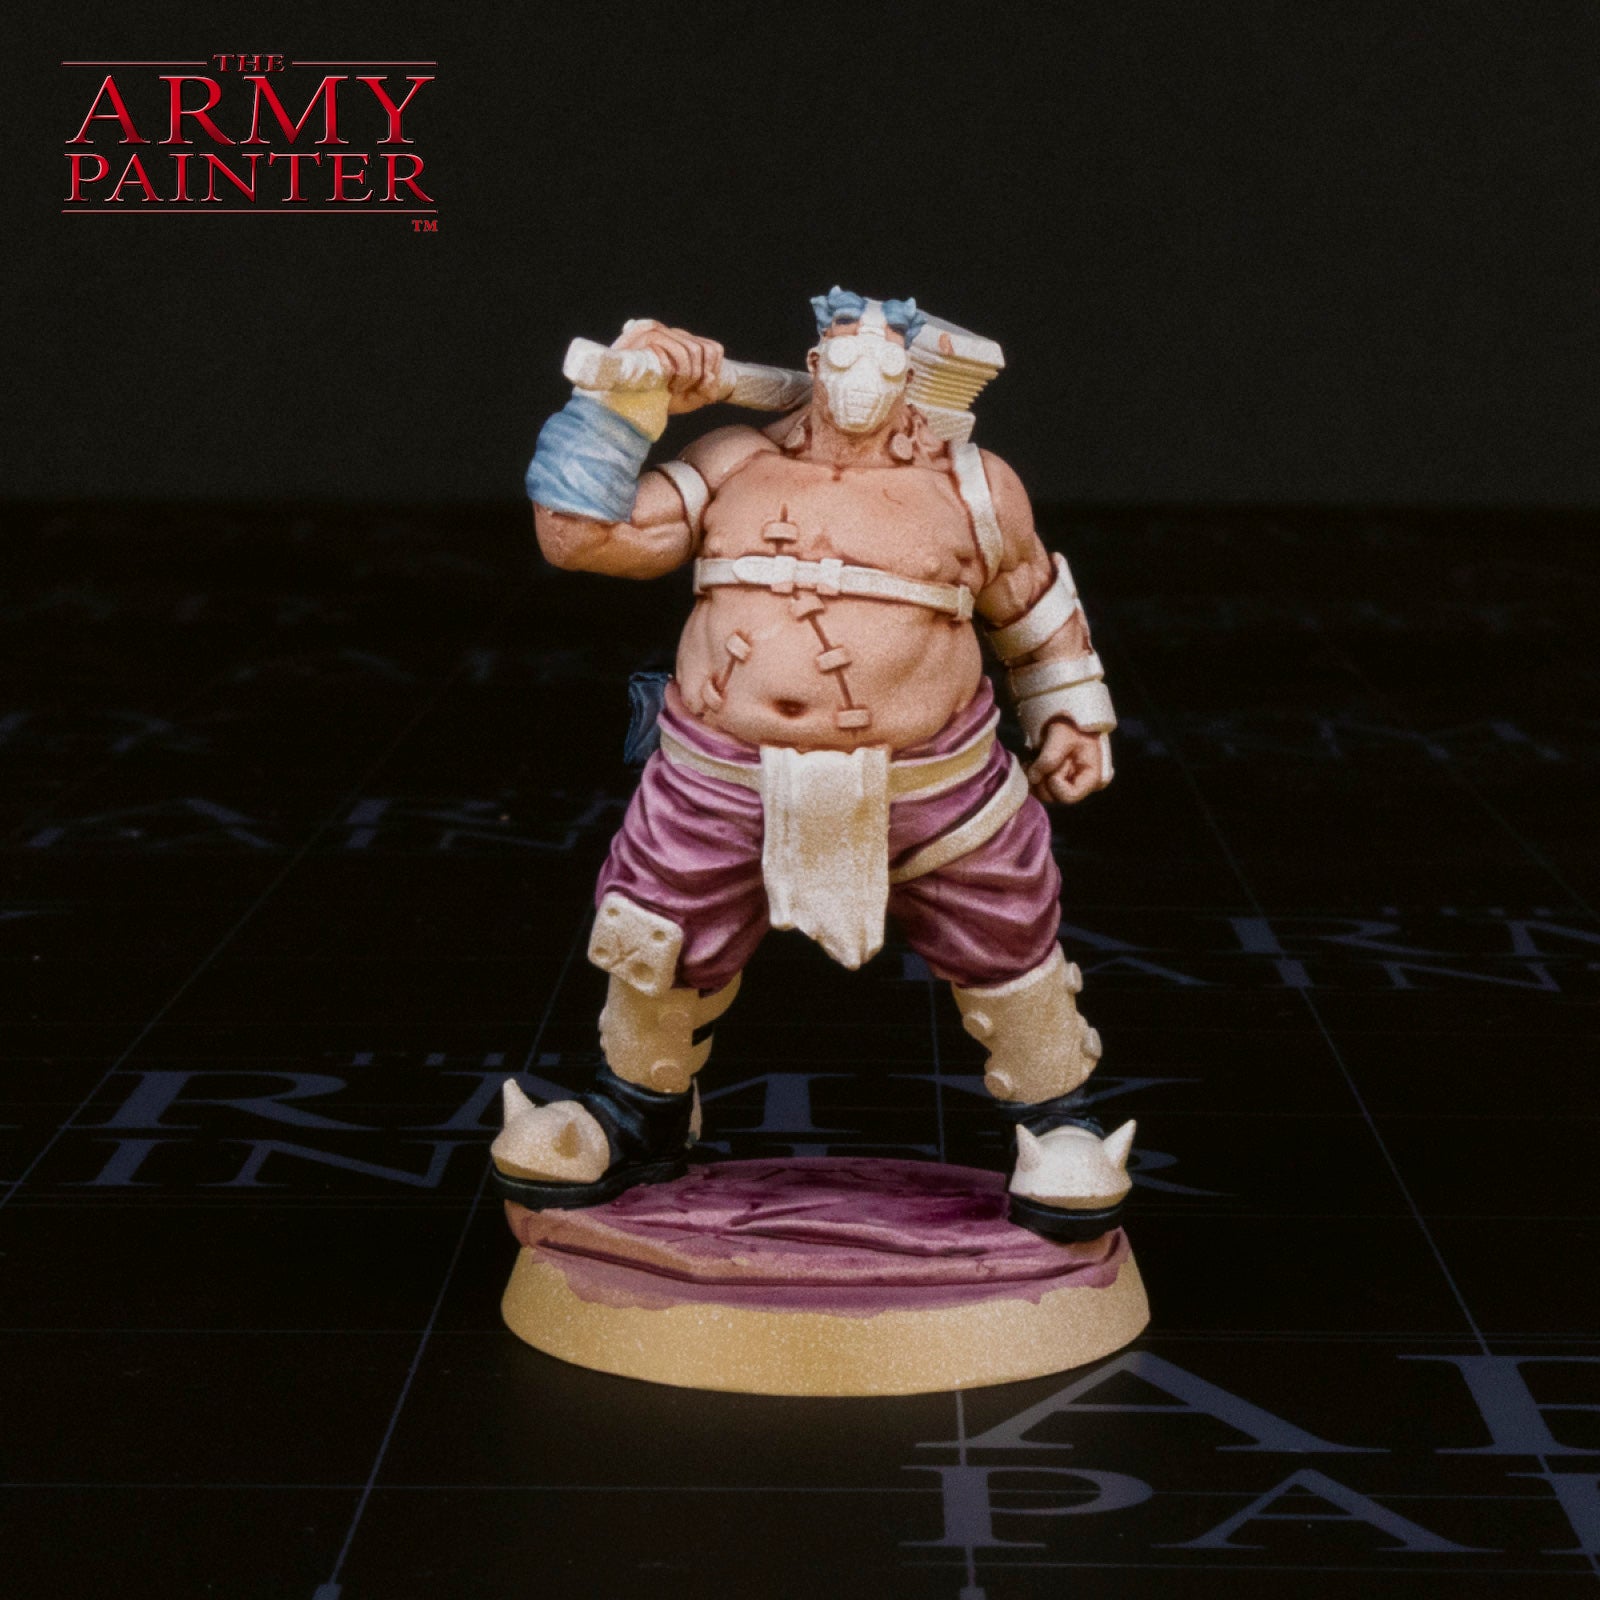
Next, paint the black leather areas with Speedpaint Tyrian Navy for a slight blue tint, and also pick out the bandages and hair with Speedpaint Battleship Grey. You can mix a bit of Tyrian Navy into this as well to add a bit more shadows to select areas.
Step 5
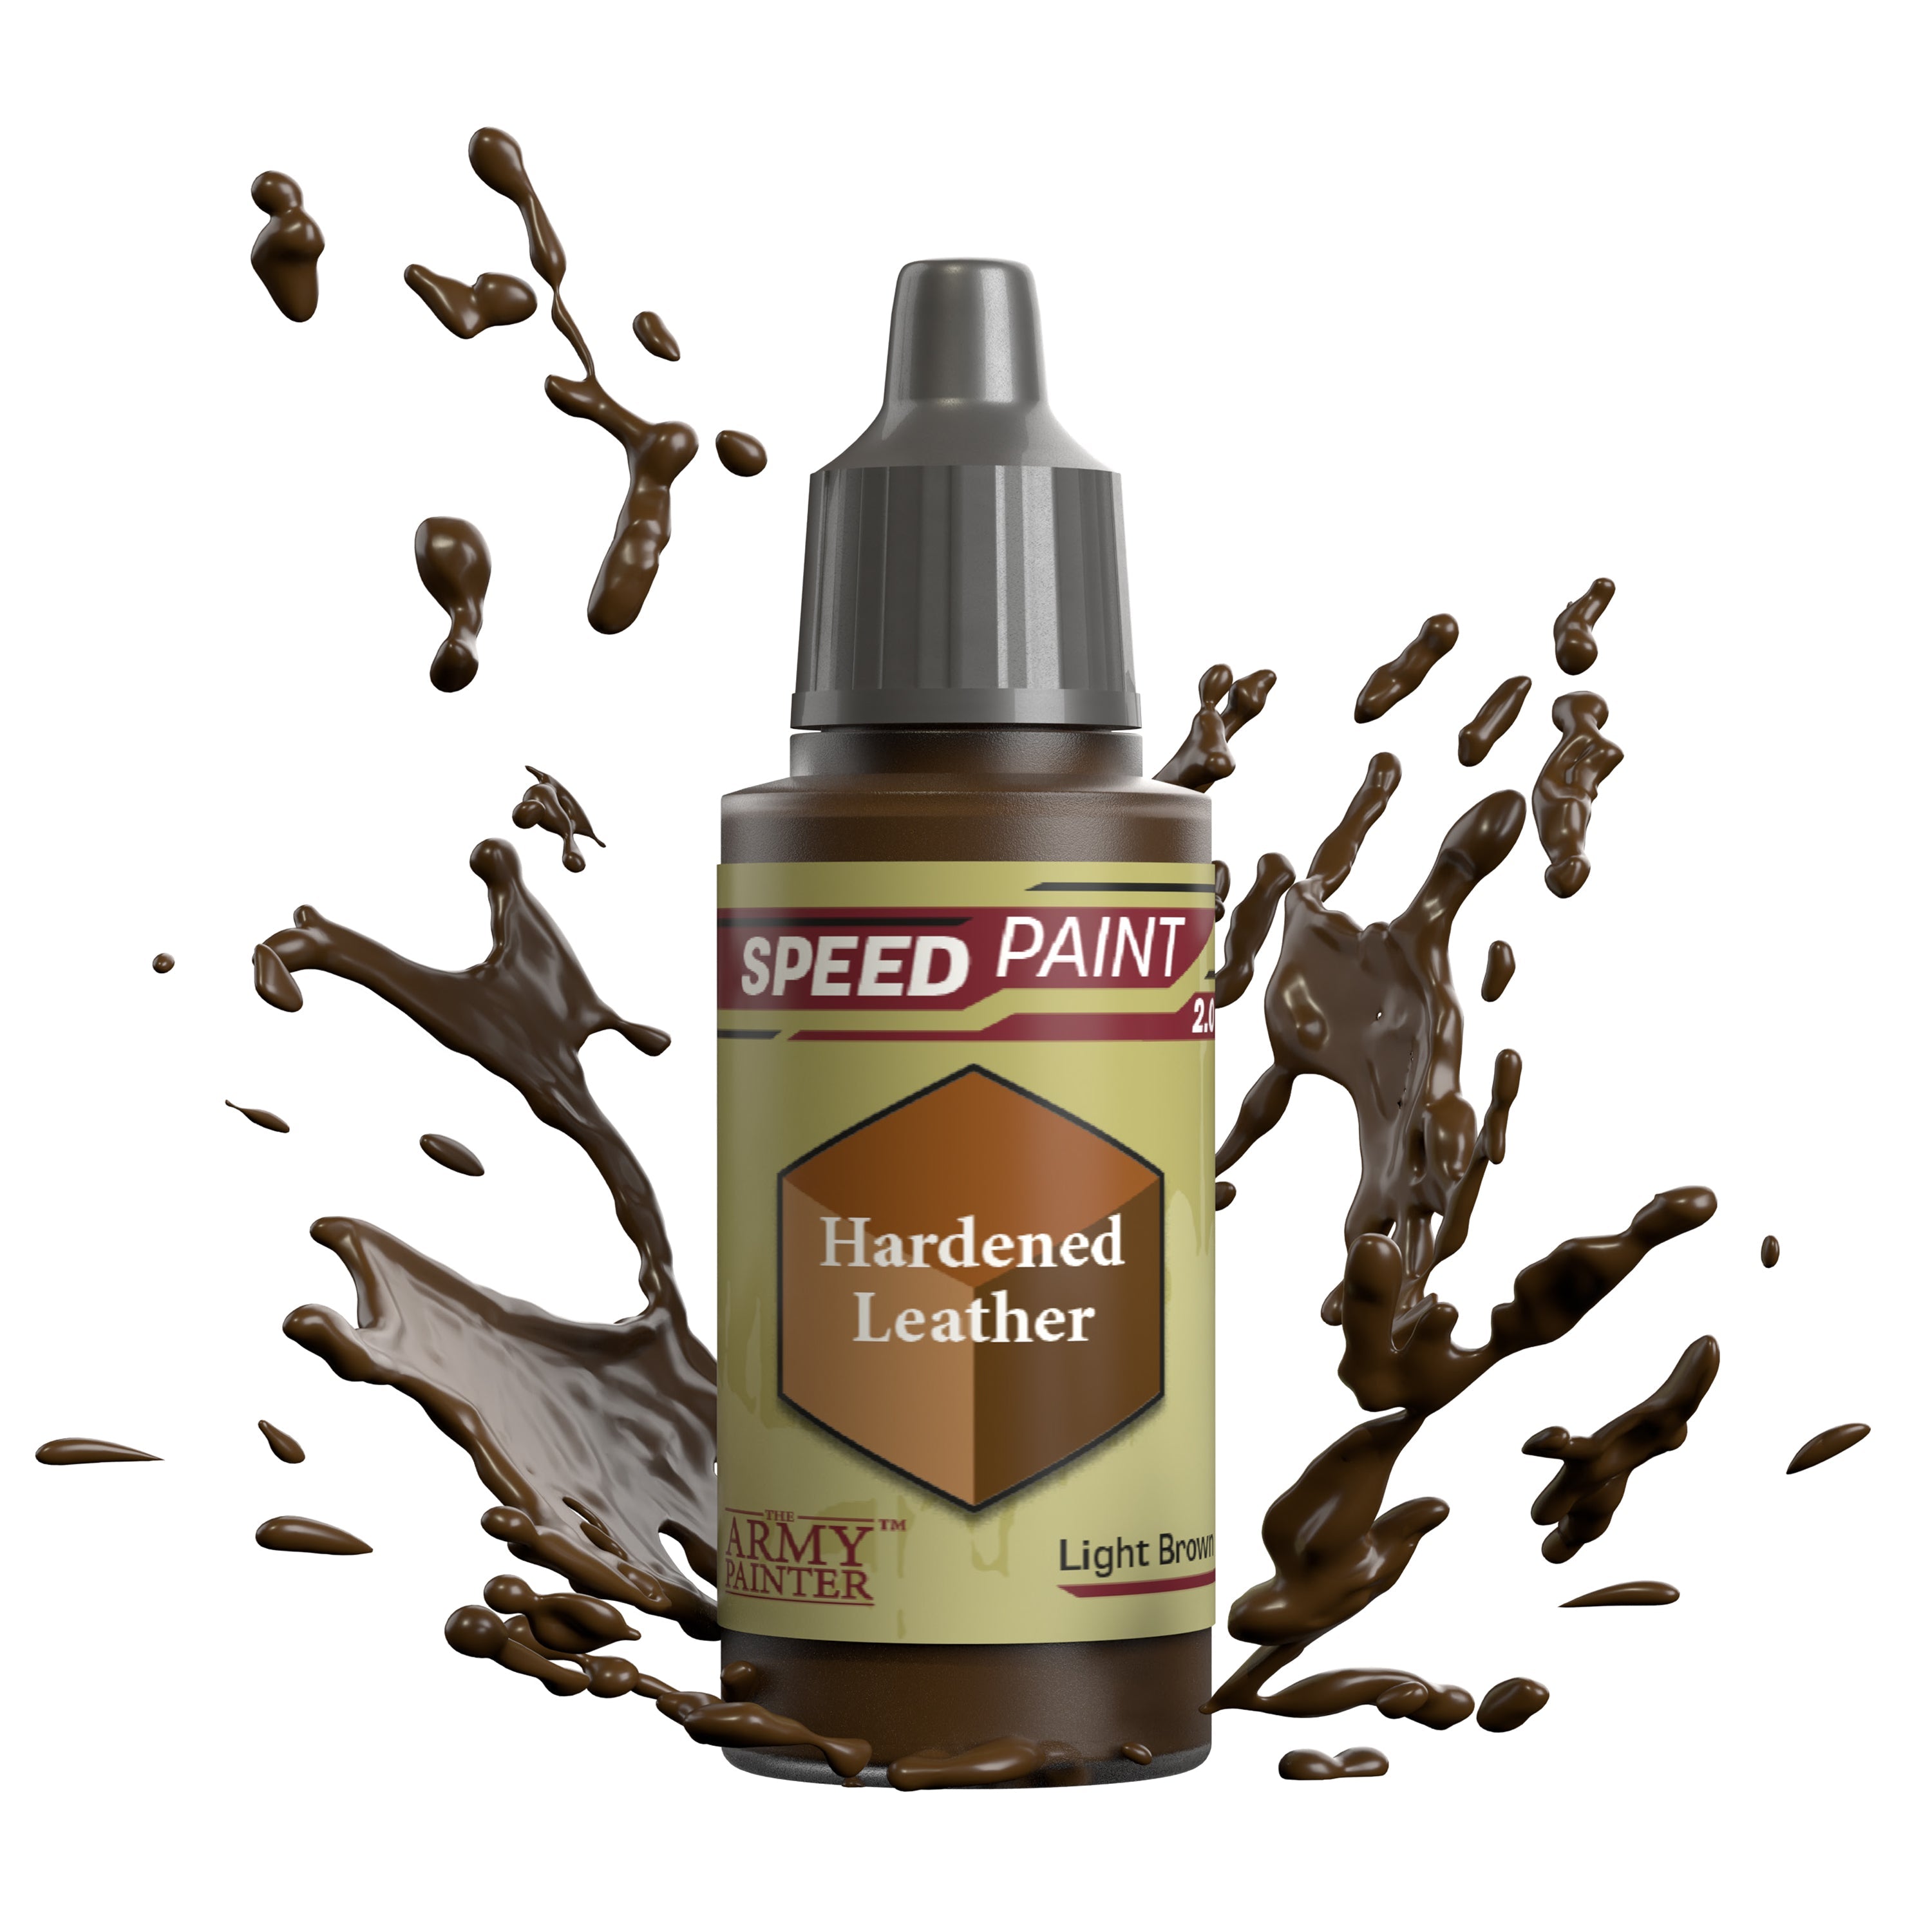
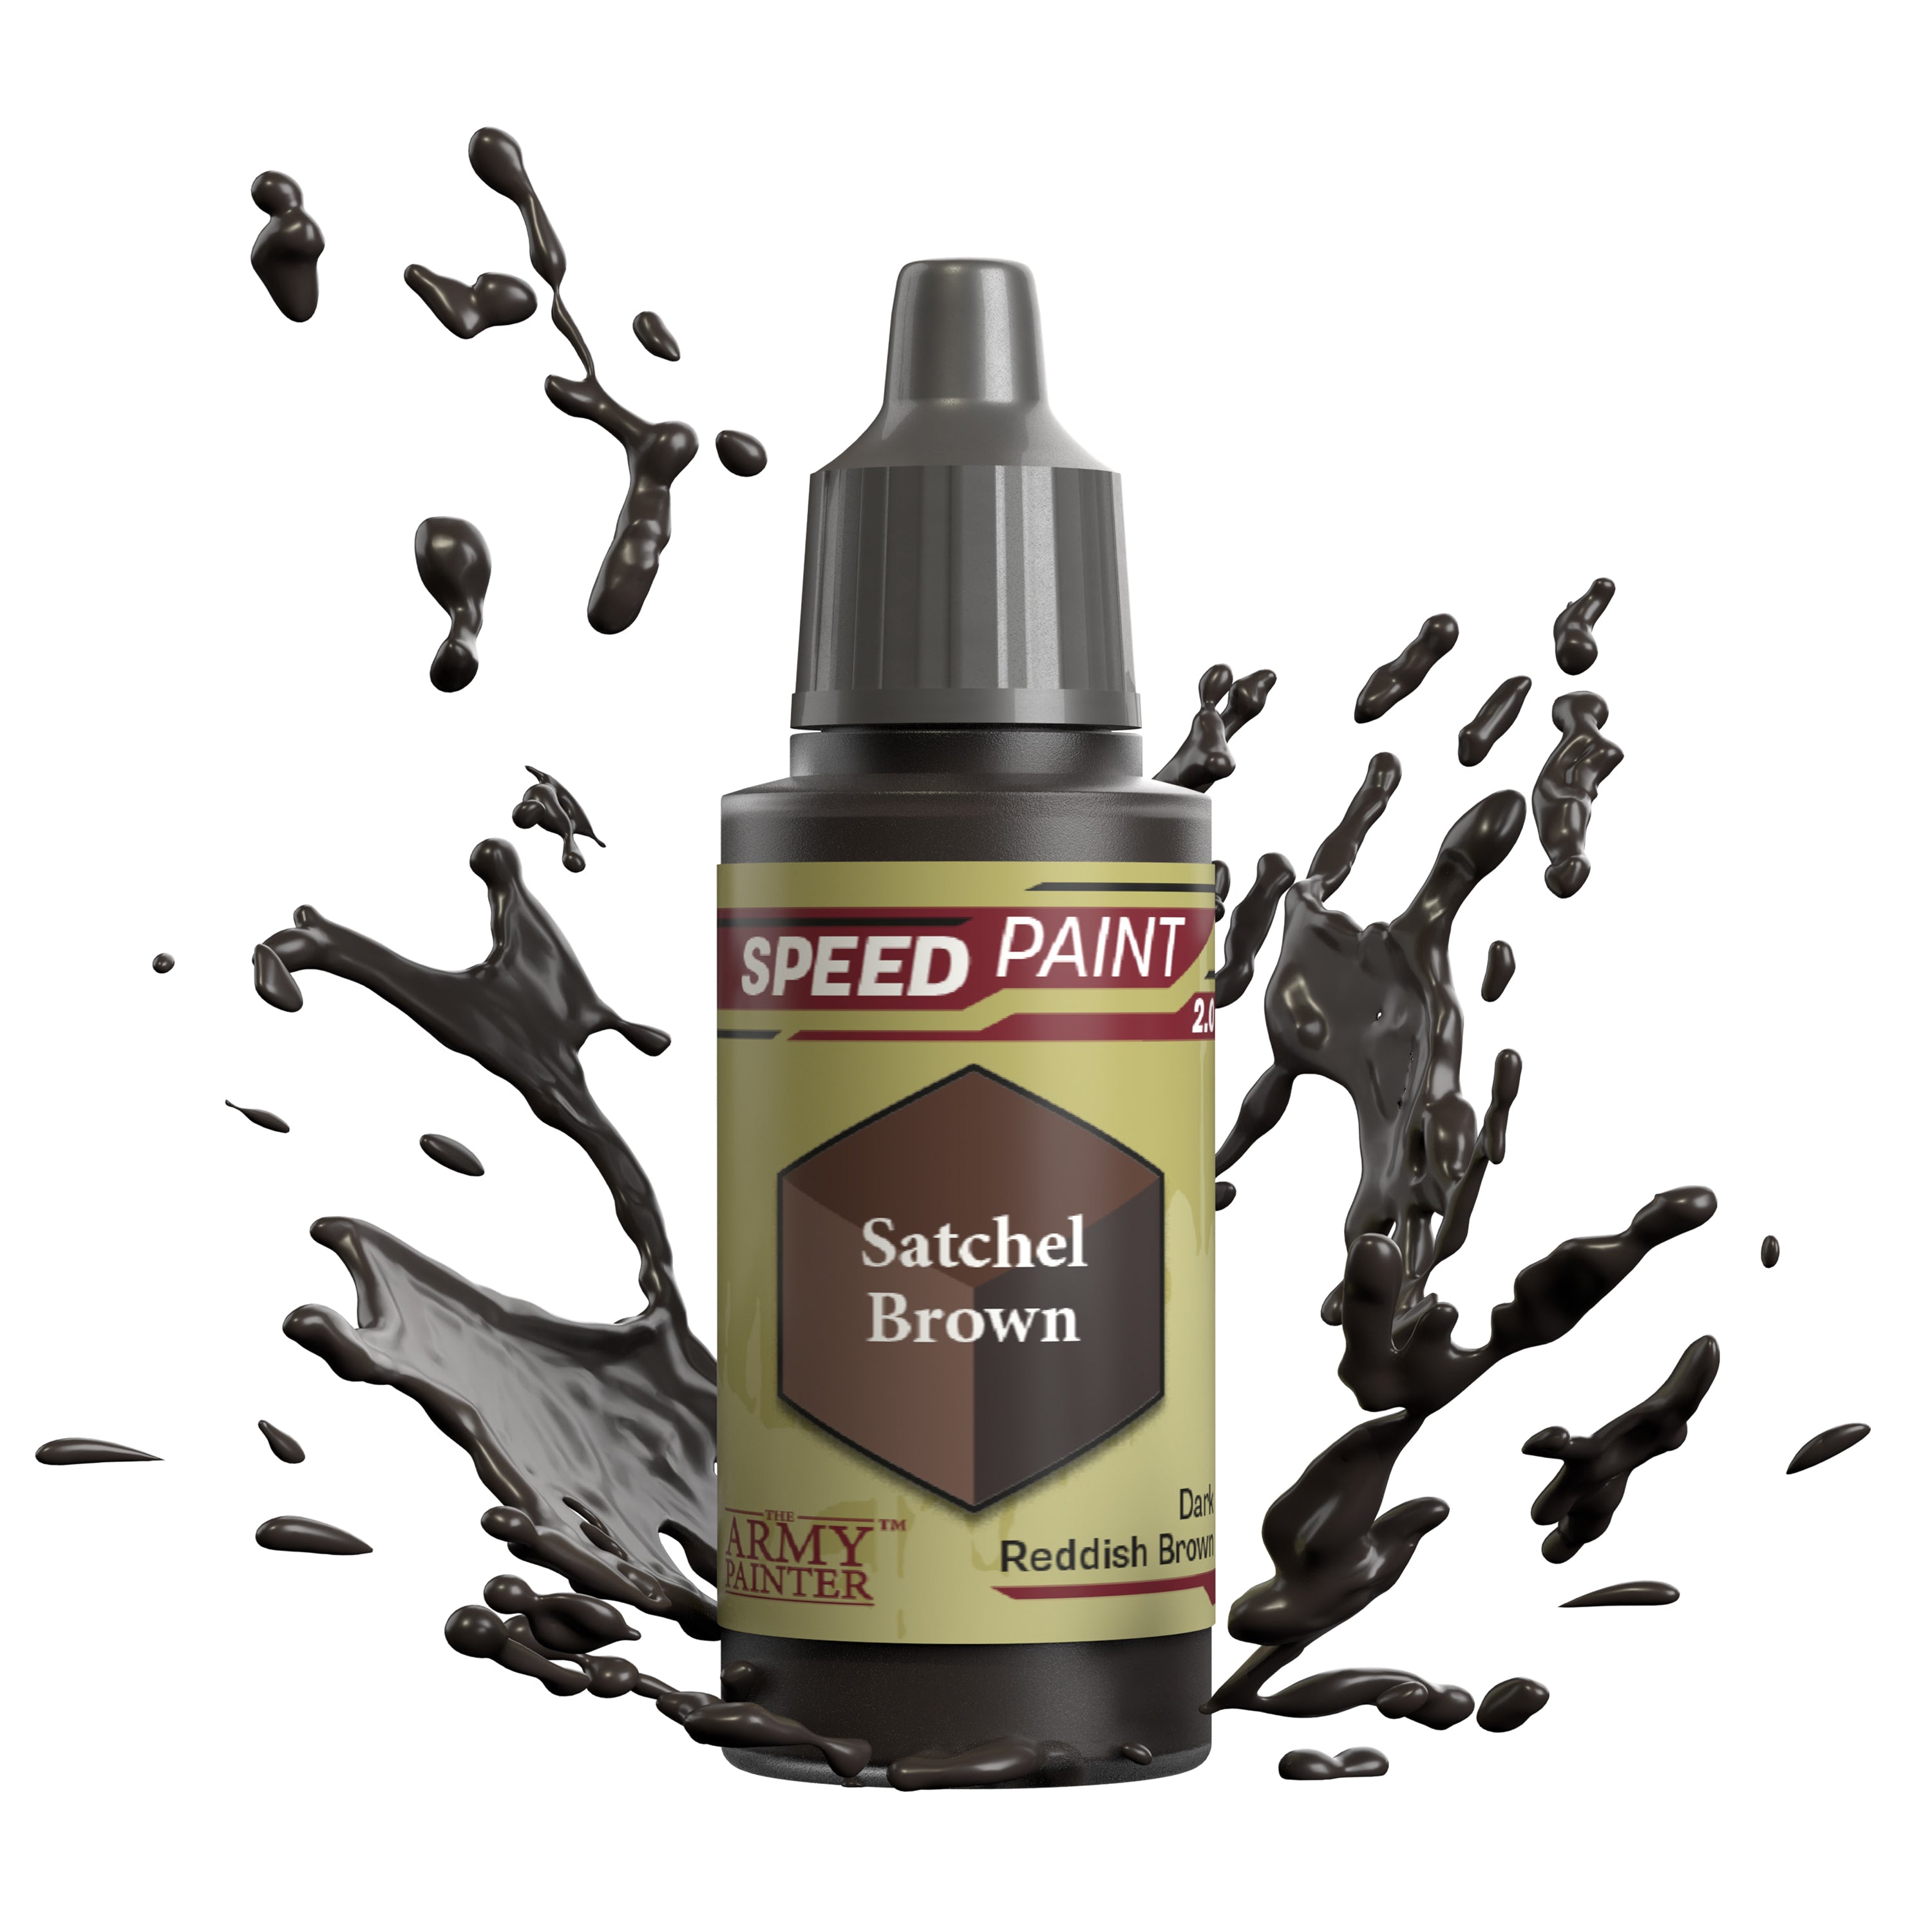
Paint the brown leather with a 2:1 mix of Speedpaint Hardened Leather and Satchel Brown. The Satchel Brown adds a bit more depth to the richness of the Hardened Leather. At the same time, paint the loincloth with a 2:1 mix of Speedpaint Bony Matter and Hardened Leather.
Step 6
At this point, a second layer of Speedpaint Crusade Skin was applied to the flesh to darken it a bit more, but you can do both coats of it back during step 2 if you want.
Step 7
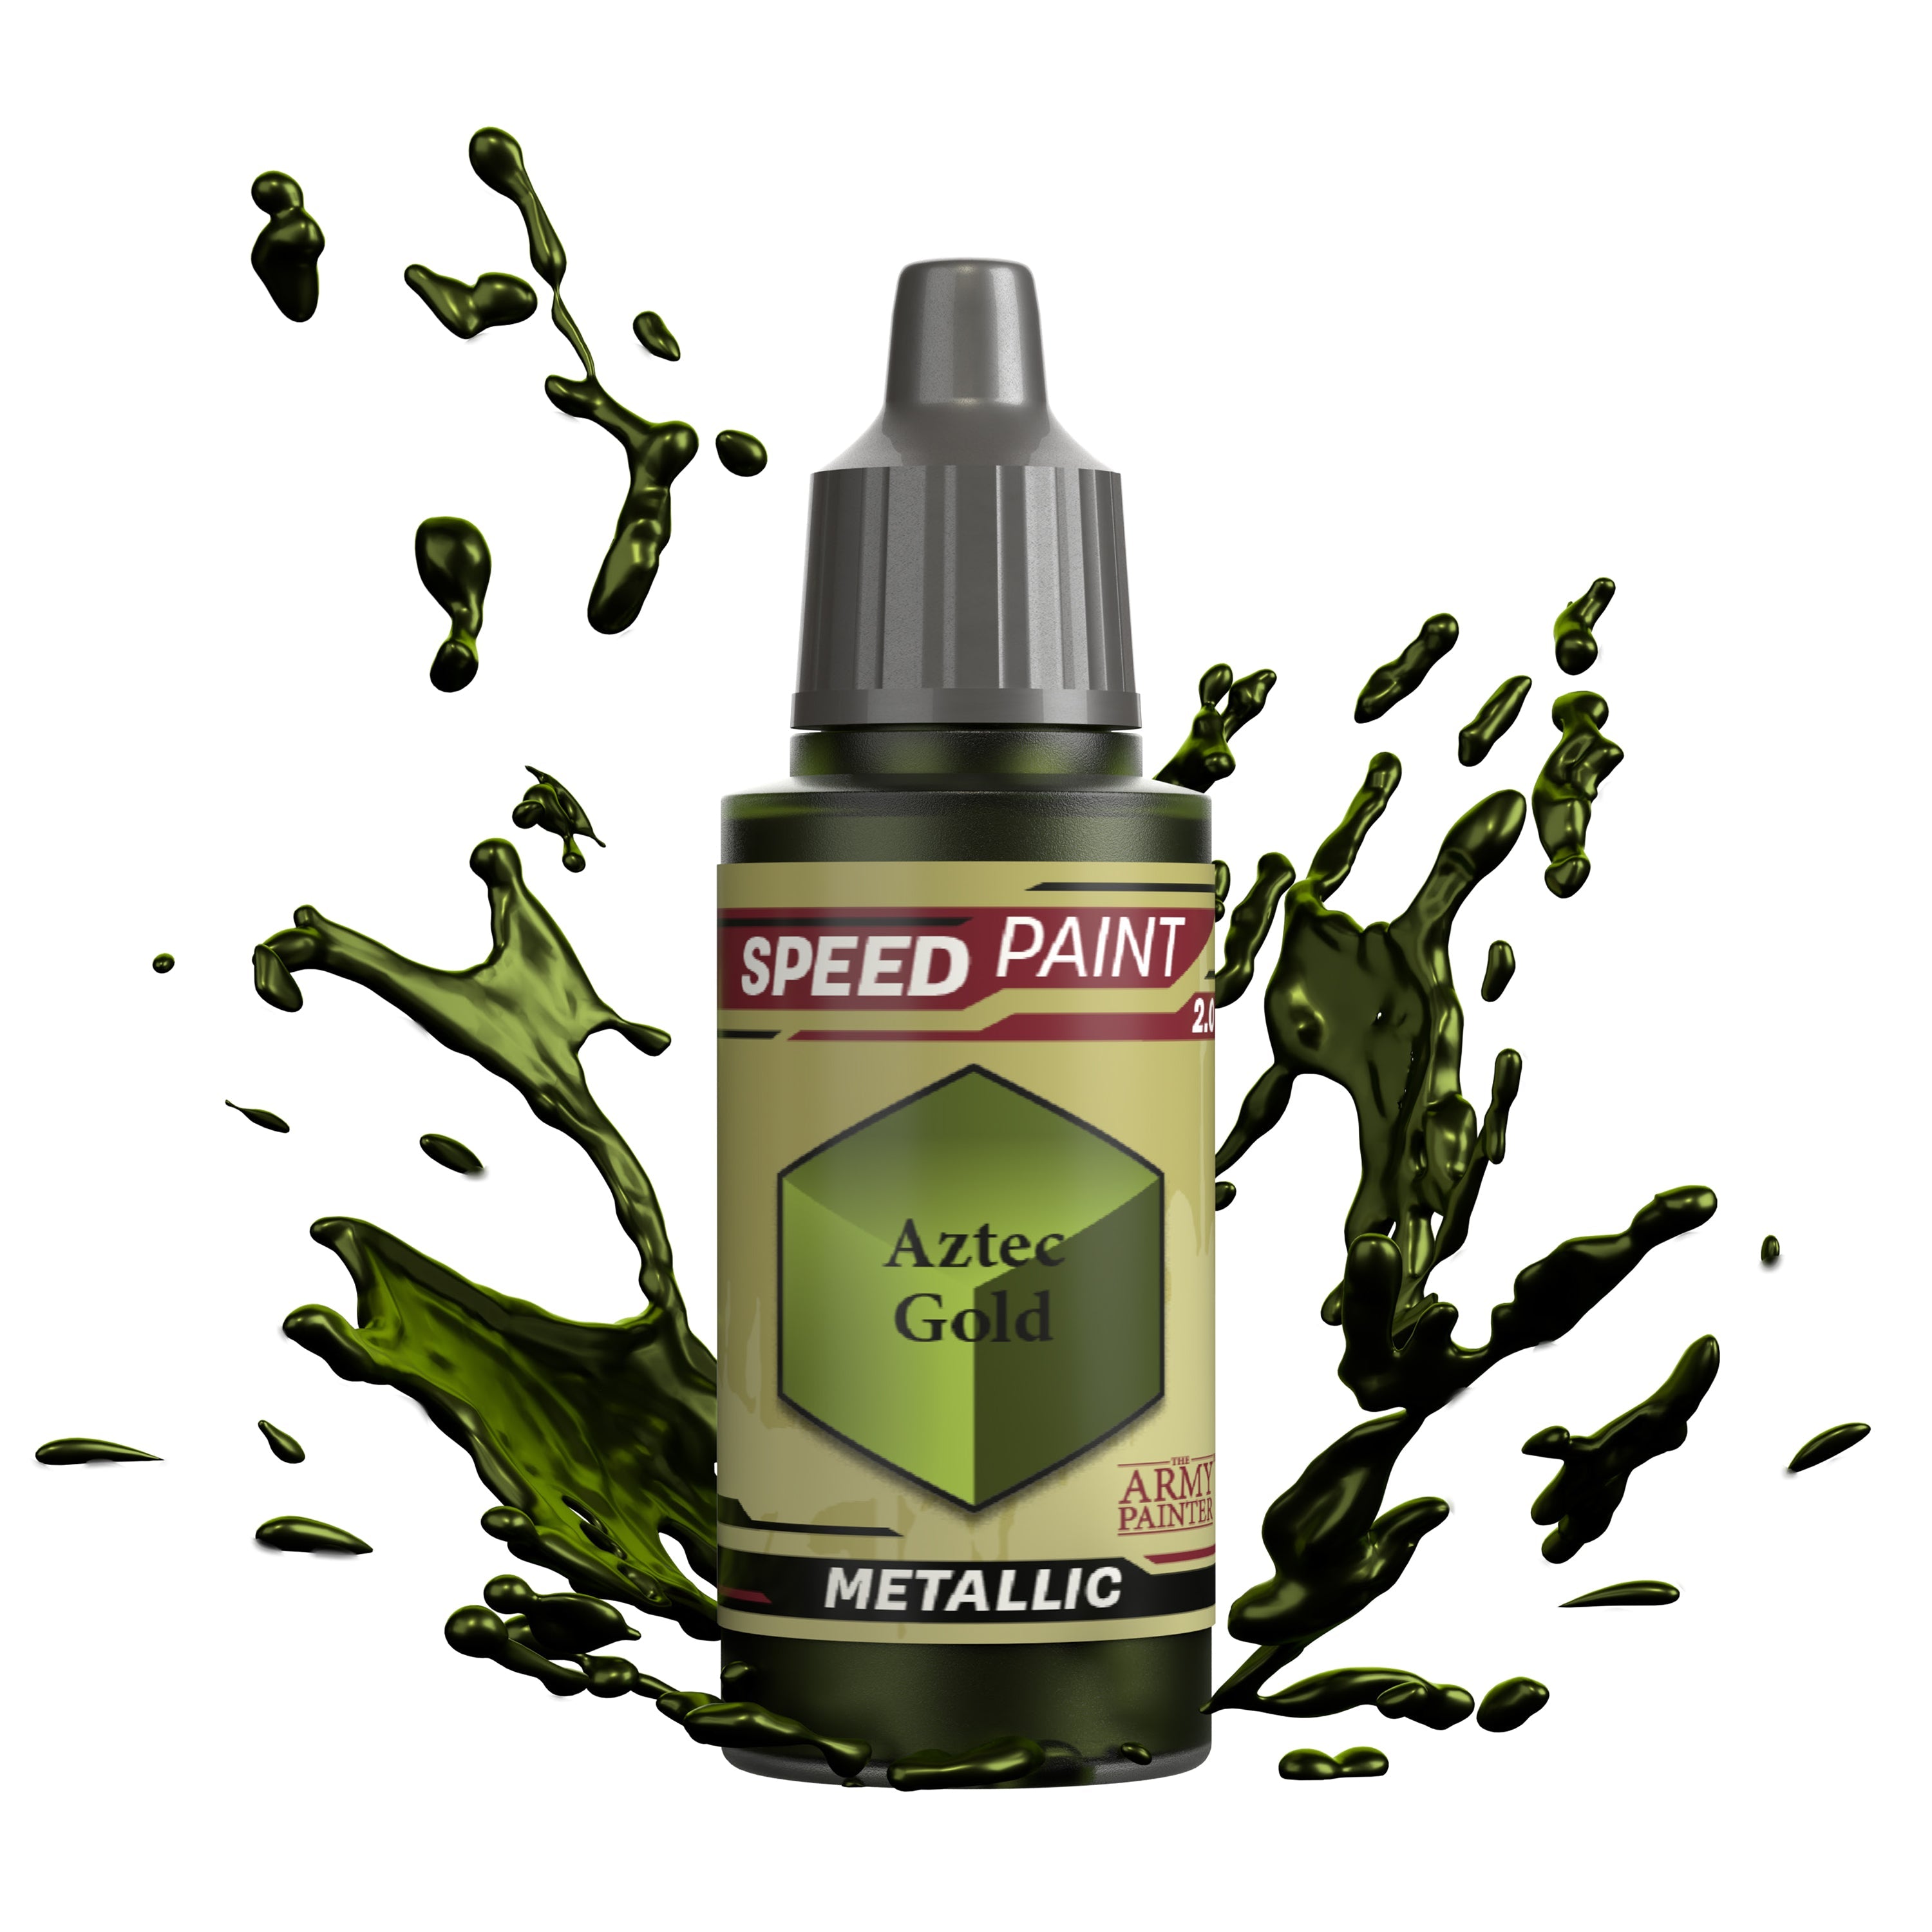
For the final step of the Speedpaint basecoats, apply Speedpaint Aztec Gold to all the gold areas, which is mostly all the armour.
The Skin
Step 1
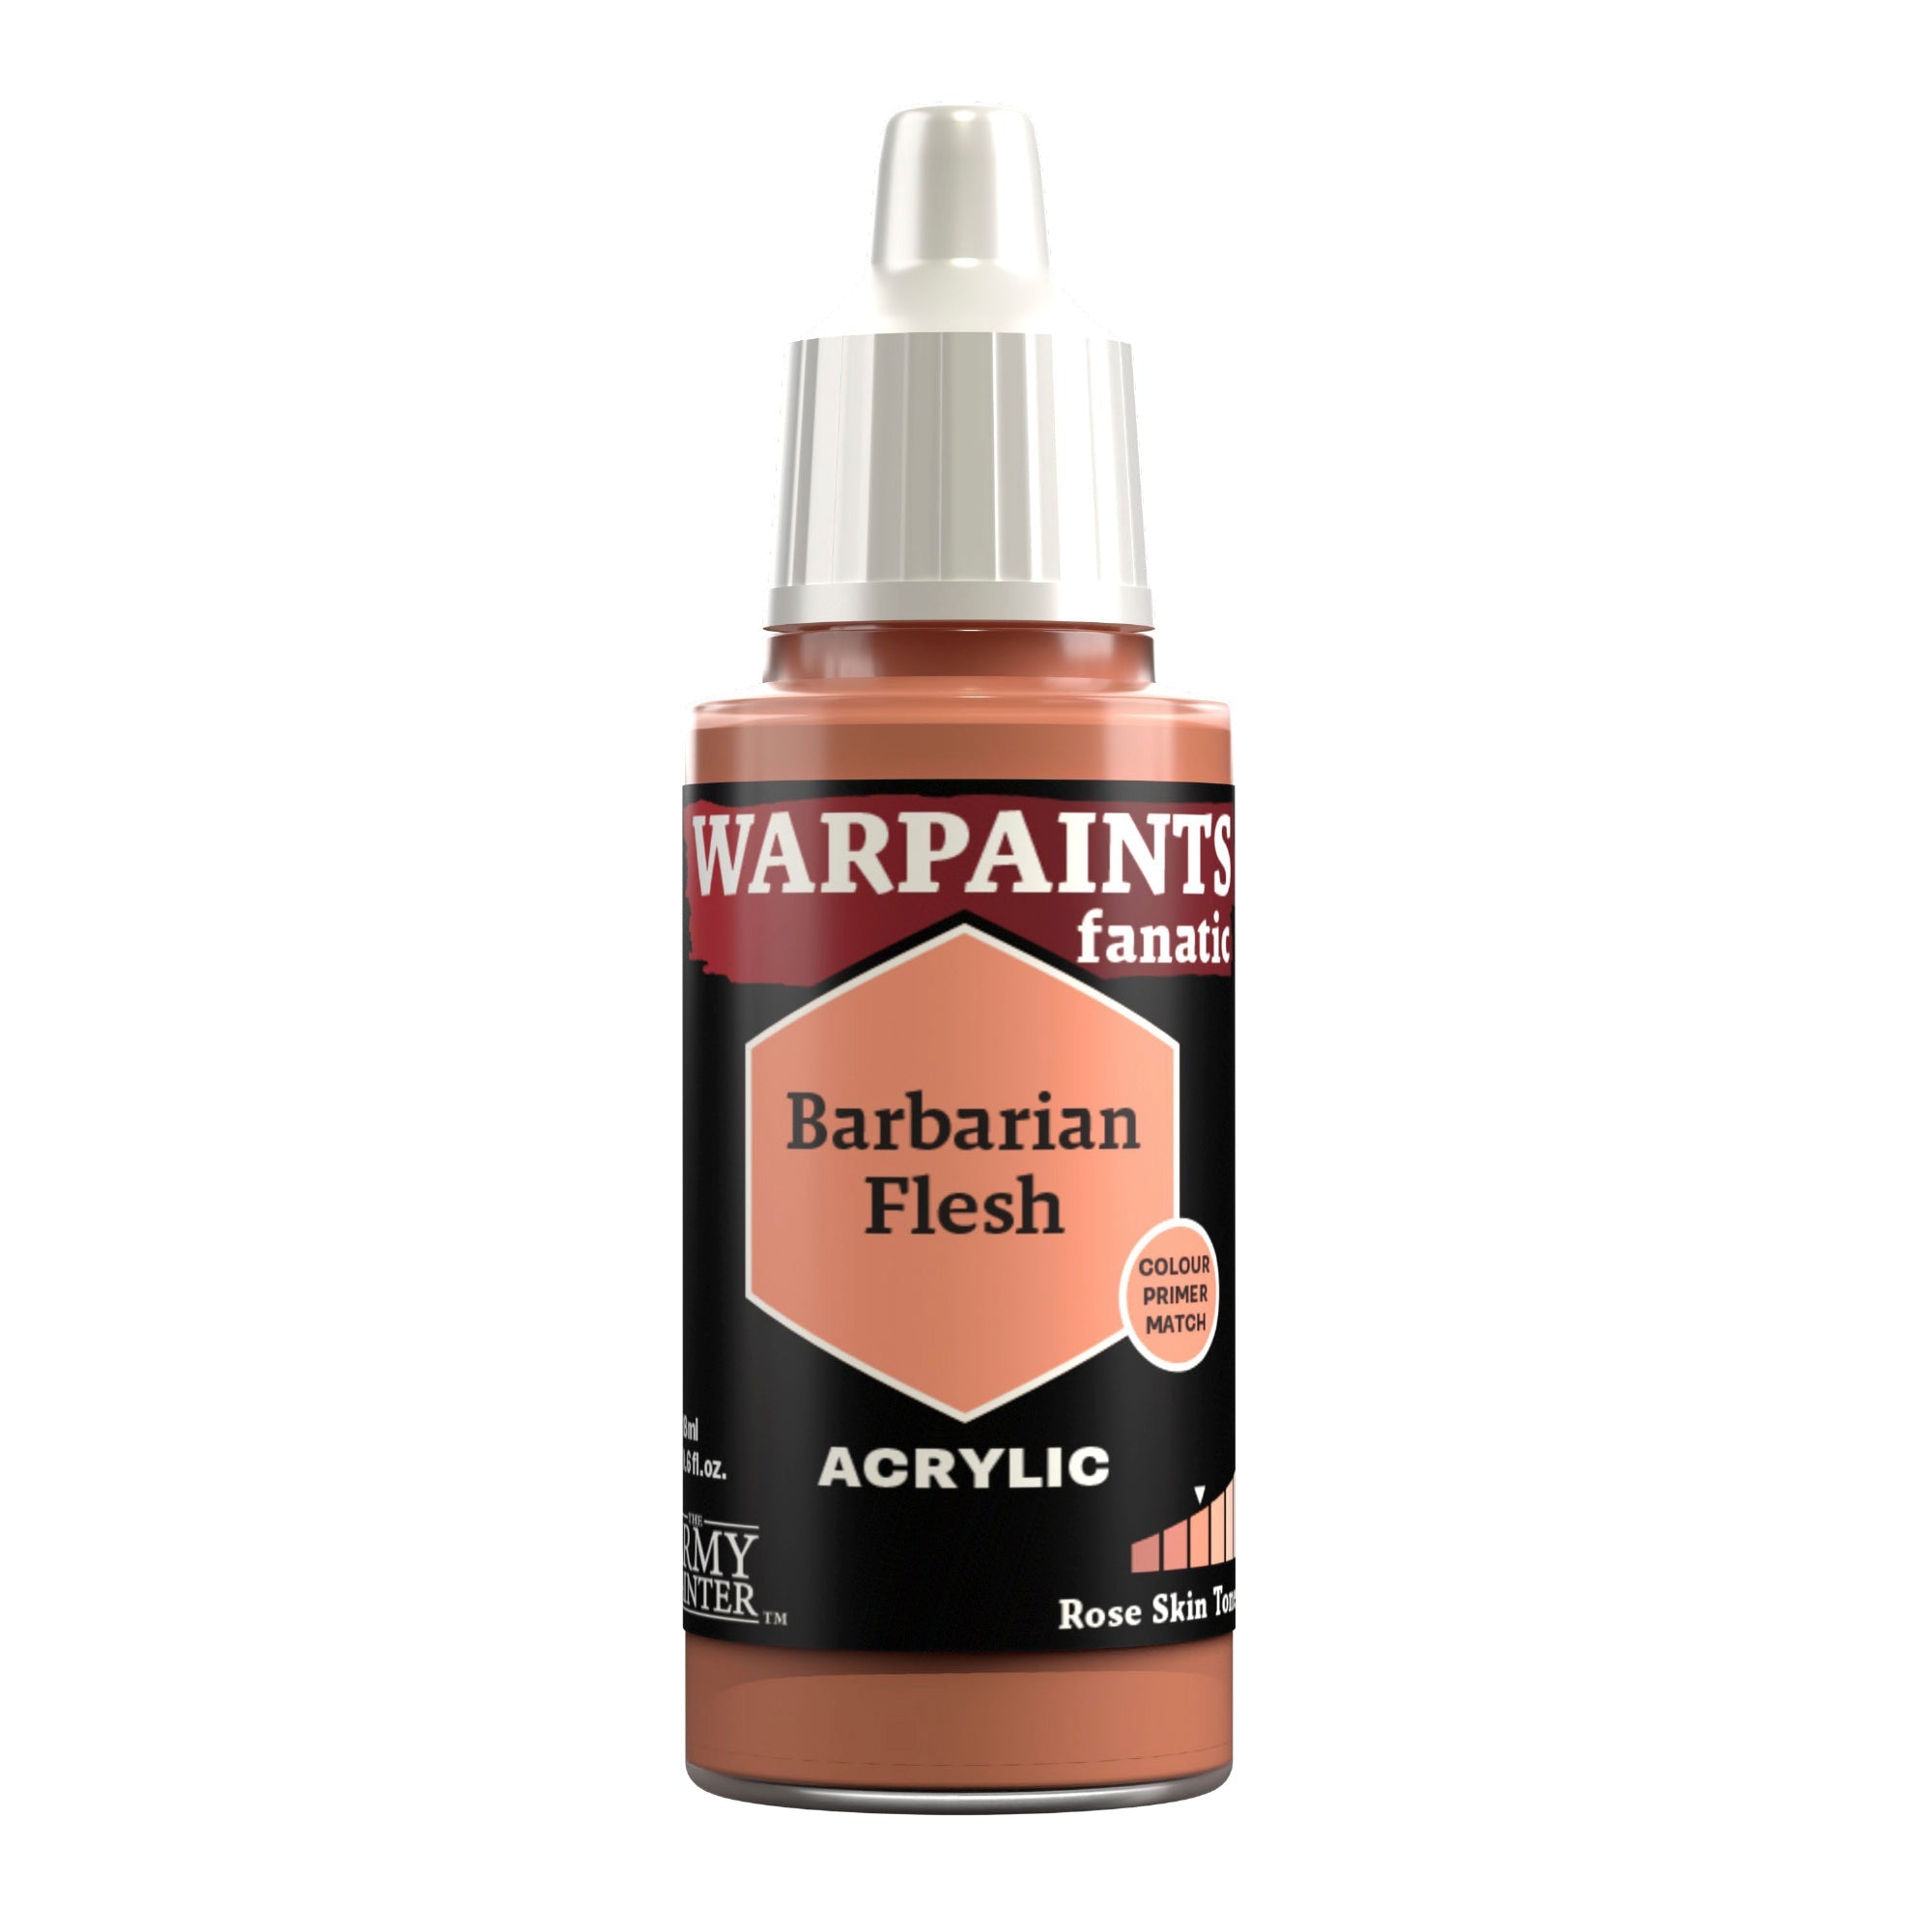
Start layering up the skin with Warpaints Fanatic Barbarian Flesh. Only add this to the upper areas of the flesh, leaving the Speedpaint and zenithal work showing in the shadows.
Step 2
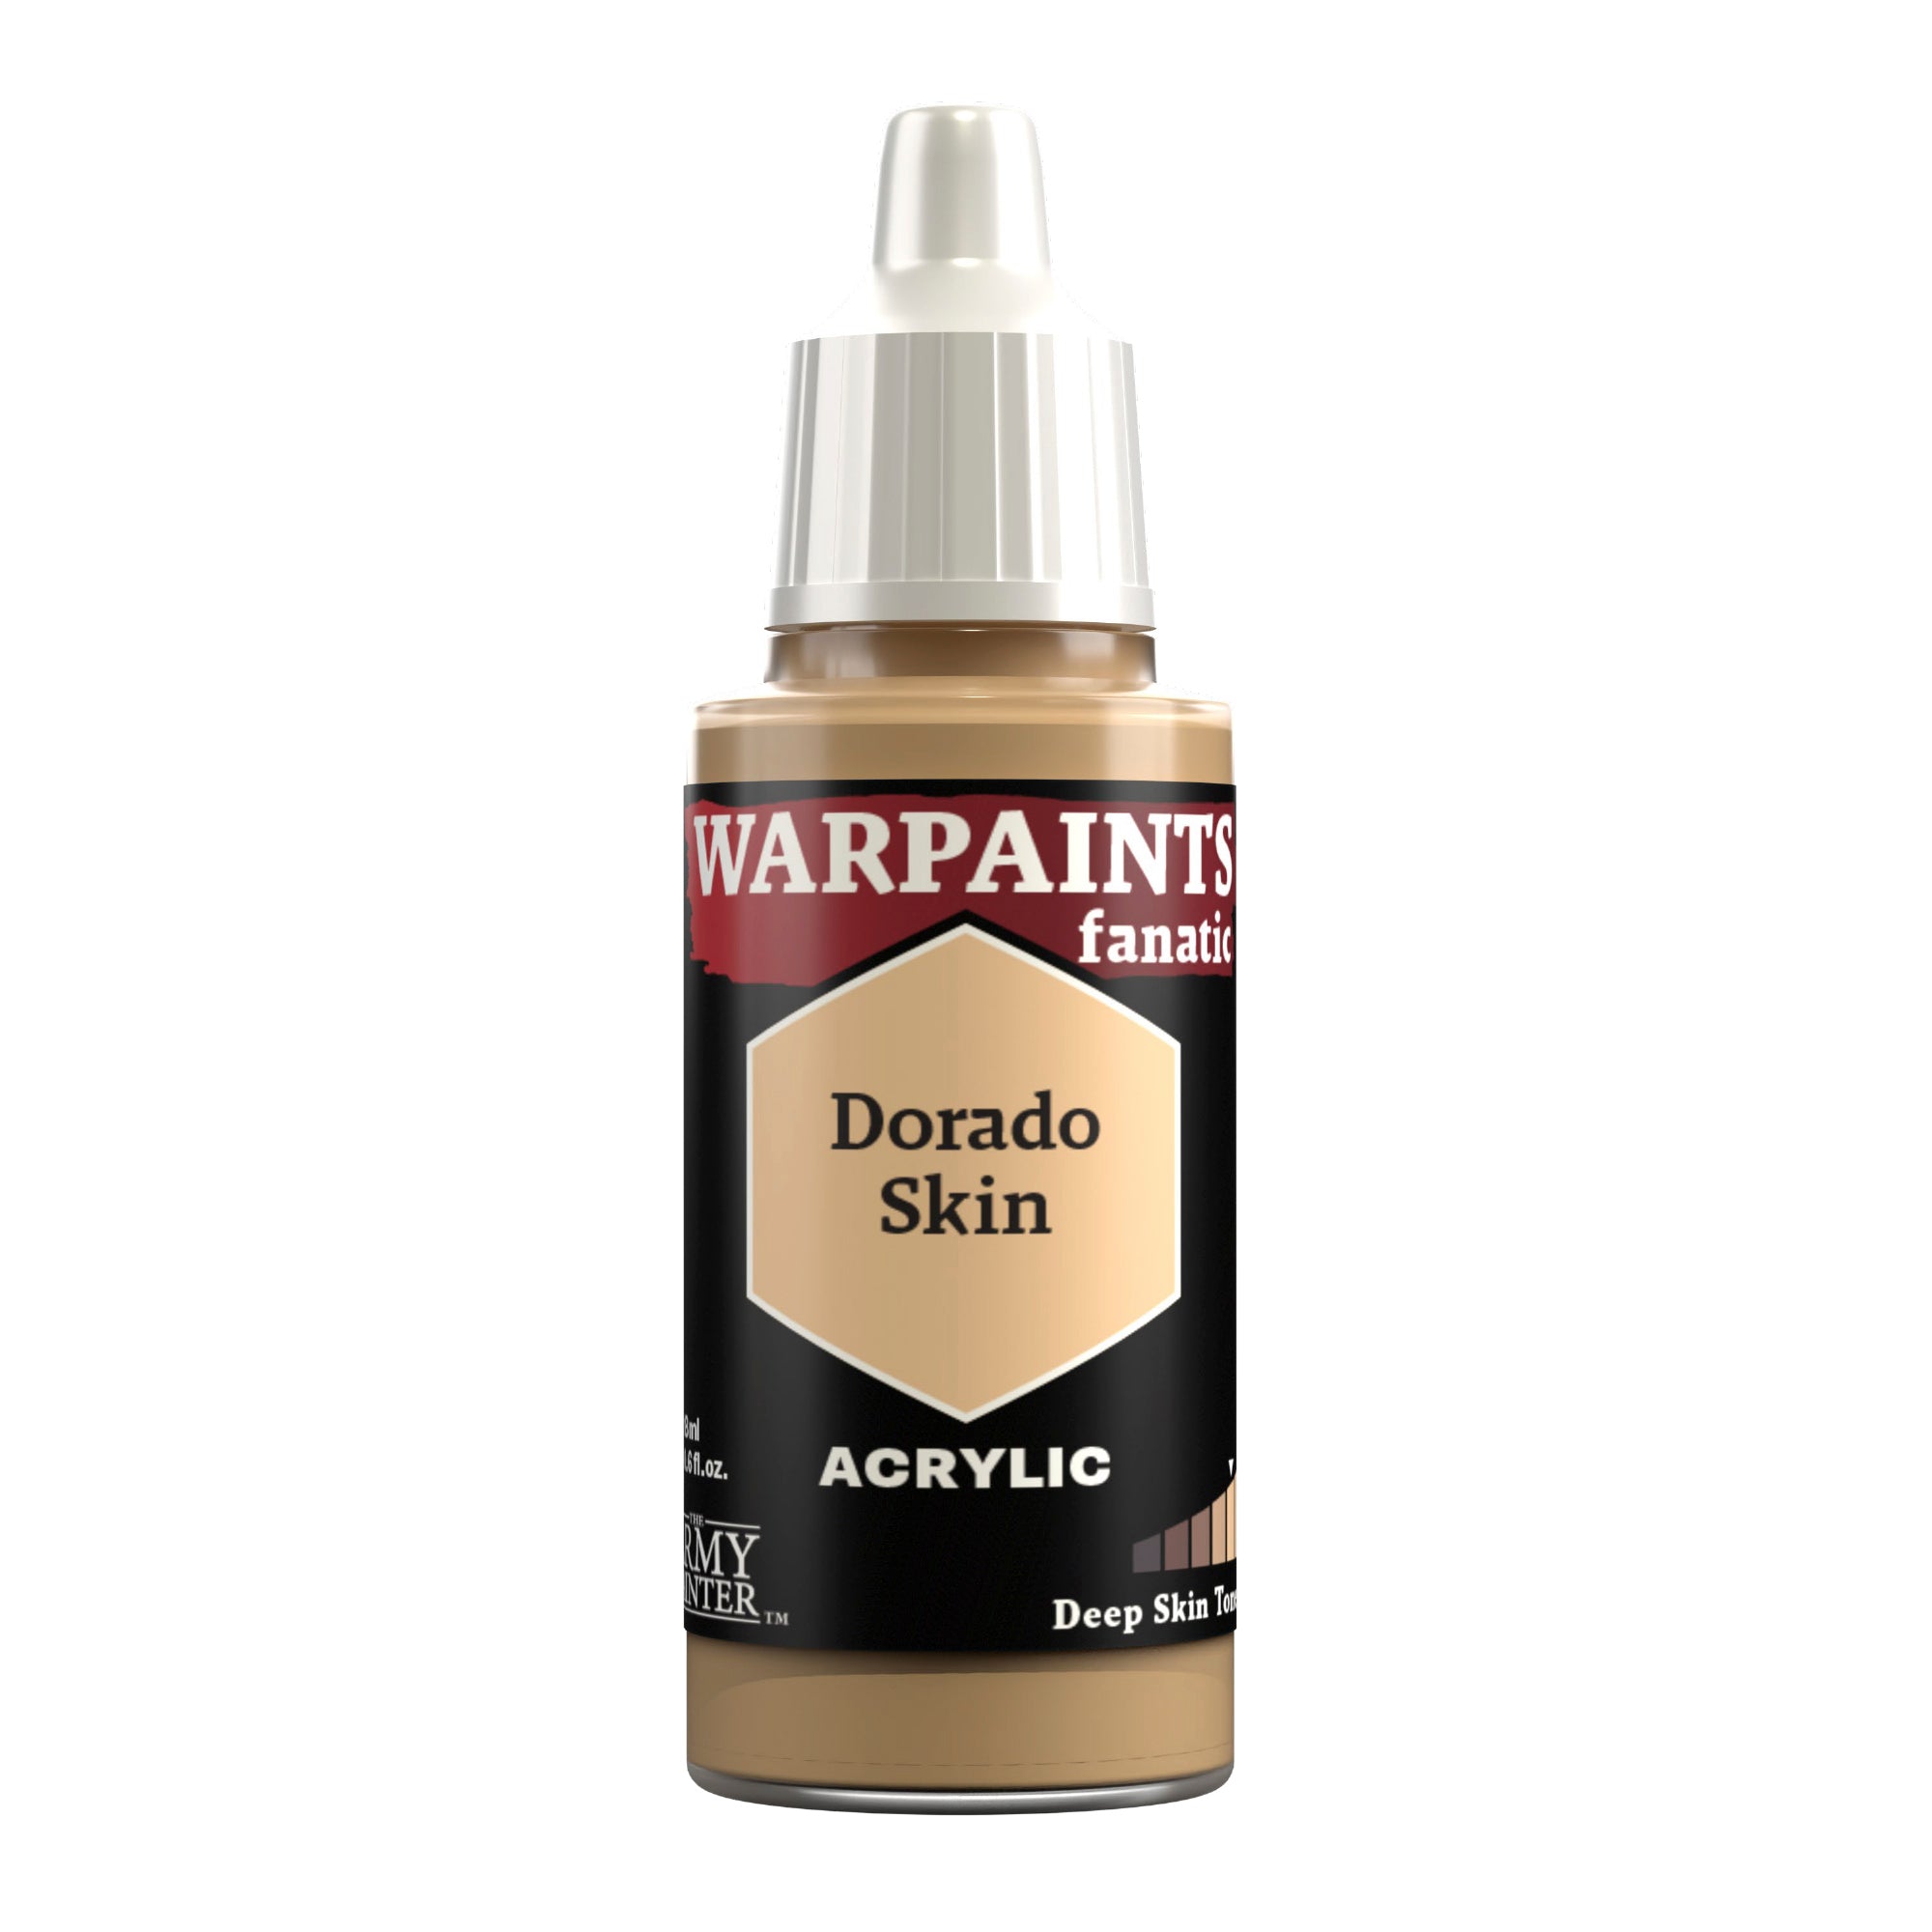
Next, further enhance this with a mix of Warpaints Fanatic Barbarian Flesh and Dorado Skin, focusing on an even smaller area on the upper parts of skin.

Step 3
Finally, for the skin, apply a highlight of pure Warpaints Fanatic Dorado Skin to only the most prominent areas.
The Trousers, Loincloth, and Bandages
Step 1
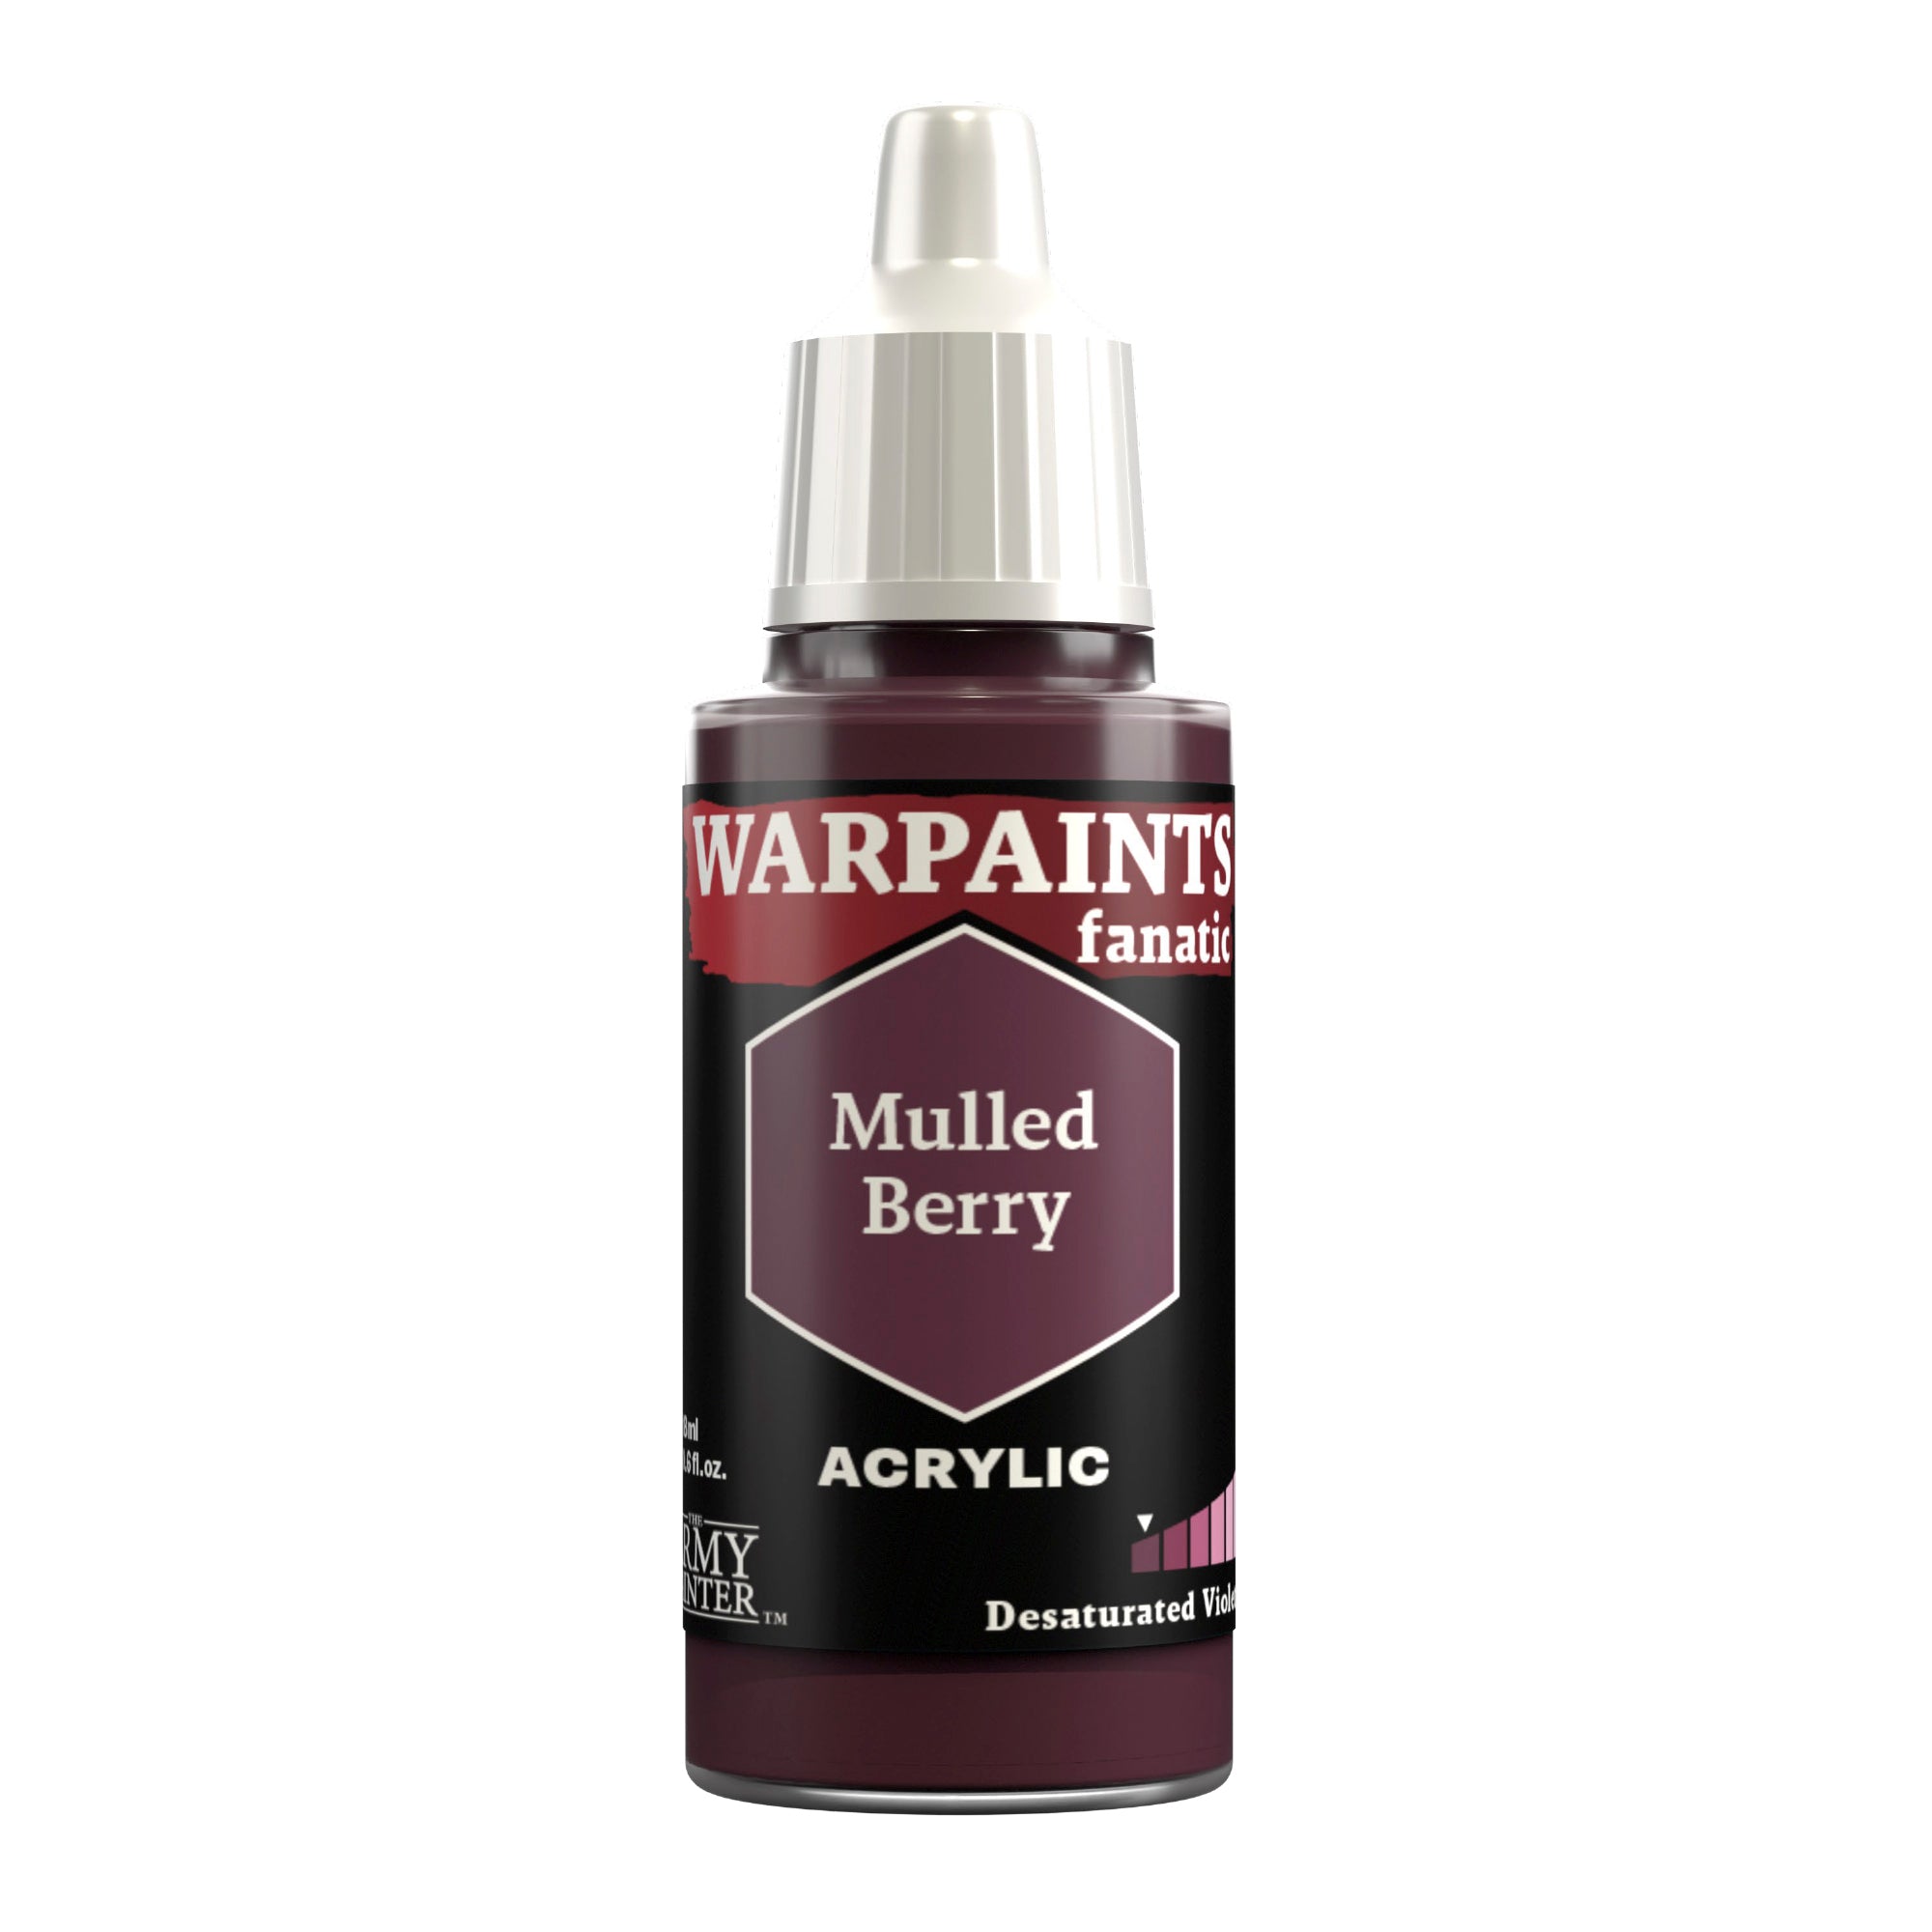
Layer the trousers in a similar manner to the flesh, leaving the Speedpaint work showing in the shadows, with a mix of Warpaints Fanatic Mulled Berry and Command Khaki.
Step 2
Add more Warpaints Fanatic Command Khaki to this for the next highlight, being more restrictive with it.
Step 3
To add a bit more warmth and brown tones to the trousers, apply a glaze of Speedpaint Pallid Bone, then apply a final highlight using the mix from step 2 where needed to re-establish the highlights.
Step 4
Next, highlight the loincloth with a mix of Warpaints Fanatic Barren Dune and Ancient Stone.
Step 5
Finish this area off with a final highlight of Warpaints Fanatic Ancient Stone.
Step 6
Sparingly highlight the bandages and hair with Warpaints Fanatic Matt White.
Step 7
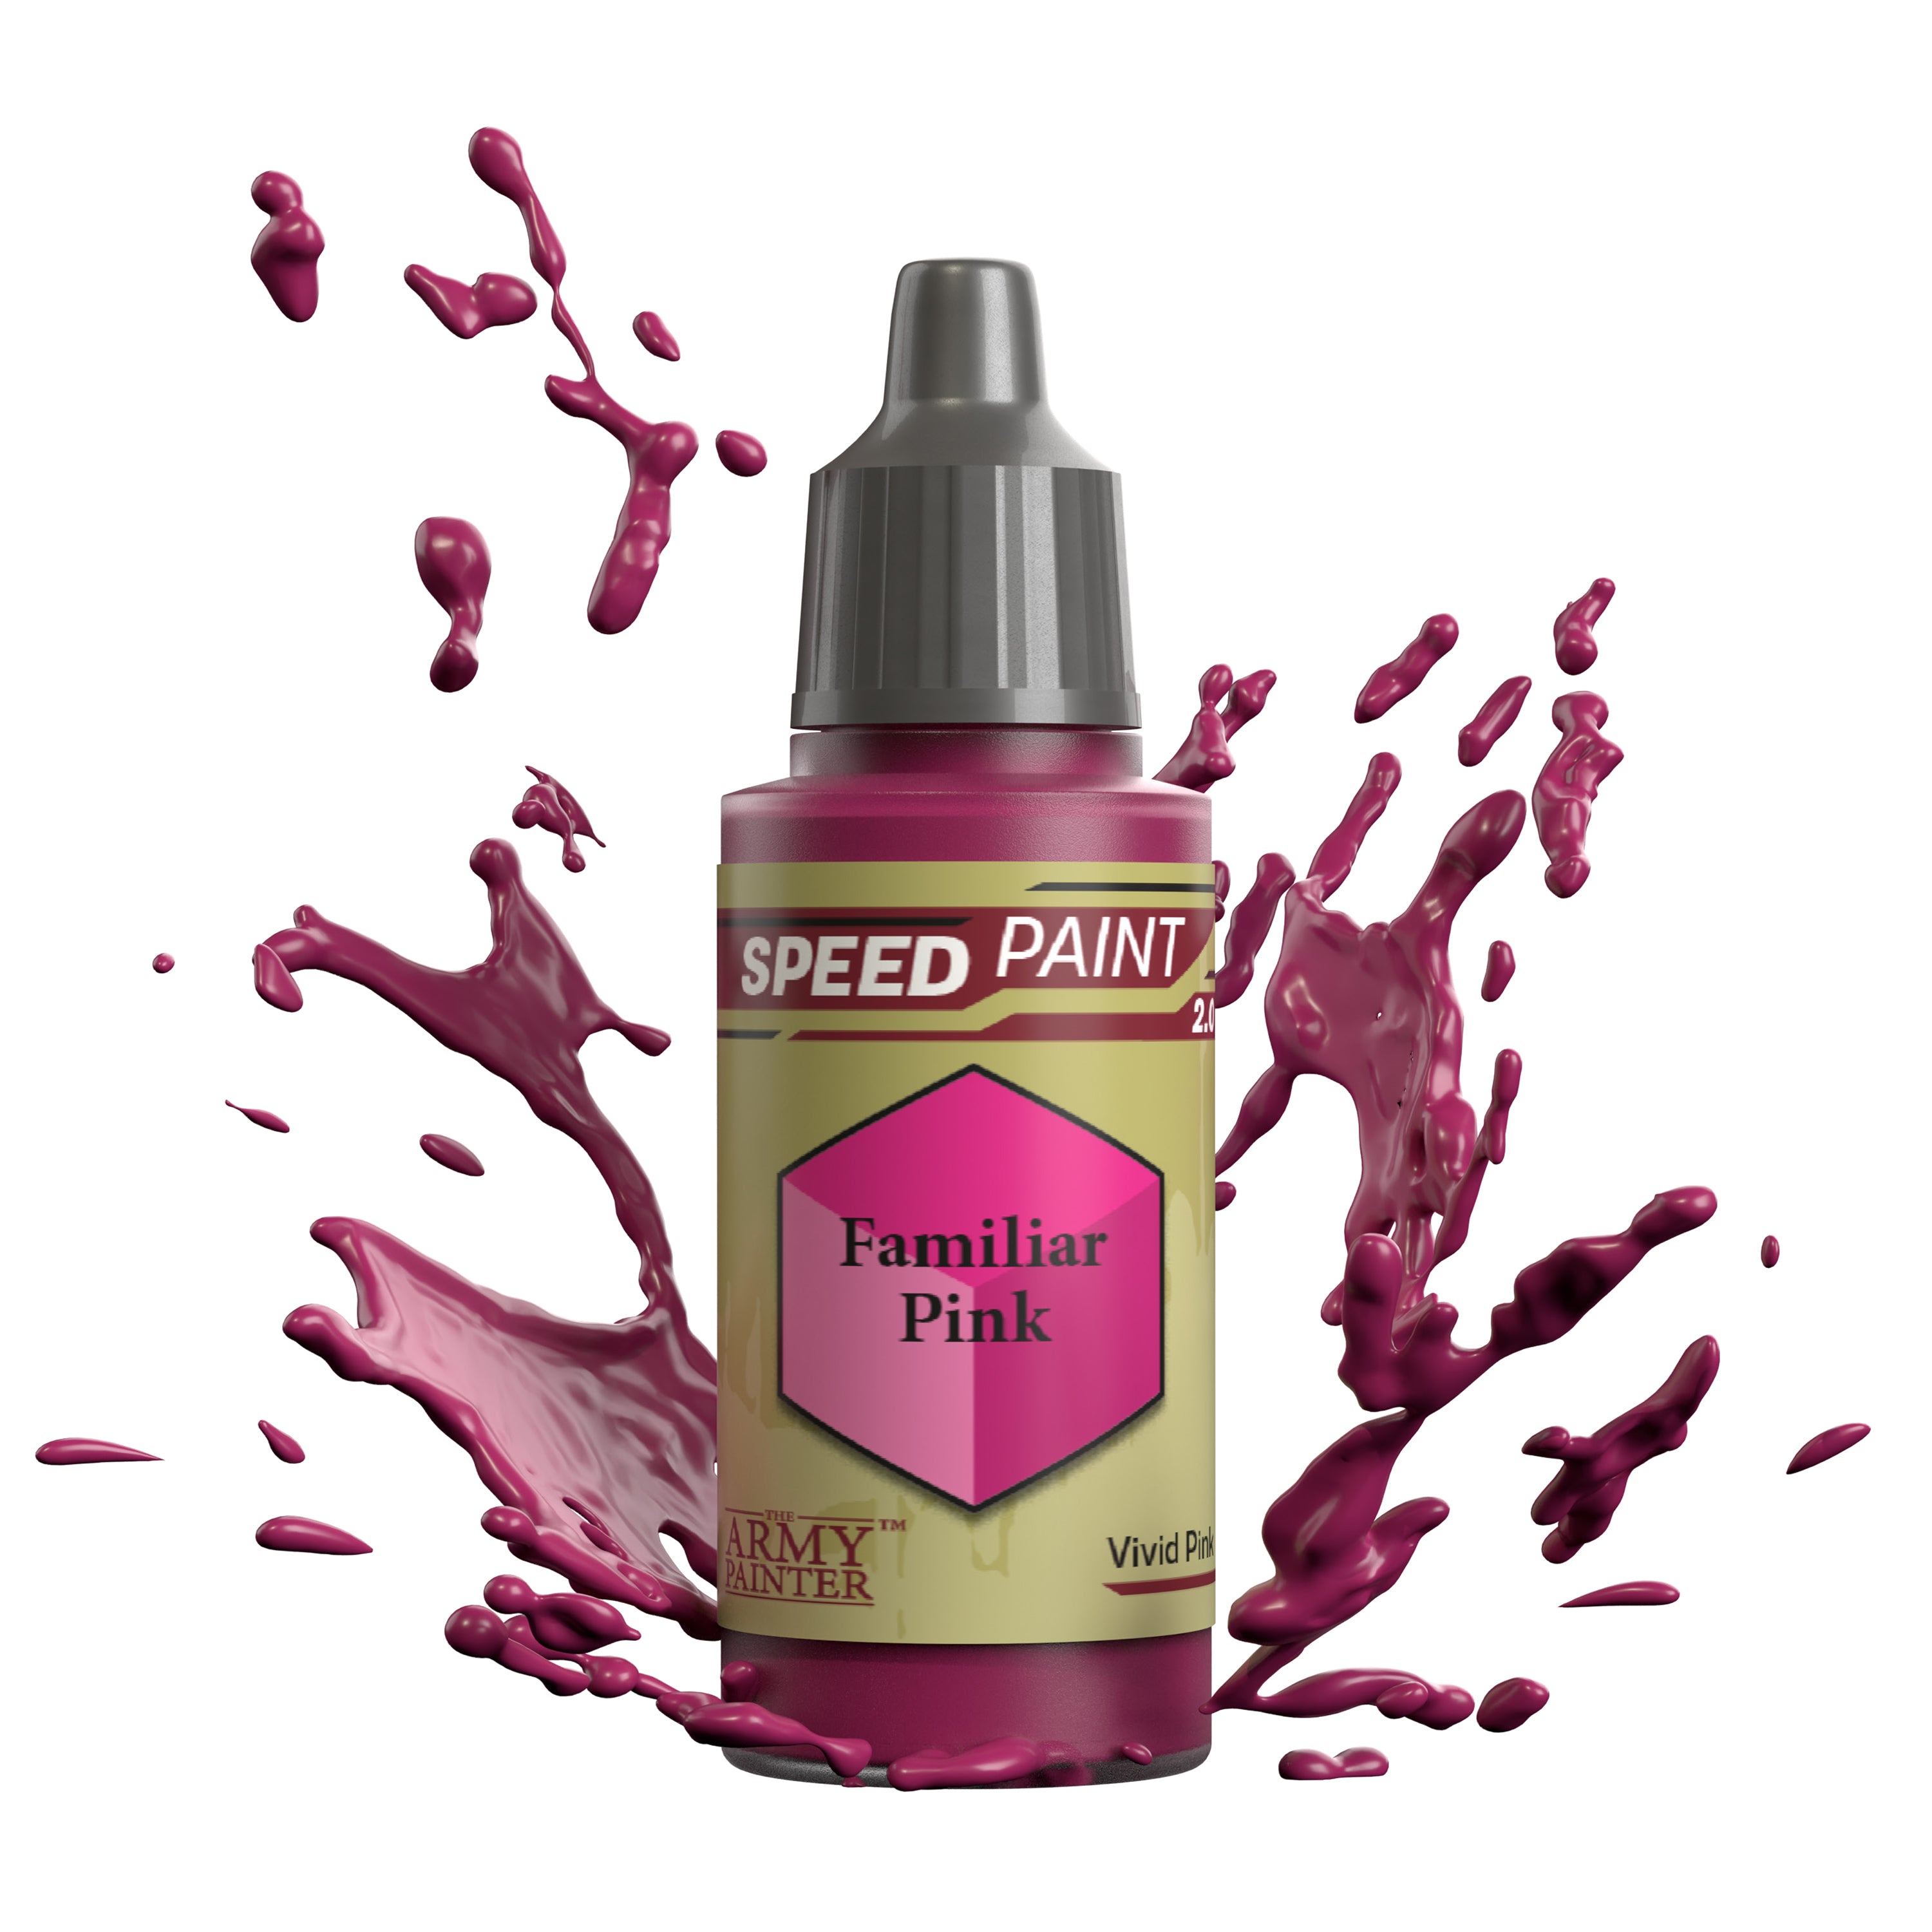
Start adding in the ambient purple lighting on the model using Speedpaint Familiar Pink thinned with plenty of Speedpaint Medium. Apply this as a glaze to areas that would be hit with light shining up at the model from beneath it. Next, further darken this where needed using the same methods with a mix of Speedpaint Moonlake Coral and Speedpaint Medium.
The Leather
Step 1
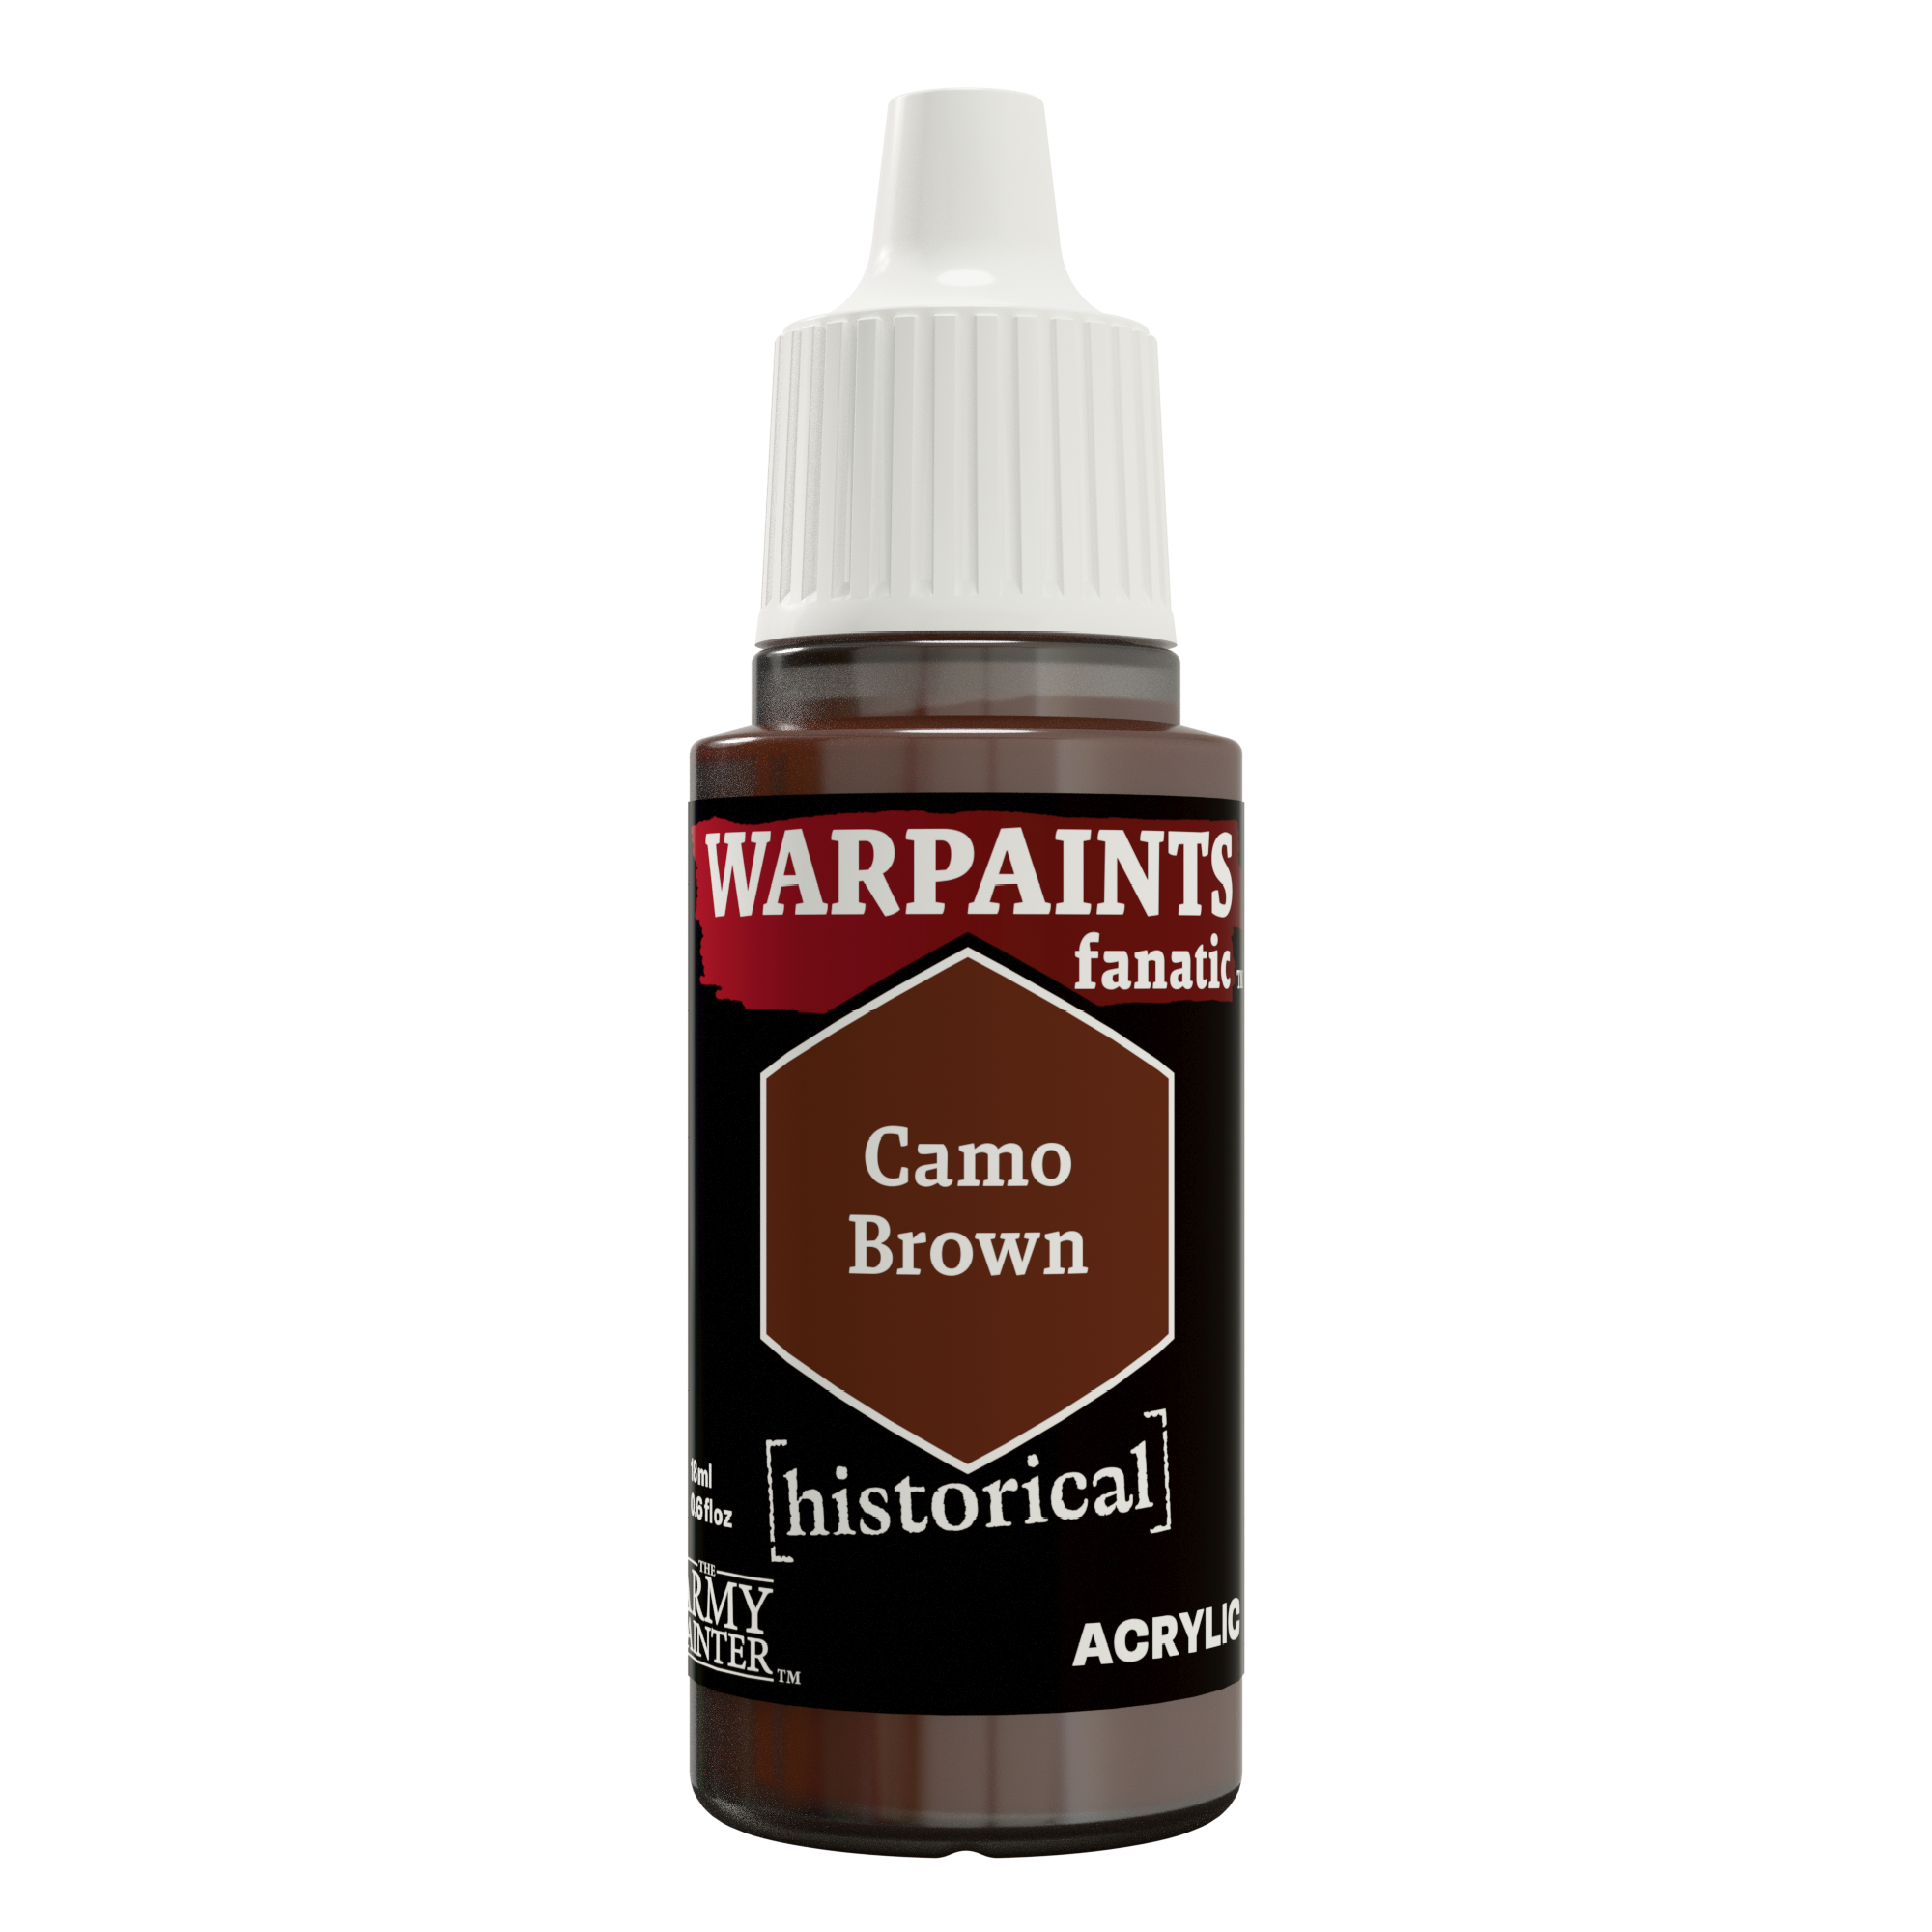
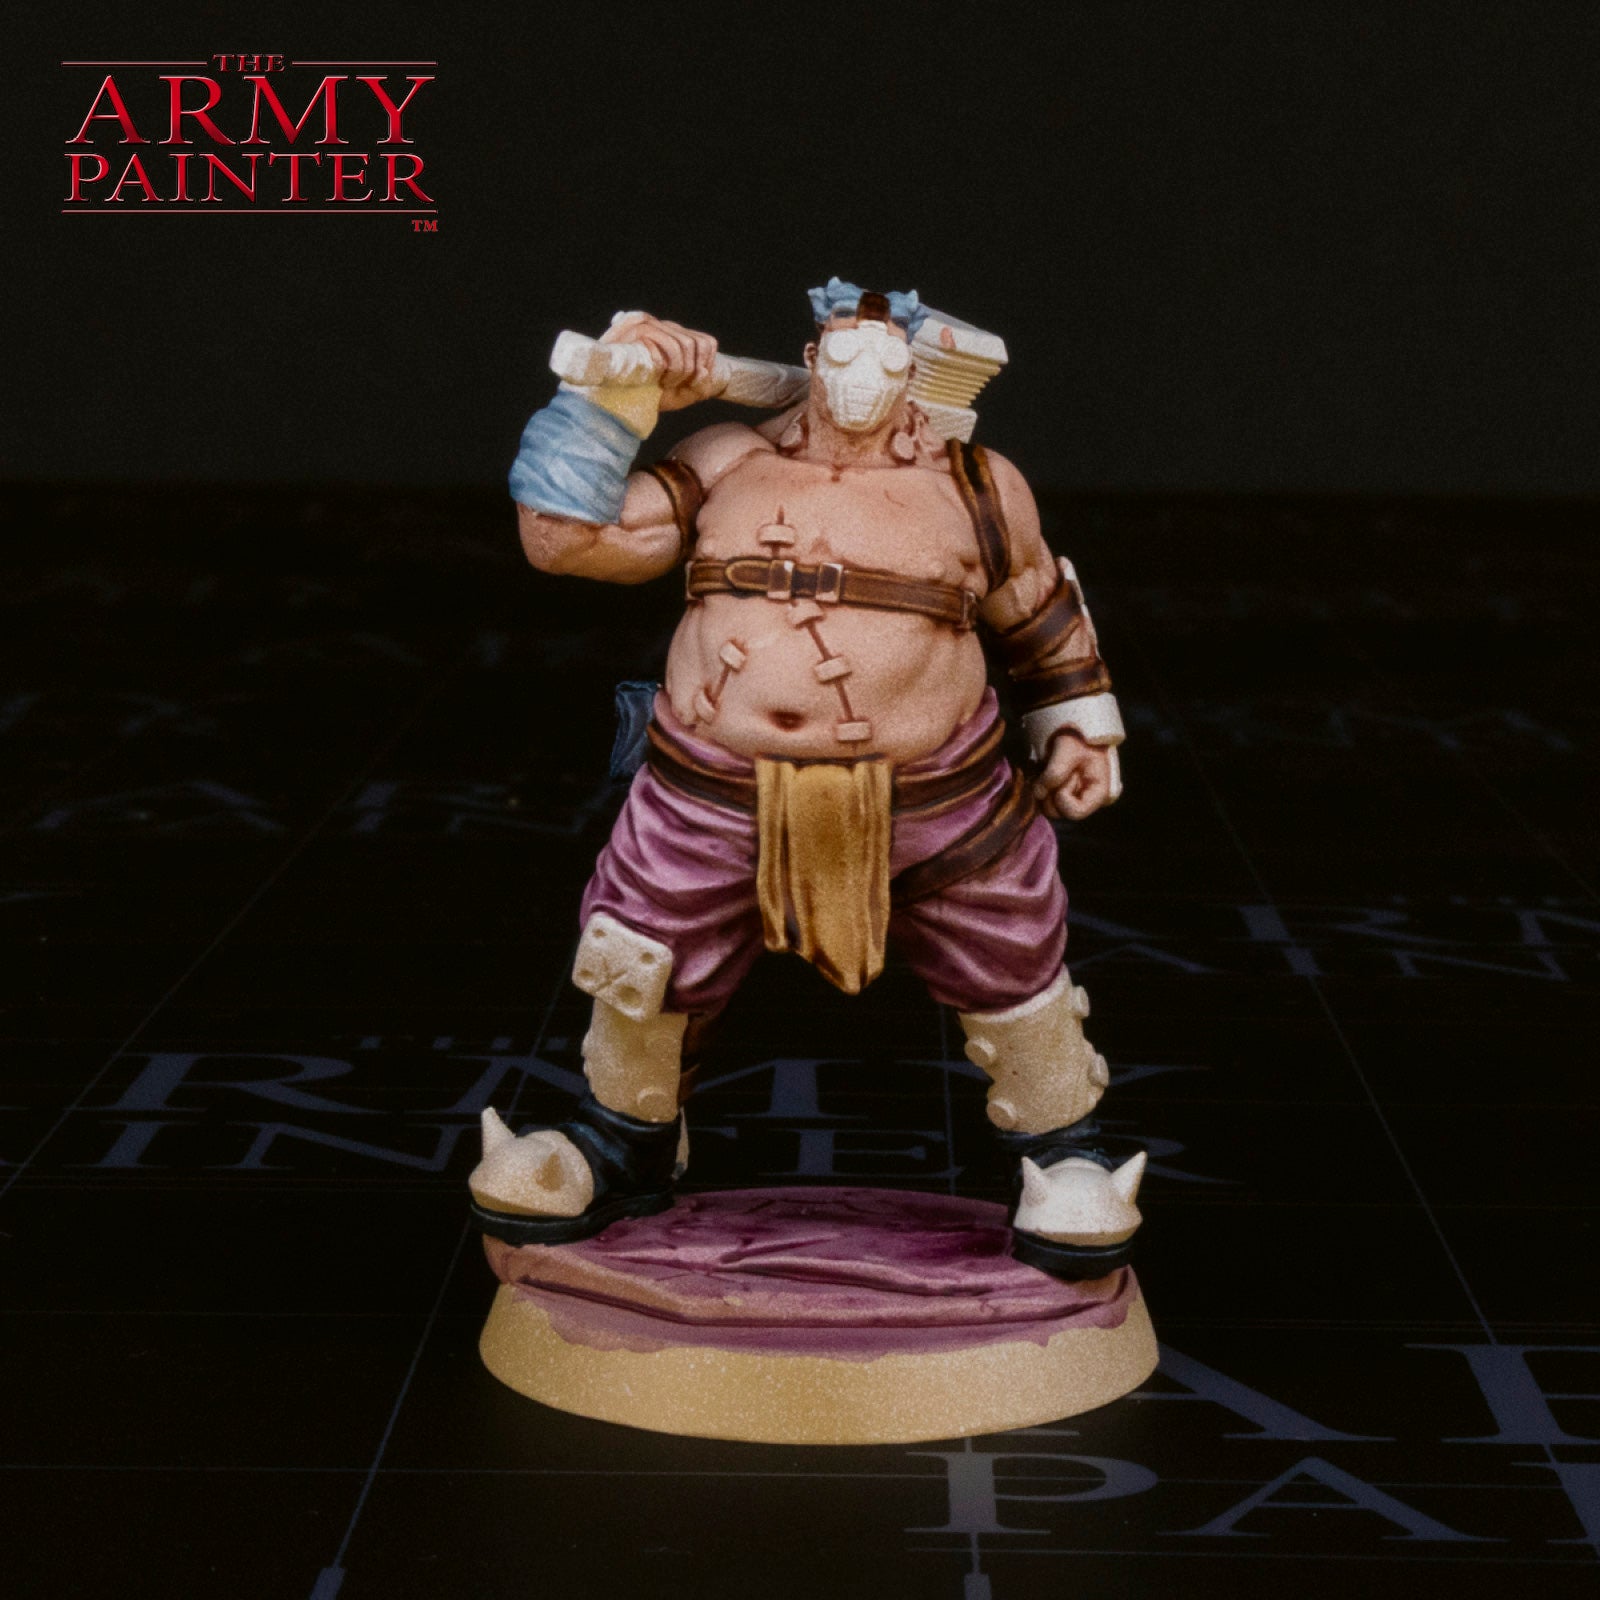
Highlight the brown leather areas with Warpaints Historical Camo Brown. Use this mostly on the edges, with a bit of texture added on flatter areas to give it a scuffed look.
Step 2
Next, mix in Warpaints Fanatic Barren Dune to the Warpaints Historical Camo Brown for a more refined highlight.
Step 3
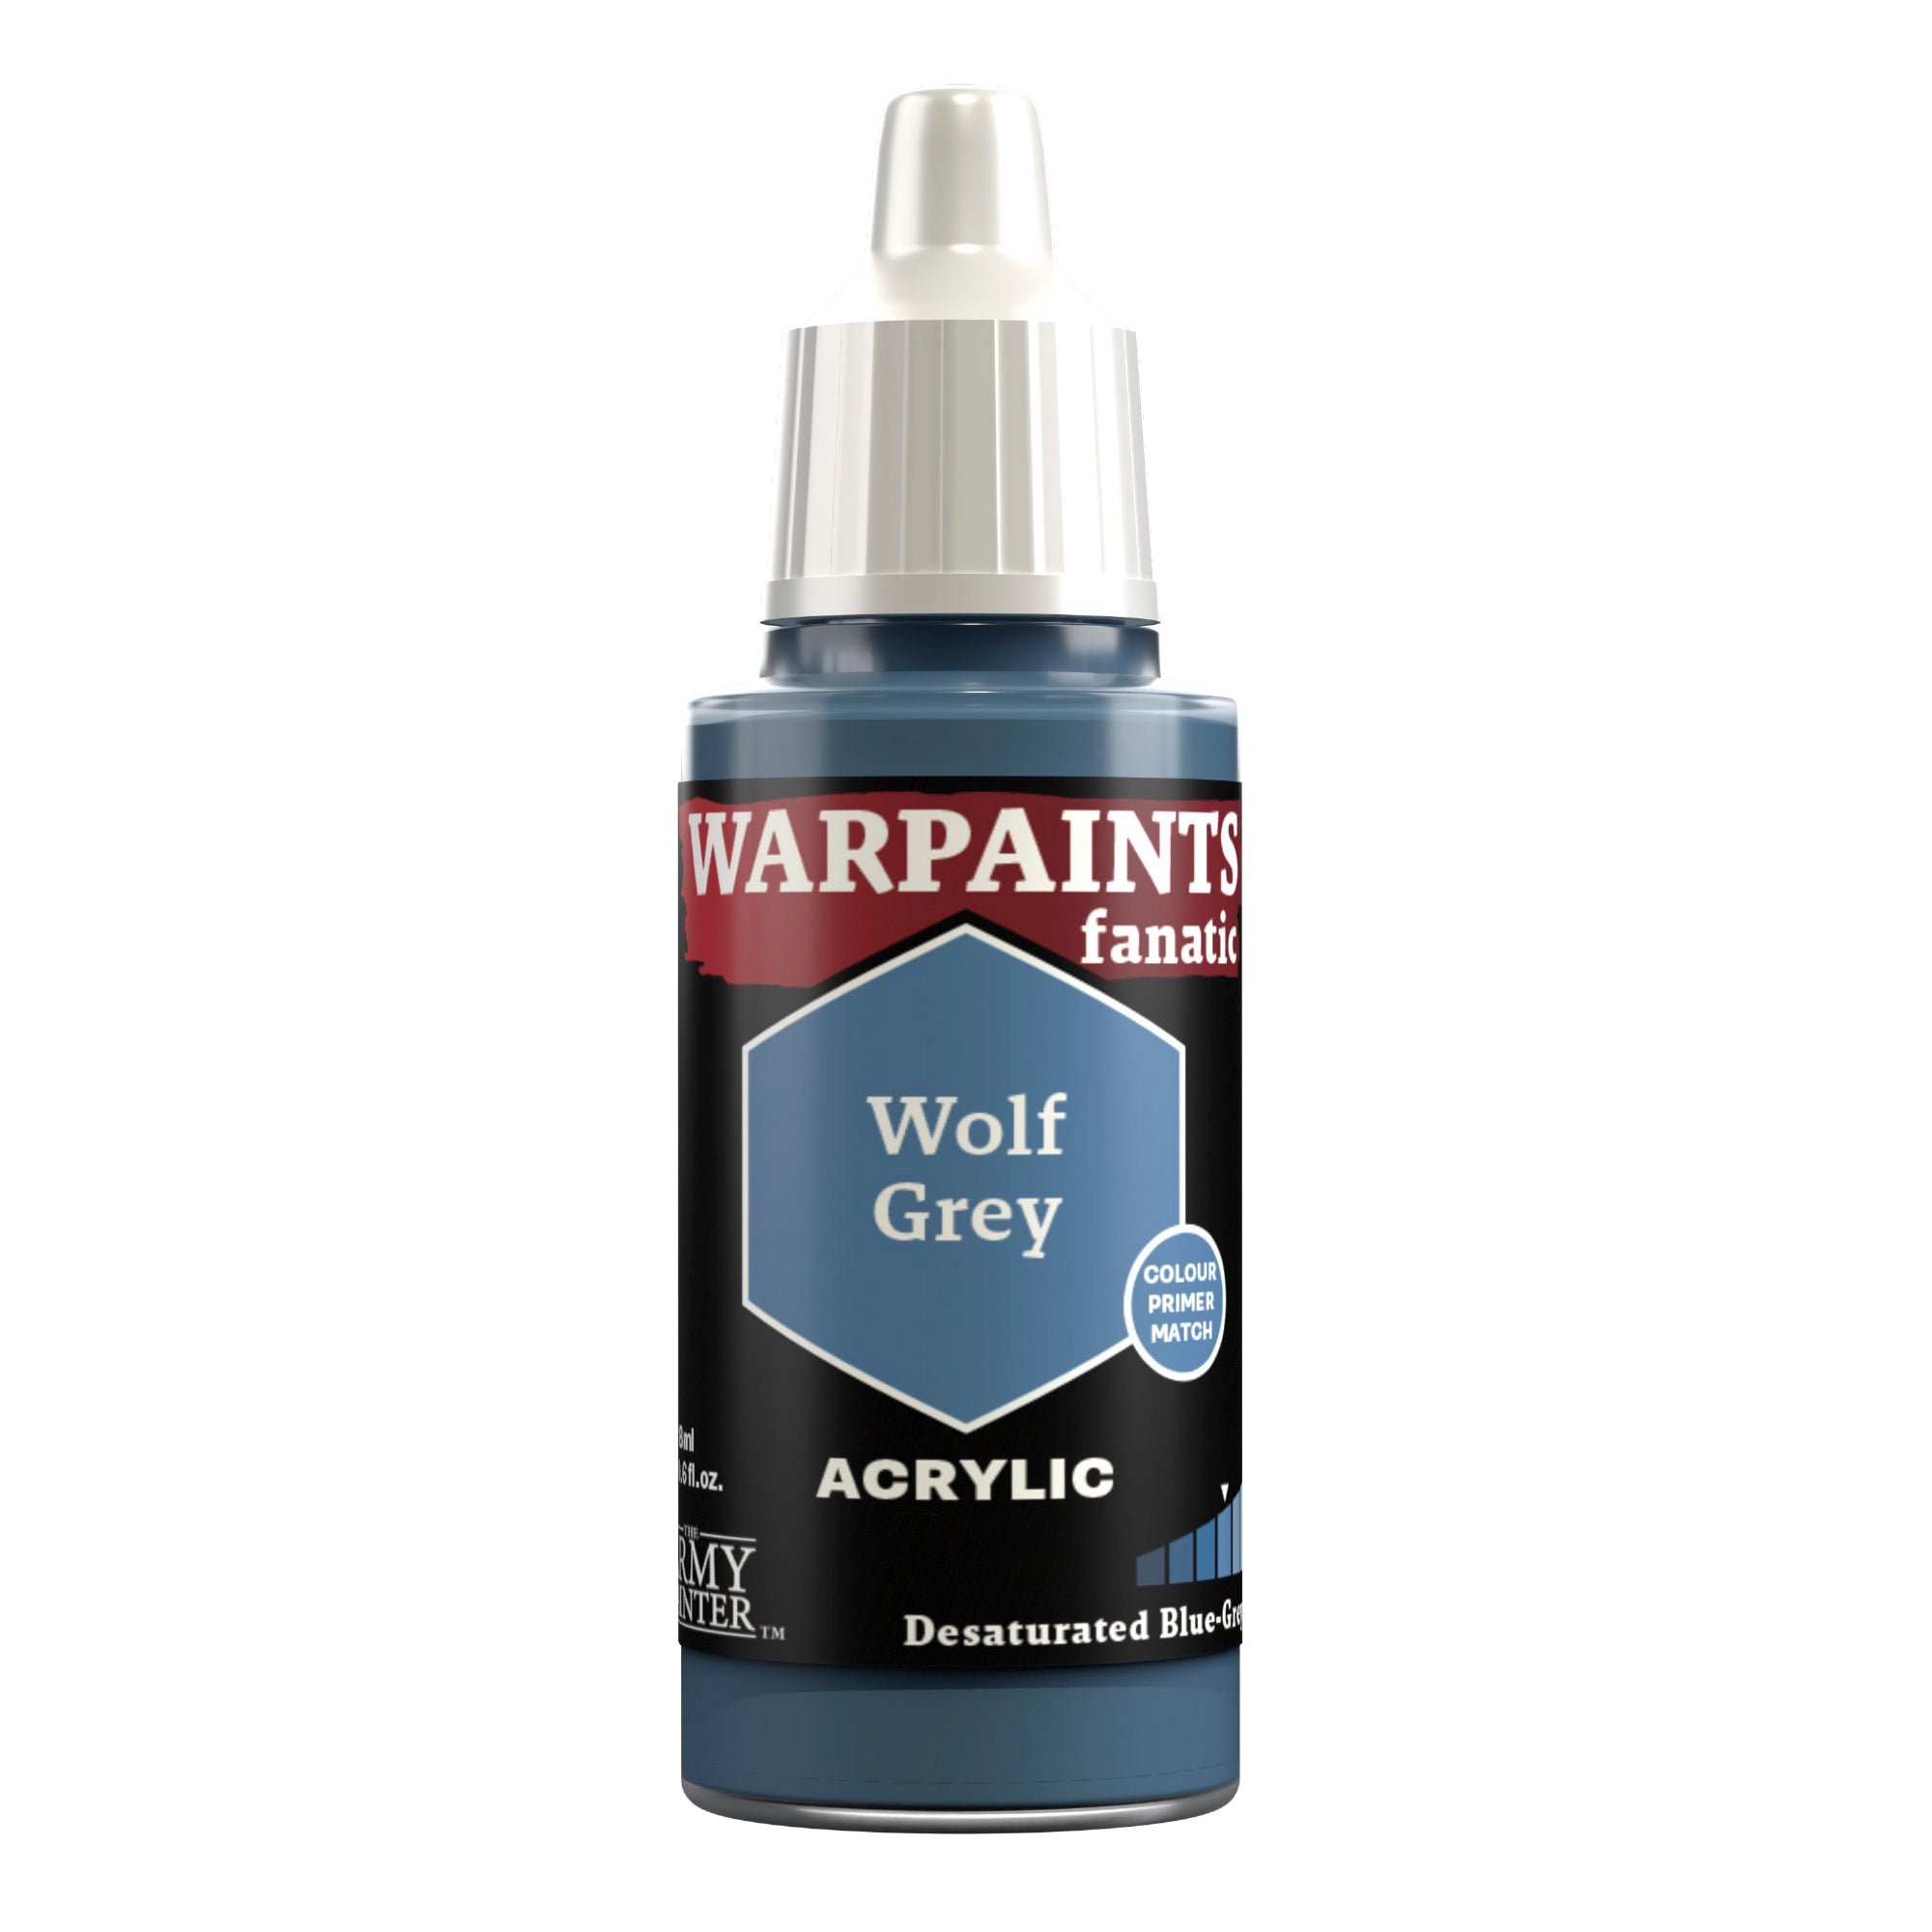
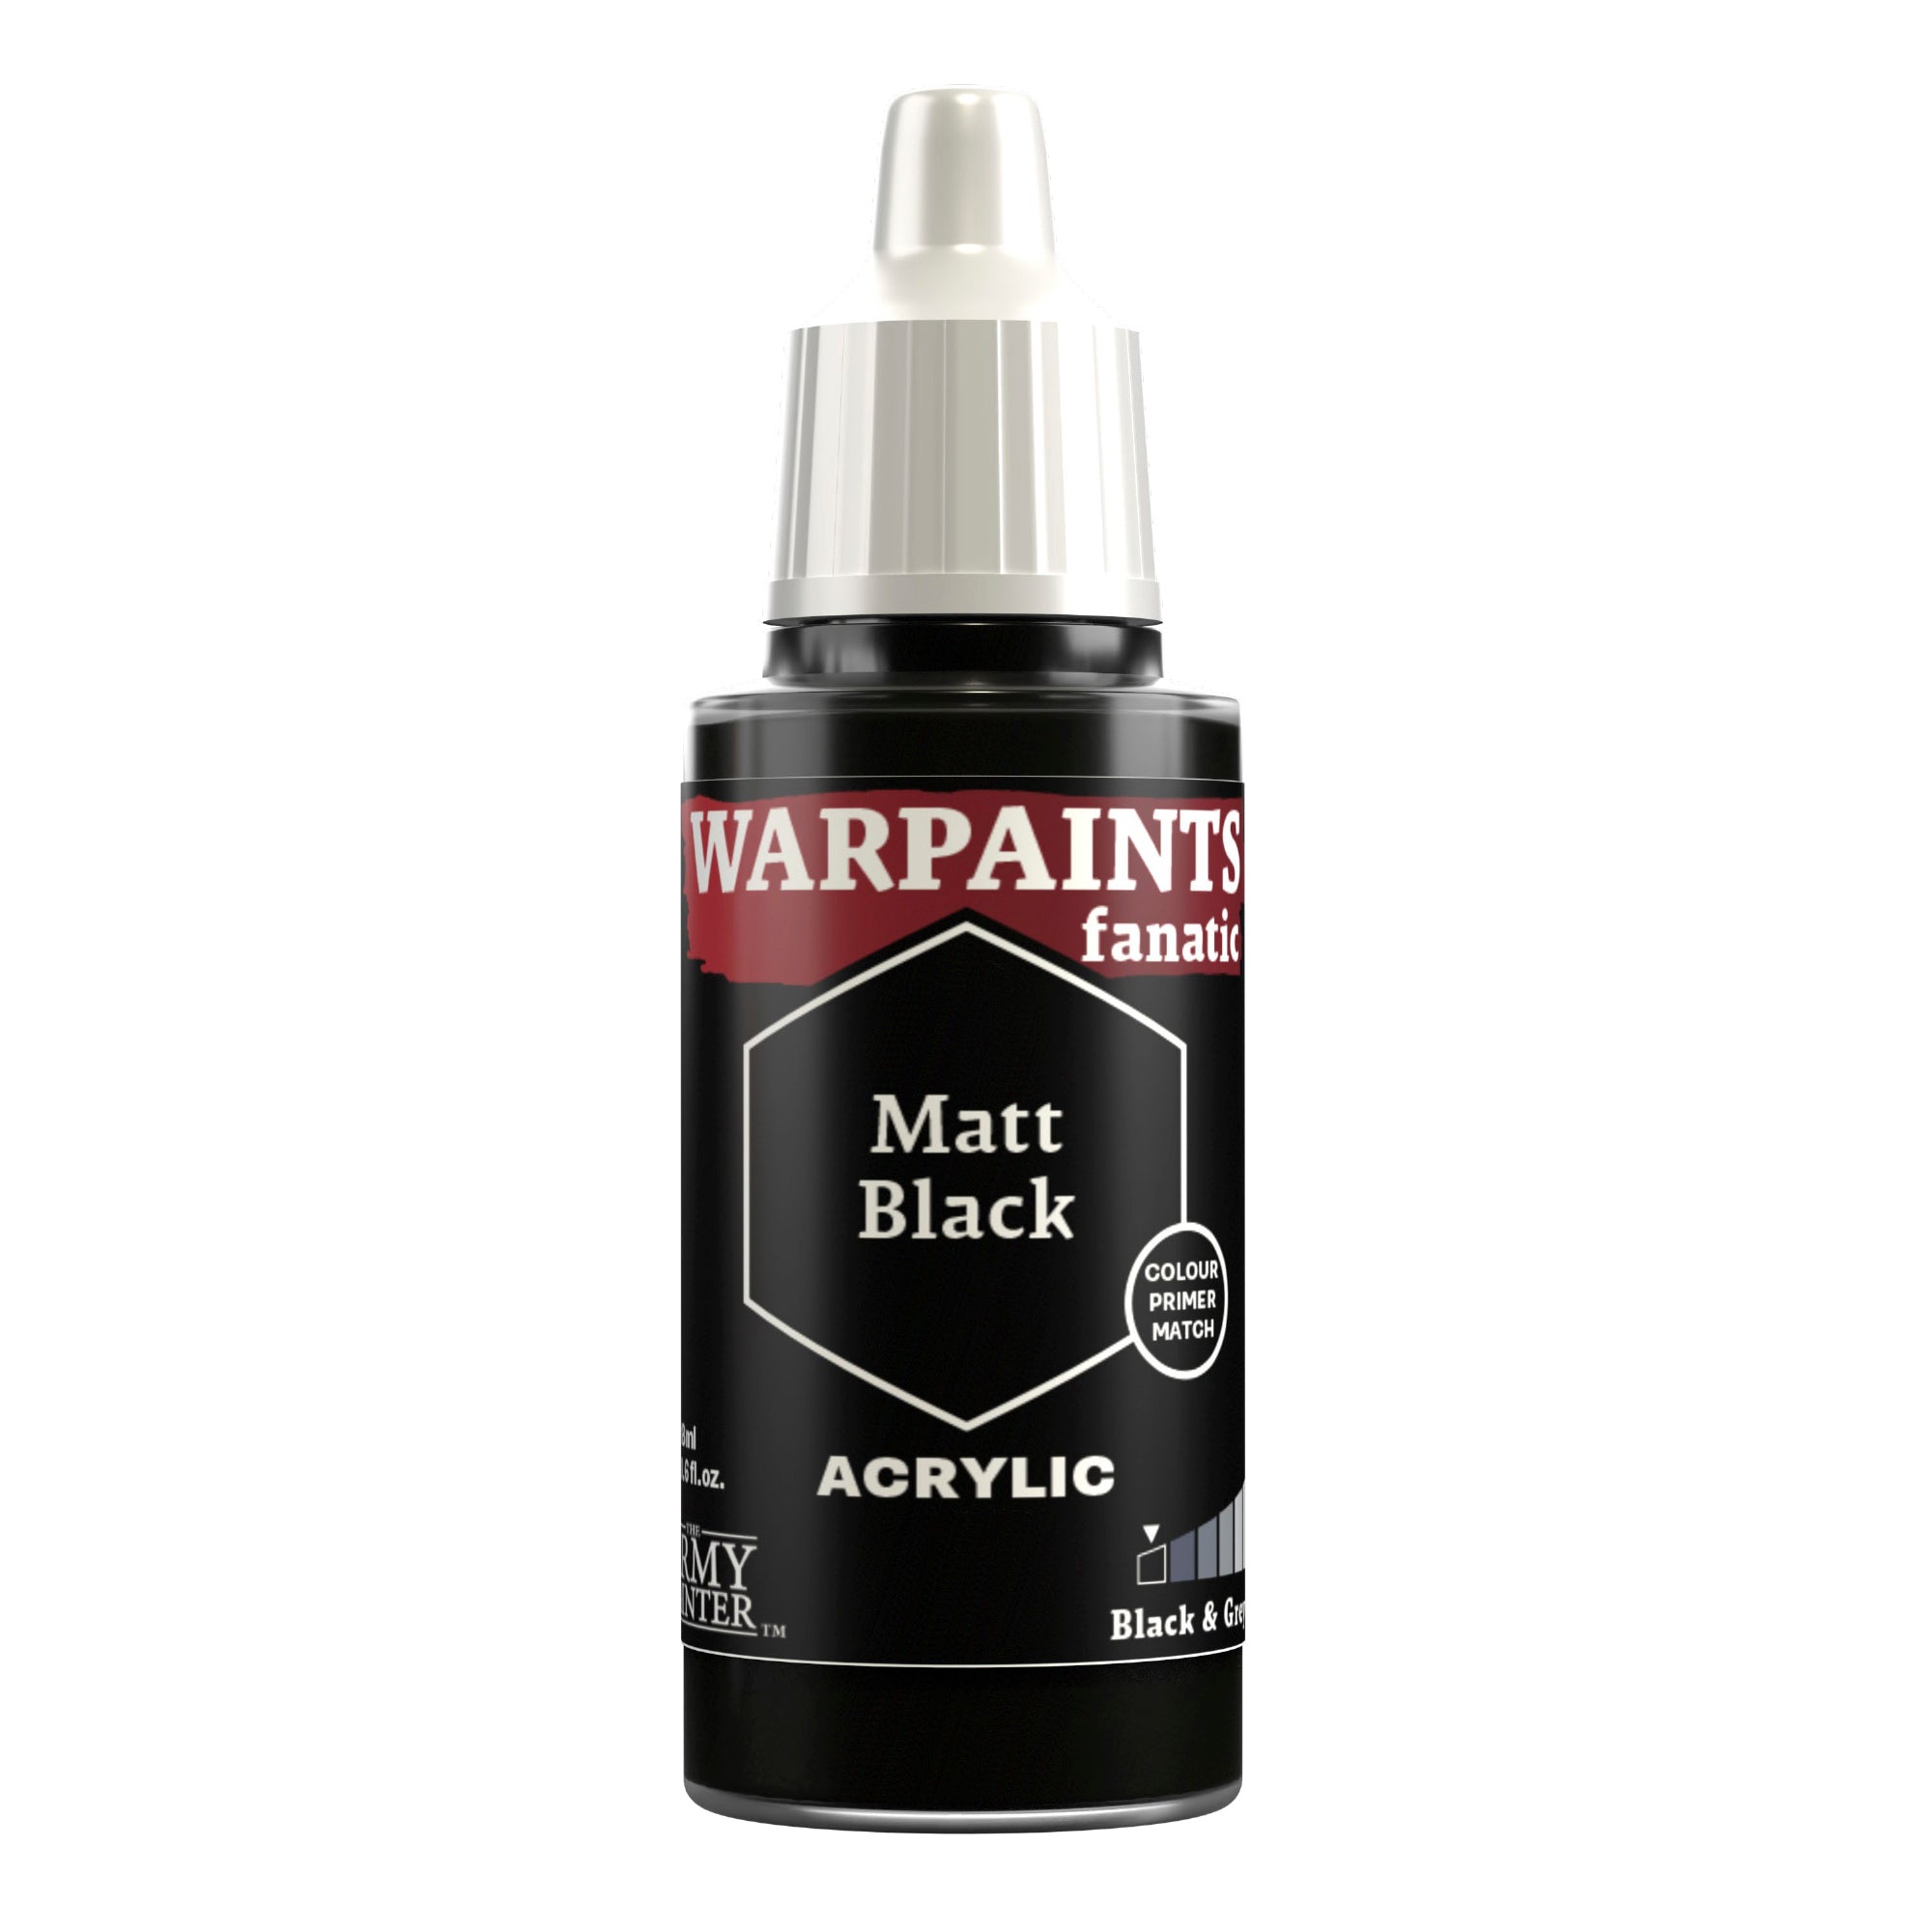
Highlight the black leather with Warpaints Fanatic Wolf Grey, and tidy up where needed with Warpaints Fanatic Matt Black. You can also use Matt Black to add a bit more separation between select colour blocks, such as the trousers and the skin.
The Gold
Step 1
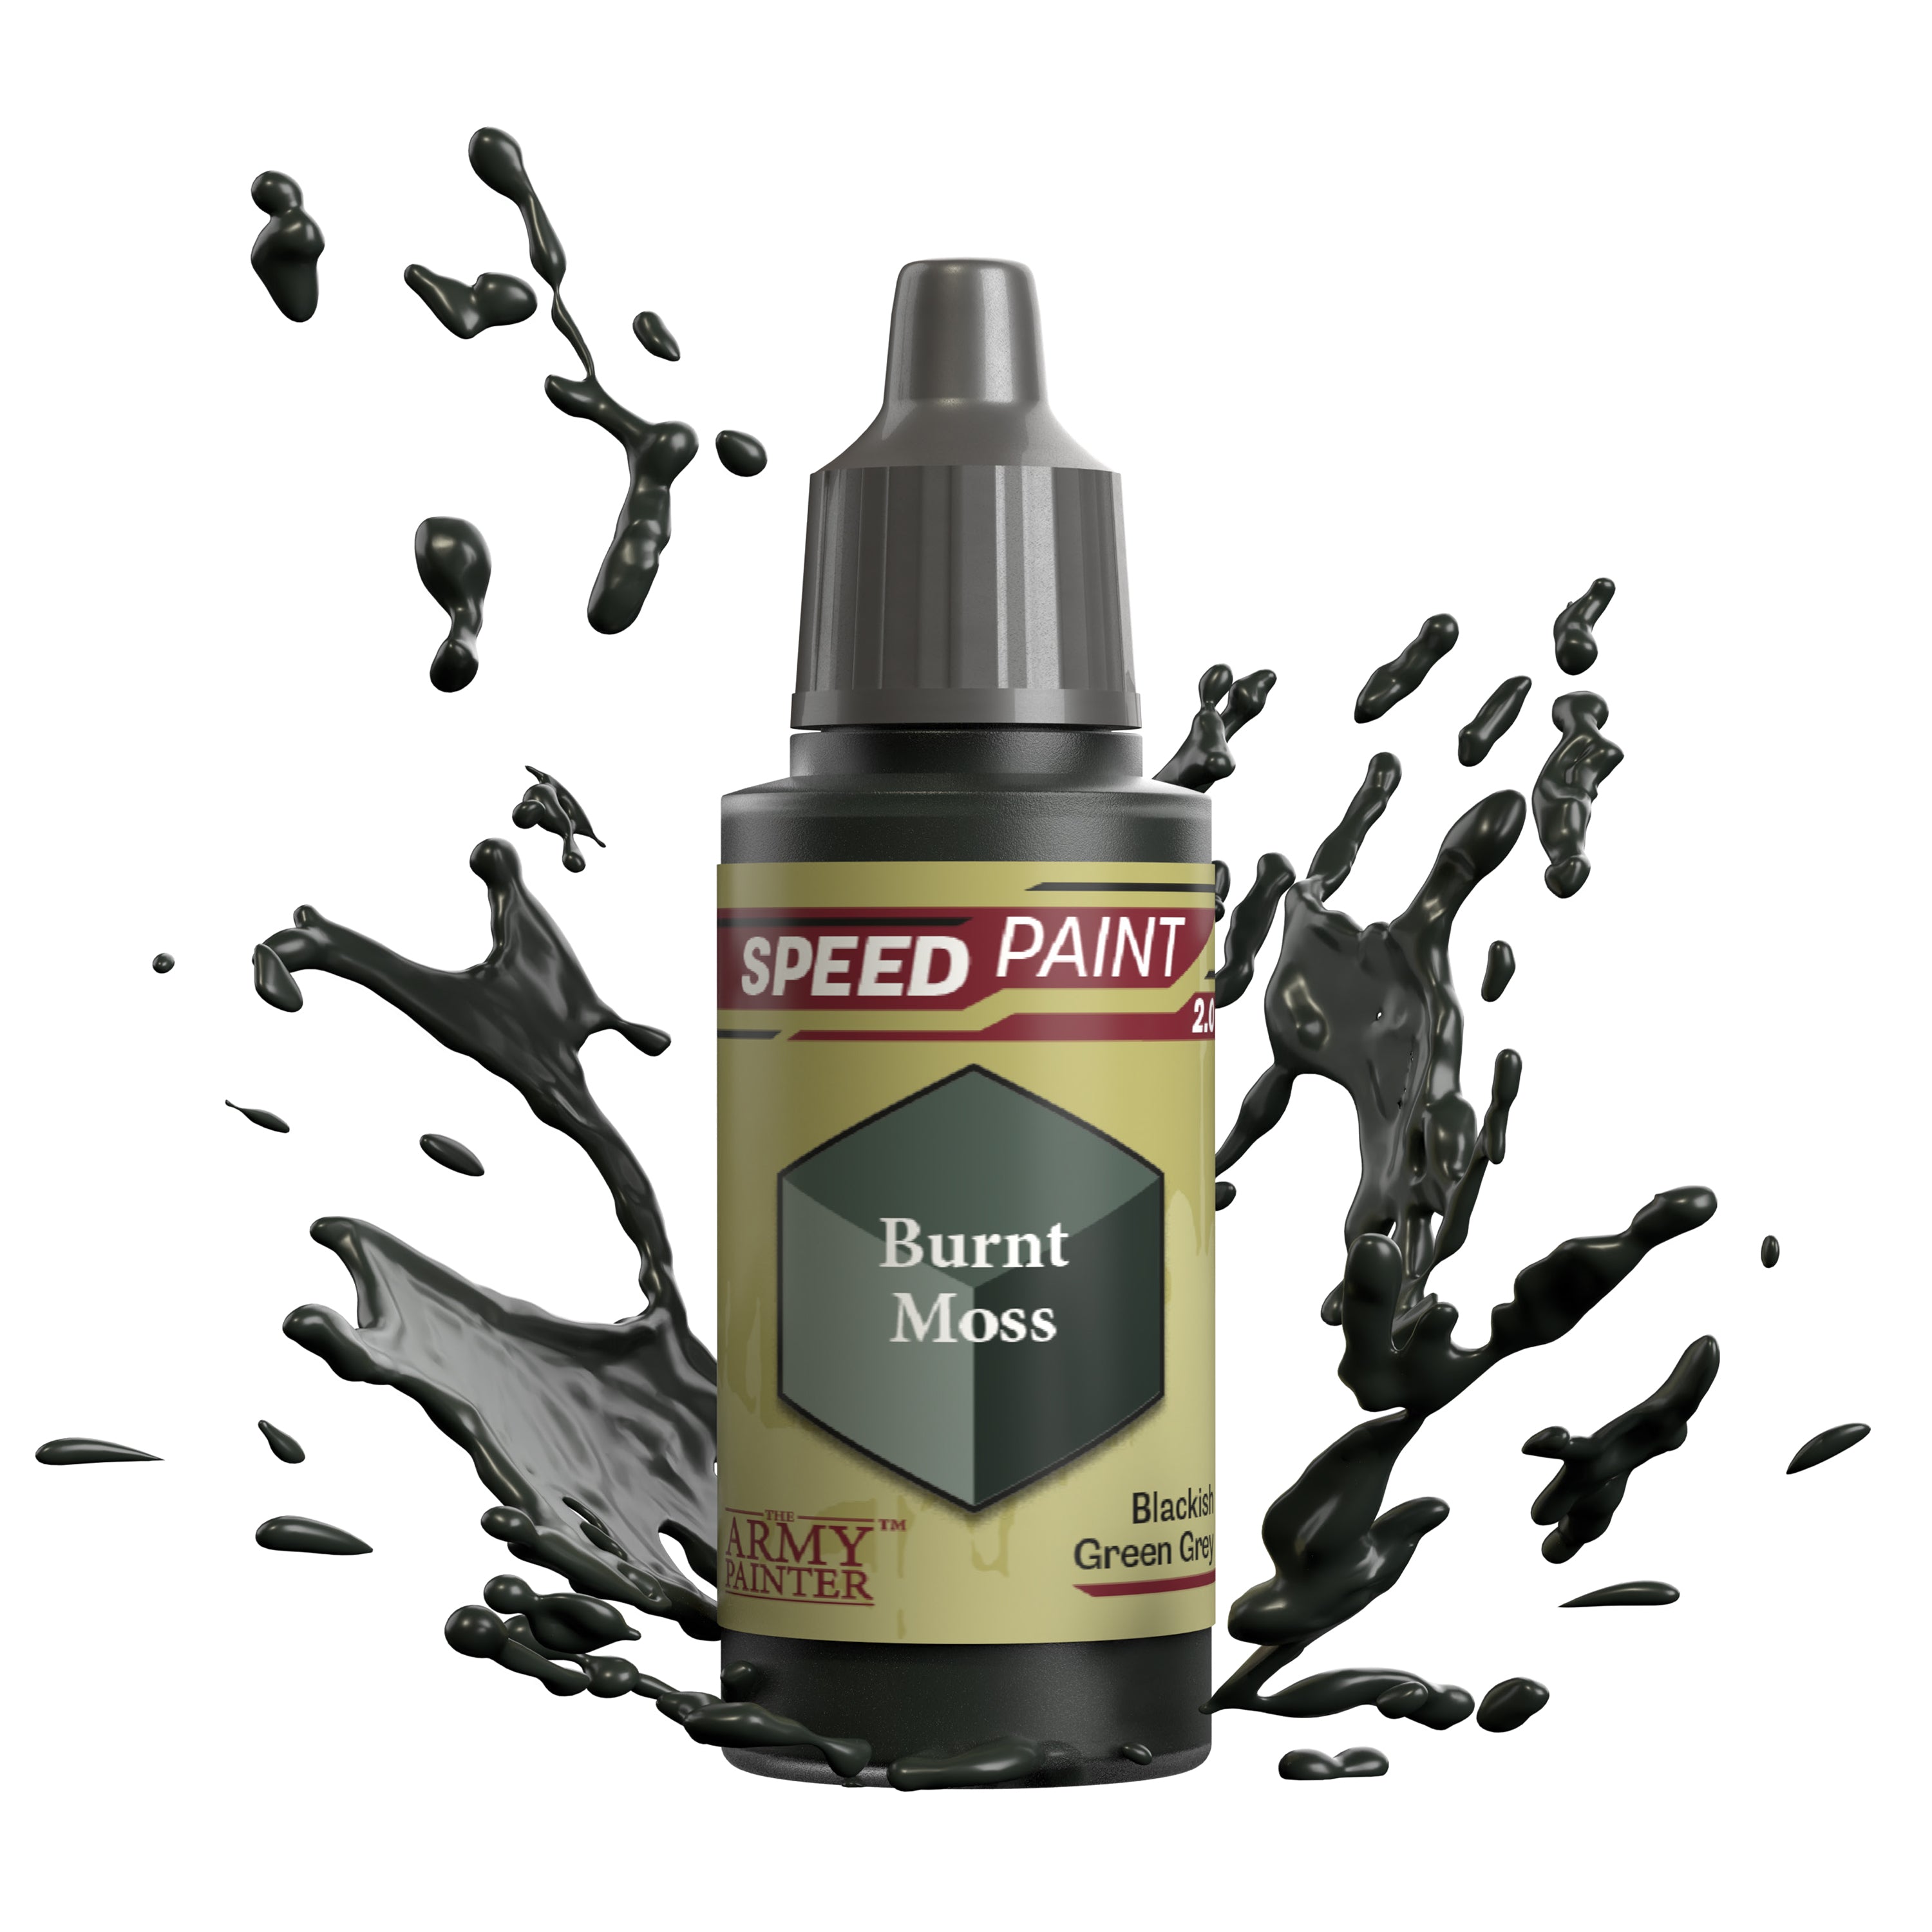
Shade the gold areas with an all-over application of a 1:1 mix of Speedpaint Burnt Moss and Speedpaint Medium to further enhance the green tones in the shadows.
Step 2
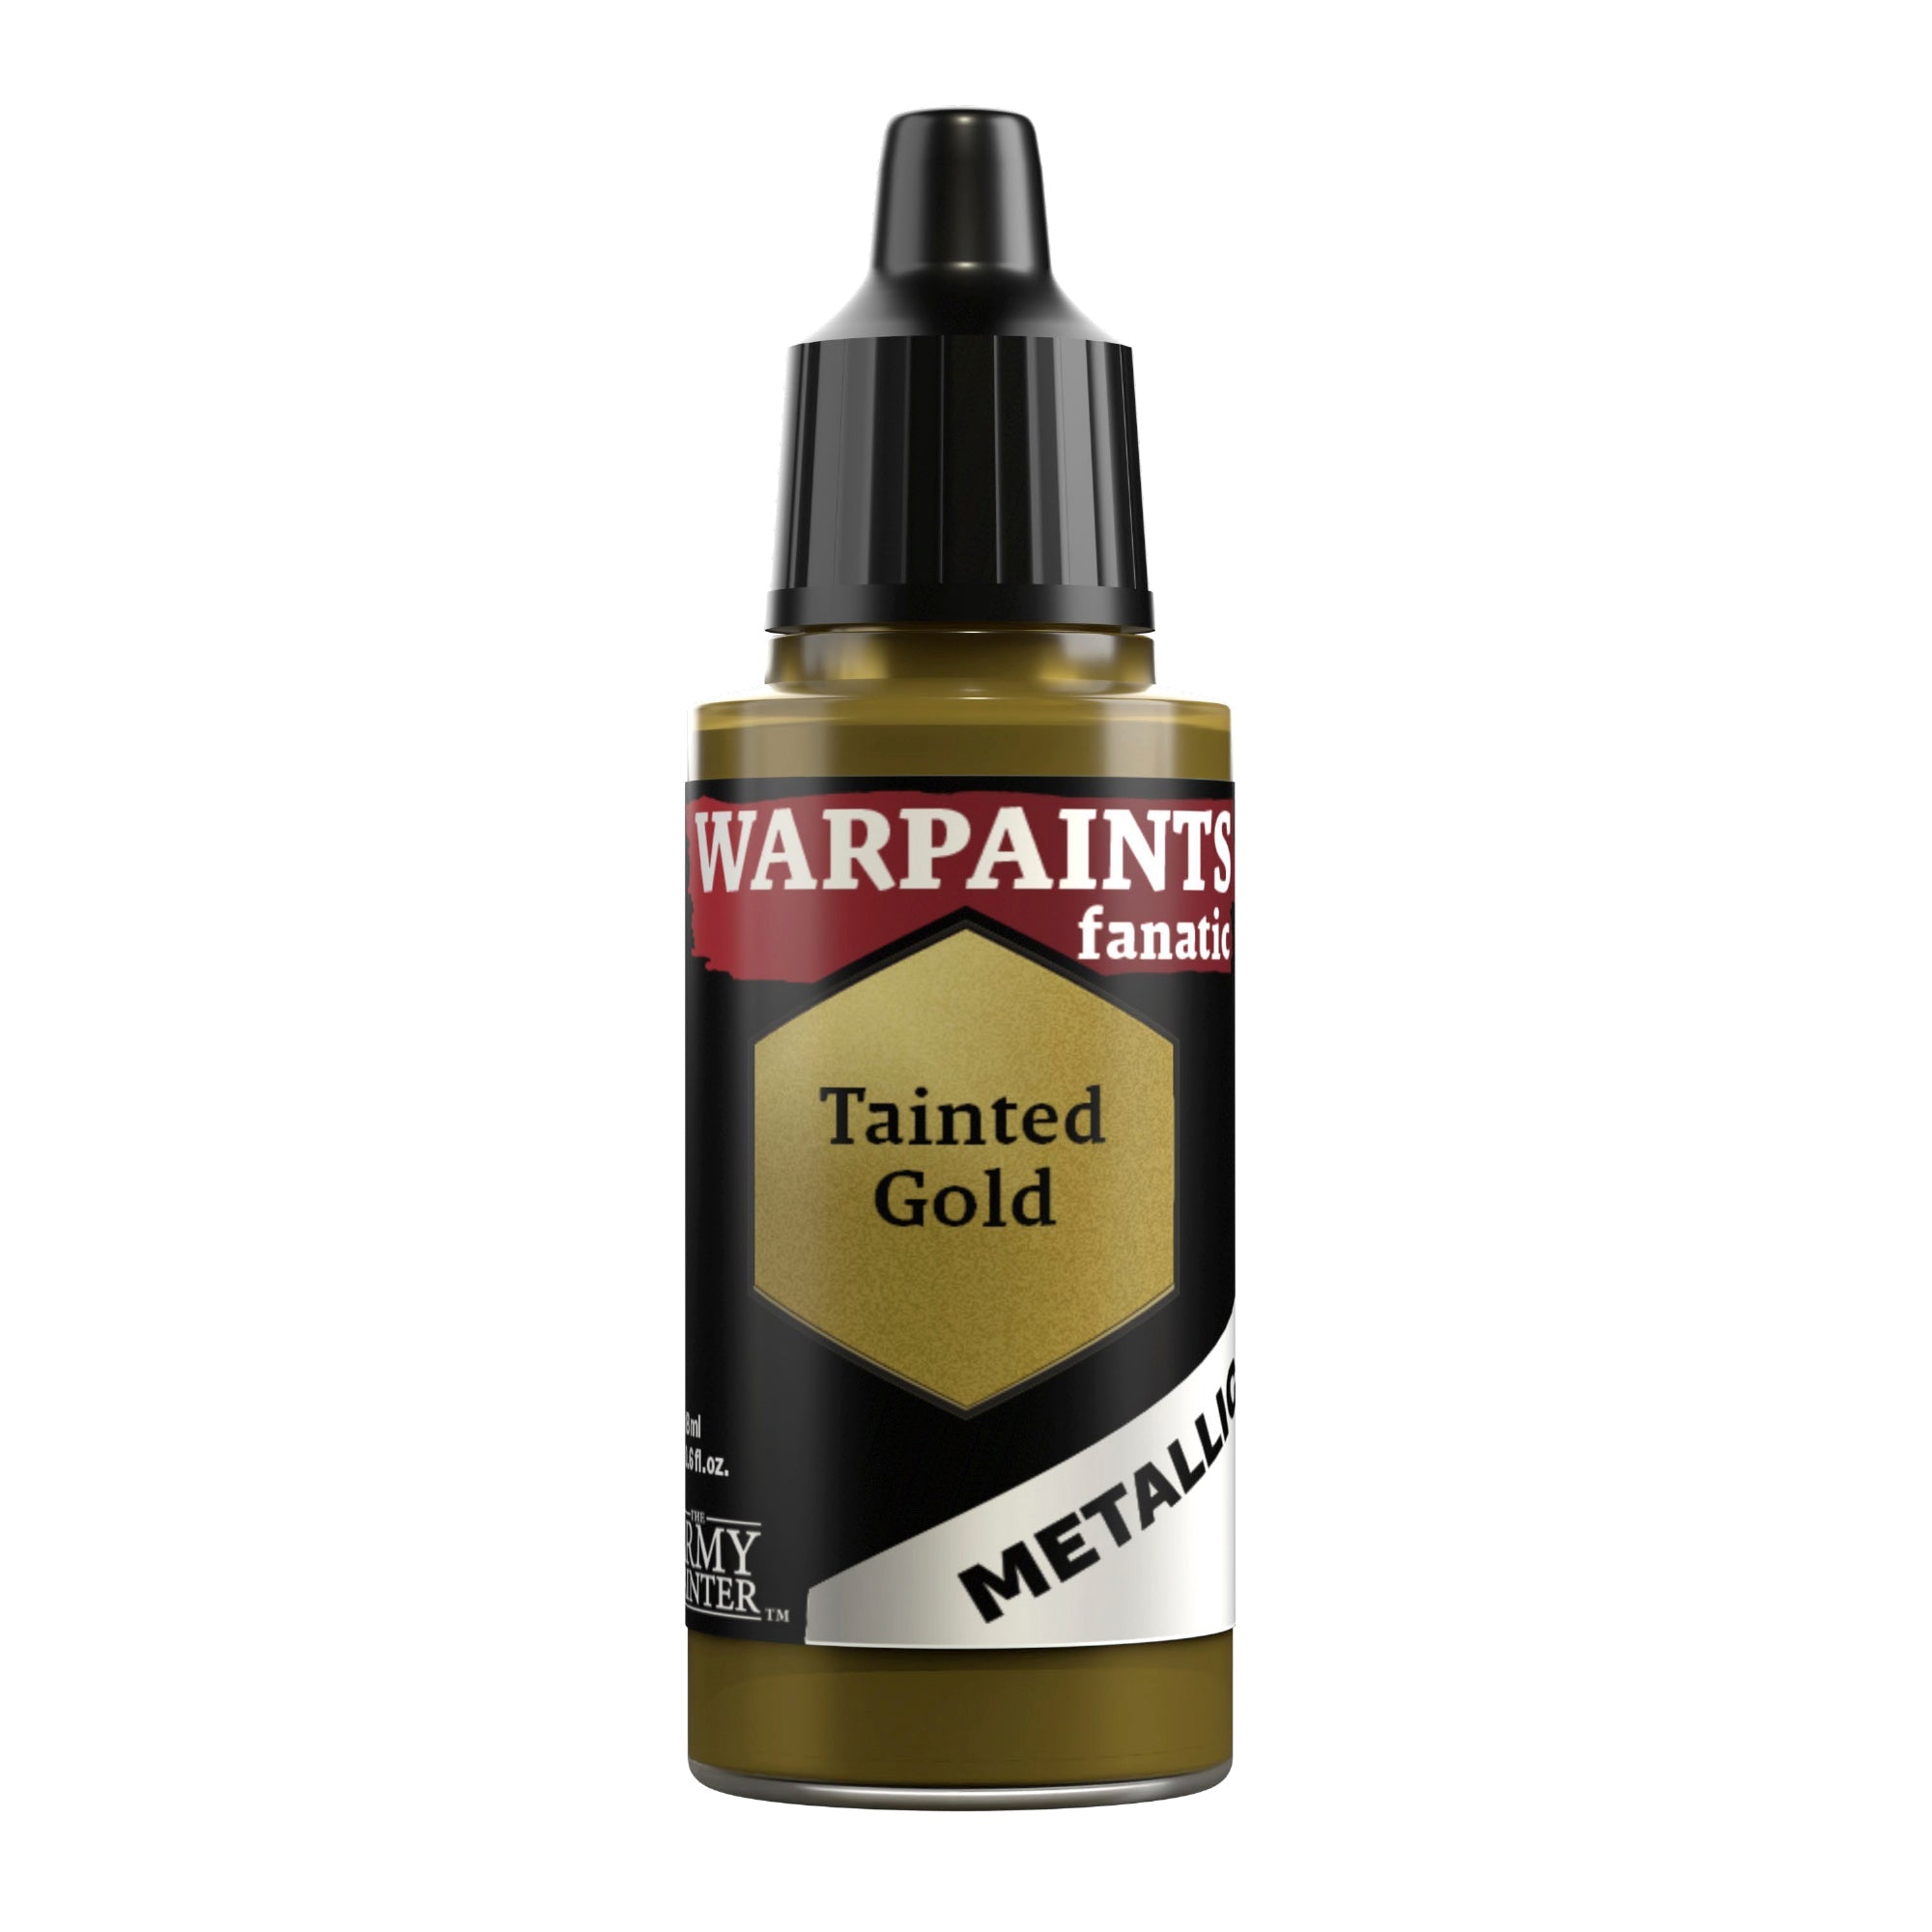
Next, layer the gold with Warpaints Fanatic Tainted Gold, leaving some of the previous steps showing as shadows.

Step 3
Use Warpaints Fanatic Wash Green Tone to add even more green to the recesses and lower half of the gold areas. Only apply this where needed.
Step 4
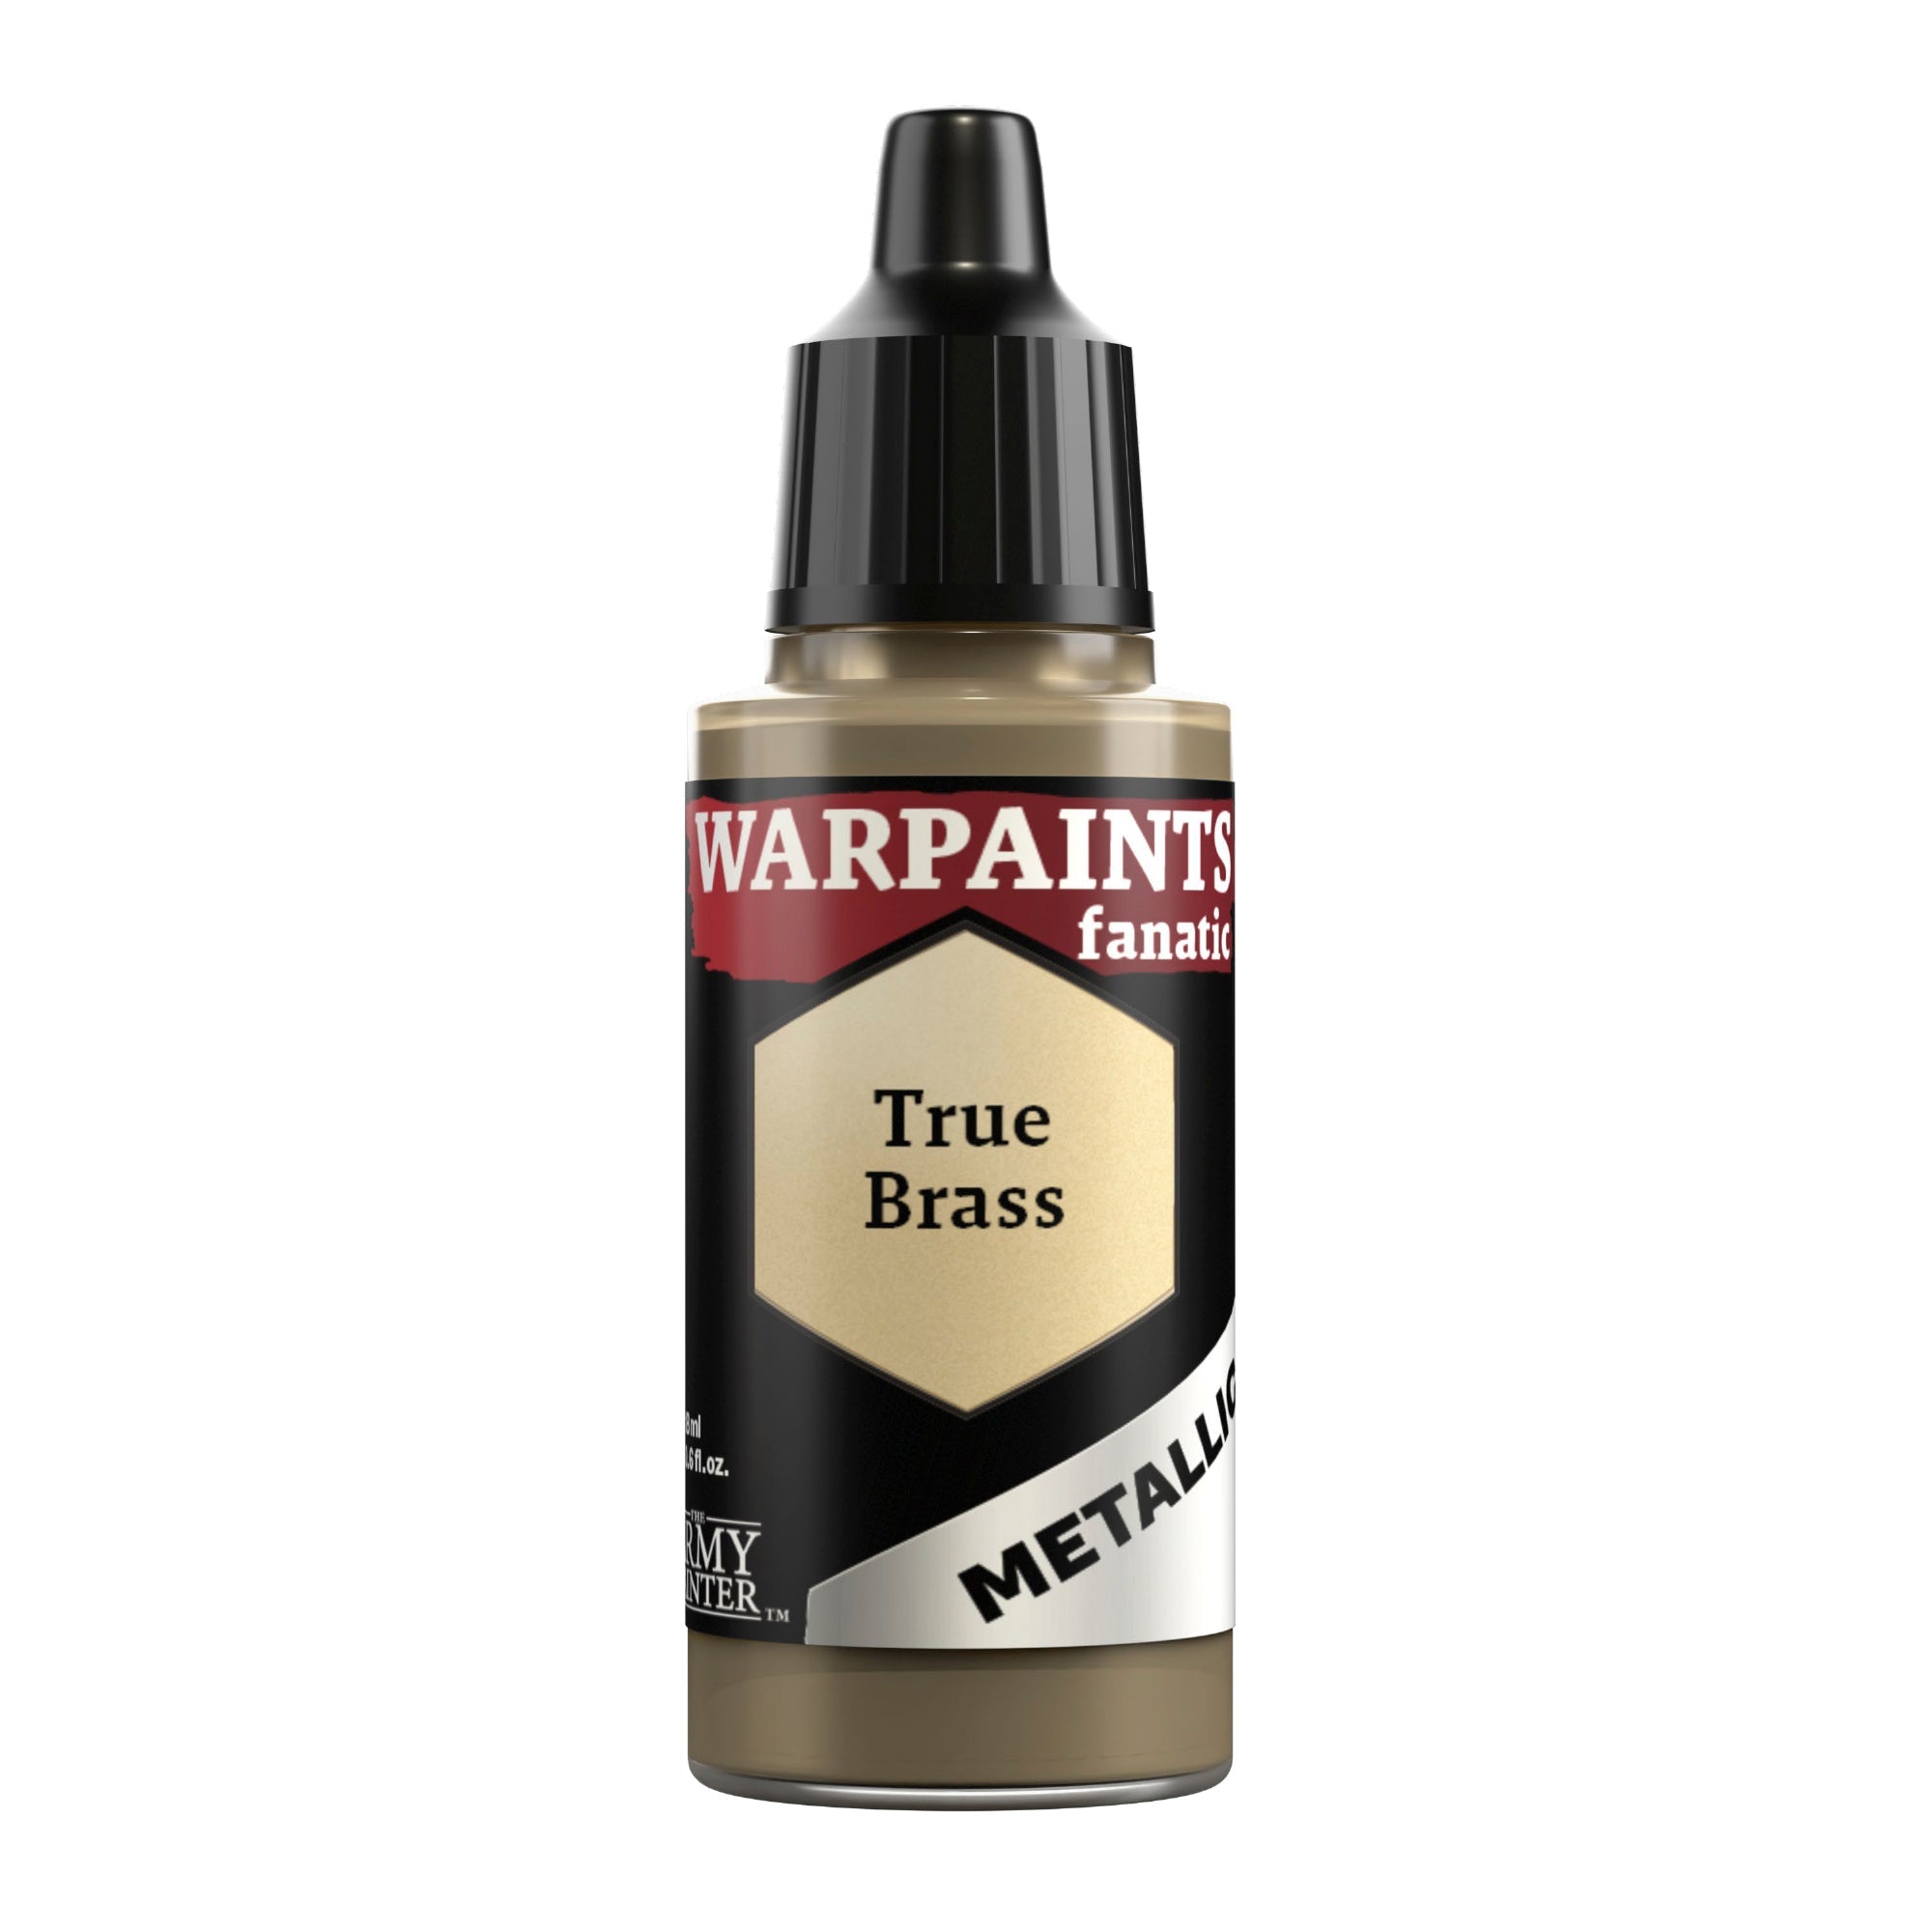
Finally, edge highlight the gold with Warpaints Fanatic True Brass.
The Silver

Step 1
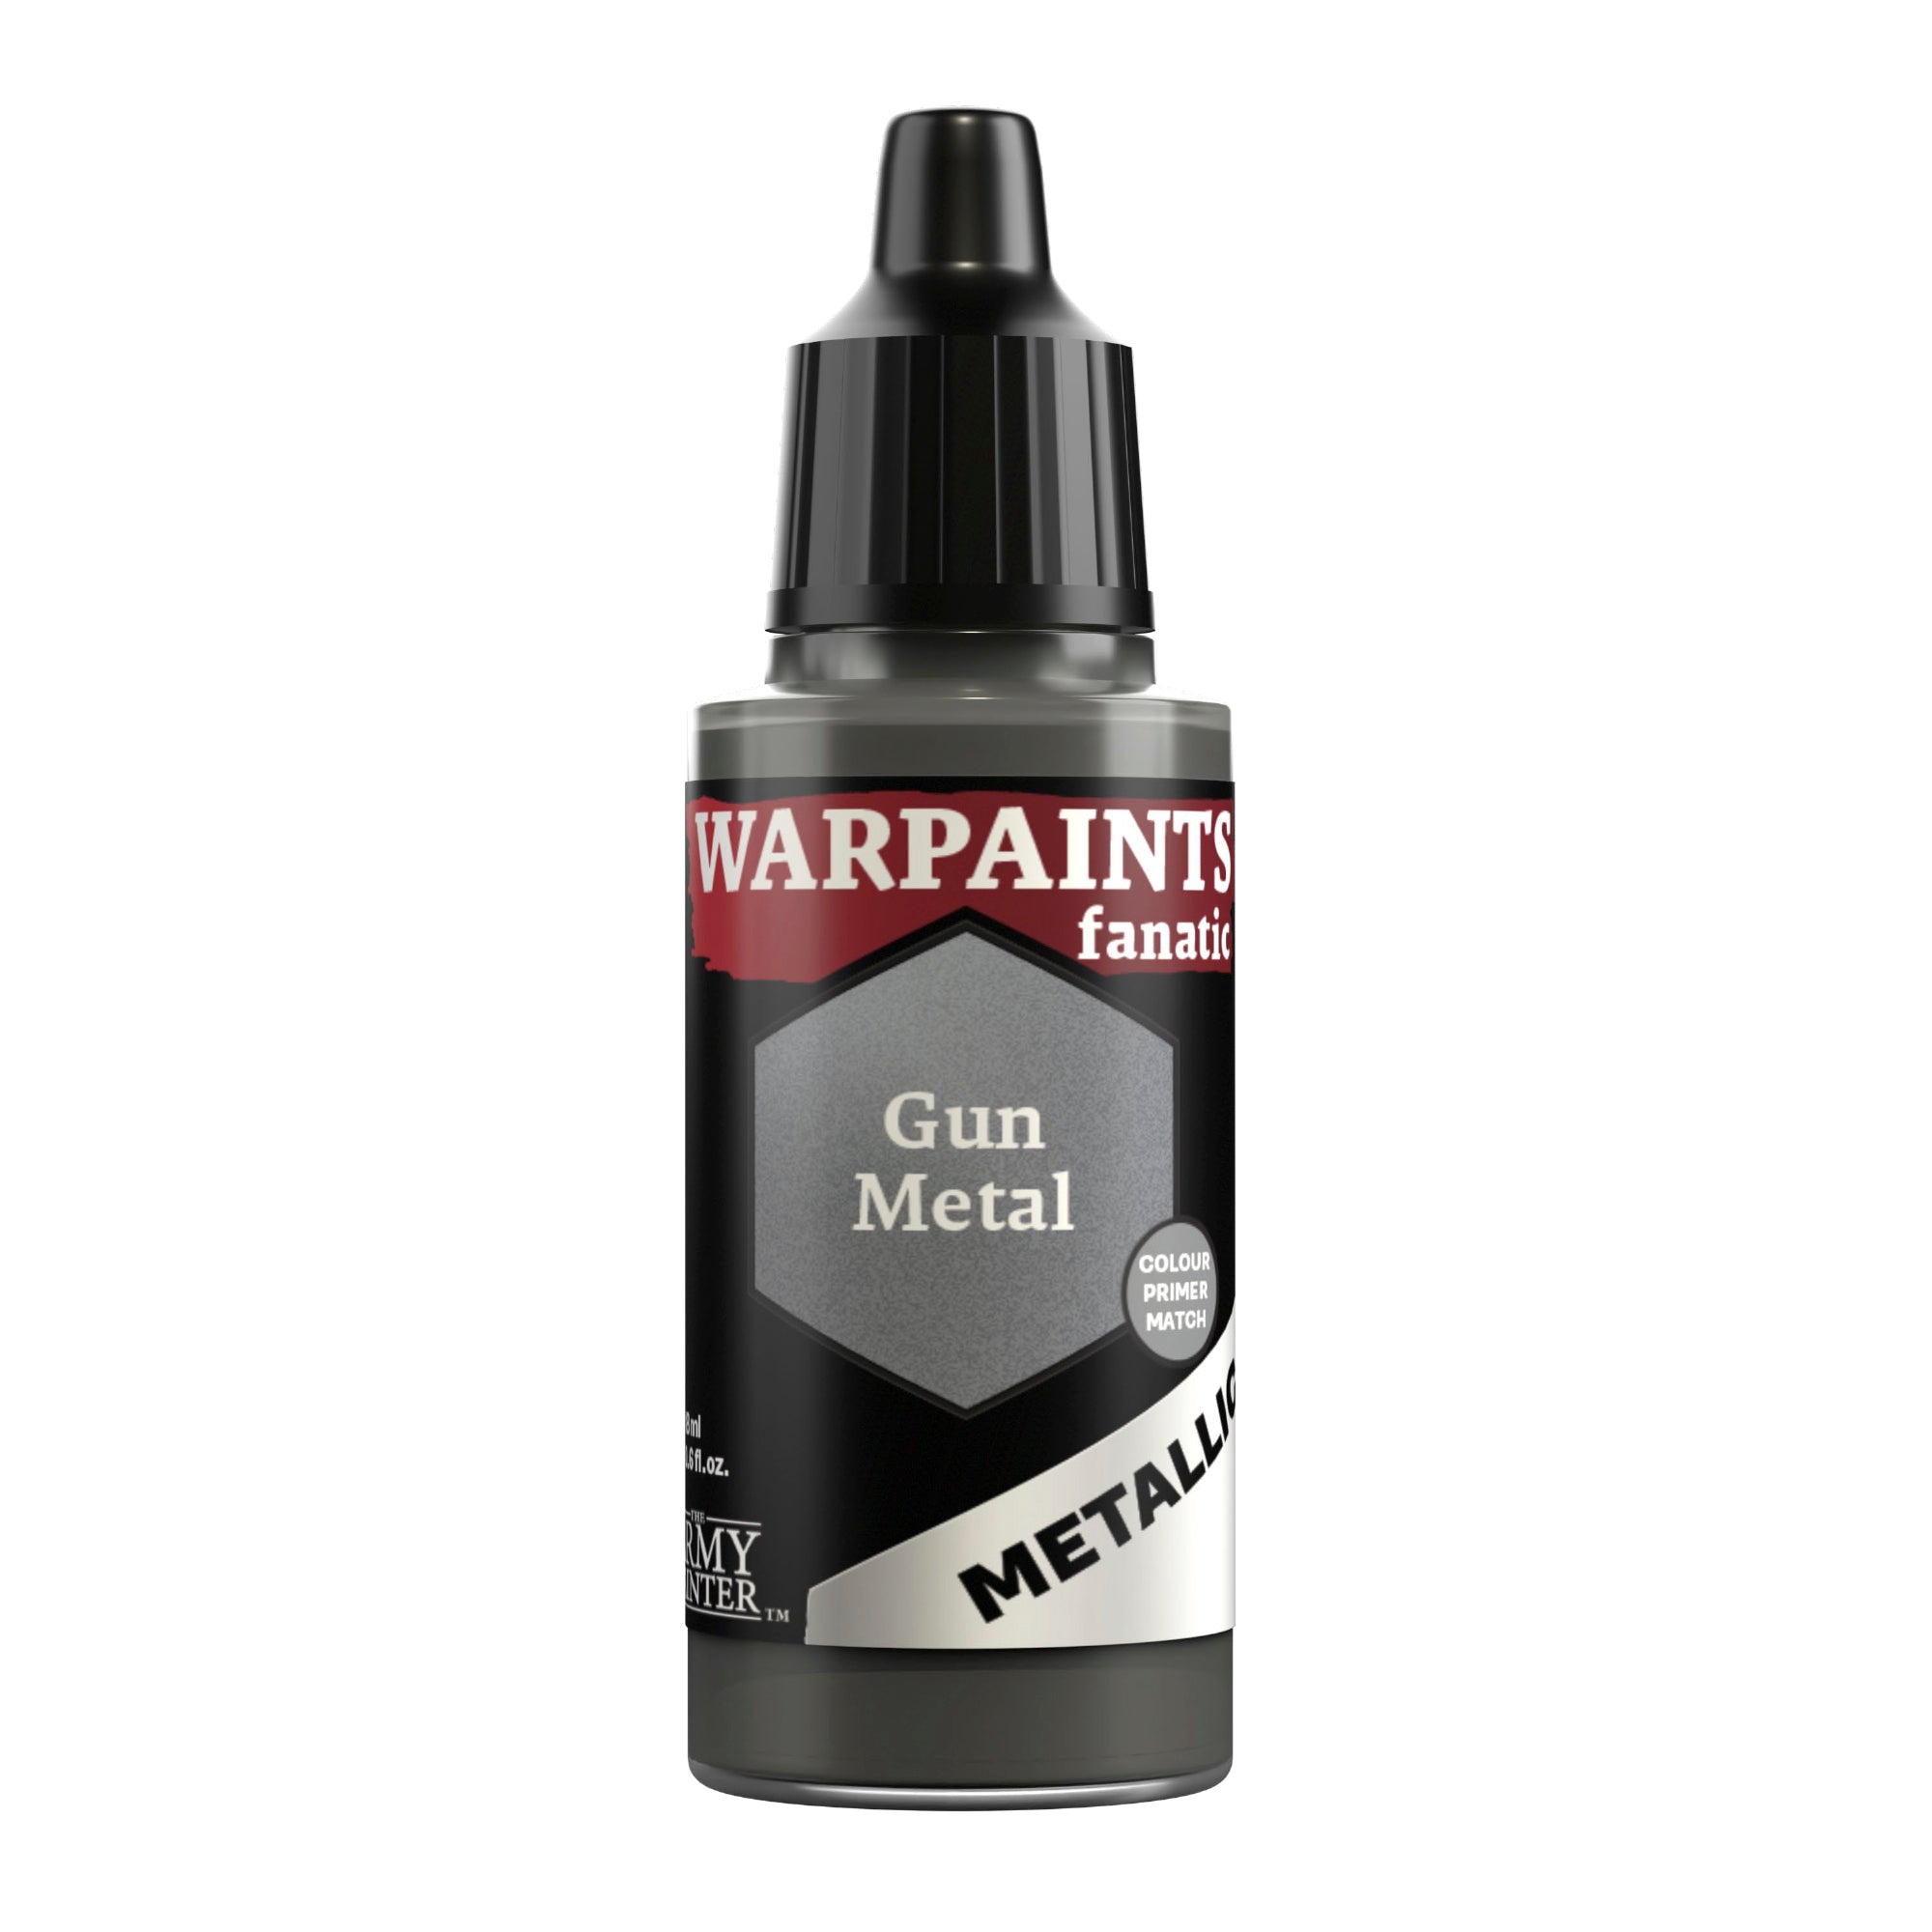
Basecoat all the silver metallics with Warpaints Fanatic Gun Metal.
Step 2
Shade these areas with Warpaints Fanatic Wash Grimdark Shadow. This wash has a slight green tone to it, which plays into the green tones in the gold.

Step 3
Finally, highlight these areas with Warpaints Fanatic Plate Mail Metal.
The Base and Final Details
Step 1
Basecoat the lenses with Warpaints Fanatic Matt Black, then follow this by layering Warpaints Fanatic Demigod Flames in the bottom left corner in a crescent shape.
Step 2
Next, layer Warpaints Fanatic Daemonic Yellow inside the previous crescent shape, building up a gradient from black in the top right, to yellow in the bottom left. Finish this off with Warpaints Fanatic Ice Yellow along the bottom edge, and a dot of Warpaints Fanatic Matt White in the opposite corner.
Step 3
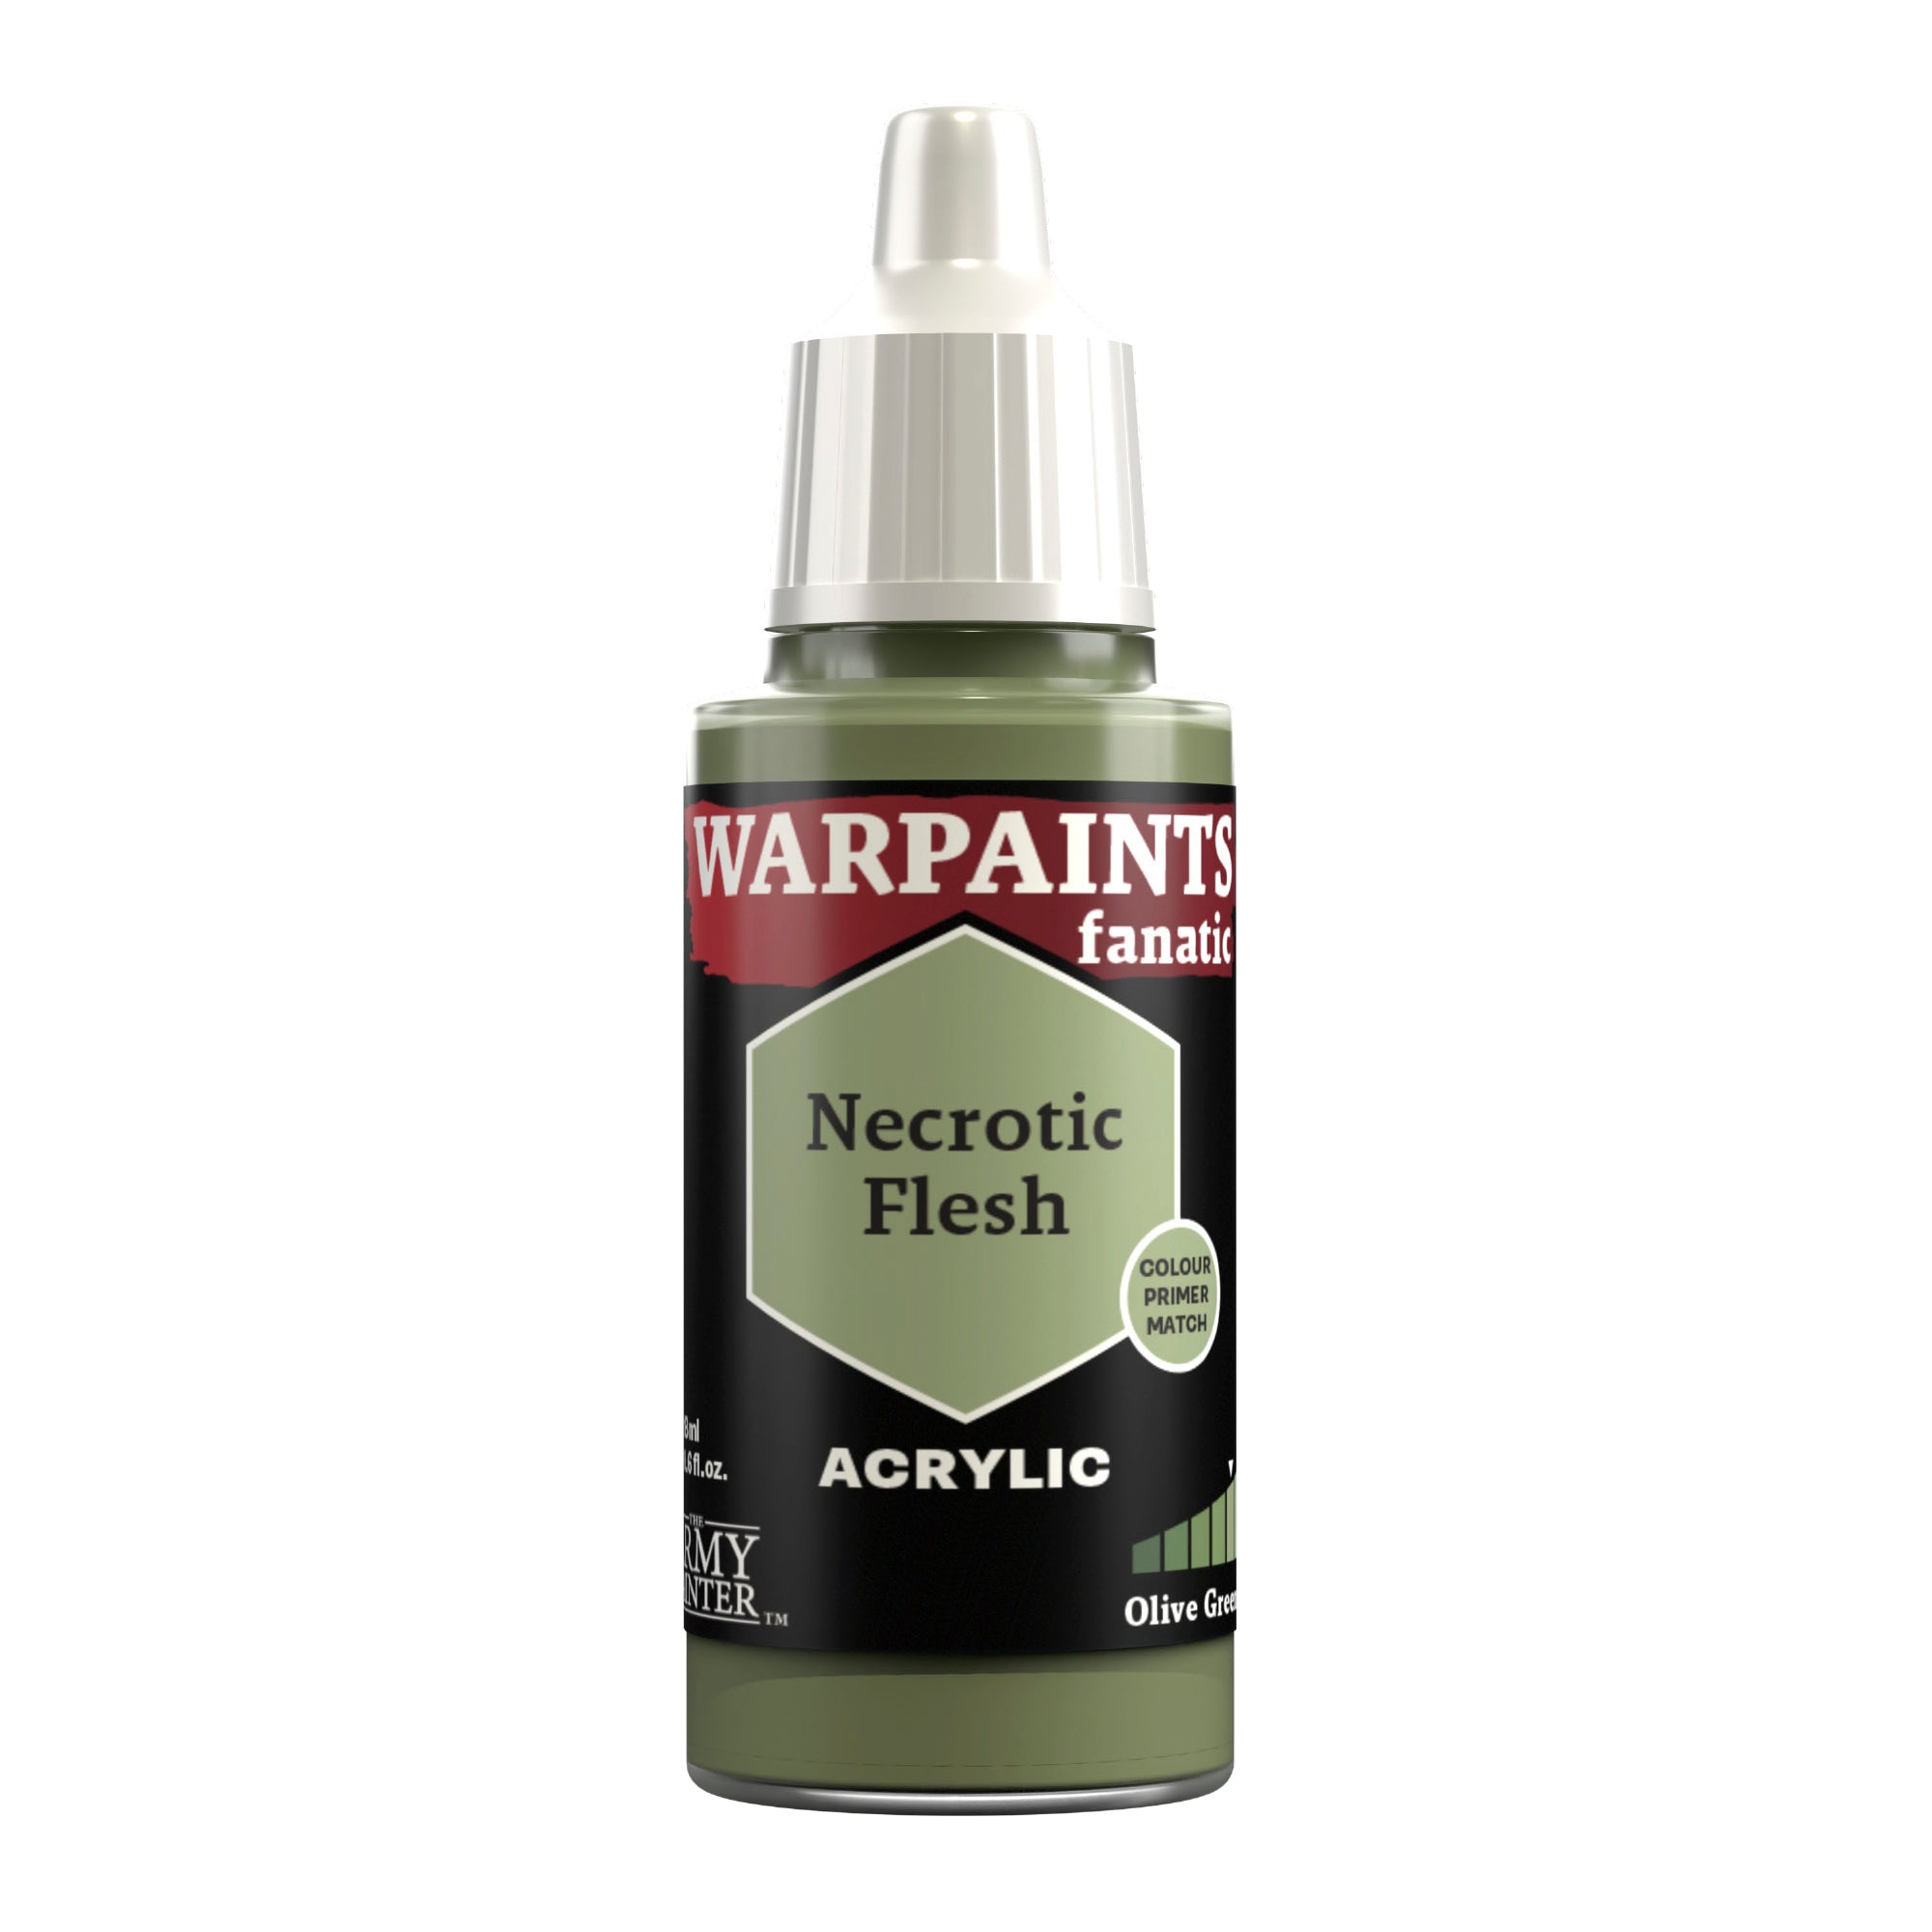
Layer the base with Warpaints Fanatic Necrotic Flesh, leaving the Speedpaint showing in the recesses.
Step 4
Apply a glaze of Speedpaint Familiar Pink mixed with Speedpaint Medium to the base, followed by Speedpaint Moonlake Coral mixed with Speedpaint Medium. At this point, you can also apply more of the under lights to the rest of the model that we did earlier in the painting process or adjust and darken the ones you already have. Finish this off with a highlight of Warpaints Fanatic Necrotic Flesh to some of the edges on the base.
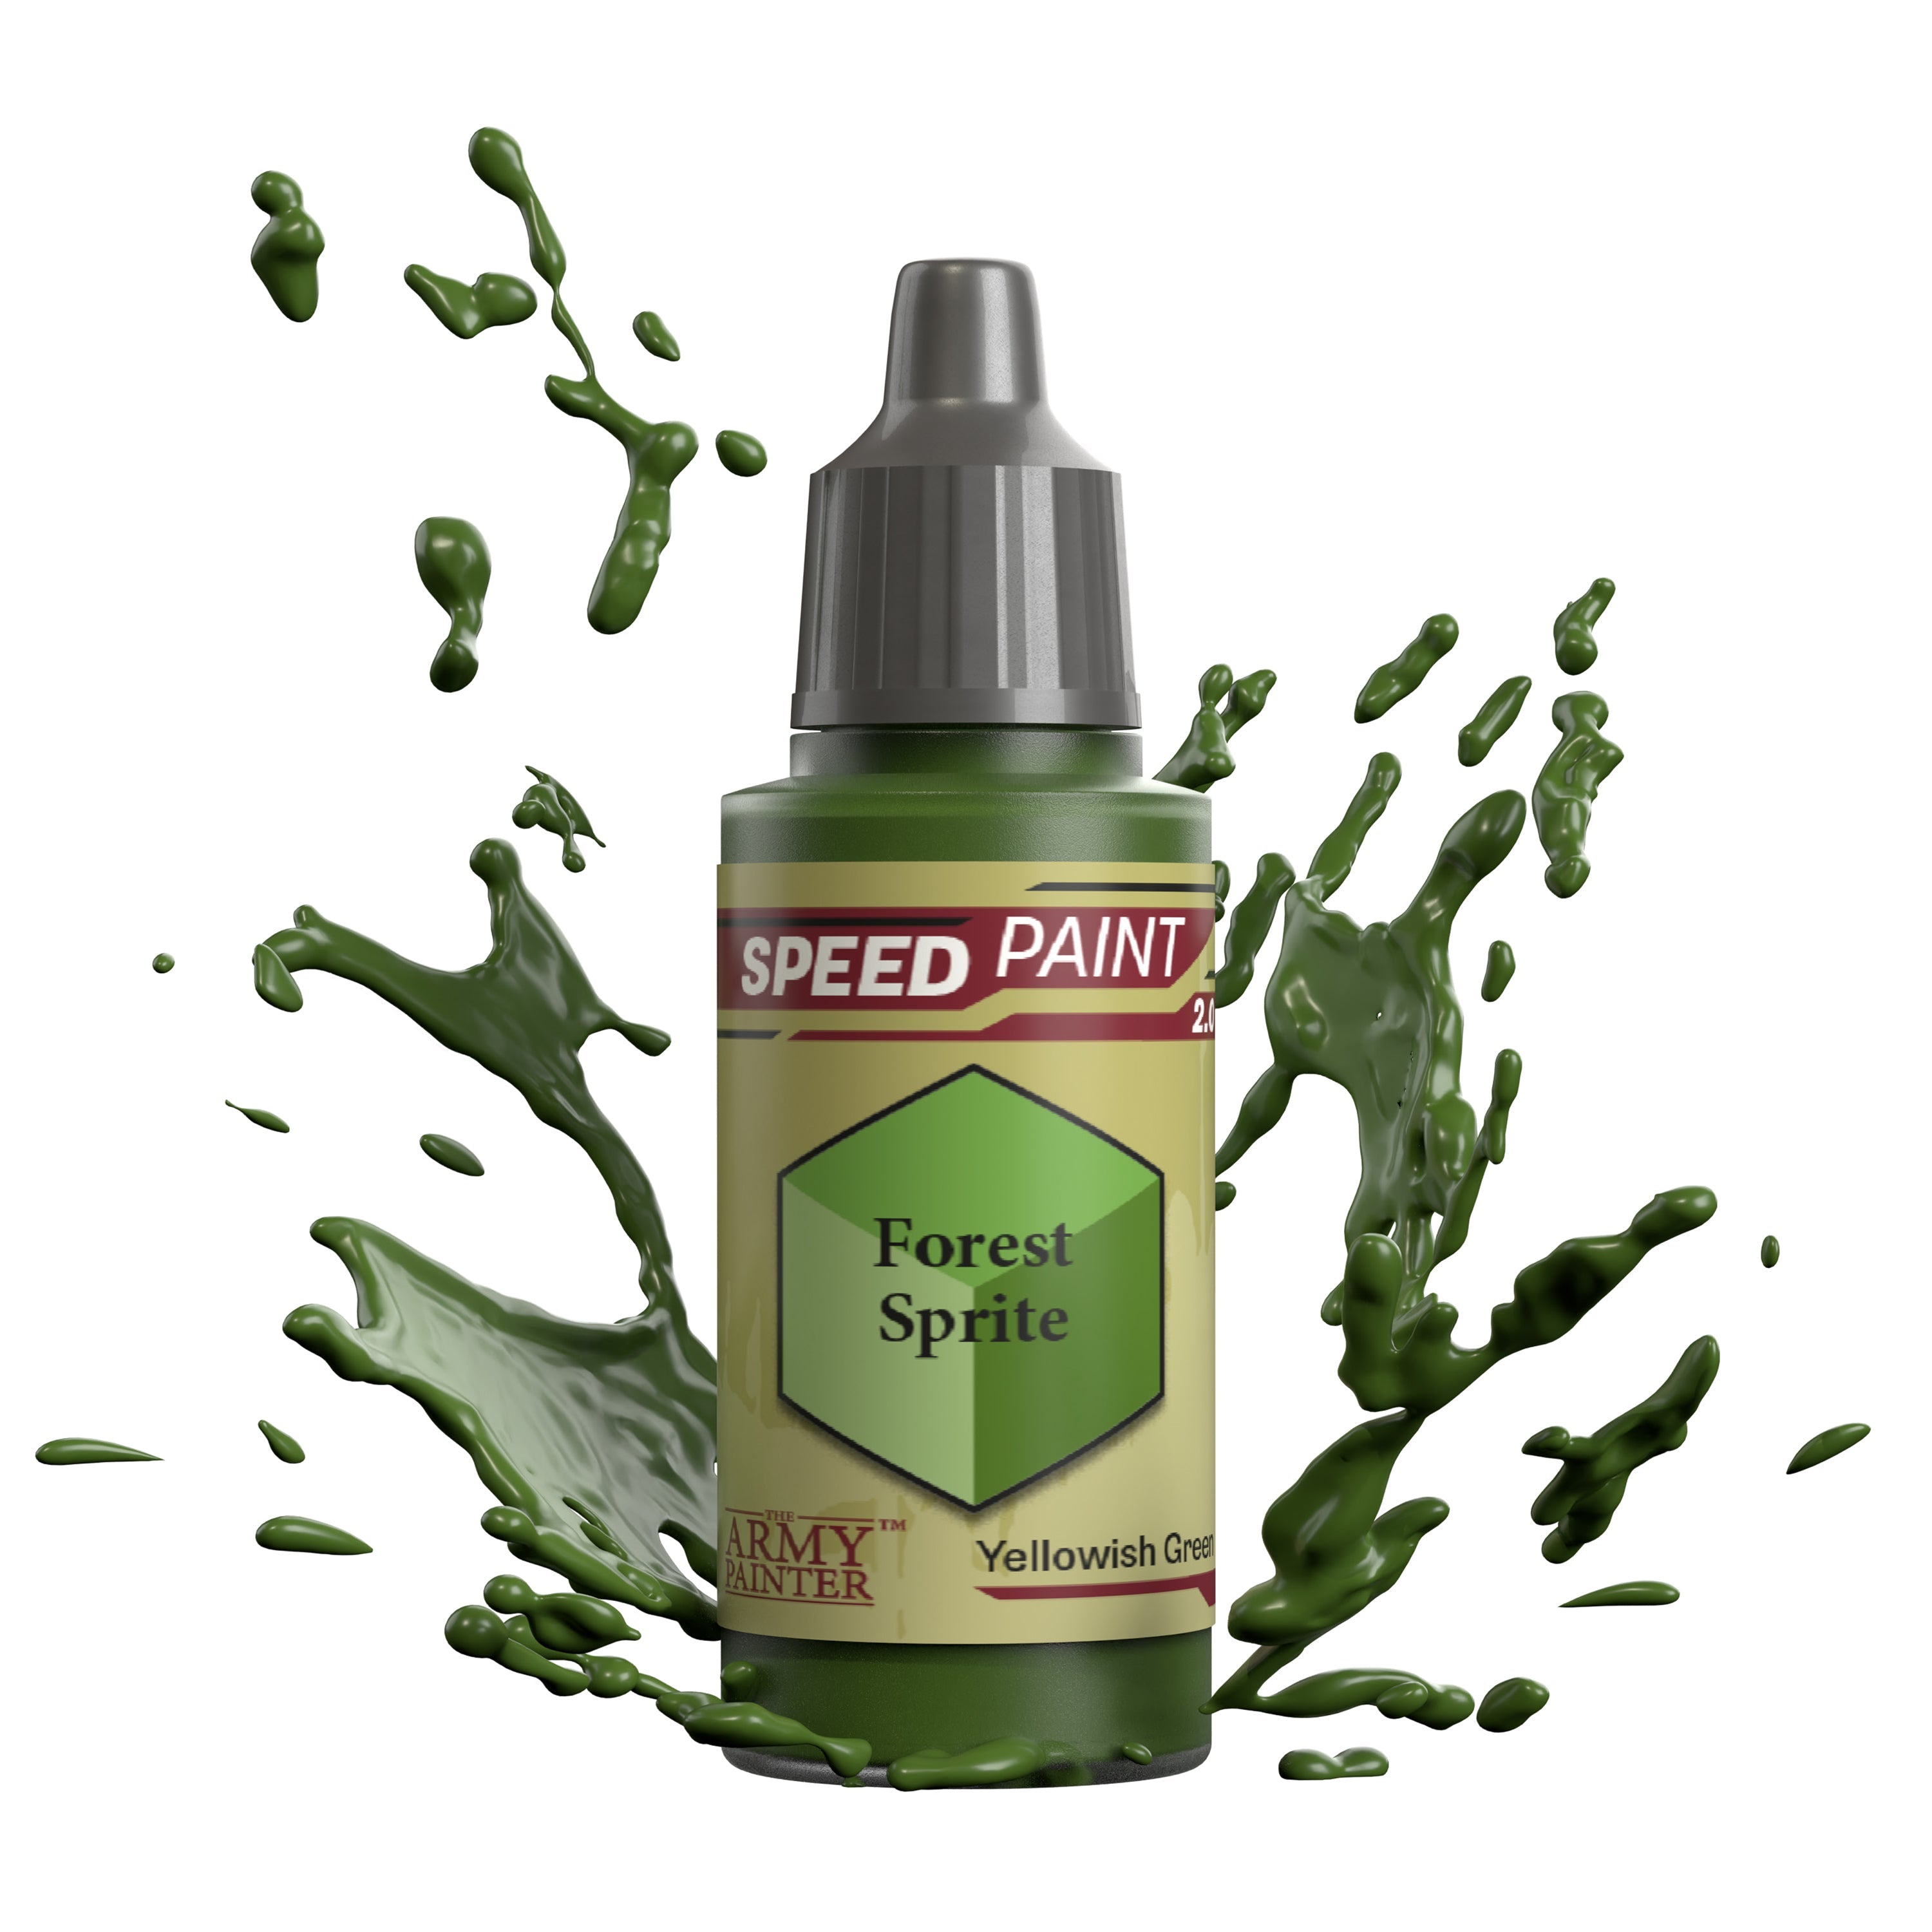
Step 5
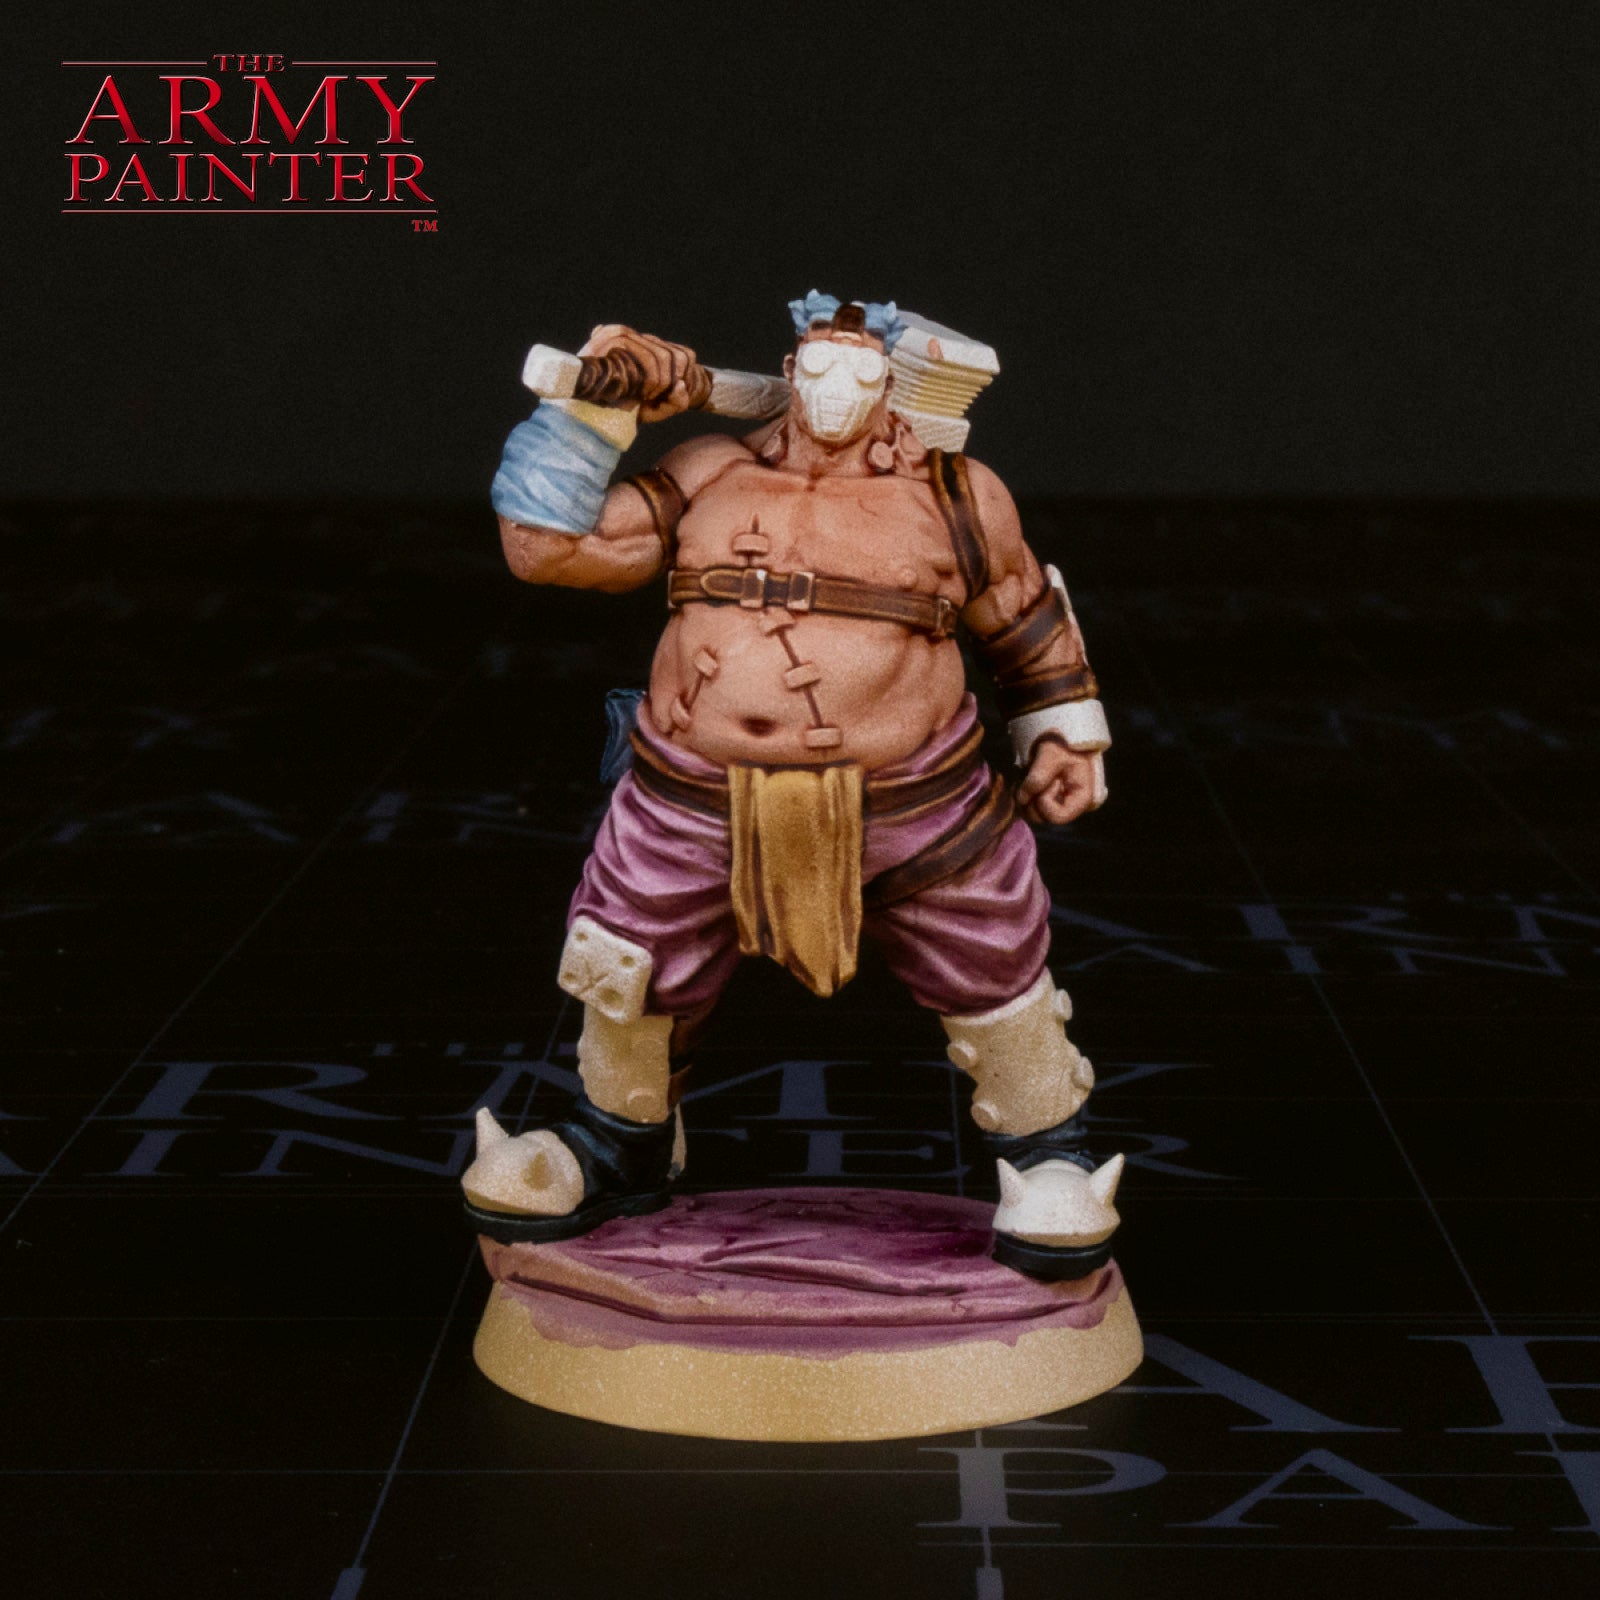
Next, create a 3:1 mix of Speedpaint Forest Sprite and Speedpaint Medium, and glaze this onto some of the upper surfaces of the model. Now it should look like he’s being hit by a purple light from below and a green light from below to give him a proper sickly feeling.
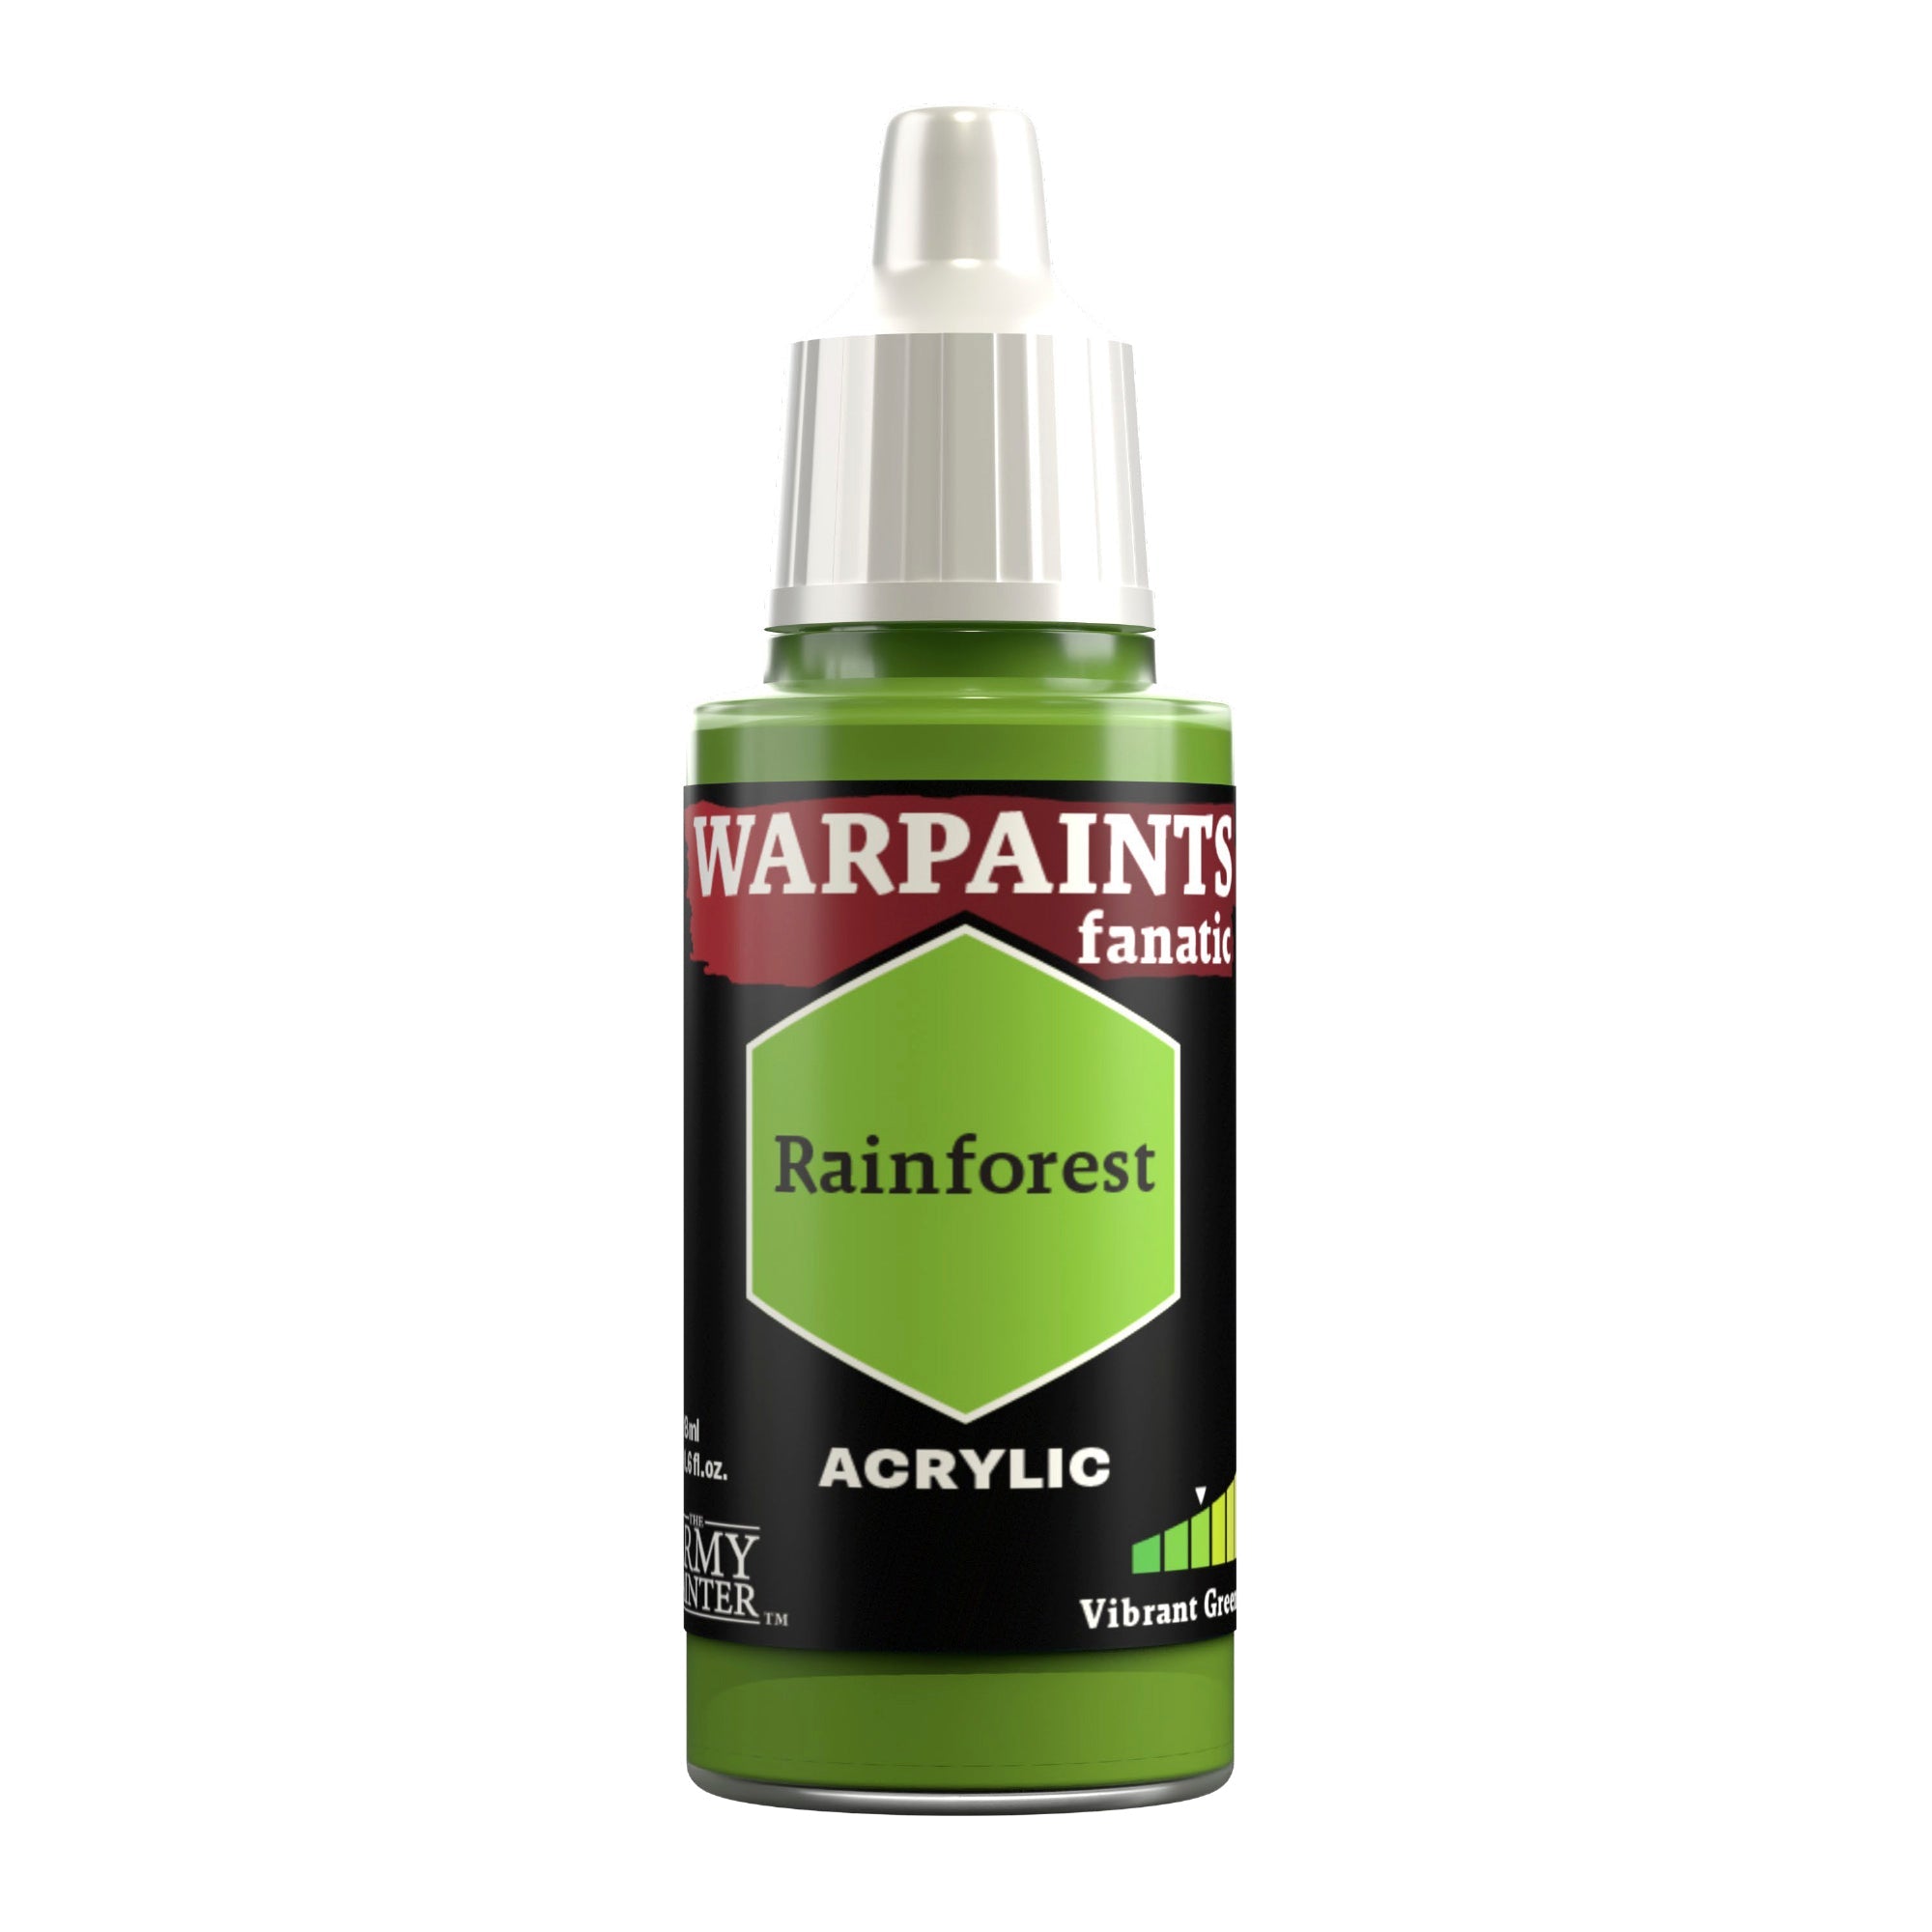
Step 6
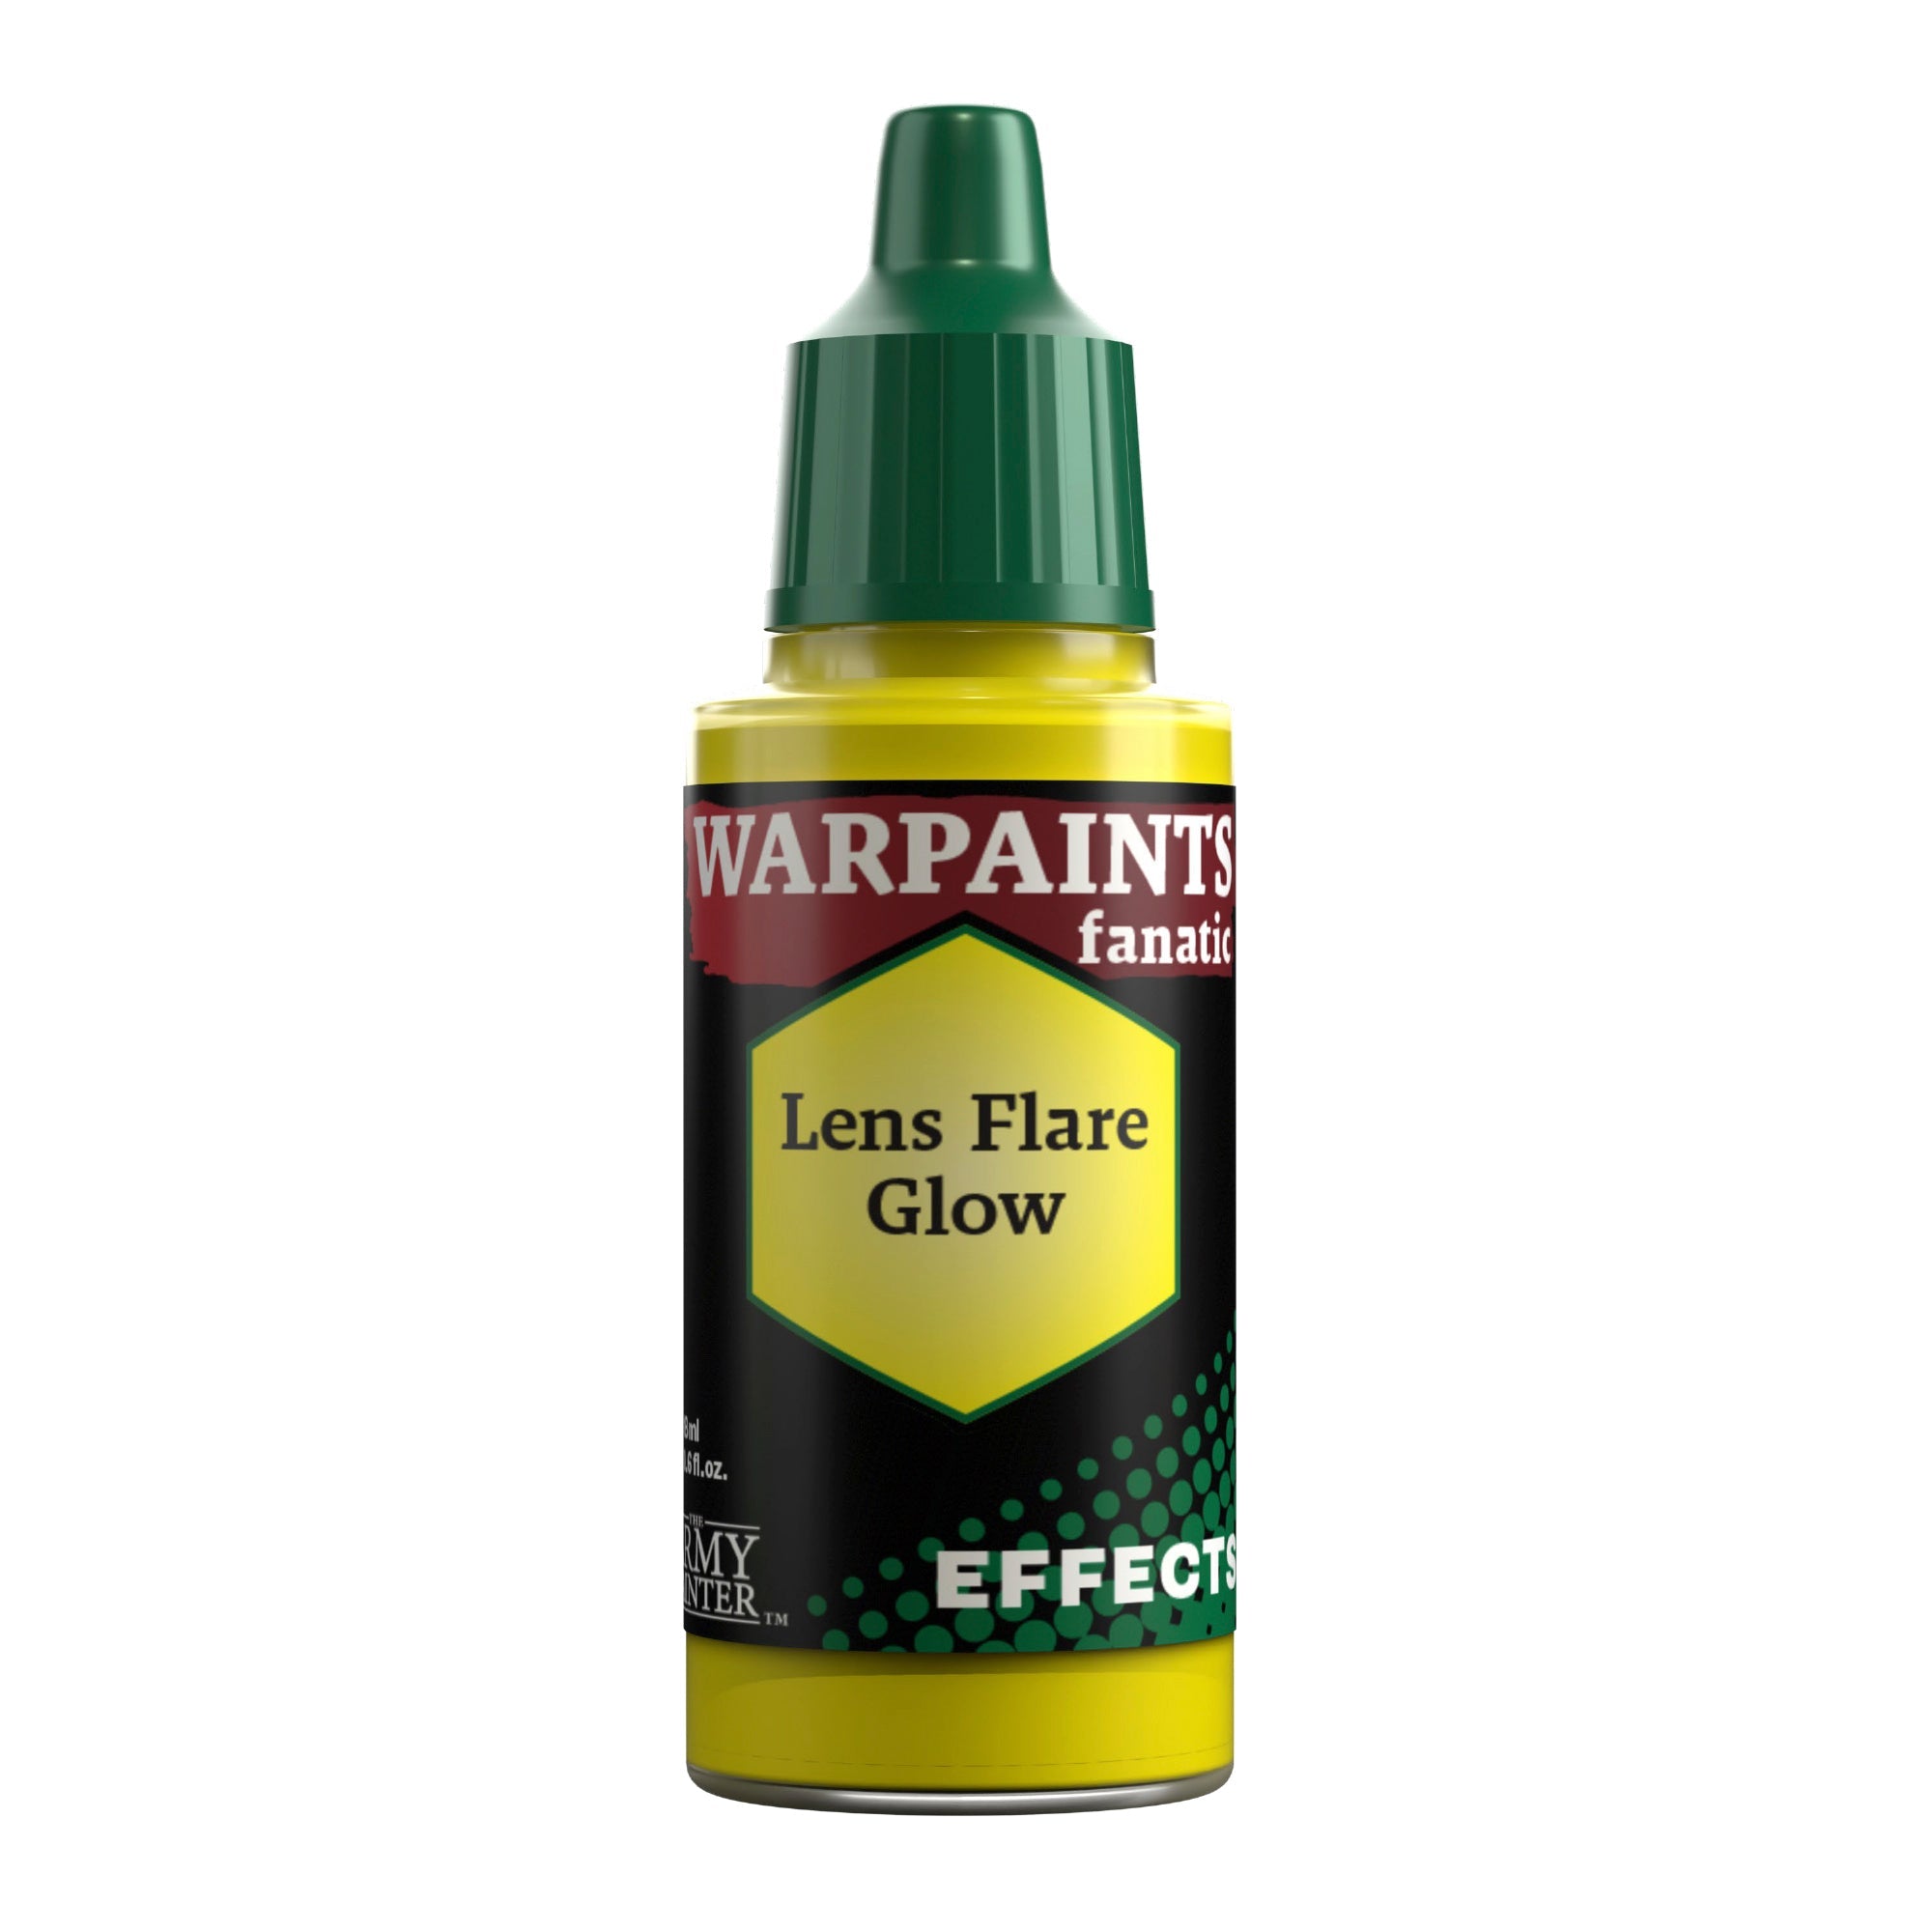
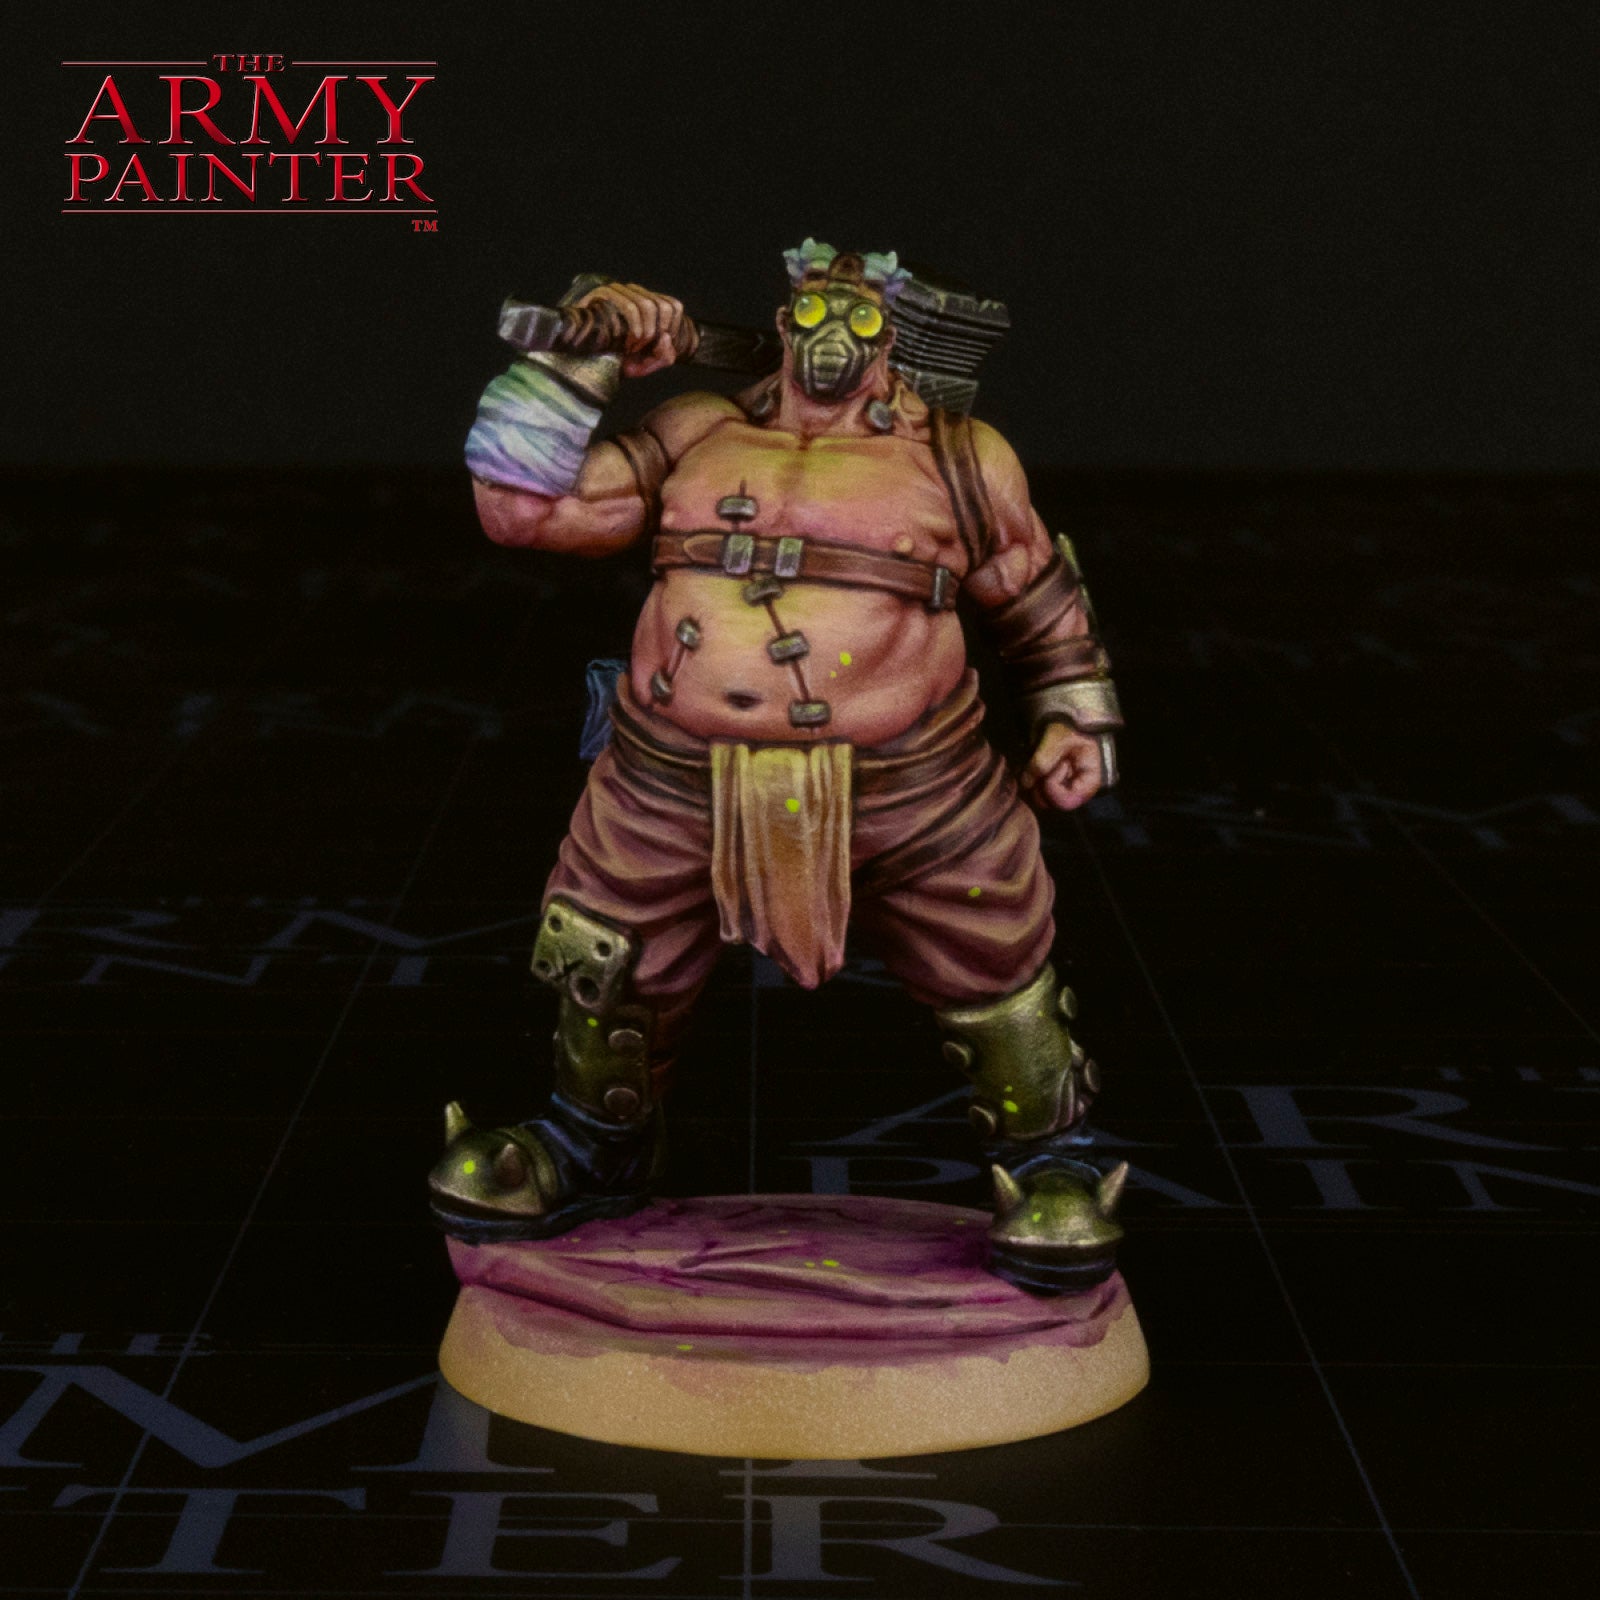
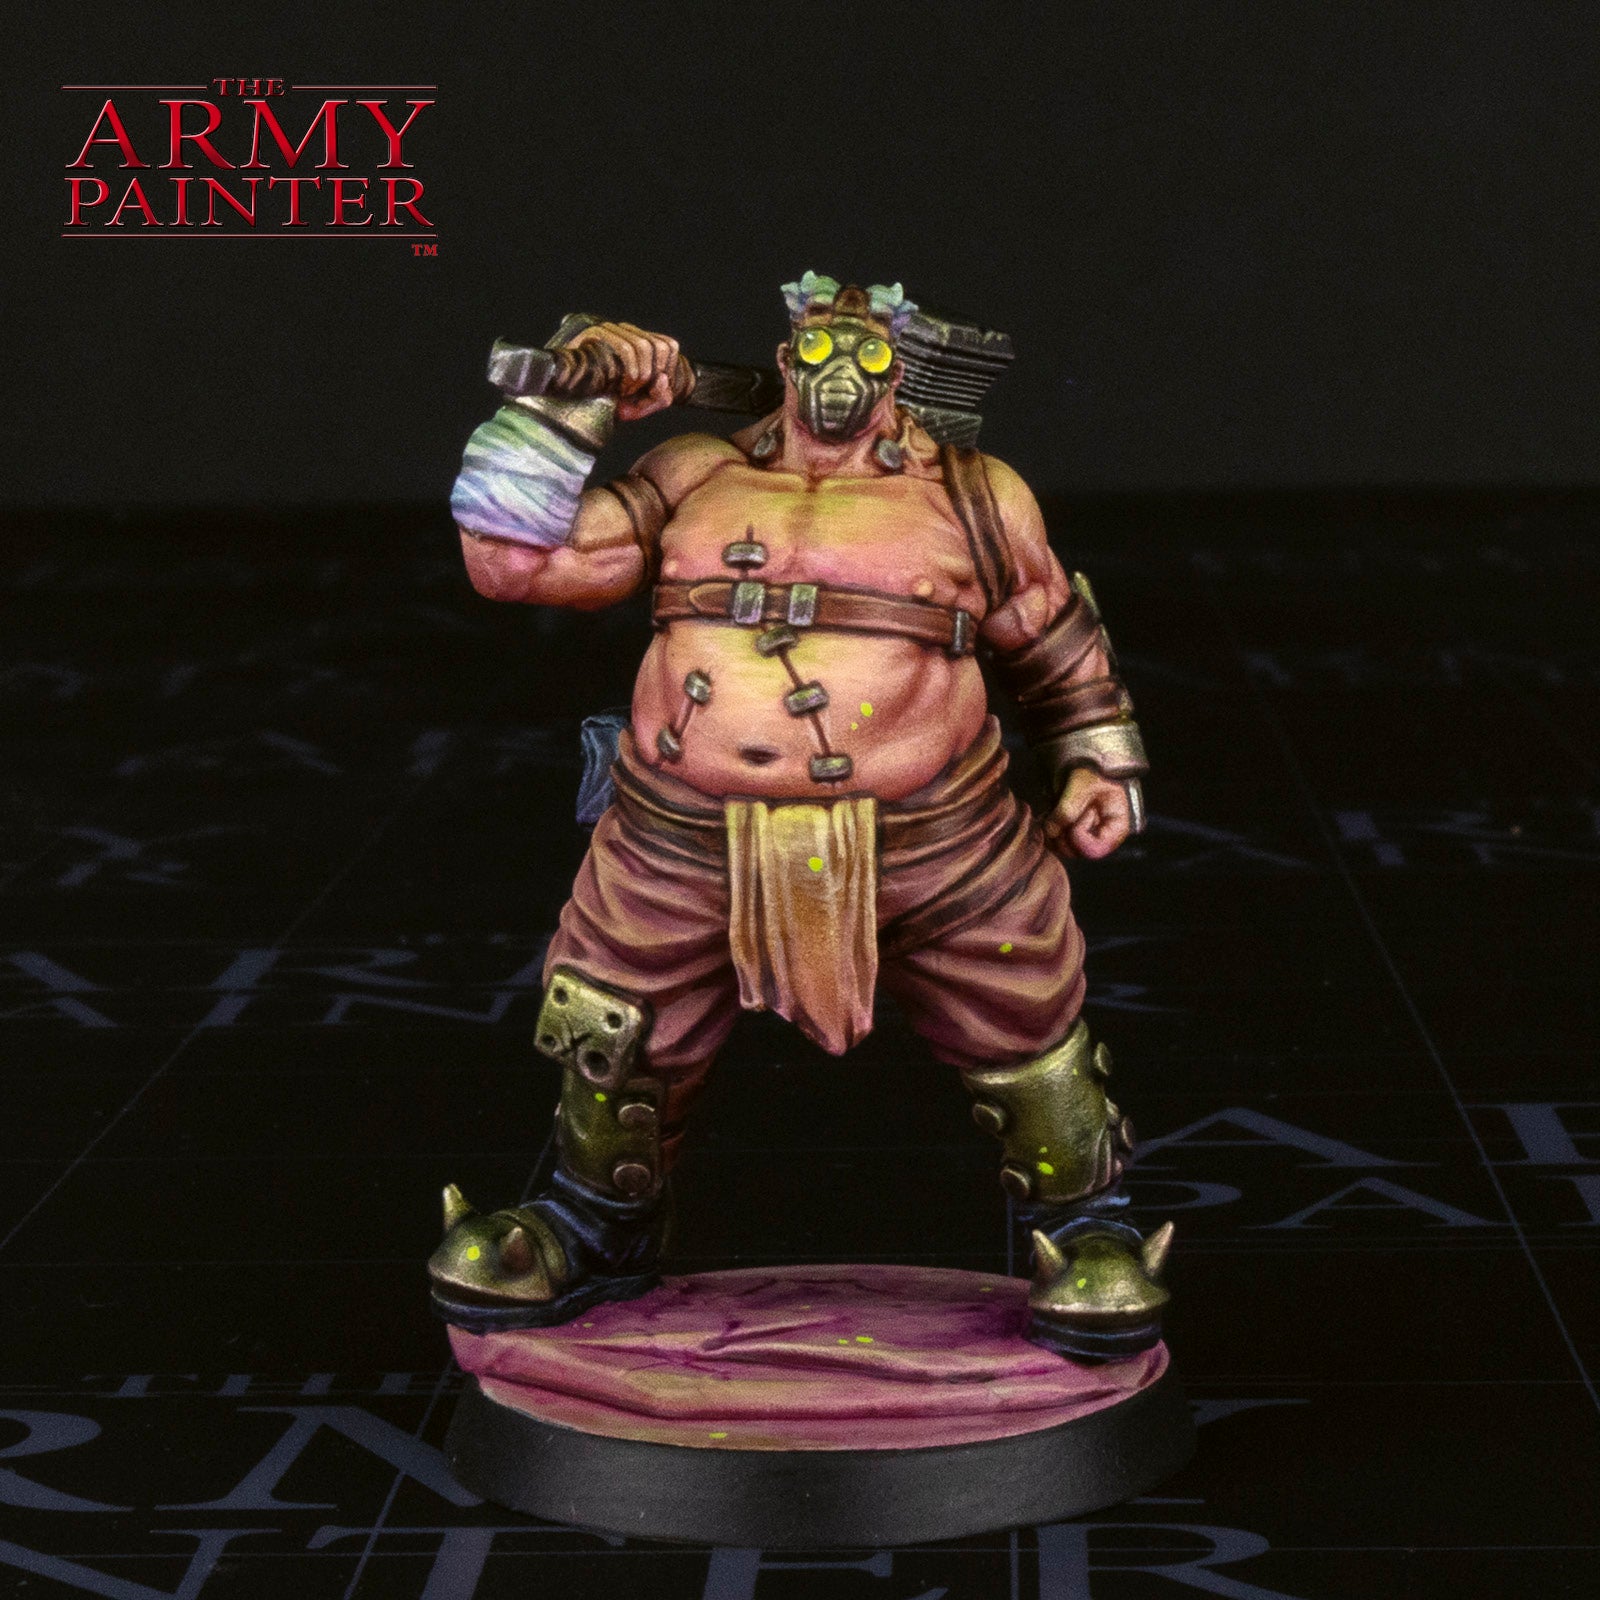
To finish off the model, paint dots of Warpaints Fanatic Rainforest across the model and base to represent the acidic liquids they work with splashing across them, and glaze the lenses with Warpaints Fanatic Effects Lens Flare Glow to bump up their intensity.
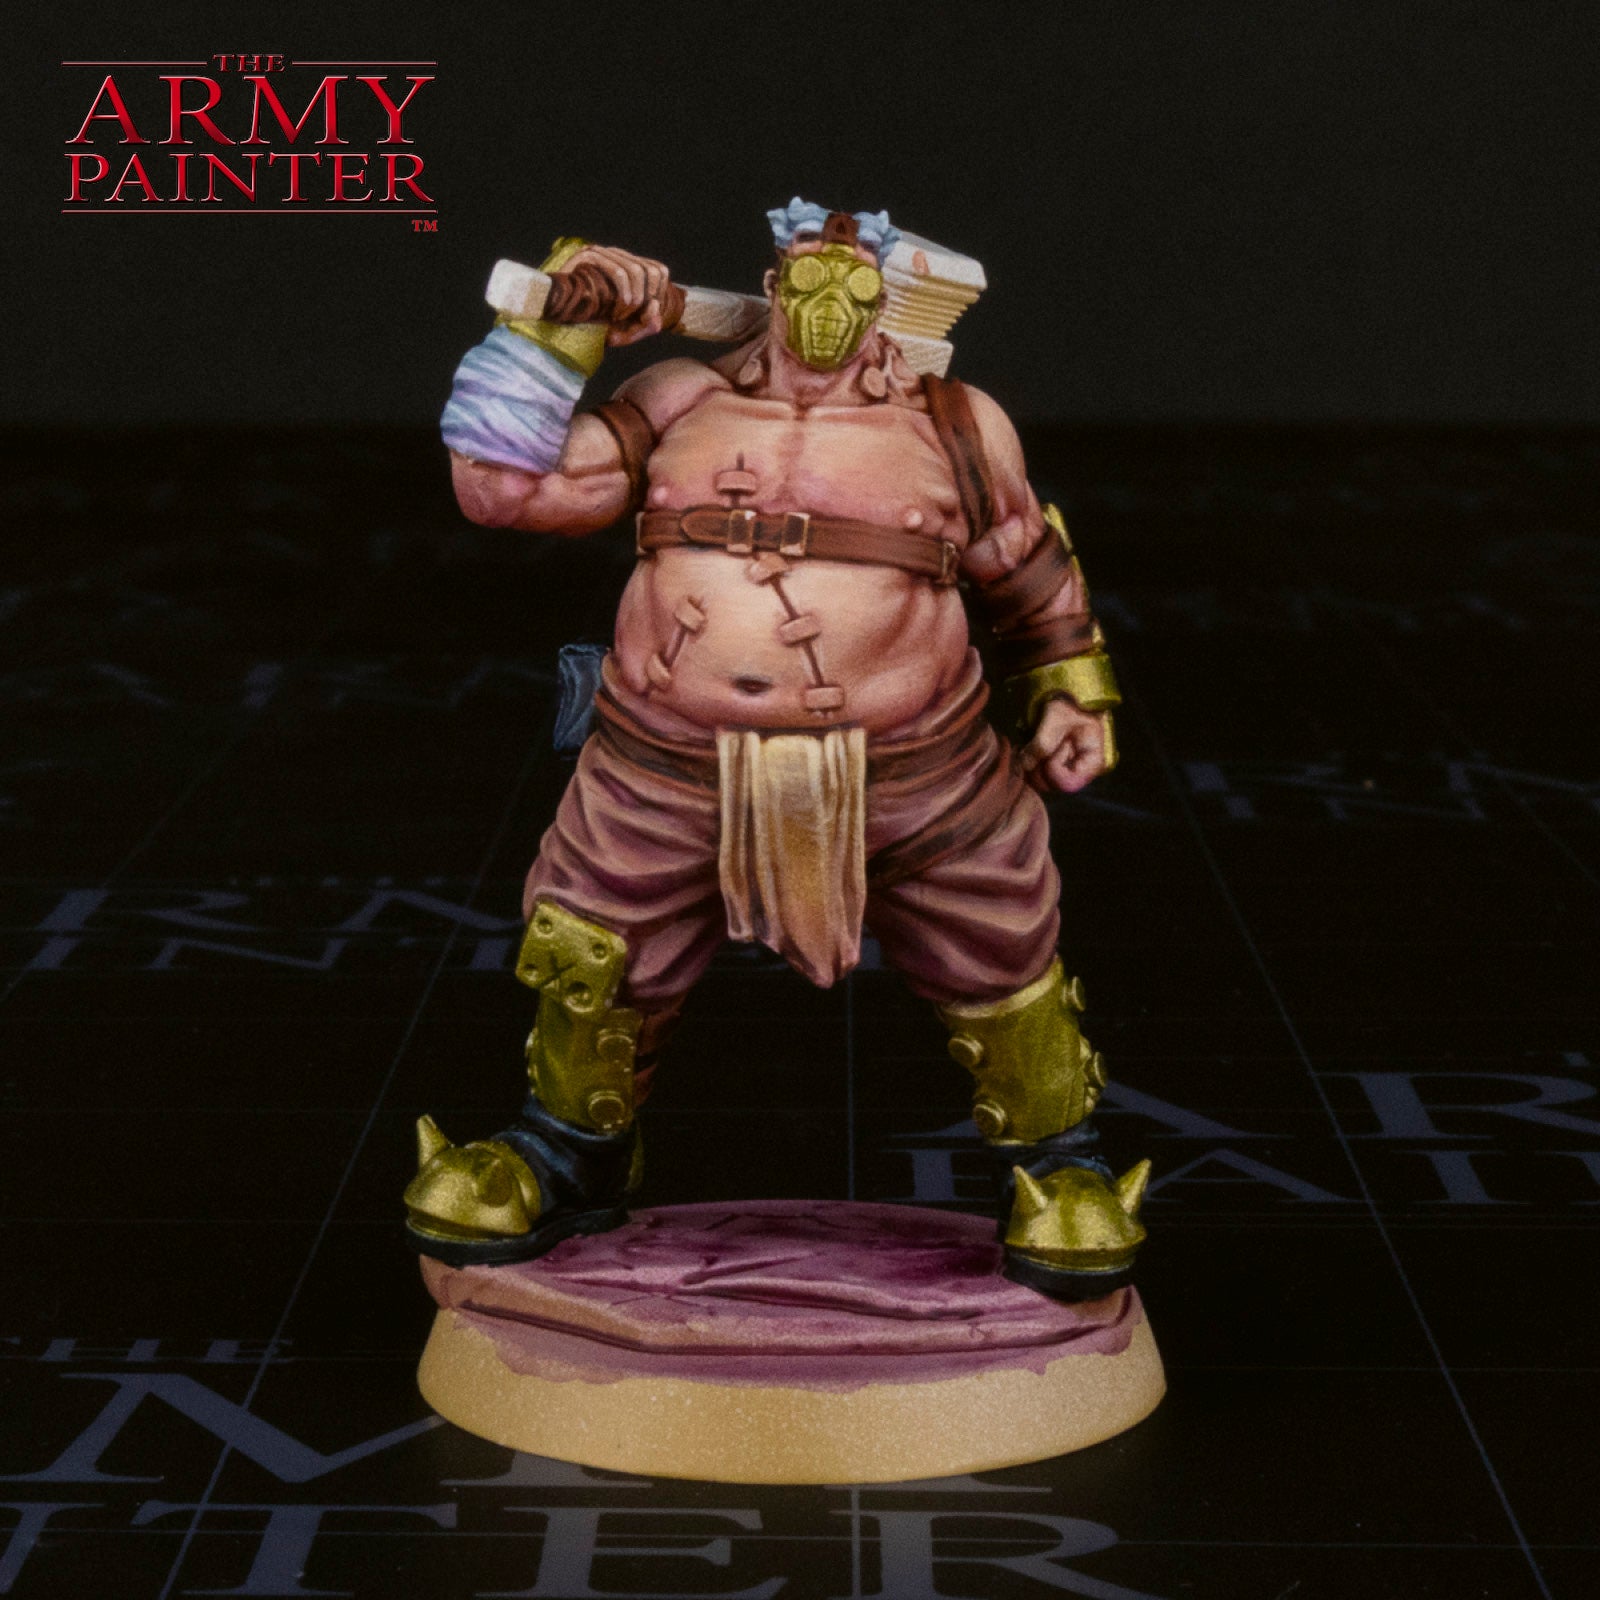
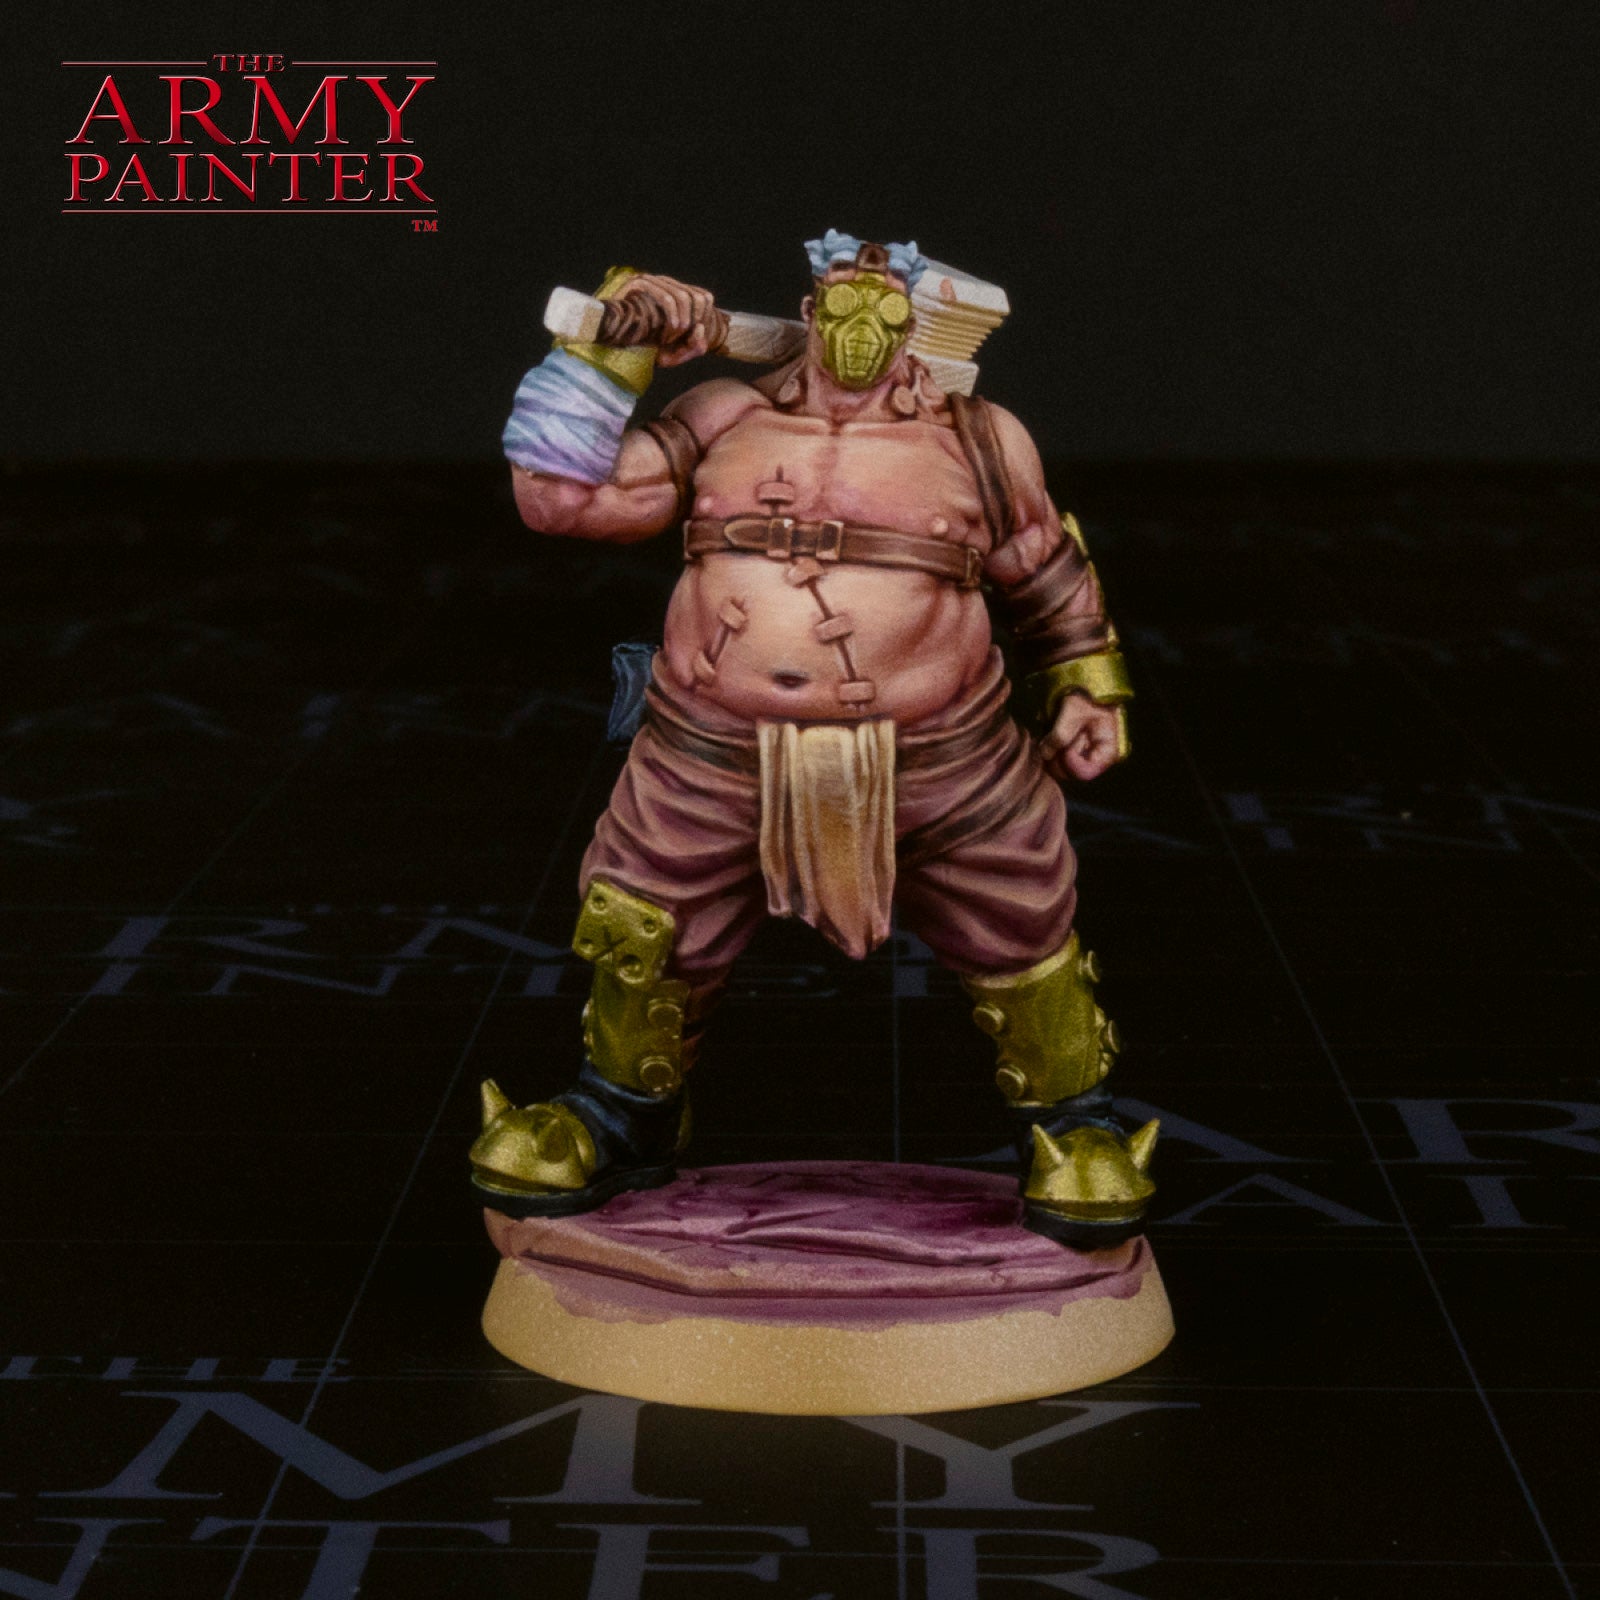
With that, your model is done!
We painted the rim of the base with Warpaints Fanatic Matt Black, but you can use any colour to match your collection or gaming table.
Pick up your own copy of Paradise over on the Mindwork Games store, and grab the paints used in this tutorial by clicking the Buy the Recipe button on the side of your screen today!
Be sure to tell us what you thought of this tutorial format, if you have any suggestions for improvements in the future, or even which models you want us to tackle.
If you paint your own model following one of these guides, tag it with #thearmypainteracademy to share your work!