


The grim darkness of Games Workshop’s Warhammer 40,000 setting is certainly feeling very Chaotic of late, and this month saw a further ramp-up with the release of the new World Eaters and Death Guard factions for the 10th edition of the game. Blood, skulls, and whatever weird, smelly things the Death Guard are into collecting are all the rage right now in the 41st millennium. And let me tell you, Angron’s finest know a thing or two about rage.
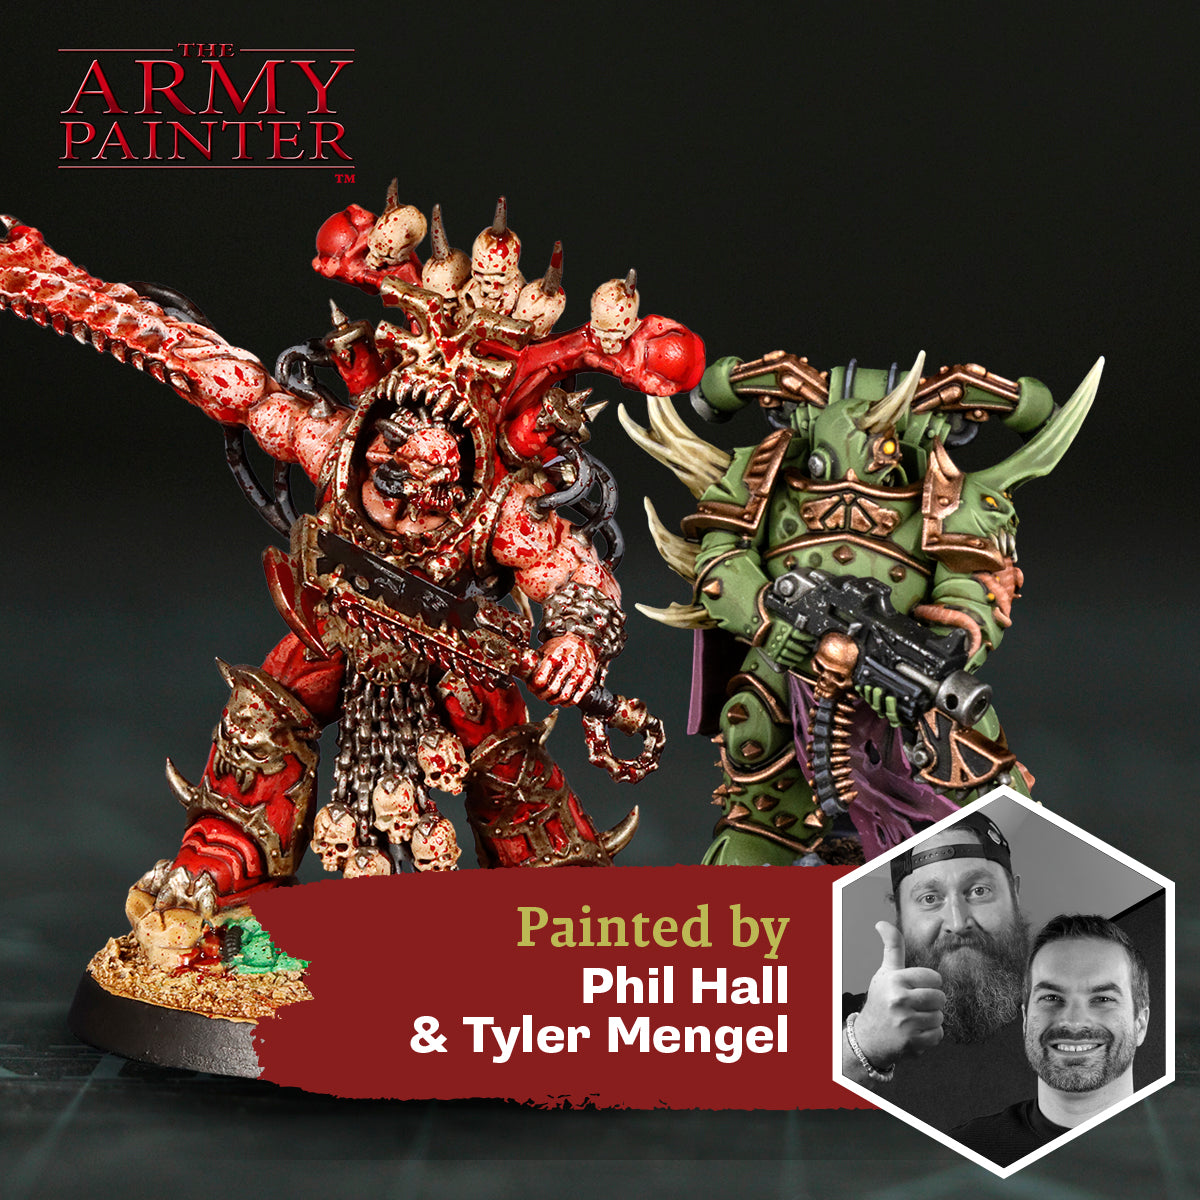
After arming ourselves with plenty of coagulants and antiseptics, we decided to celebrate the occasion with two handy paint bundles to make crafting these cornerstone Legions of the Warp even easier. What’s a paint bundle, though, without a guide? Swapping his chainaxe for a paintbrush, hobby hero Phil the Glacial Geek volunteered to take on the mantle of Khorne’s favoured, whilst Studio painter Tyler Mengel stepped into the corroded shoes of the Death Guard and swore he had no idea what the smell was. No, really, no clue.
Blood and Skulls
Phil: Once again I loved working with a limited pallet!
Going back to painting in a simpler manner helps me to identify the more impactful points of focus. On the tabletop people aren't going to be looking for my fifteenth blended shadow. Punchy contrast and effective results is what I was after. Having the contrast between the lighter skin, bolder red, and the dynamic metallics left me with a model that looked distinctive. Doing a little story telling with the Warpaints Fanatic Effects True Blood was the cherry on top and left me with a model that not only Khorne could love, but anyone!
To see the paint in action, check out Phil's video above, or if reading is more your style, then continue on for a step-by-step guide on how he achieved this glorious tribute to the Blood God.
Let's get painting!
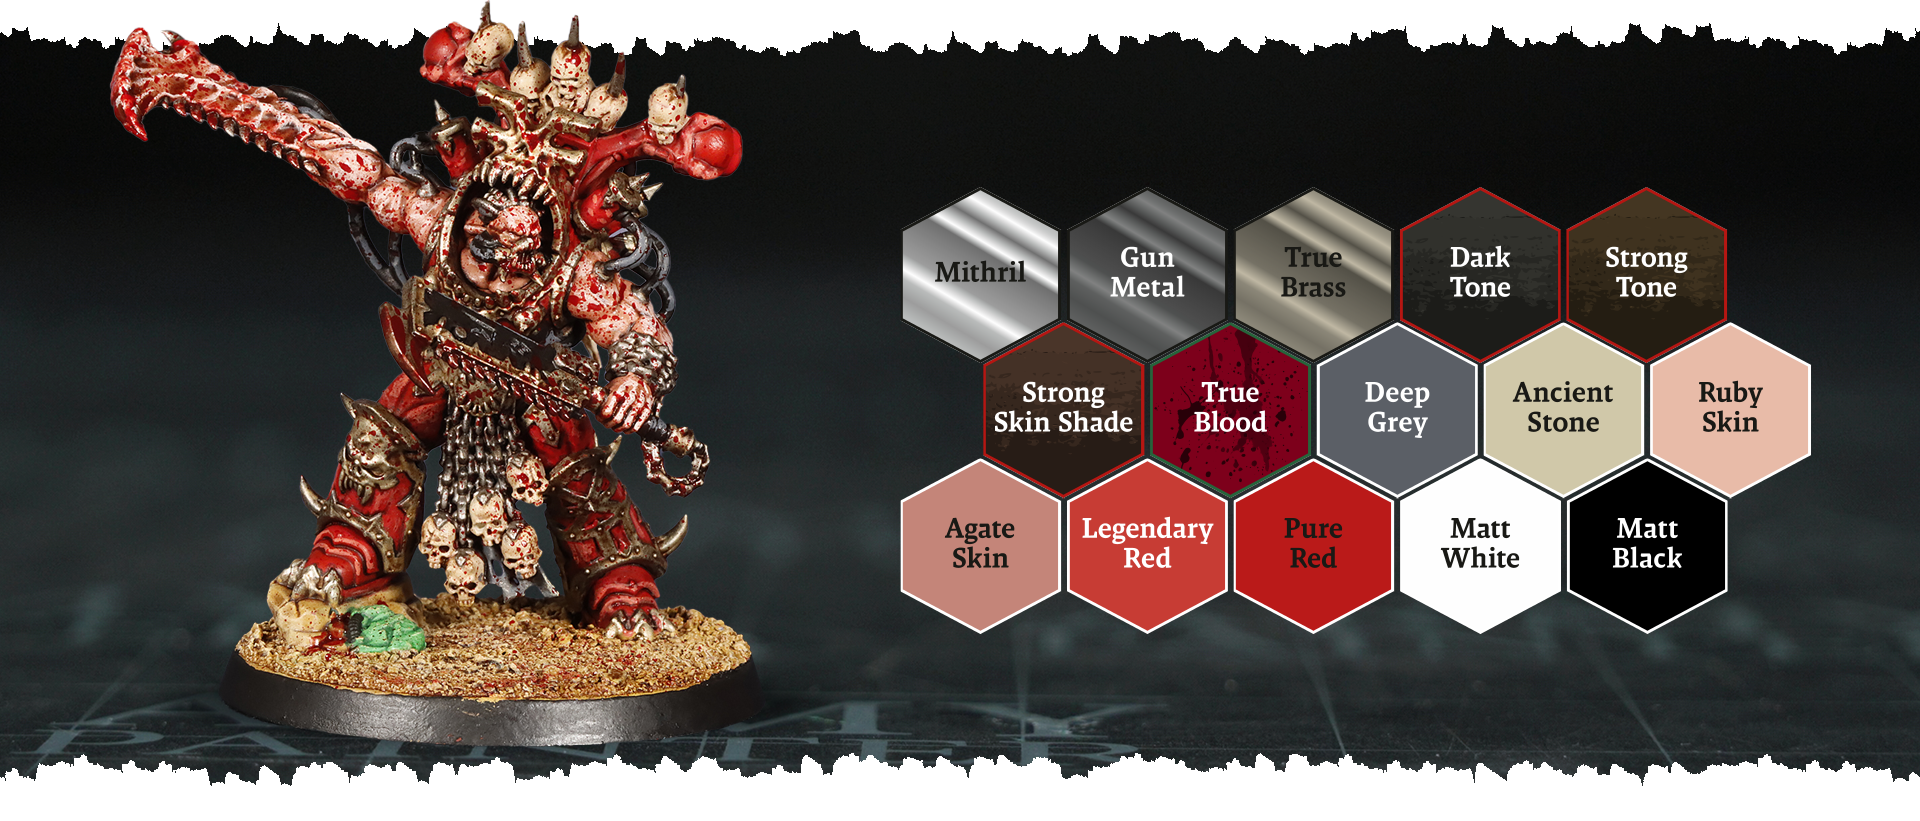
How to Paint the World Eaters
Step 1: Prime the model with Pure Red Colour Primer. Alternatively, you can prime it with Matt Black Colour Primer, and basecoat the armour with Warpaints Fanatic Pure Red.
Step 2: Next, basecoat all the skin areas with Warpaints Fanatic Agate Skin.
Step 3: Follow this by basecoating all the black areas and future metallics with Warpaints Fanatic Matt Black.
Step 4: Basecoat all the skulls and other bone areas with Warpaints Fanatic Ancient Stone.
Step 5: Next, paint the cloth with Warpaints Fanatic Deep Grey.
Step 6: Then basecoat the trim with Warpaints Fanatic True Brass, and the chains and other silver areas with Warpaints Fanatic Gun Metal.
Step 7: Once everything is basecoated, apply an all over wash of Warpaints Fanatic Wash Strong Skin Shade across every colour. If you wanted to, you could use Warpaints Fanatic Wash Dark Tone on the silver areas, and Warpaints Fanatic Strong Tone on the bone areas instead.
Step 8: Next, highlight the skin with Warpaints Fanatic Ruby Skin.
Step 9: Edge highlight the armour with Warpaints Fanatic Legendary Red to give the armour a warmer feel.
Step 10: Follow this with a highlight of Warpaints Fanatic Deep Grey on the black areas. At this point you could also highlight the bone with Warpaints Fanatic Matt White, and both of the metallic areas with Warpaints Fanatic Mithril if you desire.
Step 11: Finally, liberally apply Warpaints Fanatic Effects True Blood to the model, focusing on weapons and as spatter across other areas of the model.

Buy The Bundle!
Product

Rot and Ruin
Tyler: I’ve always been a big fan of the Death Guard, and I even had an army of them for 40K back during 3rd edition. I’m also currently collecting them in their slightly cleaner guise for the Horus Heresy. There’s just something about their classic rotten green appearance that strikes that perfect chord. You may think they're pretty much just green, but when we were putting together the bundle for these woeful warriors, we were struck by just how many other colours they really have. That’s a lot of boils, tentacles, horns, and bits of tattered cloth after all. Luckily, most of these areas are pretty small and can be shaded and highlighted at the same time as each other. As with any servant of Chaos, basecoating all the trim takes the longest time, but is highly rewarding in the end.
At the risk of making this bundle too large, we stuck with just the paints needed to get all the colours done, but he could also really benefit from a good smattering of our Effects paints. Dark and Fresh Rust, Verdigris, and Oozing Vomit practically have their name on them after all! Luckily, we have a couple of bundles for those, too!
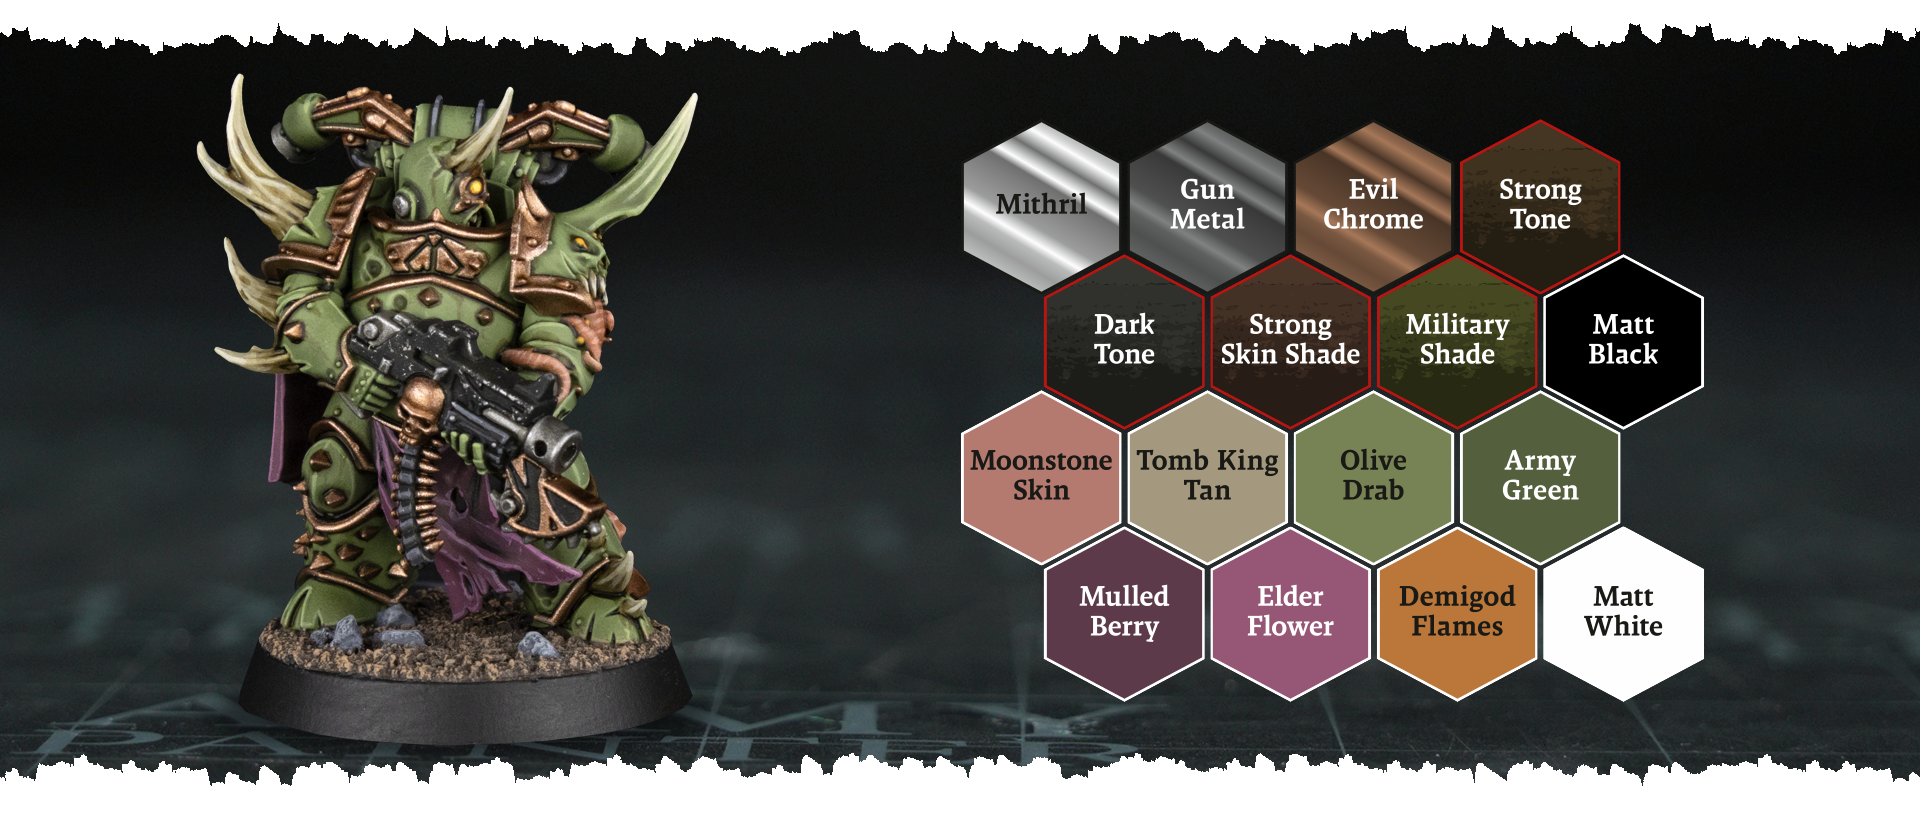
How to Paint the Death Guard
Step 1: Prime the model with Army Green Colour Primer. Alternatively, you can prime the model with Matt Black Colour Primer and basecoat the armour with Warpaints Fanatic Army Green.
Step 2: Next, apply a coat of Warpaints Fanatic Wash MIlitary Shade to the armour.
Step 3: Apply an edge highlight of Warpaints Fanatic Olive Drab to these same areas.
Step 4: Next, basecoat all the black areas with Warpaints Fanatic Matt Black.
Step 5: Highlight the tubes and soft armour with a mix of Warpaints Fanatic Matt Black and Matt White.
Step 6: Basecoat the cloth with Warpaints Fanatic Mulled Berry.
Step 7: Apply a coat of Warpaints Fanatic Wash Dark Tone onto the cloth, and then re-layer with Mulled Berry, leaving the wash showing in the recesses.
Step 8: This is then highlighted with Warpaints Fanatic Elder Flower.
Step 9: Basecoat the tentacles with Warpaints Fanatic Moonstone Skin and the boils and eye with Warpaints Fanatic Demigod Flames.
Step 10: Shade both of those areas with Warpaints Fanatic Wash Strong Skin Shade, and then highlight them with the original colours.
Step 11: Basecoat the armour trim with Warpaints Fanatic Evil Chrome, and then shade it with Warpaints Fanatic Wash Strong Skin Shade.
Step 12: In this example the trim was highlighted with Warpaints Fanatic Evil Chrome again, but you can make it even lighter on the edges by mixing in some Warpaints Fanatic Mithril.
Step 13: Basecoat the silver areas with Warpaints Fanatic Gun Metal and apply weathering to the gun casing at the same time using a bit of torn sponge.
Step 14: Next, shade the metal with Warpaints Fanatic Wash Dark Tone, and highlight with either Warpaints Fanatic Gun Metal for a more subdued look, or Warpaints Fanatic Mithril for some more contrast.
Step 15: Basecoat all the bone areas with Warpaints Fanatic Tomb King Tan and then shade it with Warpaints Fanatic Wash Strong Tone.
Step 16: Next, highlight the bone, first with Warpaints Fanatic Tomb King Tan, and then a second highlight with a little Warpaints Fanatic Matt White mixed in.
Buy The Bundle!