


How to Paint a
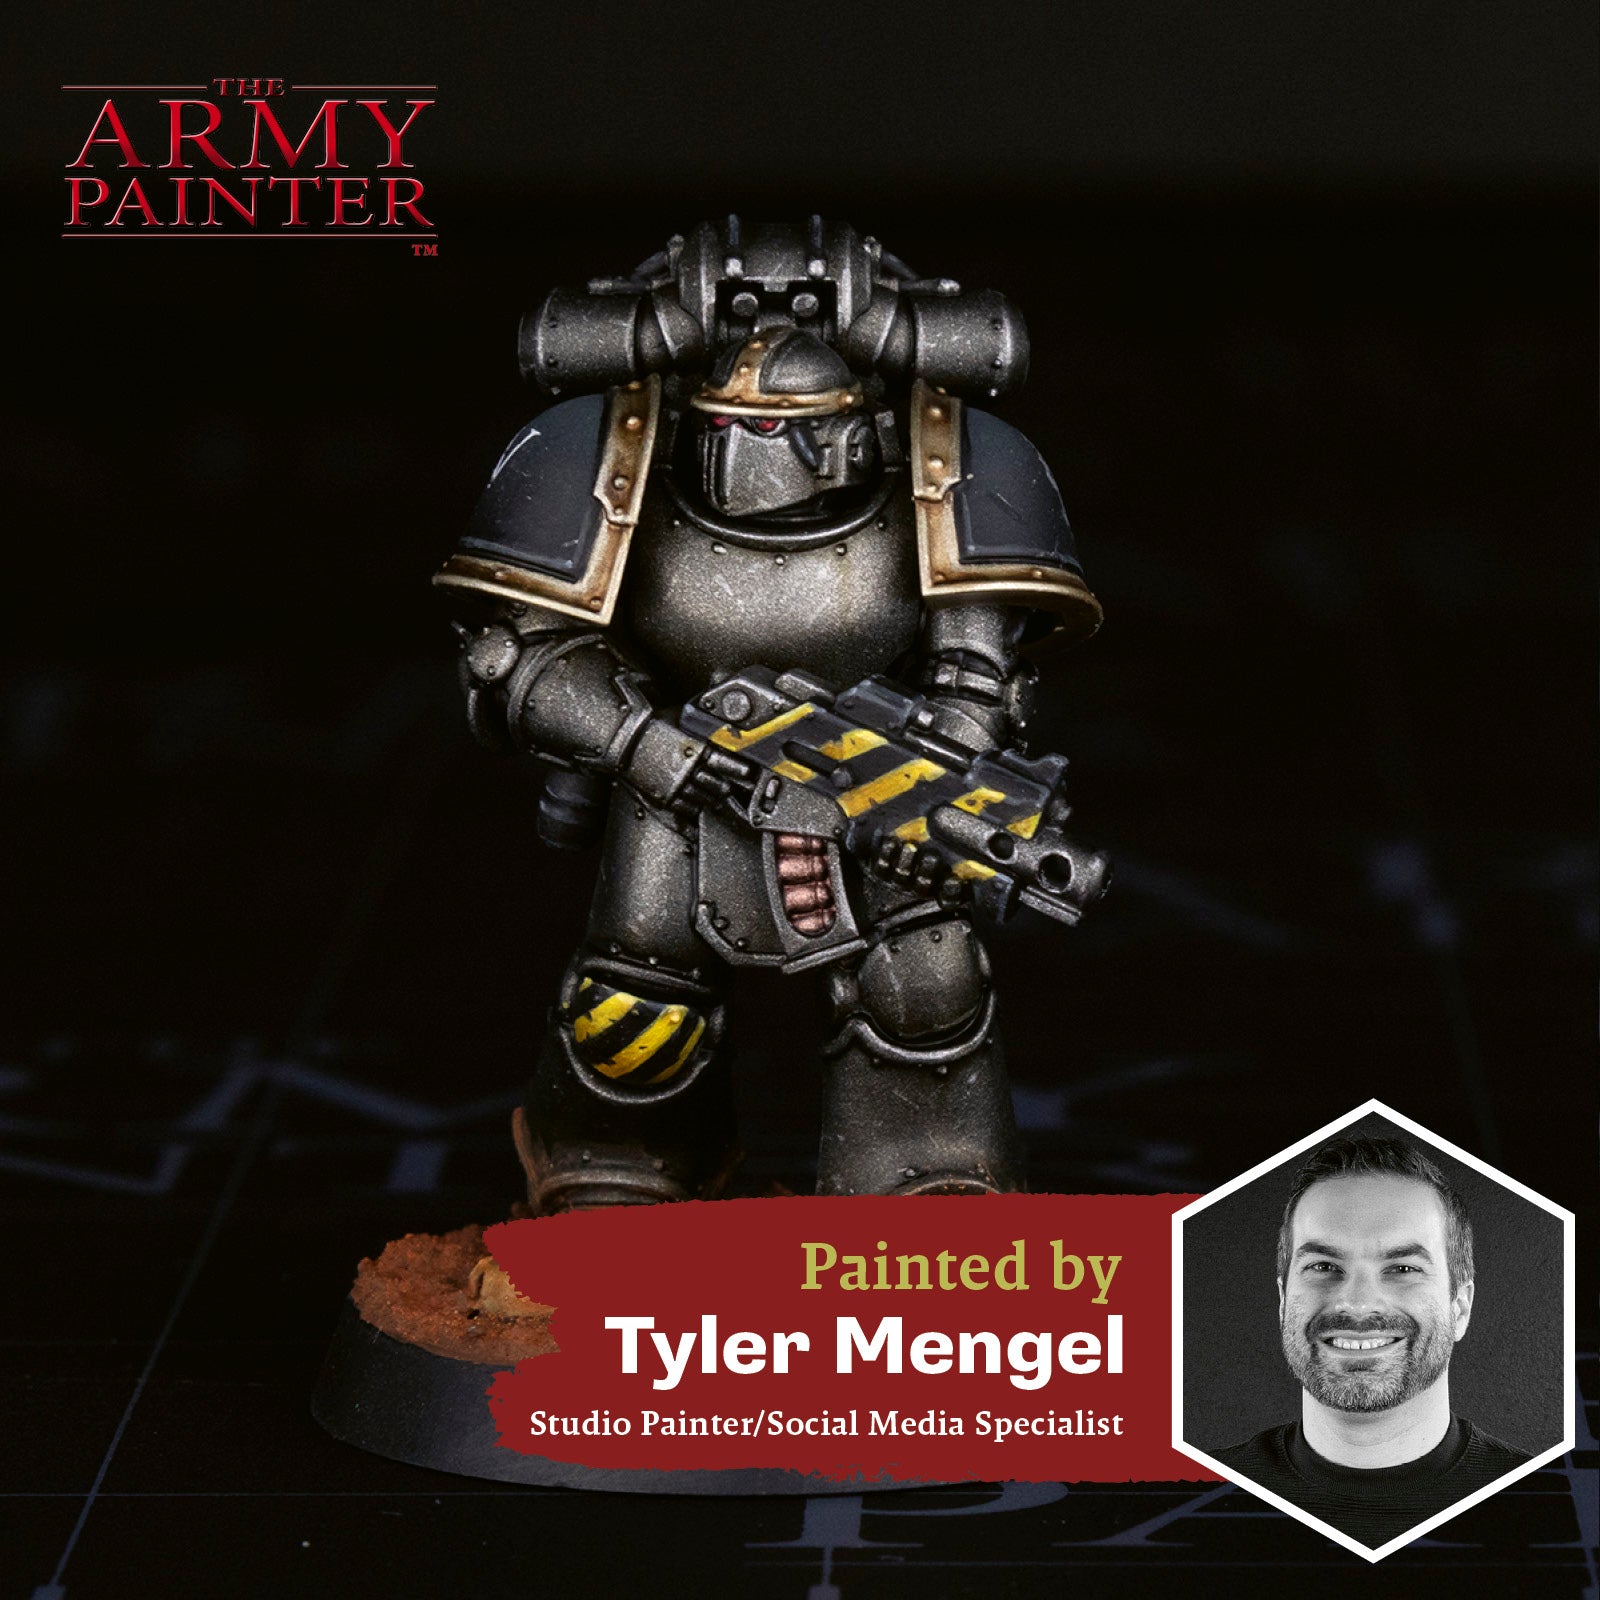
Horus Heresy Iron Warrior
Welcome to the next instalment of The Army Painter Academy: a series where we break down how we paint a miniature step-by-step, complete with pictures for every bit of paint applied along the way.
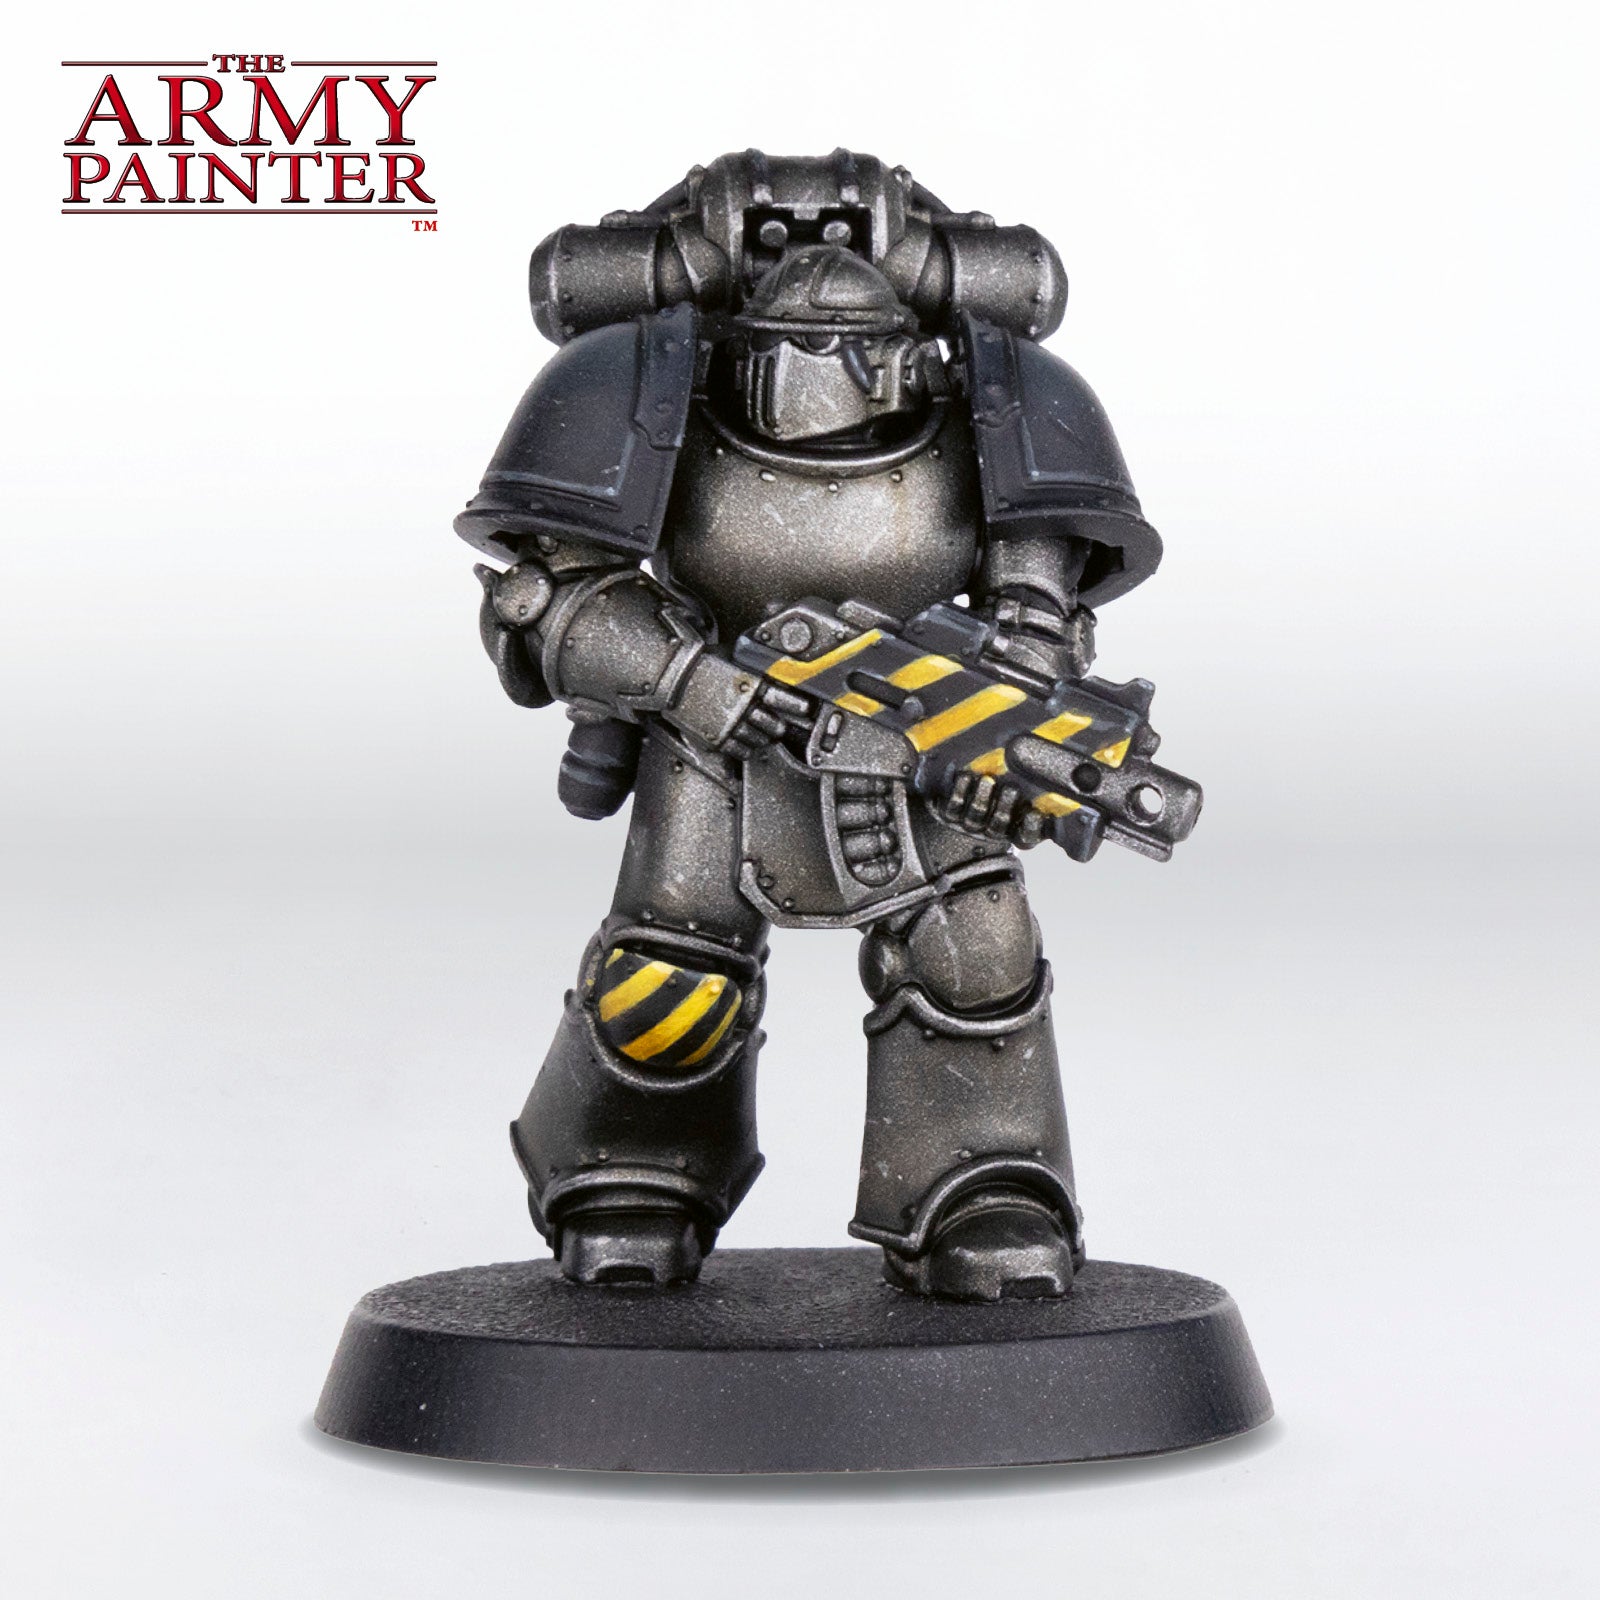
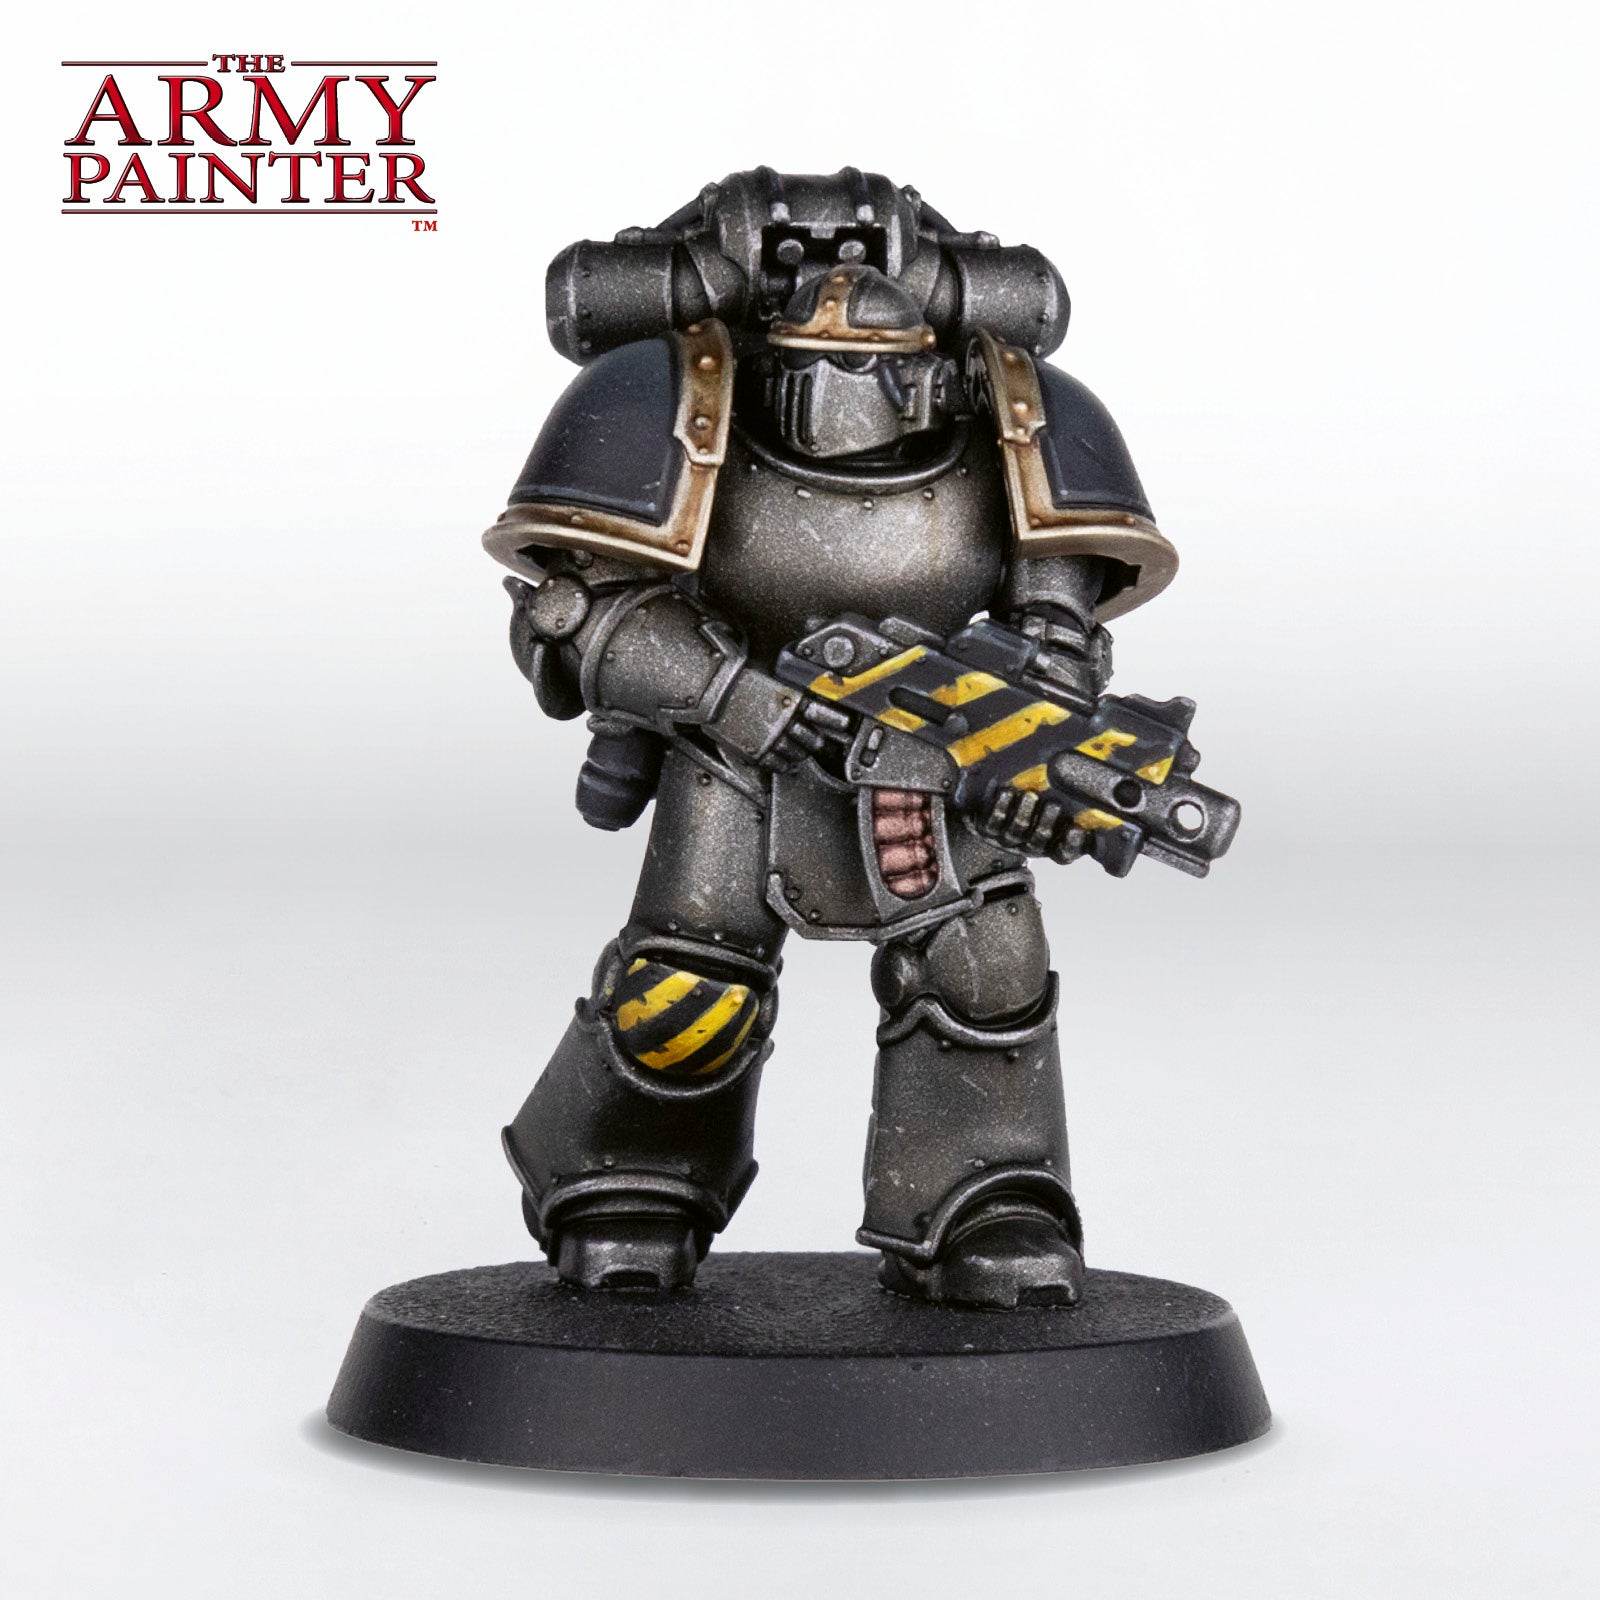
An abundance of caution tape around The Army Painter offices can mean only one thing—the Iron Warriors have arrived! Whether waging war in the 41st Millennium, or the distant past of Games Workshop’s Horus Heresy setting, the Iron Warriors have never skipped out on hazard stripes and shiny, bare metal. Luckily, the collective might of the Warpaints Fanatic, Air, and Speedpaint ranges are up to the task of adorning Perturabo’s most bitter warriors in their fully painted glory, all the better to march under Horus’ banner.
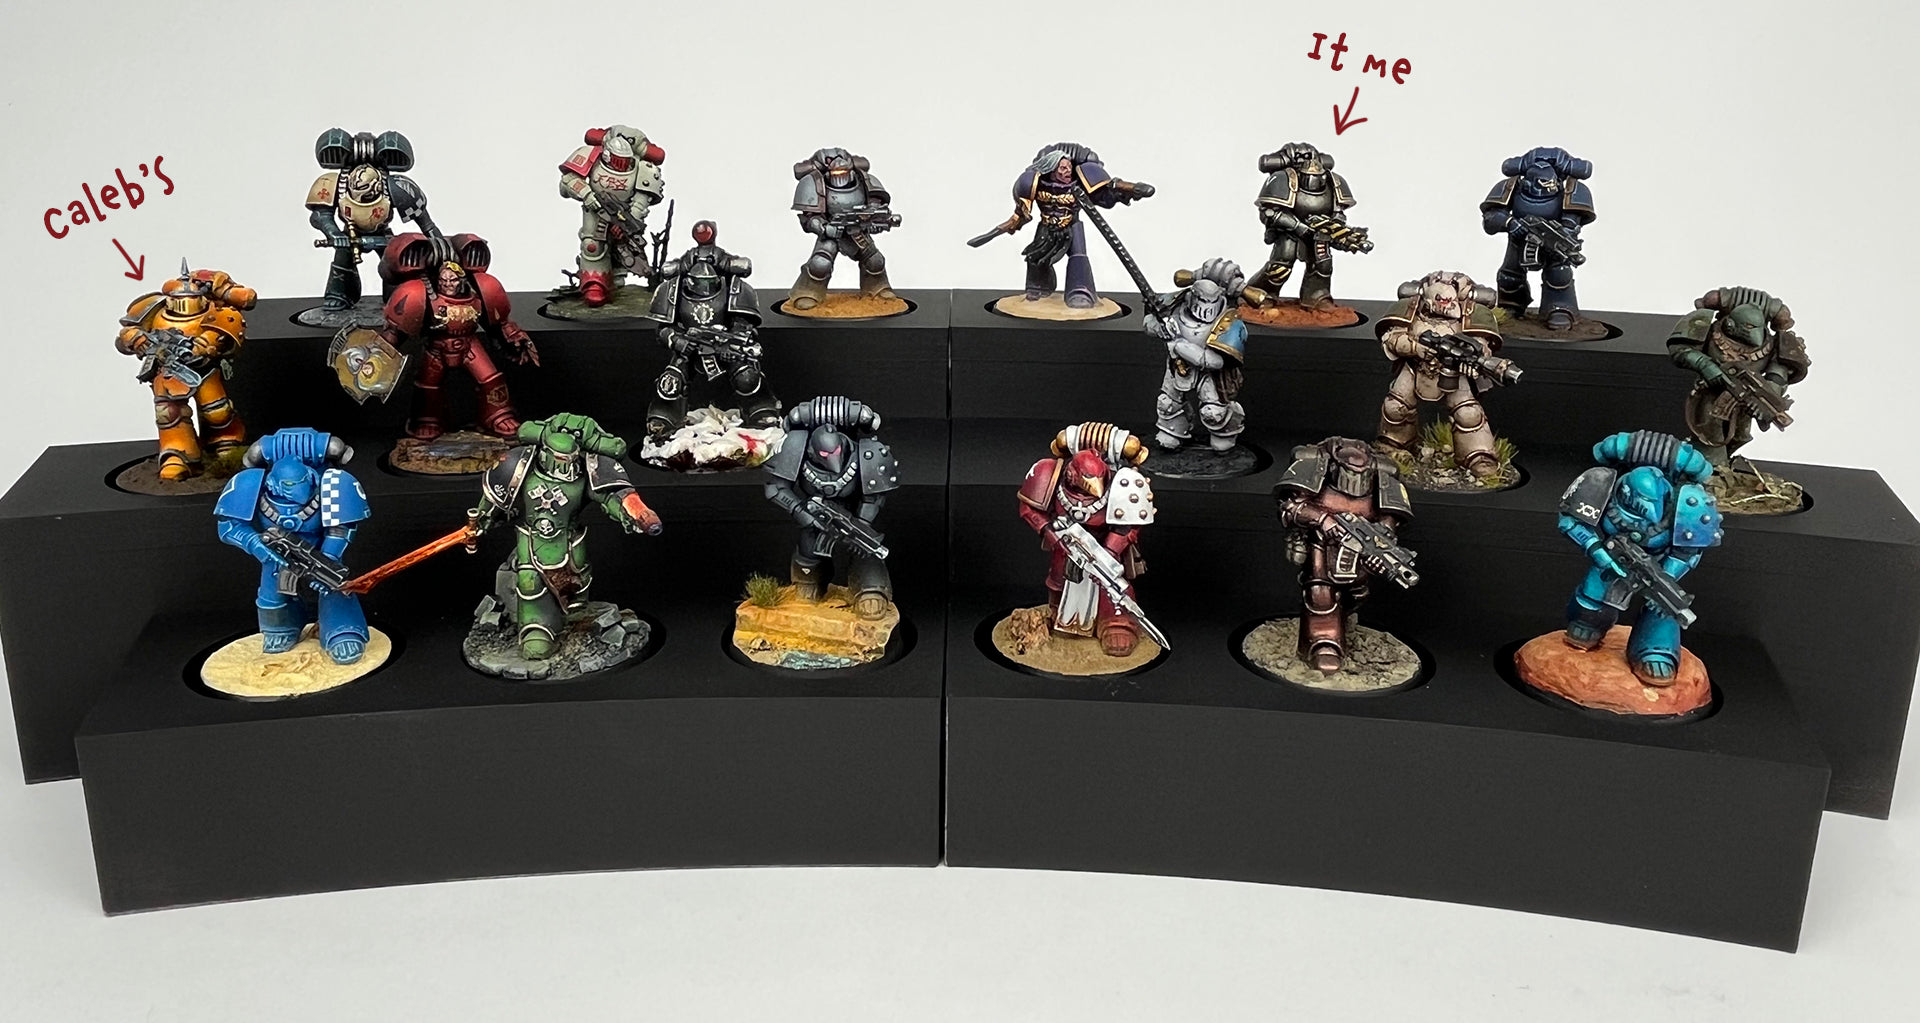
This time, however, the Iron Warriors, and the 17 other legions for that matter, march to tabletop war for a good cause. Greg Dann of the Horus Heresy podcast, The Imperial Truth, reached out to Tylerabout participating in a charity effort to help raise money for the organisation Abigail’s Footsteps. Tyler, along with 17 other amazing miniature artists, including our very own Caleb Wissenback, have each painted up one of the 18 Space Marine Legions, to be raffled off as a group with all the proceeds going towards charity! To better explain what the raffle will benefit, here’s Greg Dann himself:
Greg: Abigail's Footsteps is a wonderful UK-based baby loss charity. They provide bereavement training to healthcare professionals, work with hospitals to create environments for bereaved parents to be in, allow those parents more time with their babies via Abi cooling cots and provide some free counselling for those parents with specialist counsellors. I never knew just how many people experience some form of baby loss until Jackson died and then we would have people tell us of their experiences, each of them different and yet all familiar in part.
Emma and I are forever thankful that we had a space to be that was our own while the labour continued and after when we could hold Jackson, a time that was extended because of the cold cot provided by Abigail's Footsteps, and for the counselling that followed. Not everyone who goes through baby loss has had that support and I cannot thank those involved enough for the support they have given us. What we can do is help raise funds so all the things that were available to us are available to more people going forward.
If you would like a chance to win this Iron Warrior model, alongside the other 17 Marines, while donating to a good cause to boot, be sure to click the button below!
In order to paint your own Iron Warrior, this tutorial is broken down by colour segments, starting with the armour, black, gold, and so on. Each section is further broken down into manageable steps by applying one colour at a time. If you’re on a desktop, simply click the arrows at the bottom of each section to scroll through the steps or scroll to the side on your mobile phone.
Let's get painting!

The Armour
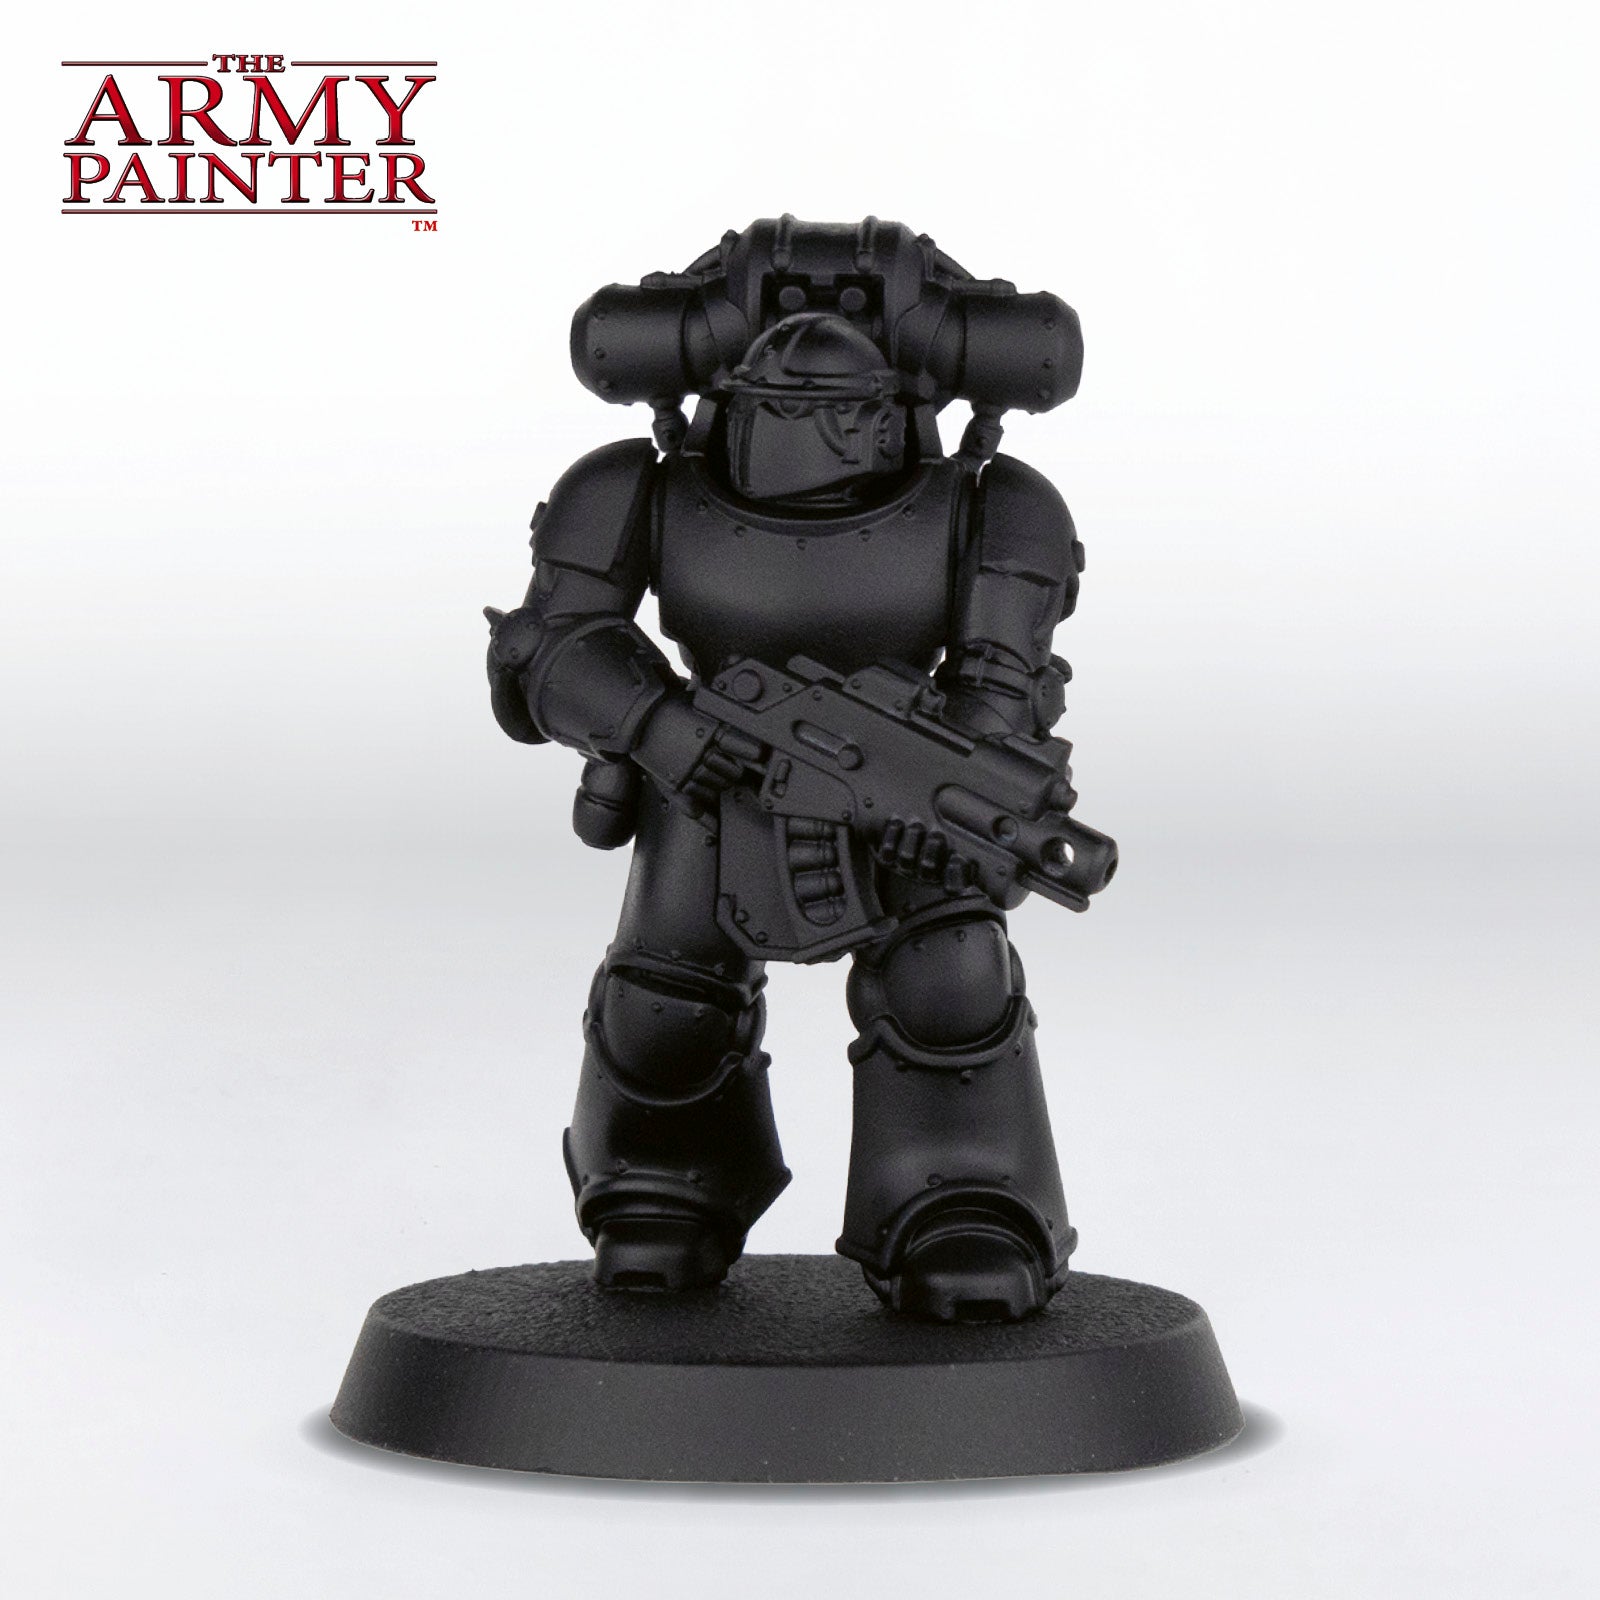
Step 1
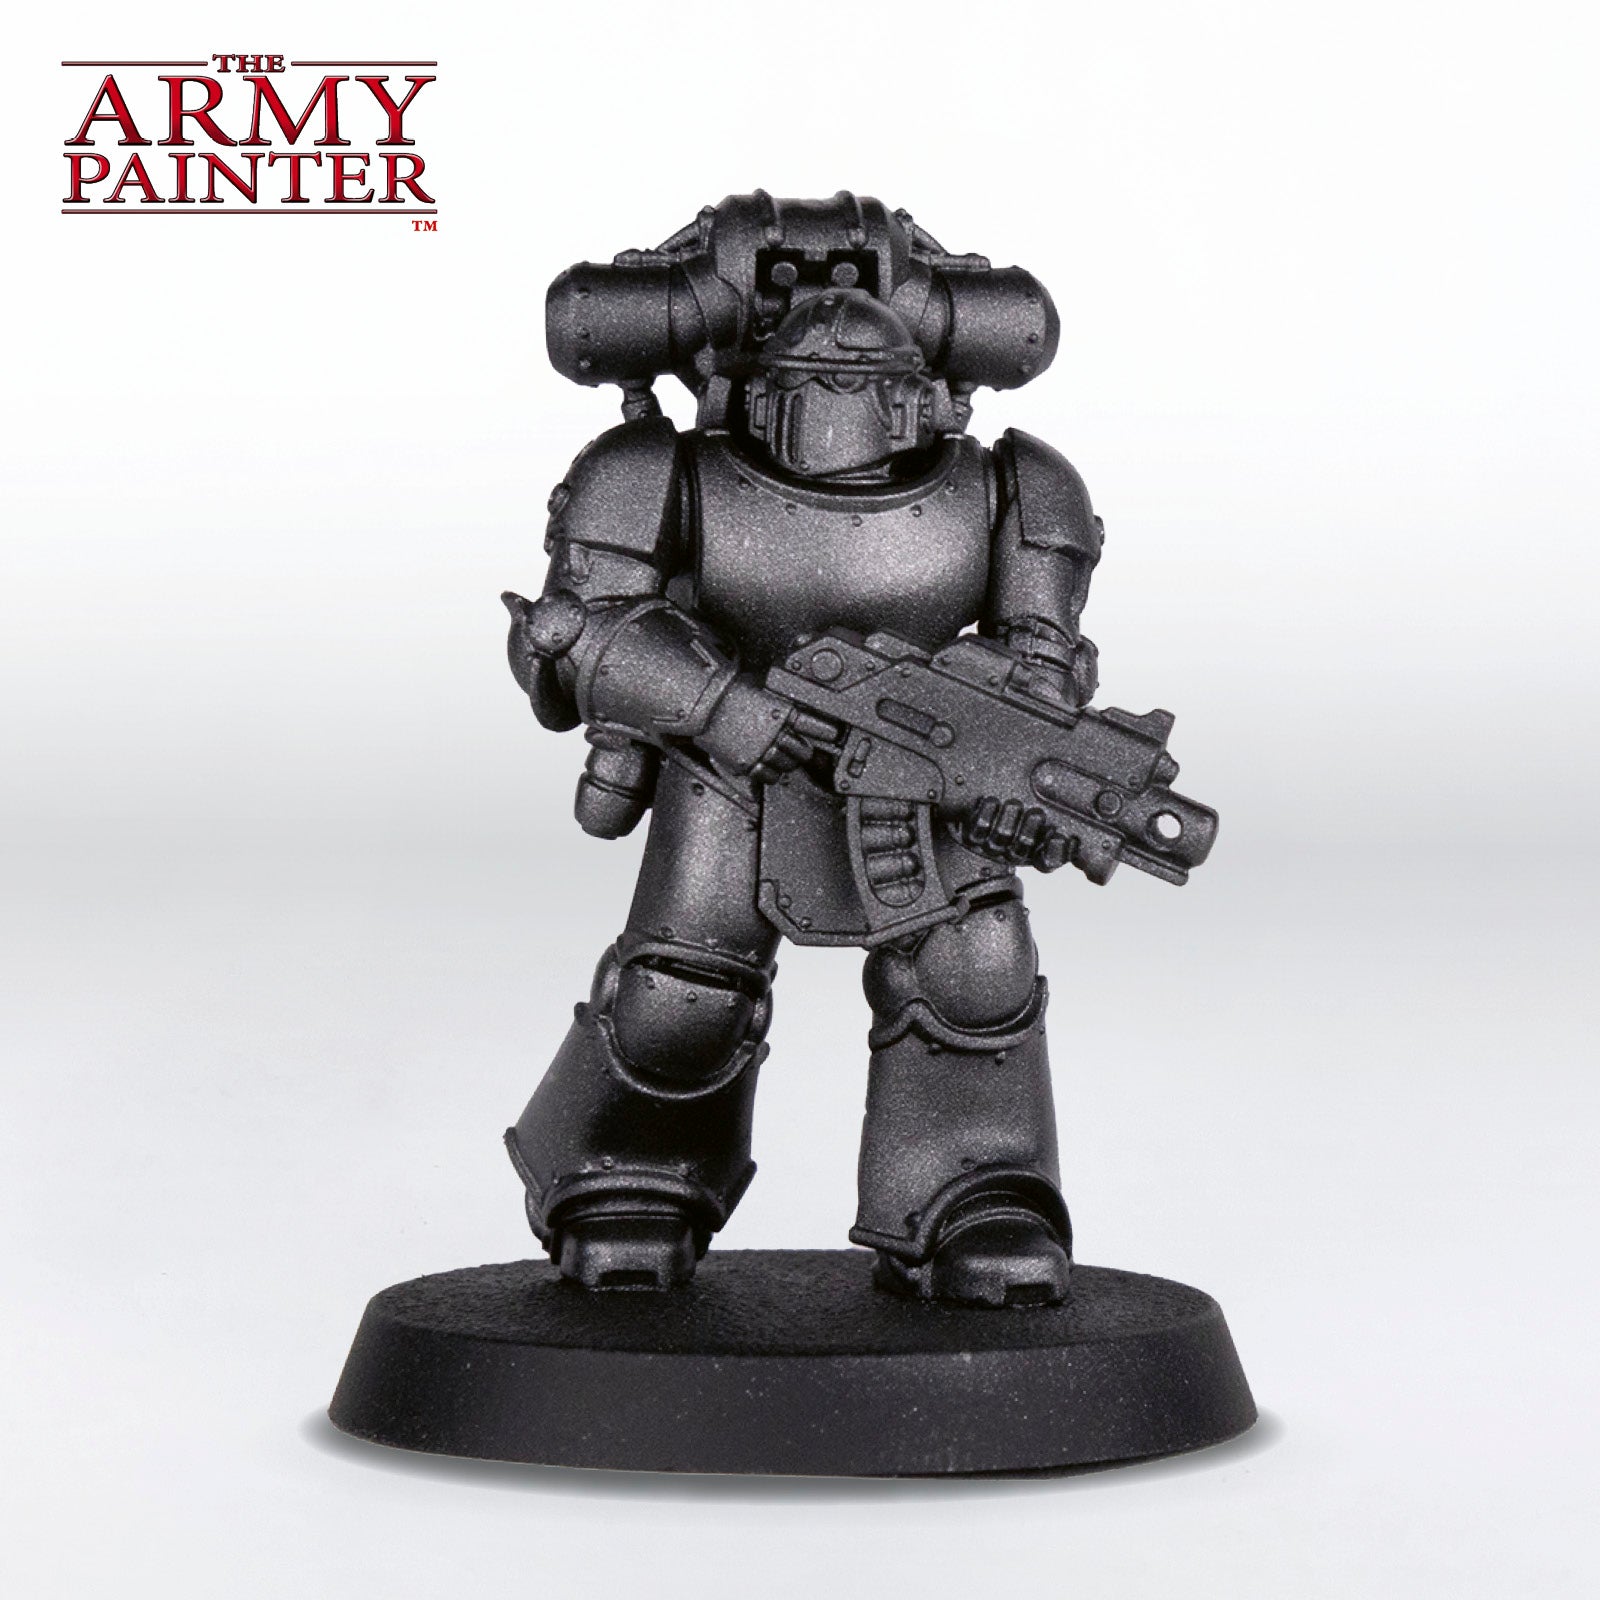
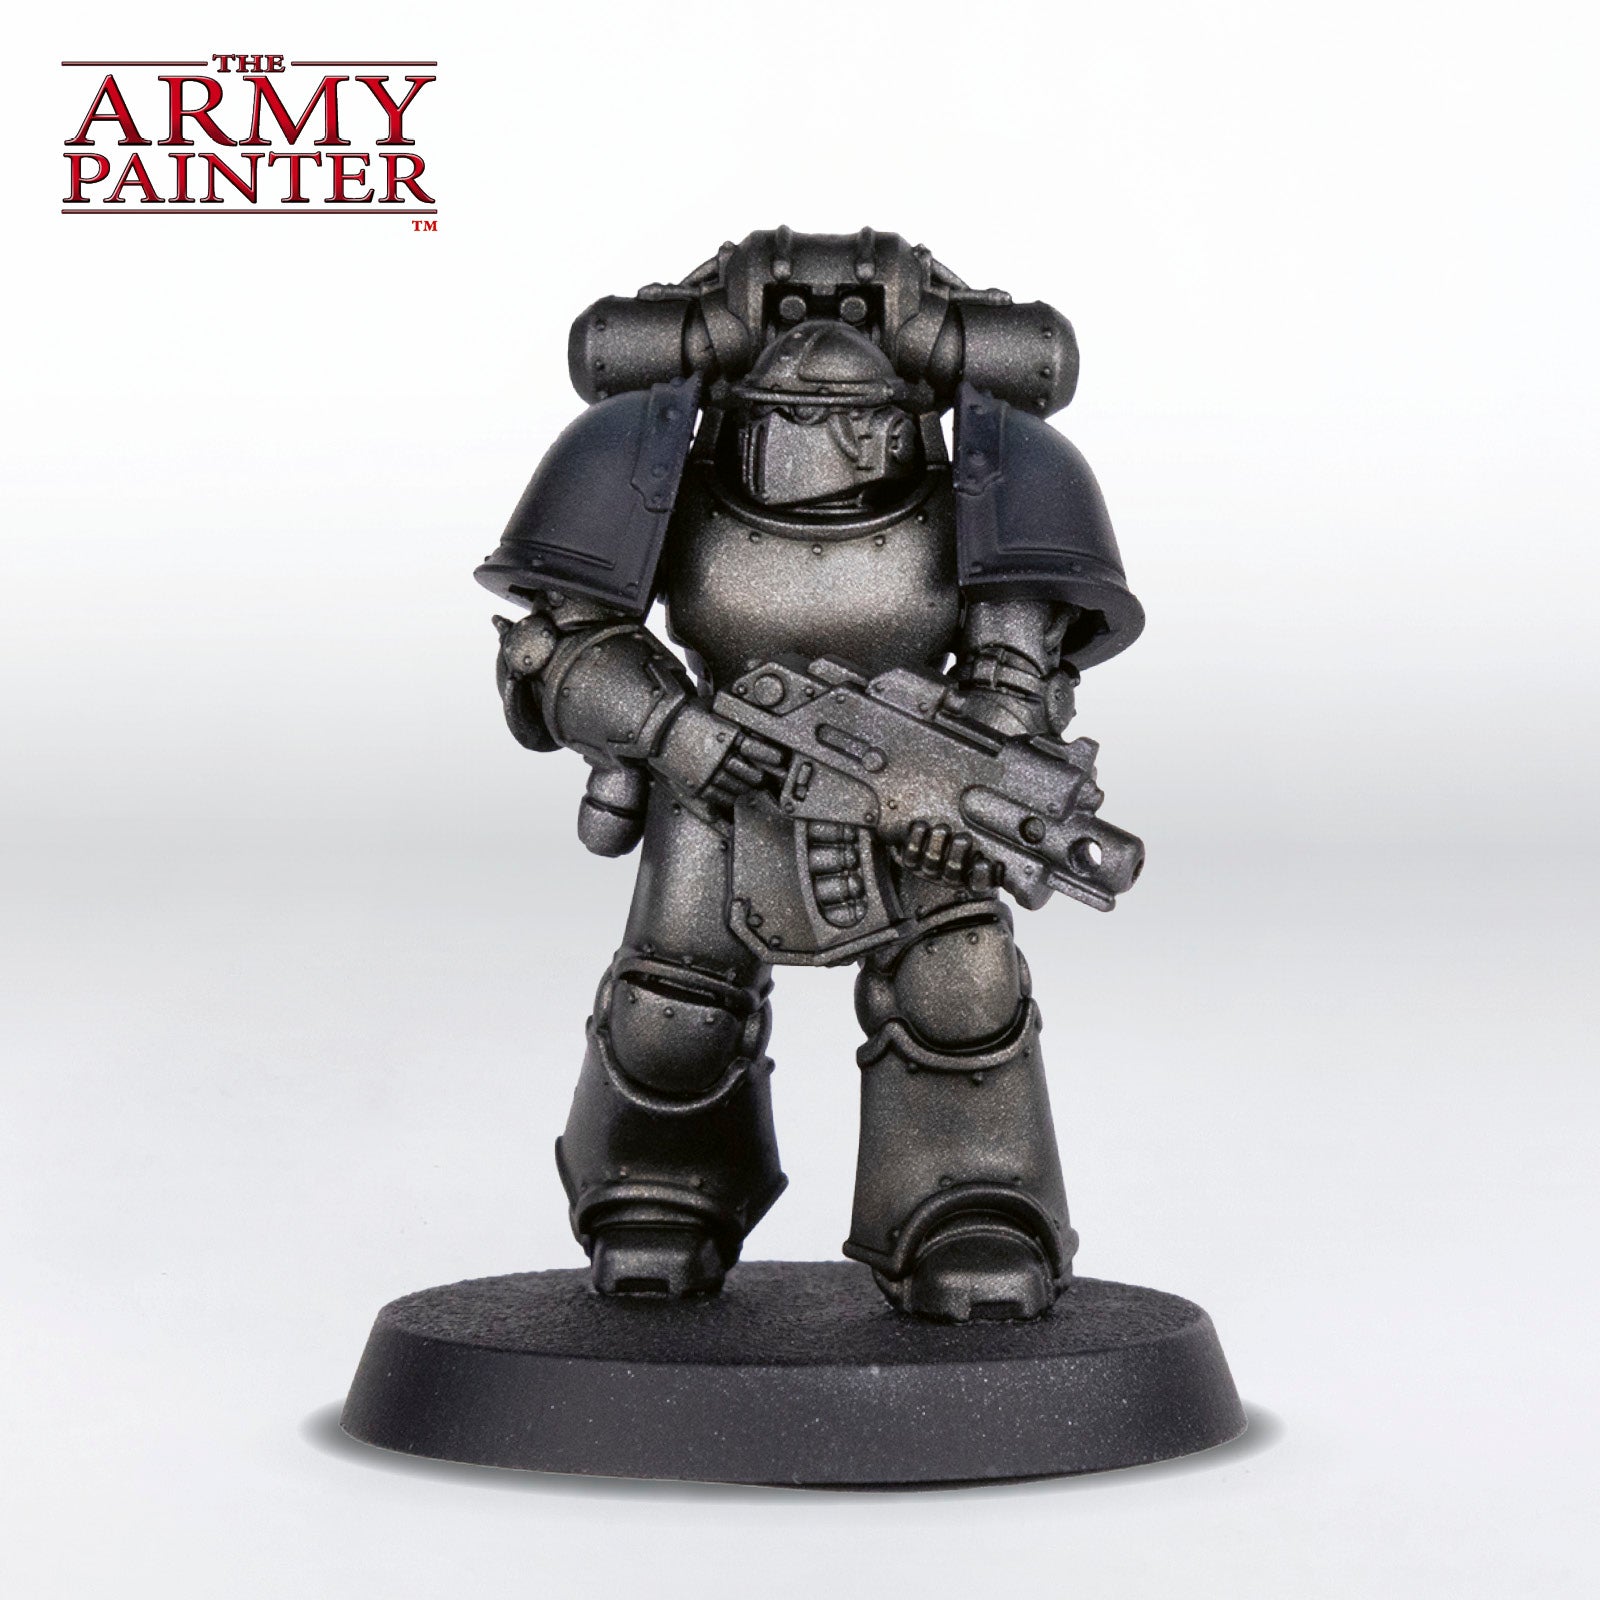
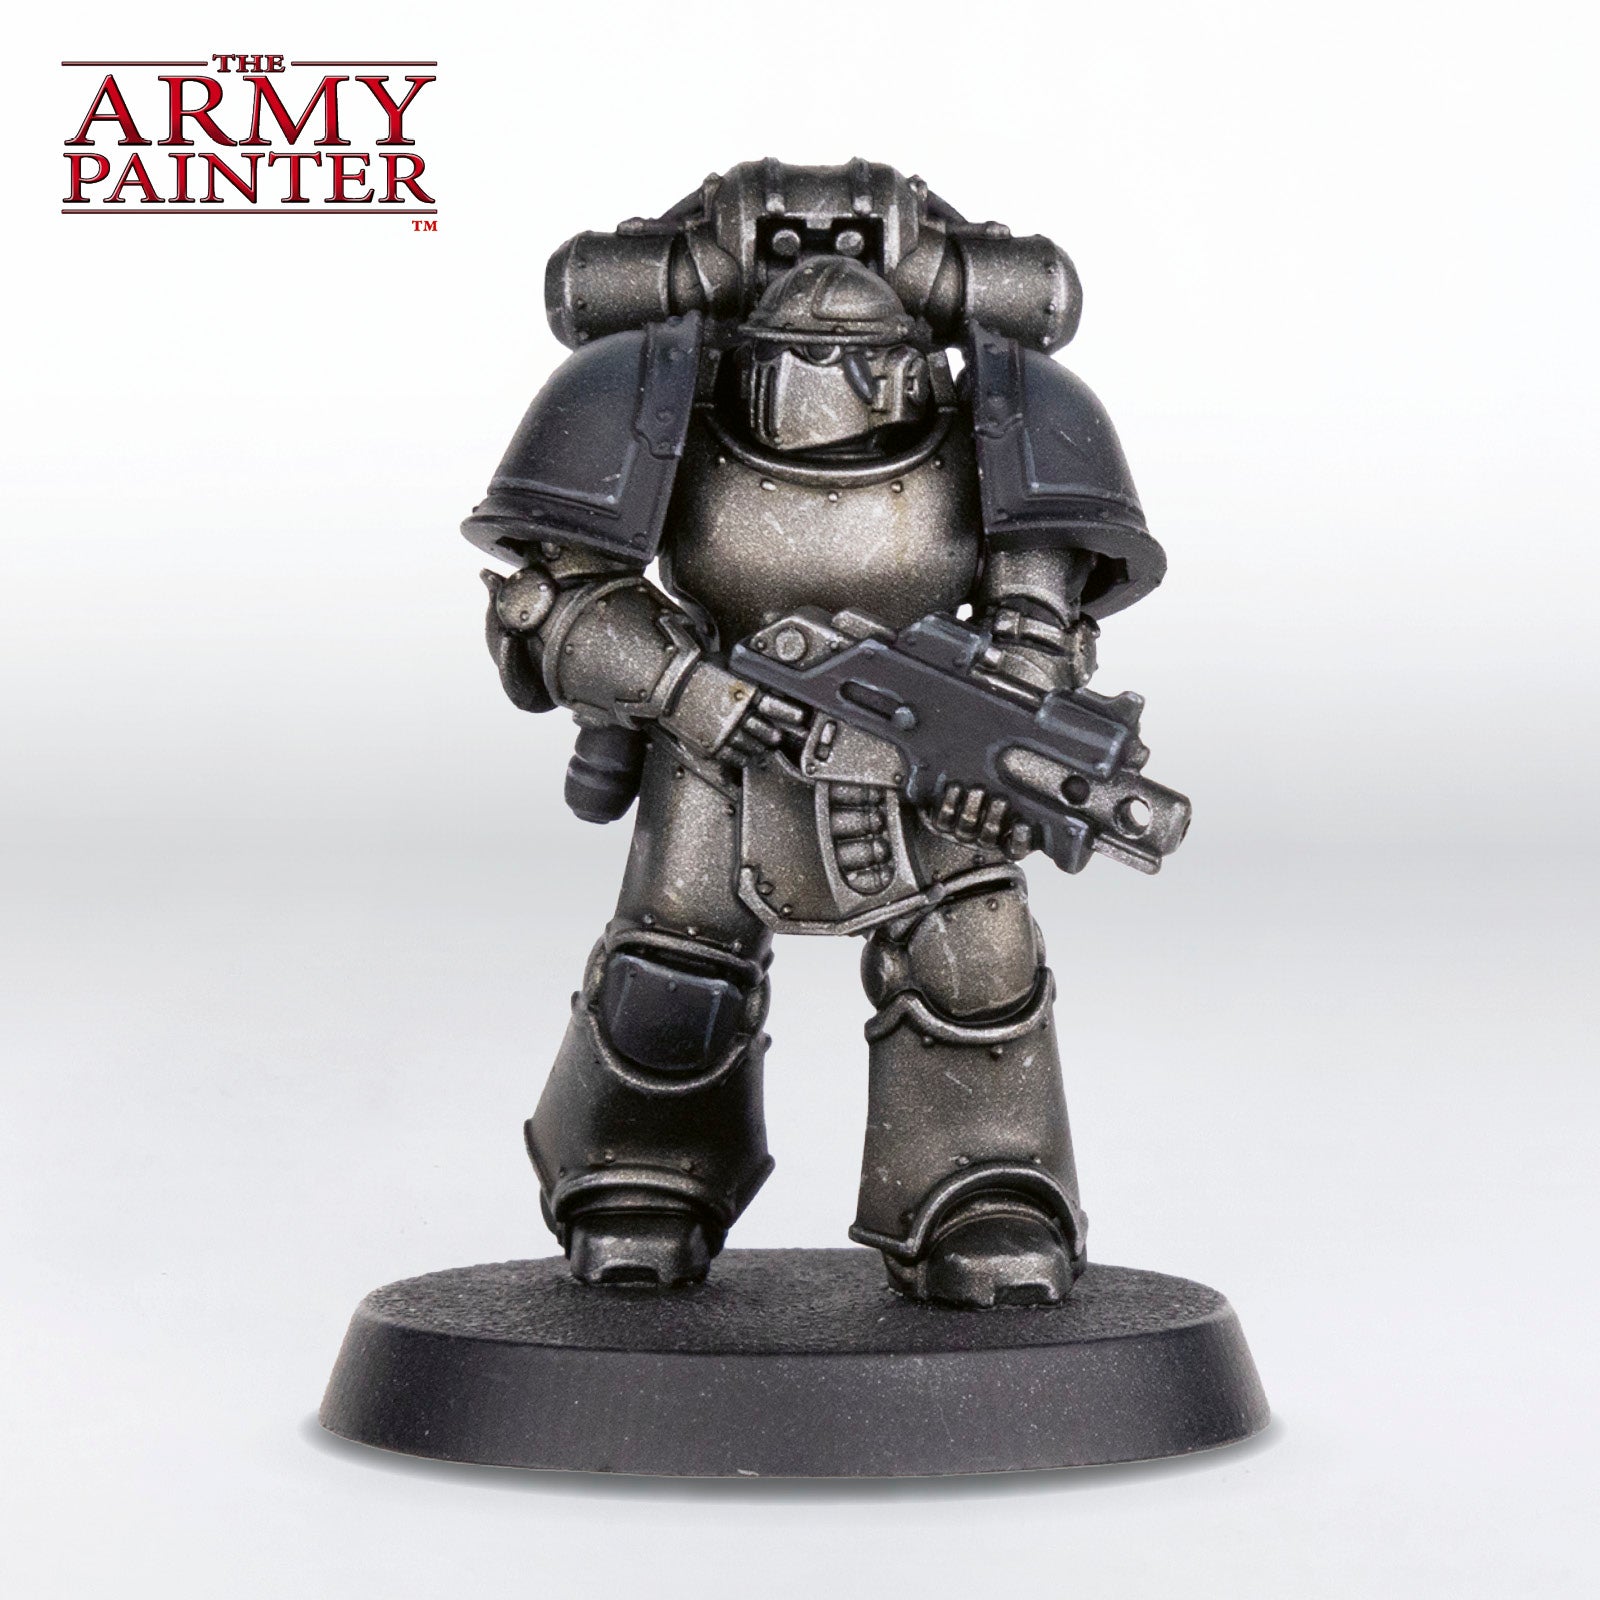
Prime the model with Matt Black Air Primer.
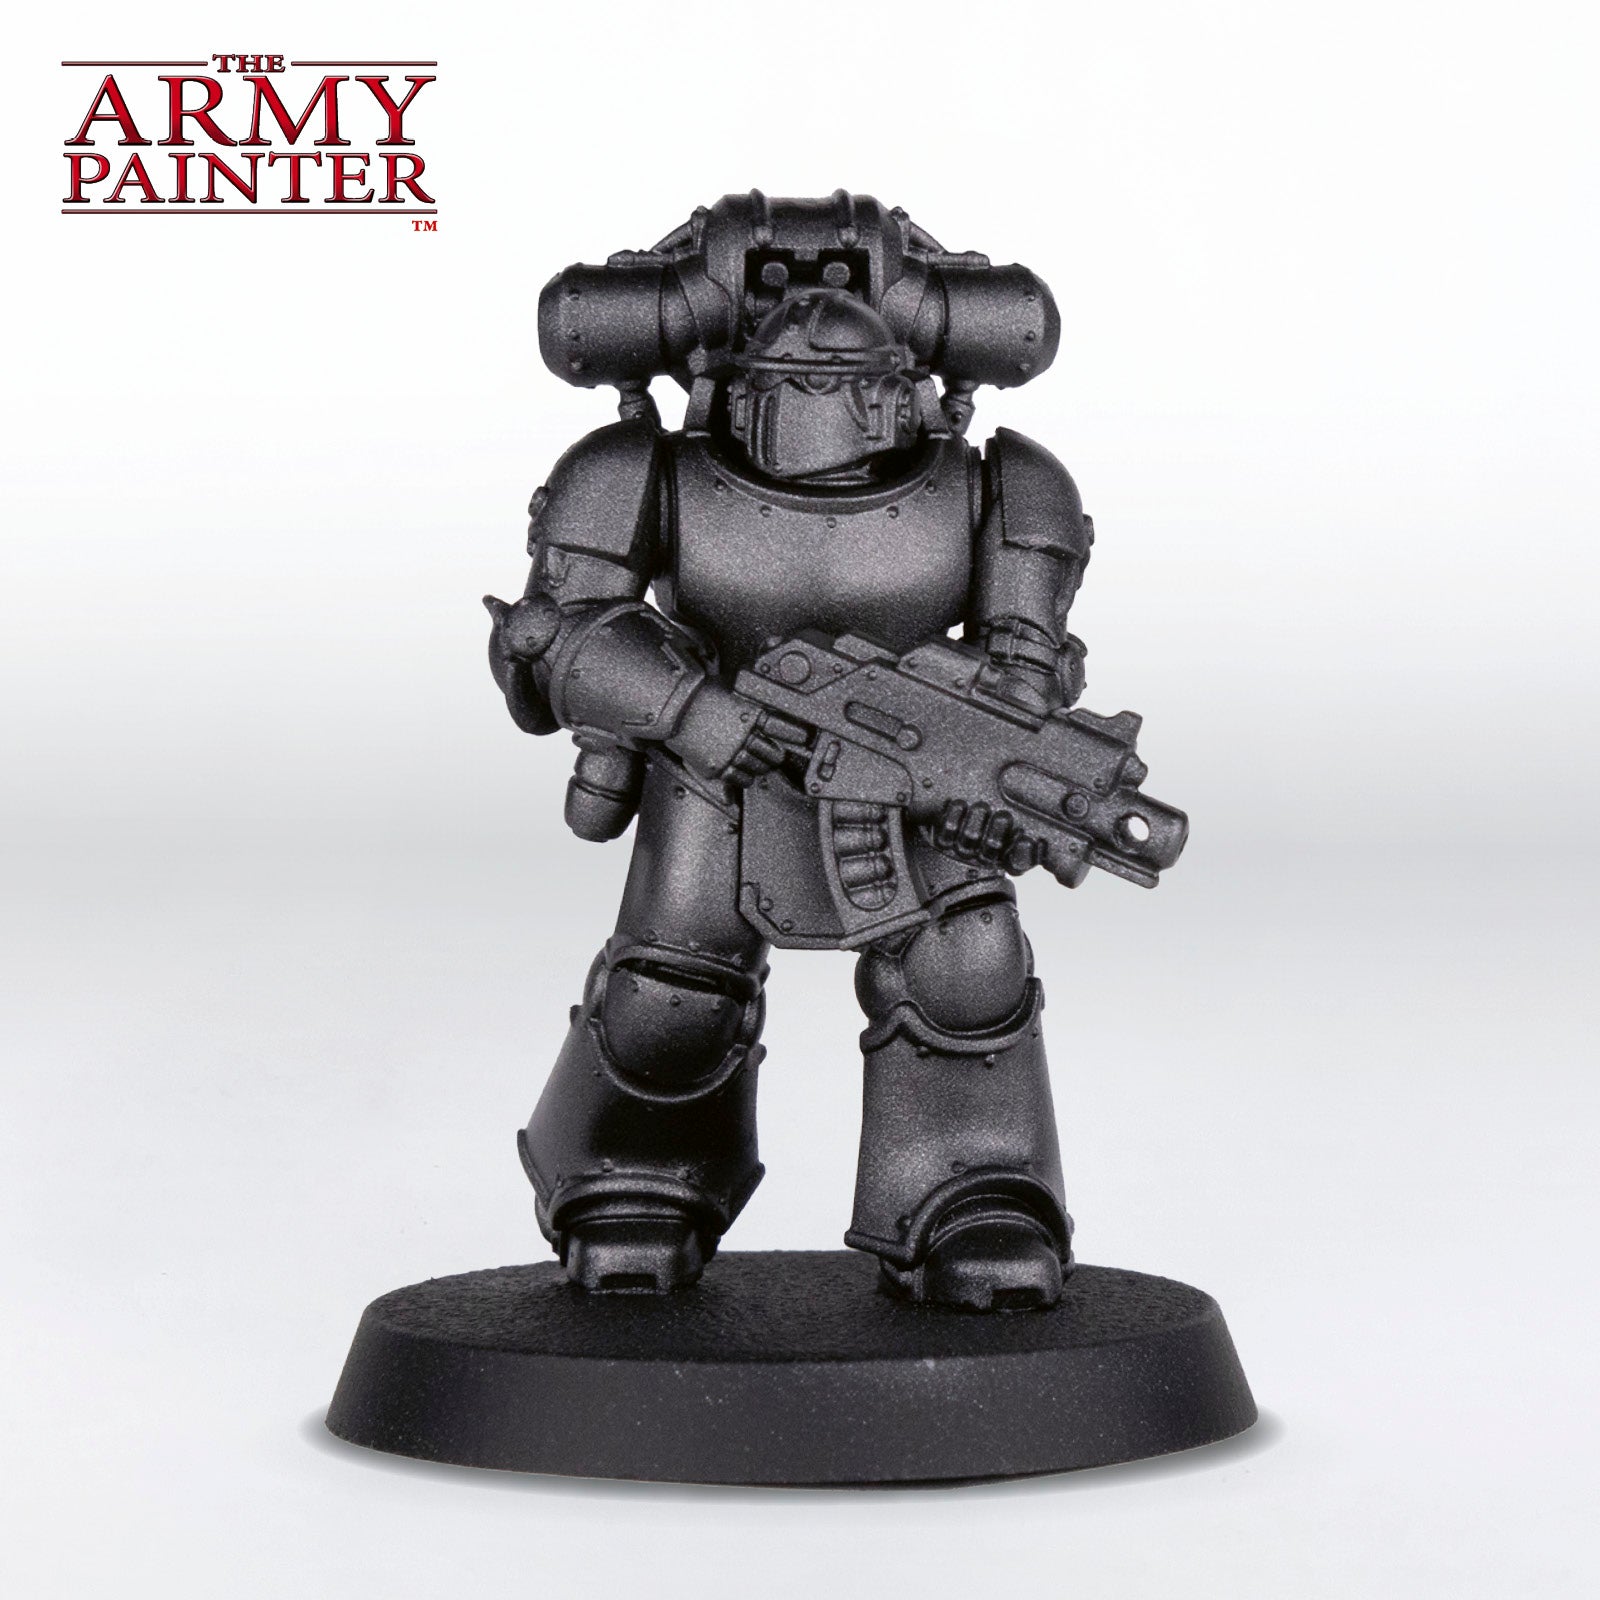
Step 2
With an airbrush, give the armour a solid basecoat of Warpaints Fanatic Heavy Metal thinned with Air Medium.
Step 3
Next, apply a zenithal spray of Warpaints Air Gun Metal on the top halves of the different armour panels to start to build up a gradient from dark to light.
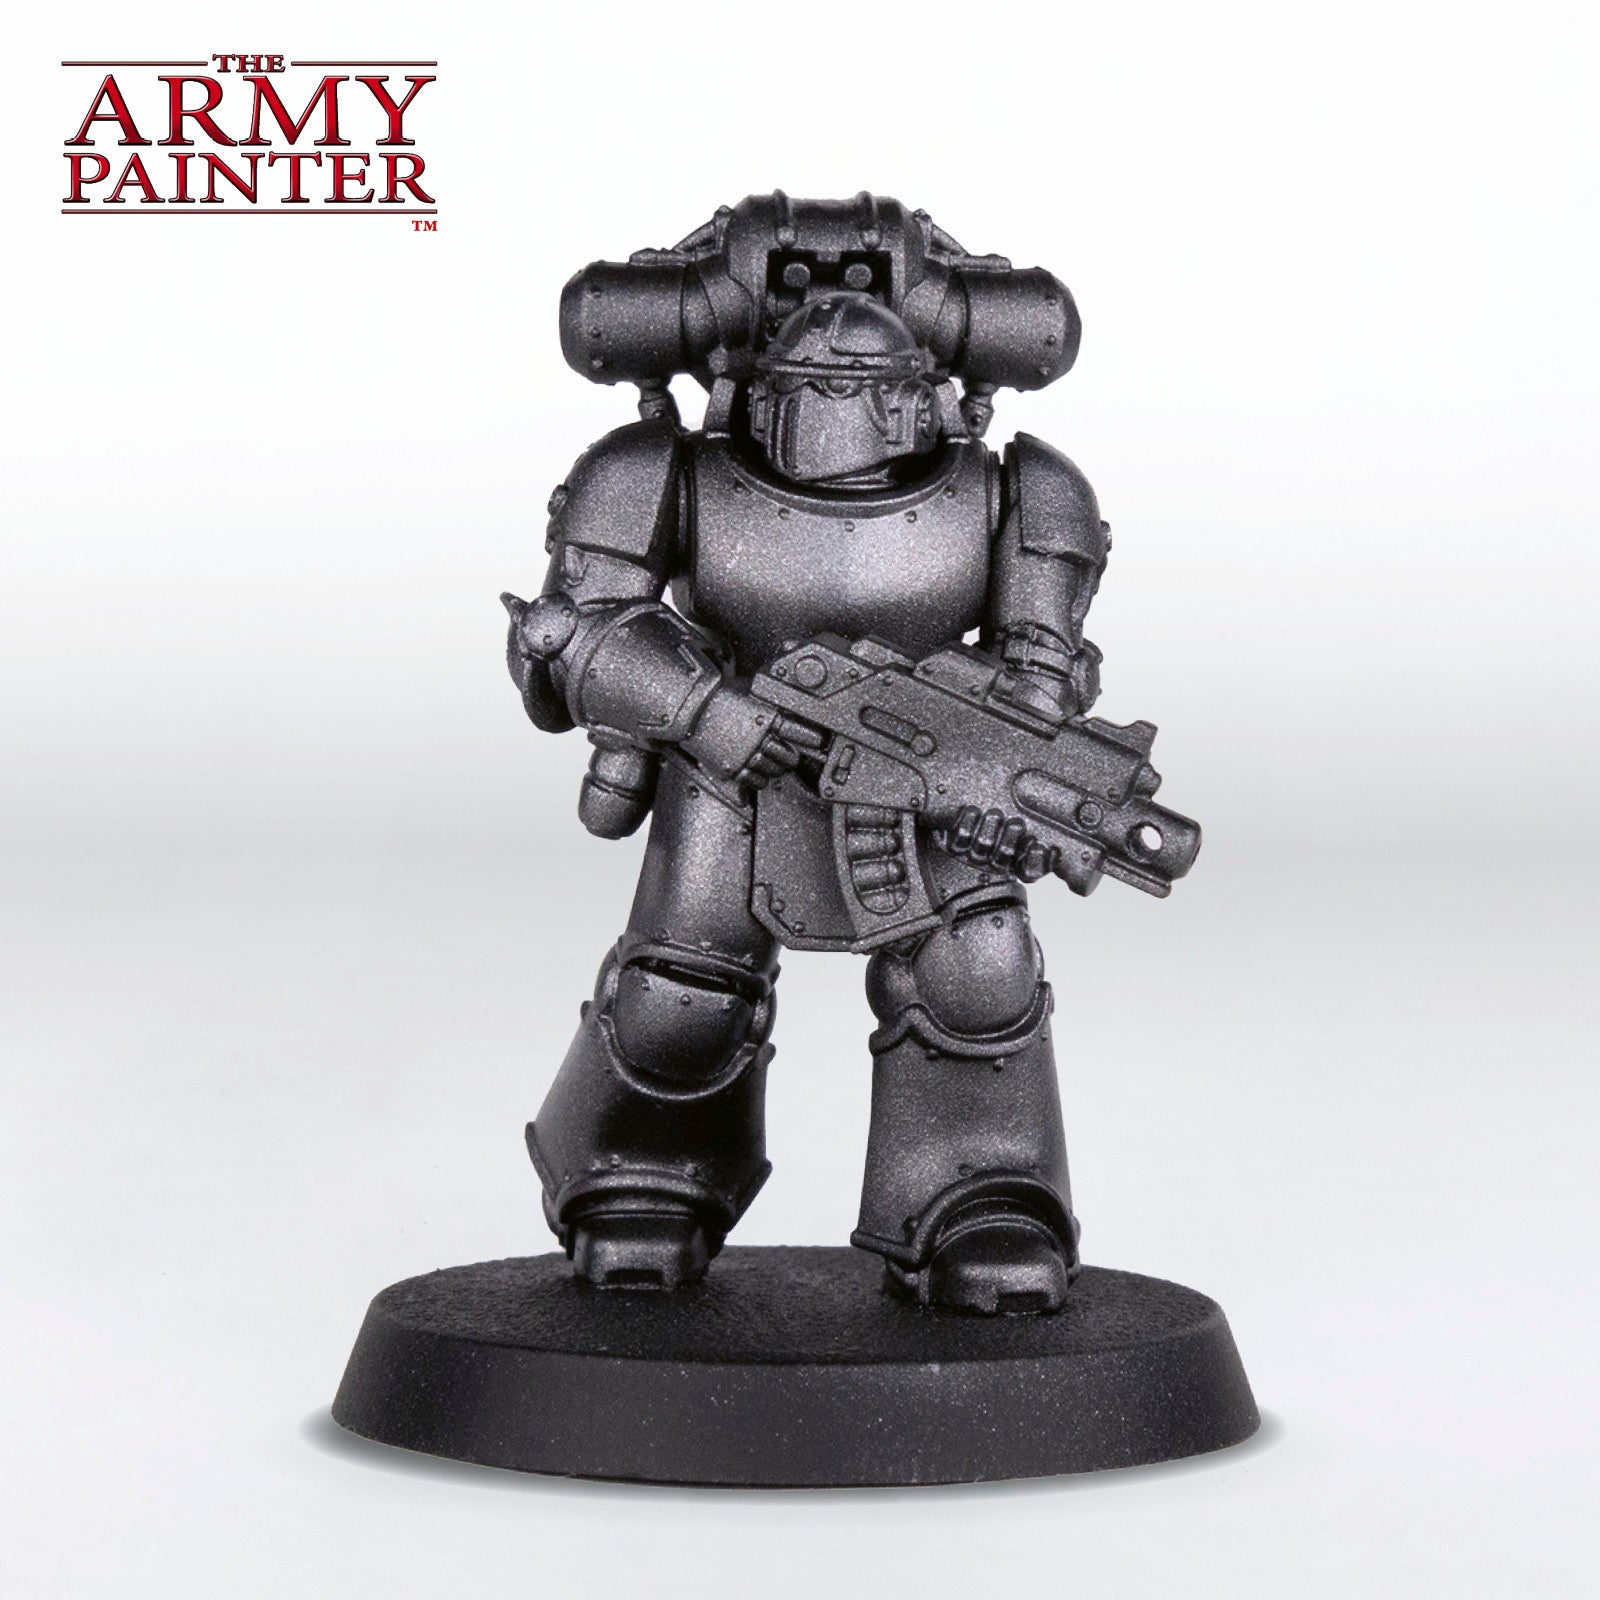
Step 4
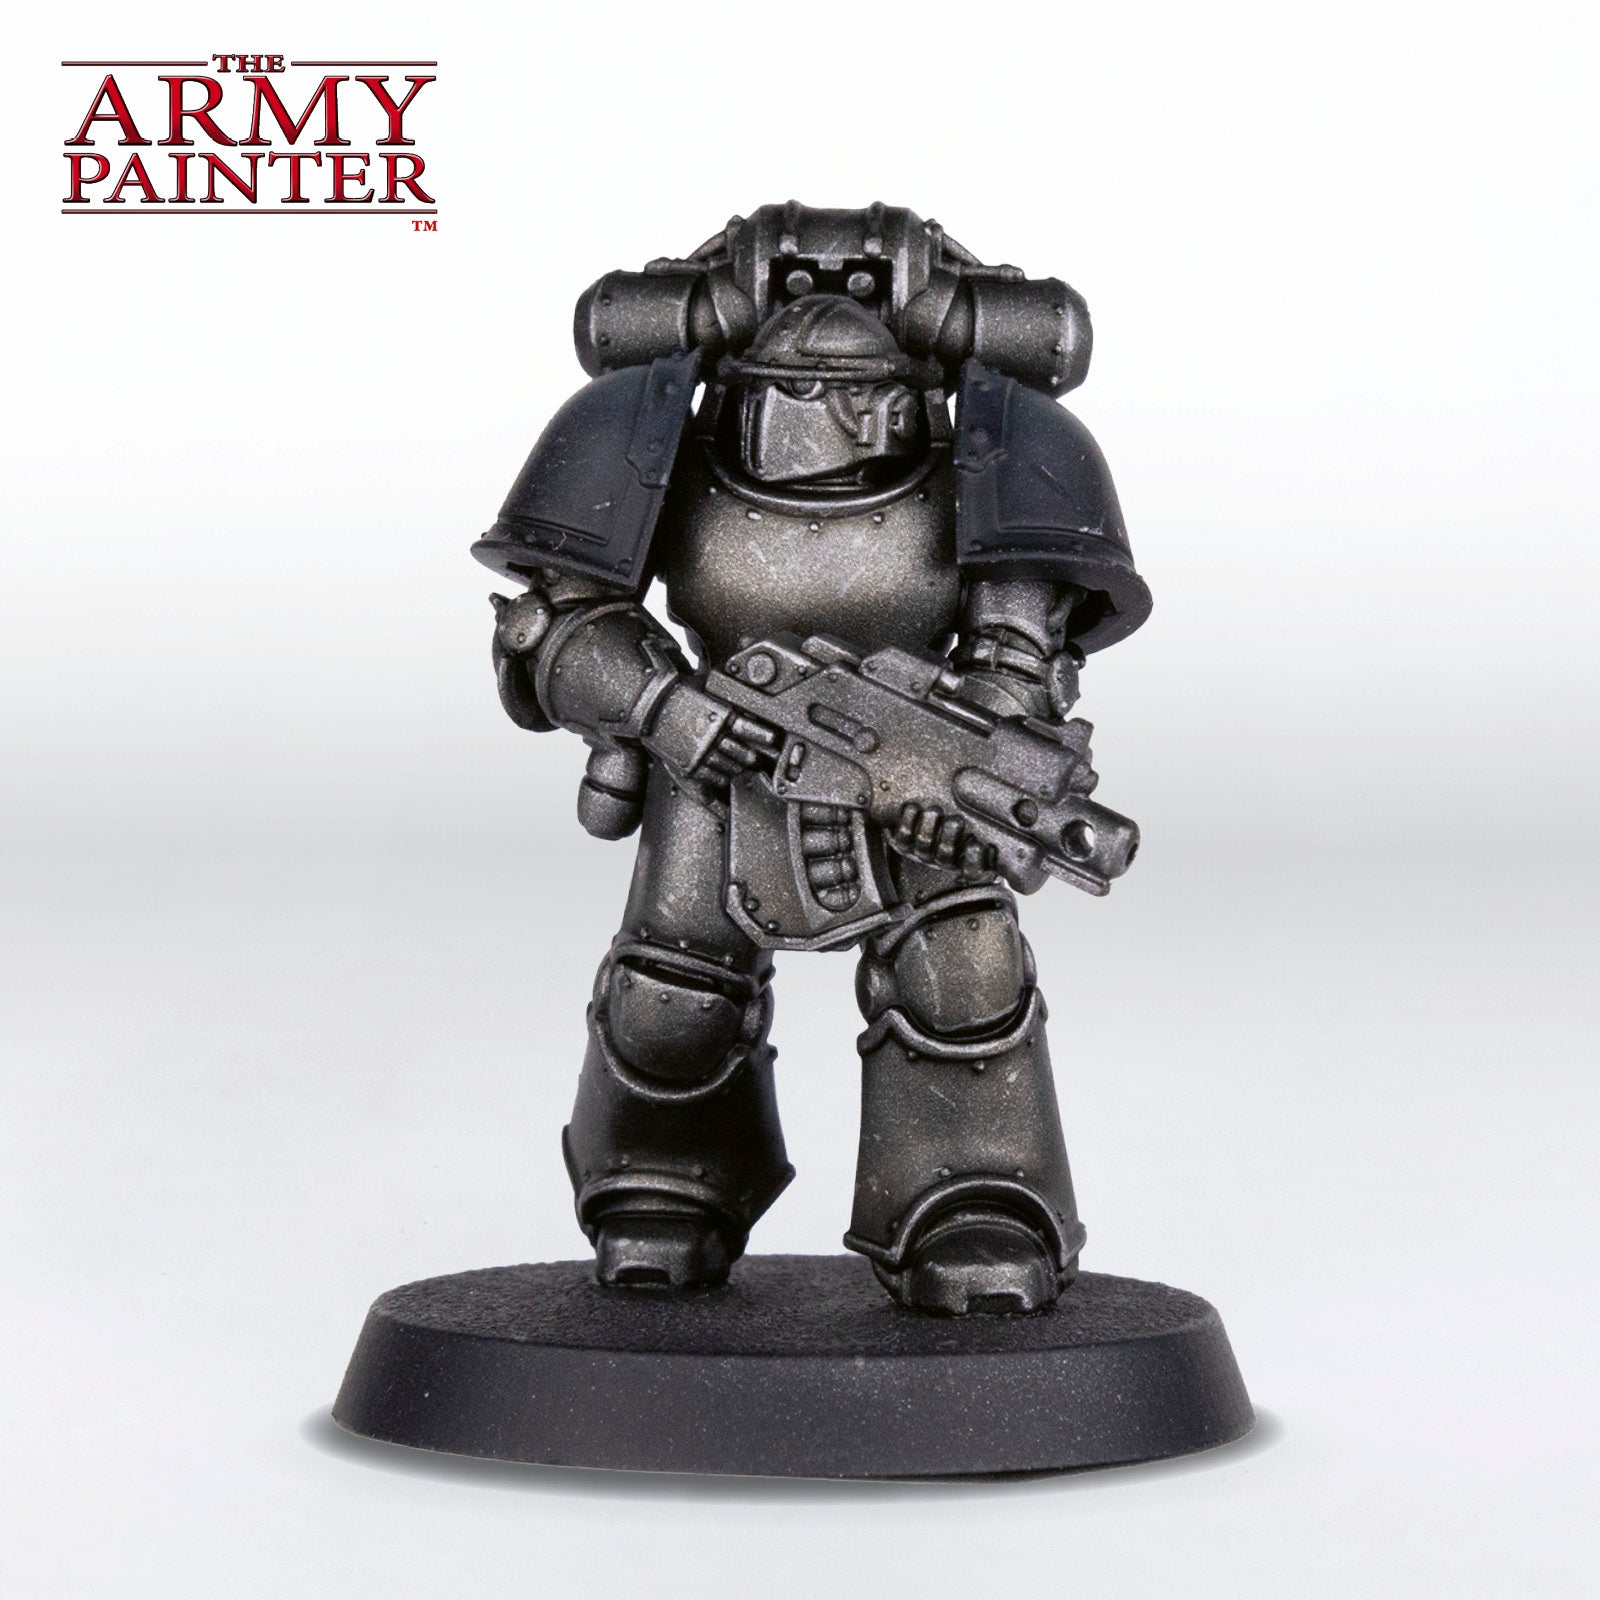
Follow this with a more refined zenithal spray of Speedpaint Polished Silver through the airbrush in the same manner.
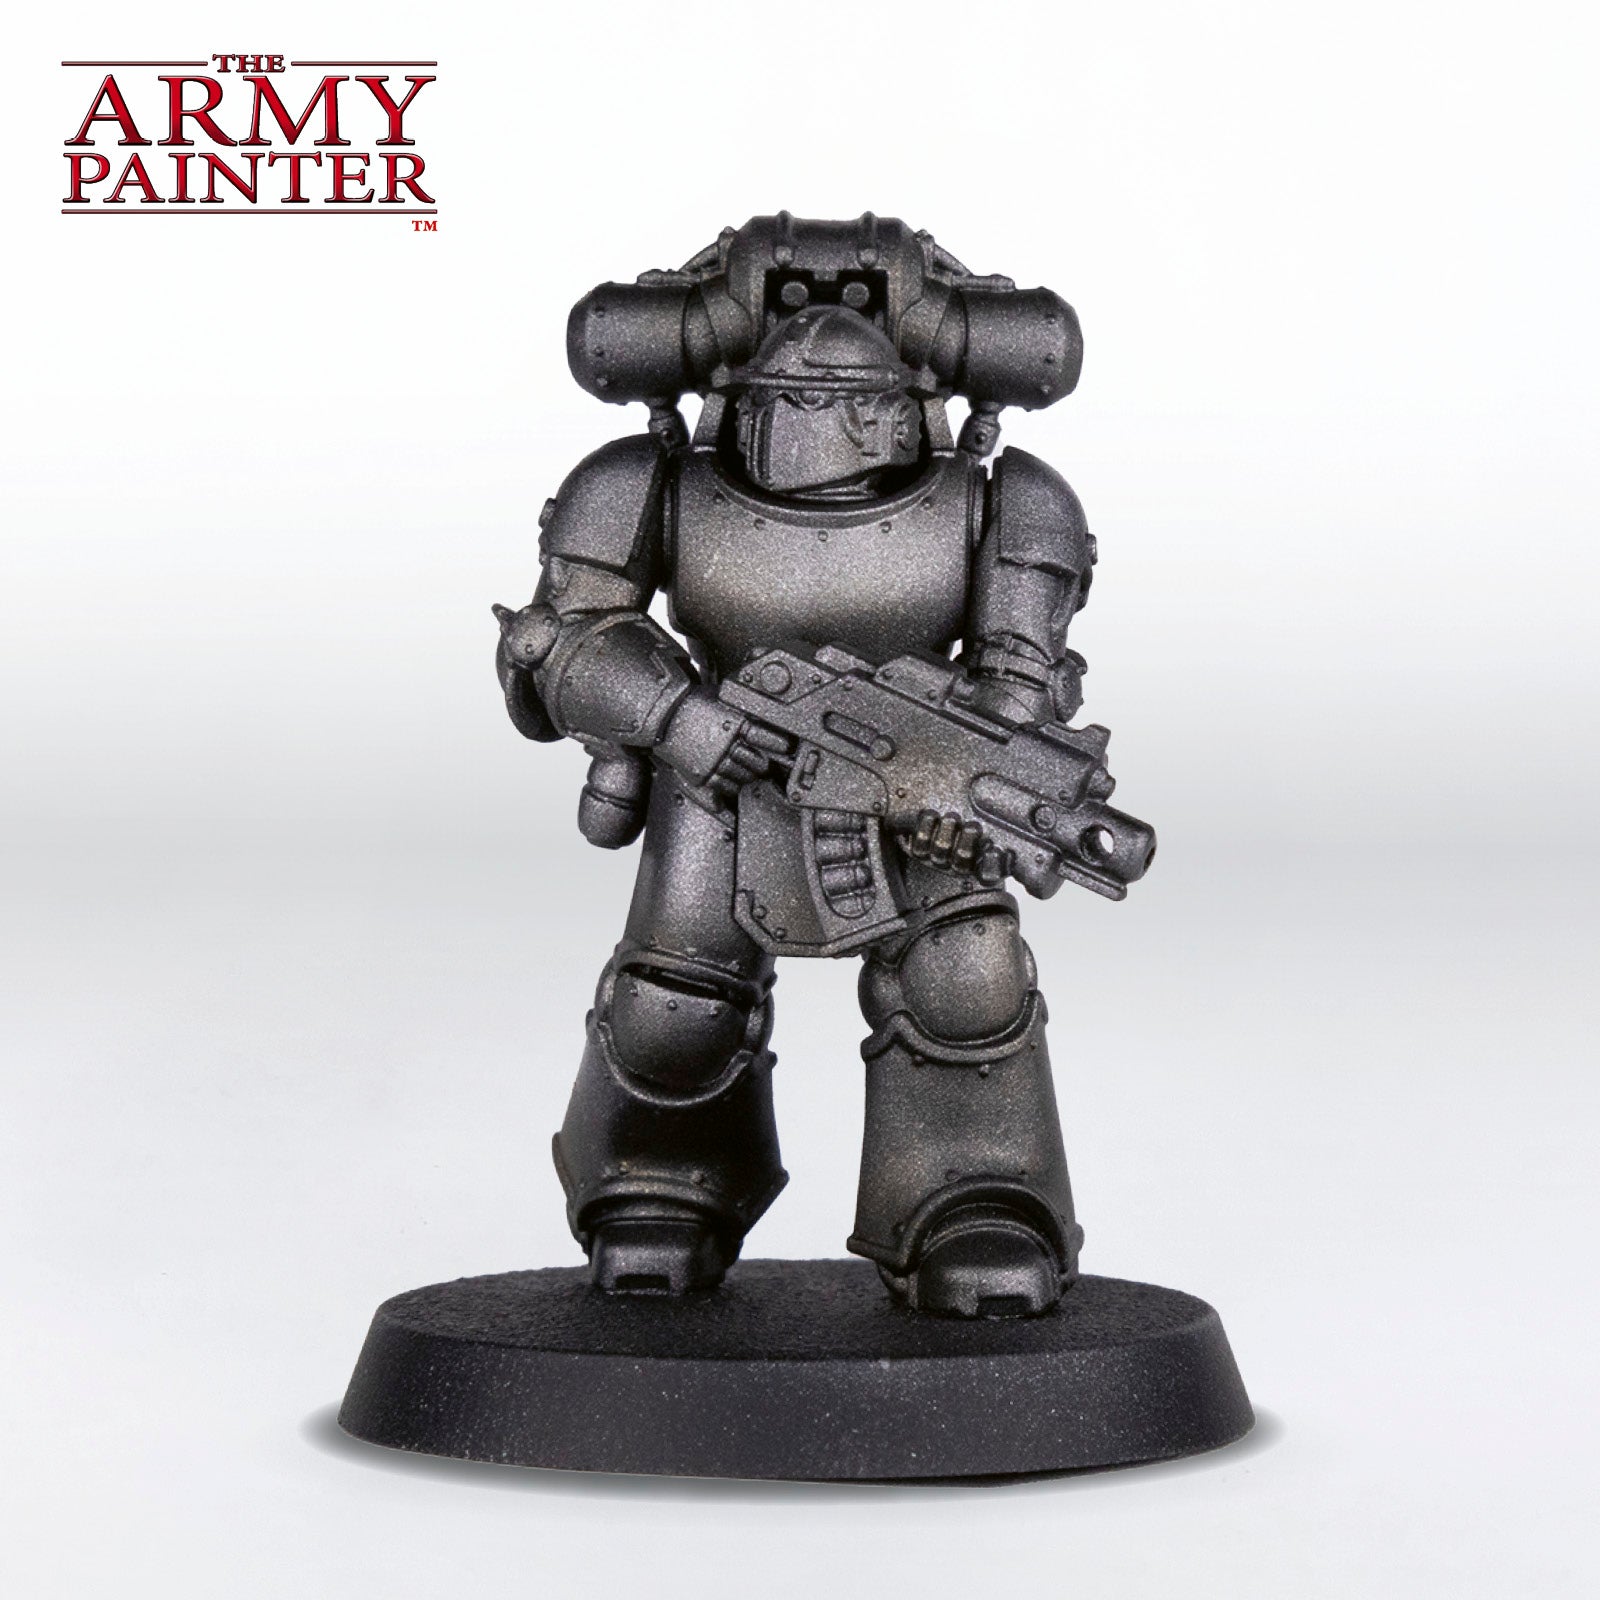
Step 5
Apply an all-over thin coat of Warpaints Fanatic Wash Light Tone through the airbrush on all the armour, and then continue to build it up on the bottom halves of the armour panels to give the metal an oily feel.
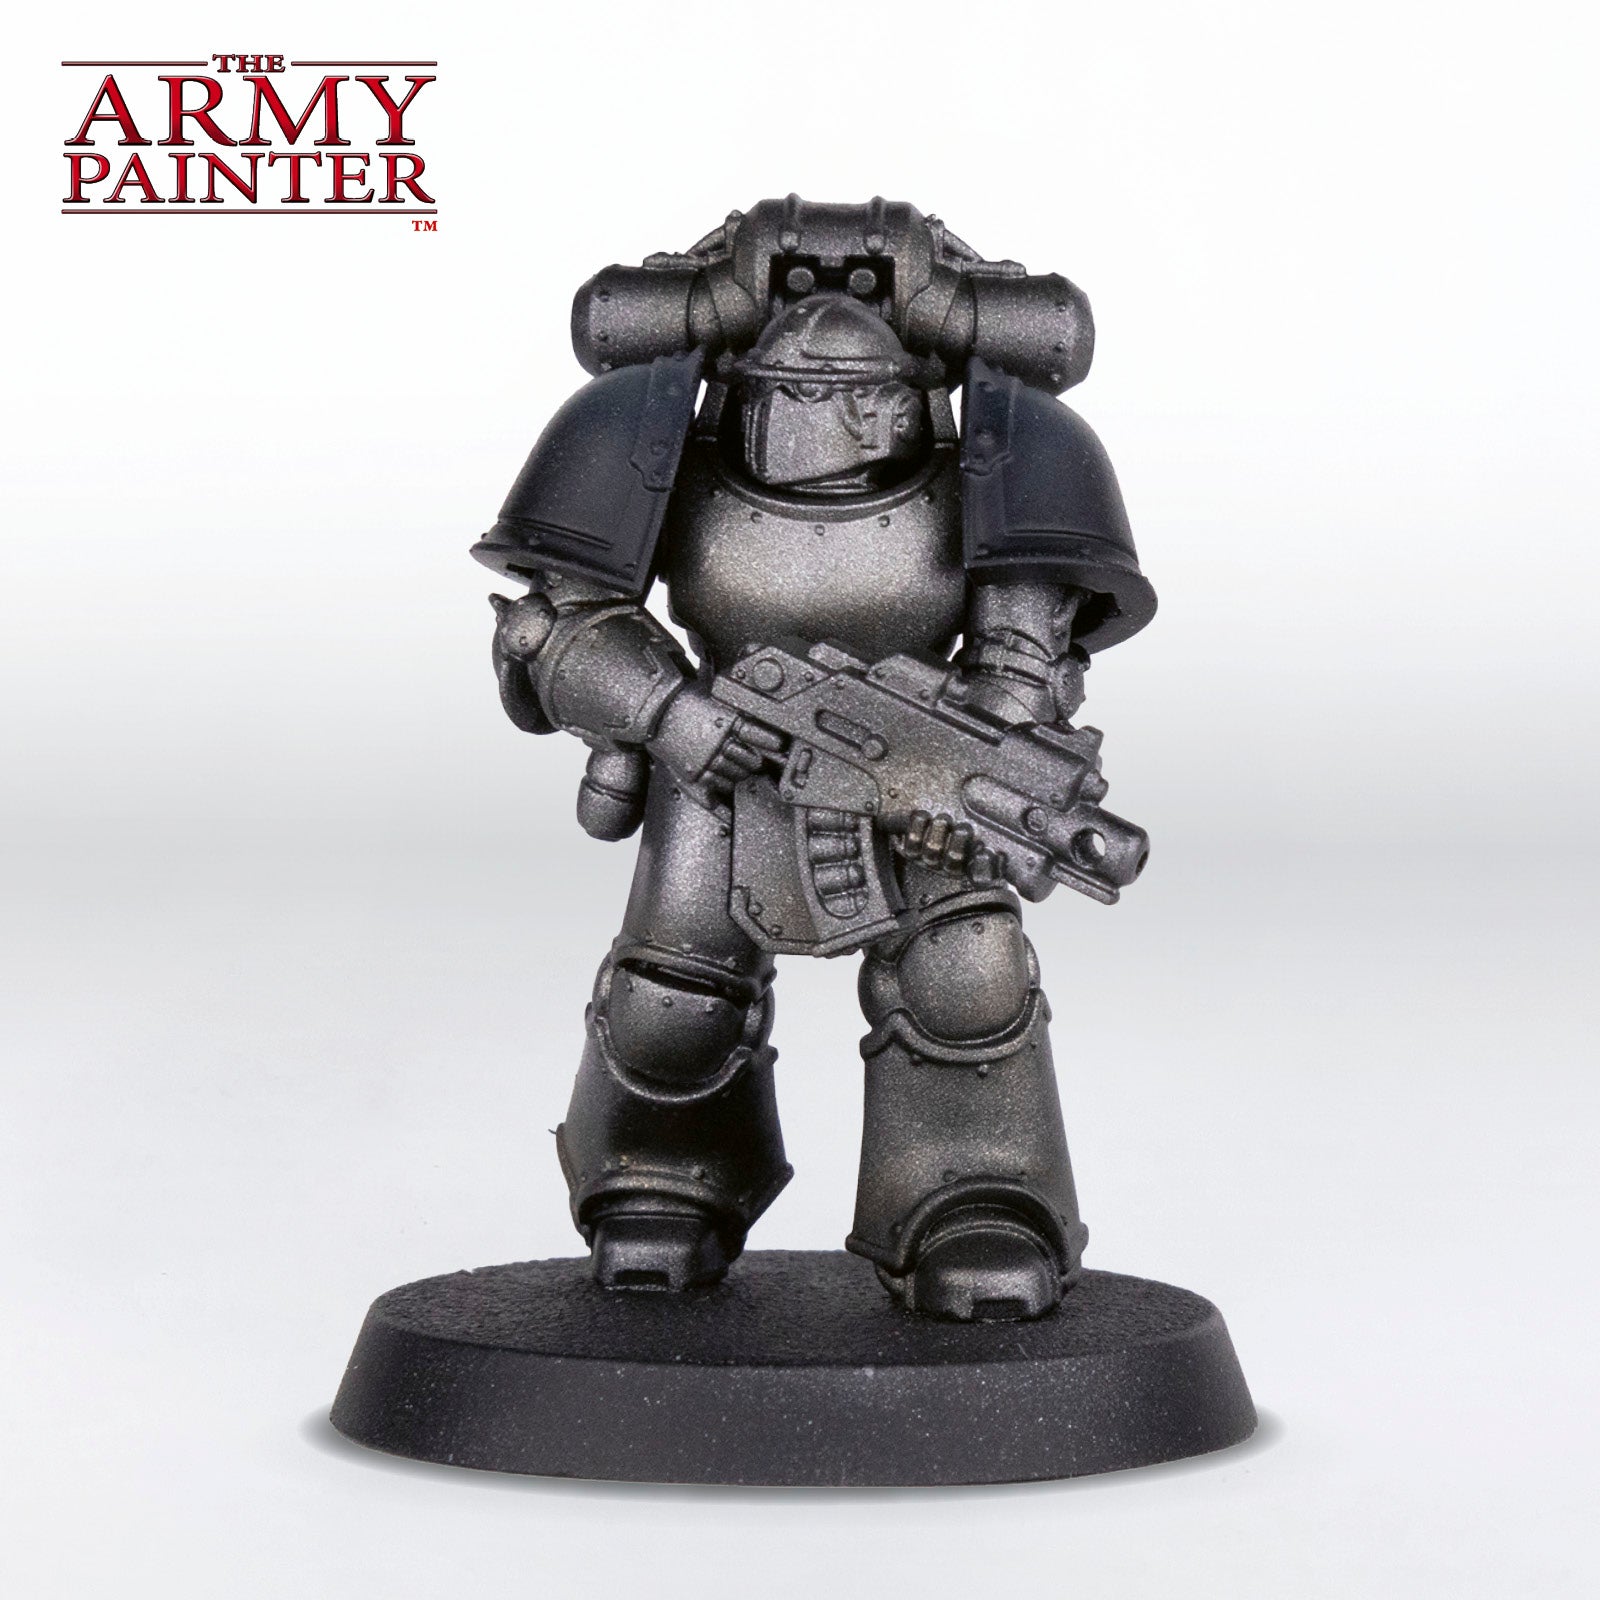
Step 6
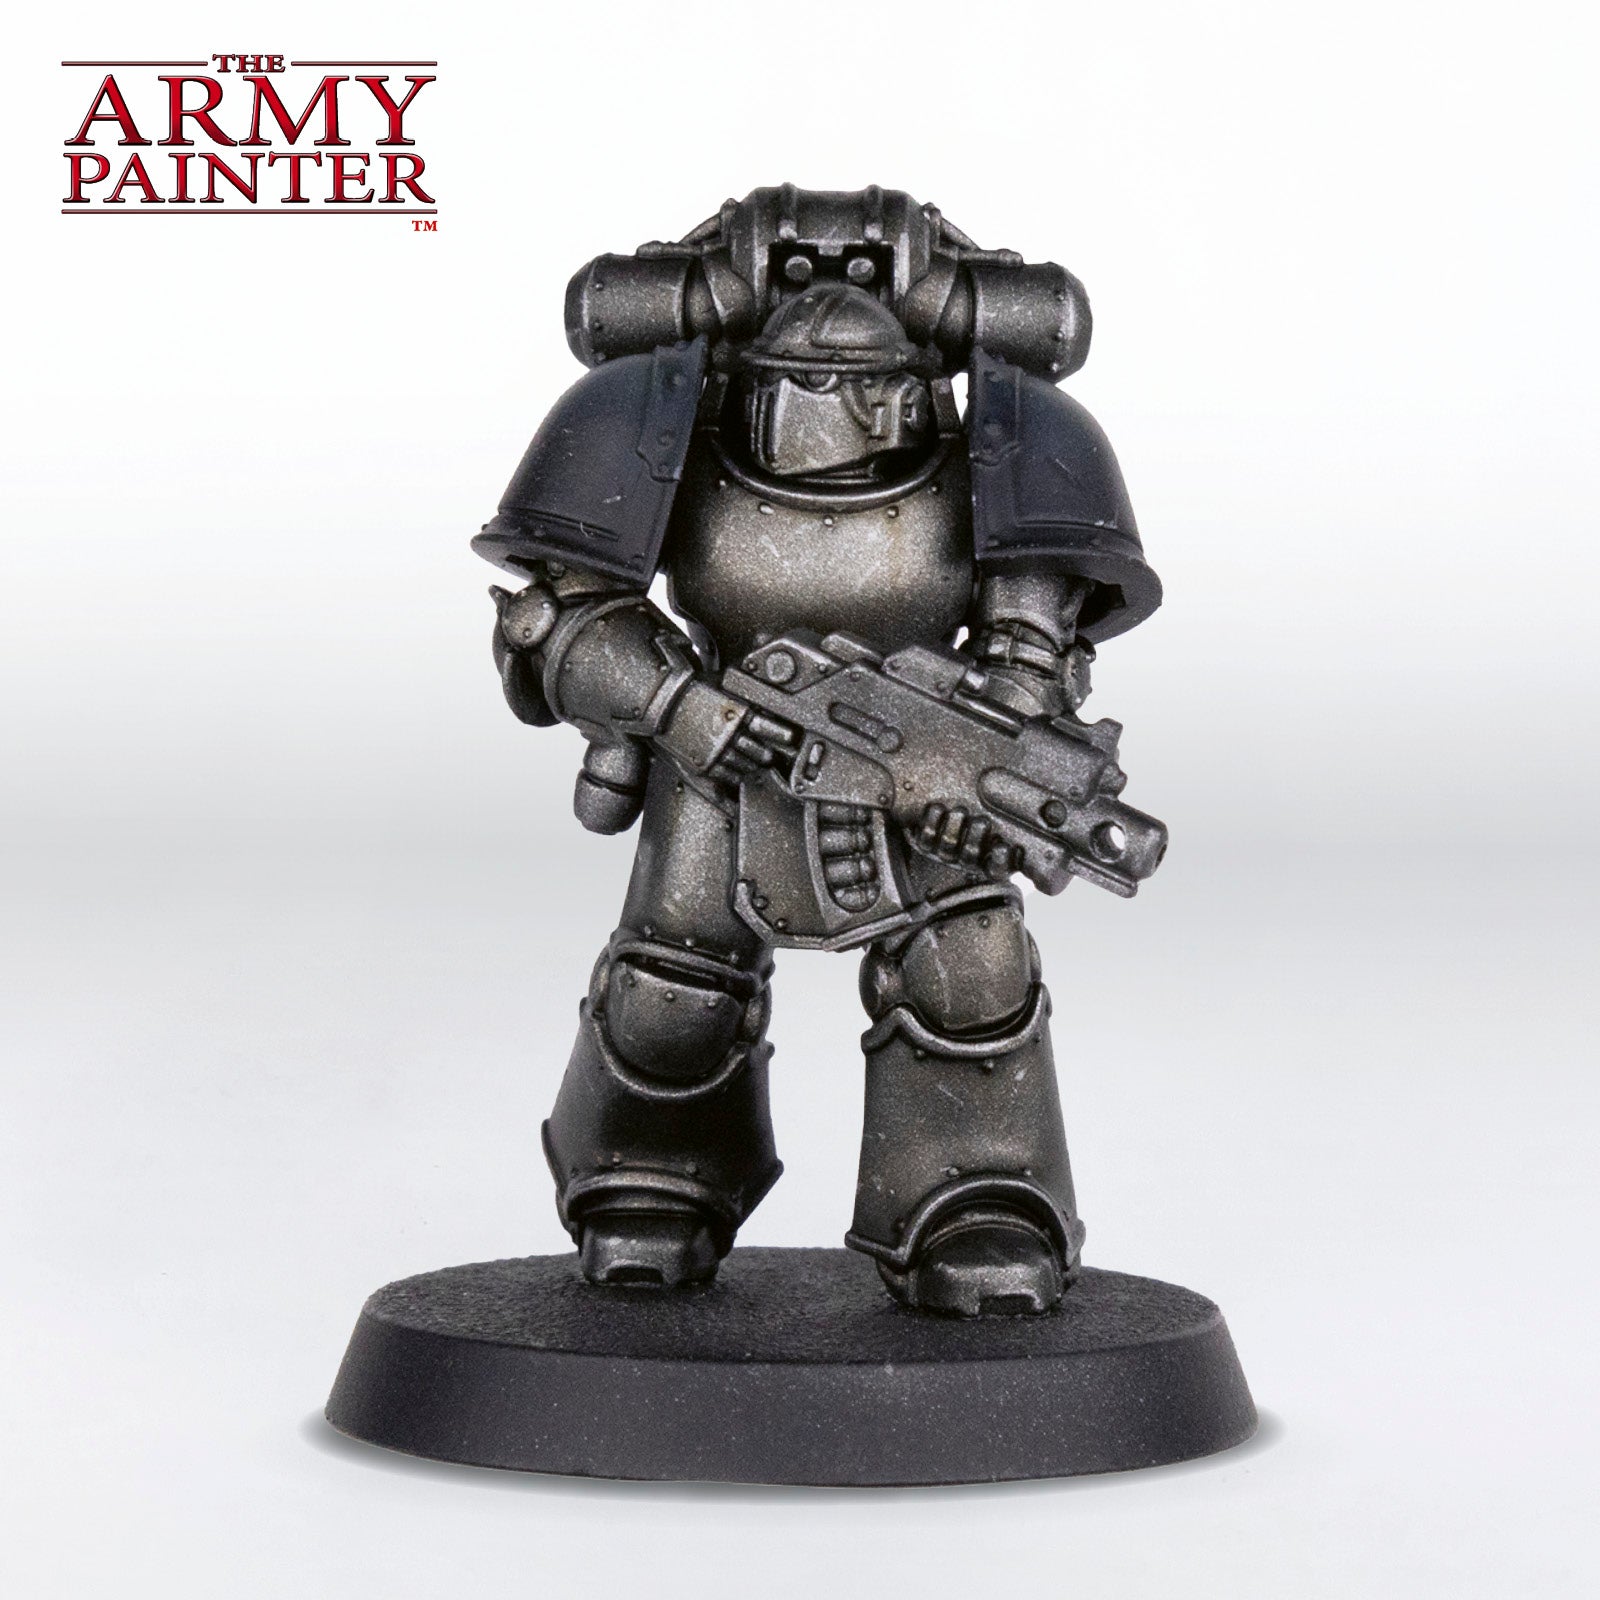
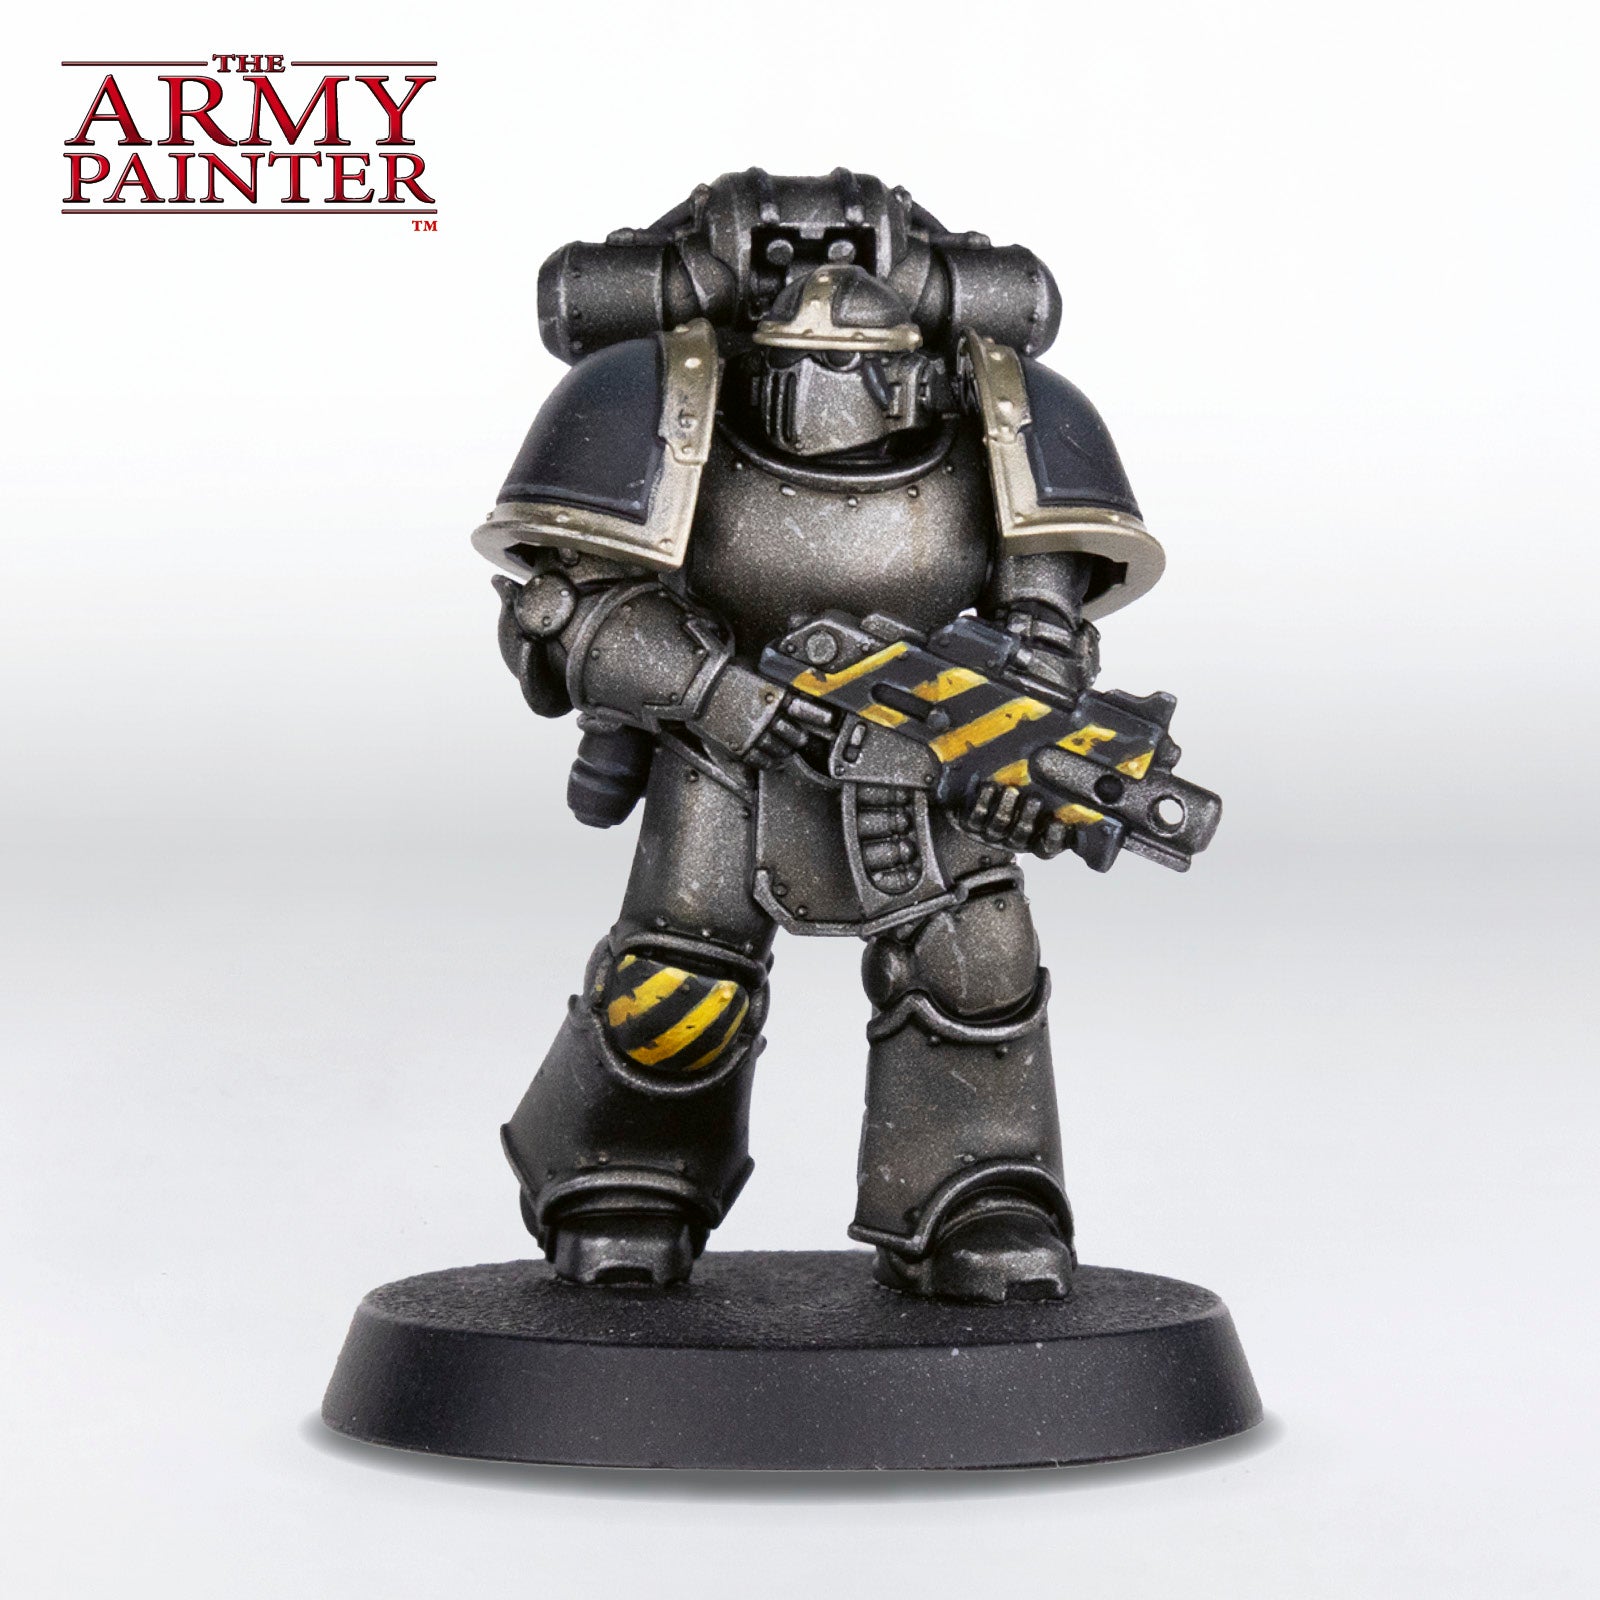
With the shoulder pads separate from the rest of the model, apply a zenithal spray of Warpaints Air Crow Hue to create a gradient on the black areas, and then glue them onto the model afterwards.
Step 7
Now, switching to a normal brush for the rest of the tutorial, apply an all-over coat of Warpaints Fanatic Wash Grimdark Shadow to all the metallic areas.
Step 8
Next, apply an edge highlight of Warpaints Fanatic Plate Mail Metal. At the same time, paint on some small scratches and scuffs, and use a bit of torn sponge to add a small amount of chipping to the black shoulder pads.
Step 9
Finally, use Warpaints Fanatic Wash Voodoo Shade to add streaks of grime and build ups of oil in some of the recesses.
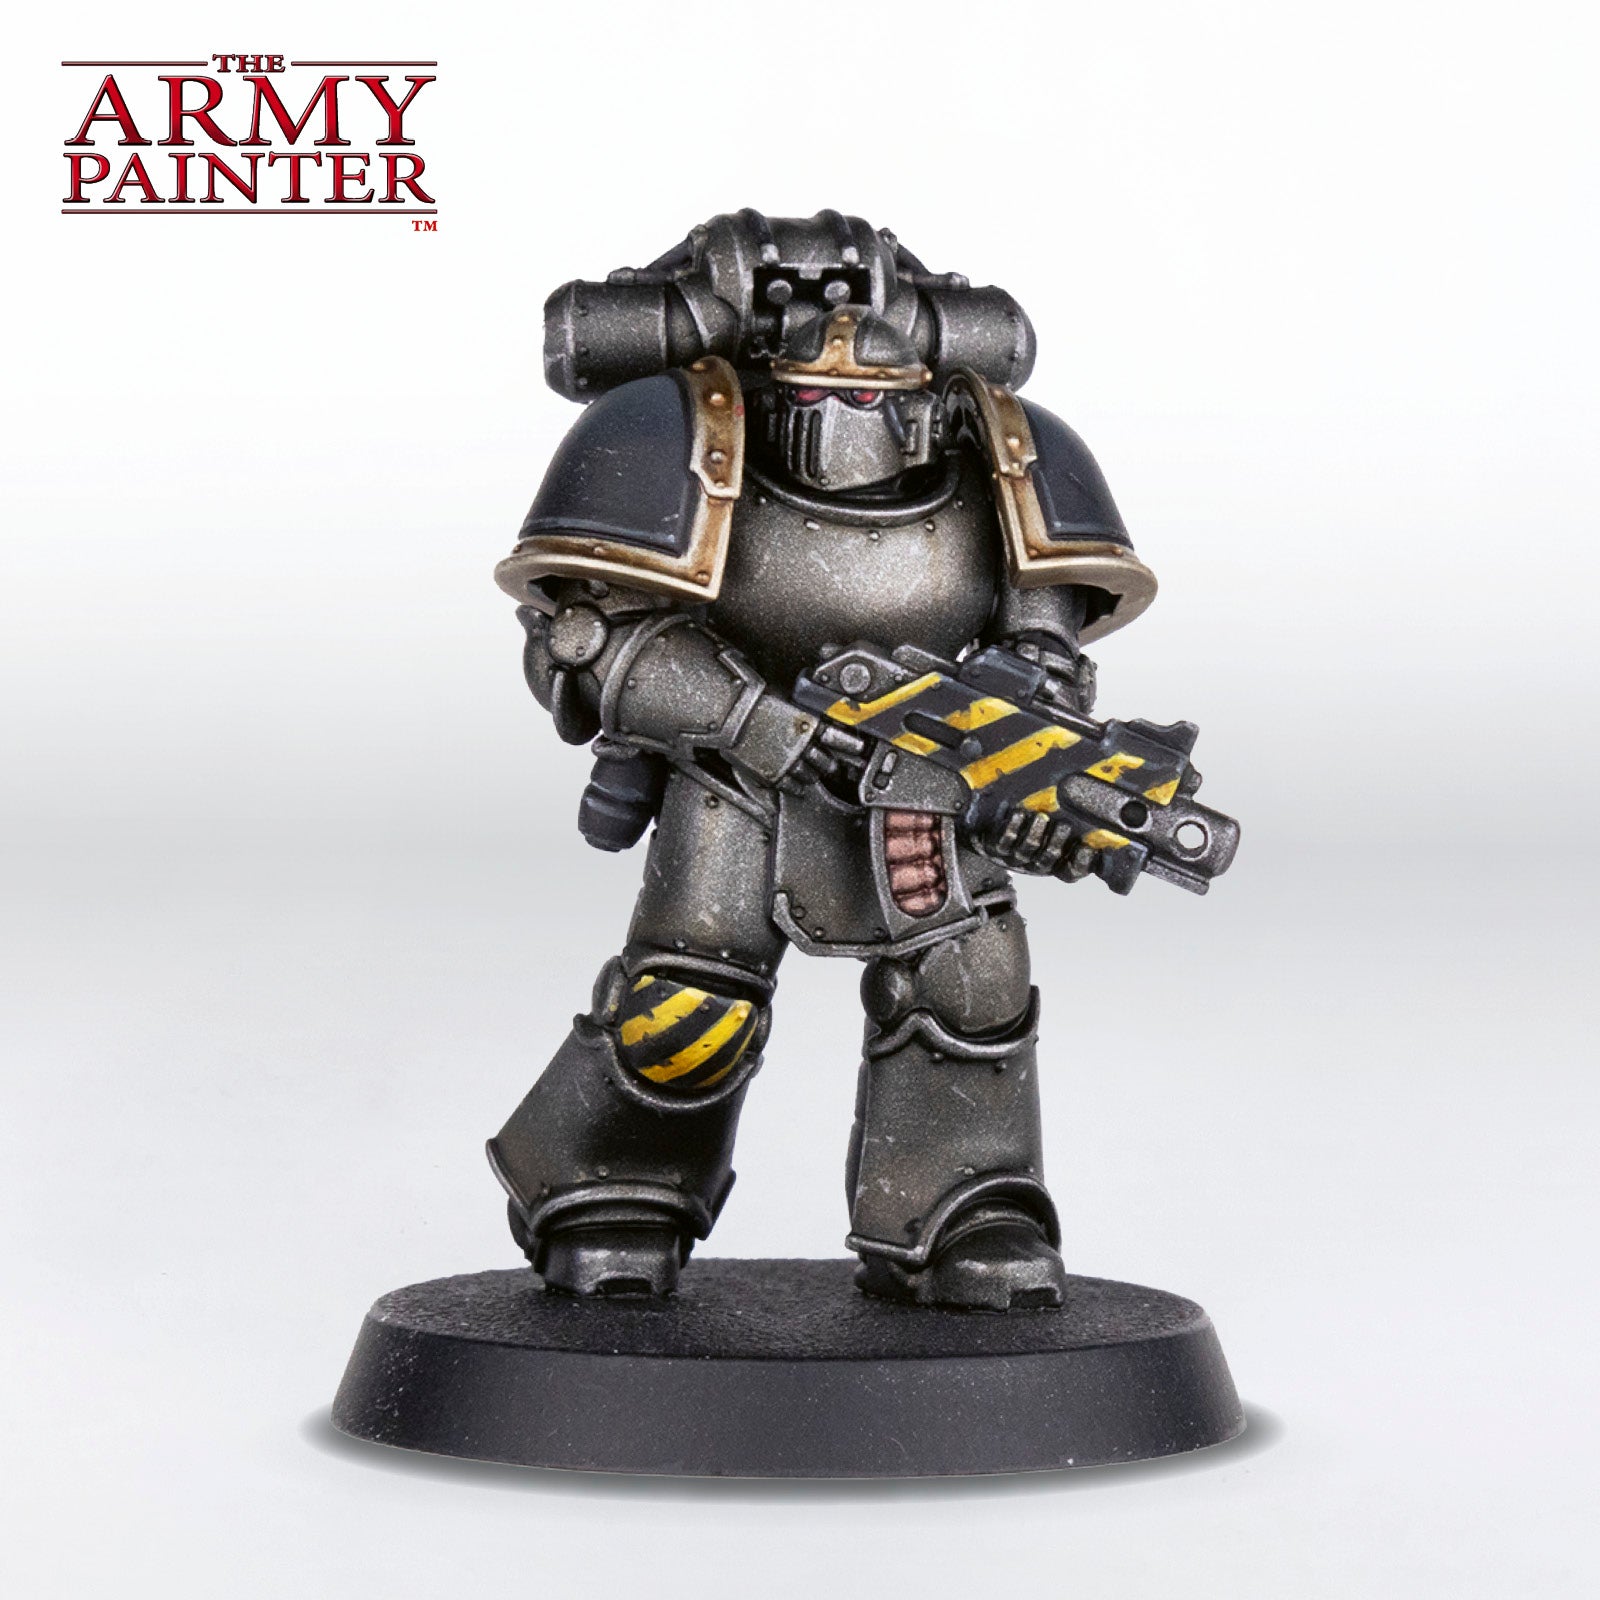
The Black and Hazard Stripes

Step 1
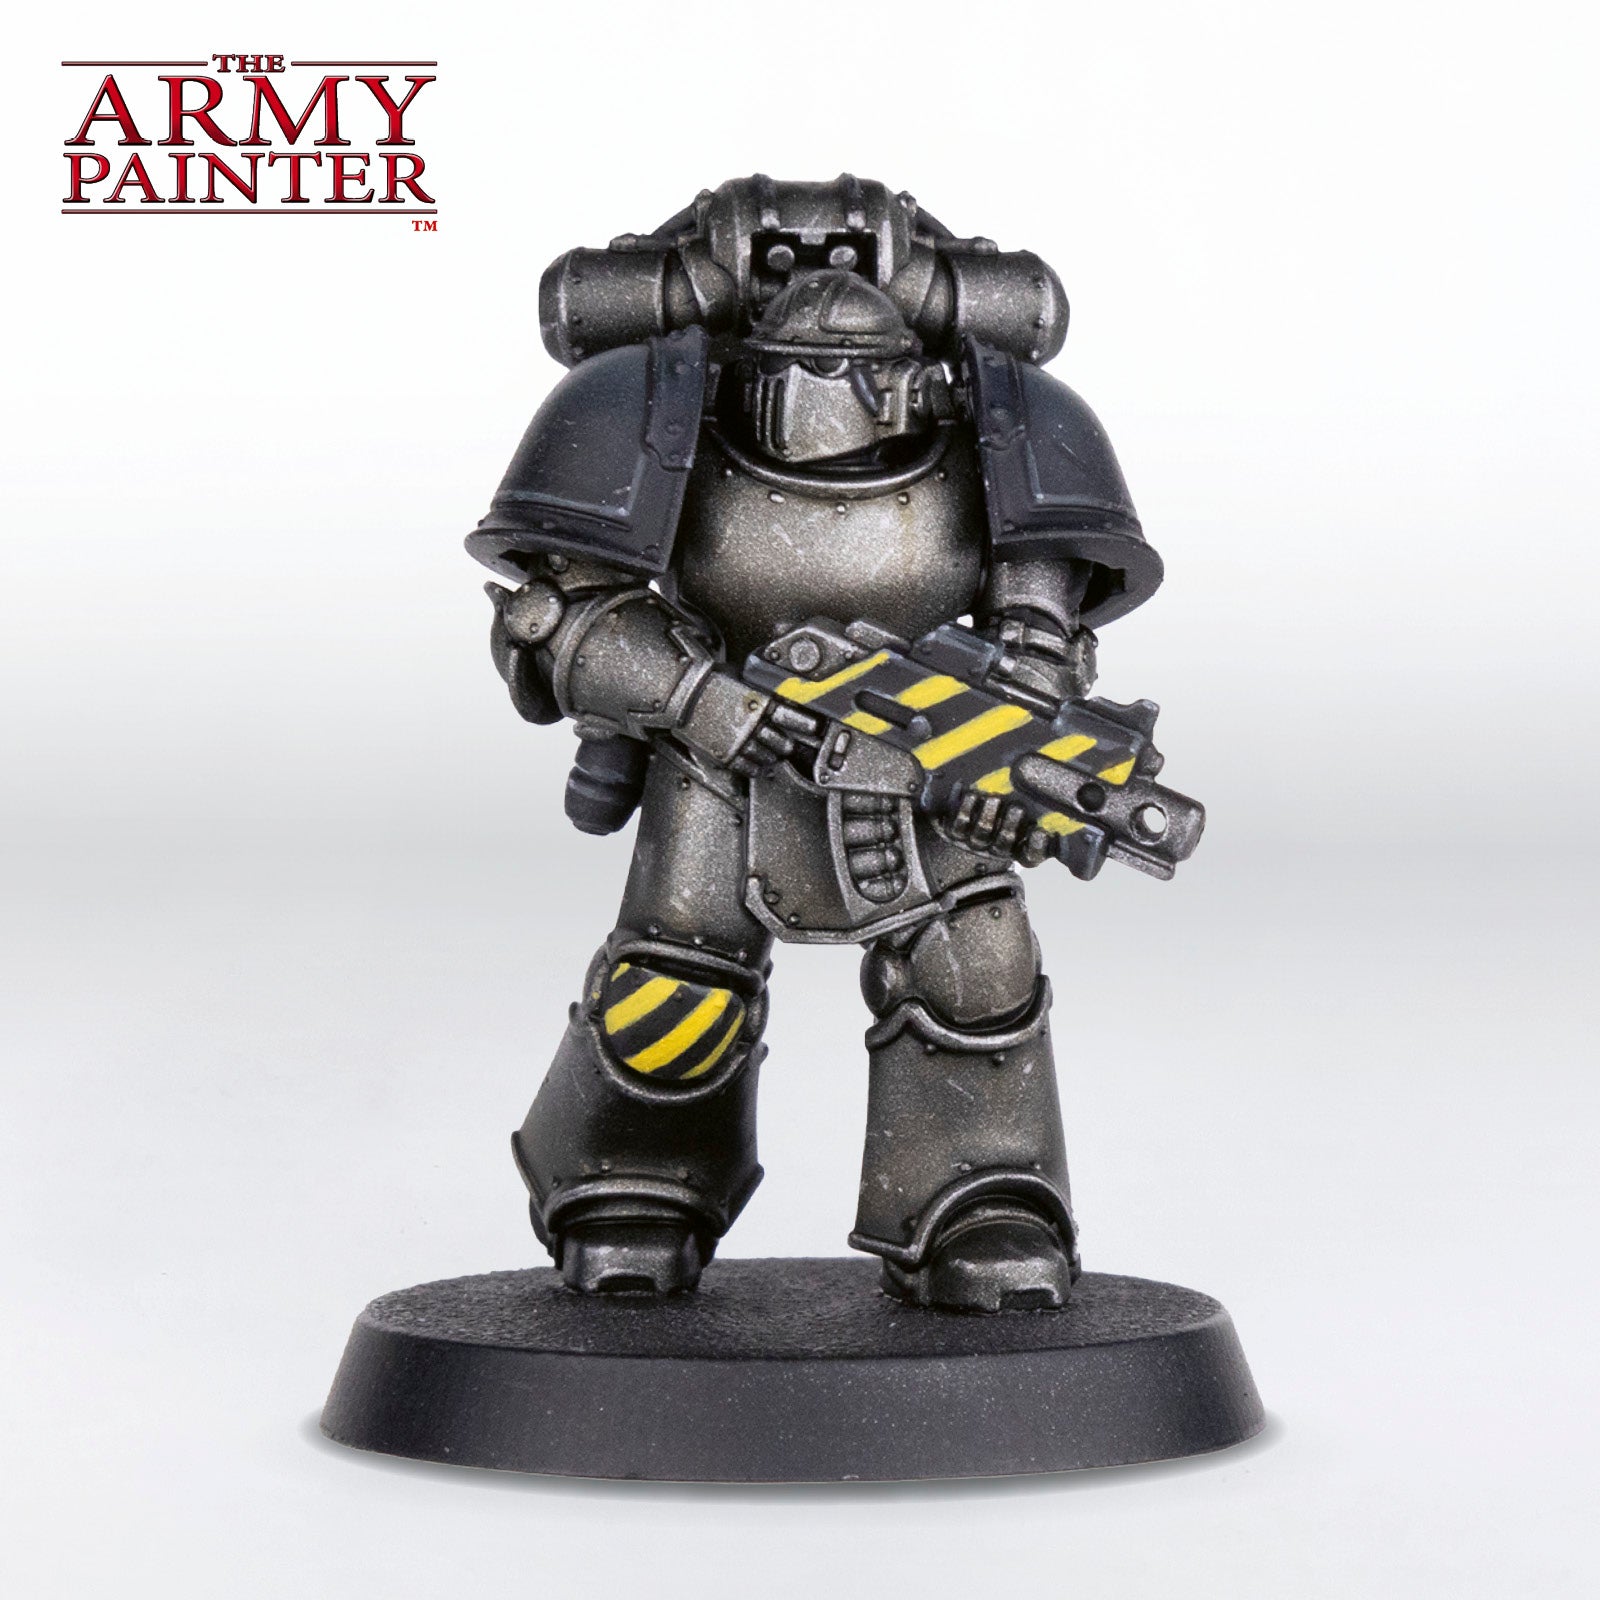
Basecoat the gun, kneepad, soft armour joints, eye lenses, and any tubes and wires with Warpaints Fanatic Matt Black.
Step 2
Next, edge highlight all these areas, except for the eyes, with Warpaints Air Crow Hue to match them to the shoulder pads.
Step 3
Follow this with a specular highlight of Warpaints Fanatic Ash Grey on the corners and prominent areas.
Step 4
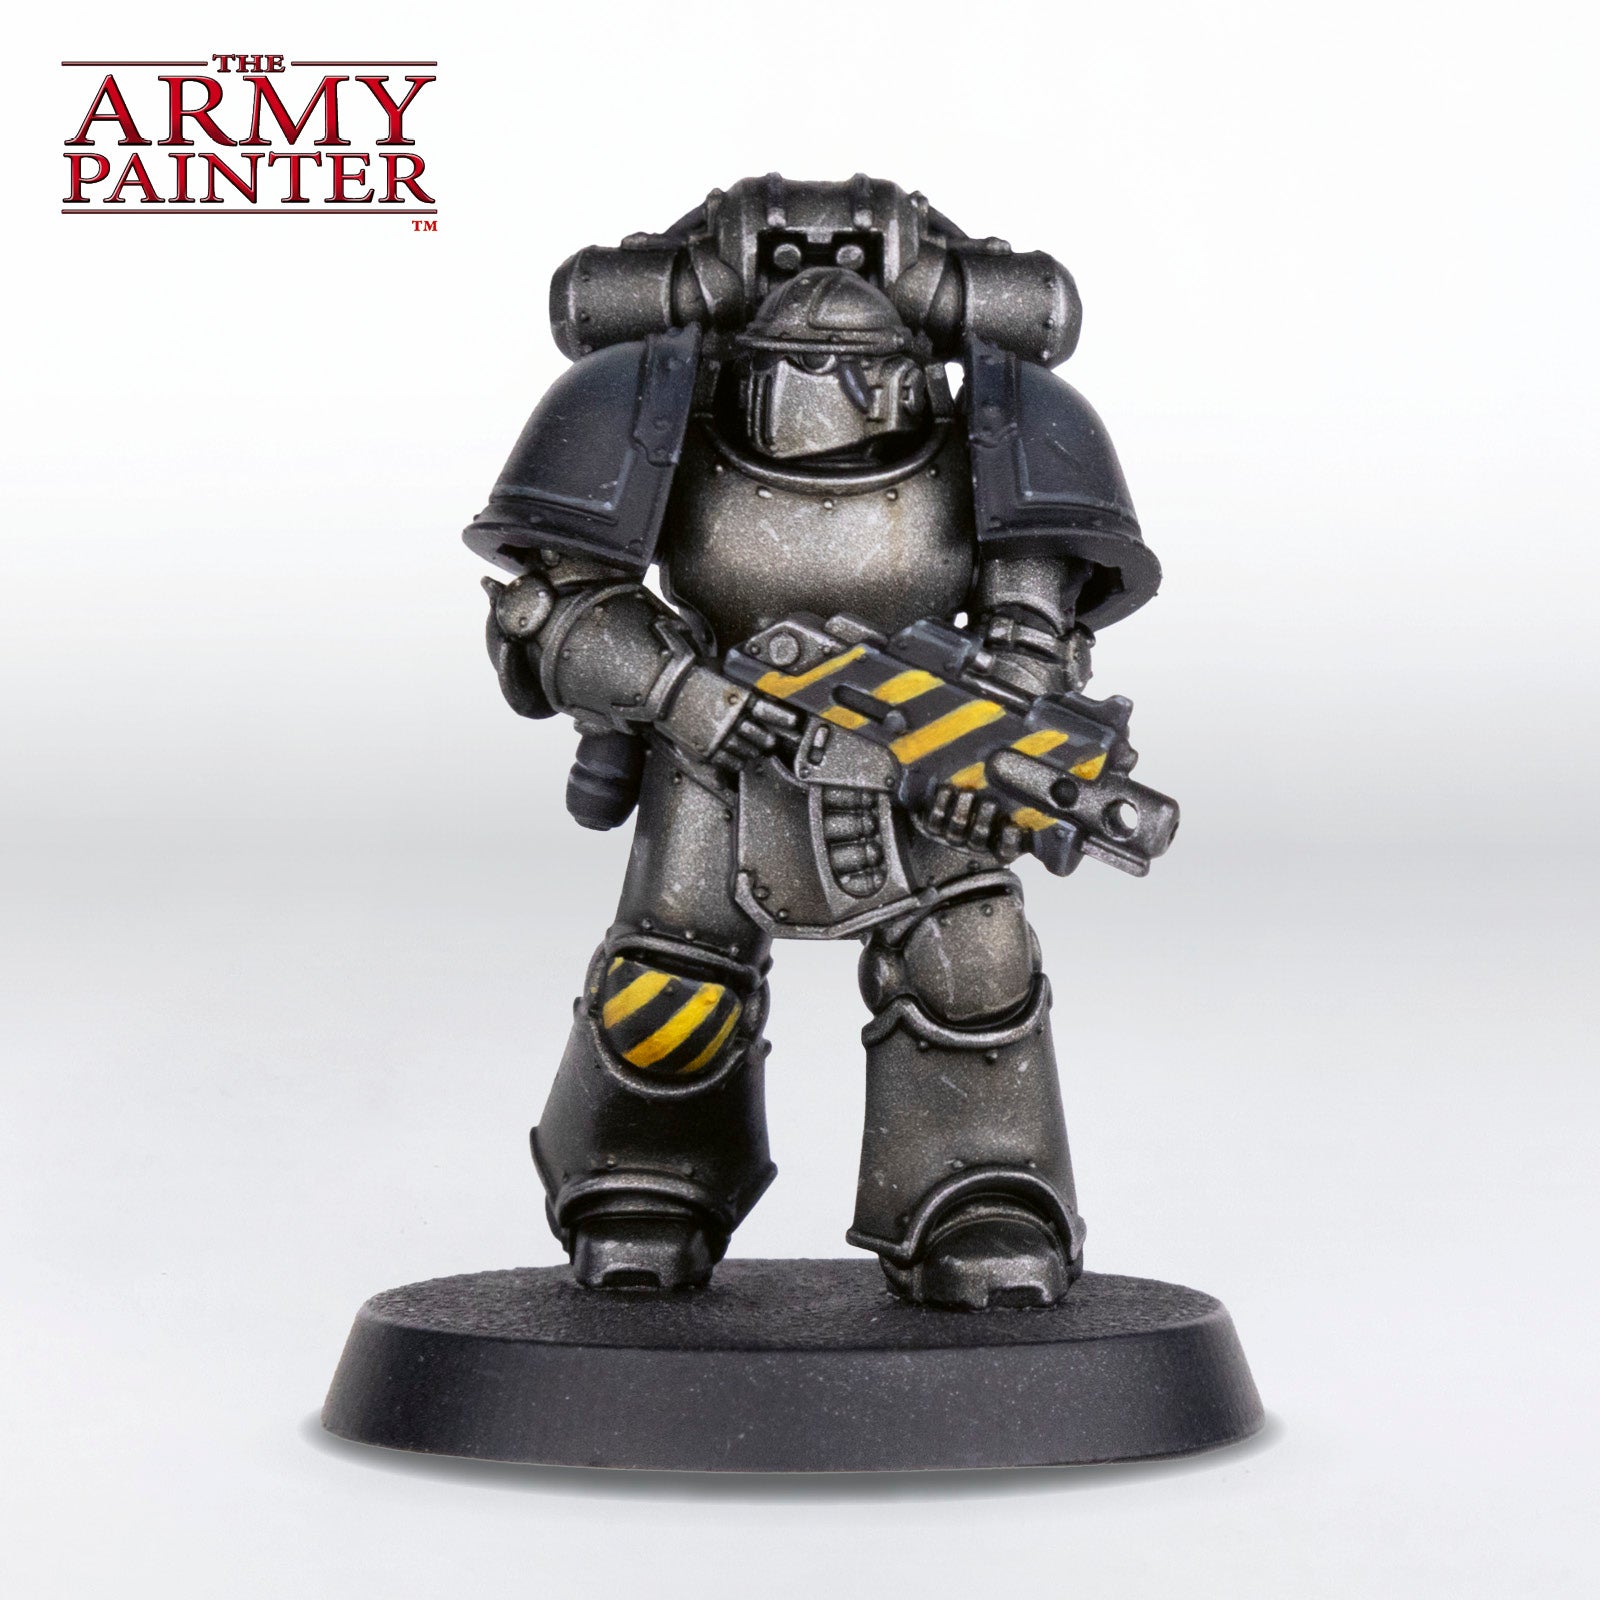
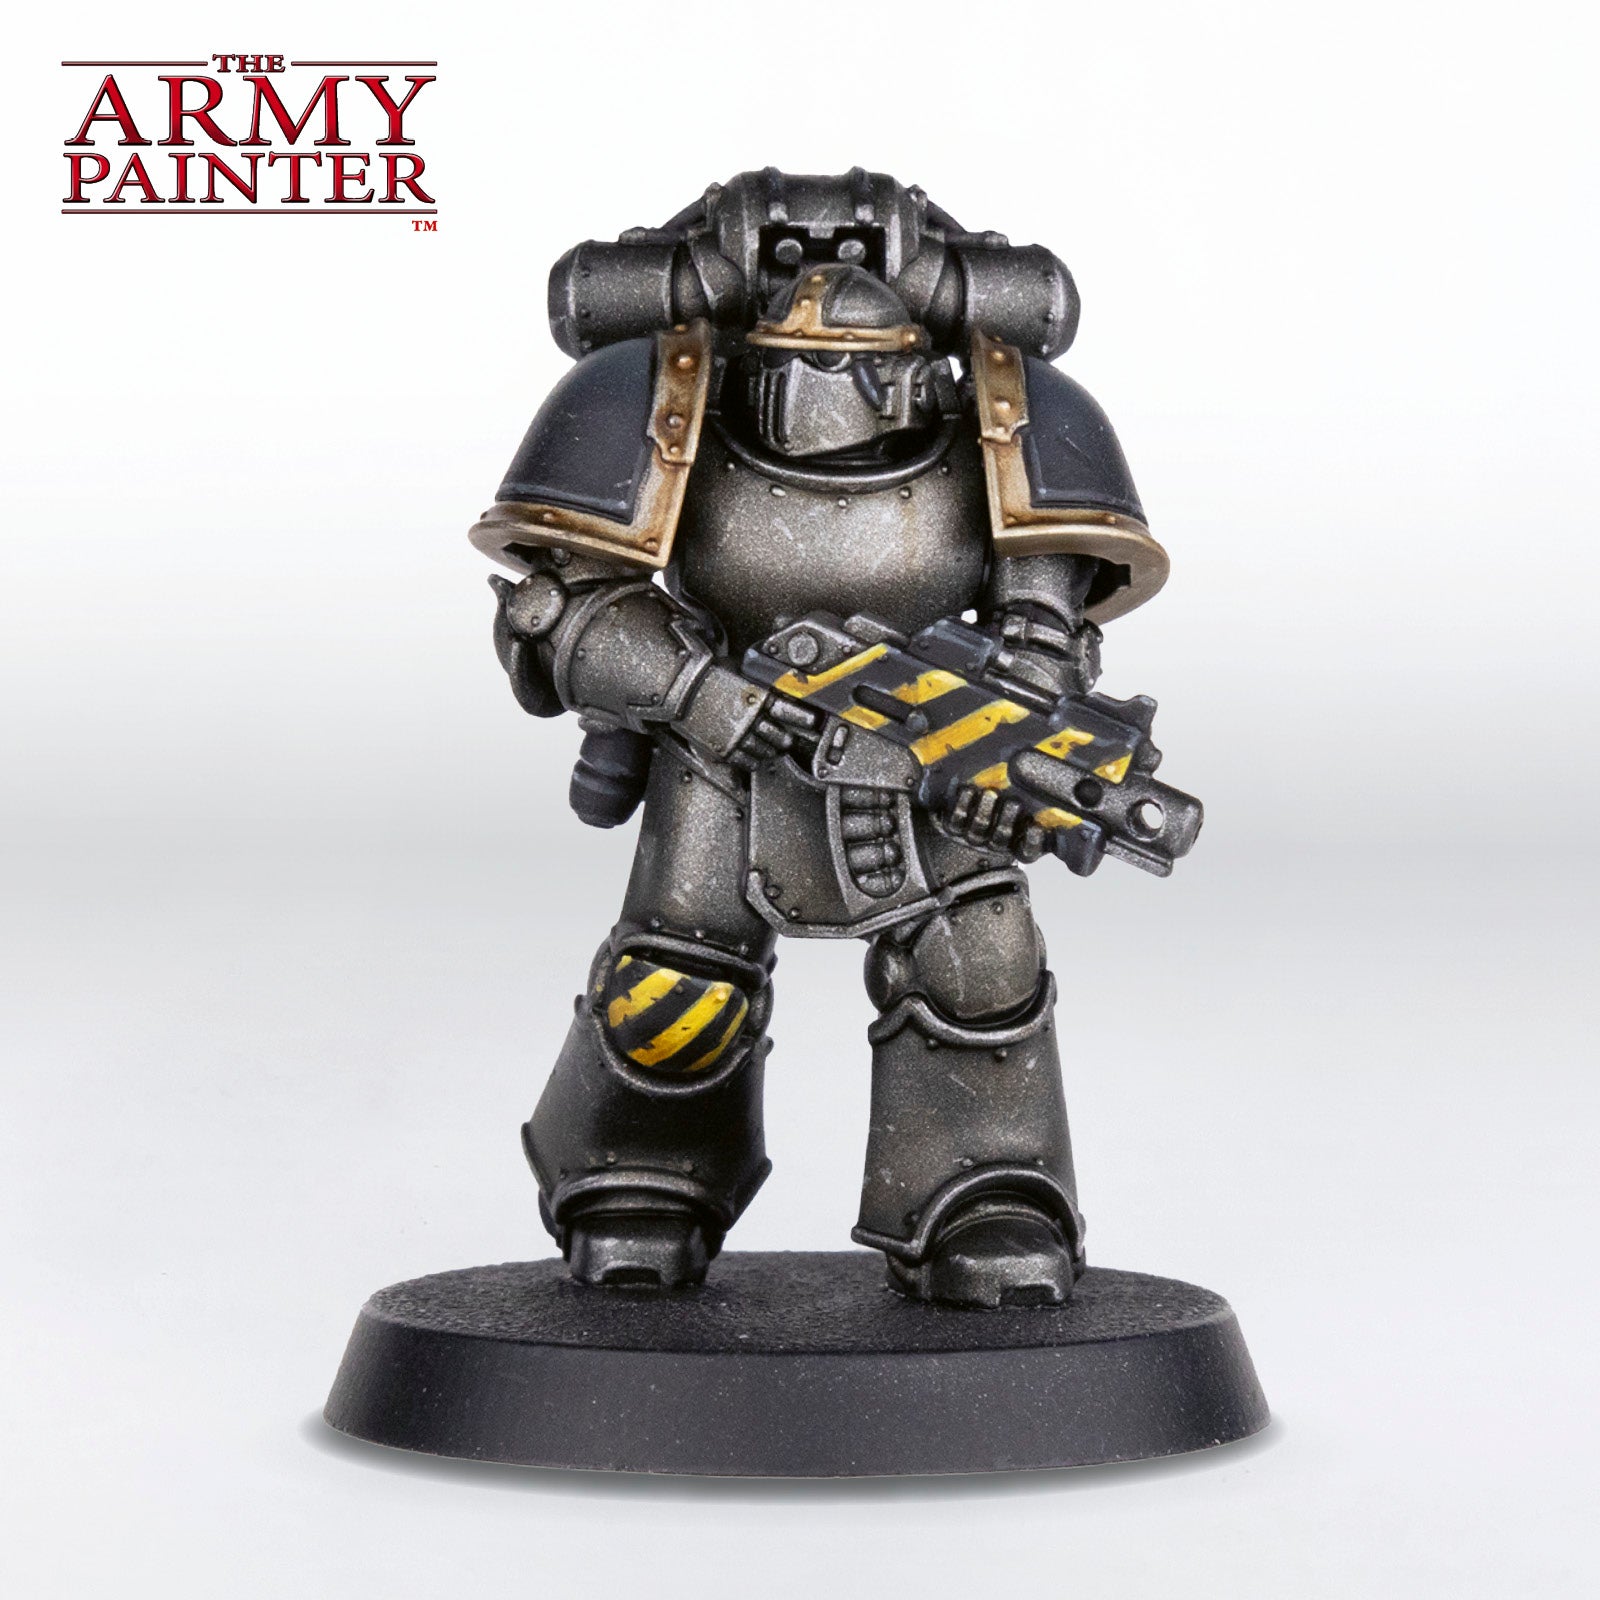
Basecoat the yellow parts of the hazard stripes with Warpaints Fanatic Inner Light. This is actually the lightest colour in the Orange Flexible Triad, but it works great as a warm basecoat for yellow. On this model, the hazard stripes were painted onto the knee and the gun casing. The best way to do these is to start near the middle with your first stripe, to set the angle and thickness, and then work your way outwards. Remember, you can always go back in with black and tidy them up.
Step 5
Shade these with Warpaints Fanatic Wash Light Tone on the bottom half. If you get this on the black that’s fine as you won’t really see it.
Step 6
Next, paint the top halves with Warpaints Fanatic Daemonic Yellow, so you end up with a bit of a gradient from the shaded Inner Light areas, to the pure Inner Light, and then to Daemonic Yellow.
Step 7
Apply an edge highlight of Warpaints Fanatic Space Dust to any part of the stripes that actually touches an edge of the armour panel or gun casing.

Step 8
Finally, apply a bit of chipping with your brush and some Warpaints Fanatic Matt Black.
The Gold and Bullets
Step 1
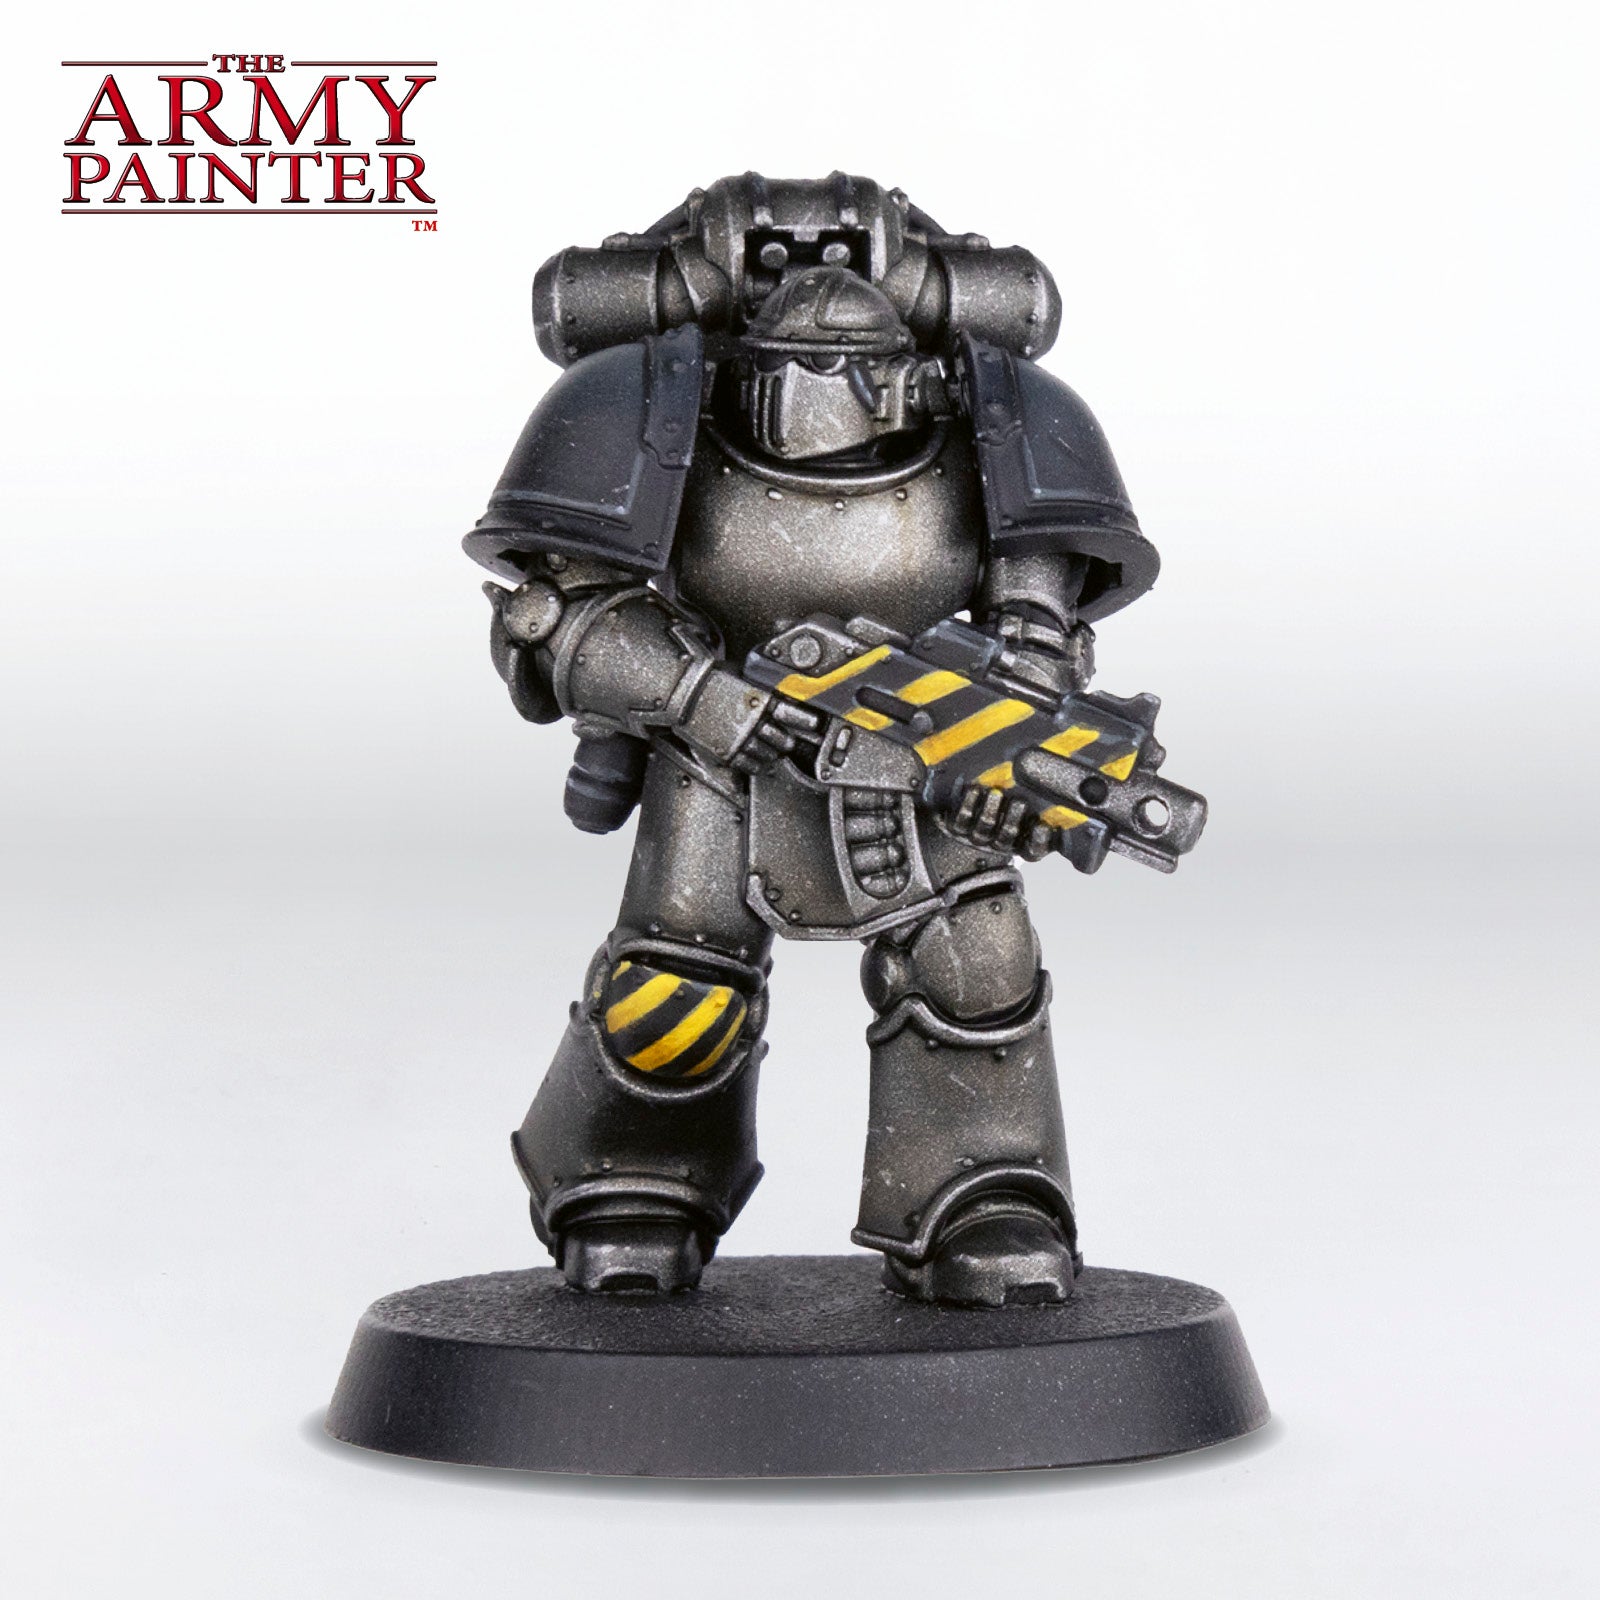
Basecoat the gold trim on the shoulder pads and helmet with Warpaints Fanatic True Brass.
Step 2
Shade these areas with Warpaints Fanatic Wash Strong Skin Shade.
Step 3
Next, edge highlight them with Warpaints Fanatic True Brass.
Step 4
For the bullets in the bolter magazine, apply a basecoat of Warpaints Fanatic Evil Chrome, followed by shading with Warpaints Fanatic Wash Dark Skin Shade.
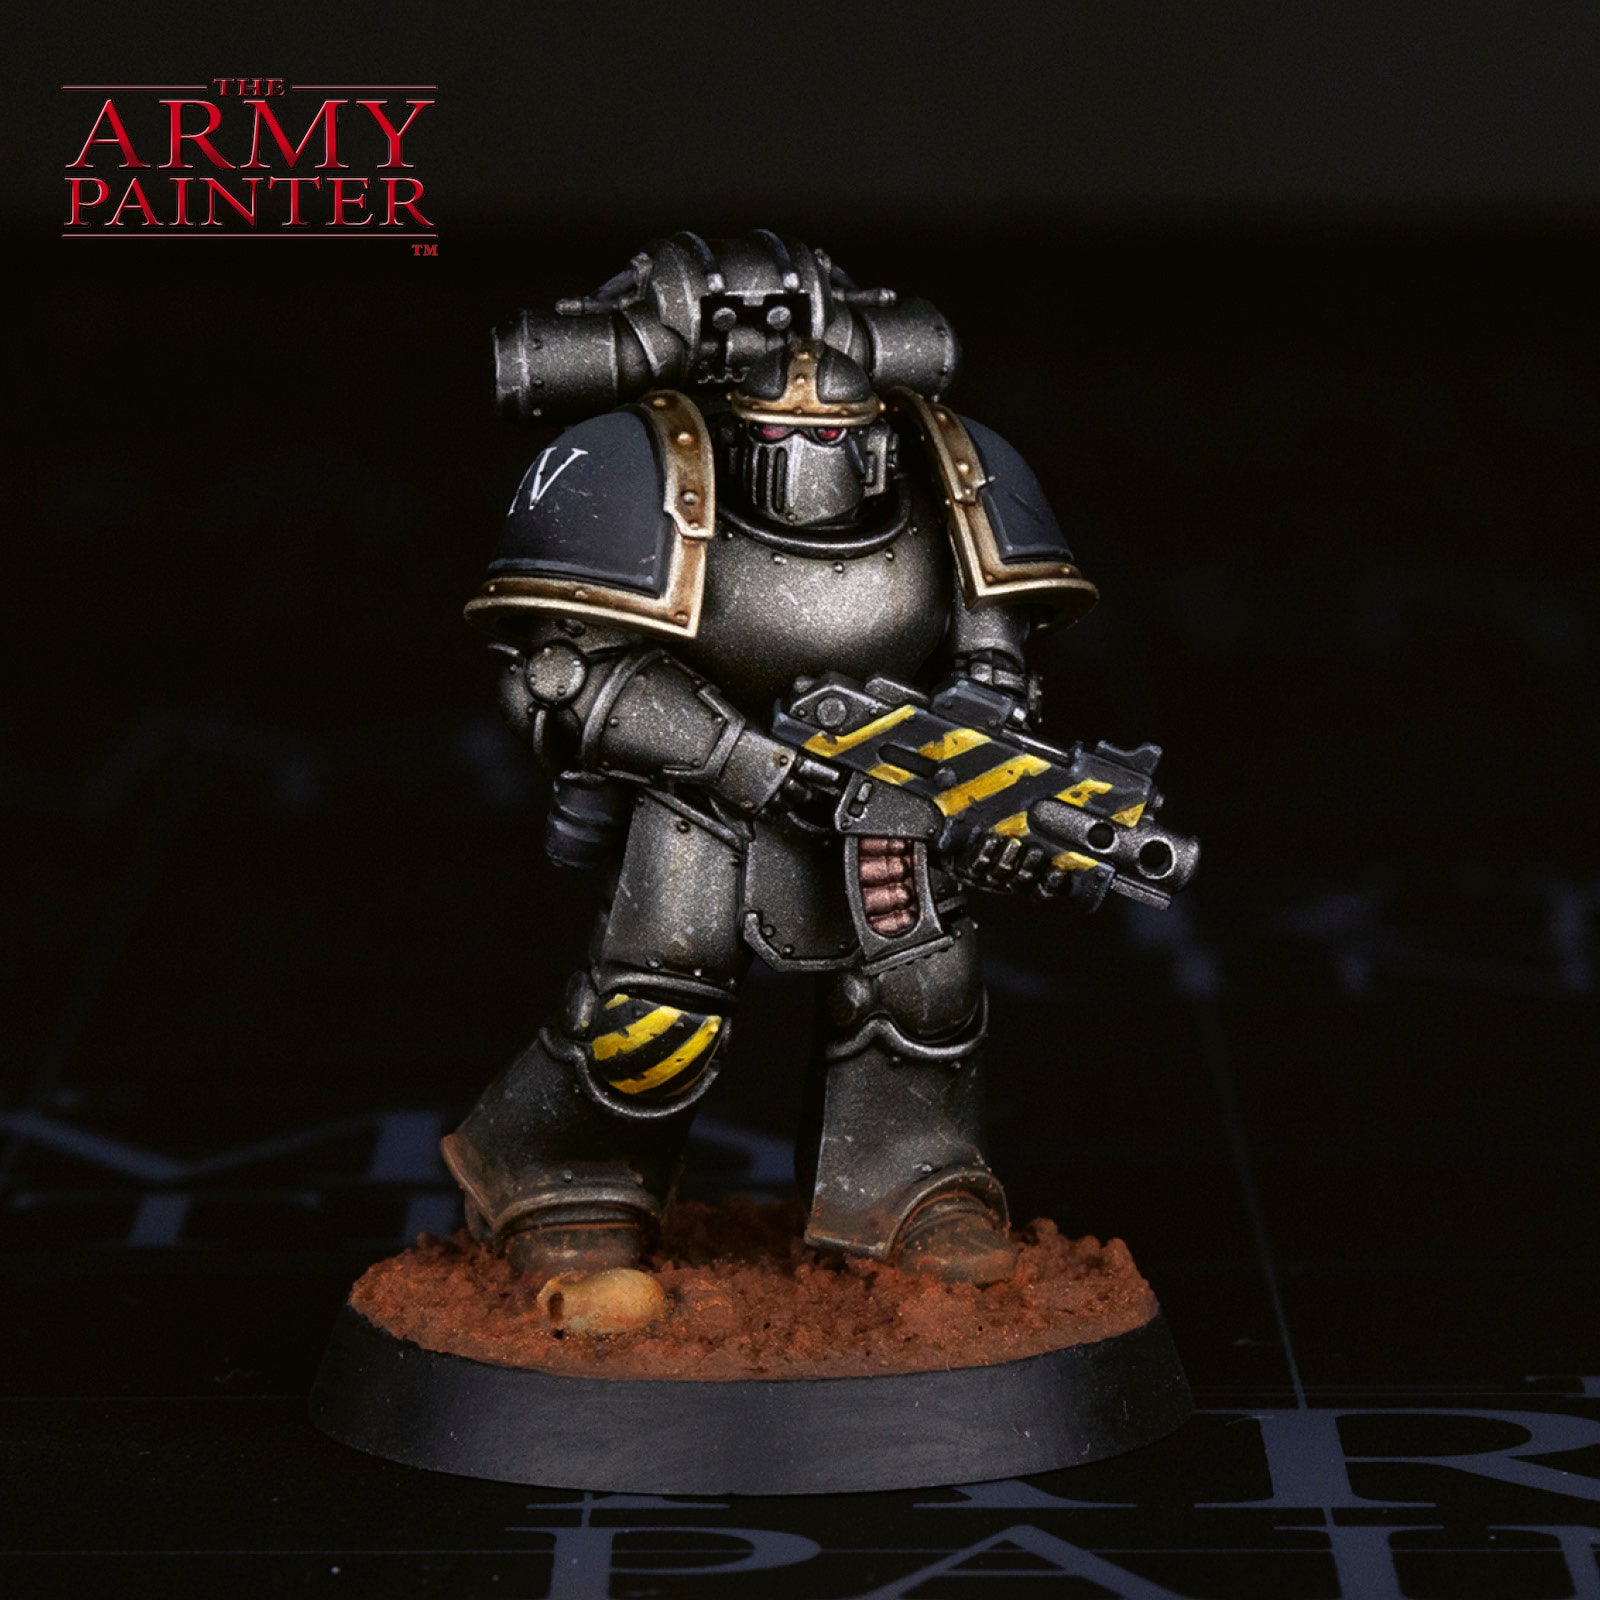
The Lenses
Step 1
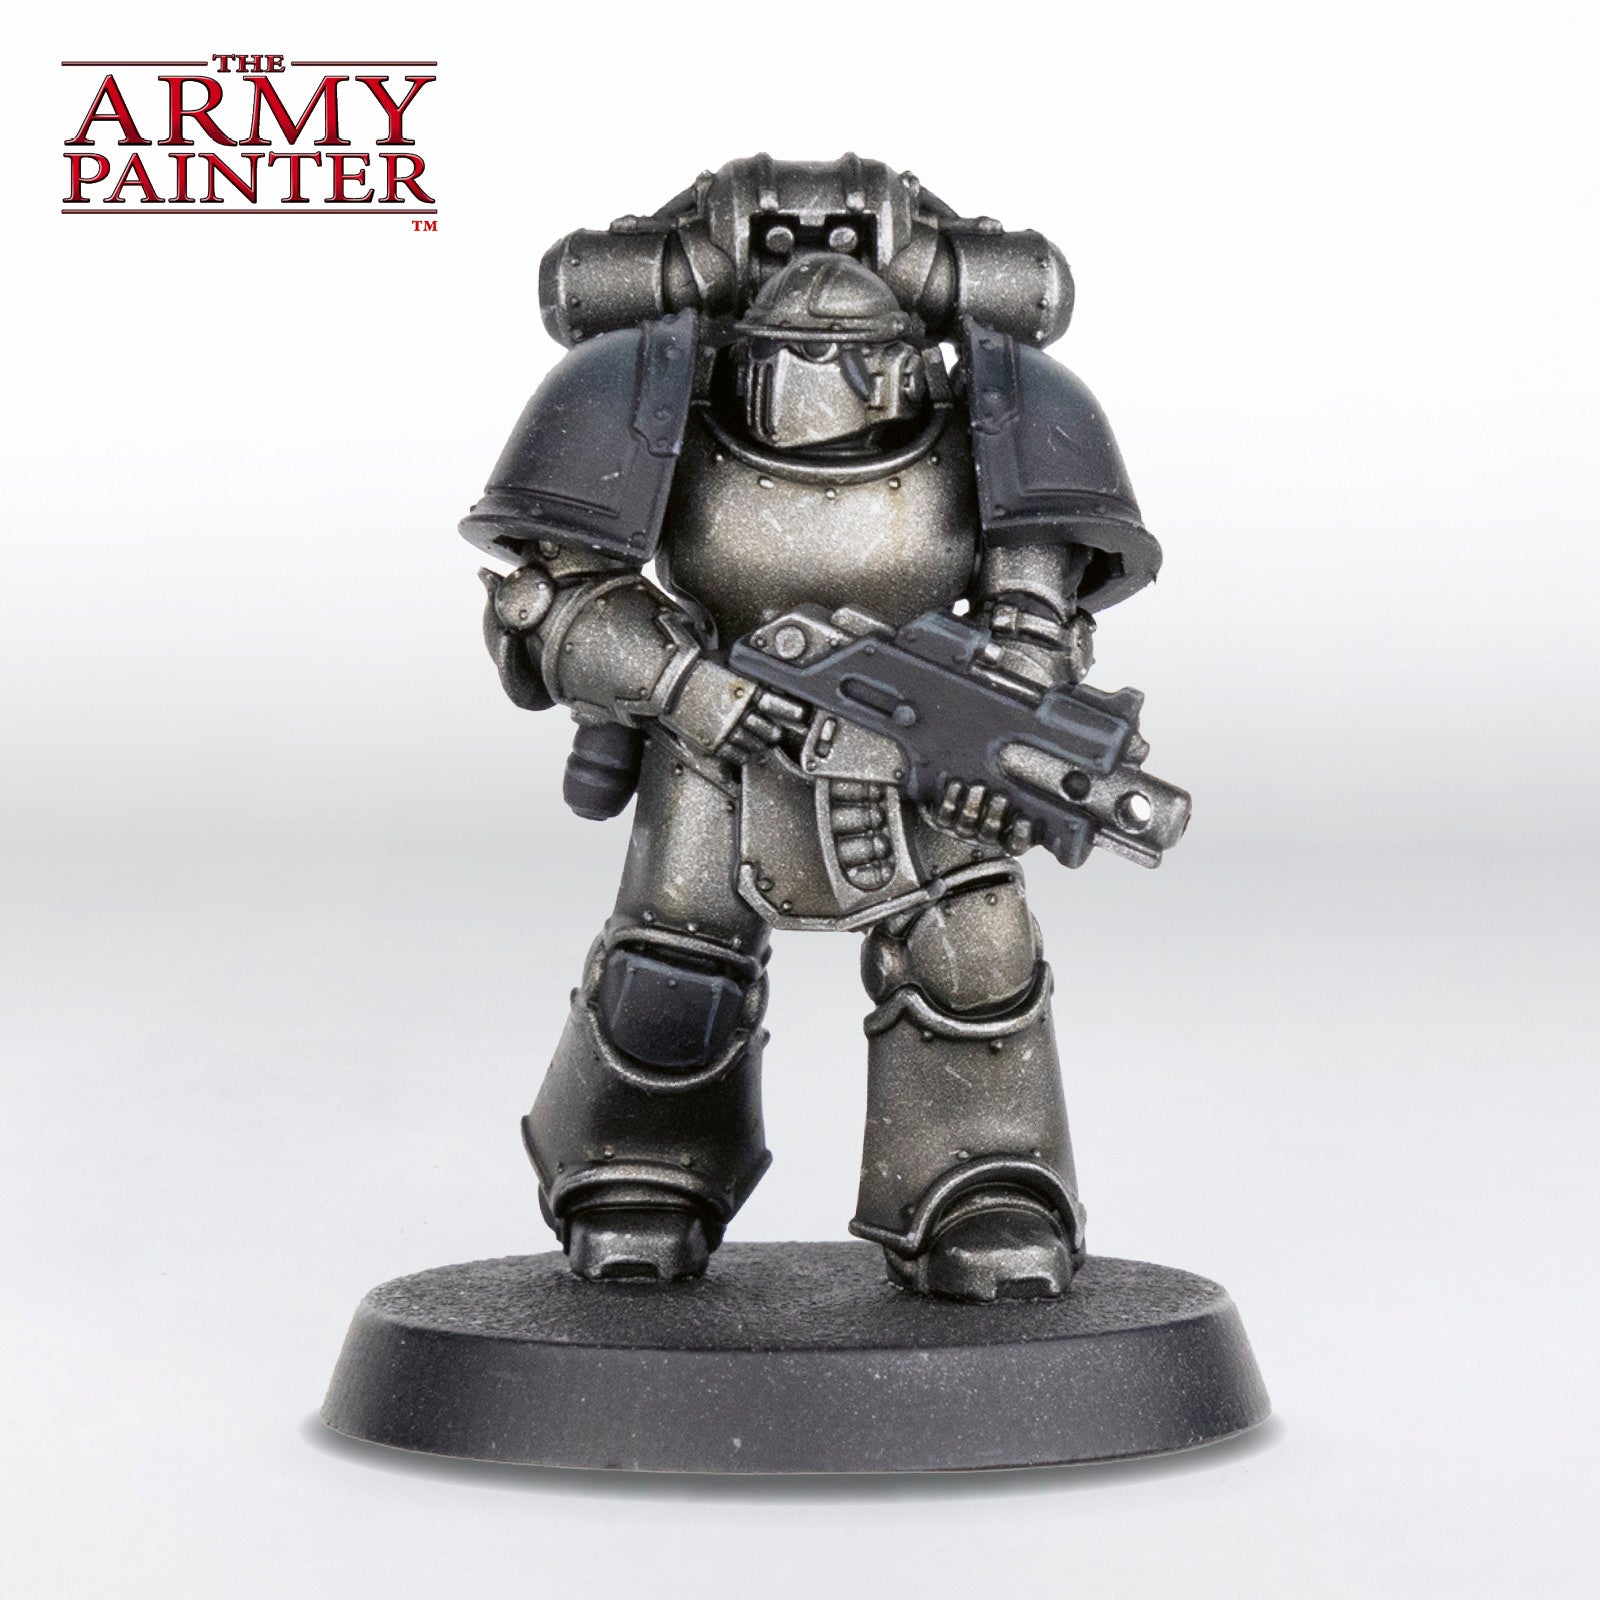
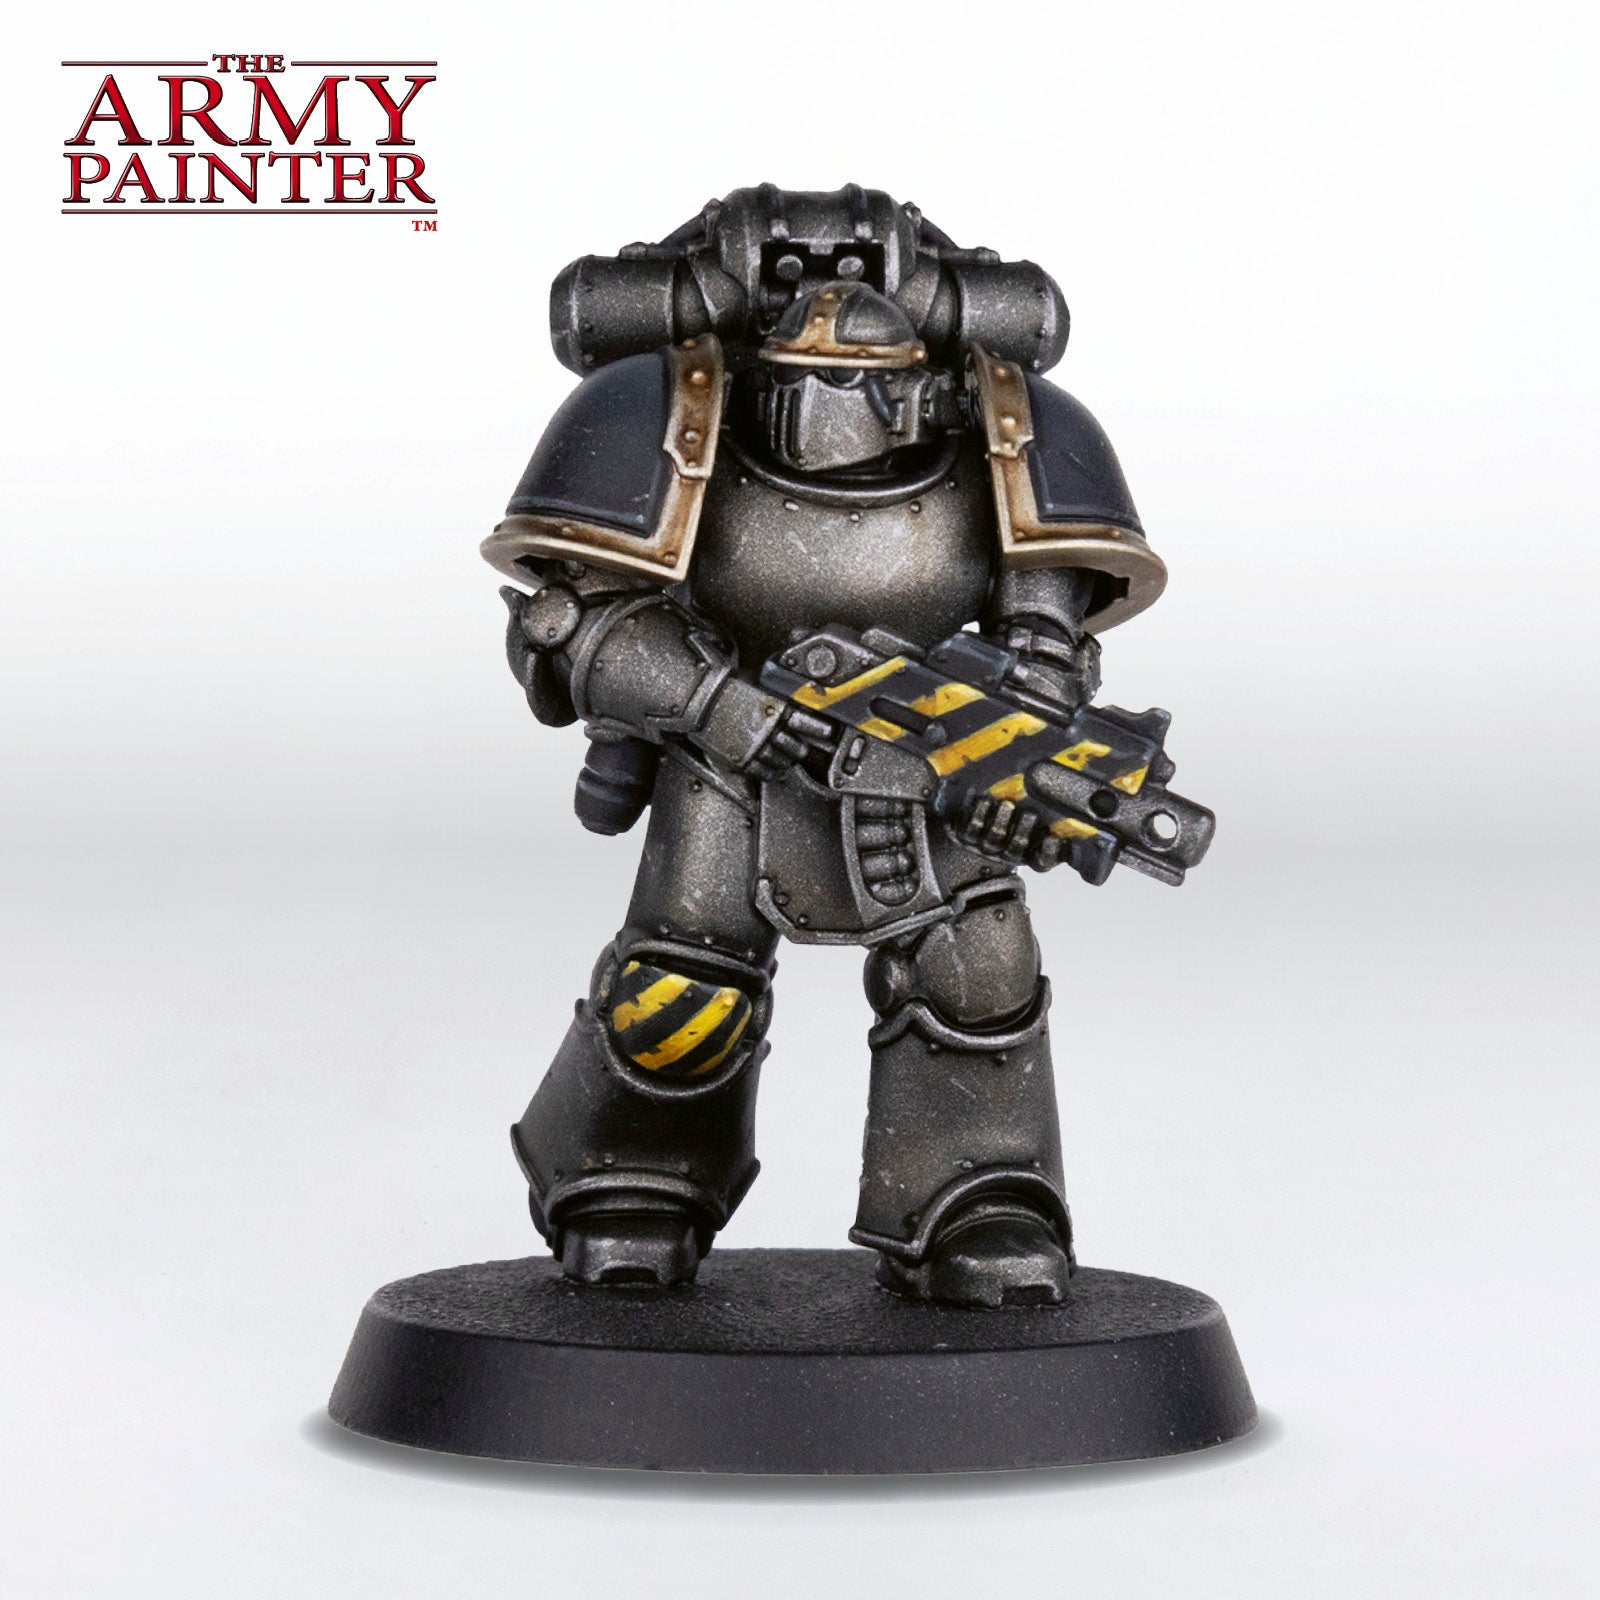
The lenses were painted with Warpaints Fanatic Dragon Red on the front half, followed by a smaller area of Warpaints Fanatic Raging Rose, and then a dot of Warpaints Fanatic Matt White in the opposite corner.
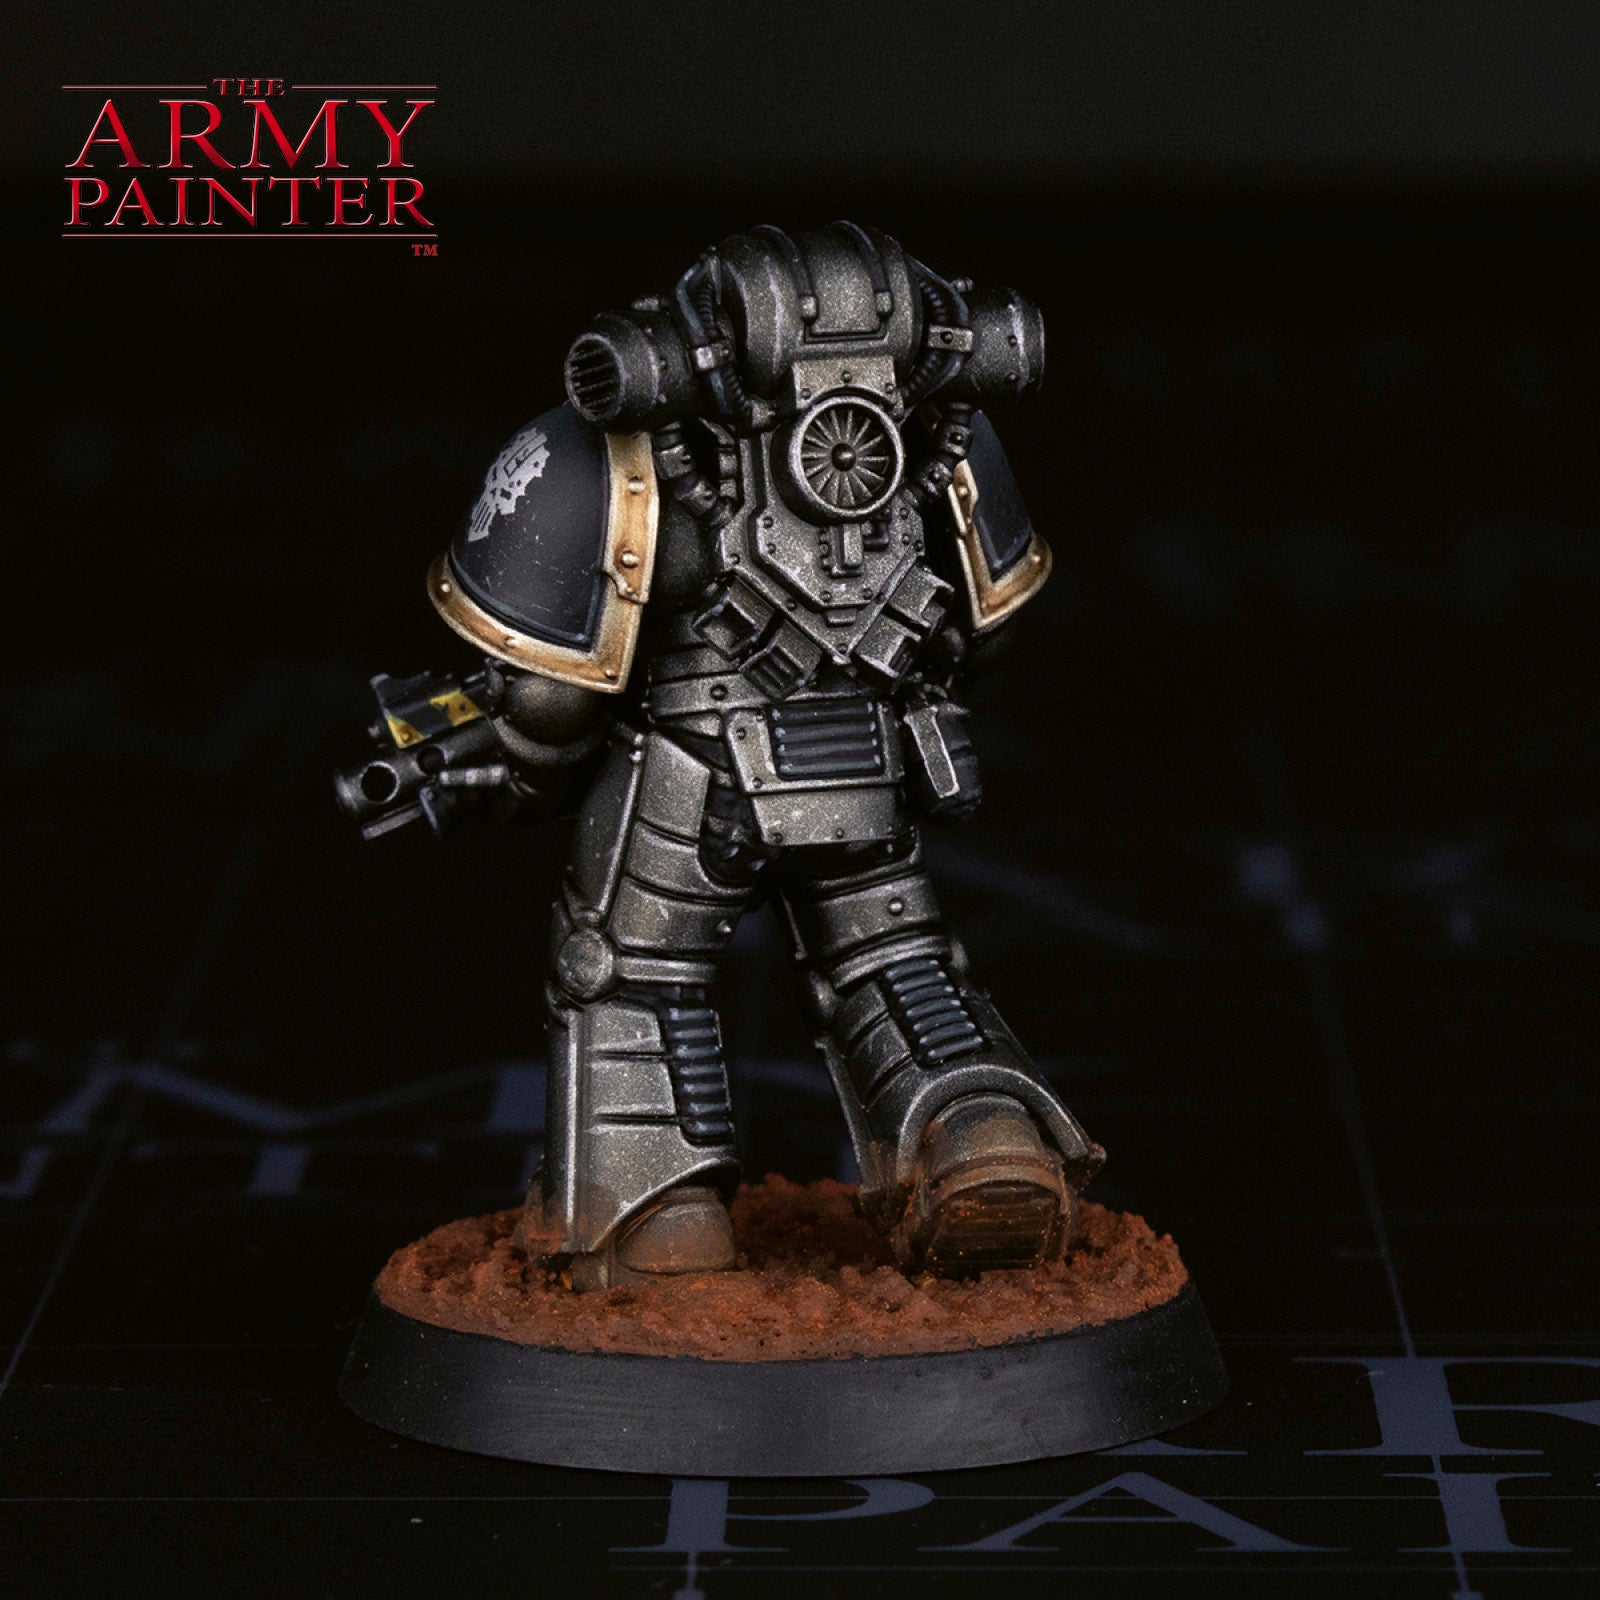
With that, your model is done!
Don’t forget to add the legion symbol to his left shoulder pad and any other symbols using transfers. These were then slightly chipped using the underlying colour. The base was done with our studio favourite technique using lots of rust effects. You see how Thomas does it in our video for The Lion.
Be sure to tell us what you thought of this tutorial format, if you have any suggestions for improvements in the future, or even which models you want us to tackle.
If you paint your own model following one of these guides, tag it with #thearmypainteracademy to share your work!