How to Paint a
New Antioch Sniper Priest

Welcome to the next instalment of The Army Painter Academy: a series where we break down how we paint a miniature step-by-step, complete with pictures for every bit of paint applied along the way.
The grimdark setting of Trench Crusade has taken the tabletop gaming world by storm, now with some awesome new plastics. Alongside the armoured might of the Prussian Stosstruppen, the iconic Sniper Priests have recently been graced with a multi-part plastic kit, allowing you to build two Priests with a variety of options, including four different weapons to choose from! Whilst the setting is home to many iconic miniatures, from the War Wolf to the Mechanised Heavy Infantry, the Sniper Priests really embody the grim and gritty world of eternal war in the ruins of this alternate 1914. Blind, but guided by faith, they rarely miss their target.
When it came time to paint one of these faithful sharpshooters, we decided to pull heavily from the John Blanche Masterclass and Warpaints Historical ranges. Not only are these colours perfectly suited for Trench Crusade, but they will also form the basis of our upcoming Trench Crusade paint sets, which were recently revealed at AdeptiCon. While this colour scheme and tutorial is perfect for your Sniper Priests, it will also work great for most New Antioch forces. So, recite your pre-battle prayers, grab your holy rifle, and let’s dive into the trenches! (Or in this case, find a lofty perch somewhere out of the way with a good view.)
Let's get painting!

The Robes

Step 1
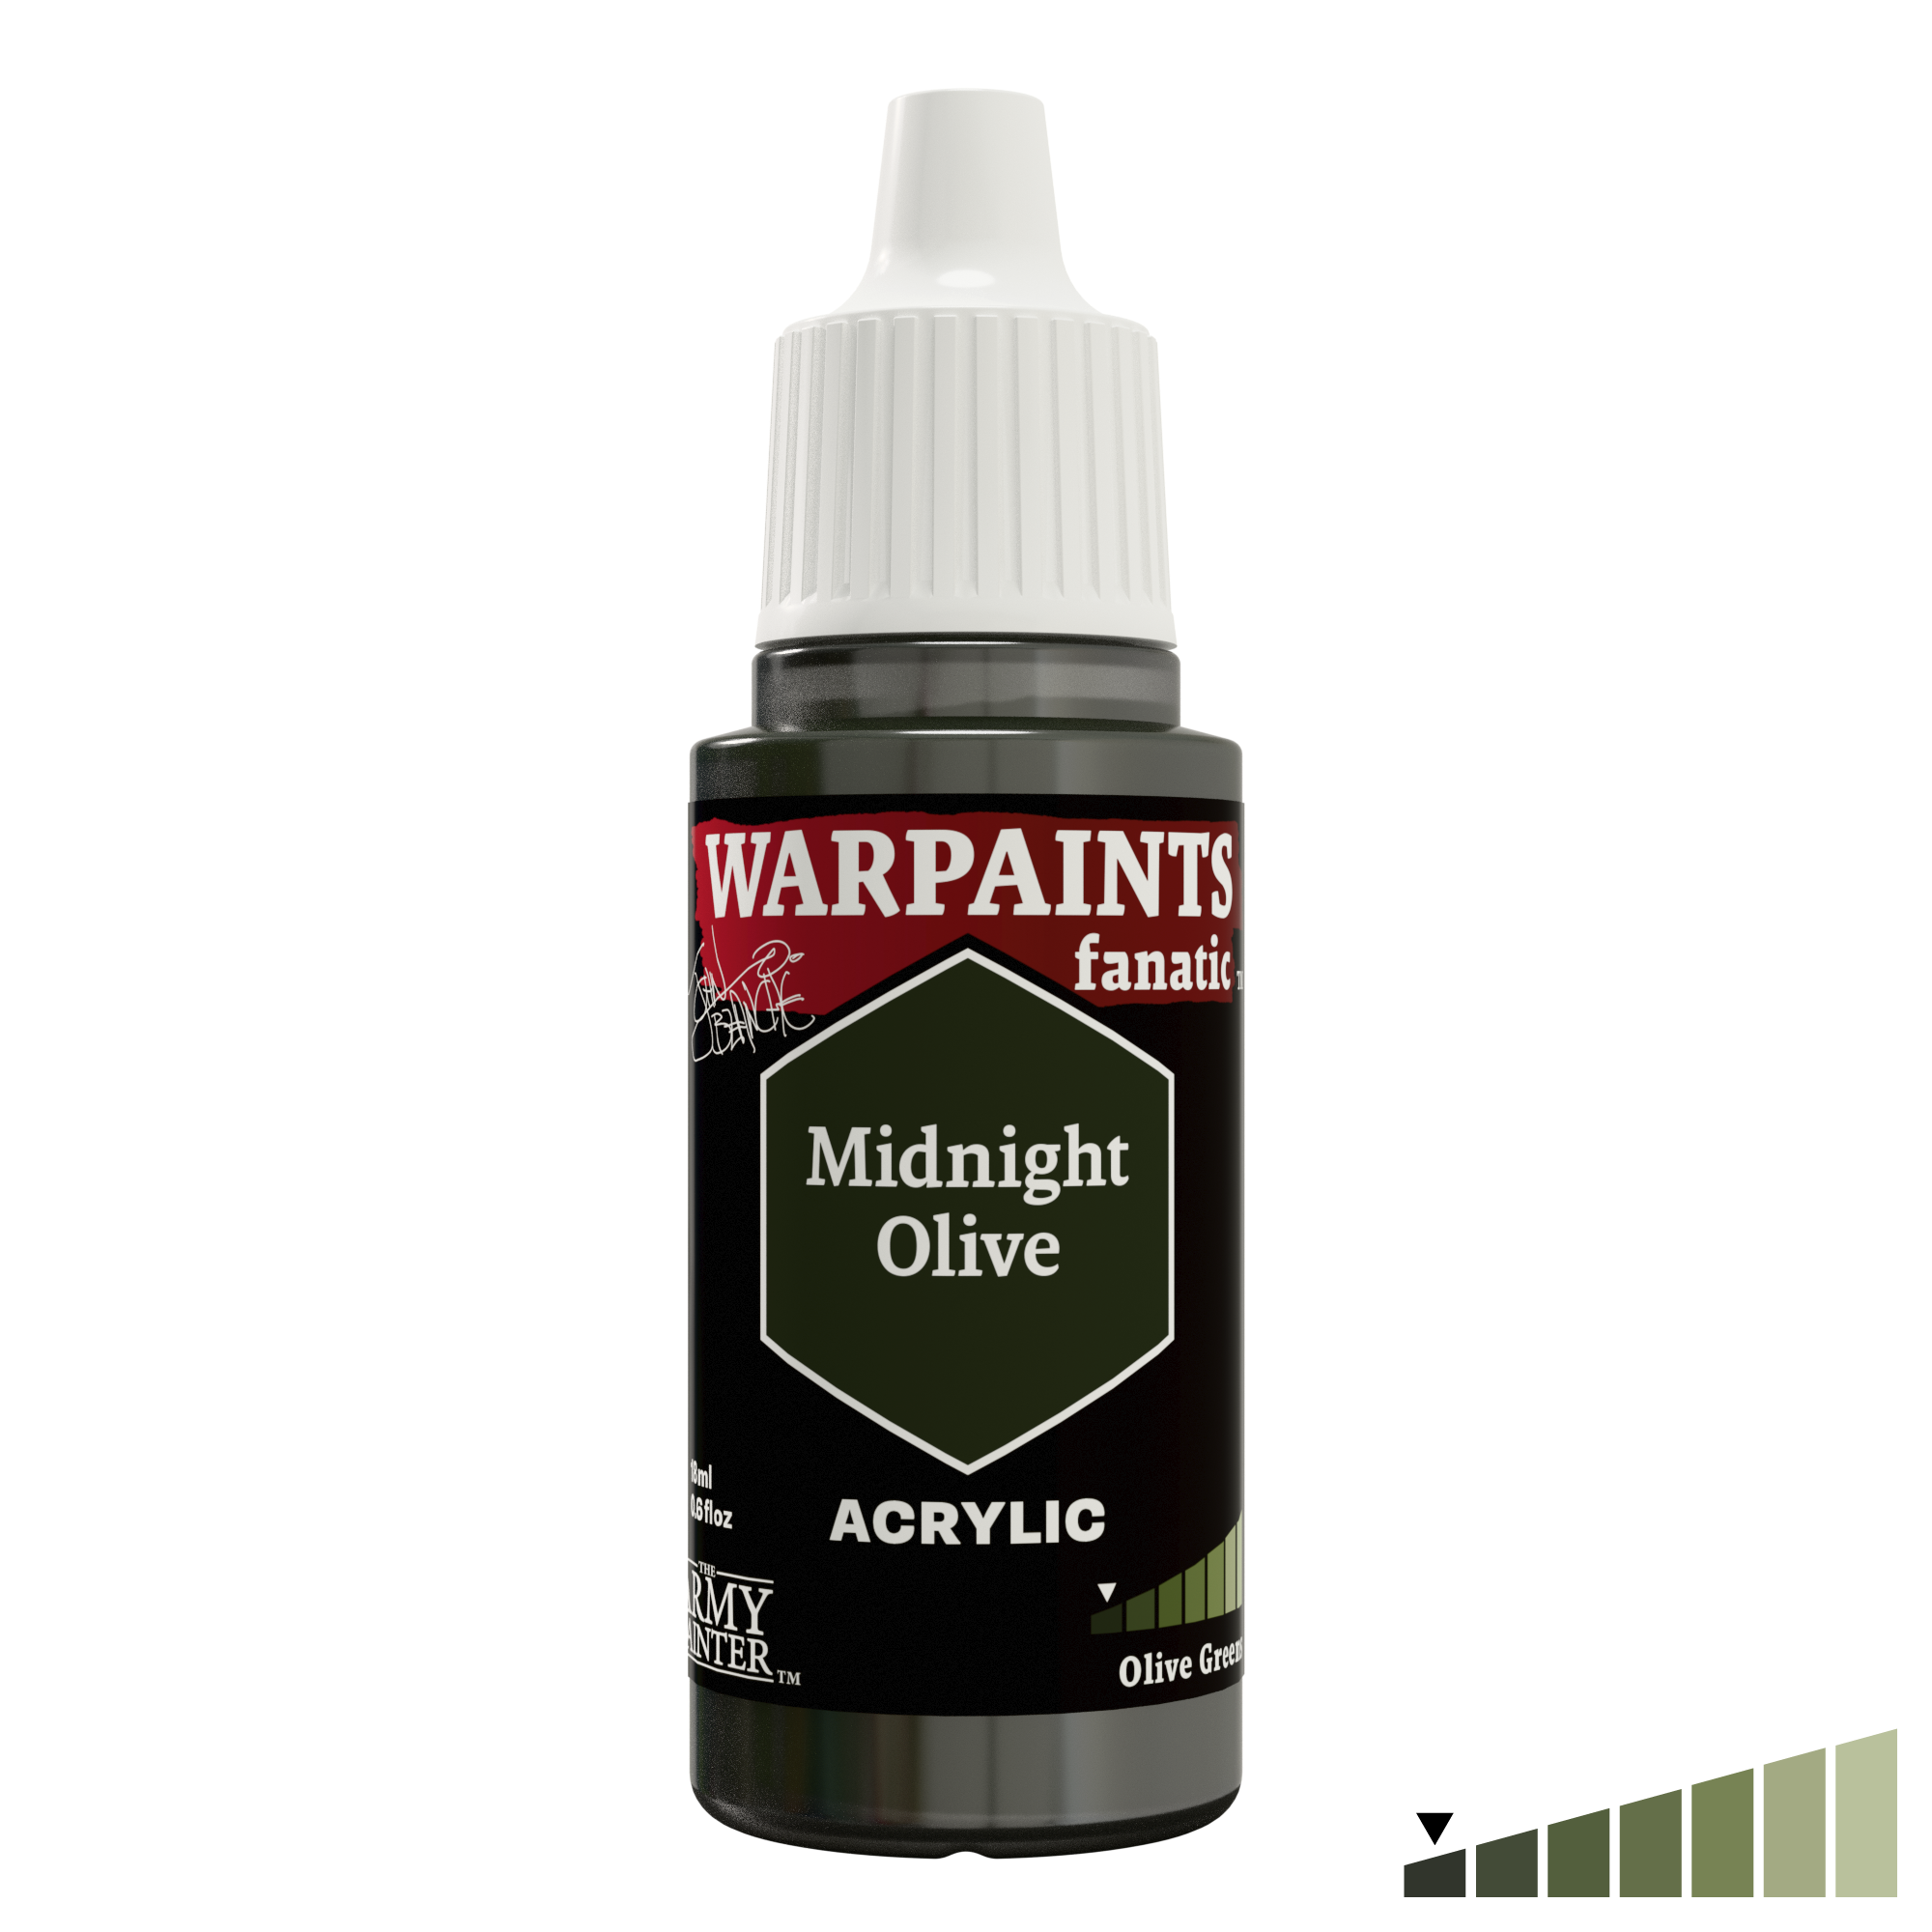
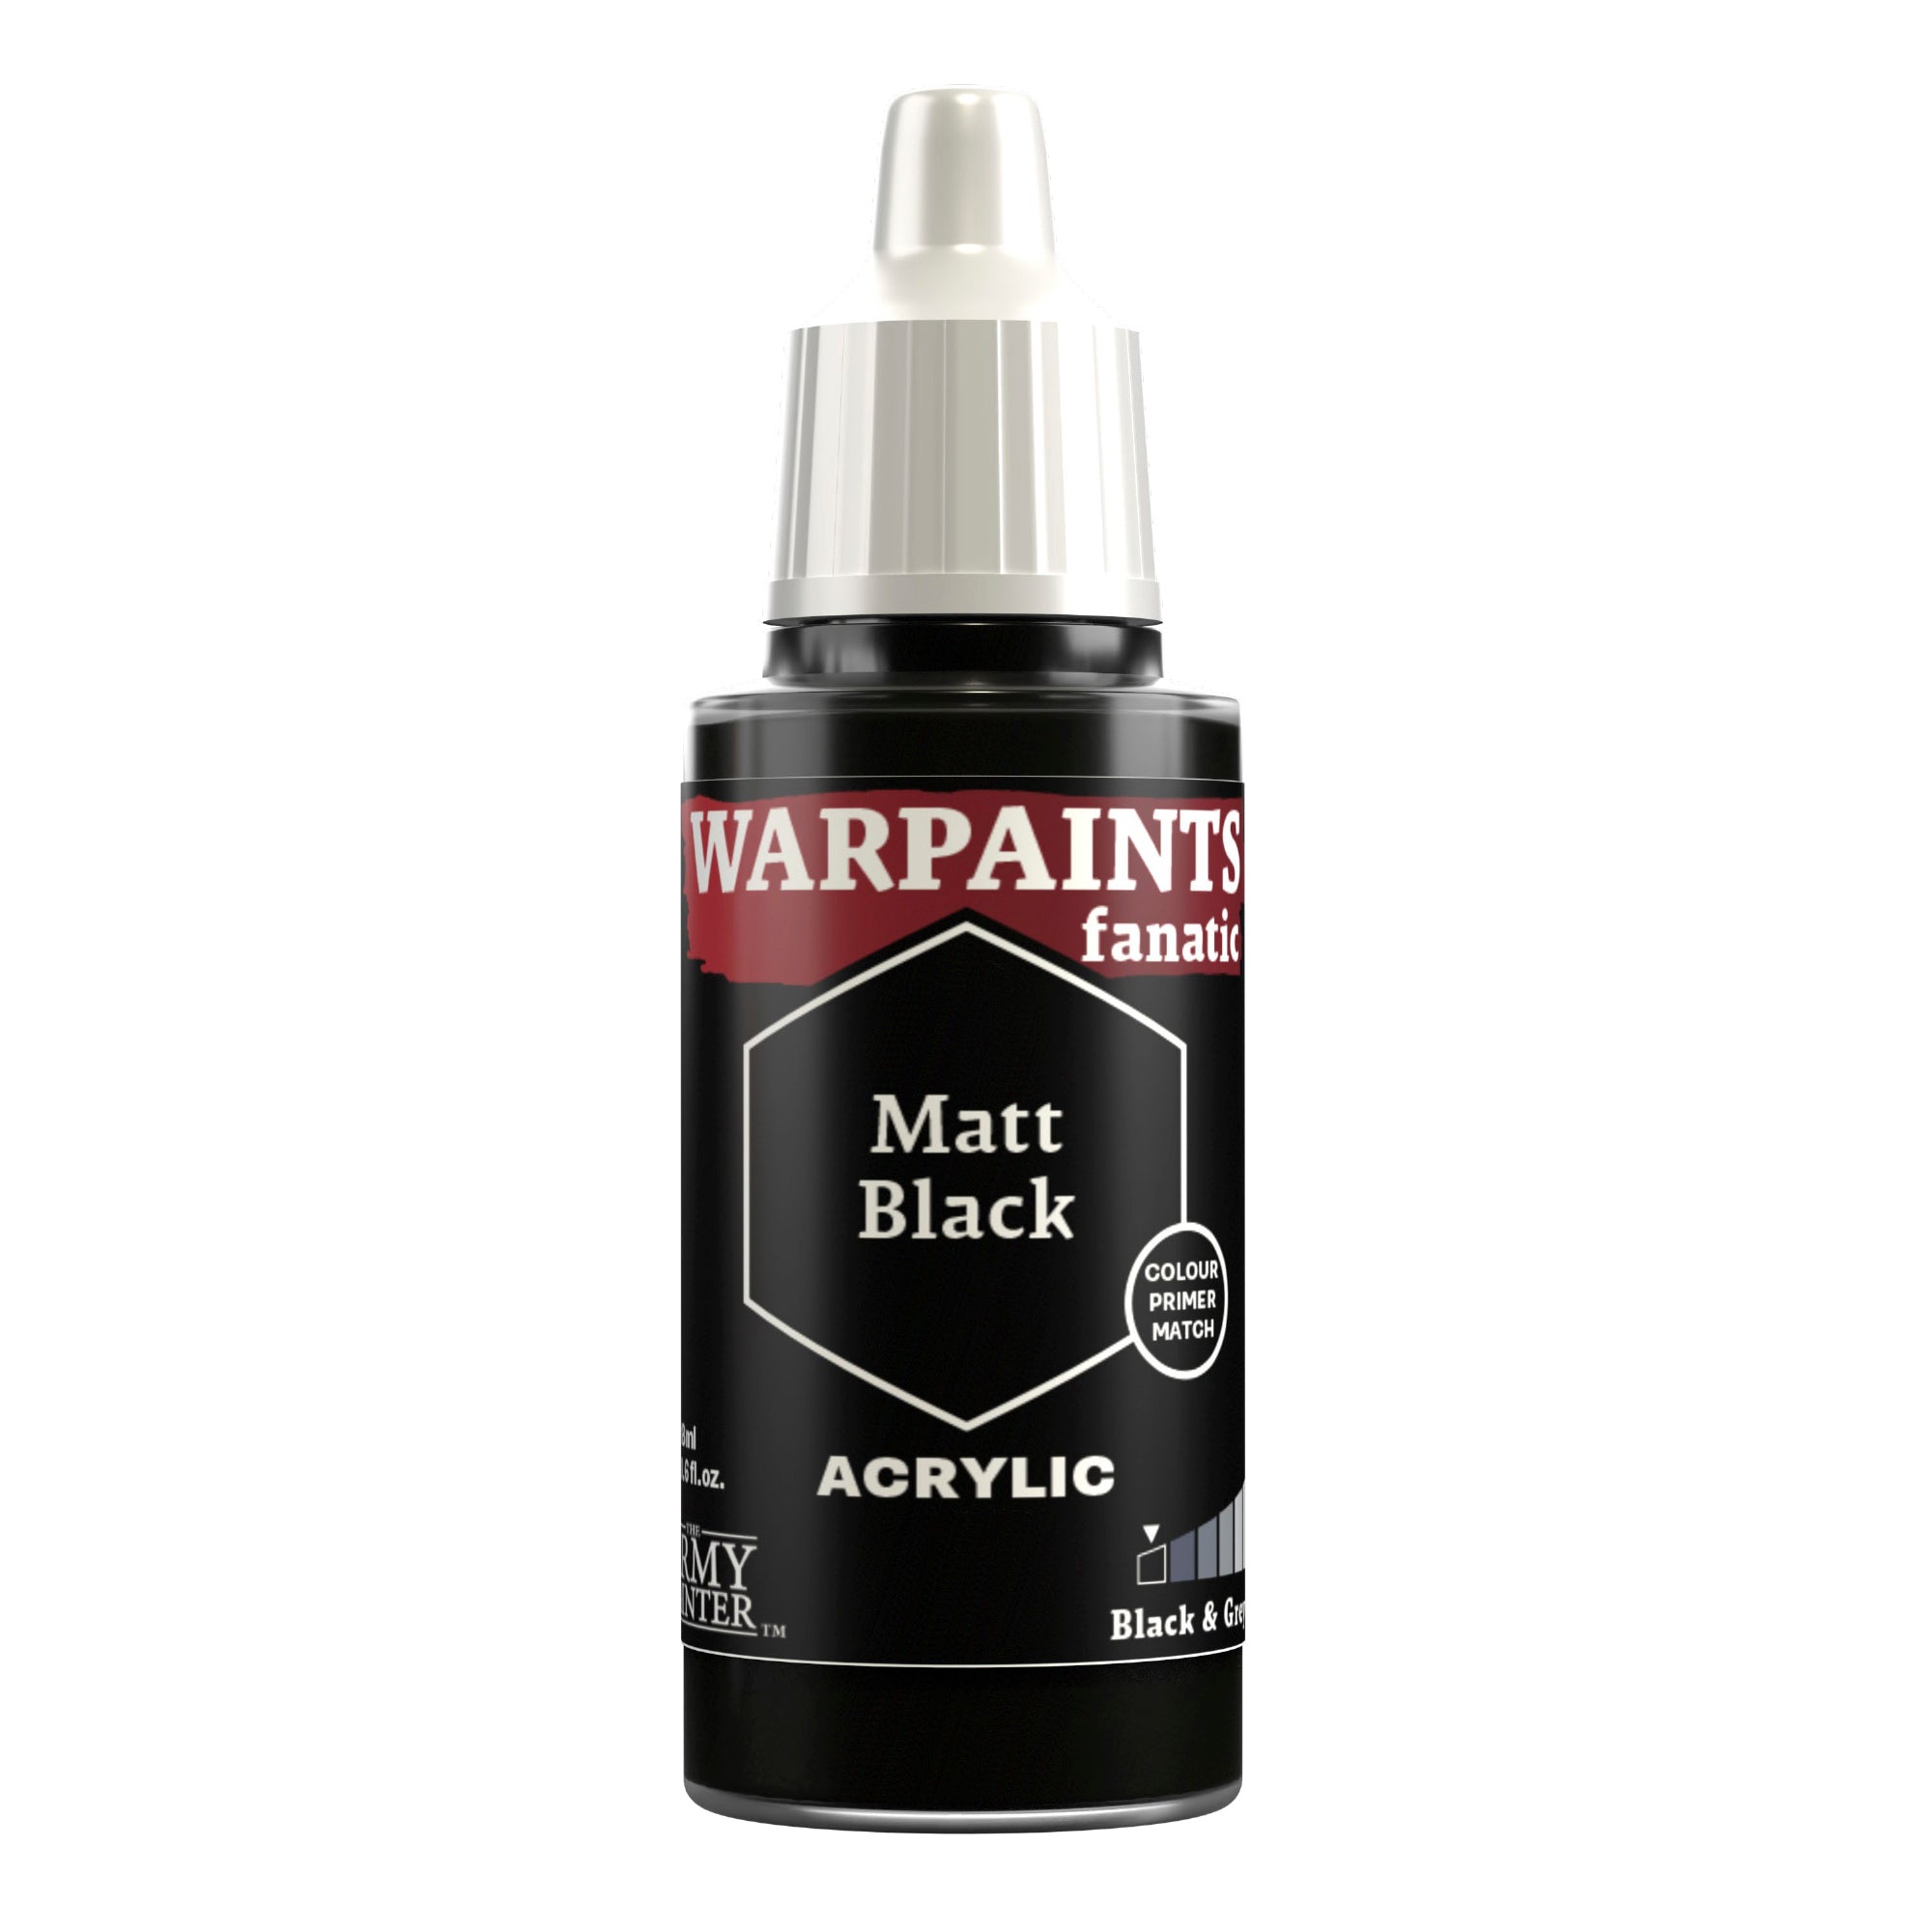
After priming the model with Matt Black Colour Primer, basecoat all the cloth with John Blanche Masterclass Midnight Olive. The Wargamer Layer Brush is an excellent choice for this kind of initial basecoating.

Step 2
Follow this with an all-over shade of John Blanche Masterclass Grove Hollow Shade.

Step 3
After this has dried completely, re-layer the cloth with John Blanche Masterclass Midnight Olive, leaving the darker colour in the recesses. You can also mix this paint directly with Grove Hollow Shade to help blend the two colours in areas and create some interesting gradients.

Step 4
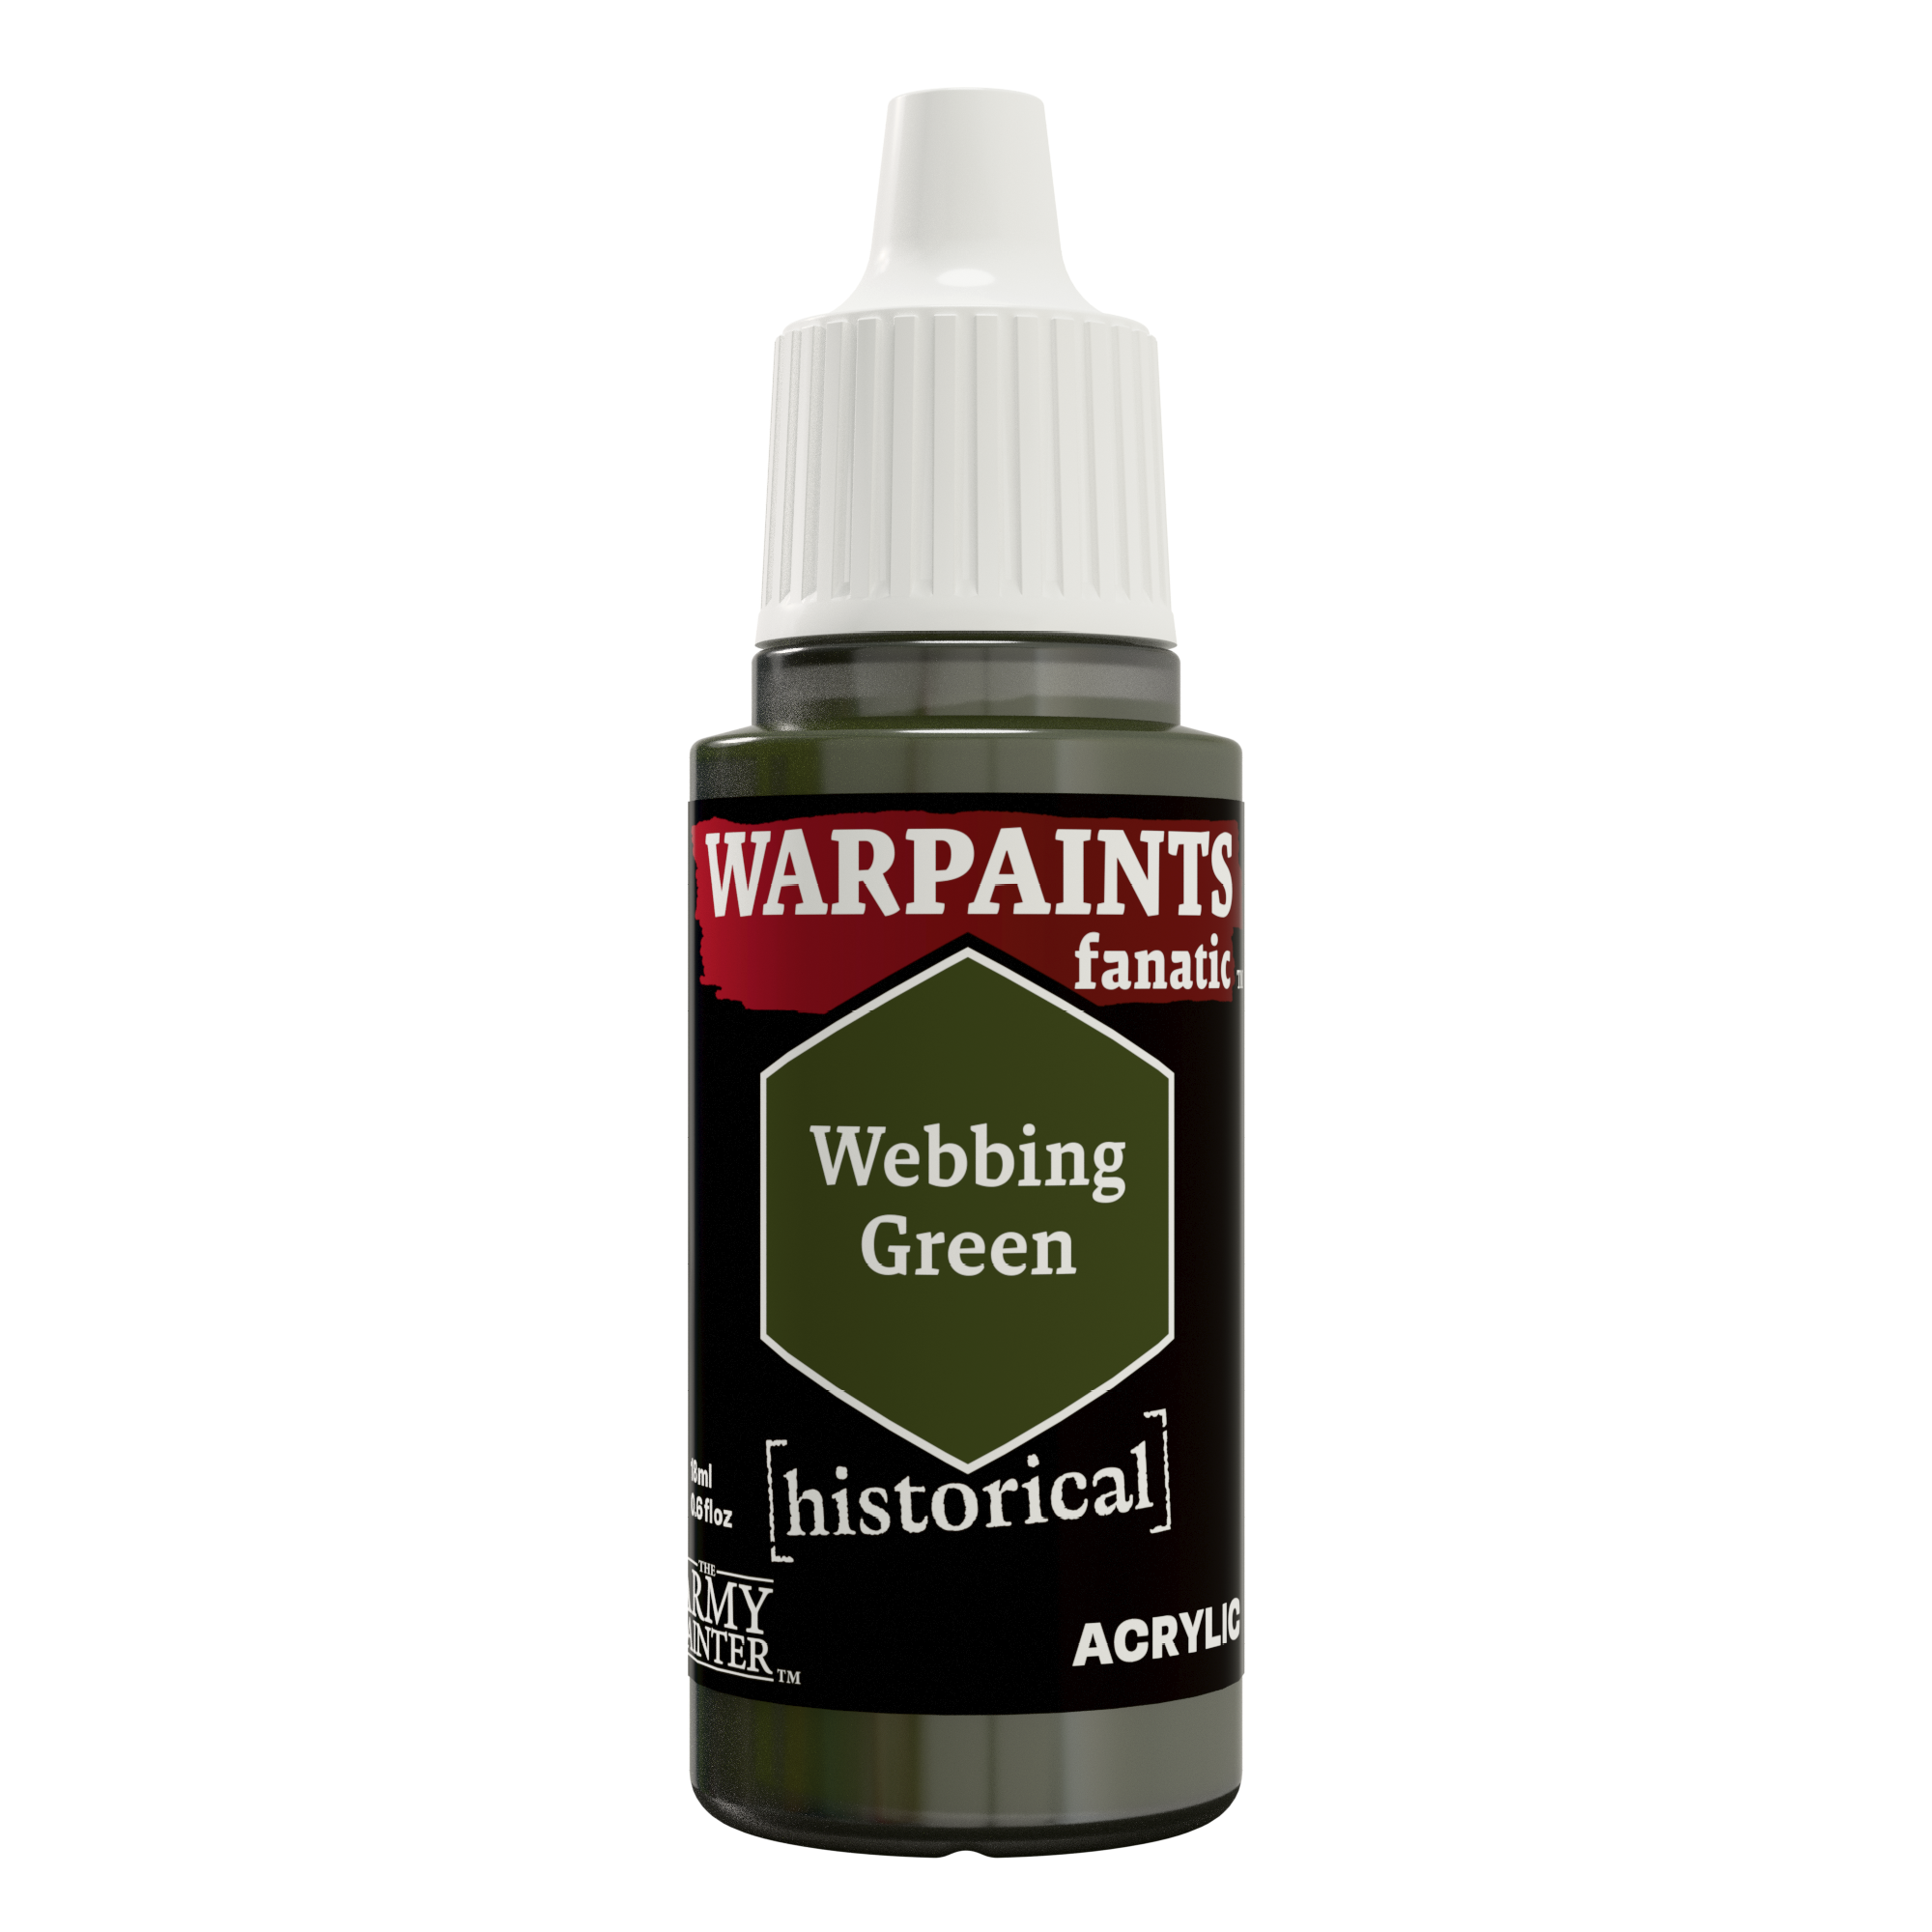
Next, layer the colour with Warpaints Historical Webbing Green. This is used to pick out folds in the fabric and create a gradient towards the top of a lighter colour. On this model, this was applied in a hatch-like pattern. This helps blend the colours without having to do super smooth blends, adds to the texture of the fabric, and reinforces the more grimdark aesthetic.

Step 5
Follow this with a more refined highlight of John Blanche Masterclass Thicket Grove in the same style. By applying it in a smaller area within the previous step, it helps to reinforce the gradient from dark to light.

Step 6
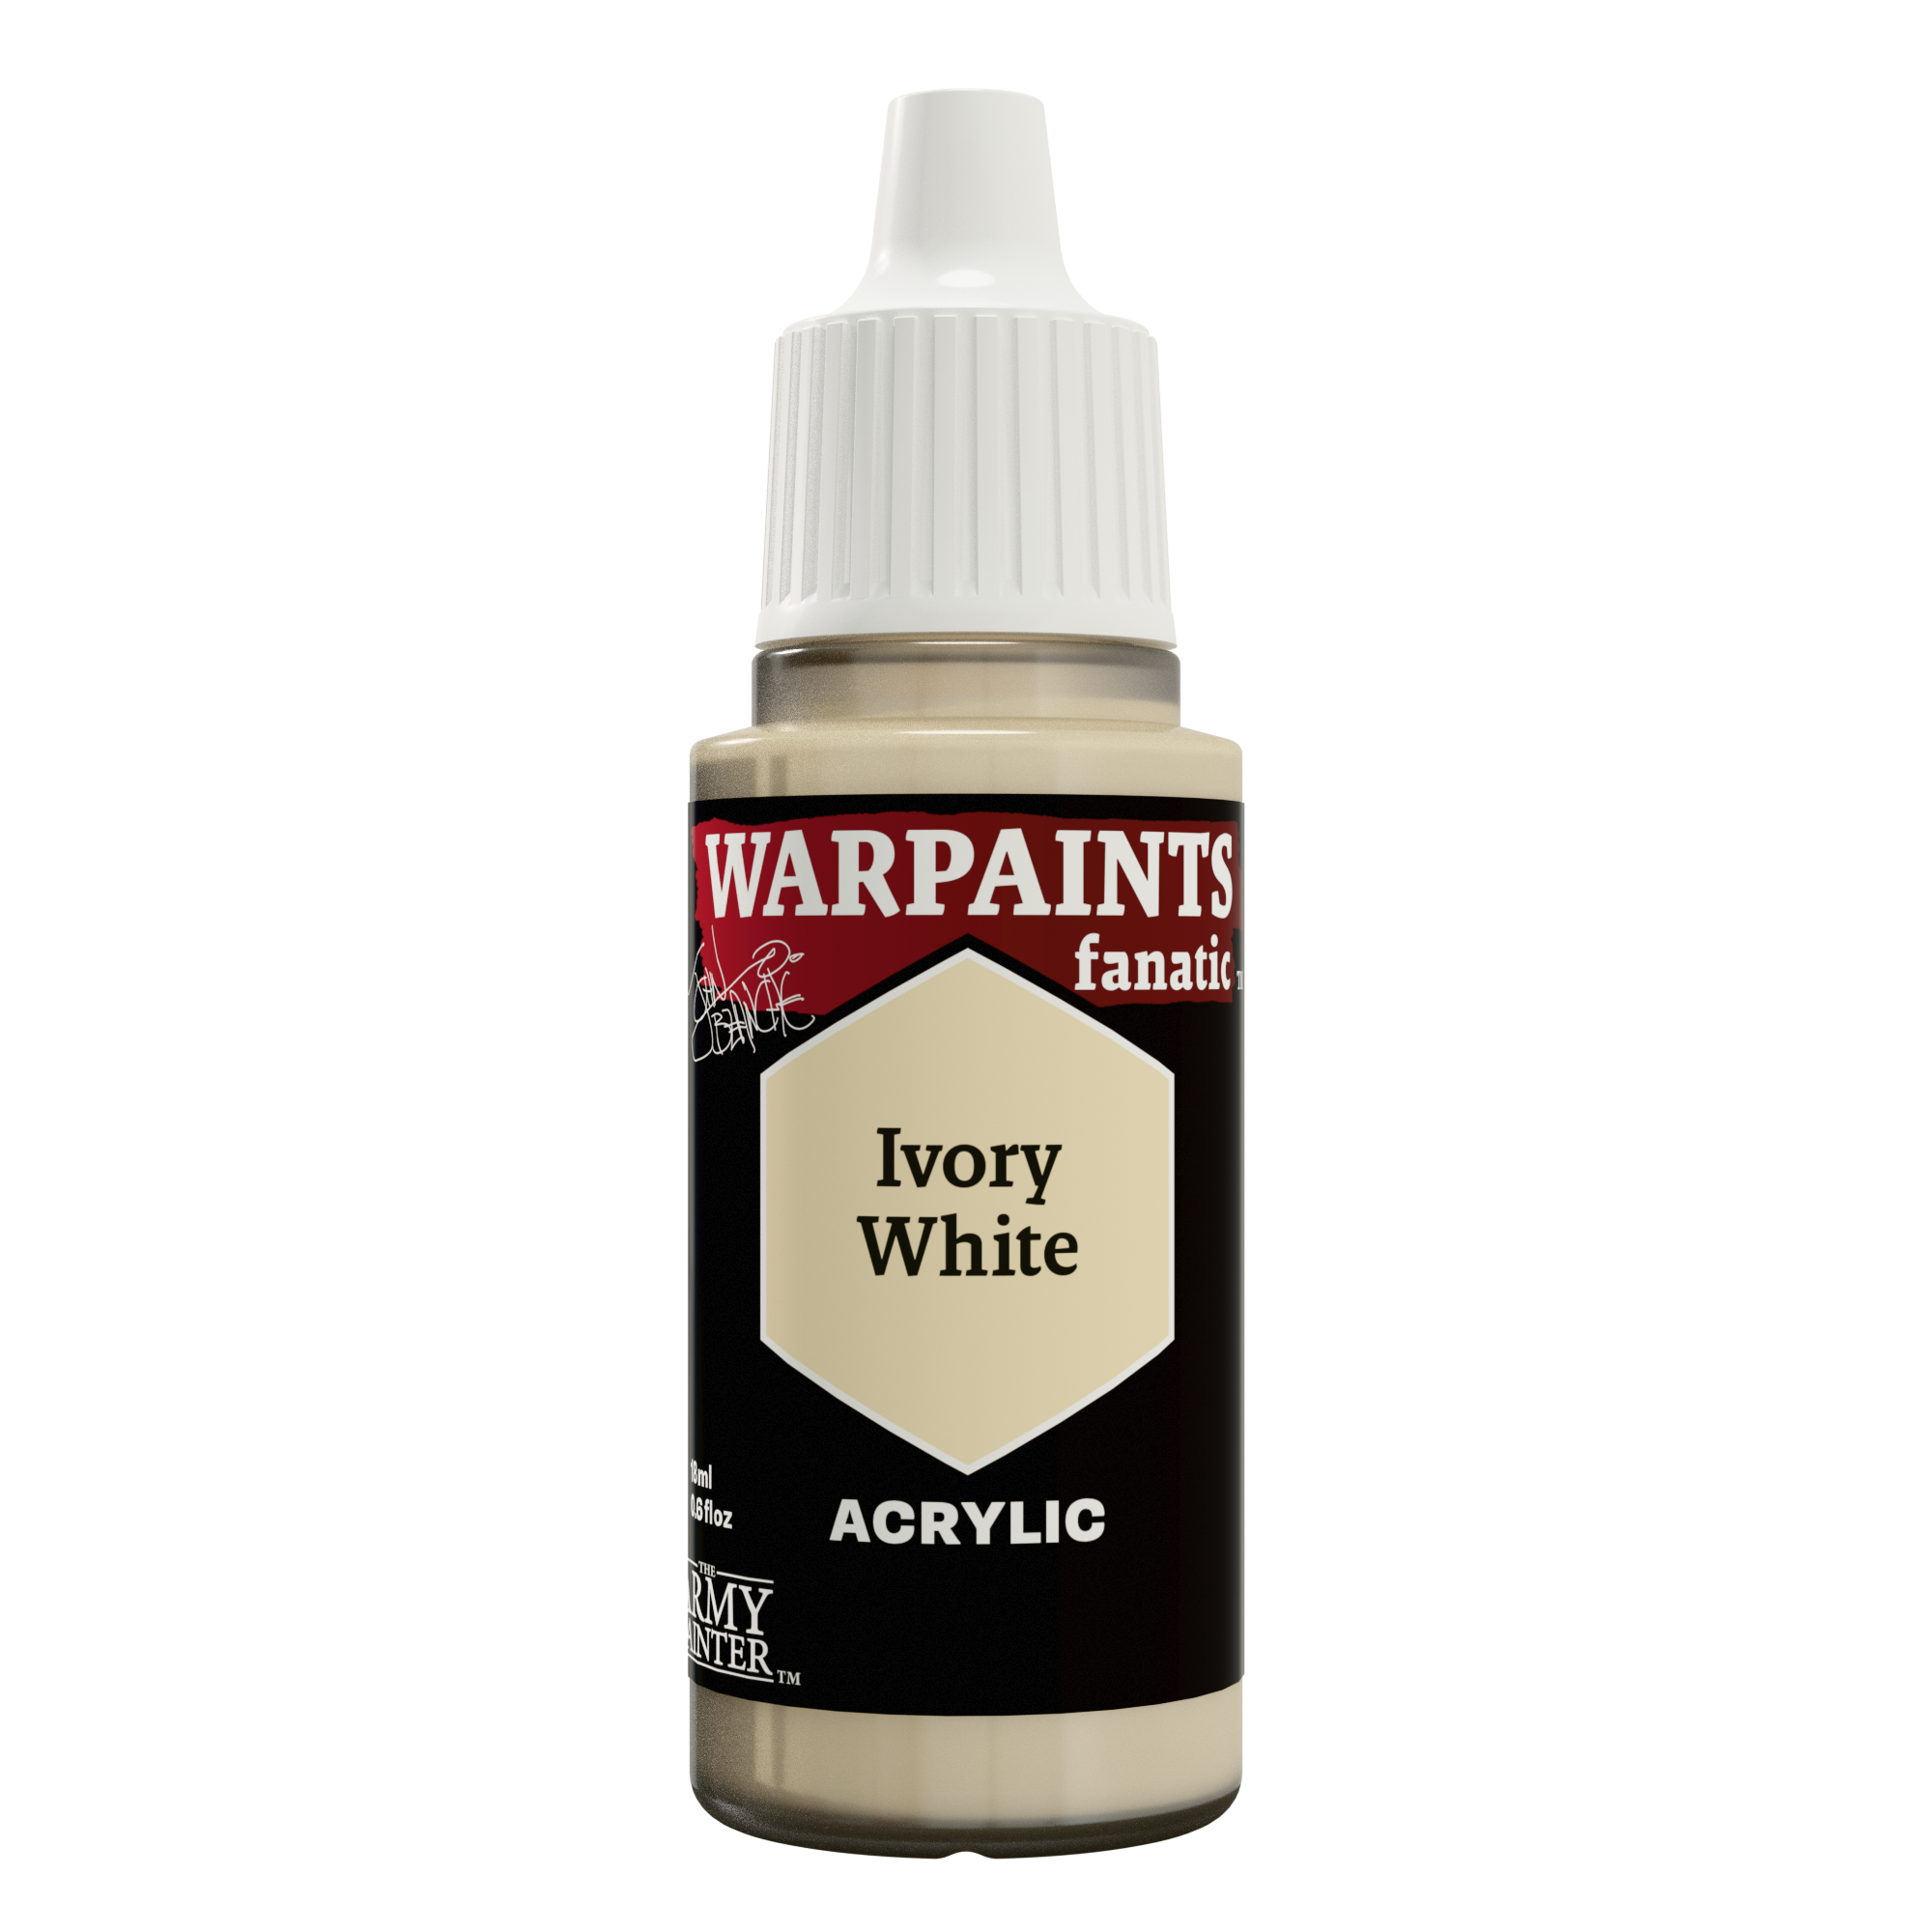
Finally, mix a small amount of John Blanche Masterclass Ivory White into the Thicket Grove for the brightest and smallest highlights. Really be reserved with this. If you need to, you can always go back and add more.
The Leather

Step 1
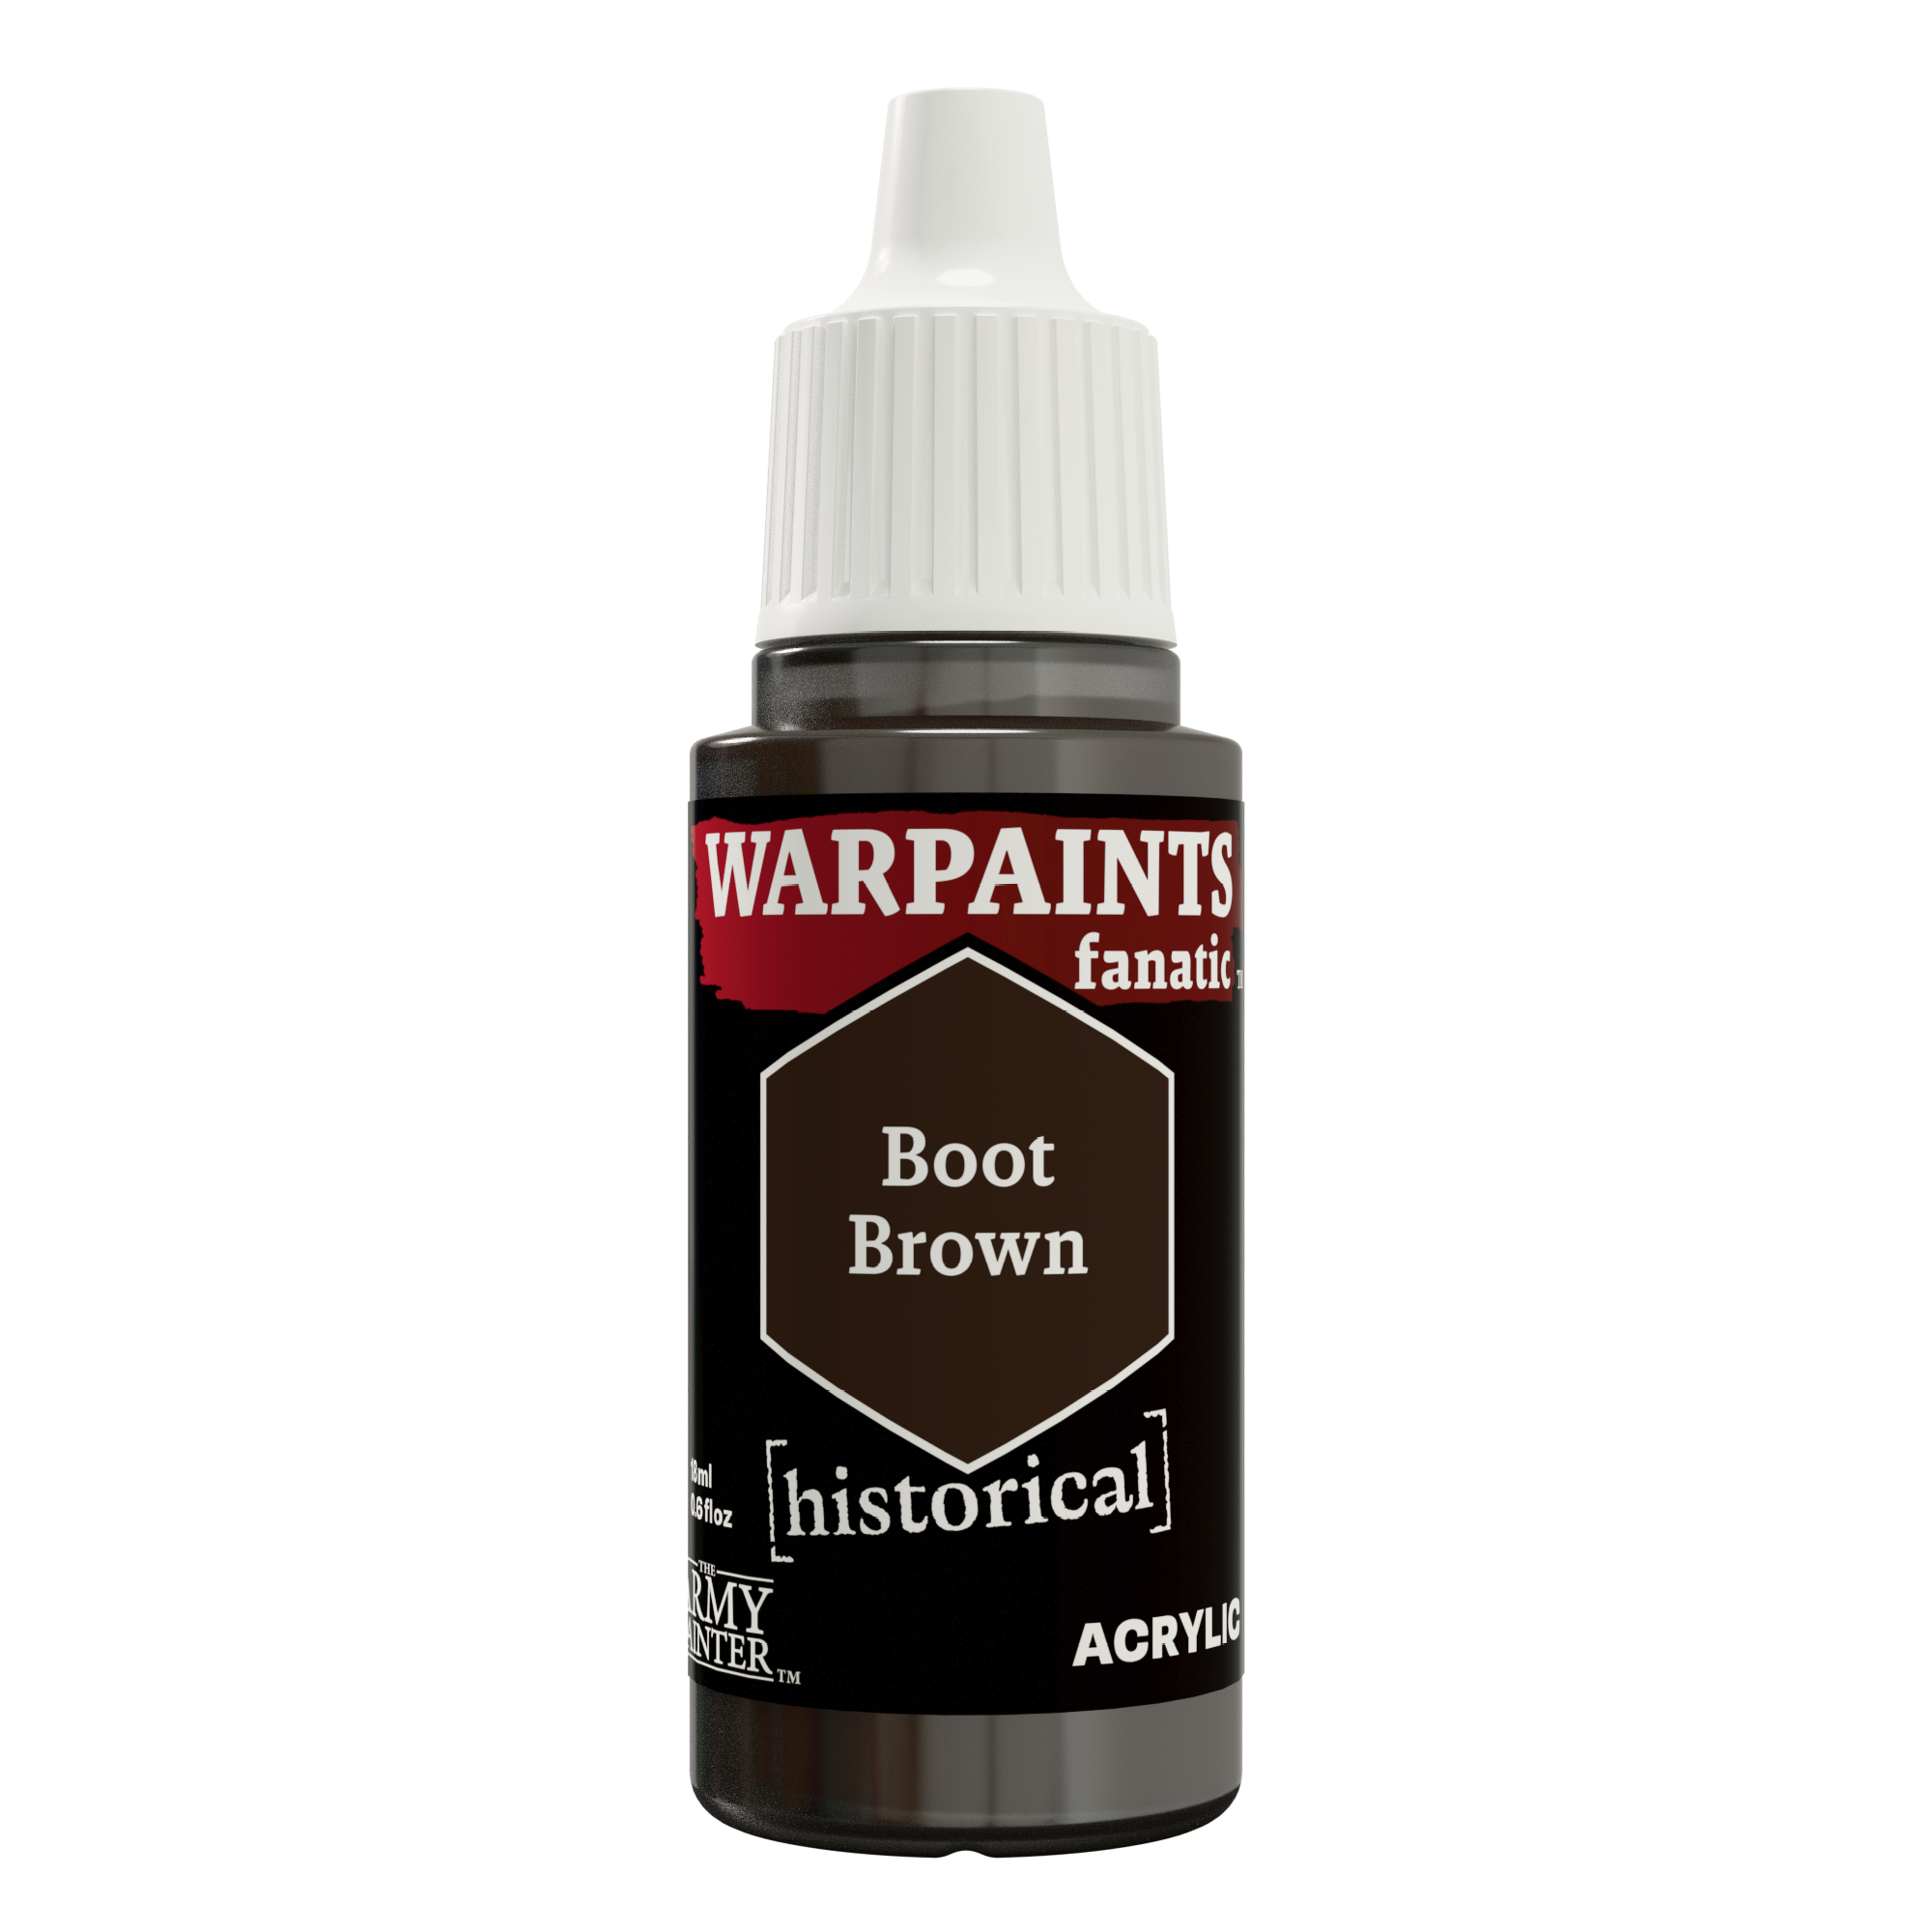
What good is a Sniper Priest without all those pouches to carry the ammo? Basecoat all the leather areas with Warpaints Historical Boot Brown.

Step 2
Next, shade these areas with a wash of Warpaints Fanatic Dark Skin Shade. Once the first coat is completely dry, apply a second to darken it down even more.

Step 3
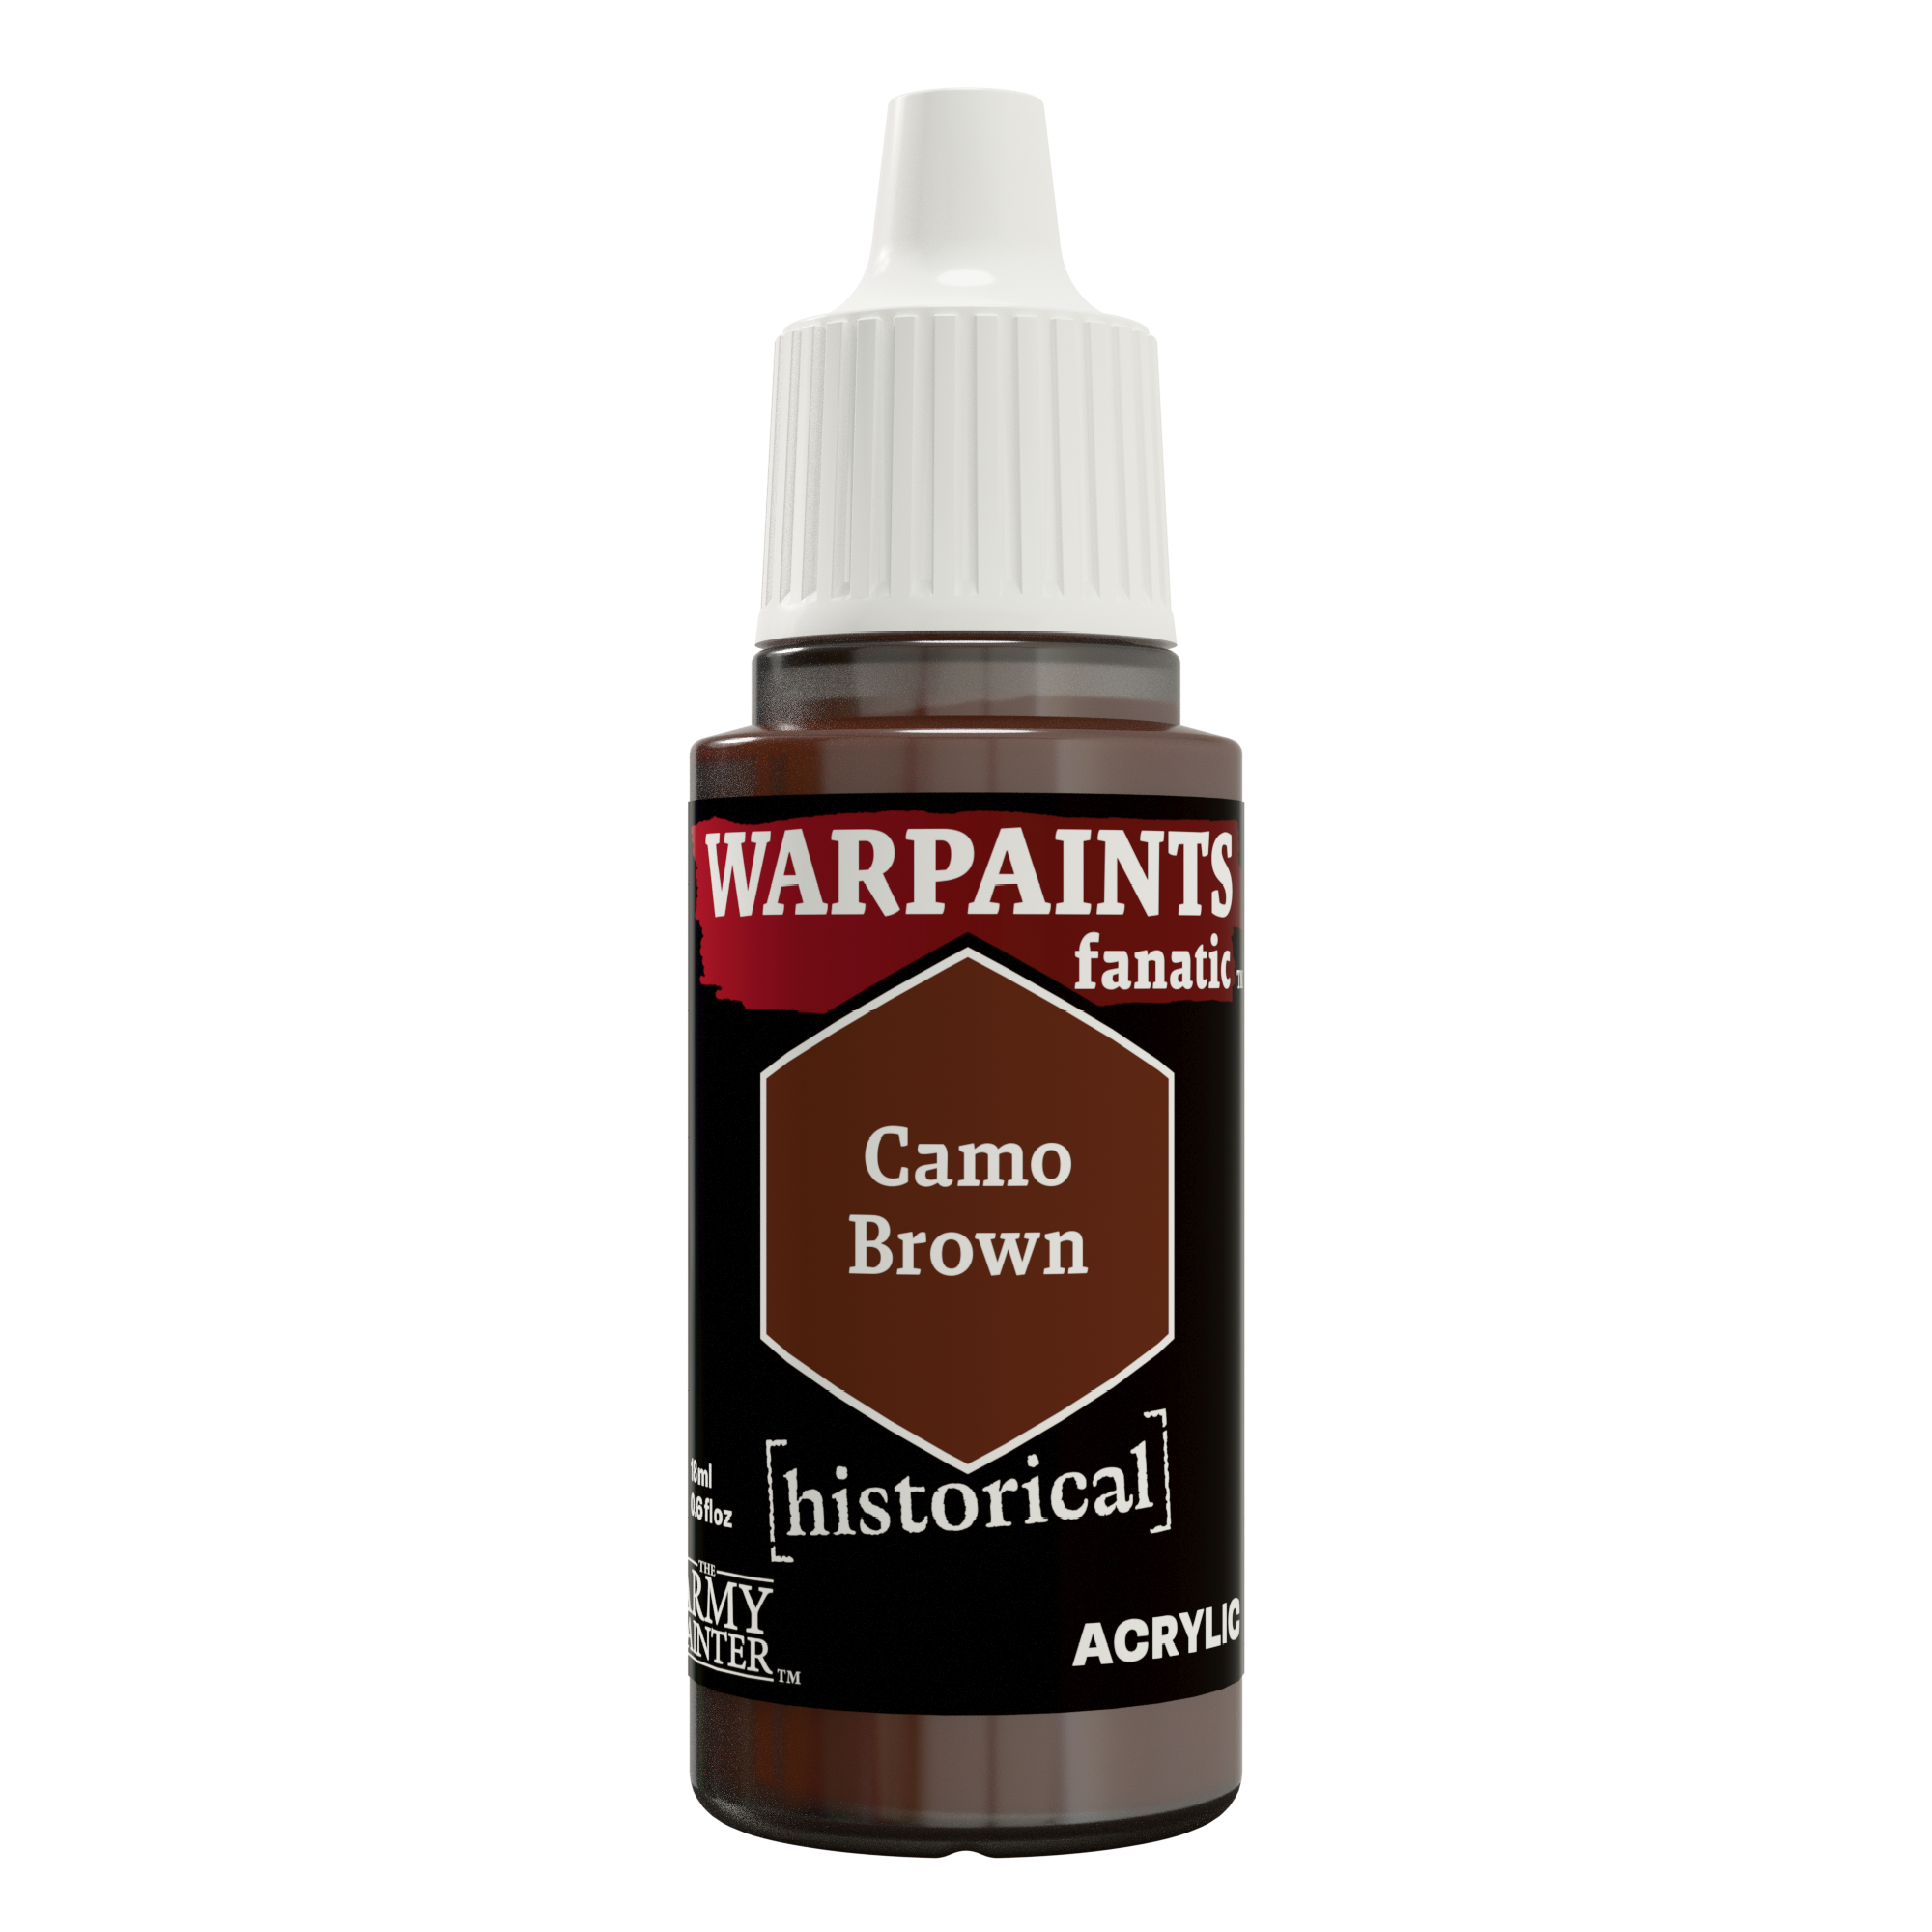
Pick out the edges of the leather with Warpaints Historical Camo Brown. You can apply this in a rougher, tippy-tappy pattern to simulate the wear and tear of leather, as well as some smaller scratches on the flatter areas.

Step 4
For the final highlight, mix a bit of John Blanche Masterclass Ivory White into the Camo Brown and pick out the most prominent areas, such as the corners.
The Skin

Step 1
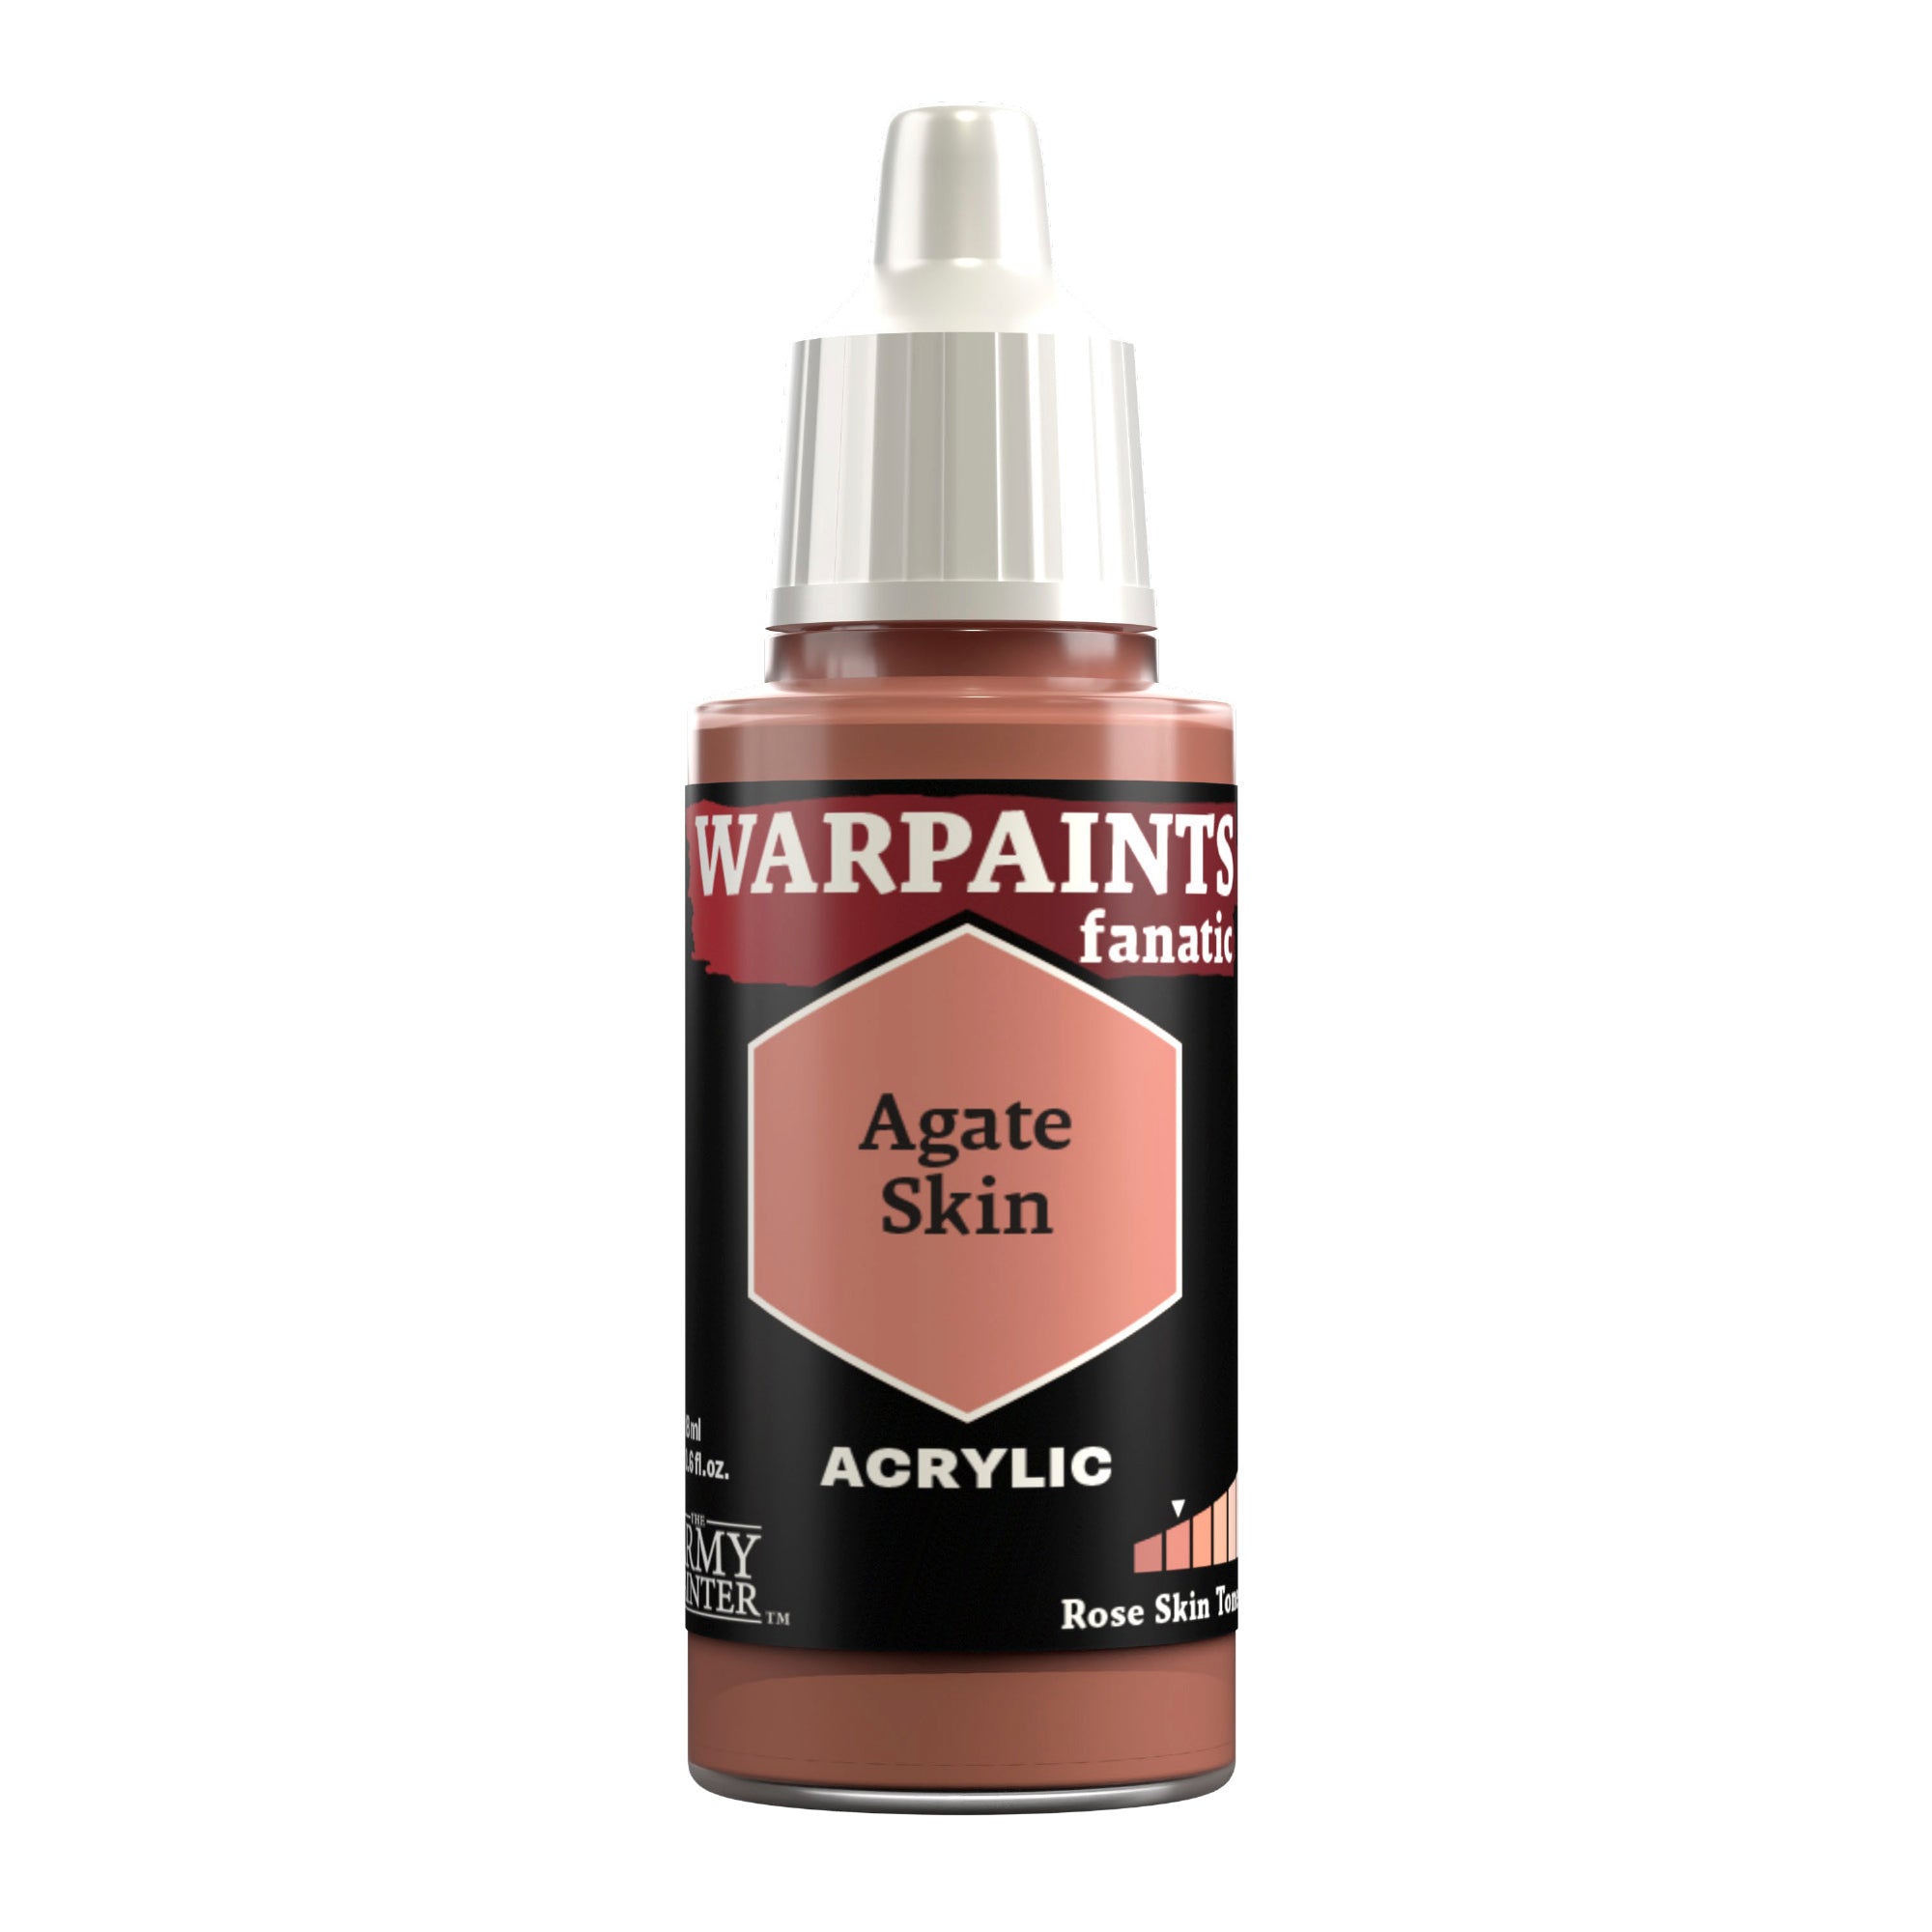
Unlike most Trench Crusade miniatures (at least the human ones!), this fellow has quite a bit of skin showing. Start by applying a basecoat of Warpaints Fanatic Agate Skin to all these areas.

Step 2
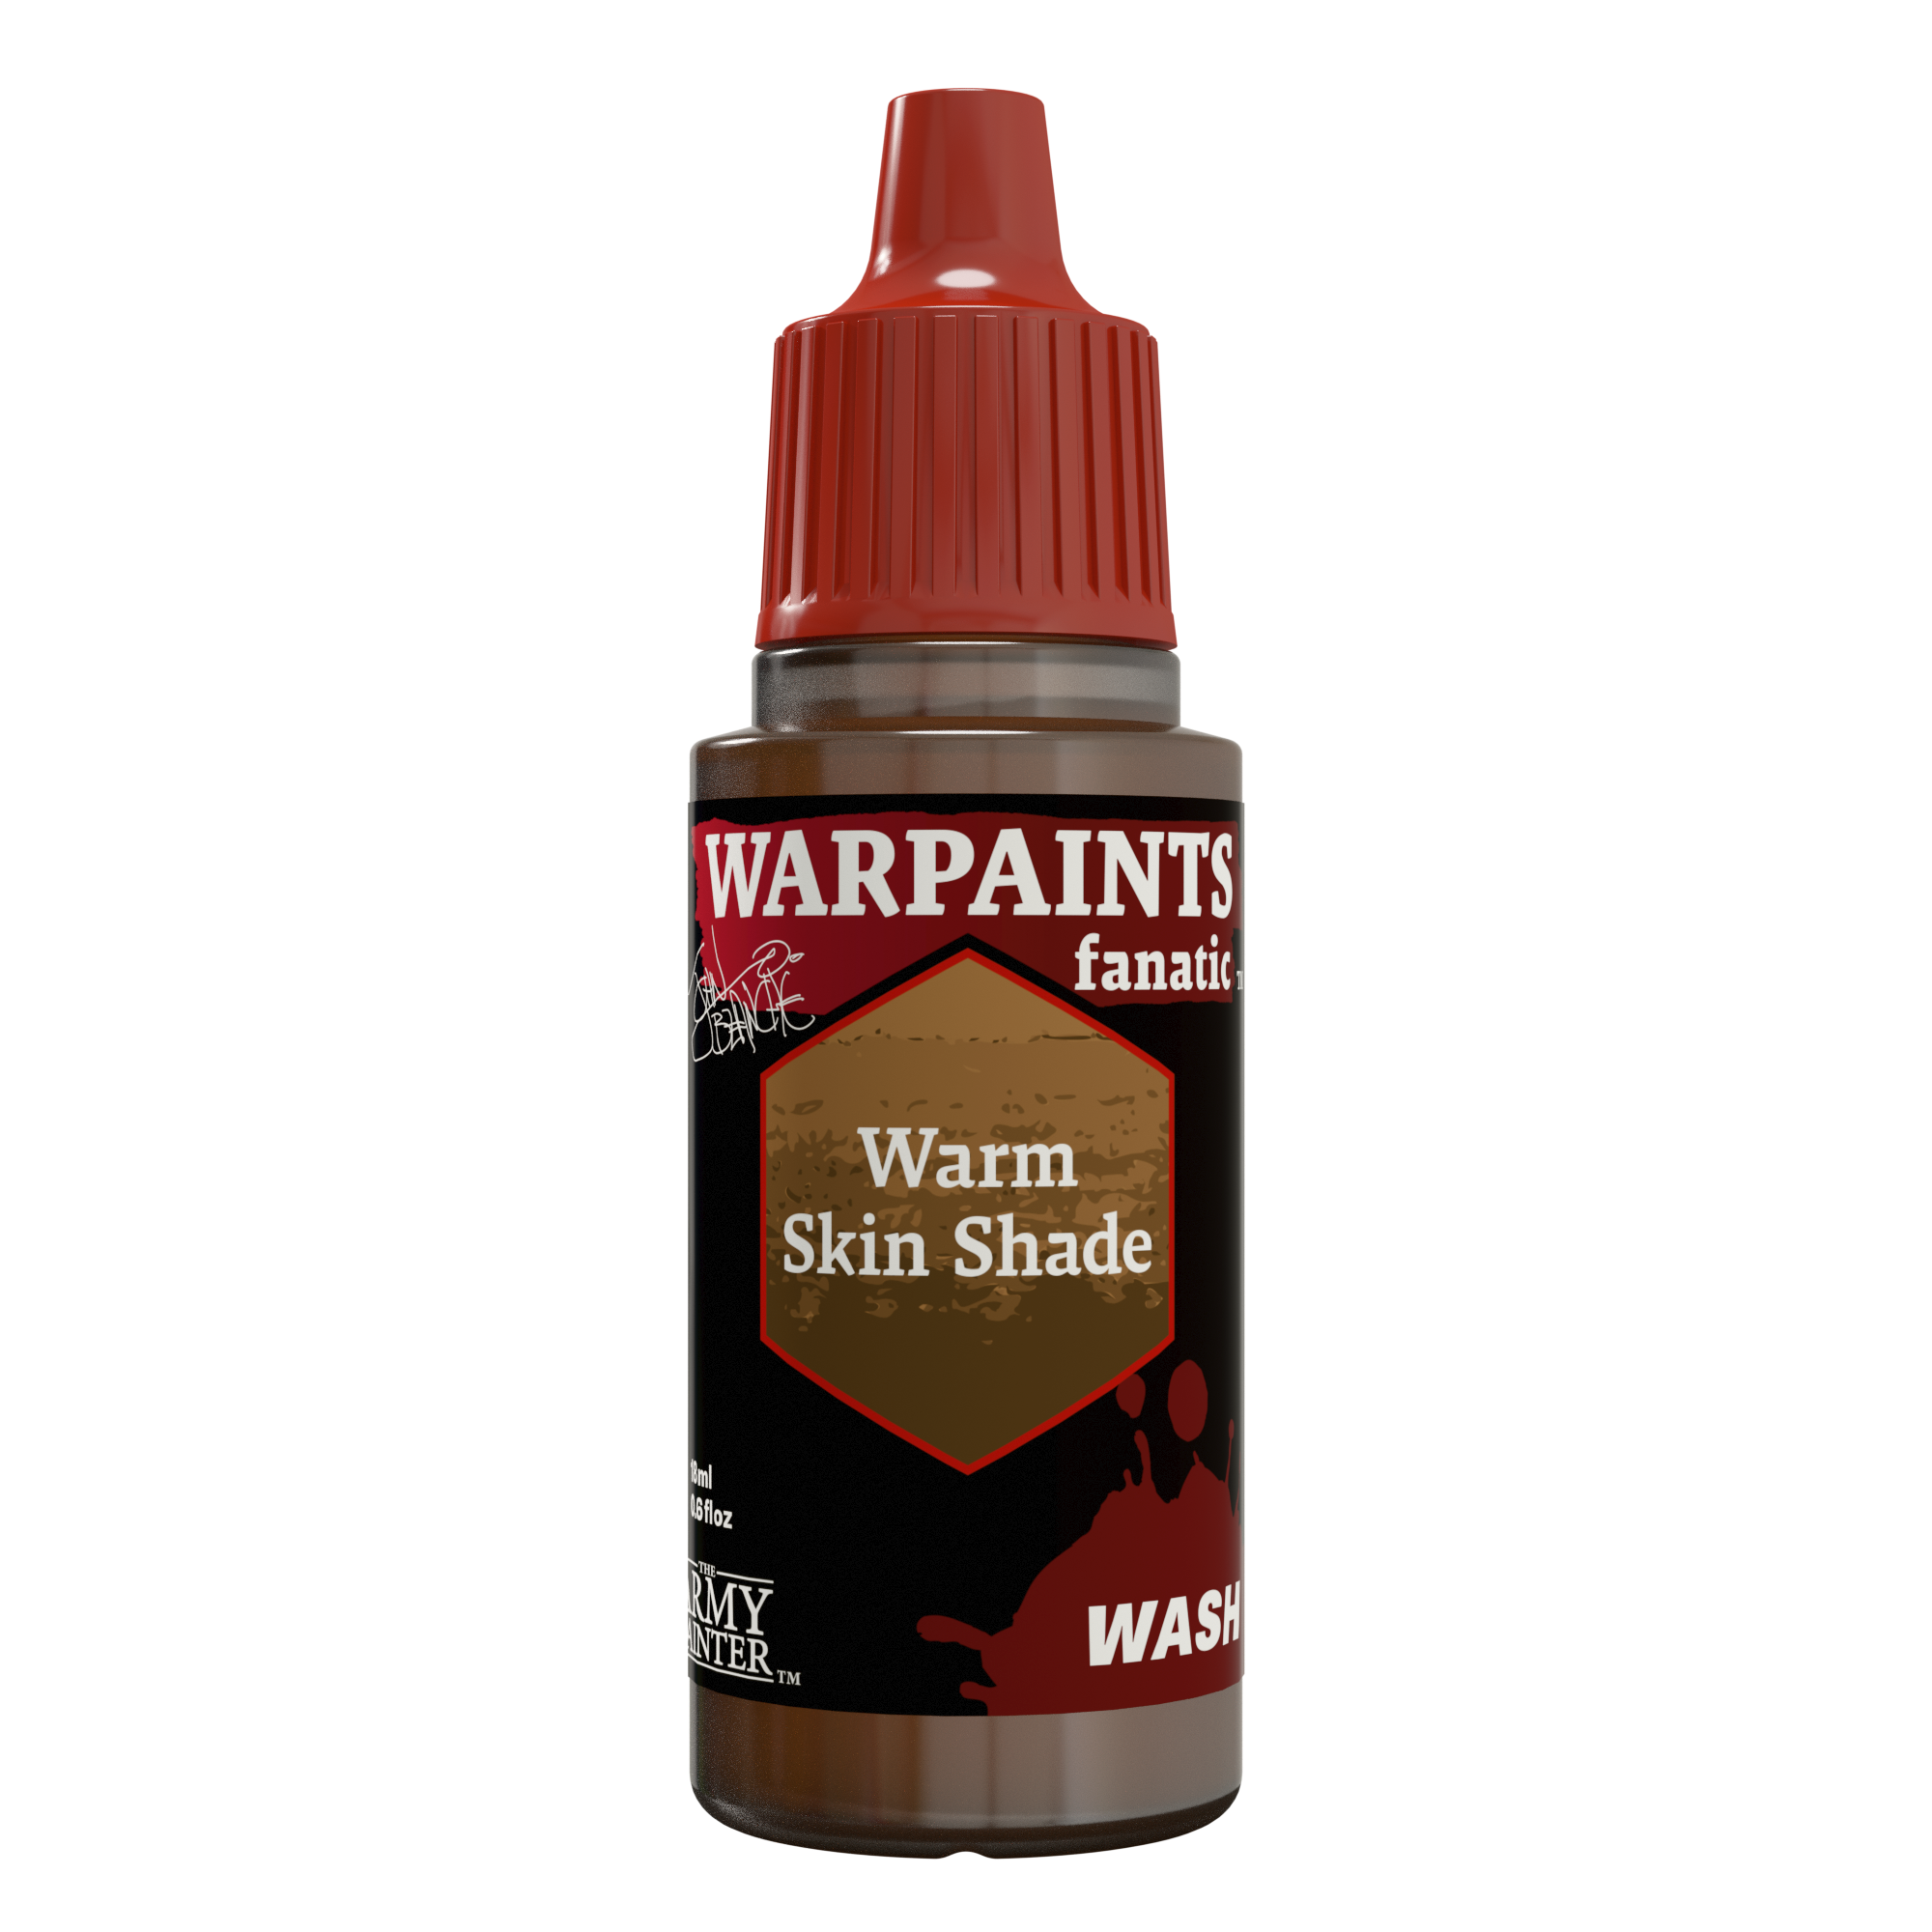
Next, shade the skin with two coats of John Blanche Masterclass Warm Skin Shade, waiting for the first coat to dry completely before applying the second.

Step 3
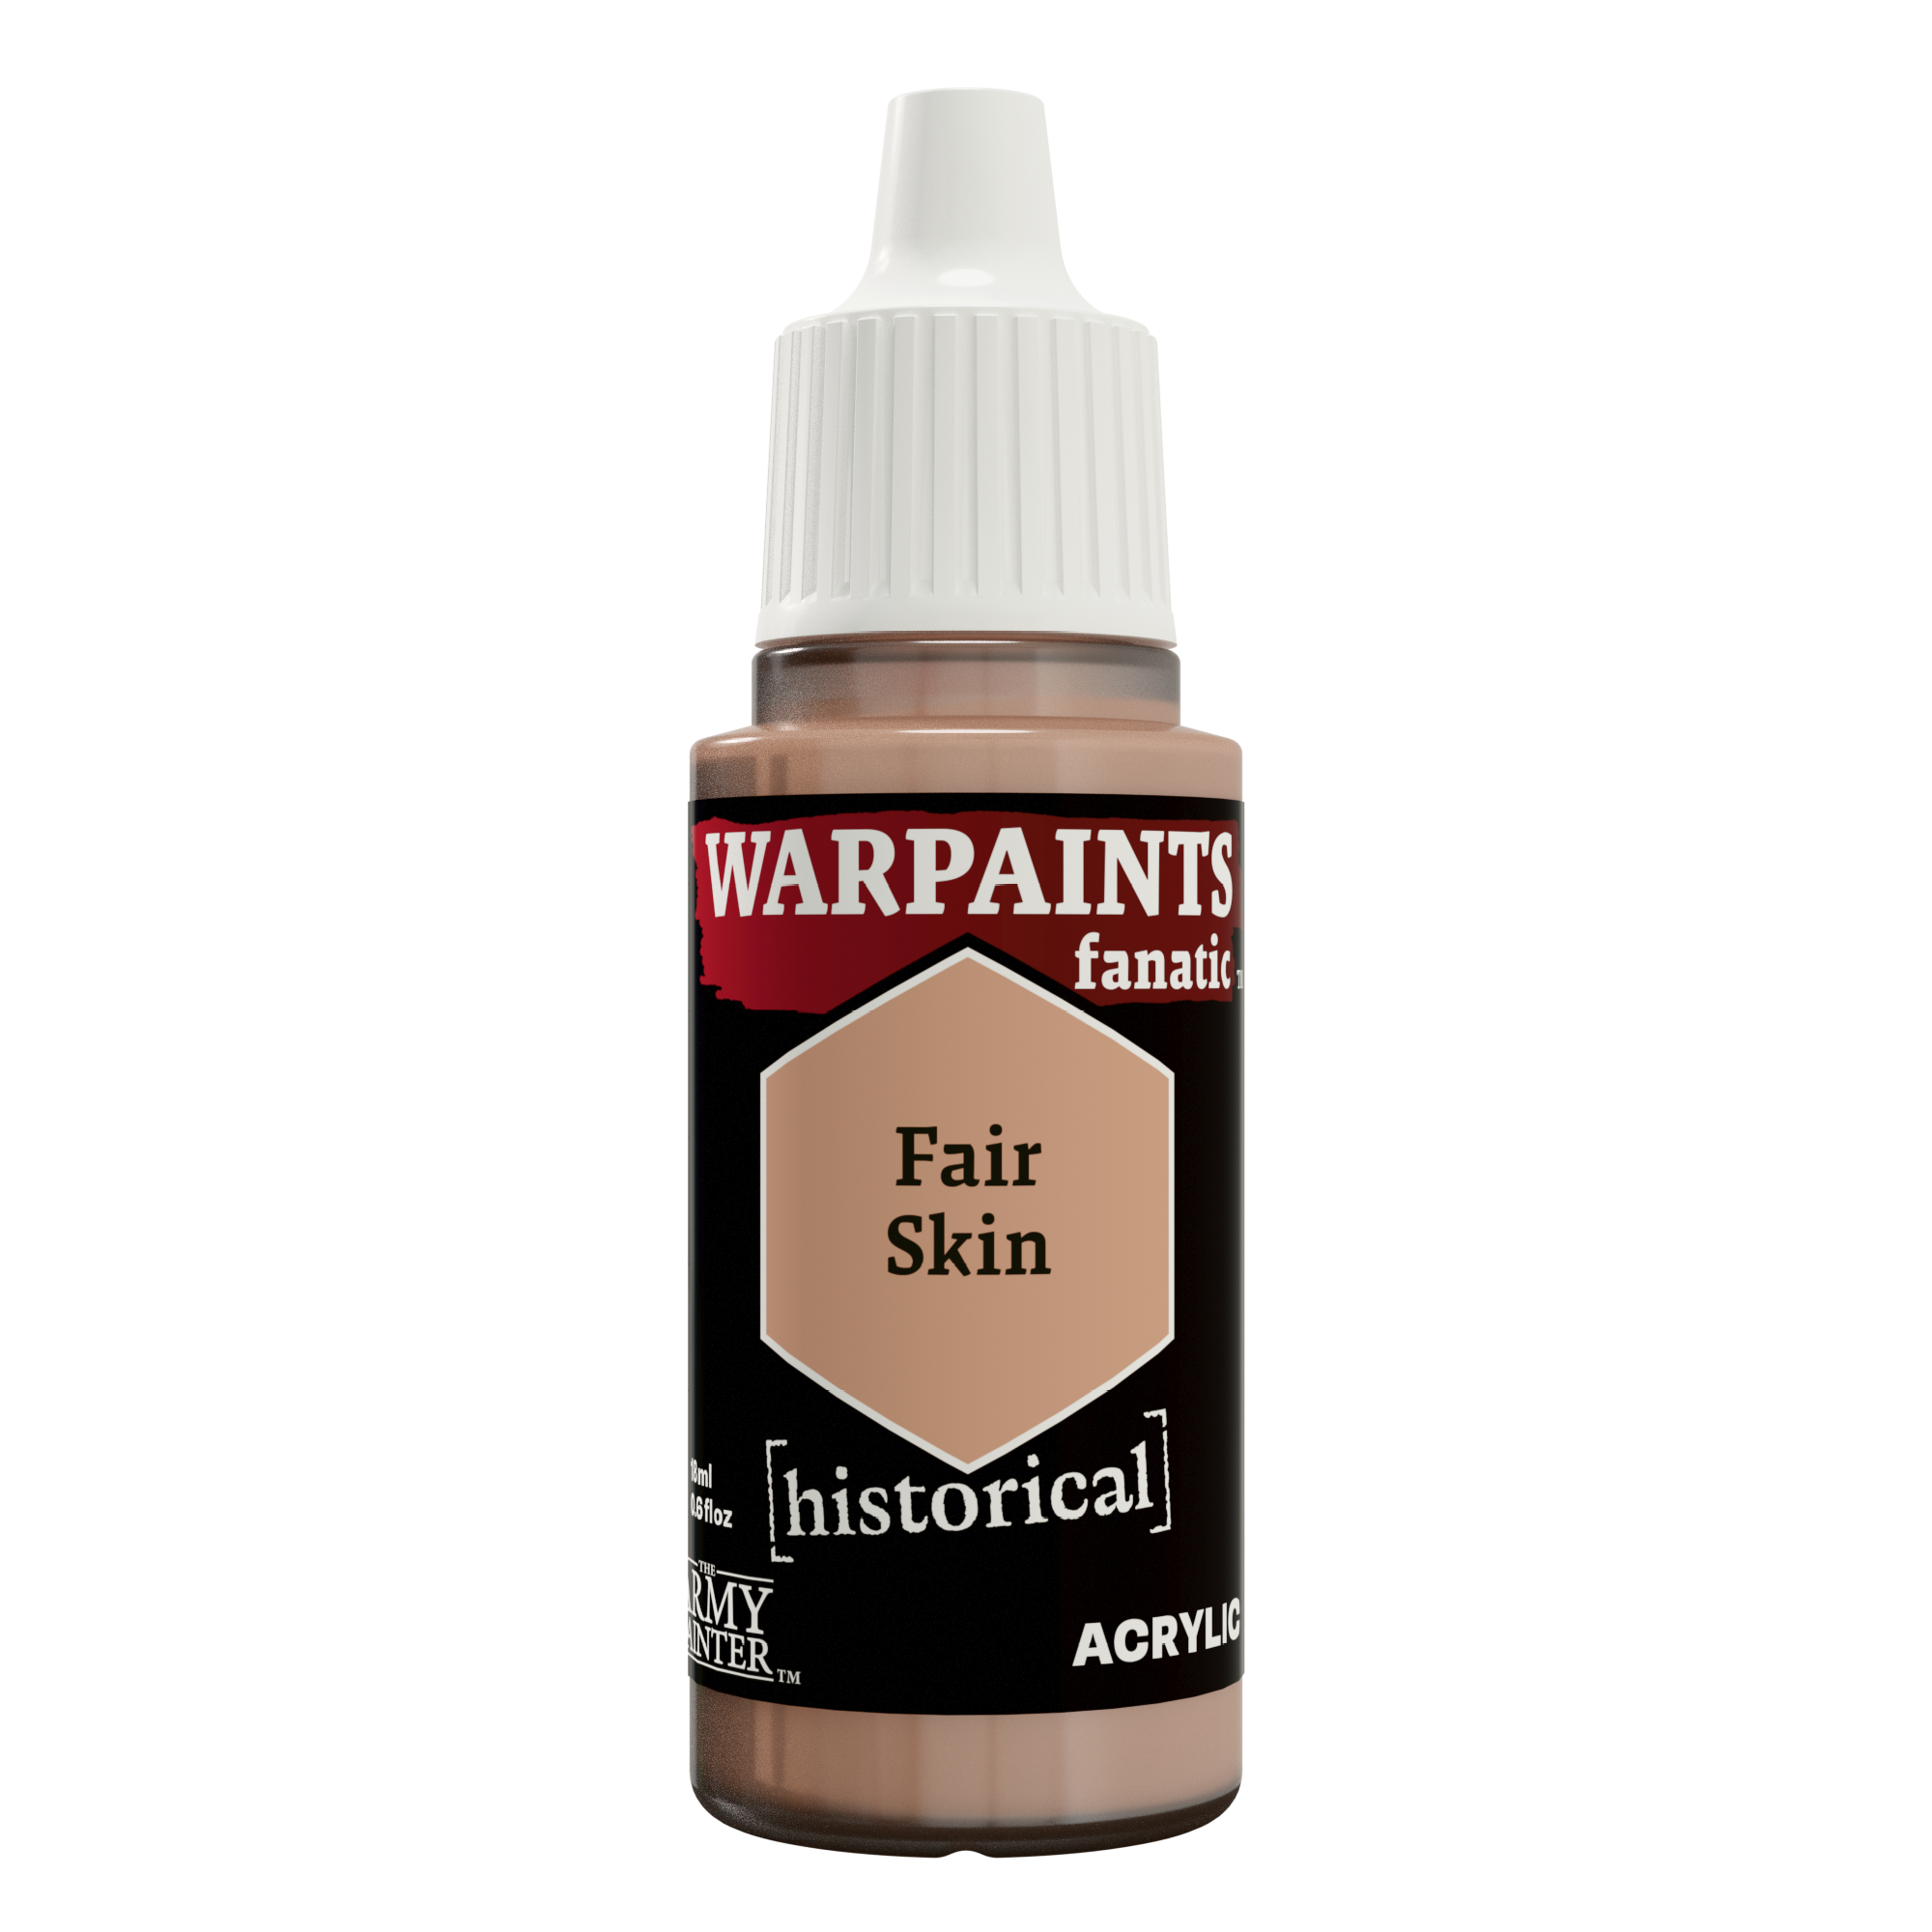
Create a 1:1 mix of Warpaints Fanatic Agate Skin and Warpaints Historical Fair Skin and apply this as a layer all over the skin, allowing the darker colour to show in the recesses.

Step 4
Follow this up with a more refined highlight of pure Warpaints Historical Fair Skin.

Step 5
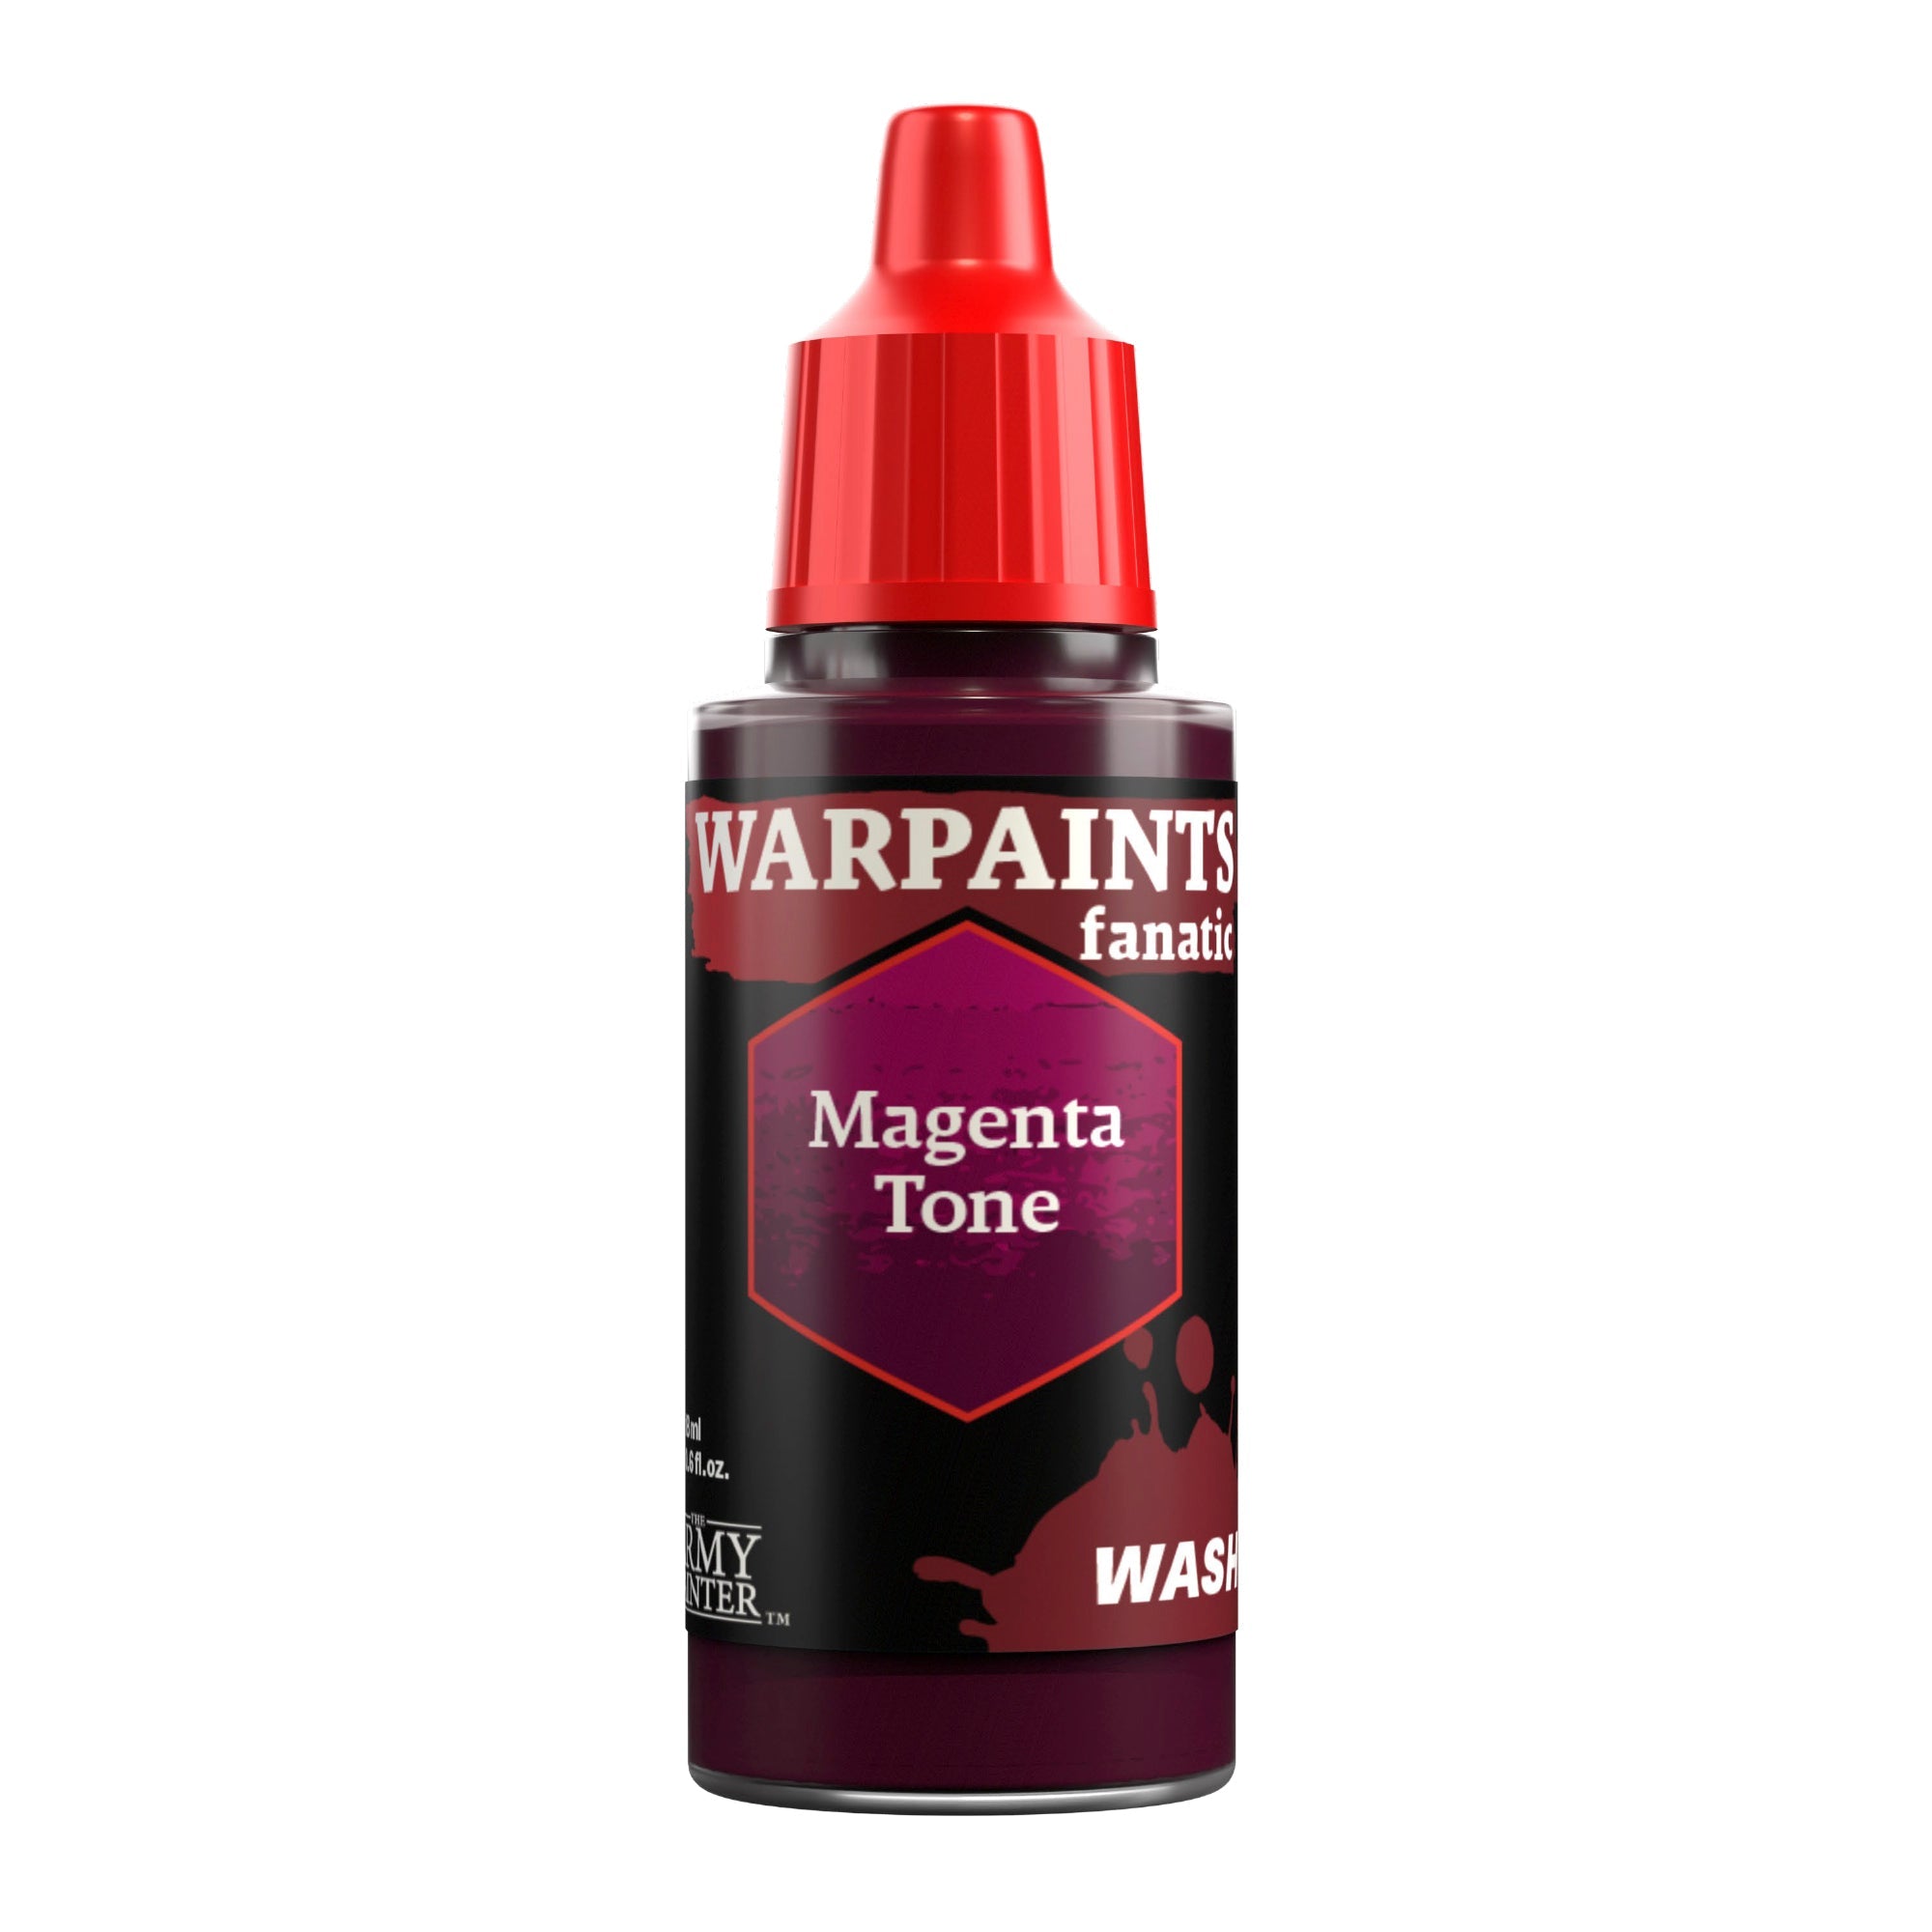
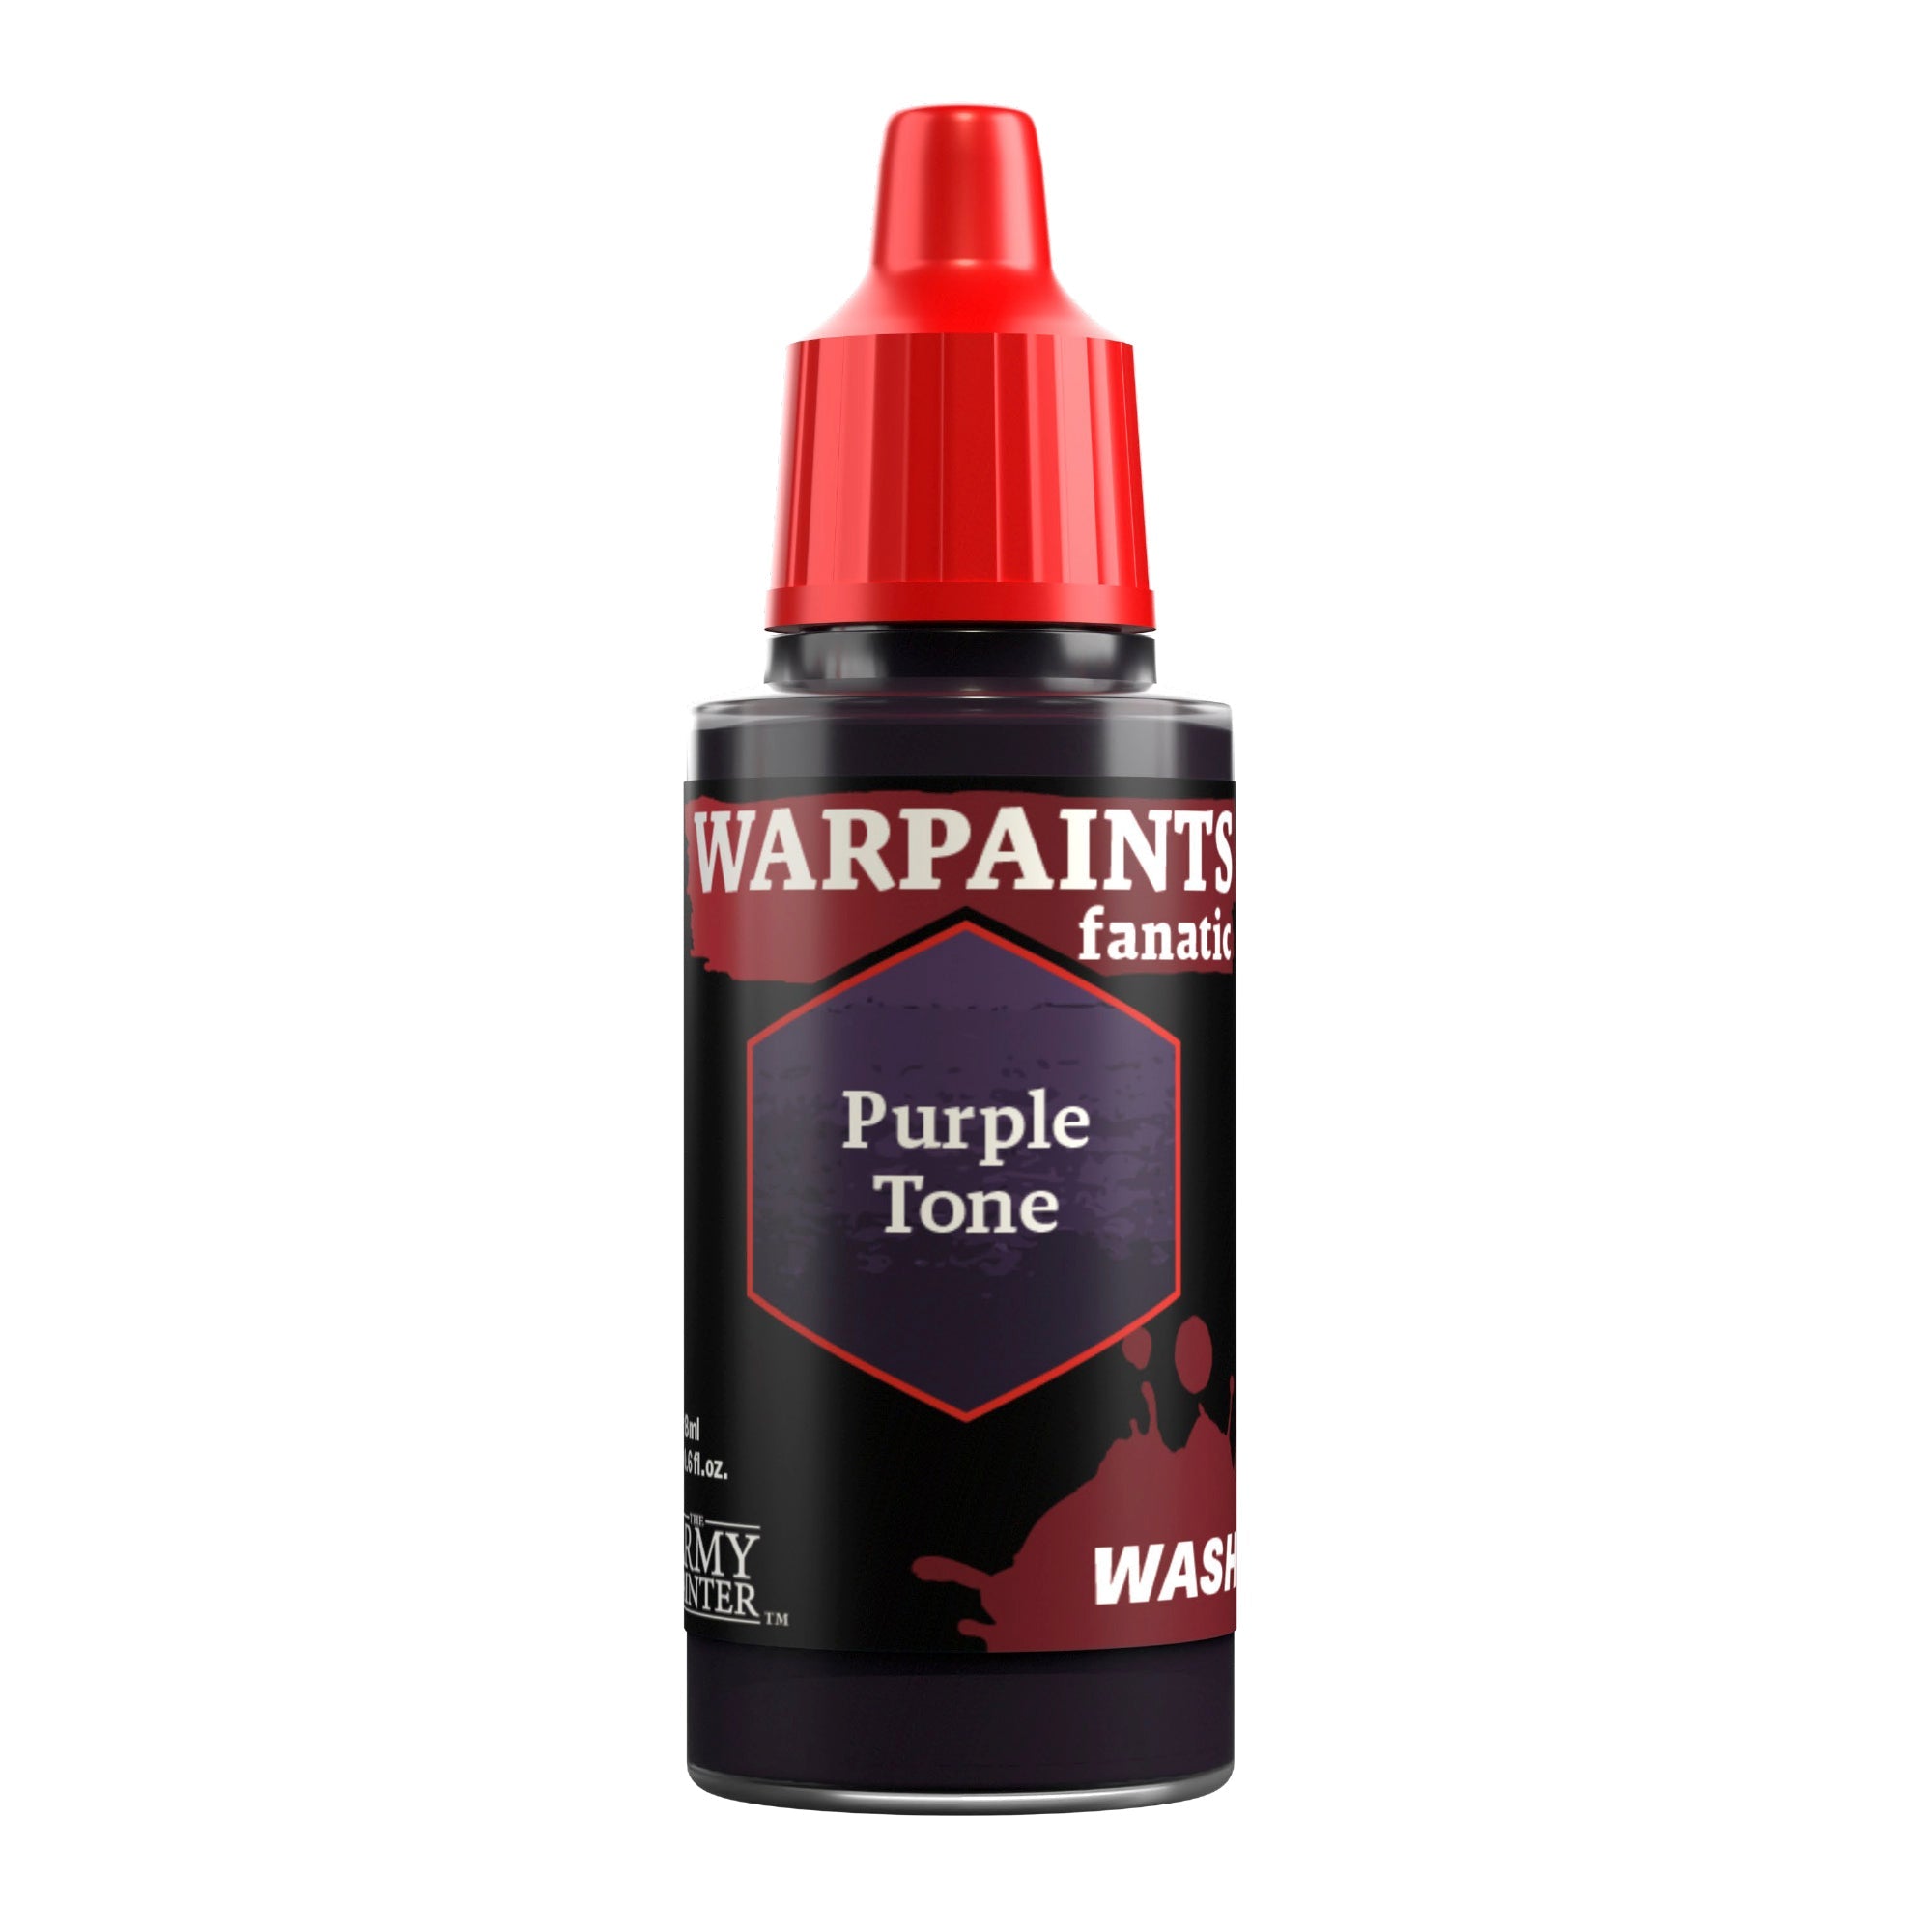
To add a bit of life to the model, apply glazes of Warpaints Fanatic Magenta Tone to areas like the lip, nose, and knuckles, and Warpaints Fanatic Purple Tone to the eyes. Once dry, you can mix a bit of John Blanche Masterclass Ivory White into the Fair Skin for a final highlight on just the face. At this point, the hair was also blacked out to more easily see what the finished face looks like.
The Metallics

Step 1
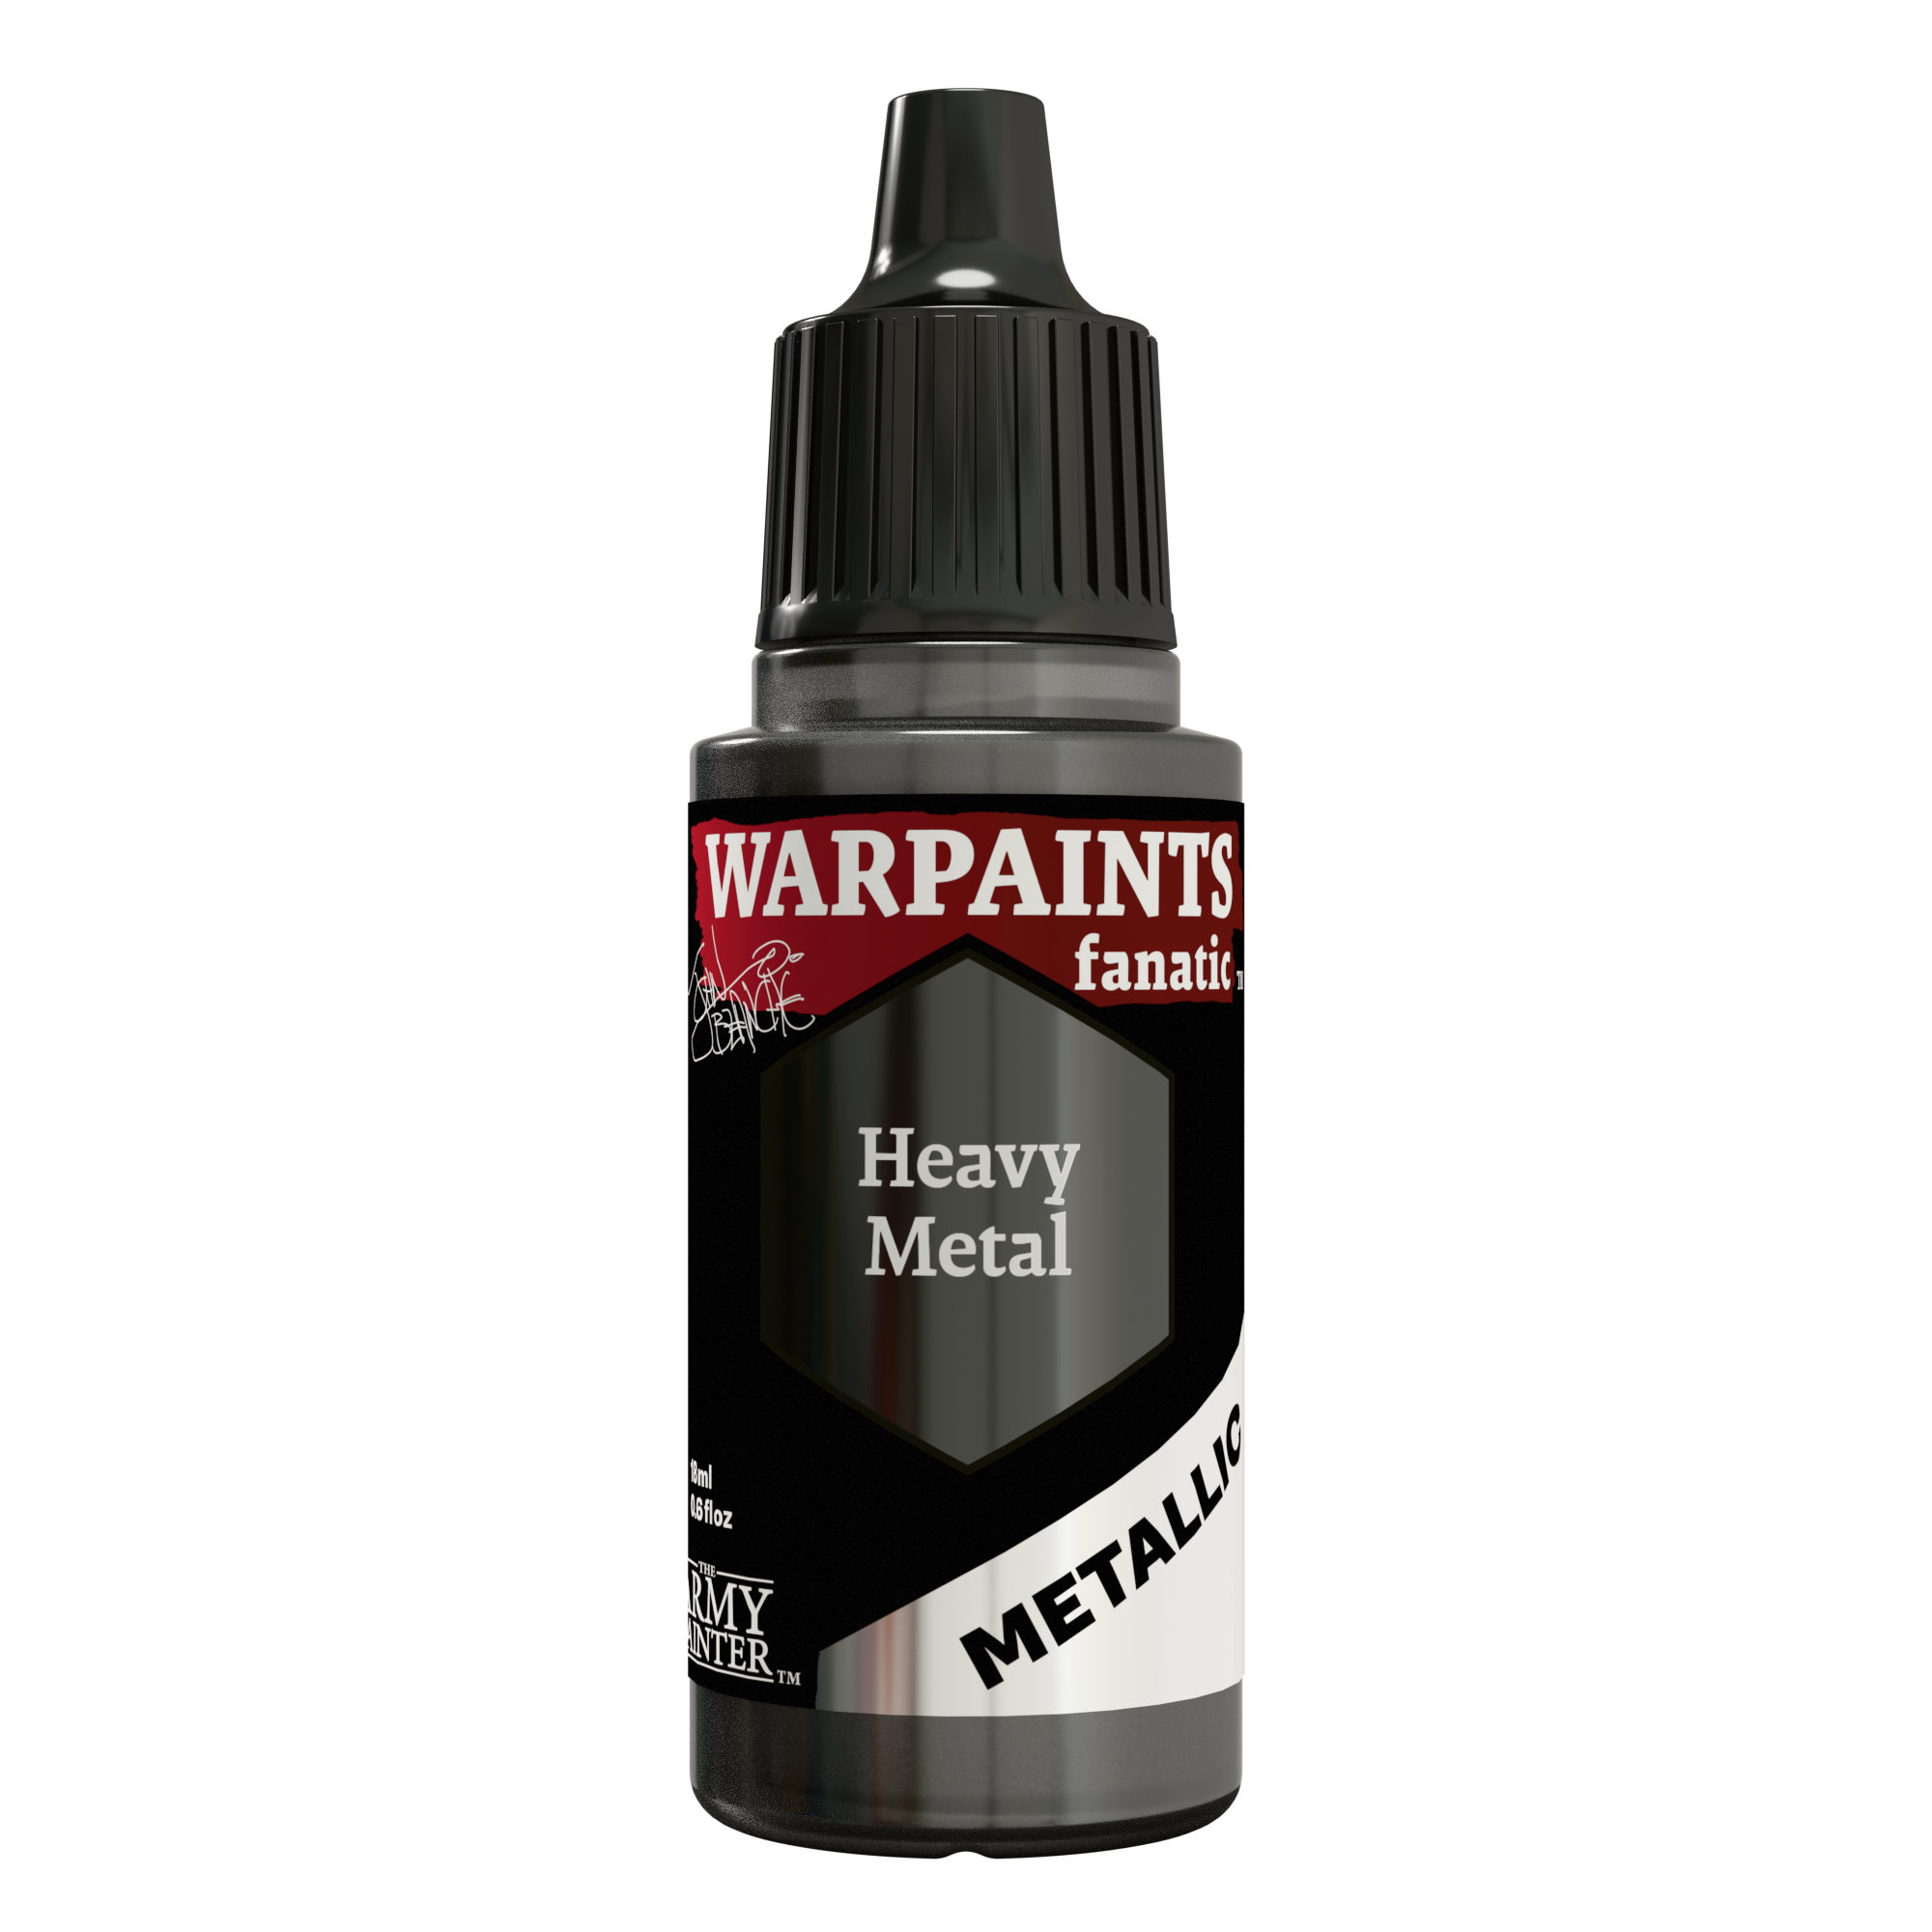
Basecoat all the steel areas with John Blanche Masterclass Heavy Metal.

Step 2
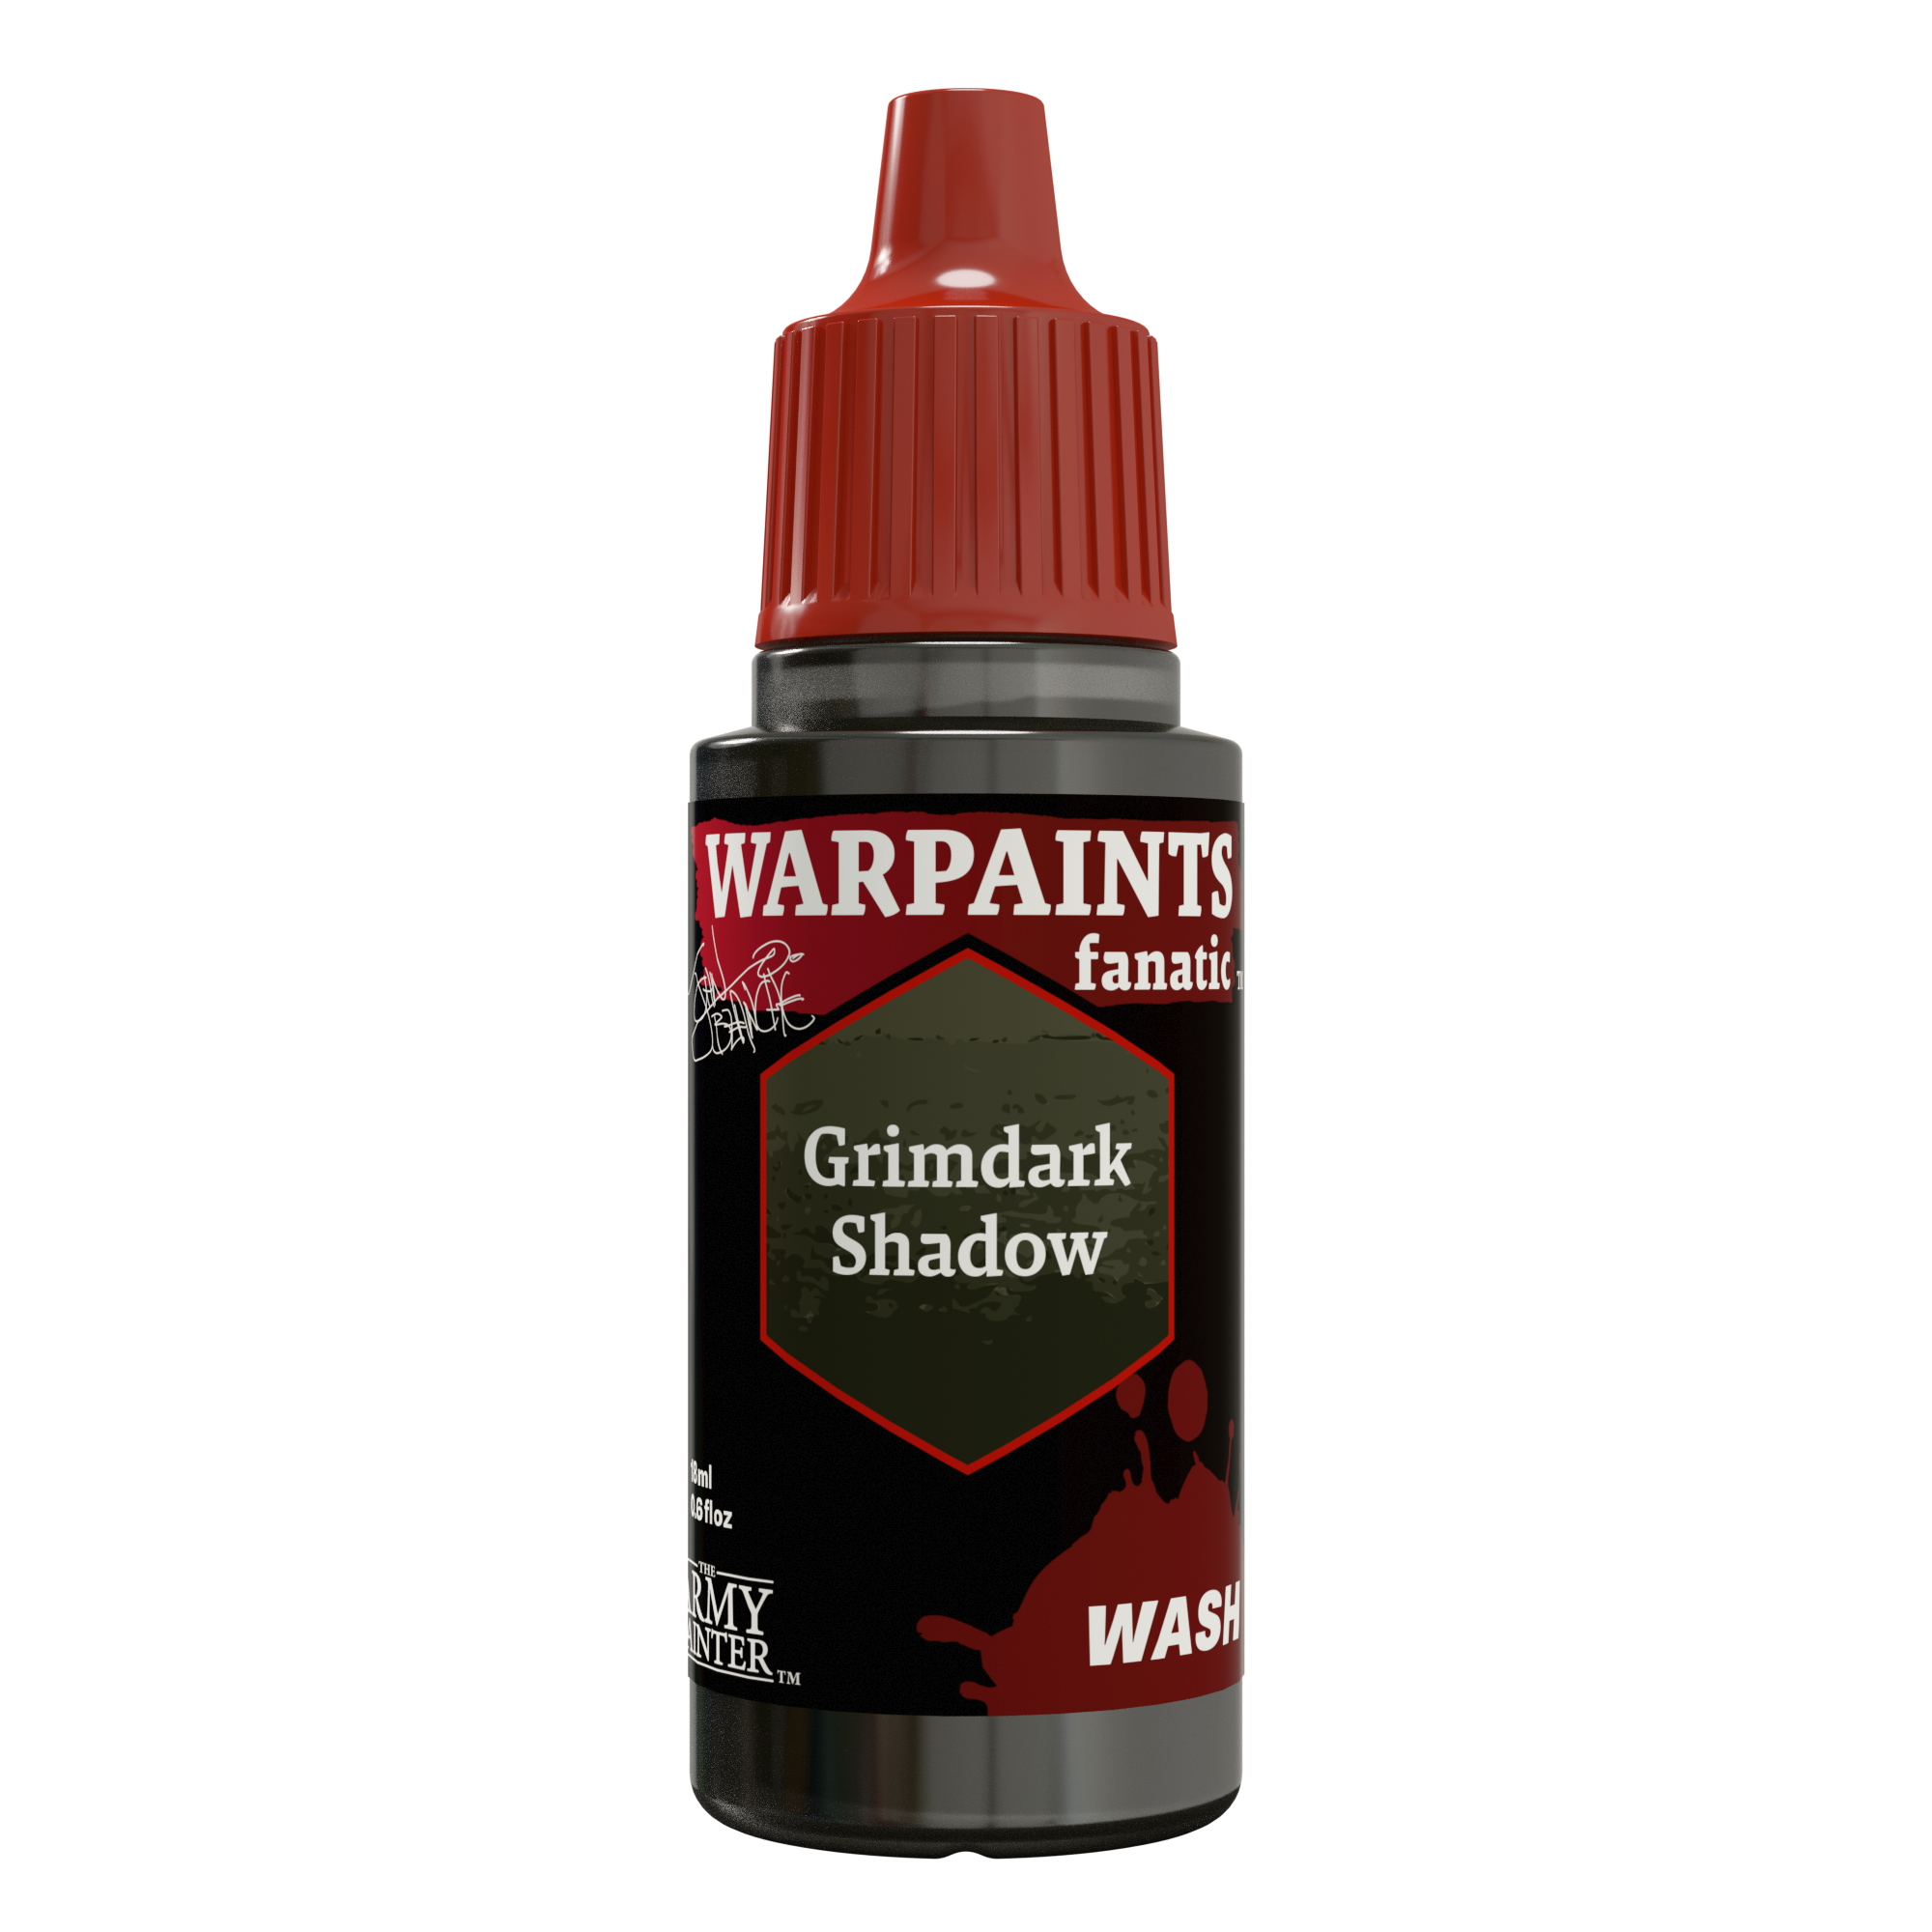
Next, add a bit of depth with an all-over wash of John Blanche Masterclass Grimdark Shadow.

Step 3
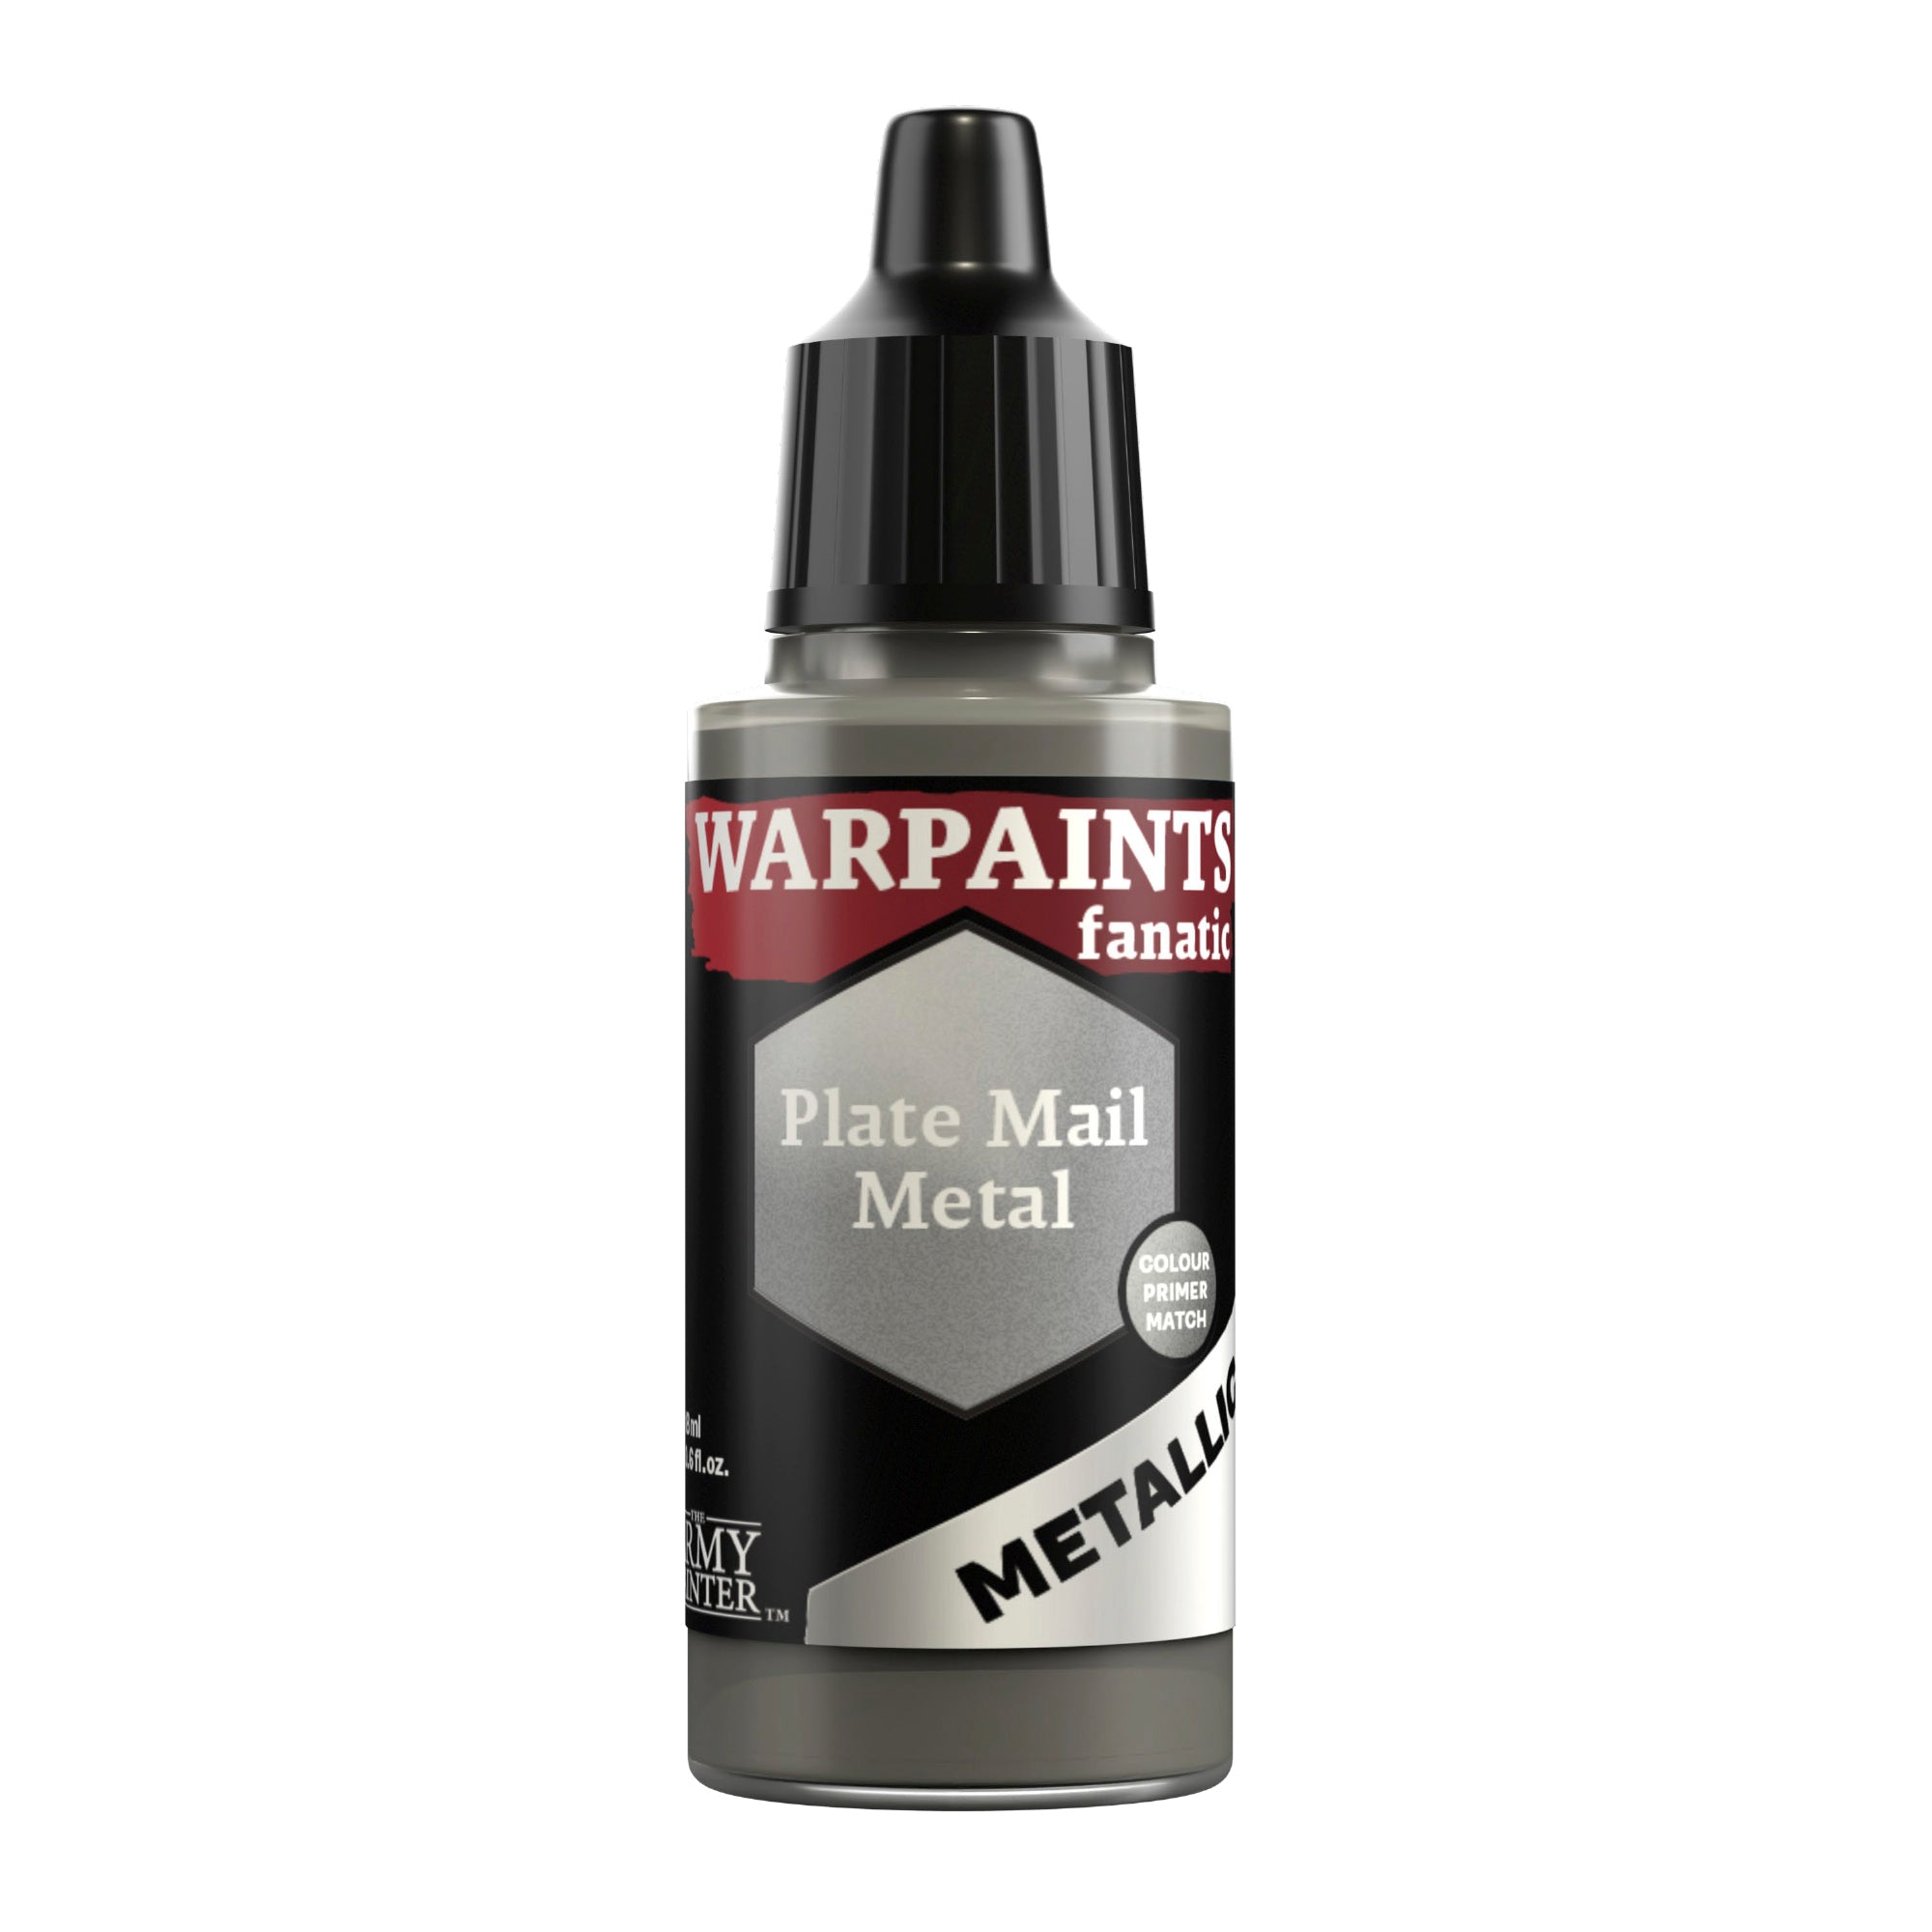
Finish these areas off with an edge highlight of Warpaints Fanatic Plate Mail Metal.

Step 4
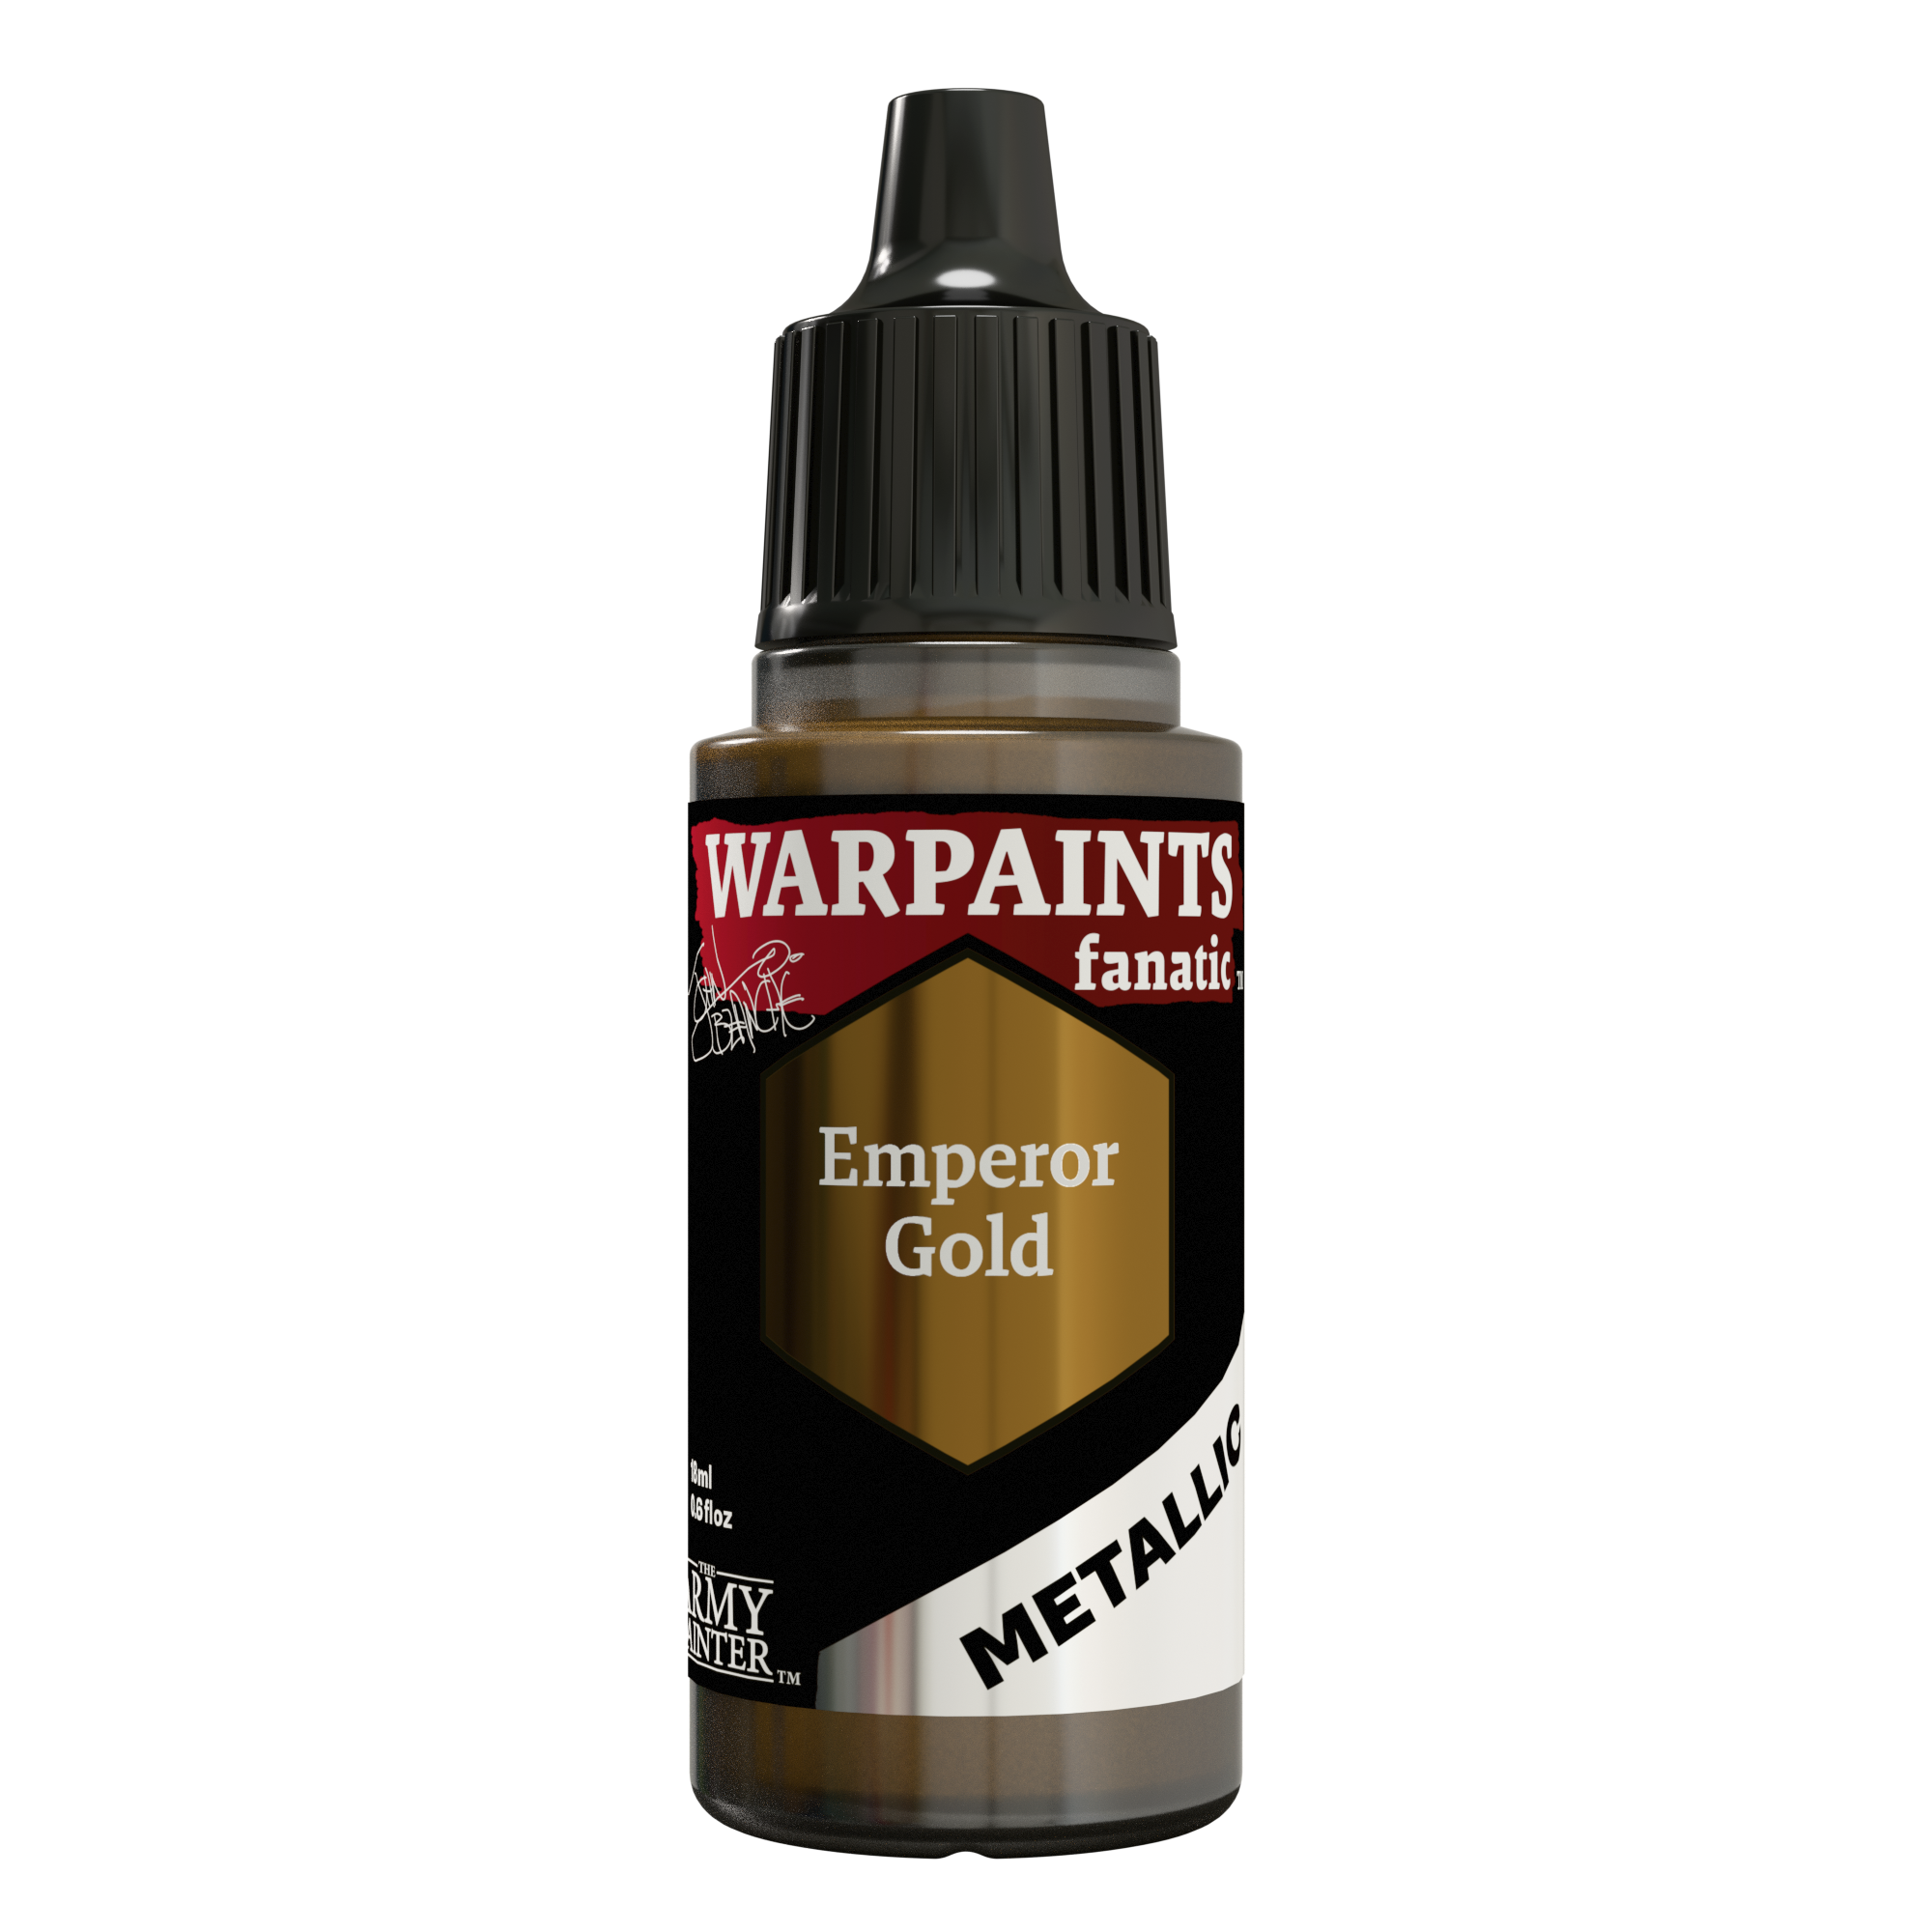
For the gold areas, apply a basecoat of John Blanche Masterclass Emperor Gold.

Step 5
Shade these areas with Warpaints Fanatic Dark Skin Shade.

Step 6
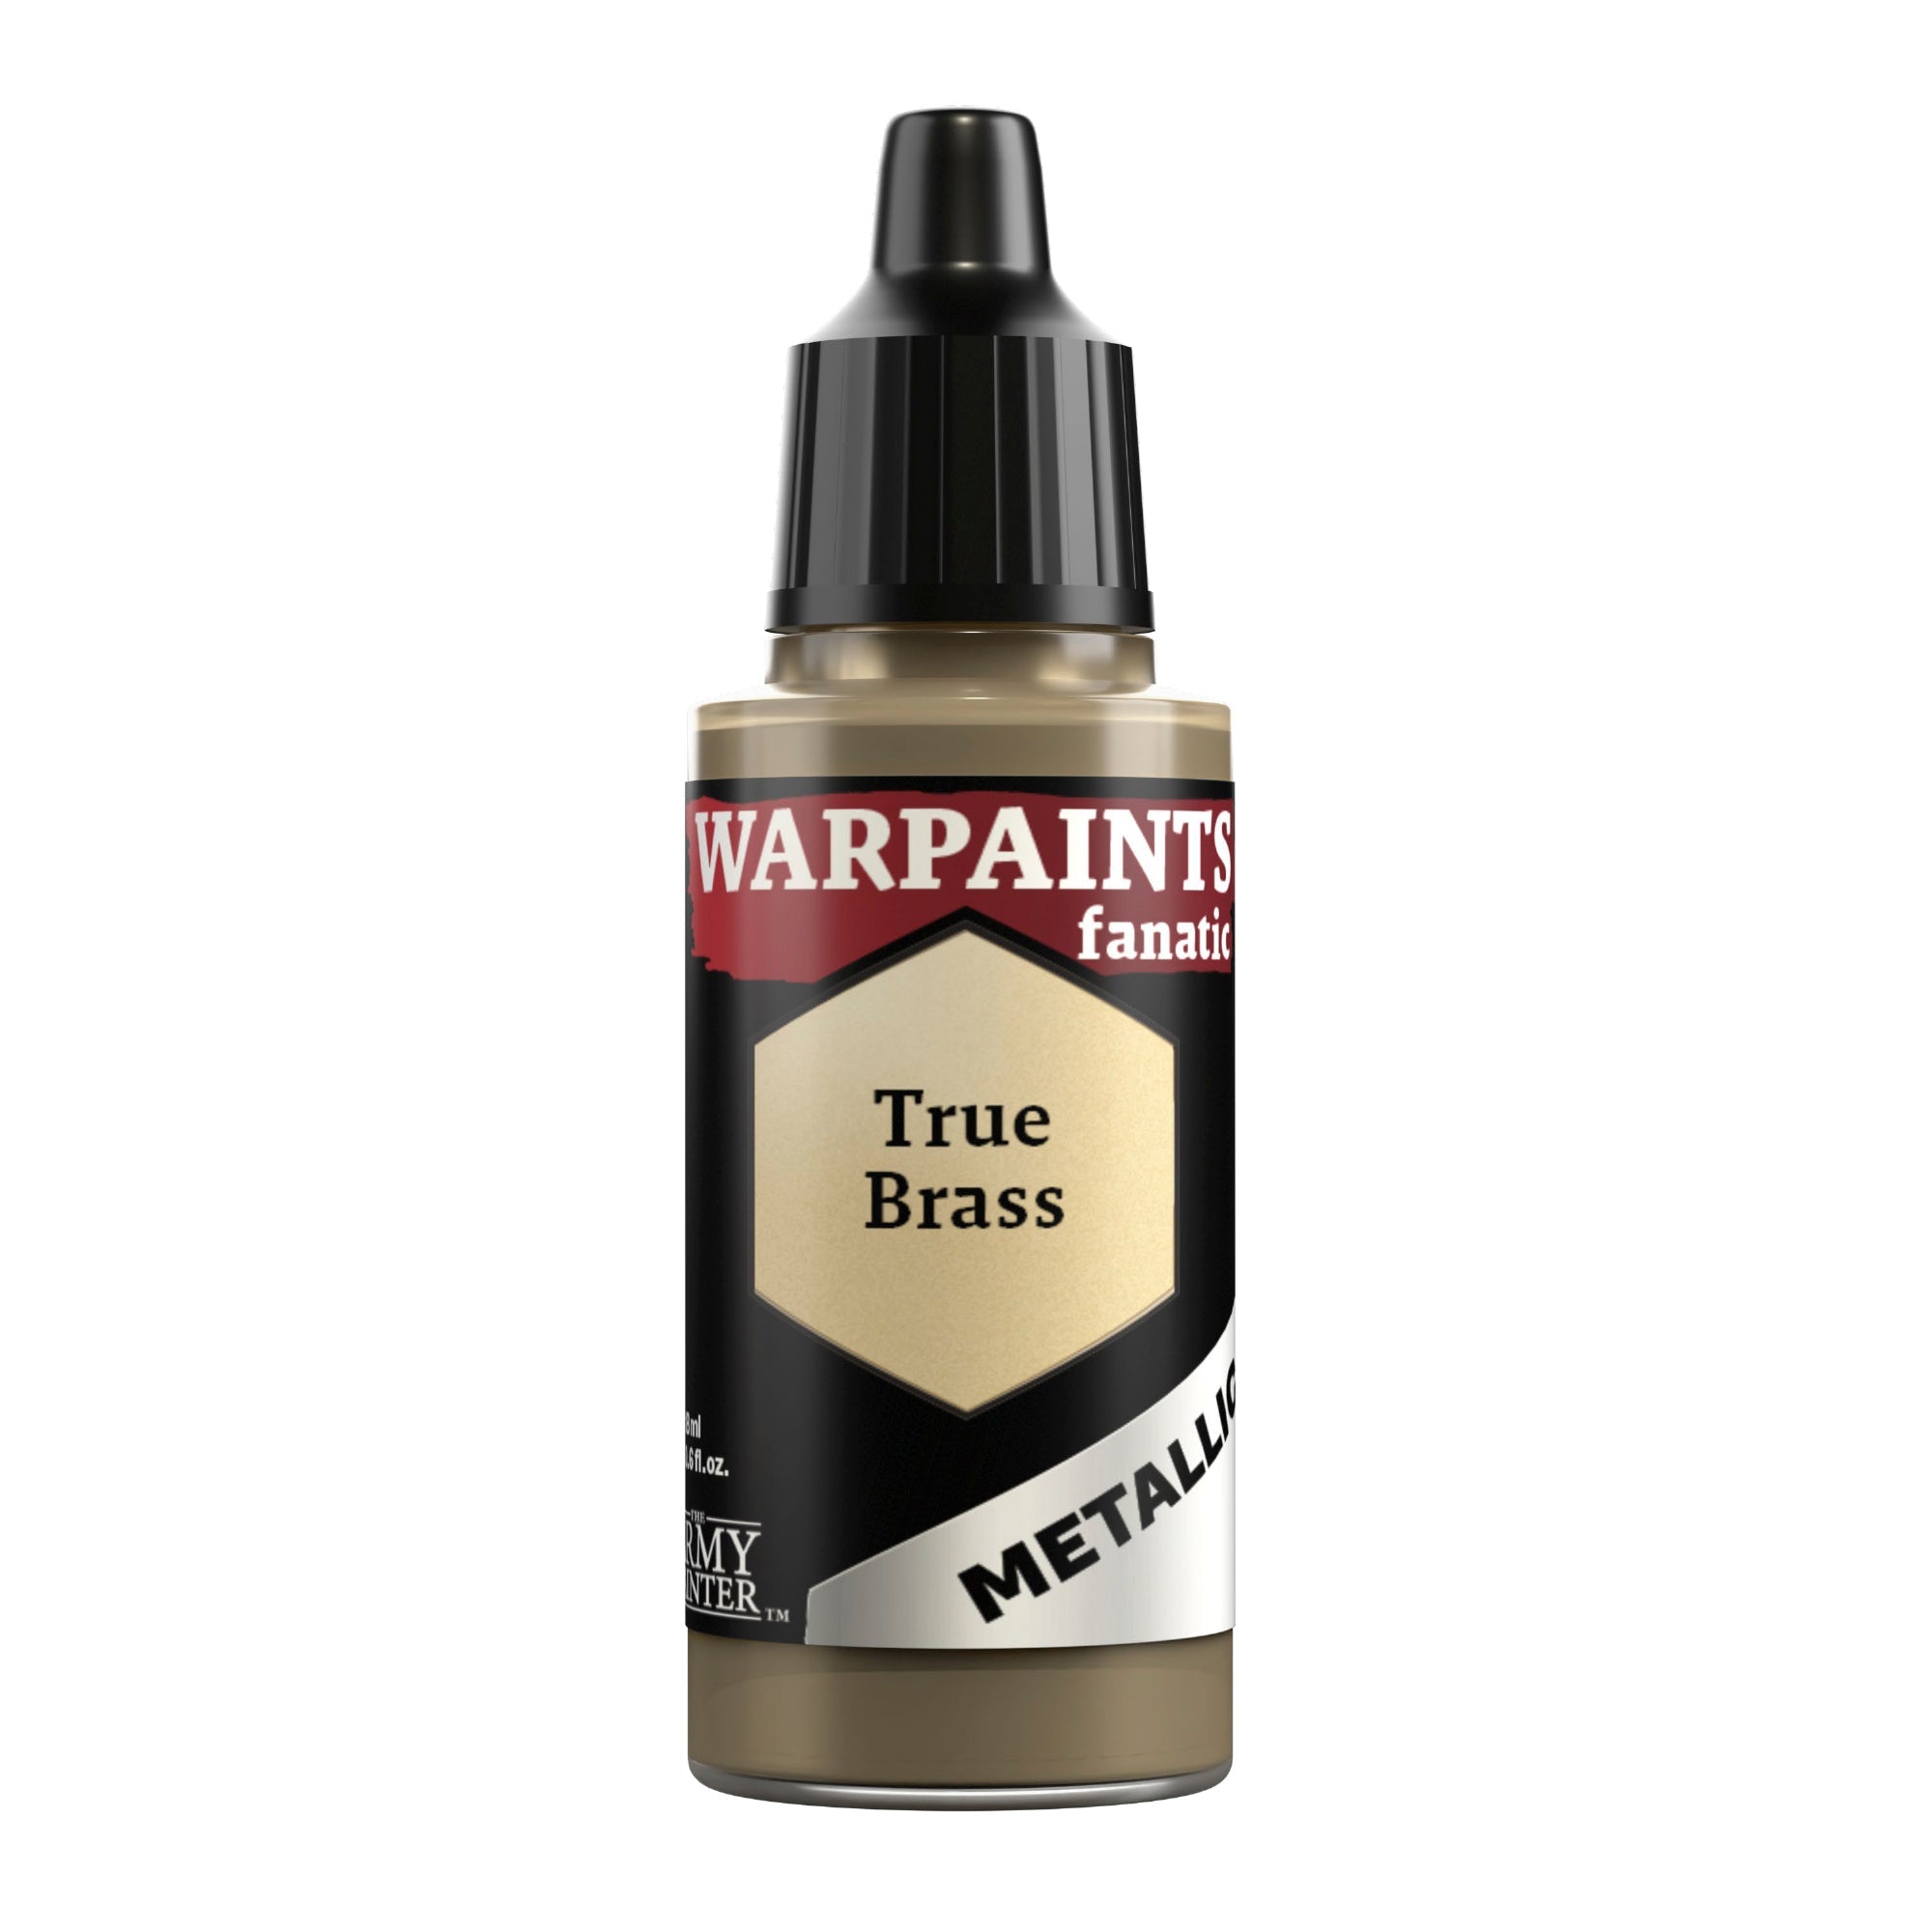
Next, apply a highlight to the edges with Warpaints Fanatic True Brass.

Step 7
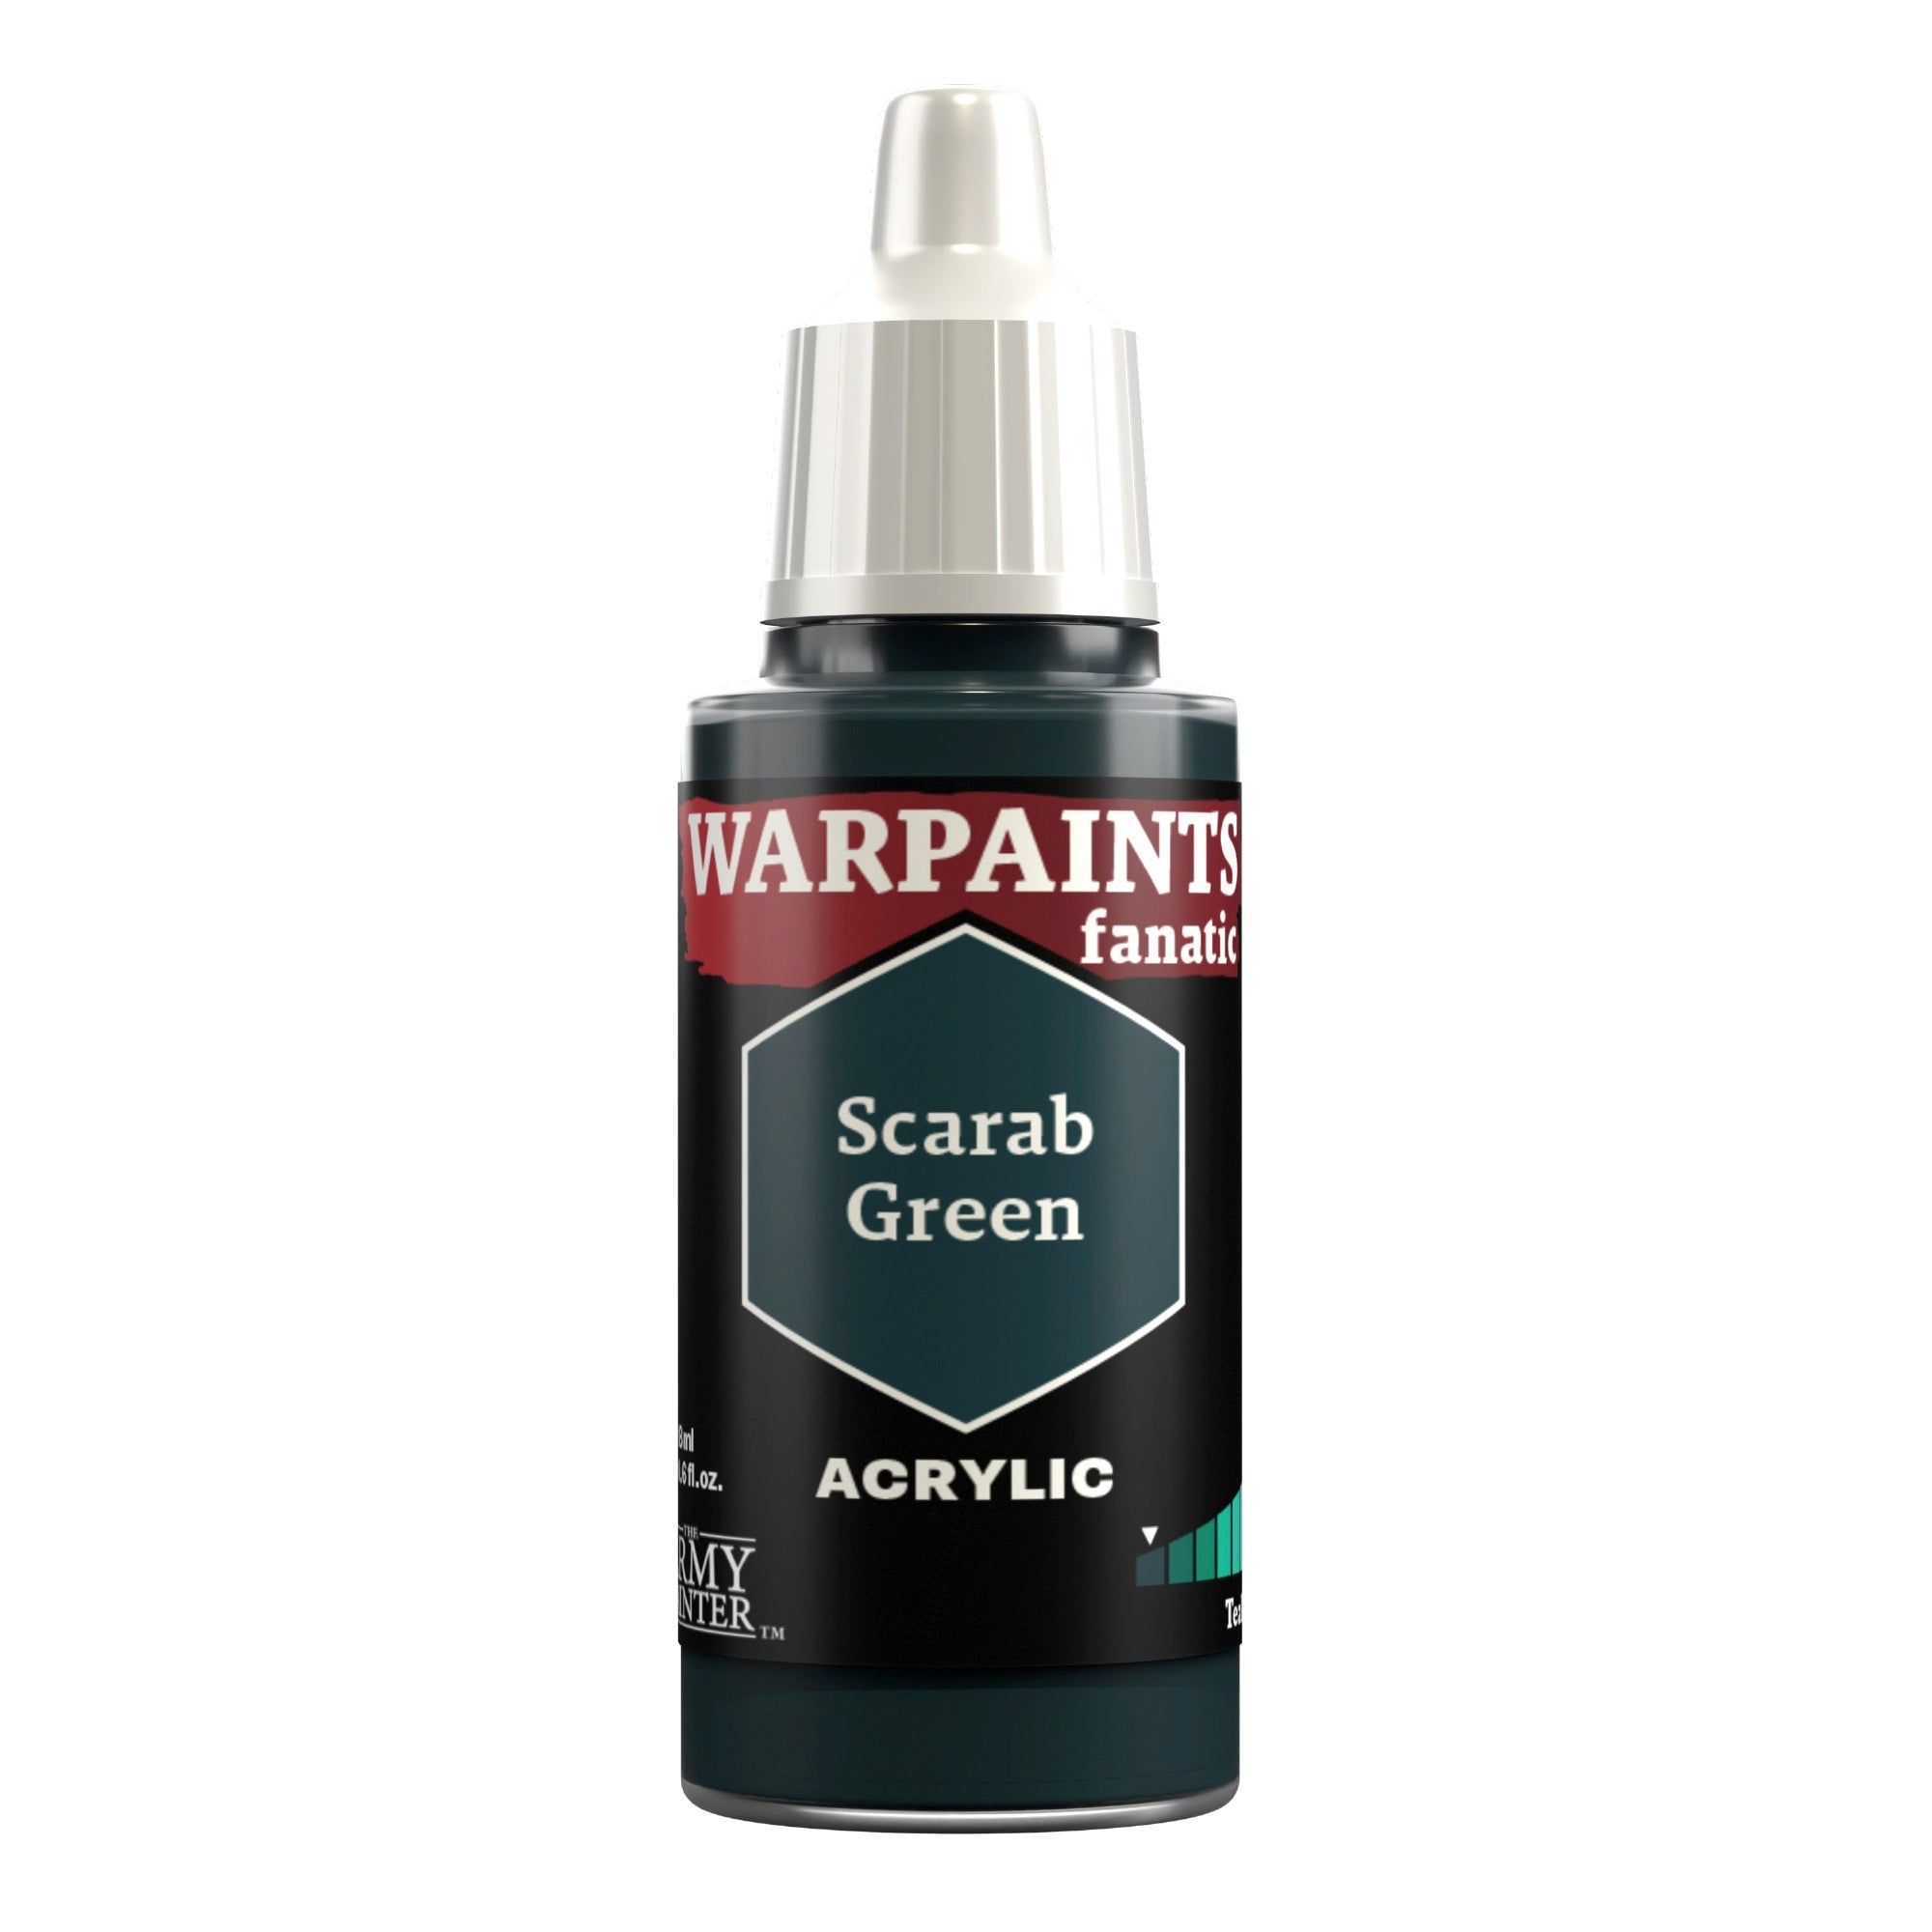
To add a bit of grit and age to the gold, heavily thin down Warpaints Fanatic Scarab Green and apply this around rivets and other crevices for a bit of verdigris.Don’tworry,we’llcome back and weather the steel shortly as well.
The Wood

Step 1
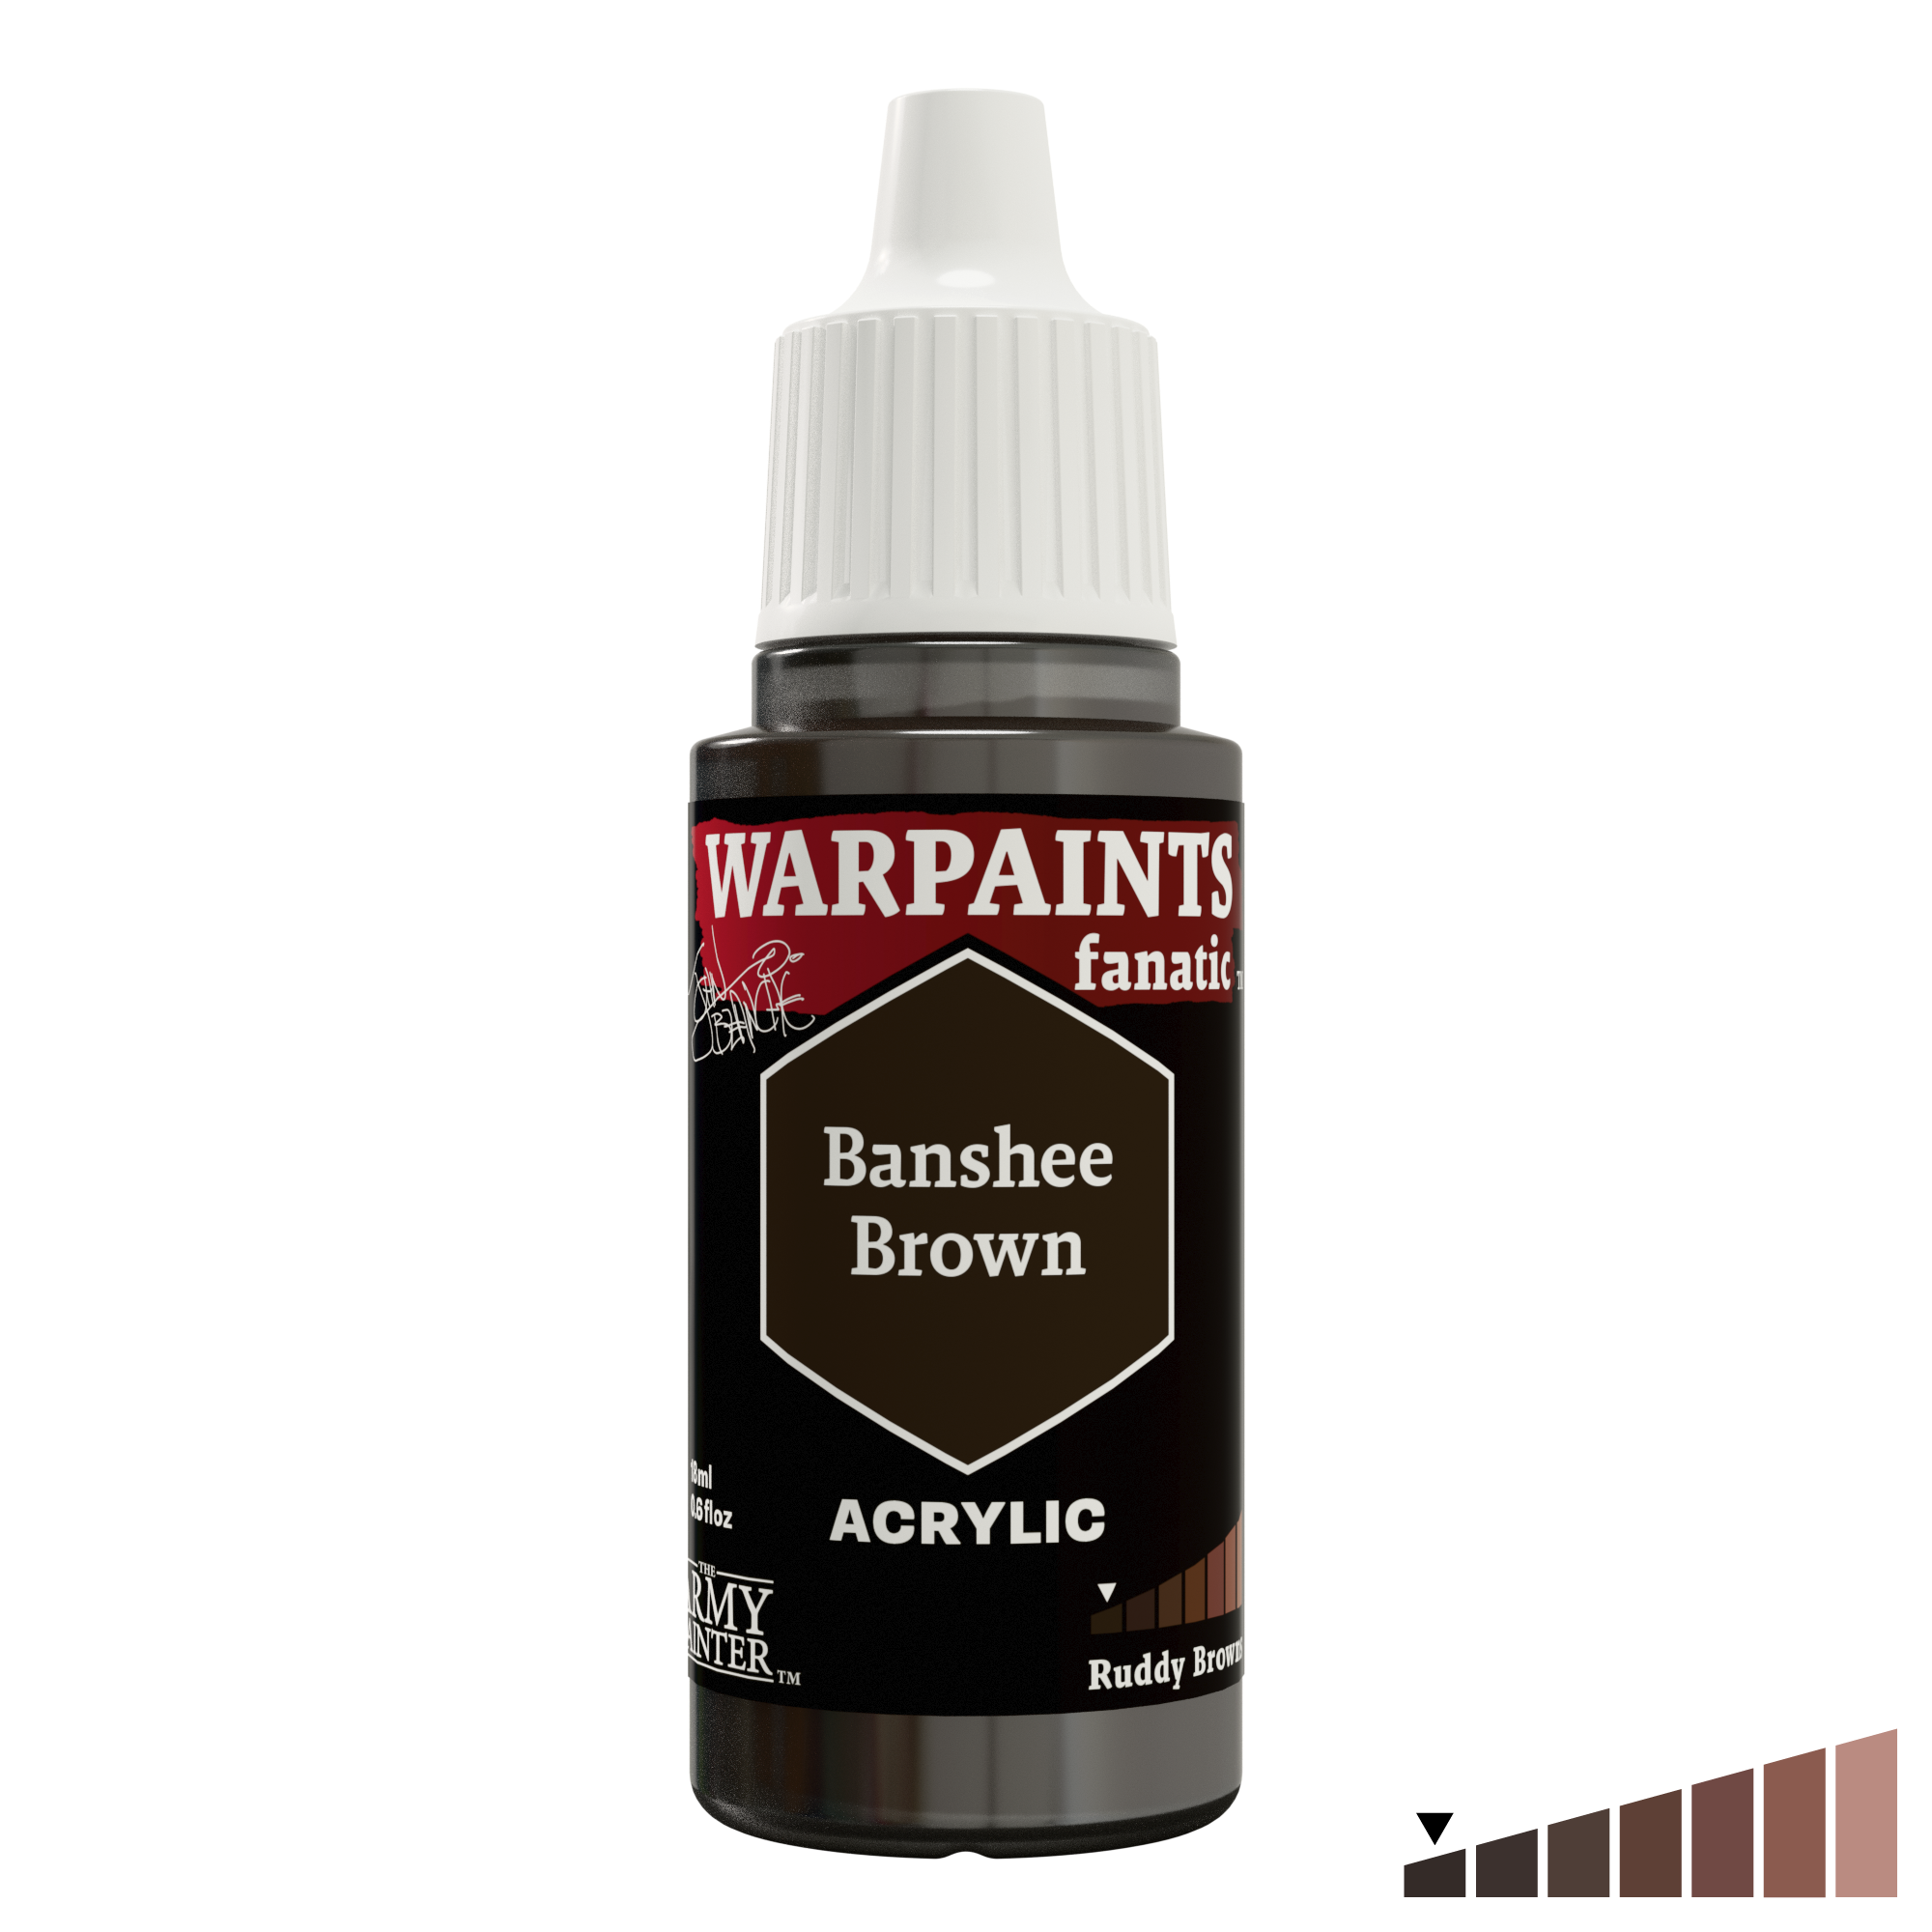
Basecoat the wood of the sniper rifle with John Blanche Masterclass Banshee Brown.

Step 2
Next, shade this with a wash of John Blanche Masterclass Grimdark Shadow.

Step 3
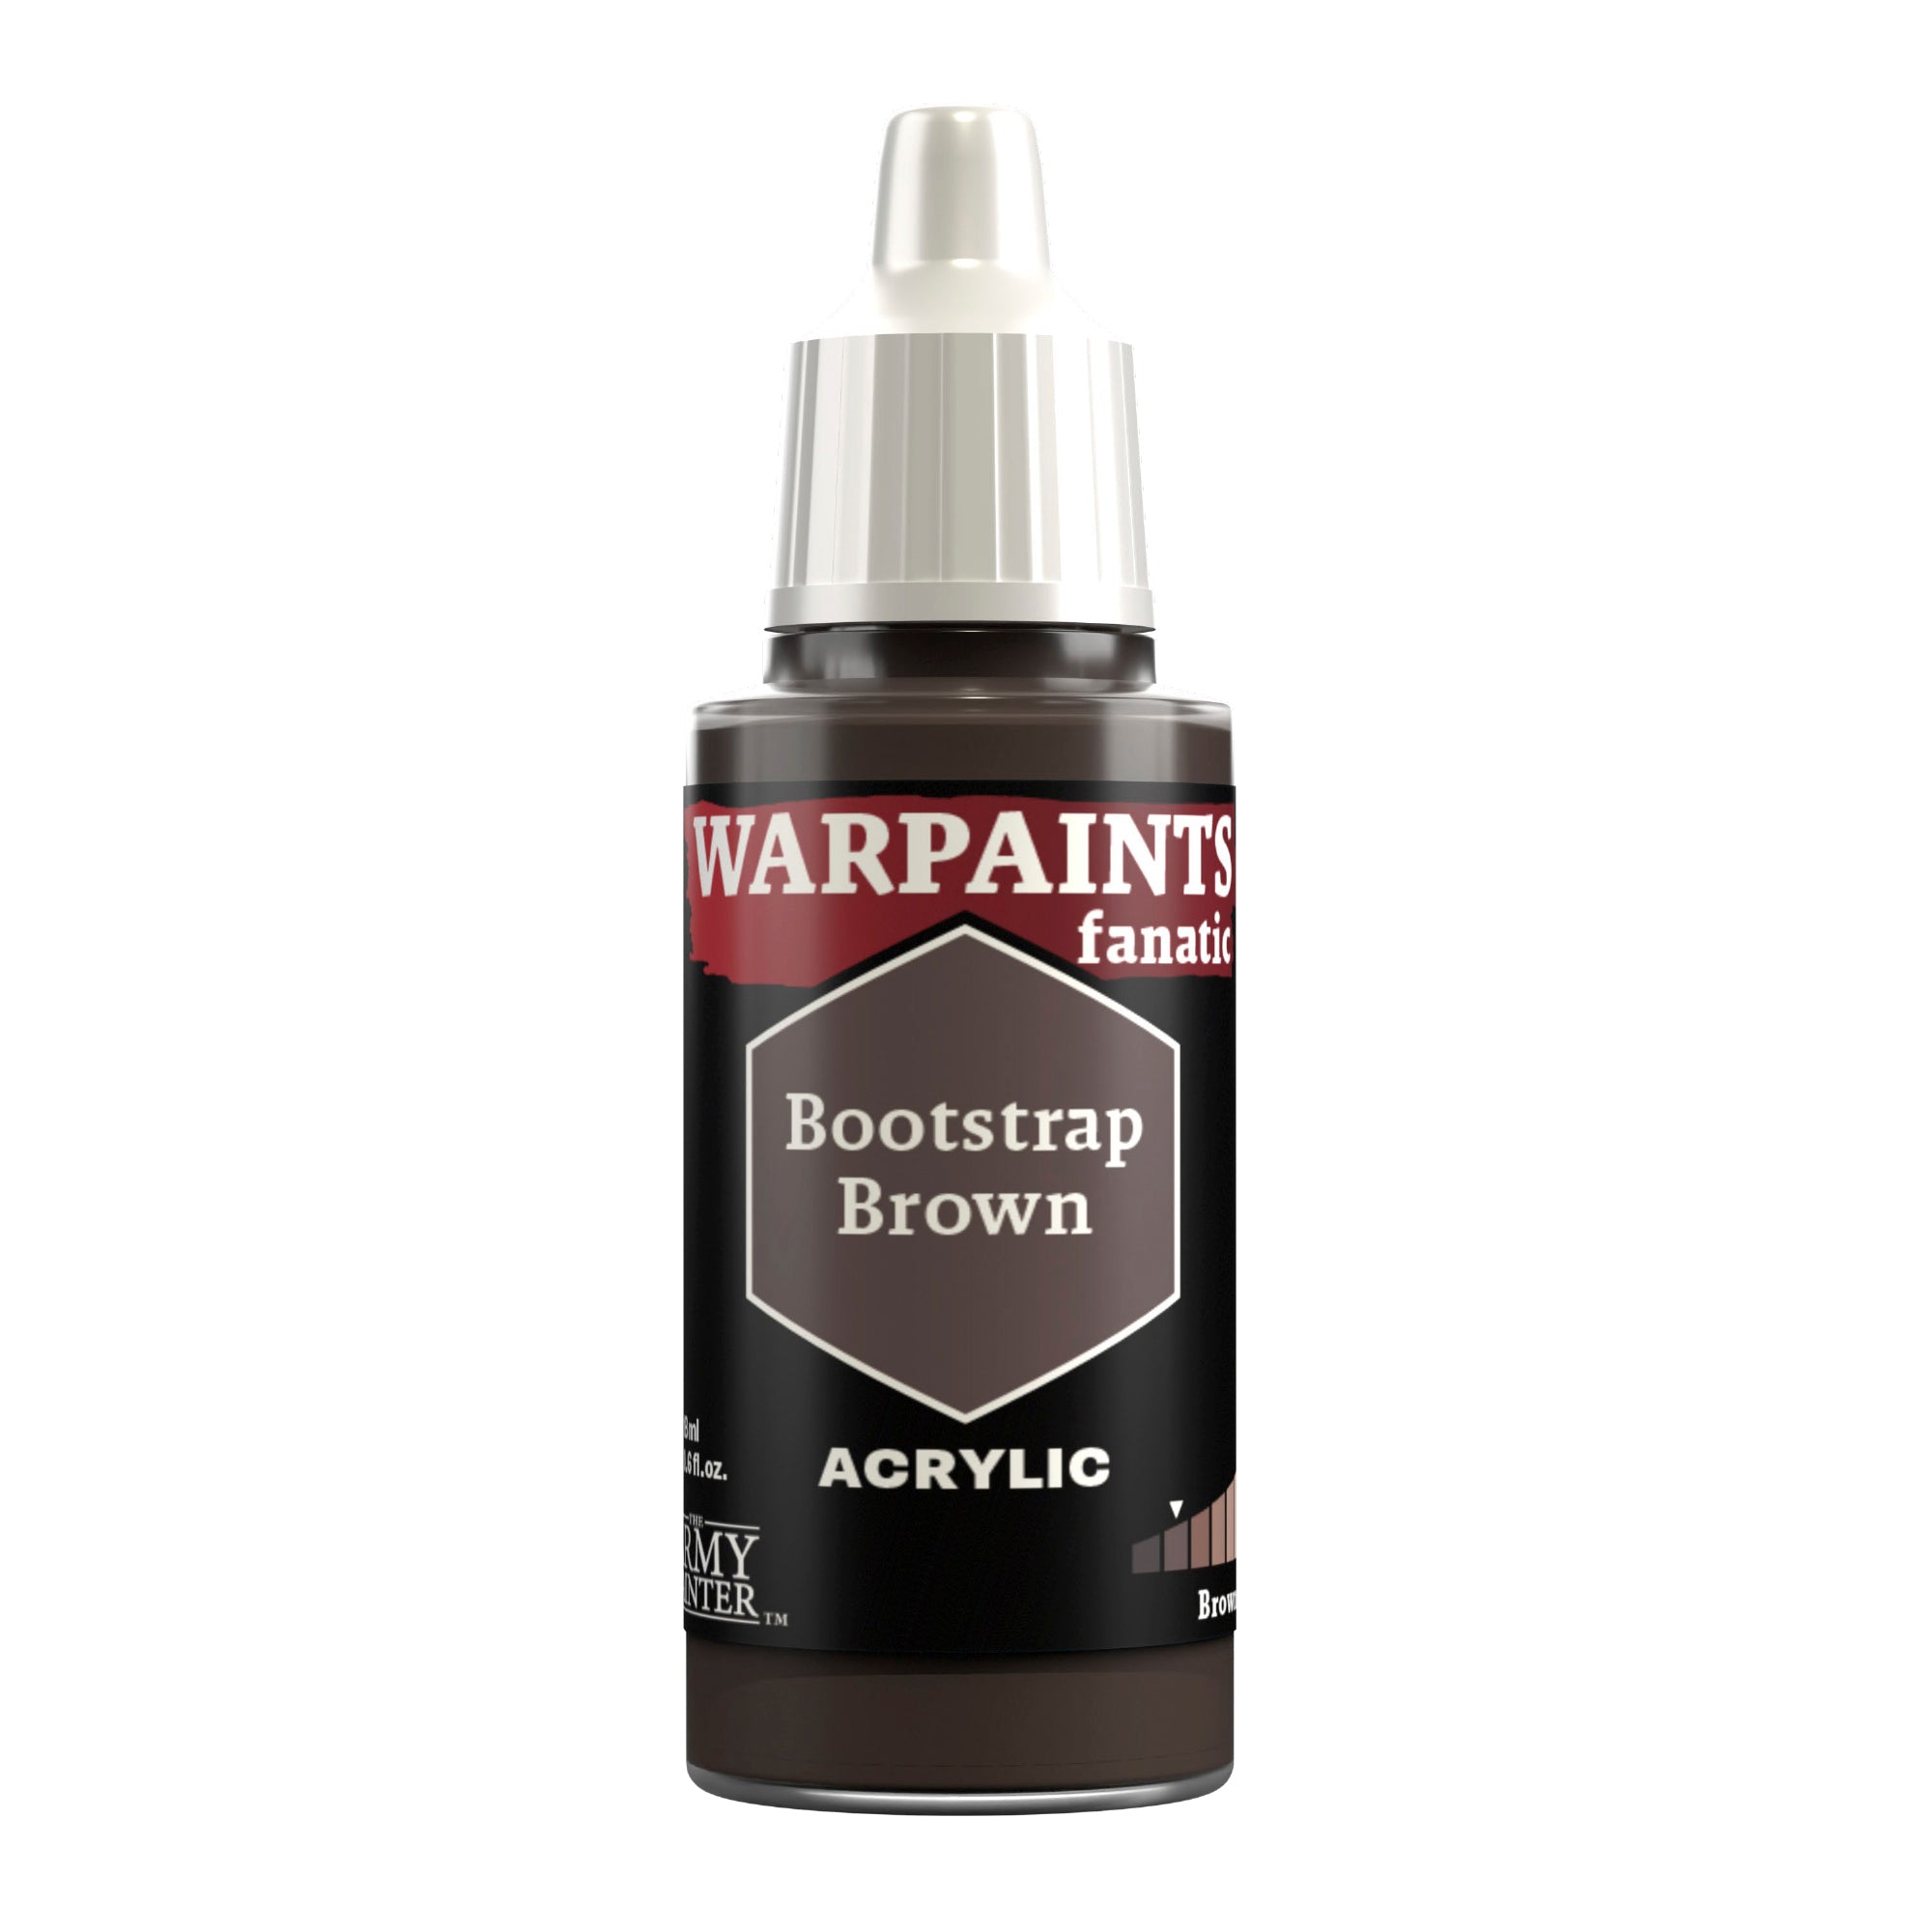
Apply the first highlight with Warpaints Fanatic Bootstrap Brown, picking out the edges, and if you’re up for it, a wood grain pattern on the flat areas. Our new Masterclass Brushes are perfect for this, with their pinpoint tips and excellent control.

Step 4
Finally, you guessed it, mix a bit of John Blanche Masterclass Ivory White into the Bootstrap Brown for the last highlight. Ivory White really is an extremely versatile colour.

Step 5
Once the wood is painted, we can apply the rust to the steel areas. Thin down some Warpaints Fanatic Effect Fresh Rust and carefully paint it into crevices. Less is more here, as it can be quite overpowering. It’s easier to go back later and add more if needed.
The Bandages and Bone

Step 1
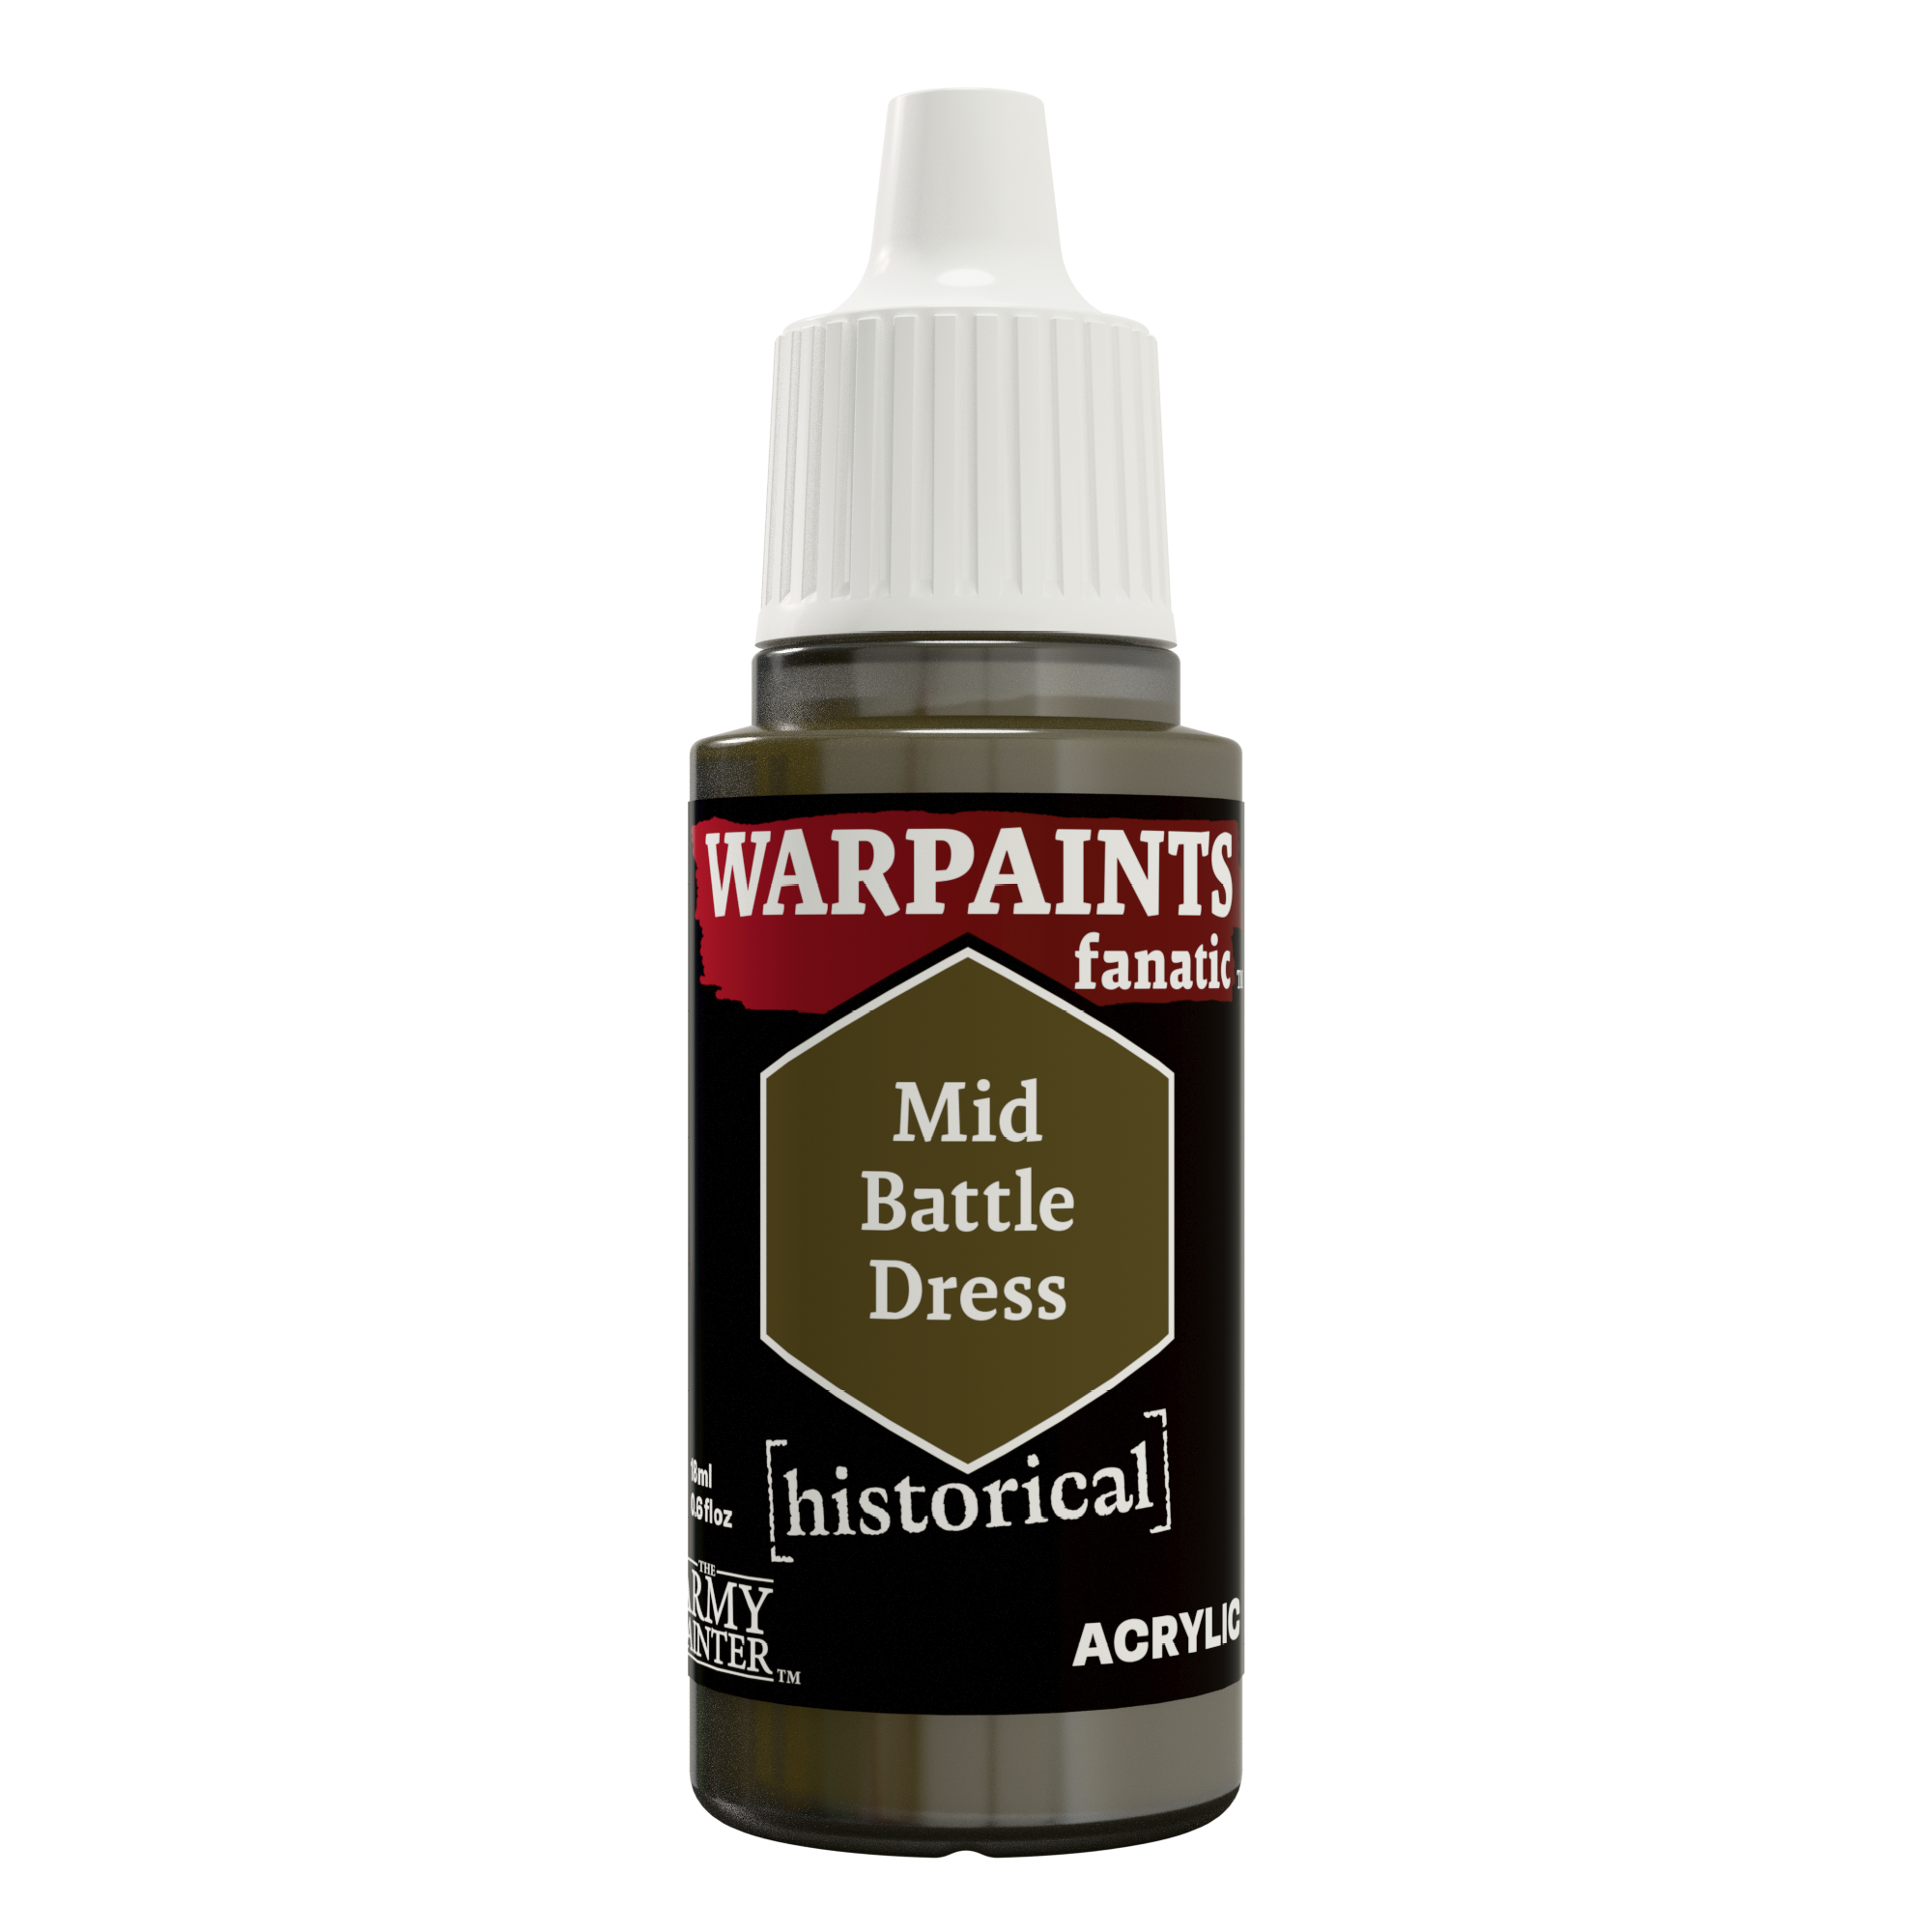
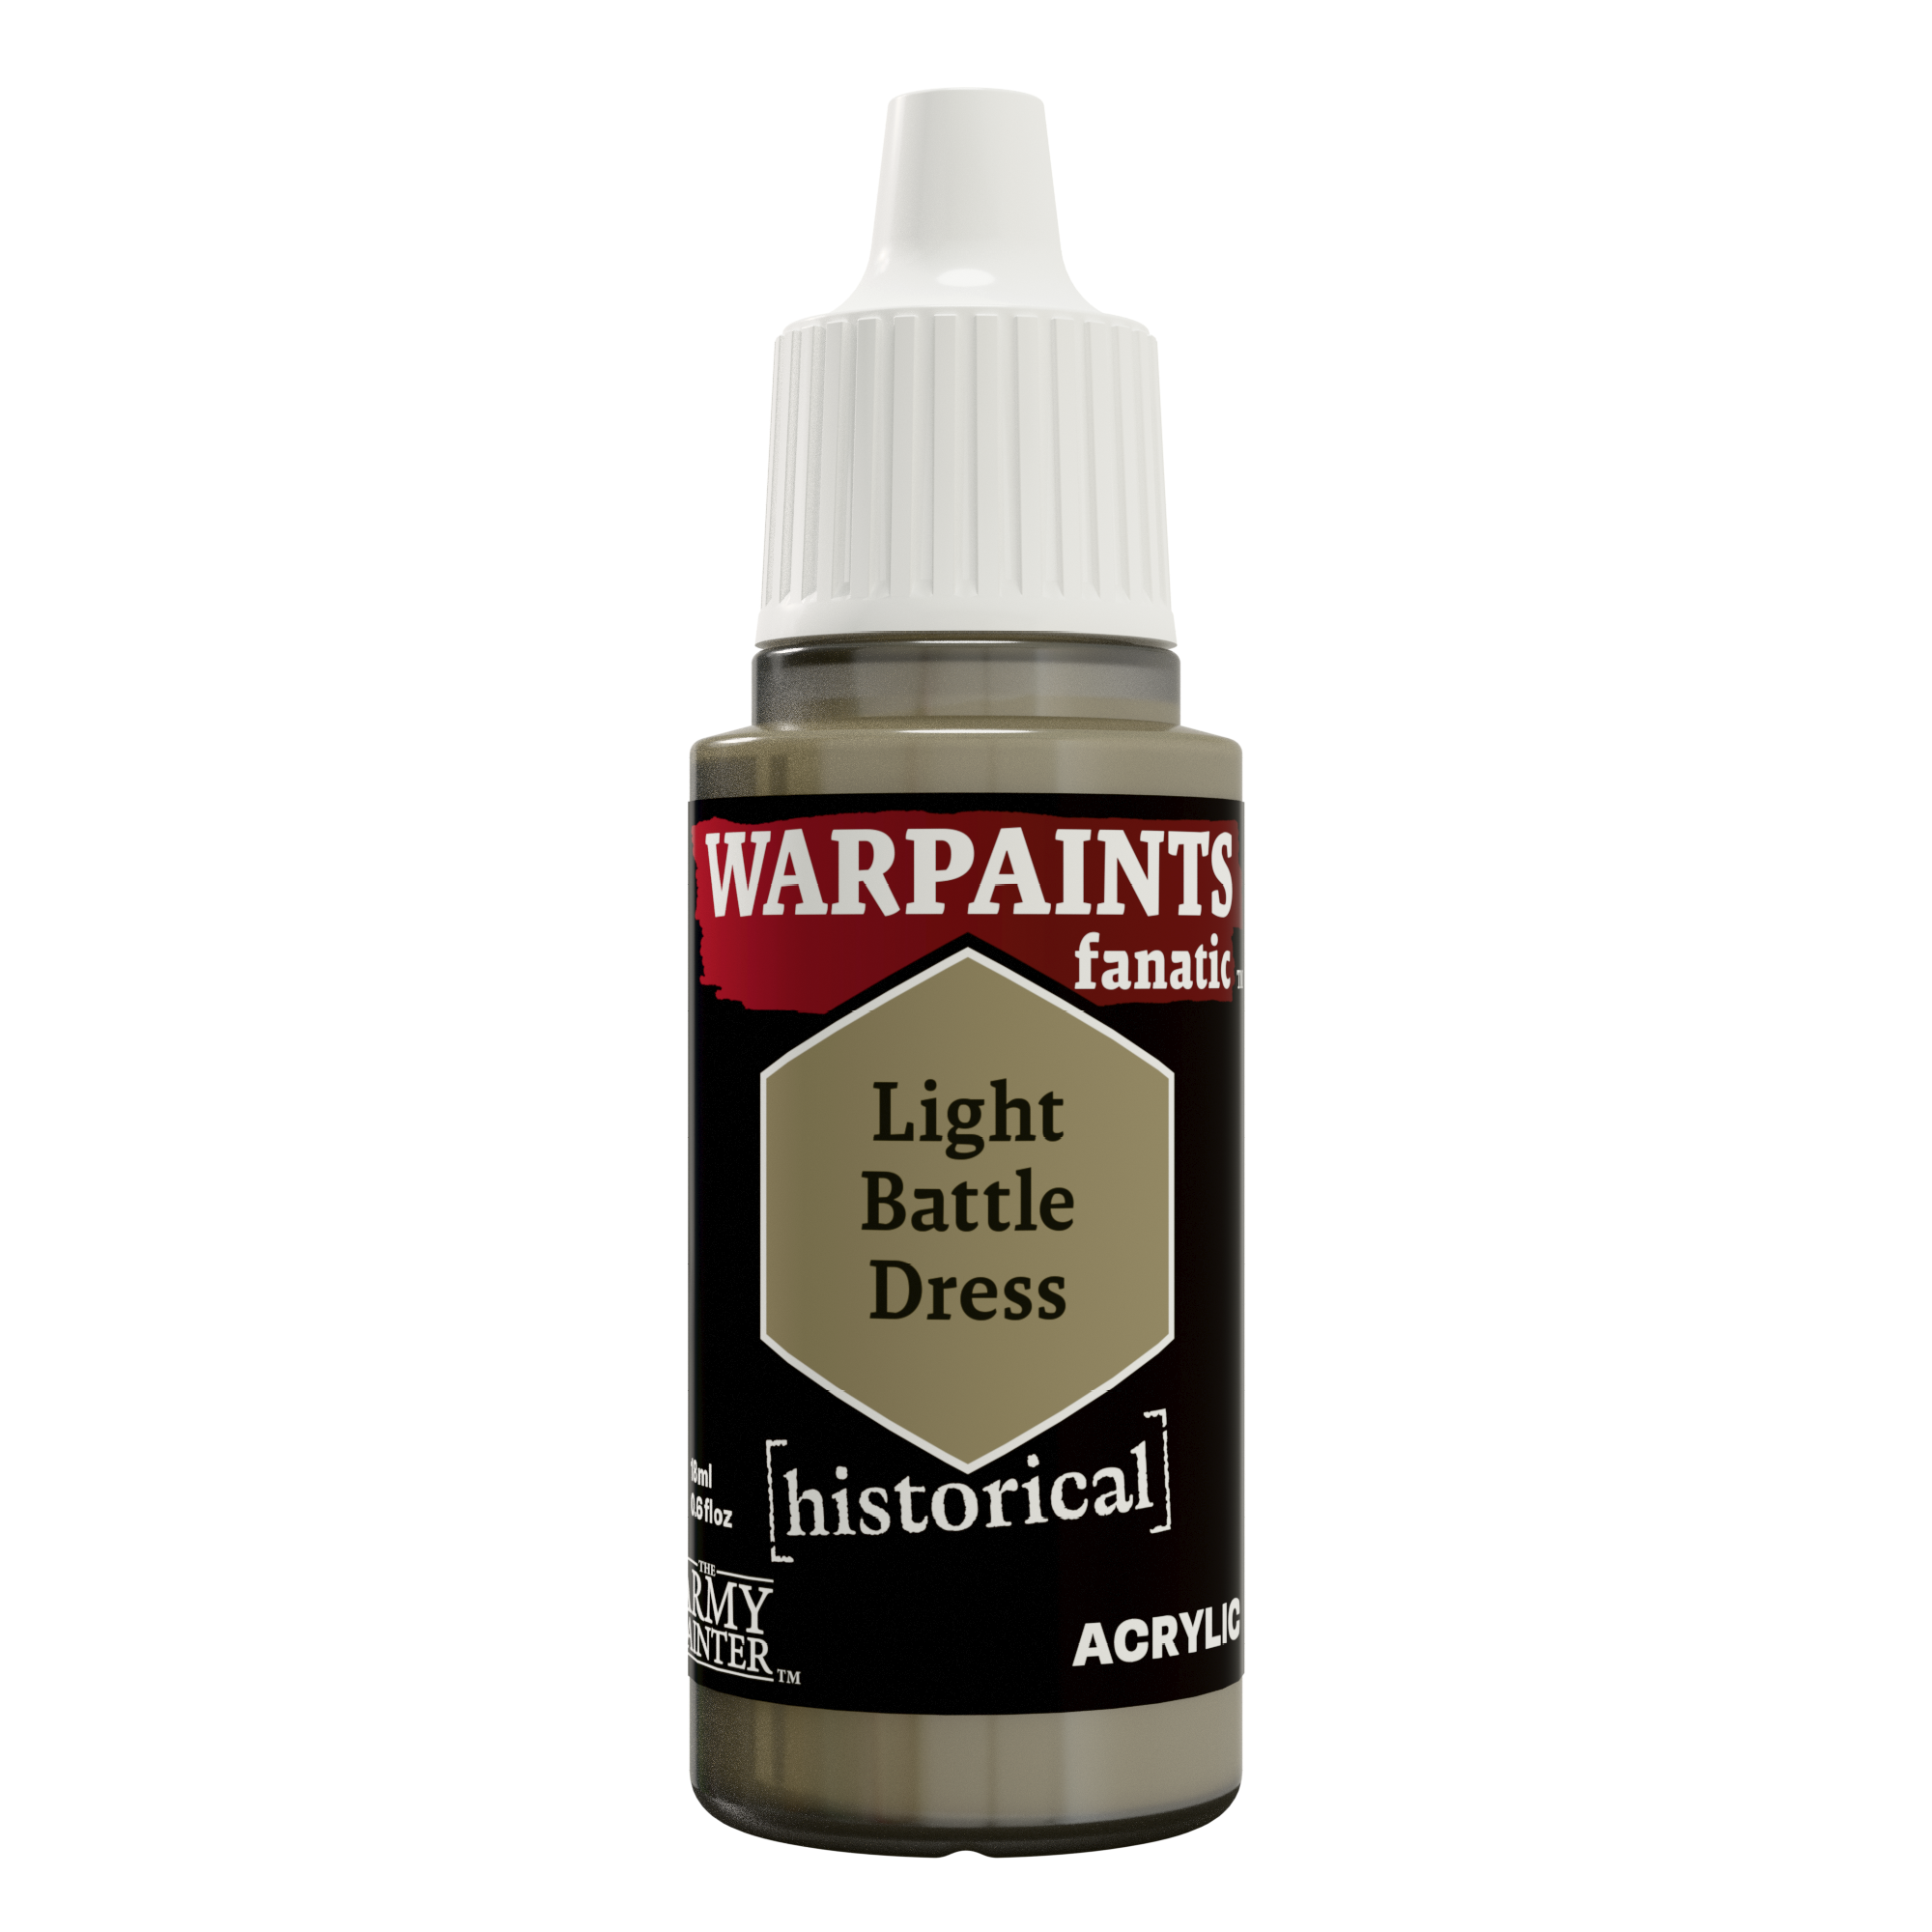
While he may not be wearing boots, this Sniper Priest has at least dutifully wrapped his ankles for a bit of support. Basecoat all the bandages on the model with Warpaints Historical Mid Battle Dress and the skulls on the base with Warpaints Historical Light Battle Dress.

Step 2
Next, shade both areas with a bit of Warpaints Fanatic Strong Tone.

Step 3
After this is fully dry, highlight both areas with their original basecoat colours, followed by a second highlight of Warpaints Historical Light Battle Dress on the bandages.
The Beard

Step 1
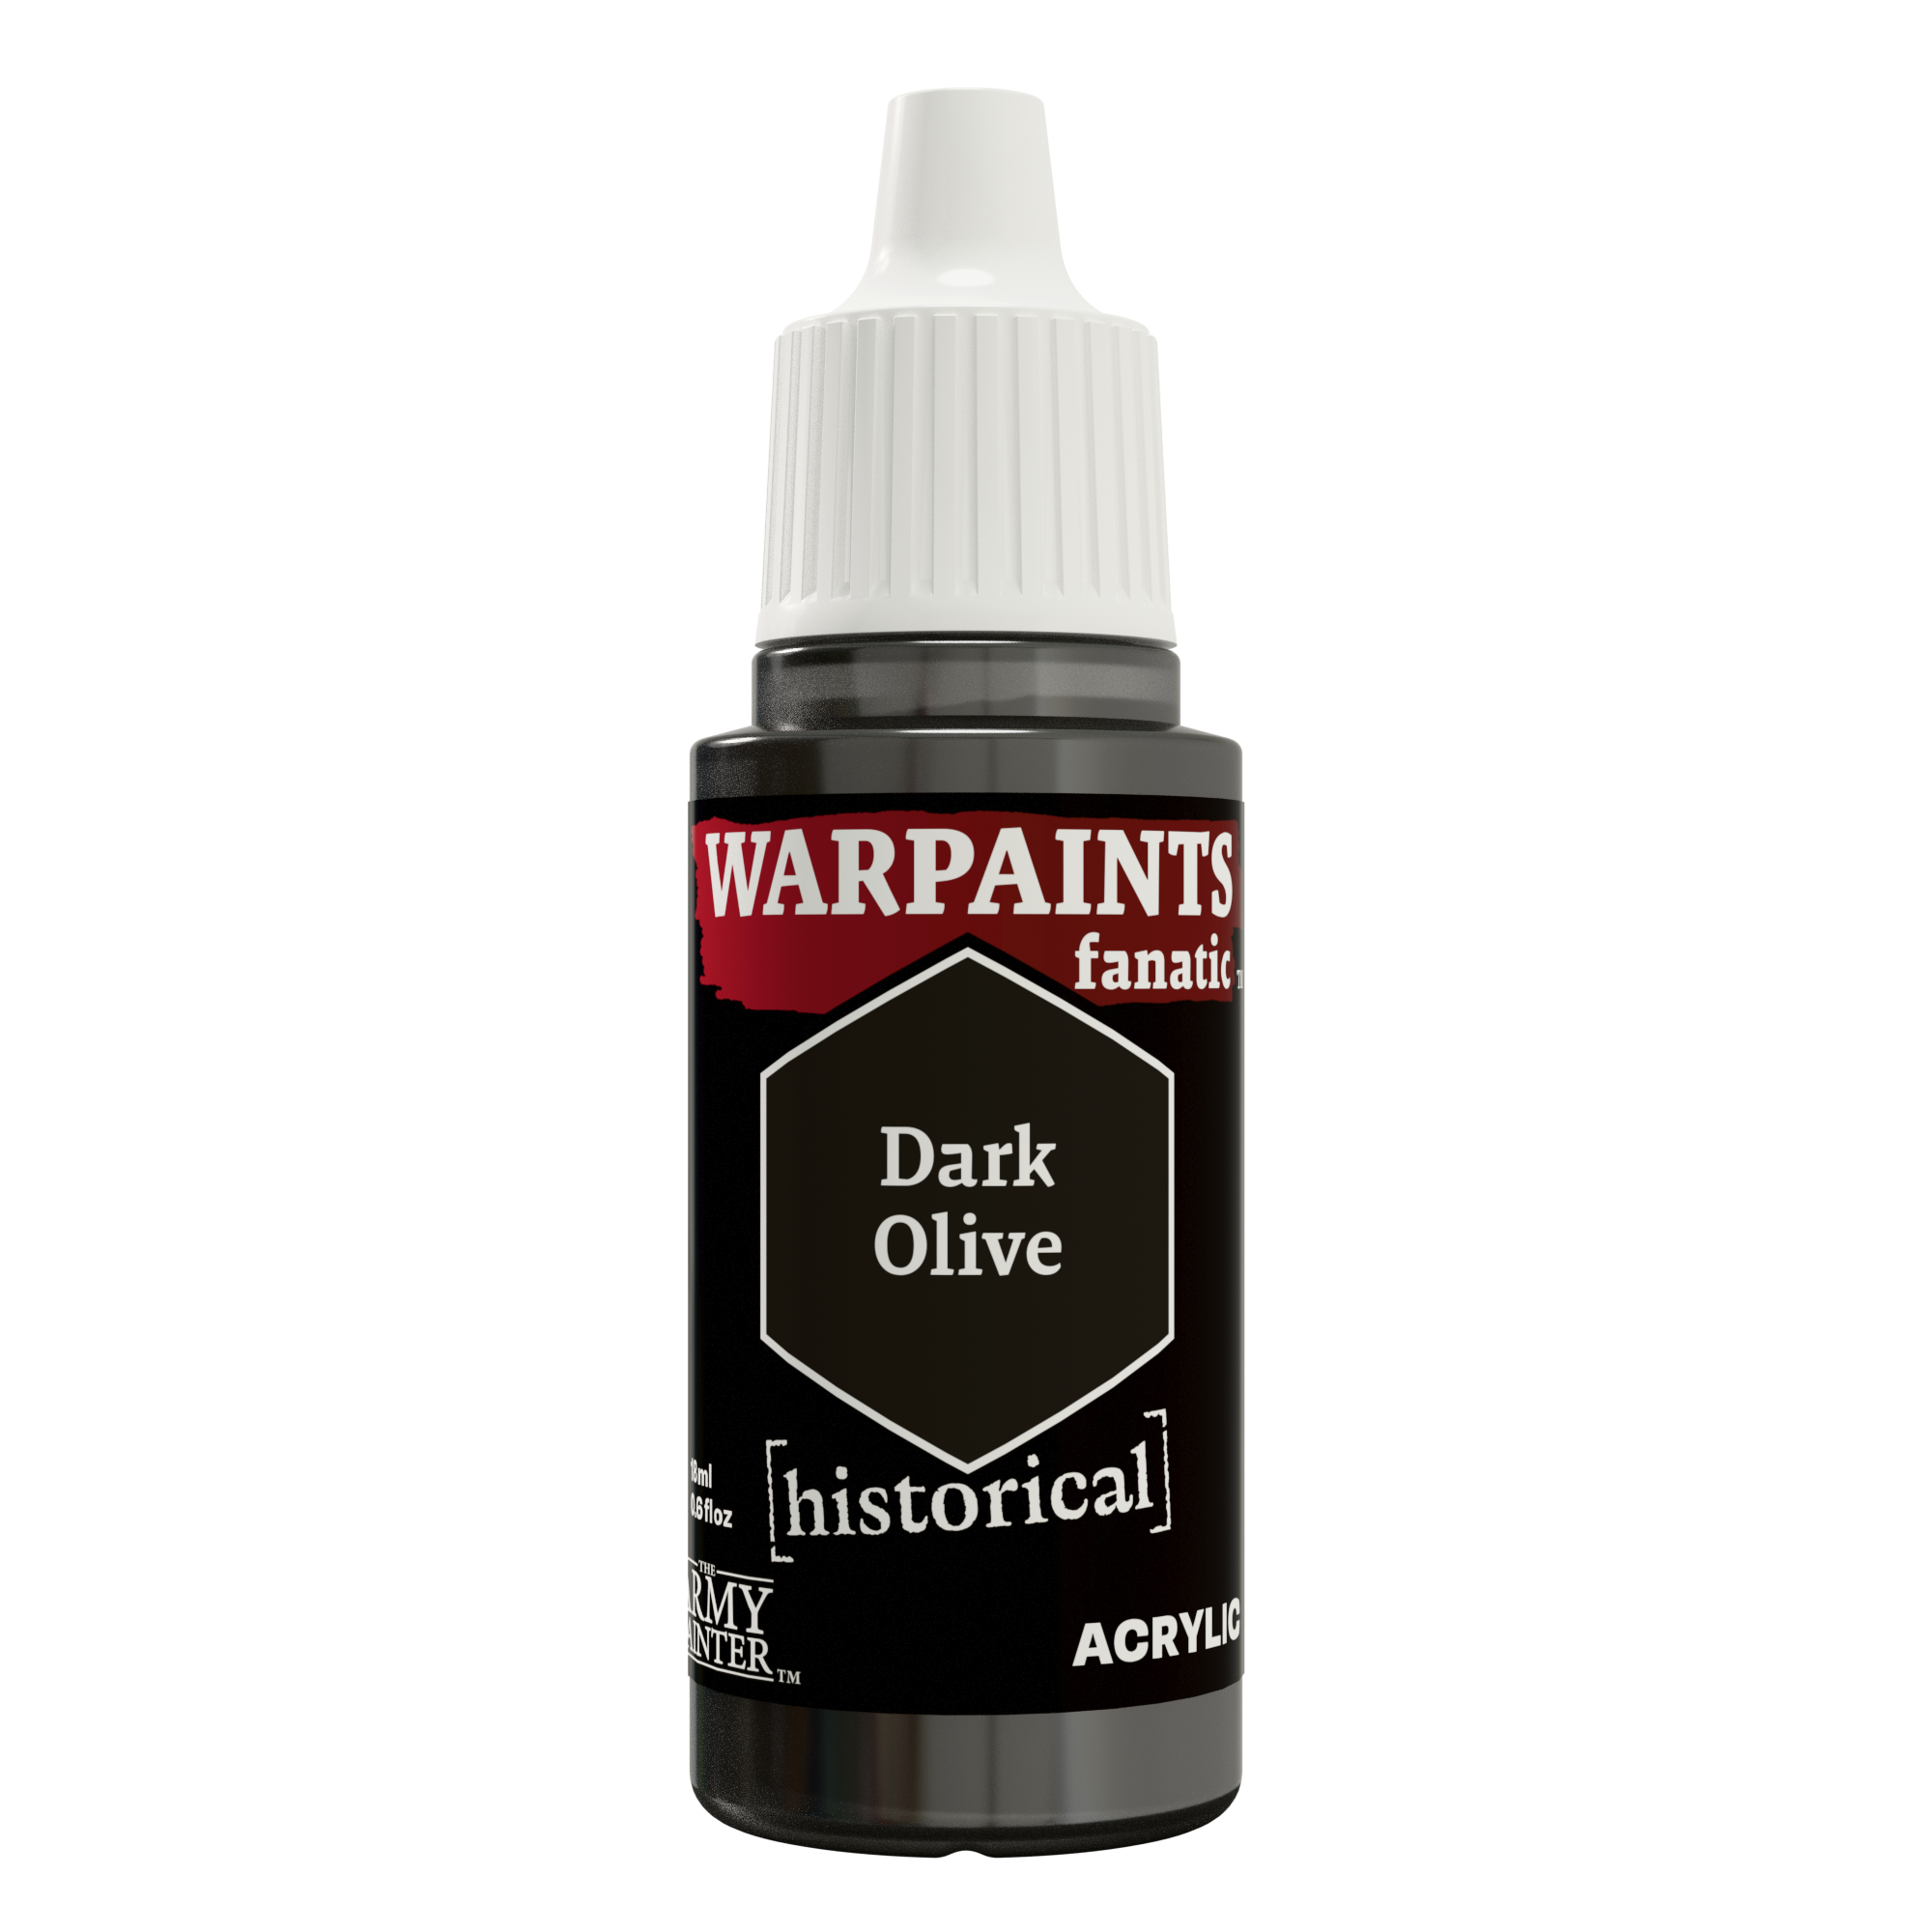
Basecoat the Priest’s voluminous beard with Warpaints Historical Dark Olive. This will give it as light brown tint in the recesses, adding a bit more colour into it.

Step 2
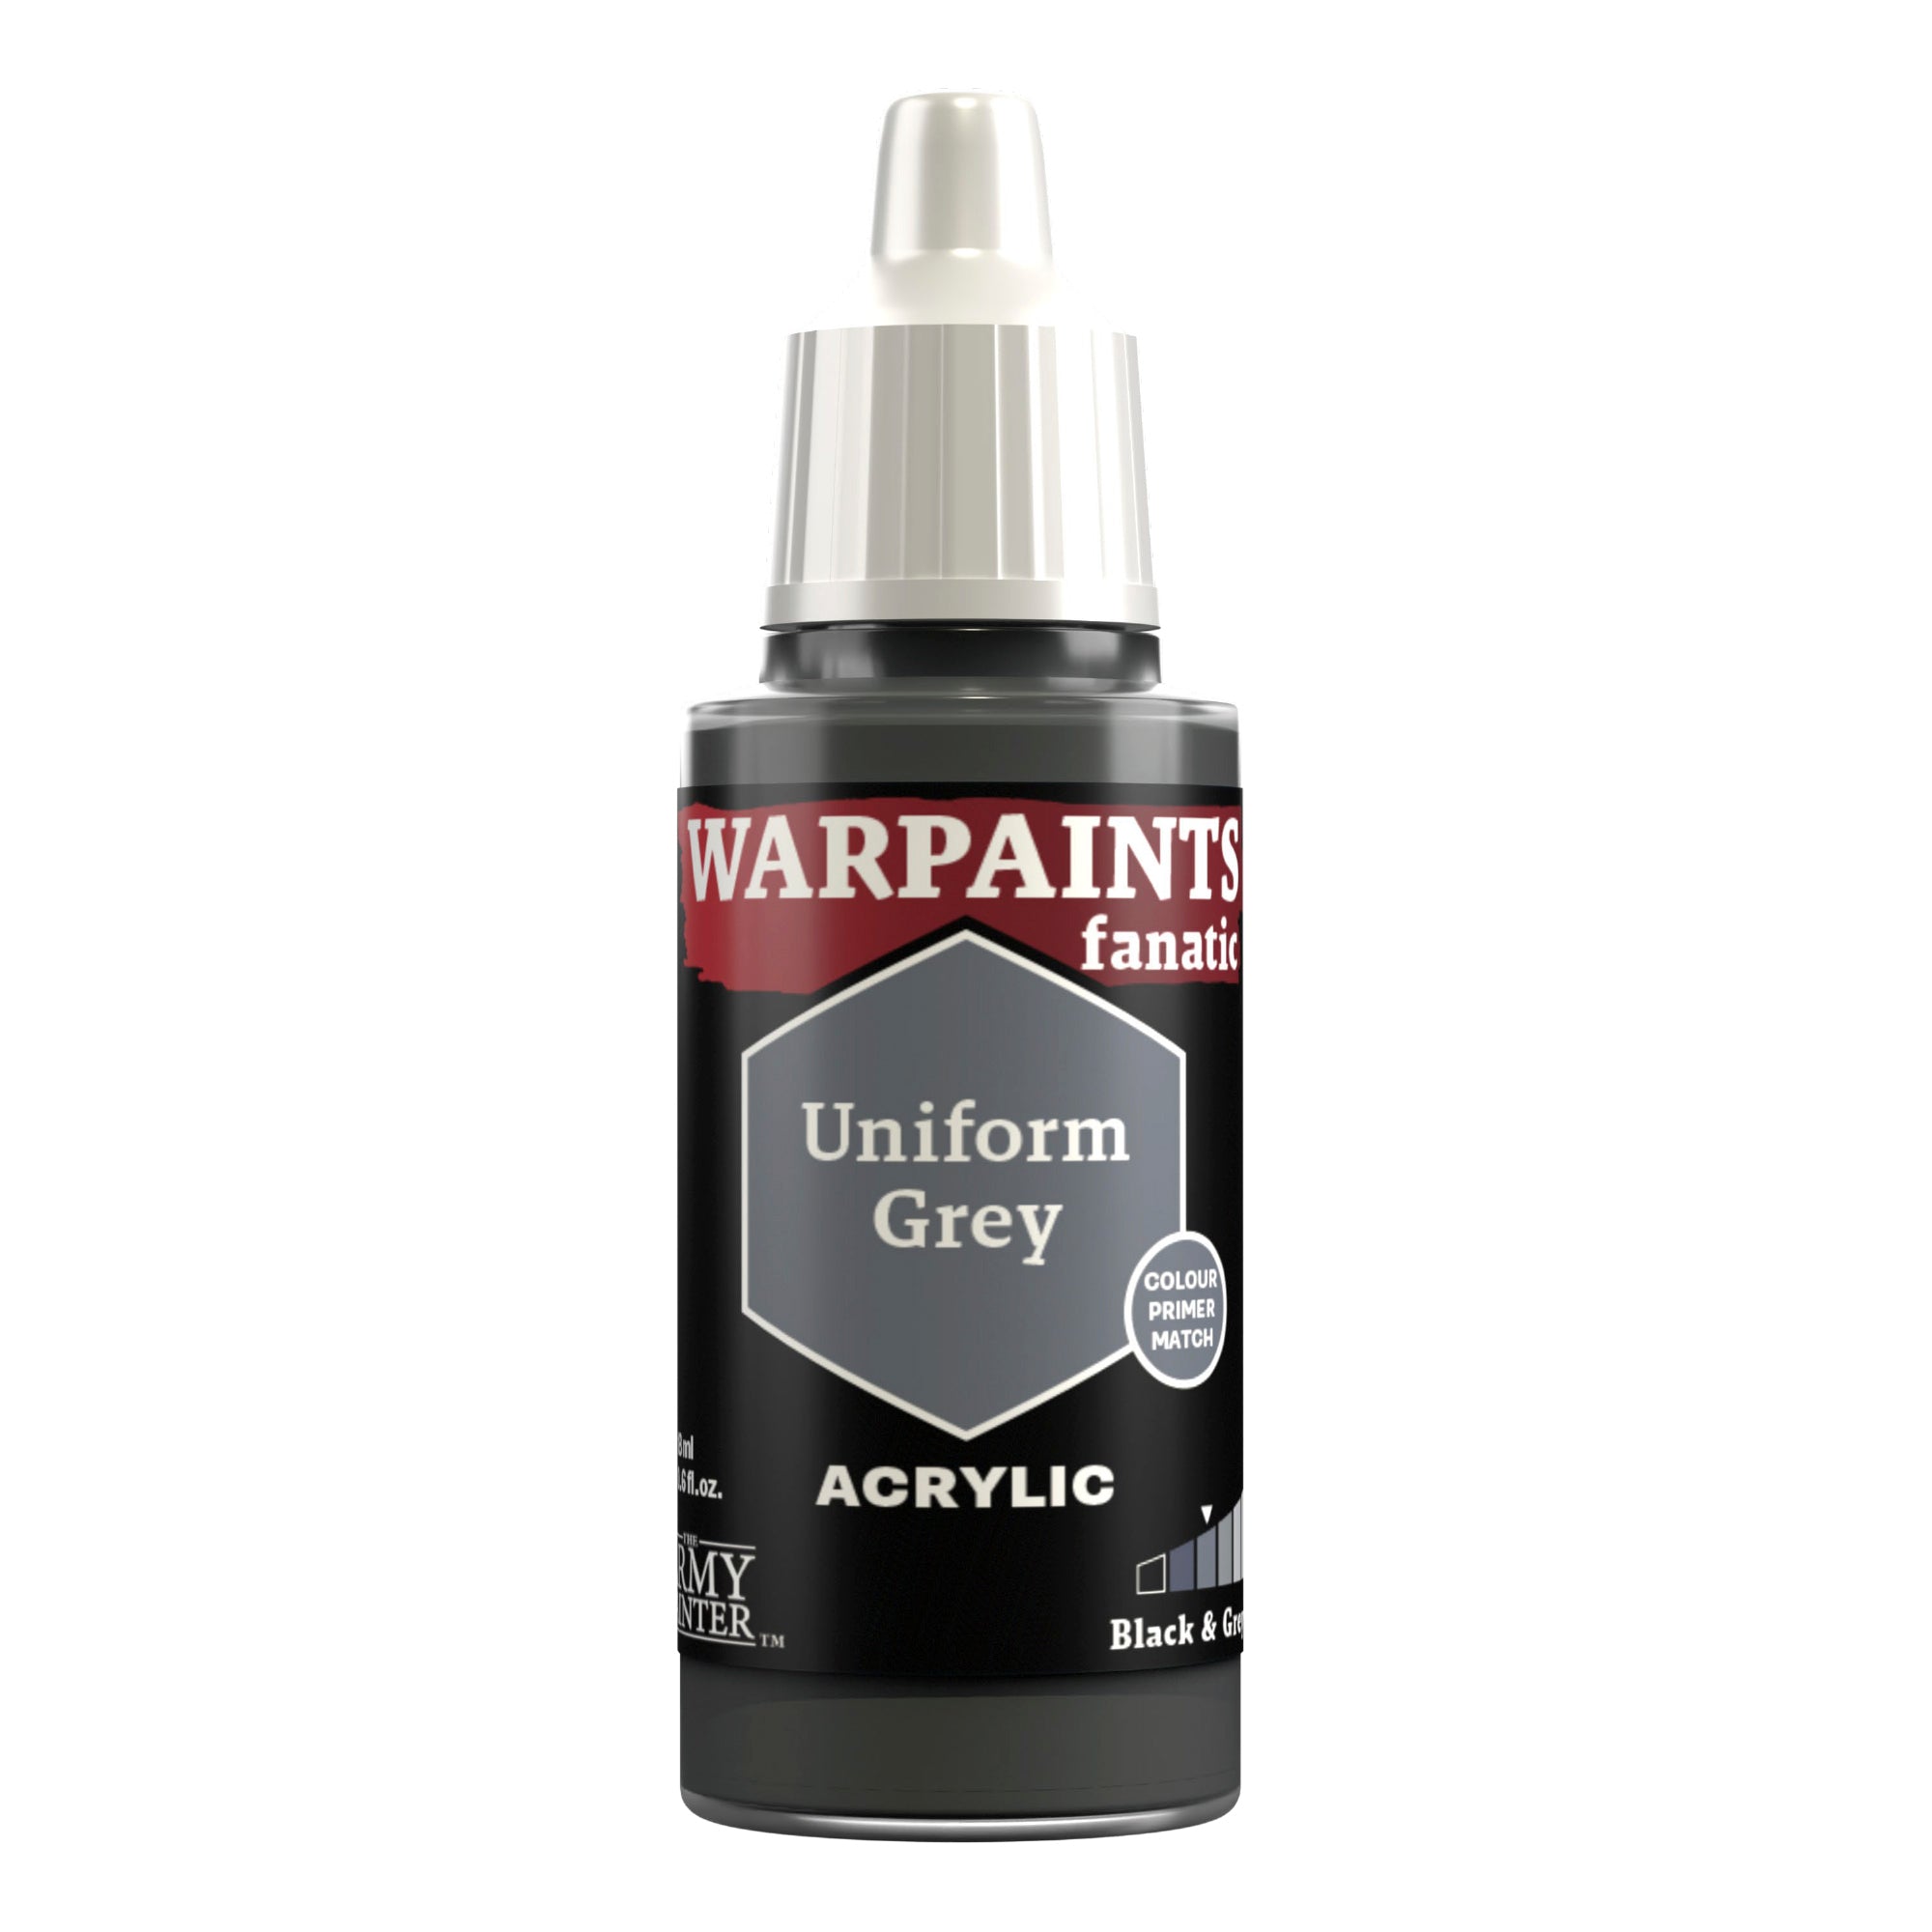
Follow this up with a layer of a mix of Warpaints Historical Dark Olive and Warpaints Fanatic Uniform Grey. You can use the side of your brush for a lot of this to pick out the raised strands without getting the colour into the darker recesses.

Step 3
Next, switch to pure Warpaints Fanatic Uniform Grey and repeat the process, but in a smaller area, creating a bit of a gradient.

Step 4
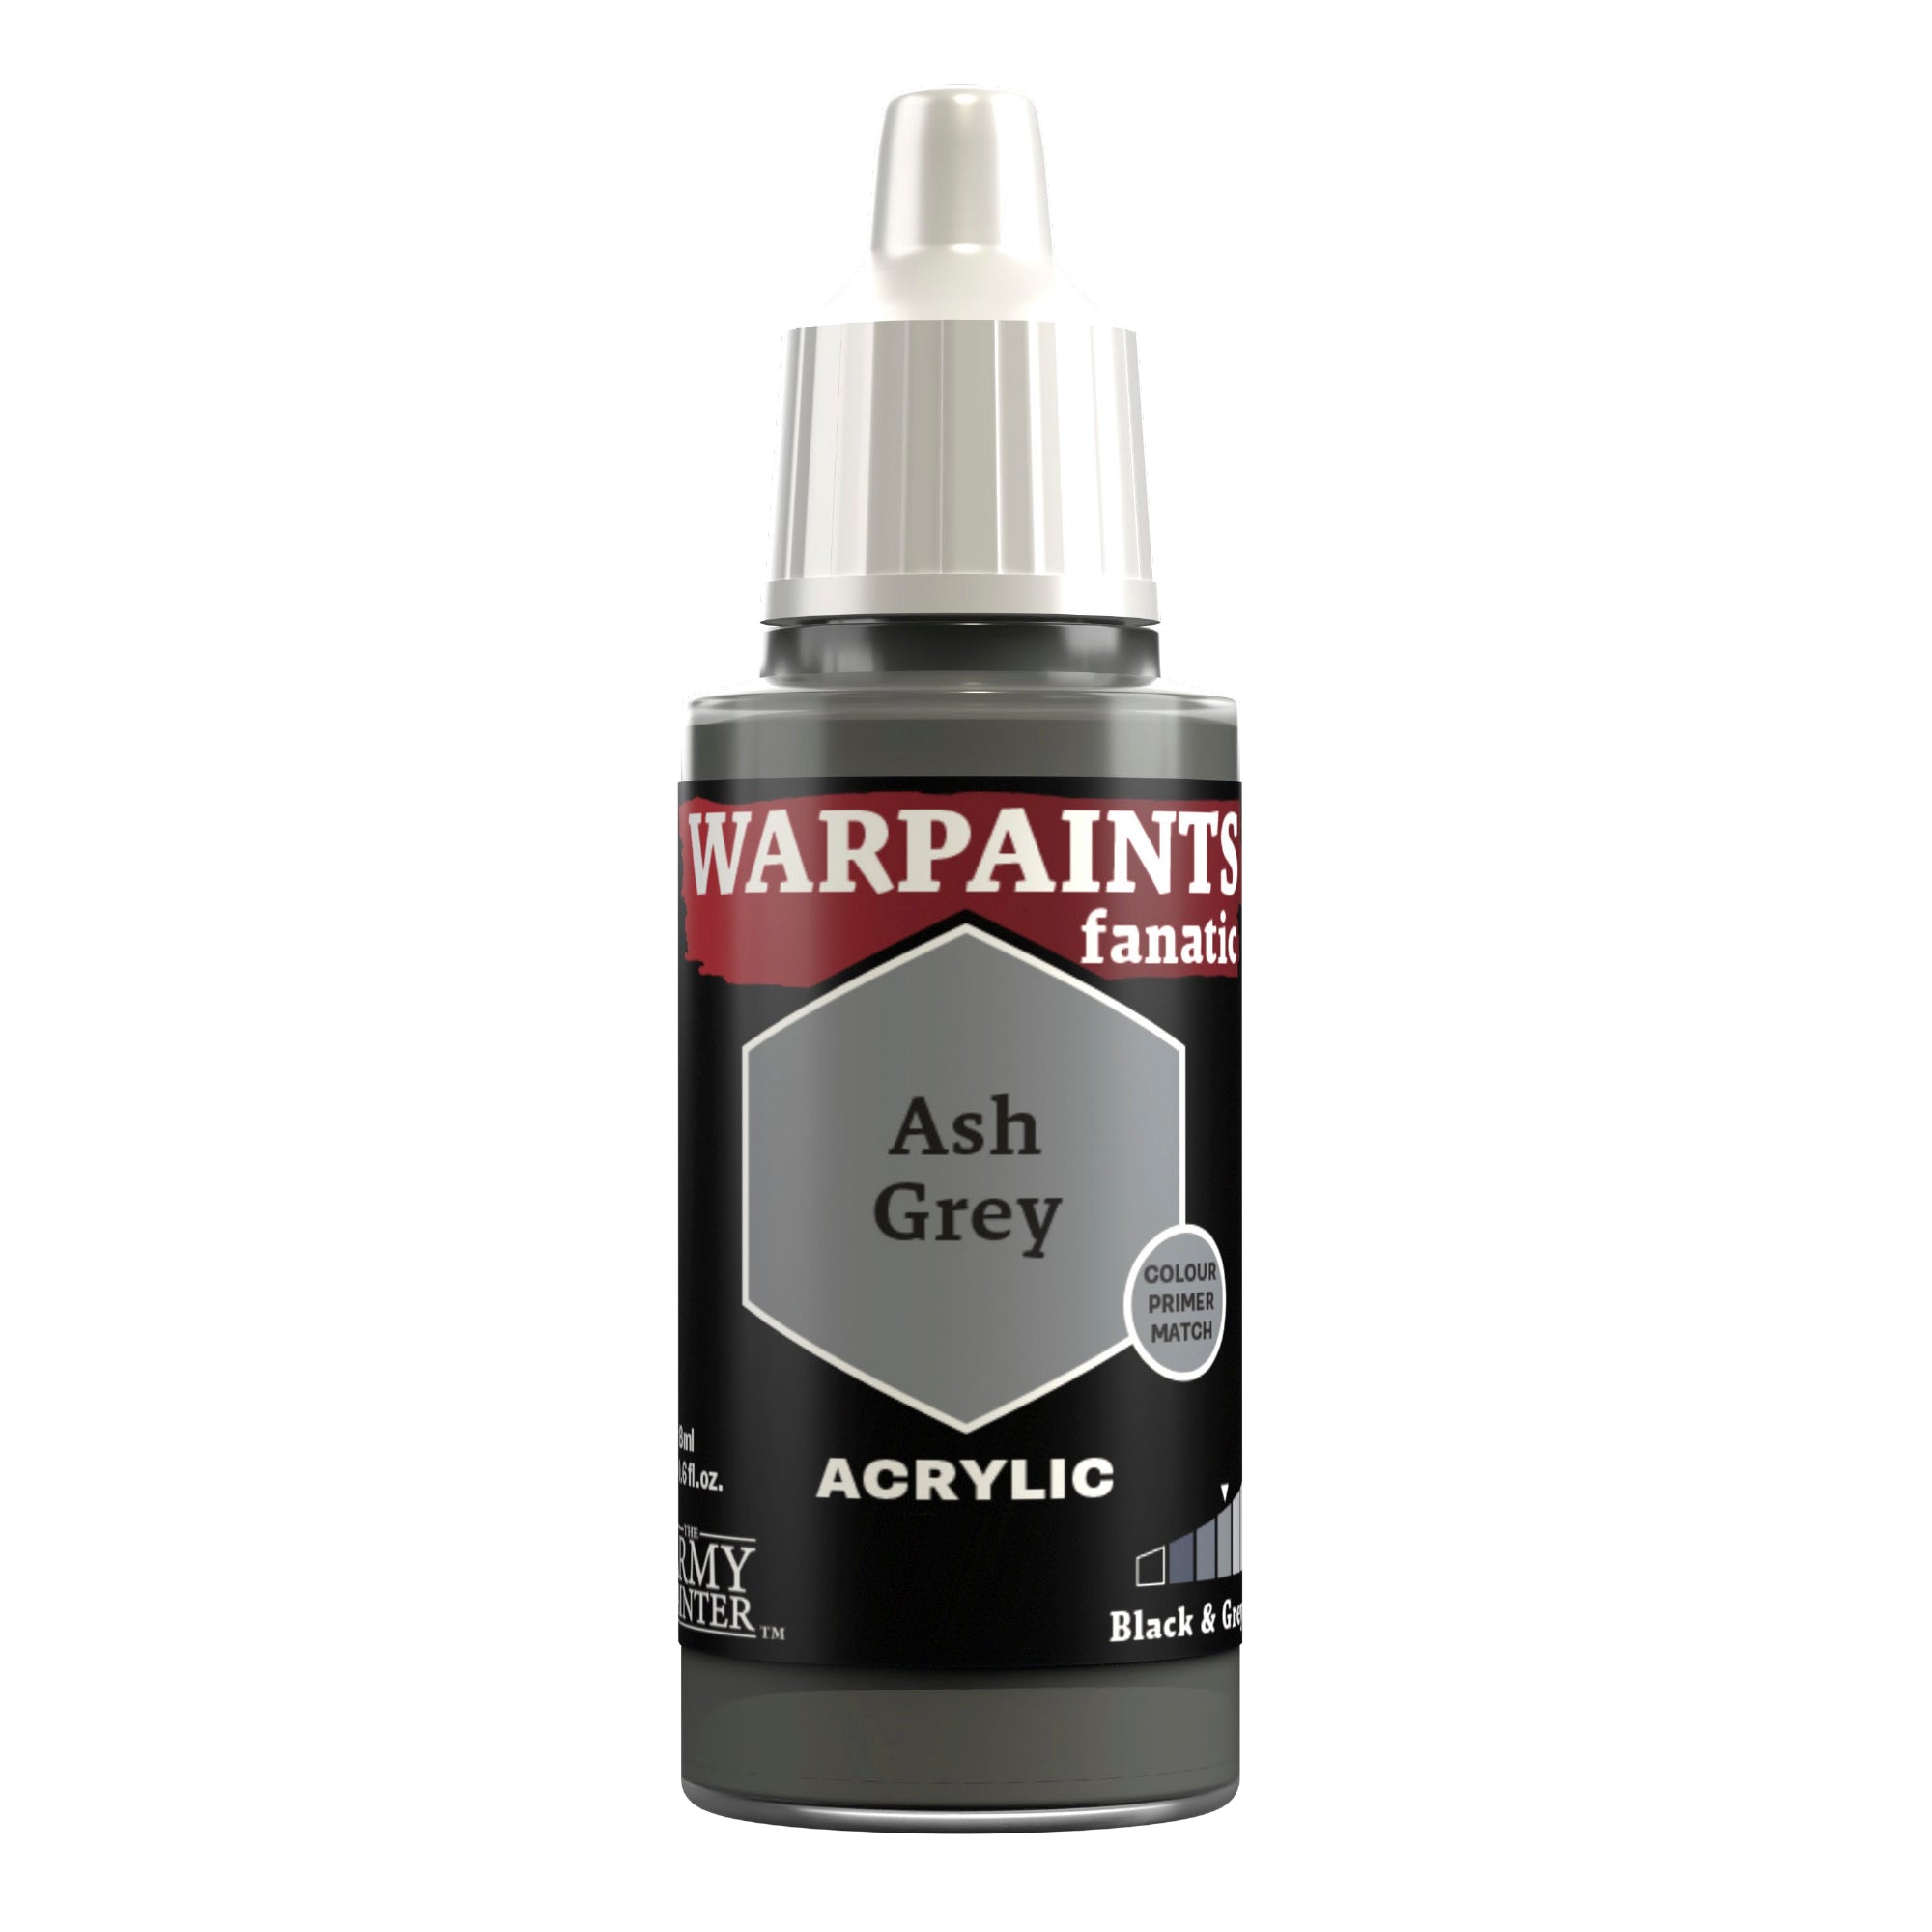
Lastly, use Warpaints Fanatic Ash Grey to pick out the lightest areas, and if needed, you can apply a bit of thinned down Warpaints Fanatic Matt Black into some of the darkest areas to push the contrast a bit more.

Step 5
Last, but not least, add some bloody tears to the face with thin streaks of Warpaints Fanatic Effects True Blood.
The Beard

Step 1
What would a soldier in the Trench Crusade setting be without an appropriately muddy base? Luckily, we’ve already devised an excellent basing scheme as used on our Prussians. You can watch that process here. In short, once the basing material is applied, basecoat all the dirt with John Blanche Masterclass Banshee Brown, followed by a wash of very thinned-down John Blanche Masterclass Grim Rust. You can also get this up on his feet and the skulls a bit. It’s a messy business after all. This all gets a coat of Warpaints Air Satin Varnish for a bit of a wet look.
Once dry, add puddles with a mix of John Blanche Masterclass Sunburst Ochre mixed with Gloss Varnish in a random pattern and, voila! A muddy base.
With that, your model is done!


Be sure to tell us what you thought of this tutorial format, if you have any suggestions for improvements in the future, or even which models you want us to tackle.
If you paint your own model following one of these guides, tag it with #thearmypainteracademy to share your work!