How to Paint the
Armageddon Steel Legion

Welcome to the next instalment of The Army Painter Academy: a series where we break down how we paint a miniature step-by-step, complete with pictures for every bit of paint applied along the way.
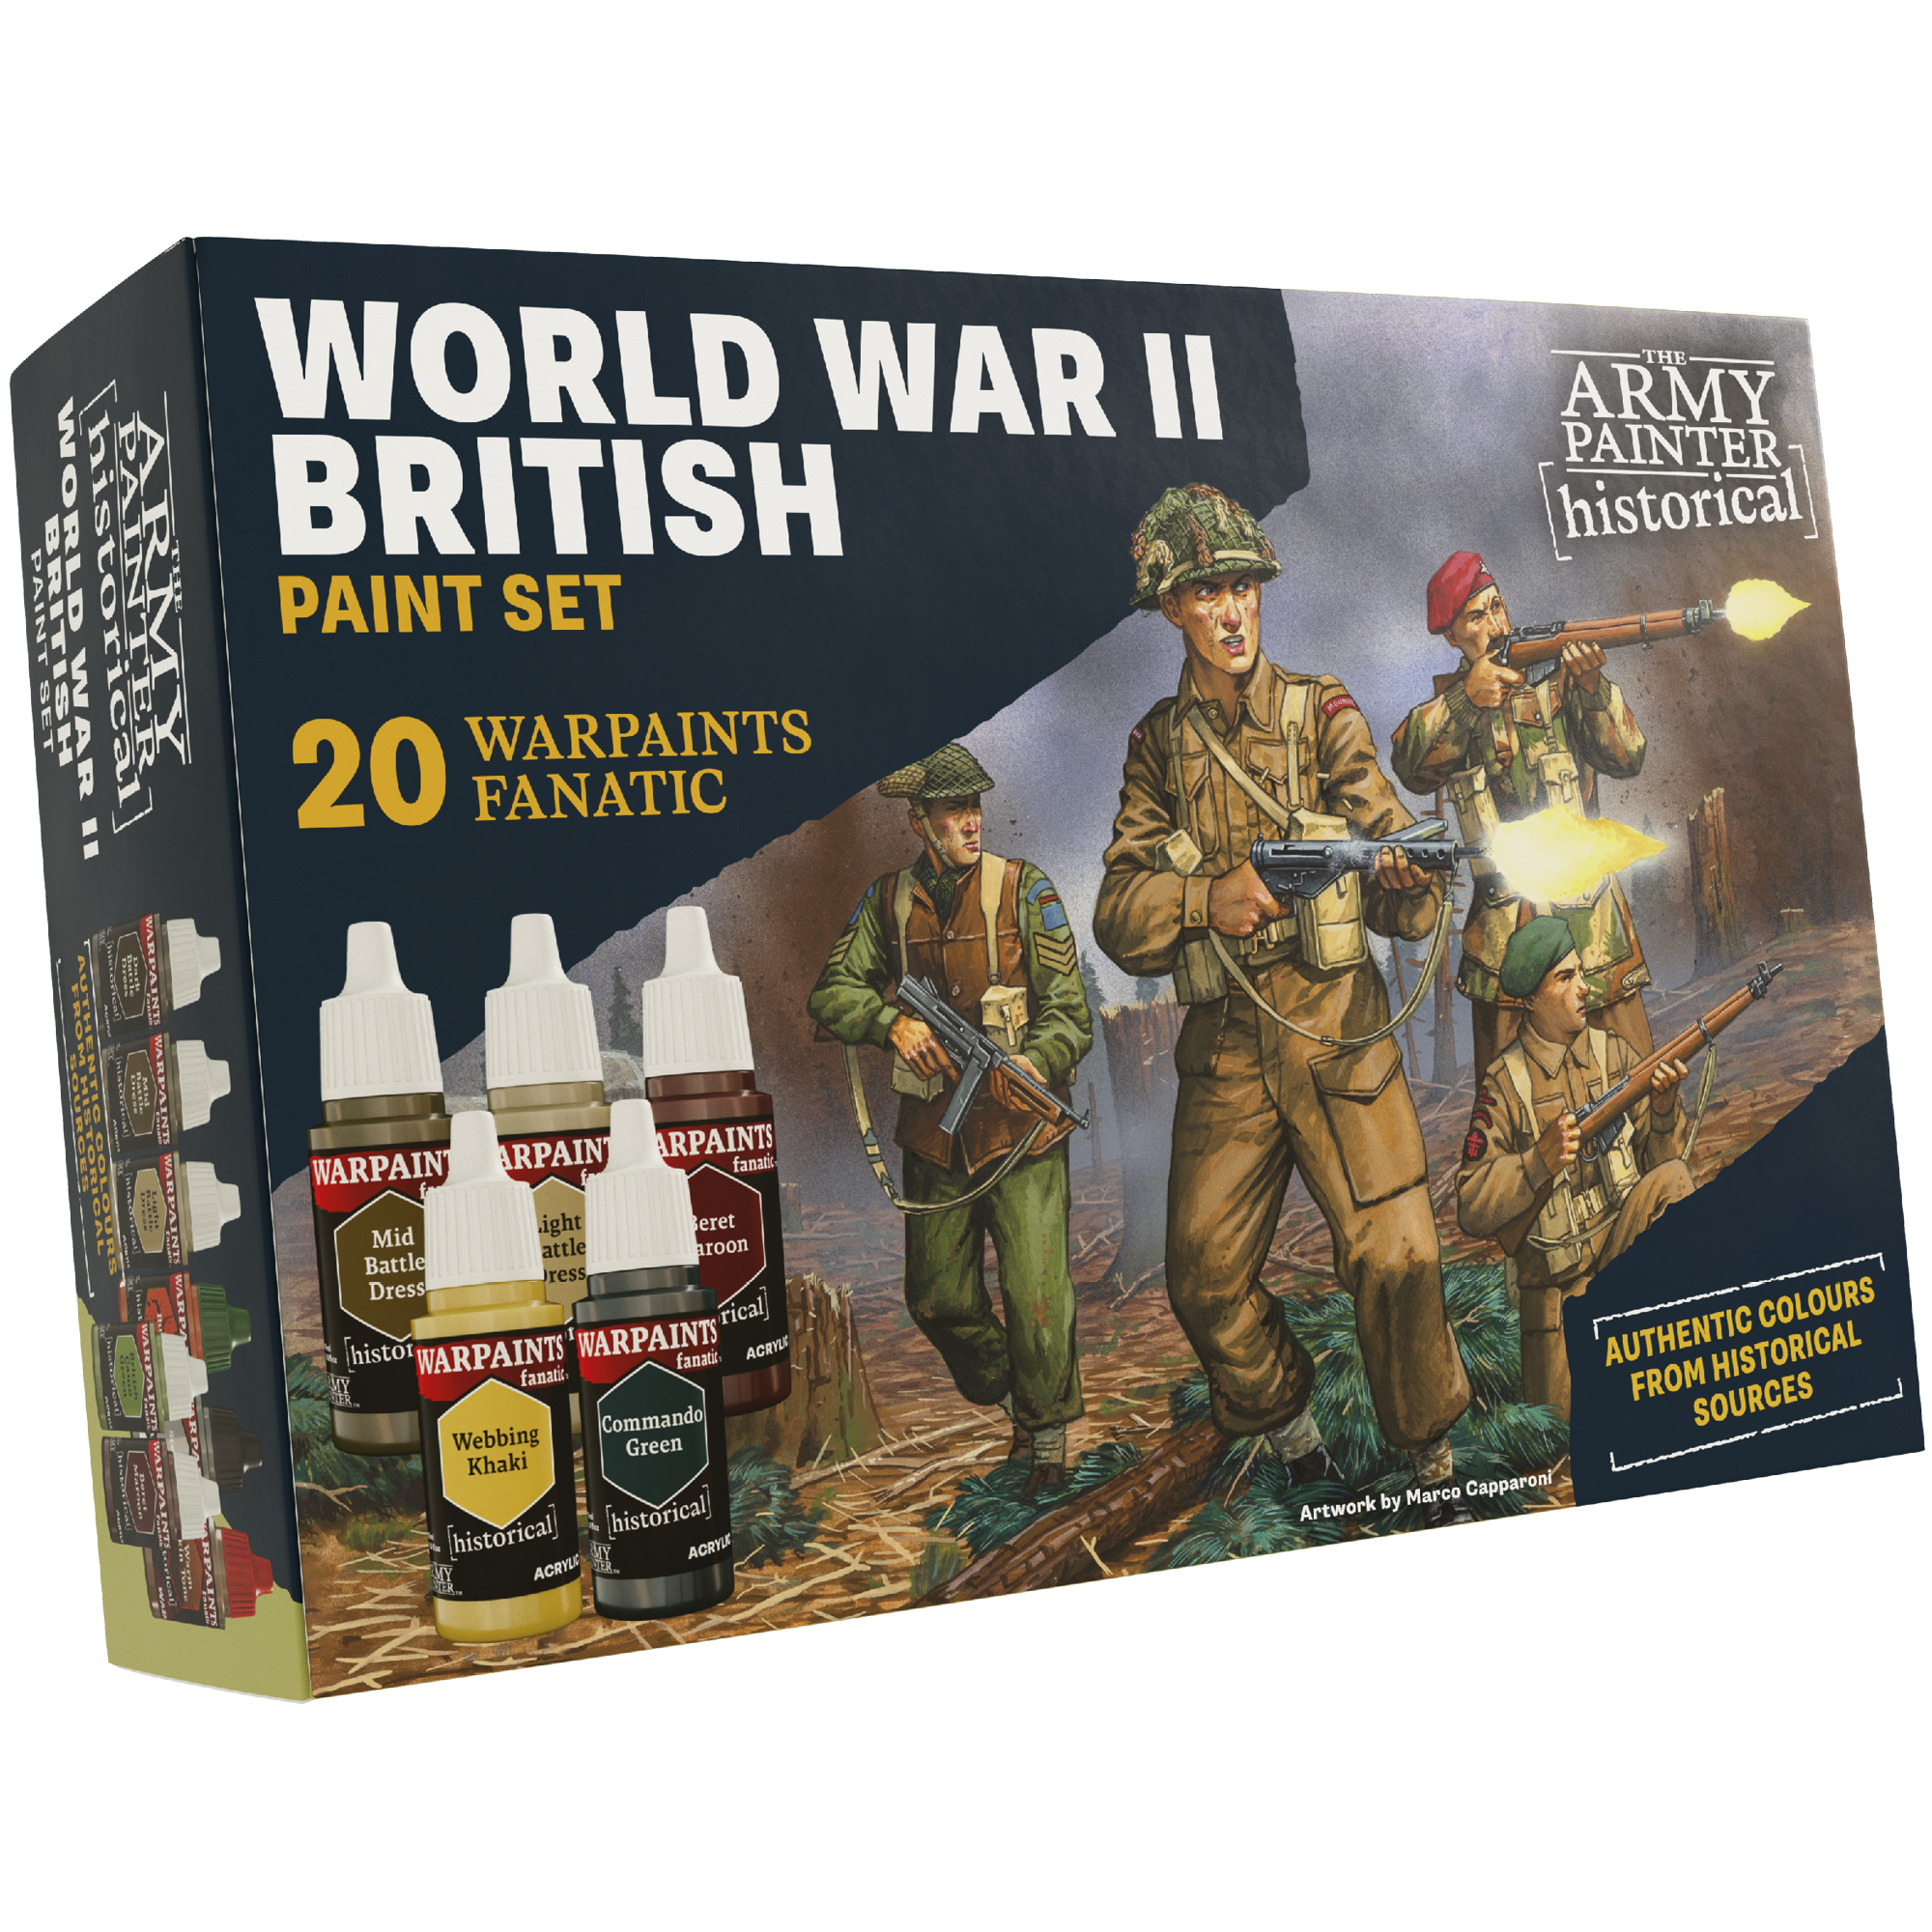
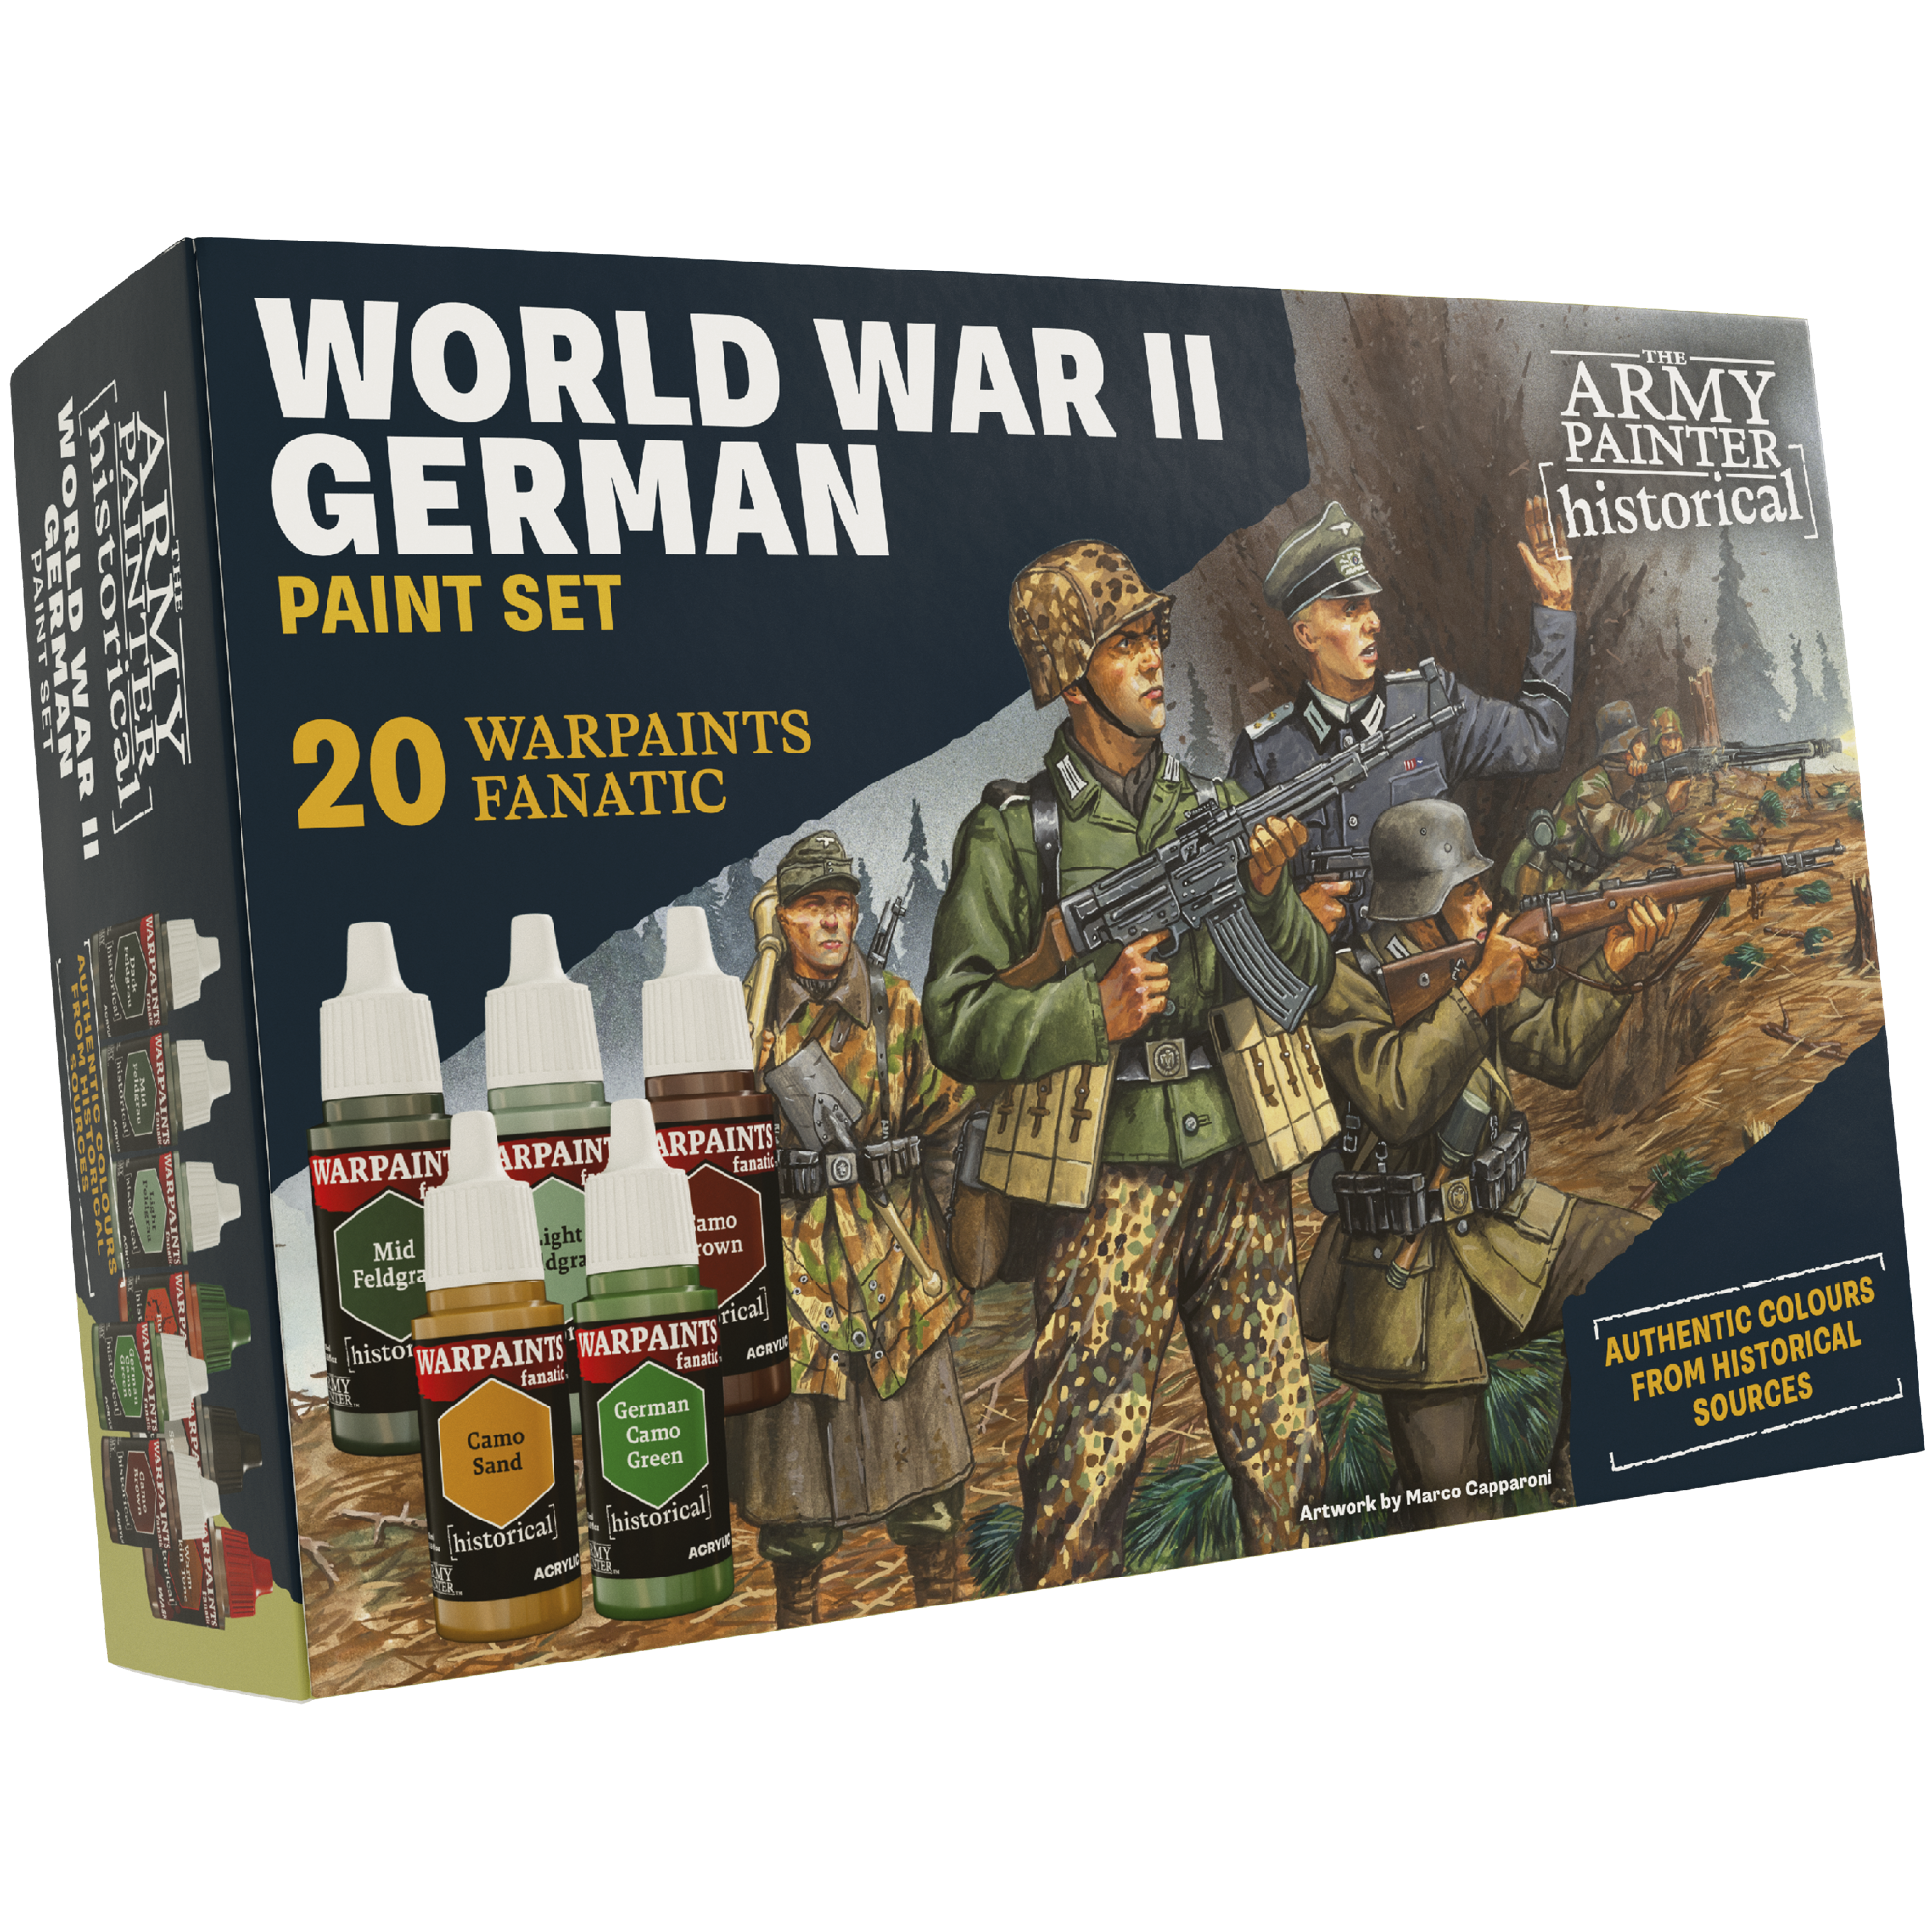
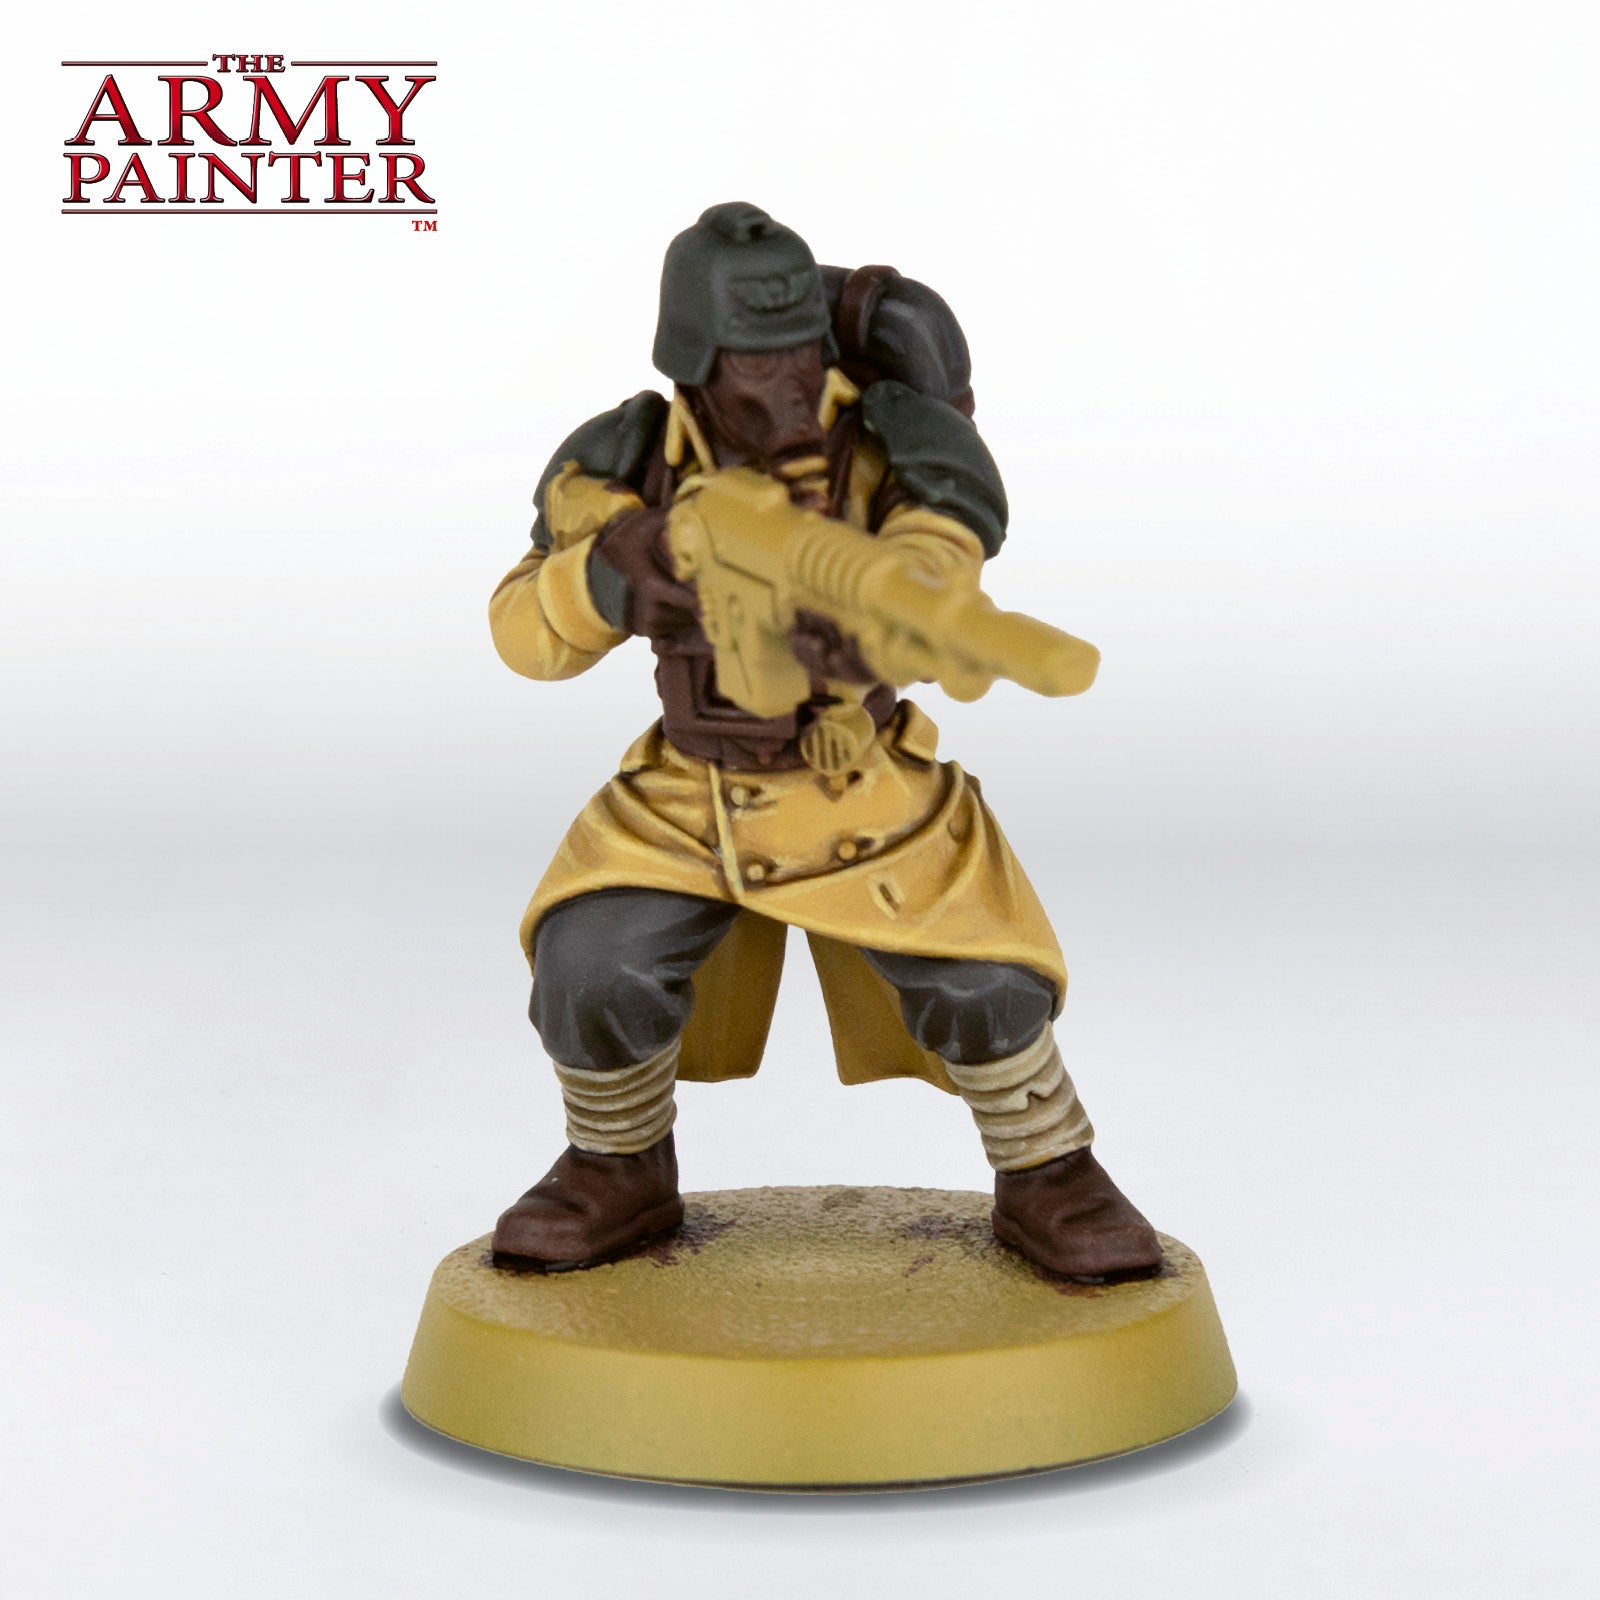
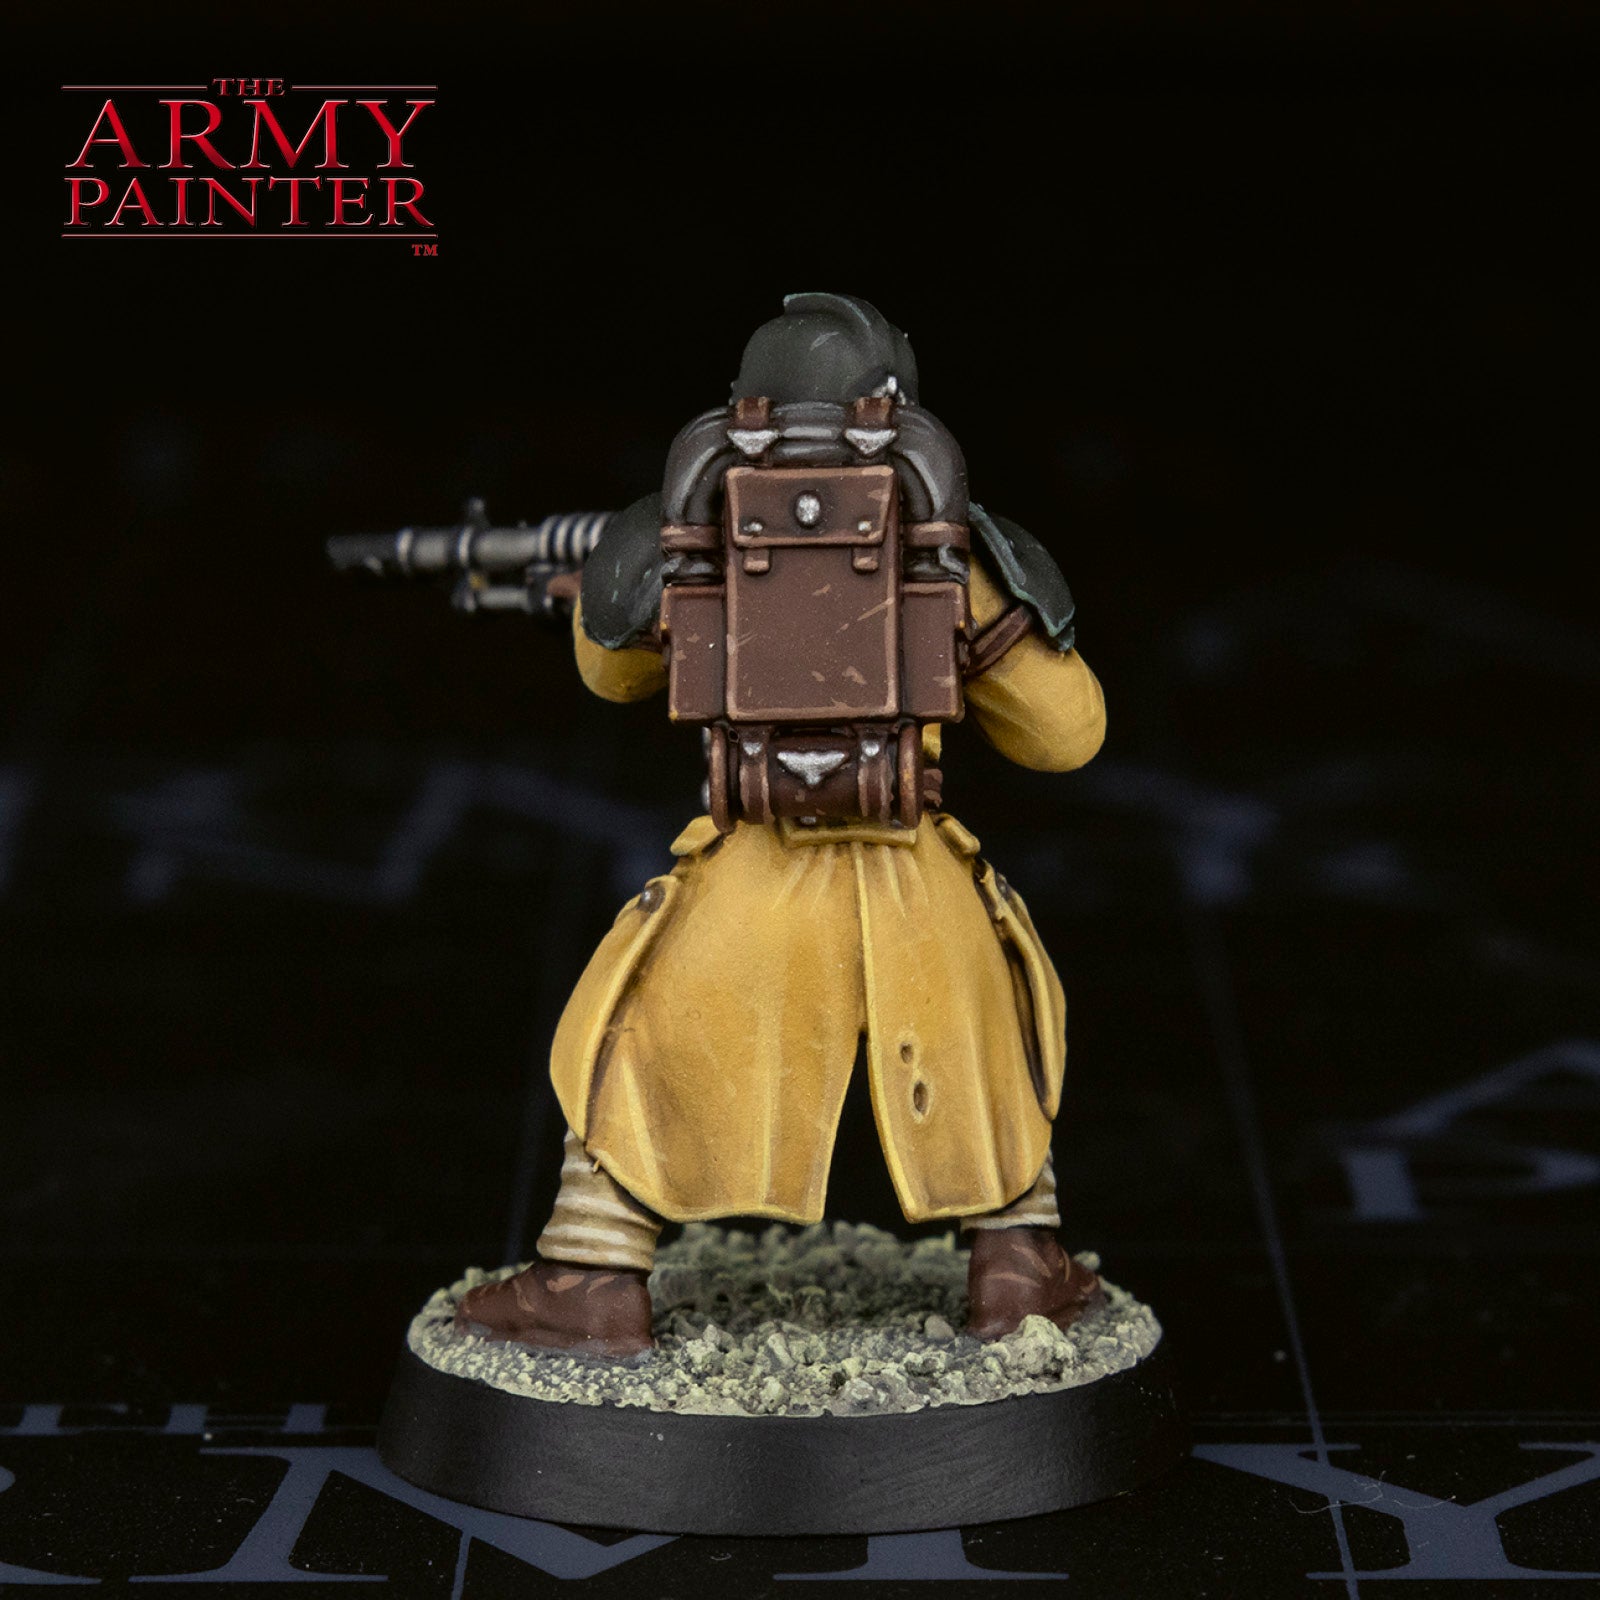
While our new Warpaints Historical Sets were designed with the battlefields of World War II in mind, there’s nothing stopping you from using these excellent new colours to depict other historical time periods. Such is the case with today’s entry, an instance of “future-history,” you may say, as we visit the war-torn ash wastes of Armageddon in the far future of Games Workshop’s Warhammer 40,000 setting. During the tumultuous Third War for Armageddon, the brave soldiers of the Steel Legion fought tooth, nail, and gas mask, to defend their home world from the savage Orks of Waaaagh Ghazghkull. Clad in muted ochres, tans, and leathers, the colours from the new Warpaints Historical range are a perfect fit for these mobilised infantry.
While this guide doesn’t draw solely from one of the sets, it does draw most heavily from the World War II German set, with a few other colours borrowed from the Americans and British, as well as Warpaints Fanatic Plate Mail Metal at the end. The more muted colours of these World War II sets are perfect for military figures, no matter the setting, as long as you’re looking to add an air of authenticity to their uniforms.
This tutorial is broken down into segments, starting with the basecoats, shades, highlights, and so on. Each section is further broken down into manageable steps by applying one colour at a time. If you’re on a desktop, simply click the arrows at the bottom of each section to scroll through the steps or scroll to the side on your mobile phone.
Let's get painting!

The Basecoats and Wash
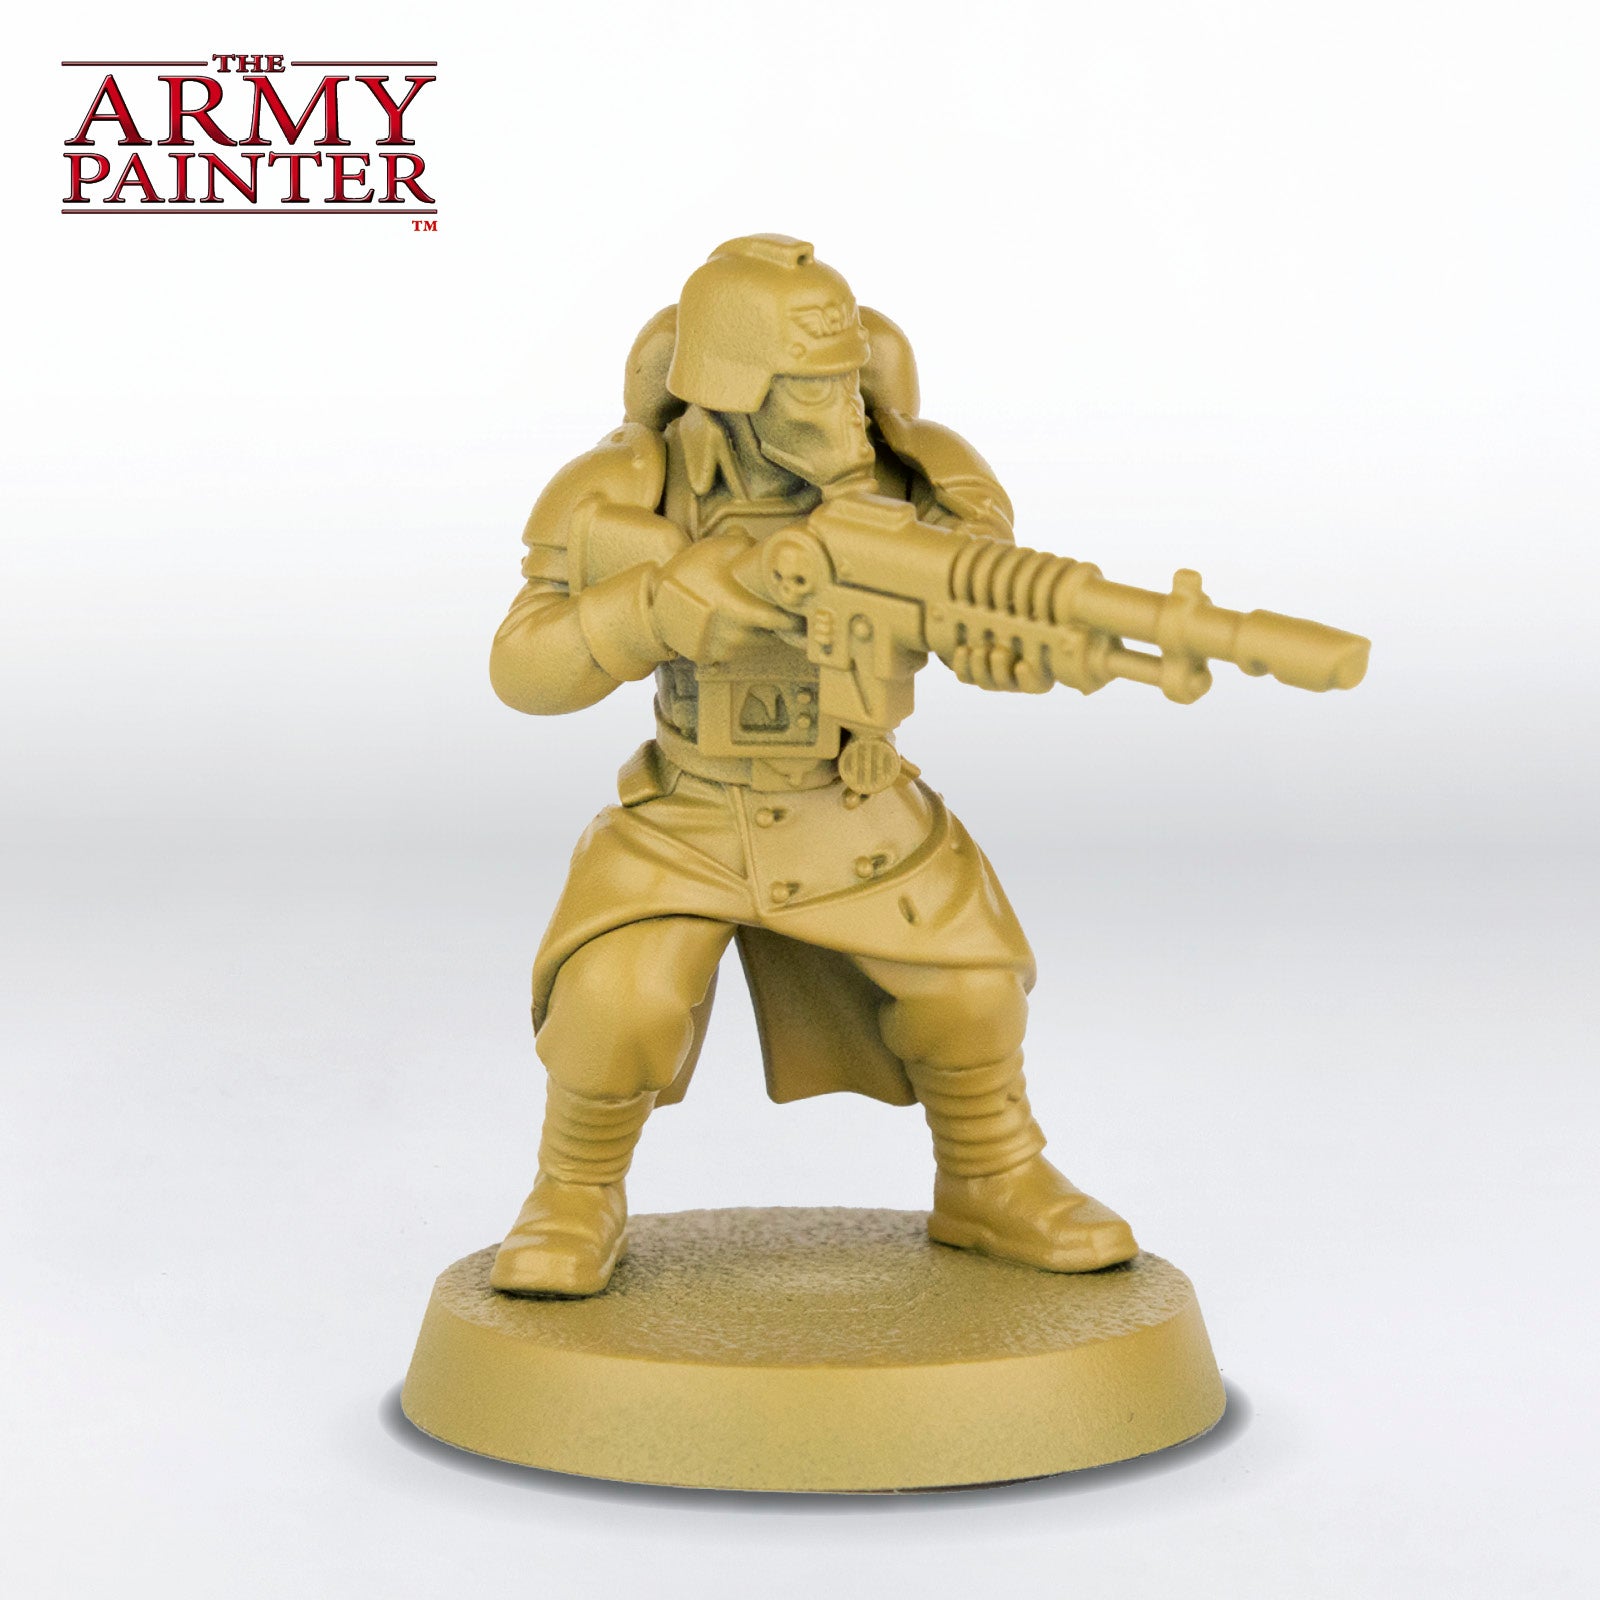
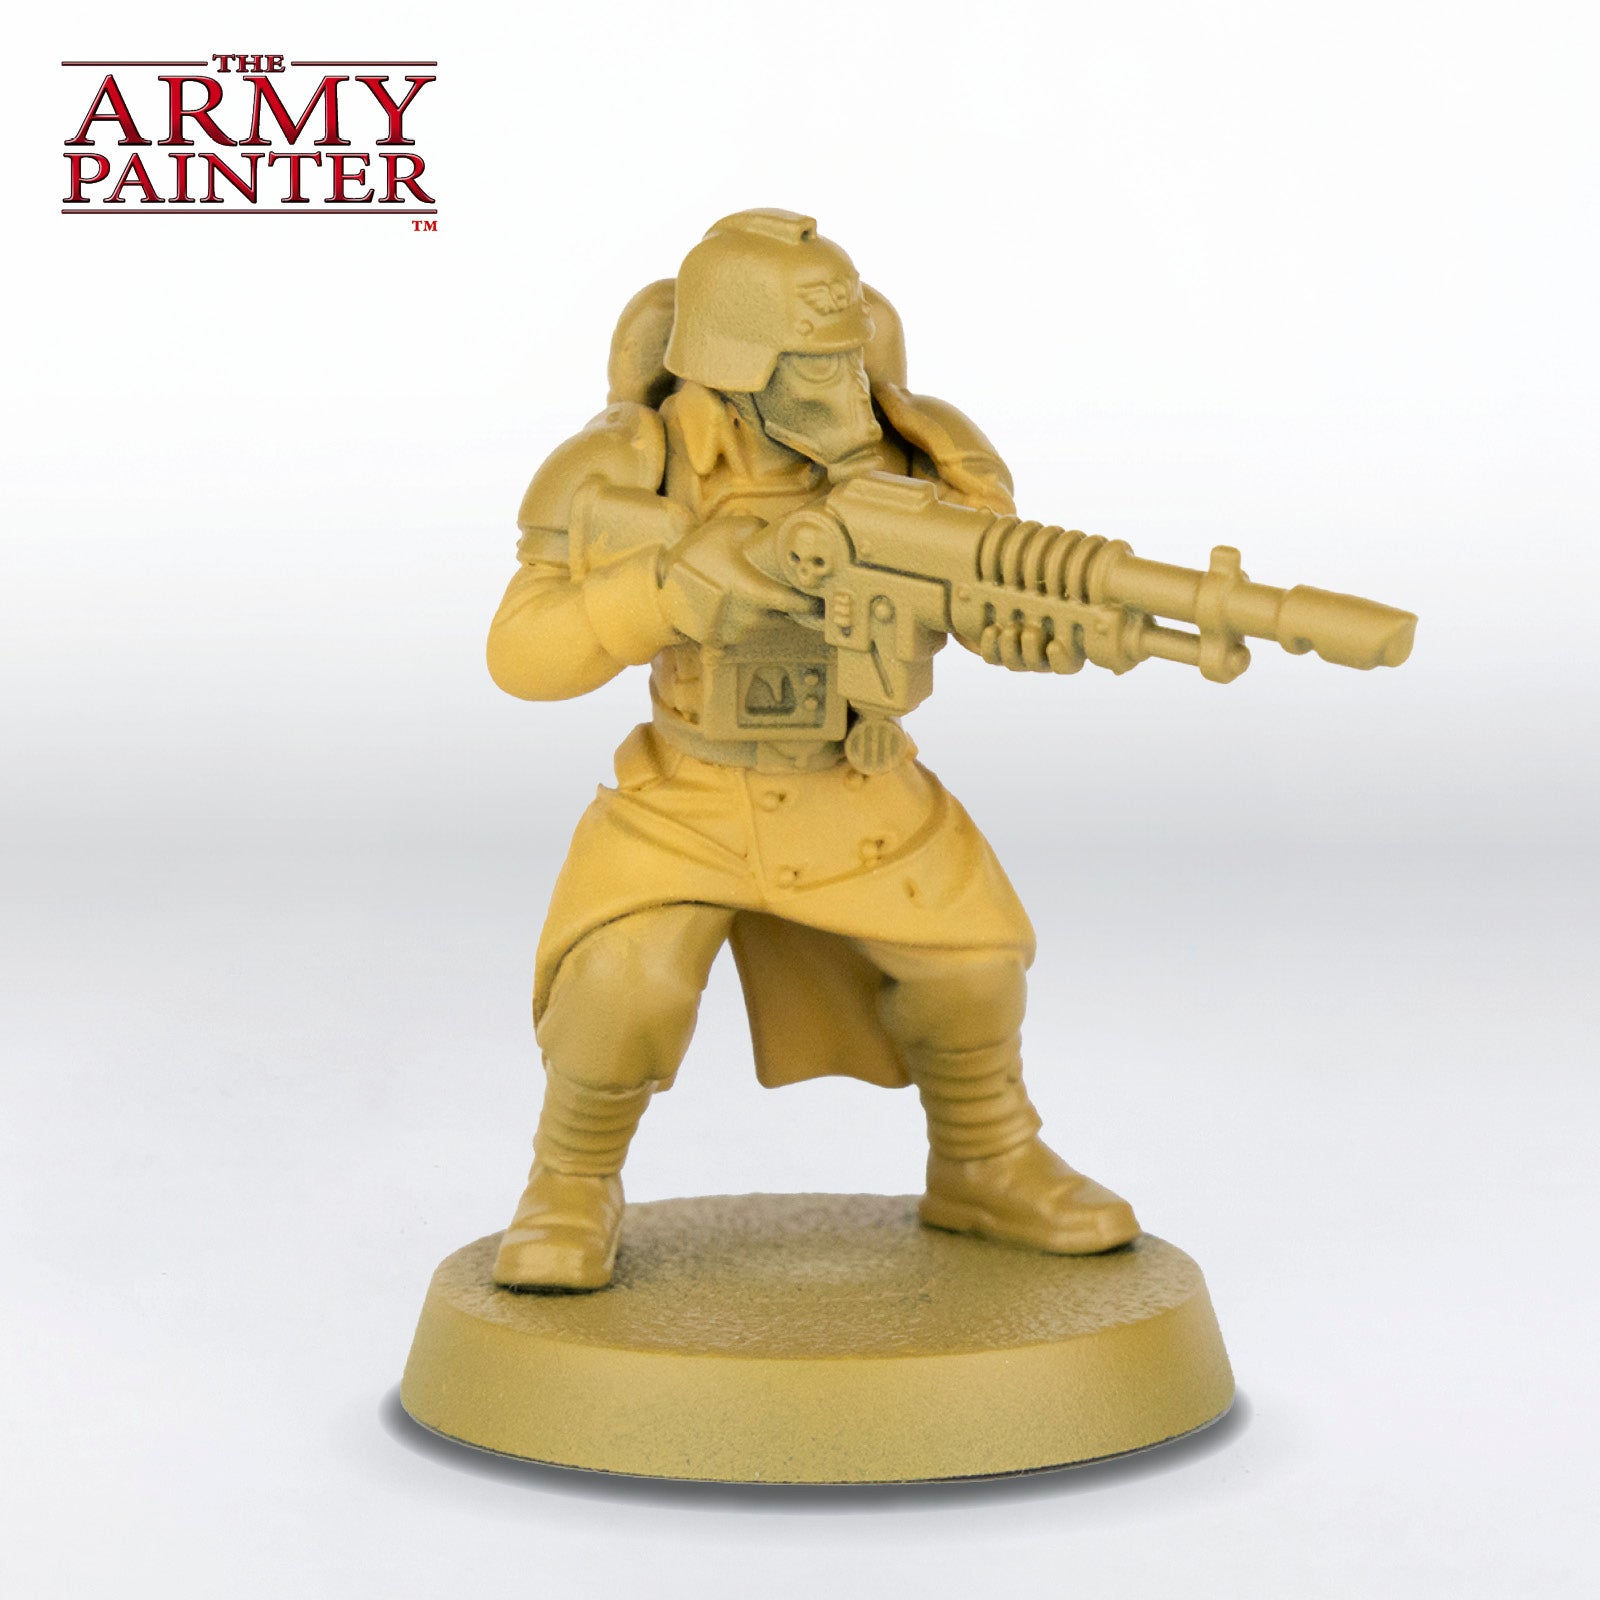
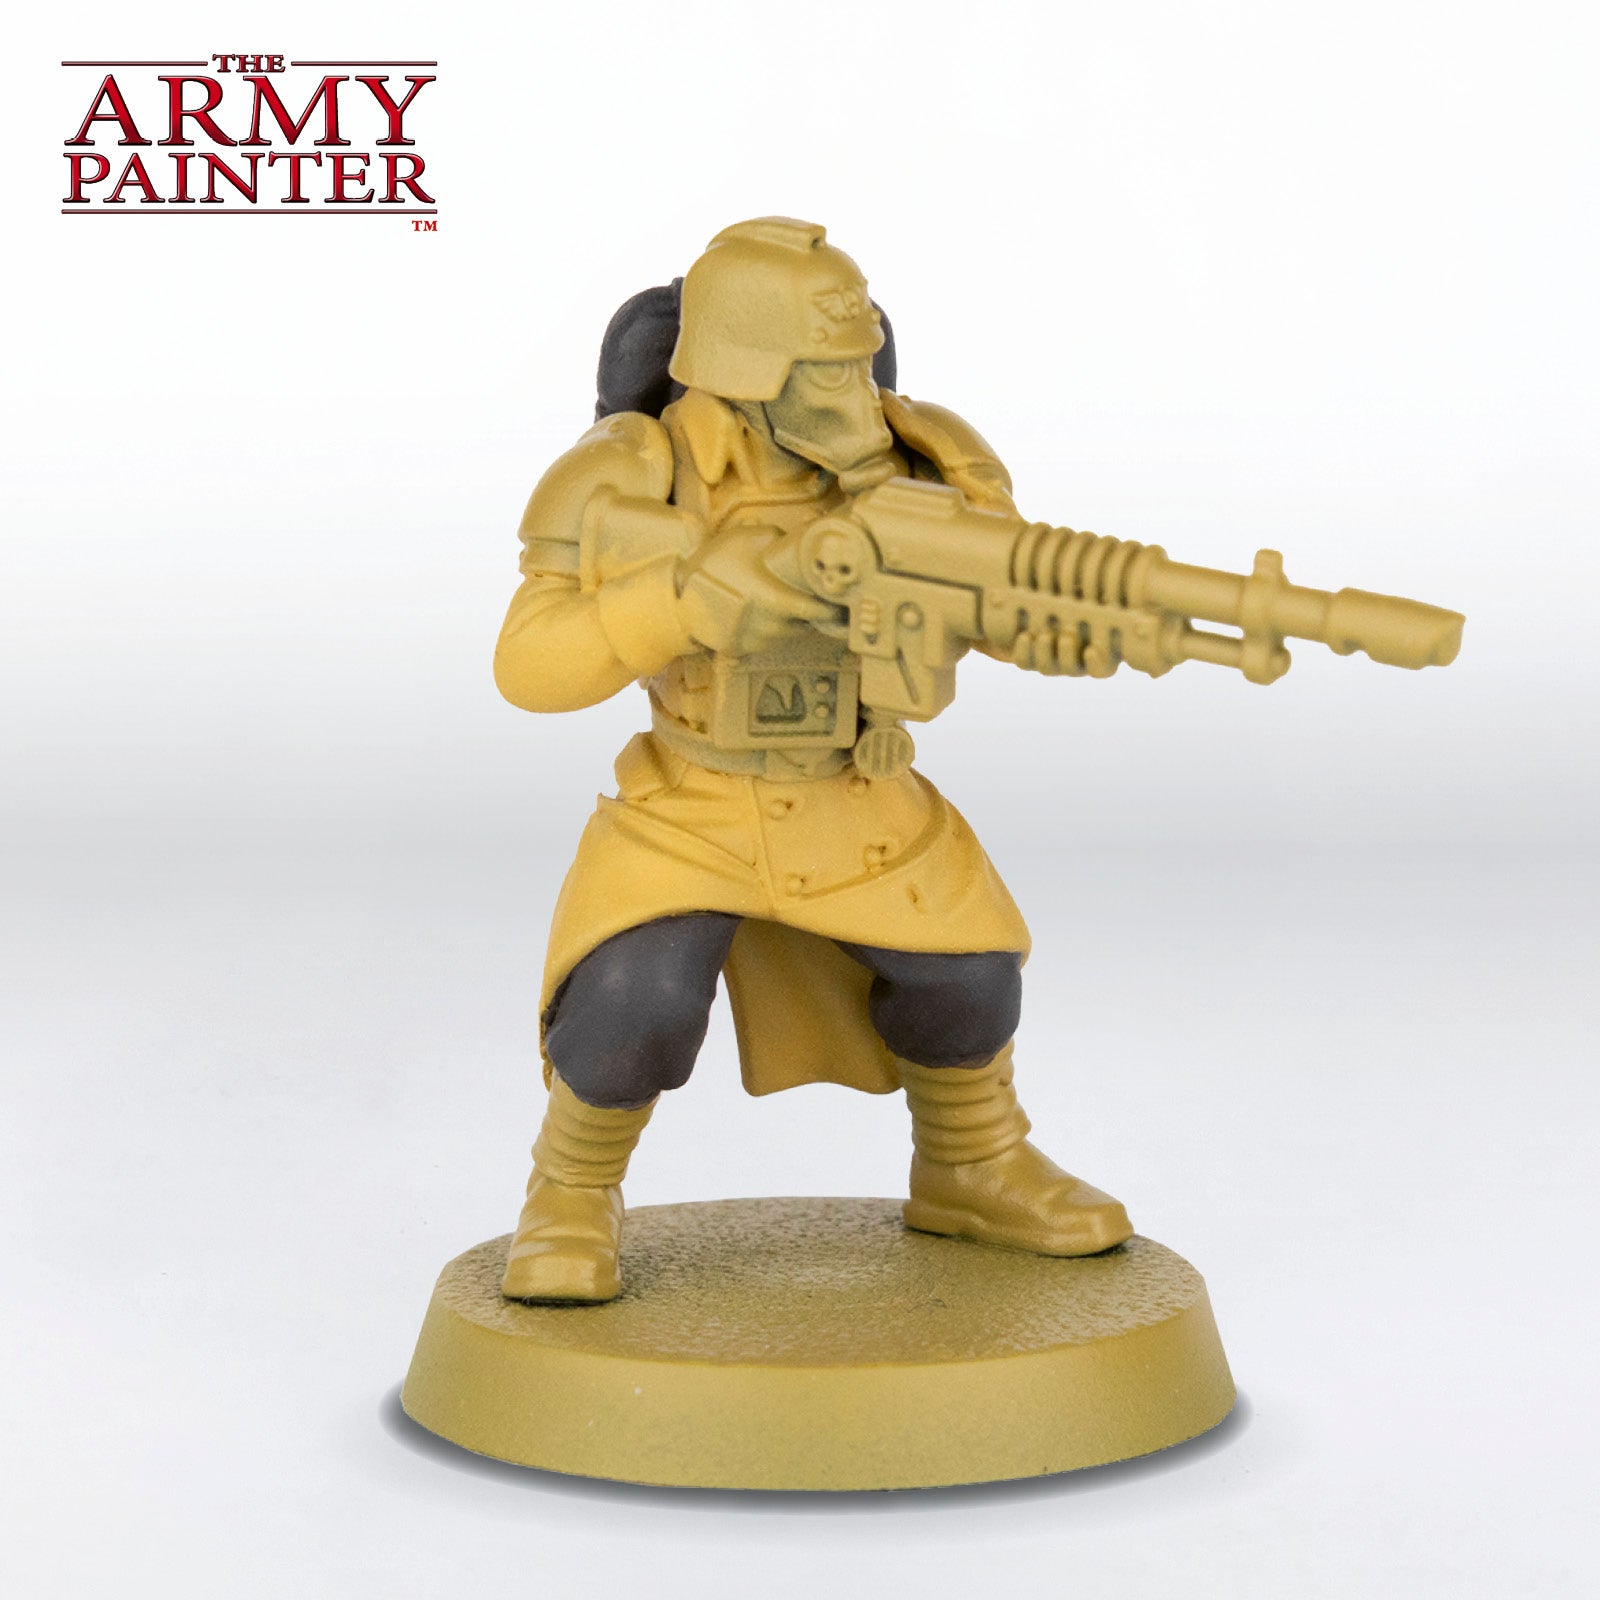
Step 1
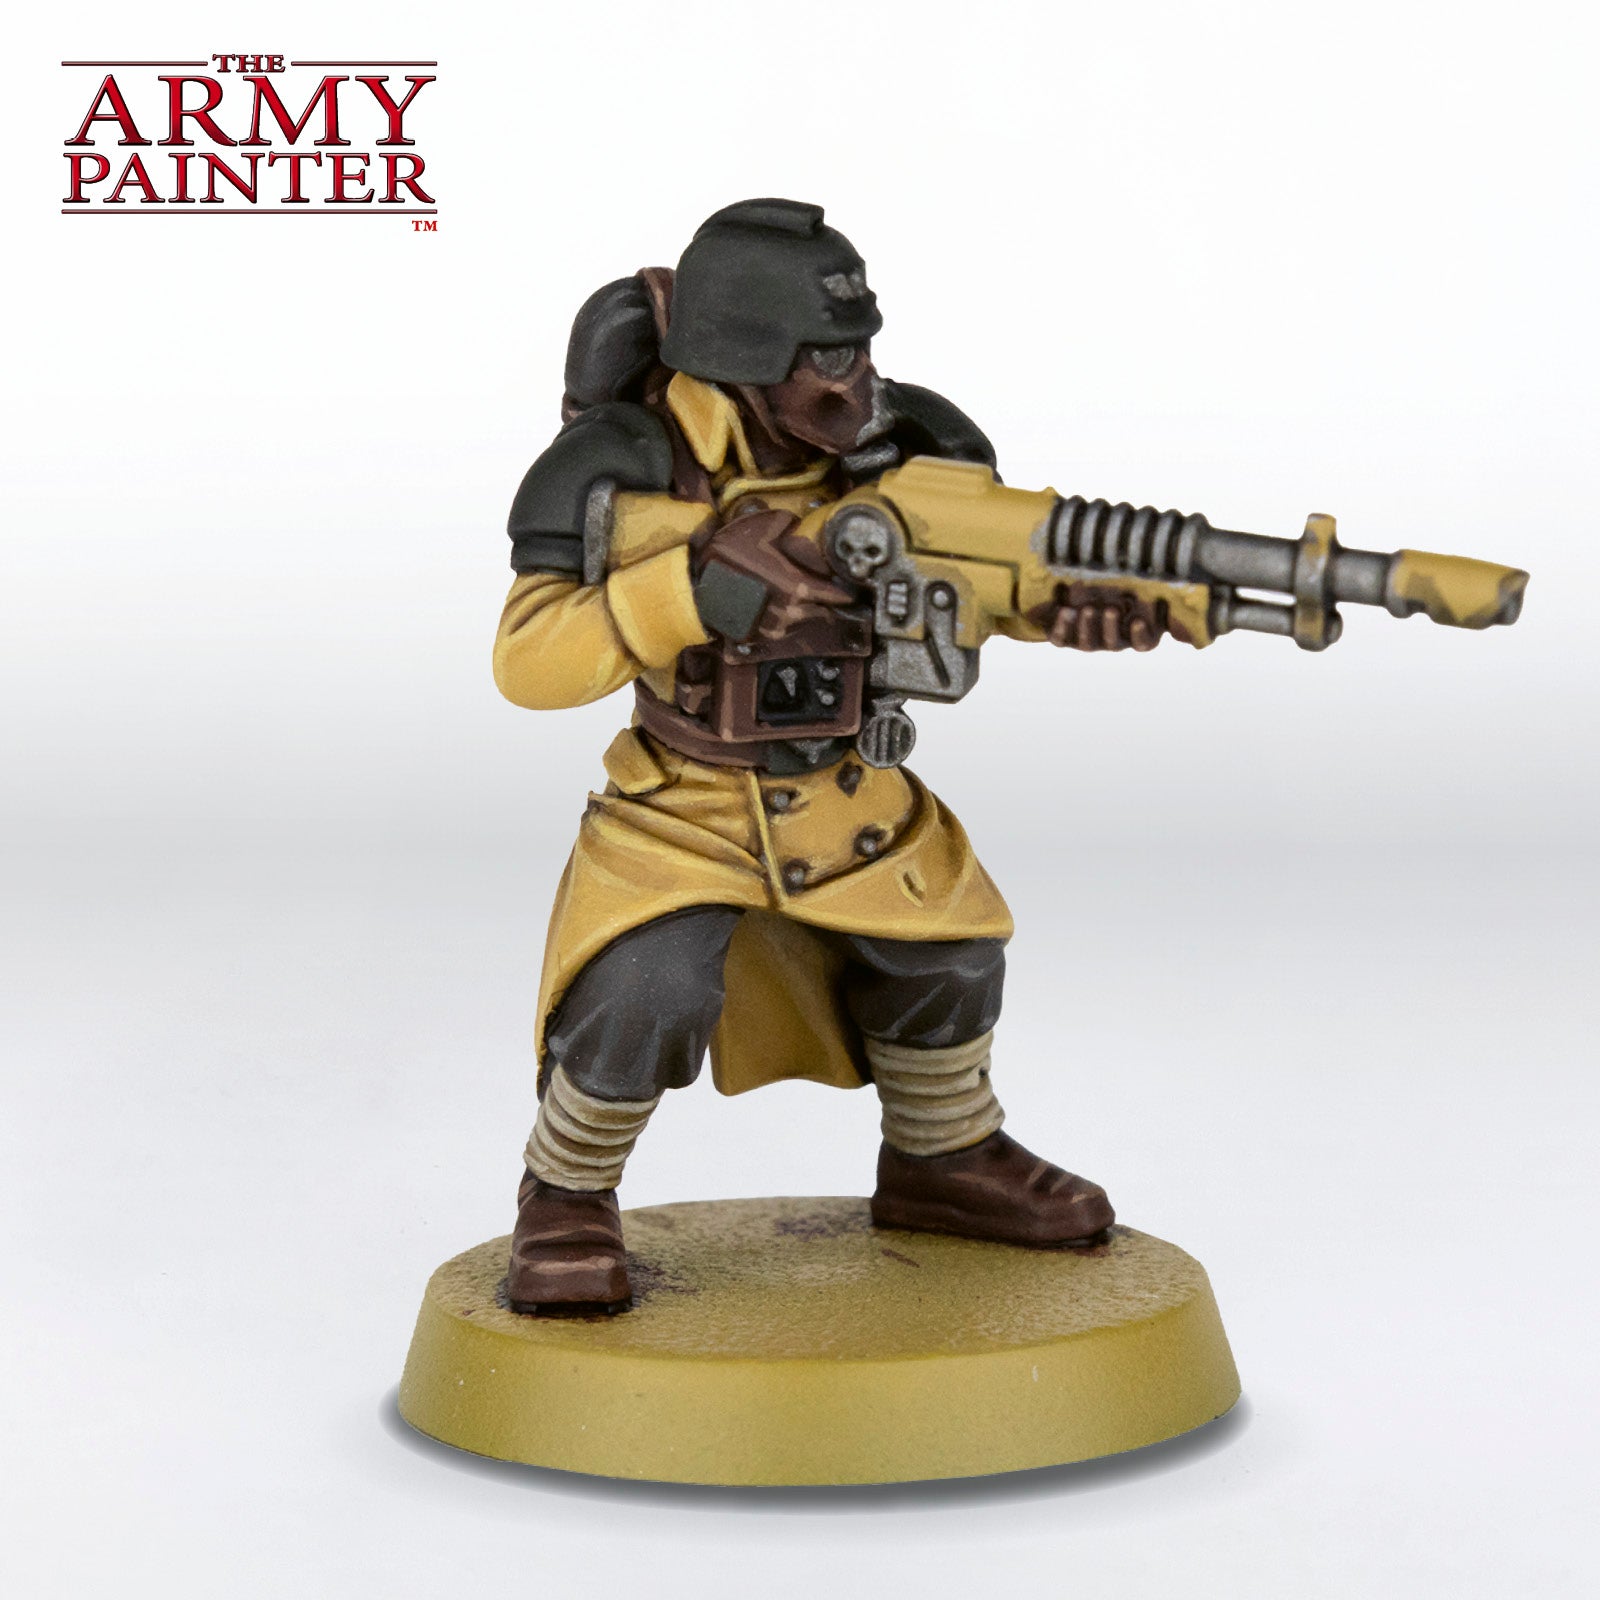
Prime the model with Desert Yellow Colour Primer. This acts as a nice undercoat for all the earthy tones that will be used on the model.
Step 2
Basecoat the greatcoat with Warpaints Fanatic Camo Sand.
Step 3
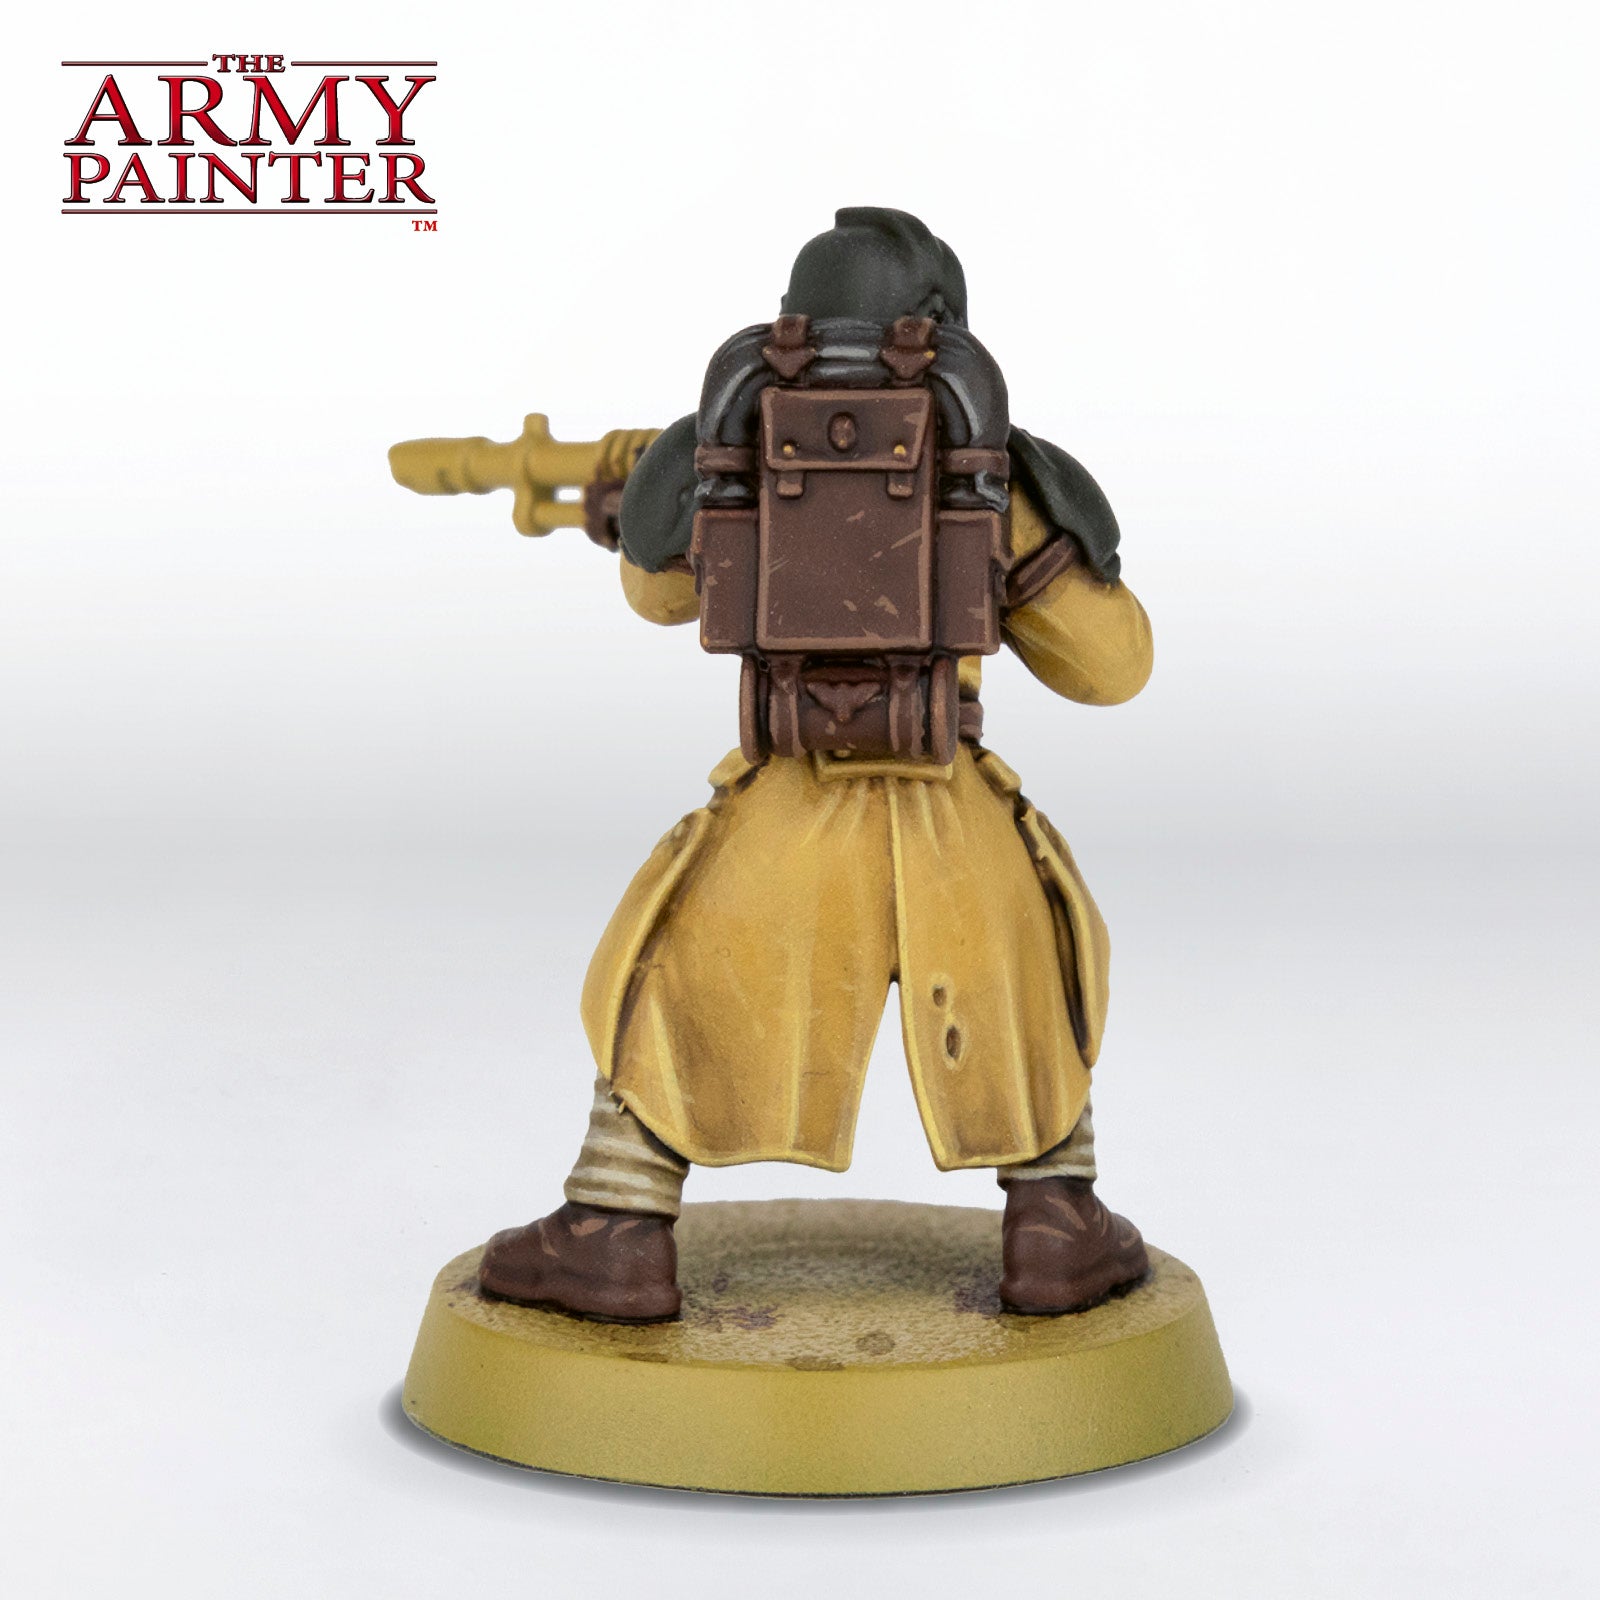
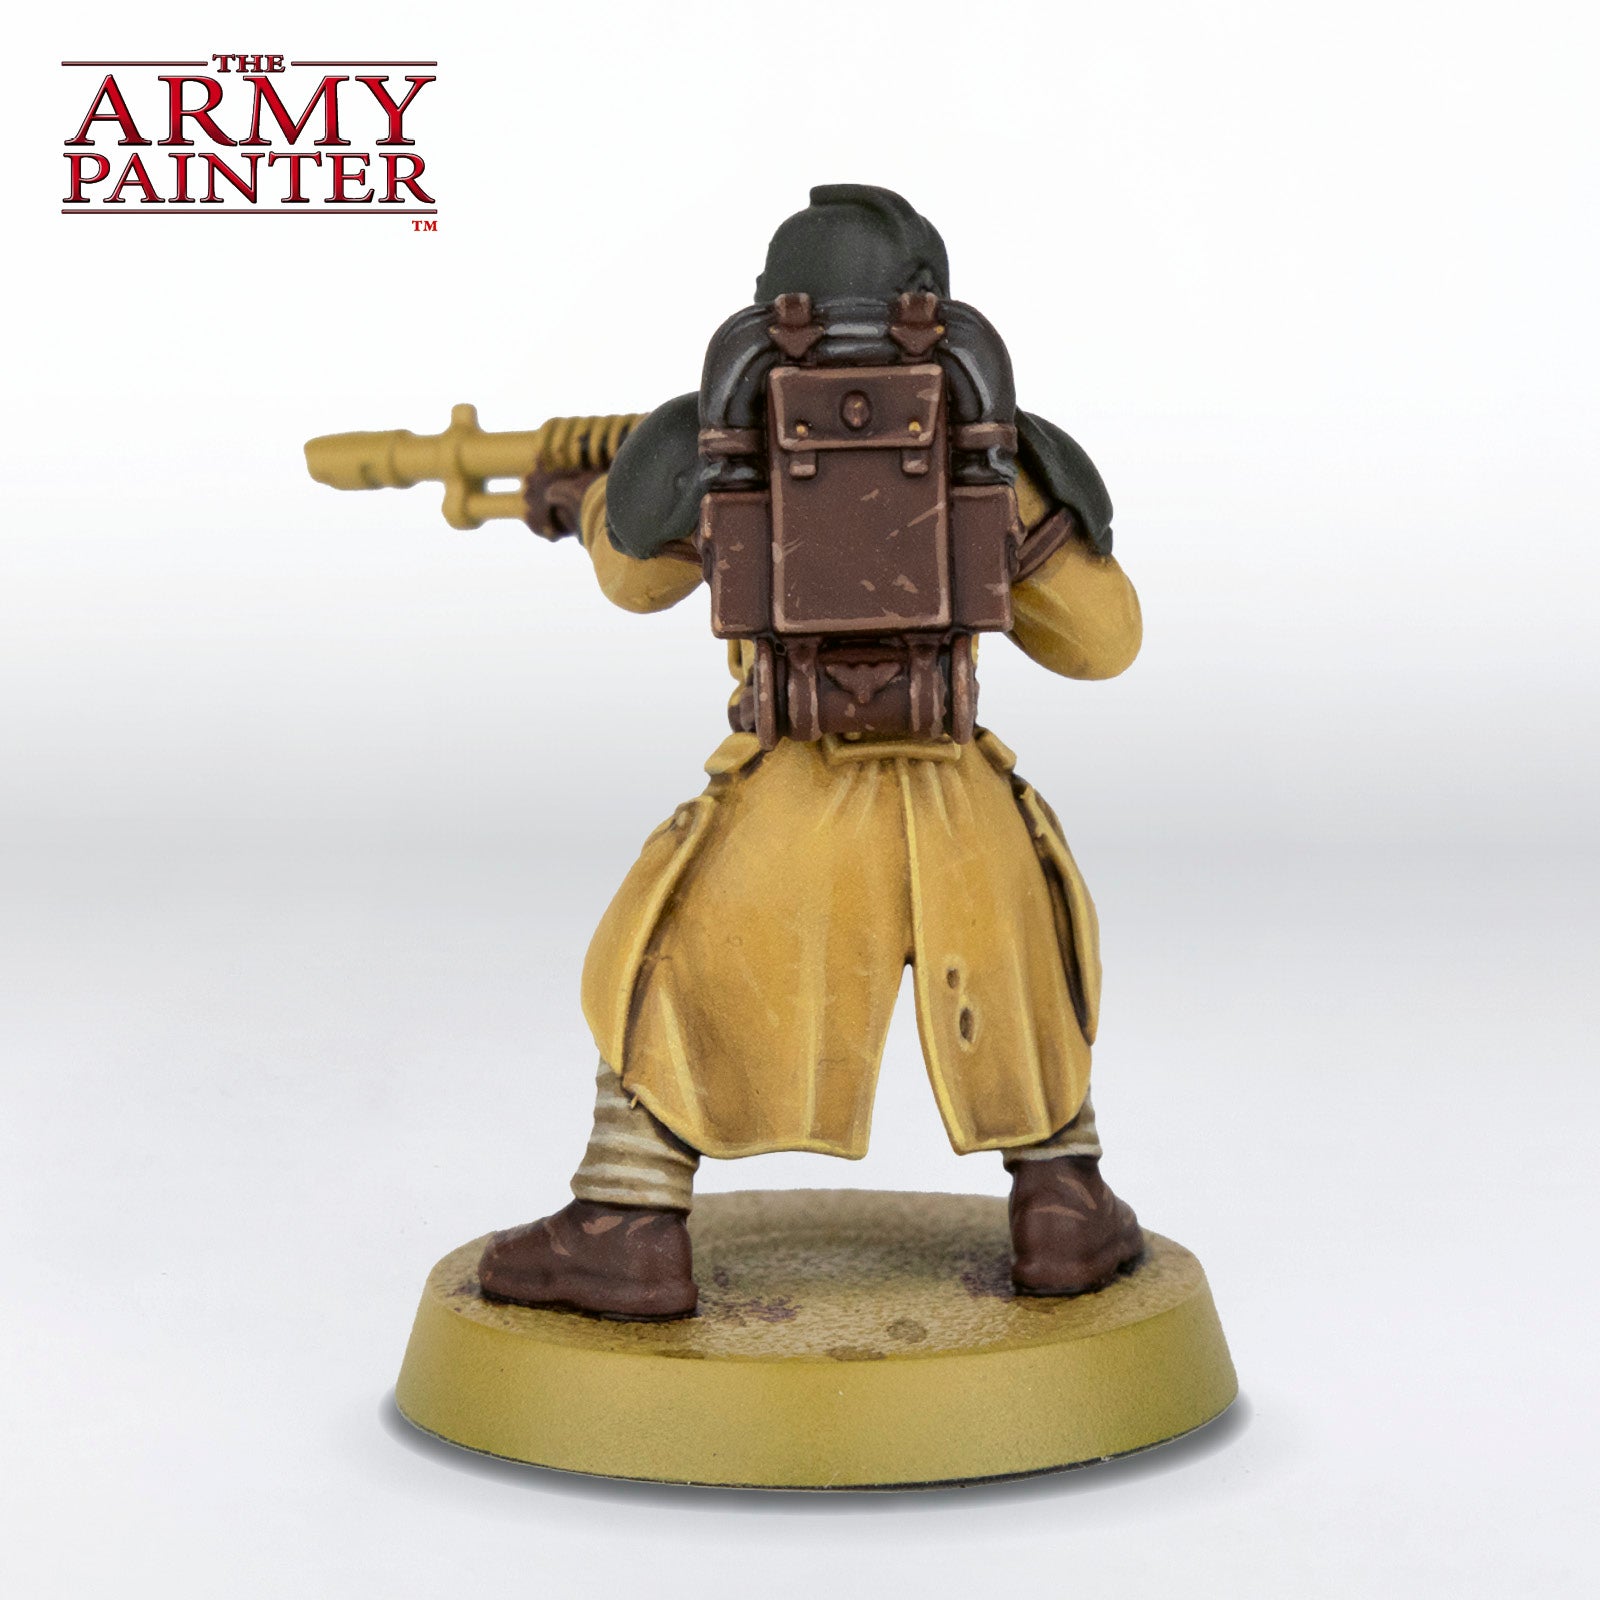
Basecoat the trousers and bedroll with Warpaints Fanatic Dark Olive.
Step 4
Next, basecoat all the leather areas with Warpaints Fanatic Boot Brown.
Step 5
Follow this with a basecoat of Warpaints Fanatic Canvas on the leg wrappings.
Step 6
Basecoat the armour with a 1:1 mix of Warpaints Fanatic Dark Olive and Dark Feldgrau.
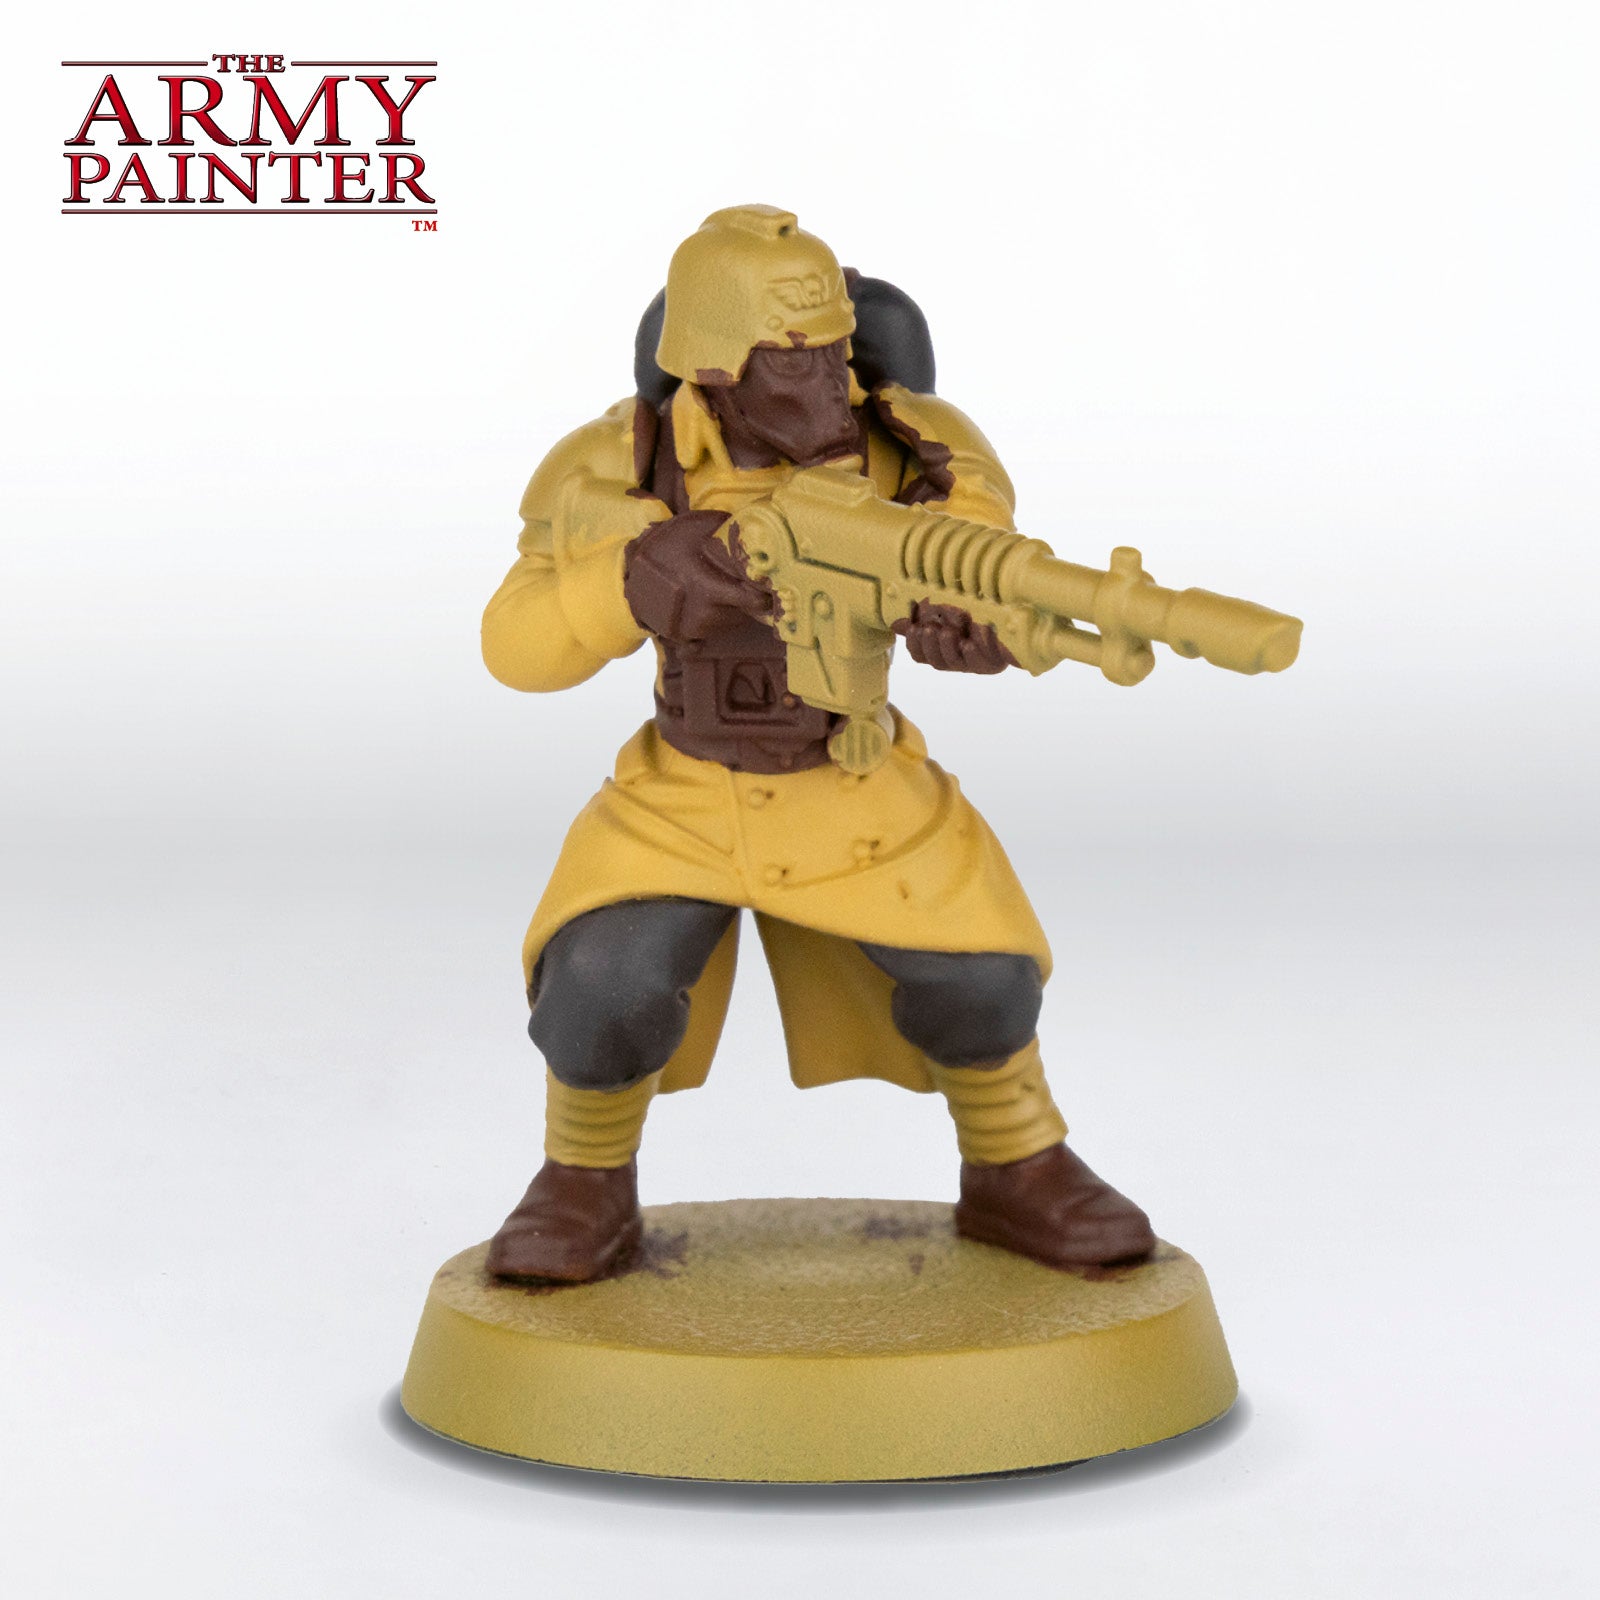
Step 7
Finally, apply an all-over shade of Warpaints Fanatic Wash Brown Tone to the entire model, thinning it down with water slightly for the greatcoat.
The Highlights
Step 1
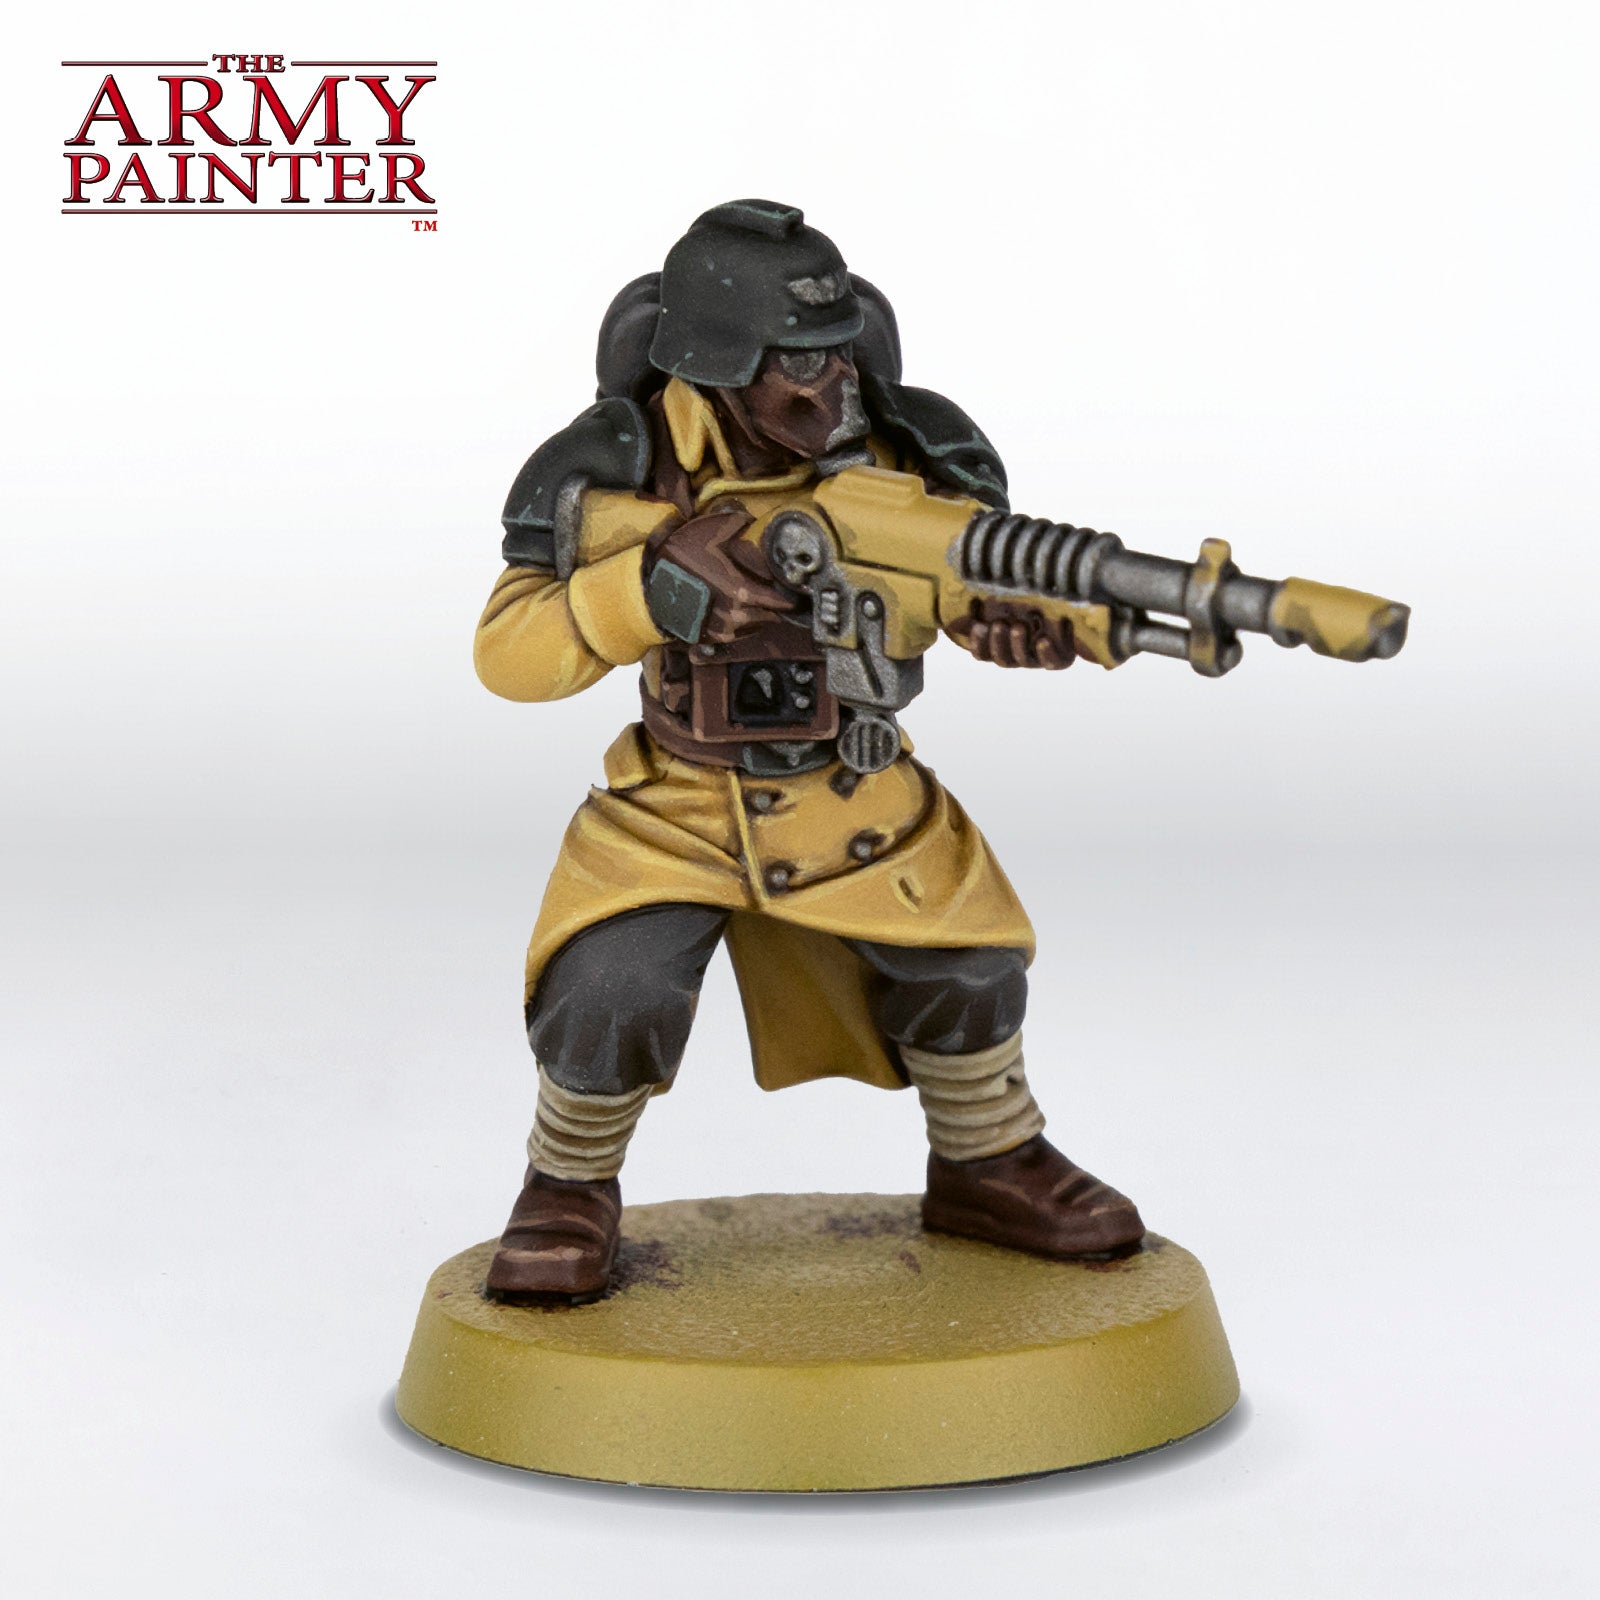
Start by cleaning up the coat with Warpaints Fanatic Camo Sand. Focus this on raised areas, leaving the shaded areas in the recesses of the folds. Keep this fairly broad.
Step 2
Finish the coat with an edge highlight of Warpaints Fanatic Webbing Khaki.
Step 3
Next, edge highlight the wrappings on the legs with Warpaints Fanatic Canvas.
Step 4
Highlight the trousers and bedroll by mixing a little Warpaints Fanatic Canvas into the Warpaints Fanatic Dark Olive. Keep this to the raised areas only. You can apply a second highlight by mixing in more Canvas if you want.
Step 5
Next, highlight all the leather with Warpaints Fanatic Leather Brown.
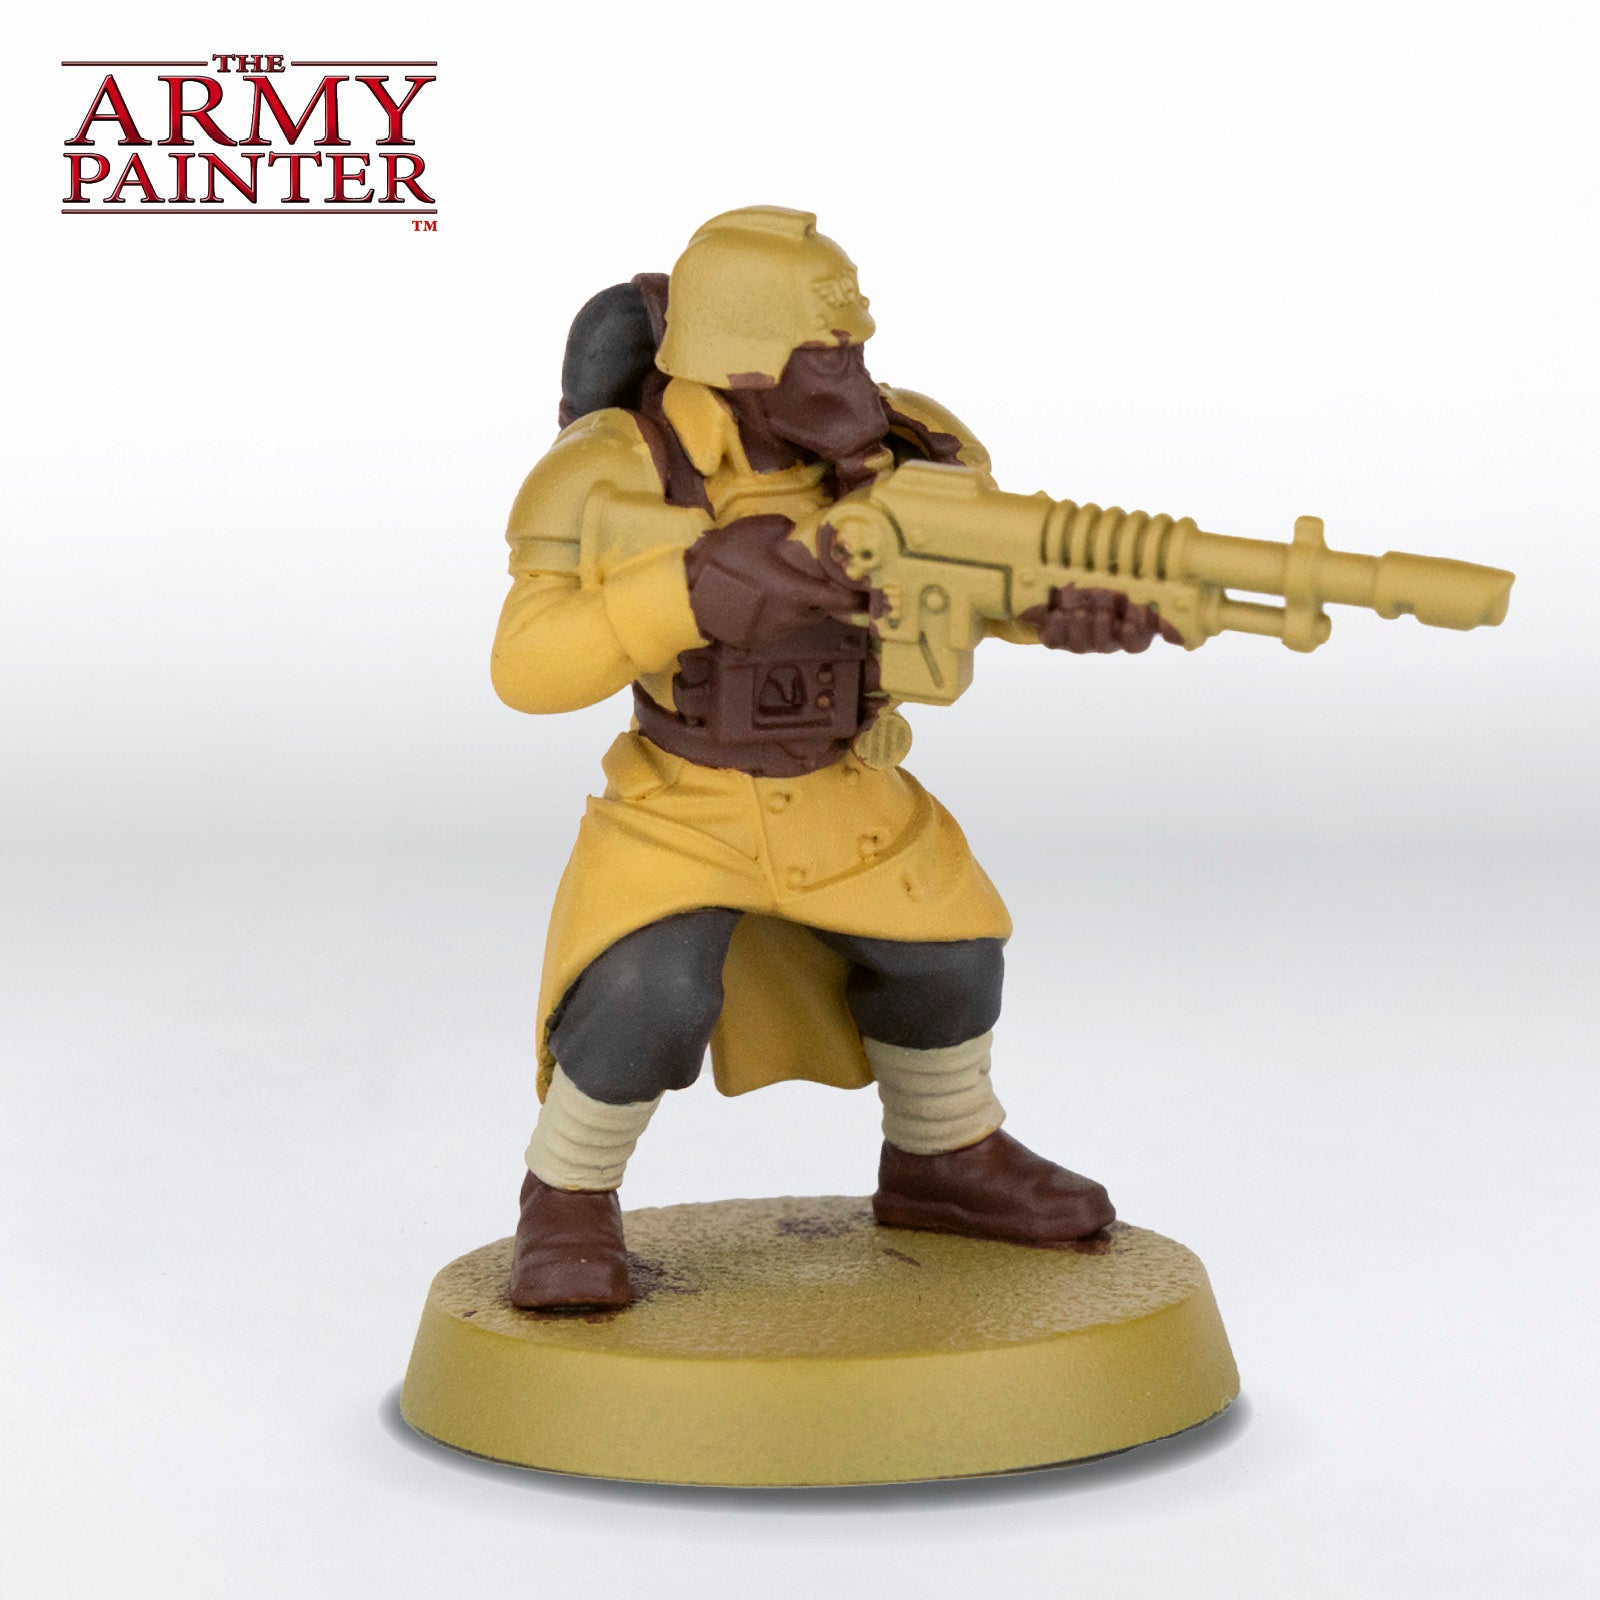
Step 6
Finally, apply a specular highlight of Warpaints Fanatic Paratrooper Tan to the corners of the leather areas.
The Metallics and Final Details
Step 1
Basecoat the tube on the gasmask and the device on his chest with Warpaints Fanatic Strap Grey.

Step 2
Apply a basecoat of Warpaints Fanatic Steel to all the metallic areas on the model.
Step 3
Next, shade the metallics and grey areas with Warpaints Fanatic Wash Black Tone. This was also applied to the armour to darken it down a bit more.
Step 4
Apply an edge highlight of Warpaints Fanatic Mid Feldgrau to all the armour. You can also apply some scratches to the armour at this point.
Step 5
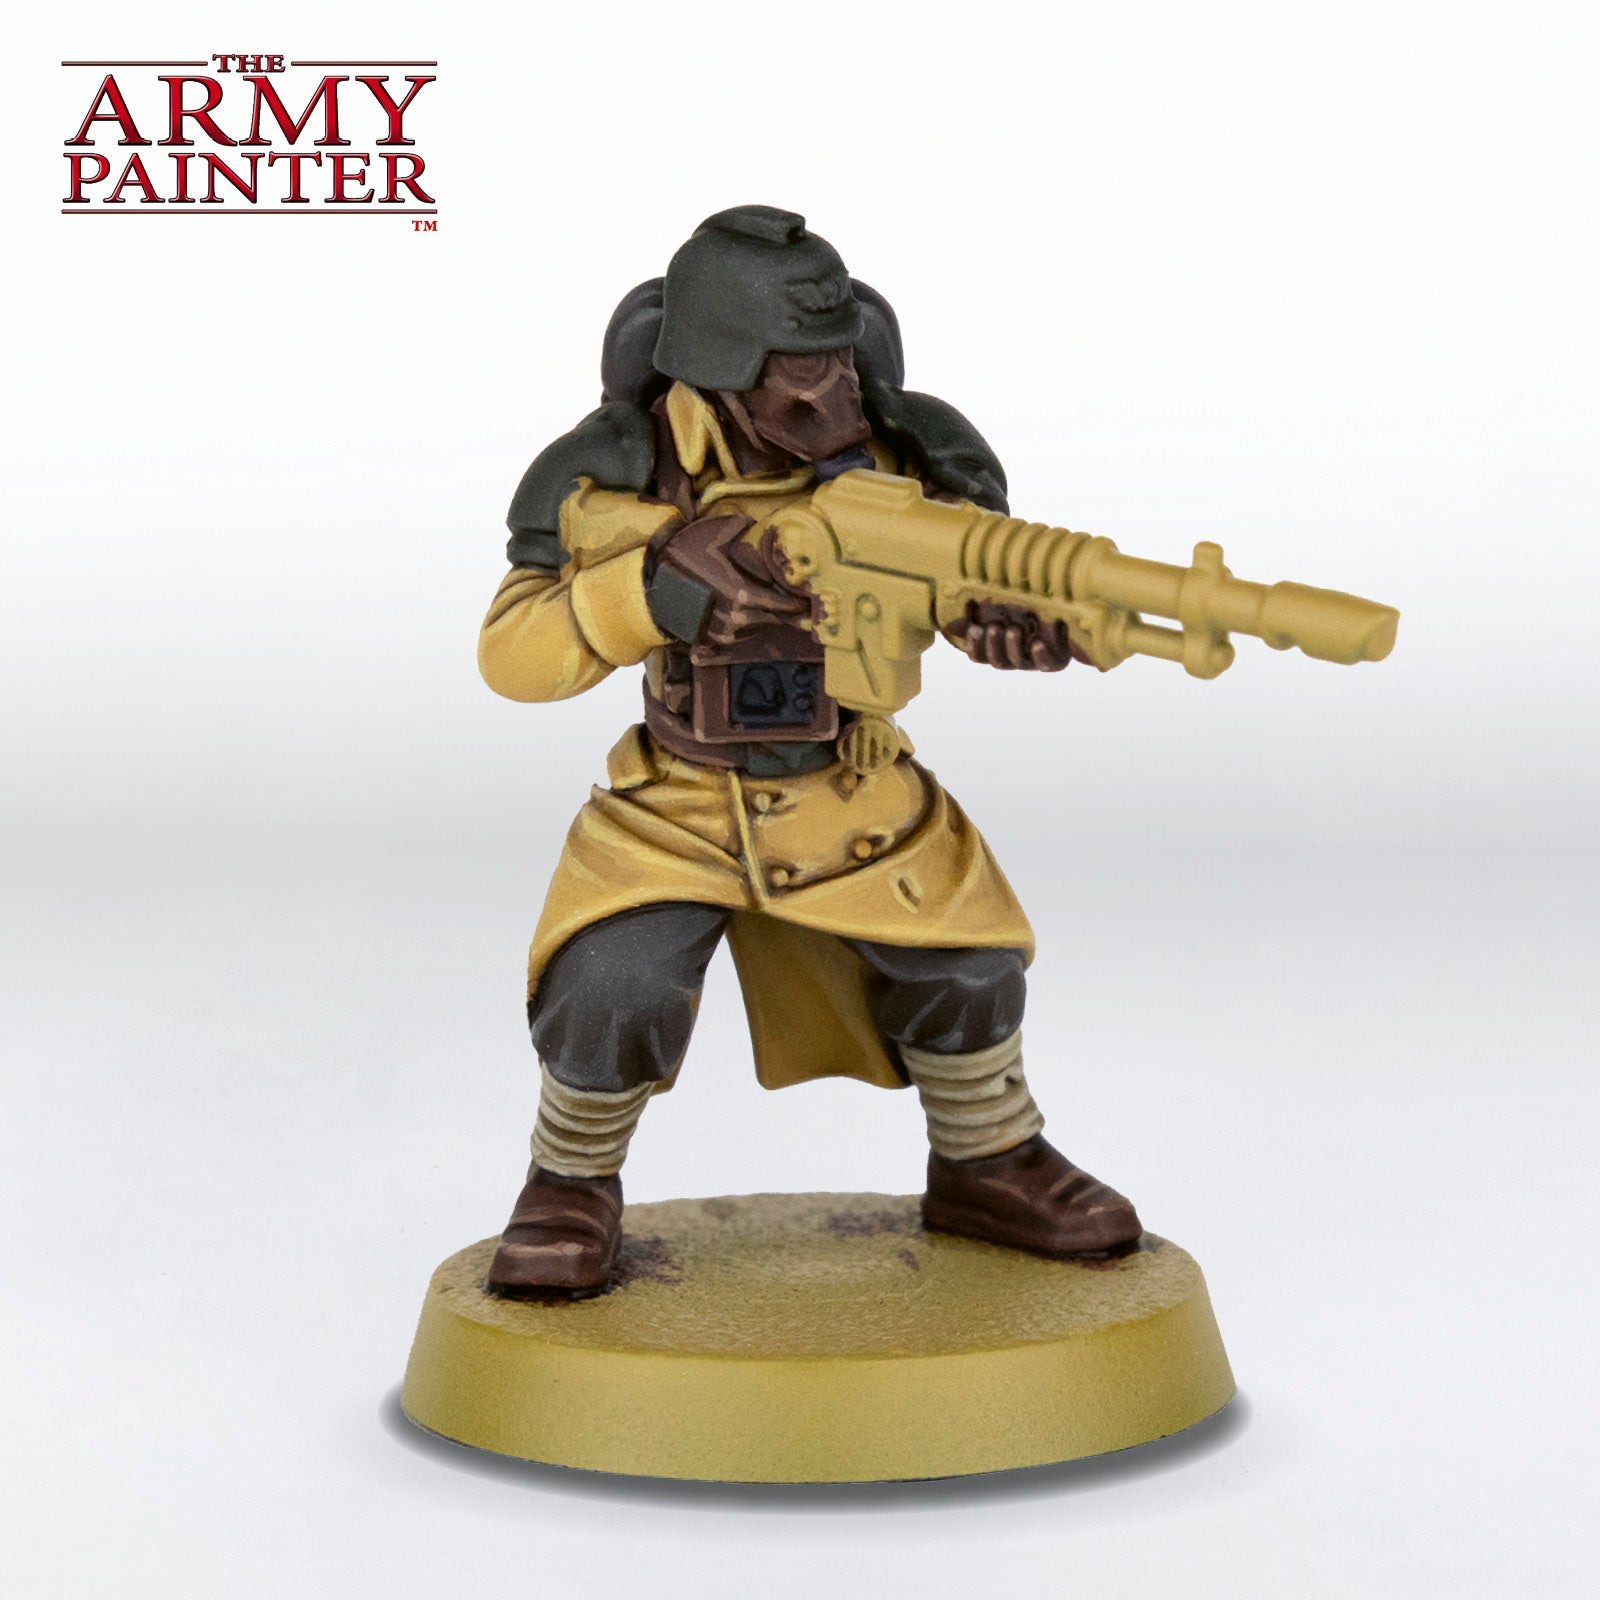
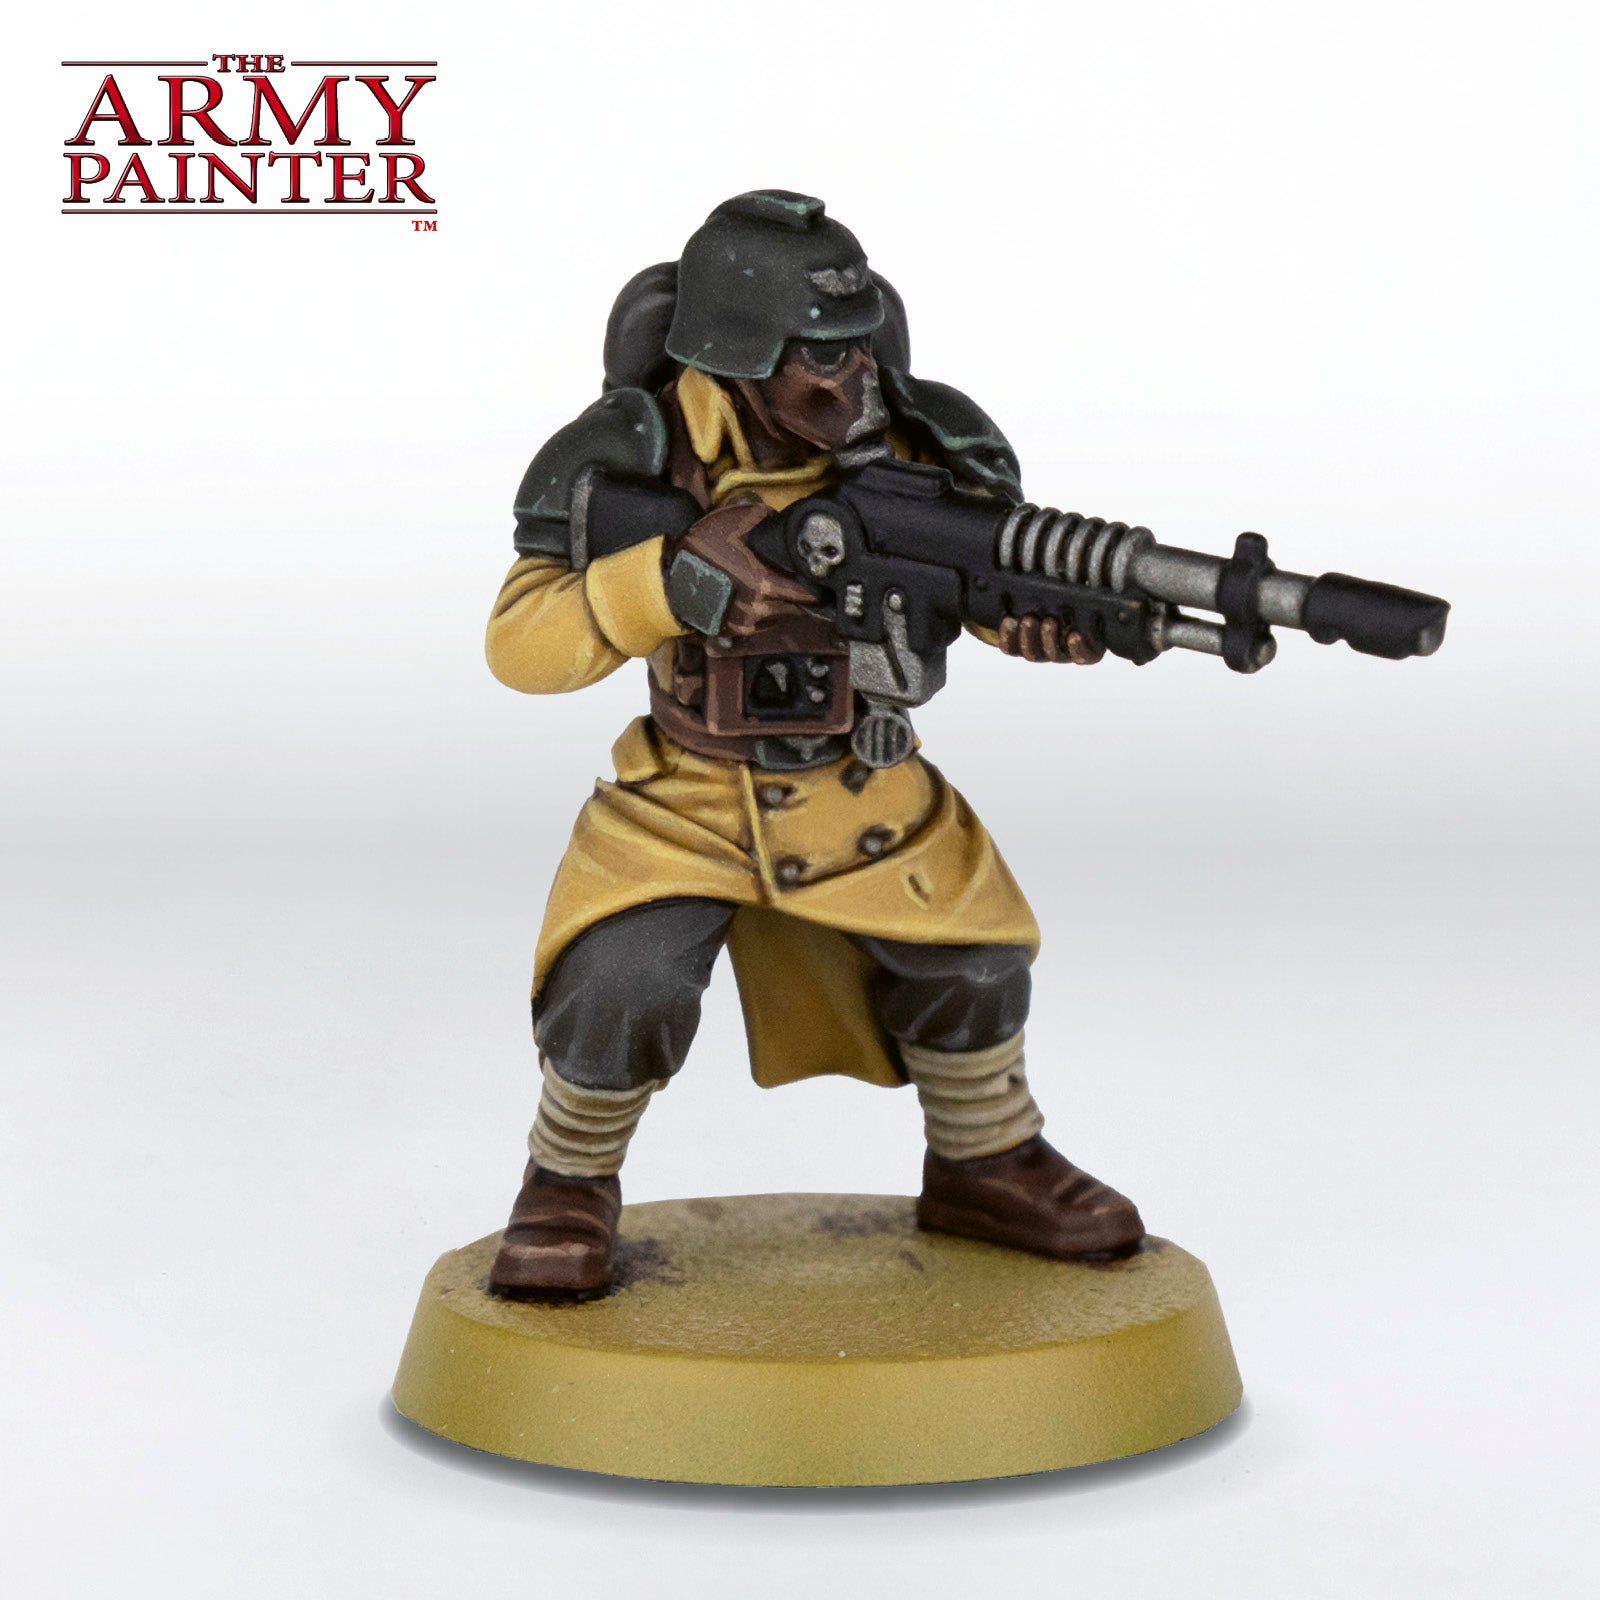
Basecoat the gun casing and any other black areas, such as the lenses in the goggles, with Warpaints Fanatic Matt Black.

Step 6
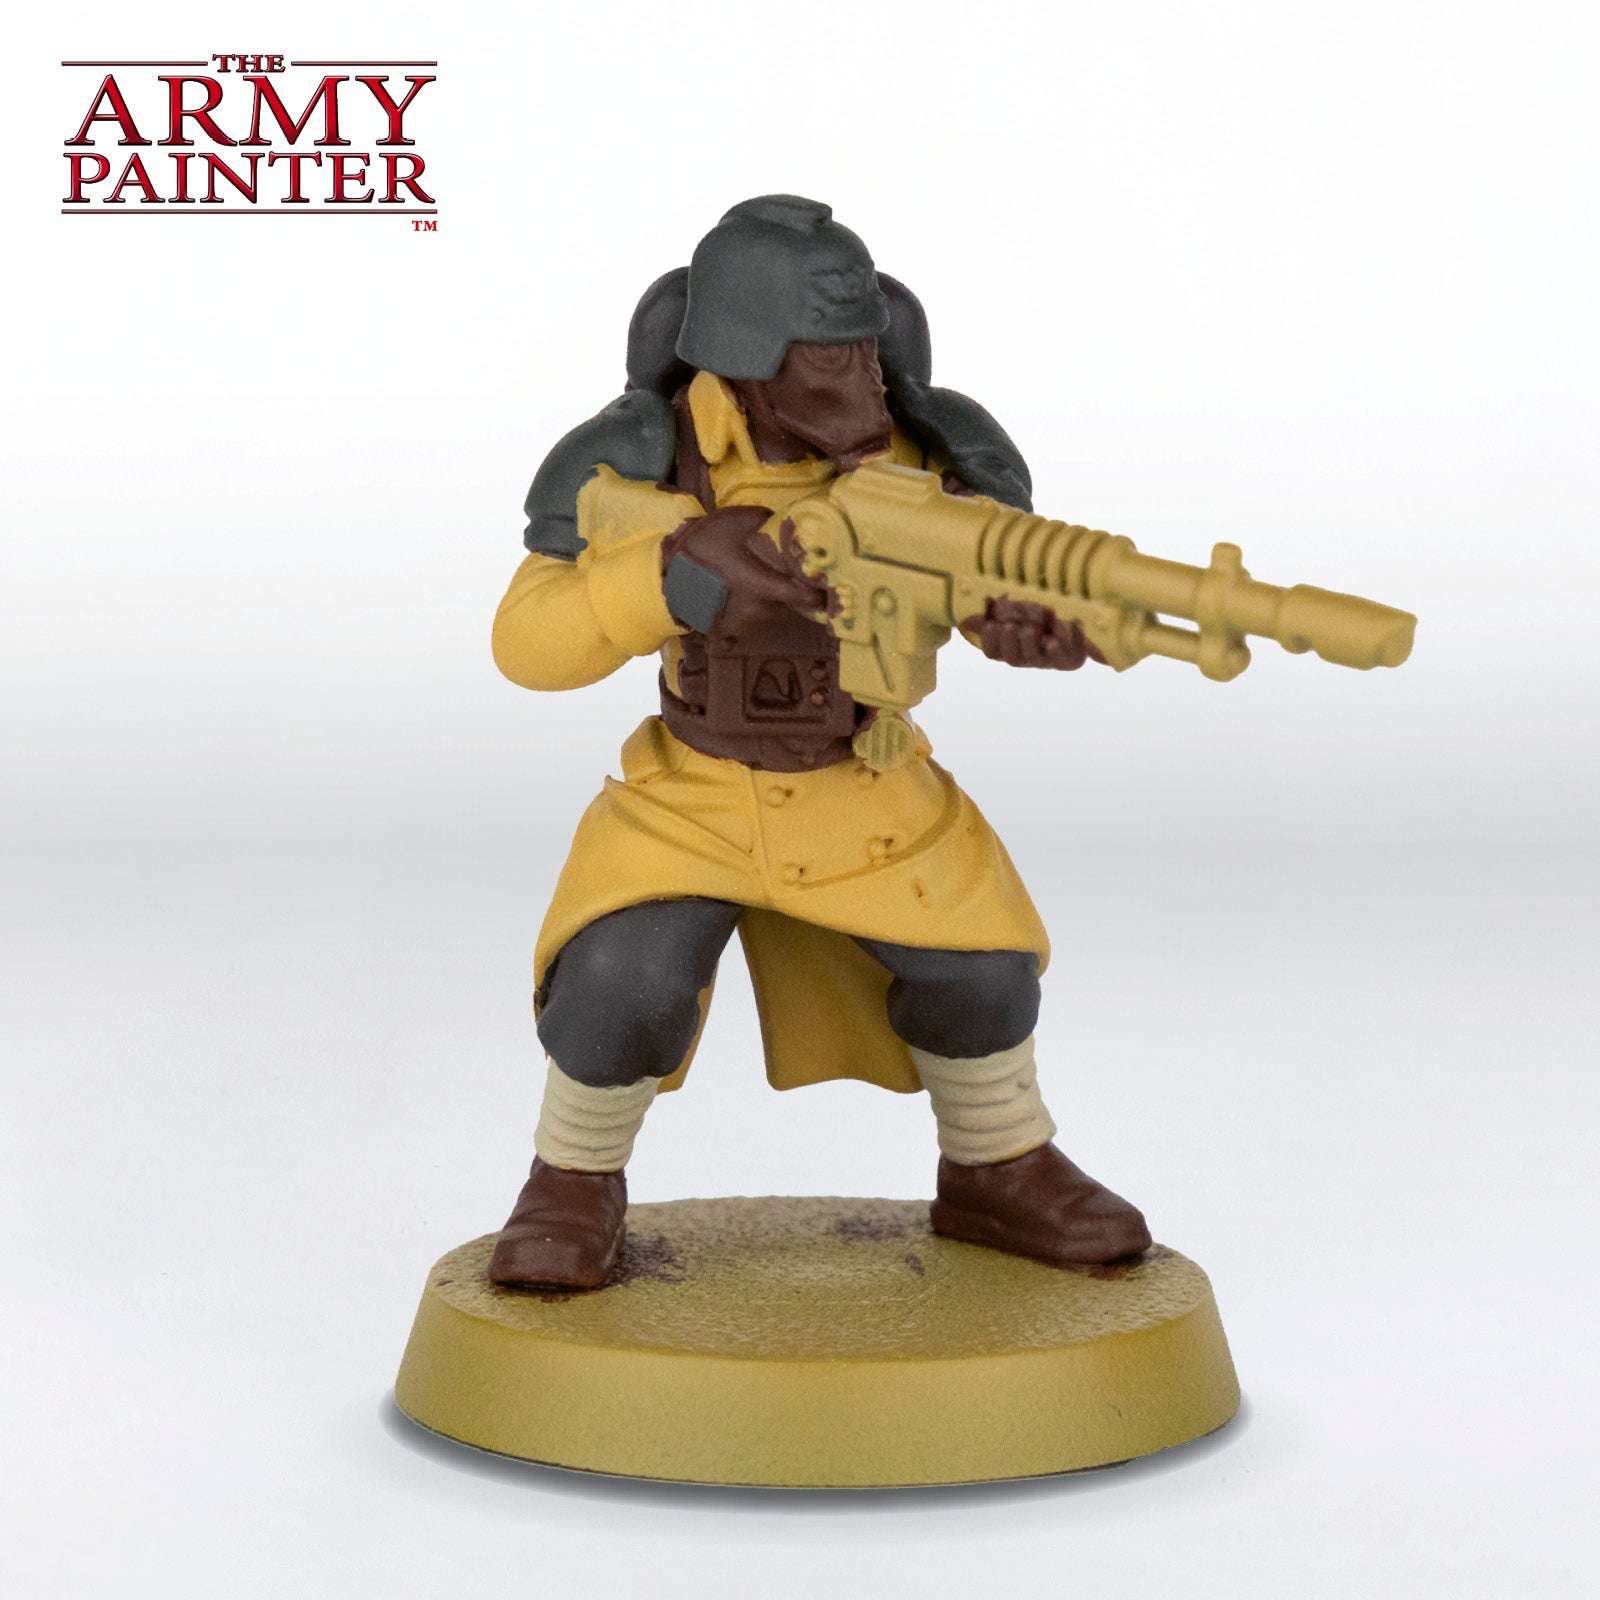
Finally, apply a highlight of Warpaints Fanatic Plate Mail Metal to all the metallic areas as well as to the gun casing. On the gun casing, paint this on in a scratchy and uneven manner to make the gun look suitably battered.
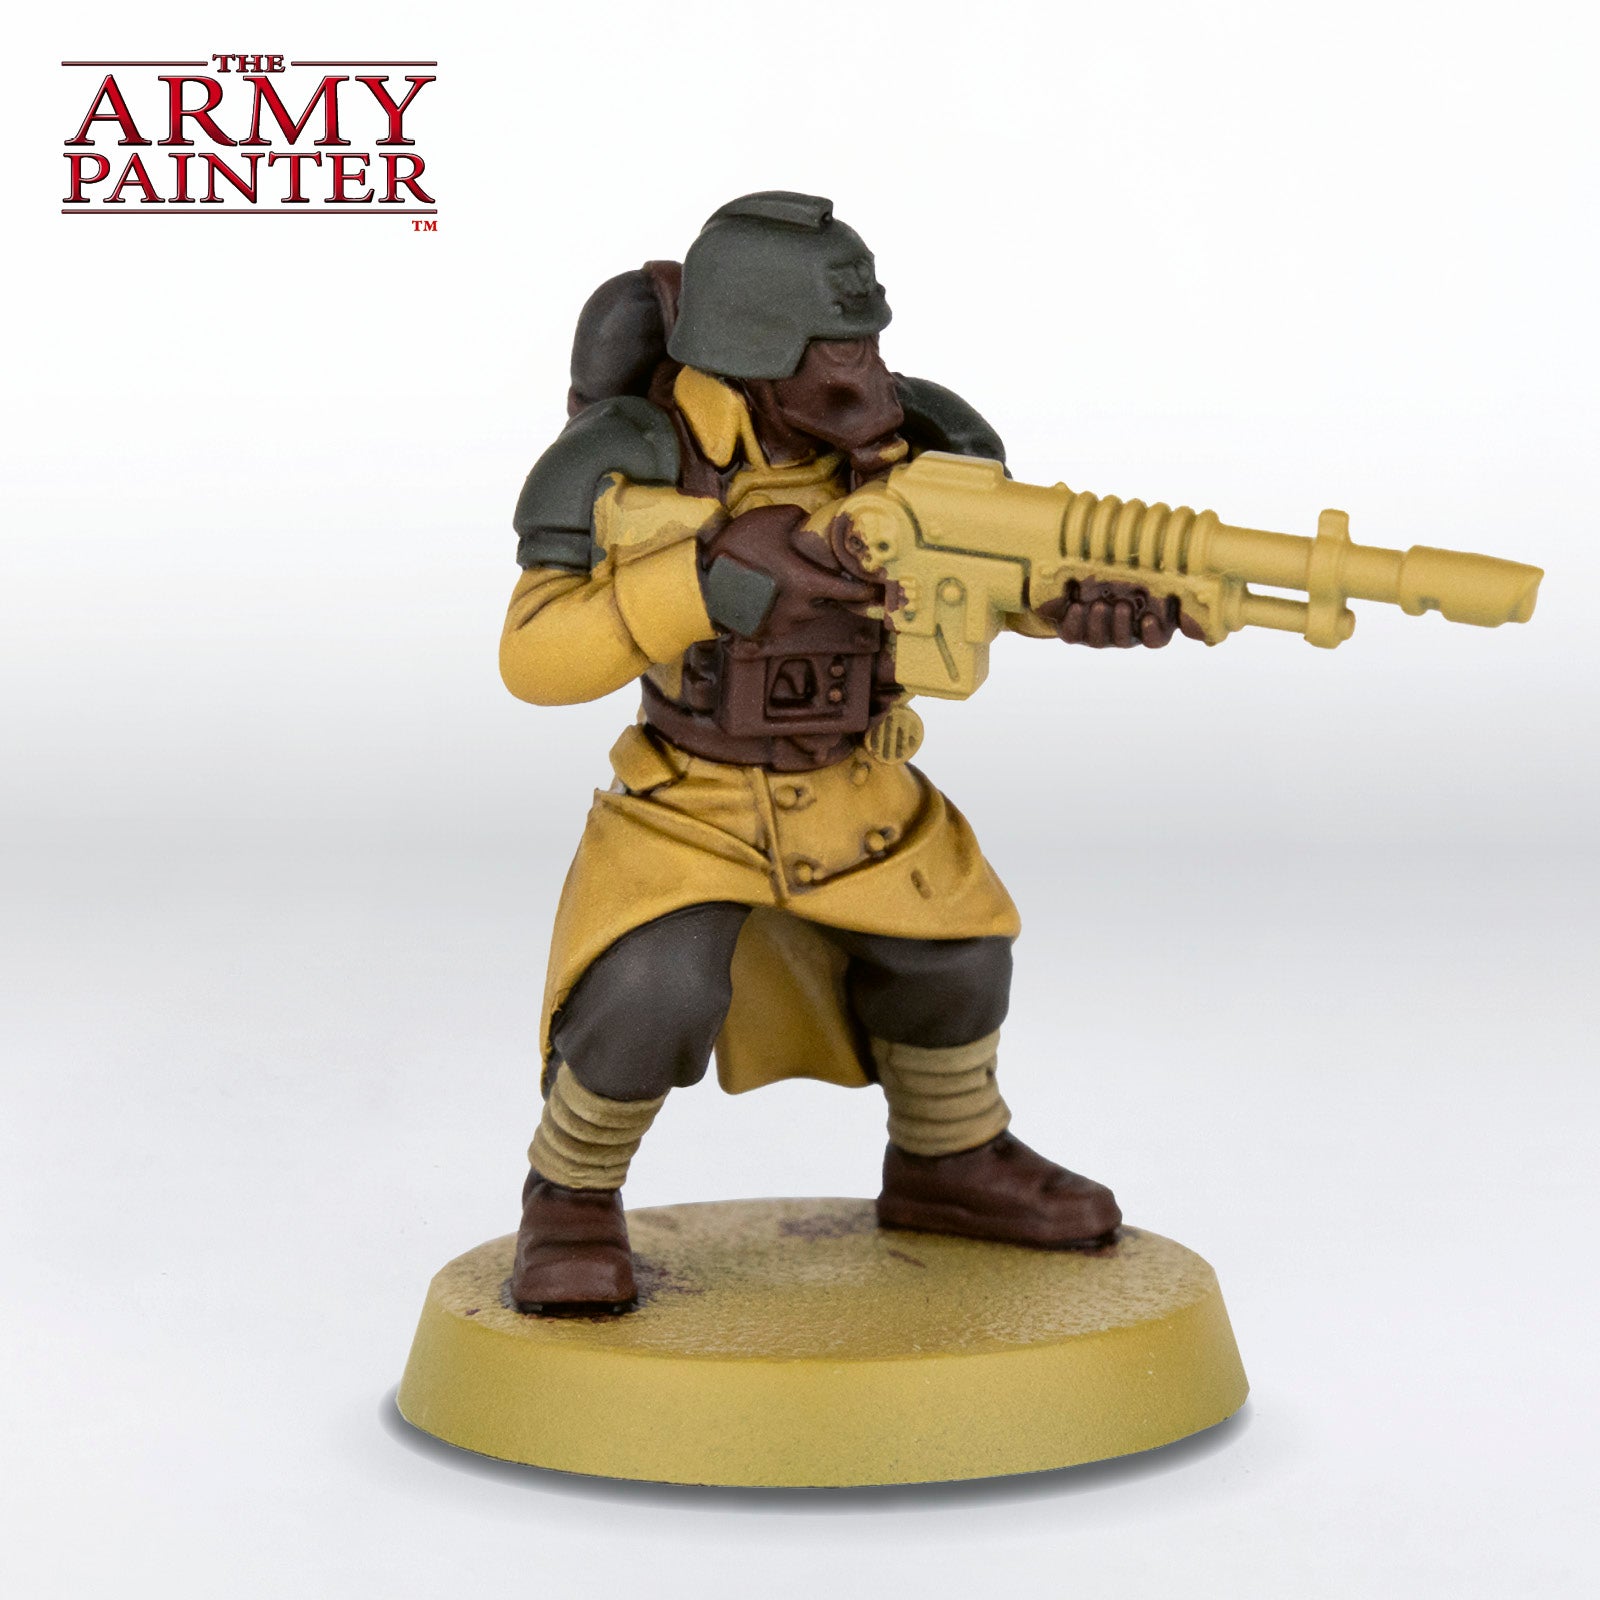
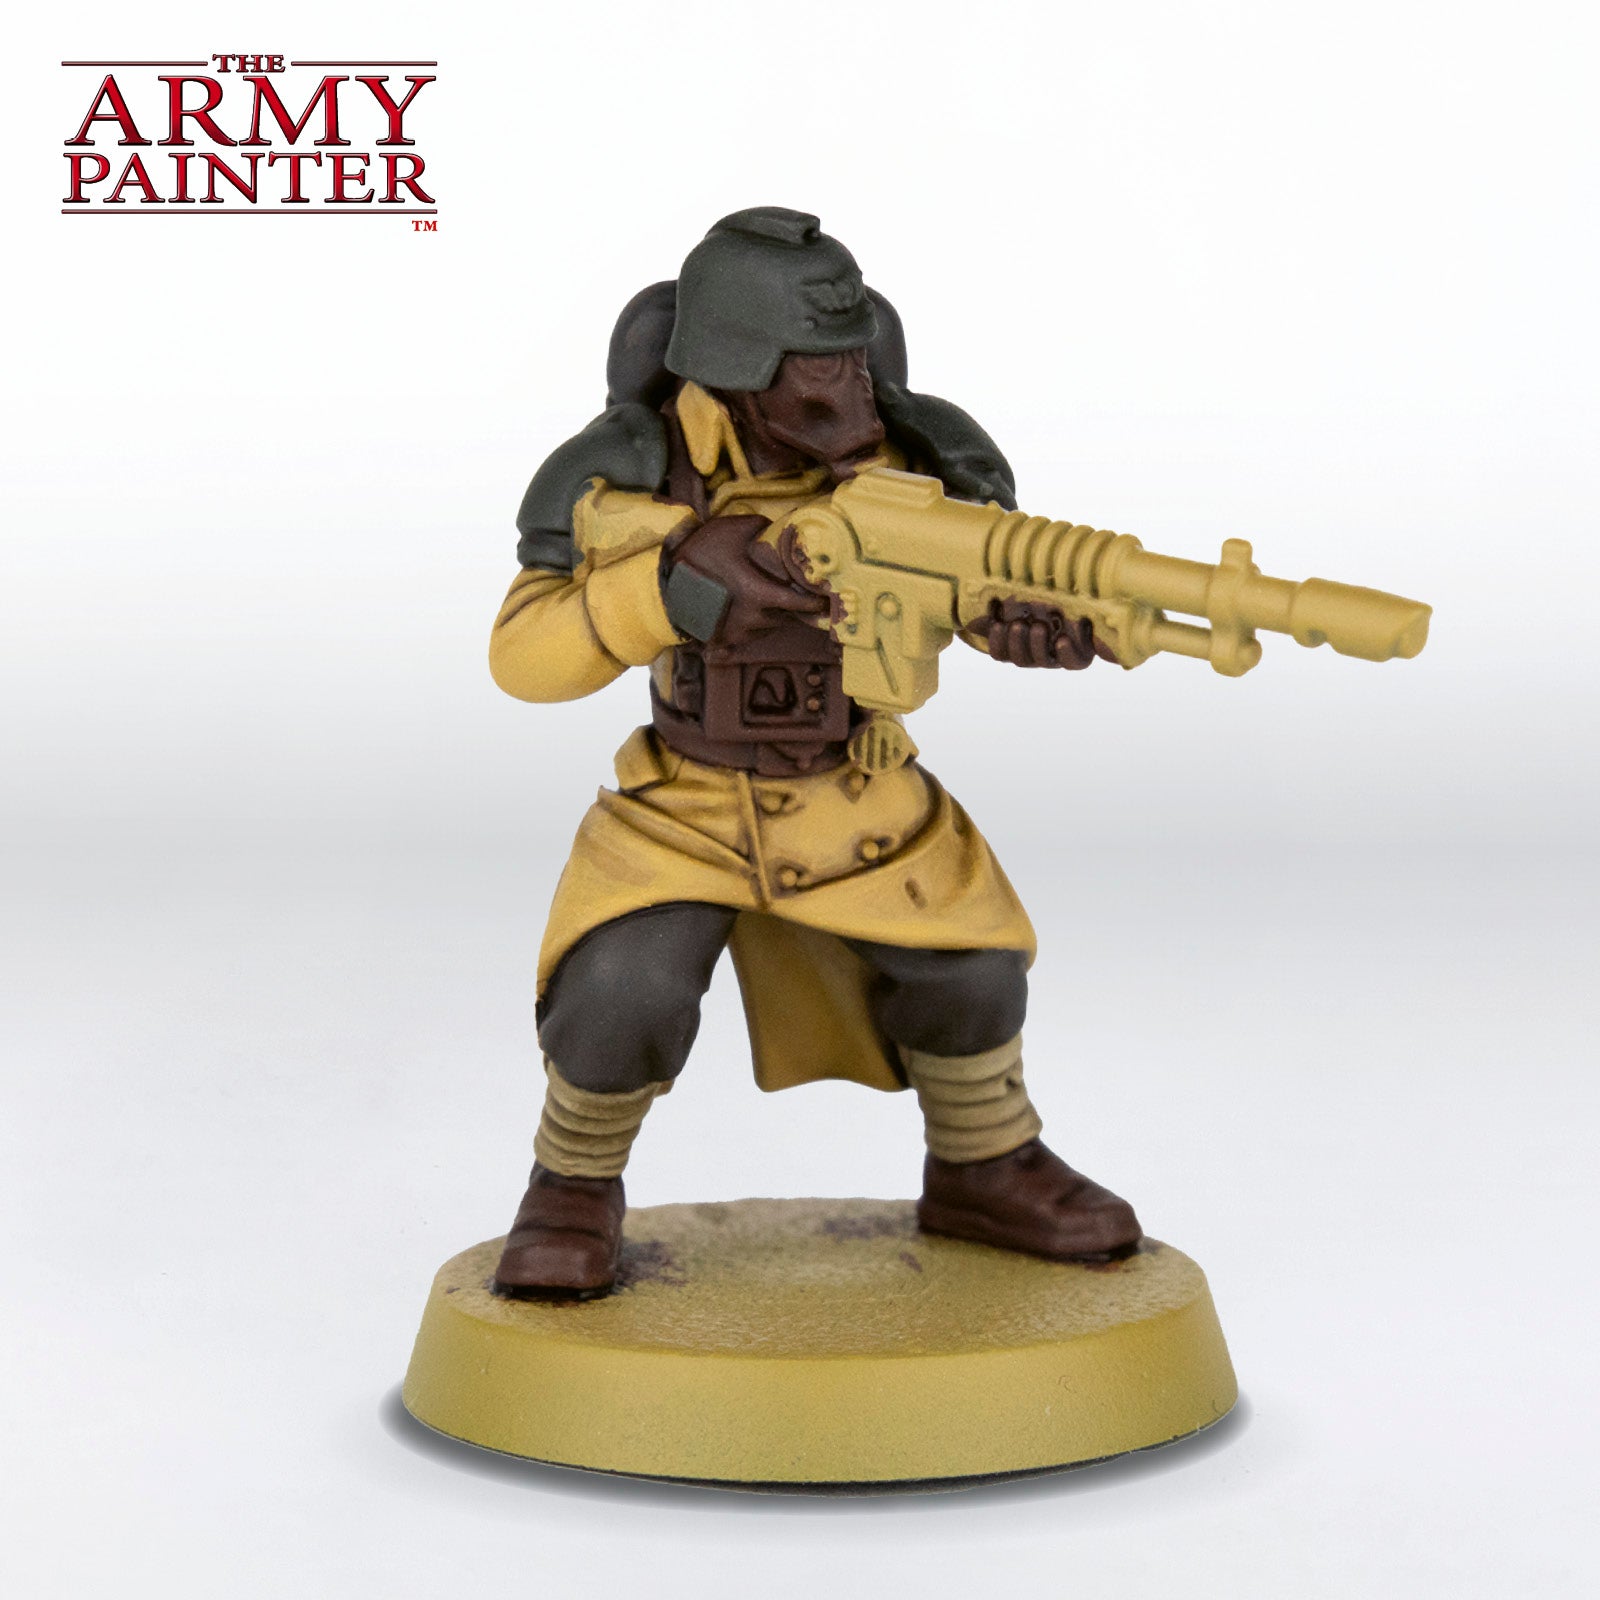
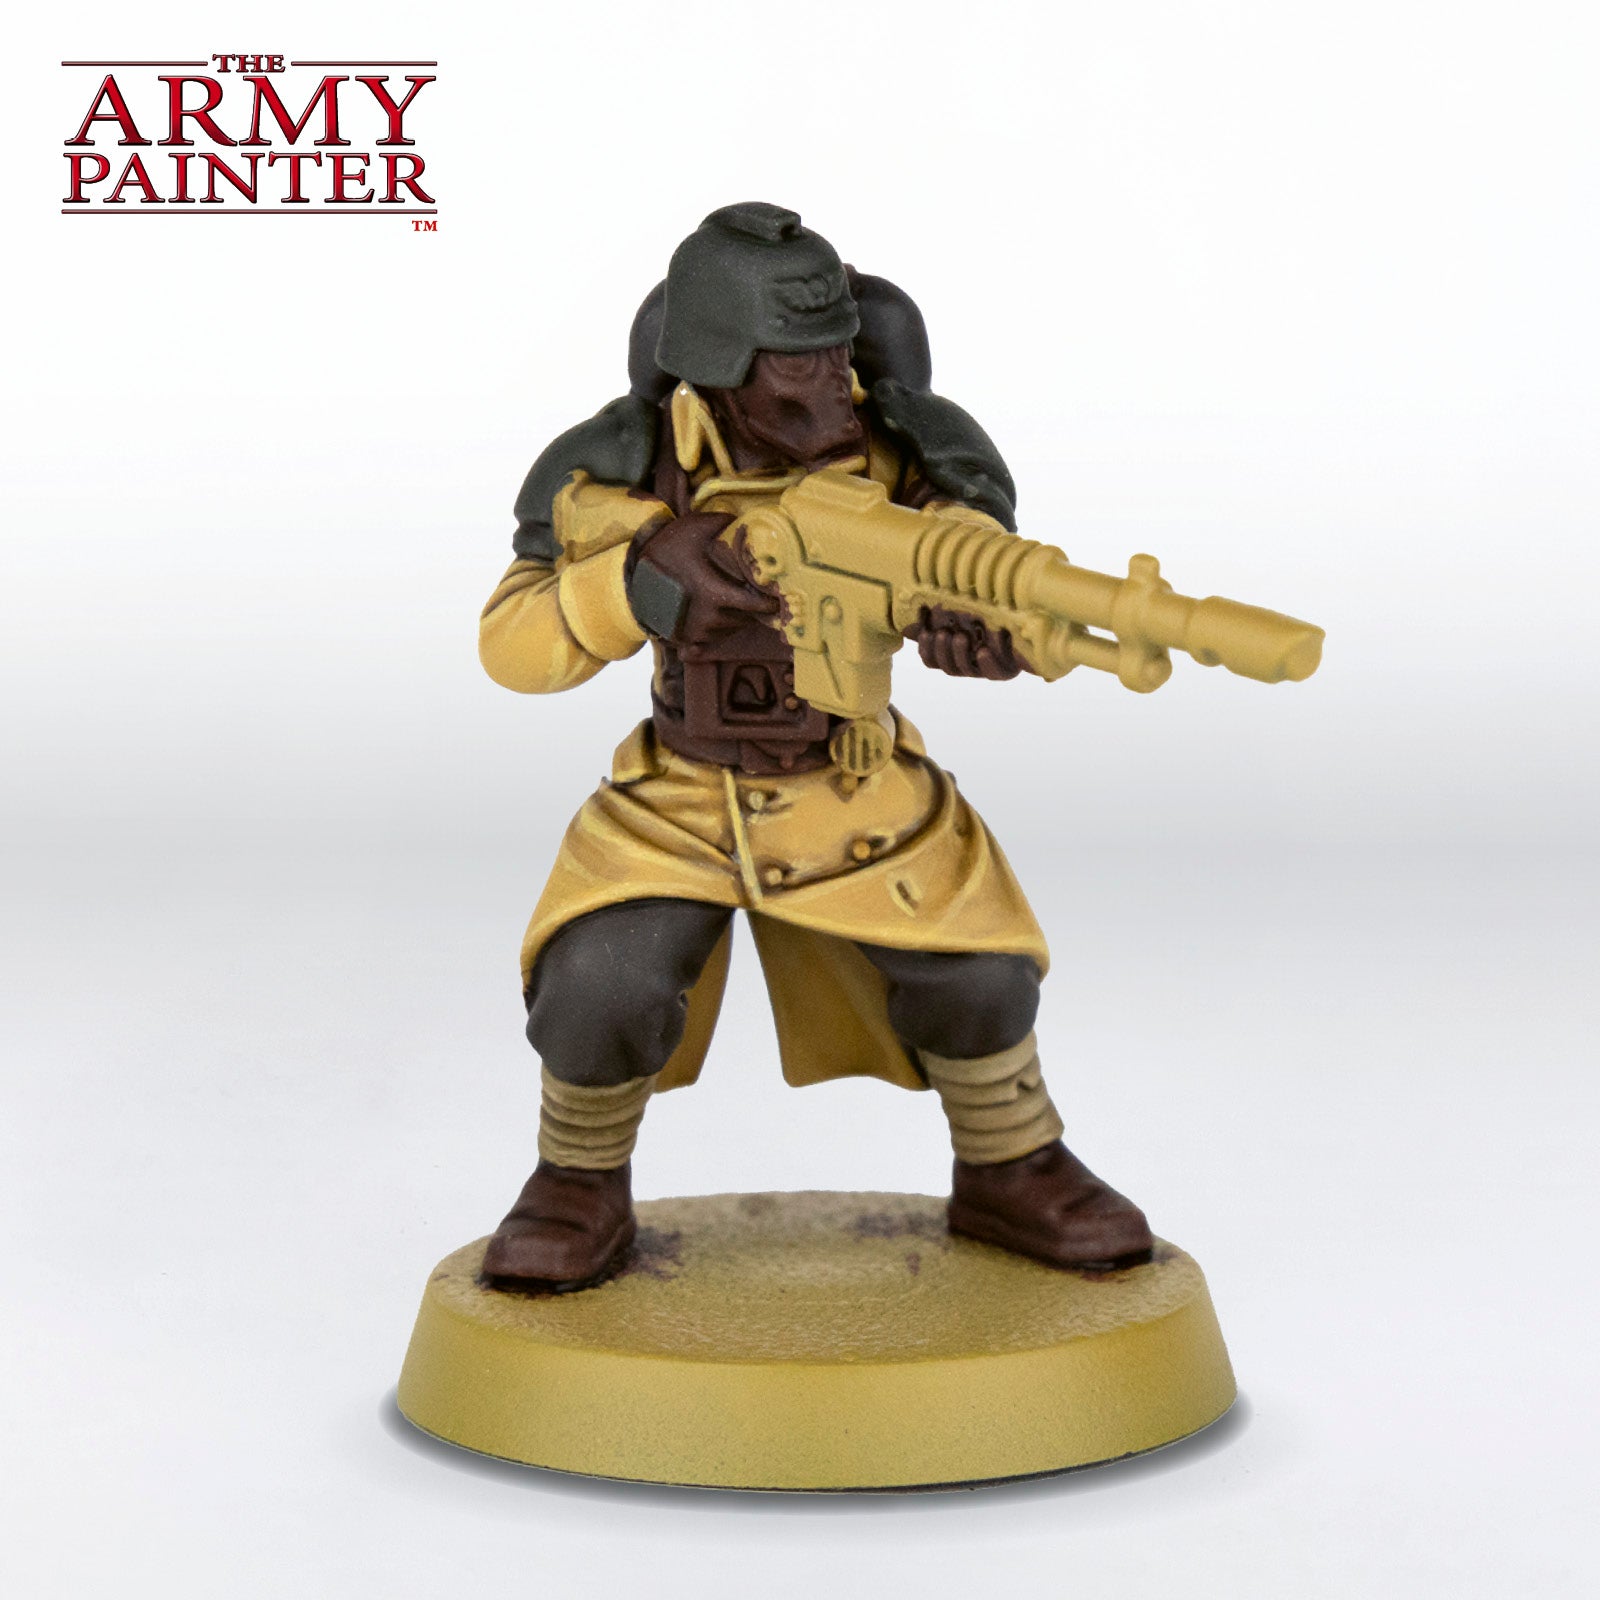
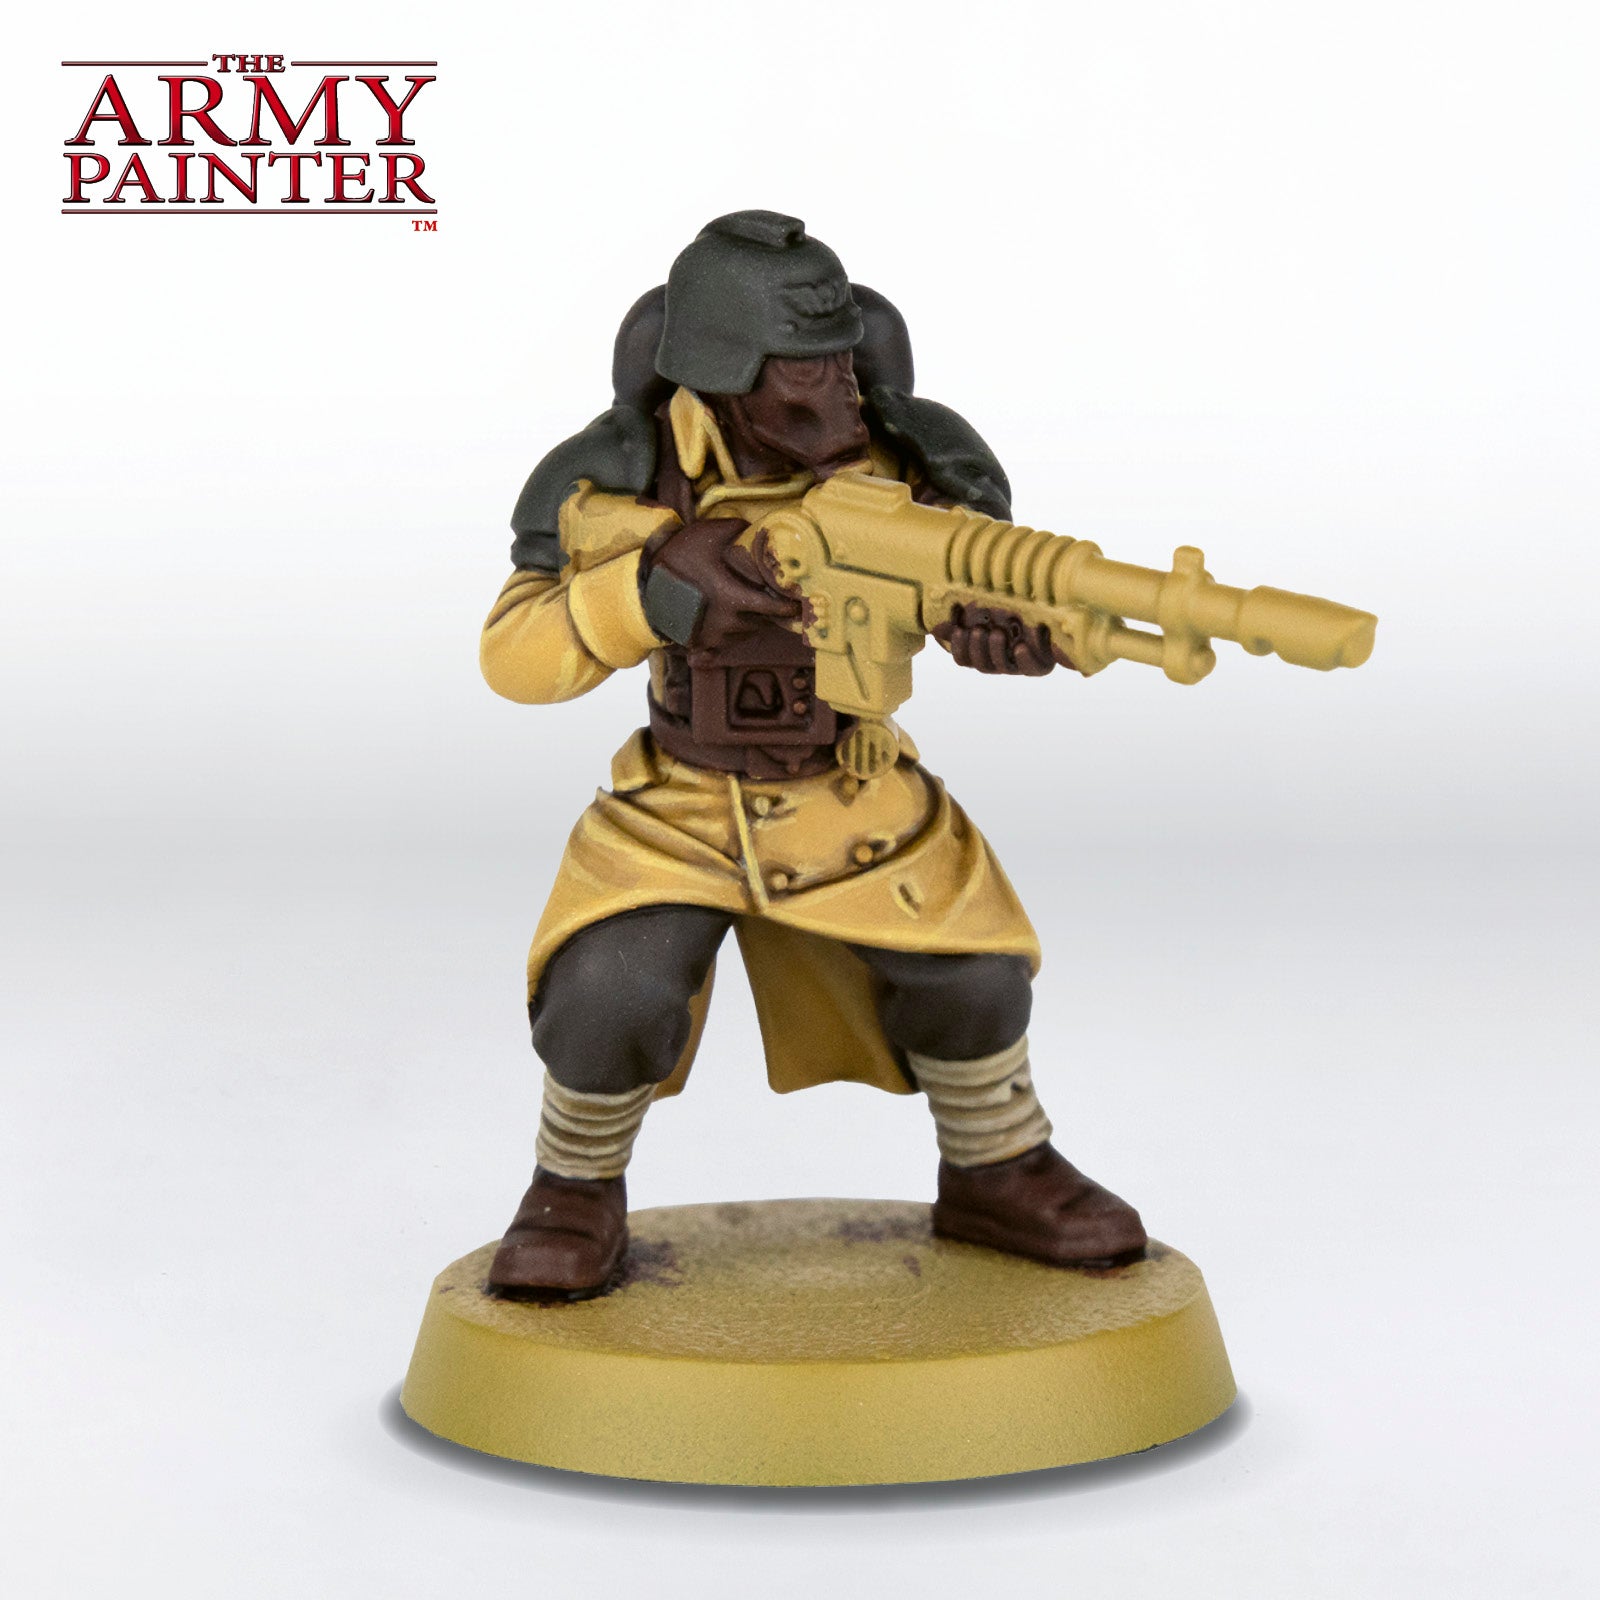
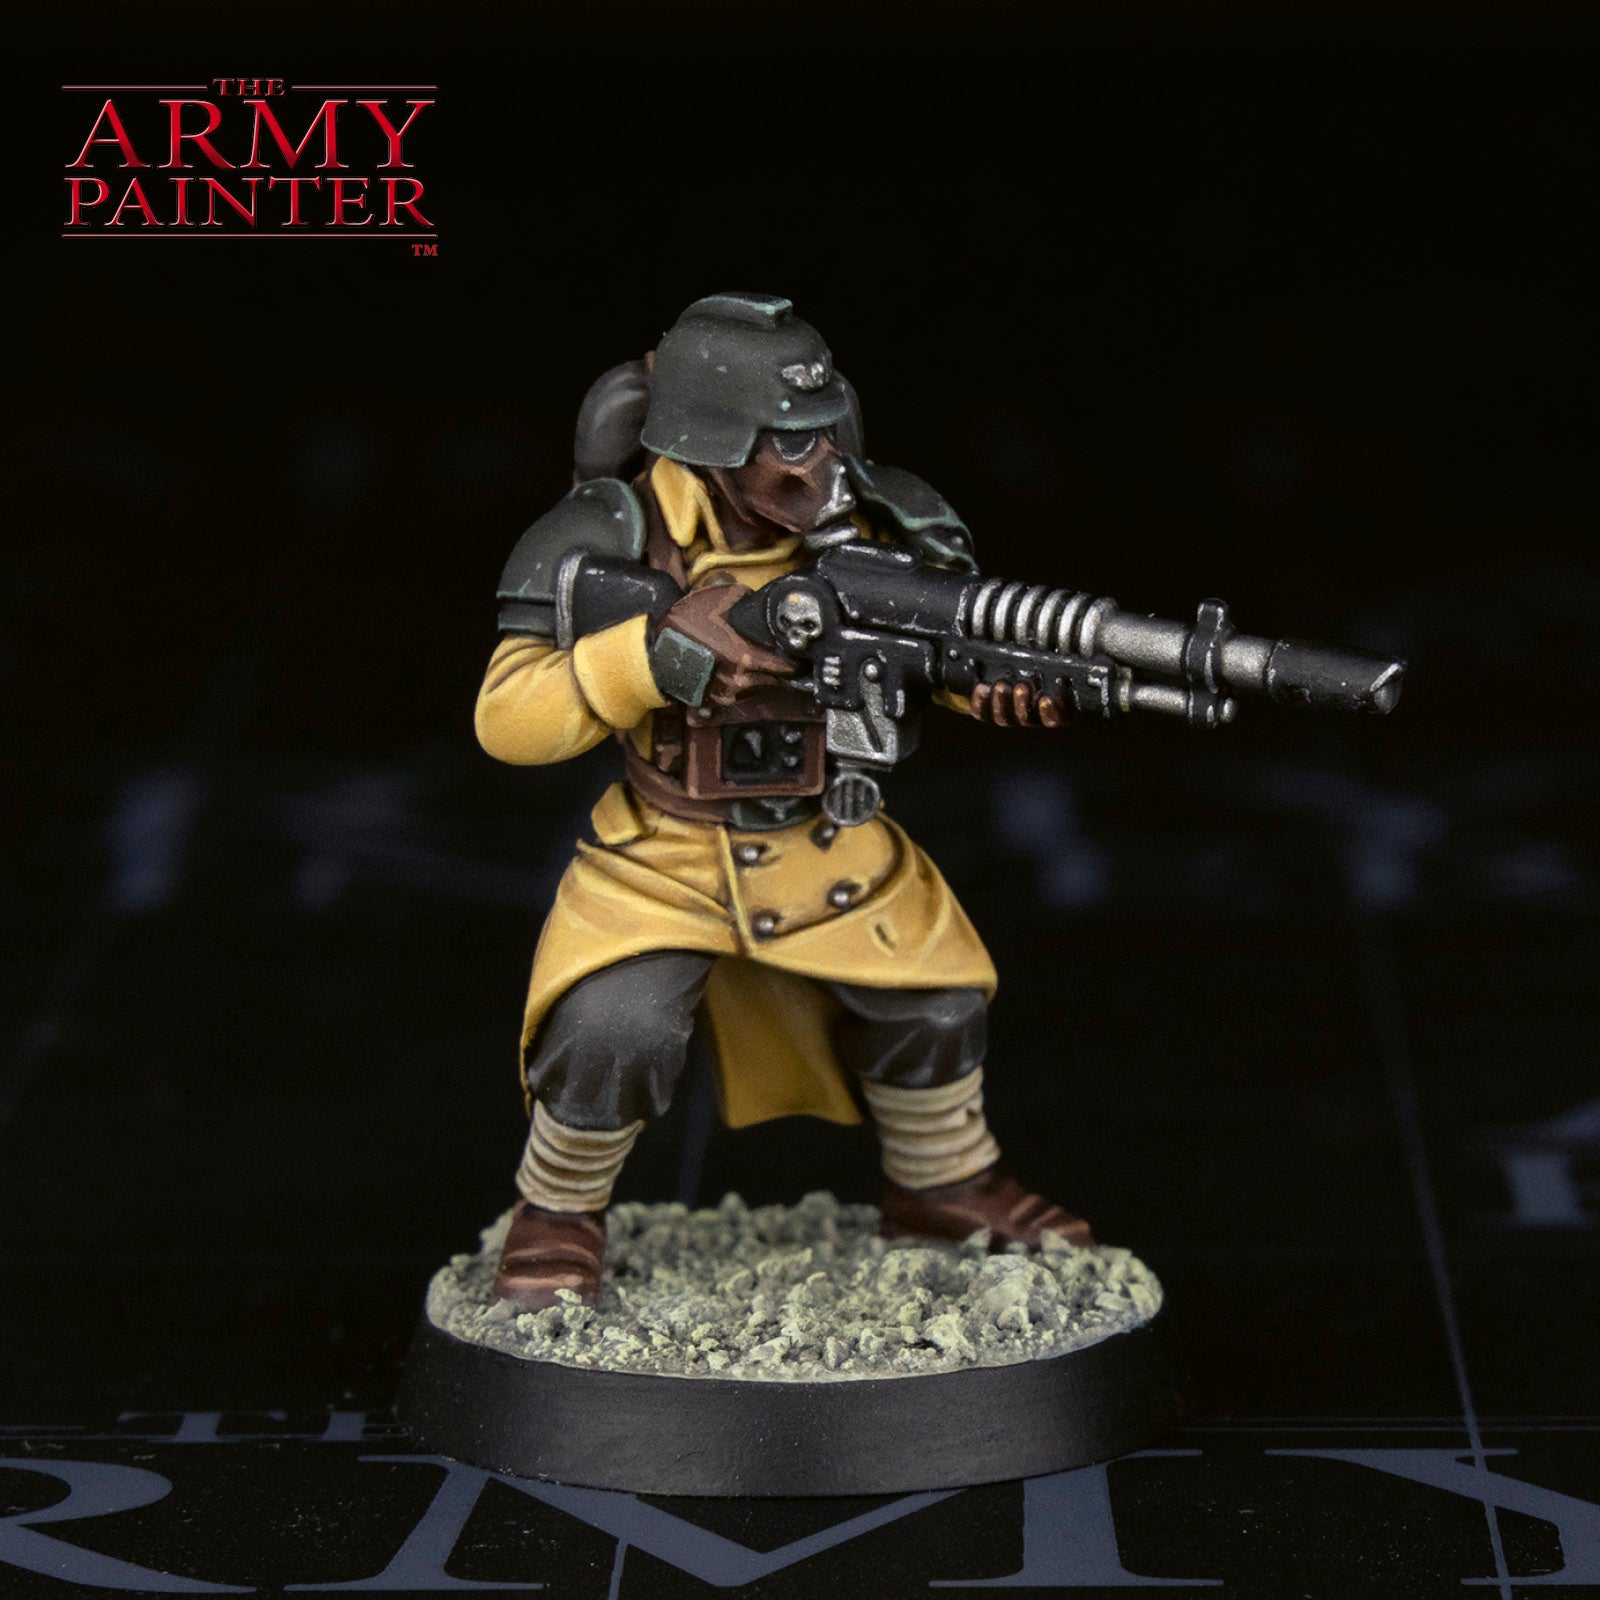
With that, your model is done!
We based ours to look like the ash wastes that surround the hive cities of Armageddon, but you can base your model however you like.
Be sure to tell us what you thought of this tutorial format, if you have any suggestions for improvements in the future, or even which models you want us to tackle.
If you paint your own model following one of these guides, tag it with #thearmypainteracademy to share your work!
Warpaints Historical: World War II