


How to Paint
Old Grogg
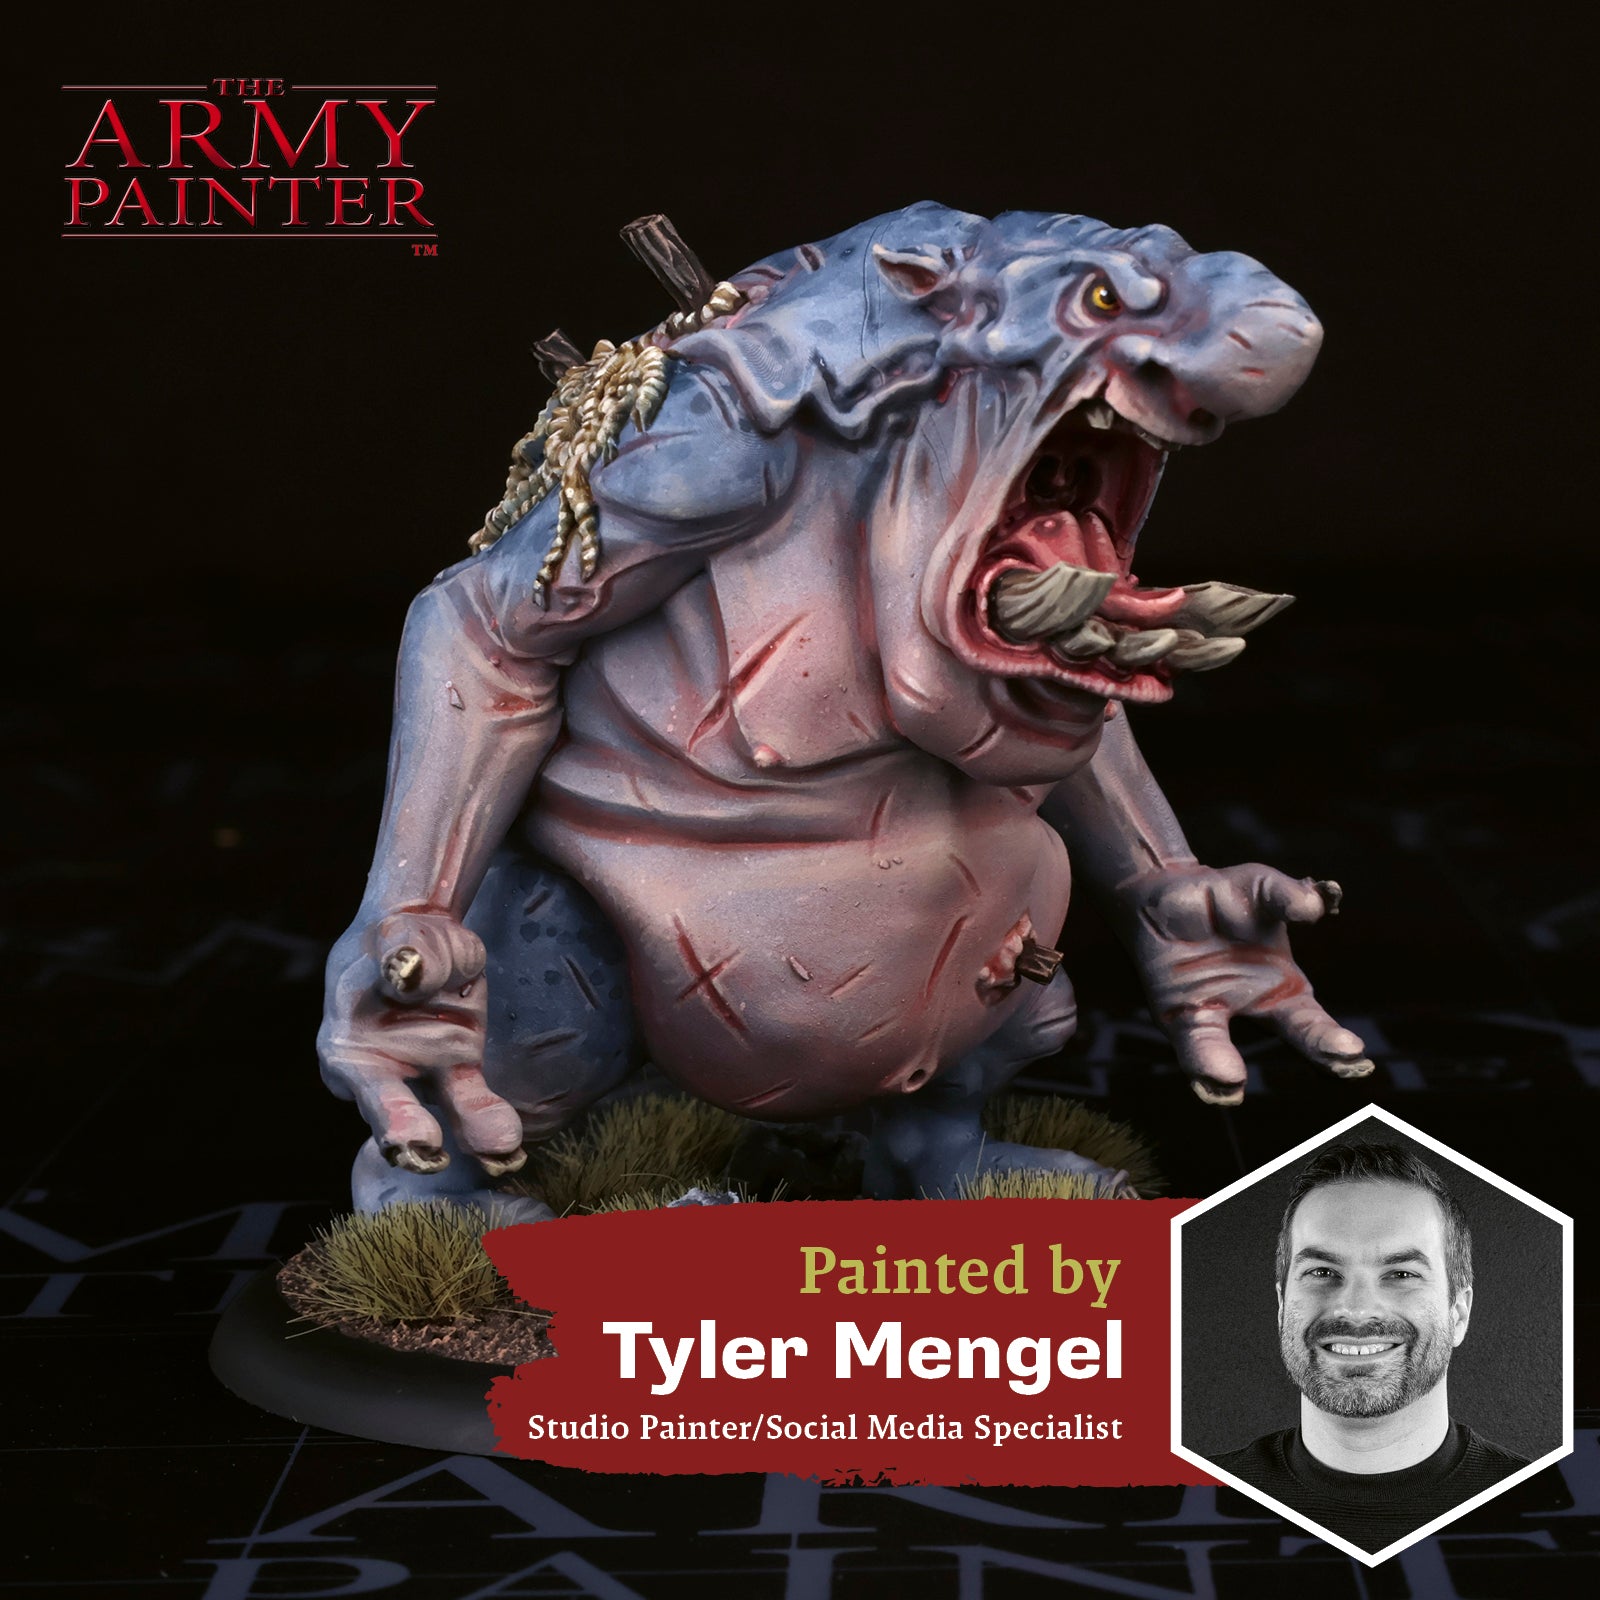
Welcome to the next instalment of The Army Painter Academy: a series where we break down how we paint a miniature step-by-step, complete with pictures for every bit of paint applied along the way.
Discover the fantastical setting of ArcWorlde from Warp Miniatures! A fantasy skirmish game where warbands, heroes and monsters are pitted against each other in the field of combat. There are beasts to slay, treasures to discover, objectives to capture and rival commanders to defeat all using wonderfully characterful minis sculpted by Alex, the founder and primary creator of Warp Miniatures, in his distinctive style. All the models from Warp Miniatures are instantly recognisable for their fairytale aesthetic, making them unique amongst the fantasy mini hobby and a joy to paint.
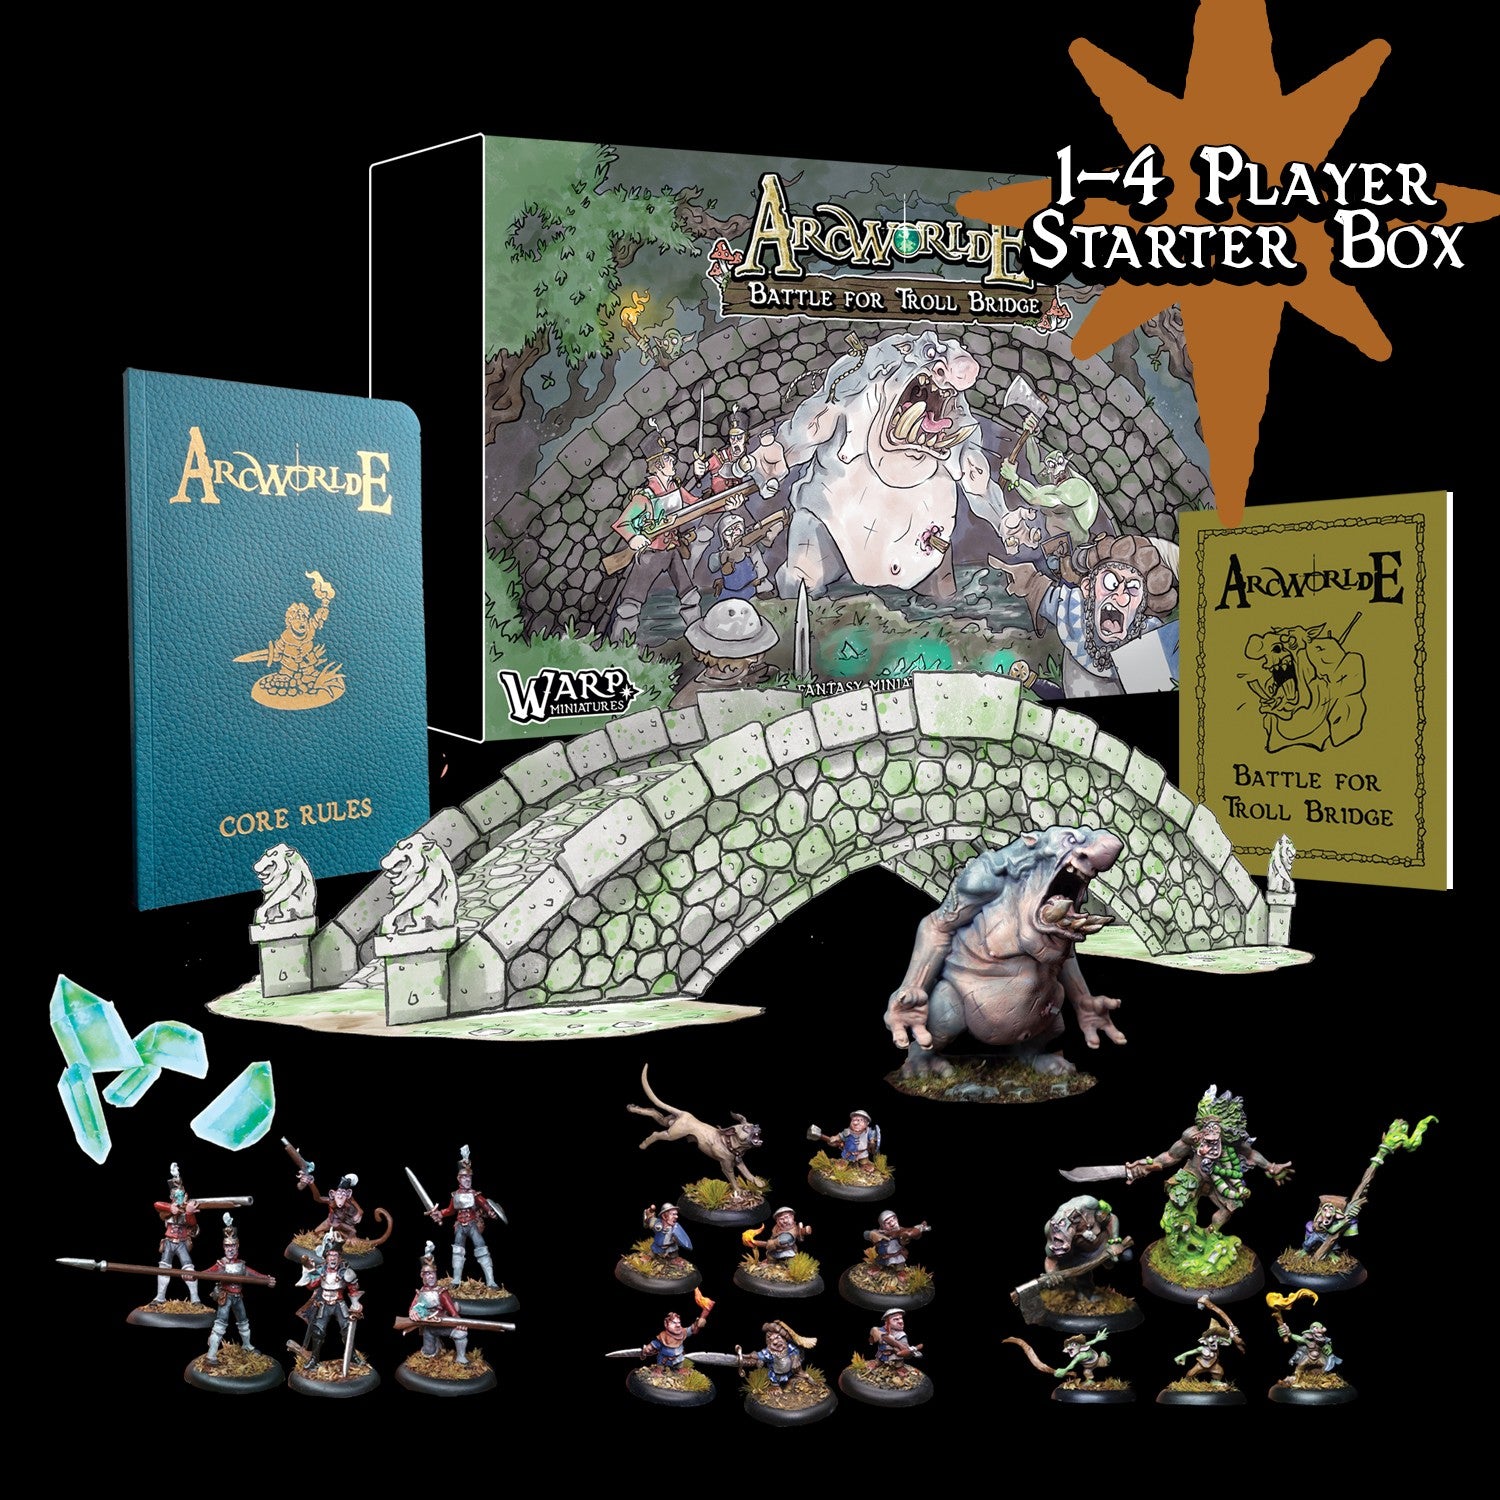
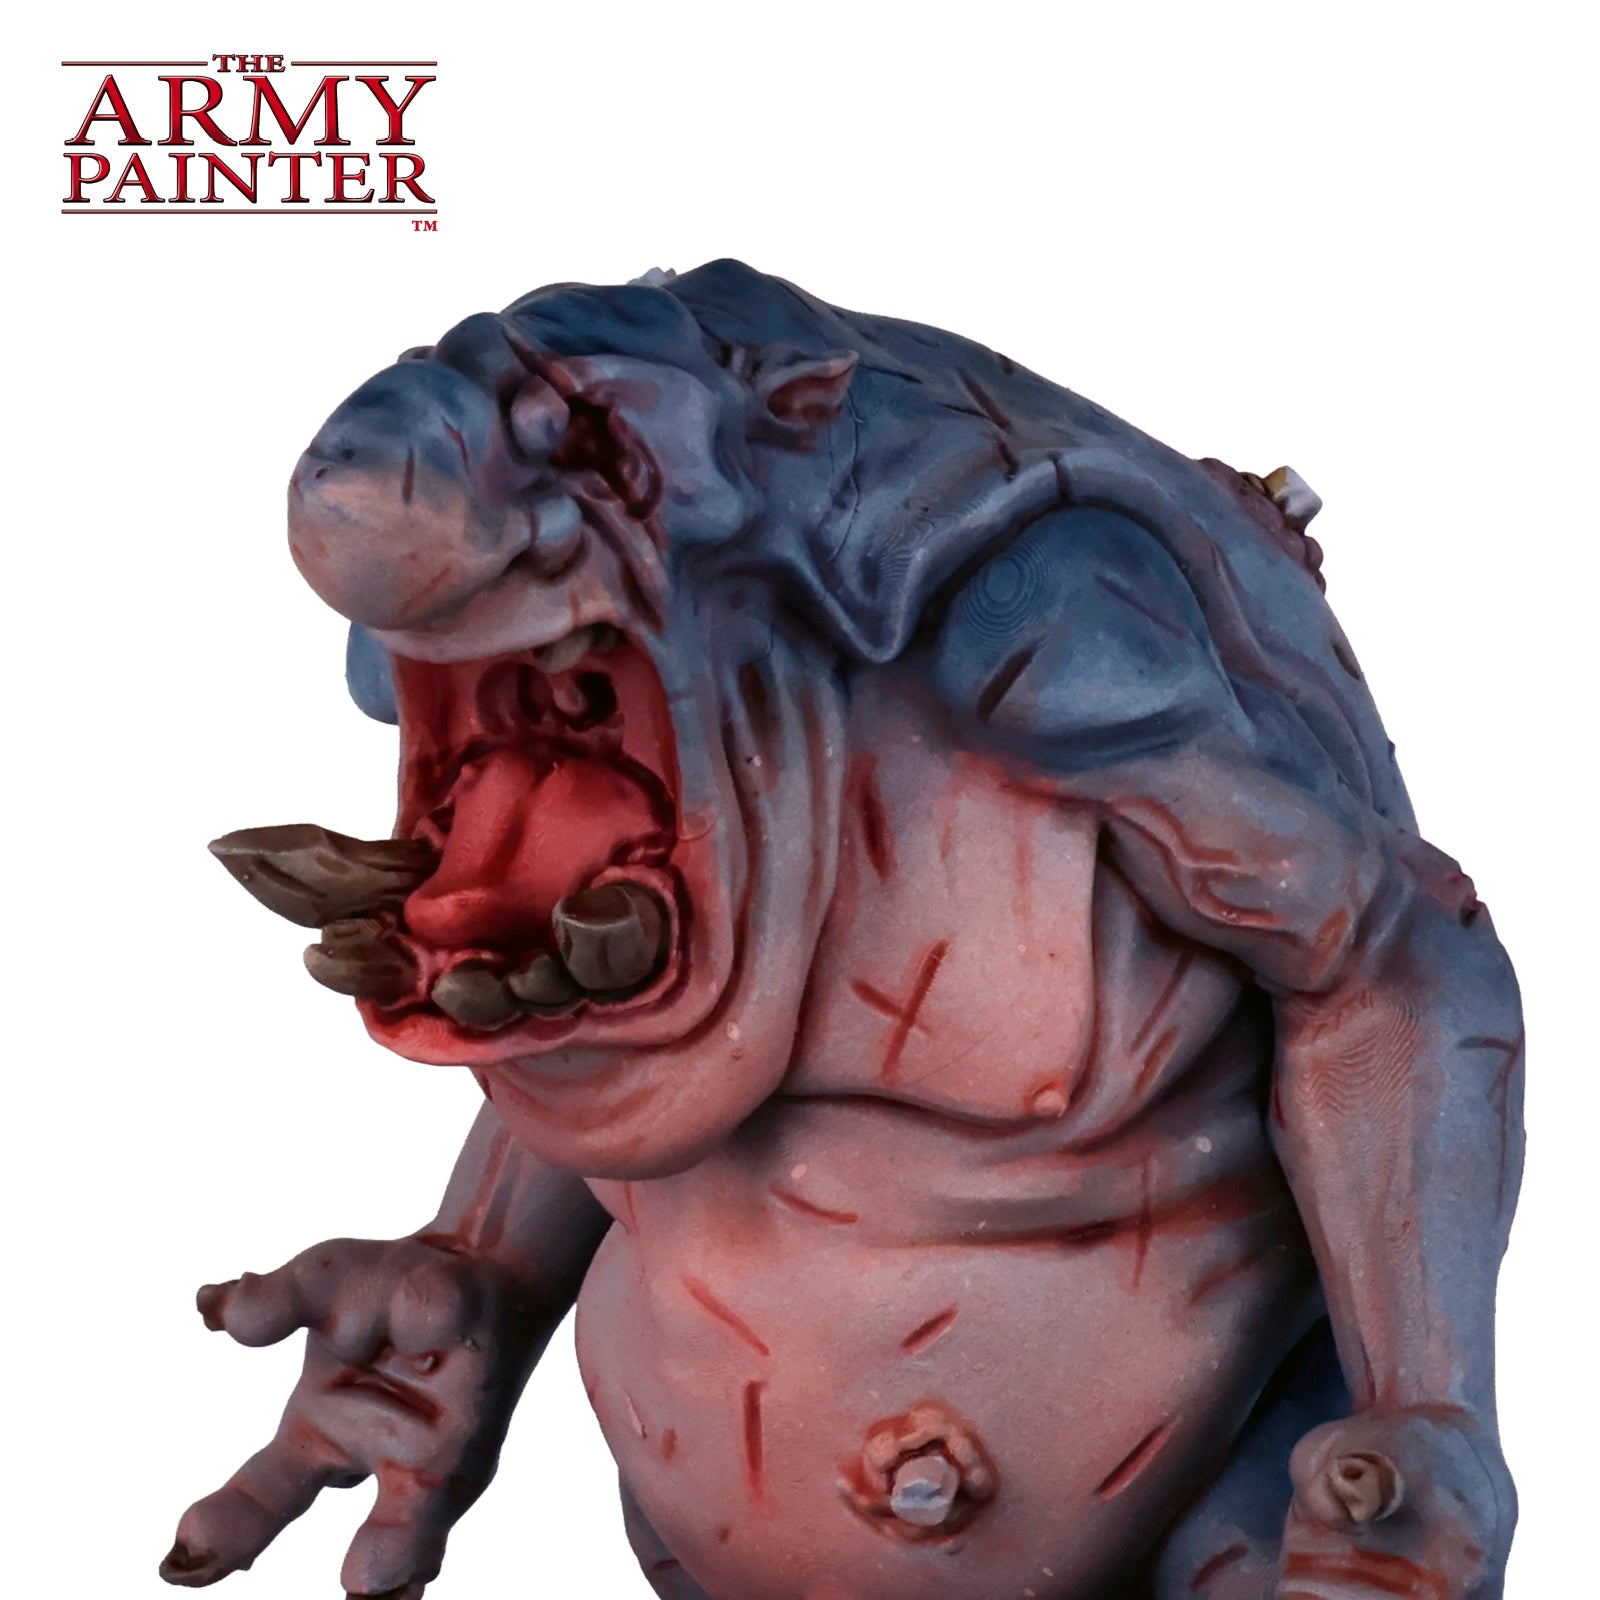
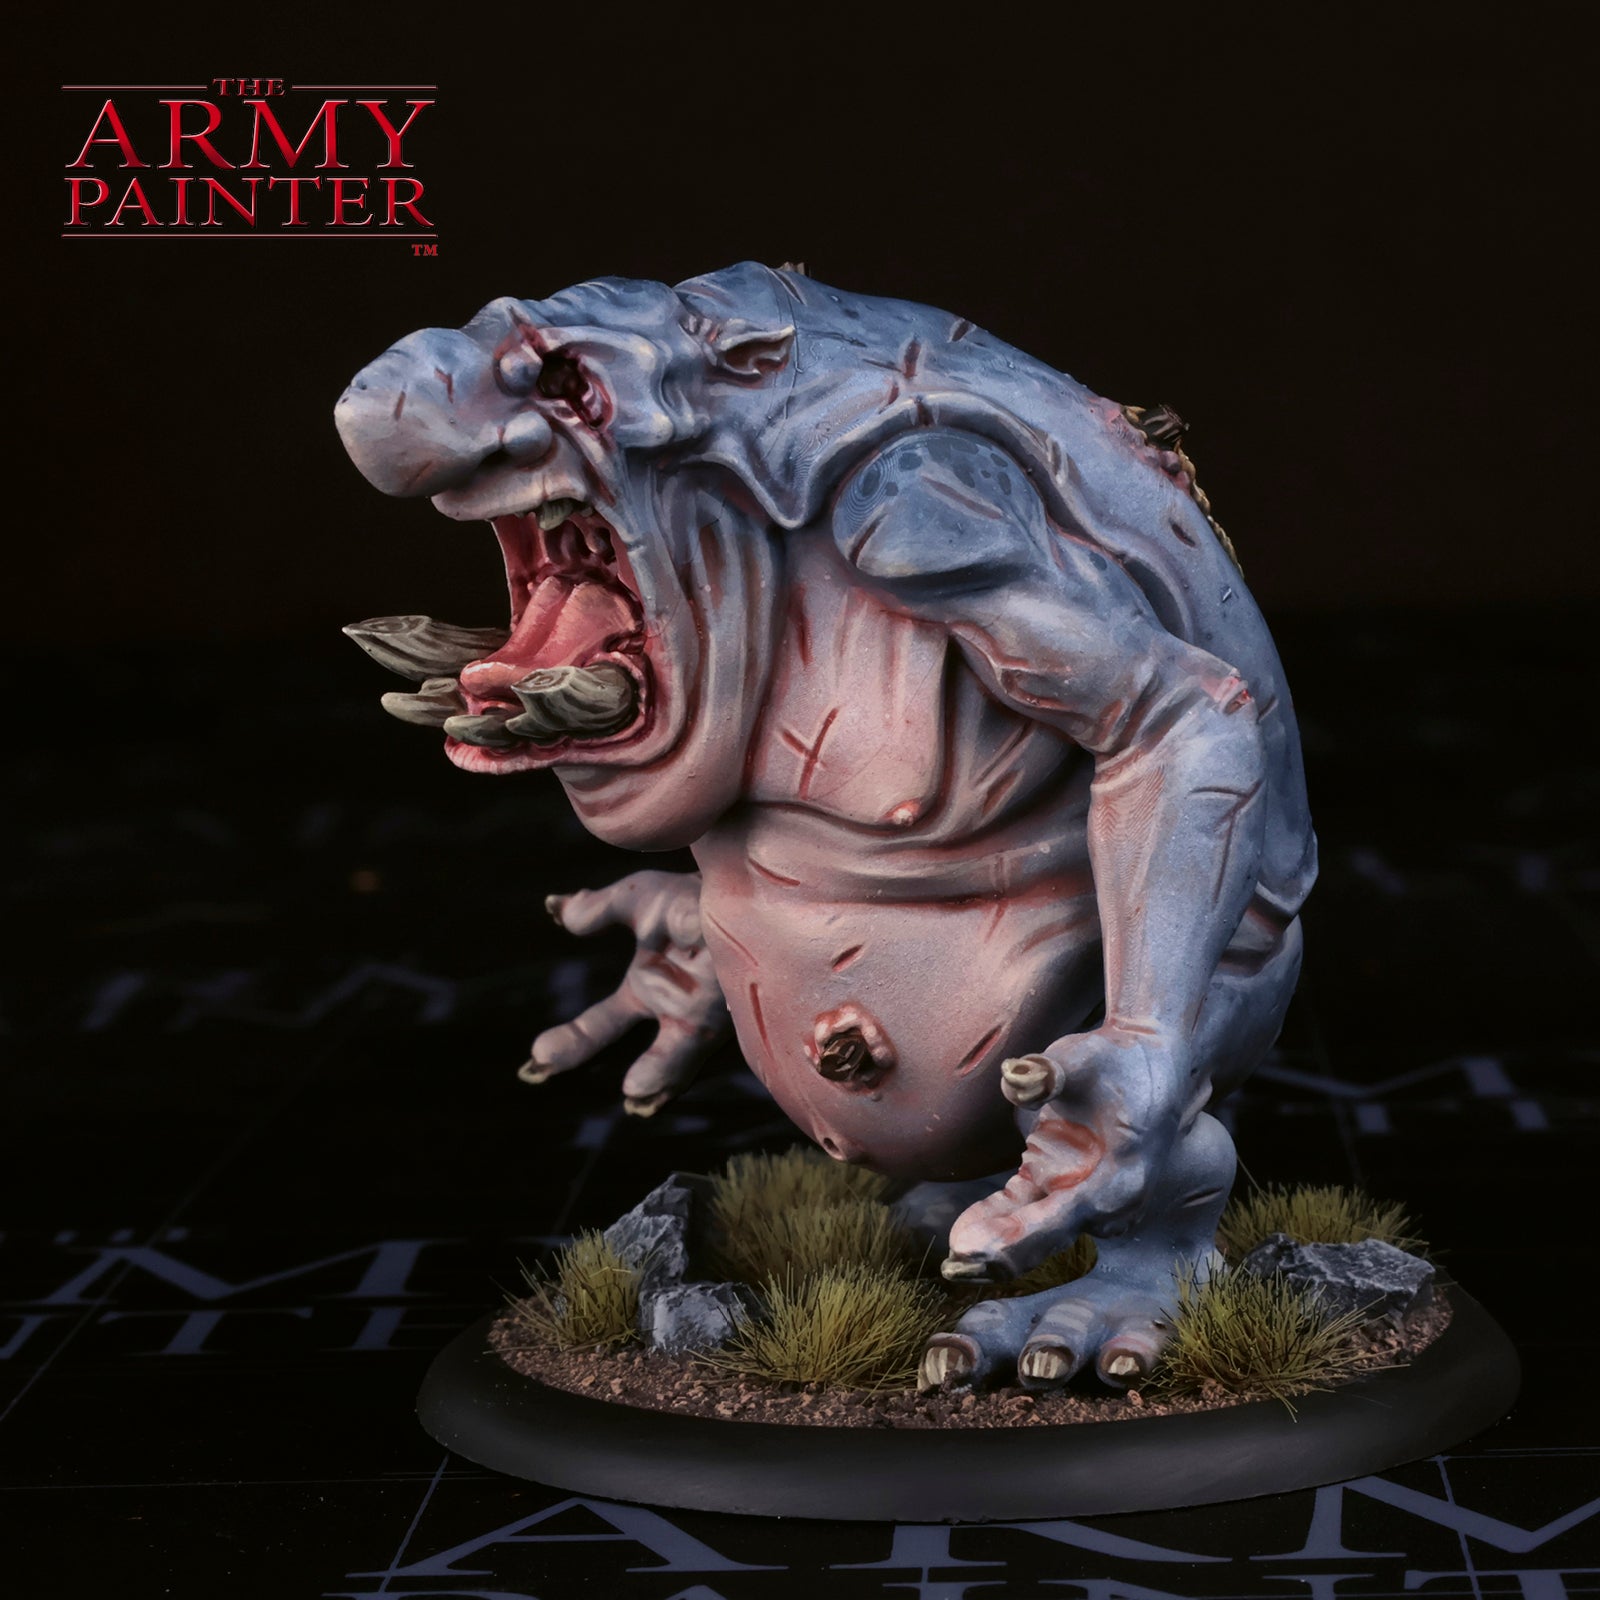
When it came to picking a model to paint, the choice was easy with the wonderful Old Grogg mini from the new Battle for Troll Bridge starter set. This belligerent troll is just a little upset that someone keeps making a ruckus on his bridge! Mini is a bit of a misnomer as well since this troll is anything but mini. With lots of interesting folds and texture, also coupled with smooth flat areas, you’re provided with a very interesting and engaging canvas to paint upon. The ArcWorlde style is known for using a lot of glazes that provide an almost watercolour feel, something that Speedpaint replicates perfectly when mixed with a little Speedpaint Medium!
Let's get painting!

The Speedpaint
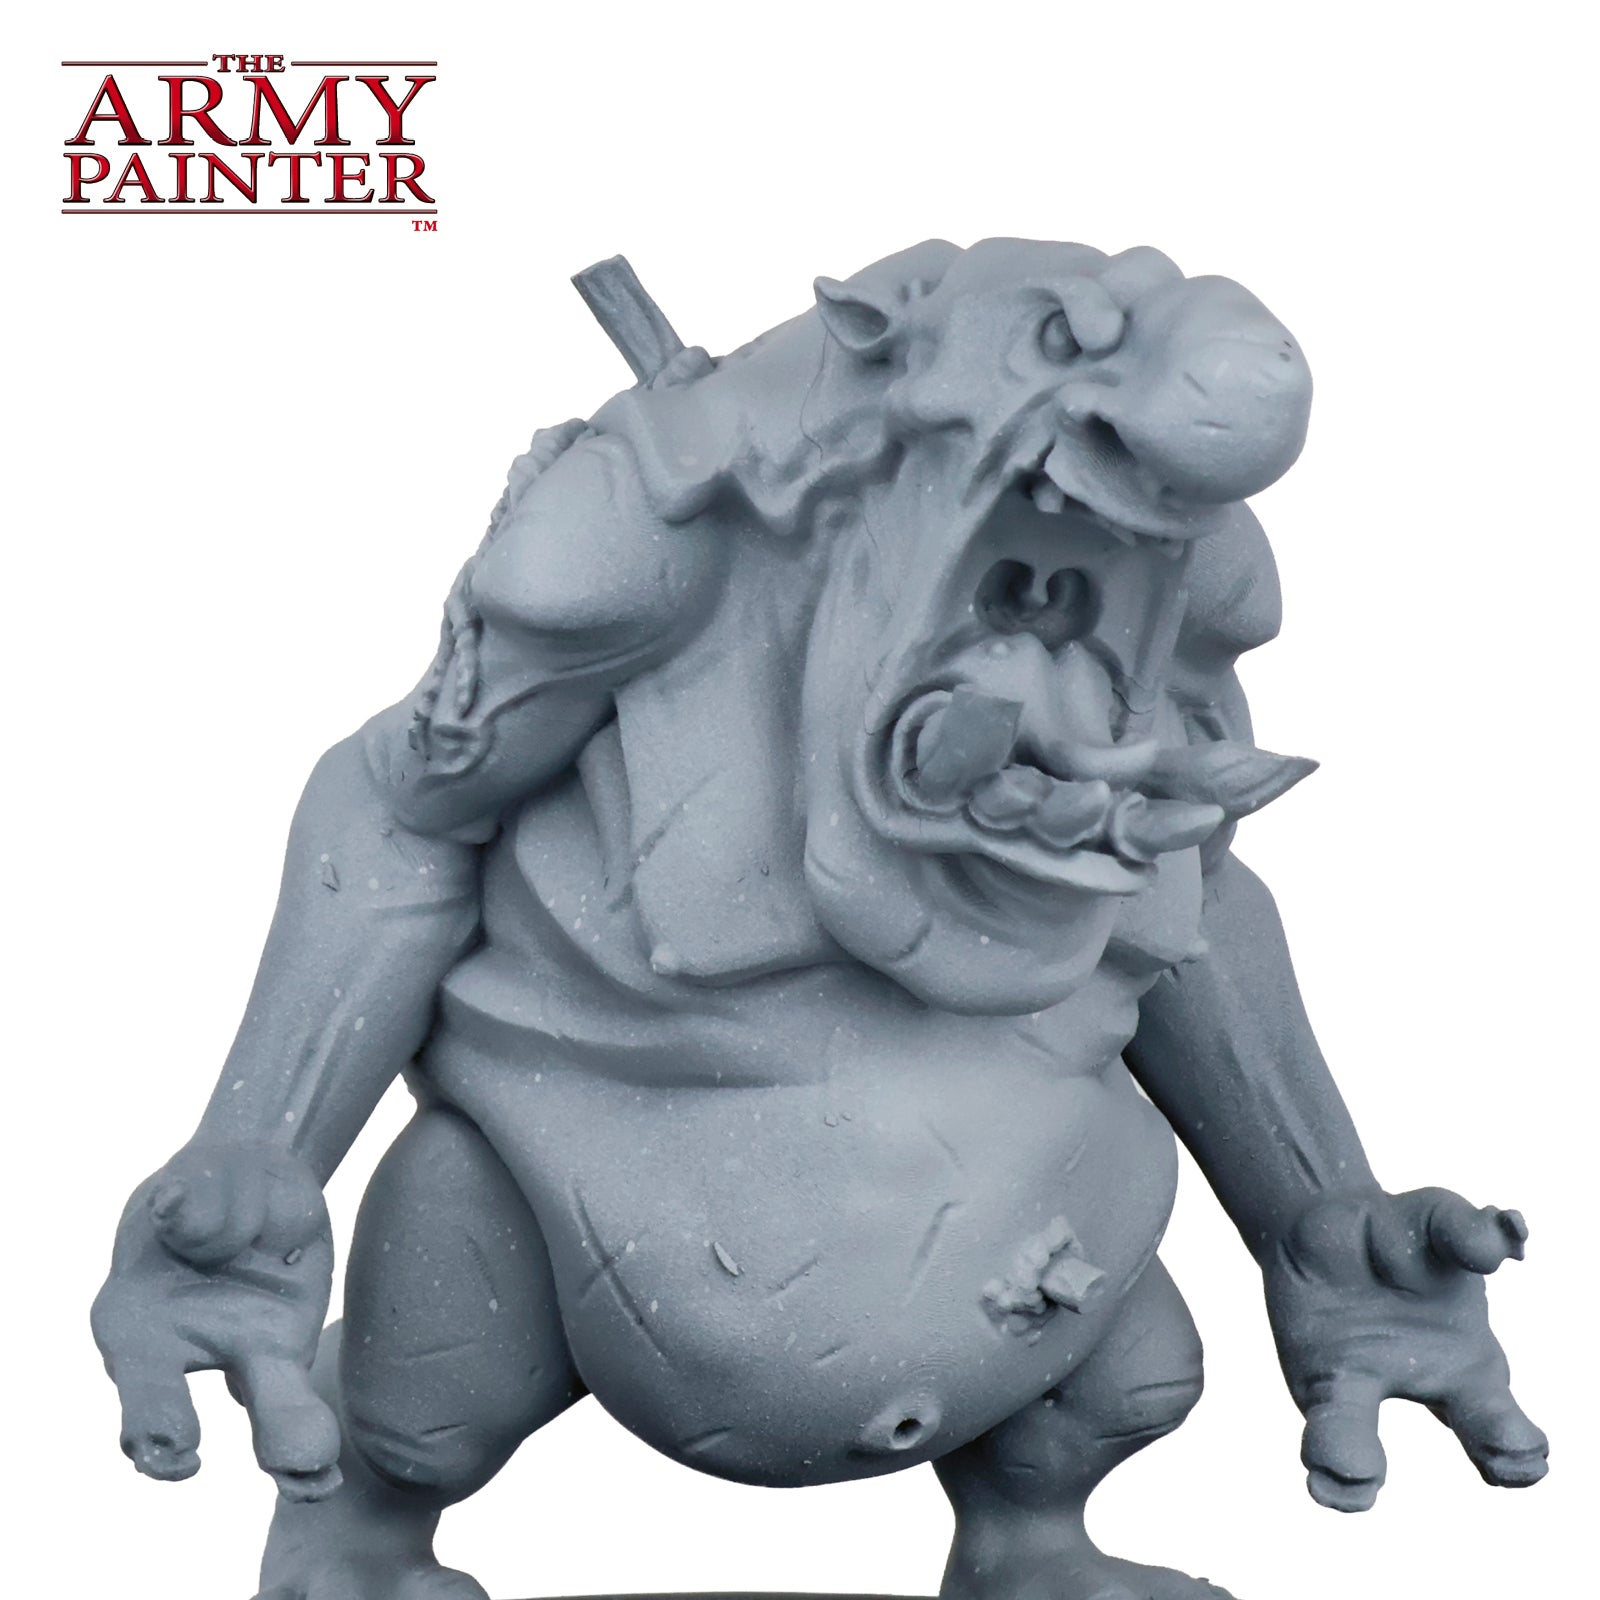
Step 1
Begin by priming the model with Uniform Grey Colour Primer followed by a zenithal spray of Ash Grey Colour Primer.
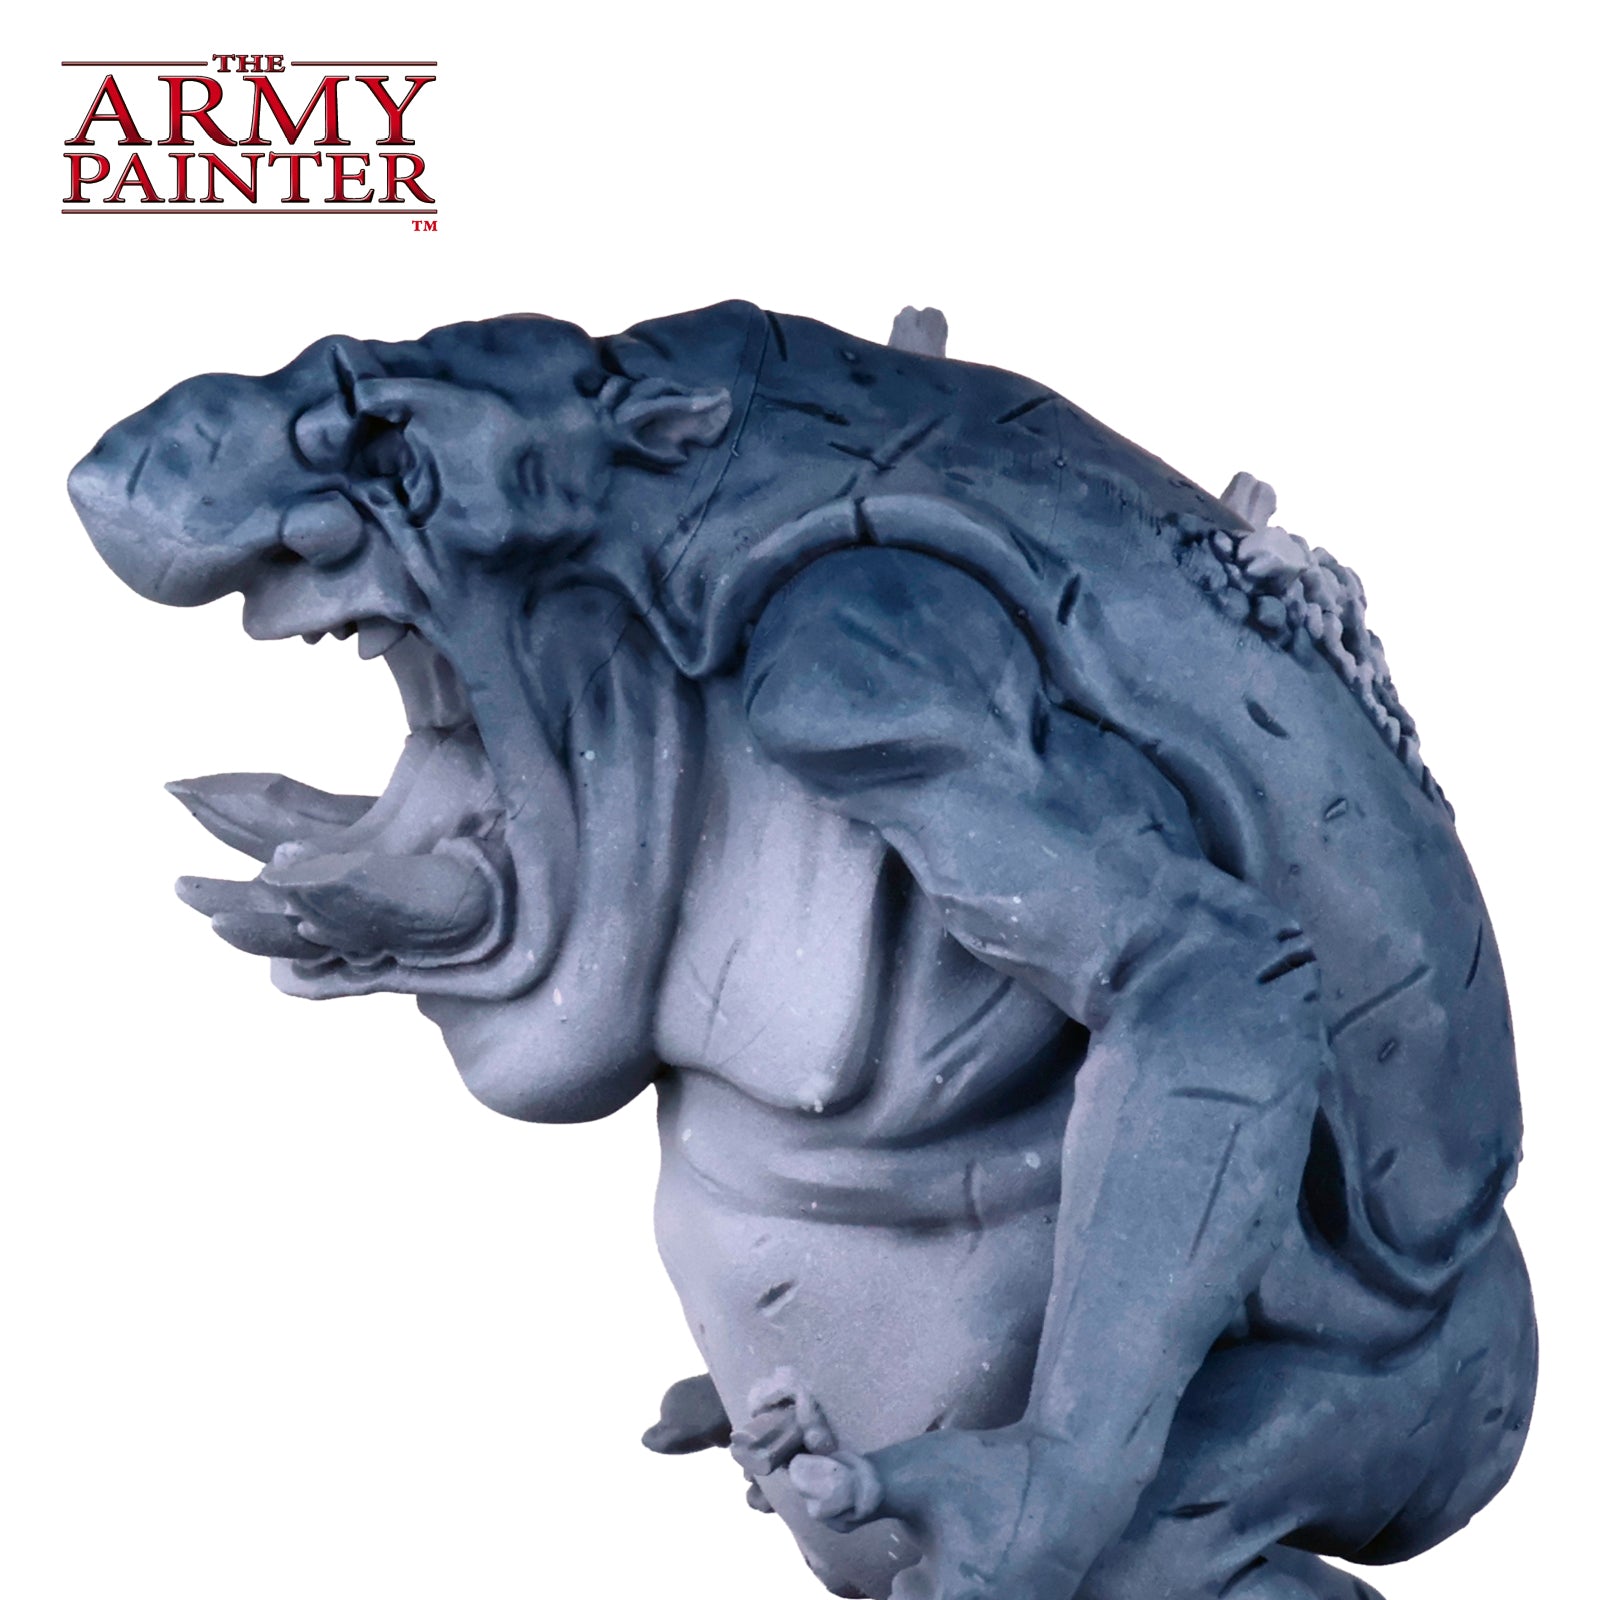
Step 2
Start with the blue-grey areas of the skin using a 5:4 mix of Speedpaint Runic Grey and Speedpaint Medium. Build this up over several layers to achieve the gradient into the lighter skin tone of the belly. Also, apply this in successive layers of a mottled, blotchy pattern on the back, shoulders, and thighs for some texture and to break up the flat areas. There isn't a set number of layers here. By keeping it thin, you’ll be able to control how dark you make it in any given area. You can also use a clean brush to feather out the fades near the edges of the blue-grey areas before they dry.
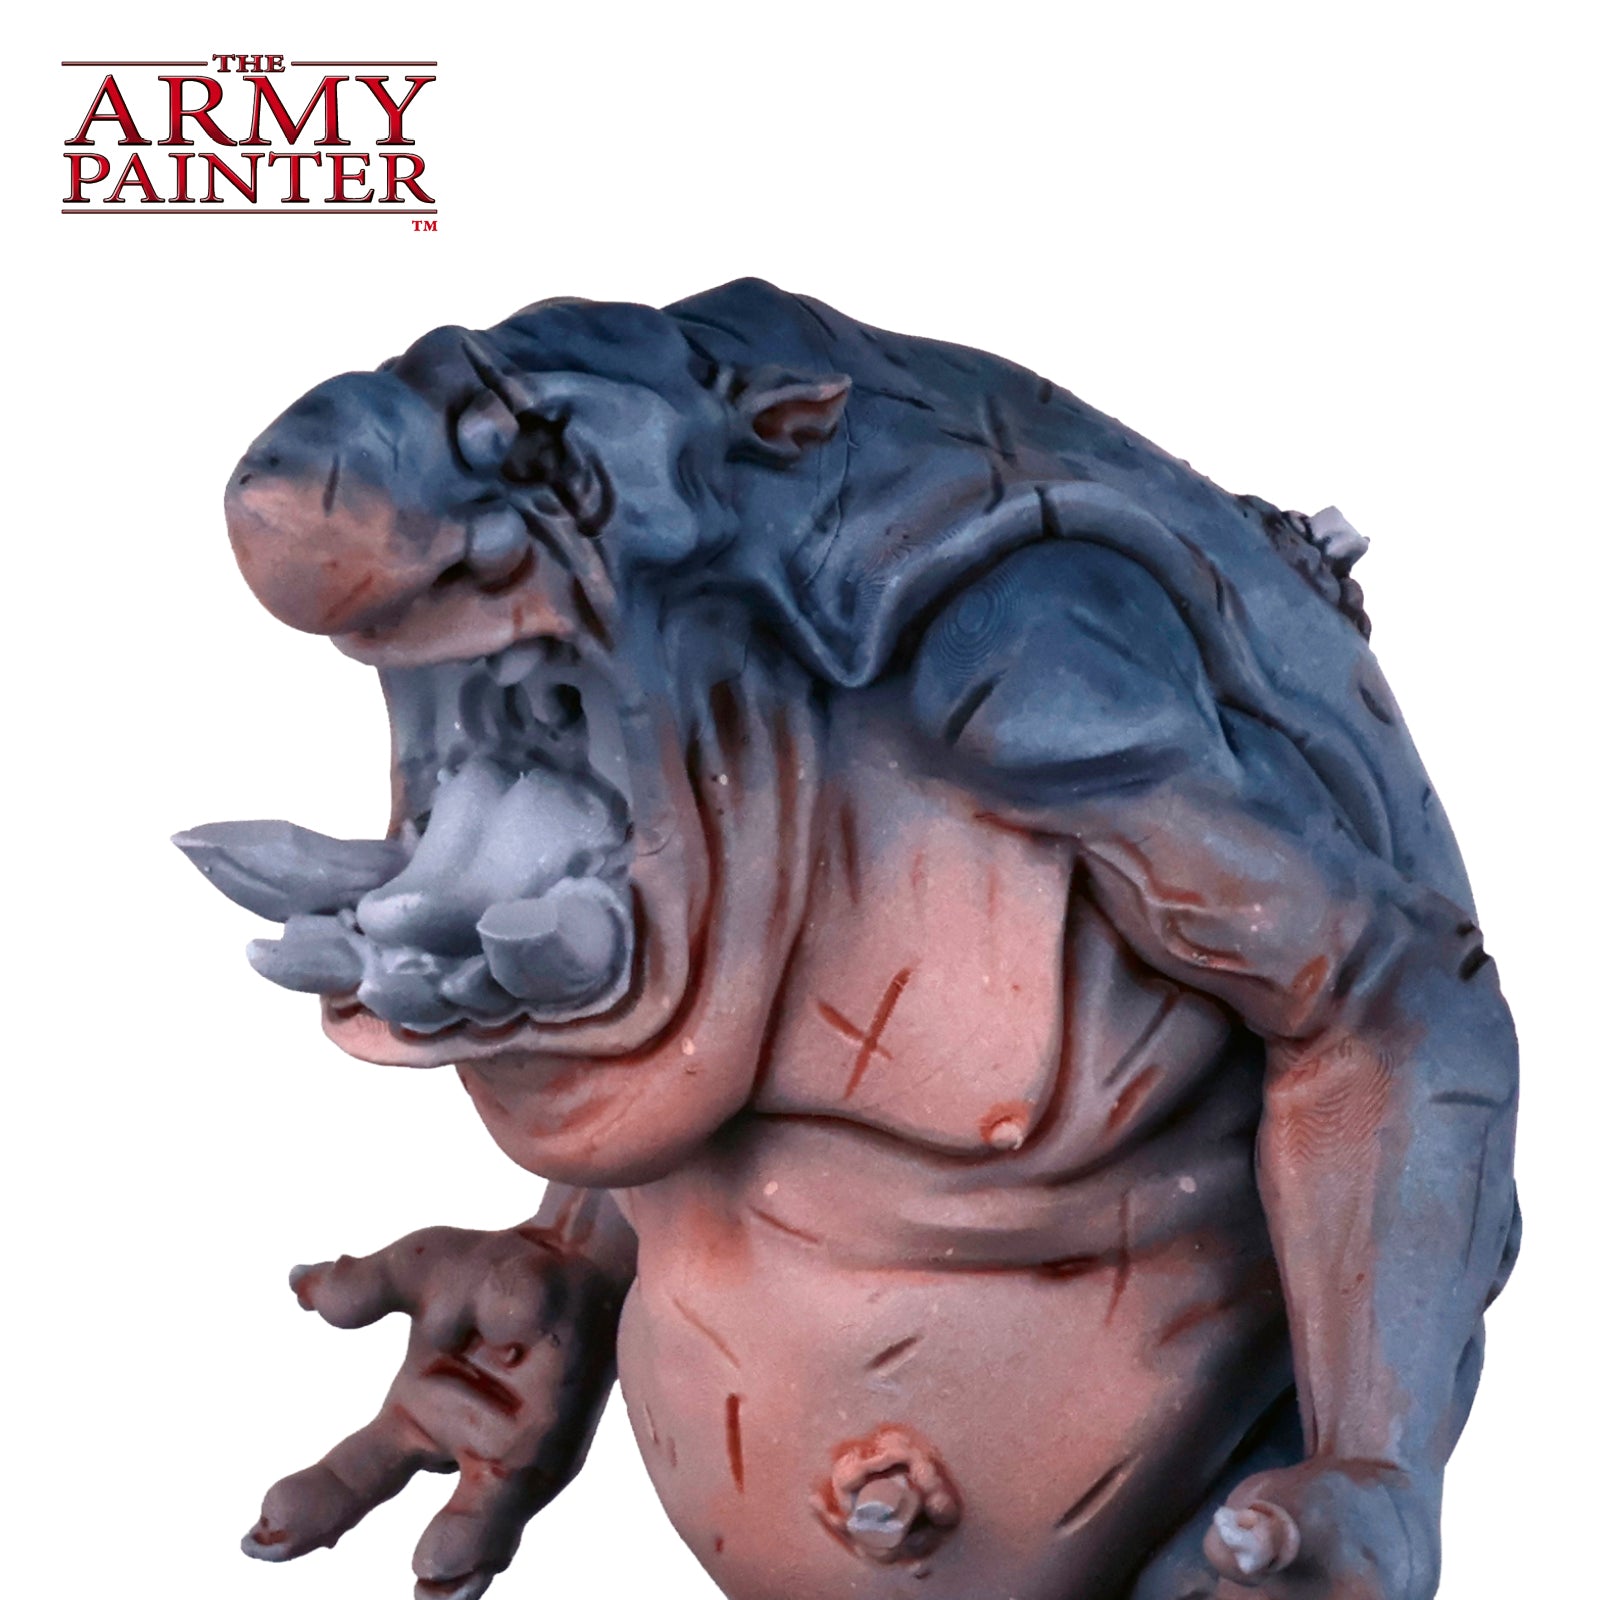
Step 3
Next, move onto the fleshier areas with a 1:1 mix of Speedpaint Crusader Skin and Speedpaint Medium. Make sure to coat all the remaining skin areas with this that we didn’t touch in the last step. You can also apply this around some of the scars on the blue-grey skin, and in the recesses of some other skin folds to give the model a fleshier, warmer look.
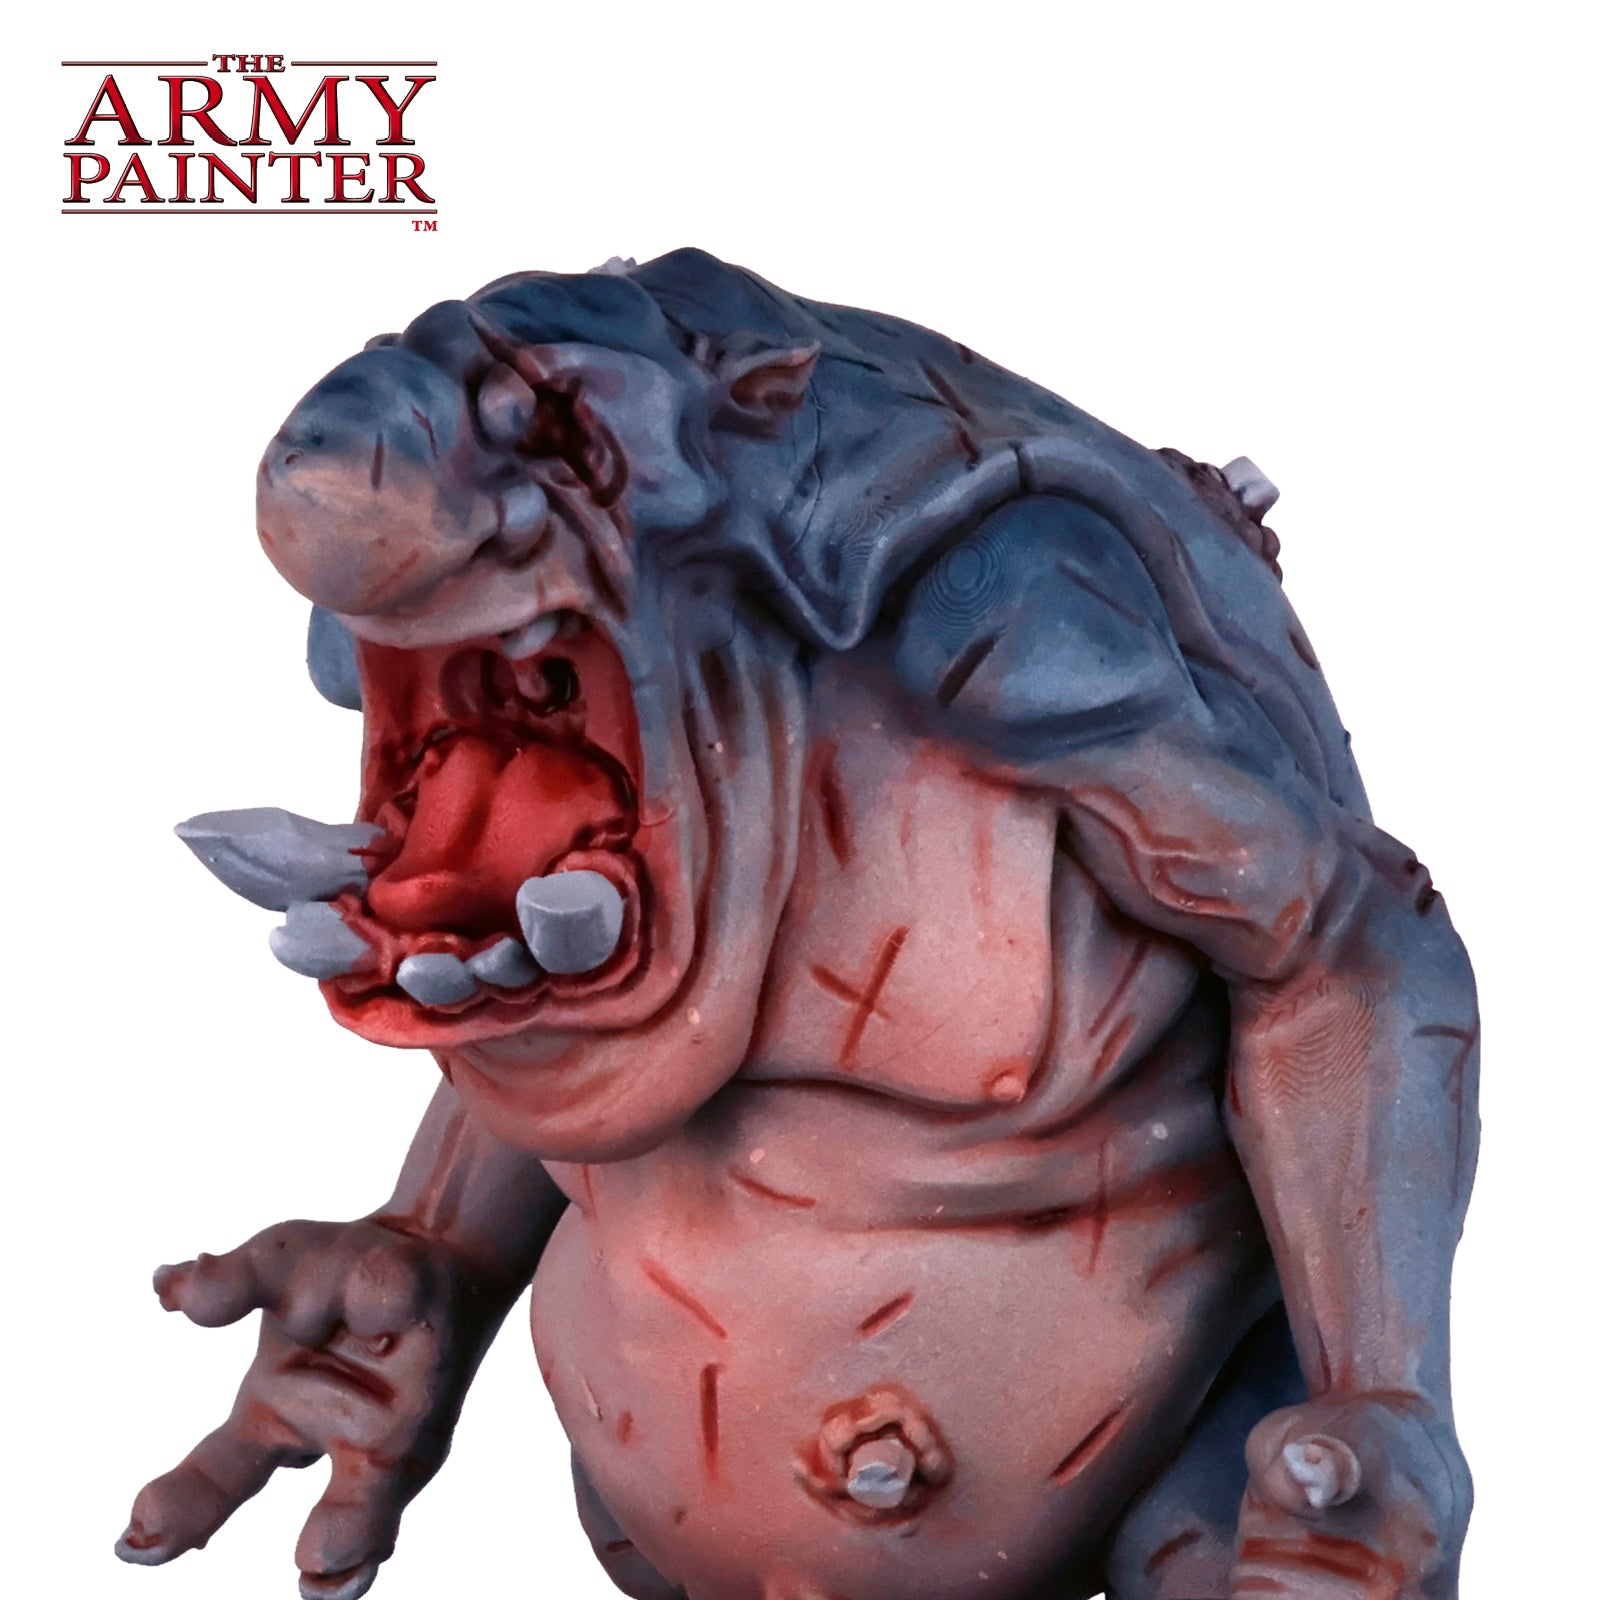
Step 4
Follow this up with a coat of undiluted Speedpaint Aged Hide on the tongue, mouth, and gums. Then dilute this slightly and apply around the scars and into some of the recesses like in the previous step.
Step 5
Apply a coat of Speedpaint Bony Matter on the nails and teeth.
Step 6
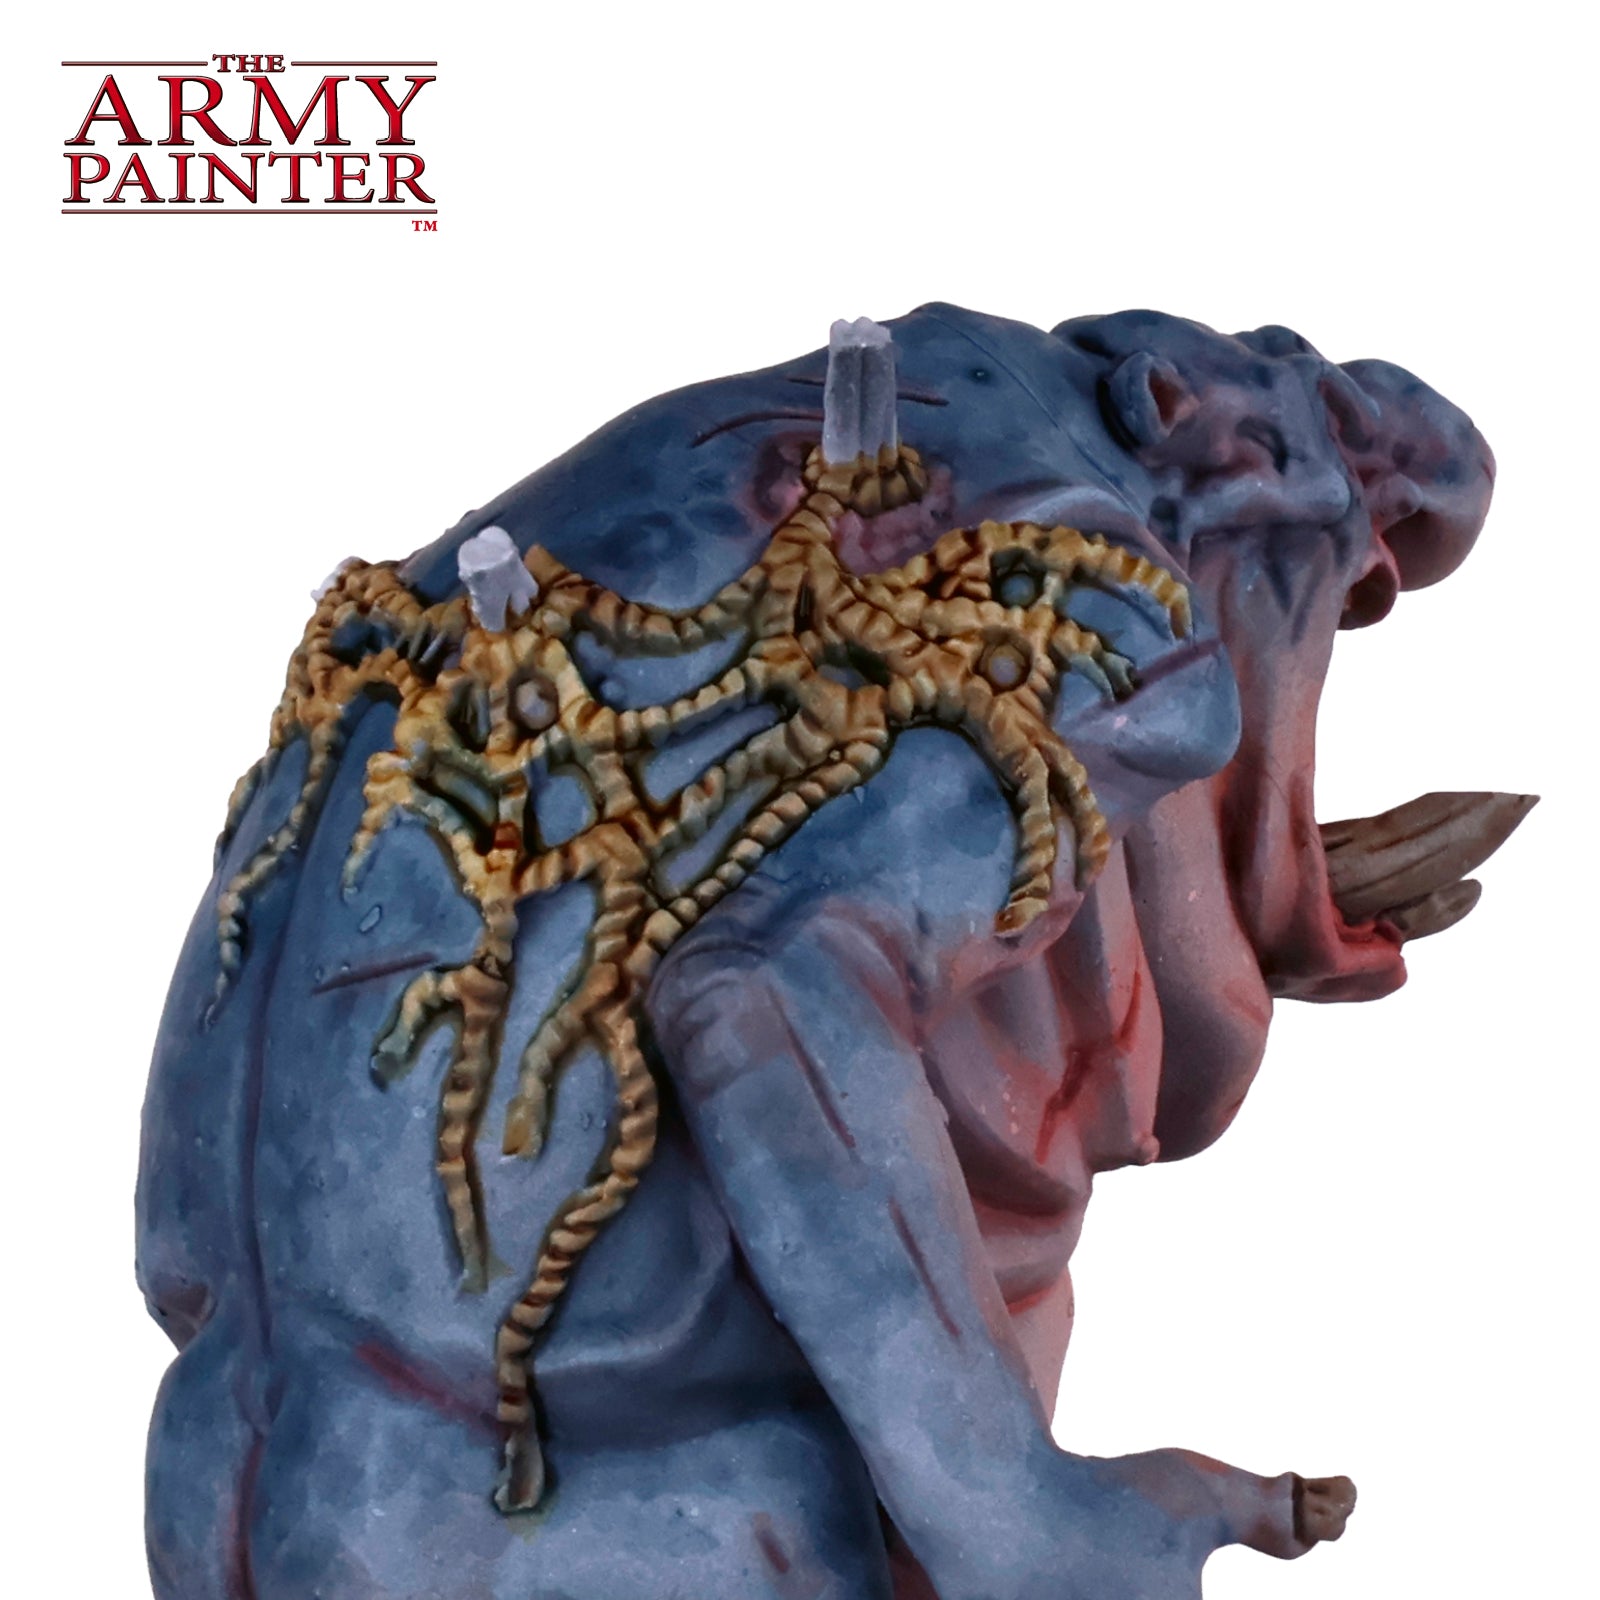
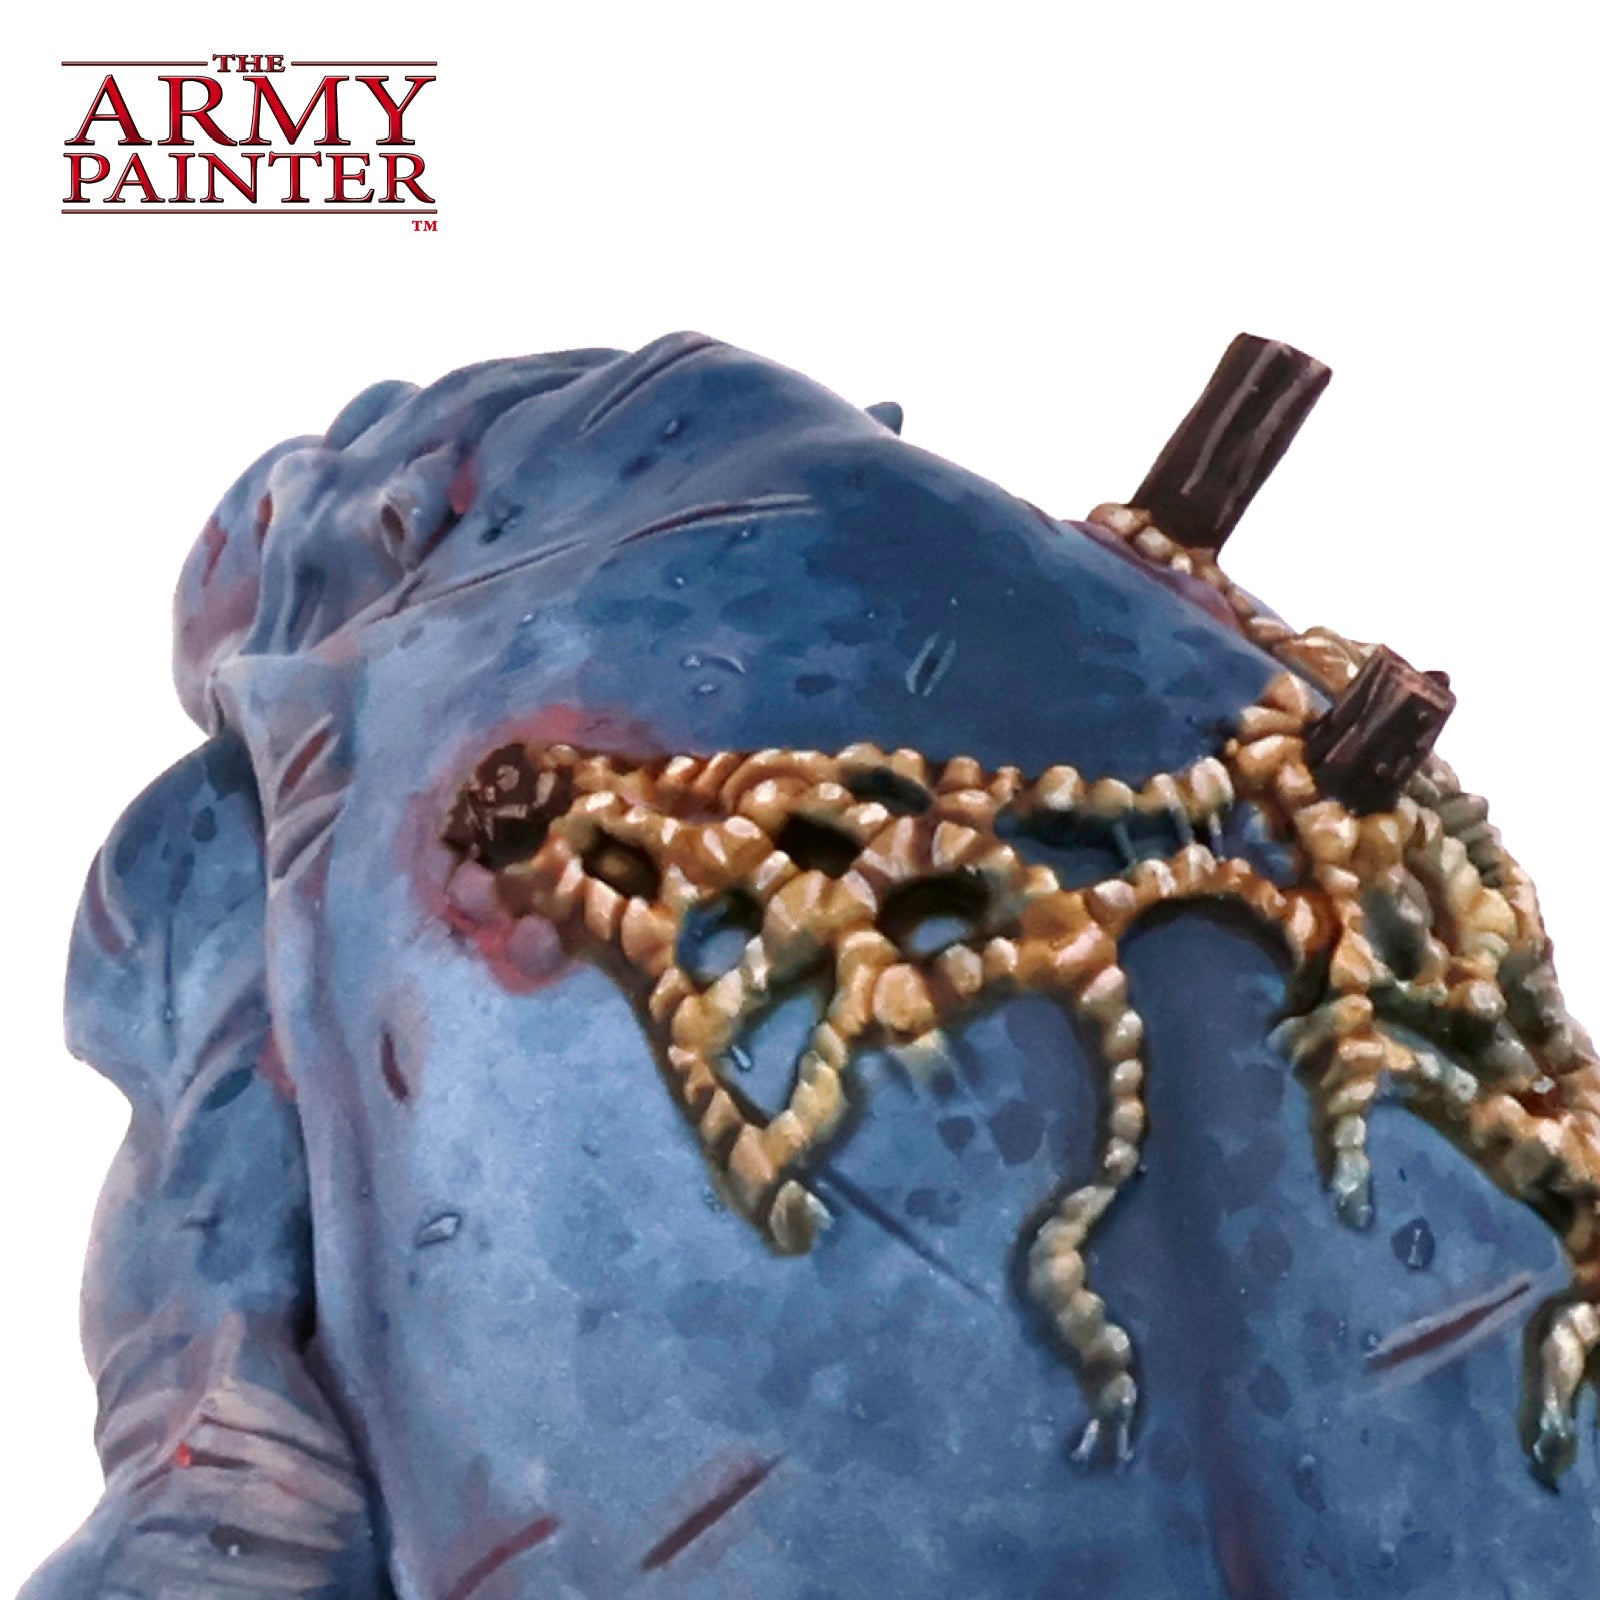
Paint the ropes of the net on his back with Speedpaint Pallid Bone. You can darken some of the recesses more with Speedpaint Bony Matter if you want.
Step 7
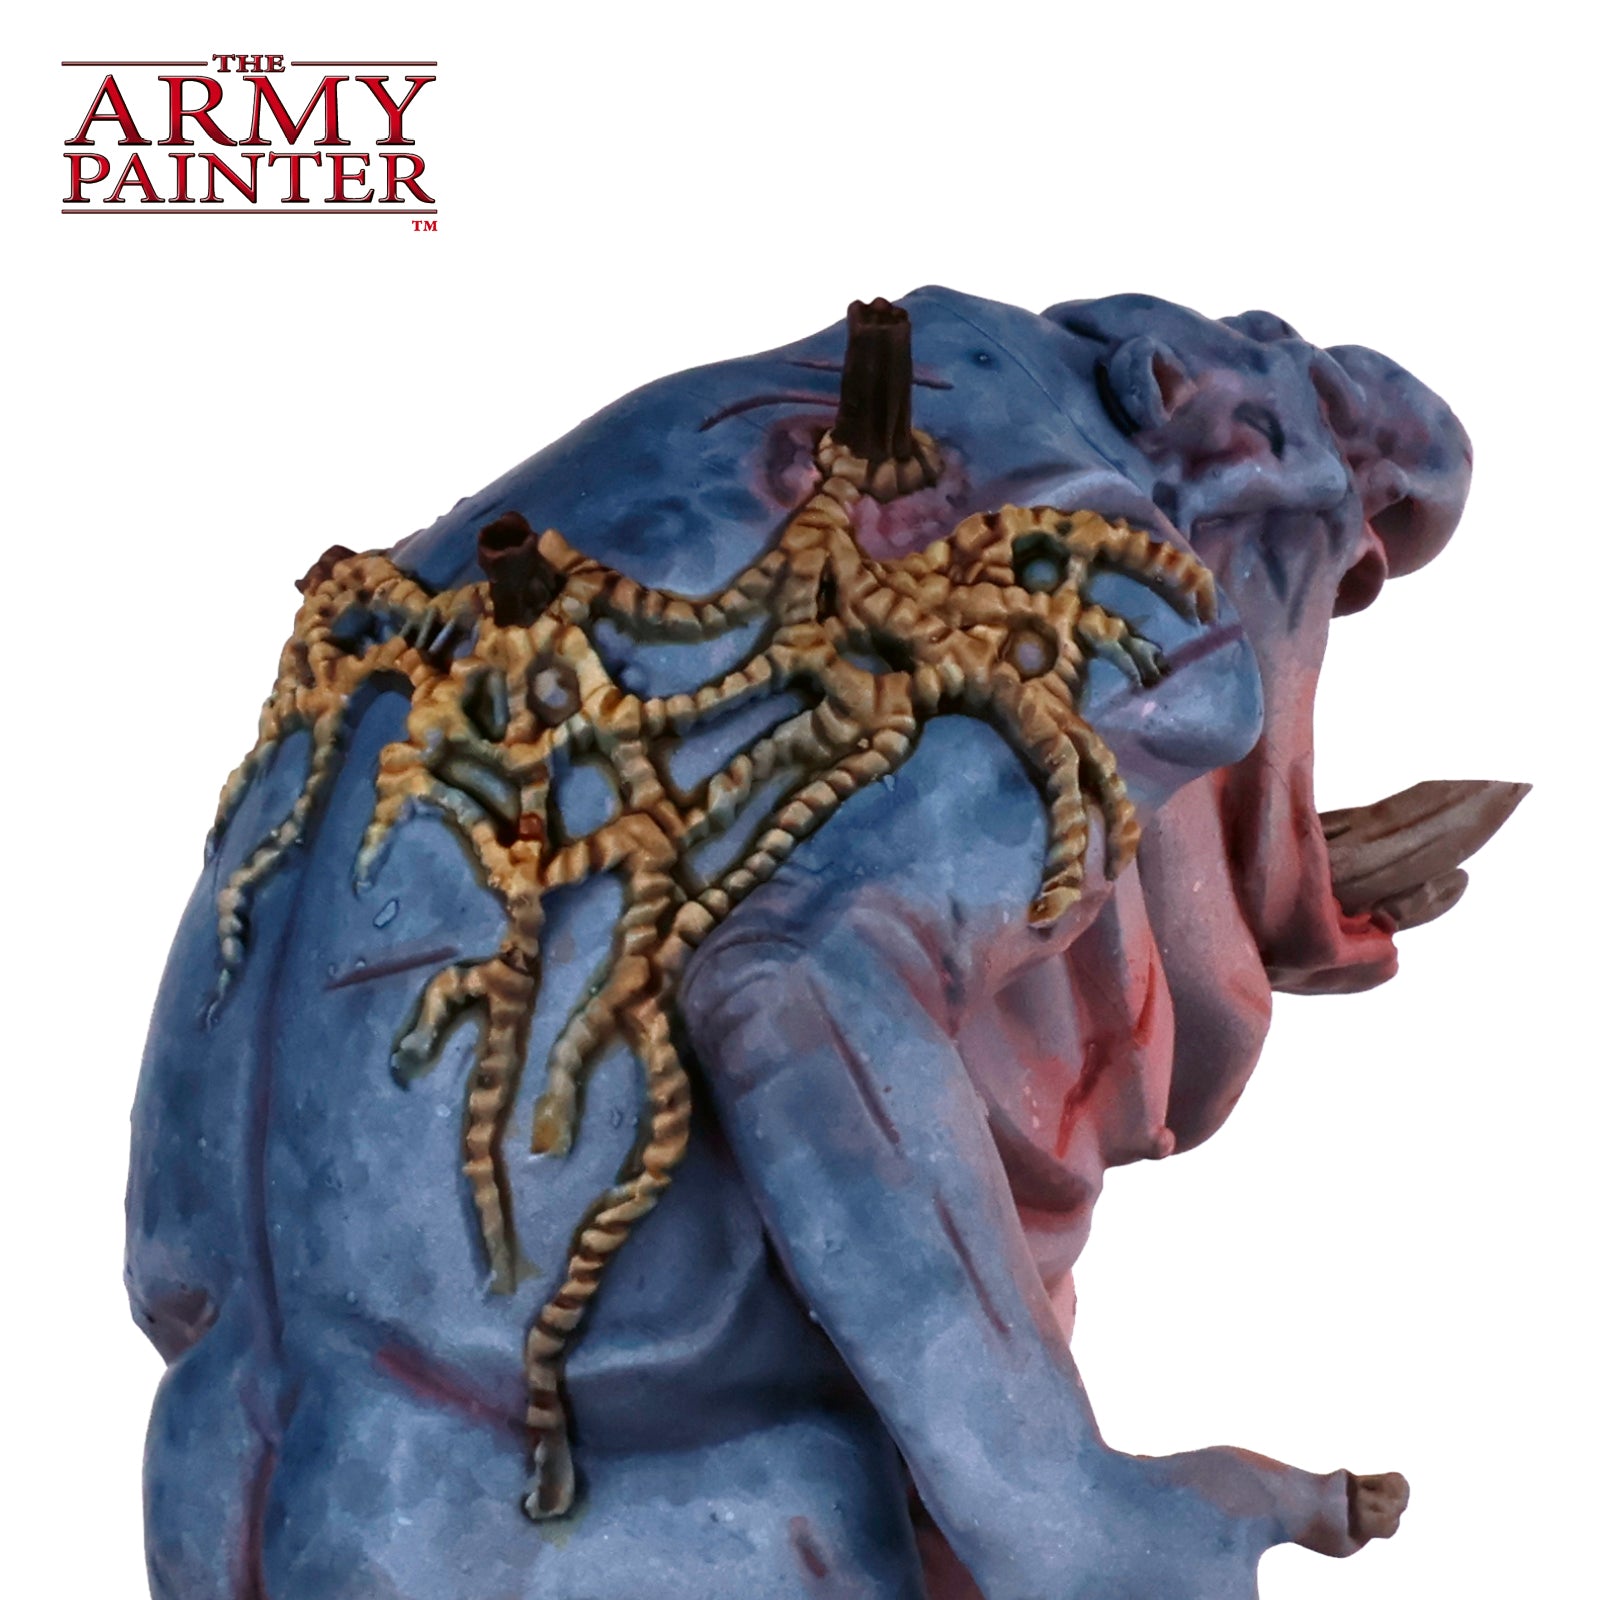
Finally, apply Speedpaint Dark Wood on the wooden stakes sticking out of him.
The Skin
Step 1
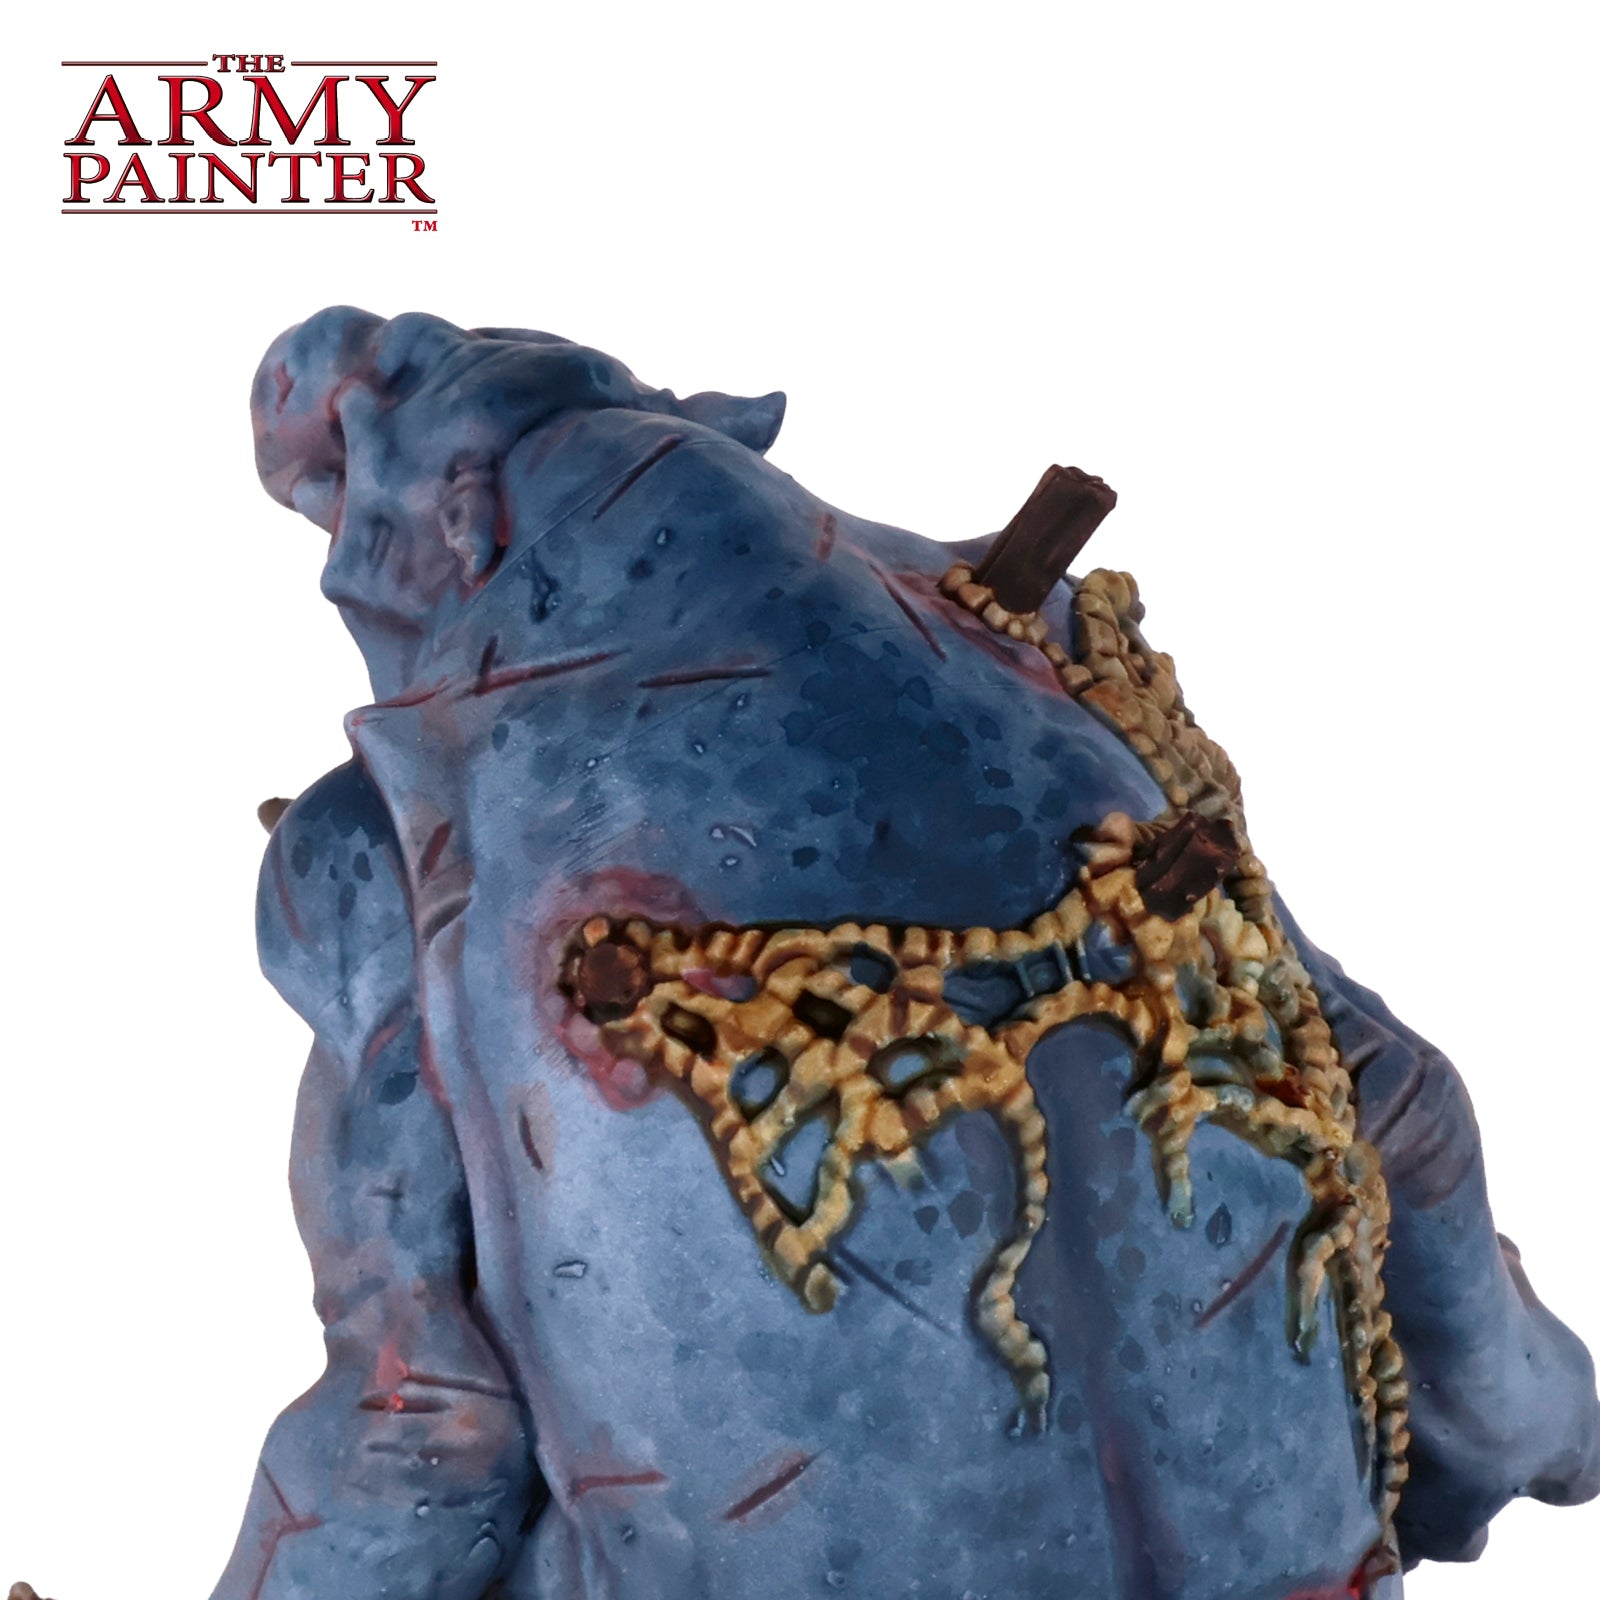
Moving on from Speedpaint, push the mottled pattern on the blue-grey areas a bit darker with Warpaints Fanatic Deep Ocean Blue. Apply this in the same mottled pattern, but within a smaller area, so the pattern goes from dark to light as you move towards the edges of it.
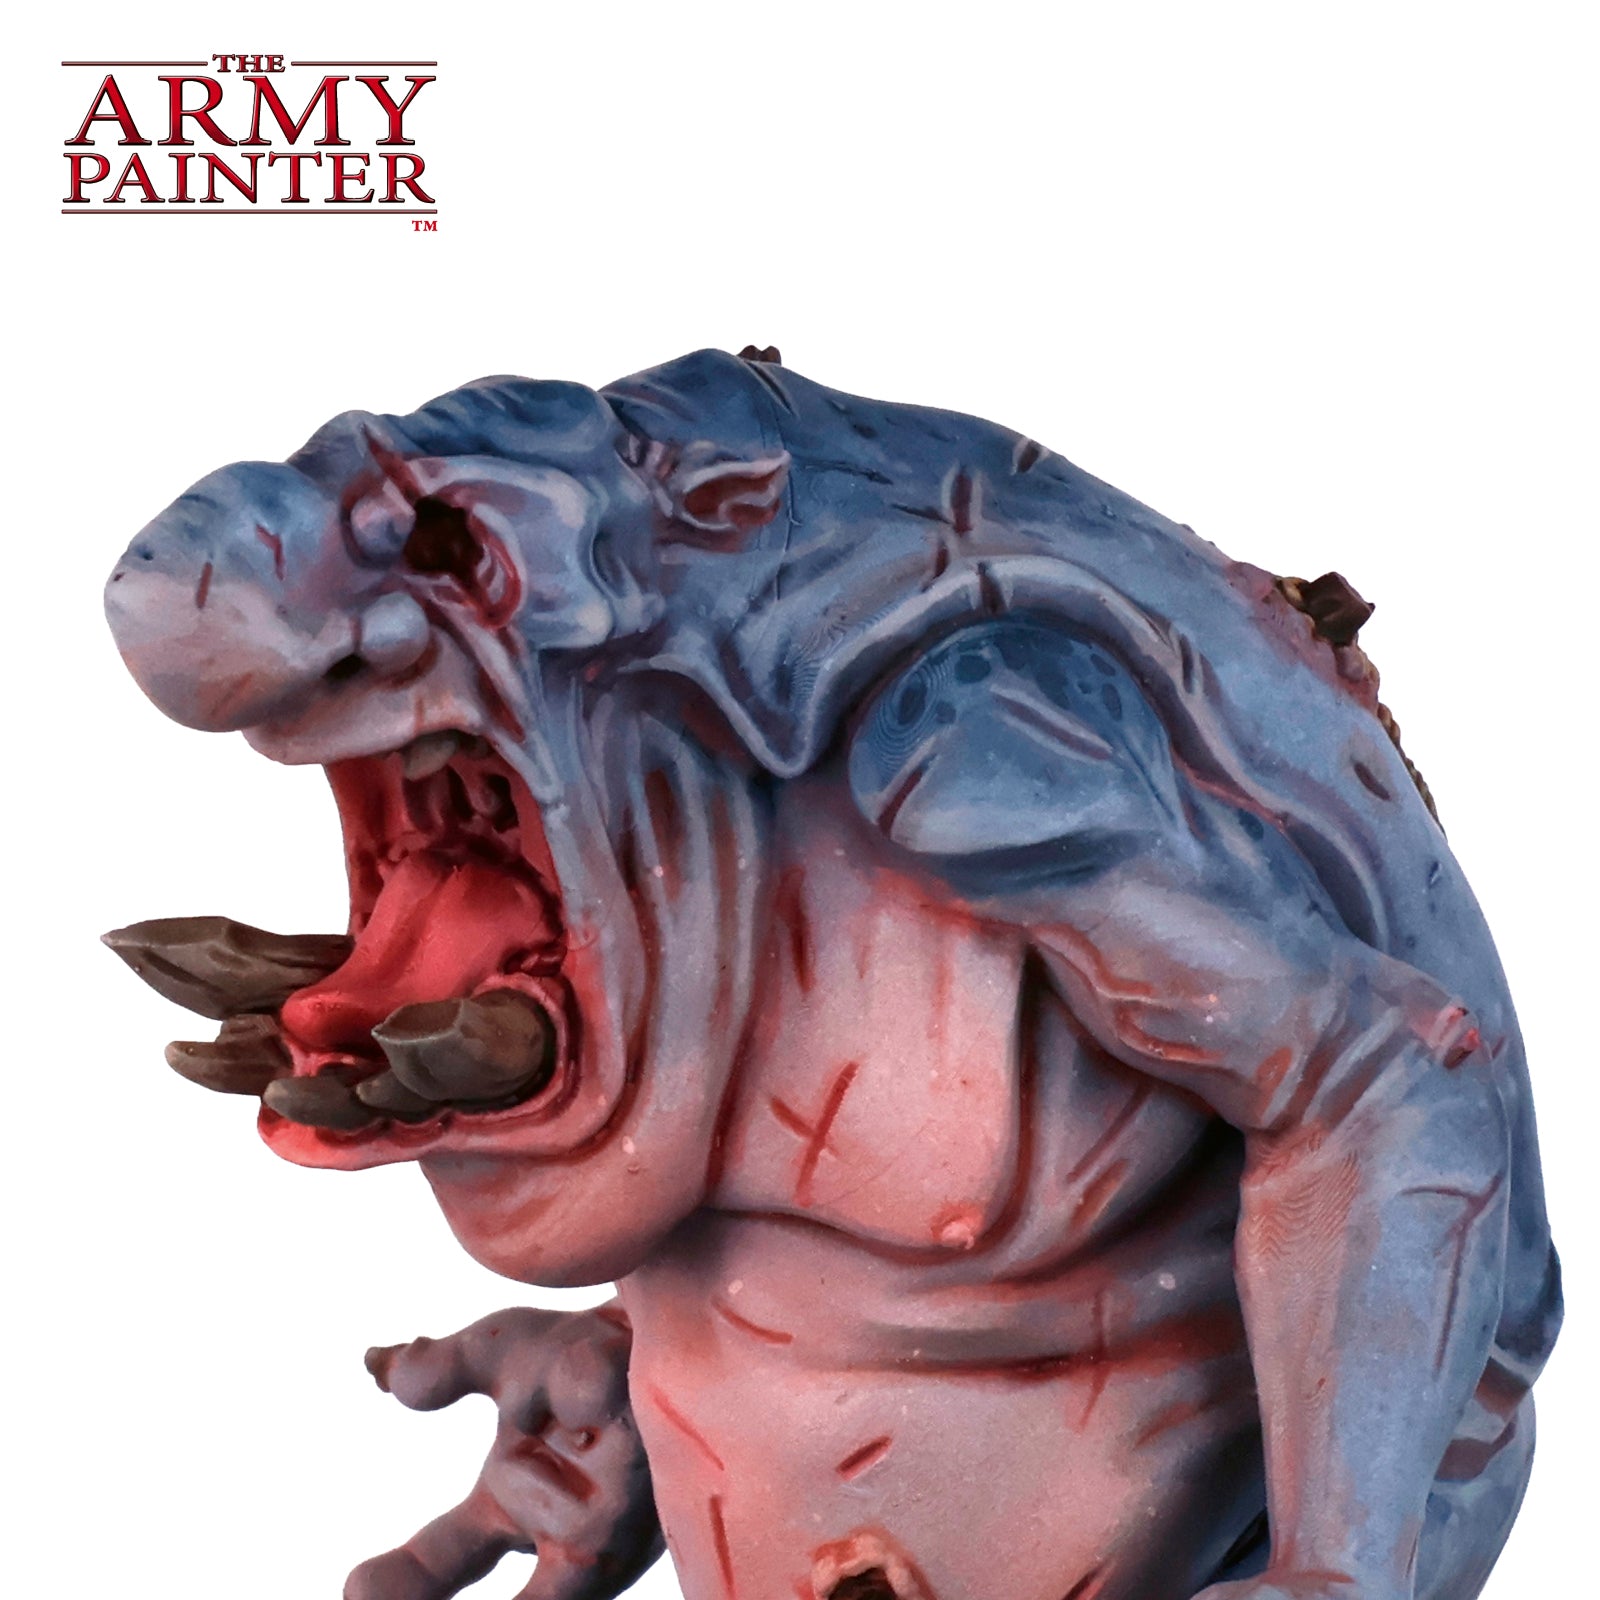
Step 2
Begin highlighting the blue-grey skin with a roughly 1:1 mix of Warpaints Fanatic Wolf Grey and Warpaints Air Gnome Cheeks. Pick out the ridges and raised areas to enhance the effect that’s already been achieved with the Speedpaint.
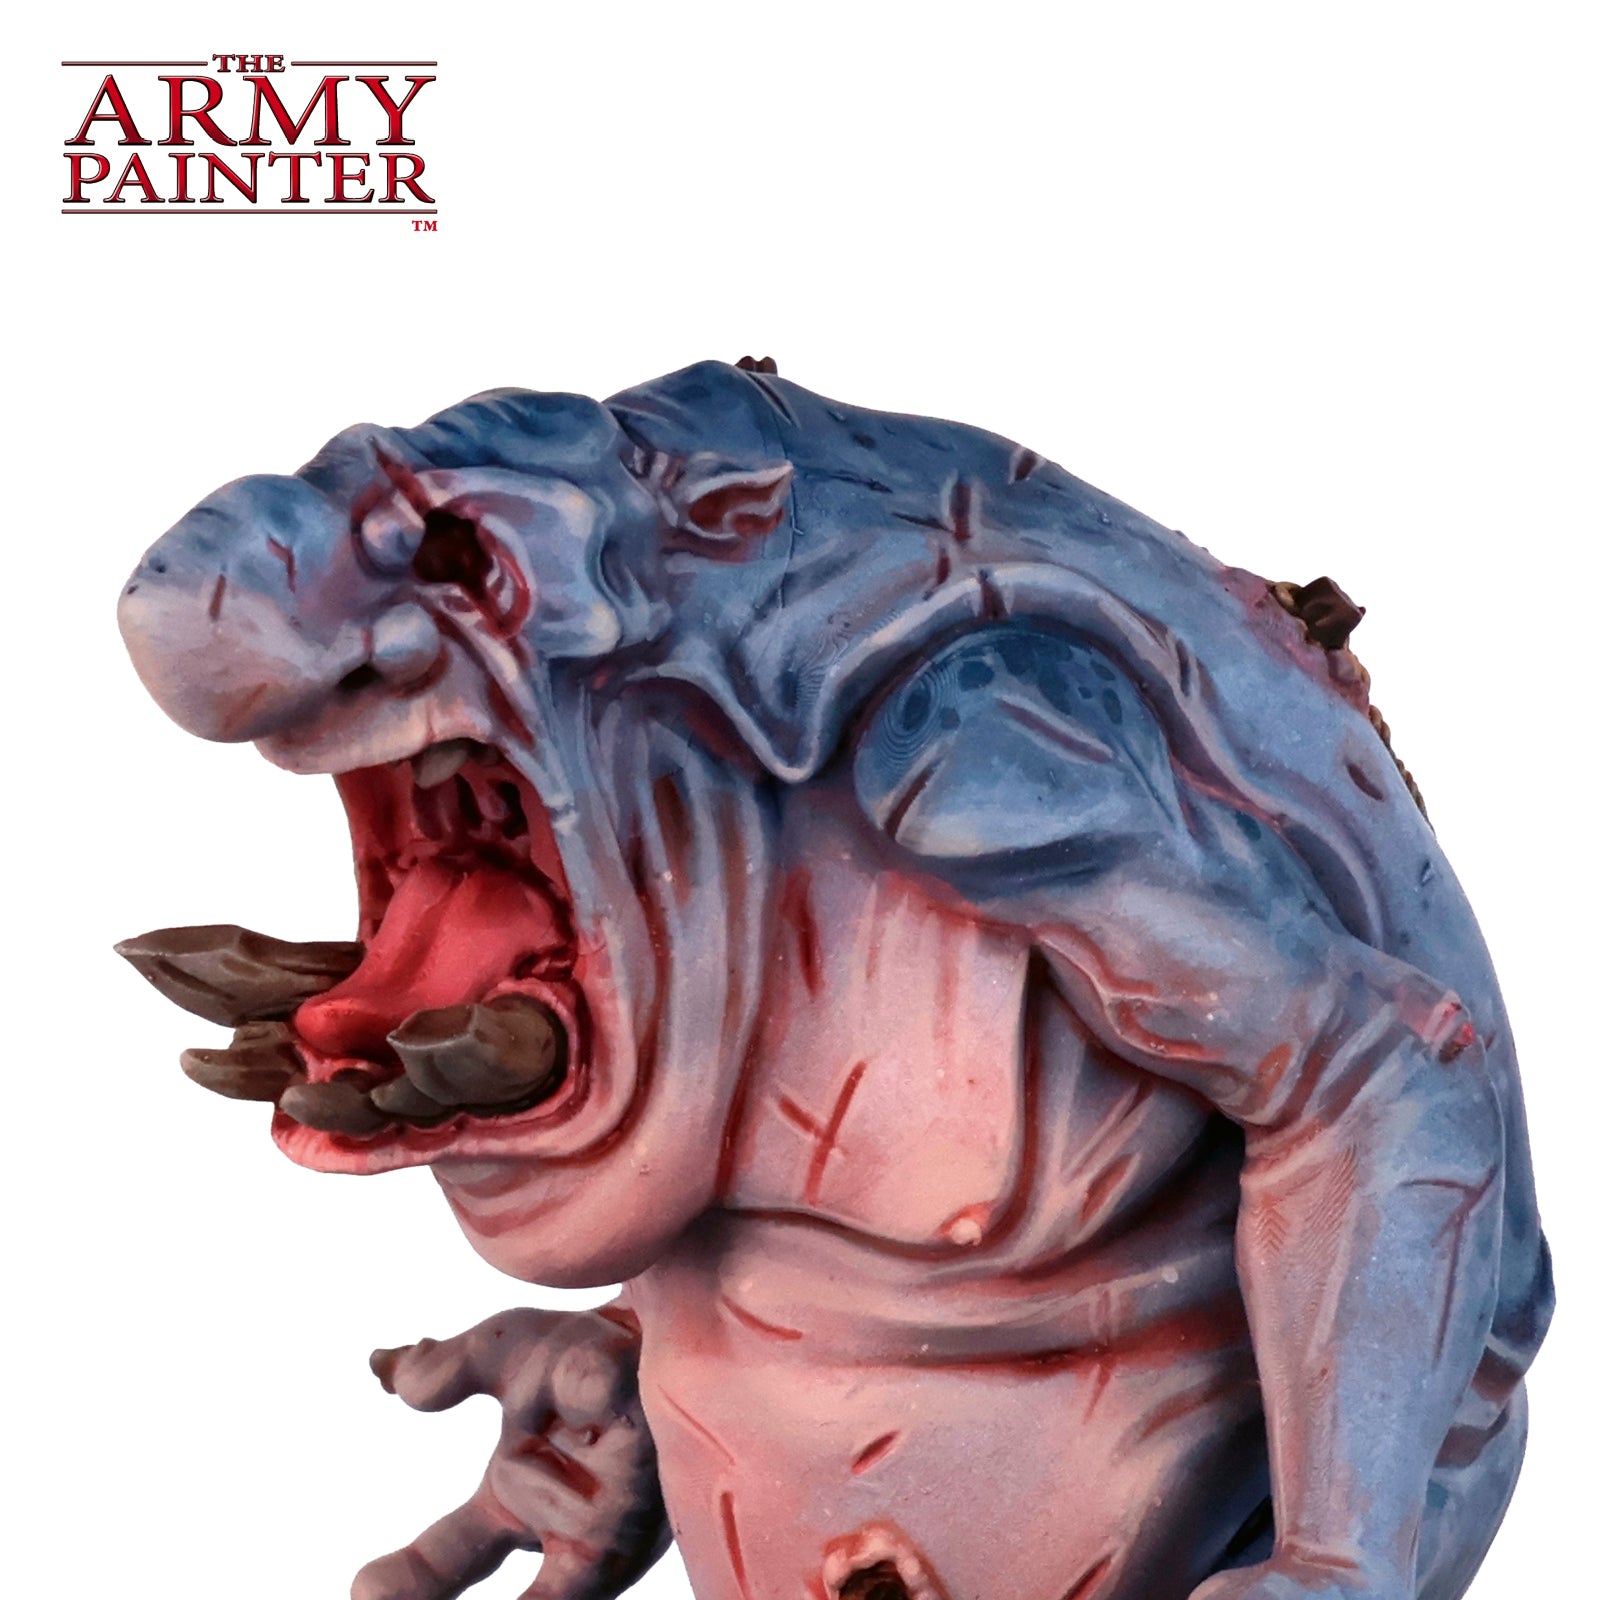
Step 3
Next, move on to pure Warpaints Air Gnome Cheeks and highlight all the pale, fleshy areas in the same manner, allowing the already applied Speedpaint to do most of the work. The slight translucent nature of Warpaints Air will work in your favour here, allowing the highlight layers to be subtle and show some of the colour beneath. Also use this paint for some more refined highlights on the blue-grey skin.
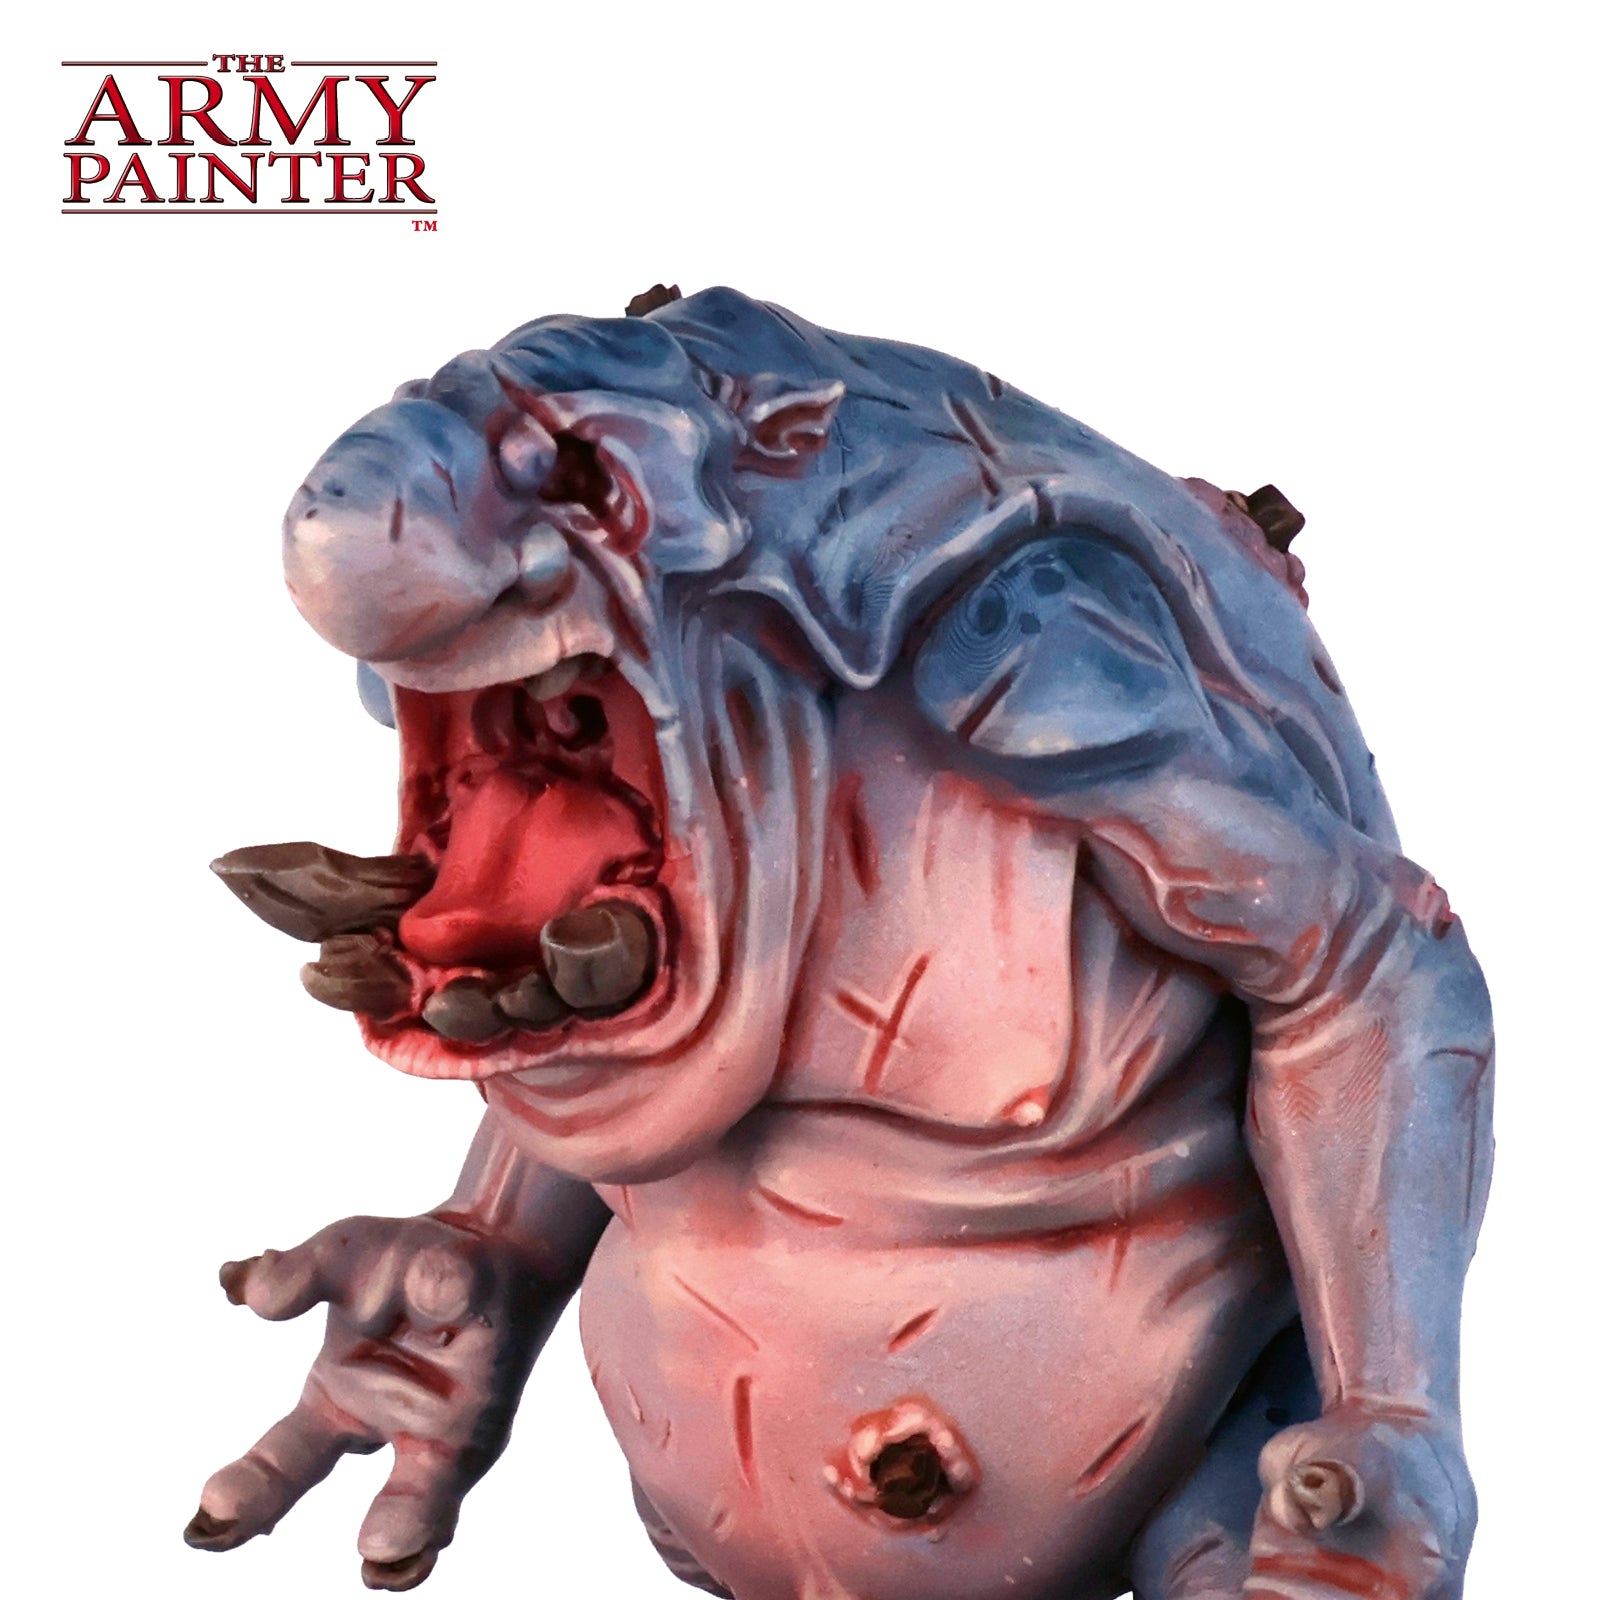
Step 4
Lastly, for the skin, mix some Warpaints Fanatic Ancient Stone into the Warpaints Air Gnome Cheeks for a final, refined highlight on all areas of the skin. Use this very sparingly on the blue-grey skin.
Rope, Tongue, Teeth, and Nails
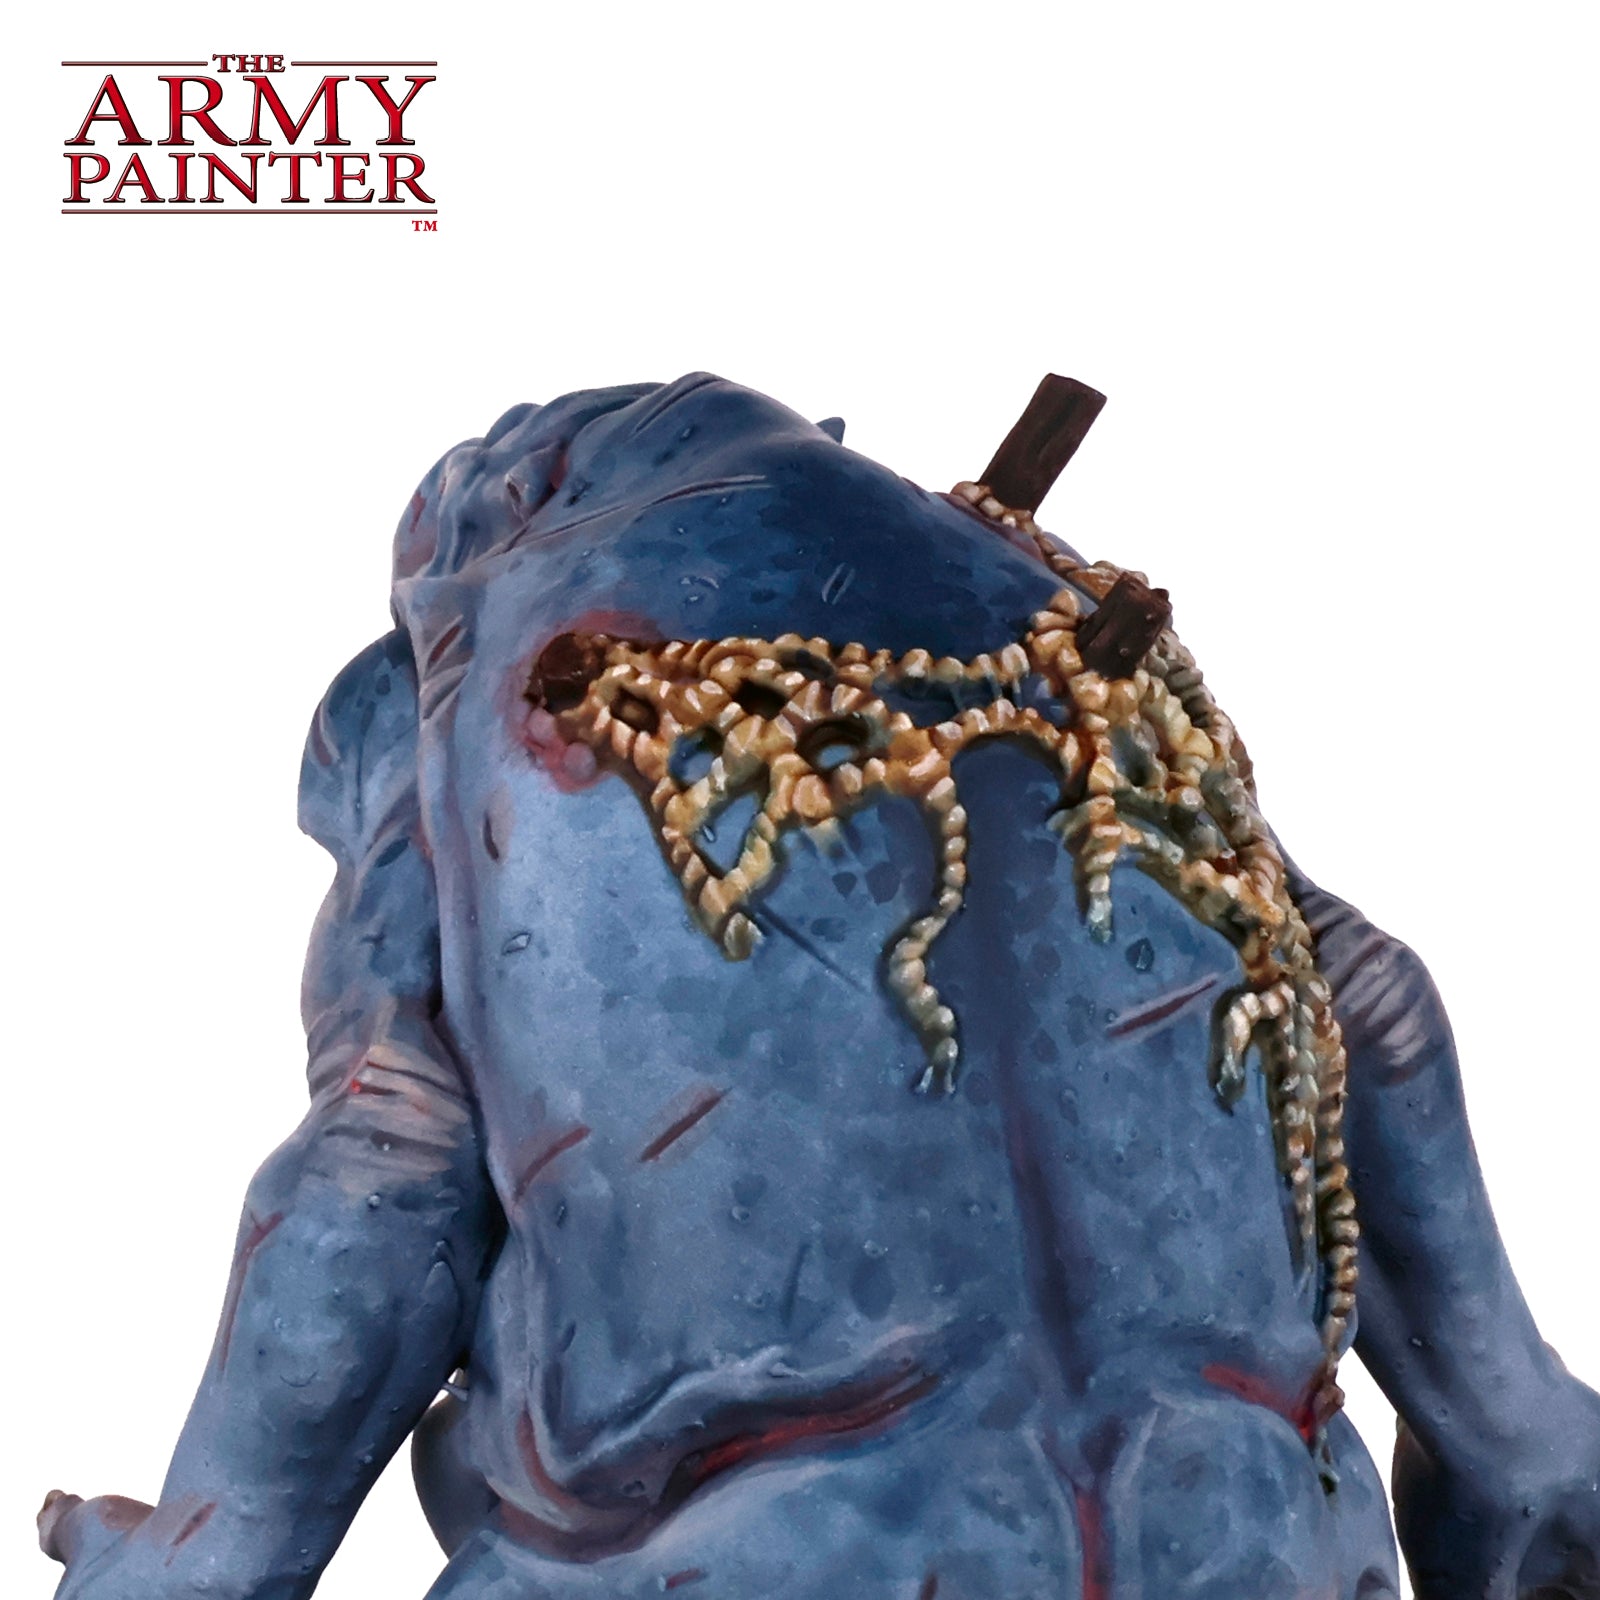
Step 1
Apply a quick and simple highlight of Warpaints Fanatic Ancient Stone to the rope.
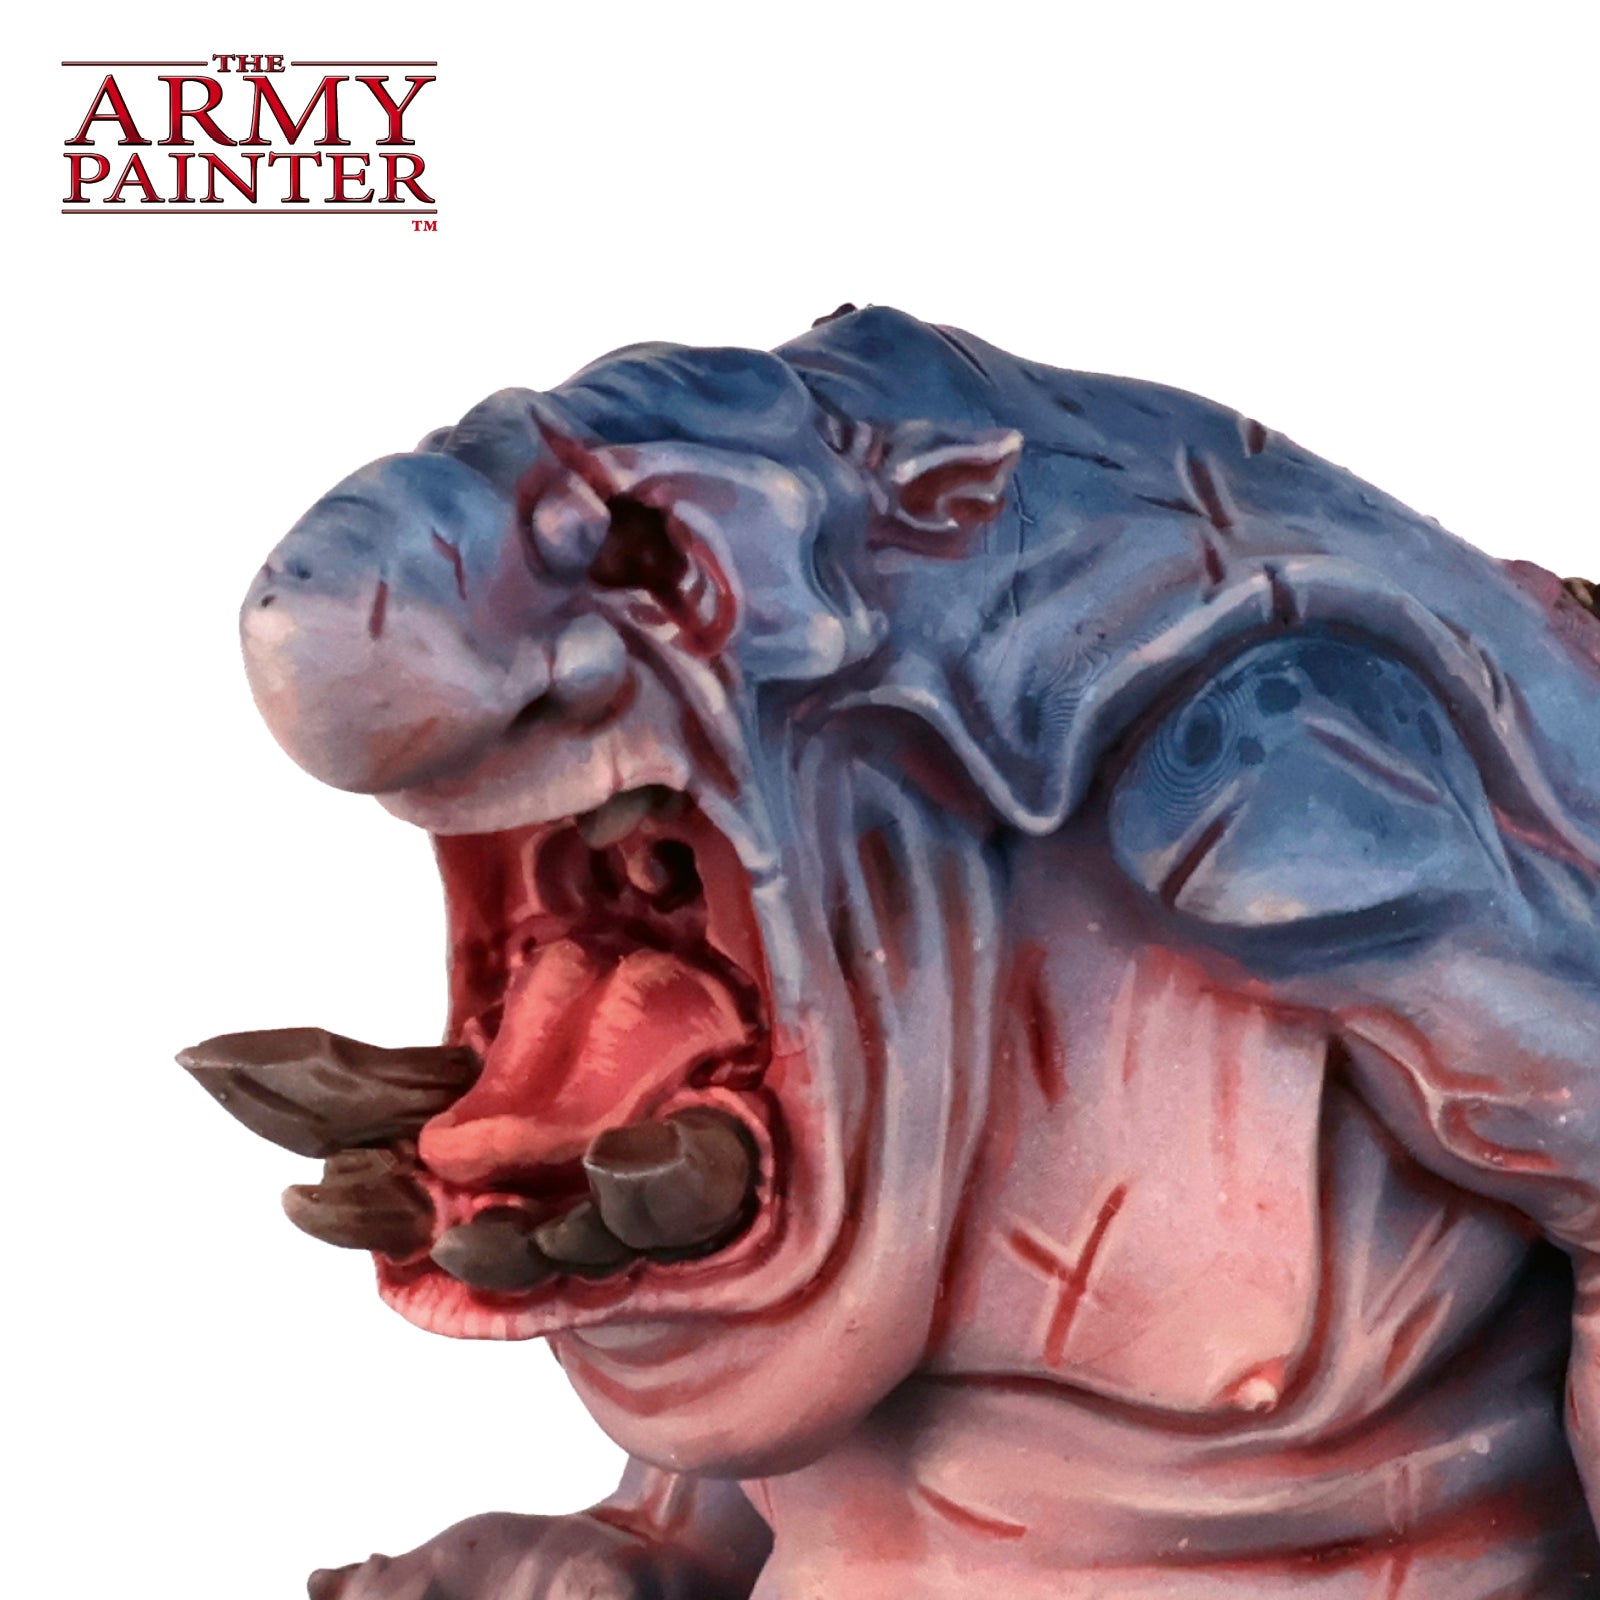
Step 2
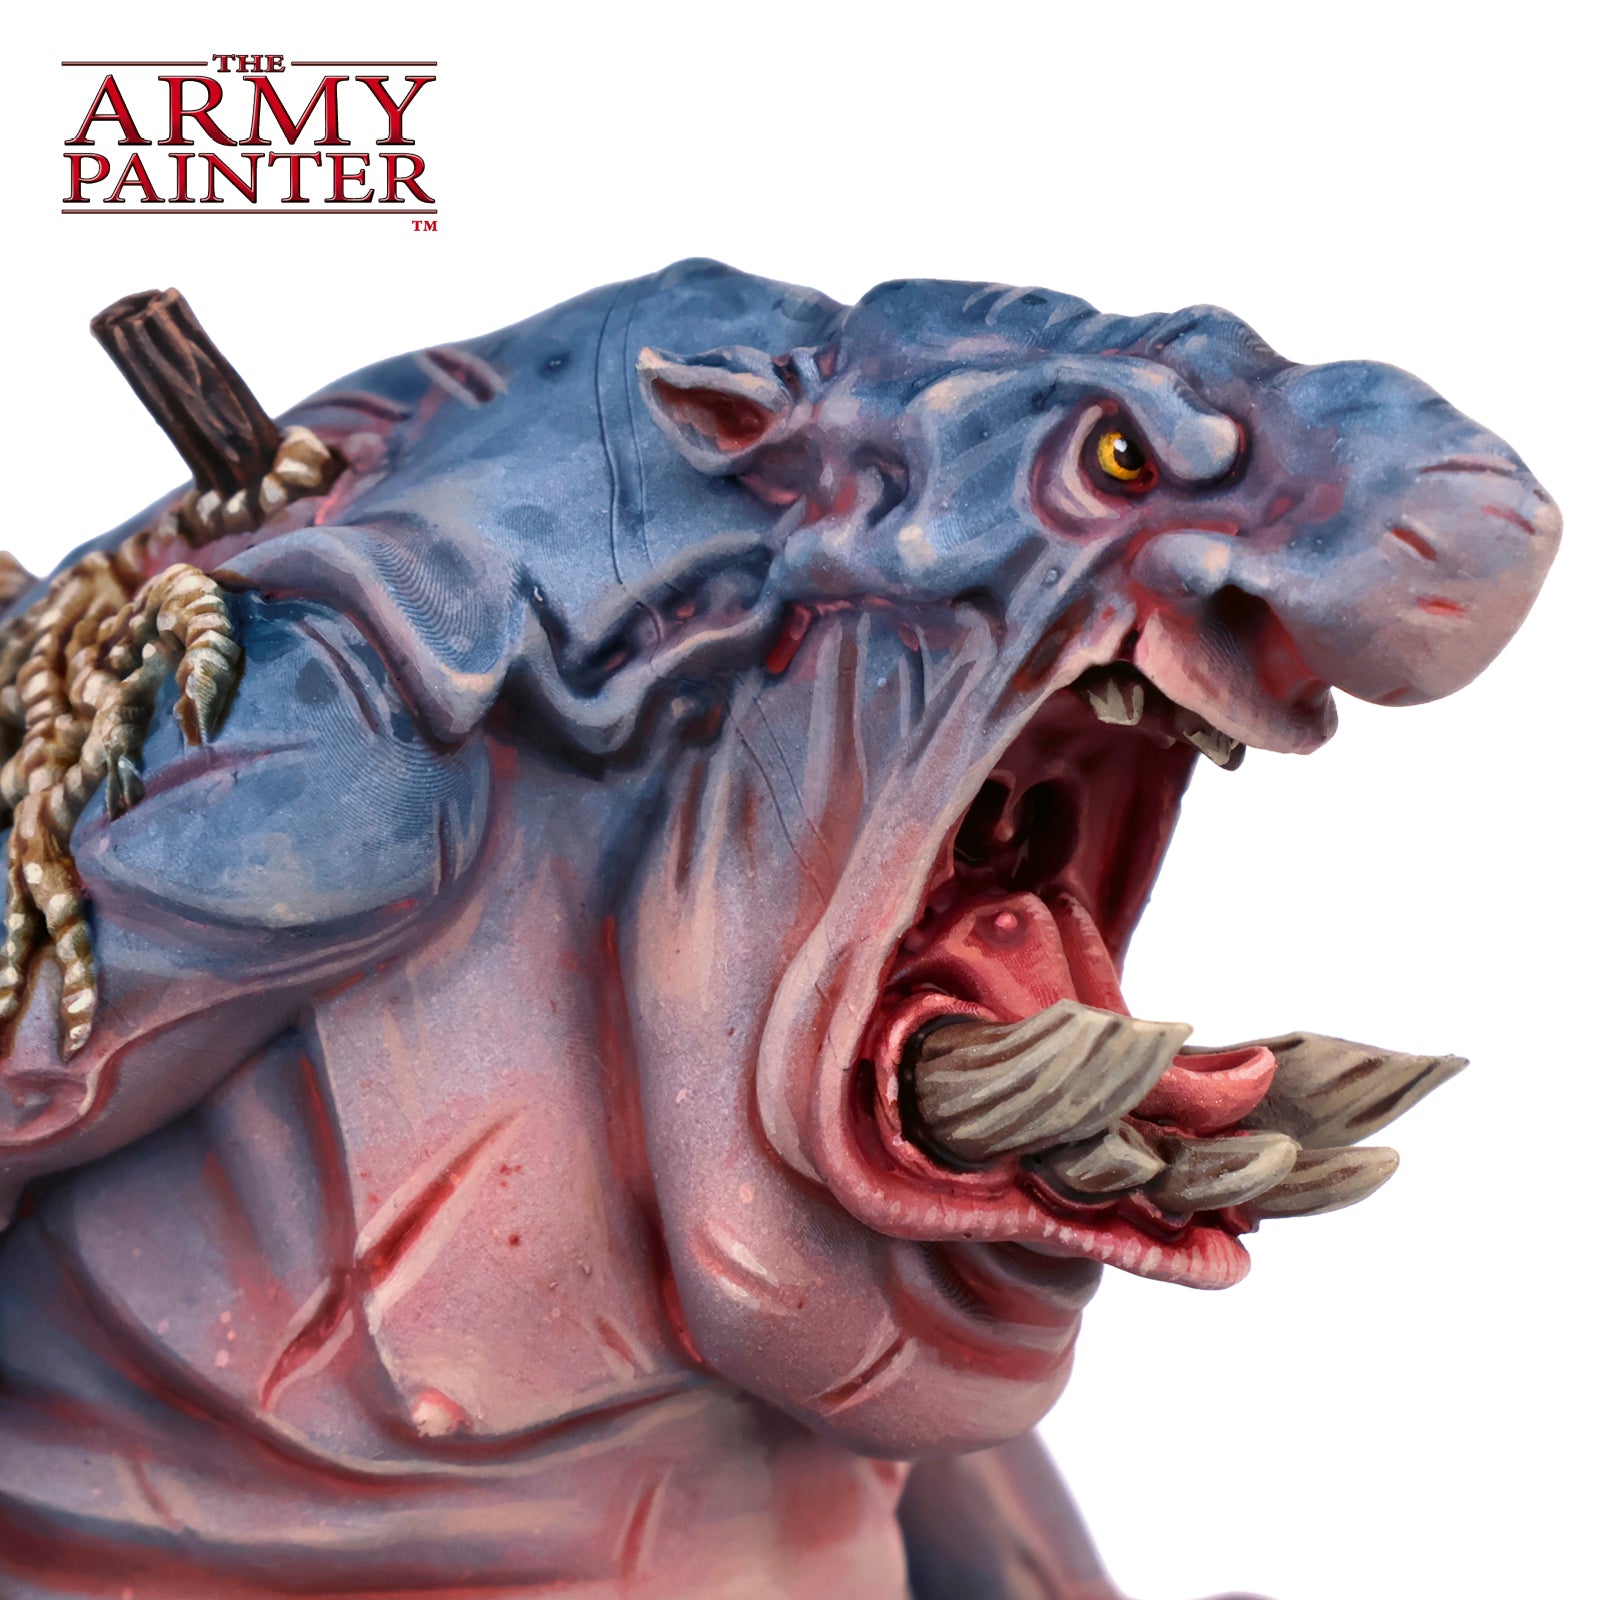
Highlight the tongue, mouth, and gums with Warpaints Fanatic Agate Skin.
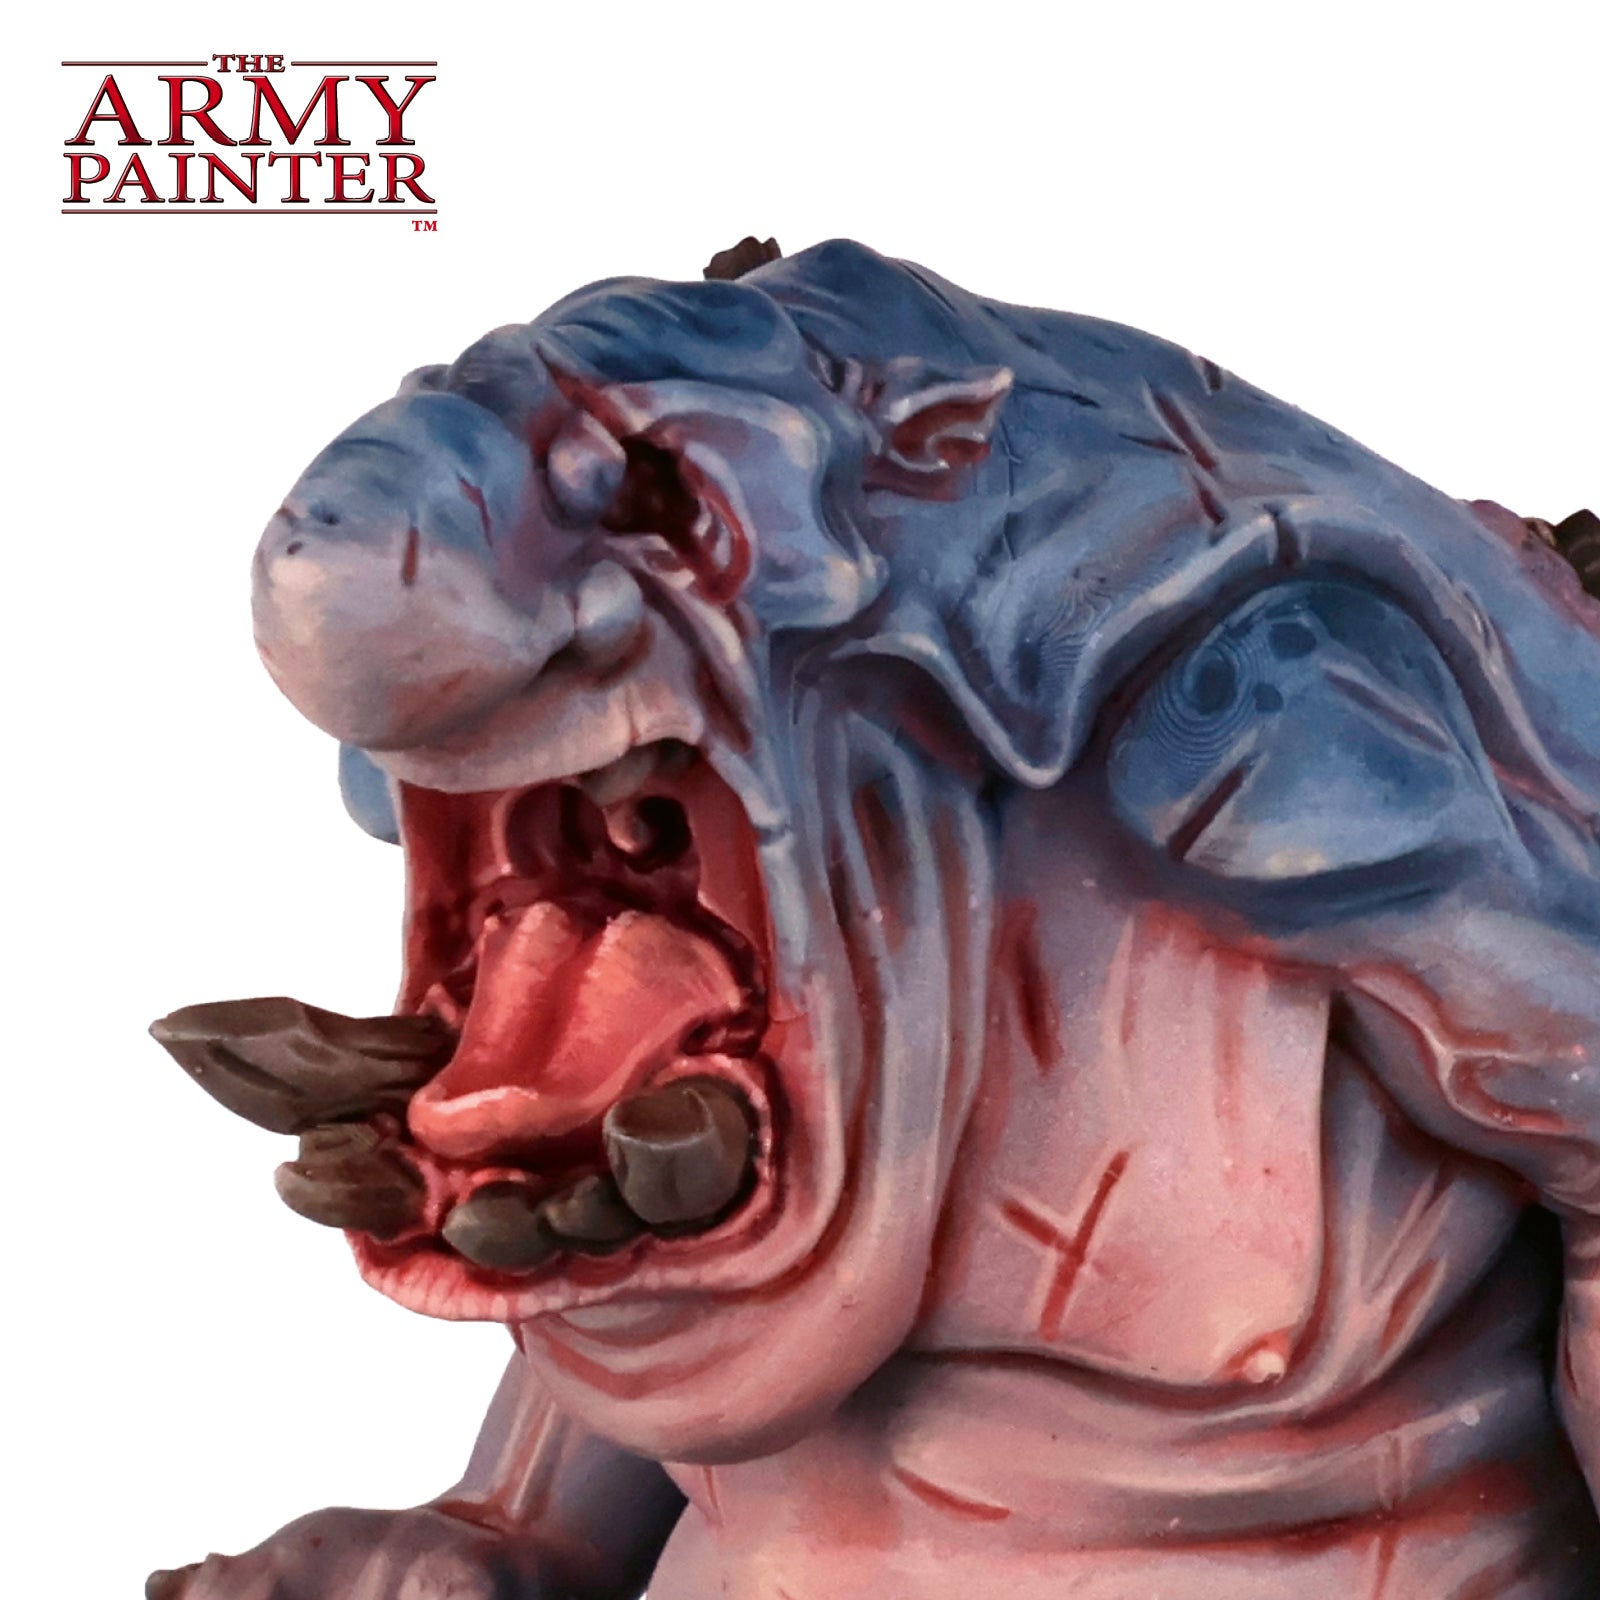
Step 3
Follow this with a more refined highlight of Warpaints Fanatic Ruby Skin.
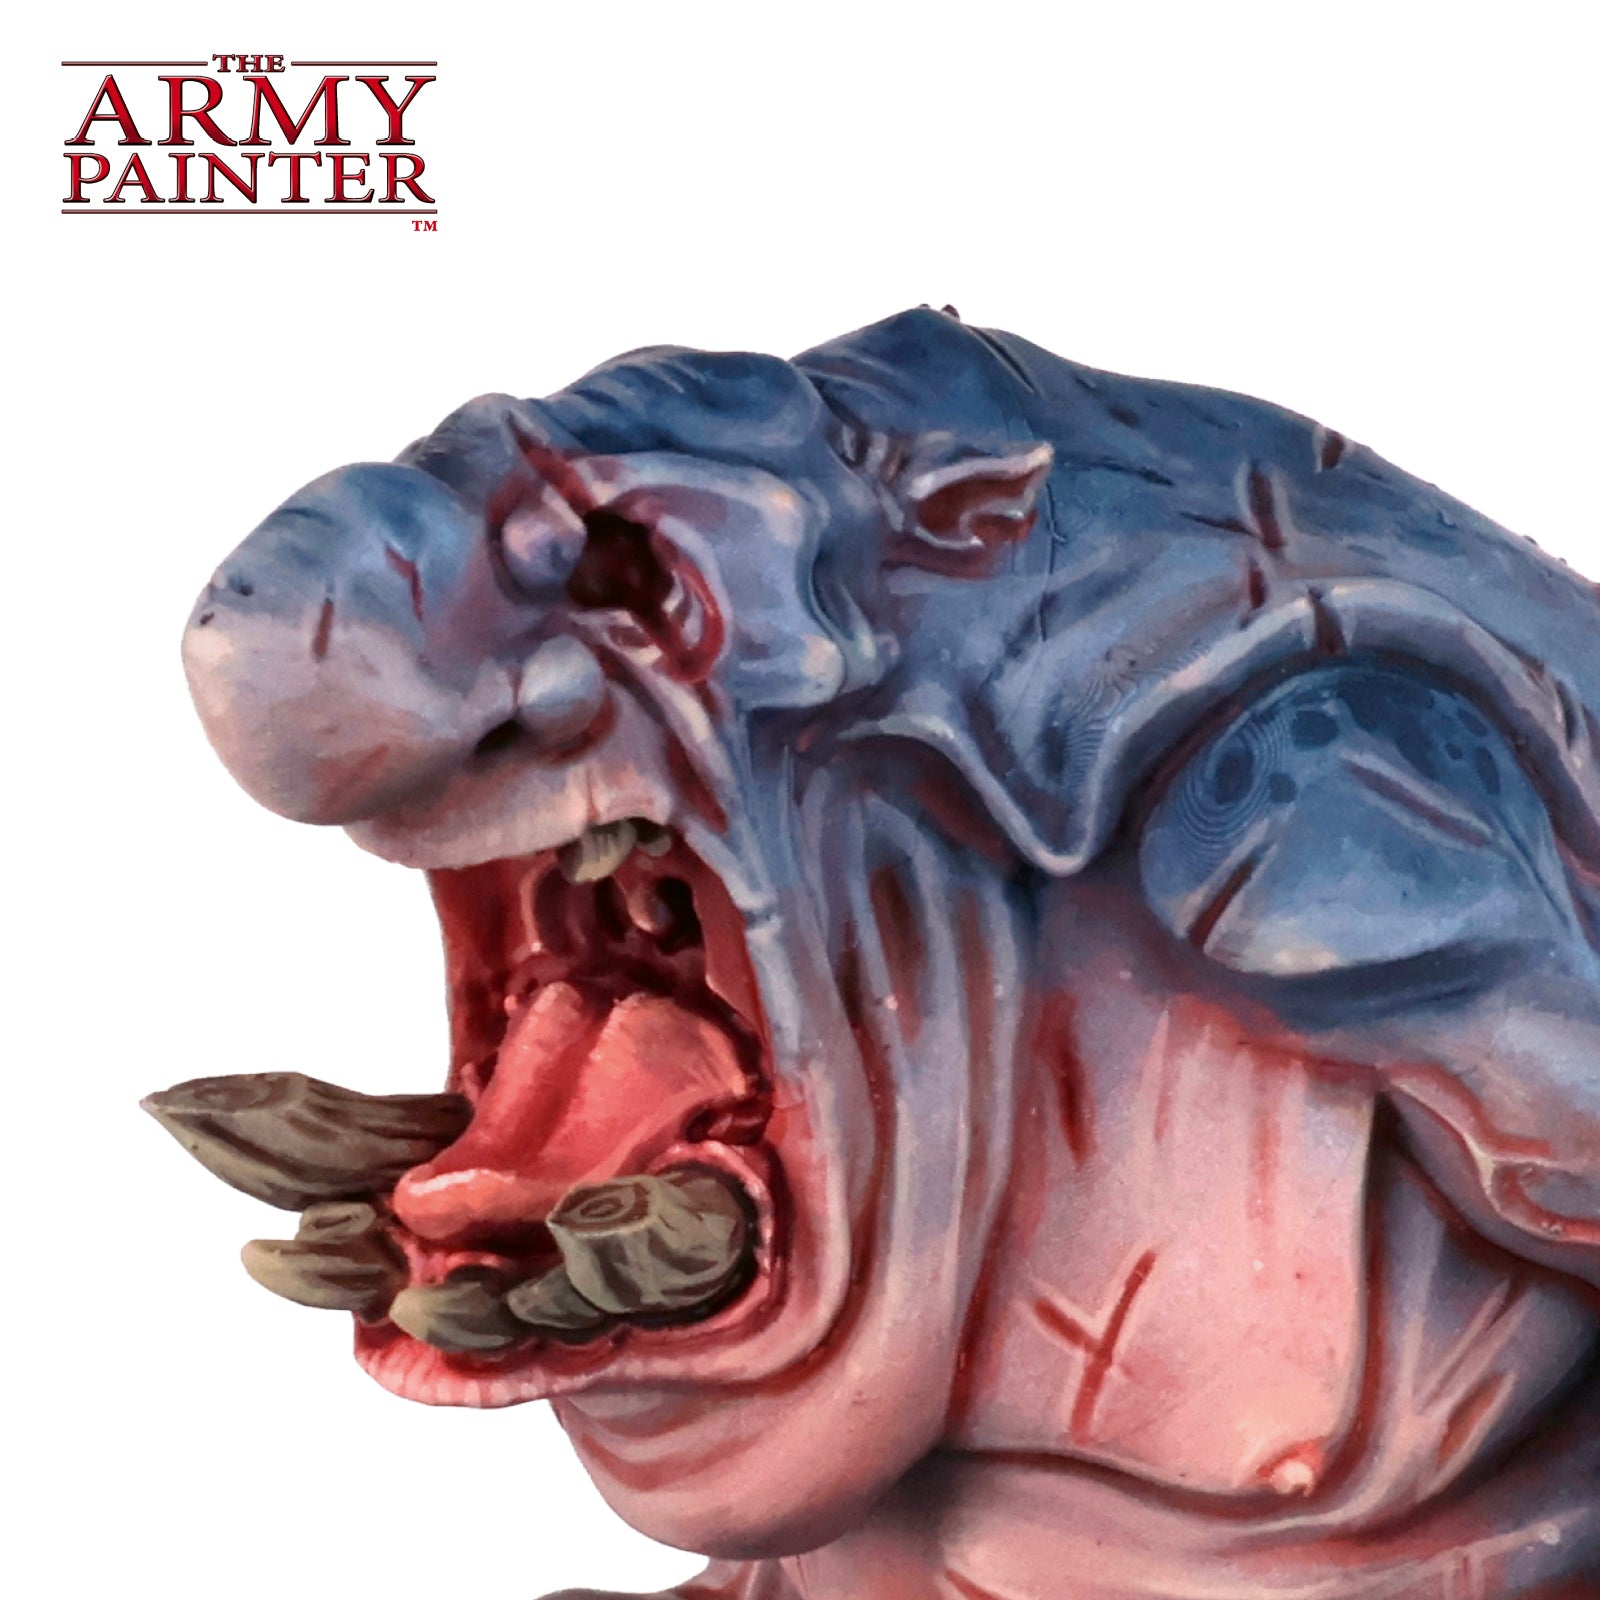
Step 4
Highlight the teeth and nails with Warpaints Fanatic Dusty Skull, following the texture sculpted into them.
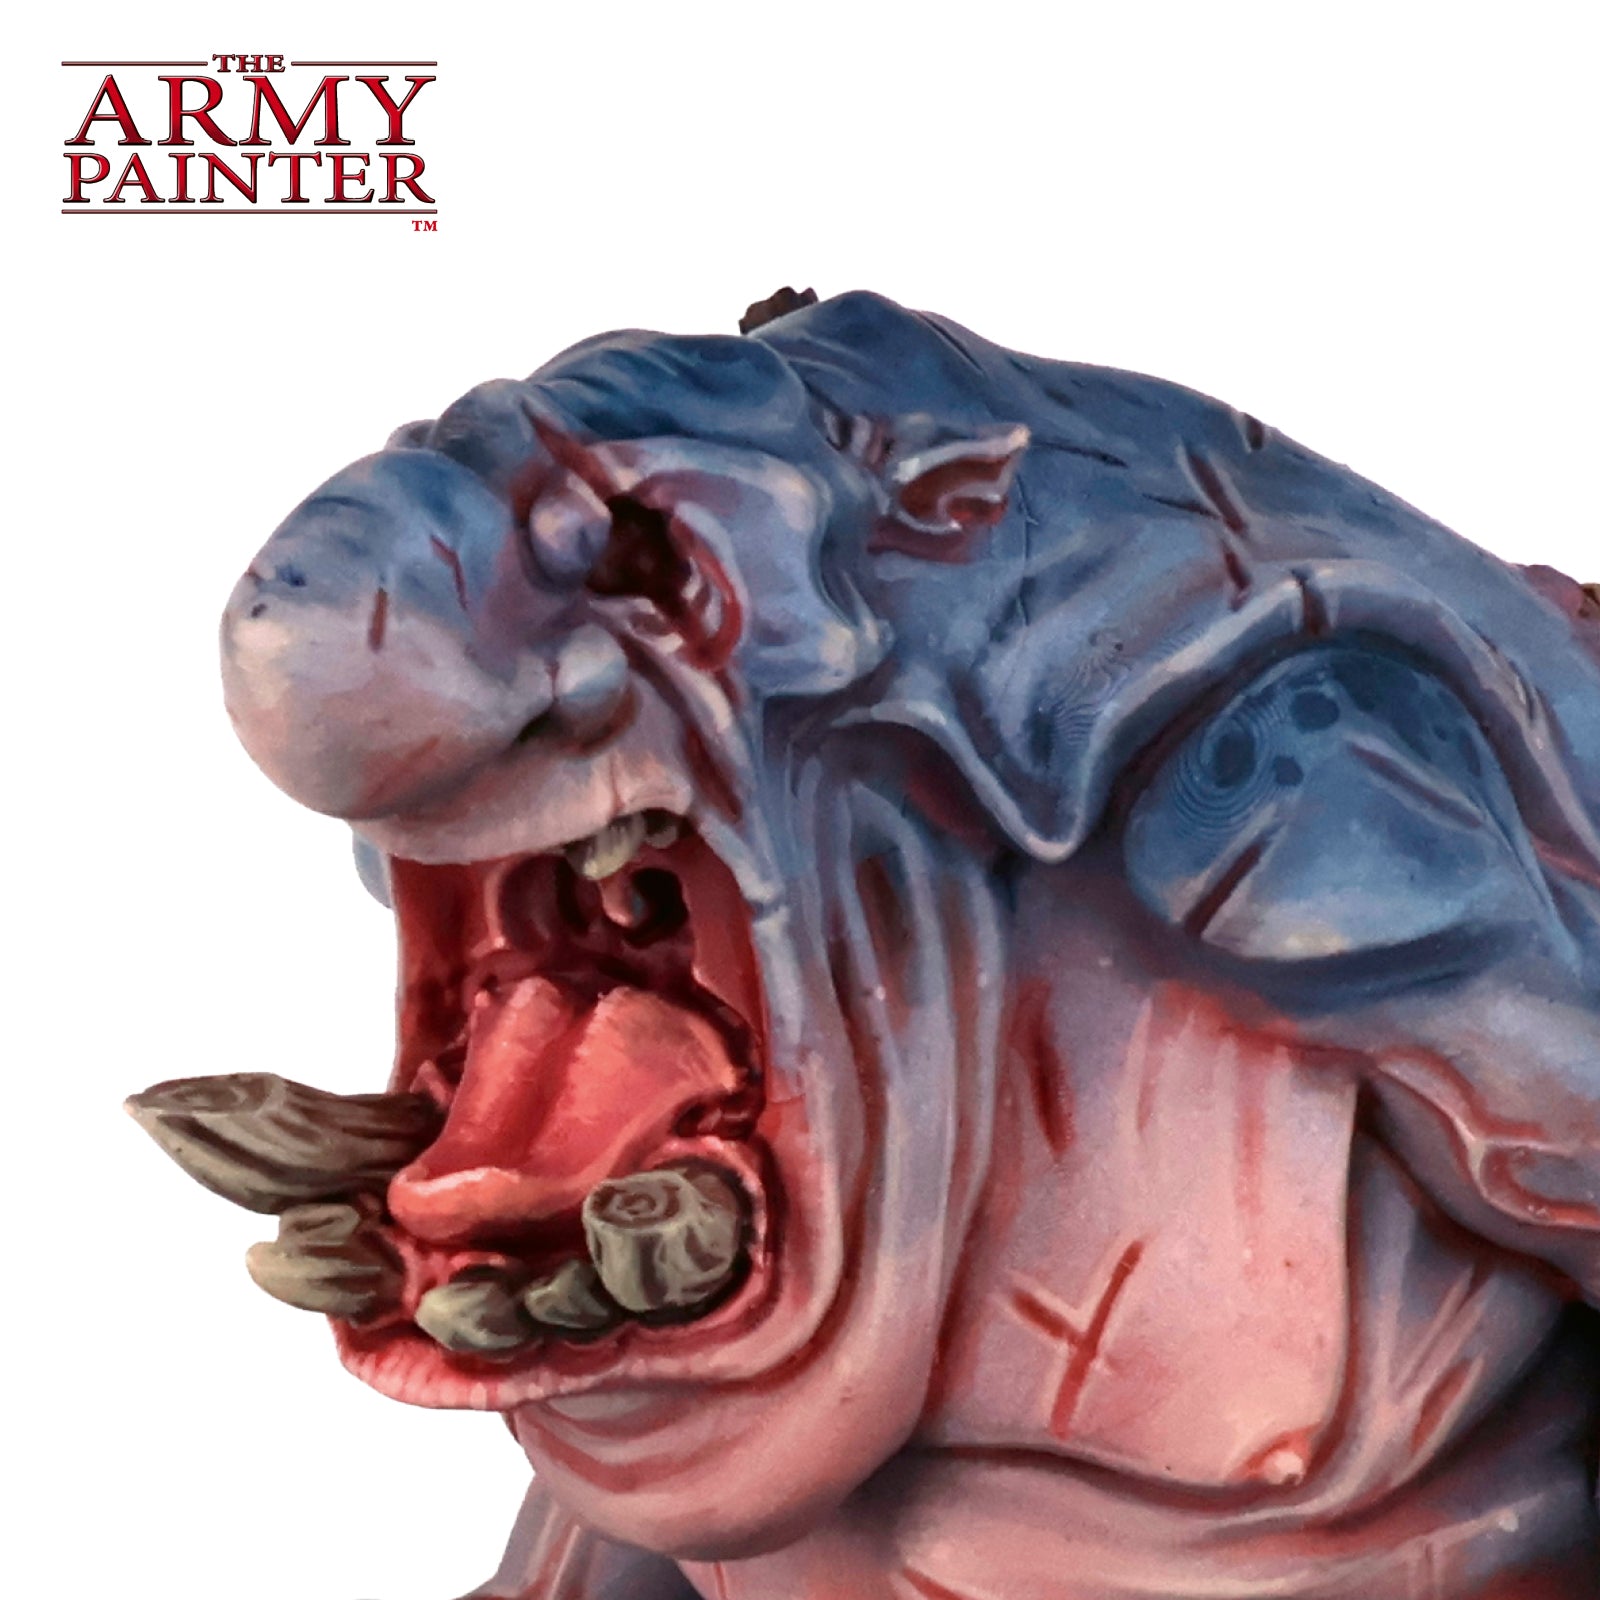
Step 5
Push this a bit brighter with a more refined highlight of Warpaints Fanatic Skeleton Bone.
Step 6
Give the wooden stakes a quick edge highlight of Warpaints Fanatic Paratrooper Tan.
Step 7
Finally, paint his one good eye with Warpaints Fanatic Fiendish Yellow, followed by a dot of Warpaints Fanatic Matt Black, and then a smaller dot of Warpaints Fanatic Matt White for a reflection.
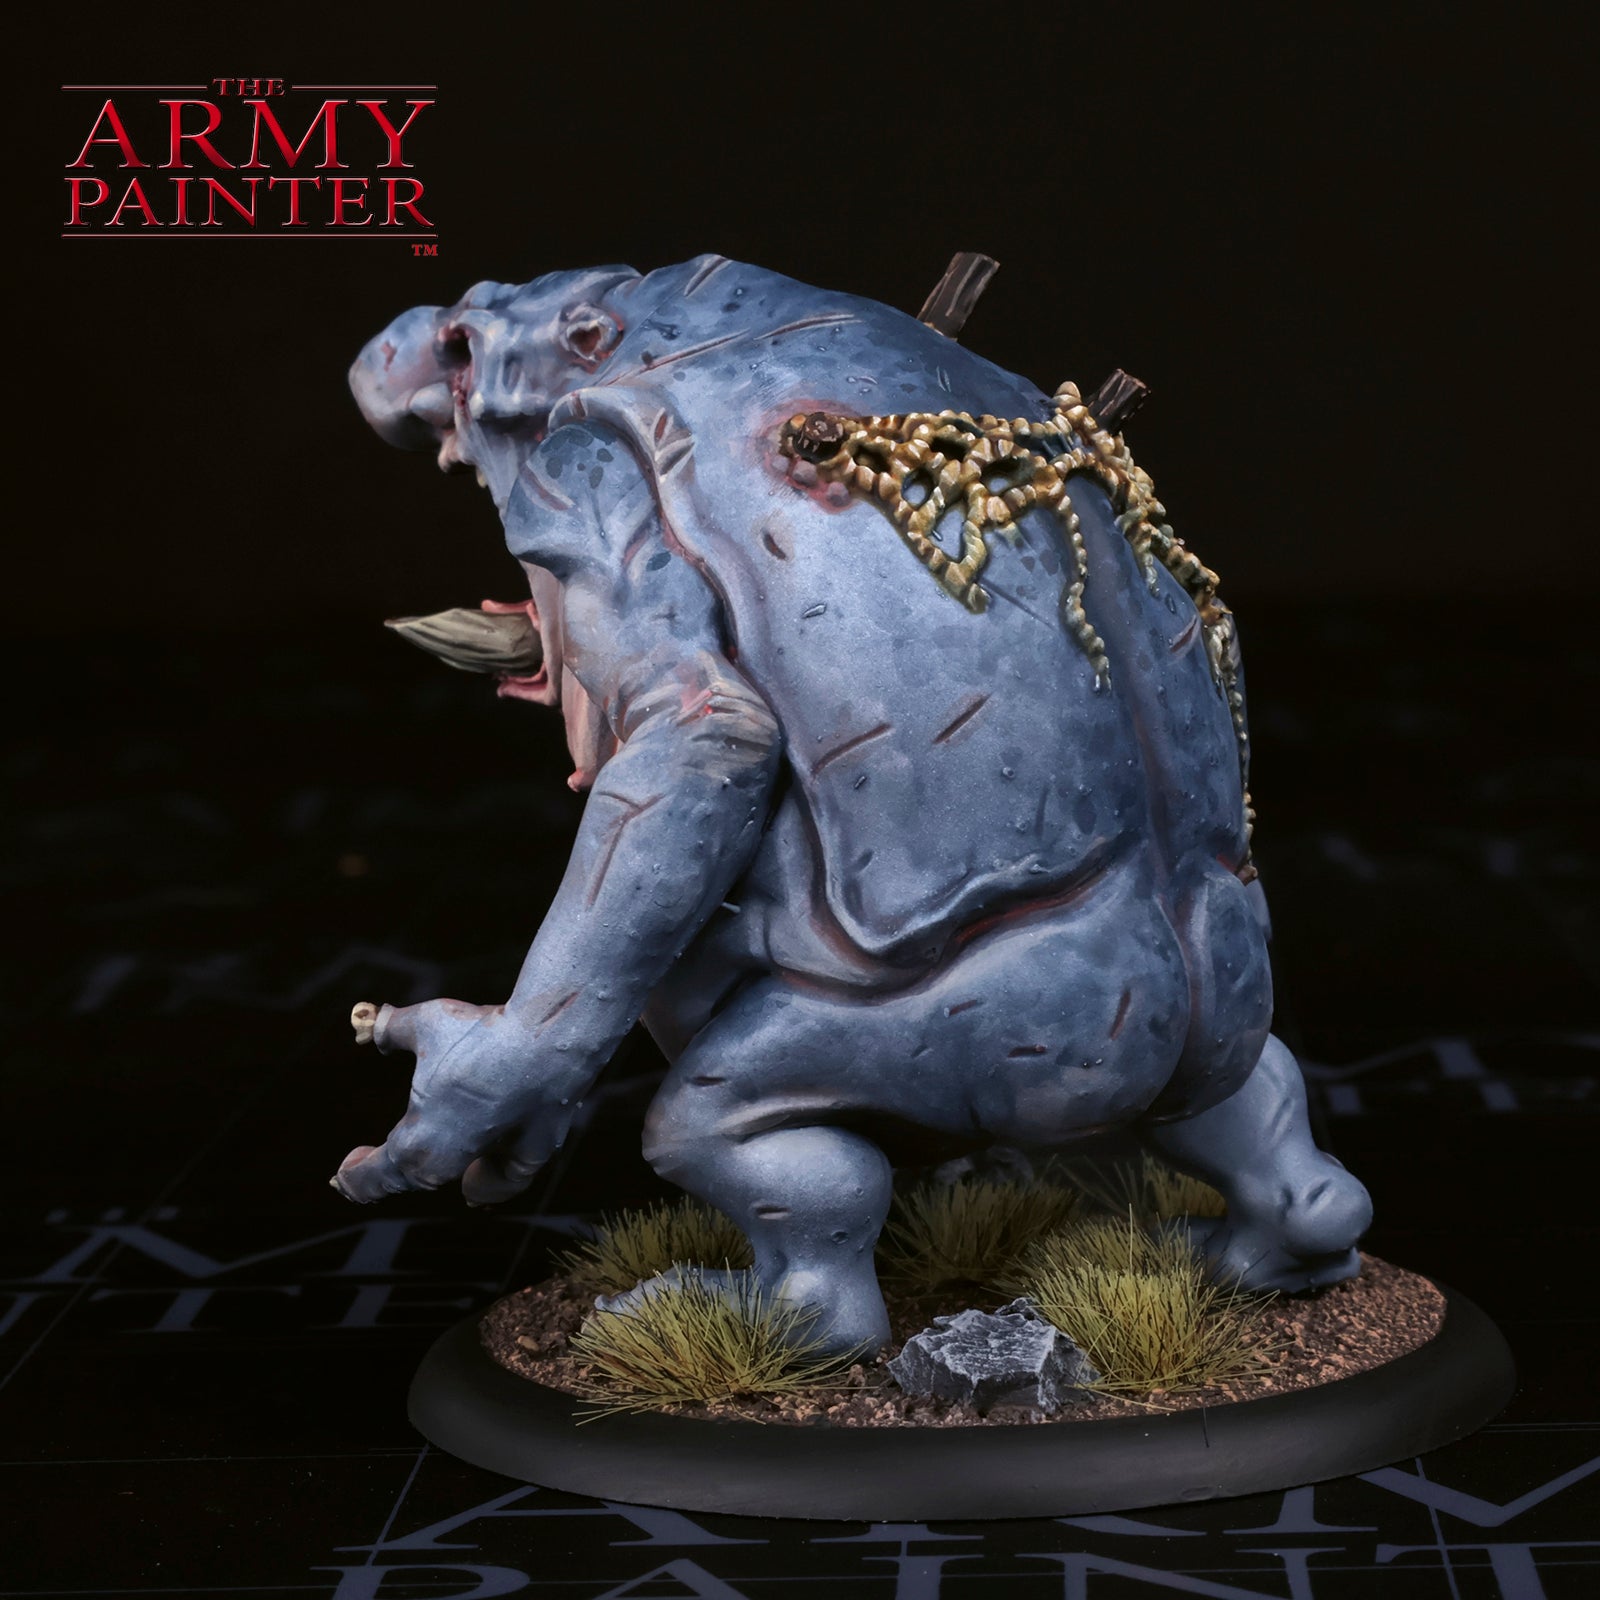
With that, your models are done!
We based our mini with a simple dirt and rock texture, but you can base yours to match your collection or however you’d like.
Be sure to tell us what you thought of this tutorial format, if you have any suggestions for improvements in the future, or even which models you want us to tackle.
If you paint your own model following one of these guides, tag it with #thearmypainteracademy to share your work!