How to Paint a
Horus Heresy White Scar

Welcome to the next instalment of The Army Painter Academy: a series where we break down how we paint a miniature step-by-step, complete with pictures for every bit of paint applied along the way.
The new edition of Warhammer The Horus Heresy: Age of Darkness by Games Workshop is upon us, unleashing the might of Horus’ treachery across the black sands of Isstvan V. There’s nothing more satisfying than painting up a Space Marine or two, and in this grimdark setting 10,000 years prior to the current timeline of Warhammer 40,000, there are a whole lot of Space Marines to paint! What else would you expect from the galaxy’s greatest war that set brother against brother, bolter against bolter, and power armour against power armour. With 18 unique and iconic Space Marine Legions to pick from, you can face a real dilemma when choosing which Primarch to serve, a problem many a Warhammer enthusiast are all too familiar with.
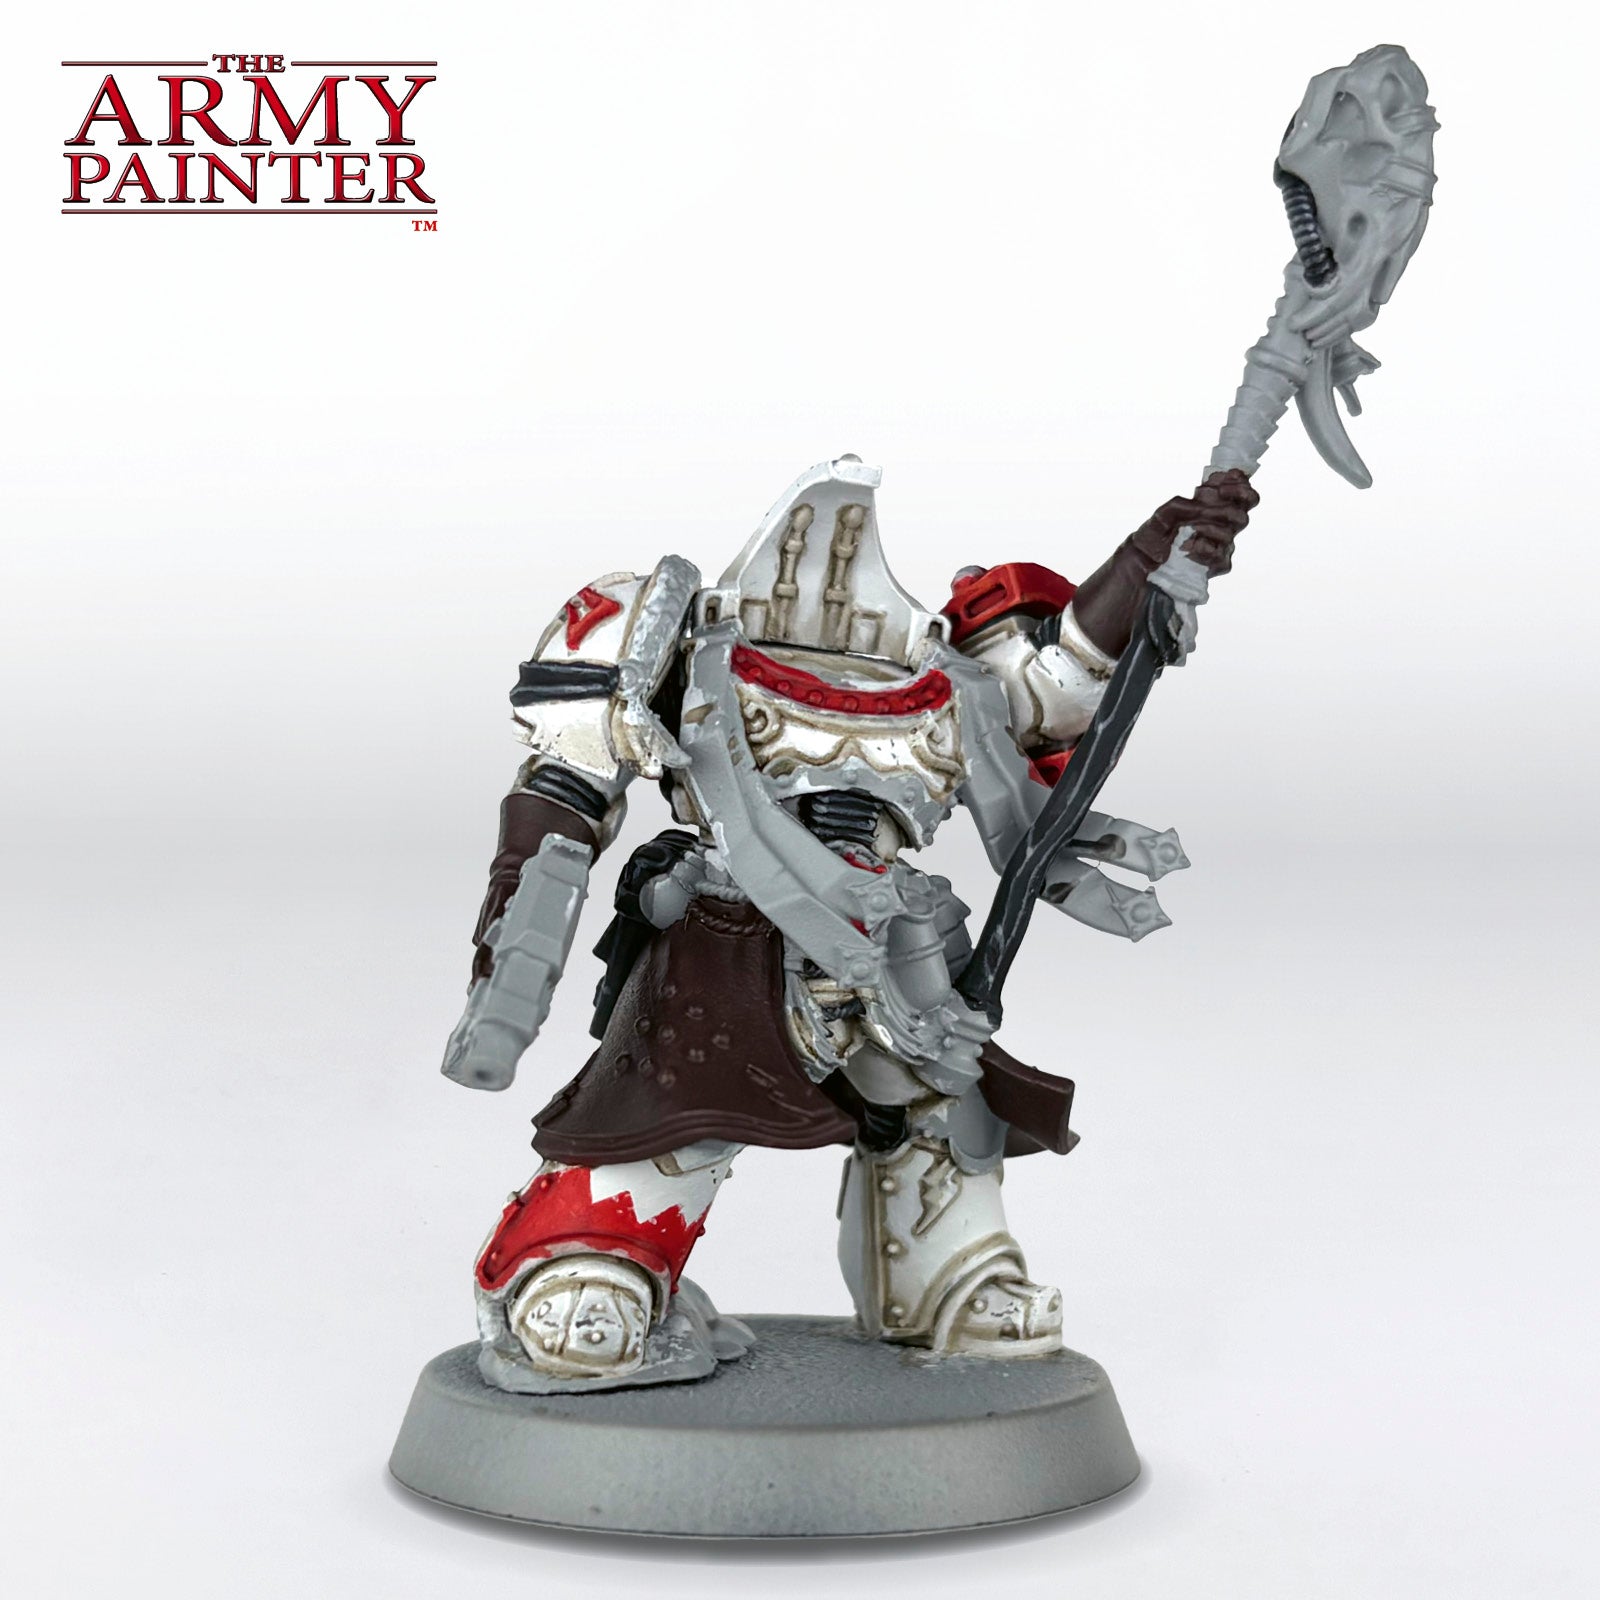
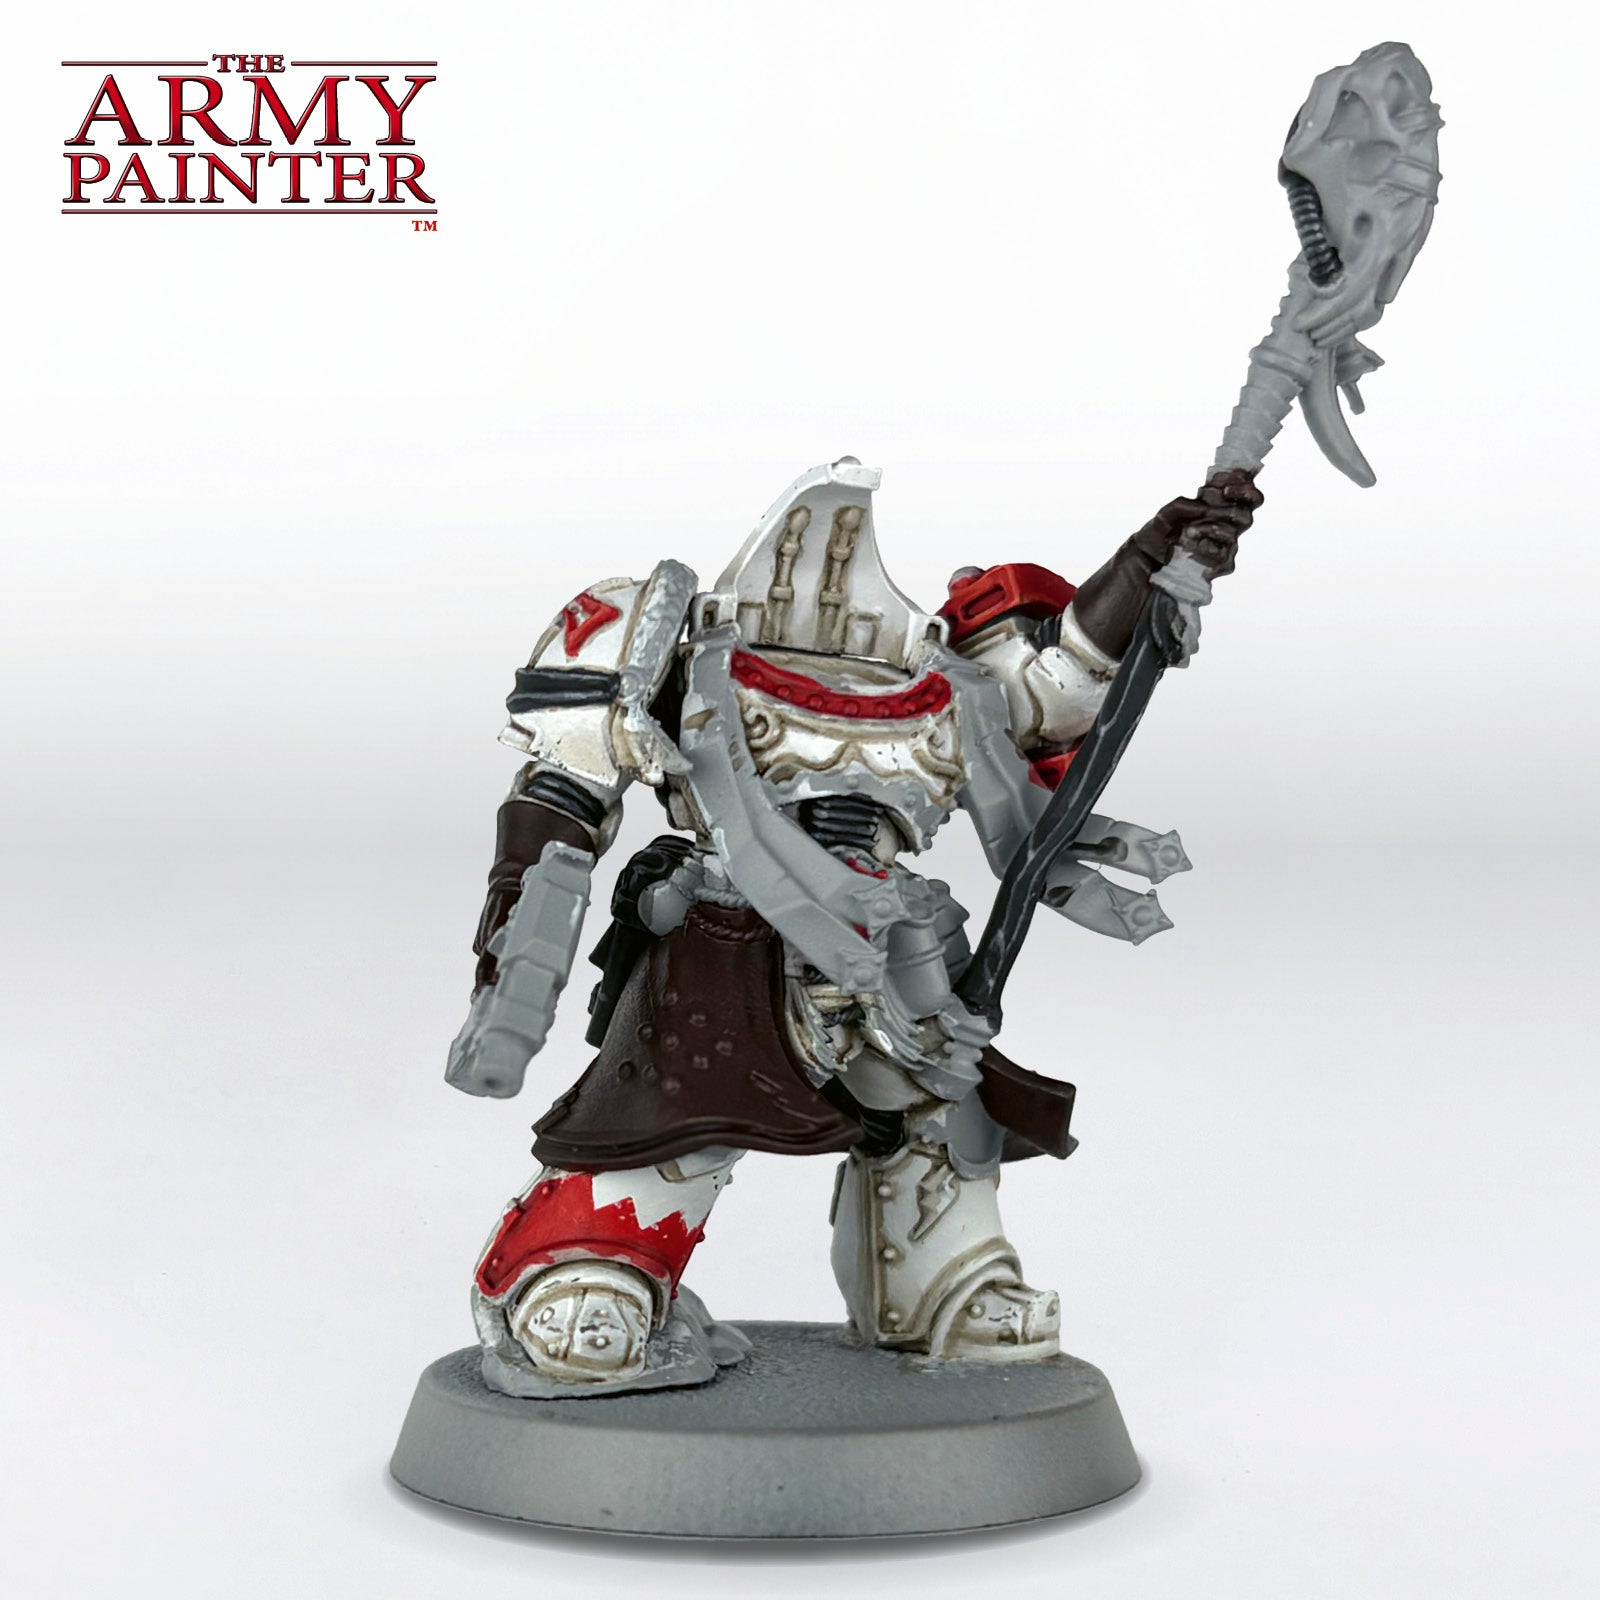
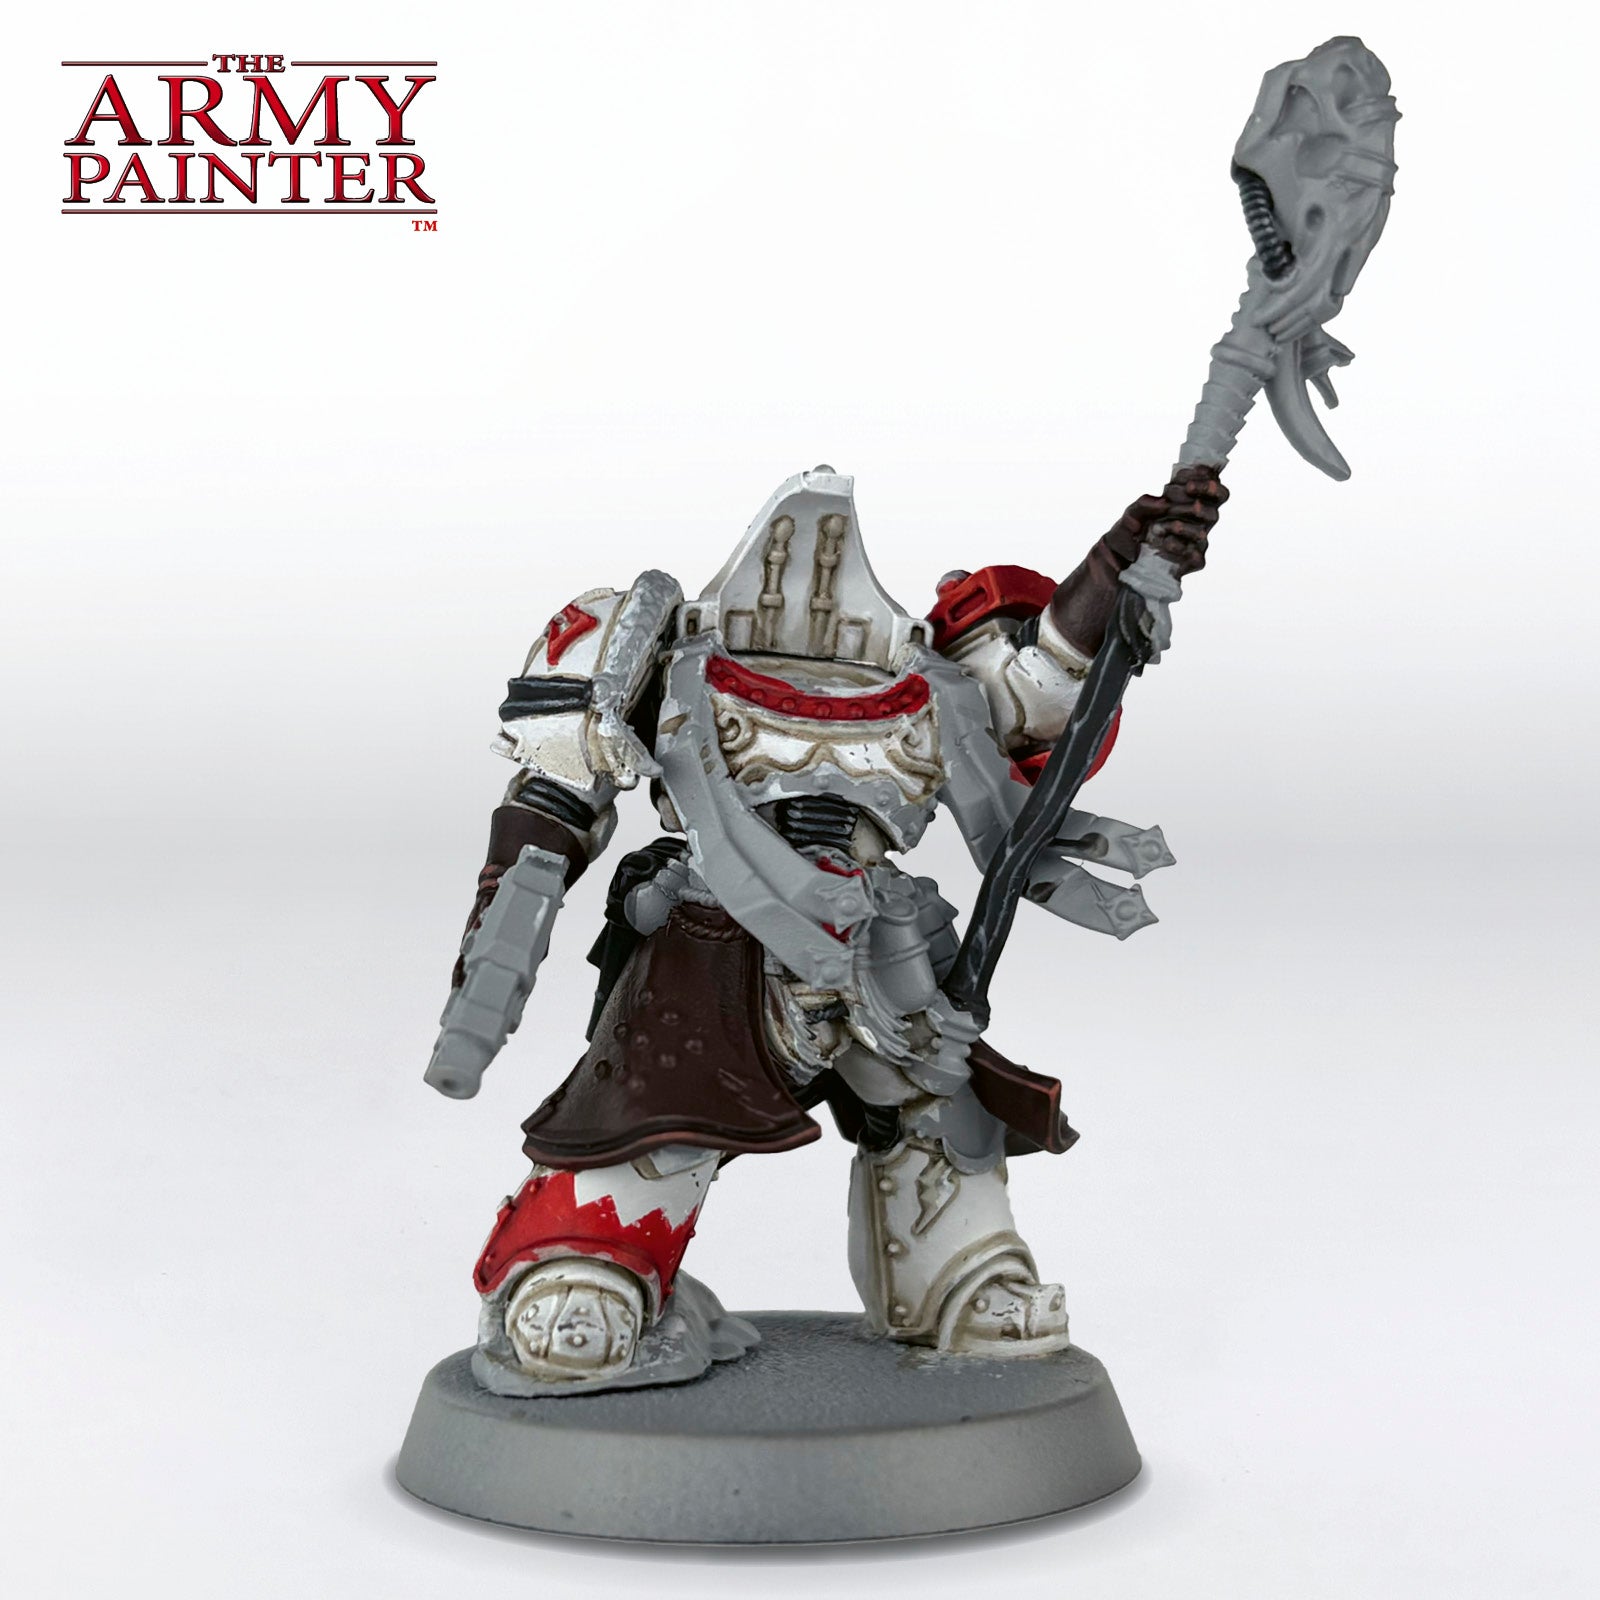
Luckily for you, we have already covered several of the Legions, with a written, step-by-step tutorial, just like this one, for the Death Guard and Iron Warriors, and special guest video tutorials by Medders’ Miniatures for the Salamanders and the Iron Warriors once again. When it came time for our Studio Painter and Social Media Specialist, Tyler, to pick a Legion to paint for the Academy, he gravitated towards the bright and striking white and red of the White Scars, the perfect canvas for some subtle weathering and shading.
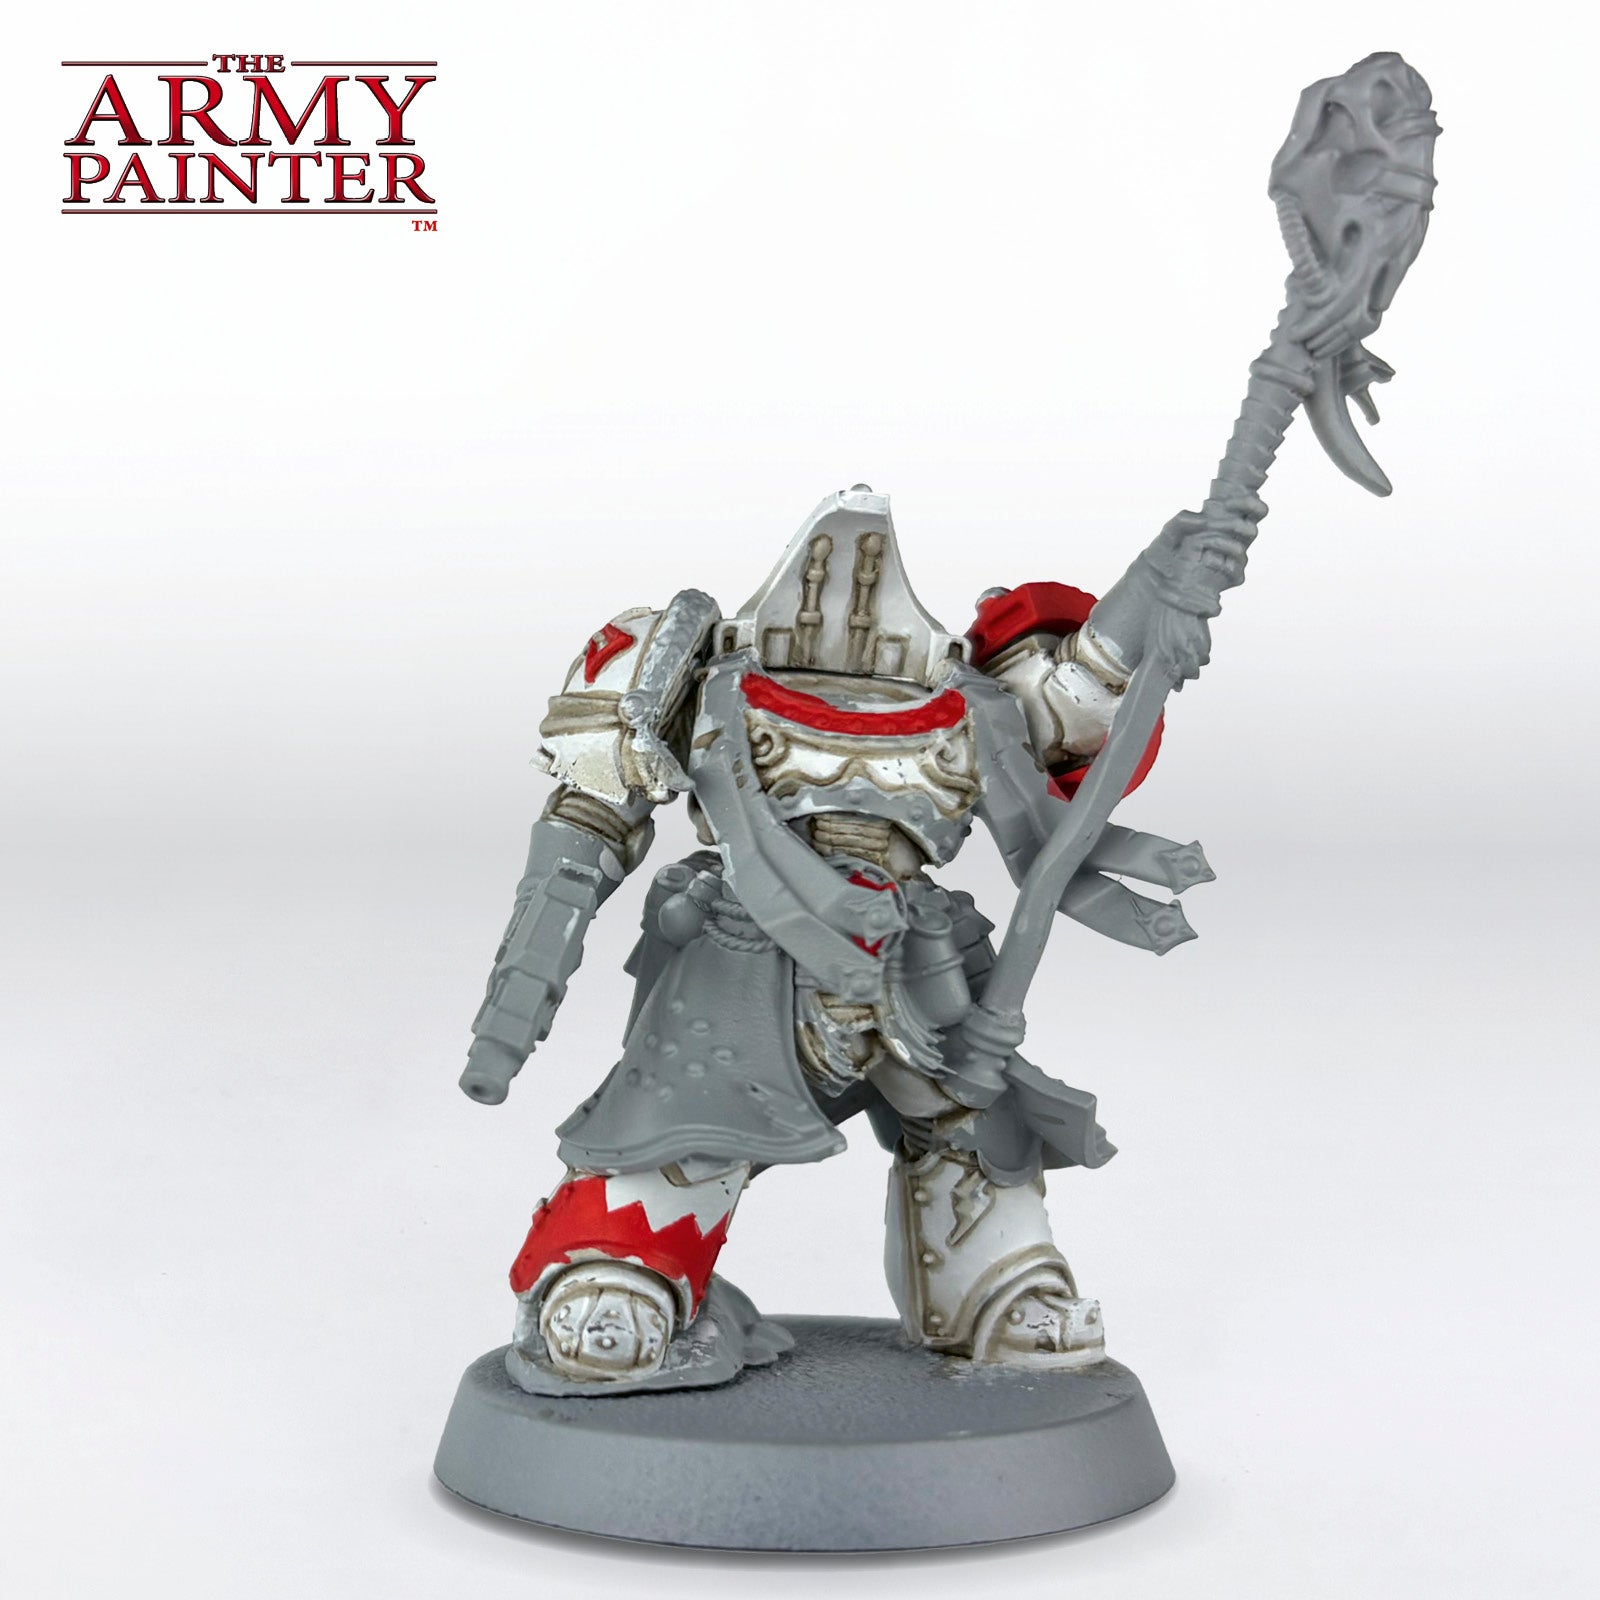
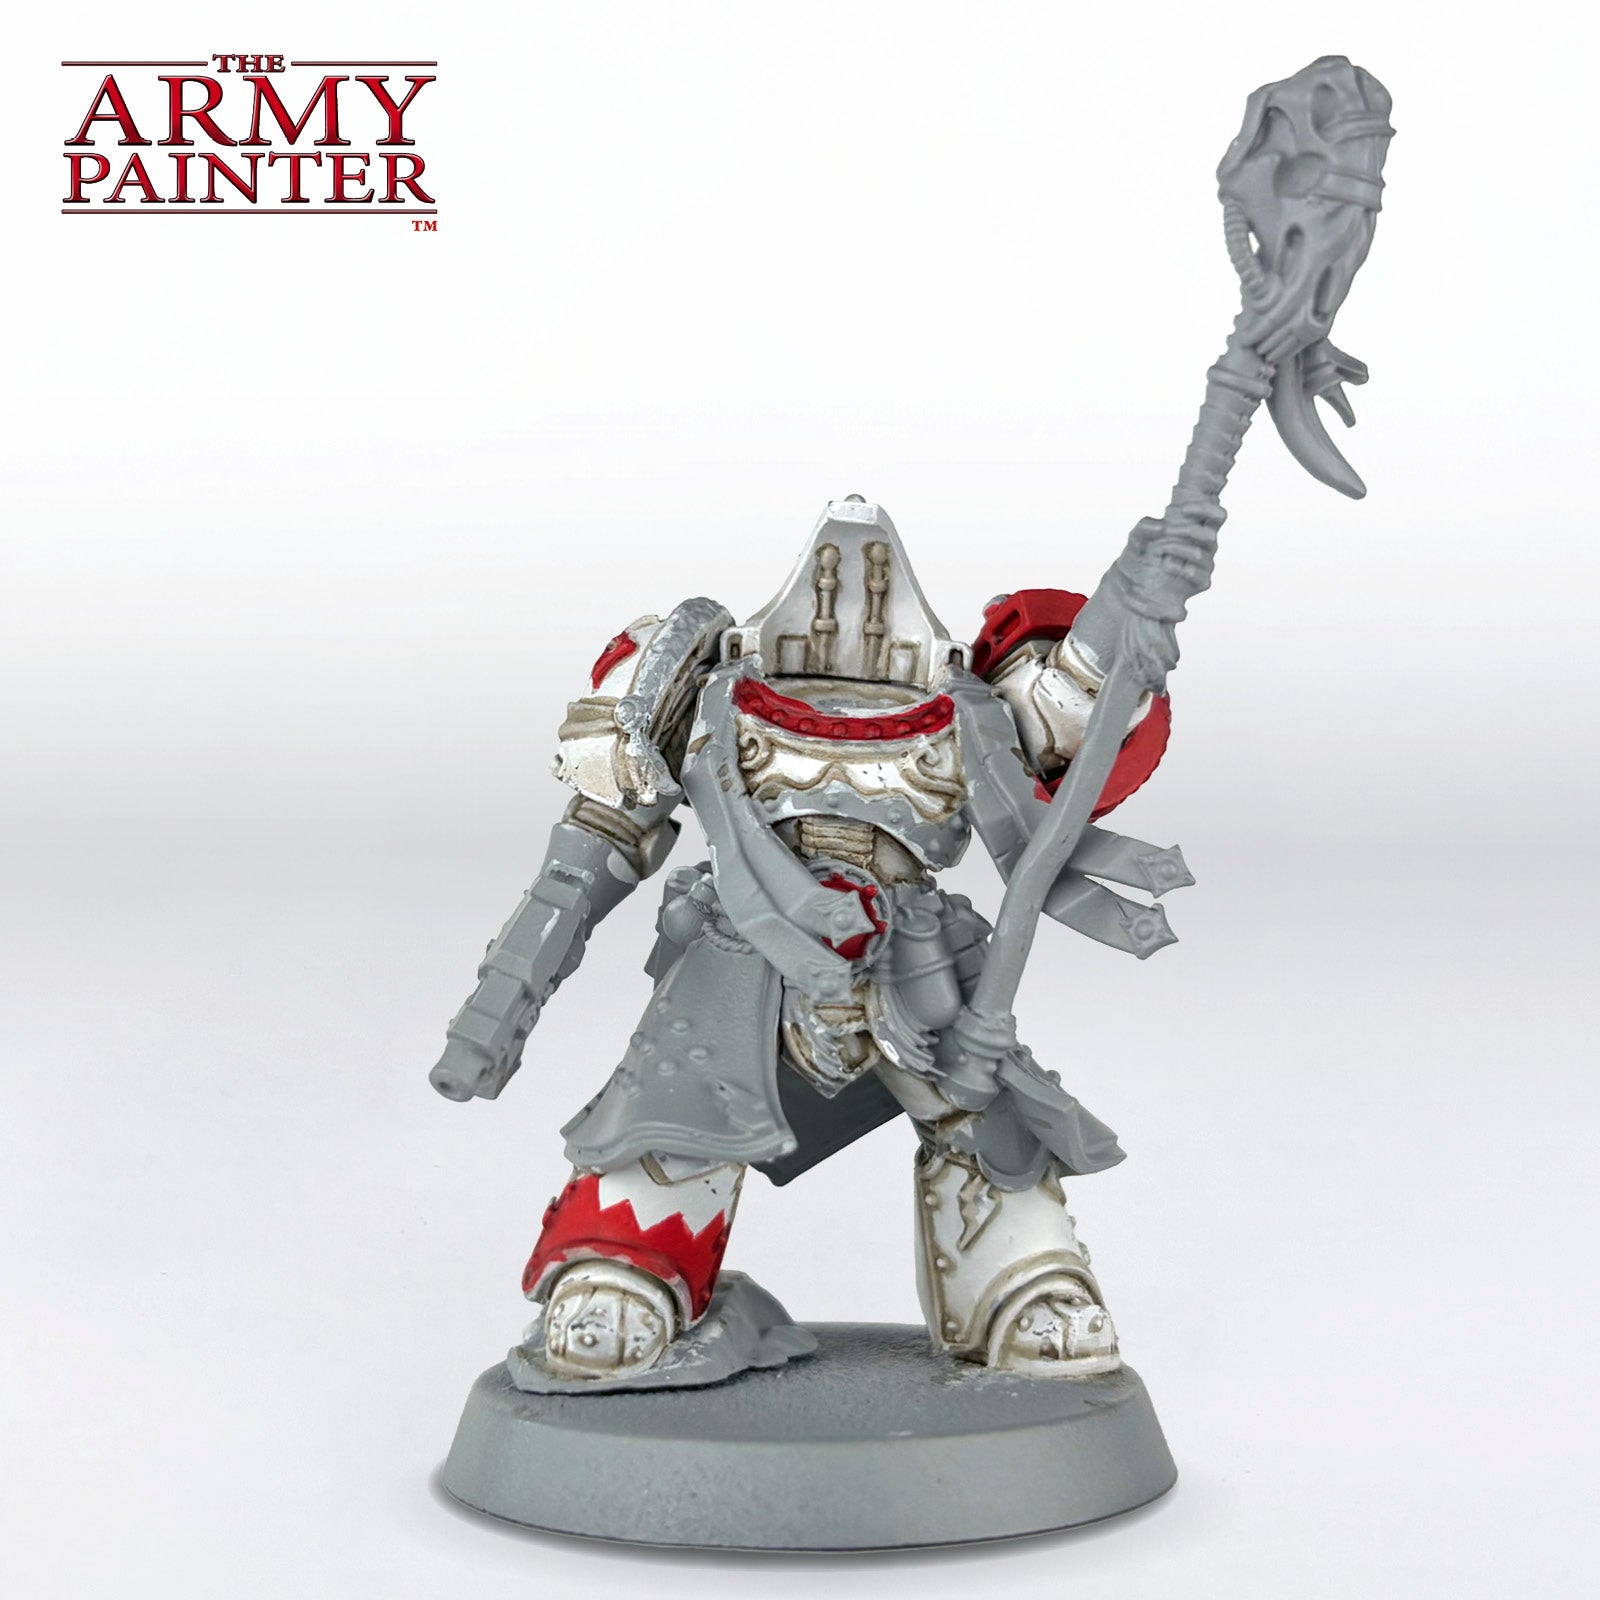
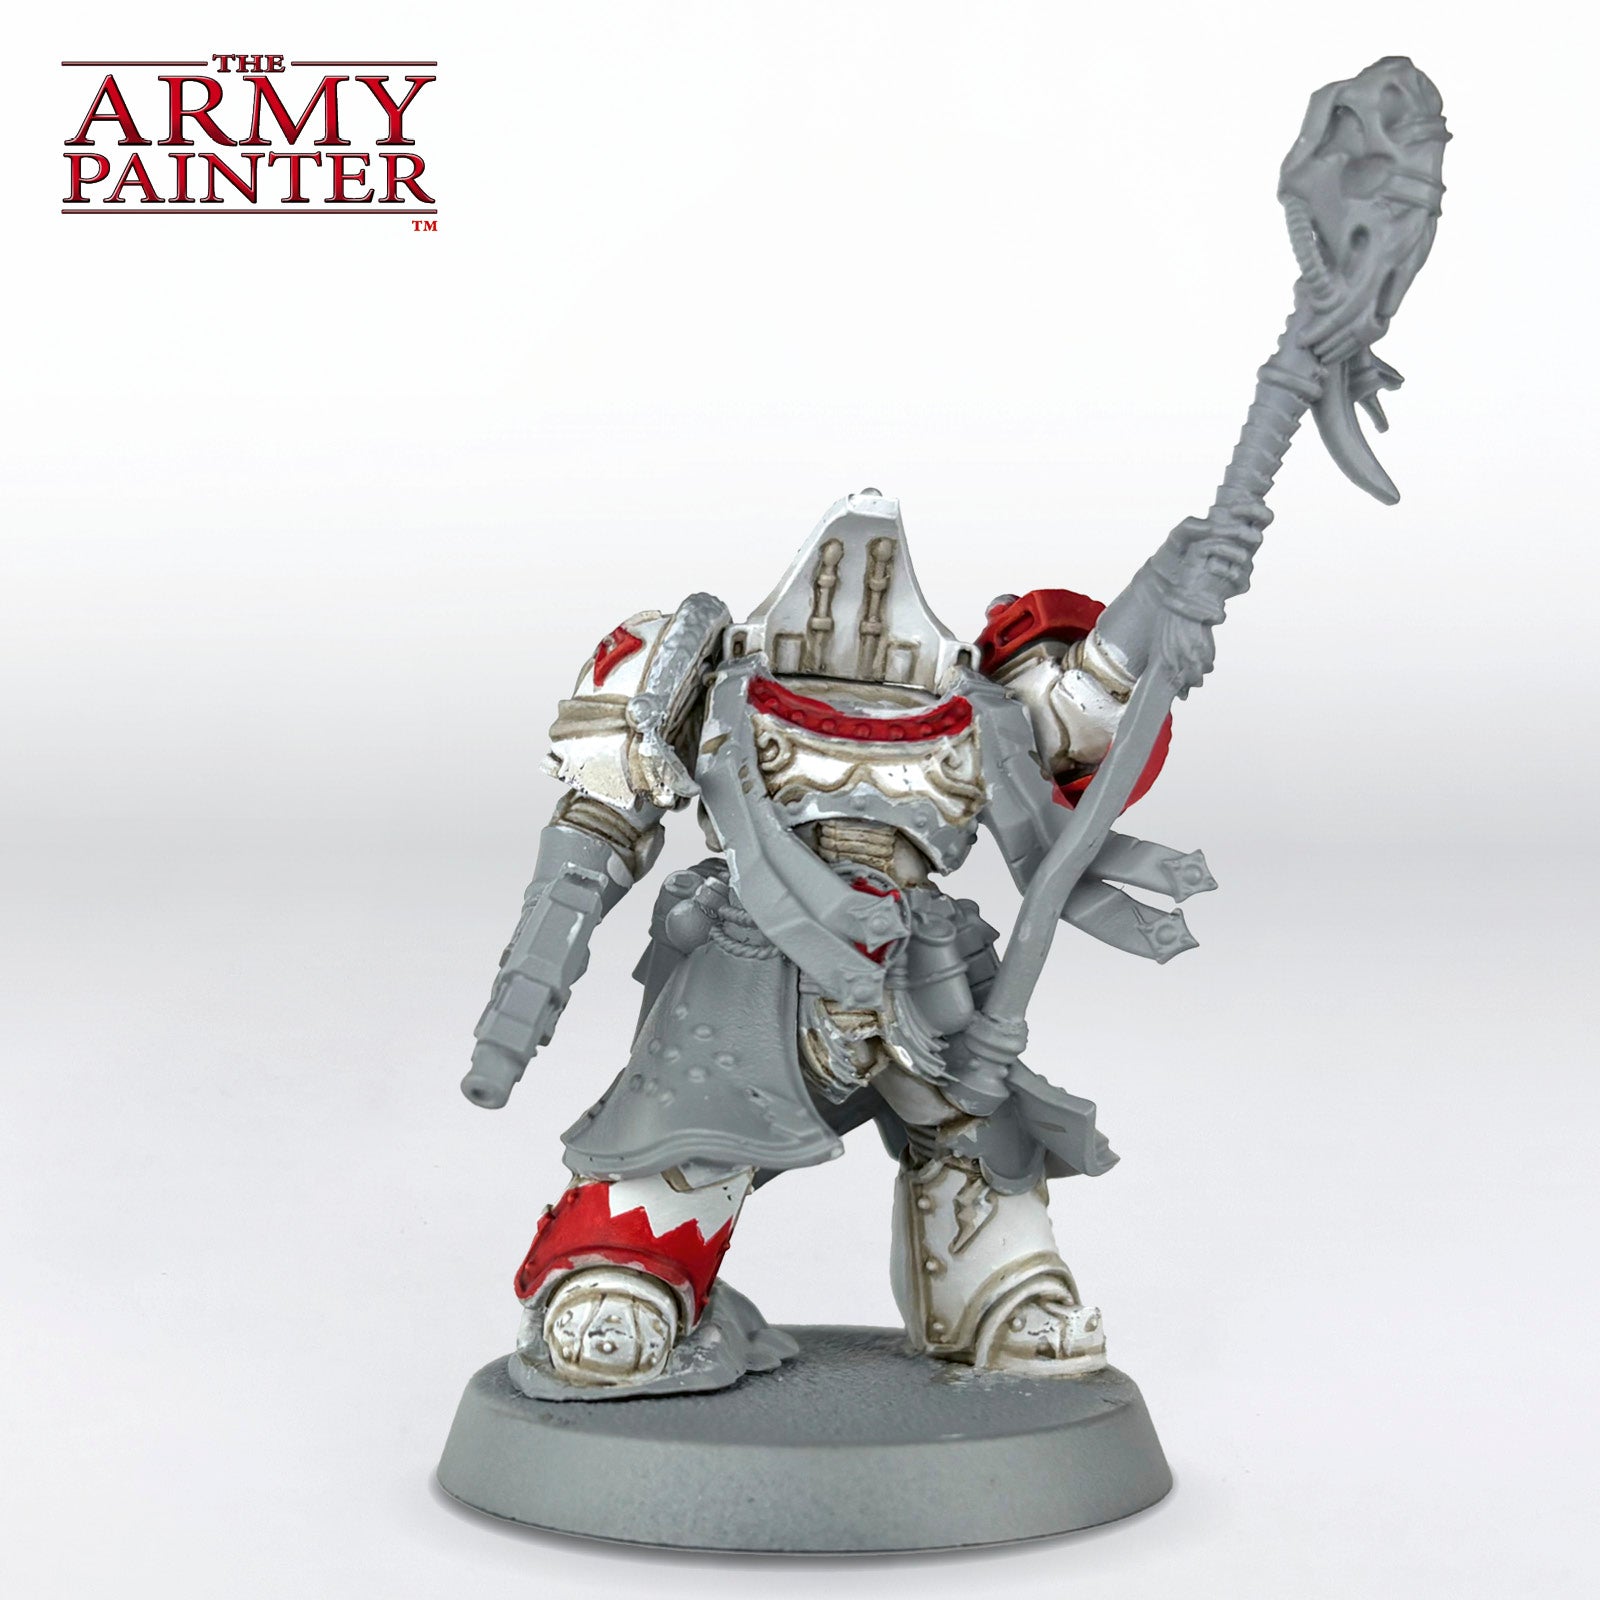
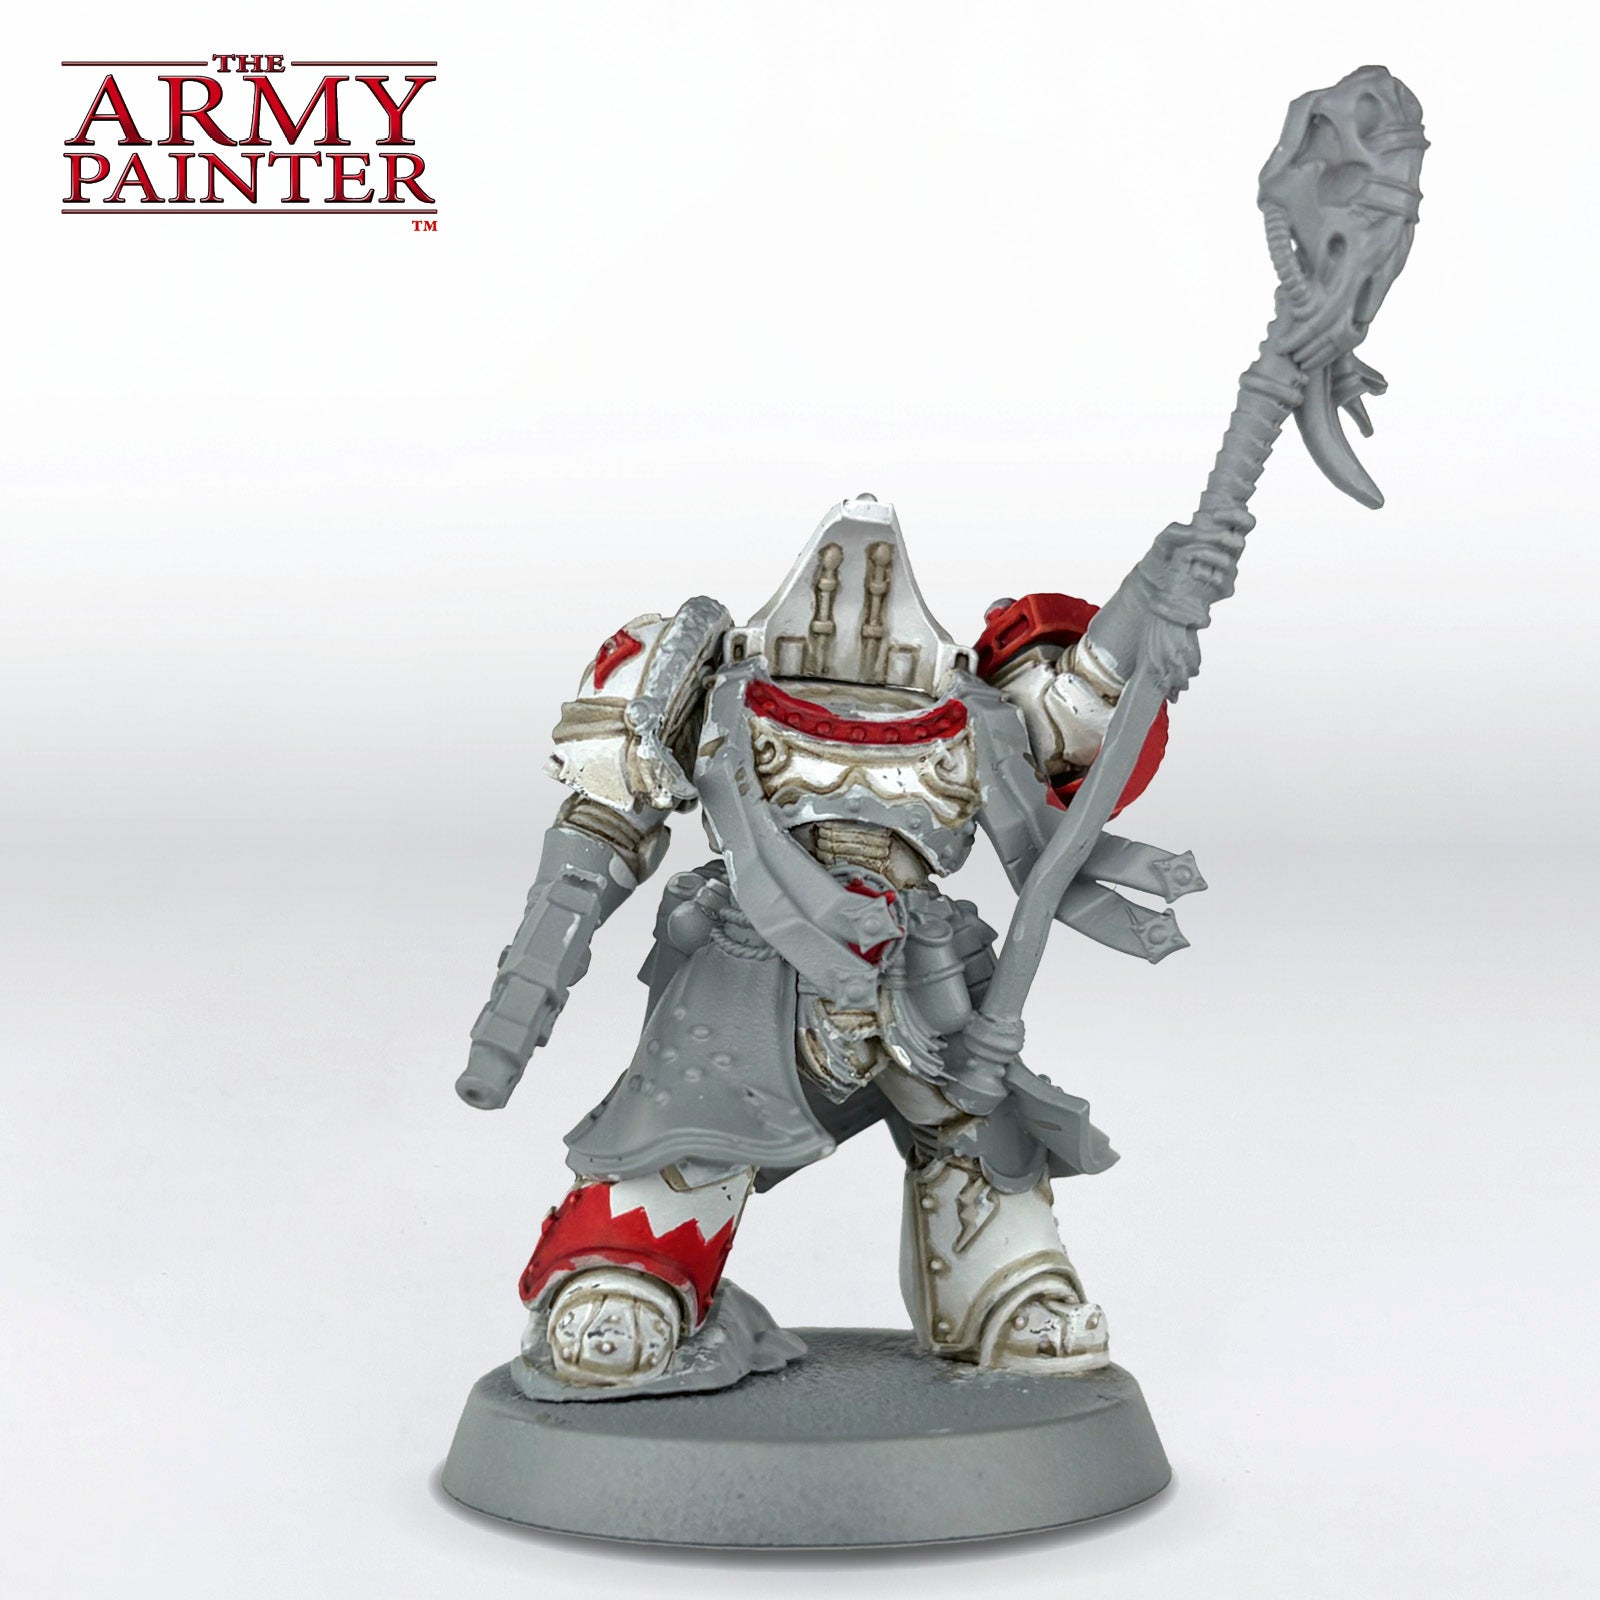
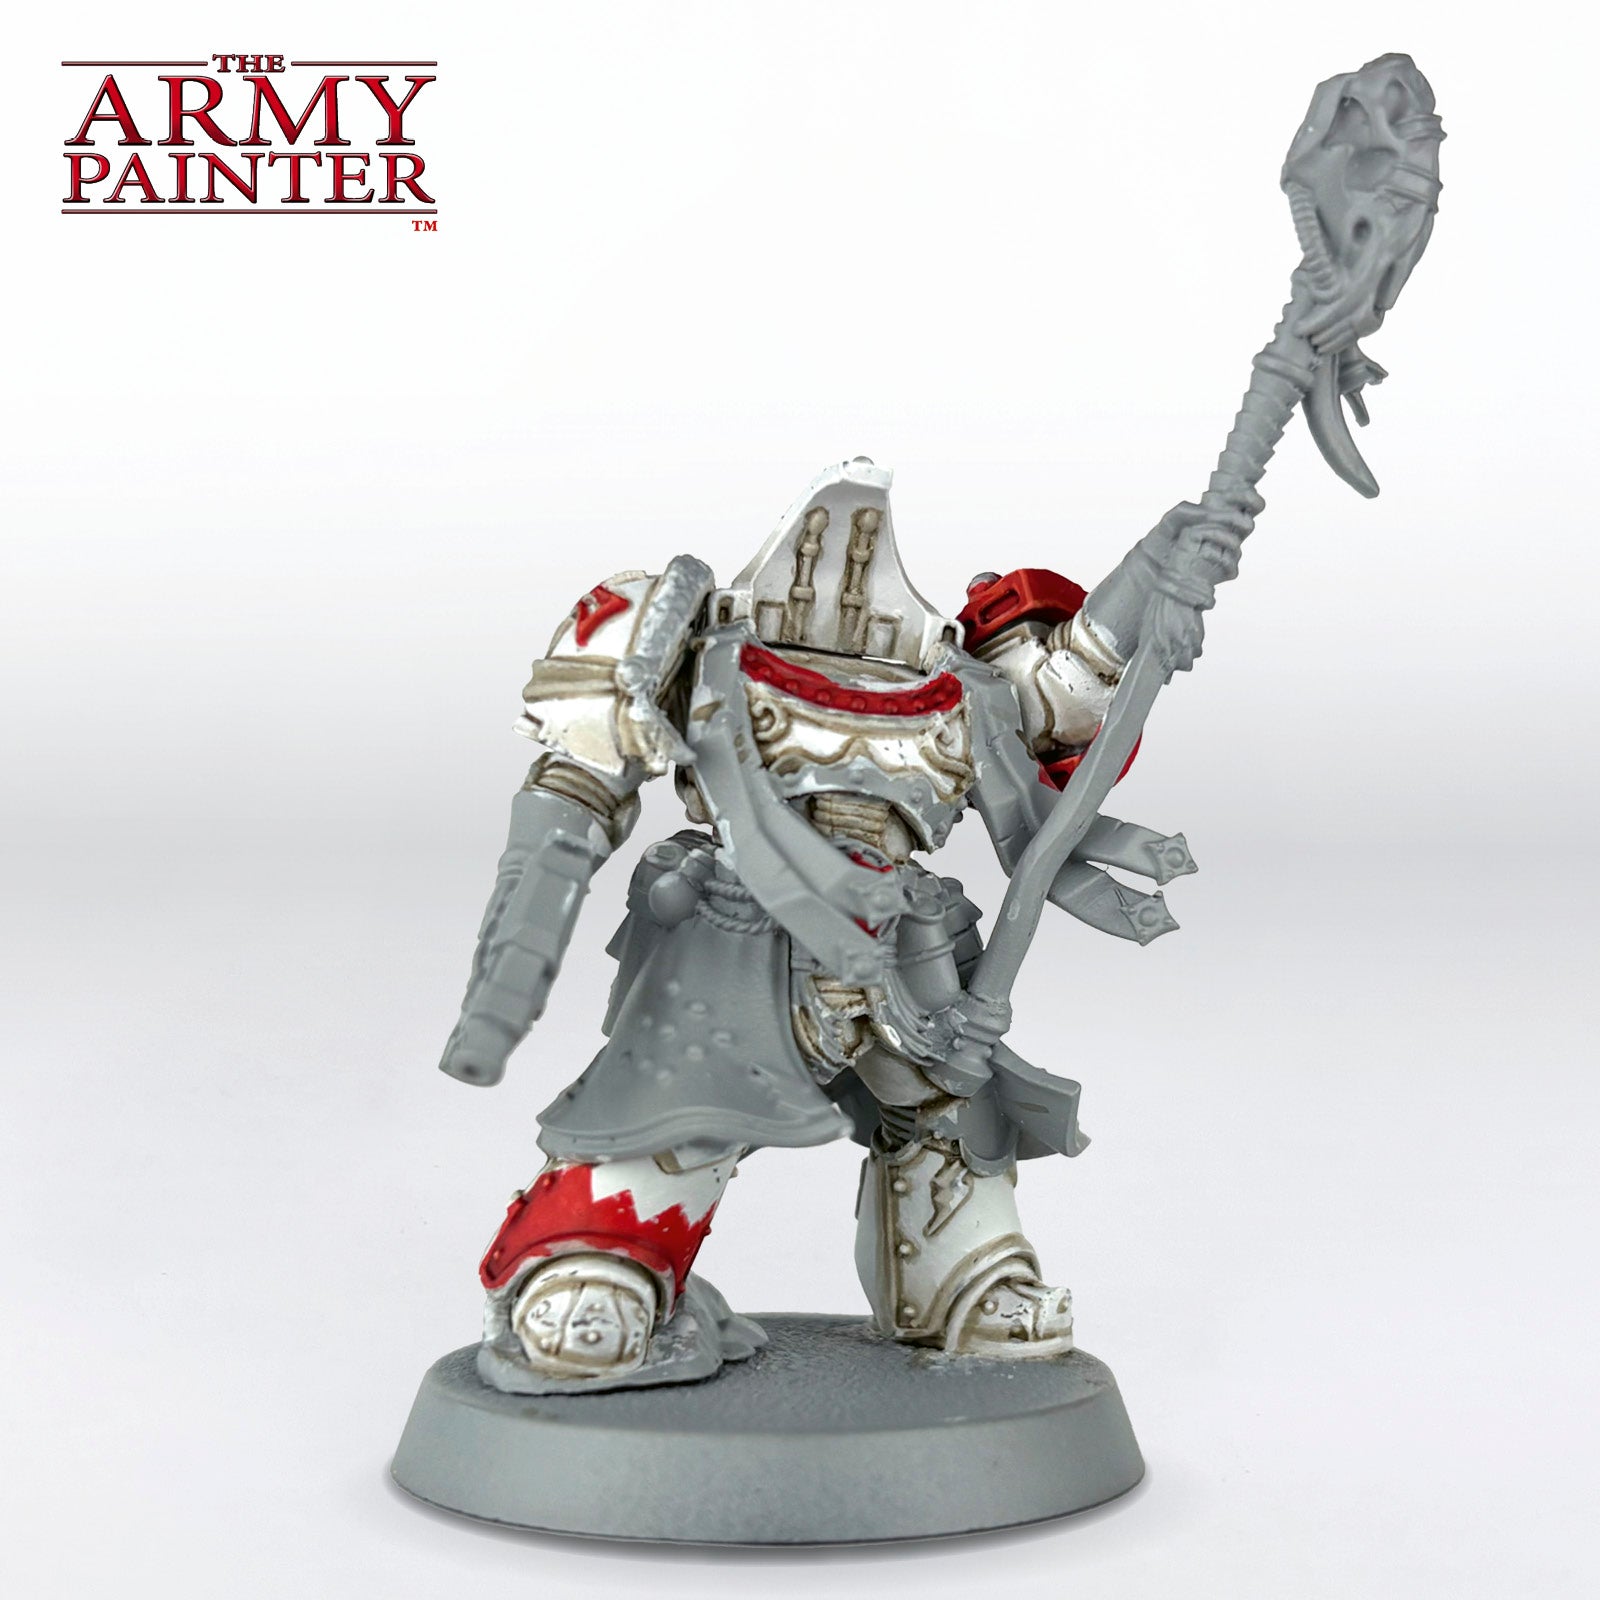
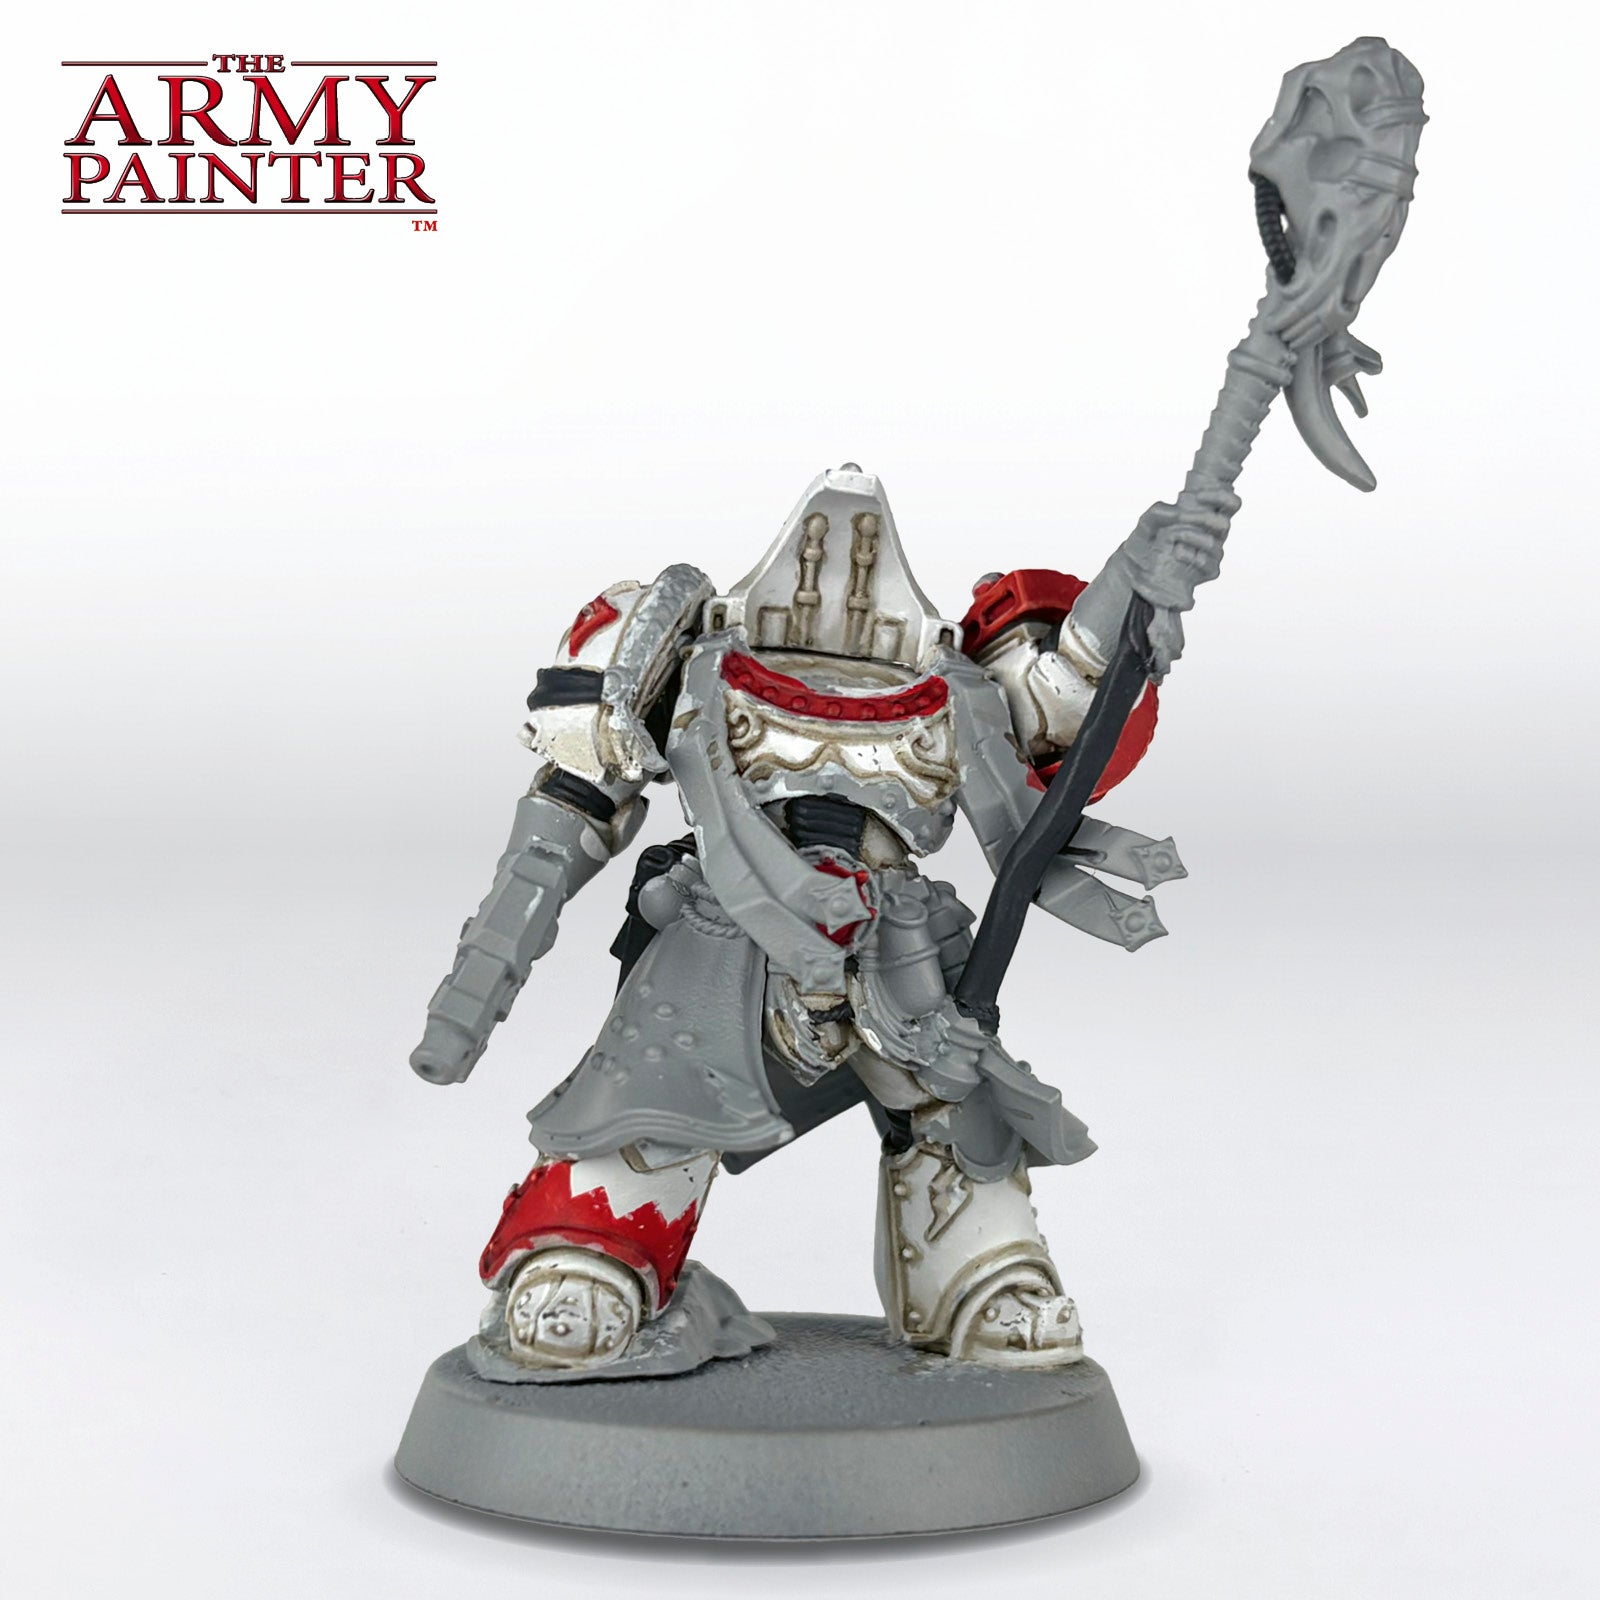
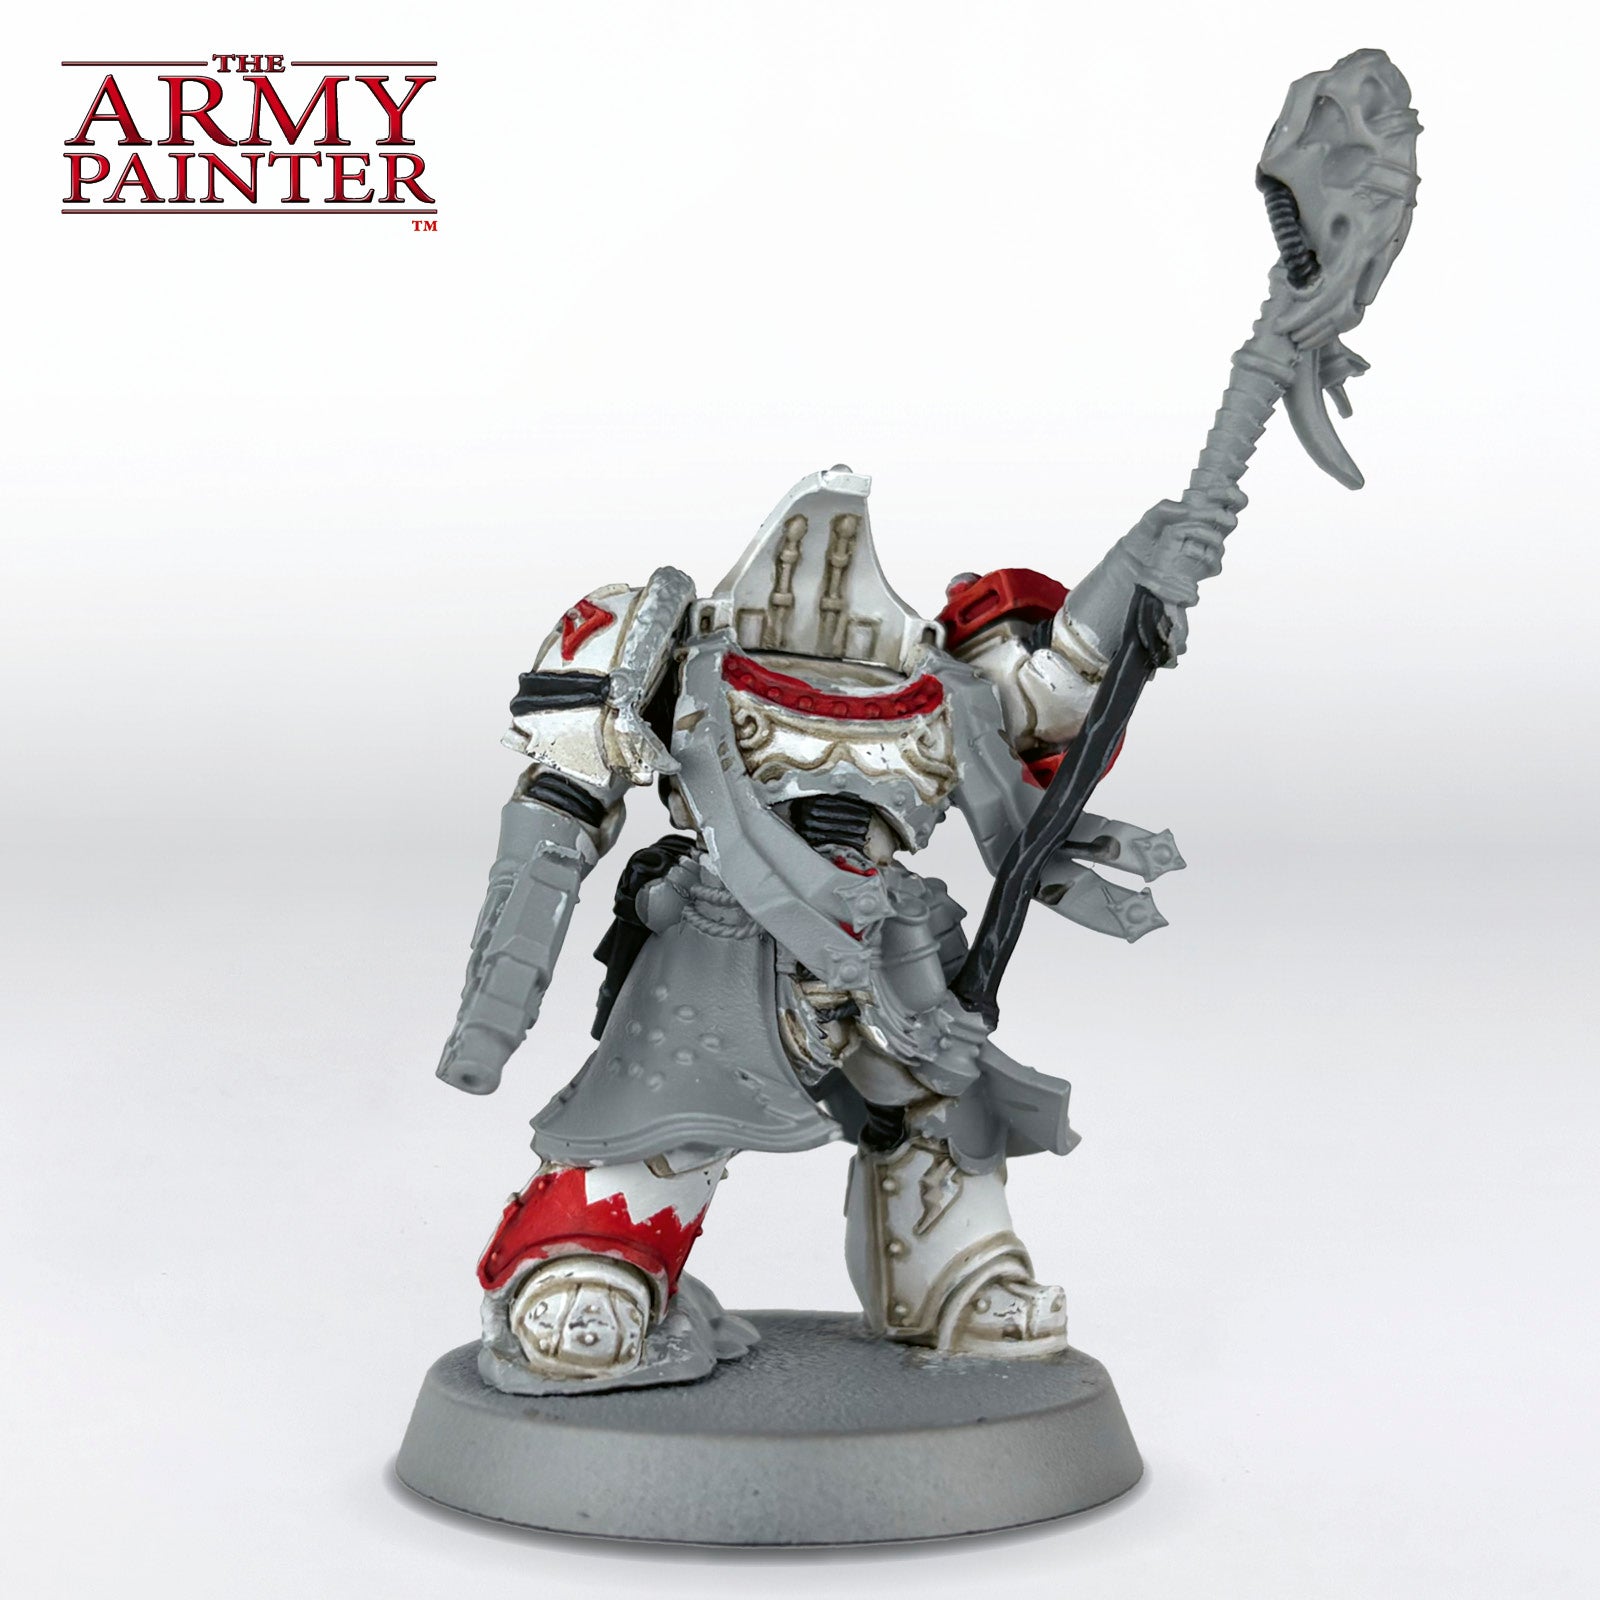
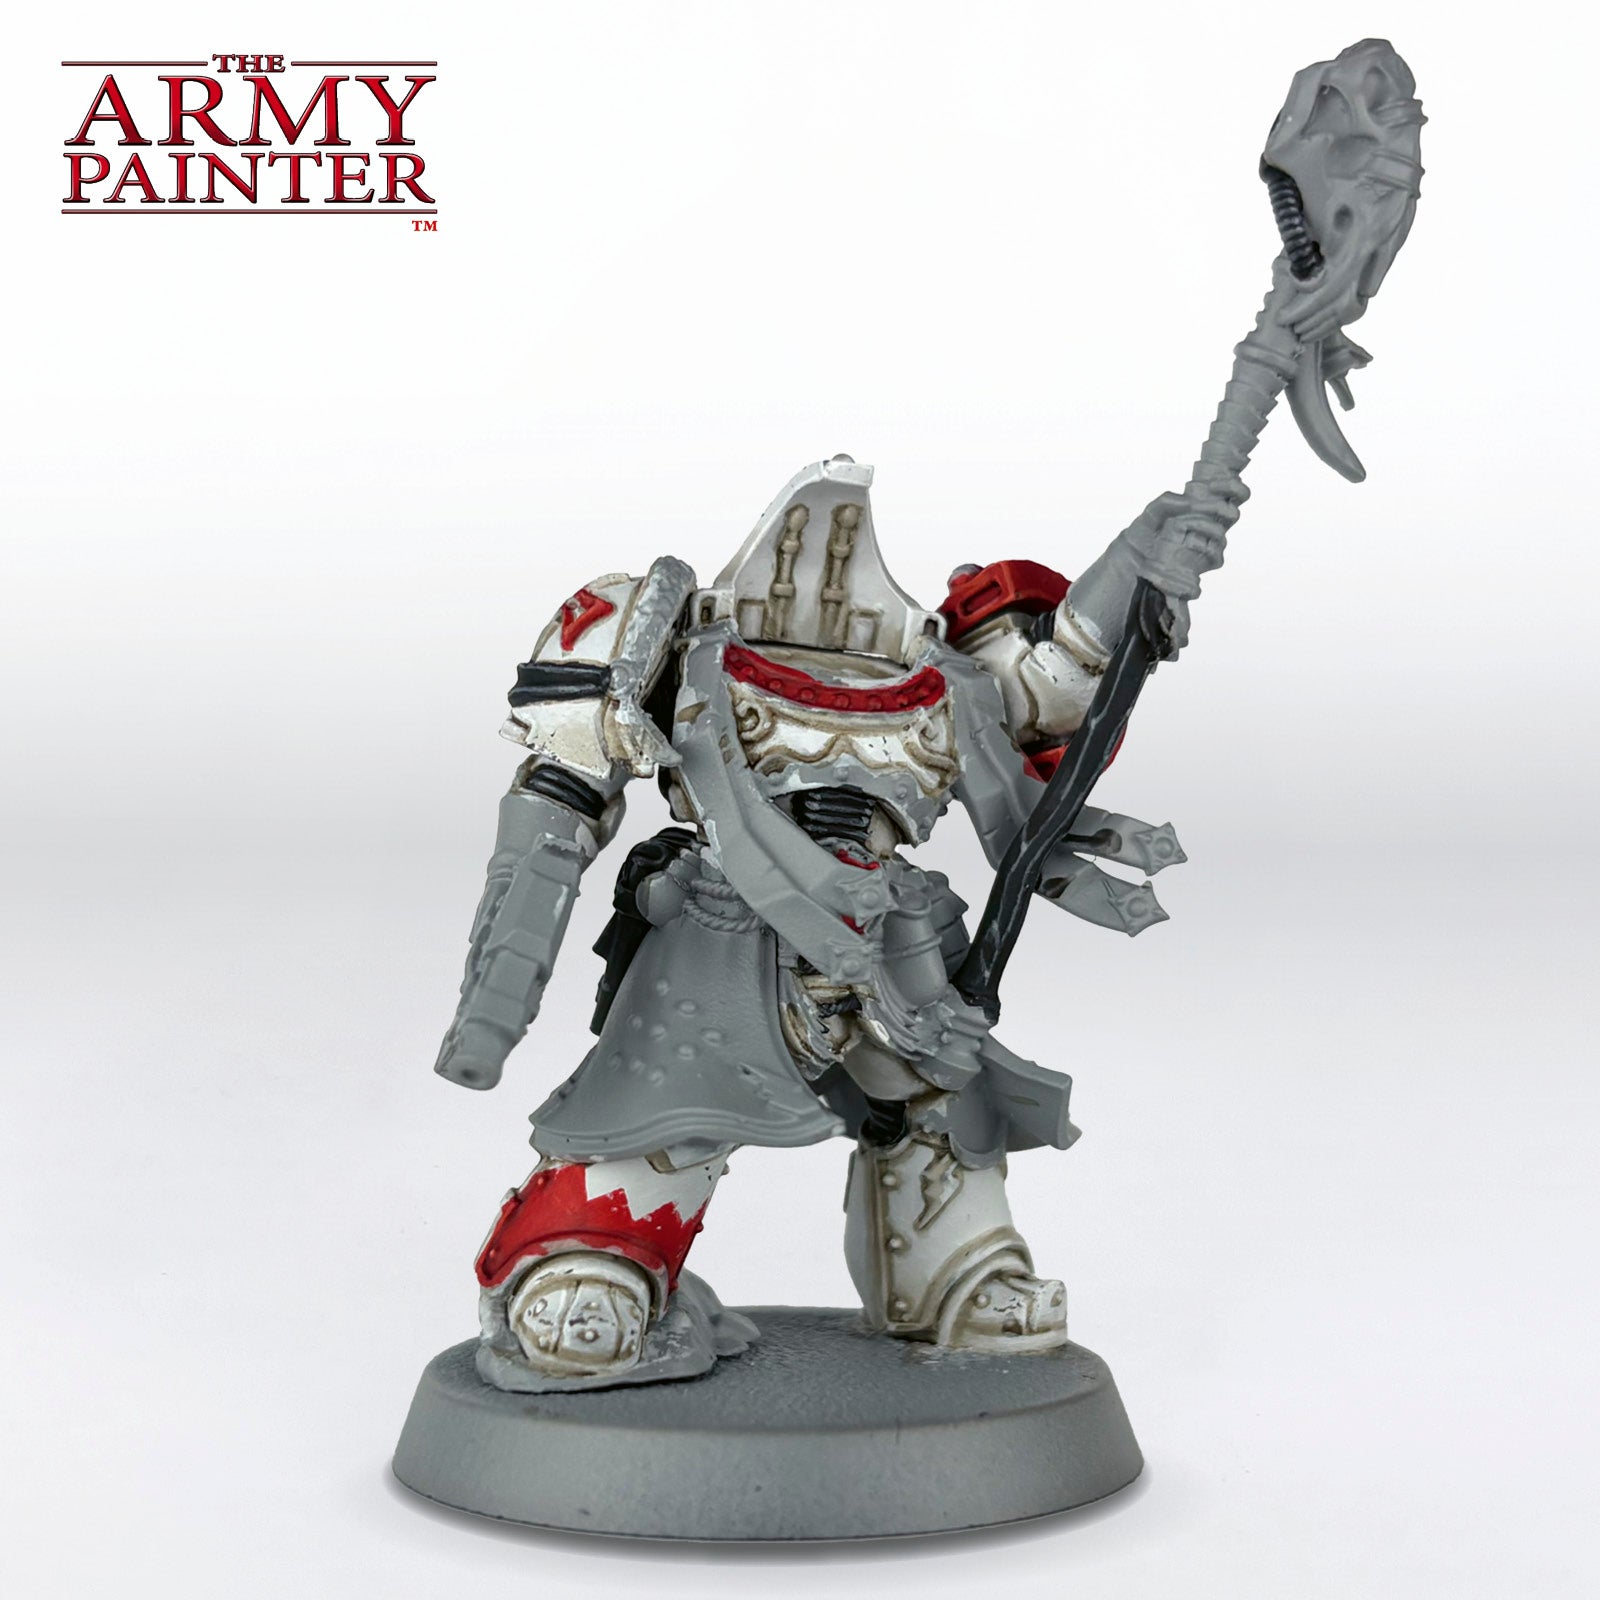
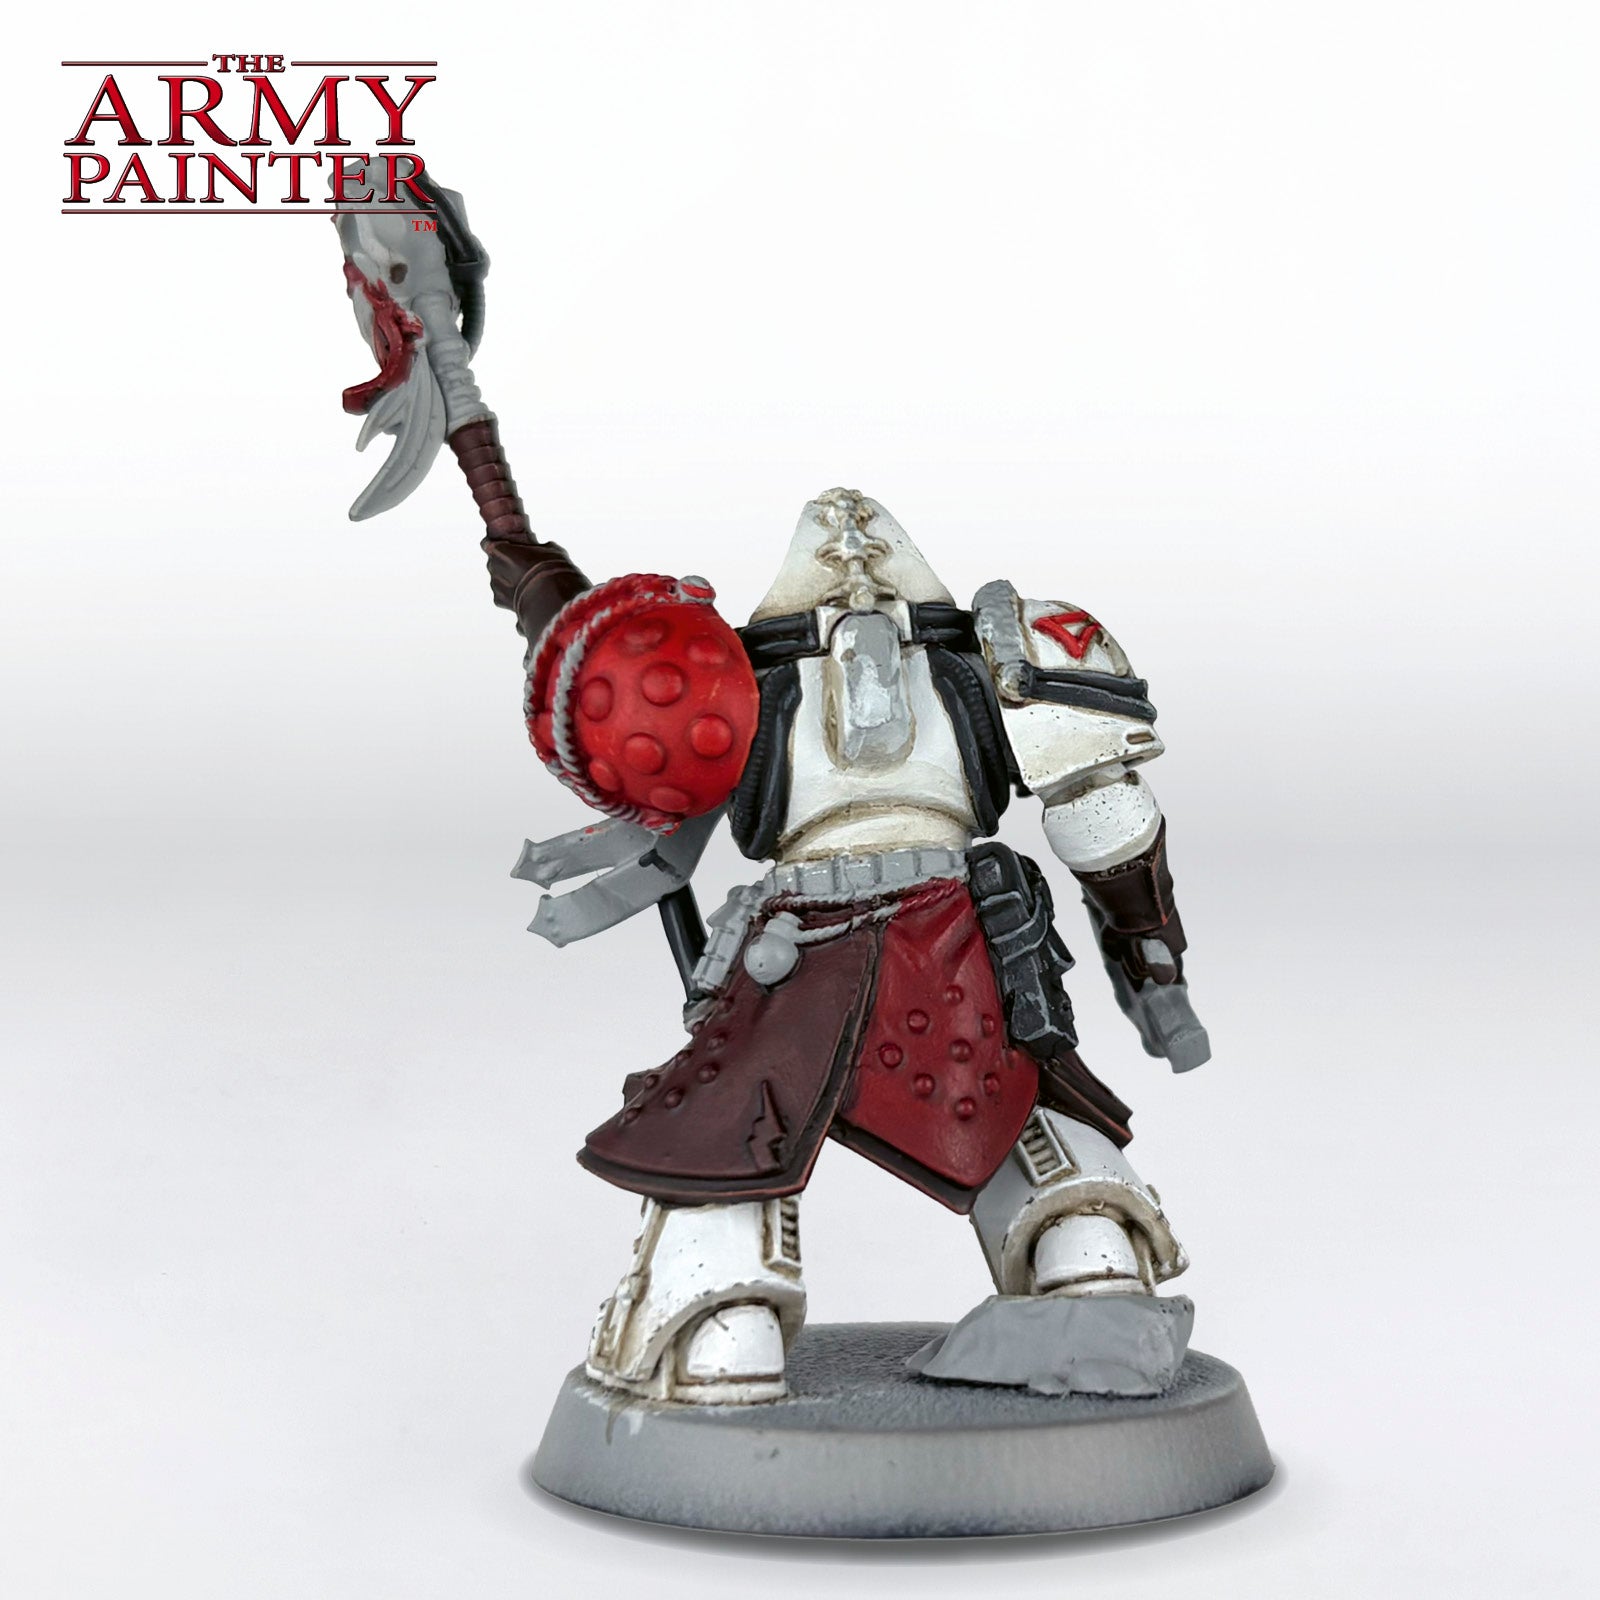
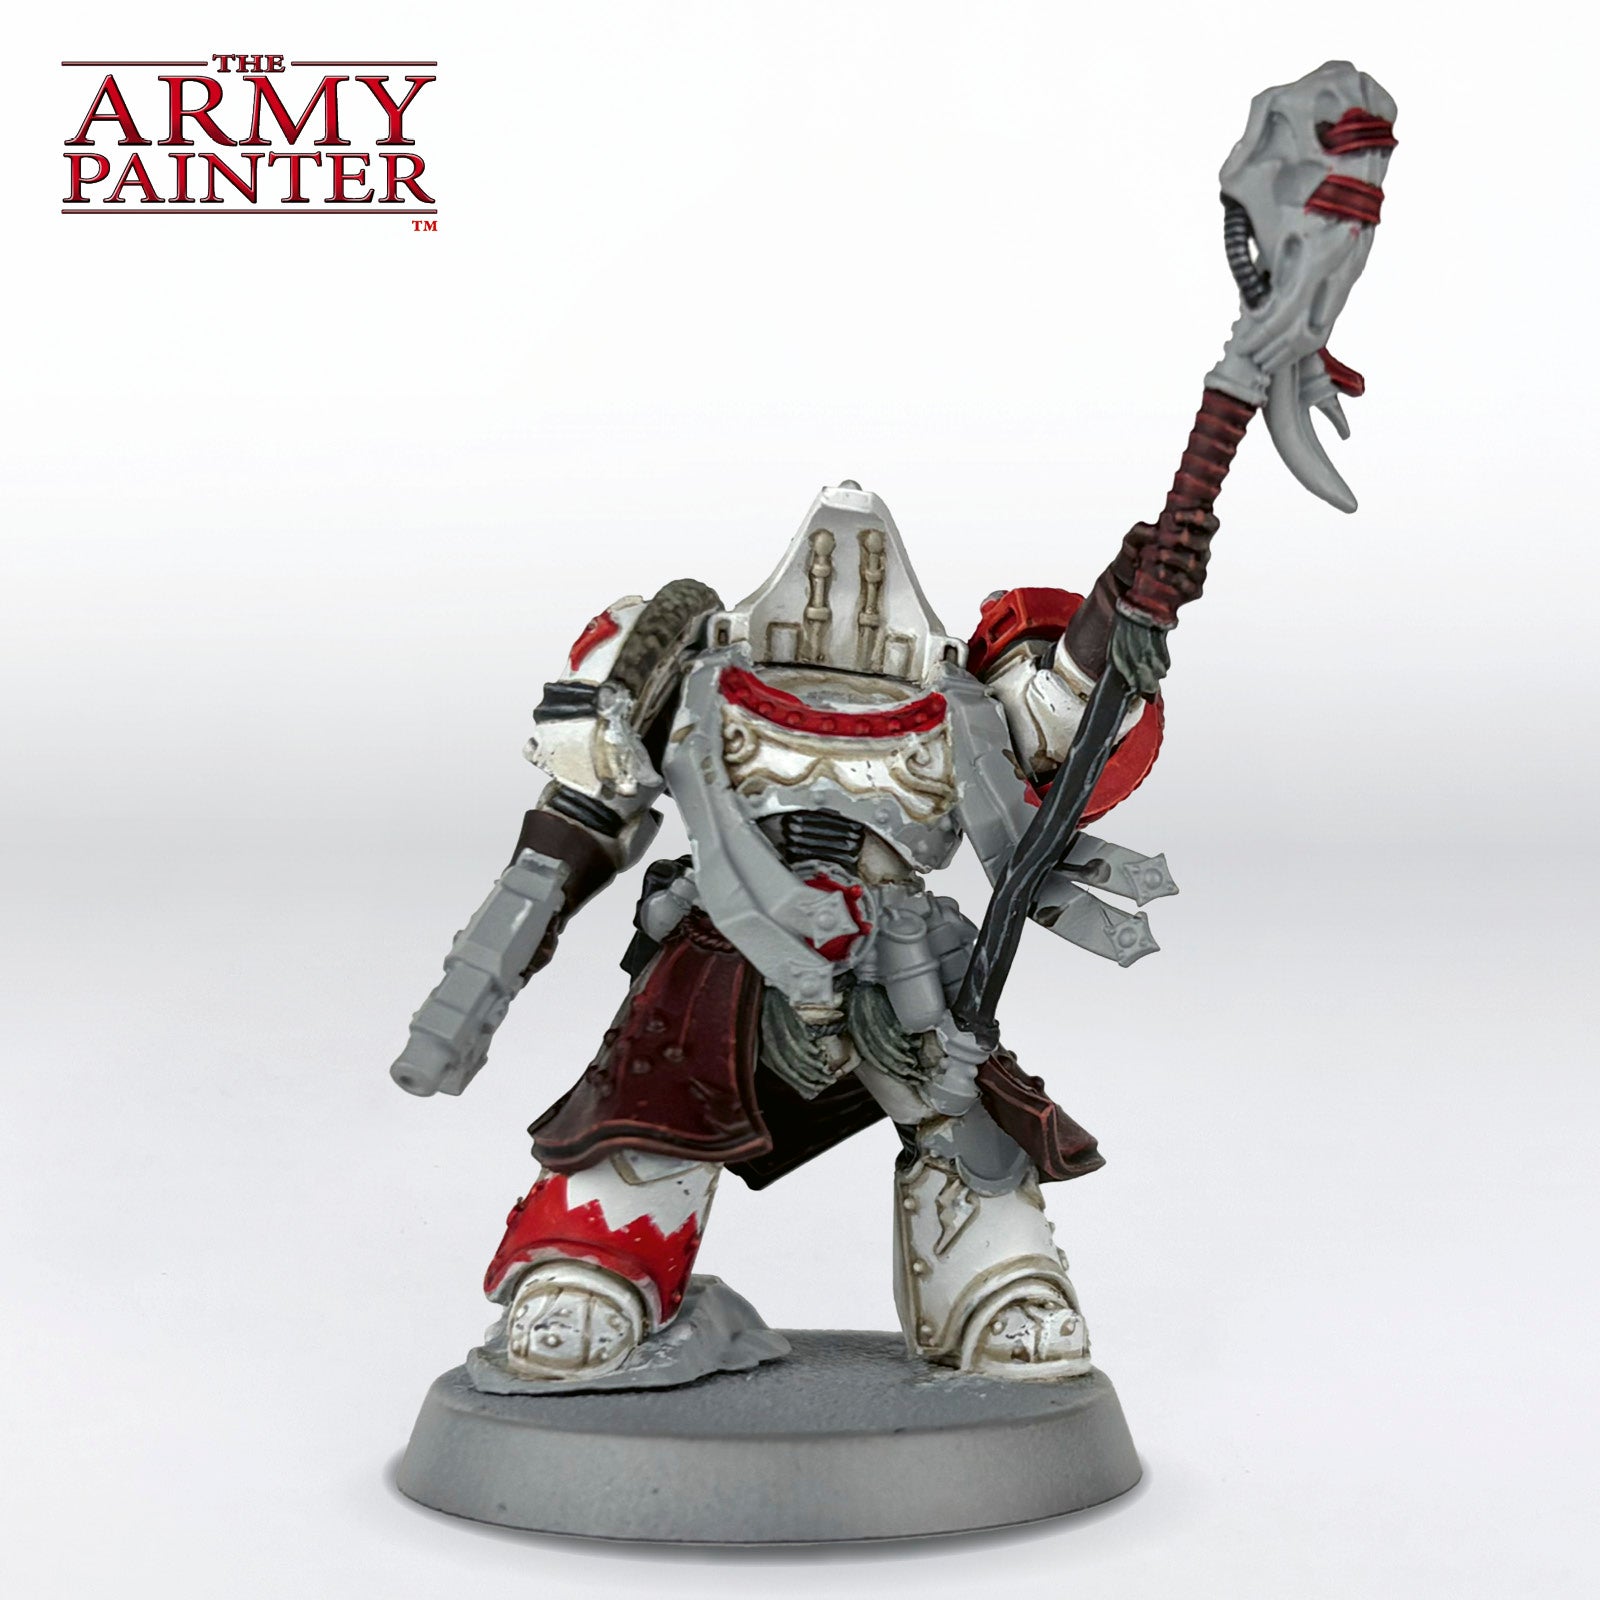
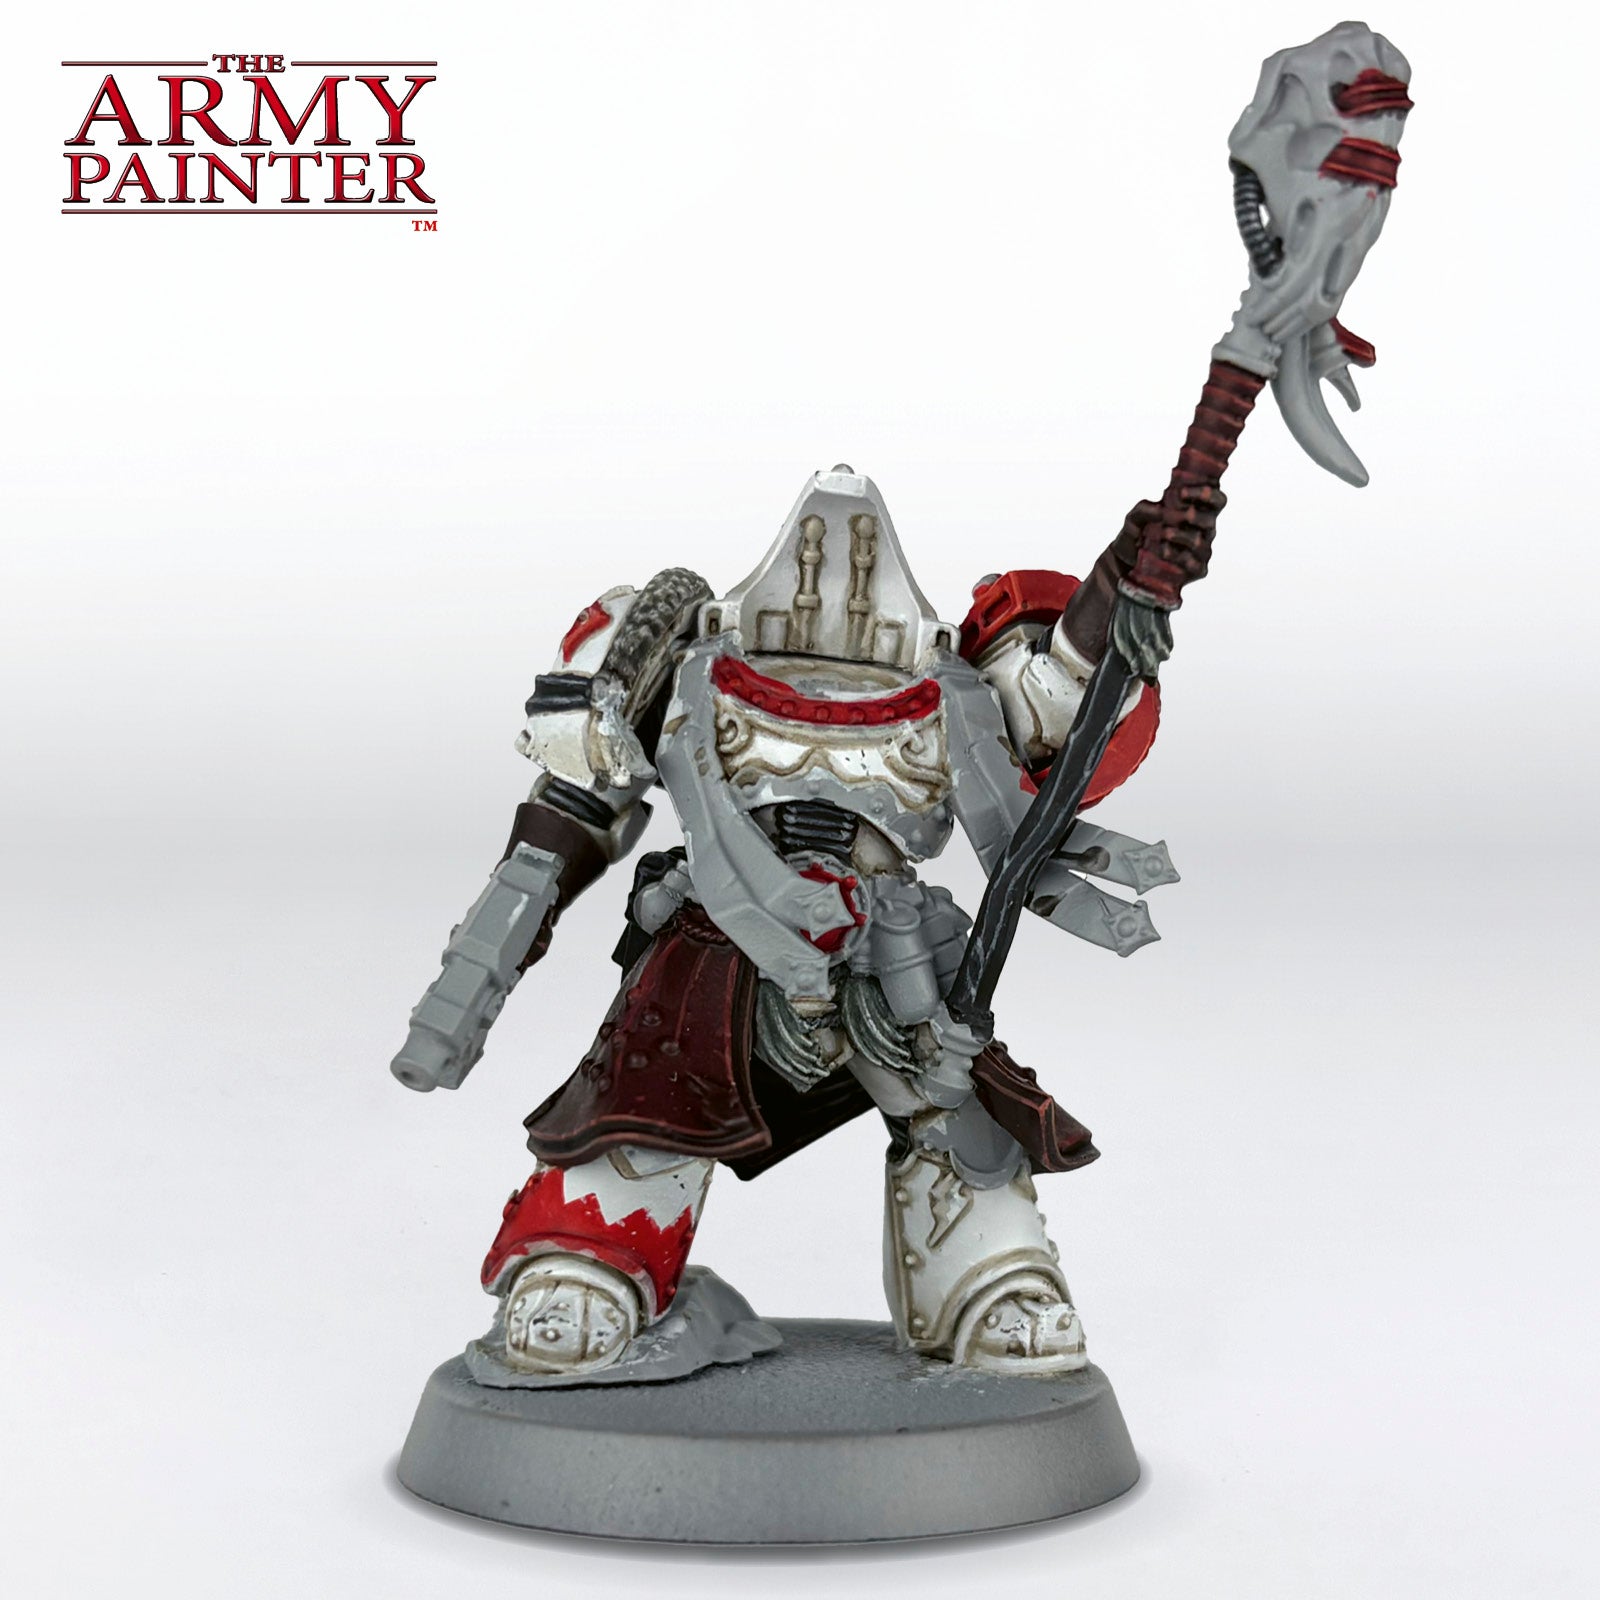
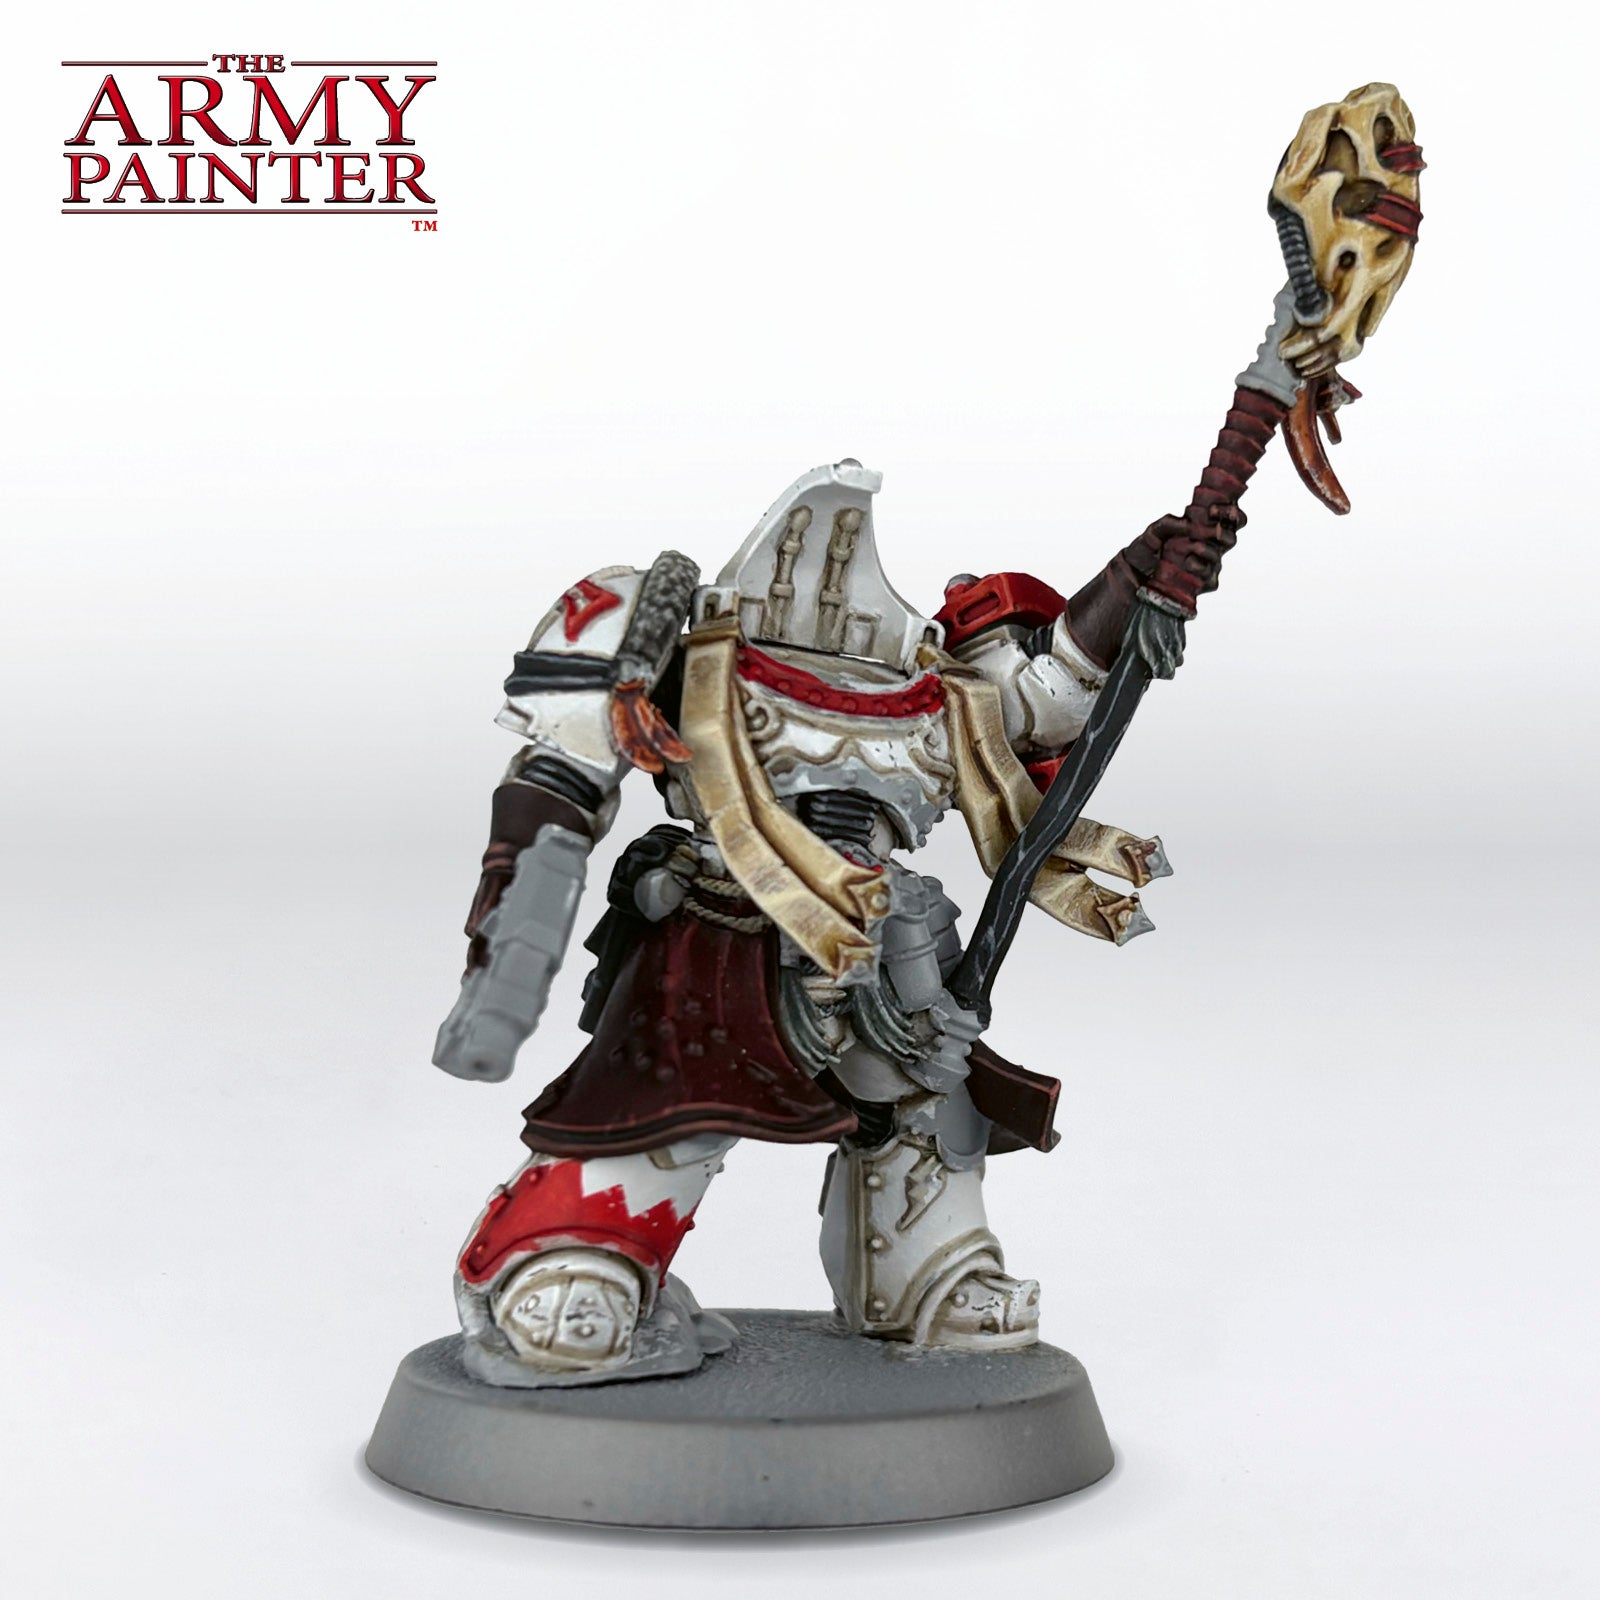
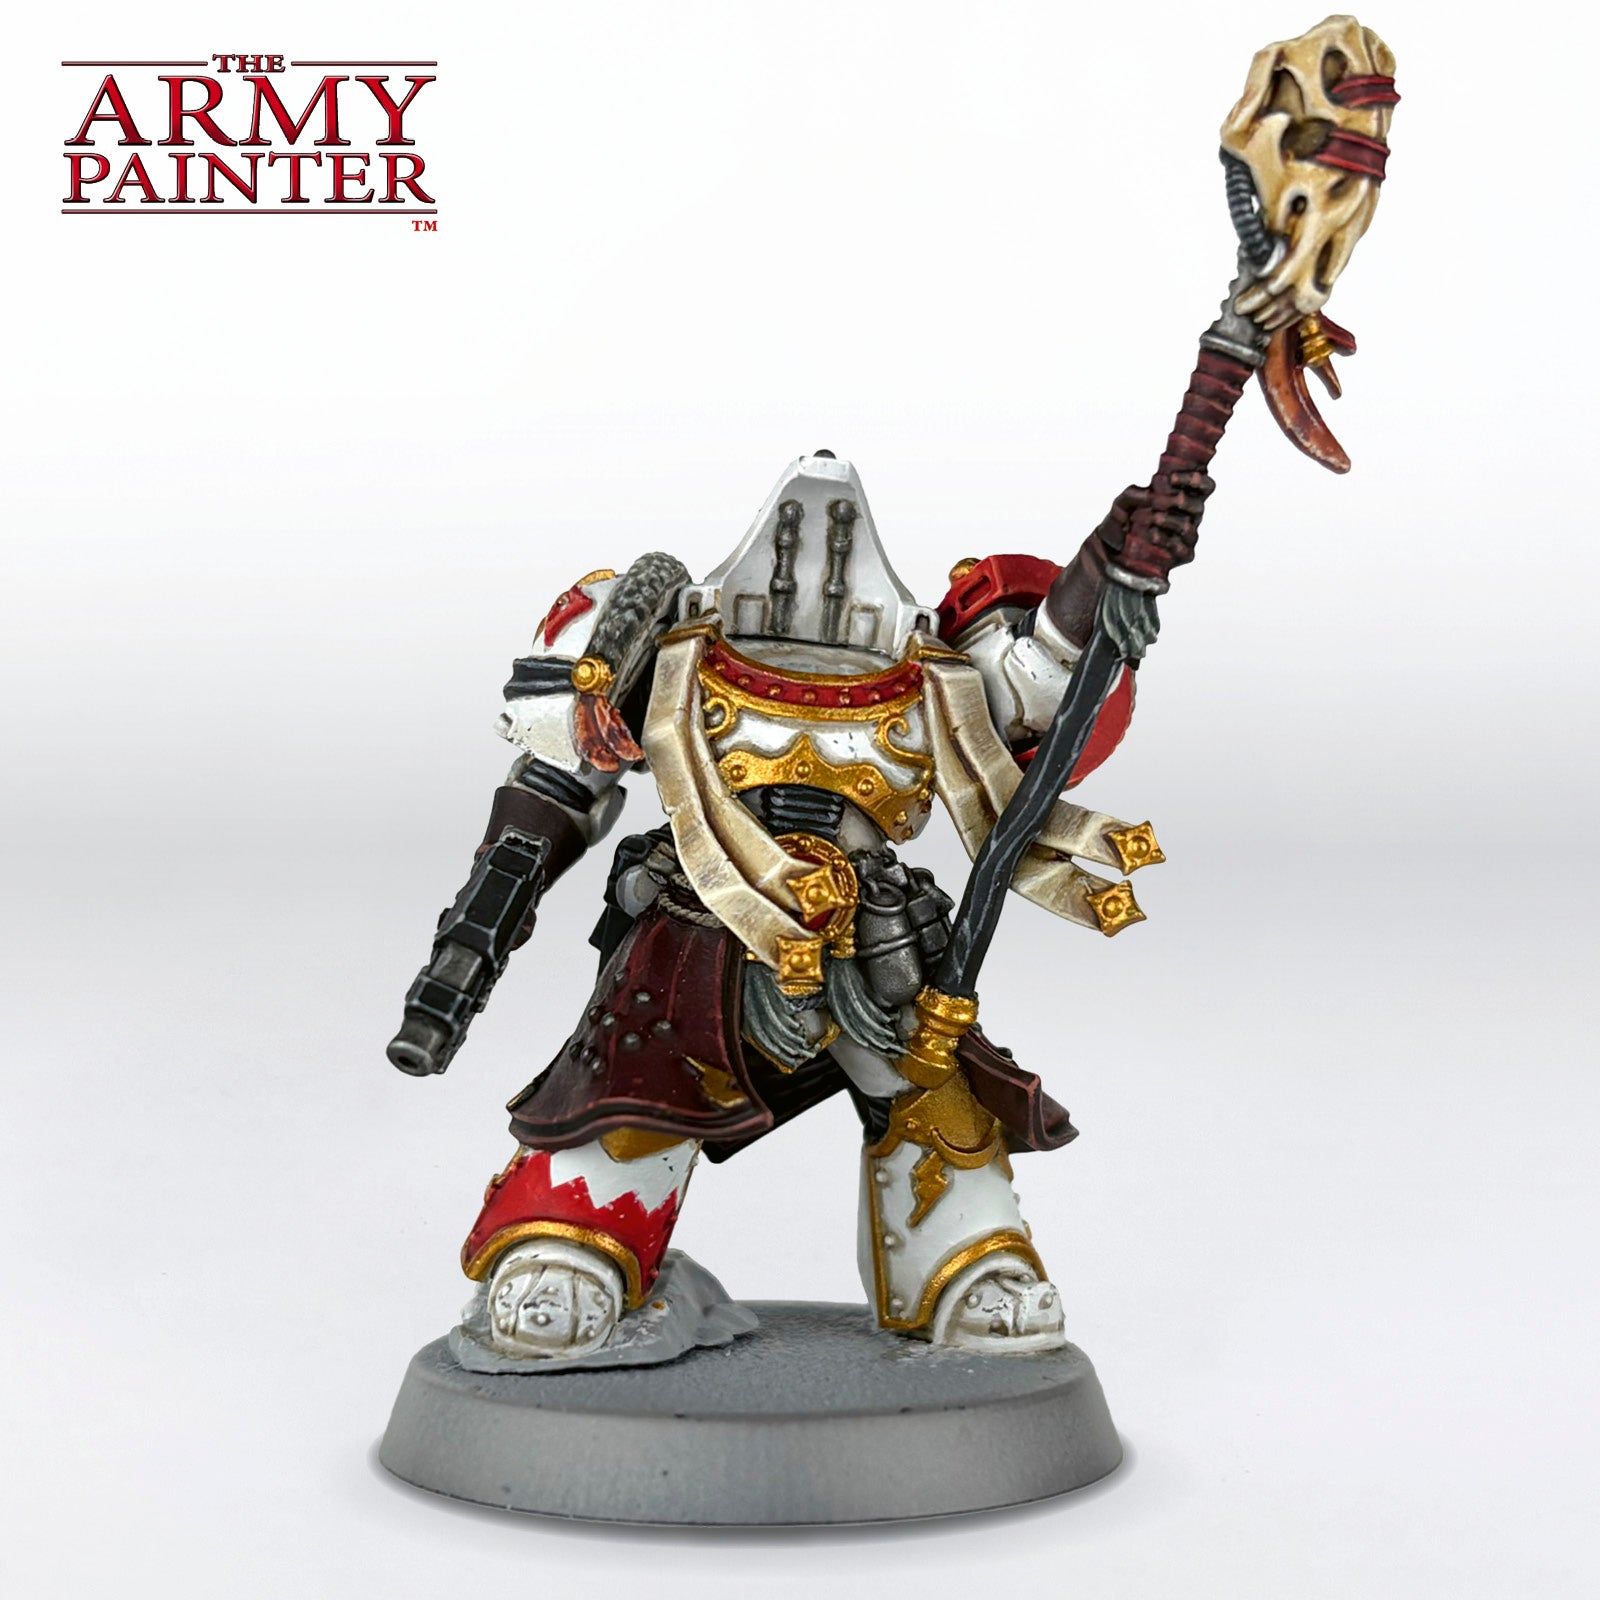
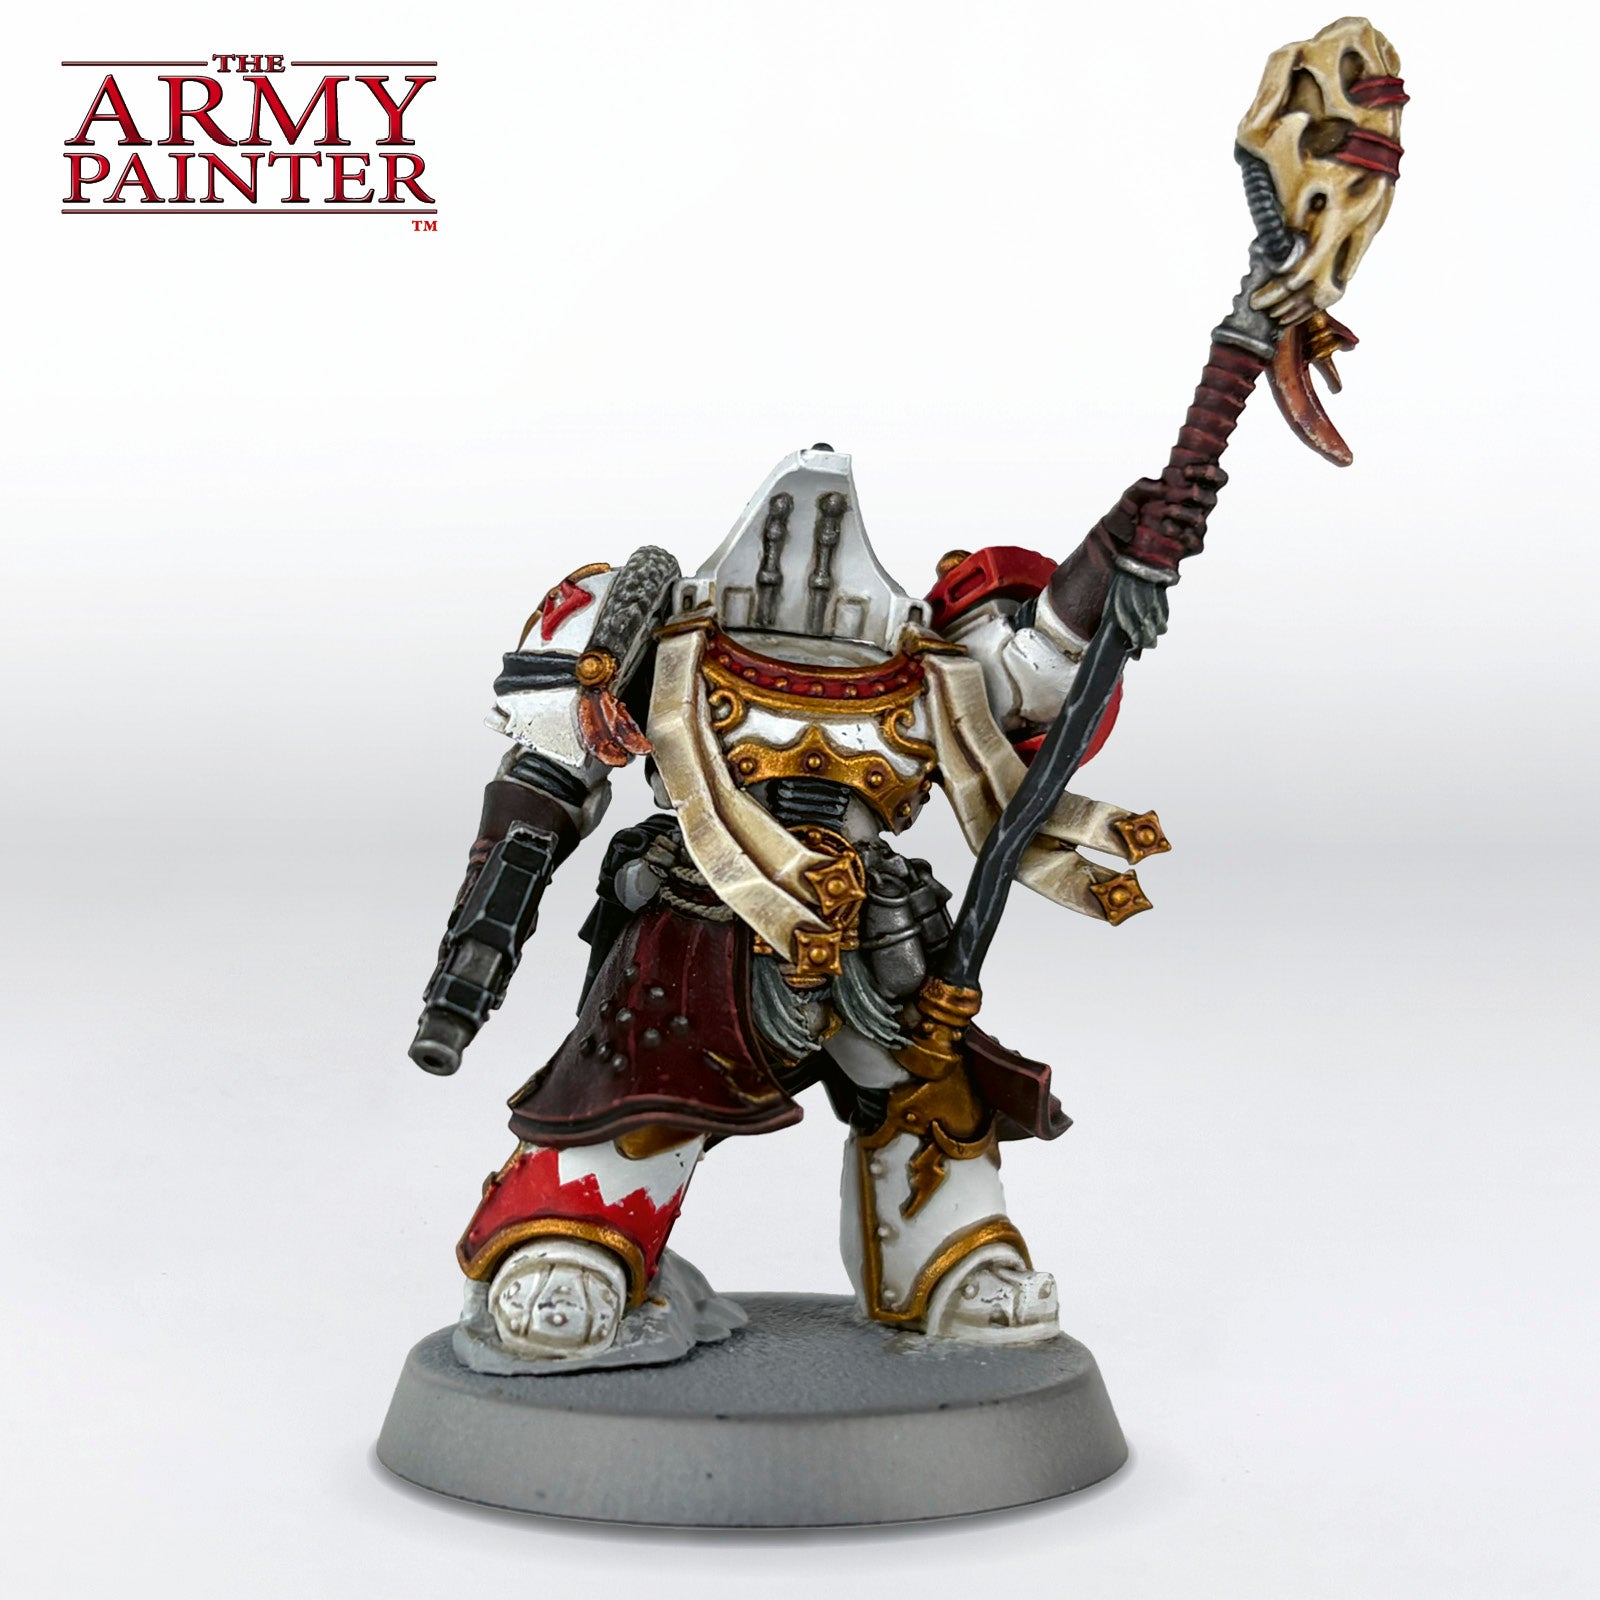
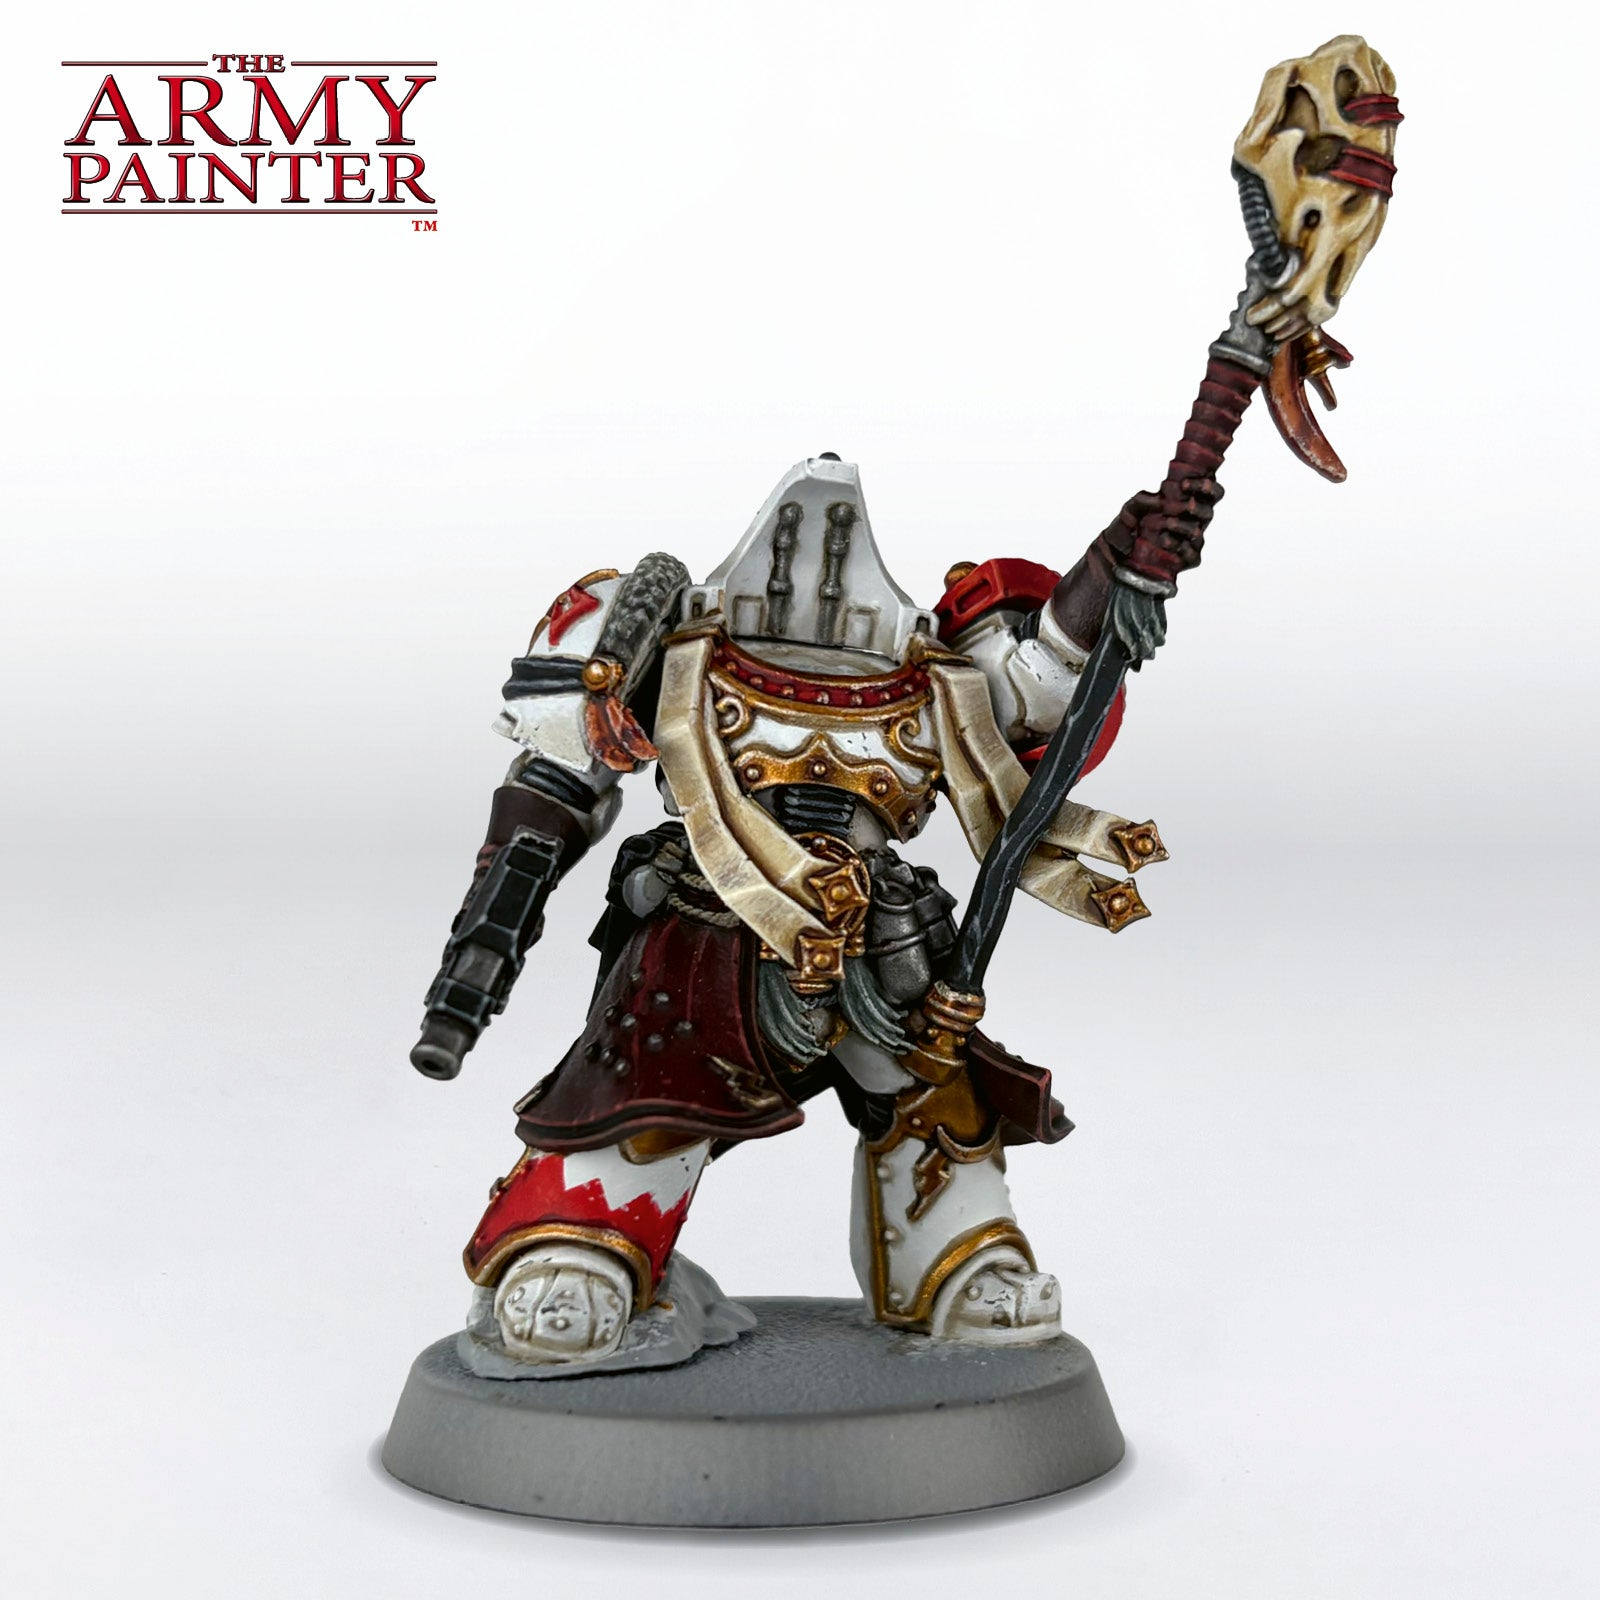
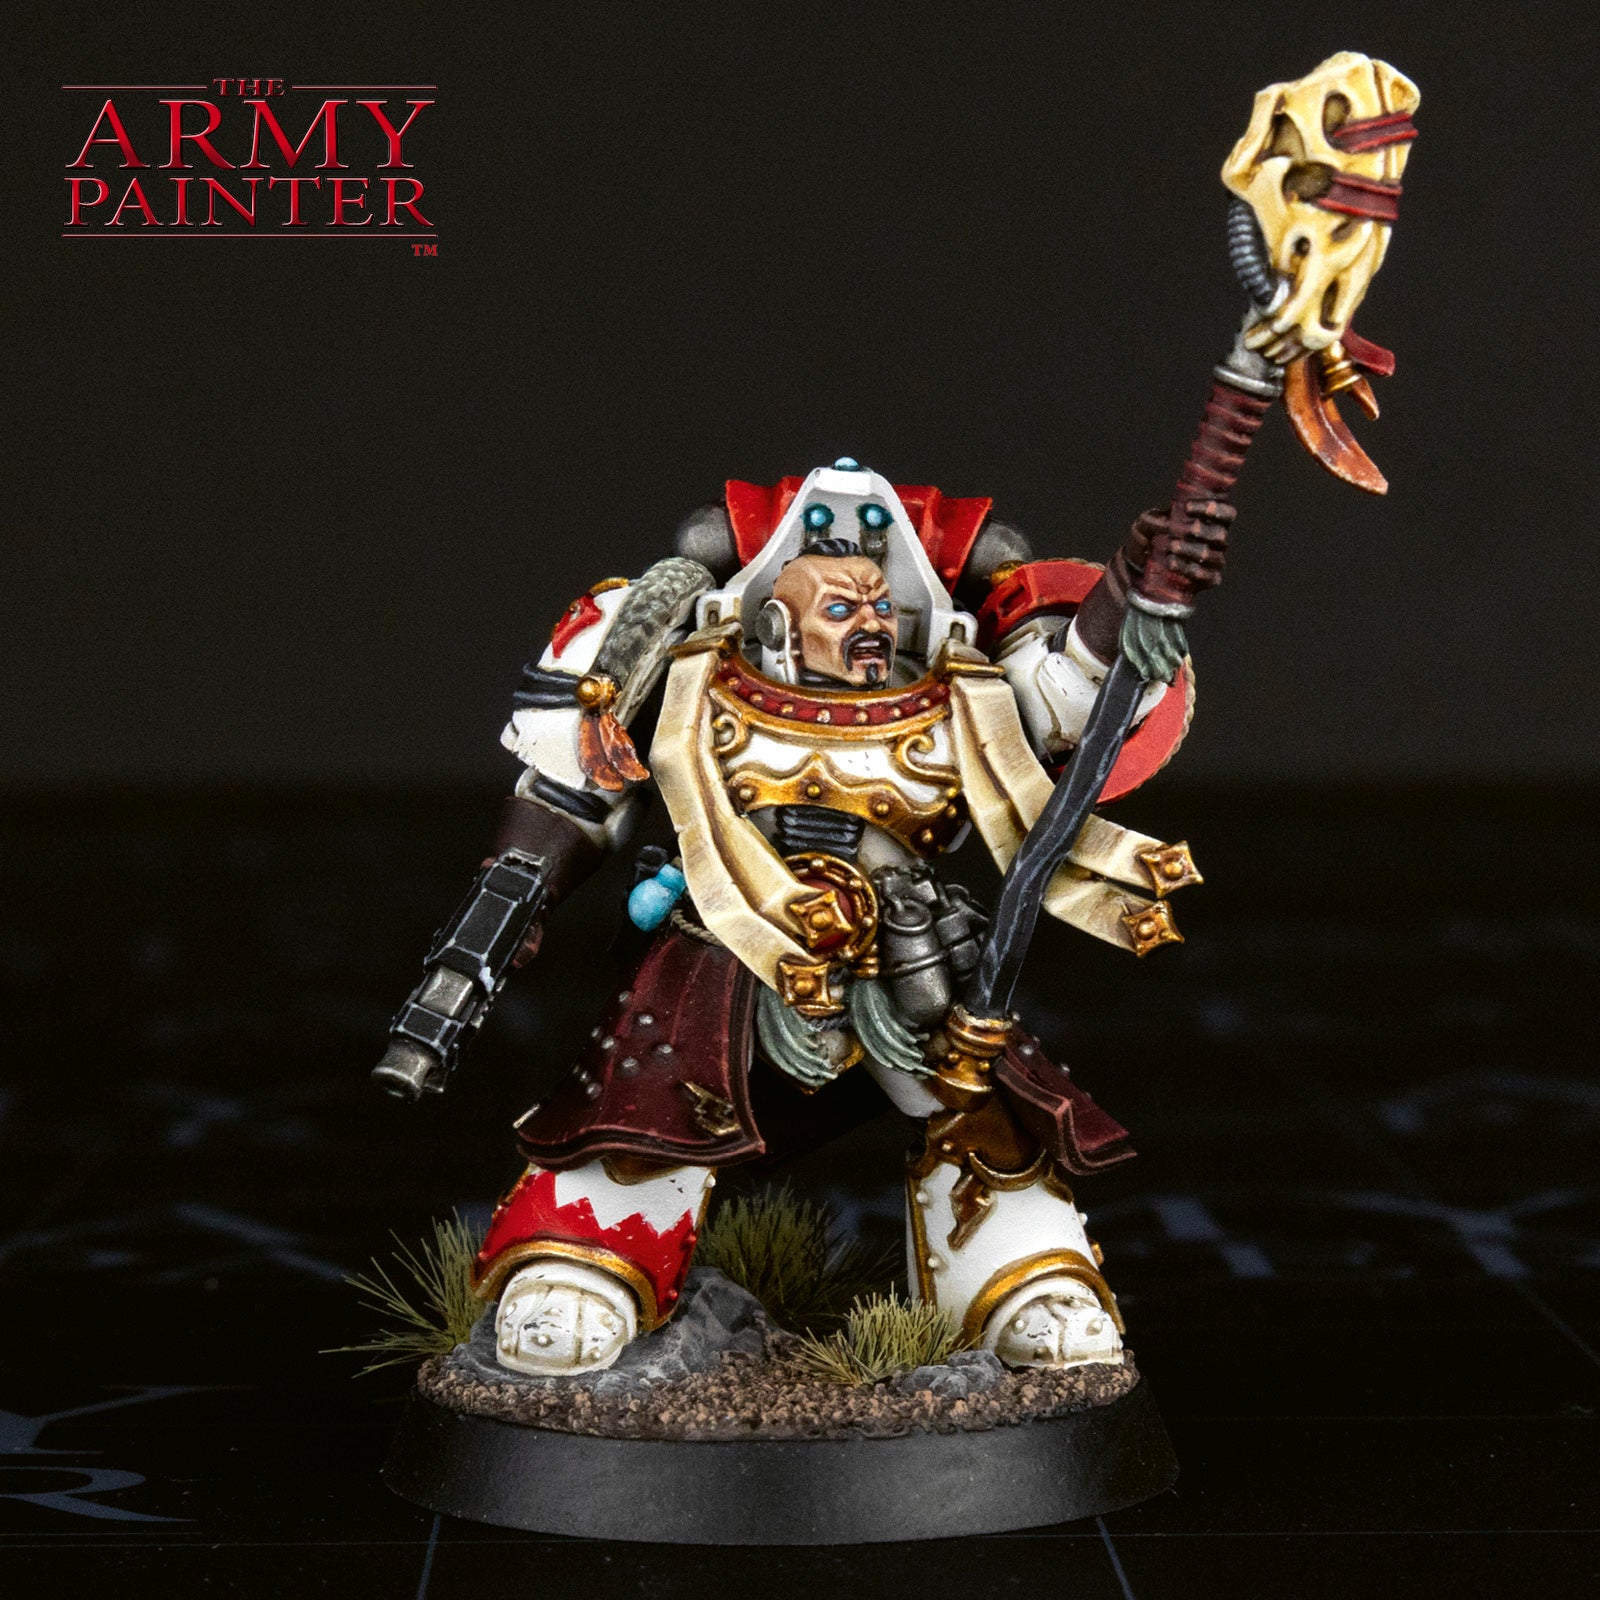
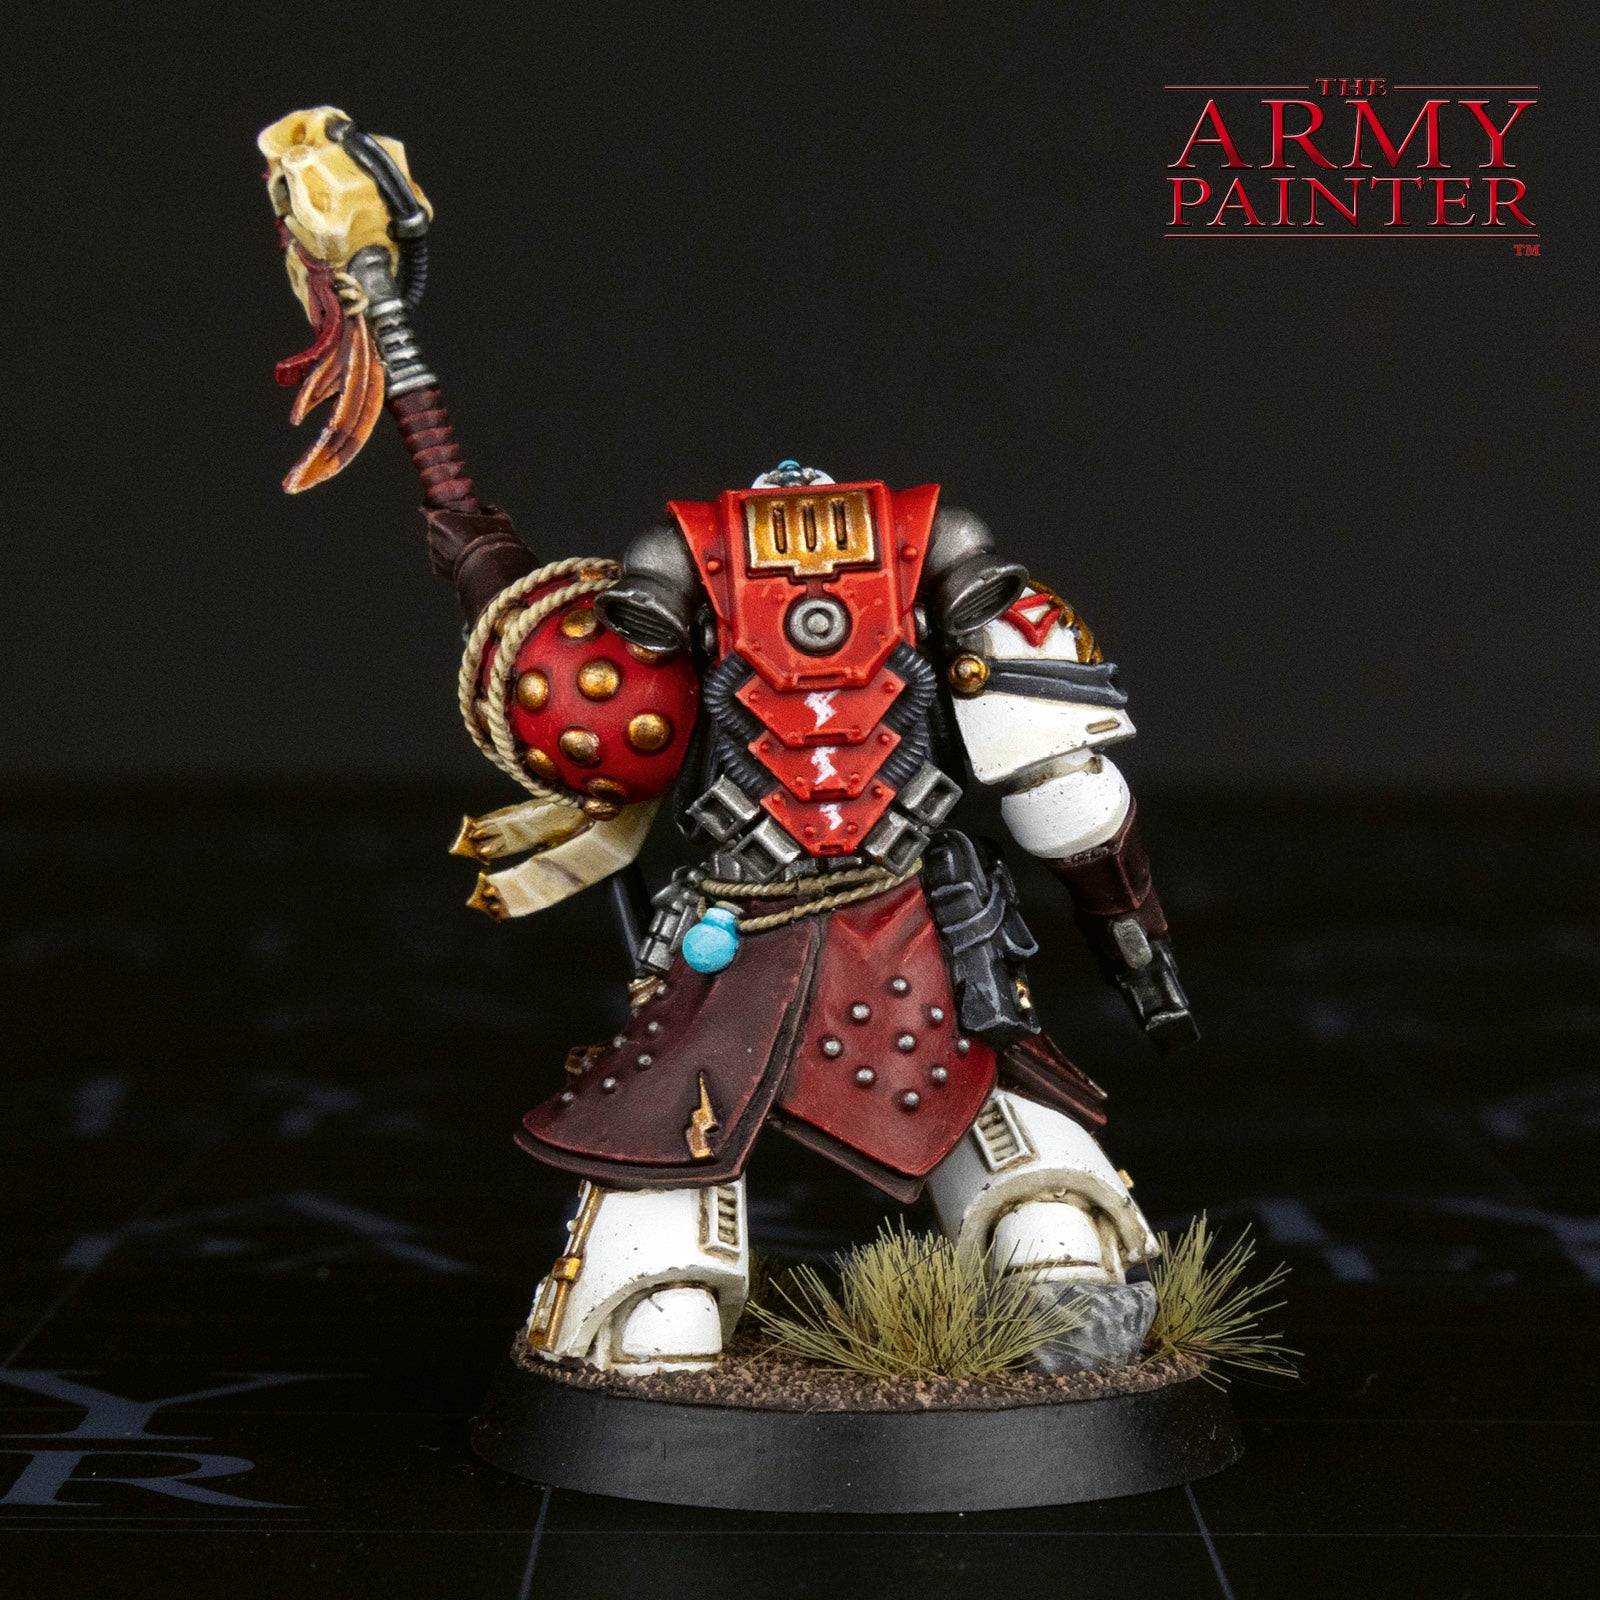
With the Legion selected, the newer White Scars Stormseer, aka Librarian, was picked as the model to demonstrate it on. This mini adds lots of iconically White Scars associated textures and colours into the mix, in the form of leathers, furs, feathers and other trinkets. While you can go wild with using tons of different paints to tackle these diverse areas of the mini, Tyler wanted to show you how you can paint all of them with just a few basecoats, while using different Washes and Speedpaintsto tint and alter the hues, before highlighting them all together once again. Plus, it’s just a really cool sculpt! So, get in your saddle and prepare to ride to war in the Emperor’s name as we show you how to paint up your very own son of the Khan using a mix of Warpaints Fanatic and Speedpaint!
Let's get painting!

The White Armour
Step 1
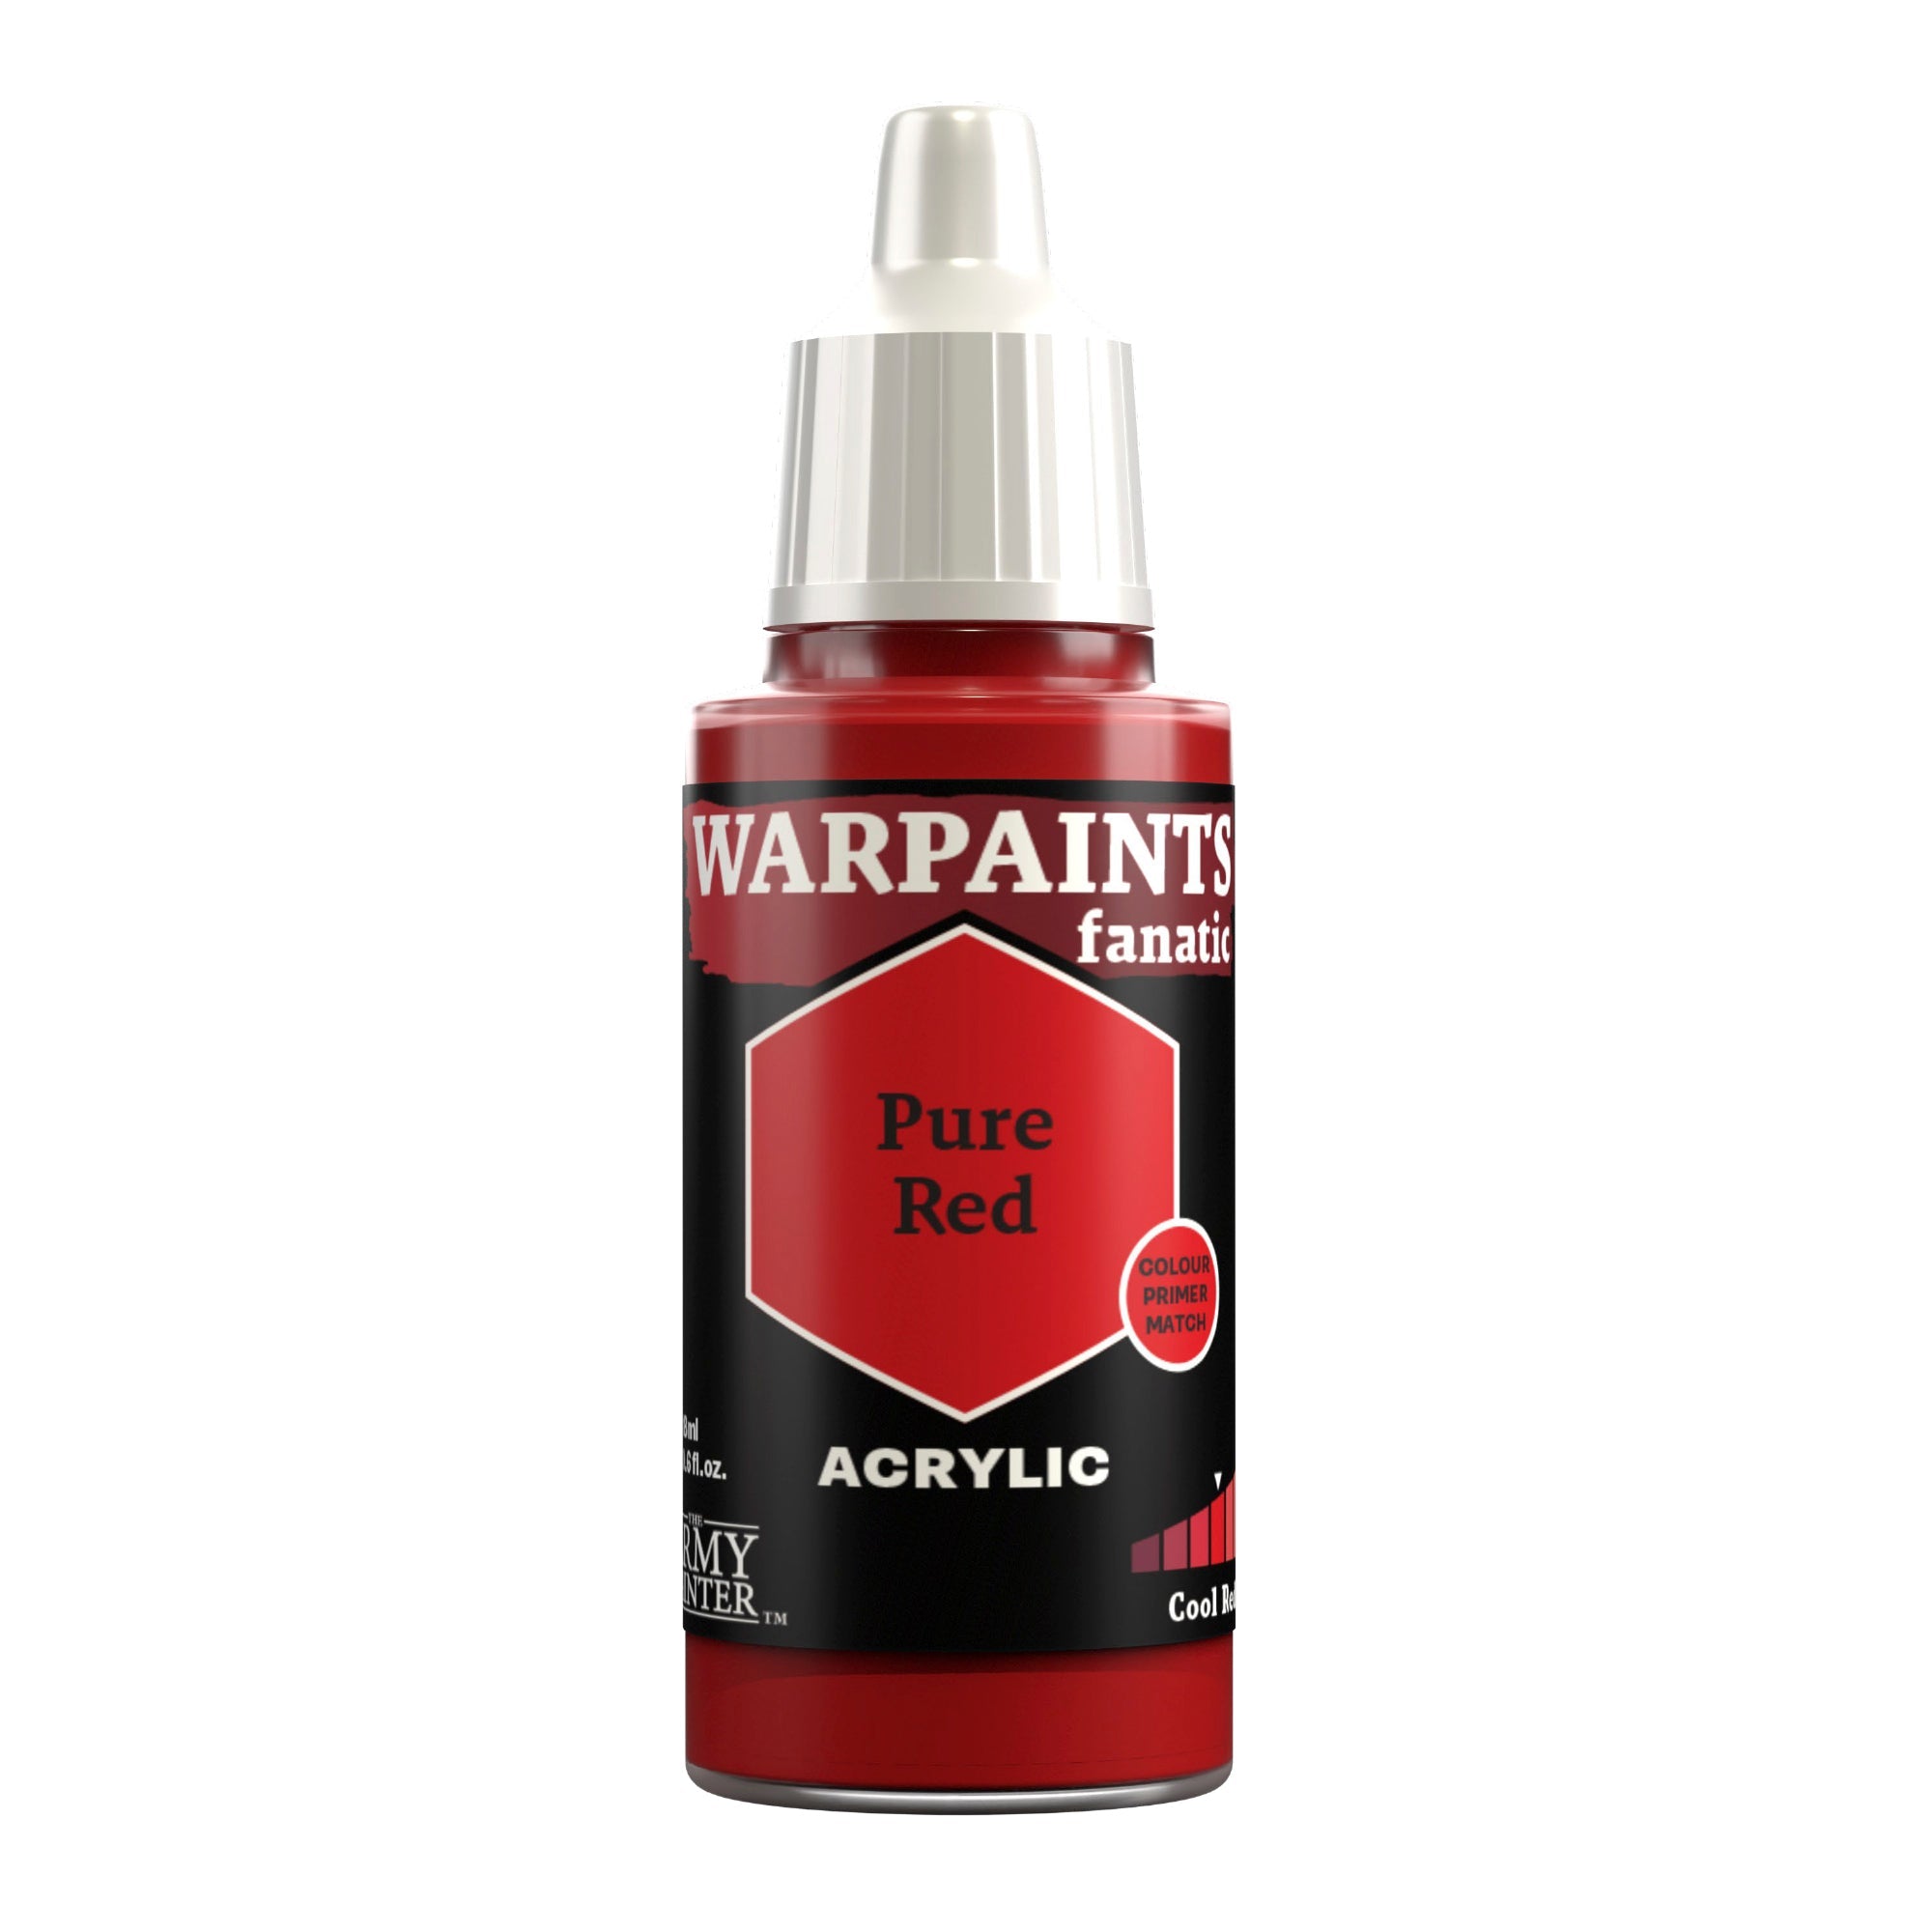
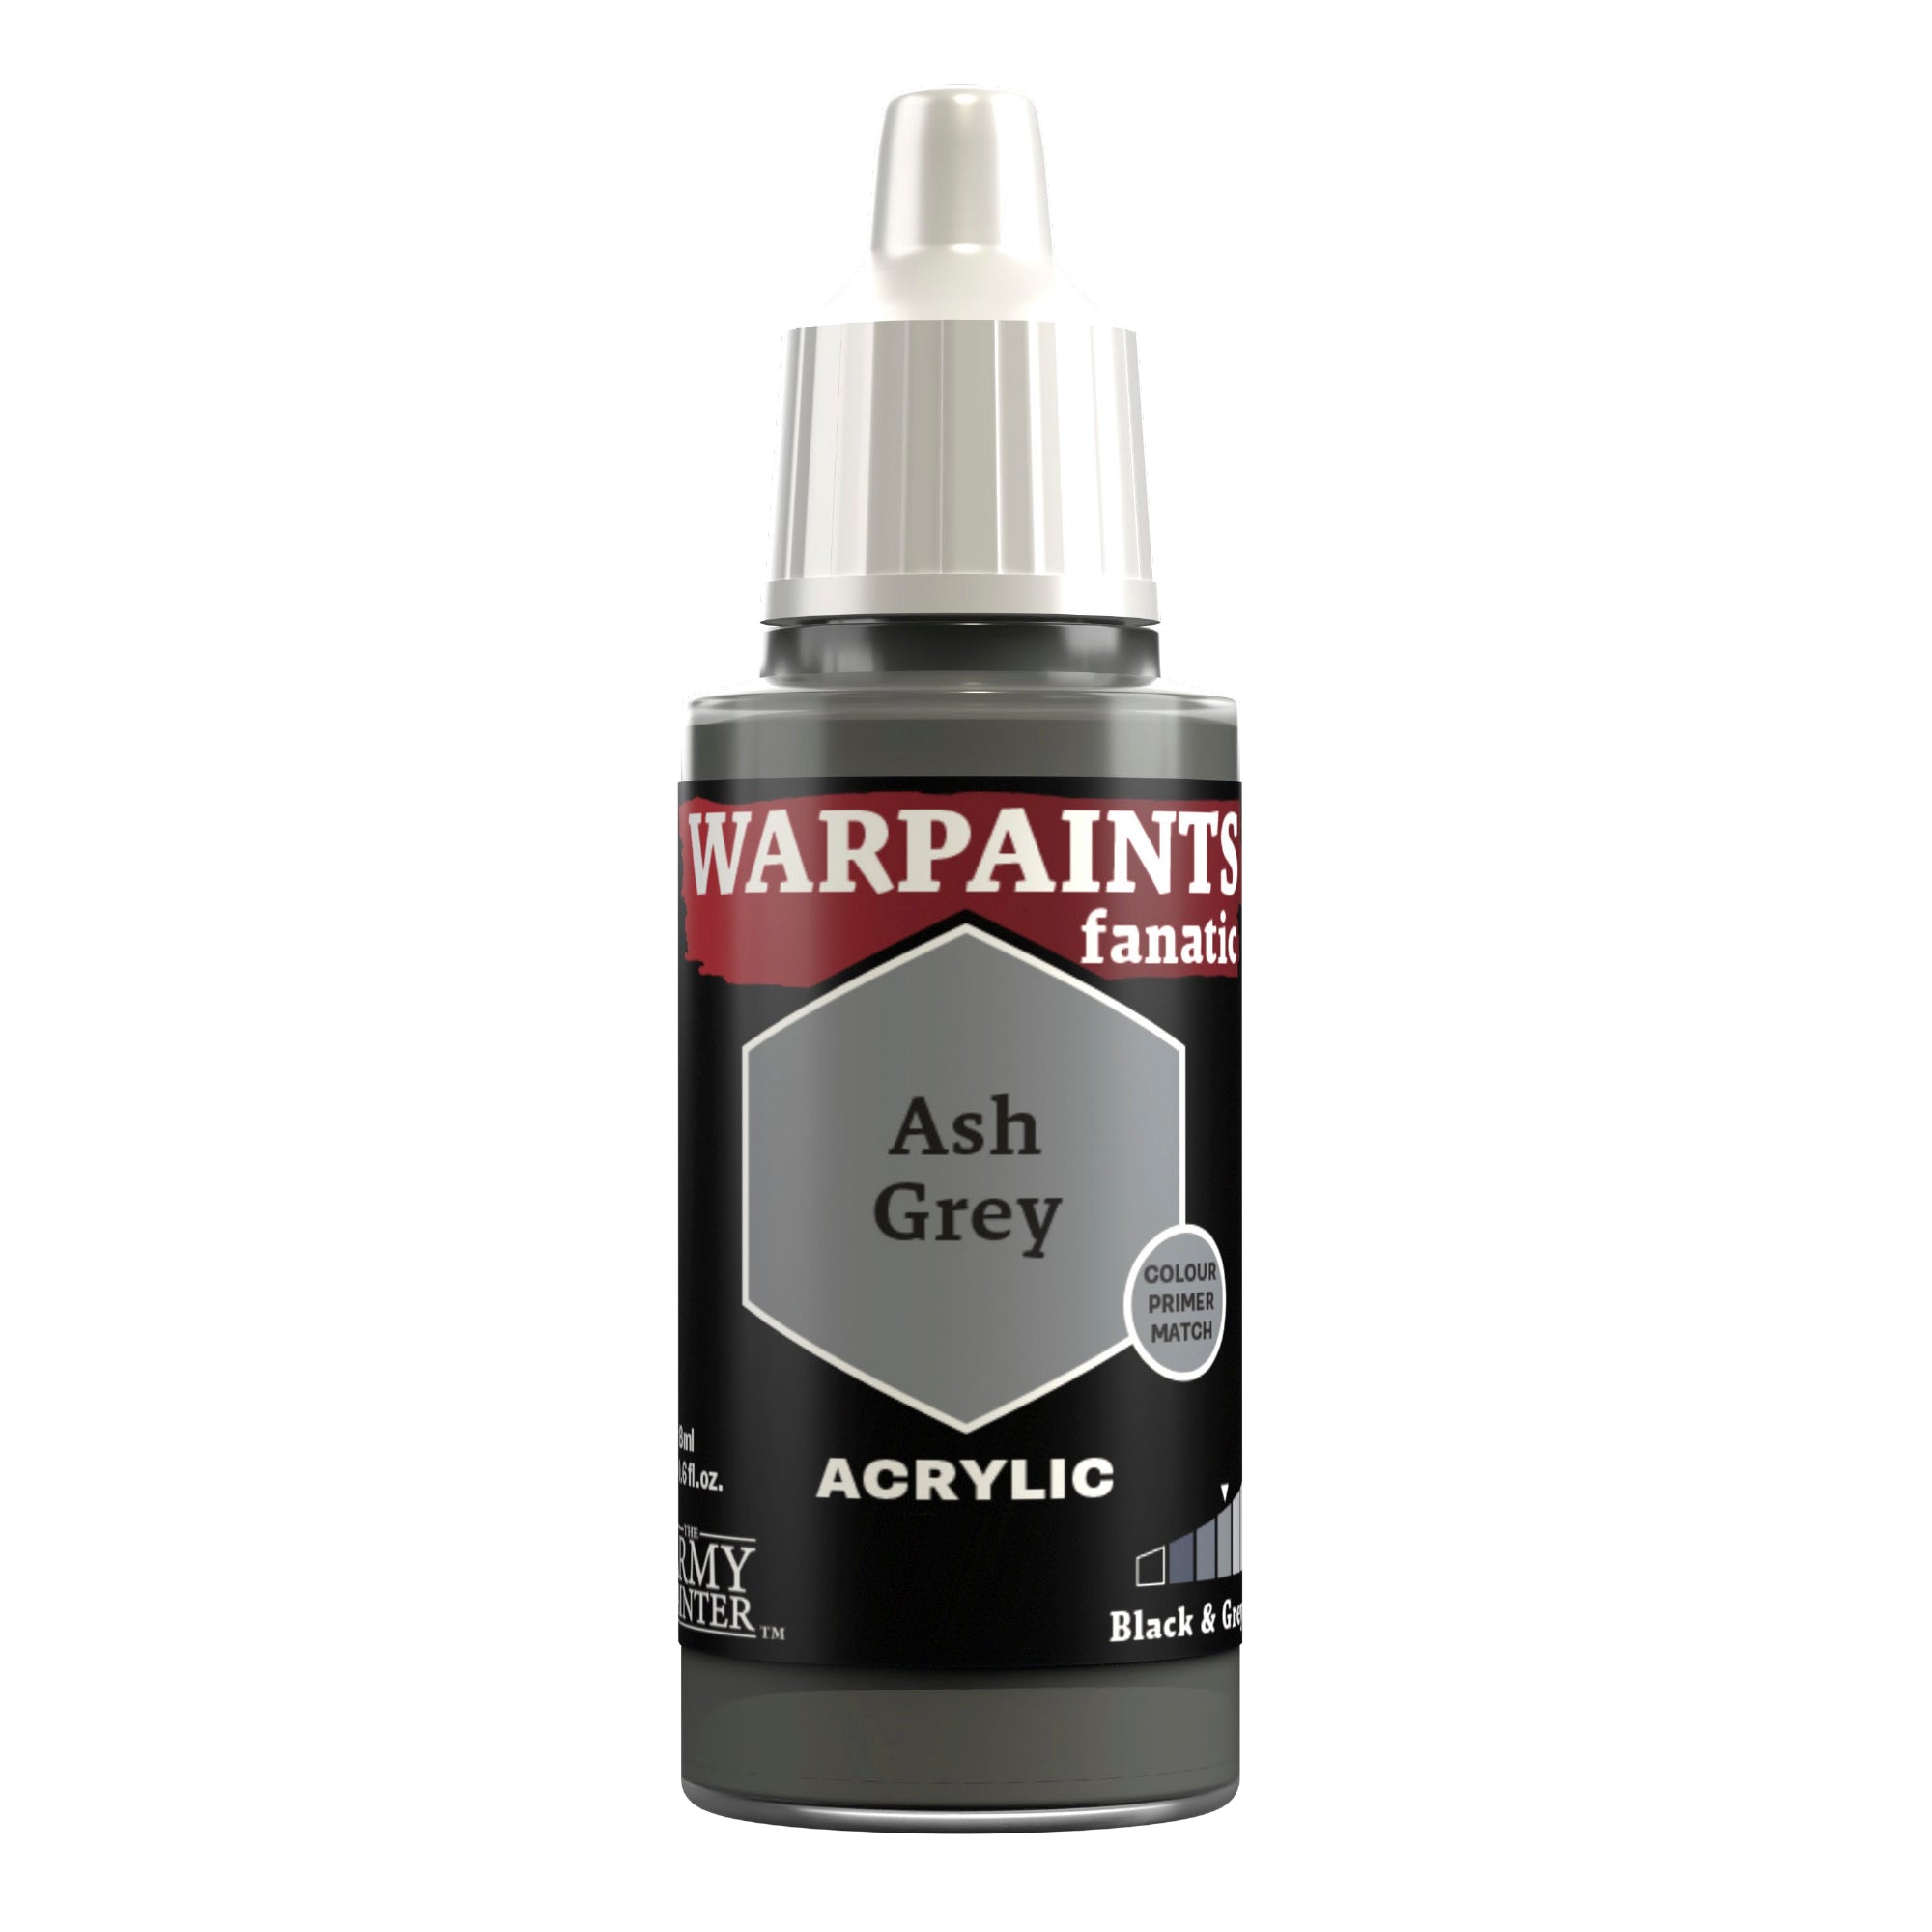
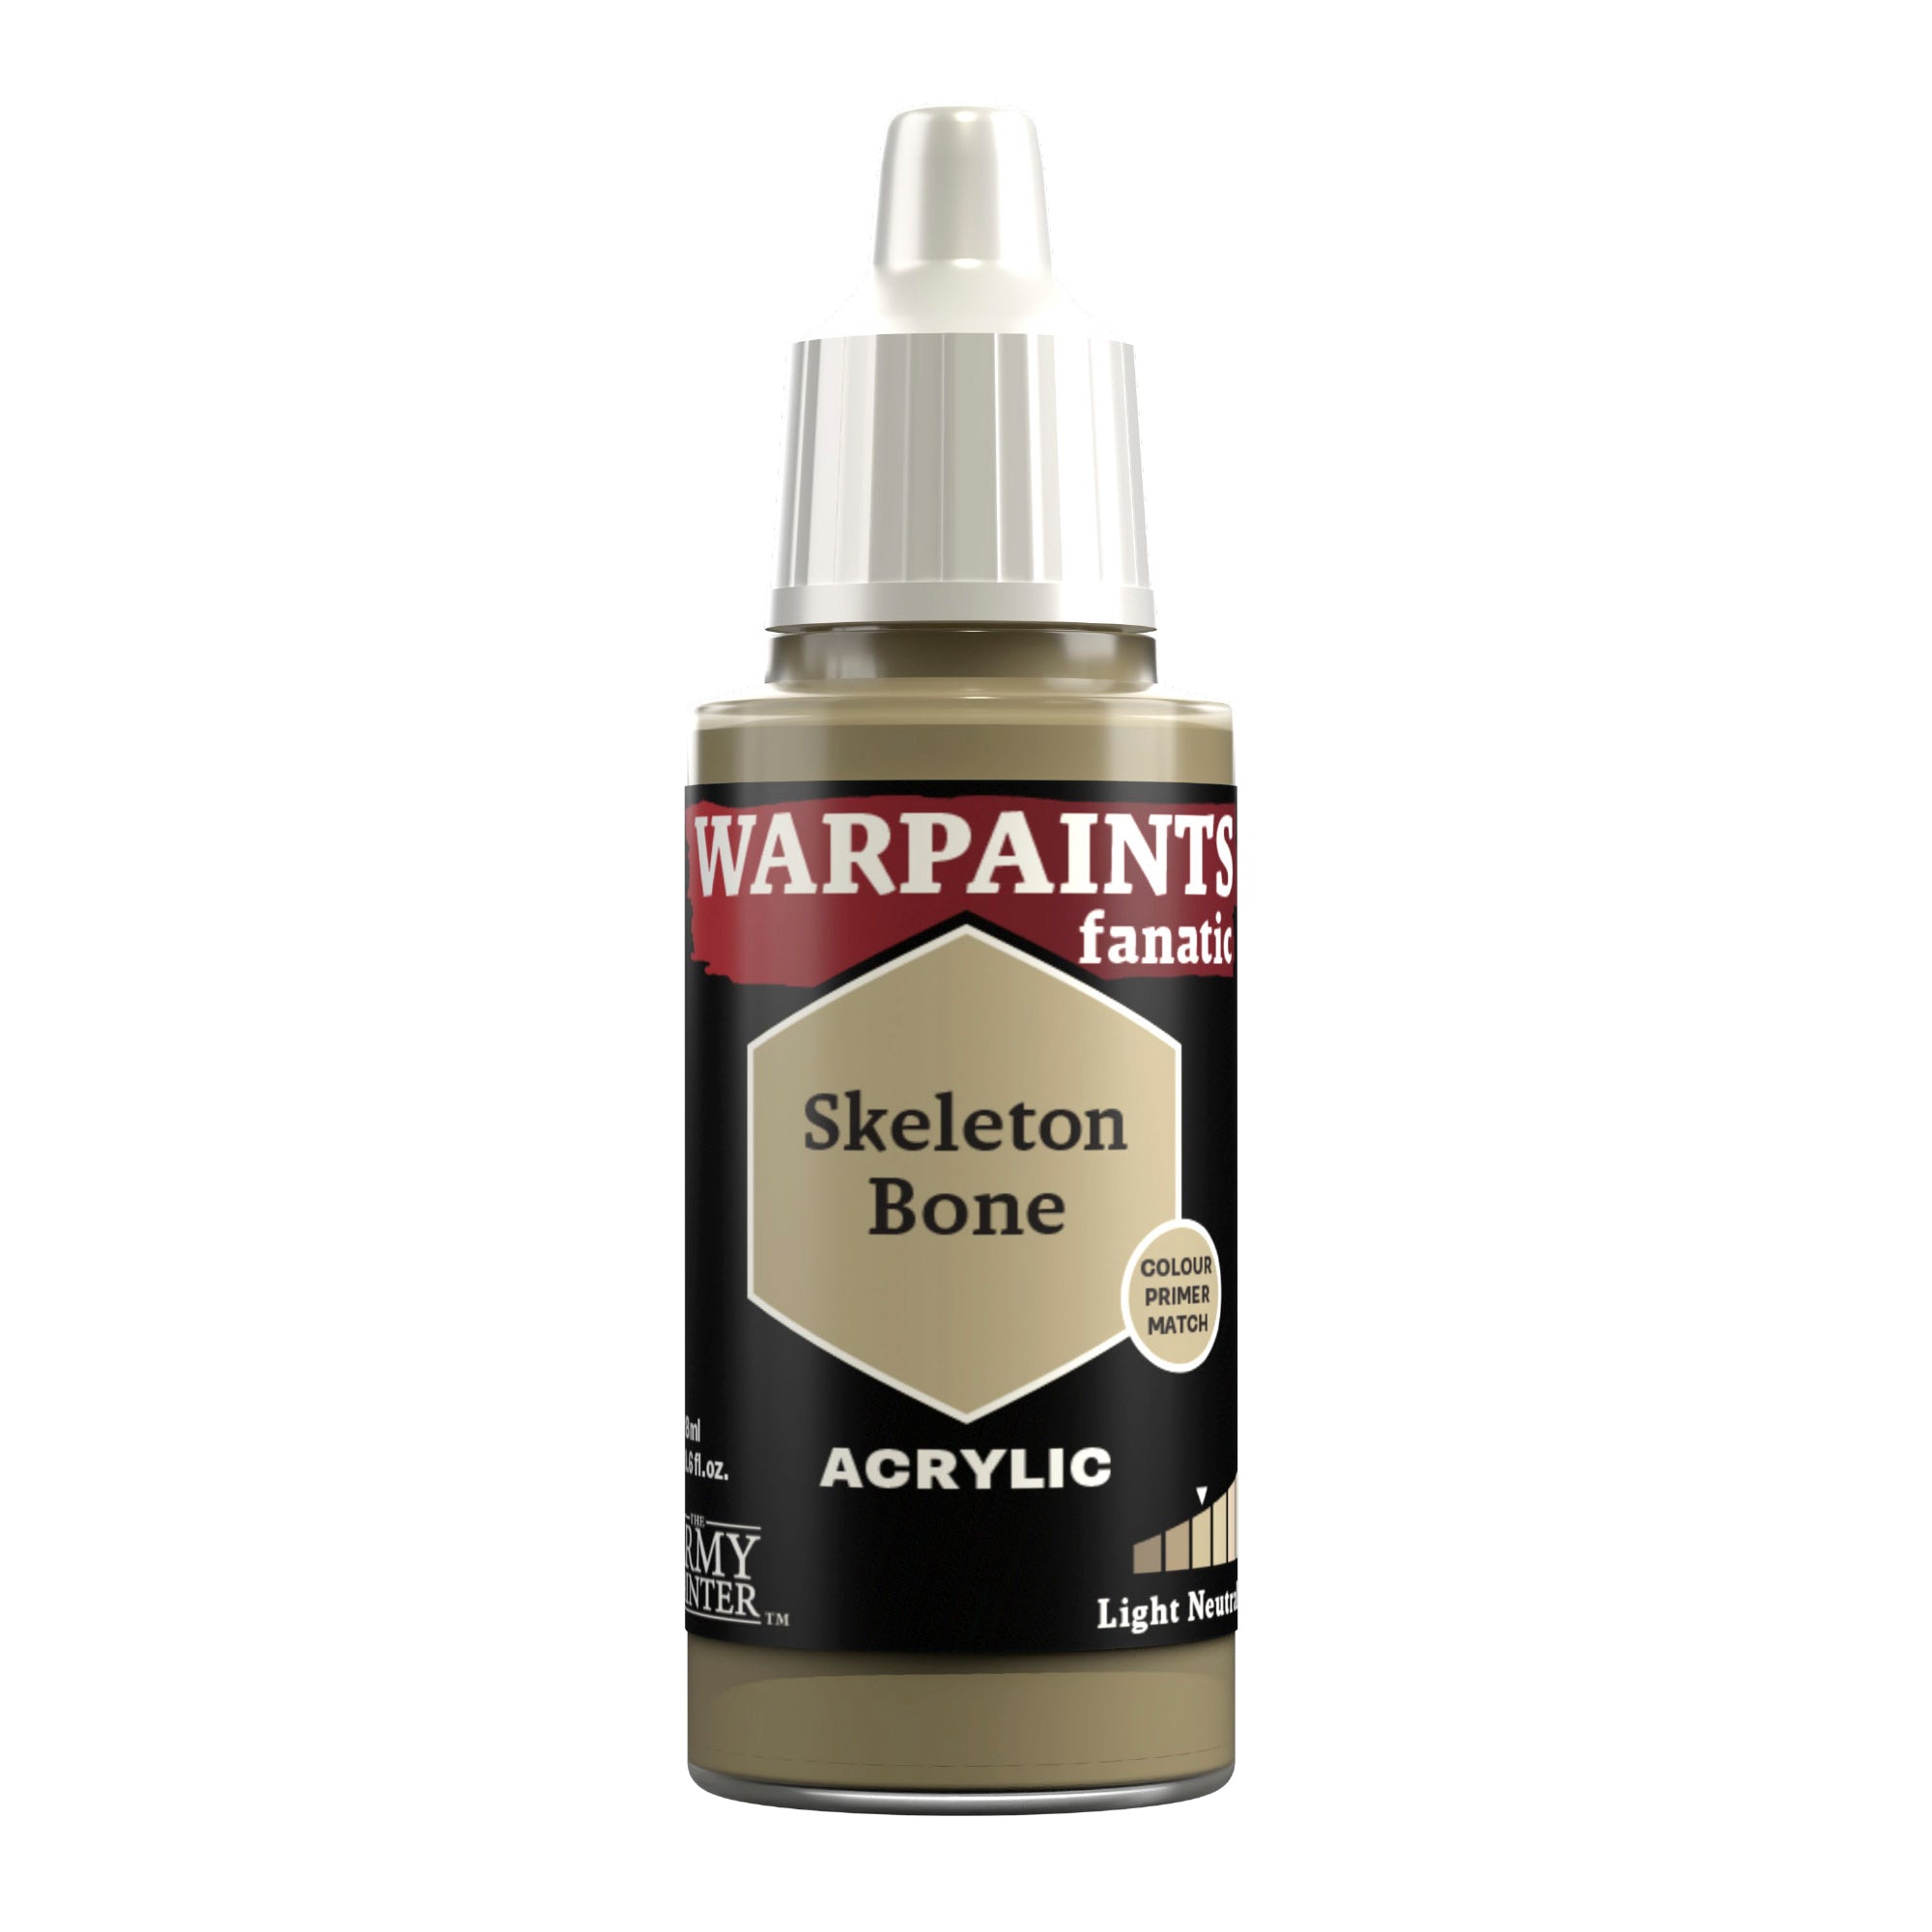
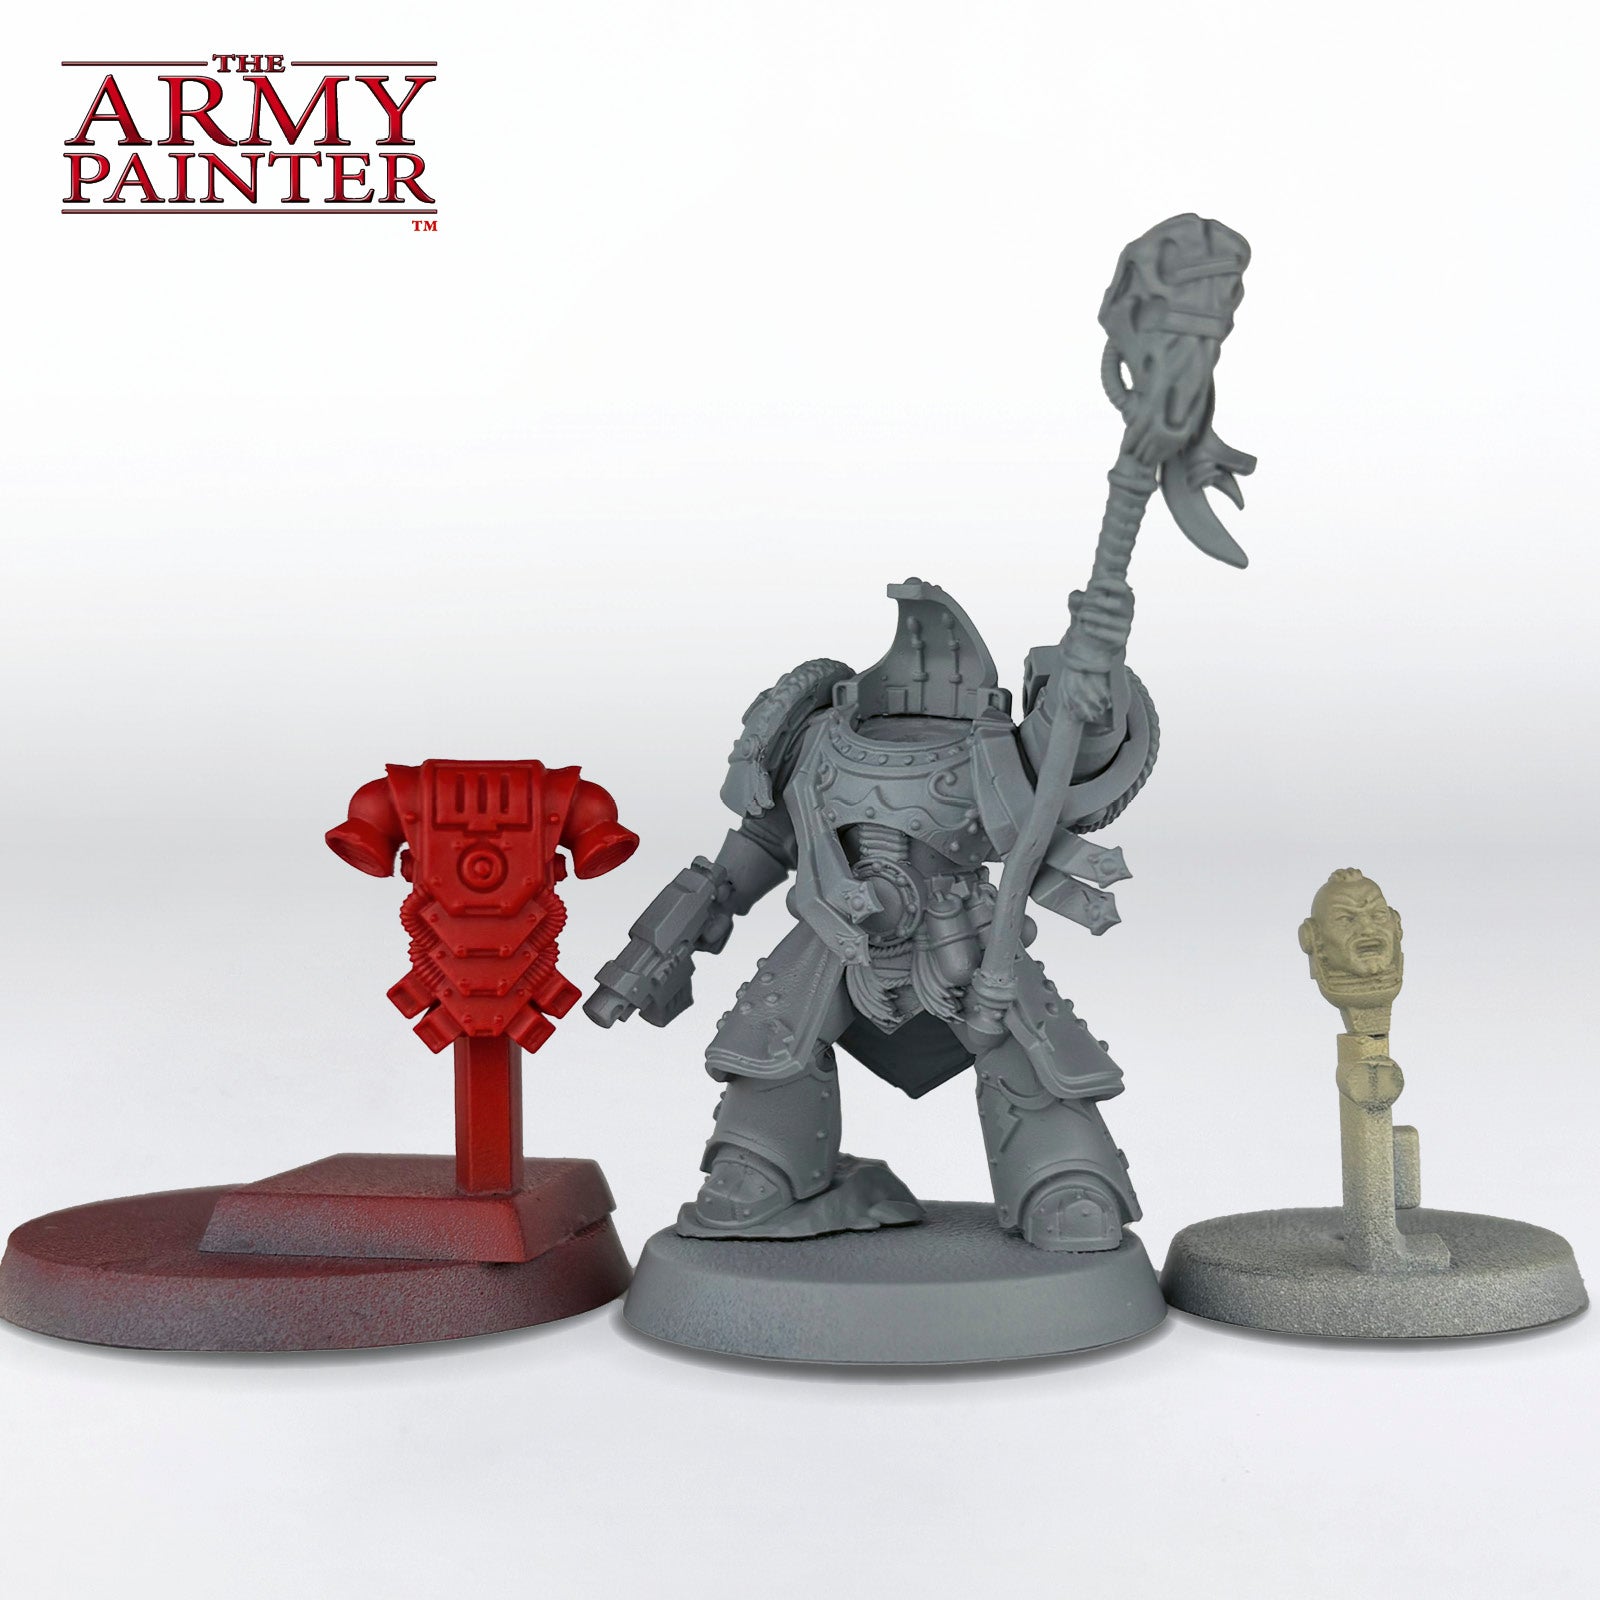
For ease of painting, break the model down into three subassemblies: the main body, the head, and the backpack. This also allows you to prime them in appropriate colours that will speed up the process. Prime the body with Ash Grey Colour Primer, the head with Skeleton Bone Colour Primer, and the backpack with Pure Red Colour Primer.
You can also assemble the entire model if you want, prime it Ash Grey, and then basecoat the backpack and head in the corresponding Warpaints Fanatic colours instead, if you so desire.
Step 2
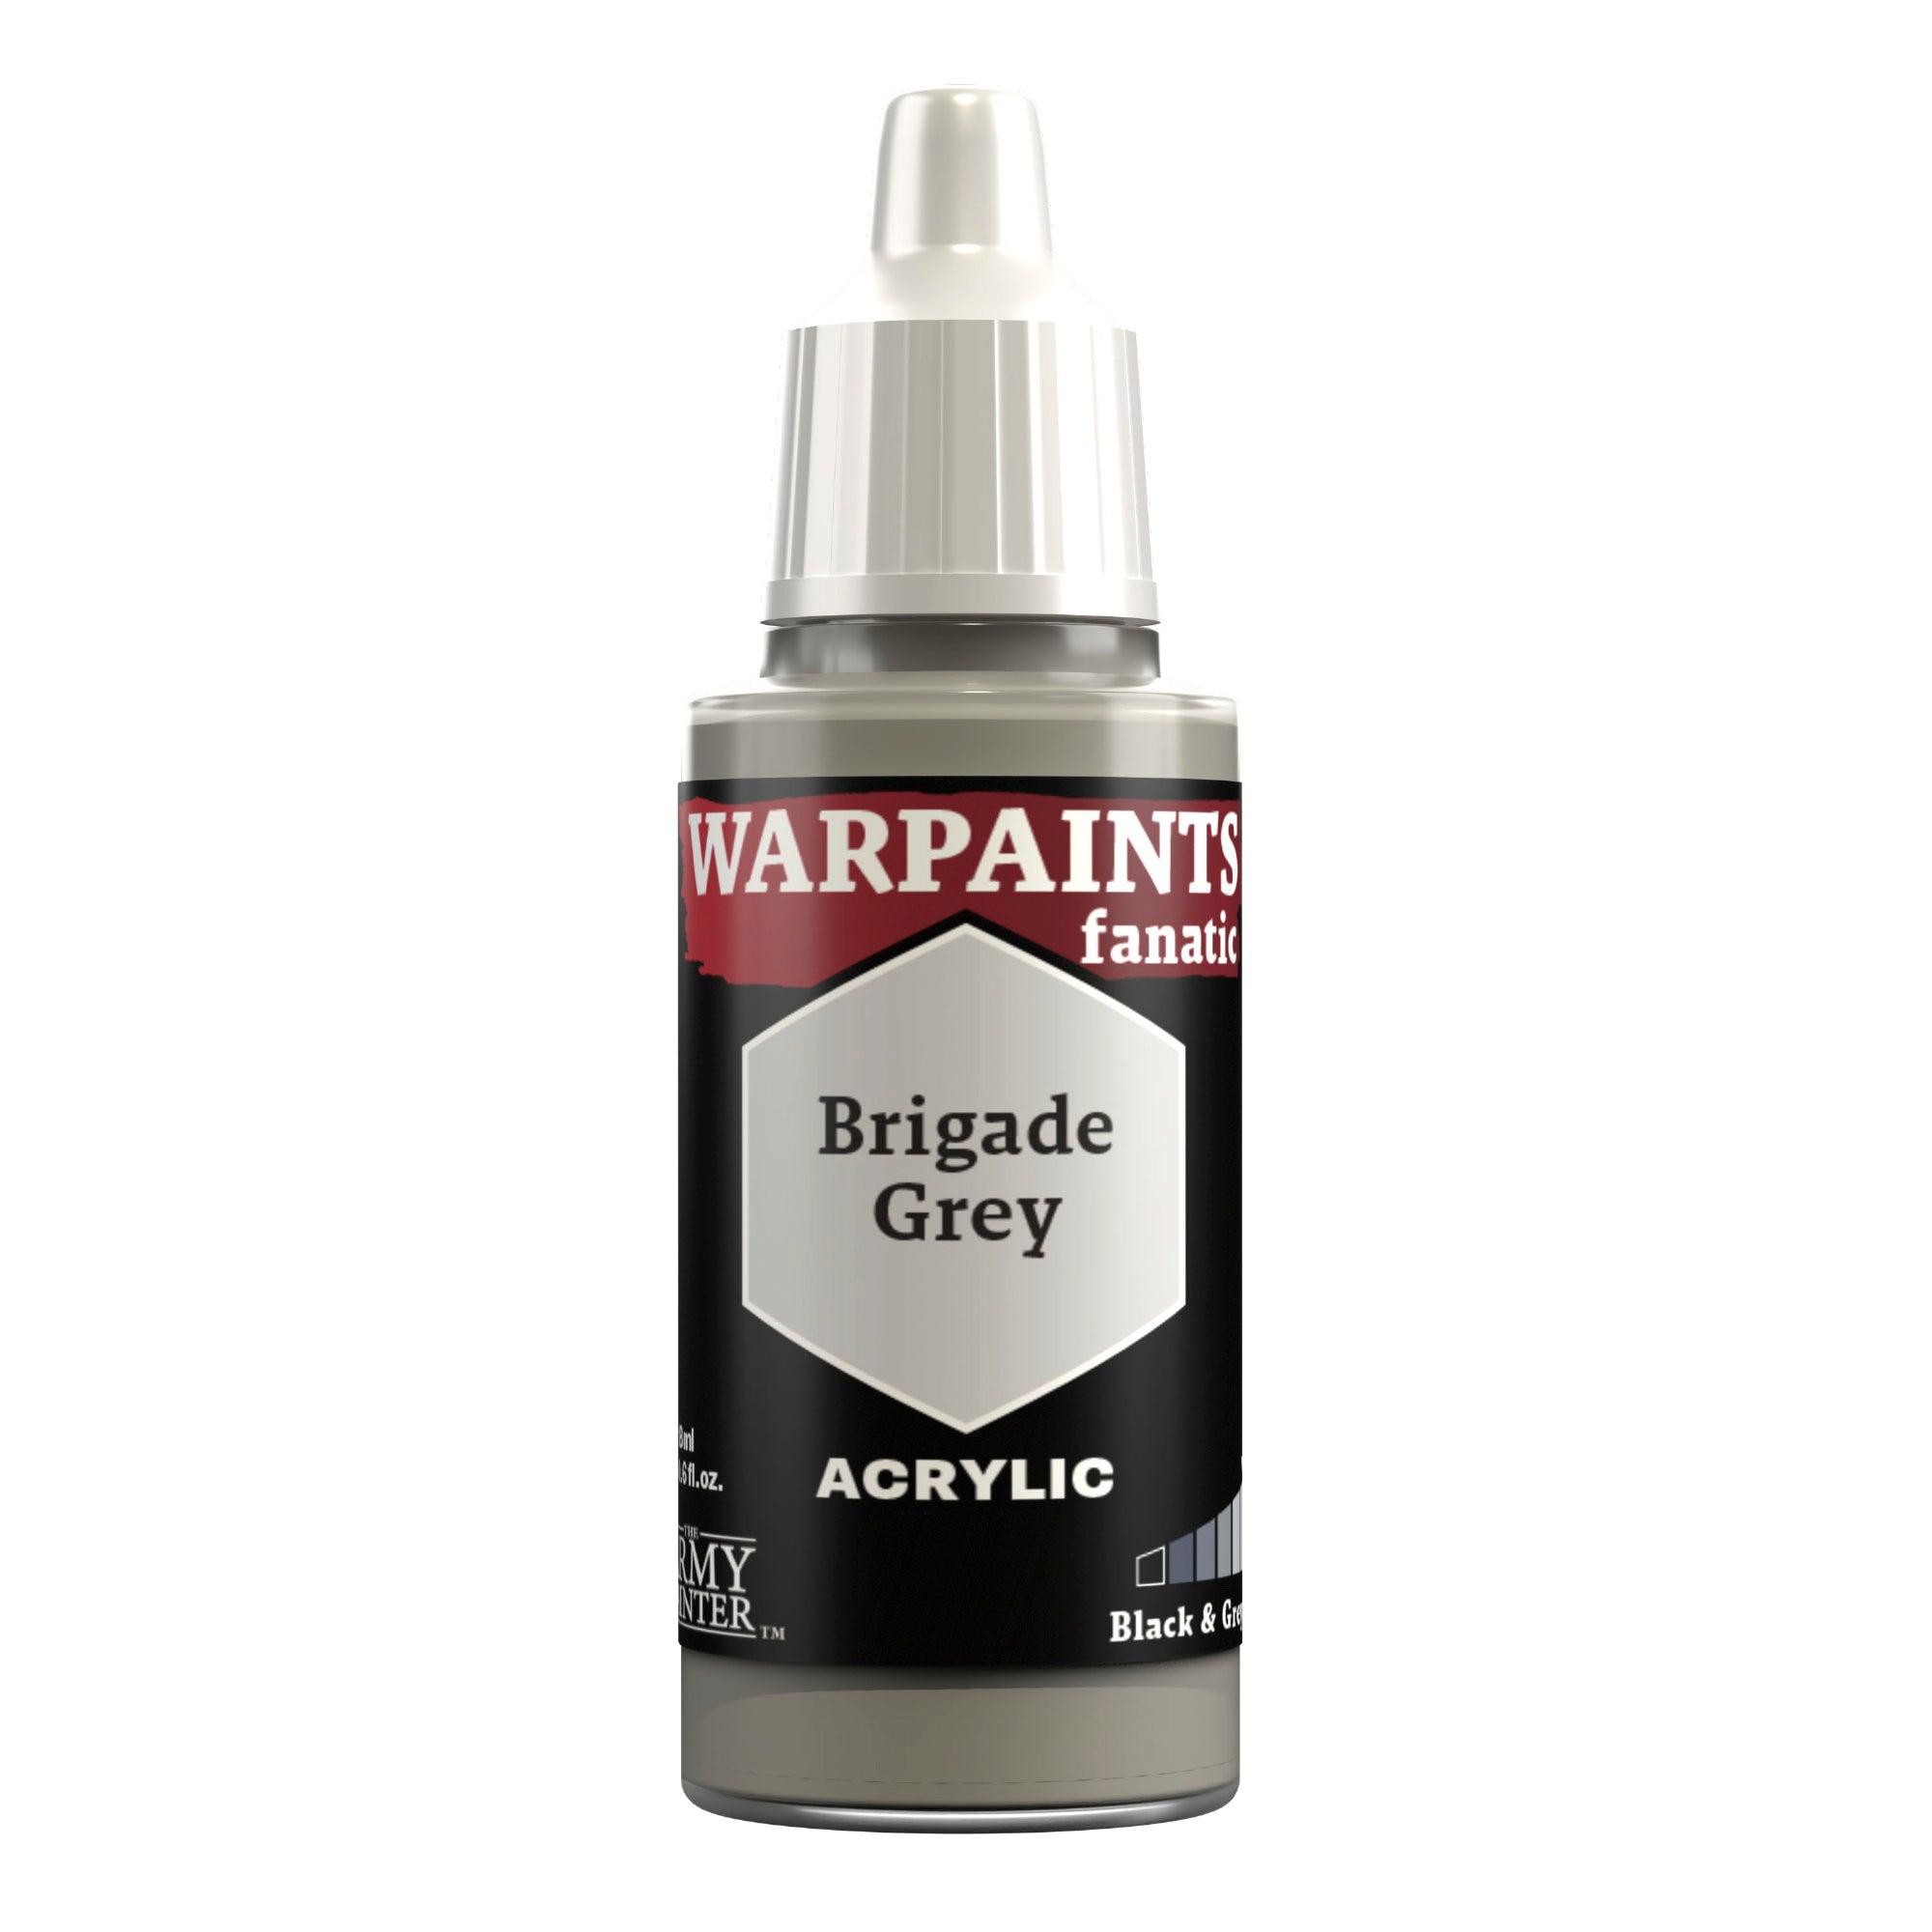
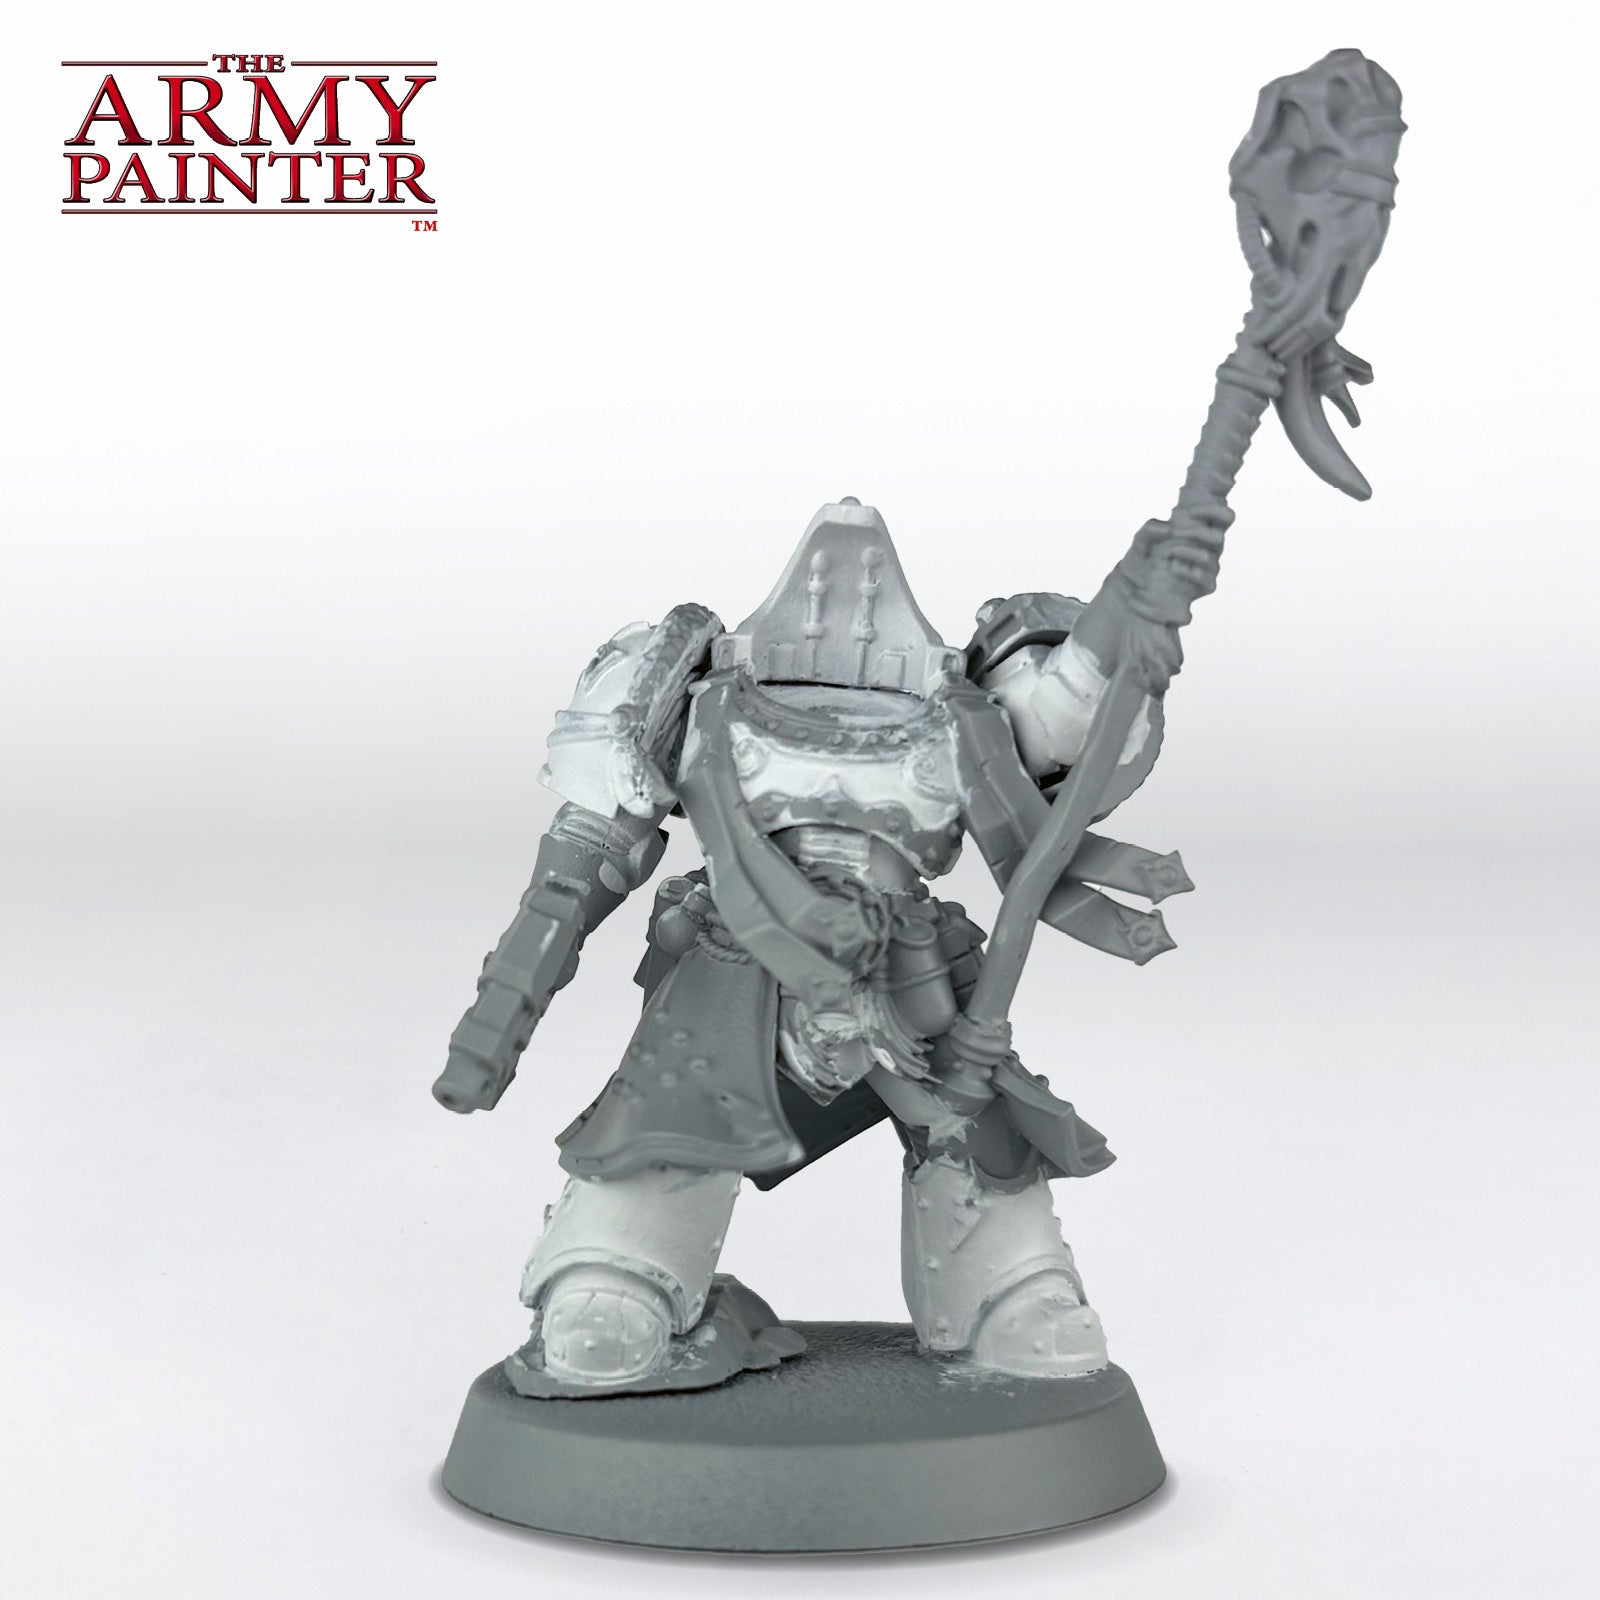
Next, basecoat all the white armour with Warpaints Fanatic Brigade Grey. This slightly off-white grey will look white when the model is finished, but gives us somewhere to go with highlights, since you can’t highlight white.

Step 3
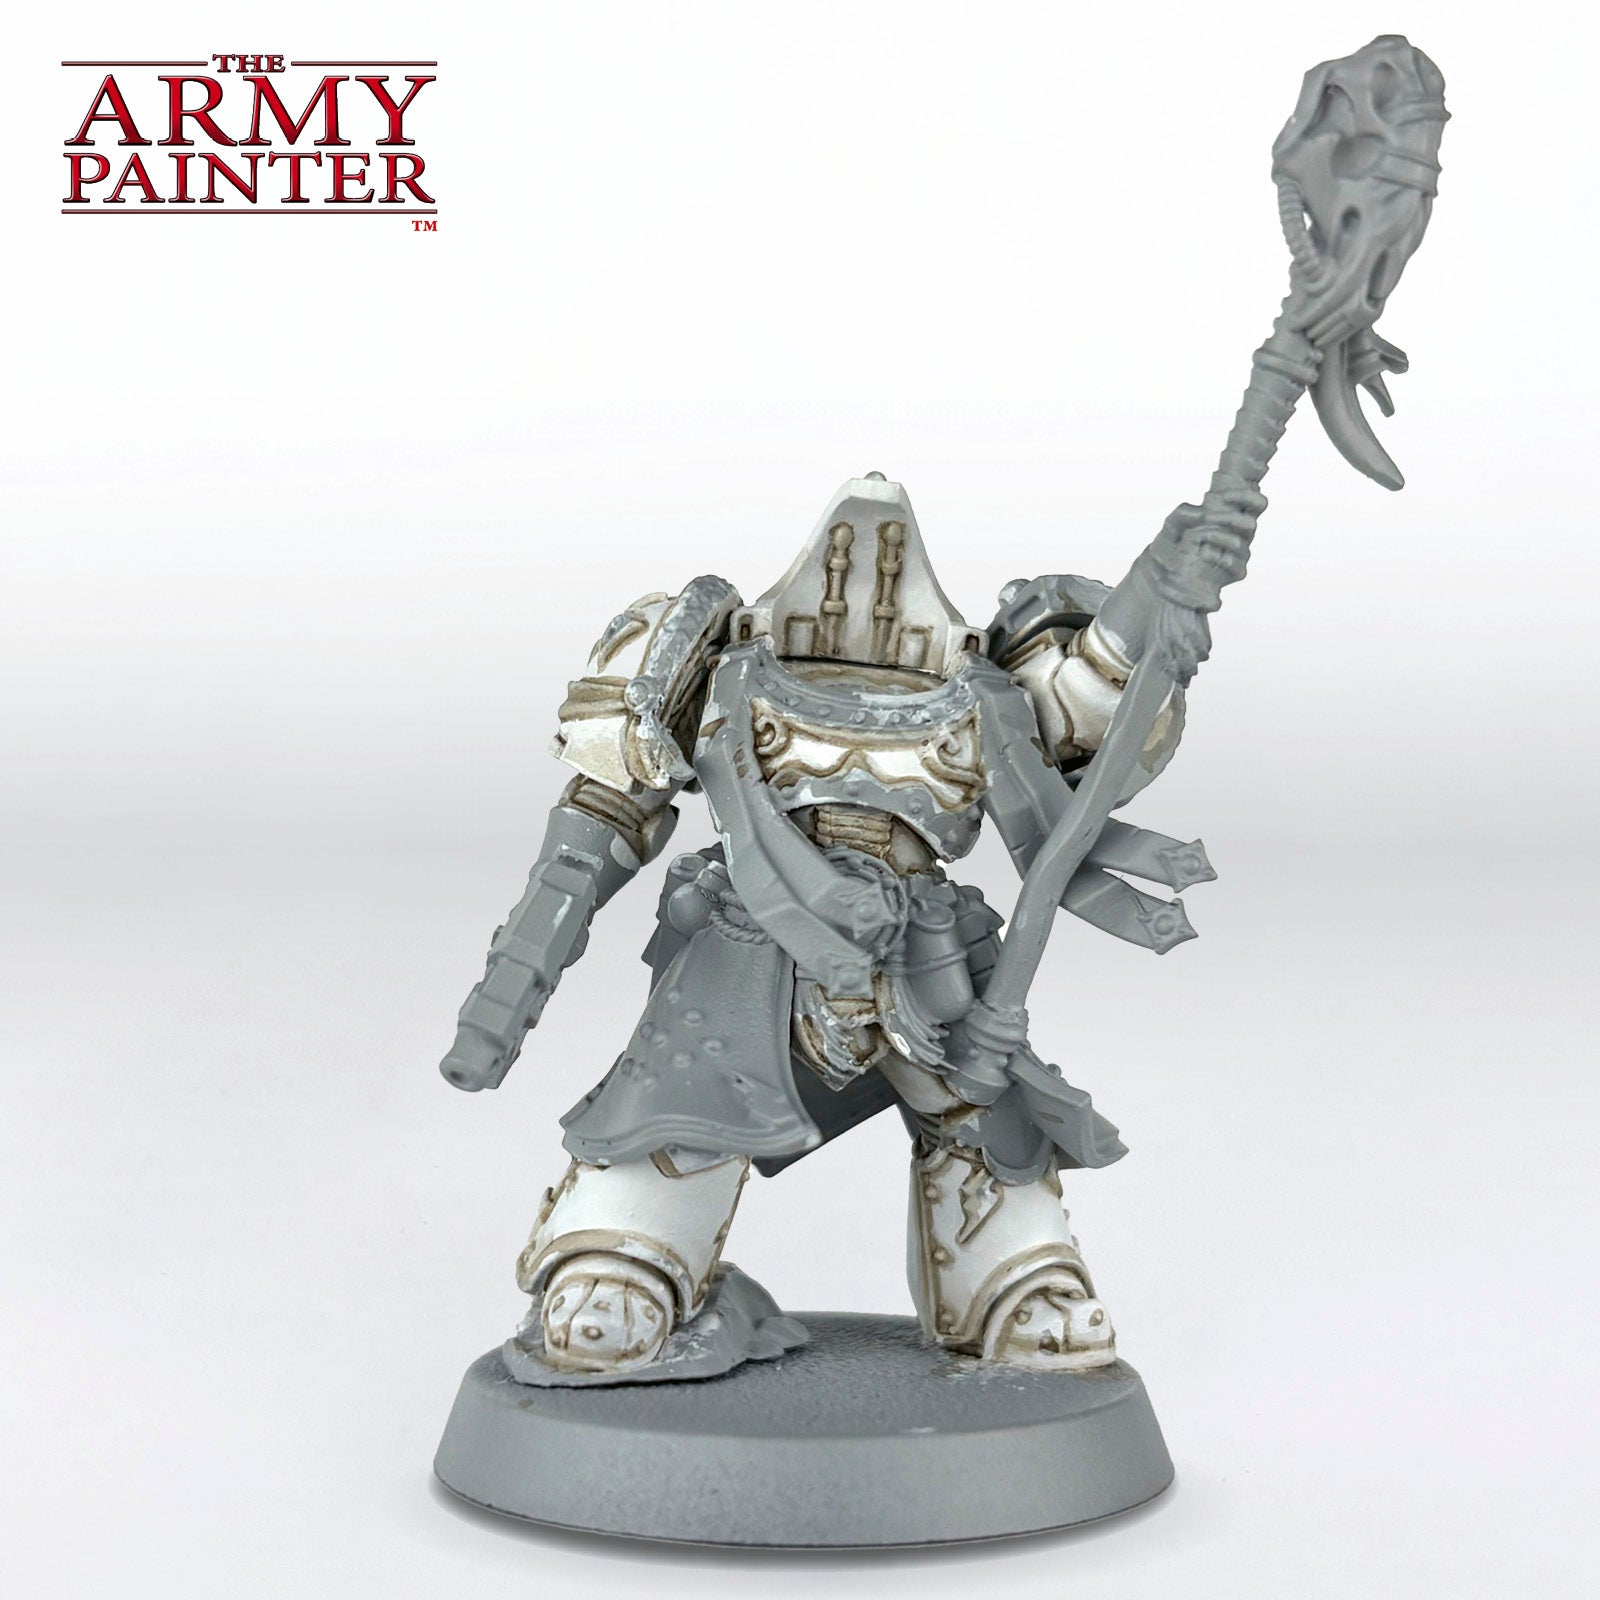
Follow this by applying Warpaints Fanatic Wash Strong Tone into all the recesses. Some was also thinned down with water and painted onto the lower sections of certain armour panels to create a bit of a gradient, which will be tidied up in the next step.
Step 4
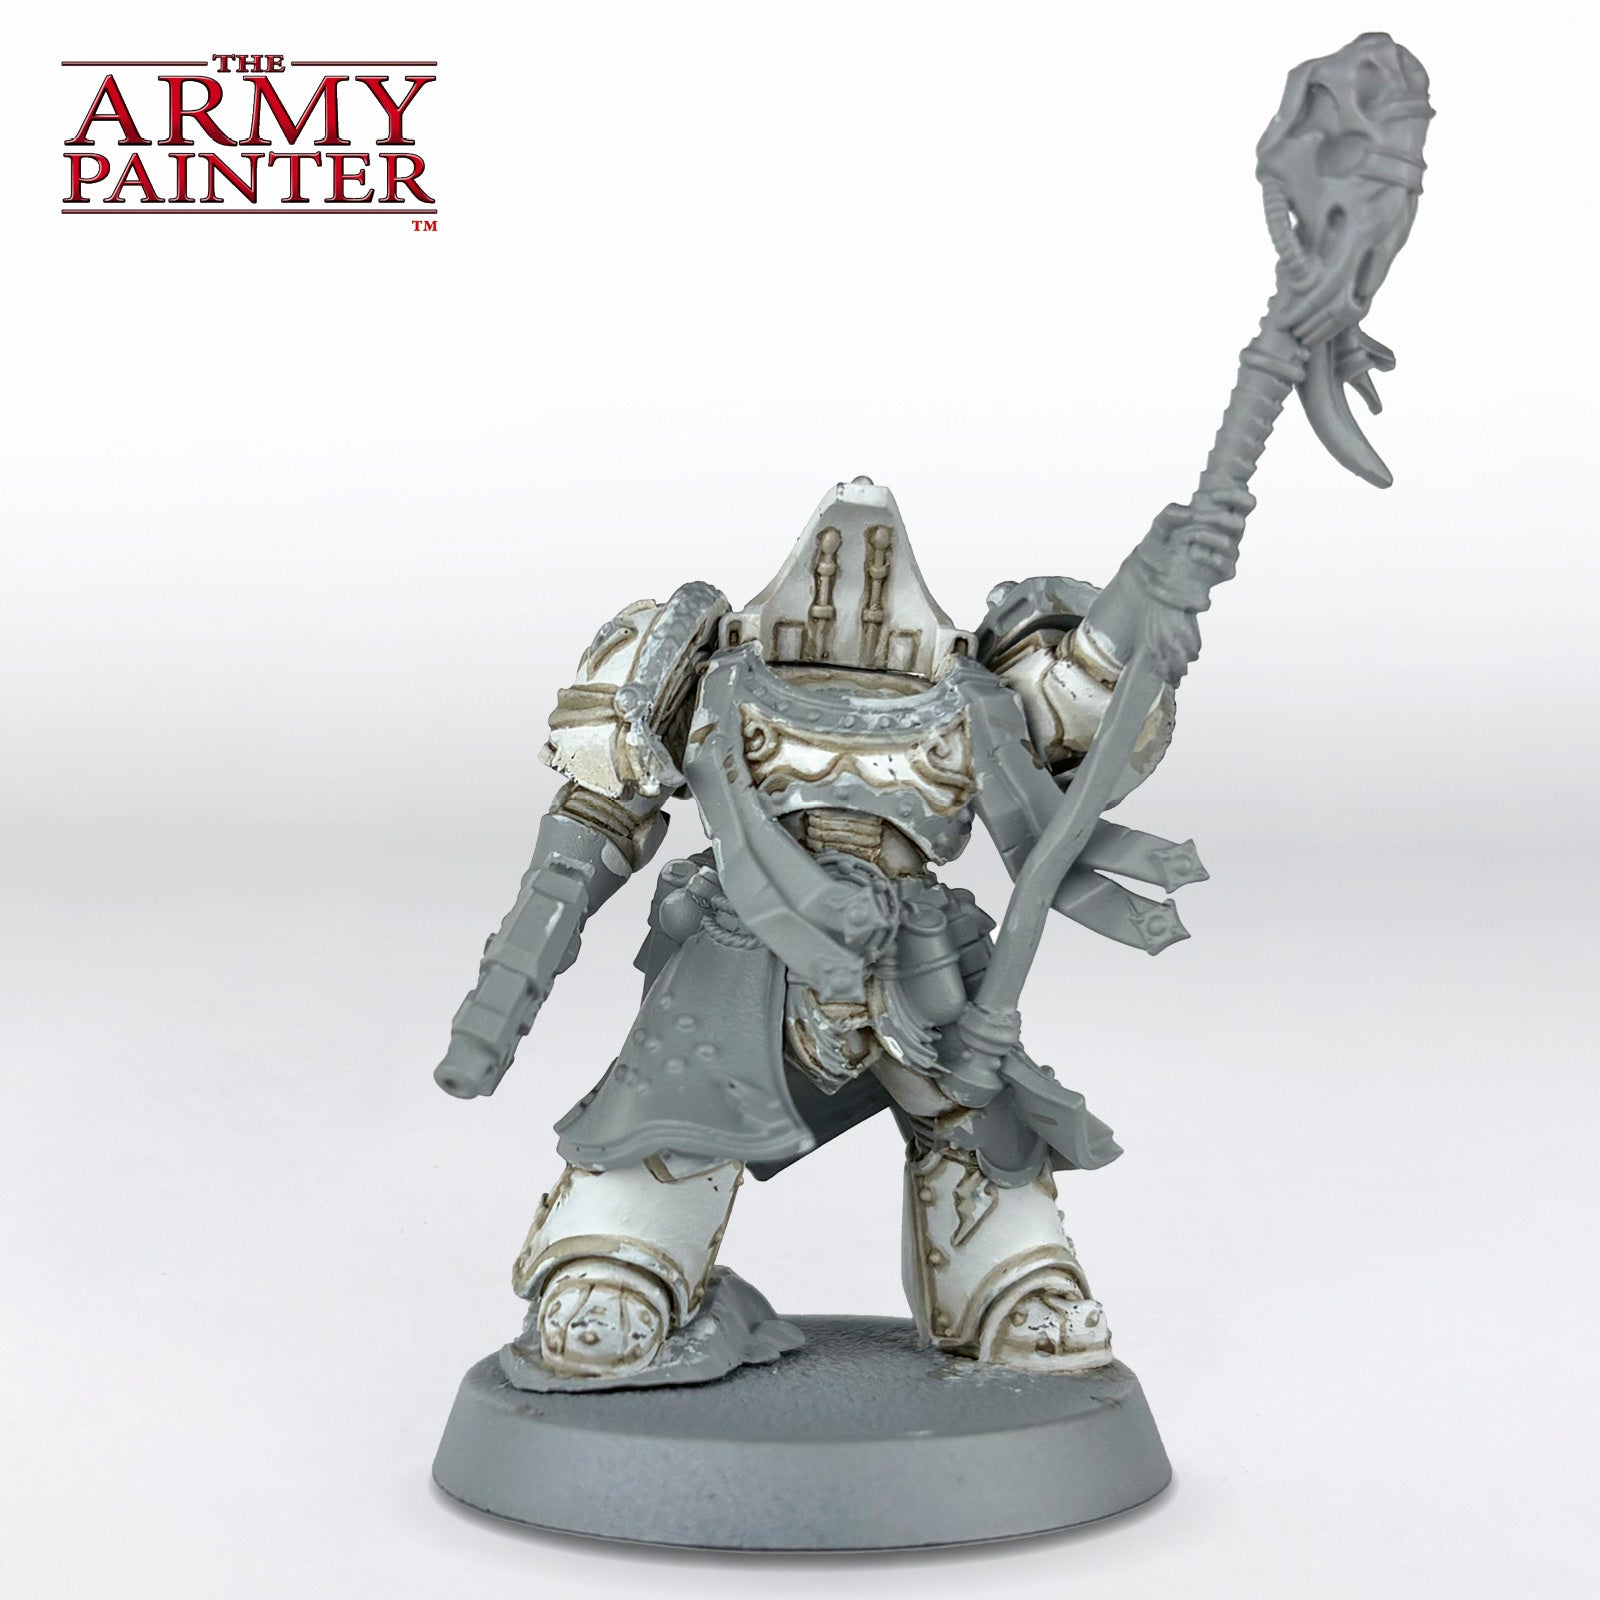
Tidy up any mistakes with Warpaints Fanatic Brigade Grey and soften those gradients on the armour. By thinning the Brigade Grey with a bit of water, you can easily create translucent layers that will let the Strong Tone show through a bit, creating a smooth blend.
Step 5
Next, apply some weathering using a bit of torn sponge and Warpaints Historical Dark Olive. Less is more for the chipping, as it’s easier to go back and add more if needed. You can also cover up any excessive chipping with Brigade Grey again.

Step 6
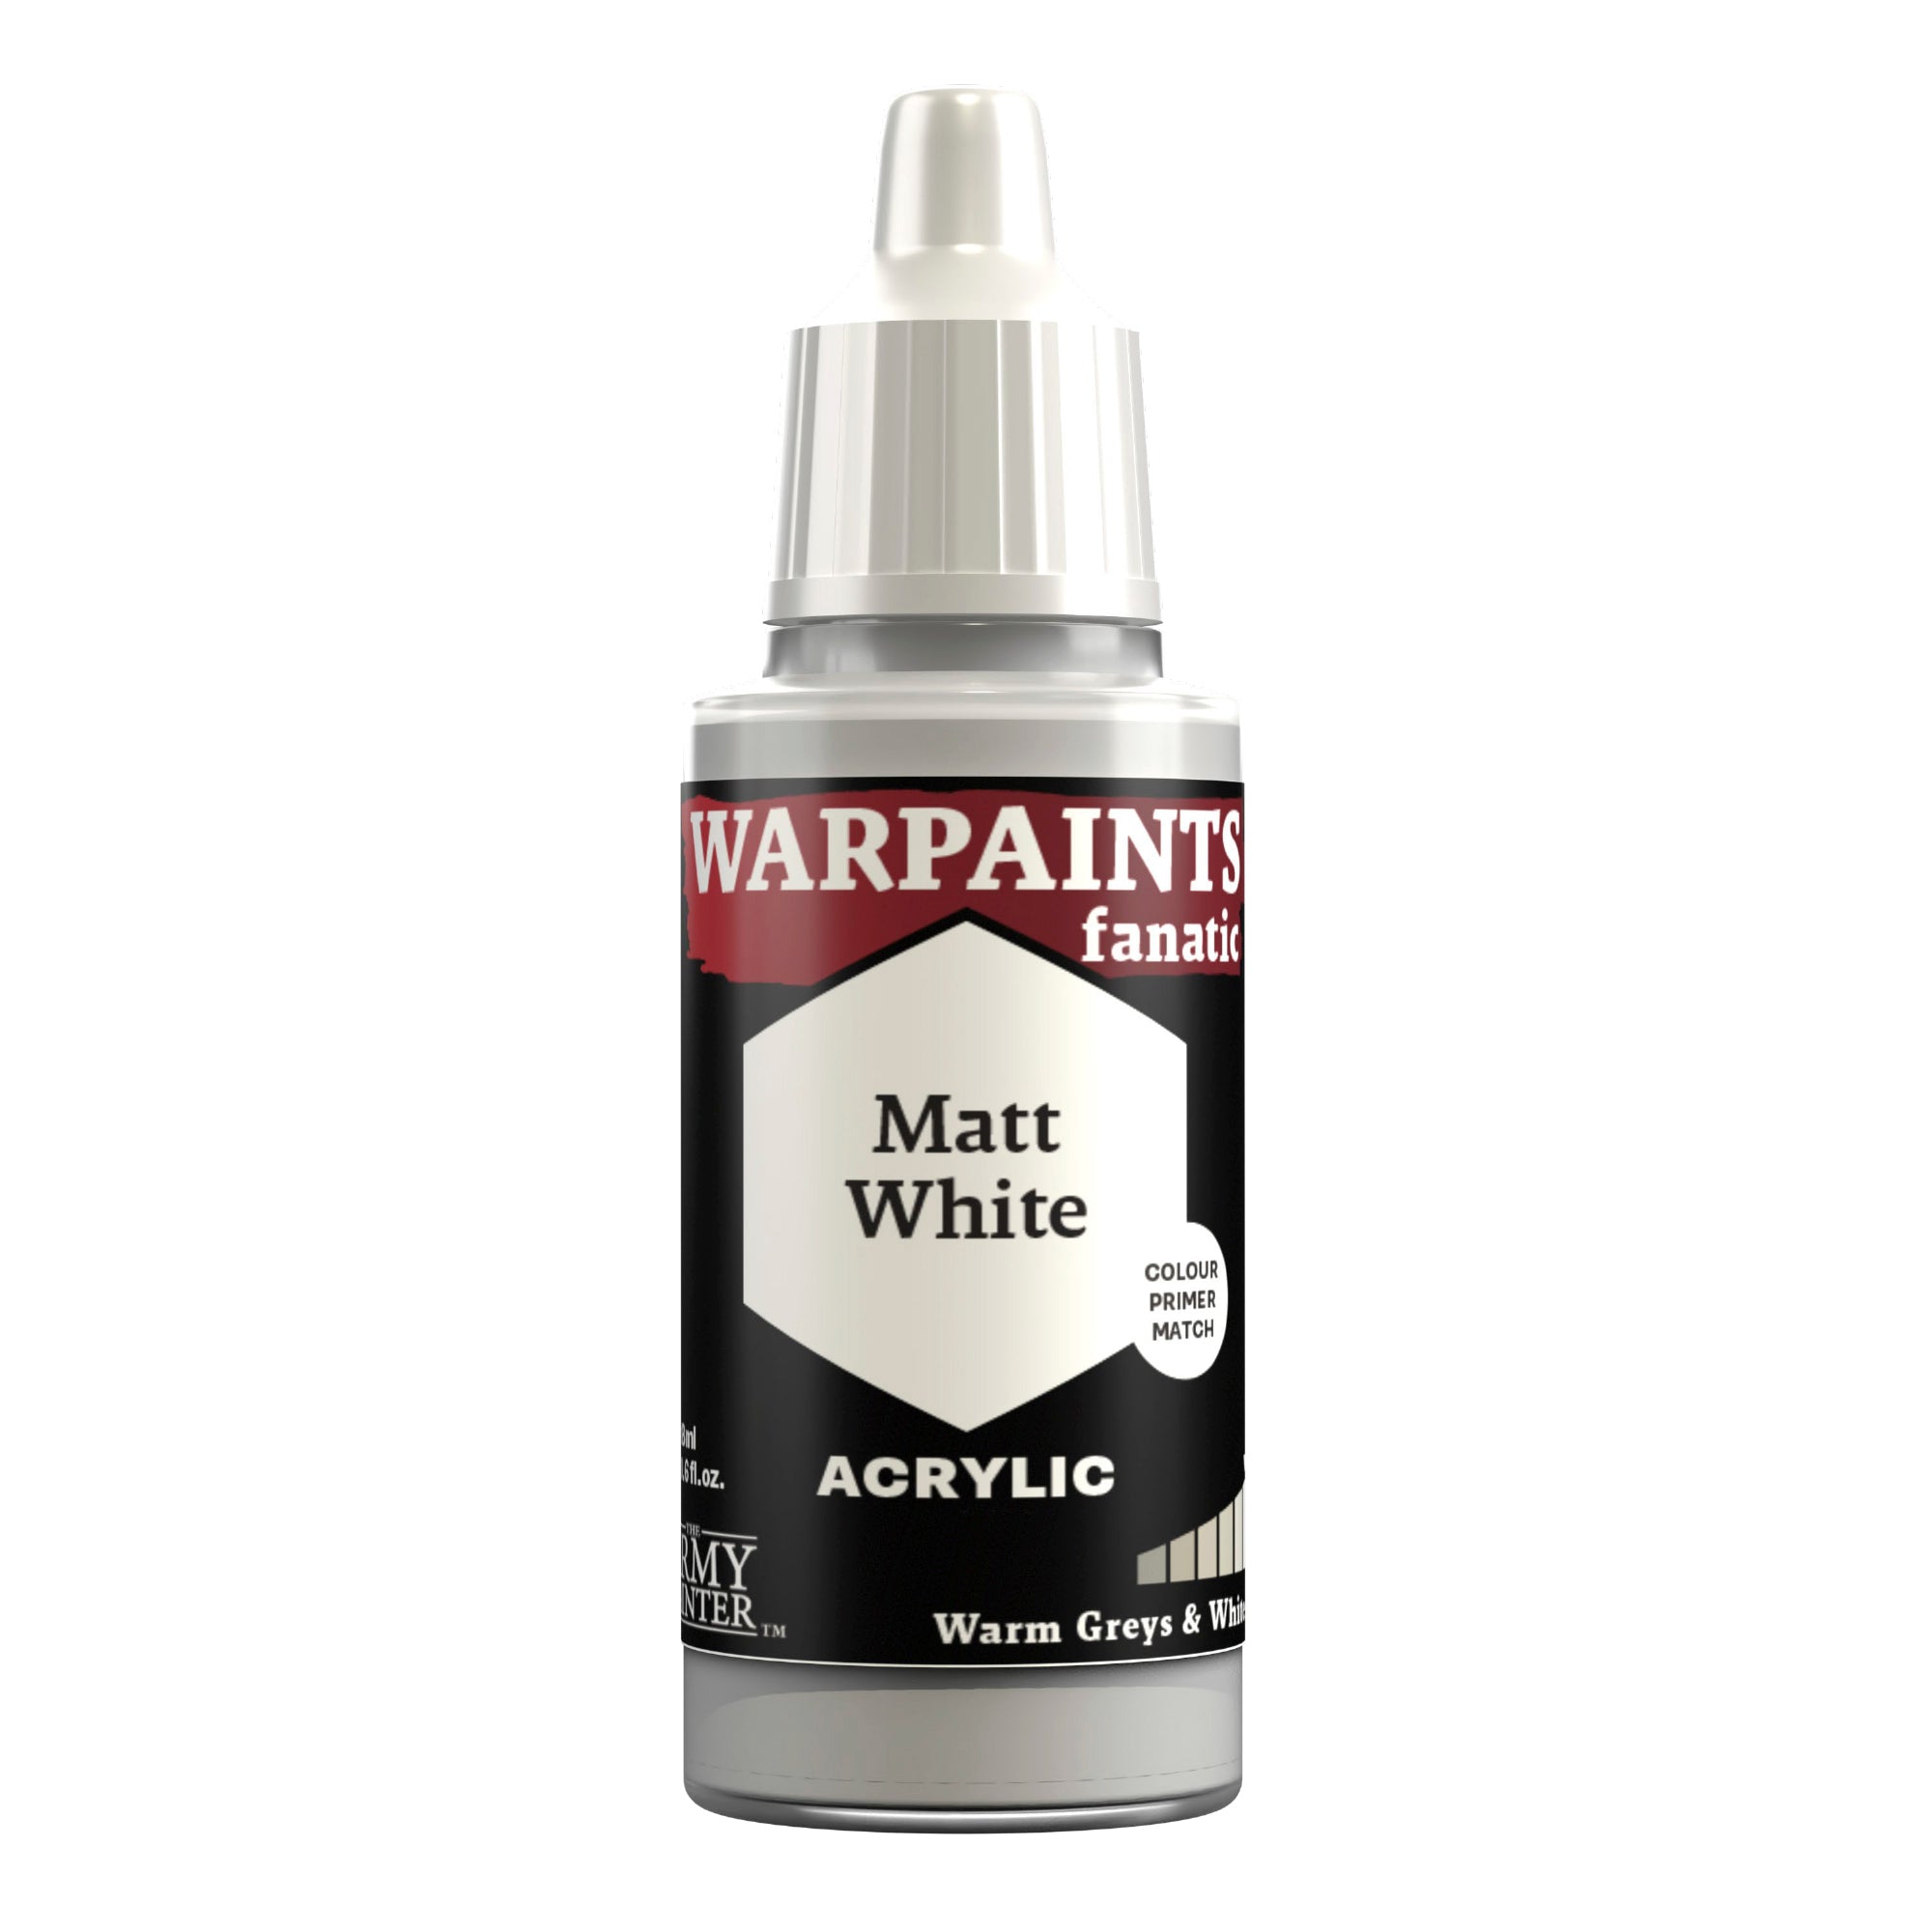
Finally, edge highlight the armour with Warpaints Fanatic Matt White.
The Red Armour
Step 1
Basecoat all the red armour panels with Warpaints Fanatic Pure Red. At this same time, you can paint any of the famous White Scar red jags on the armour. The design on the lower leg was painted by first painting four, evenly spaced red dots to act as the point of each jag, and then just connecting them as triangles, before filling in the design. Remember, you can tidy up any edges on the freehand with Brigade Grey, and some weathering later will also help hide any mistakes.
Step 2
Next, these areas were shaded with Warpaints Fanatic Wash Red Tone. Apply this all over the armour panels and near the bottom of the jag design.
Step 3
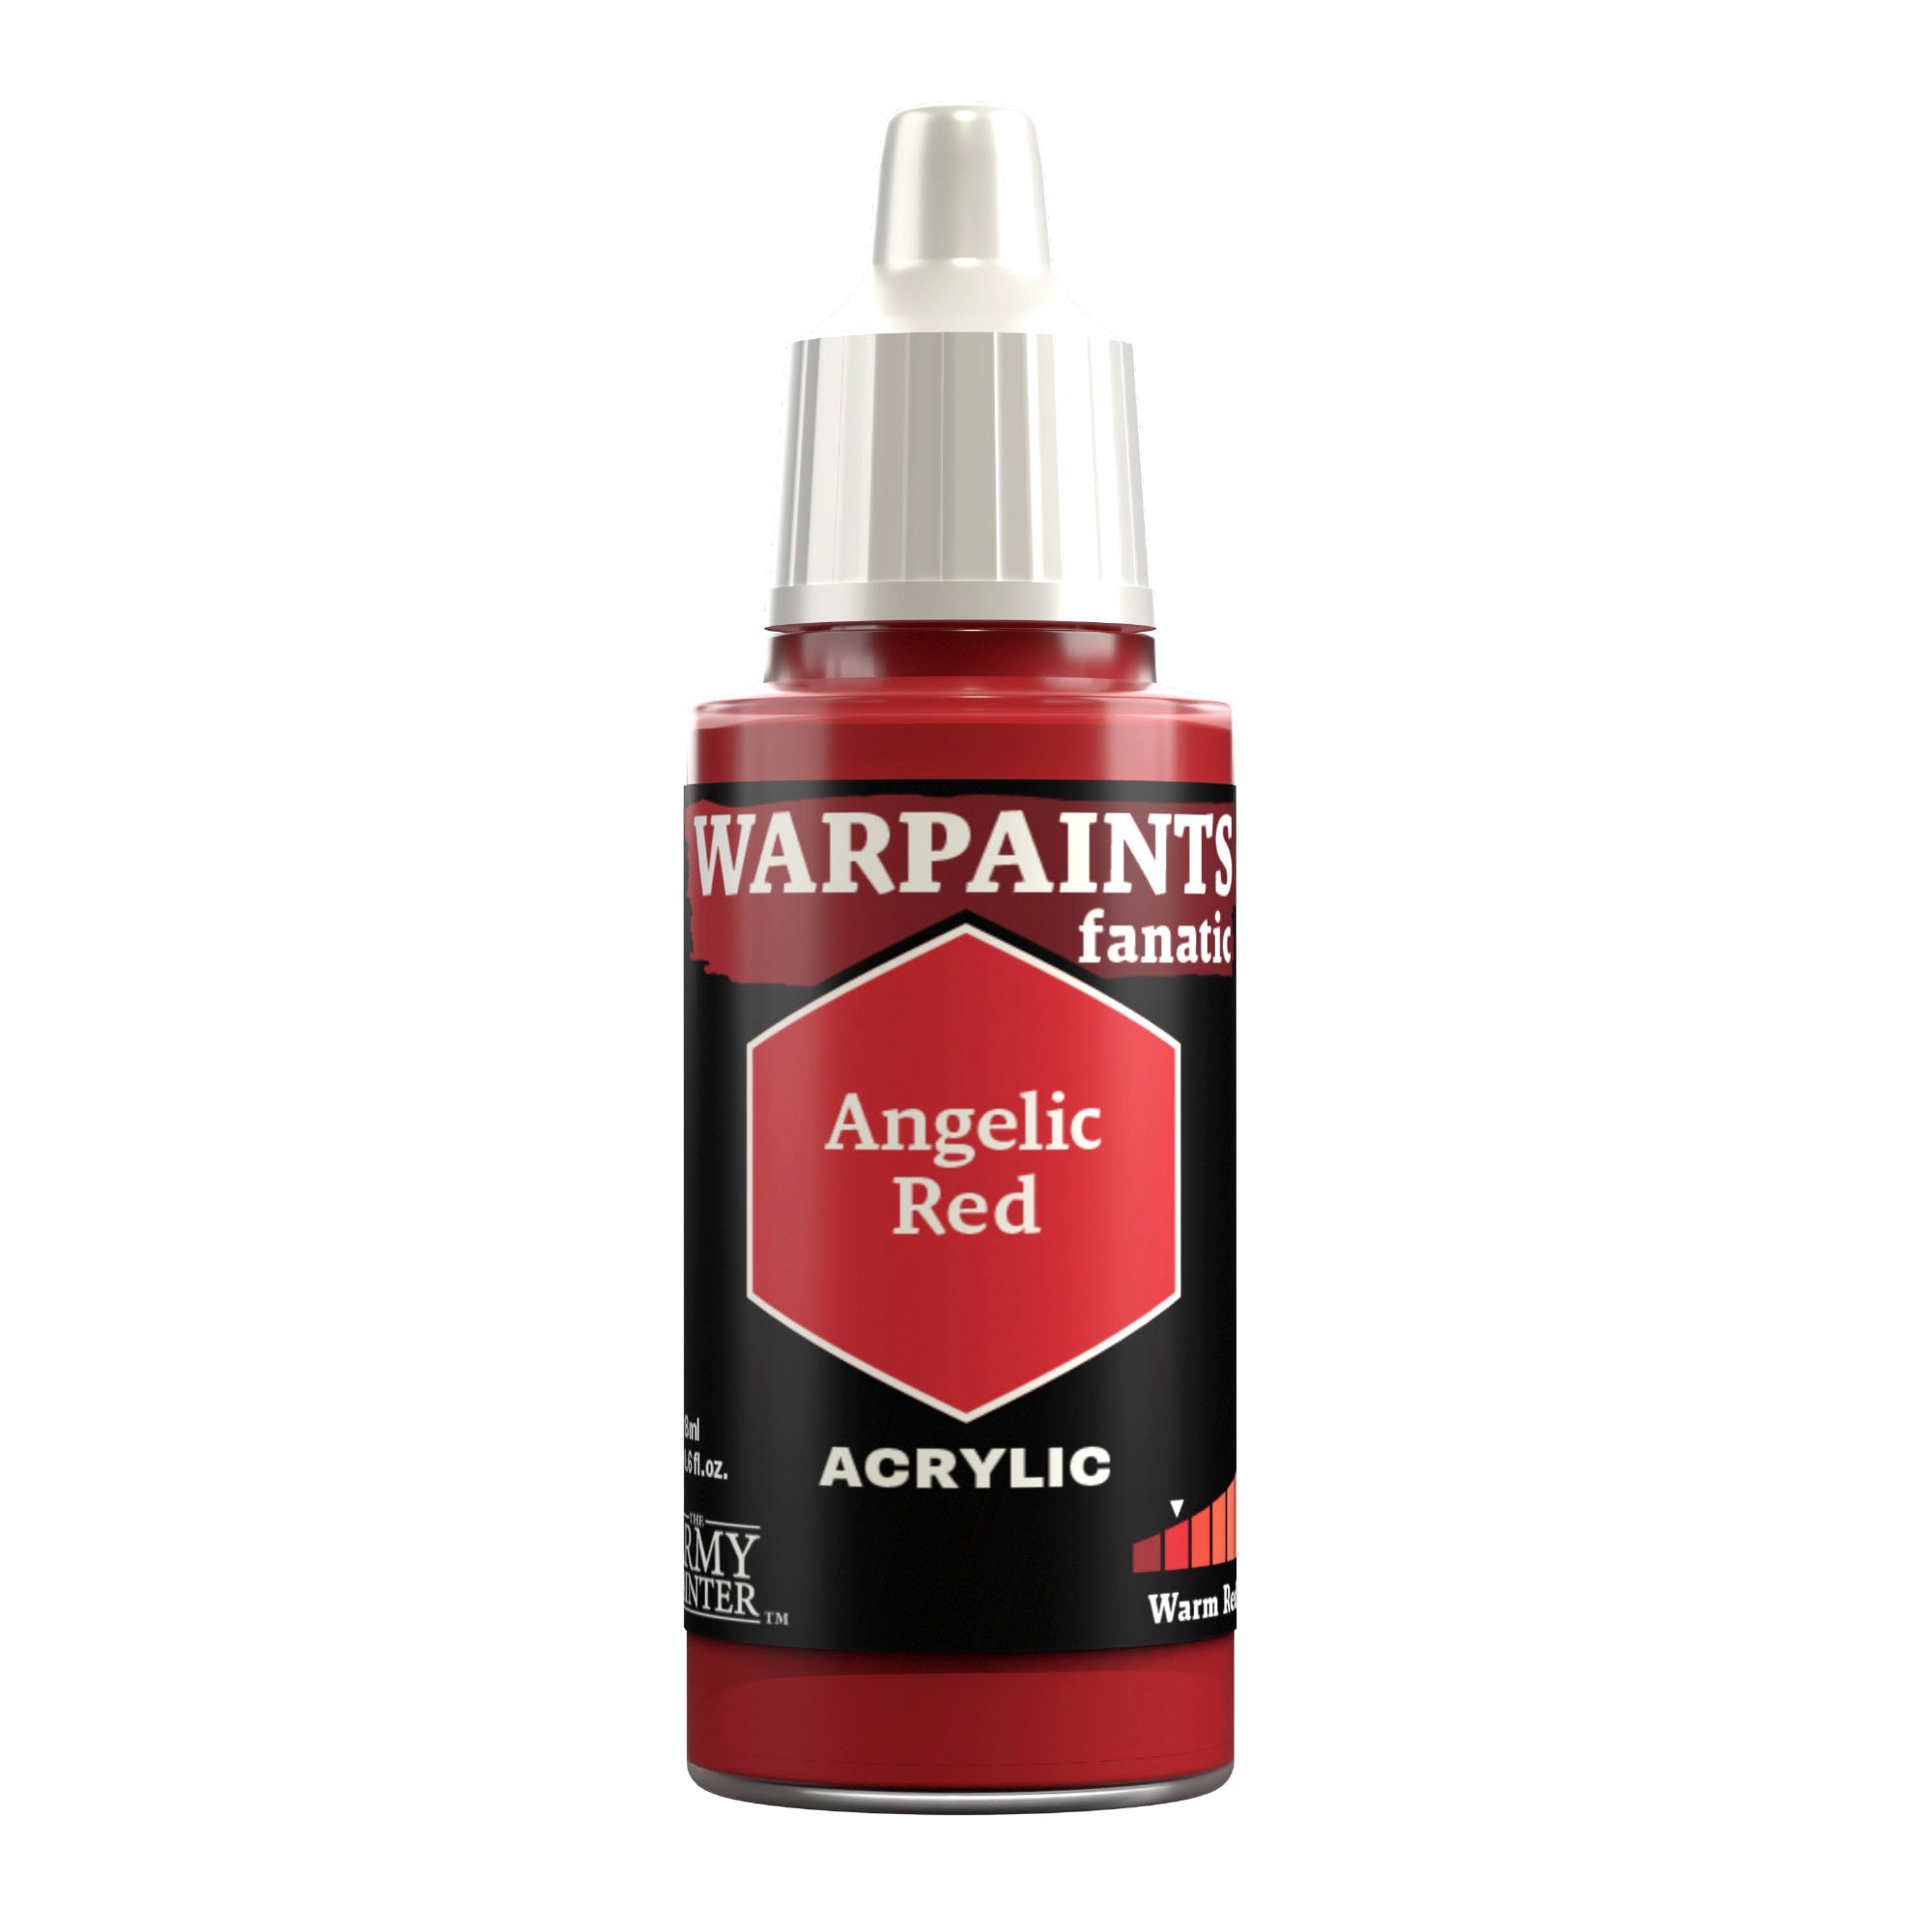
Highlight the edges of the armour panels with Warpaints Fanatic Angelic Red.
Step 4
Follow this with a second, more refined highlight of Warpaints Fanatic Sacred Scarlet.
Step 5
Lastly, go back in with Warpaints Fanatic Brigade Grey and add some weathering and chipping to the jag design on the leg to simulate the paint getting scuffed off.
The Black
Step 1
Basecoat all the black areas on the model with John Blanche Masterclass Ironclad Grey. I held off on painting the casing for the bolt pistol, but ended up painting it in the same manner, so you can go ahead and paint that now too.

Step 2
Next, shade these areas with an all-over wash of Warpaints Fanatic Wash Dark Tone.
Step 3
Highlight the edges of the black areas with Warpaints Fanatic Uniform Grey.
Step 4
Lastly, add a final, specular highlight of Warpaints Fanatic Ash Grey on the corners.
The Leathers
Step 1
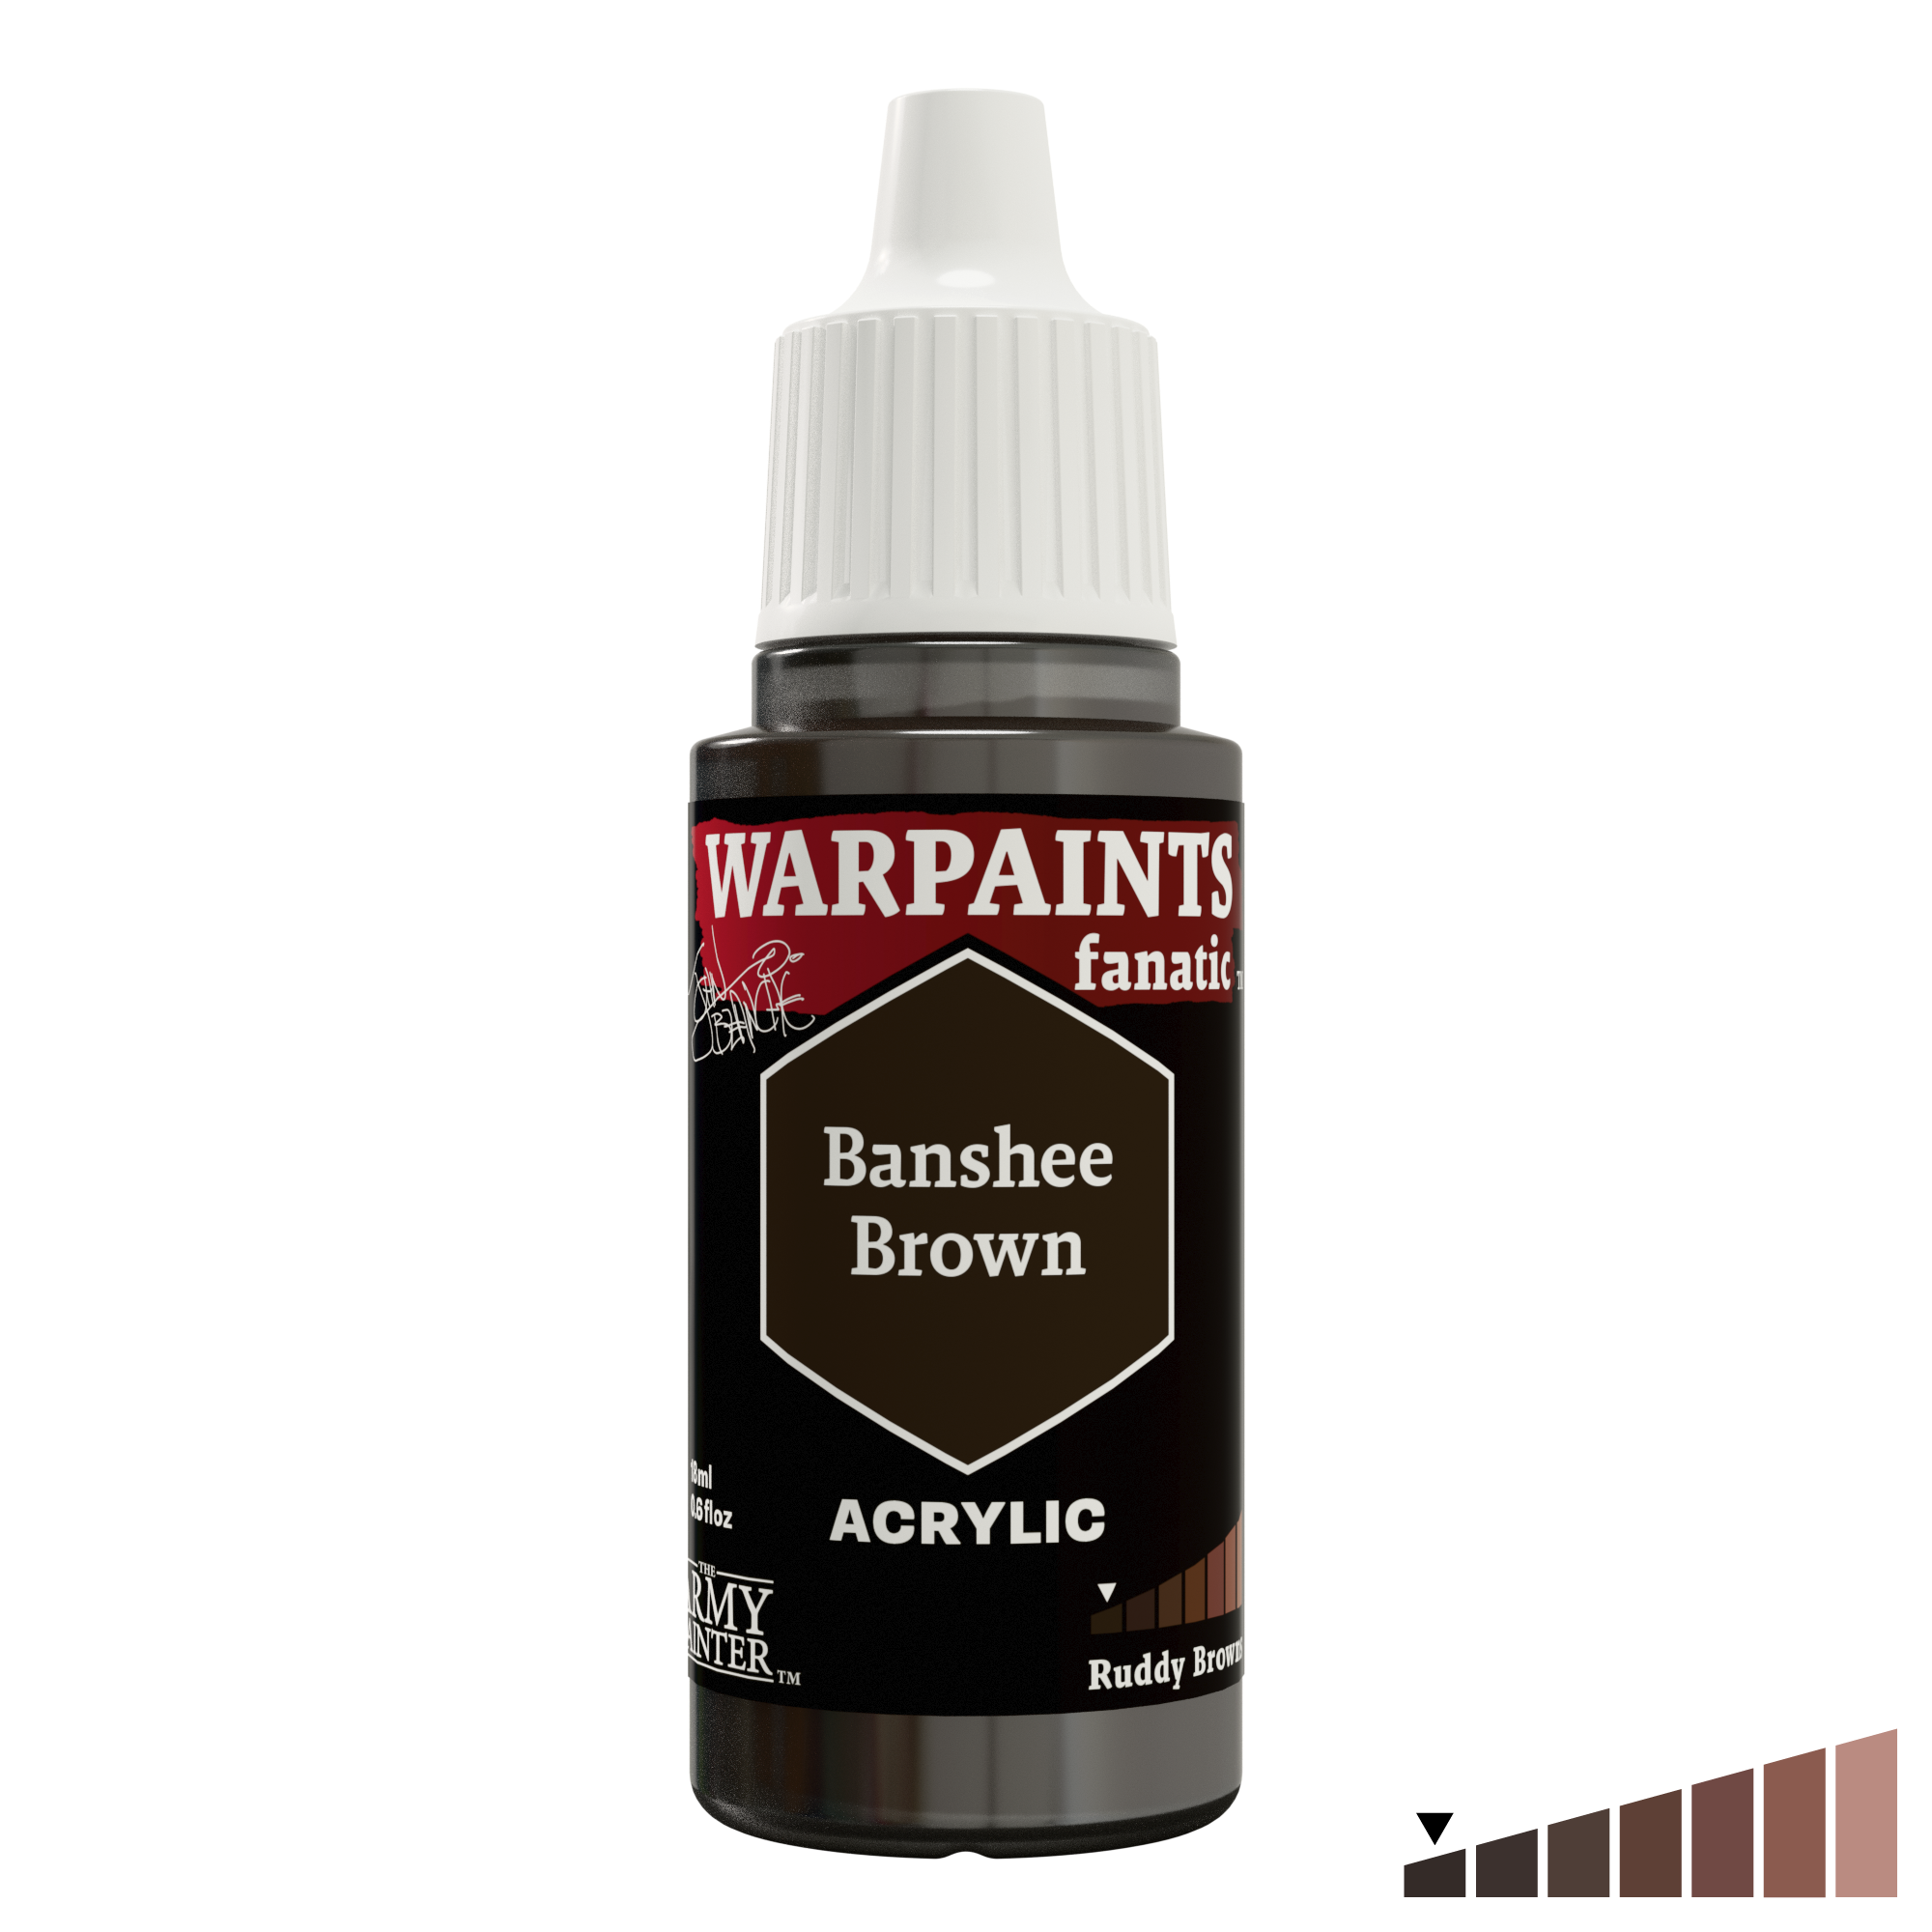
Basecoat all the brown and red leathers with John Blanch Masterclass Banshee Brown.
Step 2
Next, shade them with a wash of Warpaints Fanatic Wash Dark Skin Shade.
Step 3
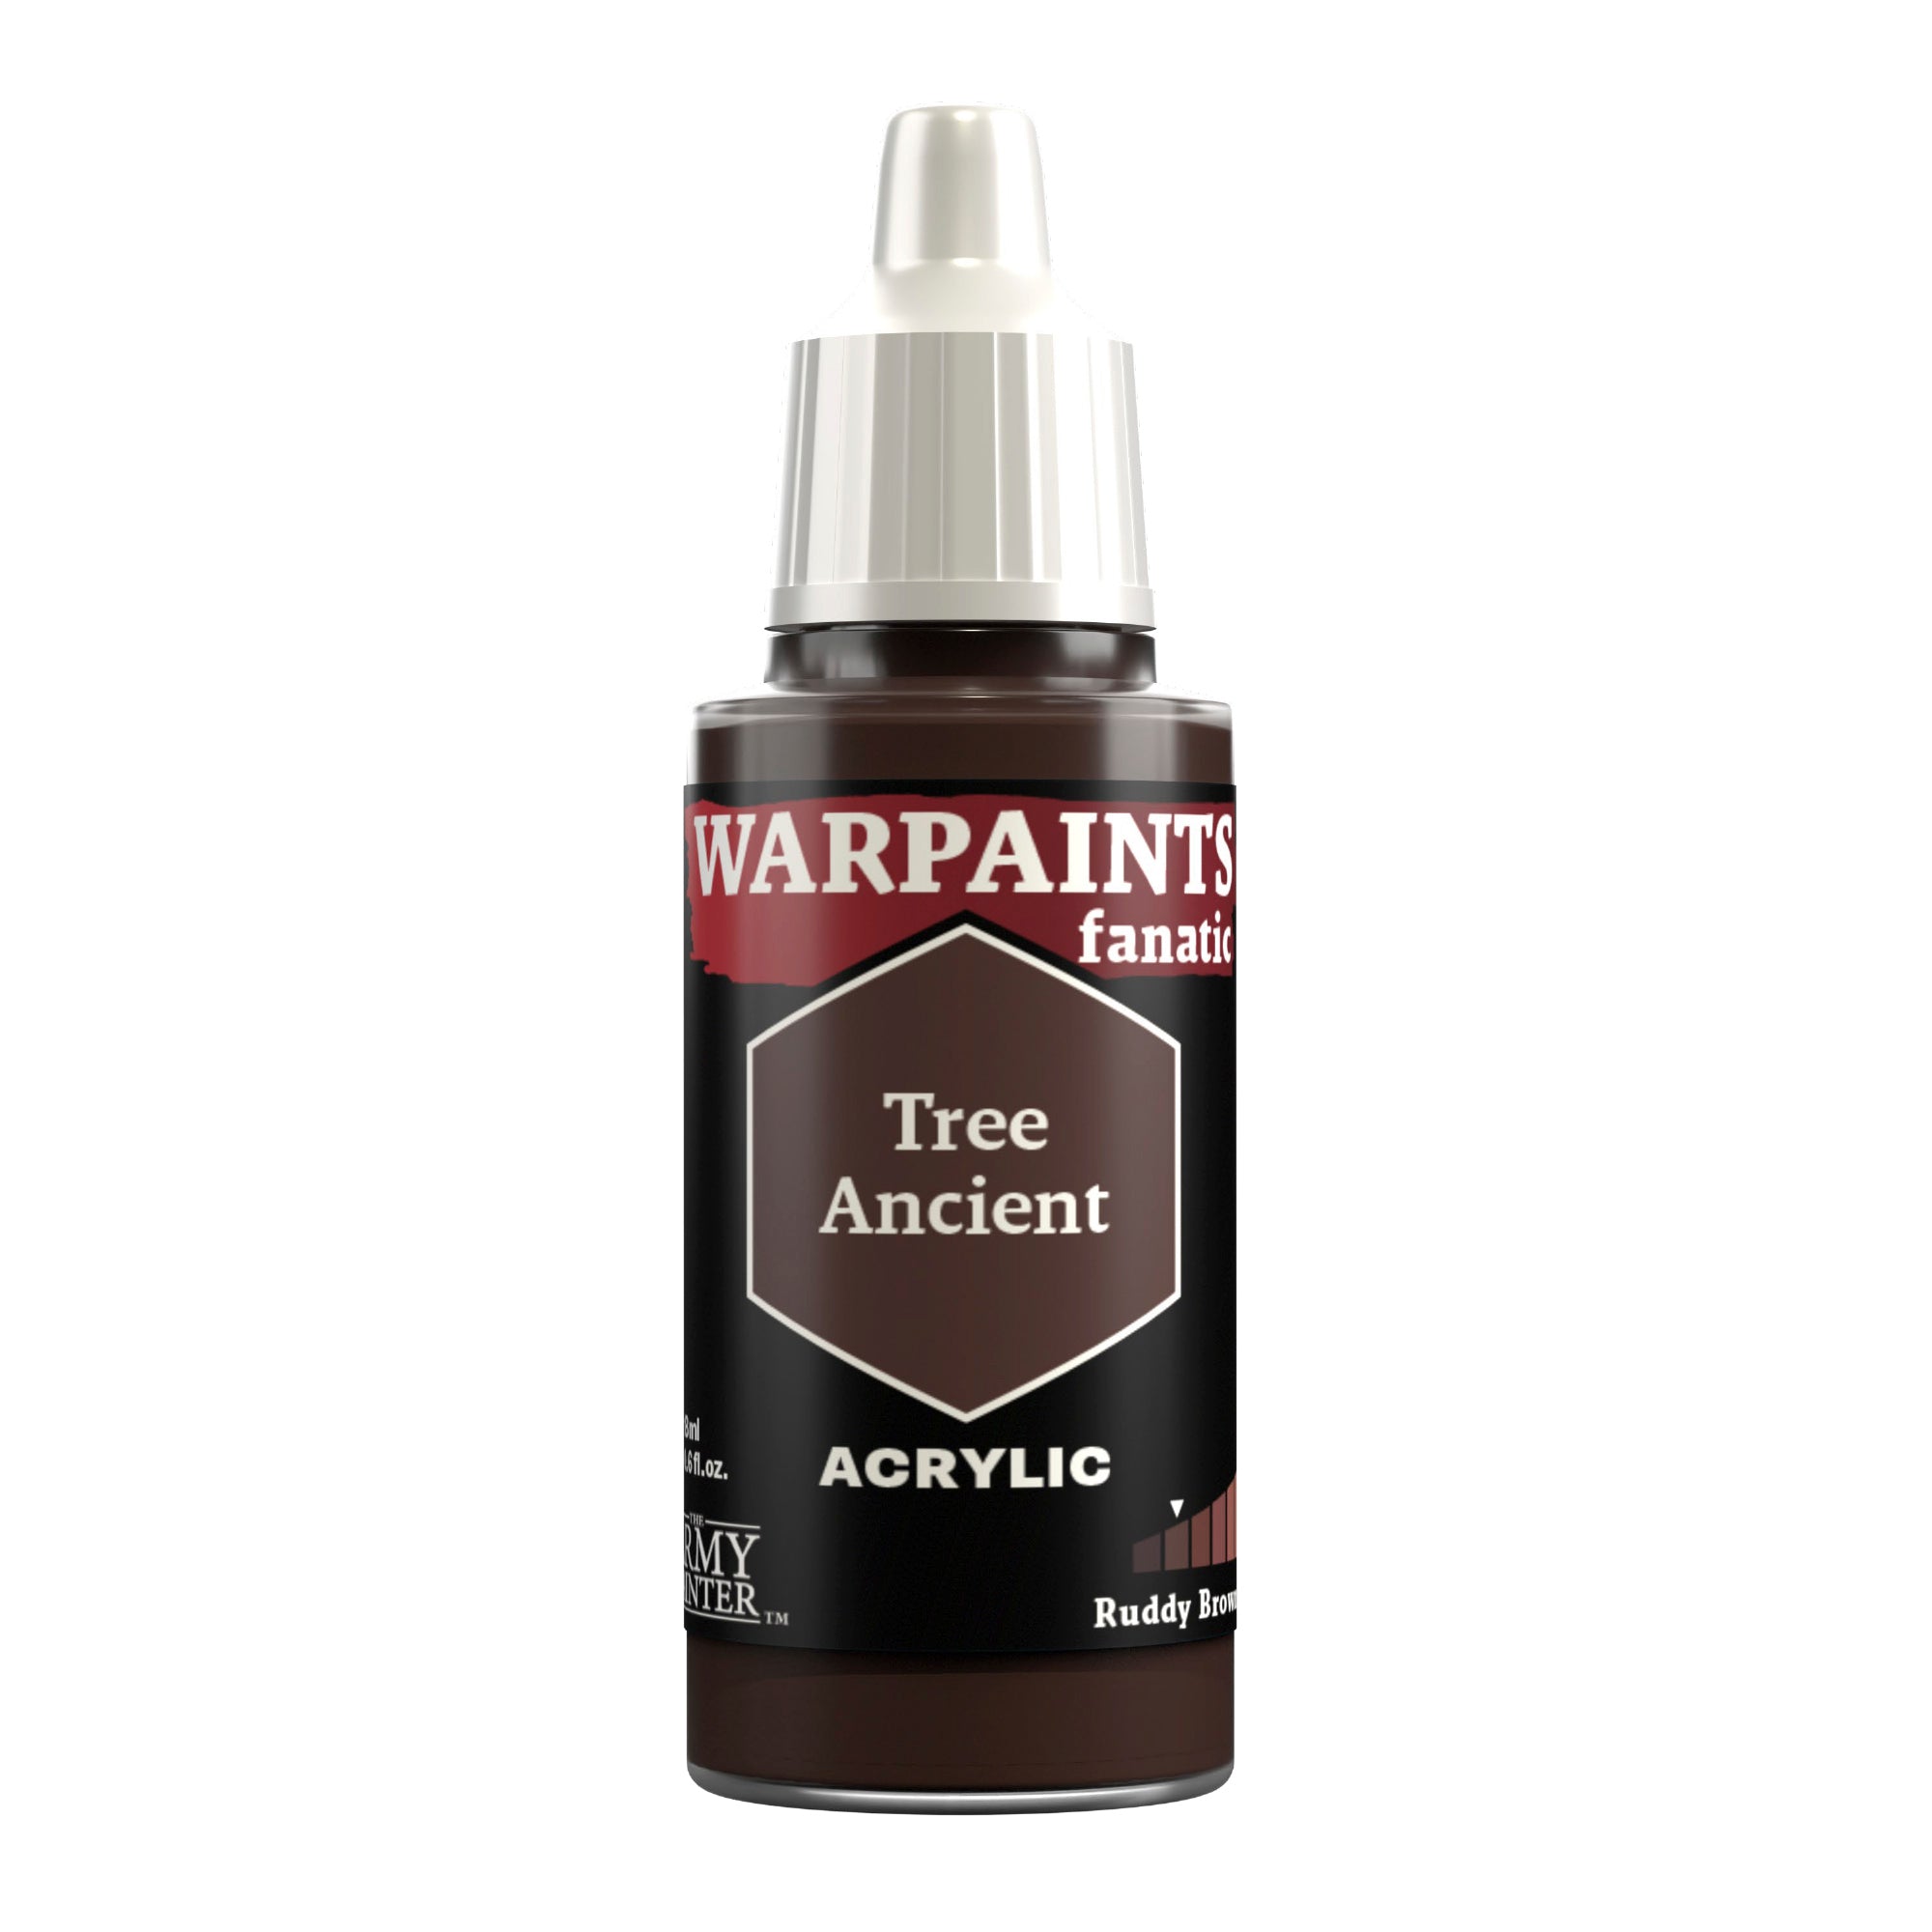
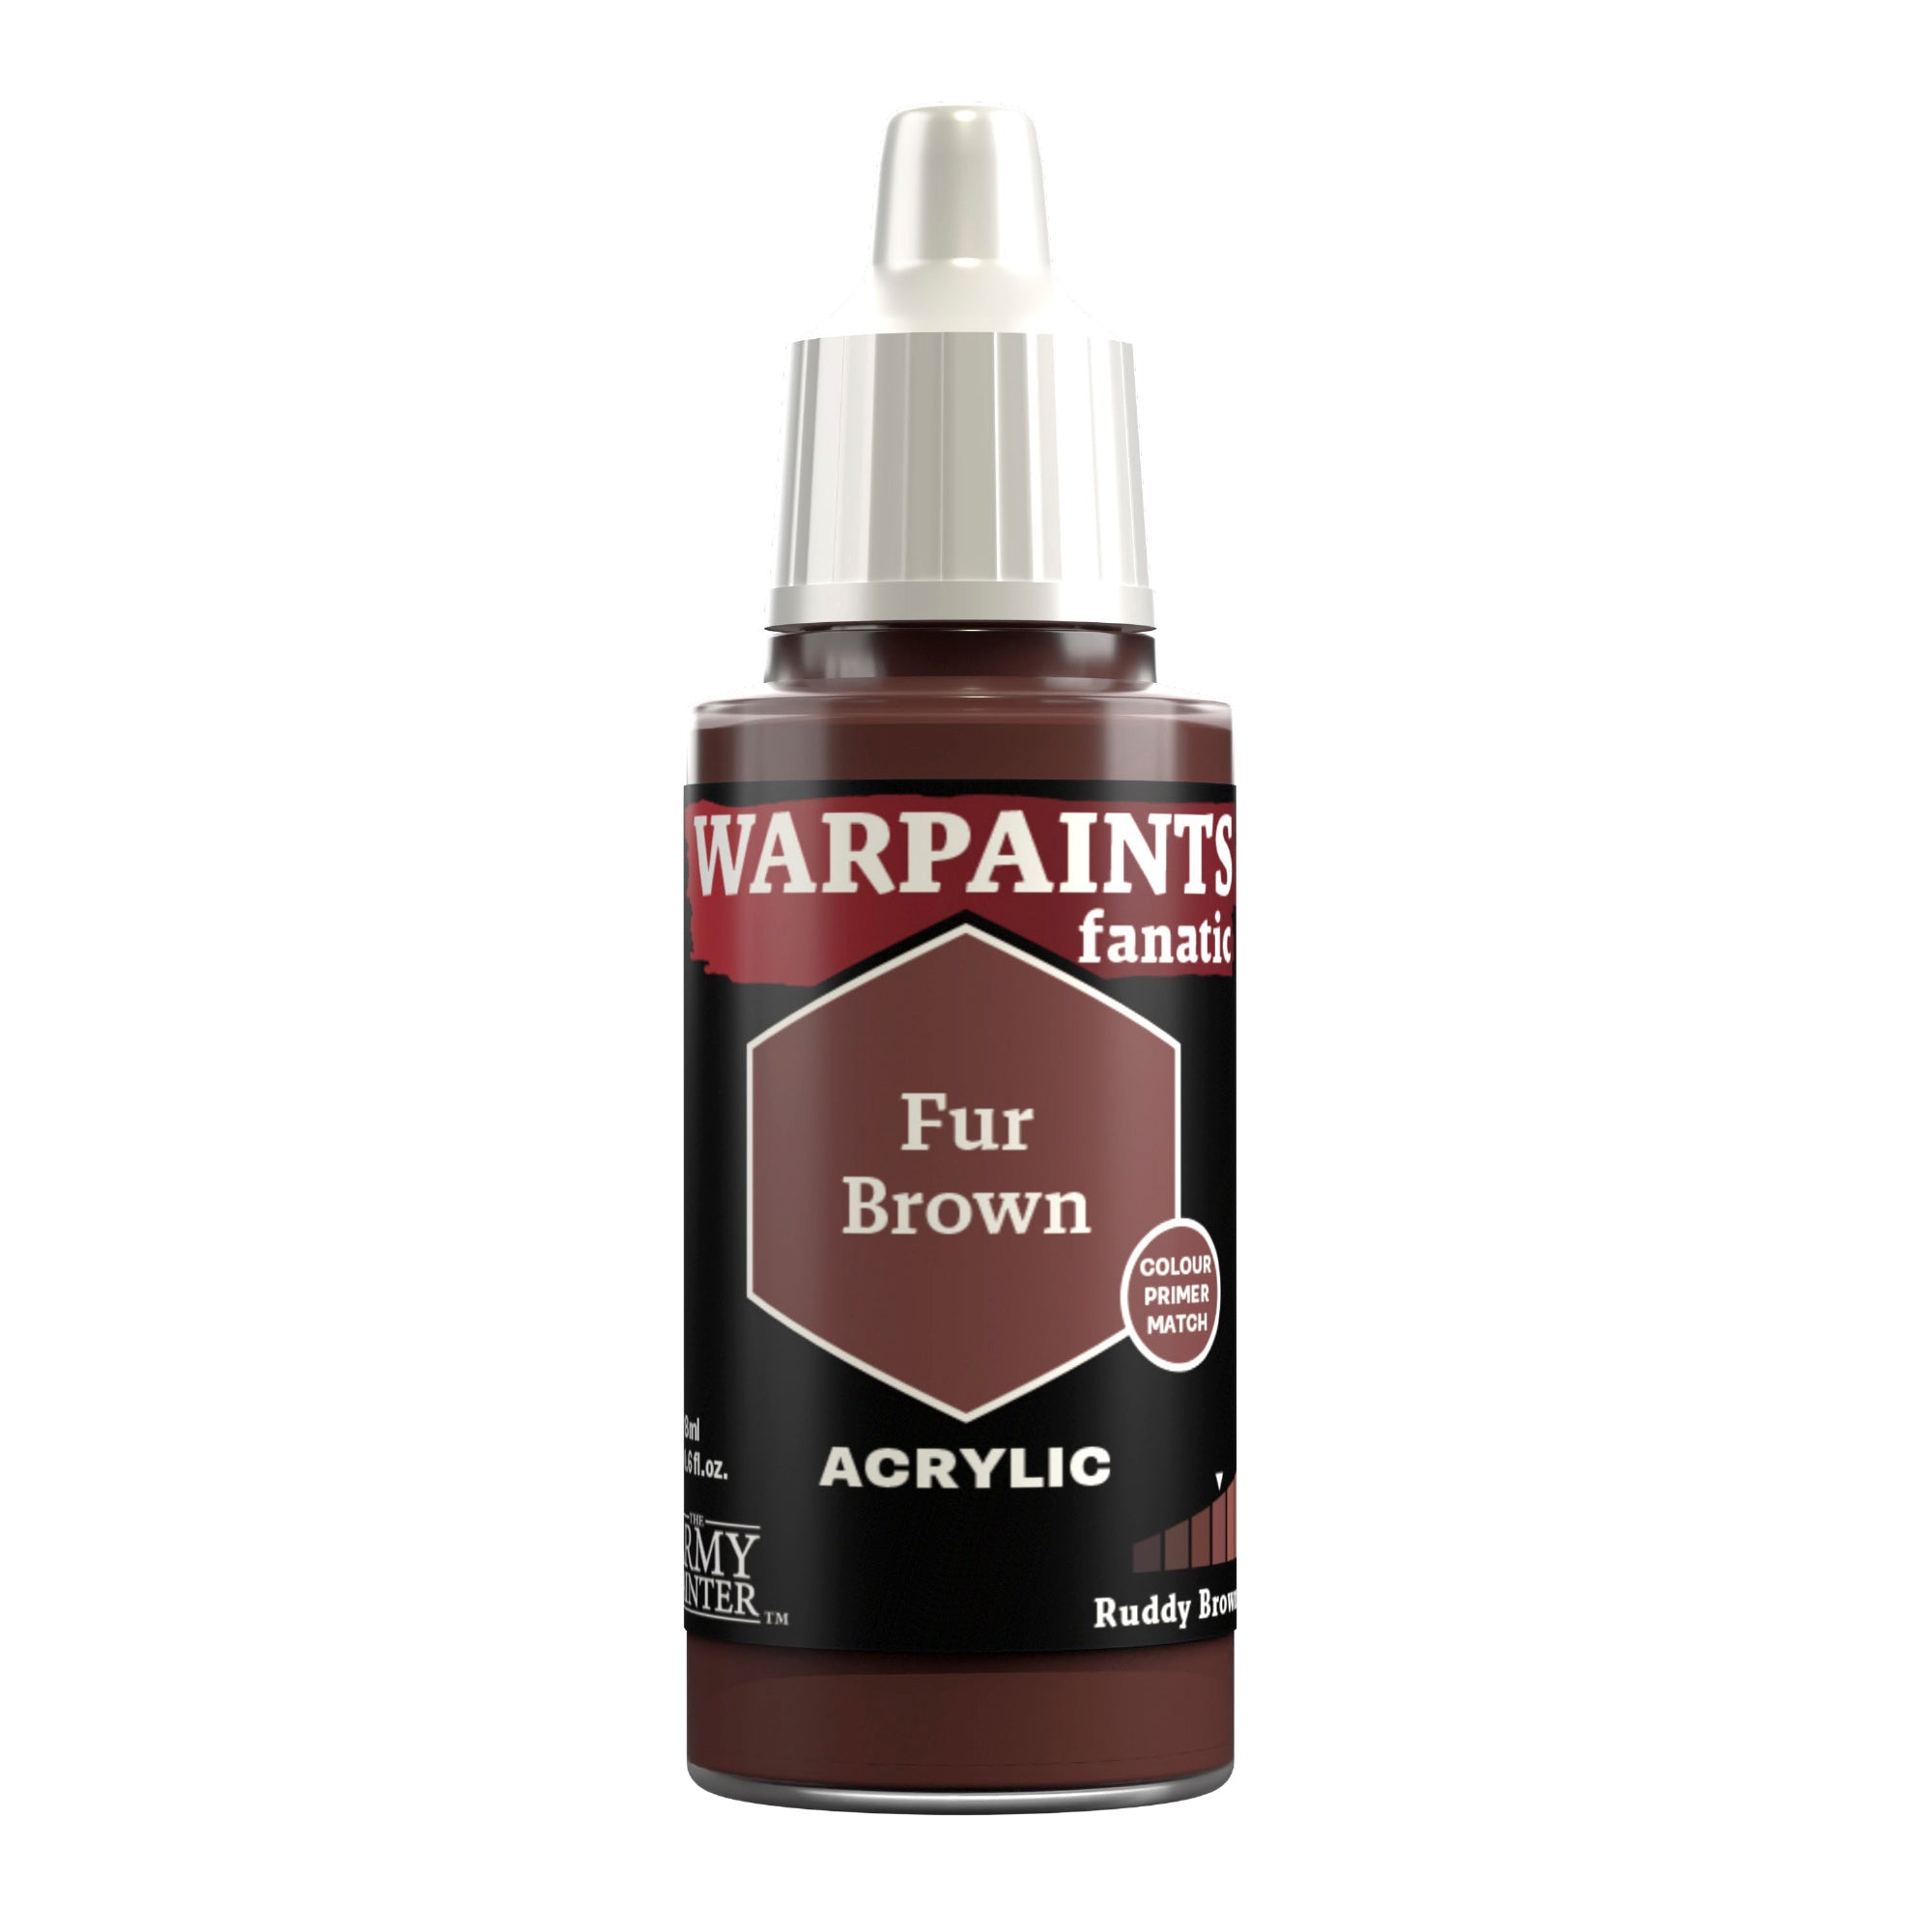
Highlight the areas that will remain brown with Warpaints Fanatic Tree Ancient, and a final, more refined highlight of Warpaints Fanatic Fur Brown.
Step 4
Basecoat the more vibrant red leather with Warpaints Historical Beret Maroon and the darker red leather areas with a 1:1 mix of Warpaints Historical Beret Maroon and John Blanche Masterclass Banshee Brown.
Step 5
Shade both these areas with Warpaints Fanatic Wash Dark Skin Shade.
Step 6
Next, apply a highlight of Warpaints Historical Beret Maroon to both areas.
Step 7
Follow this up with another highlight of Warpaints Fanatic Pure Red on the more vibrant red area, and then a final selective highlight of Warpaints Fanatic Fur Brown on both areas.
The Bone, Trinkets, and Fur
Step 1
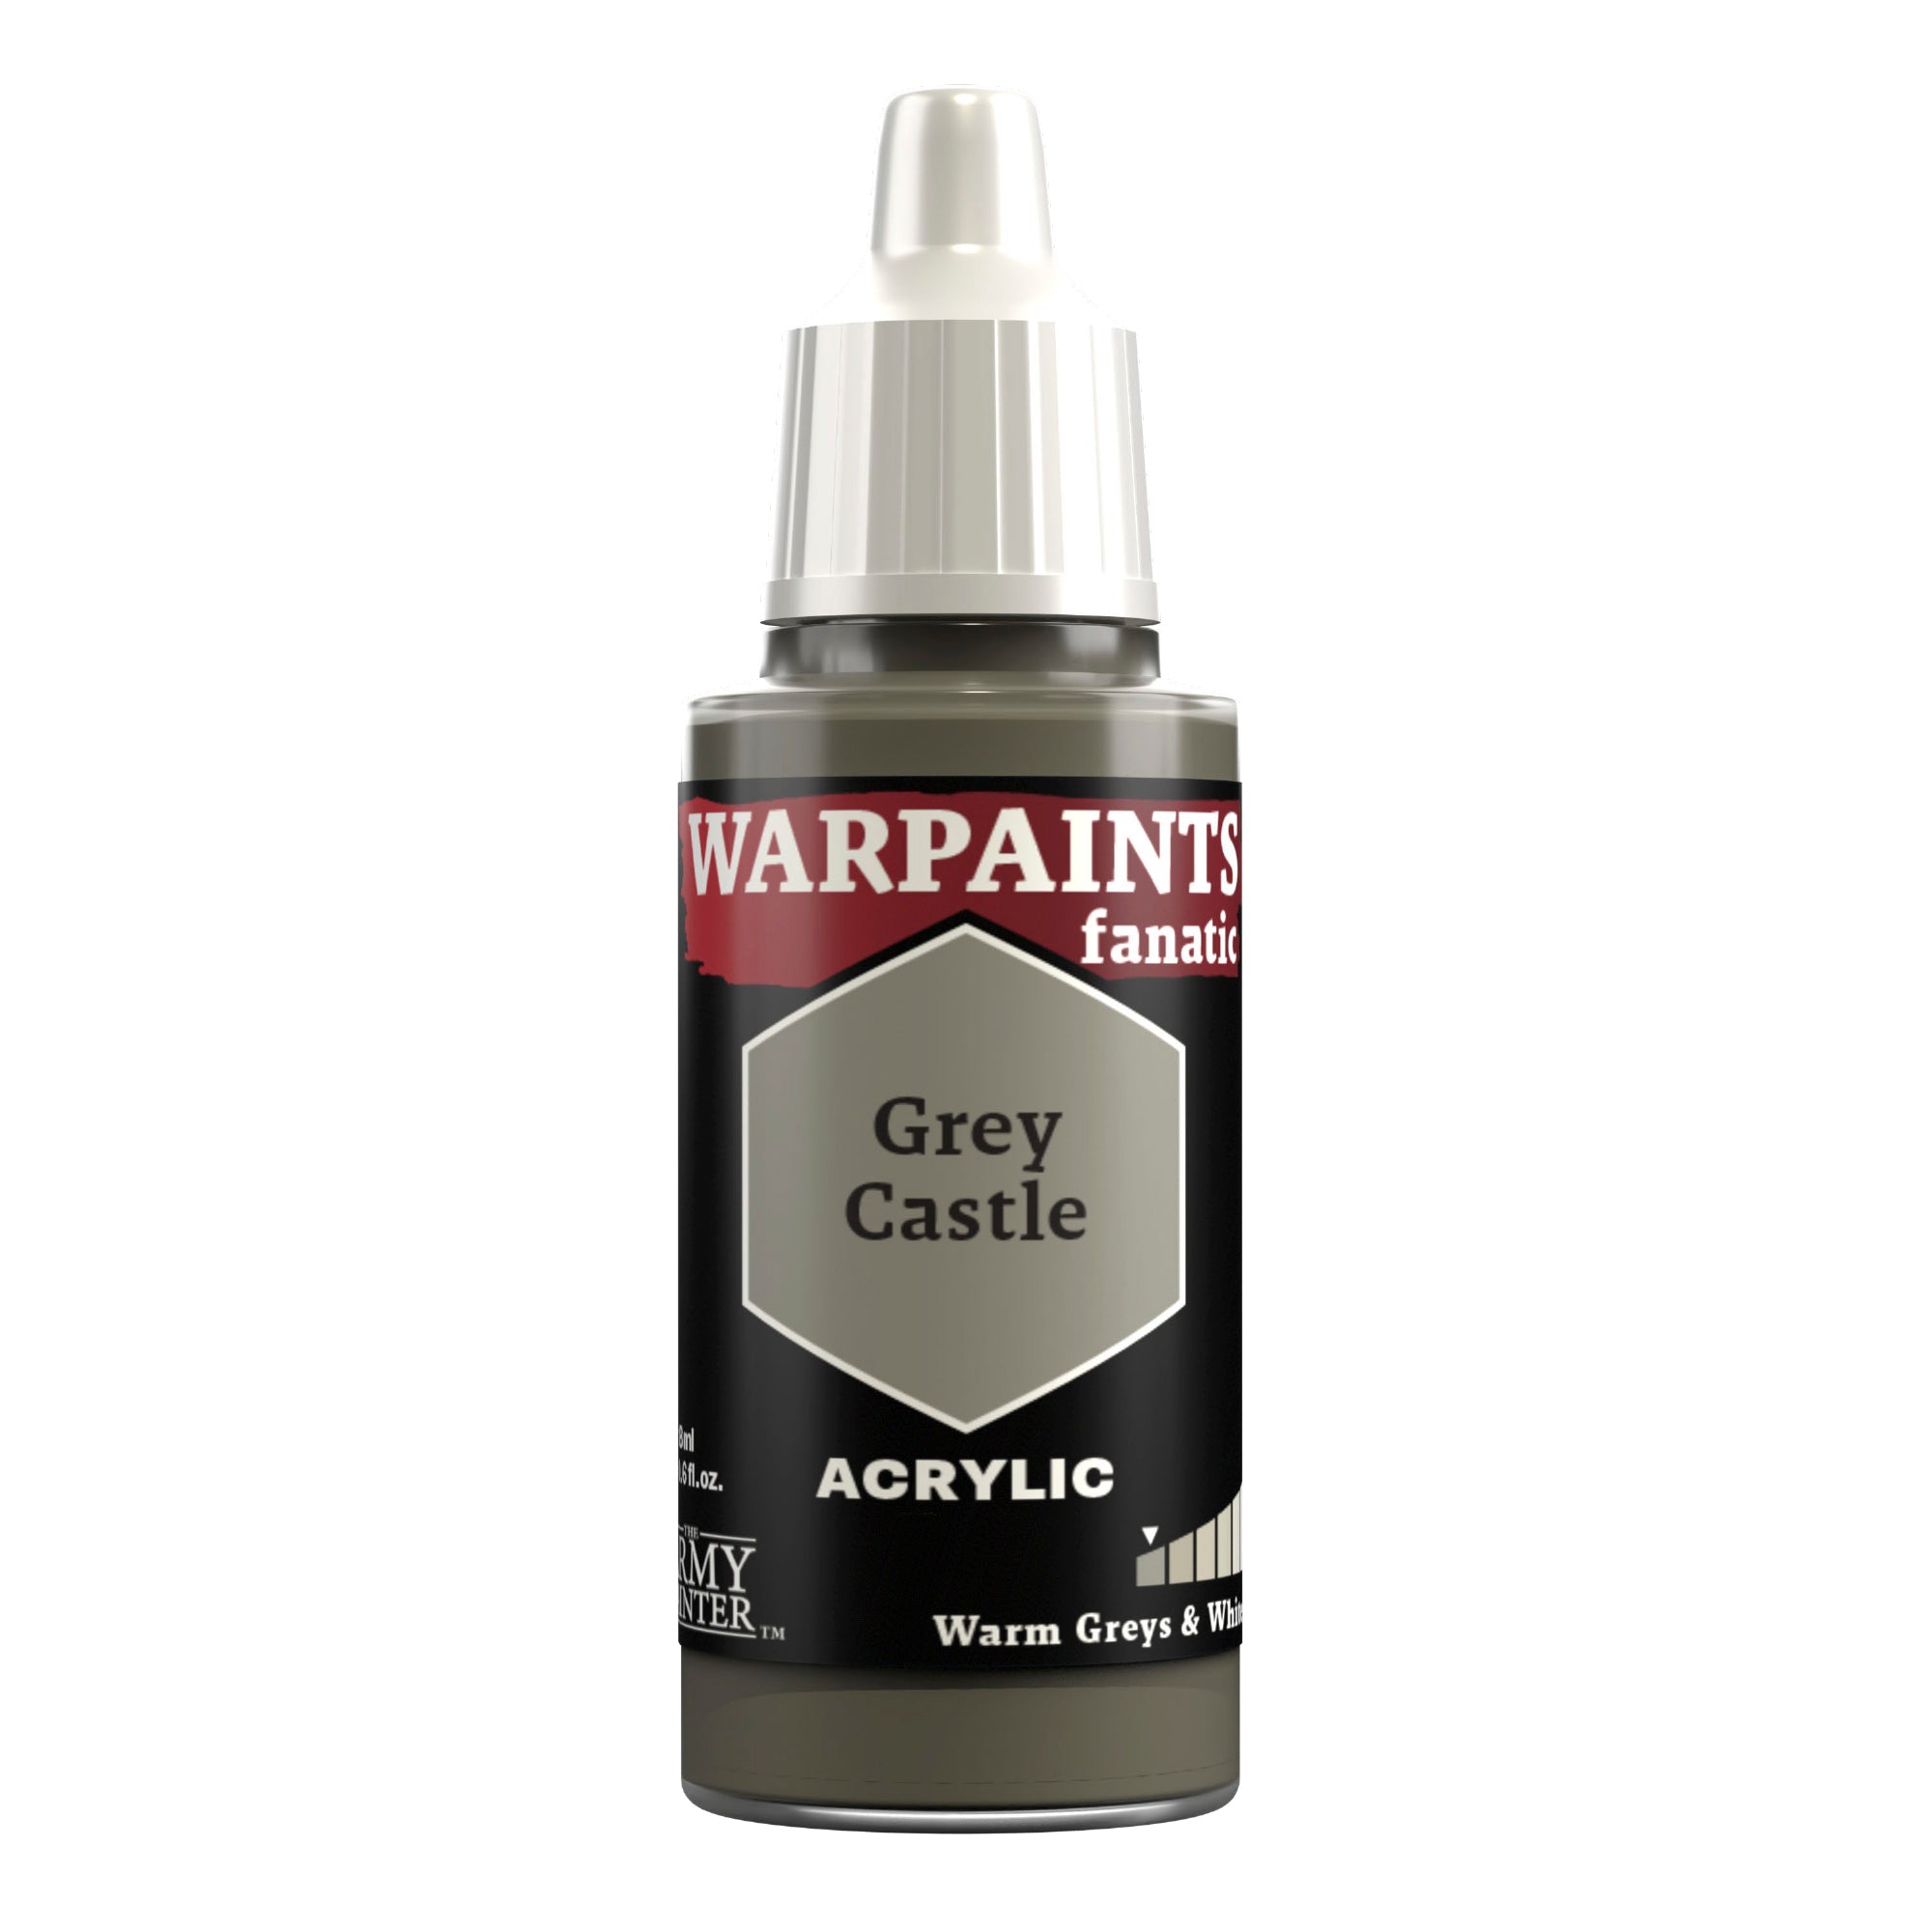
Basecoat both the fur and the hairy tassels with Warpaints Fanatic Grey Castle.
Step 2
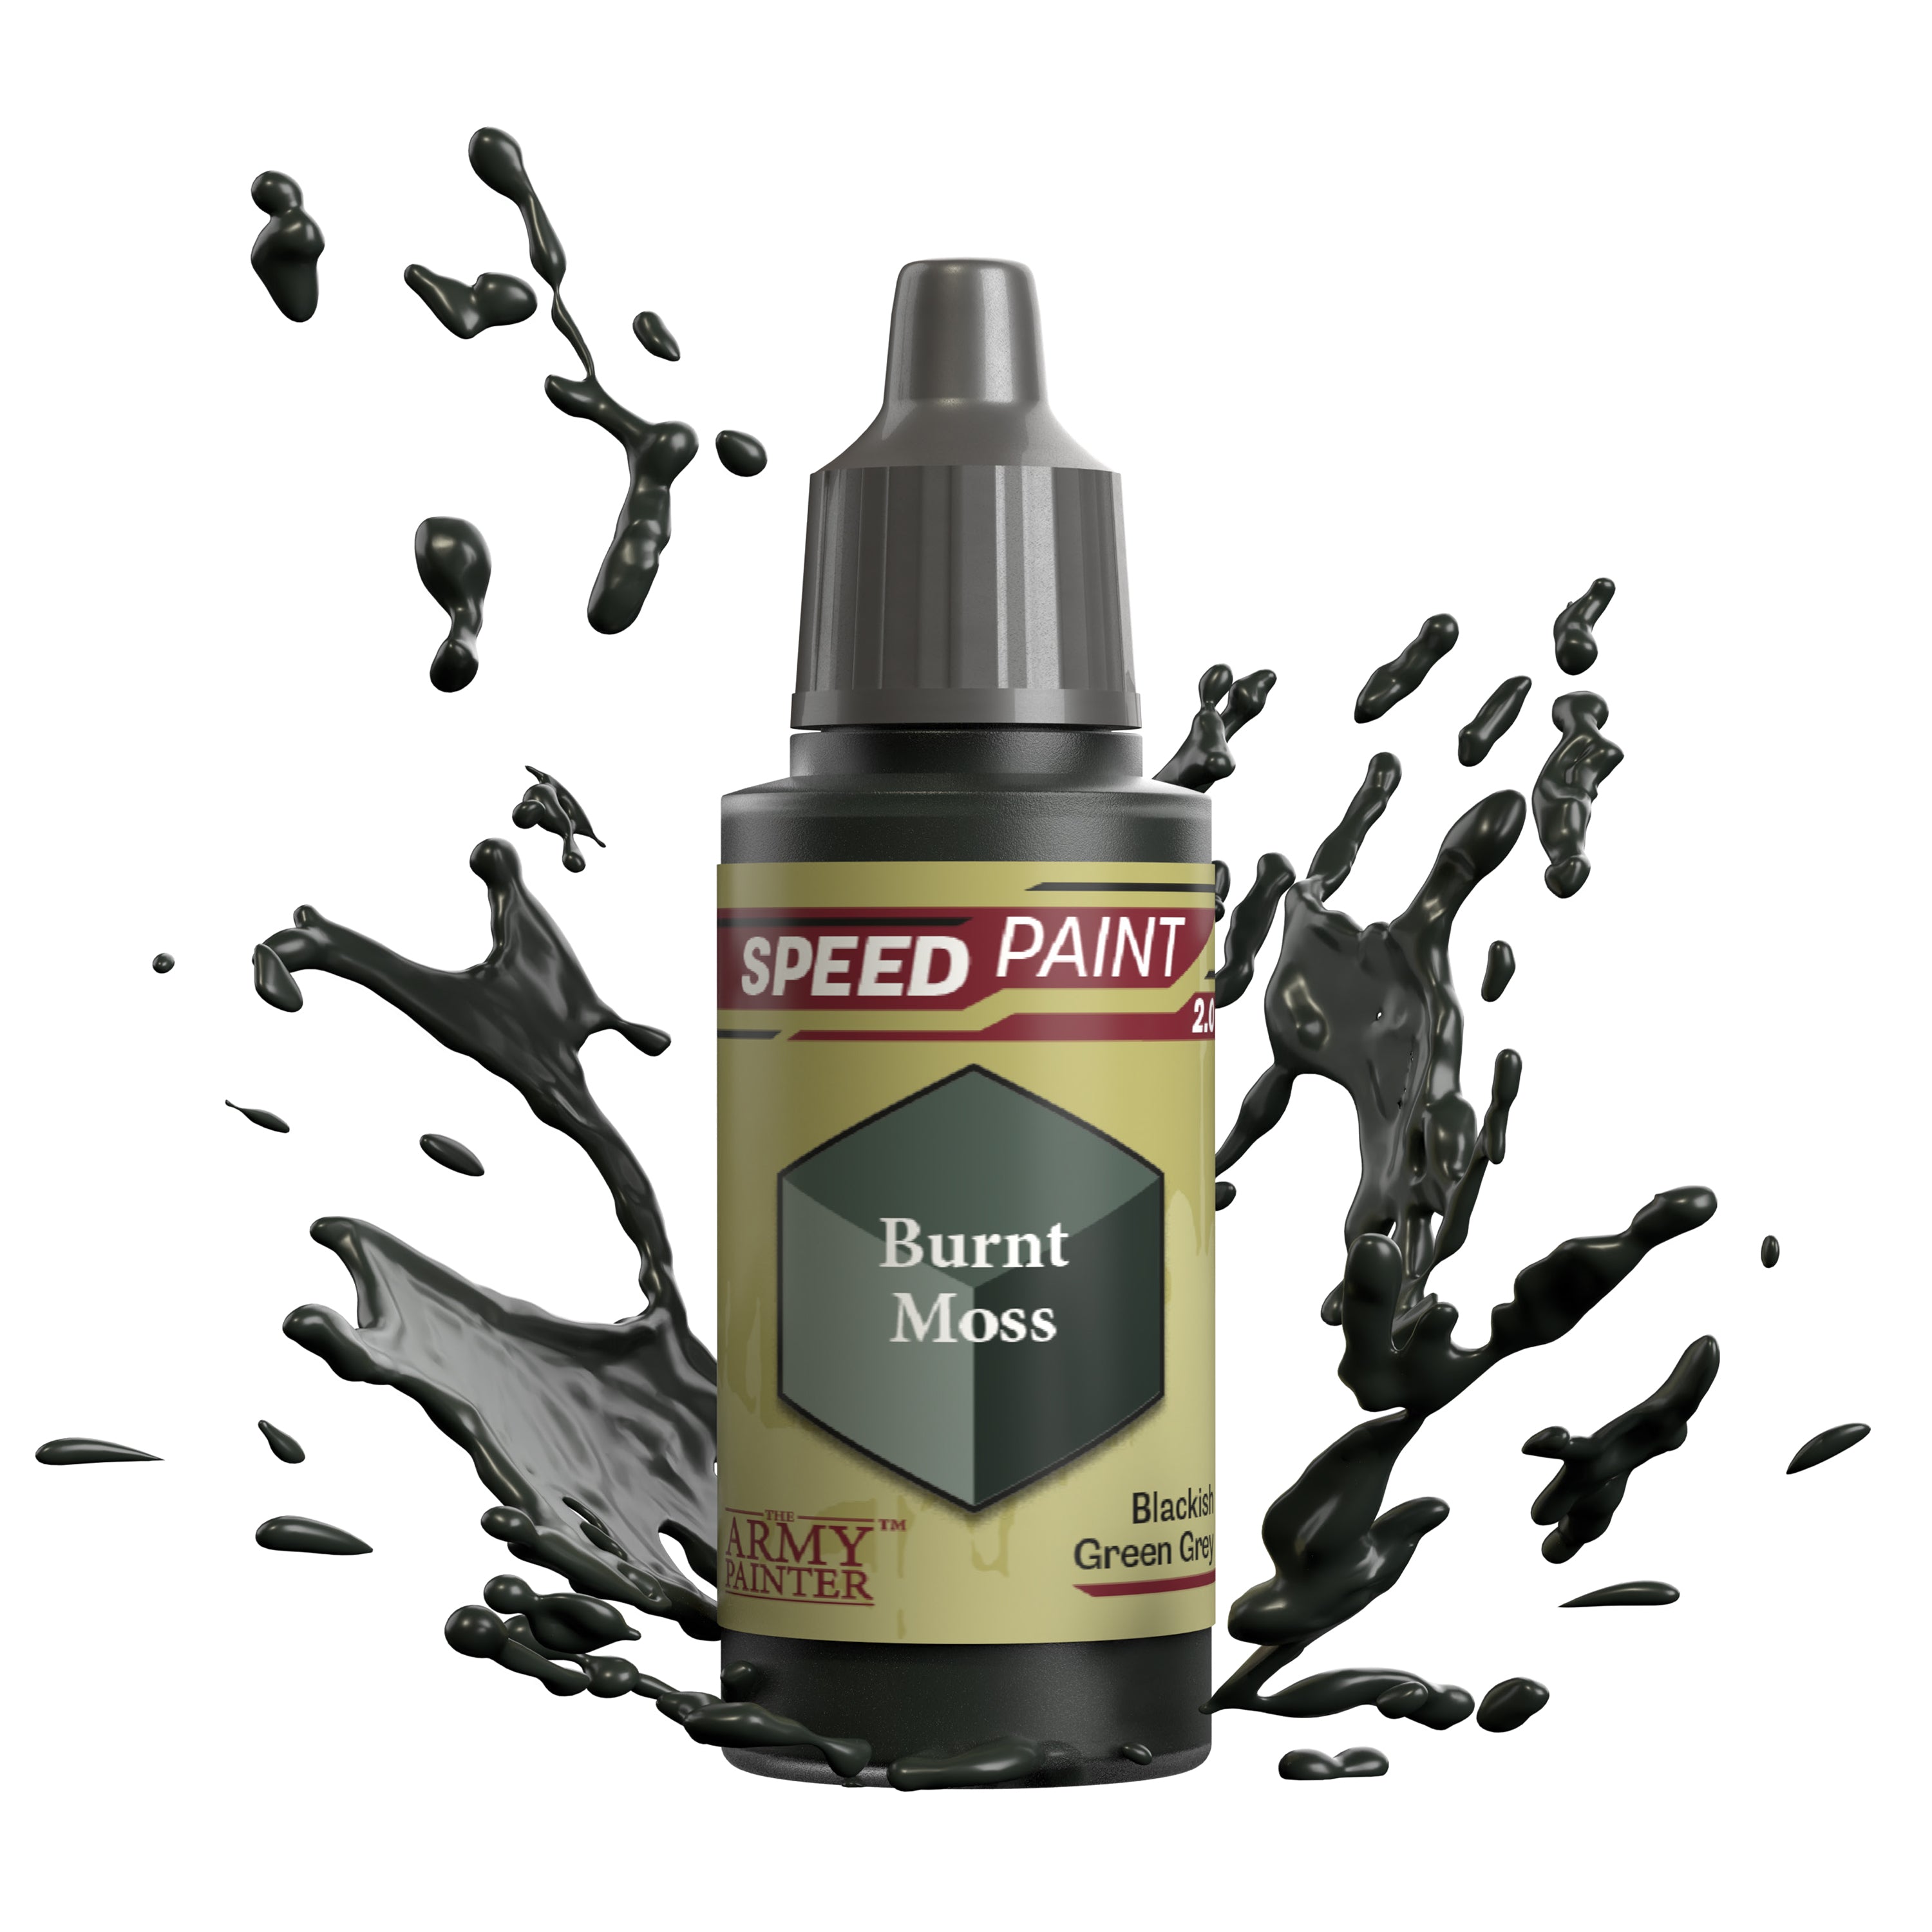
Next, shade the fur with Warpaints Fanatic Wash Dark Tone, adding a second layer closer to the clasps once dry, and the tassels with thinned-down Speedpaint Burnt Moss.
Step 3
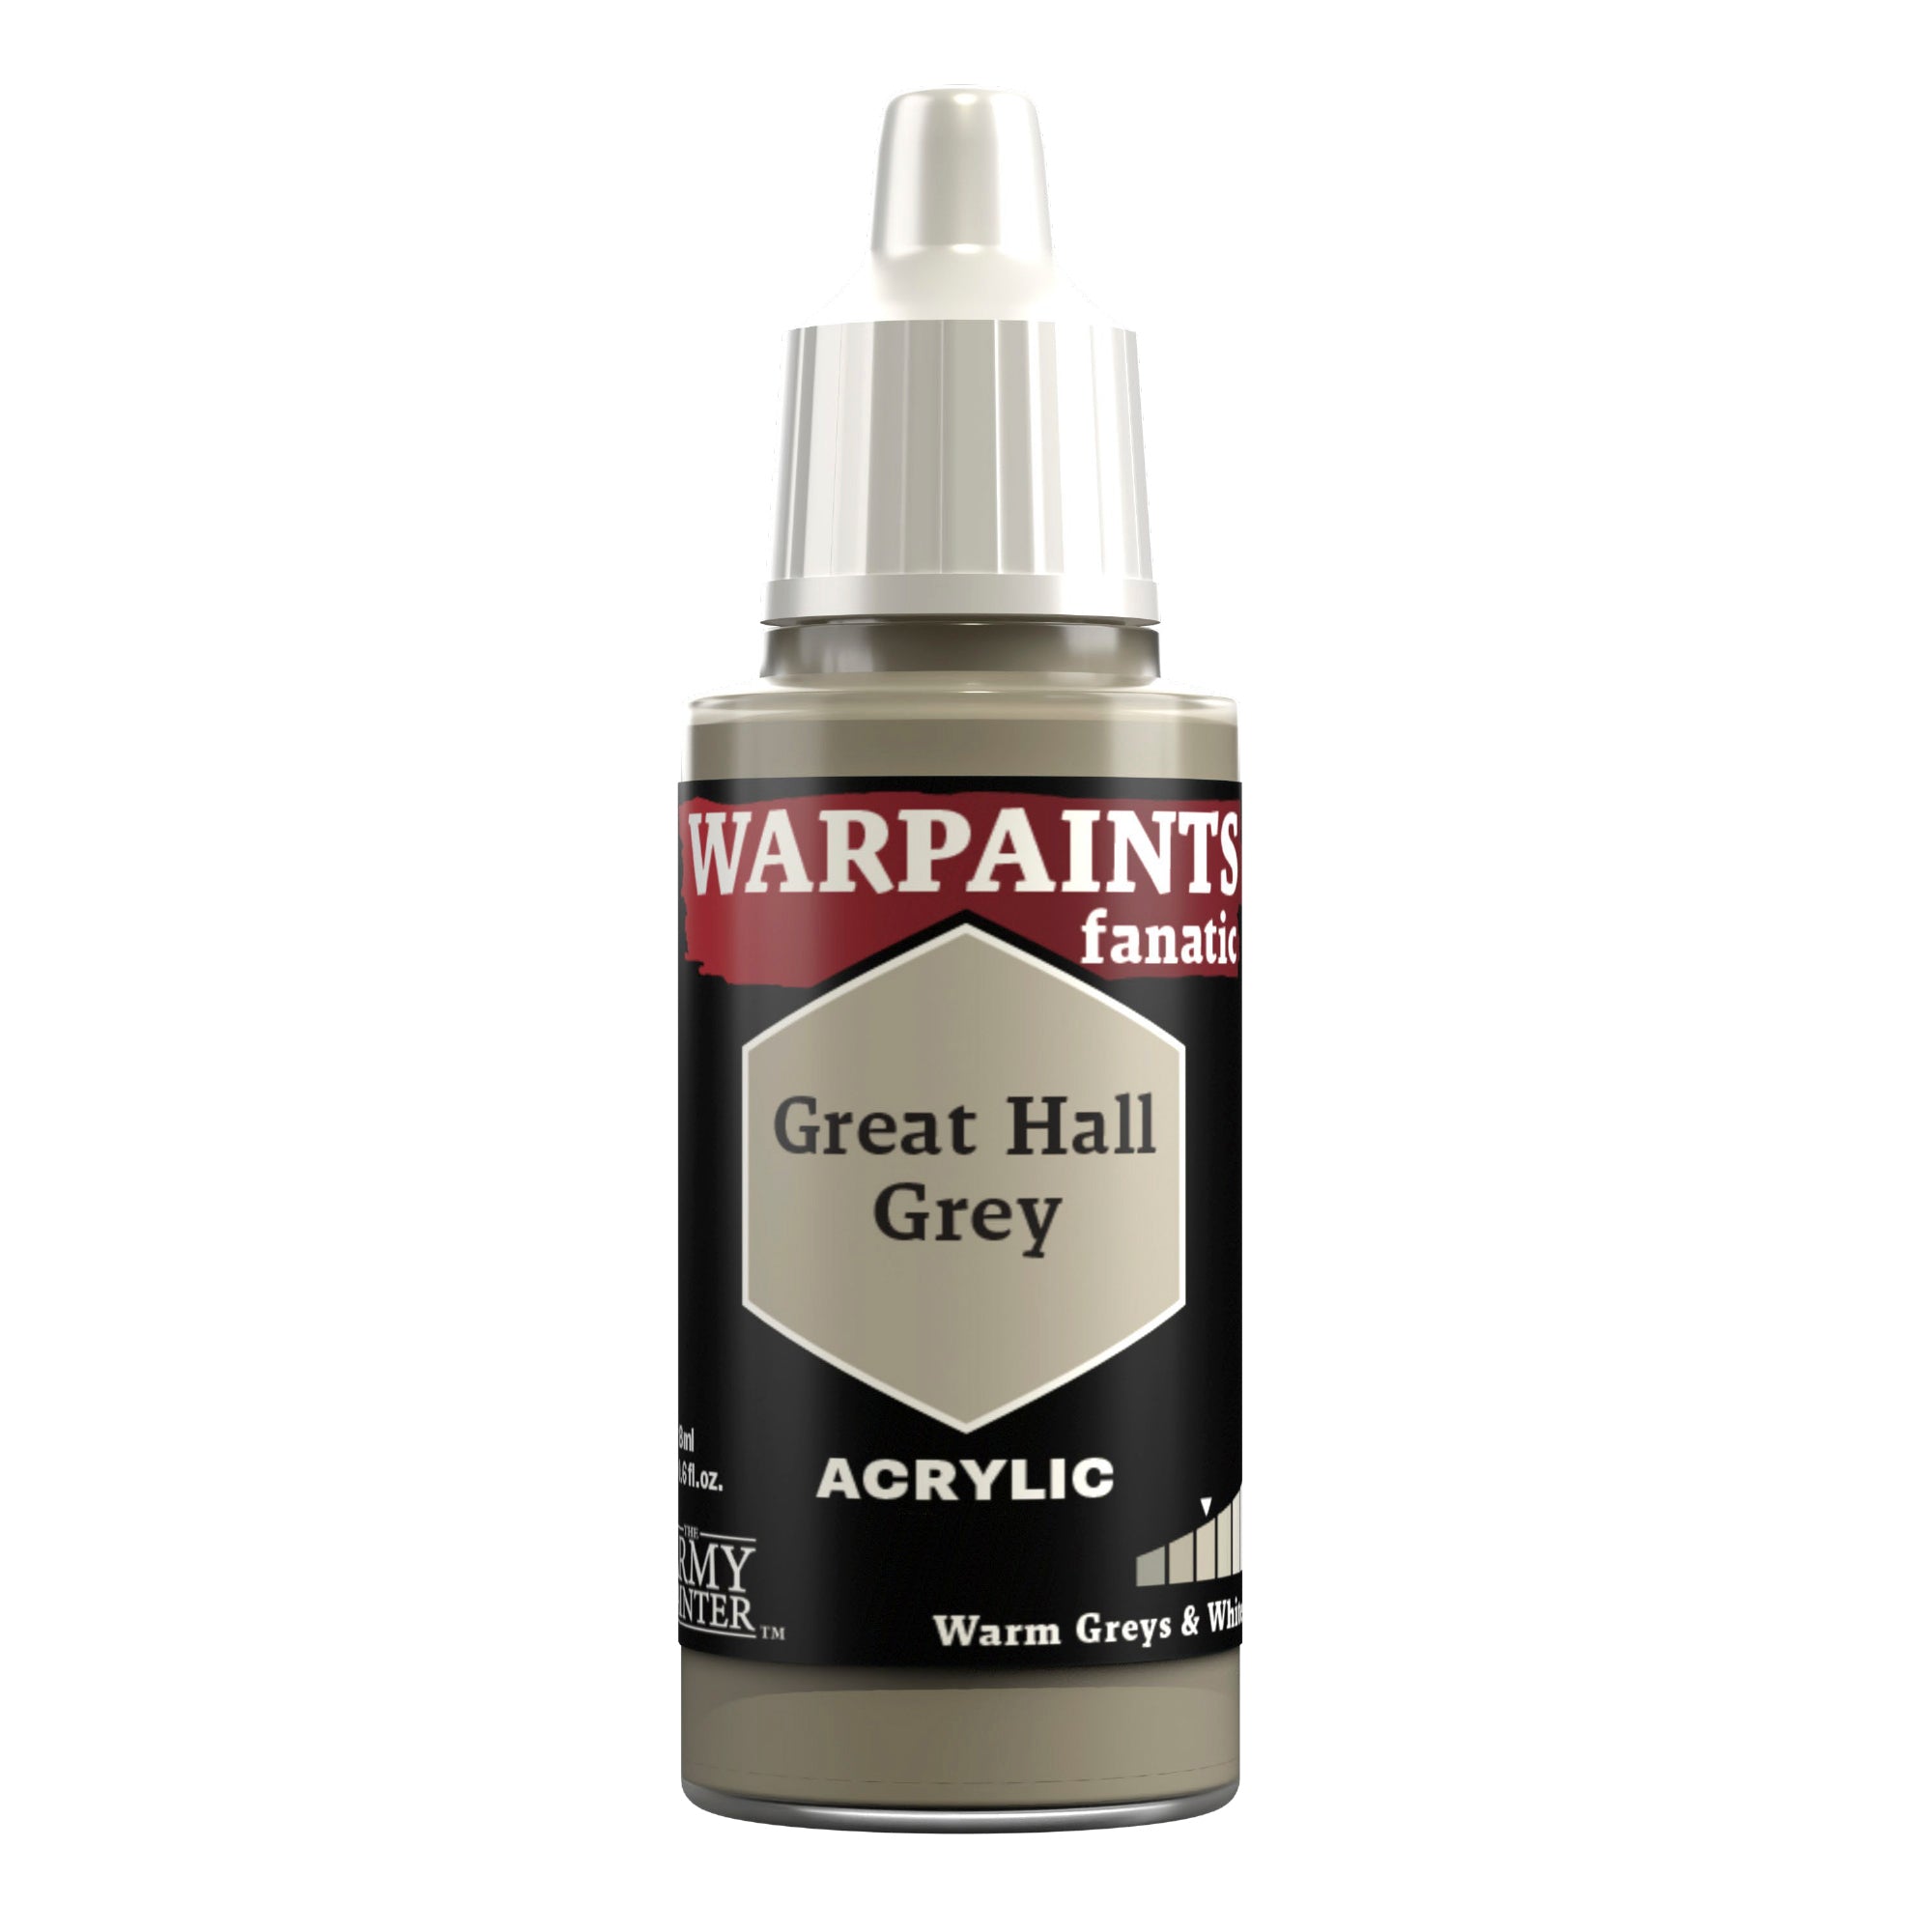
Drybrush both the fur and the tassels with Warpaints Fanatic Great Hall Grey to add a highlight.
Step 4
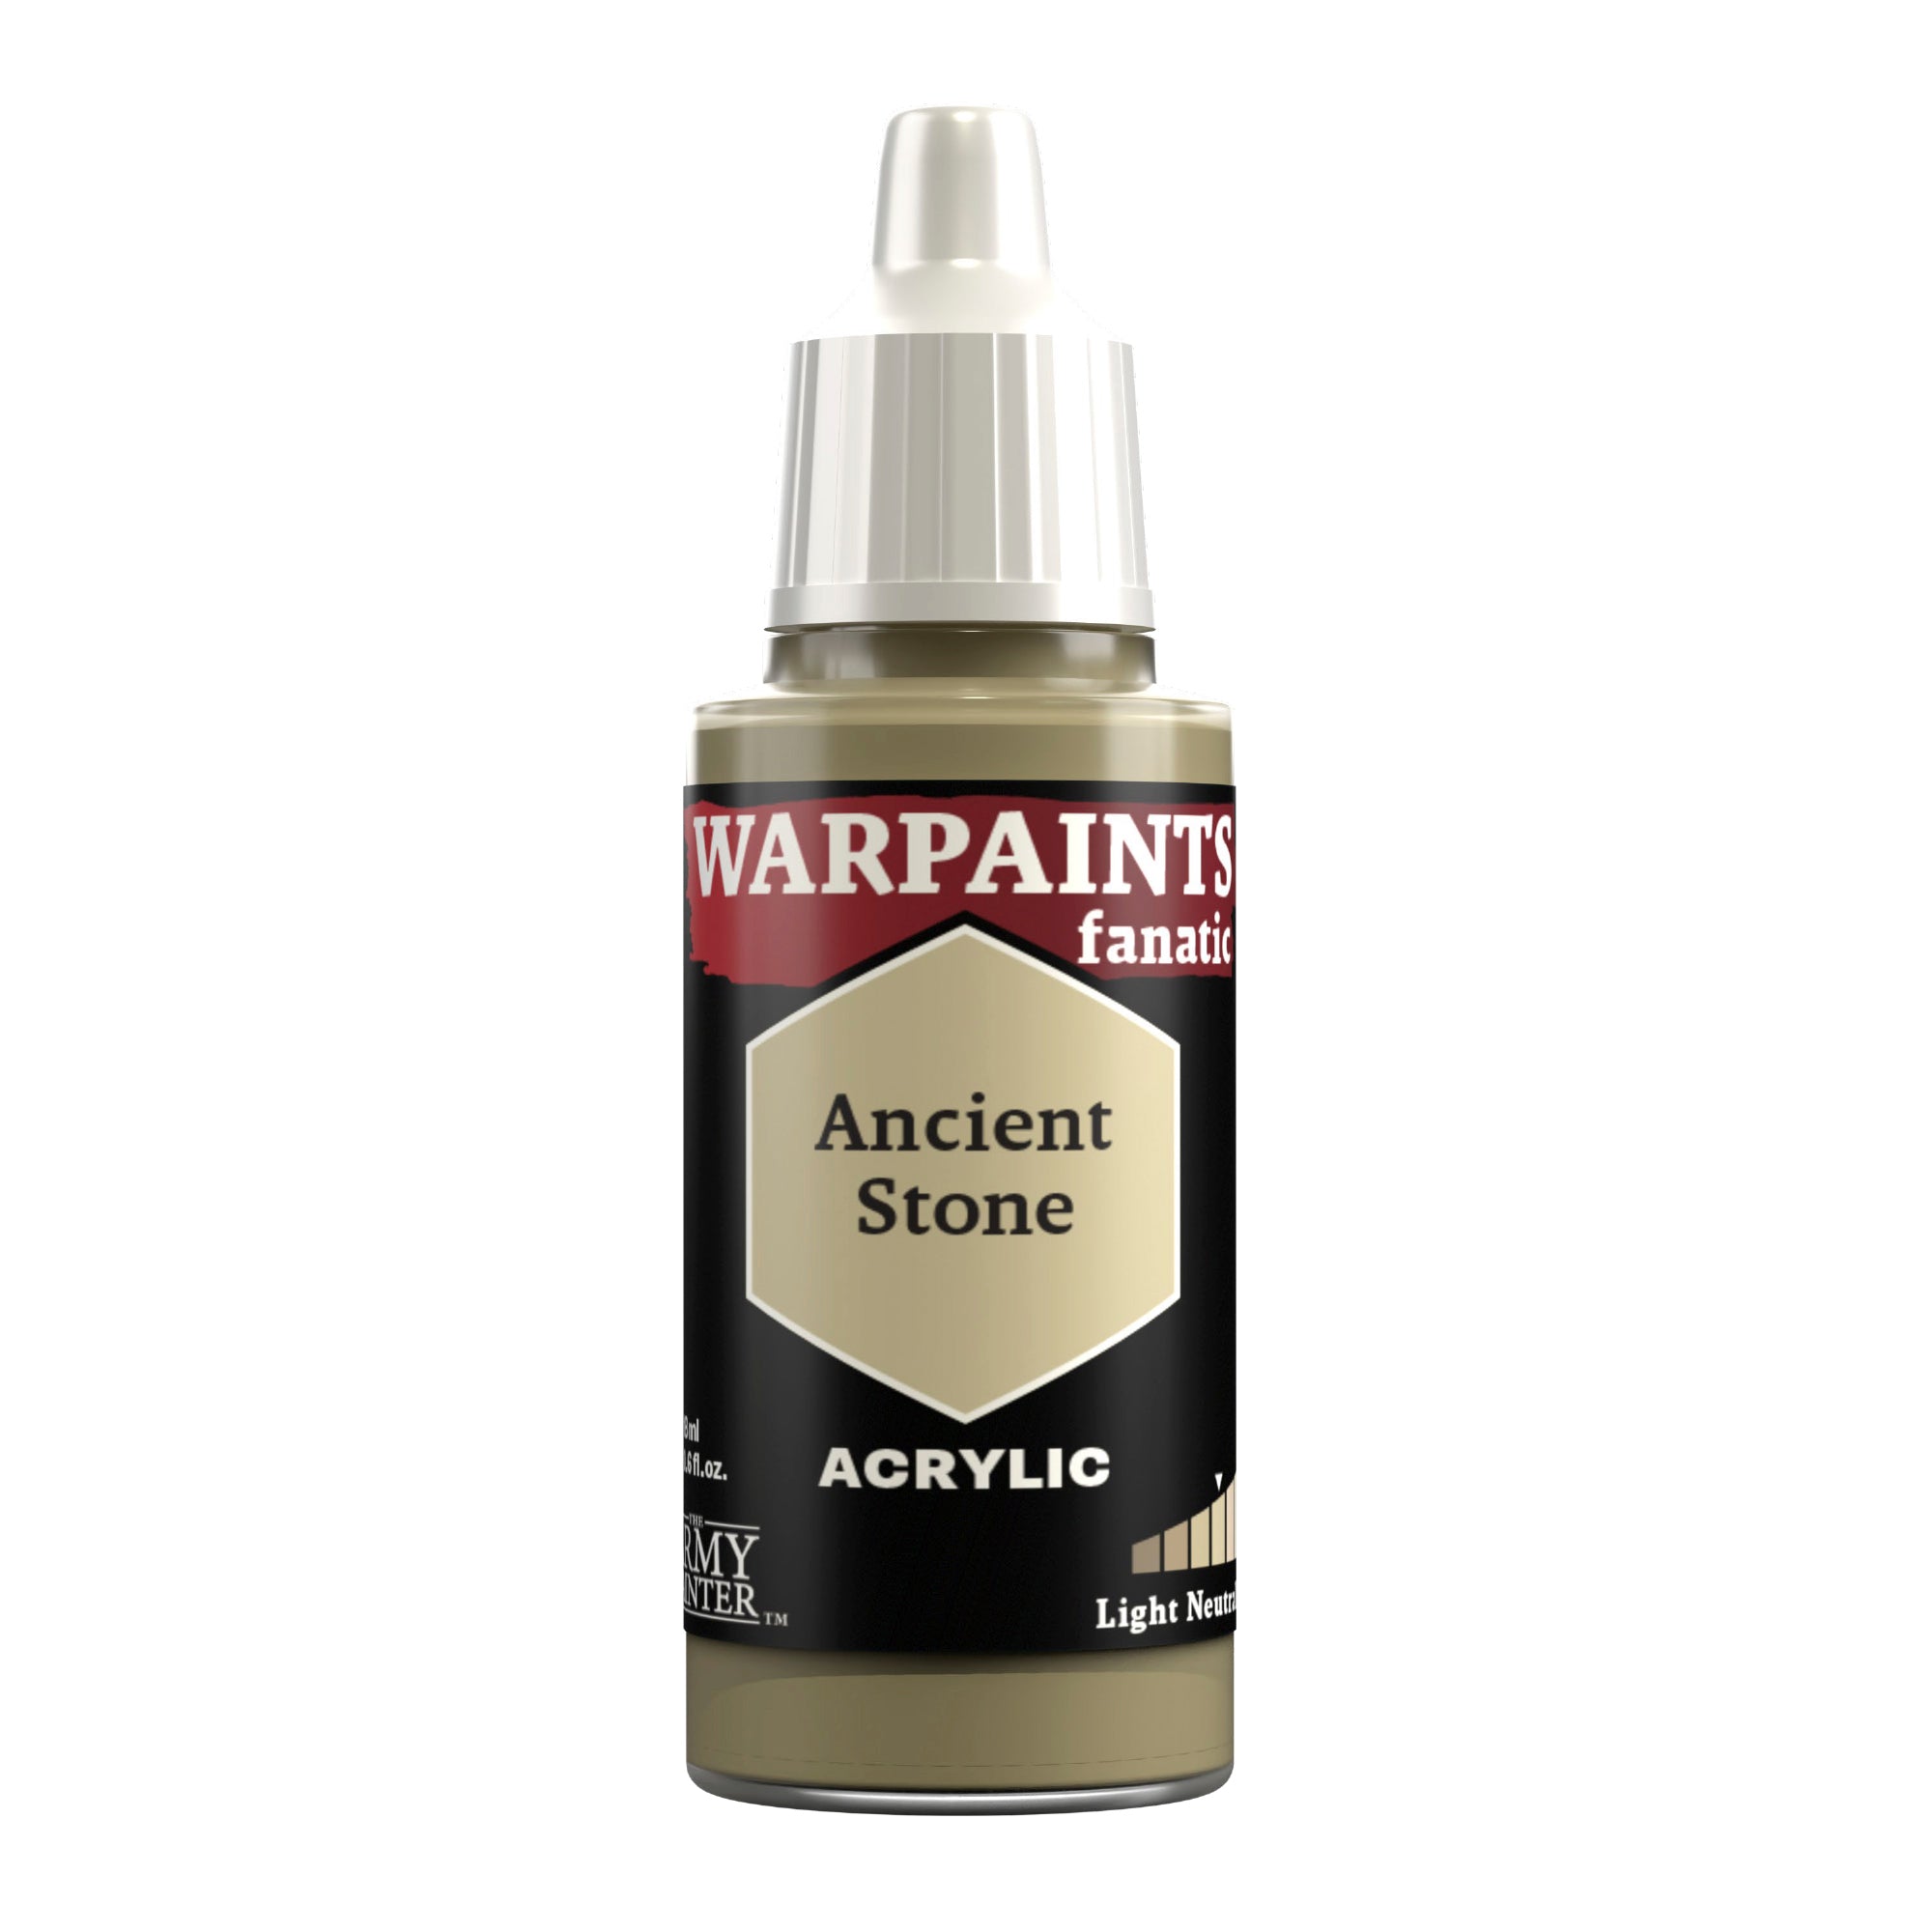
Basecoat the skull, feathers, parchment, and ropes with Warpaints Fanatic Ancient Stone.
Step 5
To differentiate all these different textures, we’ll shade them all slightly differently. Apply Speedpaint Pallid Bone to the skull, a 1:1 mix of Speedpaint Fire Giant Orange and Hardened Leather to the feathers, with a second coat applied for the little design near the tips, Warpaints Fanatic Wash Soft Tone to the parchment, and Warpaints Fanatic Wash Strong Tone to the ropes.
Step 6
Next, drybrush the skull and feathers with Warpaints Fanatic Ancient Stone, using a lighter touch on the feathers to just pick out the edges. Using the same paint, re-layer the parchment, letting some of the shading show throw in the recesses and areas where it pooled, and then apply an edge highlight to the ropes, and where needed on the skull to make it pop more.

Step 7
Finally, apply an edge highlight of Warpaints Fanatic Pale Sand to the parchment, and as a specular highlight on the skull.
The Metallics
Step 1
Basecoat all the silver areas with Warpaints Fanatic Gun Metal.
Step 2
Next, shade these areas with a coat of Warpaints Fanatic Wash Dark Tone.
Step 3
Finish the silver off with a highlight of Warpaints Fanatic Plate Mail Metal.
Step 4
Basecoat all the gold trim and design with Warpaints Fanatic Greedy Gold.
Step 5
Shade the gold with Warpaints Fanatic Wash Strong Skin Shade.
Step 6
Lastly, edge highlight all the gold with Warpaints Fanatic True Brass.
The Face
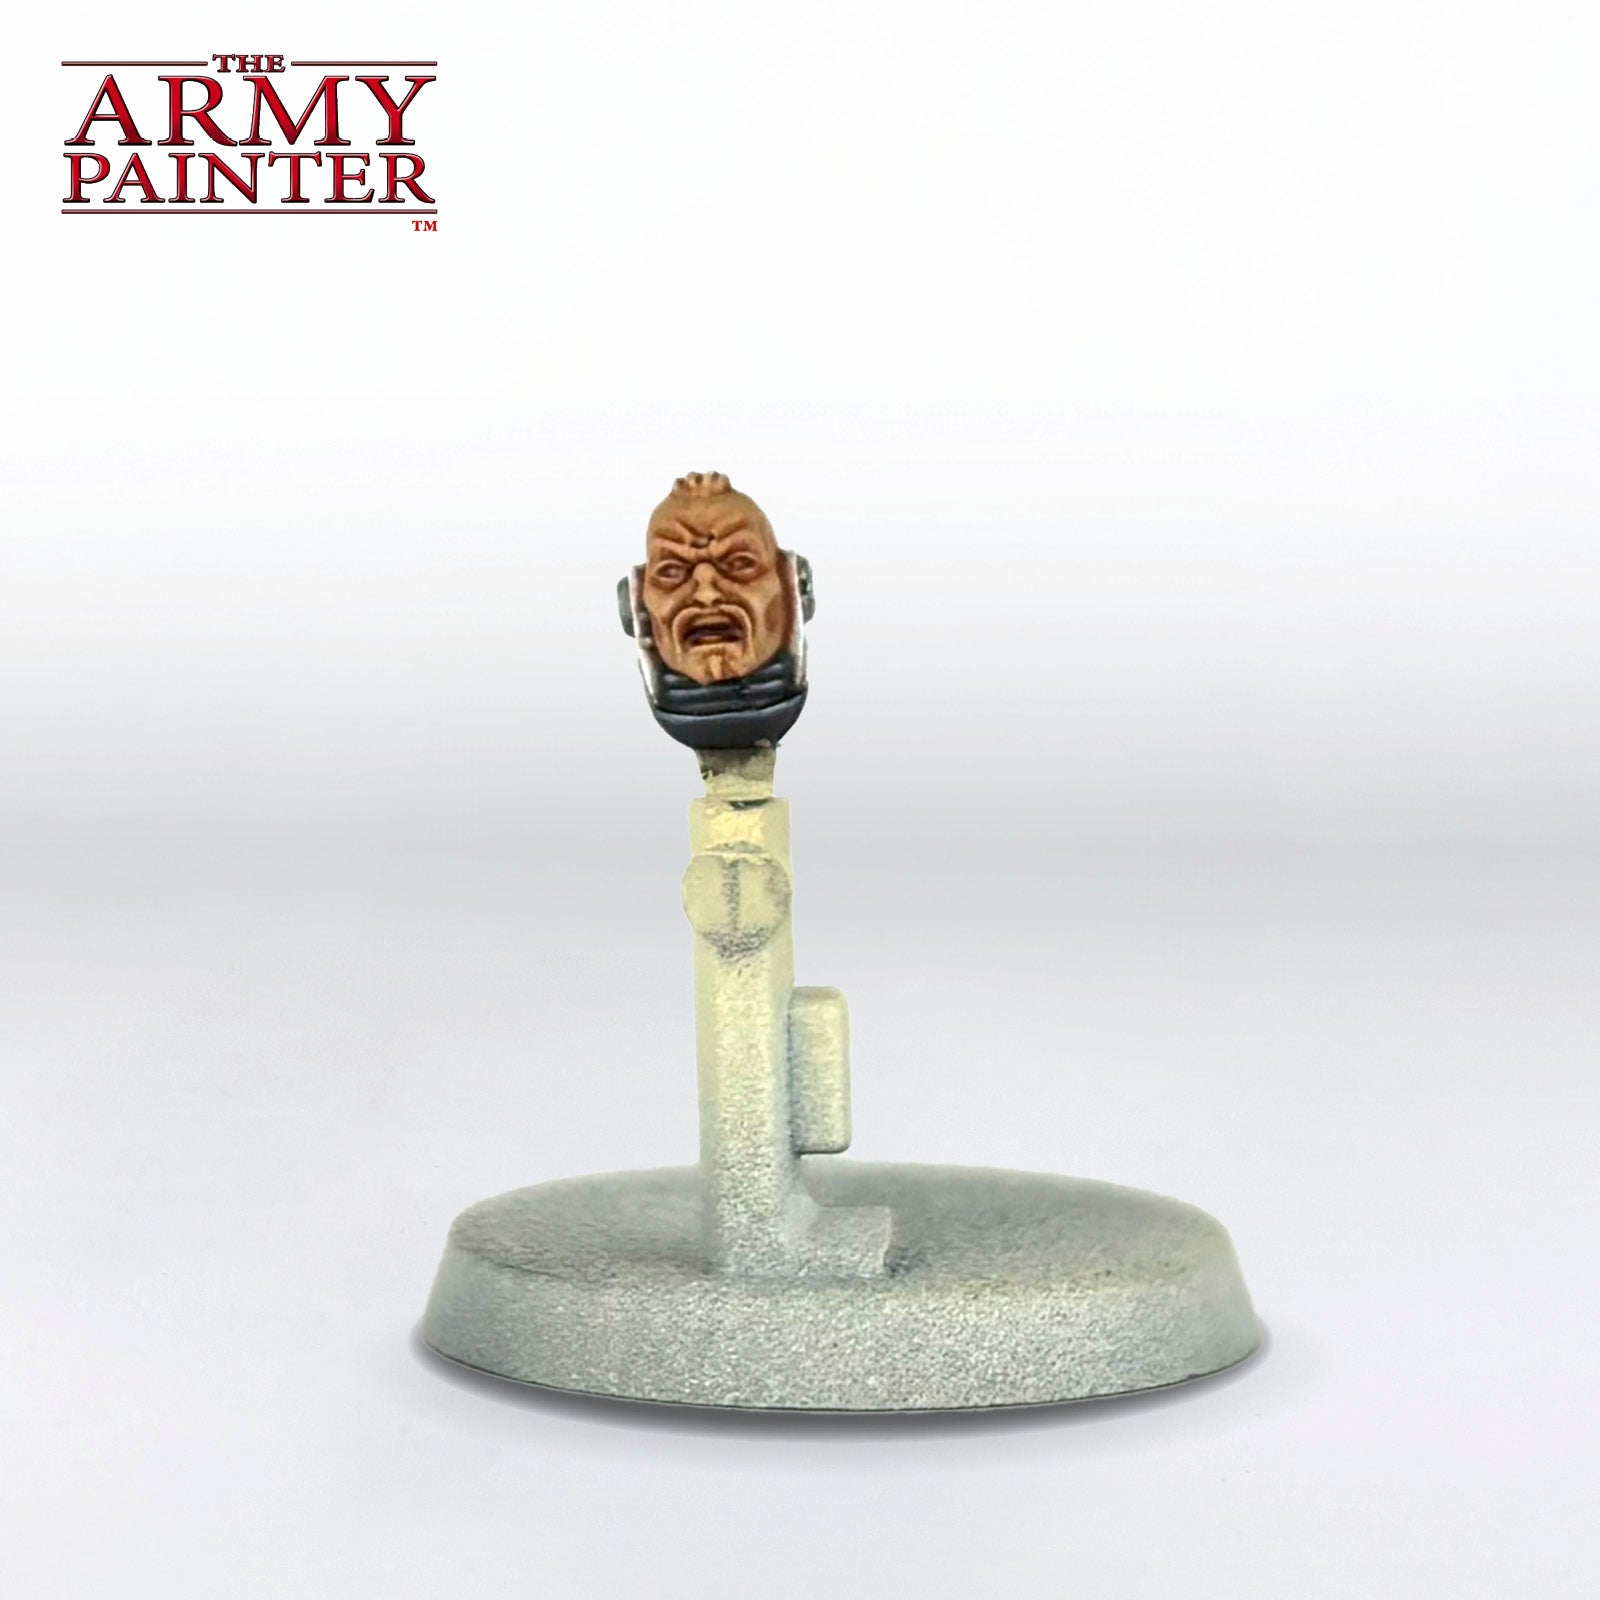
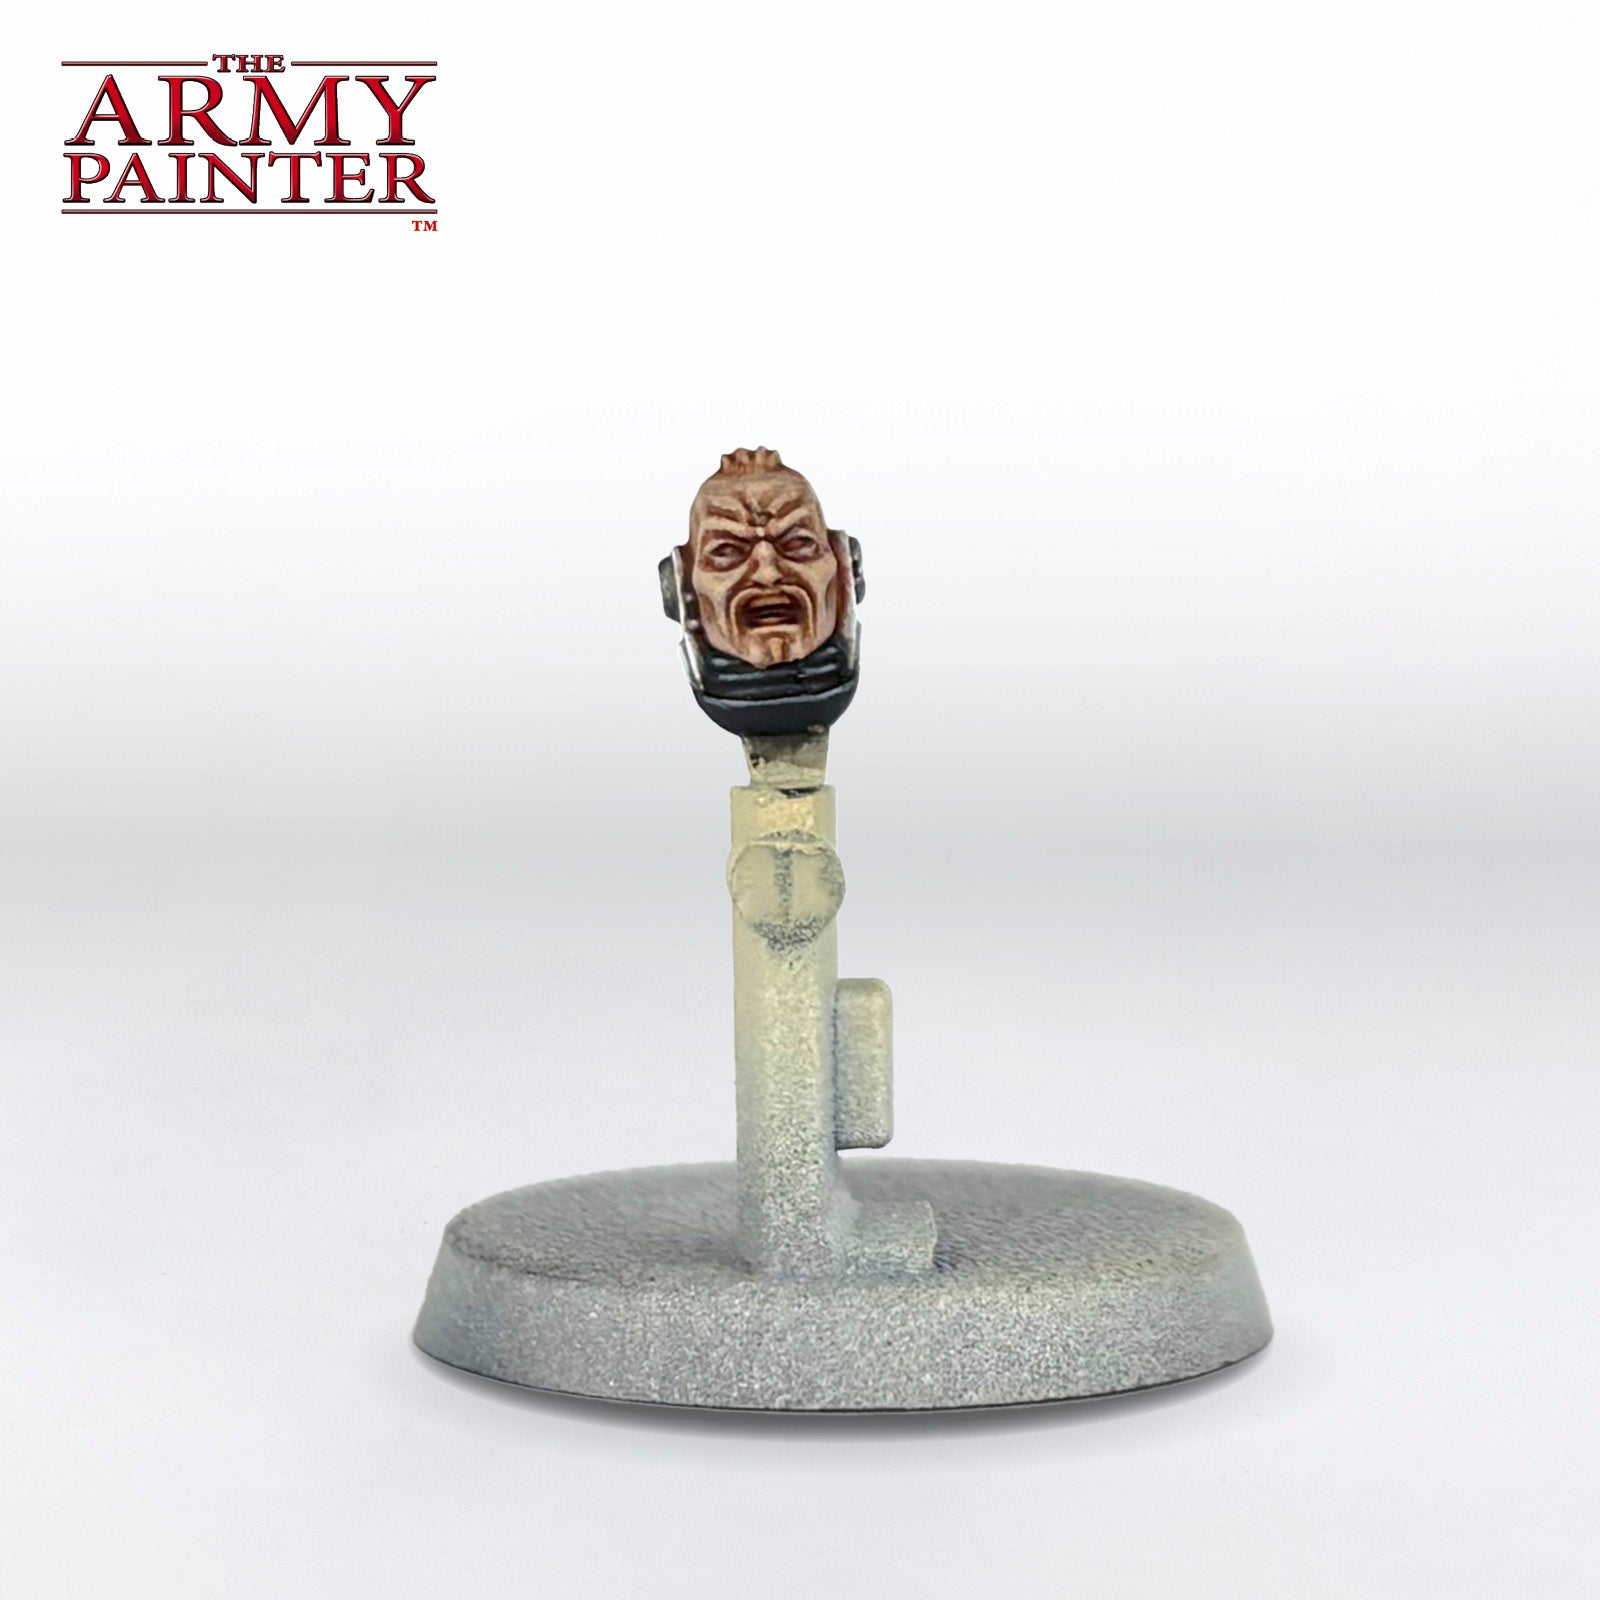
Step 1
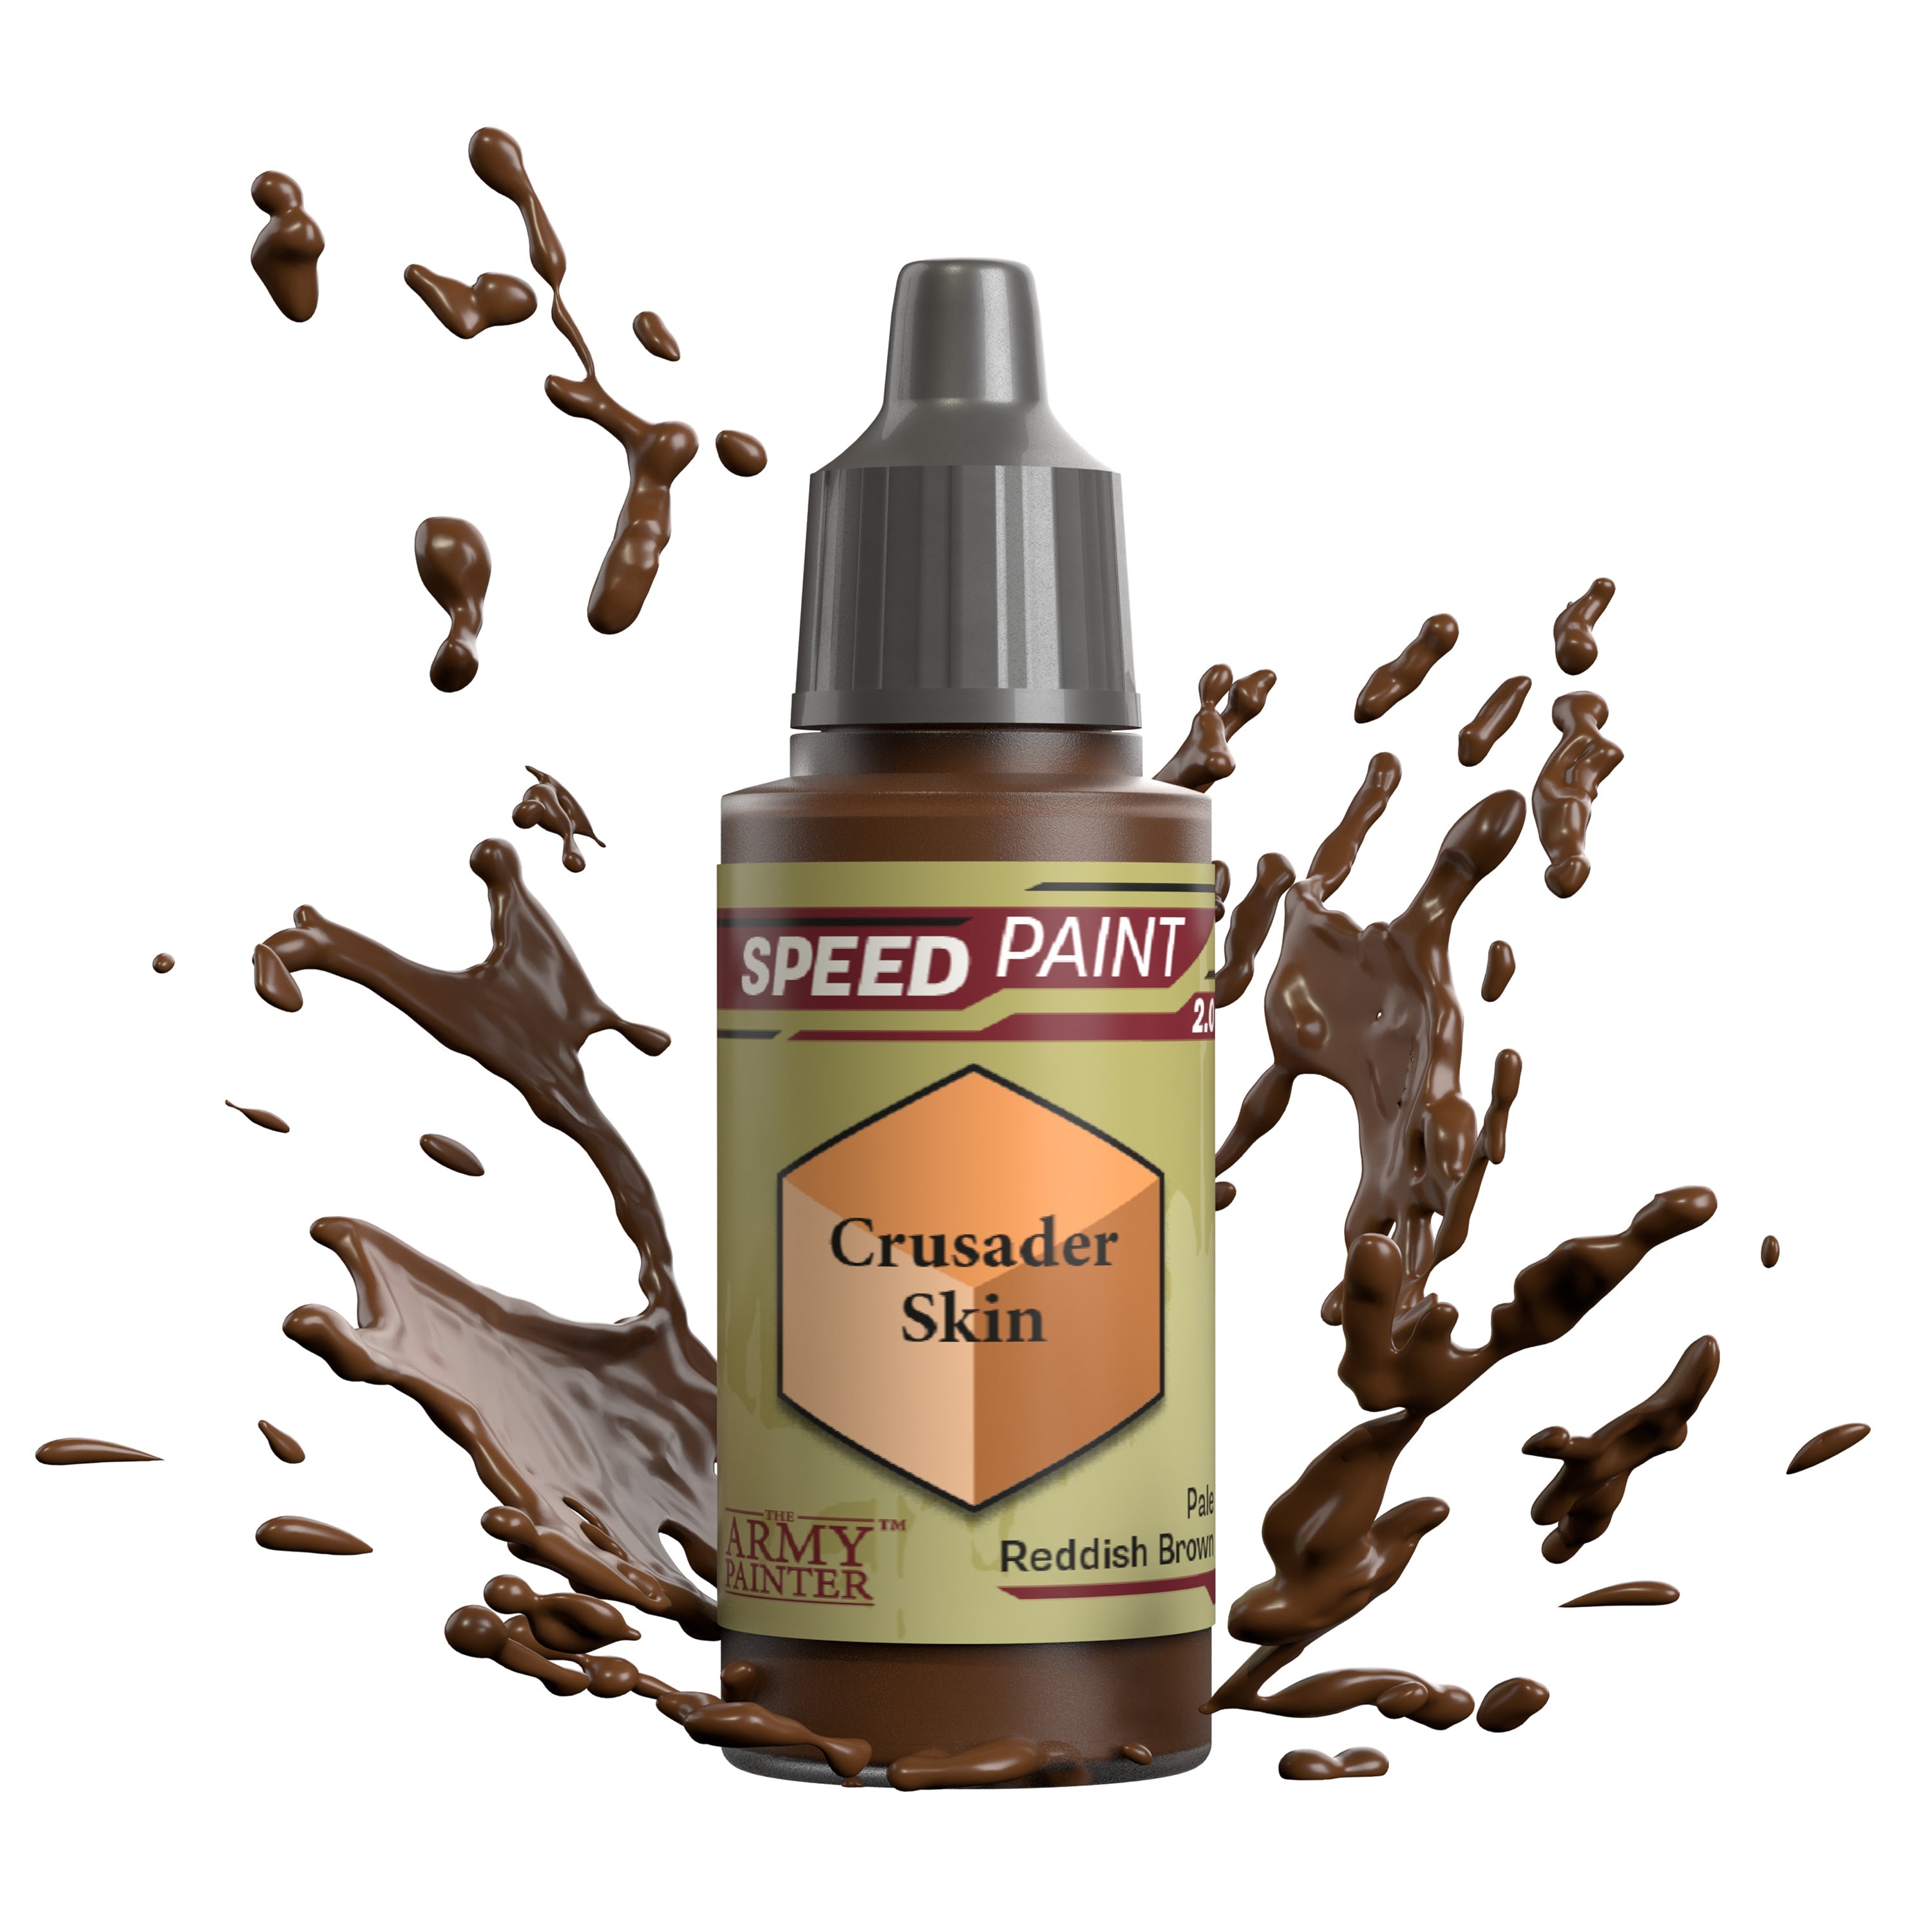
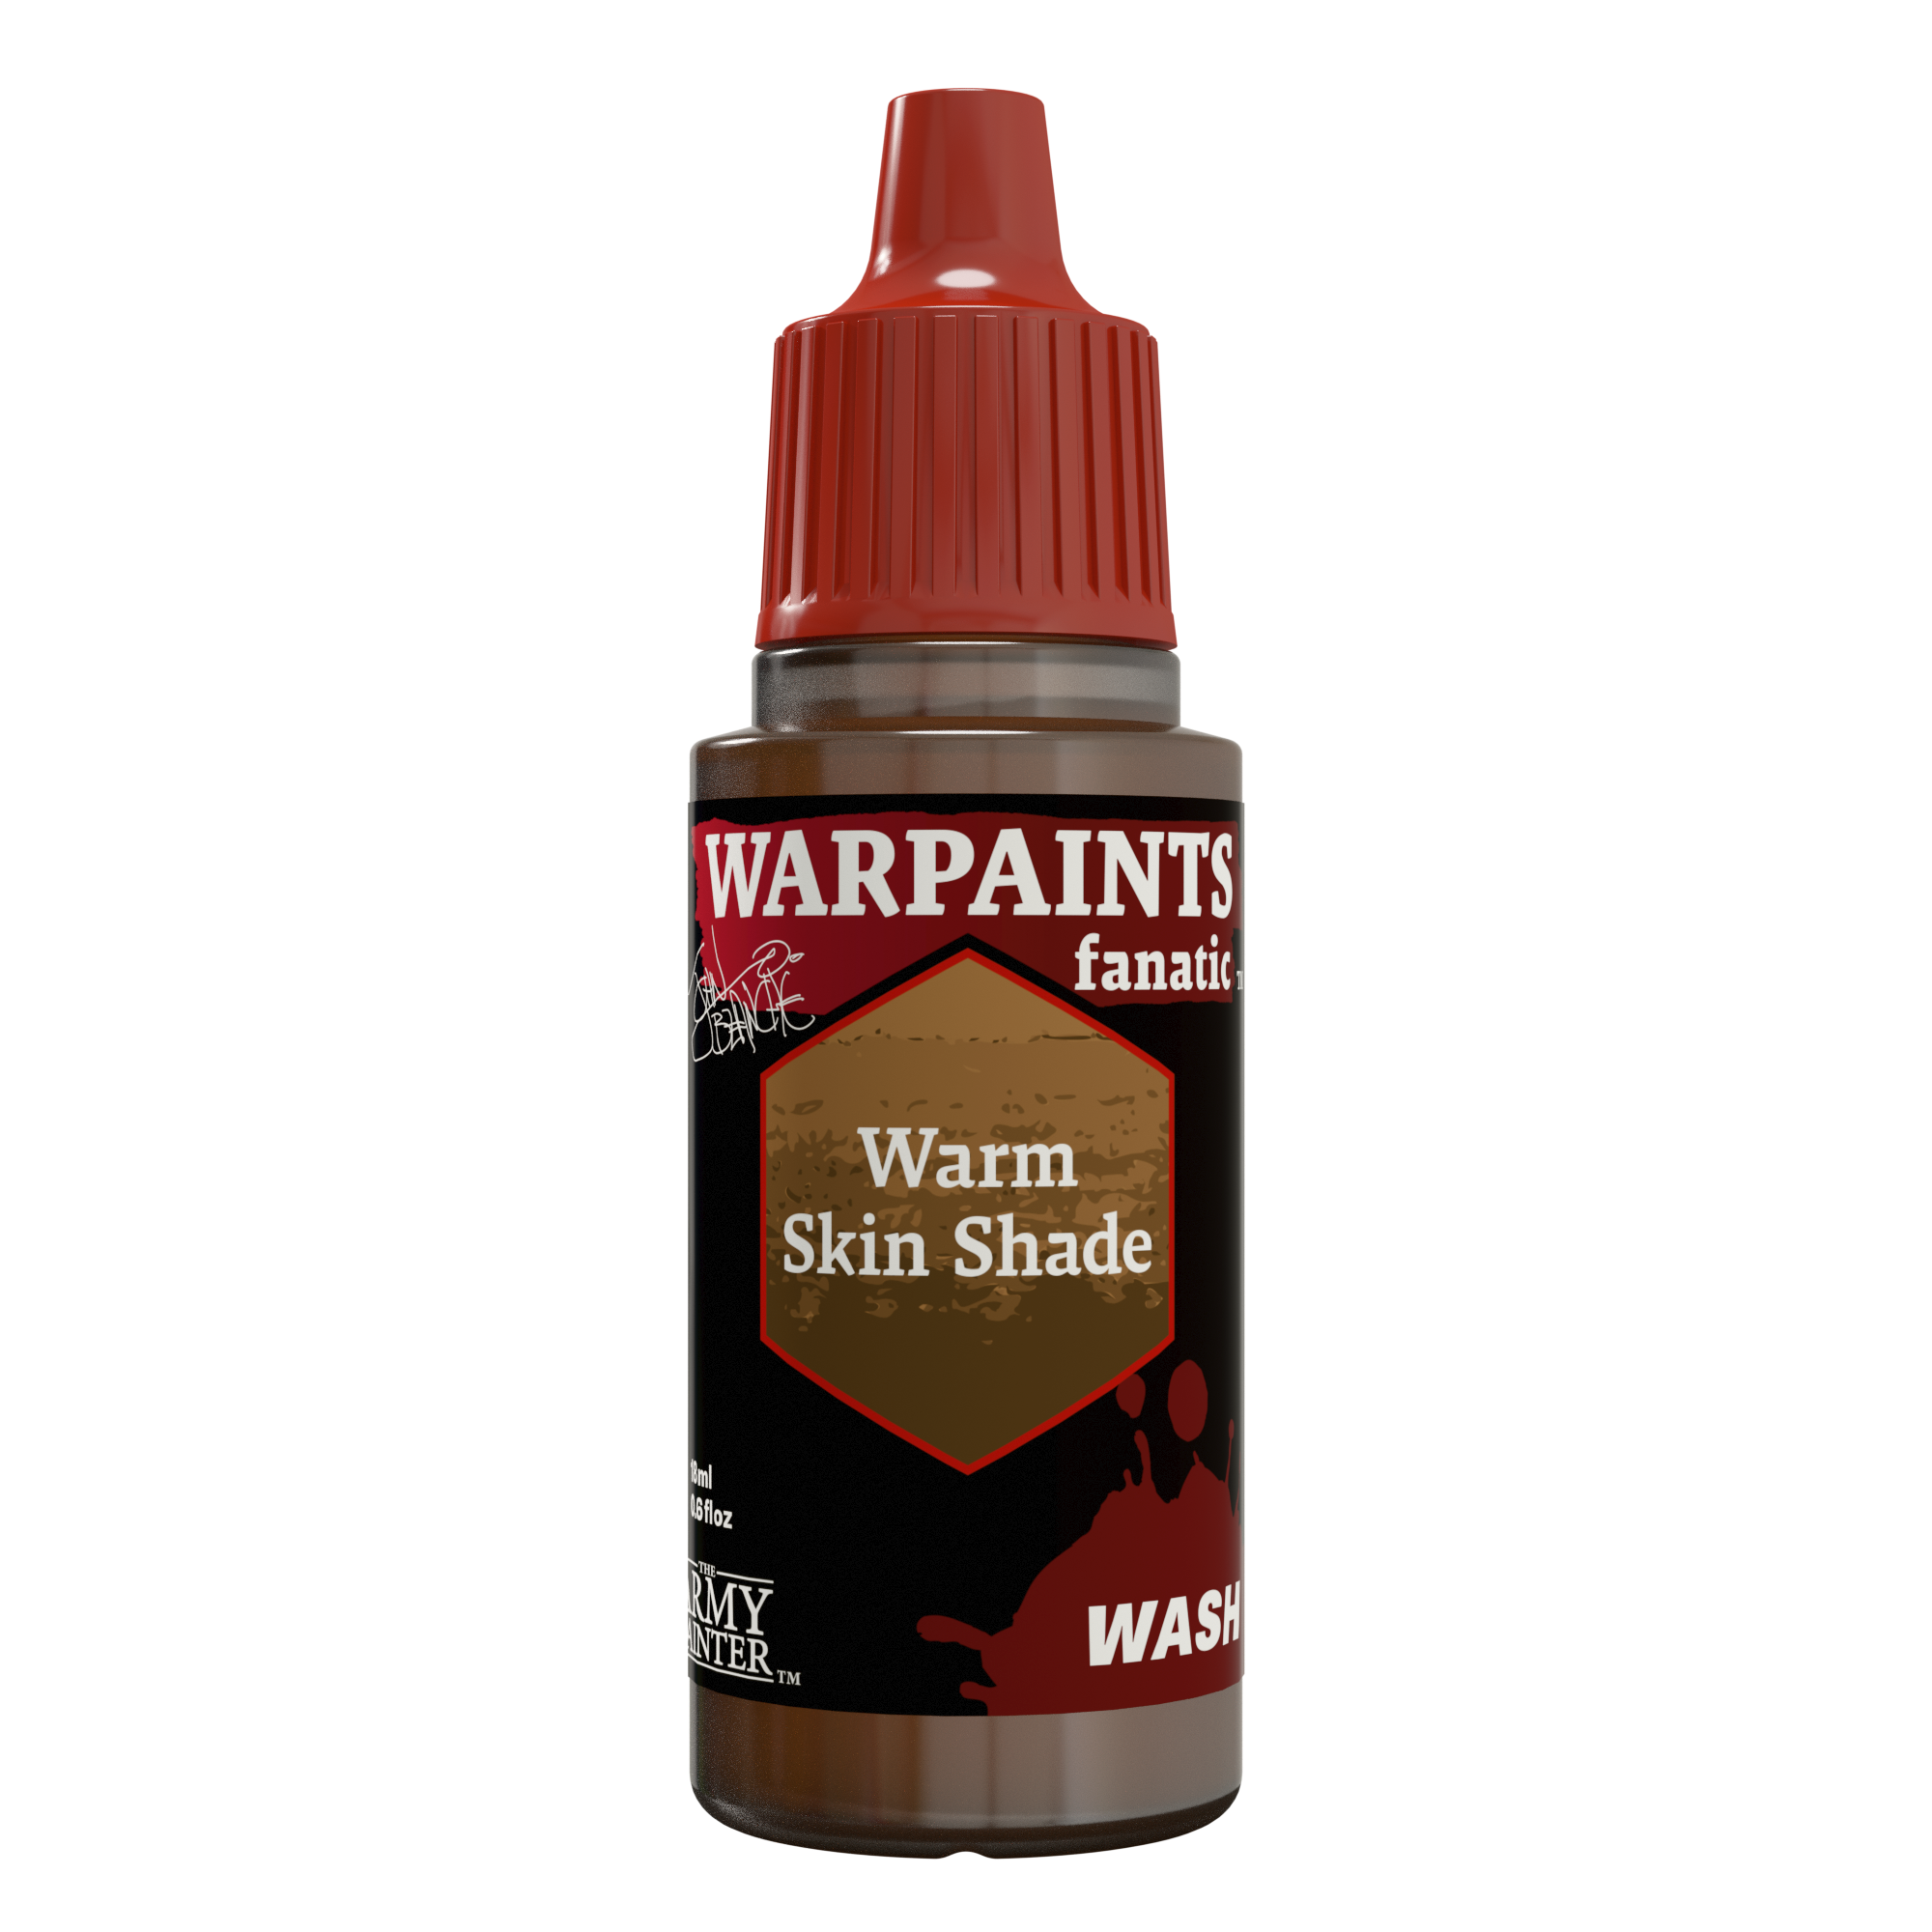
If you did not prime the head with Skeleton Bone Colour Primer, be sure to basecoat the skin with Warpaints Fanatic Skeleton Bone first. Then, apply a layer of Speedpaint Crusader Skin, and once completely dry, shade it further with John Blanche Masterclass Warm Skin Shade.
Step 2
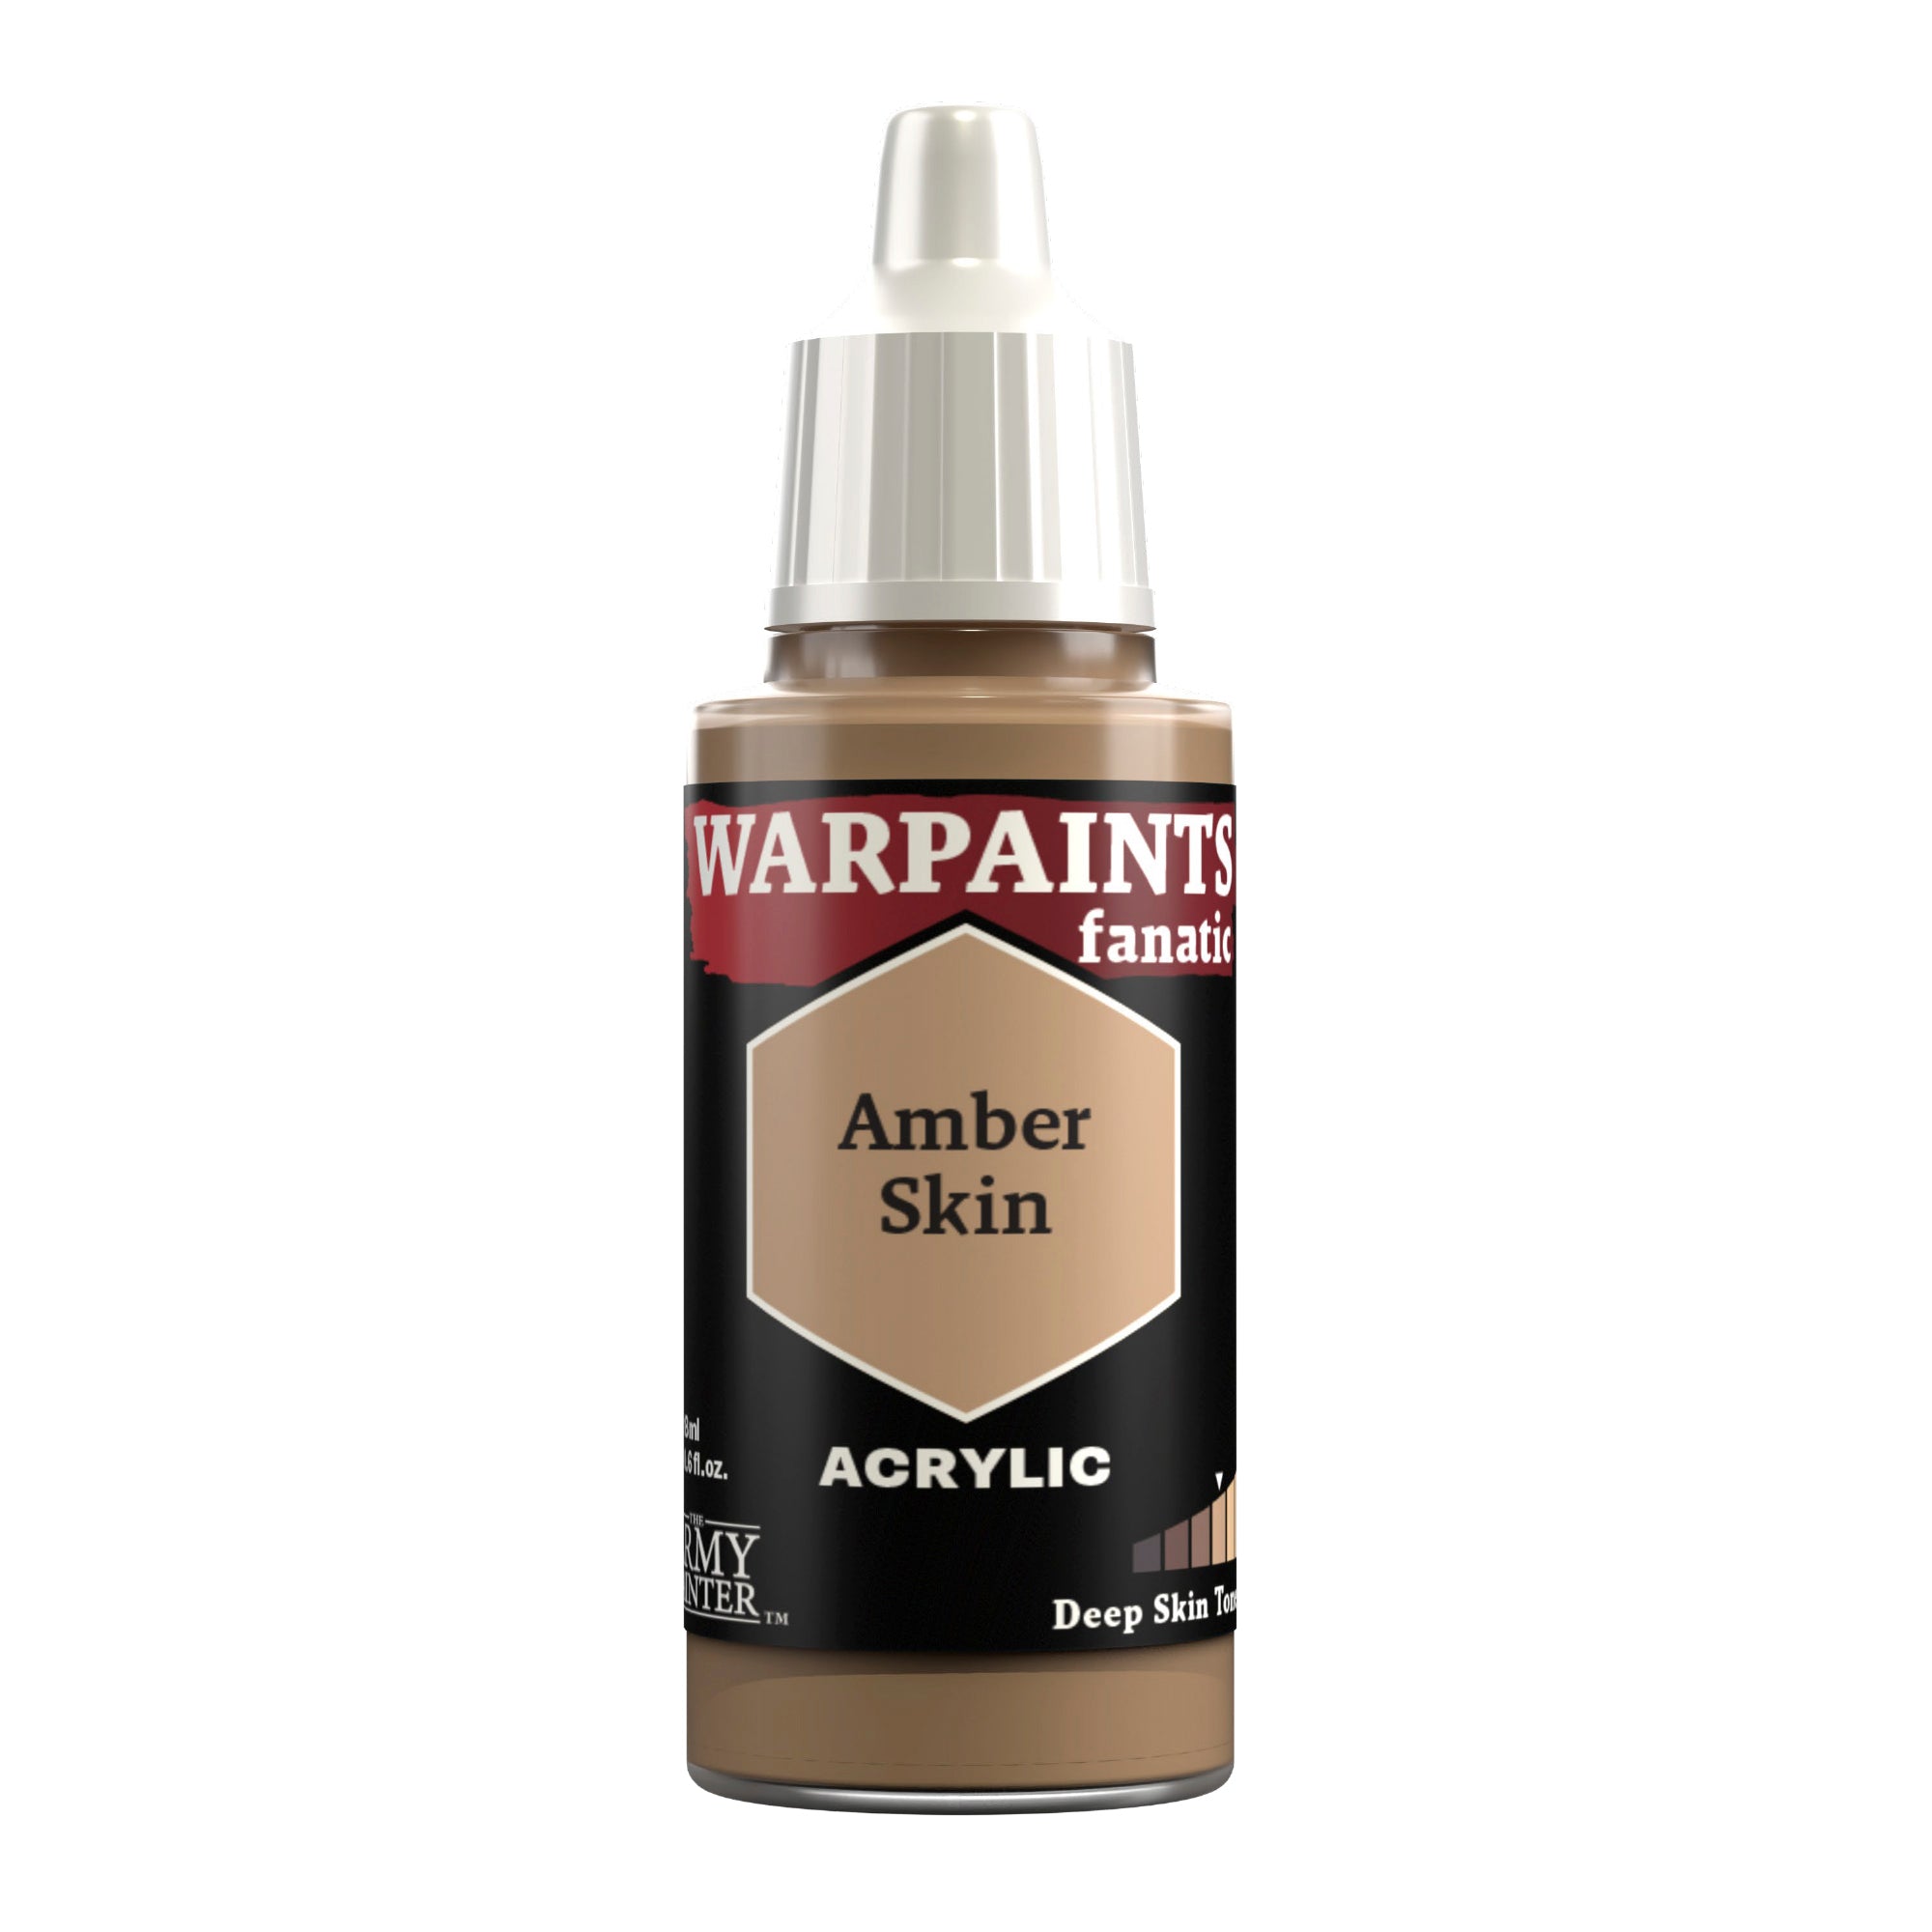
Next, highlight the face with a layer of Warpaints Fanatic Amber Skin. You want to be a bit broader here with the highlight and cover most of the face, only leaving the previous layers showing through in the recesses.
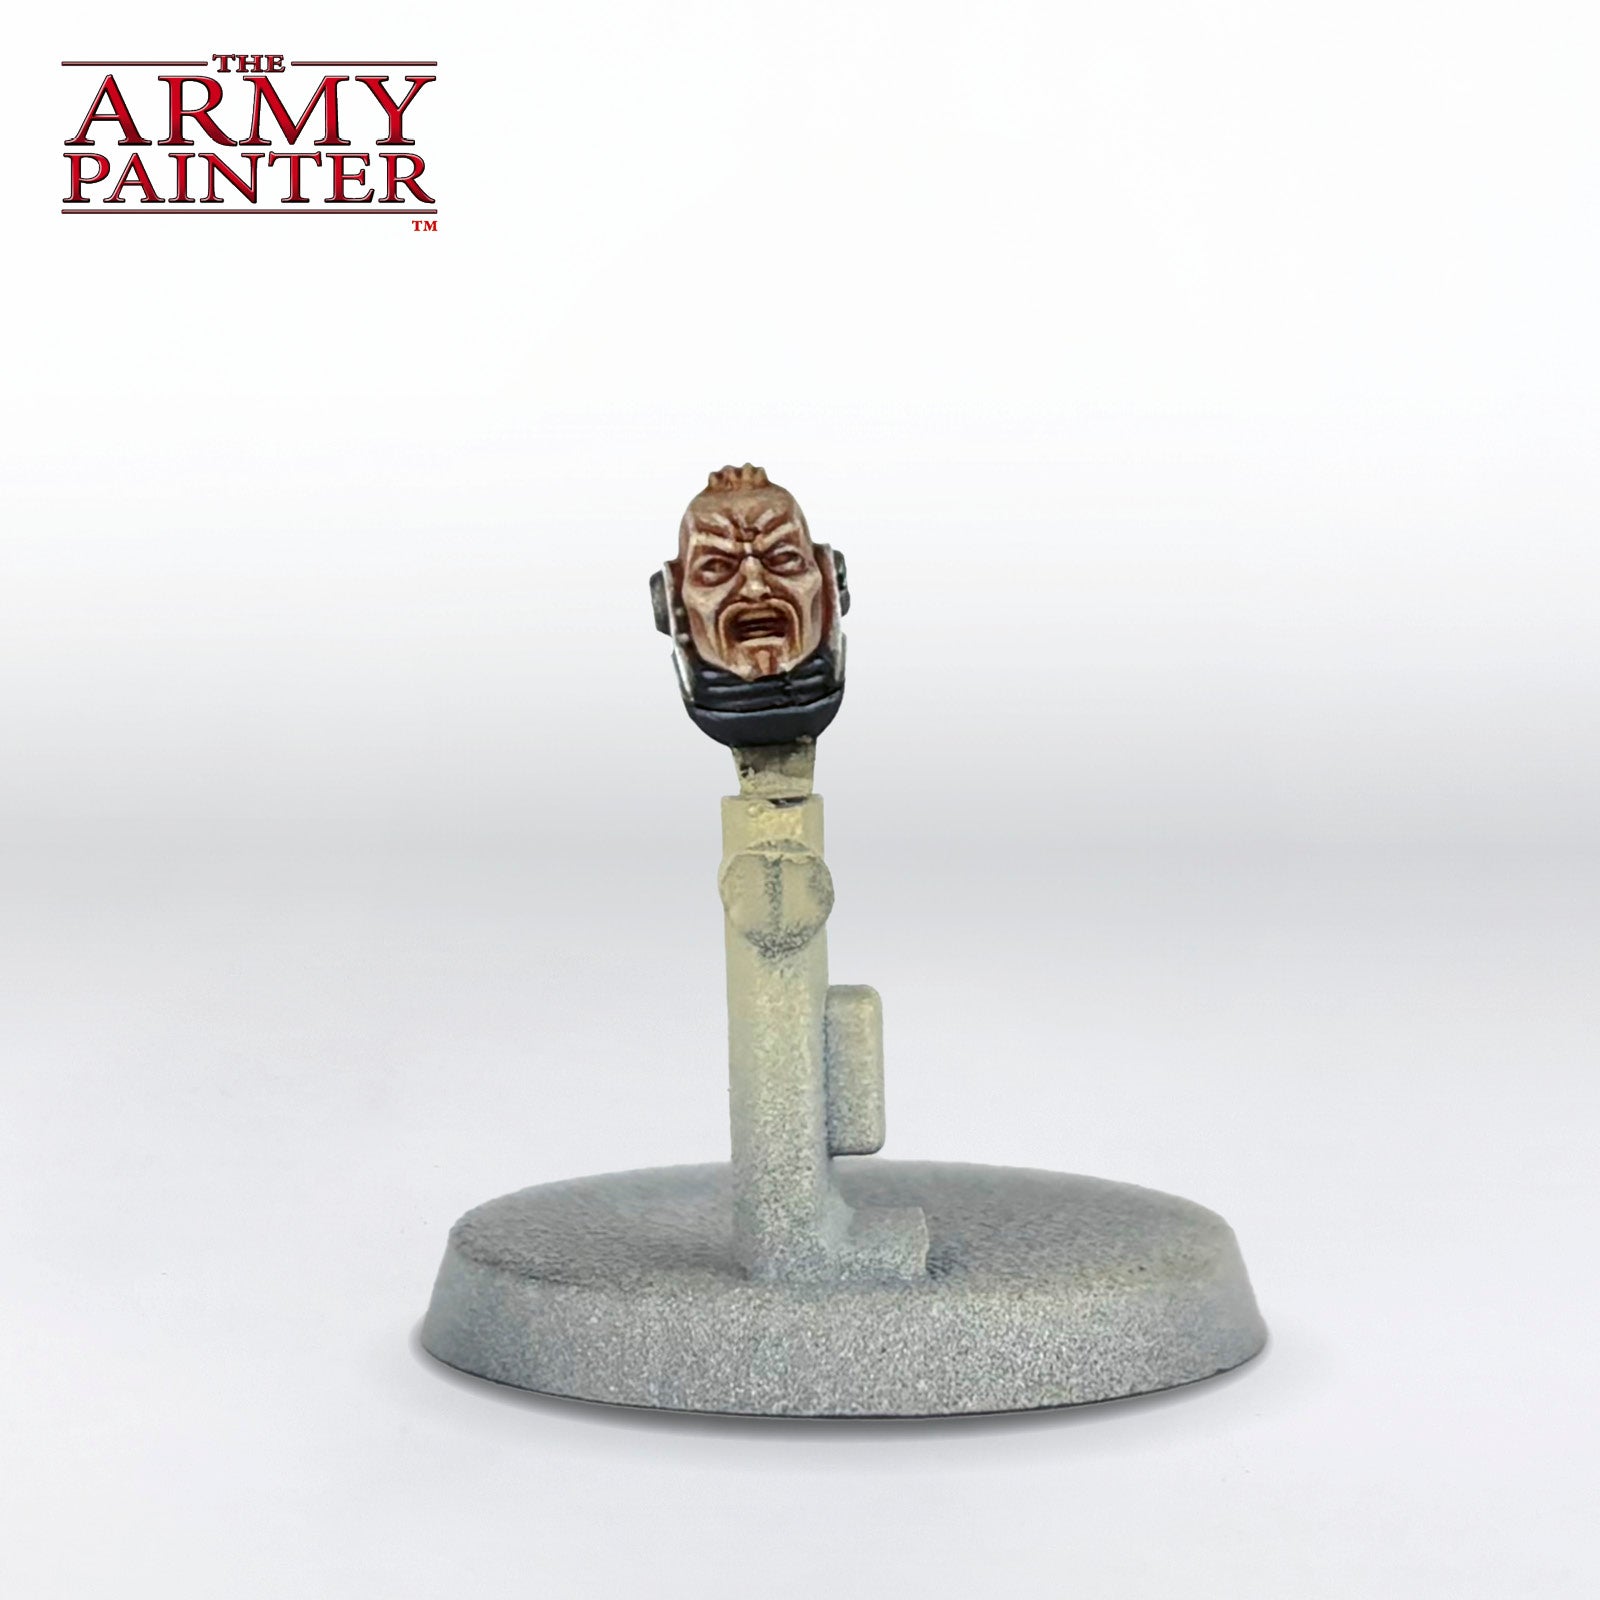
Step 3
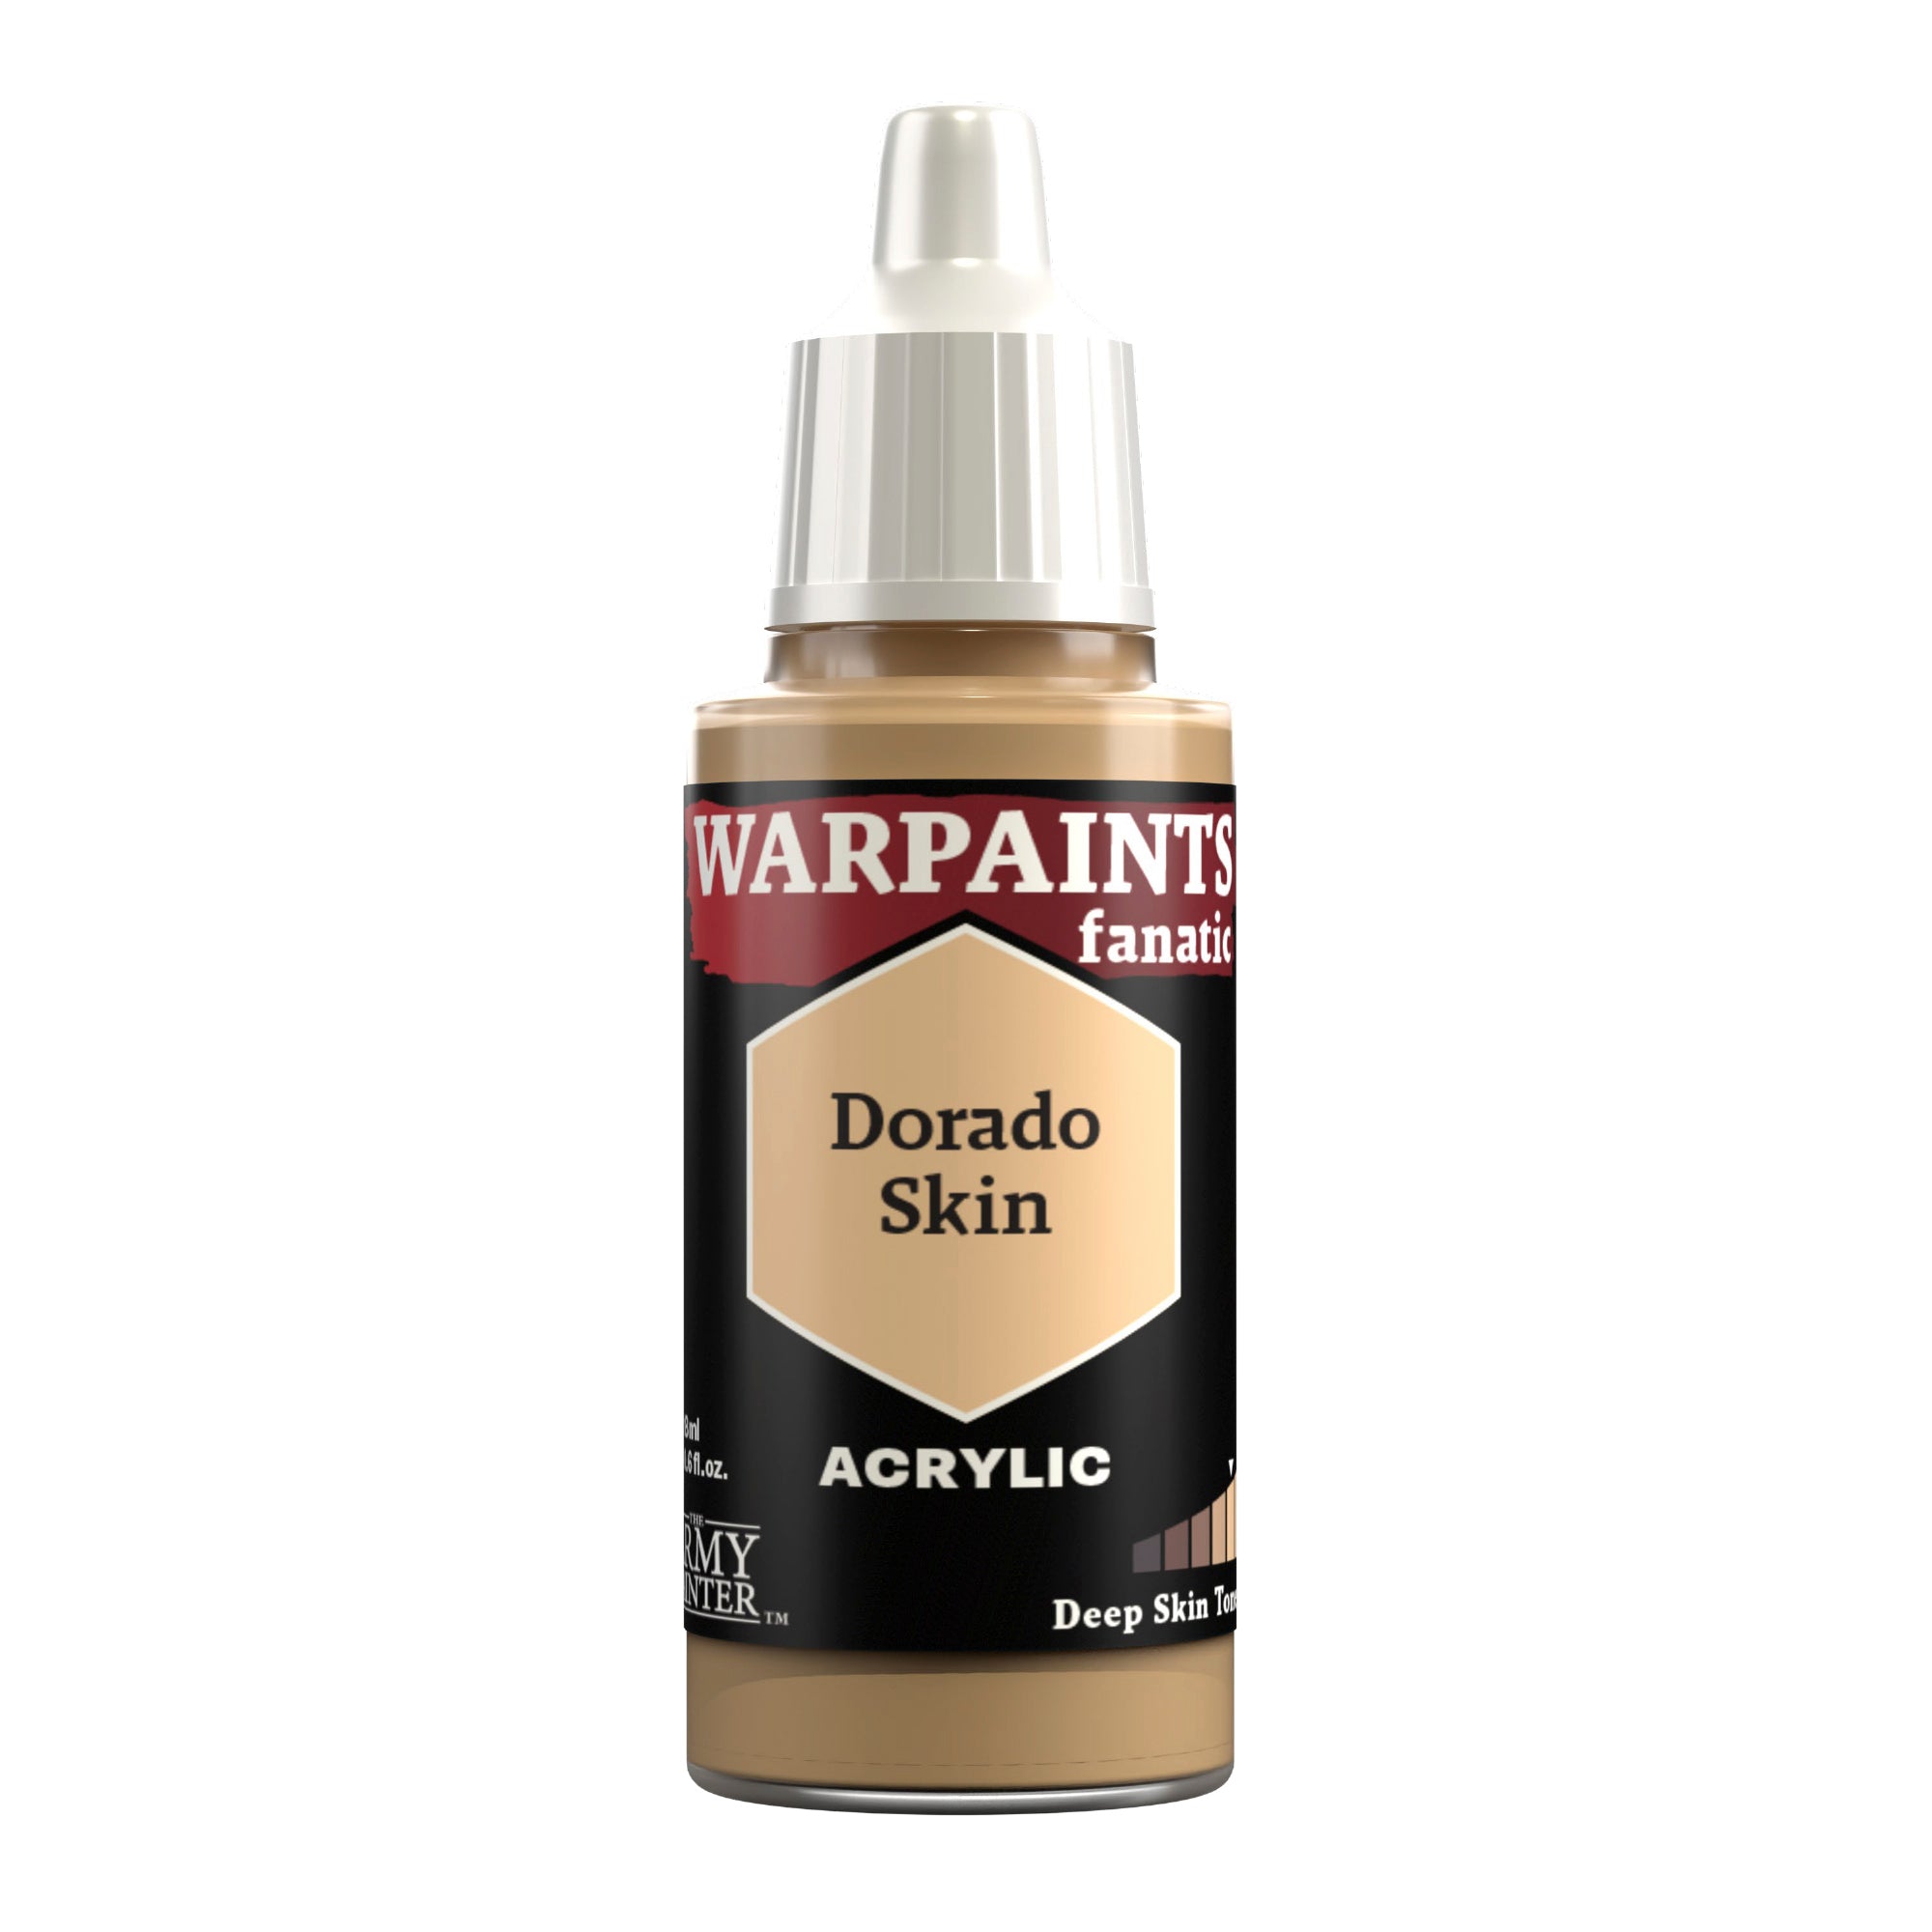
Apply a final highlight of Warpaints Fanatic Dorado Skin on the most prominent features, such as the nose, lips, cheekbones, and brow.
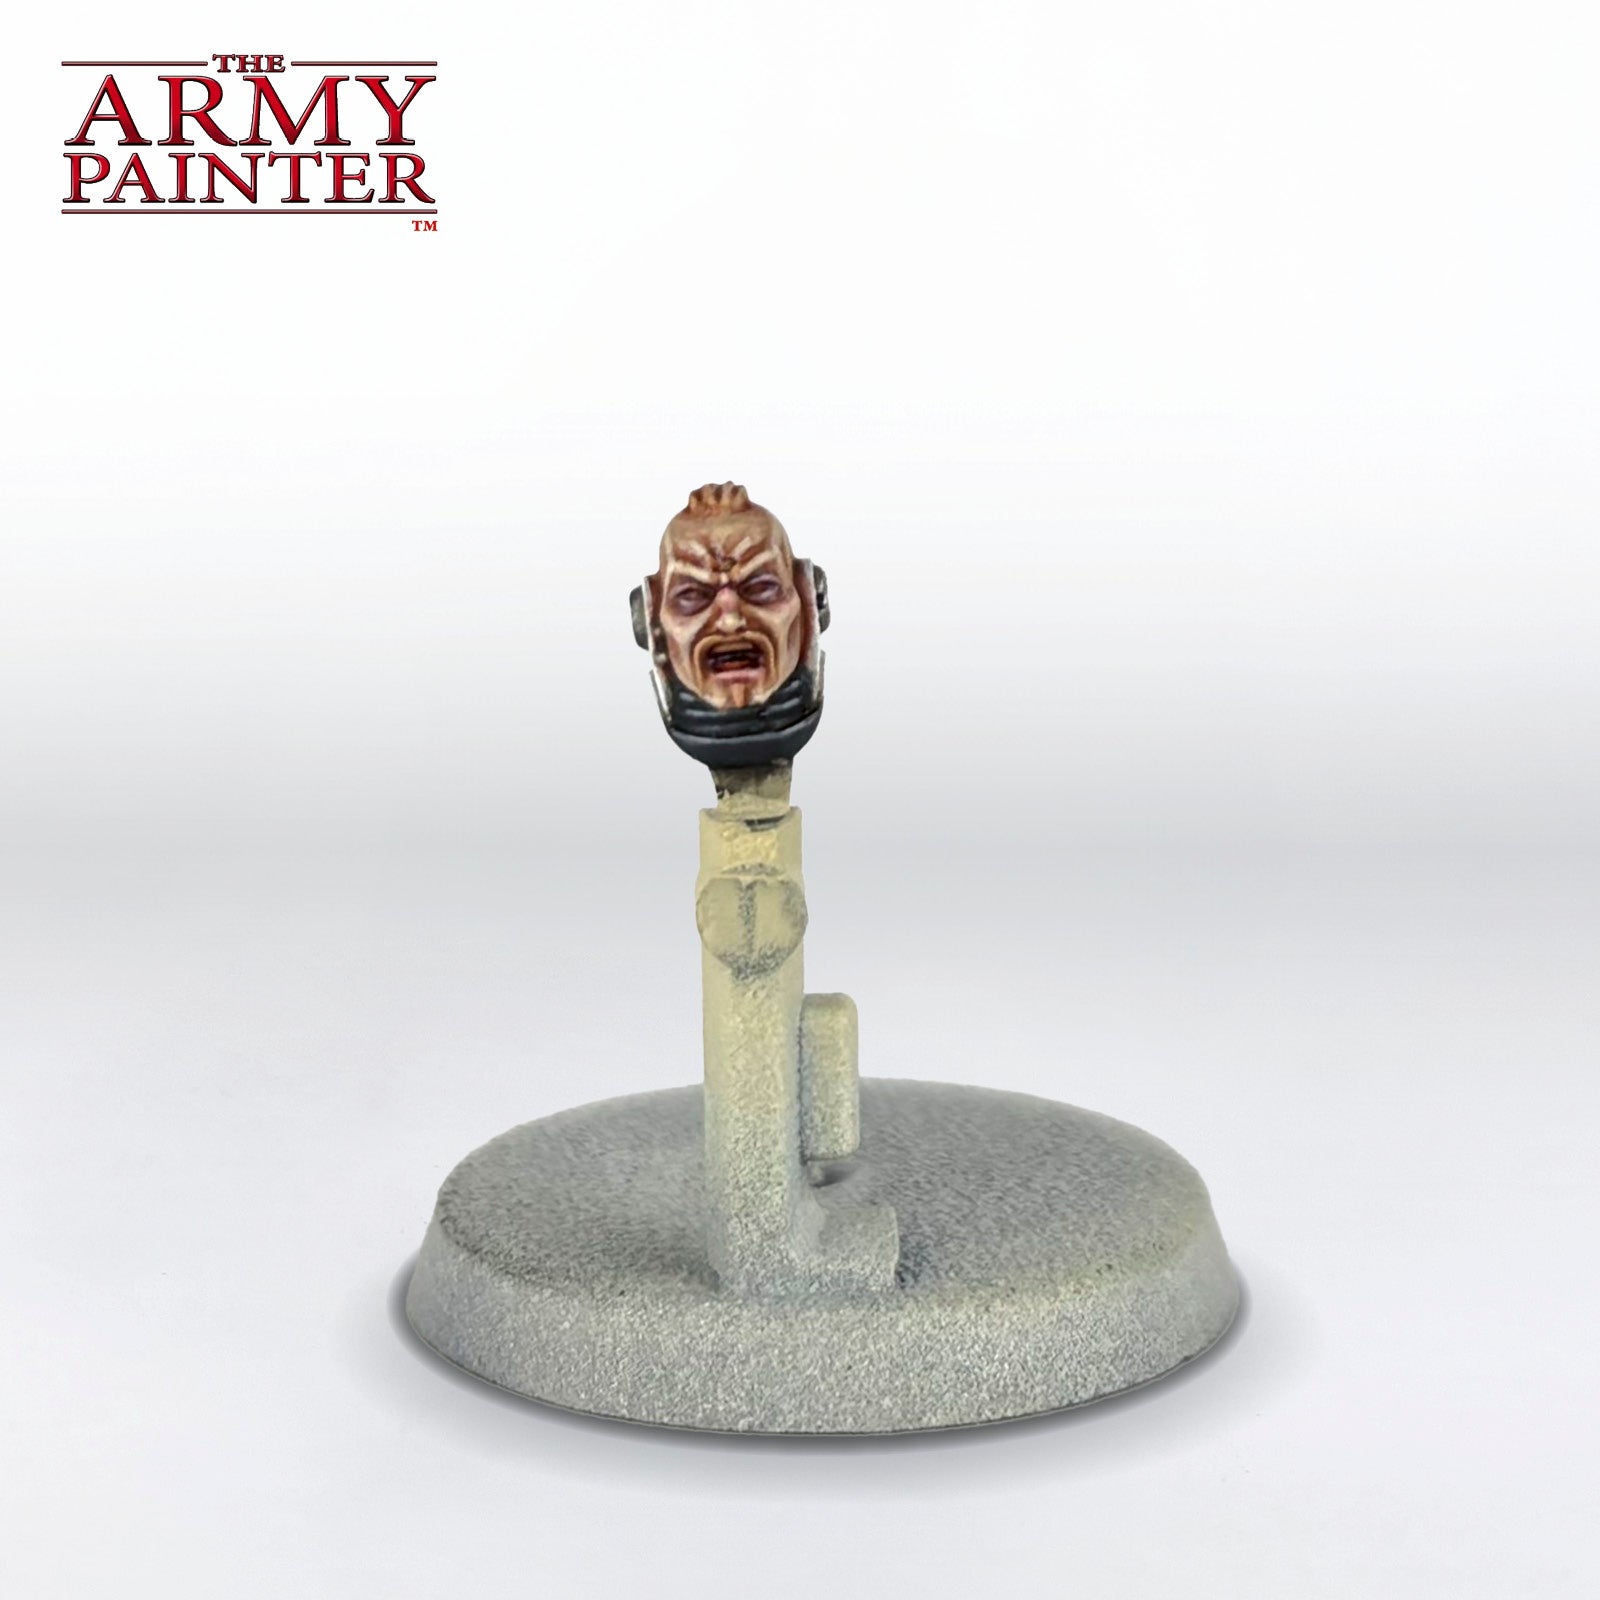
Step 4
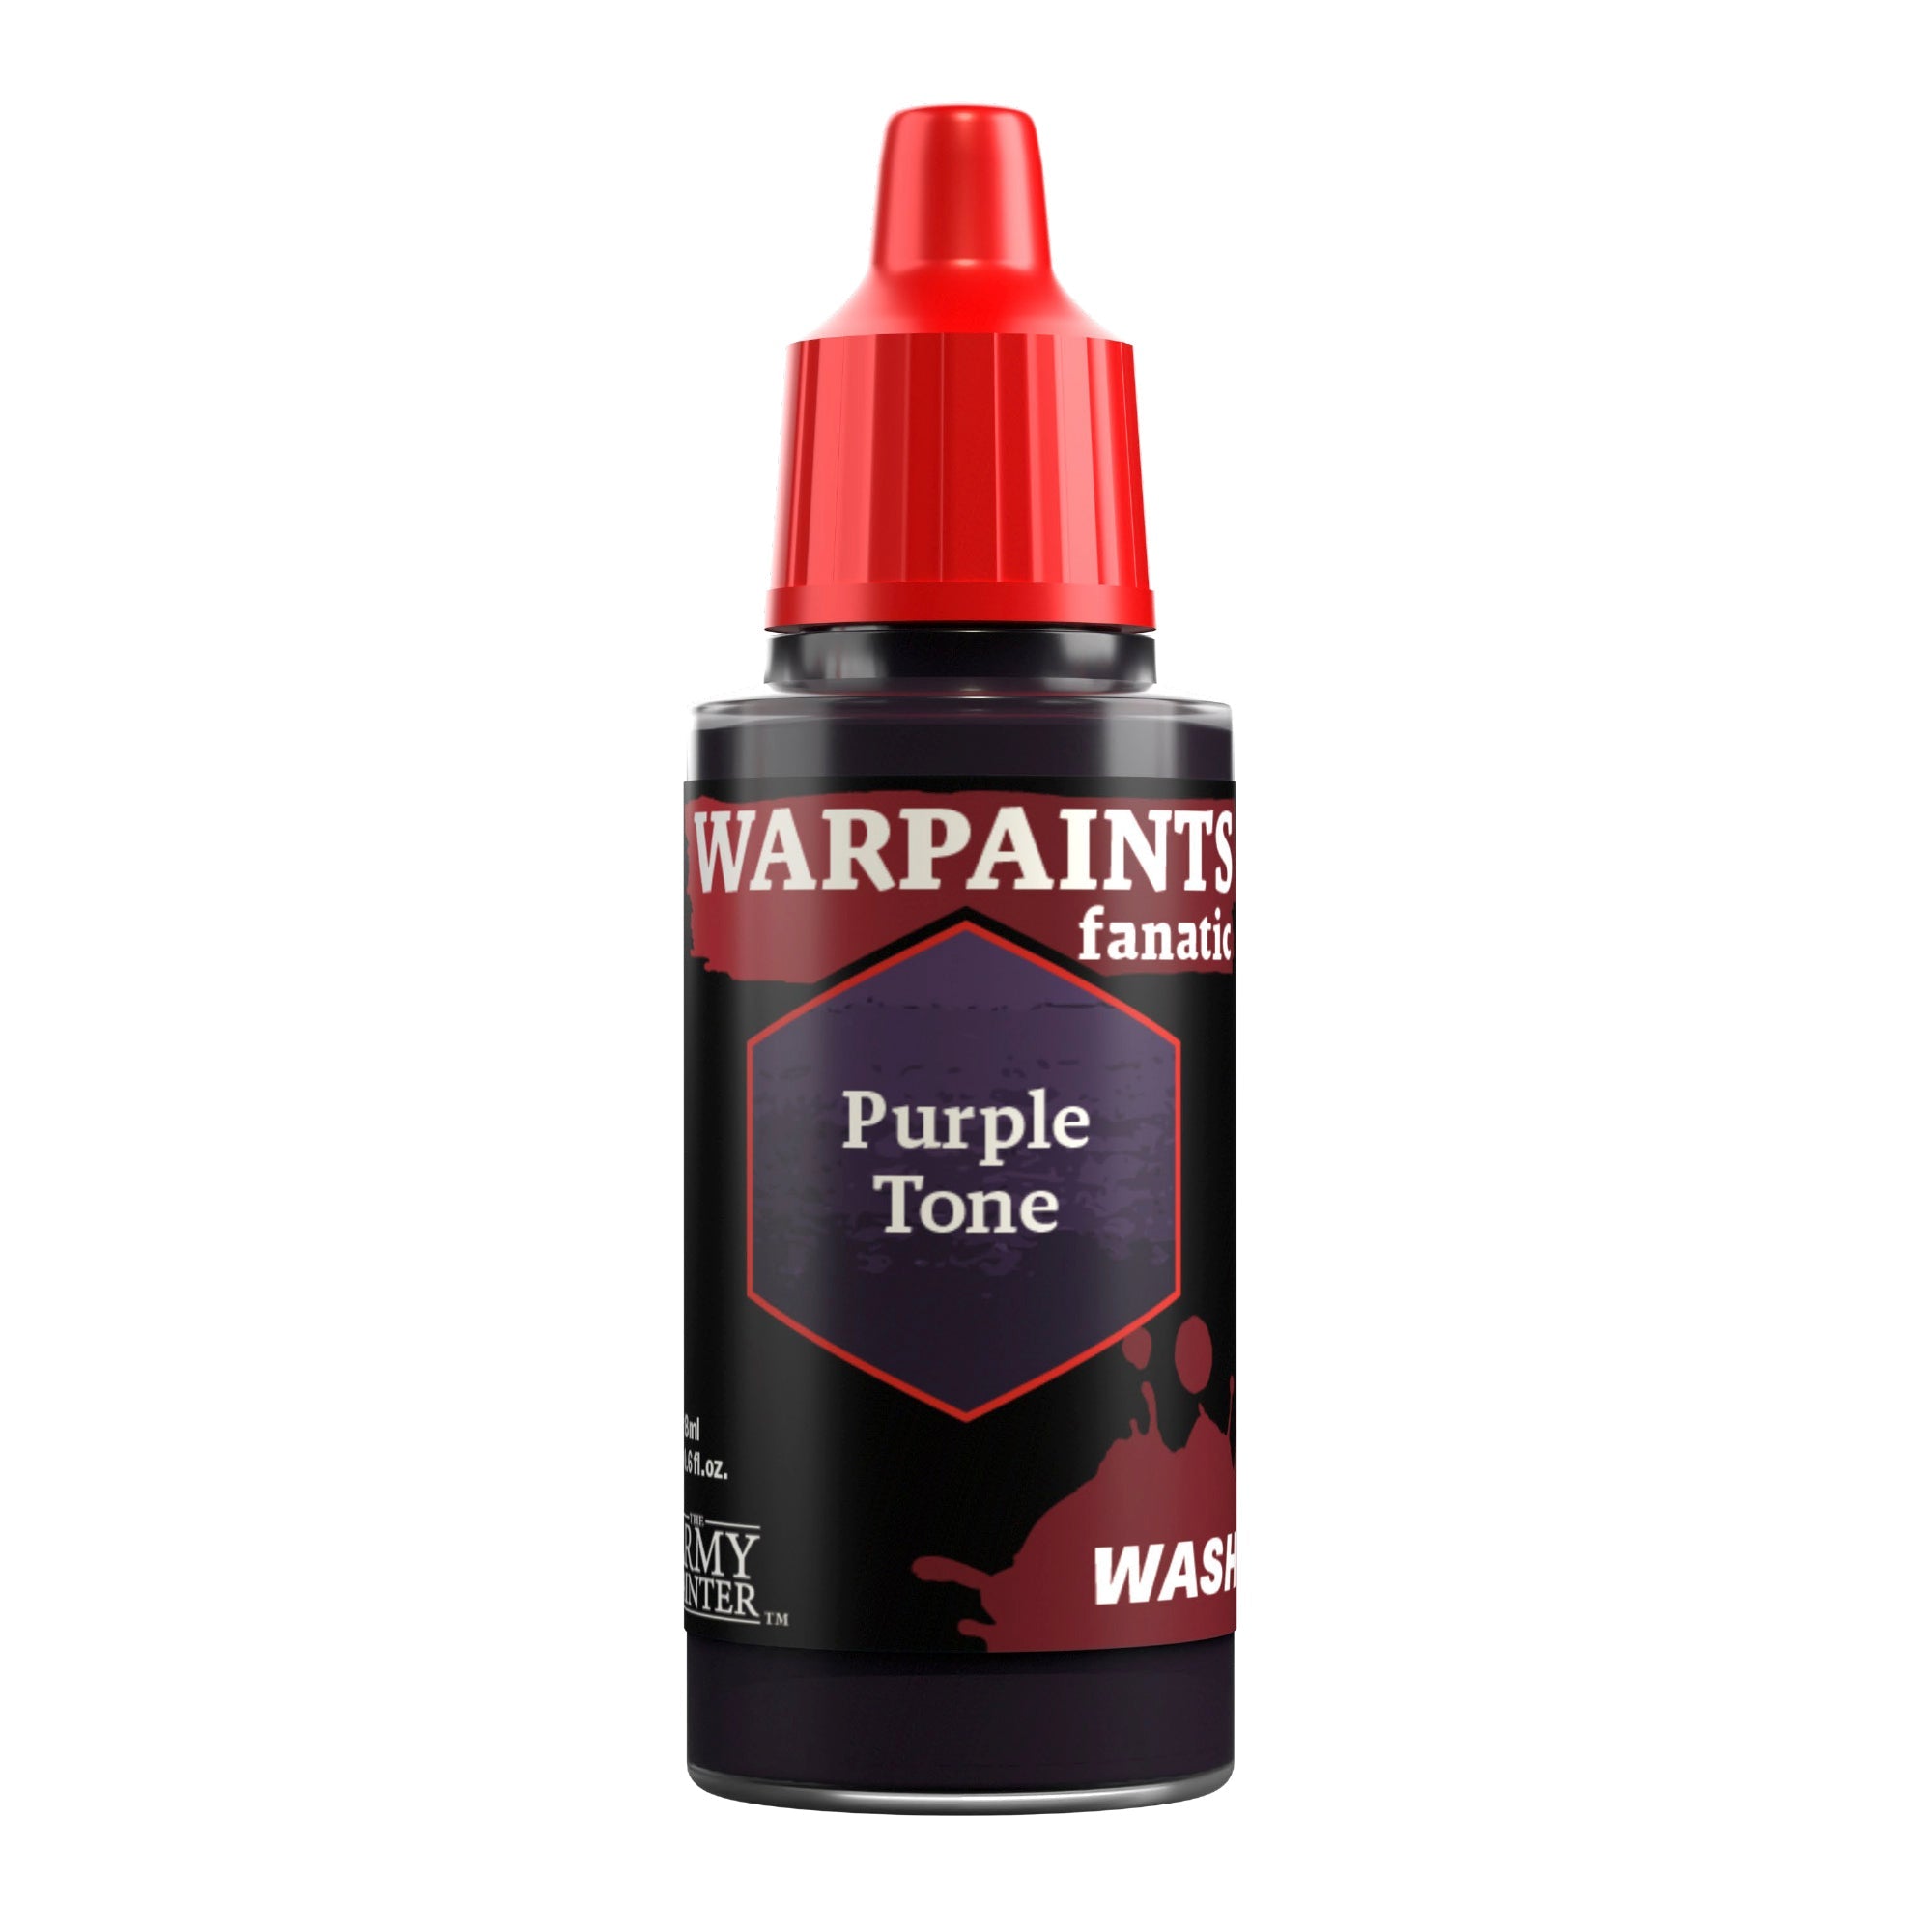
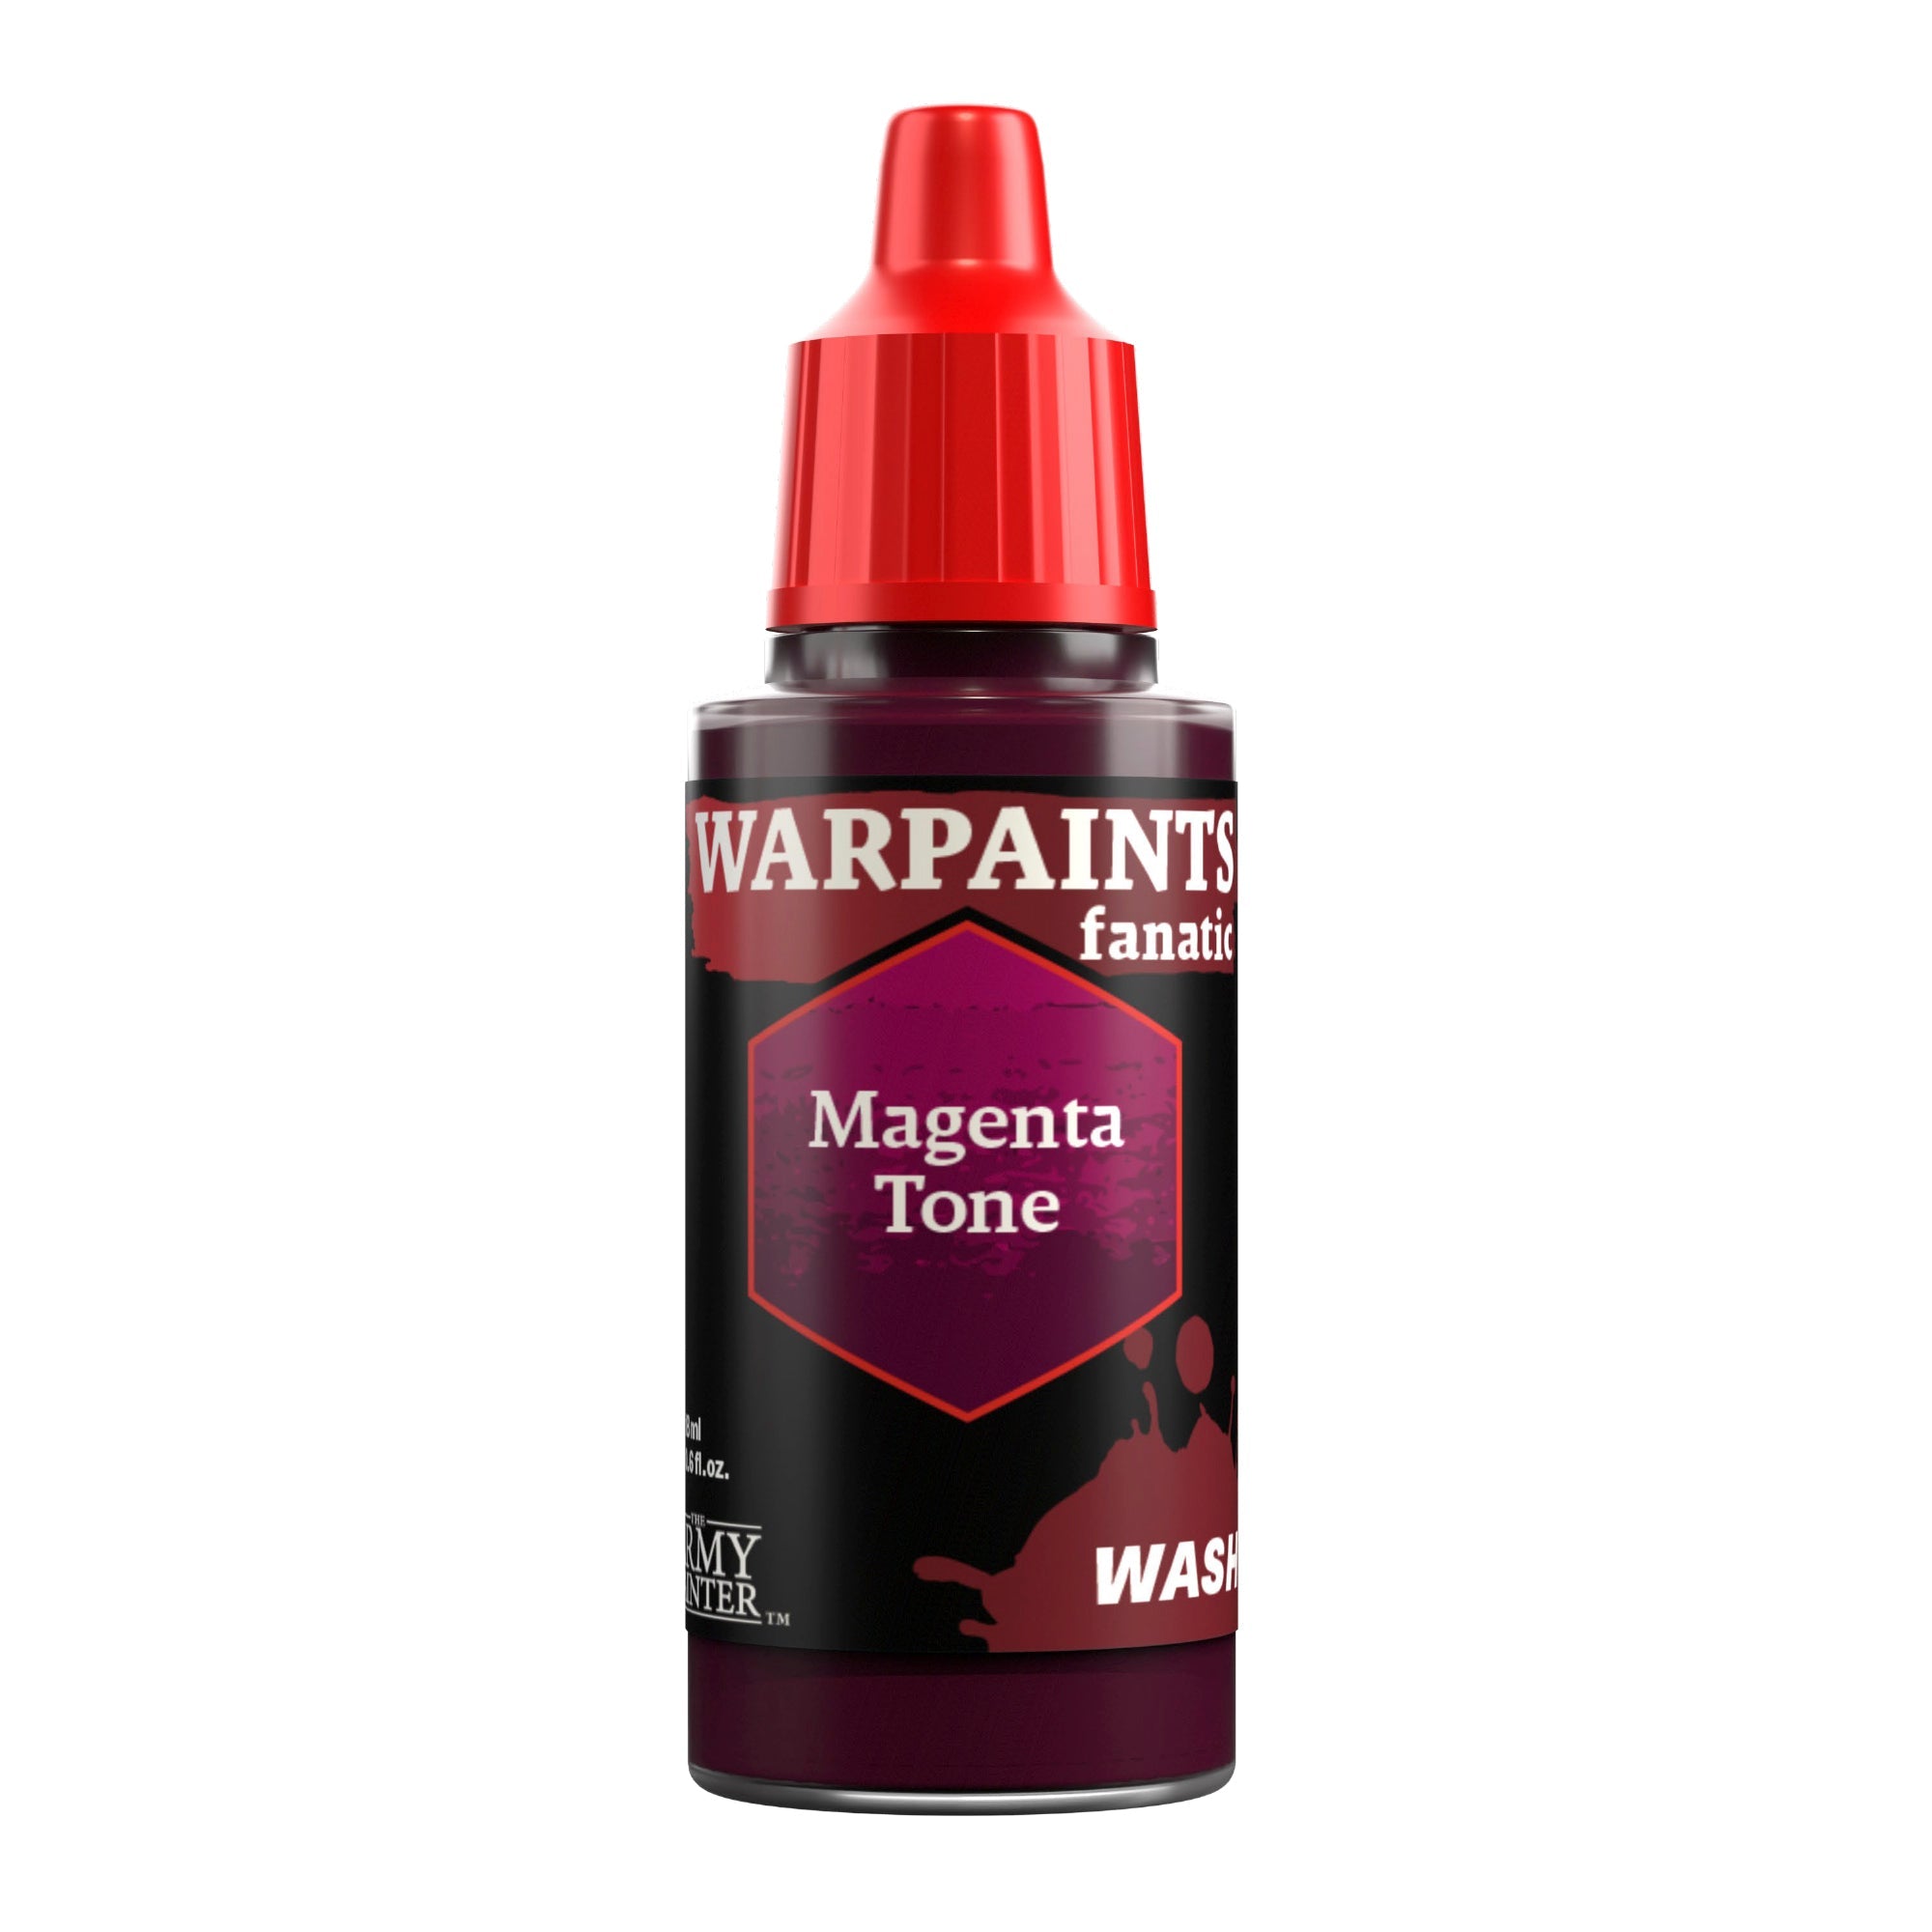
Add a bit of warmth into the skin by glazing the eyes with Warpaints Fanatic Wash Purple Tone, and the lip and parts of the nose with Warpaints Fanatic Wash Magenta Tone.

Step 5
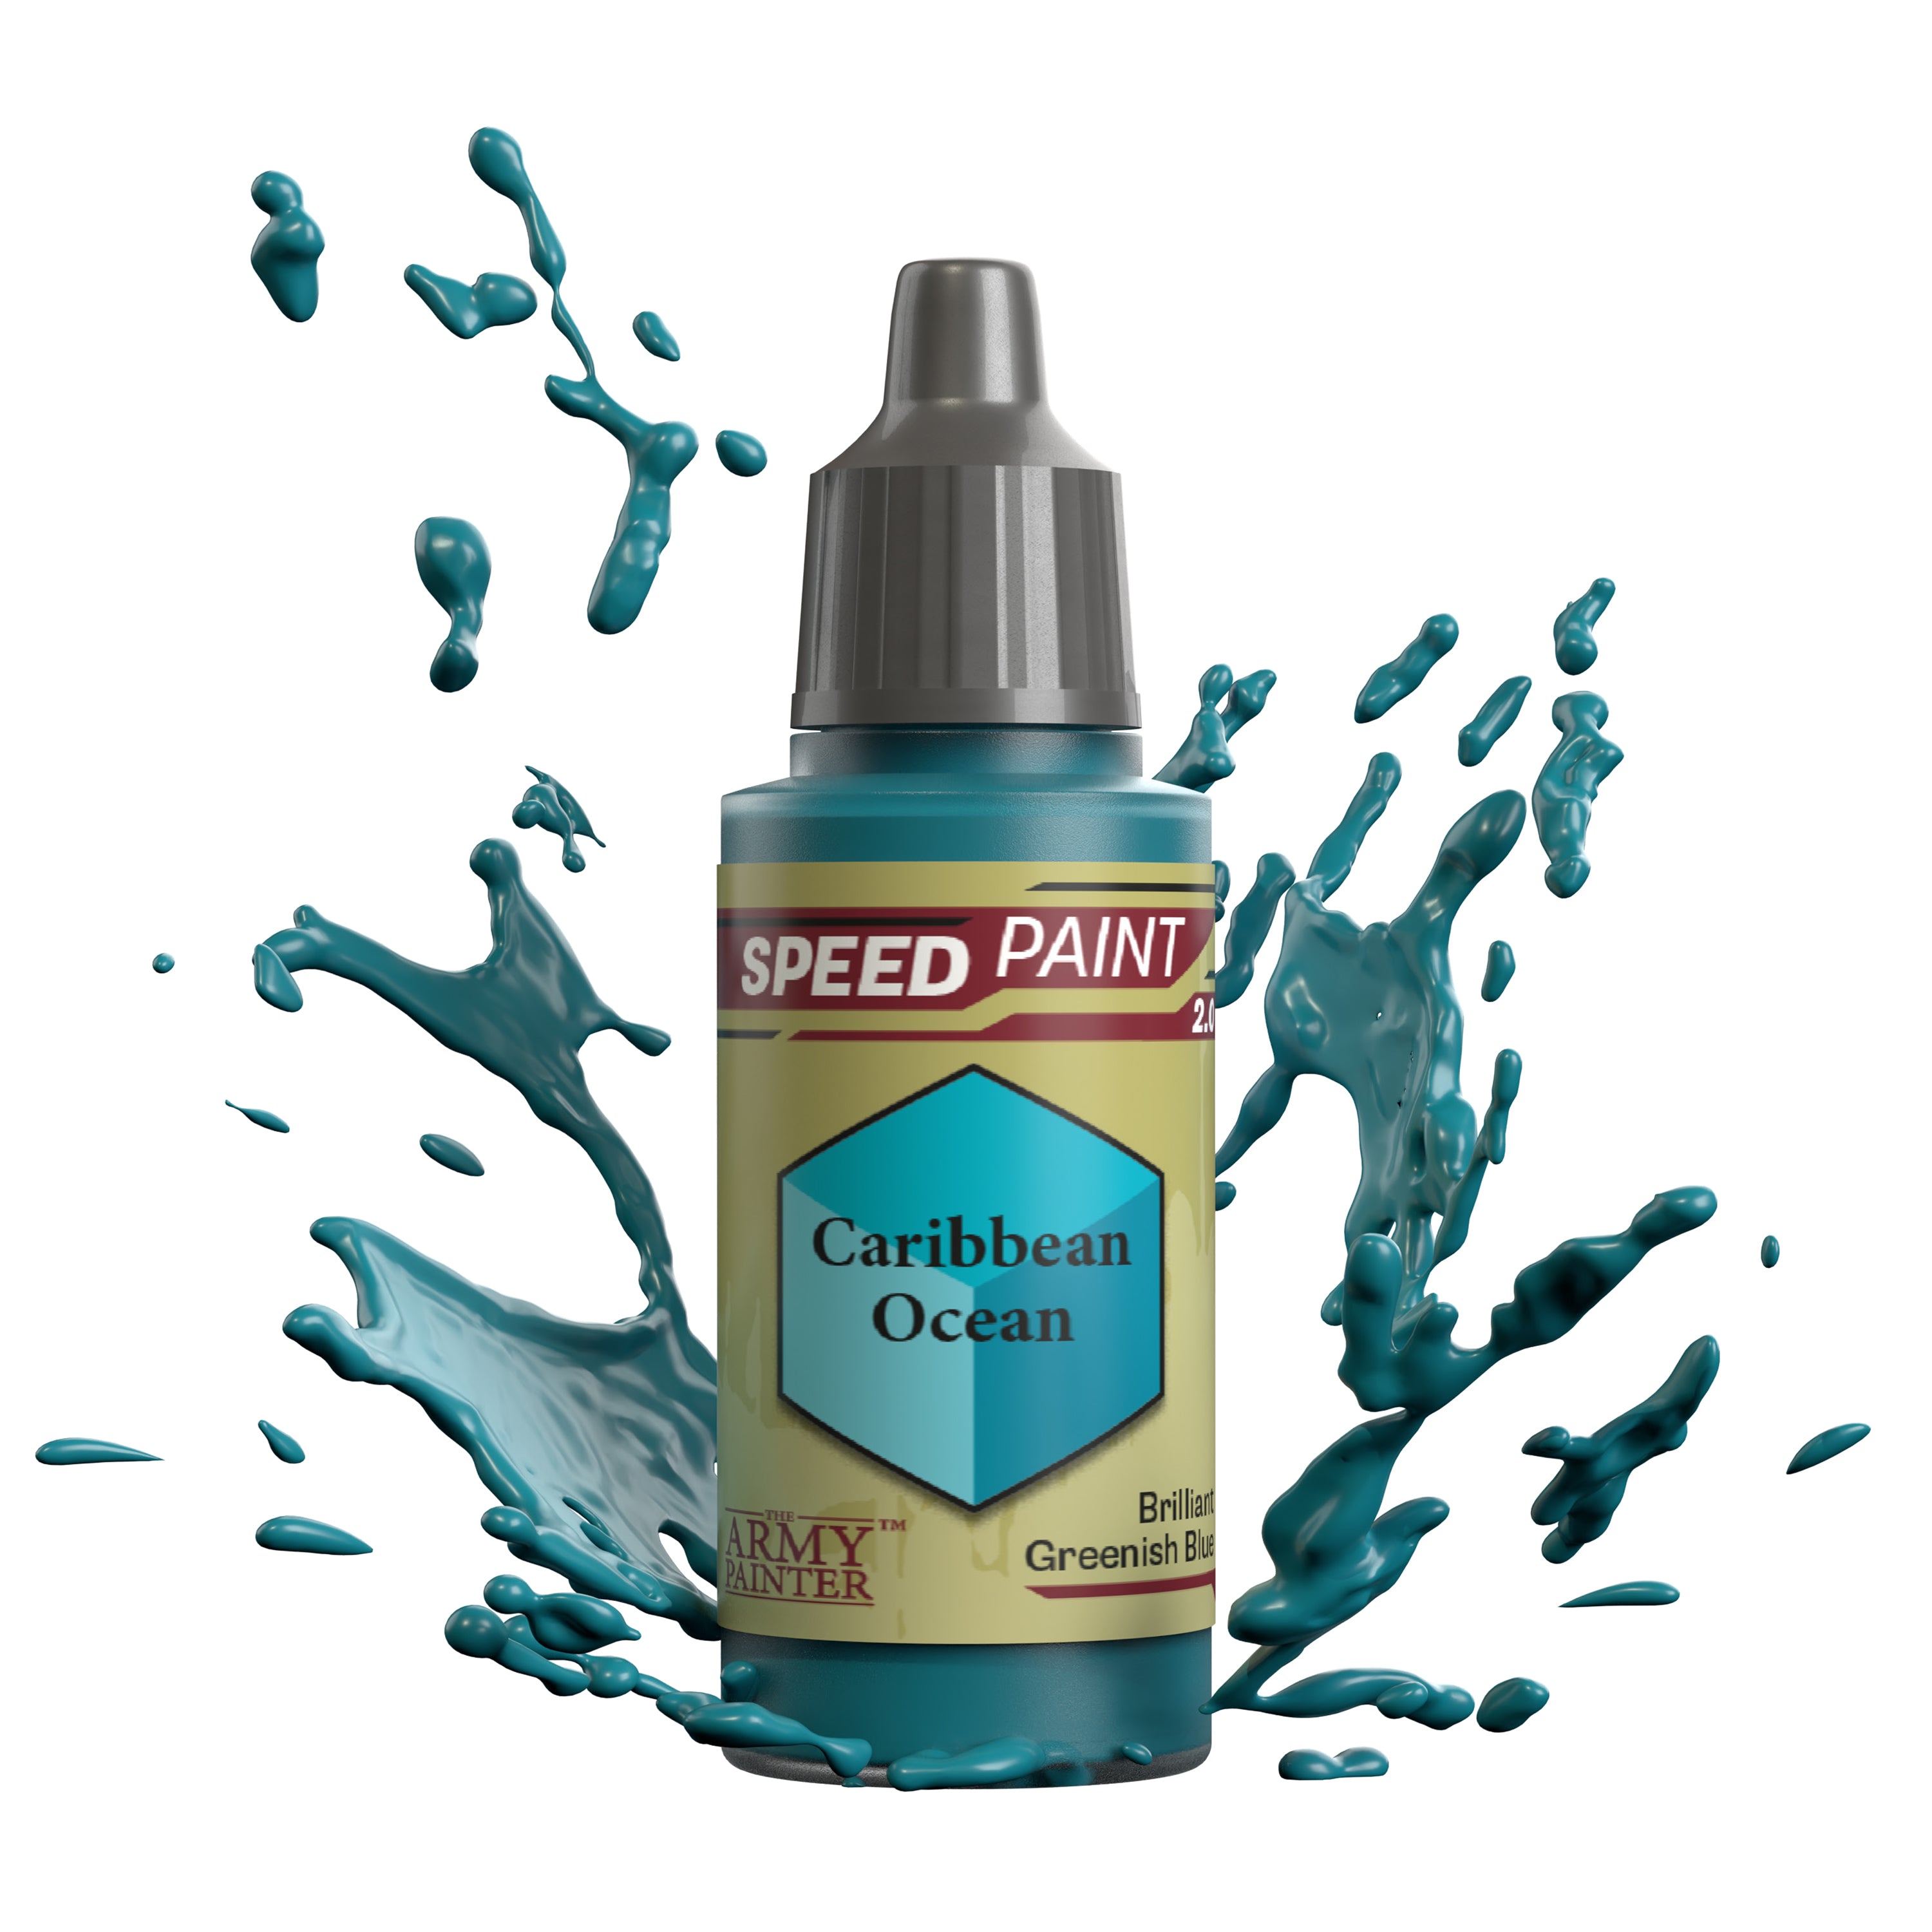
Basecoat the eyes and teeth with Warpaints Fanatic Matt White. At this point, I also basecoated some of the nodules on his psychic hood and the jars on his belt in preparation for the glow. Apply this glow with Speedpaint Caribbean Ocean on the eyes, nodules, and jars. Follow this with a final highlight of Matt White where needed, for a bit more pop.
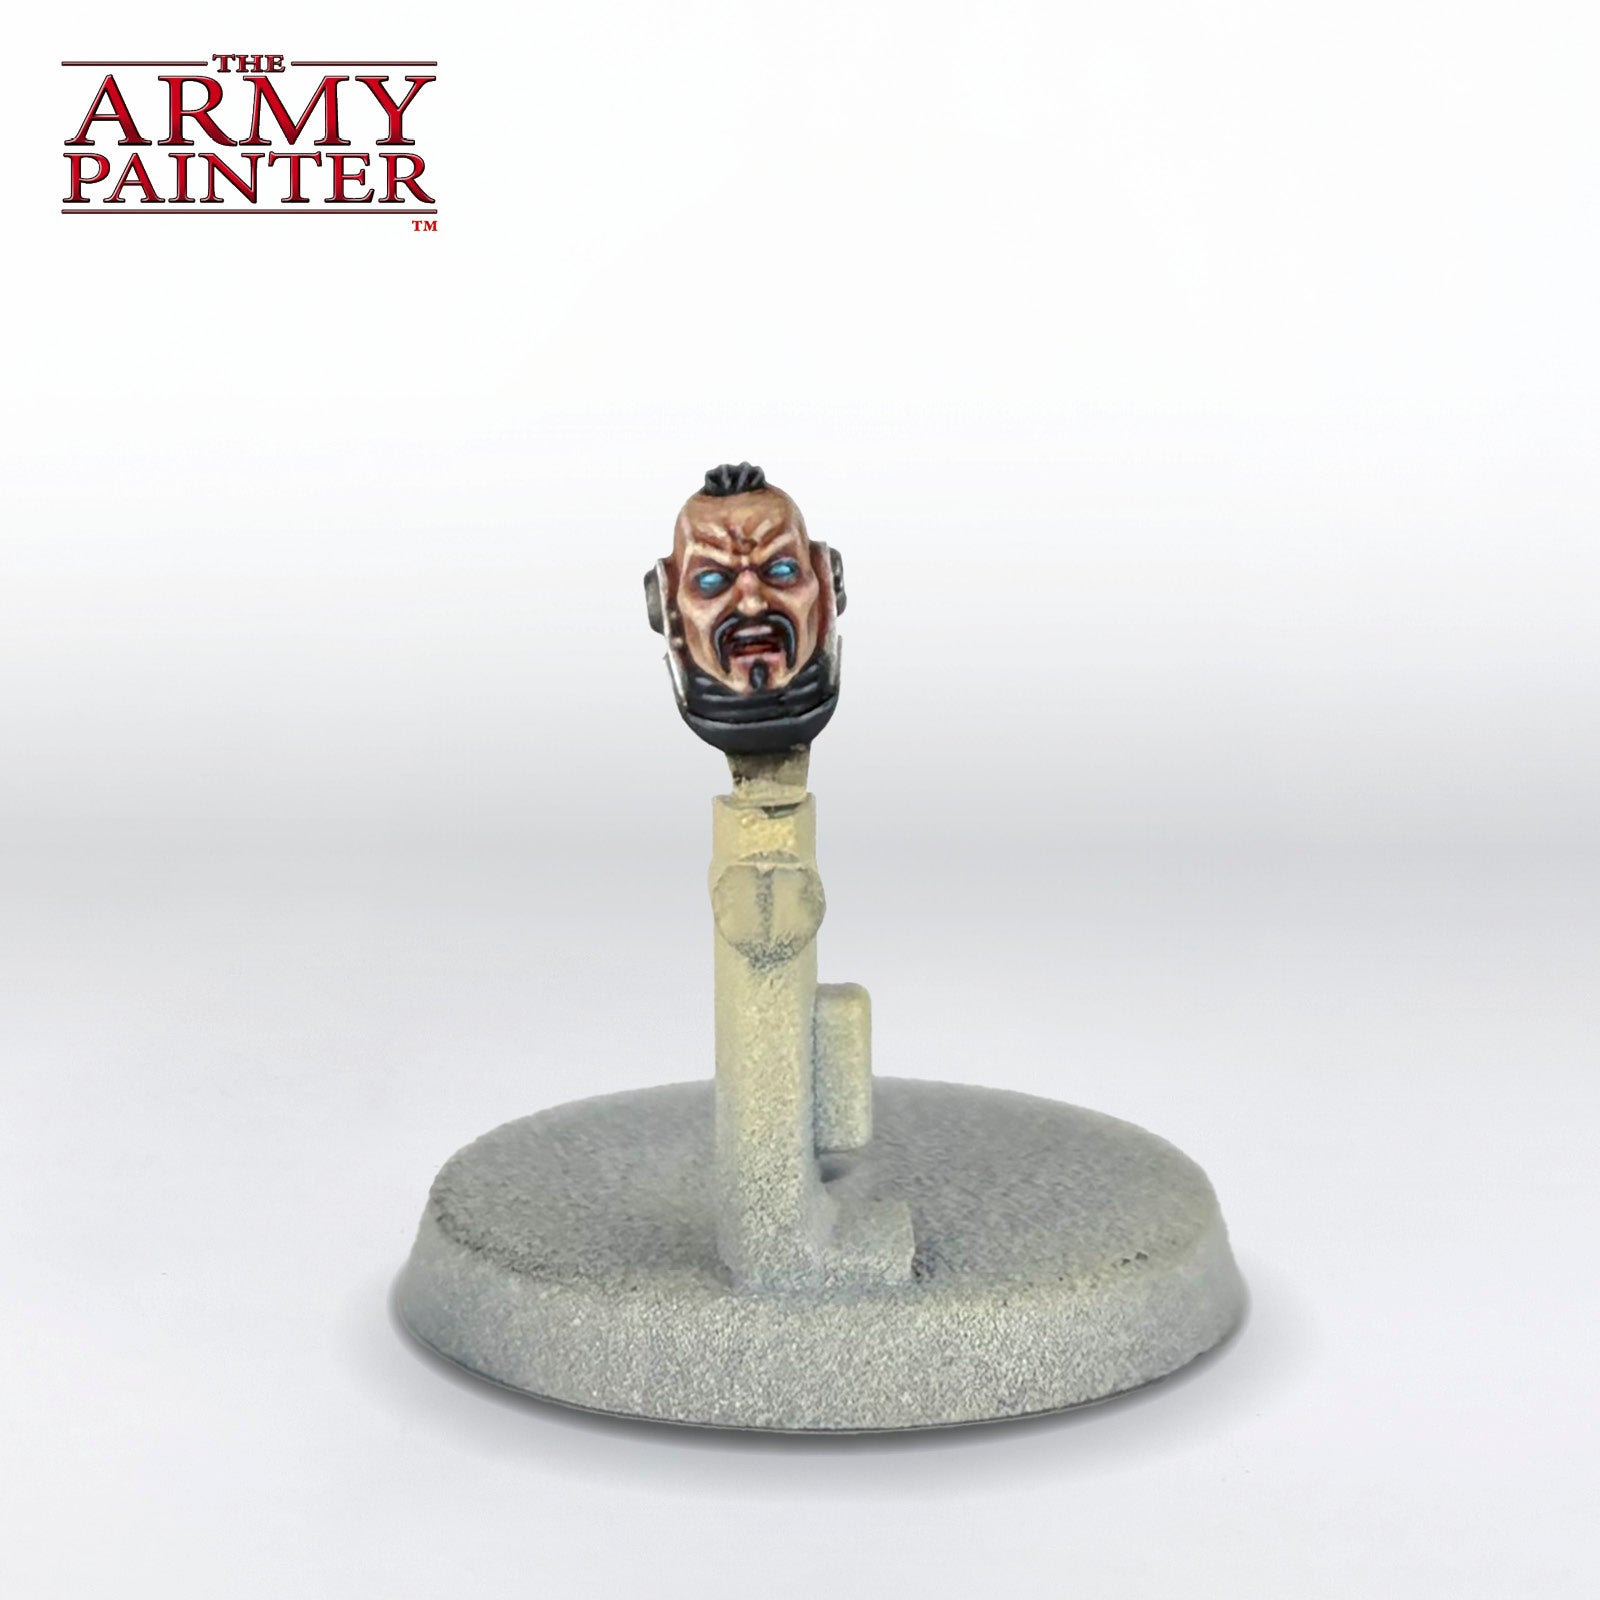
Step 6
Lastly, basecoat the hair with Warpaints Fanatic Matt Black, and then highlight it with Warpaints Fanatic Uniform Grey.
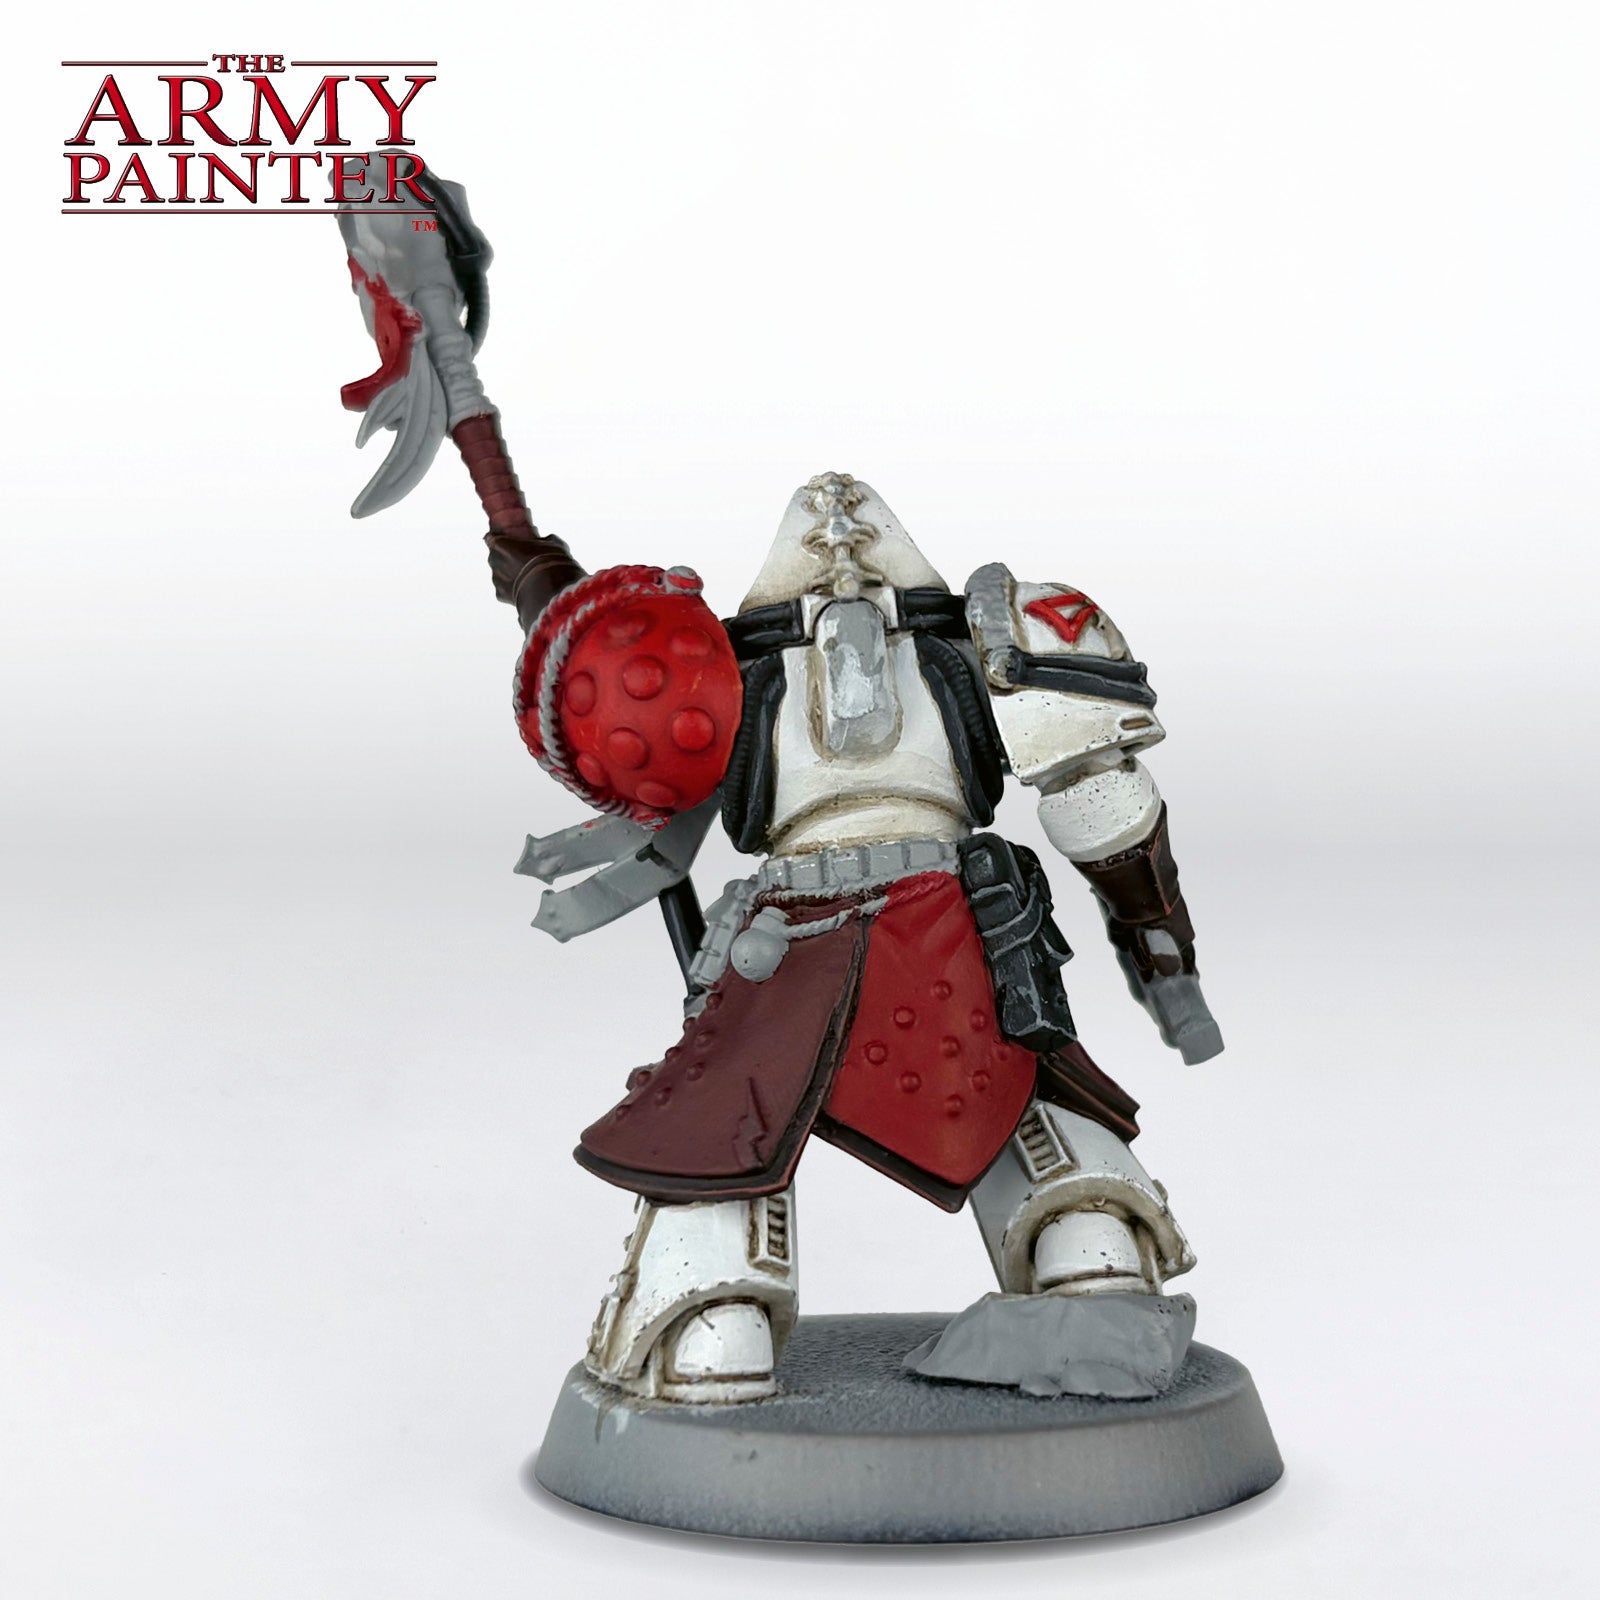
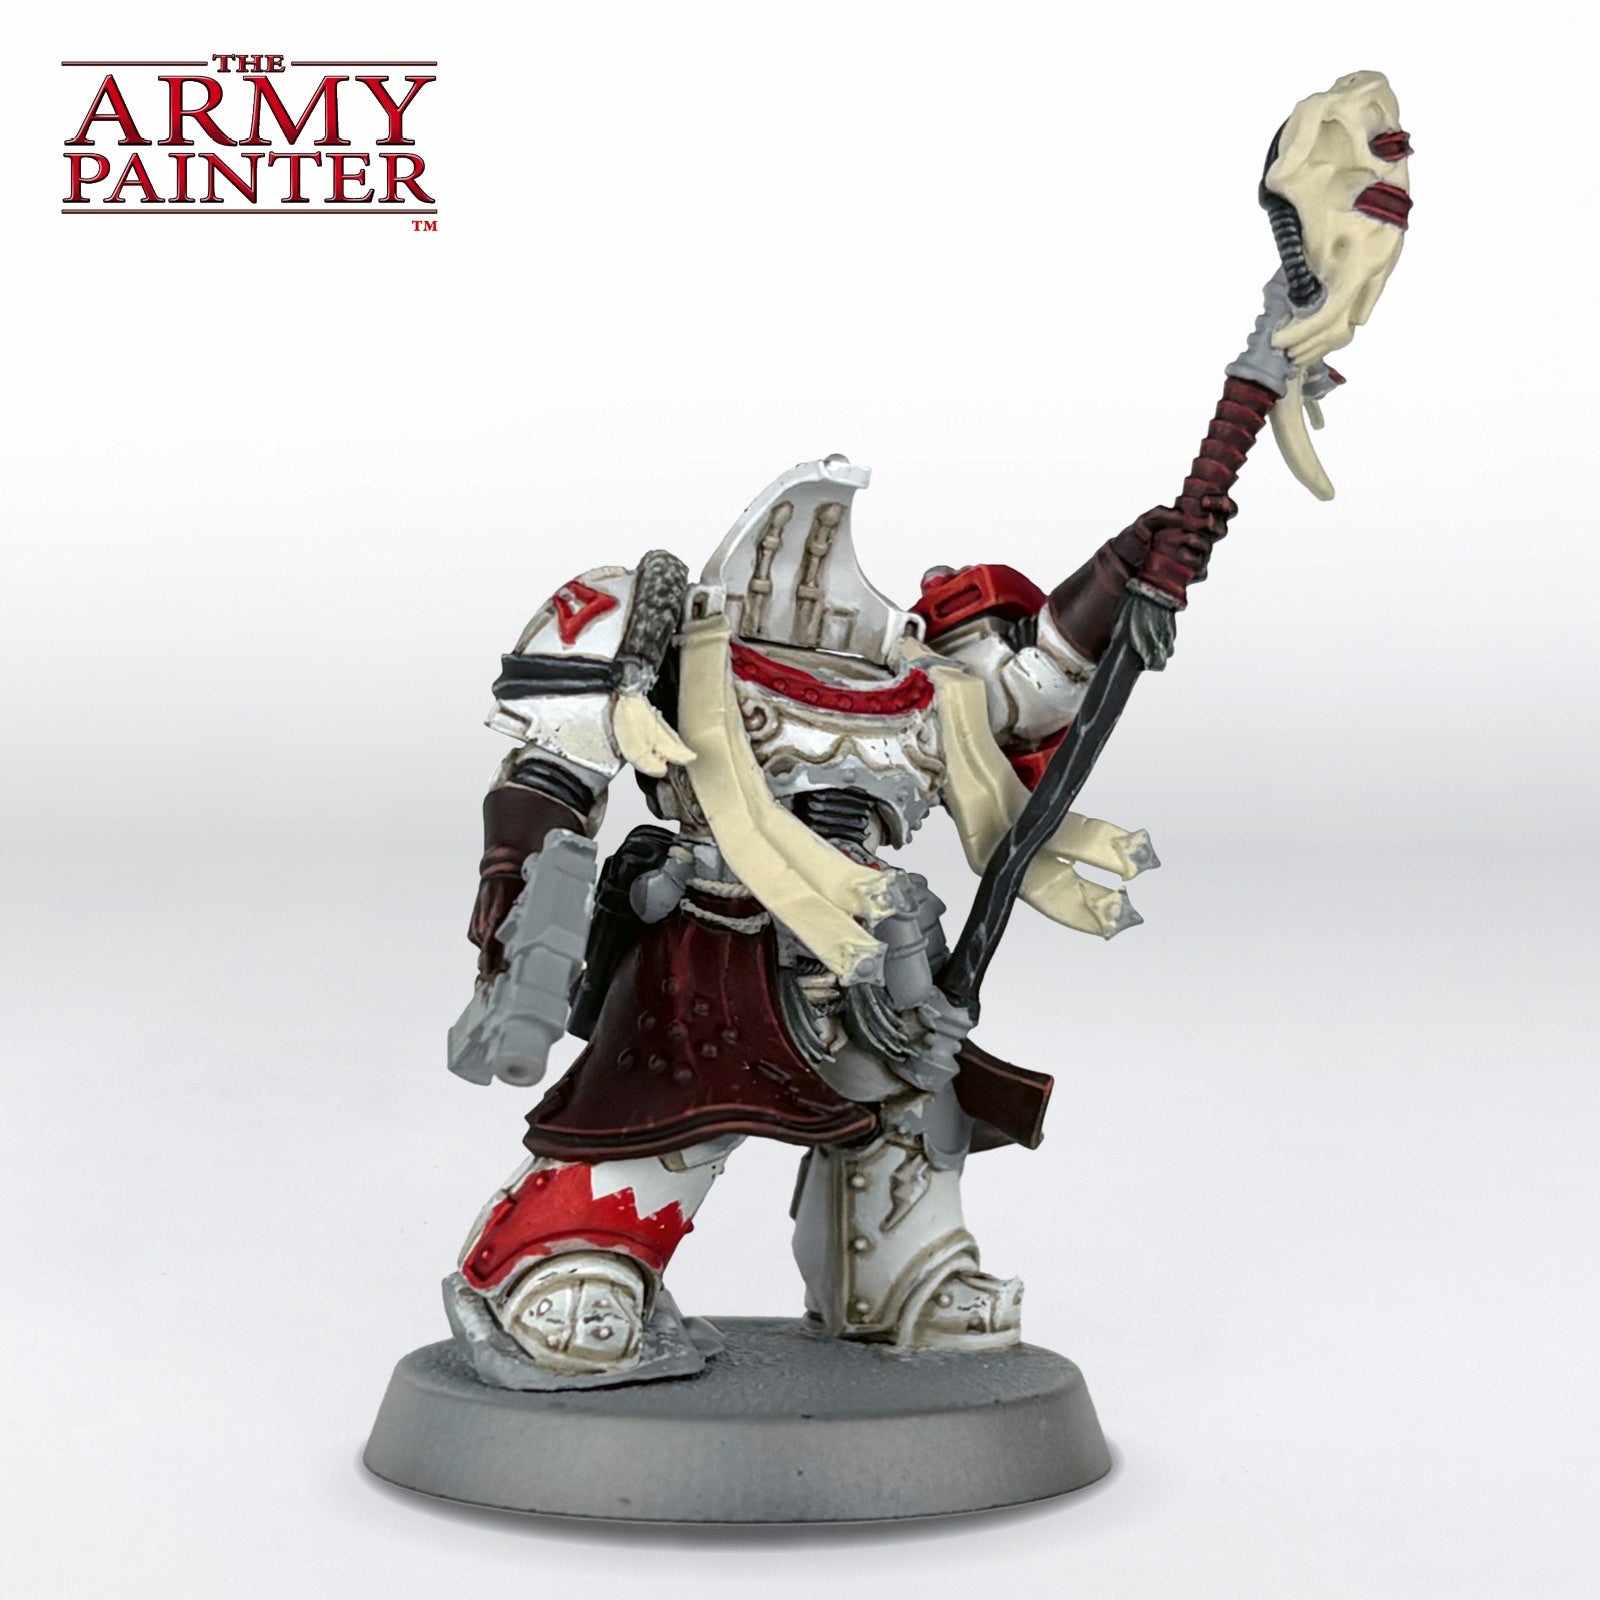
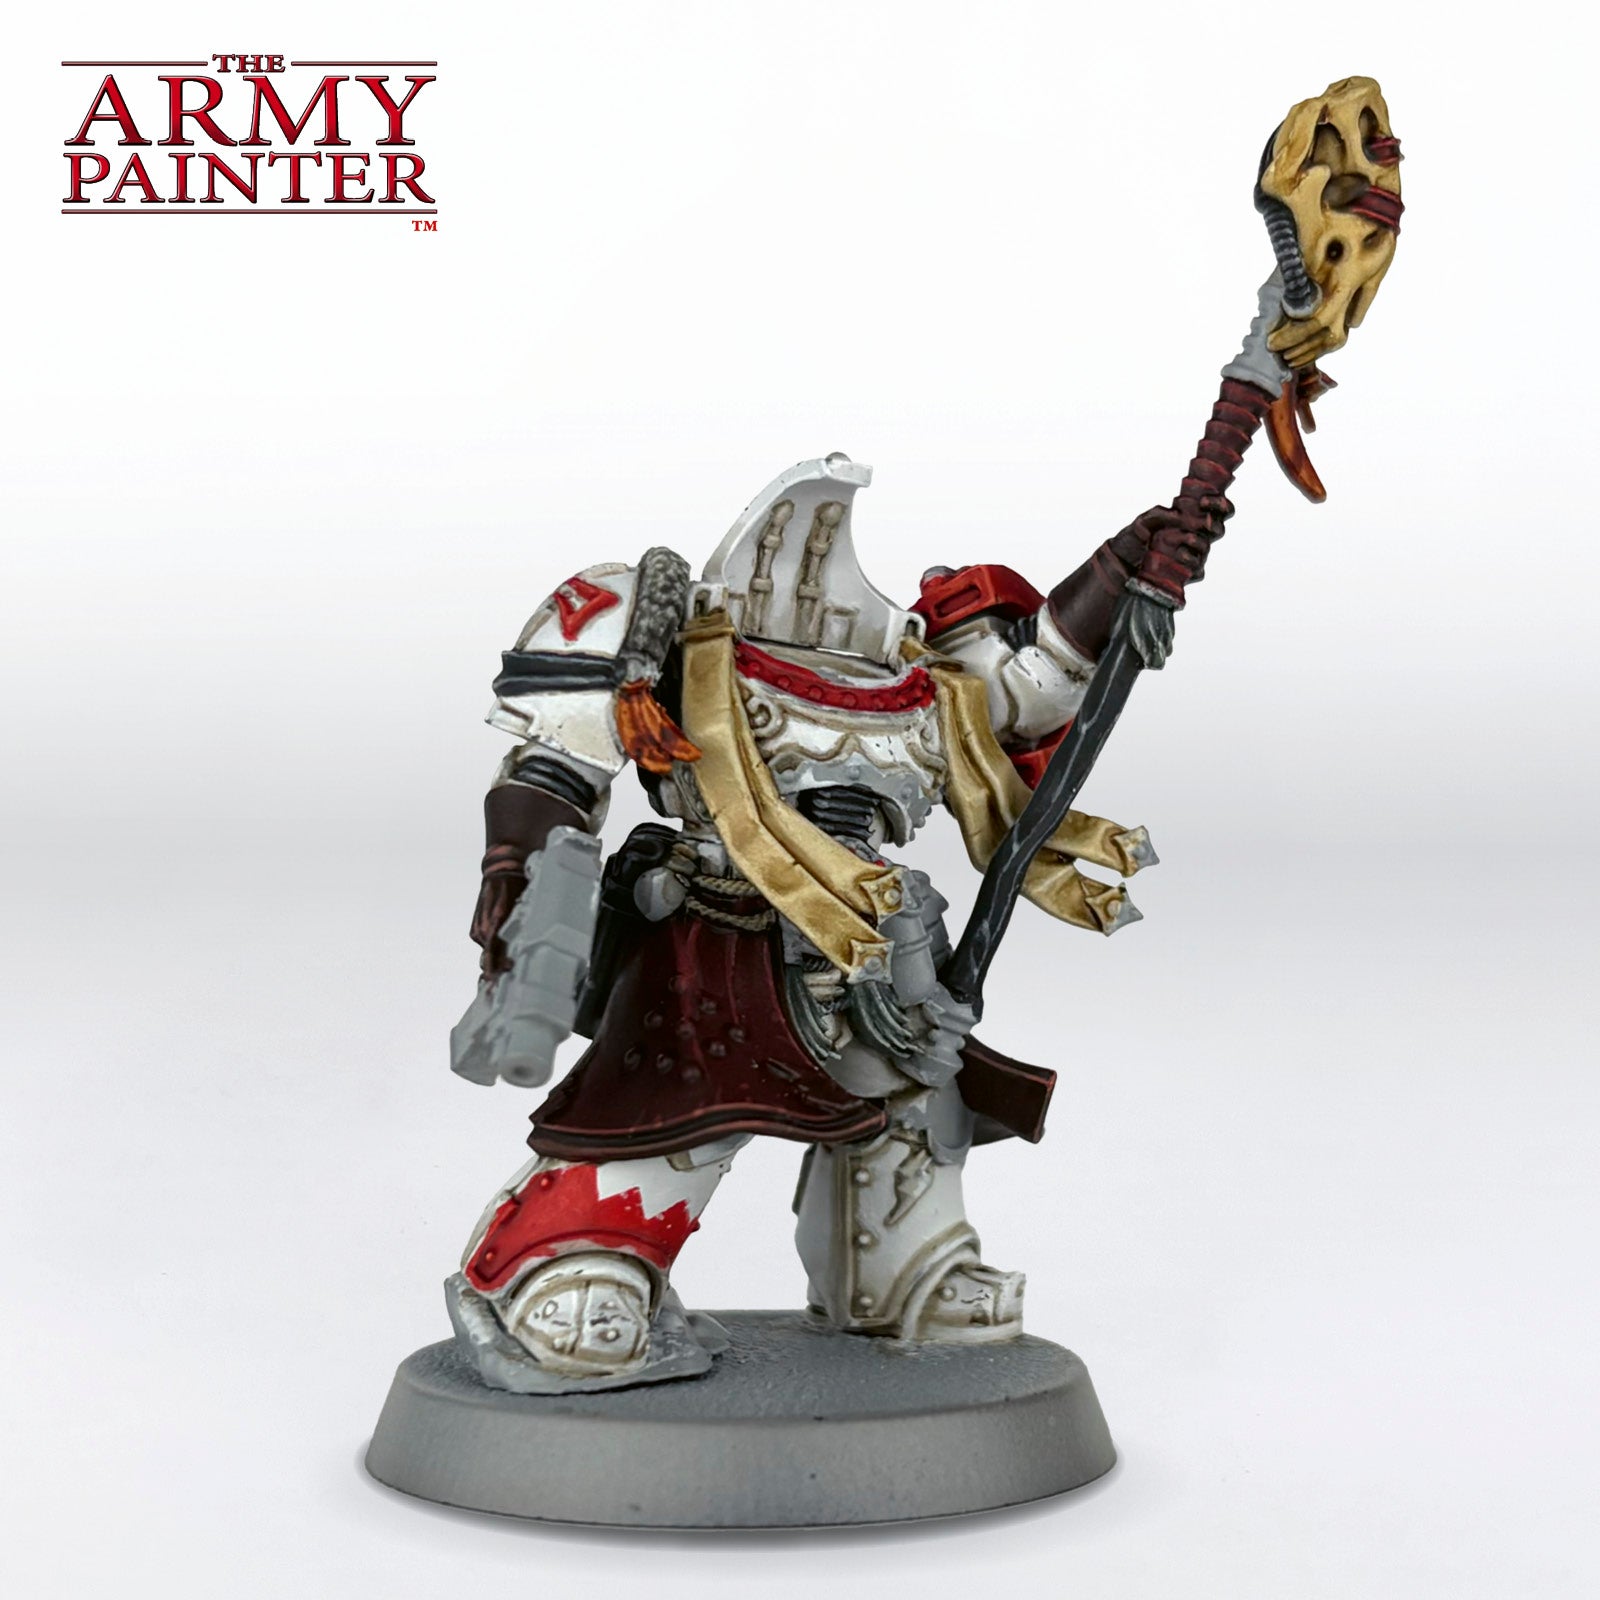
With that, your model is done!
We based our mini with a simple dirt and grass look, but you can, of course, base yours to match your collection, or however else you want.
Be sure to tell us what you thought of this tutorial format, if you have any suggestions for improvements in the future, or even which models you want us to tackle.
If you paint your own model following one of these guides, tag it with #thearmypainteracademy to share your work!