


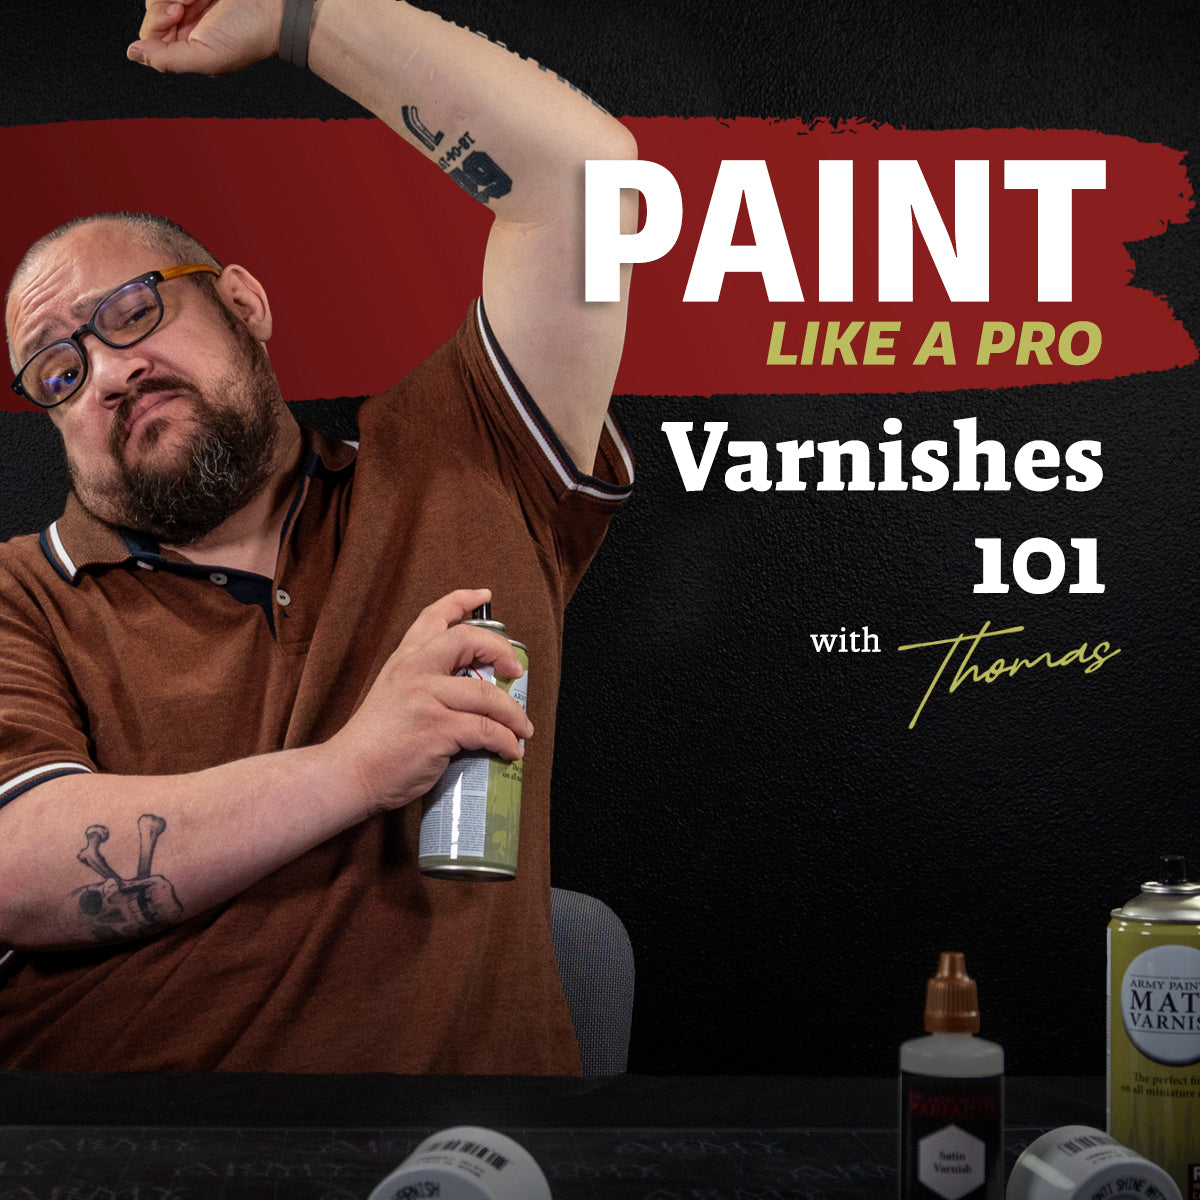
Welcome to the fifth entry of Paint Like a Pro, a series in which our talented painting team, consisting of Thomas, Steffen, Tyler, and Adam shares their top tips on various subjects related to miniature painting with you!
We’ve looked at a list of beginner must-haves and airbrush tips with Steffen, learned some valuable tips about brushes from Thomas, and got the 101 on Speedpaint from Tyler. This time, we’re getting the unvarnished truth from Thomas, as he takes a deep dive into the unsung hero of the miniature painting world—varnishes. Just what is a varnish, how can it be used, and what masterful tips and tricks does Mr. Coltau have in store for this misunderstood paint?
Getting The Most Out of Your Varnishes
Tip 1: Understanding Varnish

At its most basic, a varnish is a clear protective coat you can apply to your miniatures to protect them during handling or transport.
Most miniatures are painted with acrylic paints, like those we produce, especially those used for gaming. While acrylics are popular for their vibrant colours and ease of use, they aren't the most durable. Over time, even gentle handling can cause the paint to wear off, especially on corners or highly textured minis. That’s why it’s important to apply a protective layer of varnish!
Tip 2: Using The Correct Varnish For The Job

Beyond just adding protection, varnishes also affect the sheen or finish of the miniature’s surface.
There are three main types of varnishes, each with its own purpose:
Matt Varnish: This creates a non-reflective, flat finish by scattering light. It can make the miniature look a bit dull and tends to ruin the shine of metallic paints. However, it’s excellent for photography because it minimises glare and reflections. This is great for non-reflective surfaces, such as cloth, dirt, or wood.
Gloss Varnish: Typically, the strongest in terms of protection, gloss varnish provides an even, highly reflective surface. It gives a shiny or wet appearance and enhances light bounce. This is an excellent choice for gems, glass, lenses, or anything else you want to be reflective. On the downside, it can make photographing miniatures more challenging due to the glare.
Satin Varnish: This middle child of the varnish family sits between matt and gloss, offering a subtle sheen without being too shiny. It provides good protection and is my preferred finish for most models. It’s excellent for lots of surfaces that you want to be somewhat reflective, such as sci-fi armour, lacquered wood, or even skin.
Tip 3: One If By Brush, Two If By Air

Varnishes from The Army Painter are available in three application types:
Brush-On Varnish: This method allows for precision, letting you apply varnish exactly where you want it. It’s especially useful when you want to control the visual contrast on specific areas of a miniature. Contrast doesn’t have to be limited to light vs. dark—it can also be matt vs. gloss. Using gloss varnish on eyes, gems, or wounds can add depth and visual interest.
I often use brush-on Matt Varnish to tone down overly shiny areas or to reduce attention on certain parts of a model.
Airbrush Varnish: Airbrushing varnish gives you excellent control over the level of sheen. By thinning the varnish, you can reduce the intensity, making matt less flat or gloss less reflective. I frequently use airbrush varnish throughout different stages of the painting process (more on that later).
Aerosol Spray Varnish: While brush-on and airbrush varnishes are convenient, they’re still acrylic-based and not the most durable. For maximum protection, I rely on aerosol sprays. These are the toughest and come in both matt and satin finishes—ideal for sealing finished models.
Tip 4: Not Always the Last Step

When painting centrepiece miniatures for my army or models for competitions, I can easily spend 50–80 hours on a single figure. That’s a lot of time handling the piece, which increases the risk of paint rubbing off. To combat this, I use varnish as a kind of “save game” system—sealing progress at the end of long painting sessions to preserve the work done so far.
The type of varnish I use for these "save points" depends on the next painting step and the materials involved. For instance, I often prime with Matt Black and Matt White Colour Primer spray for a zenithal highlight. Then, before I begin painting, I apply our Anti-Shine Matt Varnish. This creates an ideal matt surface that helps the first acrylic layers adhere better.
Tip 5: Altering Your Paints’ Behaviour With Varnish Undercoats

As mentioned, I use varnishes throughout my painting process, depending on what I’m painting next. If I plan to apply decals or washes, especially on vehicles or other smooth, hard surfaces, I first use either Gloss Varnish (via airbrush) or Aegis Suit Satin Varnish spray. A glossy or satin surface helps decals sit better and improves the flow of washes, guiding them into the recesses more effectively.
On the other hand, if I want paint to grip more strongly to the surface, I use Matt Varnish. When applied before Speedpaint, for example, the matt surface prevents the paint from pooling away, resulting in more opaque coverage. This can significantly speed up the painting process.
Ready, Set, Varnish!
In short, varnish is a powerful tool for miniature painting—not just for finishing a model, but also for managing your workflow and enhancing specific effects. It’s fun to experiment with how different varnishes interact with paints at every stage of the process: before, during, and after painting.
One thing is certain: you should always varnish your models once you've finished painting them. It’s the final touch that protects all your hard work.
Stay tuned for more tips and tricks in our next edition of "Paint Like a Pro"!
