What Is A Wet Palette?
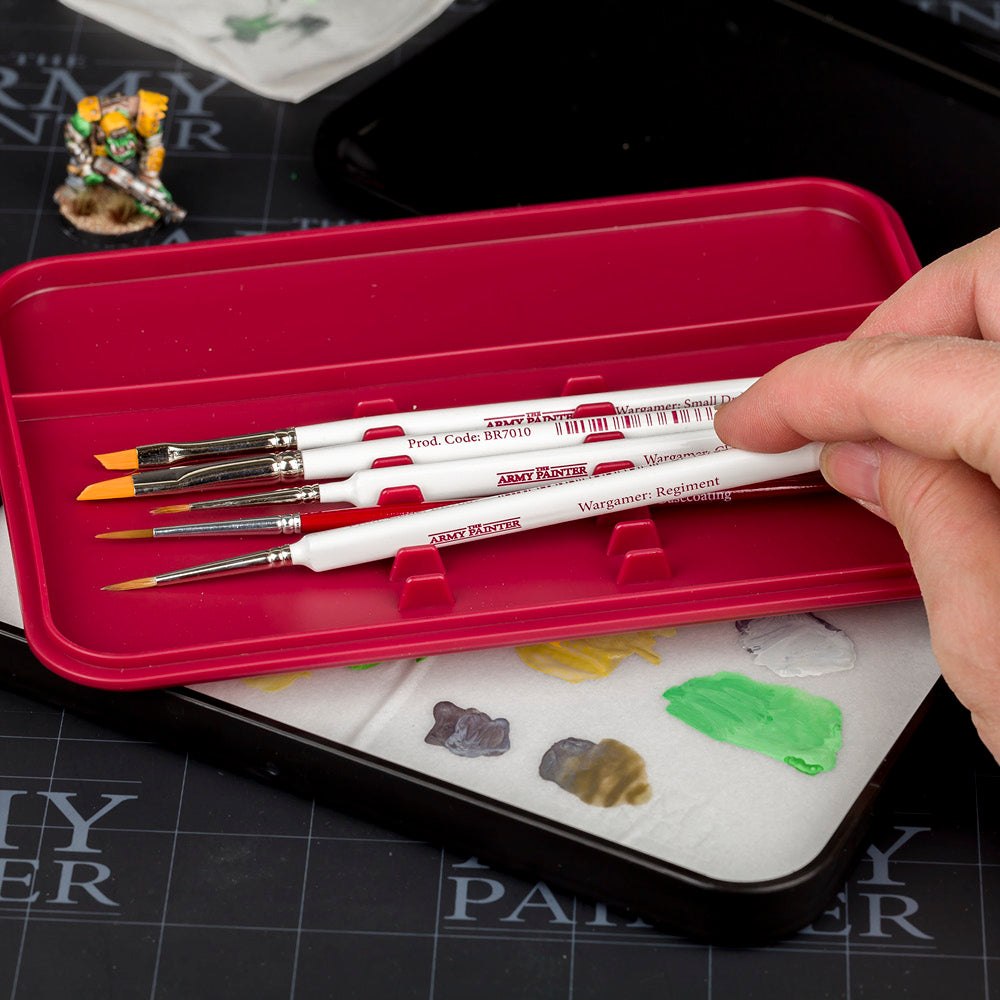
A wet palette is an essential tool for every painter, designed to keep your paint hydrated and workable for more extended periods. It consists of a plastic case, a layer of absorbent material (the hydro foam), and a piece of paper with a porous surface (the hydro sheet).
The Hydro Foam structure, based on small open pores, optimizes water absorption, and the slim layer of parchment fibres ensures the right amount of moisture is transferred to the surface for consistency and easy blending.
The wet palette can also serve as a surface to prep, mix, and blend your paints effortlessly and experiment with different shades and blends. And when you find that perfect mixture and consistency, the airtight storage keeps your paints and custom mixes workable and ready for your next painting session.
Getting Started With Your Wet Palette
Let’s show you how to prepare your Wet Palette.
Step 1: Wet the Hydro Foam

Start by wetting the Hydro Foam thoroughly with fresh tap water. Ensure it’s evenly soaked through, and fight the urge to wring out excess water from the foam, as this can damage it.
Step 2: Place the Hydro Foam in the Tray

Put the Hydro Foam in the bottom tray of the palette.
Step 3: Add a Hydro Sheet

Place a piece of the Hydro Sheet gently over the foam. Do your best not to create any wrinkles, and apply a bit more water to help dampen the sheet.
Step 4: Wipe Away Air Bubbles and Wrinkles

Let the moisture expand the sheet and wipe away the air bubbles and wrinkles to get an even surface. Hold the palette at an angle and use your fingers to gently squeeze out any of the leftover wrinkles and excess water.
How damp you keep your palette is totally up to your personal preferences. For longer painting sessions, we recommend topping off your water levels when the paper appears to feel dry.
Step 5: Add Paint to the Wet Palette

The Wet Palette is now ready for your paints to be added.
Use a smaller amount on your wet palette than you usually would on a dry palette because the inherent moisture will extend the amount and the longevity of the paints just by keeping it moist.
Work your paint over the wet palette's surface with a brush and thin it down until you've reached your desired consistency. Then, simply load your brush, and it's time to start painting.
For extra-long hobby sessions, we recommend using clean water and a pipette of sorts to redistribute water to the palette. Introduce the water around the edges where the foam meets the tray walls to keep your wet palette wet. If you come back and your foam looks dried out, that’s natural, and all you have to do is add more water.
When it’s time to put your brush down and take a break from painting, place the insert over the tray, then the lid and secure with the red strap. Always store horizontally!
When you return to your paint station later, your paints are still workable and ready to use, saving you loads of prep time.
How To Clean Your Wet Palette
When it’s time to replace your hydro sheet, simply but carefully so as not to make a mess, remove the sheet from the tray. Then remove the hydro foam and rinse it under warm water. Clean the tray with soapy water, rinse it, and repeat the previous steps to prepare your palette for another paint session.


