
Create intense shading in no time with the Quickshade Dip
Dipping is an “Ancient Hobby Secret,” once only spoken in hushed tones by elder hobbyists as their secret to achieving insane shading, insanely fast. With the Quickshade Dip, we’ve brought their well-guarded secret to the masses.
This article will guide you through the 6 easy steps to create a beautifully shaded miniature in record time with our innovative Quickshade Dip.

What is Quickshade Dip?
The Quickshade Dip was the first product ever released by The Army Painter, and it revolutionised how people painted miniatures and entire armies. It’s essentially a coloured varnish that you “dip” the painted miniature into instead of applying with a brush (such as with the Quickshade Wash).
How does Quickshade Dip work?
The Quickshade Dip is designed to quickly create spectacular depth and shading for your miniatures. It doesn’t matter if you have a huge army to finish or just a few miniatures; our Quickshades offer miniature painters of all skill levels a chance to achieve realistic shading on their miniatures in no time at all!
When dipping your miniature into the can, the Quickshade will flow into the recesses of the miniature, creating shadows and enhancing details. It slightly tints the overall colour of the miniature, which can be used to create certain atmospheric or thematic effects.

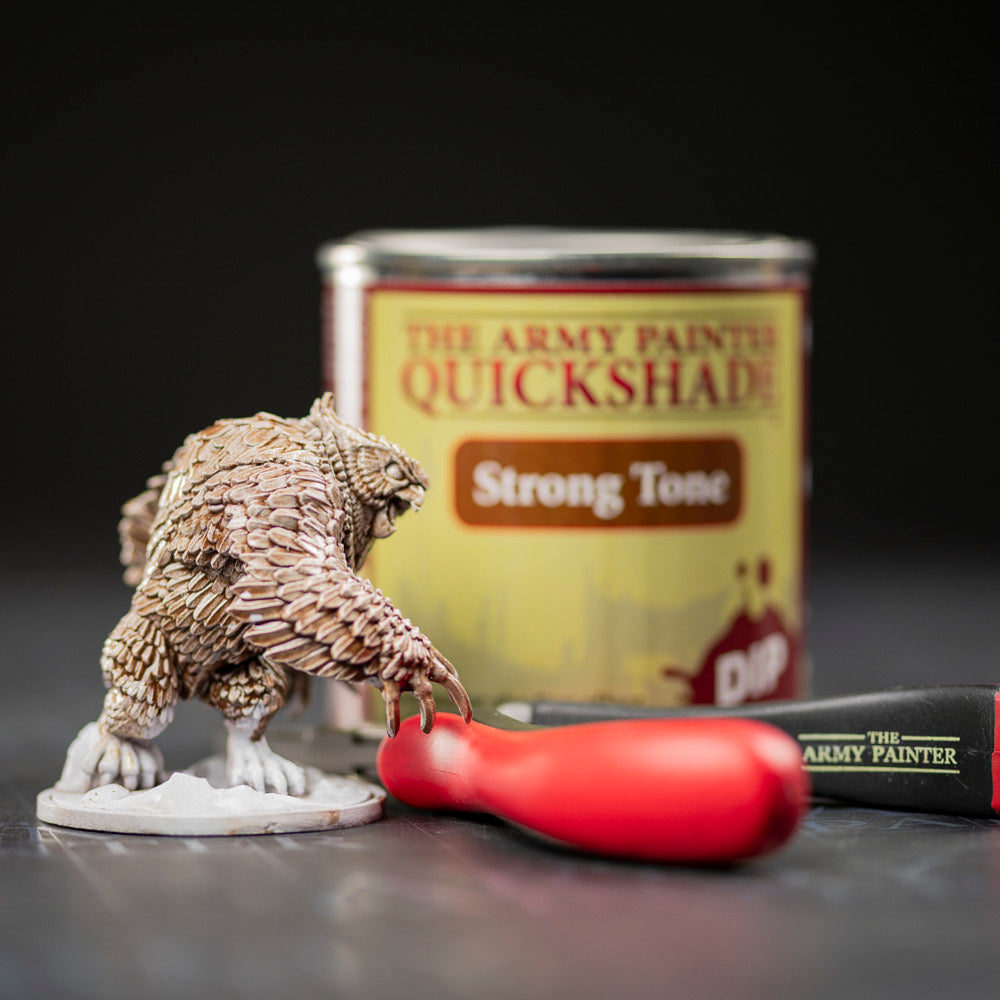
Take a look at this before and after image where you really can see the effects of the Quickshade Dip. Here, we’ve dipped the miniature in Soft Tone - all ready for some highlights!
Easy and fast shading in 6 simple steps:
Step 1: Basecoat your miniature

Start by priming your miniature with our Colour Primer Sprays, then basecoat the areas of the miniature you want painted. Make sure the paint is completely dry before applying the Quickshade Dip.
If you have all the miniatures prepared to this stage, you can dip many of them quickly.
Step 2: Stir the Quickshade Dip

Gently stir the Quickshade Dip thoroughly with a stick before using it. Do not shake the can, as it will create air bubbles.
We always recommend testing the Quickshade Dip on ONE miniature first to get a feel for the process and the results it yields with different colours and miniature types. You can safely dip the rest if you’re happy with the result.
Step 3: Dip the mini in Quickshade

Hold your miniature and dip it entirely into the Quickshade Dip using a pair of tweezers or a similar tool. Do not panic if it looks ruined; it will look fantastic once shaken.
Once you’ve completely covered the model in the dip, turn it over and allow the pigments to work their way into the recesses of the model.
The Quickshade Dip is specifically designed and engineered to work with 10-28mm. miniatures.
Step 4: Remove excess Quickshade

Shake your miniature in a whip-like motion to remove excess Quickshade Dip. This step is messy, so make sure you do this outside, and that you are wearing clothes and shoes, you don’t mind getting dirty. Leave to dry completely for 24-48 hours.
Clean your tools immediately after use with appropriate solvents or cleaners, as the Quickshade Dip can be challenging to remove once dried.
Step 5: Spray with a Varnish

After drying for 24-48 hours (depending on the temperature and humidity), the Quickshade Dip should be completely hardened, and your model is finished. The miniature will dry to a gloss finish. If you prefer a matt look, you can “remove” the glossy look by spraying the miniature with our Anti-Shine Matt Varnish Spray.
Step 6: Paint highlights

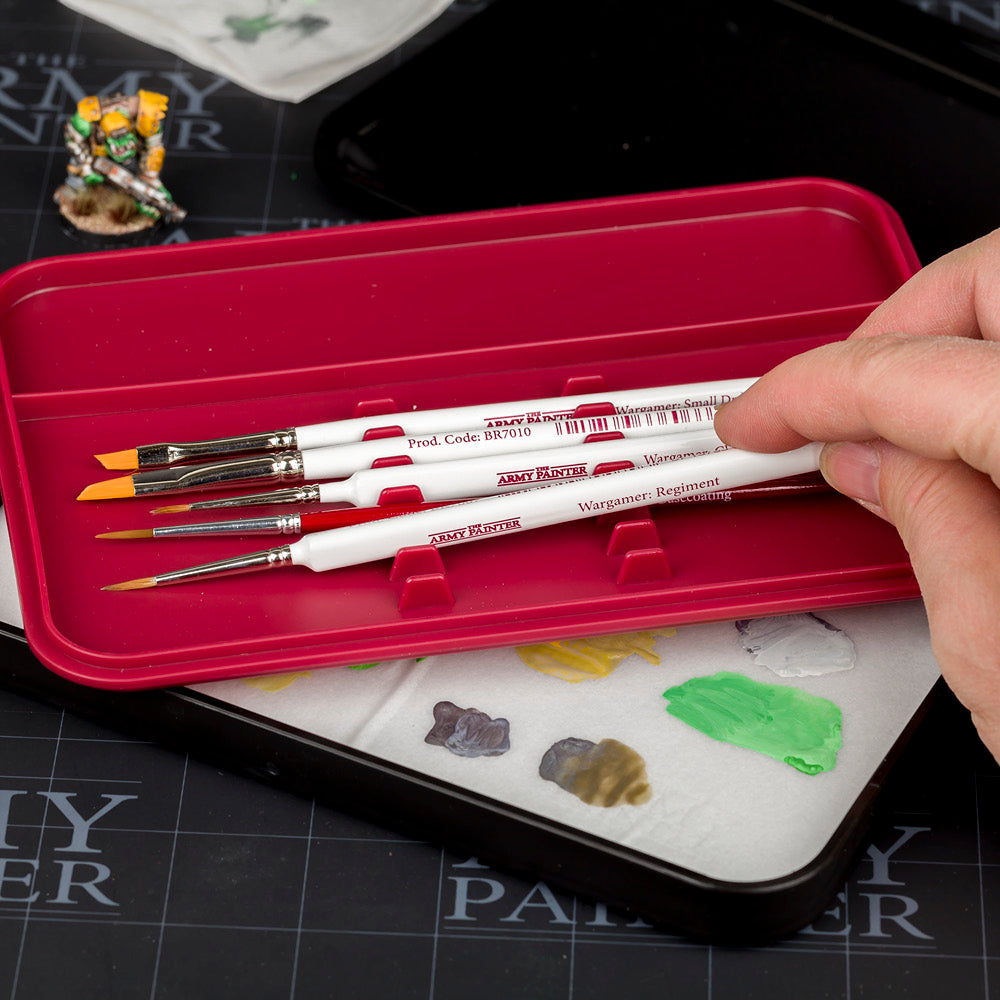
Now, you can paint on a layer of highlights or additional details by carefully painting the edges of the armour and the skin.

All done!
What Else Should You Know About Quickshade Dip?
What Tools Do You Need?
Because Quickshade Dip is an oil-based product, you can use mineral turpentine to clean Quickshade Dip off your brushes and clothes. Use synthetic brushes, as turpentine will ruin natural hair brushes.
Get More Contrast in Three Levels

Quickshade Dip comes in our three classic levels of toning: Soft, Strong, and Dark. The choice of tone depends on preference and how “deep” shadows and shading you want on your miniature.
However, it also depends on the primary colours you are using on your miniature. If you paint your miniature in light tones, we suggest you choose the Soft Tone Quickshade Dip. If your miniature’s colours are darker, we recommend you use the Dark Tone Quickshade Dip. Otherwise, the shading and shadow effects won’t be visible enough.
Share your creations with us on social media.
We’d love to see your painted miniatures. Share your creations with us by tagging us on social media or using the #thearmypainter -hashtag.
Happy painting!