

If you want a great paint job, you need to start with a great priming job.
Priming might not be the most glamorous part of miniature painting, but primer is what gets your miniature ready for everything that comes next. And while priming is pretty simple, there are a few easy mistakes that can leave your miniature rough, patchy, buried under too much primer, or decorated with a fingerprint you don’t want to be part of the final look.
So, before you reach for the spray can, let's look at some of the most common priming mistakes to avoid.
What Is Priming in Miniature Painting?
Primer is the first coat applied to your miniature before you begin painting. It creates a surface that helps your acrylic paints adhere more reliably and gives you an even foundation for the colours that follow.
Your choice of primer colour can also make a difference. White or lighter primers are useful when you want bright, vibrant colours, while black can give you a darker starting point and make deep recesses more forgiving. Grey sits comfortably somewhere in between. Or you can start with a Colour Primer that matches one of the main colours in your scheme. Because Colour Primers prime and basecoat at the same time, you can knock out an entire painting step before you've even picked up a brush.
Easy enough, right? Ish! There are plenty of ways to make priming harder than it needs to be.

Common Priming Mistakes

Mistake #1: Priming in Bad Weather
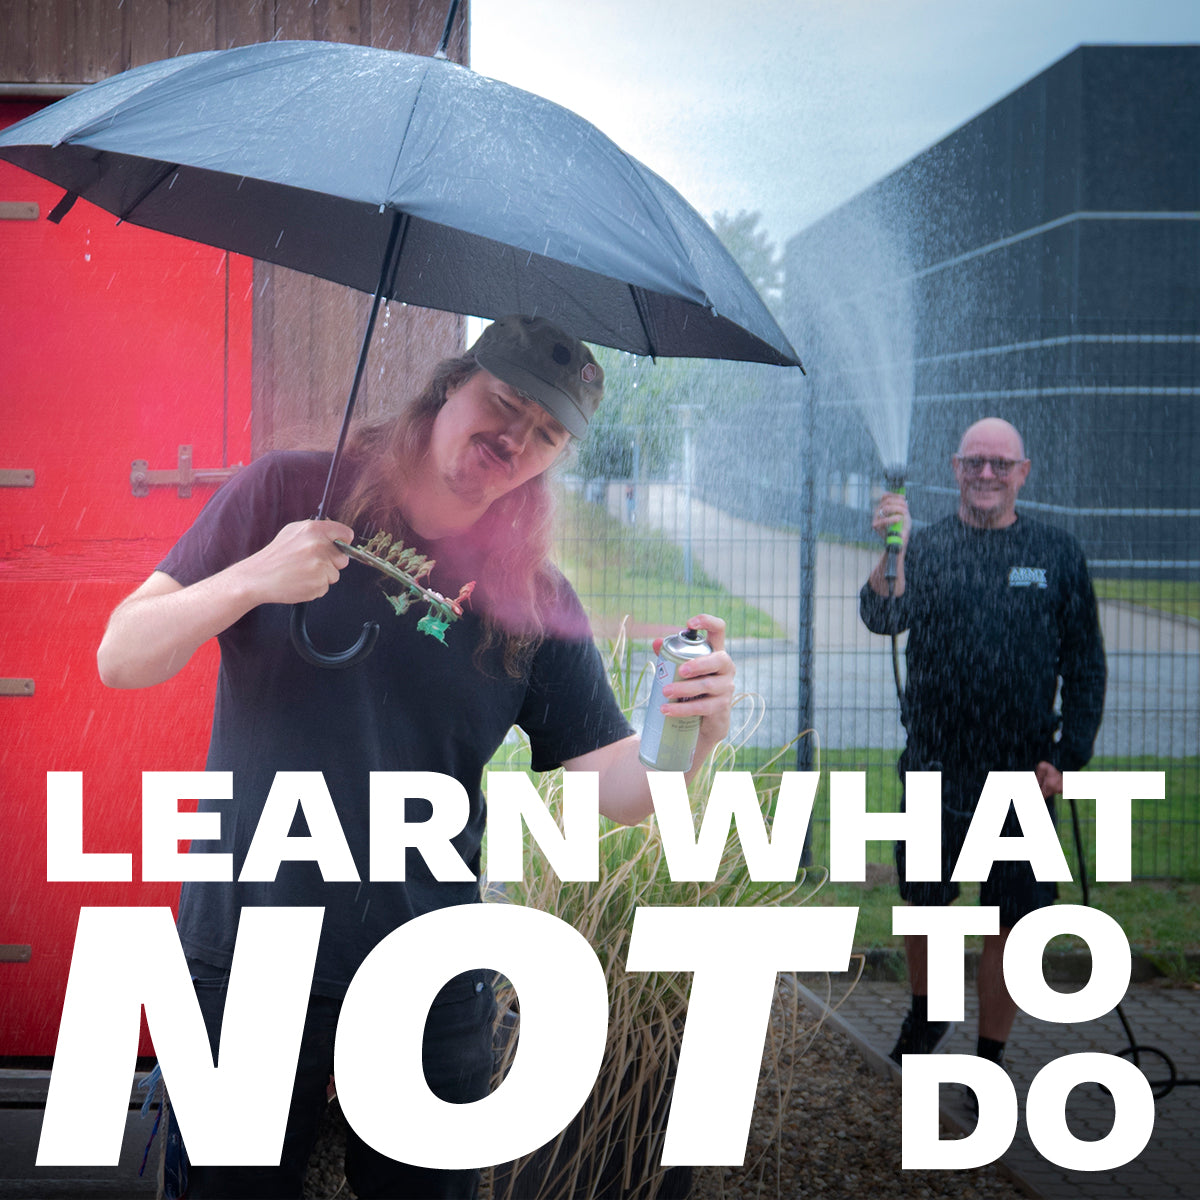
When you’re using an aerosol primer, weather matters. Very cold, hot, humid, or otherwise unsuitable conditions can affect how primer behaves between leaving the can and reaching your miniature. Instead of a smooth, even coat, you can end up with rough, grainy, uneven, or poorly dried primer.
For The Army Painter Colour Primers, aim for temperatures between 15–27°C / 60–80°F and relative humidity between 40–60%. Avoid spraying in rain, strong wind, or other conditions that can interfere with the spray.
This is also why it’s Prime Time in spring and autumn; they’re ideal times to tackle the backlog in many parts of the world. When you get one of those mild, dry days, make the most of it. Prime a few projects now and you'll have plenty ready to paint when the weather turns.

Mistake #2: Priming Without Proper Ventilation
Primer belongs on your miniatures, not in your lungs. When using aerosol primer, always spray in a well-ventilated area and follow the safety instructions on the can. Priming outdoors is generally the easiest option when the weather allows.
Keep the spray directed away from yourself and other people and consider wearing gloves to keep primer off your hands.

Mistake #3: Trying to Prime Too Many Miniatures at Once
Batch priming is a brilliant idea, but trying to fit your entire army onto one priming stick? It’s not going to go well. Packing miniatures too closely together makes it harder to reach recessed areas and easier to repeatedly hit exposed surfaces. The result can be too much primer in some places and not enough in others.
Give each miniature enough space that you can spray it from different angles and reach areas such as beneath arms, around necks, and between weapons and bodies.

Mistake #4: Spraying Too Close or Too Far Away
Distance matters when priming. Spray too close and you risk applying too much primer, which can pool, run, or obscure some of those lovely sculpted details you paid good money for. Spray from too far away and the primer can begin drying before it reaches the miniature, contributing to a rough or dusty-looking finish.
With The Army Painter Colour Primers, hold the can approximately 15–20 cm / 6–8 inches from the miniature. Spray in controlled passes rather than trying to cover everything in one blast.
And yes, the instructions really are on the can. We checked.

Mistake #5: Applying Too Much Primer
Your miniature doesn't need to disappear beneath a protective shell of primer. The goal is a thin, even foundation that prepares the surface without obscuring detail. It's better to build coverage with controlled passes than unload a heavy coat onto the miniature all at once.
Keep the can moving while you spray and approach the miniature from different angles. You want coverage, not a primer bath.

Mistake #6: Painting – or Touching – Before the Primer Is Dry
You primed the miniature, and you’re reading to start painting. But, wait. Trust us. Painting over primer before it has properly dried can interfere with the surface and leave you with a messy finish. And touching wet primer? You’ll leave fingerprints on your minis and have to scrub primer off your skin.
Give the primer time to dry according to the instructions on the can before handling or painting the miniature. If you're wondering whether it's dry enough to poke it with your finger to check, that's probably a sign to wait a little longer.

Mistake #7: Priming a Dusty Miniature
That miniature that's been sitting assembled on your shelf for six months? Give it a quick check before you prime it. Dust, pet hair, and other debris sitting on the surface can become trapped beneath the primer, turning a tiny speck into a permanent feature of your paint job. The same goes for priming in a dusty or dirty environment.
Make sure both your miniature and your priming area are clean before you start.

Mistake #8: Not Shaking and Testing the Can
Before you point your Colour Primer at the miniature you've invested time and/or money in, shake the can thoroughly for at least one minute so the pigment and other components are properly mixed. Then test the spray somewhere other than your miniature.
A quick test let’s you see that the primer is spraying smoothly and consistently before committing it to the model. If something seems wrong with the can or the spray remains unusual after following the instructions, don't keep pointing it at your miniatures and hoping for the best.

Mistake #9: Forgetting About Overspray
Not every bit of primer coming out of the can lands on your miniature. Overspray can travel beyond your immediate priming area, which means nearby walls, furniture, garden equipment, cars, and other things you would prefer not to repaint are worth considering before you start.
Choose a suitable spraying area, protect the surrounding surfaces, and pay attention to the direction of the wind. Your miniature needs a basecoat. Your boss's car probably doesn't. (Though we guess not many of you are priming minis at work like us!)

Mistake #10: Priming Somewhere You Can't See Properly
Priming is about getting thin, even coverage across the miniature. That's difficult if you can't actually see what you're doing. Make sure you're working somewhere with enough light to see the surface of the miniature clearly. Check your coverage from different angles as you go rather than discovering missed areas when you're back at the painting desk.
Good lighting also makes it easier to spot when you've already applied enough primer – which helps prevent you from adding unnecessary extra coats.
A Few More Primer Tips Before You Start
A good prime doesn't need to be complicated.
Shake your can thoroughly and test it first. Spray from the recommended distance in thin, controlled passes. Give your miniatures enough room on your priming stick. Pay attention to the weather. Let everything dry properly.
And when you're finished with an aerosol primer, follow the storage and nozzle-care instructions on the can. Keeping the nozzle clear can help make sure it's ready for your next project.
If aerosol priming isn't practical because of the weather or your hobby setup, you're not out of options either. Warpaints Fanatic Effects Brush-On Primer and Warpaints Air Primer can give you alternatives when heading outside with a spray can isn't possible.
Most importantly, remember what primer is there to do: give your paint job a solid start. Get that part right and you're already one step closer to turning the grey pile of shame into painted miniatures.