Customise Your Miniatures with Magnets
Are you ready to unleash your creativity, customise your miniature figures and models, and take them to the next level?
Among the myriad ways to personalise your collection, magnetising miniatures is an easy method to do so.
Magnetising miniatures involves embedding small magnets into parts of the figures (like arms, weapons, heads) to make them interchangeable. It’s a perfect solution for adapting your figures for different gaming scenarios or just for the joy of customisation.
Why Try Magnetising Miniatures?

Magnetising your miniatures opens a universe of customisation options.
With the simple addition of small magnets, parts such as arms, weapons, and heads become interchangeable. This flexibility allows you to adapt your figures for different gaming scenarios or to showcase them in various dynamic poses.
It’s like having multiple miniatures in one!
Tools and Materials You Need to Magnetise Miniatures
- Miniature & Model Magnets: The show’s star is undoubtedly the magnets. The size and strength of the magnets depend on the scale of your miniatures and the parts being magnetised.
- Miniature and Model Drill: A pin vise or hand drill is essential for creating precise holes in your miniatures for the magnets. Using a hand drill allows you to drill small, accurate holes without damaging the intricate details of your miniatures.
- Drill Bits: Using the correct size drill bit ensures that the magnets fit perfectly into the holes. This provides a clean look and prevents the magnets from dislodging during gameplay.
- Tweezers Set: Magnets are often too small to be easily handled with fingers, and tweezers or pliers provide the precision needed for accurate placement.
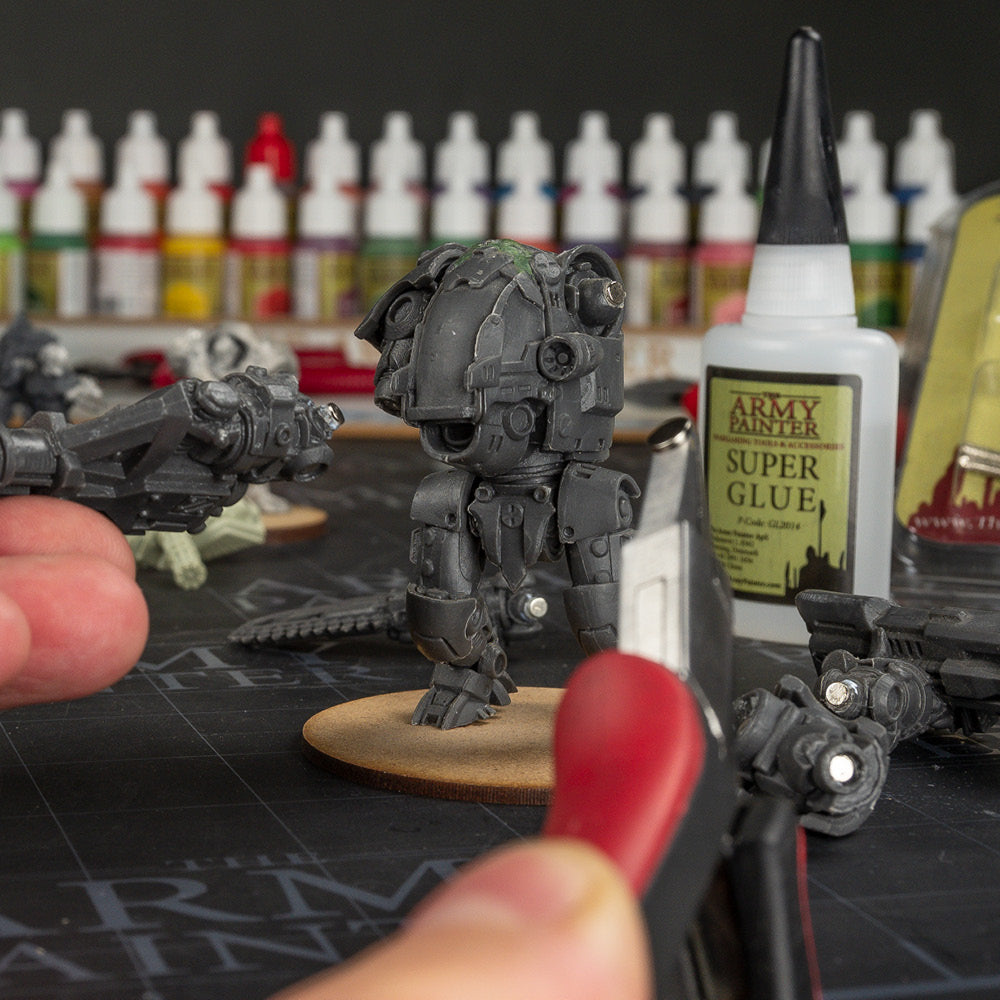
- Super Glue: Super Glue is needed to secure the magnets. Its fast-drying and strong bonding properties ensure that the magnets stay in place, even during the most animated gaming sessions.
- Hobby Knife: Use the hobby knife to remove mould lines and excess materials so the parts sit flush when glueing.
How to Magnetise Miniatures in 7 Steps
Step 1: Prepare the Miniature and Plan the Customisation

Clean any mould lines and dry-fit the parts you want to magnetise, making sure that parts will sit flush as if you were going to glue them together.
Before jumping into it, planning your customisation and deciding which parts of the miniature you want to be interchangeable is a good idea. Common choices are arms, heads, and weapons.
Step 2: Drill a hole

Use the hand drill to carefully drill a hole in the parts where you want to place the magnets. In this case, we’re drilling a hole in the torso first. Our 3mm Drill Bit for the Miniature Model Drill fits our magnets perfectly.
Step 3: Insert Magnet

Place a small drop of Super Glue into the drilled hole, and then, using tweezers or pliers, carefully place a 3 mm magnet into the hole. Allow the glue to dry completely before attempting to attach any parts.
Step 4: Drill a Hole

Drill out a hole in the arm to fit a magnet of the same size. Be careful not to go all the way through the arm.
Step 5: Insert Image

Getting the polarity right is crucial. Once glued, reversing it can be difficult. Therefore, put another magnet on the one that was glued in place to double-check the polarity match.
Step 6: Apply Superglule

Add a small drop of superglue to the magnet “backside” while it is on the model.
Step 7: Secure the Magnet

Push the arm onto the model and drag it off sideways so the magnet stays in the hole.
