


How To Apply A Wash
Have you ever looked at a painted miniature and wondered how to apply shadows and depths to it?
Well, we’ve got a simple answer to that question: Warpaints Fanatic Wash!
Because applying a wash (sometimes known as ink or shade) to your miniature is a fantastic and simple way to add realistic depth, shading, and contrast to a model.
This article will explain why you should use a wash and guide you in applying it.
What Is a Wash?
So, what exactly is a wash?
A wash is a fluid, semi-transparent layer of paint, thinner than traditional paints, designed to flow off the raised areas and into the crevices and recesses of your miniature, thereby creating natural-looking shadows and accentuating intricate details.
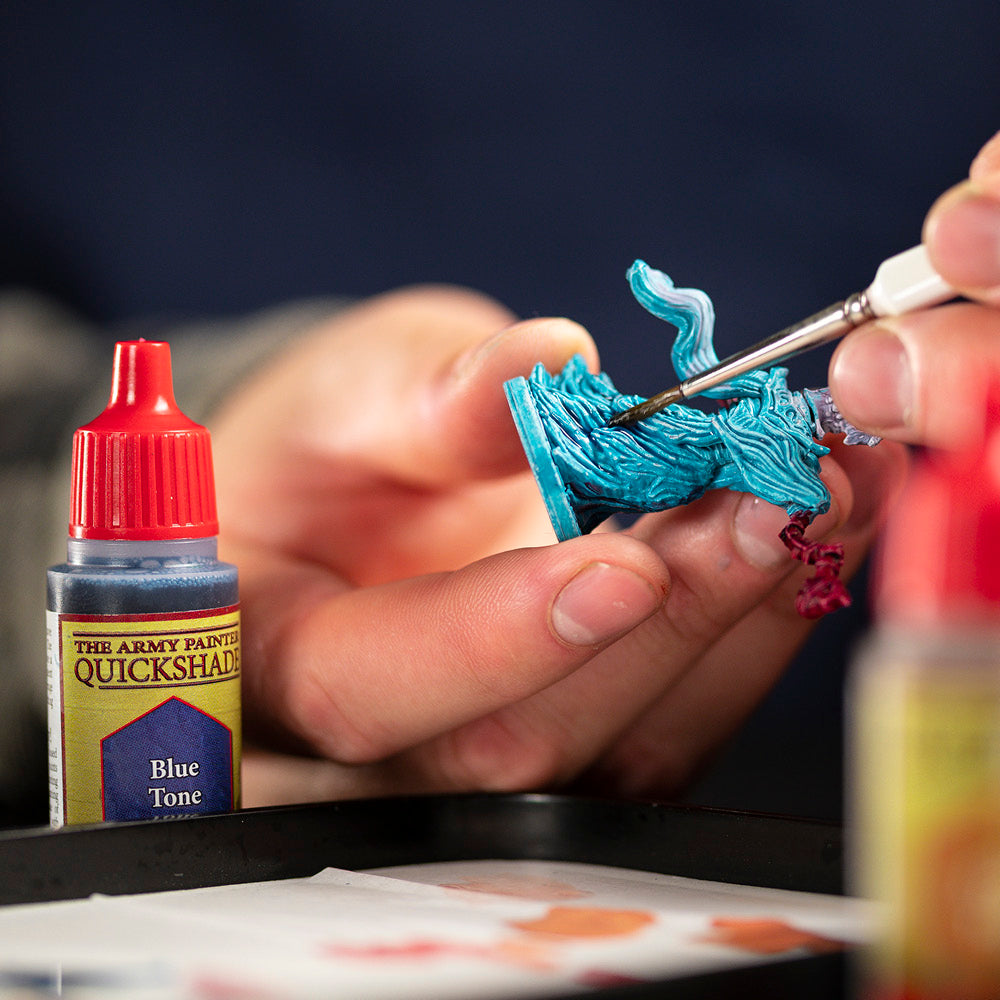
The Army Painter’s Washes are designed to create spectacular depth and shading for your miniatures quickly. Simply apply a wash to bring out impressive details. A wealth of colour options is available, and each of our Washes is 100% mixable, making your go-to shading solution virtually endless!
Why Use A Wash?
Miniatures, with their intricate designs, demand attention to detail. Using a wash is a relatively quick, effective, and easy way to enhance detail, add depth, create realism, and achieve a more professional finish, all while being accessible to painters of all skill levels.
For beginners in miniature painting, washes are a great way to achieve impressive results without needing advanced painting skills. The technique is relatively straightforward and can significantly improve the look of a miniature with minimal effort. A wash can also help in unifying the colour scheme of the miniature, by tying together disparate colours and making the overall colour scheme of the miniature appear more cohesive.
Overall, the effect of a wash is subtle yet profound.
Step-by-step Guide To Apply A Wash
Step 1: Prepare Your Miniature
The first step is almost a given: Make sure the painted area you will be applying the wash to is completely dry.
Step 2: Load the Brush With The Wash
Load up your brush with a lot of wash. Not so much that it drips everywhere, but enough to cover a section on your mini.
We recommend using the Hobby: Basecoating Brush when applying the wash or The Monster Brush when painting a larger model or applying a lot of wash.
Step 3: Apply the Wash
Apply the wash liberally over the areas you want to shade but maintain control. Move the brush over the surface to ensure every inch of the section is coated. Always move your brush in the same direction, pushing it towards the areas with greater shadows and letting it flow into the recesses naturally.
A good idea is to apply the wash one section at a time rather than covering the entire miniature in one go. This will help you control the wash. Also, don’t douse the wash on. It’s better to do it lighter a few times and get it right than just dousing it on and having it not right.
Step 4: Be Mindful Of Pooling
If there’s too much wash on the model, it will begin to pool and might obscure the details. This can easily be fixed while the wash is still wet. Remove the excess wash by removing or redistributing it with a clean and slightly damp brush.
Step 5: Let it dry
Allow the wash to dry completely before proceeding with additional layers or paint. Rushing this can ruin the effect.

Example with The Army Painter’s Warpaints Fanatic Washes
Now, let’s take a look at the example below and how we’ve applied several washes over this orc.

One of the many advantages of The Army Painter’s Washes is that you don’t have to thin or dilute it. You can use it directly from the bottle or on the Wet Palette like we do in this guide.

Next, generously apply your Wash of choice to the miniature. Here, we are using Military Shade for the green skin.

As the Wash started pooling, we’re removing the excess paint by soaking it up with the tip of the brush.

The Warpaints Fanatic Wash will pool where the brush is lifted from. You can use this knowledge to control where the wash flows by lifting your brush in the areas you want the wash to flow to. You should generally aim for the lower parts of the model and not the raised areas.
When you are happy with the result, let it dry before moving on to shade the next colour.

Here, we’re applying Soft Tone to shade the yellow armour. We chose Soft Tone to make sure the armour won’t appear to dark or dirty afterward and will keep the yellow bright and vibrant.

For the rest of the model – the metal areas, trousers, and bandages – we’re applying Dark Tone.
Now, you are ready to highlight the model.
How To Choose The Right Wash?
If you are new to painting, covering the whole miniature in the same wash will give you a good result.
Select a wash that complements the colours of your miniature. Black or brown washes are commonly used for general shading, but you can also use coloured washes for specific effects.
But you can take the next step by applying different colours of wash onto different parts of your miniature for even better and more realistic effects. I.e., Use a Strong Skin Shade or Dark Skin Shade on the skin, Dark Tone for metals, Red Tone for red cloth, and Strong Tone to tie the rest of the miniature together.
Below, you can see how we’ve used two different Washes on Metallic paints to create two different effects.

Gold benefits especially well from Red Tone Wash, which helps create depth and character.

You can change the colour of metallic armour by using half Warpaints Fanatic Wash (like Purple Tone in the image above) and half Wash Medium.
Remember: Practice Makes Perfect!
Remember, practice is key to mastering wash techniques. Don’t be discouraged if your first attempts don’t turn out perfect. Controlling the flow of wash is a skill you will get better at over time and improve your results!
Keep experimenting with different wash colours and application methods until you find what works best for you and your miniatures.
Want To Shade Your Miniature Even Faster?
Do you want to go even faster? Or do you have an entire army to add shade to?
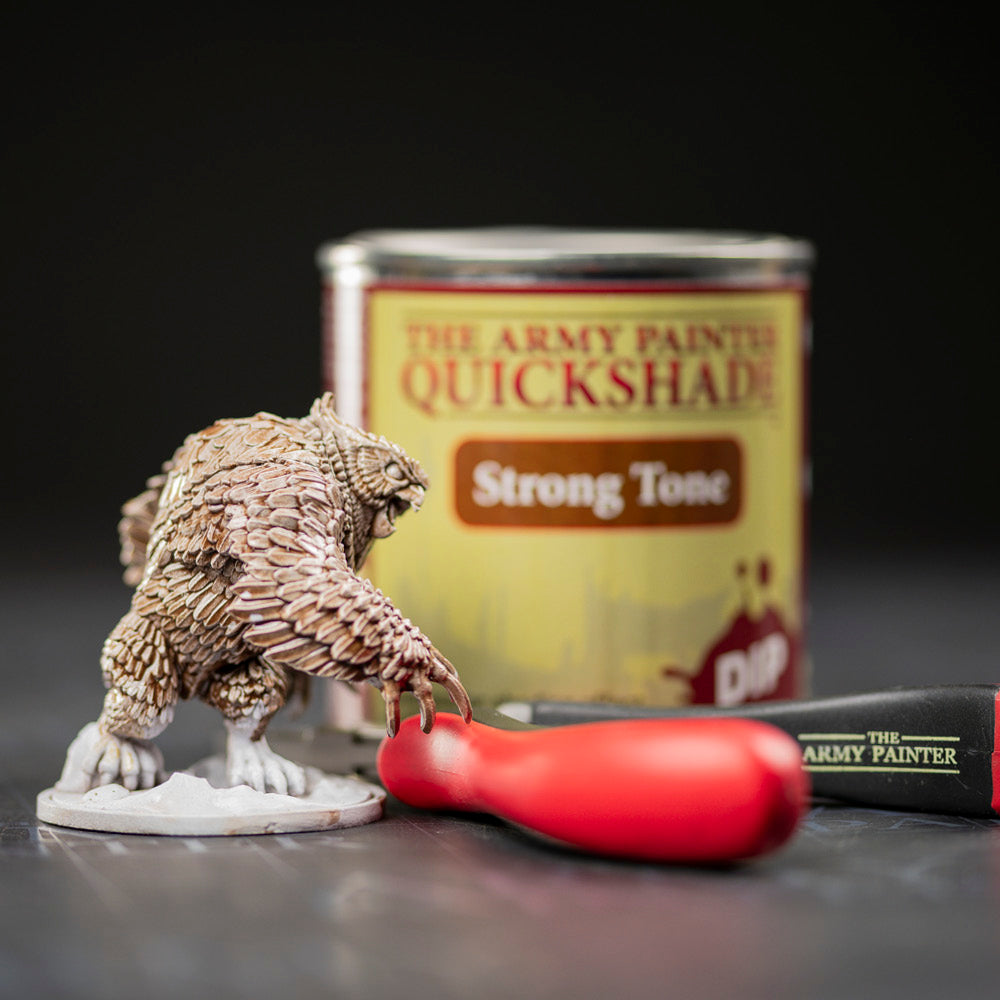
Then take a look at The Army Painter’s Original Quickshade Dip – the quickest approach to adding a wash to a model!