How to Paint a Blood Angel Mobile
How to Paint a

Blood Angel

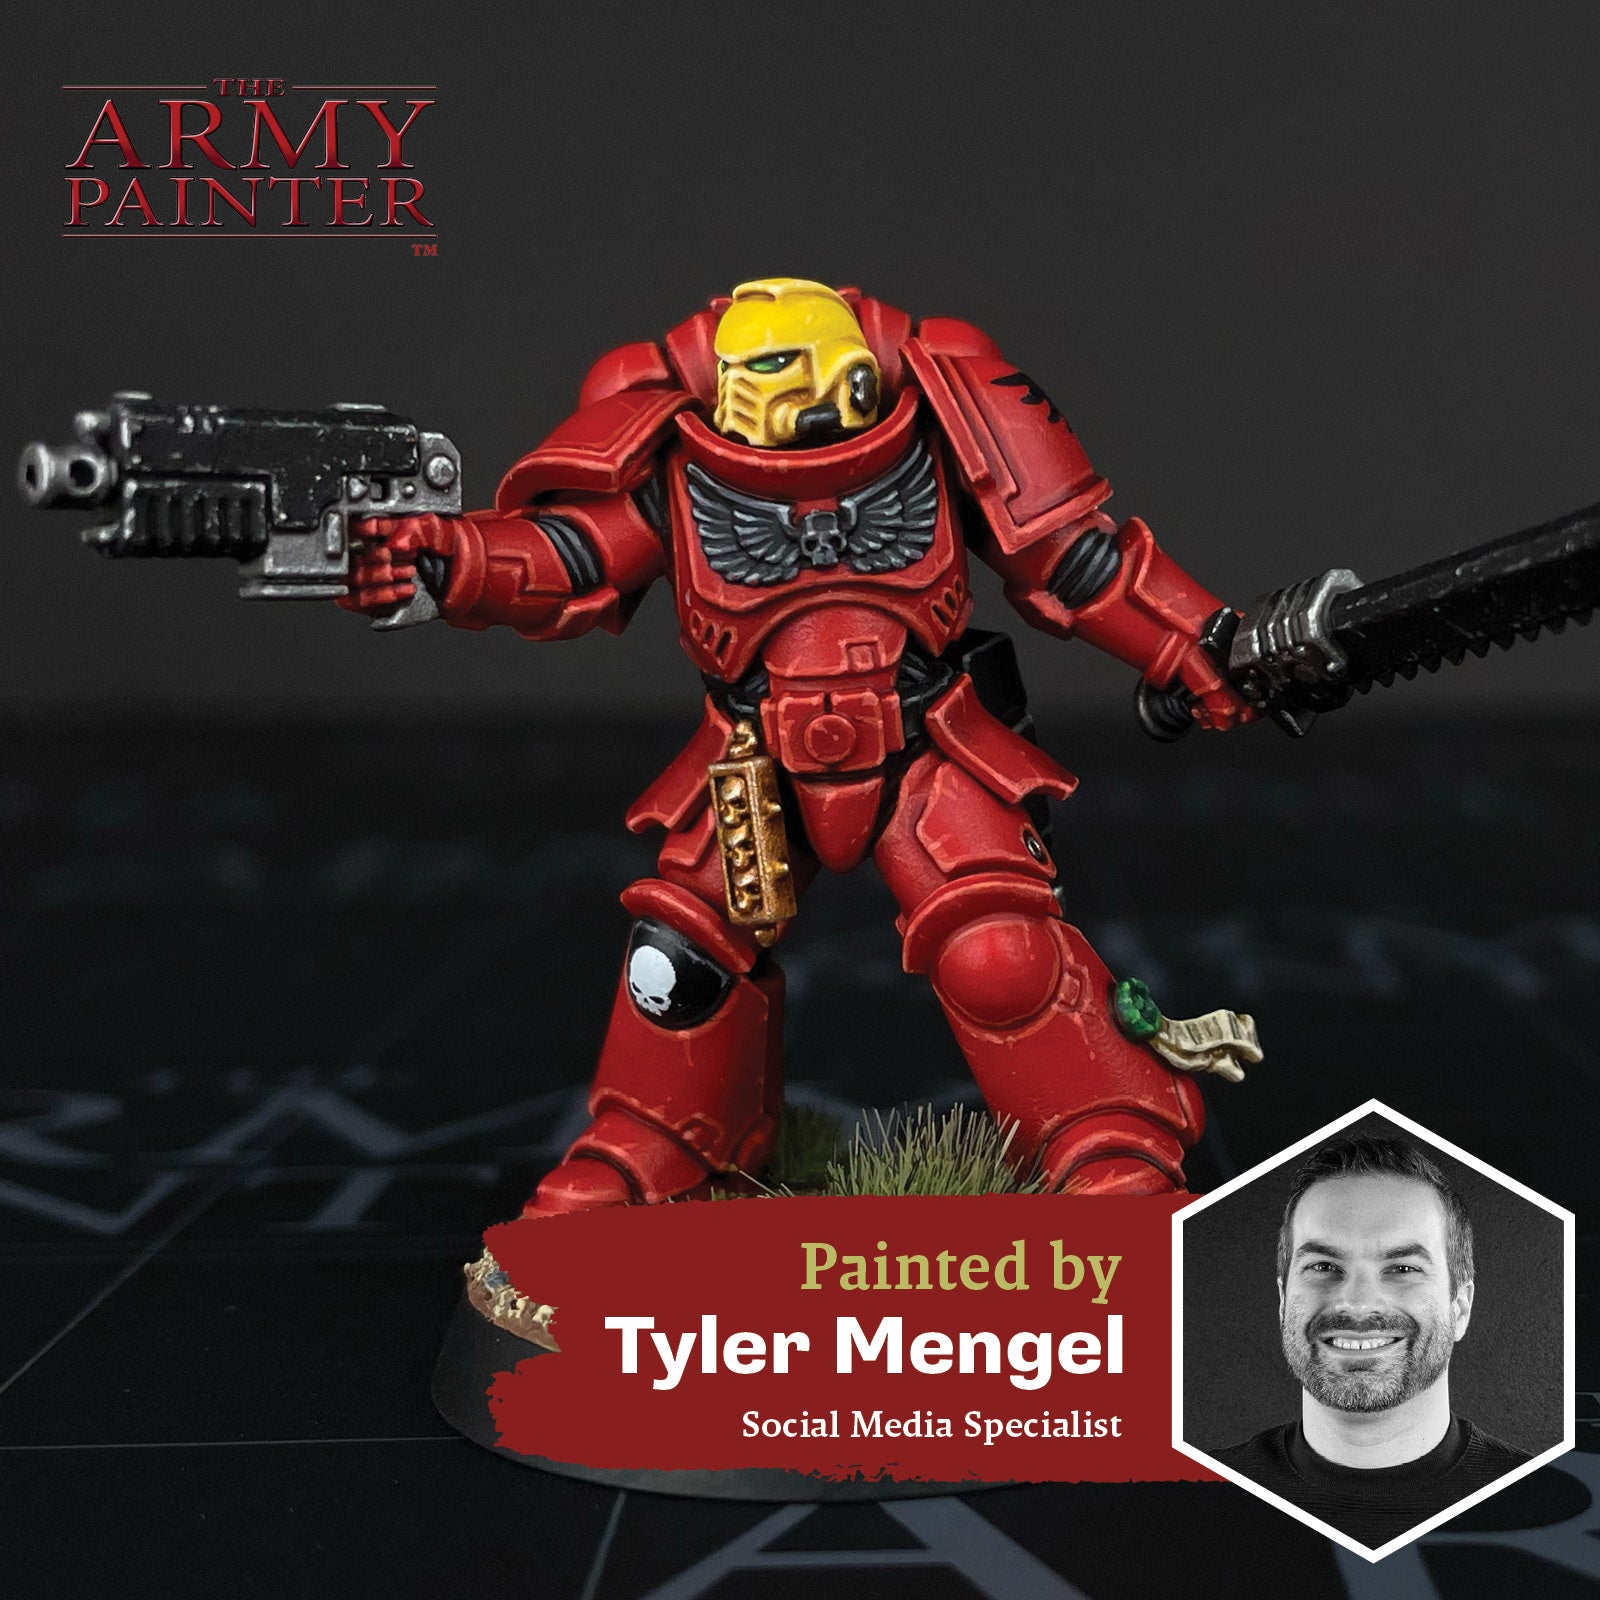
Blood Angel Assault Intercessor

Welcome to the next instalment of The Army Painter Academy: a series where we break down how we paint a miniature step-by-step, complete with pictures for every bit of paint applied along the way. 

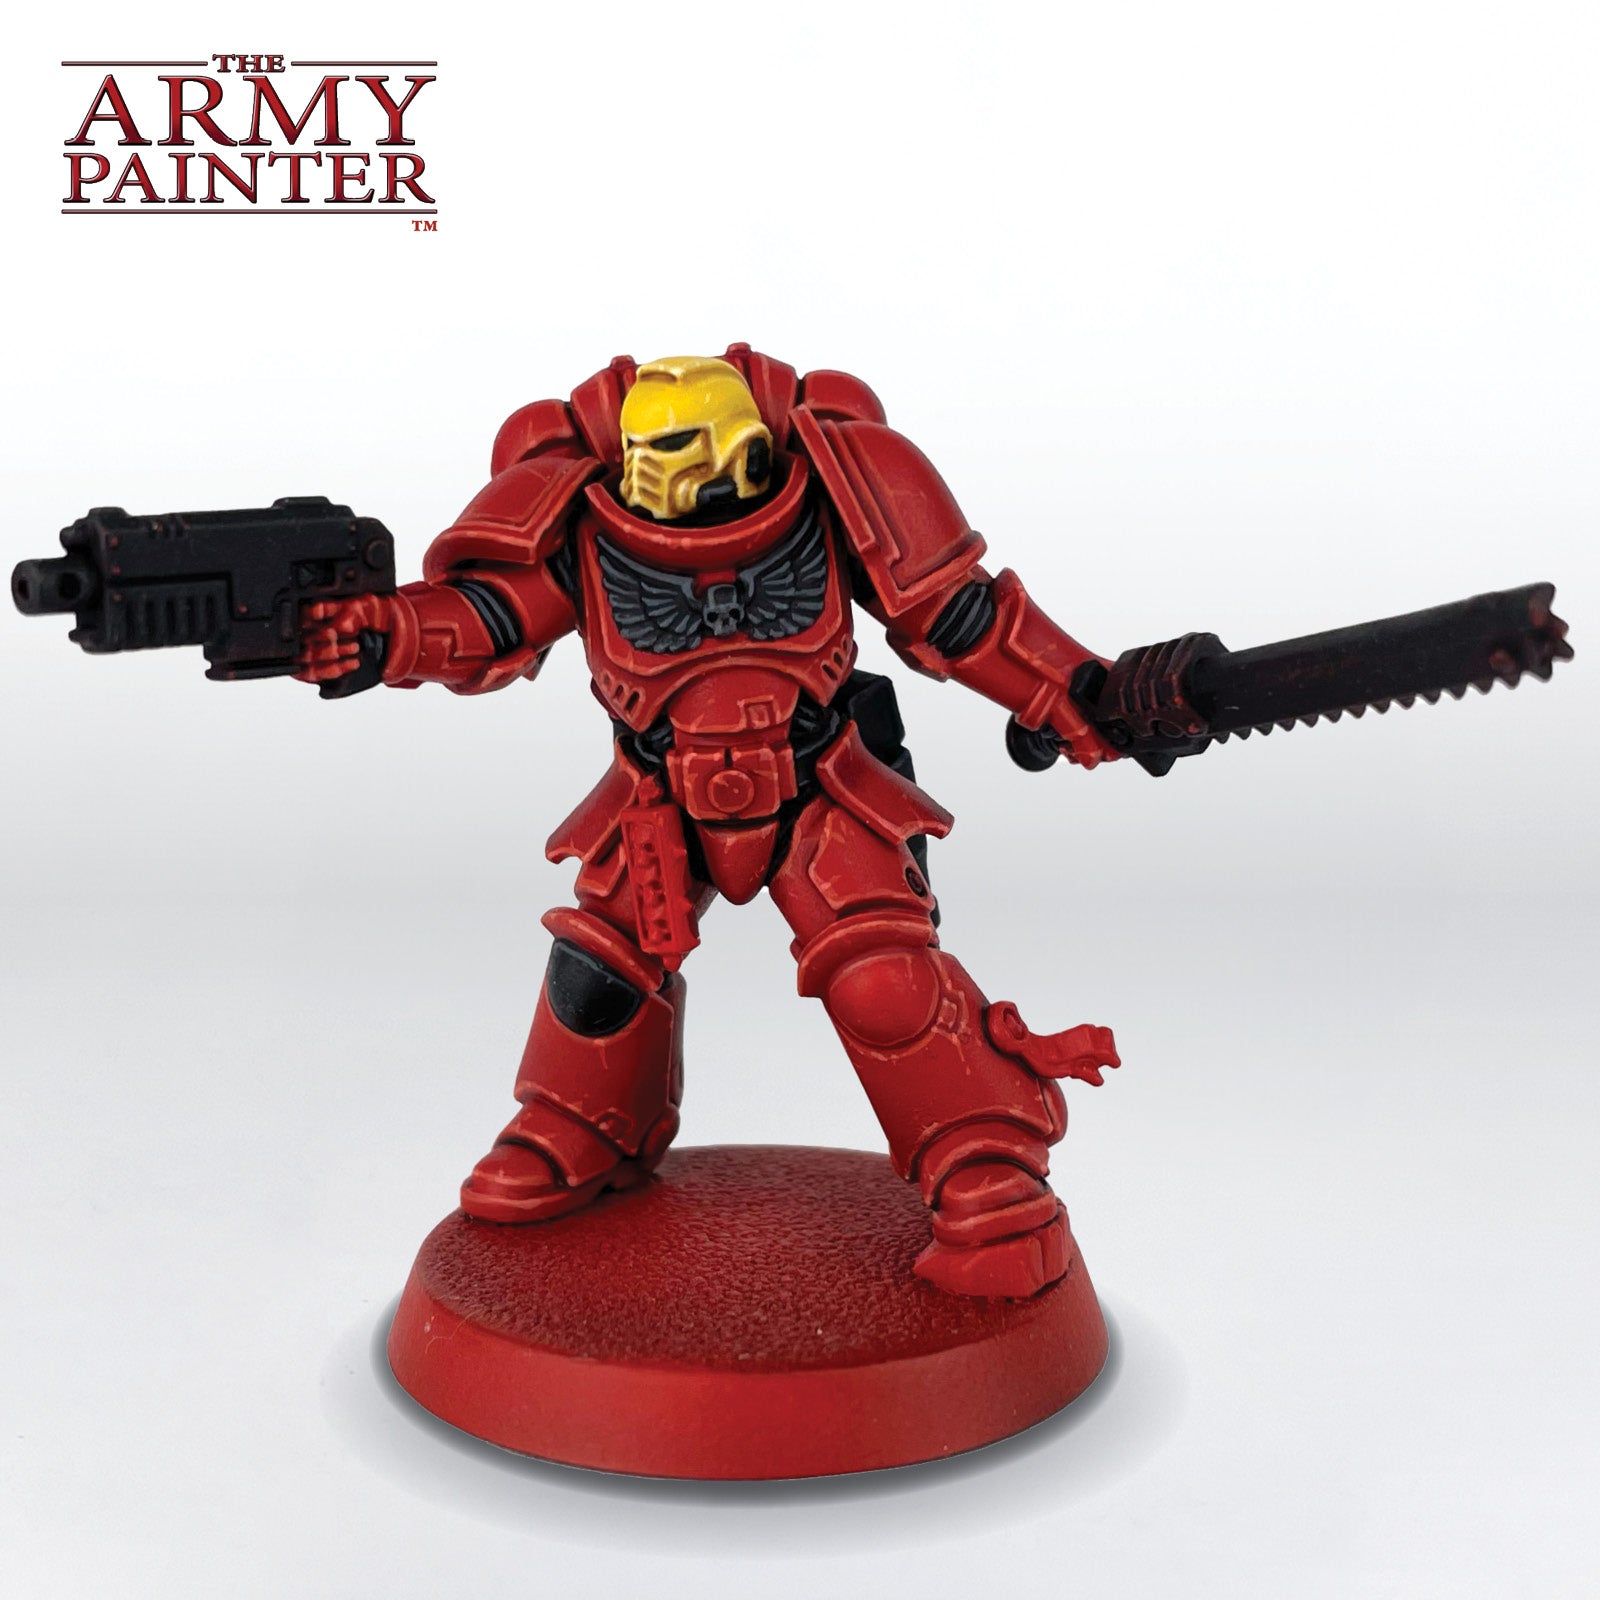
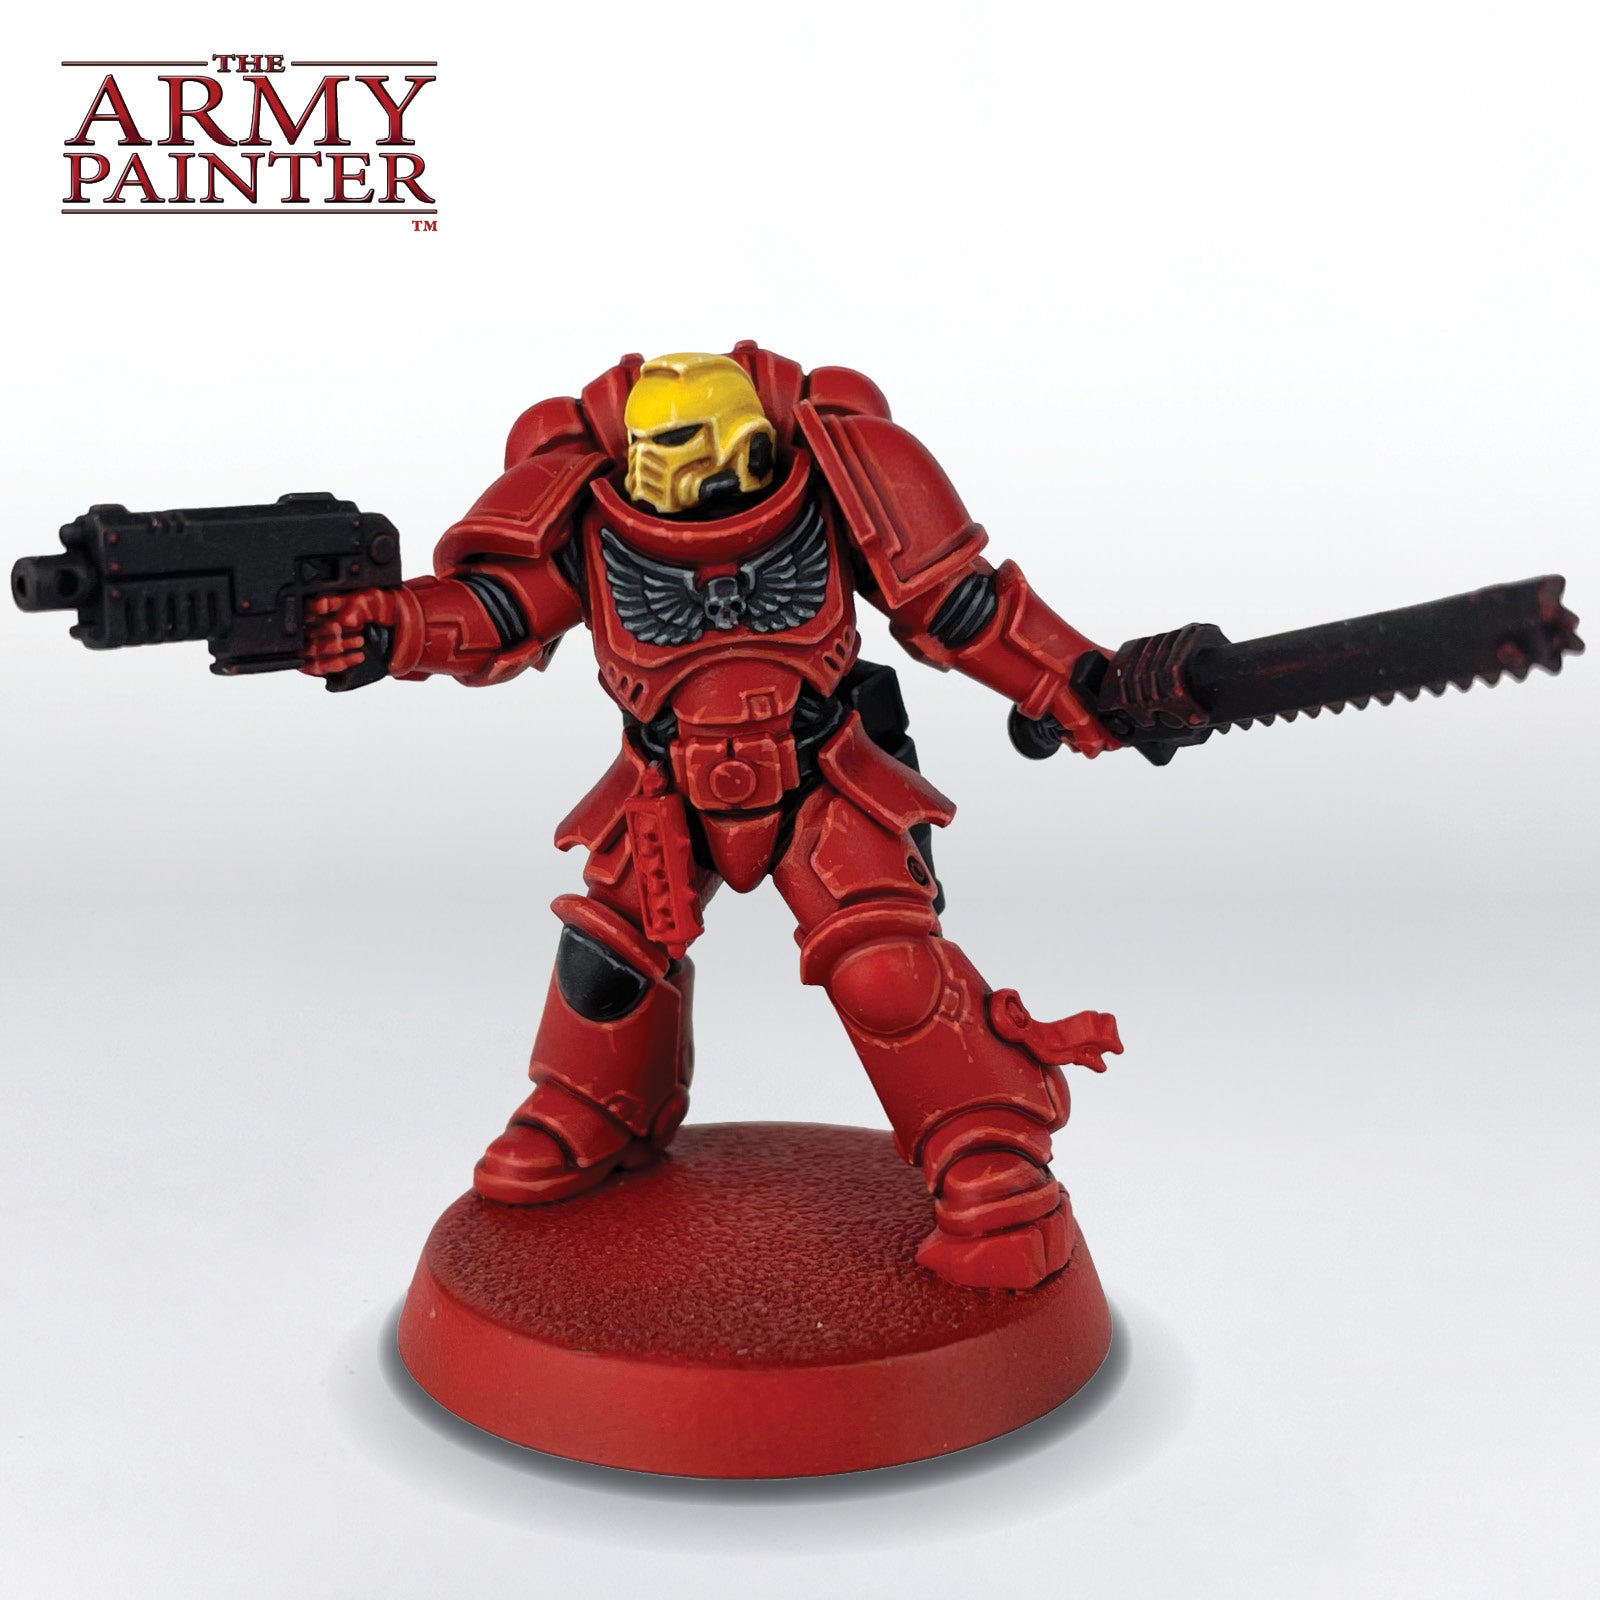
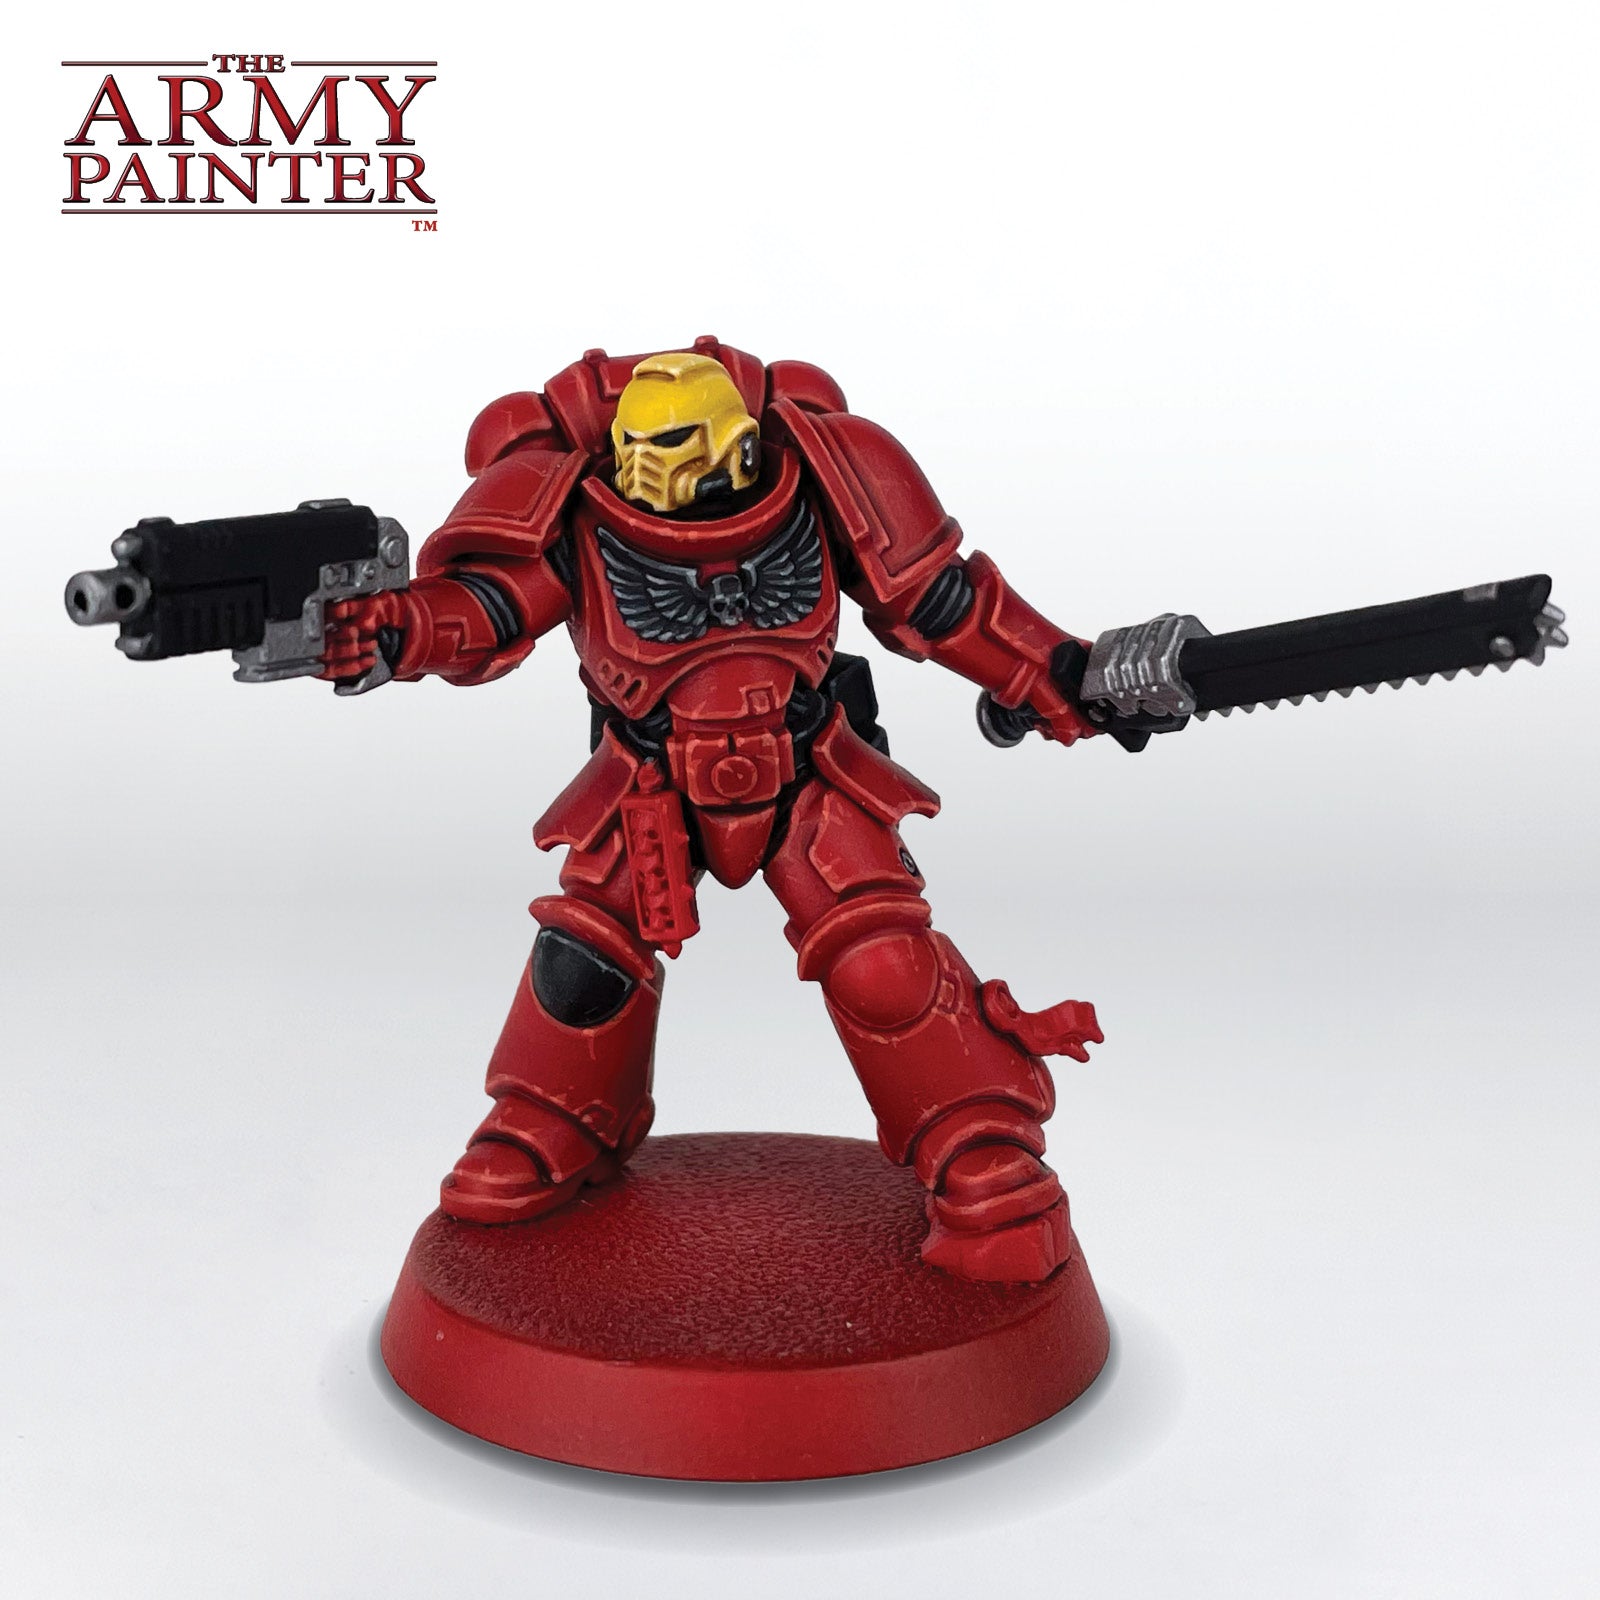
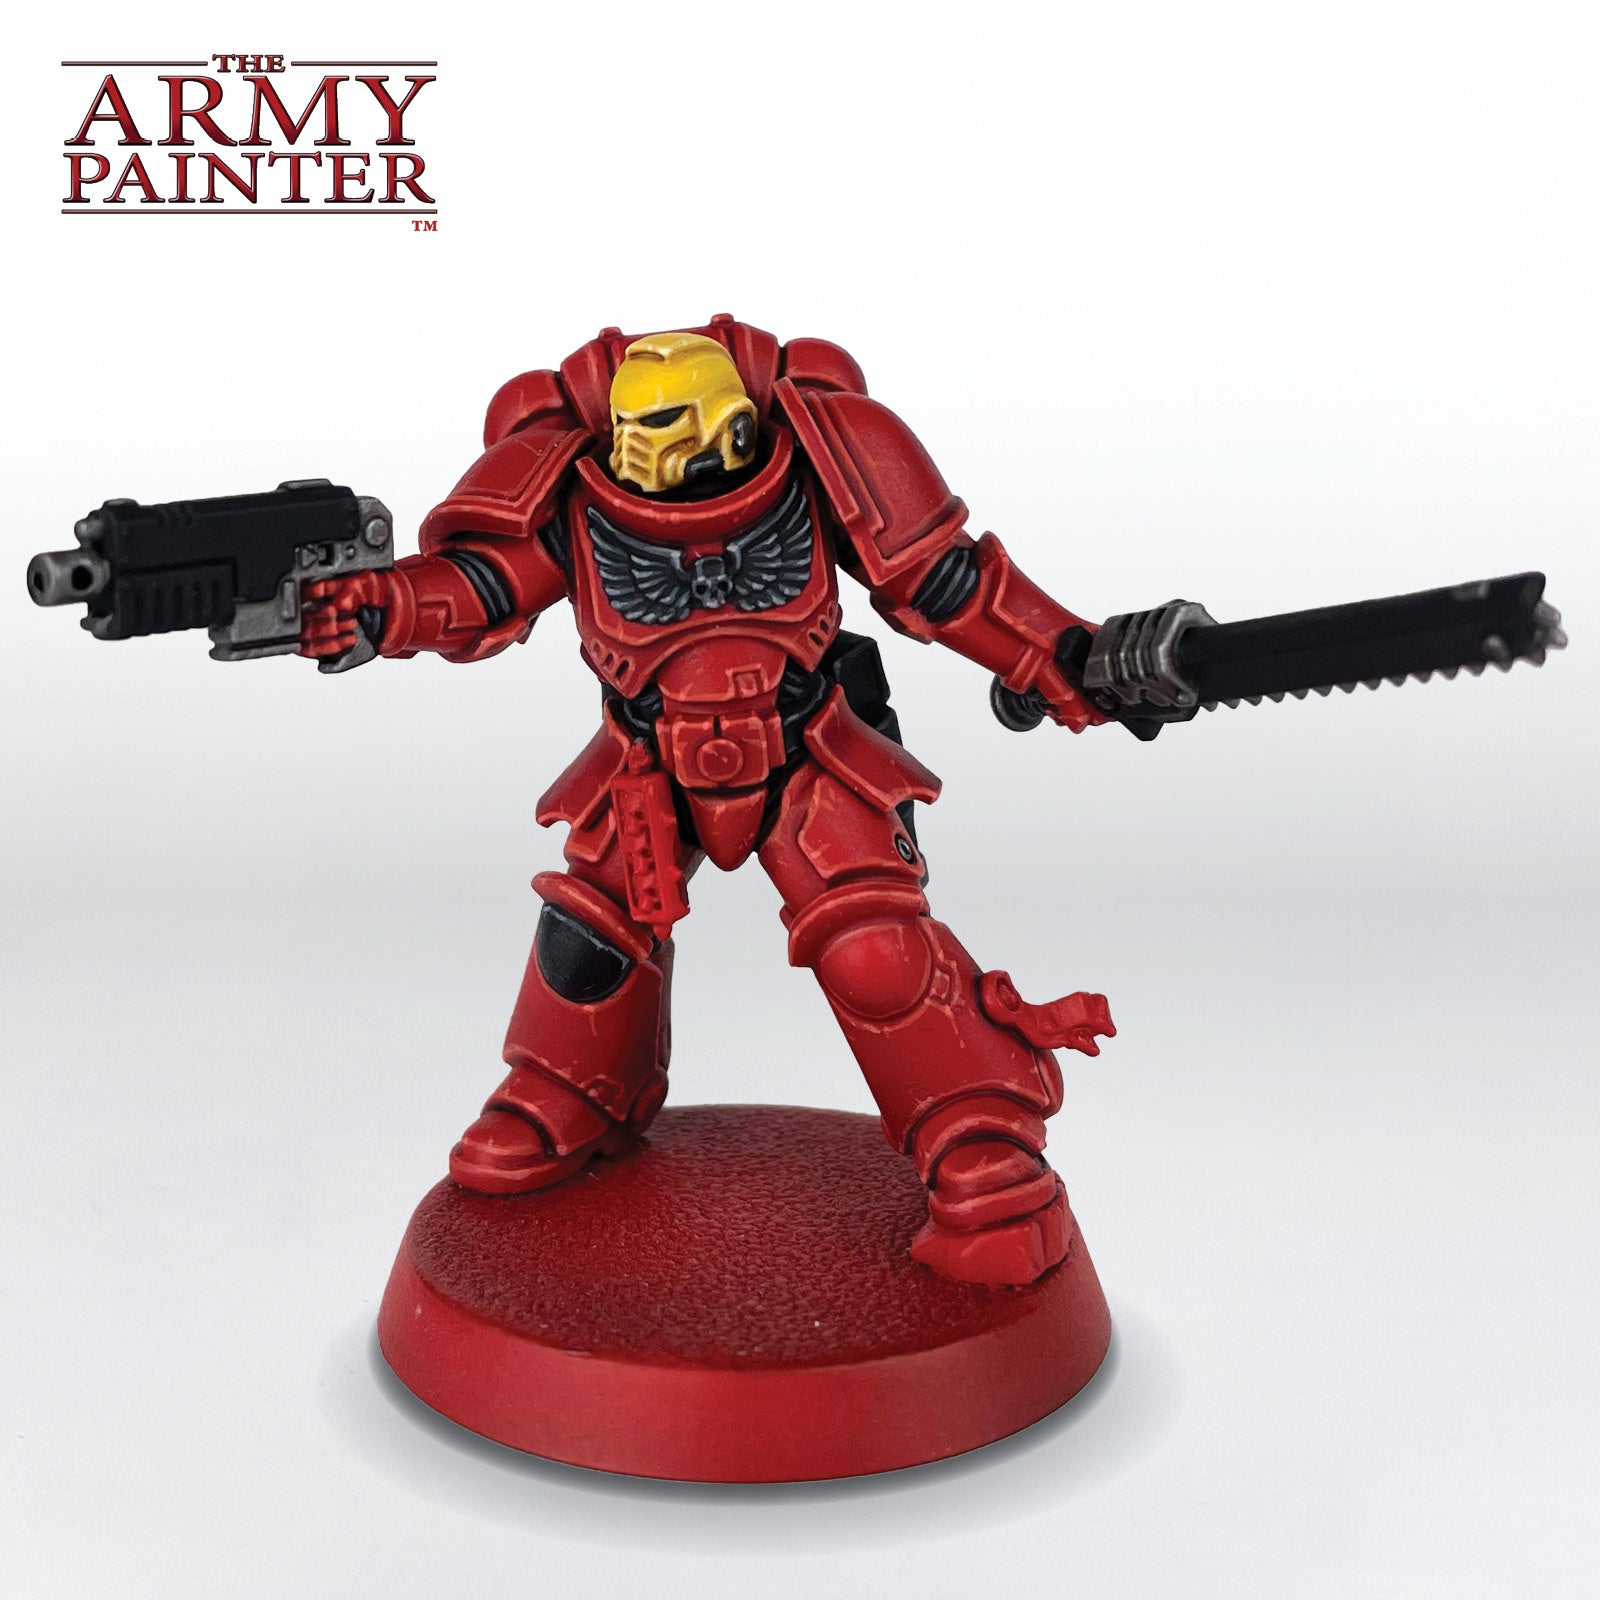
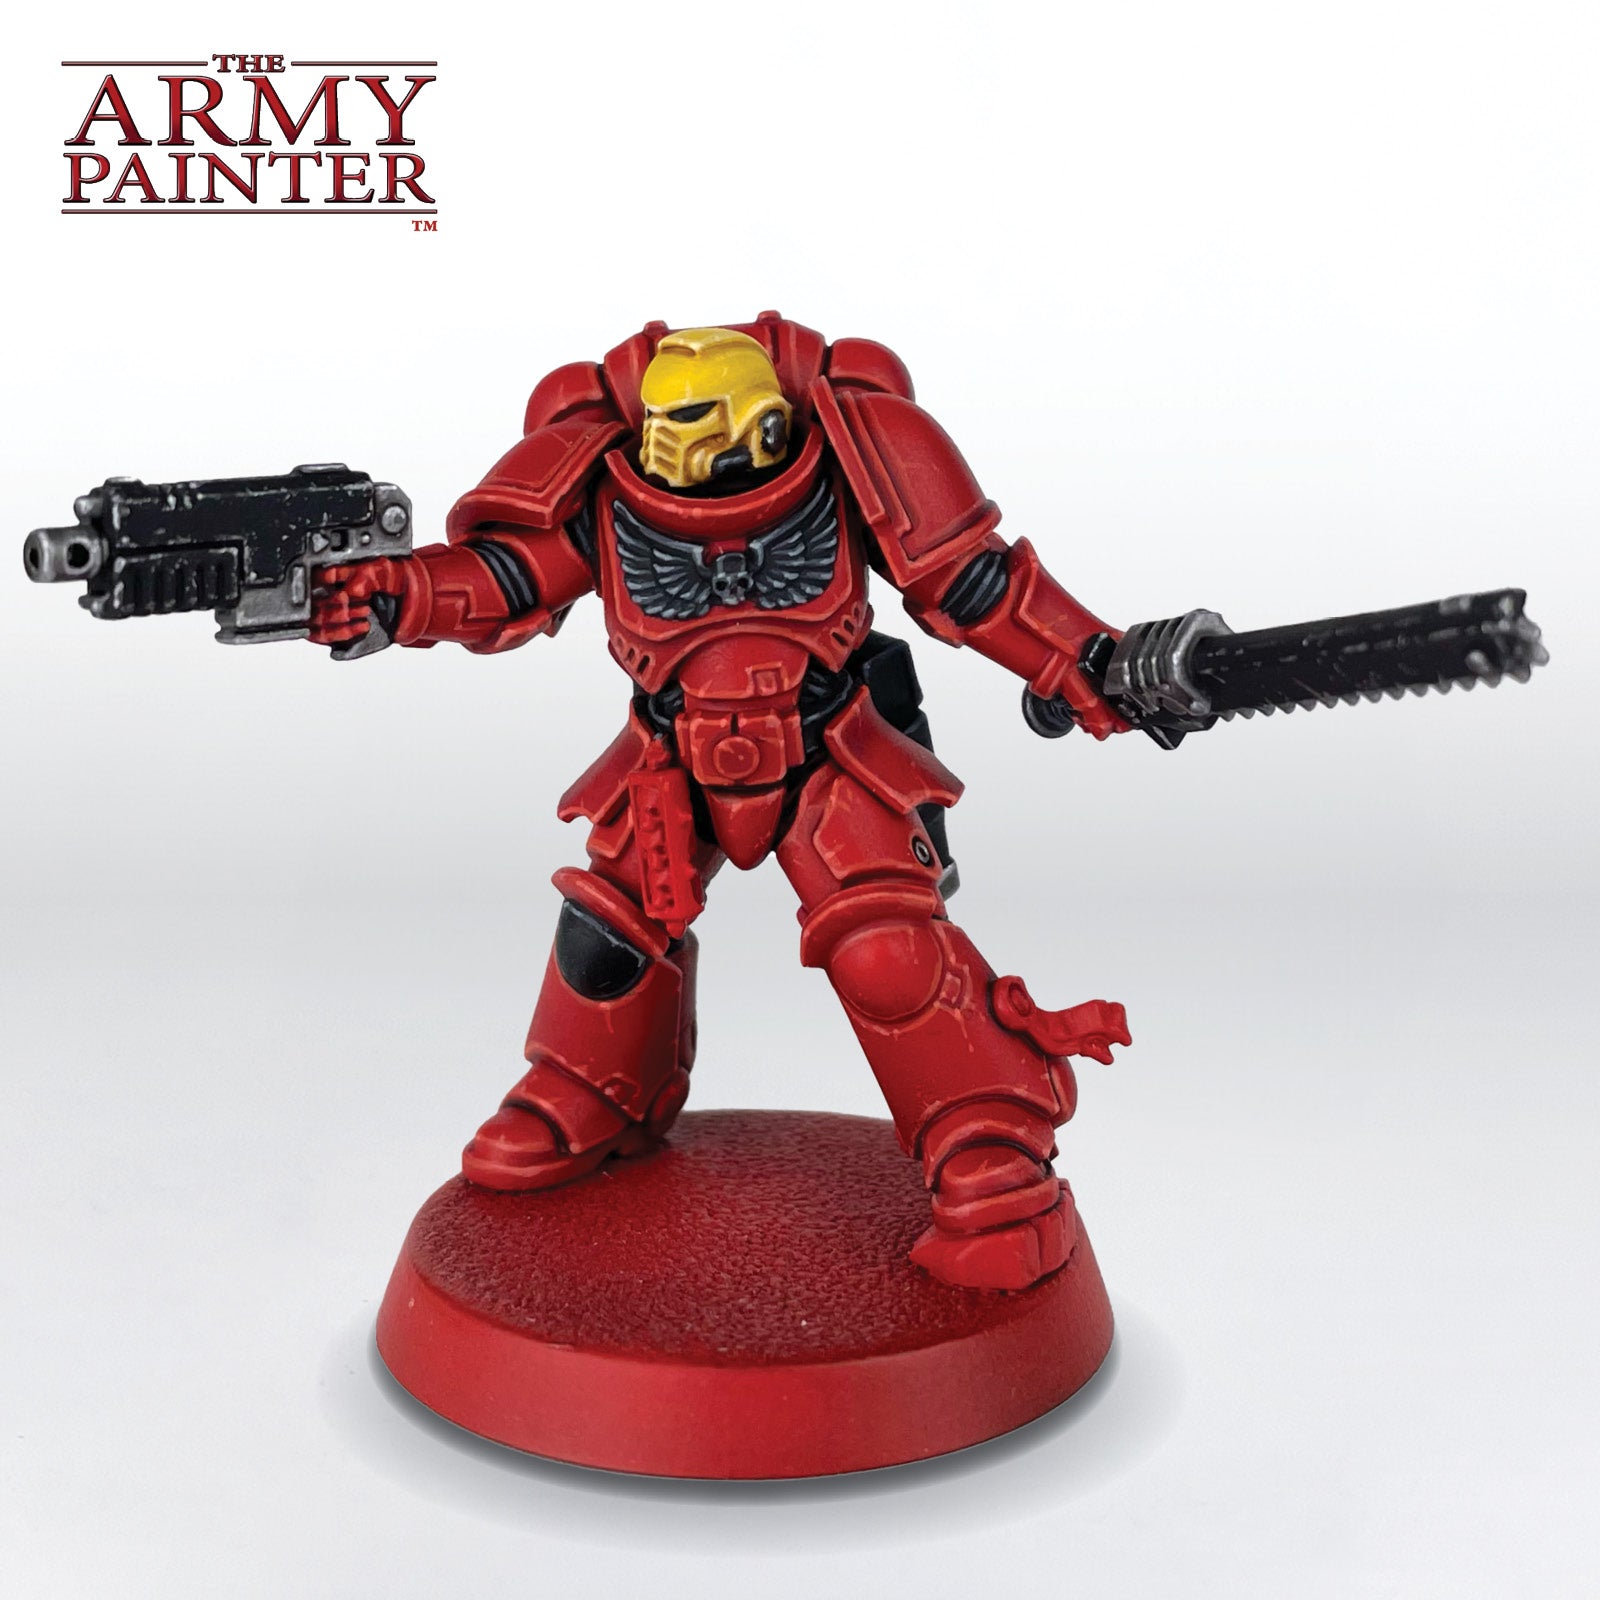
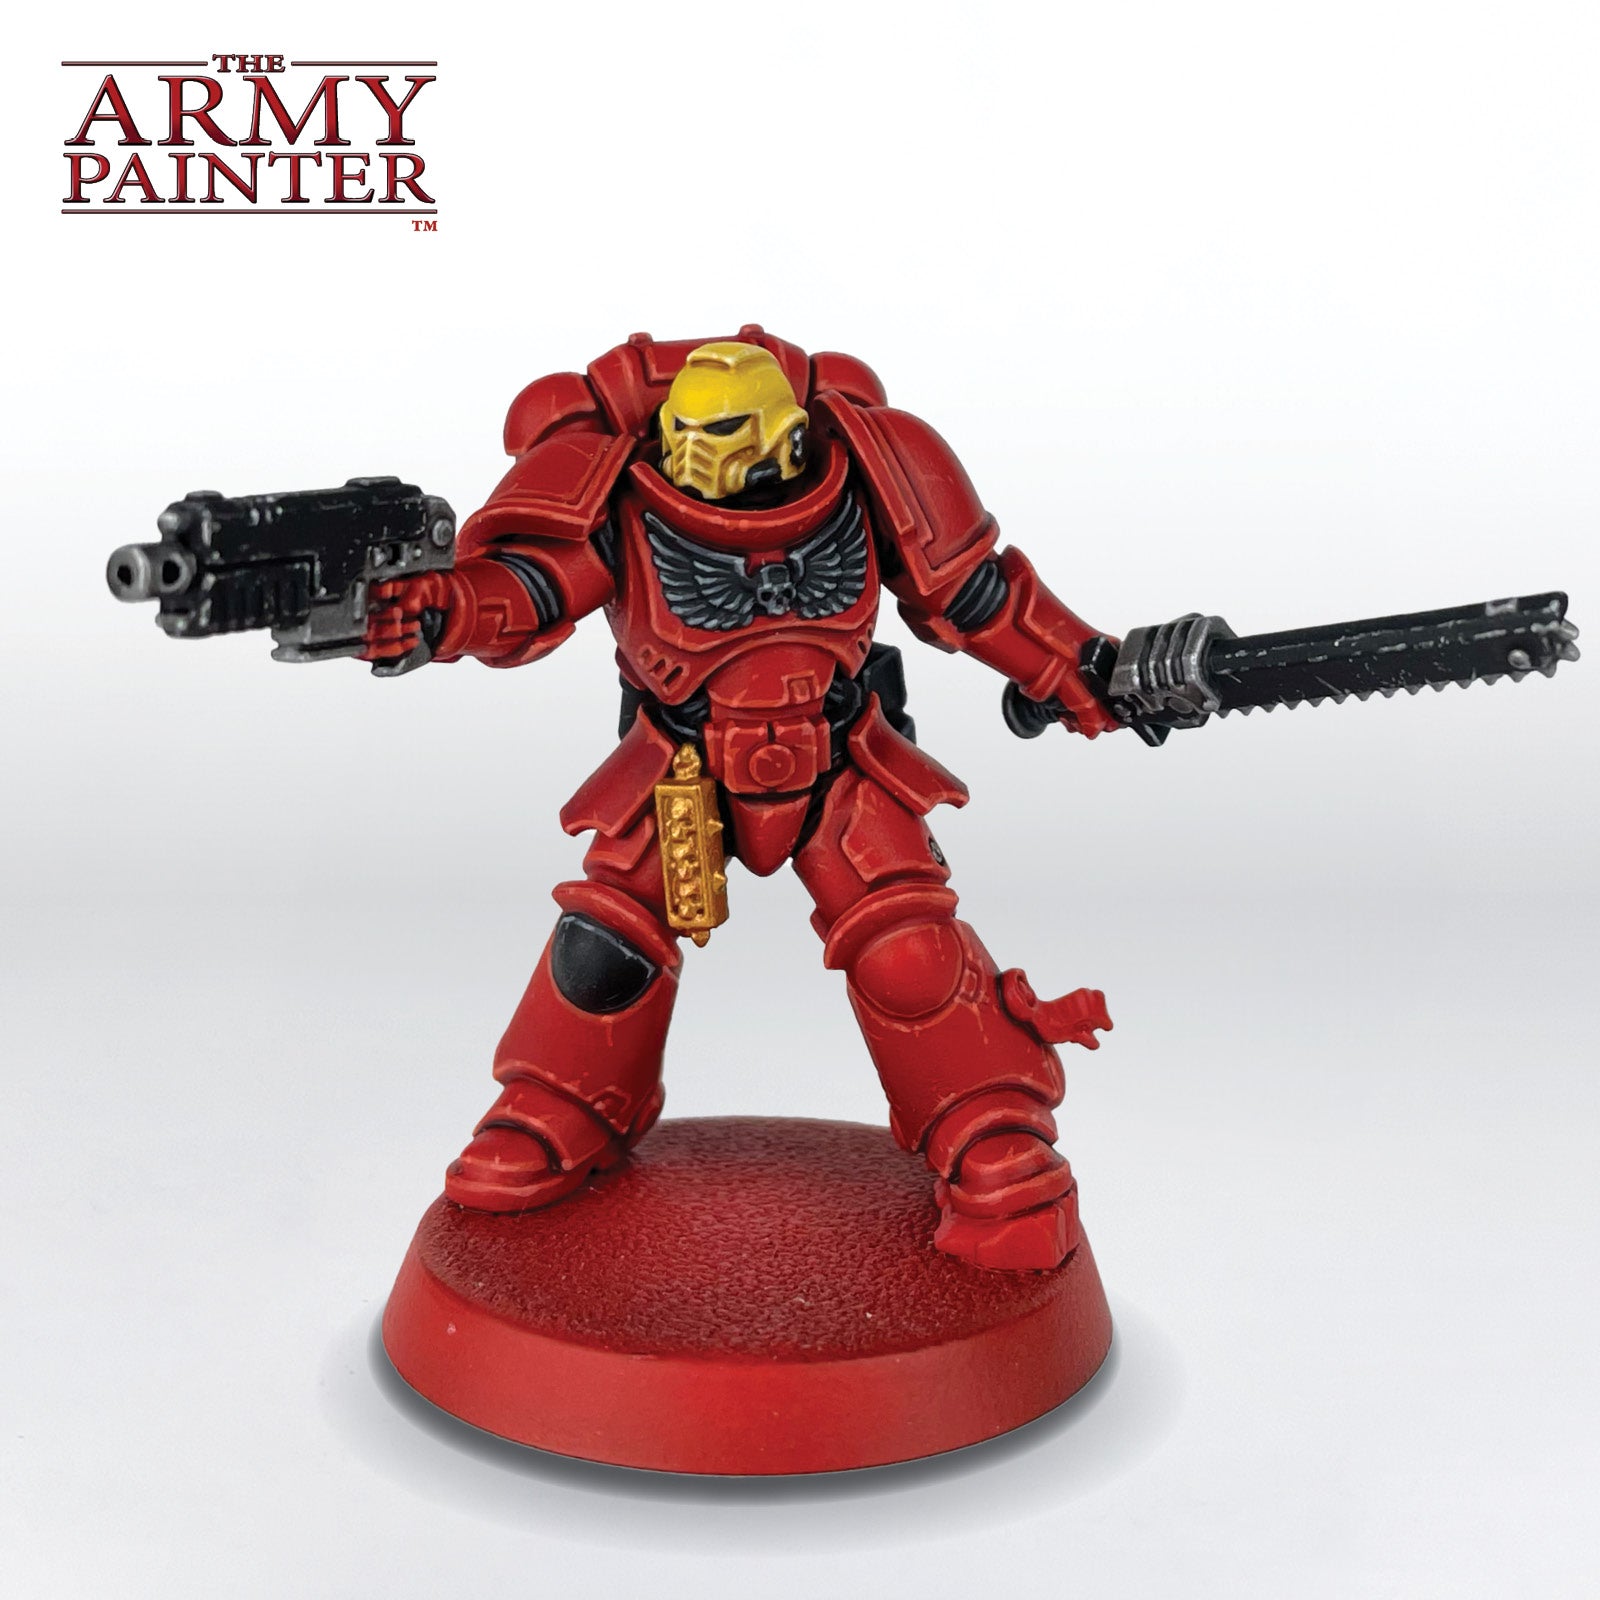
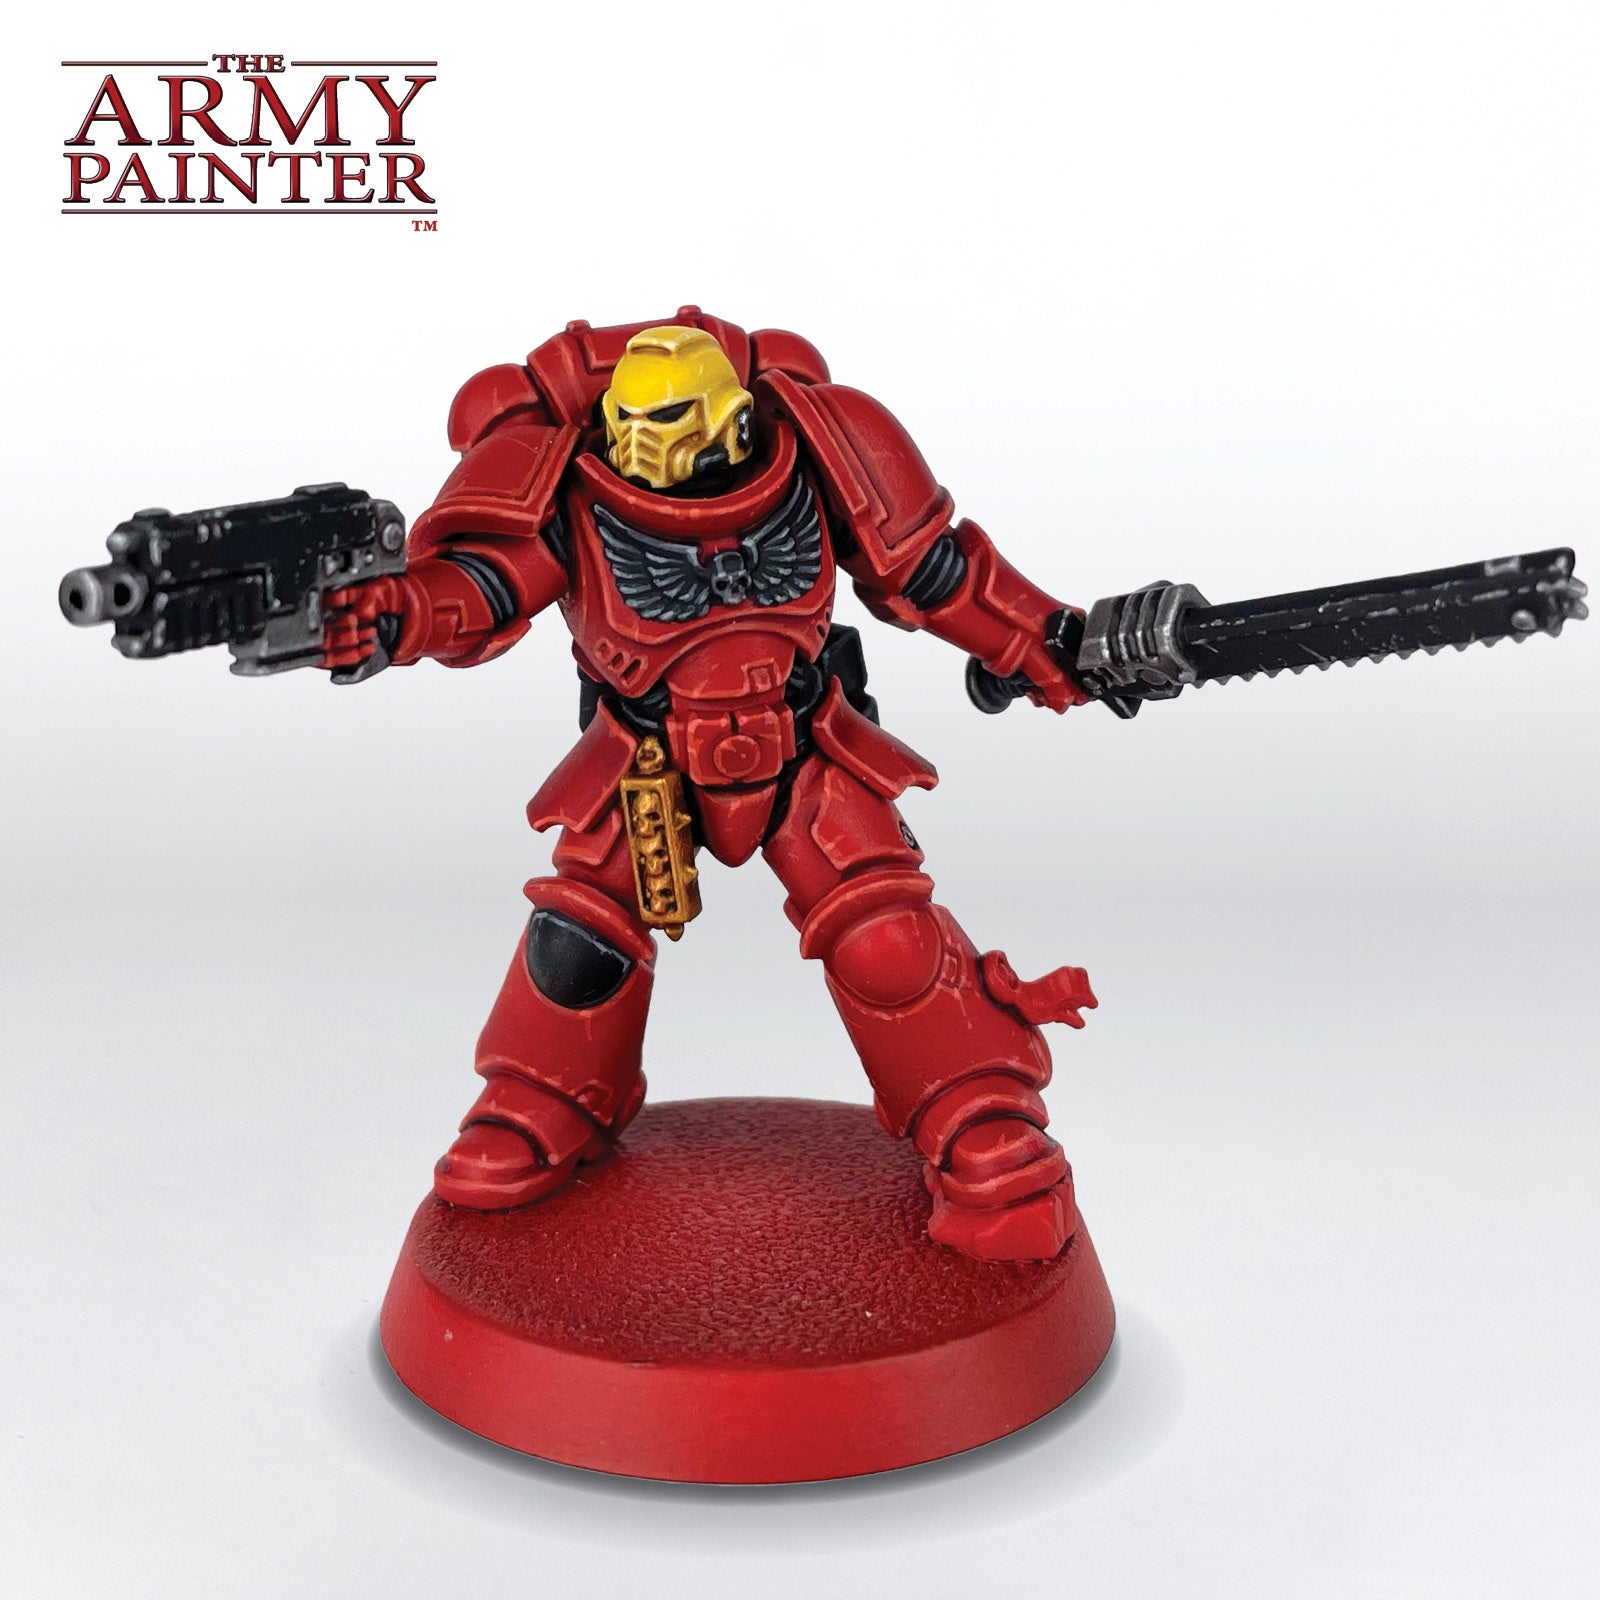
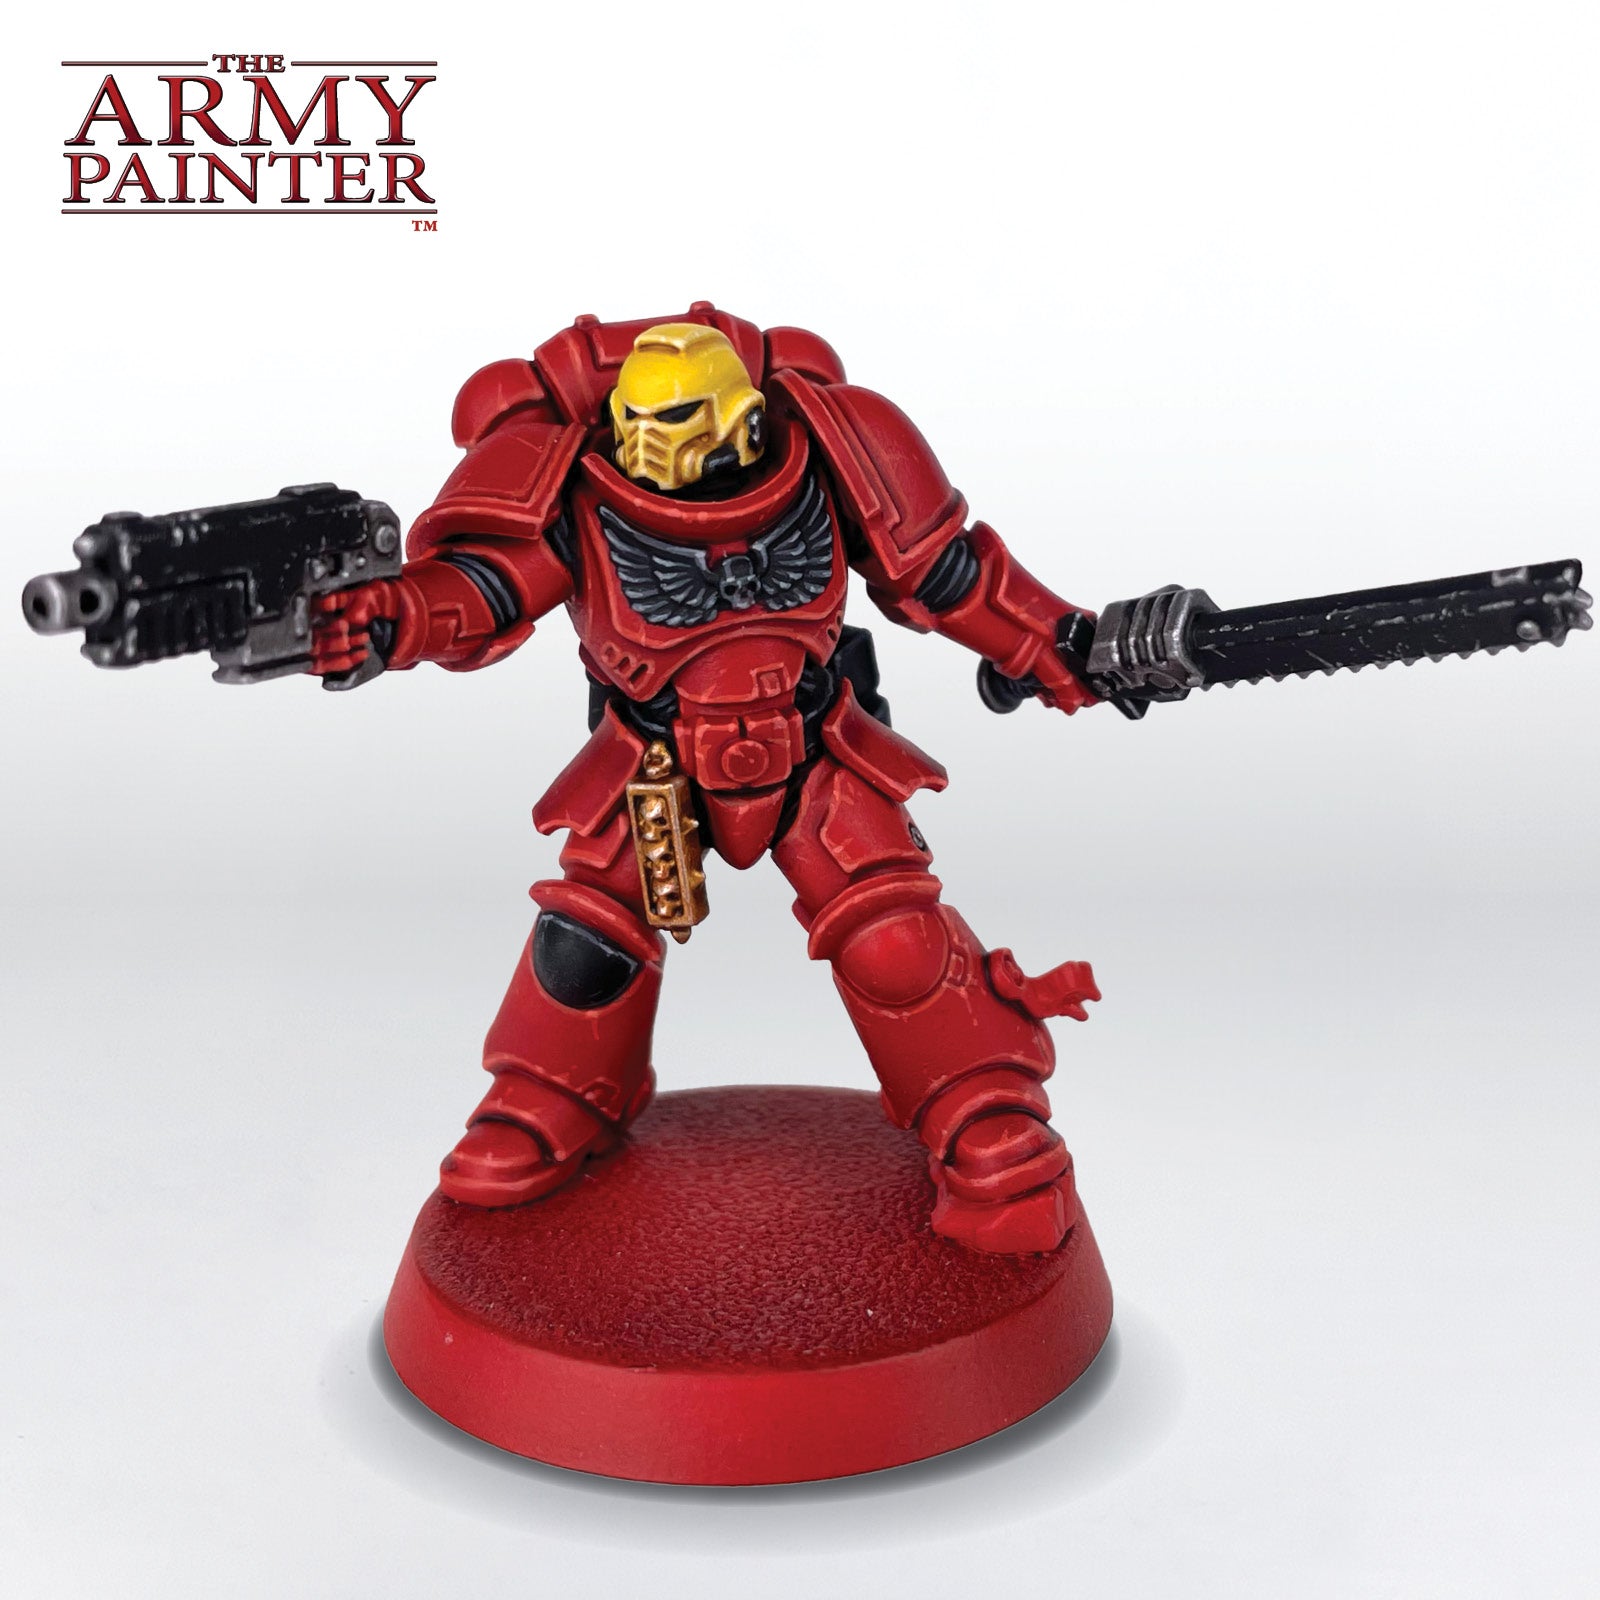
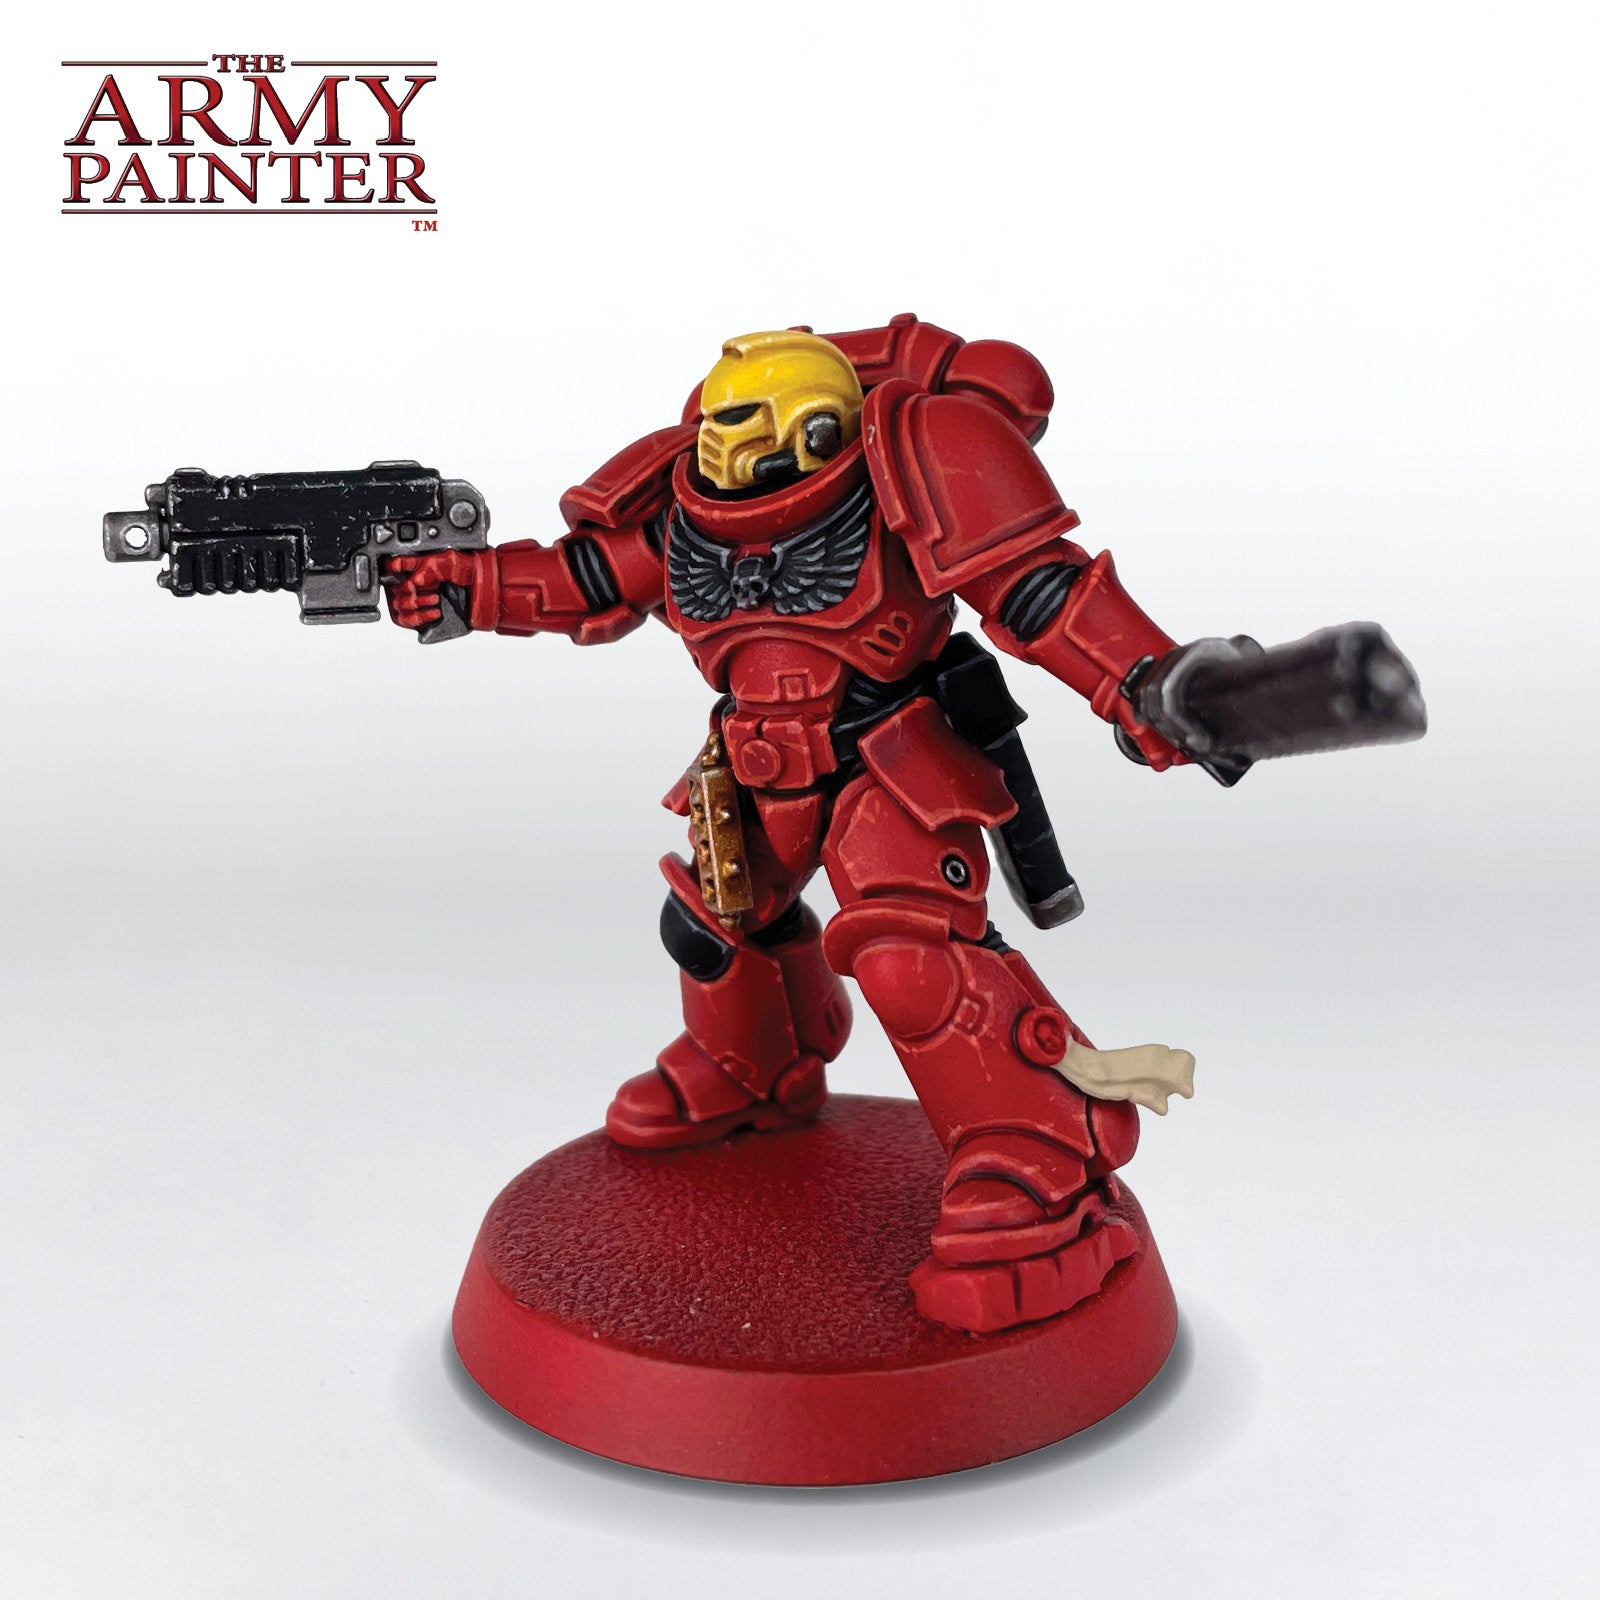
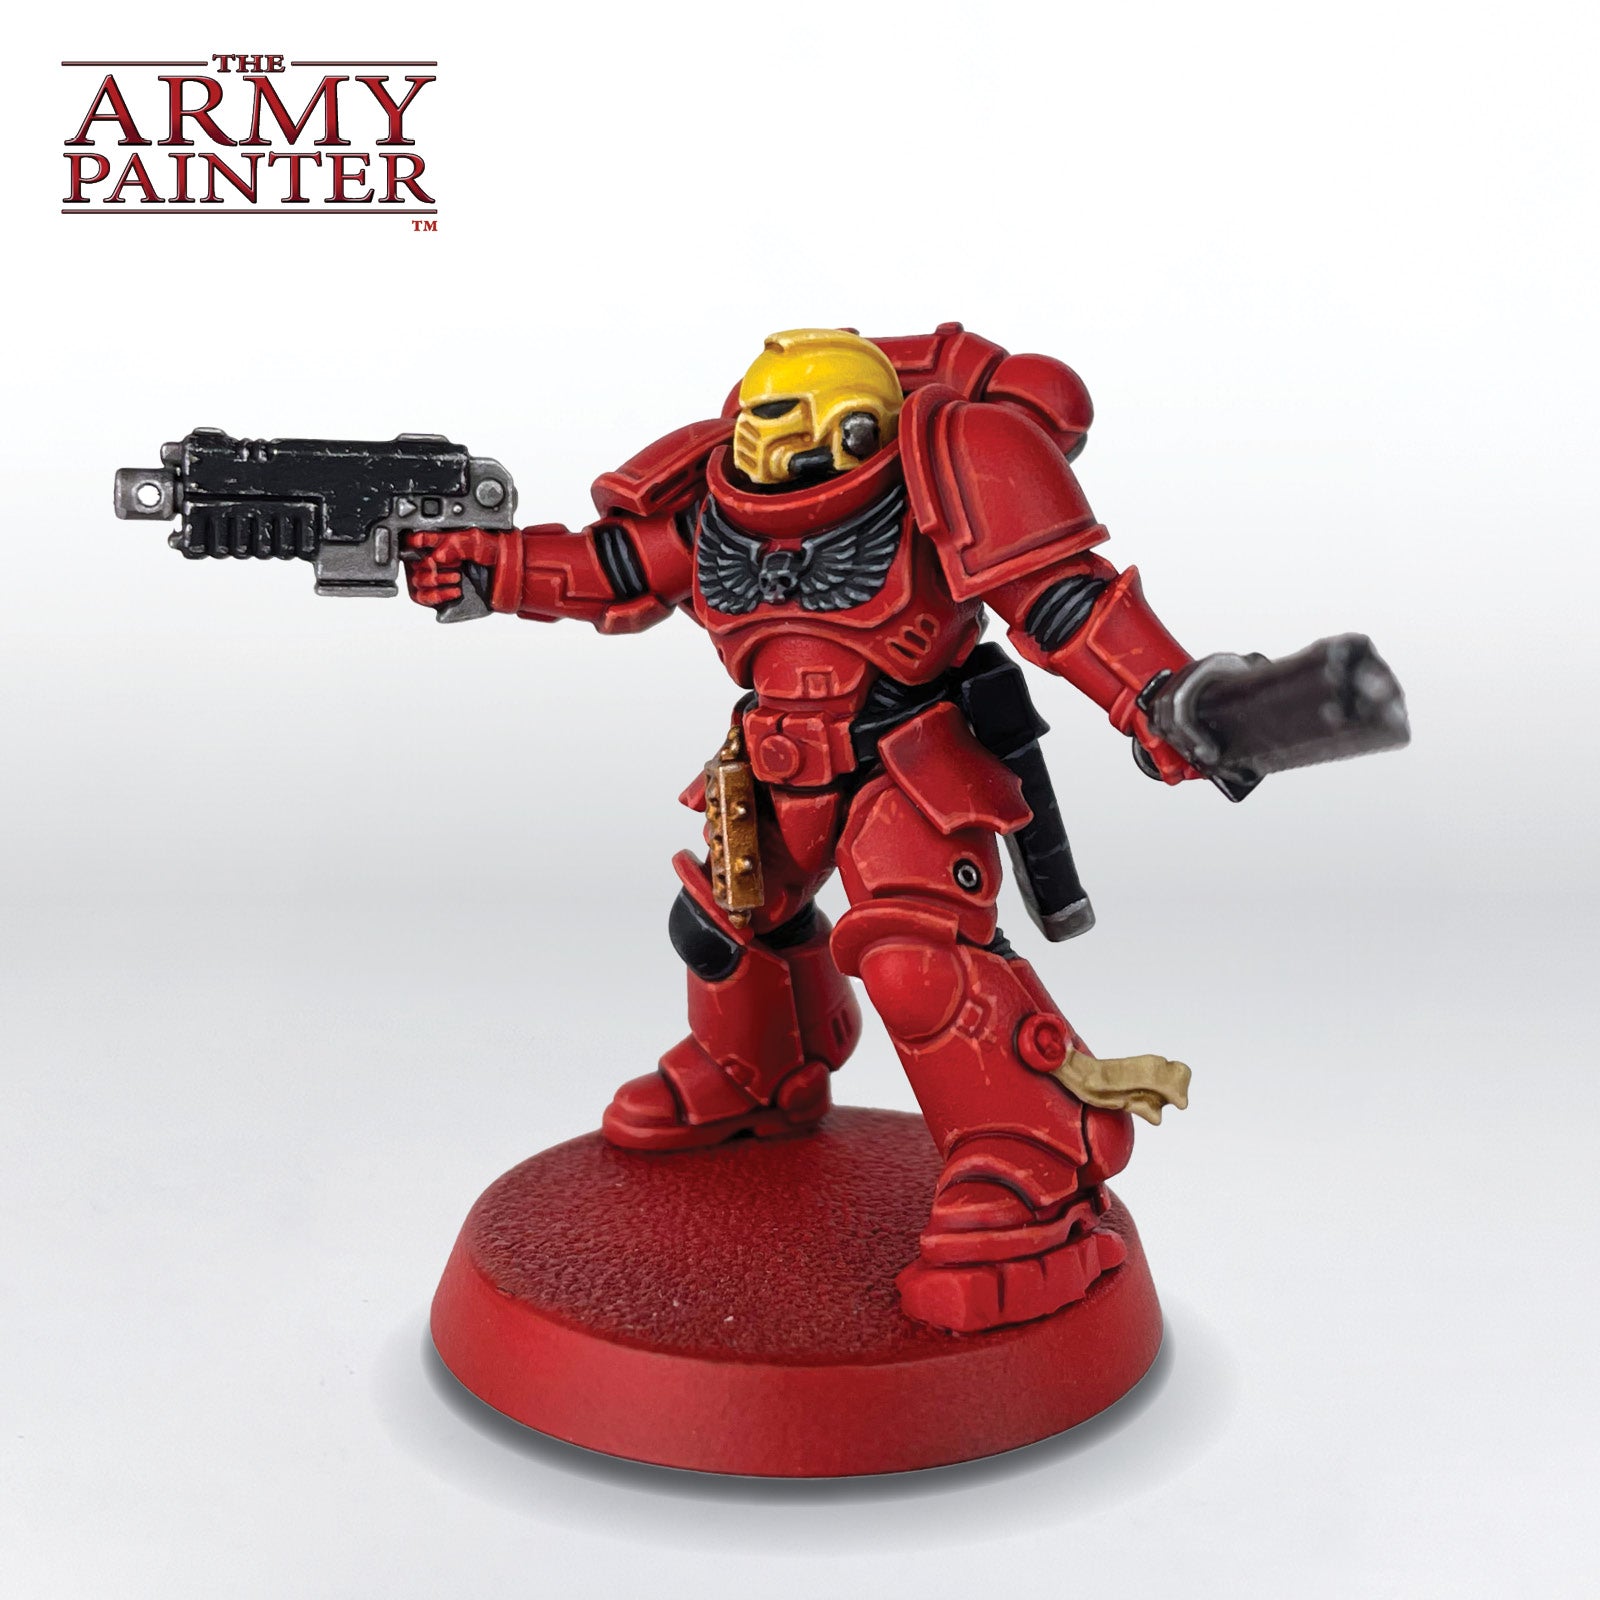
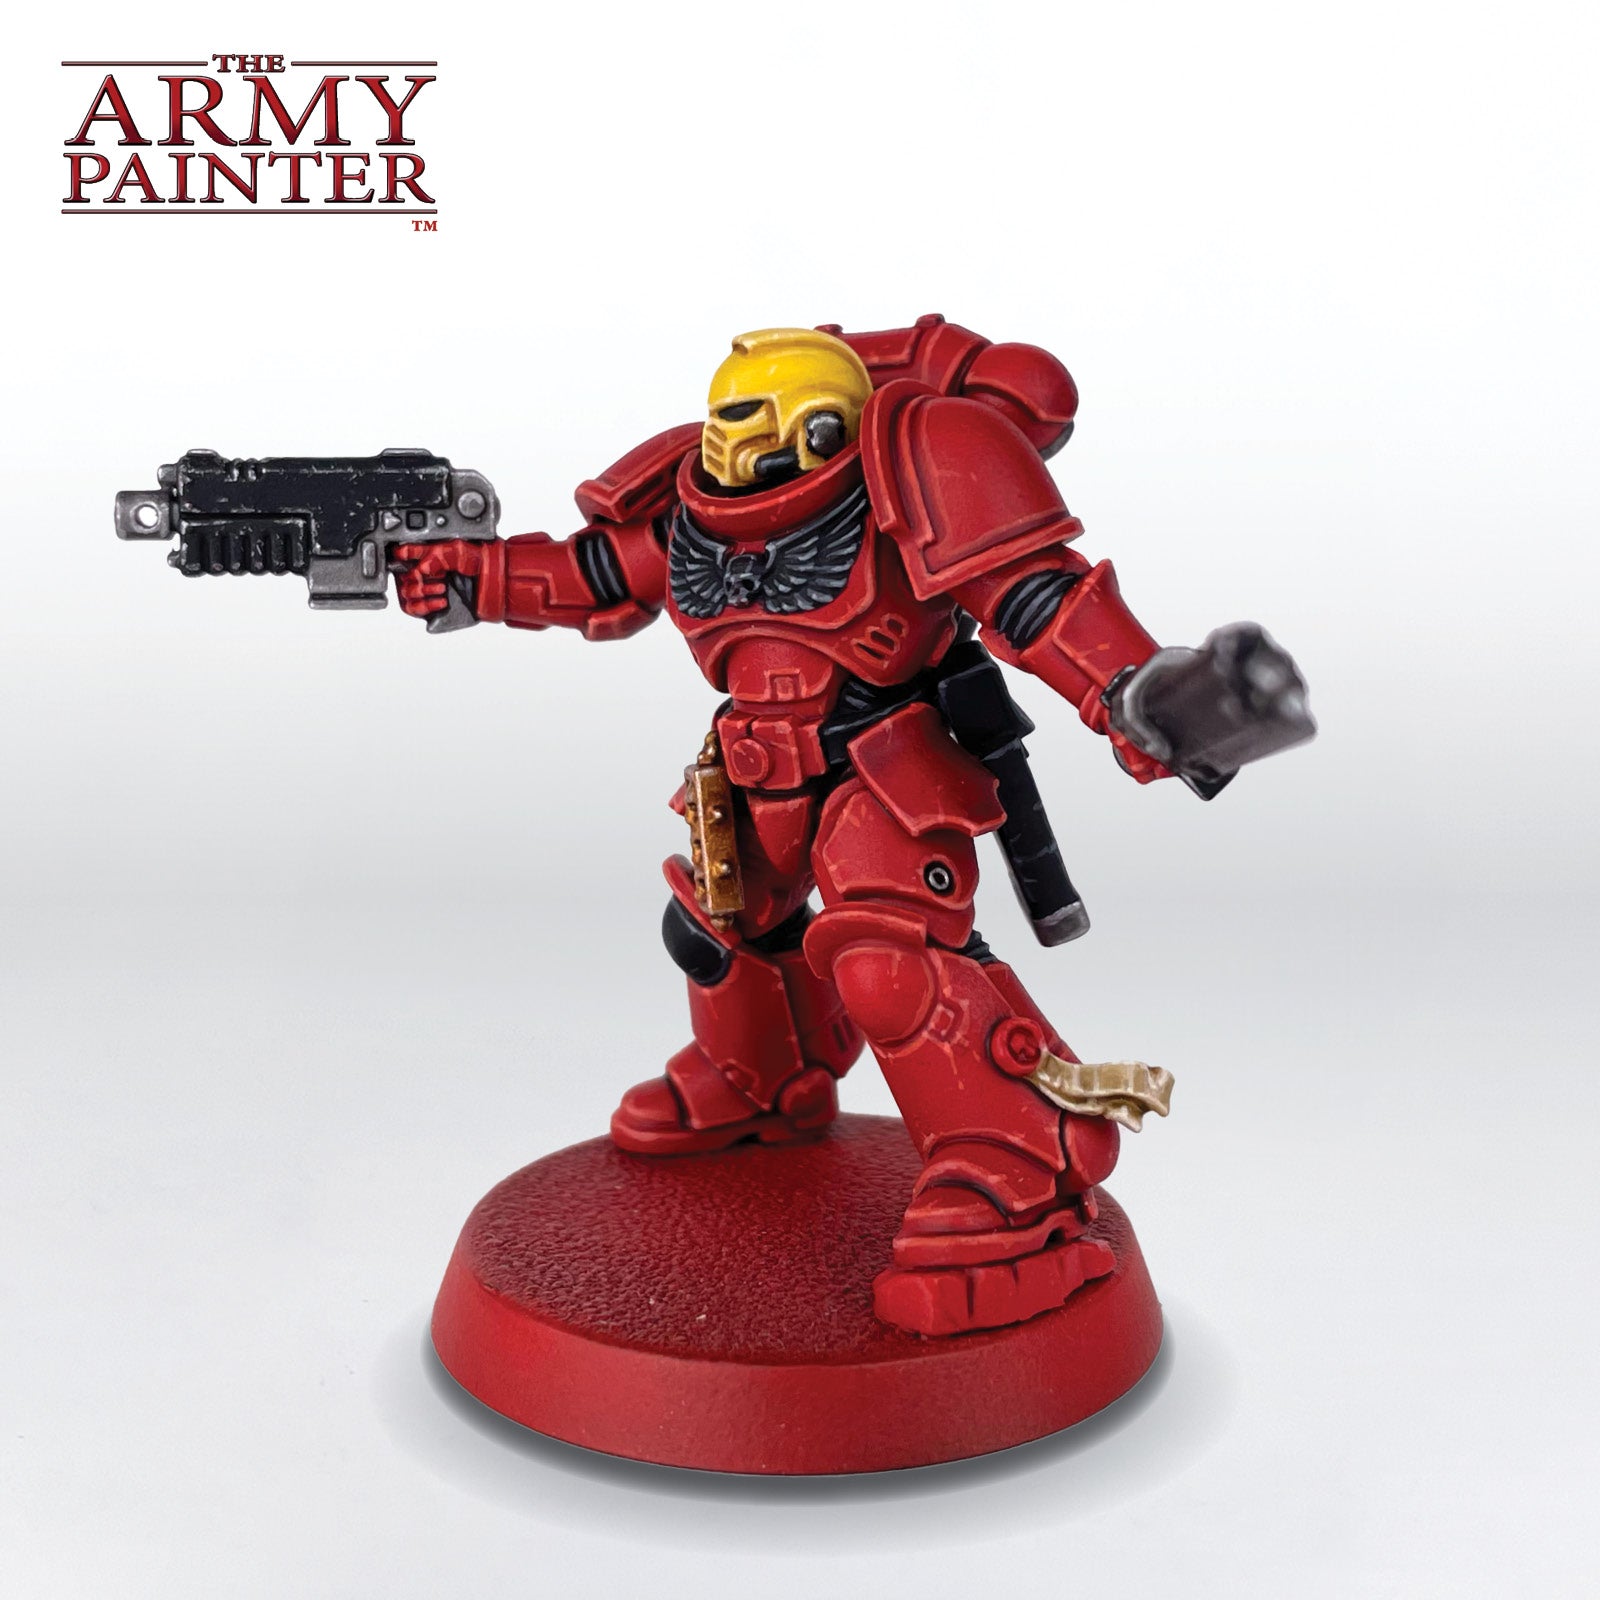
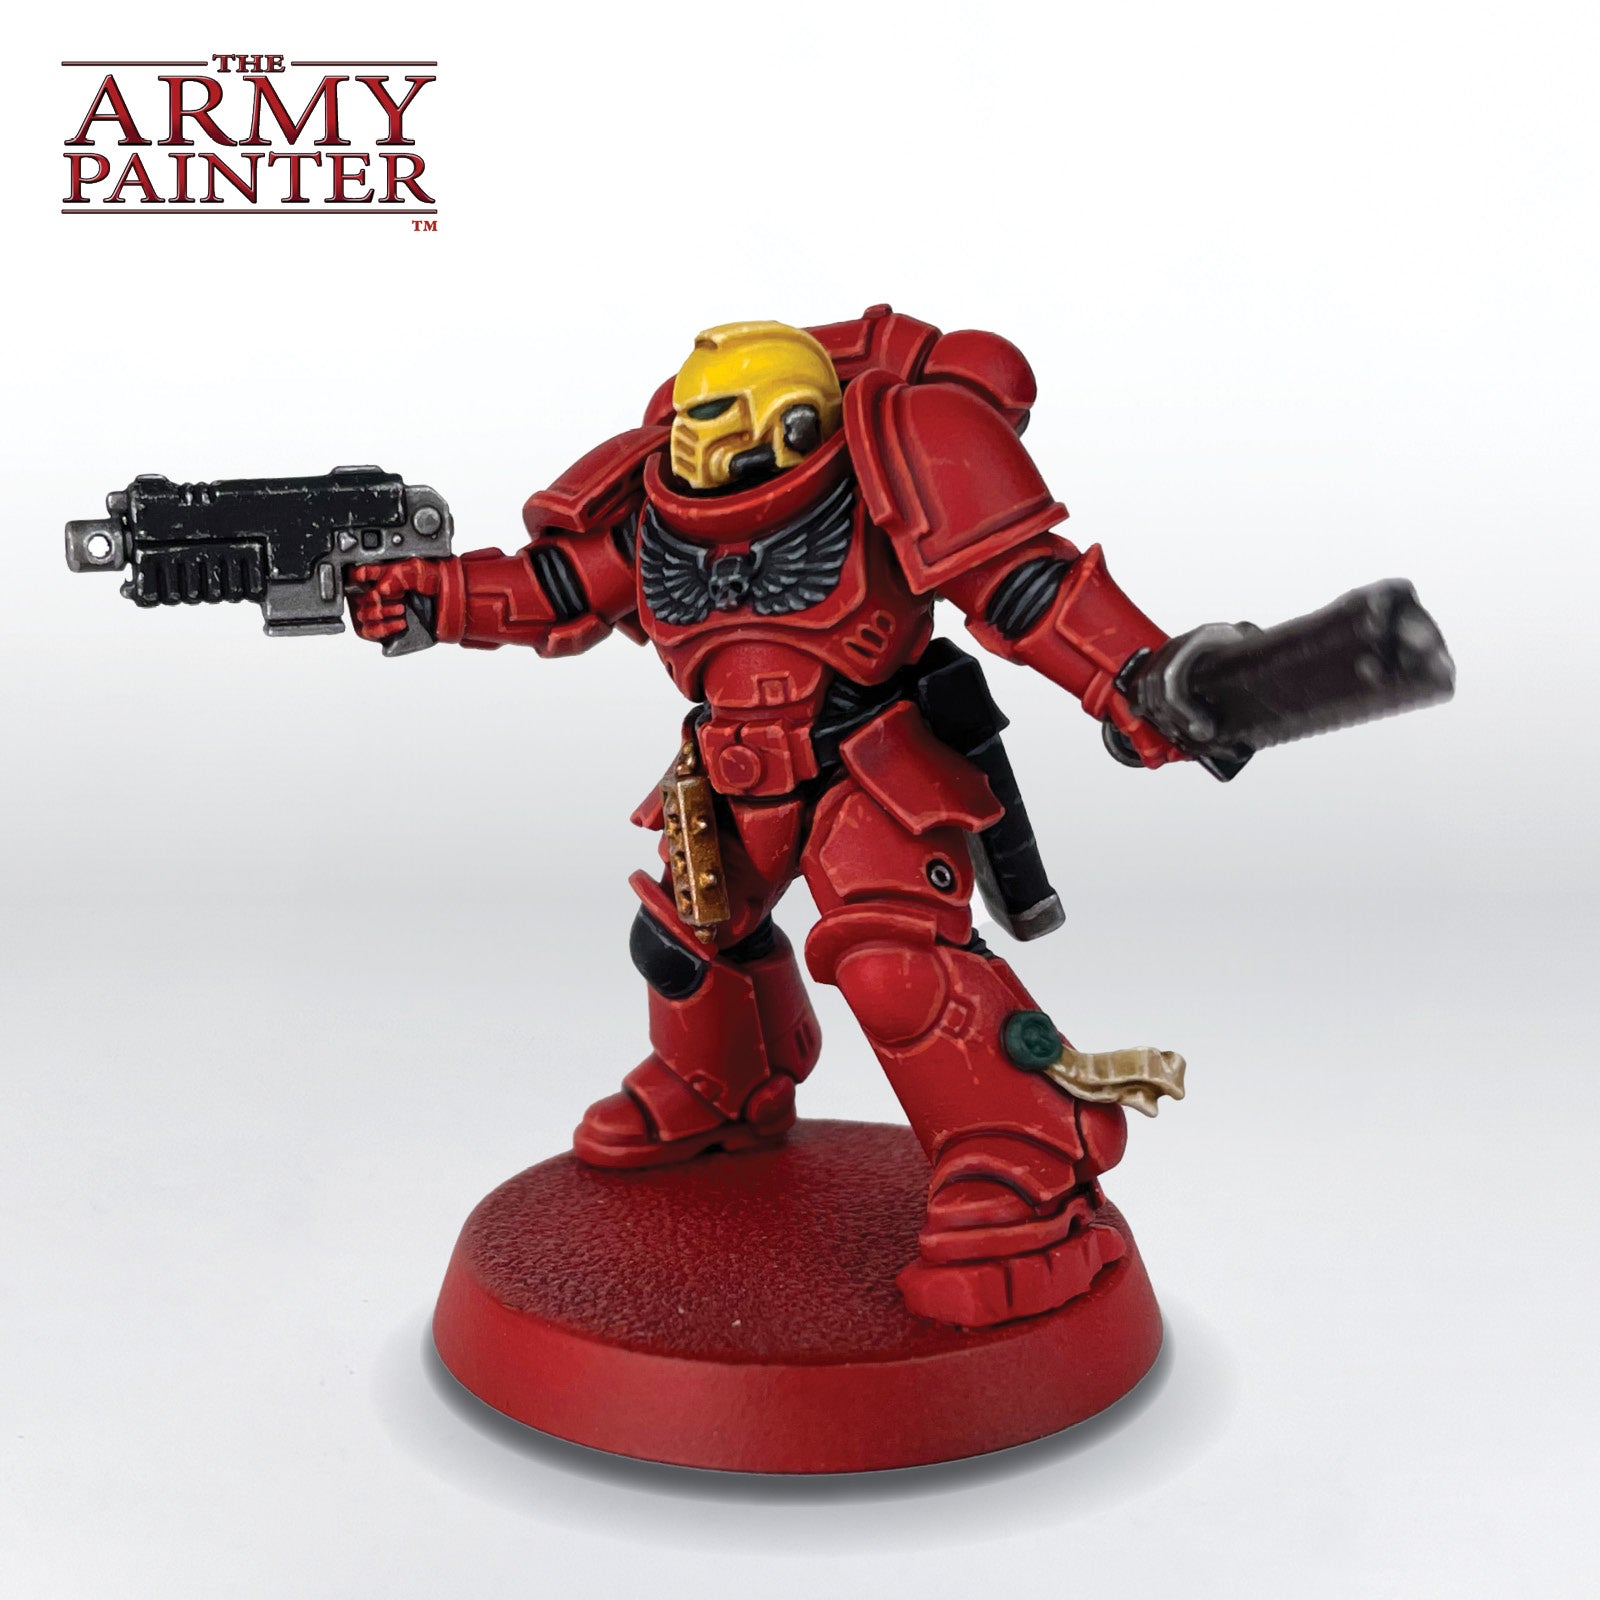
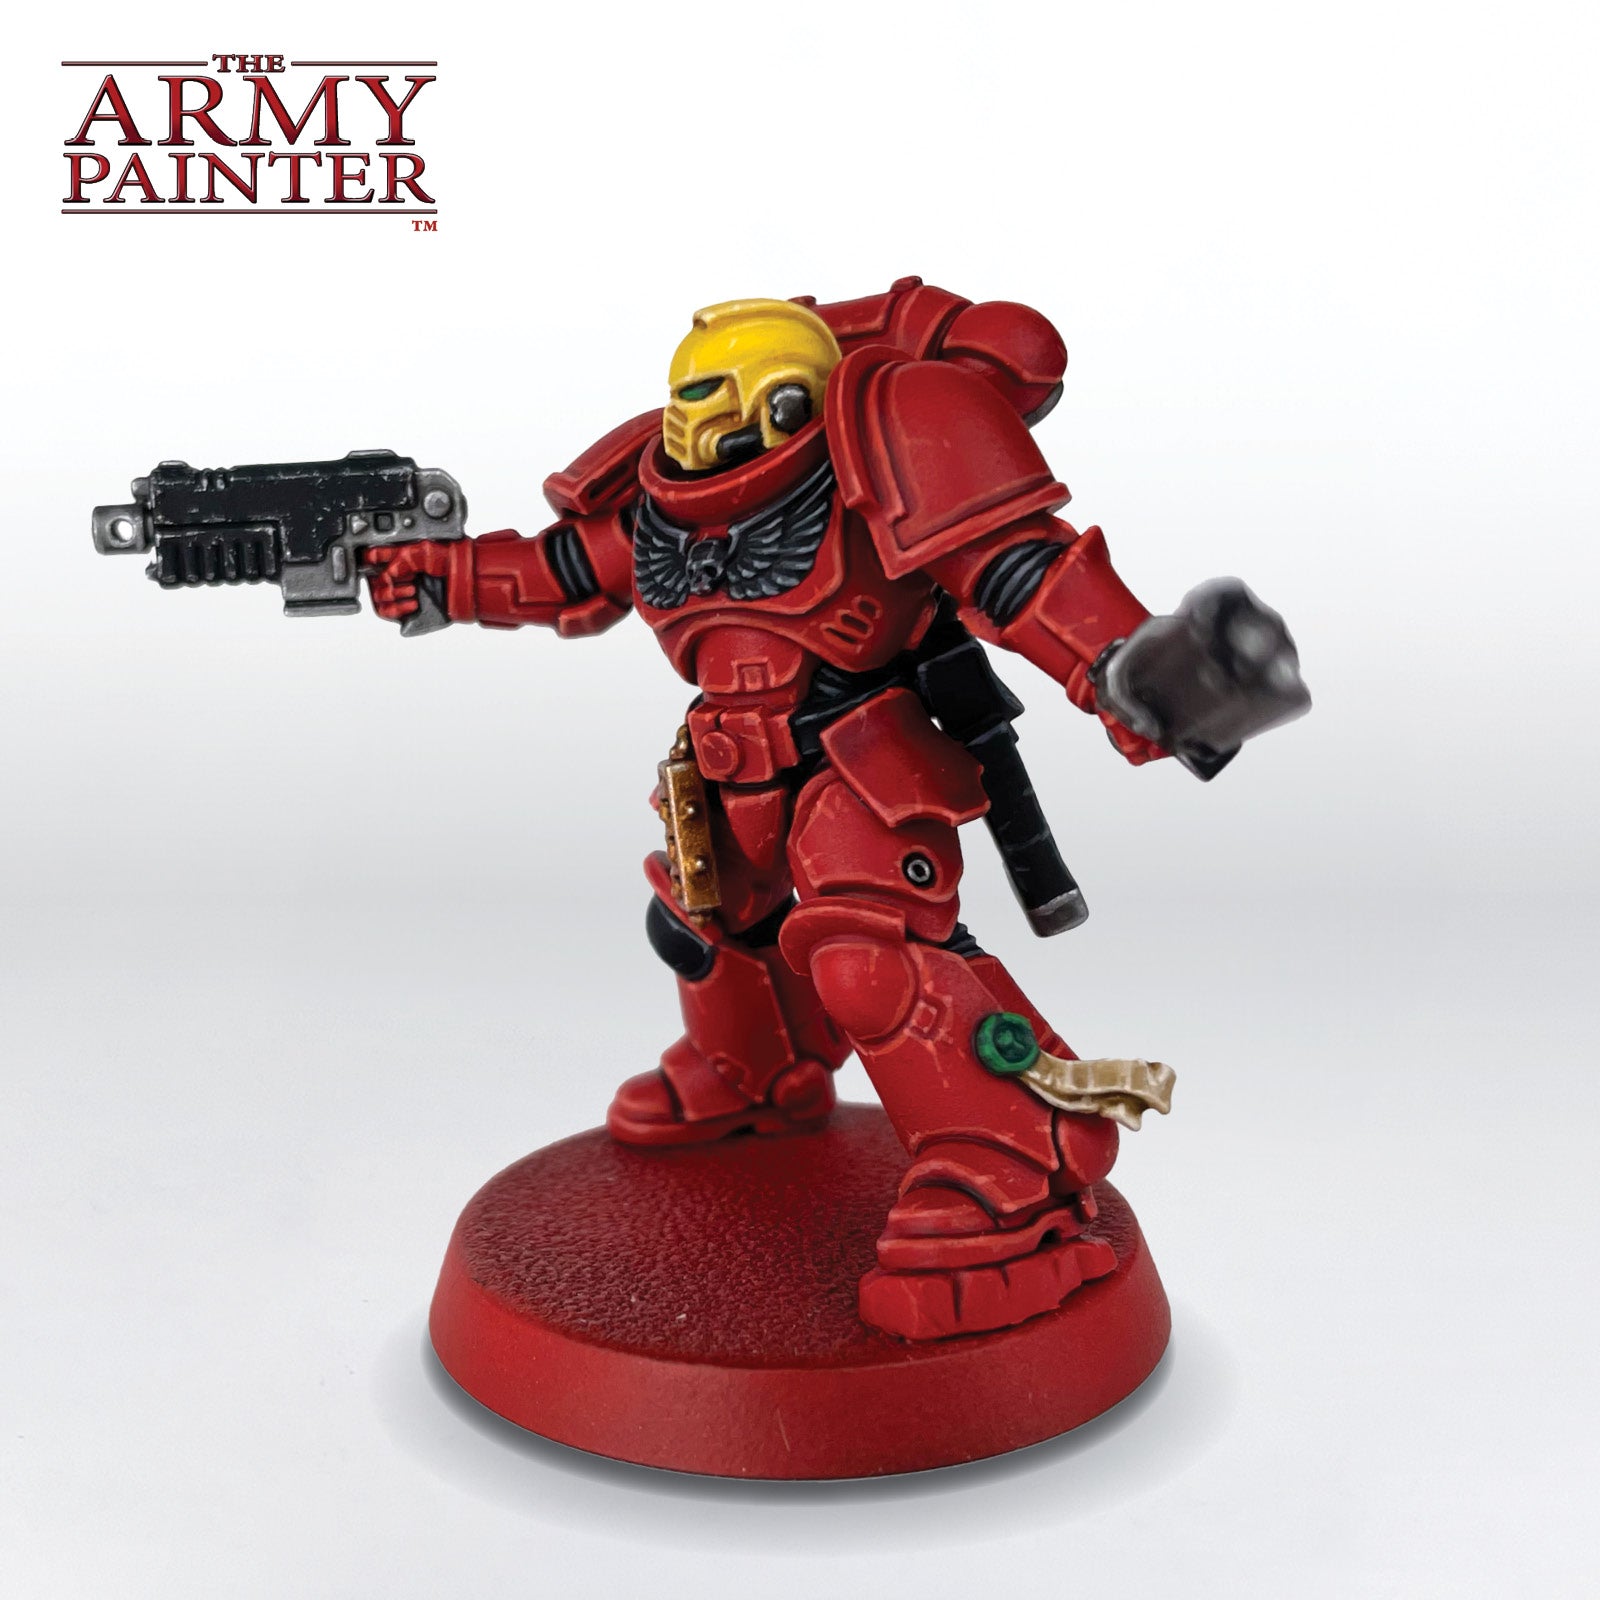
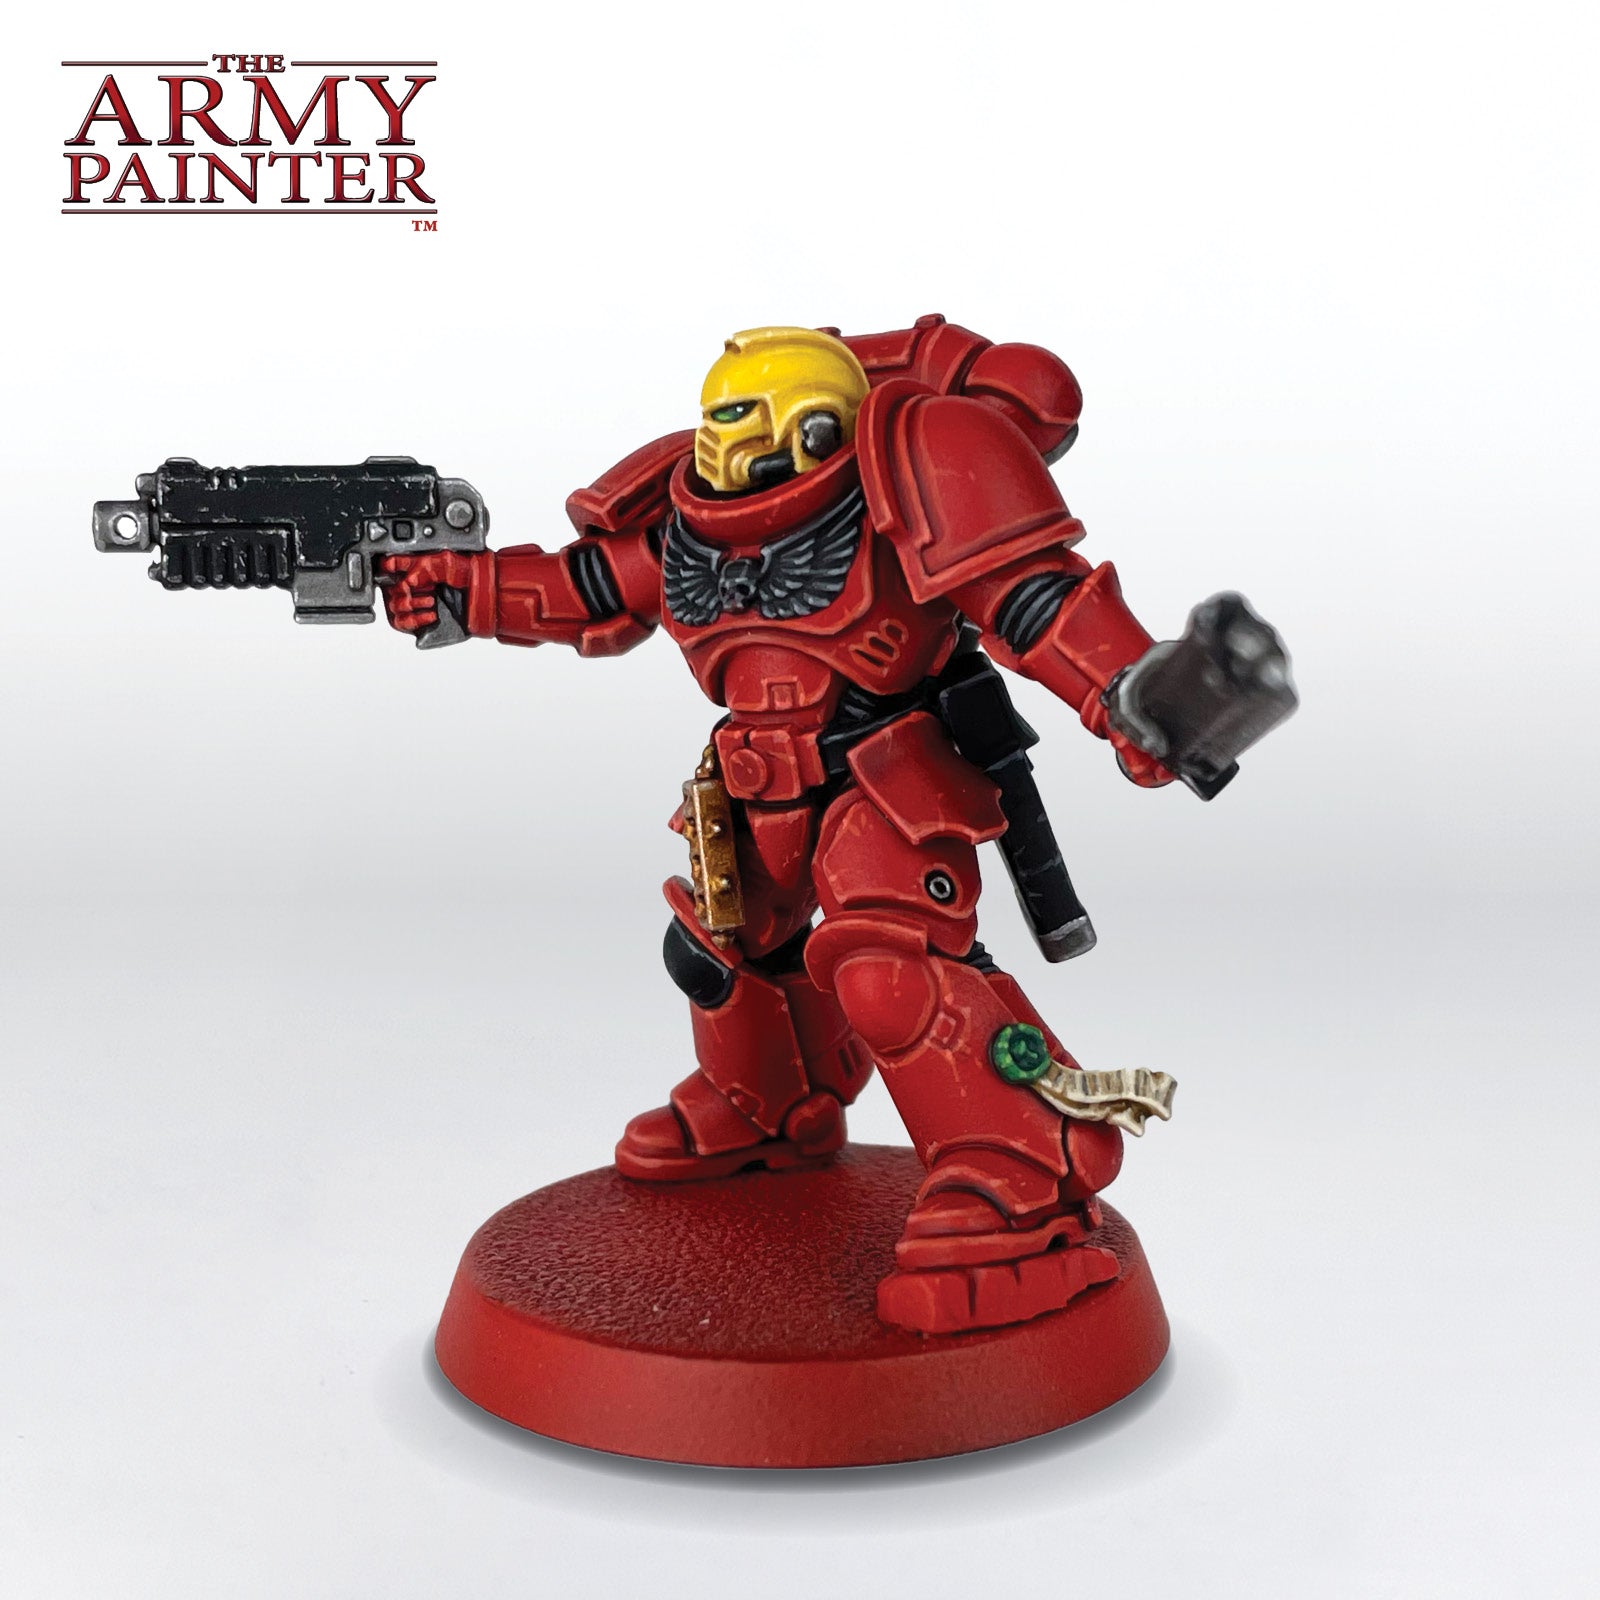
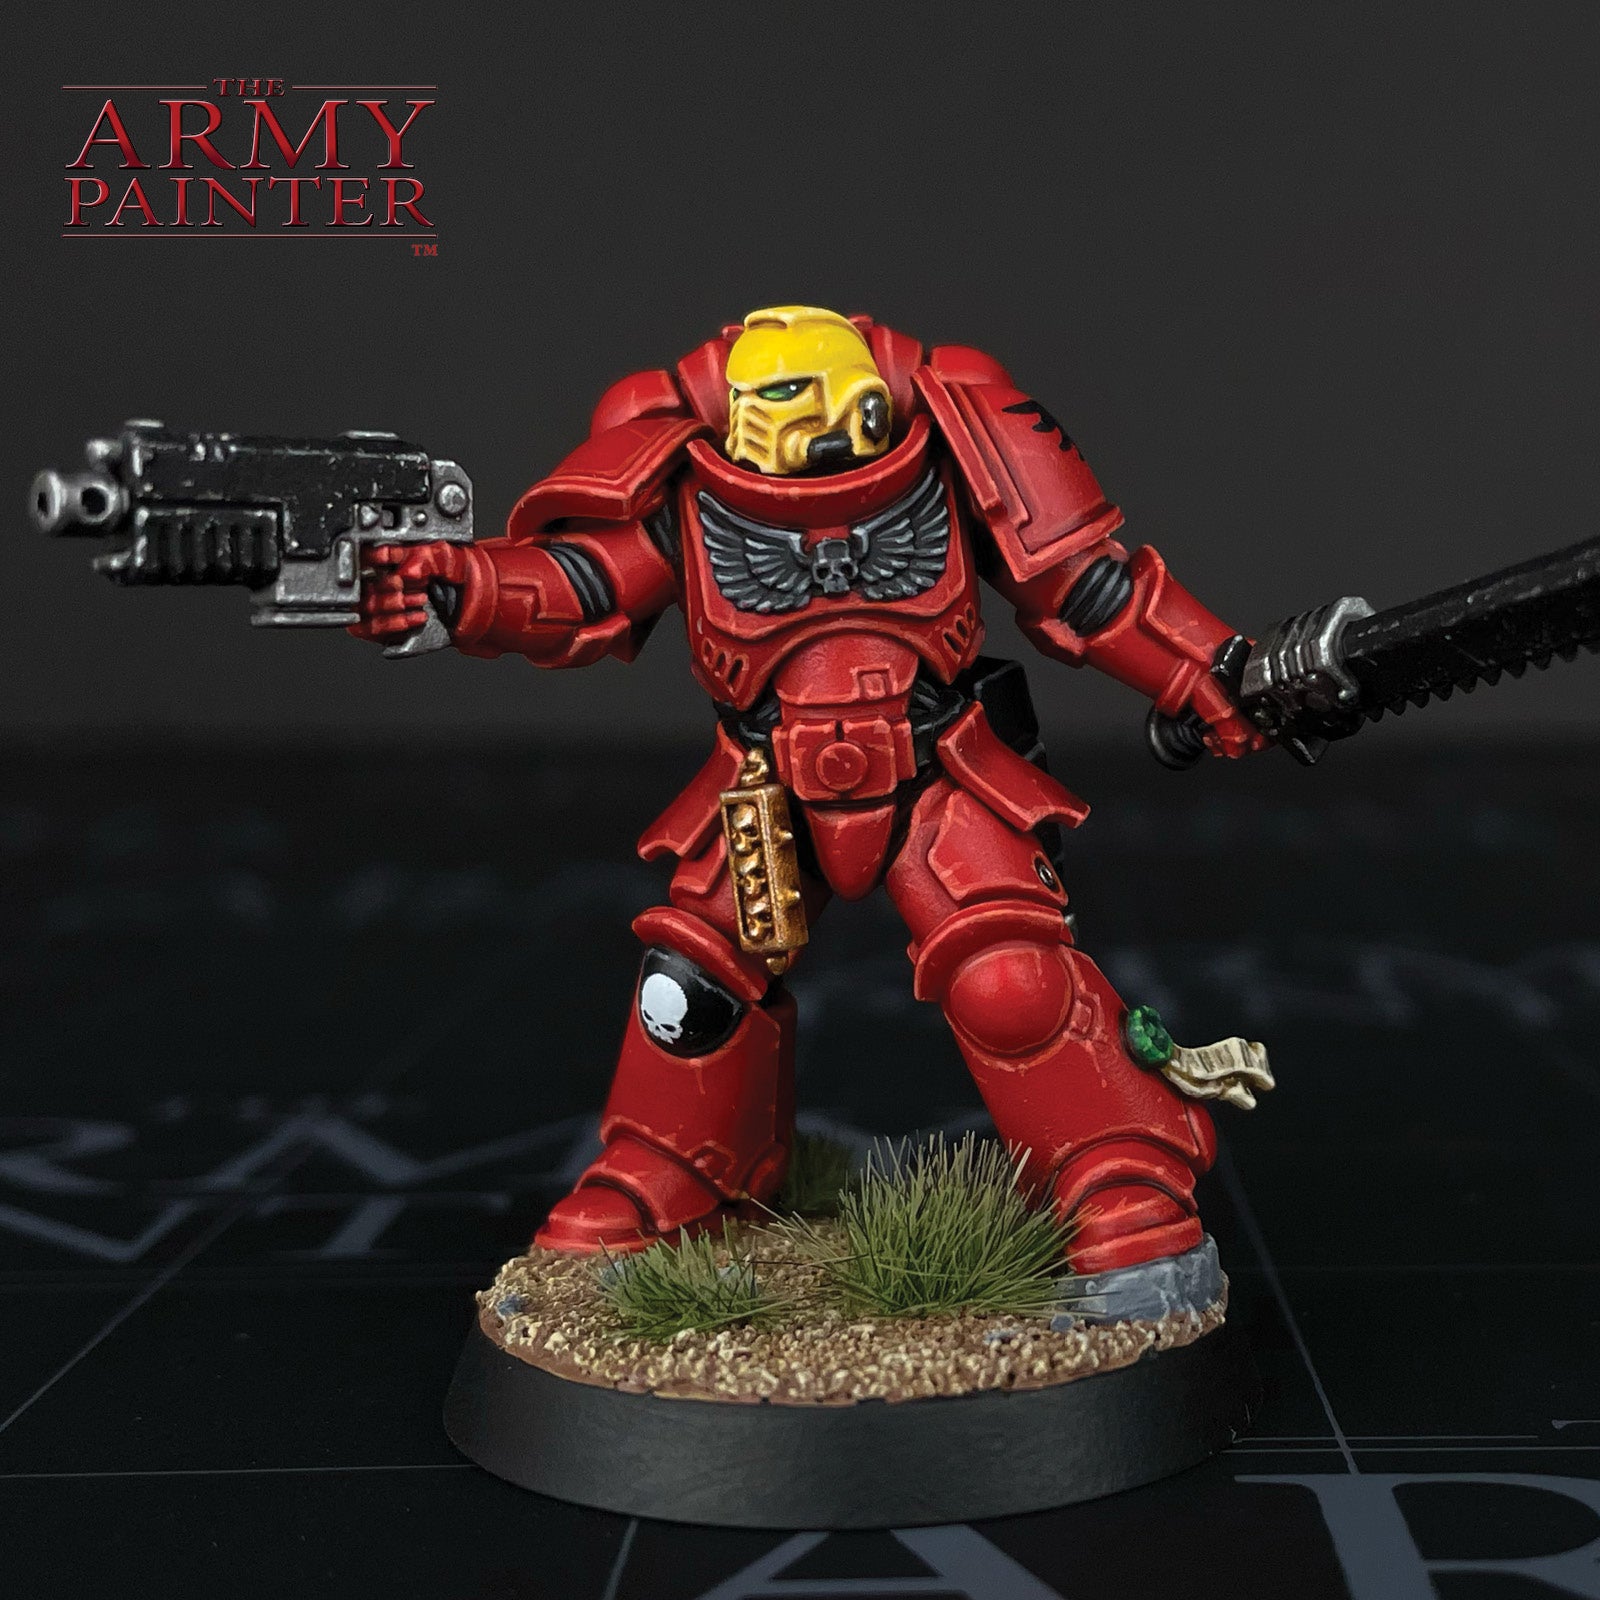
The noble Blood Angels take to the field of battle in Games Workshop’s Warhammer 40,000 setting once again. The sons of Sanguinius are resplendent in their bold red armour, standing proudly amongst the detritus of war as shining beacons of their noble Primarch. Their colour scheme is one of the most iconic in the entire settingand a firm fan favourite. Who doesn’t like a good, solid red marine? They’re also unique with their helmets sporting different colours dependent upon their specialty in war. Since they are often known for their love of melee combat, we decided to paint up an Assault Intercessor, complete with a vibrant yellow helmet.

This tutorial is broken down by colour segments, starting with the golden armour, then moving onto the silver, then the leather, and so on. Each section is further broken down into manageable steps by applying one colour at a time. If you’re on a desktop, simply click the arrows at the bottom of each section to scroll through the steps or scroll to the side on your mobile phone.

Let's get painting!
Banner

The Red Armour

The Red Armour Step 1

Step 1

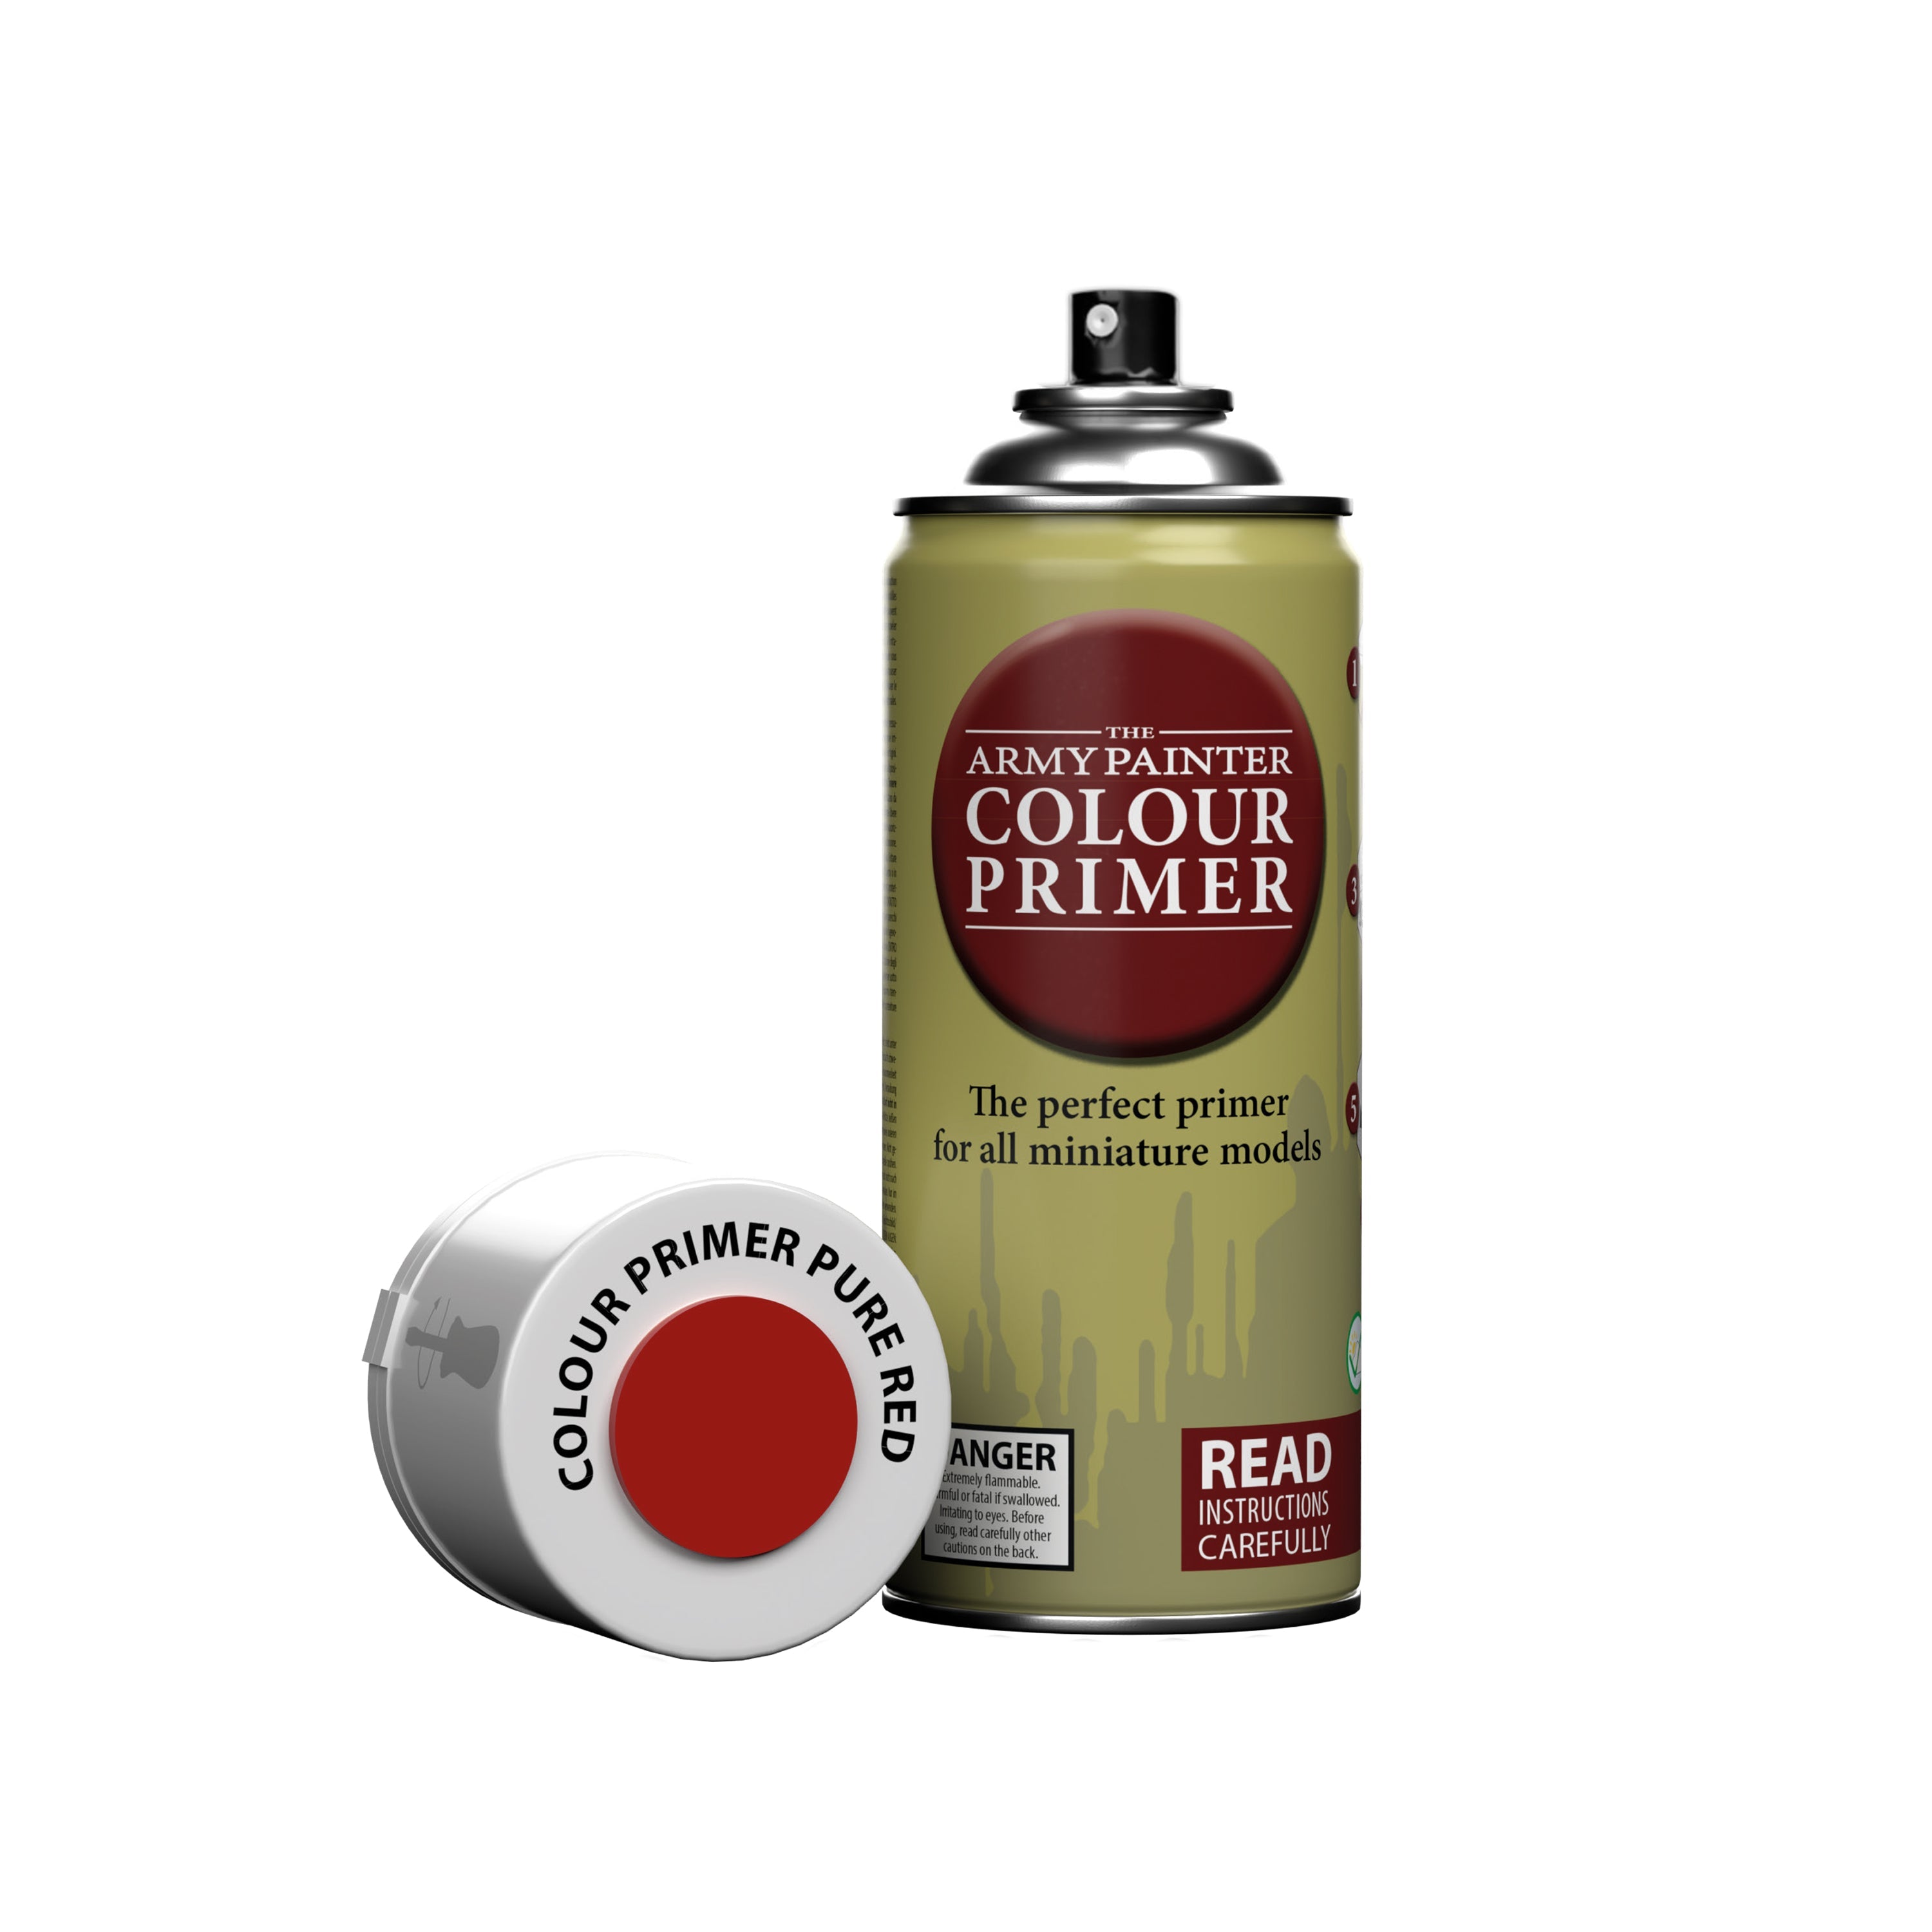
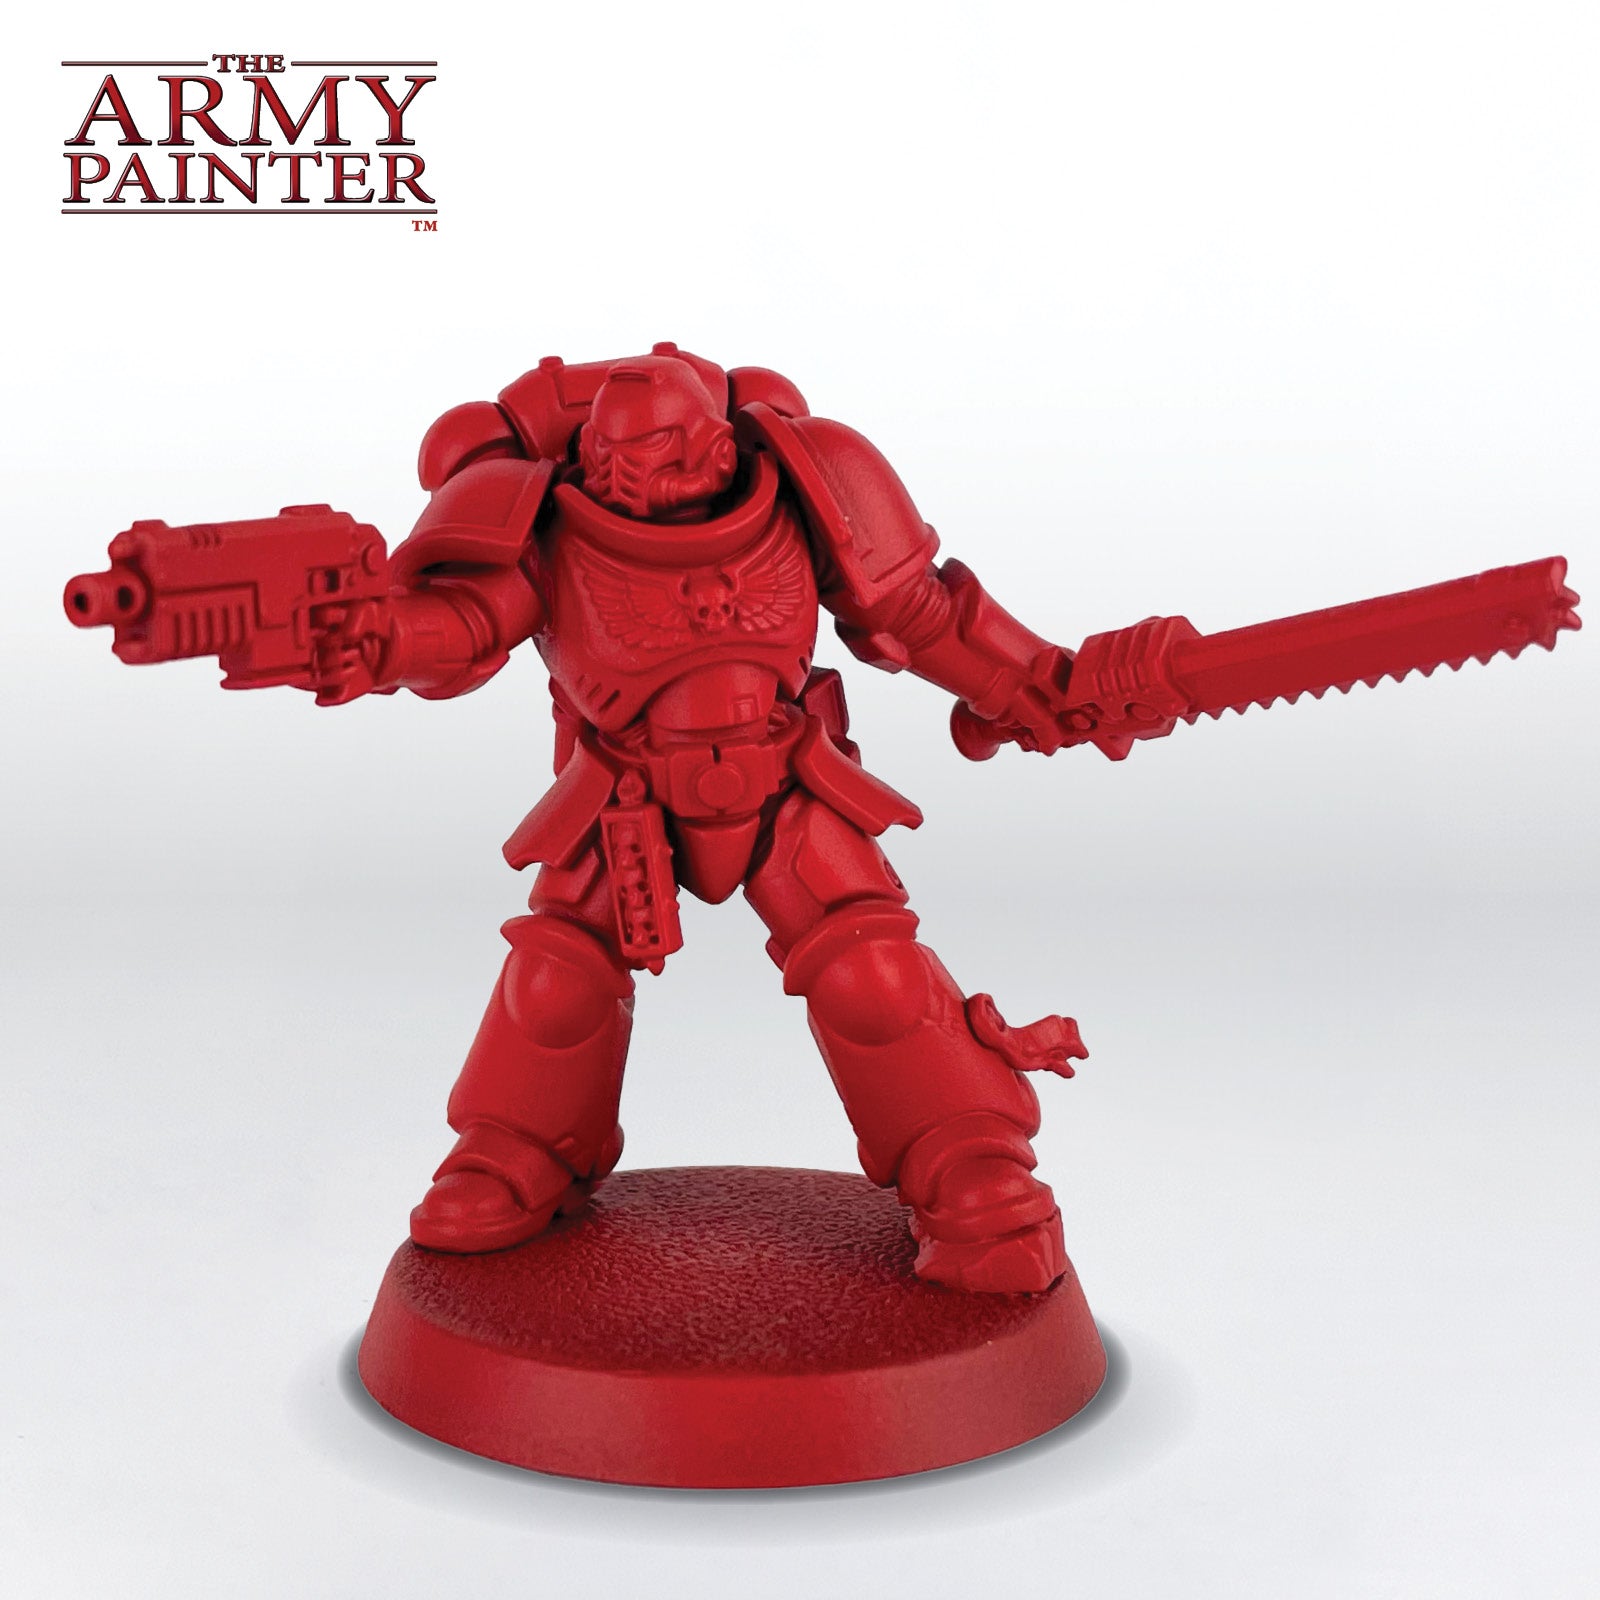
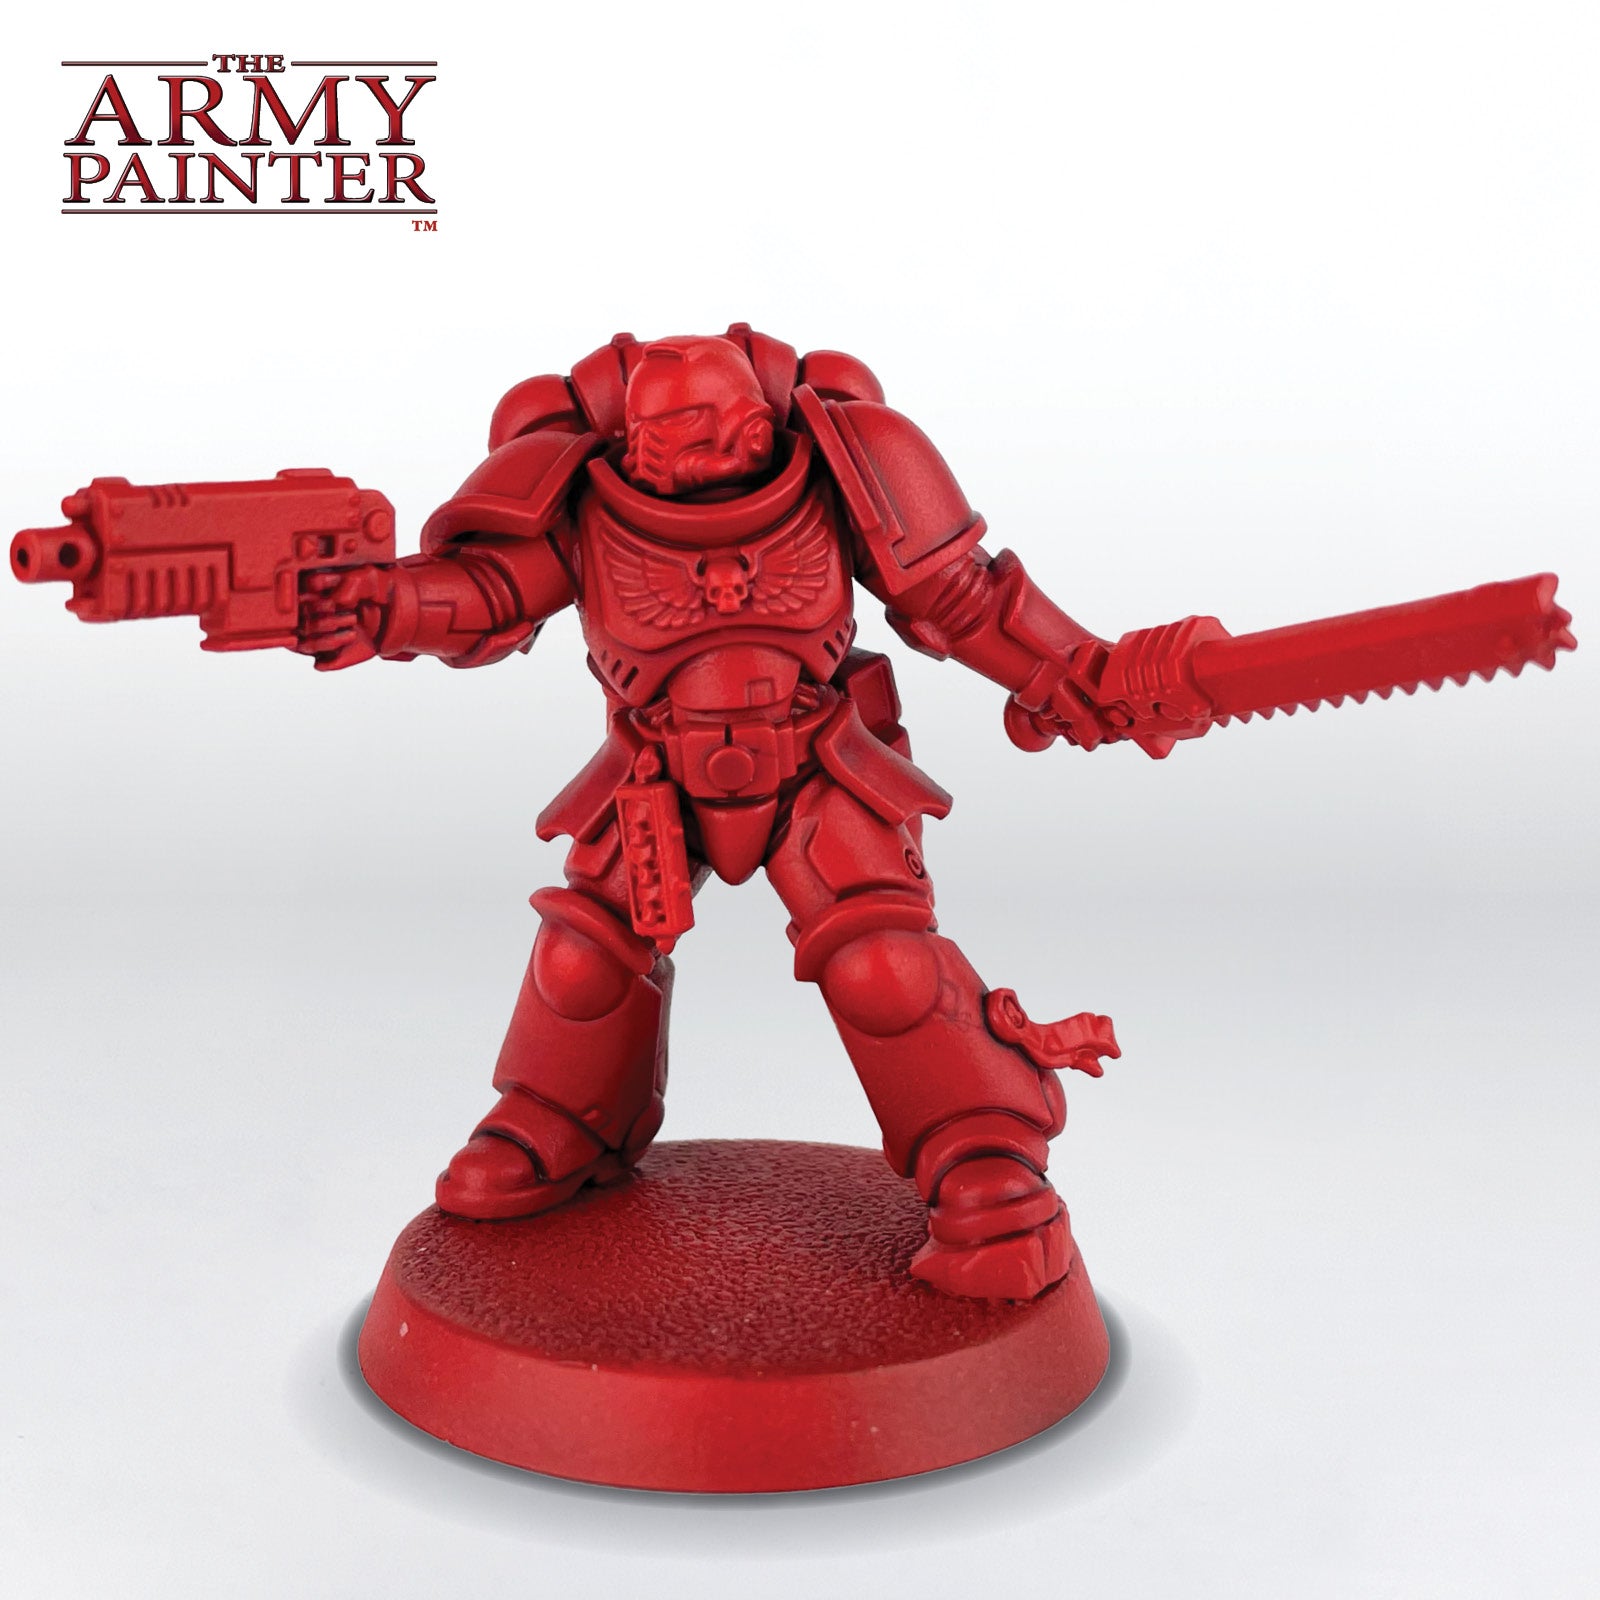
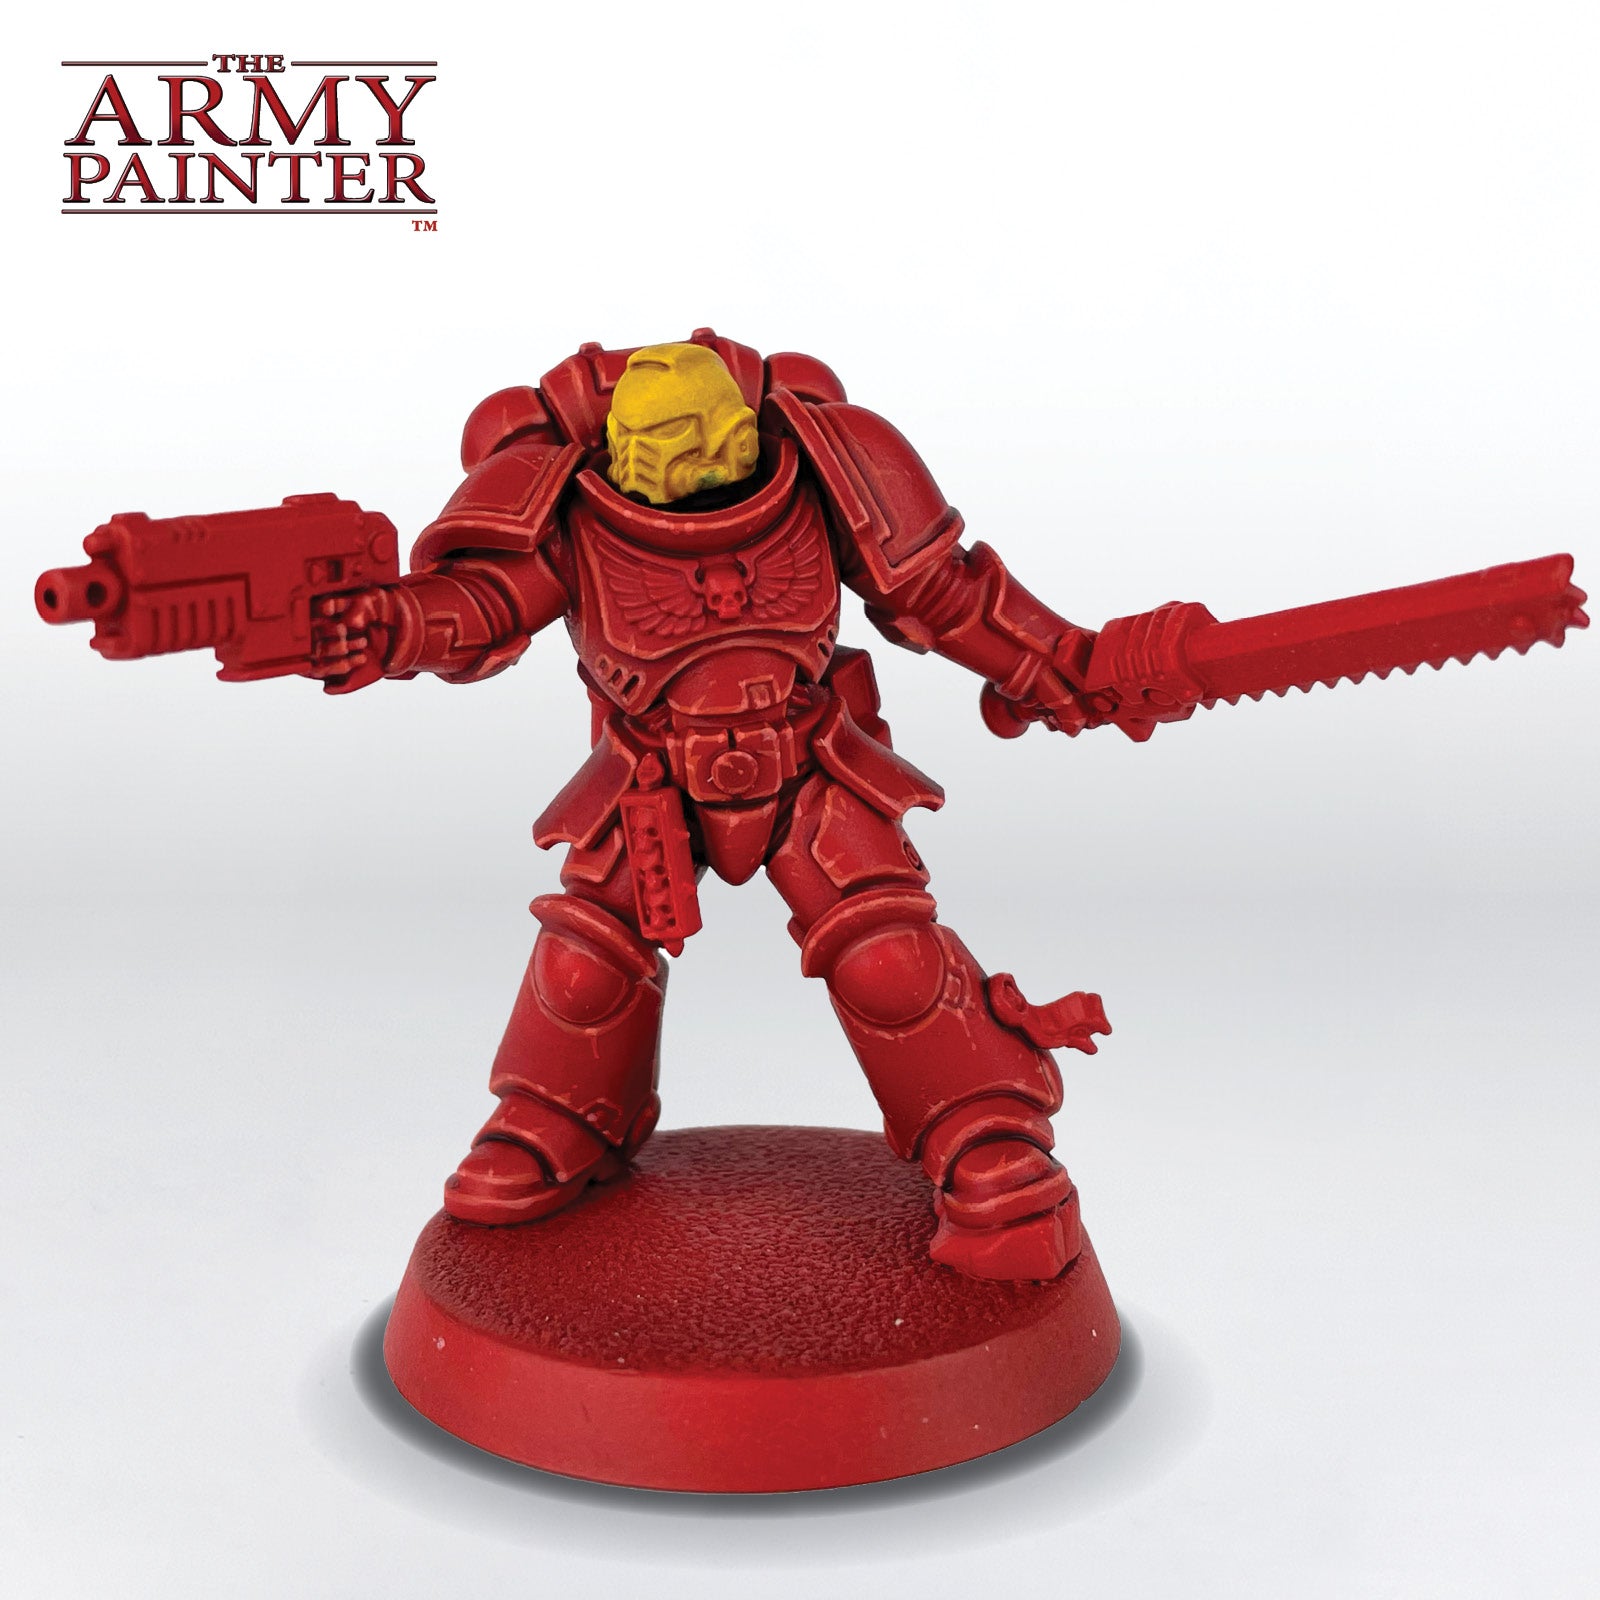
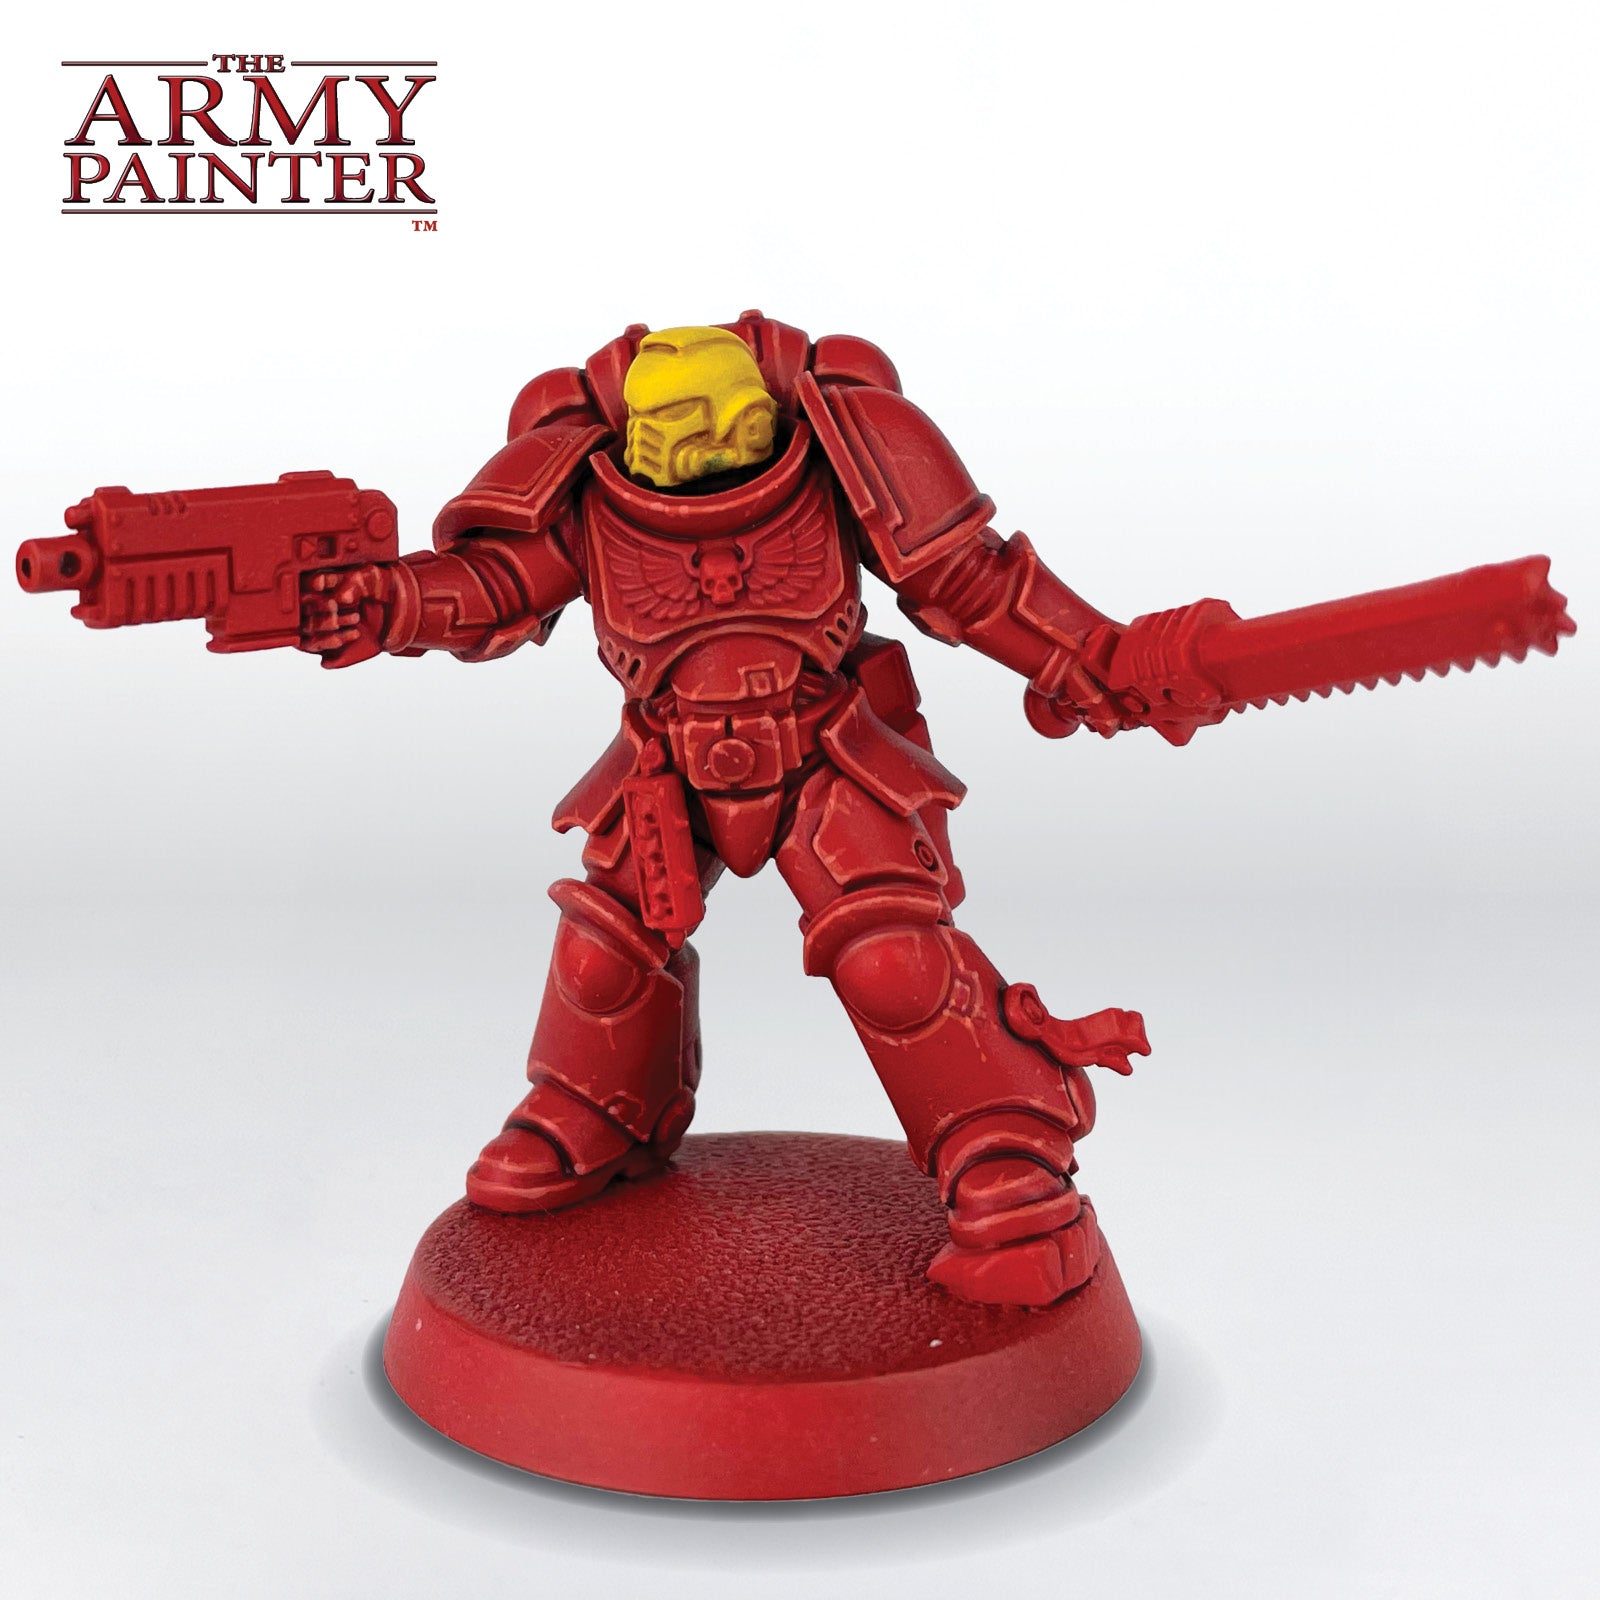
Prime the model with Colour Primer Pure Red.

The Red Armour Step 2

Step 2

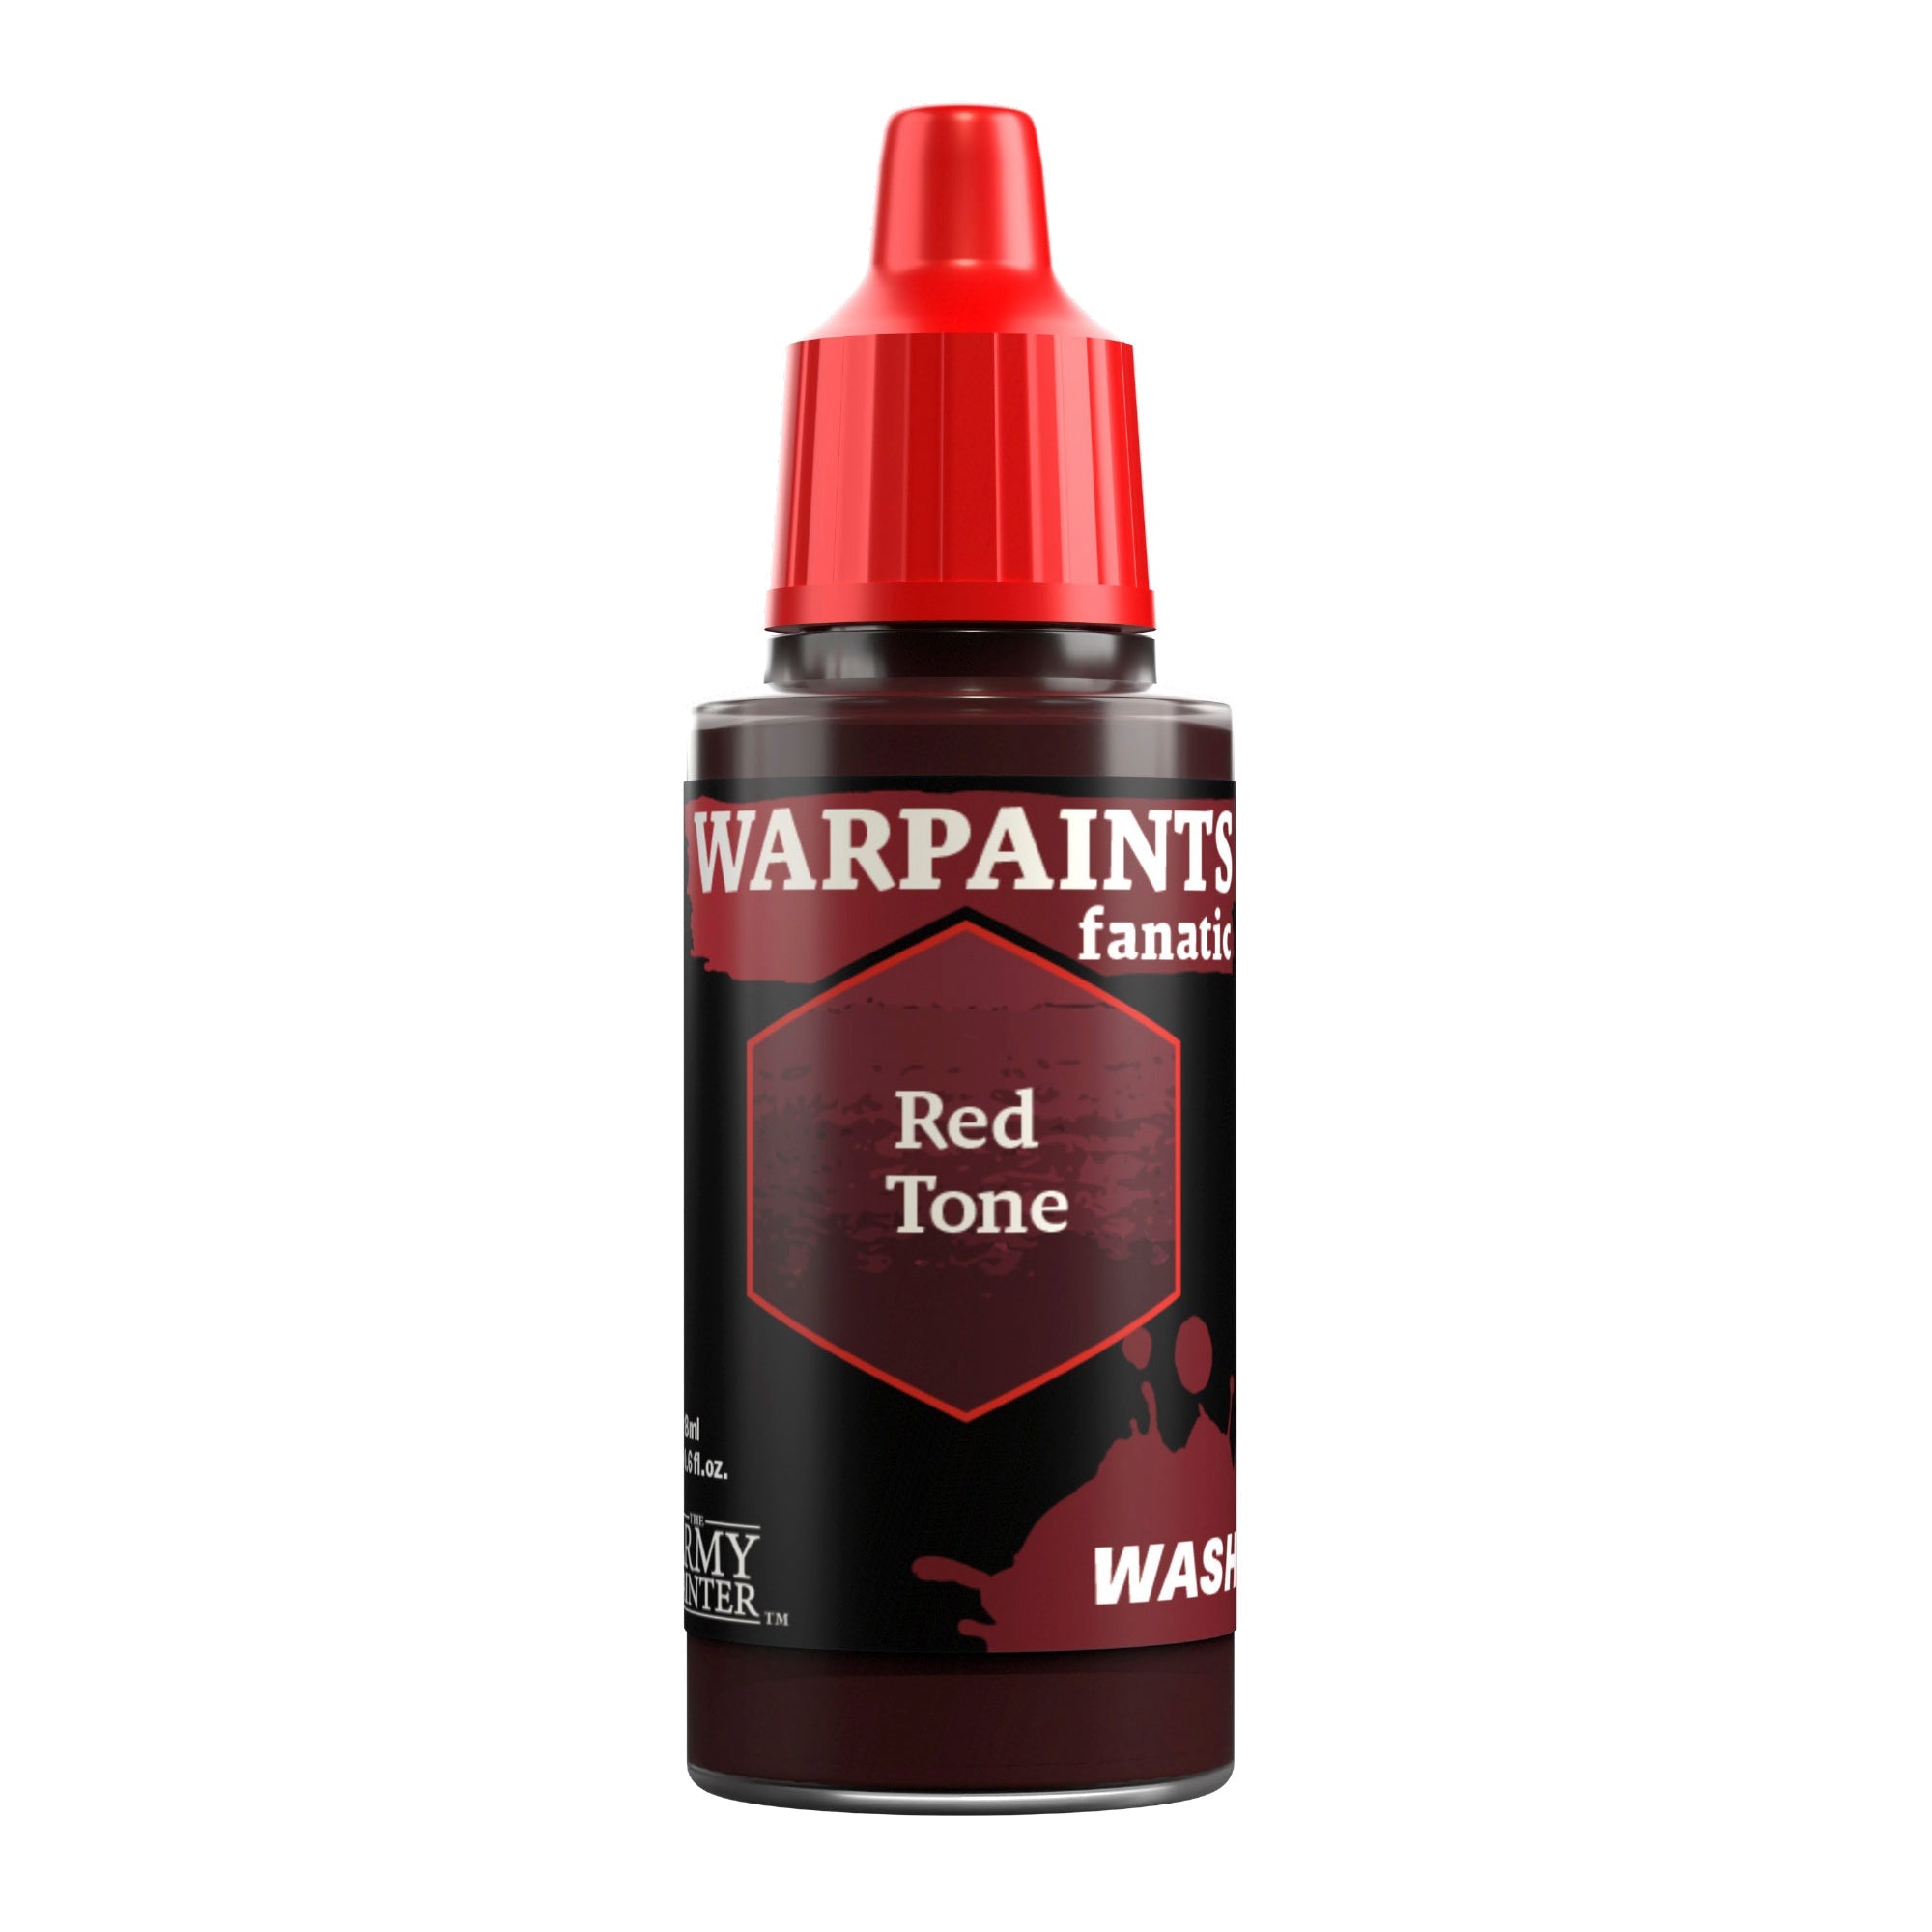
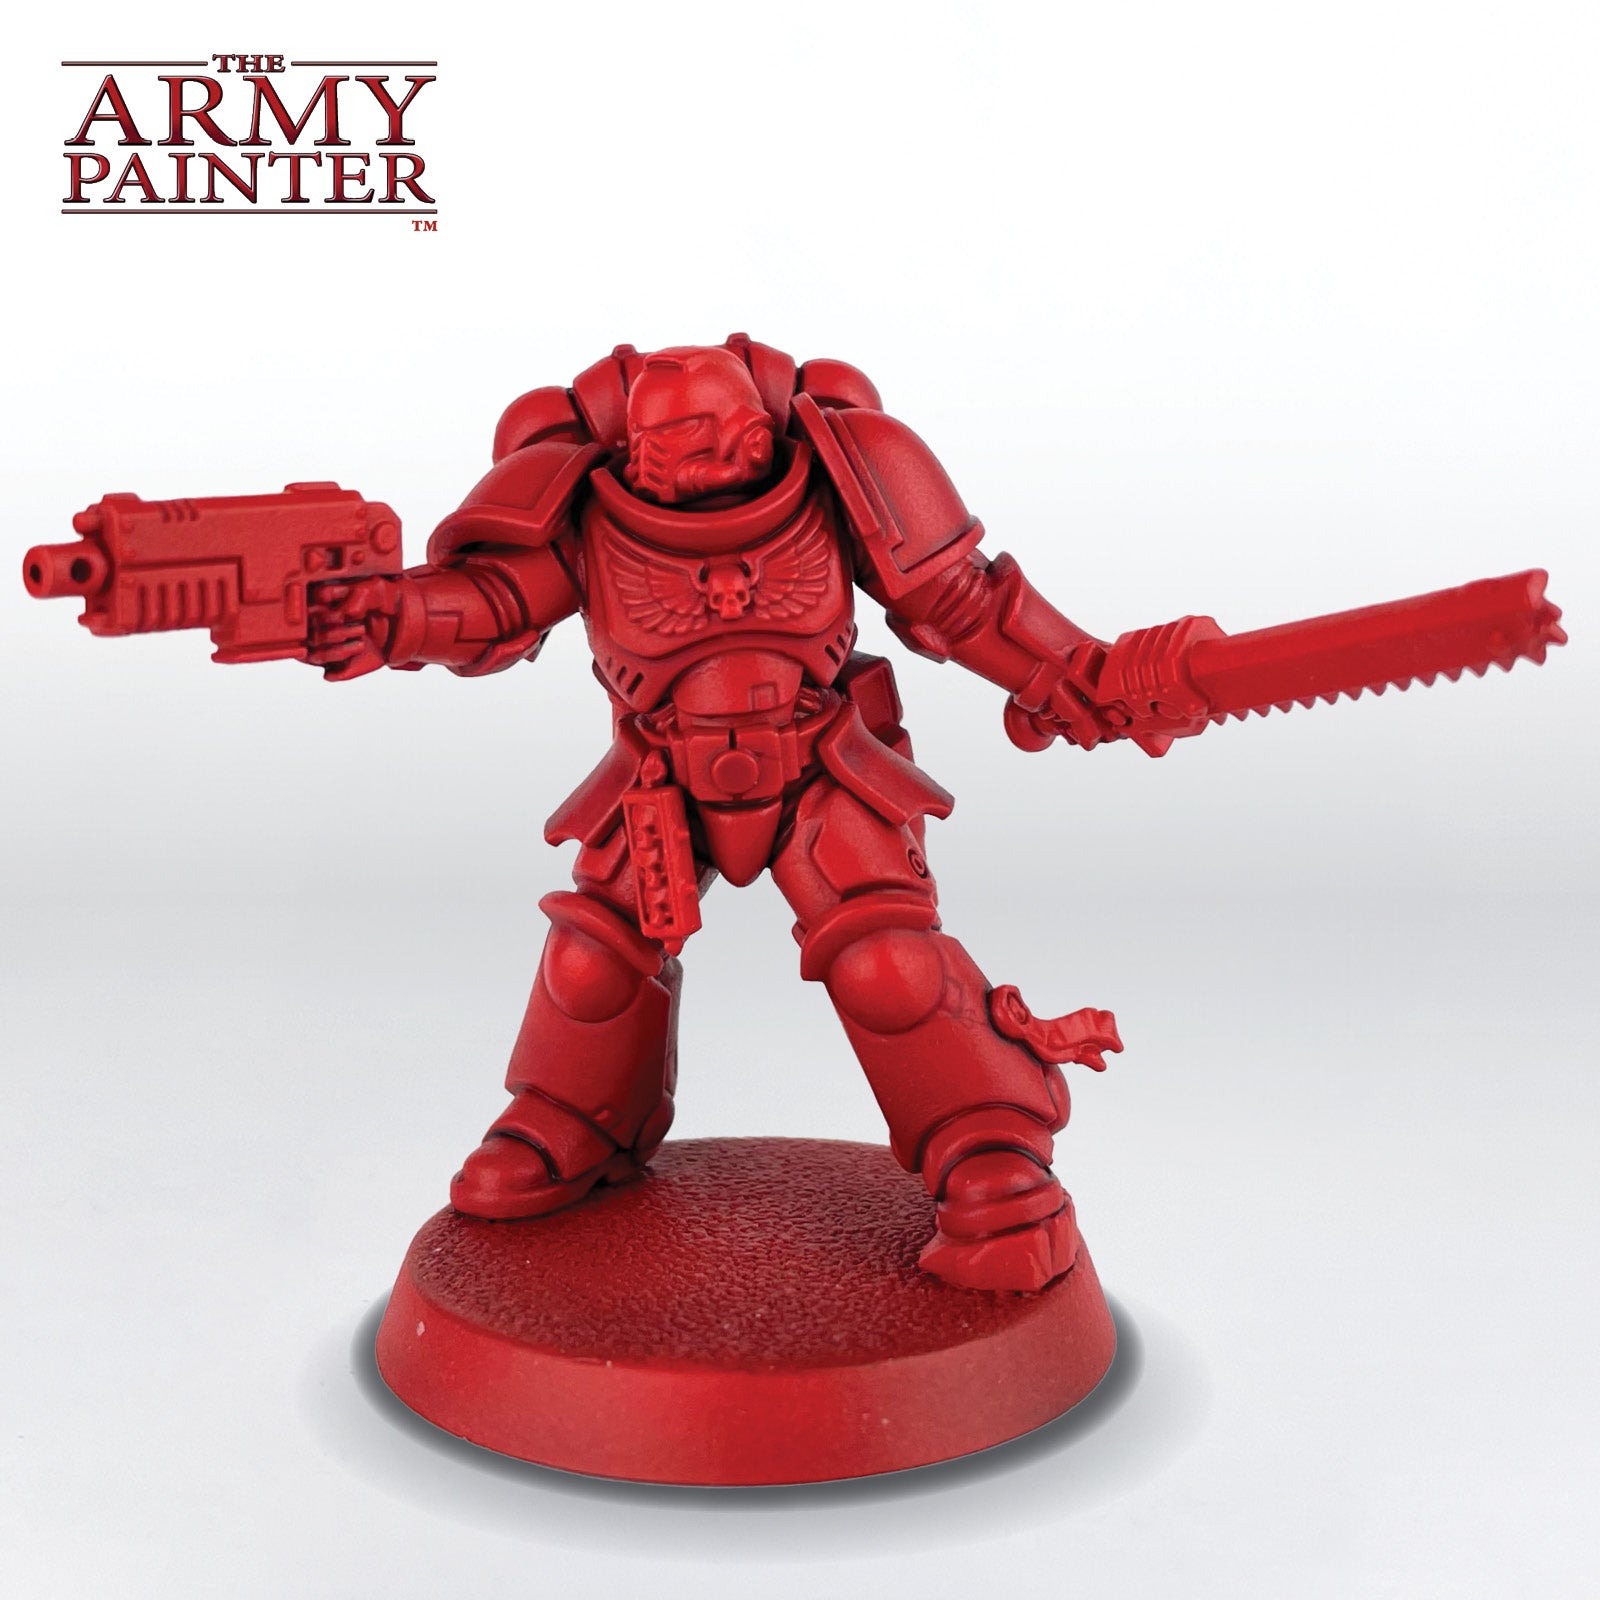
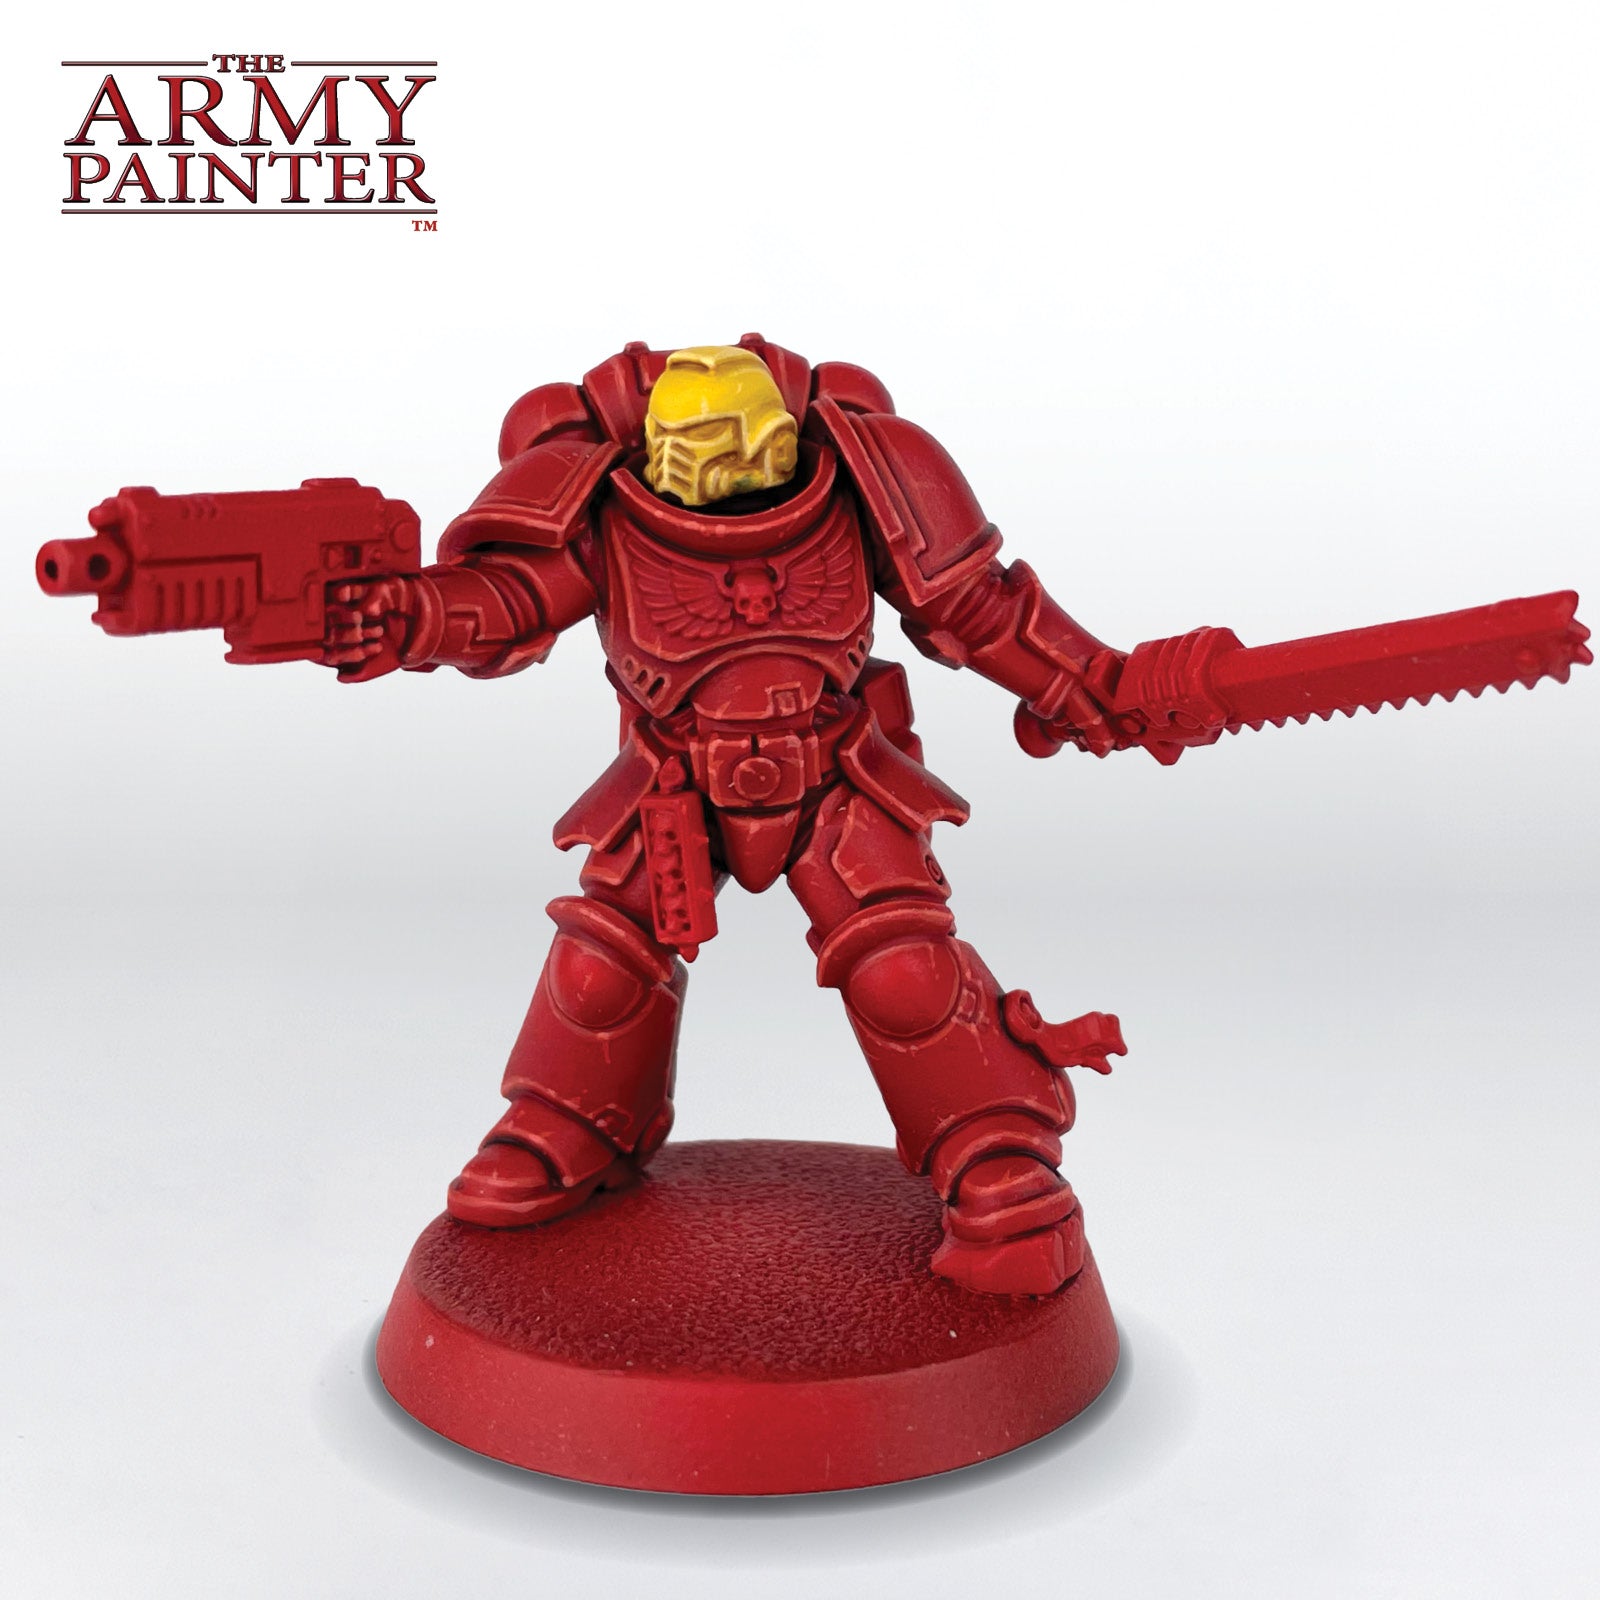
Next, shade the model all over with Warpaints Fanatic Wash Red Tone. Do this one armour panel at a time to better control how the wash settles and dries. You’ll want to watch it to prevent it from pooling oddly. If any recesses need to be darker you can apply a second, more targeted wash in those areas.

The Red Armour Step 3

Step 3

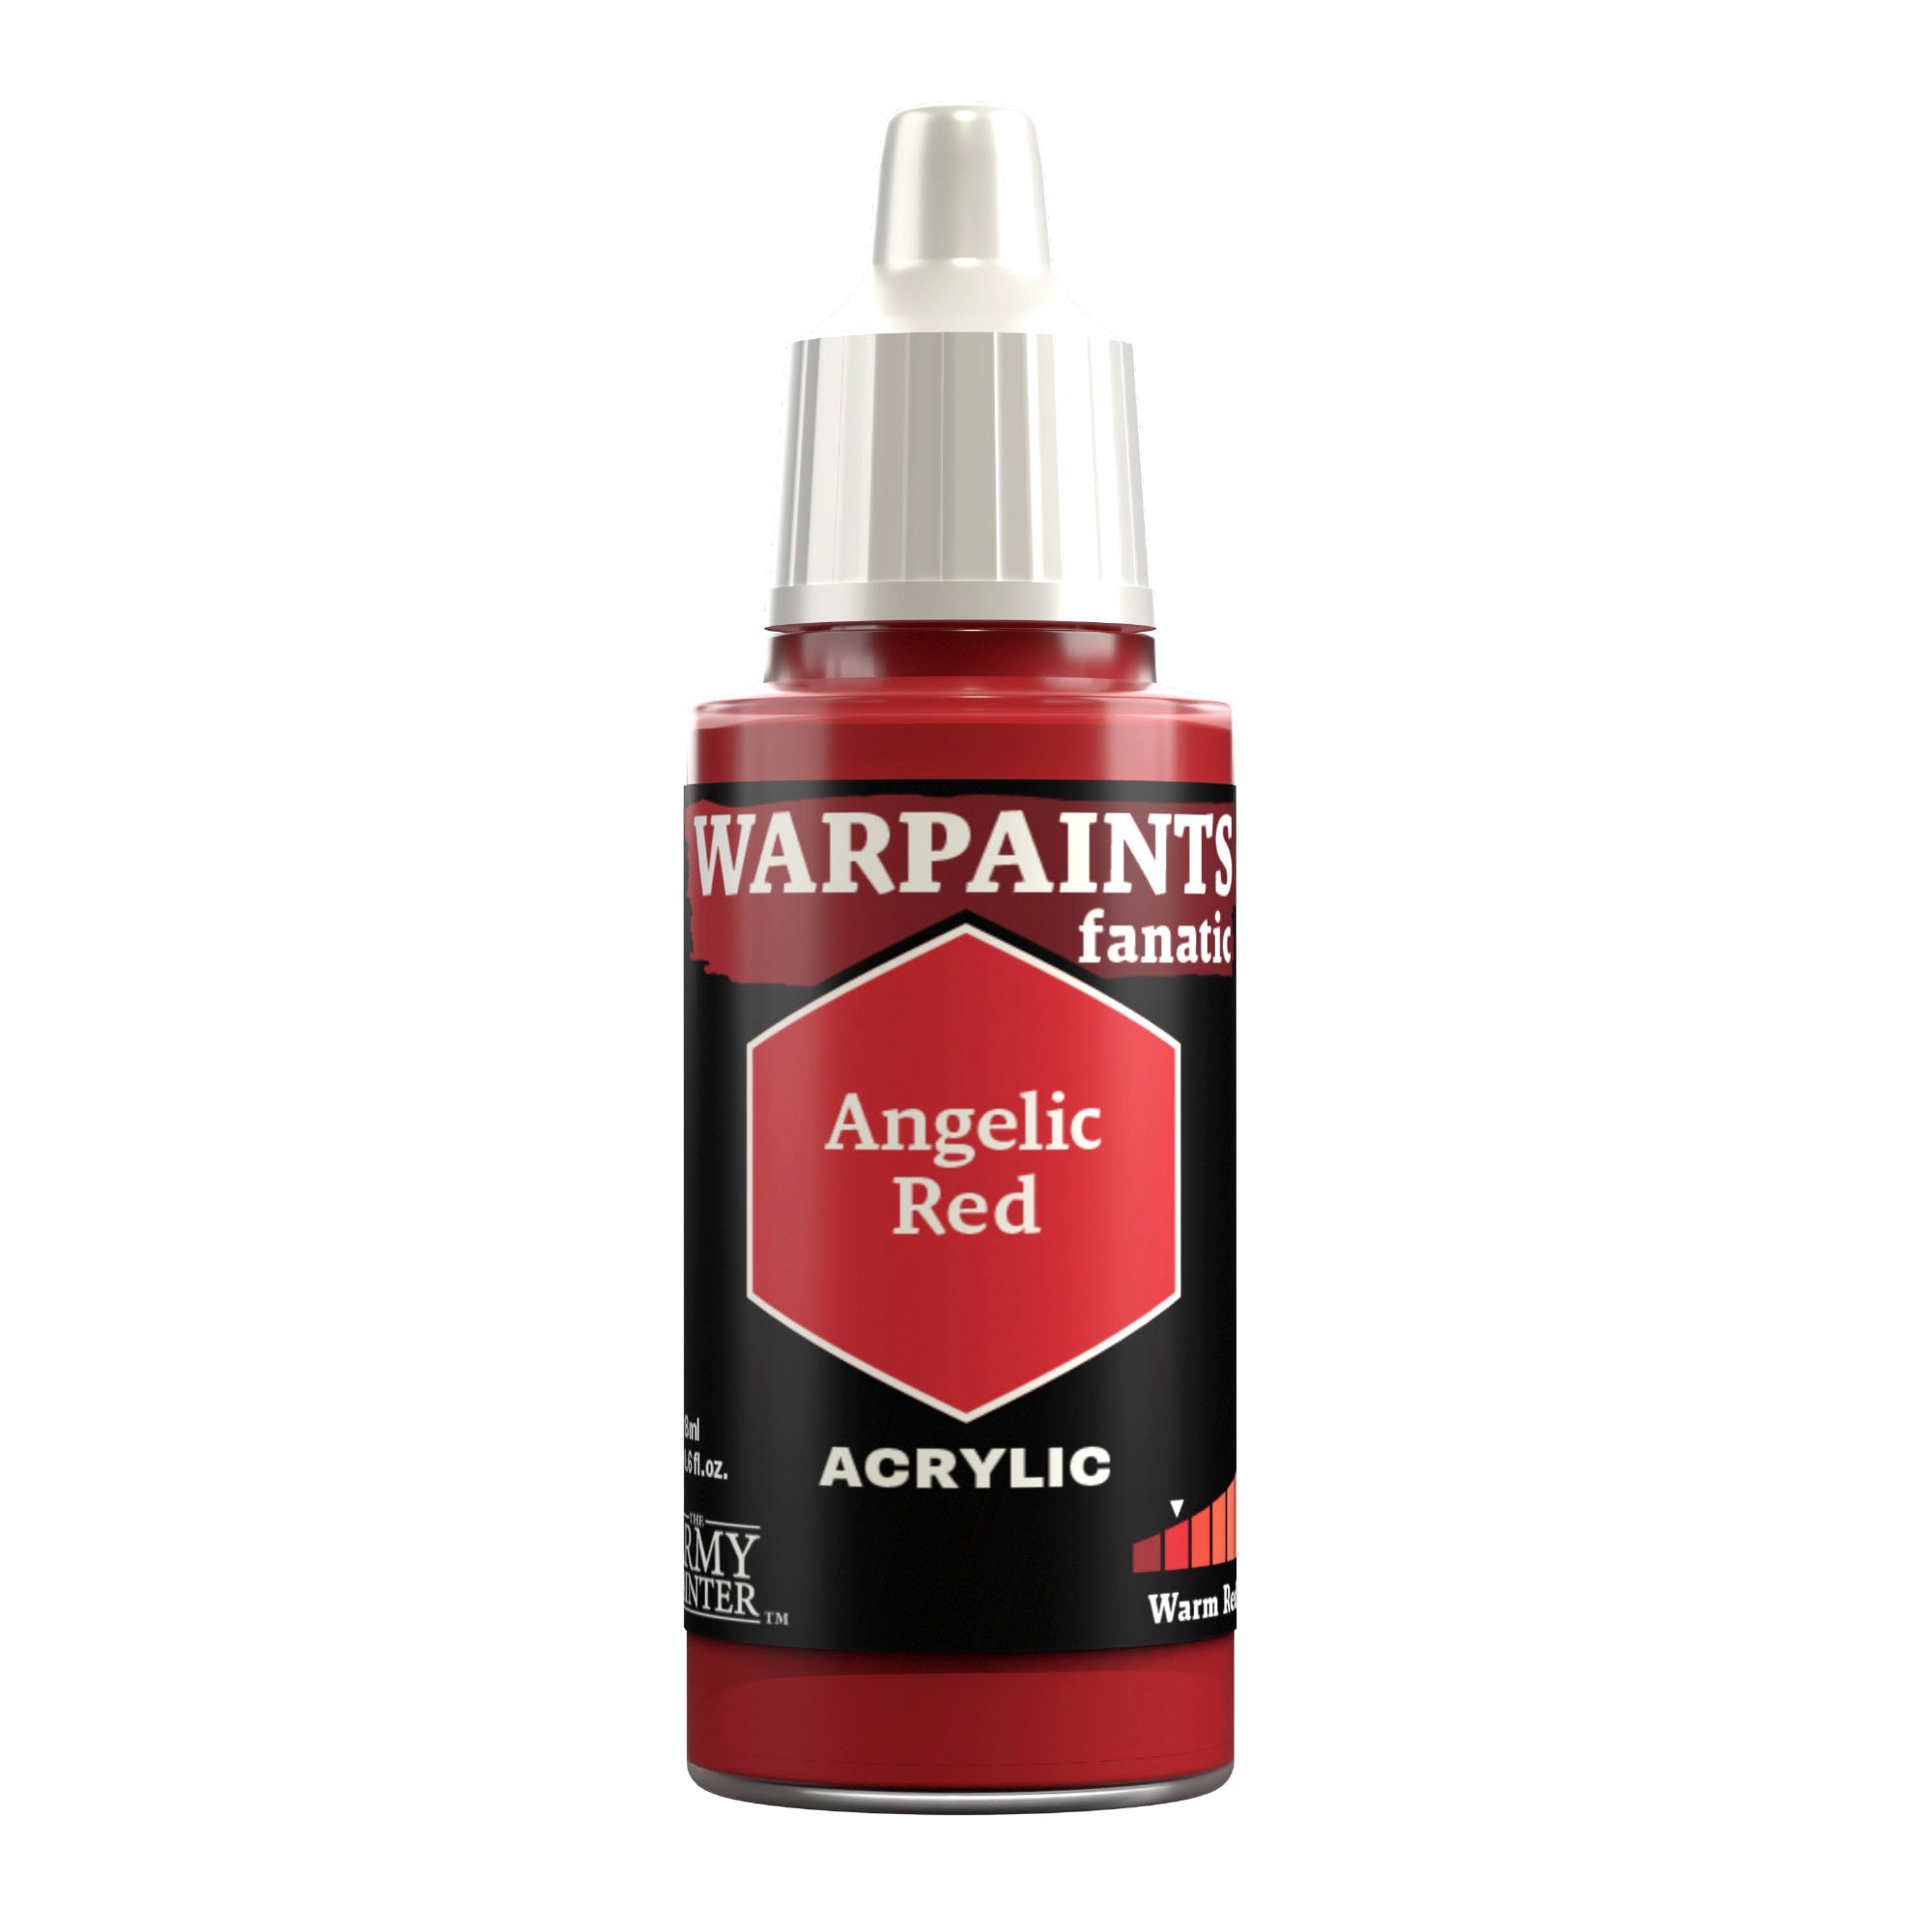
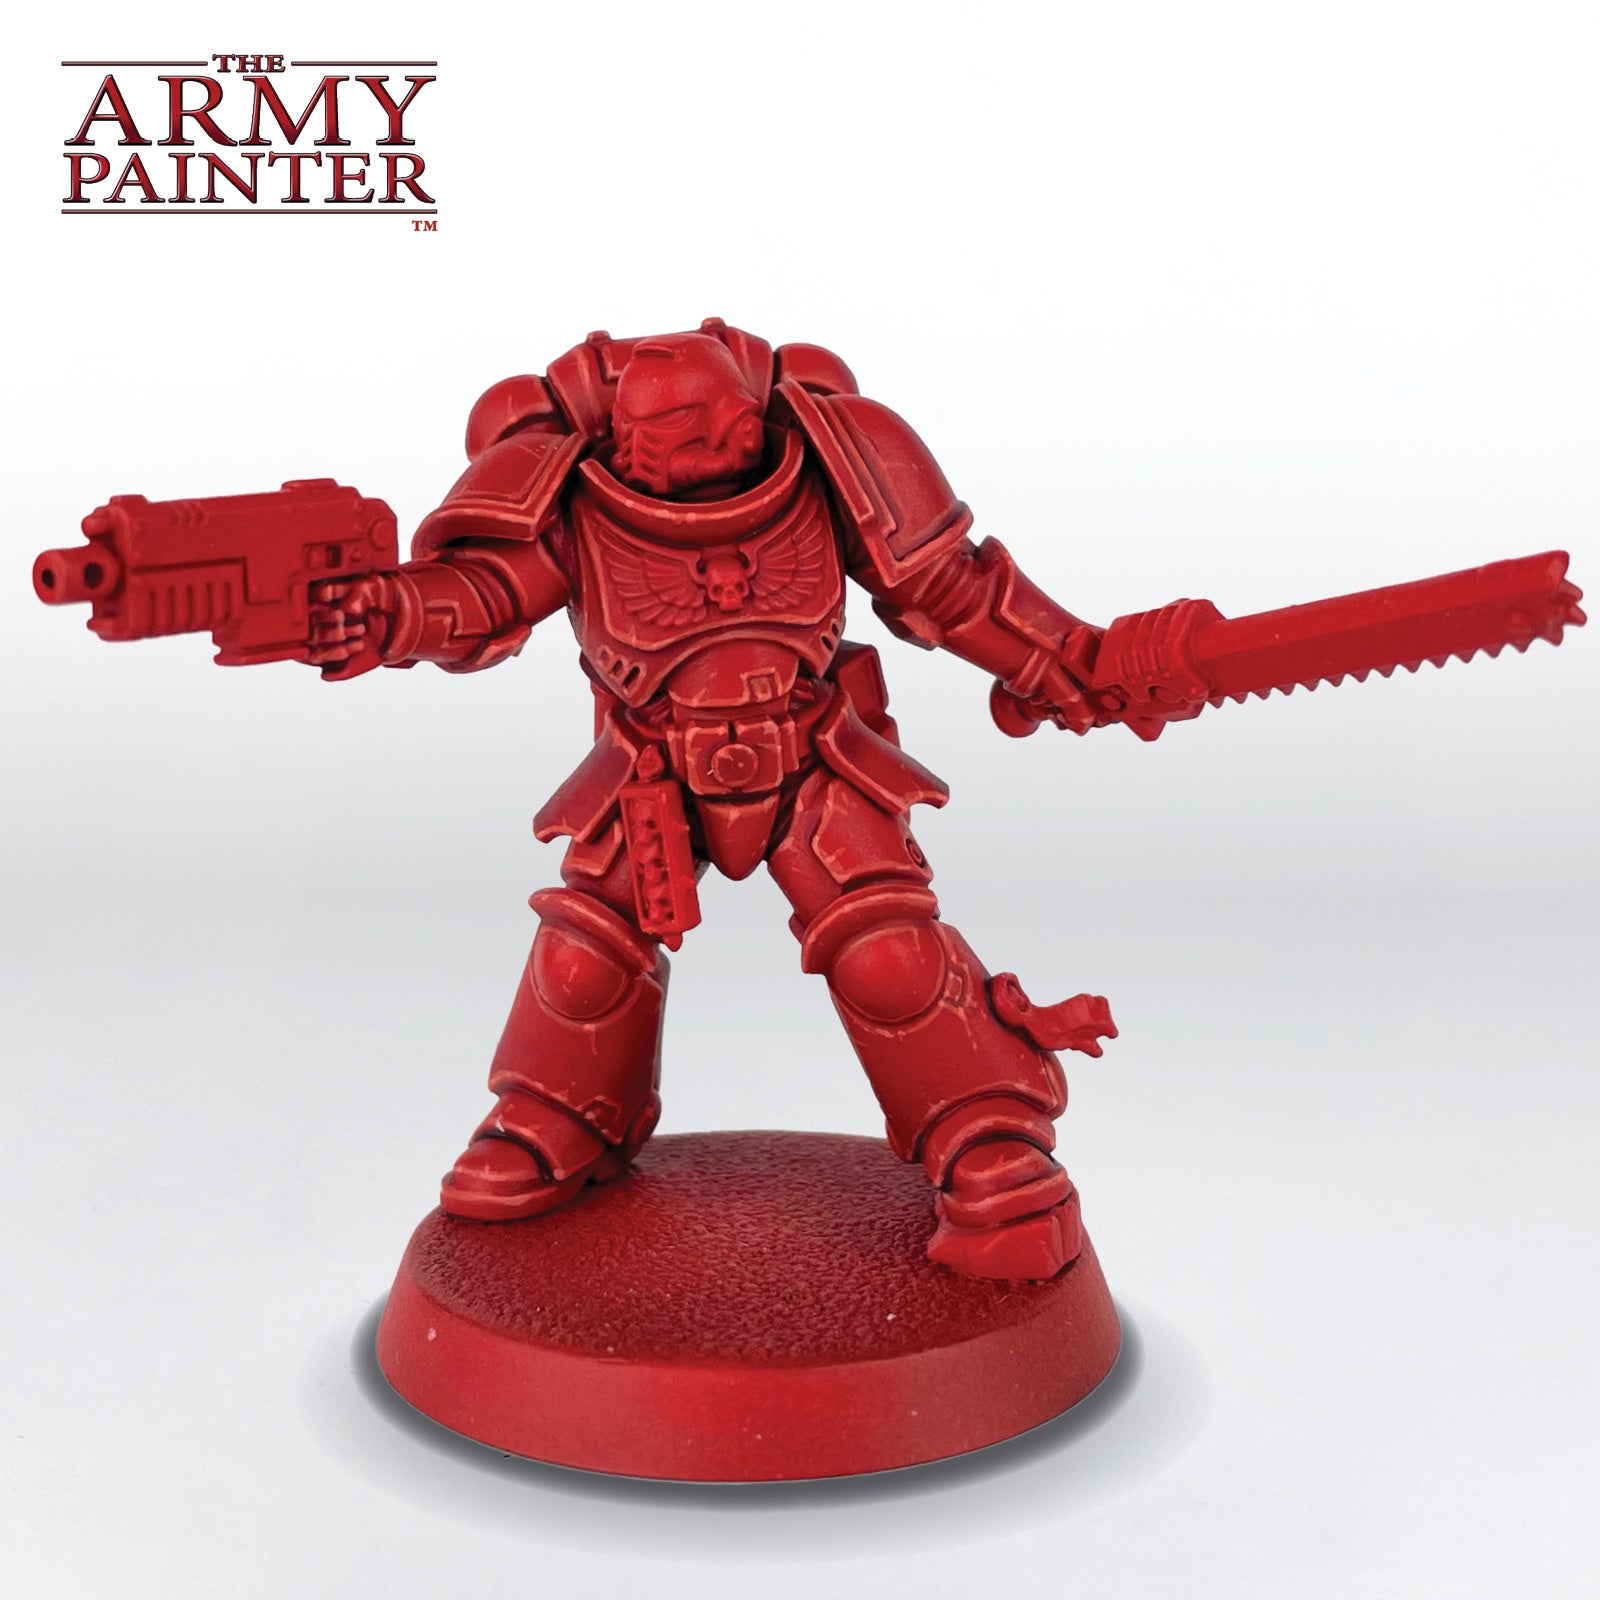
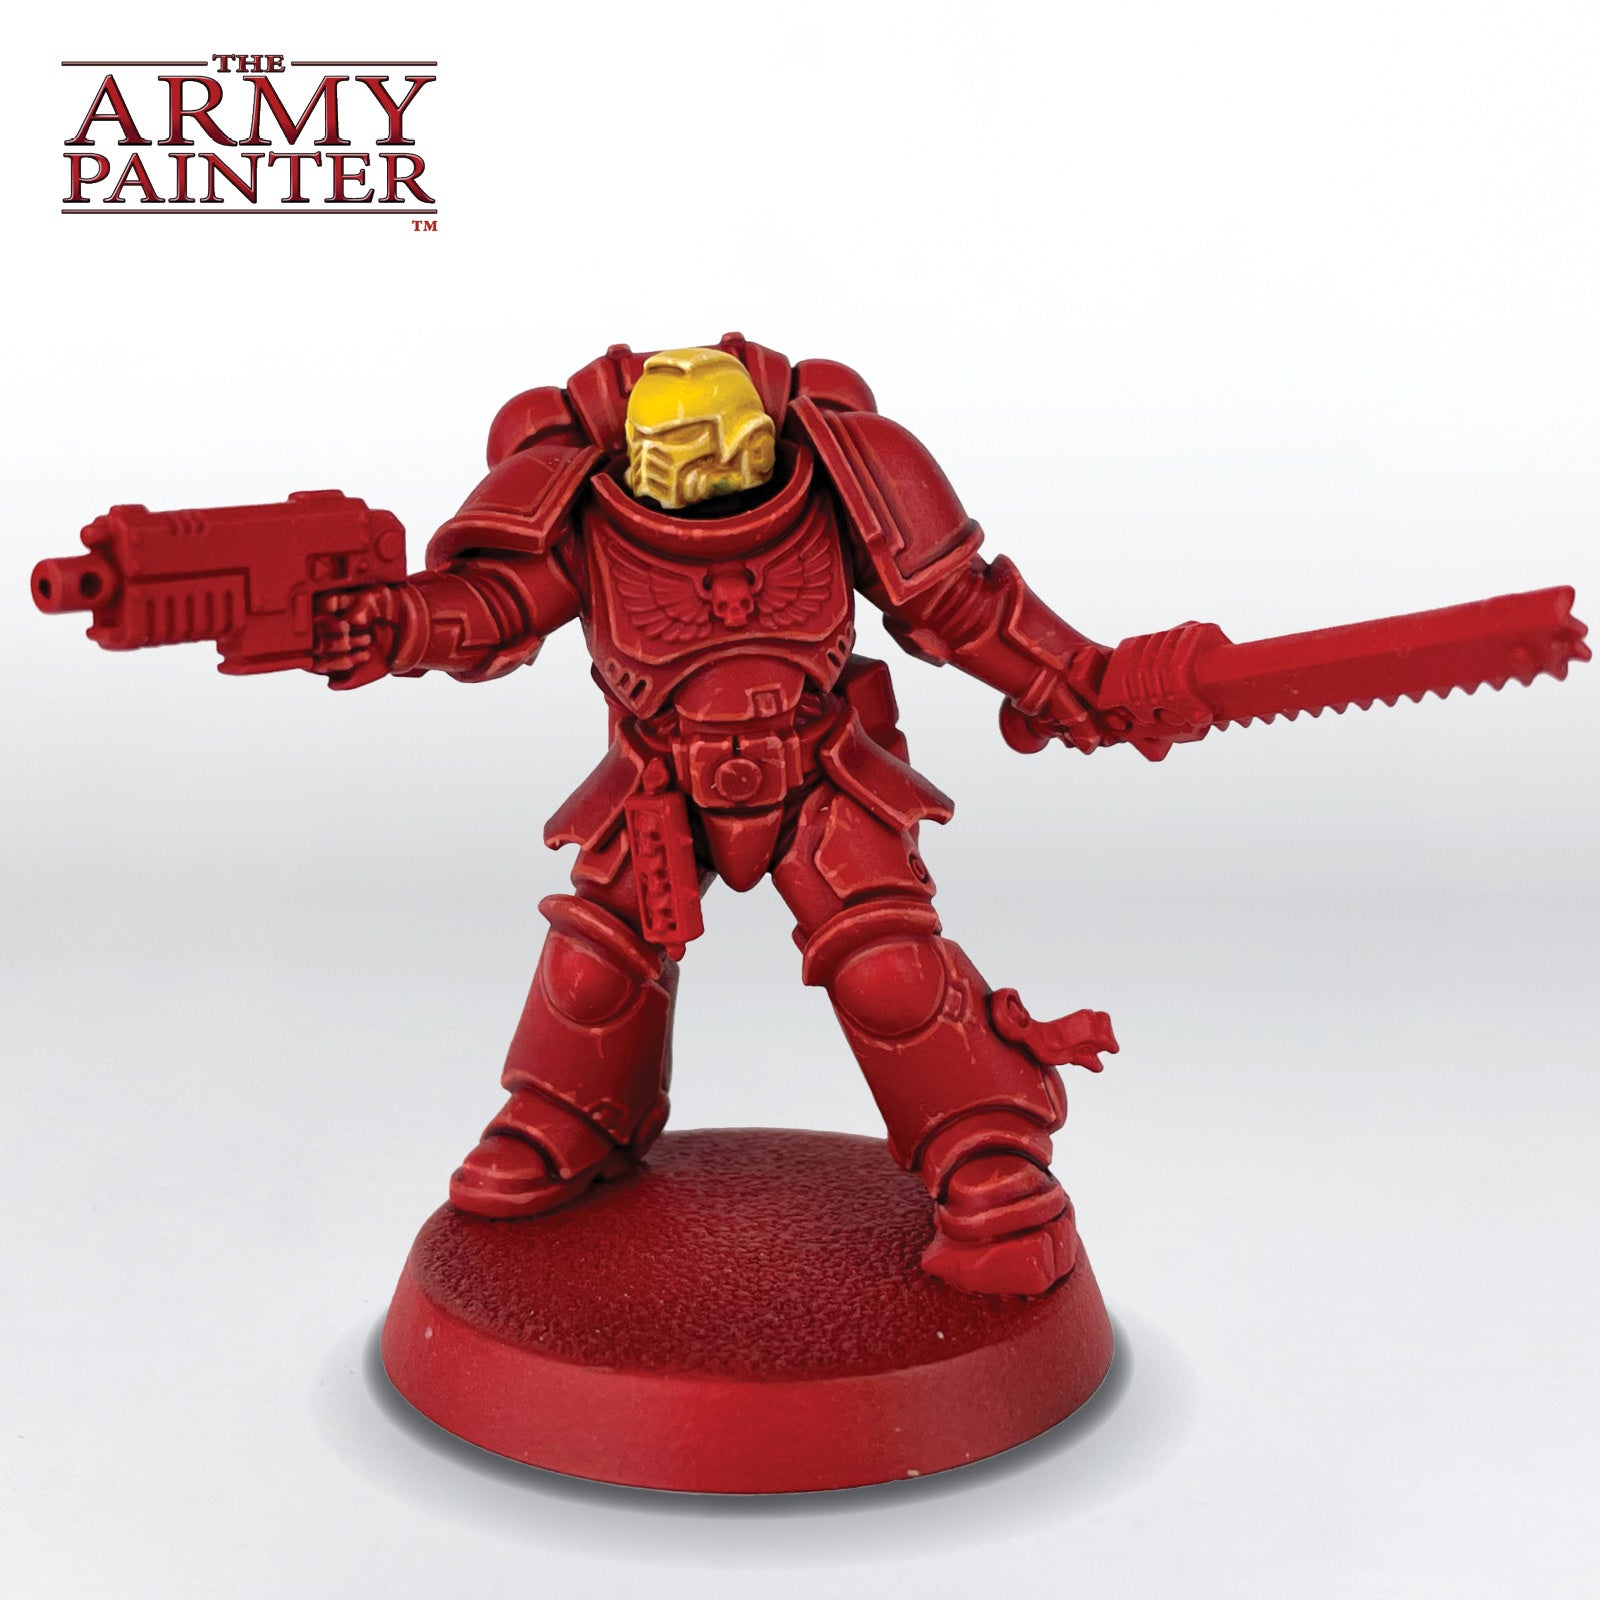
Apply your first edge highlight with Warpaints Fanatic Angelic Red from the Warm Reds Flexible Triad. You can also apply some slight scratches to some of the armour panels for a little bit of texture.

The Red Armour Step 4

Step 4

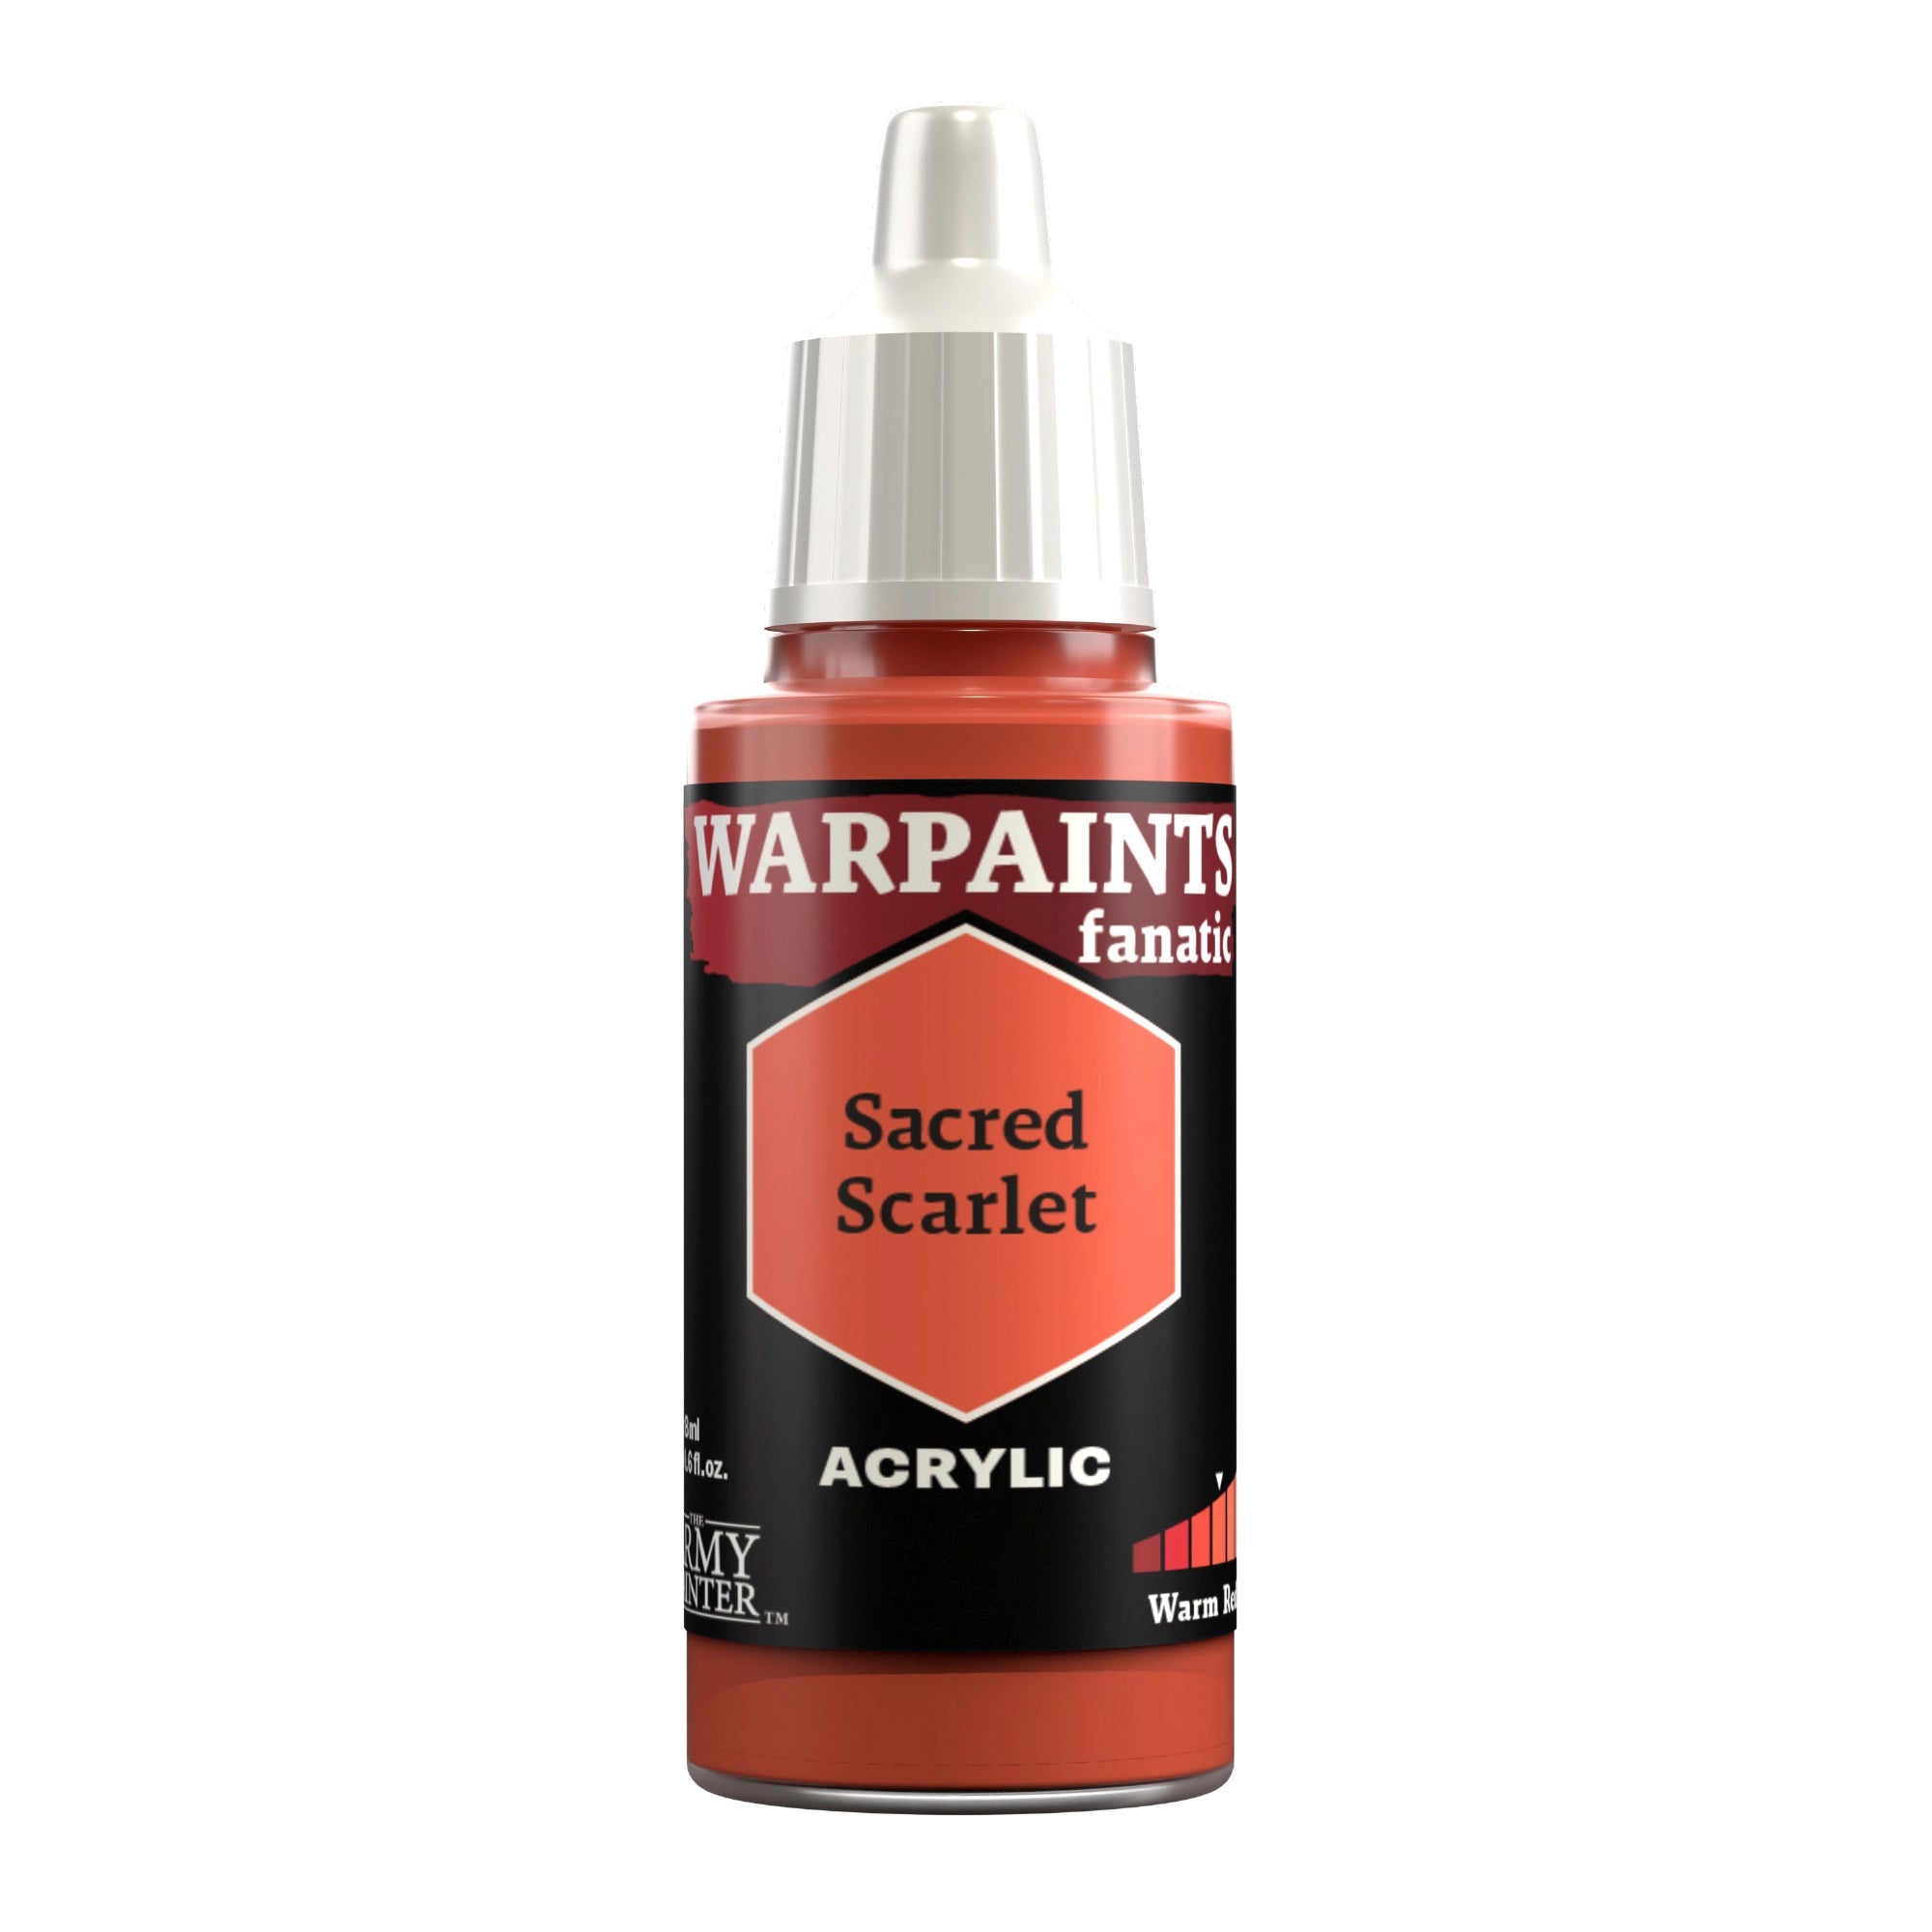
Finish this off with a more selective edge highlight of Warpaints Fanatic Sacred Scarlet, focusing on corners and other points of interest.

Banner

The Yellow Armour

The Yellow Armour Step 1

Step 1

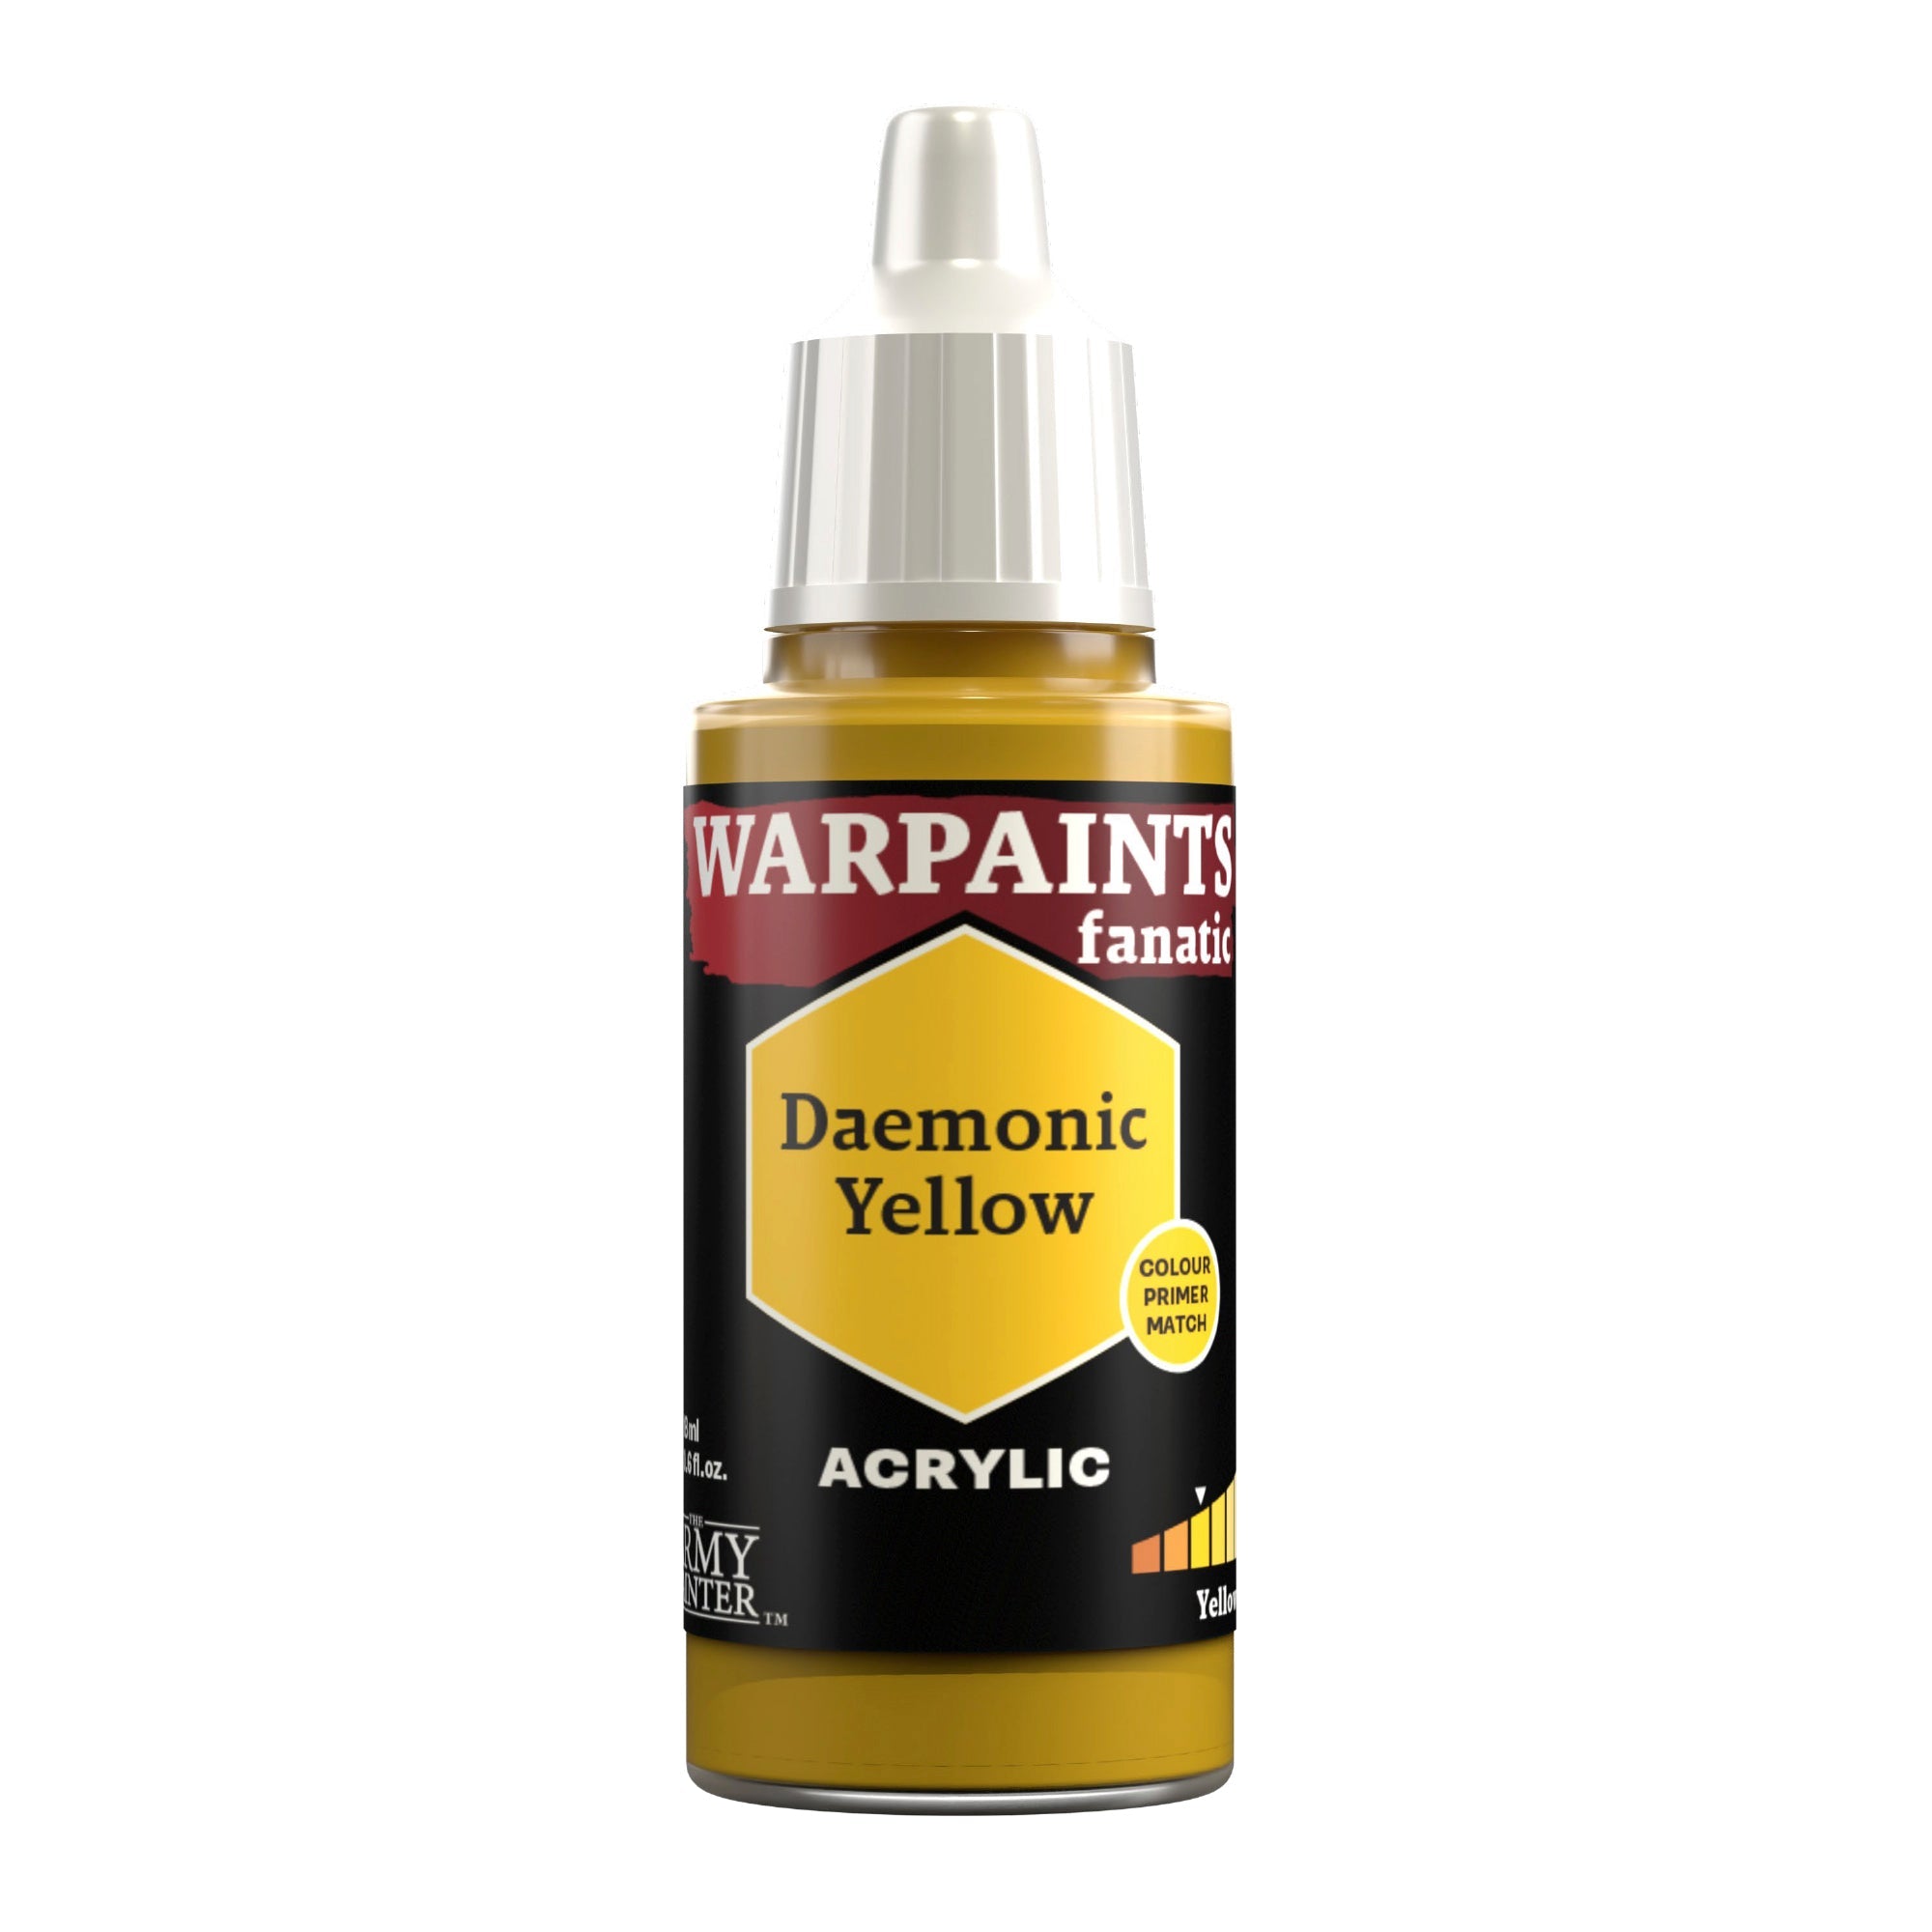
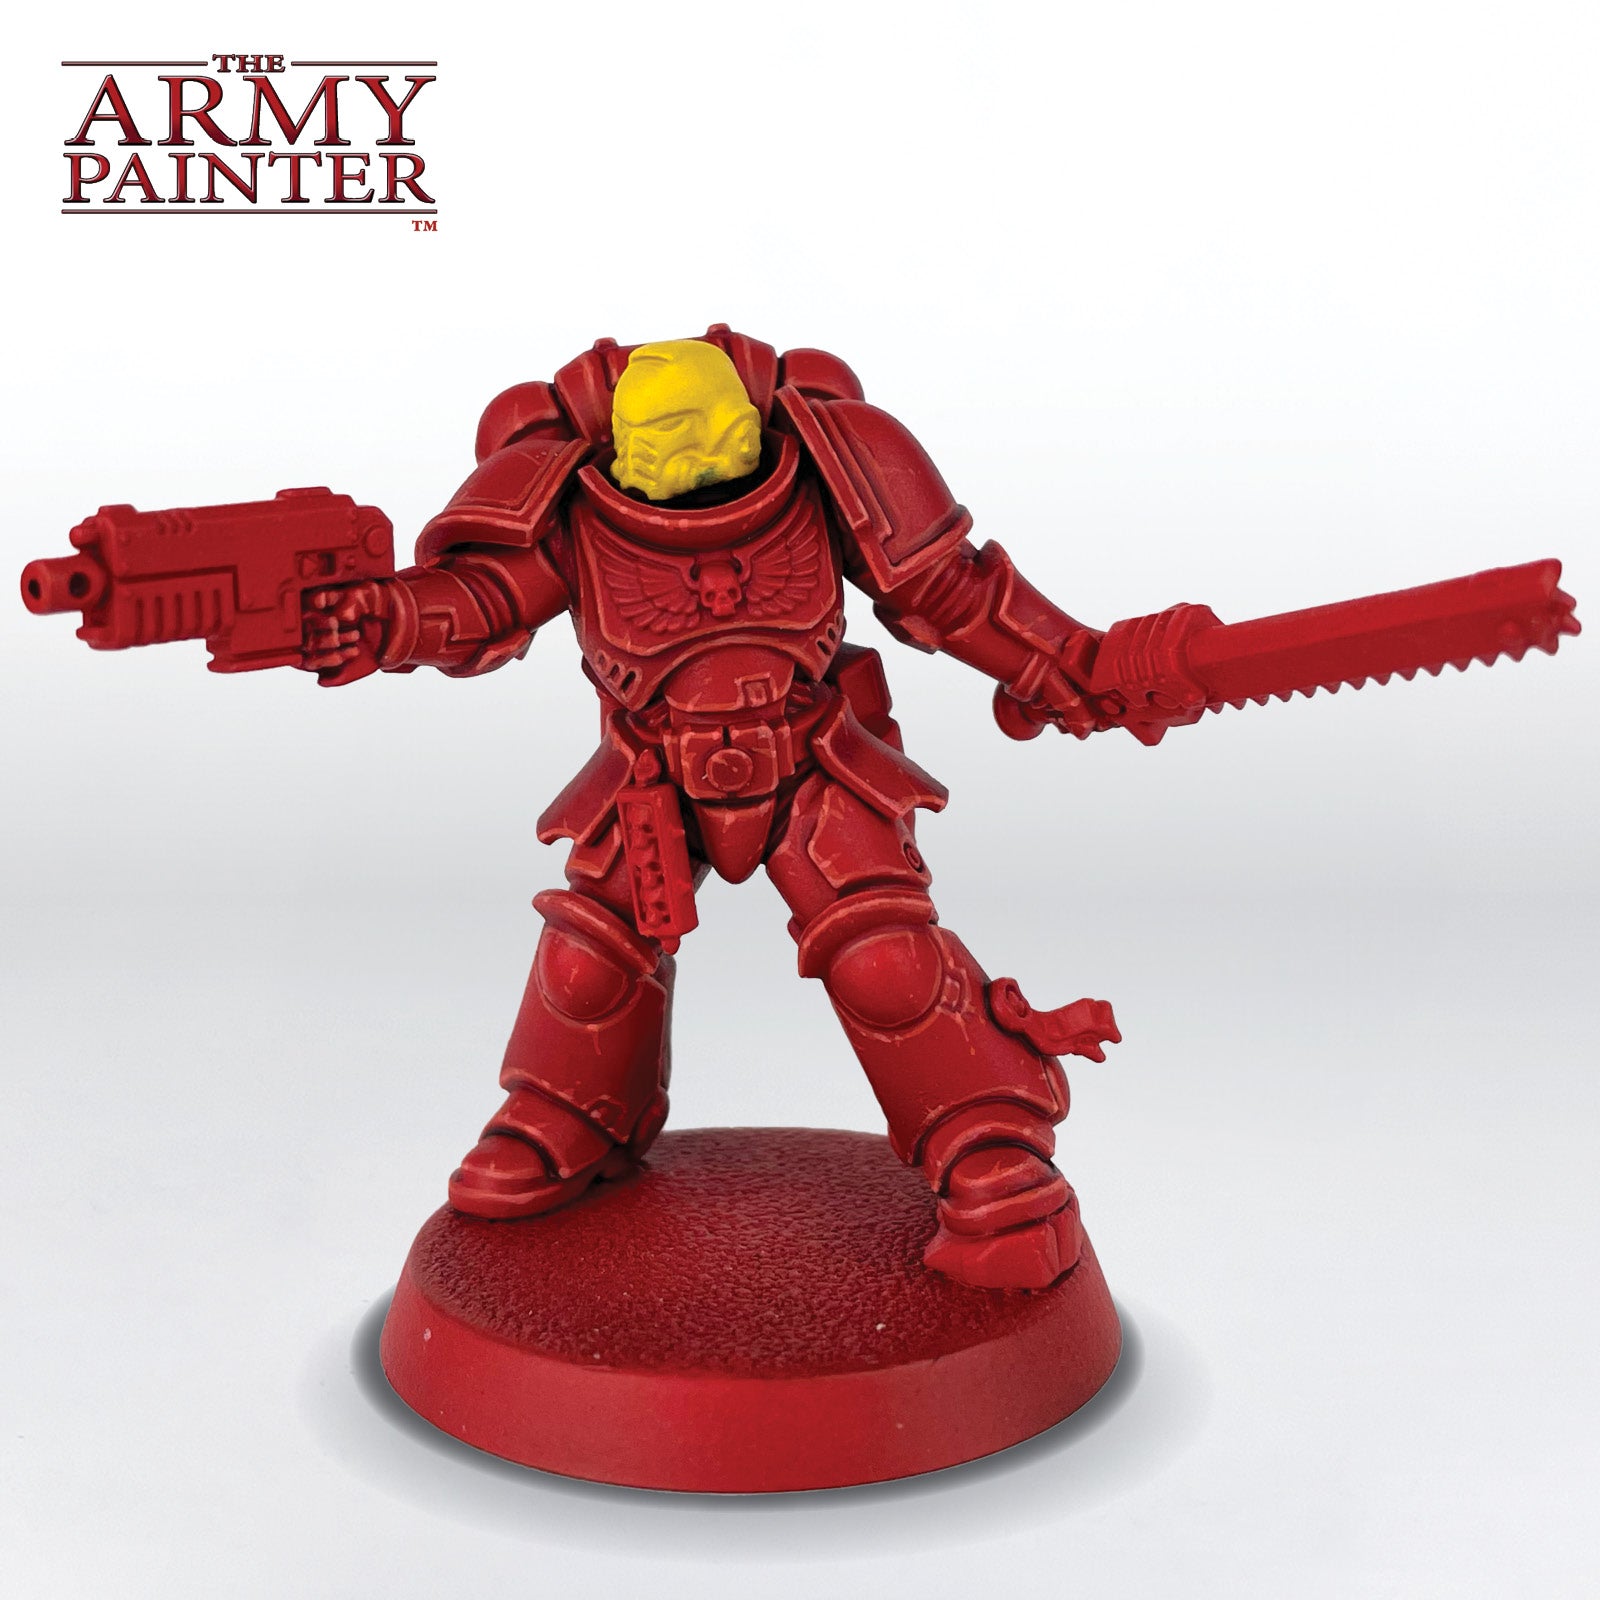
Since this marine is an Assault Intercessor he needs a yellow helmet. Basecoat this with Warpaints Fanatic Daemonic Yellow.

The Yellow Armour Step 2

Step 2

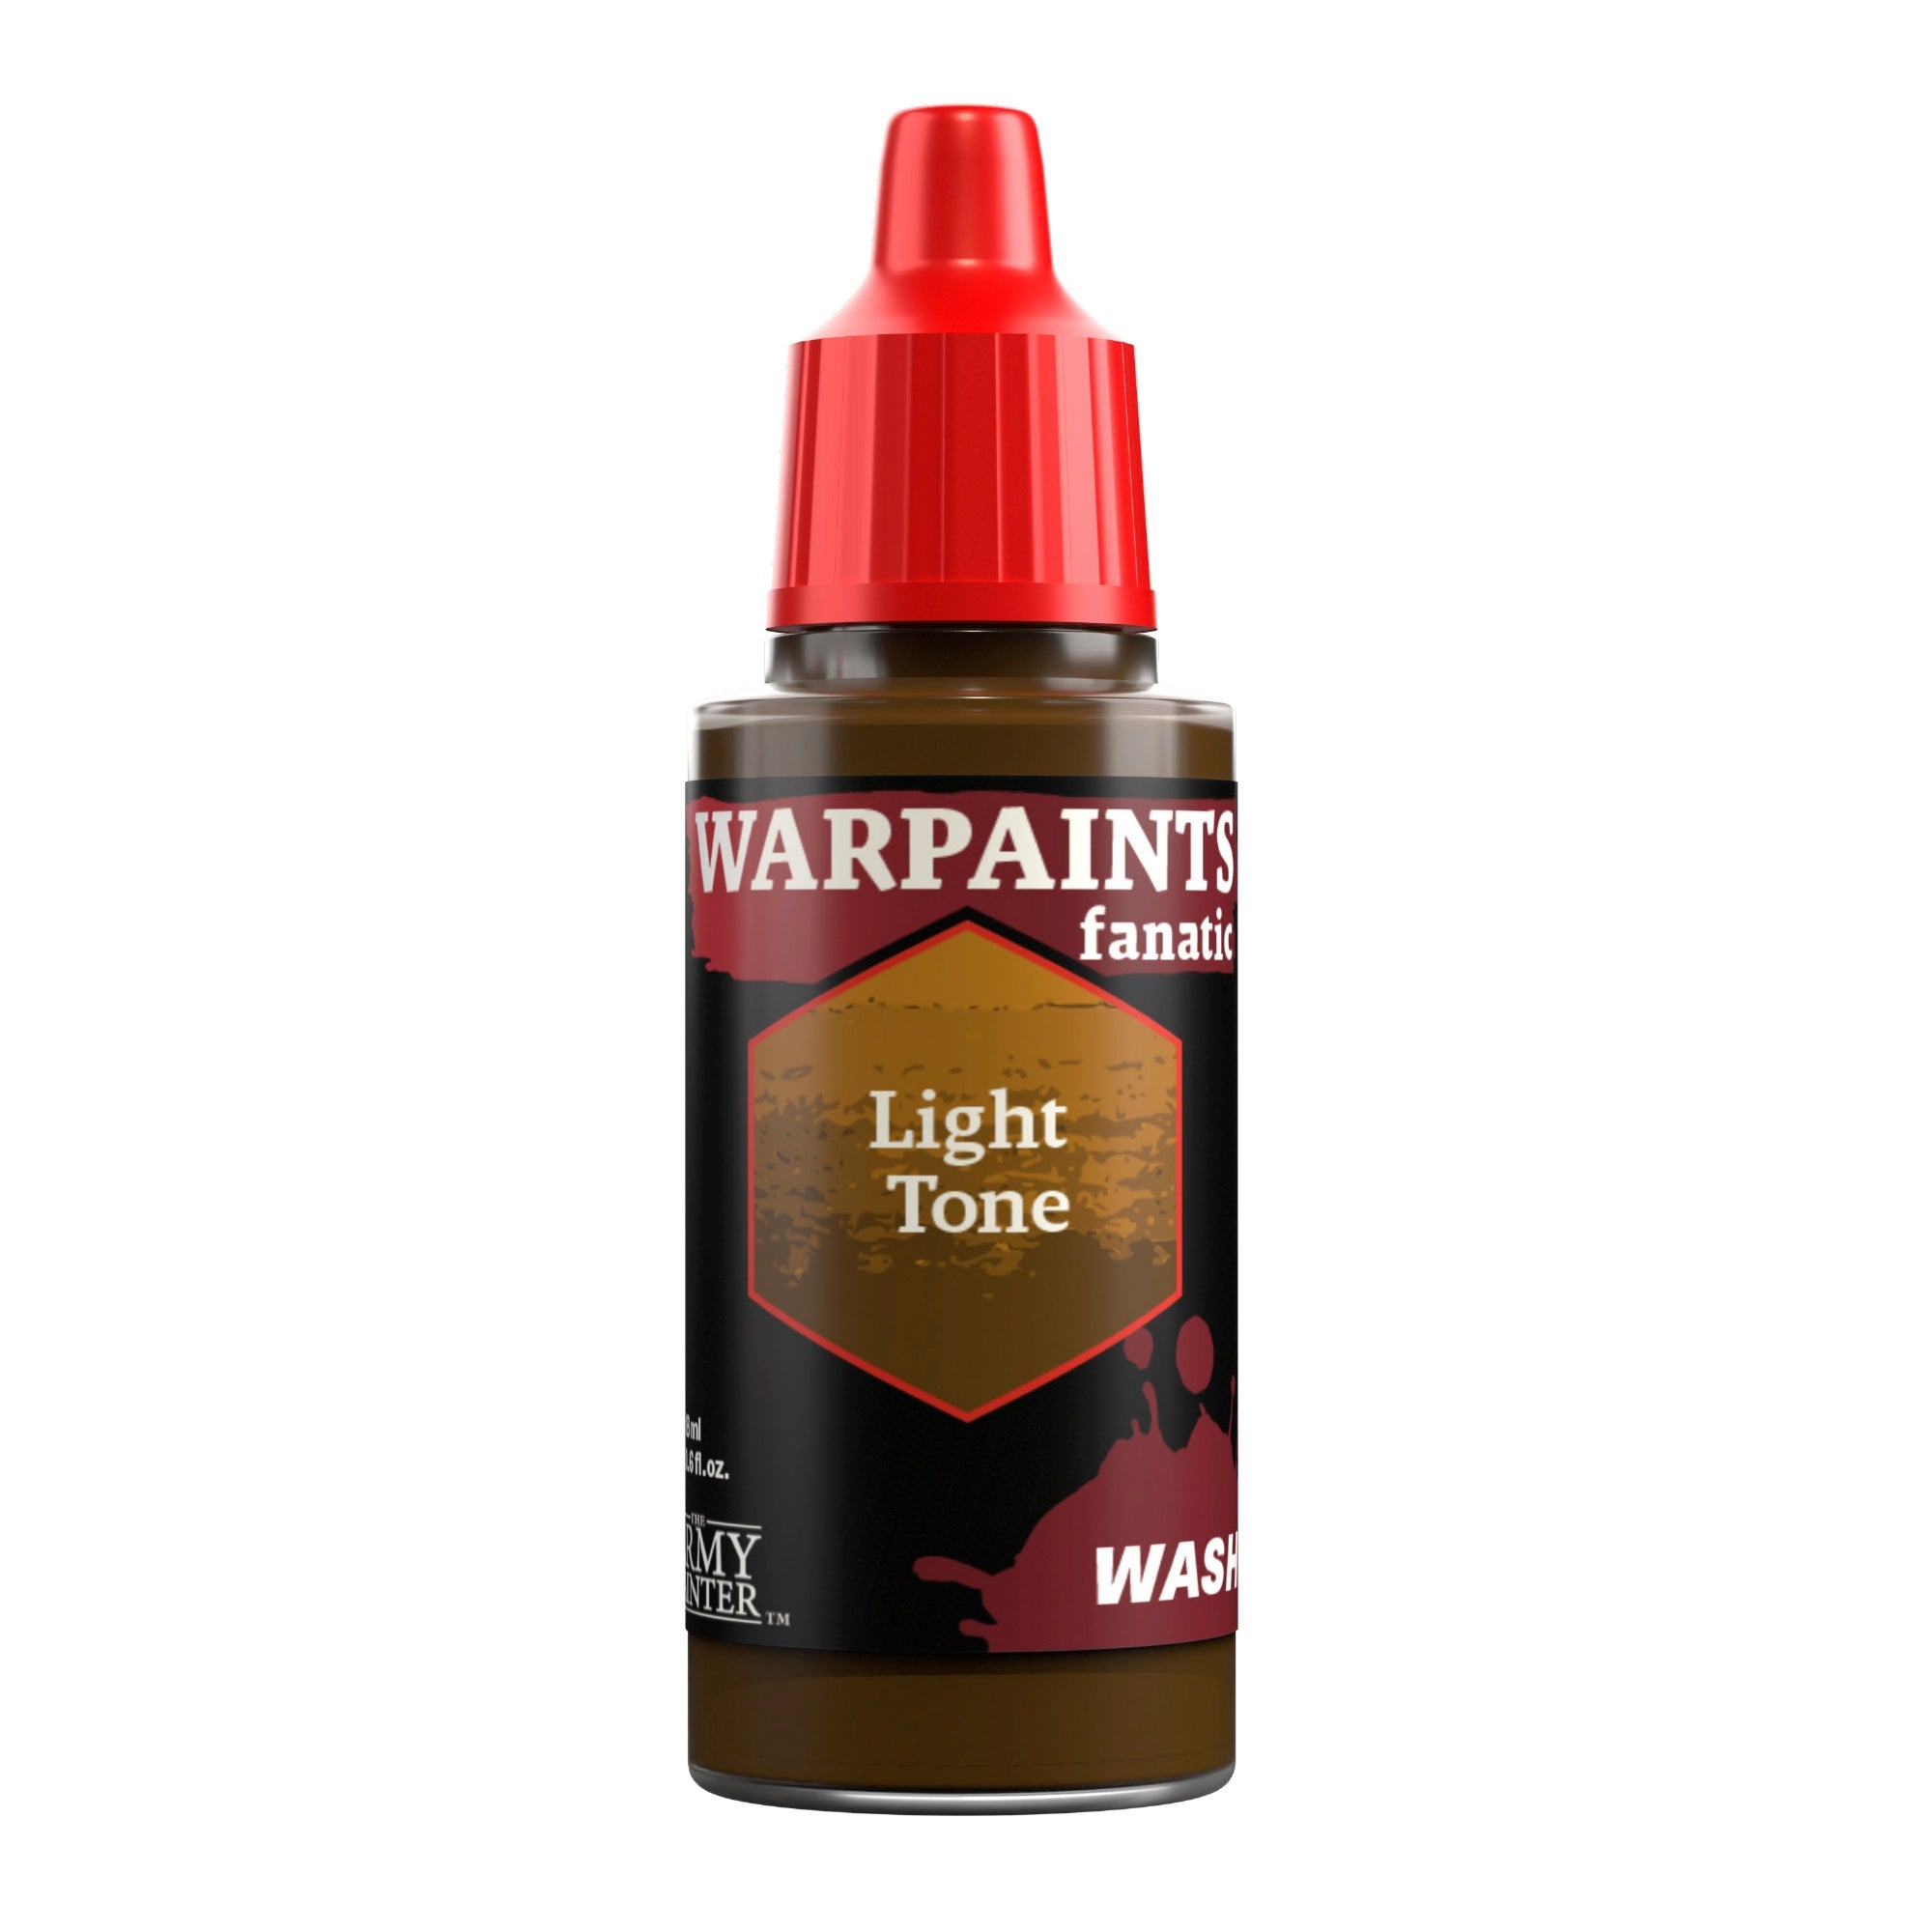
Then apply shading with Warpaint Fanatic Wash Light Tone all over the helmet.

The Yellow Armour Step 3

Step 3

Next, tidy this up with Warpaints Fanatic Daemonic Yellow, leaving the previous step showing in the recesses.

The Yellow Armour Step 4

Step 4

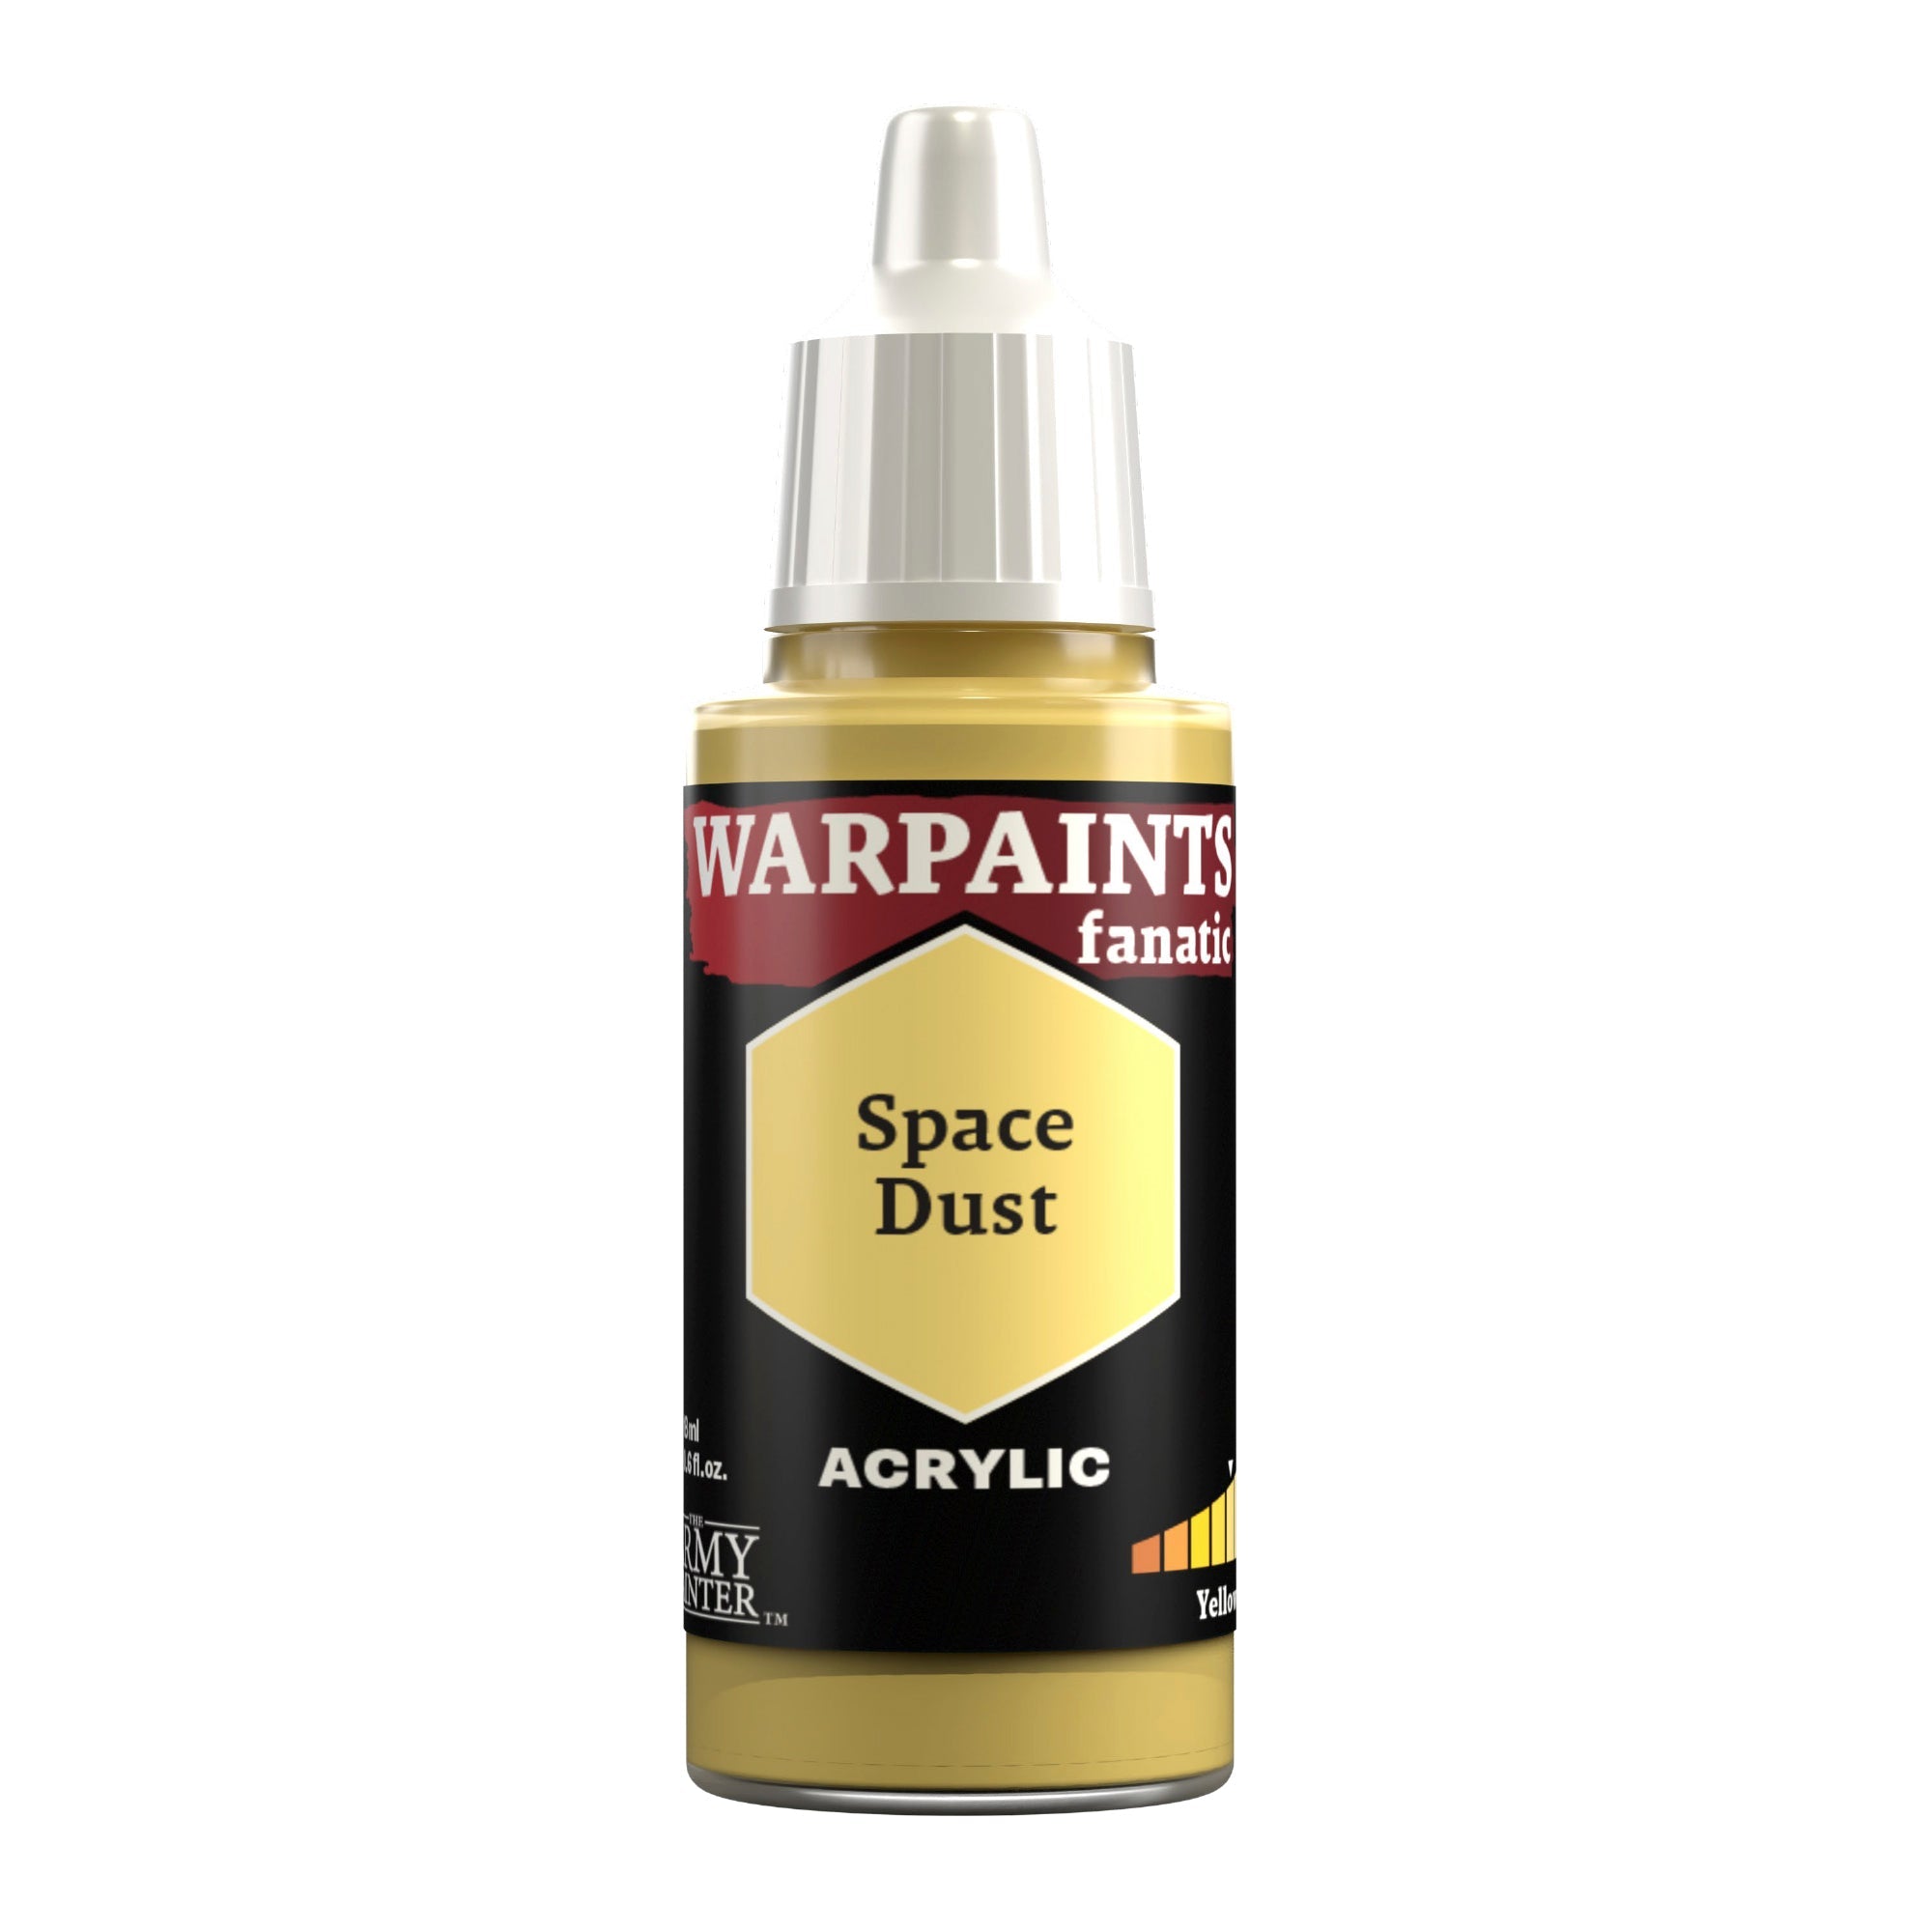
Then edge highlight this with Warpaints Fanatic Space Dust.

The Yellow Armour Step 5

Step 5

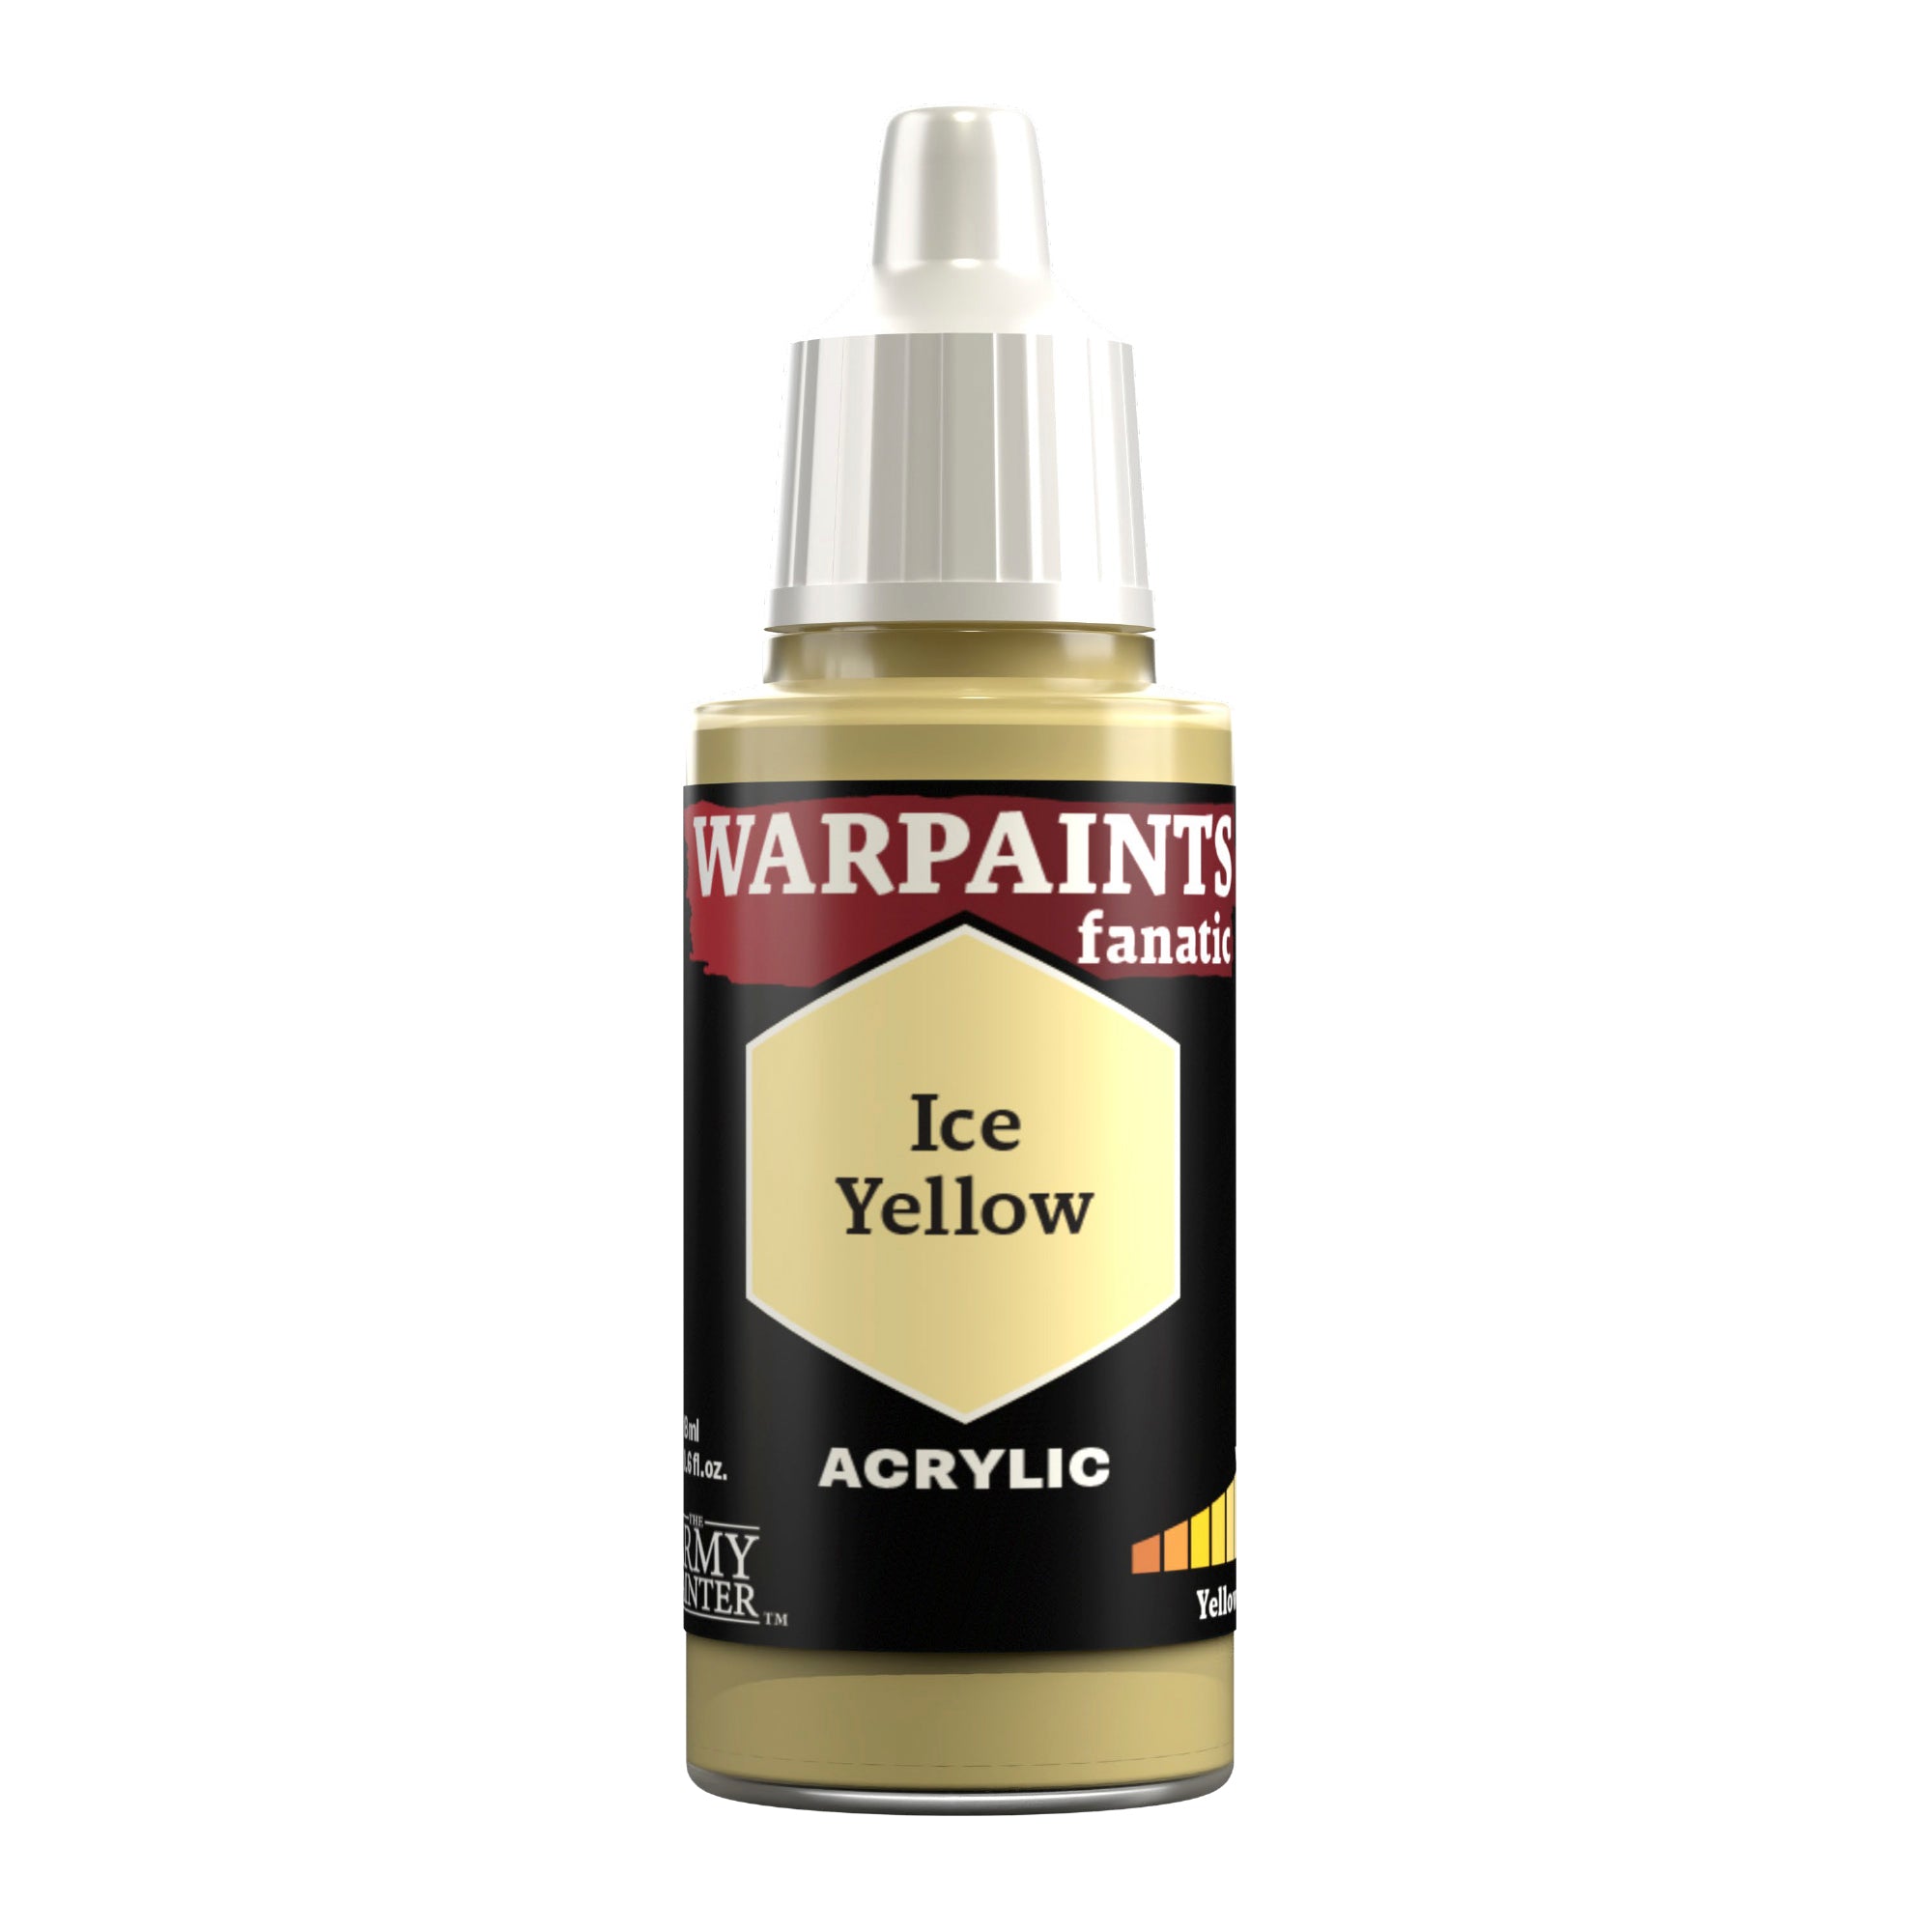
Finish this off with an edge highlight of Warpaints Fanatic Ice Yellow on the most prominent corners.

Banner

The Black

Step 1

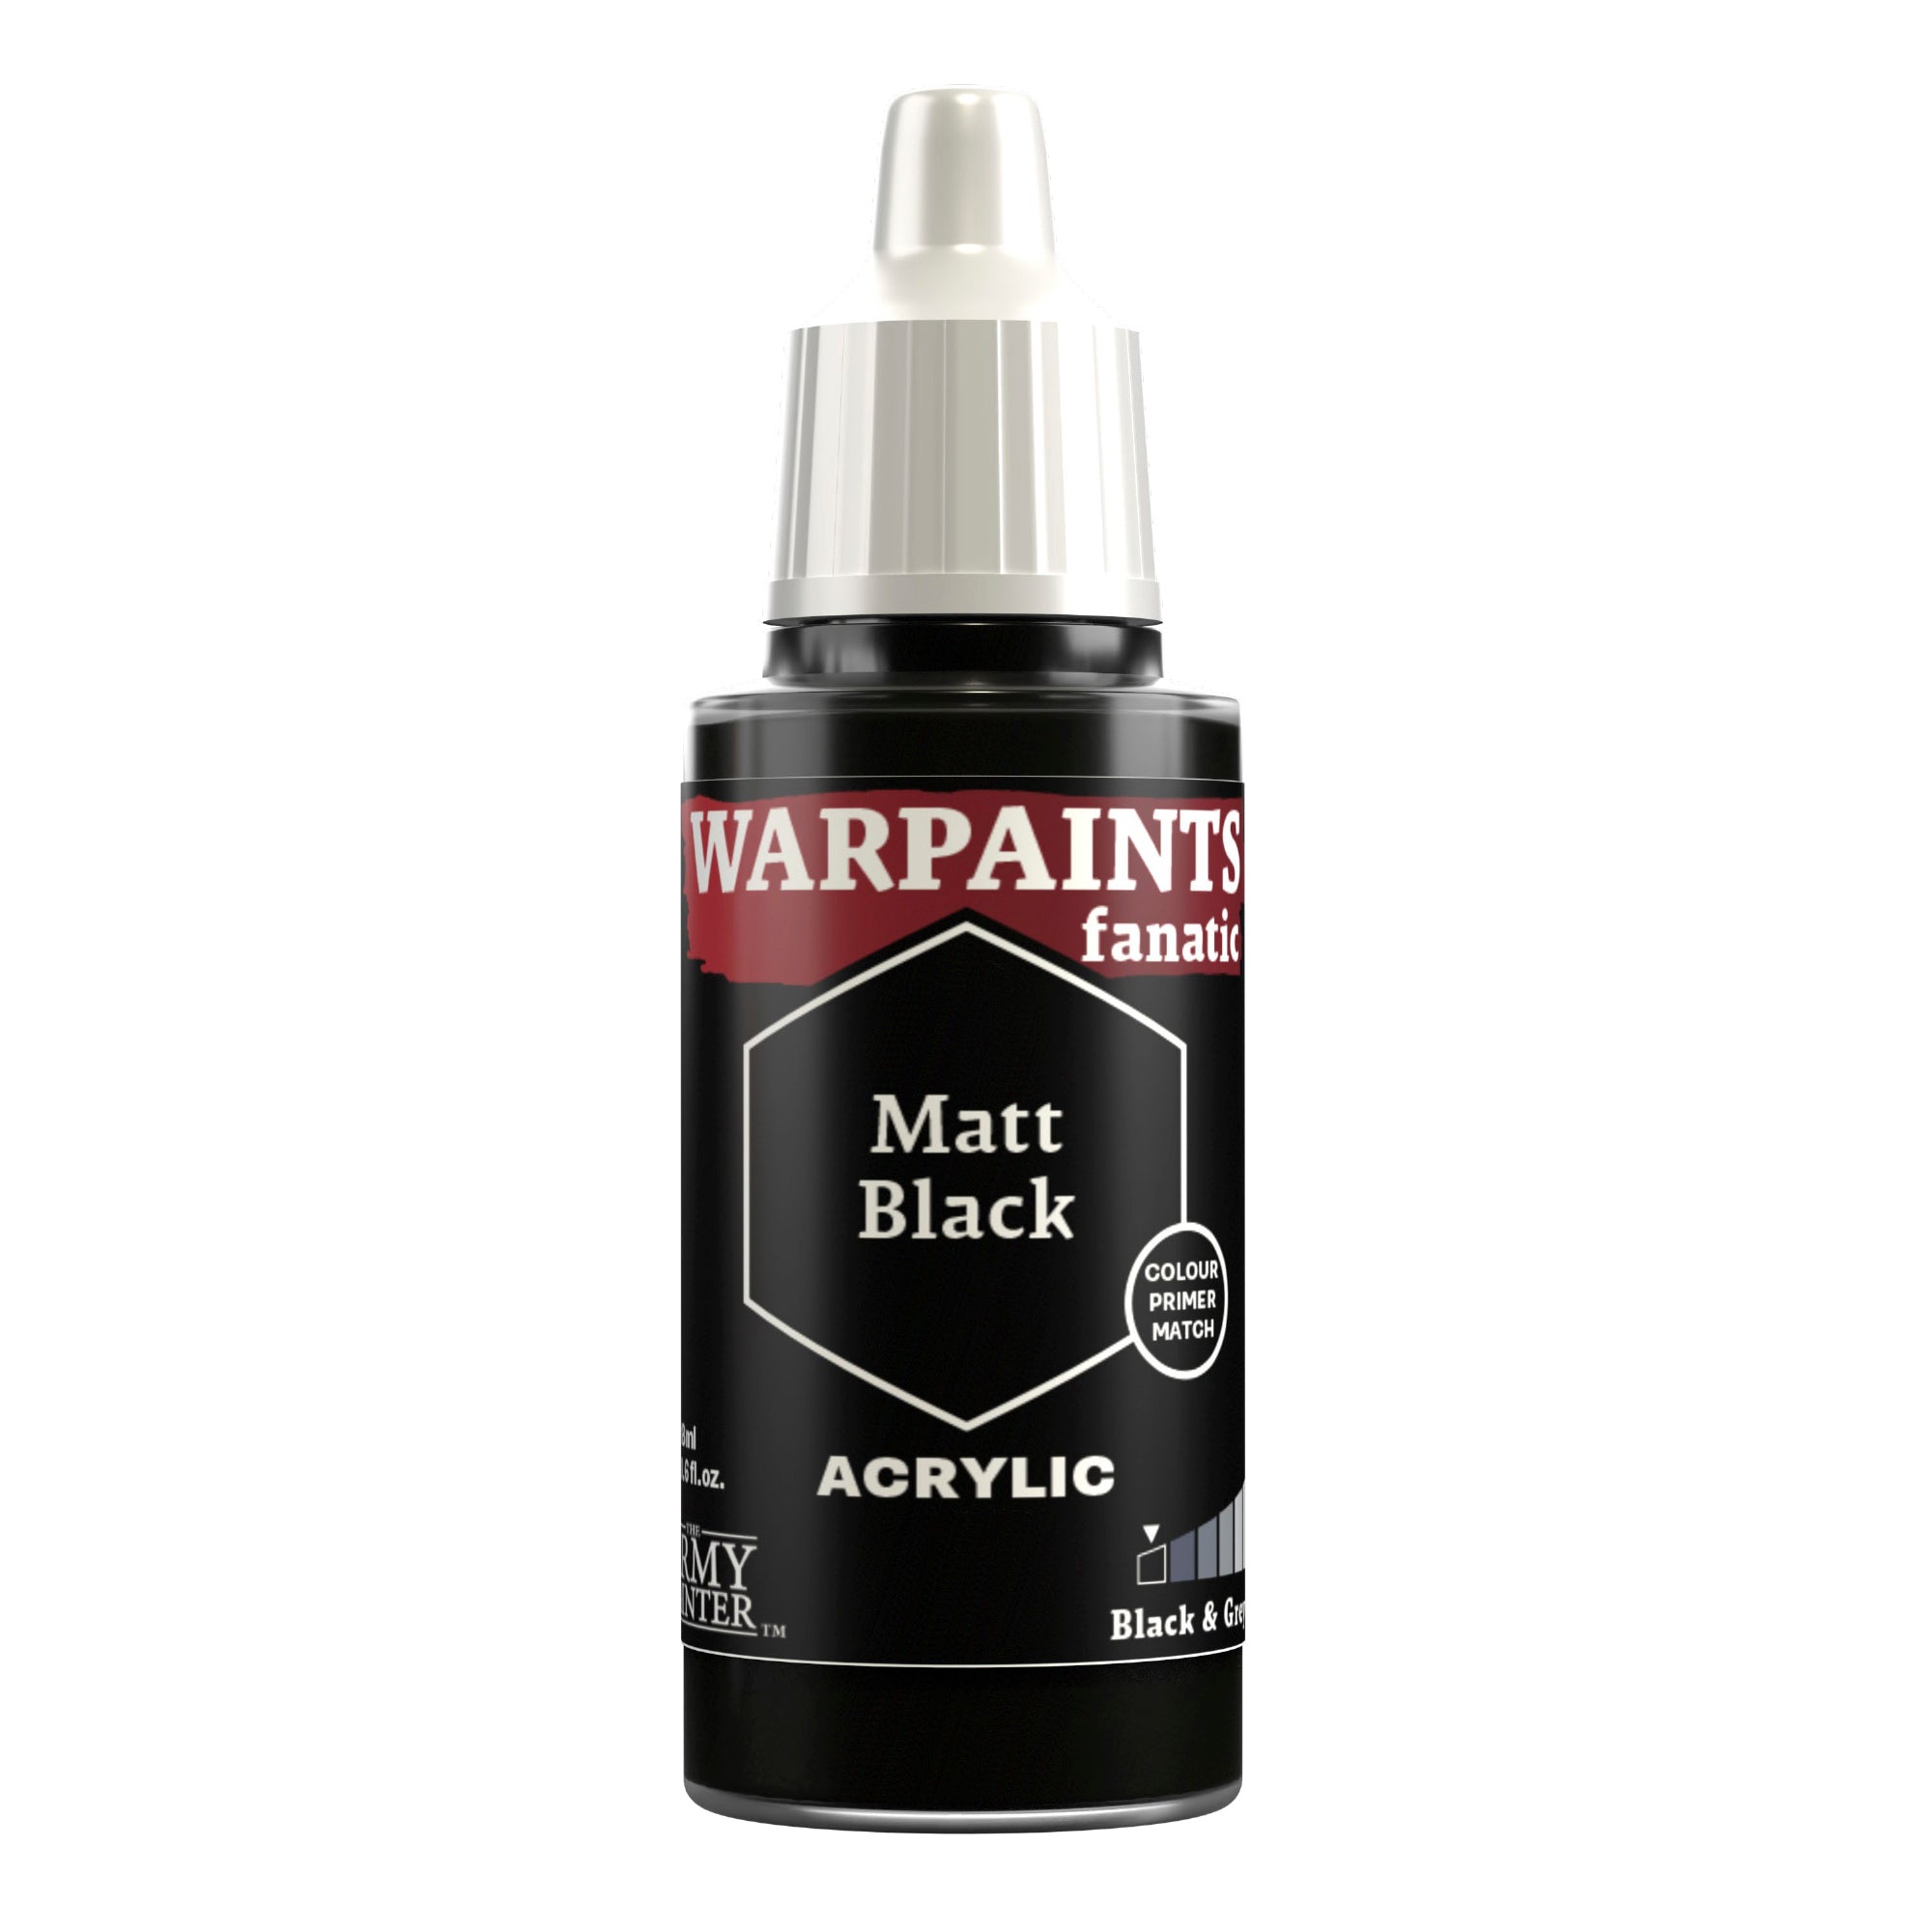
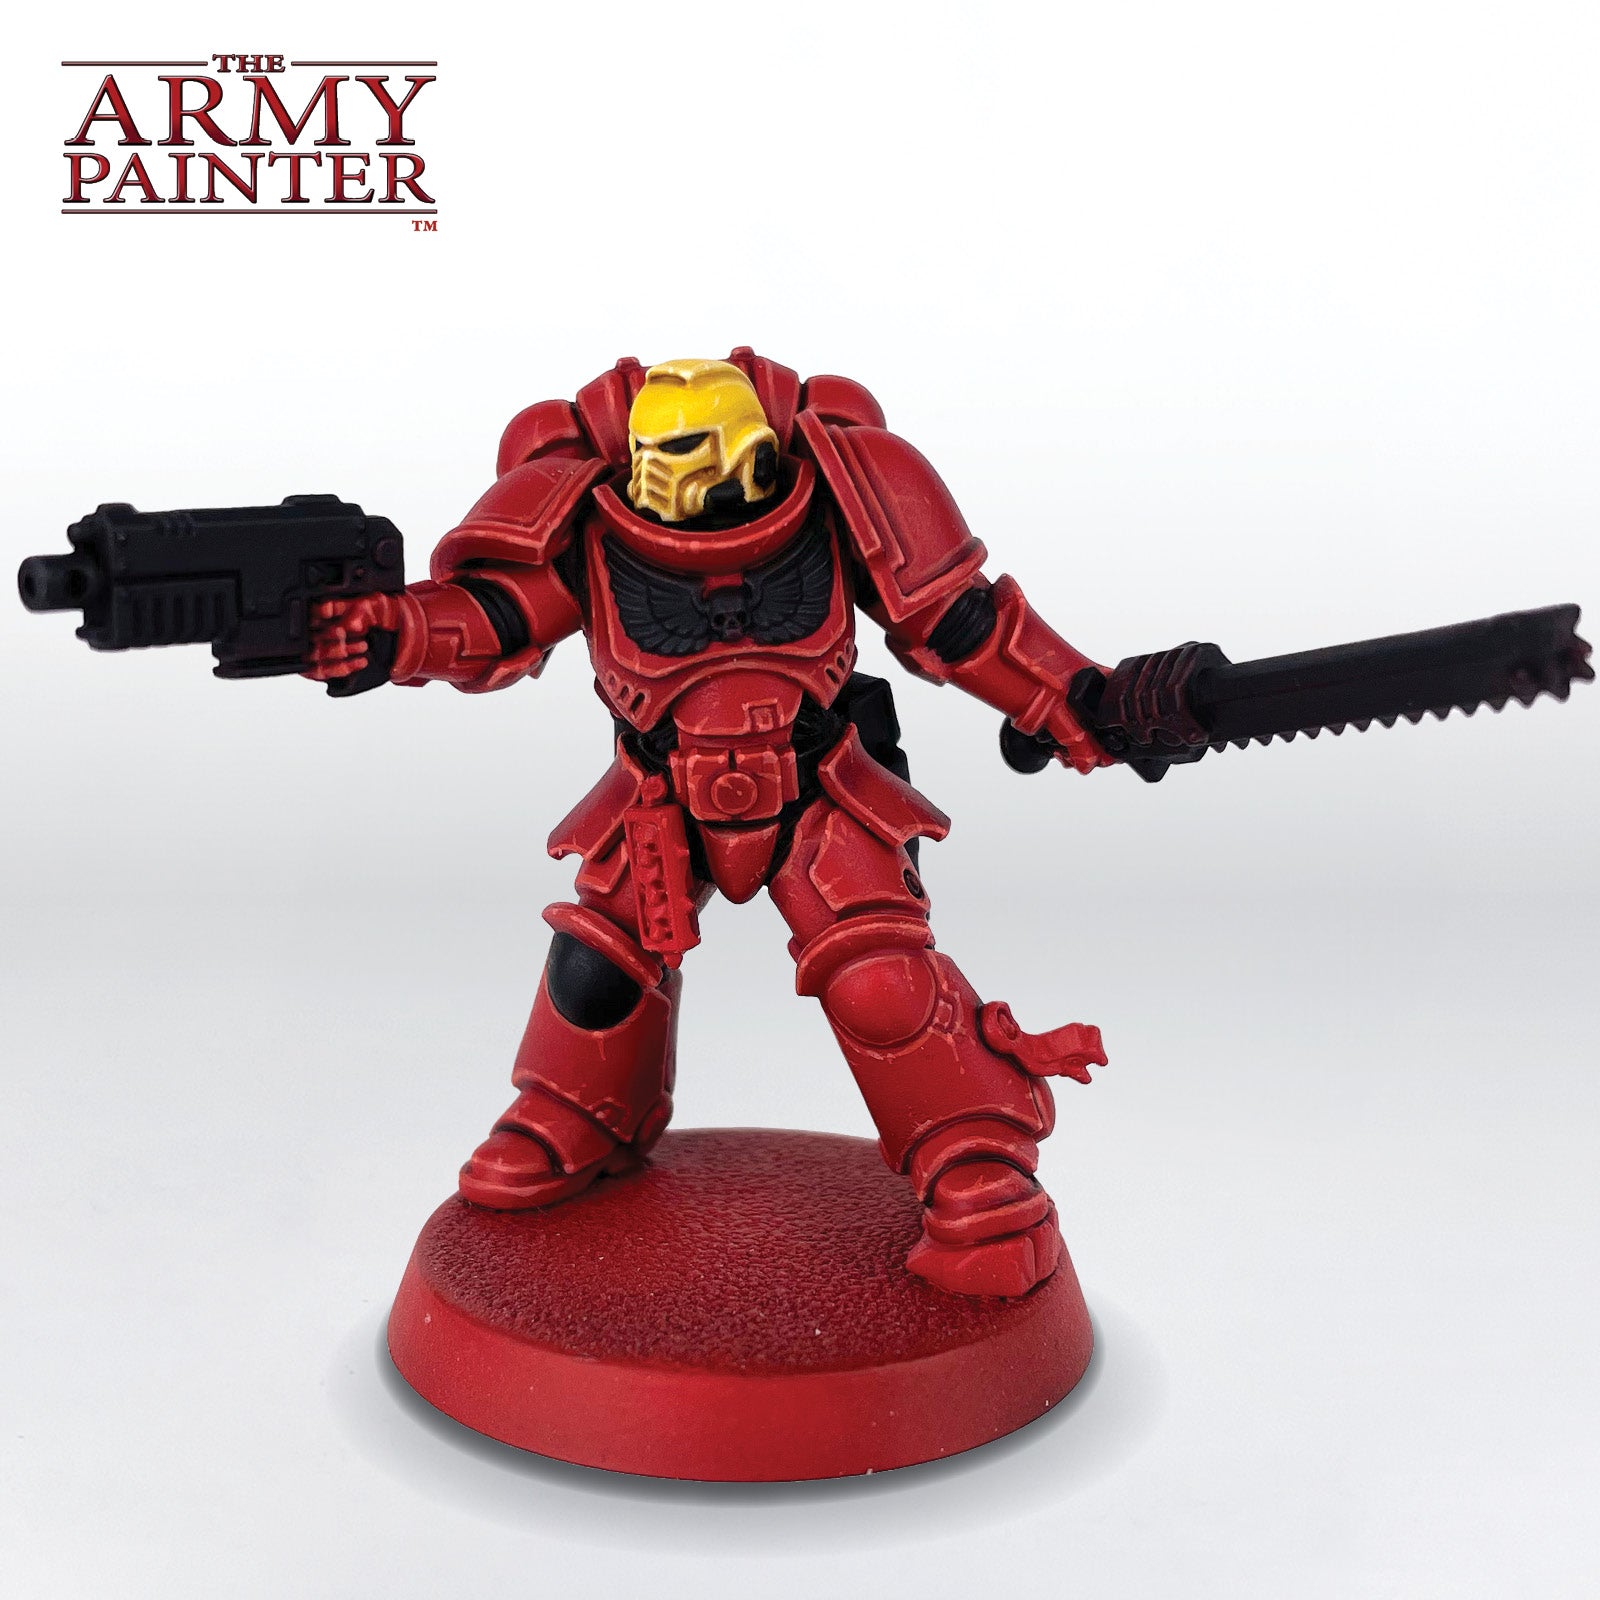
Basecoat all of the areas that will be black with Warpaints Fanatic Matt Black. This includes the soft armour, the aquila, the knee, the leather, the weapons, and the eye lenses.

Step 2

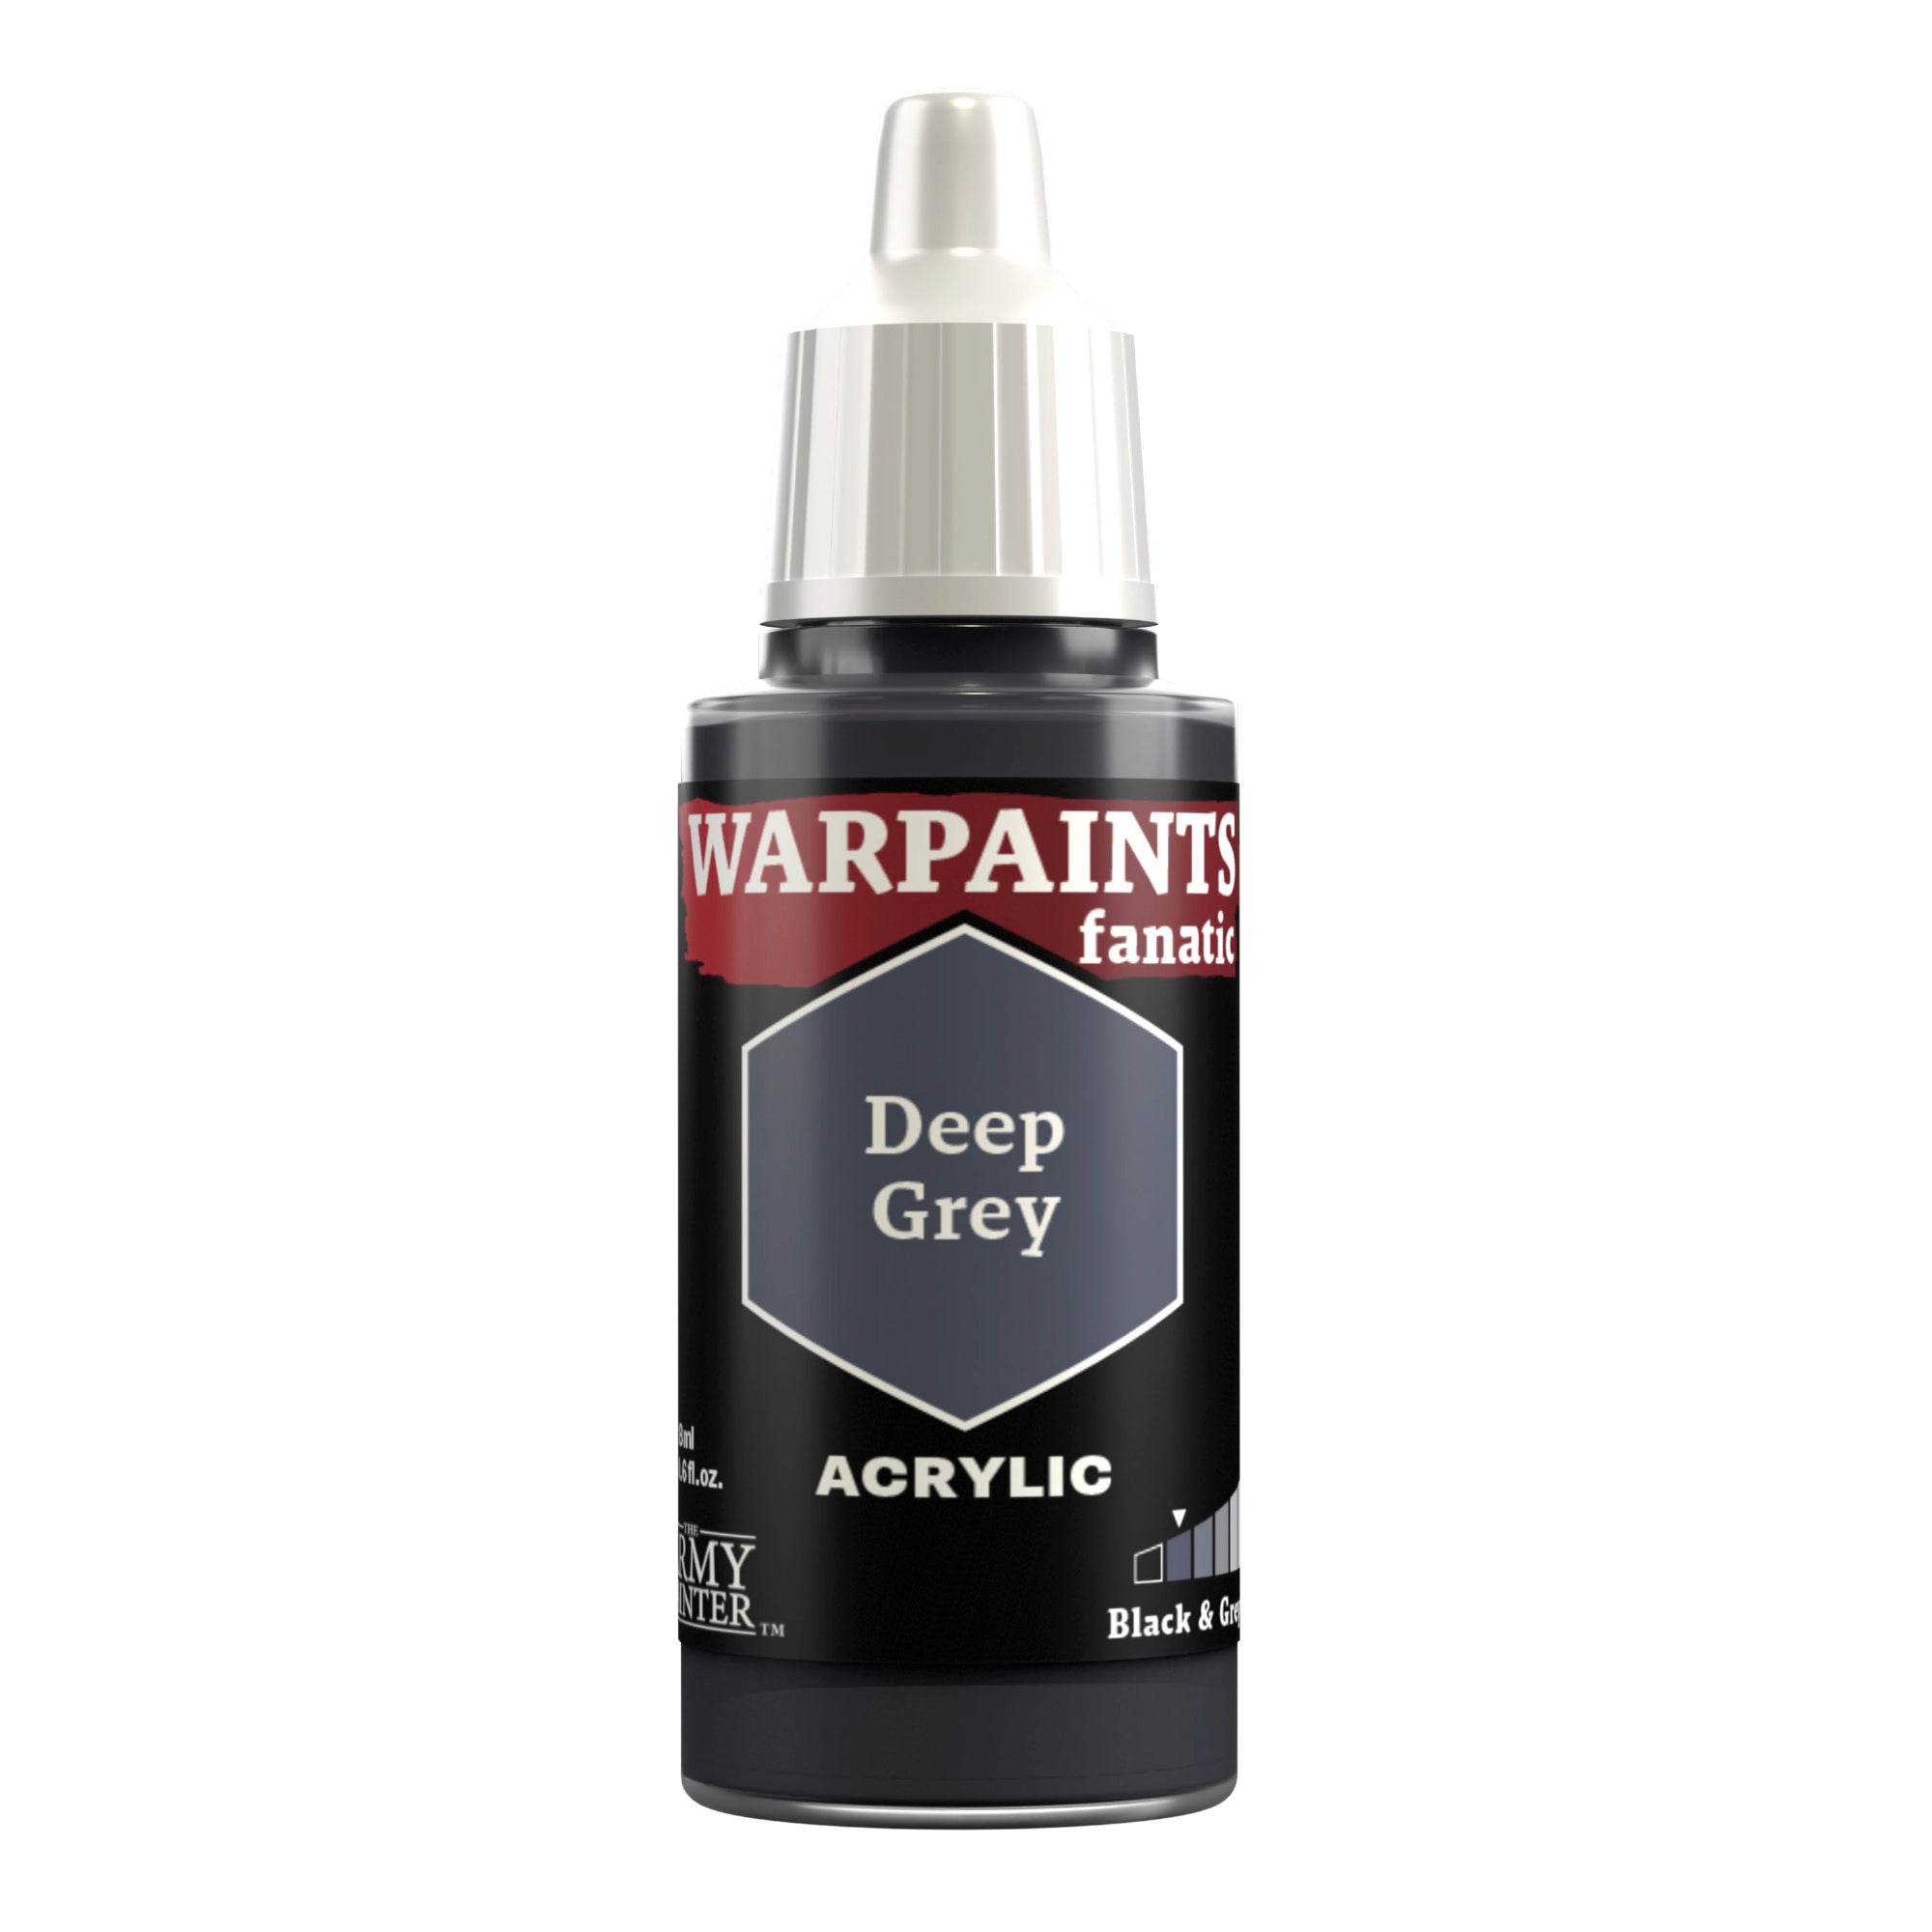
Next, edge highlight the black armour, the soft armour, and the leather with Warpaints Fanatic Deep Grey.

Step 3

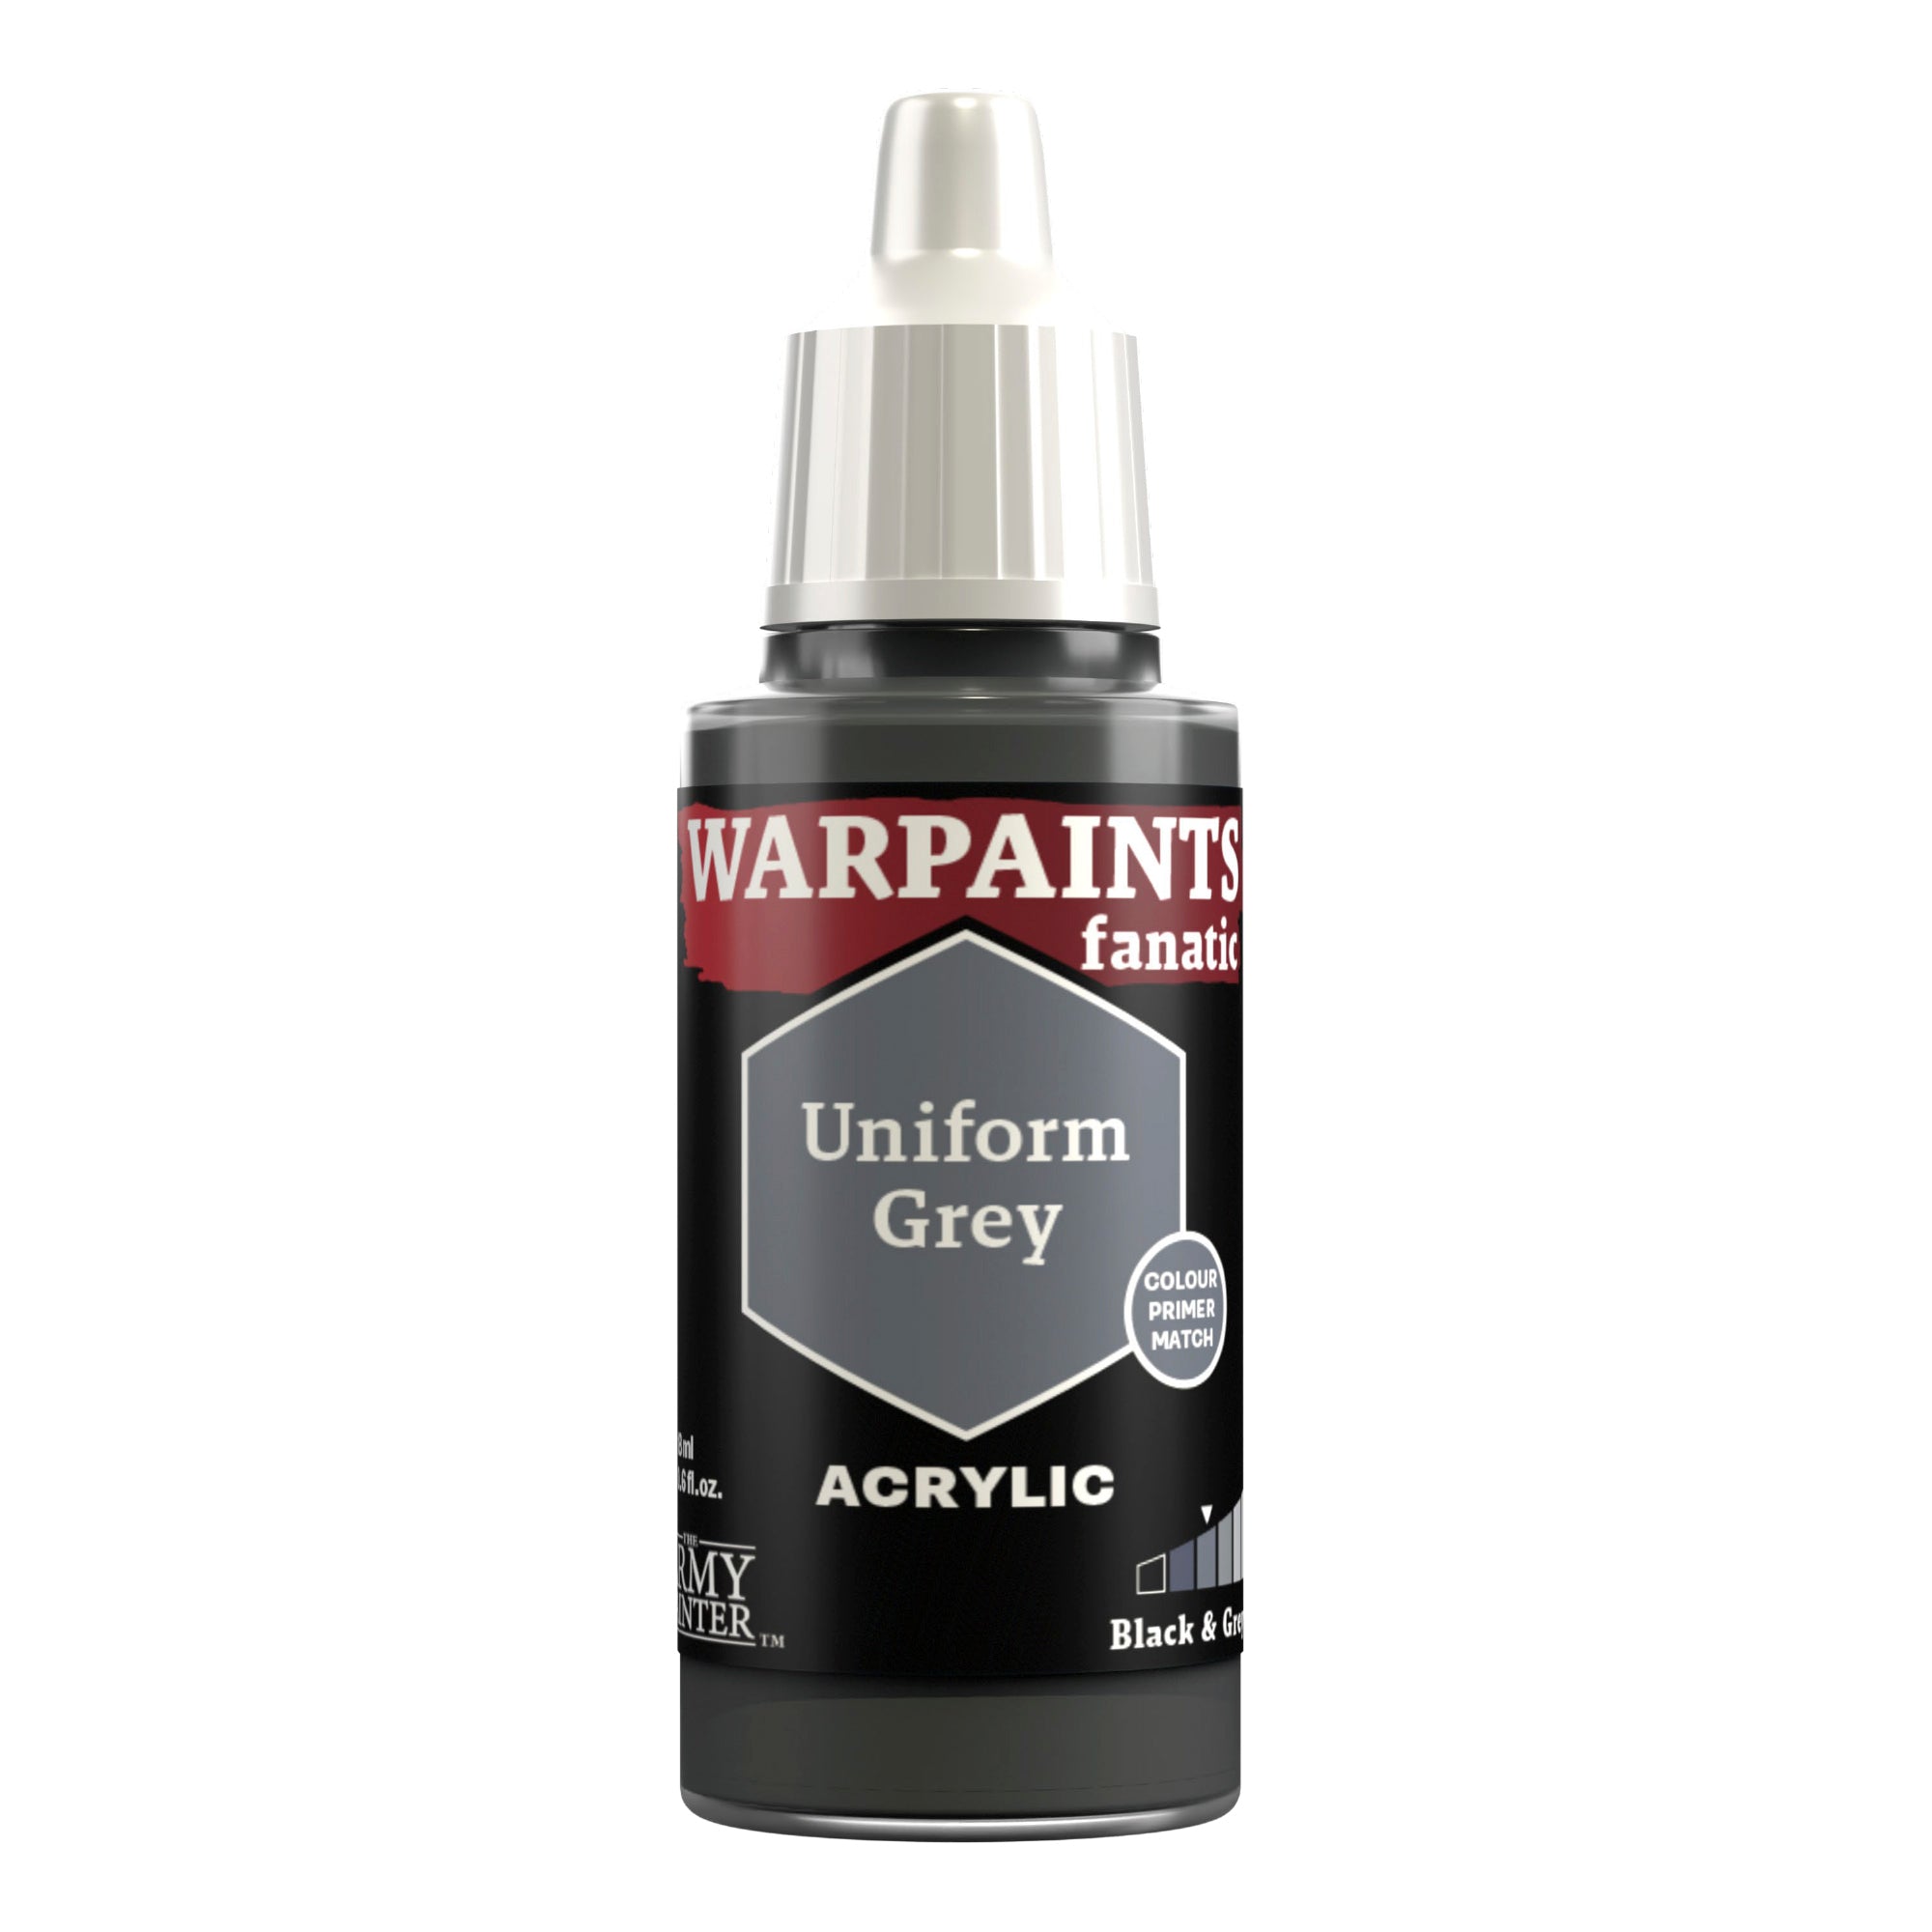
Then apply a second highlight of Warpaints Fanatic Uniform Grey on the most prominent areas of the soft armour and leather, but not on the hard armour, such as the knee and aquila.

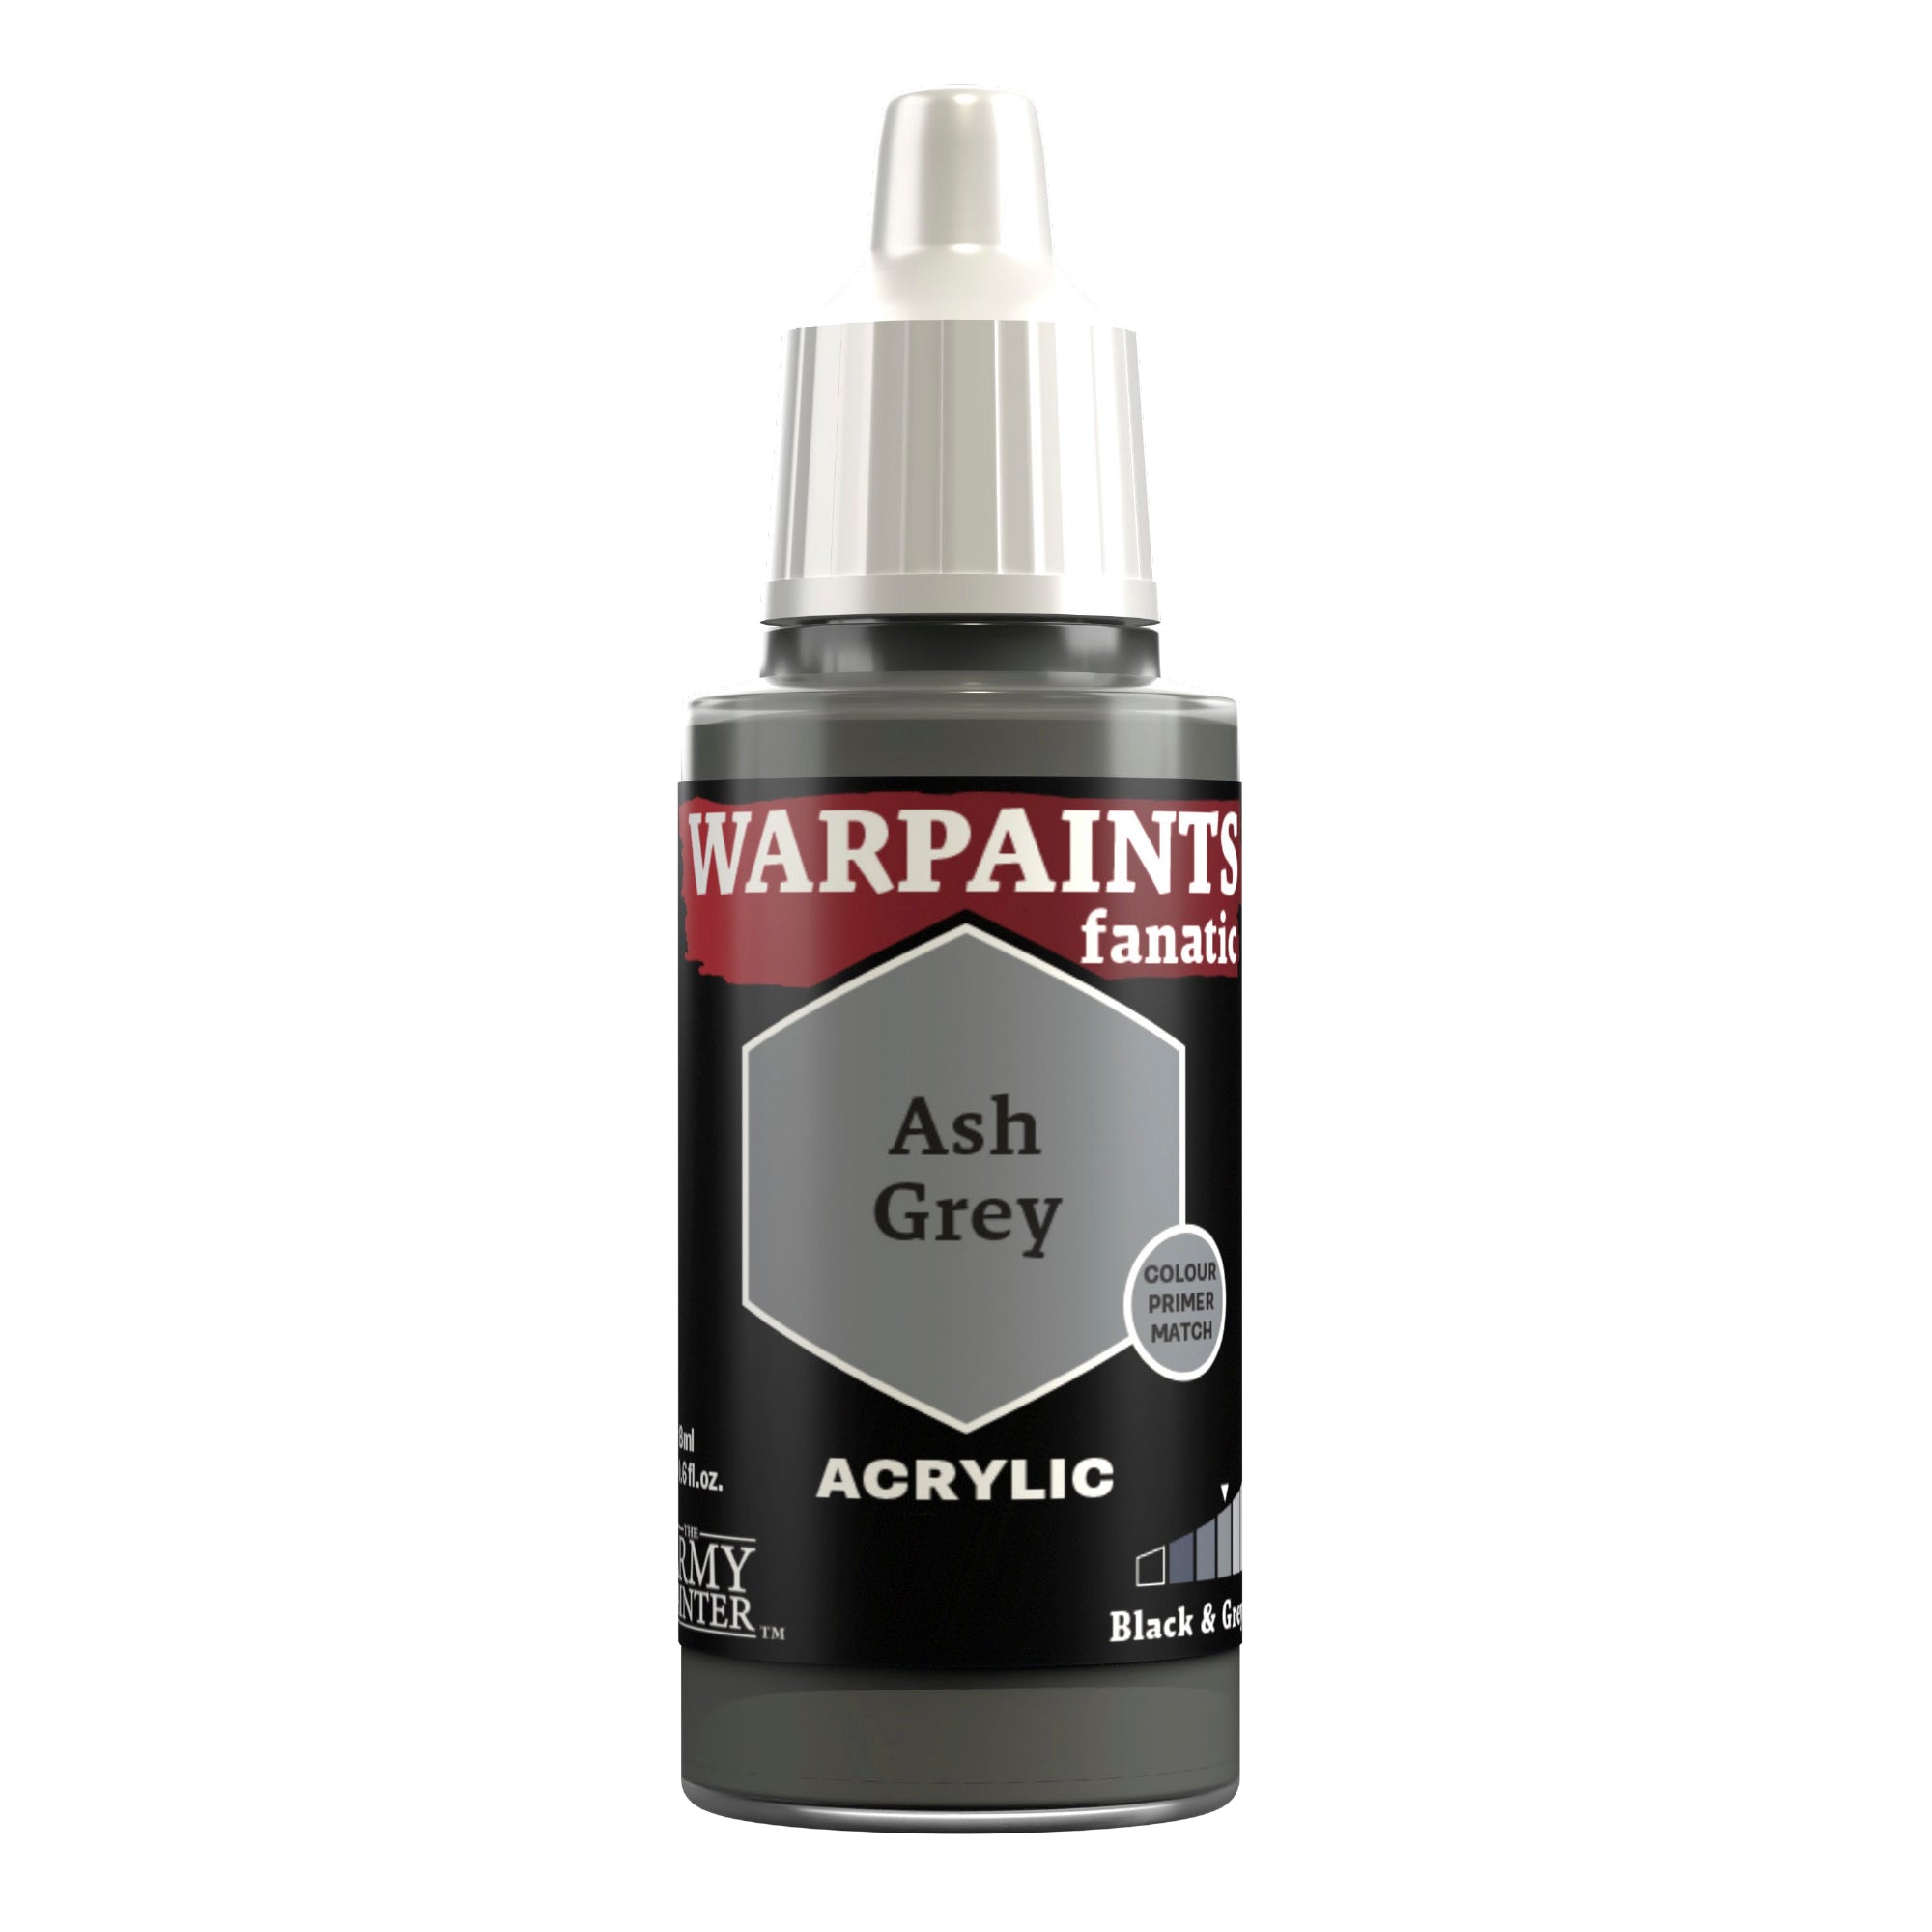
Repeat this process on the knee and aquila, but with Warpaints Fanatic Ash Grey instead. The starker difference between the Deep Grey and Ash Grey will make these sections seem harder and more reflective than the soft armour and leather.

Banner

The Metallics

The Metallics Step 1

Step 1

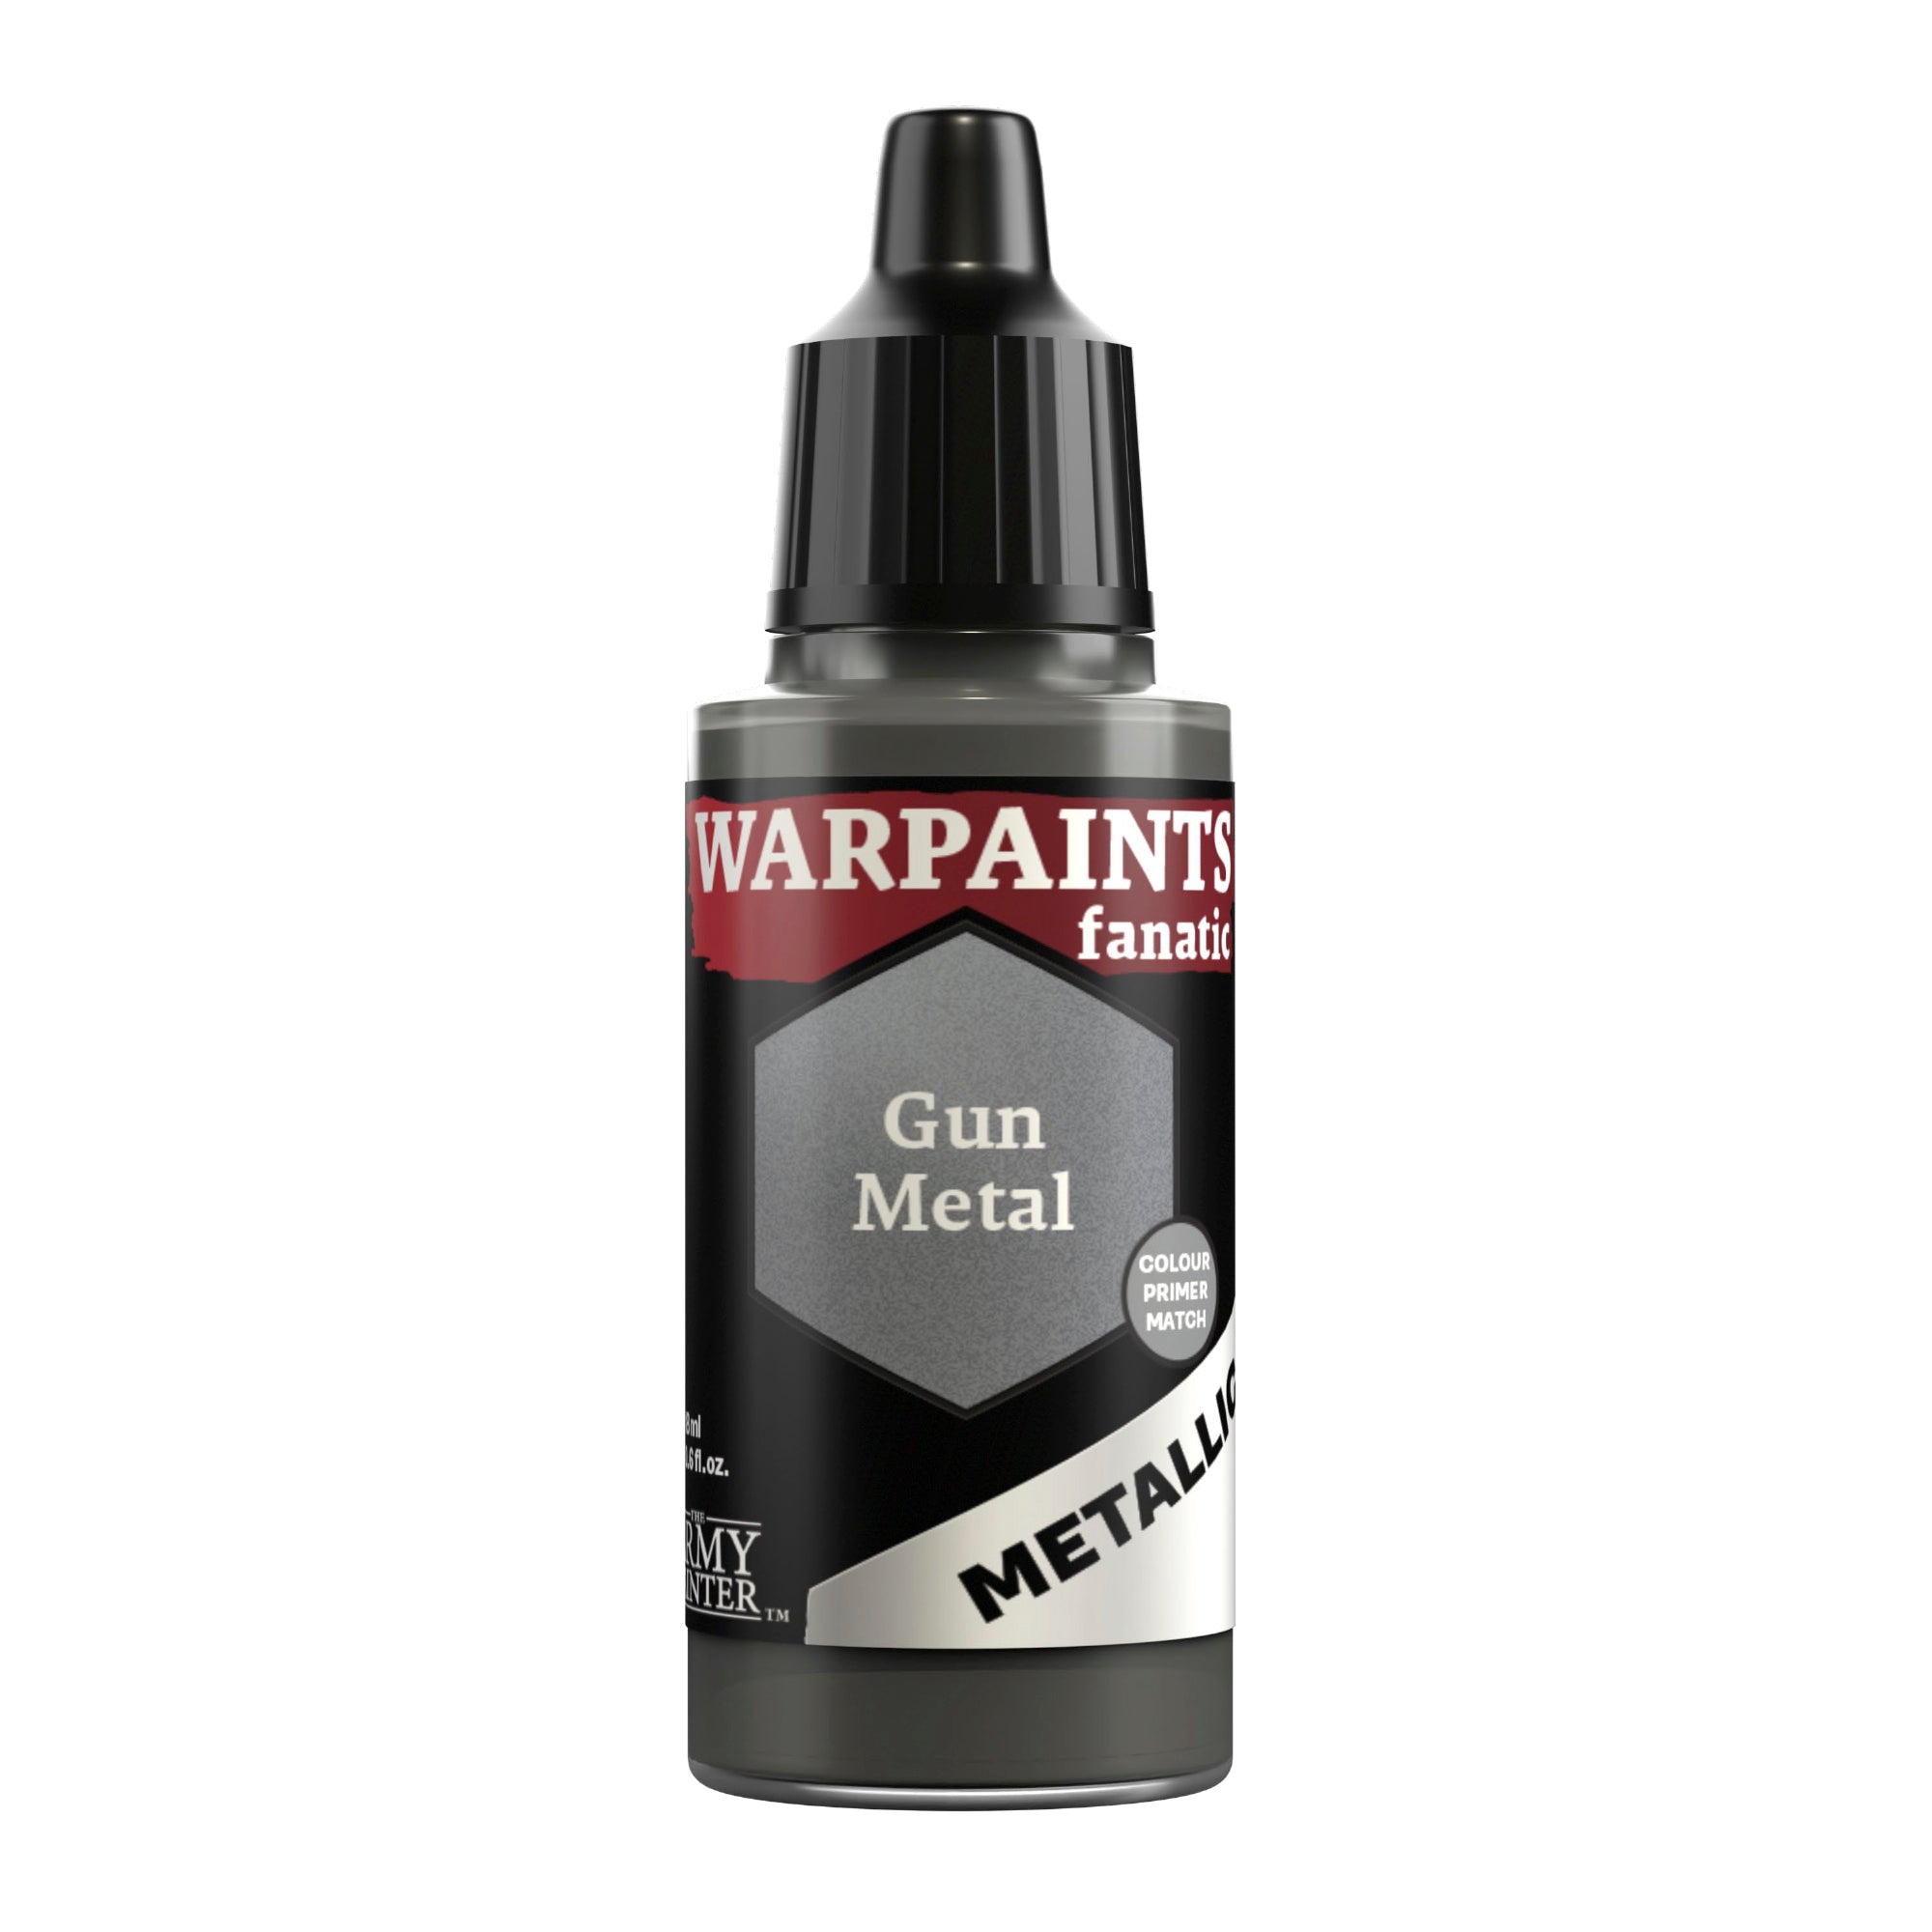
Basecoat the metal areas with Warpaints Fanatic Gun Metal. Tidy up the weapon casings with Warpaints Fanatic Matt Black as needed.

The Metallics Step 2

Step 2

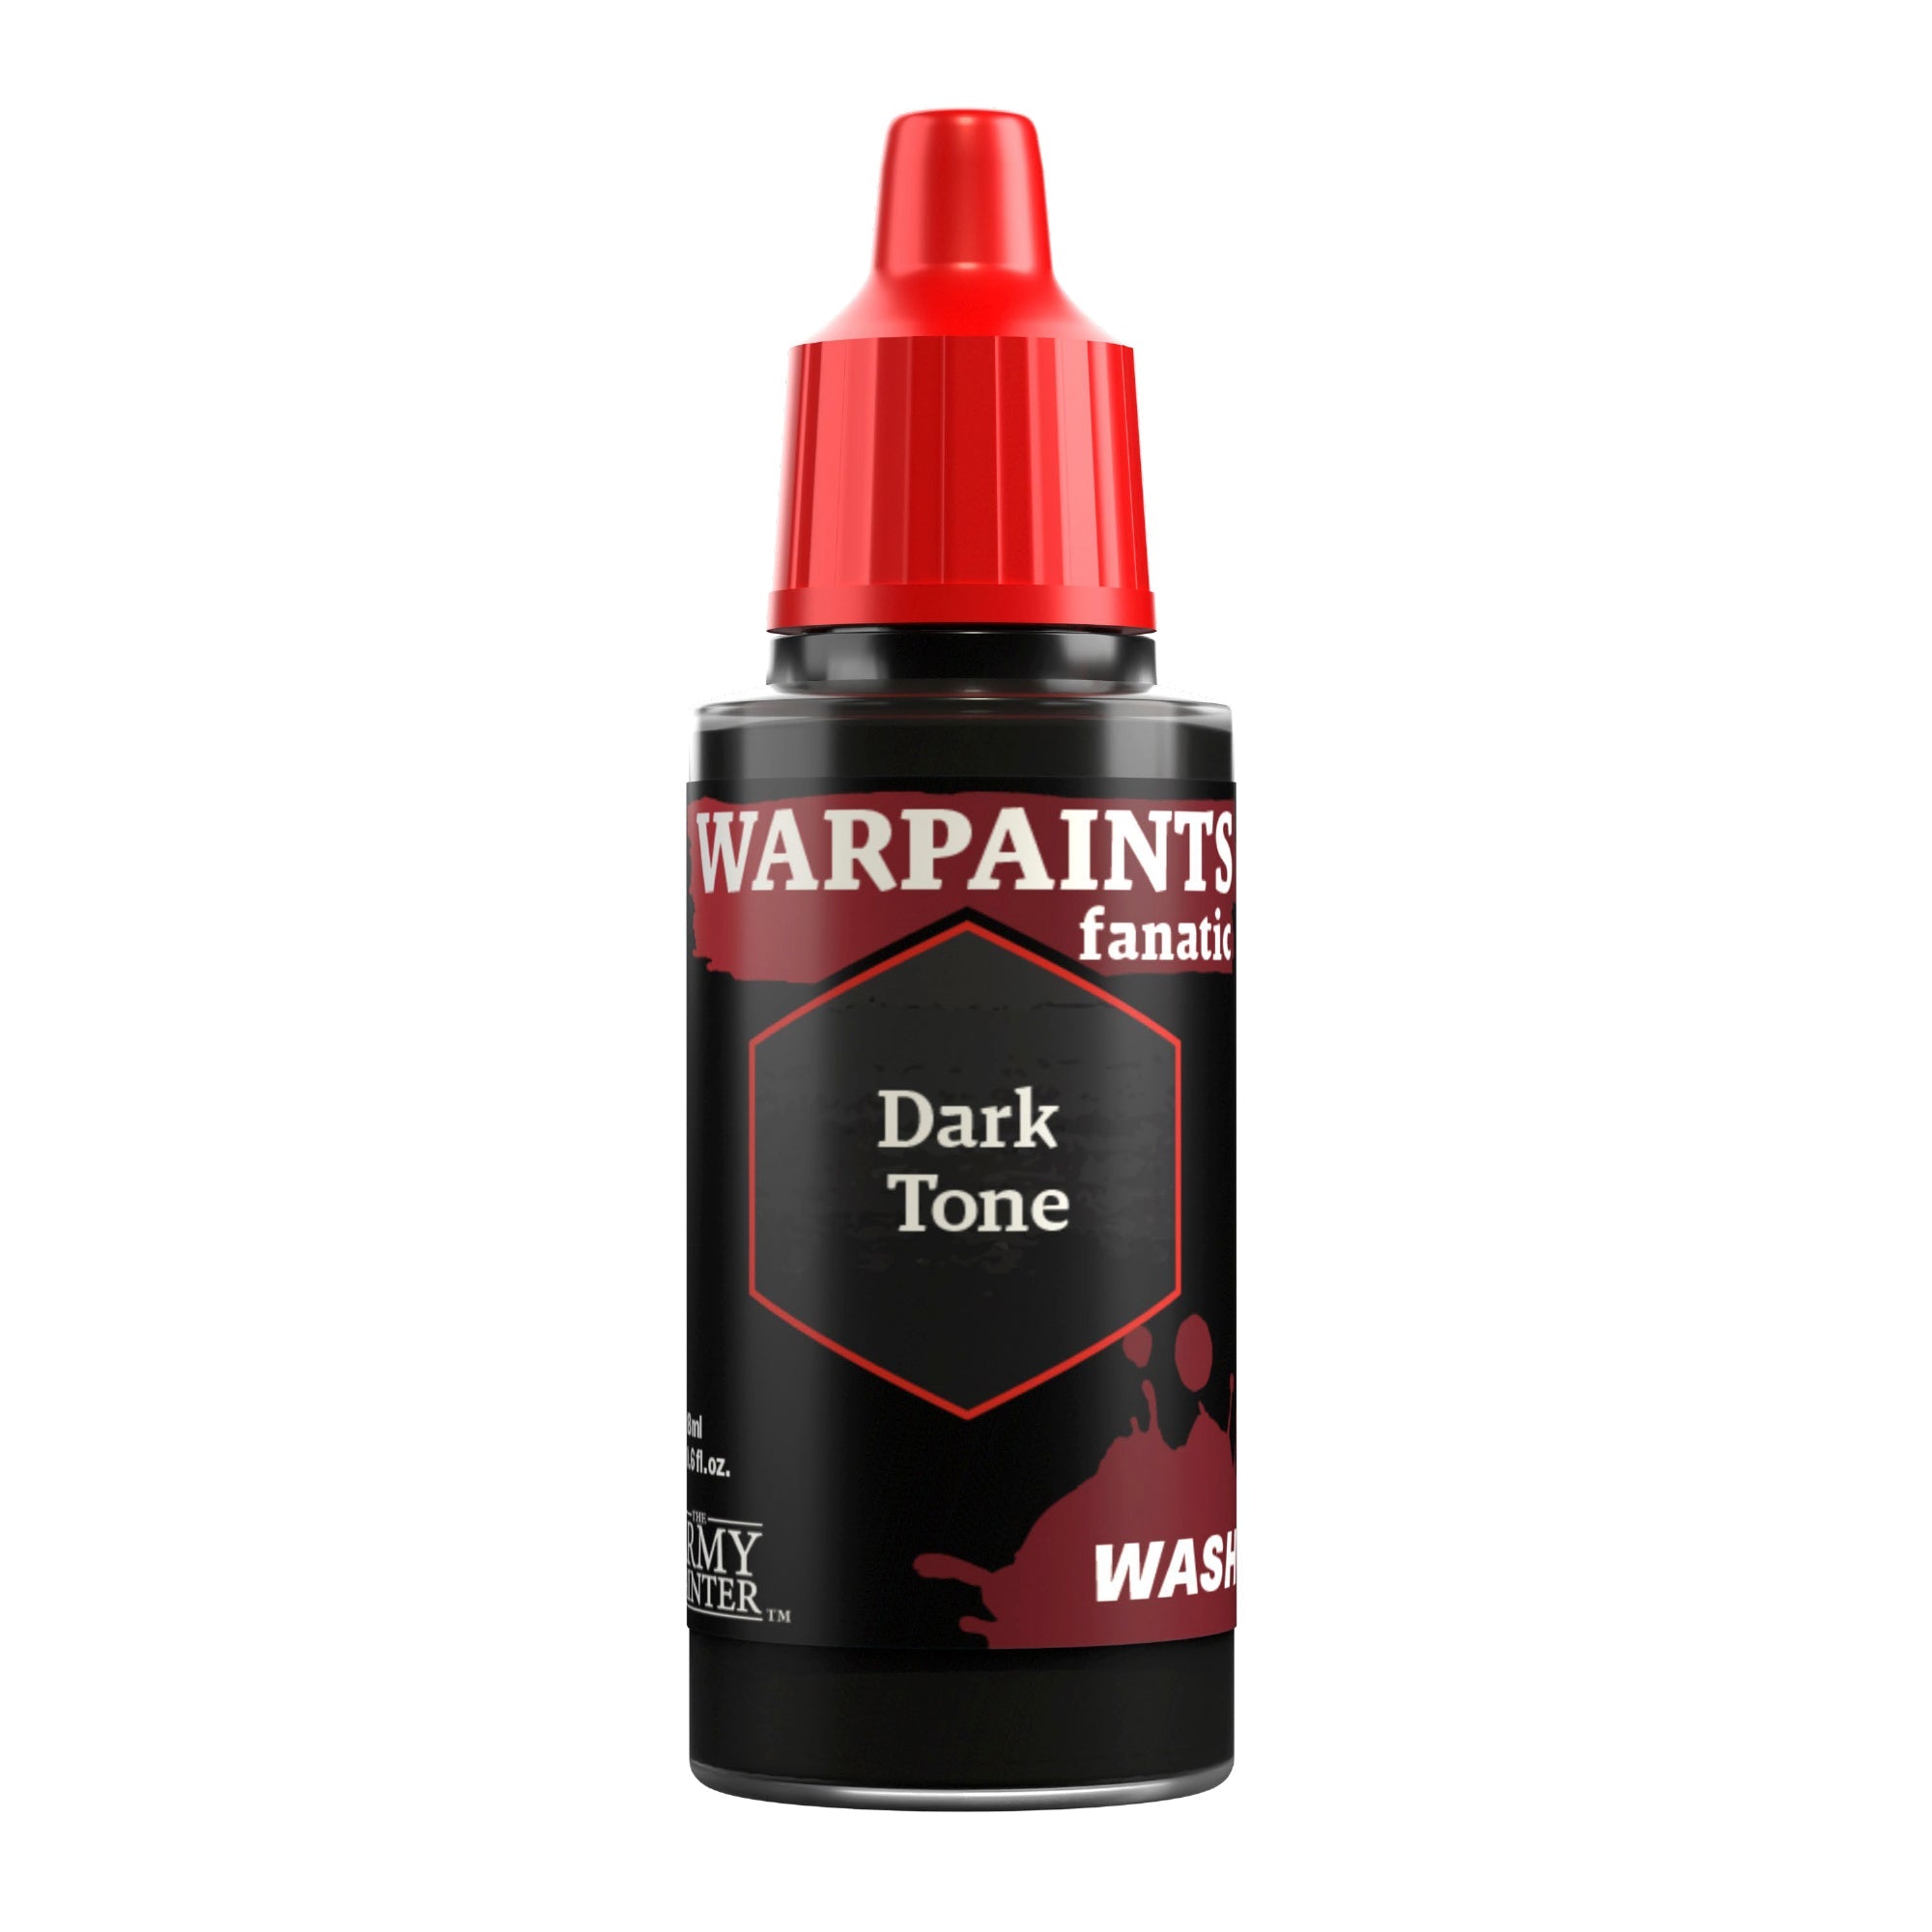
Apply shading to the metal with an all-over application of Warpaints Fanatic Wash Dark Tone.

The Metallics Step 3

Step 3

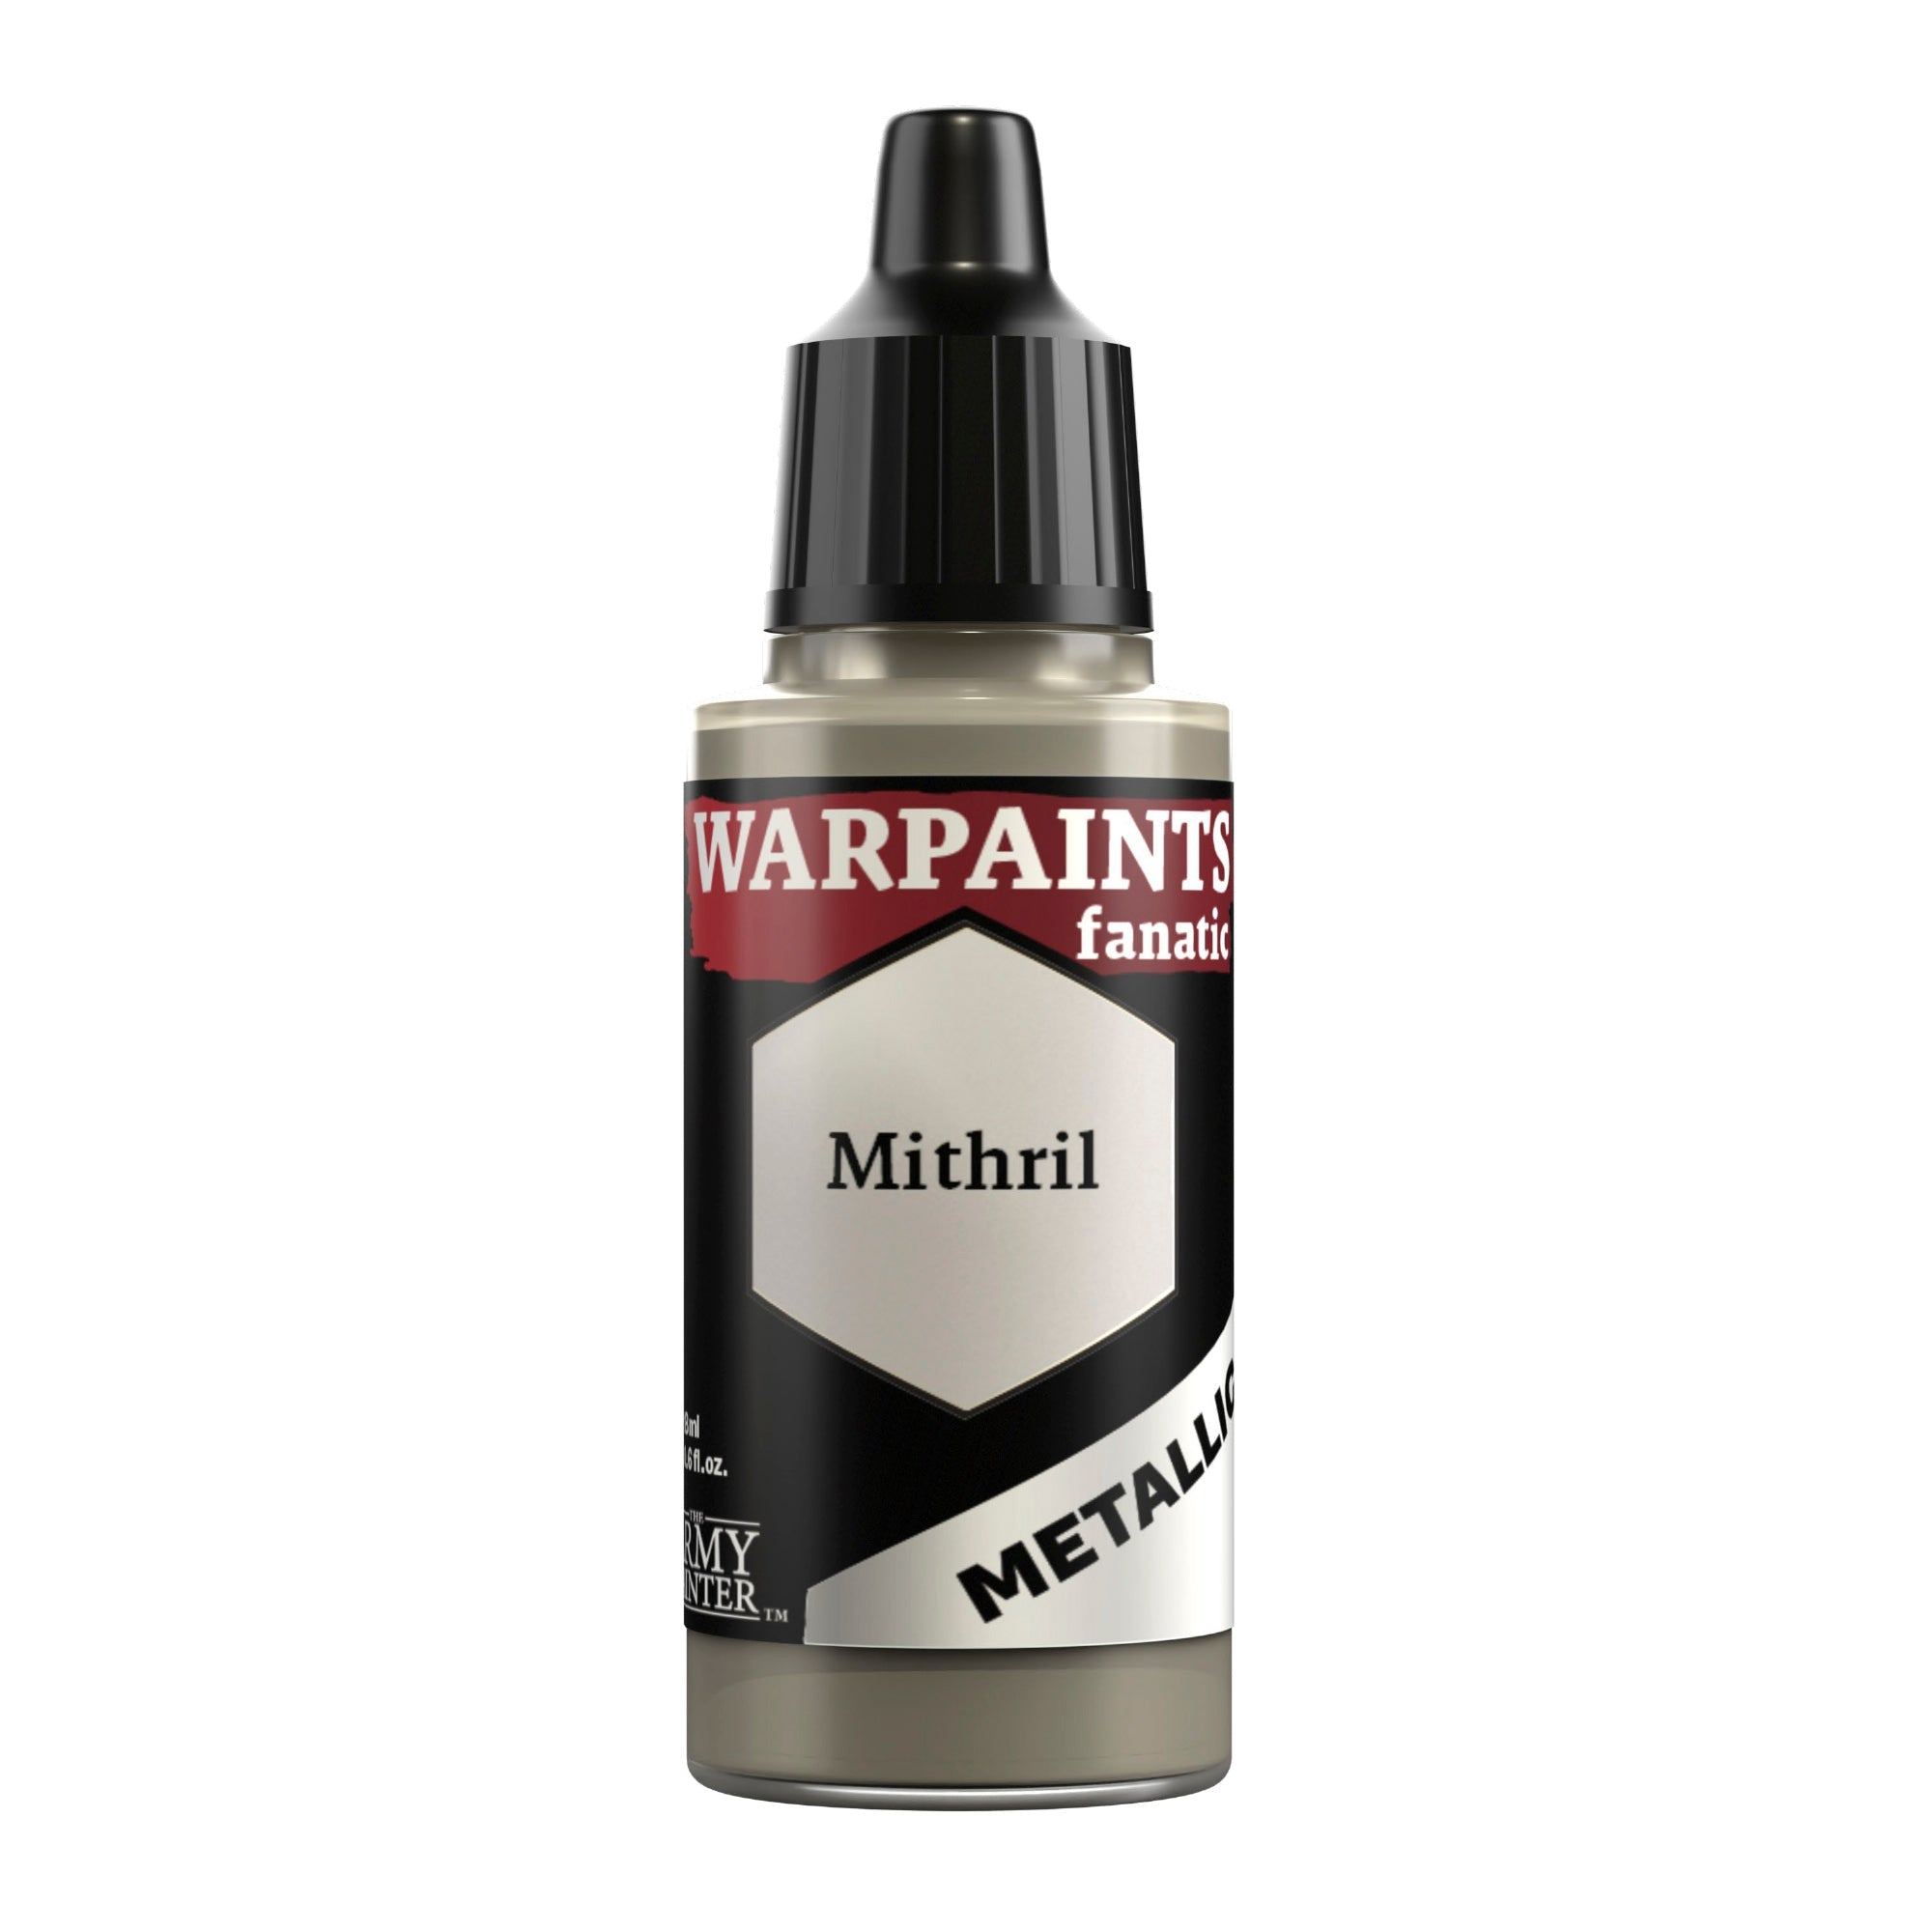
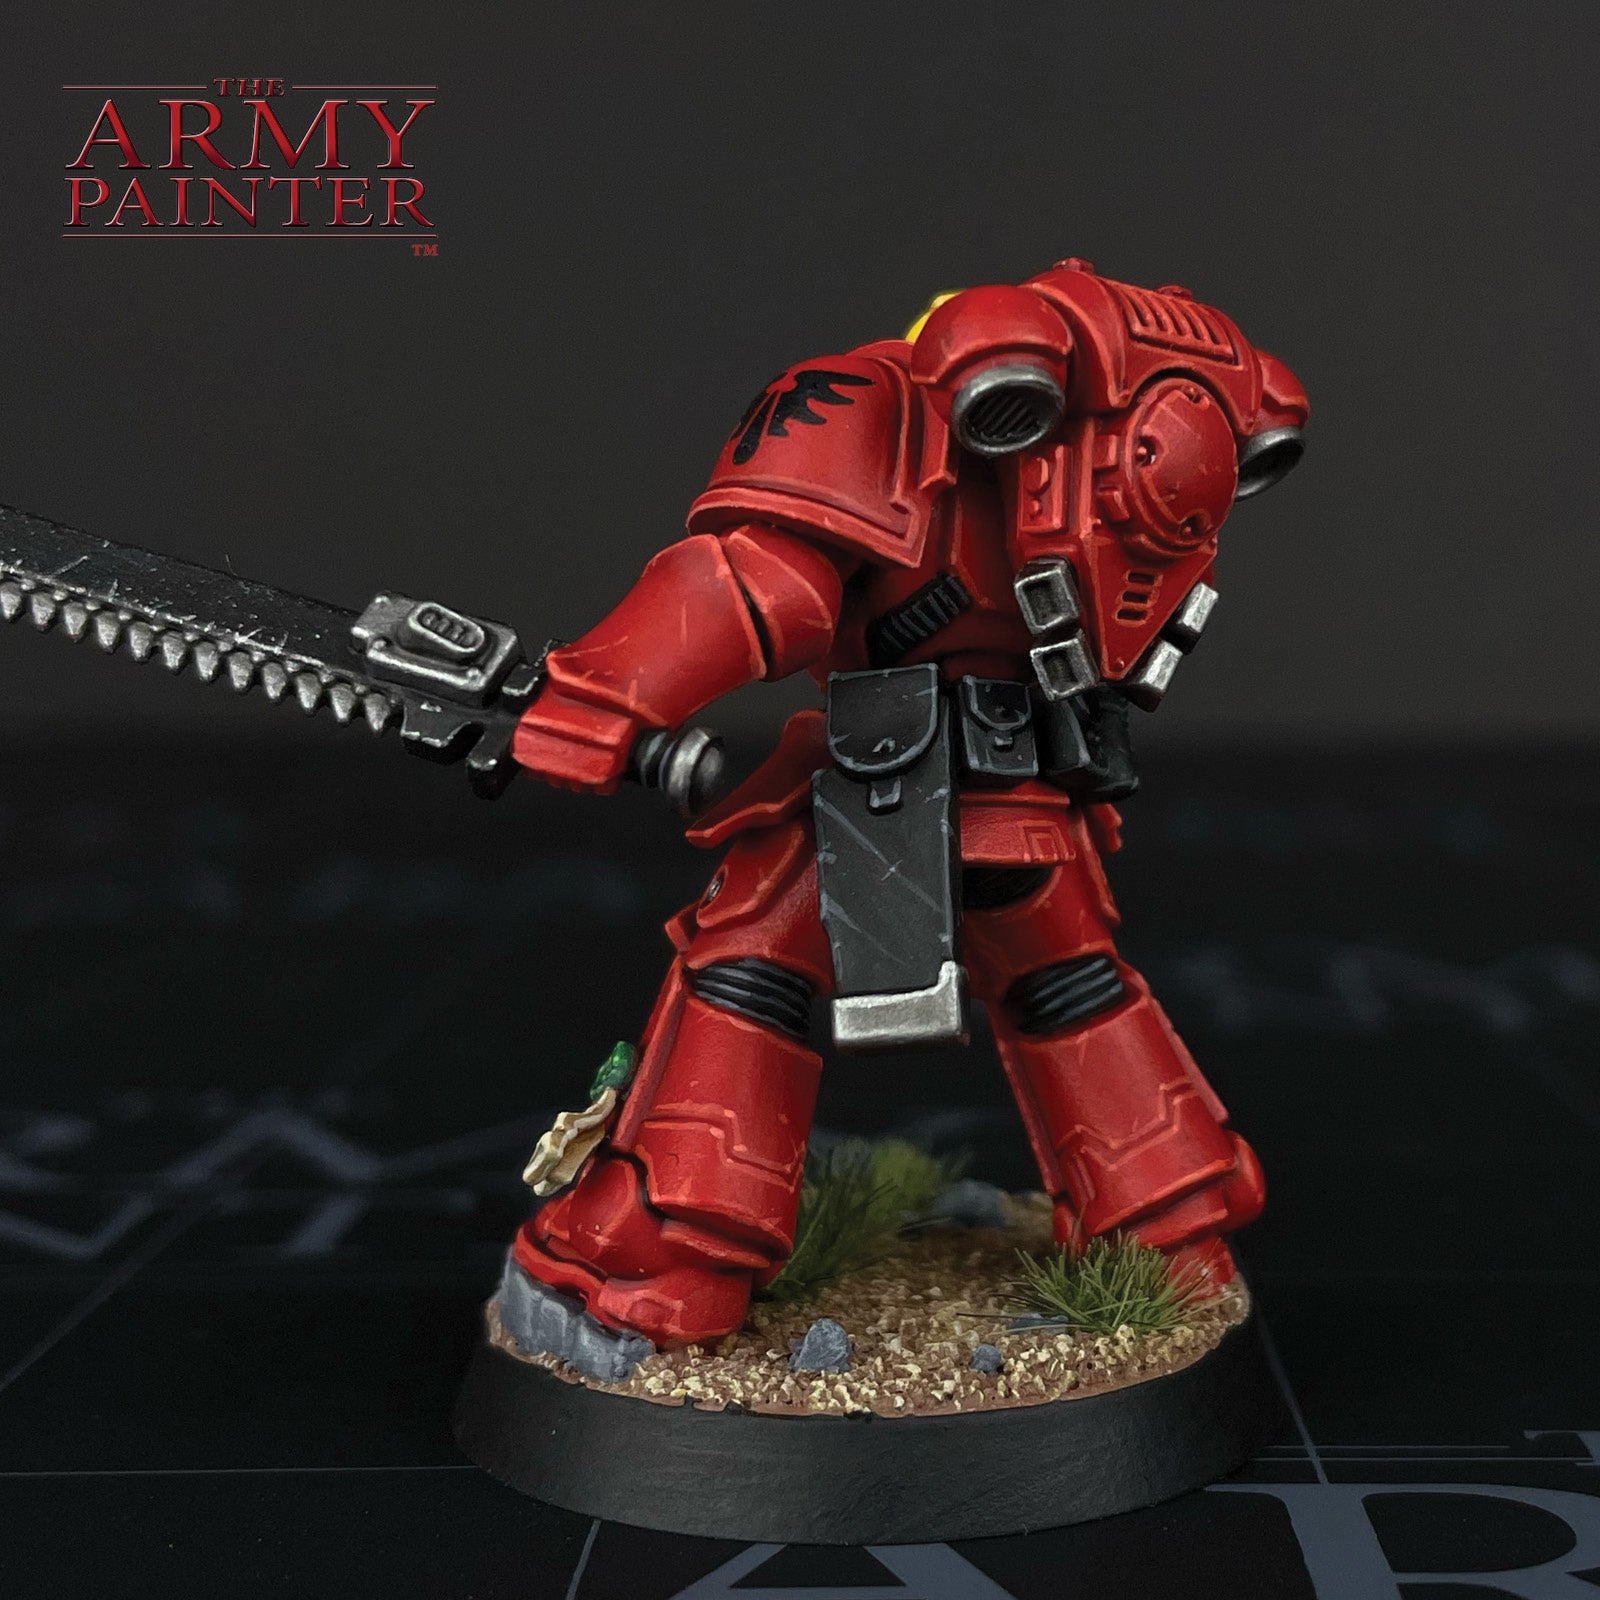
Edge highlight the metal areas with Warpaints Fanatic Mithril. Use this same colour to apply chipping to the weapon casings. Use a bit of sponge for some random chipping and also pick out the edges of the casings sporadically. You can apply some lines on the chainsword to show use as well.

The Metallics Step 4

Step 4

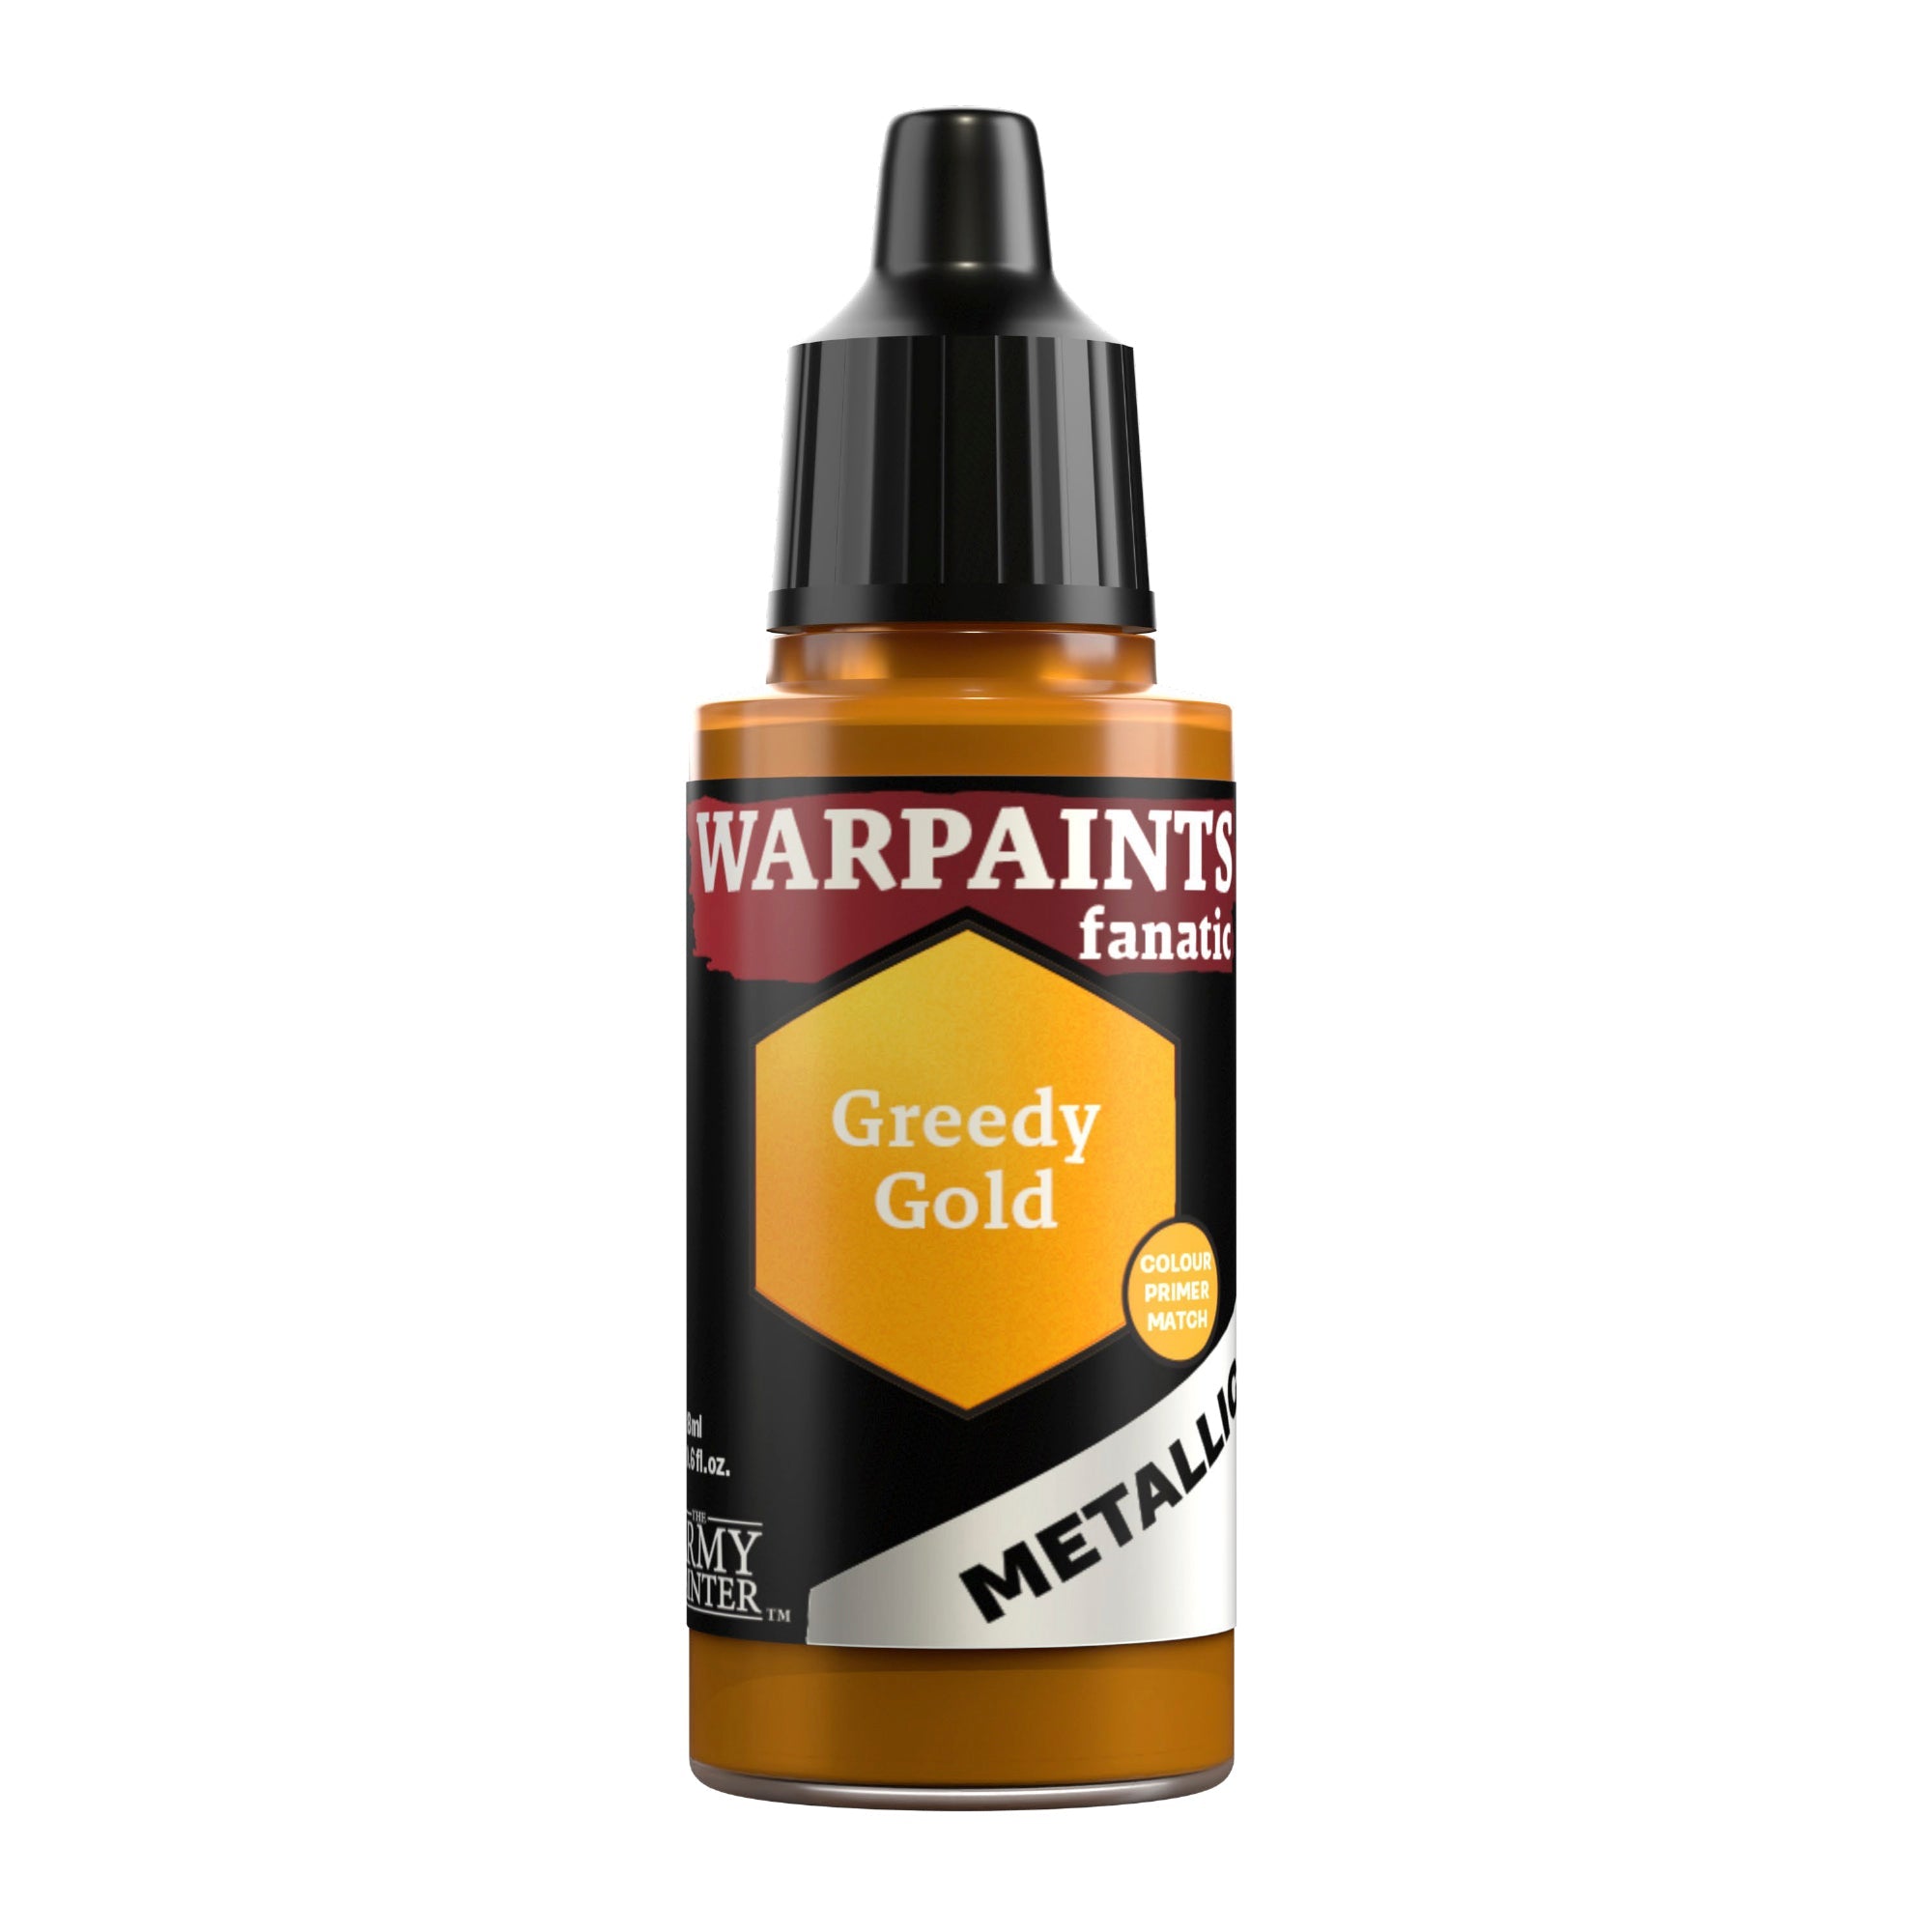
Basecoat the relic on his belt with Warpaints Fanatic Greedy Gold.

The Metallics Step 5

Step 5

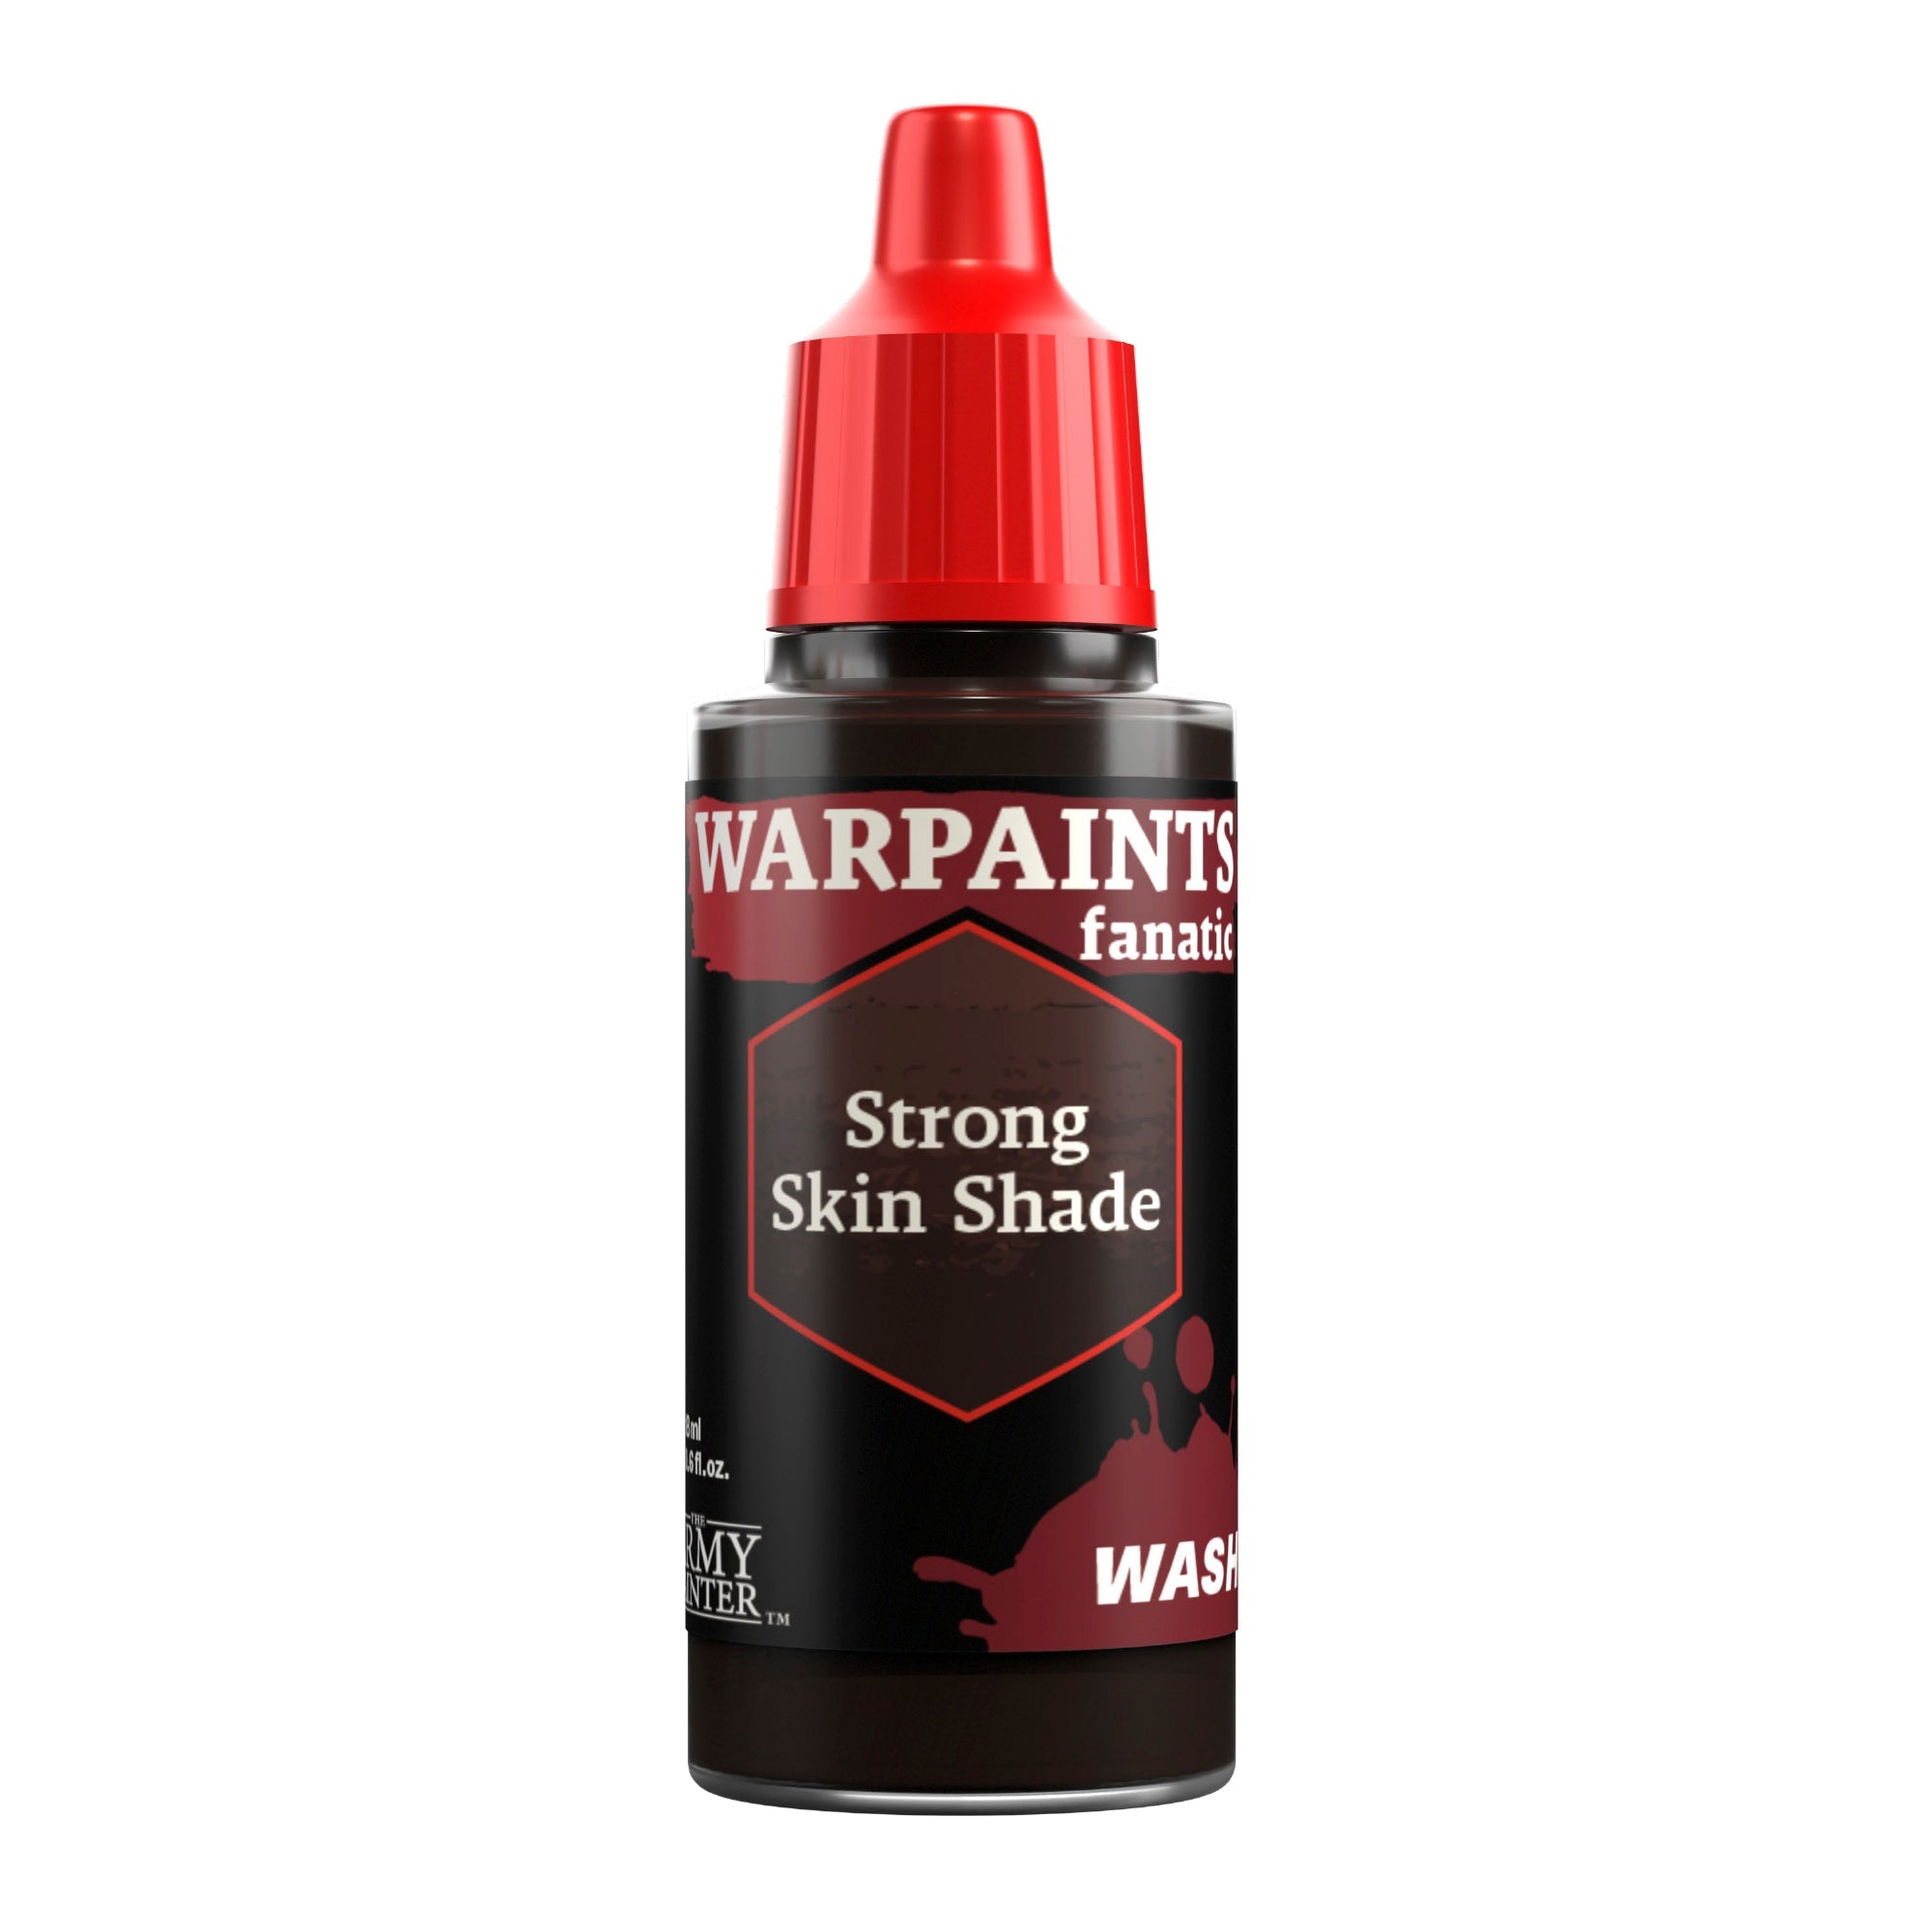
Next, shade this with Warpaints Fanatic Wash Strong Skin Shade.

The Metallics Step 6

Step 6

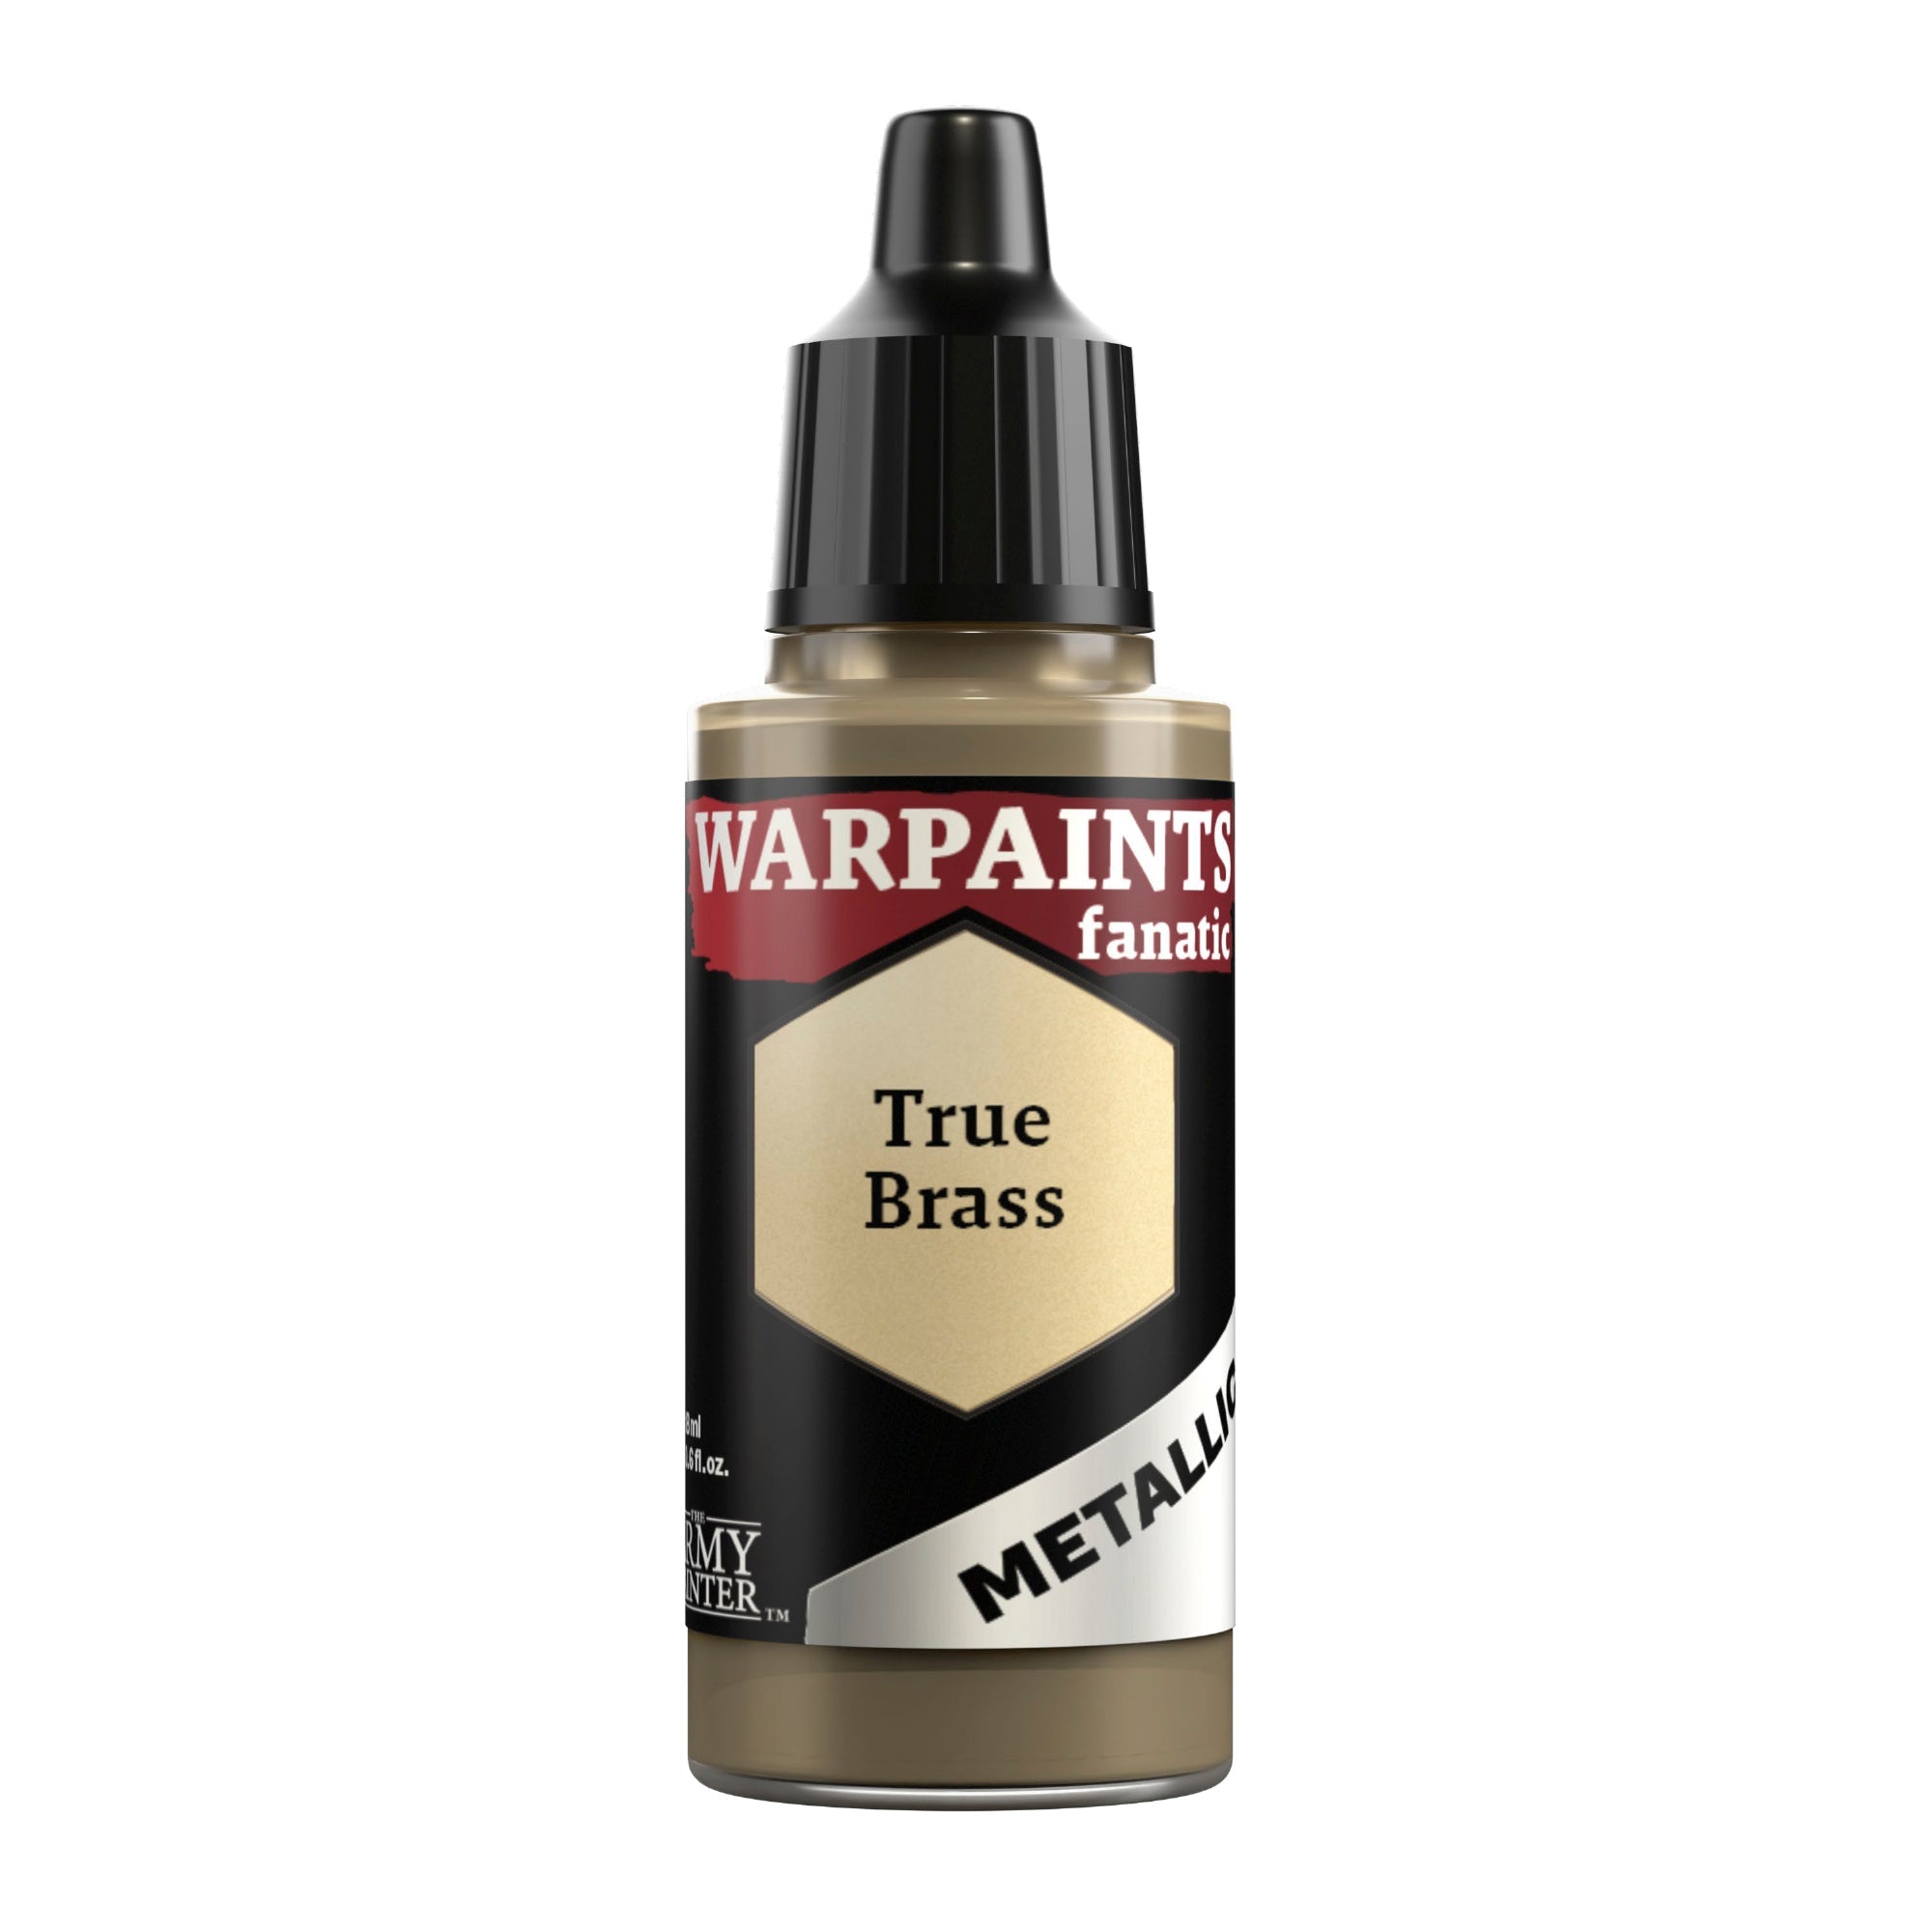
Finally, edge highlight the gold with Warpaints Fanatic True Brass.

Banner

The Green and Parchment

The Green and Parchment Step 1

Step 1

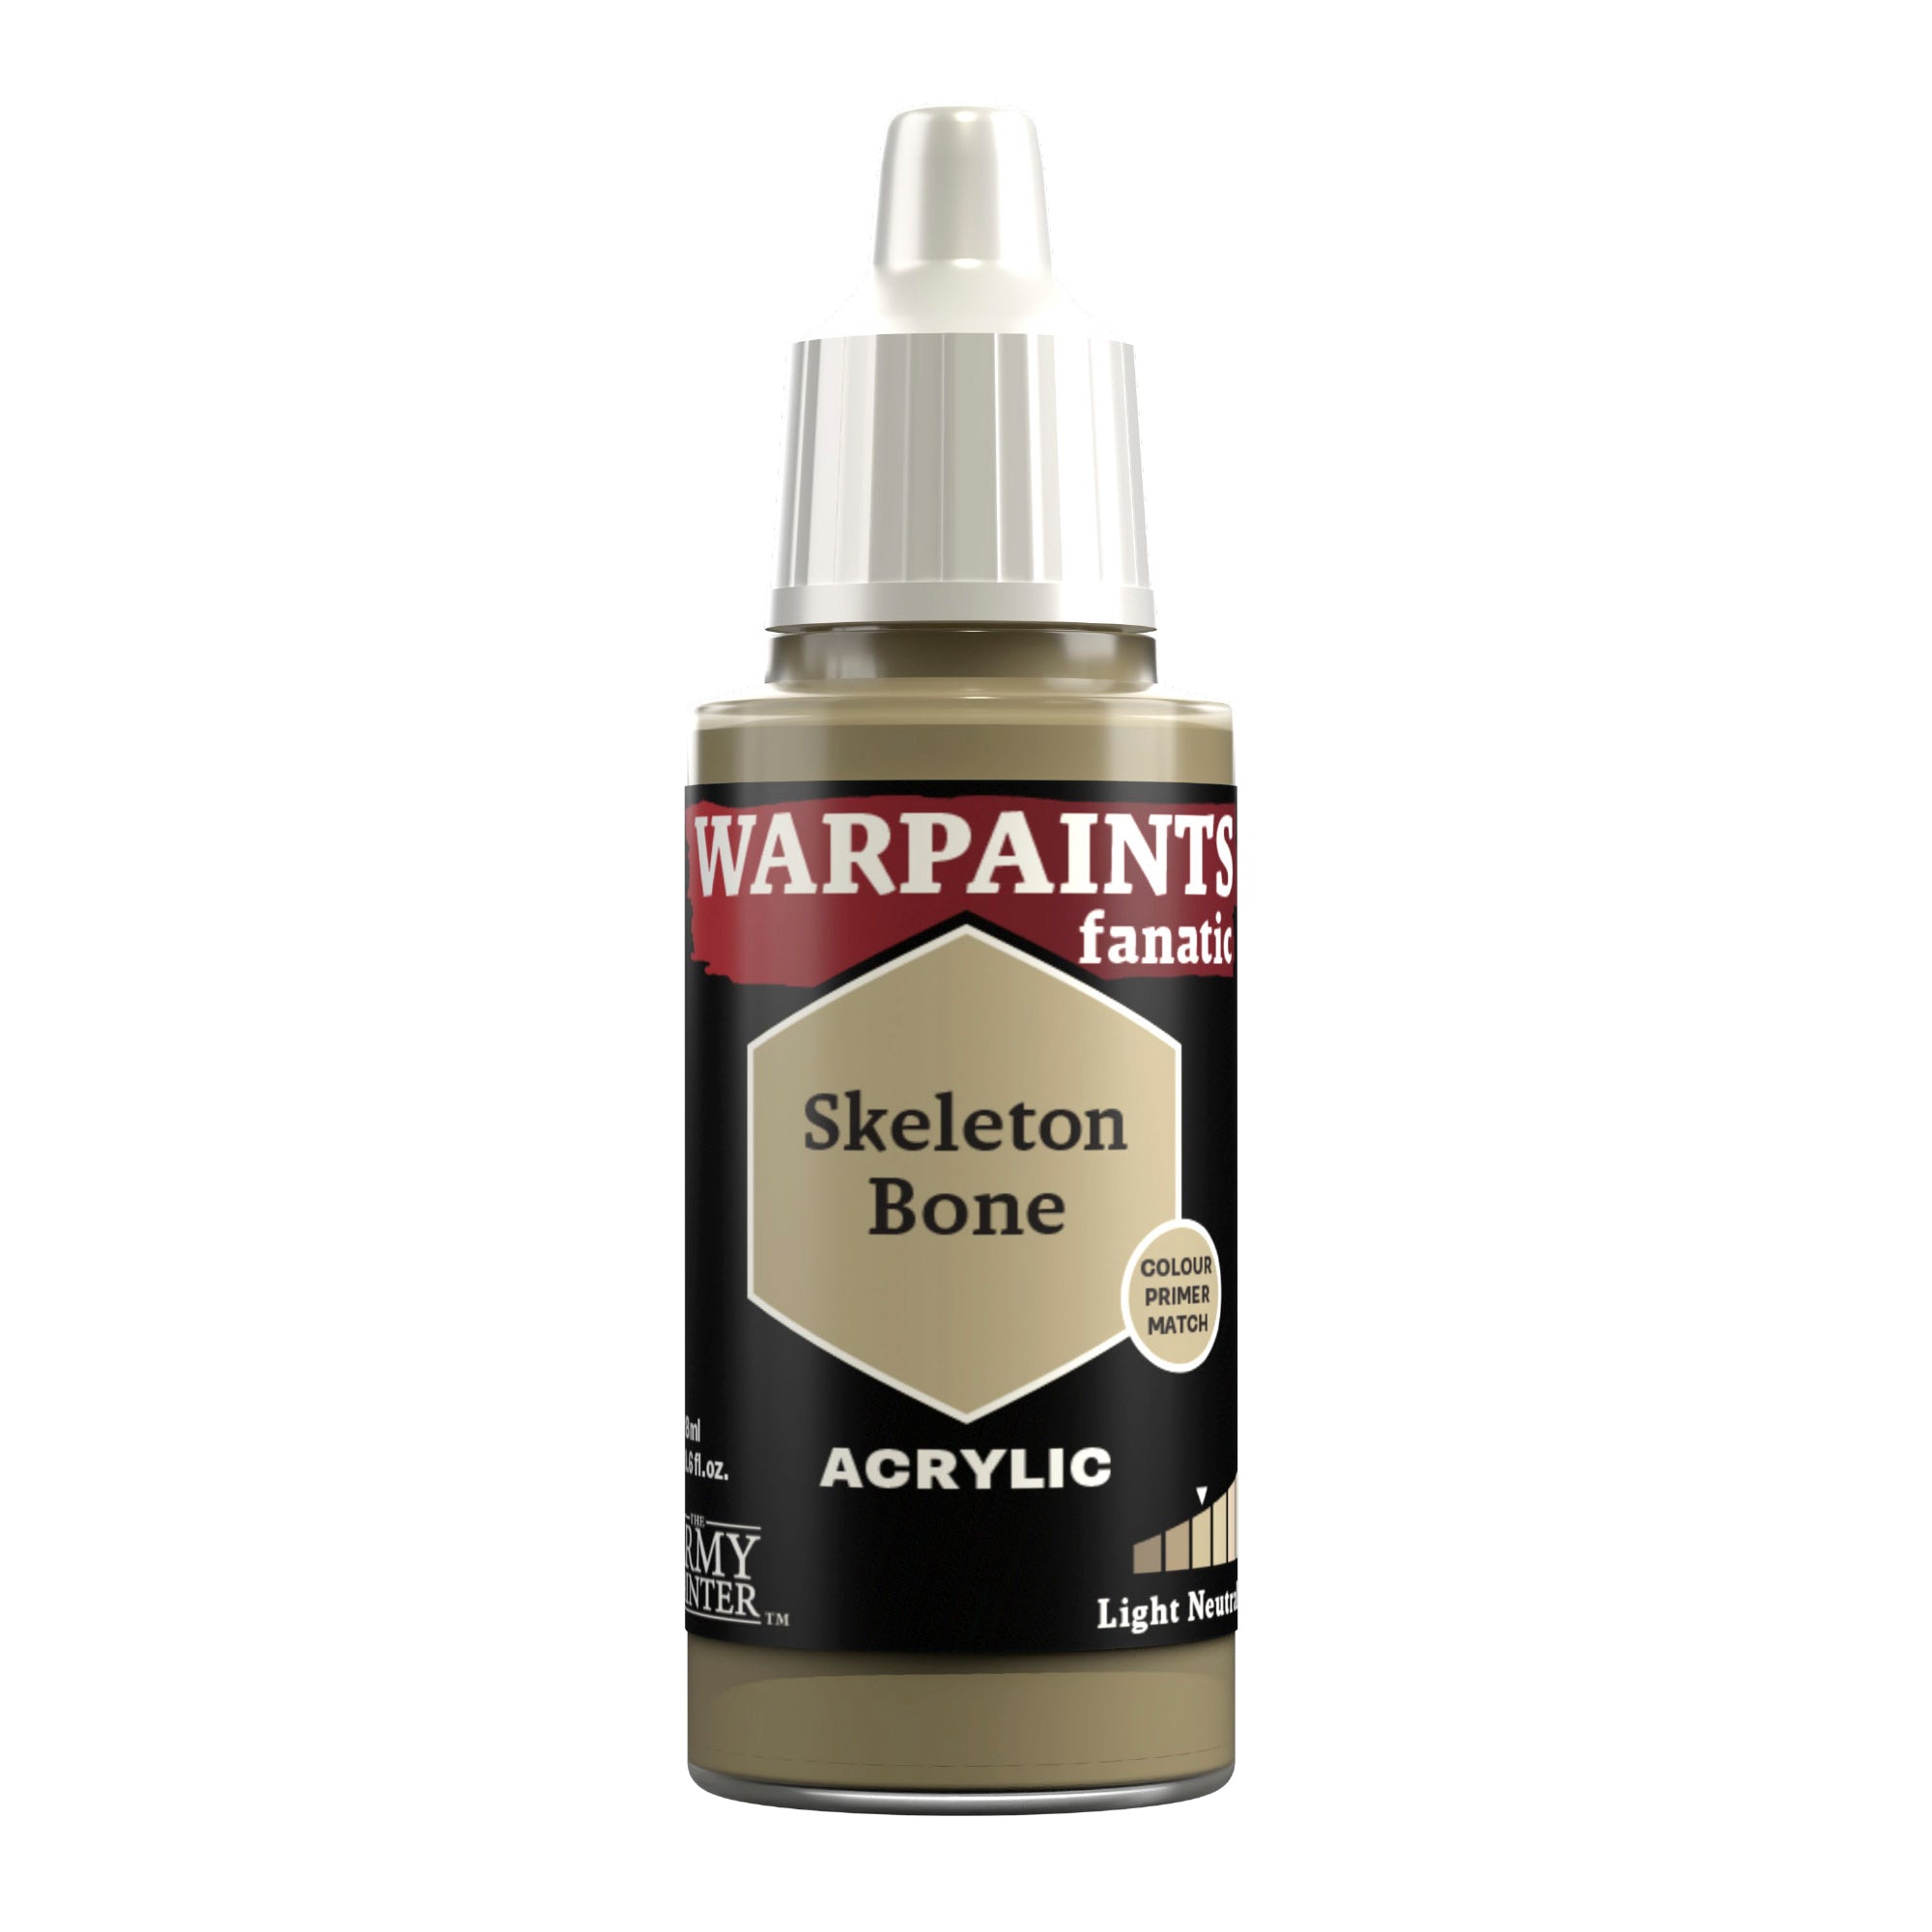
The last areas to paint are the purity seal and the eyes. Basecoat the parchment on the purity seal with Warpaints Fanatic Skeleton Bone.

The Green and Parchment Step 2

Step 2

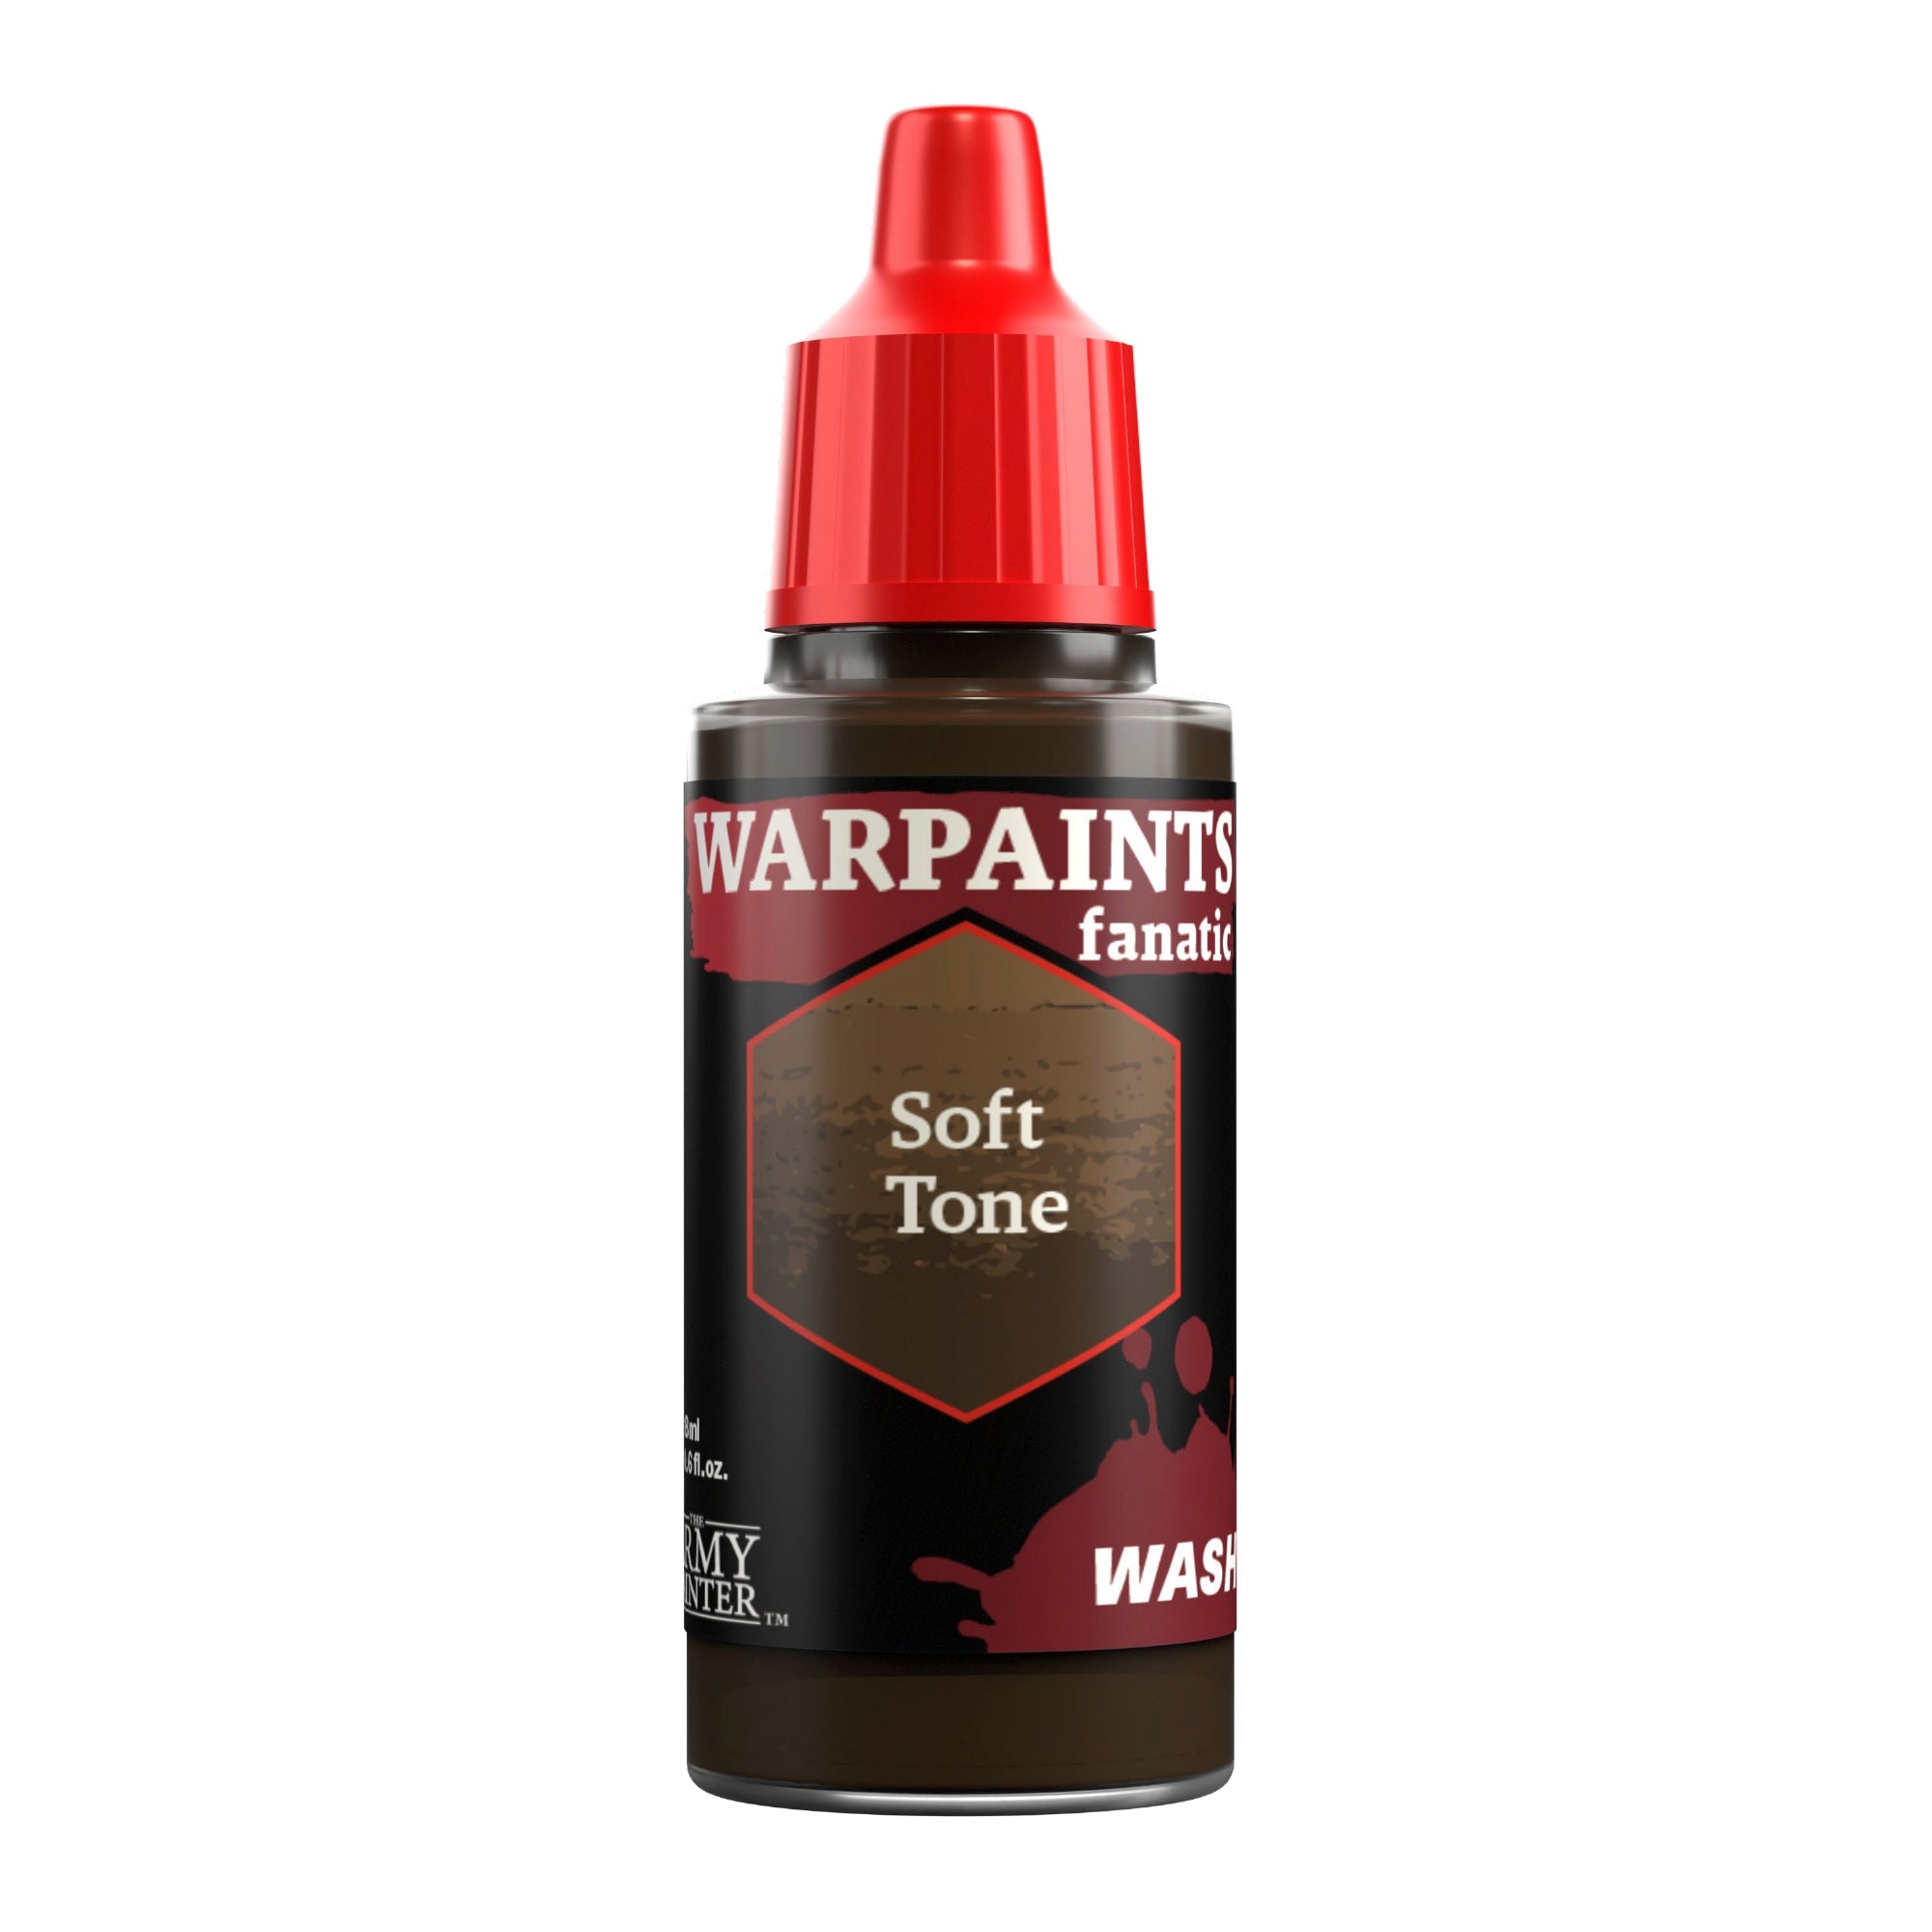
Next, shade this with Warpaints Fanatic Wash Soft Tone.

The Green and Parchment Step 3

Step 3

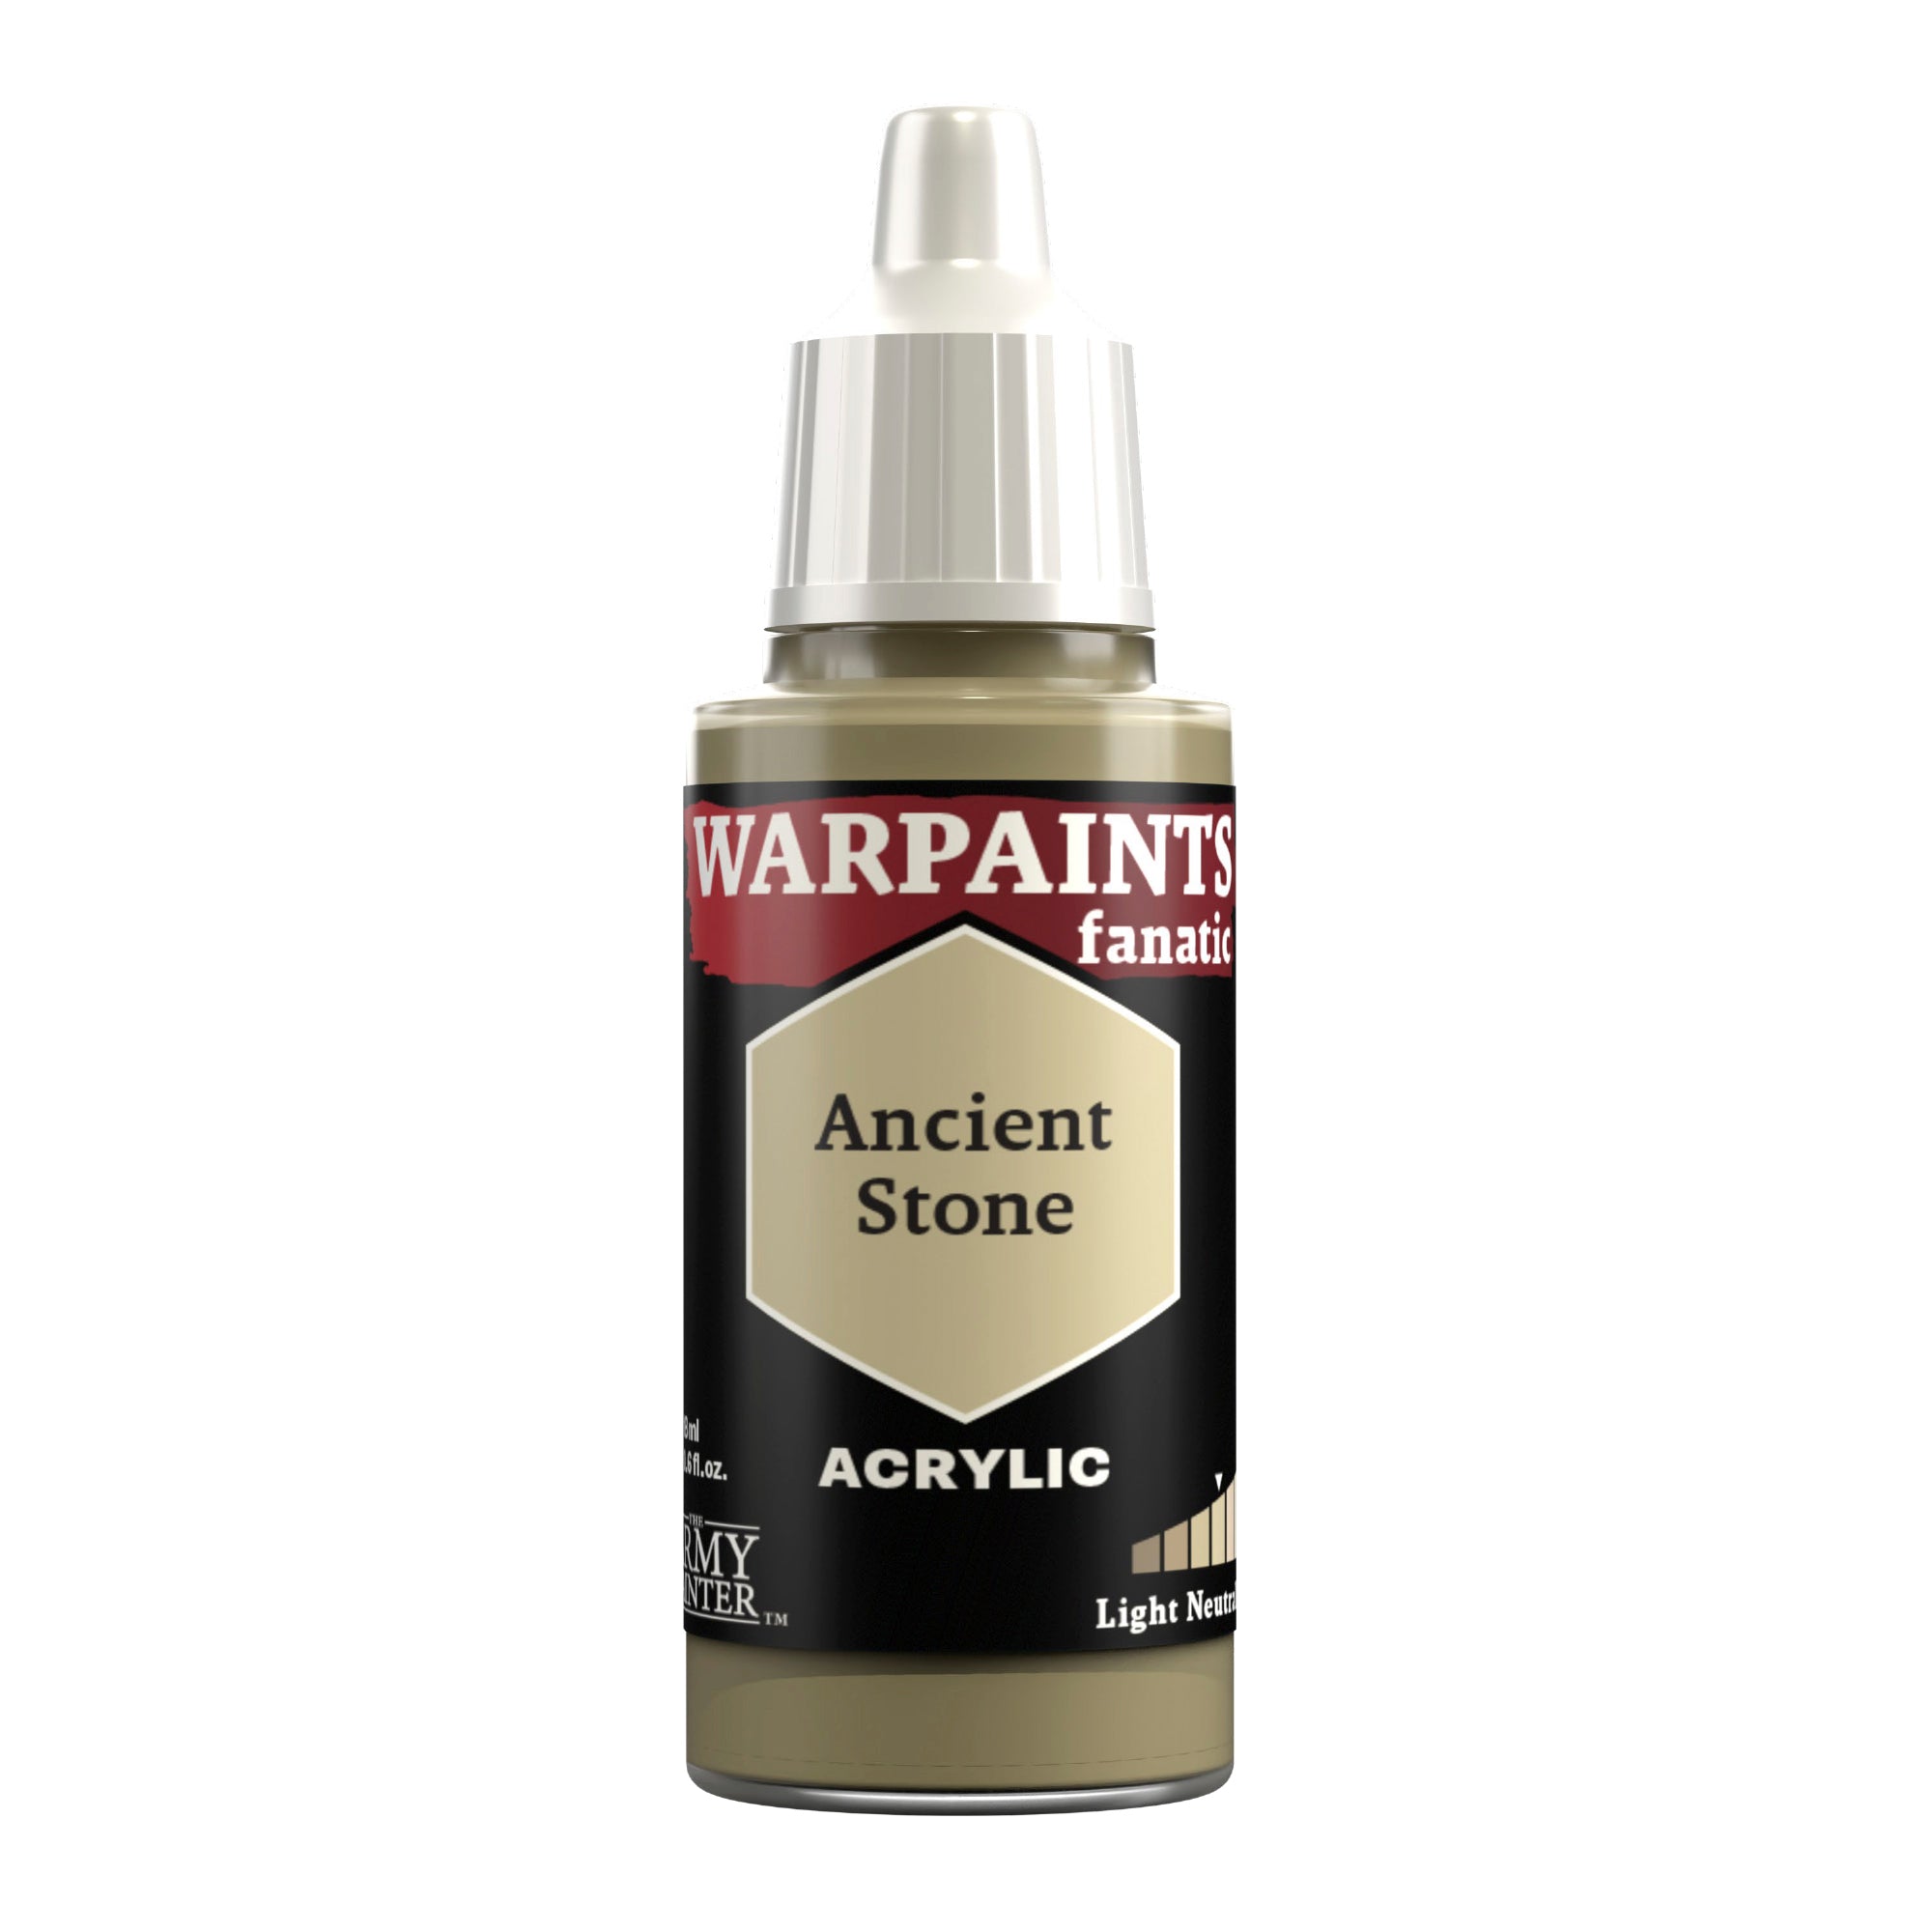
This is then highlighted with Warpaints Fanatic Ancient Stone, focusing on the edges and any creases.

The Green and Parchment Step 4

Step 4

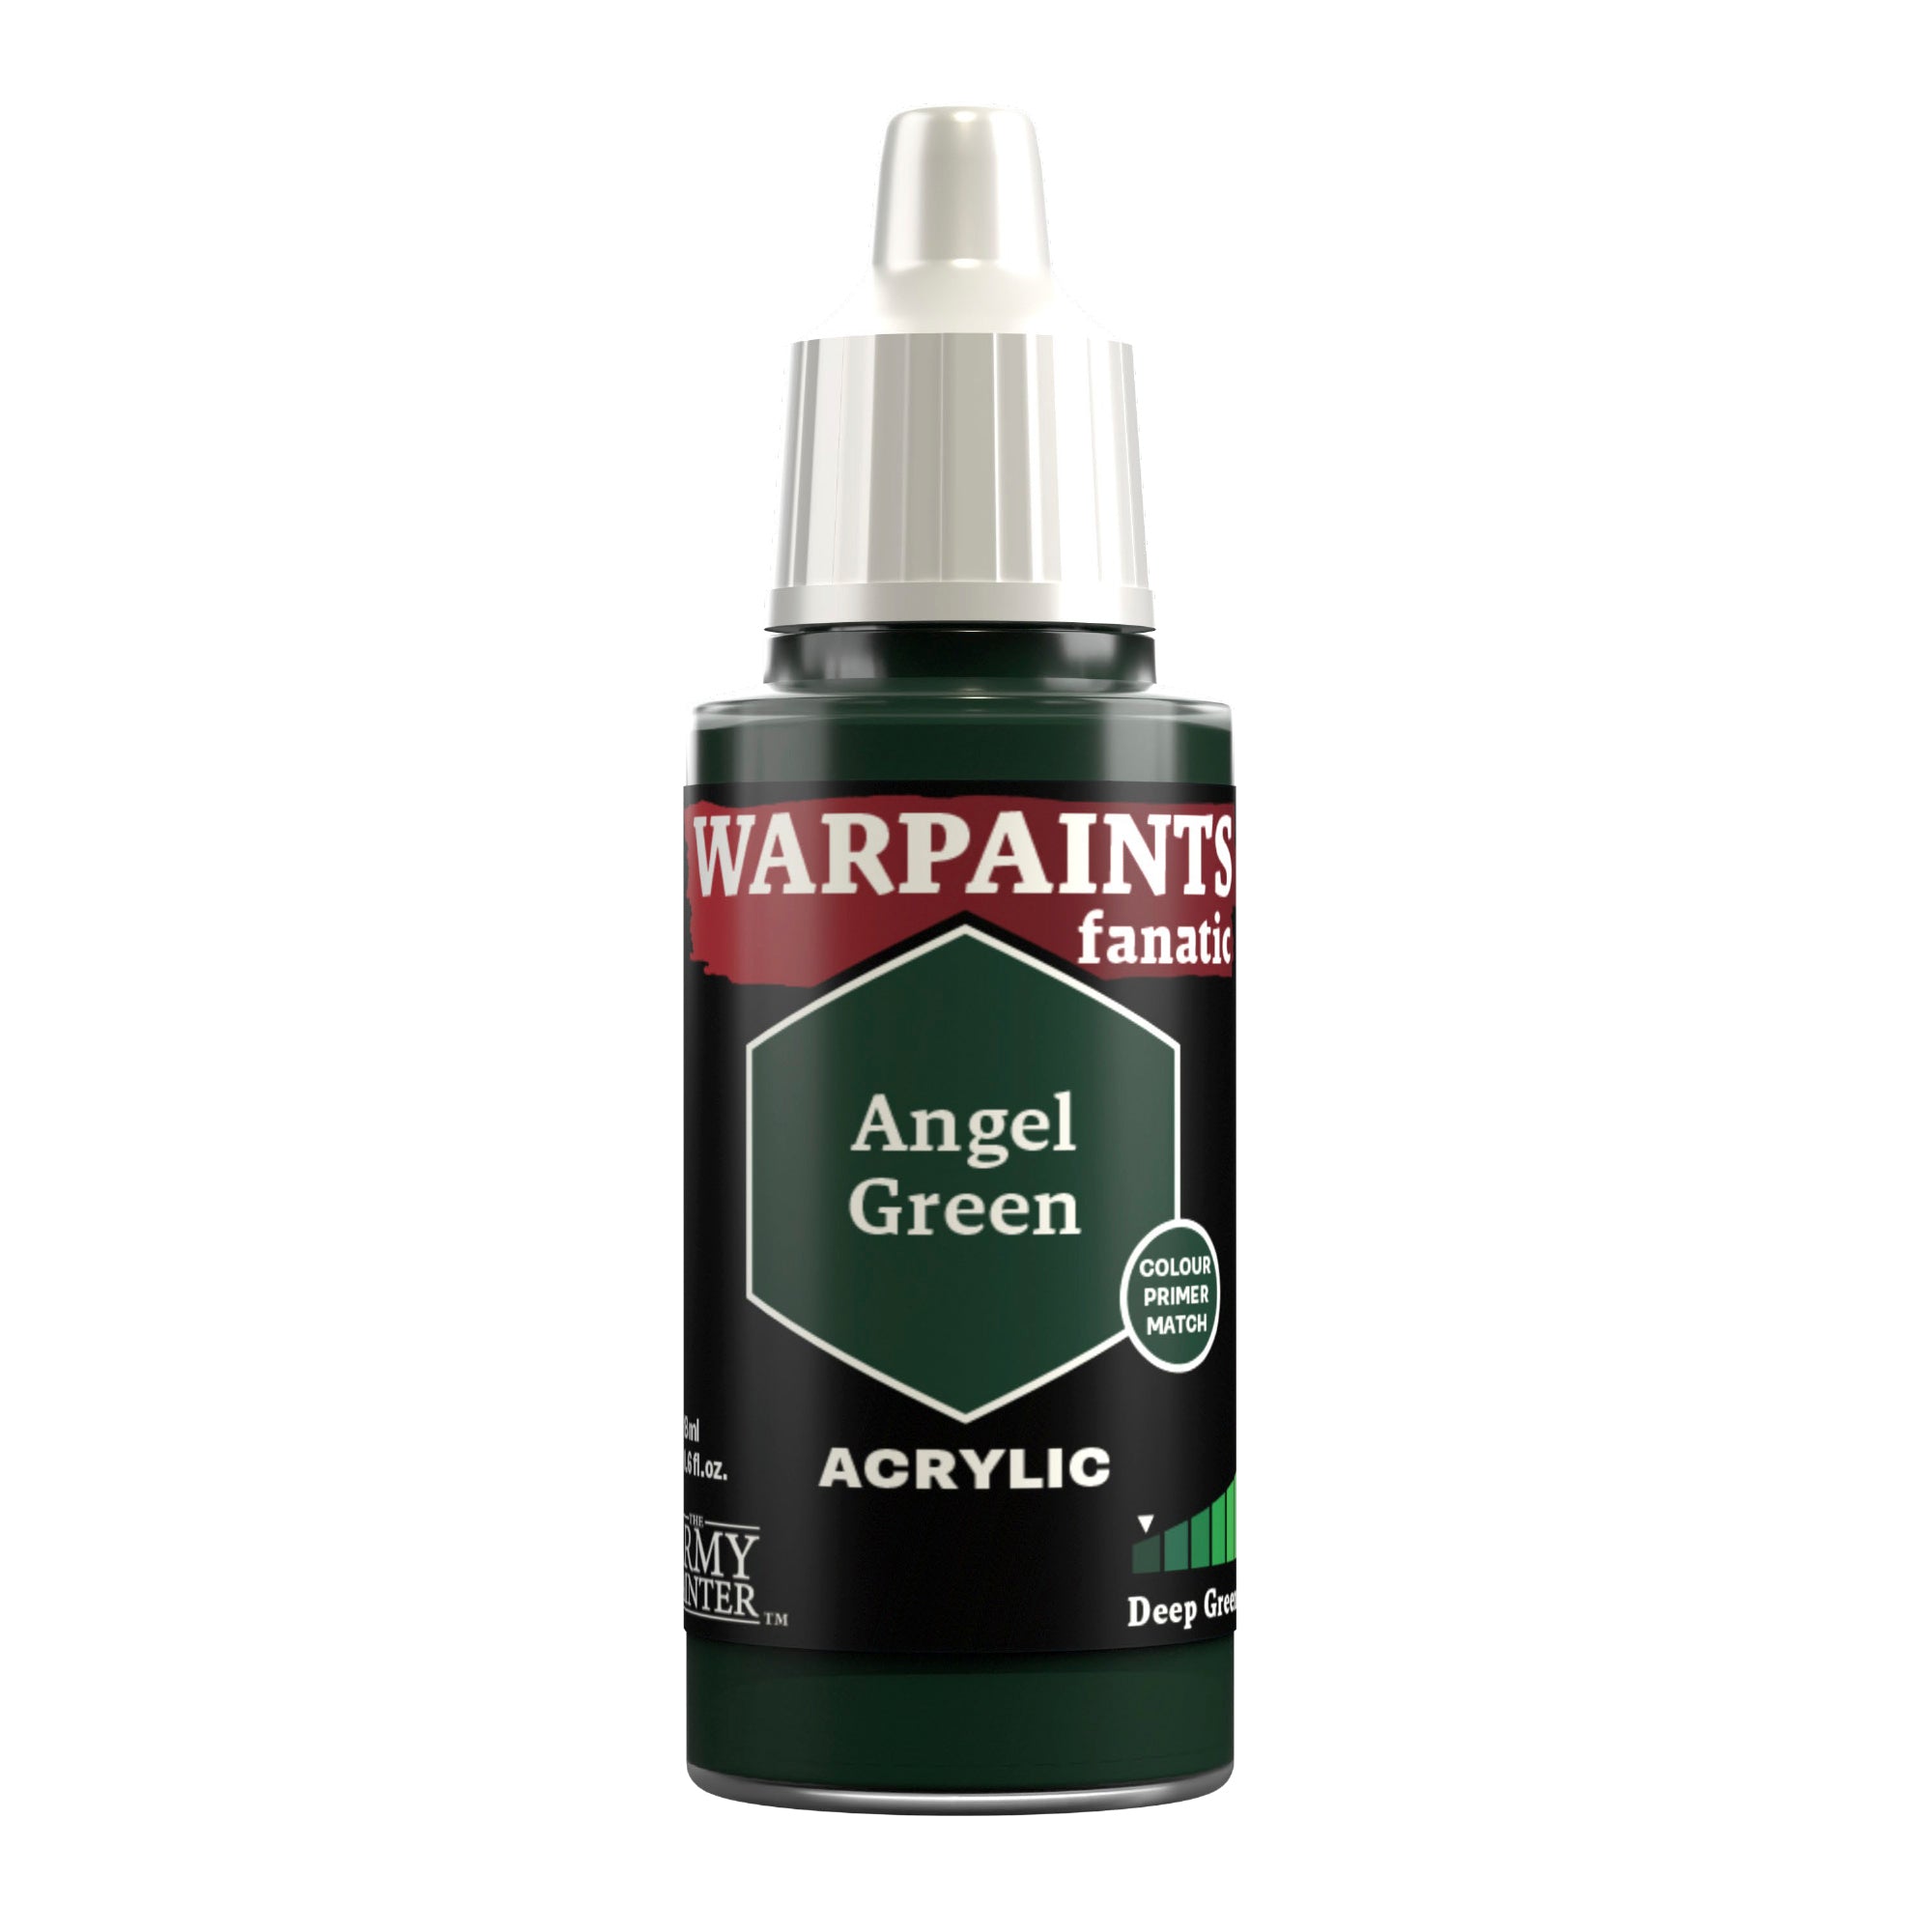
Then basecoat the wax on the purity seal with Warpaints Fanatic Angel Green. This colour is also used to paint the front two-thirds of the eye lenses.

The Green and Parchment Step 5

Step 5

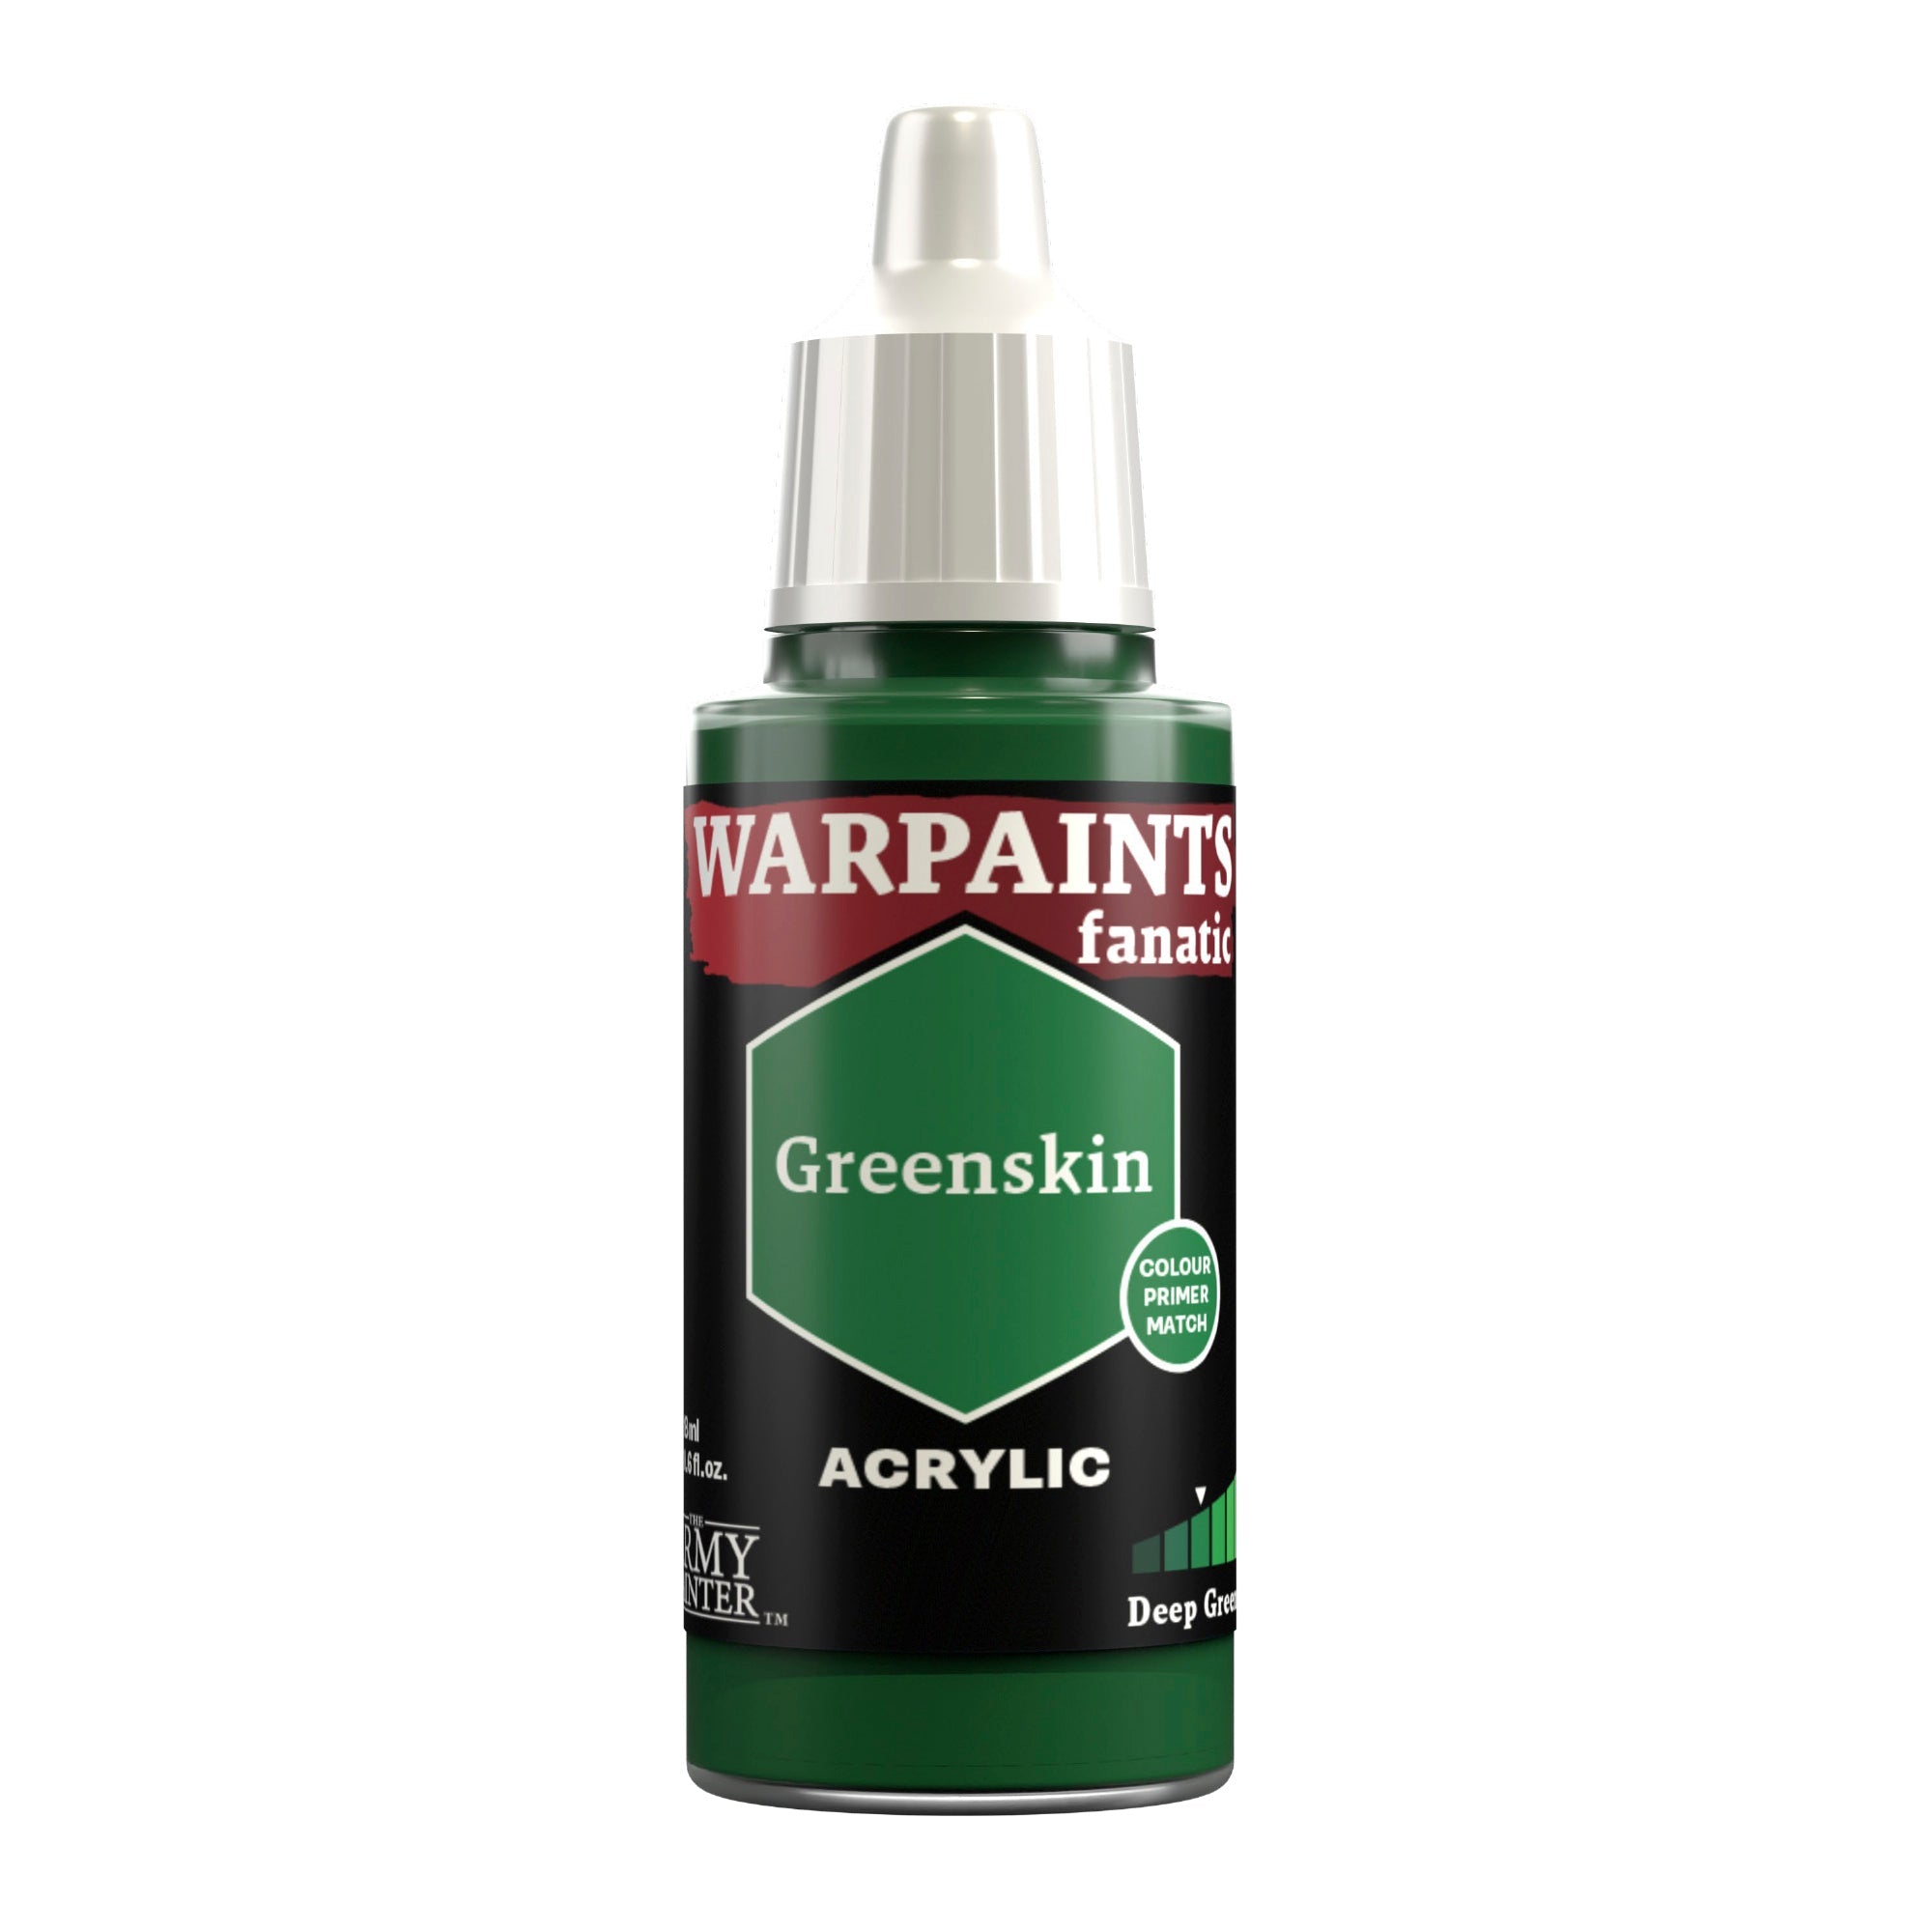
Highlight the wax with Warpaints Fanatic Greenskin and apply it to the front one-third of the eye lenses.

The Green and Parchment Step 6

Step 6

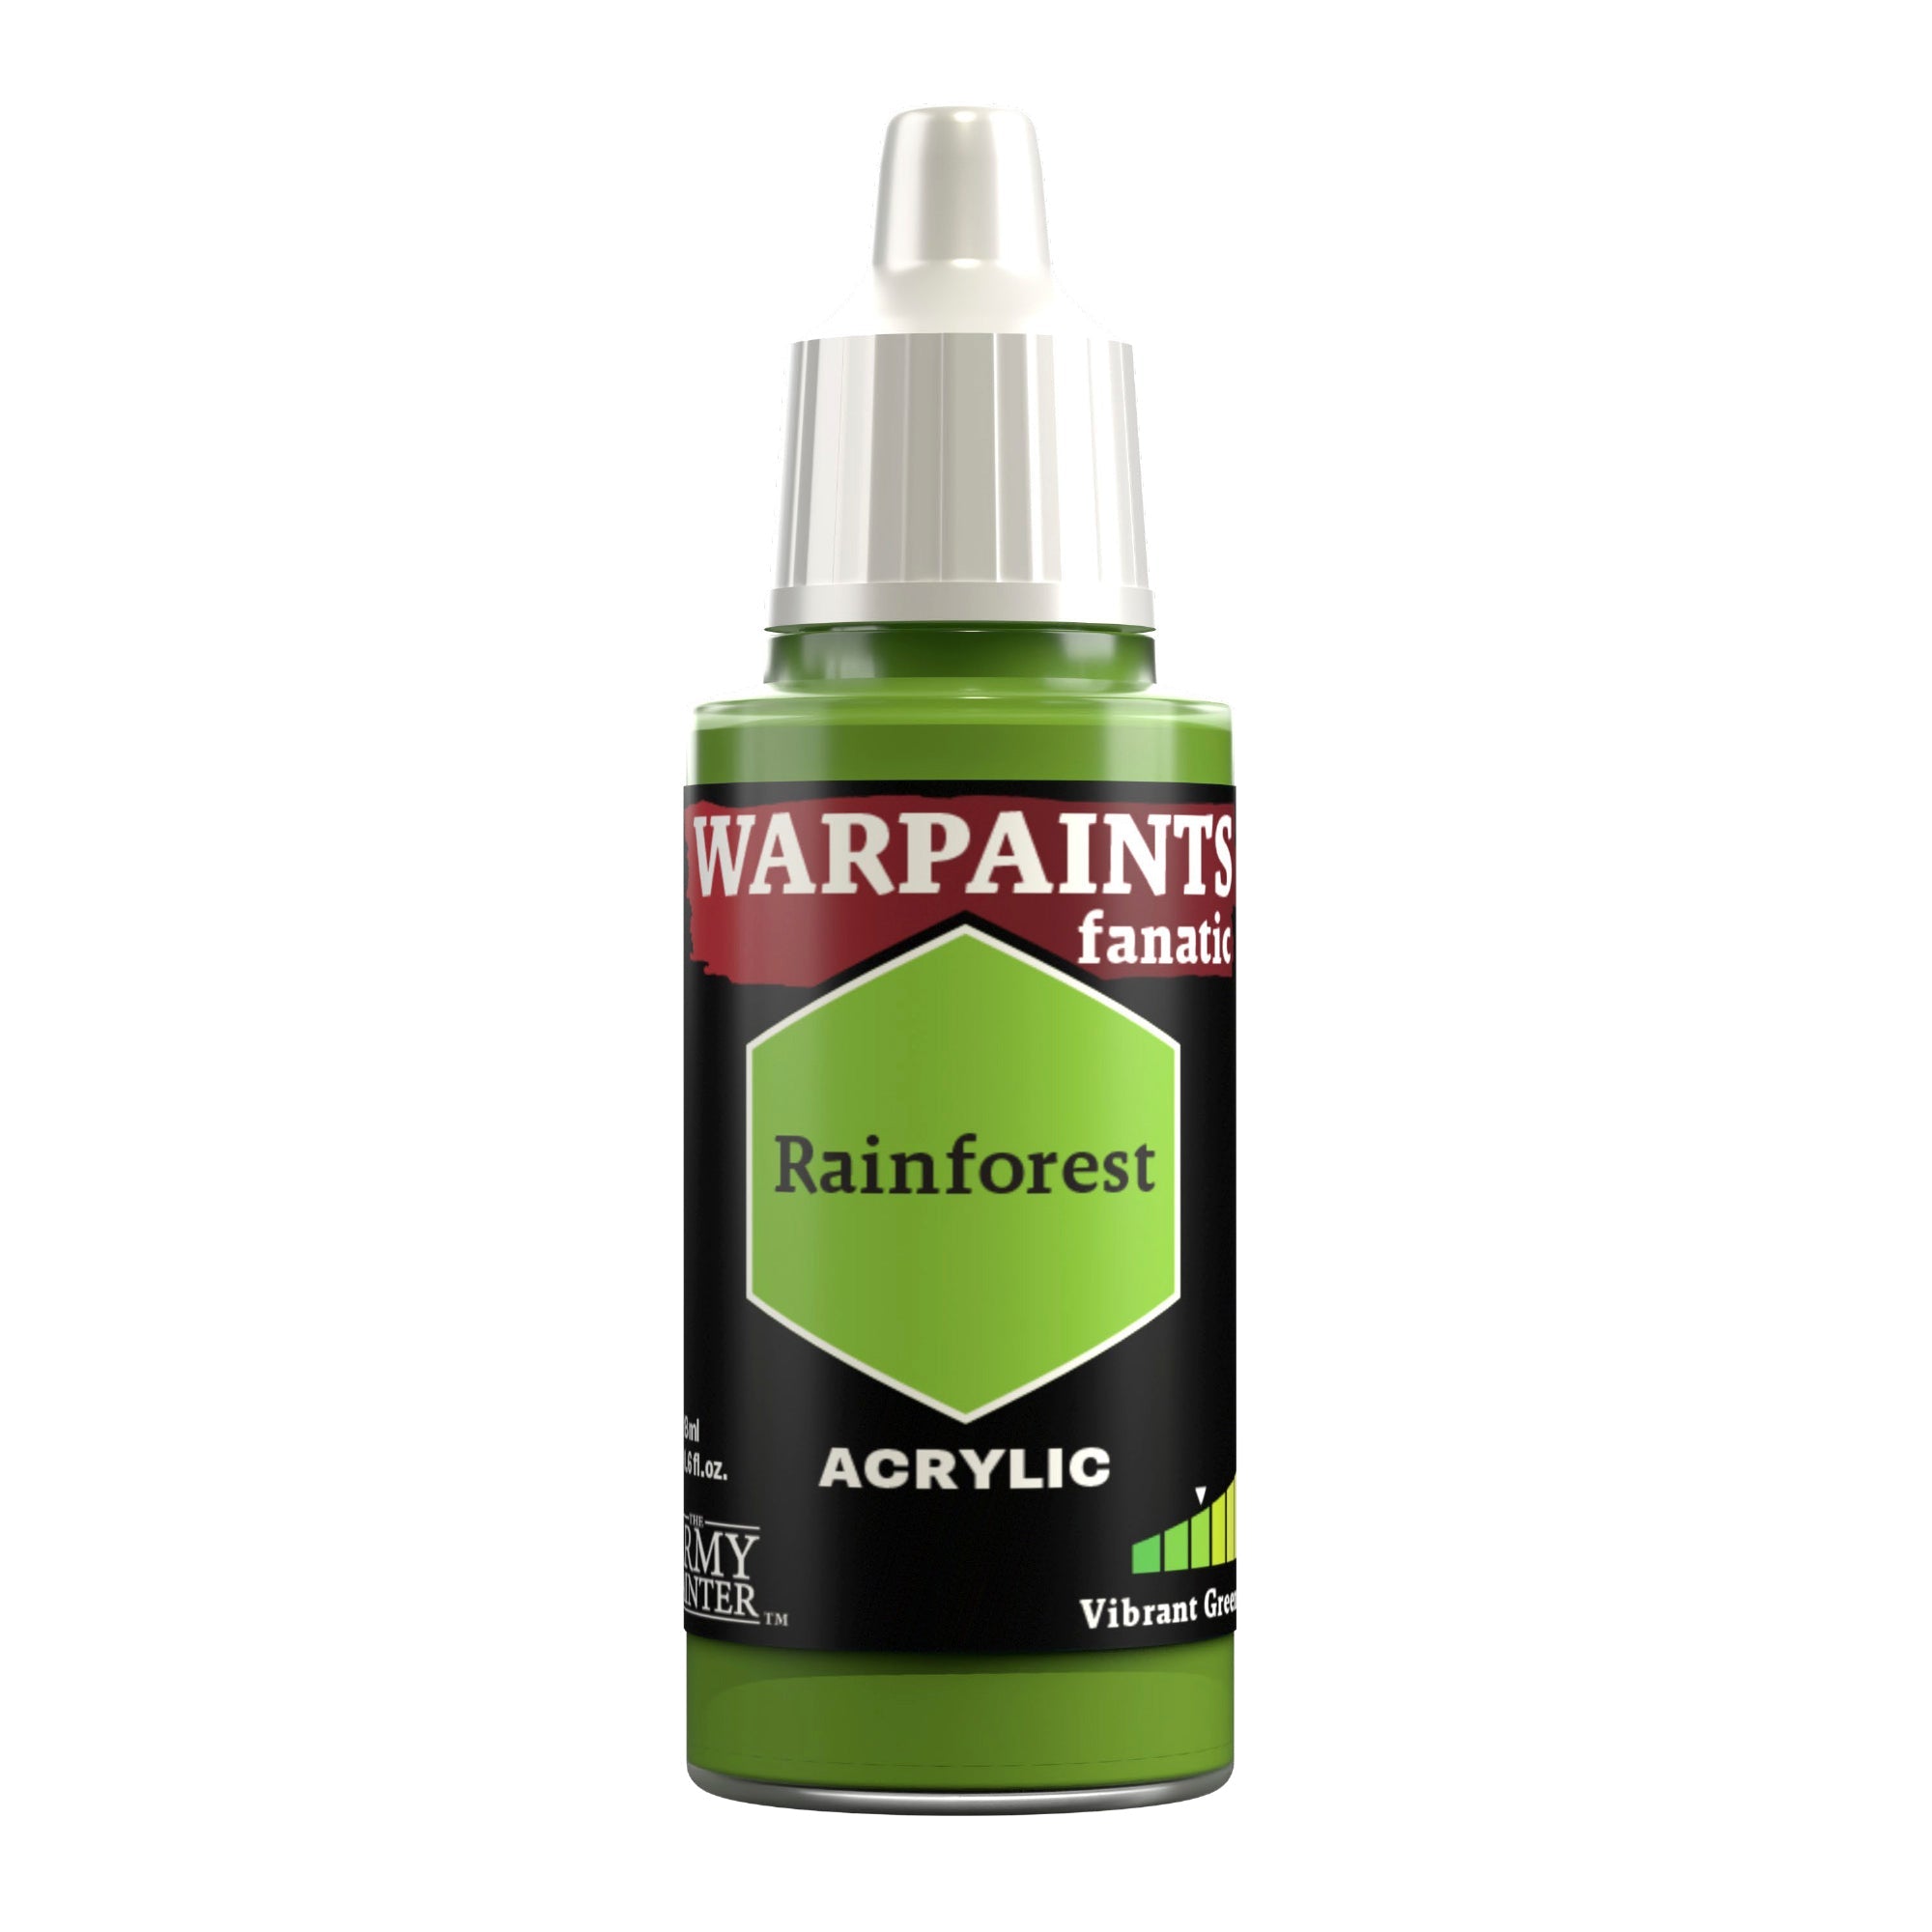
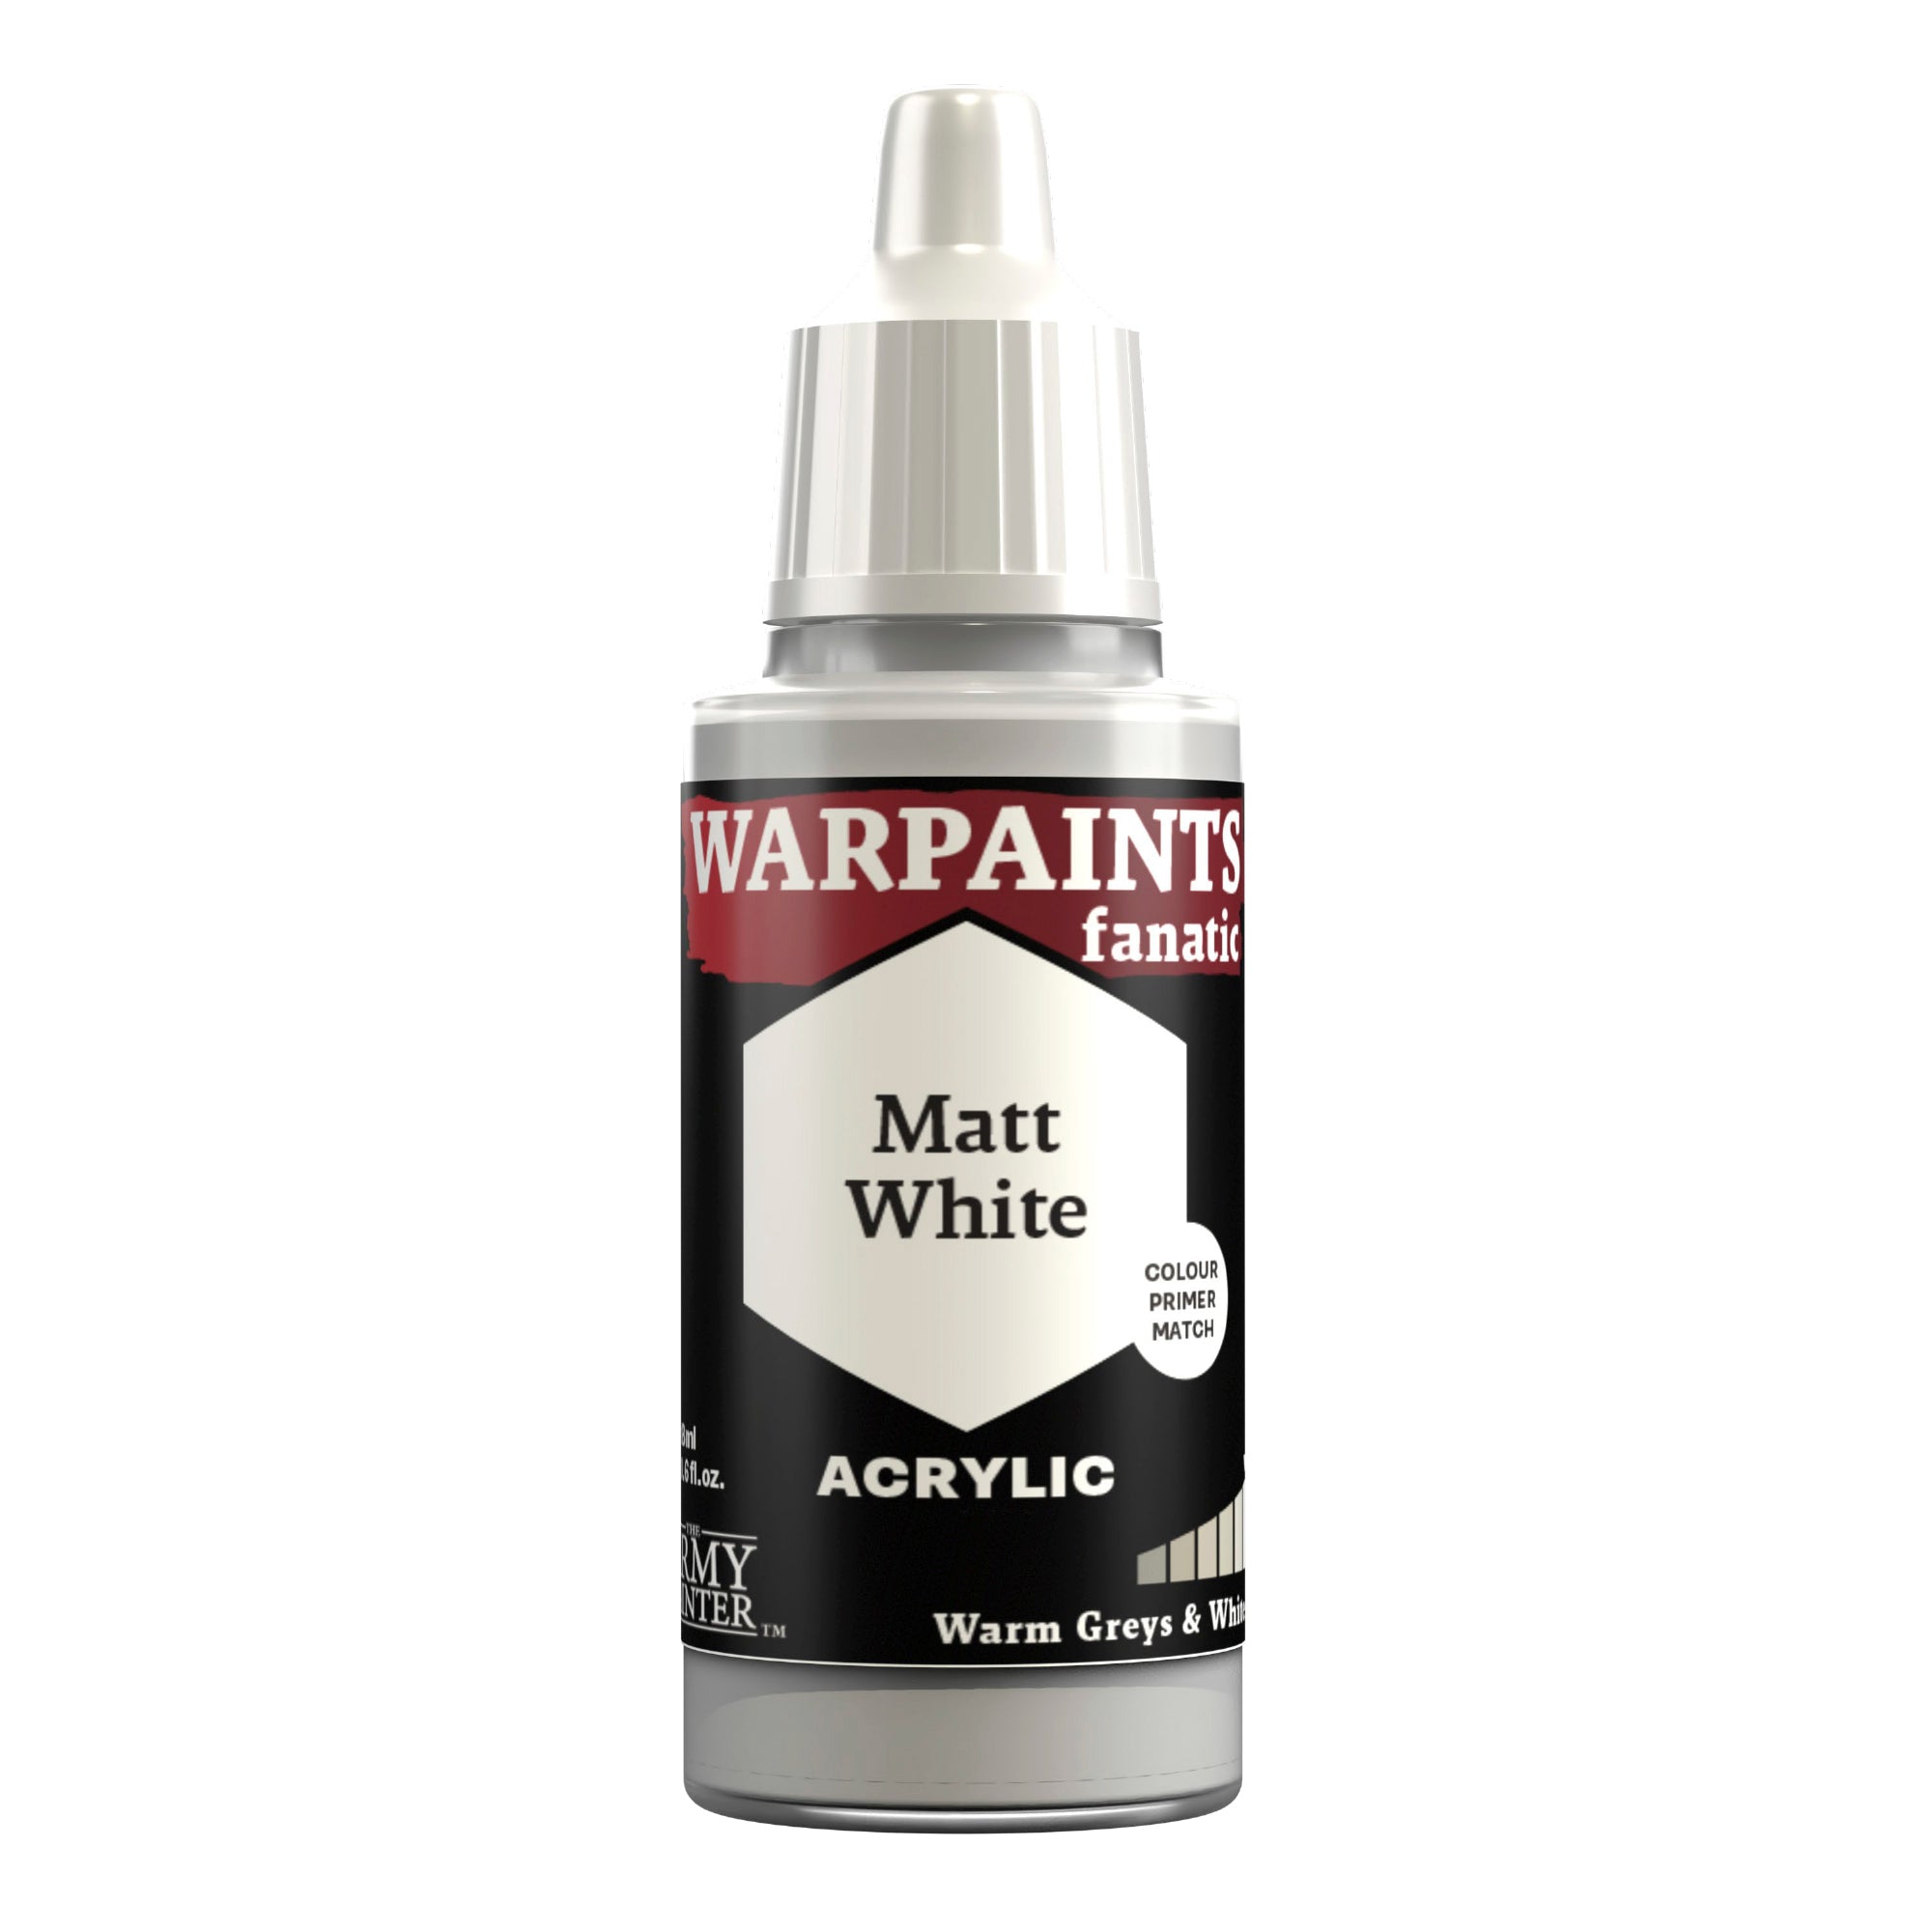
Lastly, apply selective highlights to the wax with Warpaints Fanatic Rainforest, and pick out the very front of the eye lenses. The lenses then receive a reflective dot of Warpaints Fanatic Matt White near the back, and you can also apply some writing to the purity seal with thinned down Warpaints Fanatic Matt Black if you want.

With that, your model is done!

Afterwards, we applied transfers to the model’s armour to proudly display his heraldry, and then based him in a simple dirt and grass scheme, but you can base your model to match your collection. 

If you plan on using your model for gaming, we highly recommend varnishing it with either our Spray, Warpaints Air, or Warpaints Fanatic varnishes. 

Be sure to tell us what you thought of this tutorial format, if you have any suggestions for improvements in the future, or even which models you want us to tackle. 

If you paint your own model following one of these guides, tag it with #thearmypainteracademy to share your work!