


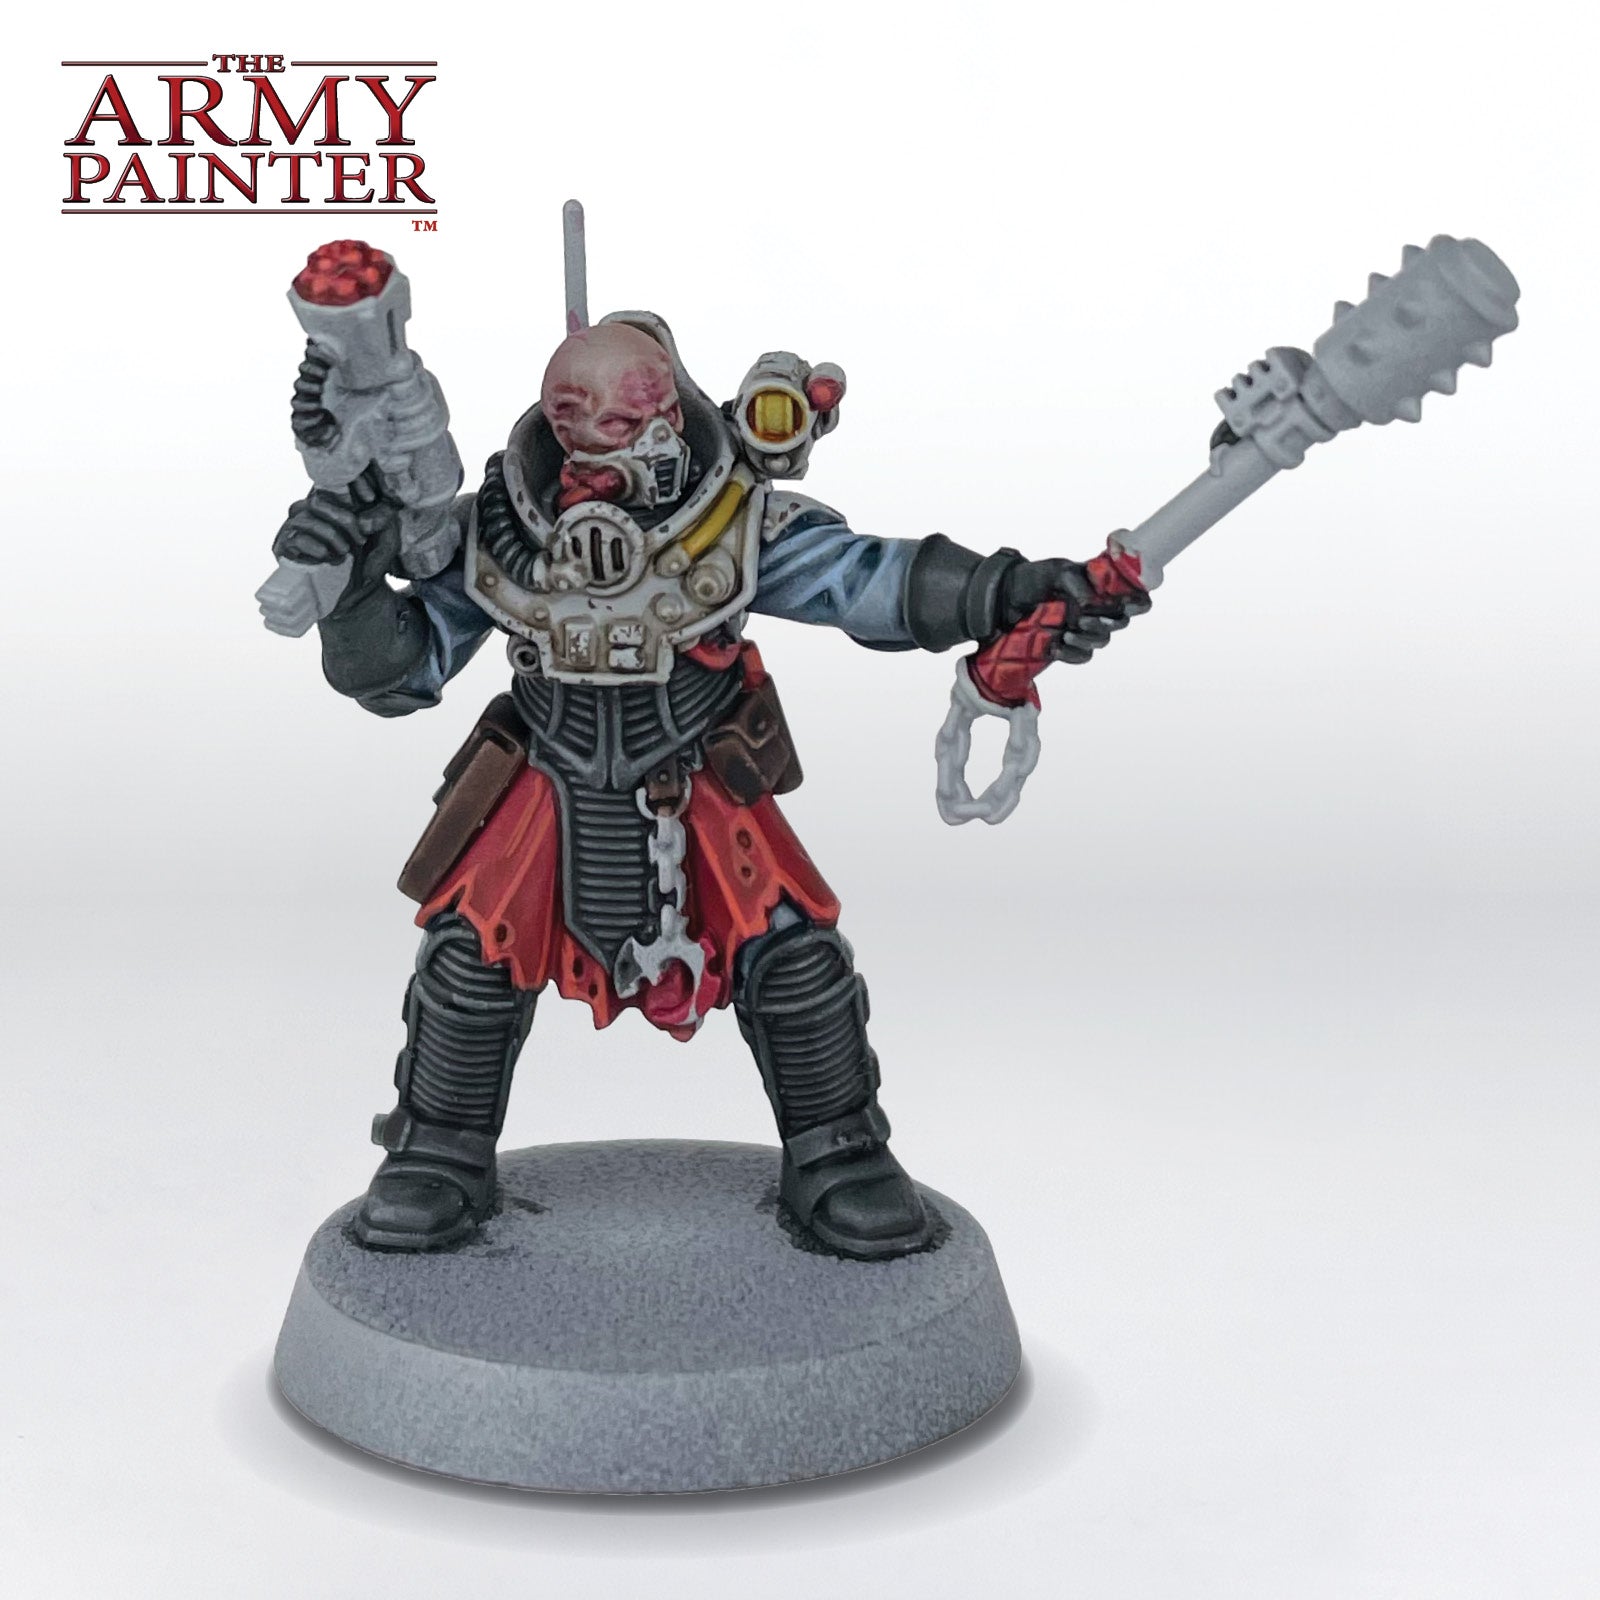
How to Paint a
Genestealer Cults Neophyte
Welcome to the next instalment of The Army Painter Academy: a series where we break down how we paint a miniature step-by-step, complete with pictures for every bit of paint applied along the way.
Beware reader, the insidious Genestealer Cults of Games Workshop’s Warhammer 40,000 setting have successfully infiltrated the Academy this week! They arrived with a nifty Speedpaint-heavy guide on how to paint up hordes of cultists in one hand, a devotional pamphlet in the other, and a hidden dagger in the third, assuring us you’ll be able to get an entire force of these enterprising, upright Imperial citizens on the table in no time.
Grab your Speedpaint along with a smattering of Warpaints Fanatic, for there isn’t a moment to waste - the day of Ascension is upon us!
This tutorial is broken down into sections covering Speedpaint and Washes, Weathering and Highlights, and Metallics. Each section is further broken down into manageable steps by applying one colour at a time. If you’re on a desktop, simply click the arrows at the bottom of each section to scroll through the steps or scroll to the side on your mobile phone.
Every colour on this miniature, other than the primer, comes from our new Warpaints Fanatic range and our Speedpaint range.
Let's get painting!

Speedpaint and Washes

Step 1
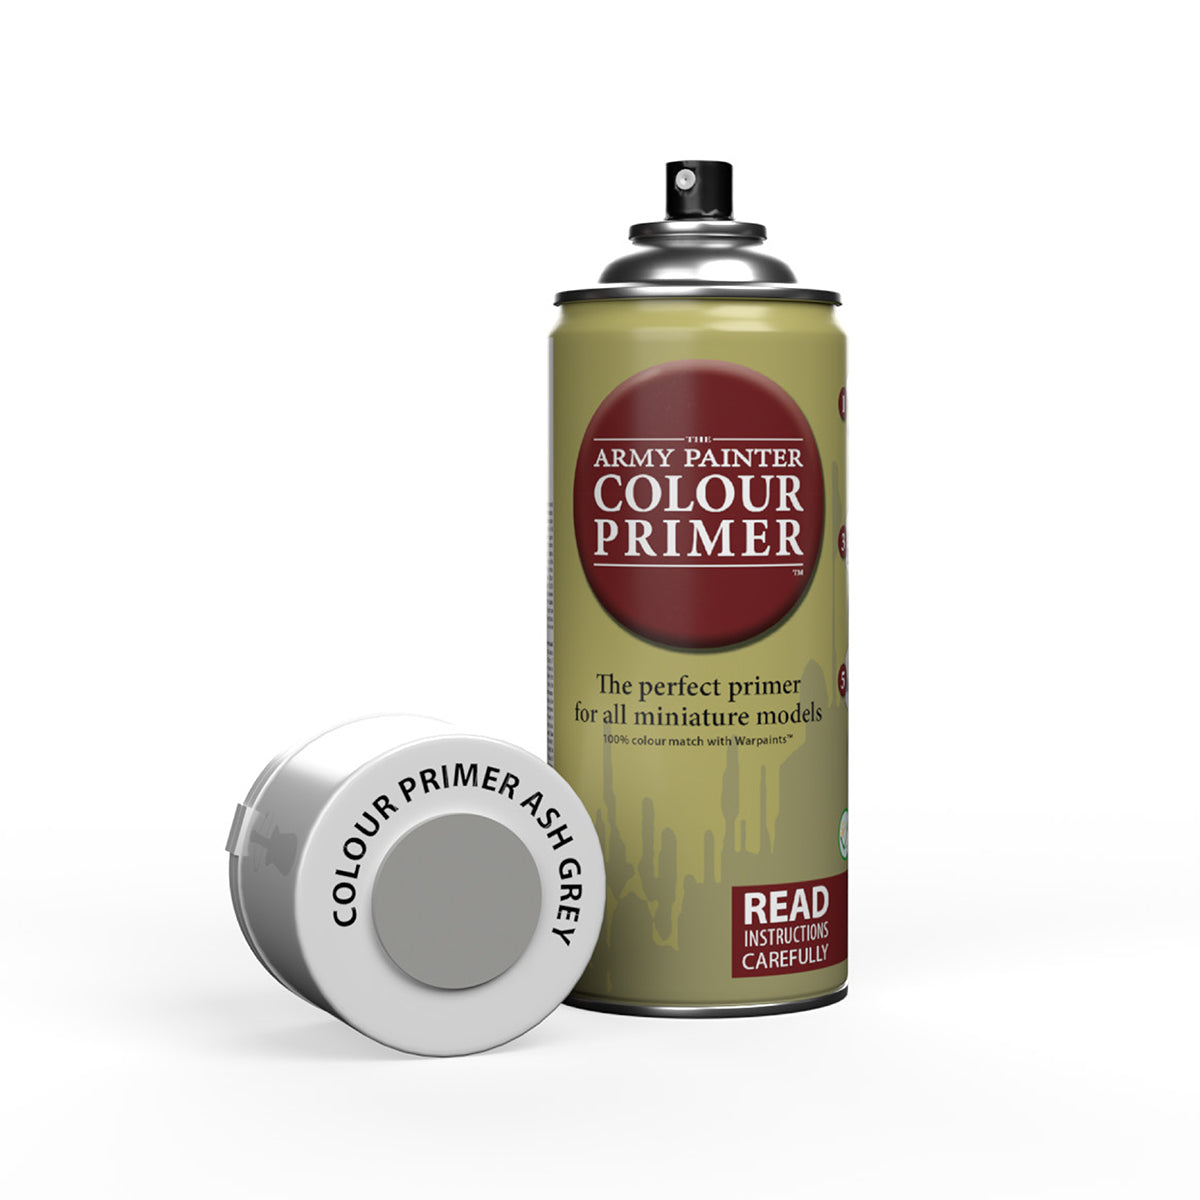
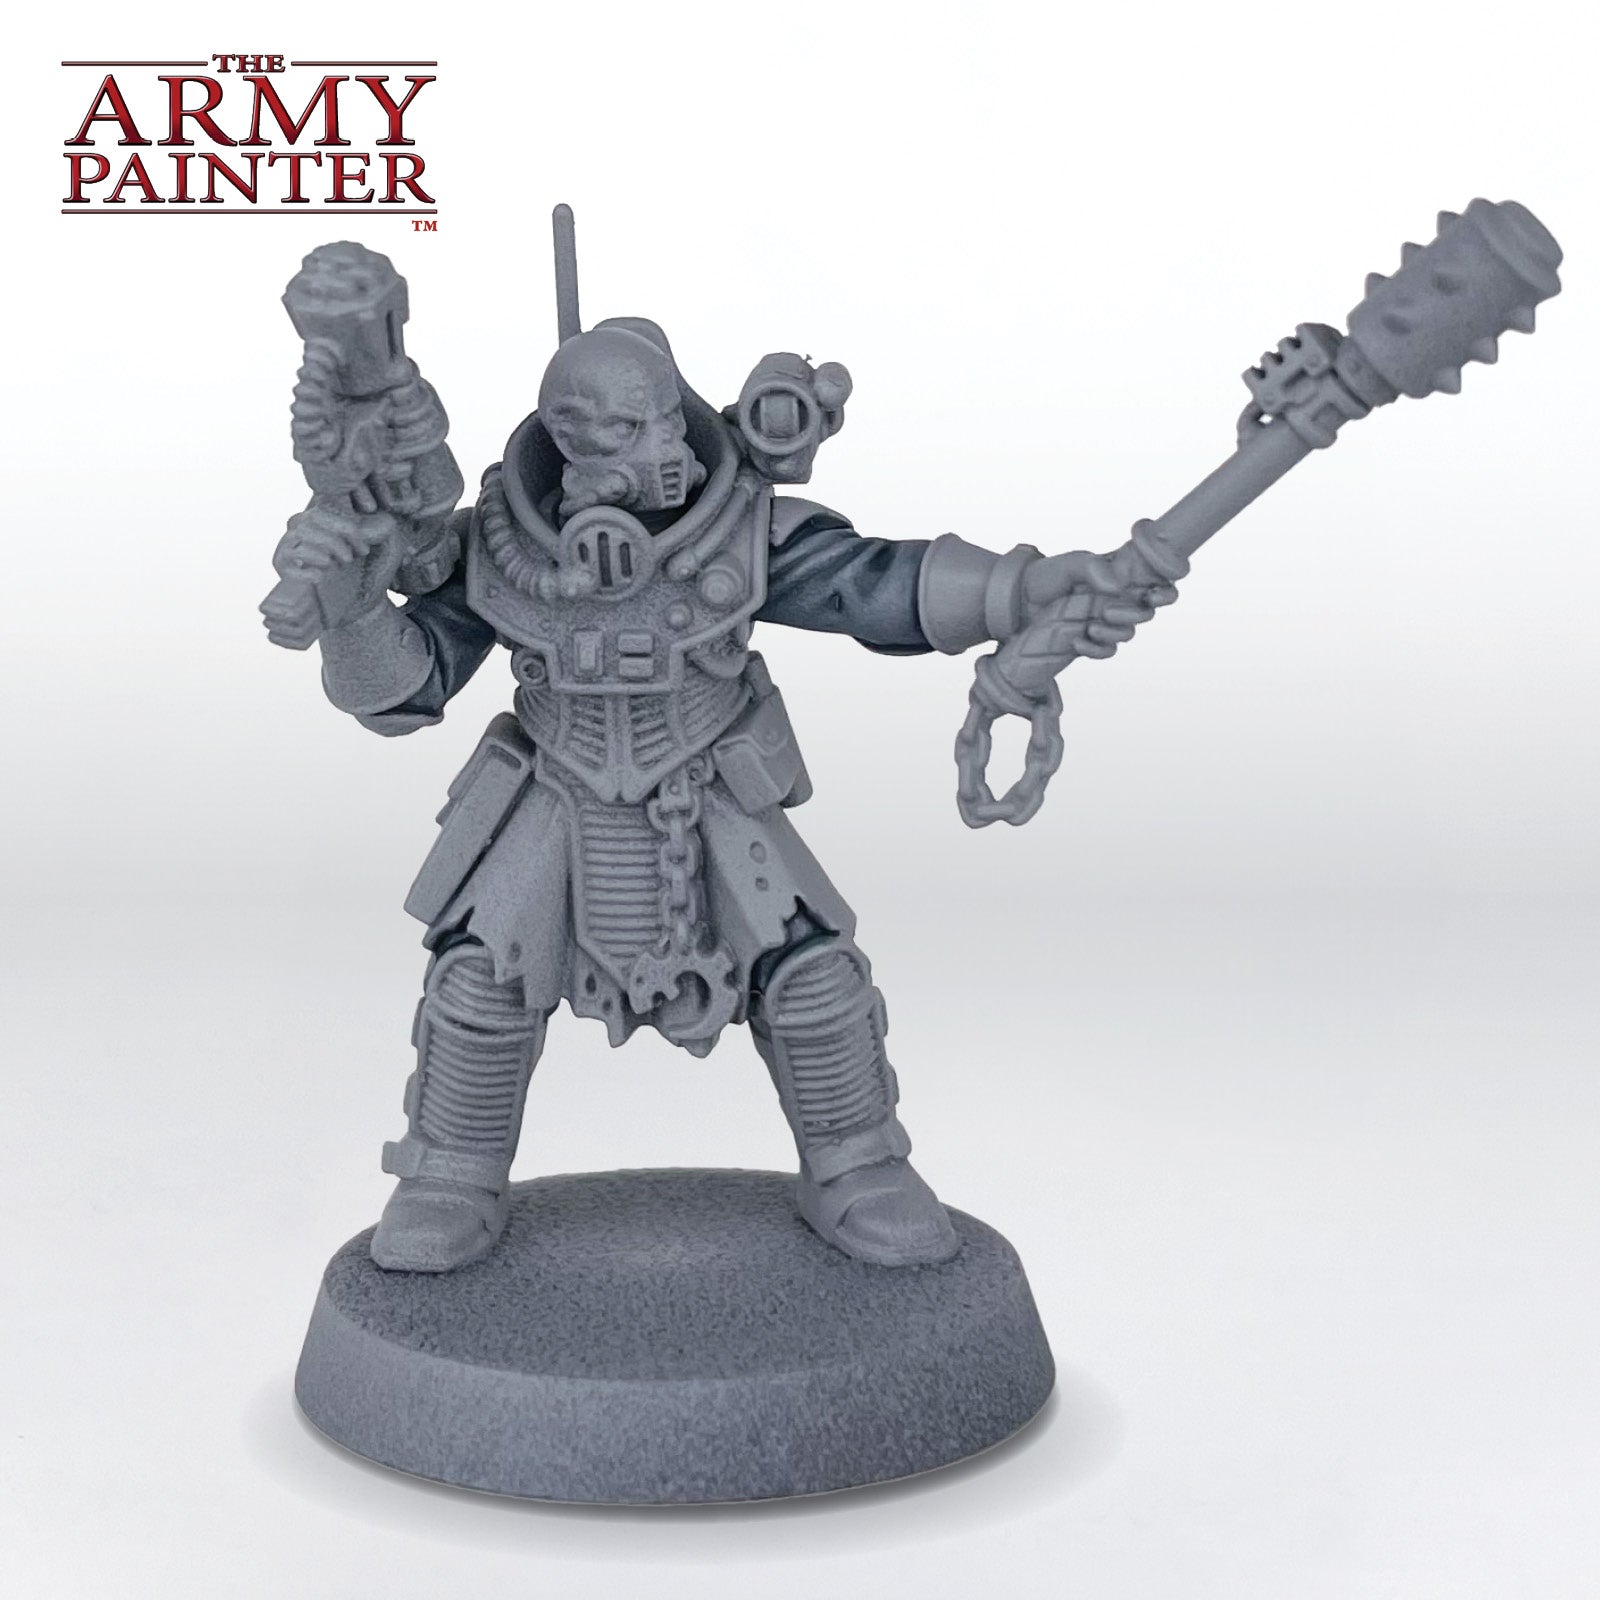
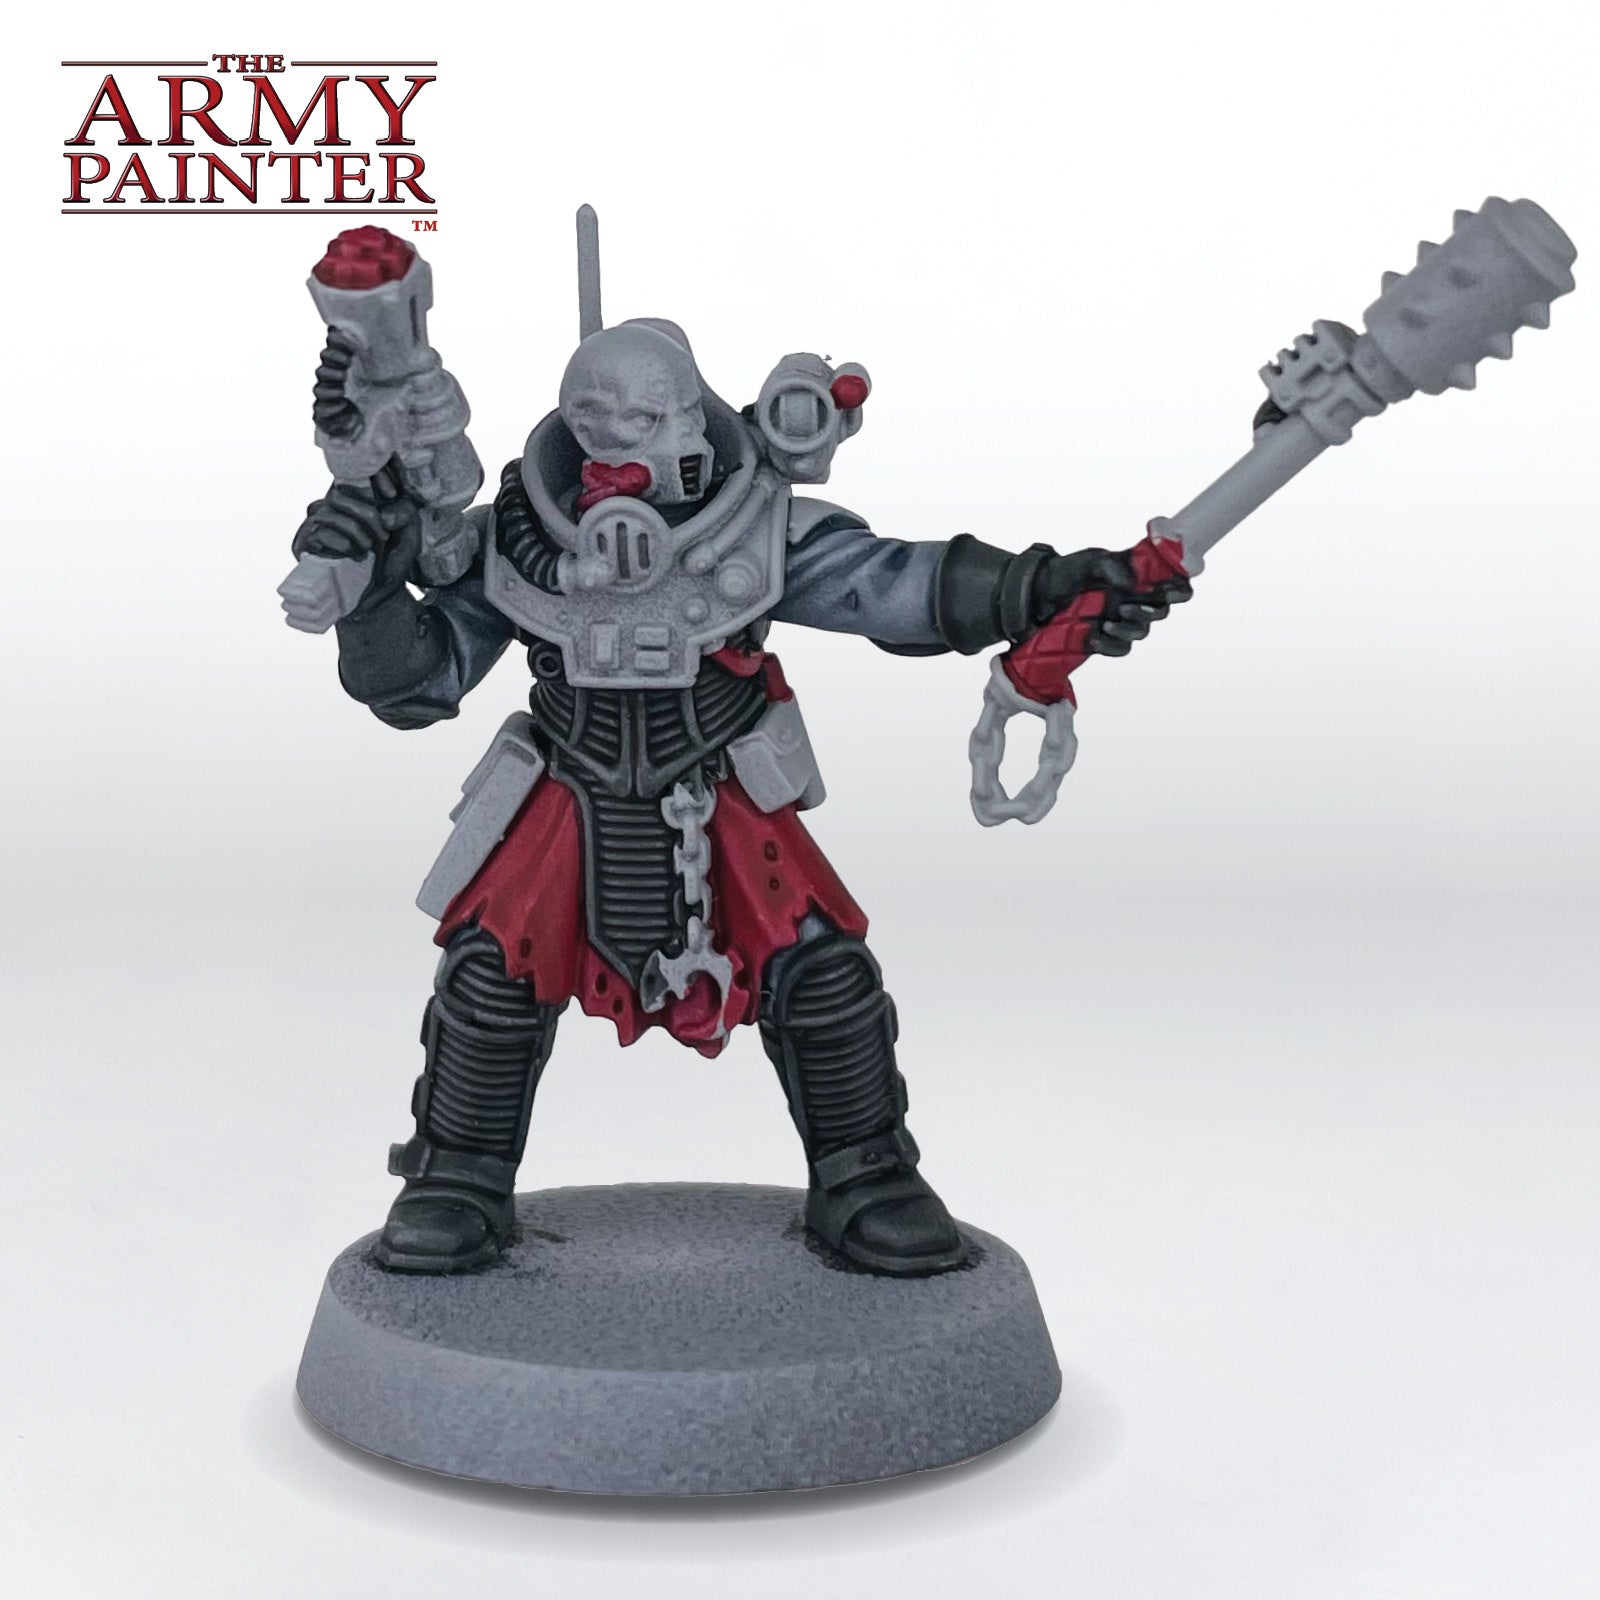
Prime the model with Colour Primer Ash Grey Spray. This will act as the perfect undercoat for all the Speedpaint colours as well as the main colour of the armour.
Step 2
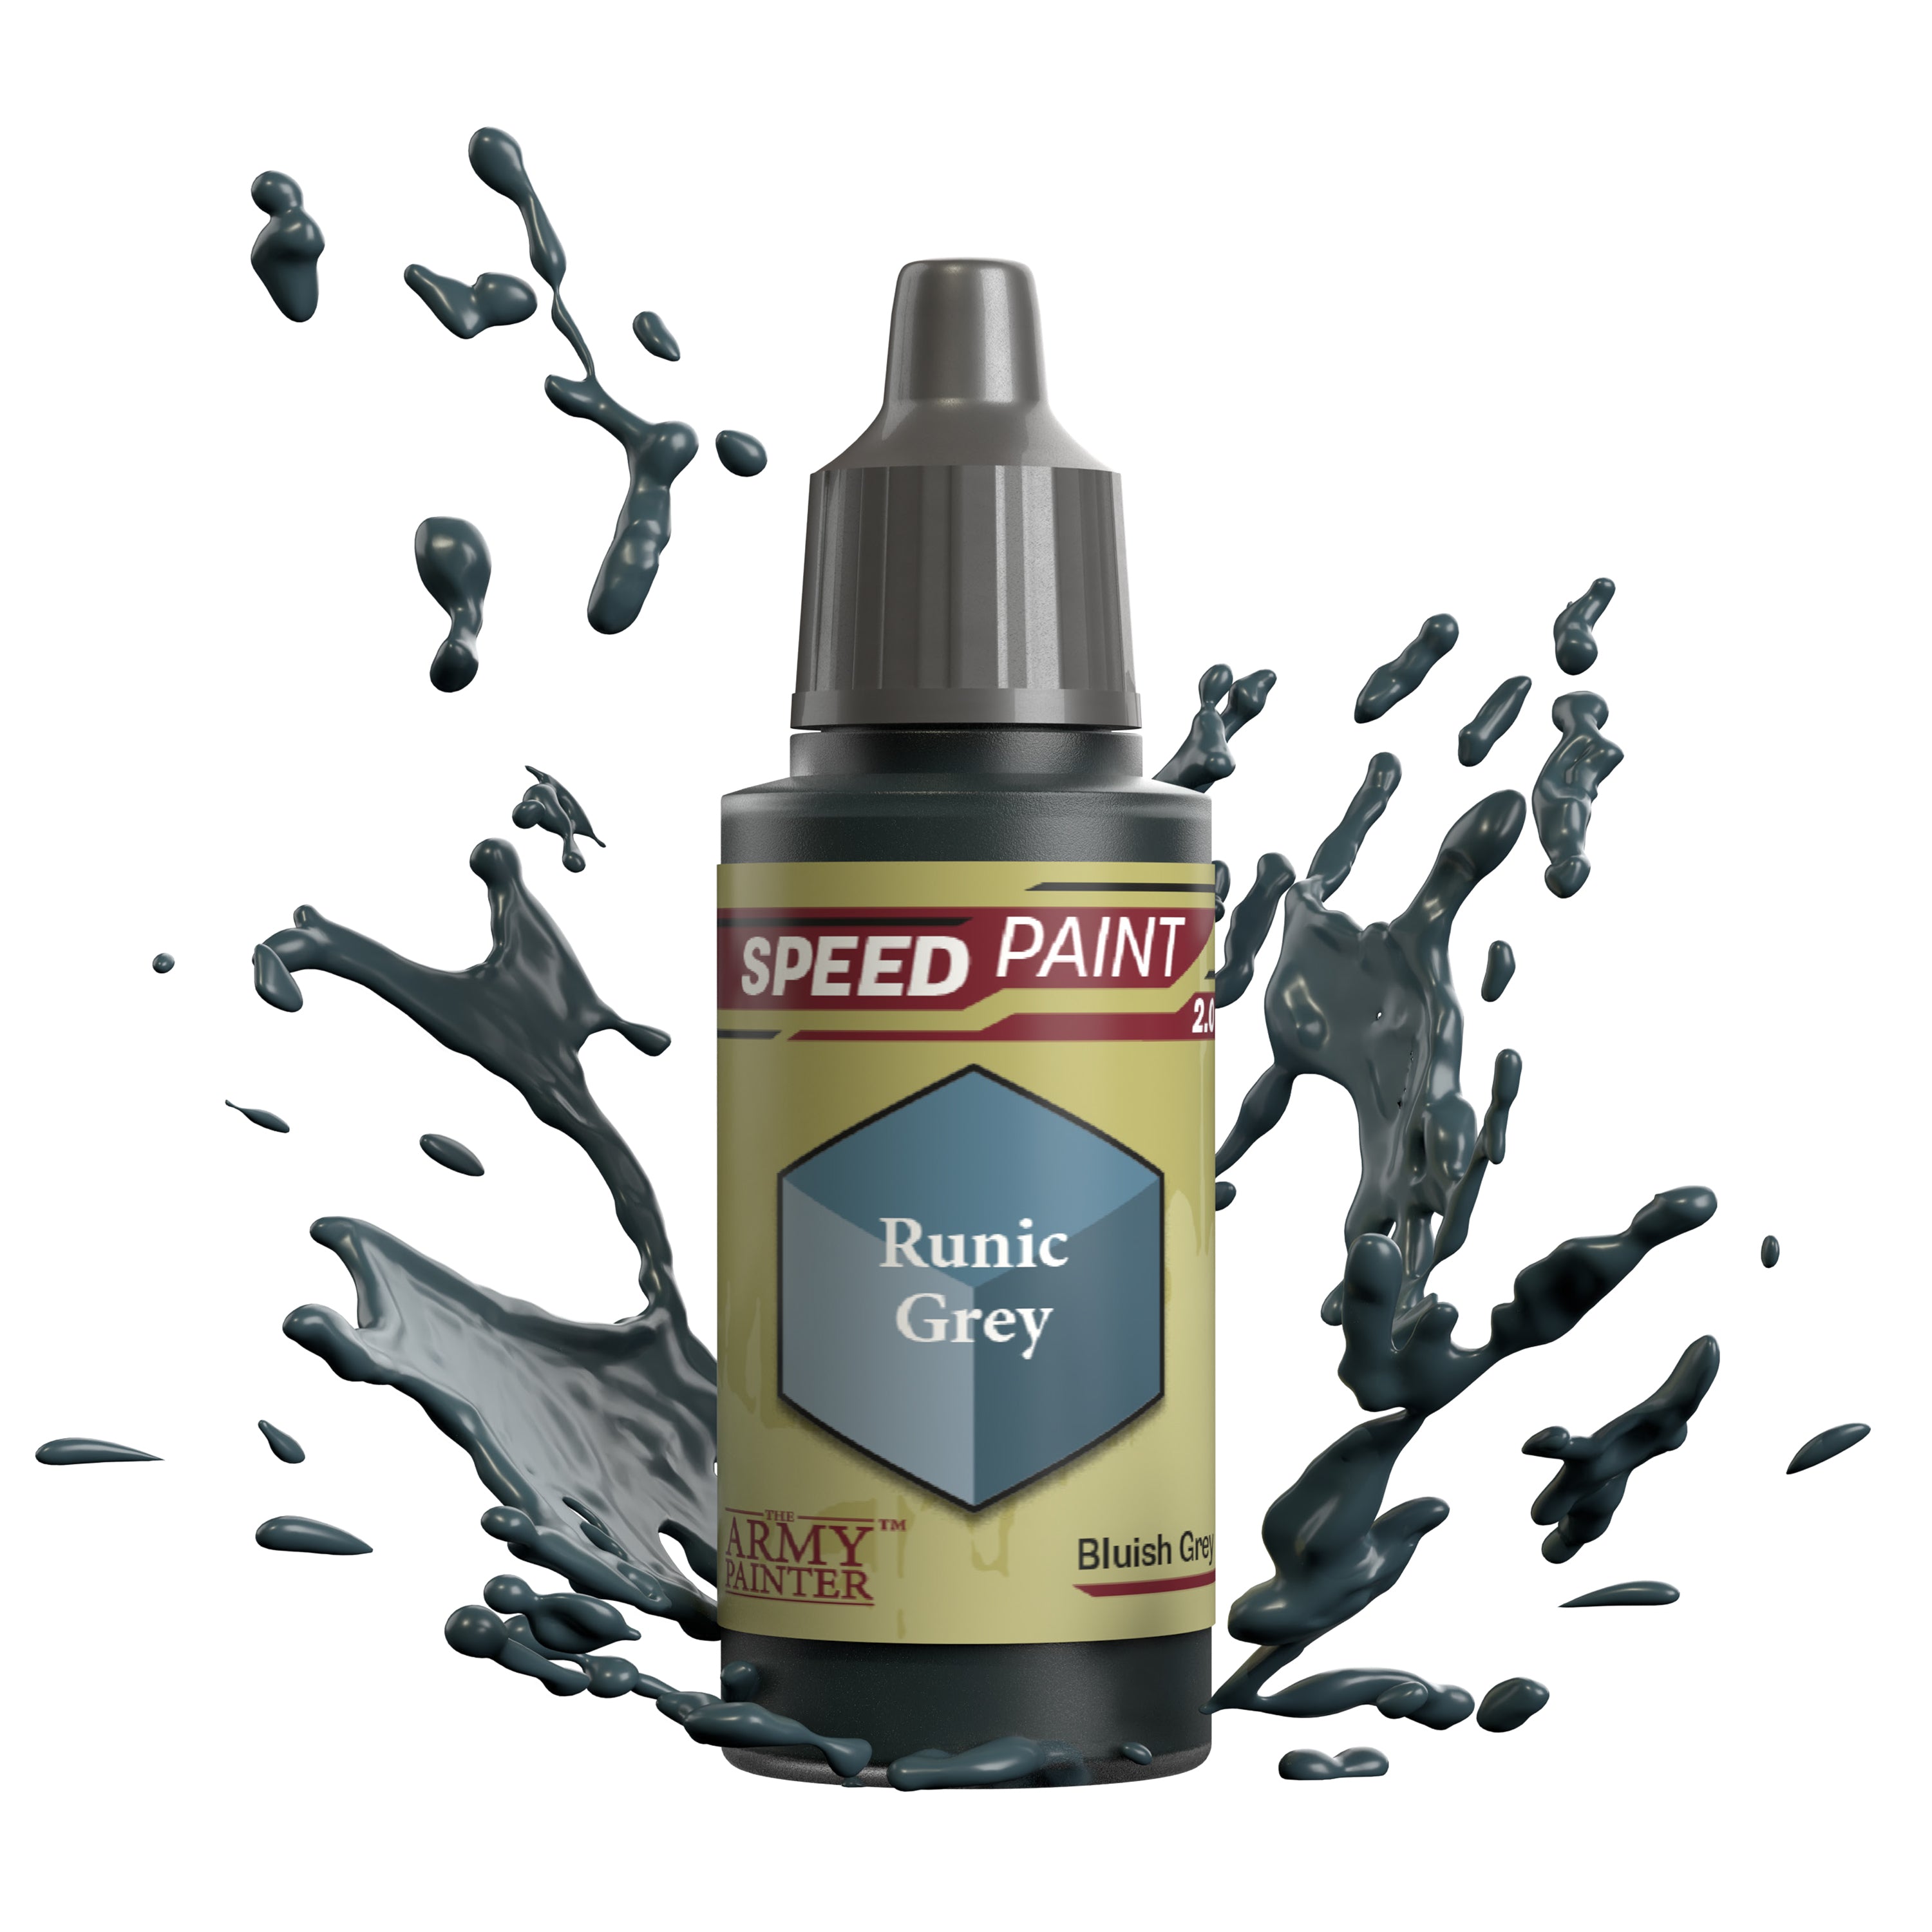
Next, pick out all the undersuit clothing with Speedpaint Runic Grey.
Step 3
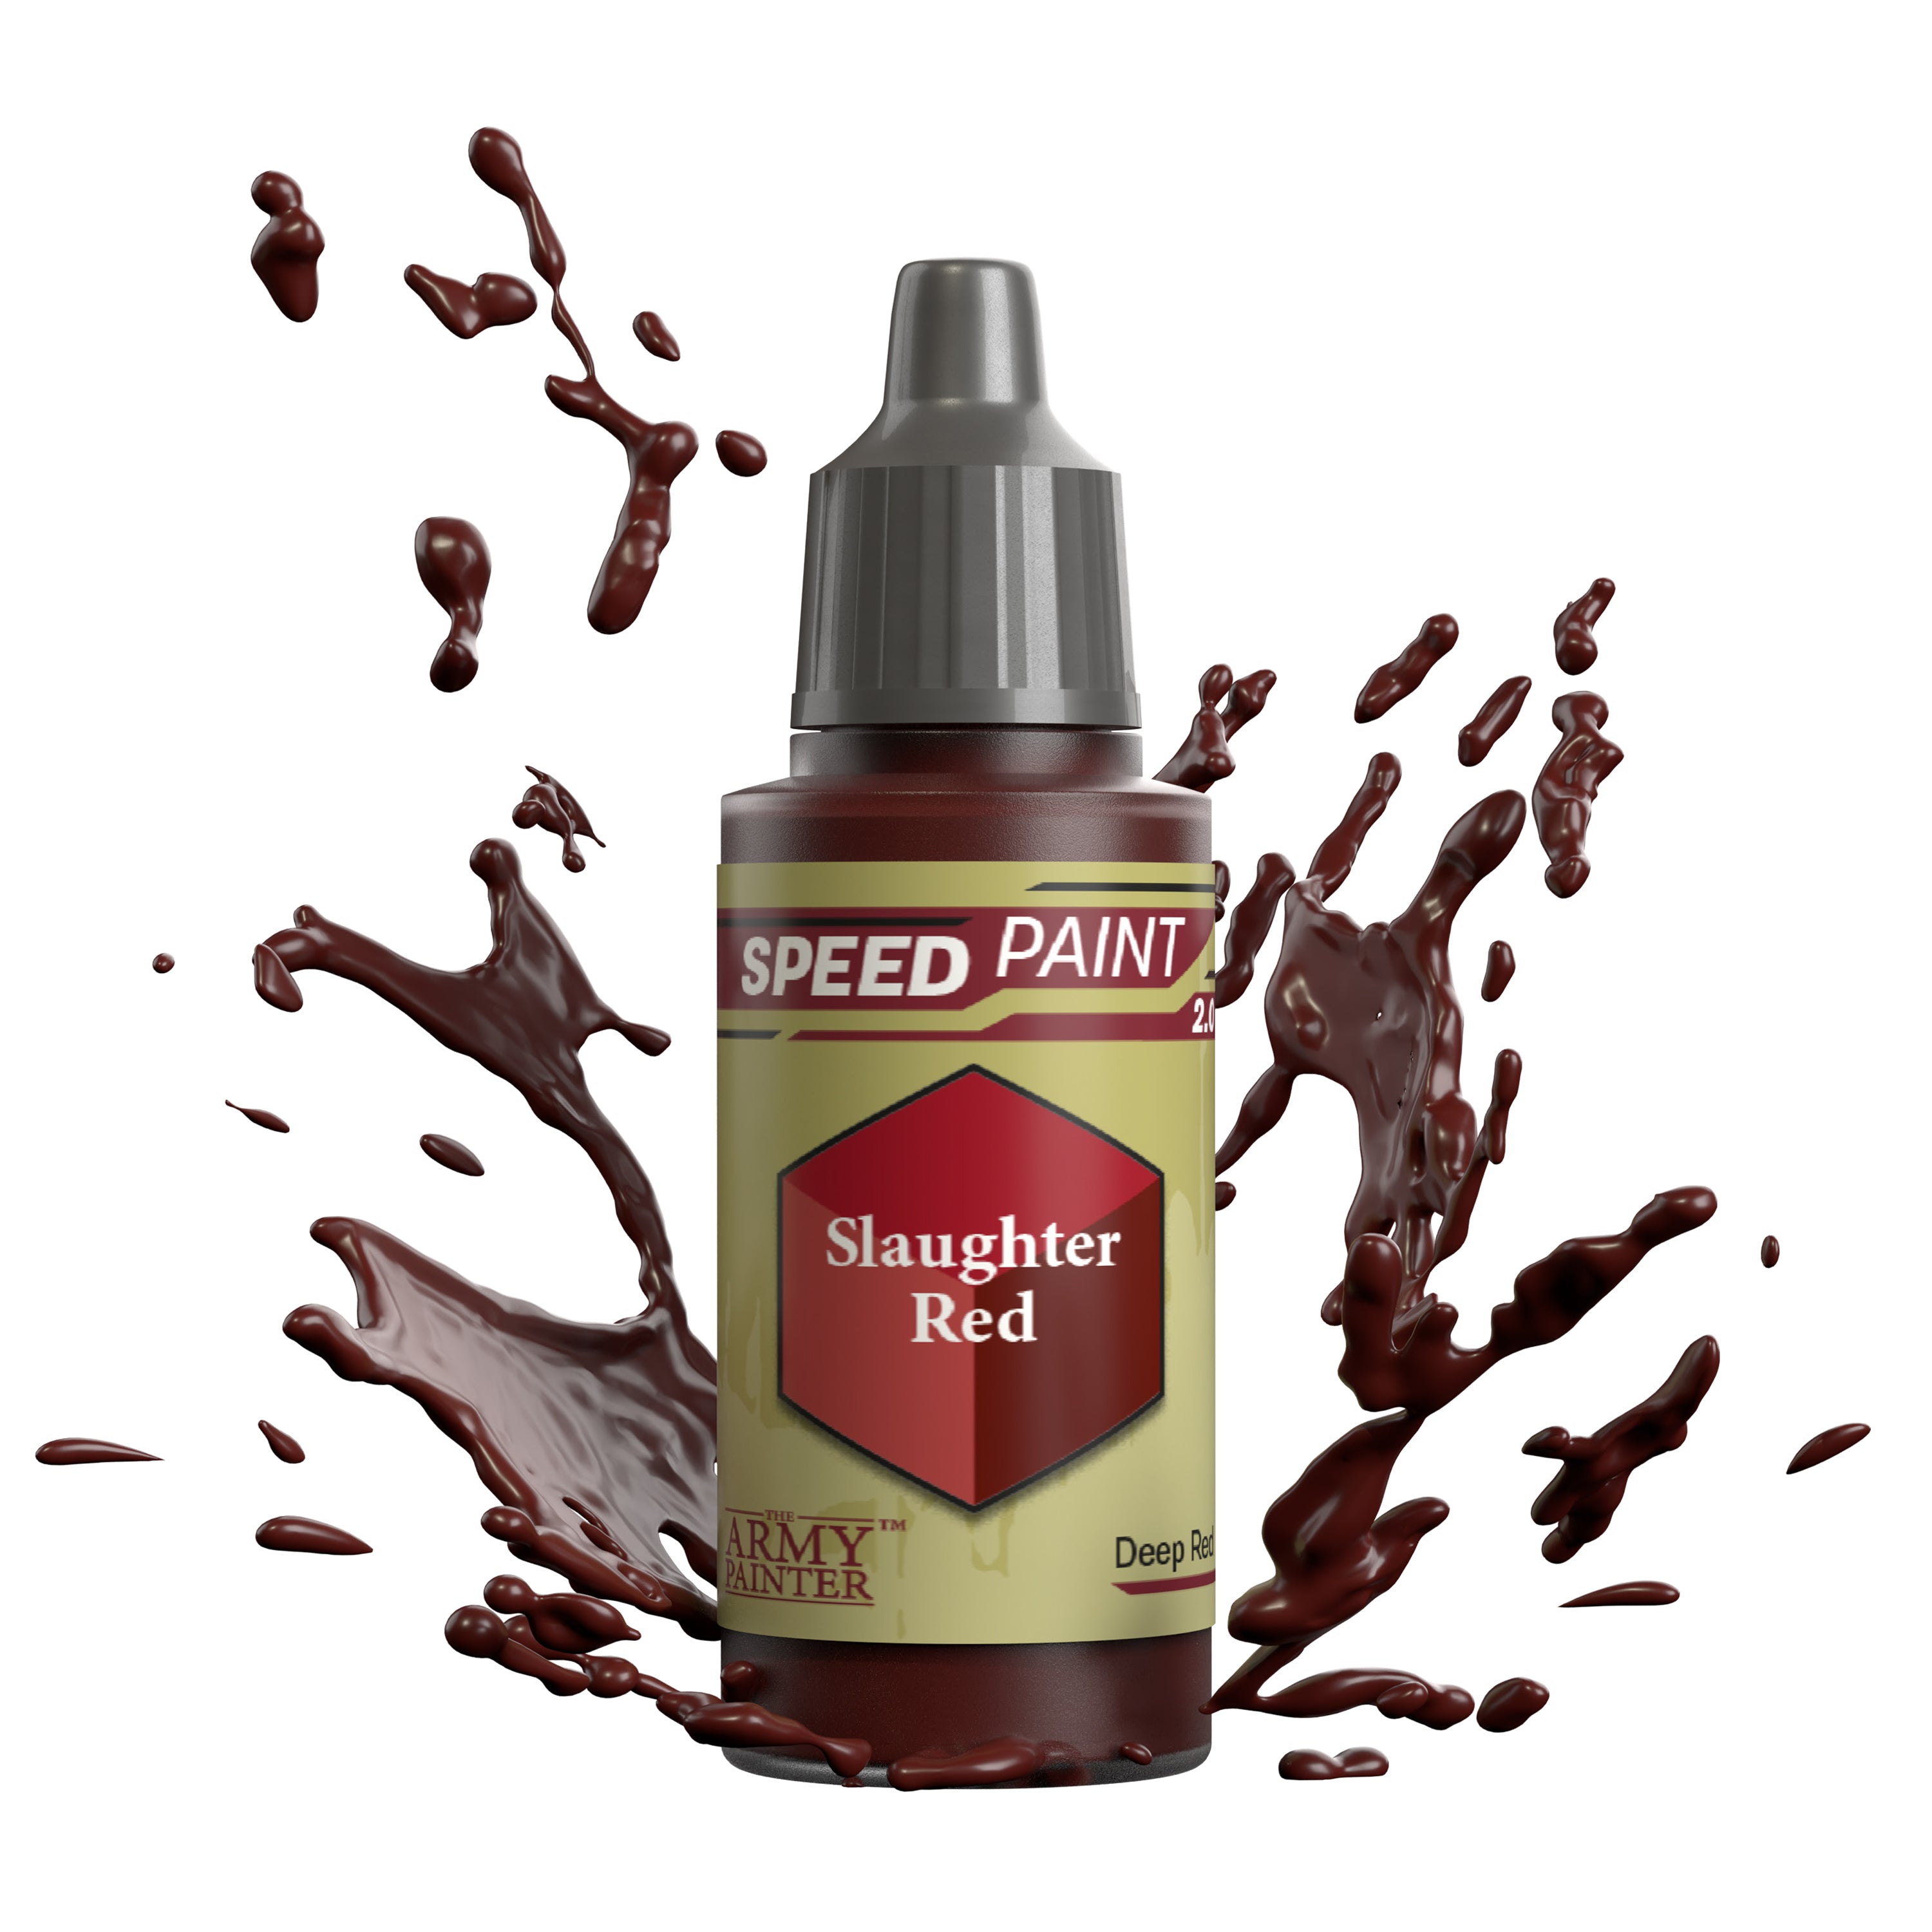
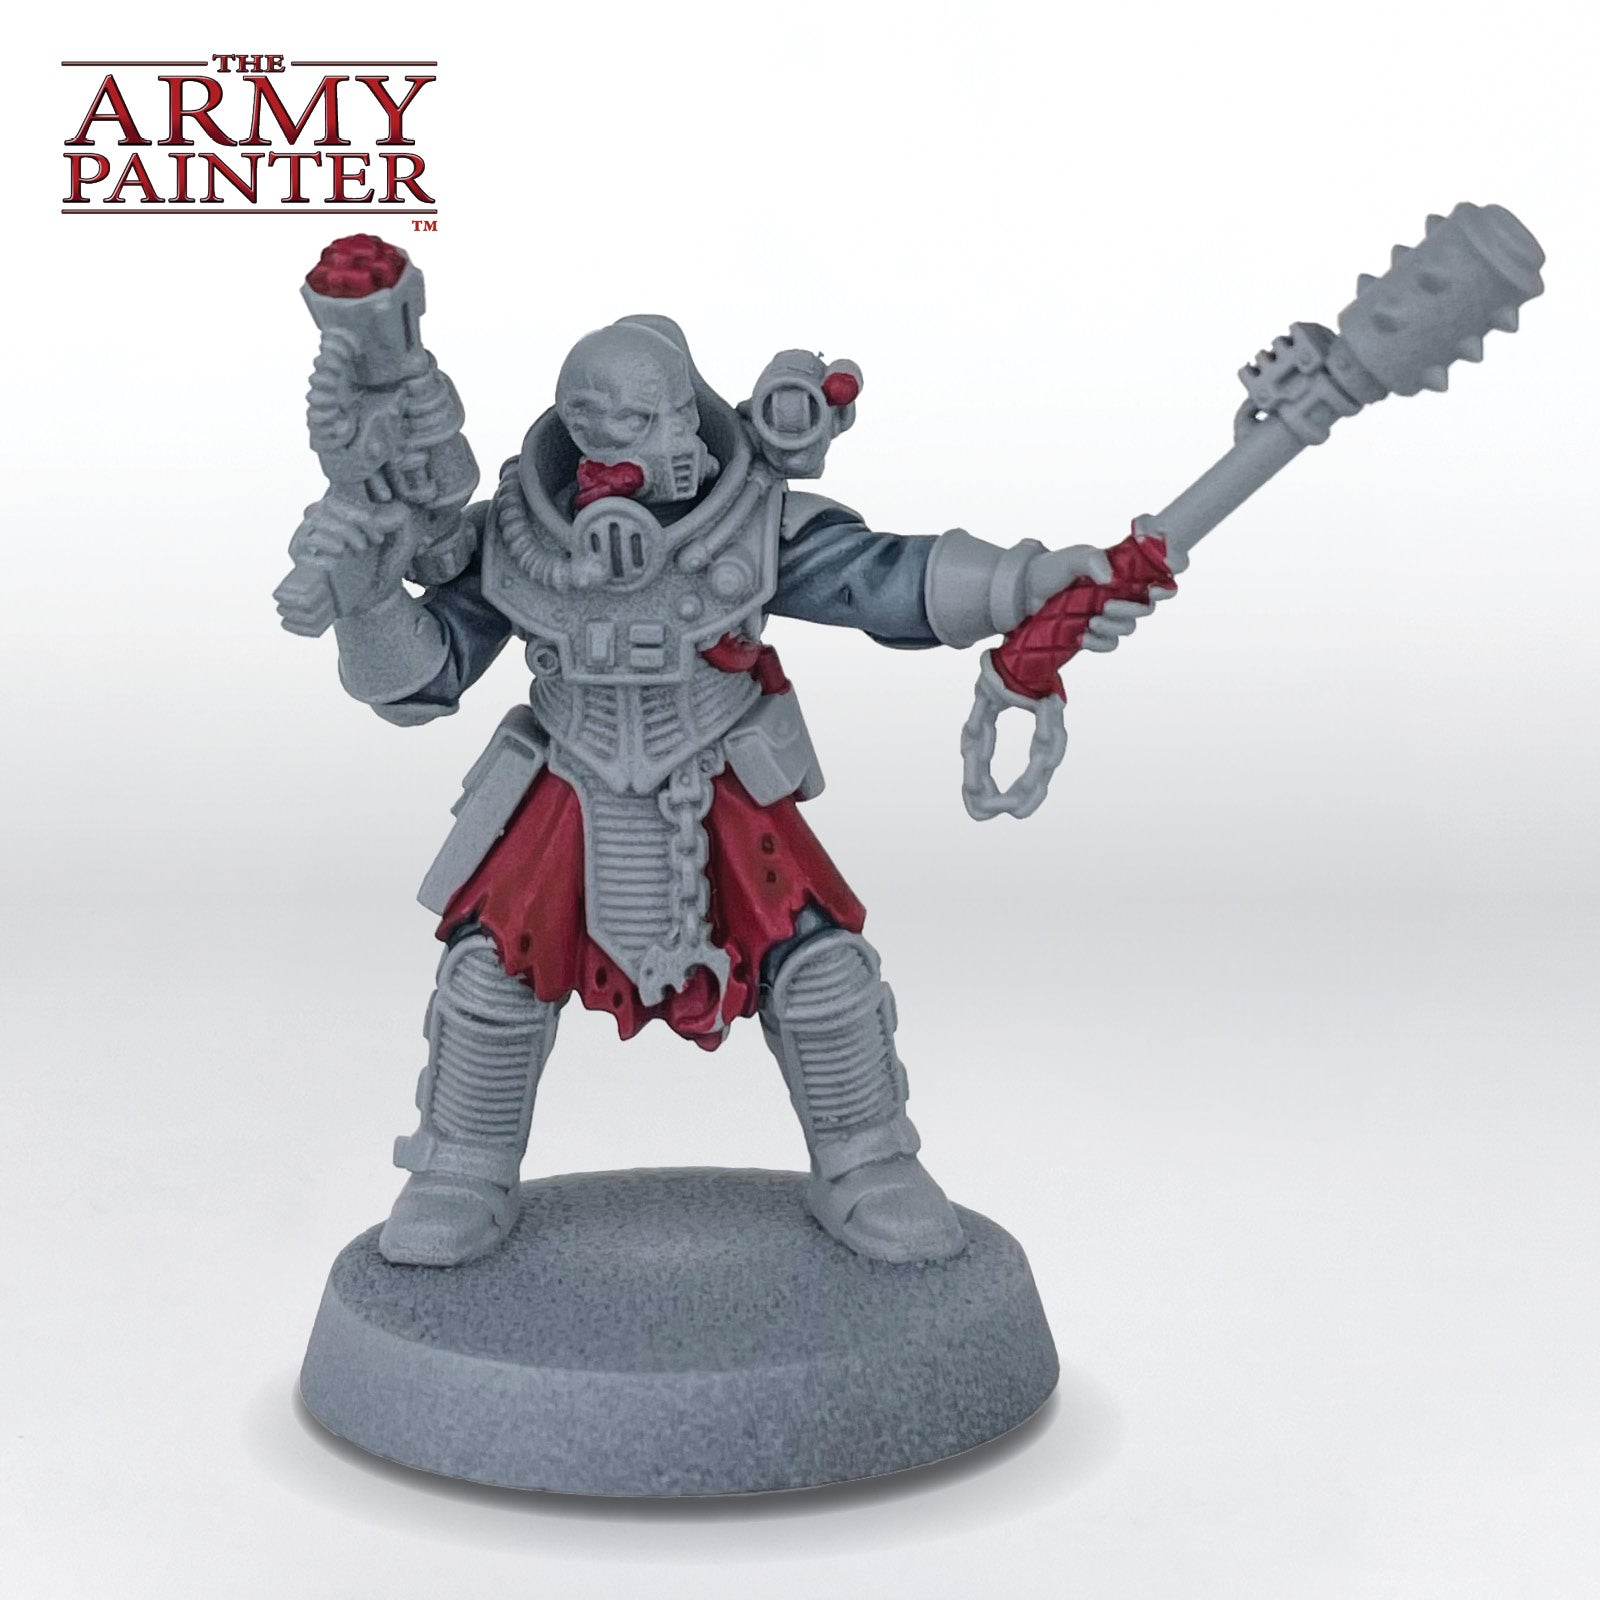
Then, paint all the red areas on the model with Speedpaint Slaughter Red. On this model that includes the more ragged cloth, the handle on the mace, the tip of the gun, and various cables at your discretion.
Step 4
Paint all the black areas on the model with Speedpaint Grim Black. This mostly consists of the ribbed armour, gloves, and boots, as well as various cables.
Step 5
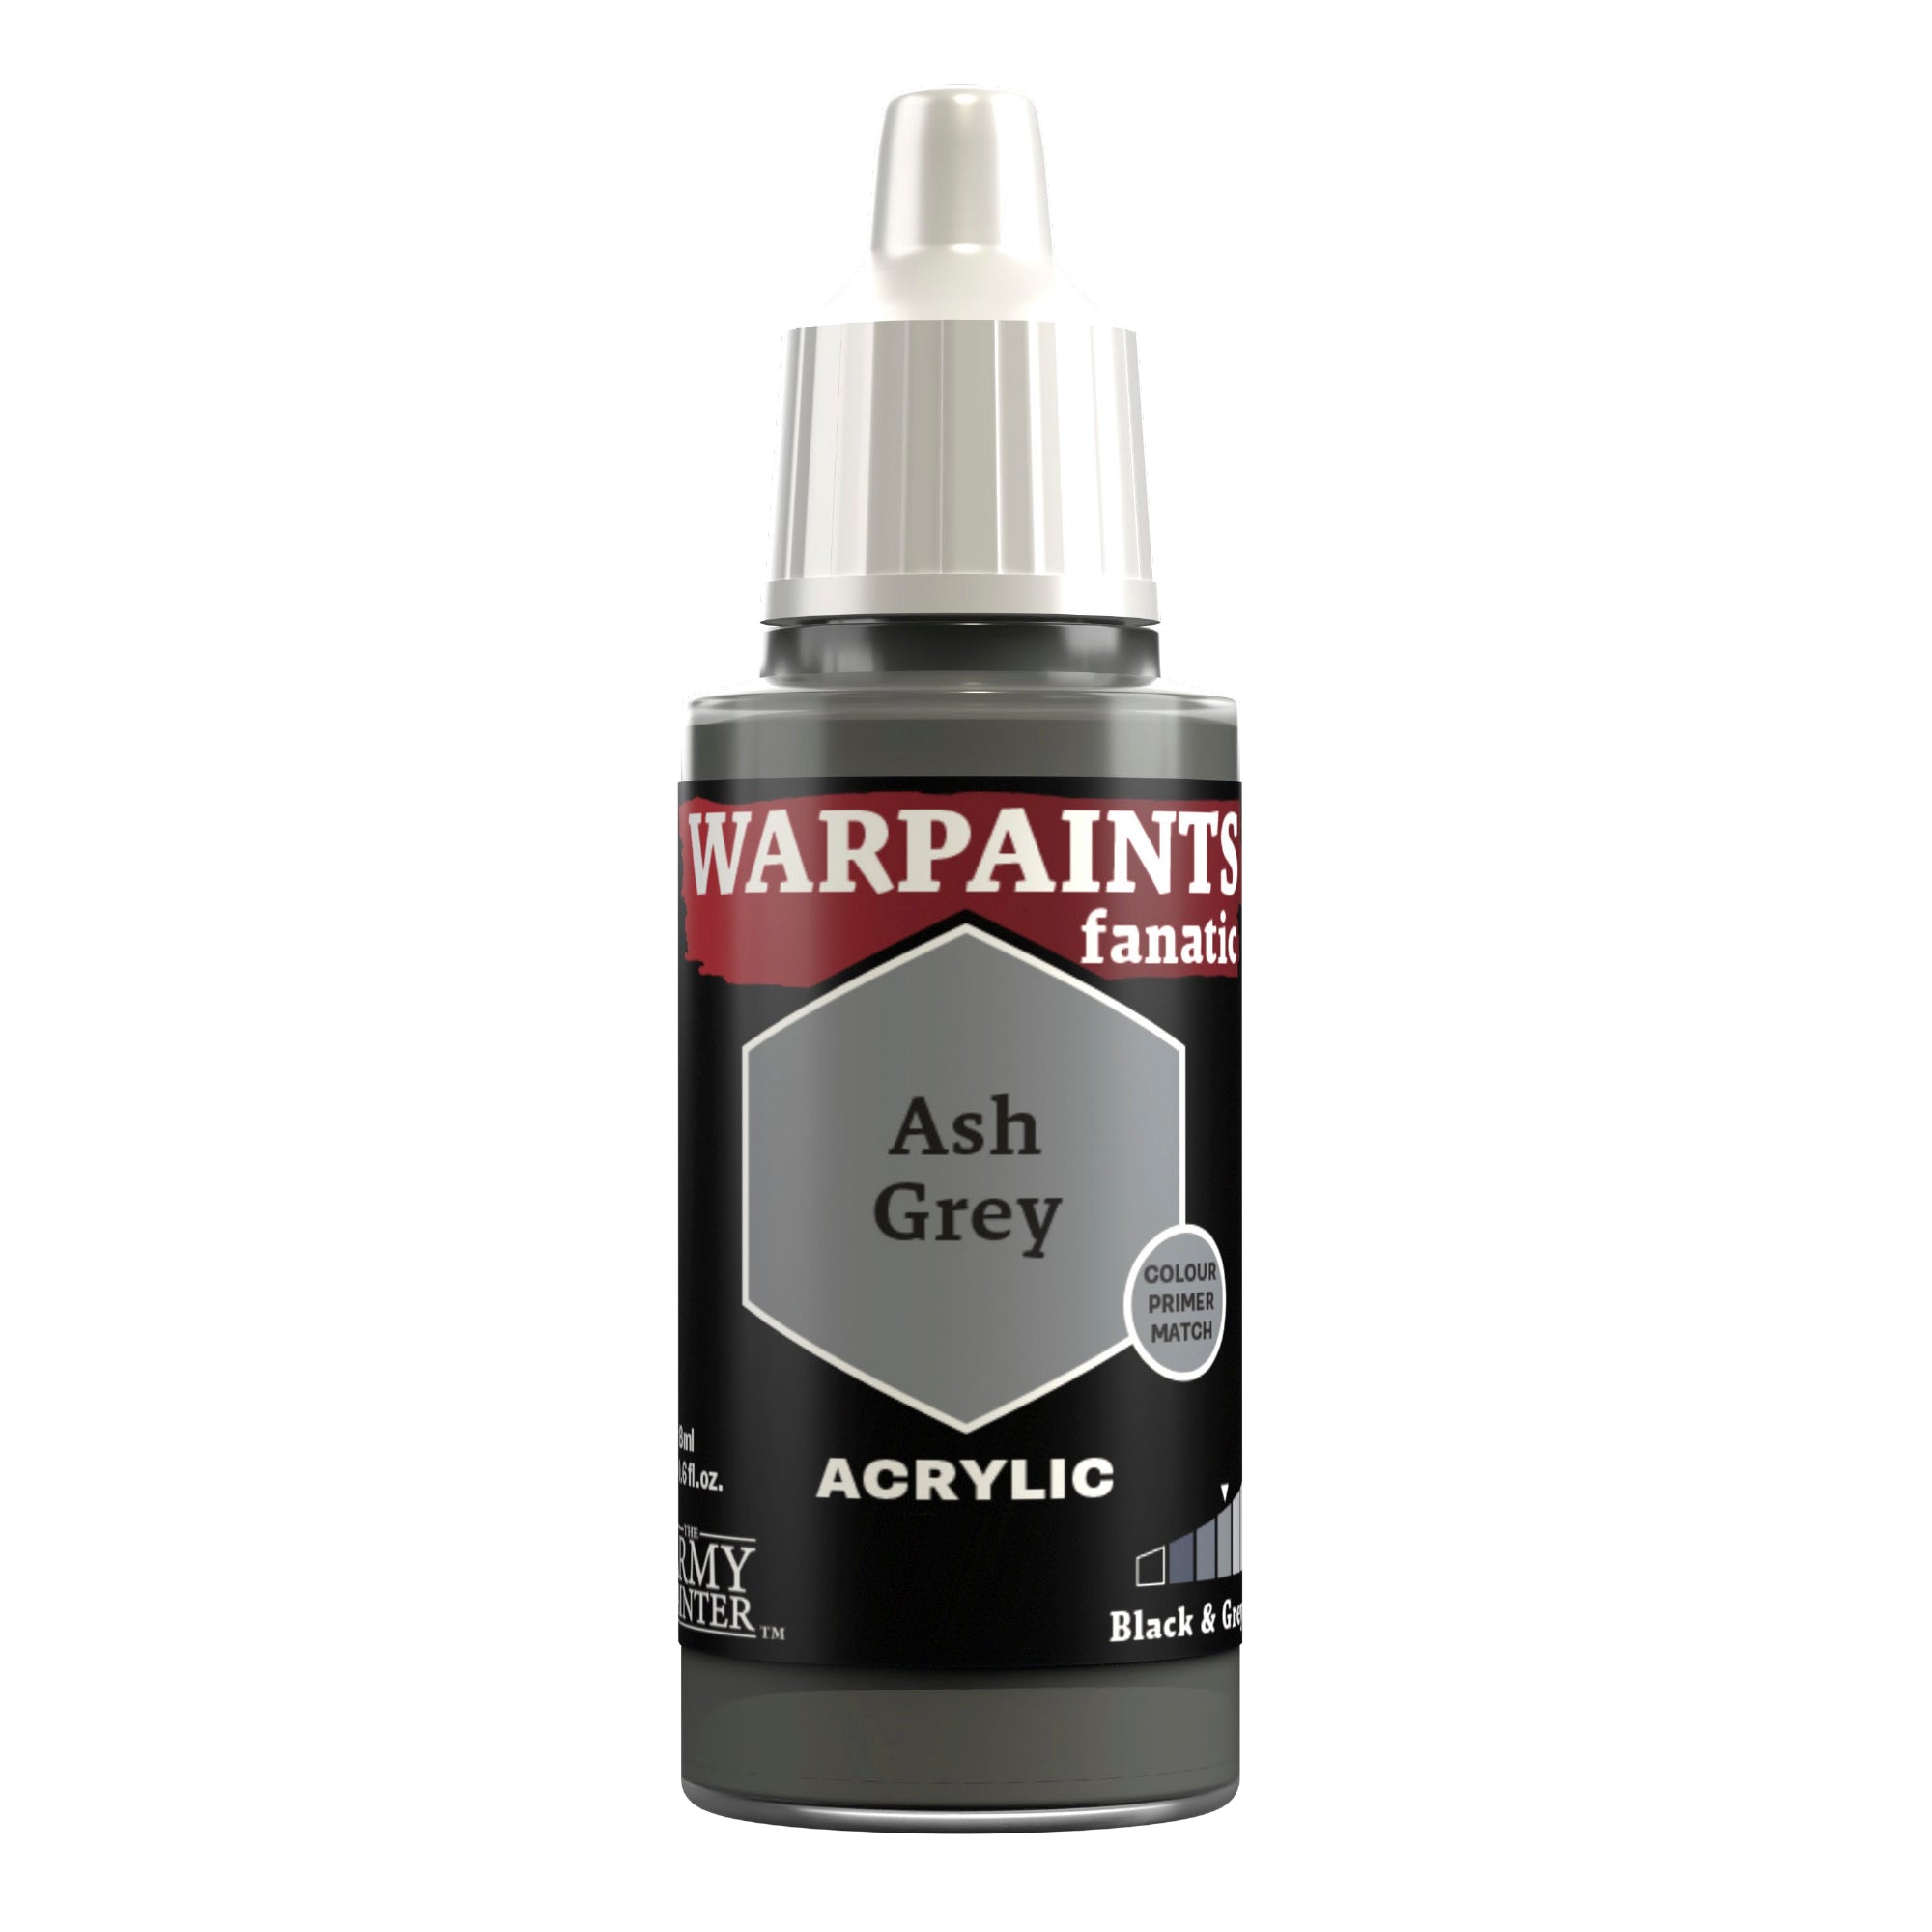
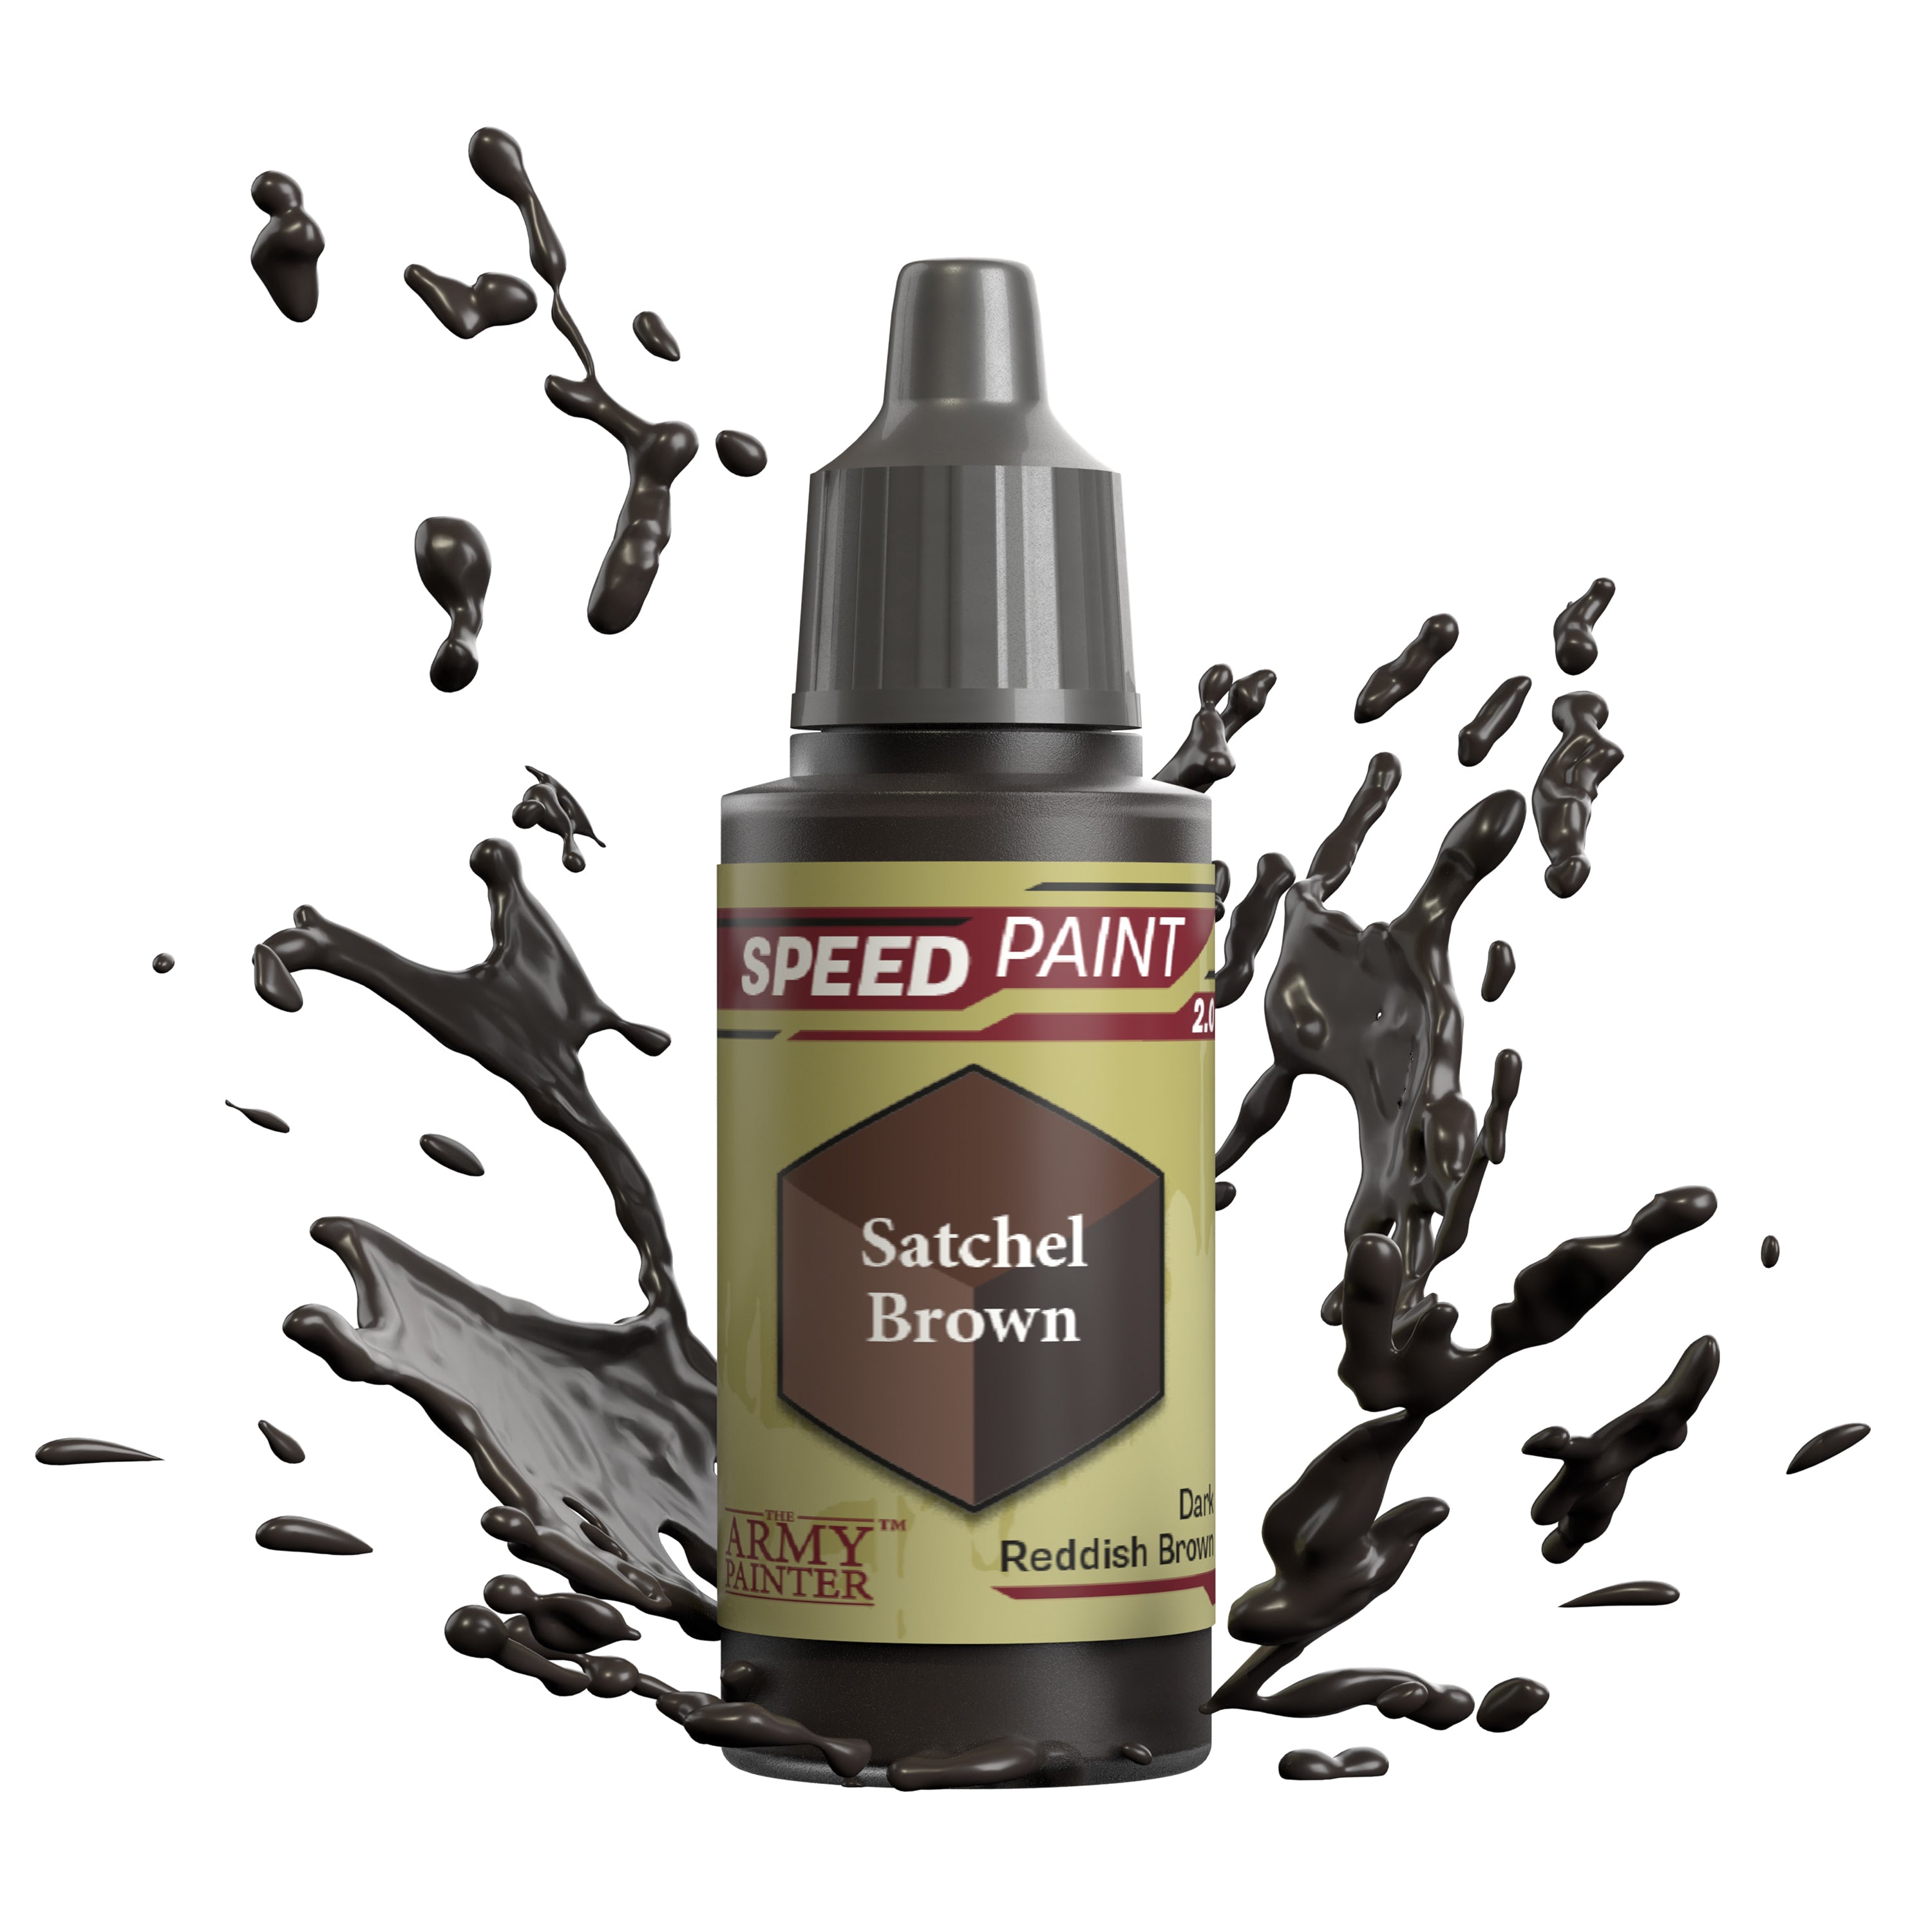
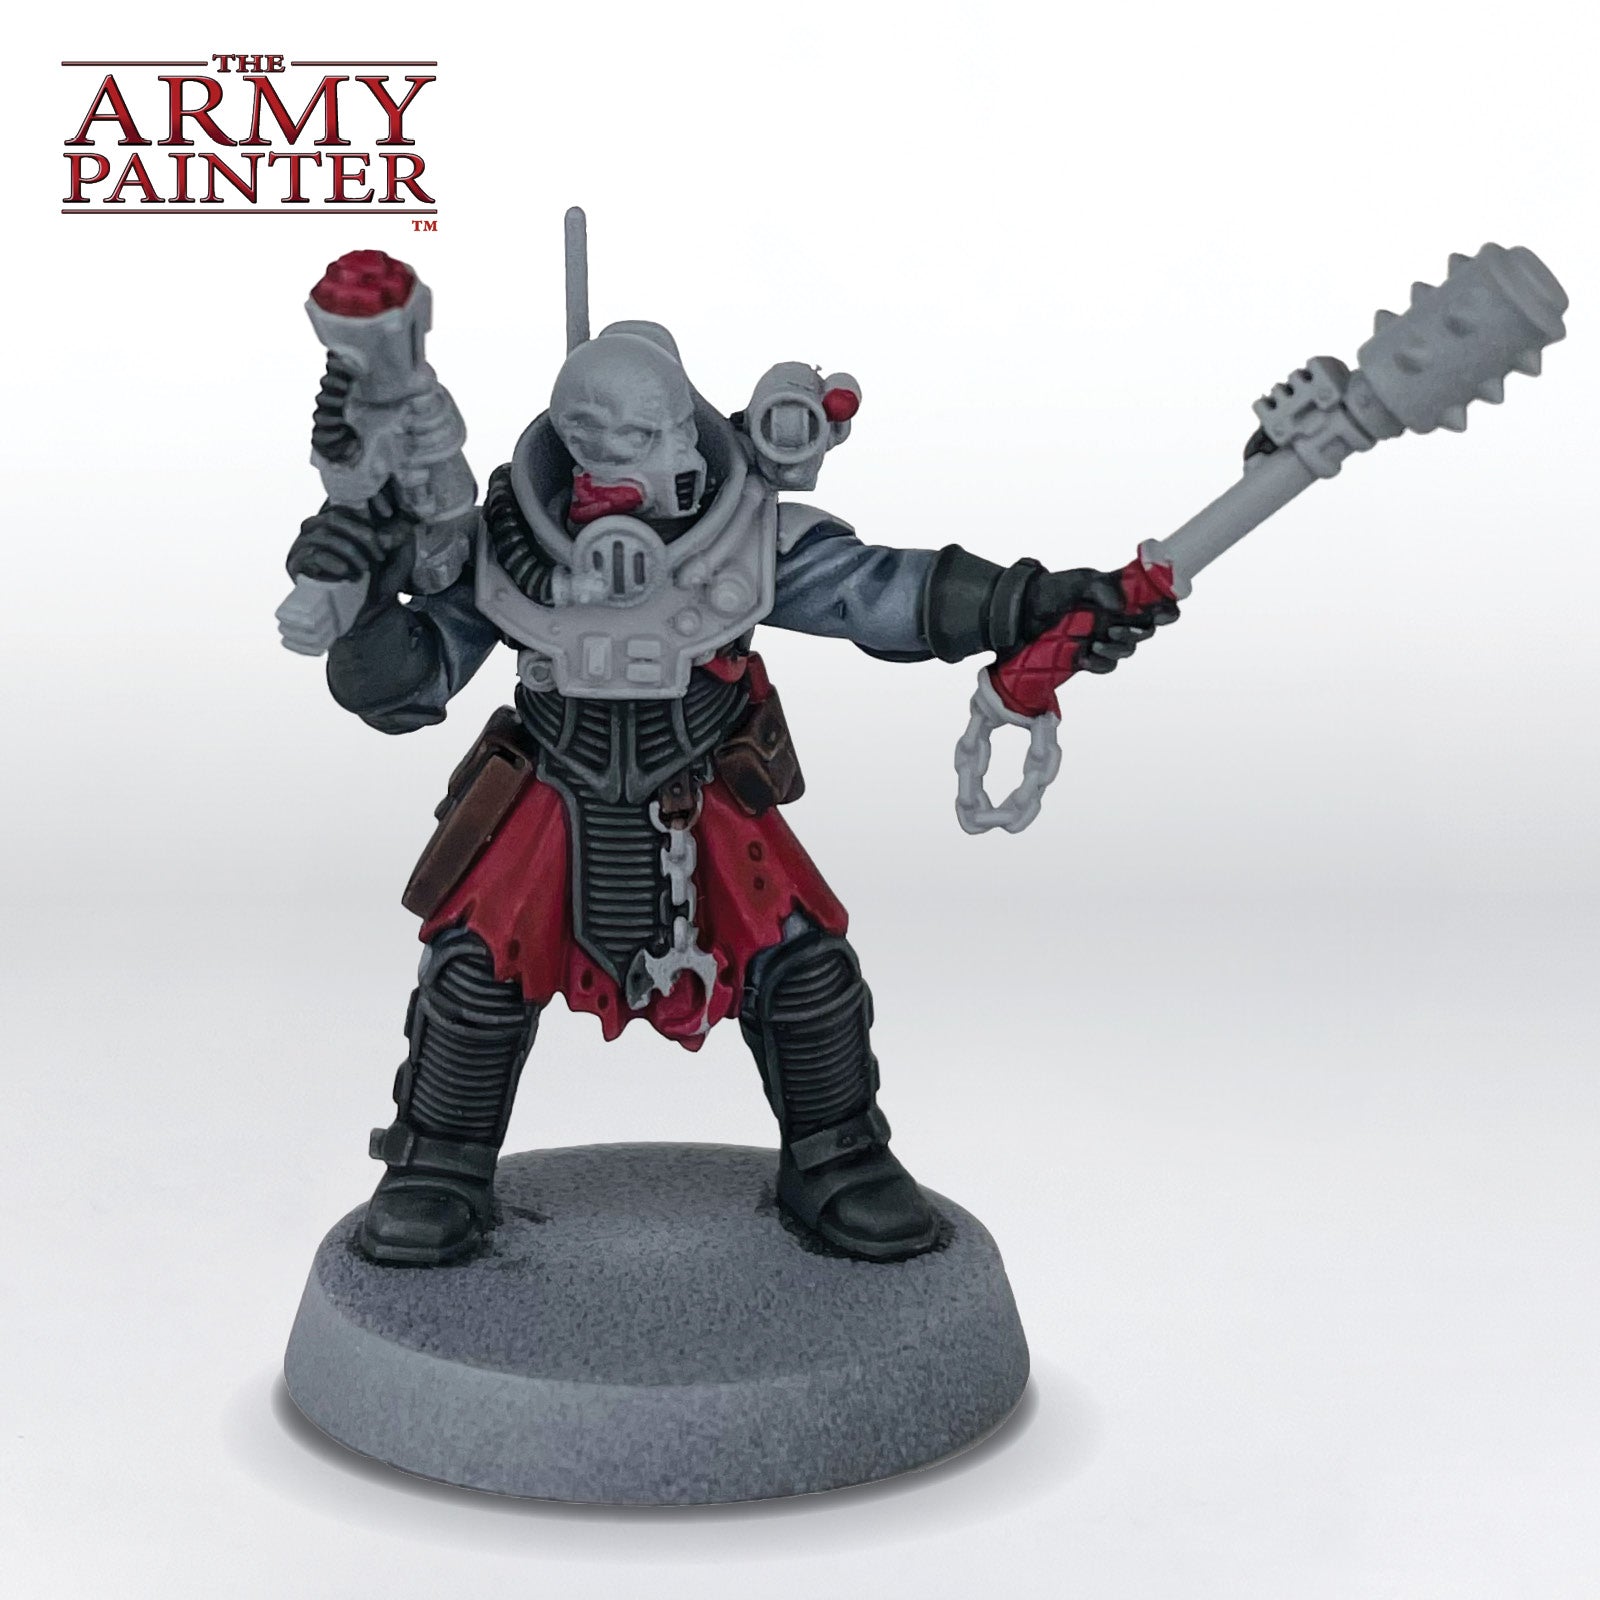
Tidy up the leather areas and armour a bit with Warpaints Fanatic Ash Grey where needed, then coat the leather pouches and straps with Speedpaint Satchel Brown.

Step 6
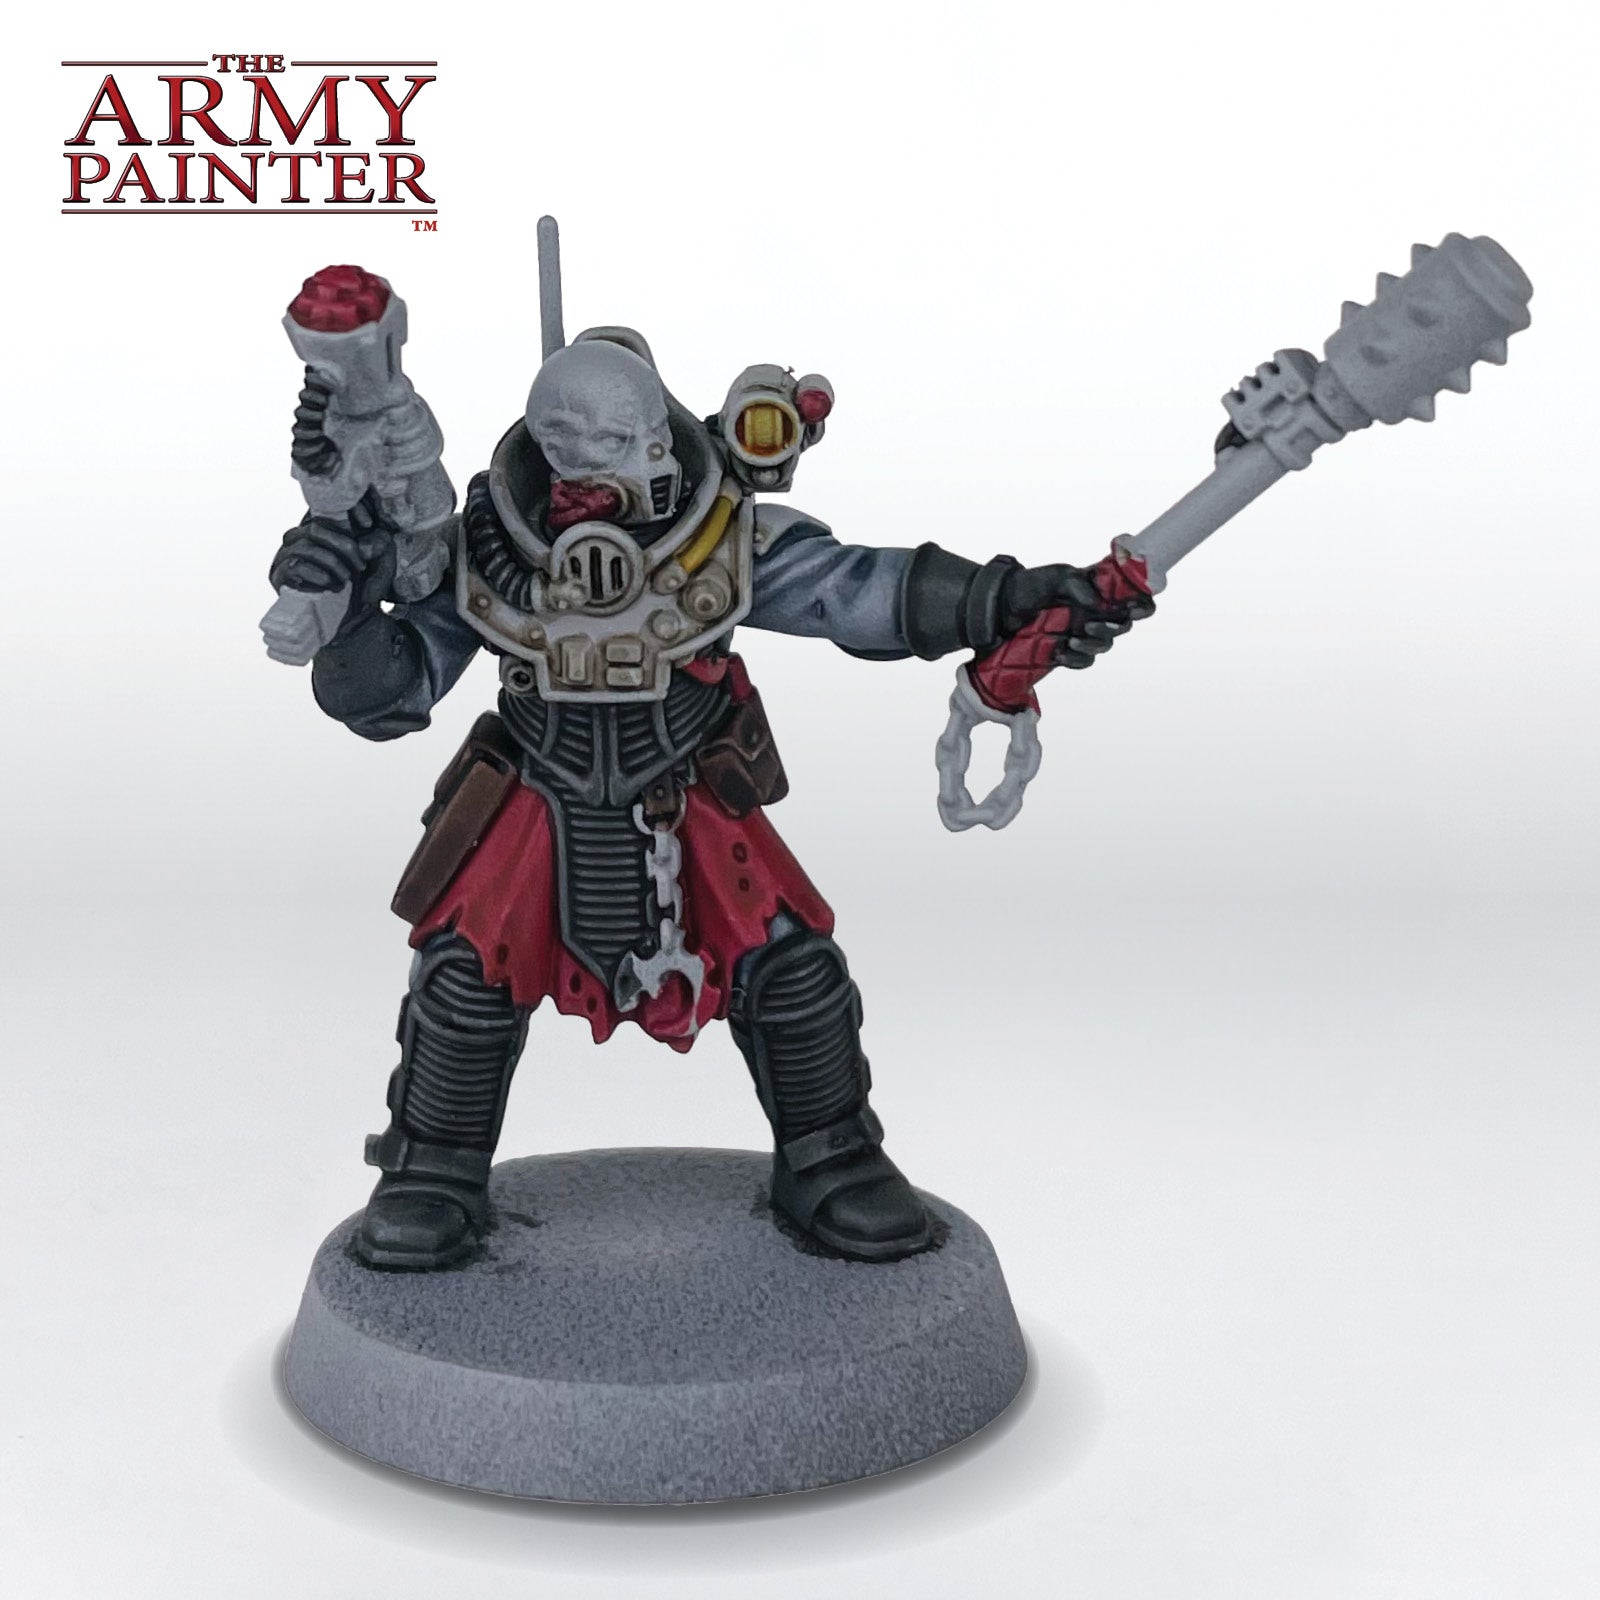
Use Speedpaint Zealot Yellow on the few yellow areas of the model, in this case, the light and a cable.
Step 7
Next, paint Warpaints Fanatic Strong Tone Wash directly into the recesses of the armour and around any rivets. You can do several layers to darken it more where needed and tidy up with Warpaints Fanatic Ash Grey. At the same time, use this on the grip of the mace to make it a little darker than the rest of the red.
Step 8
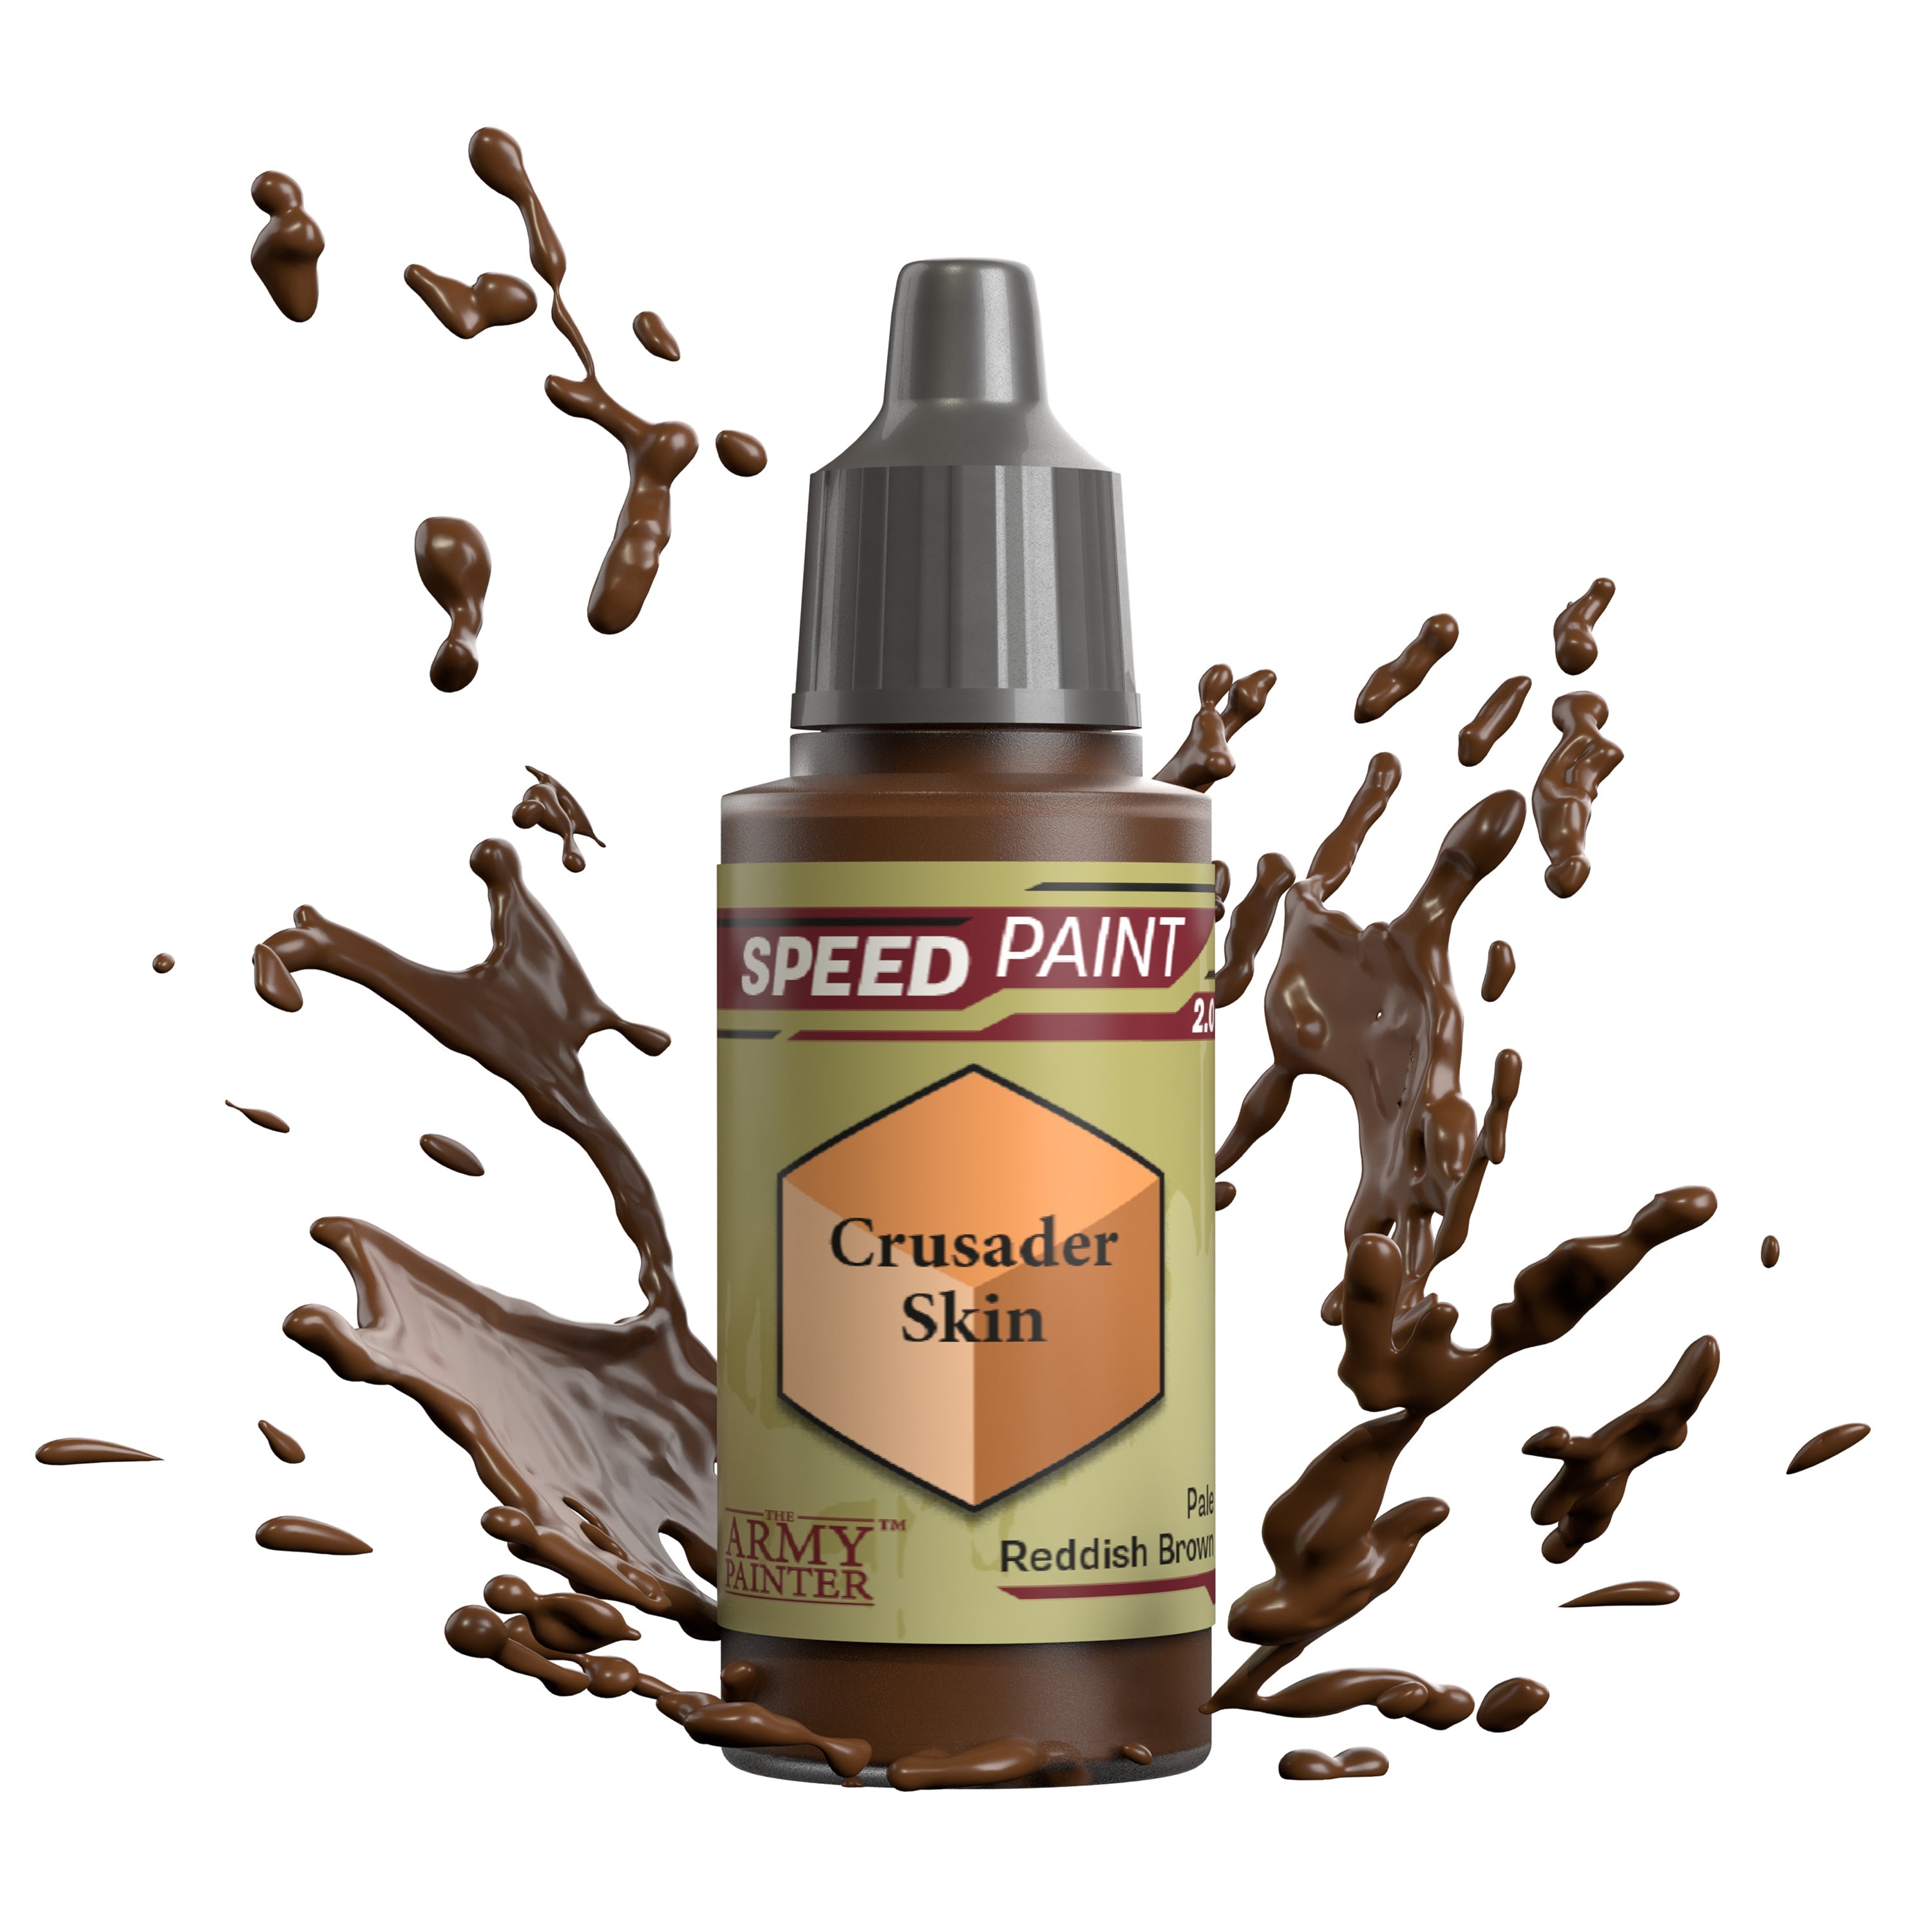
Paint the skin on the model with Speedpaint Crusader Skin. This gives a nice pale and sickly look overtop the Ash Grey.
Step 9
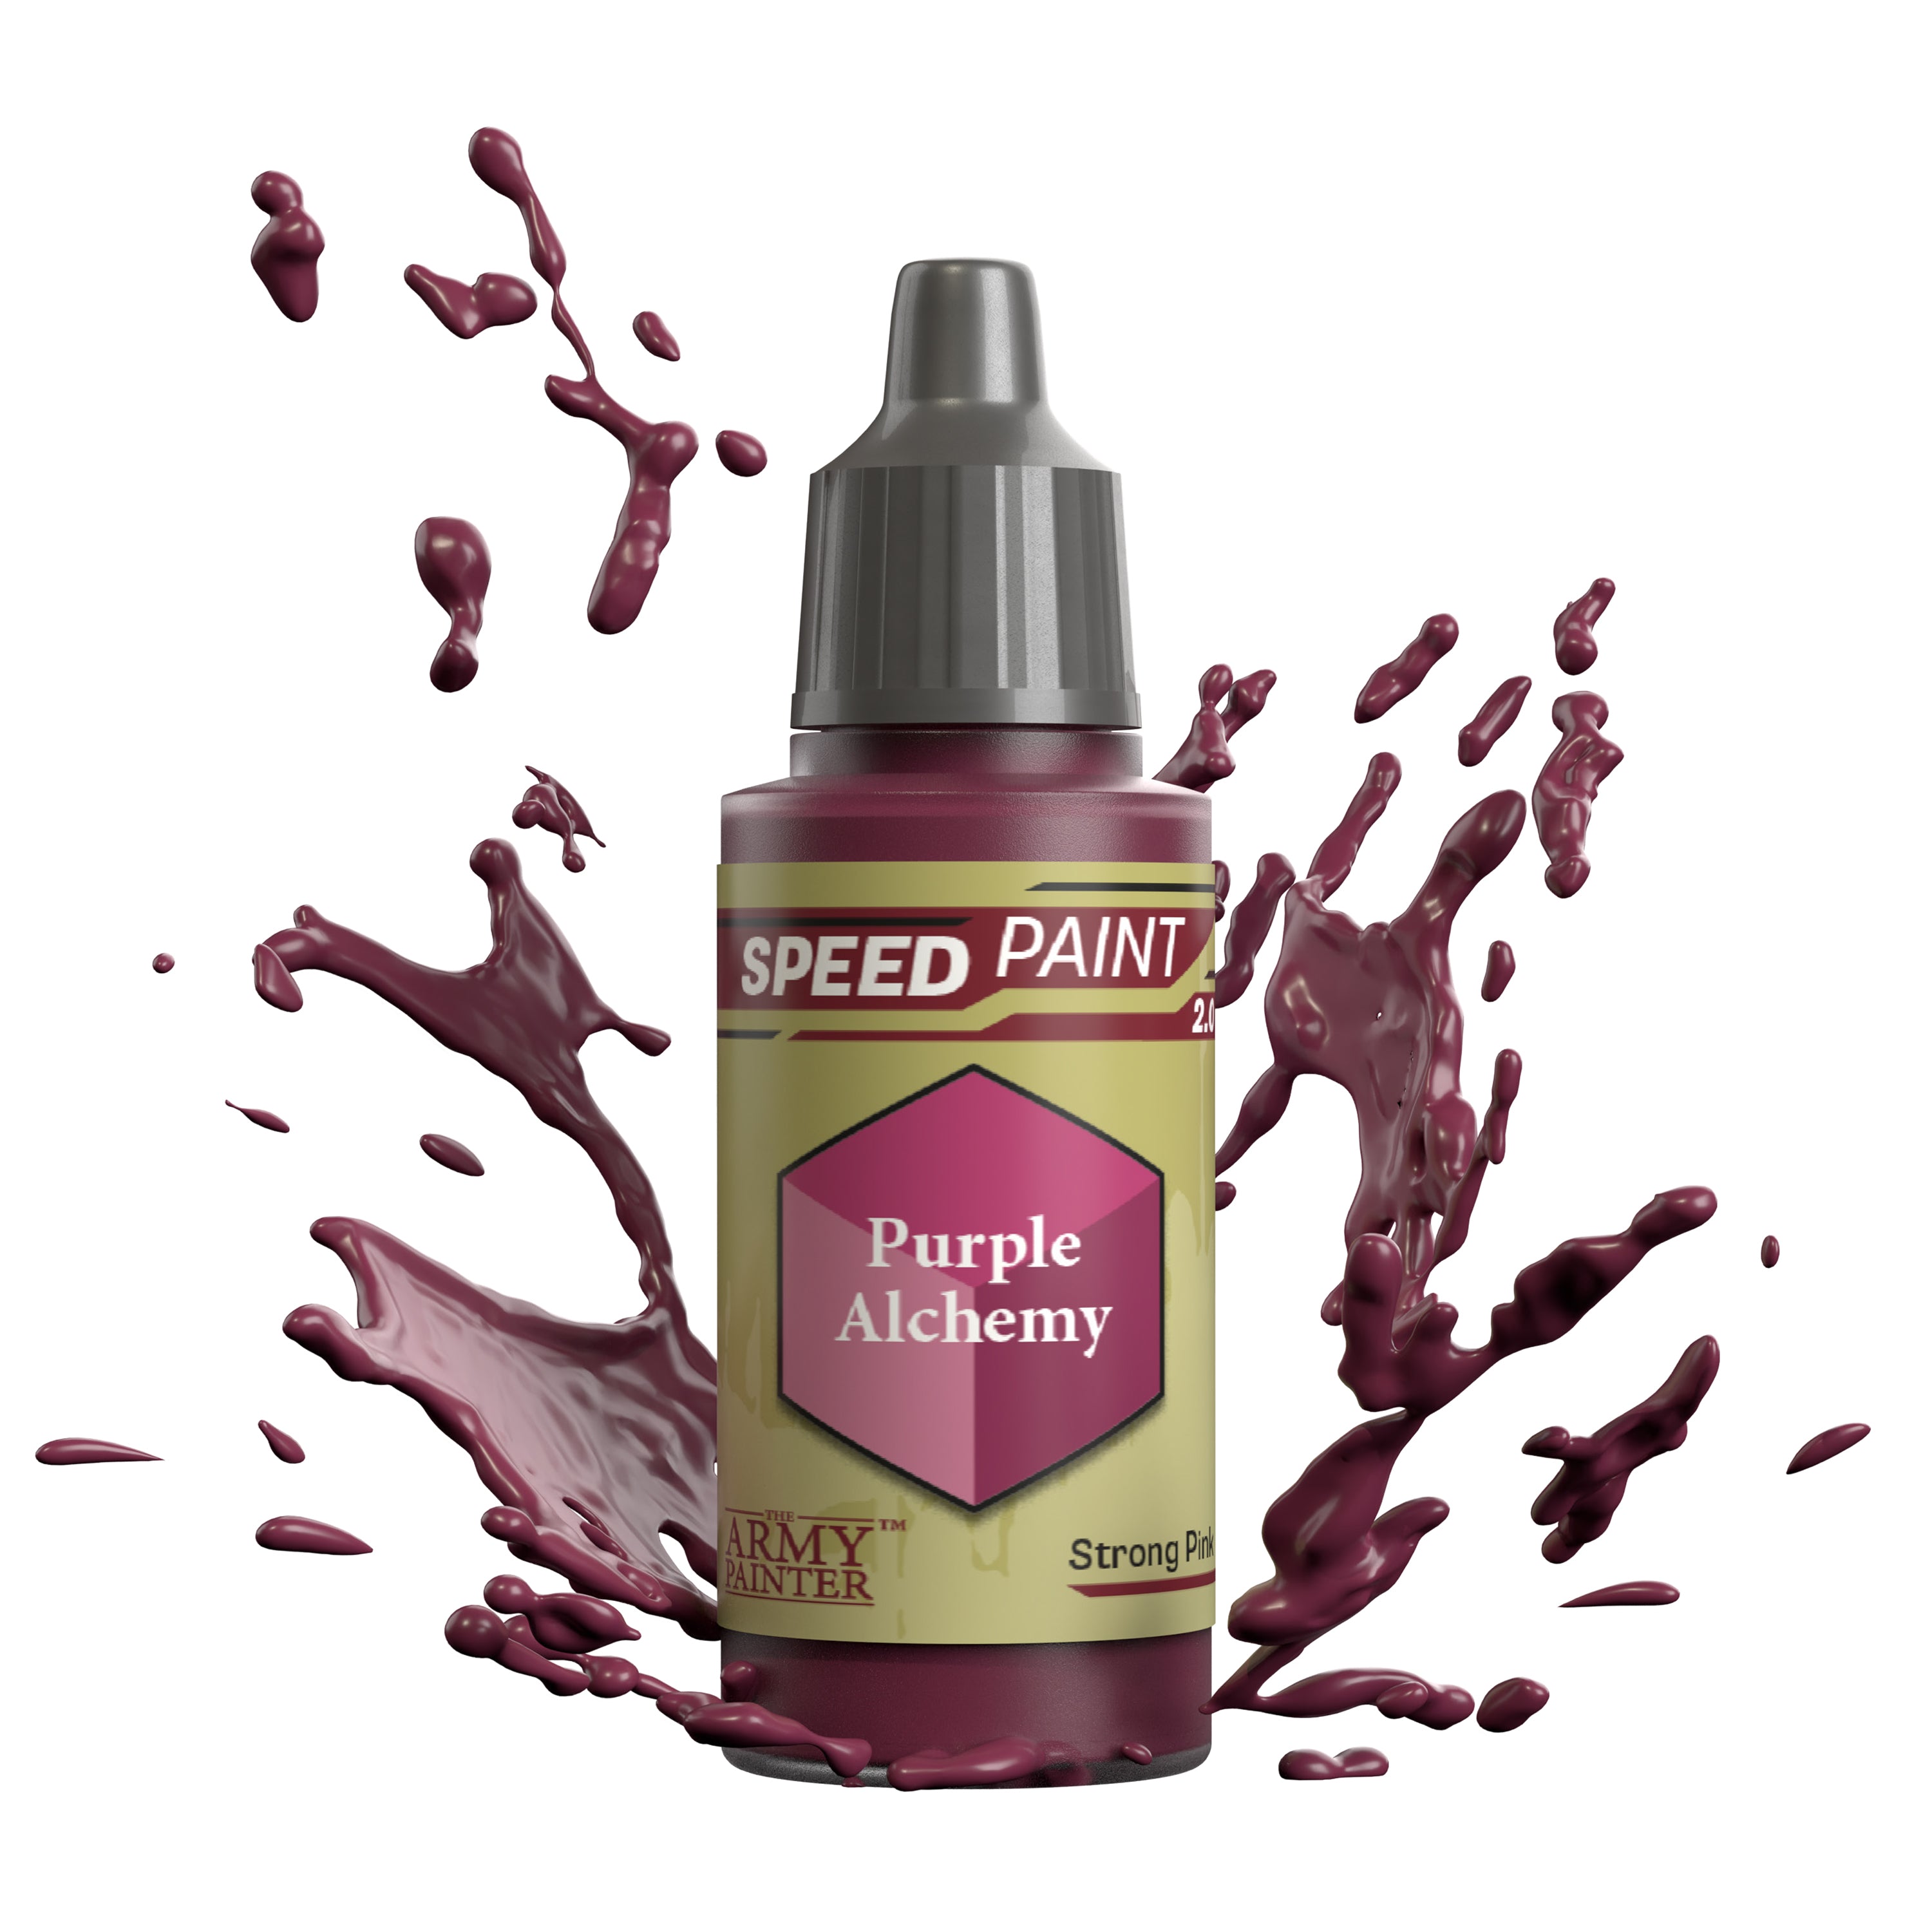
Use a 1:1 mix of Speedpaint Purple Alchemy and Speedpaint Medium to add a bit of a purple gradient to the back of the head. Since the Medium extends the working time of this slightly, you can use a clean brush to feather the edge of the purple for an even smoother gradient. Build this up in a few thin layers. Also, use this mix around the eyes and on the forehead ridges. A few purple veins were also painted near the back of the head on this model.
Step 10
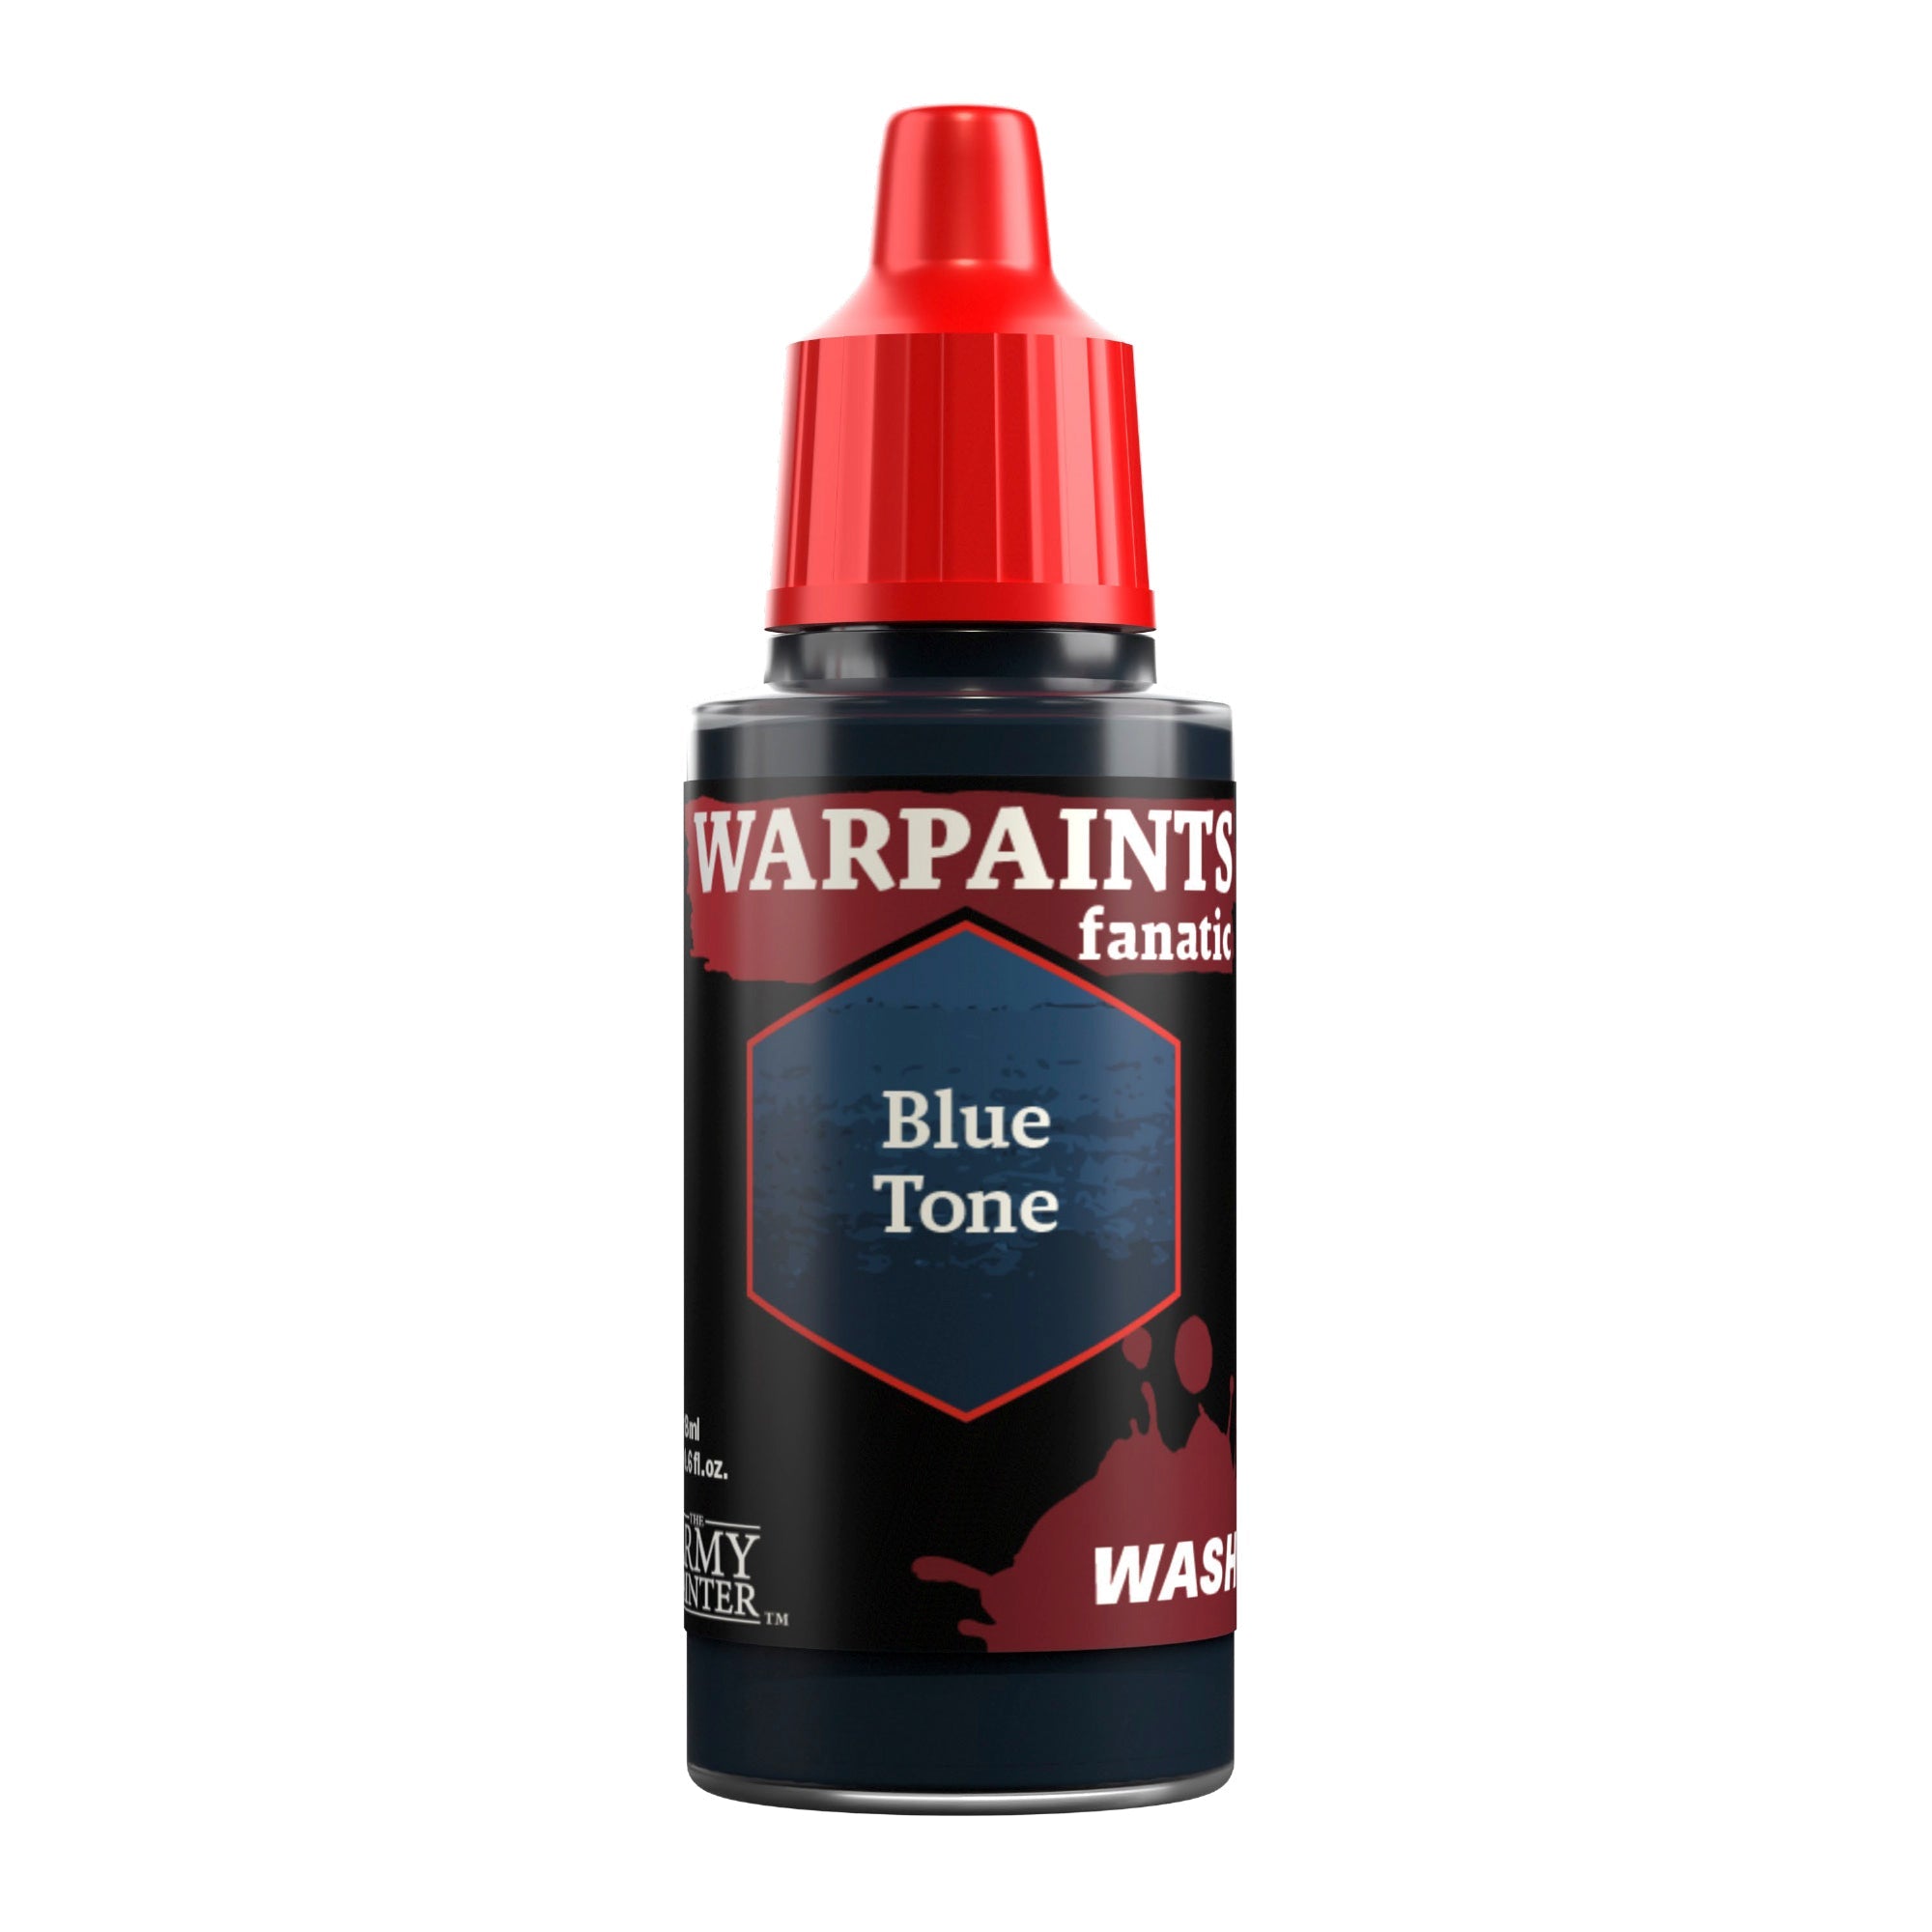
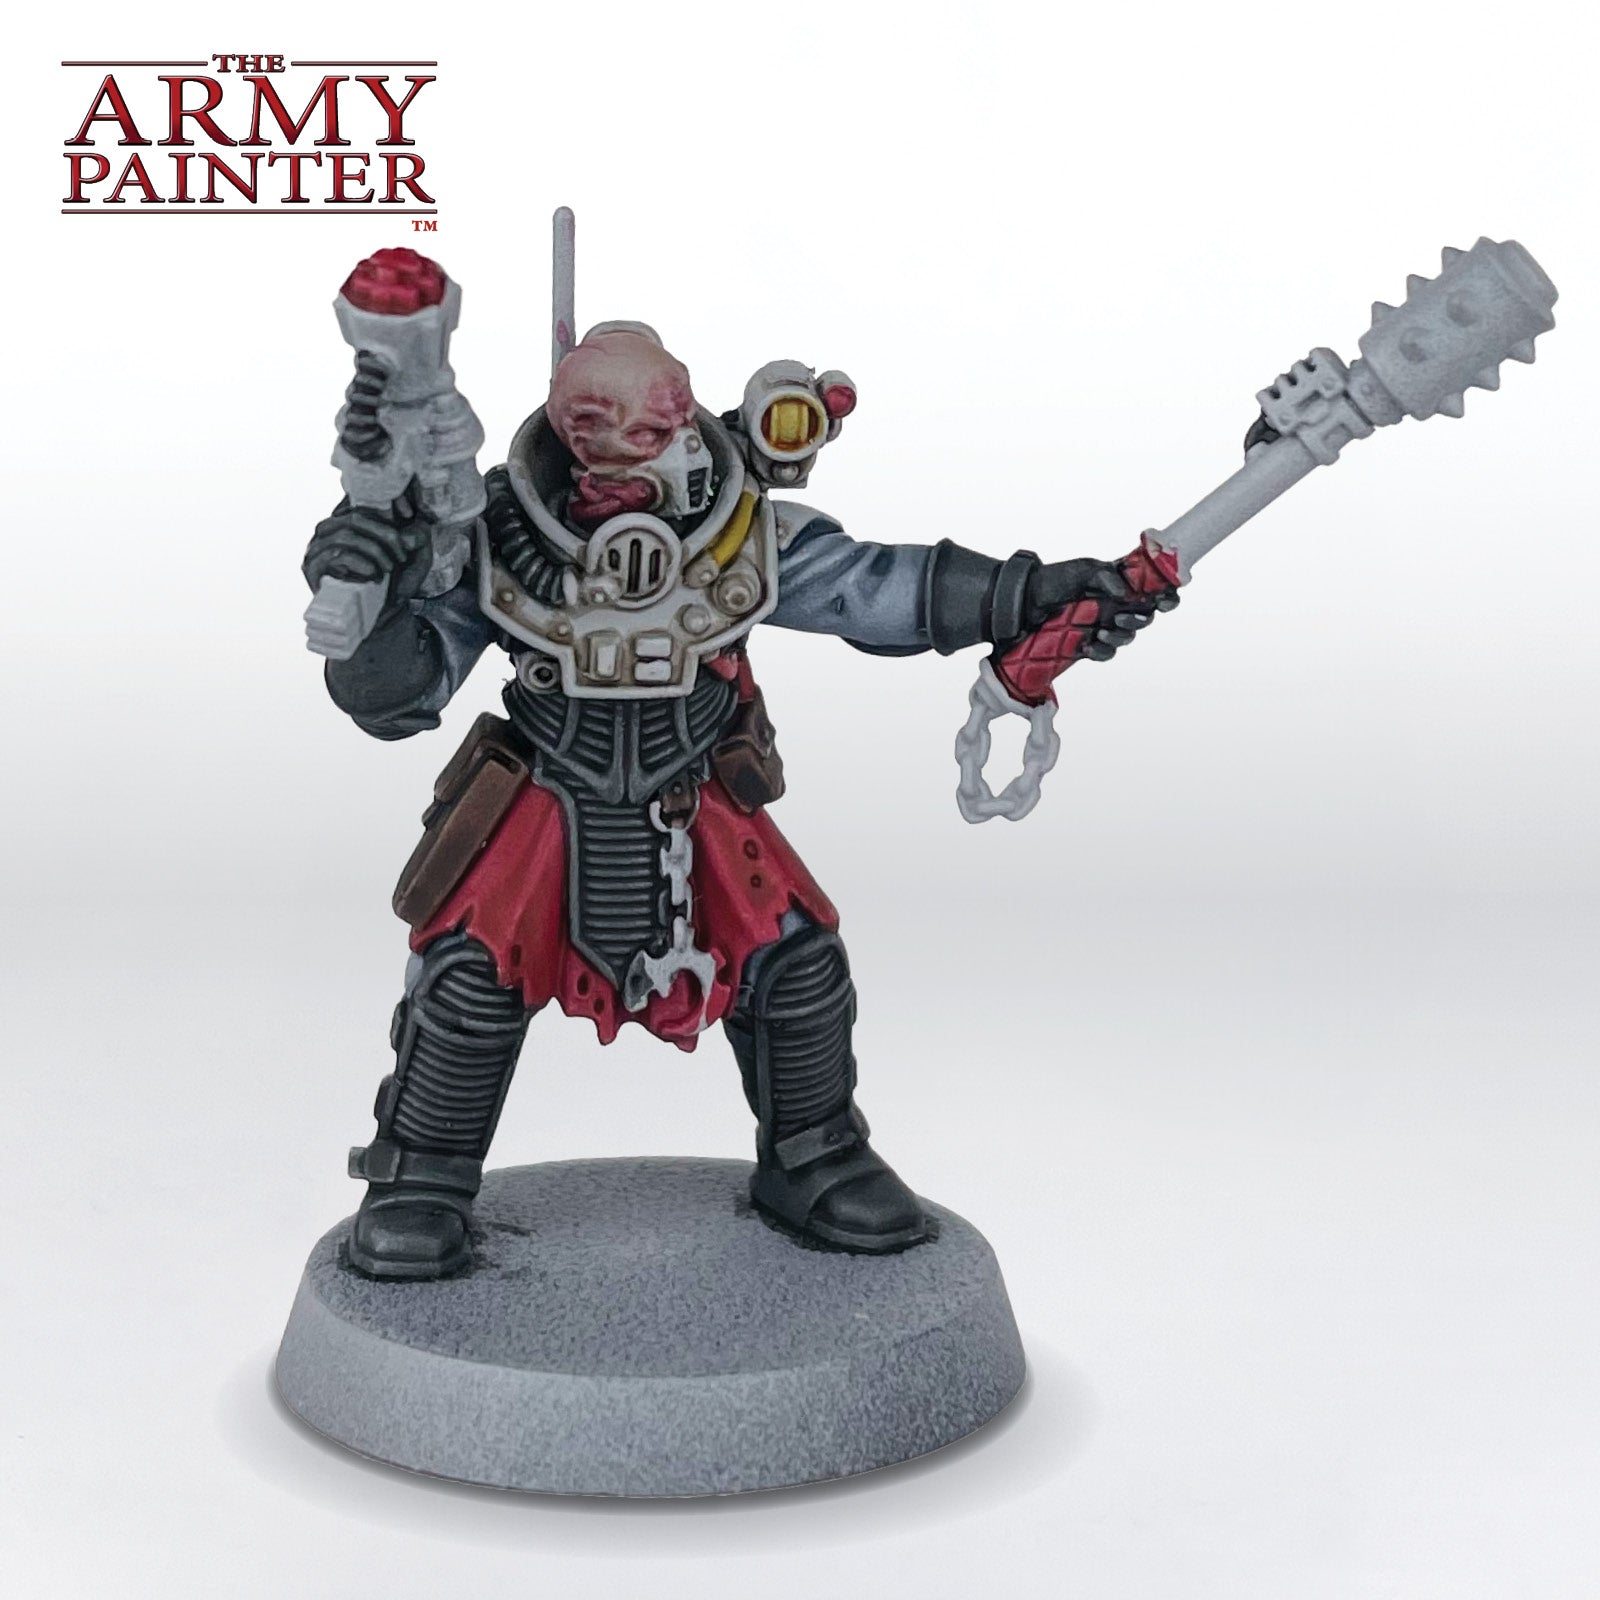
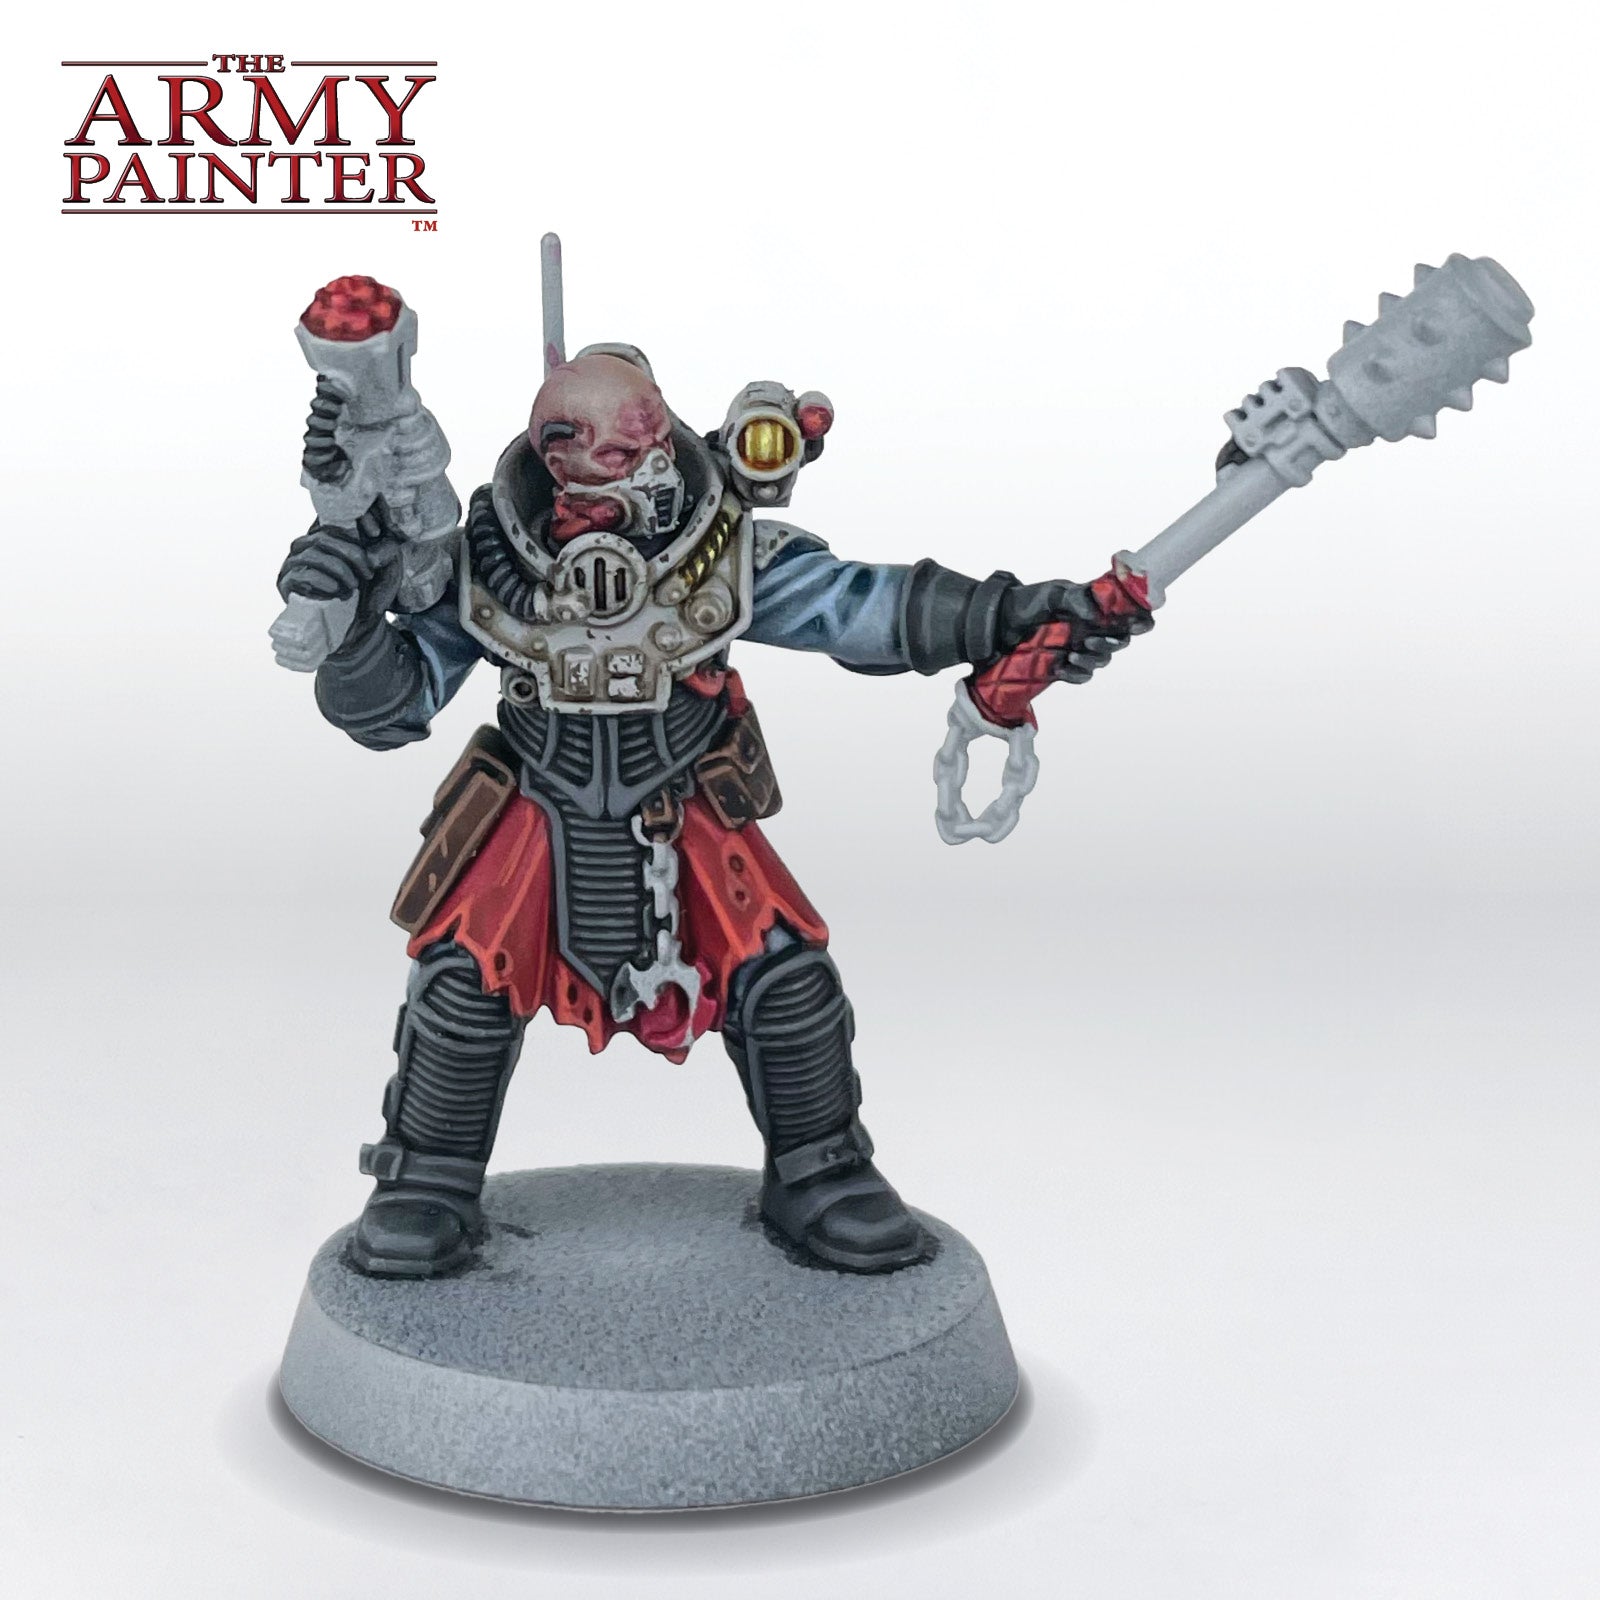
Lastly, apply a coat of Warpaints Fanatic Blue Tone to the undersuit to strengthen the vibrancy. This step can be skipped if you’re happy with the look already, or even done right after the Speedpaint Runic Grey is applied earlier.
Weathering and Highlights
Step 1
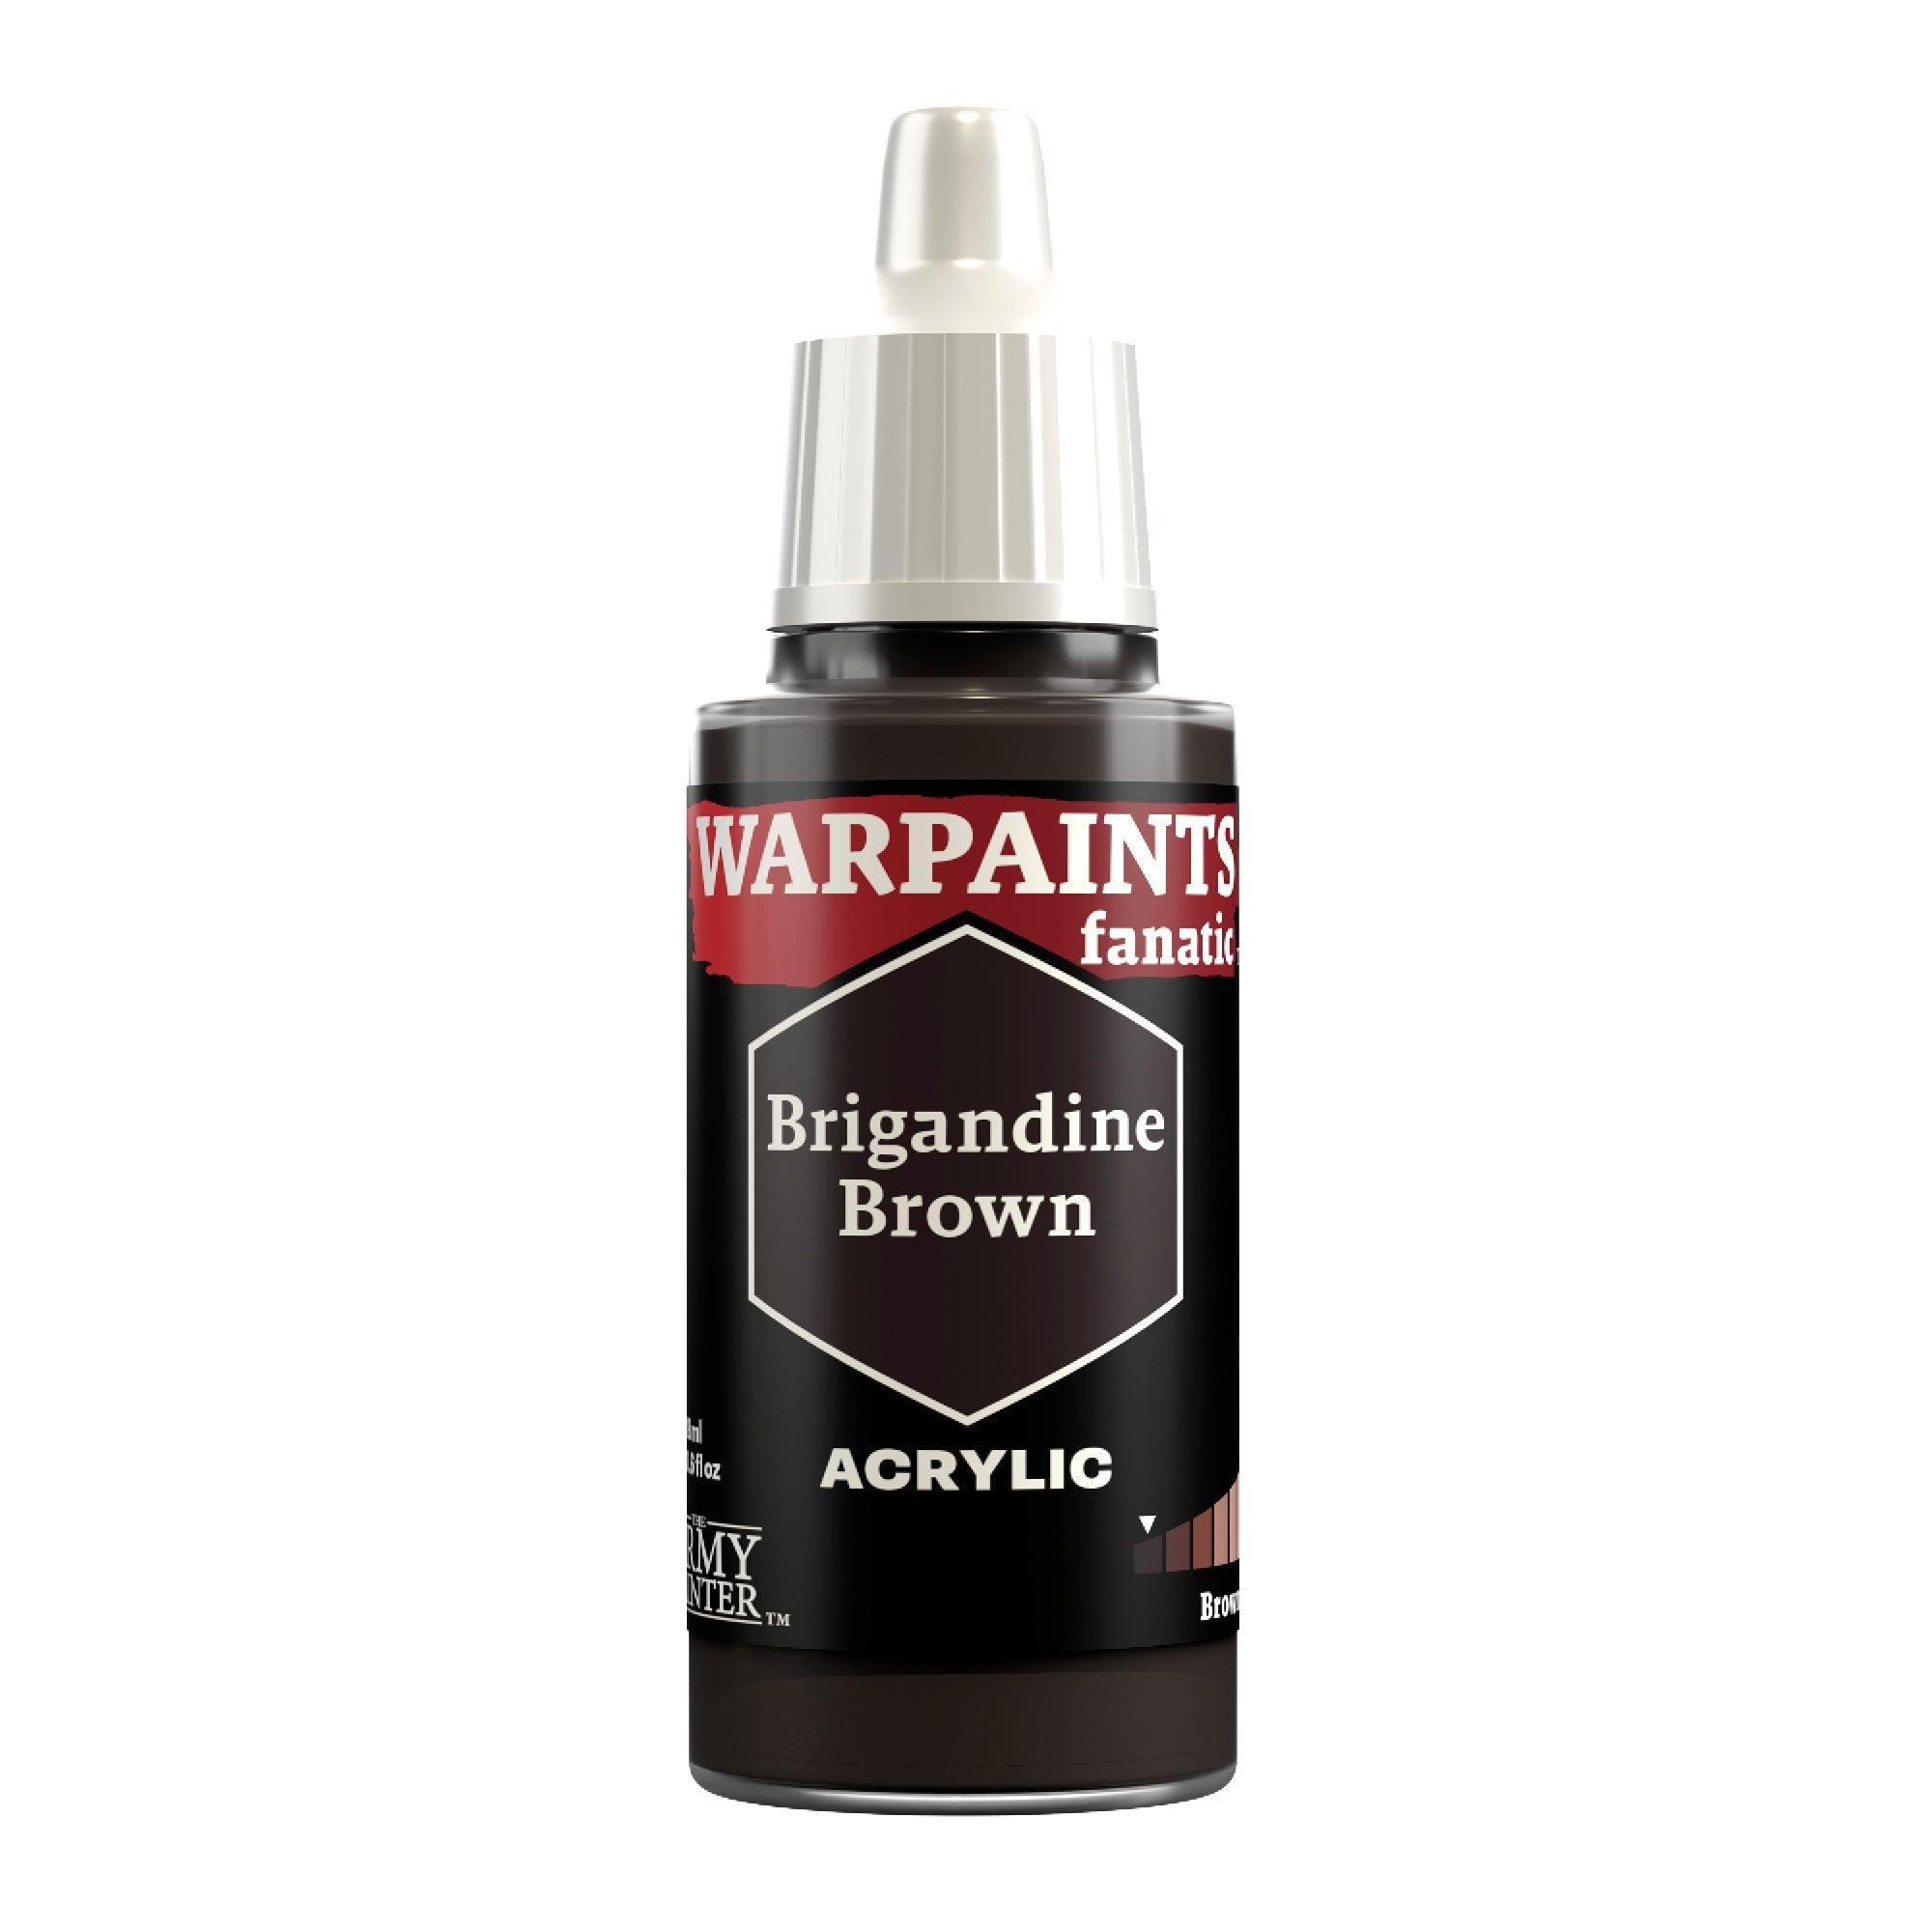
Use a bit of sponge to carefully apply chipping to the armour with Warpaints Fanatic Brigandine Brown. You can also use a brush to apply some more controlled chipping in hard-to-reach areas.
Step 2
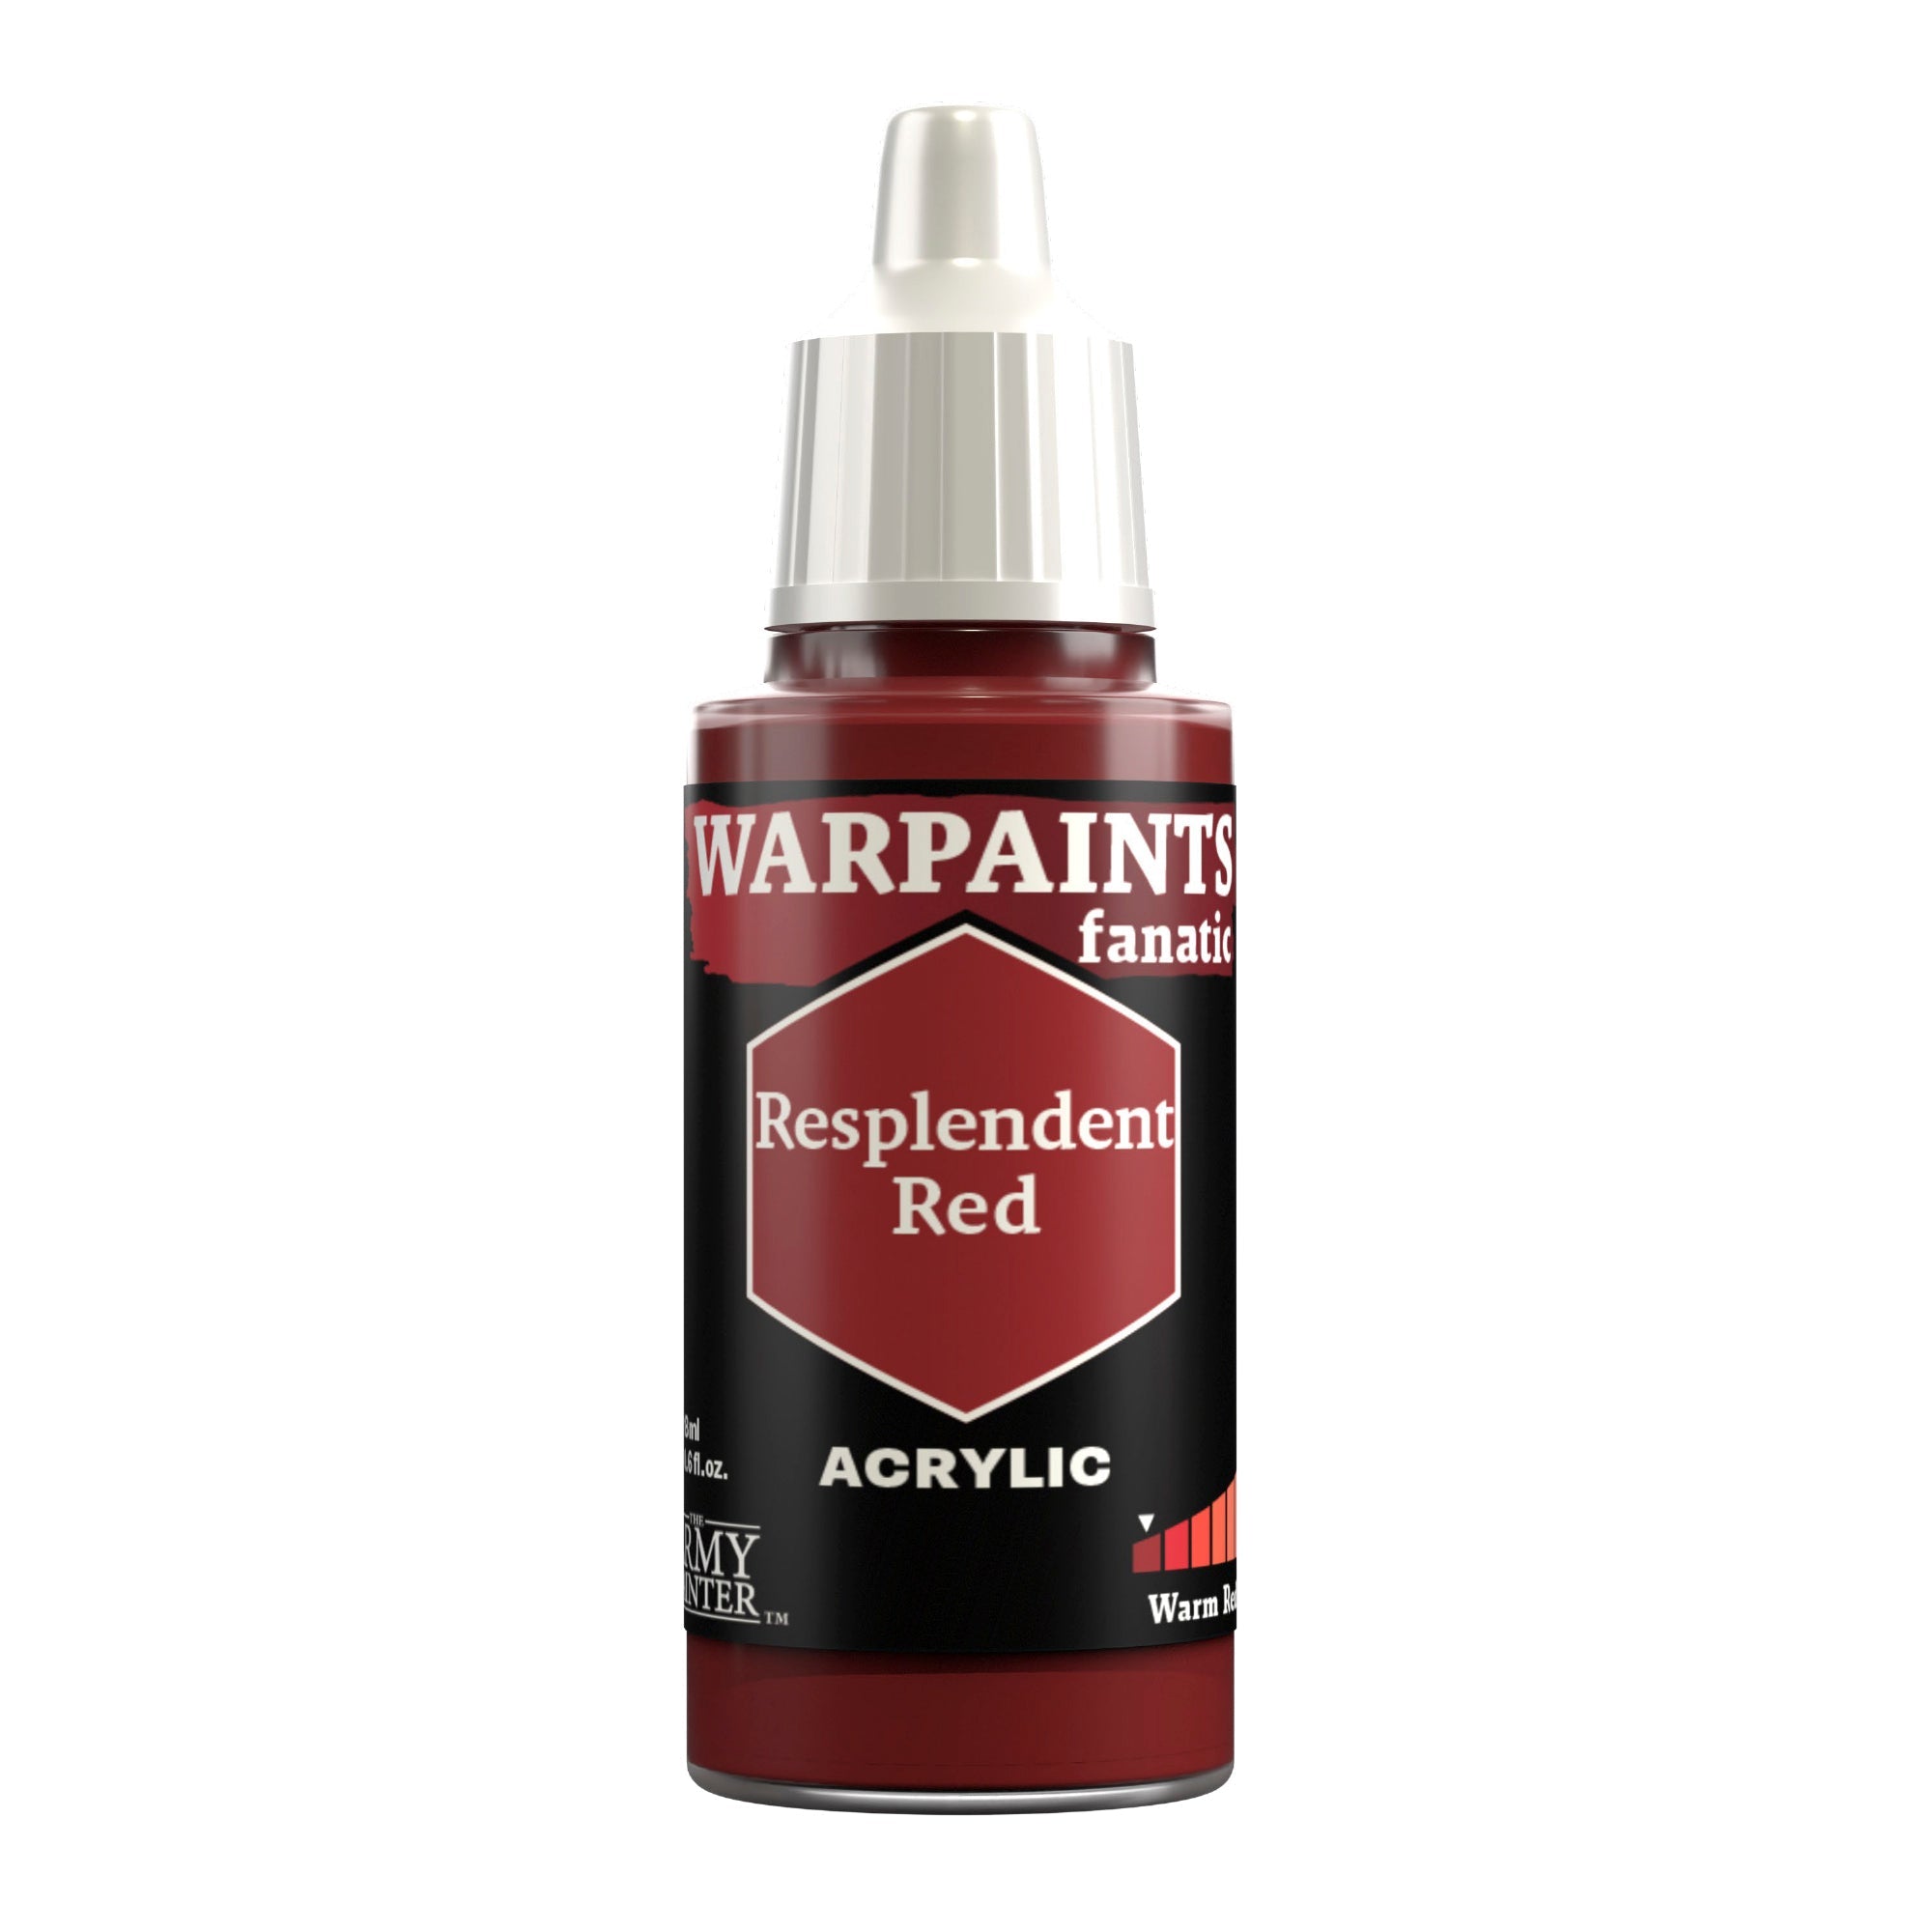
Next, highlight all the red areas with Warpaints Fanatic Resplendent Red by picking out the edges of the cloth, folds, and cables.
Step 3
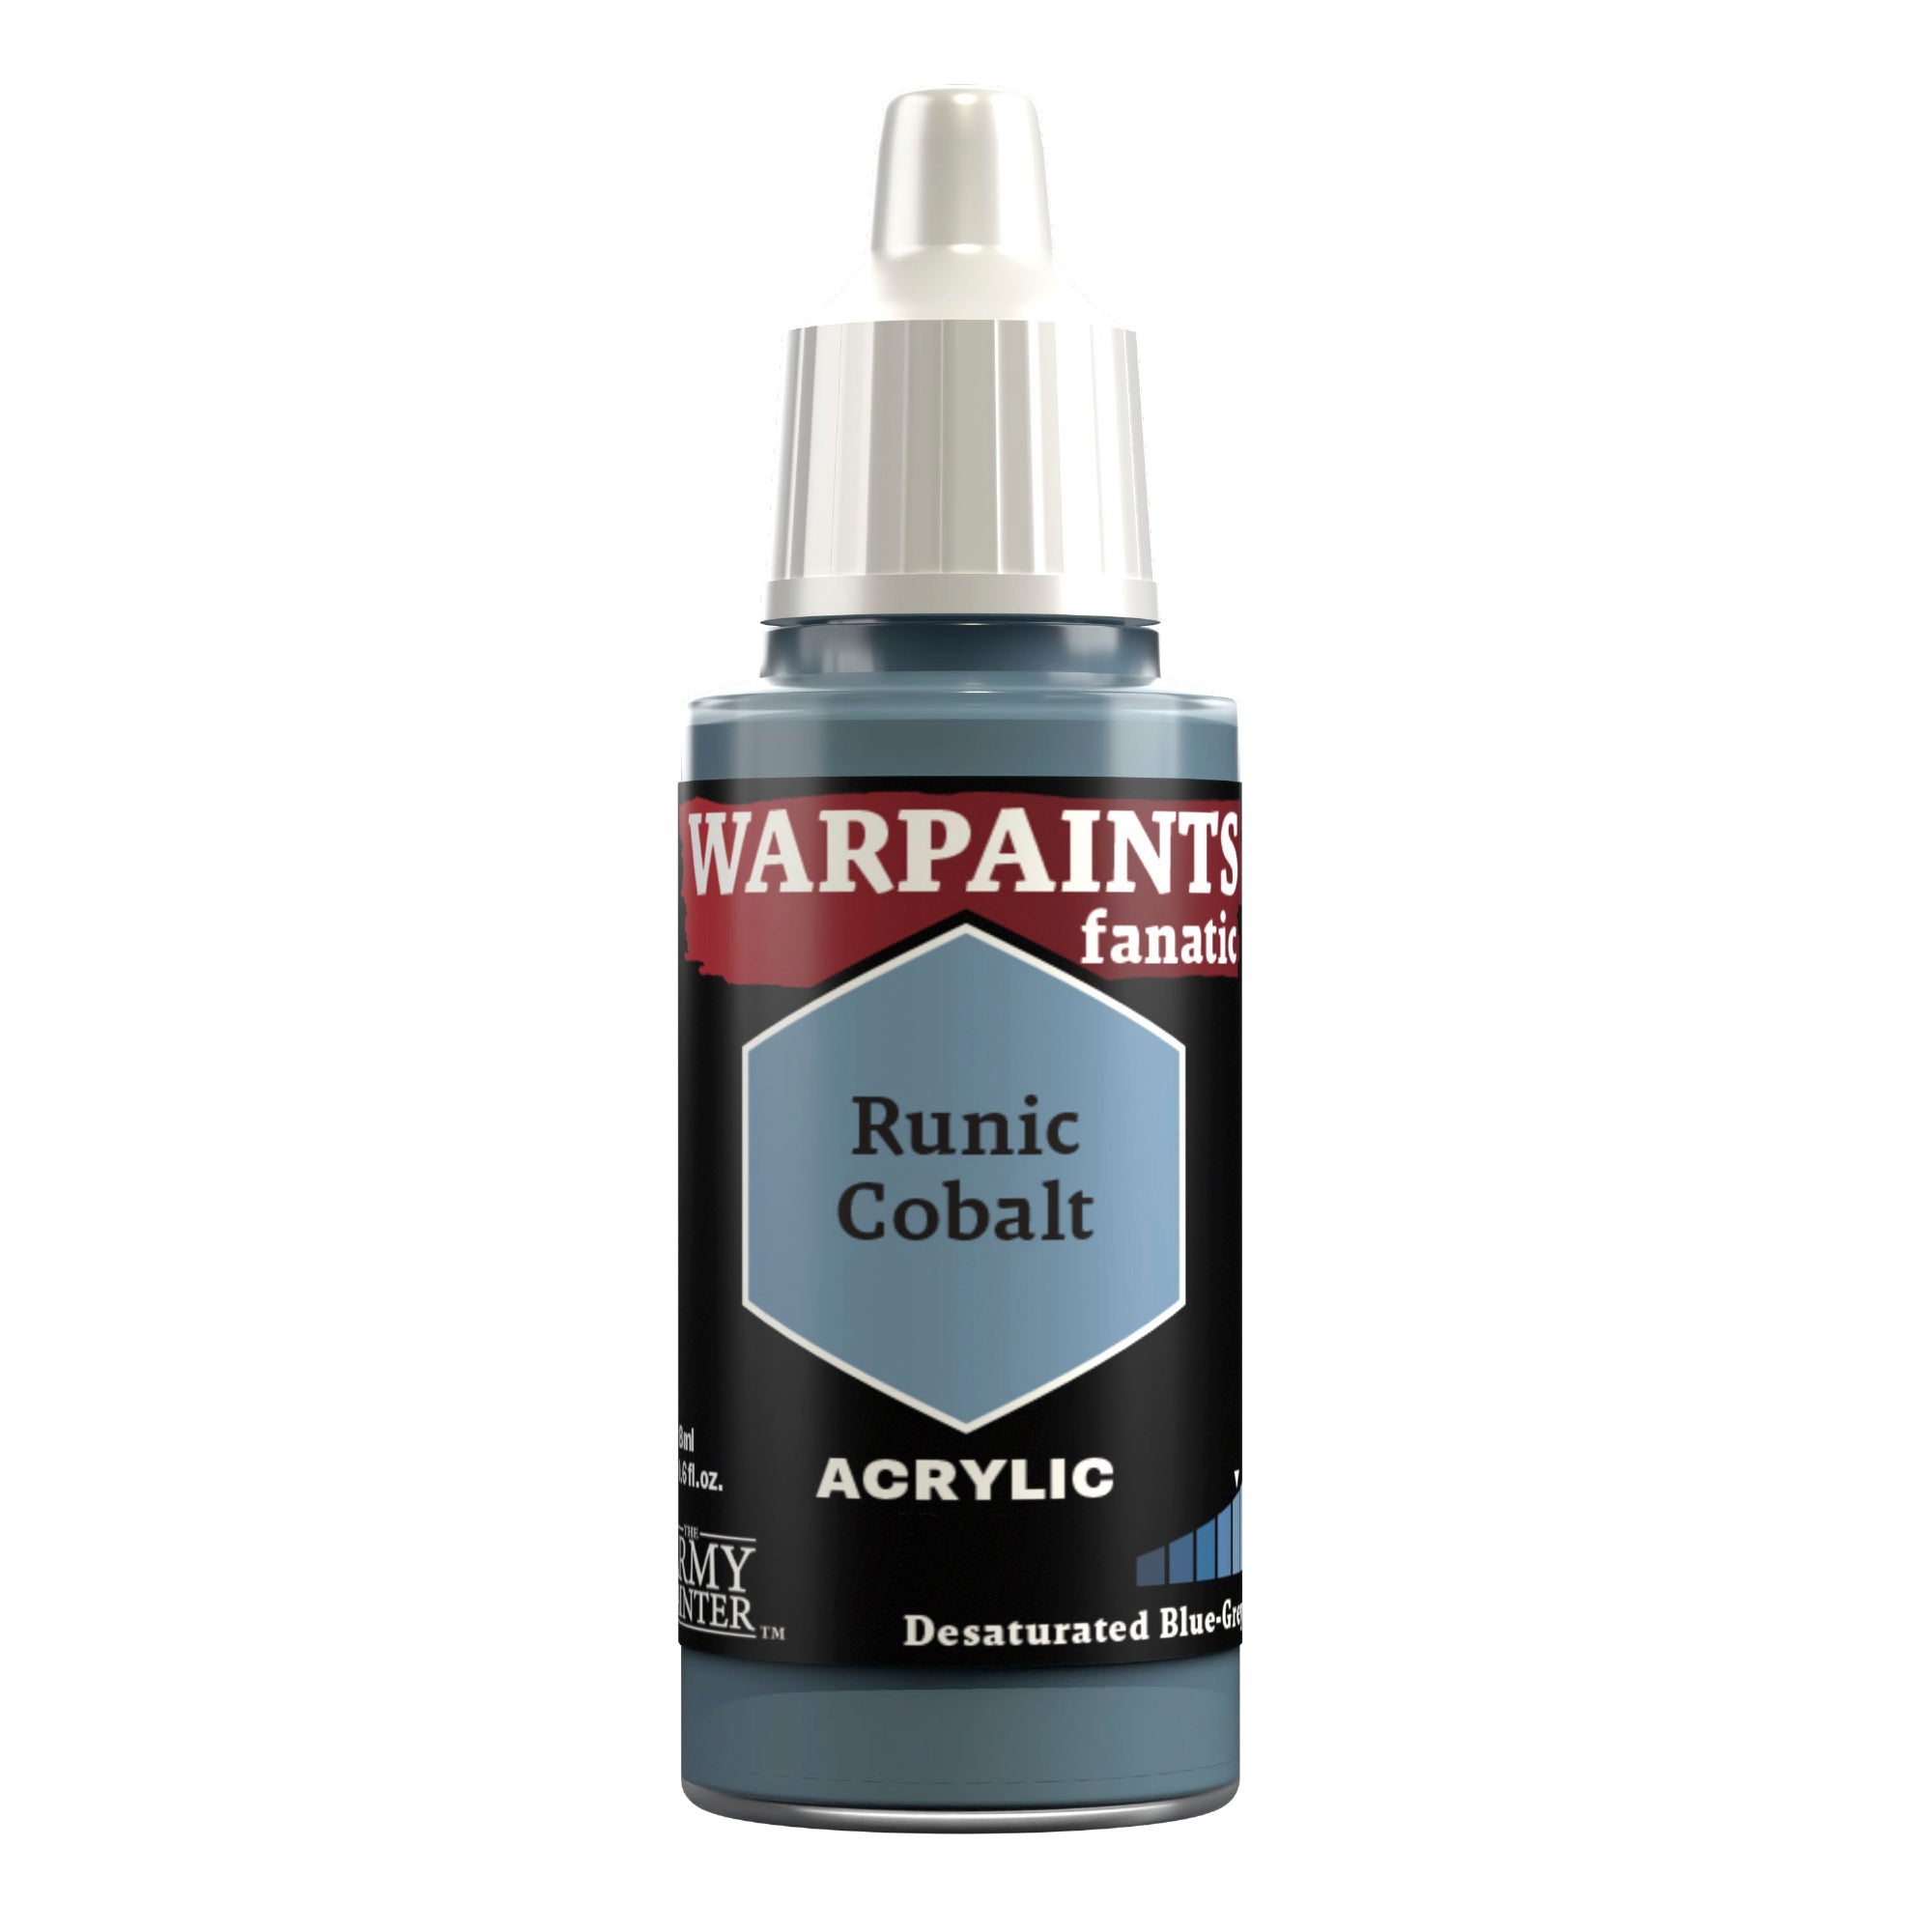
Use Warpaints Fanatic Runic Cobalt to highlight the blue undersuit in the same fashion.
Step 4
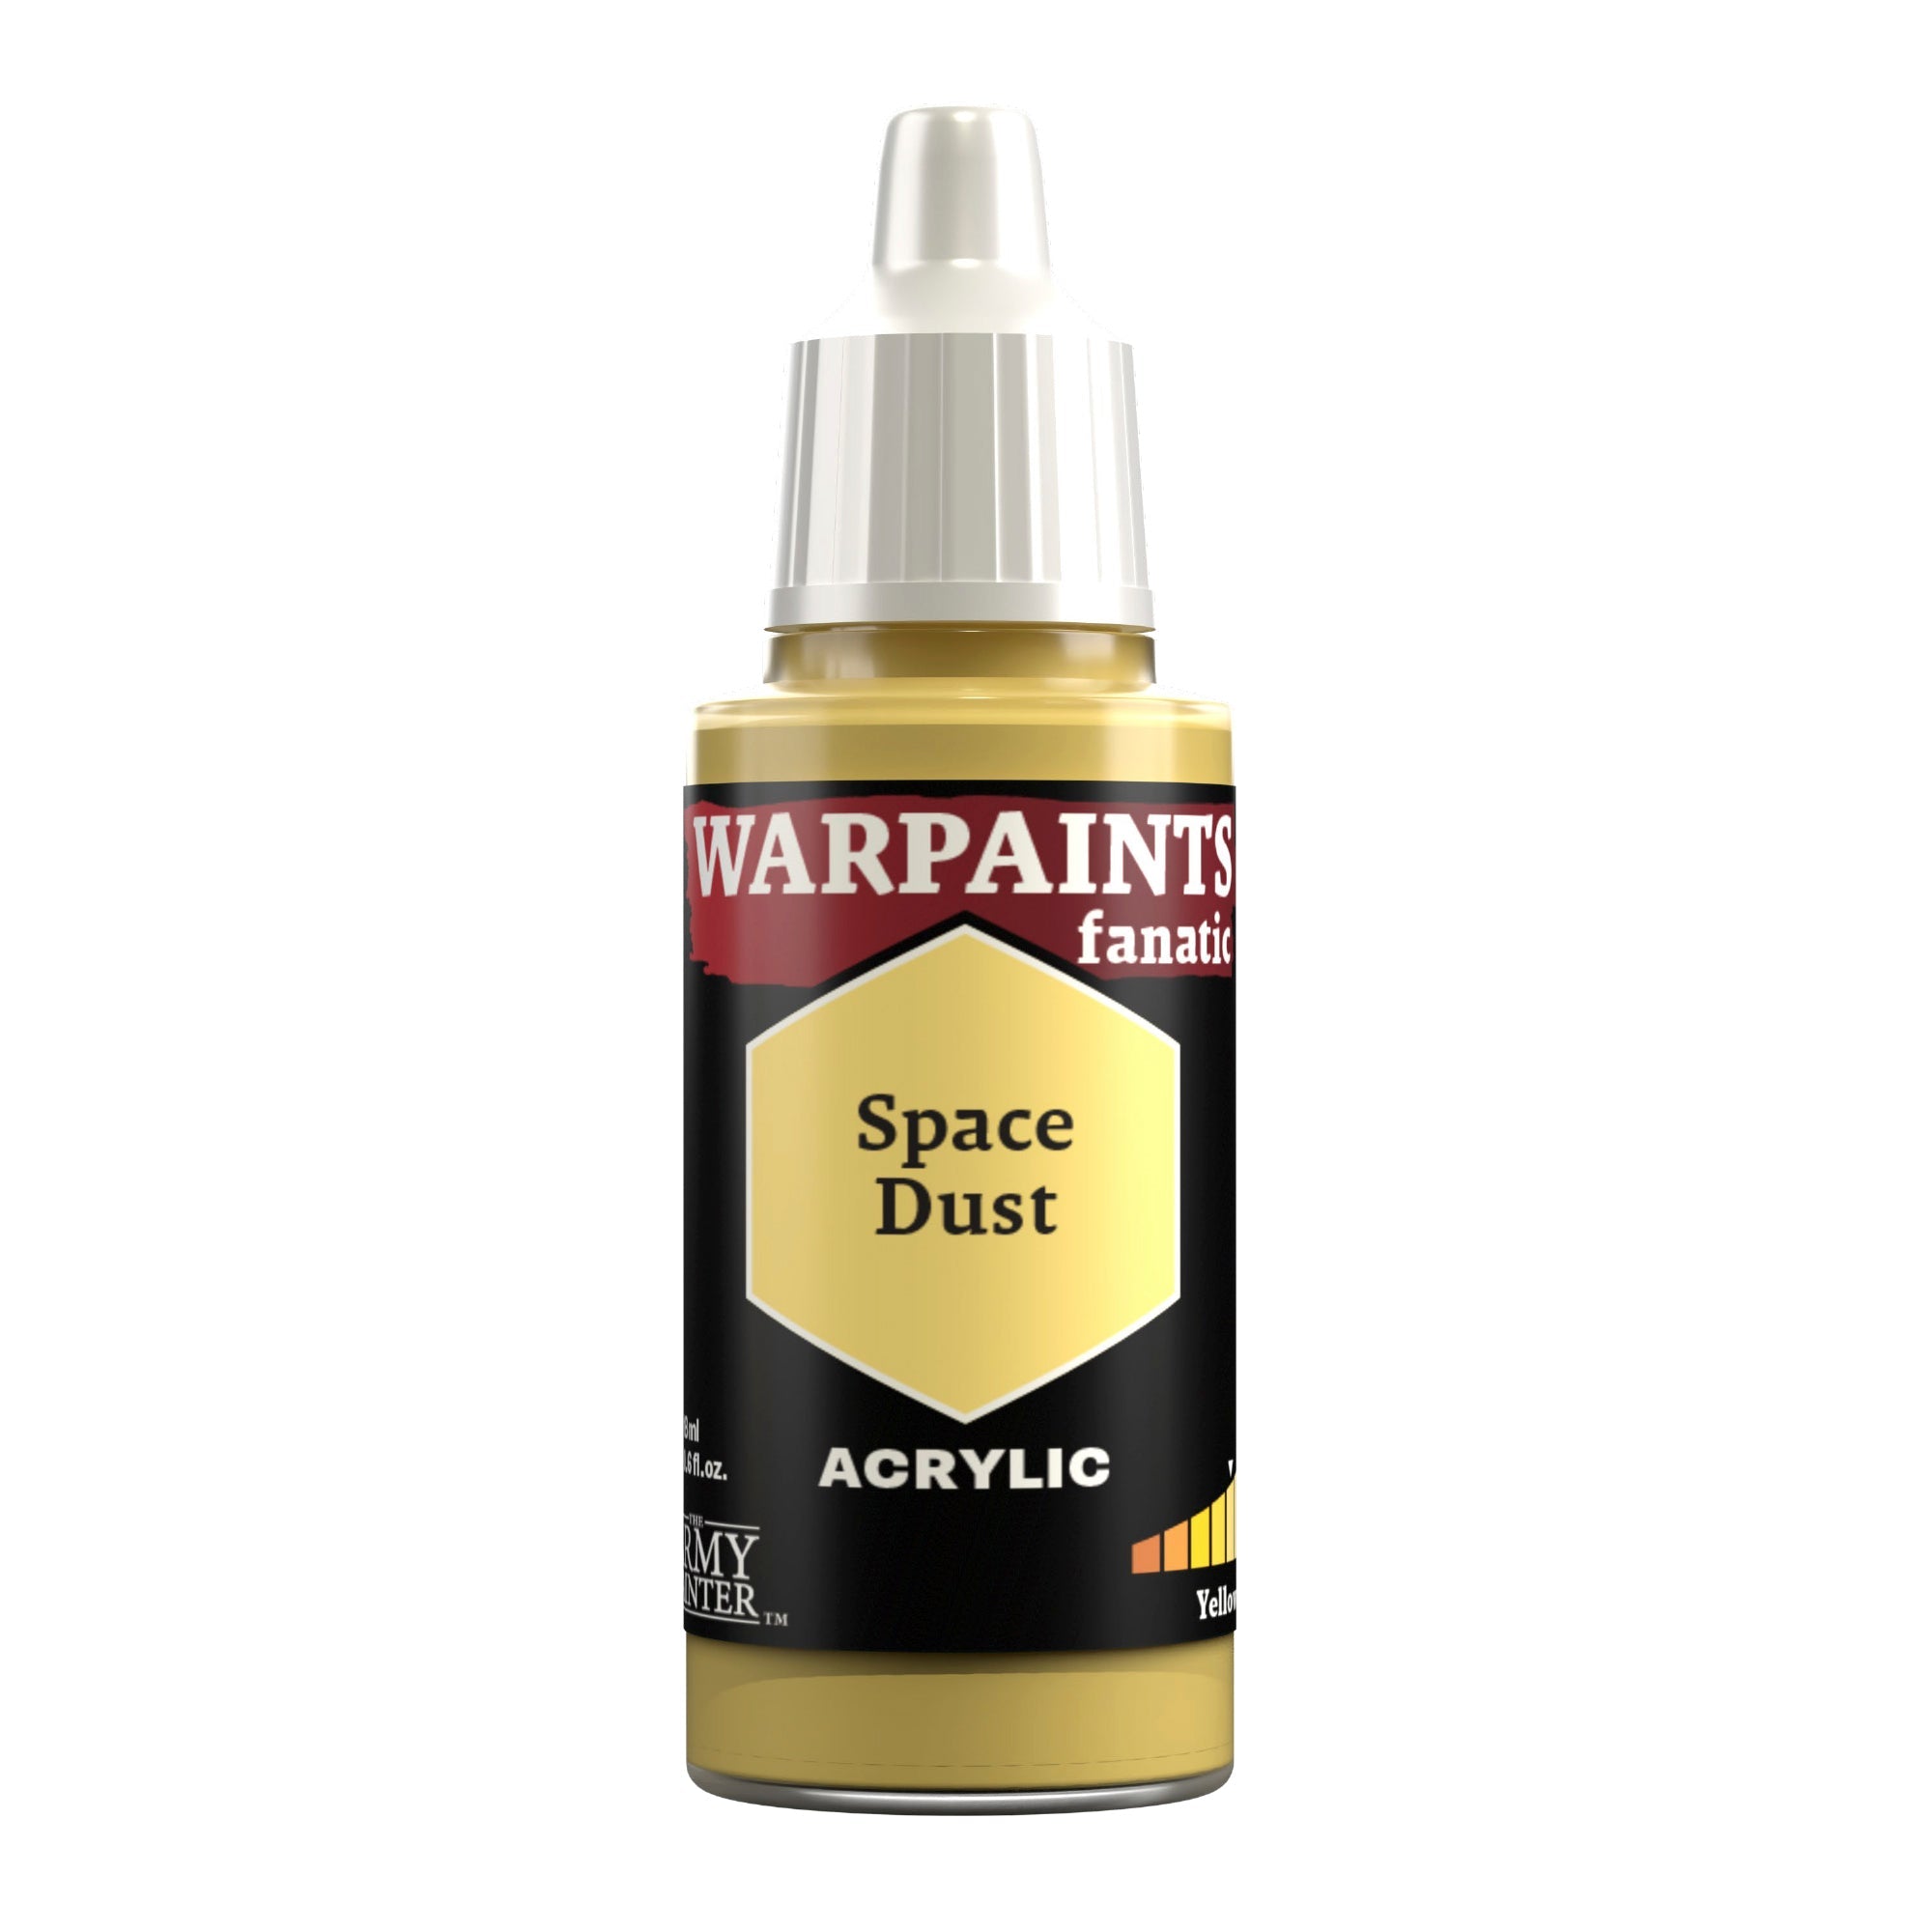
Highlight the yellow cable and the light with Warpaints Fanatic Space Dust.
Step 5
Before moving onto the next highlight, carefully paint the warning chevrons onto the yellow cable with Warpaints Fanatic Matt Black. A cable on his head that had previously been missed was also painted at this point.
Step 6
Then, highlight all the black areas with Warpaints Fanatic Deep Grey. On the ribbed armour, focus this on the outer edges of the panels, and only paint the inner ridges in select areas, such as the knees and elbows.
Step 7
Highlight the leather pouches and straps with Warpaints Fanatic Leather Brown. You can also add a bit of weathering to these areas at this point with a small number of lines and dots.
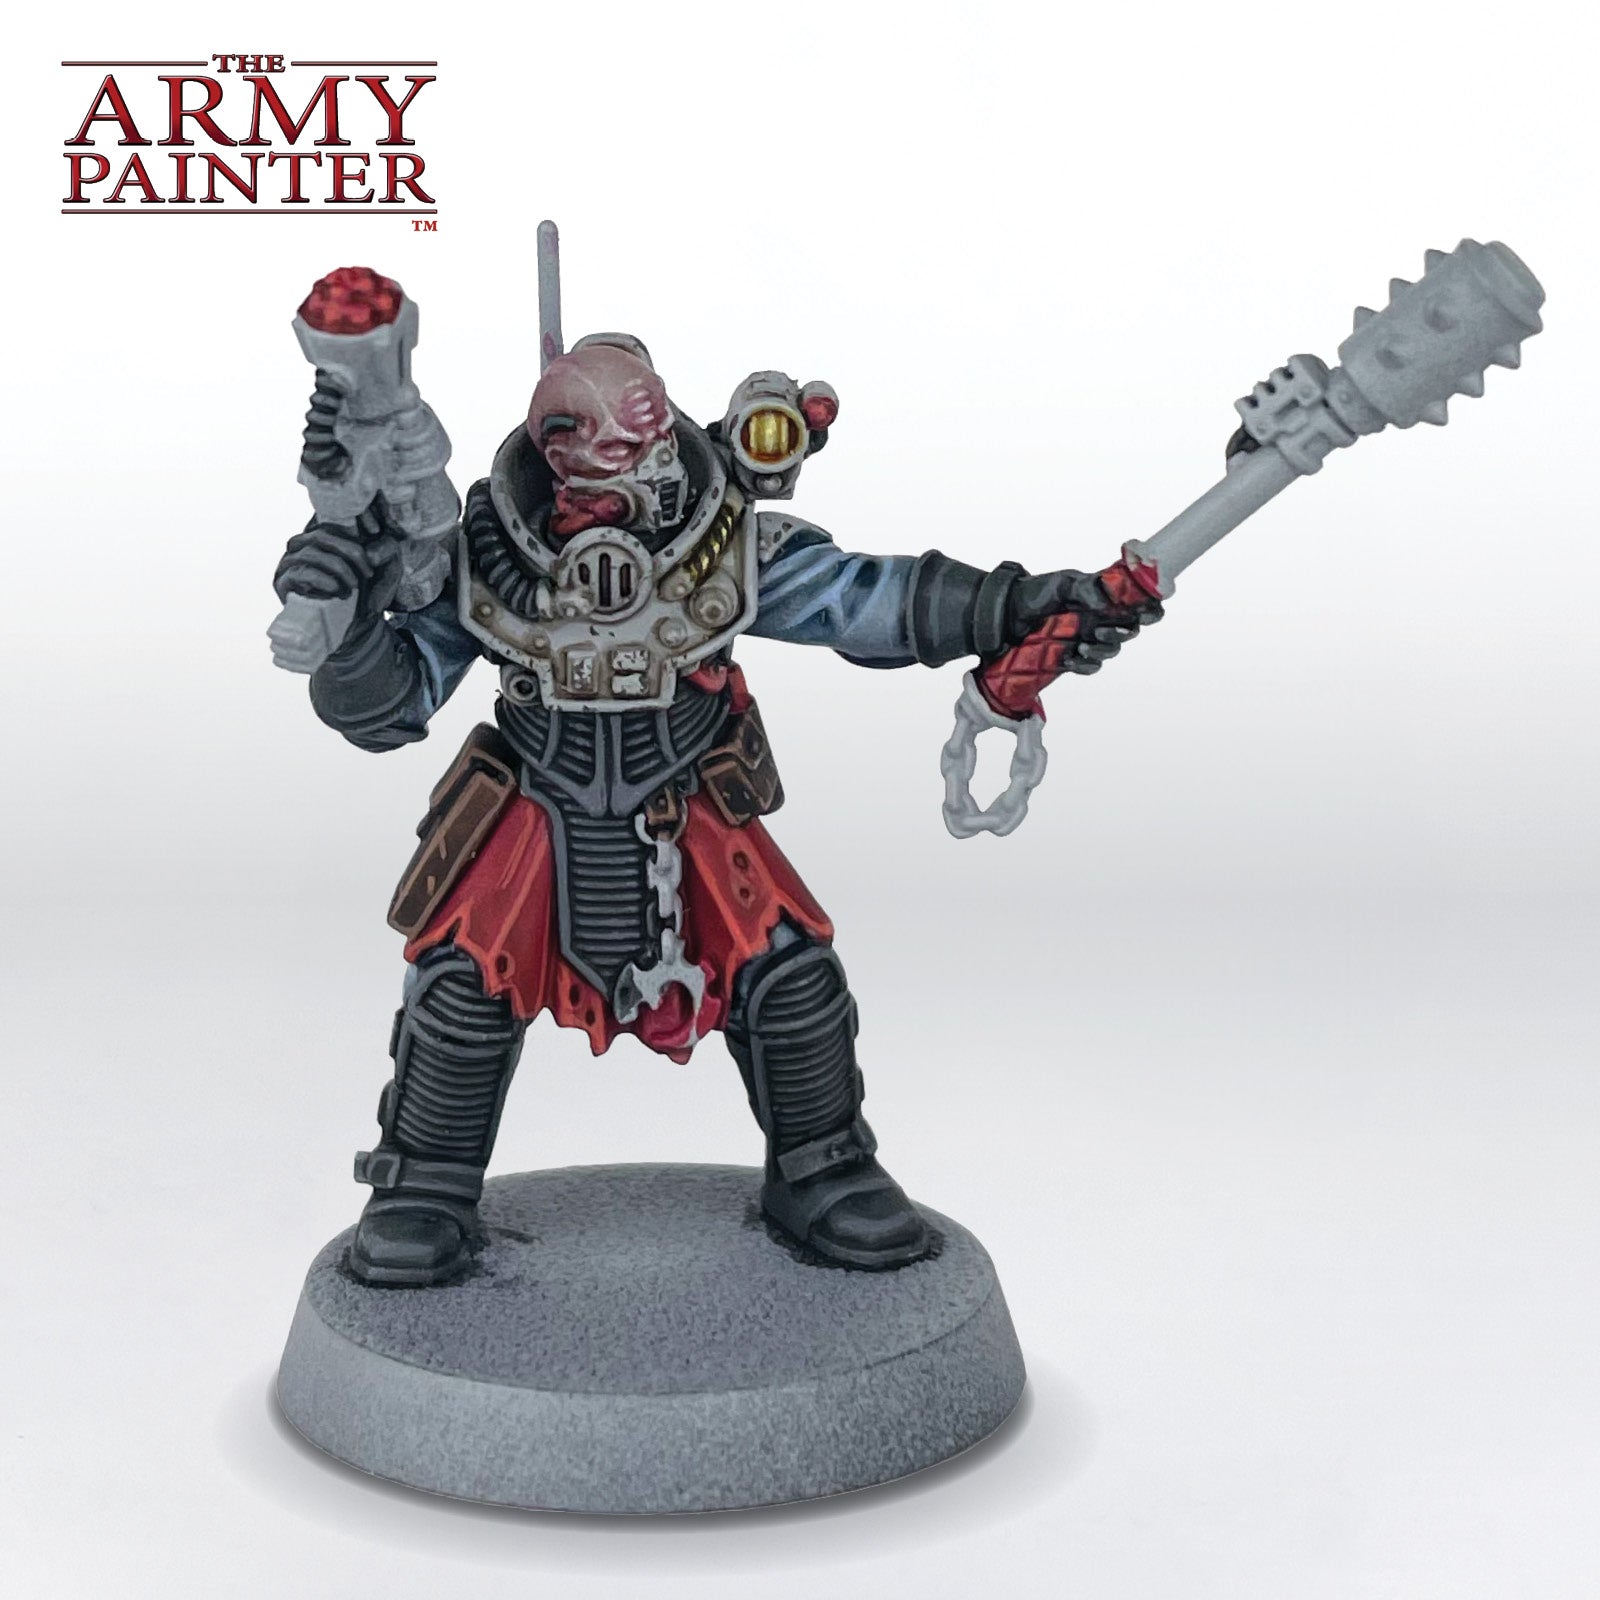
Step 8
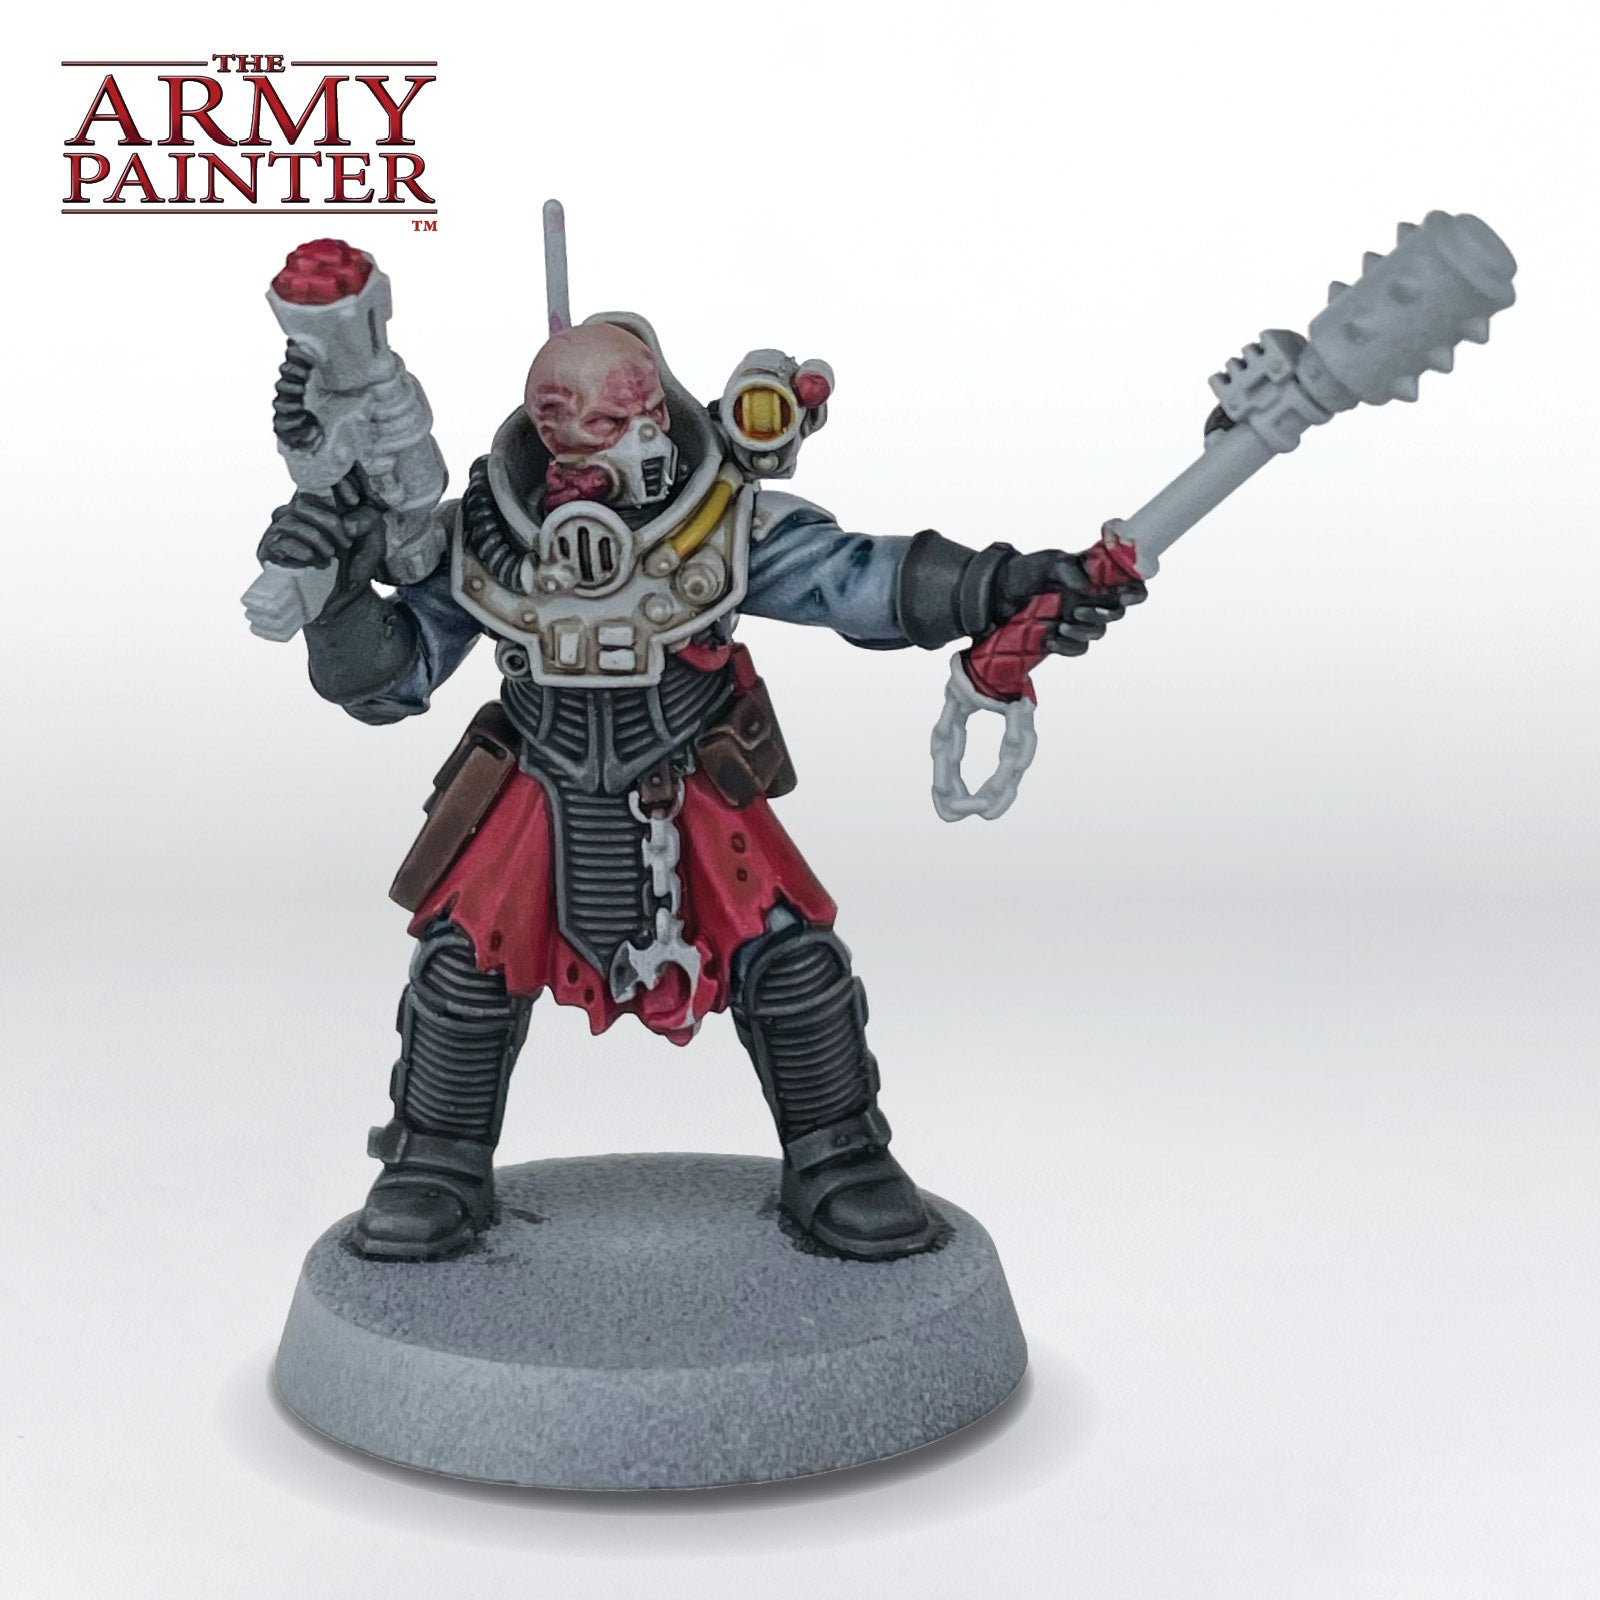
Finally, highlight the skin with Warpaints Fanatic Pearl Skin.
The Metallics
Step 1
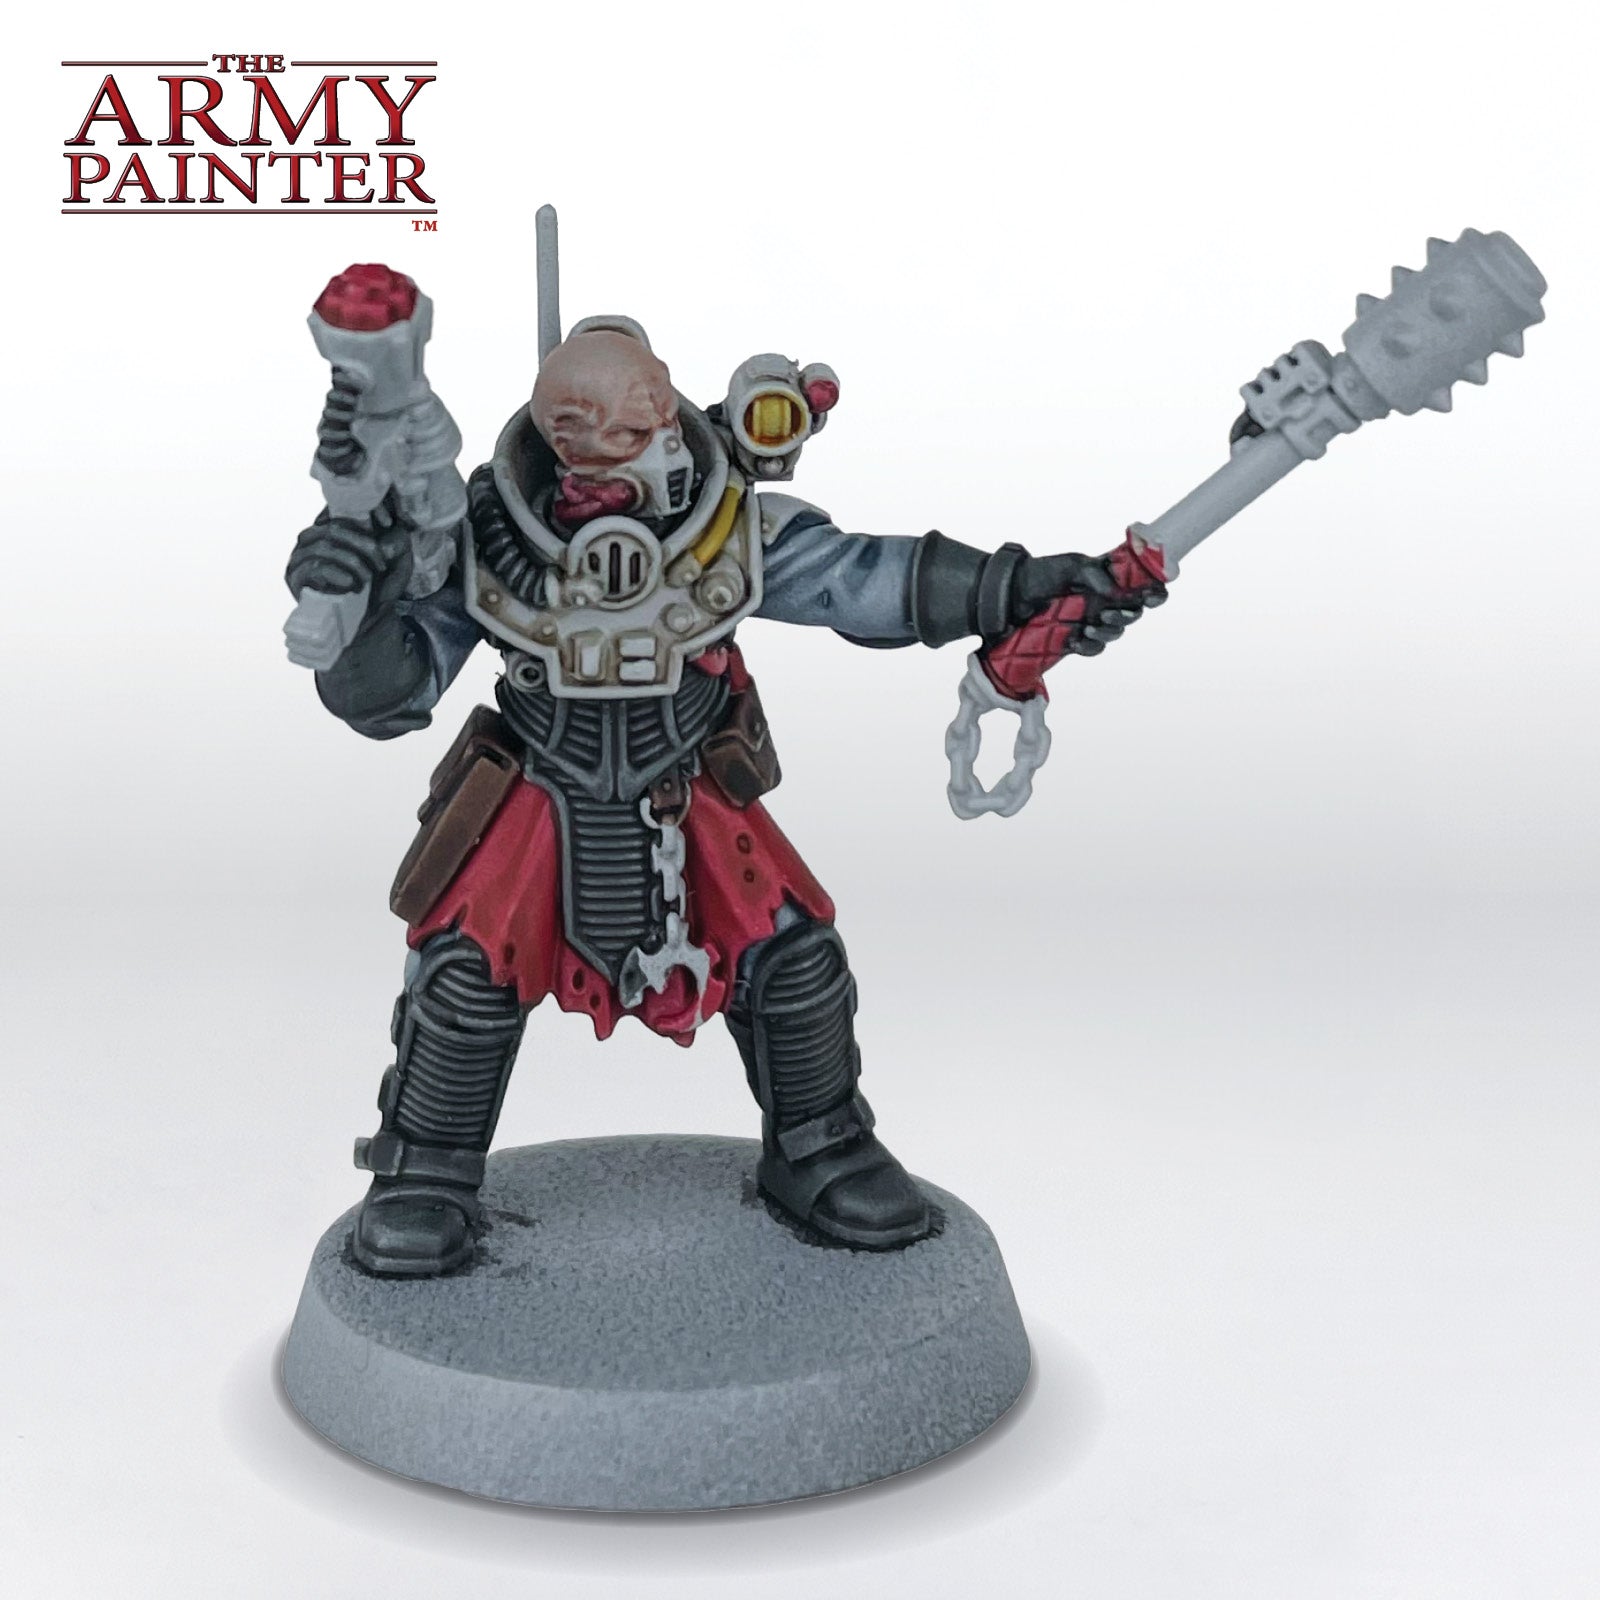
Basecoat the haft of the mace and the casing of the gun with Warpaints Fanatic Death Metal.
Step 2
Next, basecoat the rest of the weapons, chains, buckles, and various gadgets and gizmos with Warpaints Fanatic Gun Metal.
Step 3
Shade all these areas with a solid coat of Warpaints Fanatic Dark Tone Wash.
Step 4
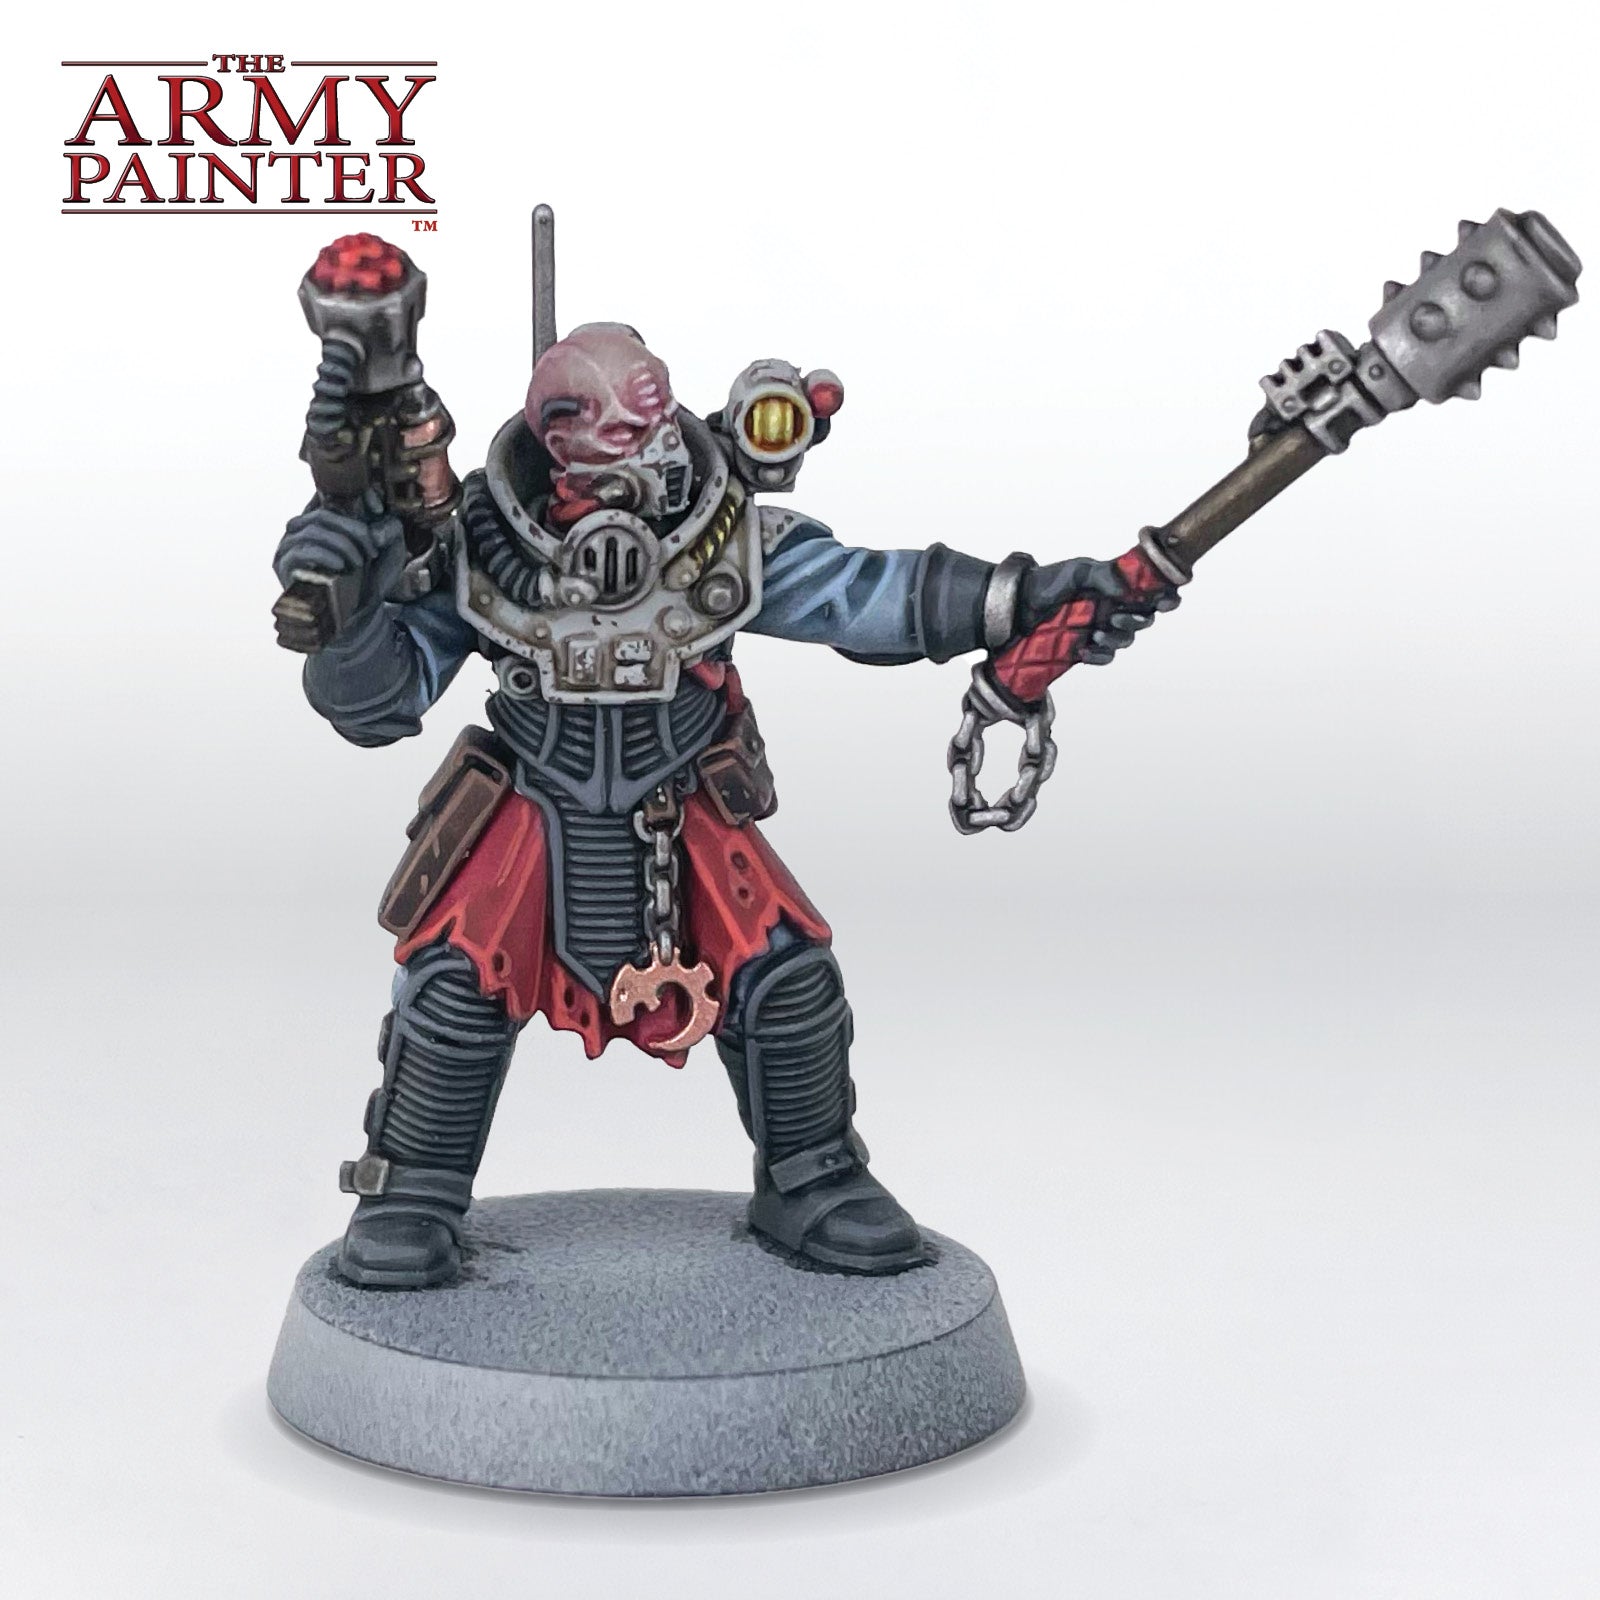
Basecoat the cult icon, and the canisters on the gun with Warpaints Fanatic Evil Chrome.
Step 5
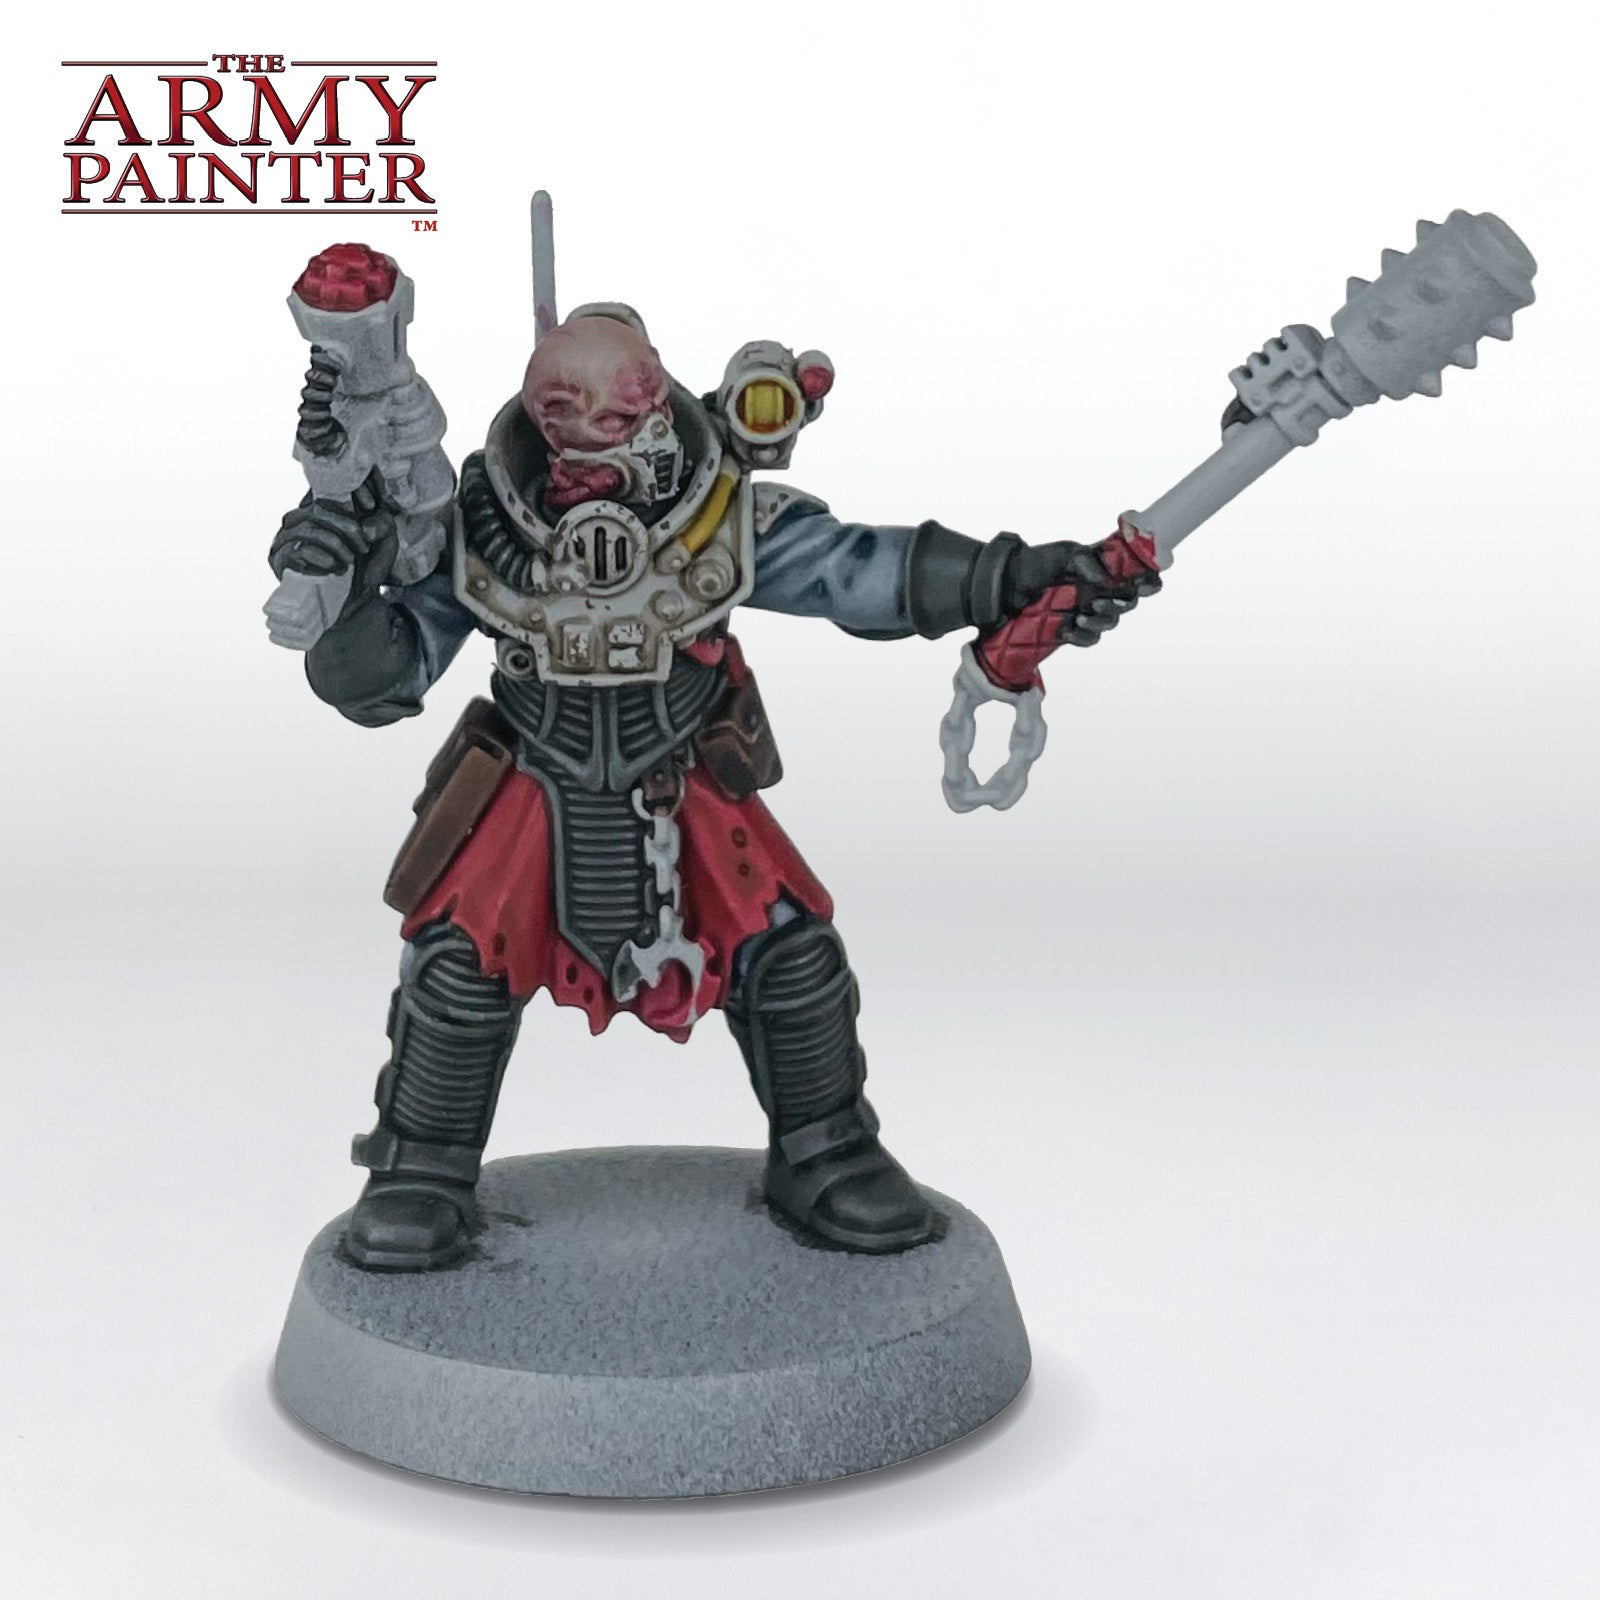
Shade those areas with Warpaints Fanatic Strong Skin Shade.
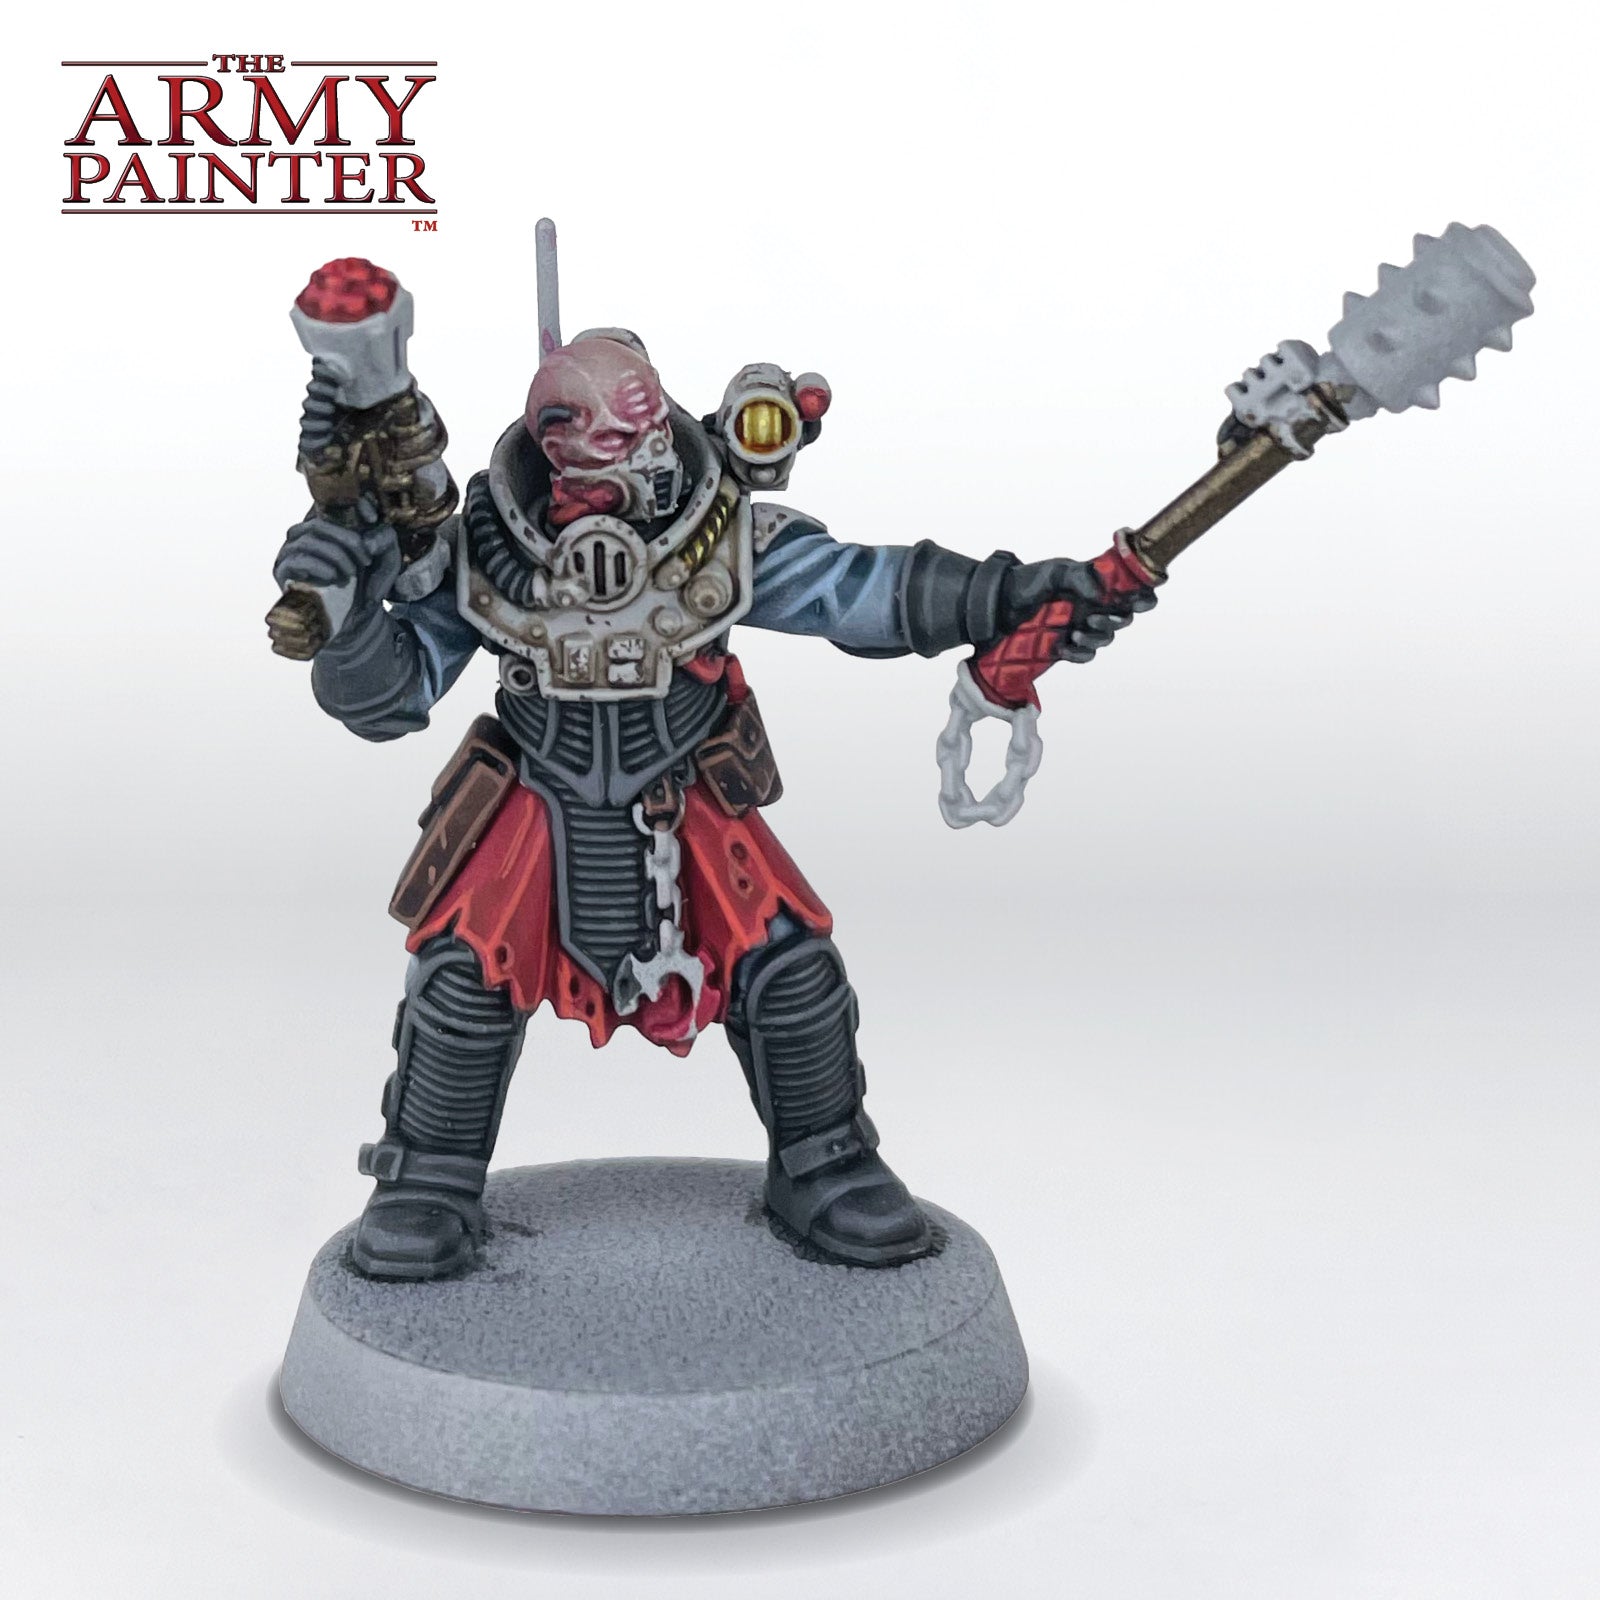
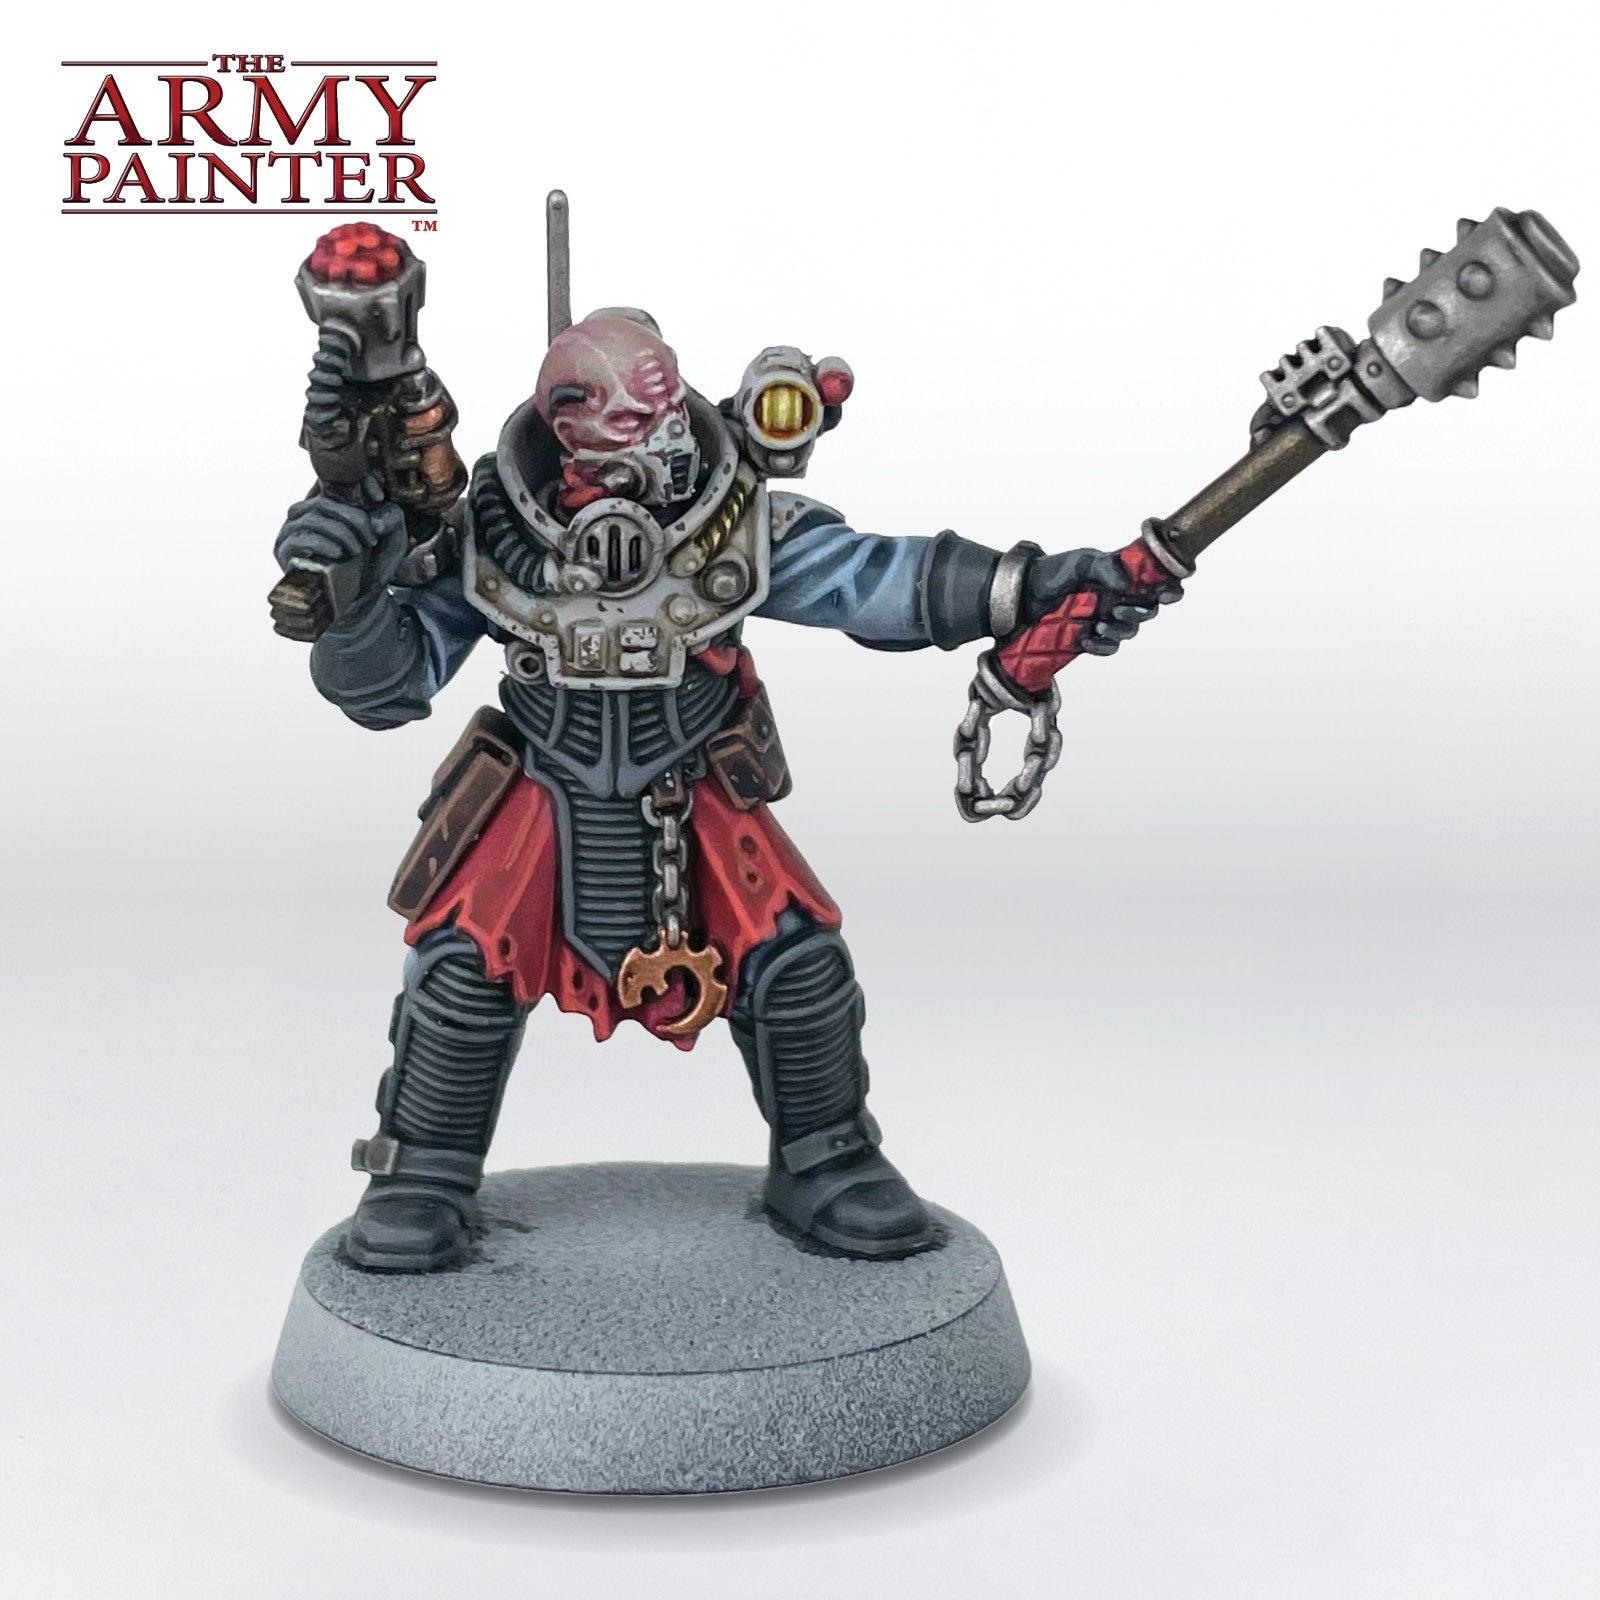
Step 6
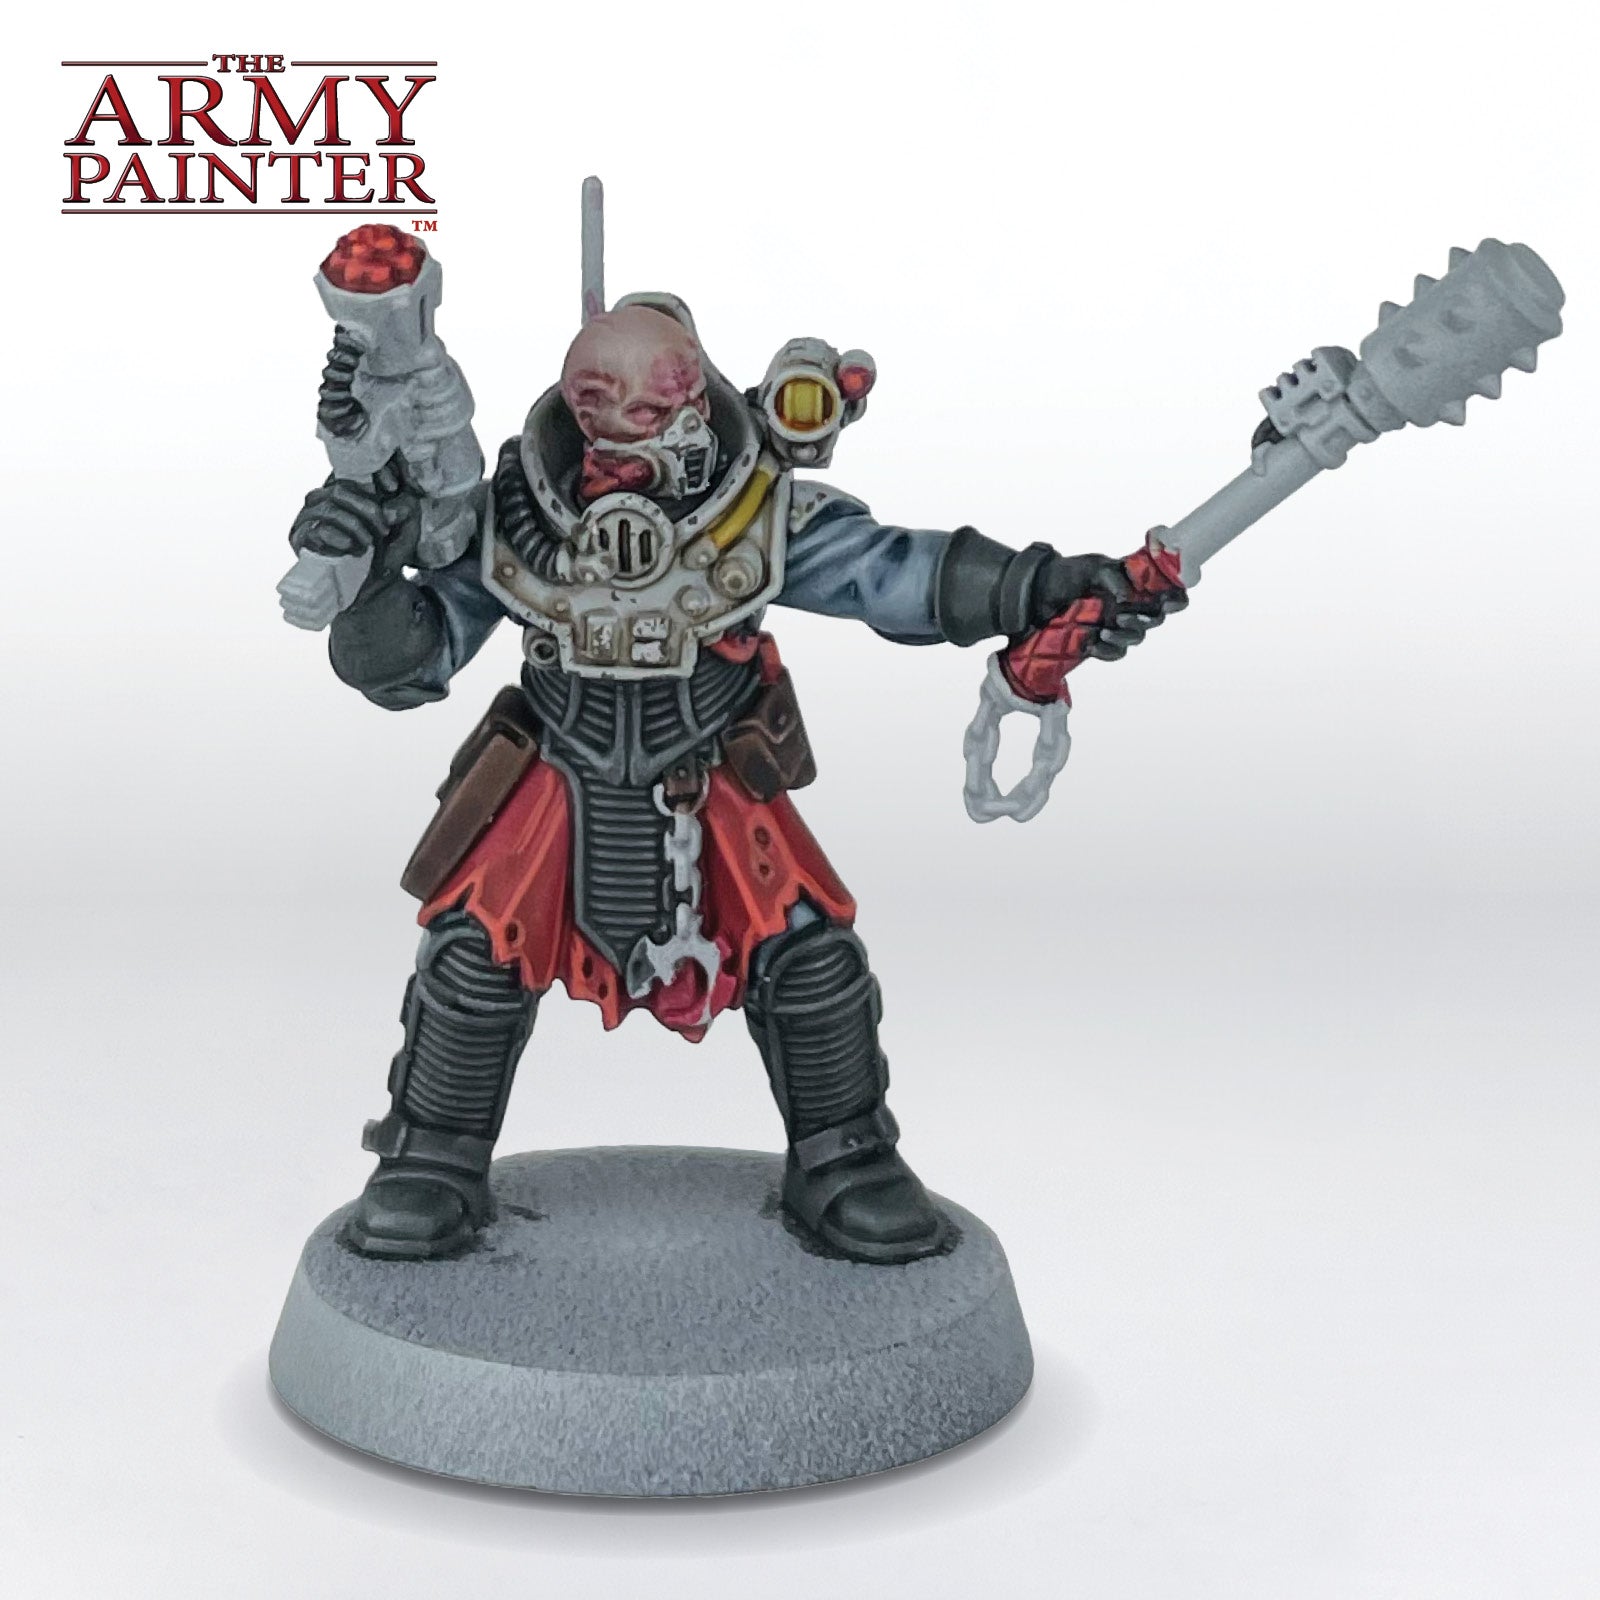
Finally, highlight all the metallic areas with Warpaints Fanatic Plate Mail Metal. You can also add some scratches to the weapons at this point for a bit of weathering.
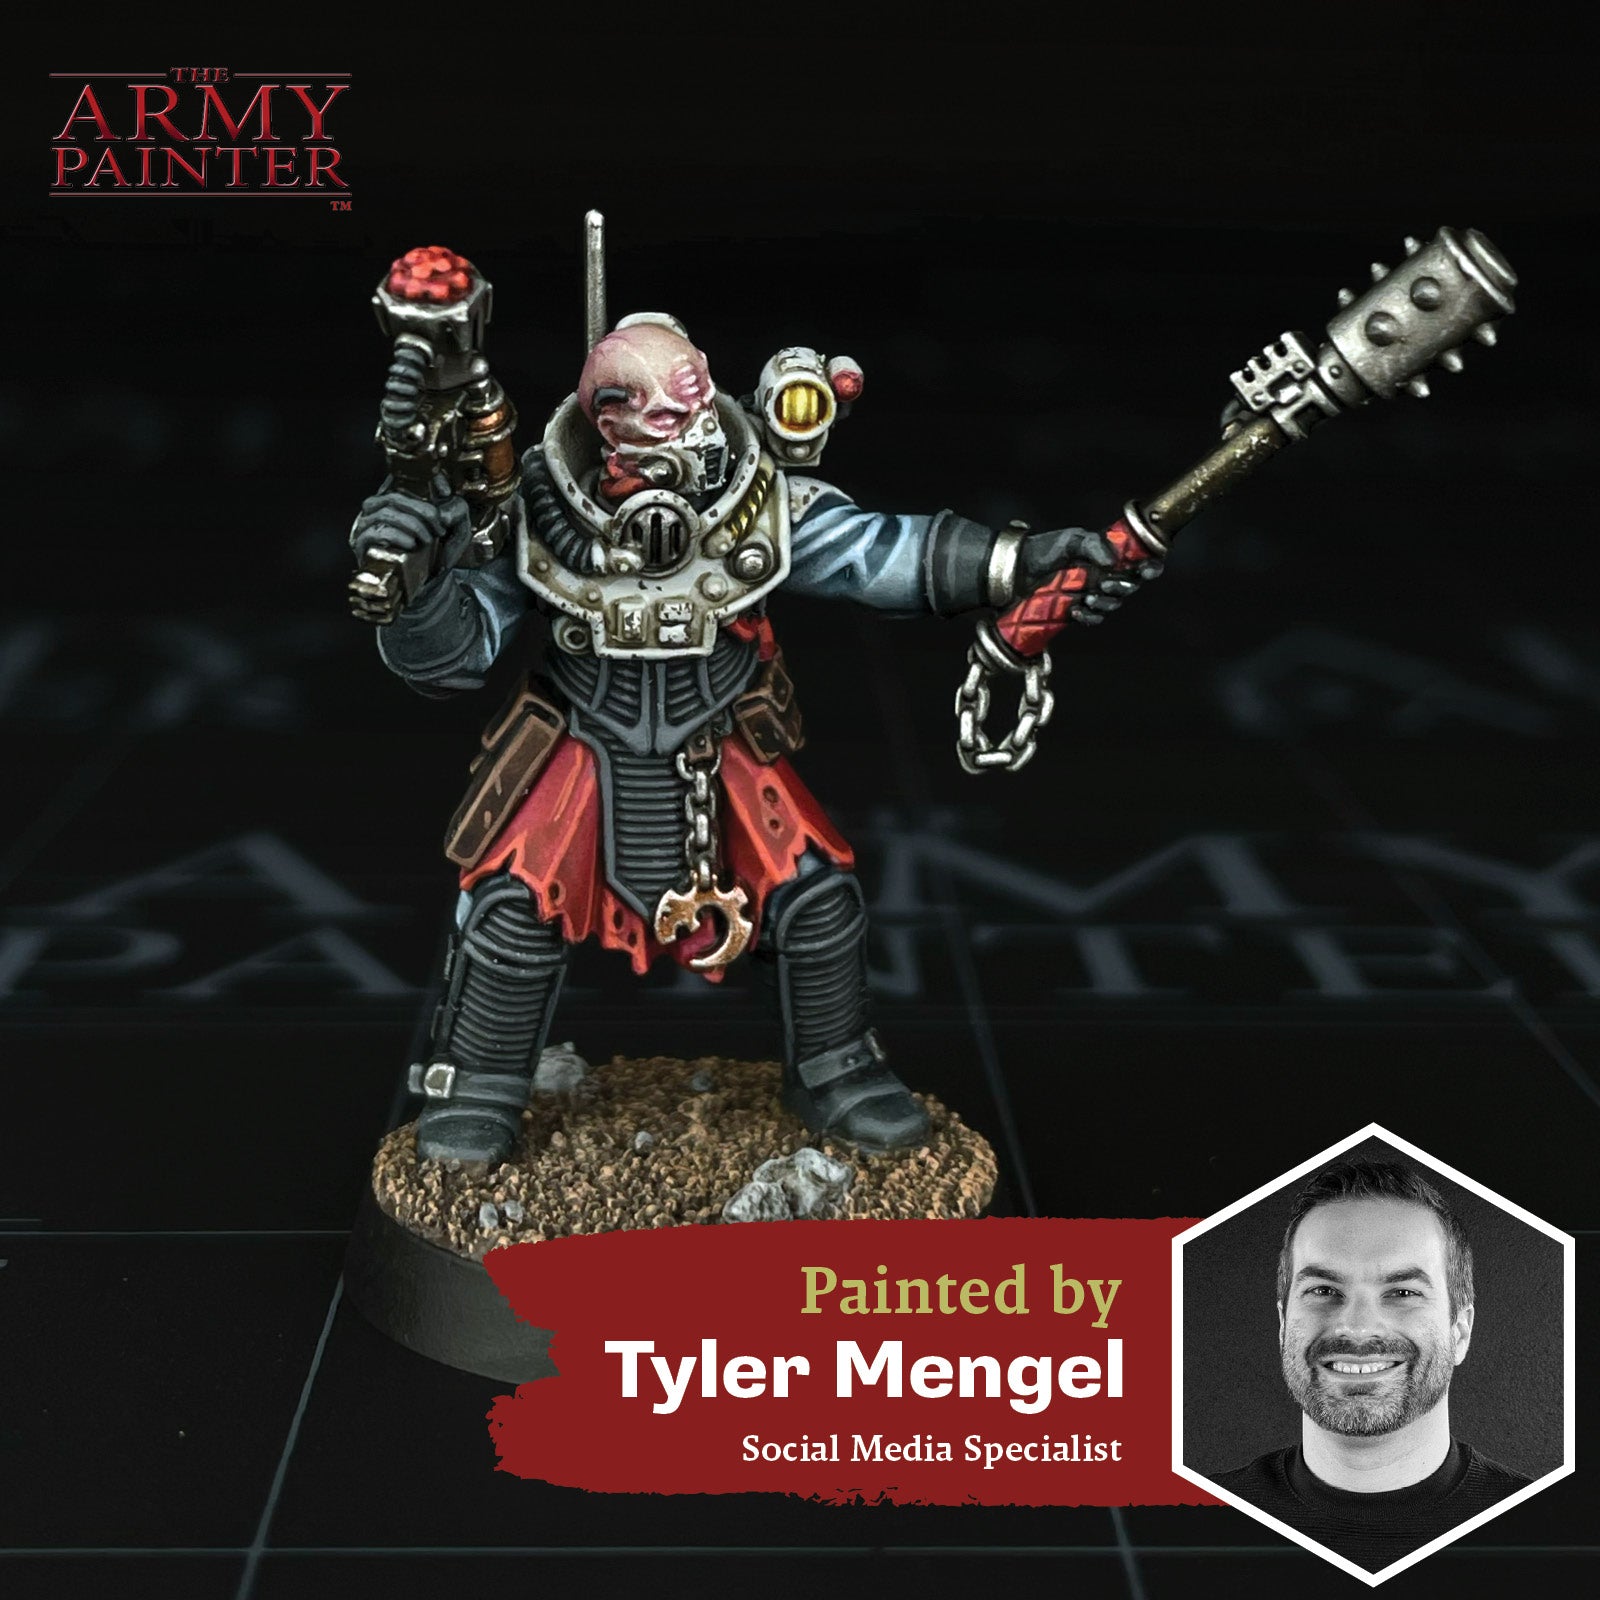
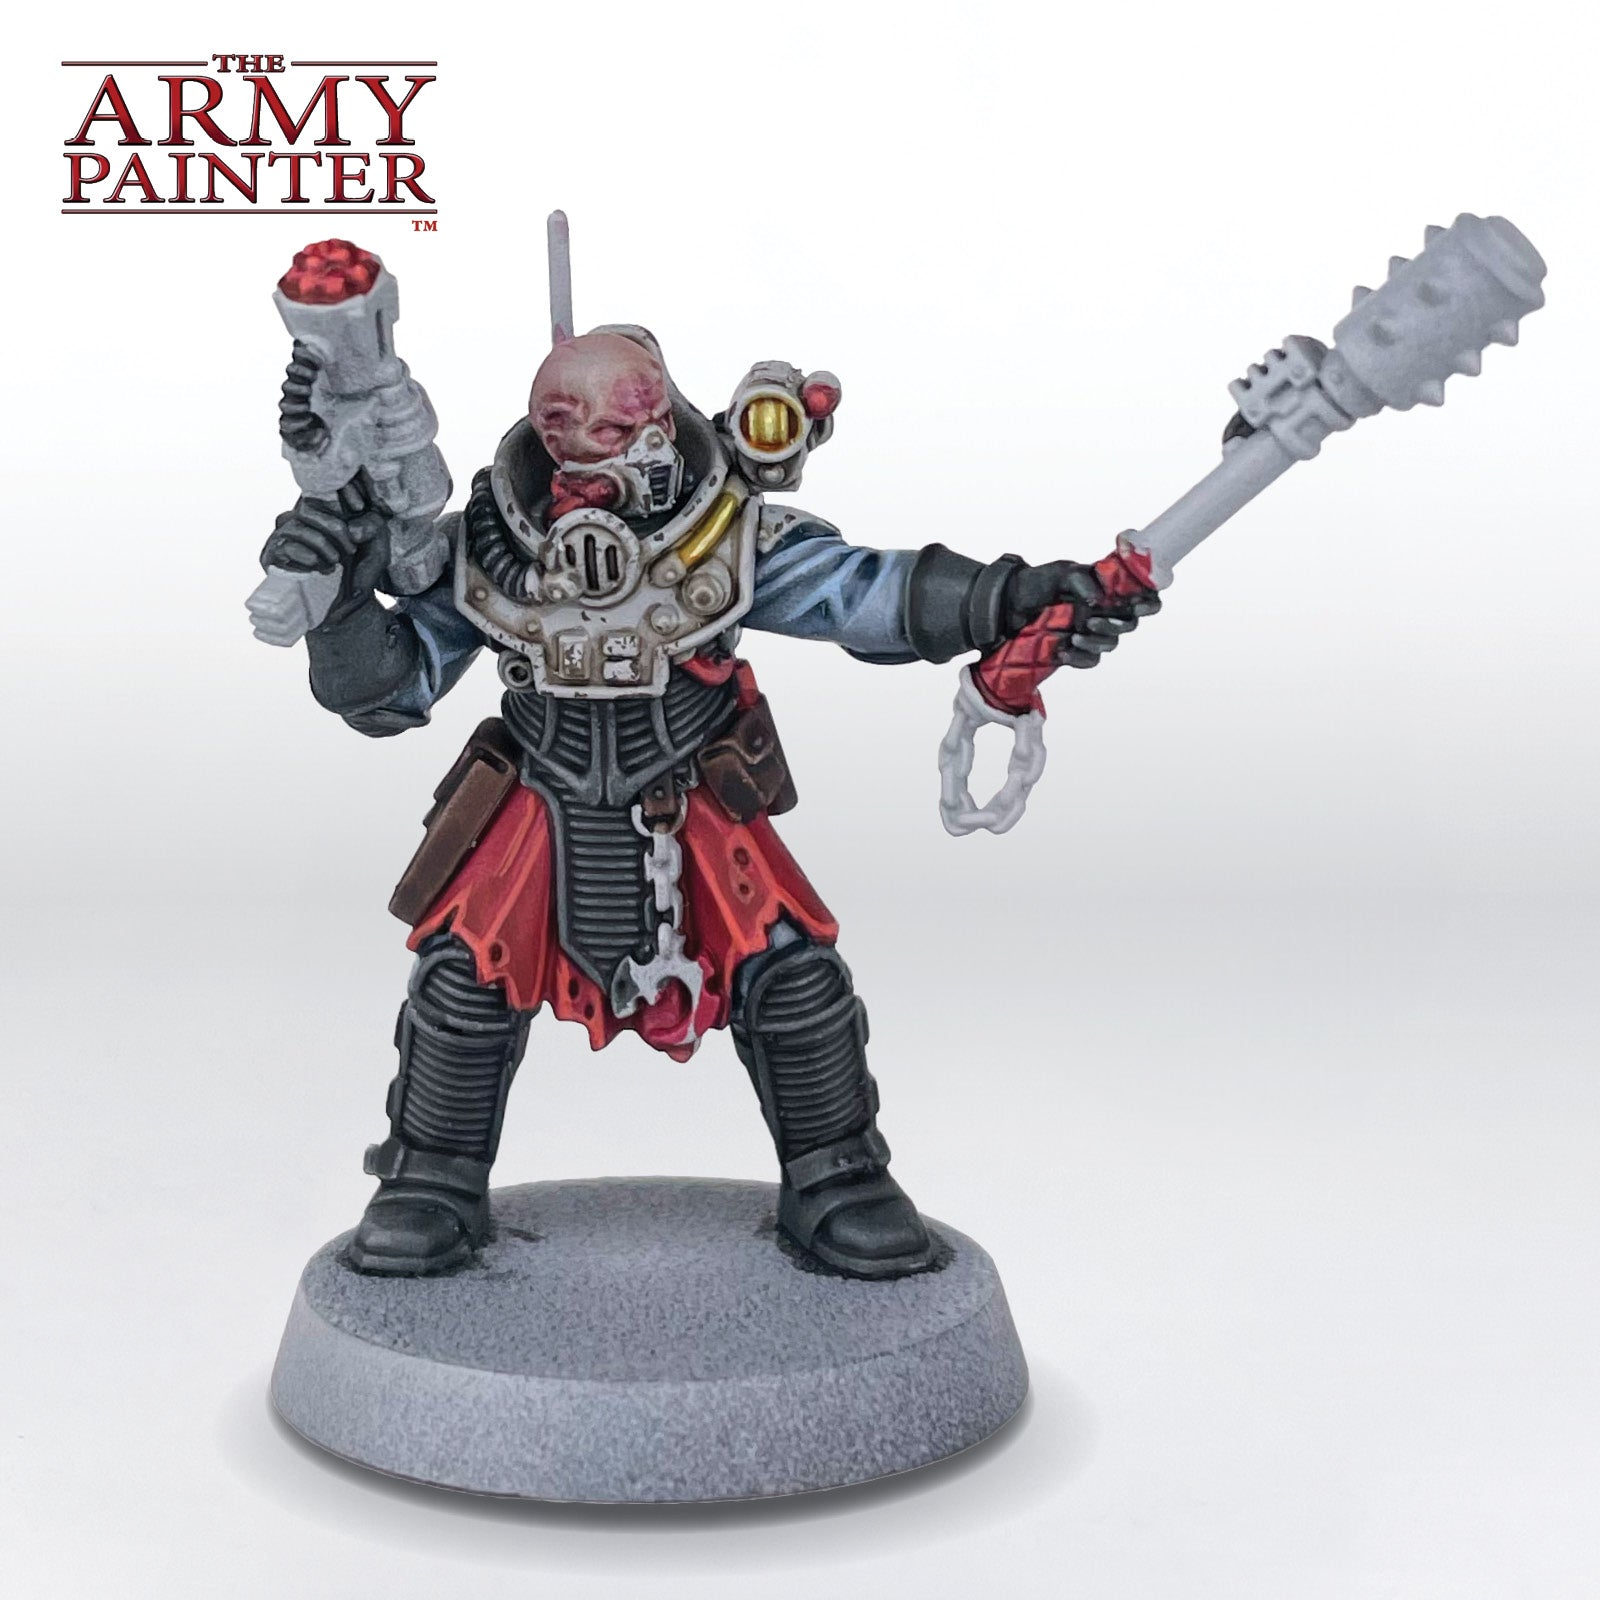
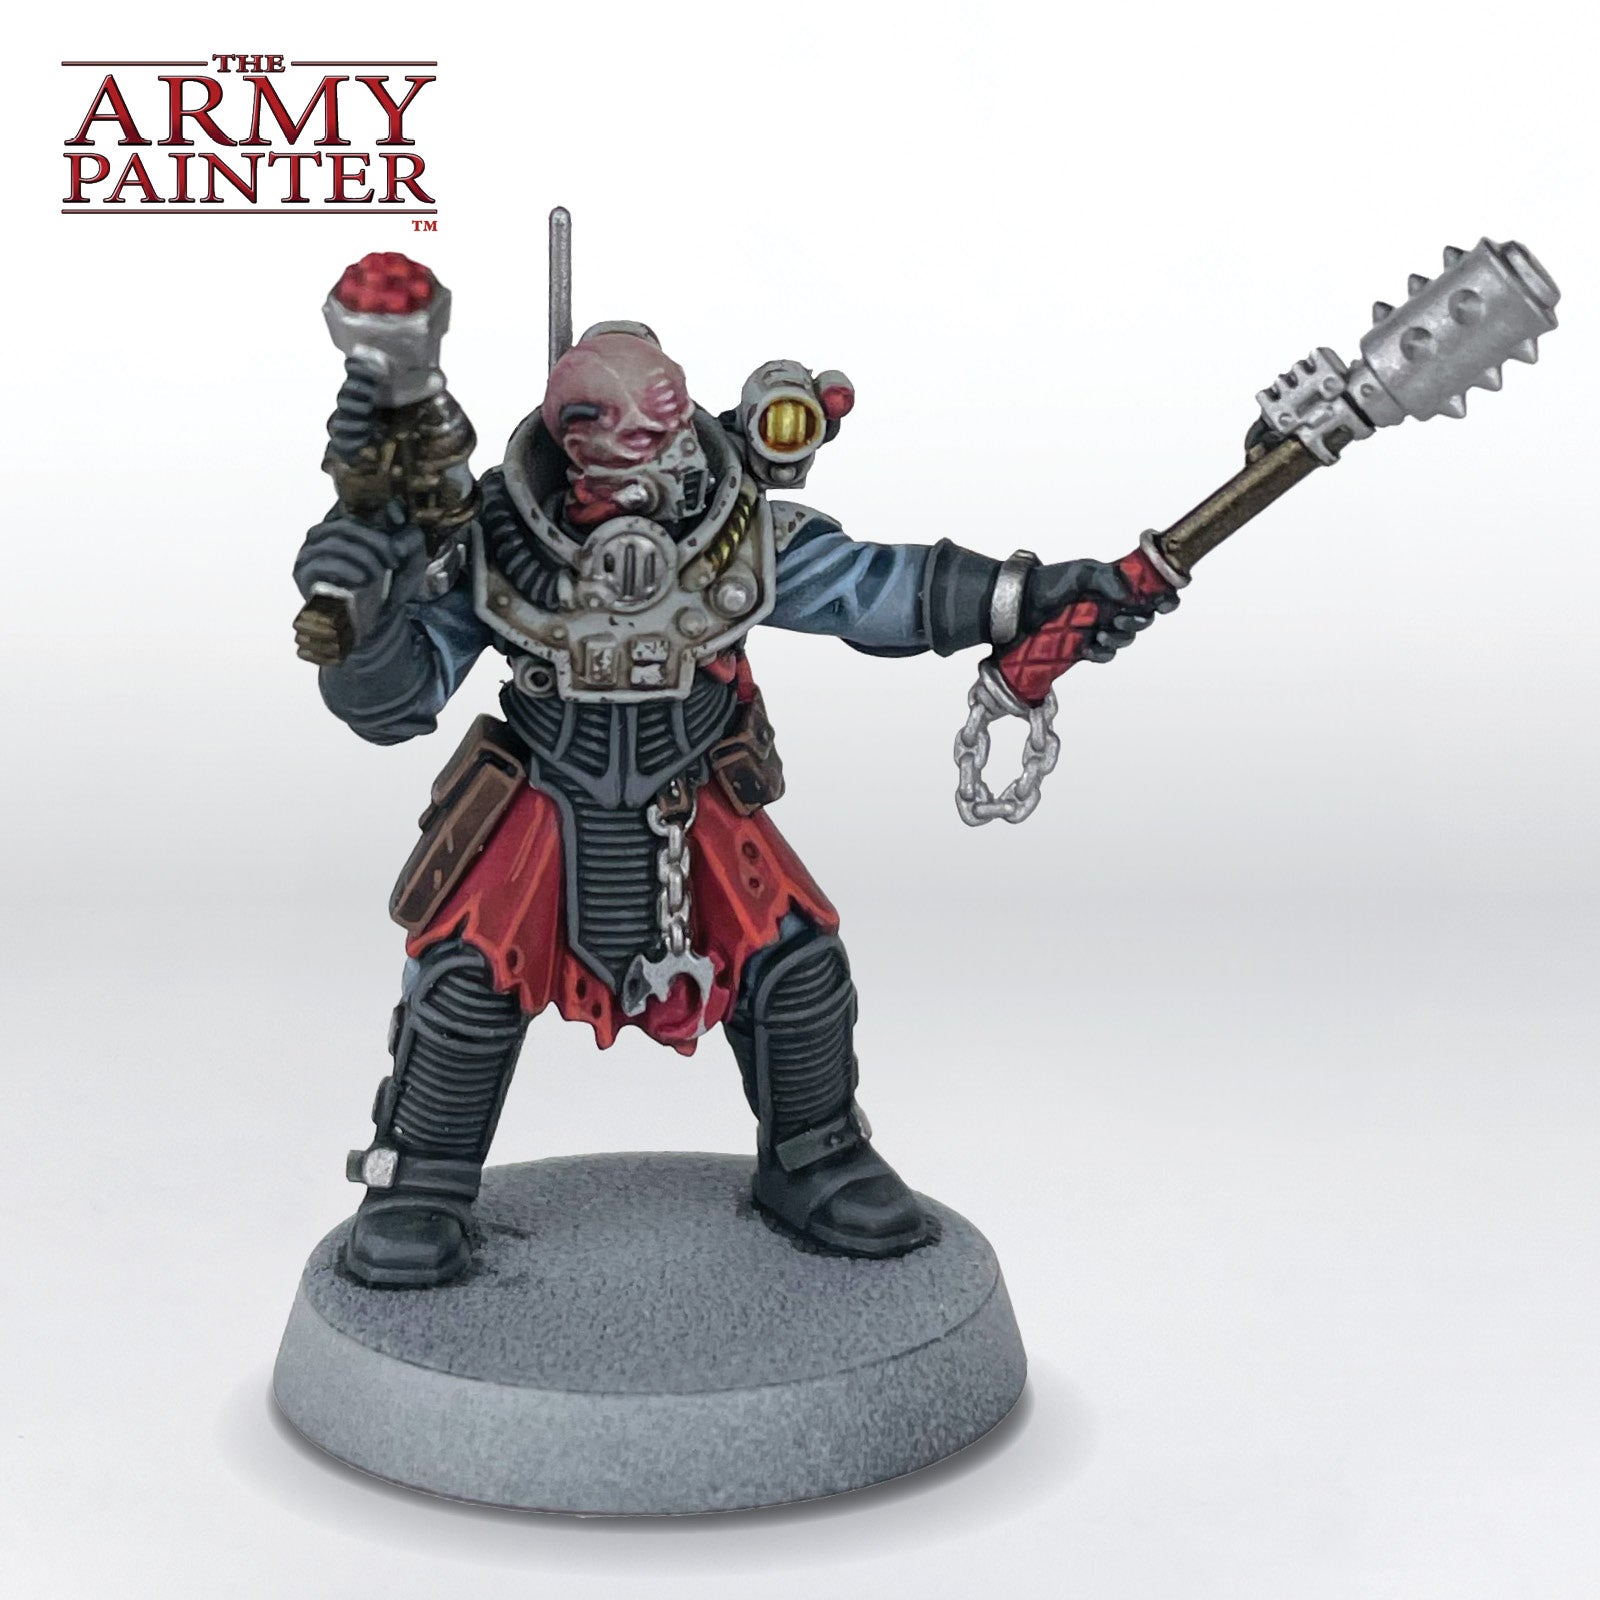
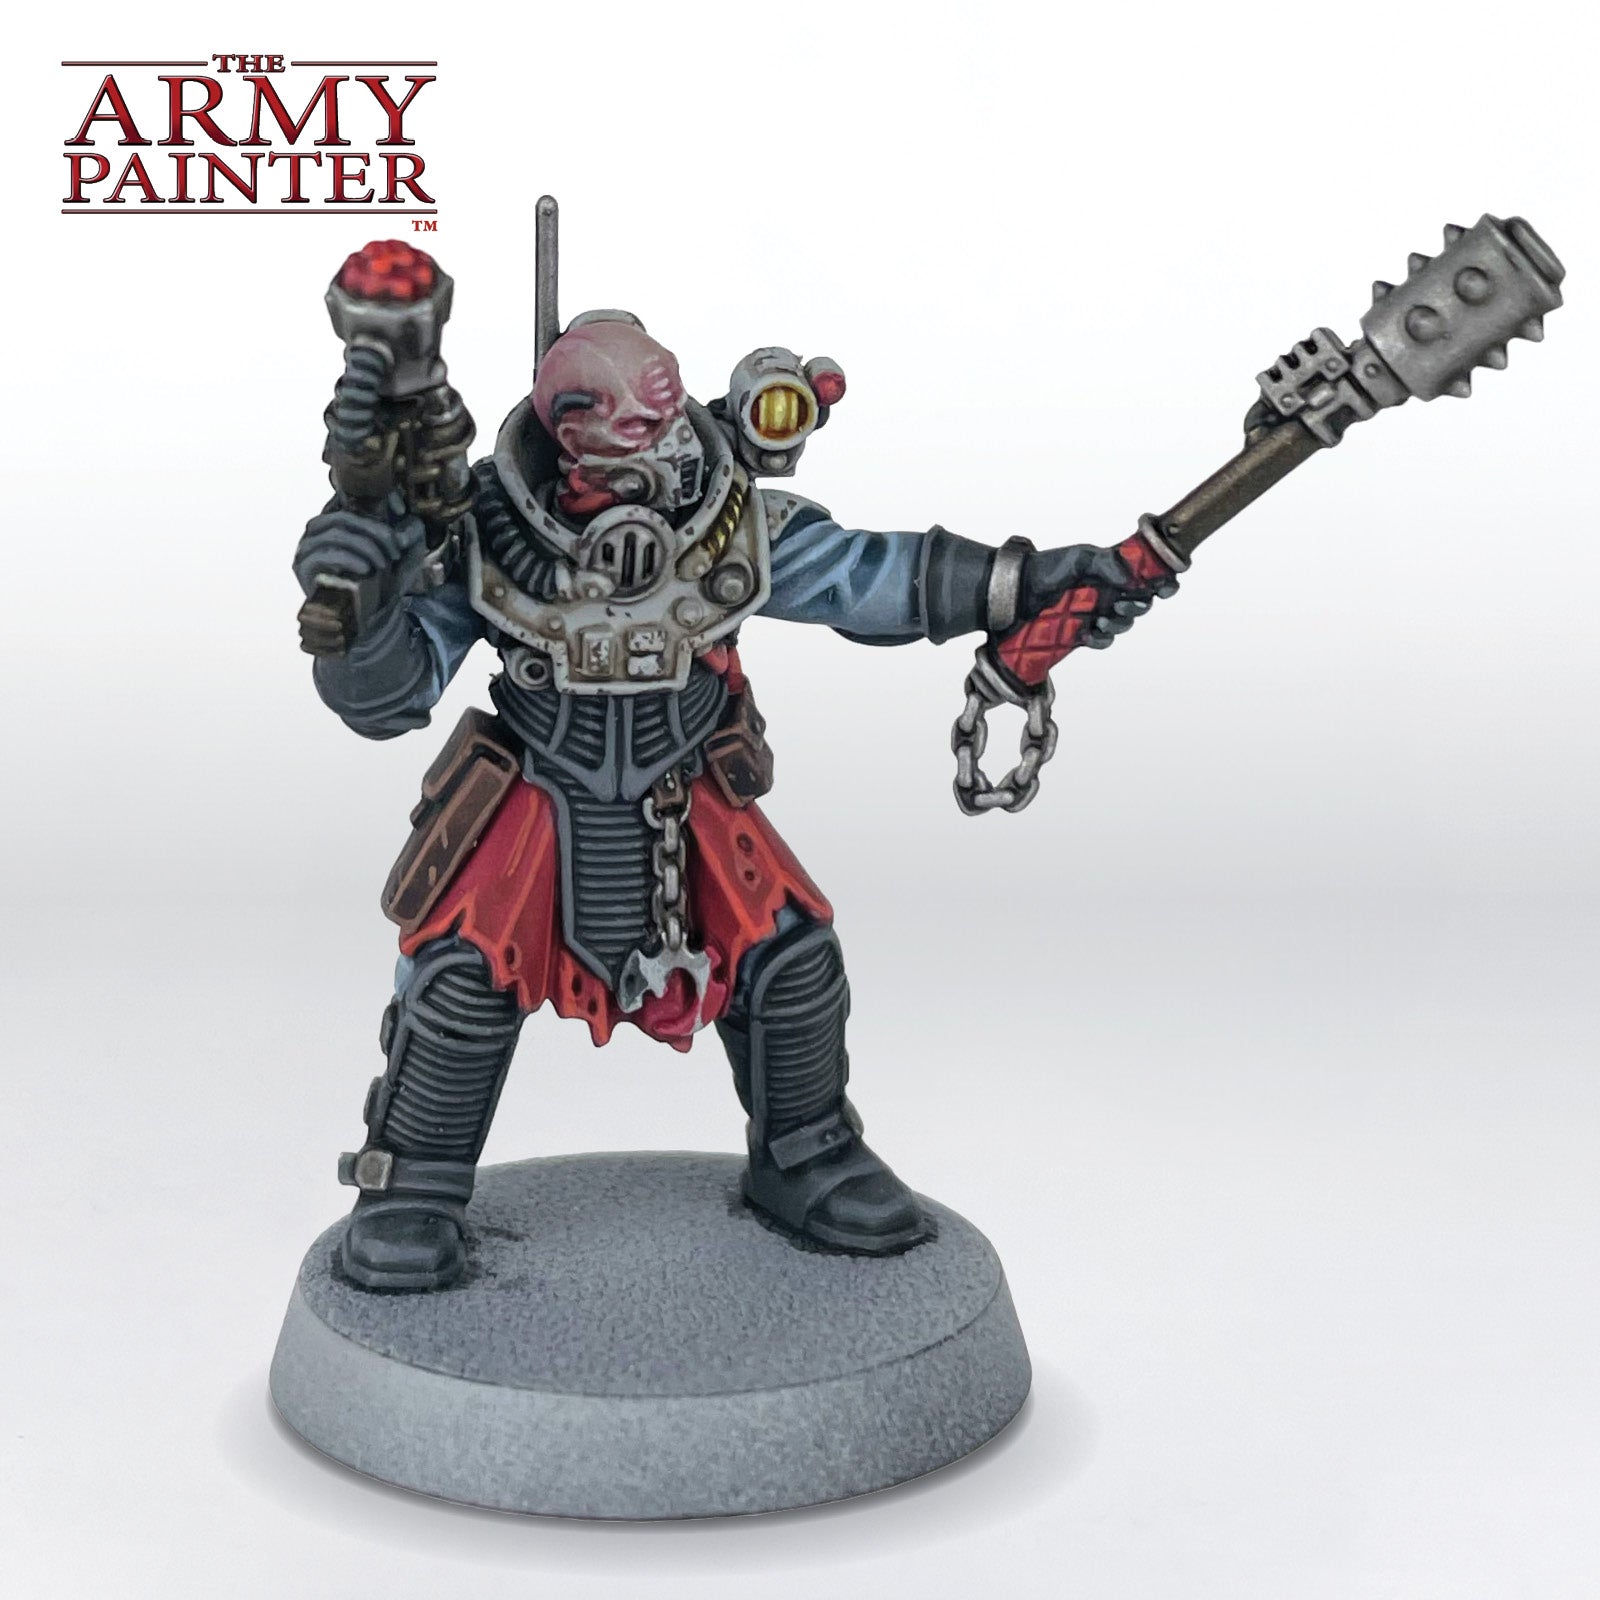
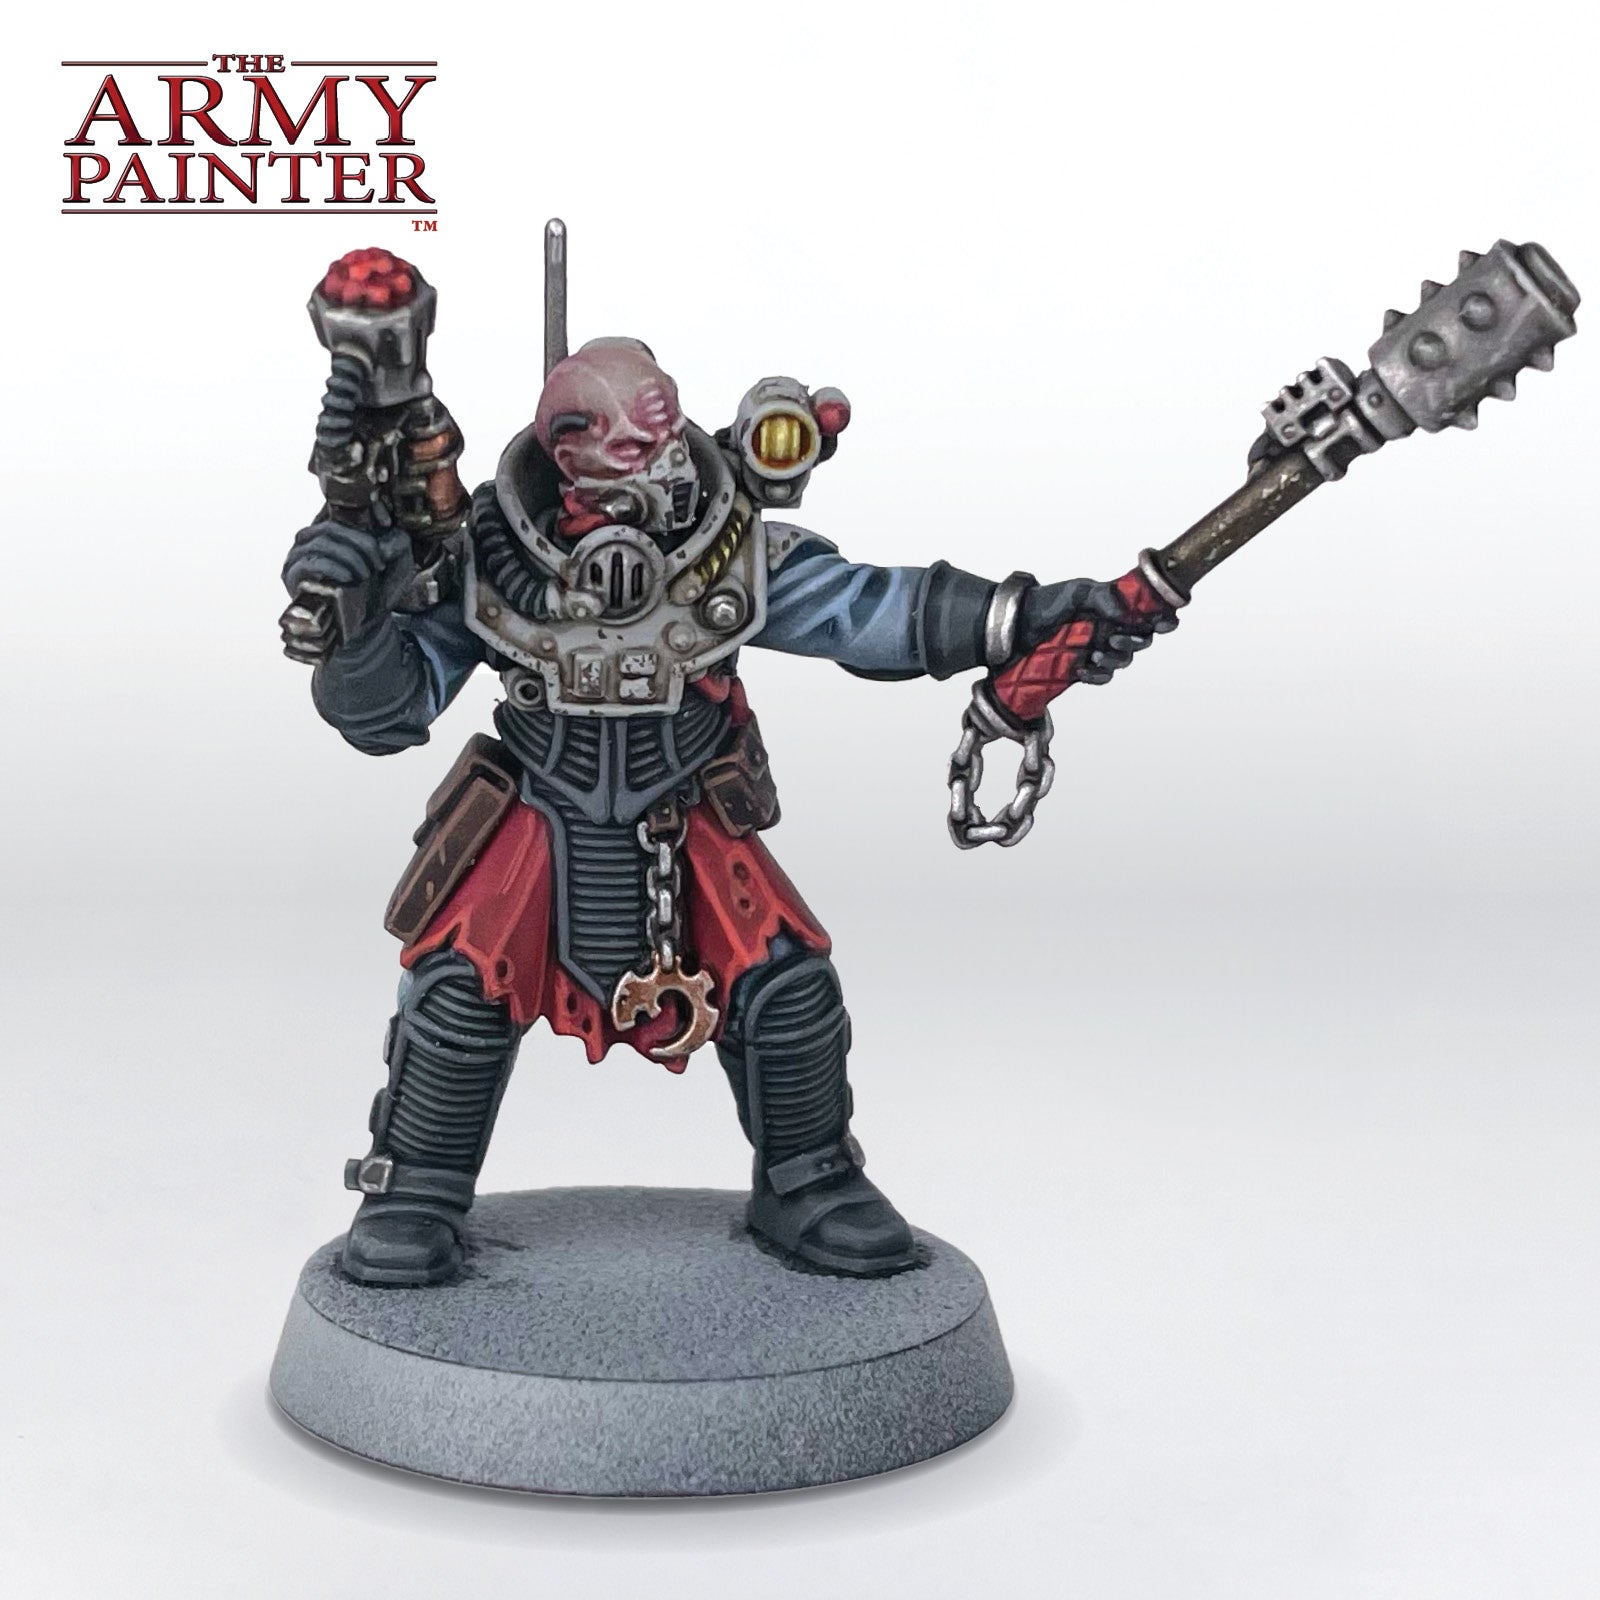
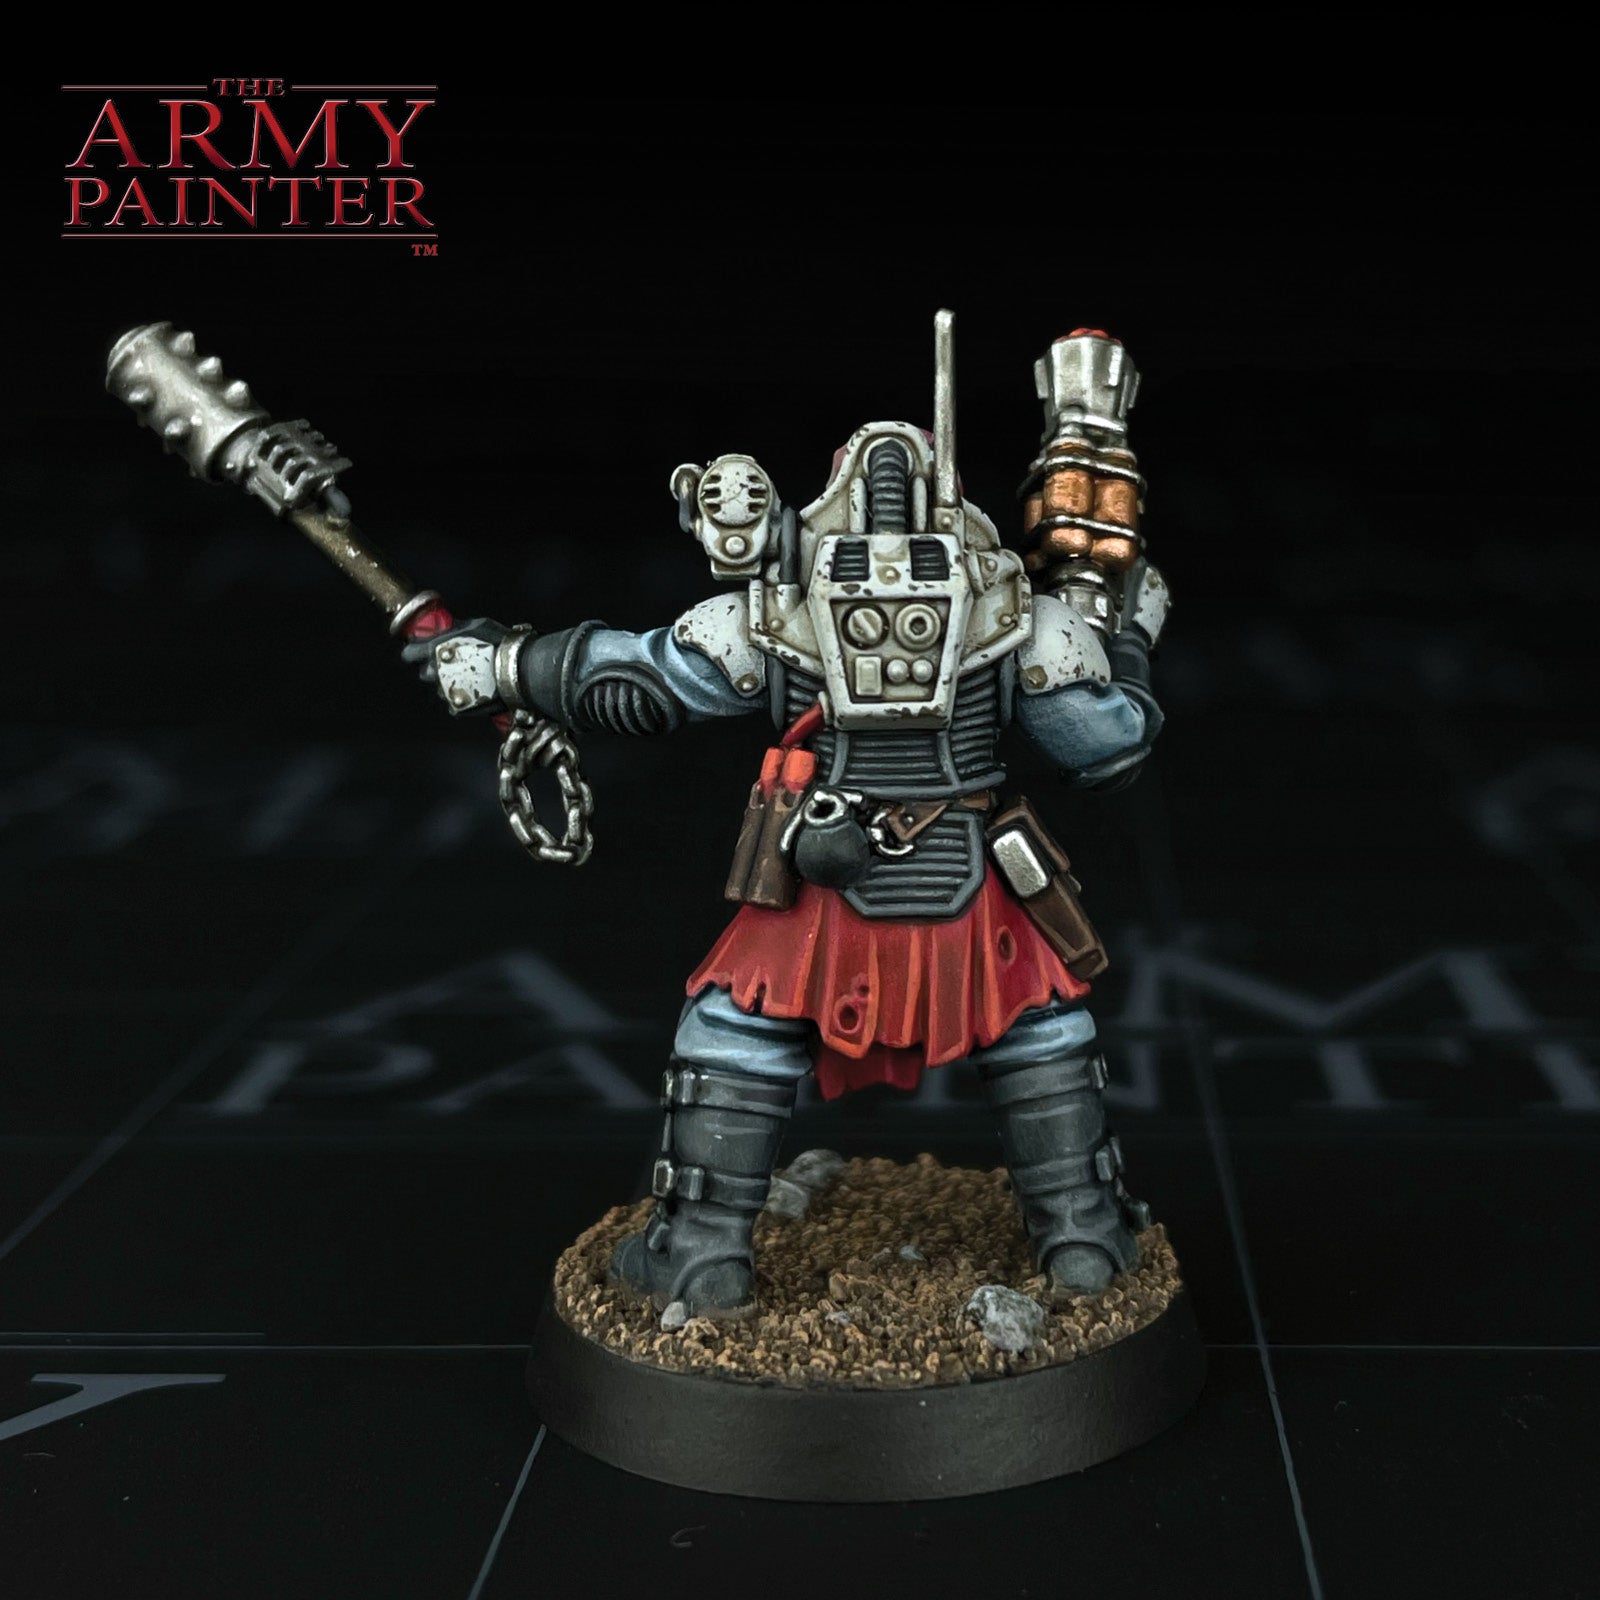
With that, your model is done!
Afterwards, we based the model in a simple dirt and gravel scheme, perfect for the mining environments of the Genestealer Cults, but you can base yours however you like to fit in with your collection.
If you plan on using your model for gaming, we highly recommend varnishing it with either our Spray, Warpaints Air, or Warpaints Fanatic varnishes.

Be sure to tell us what you thought of this tutorial format, if you have any suggestions for improvements in the future, or even which models you want us to tackle.
If you paint your own model following one of these guides, tag it with #thearmypainteracademy to share your work!