


How to Paint
Non-Metallic Gold
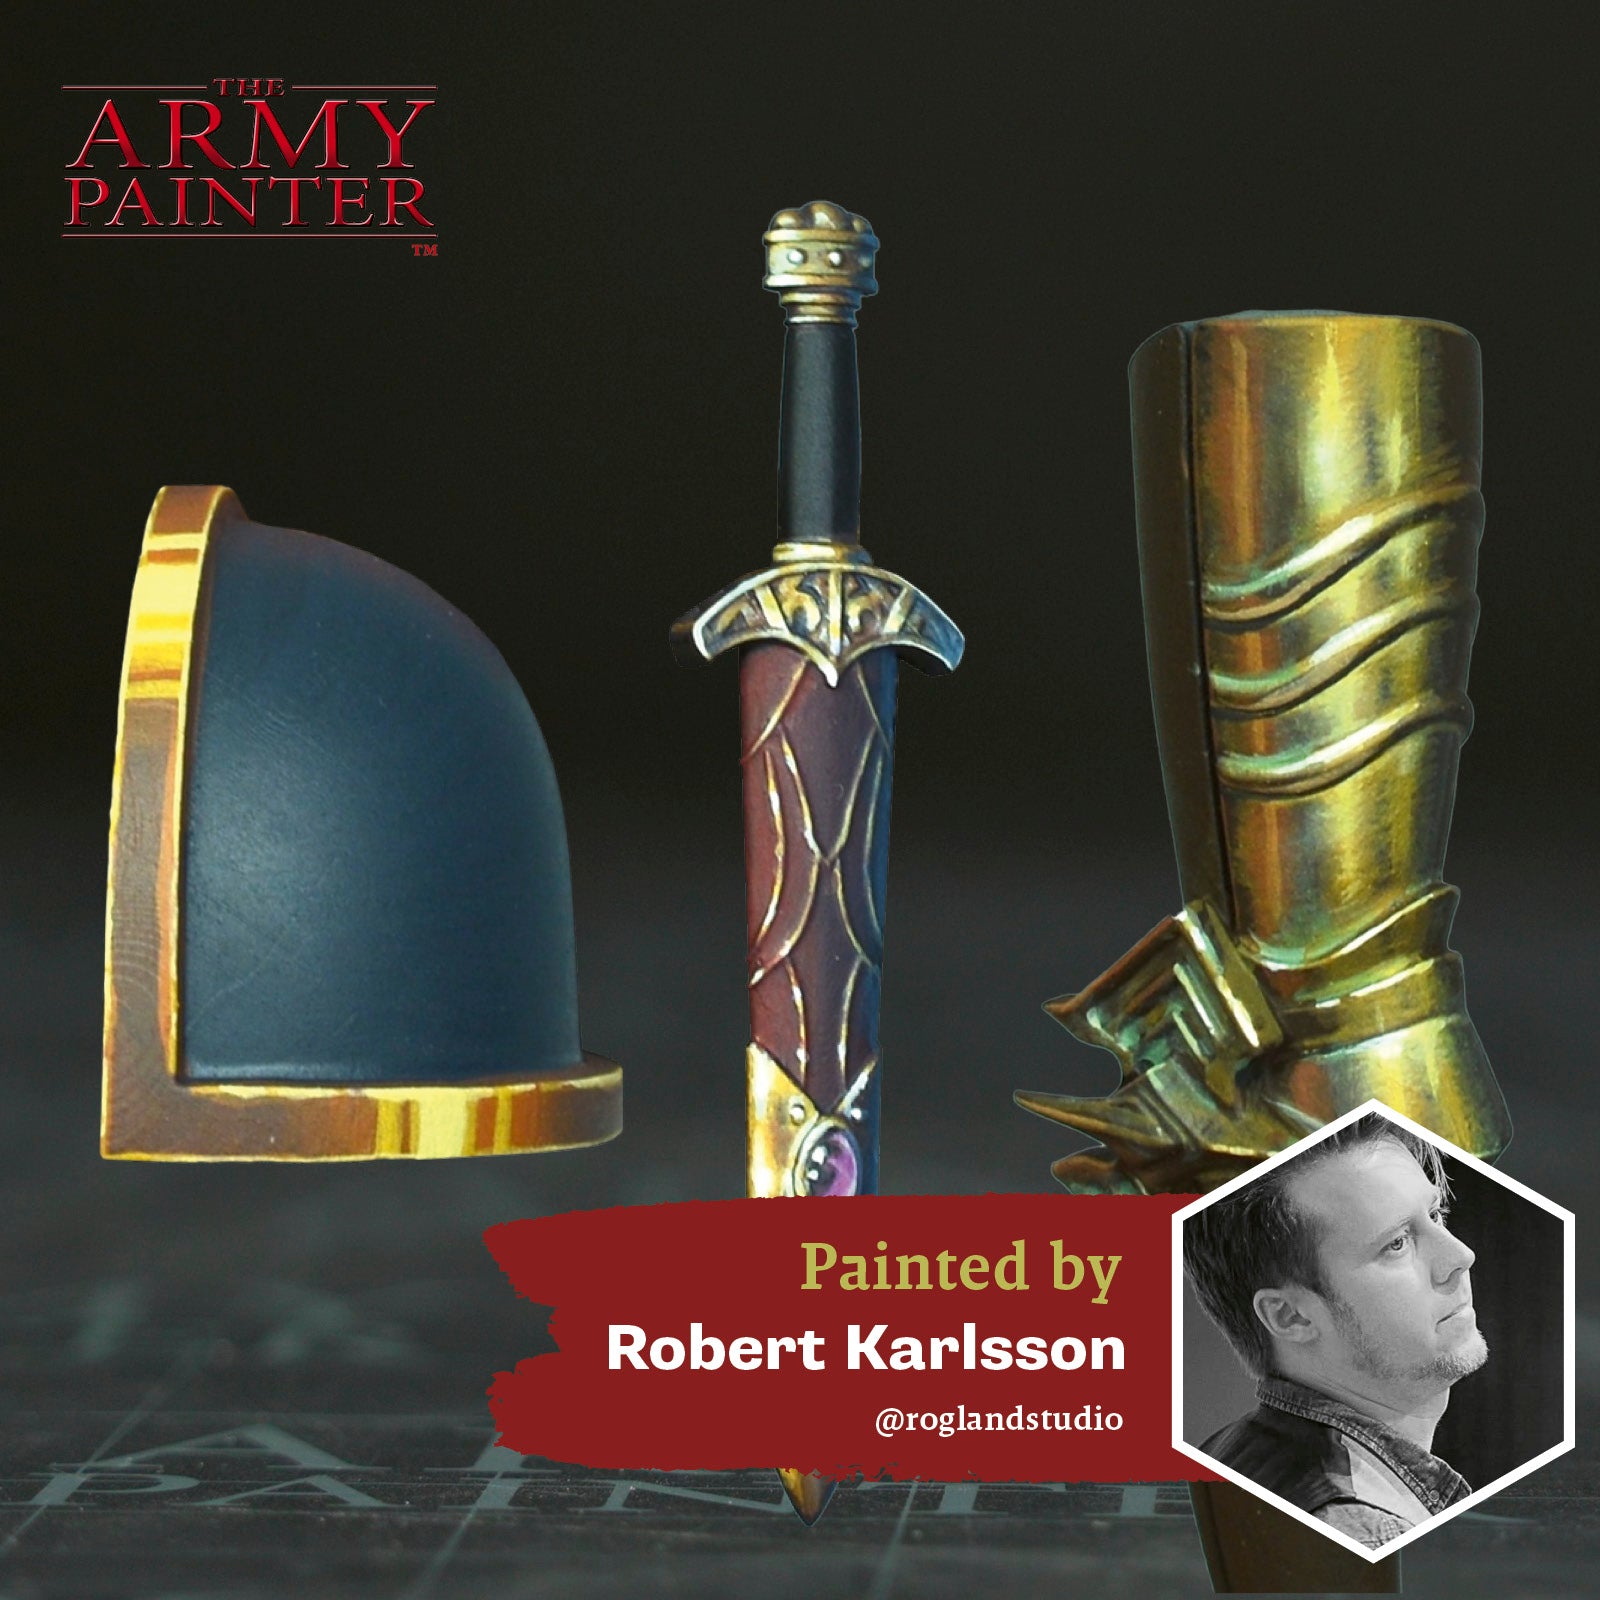
Welcome to the first instalment of The Army Painter Academy Masterclass: a series where we break down how we paint a miniature step-by-step, complete with pictures for every bit of paint applied along the way.
The allure of painting Non-Metallic Metals, or NMM, may seem like a daunting task to many of us. Long the hallmark of professional painters, this technique of painting the metallics on your models using normal acrylics, emulating the style of more traditional 2D artwork, is a stunning display of painting prowess. While this feat of brushwork definitely takes a bit more time and patience than applying a metallic paint it’s not unattainable.
For something long considered a “professional” level technique, we turned to a professional ourselves, Robert Karlsson, aka Rogland Studio, to show us, and you, how it’s done. Not only does he show how to conquer this elusive technique in a step-by-step format, but he’s even broken it down into Beginner, Intermediate, and Advanced levels, so no matter your experience, there’s an on-ramp for you to join the NMM train.
Robert: Why would we want to paint metal with normal paint, since we can just slap on some metallic paint? Metallic paint, in my opinion, doesn't reflect anything by itself on such a small surface as on a miniature, and if you want realism or to take the next step in your painting, then Non-Metallic Metal (NMM) is for you. You can control reflections and light exactly how you want, or exactly what environment the character is in, by adding colours from the environment, such as greens, browns, blues, etc.
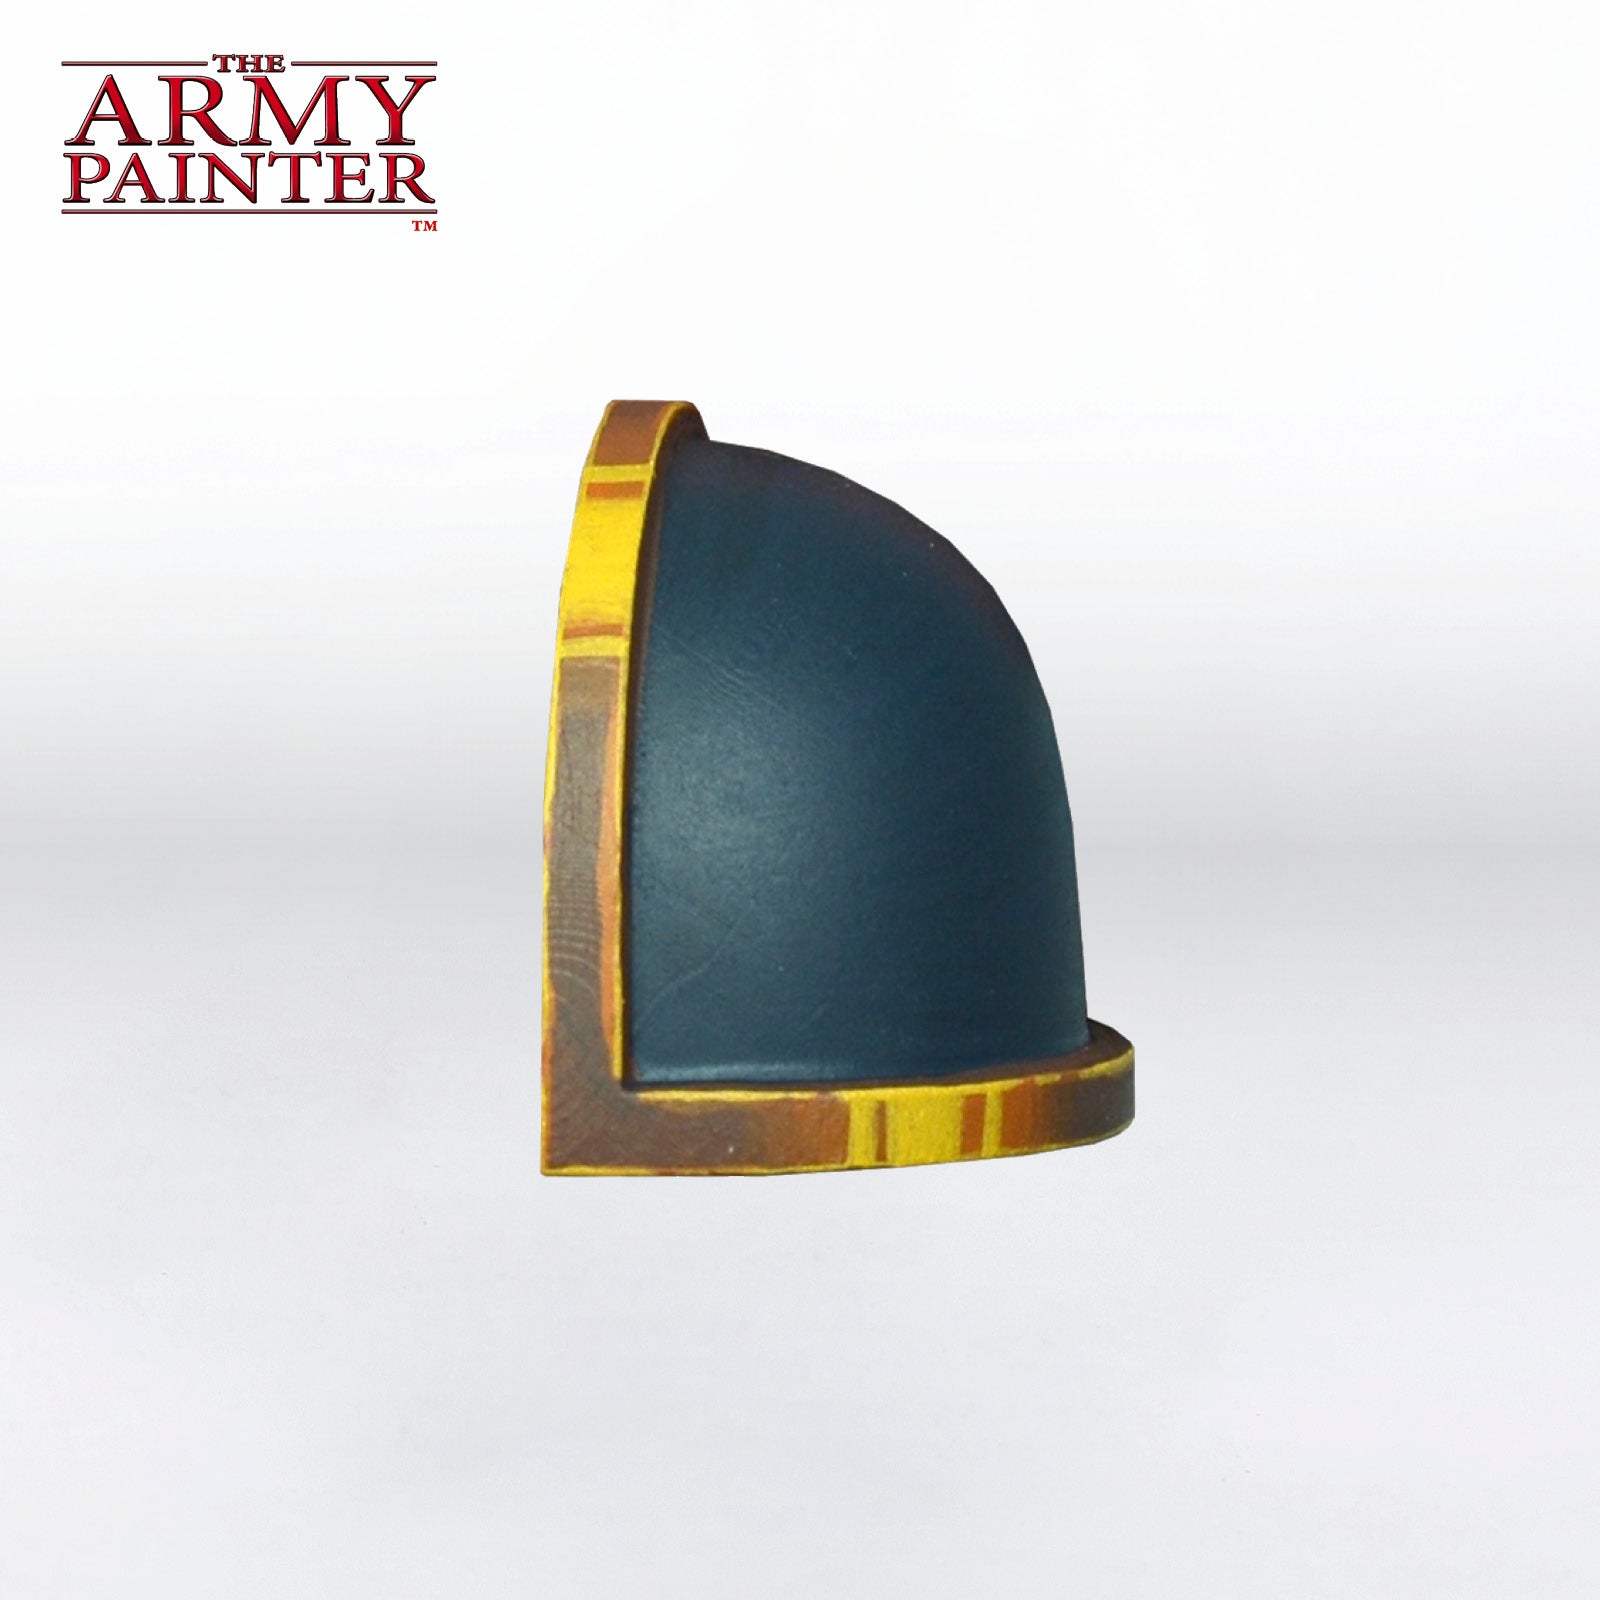
NMM can be painted in different ways depending on experience and style. It also varies depending on the complexity of the area we are painting. For the Beginner tutorial, I demonstrate the basics on a fairly simple and familiar part for many hobbyists—a shoulder pad from a Space Marine! Whatever metal you are painting, gold, silver, chrome, and so on, we use a similar technique but with a different approach, such as a polished metal surface, dull, or even rusty and worn.
Let's get painting!

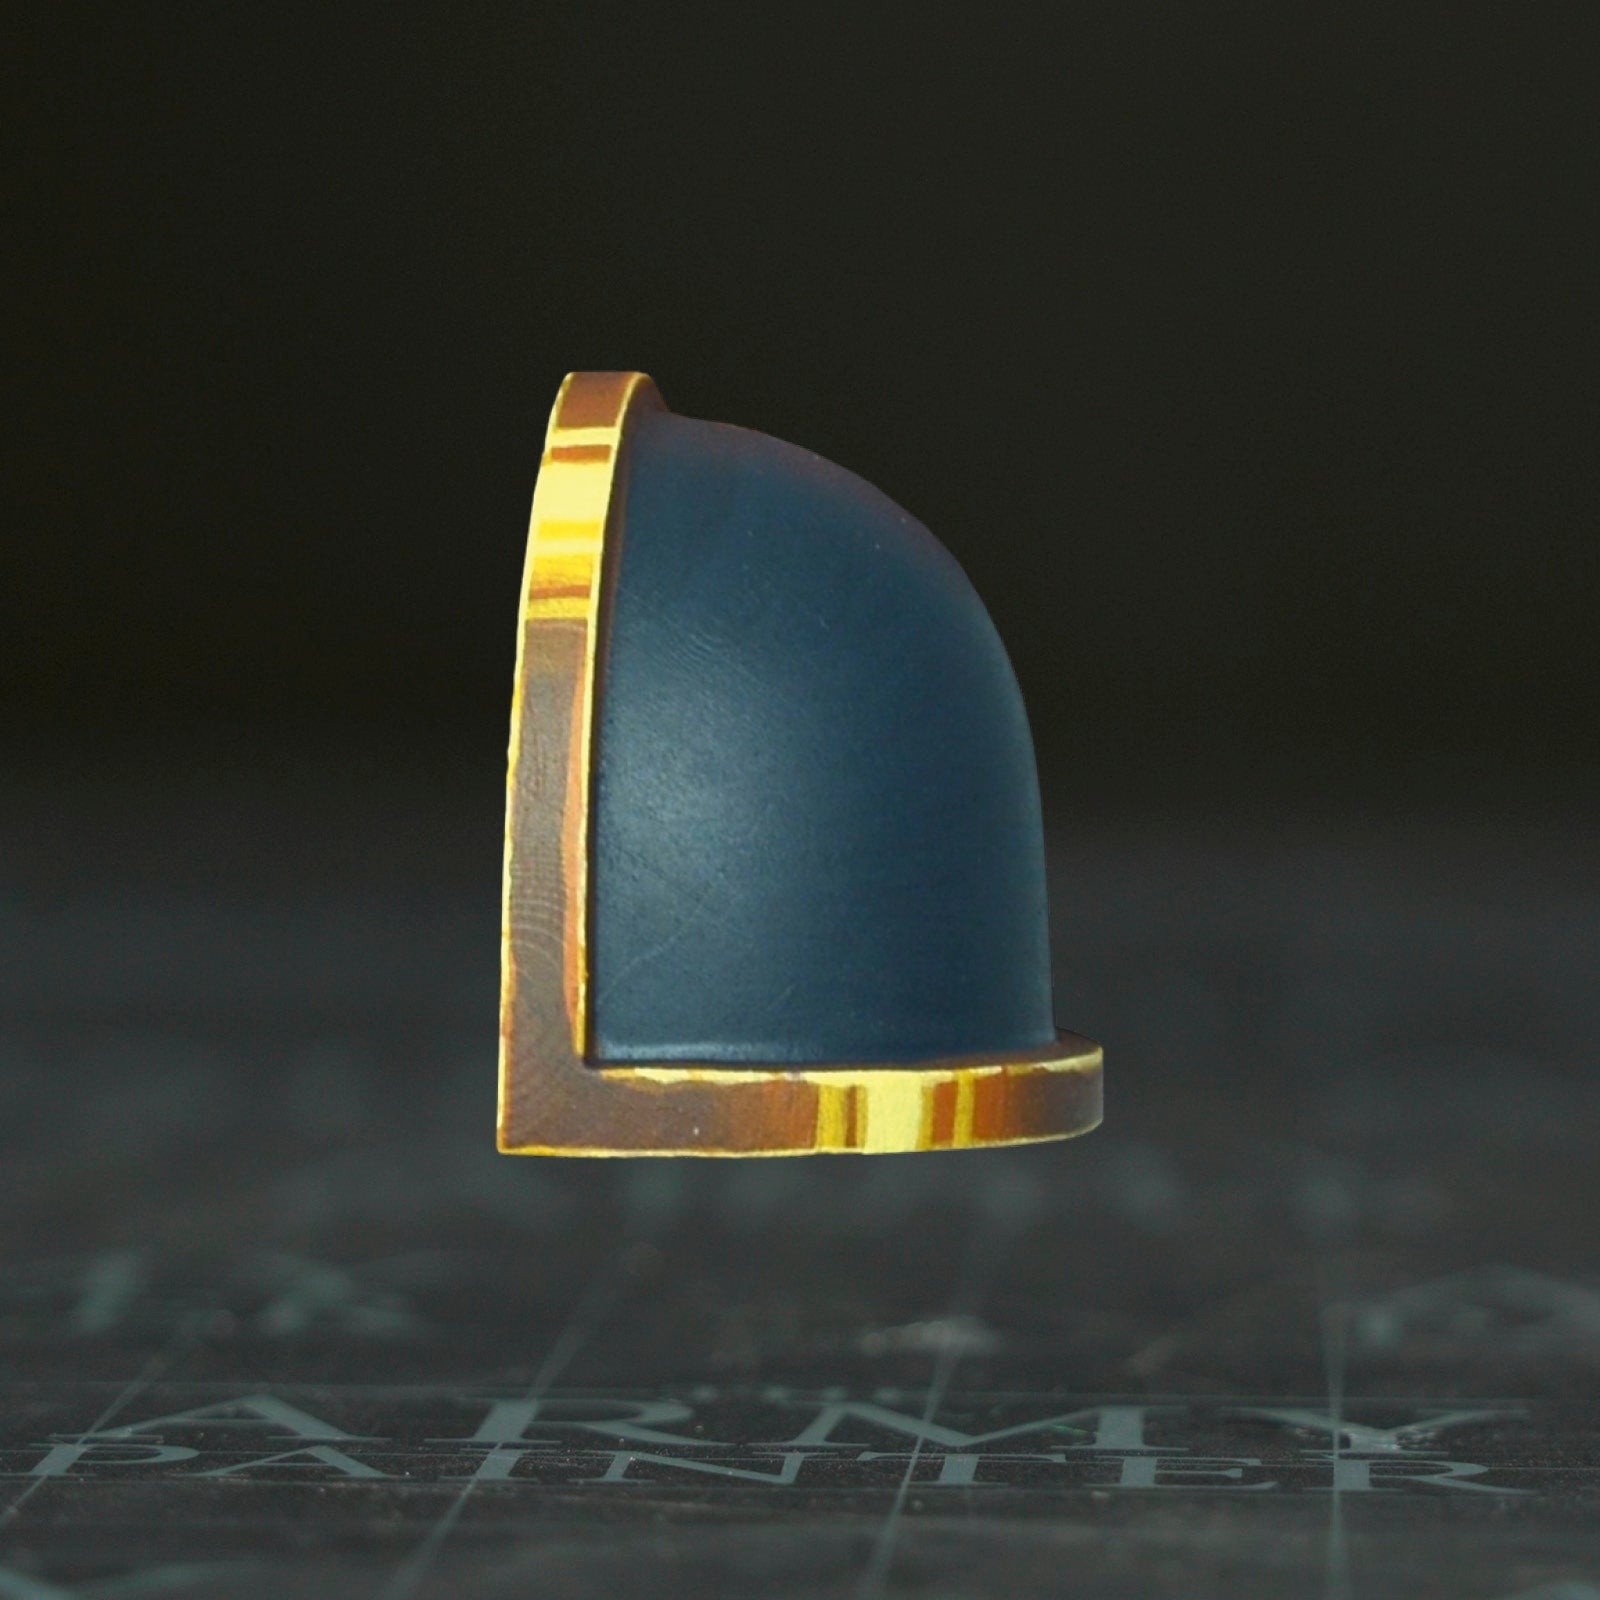
NMM Gold - Beginner

Step 1
Prime the model with Matt Black Colour Primer.
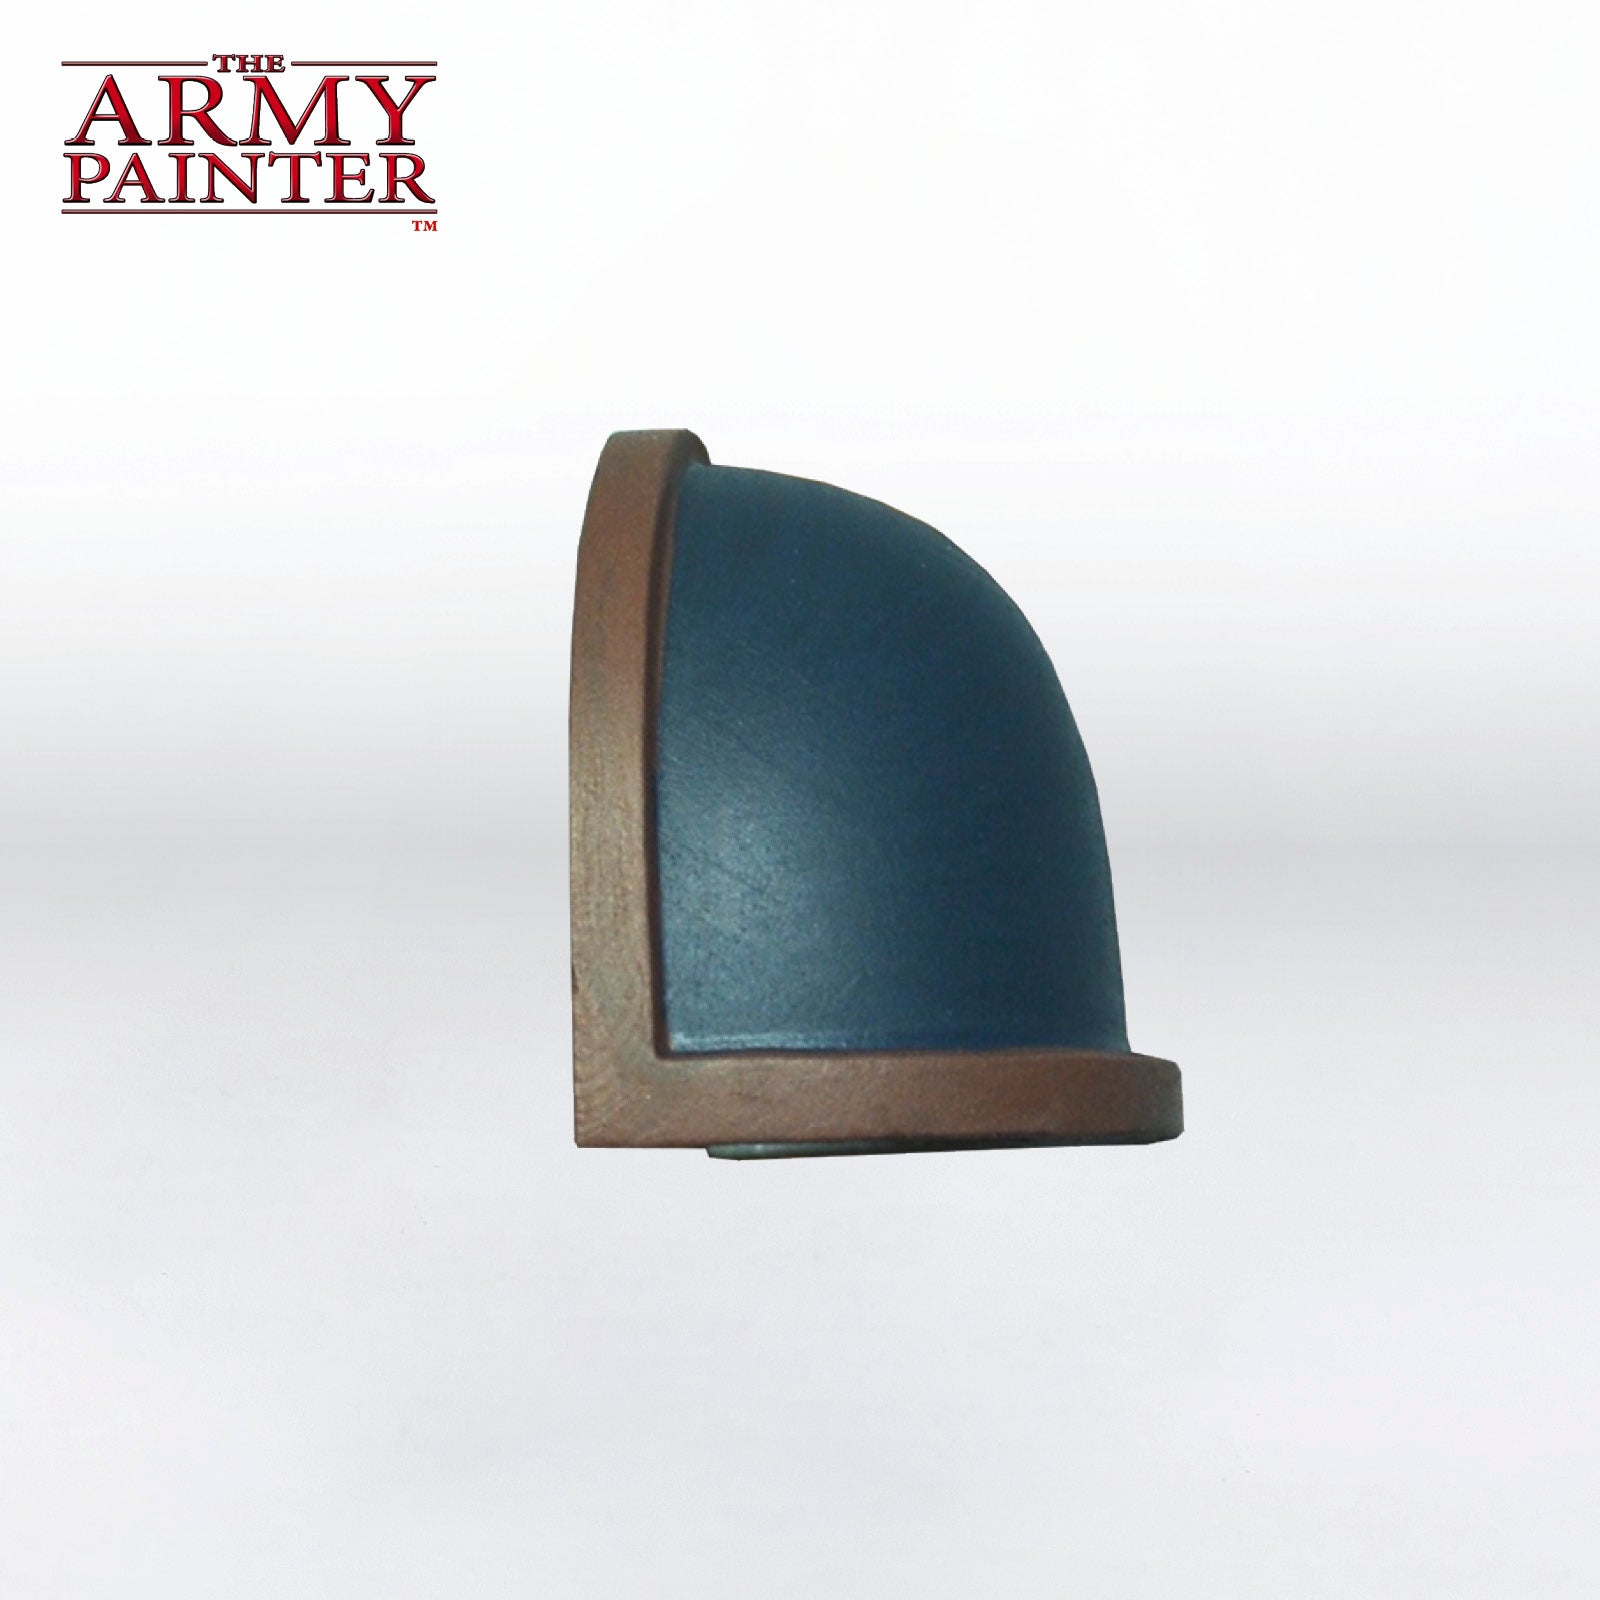
Step 2
Basecoat the areas that will be gold with a mix of Warpaints Fanatic Oak Brown with a touch of John Blanche Masterclass Ruddy Terra for a bit more vibrancy. At this point, you can also basecoat the non-gold areas with any colour to give you a bit more direction while painting. In this case, John Blanche Masterclass The Darkness was used.
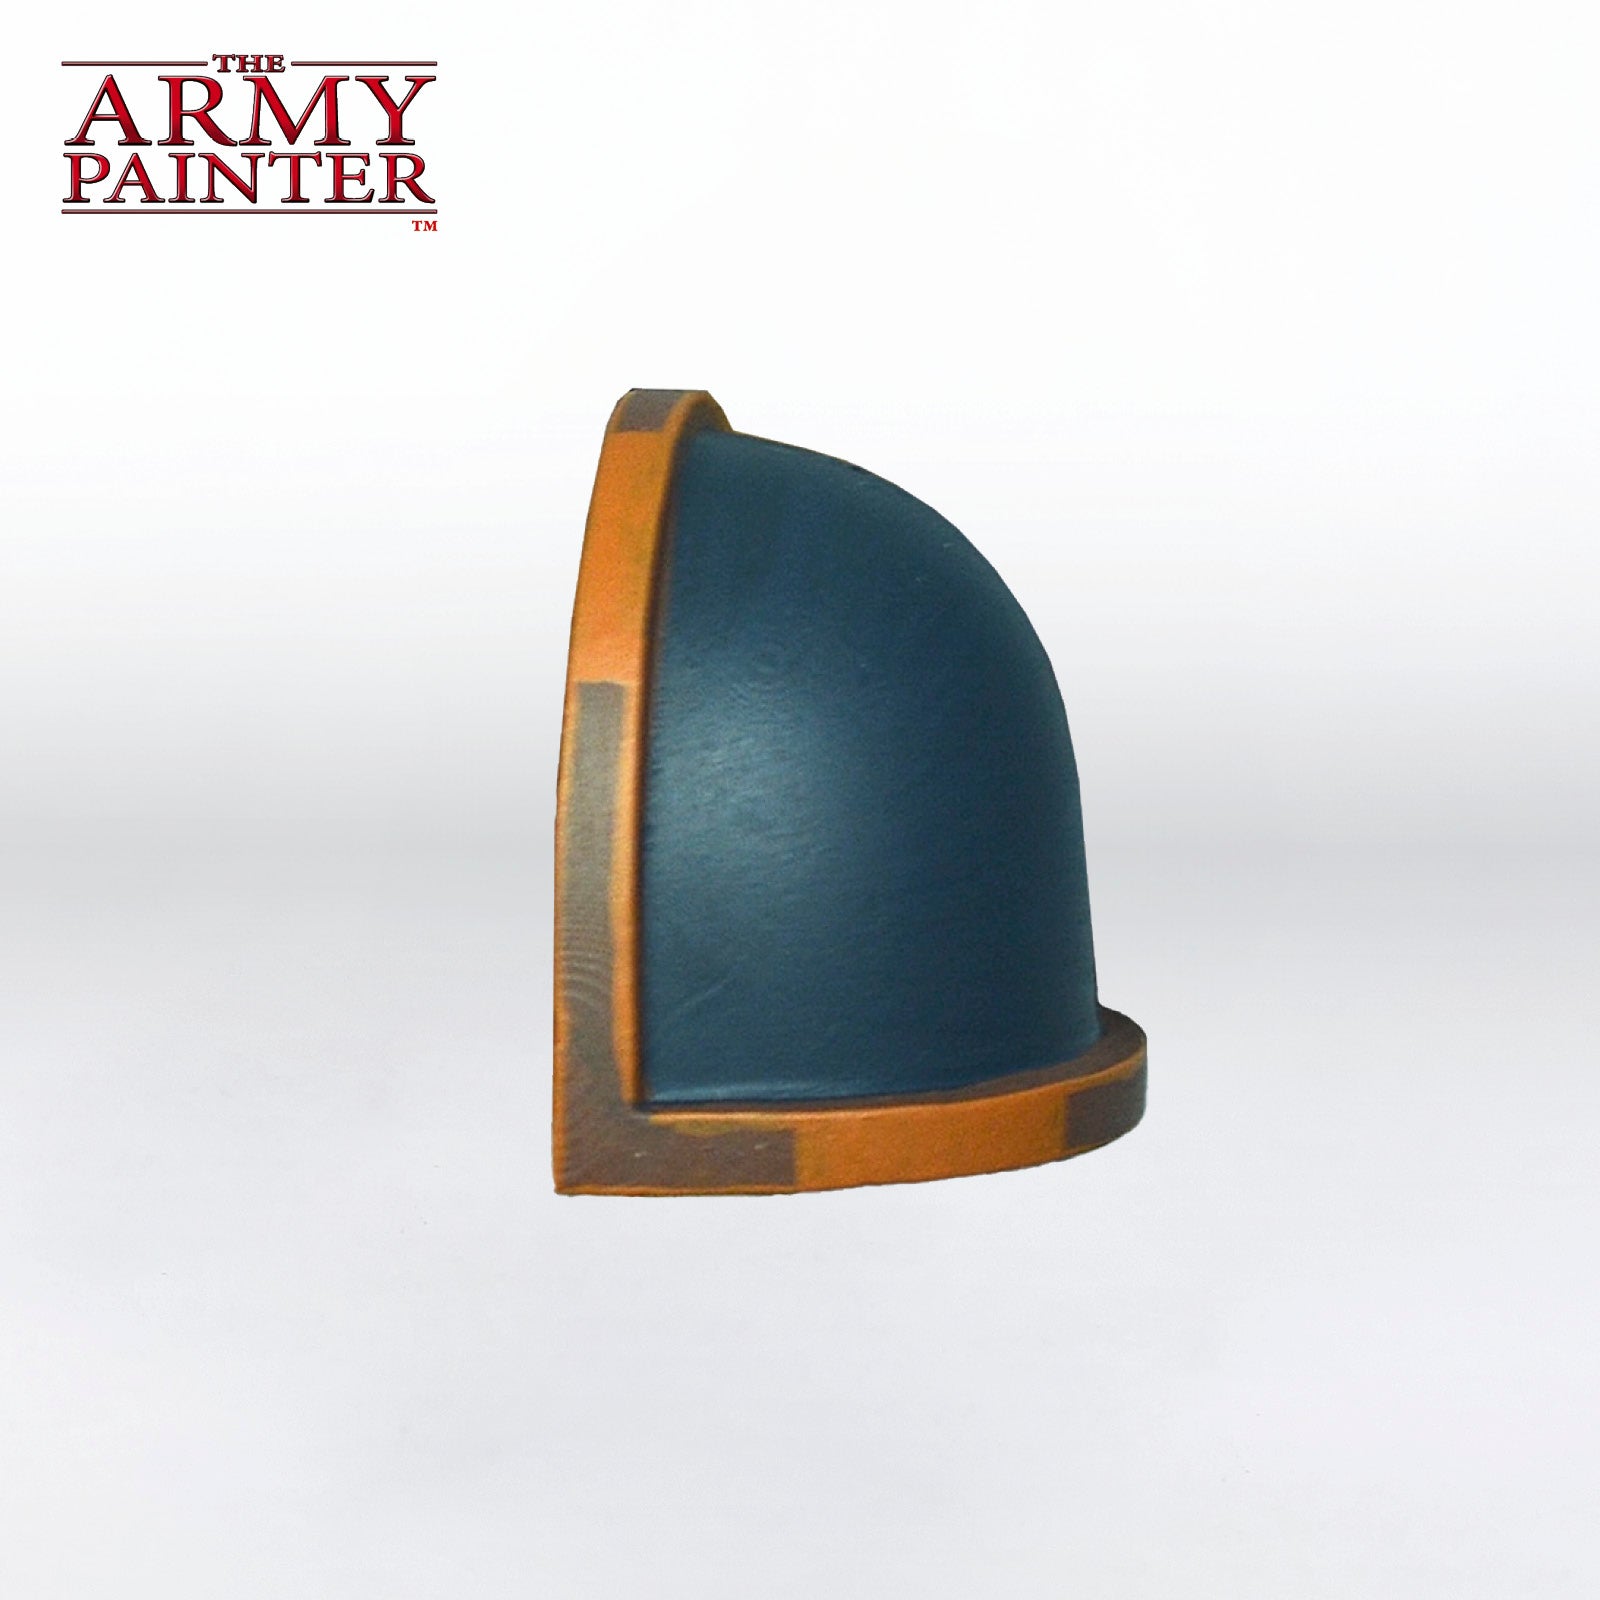
Step 3
Next, use John Blanche Masterclass Sunburst Ochre to block out the areas that will have the reflection. How large an area you paint is up to you. While doing this, also edge highlight the rest of the trim at this point. If you’re happy with this look, you can skip Step 4 and go right to Step 5.
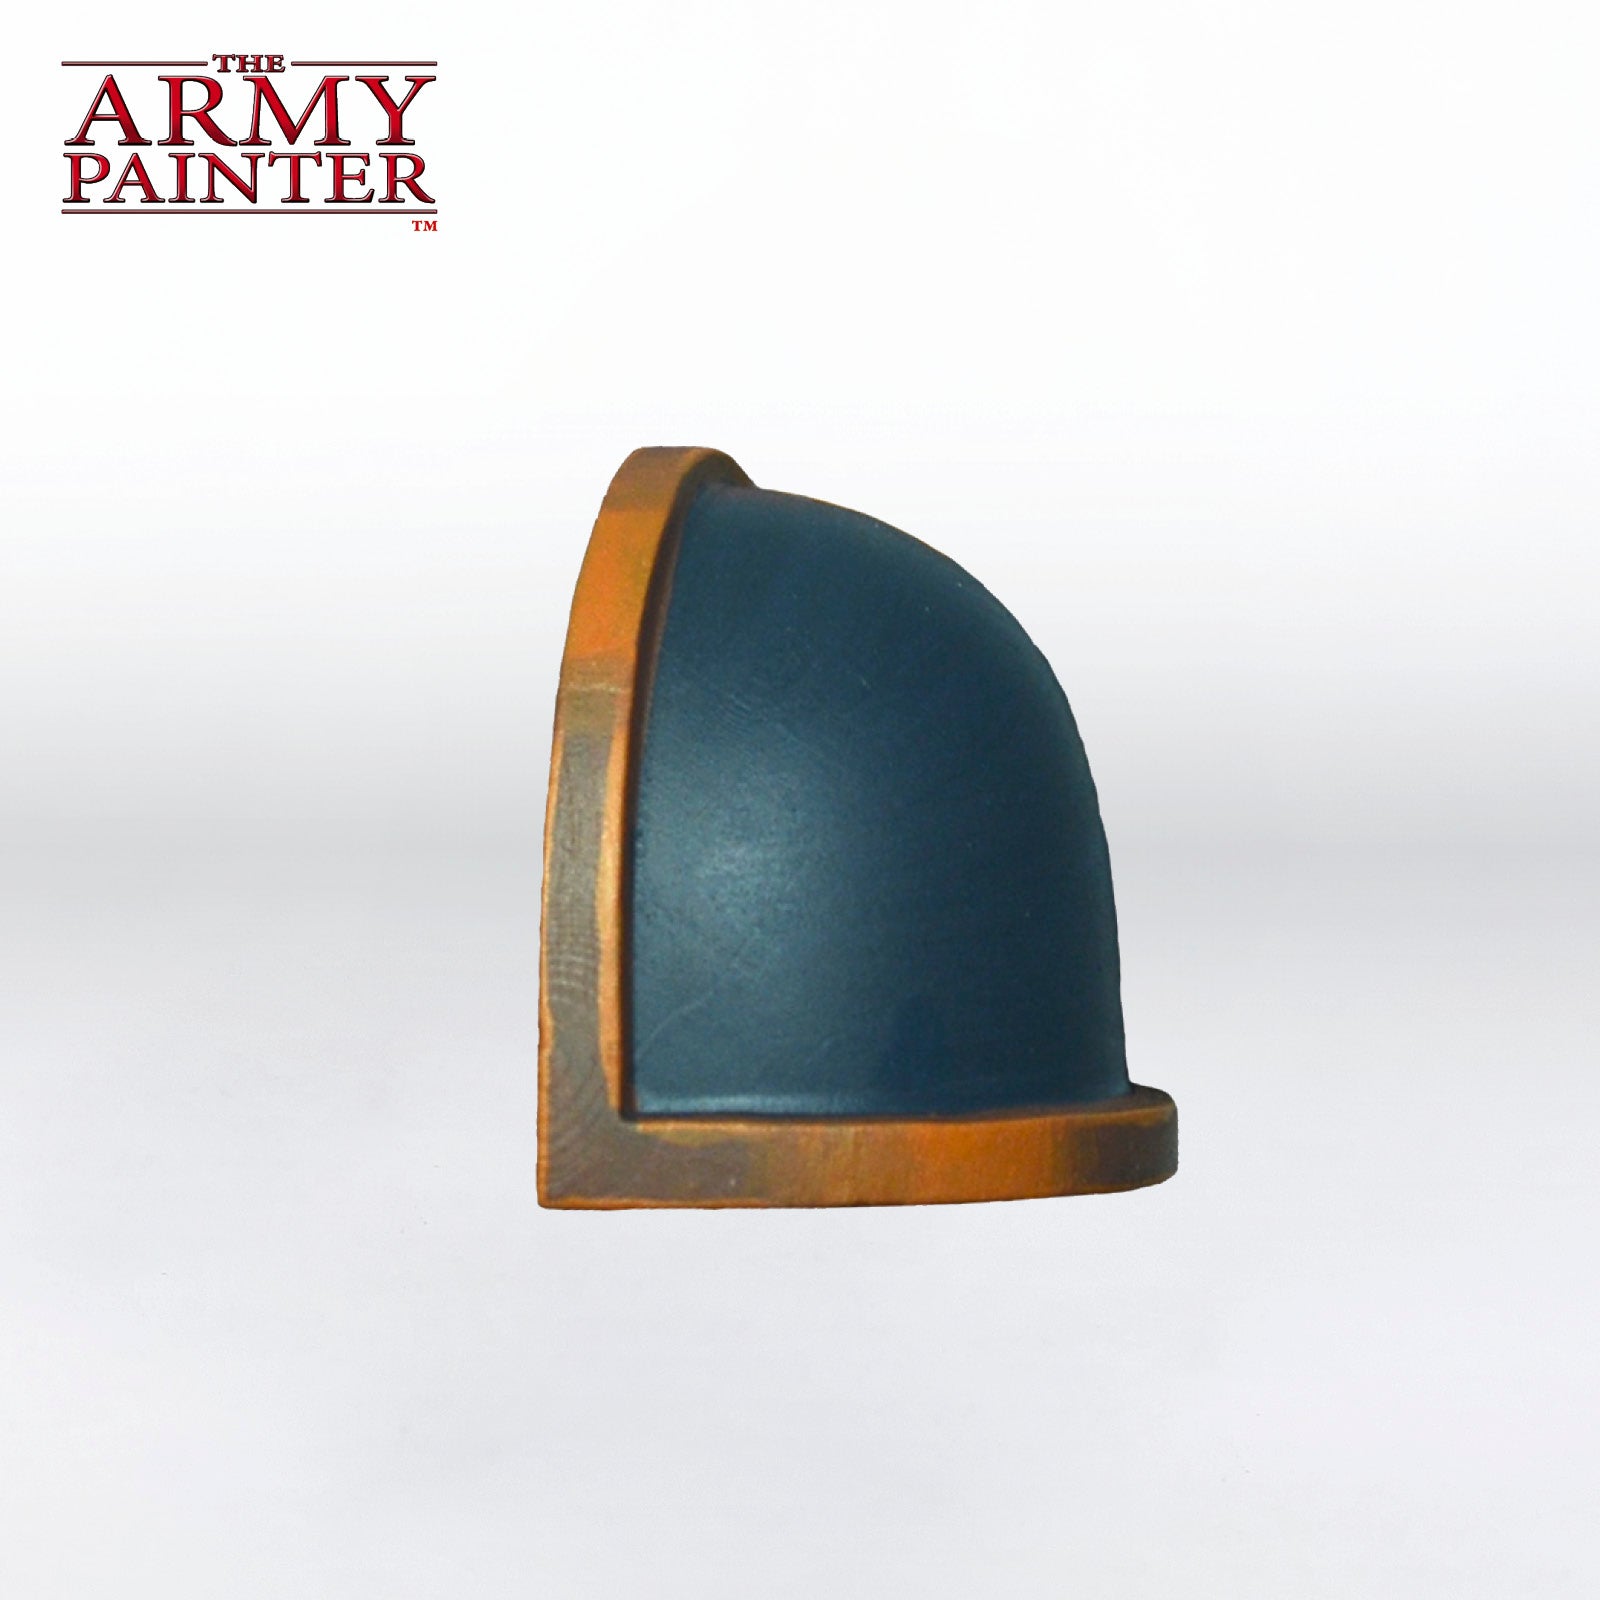
Step 4
Blend baby, blend! Use a 50/50 mix of the basecoat mix and John Blanche Masterclass Sunburst Ochre and start feathering out the edges of the colour blocks from the previous step. This should take about 5-10 strokes per area.
Step 5
With the shadow and mid-tone established, it’s time to add in the highlights. Apply the highlight as shown with a mix of Warpaints Fanatic Demigod Flames with a bit of John Blanche Masterclass Ivory White mixed in. You can also add a bit of Warpaints Fanatic Phalanx Blue, as was done in this example, the desaturate the yellow a bit.

Step 6
Finish this up with a further, more refined highlight by mixing in even more John Blanche Masterclass Ivory White and Warpaints Fanatic Phalanx Blue into the previous mix, and voila, you’re done!
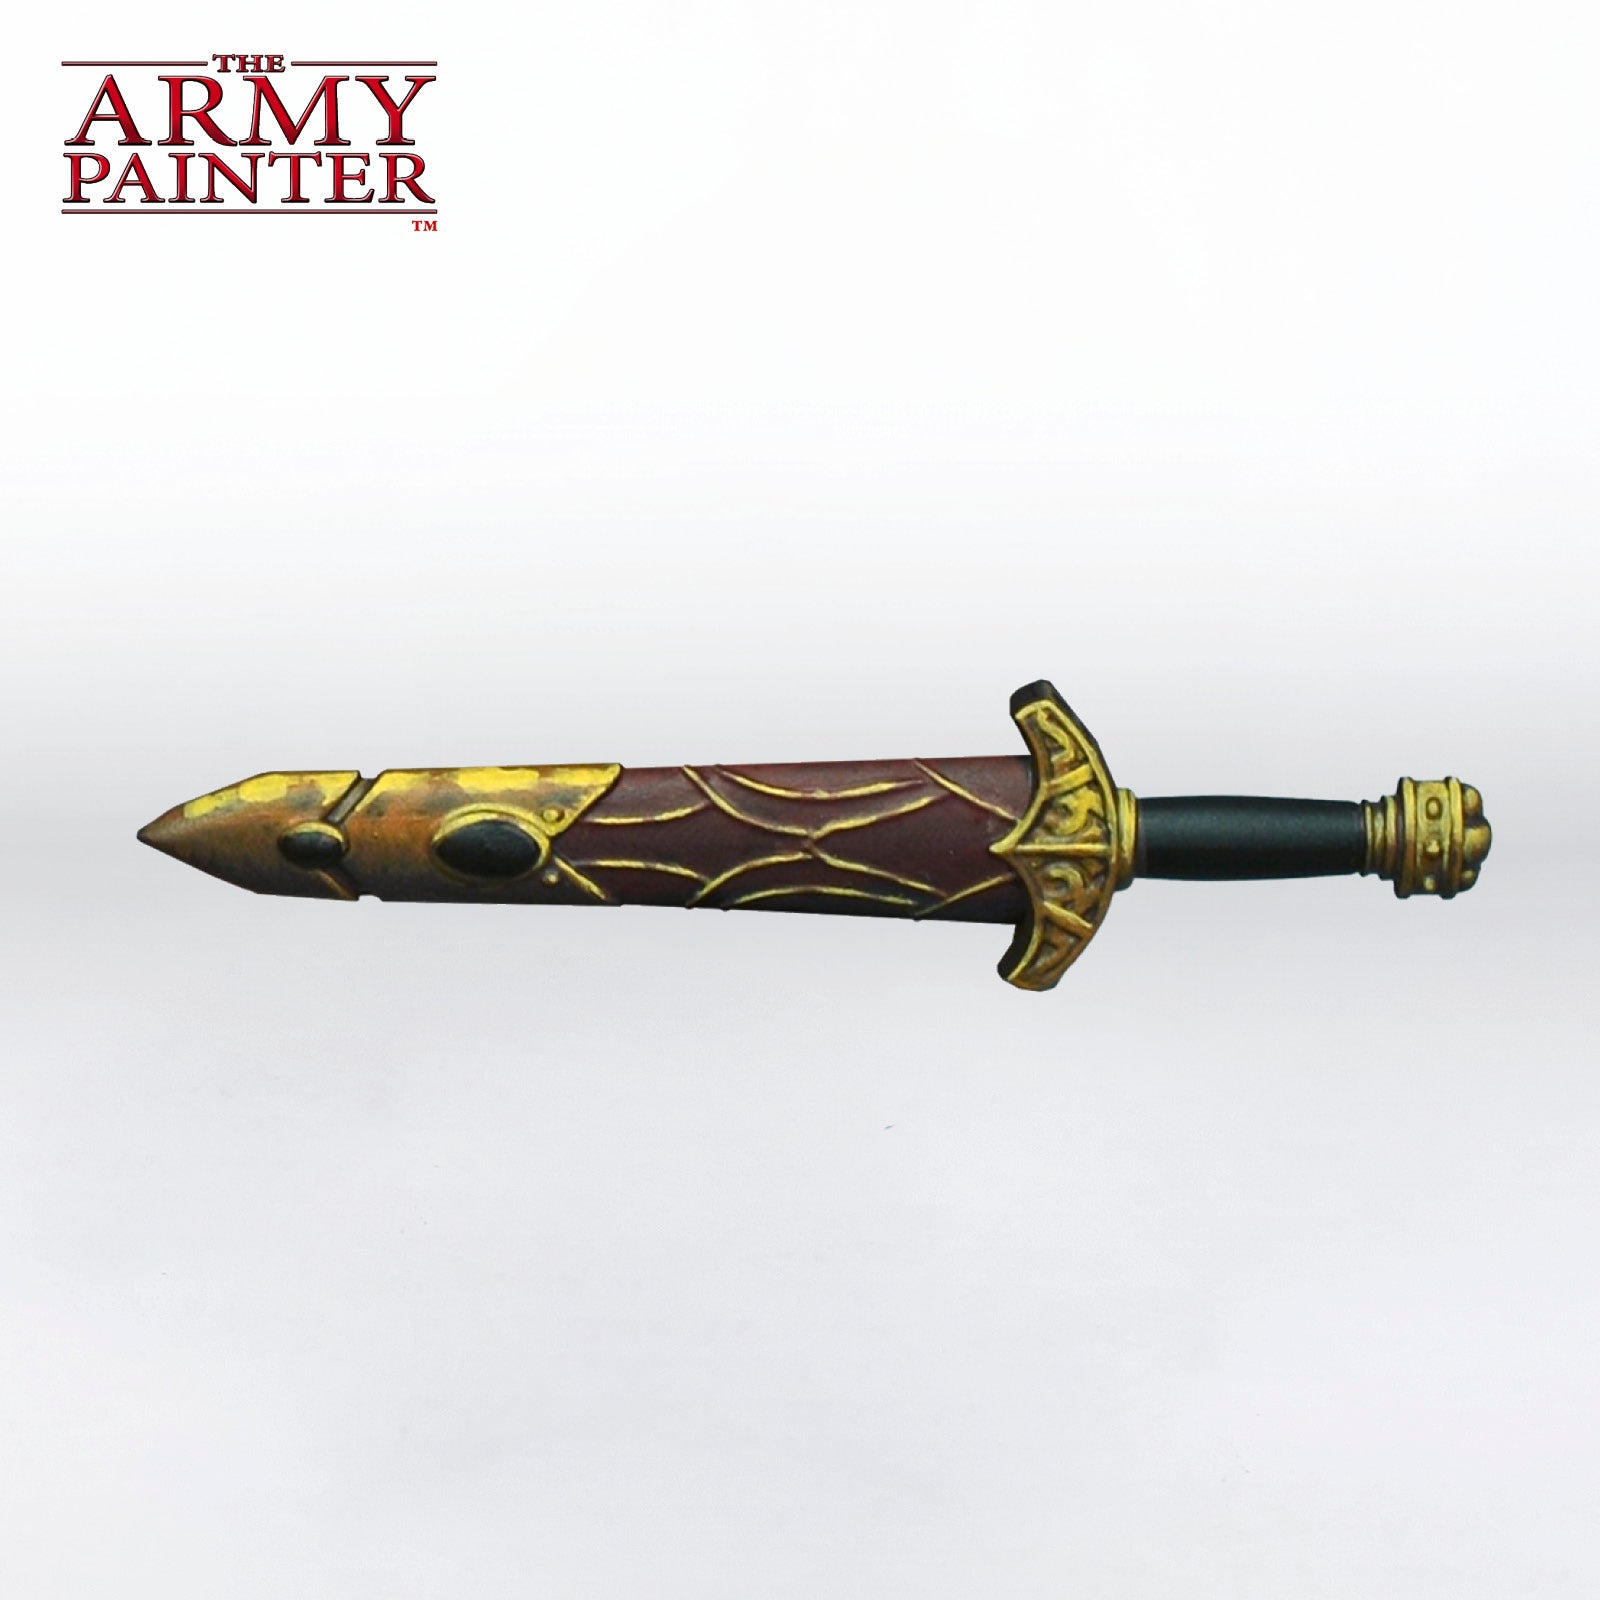
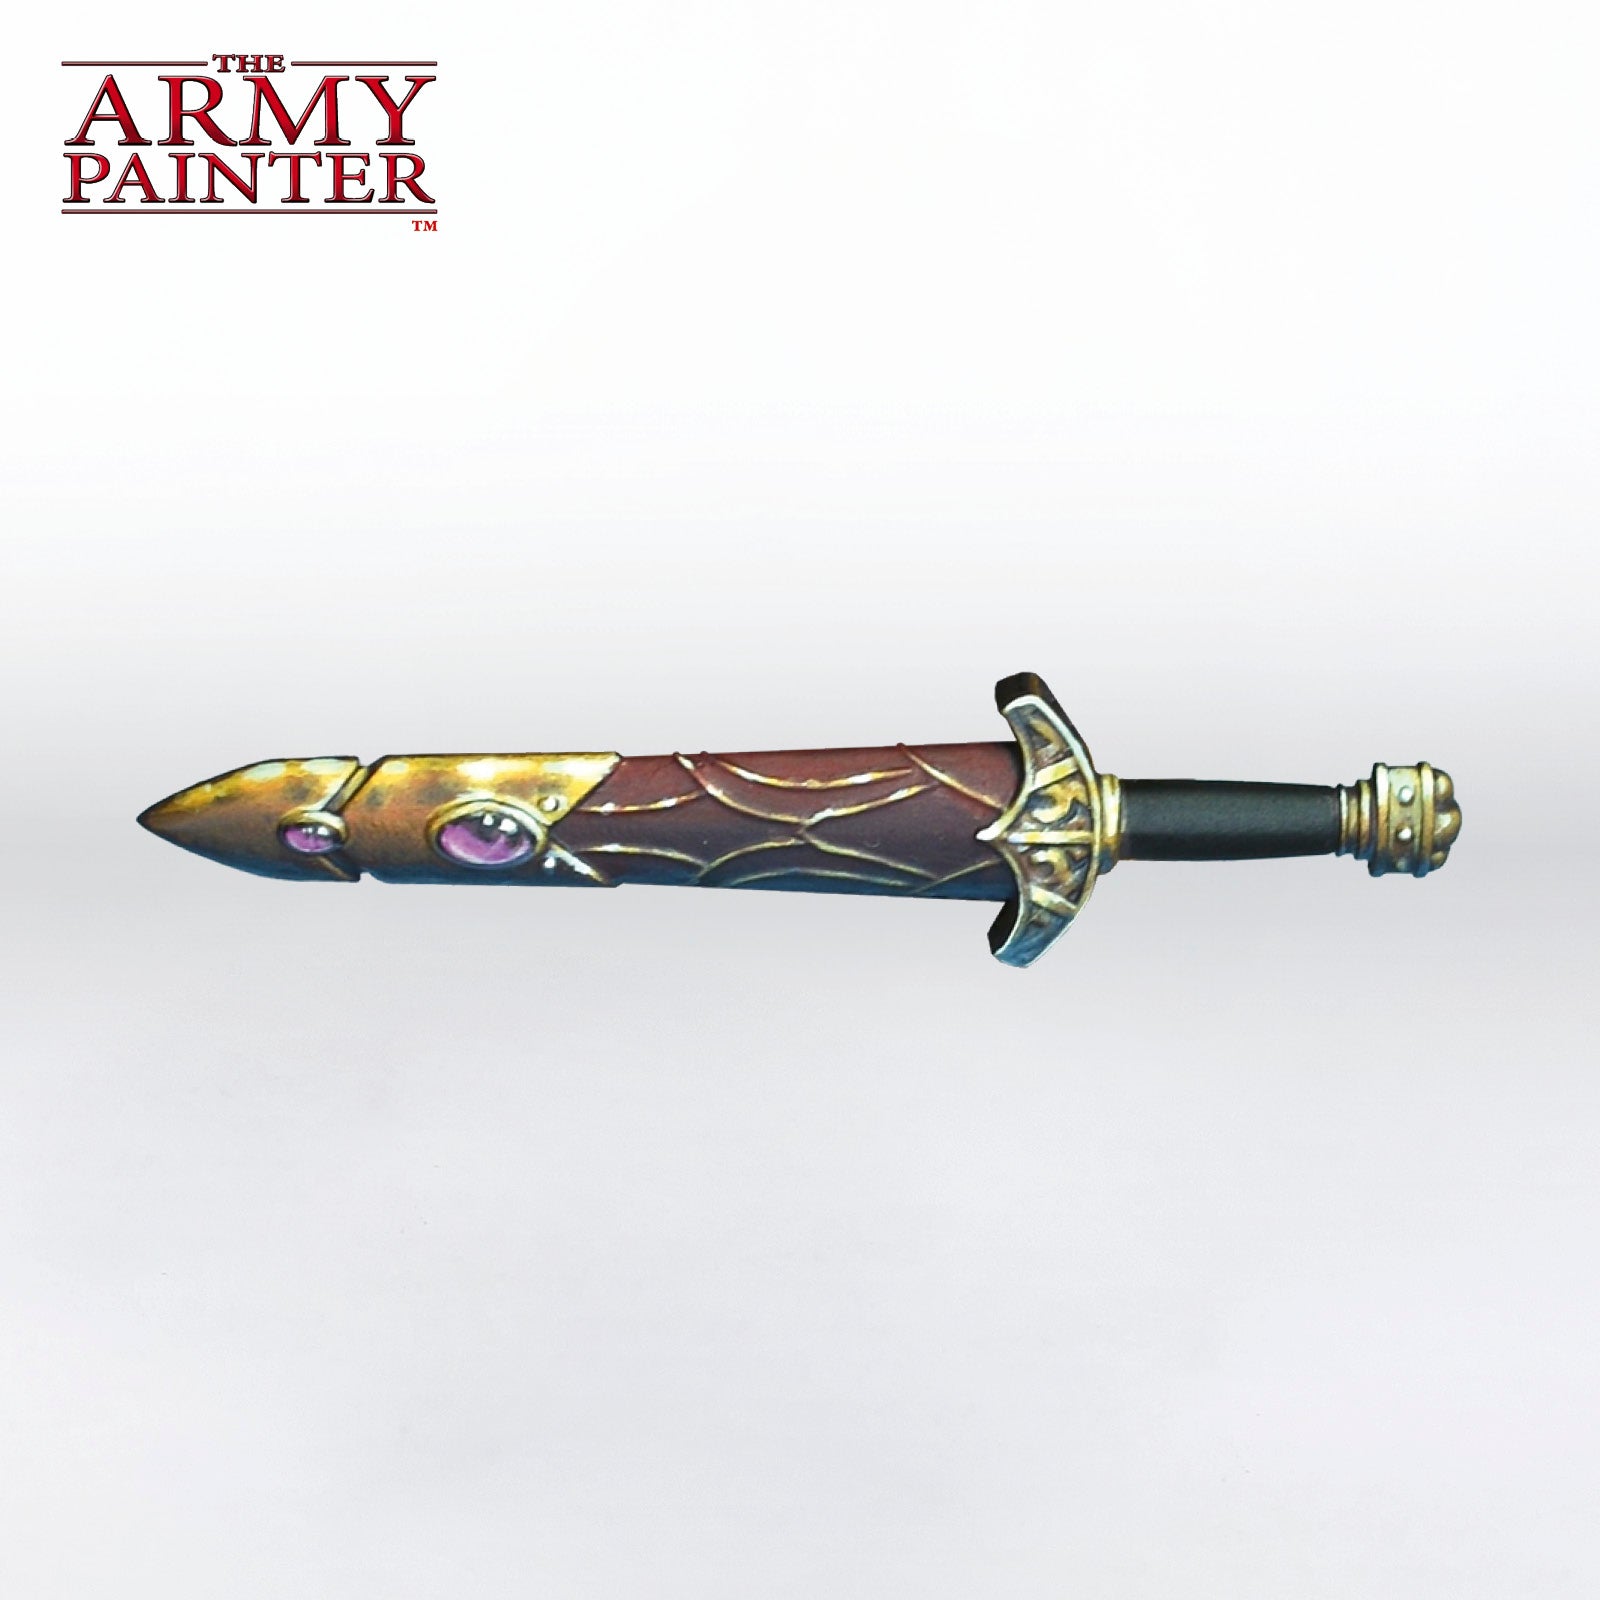
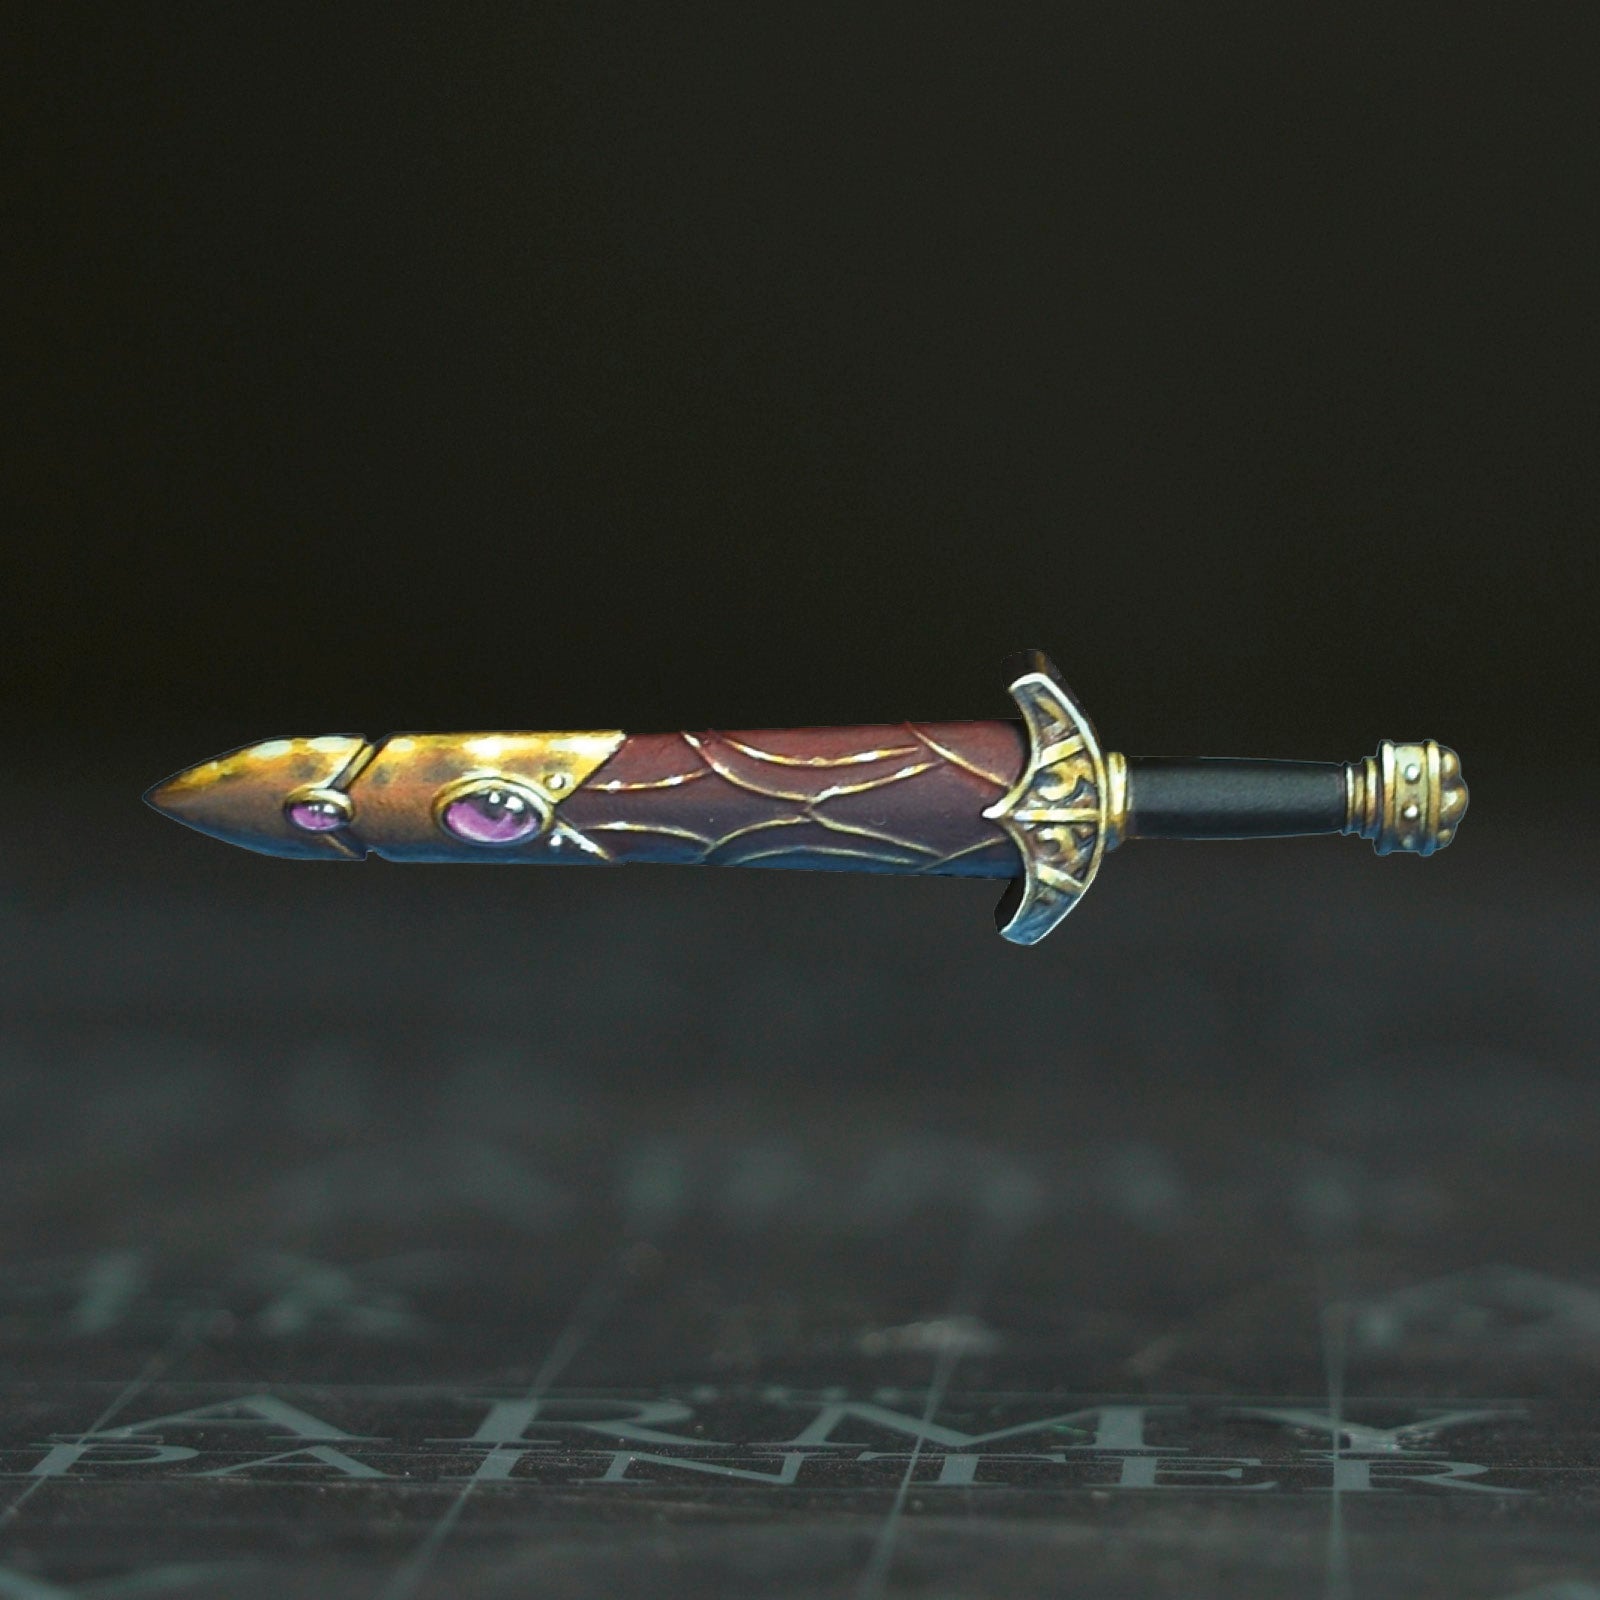
NMM Gold - Intermediate
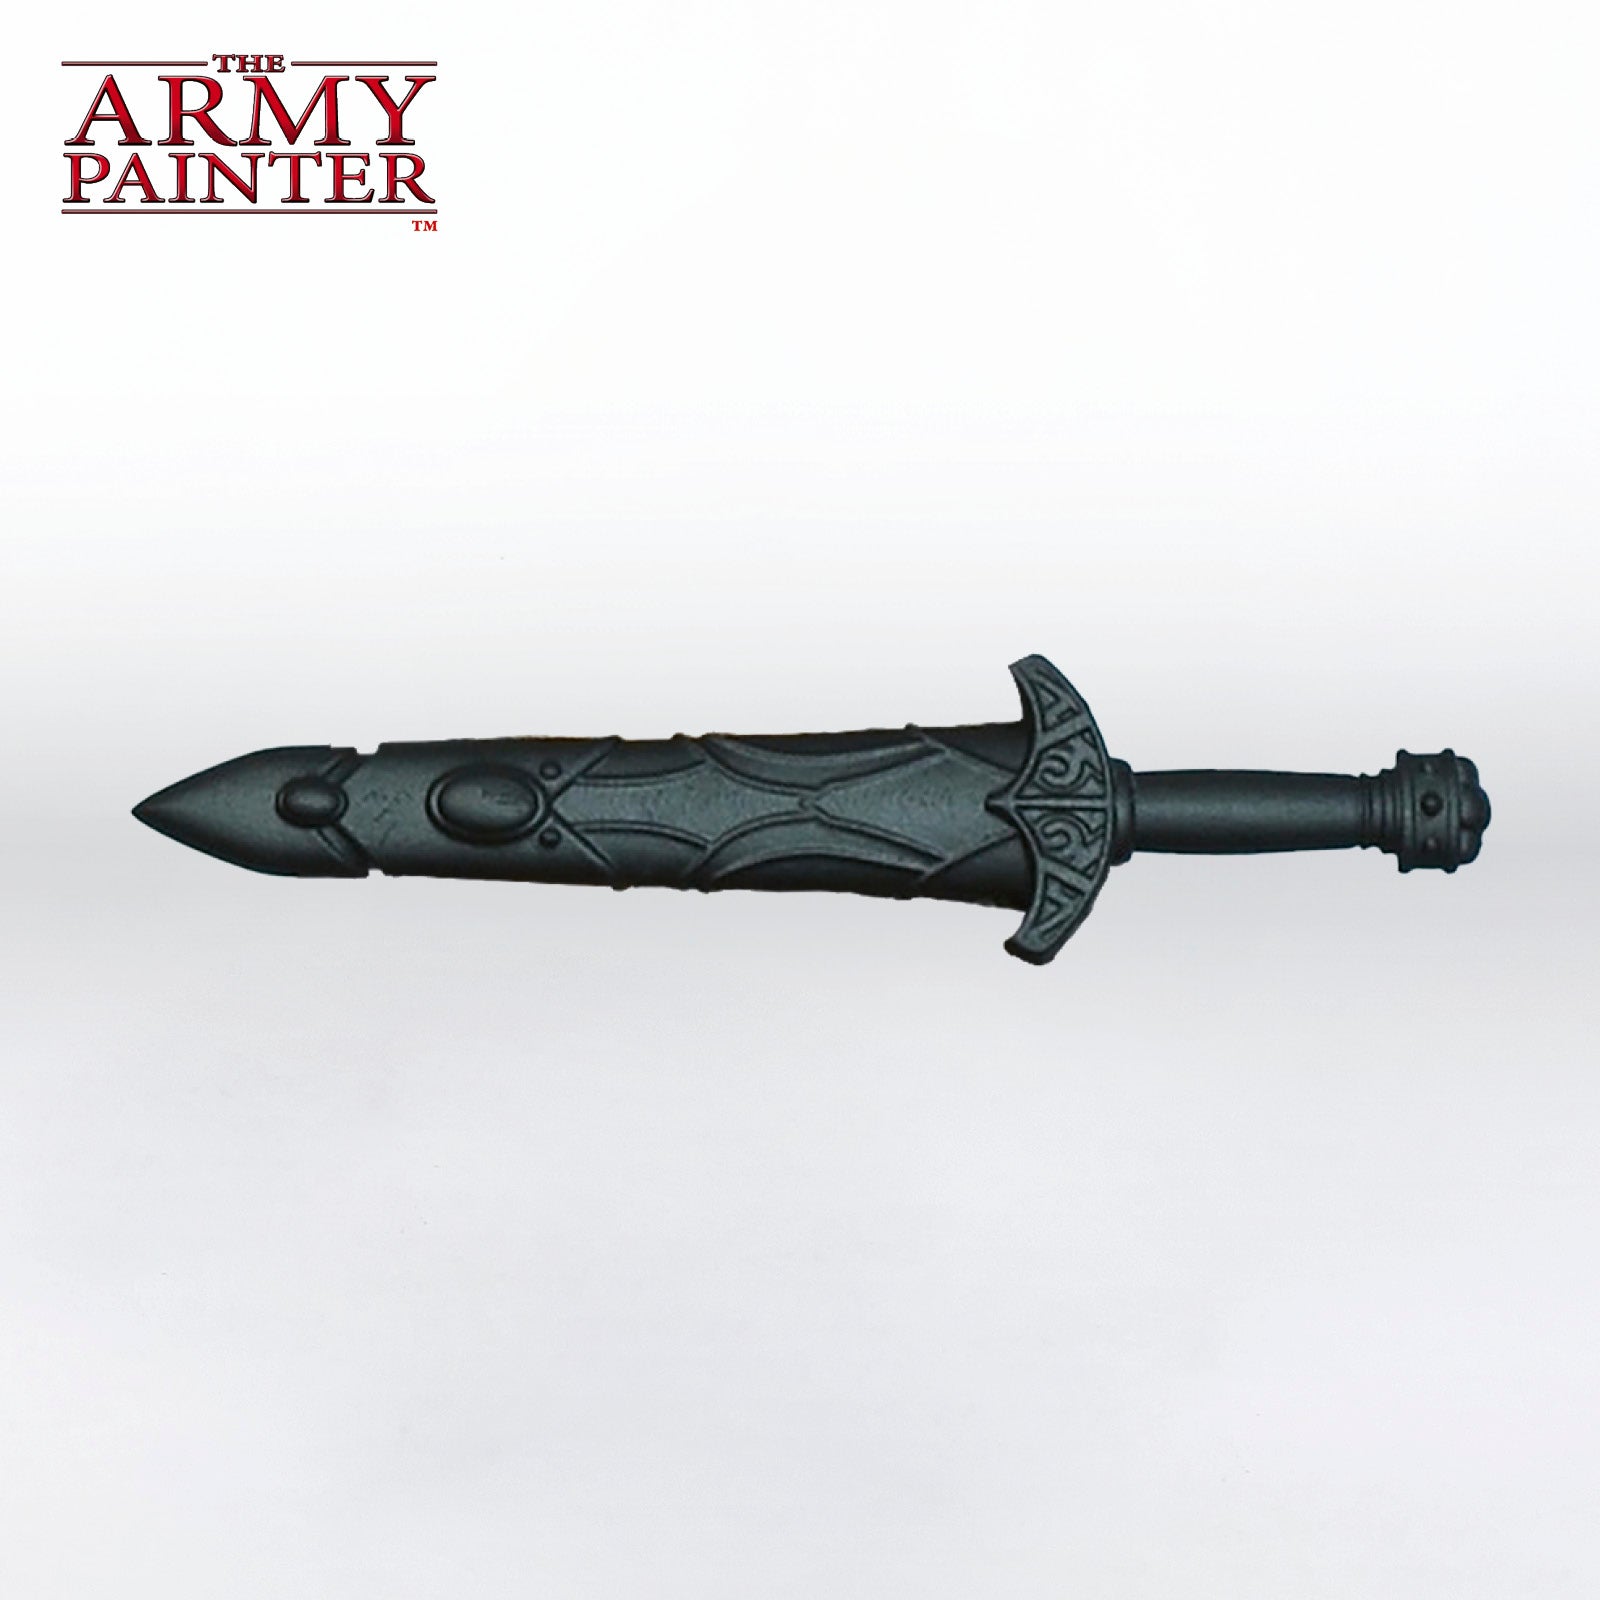
Step 1
Prime the model with Matt Black Colour Primer.
Step 2
Basecoat the gold areas with a mix of John Blanche Masterclass Banshee Brown with a touch of John Blanche Masterclass The Darkness. The rest of the scabbard was also basecoated at this point with a red, but you can use whichever colour you want.
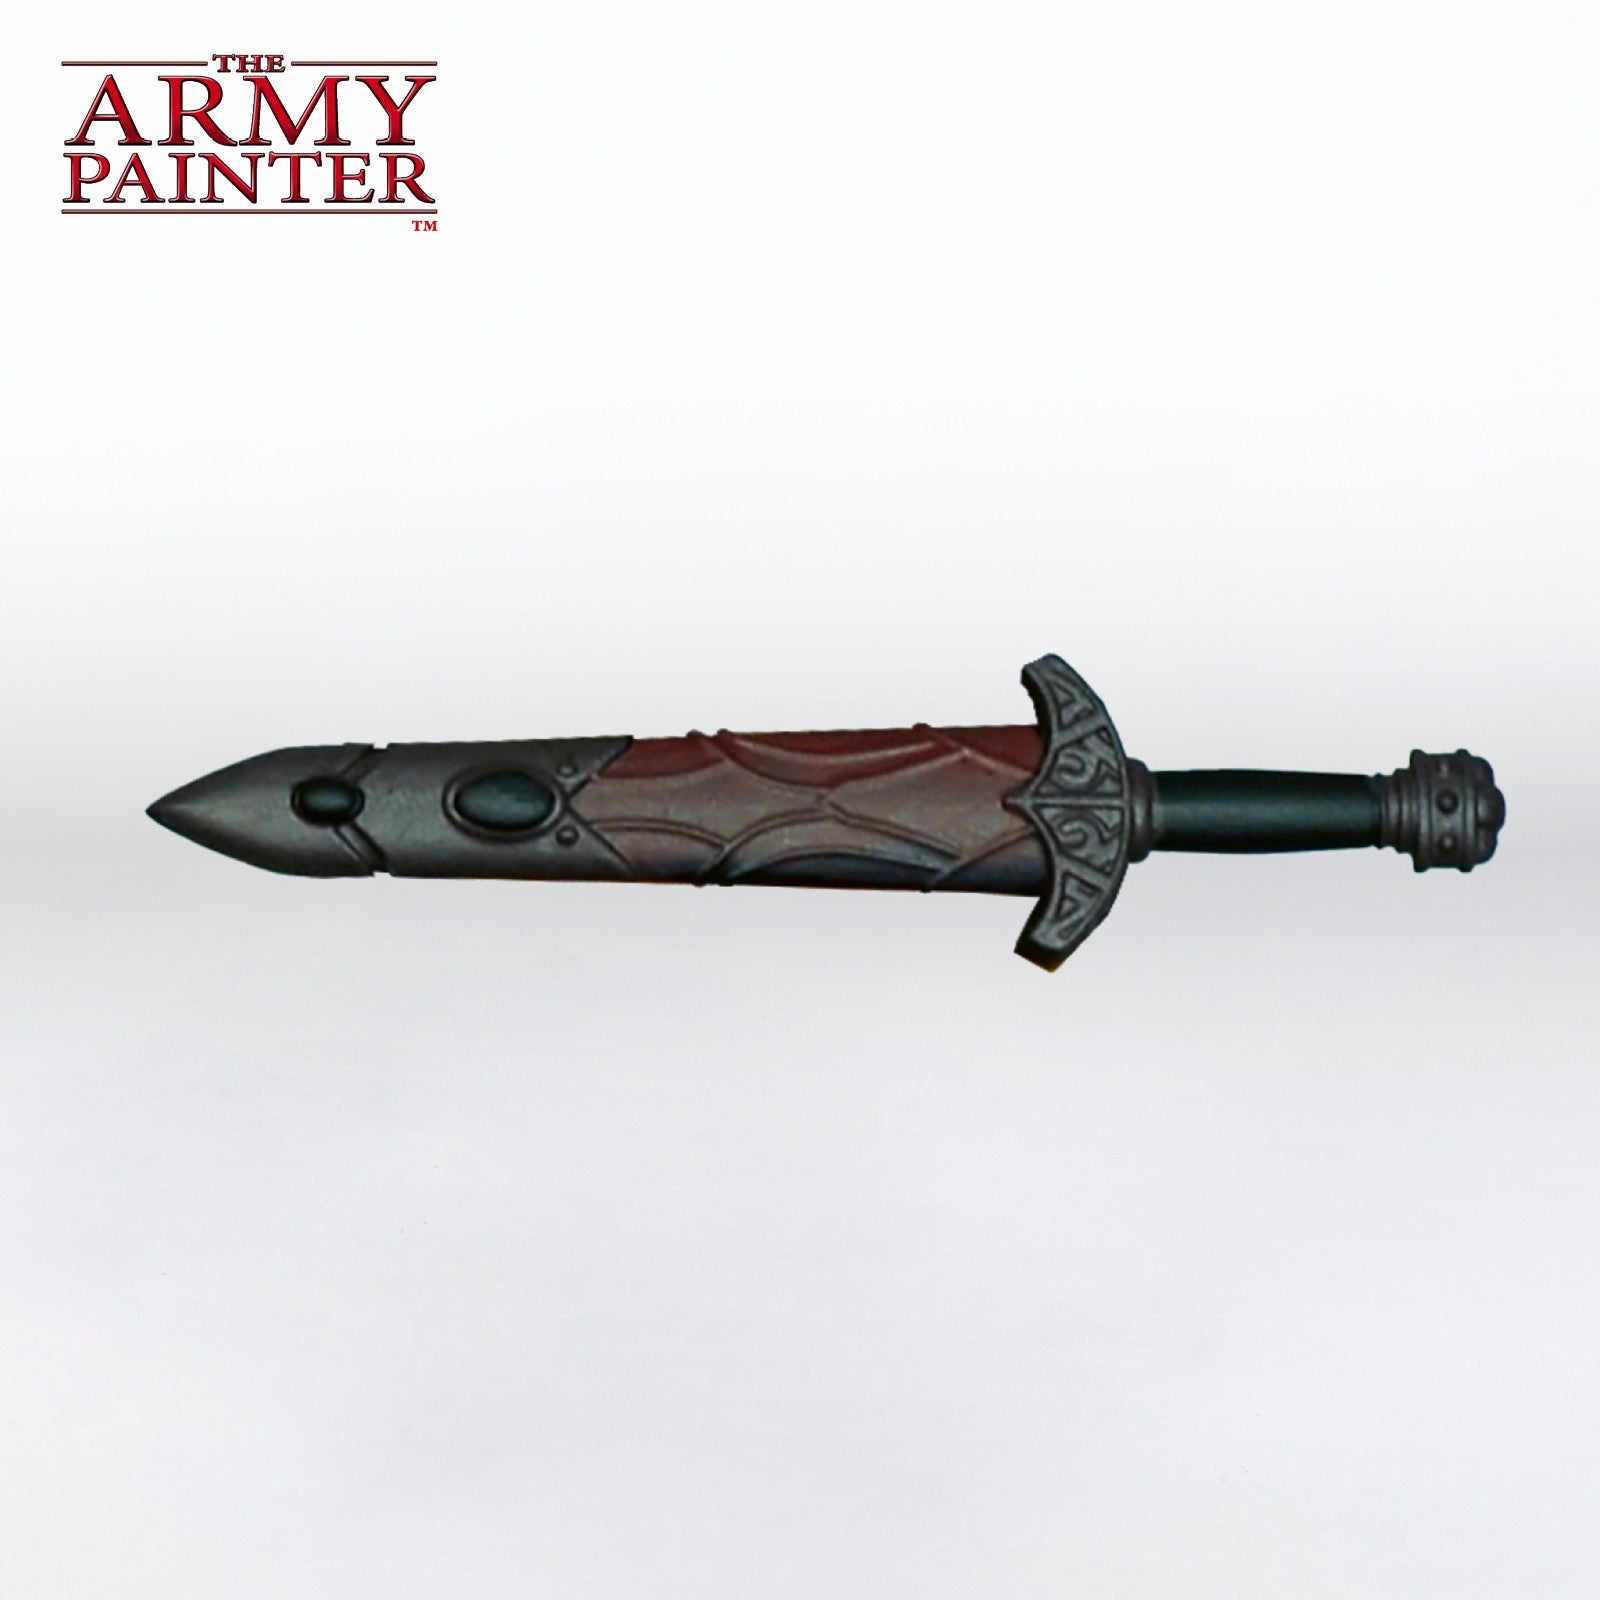
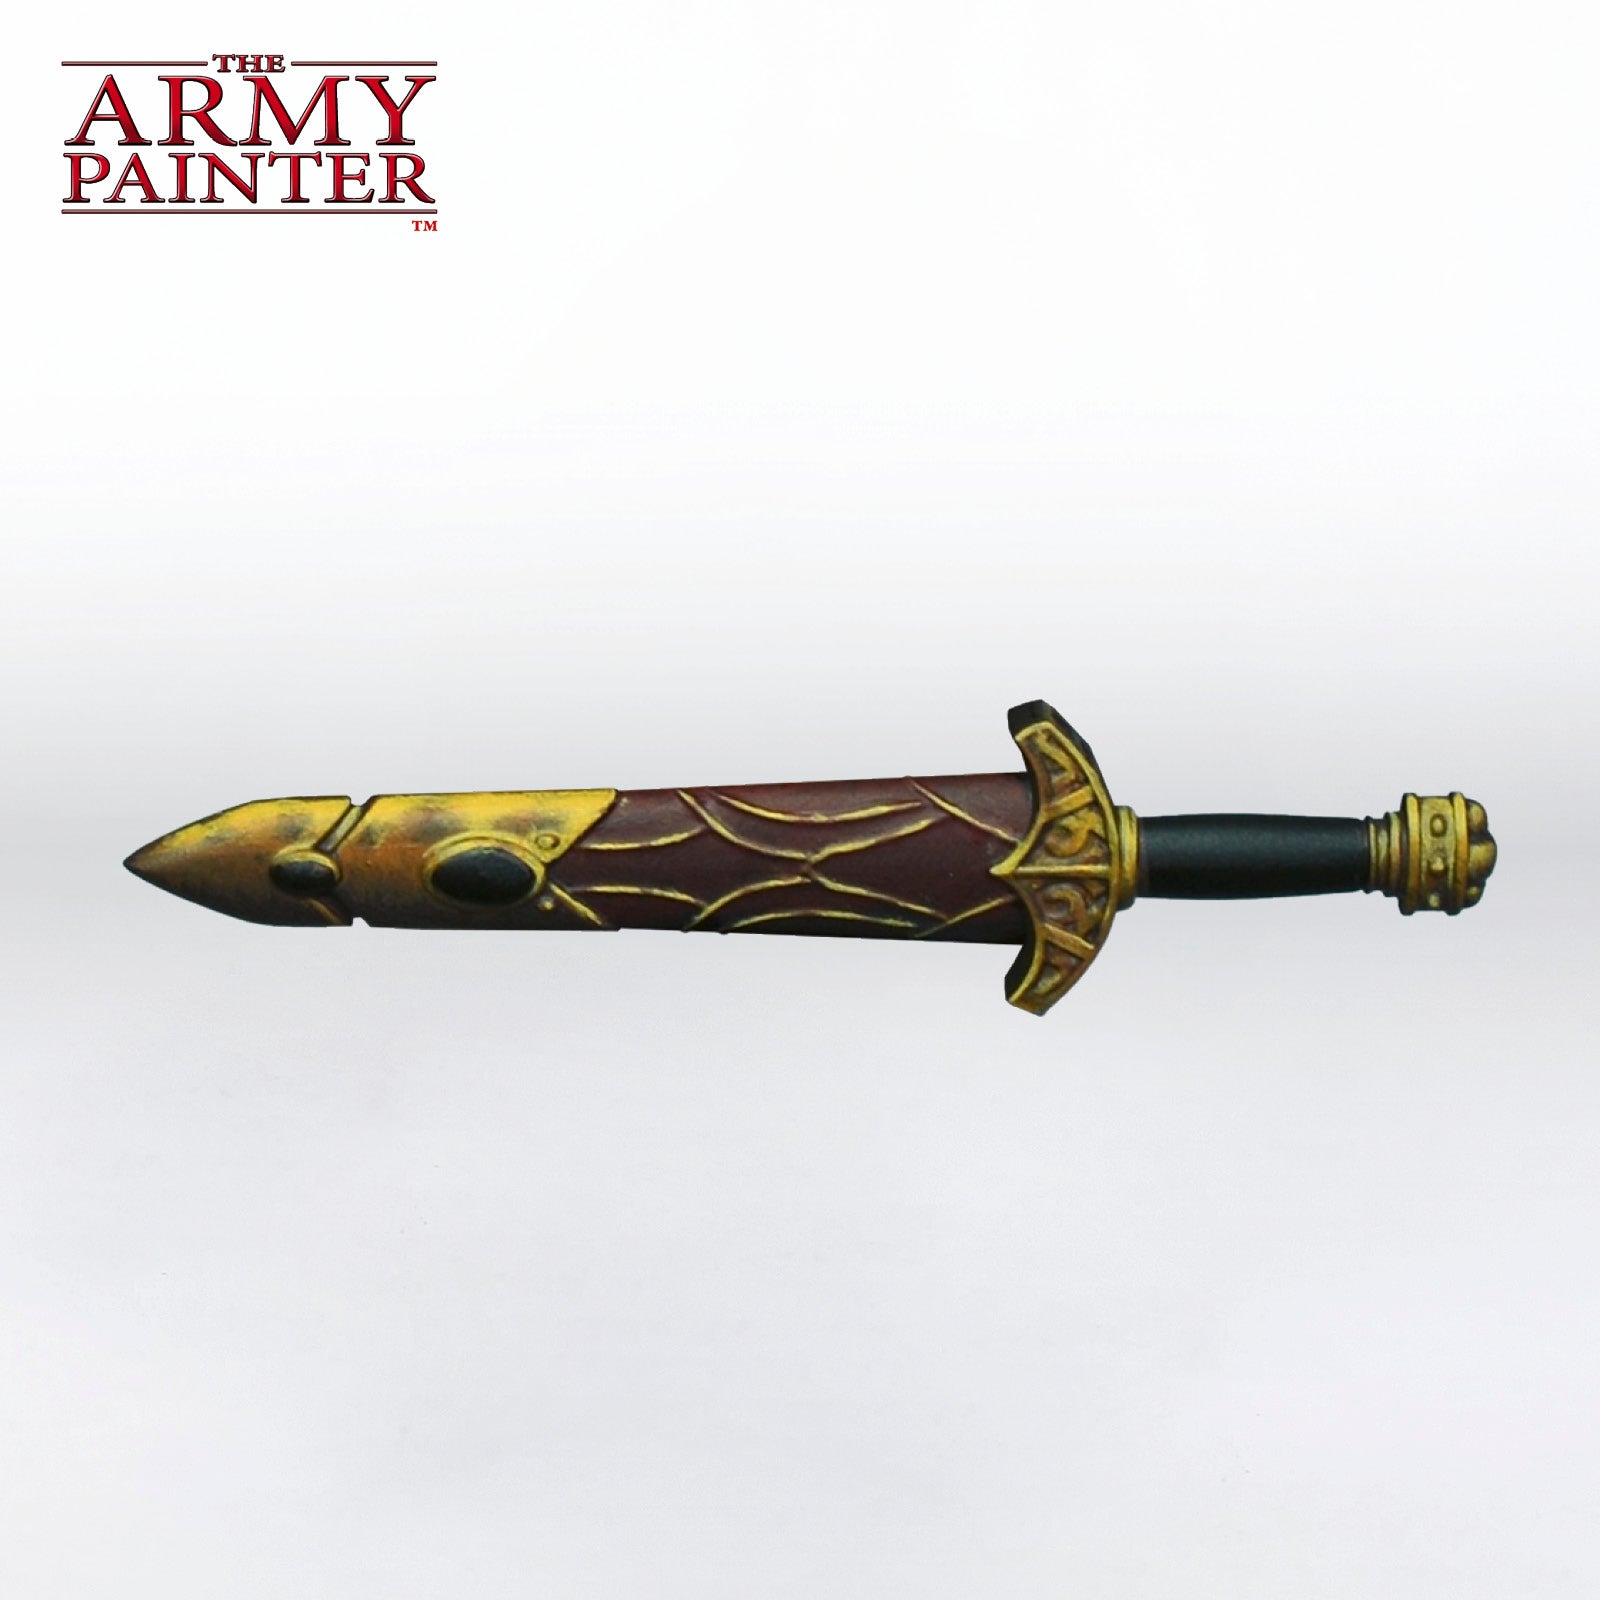
Step 3
Next, sketch in the start of the reflections on the gold with John Blanche Masterclass Sunburst Ochre.
Step 4
Soften these shapes a bit by mixing some John Blanche Masterclass Banshee Brown into the Sunburst Ochre and blending the reflections into the basecoat.
Step 5
Push the reflections further by using Warpaints Fanatic Demigod Flames.
Step 6
Once you’re happy with the placement of those areas, blend them back into the previous step by mixing in a bit of John Blanche Masterclass Sunburst Ochre into the Warpaints Fanatic Demigod Flames.
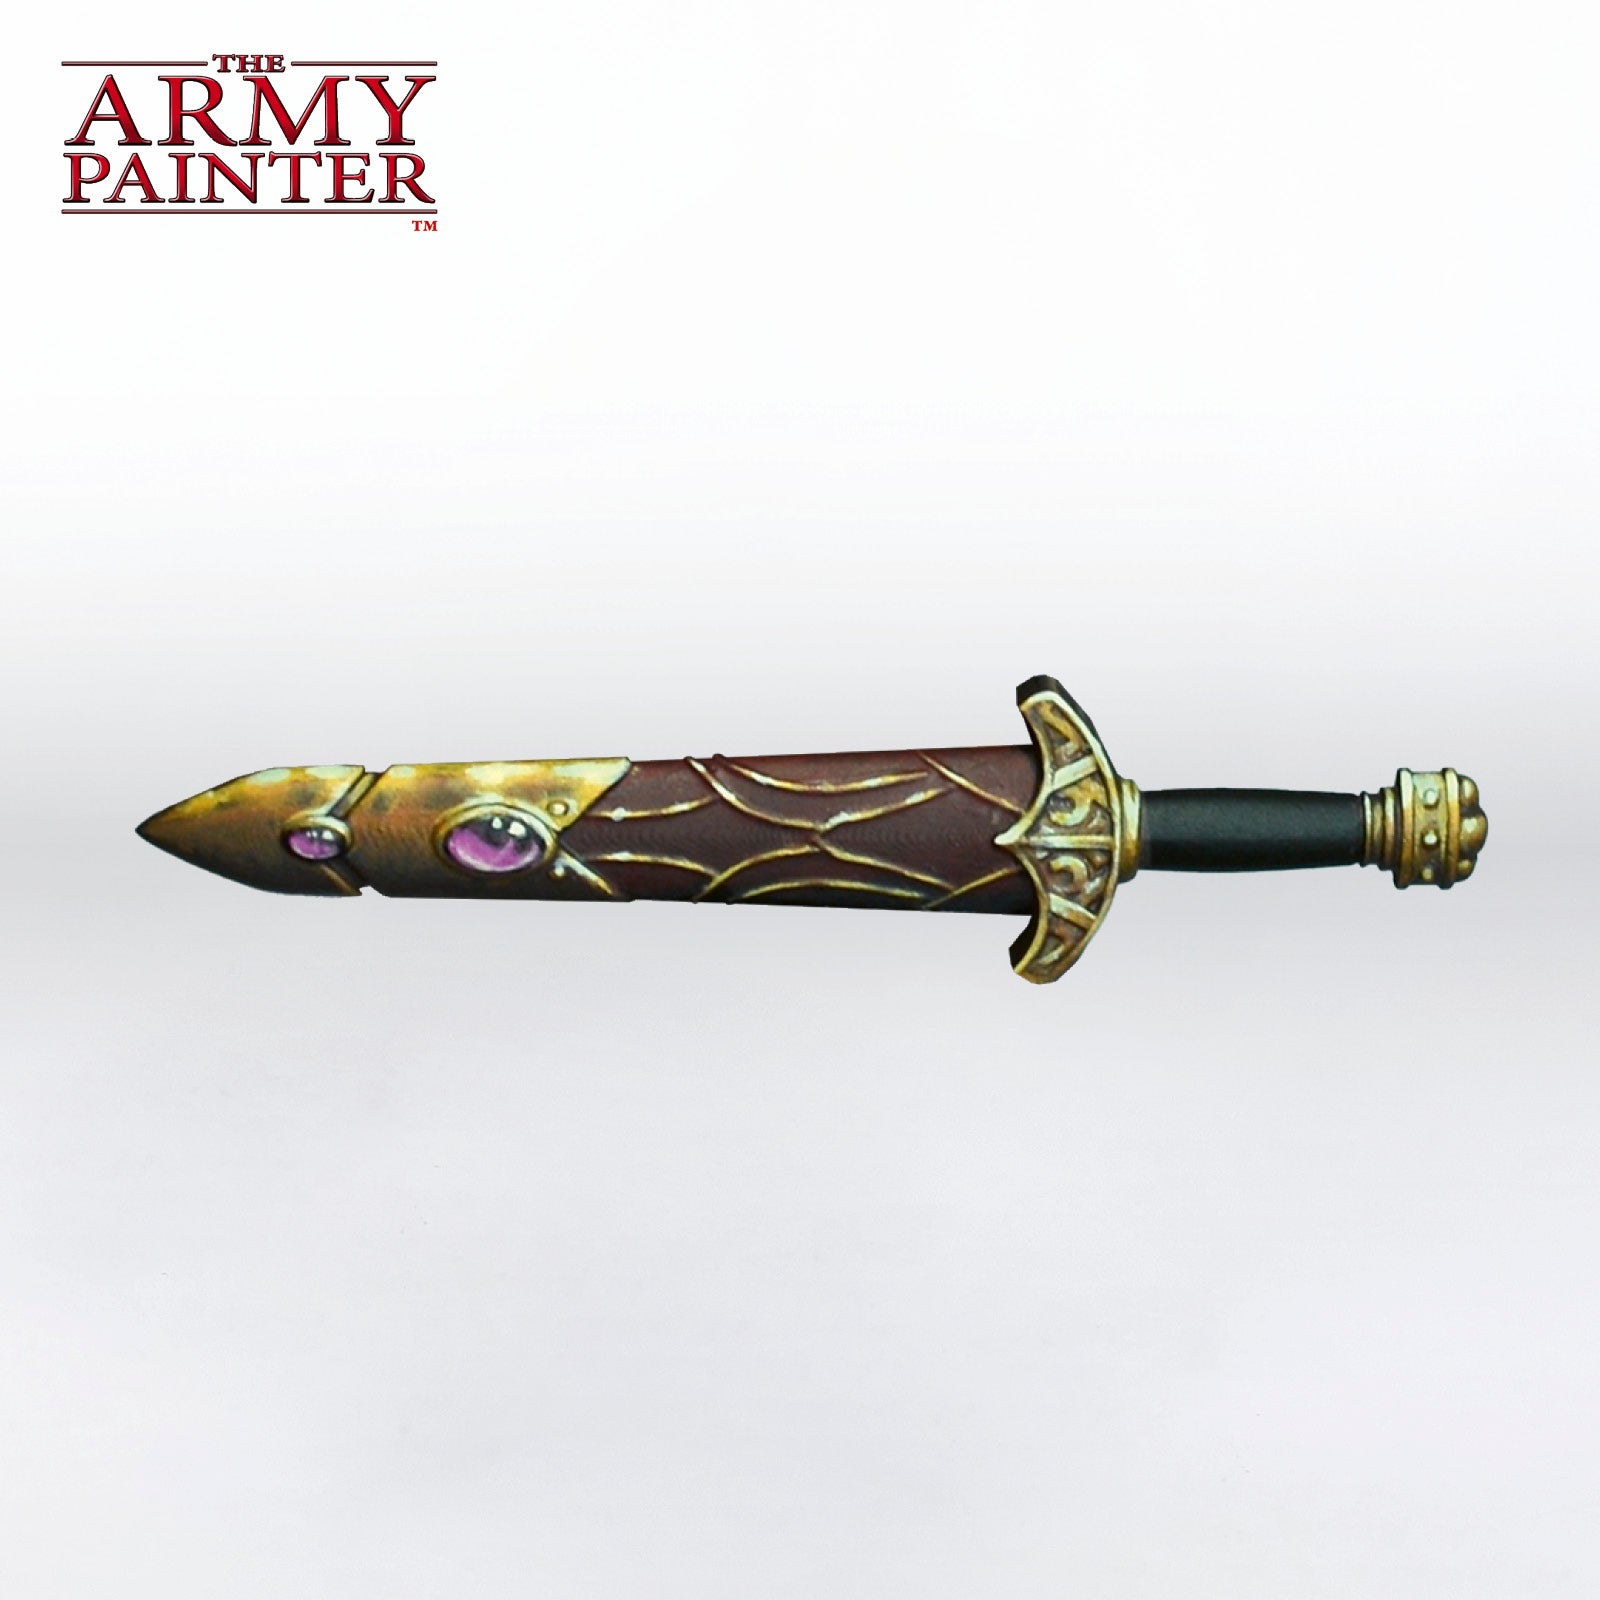
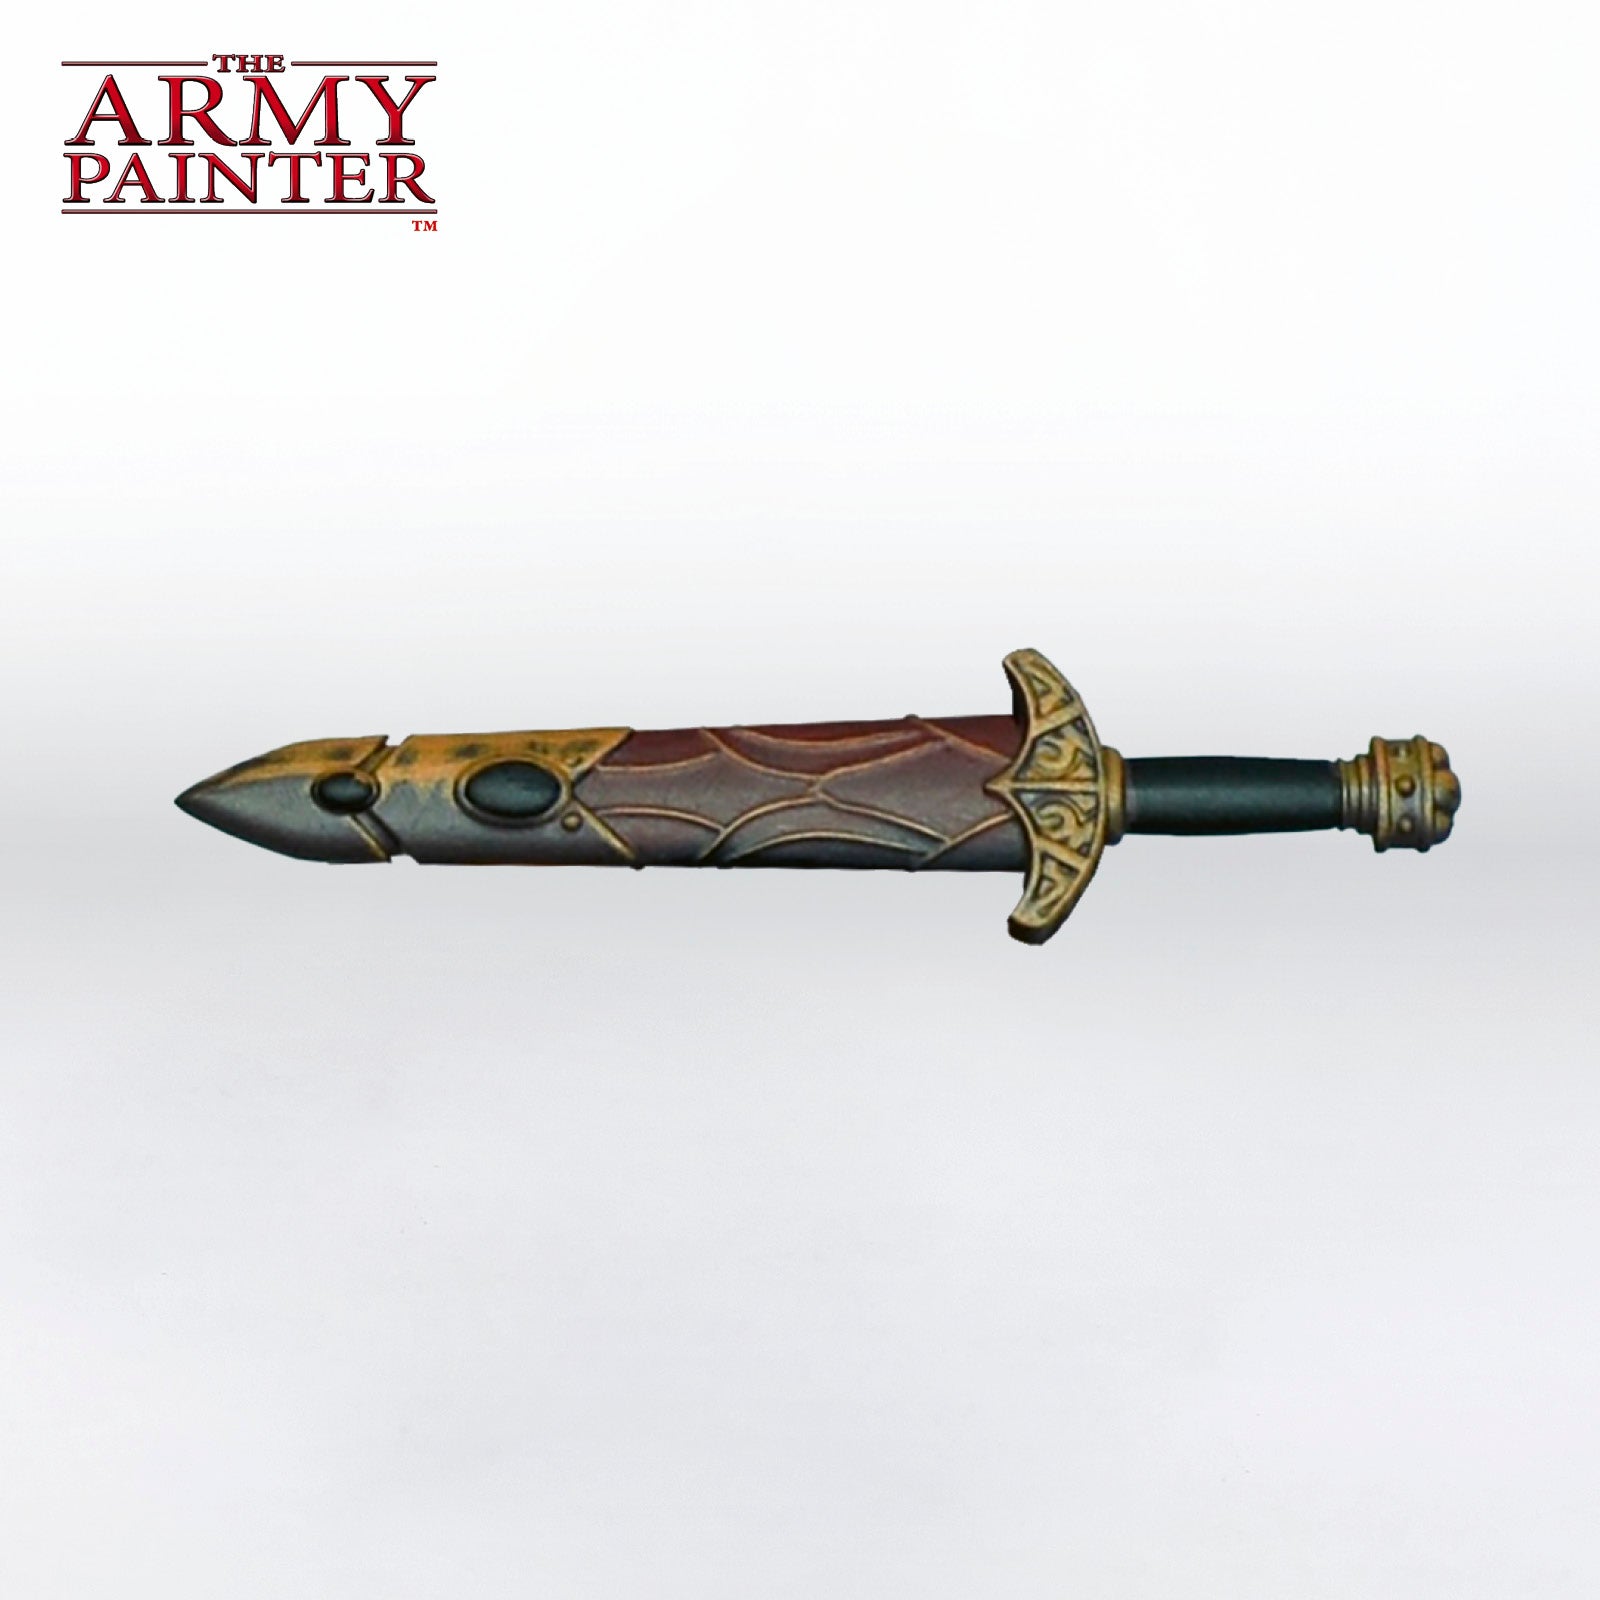
Step 7
For the final highlight, mix a bit of John Blanche Masterclass Ivory White and Warpaints Fanatic Phalanx Blue into your Demigod Flames, and blend as needed to smooth out the transitions.
Step 8
For a final touch of colour, you can add a bit of John Blanche Masterclass The Darkness to the underside of the scabbard, as was done here.
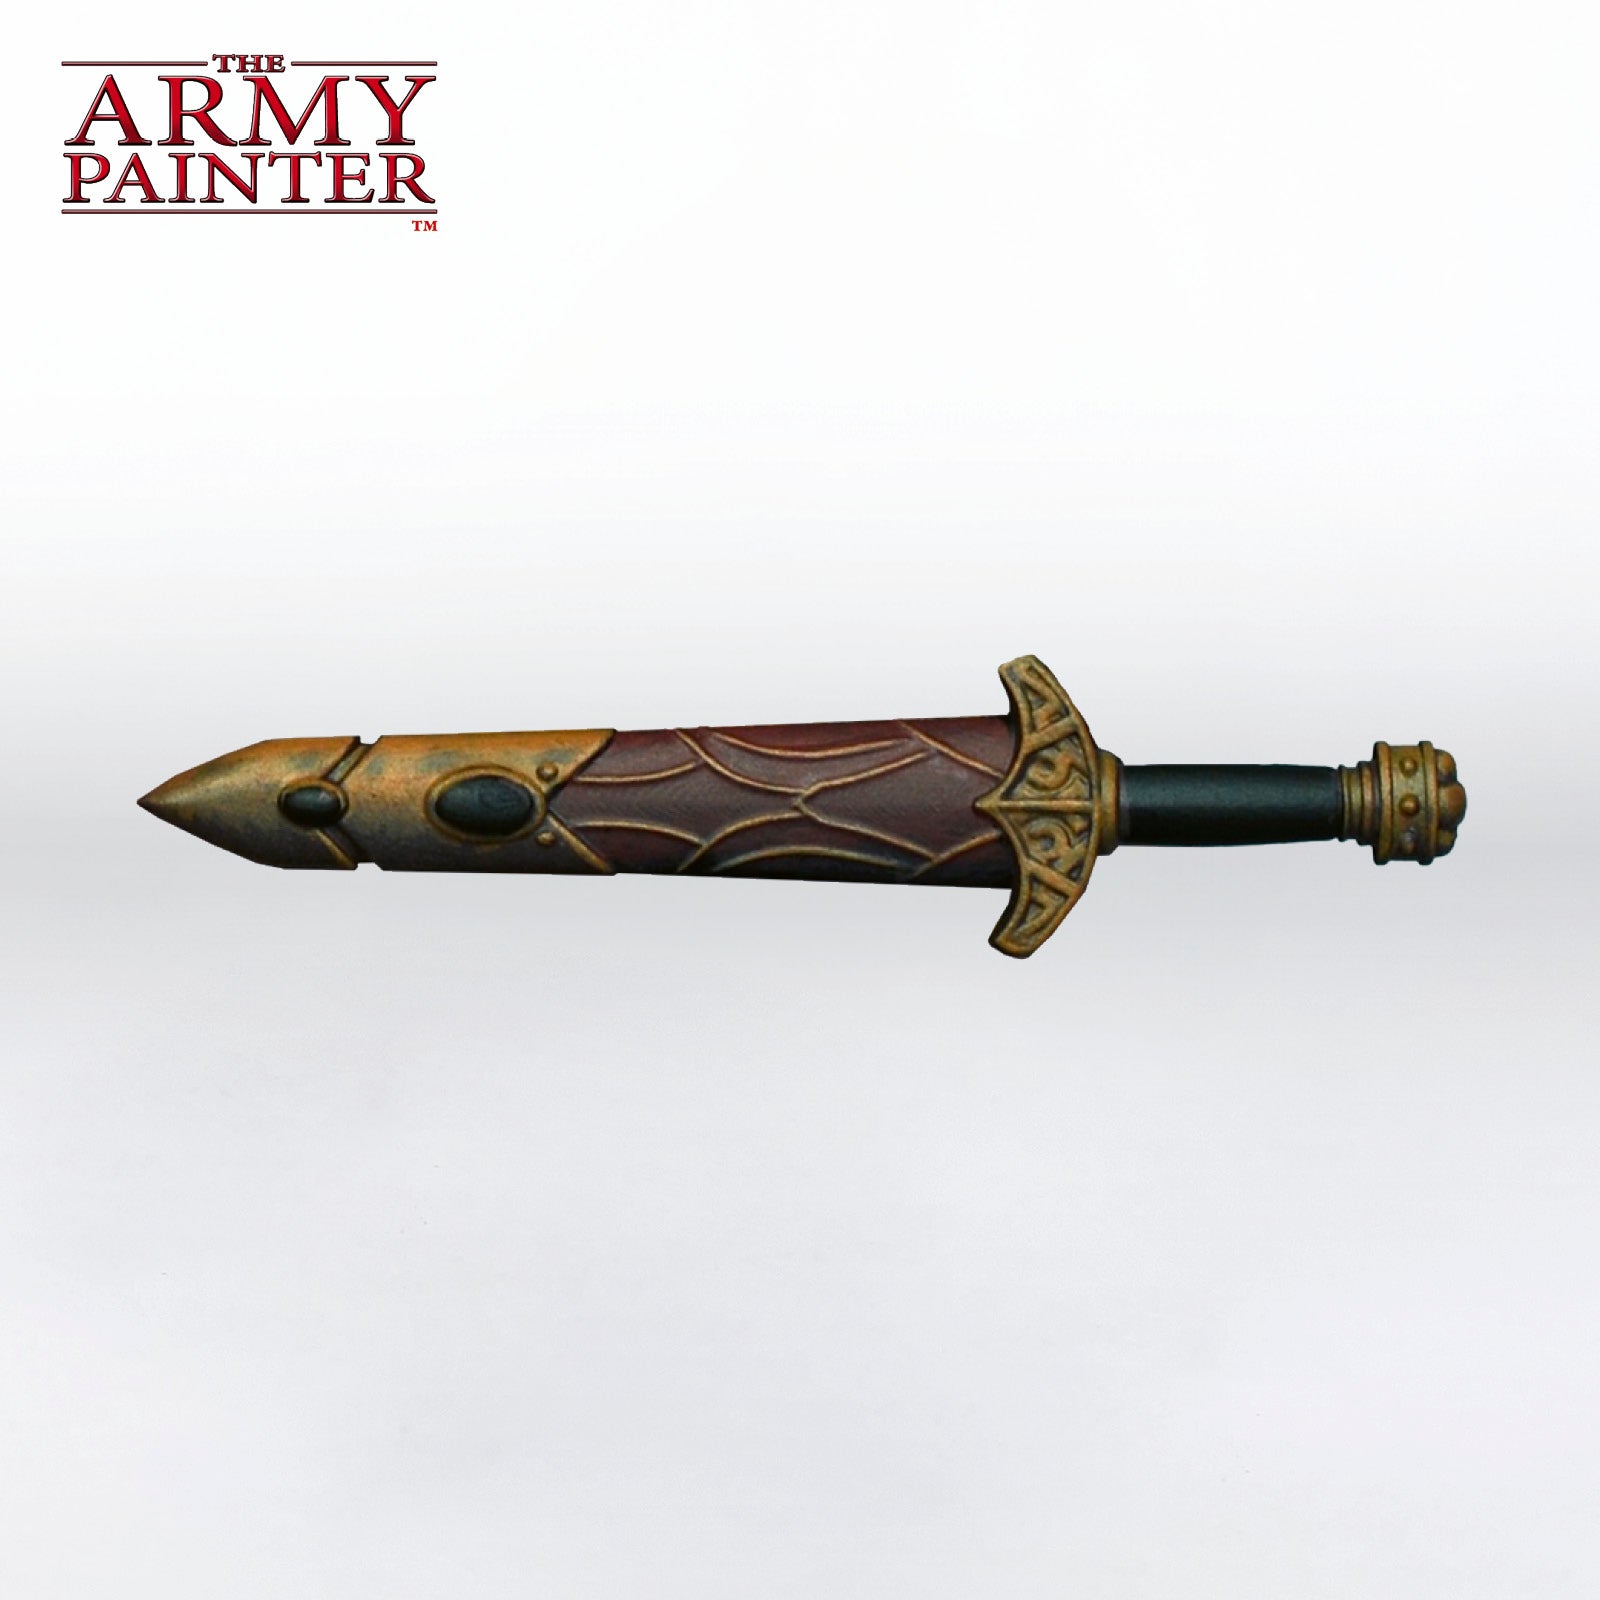
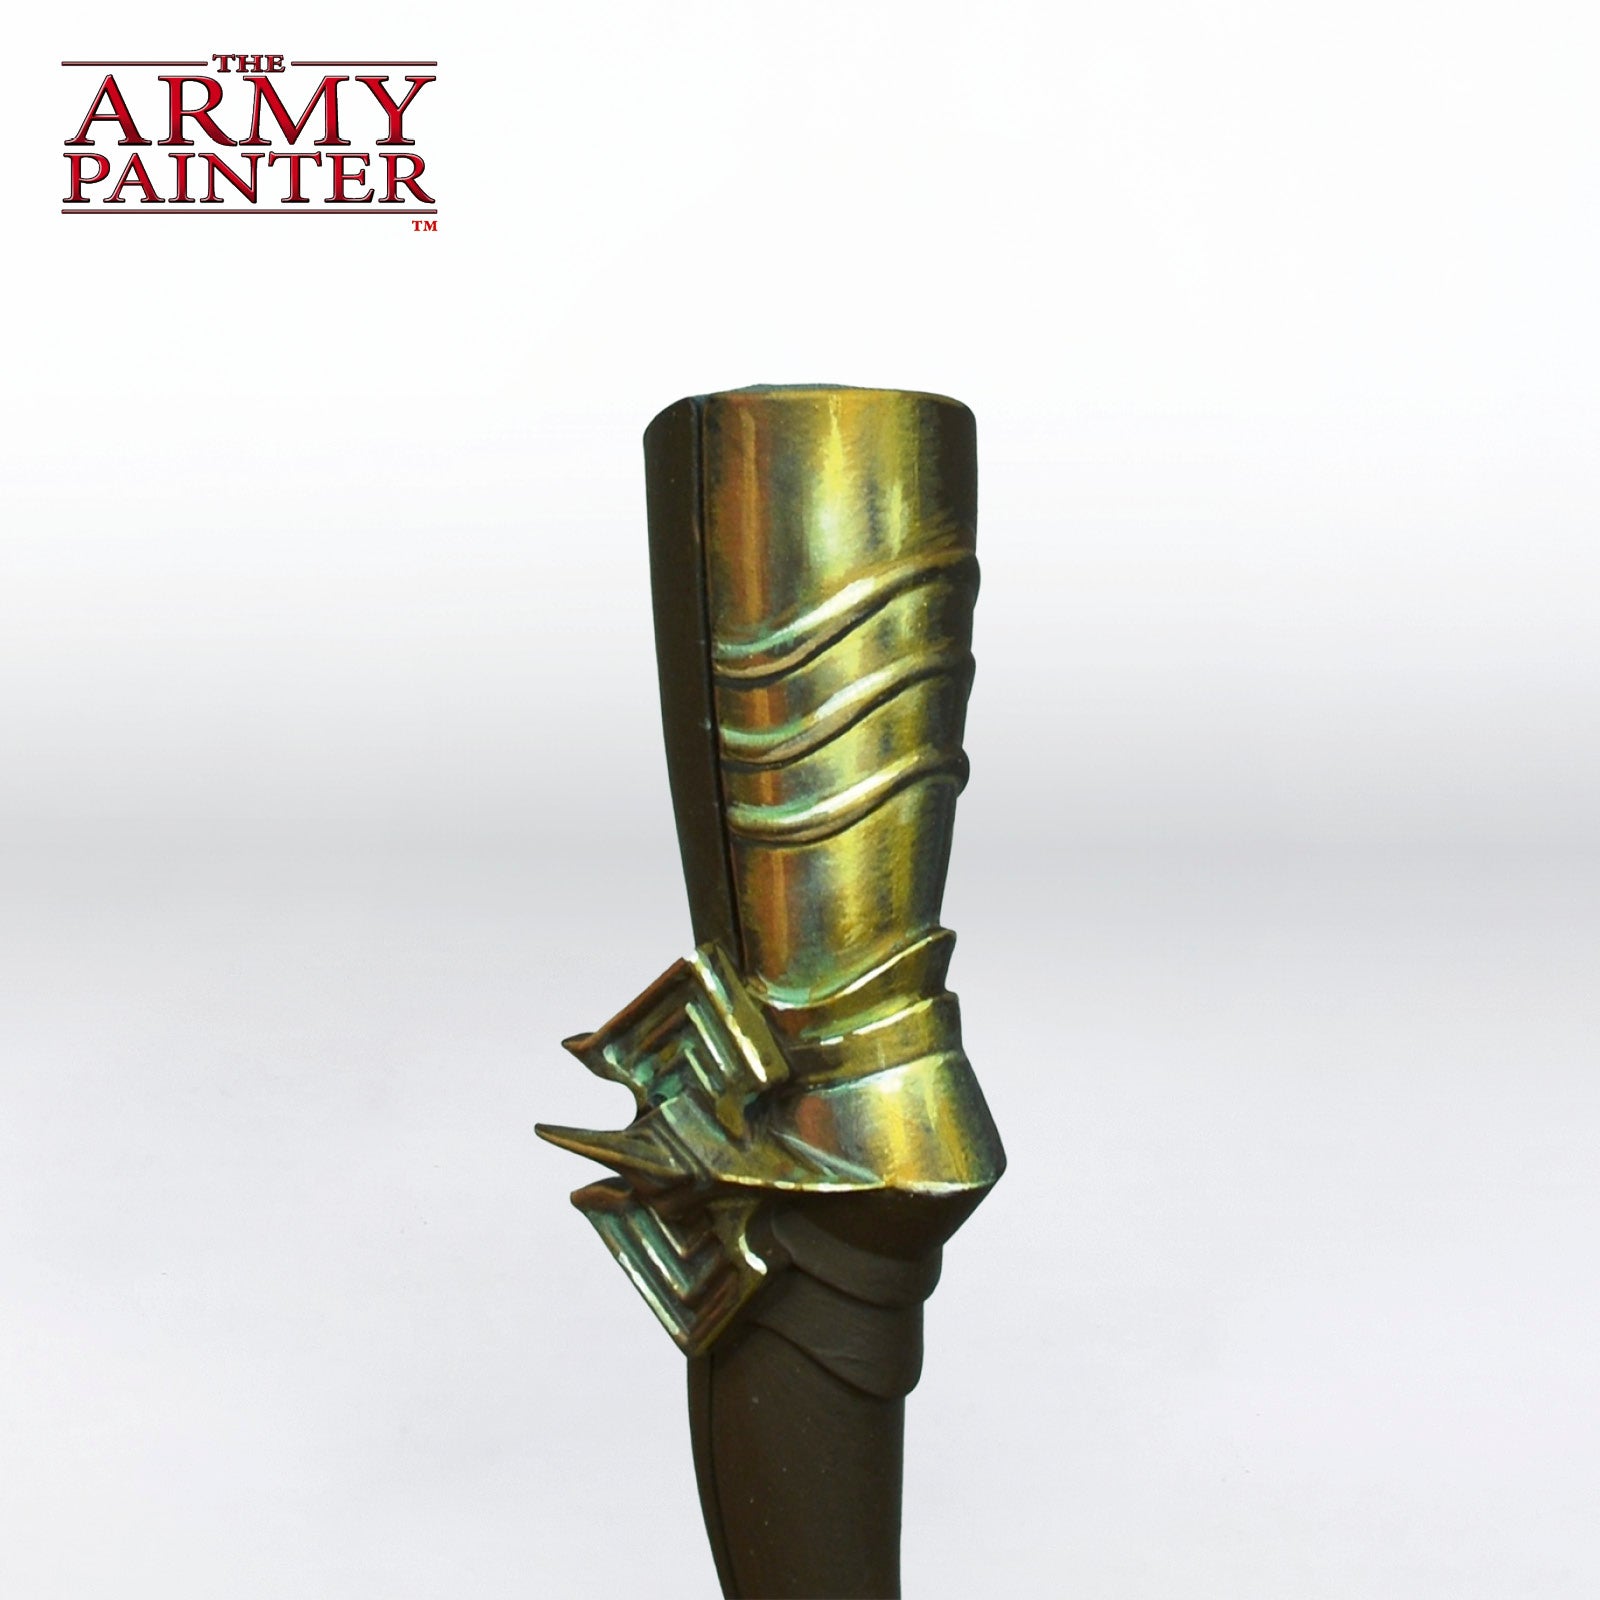
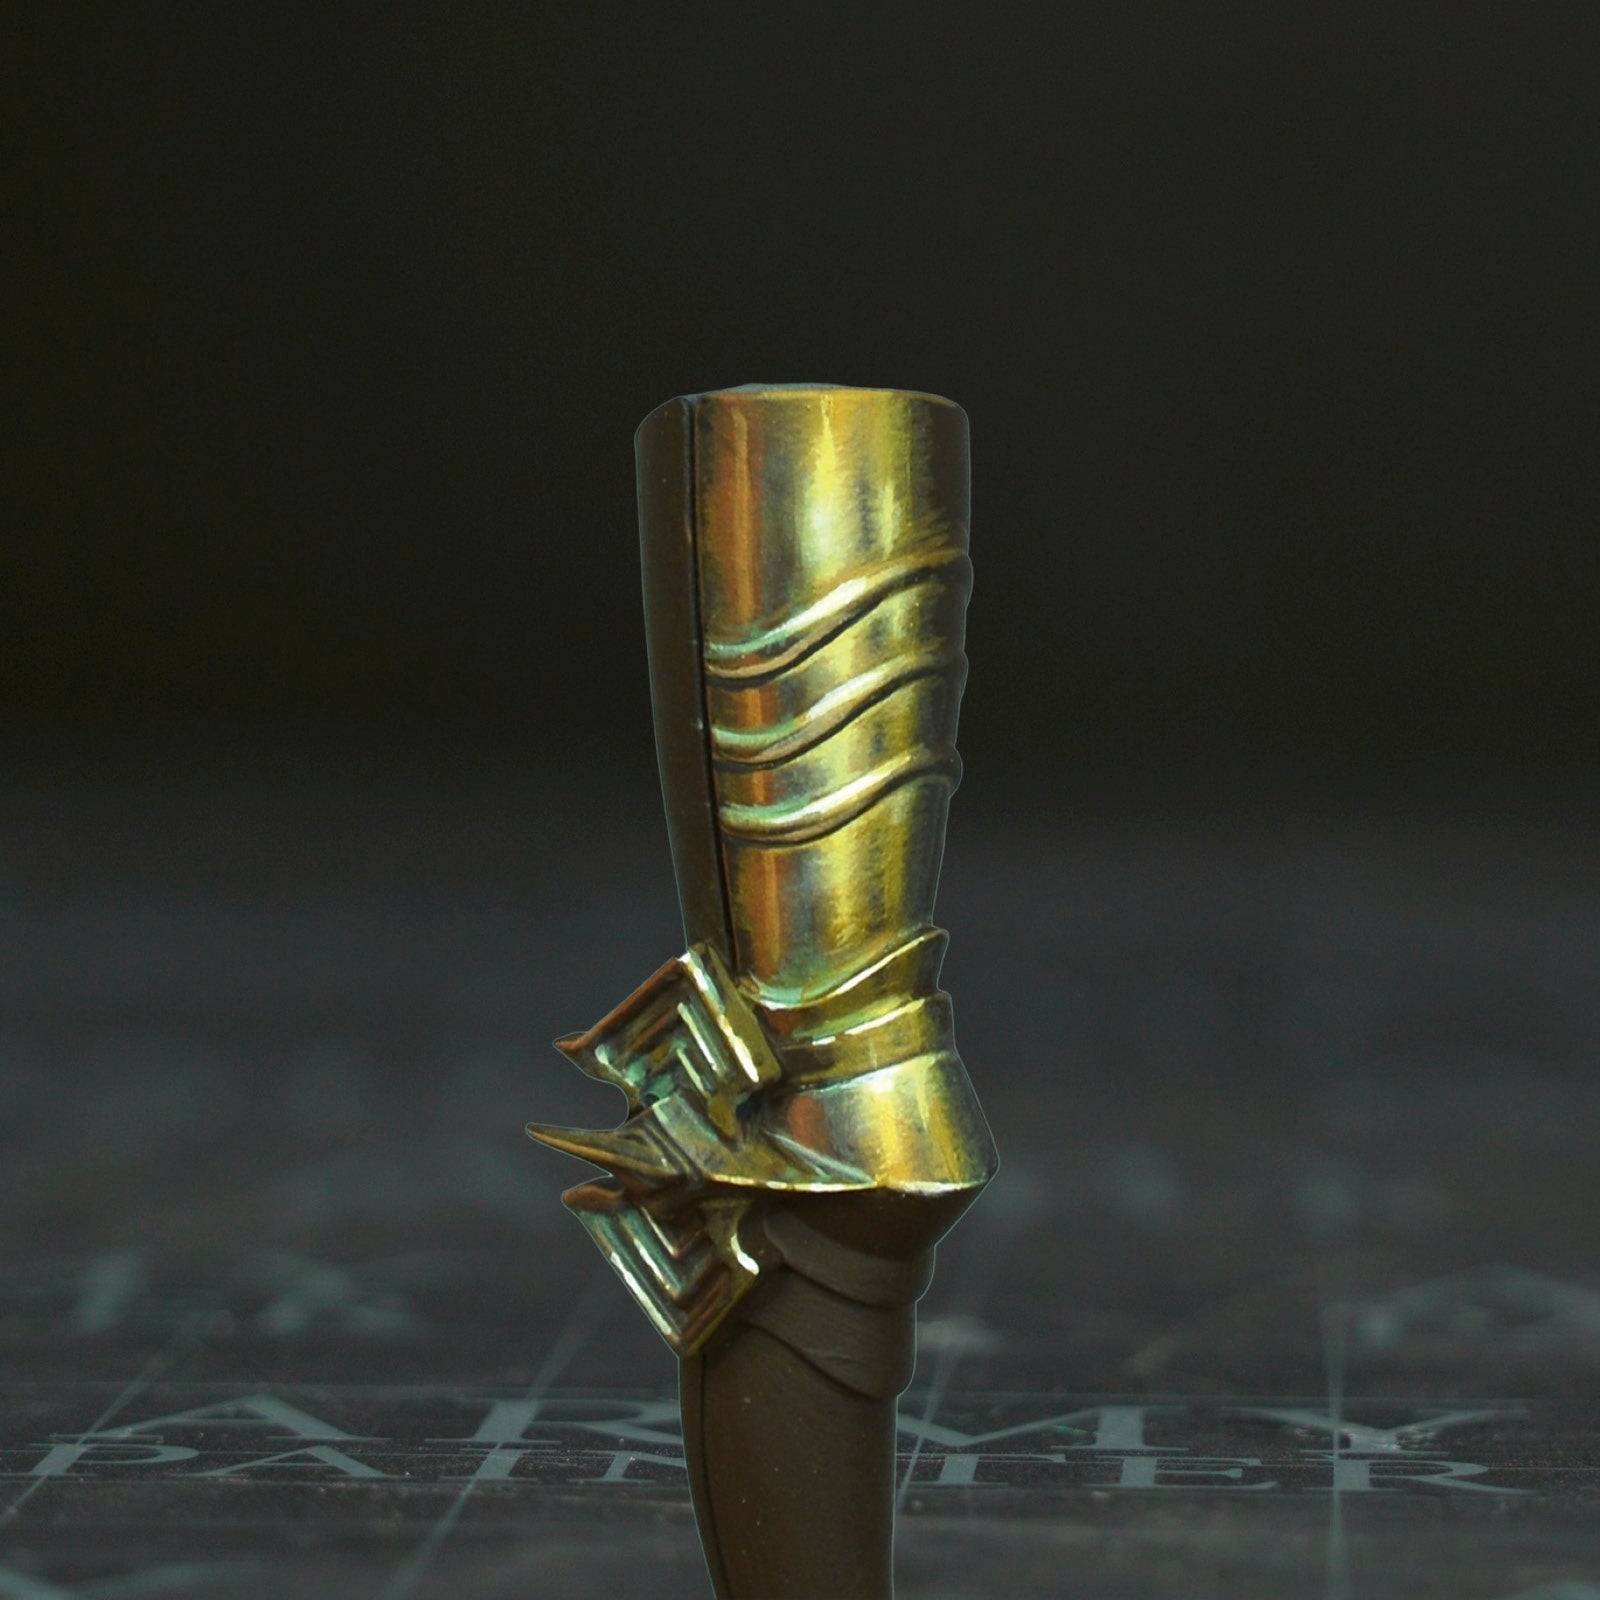
NMM Gold - Advanced
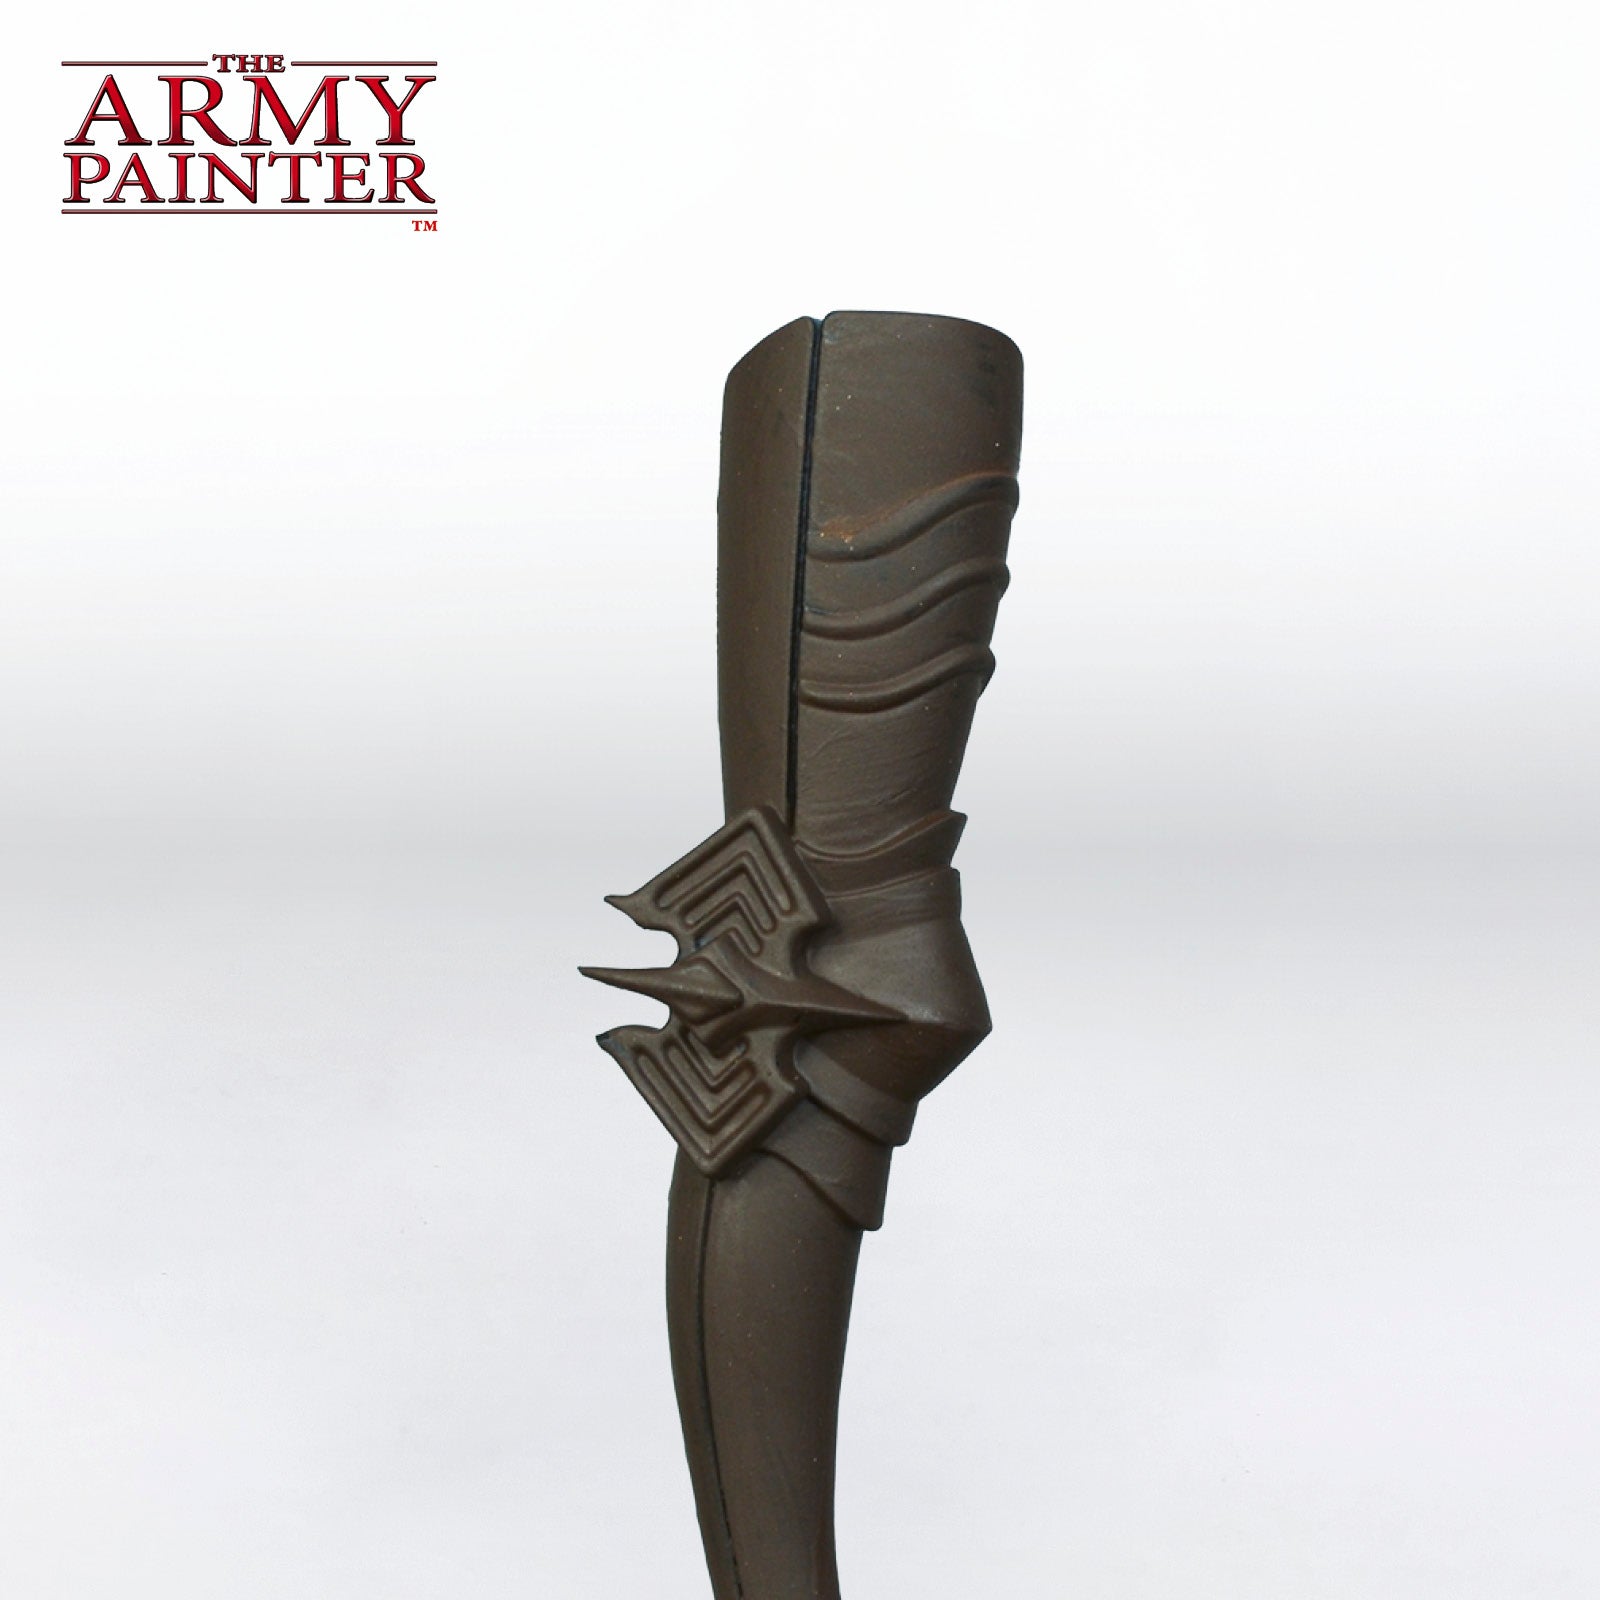
Step 1
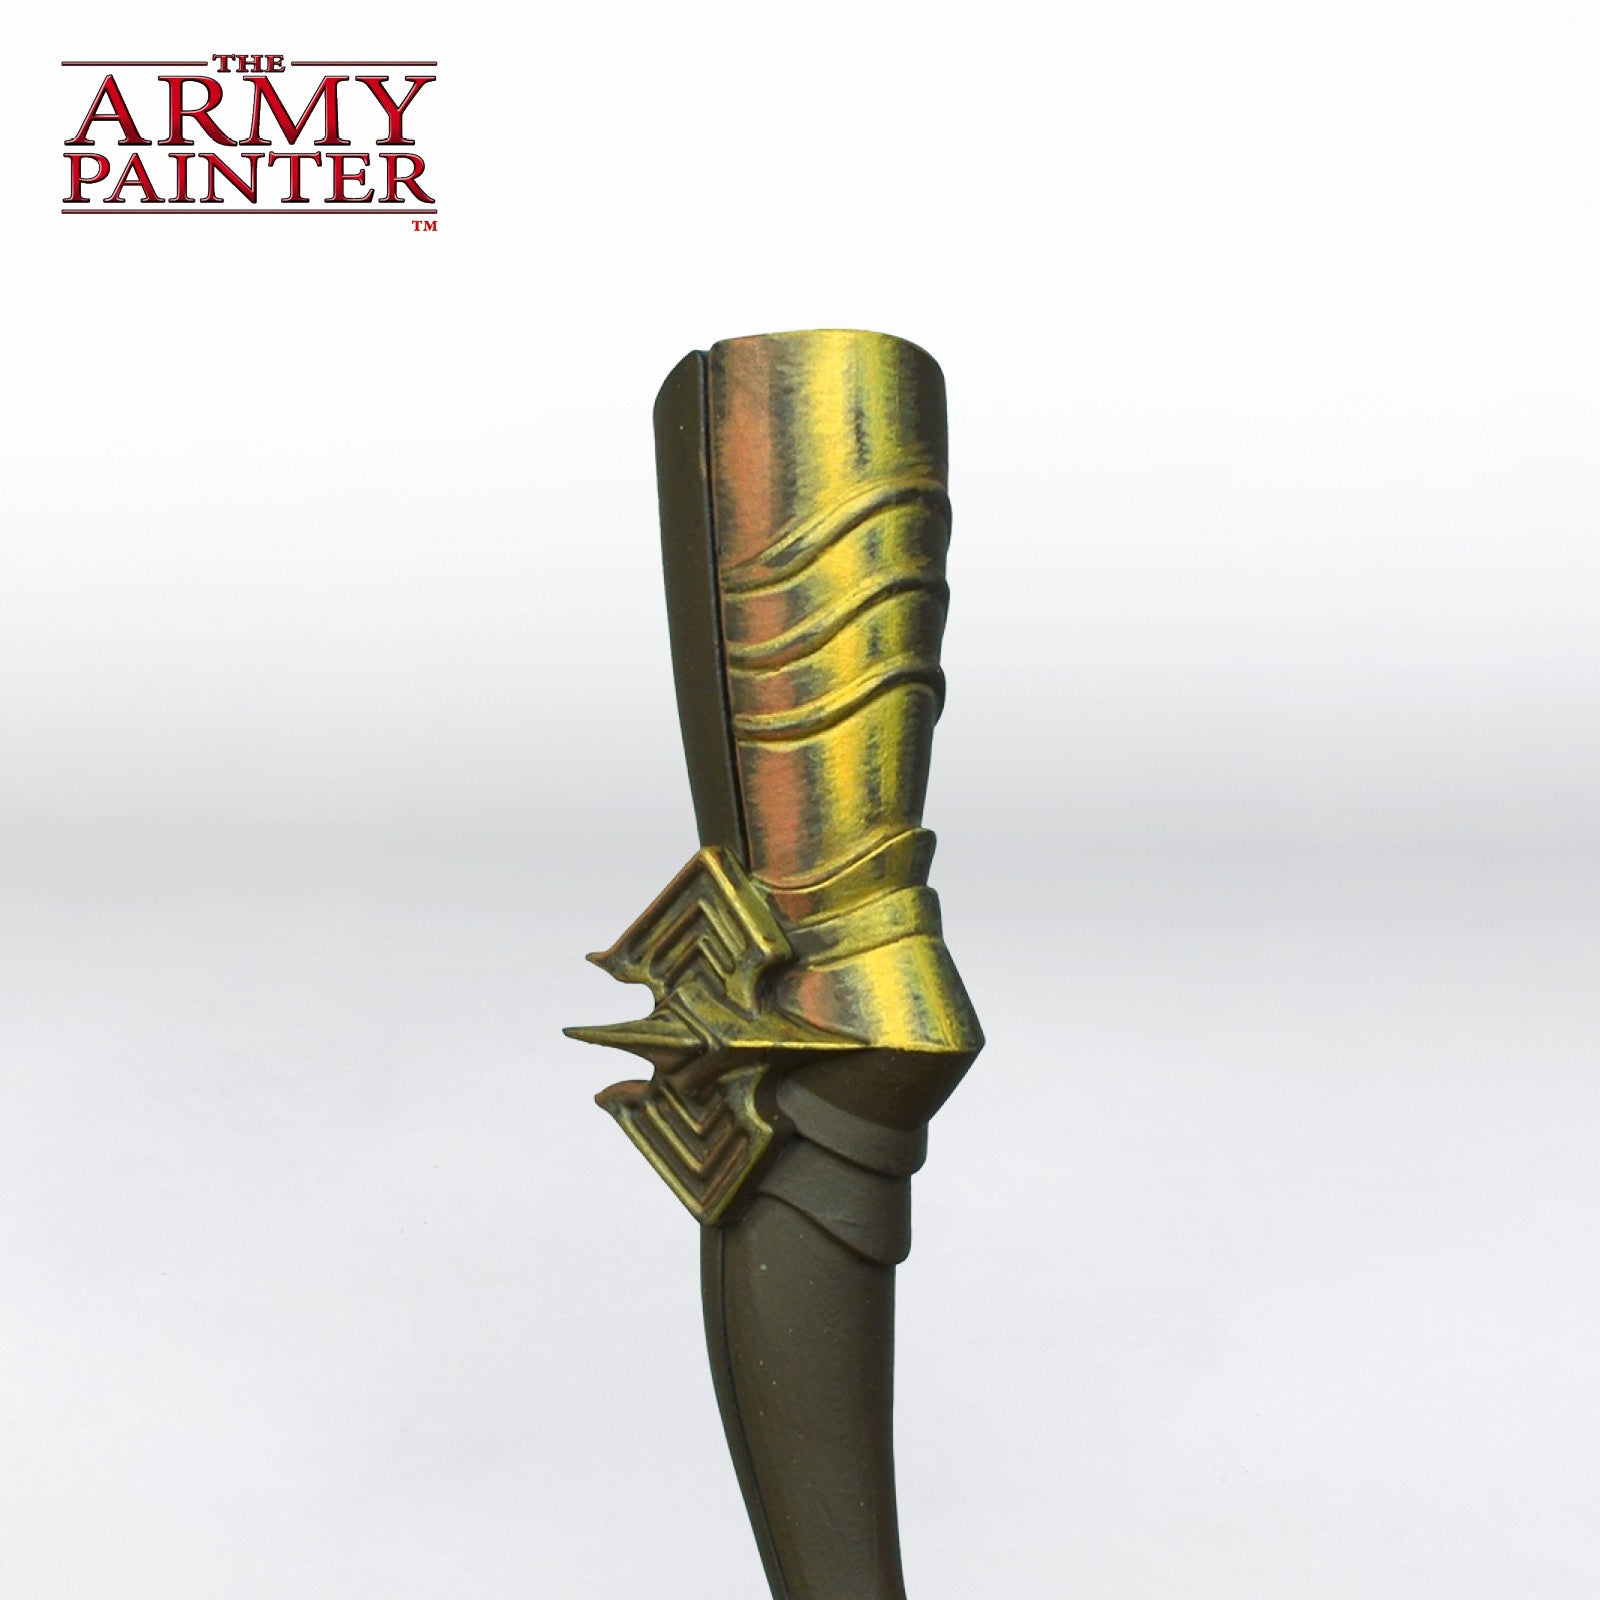
Prime the model with Matt Black Colour Primer, and then basecoat it with Warpaints Fanatic Oak Brown.
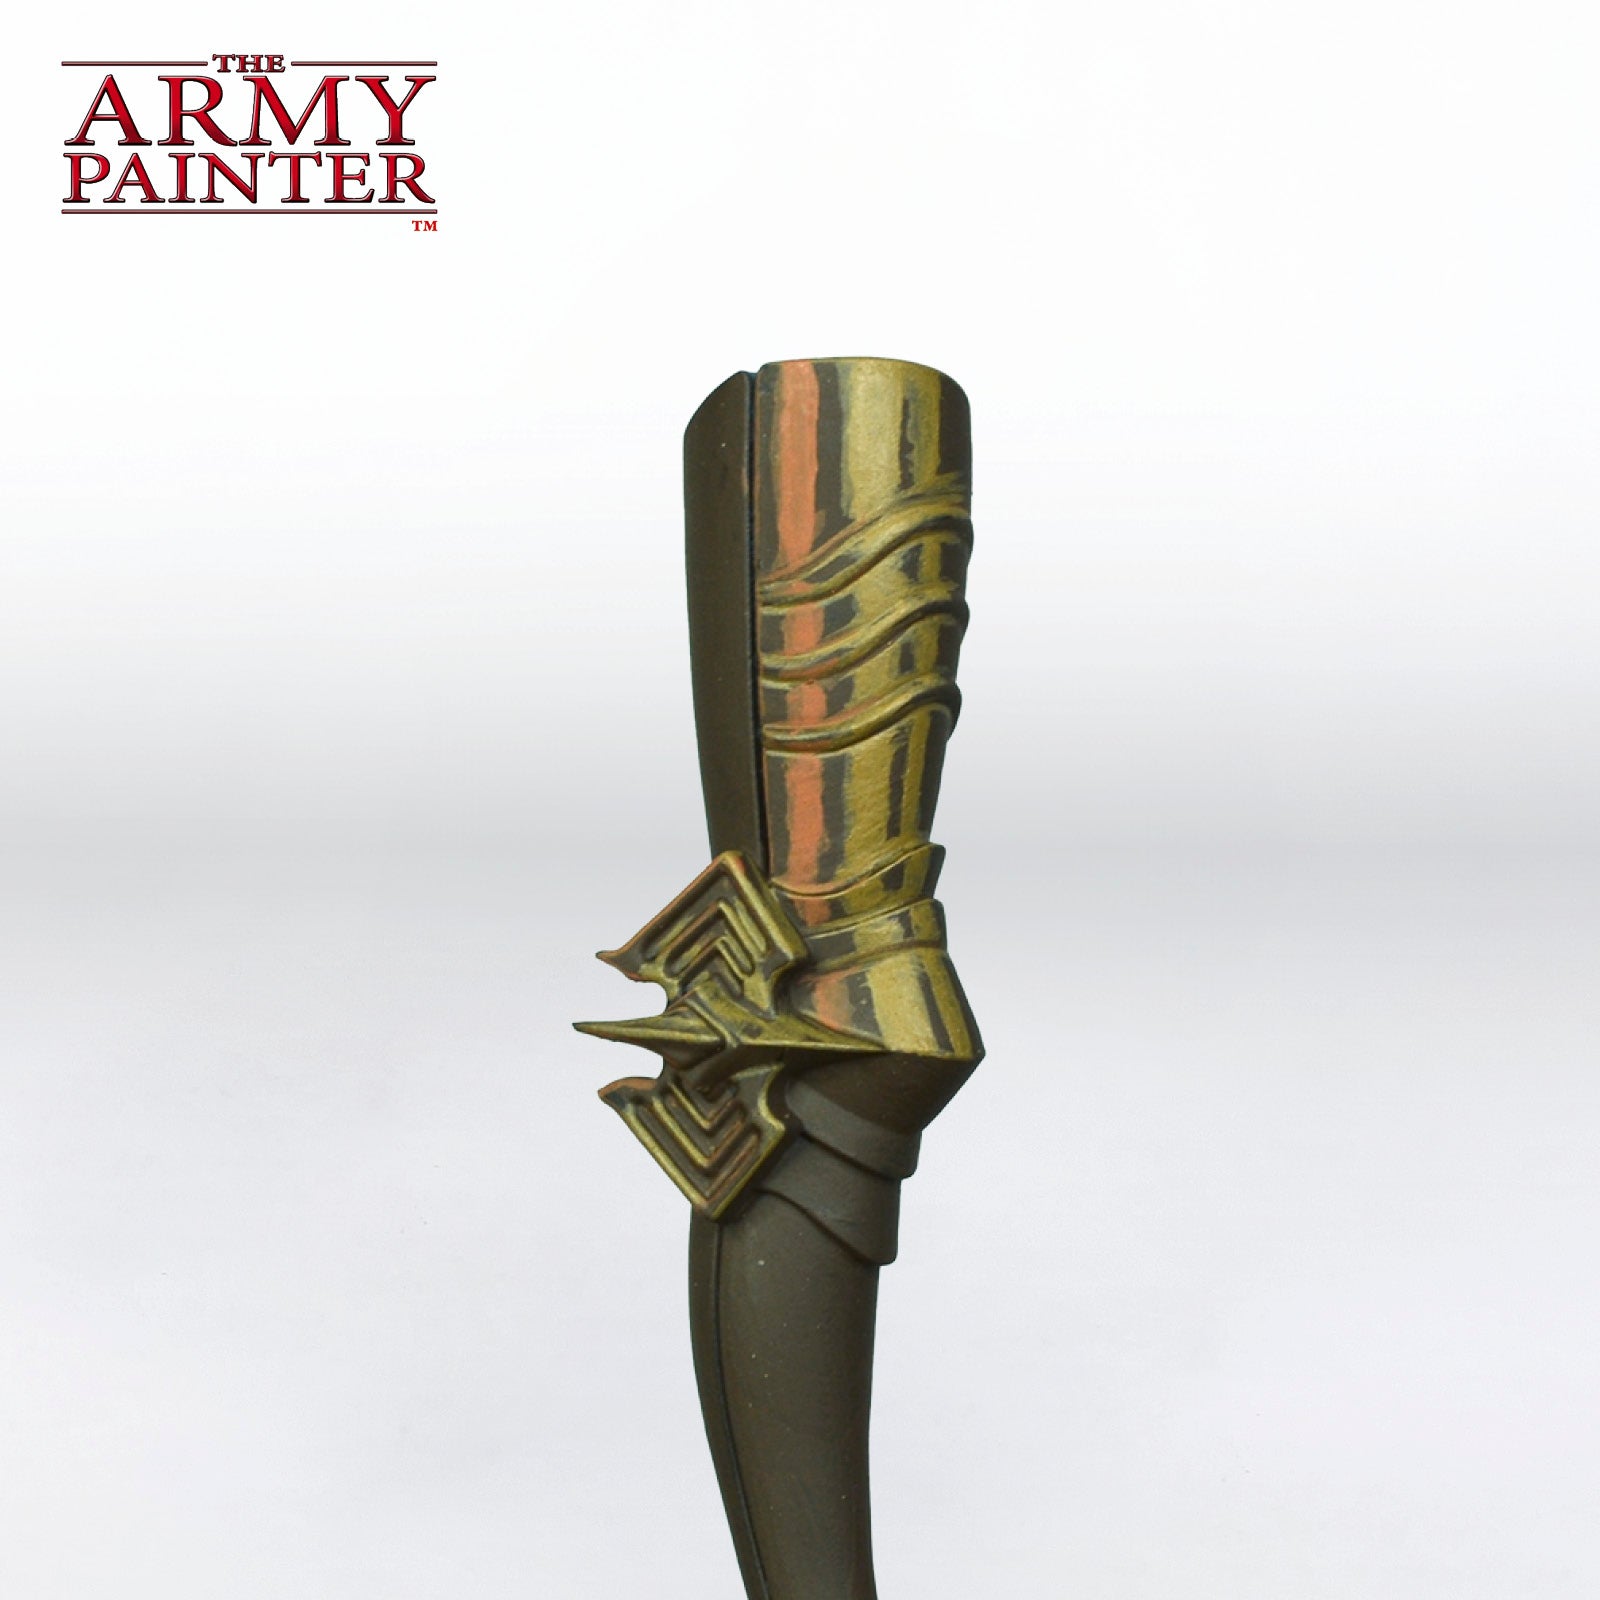
Step 2
Using a mix of John Blanche Masterclass Sunburst Ochre with a bit of Warpaints Fanatic Phalanx Blue, paint on the reflections as shown. A bit of John Blanche Masterclass Ruddy Terra was mixed in for the more orange stripe as well. The blues and oranges are mixed in to act as environmental reflections, give the mini a sense of place and realism, and add some interesting colour variations in.
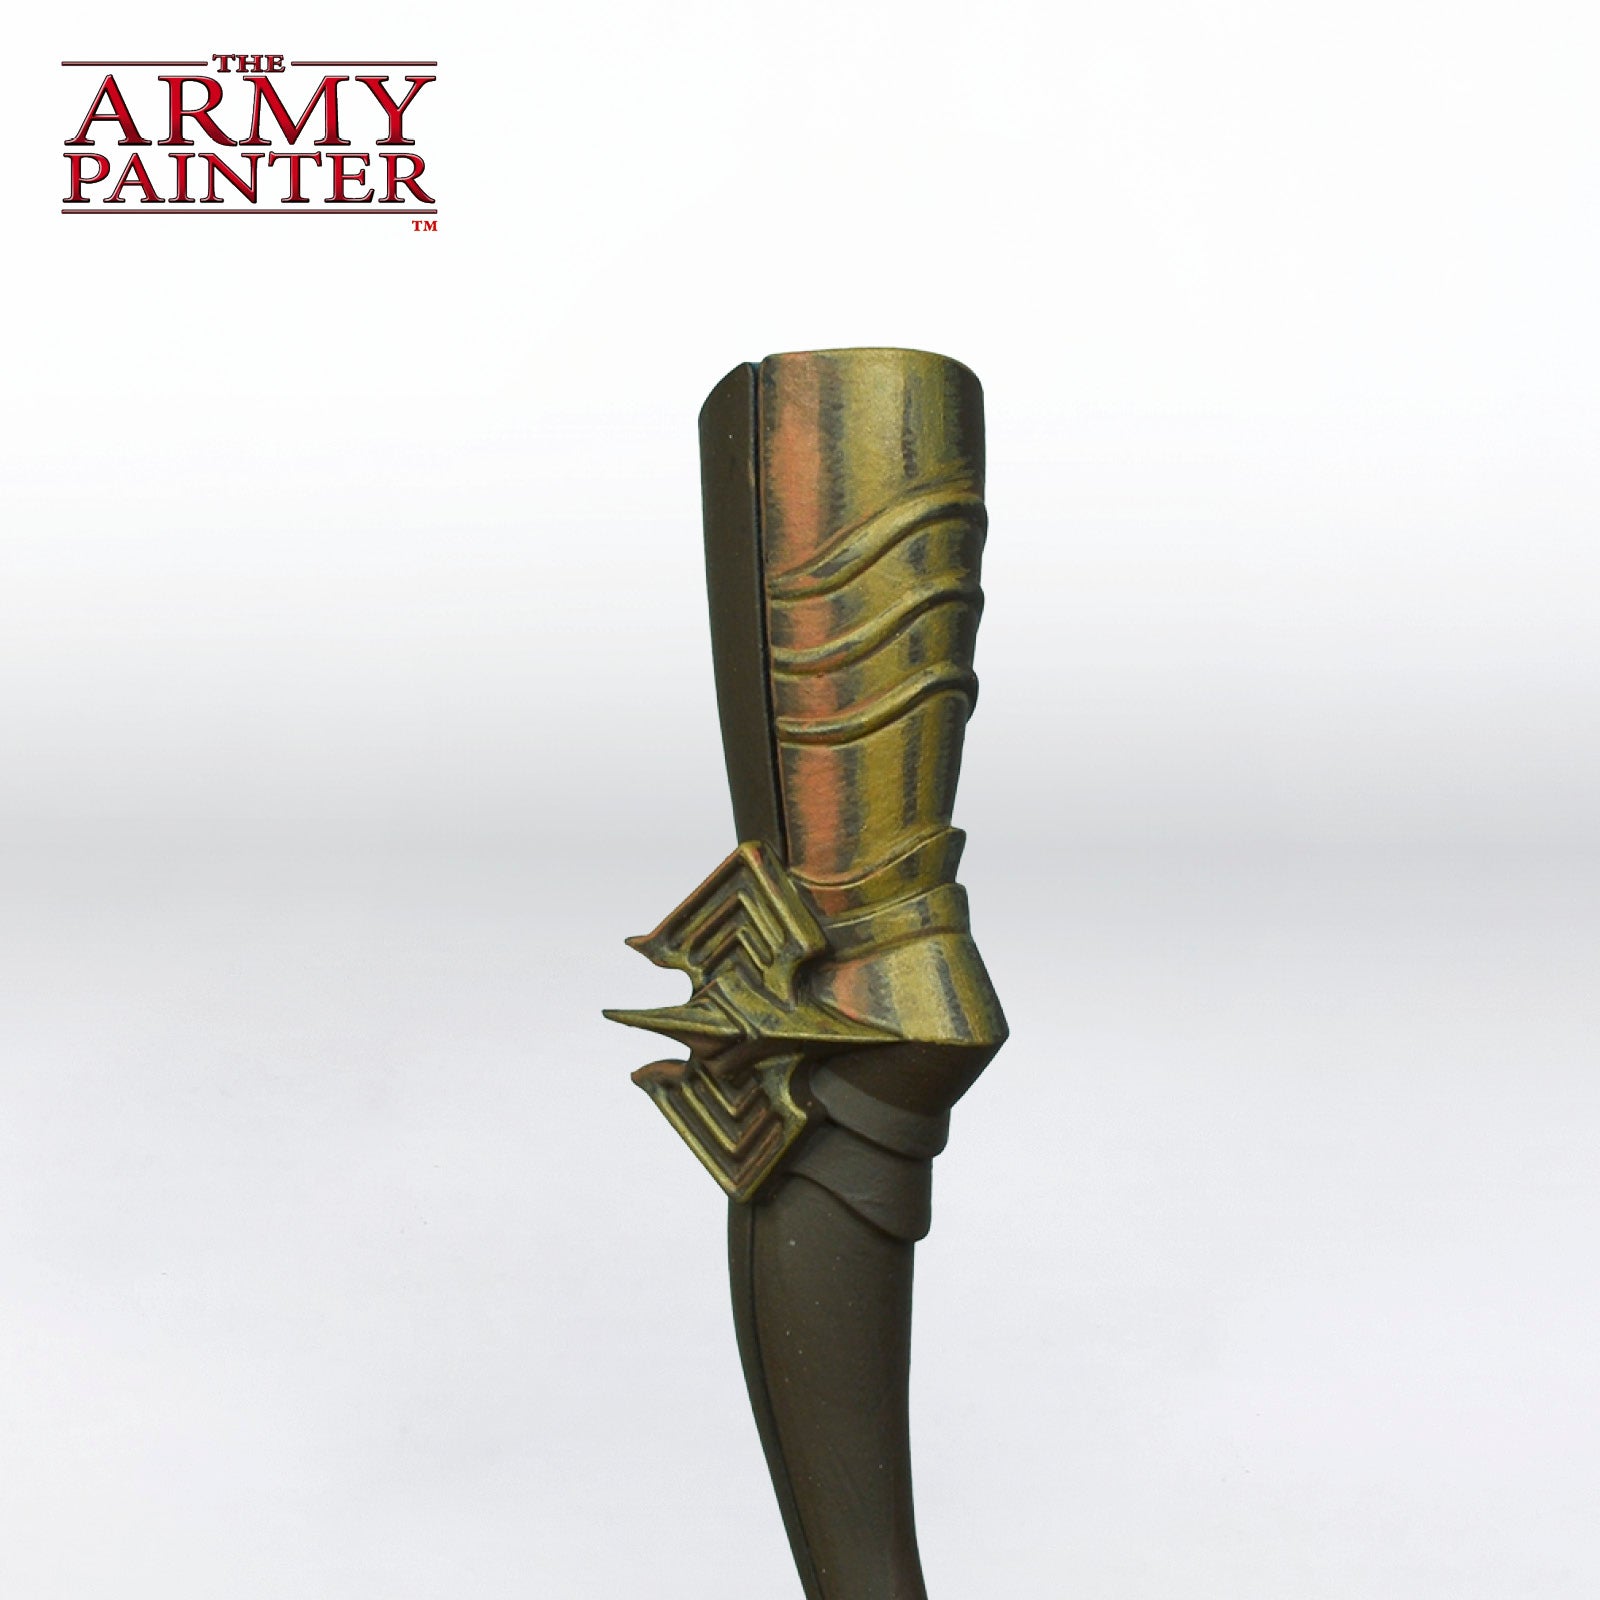
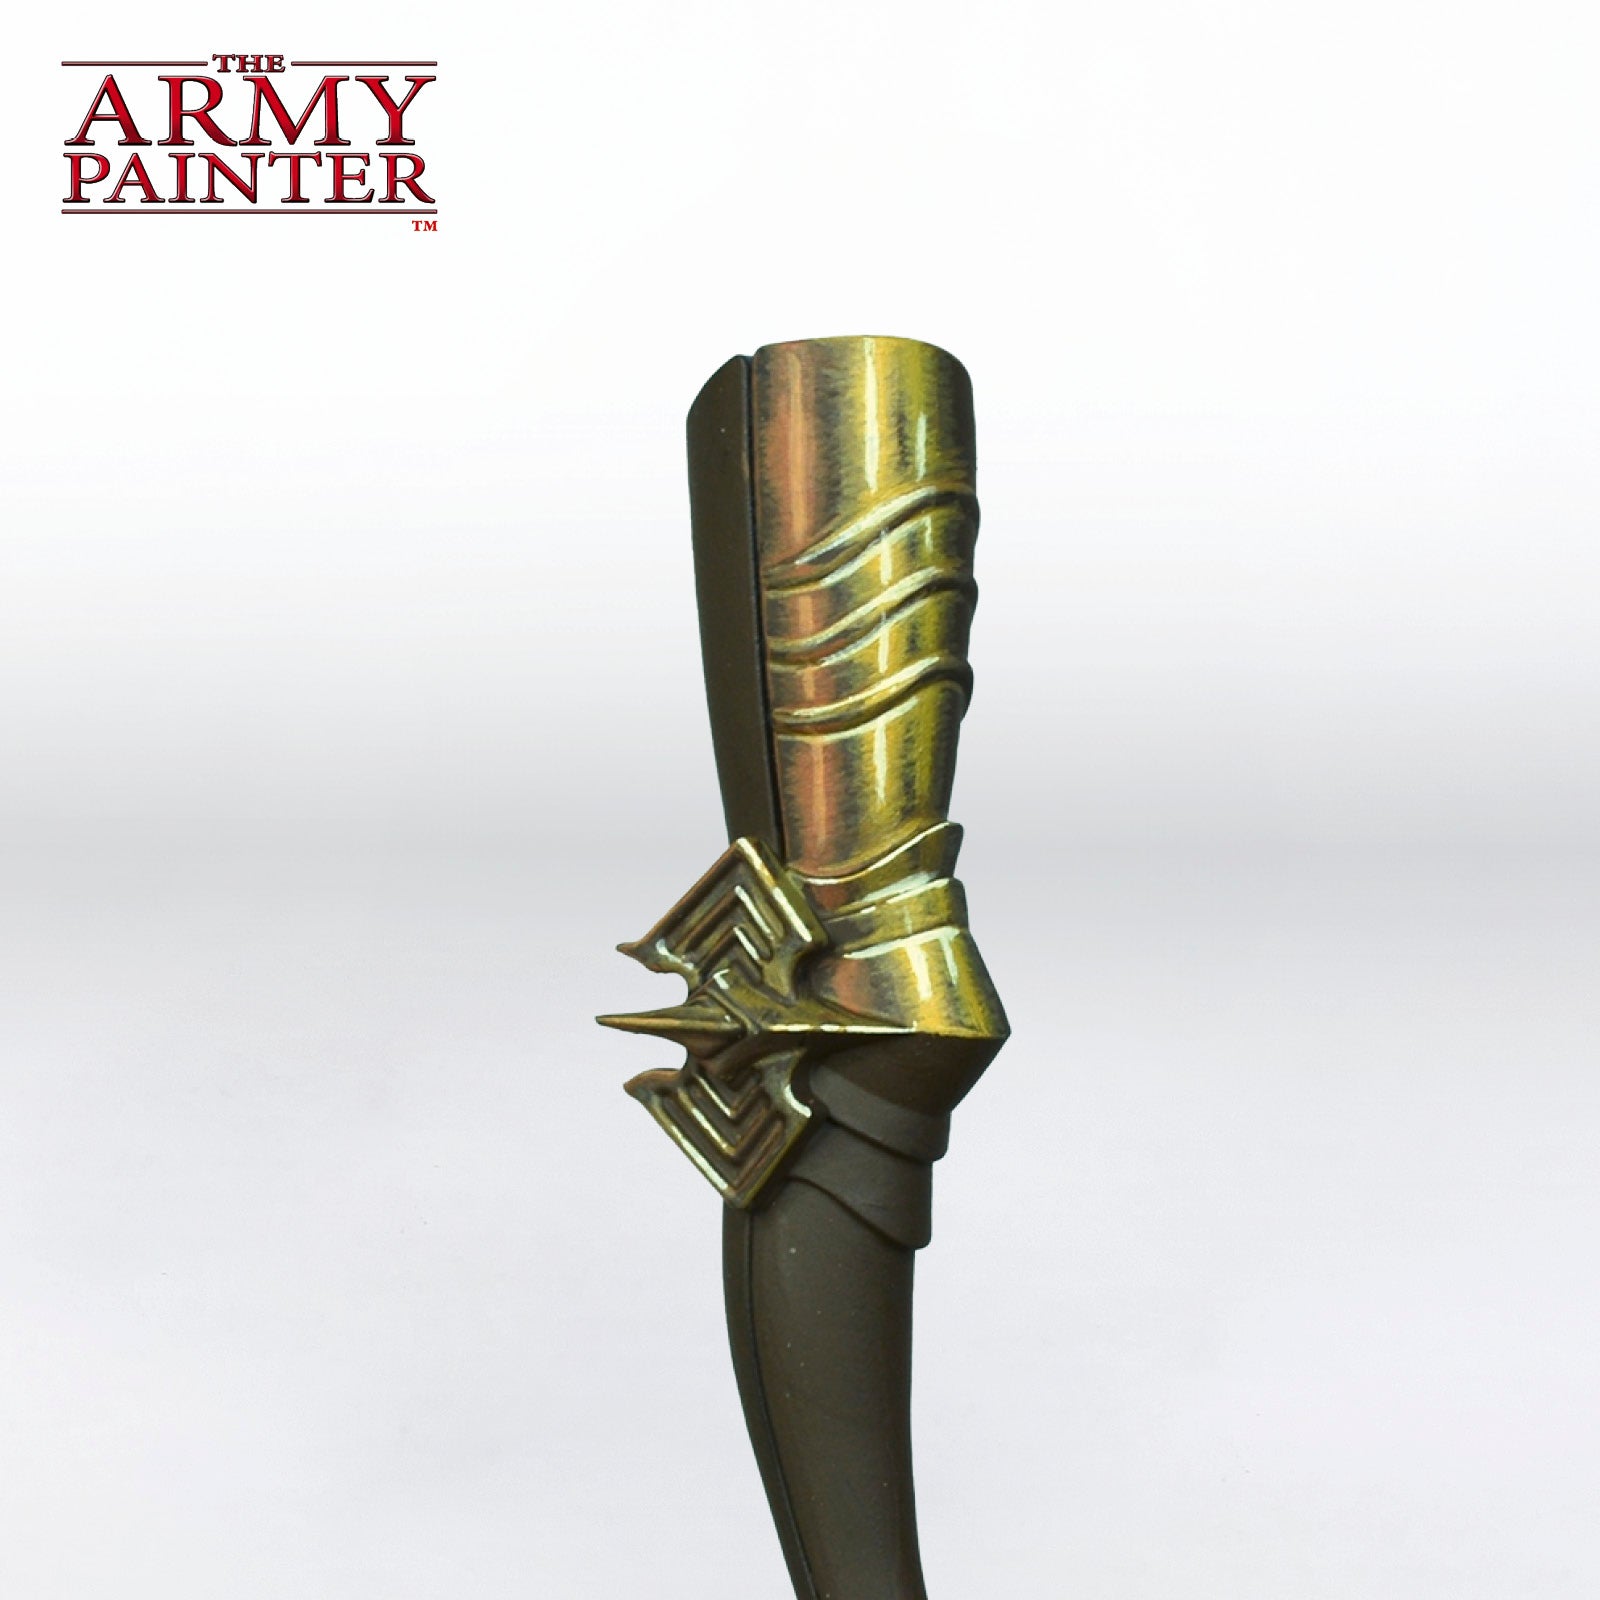
Step 3
Next, smooth out these relfections using the exact same mixes, and pull the paint in one direction to slightly blend it in.
Step 4
Add a more refined reflection within the last one use a mix of Warpaints Fanatic Demigod Flames with a touch of Warpaints Fanatic Phalanx Blue, then proceed to blend this the same as the previous layer.
Step 5
Next, take some John Blanche Masterclass Ivory White, mixed with a small amount of Warpaints Fanatic Demigod Flames and Phalanx Blue, and paint this even smaller within the reflections.
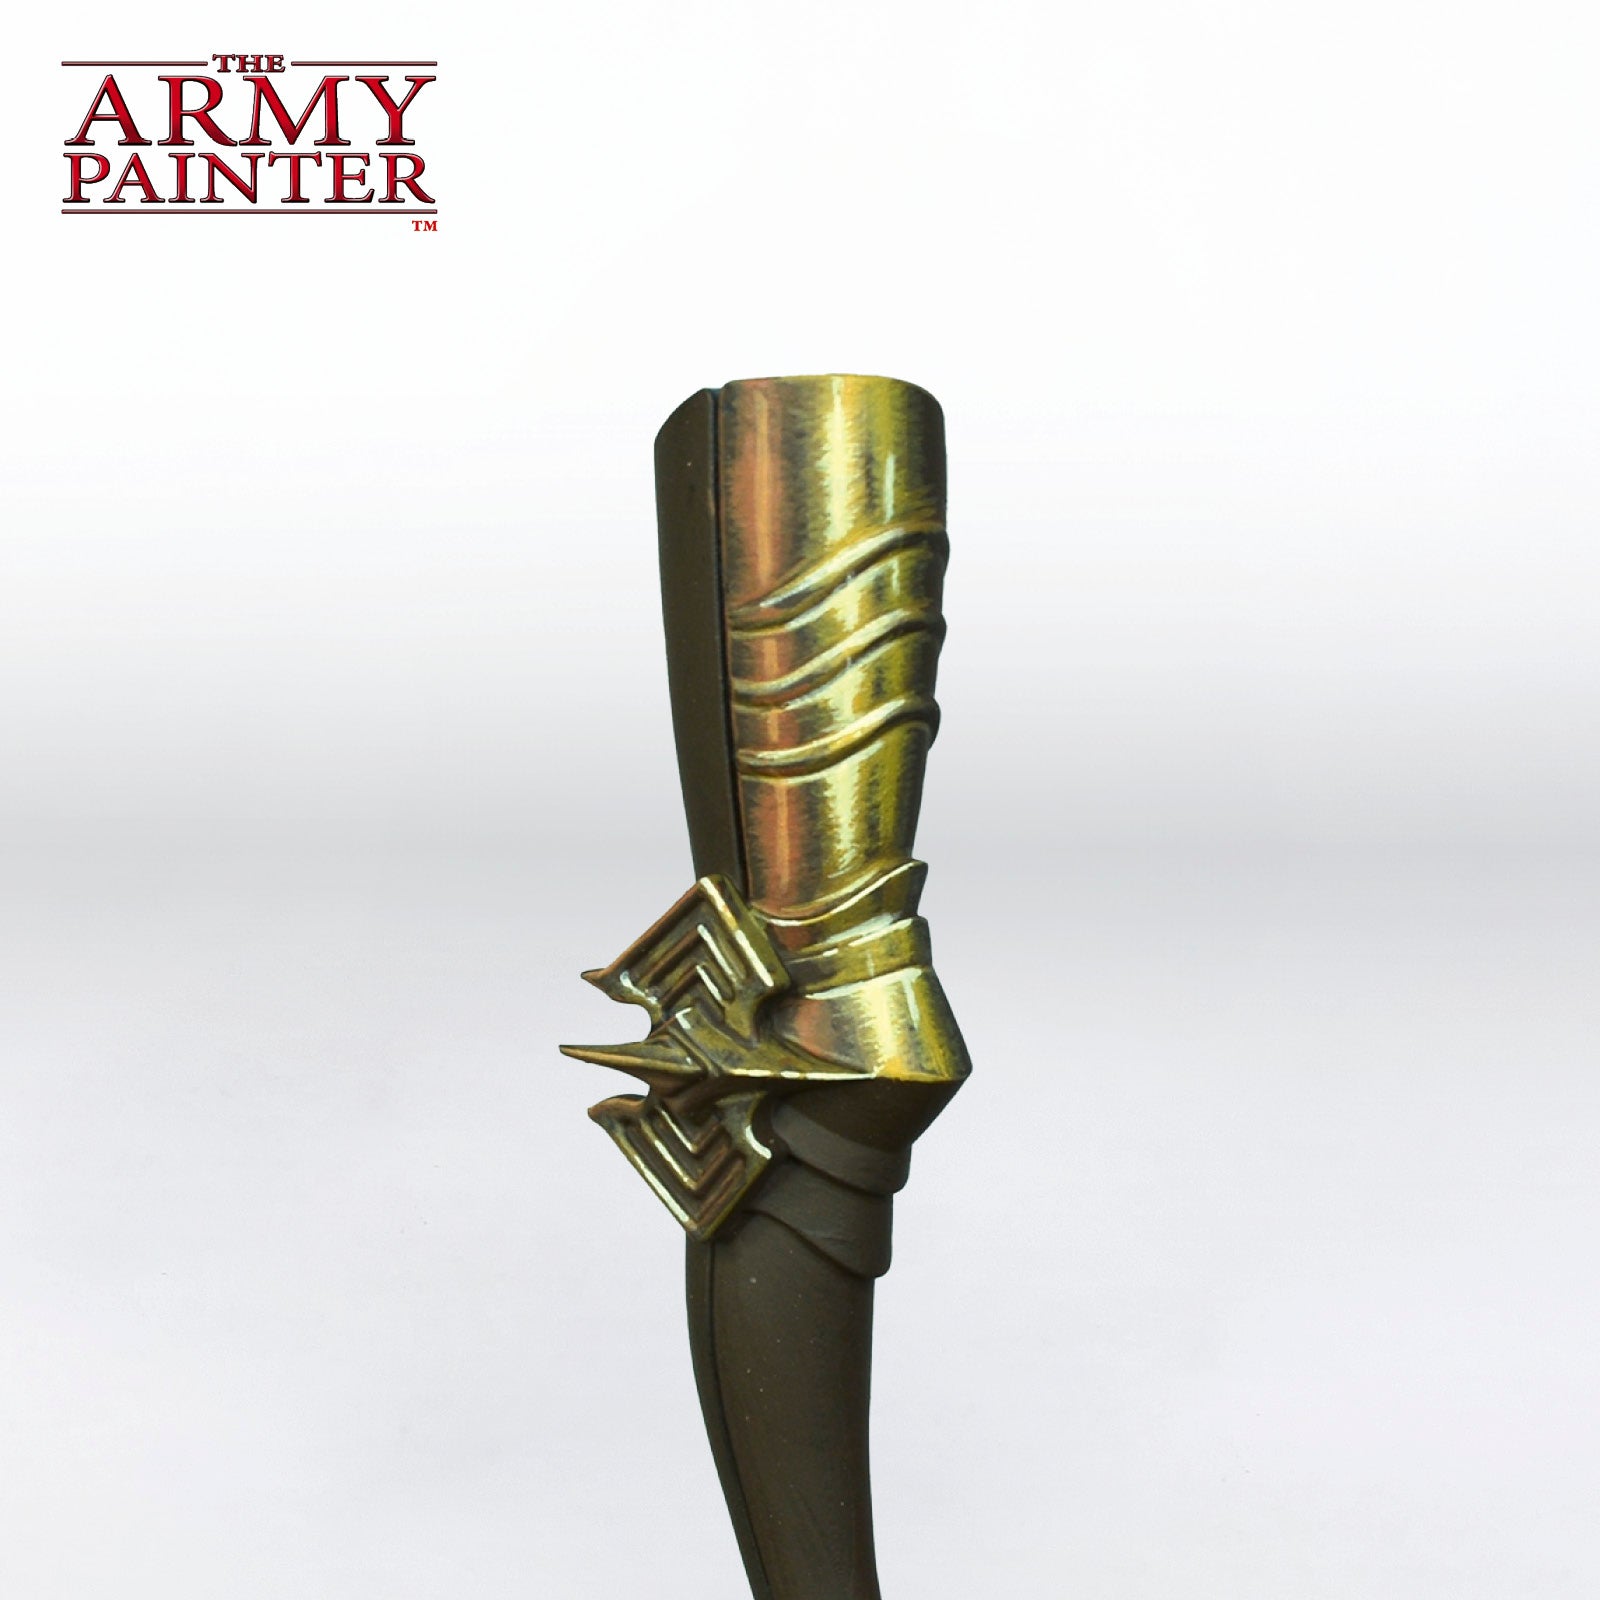
Step 6
Proceed to blend this the same as the others to broaden it out a bit.
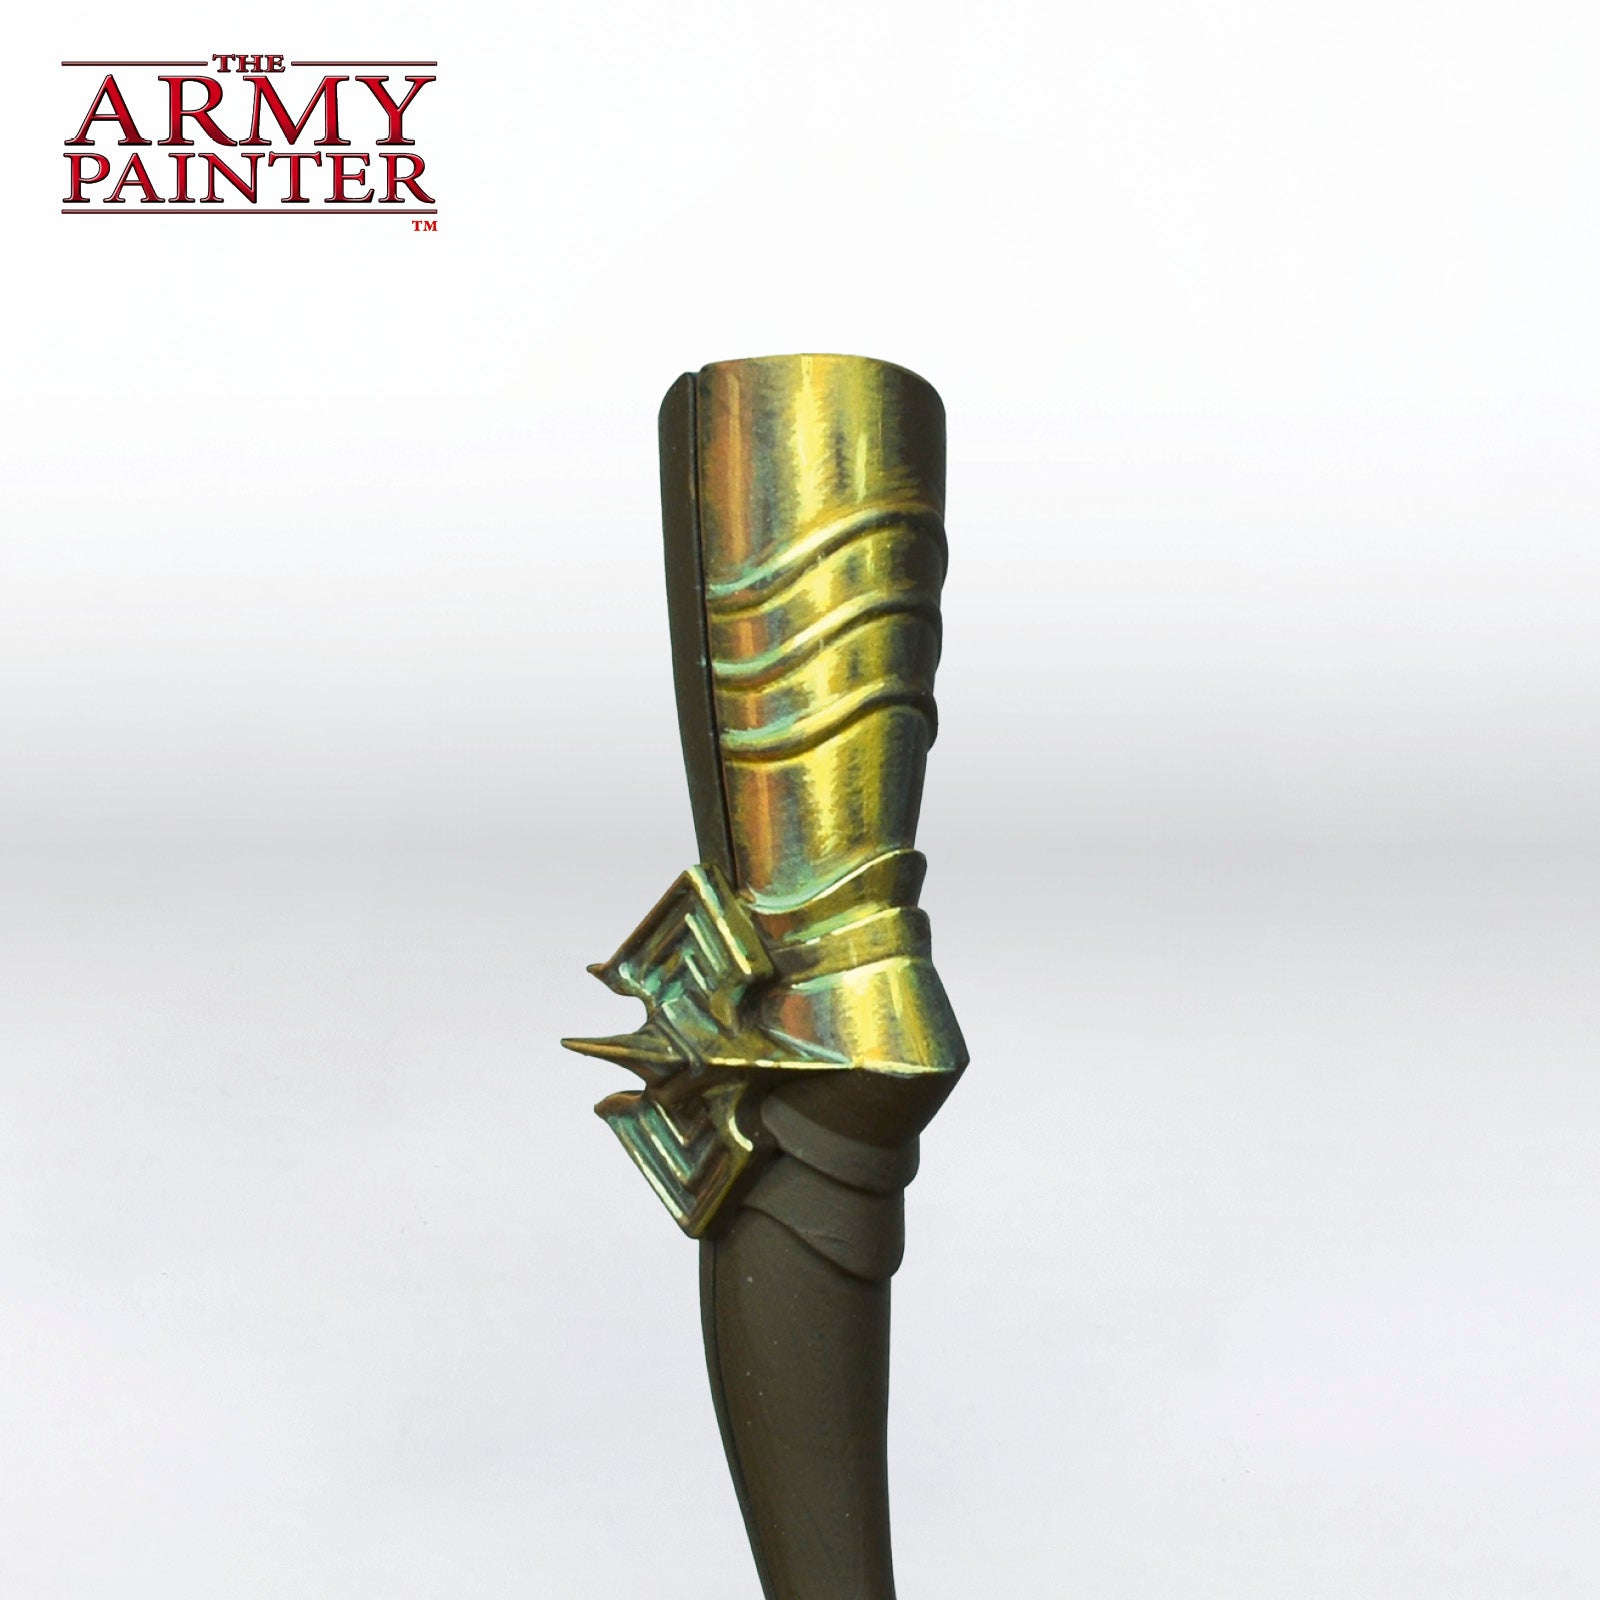
Step 7
Using a mix of Warpaints Fanatic Demigod Flames with more Phalanx Blue than before, so it has a noticeably blue-green look to it, glaze over the shadows in areas. This acts as a bit of a verdigris and also contrasts well with the warmer tones. At this same time, add a brighter line within the orange reflection by mixing in some John Blanche Masterclass Ivory White into the Ruddy Terra.
Step 8
Finish off the gold with final spot highlights of Warpaints Fanatic Matt White for the brightest reflections.
With that, your models are done!
Be sure to tell us what you thought of this tutorial format, if you have any suggestions for improvements in the future, or even which models you want us to tackle.
If you paint your own model following one of these guides, tag it with #thearmypainteracademy to share your work!