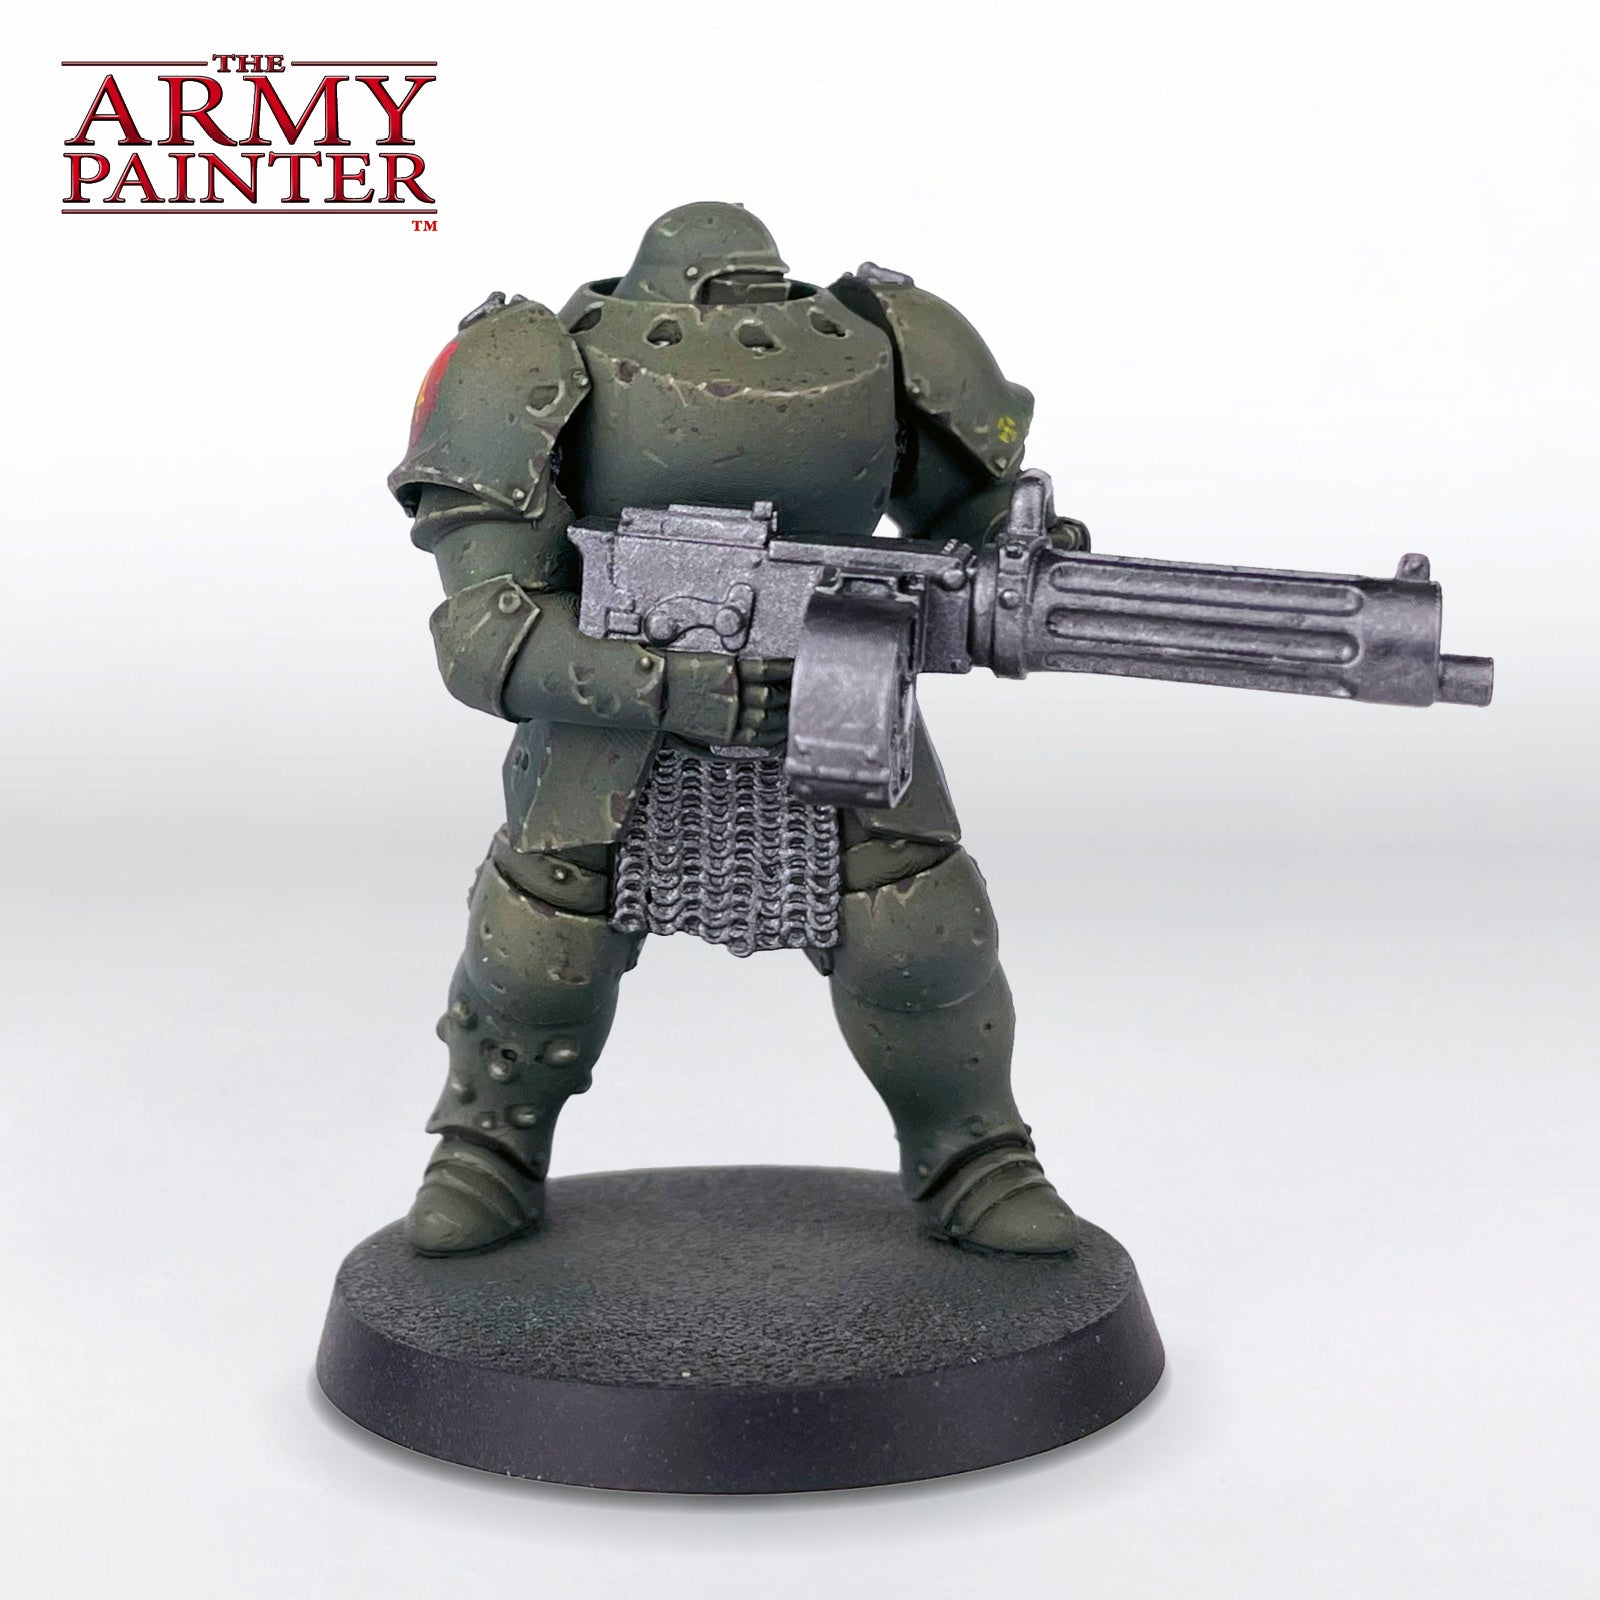
How to Paint a Trench Crusade Heavy Mechanized Infantry Mobile

How to Paint

Trench Crusade
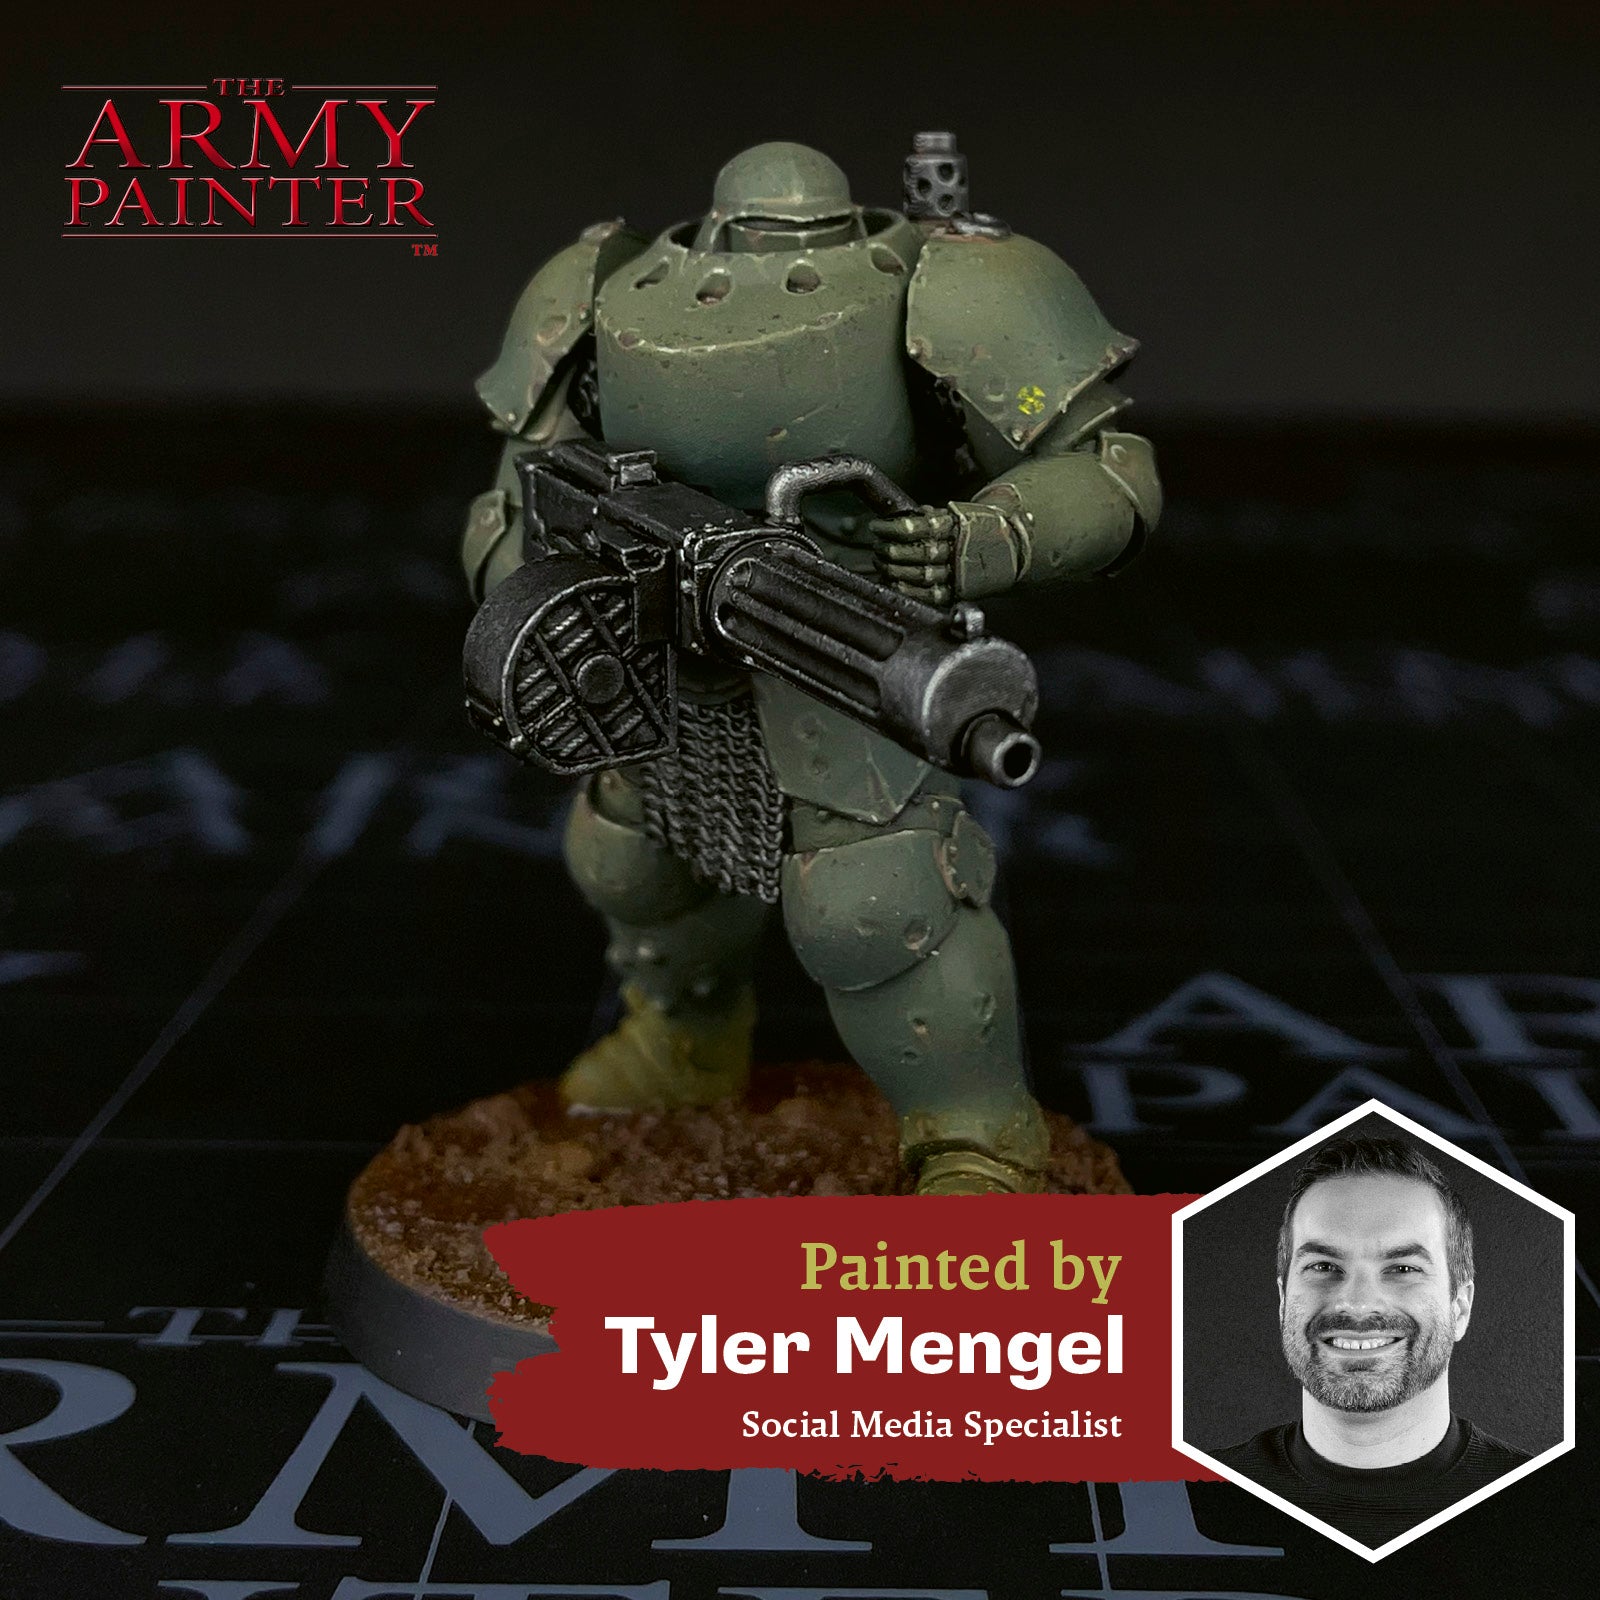
Welcome to the next instalment of The Army Painter Academy: a series where we break down how we paint a miniature step-by-step, complete with pictures for every bit of paint applied along the way. 

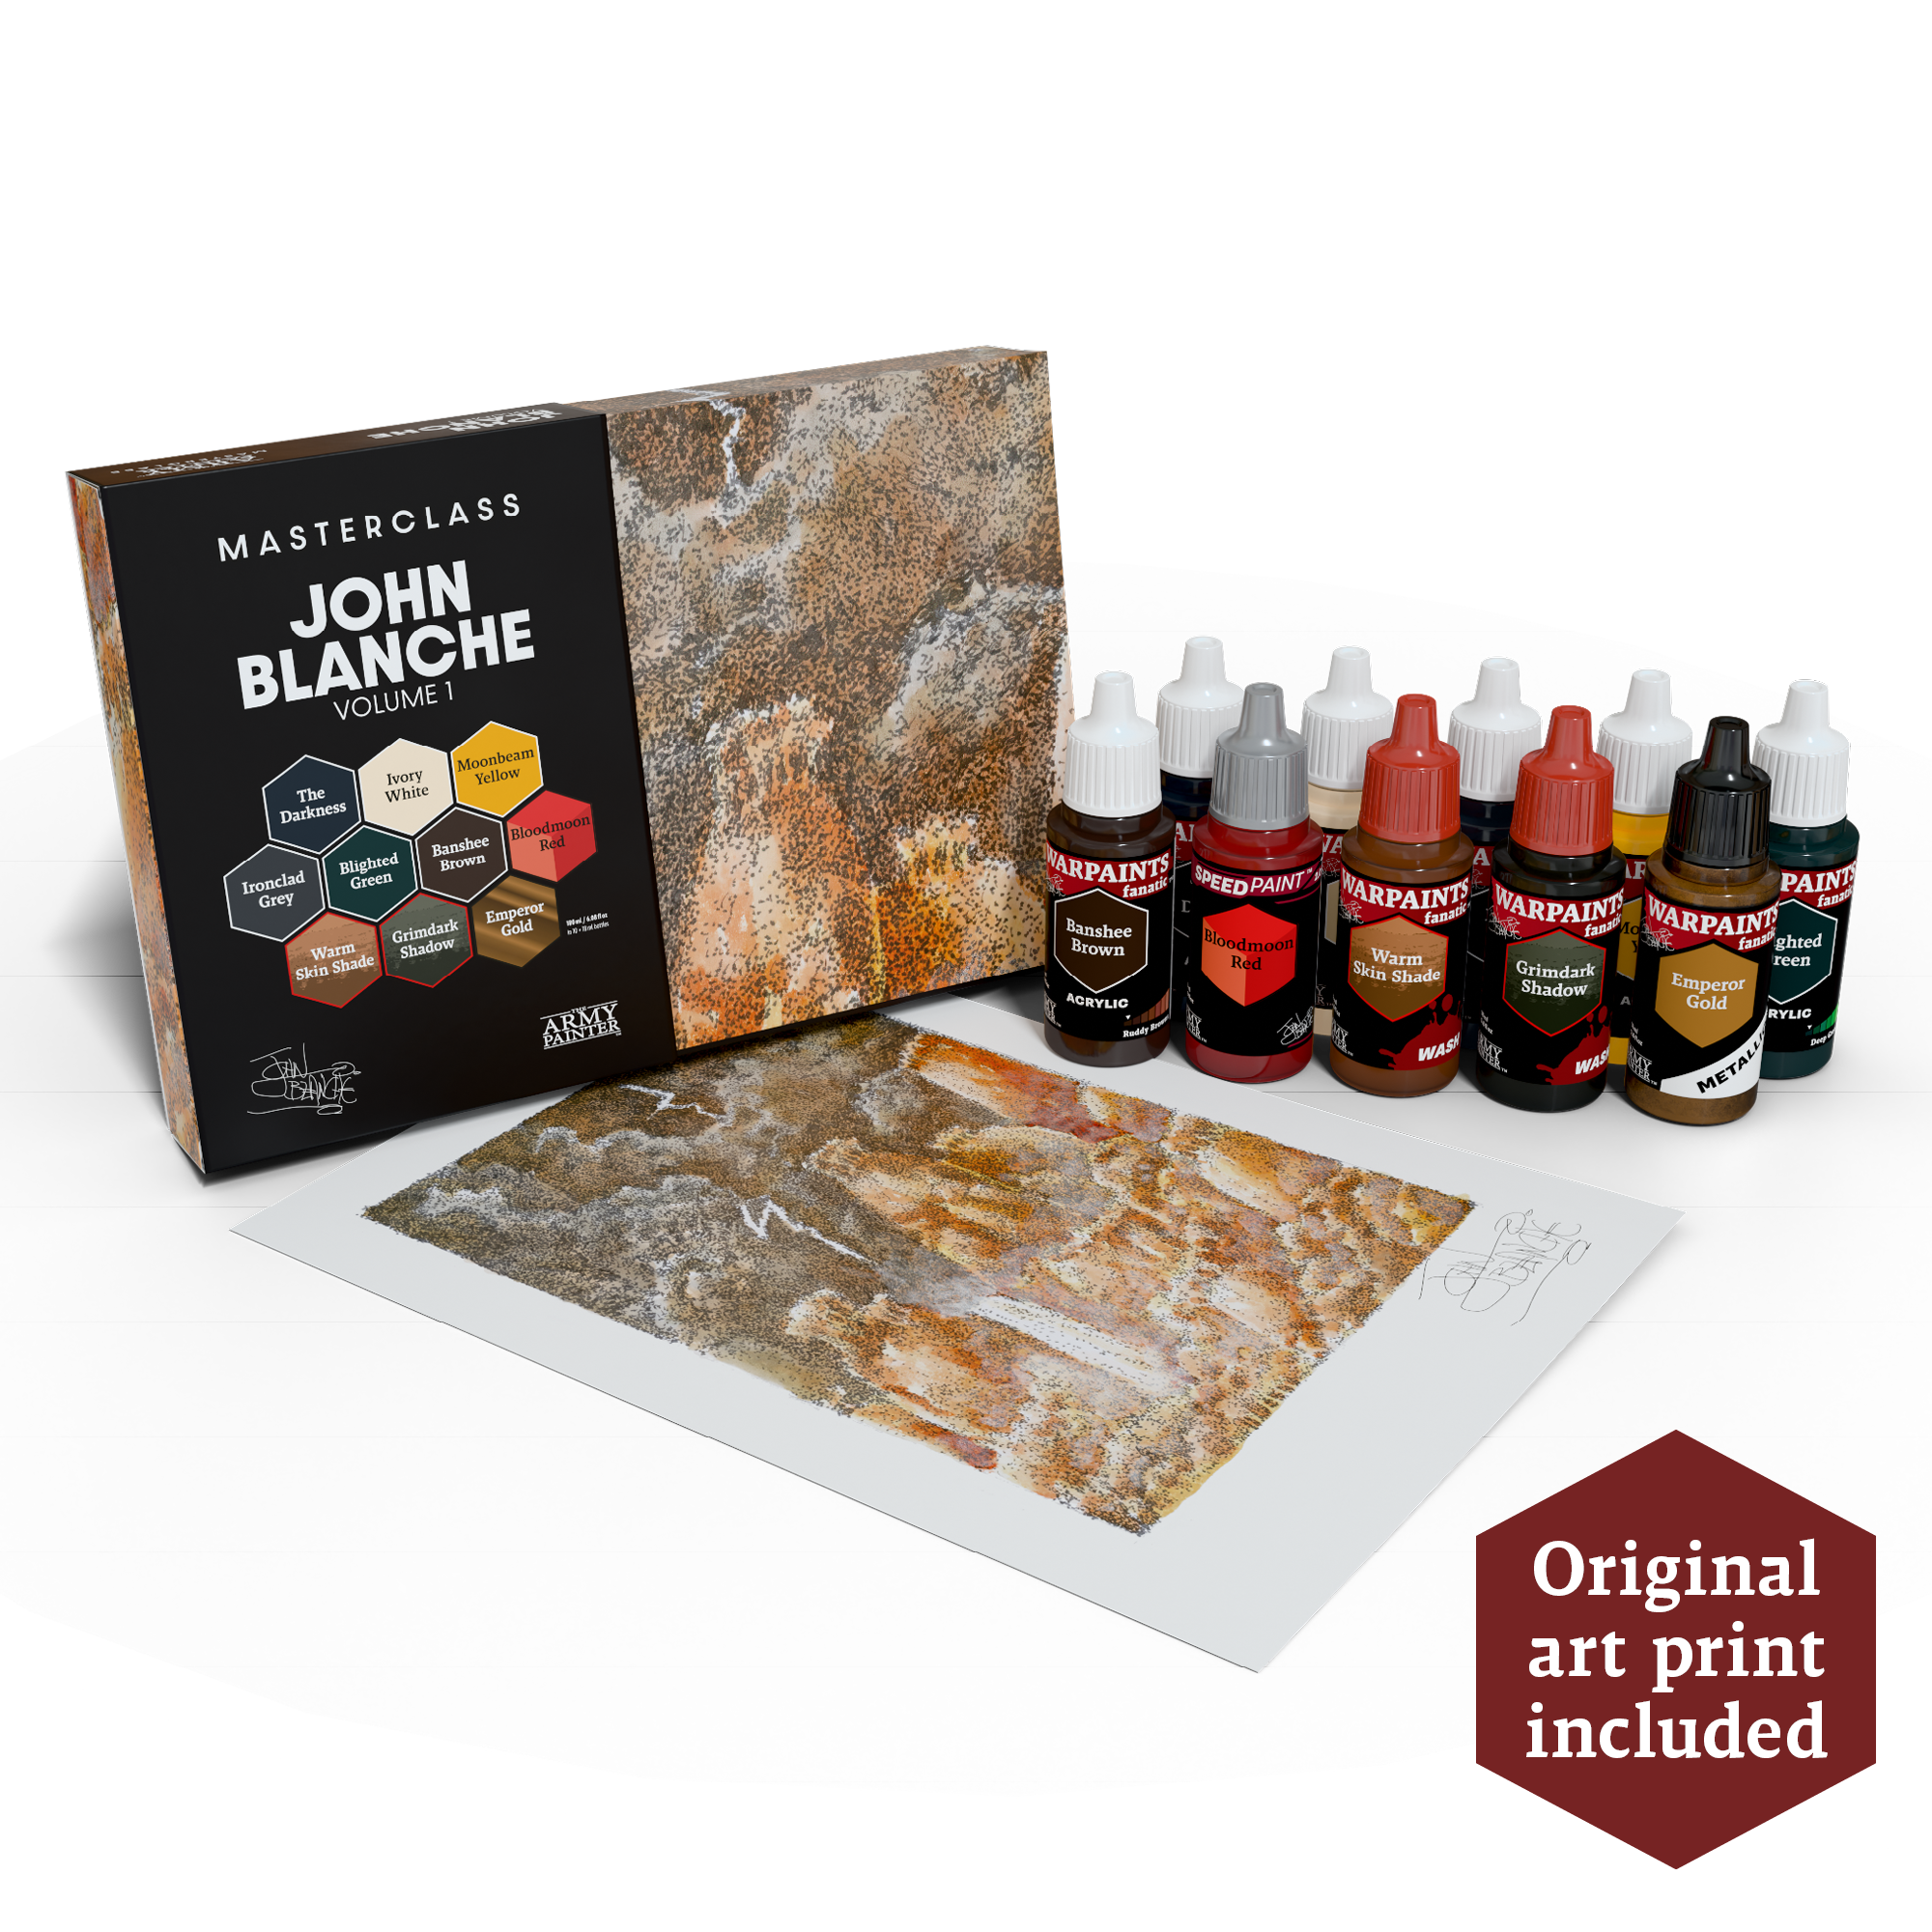
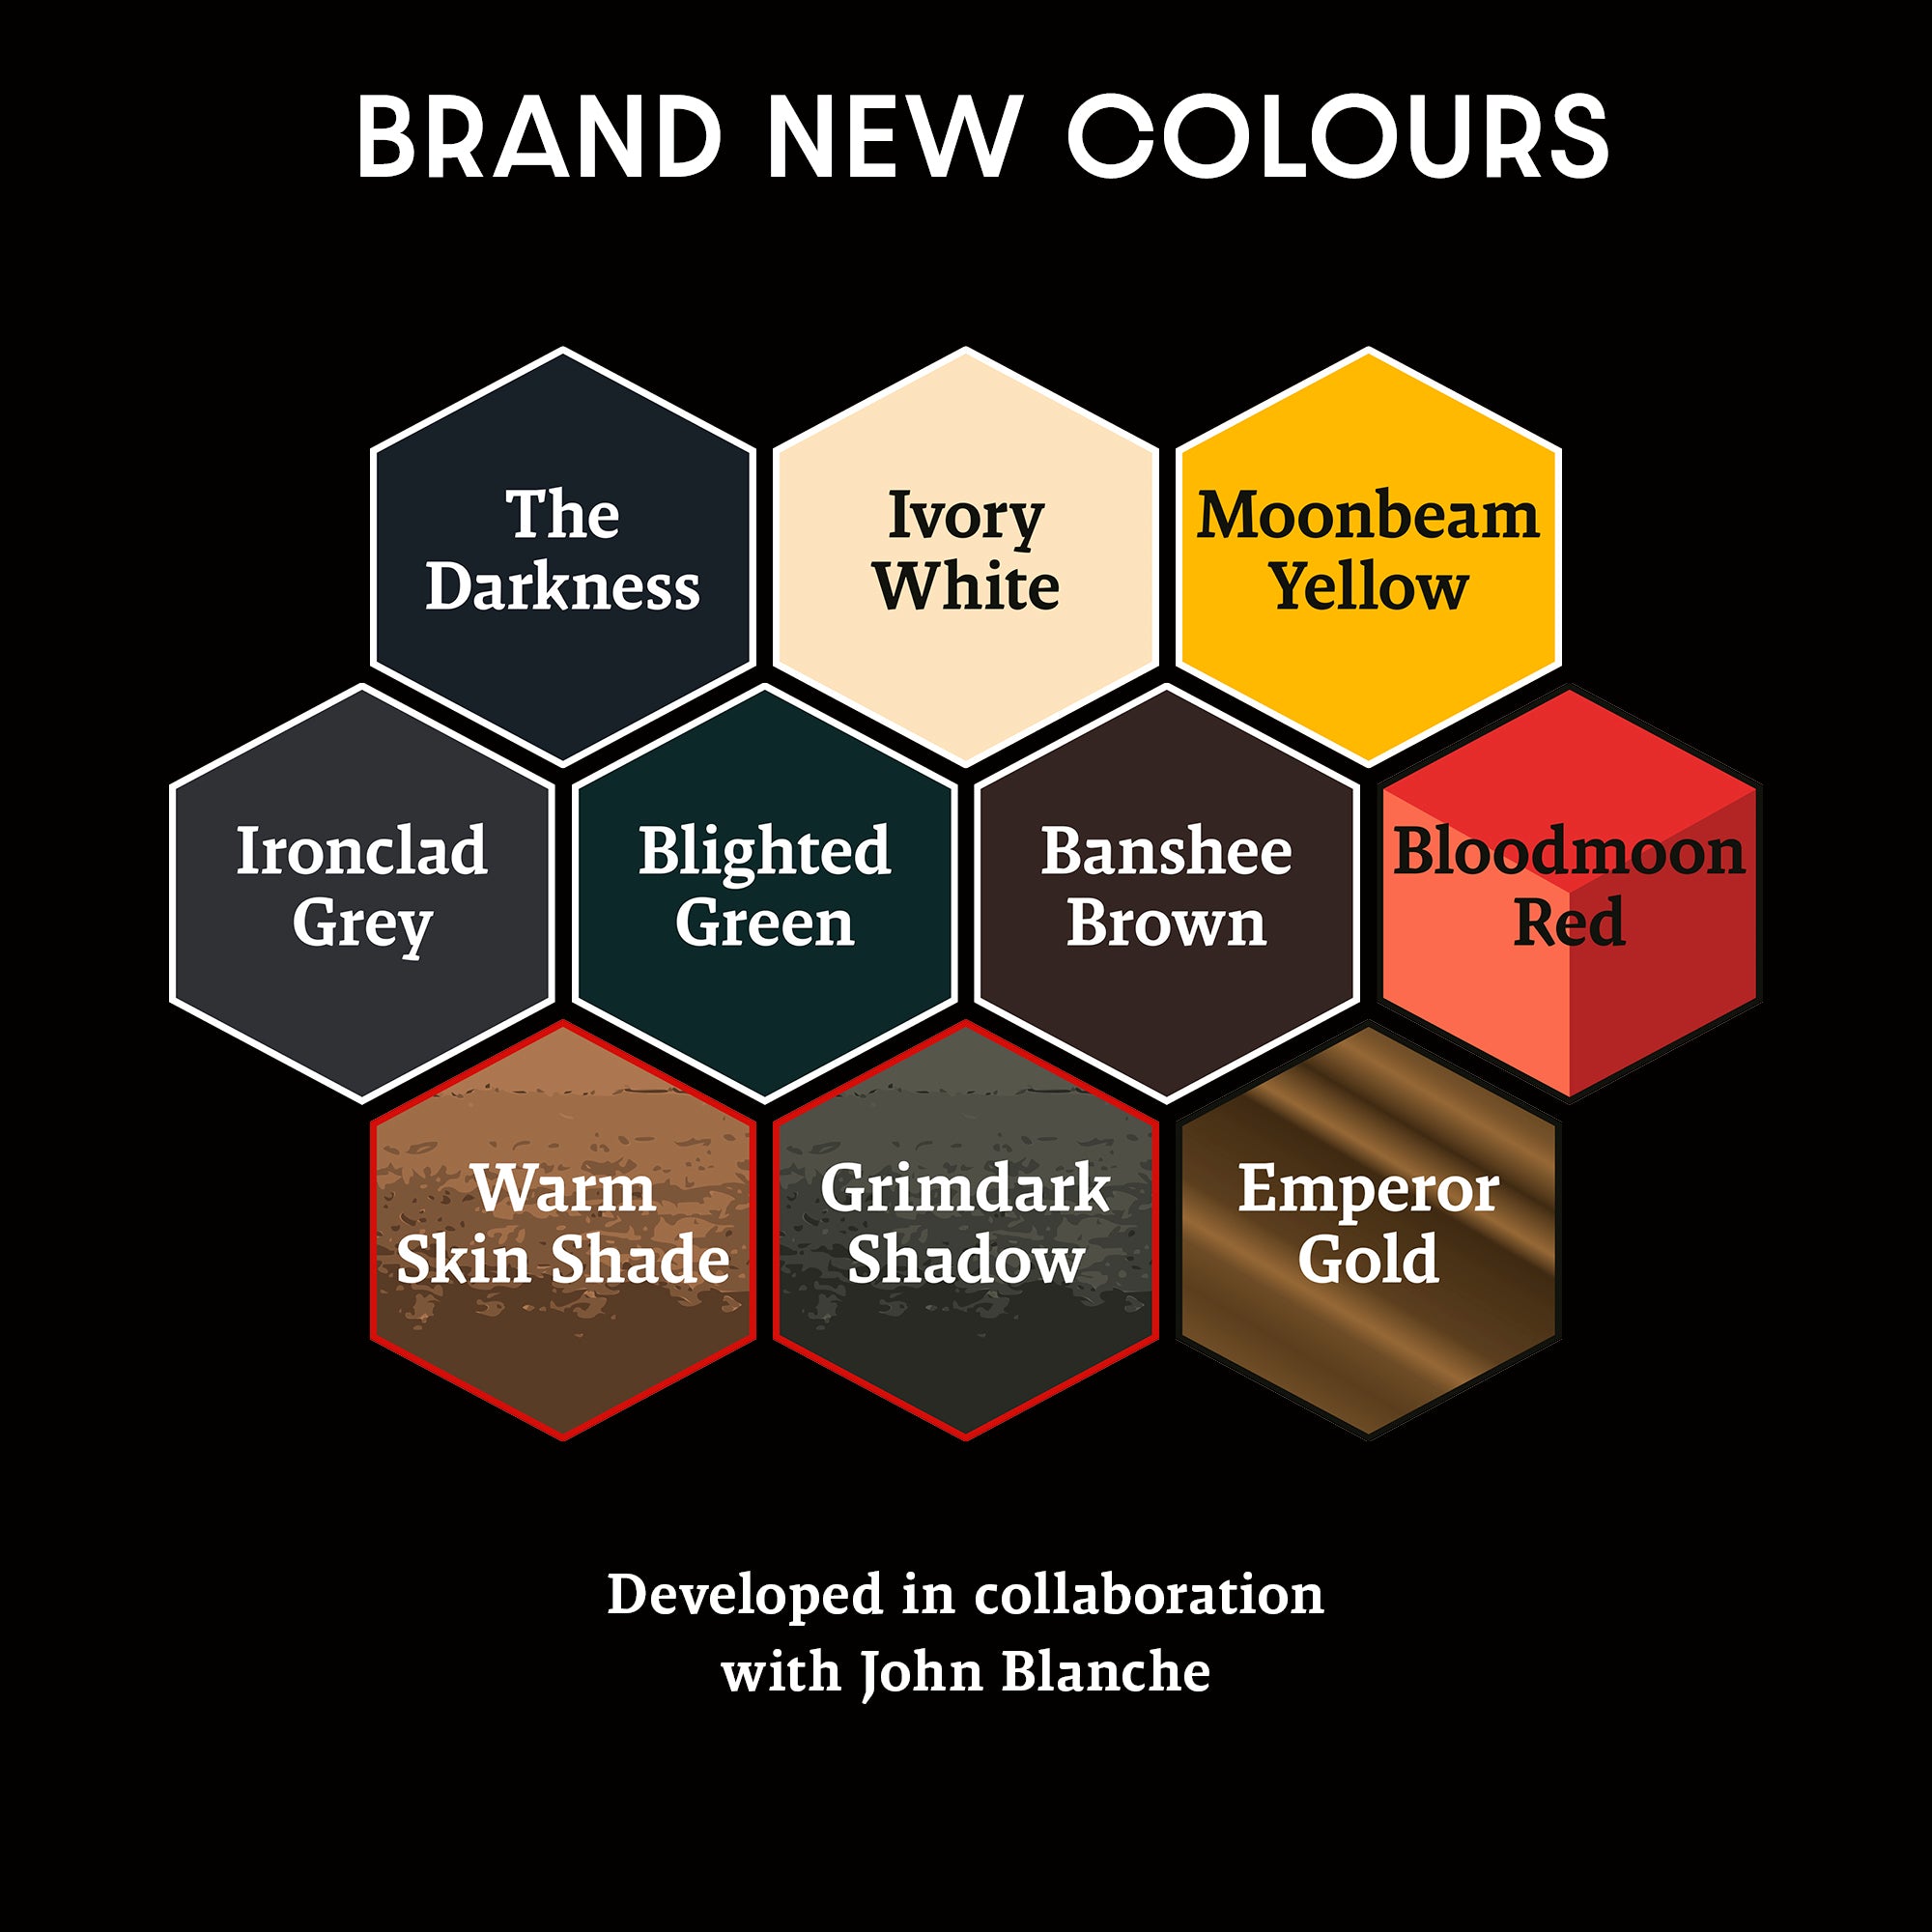
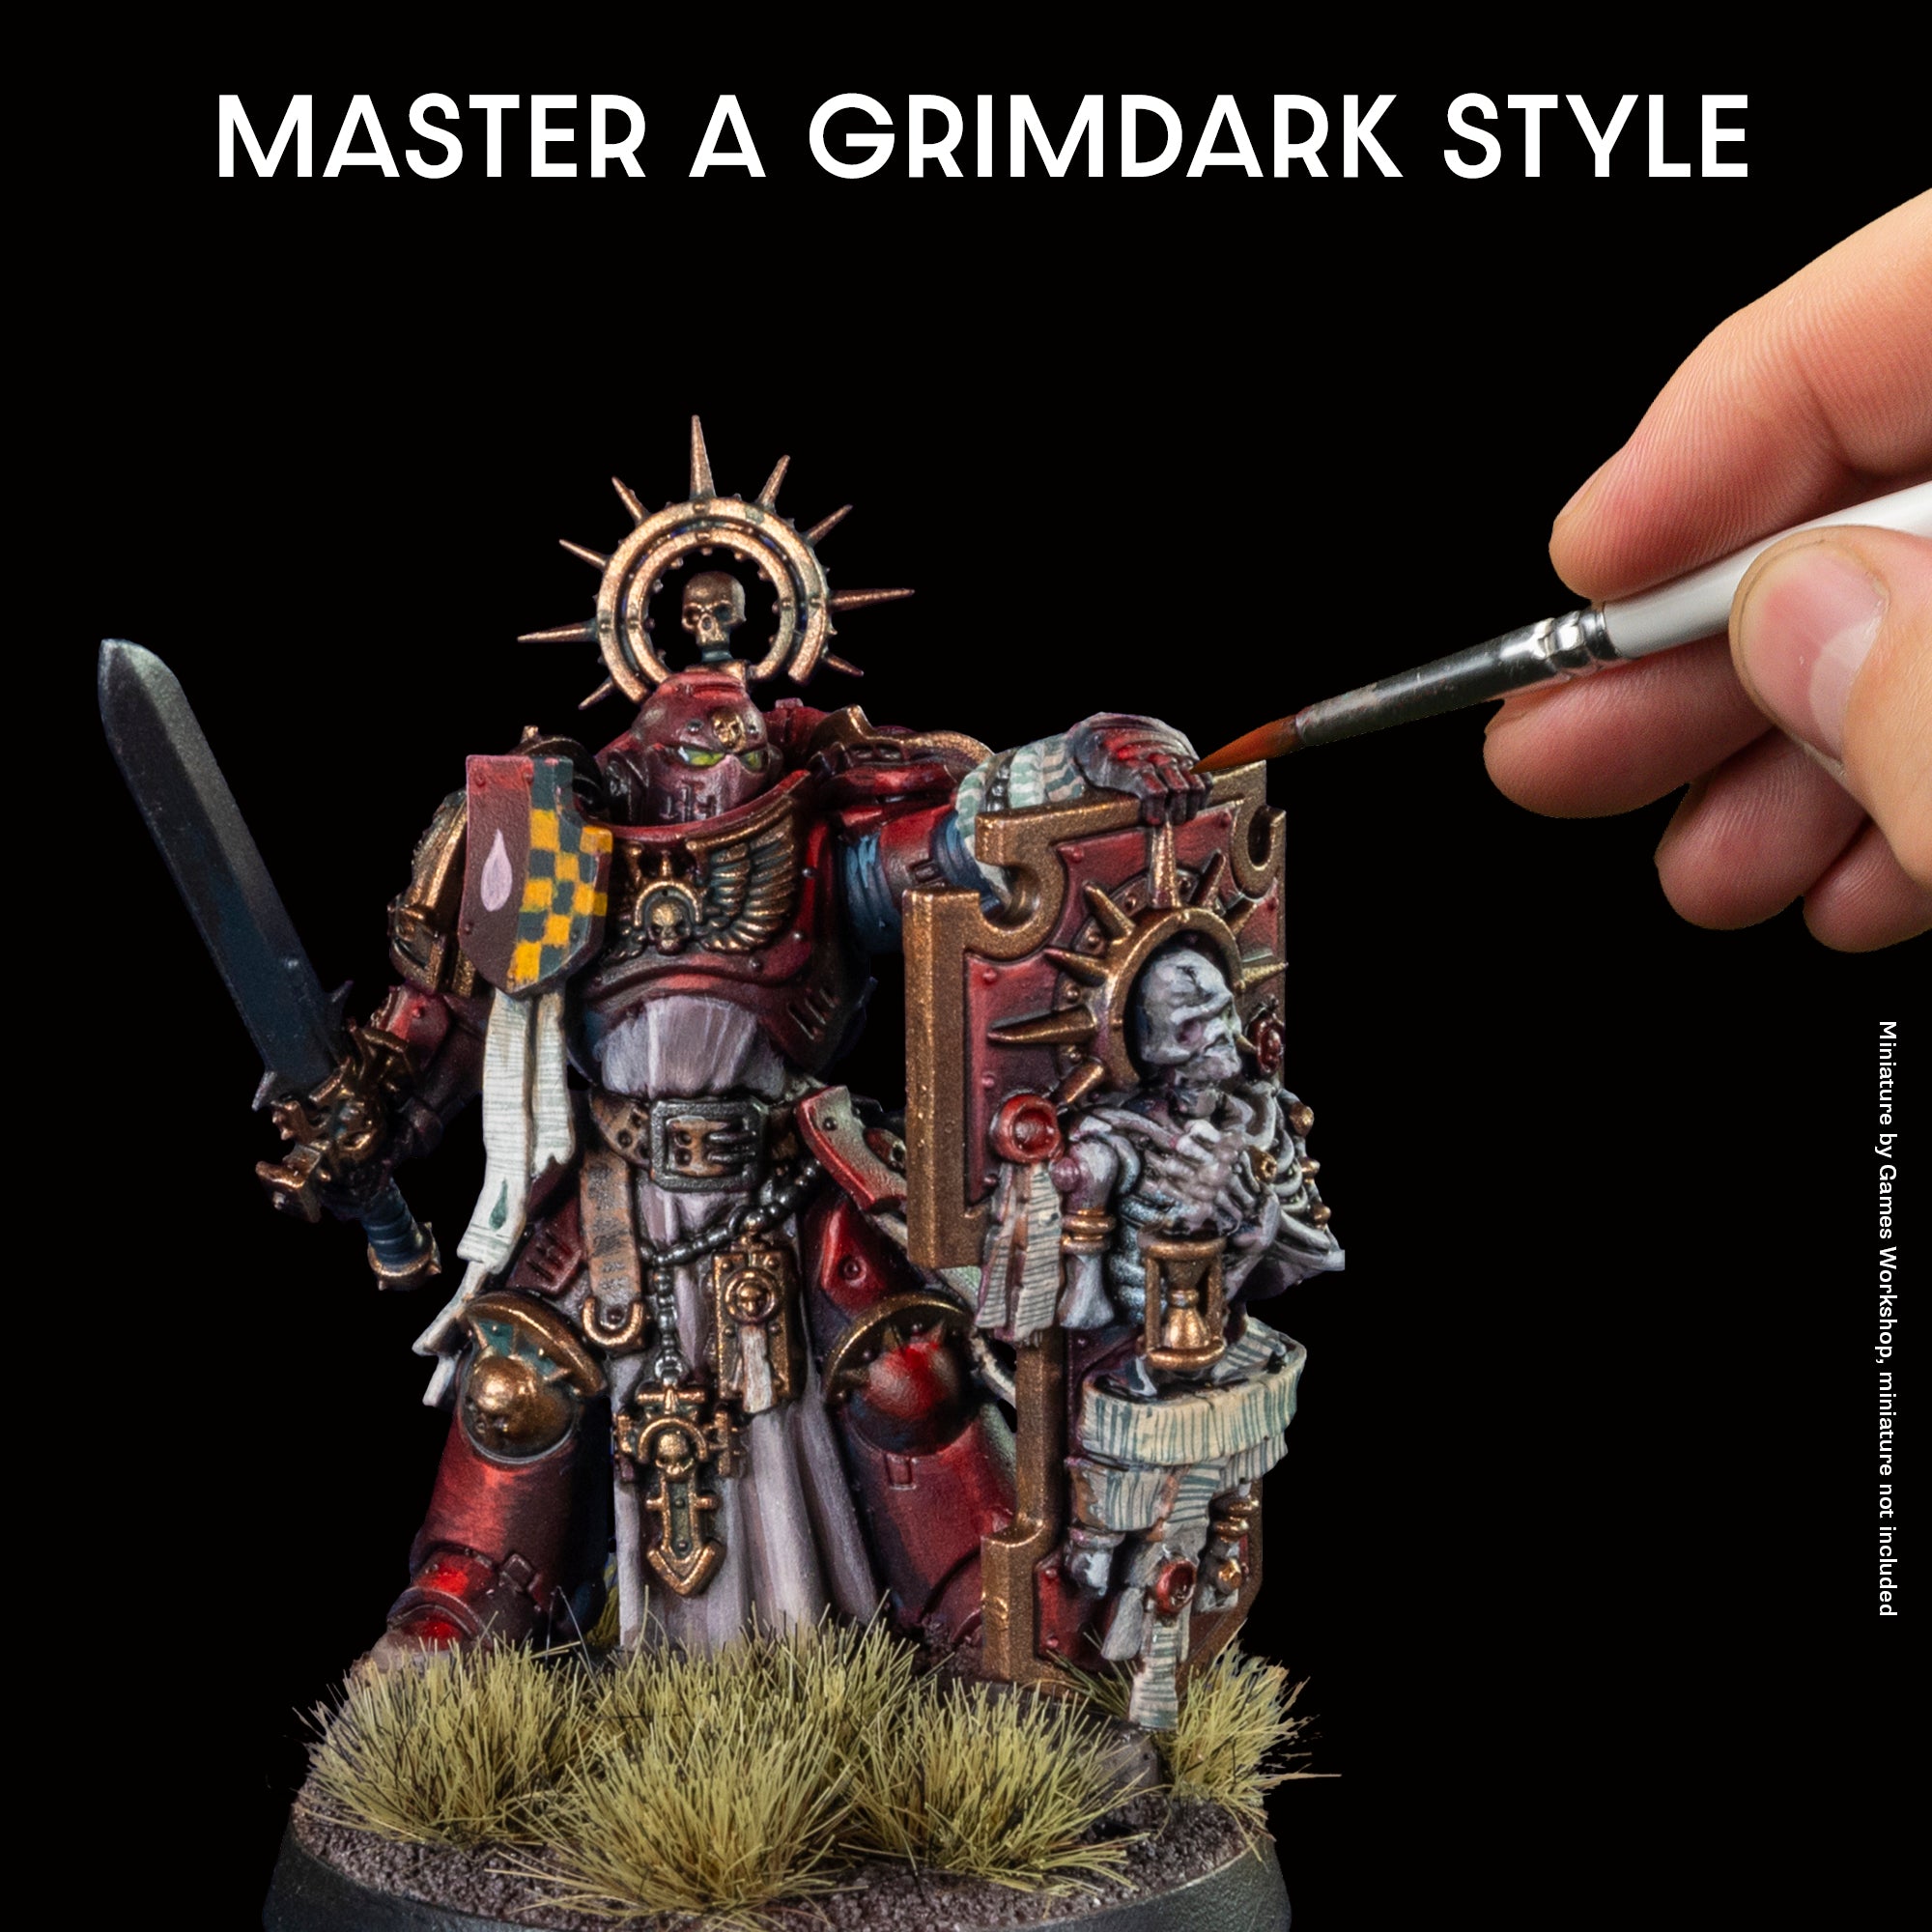
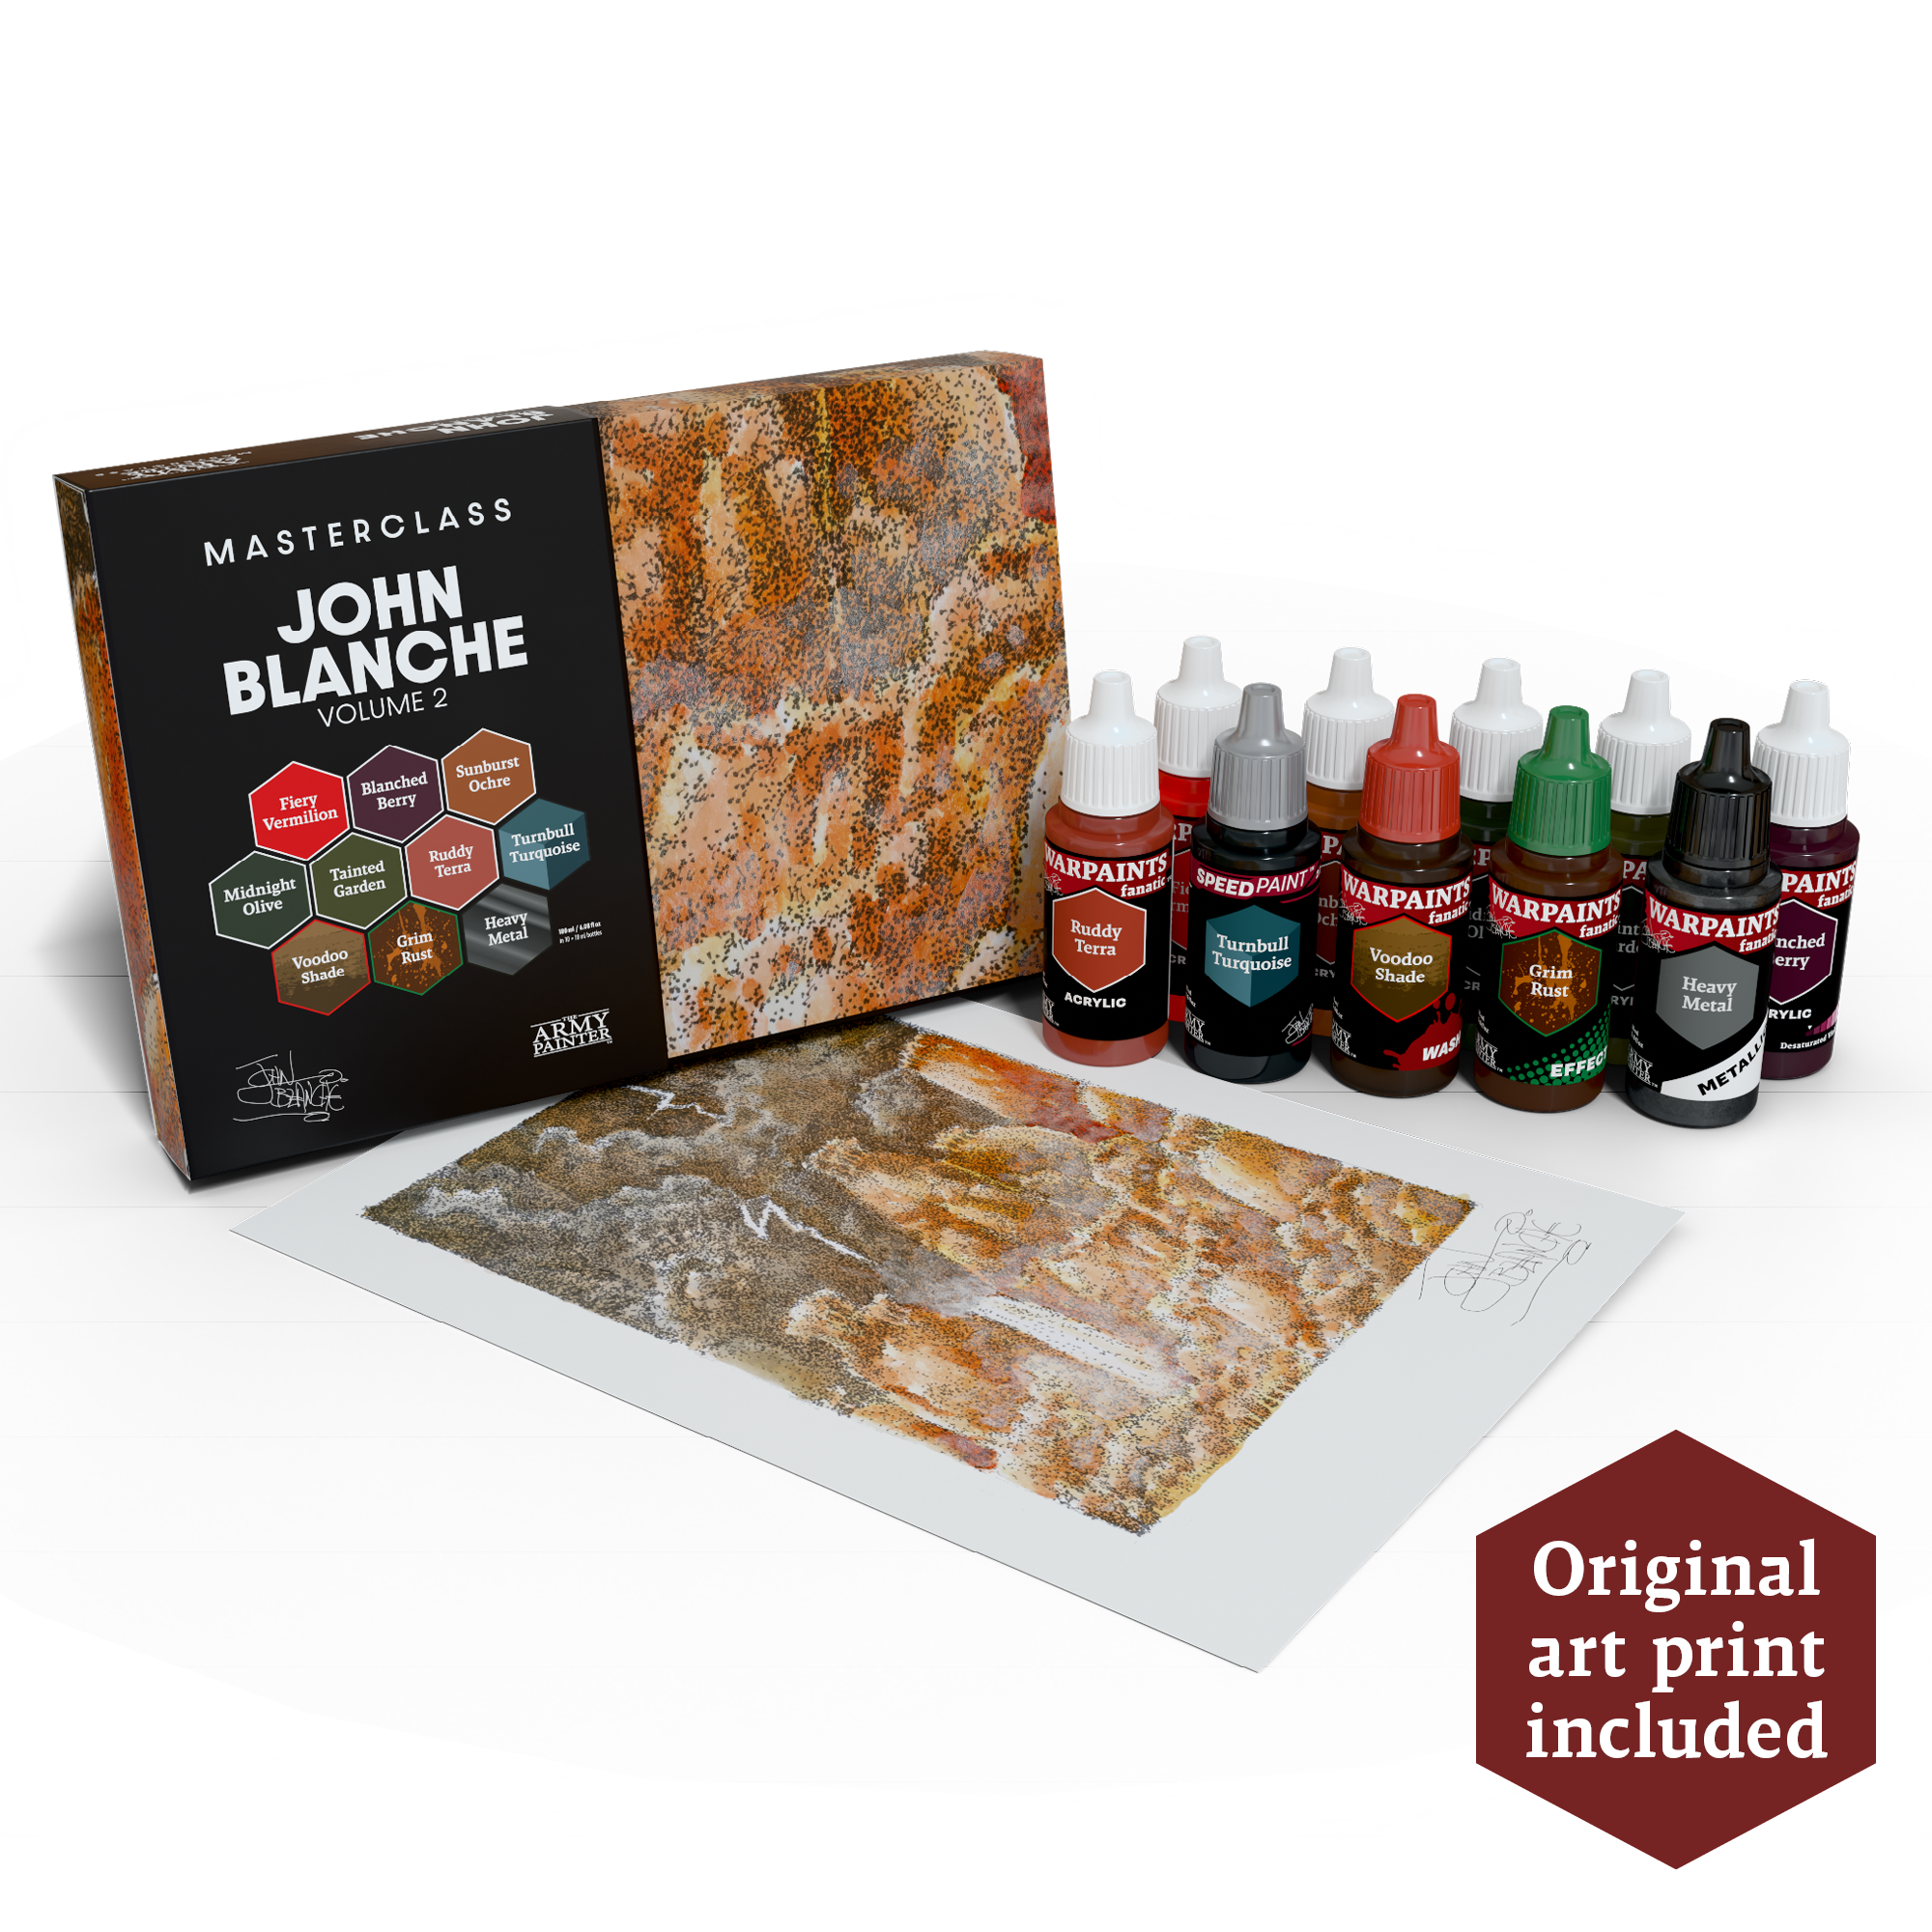
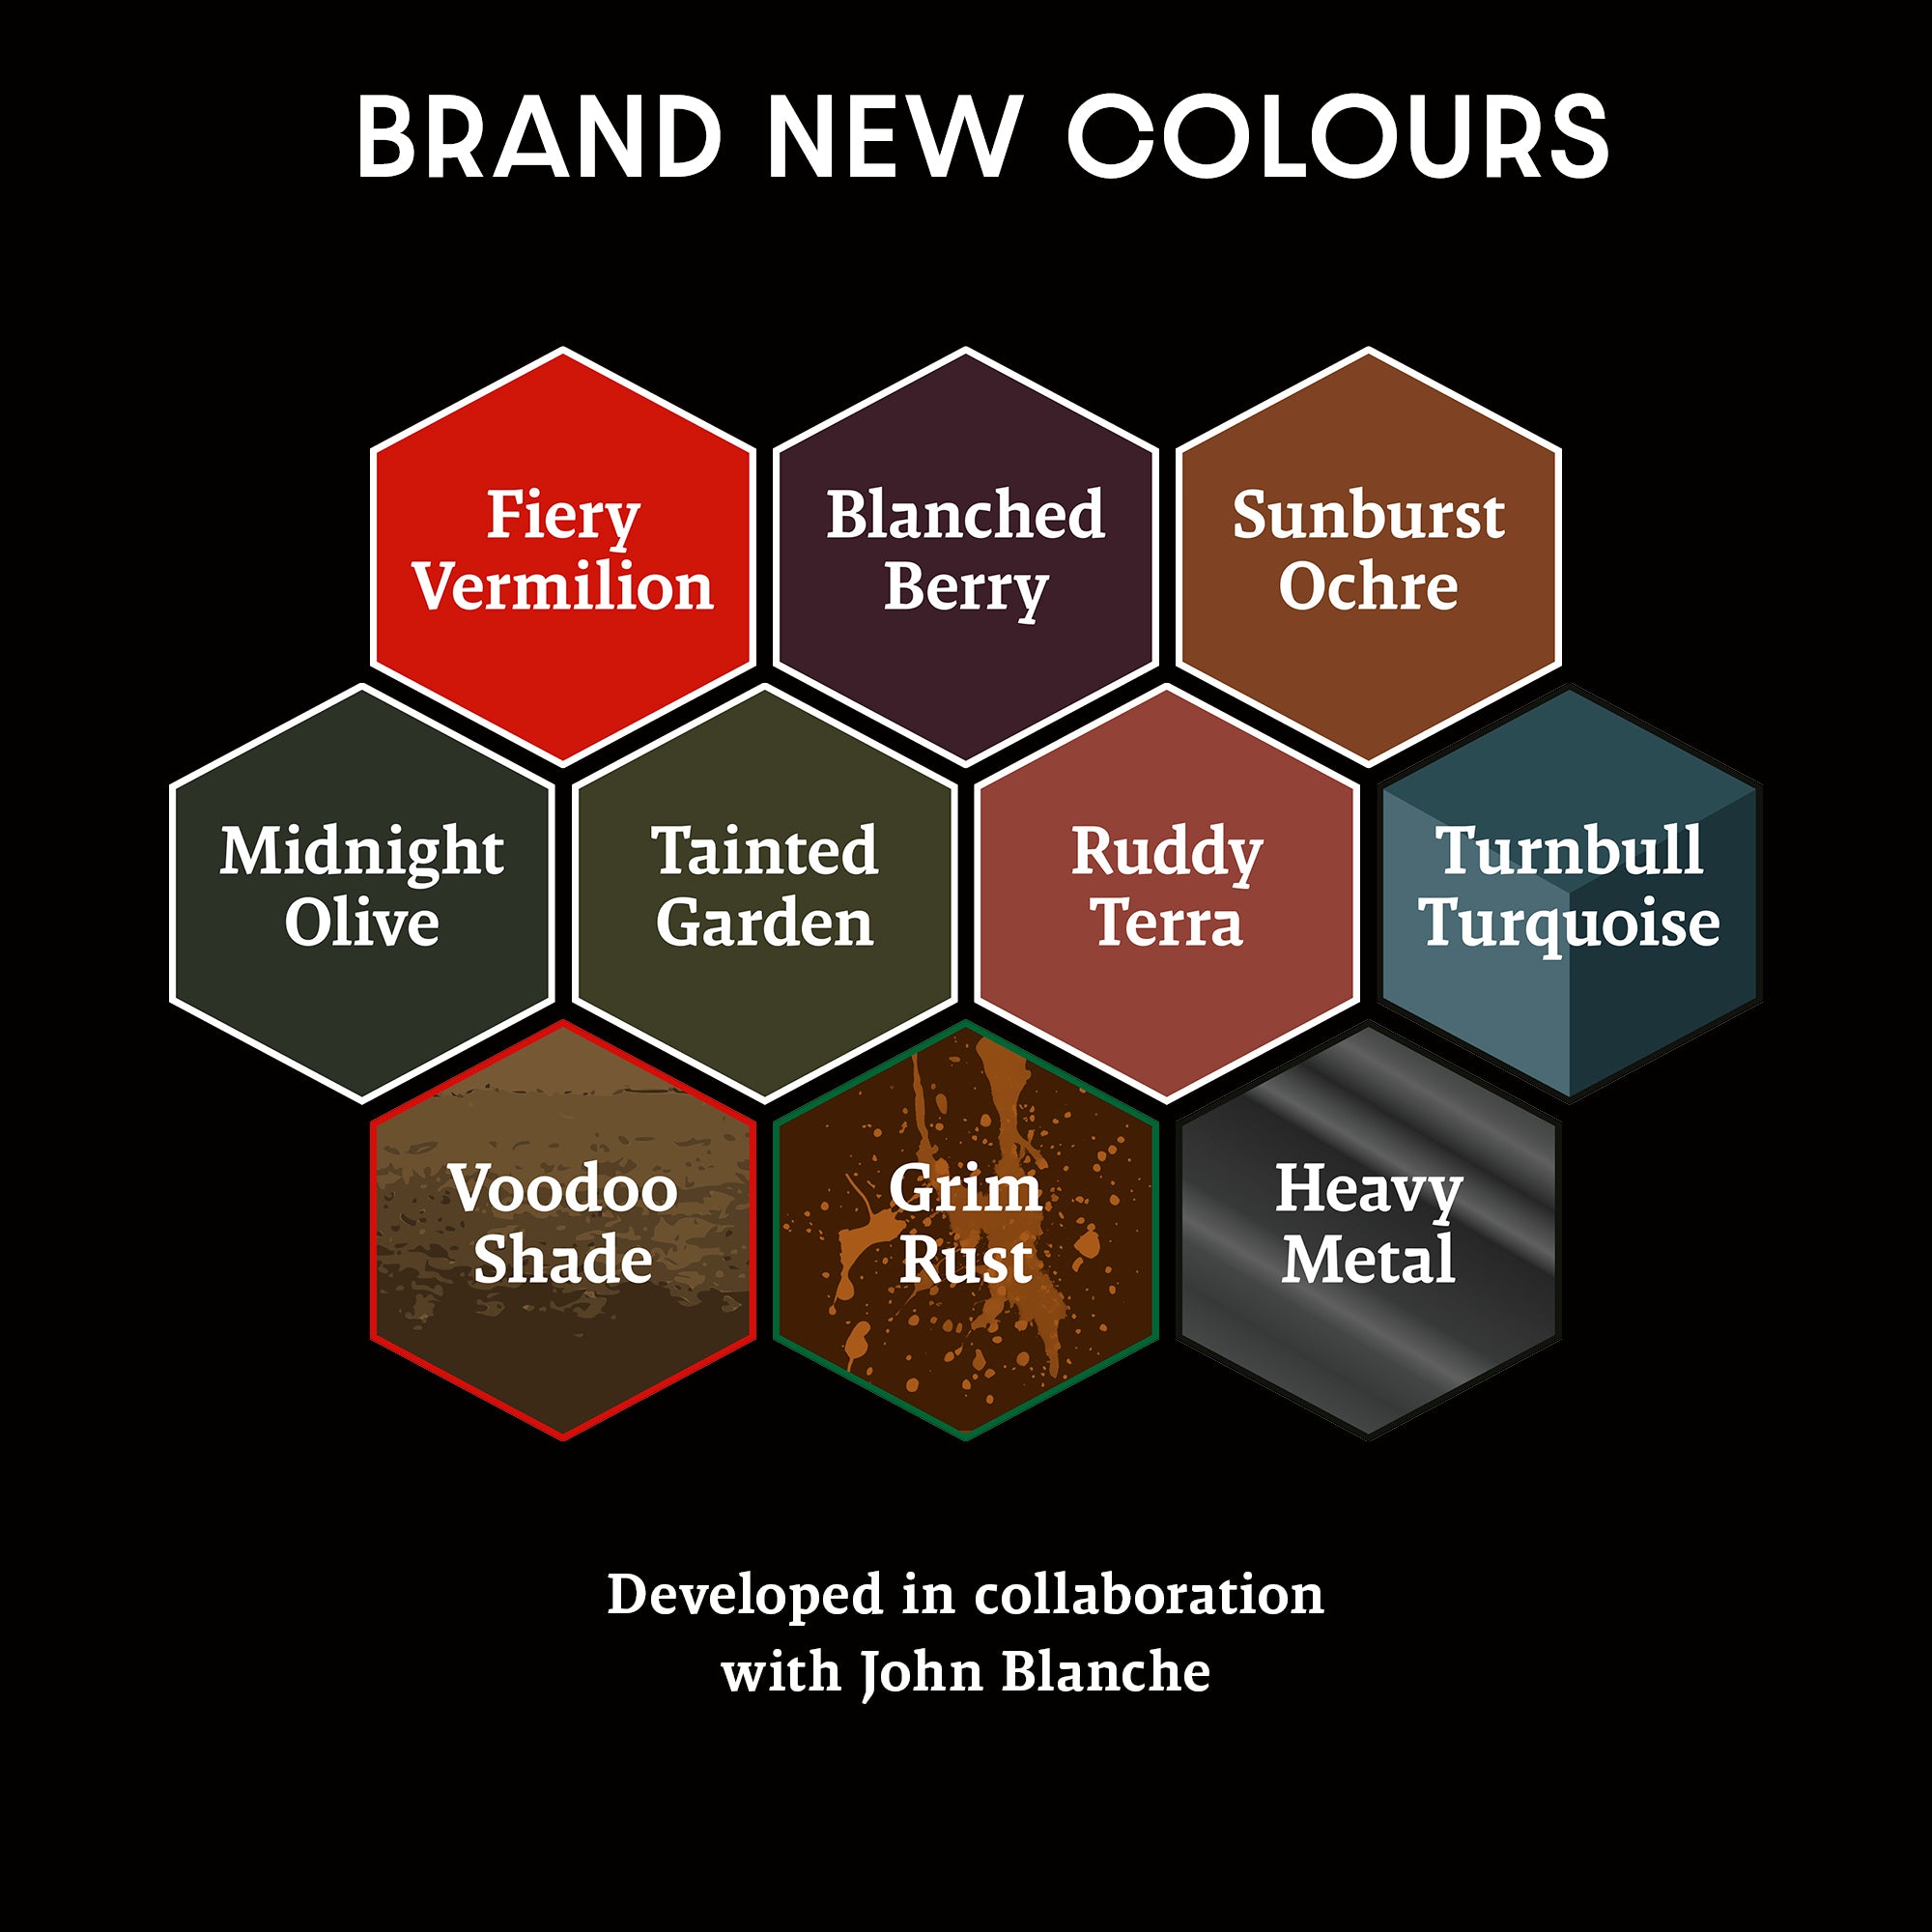
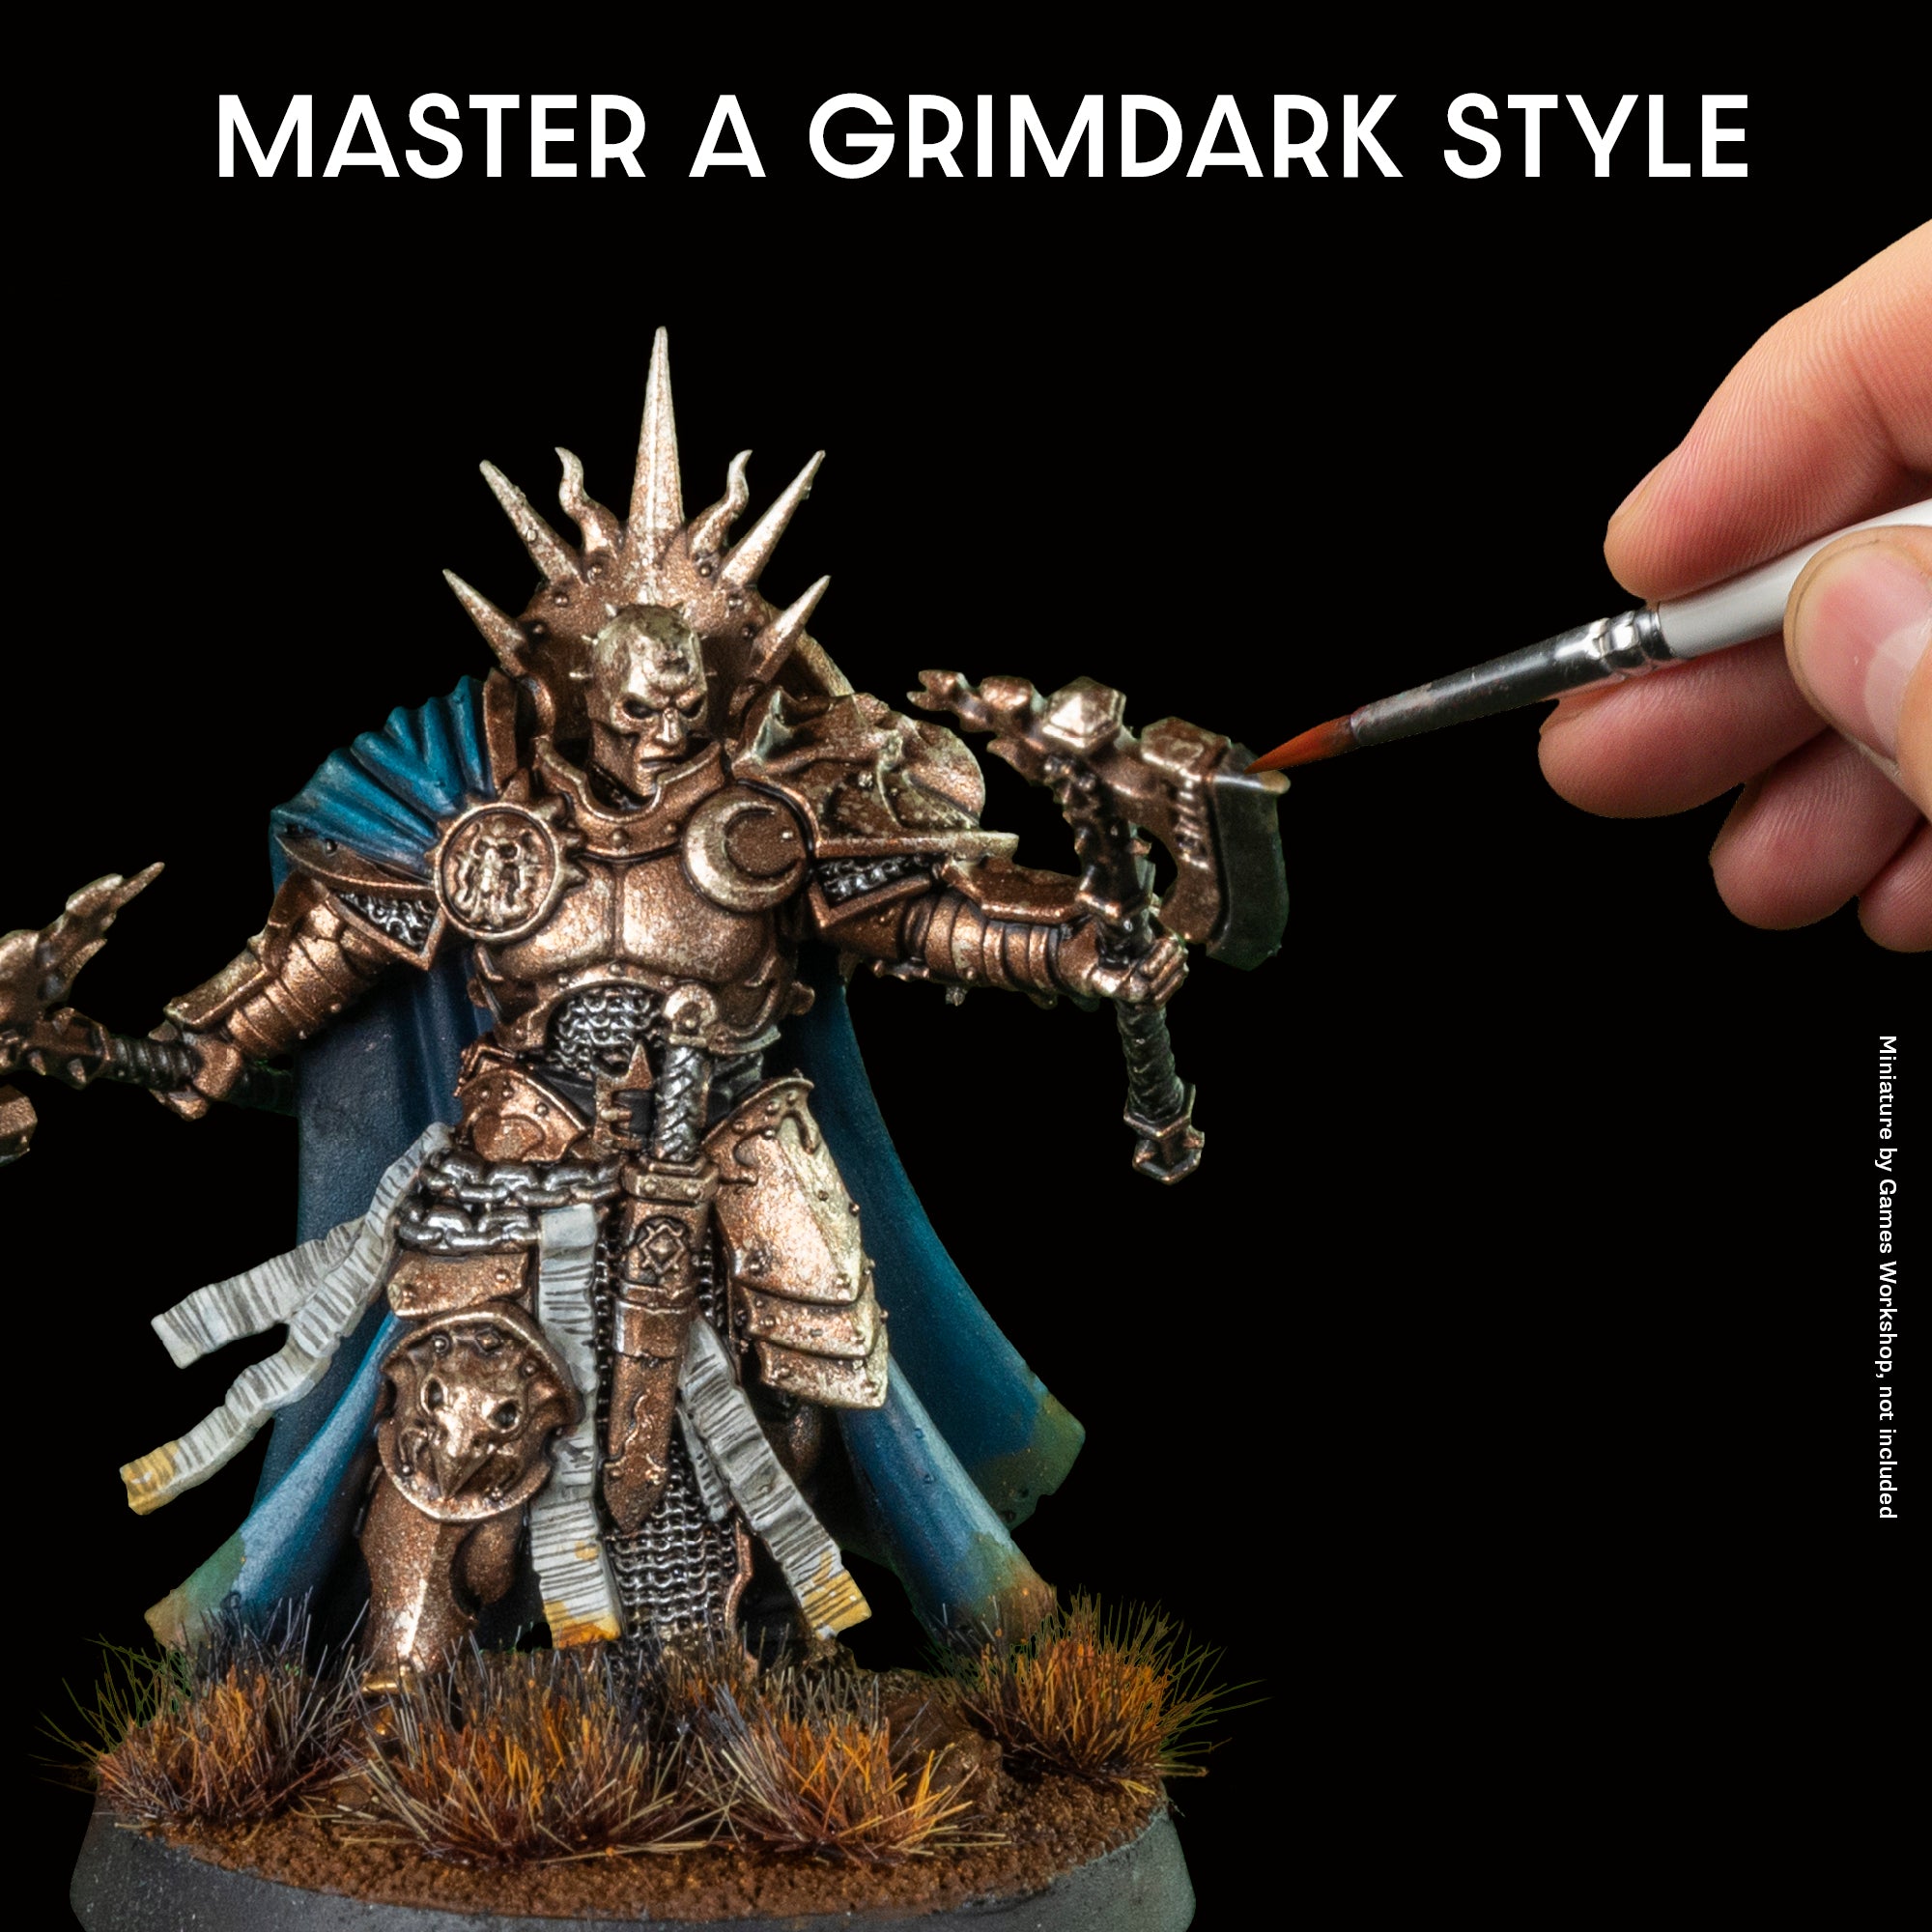
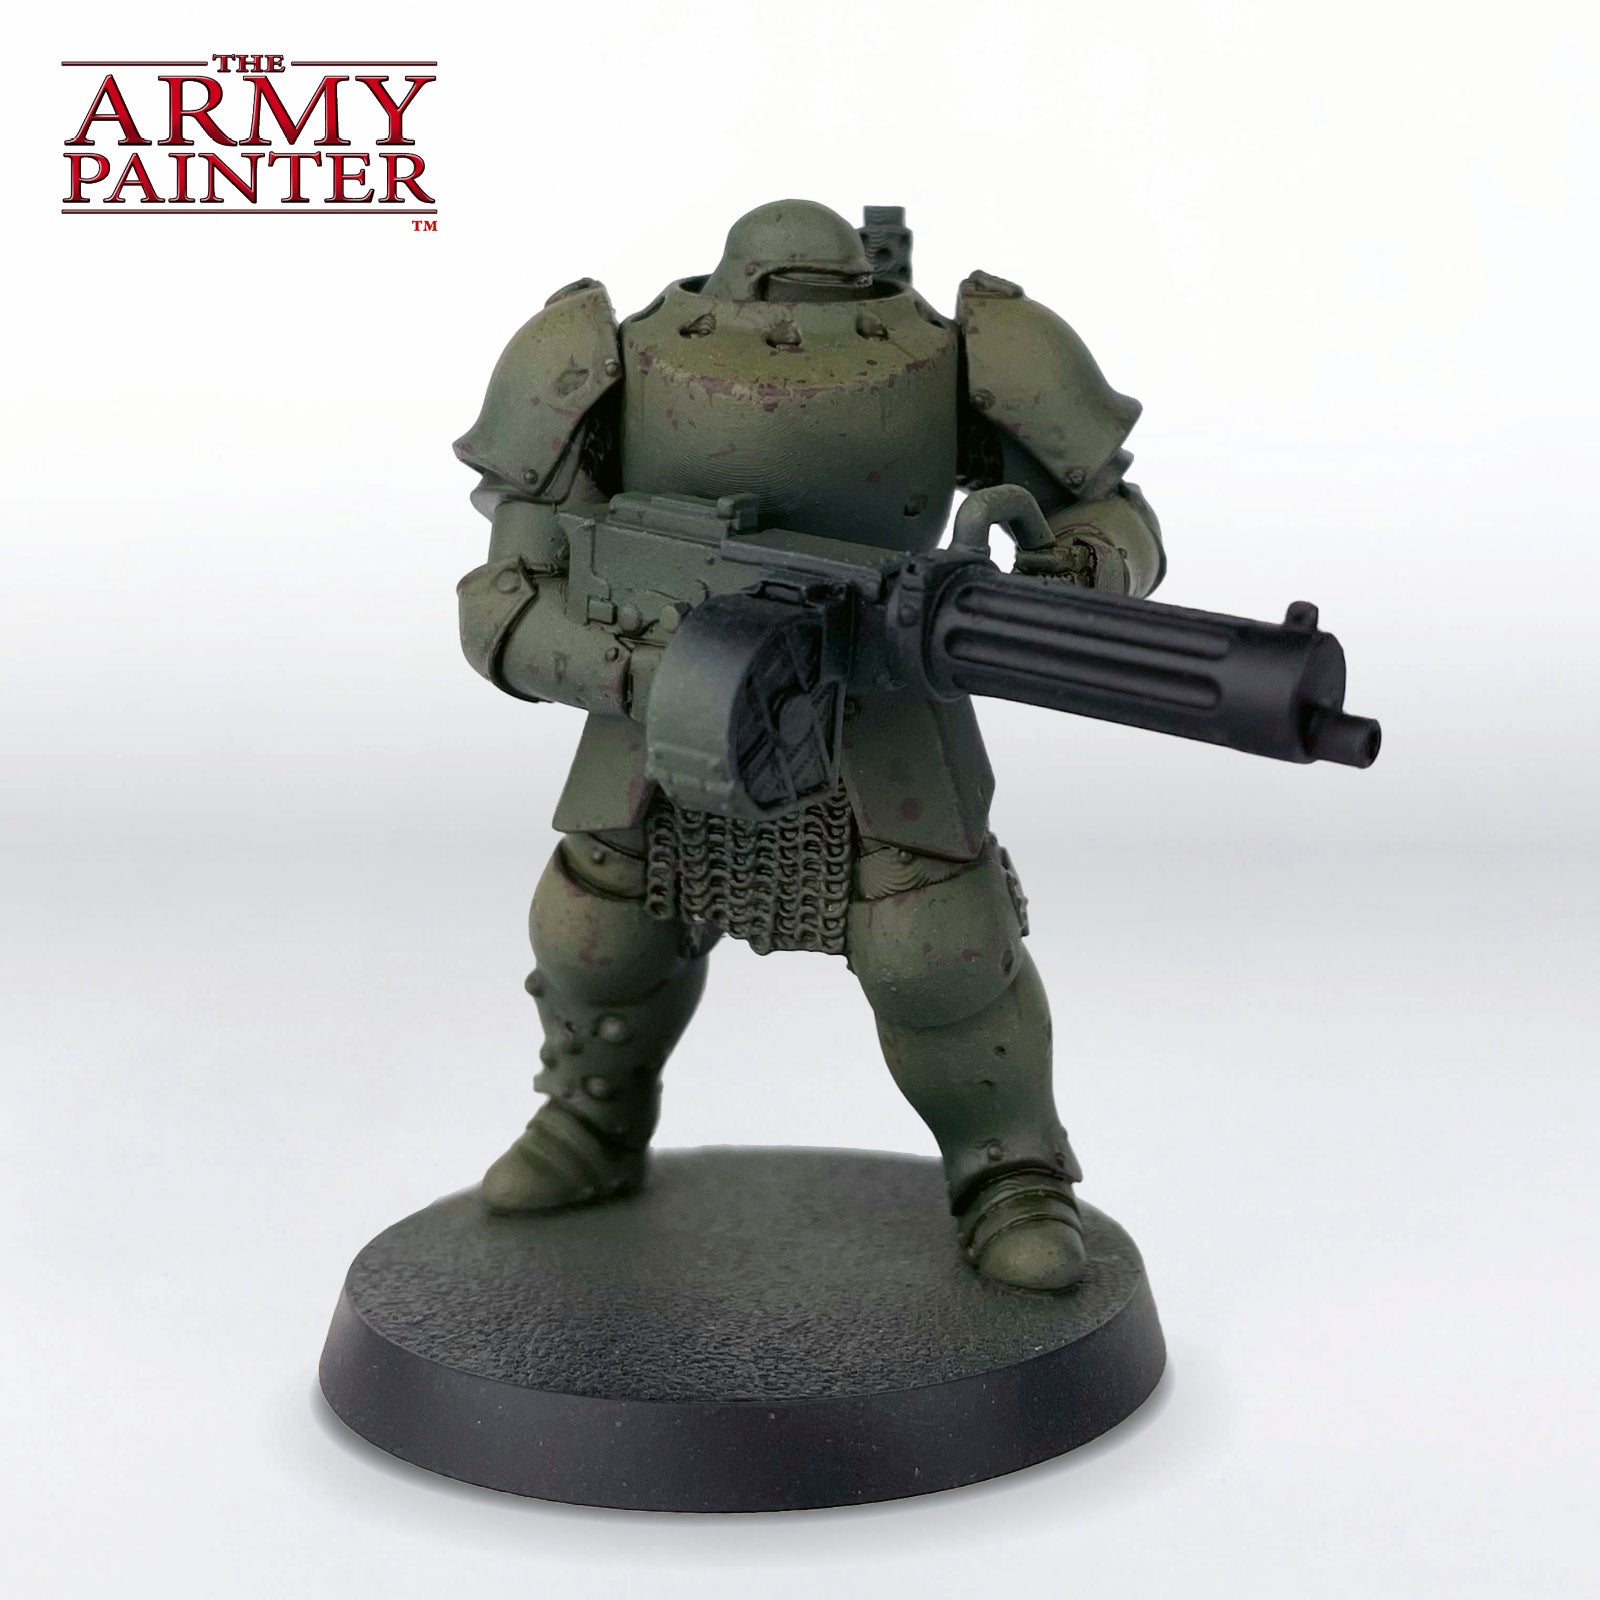
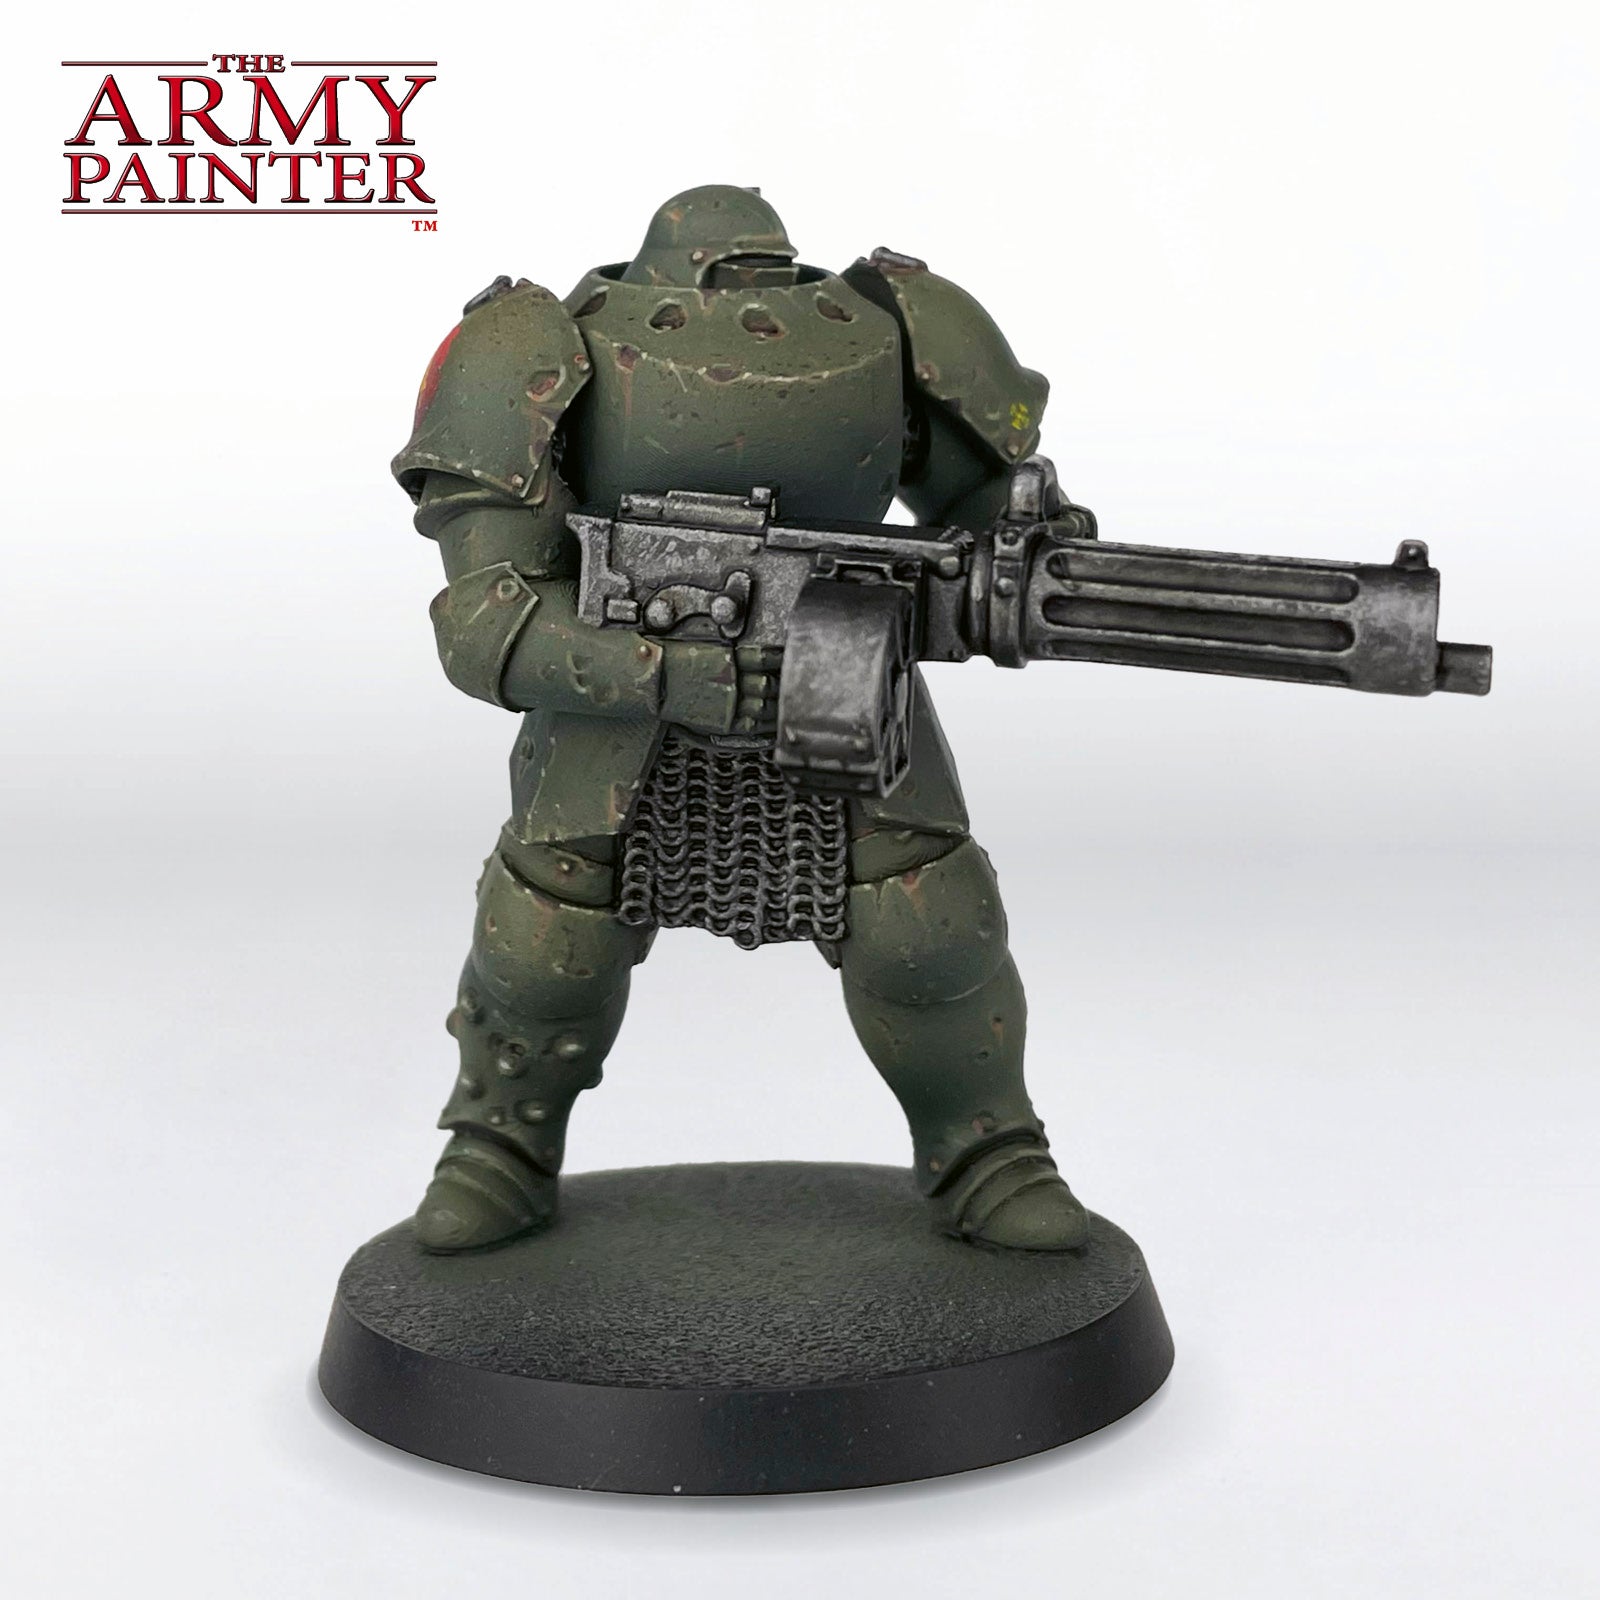
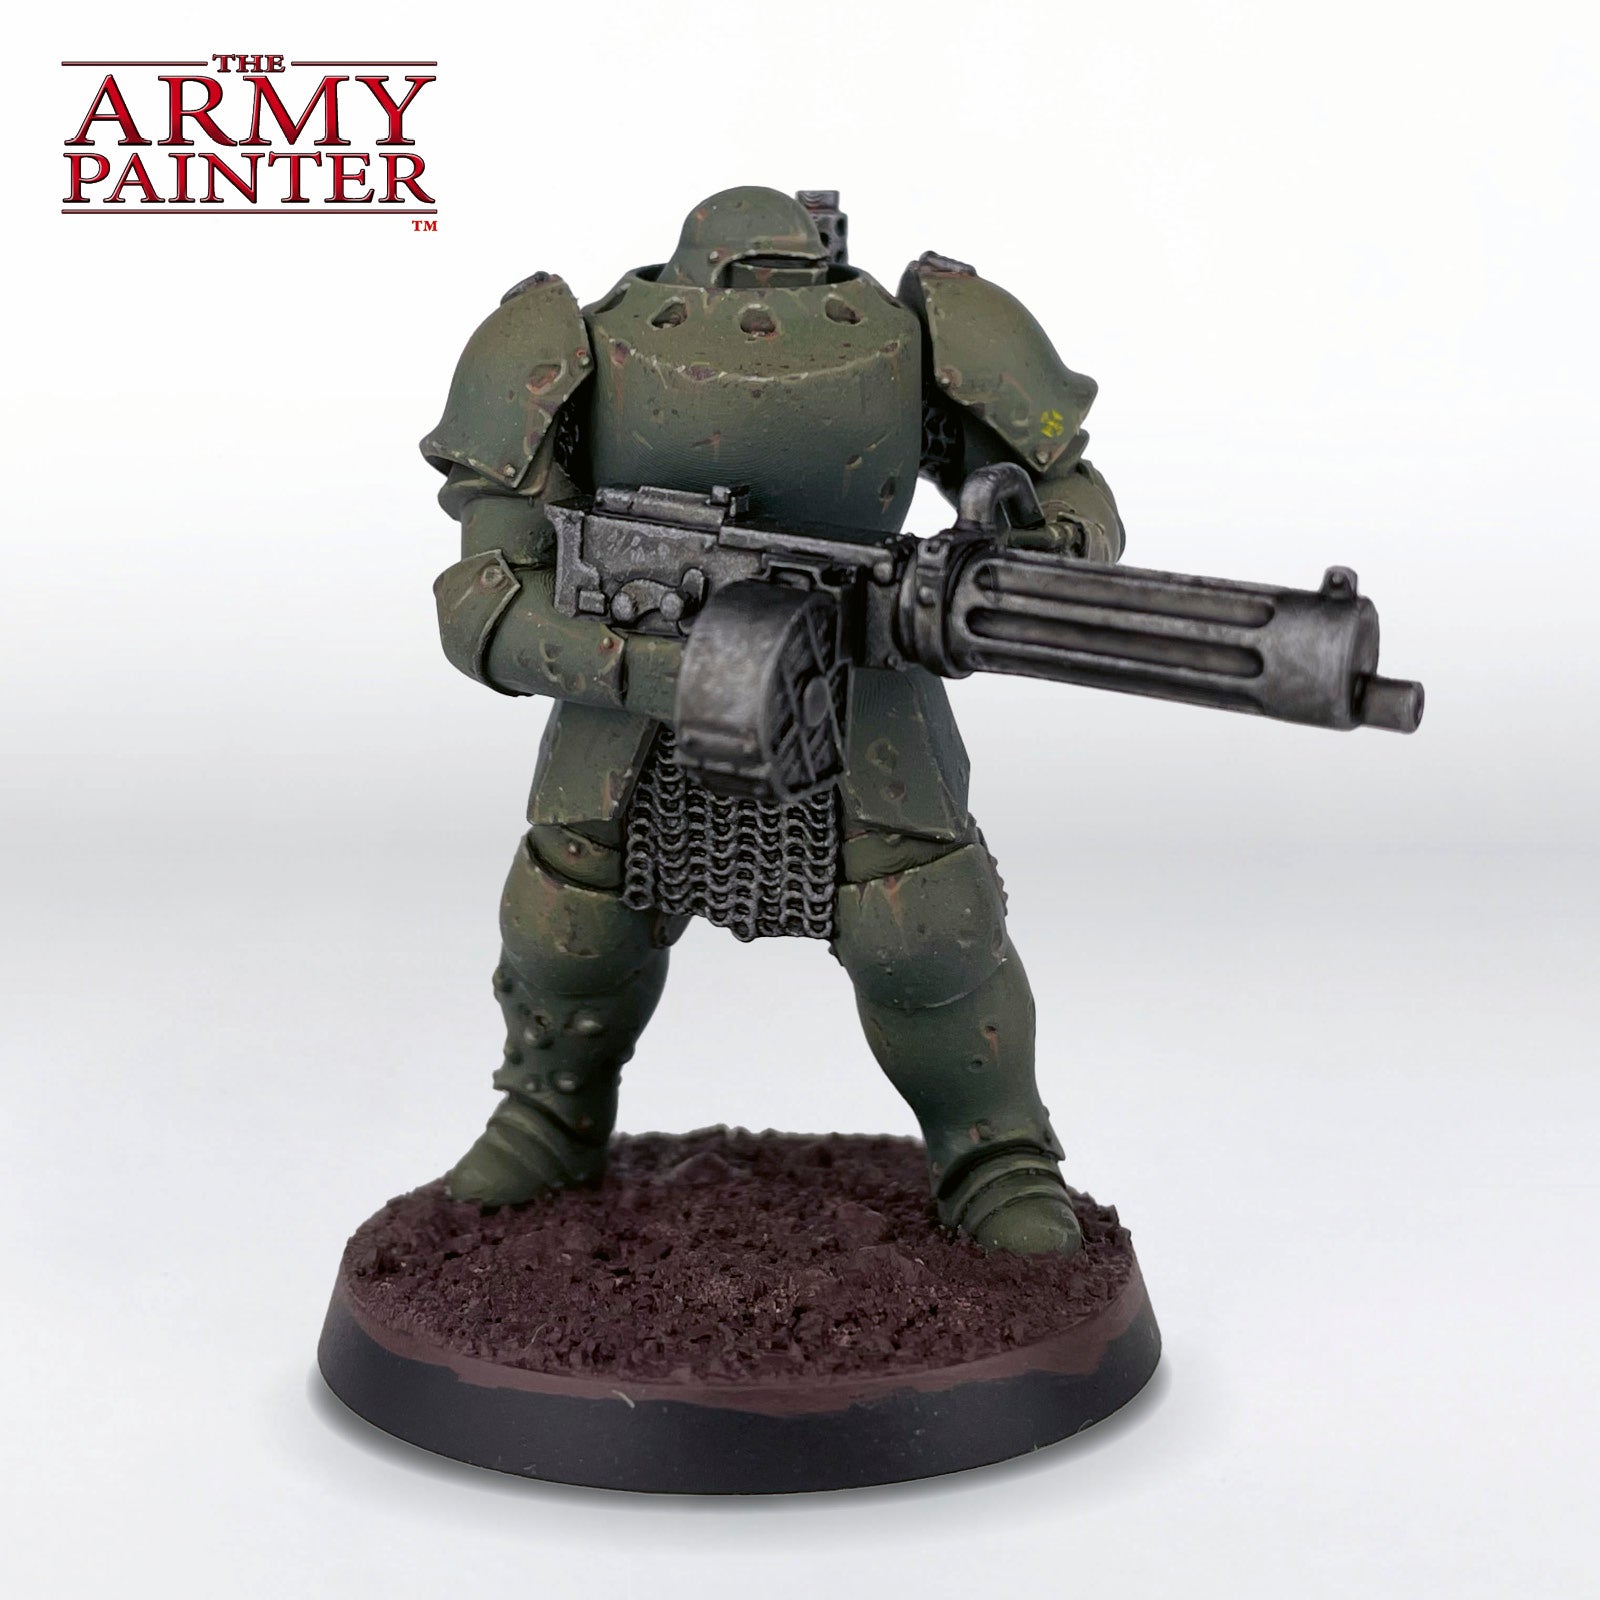
This month Tyler Mengel is slogging into the grimdark universe of Trench Crusade, the new miniature game that’s taking the hobby world by storm. He’s also painting the New Antioch Mechanized Heavy Infantry model exclusively with the John Blanche Masterclass Paint Sets Volume One and Volume Two. These two sets contain every paint you need, and they’re also perfectly suited for the sort of grim, grimy, and dark vibe that Trench Crusade evokes. 

Using a limited palette like this can help you stay within the boundaries of a particular mood while also fostering creativity as you’re encouraged to stick with the colour you have instead of reaching for your trusty go-to paints you might normally use to paint leather, leading to new recipes and techniques. 

This tutorial is broken down by colour segments, starting with the armour, then the freehand, and so on. Each section is further broken down into manageable steps by applying one colour at a time. If you’re on a desktop, simply click the arrows at the bottom of each section to scroll through the steps or scroll to the side on your mobile phone.

Let's get painting!

Banner

The Armour

The Armour Step 1

Step 1

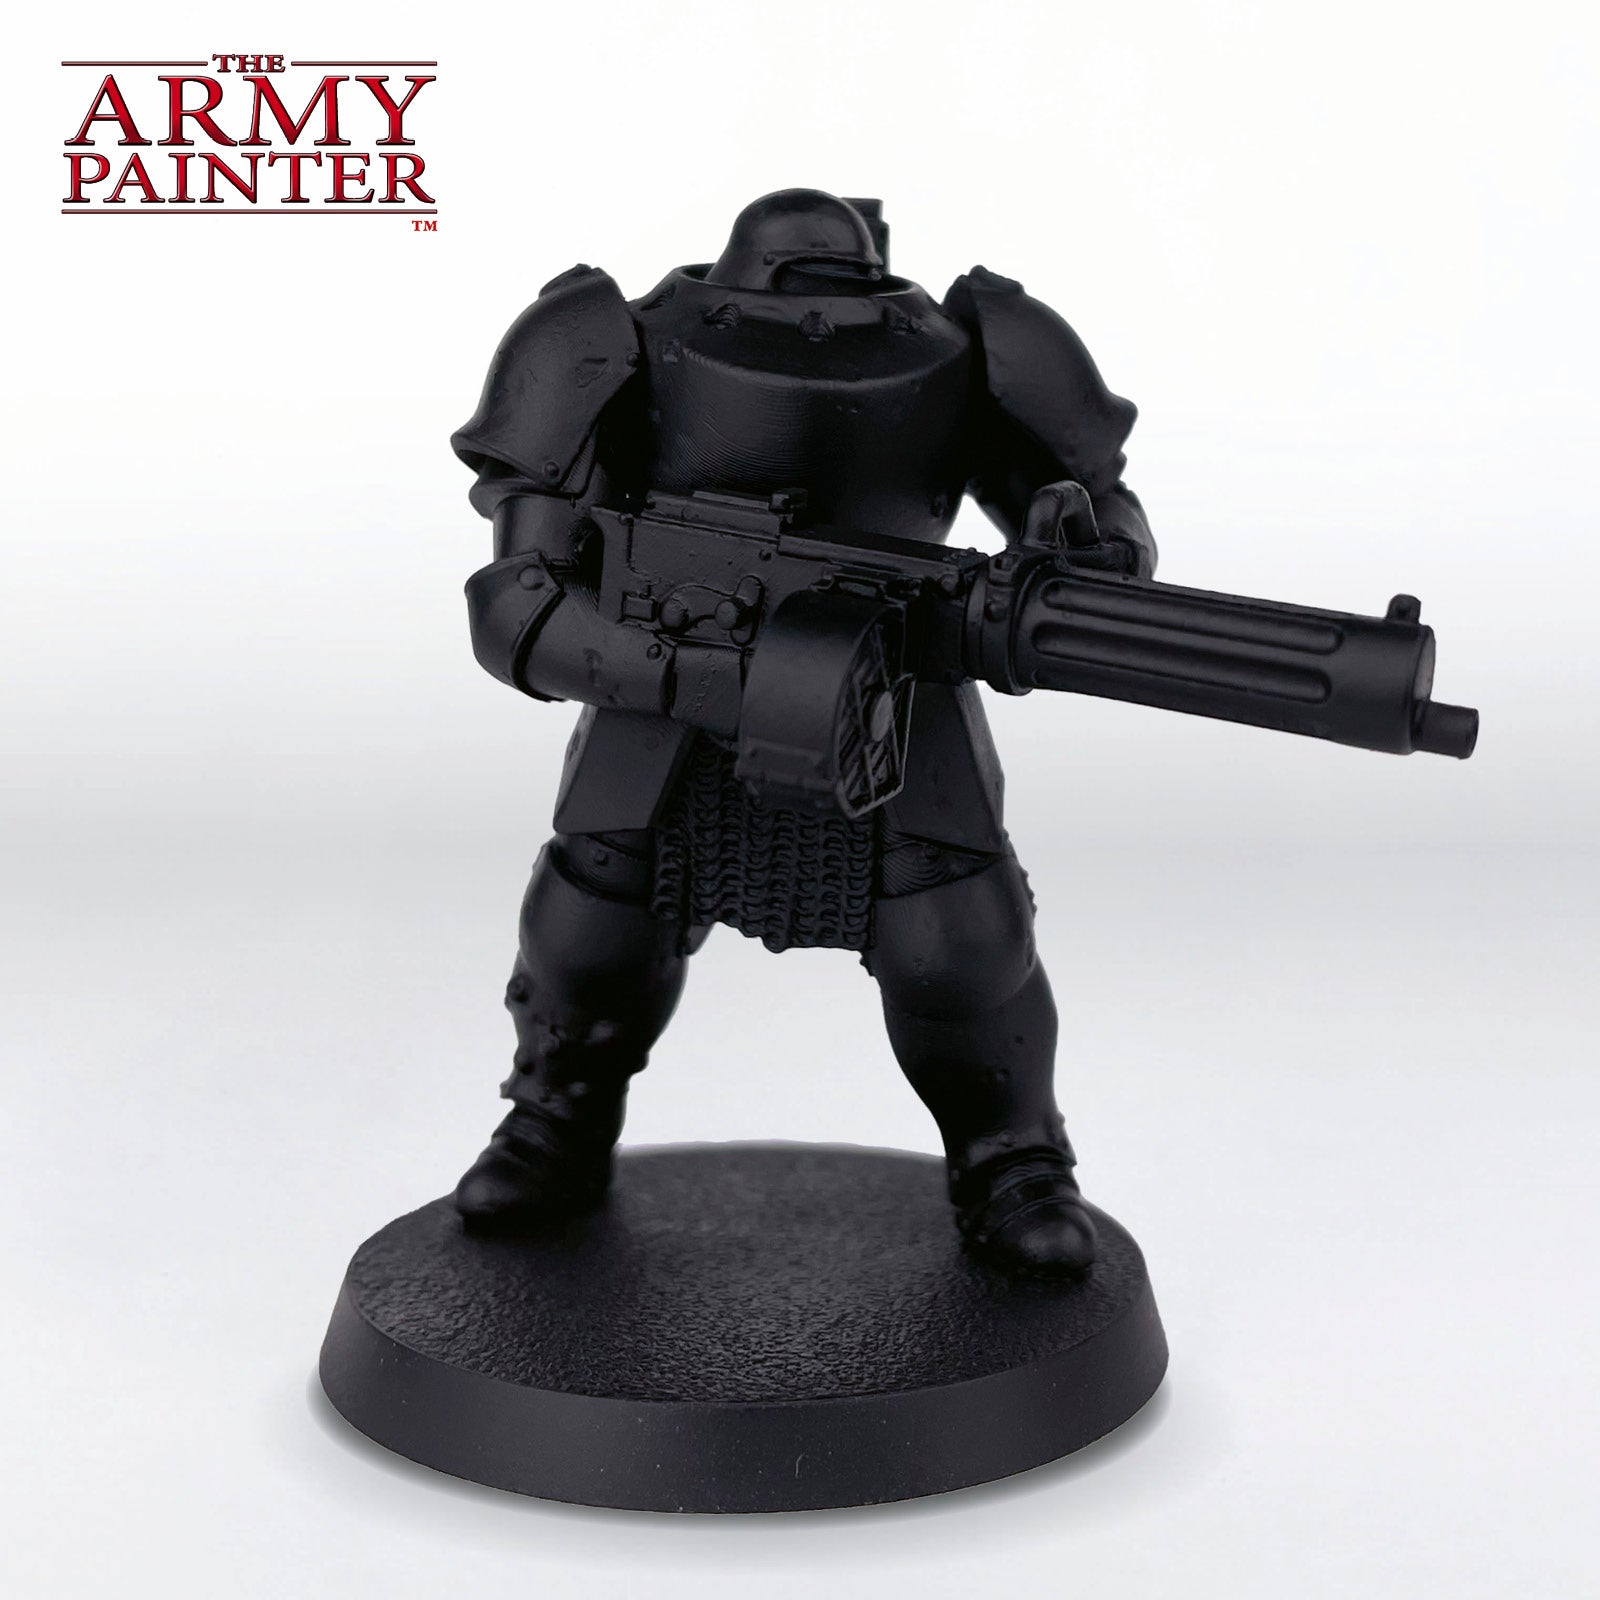
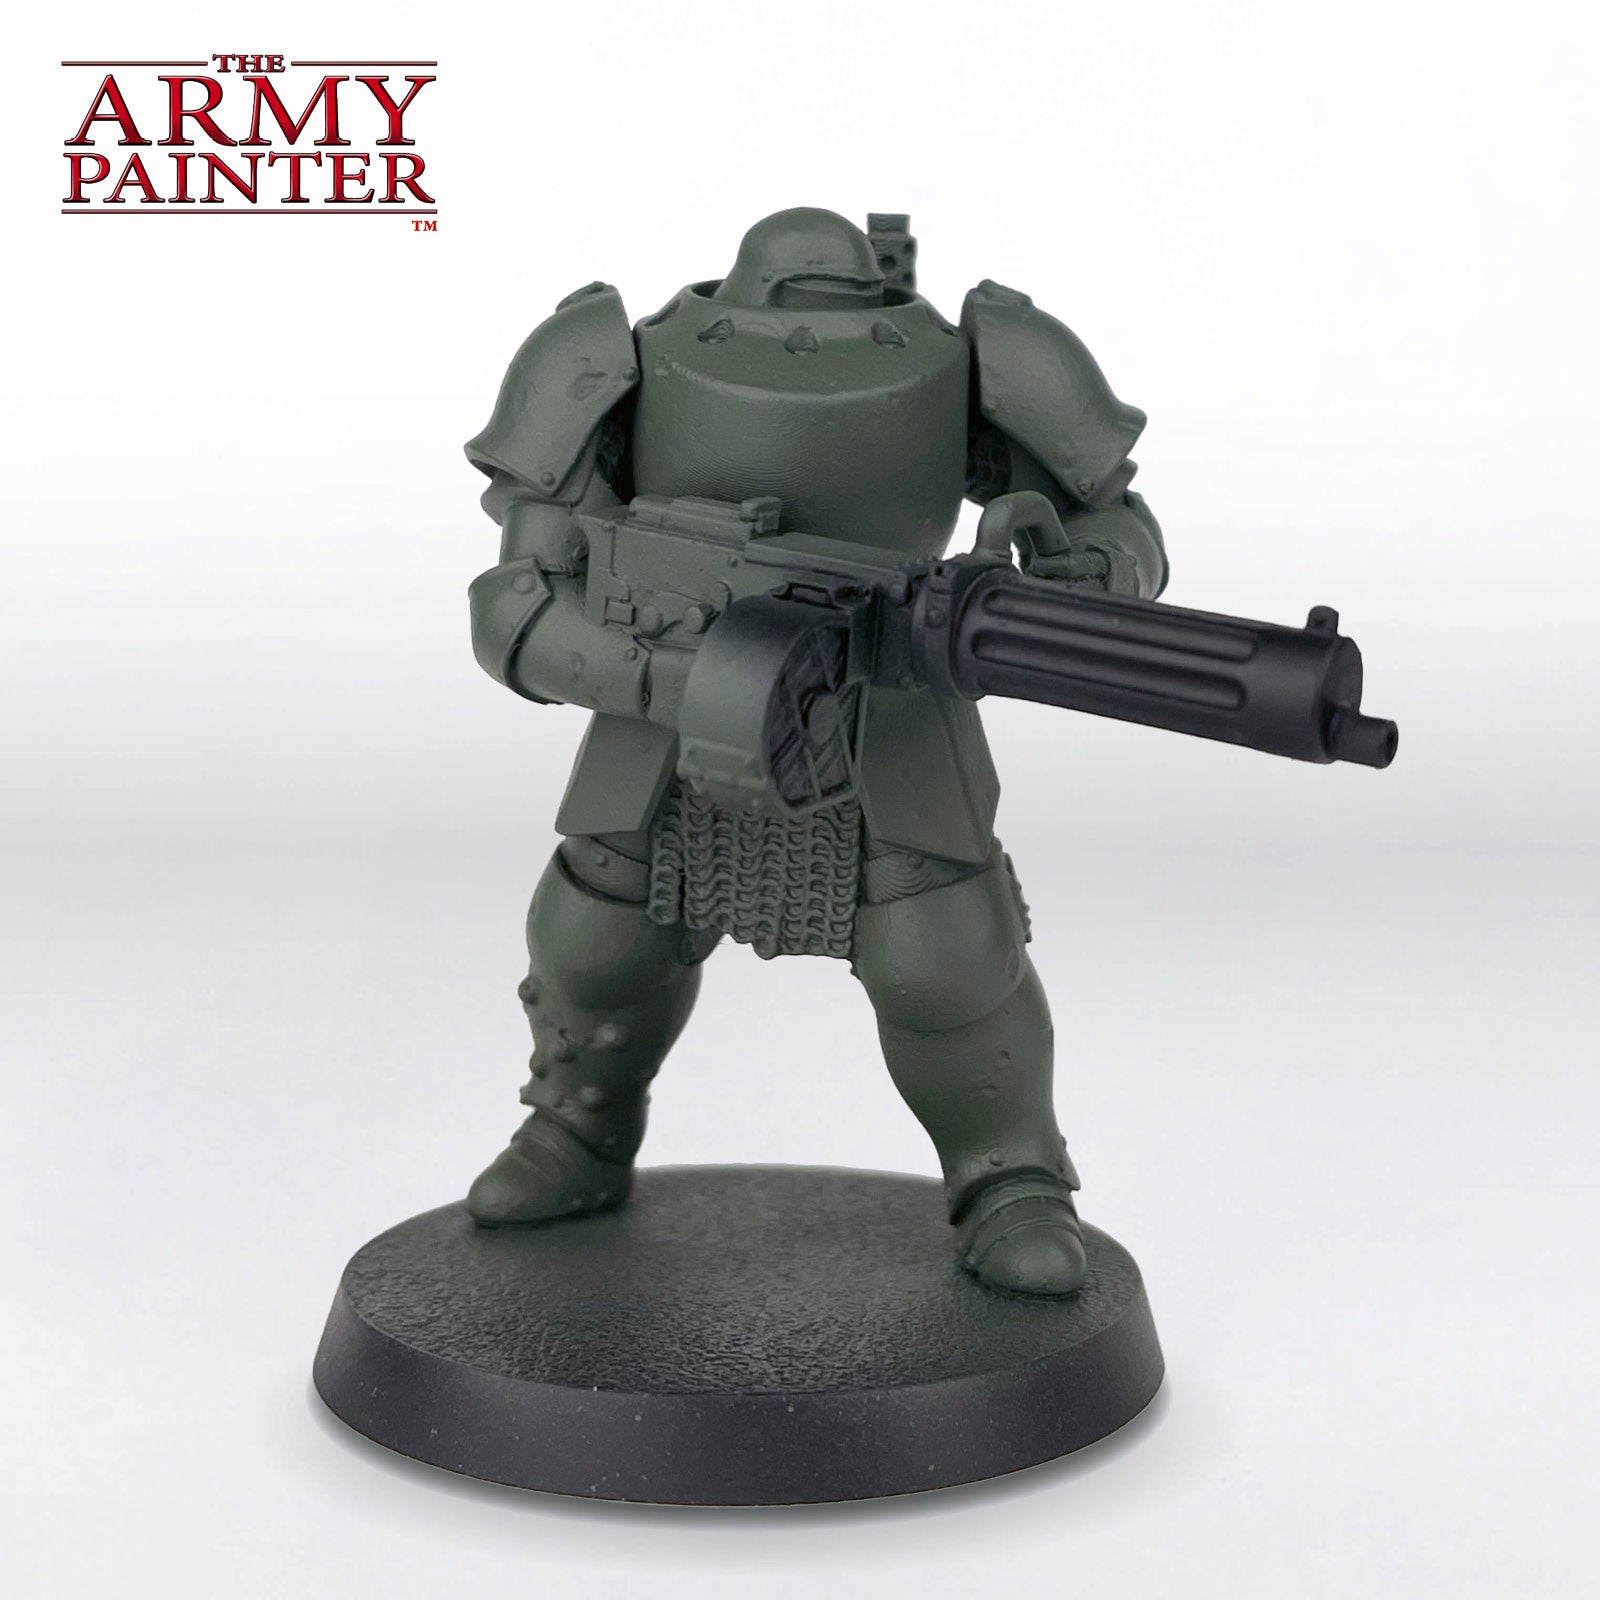
First, prime the model with Matt Black Colour Primer.

The Armour Step 2

Step 2

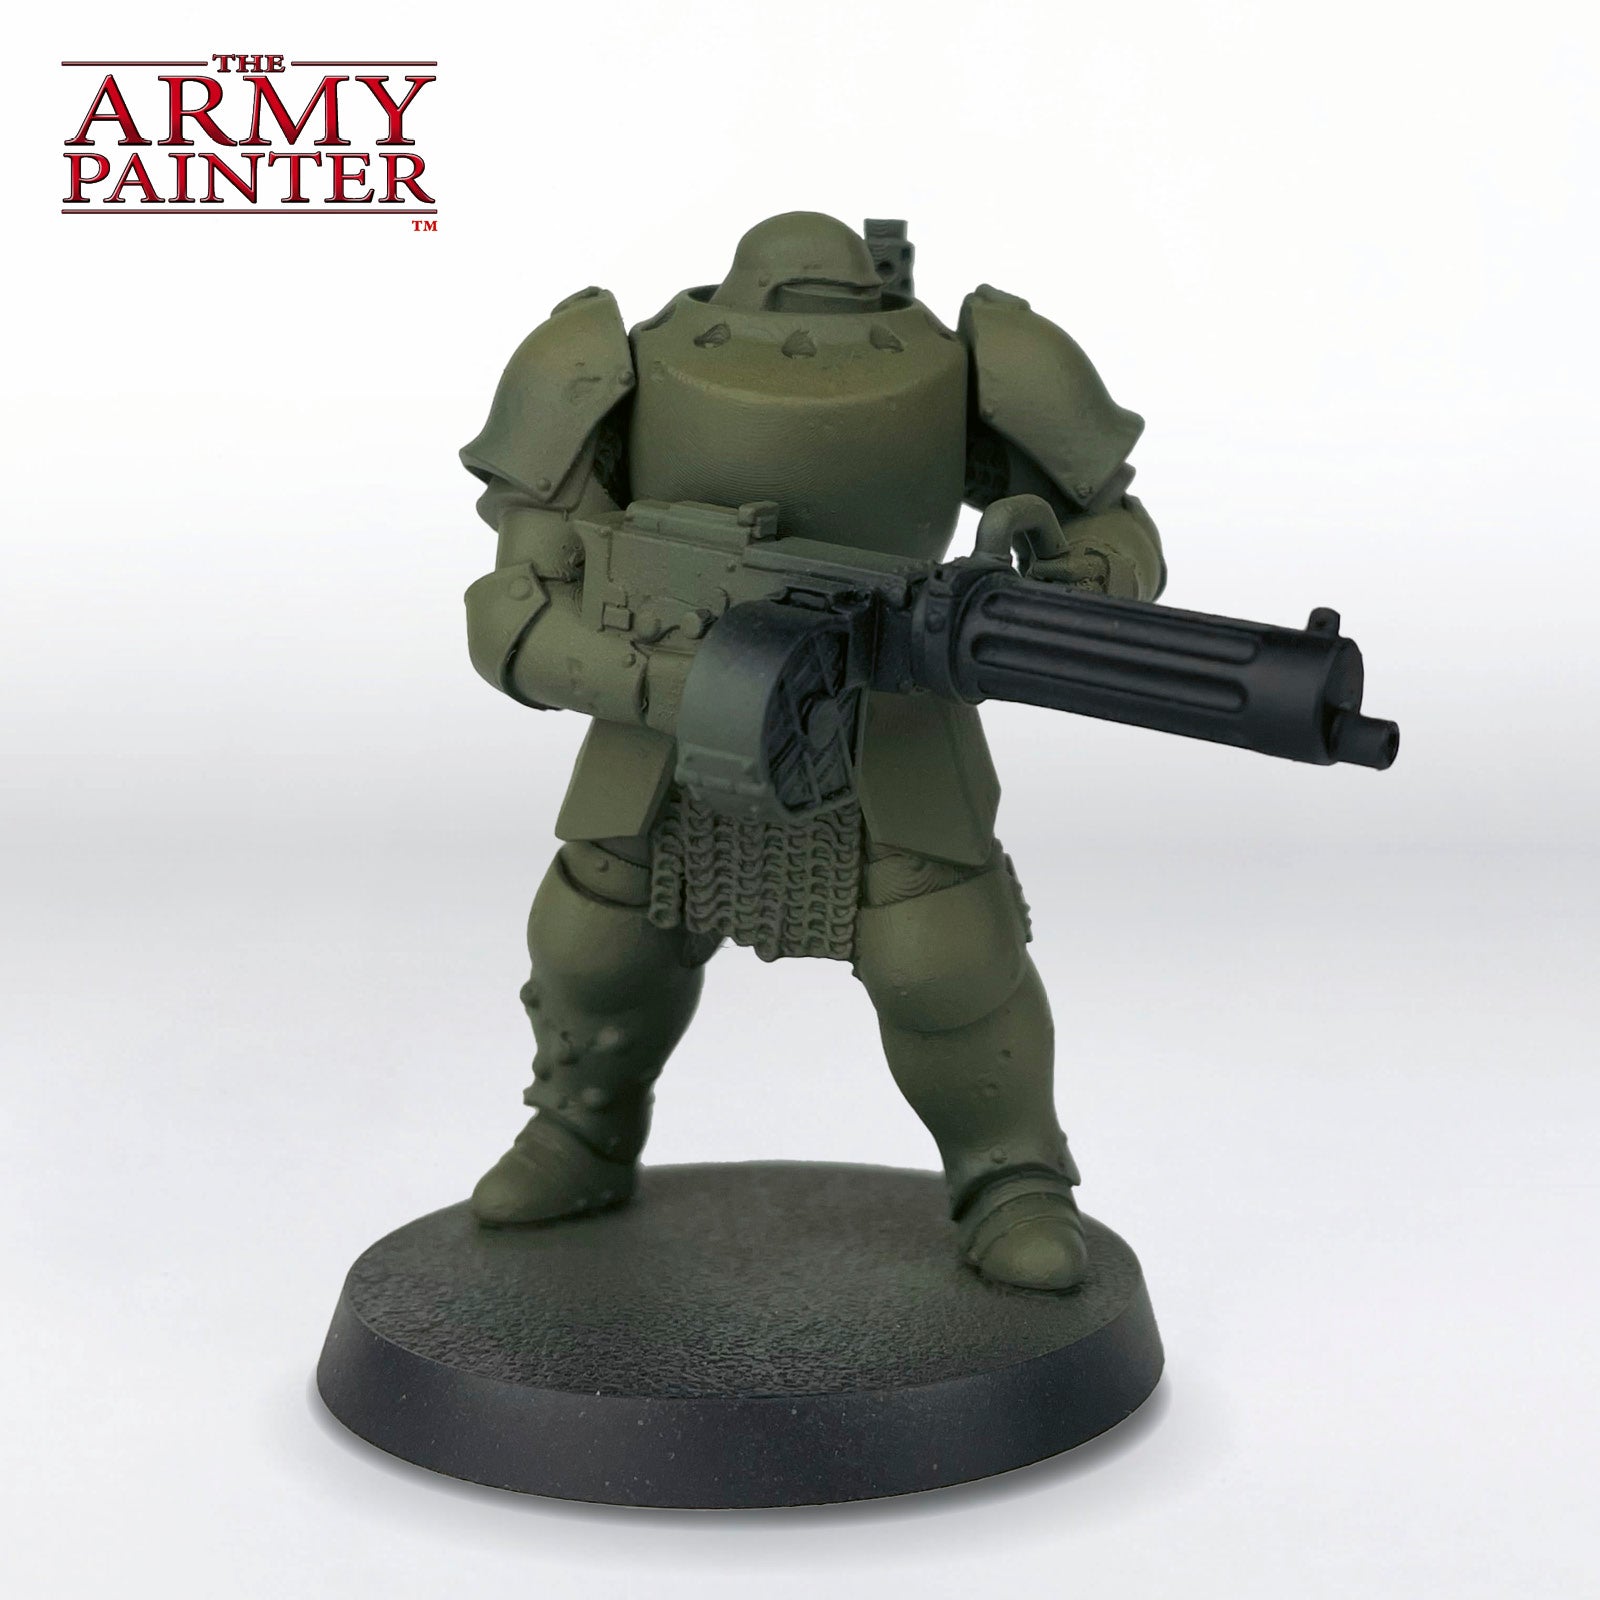
Give the model a solid coat of Warpaints Fanatic Midnight Olive. This was done with an airbrush on this model, as that tool will be used in the next several steps. Be sure to always thin your Warpaints Fanatic paints with Air Medium when using them through an airbrush.

The Armour Step 3

Step 3

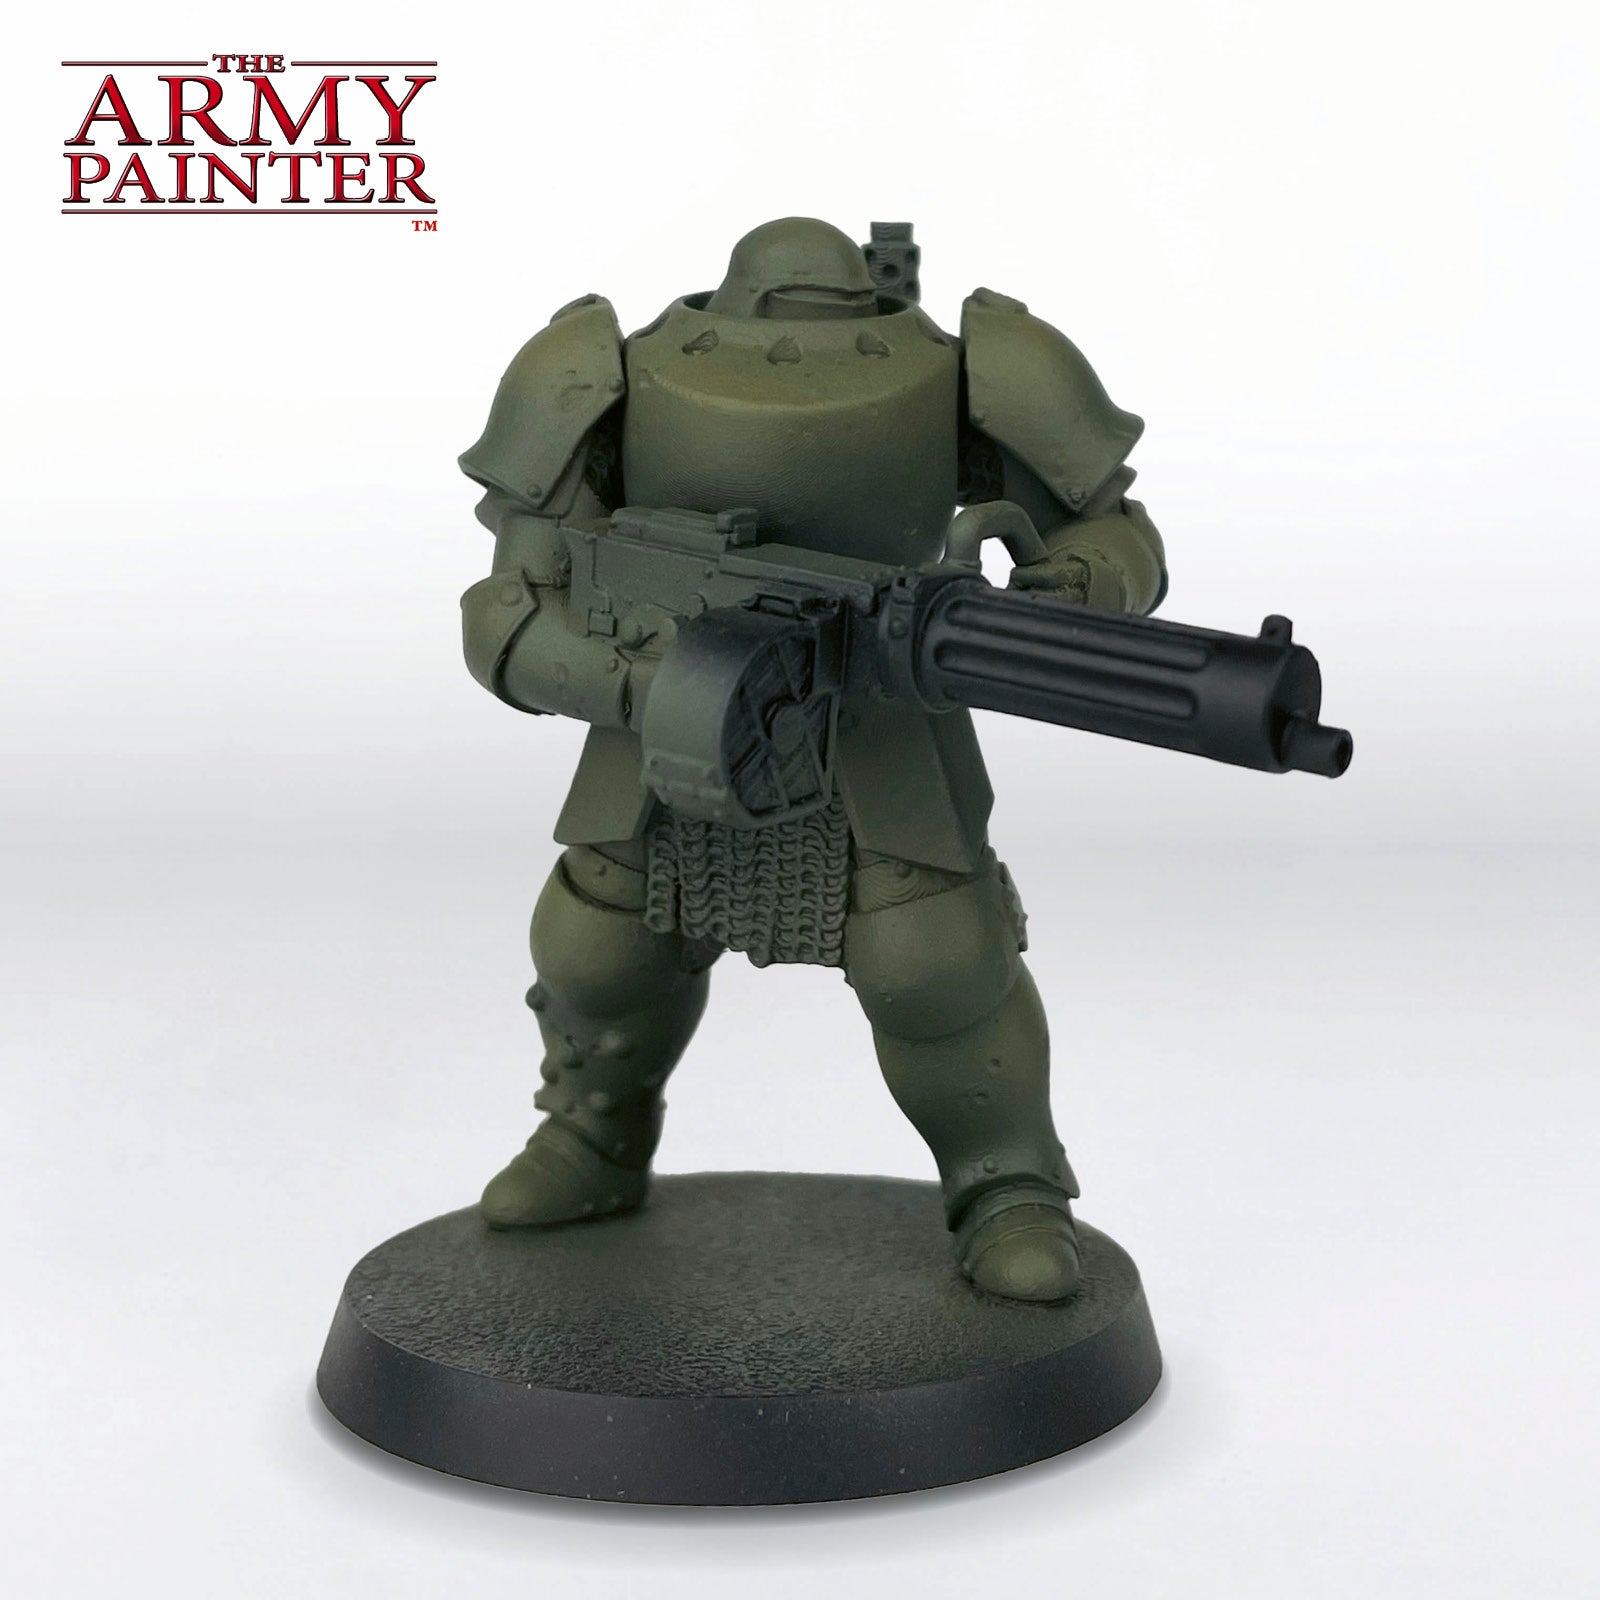
Using an airbrush, spray the model from above with Warpaints Fanatic Tainted Garden thinned with Air Medium. Be sure to pick out the areas where light would catch. If you do not have an airbrush, you can achieve similar results with some controlled drybrushing, wet blending, or stippling, which our Masterclass Drybrushes would all be perfect for!

The Armour Step 4

Step 4

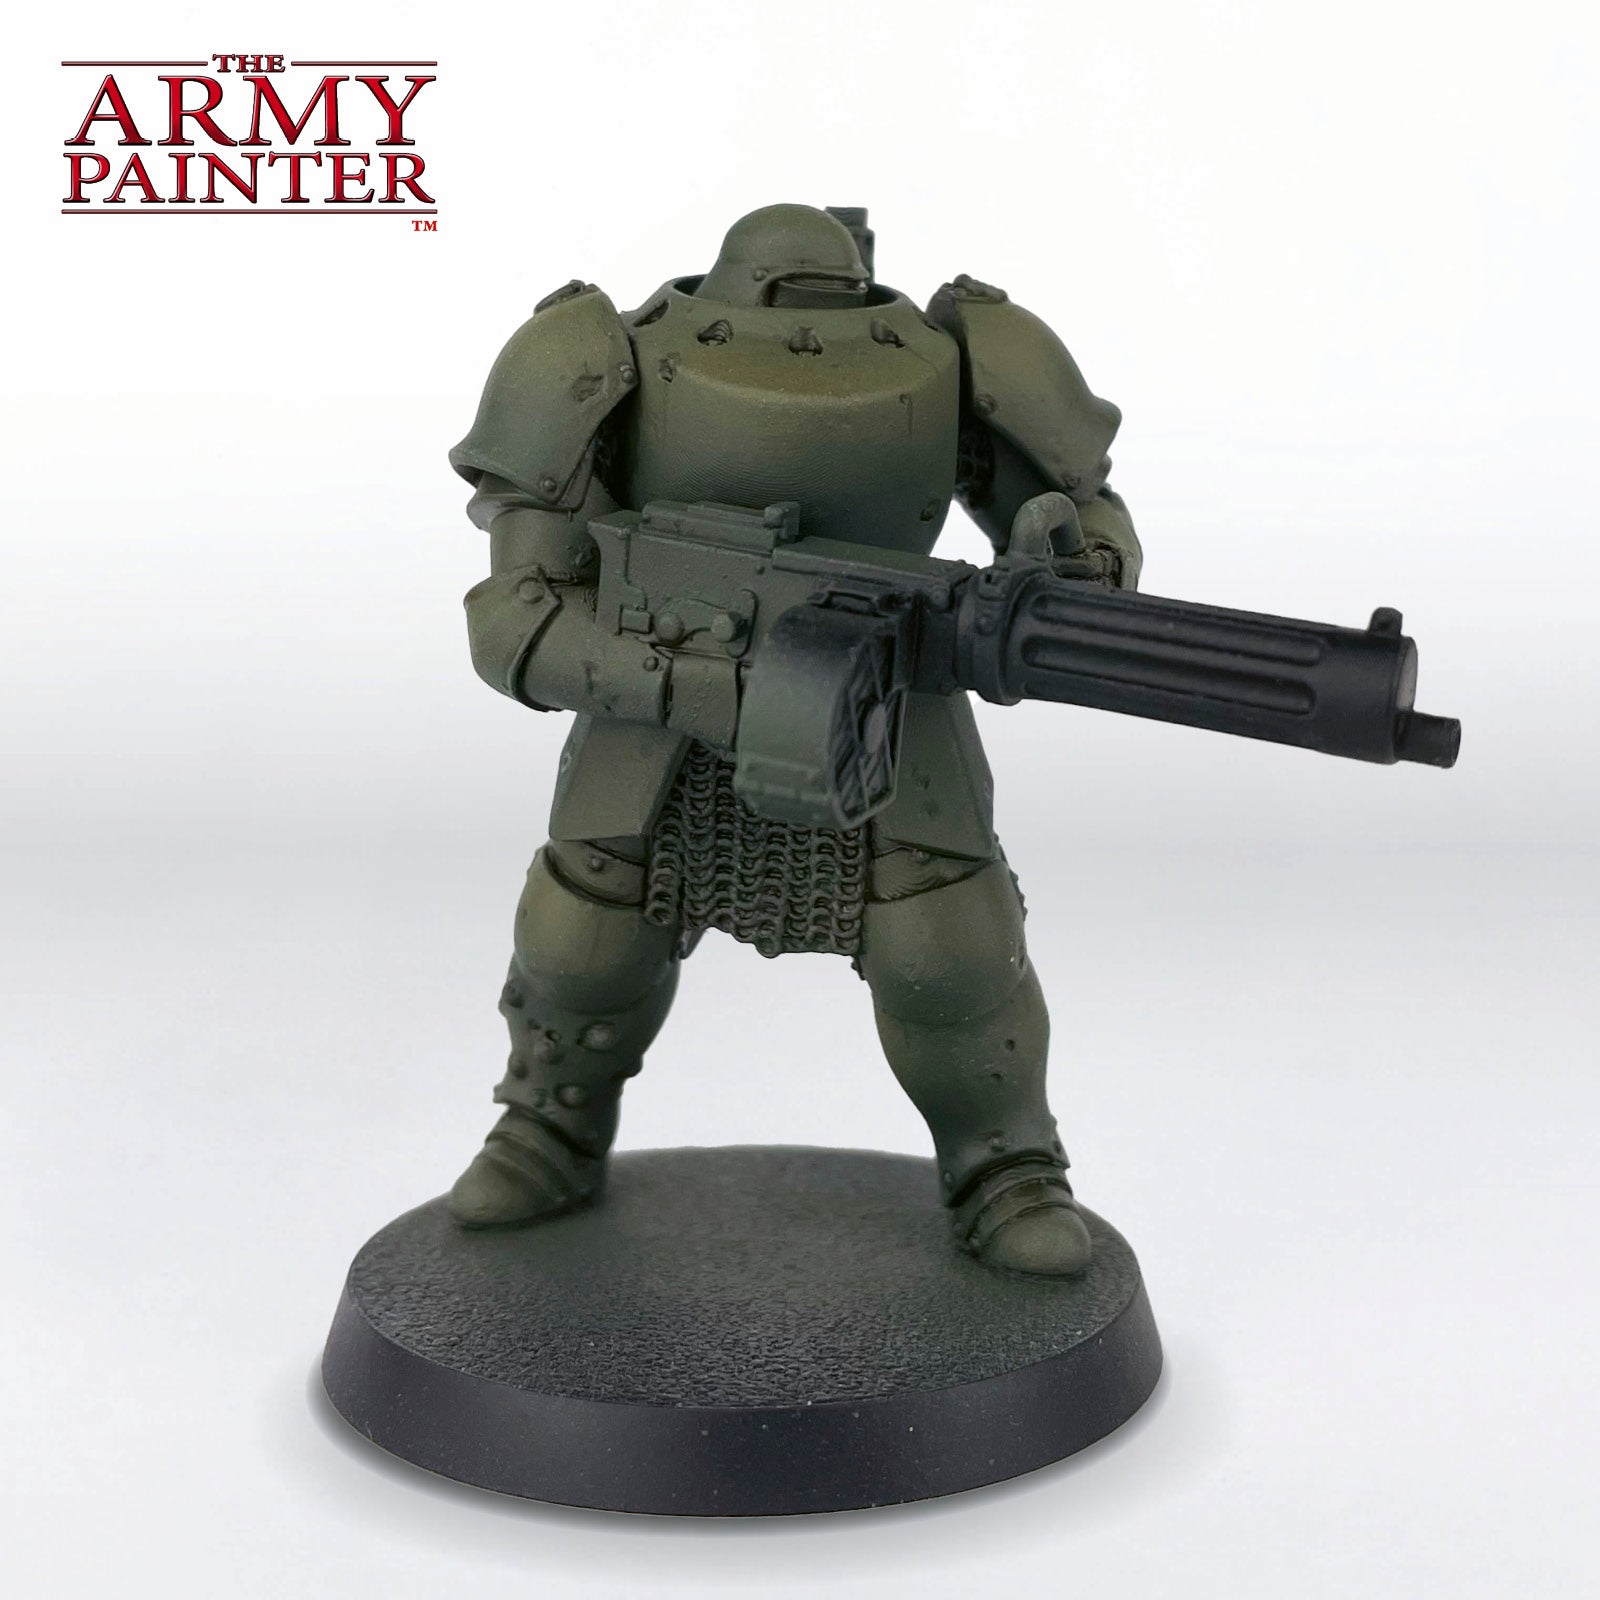
Next, spray the model from below with a mix of Speedpaint Turnbull Turquoise and Air Medium where shadows would naturally be on the model. If you do not have an airbrush you can achieve similar results by applying several thin glazes.
The Armour Step 5

Step 5

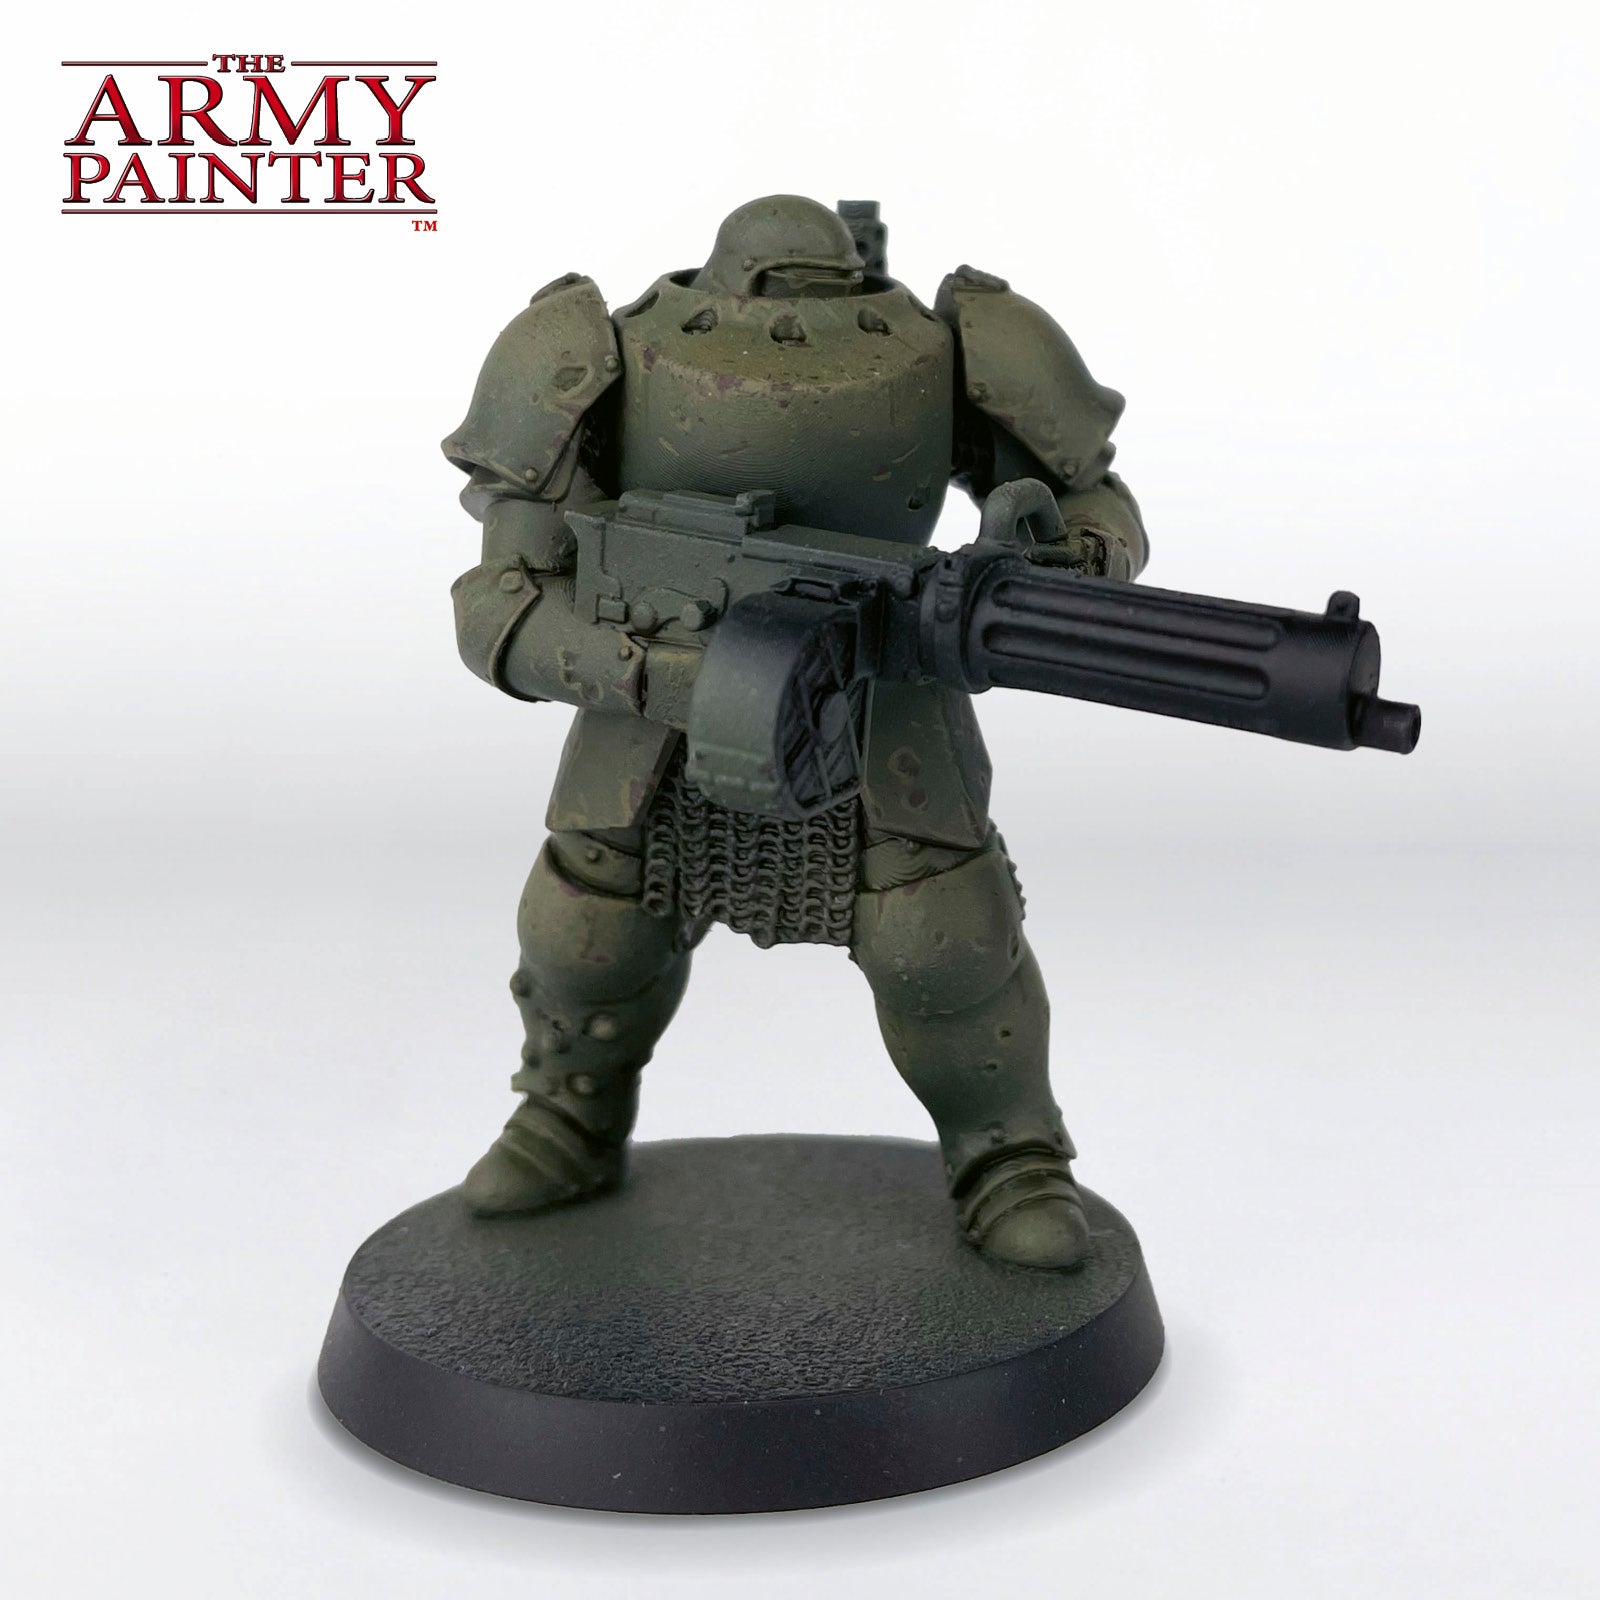
Using a normal brush, such as a Wargamer: Character Brush or Regiment Brush, apply Warpaints Fanatic Wash Voodoo Shade directly into the recesses between armour panels, as well as any dents, dings, or other areas that need shading.

The Armour Step 6

Step 6

Next, apply weathering using a bit of torn-up sponge and Warpaints Fanatic Banshee Brown. Use this sparingly, as you can always go back and add more if needed. At the same time, pick out some of the edges and add some scratches using a brush and the same colour.

The Armour Step 7

Step 7

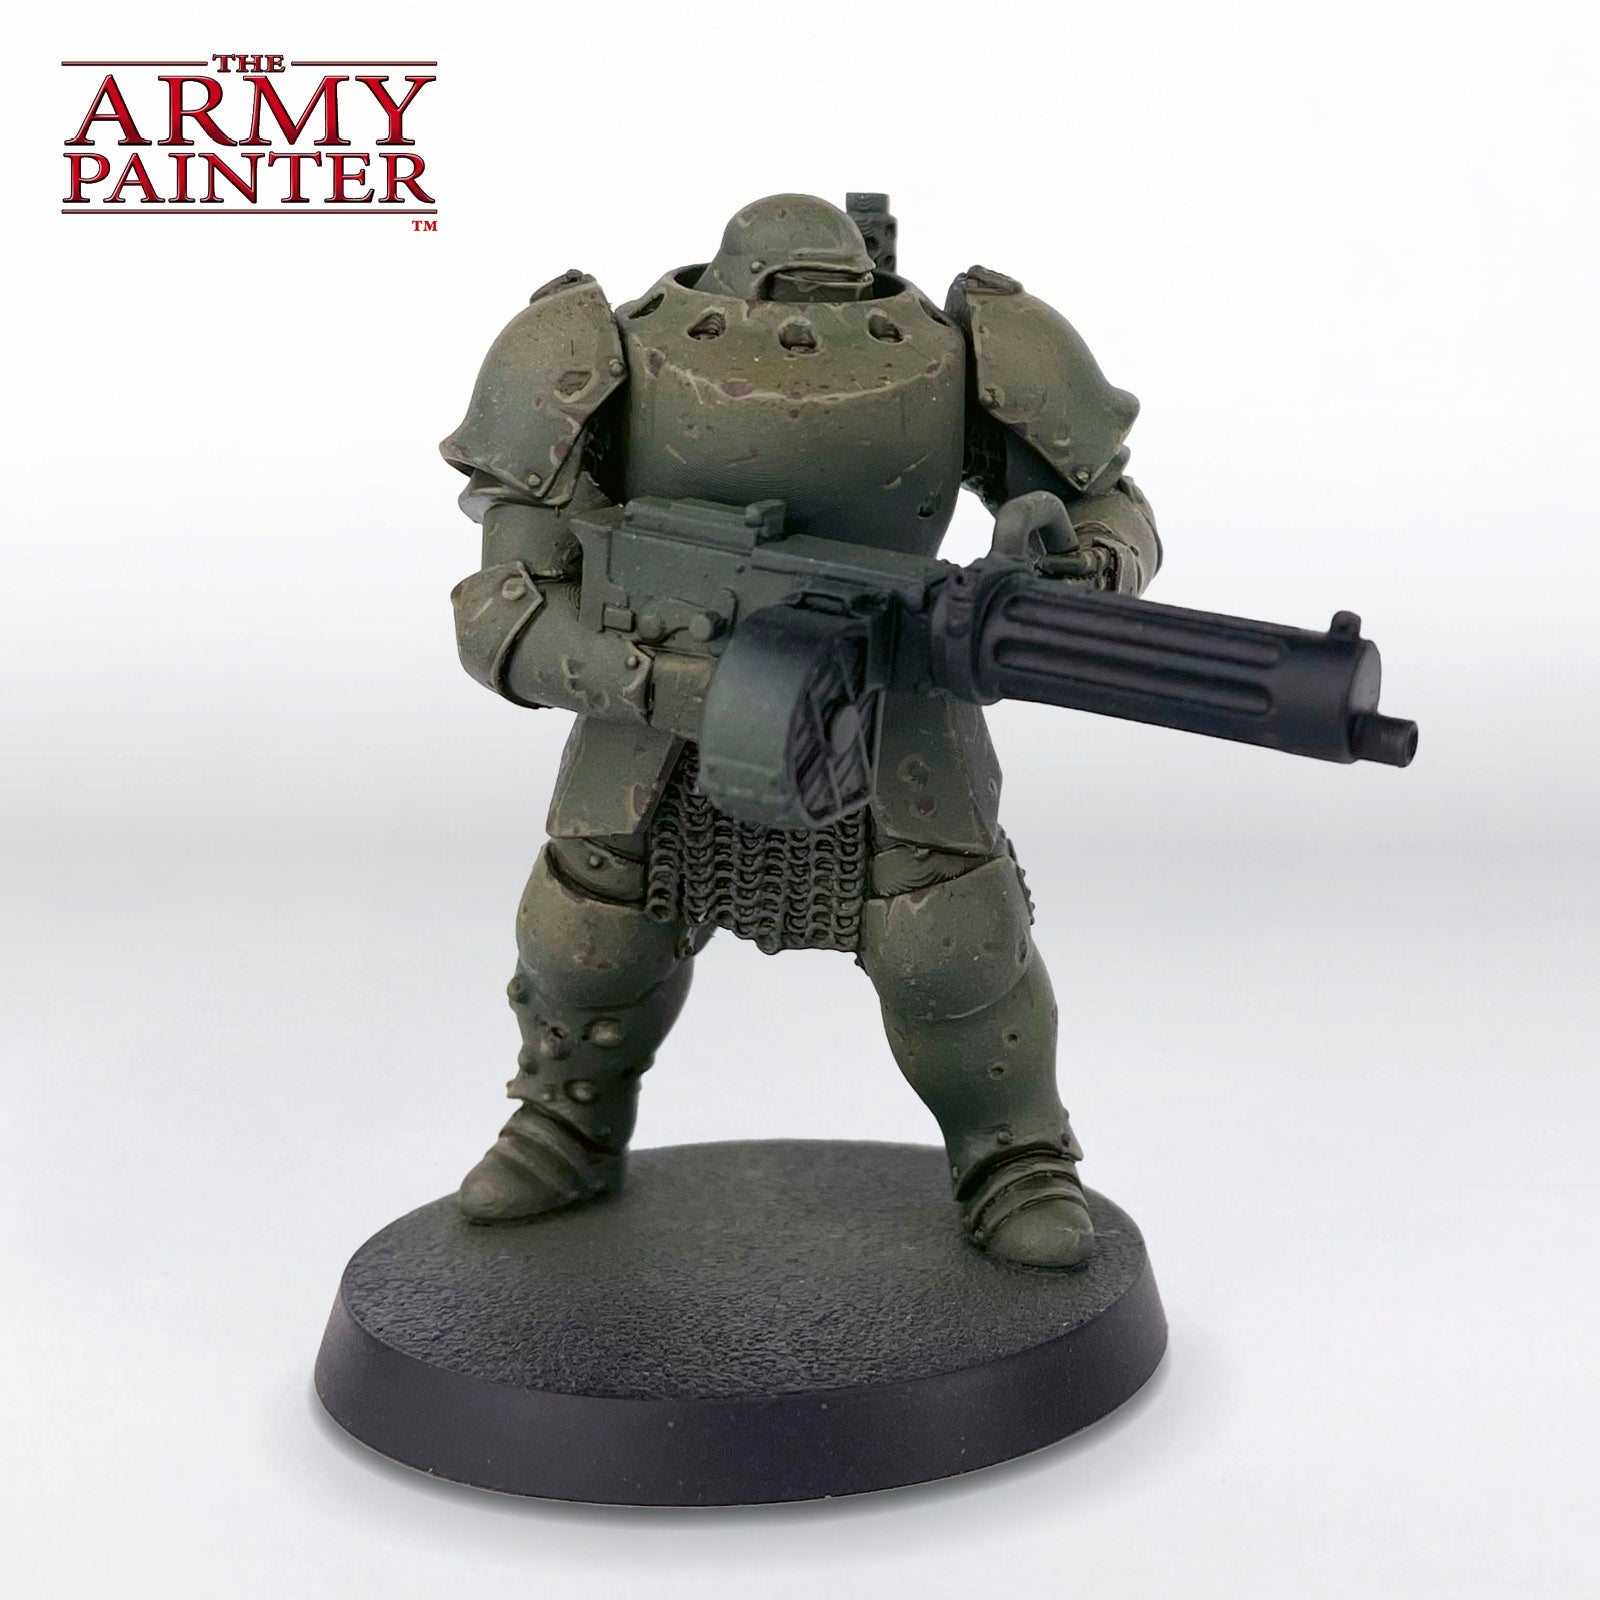
Follow this with your first highlight of Warpaints Fanatic Tainted Garden, picking out all of the edges, and under any prominent bits of weathering that you want to draw more attention to.

The Armour Step 8

Step 8

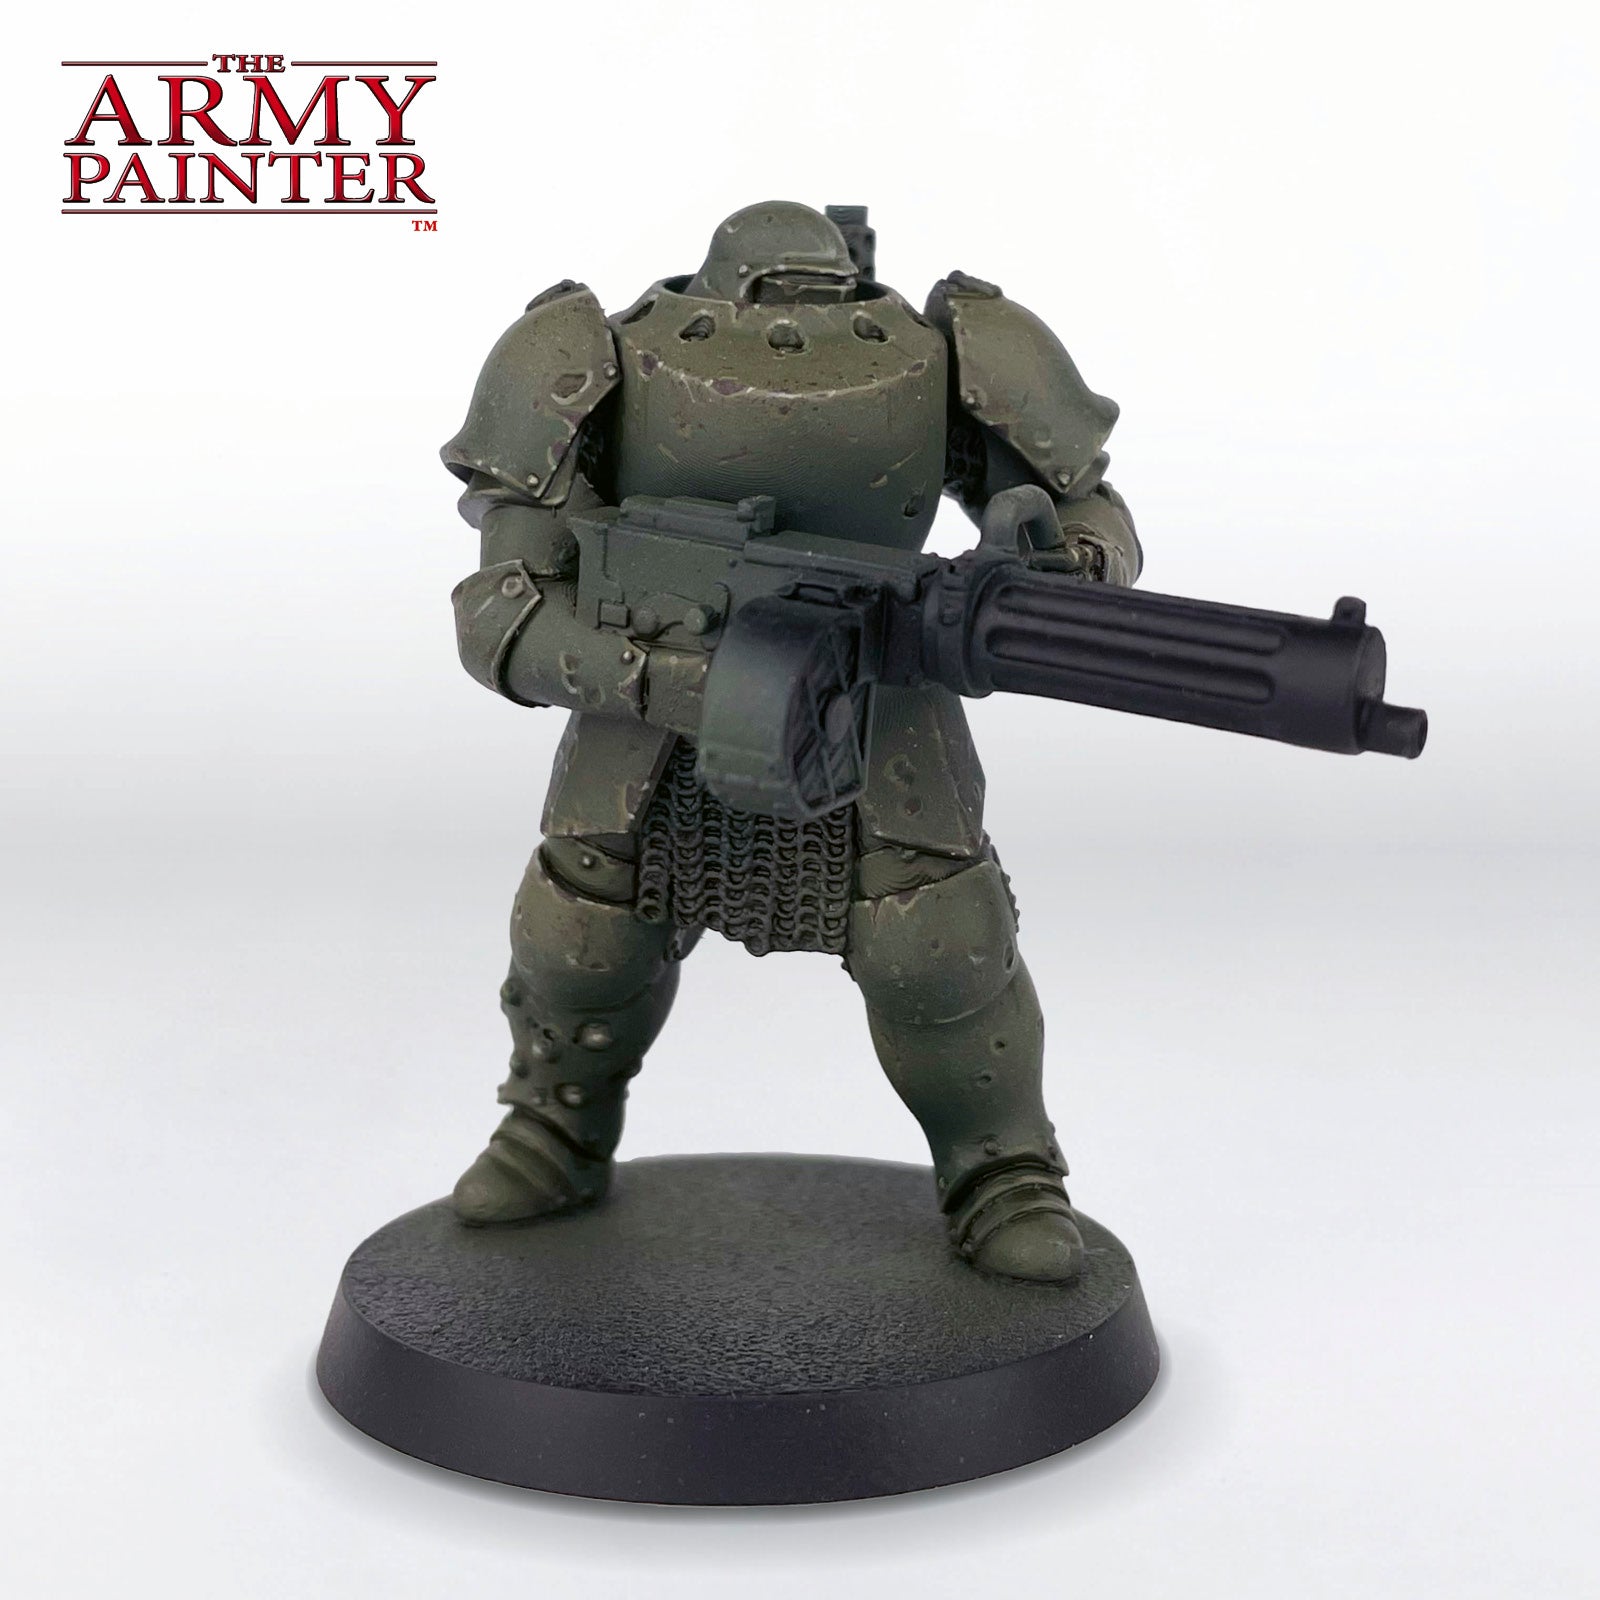
Paint a more refined highlight of Warpaints Fanatic Tainted Garden with a bit of Warpaints Fanatic Ivory White mixed in.

The Armour Step 9

Step 9

Finally, mix even more Warpaints Fanatic Ivory White into your mix from the previous step to apply a final highlight to only the most prominent areas, such as corners.

Banner

The Freehand

The Freehand Step 1

Step 1

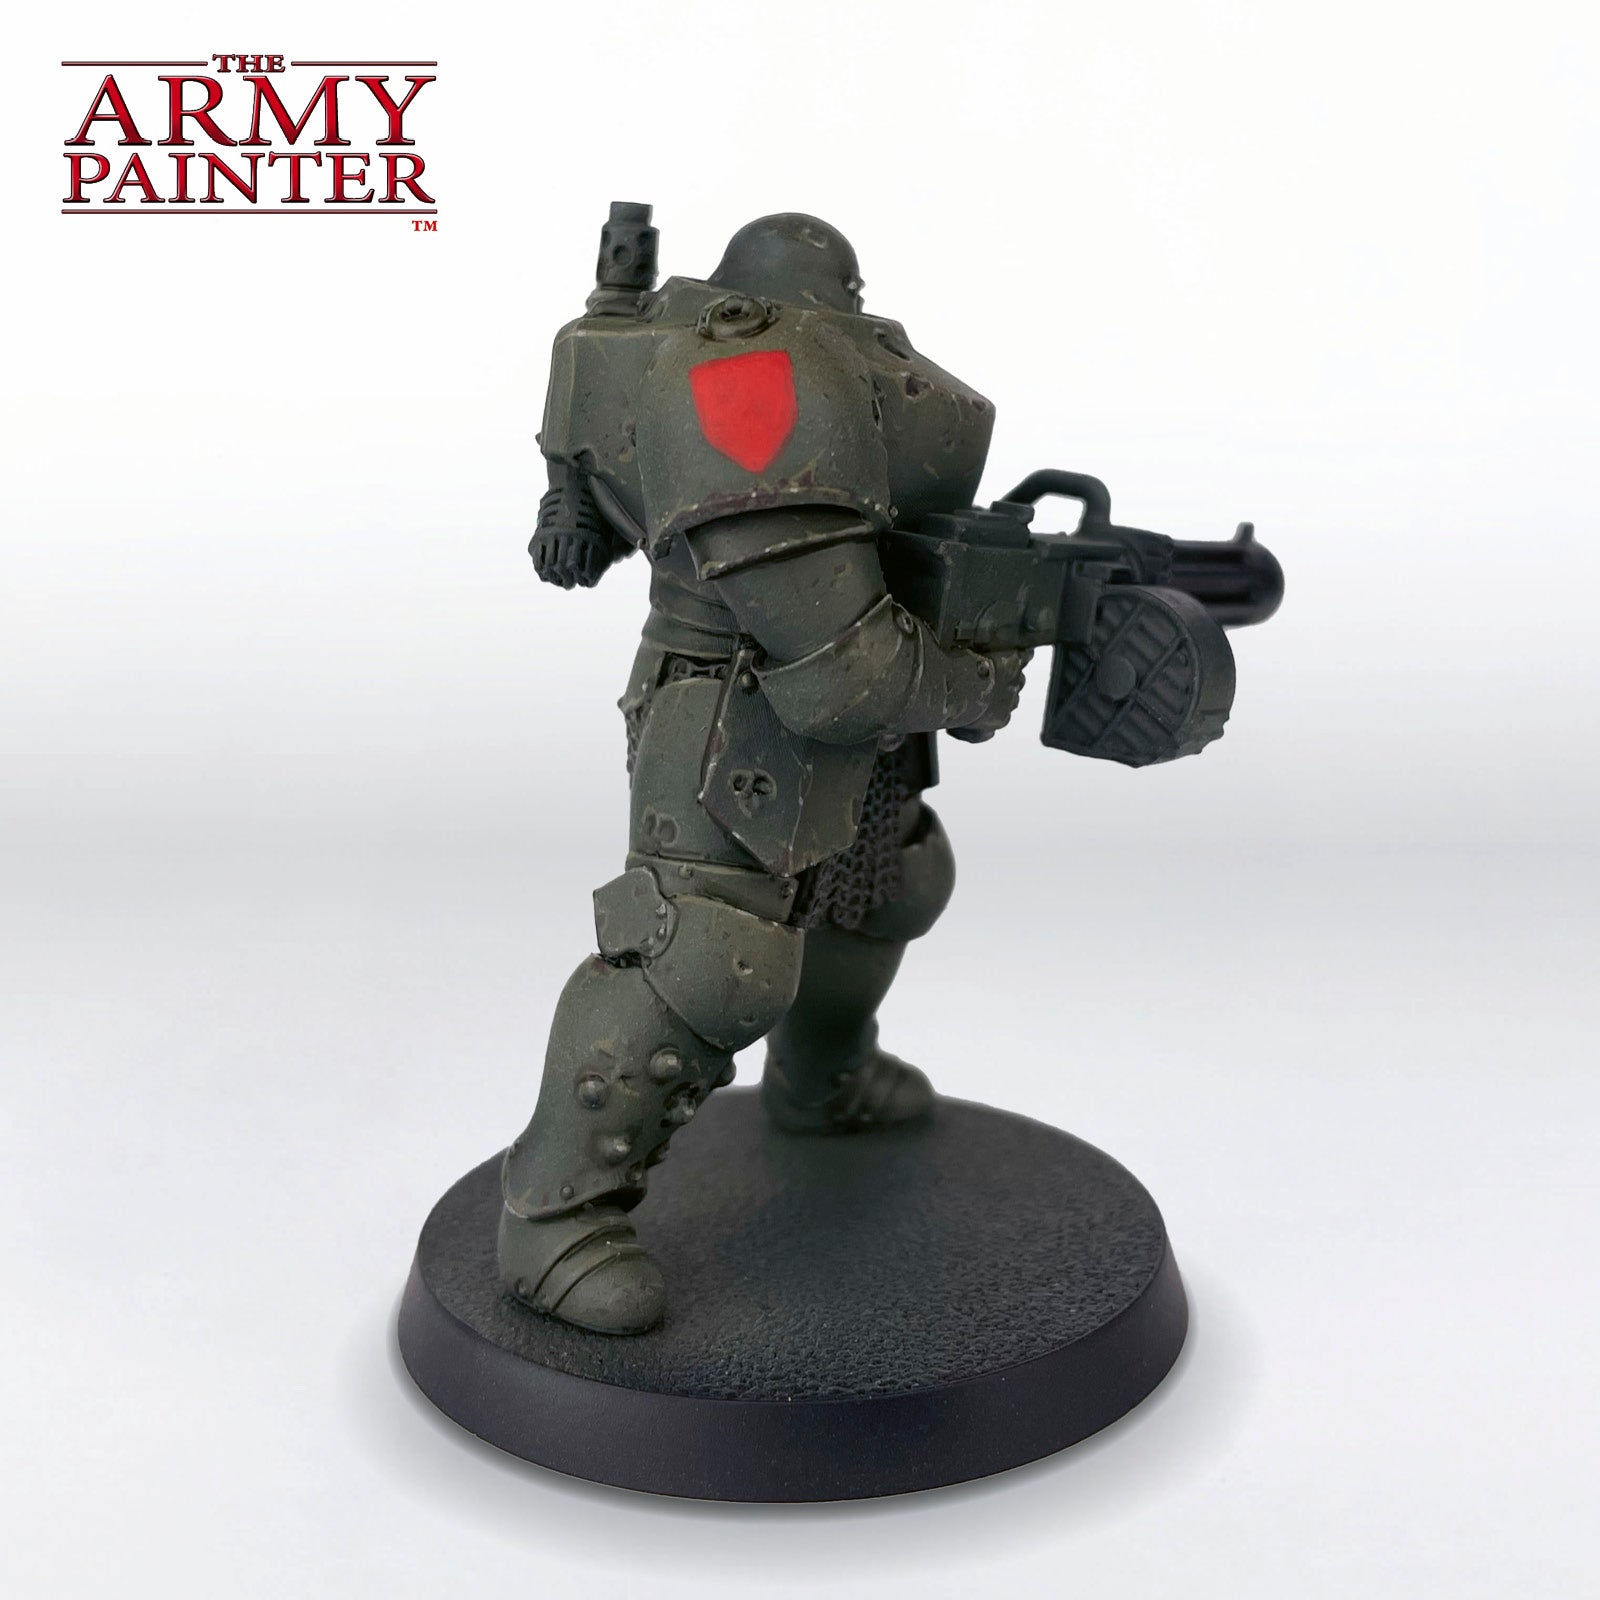
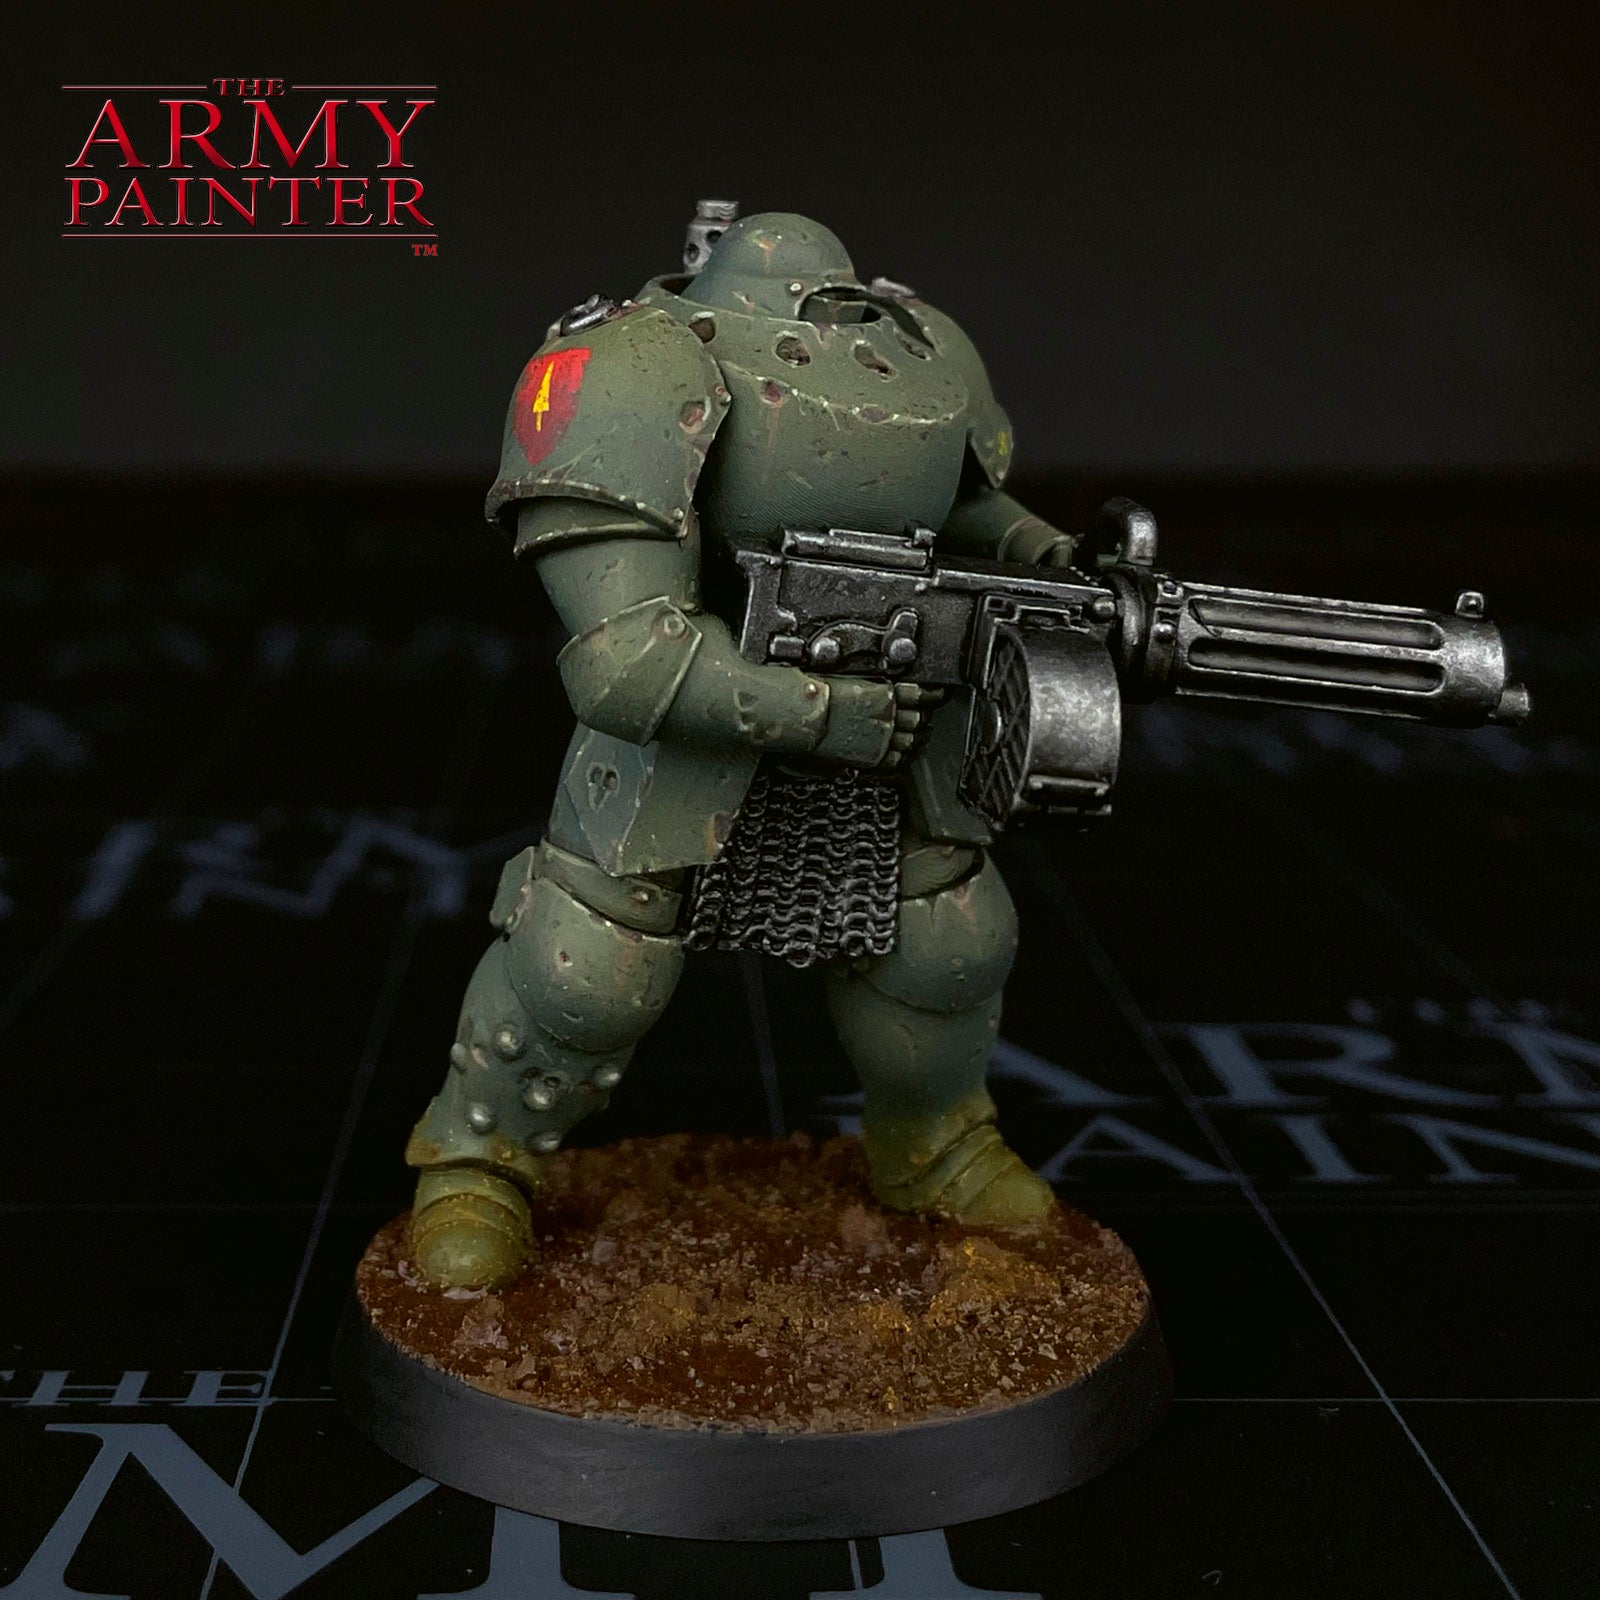
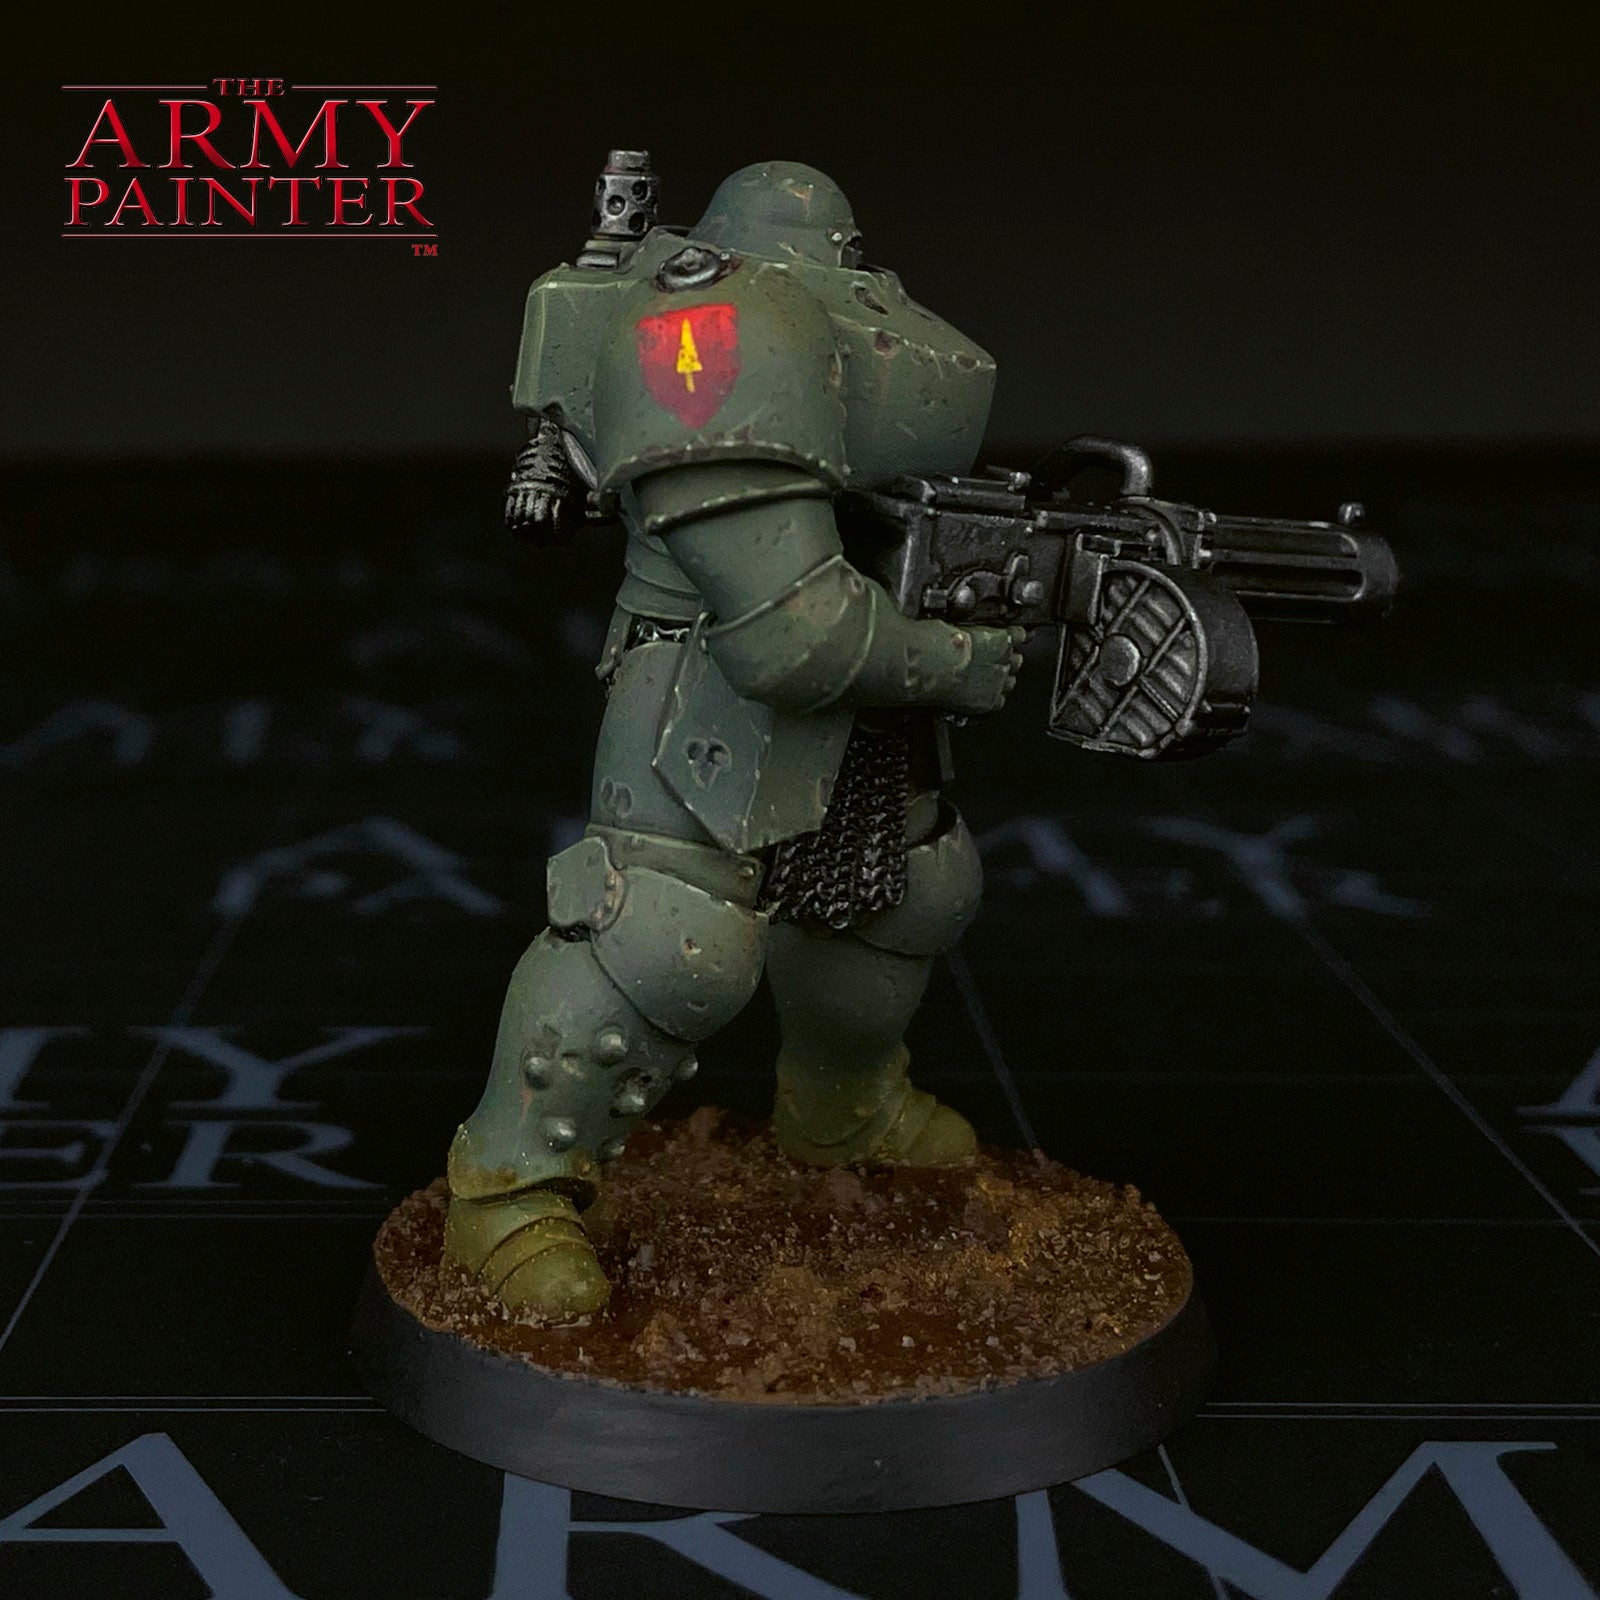
To replicate the symbols from the Trench Crusade artwork, paint a shield design on the right shoulder pad with Warpaints Fanatic Fiery Vermillion. It’s easiest to sketch out the general shape of the shield, before filling it in completely.

The Freehand Step 2

Step 2

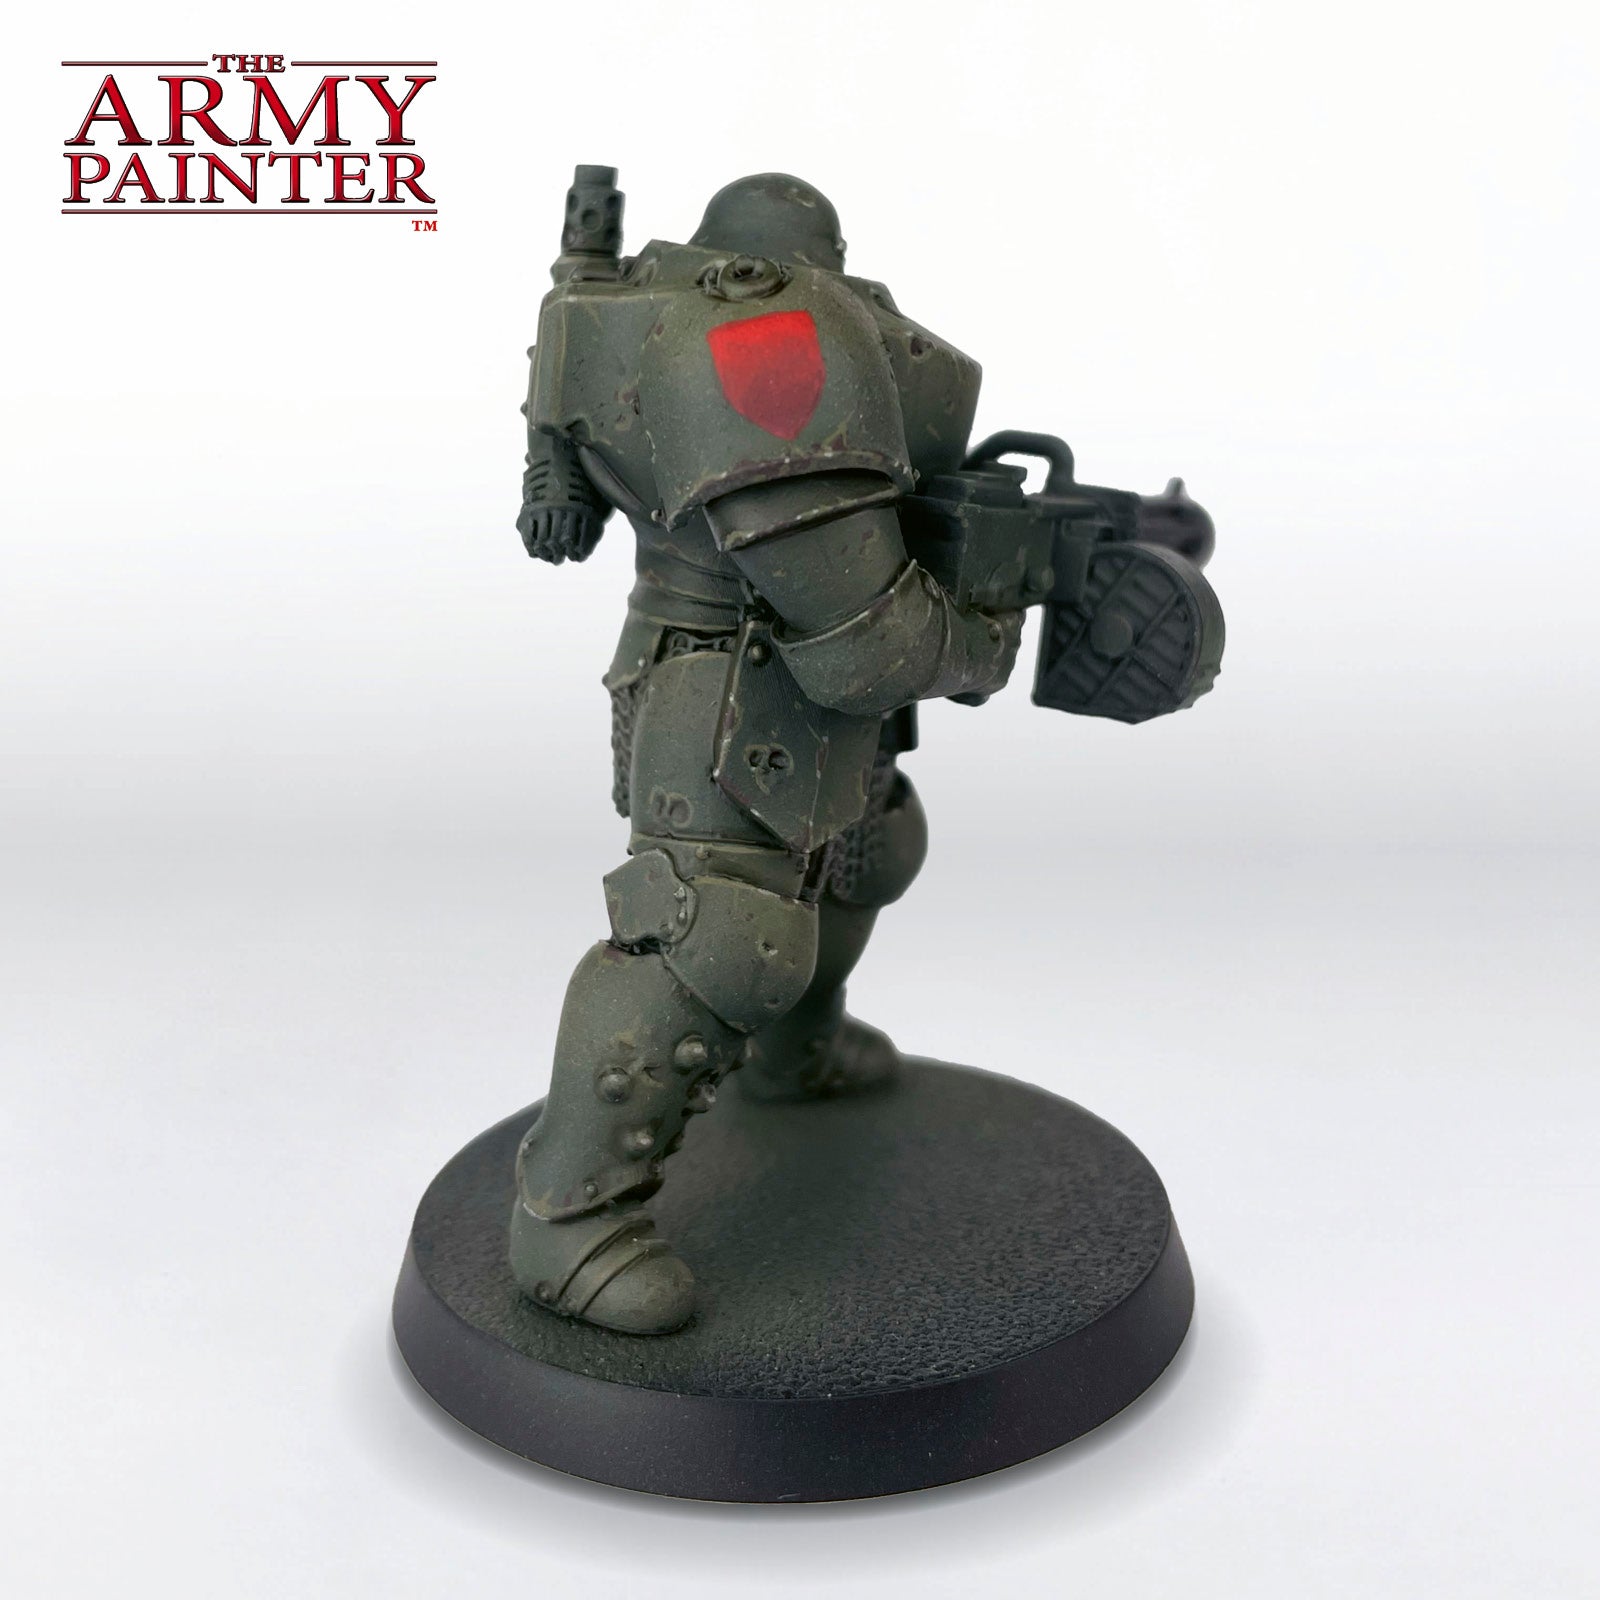
Shade the shield freehand by mixing in some Warpaints Fanatic Blanched Berry into your Warpaints Fanatic Fiery Vermillion. Progressively mix in more Blanched Berry towards the bottom.

The Freehand Step 3

Step 3

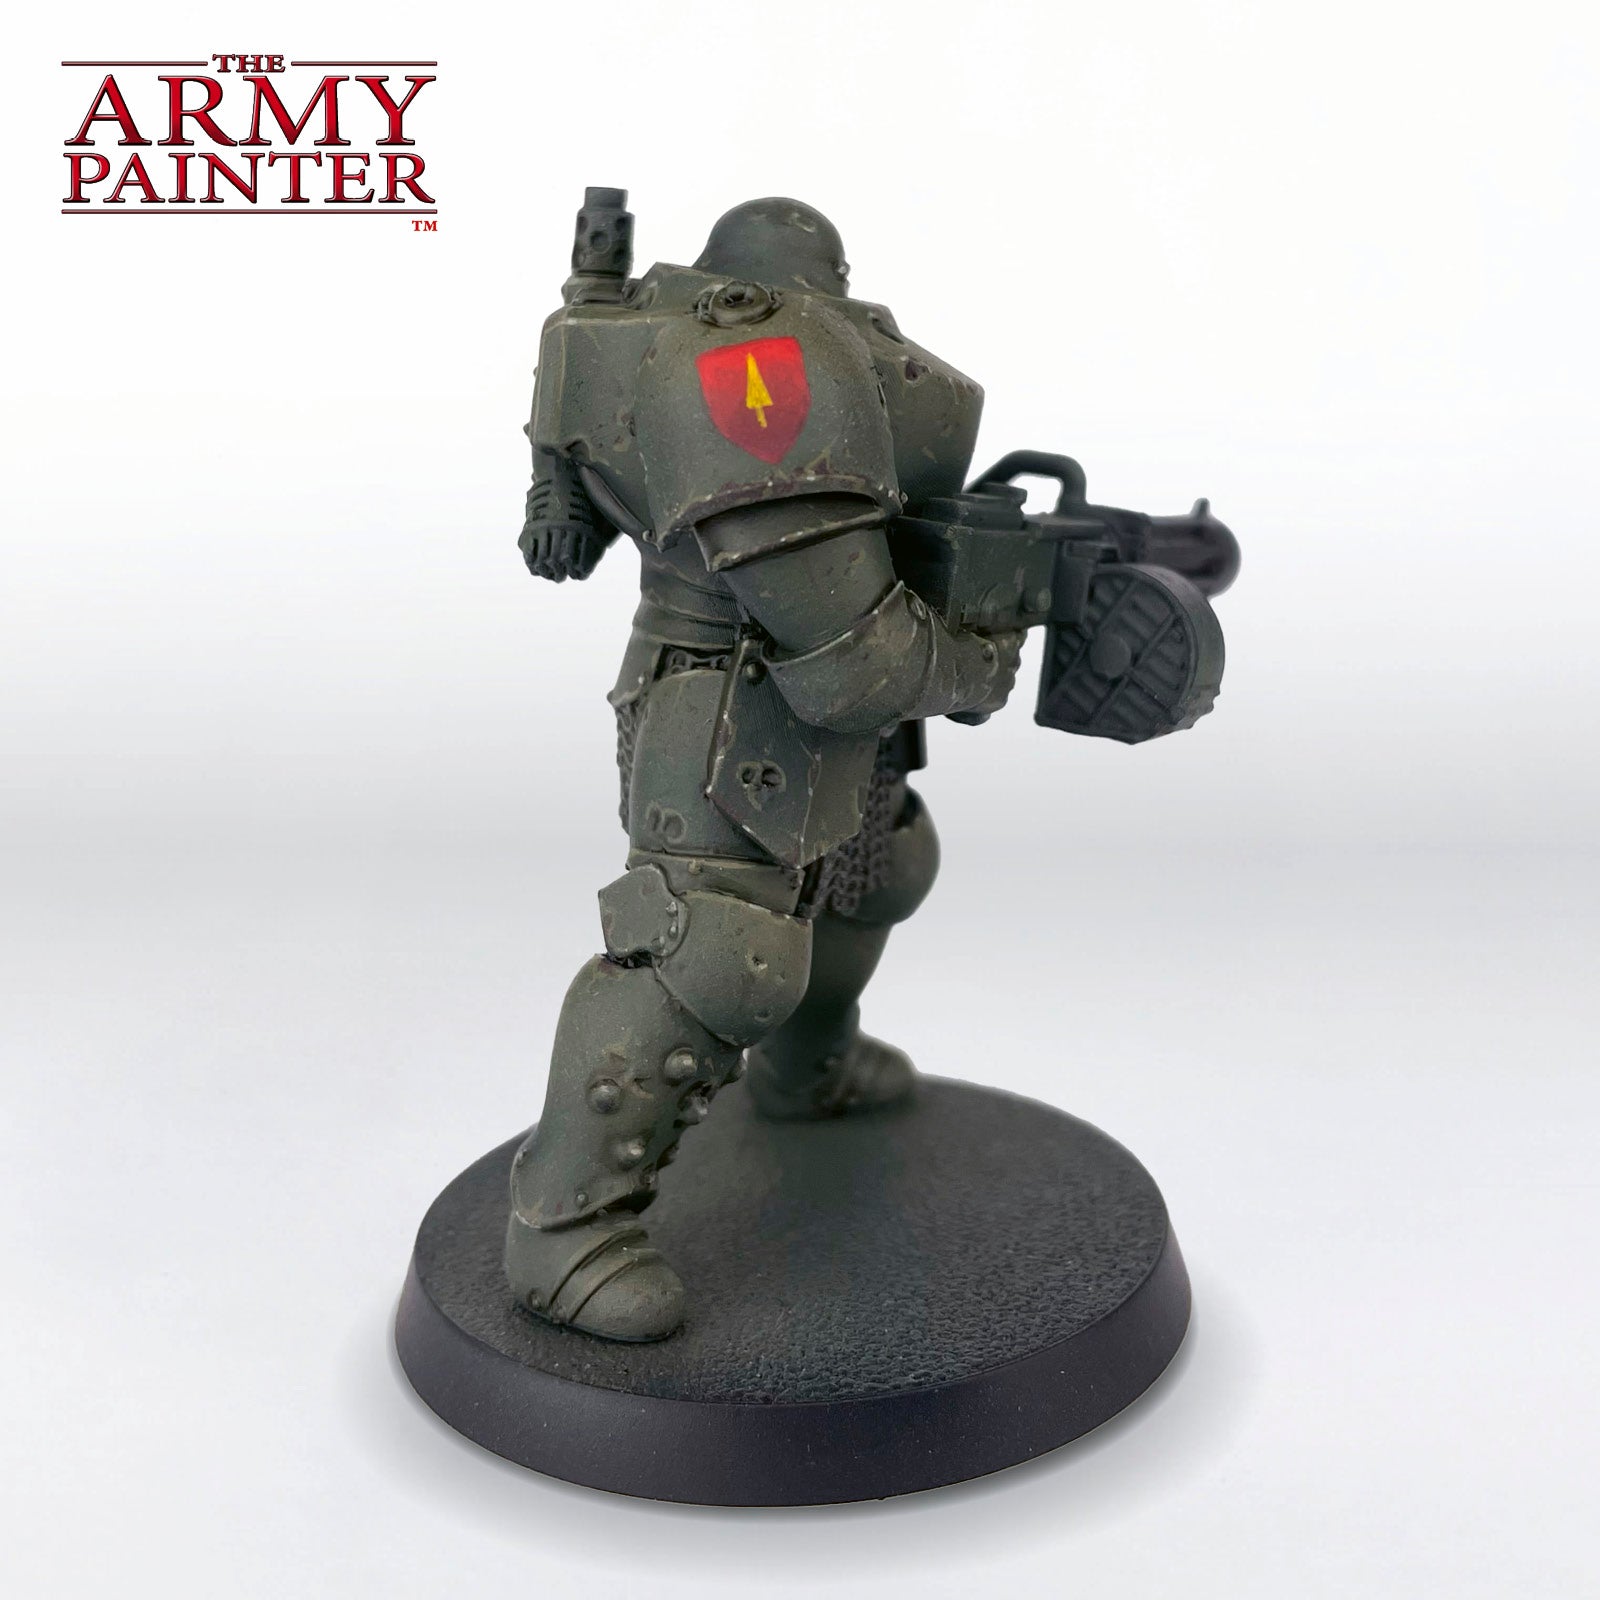
Paint the arrow symbol inside of this shield with Warpaints Fanatic Moonbeam Yellow. You can also add other symbols to your model at this time, such as the small yellow cross painted on the corner of the other shoulder pad.

The Freehand Step 4

Step 4

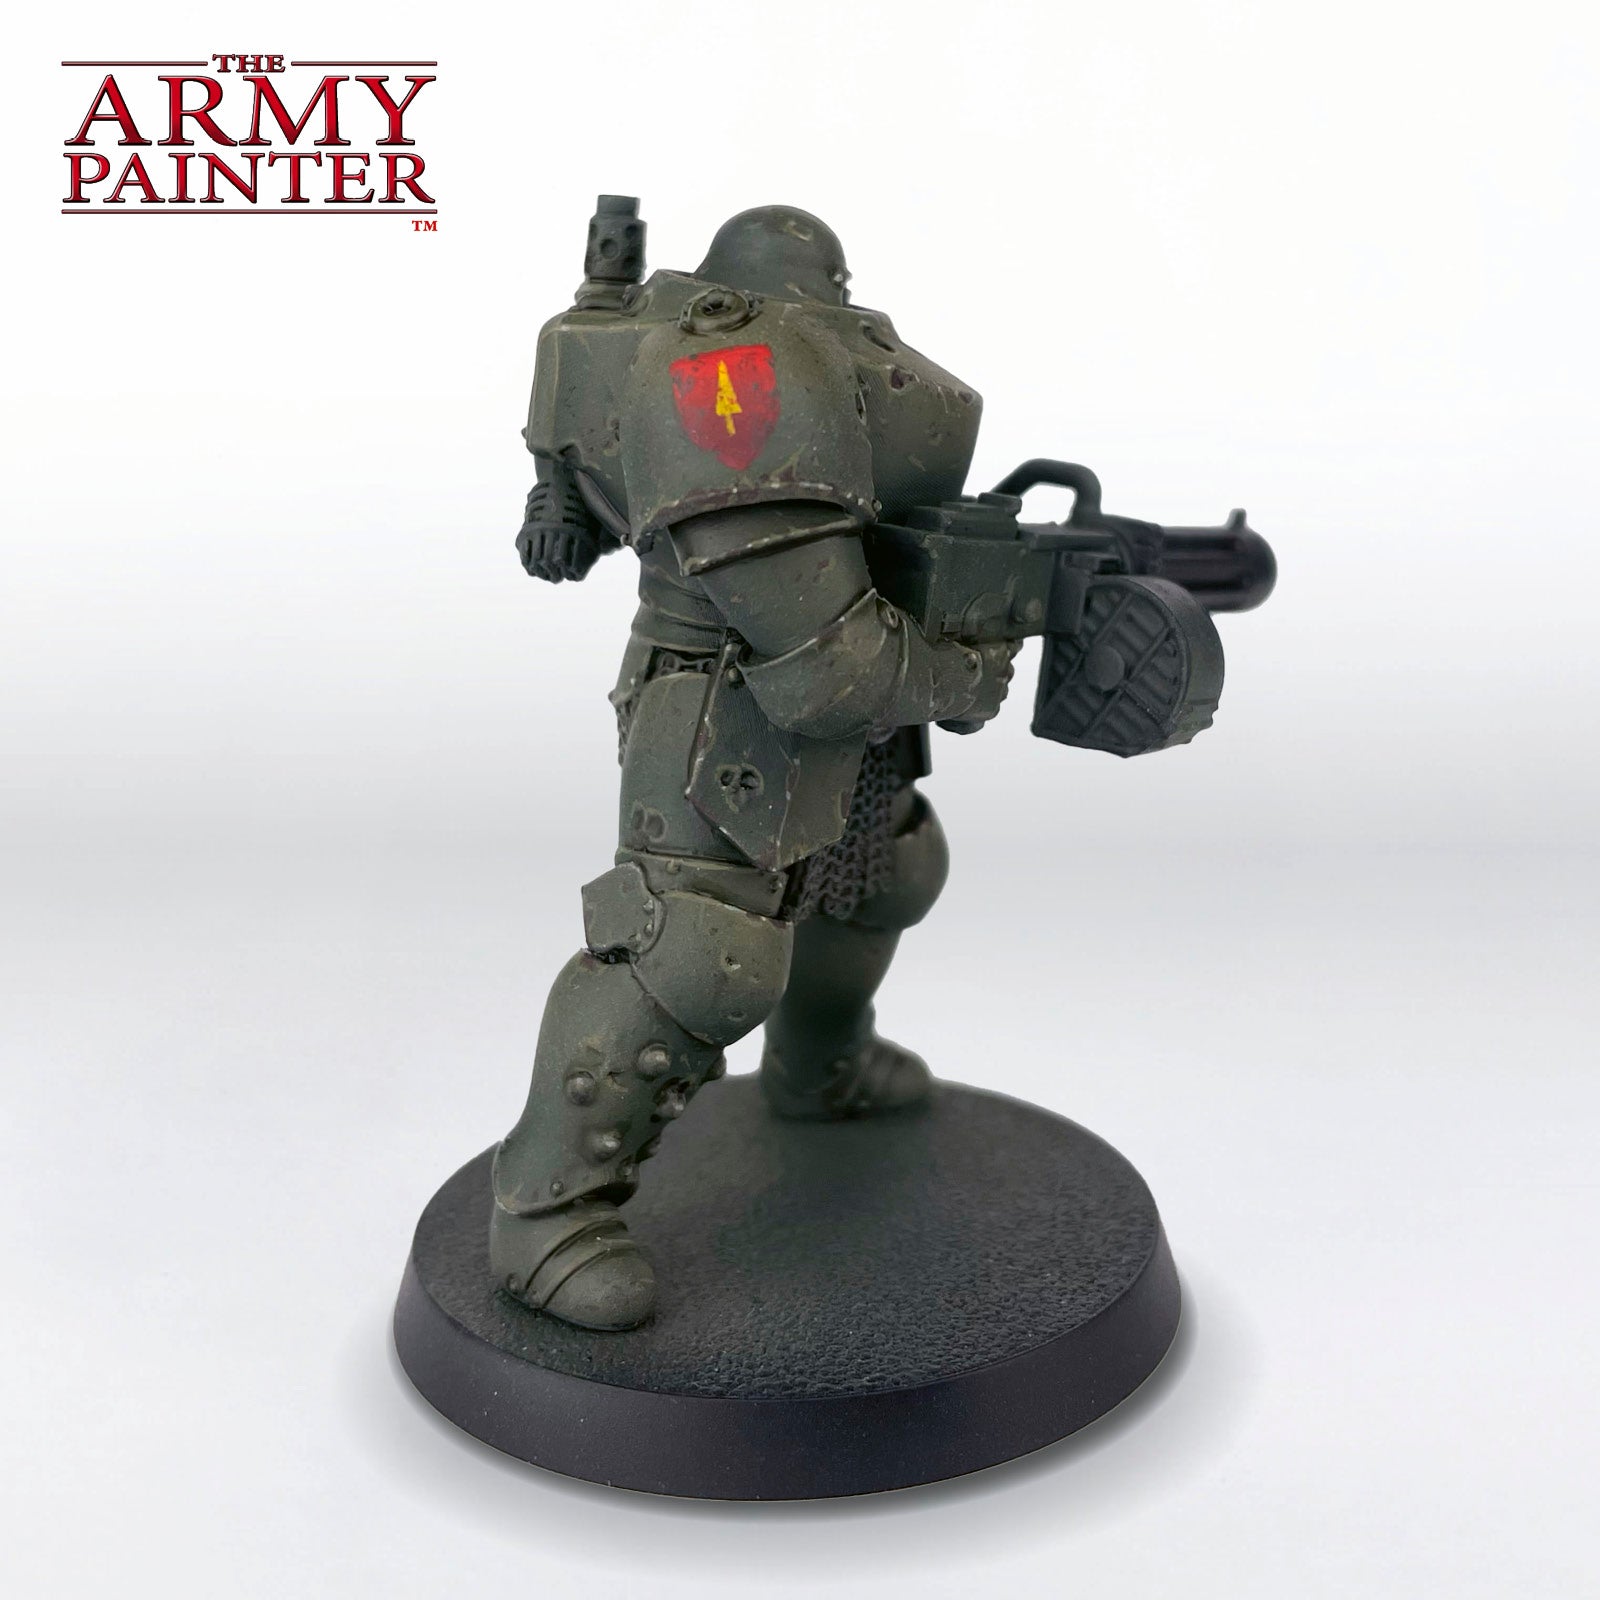
Add weathering and chipping to these symbols with either Warpaints Fanatic Midnight Olive or Warpaints Fanatic Tainted Garden where appropriate. A mix of a sponge and a brush was used for this step. At this point, the model was also sealed with Warpaints Air Matt Varnish to help further differentiate the armour from the upcoming metallic areas.

Banner

The Metallics and Rust

The Metallics and Rust Step 1

Step 1

Basecoat all the metallic areas with Warpaints Fanatic Heavy Metal.

The Freehand Step 2

Step 2

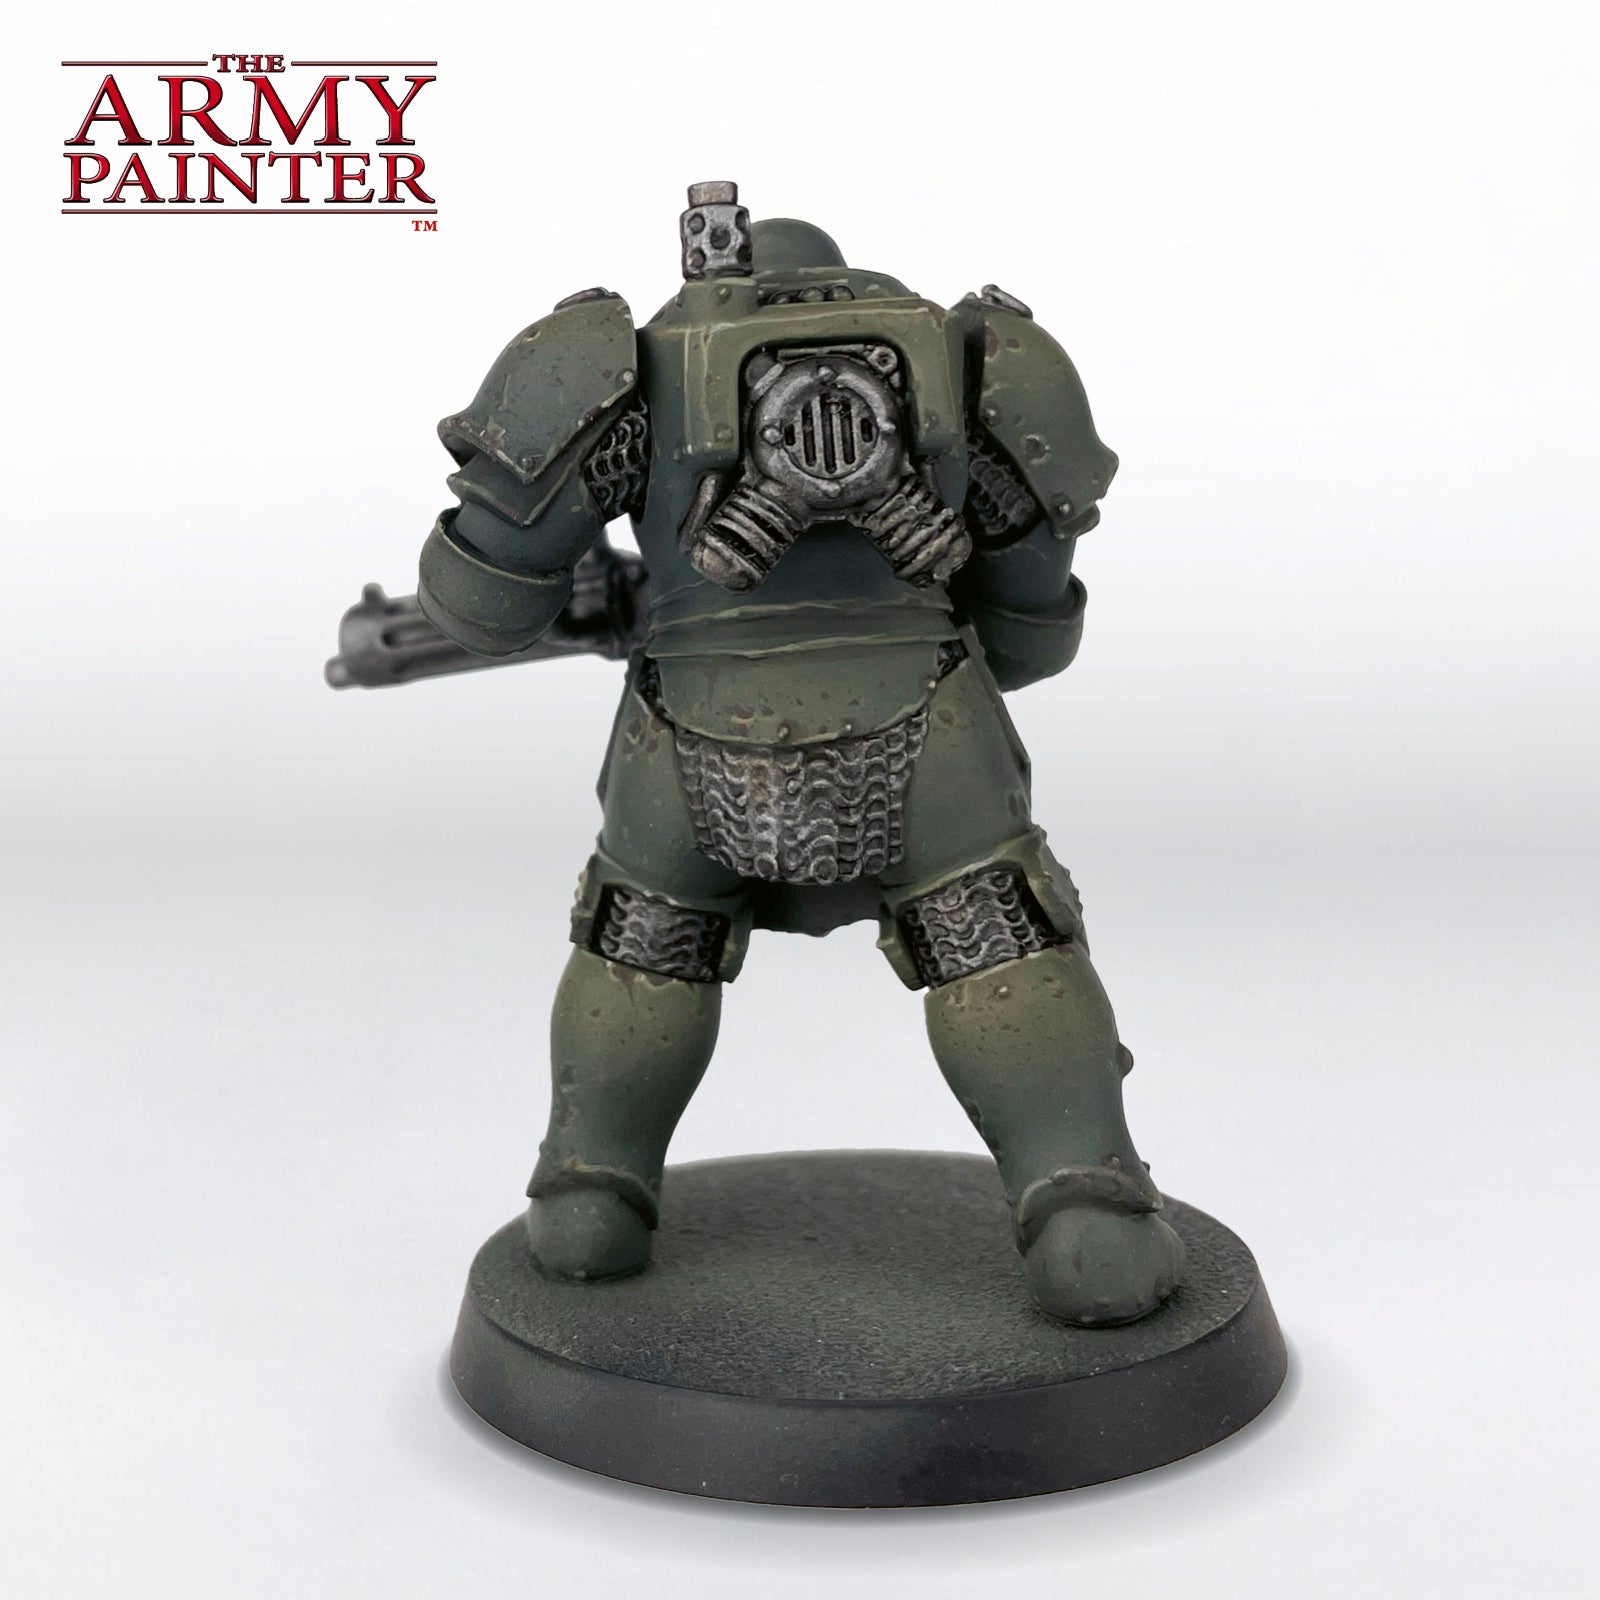
Shade these areas with an all-over wash of Warpaints Fanatic Wash Grimdark Shadow. This was also used to darken the interior of the visor on the helmet at this point.

The Freehand Step 3

Step 3

Highlight the chainmail by lightly drybrushing it with Warpaints Fanatic Heavy Metal. Use the same colour and a bit of sponge to add some chipping to the gun and other large metallic areas, as well as a brush to add edge highlights.

The Freehand Step 4

Step 4

Paint Warpaints Fanatic Wash Voodoo Shades into some of the metallic areas for a greasy, industrial look. On this model this was applied to the generators on the back, around some of the moving parts on the gun, and near the tops of some of the chainmail.

The Freehand Step 5

Step 5

Finally, add rust streaks to the model with heavily watered down Warpaints Fanatic Ruddy Terra. This was applied sparingly to not overpower the rest of the colours.

Banner

The Base

The Base Step 1

Step 1

You can, of course, base your model however you’d like, but we decided to go with an appropriately muddy looking trench base, again using only colours from the John Blanche Masterclass Paint Sets. After gluing on your basing material, basecoat all of it with Warpaints Fanatic Banshee Brown.

The Base Step 2

Step 2

Next, apply heavily watered-down Warpaints Fanatic Effects Grim Rust to the whole base, as well as on his feet to add a bit more weathering and to tie the model into the base.

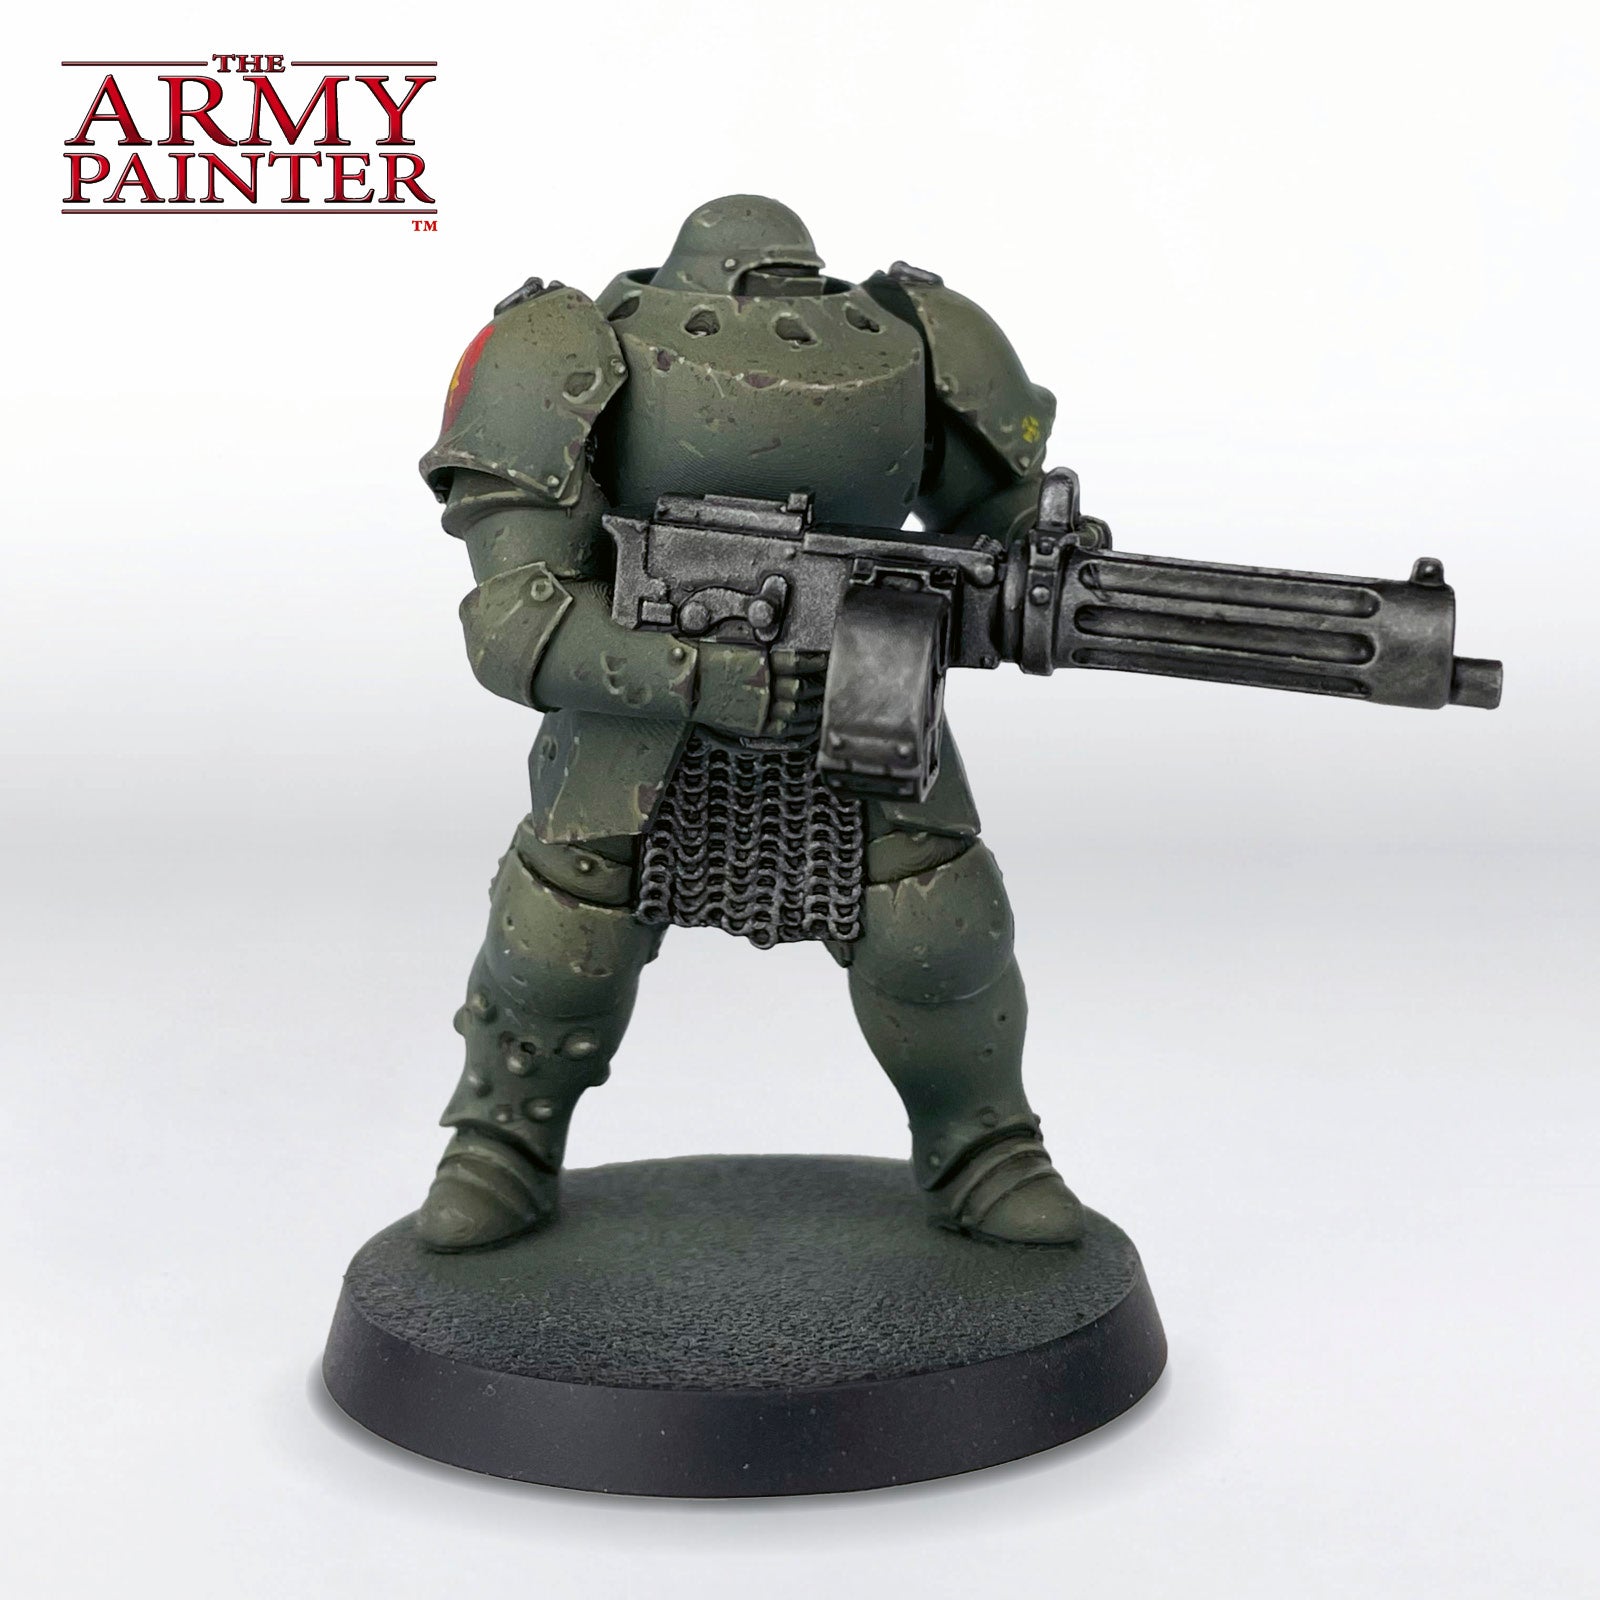
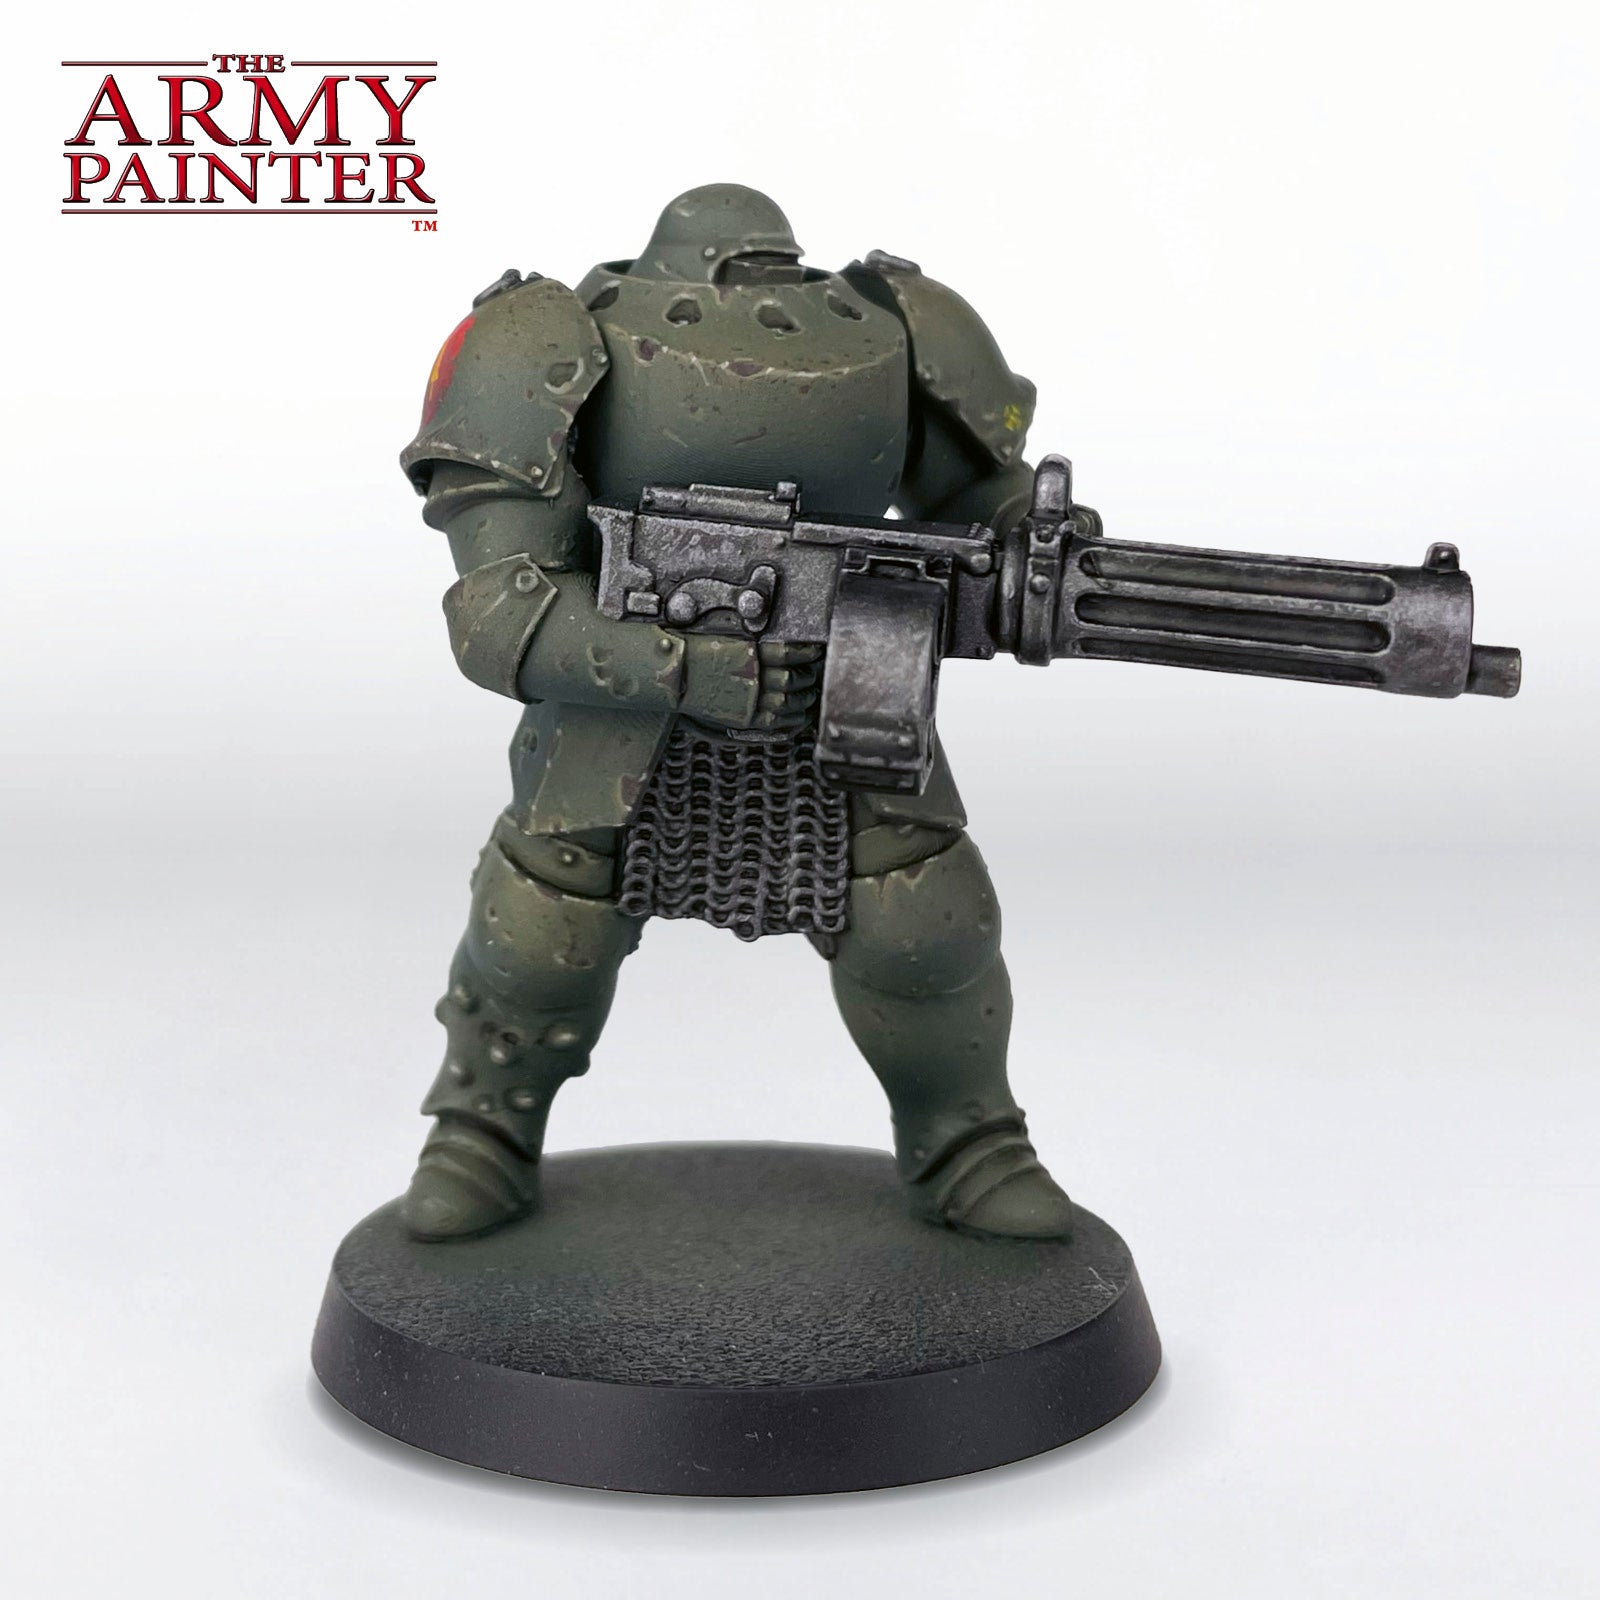
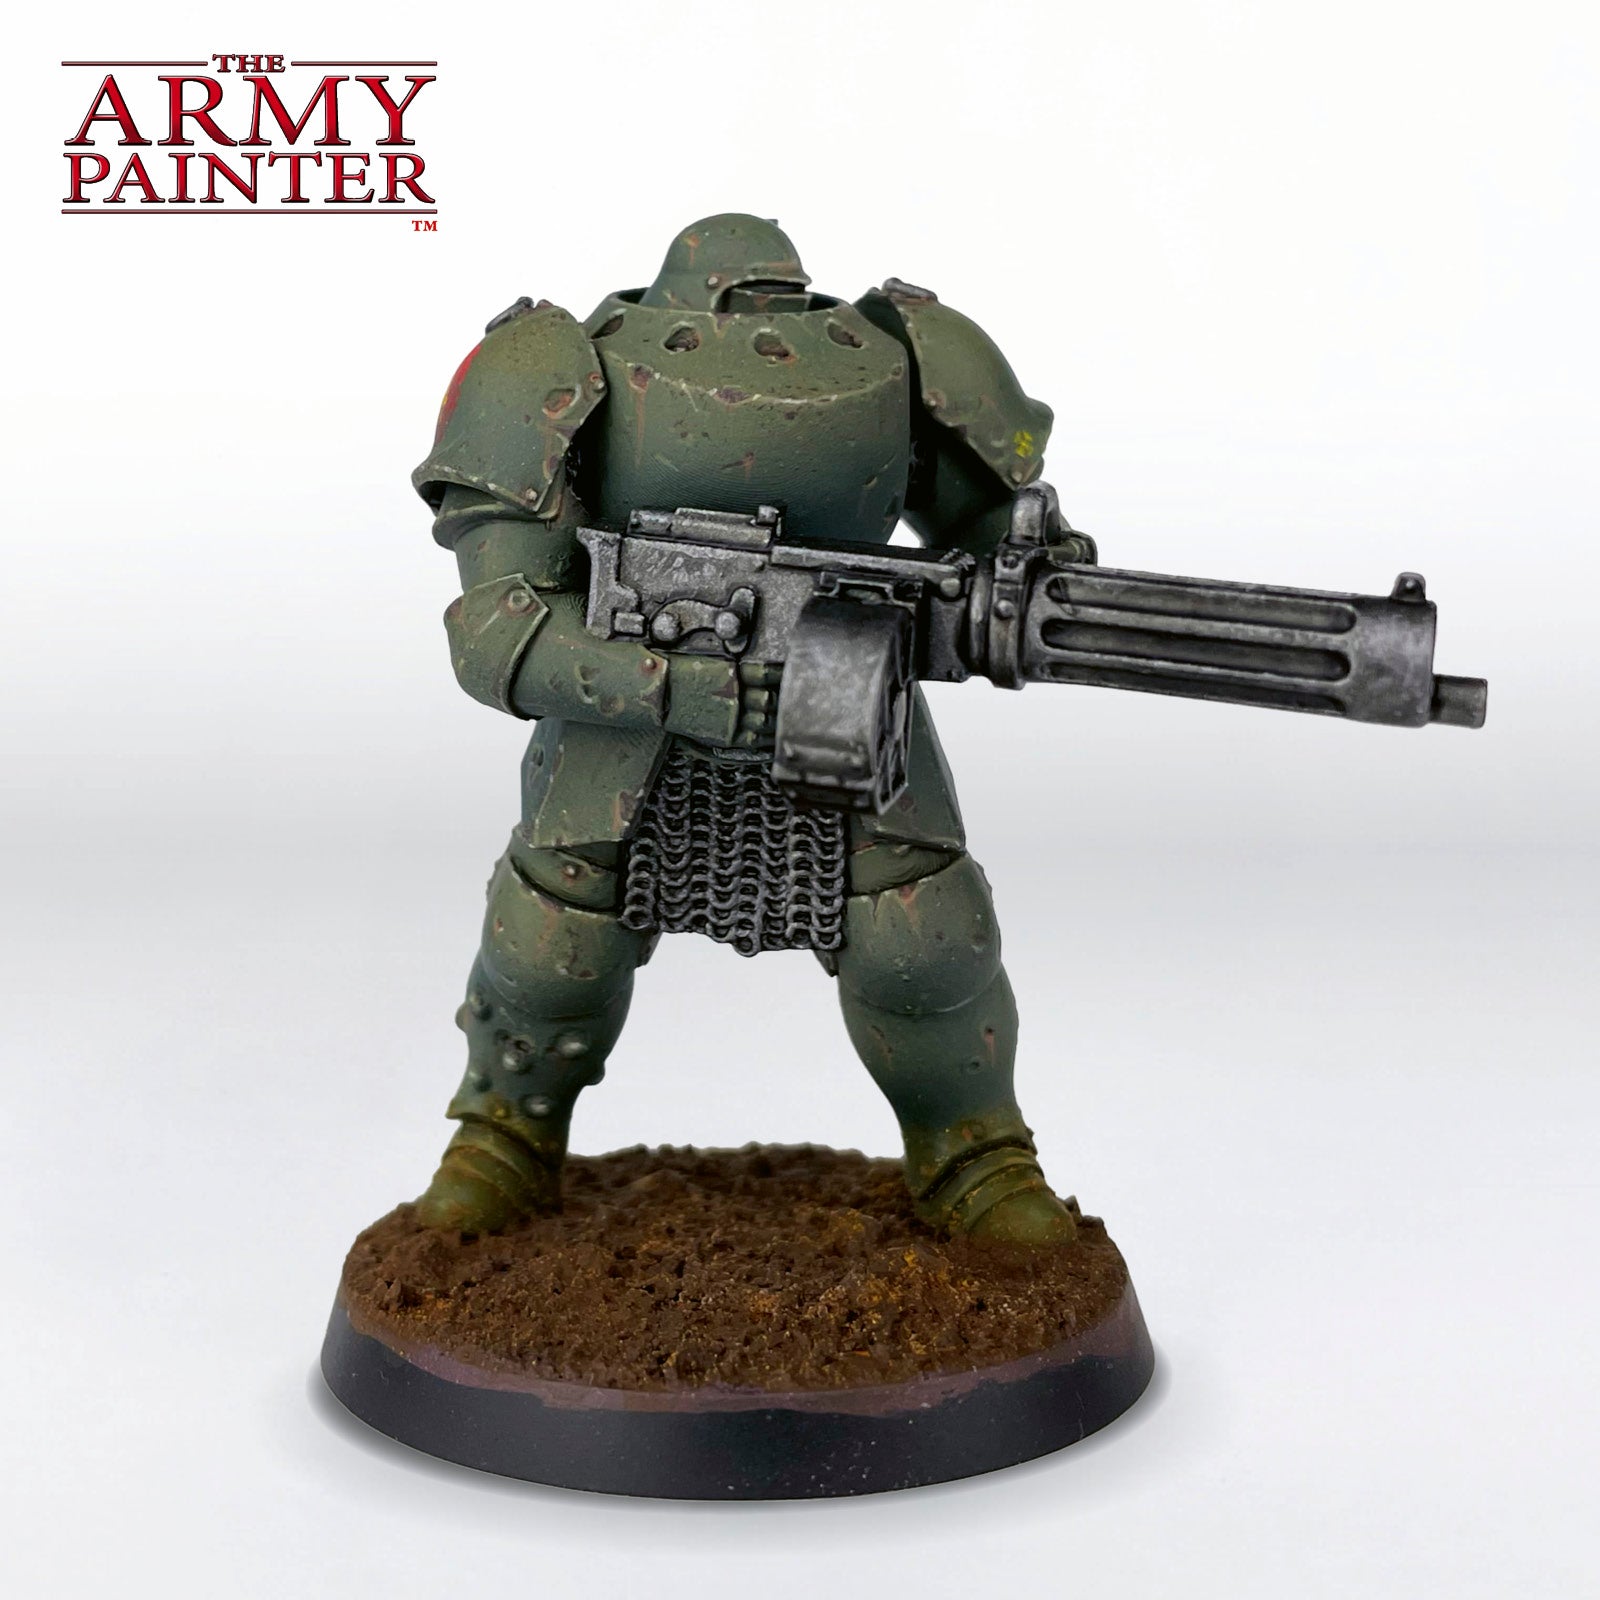
With that, your model is done!

We cheated a bit and used Warpaints Fanatic Matt Black to paint the rim of the base, and then used some Satin Varnish and Warpaints Fanatic Gloss Varnish in patches on the base to give it a wet, muddy feel, although you could certainly skip the varnish and paint the rim with Warpaints Fanatic Banshee Brown if you wanted.

Your Mechanized Heavy Infantry is now ready to go join the Trench Crusades!

Be sure to tell us what you thought of this tutorial format, if you have any suggestions for improvements in the future, or even which models you want us to tackle. 

If you paint your own model following one of these guides, tag it with #thearmypainteracademy to share your work!