How to Paint
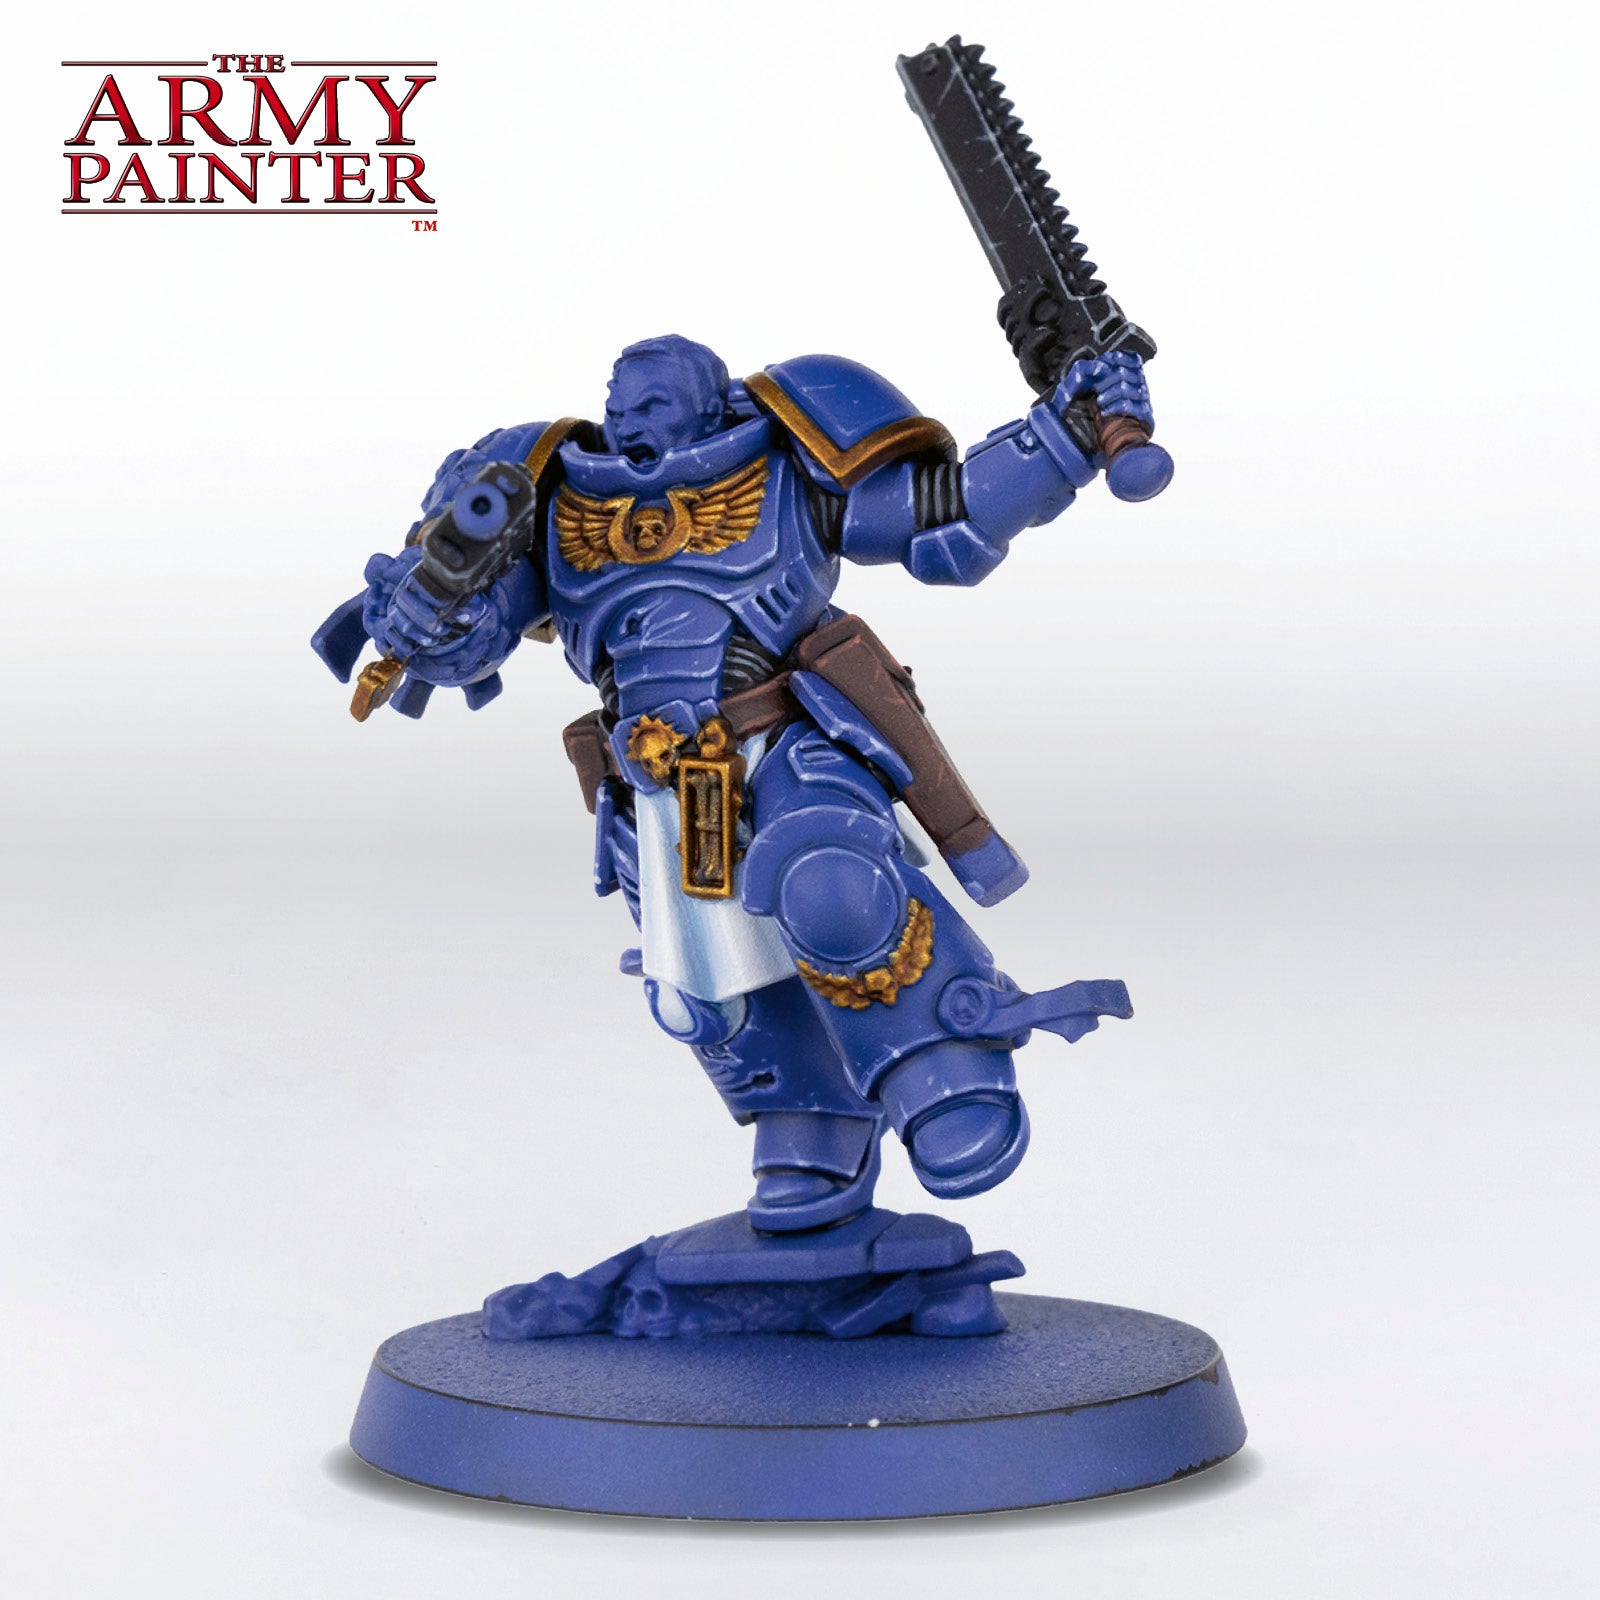
Ultramarines Lieutenant Titus

Welcome to the next instalment of The Army Painter Academy: a series where we break down how we paint a miniature step-by-step, complete with pictures for every bit of paint applied along the way.
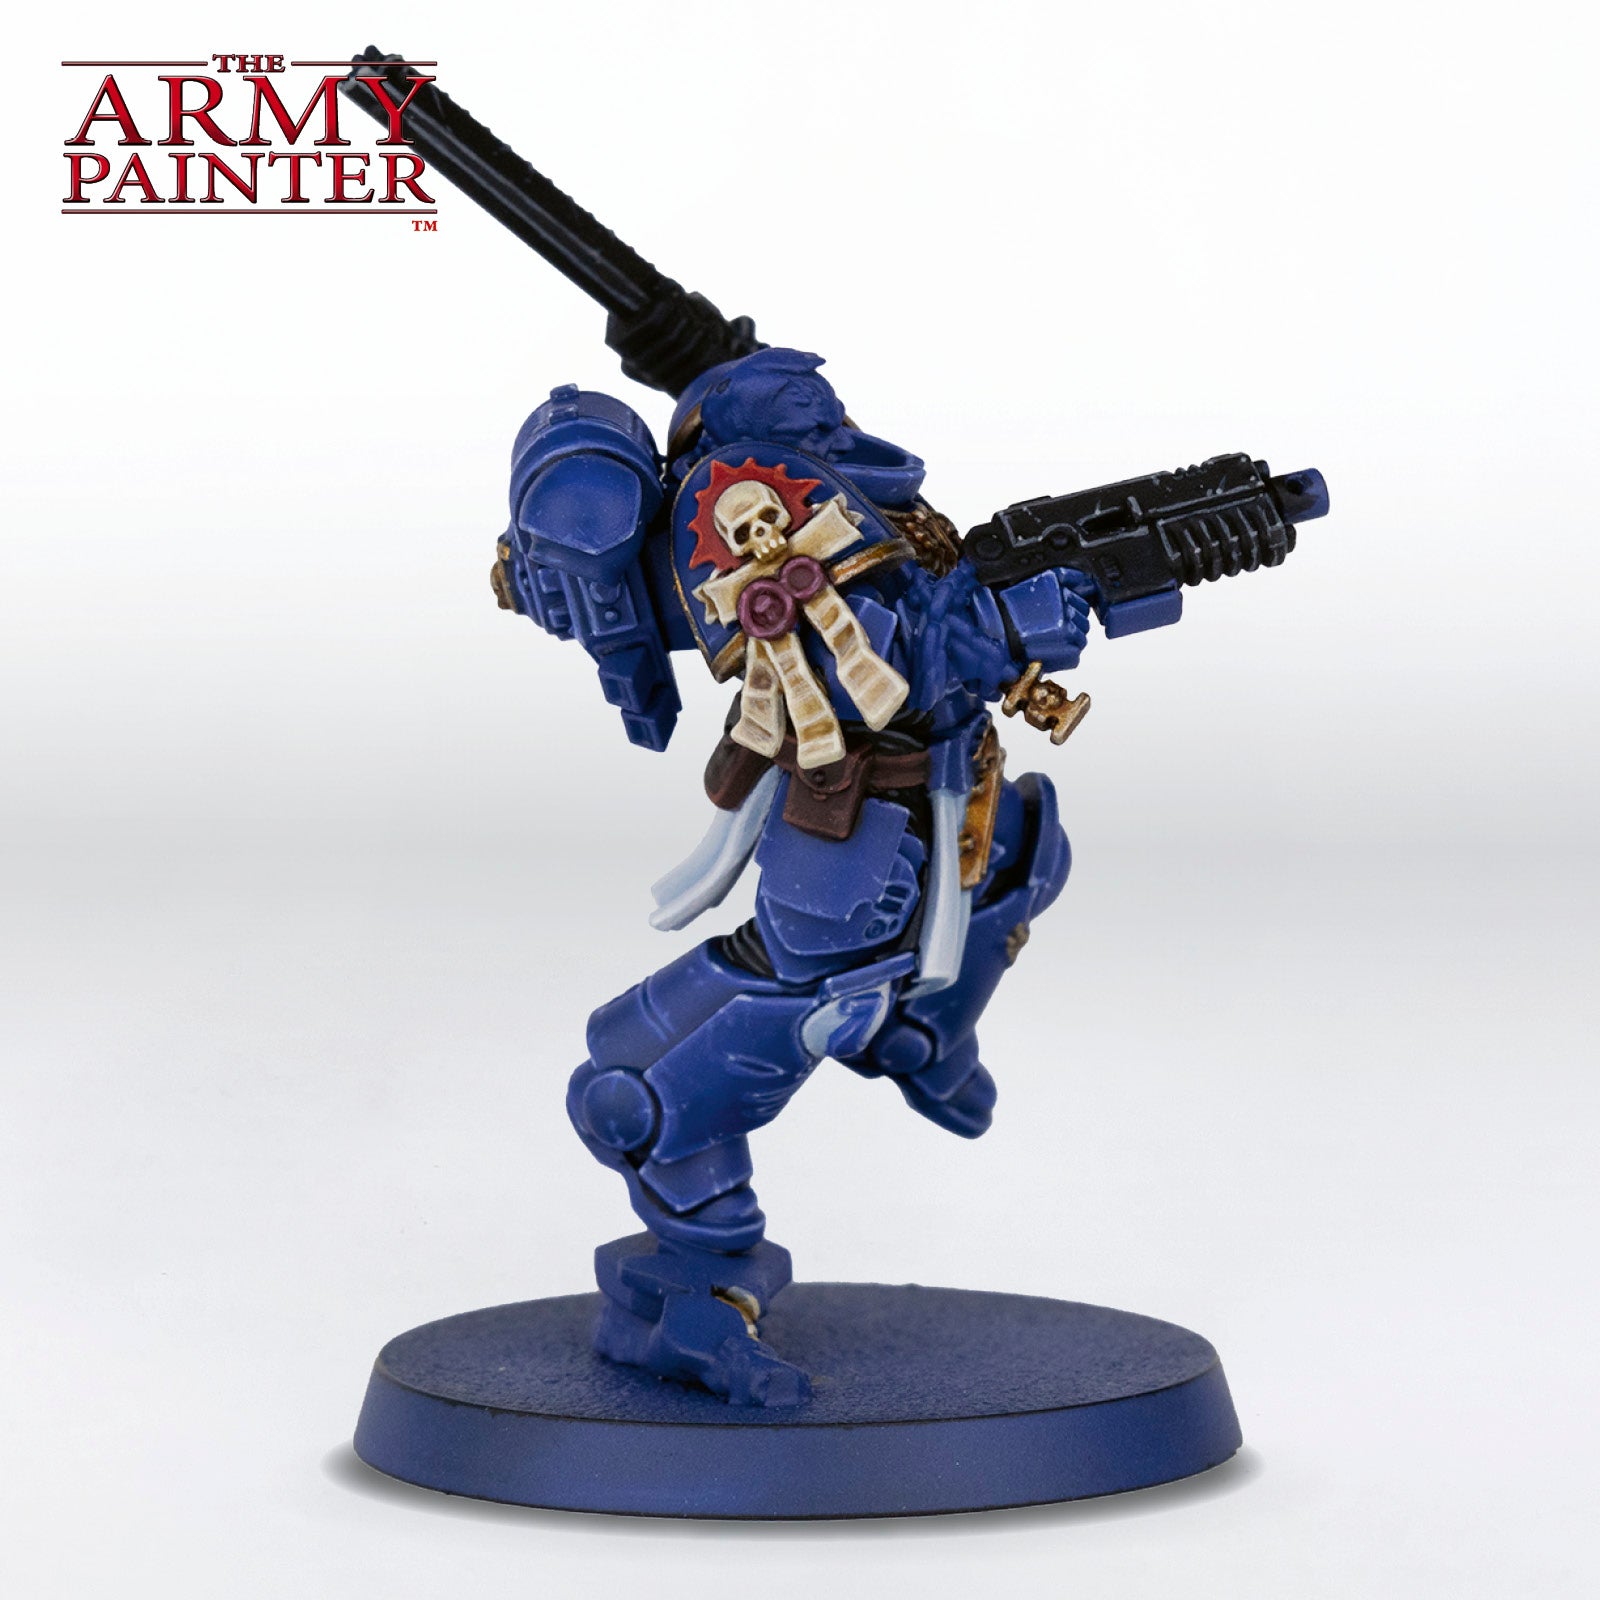
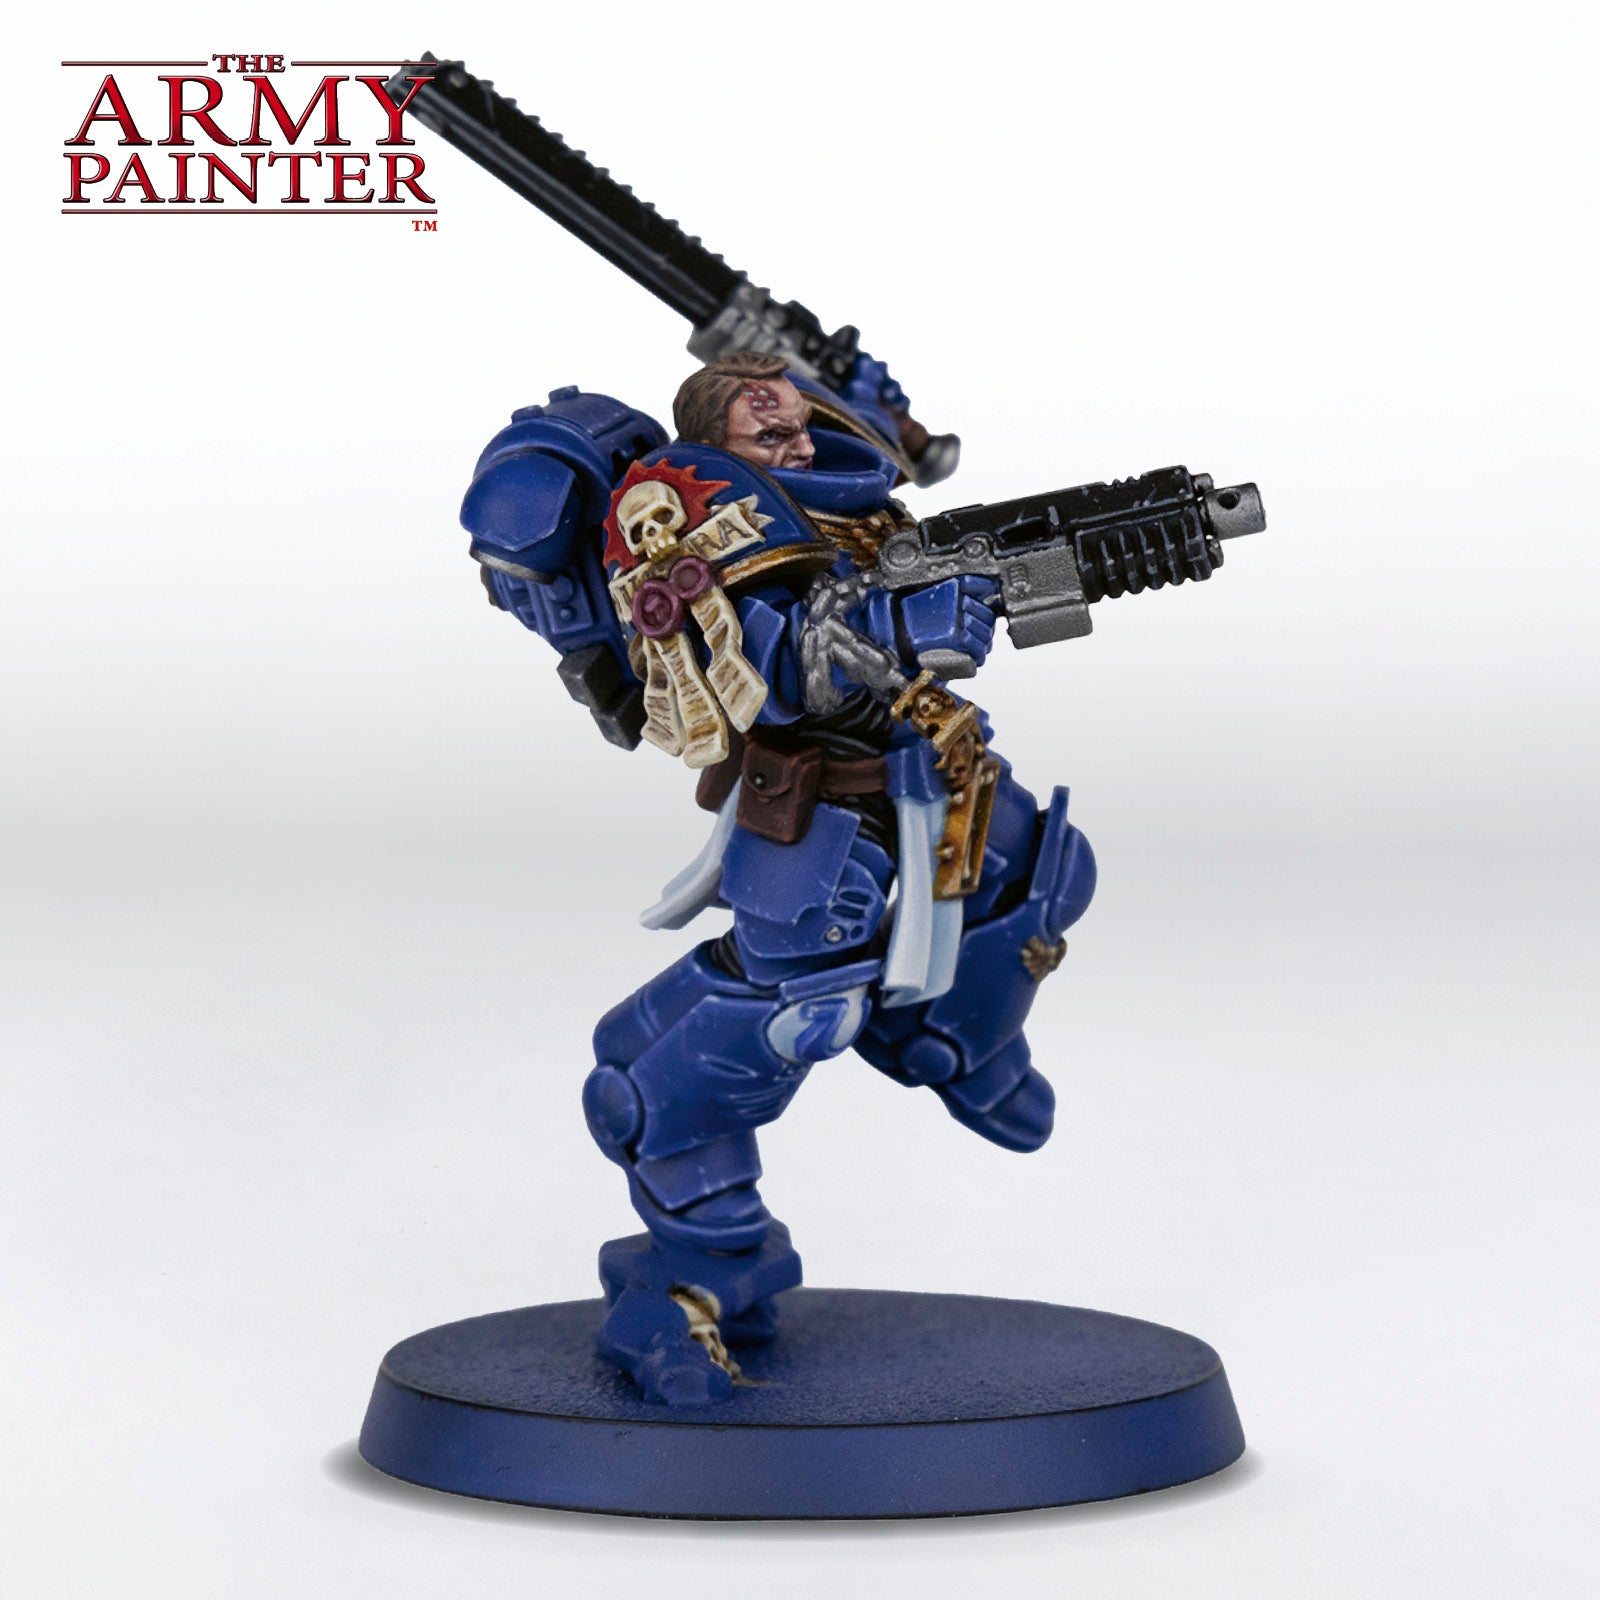
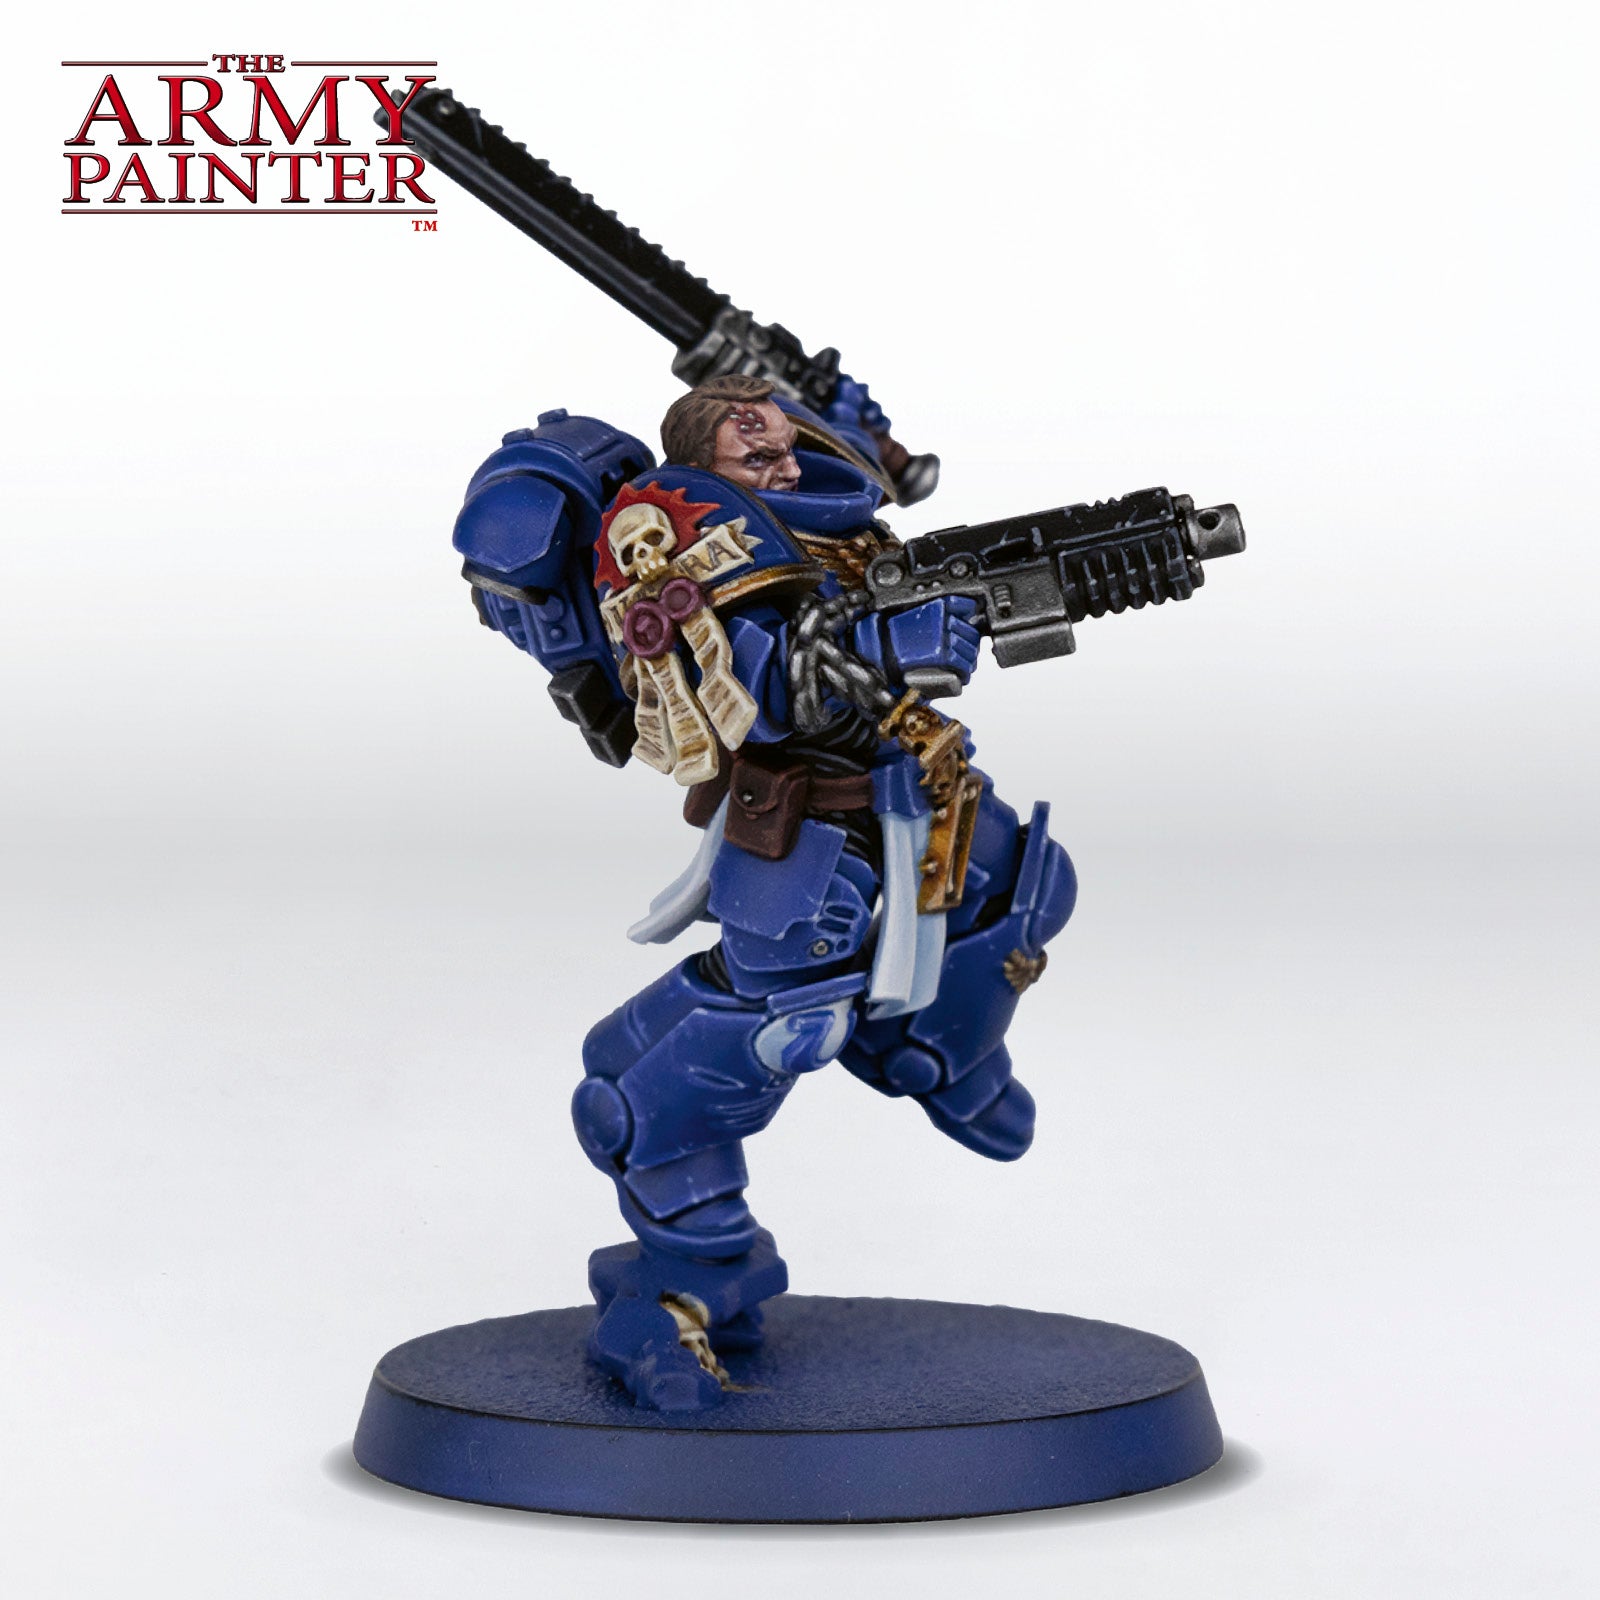
From your video game console to your painting desk, in this instalment, Tyler Mengel shows you how to paint up the heroic Lieutenant Titus from the hit video game Space Marine 2 based on Games Workshop’s Warhammer 40,000. Not only is this guide perfect for the hero of Graia, but it also works great for any true son of Ultramar. The vibrant blue and shining gold of the Ultramarines are nearly synonymous with Space Marines as a whole. Long seen as the poster-boys of the 40K setting, the Ultramarines are having a particulary strong moment in the spotlight with the blockbuster success of Space Marine 2.
Luckily for you, it’s never been easier to bring them to life on the tabletop with the help of Warpaints Fanatic. We even have the perfect Colour Primer to start with!
This tutorial is broken down by colour segments, starting with the armour, black, white, gold, and so on. Each section is further broken down into manageable steps by applying one colour at a time. If you’re on a desktop, simply click the arrows at the bottom of each section to scroll through the steps or scroll to the side on your mobile phone.
Let's get painting!

The Blue Armour
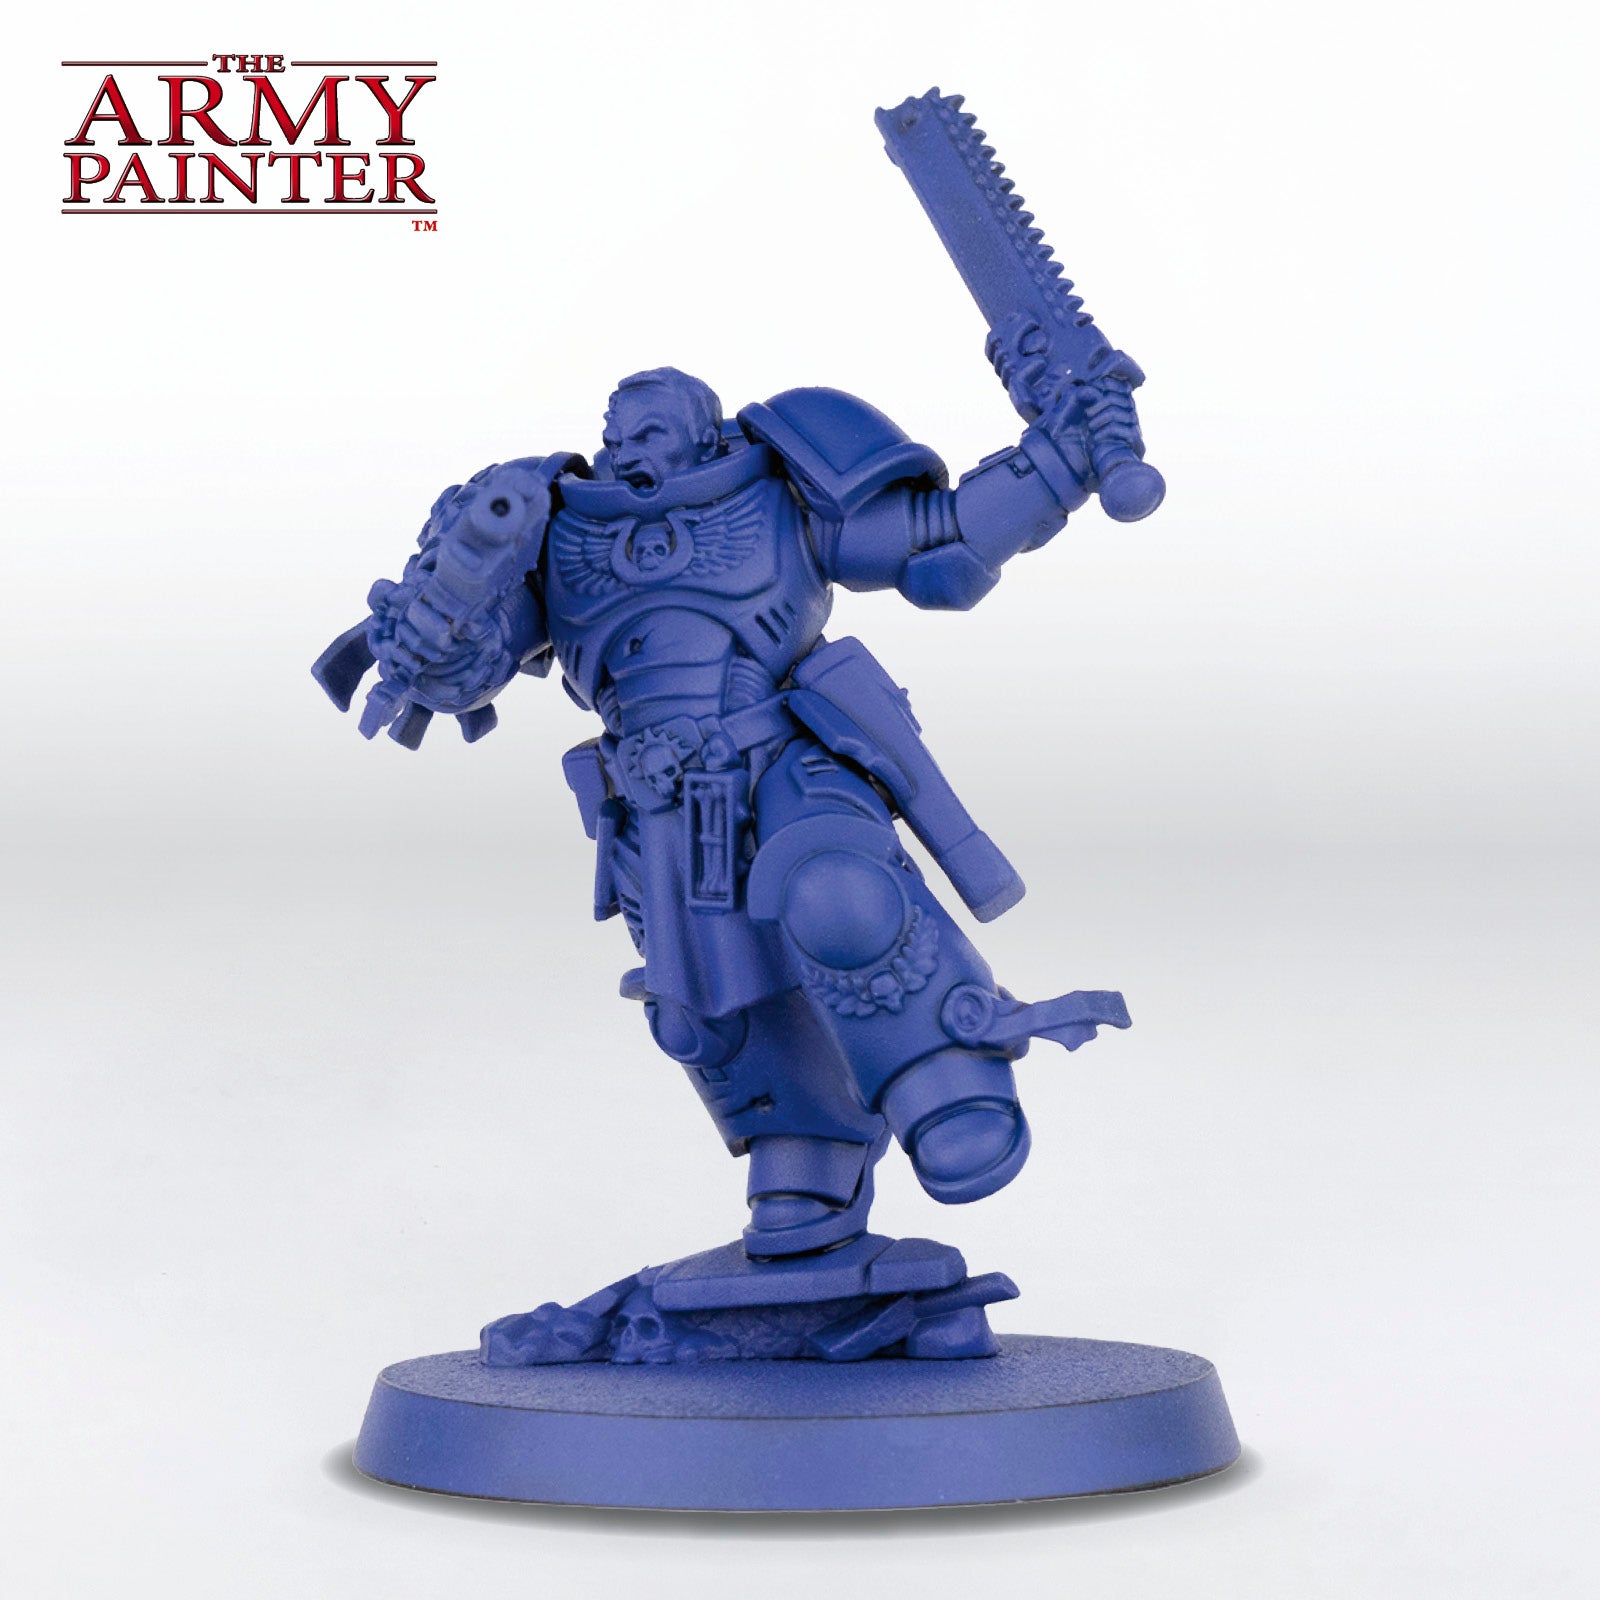
Step 1
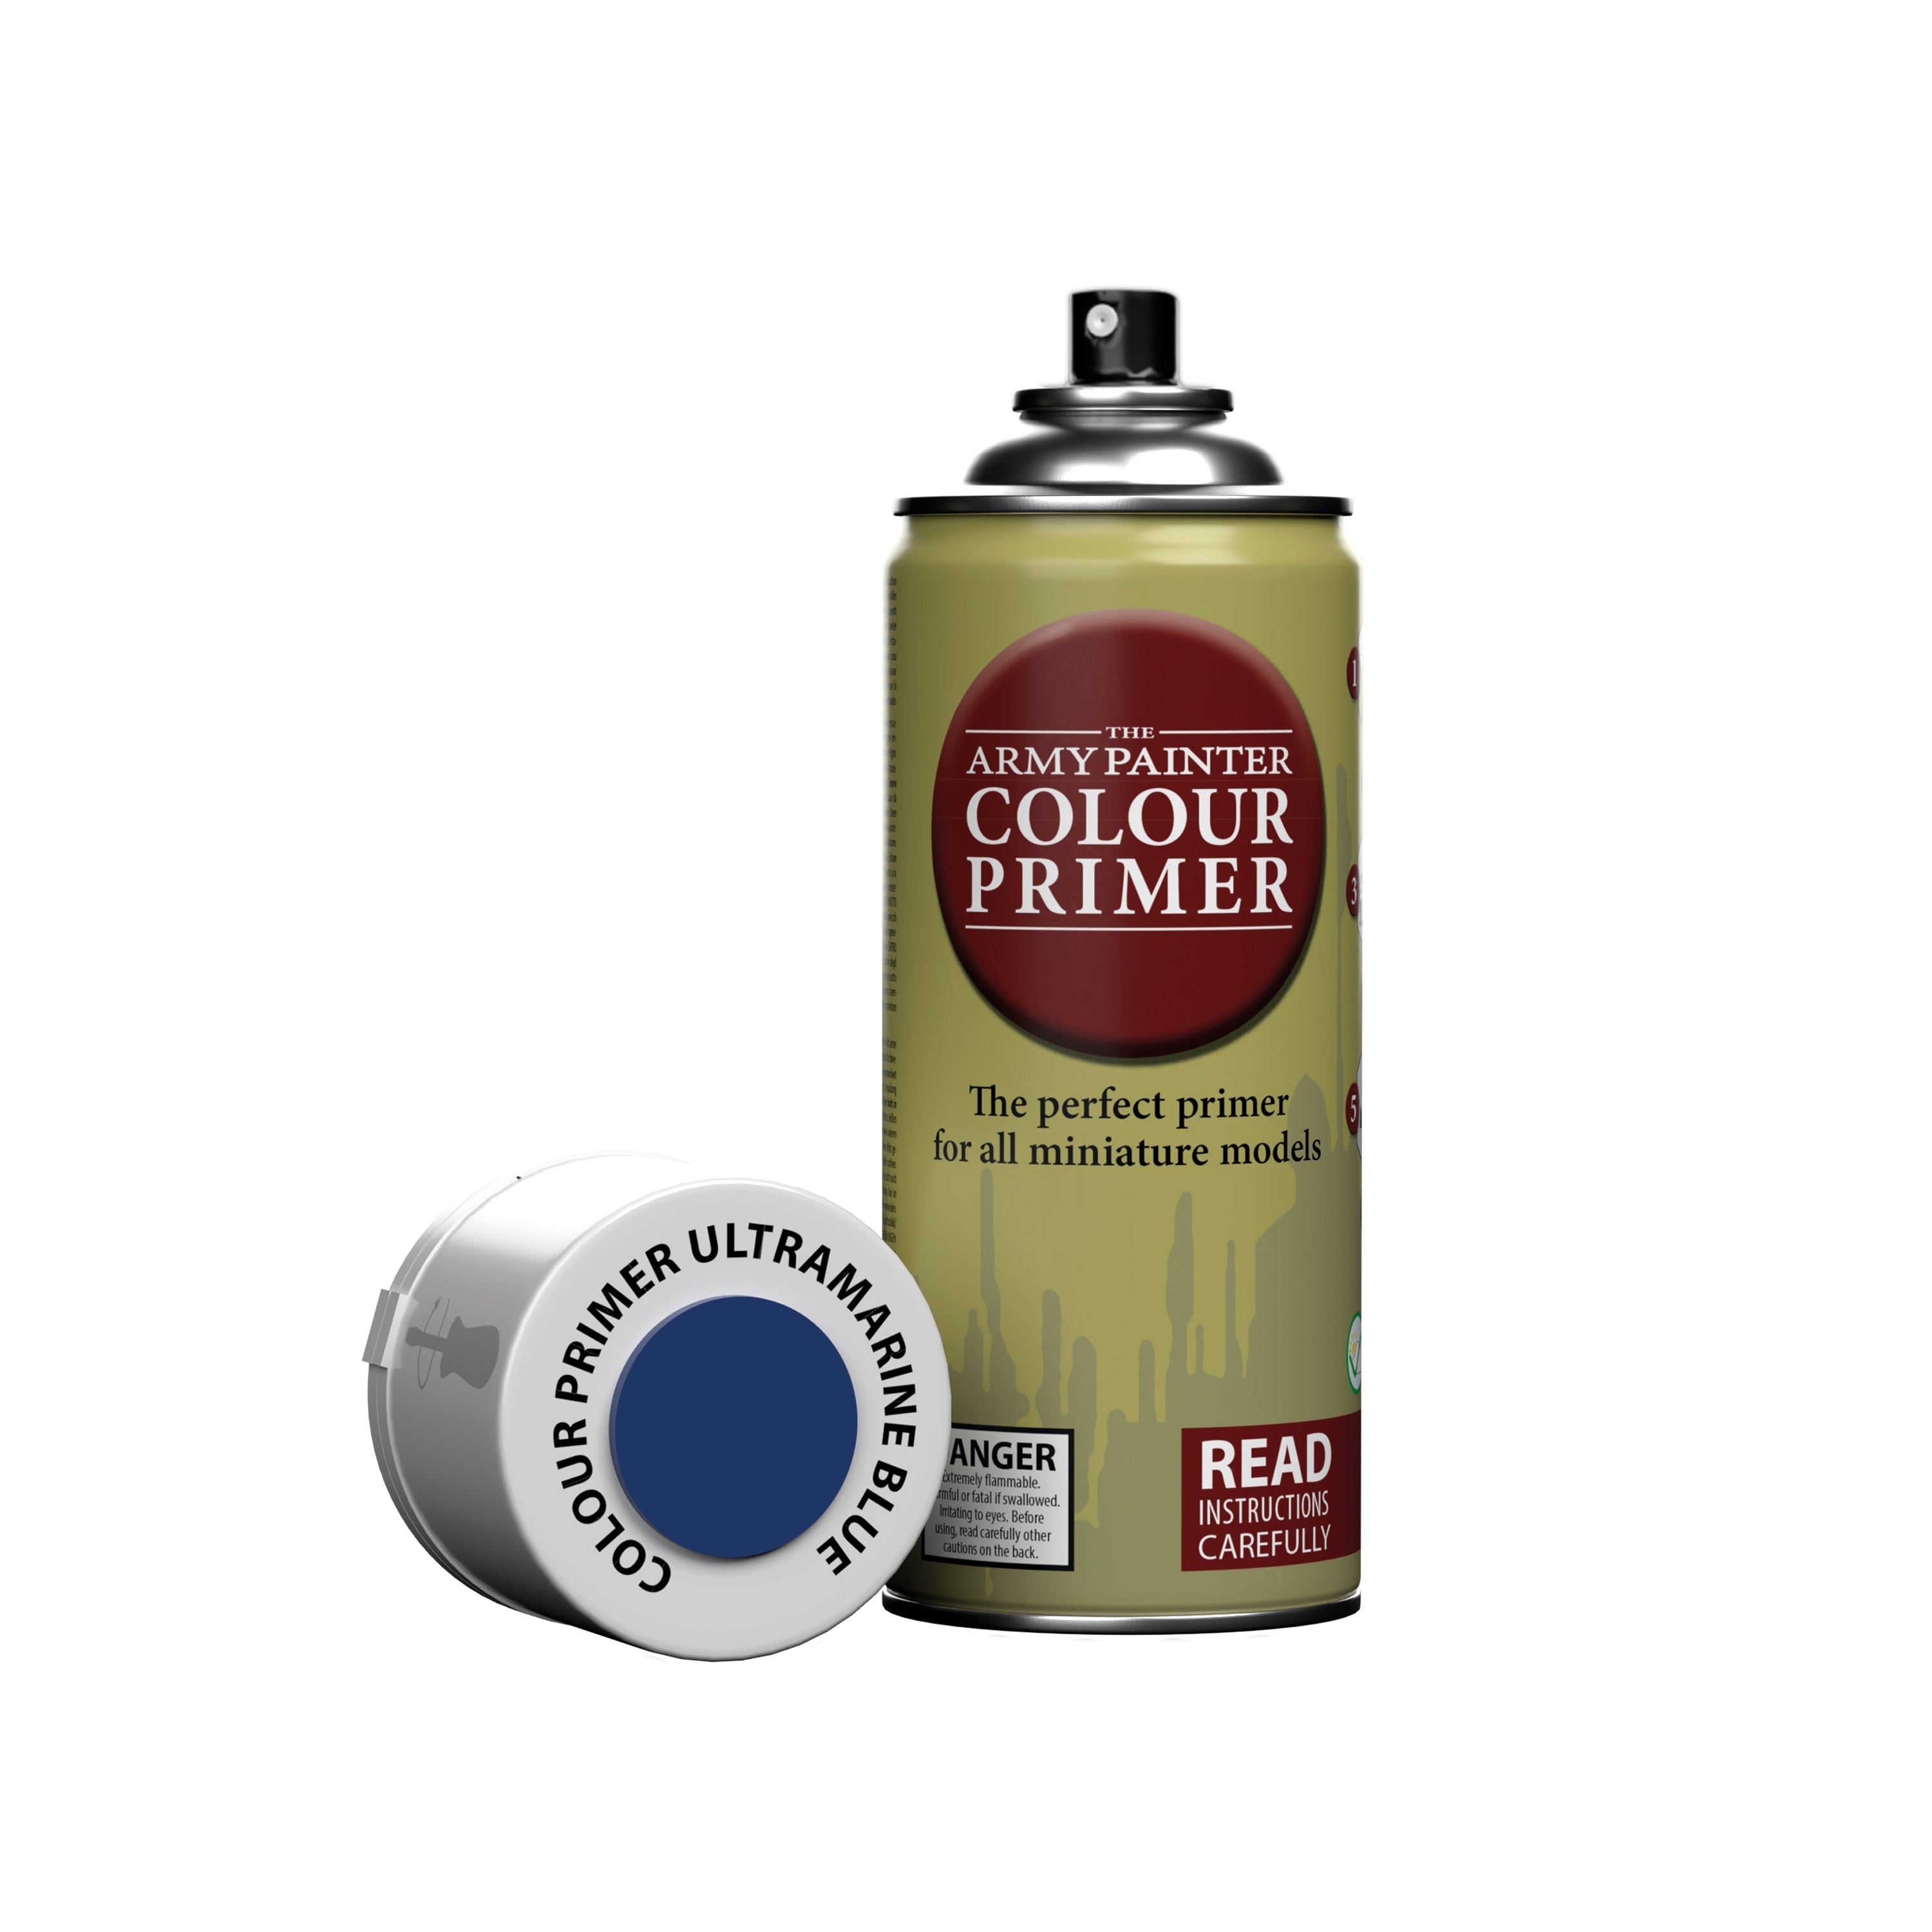
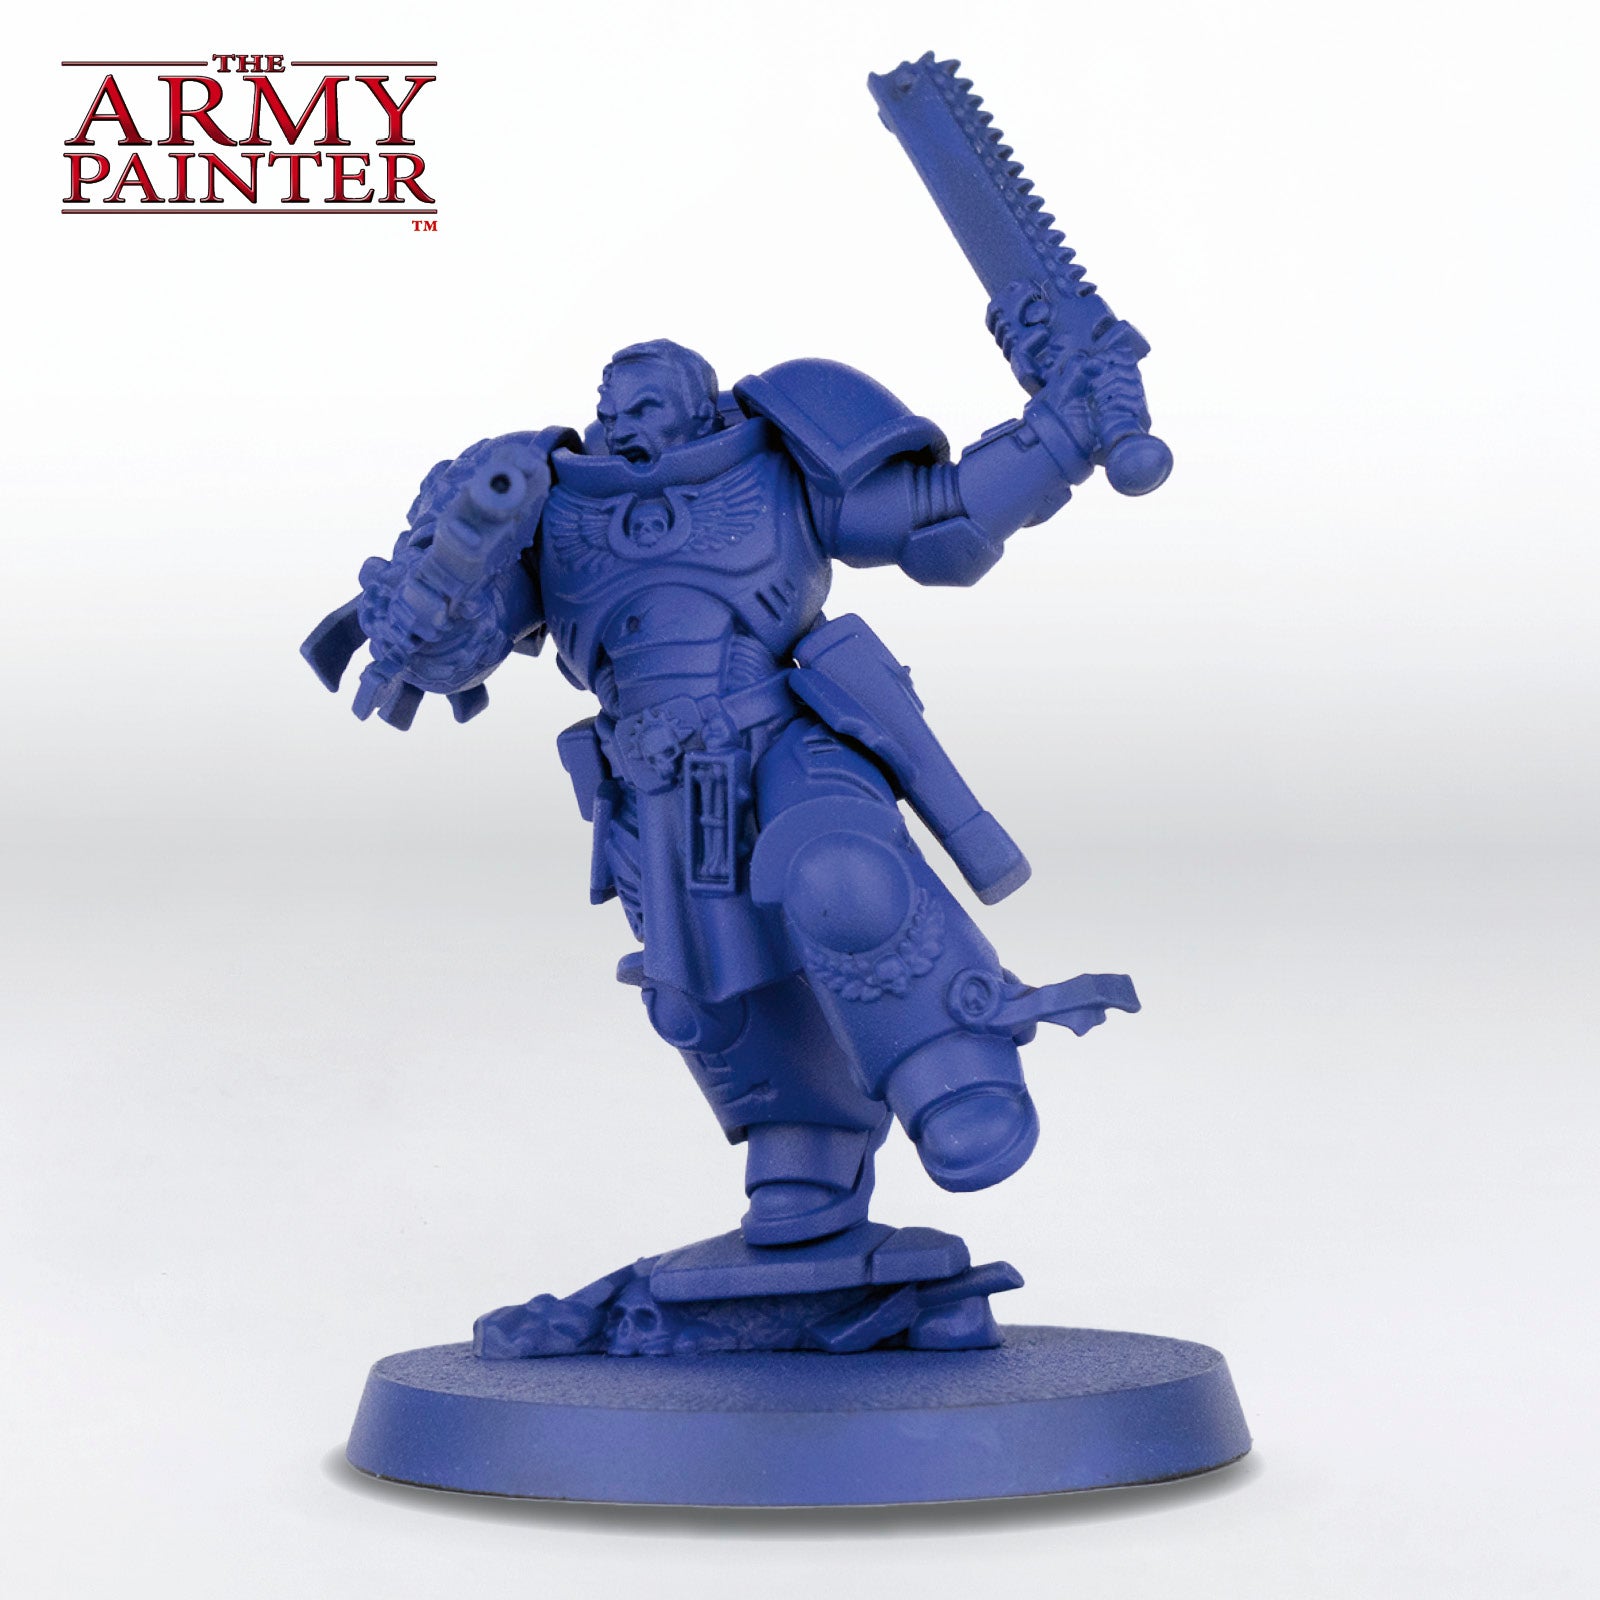
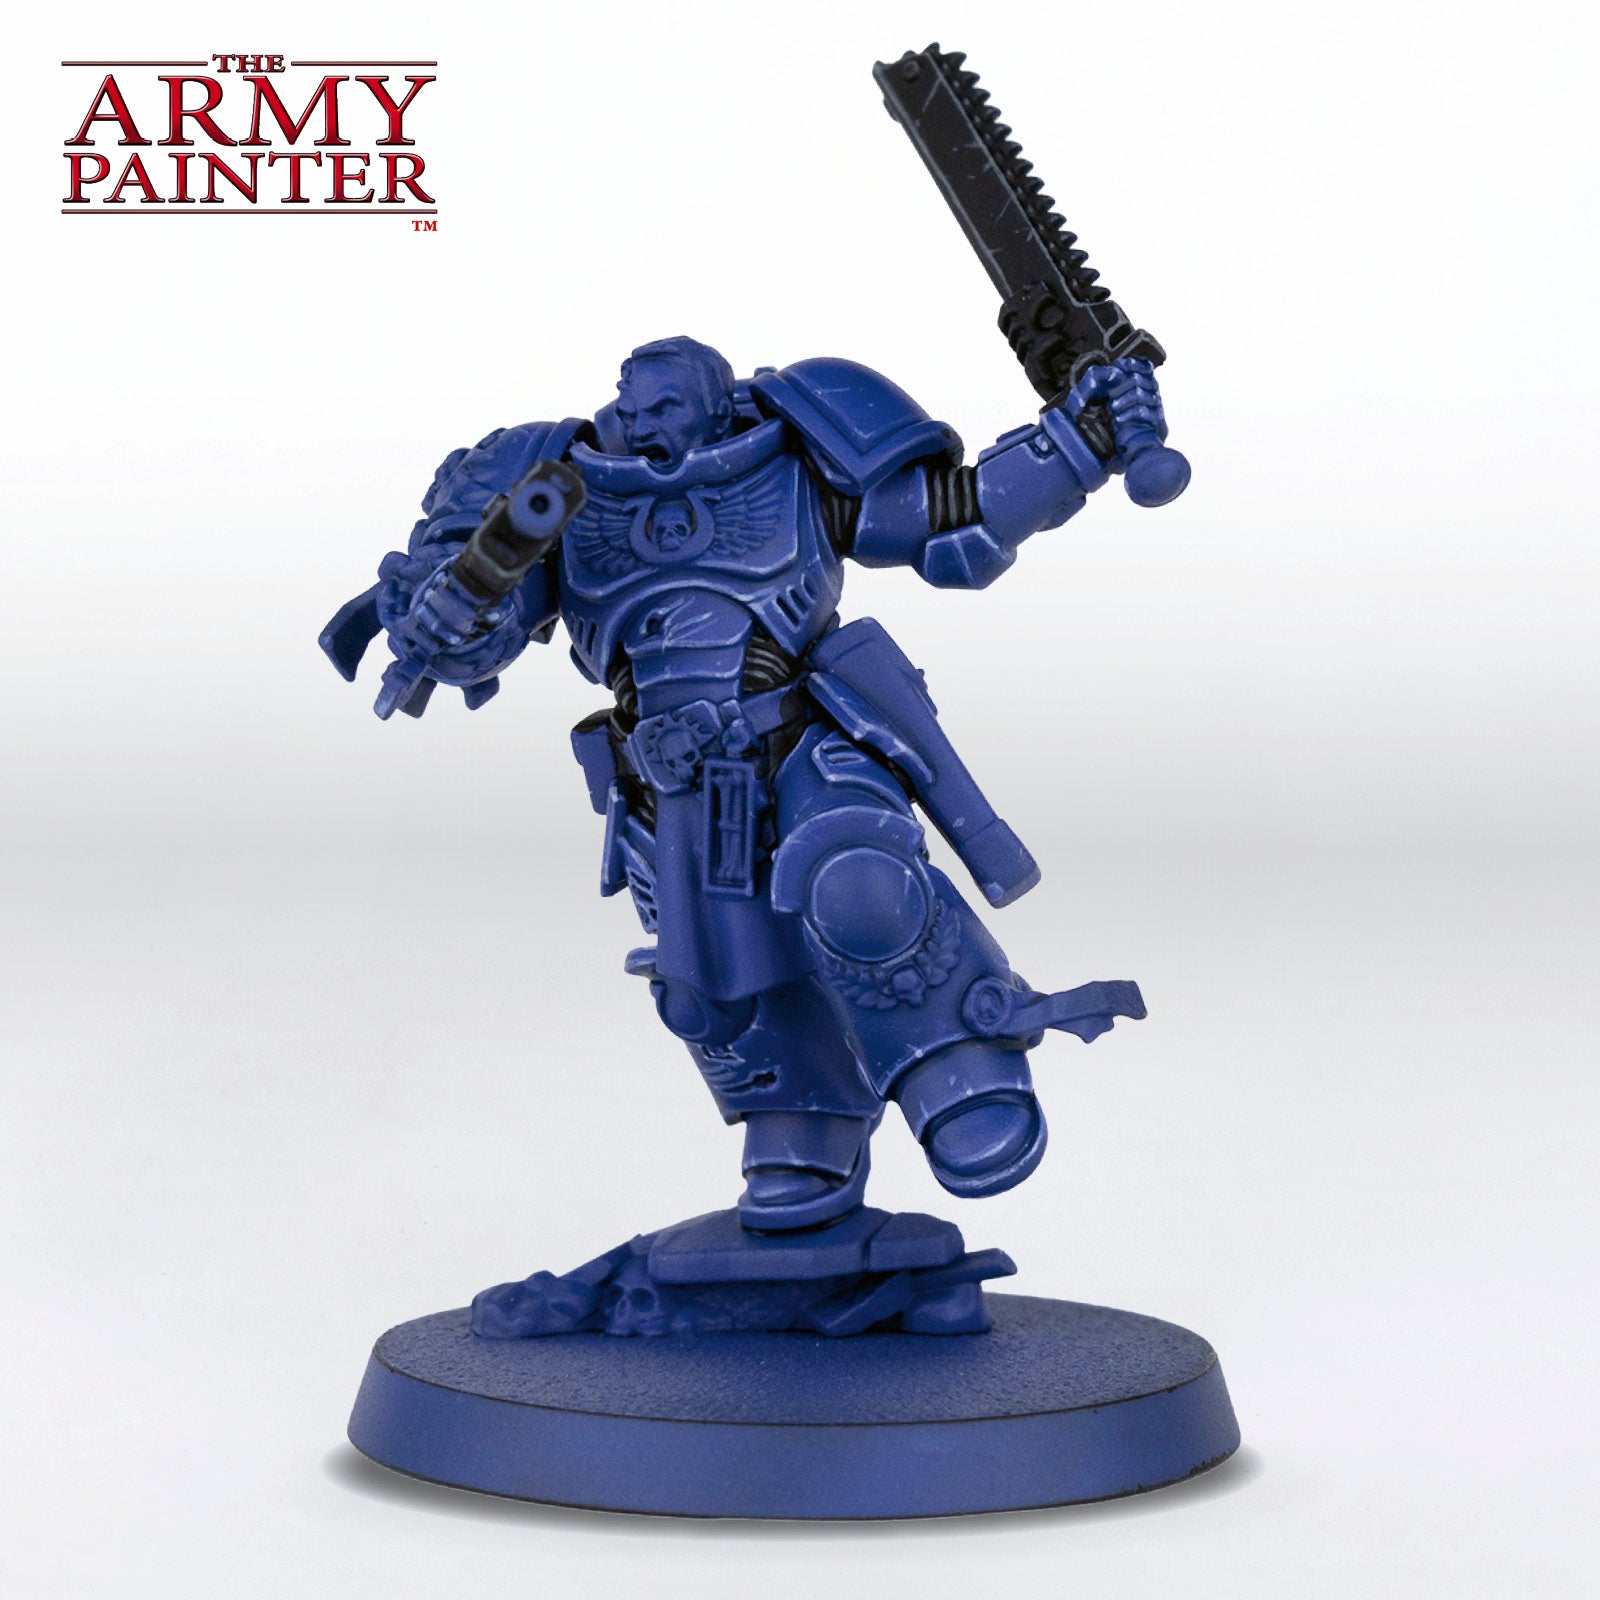
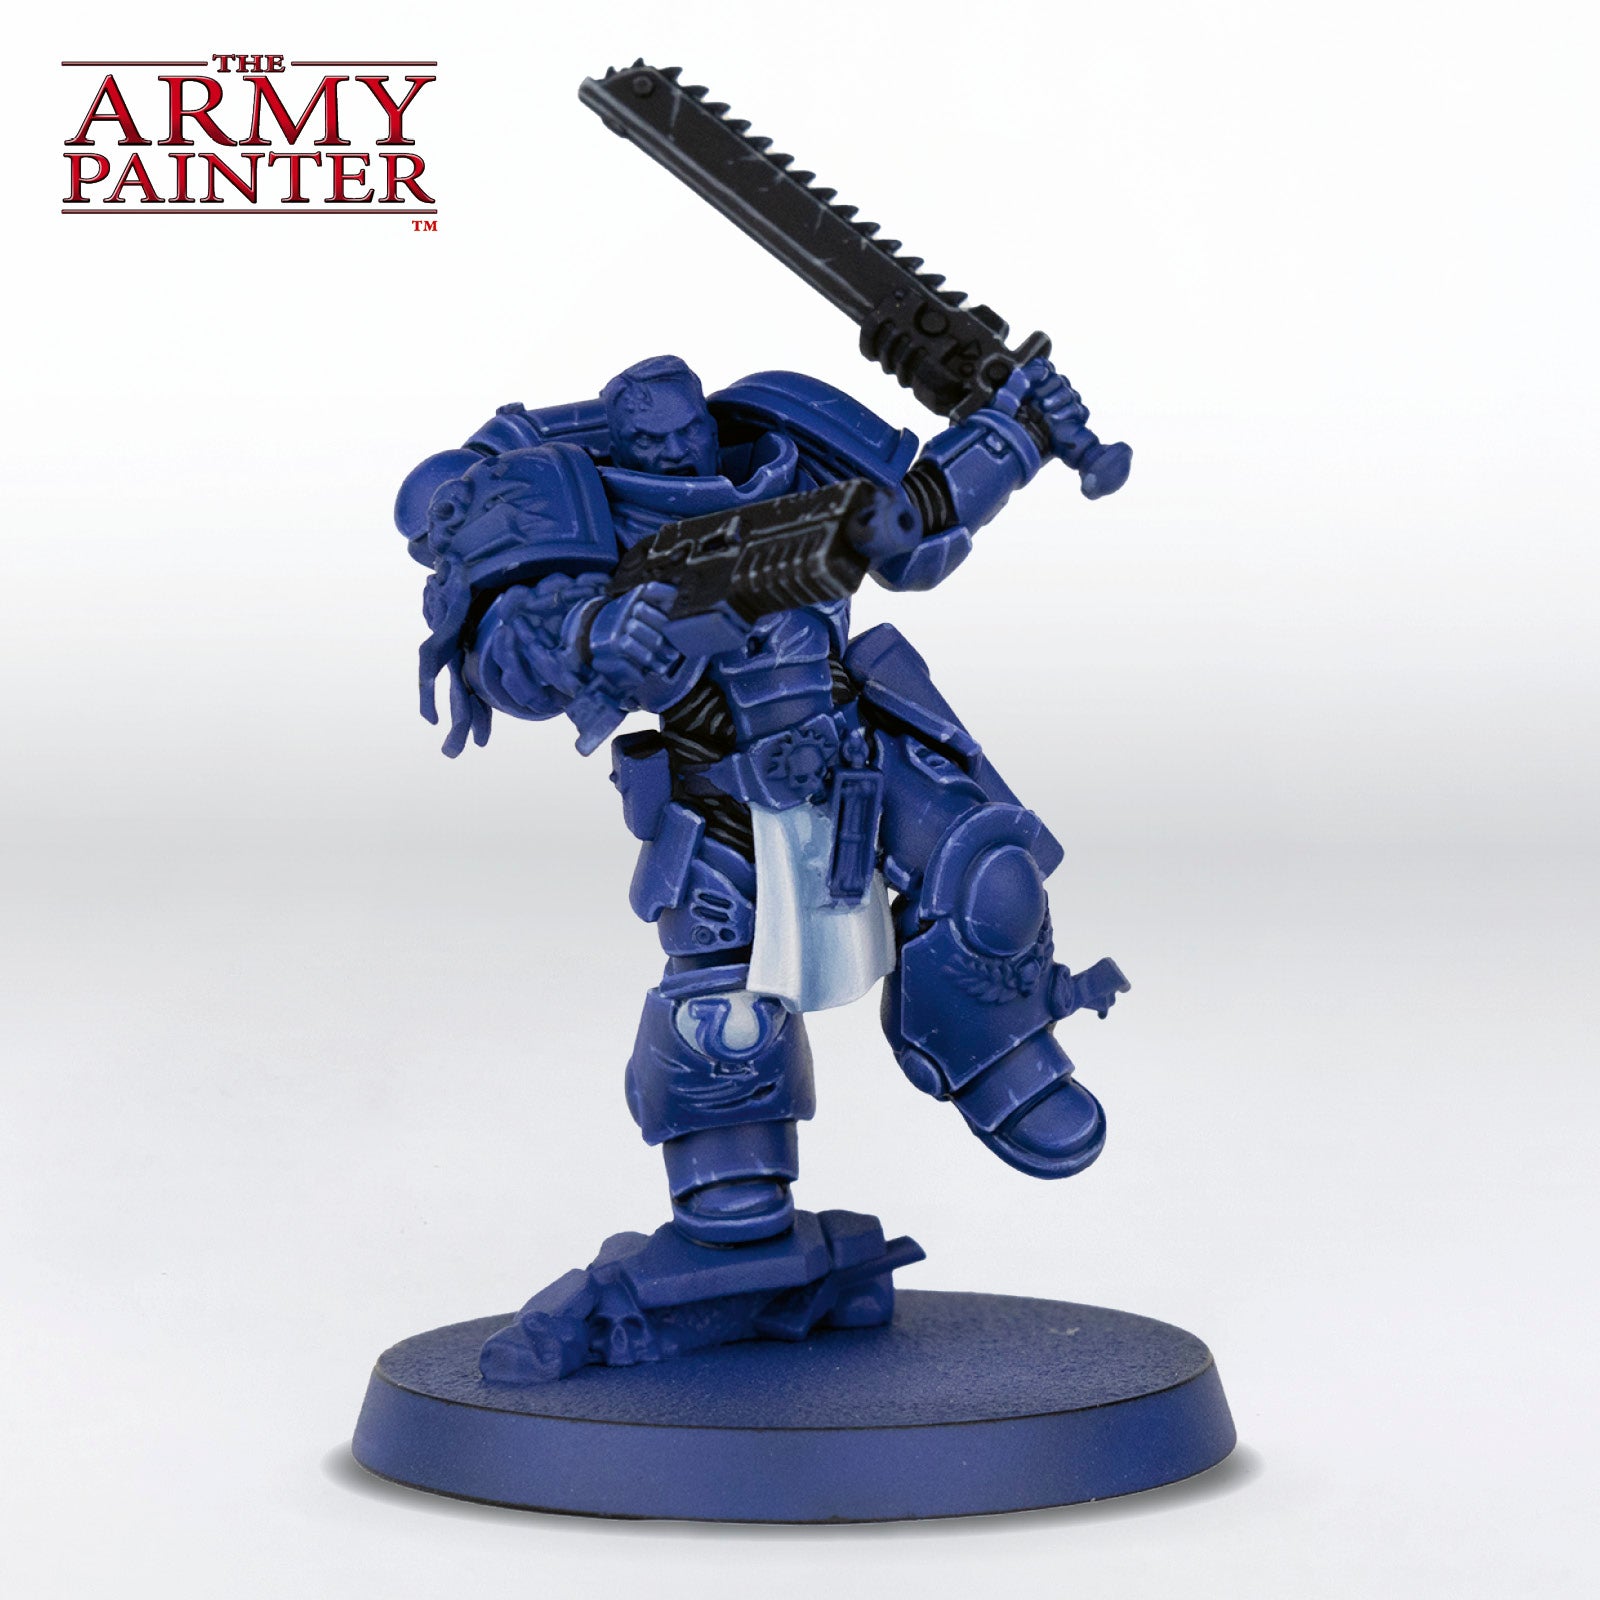
Start by priming the model with the appropriately named Ultramarine Blue Colour Primer.
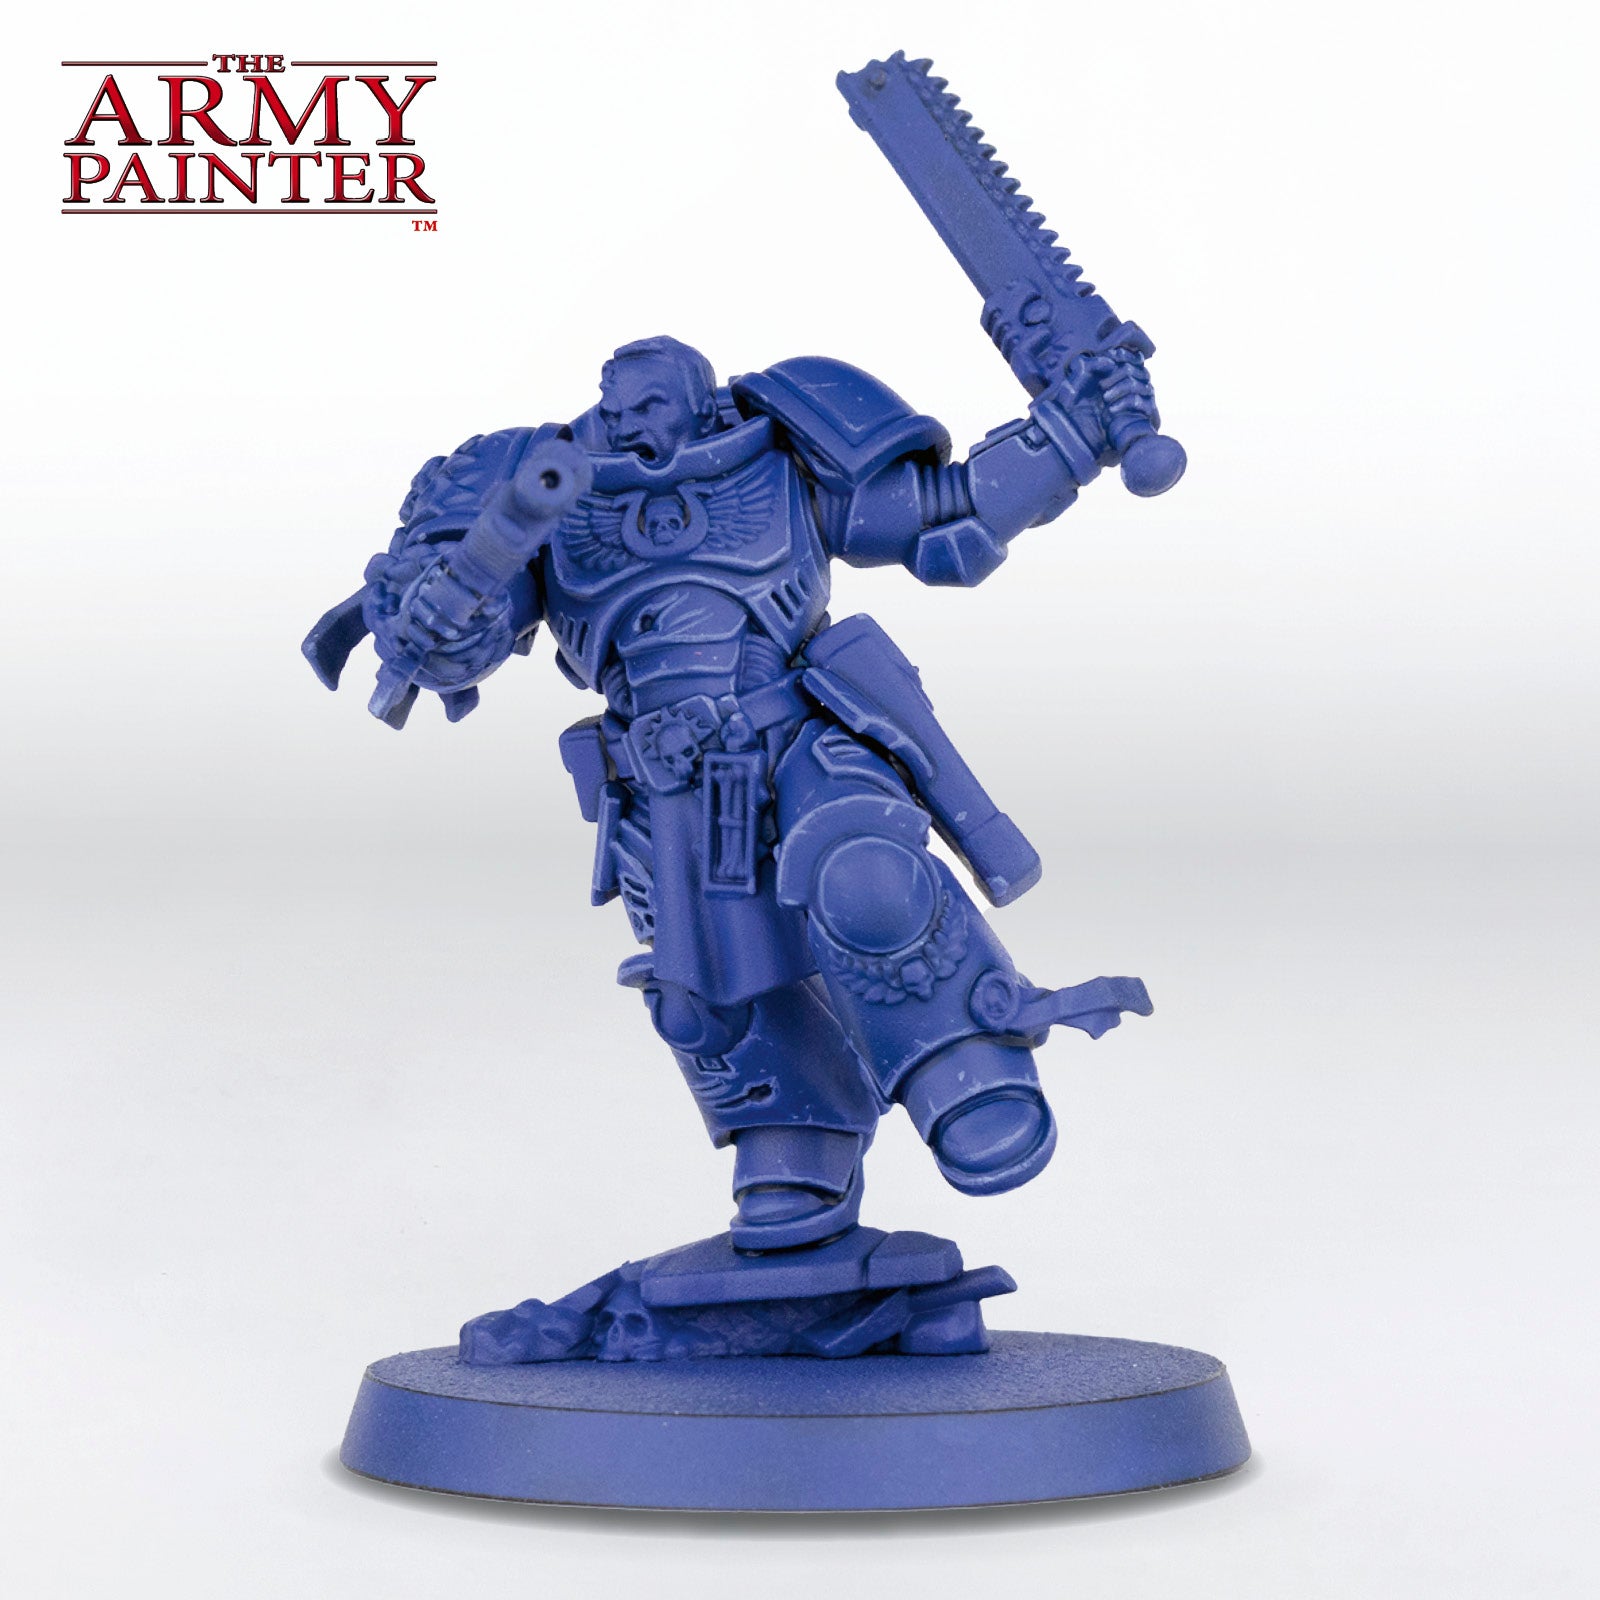
Step 2
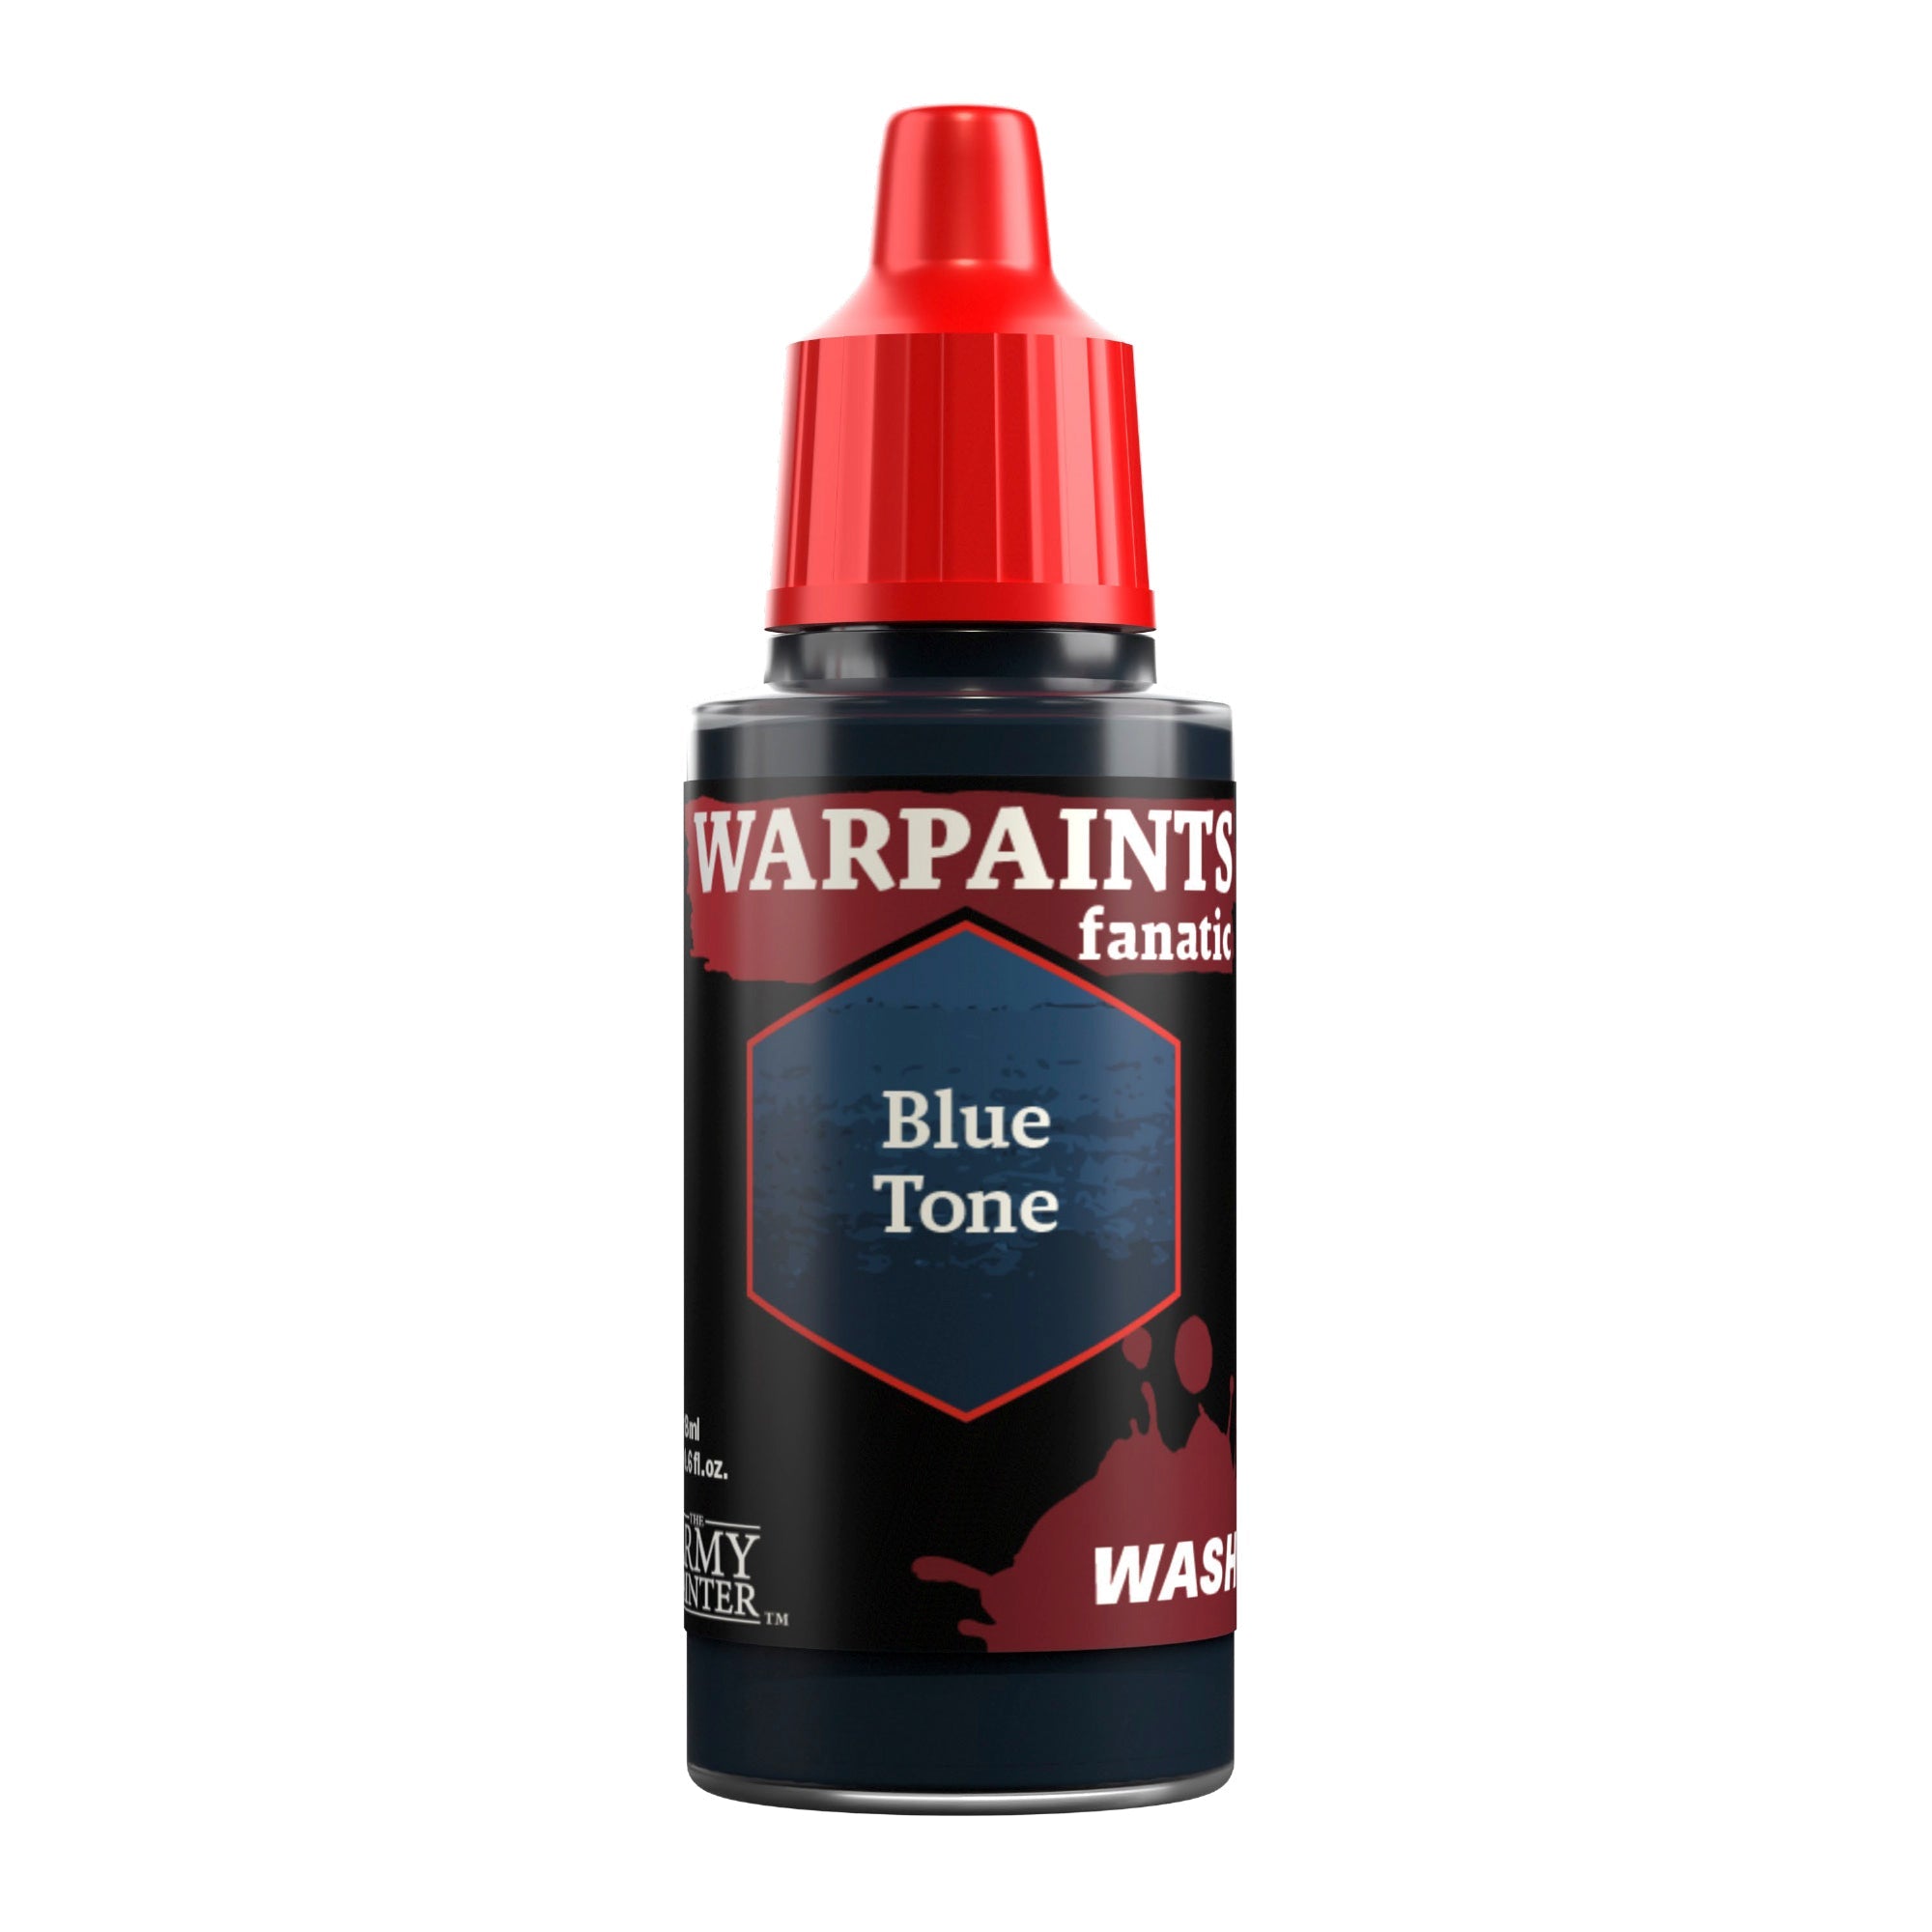
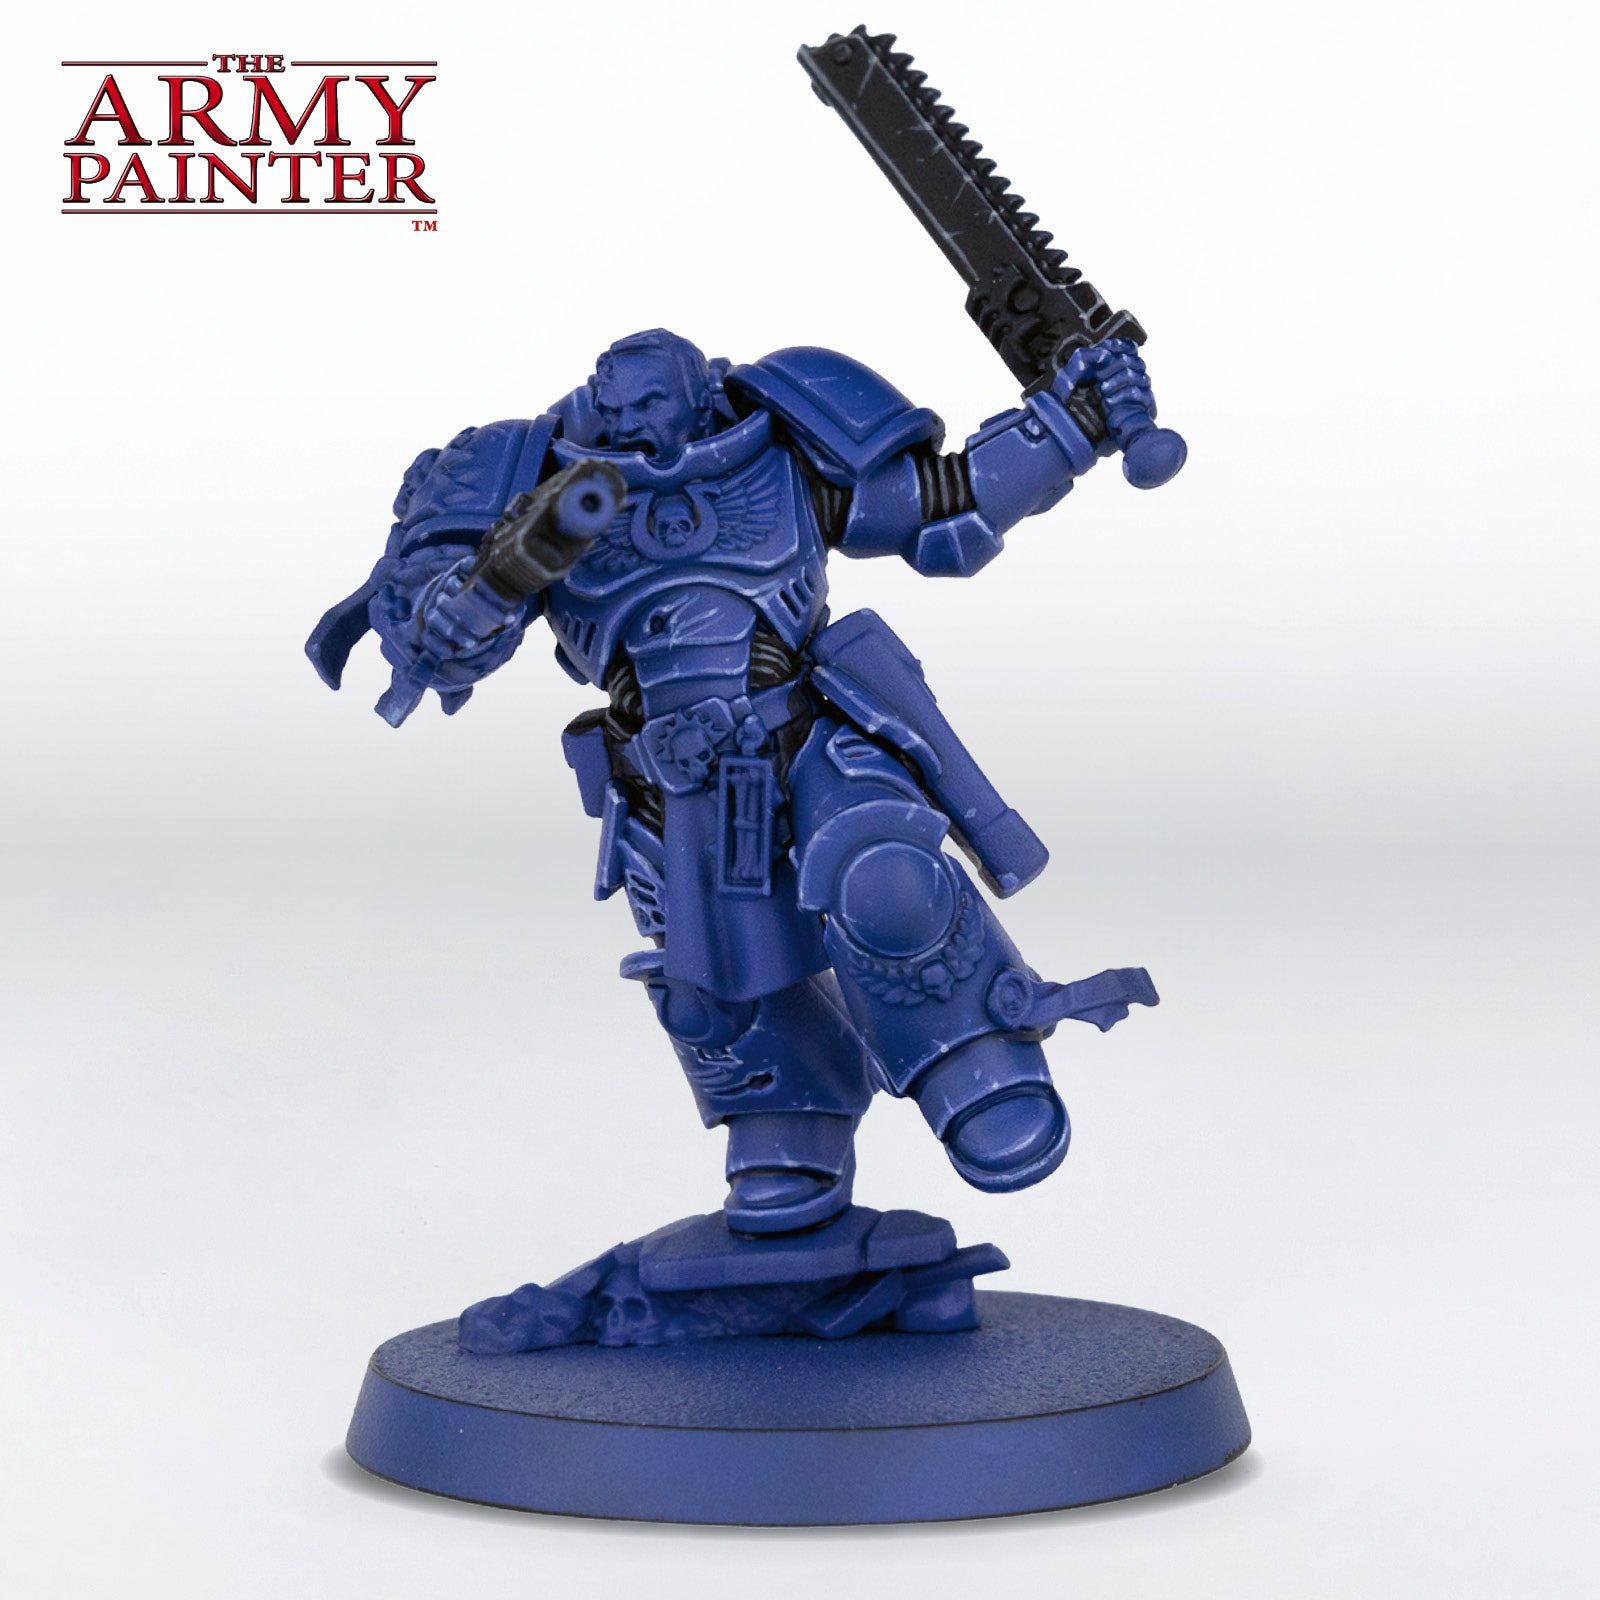
Next, add a bit of depth and shading to the armour by applying an all-over coat of Warpaints Fanatic Wash Blue Tone. Make sure this settles in all the recesses, but watch it as it dries to avoid any weird pooling. Applying this anarmour segment at a time will give you the most control. If any recesses feel like they need to be a bit darker, you can apply some more of this Wash directly into those areas.

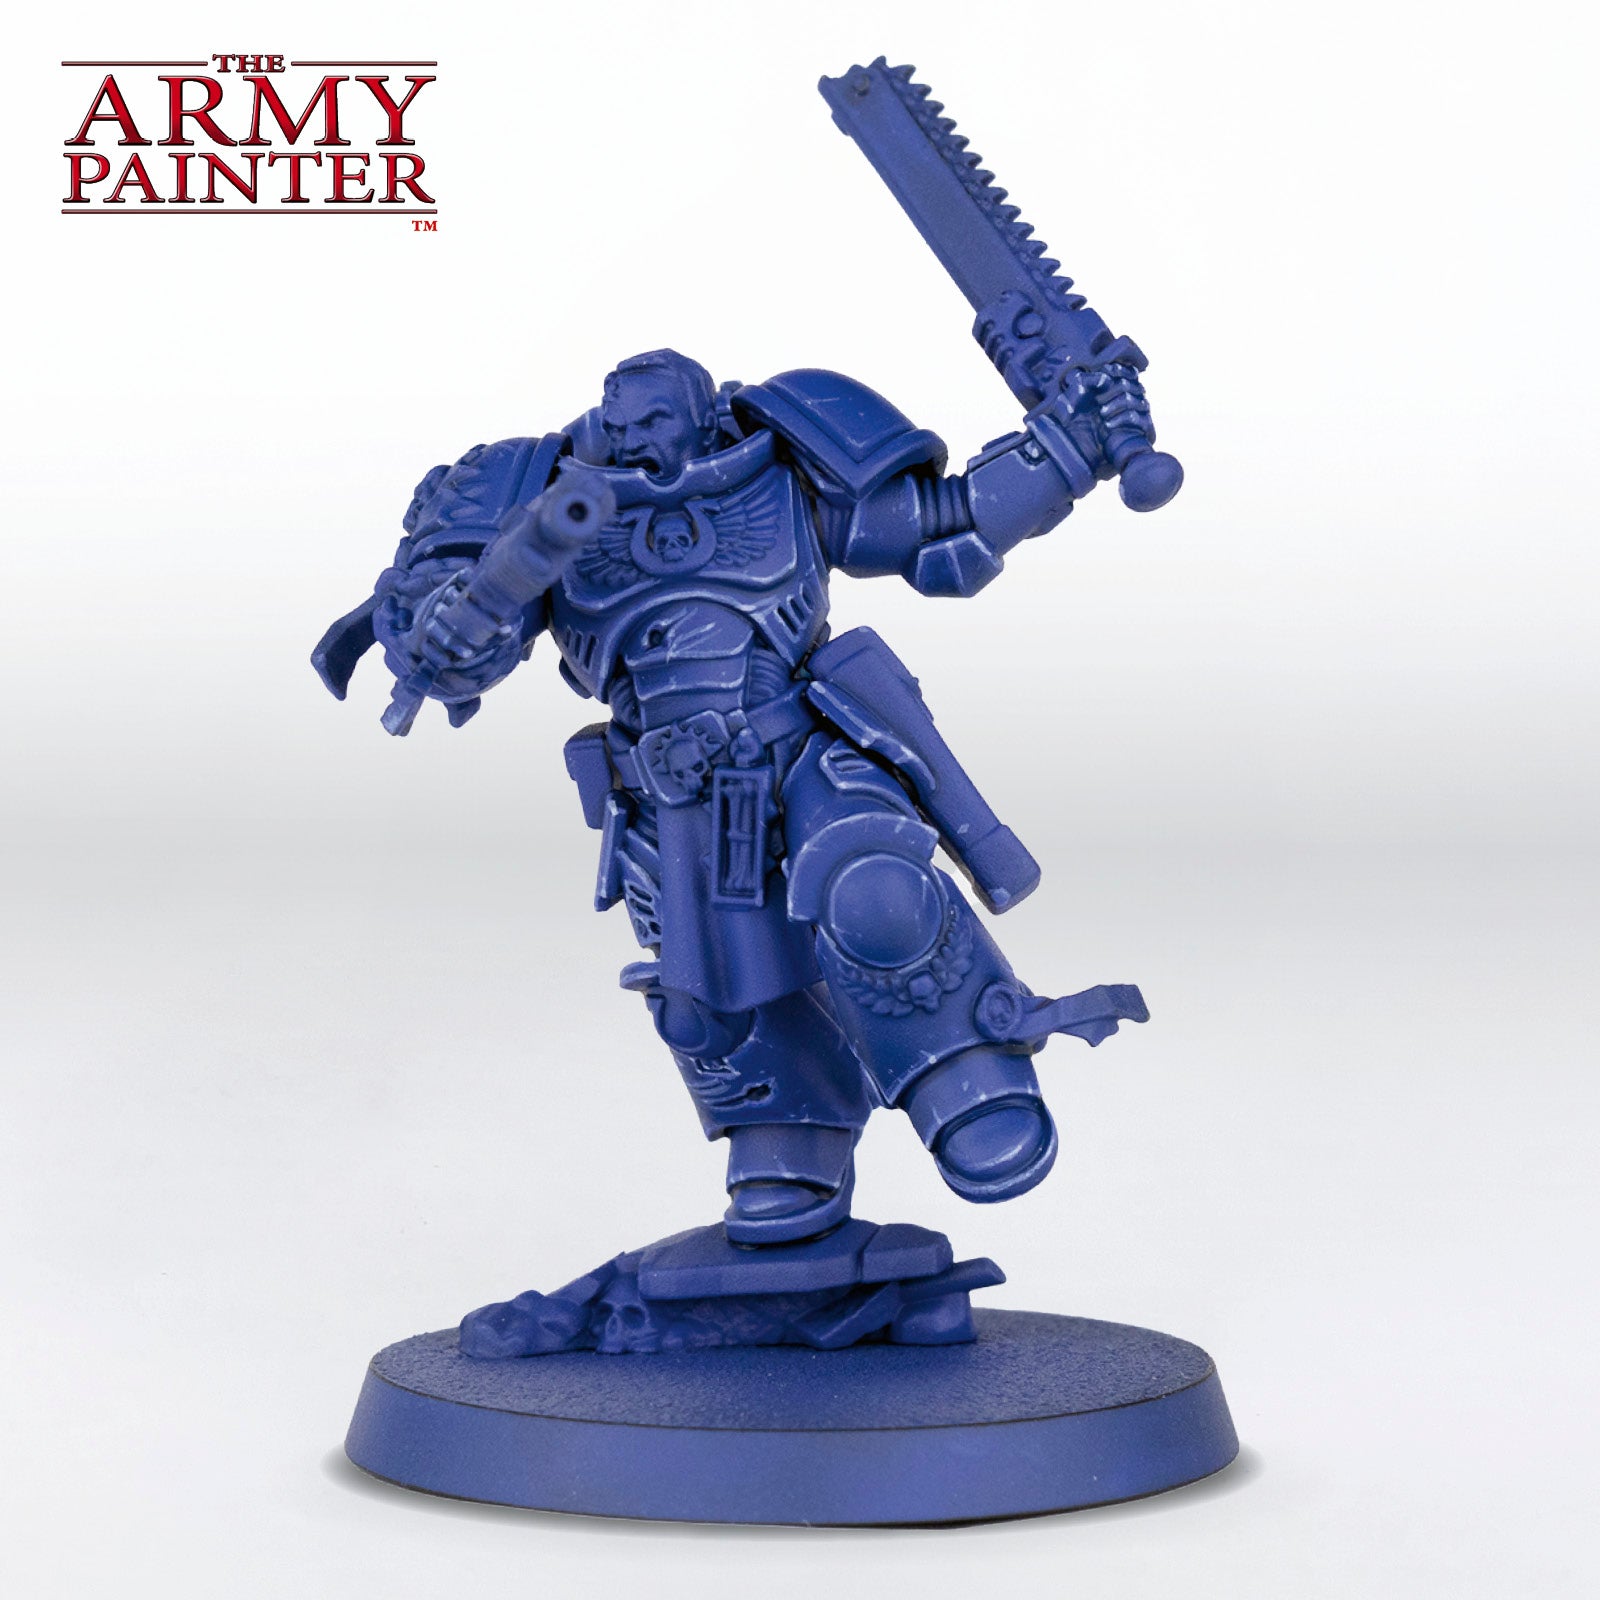
Step 3
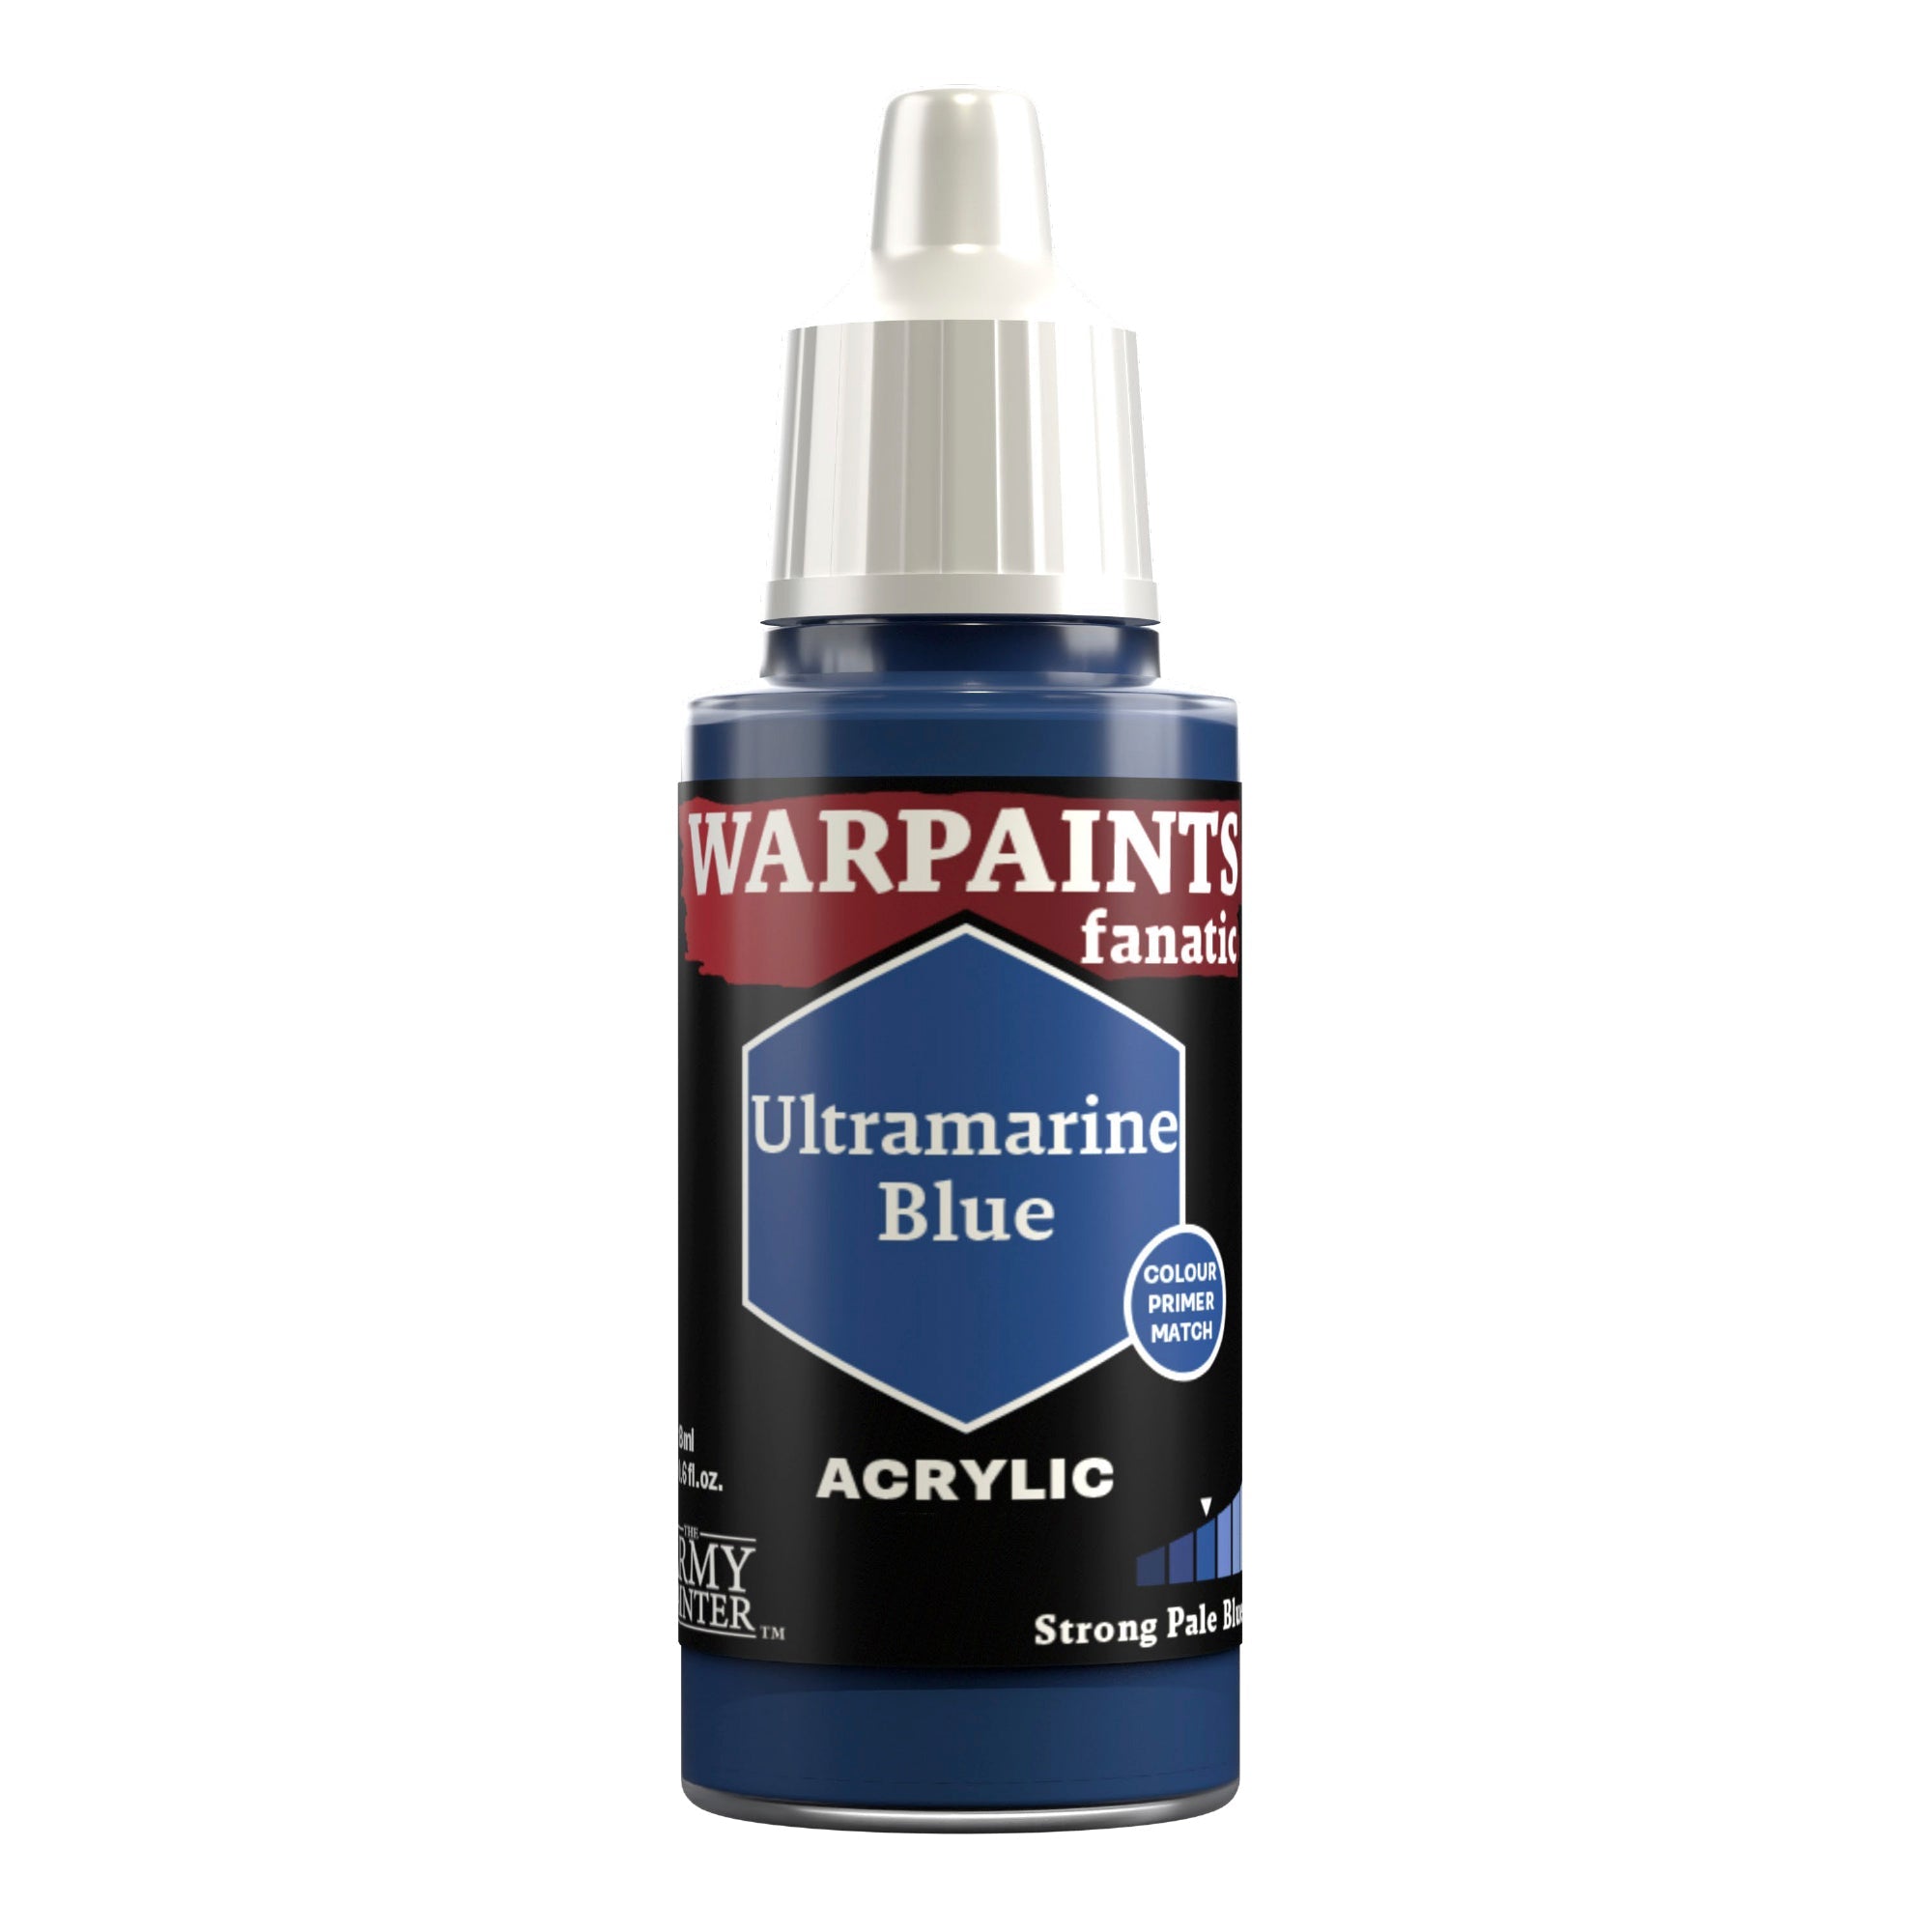
This is followed by what is called a chunky highlight. Use Warpaints Fanatic Ultramarine Blue to apply a thick highlight along the armour edges. It will be slightly lighter than the main armour colour now after the Wash.
Step 4
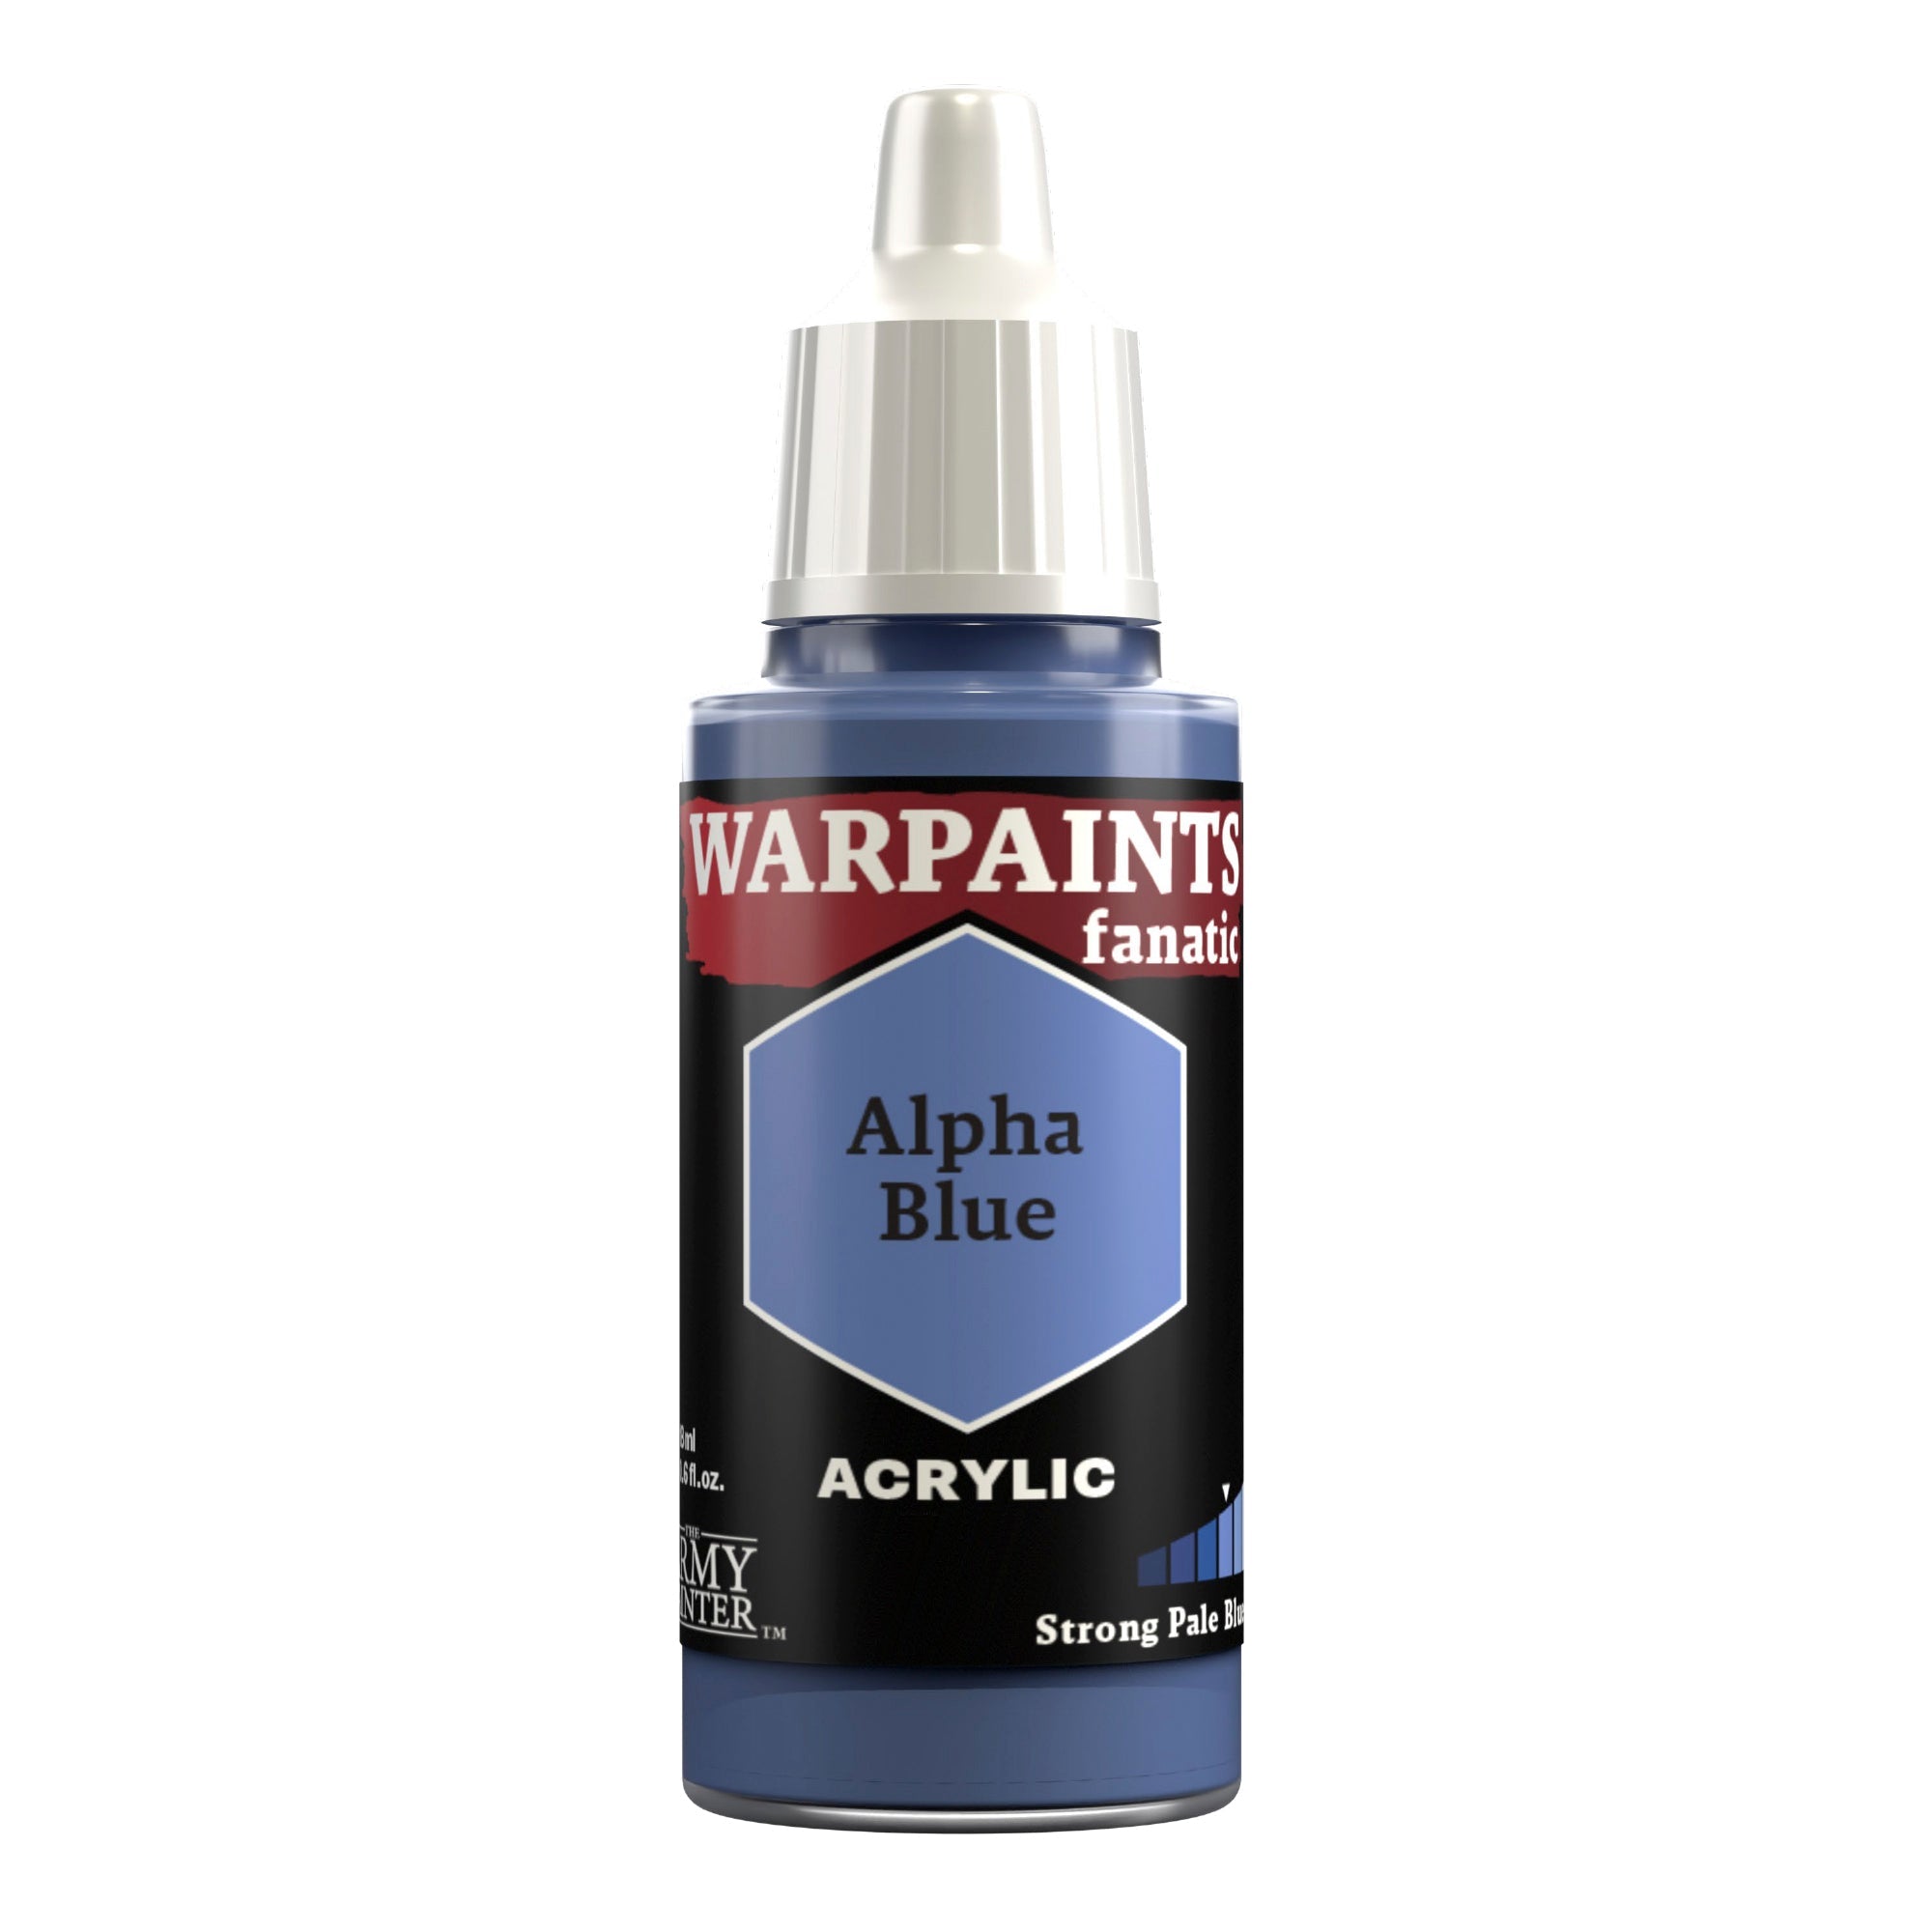
Next, apply a thinner edge highlight of Warpaints Fanatic Alpha Blue. You should now have a slight gradient between your highlights. You can also apply chipping and damage to the armour at this point.
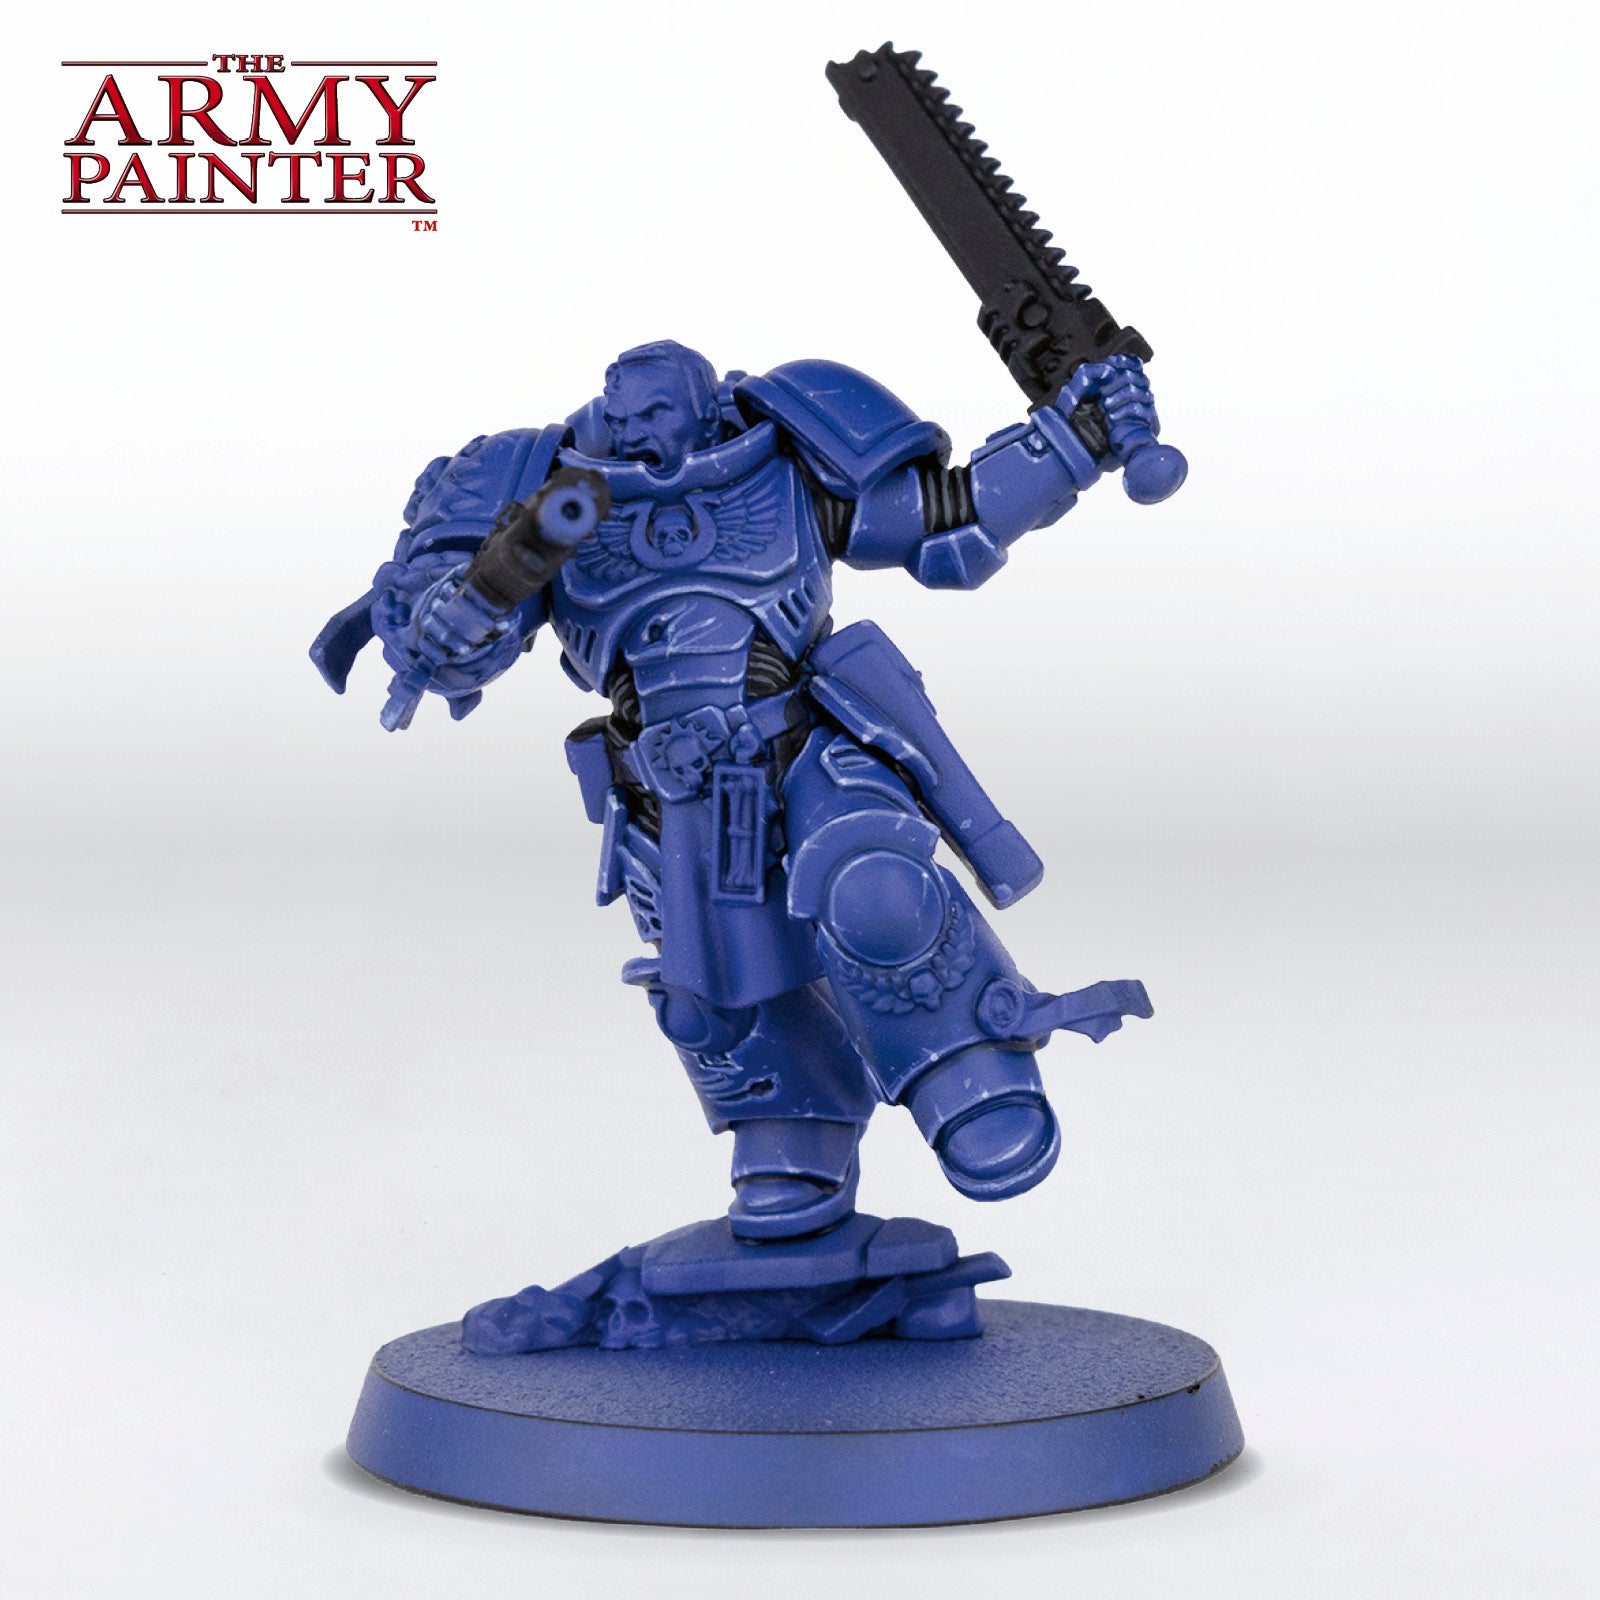
Step 5
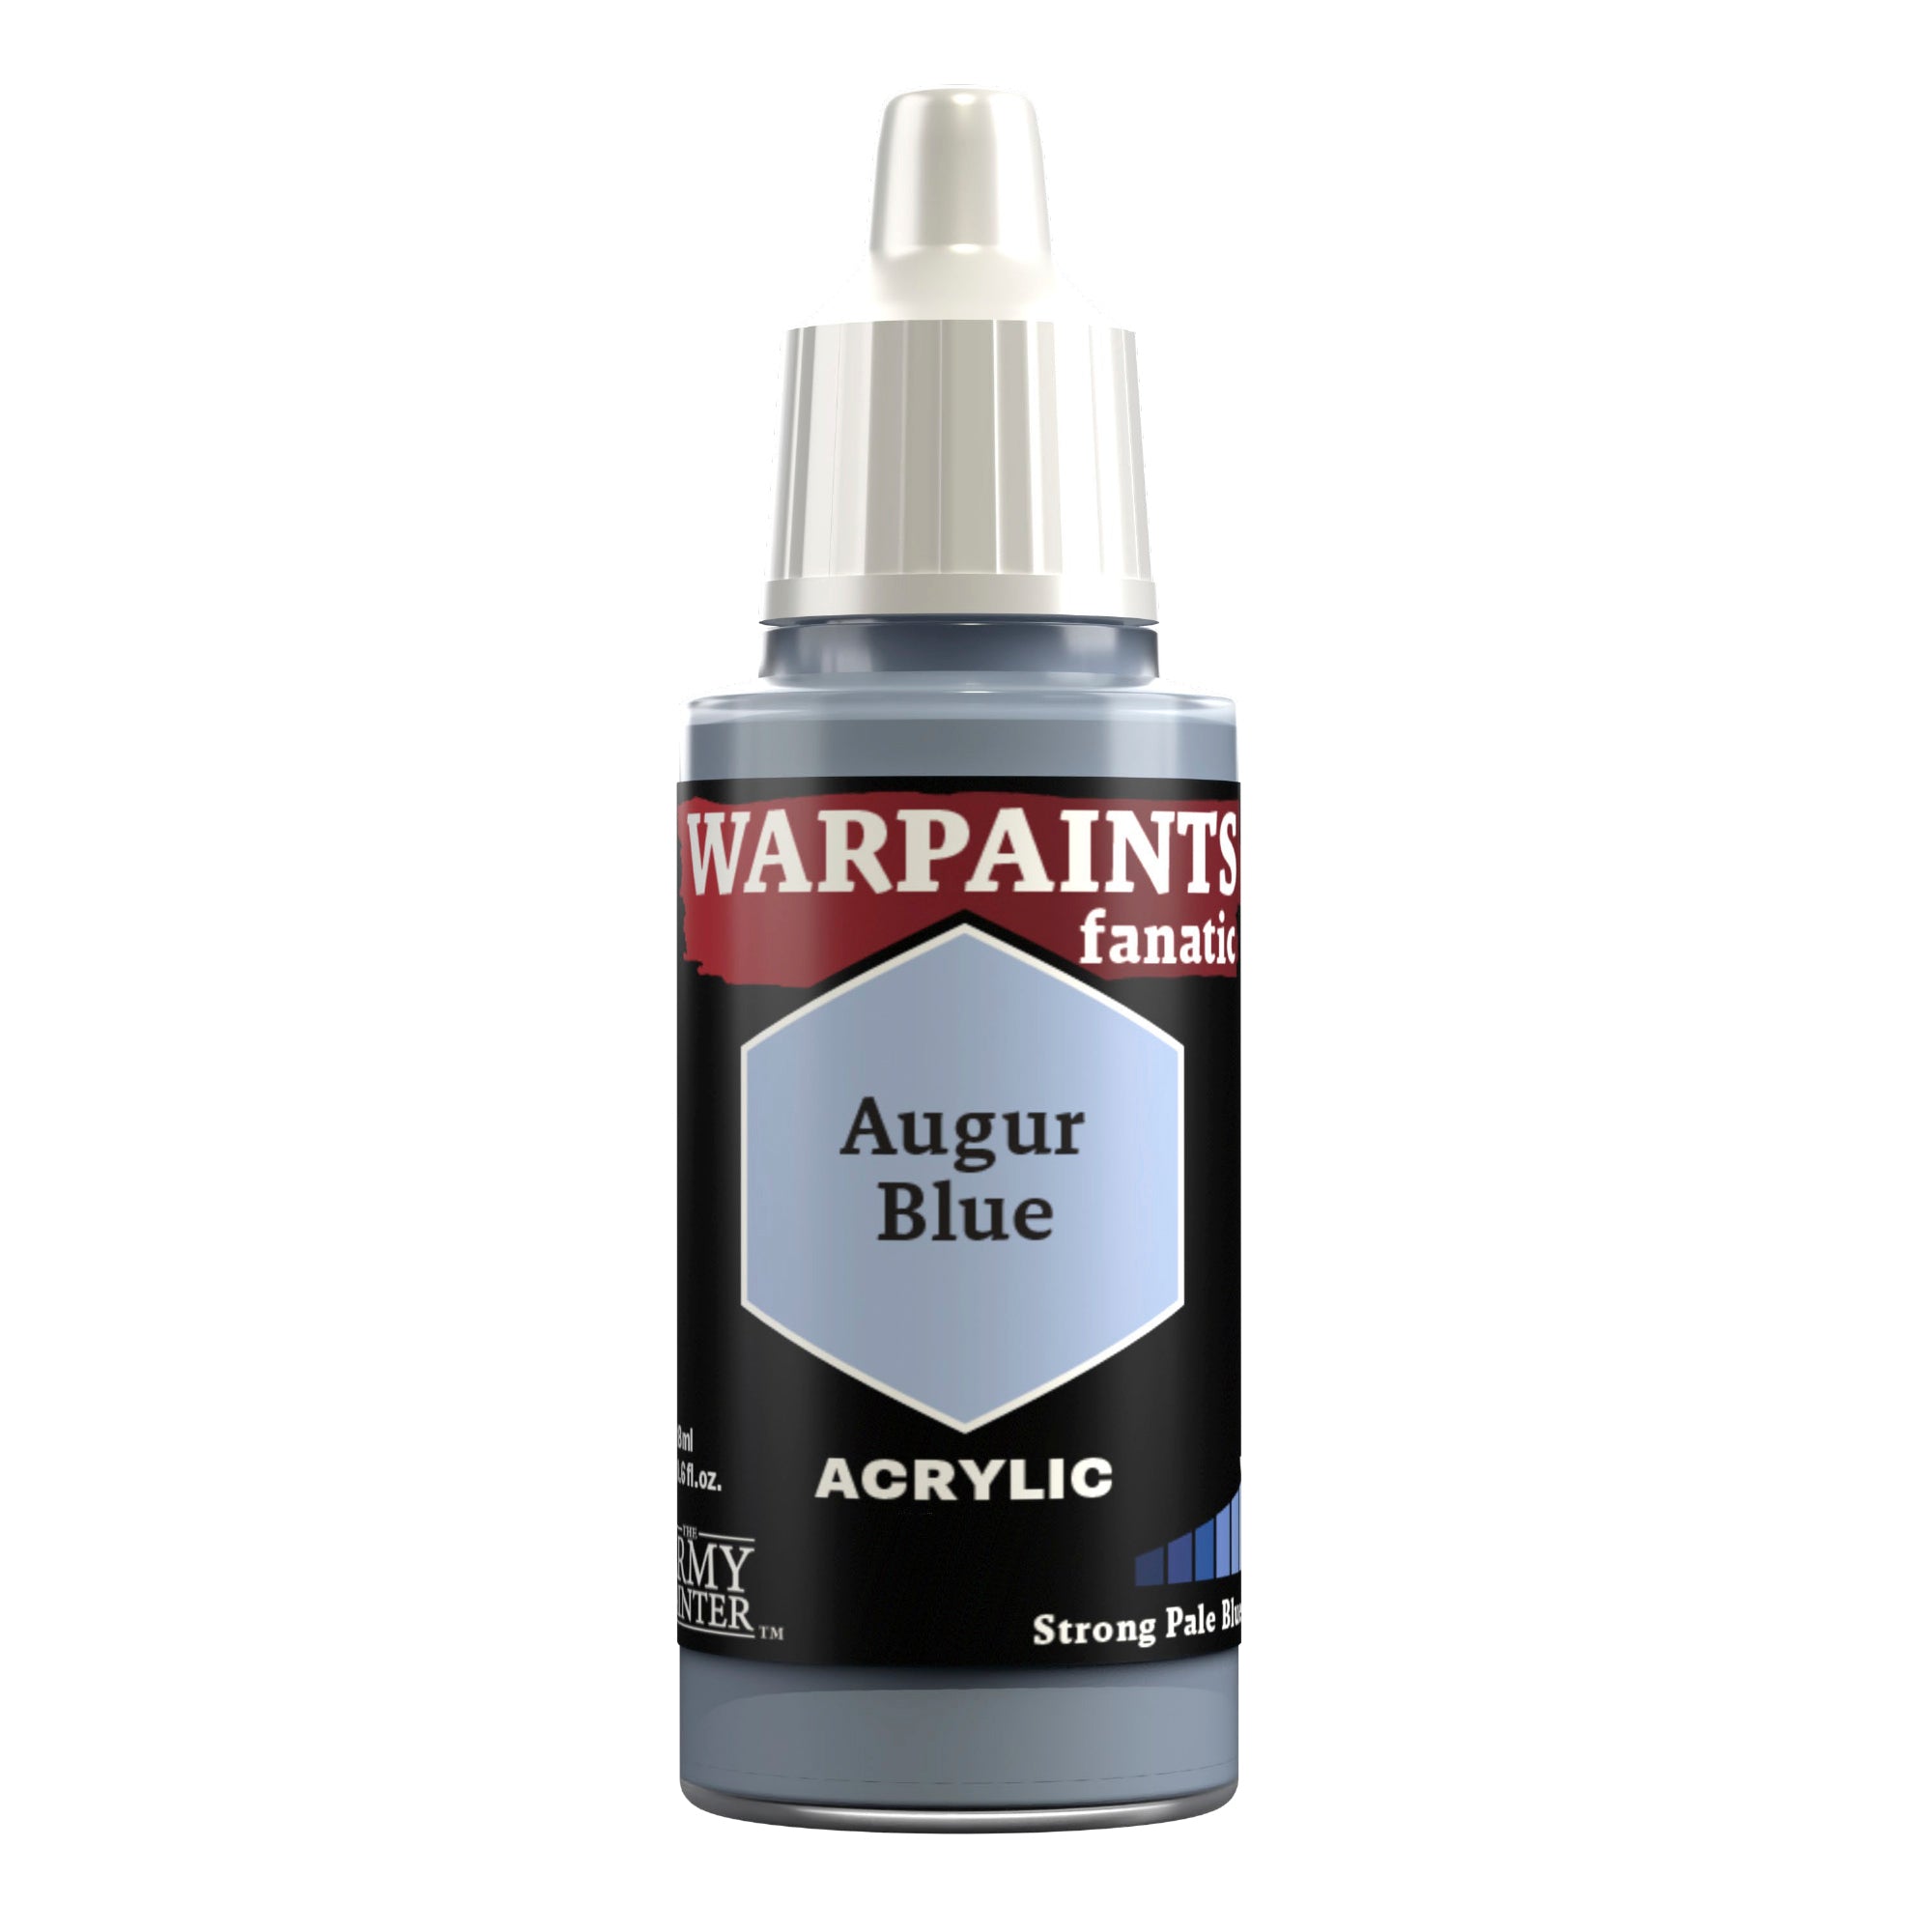
Finish this off with a specular highlight of Warpaints Fanatic Augur Blue onto the corner and other areas of interest.
The Black

Step 1
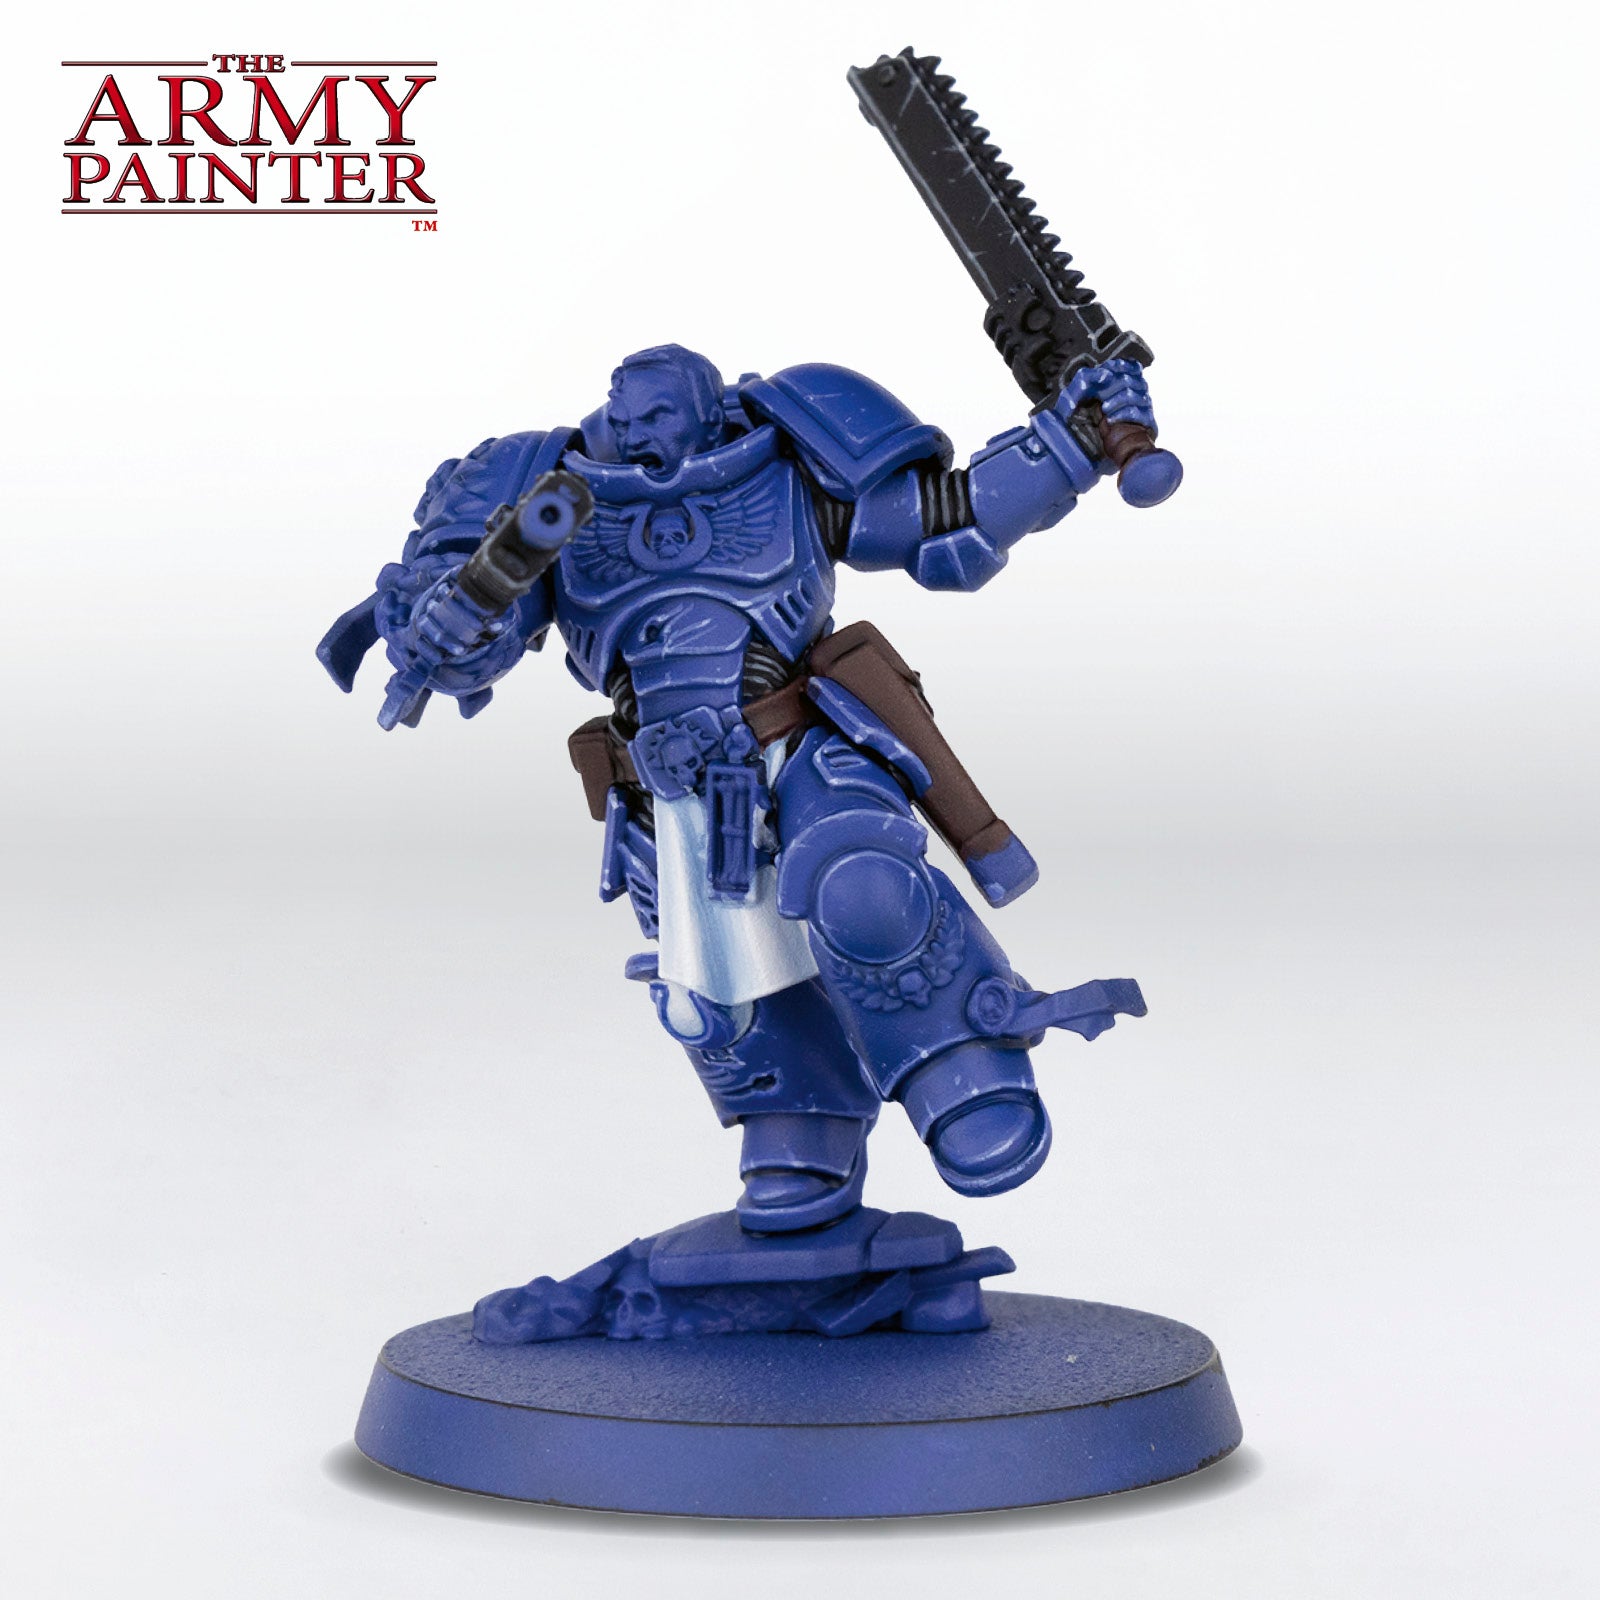
Basecoat all the black areas with Warpaints Fanatic Matt Black.
Step 2
Next, highlight all the soft armour with Warpaints Fanatic Deep Grey.
Step 3
Follow this with a more refined highlight of Warpaints Fanatic Uniform Grey on the soft armour, as well as the first edge highlight on the weapon casings.
Step 4
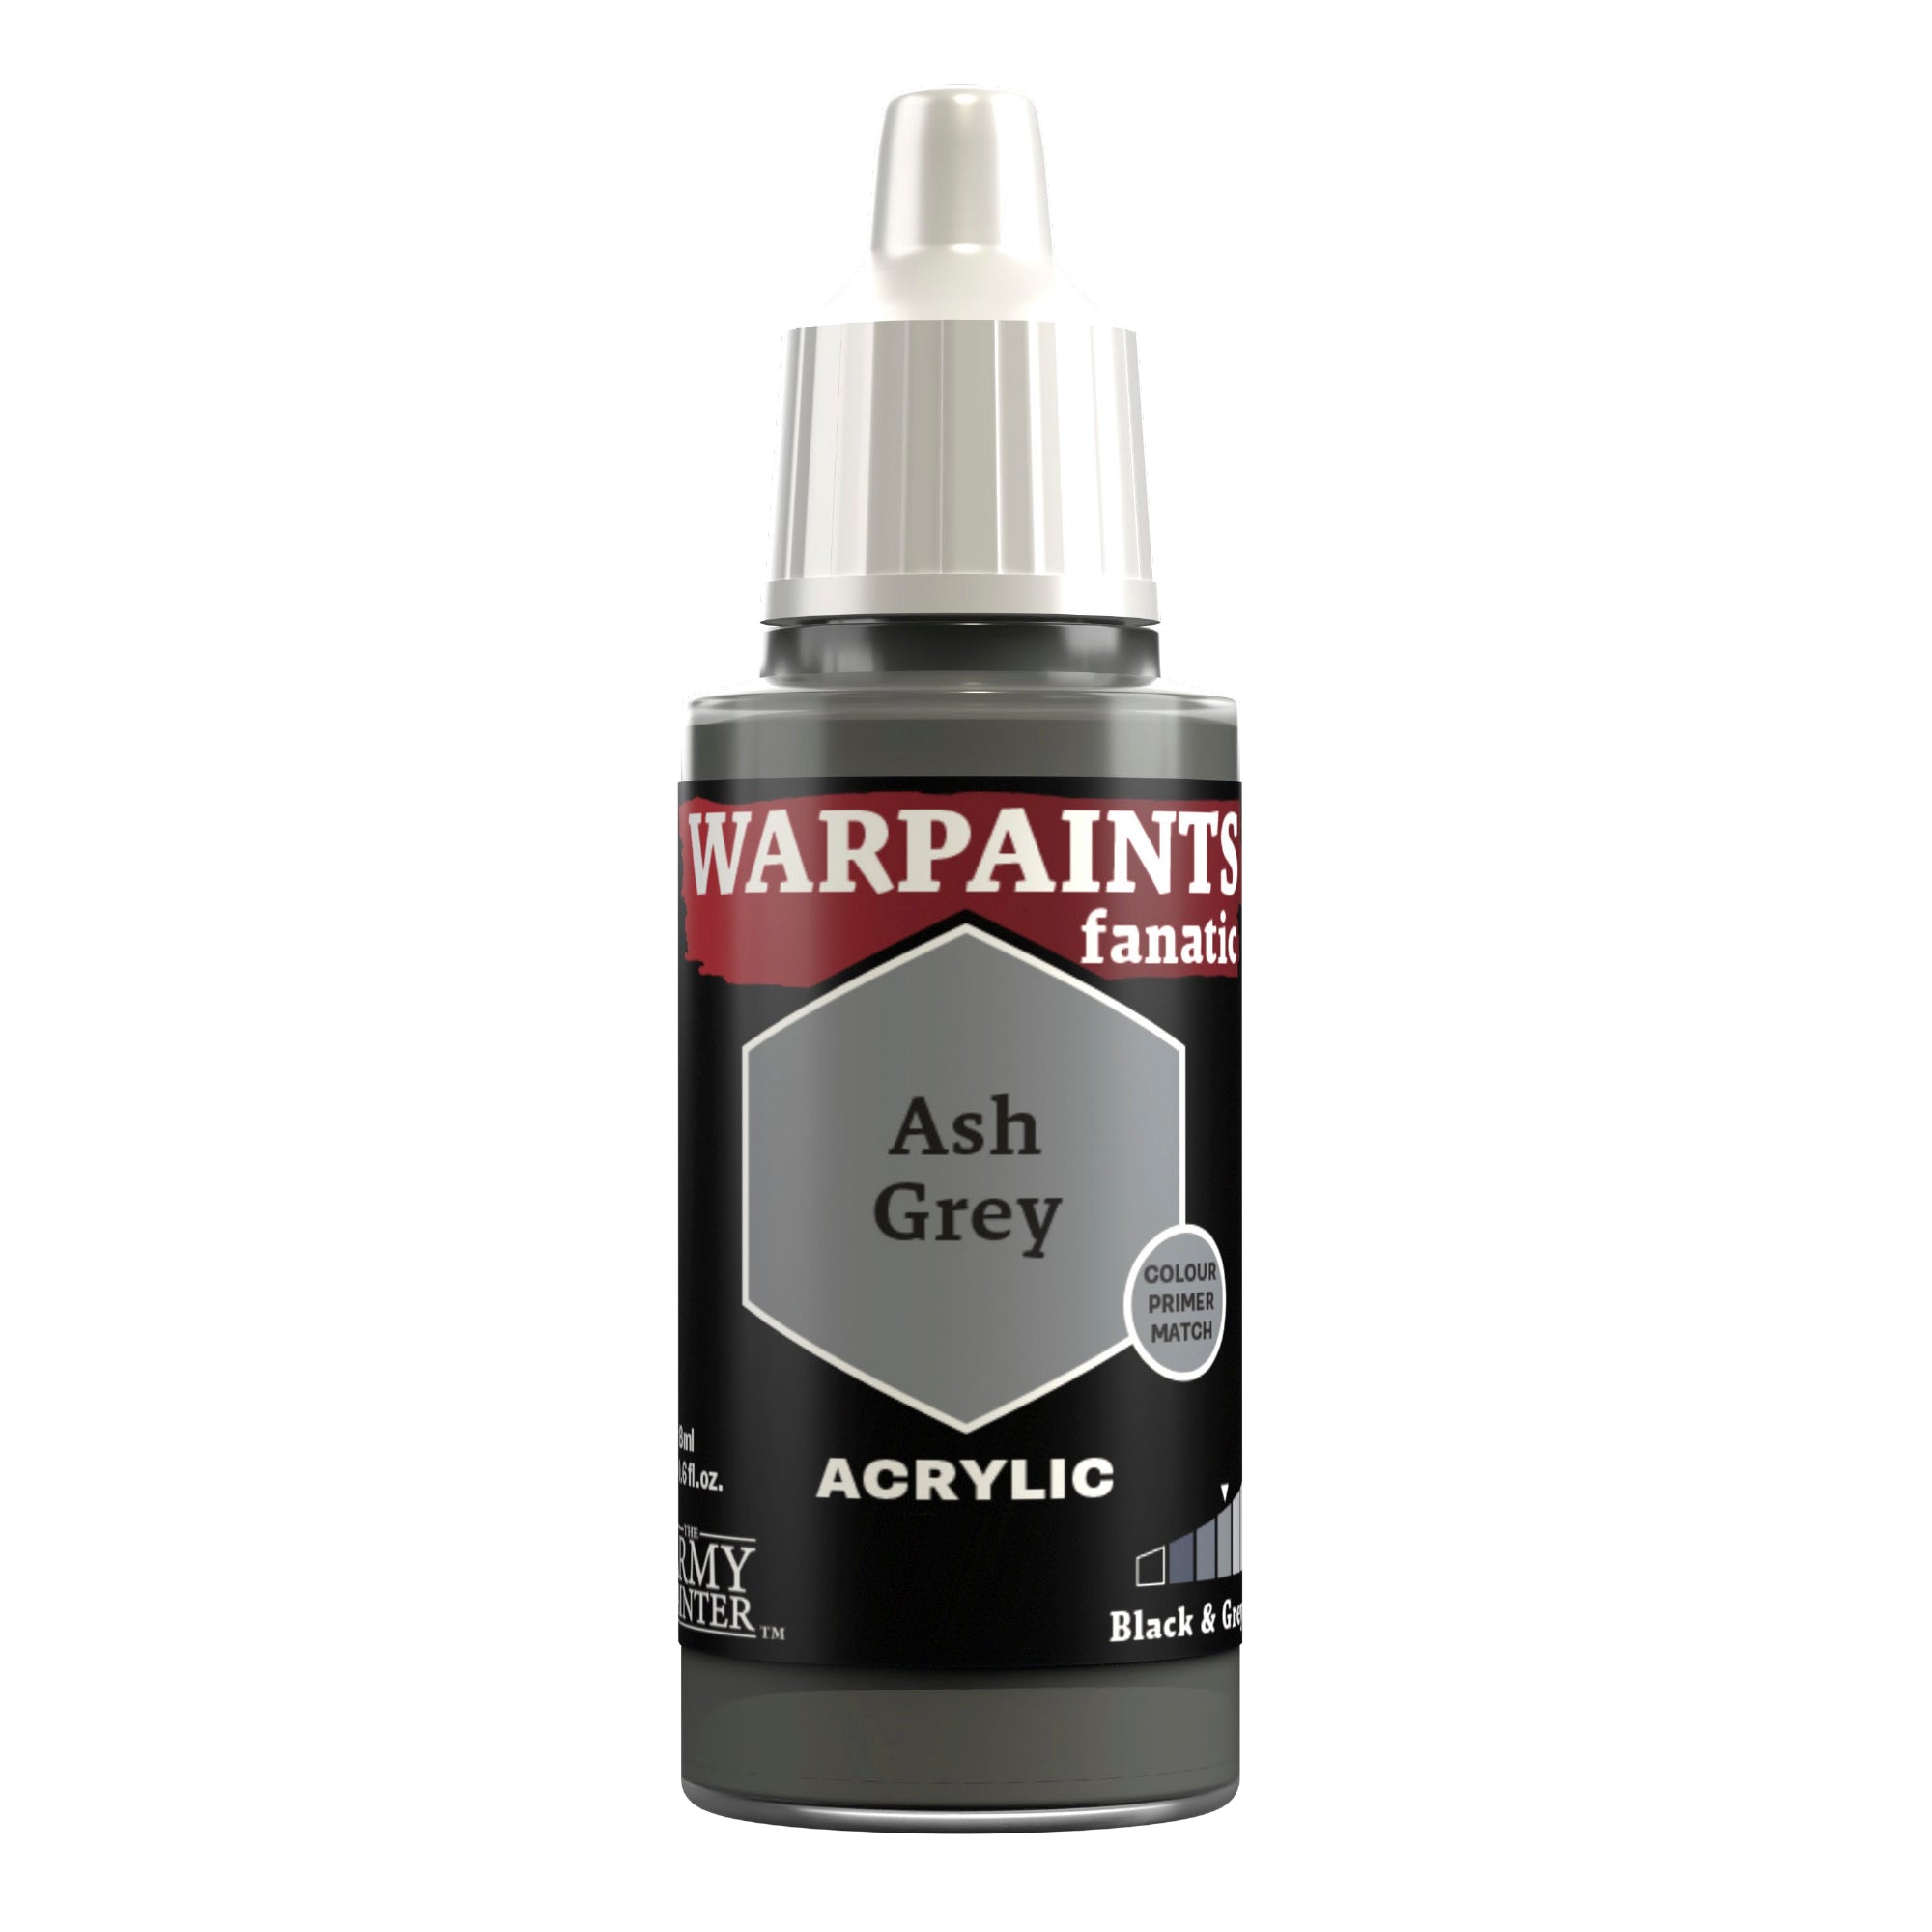
Finish this off with a specular highlight of Warpaints Fanatic Ash Grey on the weapons casings only.
The White
Step 1
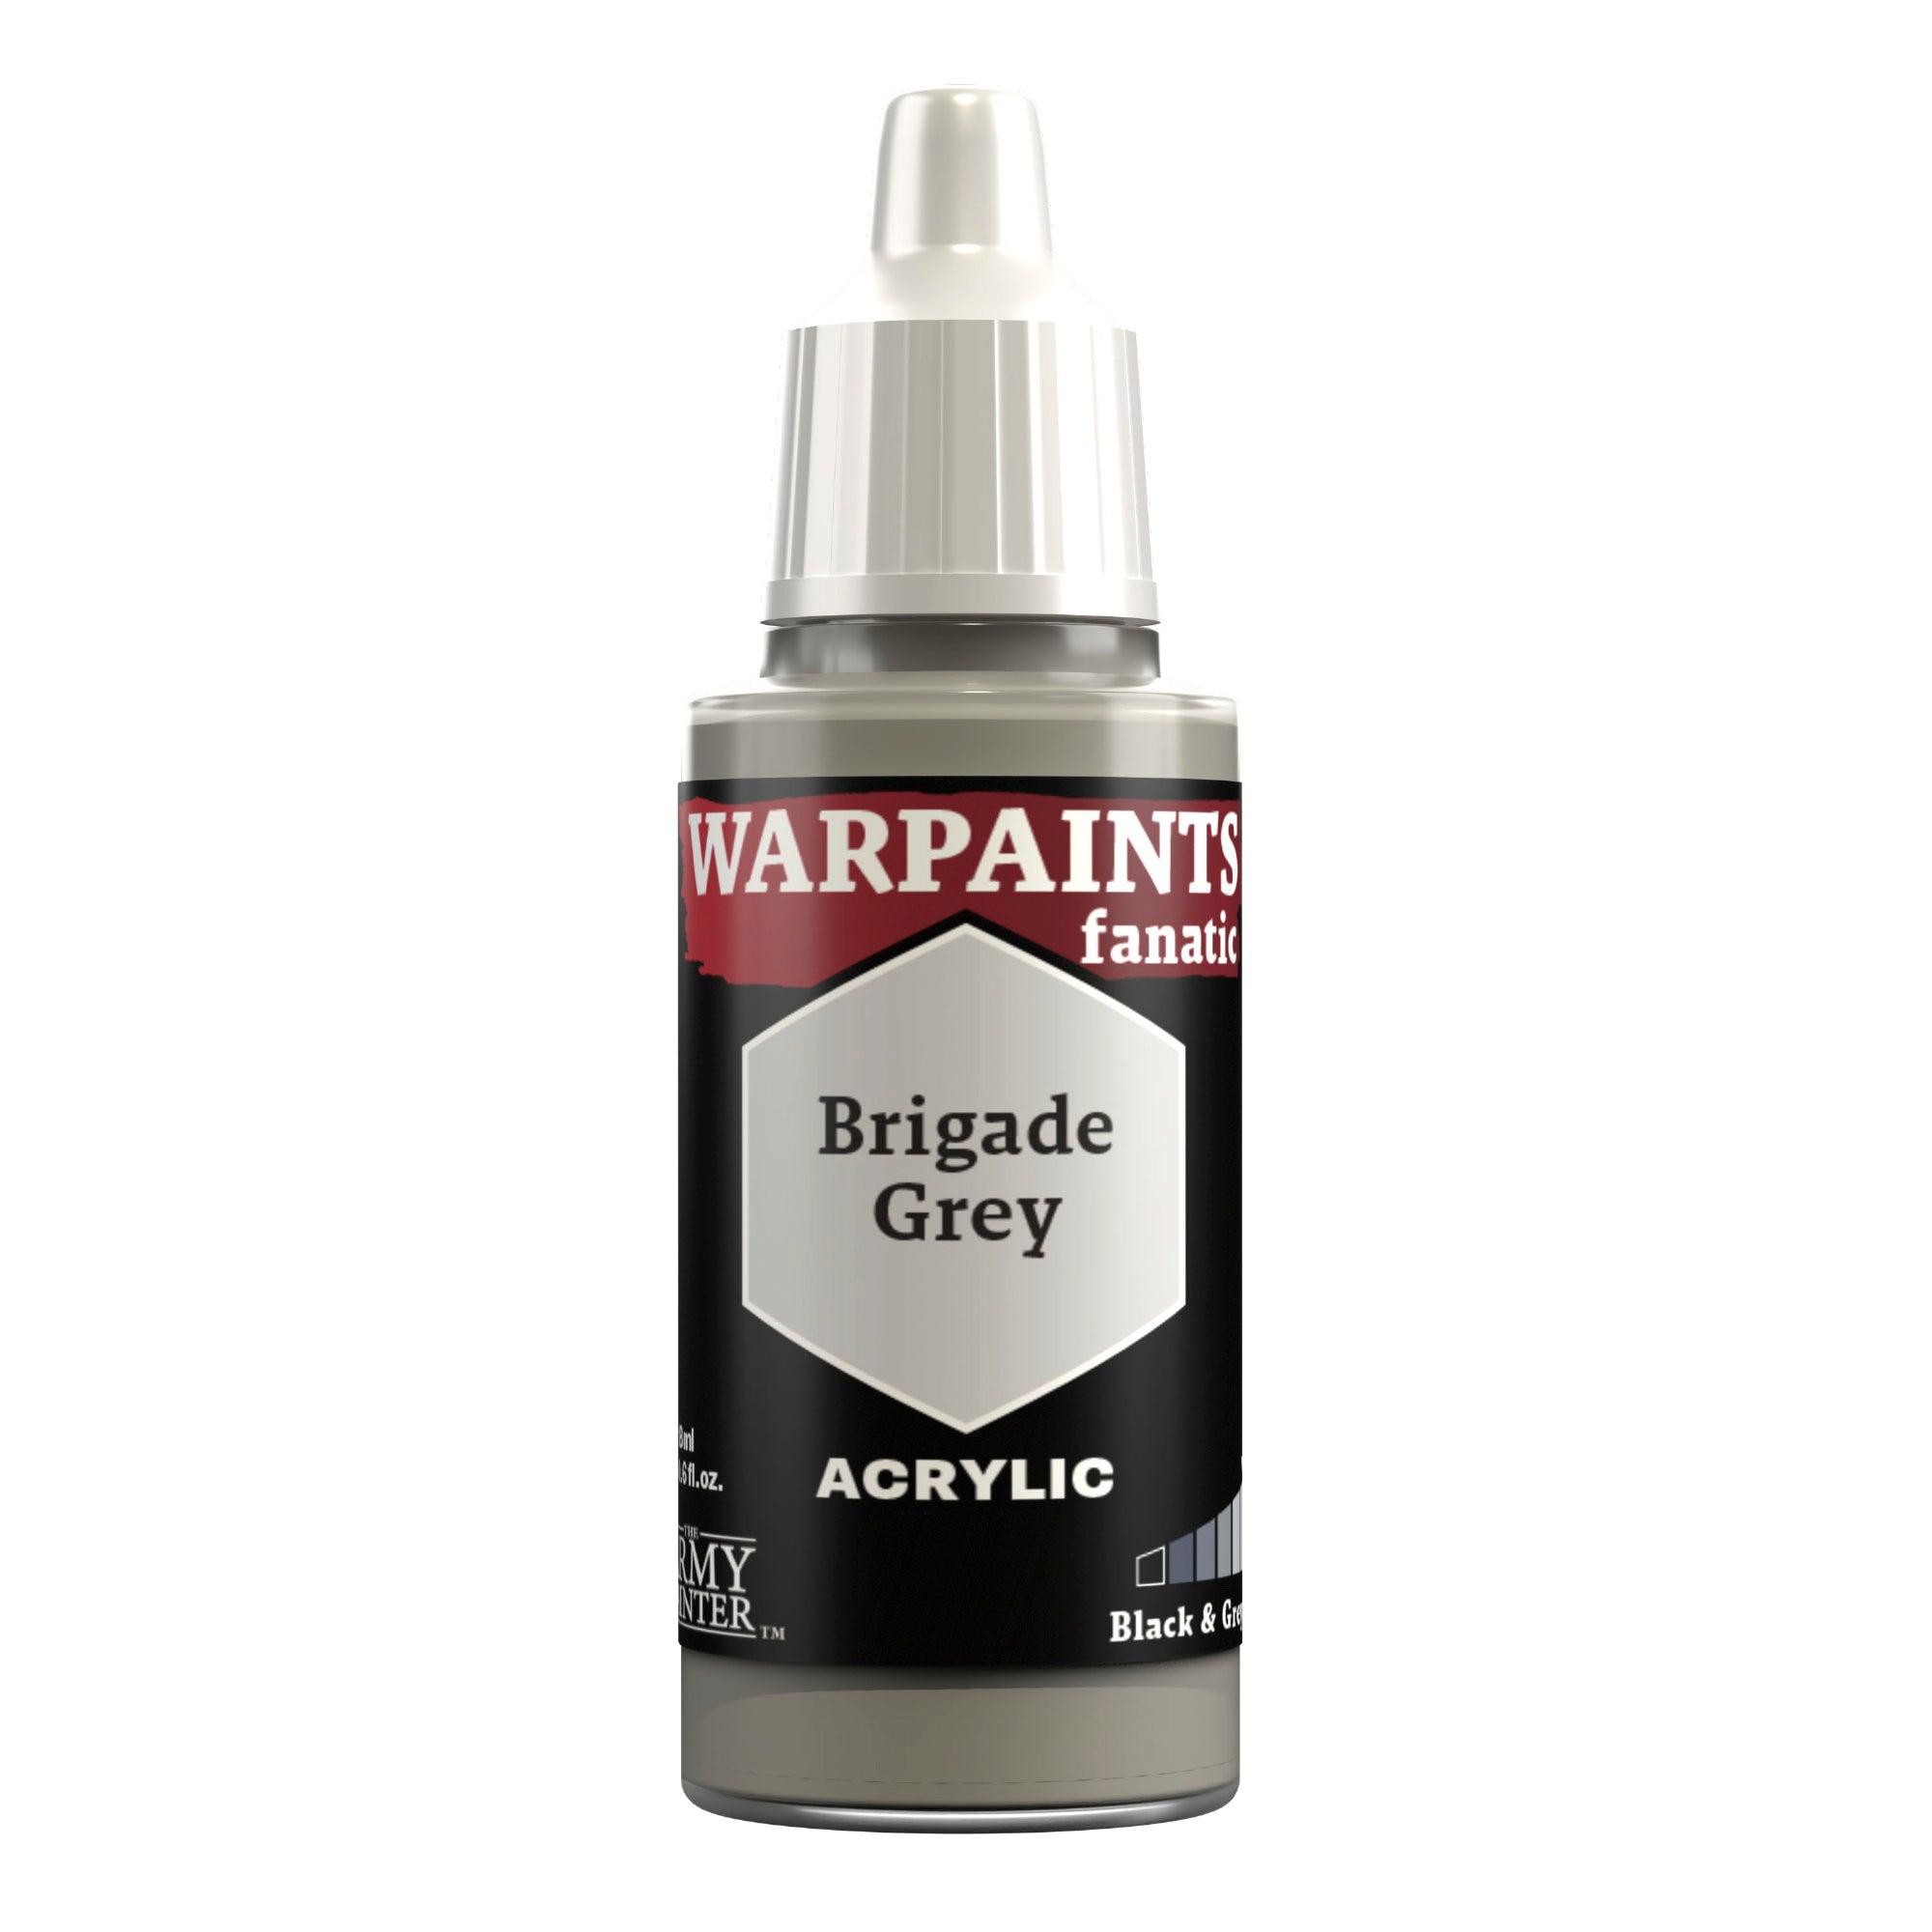
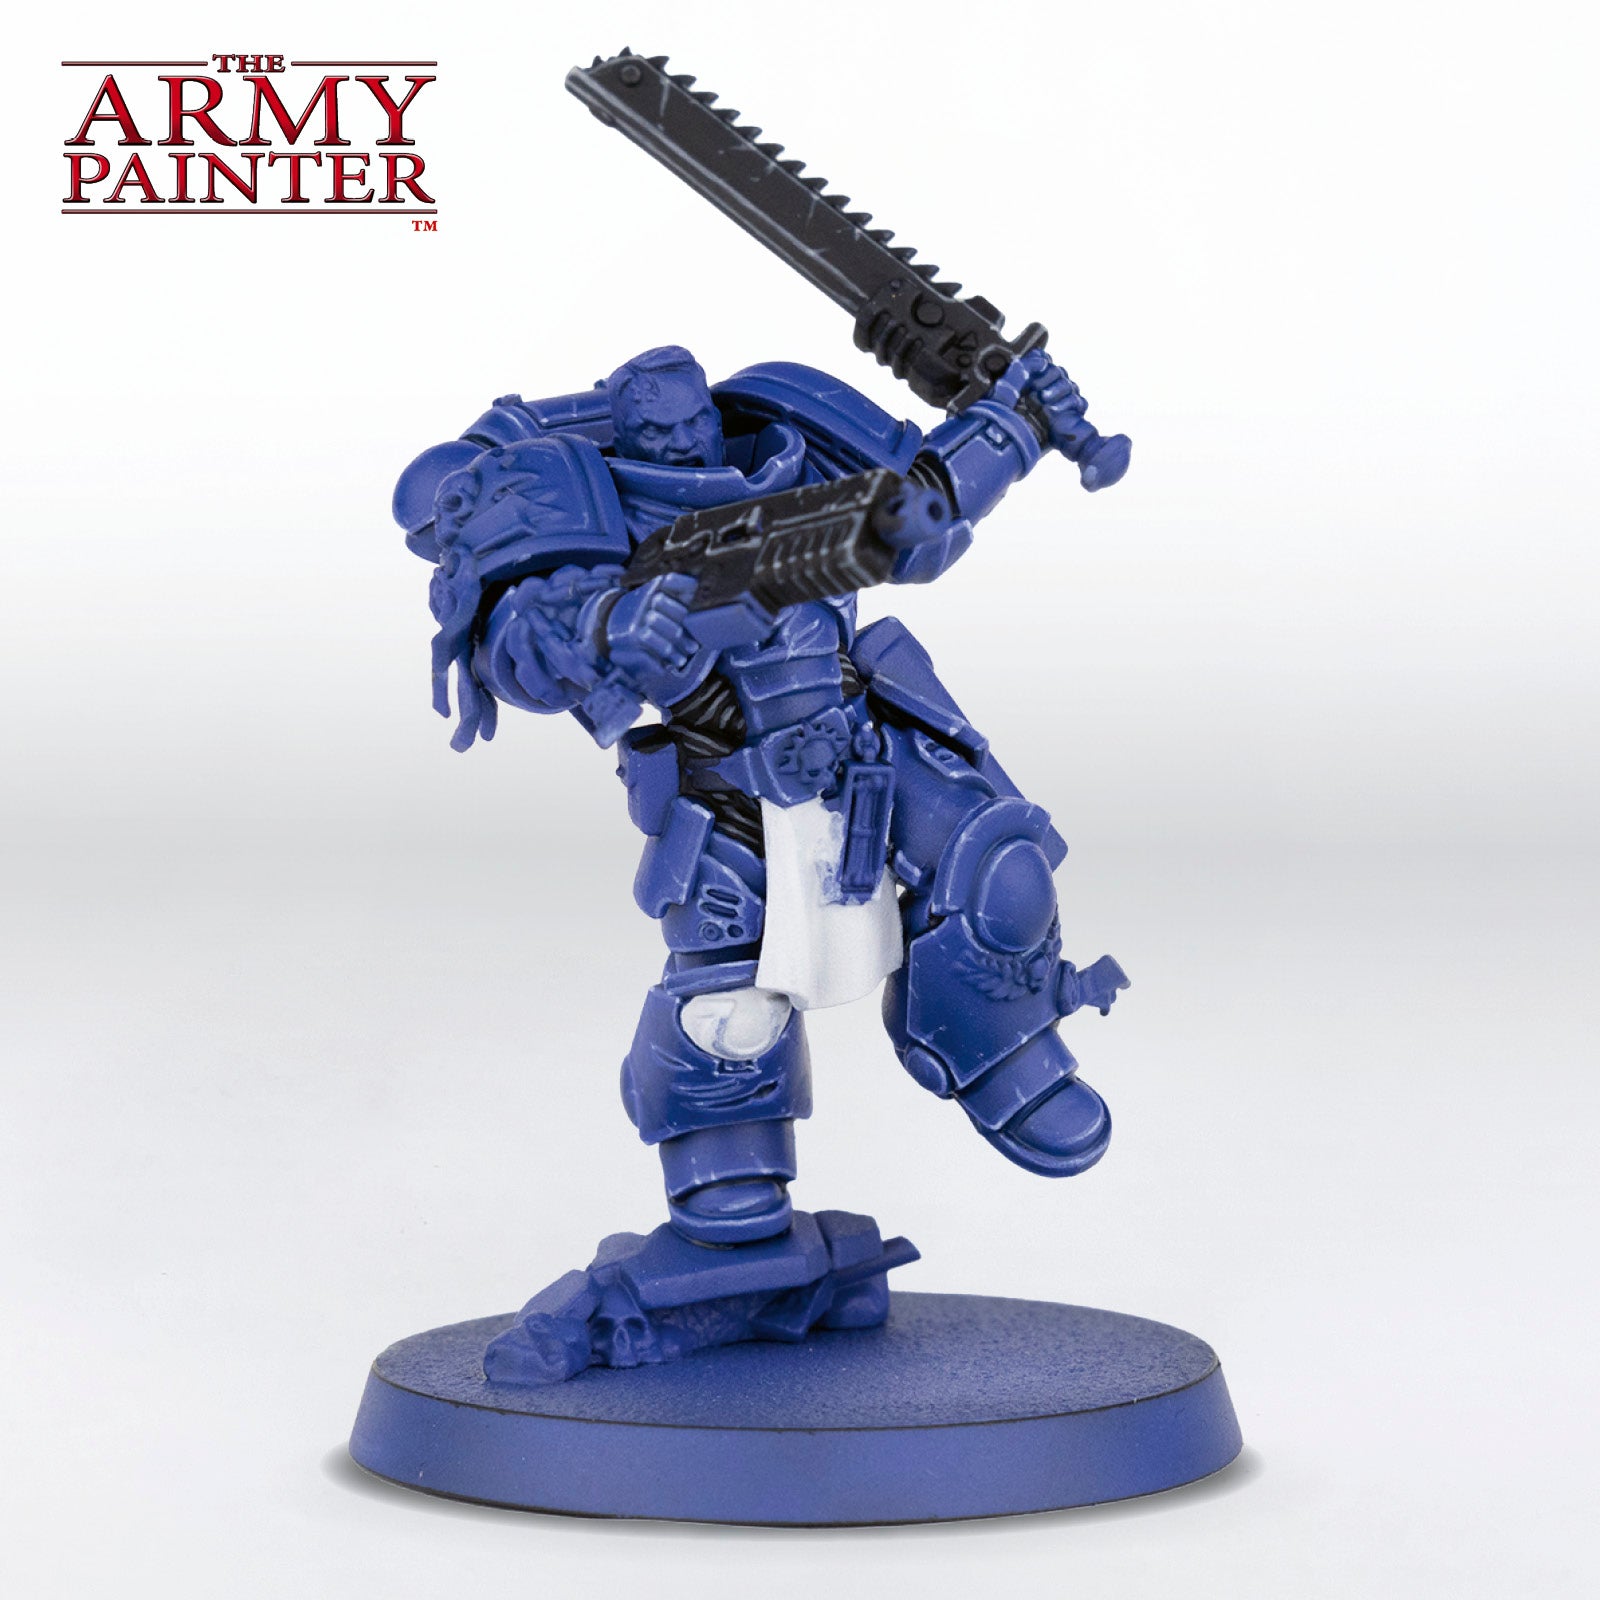
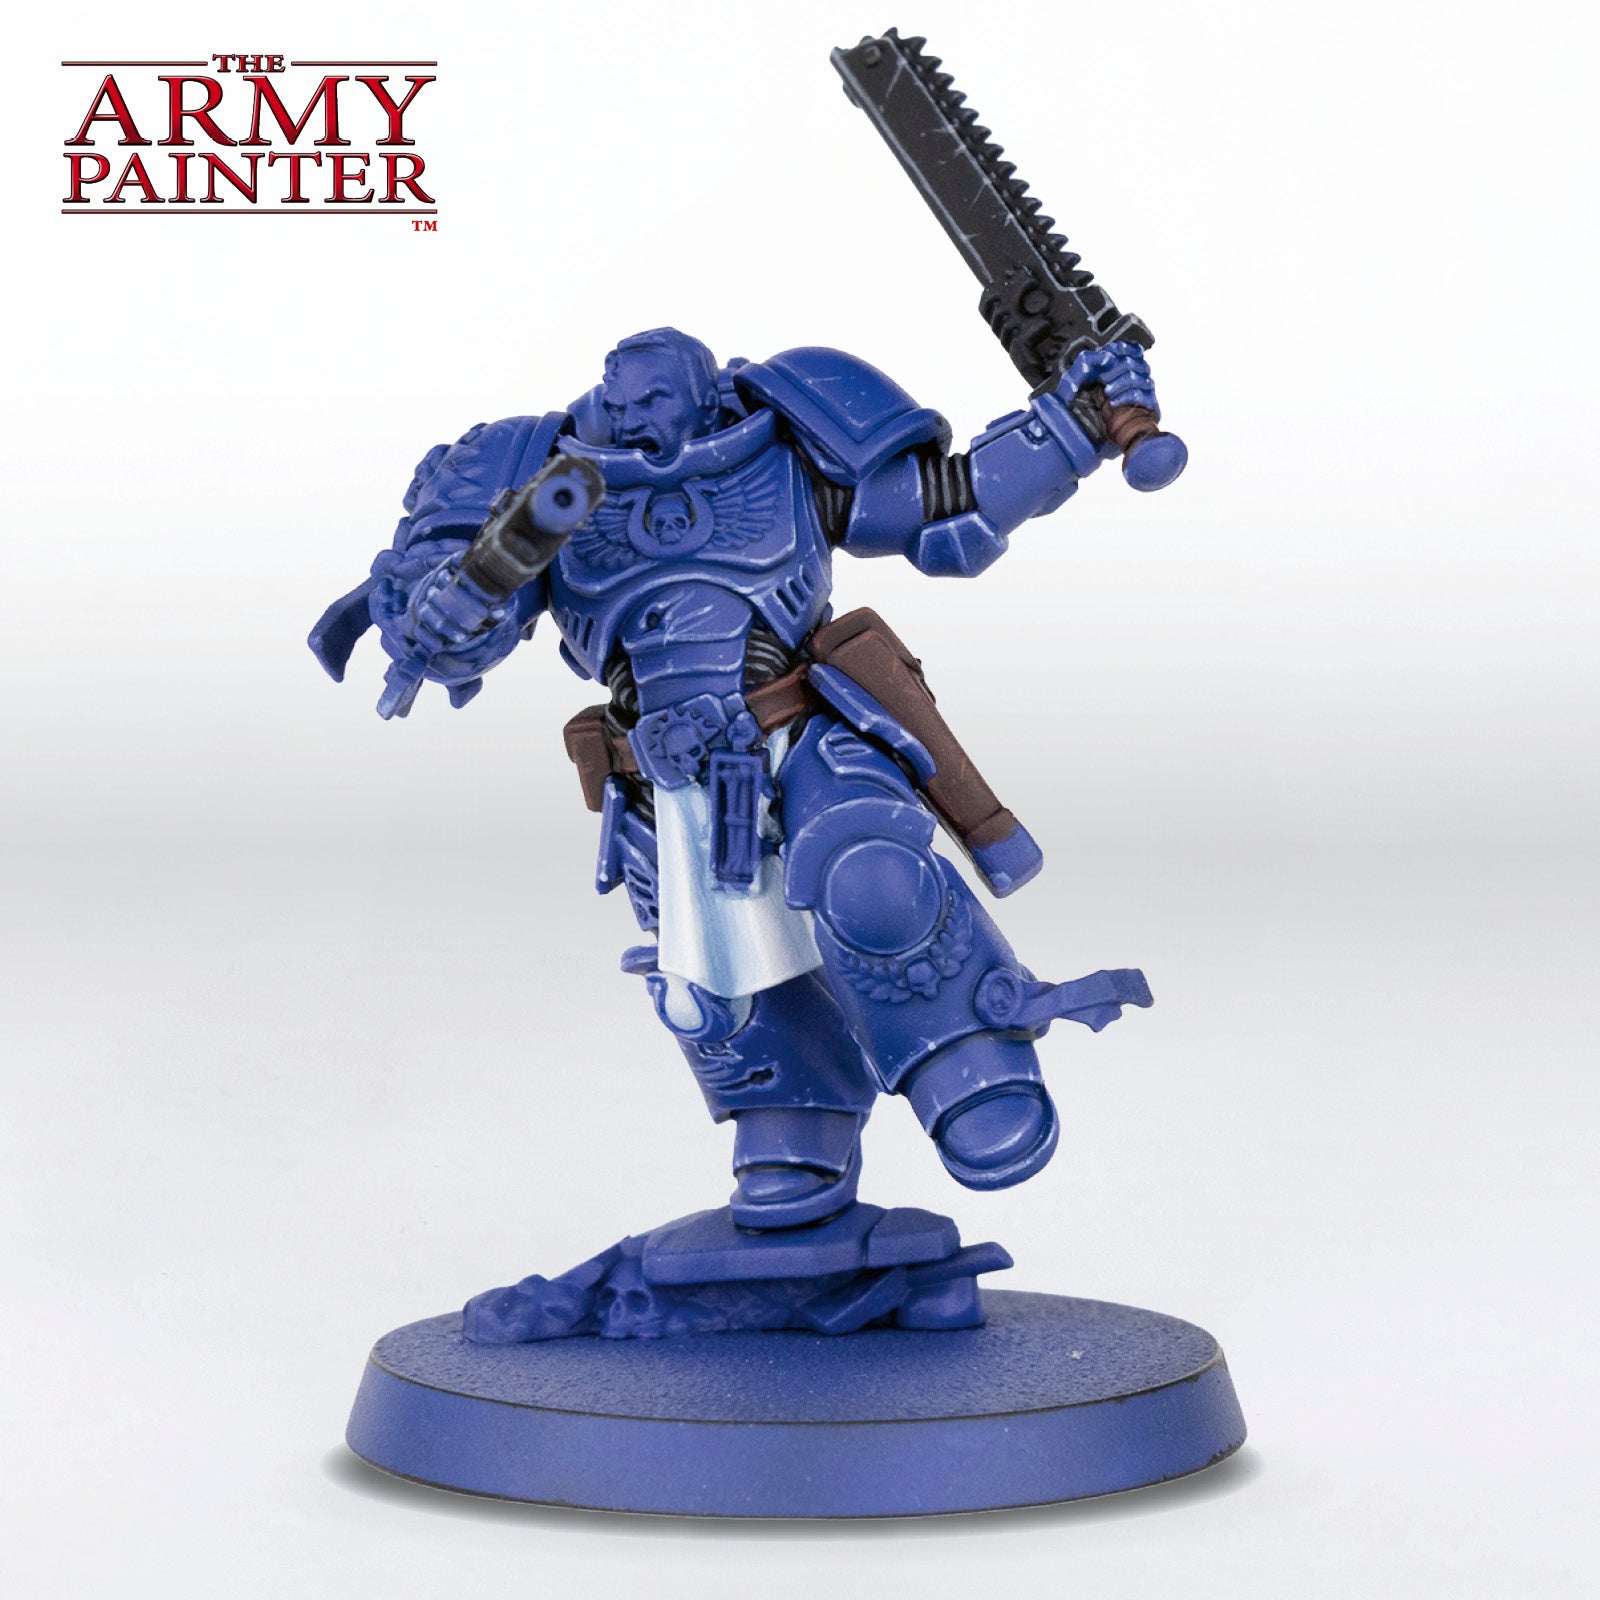
Basecoat the white areas with Warpaints Fanatic Brigade Grey.
Step 2
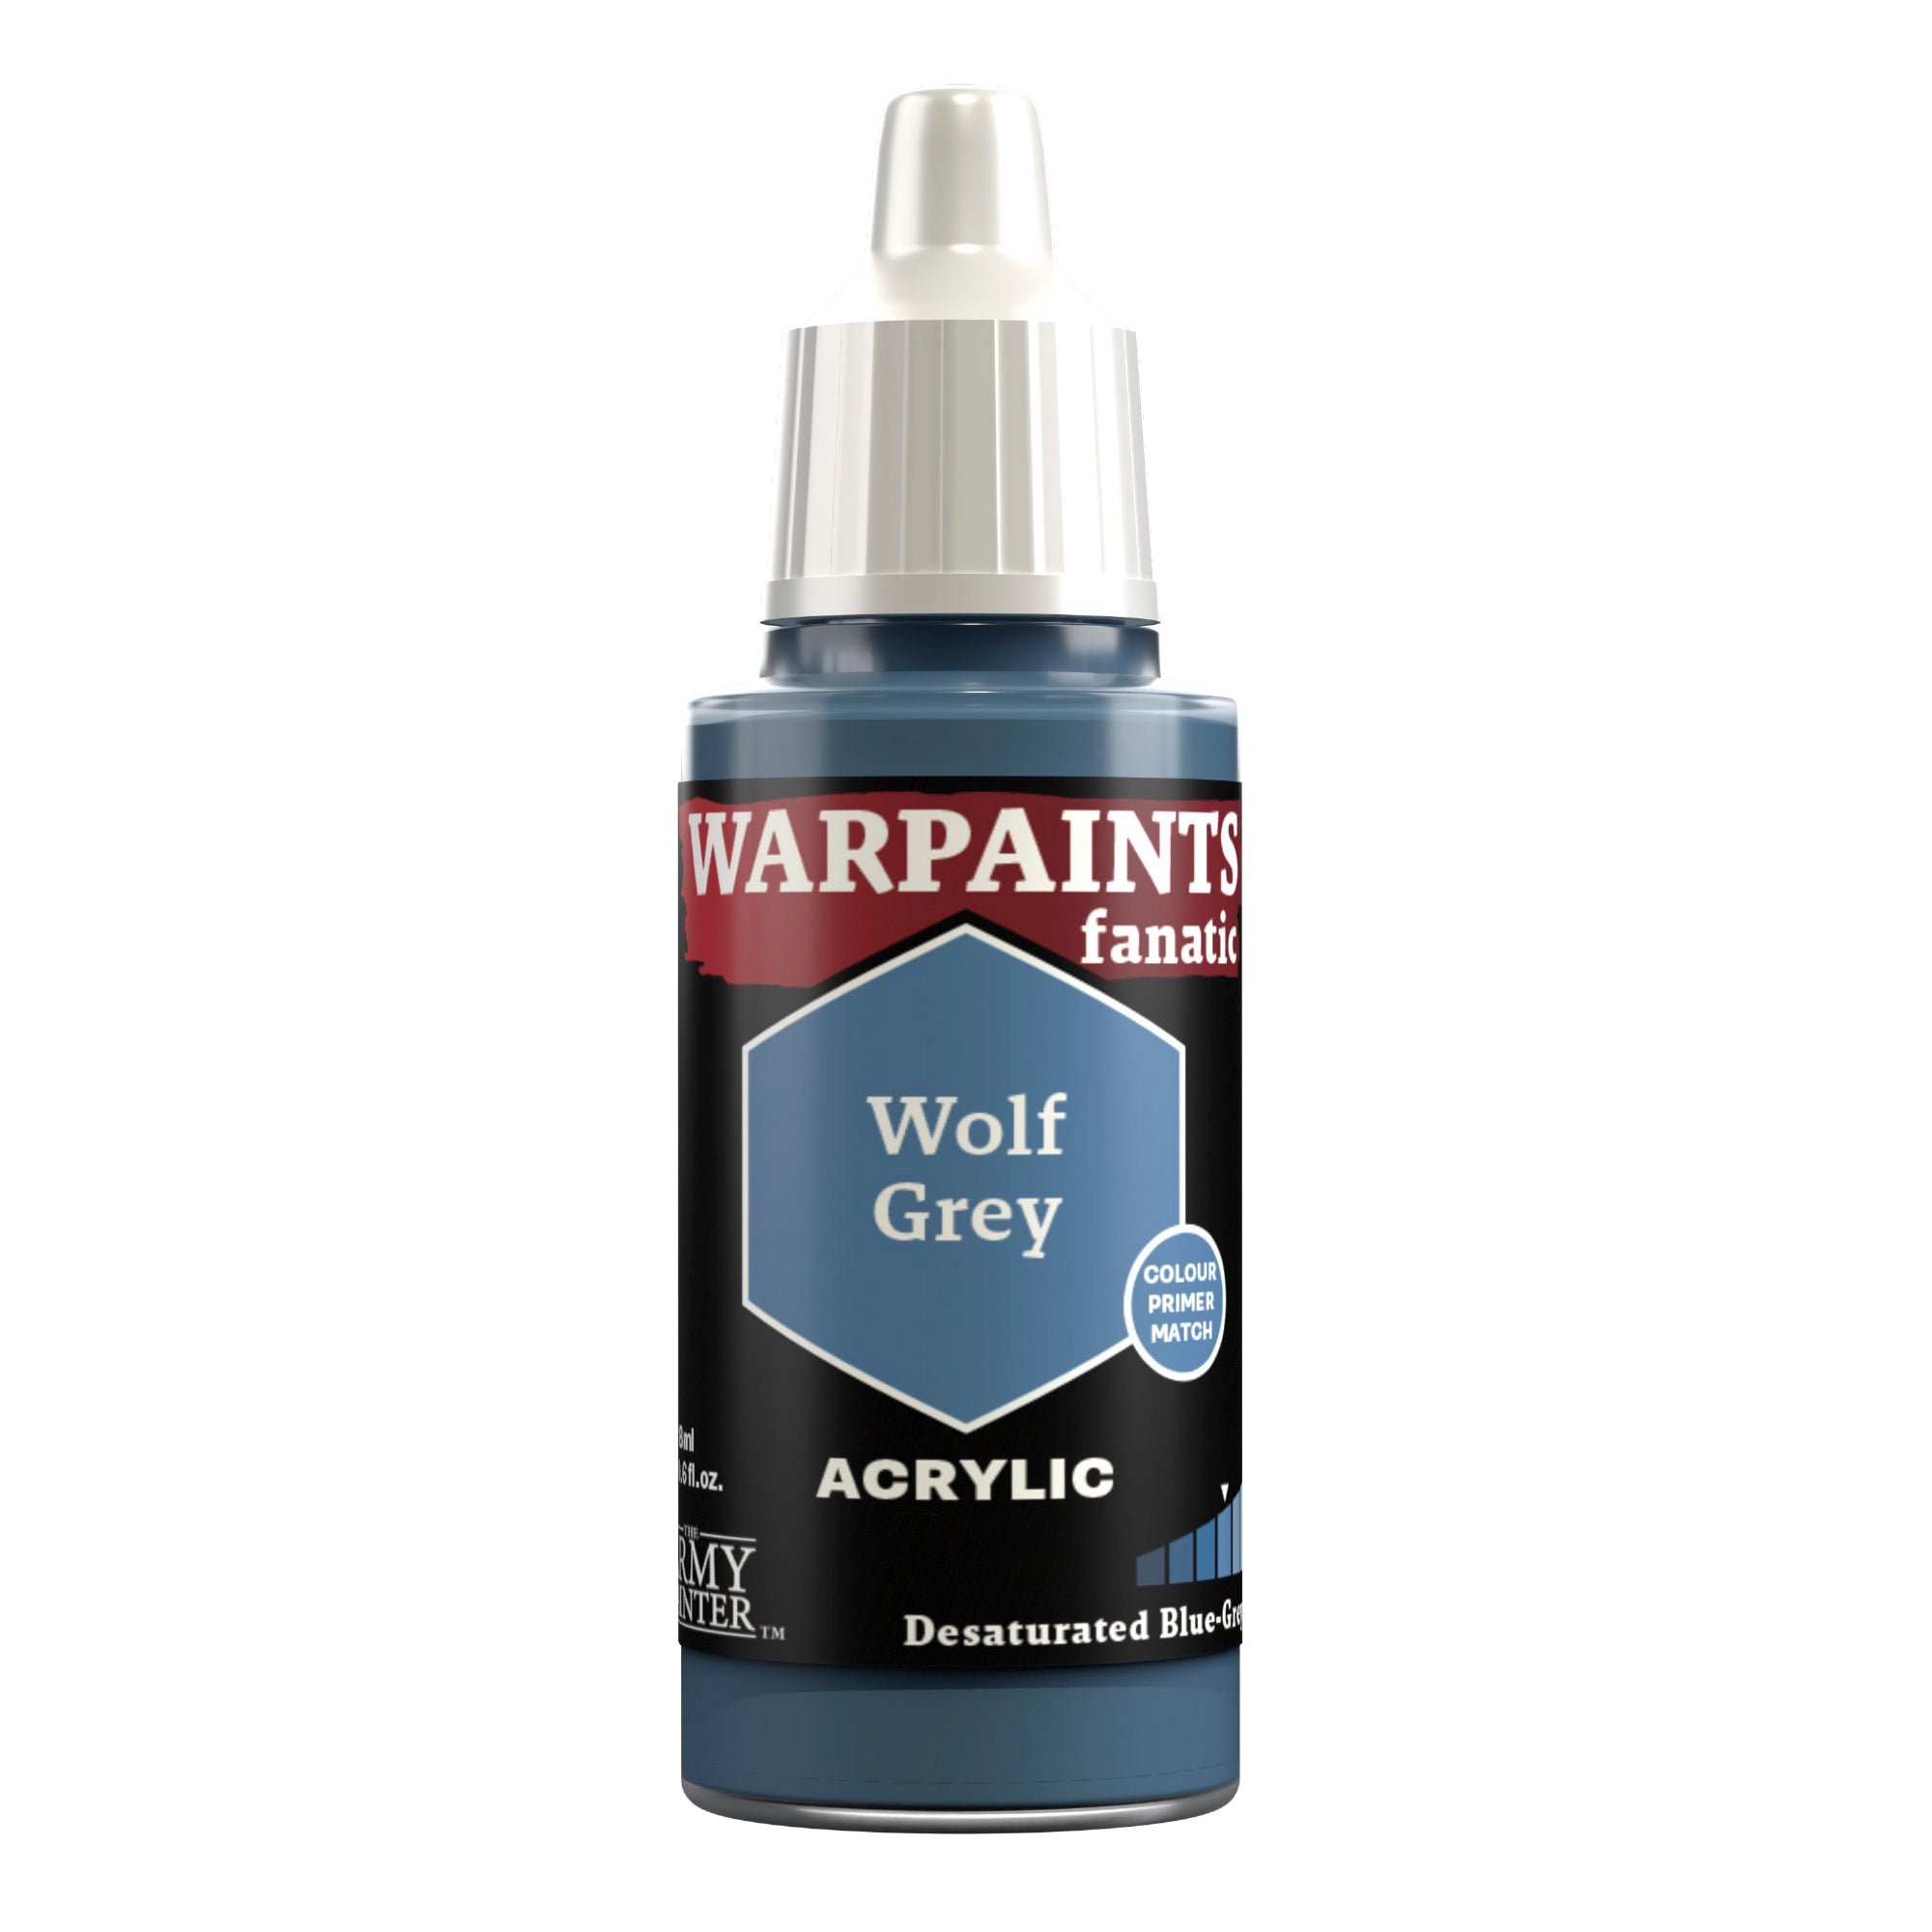
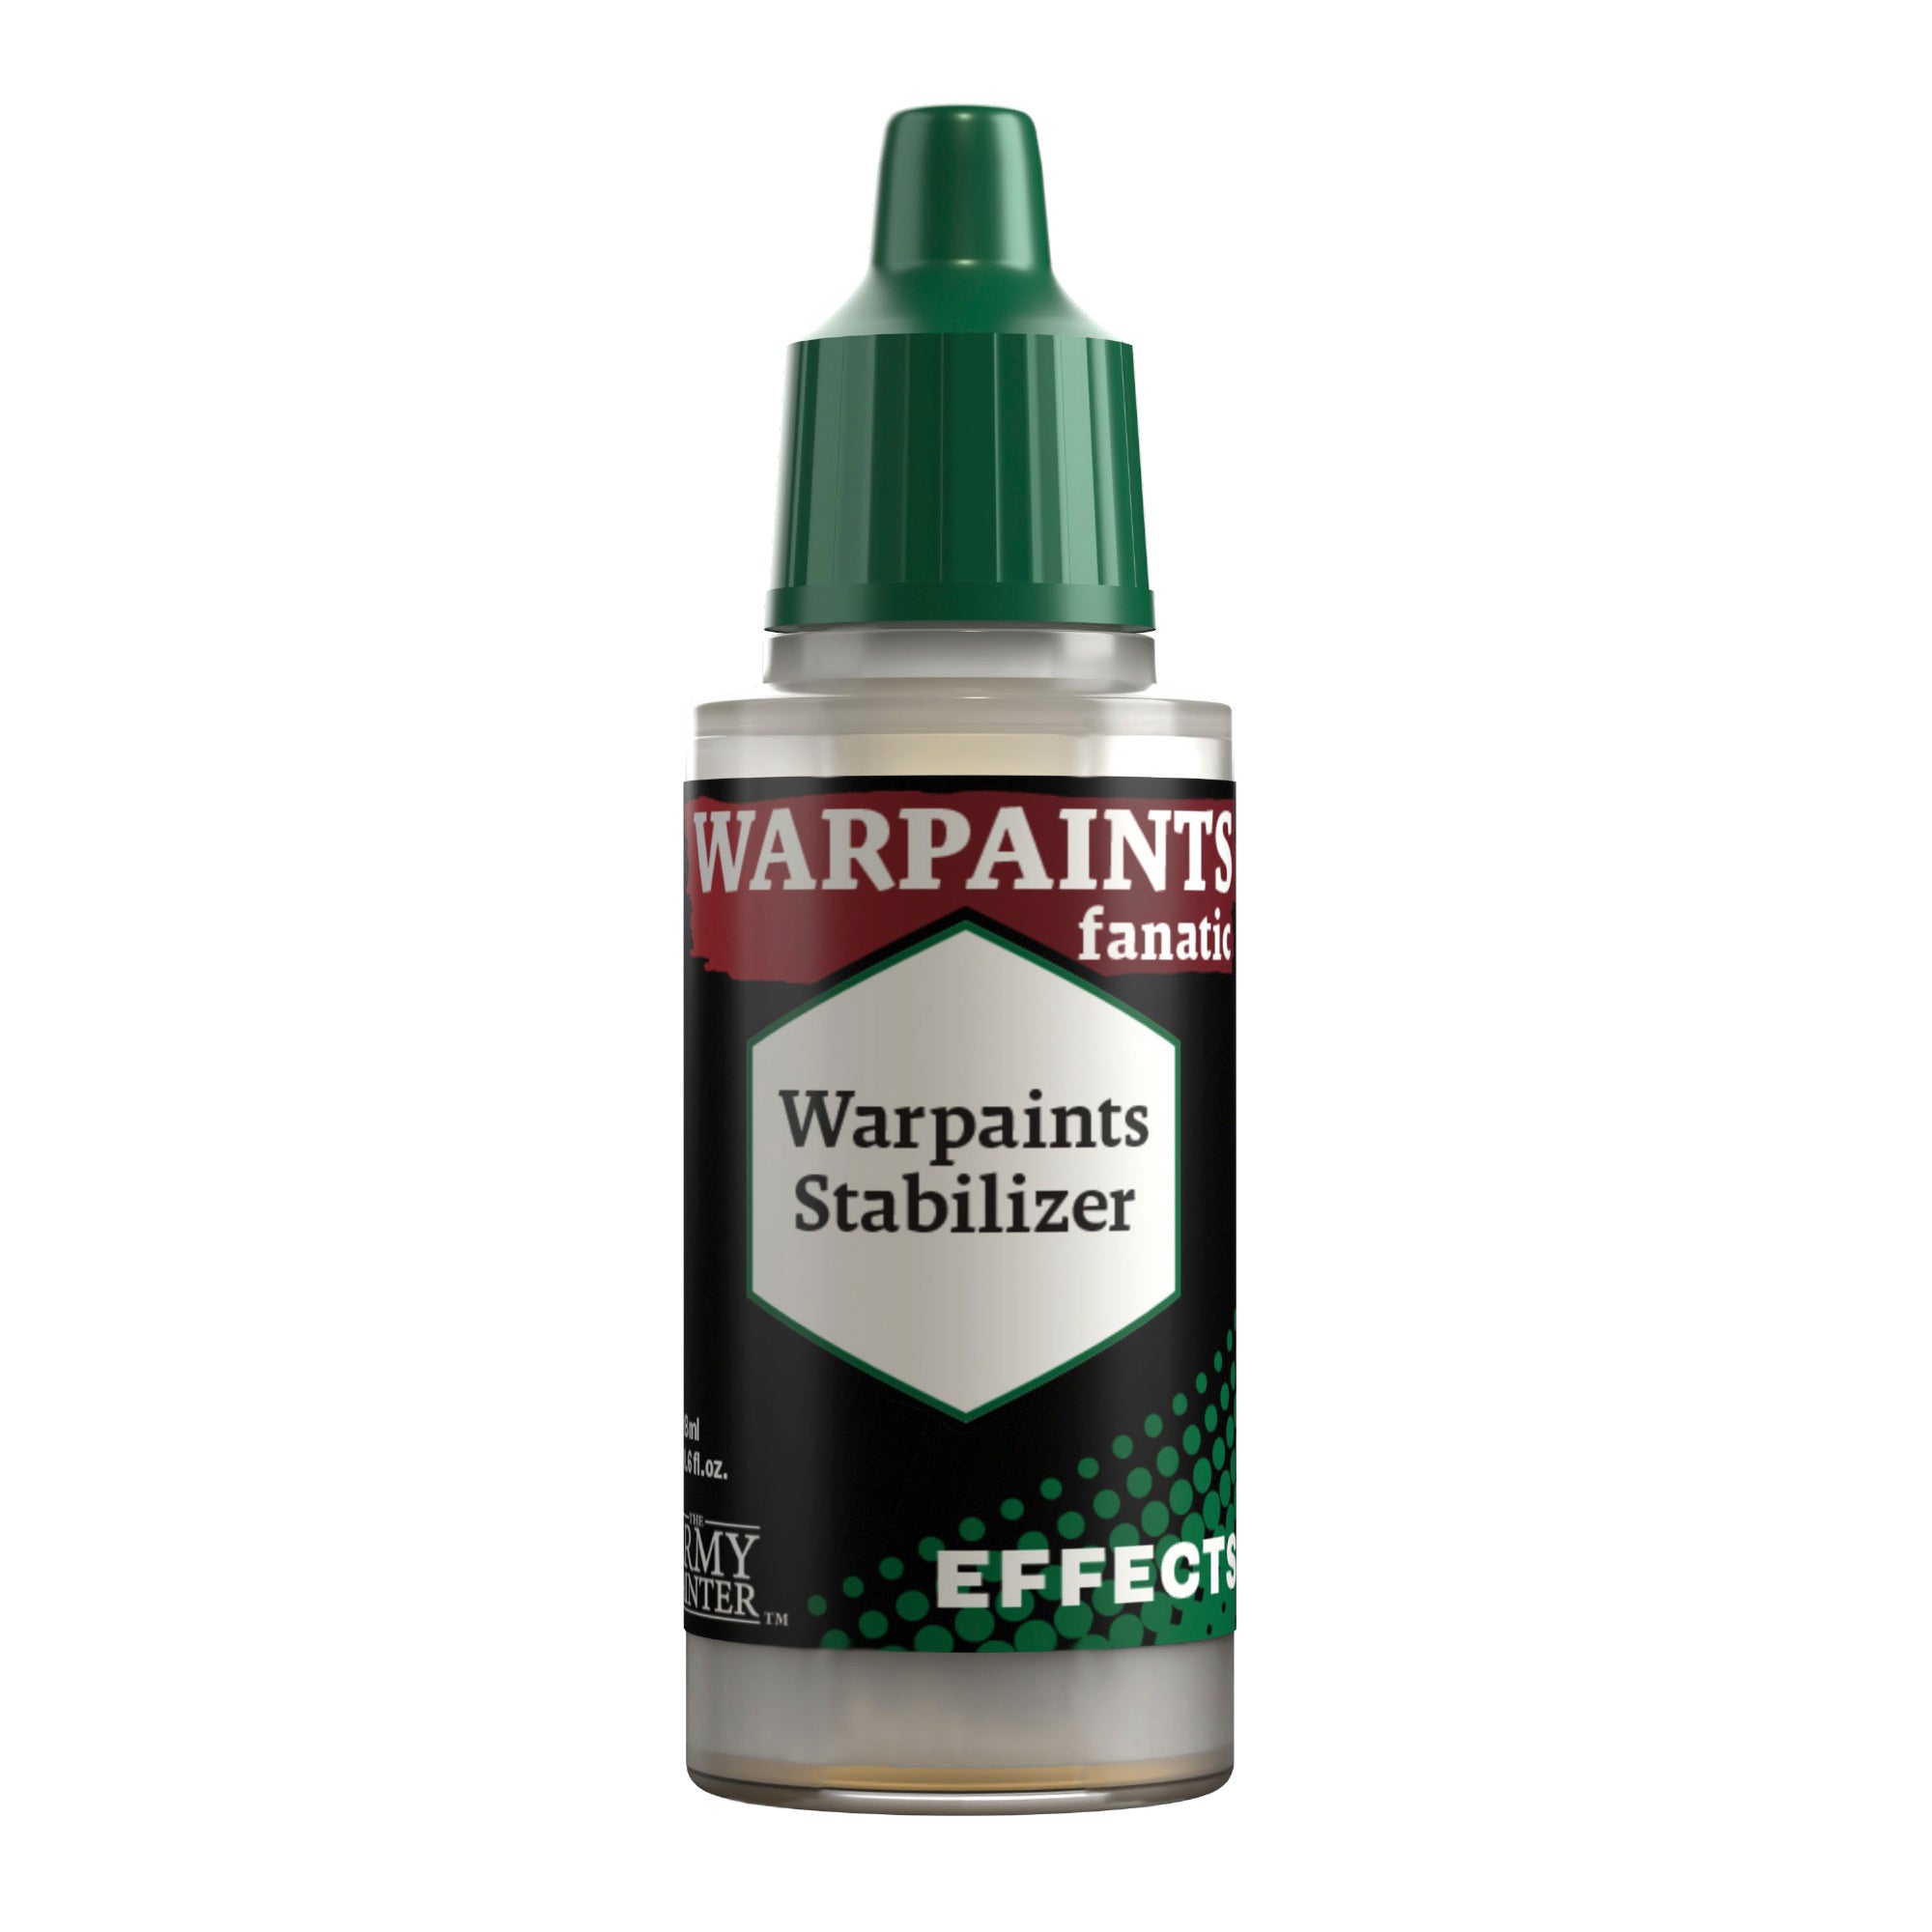
Shade these areas with diluted Warpaints Fanatic Wolf Grey. You can soften the blend between these two areas by mixing a bit of Warpaints Fanatic Brigade Grey into it and feathering out the dark areas. Warpaints Stabilizer will help with this too.
Step 3
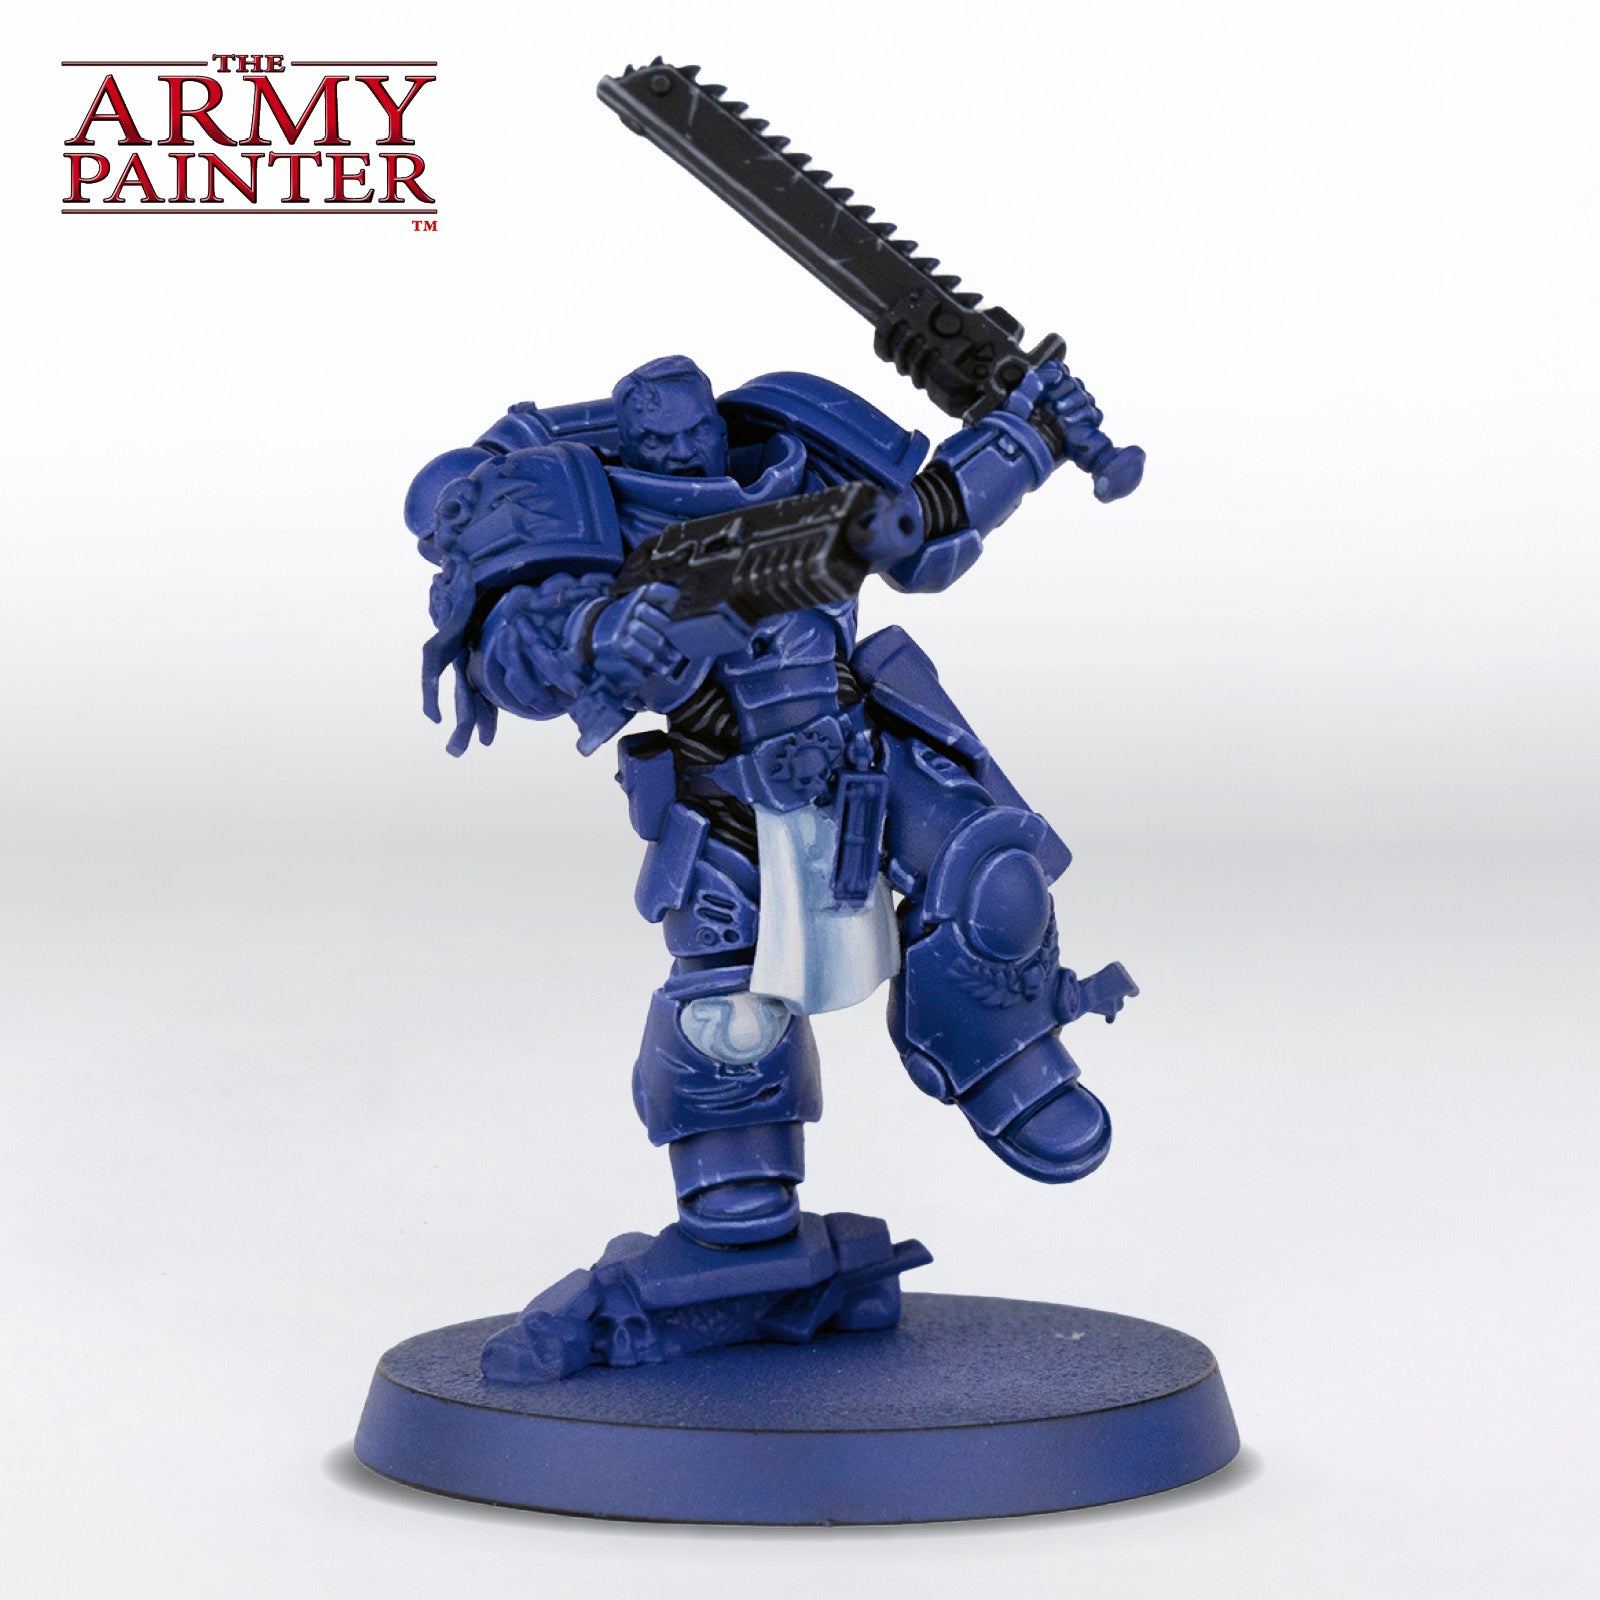
Lastly, apply an edge highlight of Warpaints Fanatic Matt White.
The Leather

Step 1
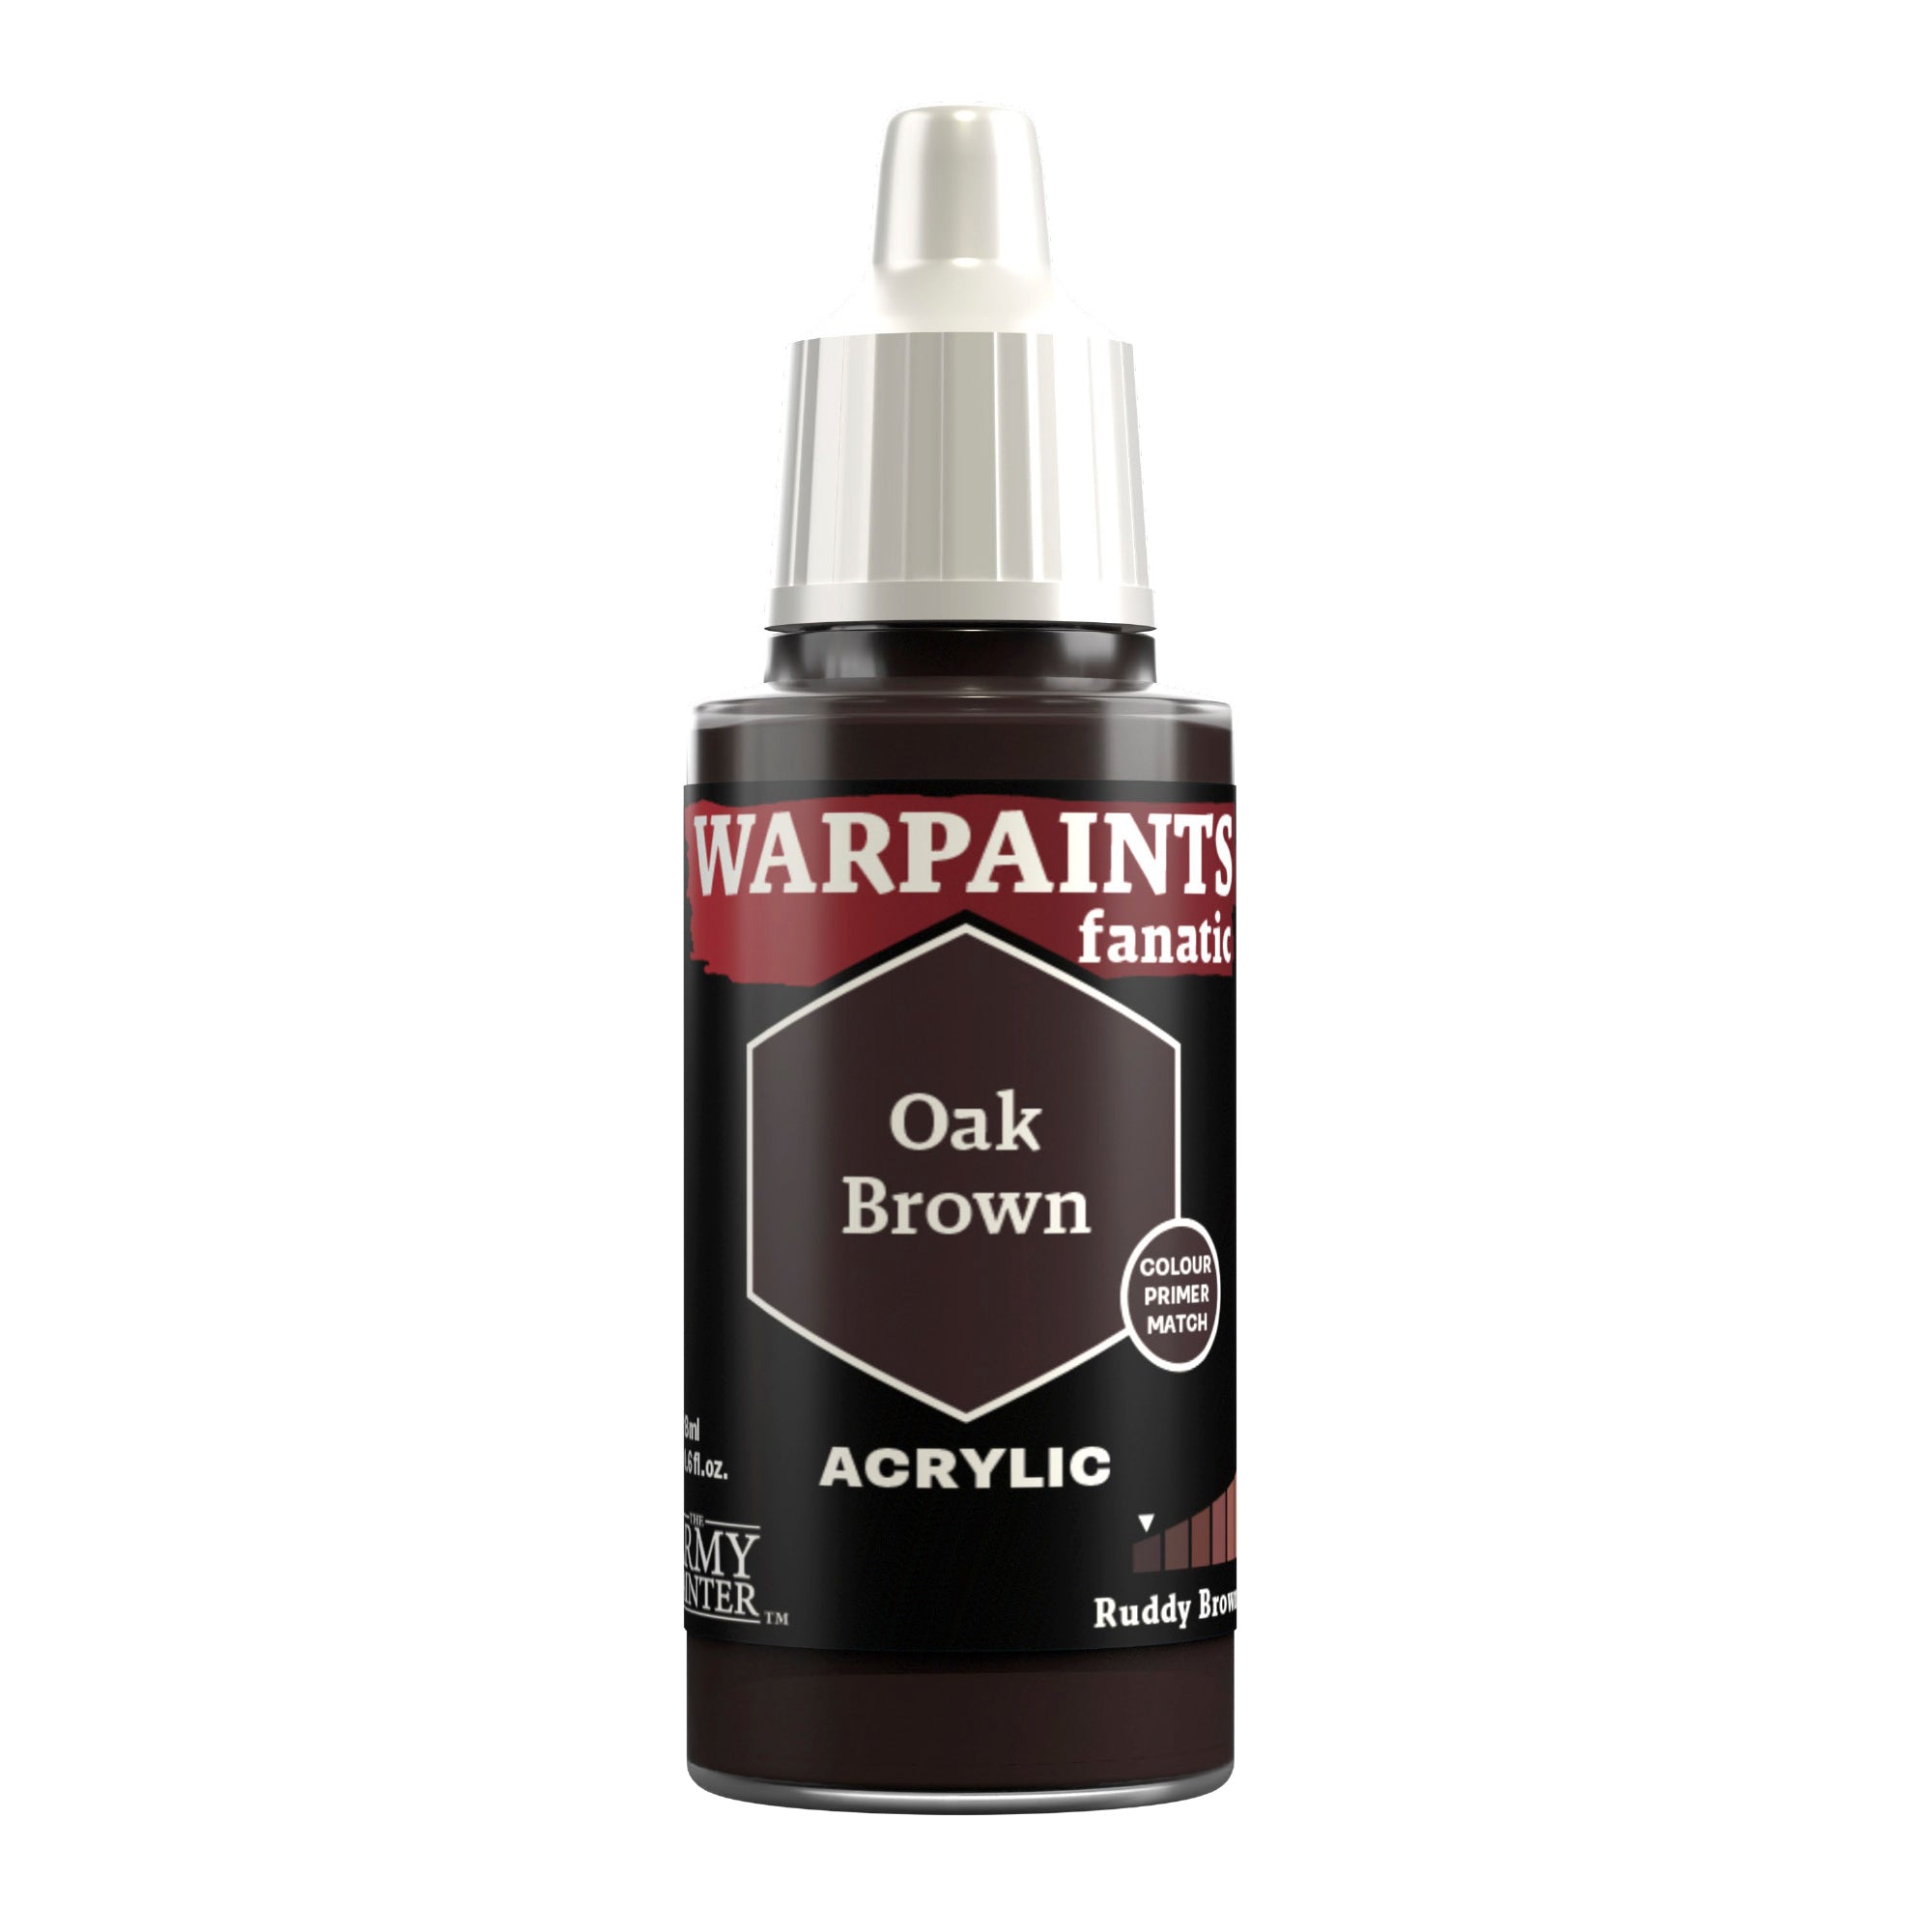
Basecoat the leather belt and pouches with Warpaints Fanatic Oak Brown.
Step 2
Shade this with a layer of Warpaints Fanatic Wash Dark Skin Shade.
Step 3
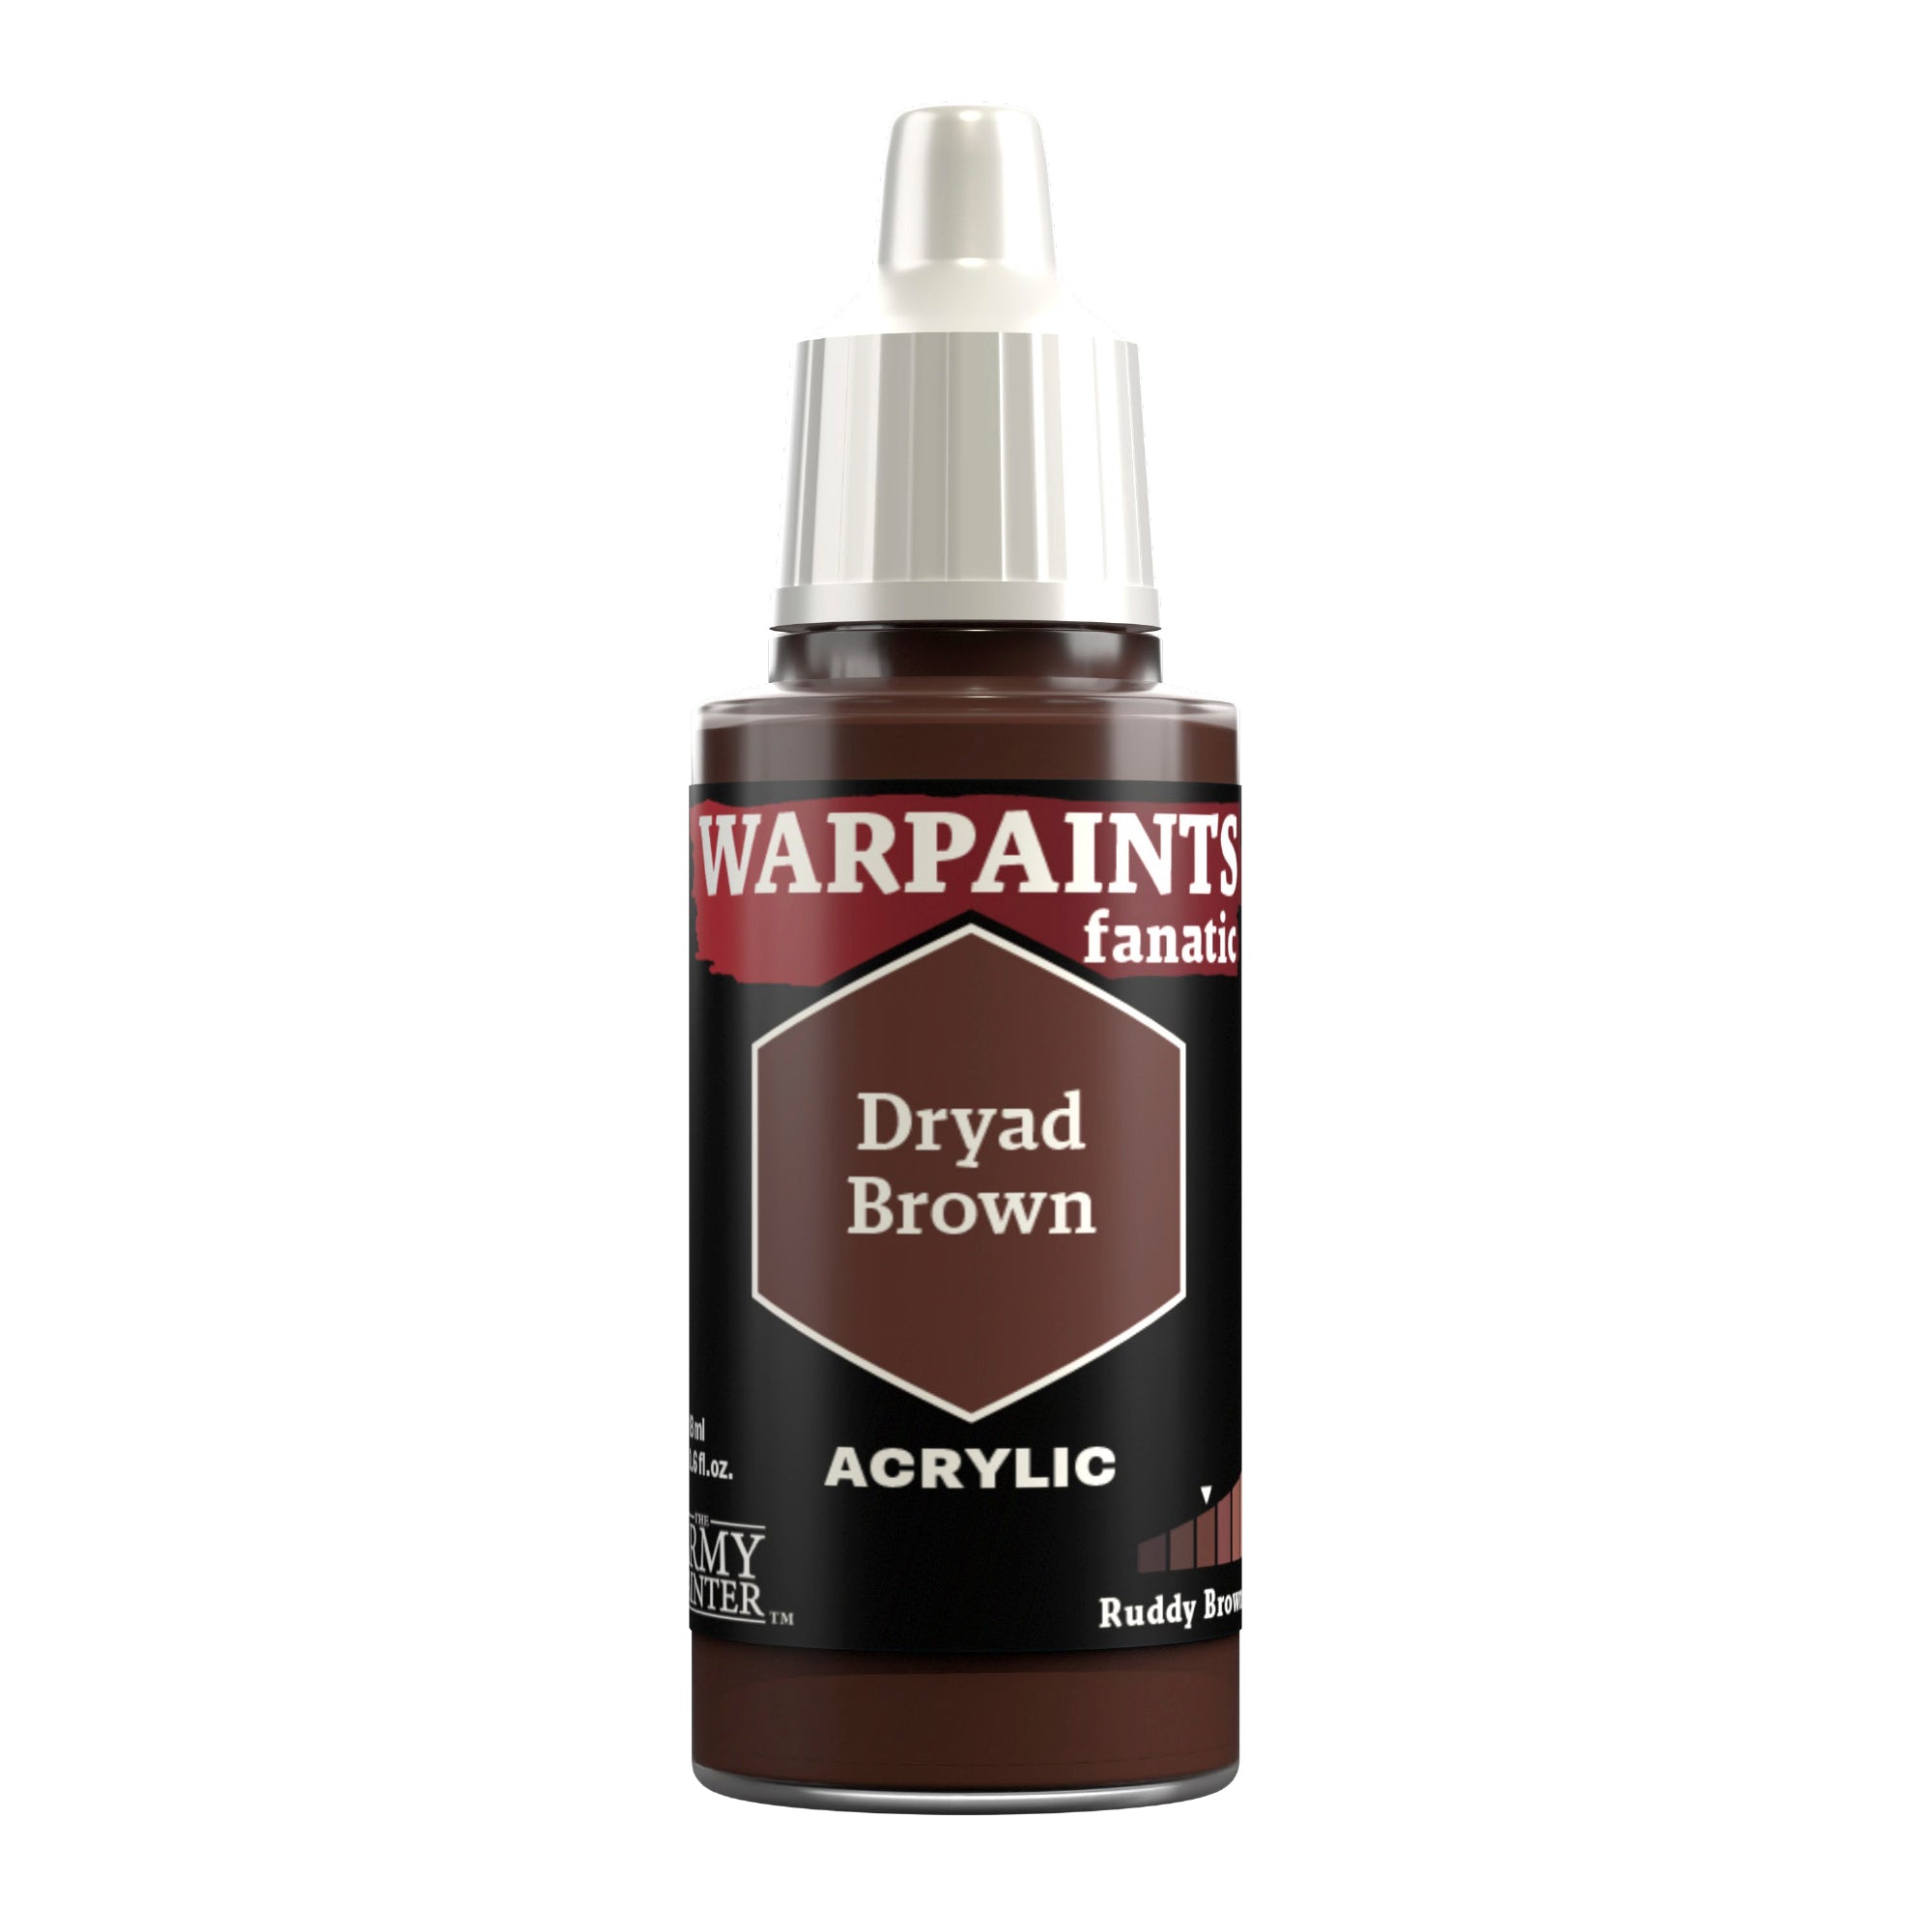
Next, highlight the leather with Warpaints Fanatic Dryad Brown.

Step 4
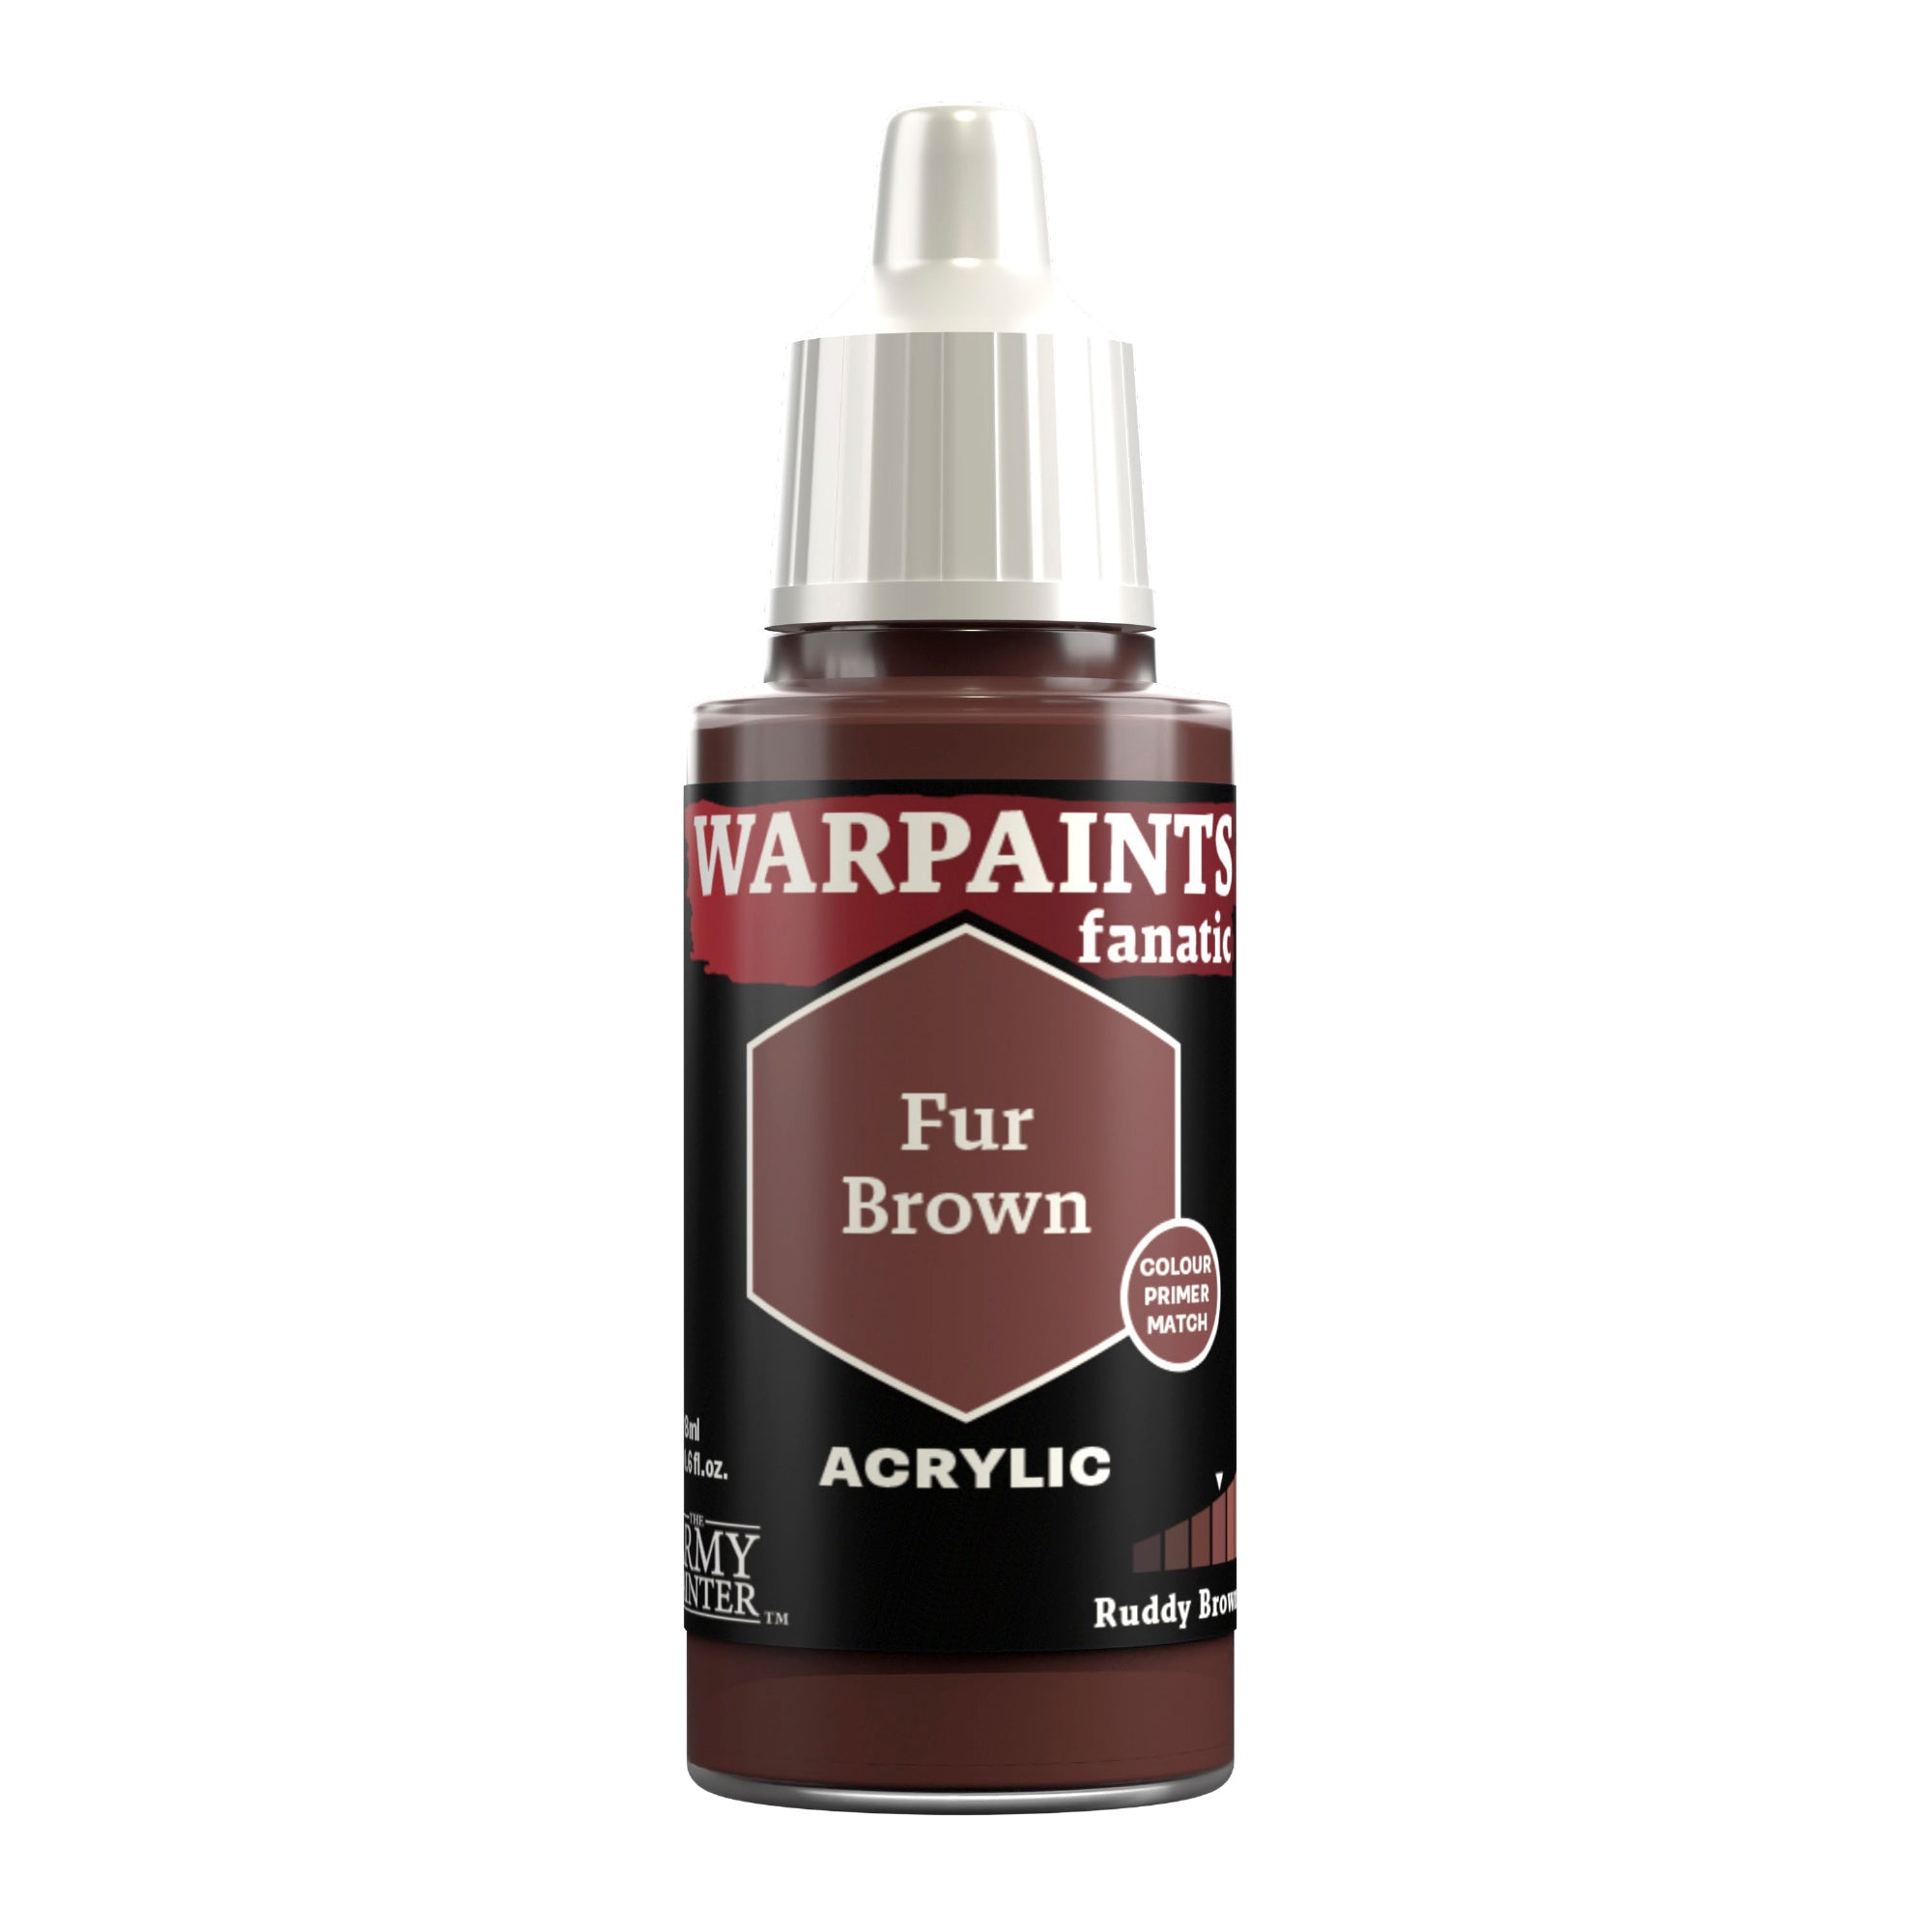
Finally, apply a specular highlight of Warpaints Fanatic Fur Brown.
The Gold
Step 1
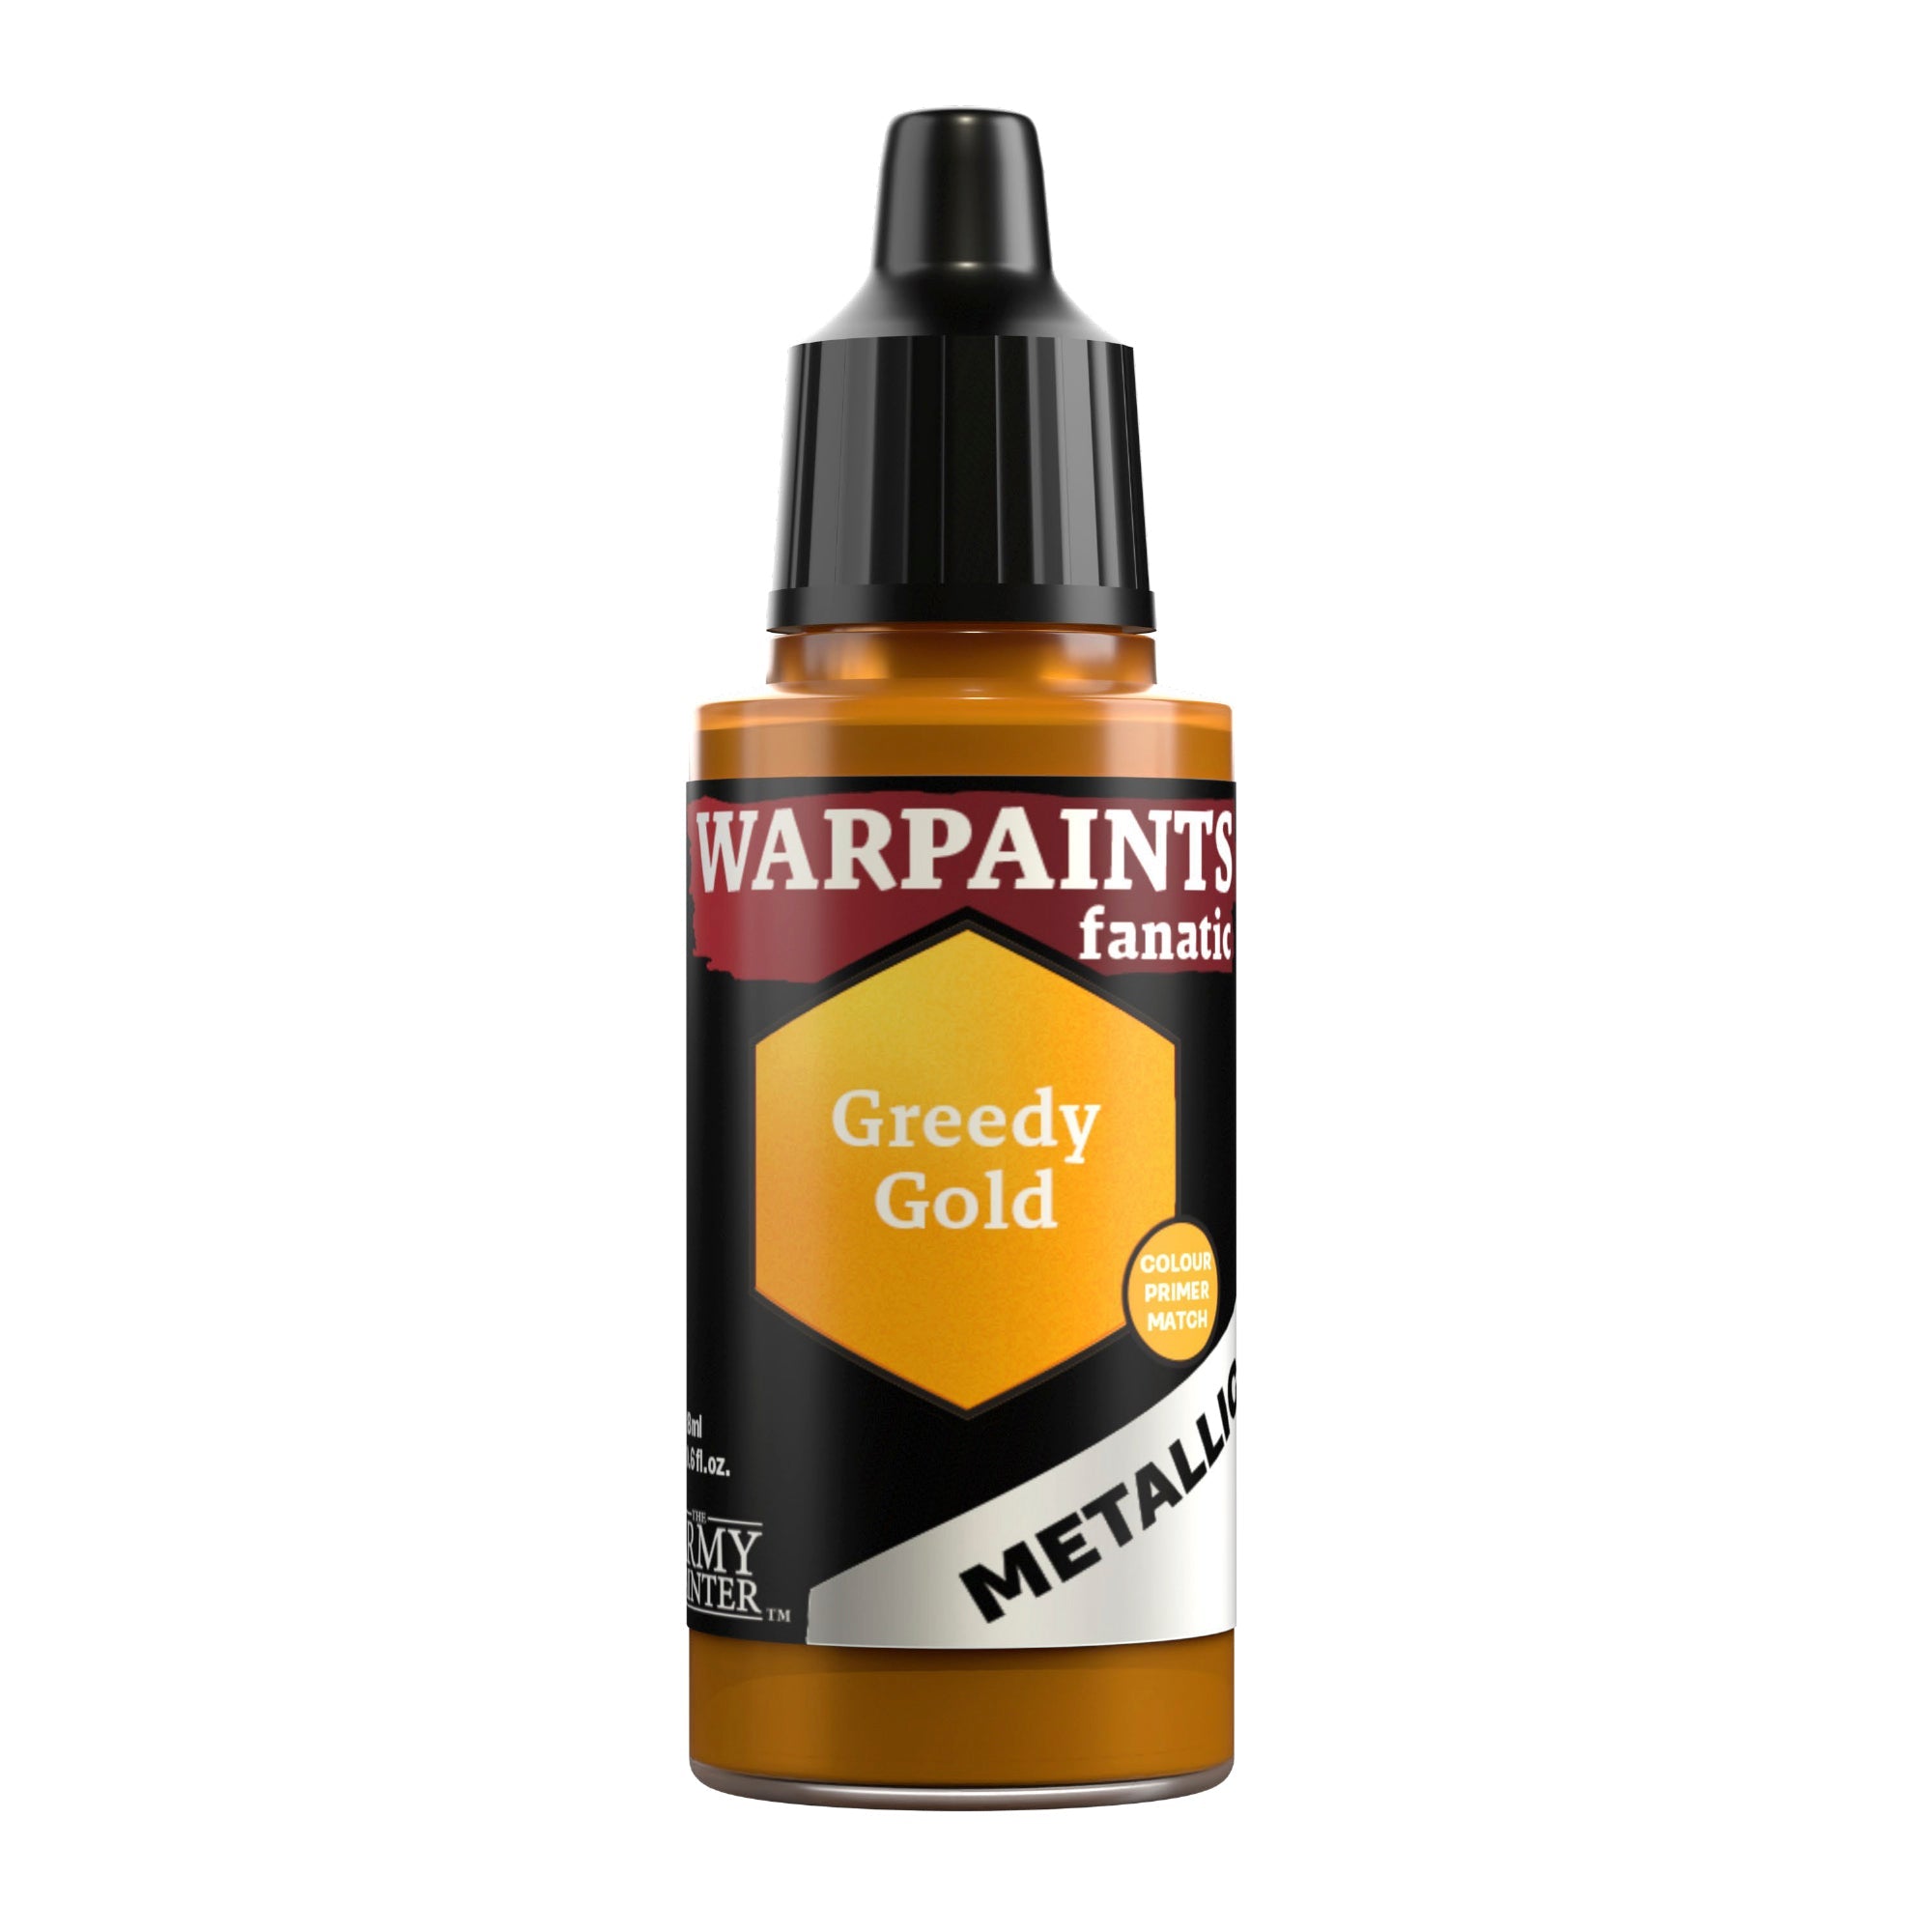
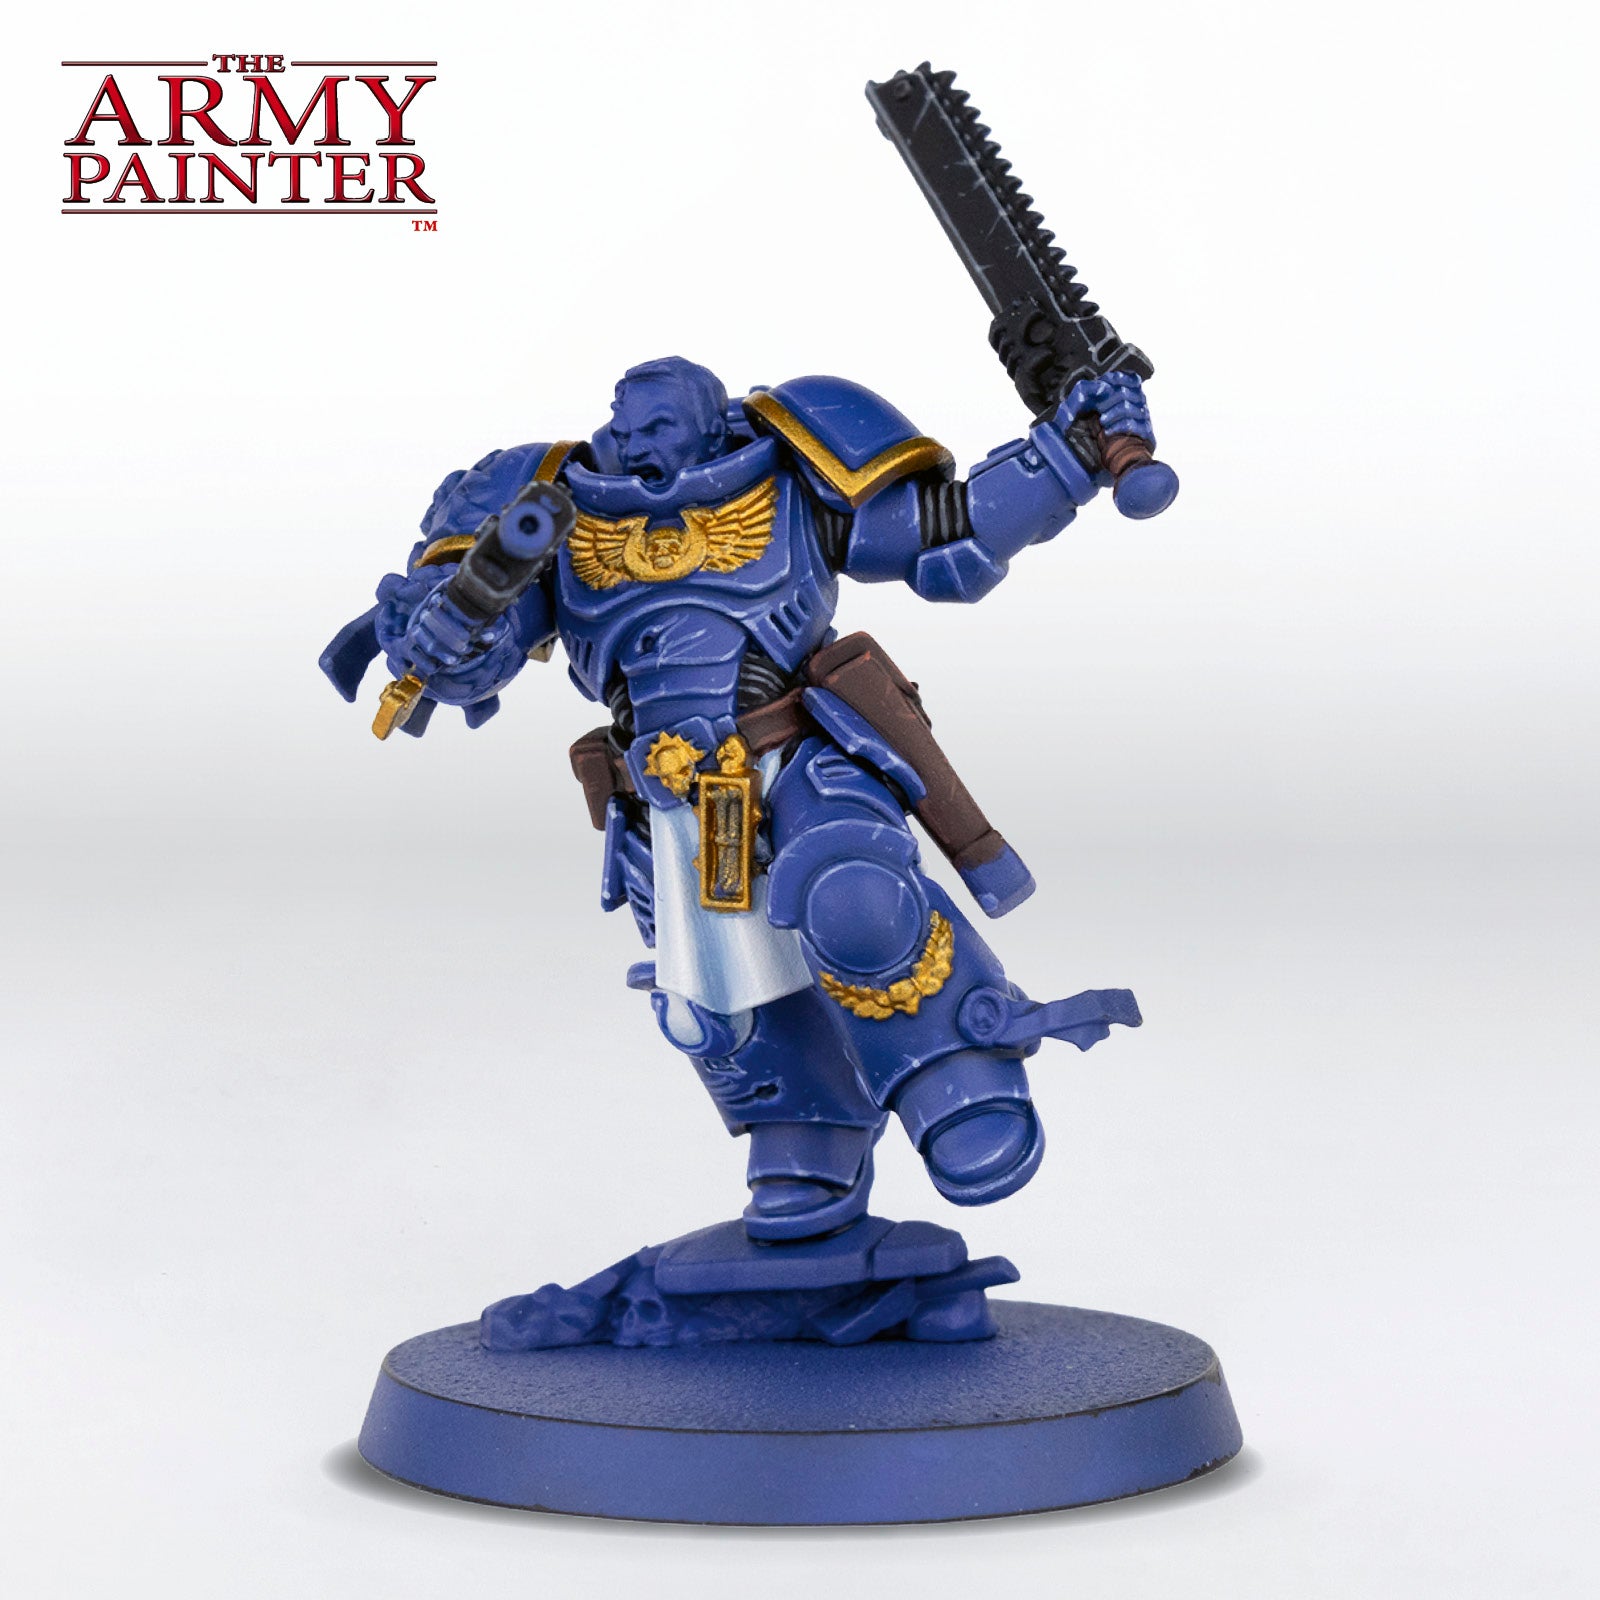
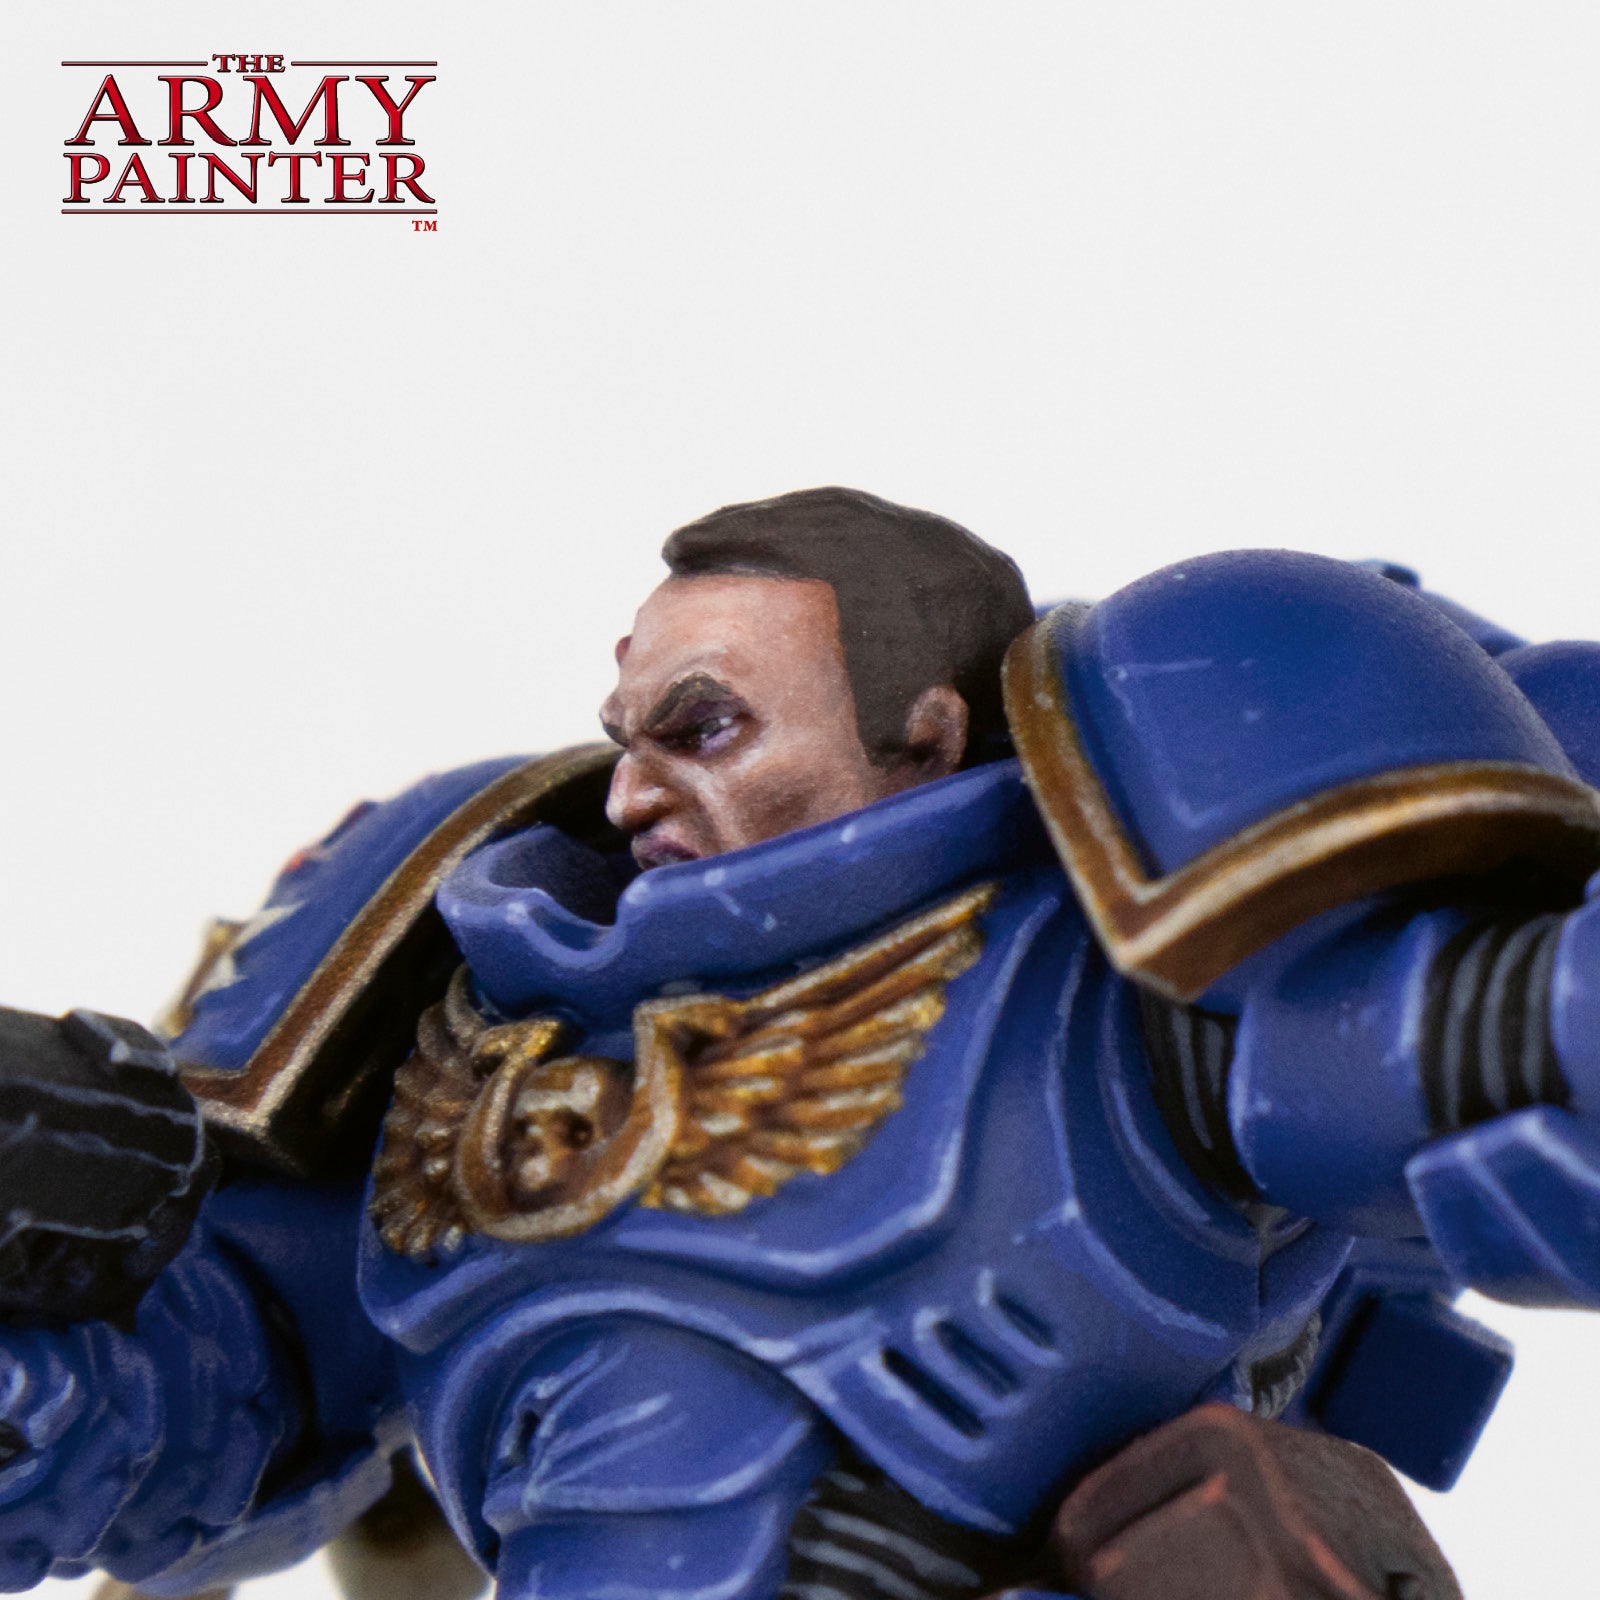
What would an Ultramarine be without his gold? Basecoat all the gold areas with Warpaints Fanatic Greedy Gold.
Step 2
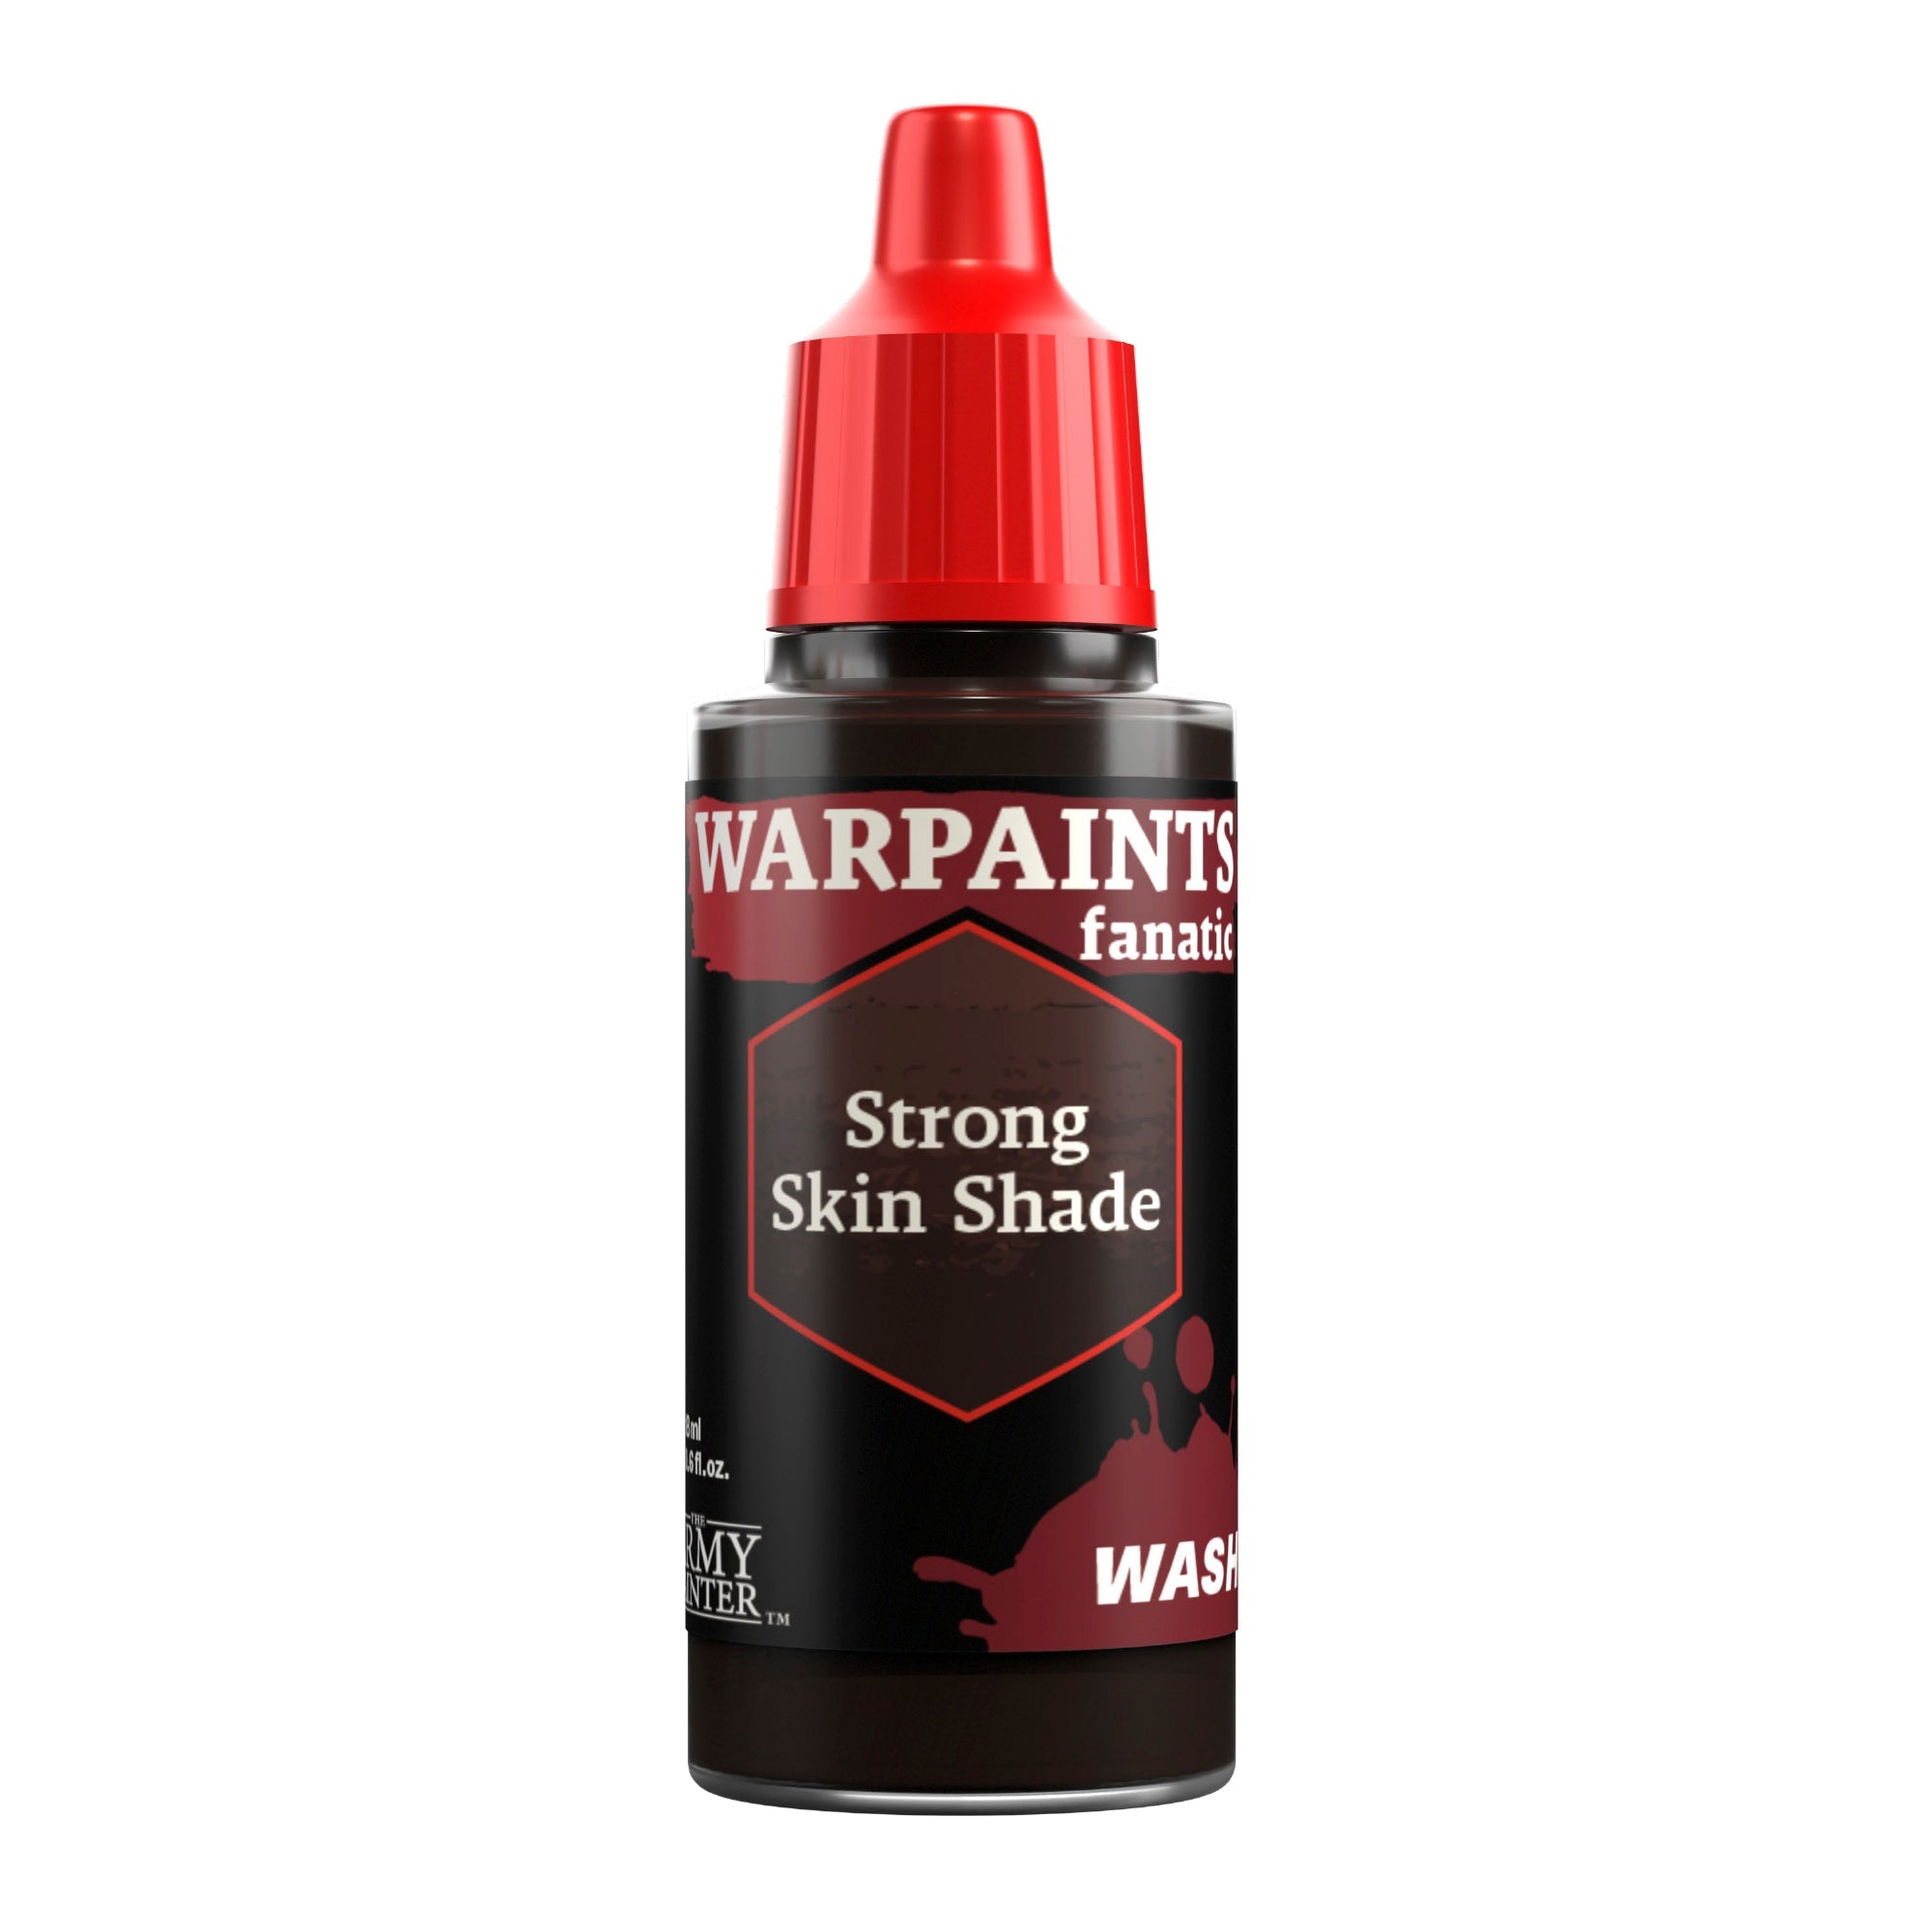
Next, shade this with Warpaints Fanatic Wash Strong Skin Shade. On areas like the winged Ultramarine symbol on the chest and the laurels on the leg, this was applied all over. On the shoulder pad trim, it was only applied to the areas where it is needed, which was near the corners, and undersides.

Step 3
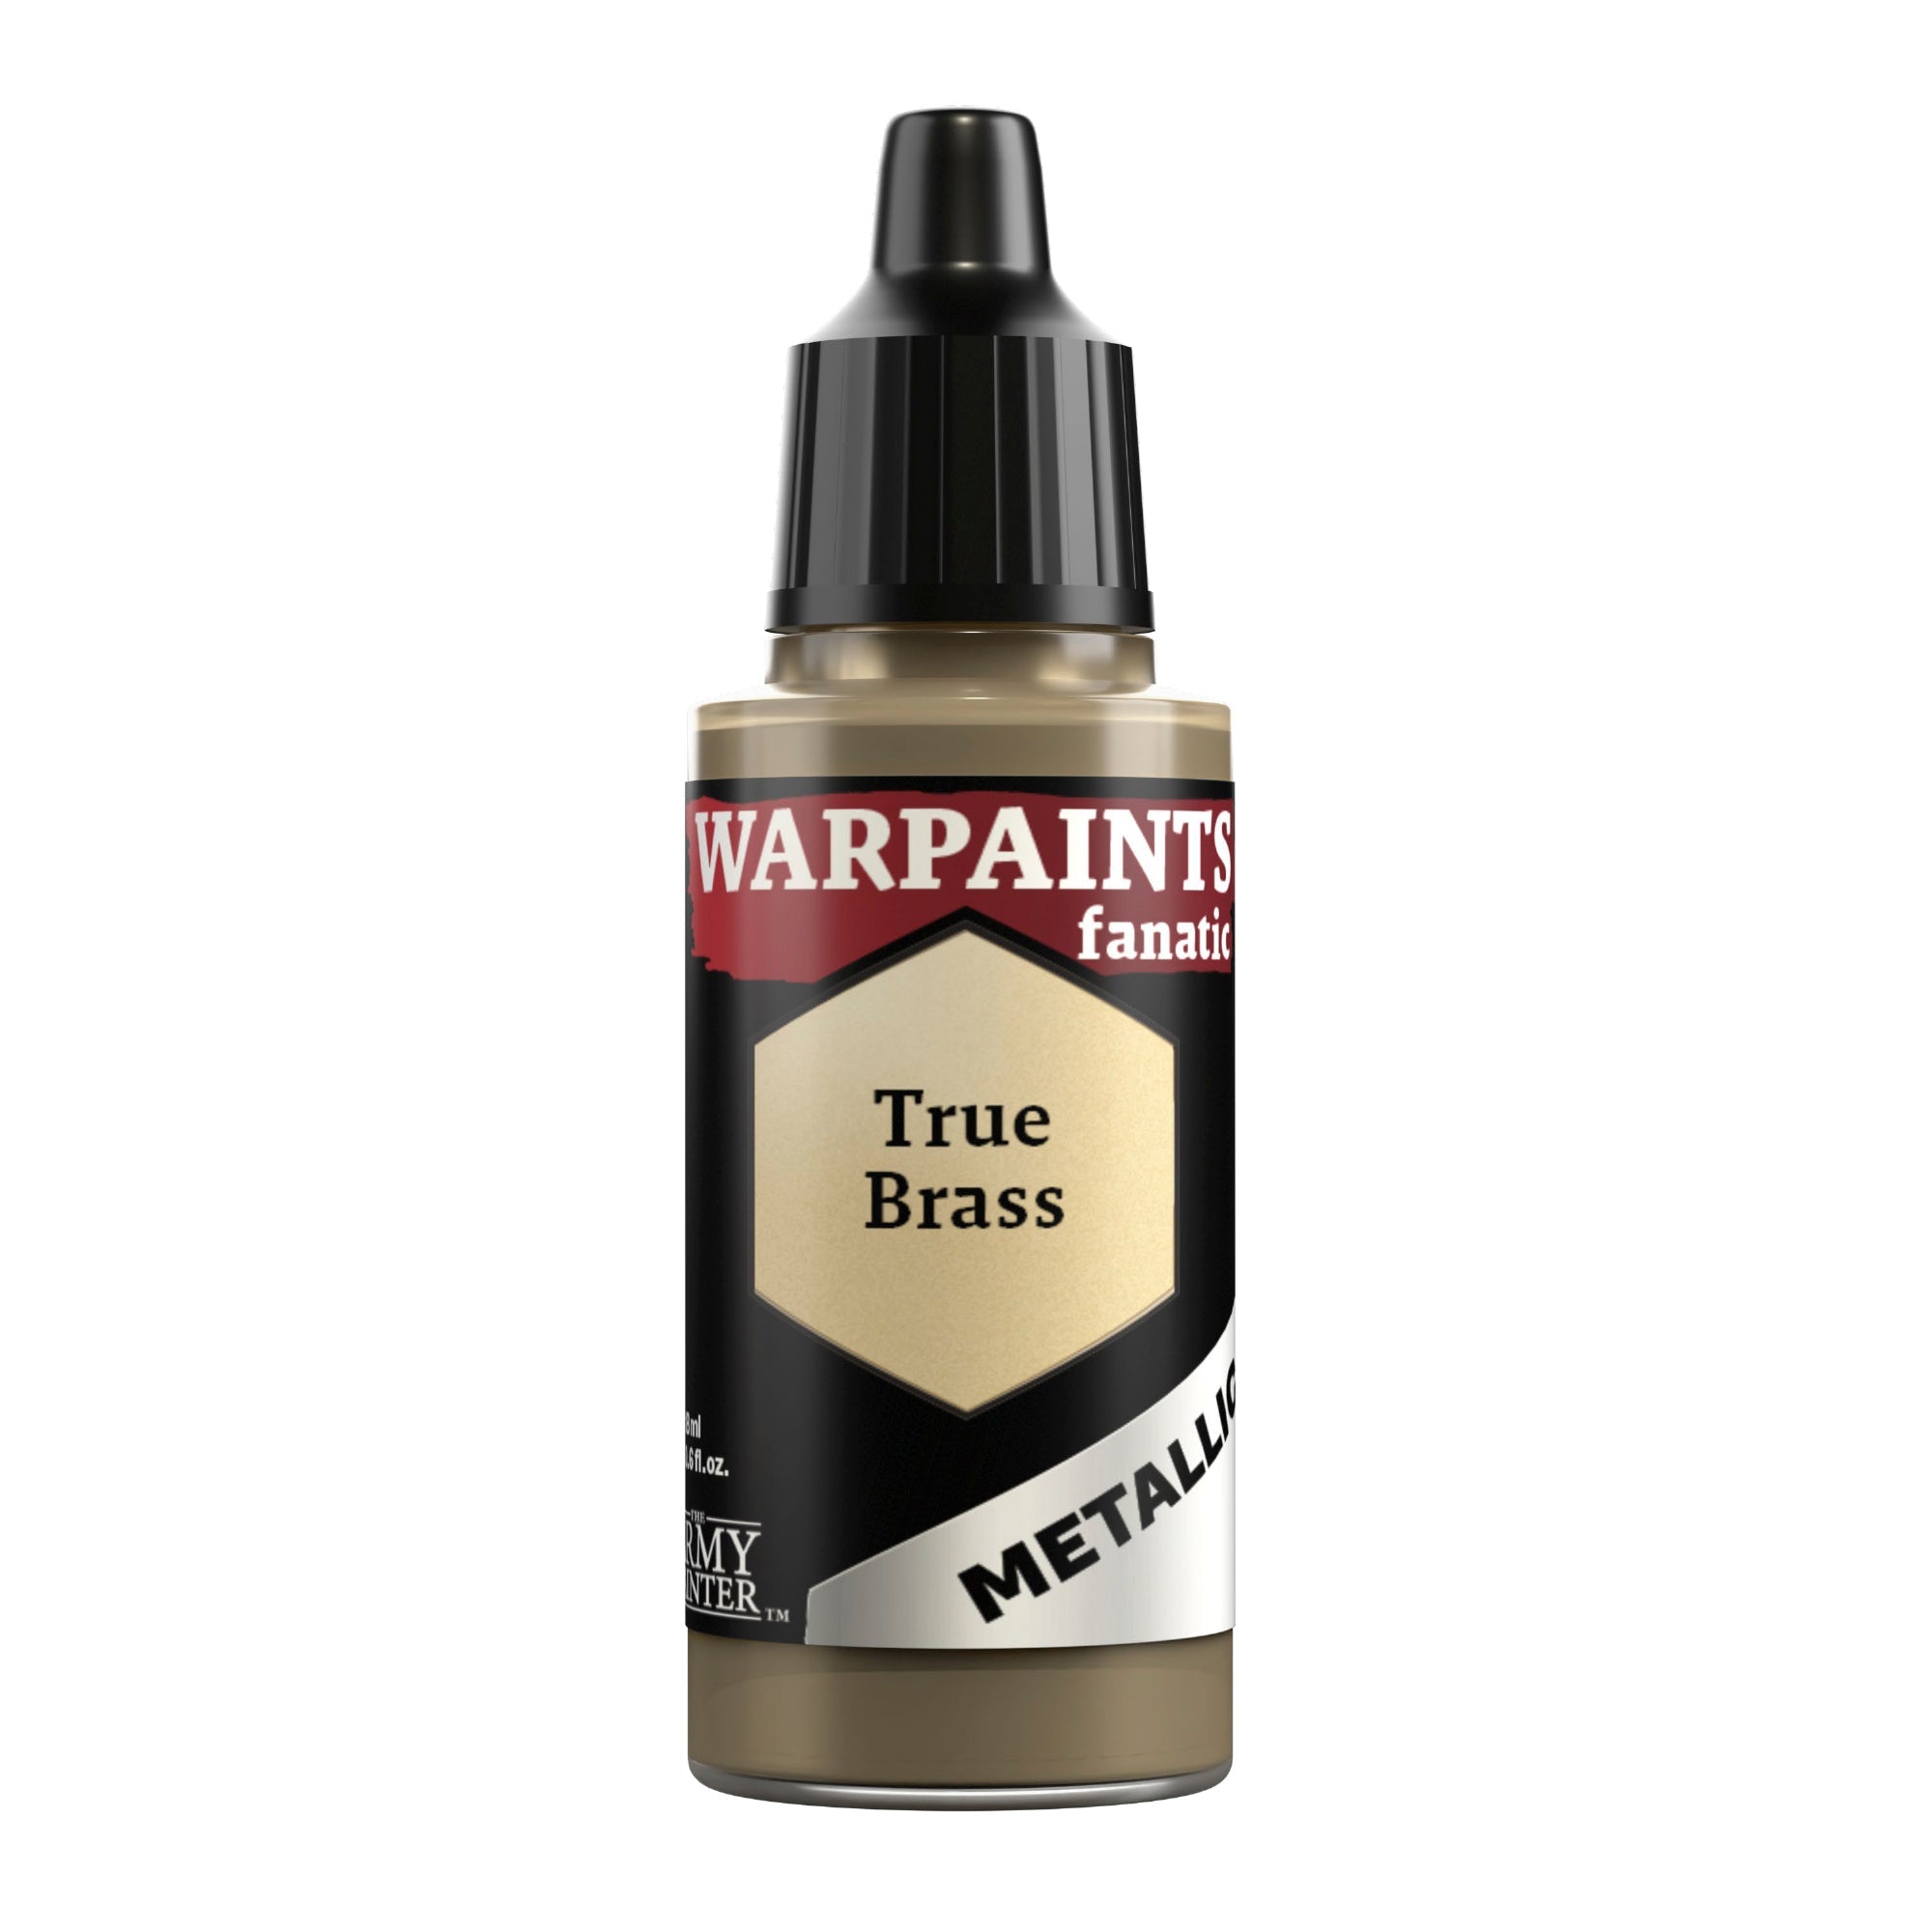
Highlight all the gold with Warpaints Fanatic True Brass.
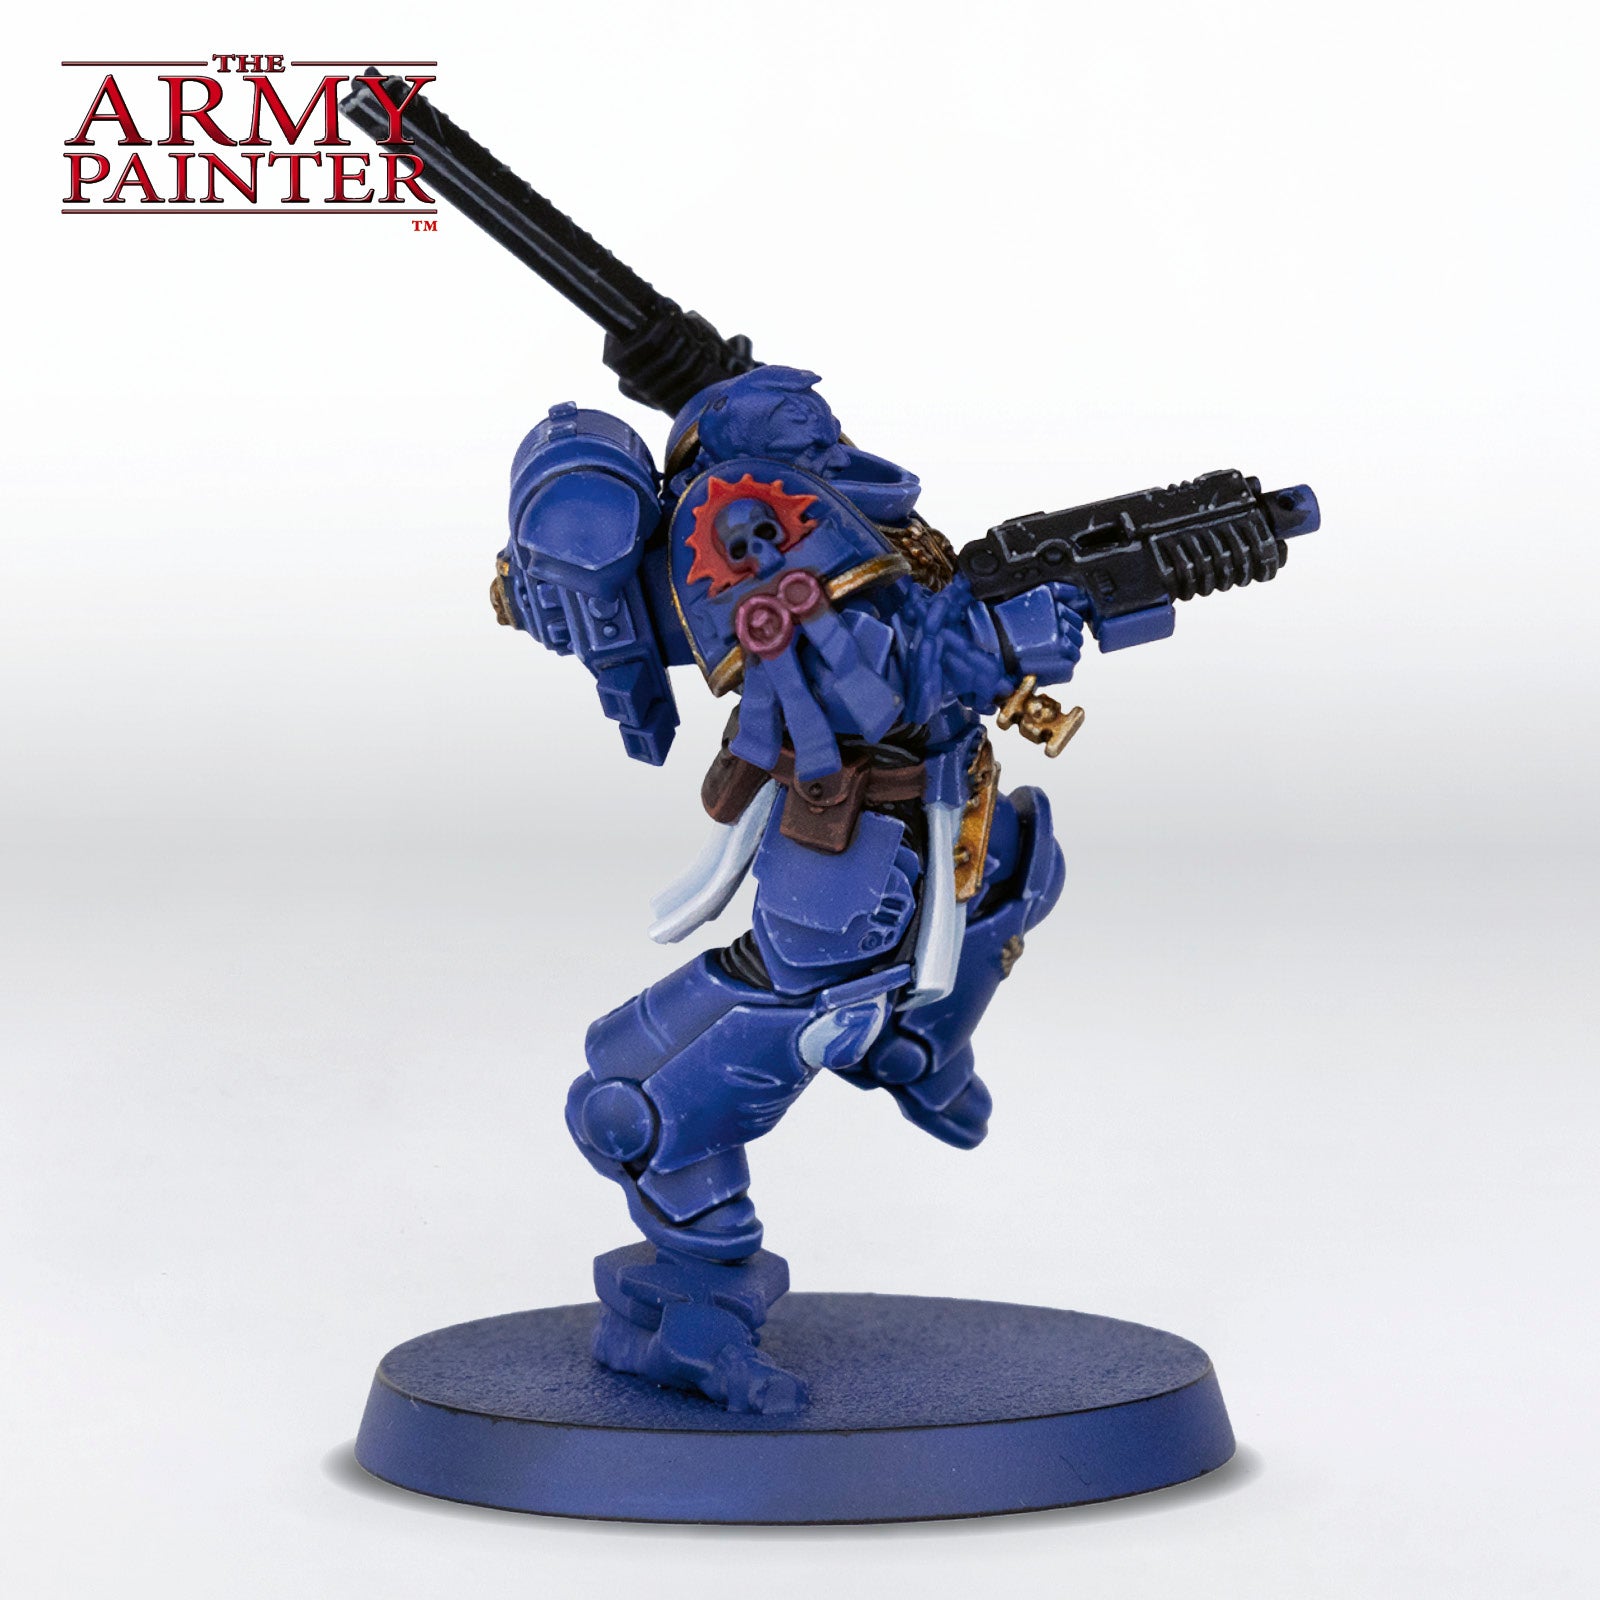
The Red and Bone
Step 1
Basecoat the sunburst on the shoulder pad with Warpaints Fanatic Dragon Red and the wax on the purity seals with Warpaints Fanatic Mulled Berry.
Step 2
Shade both of these areas with Warpaints Fanatic Wash Strong Skin Shade.
Step 3
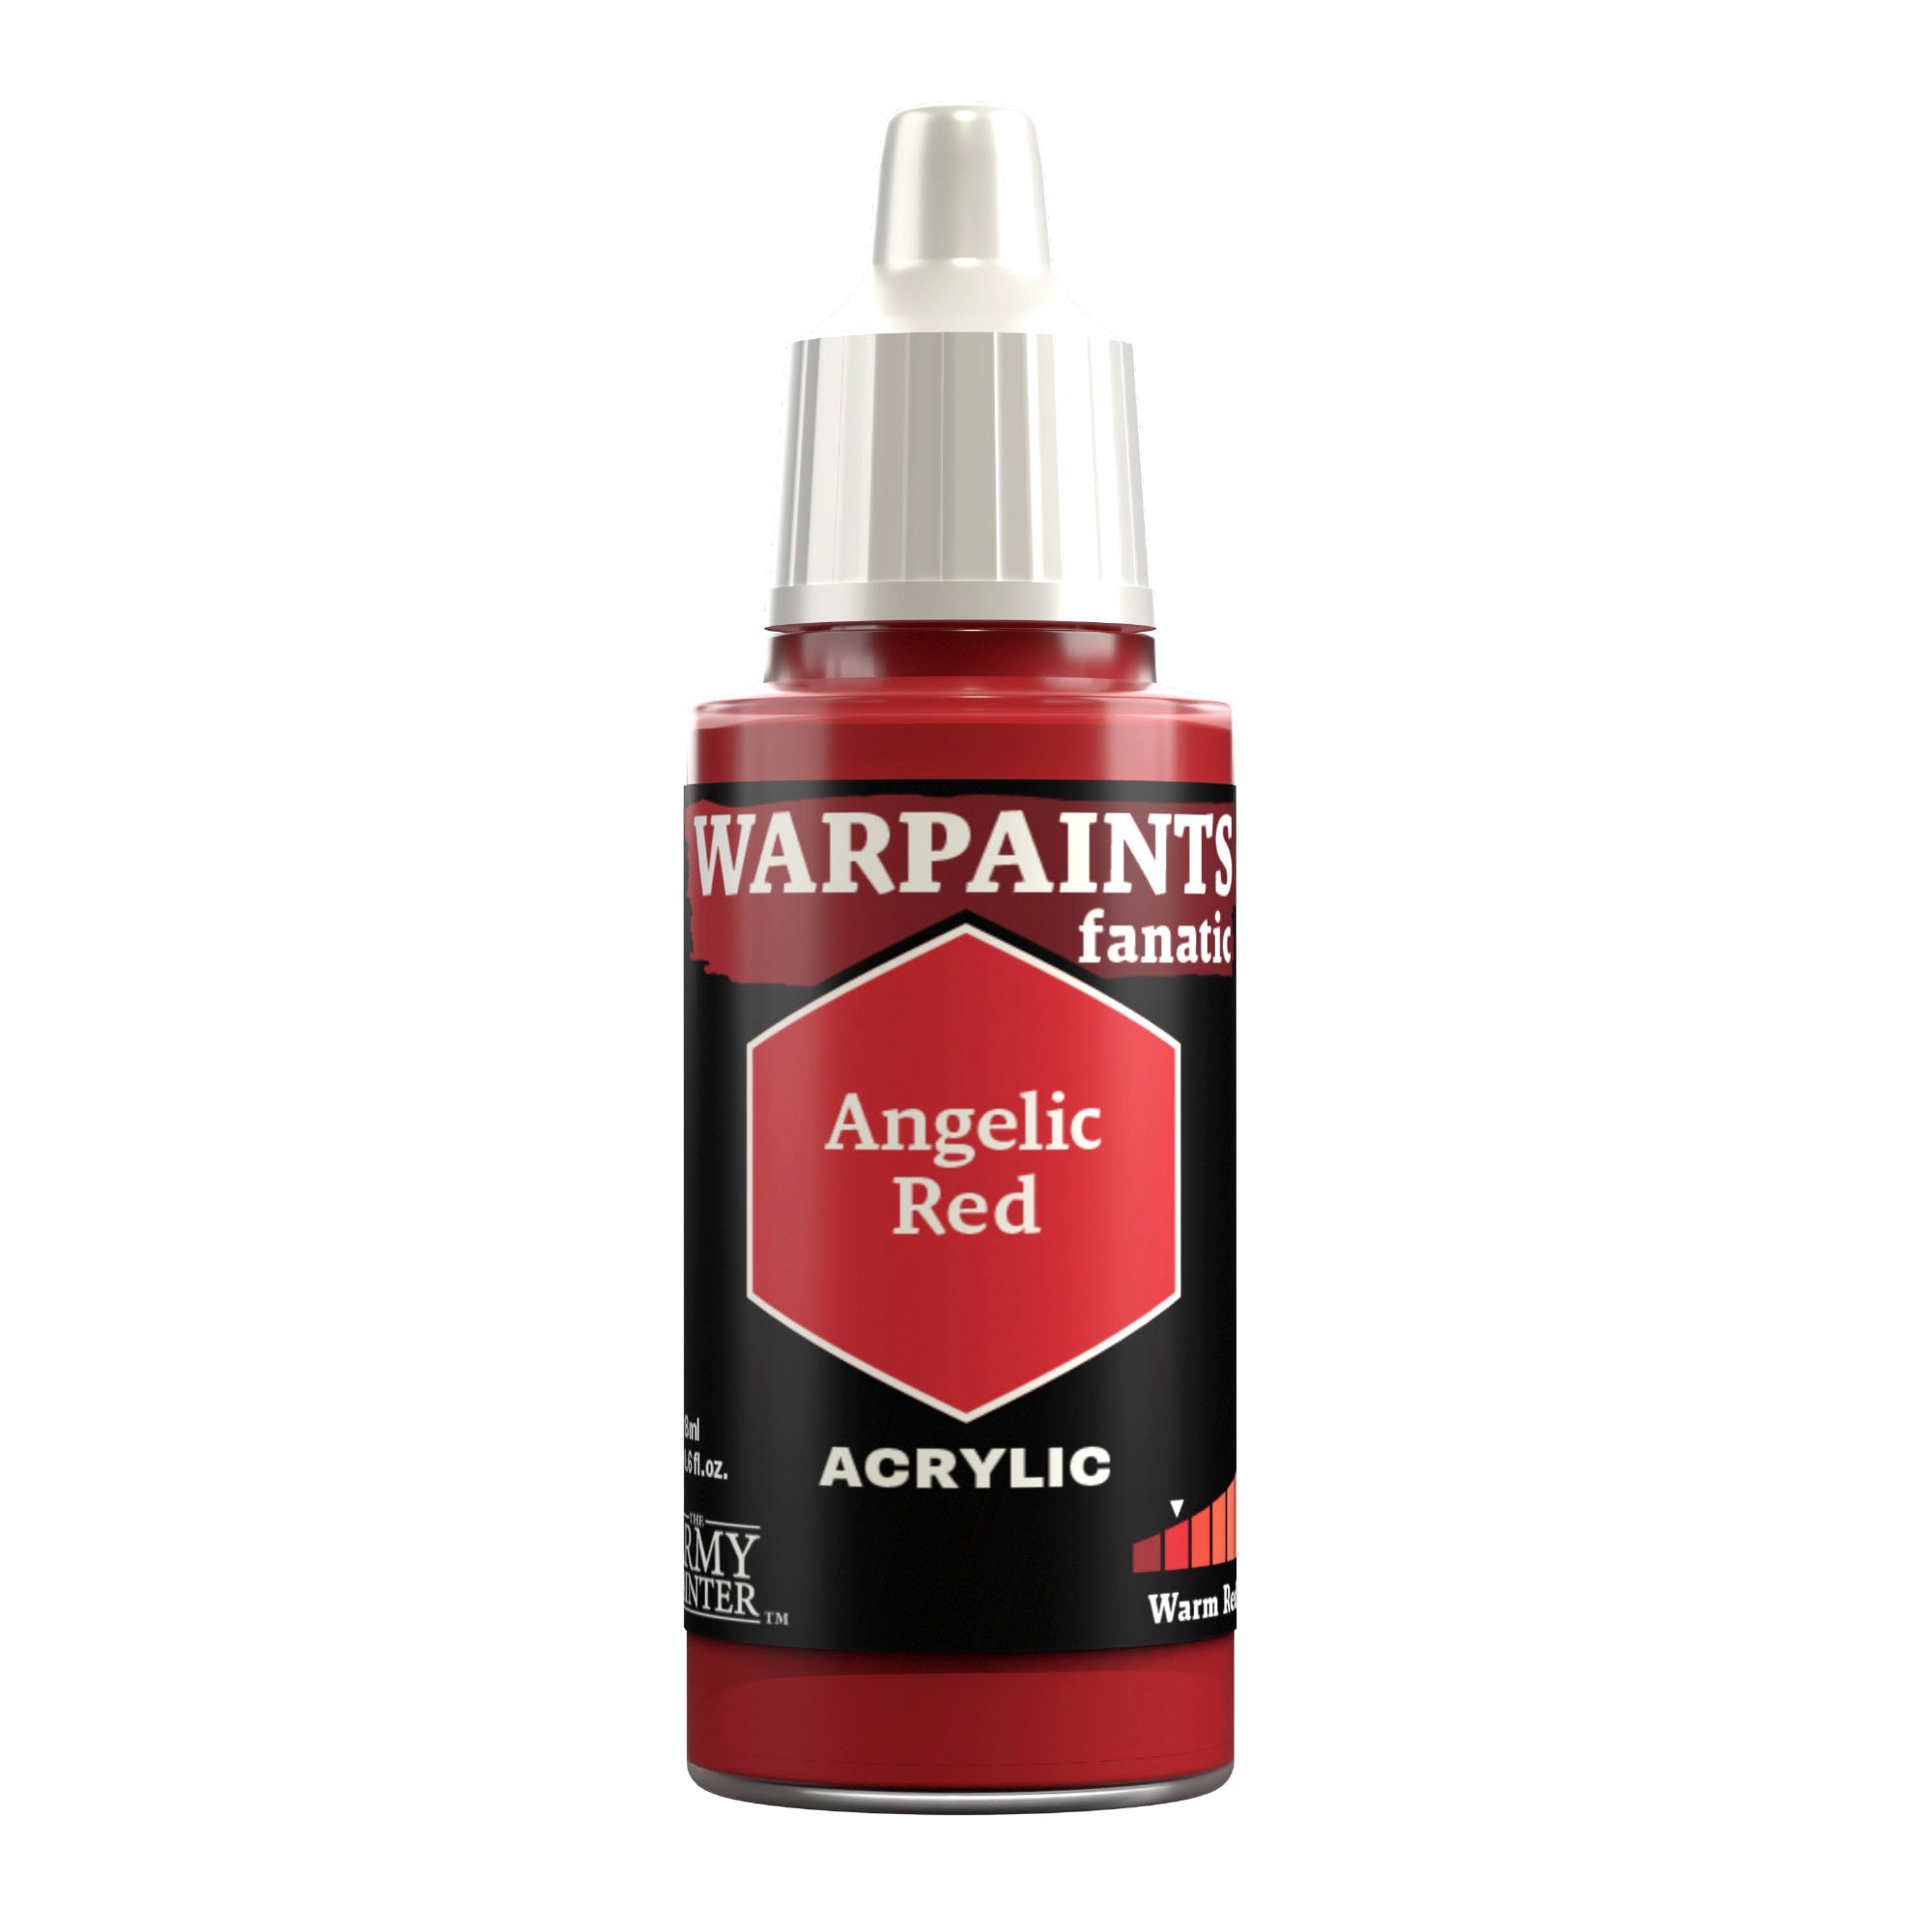
Next, highlight the sunburst with Warpaints Fanatic Angelic Red, and the purity seals with Warpaints Fanatic Moldy Wine.
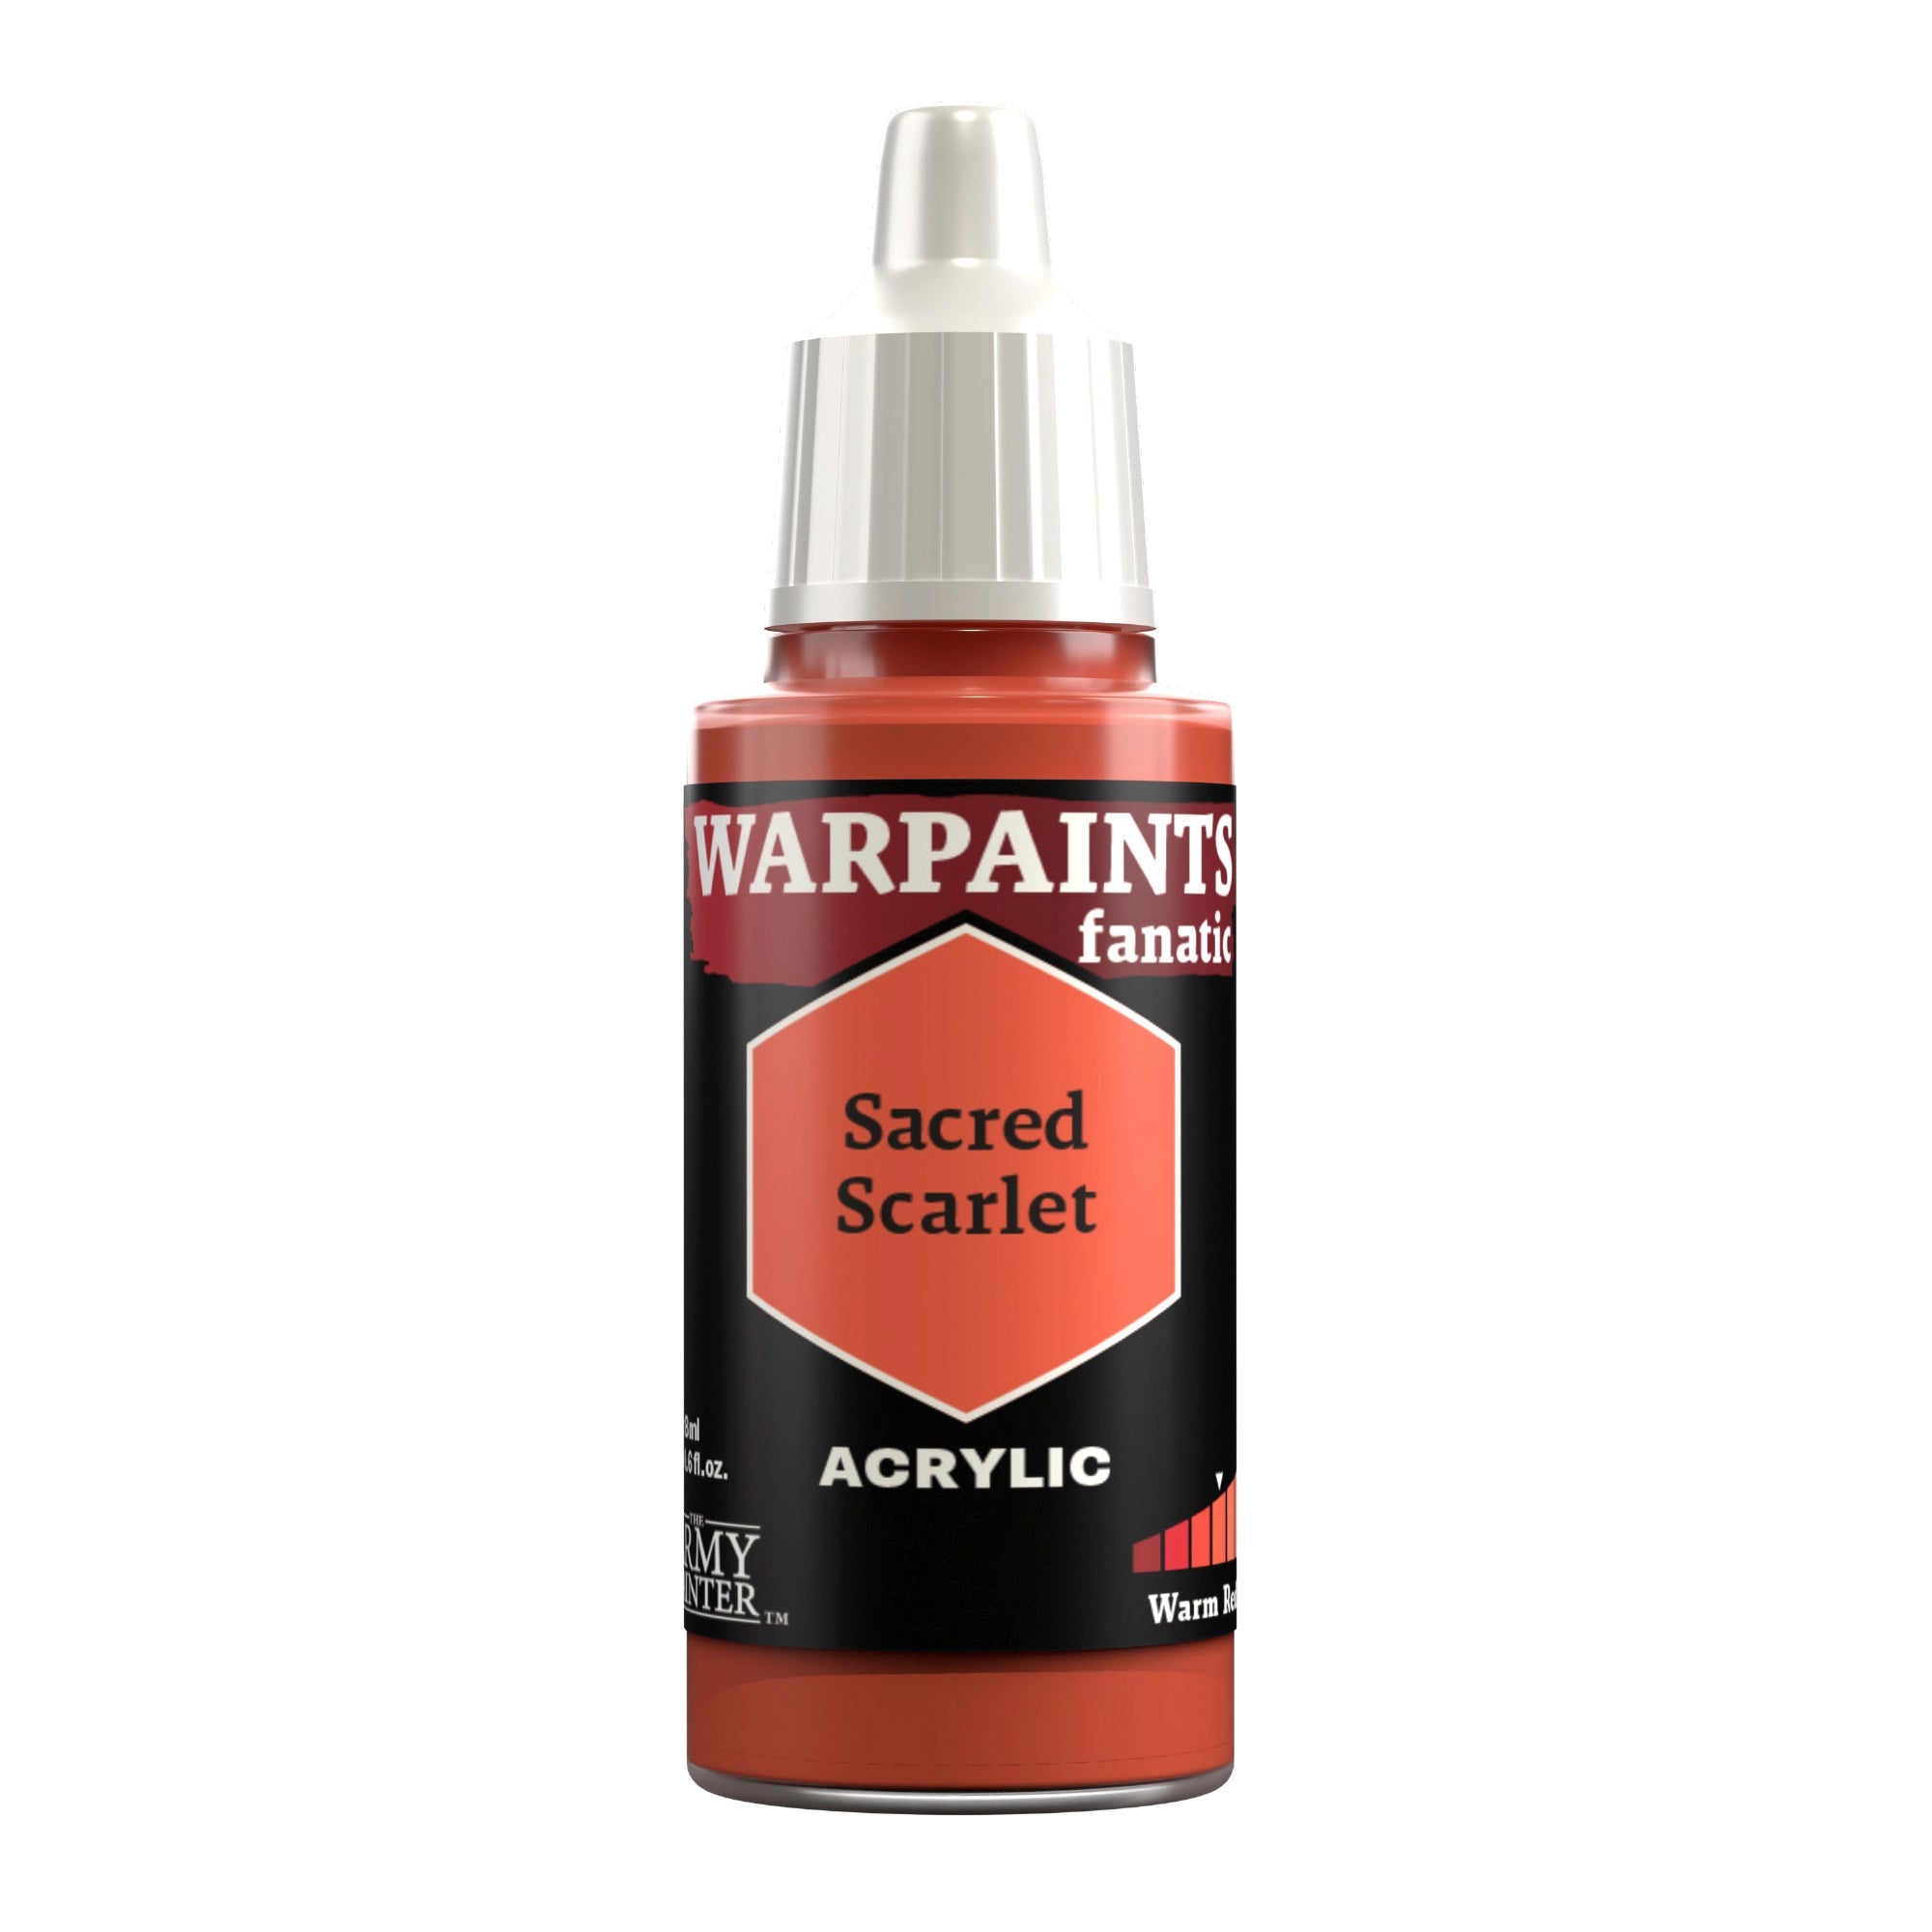
Step 4
To finish these areas, apply a final highlight of Warpaints Fanatic Sacred Scarlet and Warpaints Fanatic Elder Flower respectively.
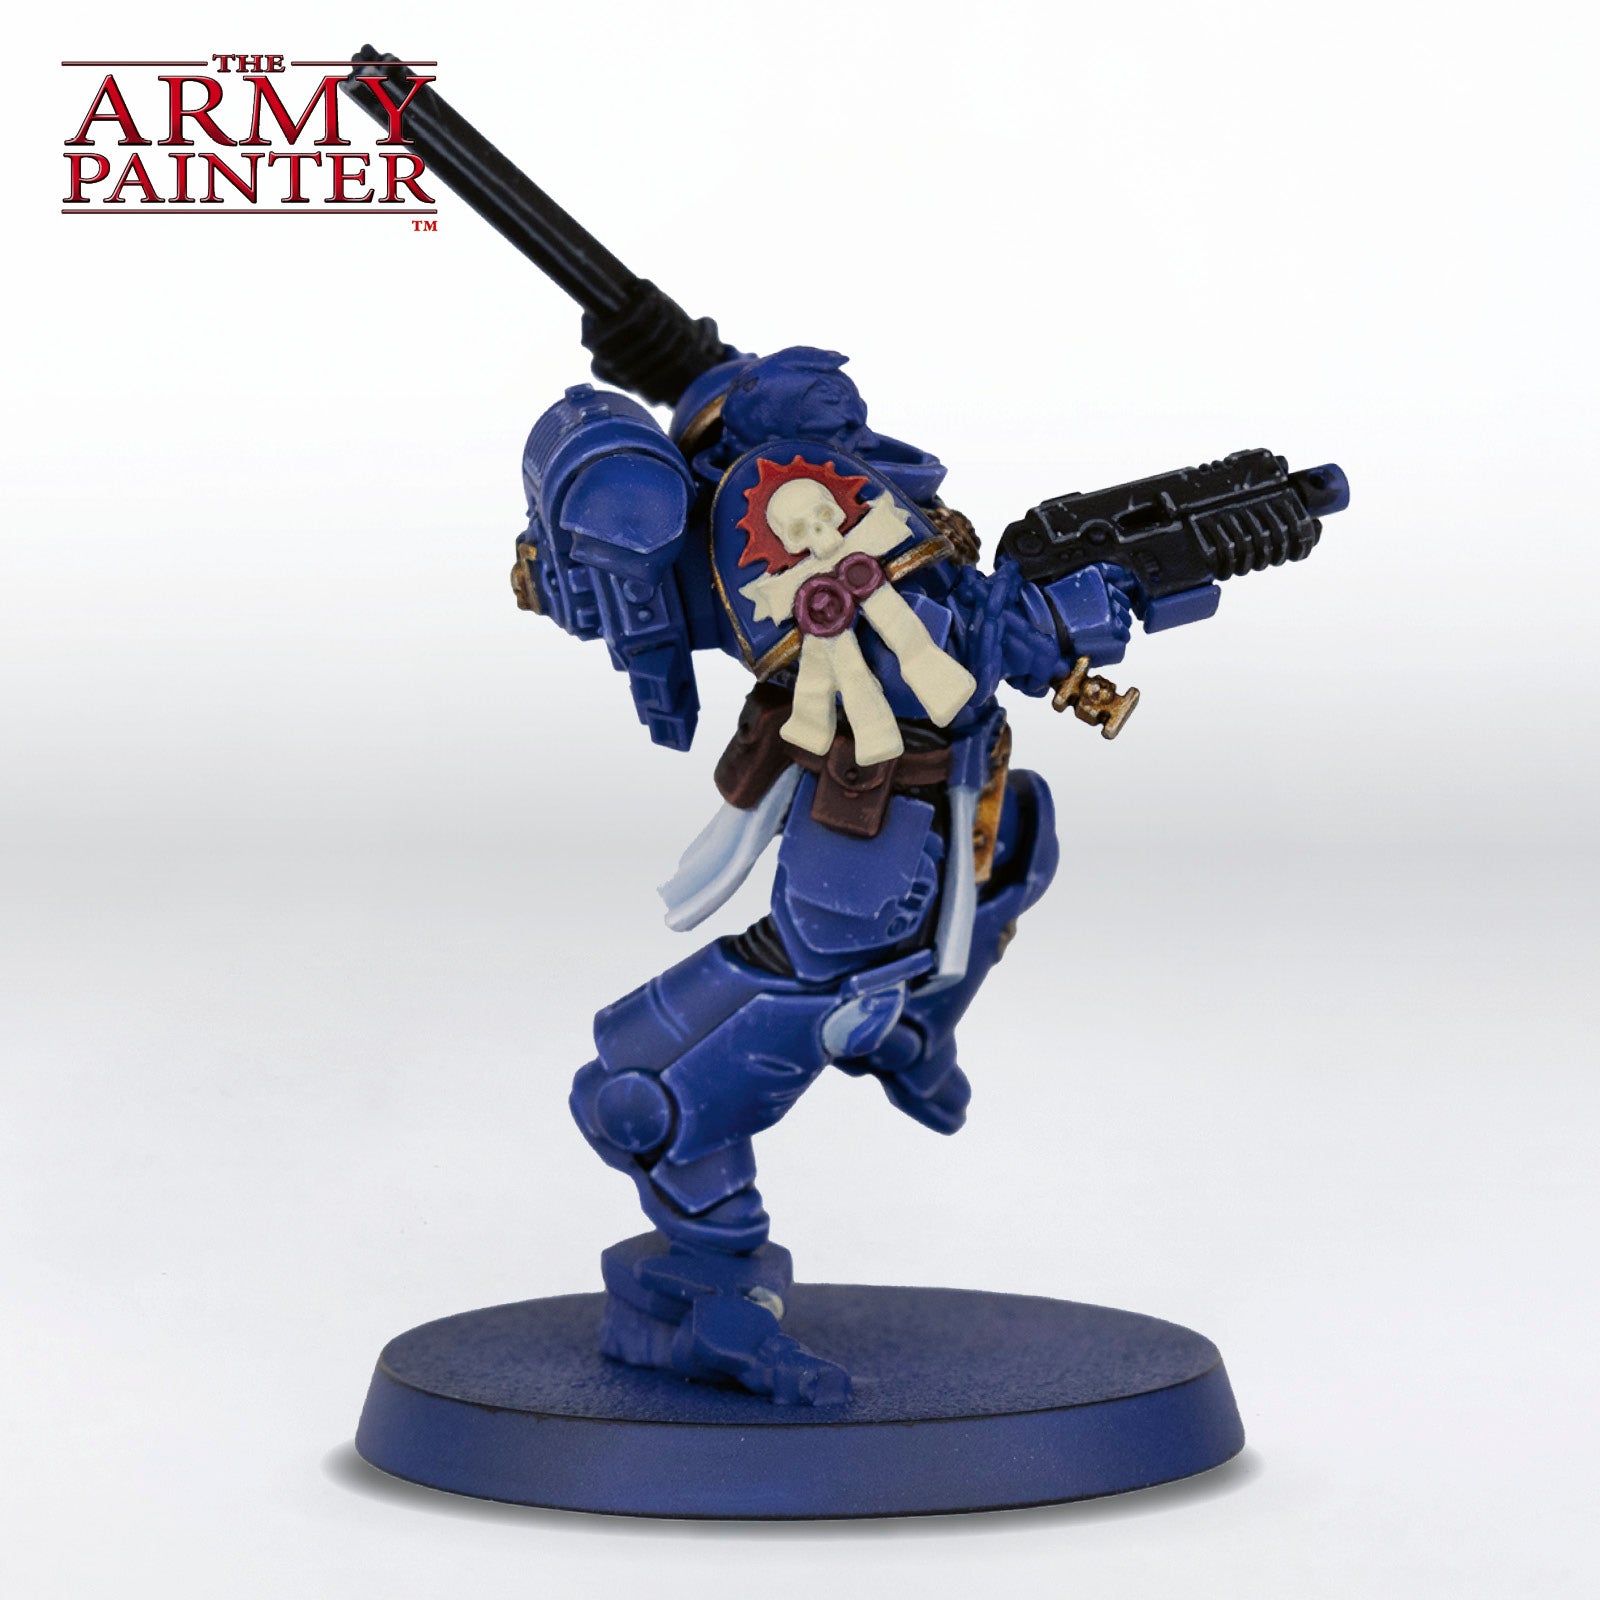
Step 5
Basecoat all the bone and parchment with Warpaints Fanatic Ancient Stone.
Step 6
Next, shade these areas with Warpaints Fanatic Wash Soft Tone.
Step 7
Re-layer the bone and parchment with Warpaints Fanatic Ancient Stone, leaving the Wash visible in the recesses.
Step 8
Edge highlight both areas with Warpaints Fanatic Pale Sand.

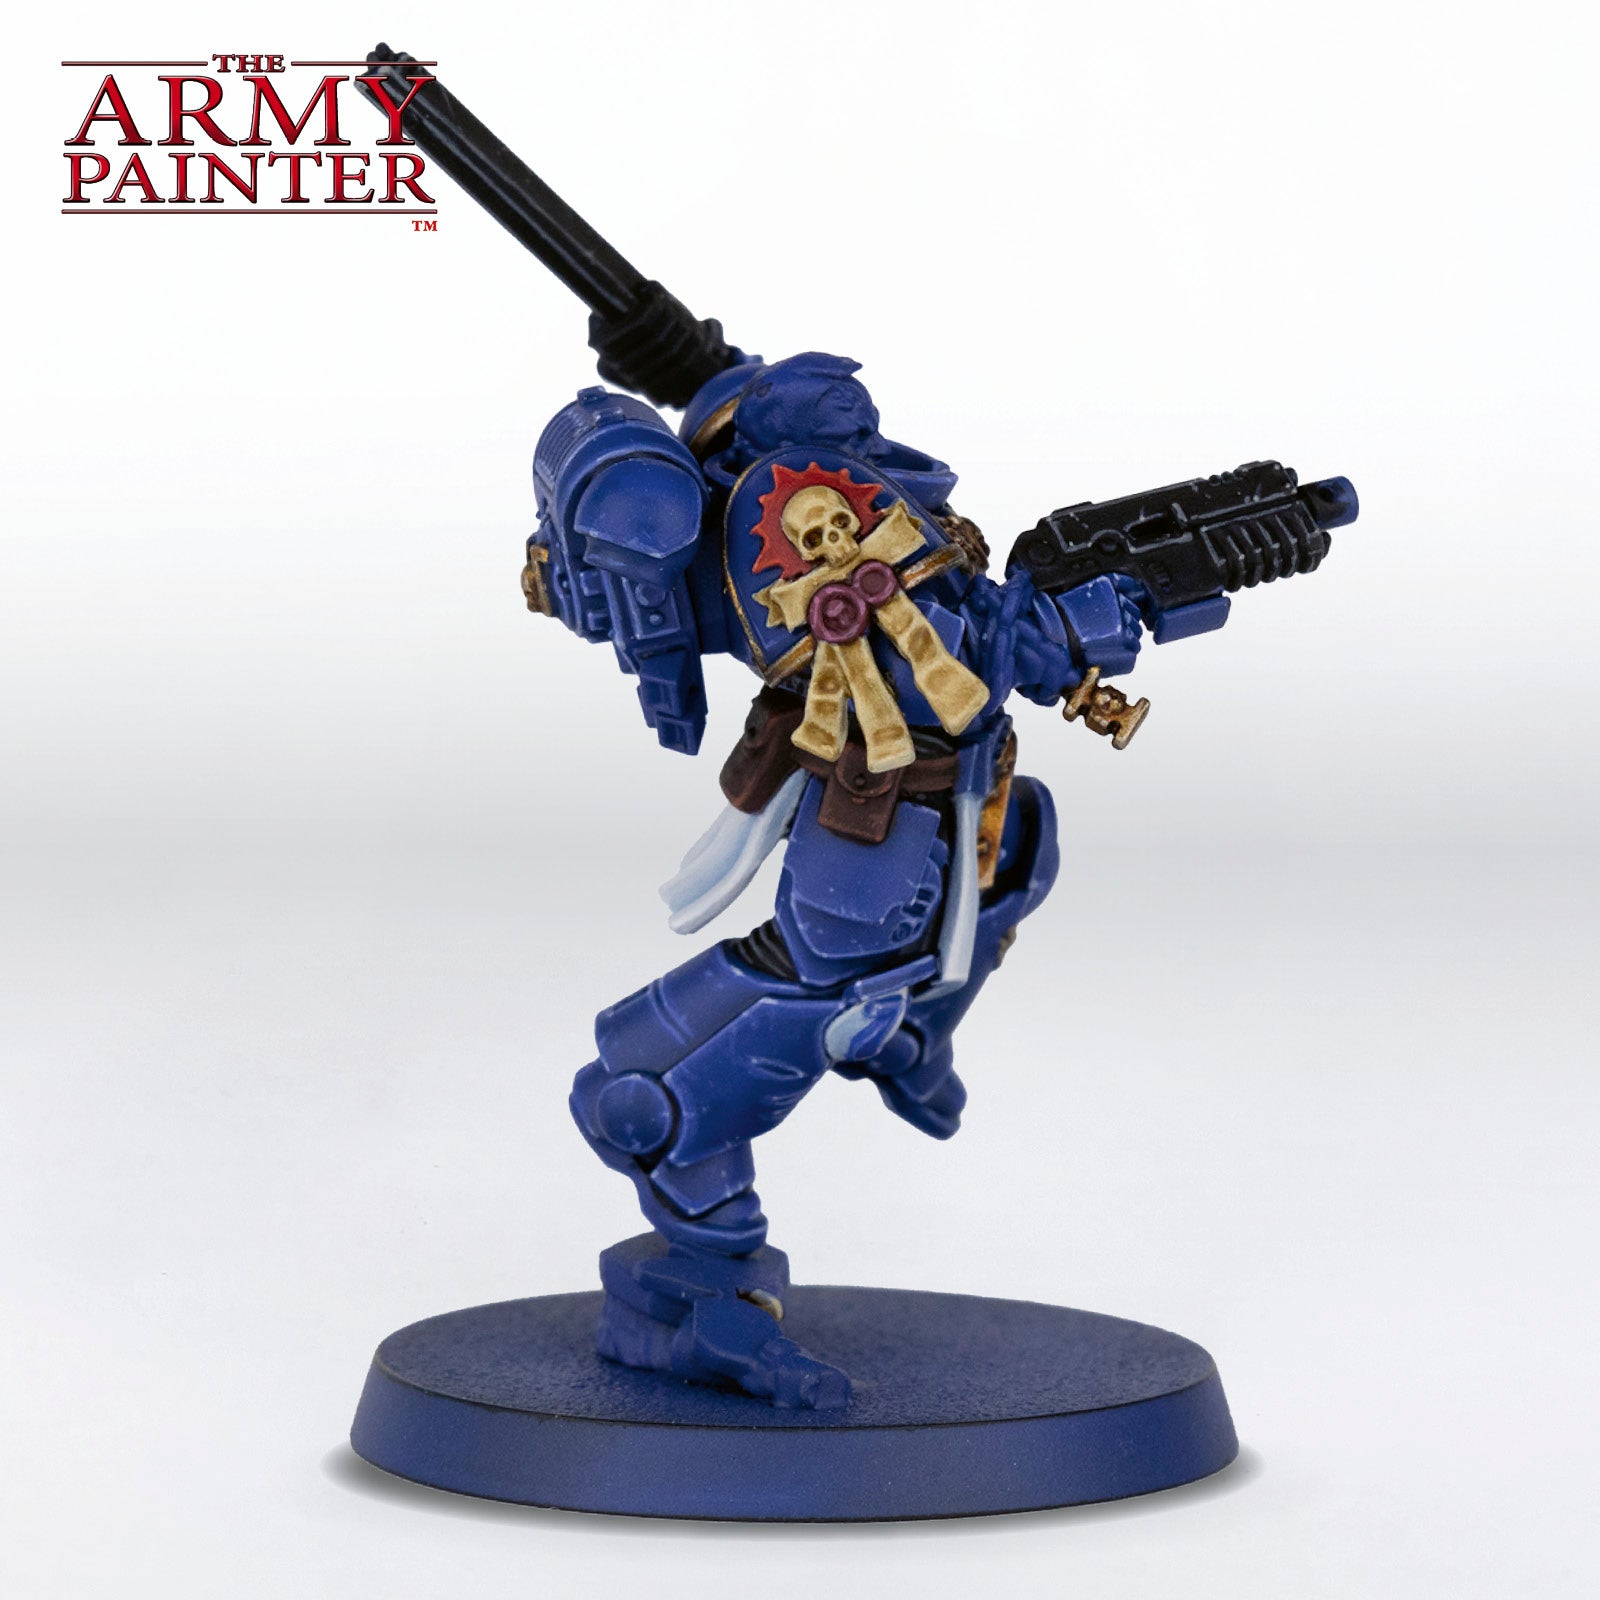
Step 9
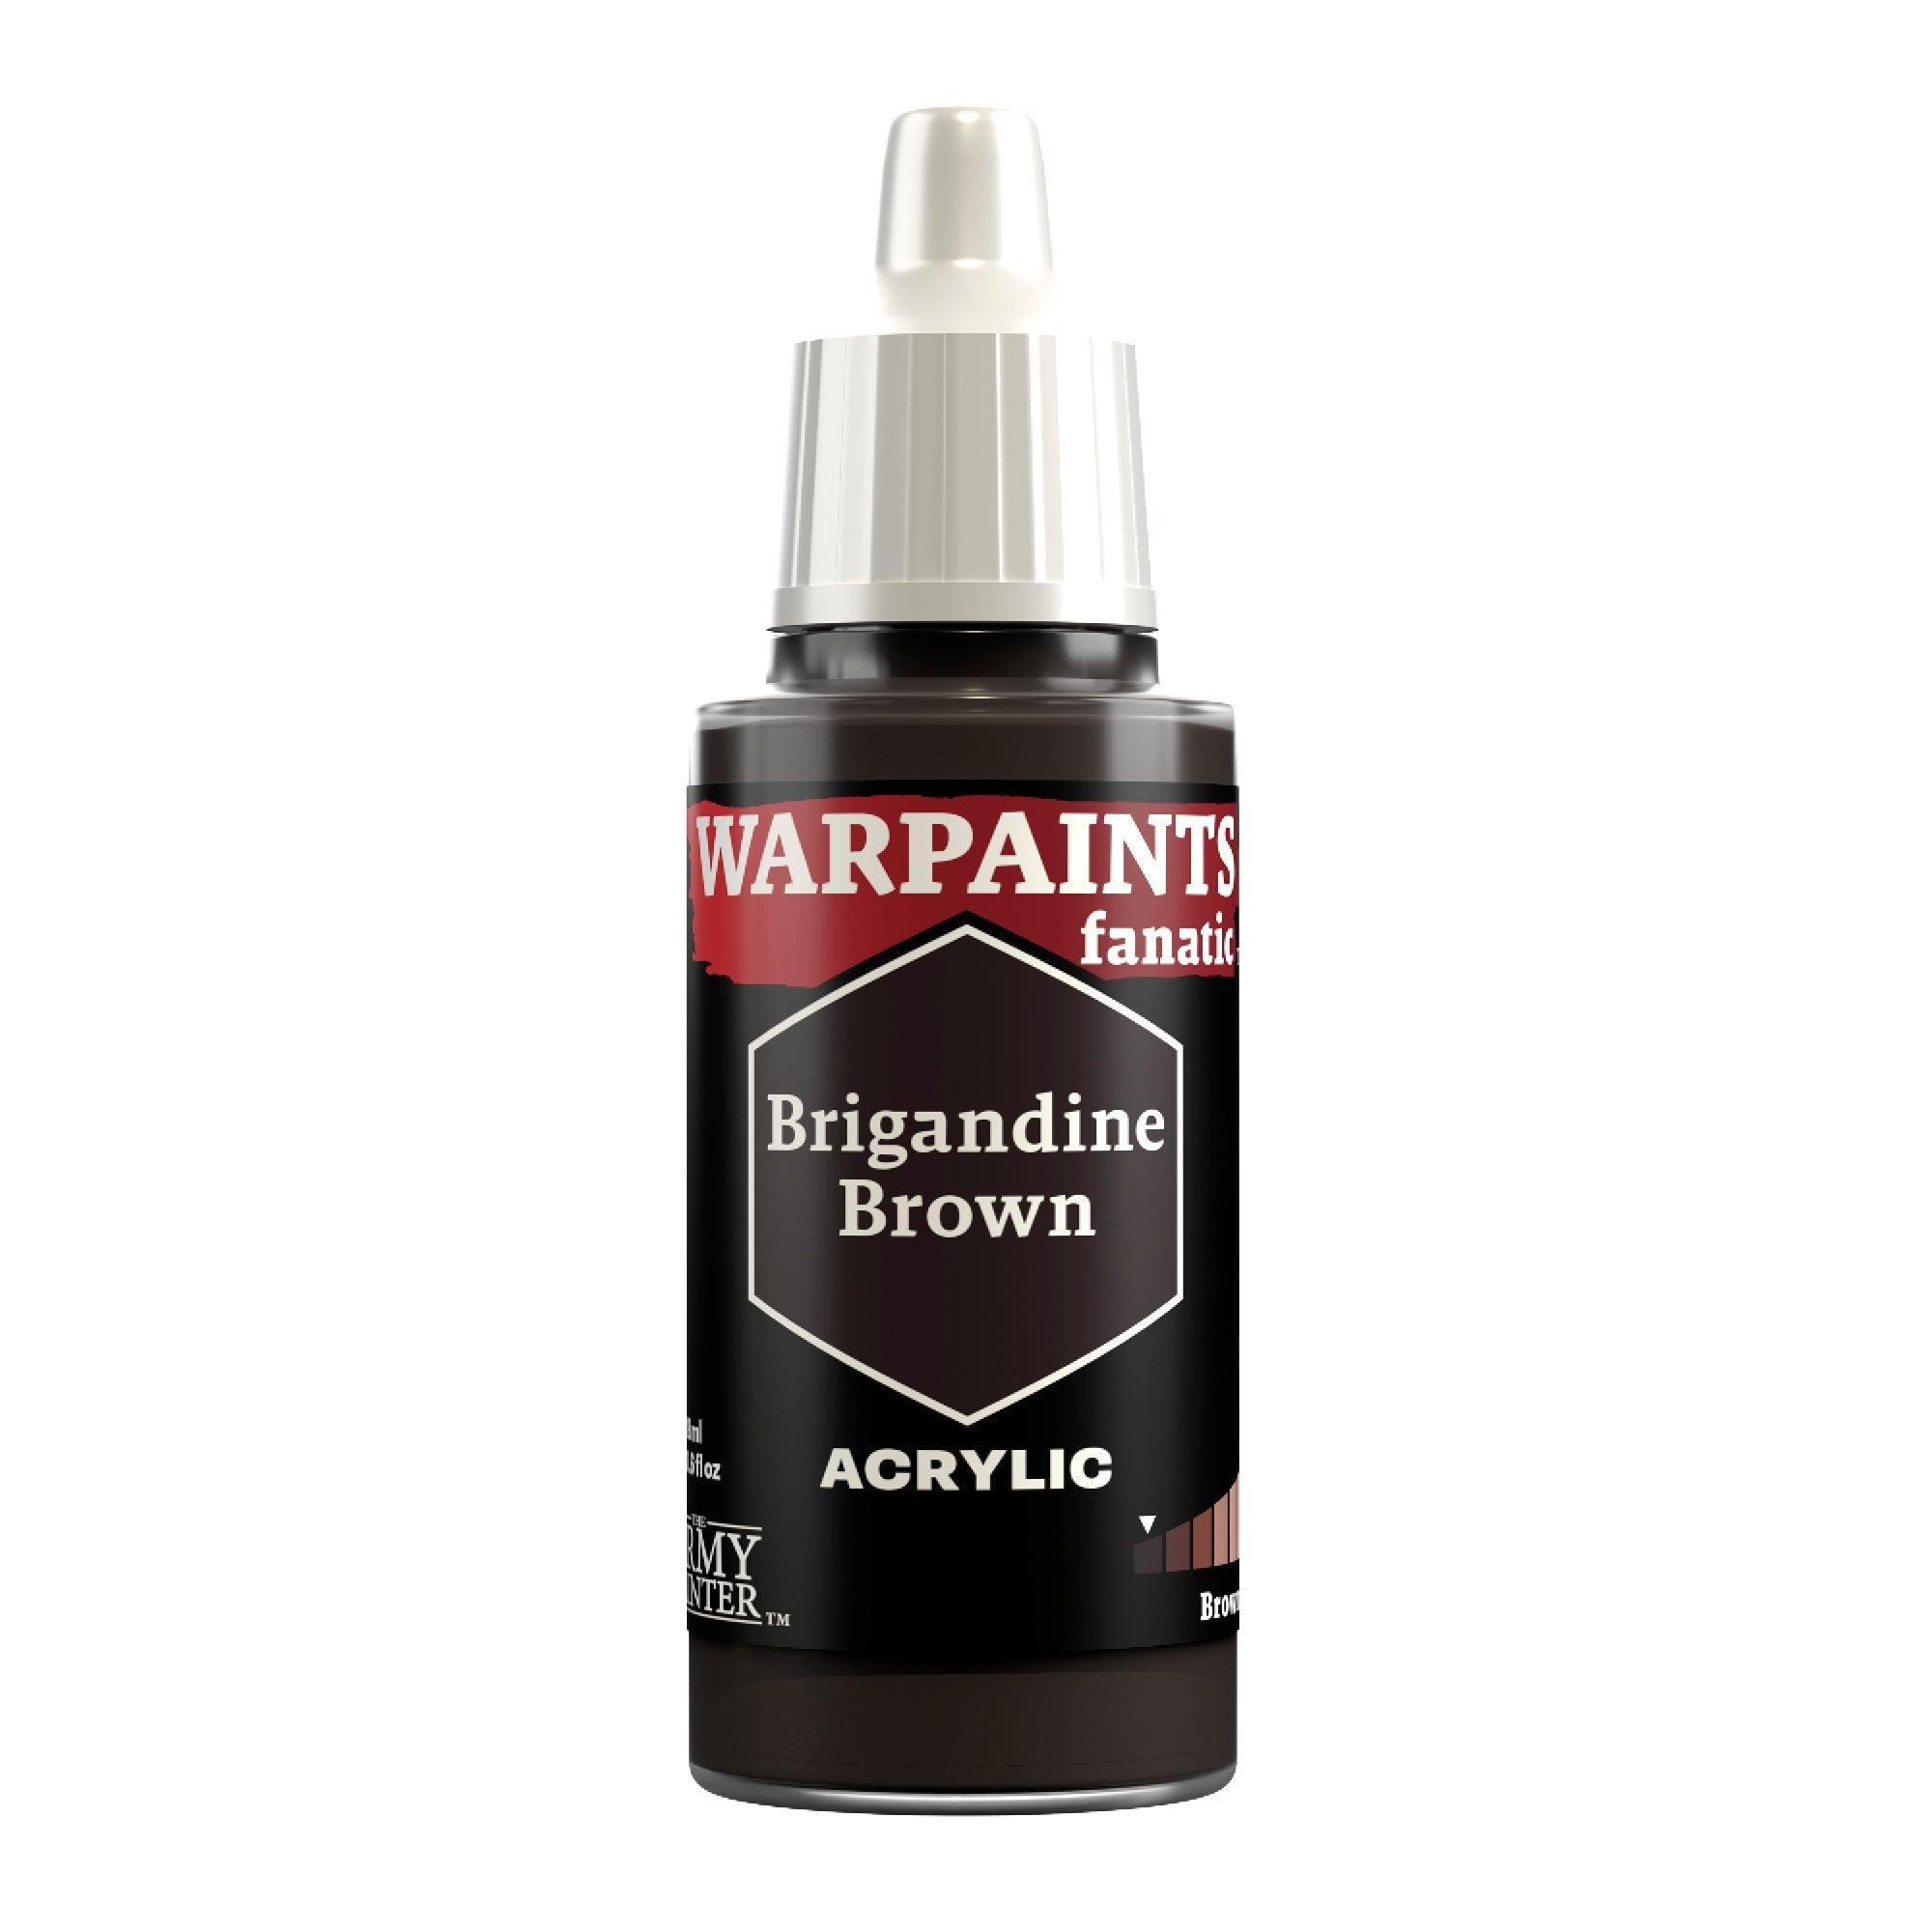
This step is optional, but if you wish to add some text to your scrolls, you can carefully paint it on with a thinned-down mix of Warpaints Fanatic Brigandine Brown and Matt Black. For the parchment, you can paint simple squiggly lines. A tip for painting actual words, such as the “Ultra” on the shoulder scroll, is to count the number of letters in the word, and then start at the middle and work your way out on both sides so you don’t accidentally run out of room.
The Face and Hair
Step 1
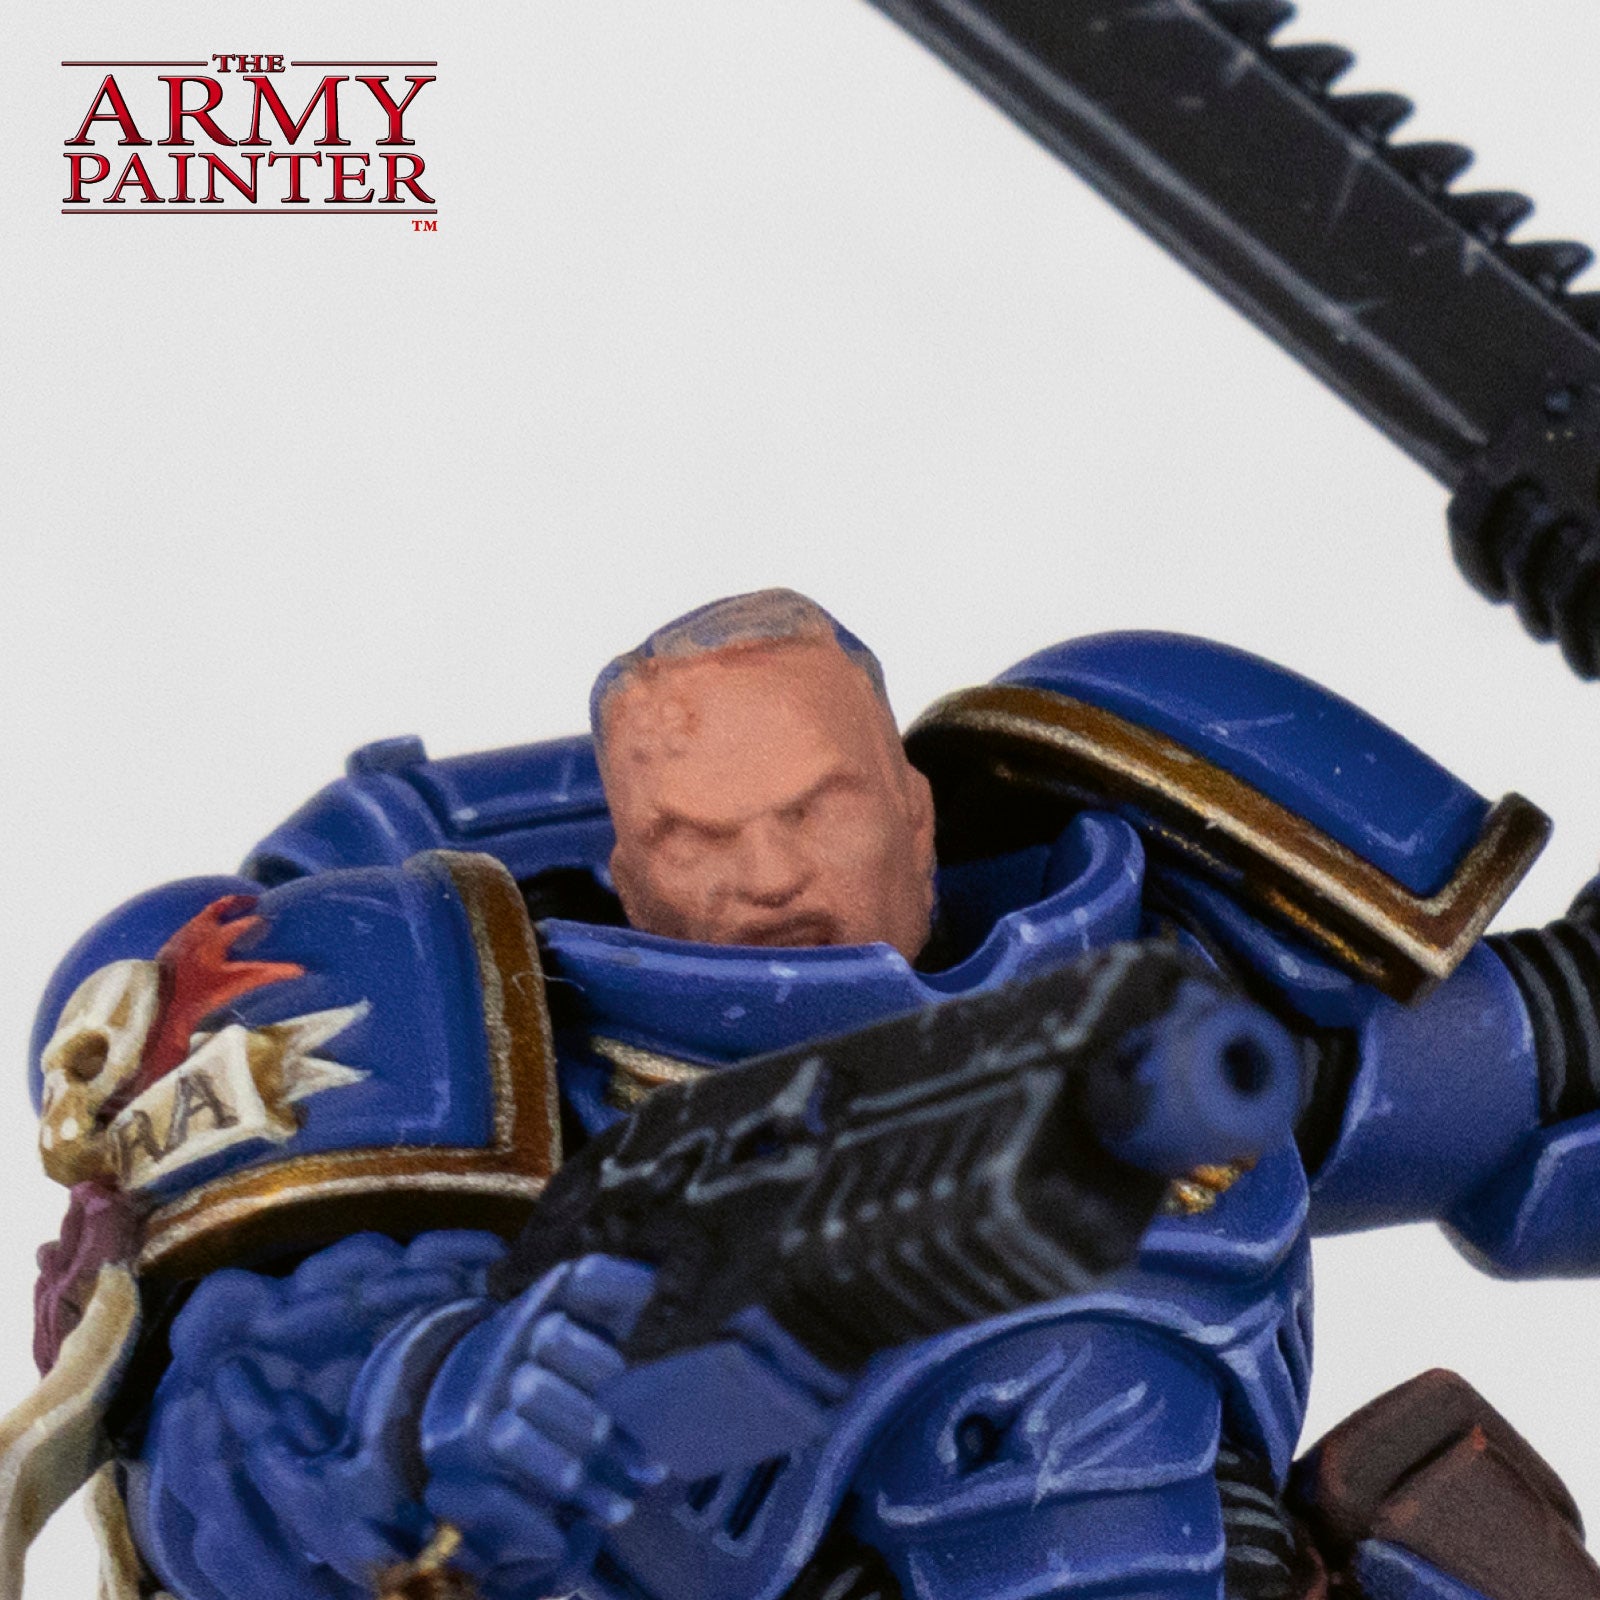
Basecoat Titus’ face with Warpaints Fanatic Agate Skin.
Step 2
Apply some definition to this with a layer of Warpaints Fanatic Wash Strong Skin Shade.
Step 3
Next, re-layer the face with Warpaints Fanatic Agate Skin, leaving the Wash visible in the recesses.

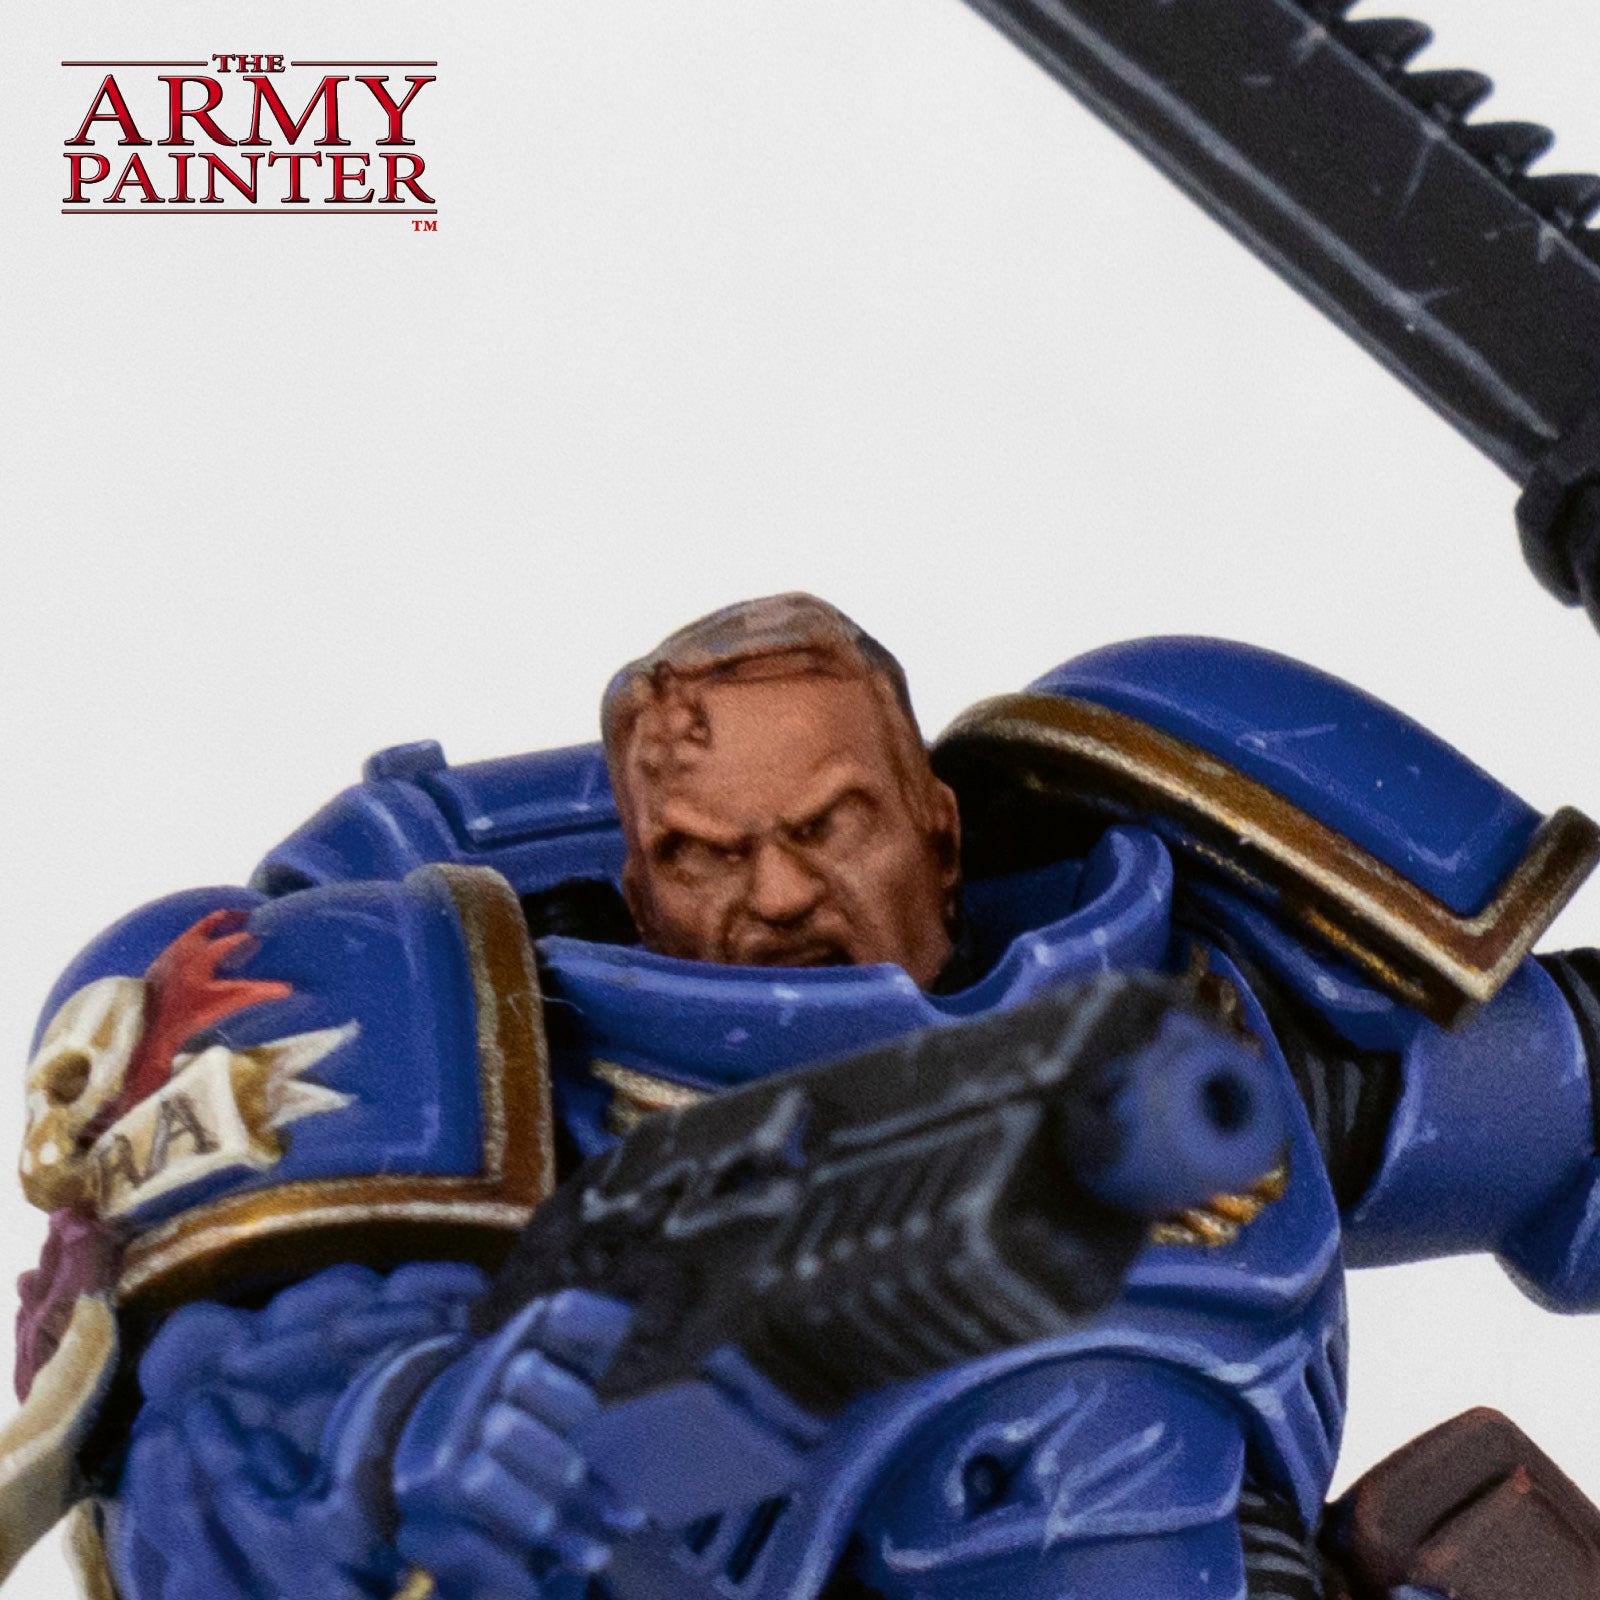
Step 4
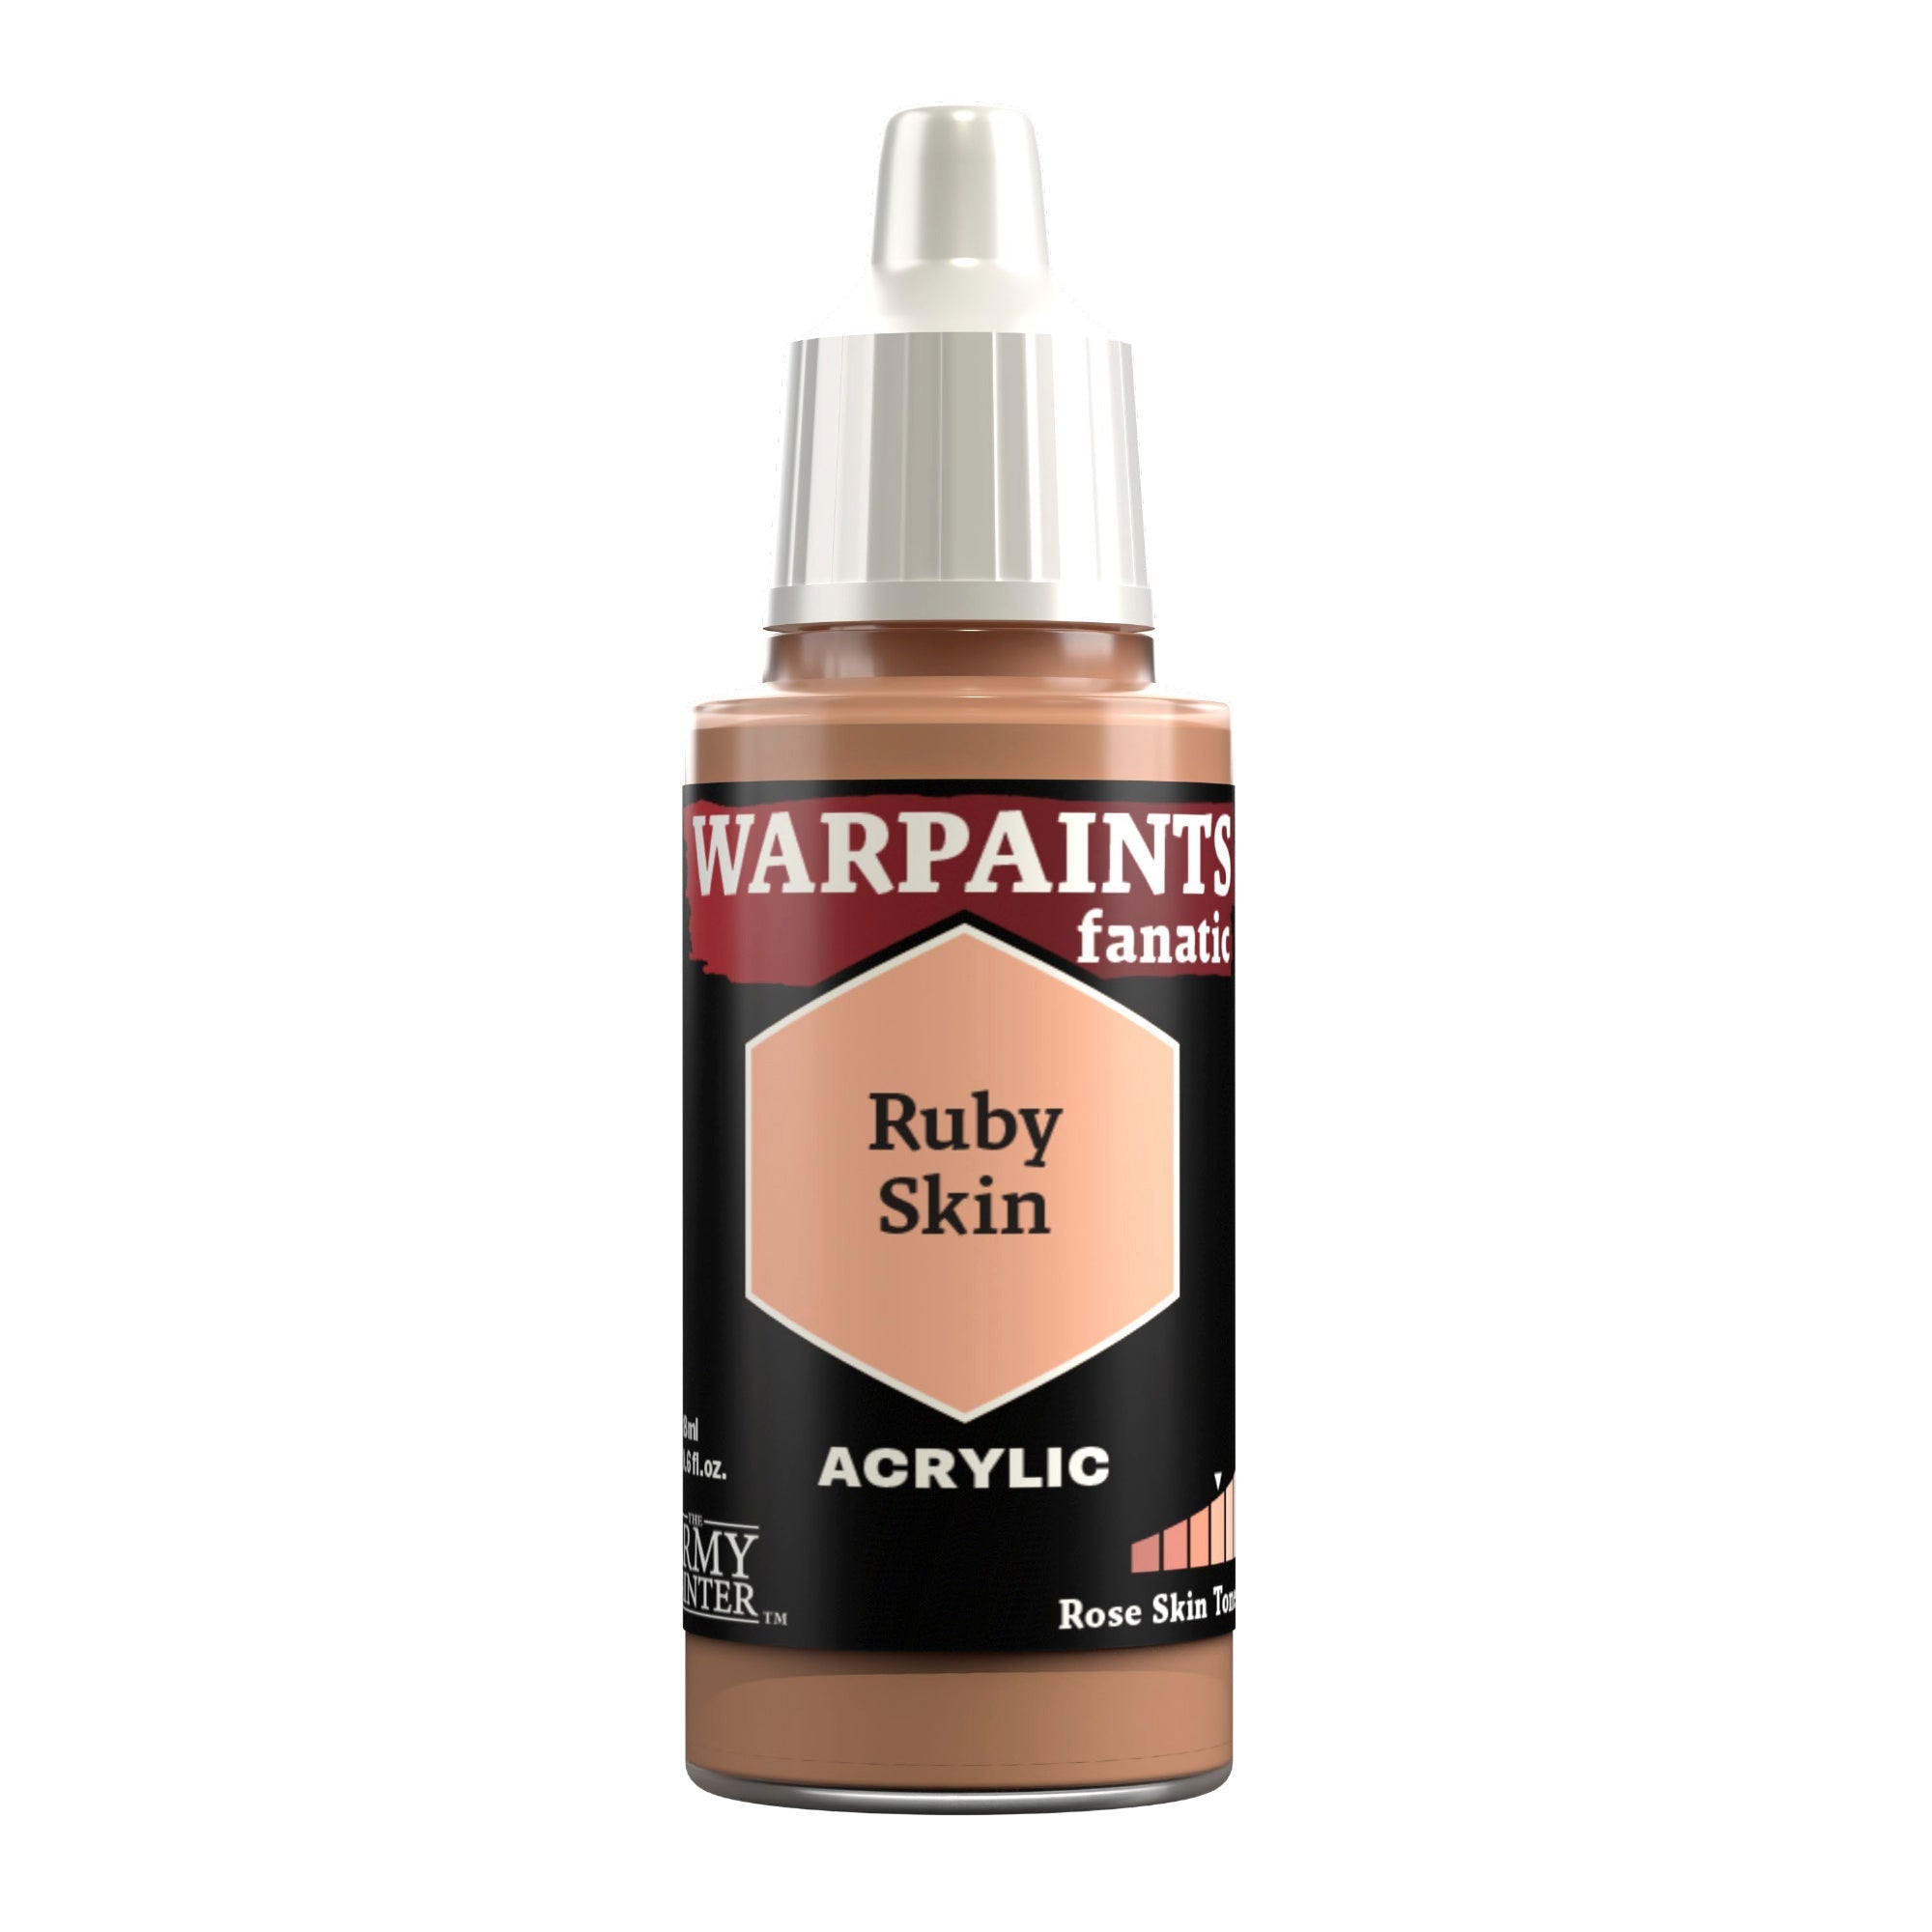
Follow this with a highlight of Warpaints Fanatic Ruby Skin, focusing on areas that would catch the light more, such as the nose, cheek bones, brow, and forehead.

Step 5
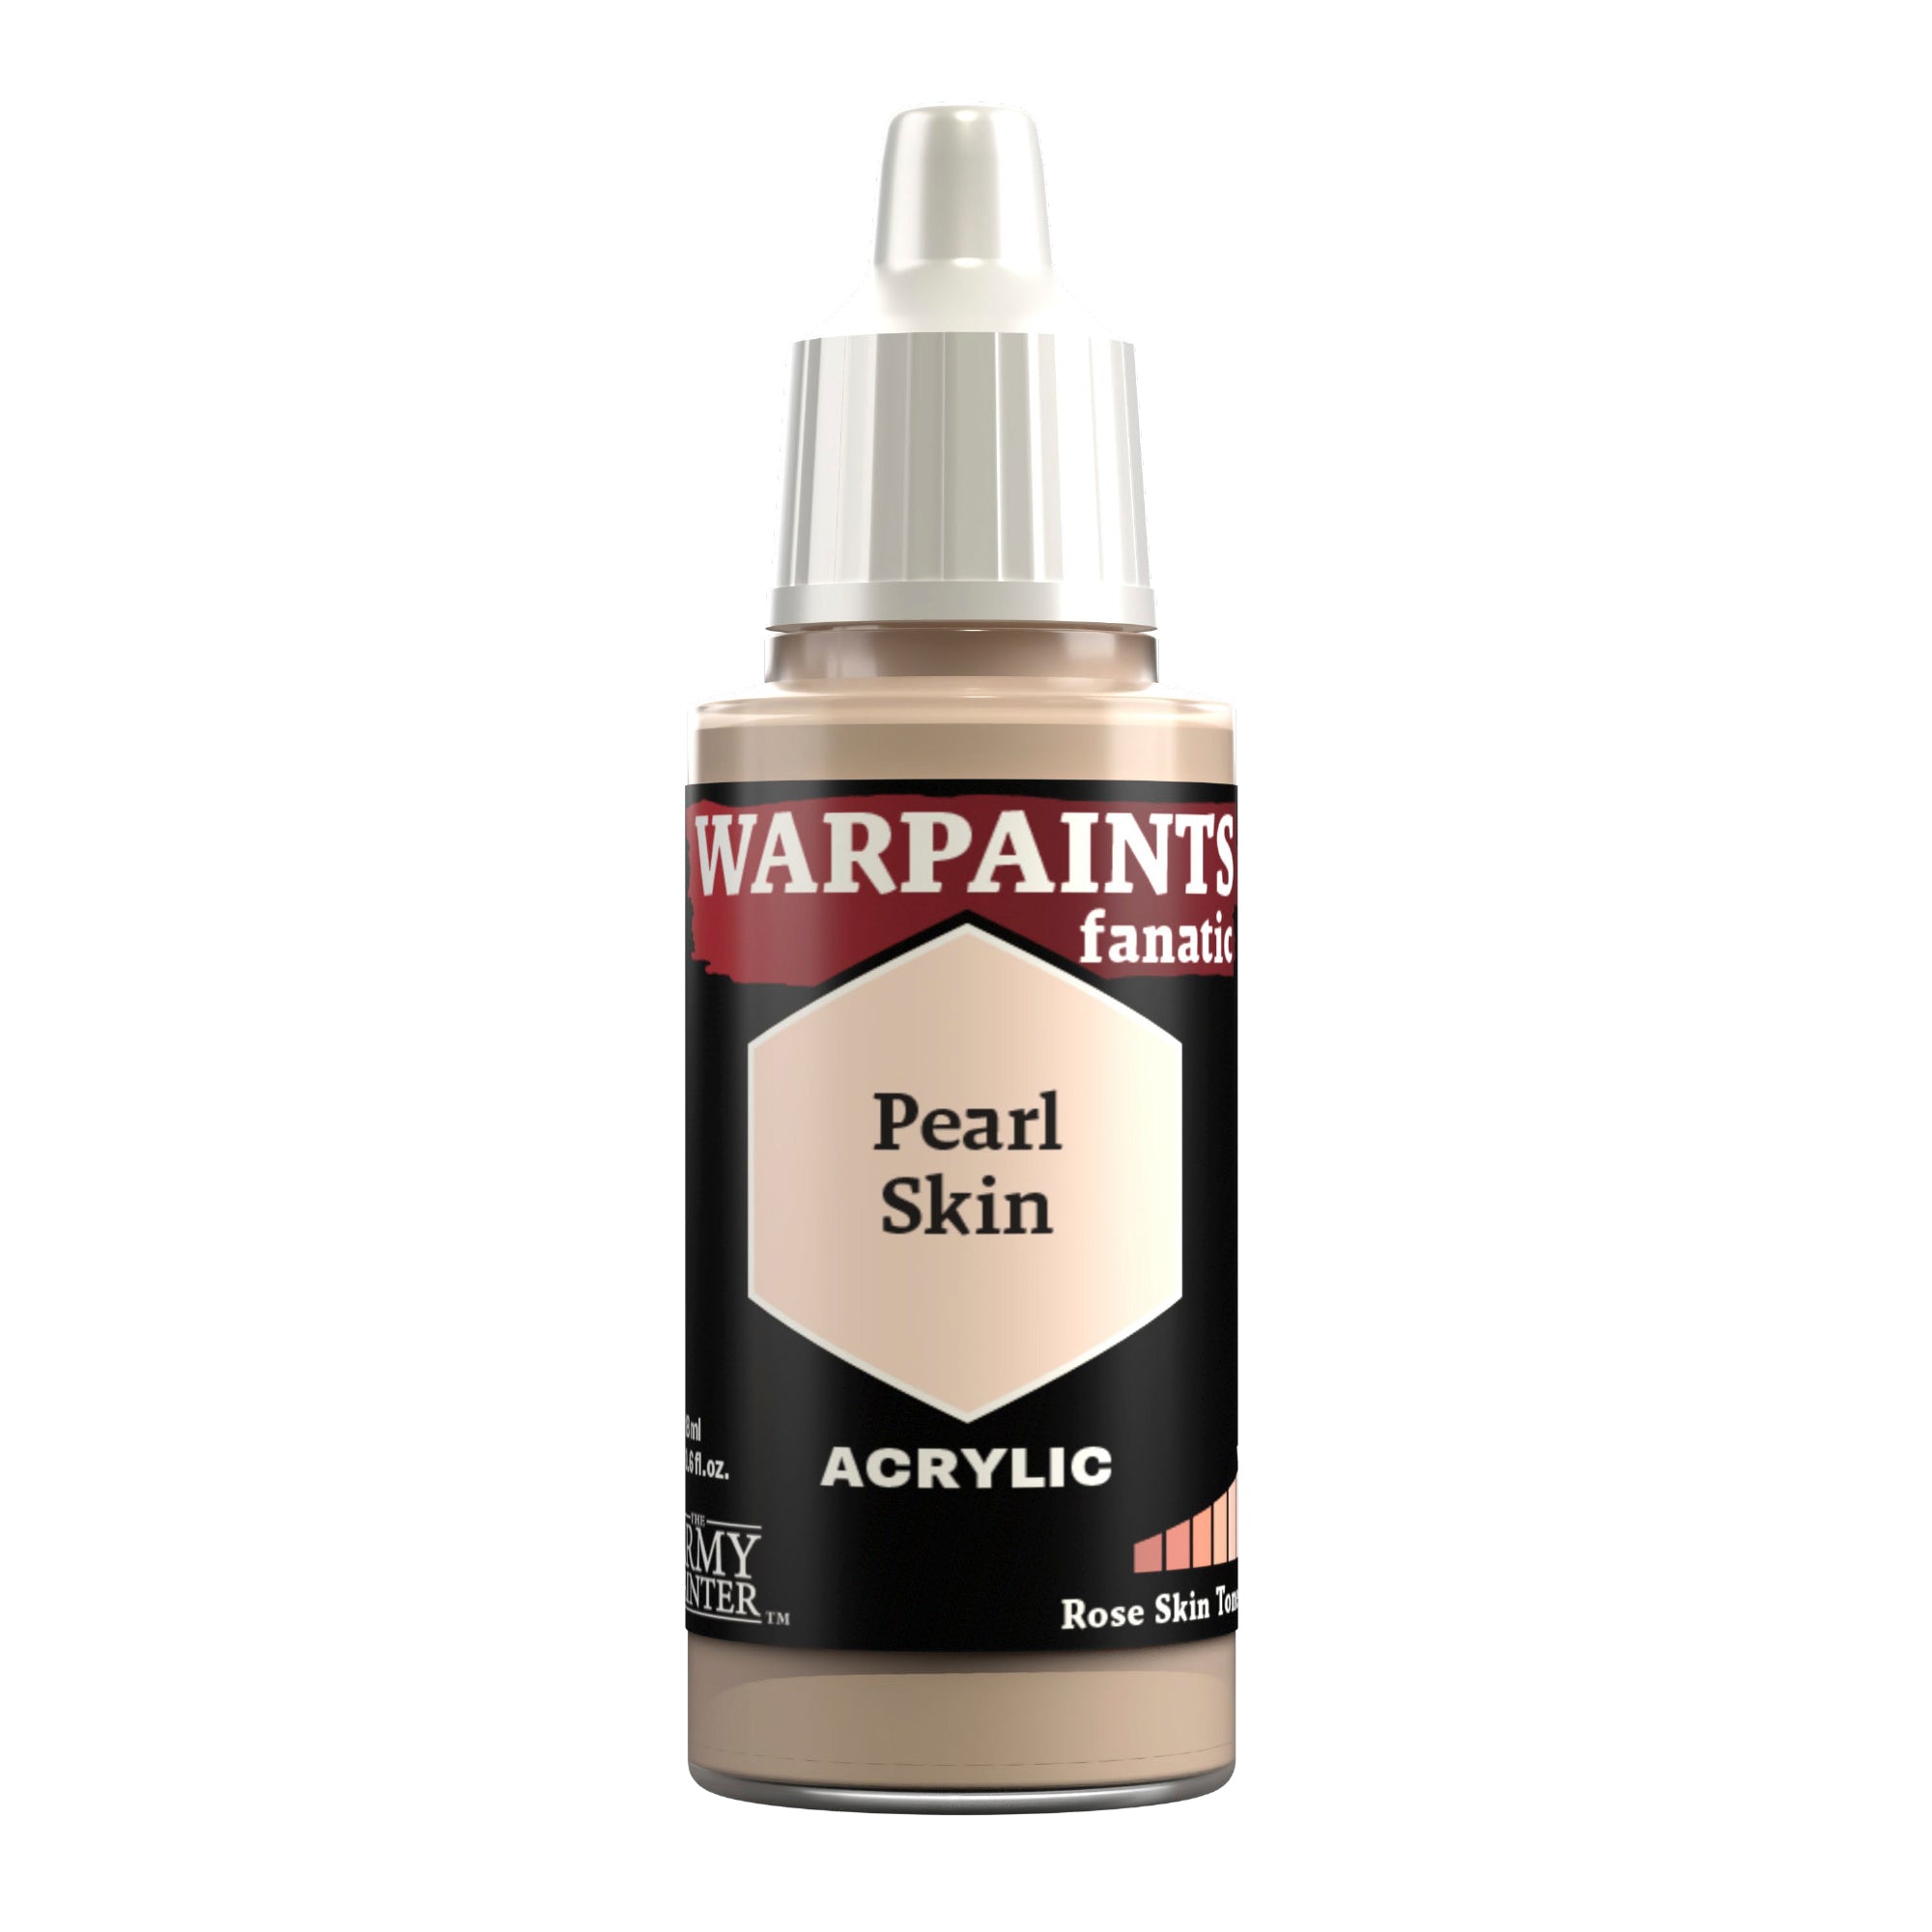
Repeat that with Warpaints Fanatic Opal Skin, but even more refined, and finally, a specular highlight of Warpaints Fanatic Pearl Skin. The trick to getting smooth skin tones is to go back and adjust previous layers as needed if you decide you need more or less of a particular colour.
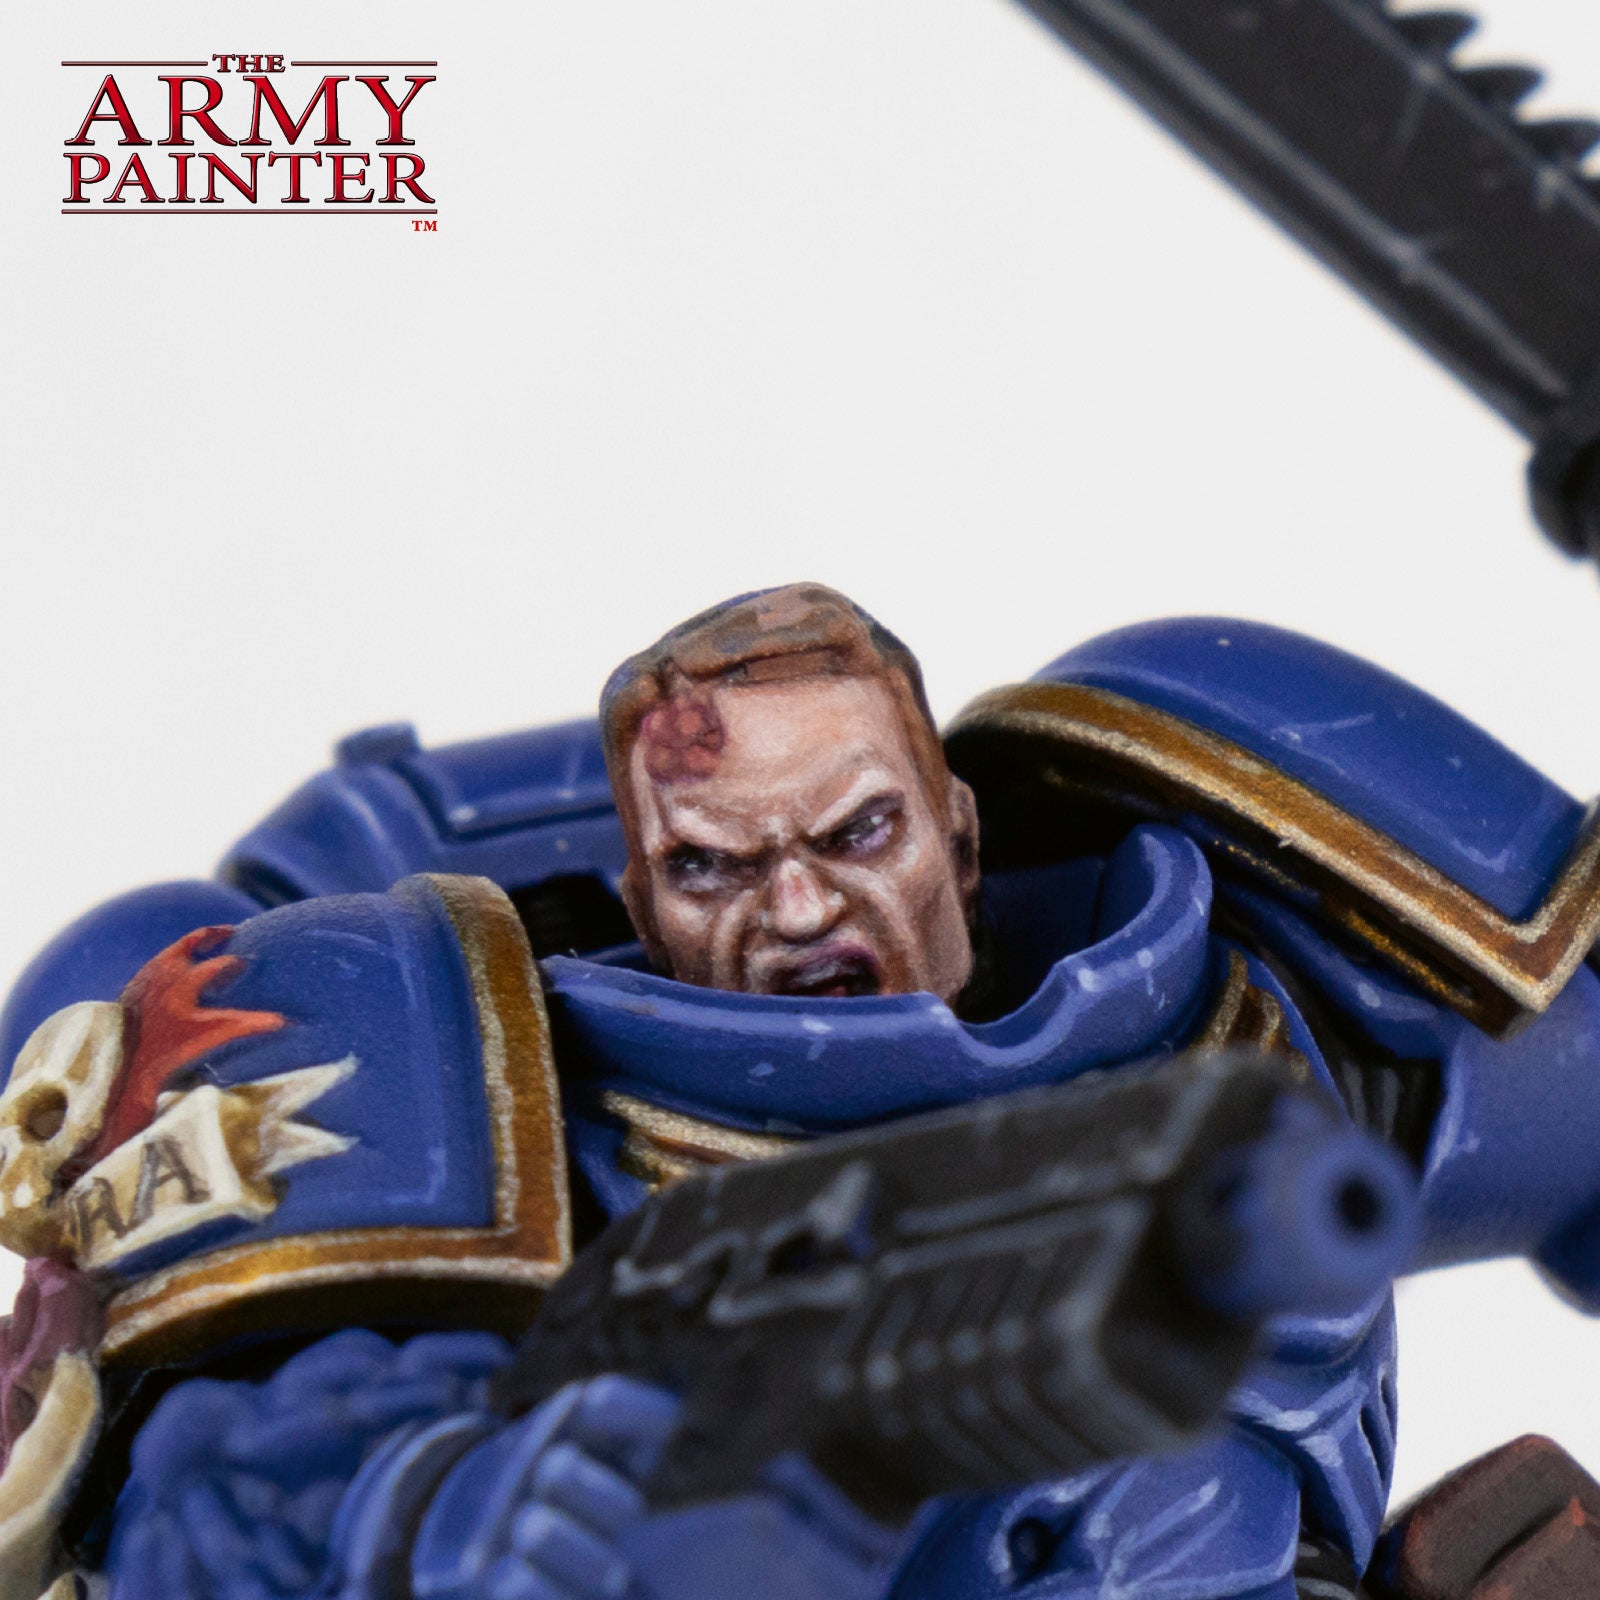
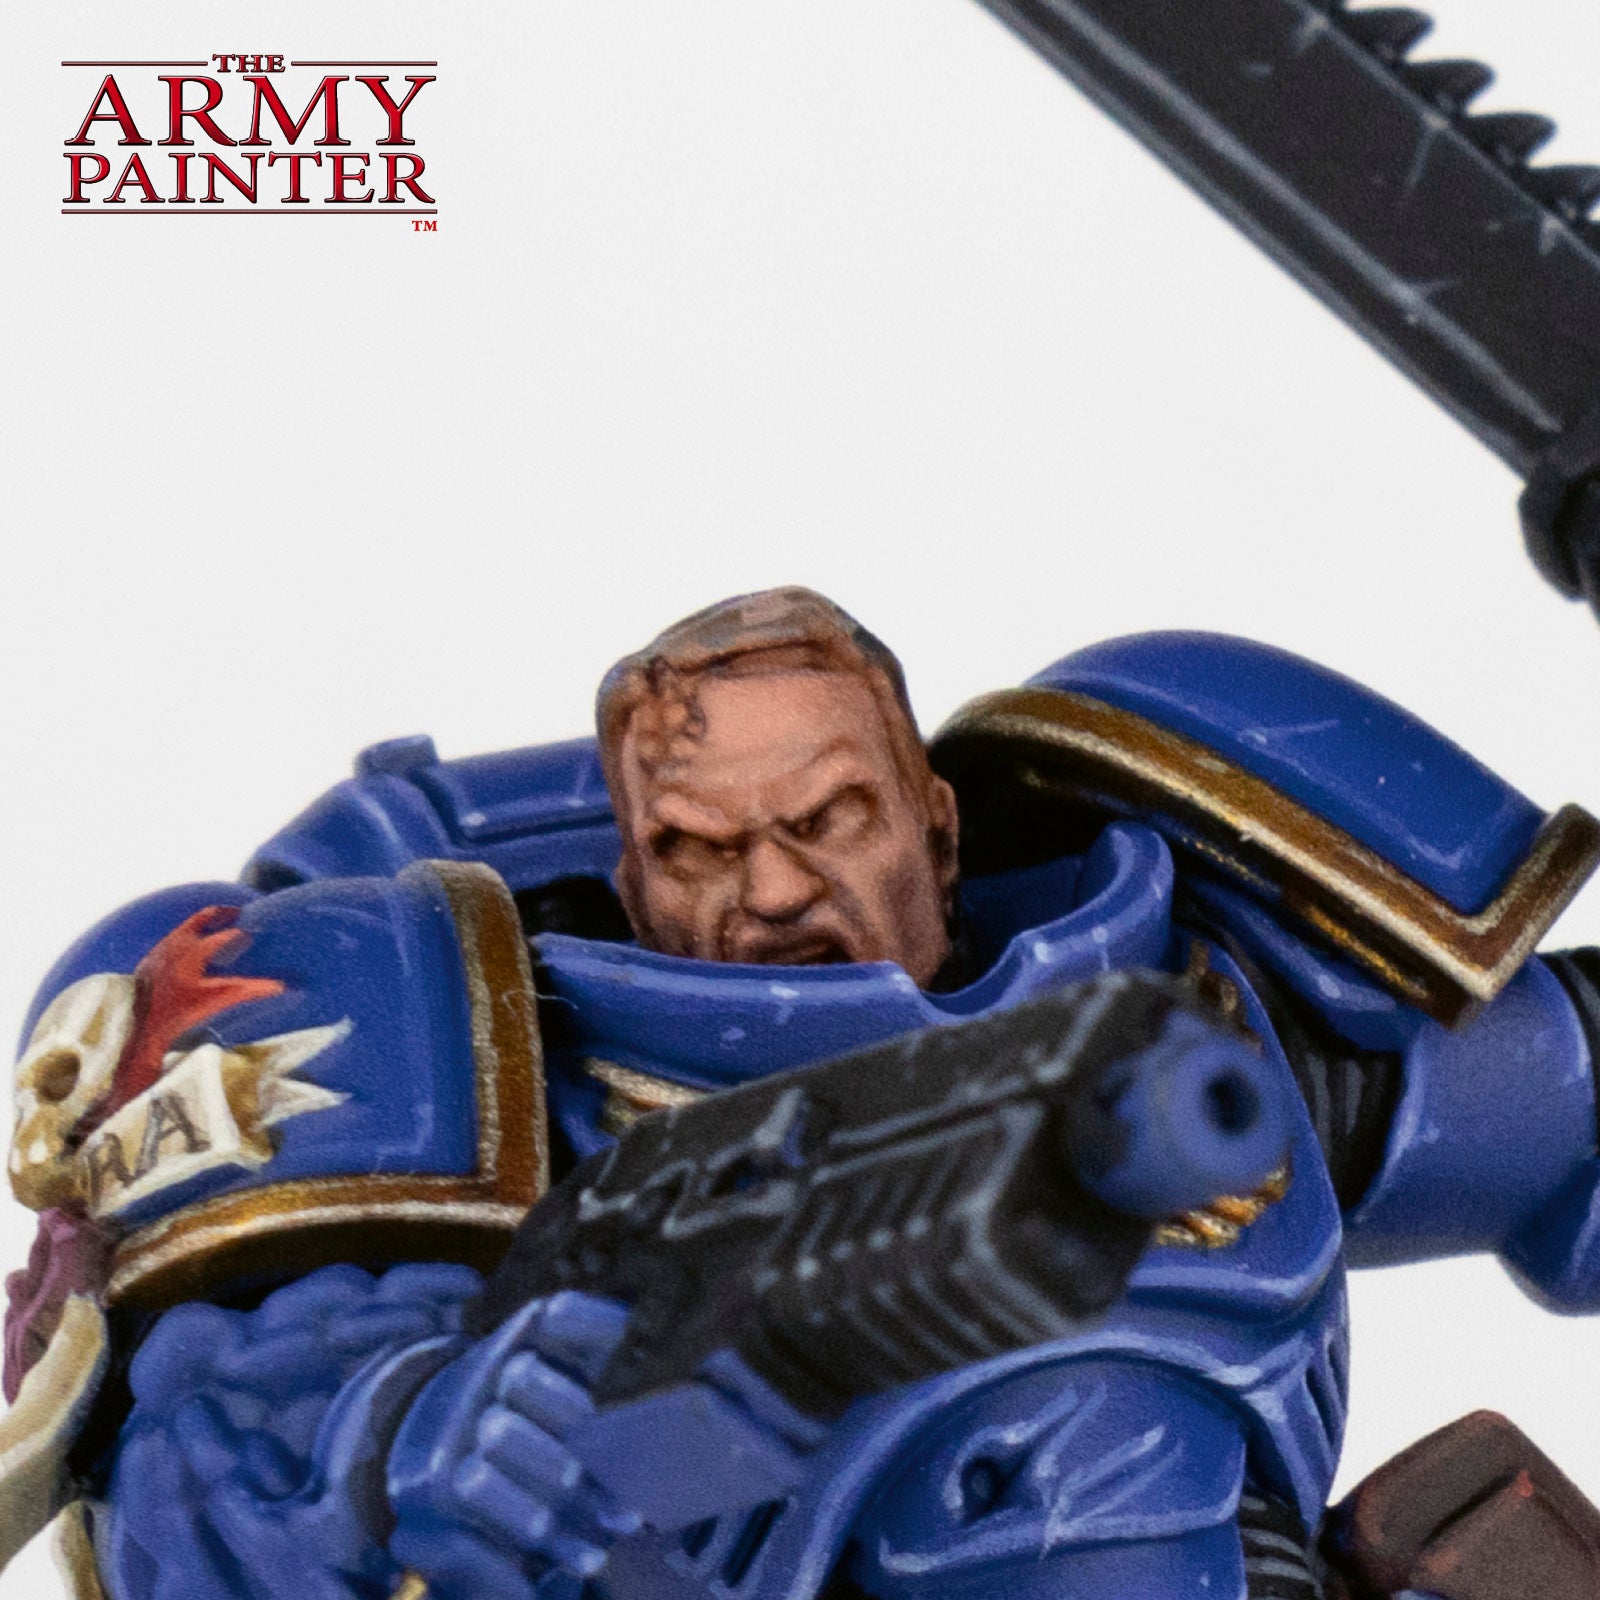
Step 6
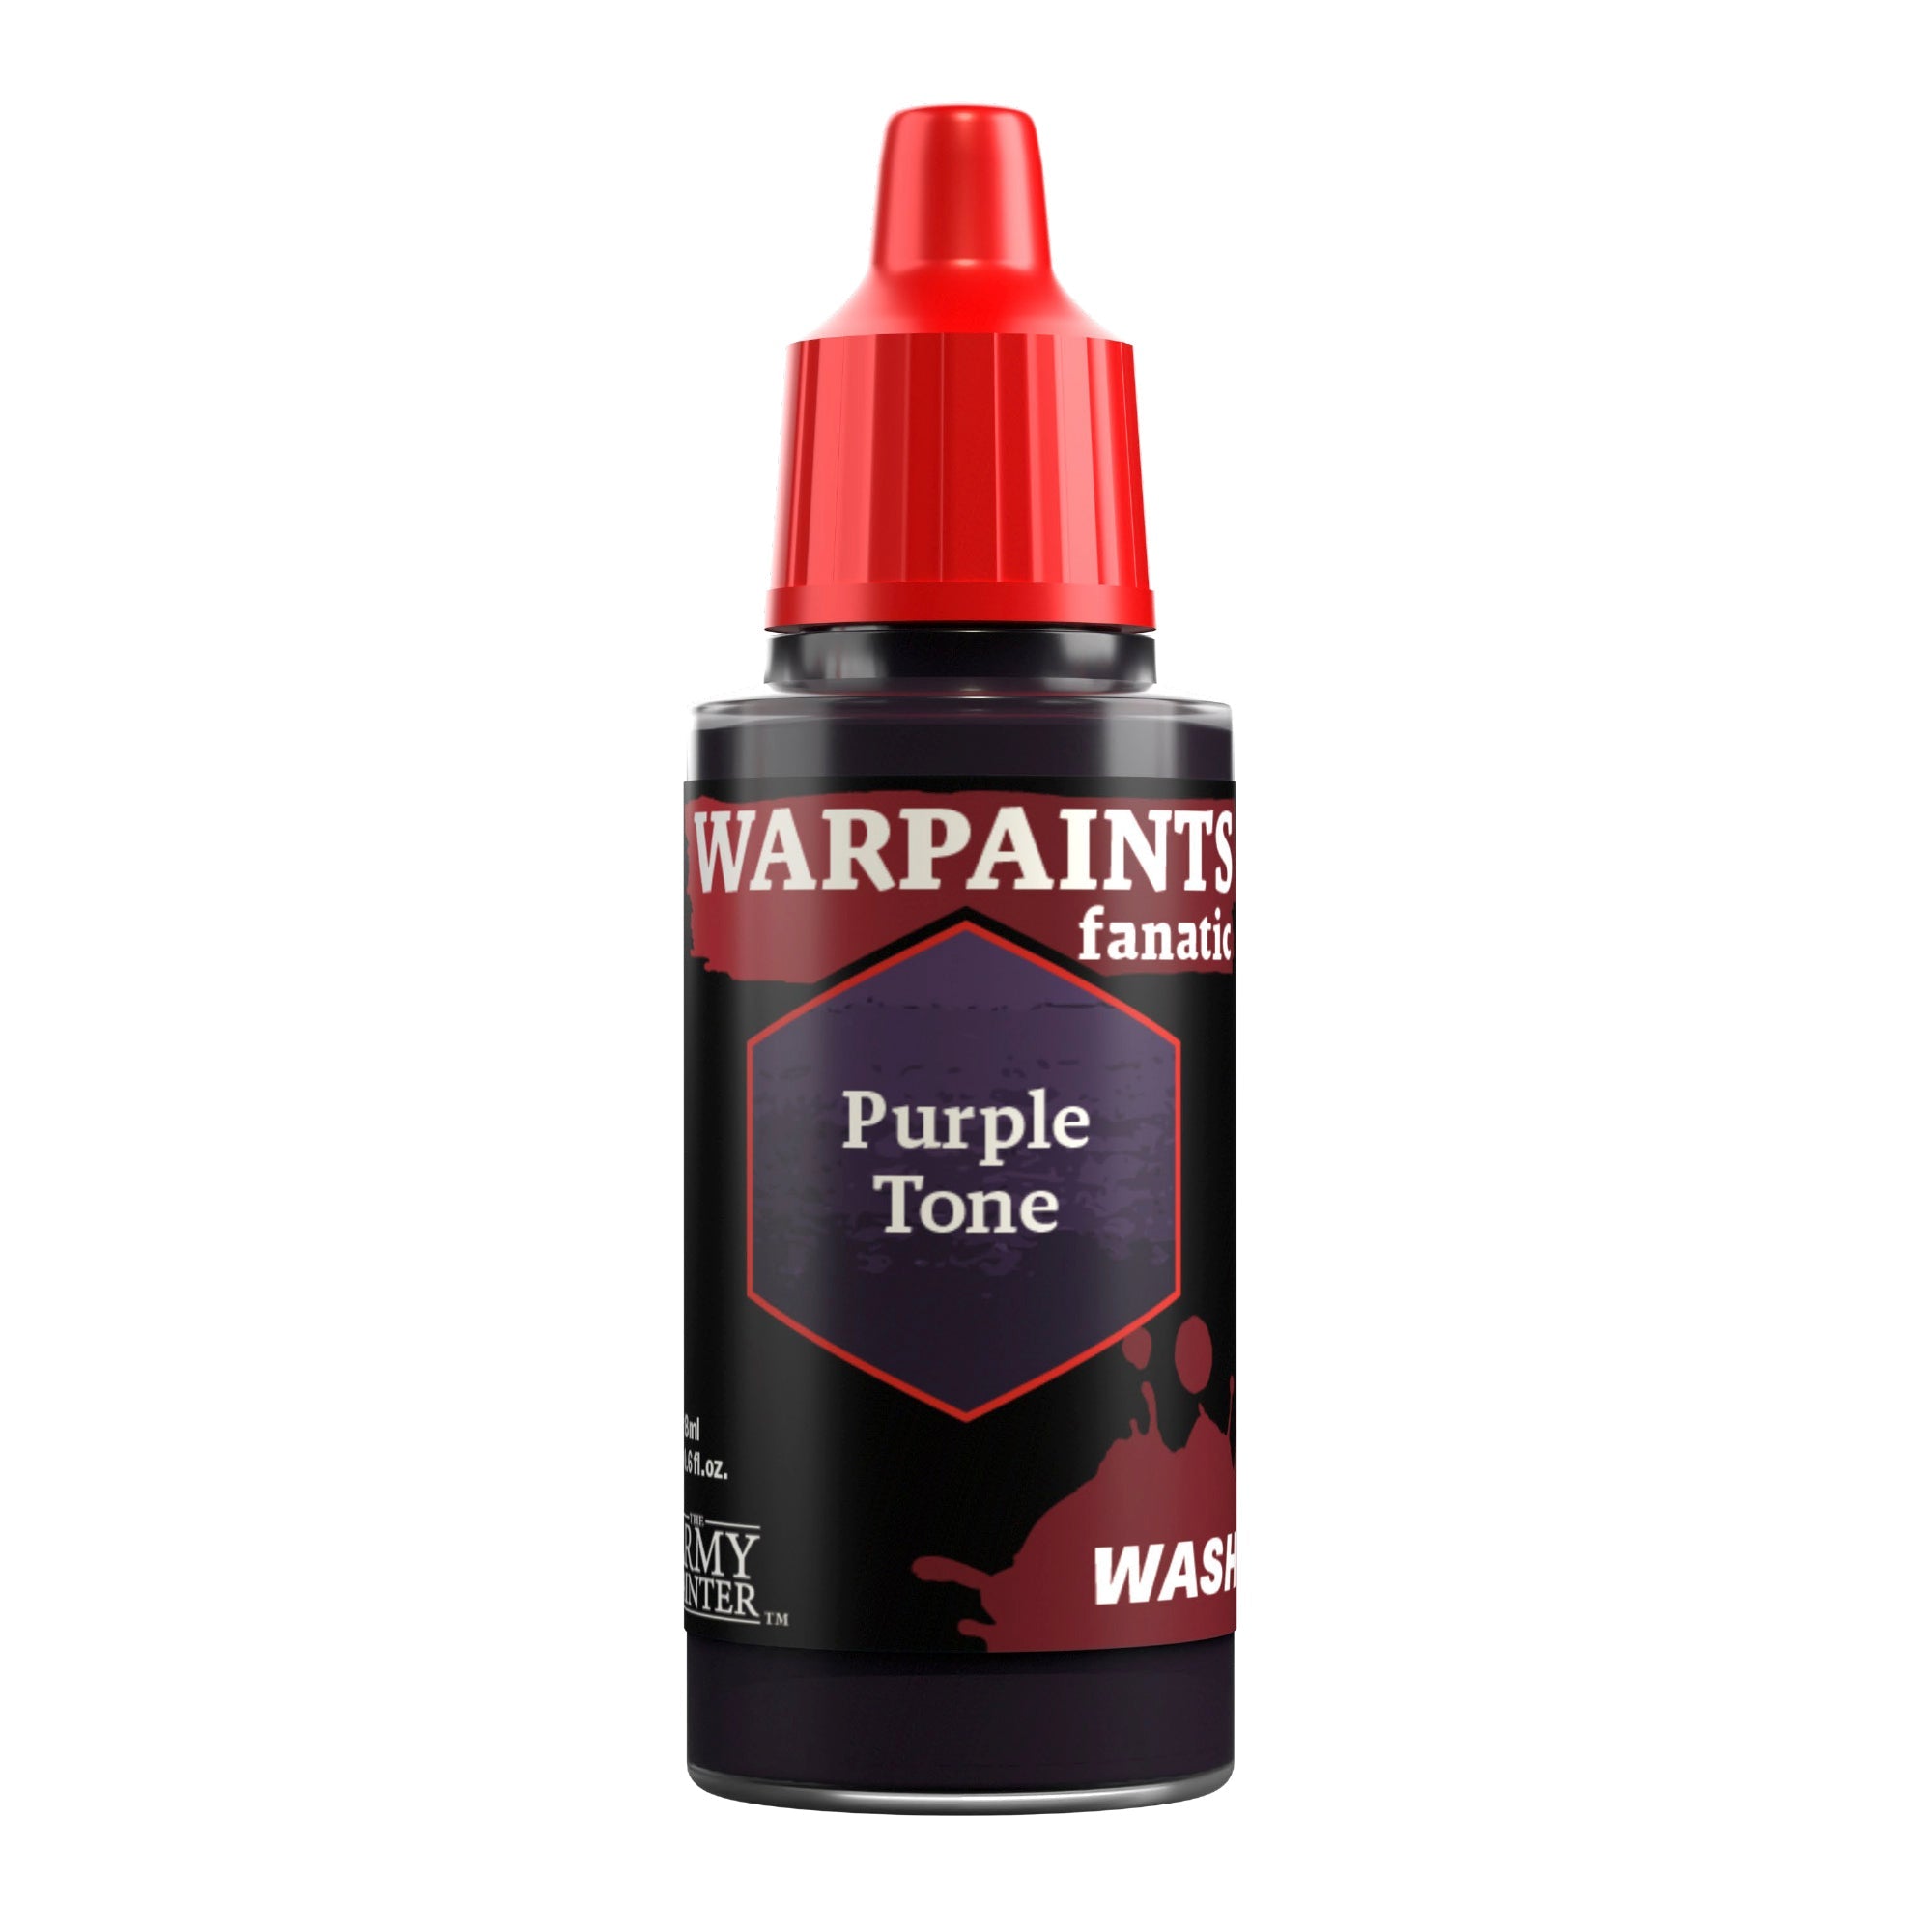
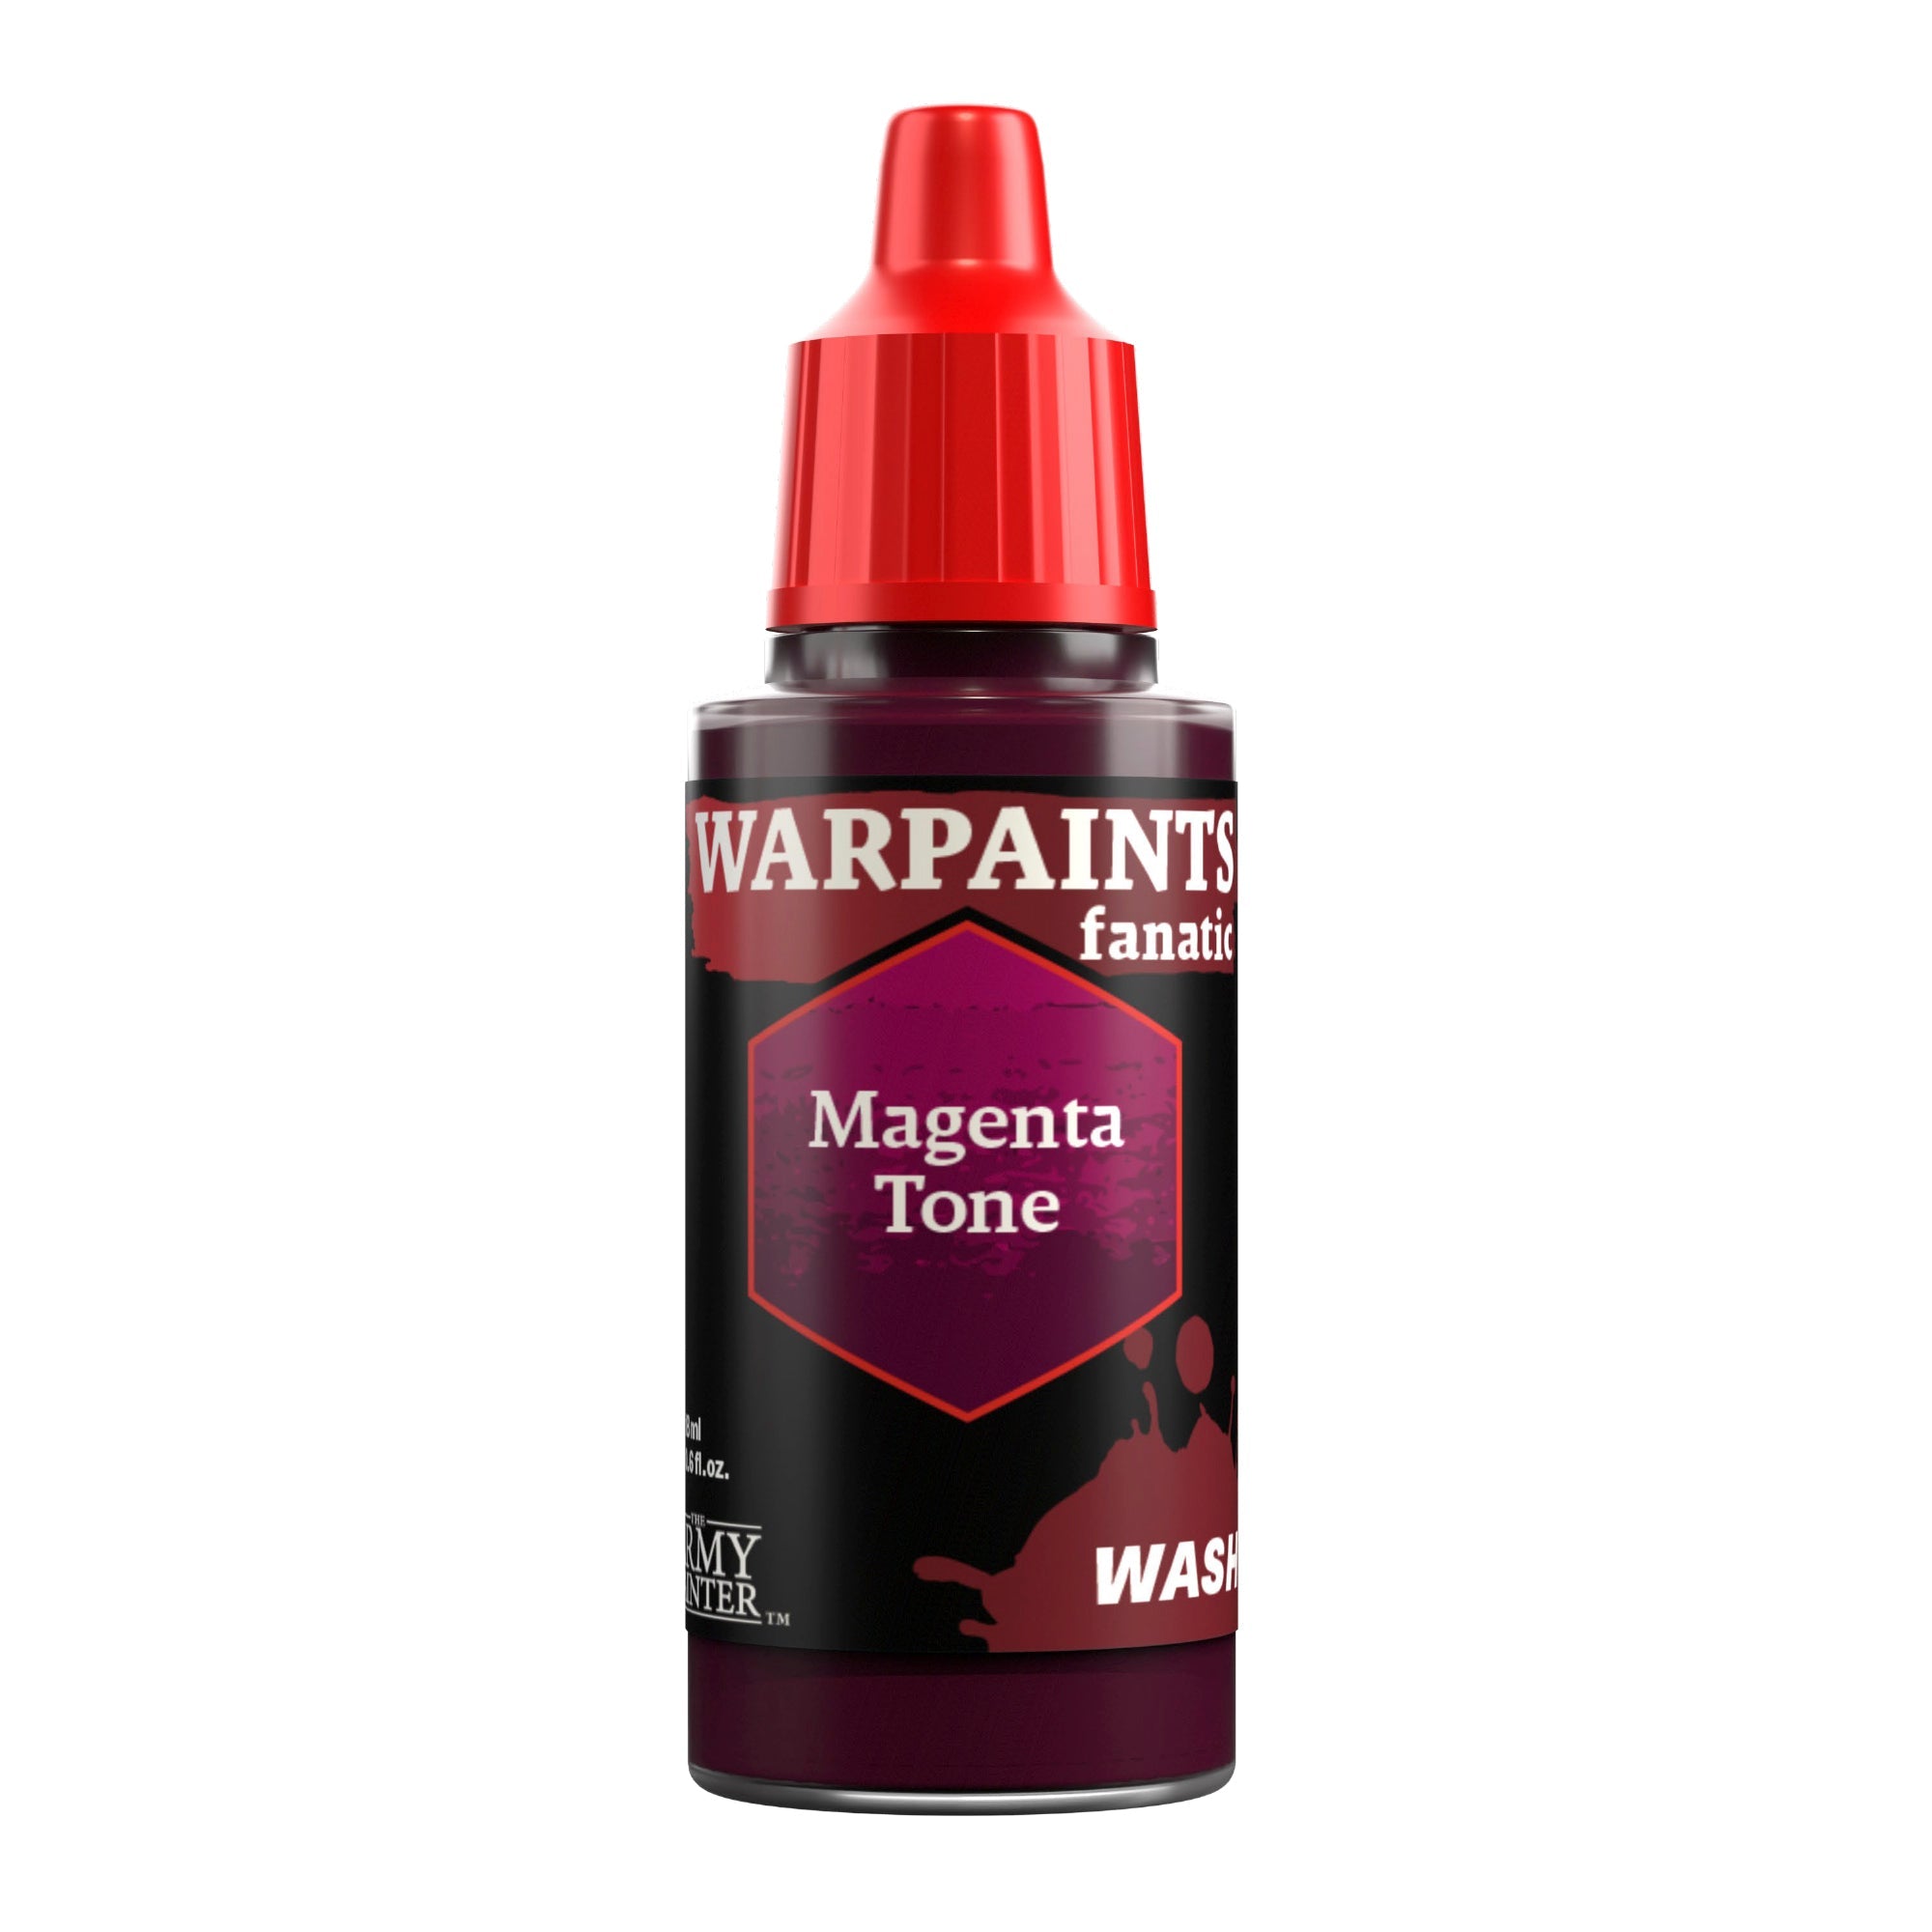
The face is then finished by applying a glaze of Warpaints Fanatic Wash Purple Tone to the eyes and Warpaints Fanatic Wash Magenta Tone to the bottom lip. The eyes and teeth were painted with Warpaints Fanatic Brigade Grey, before dotting the eyes with Warpaints Fanatic Matt Black.
Step 7
Basecoat his hair with Warpaints Fanatic Brigandine Brown. His eyebrows were also carefully painted on at this time to more closely match his appearance in the video game, but this can easily be skipped.
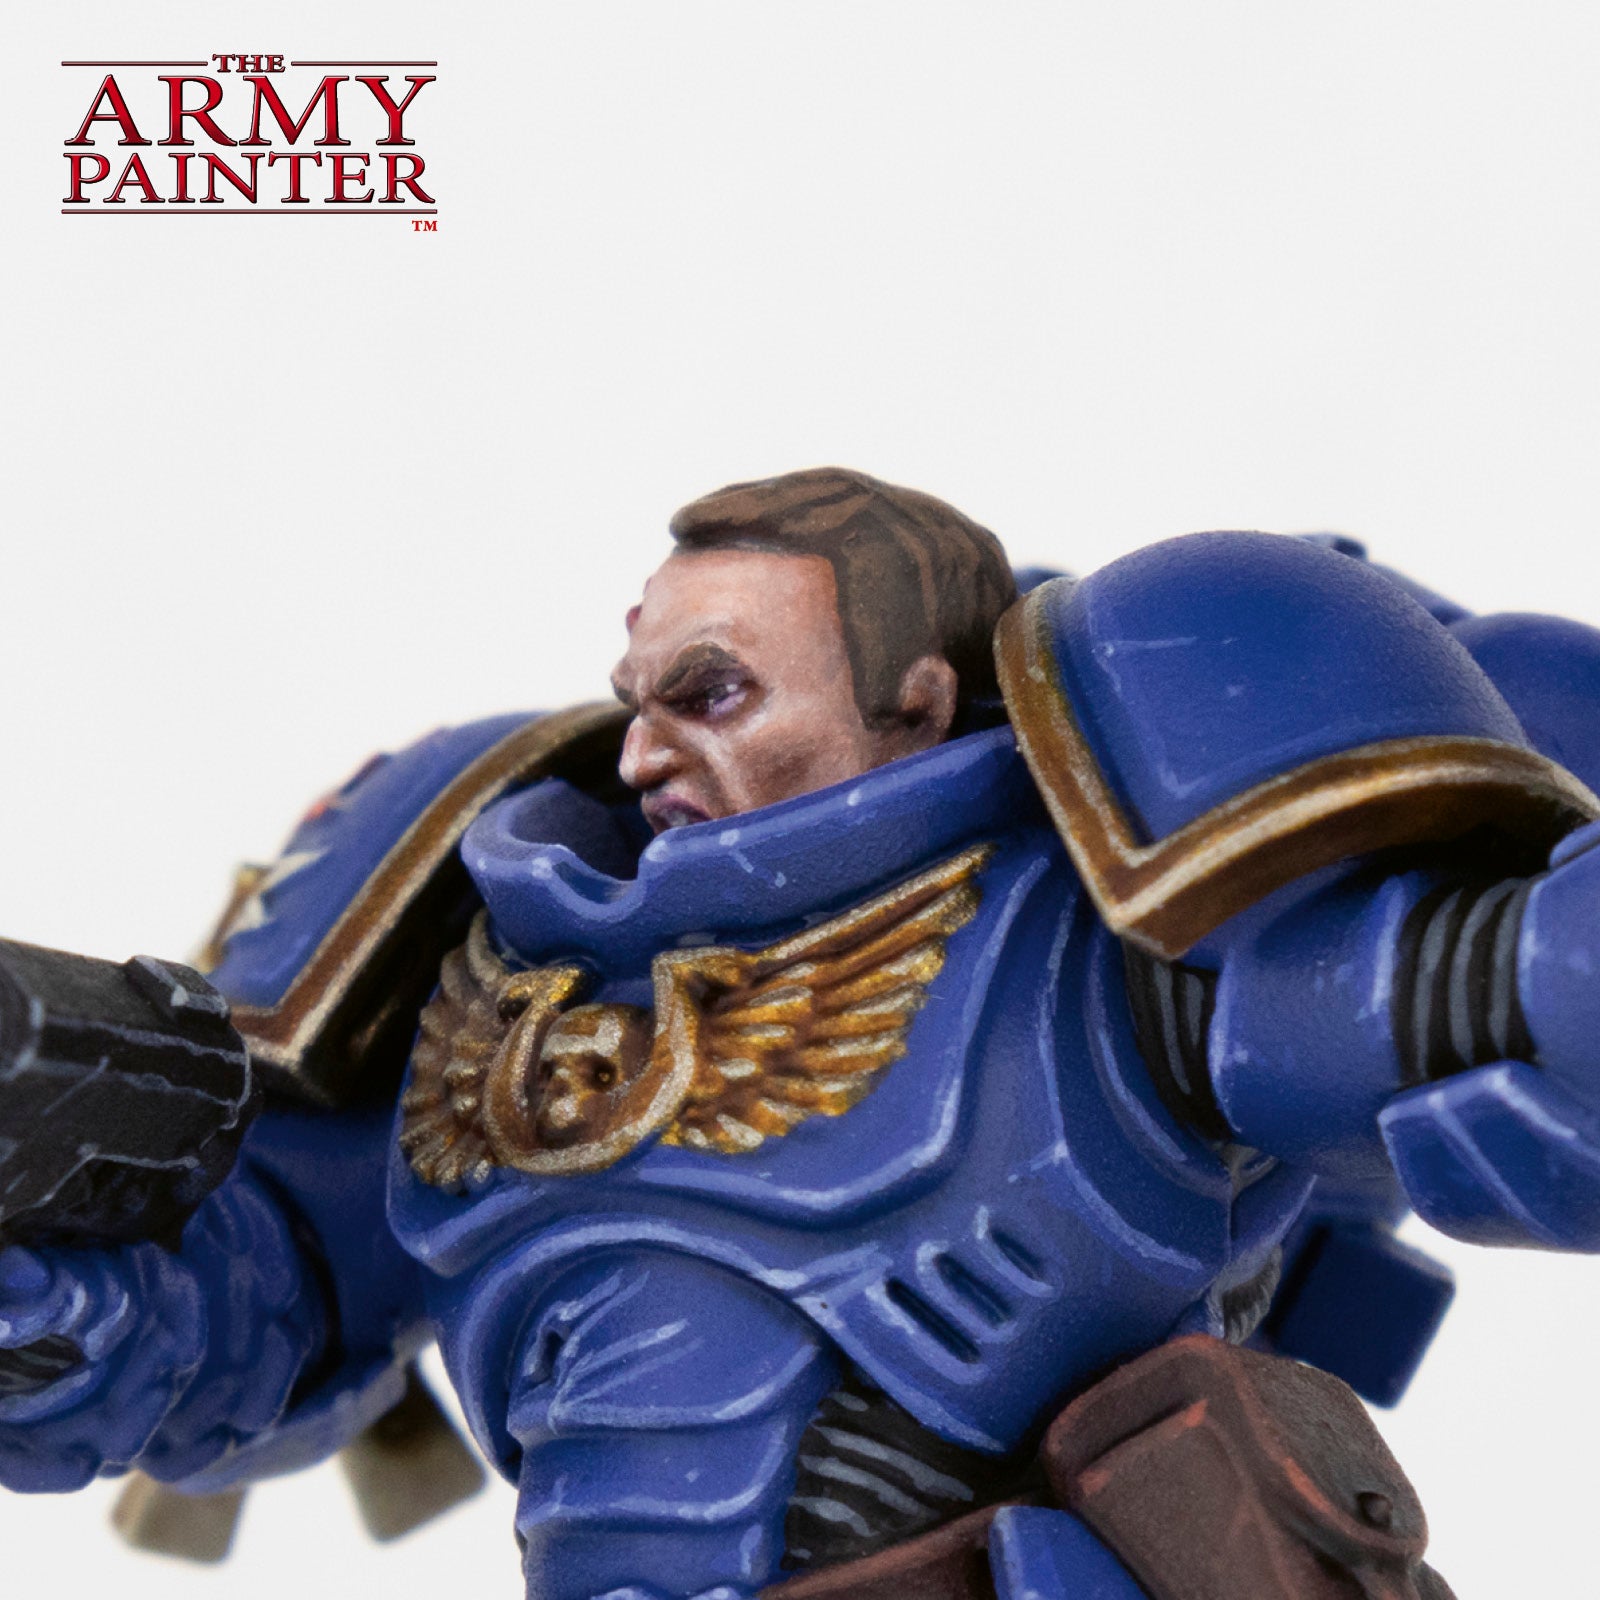
Step 8
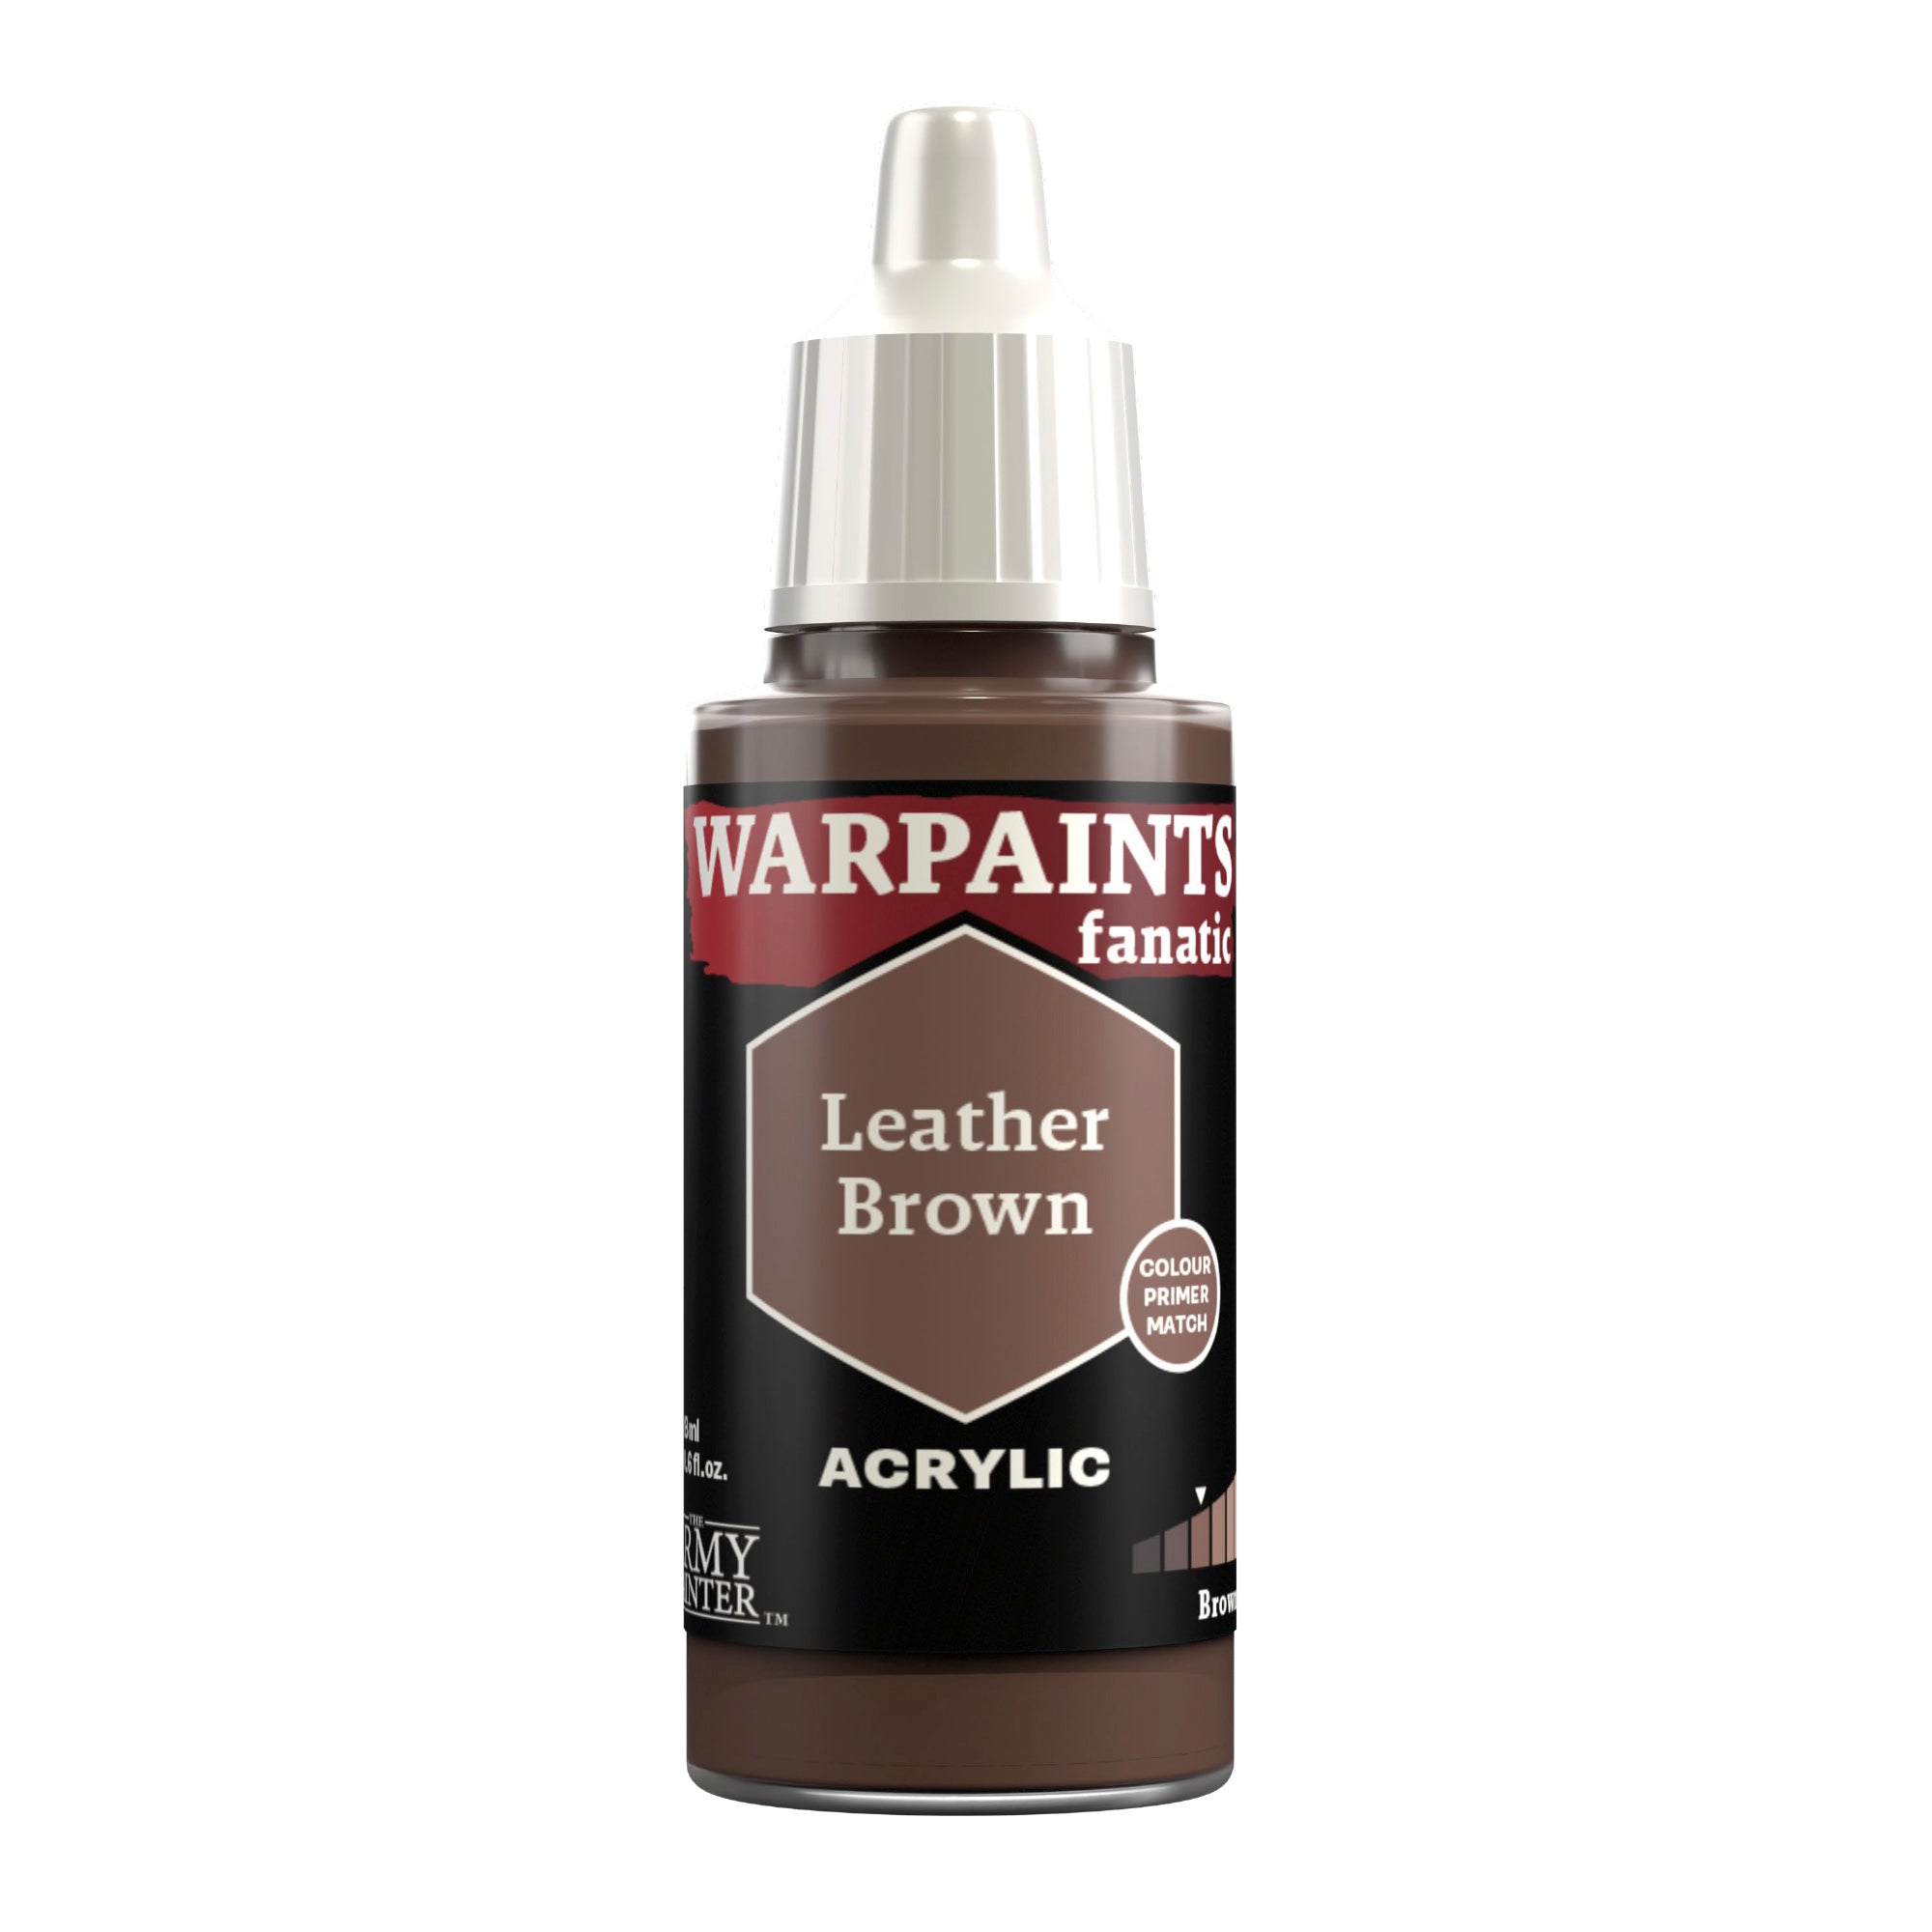
Next, highlight the hair with Warpaints Fanatic Leather Brown. Luckily, the sculptors gave Titus a luscious mane of hair, with plenty of sculpted detail to follow.
Step 9
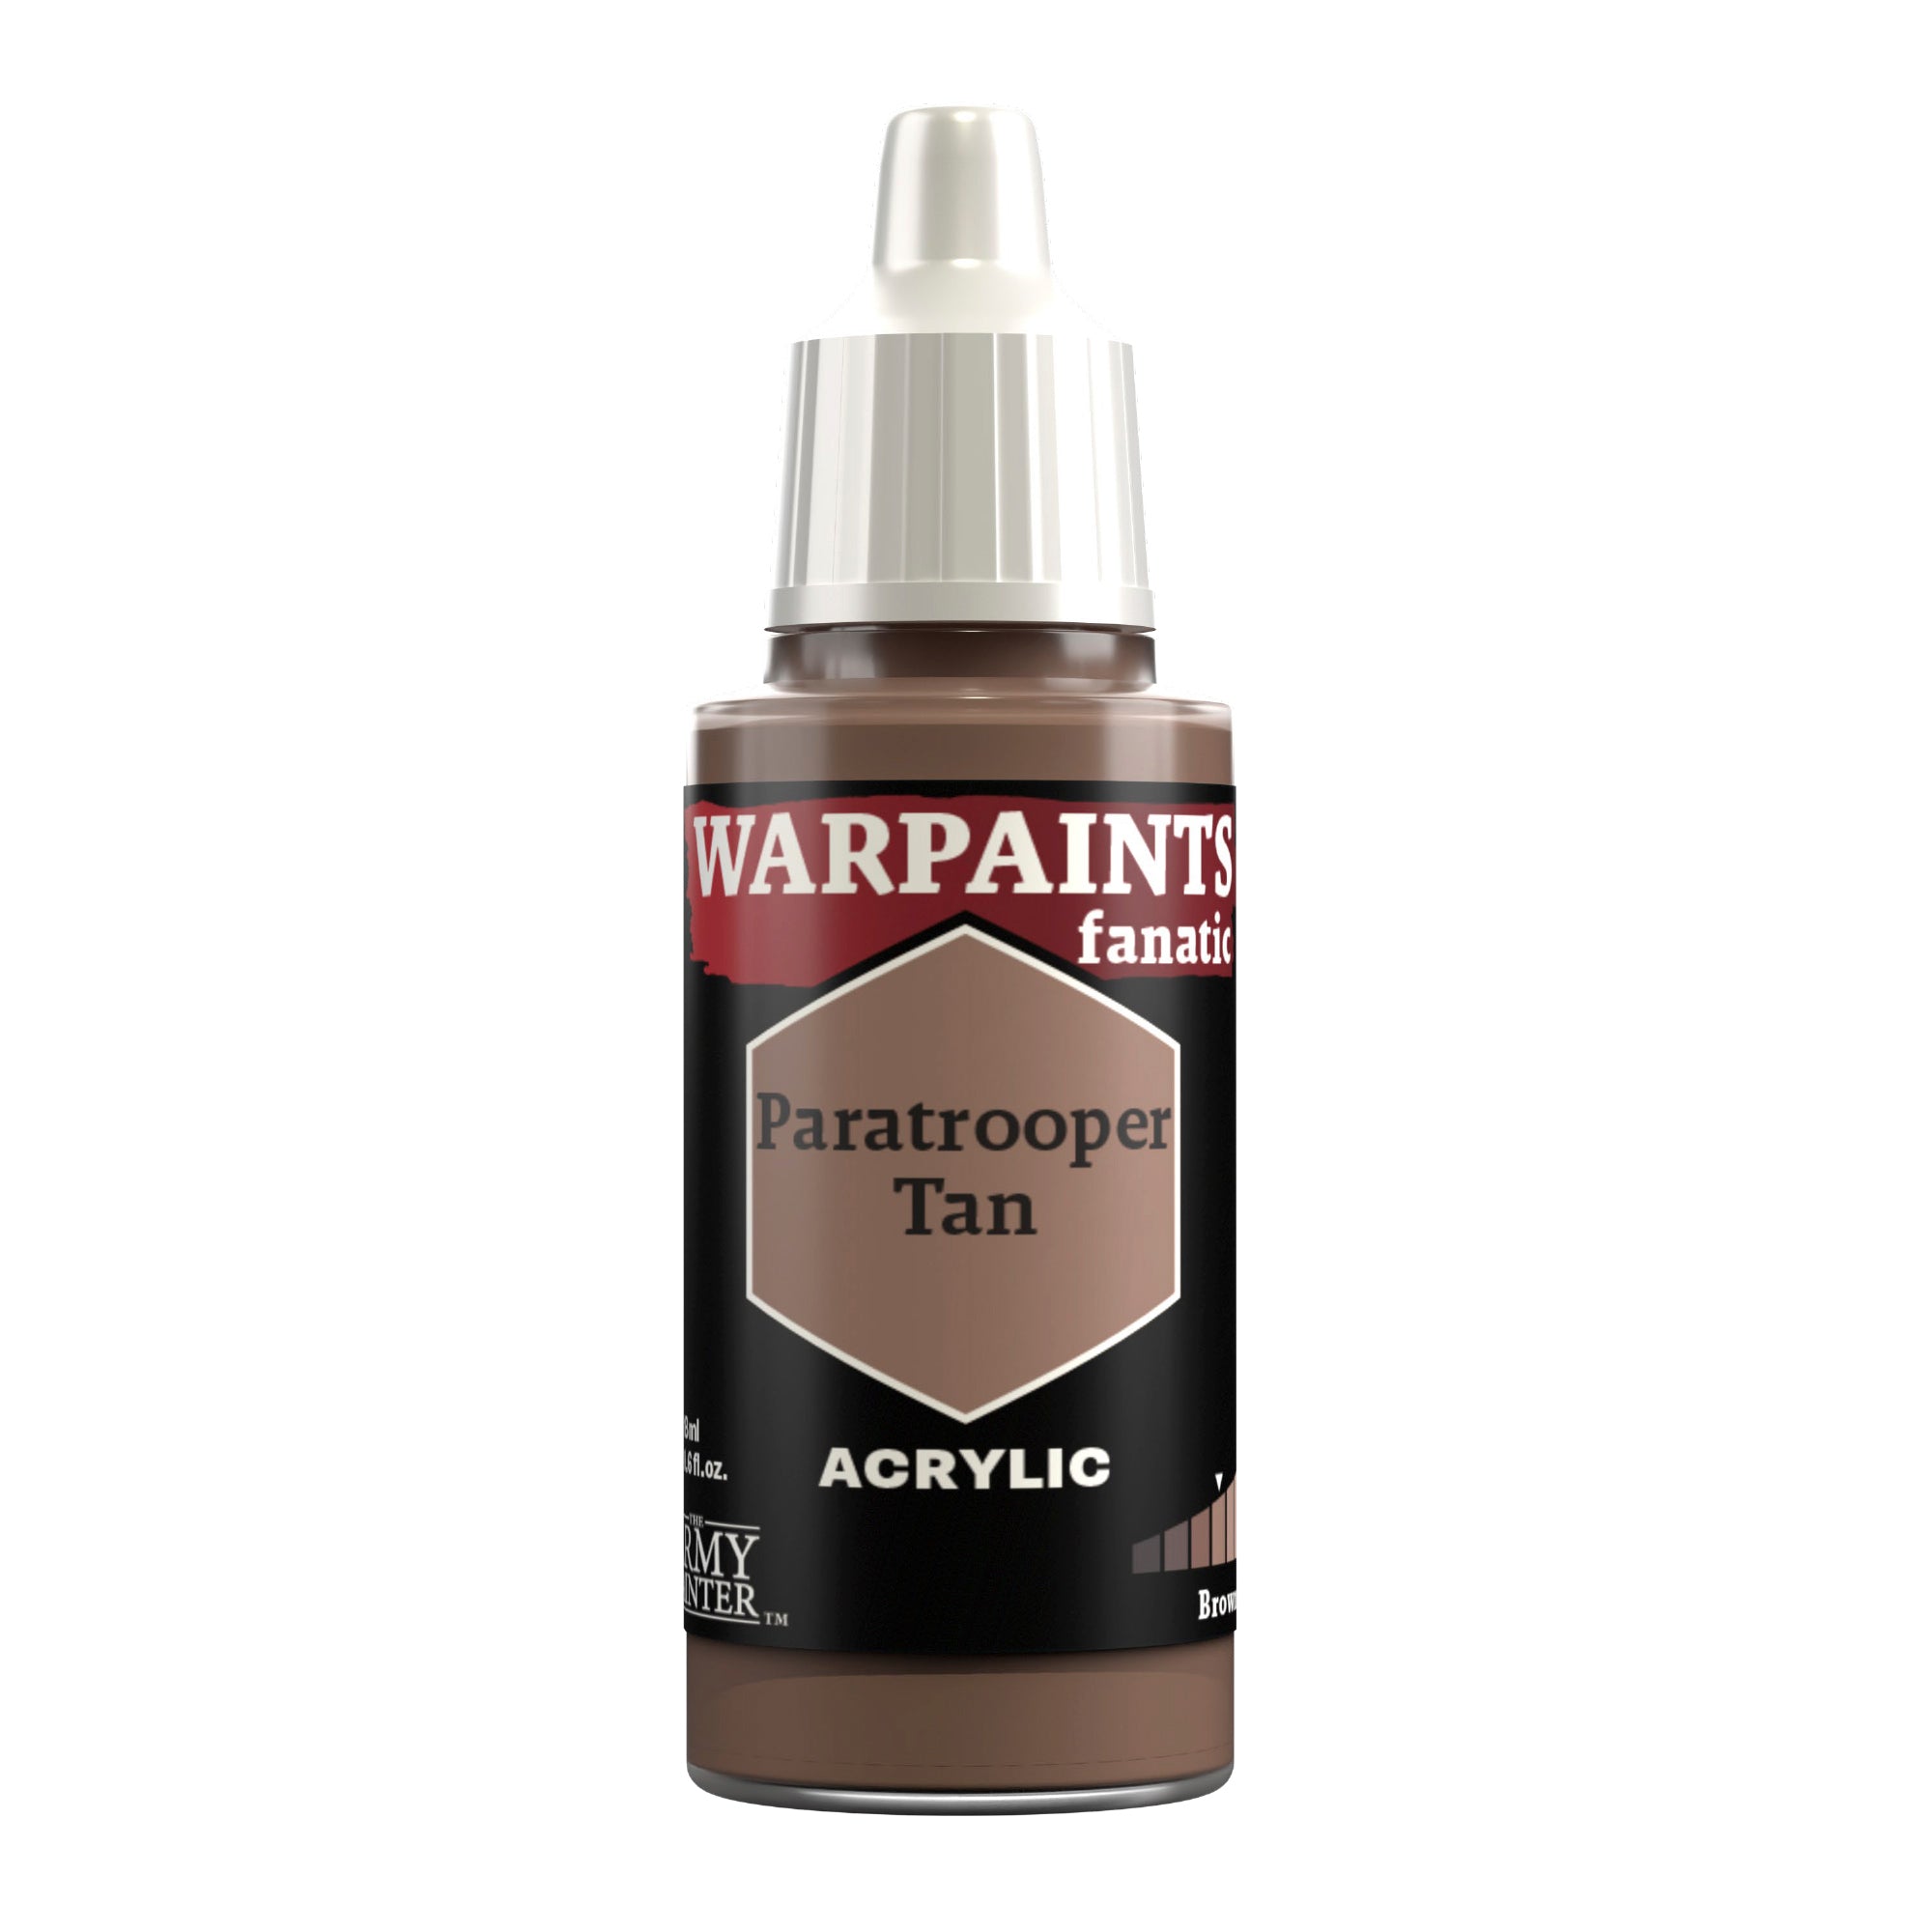
Finish his hair with a final highlight of Warpaints Fanatic Paratrooper Tan.
The Silver
Step 1
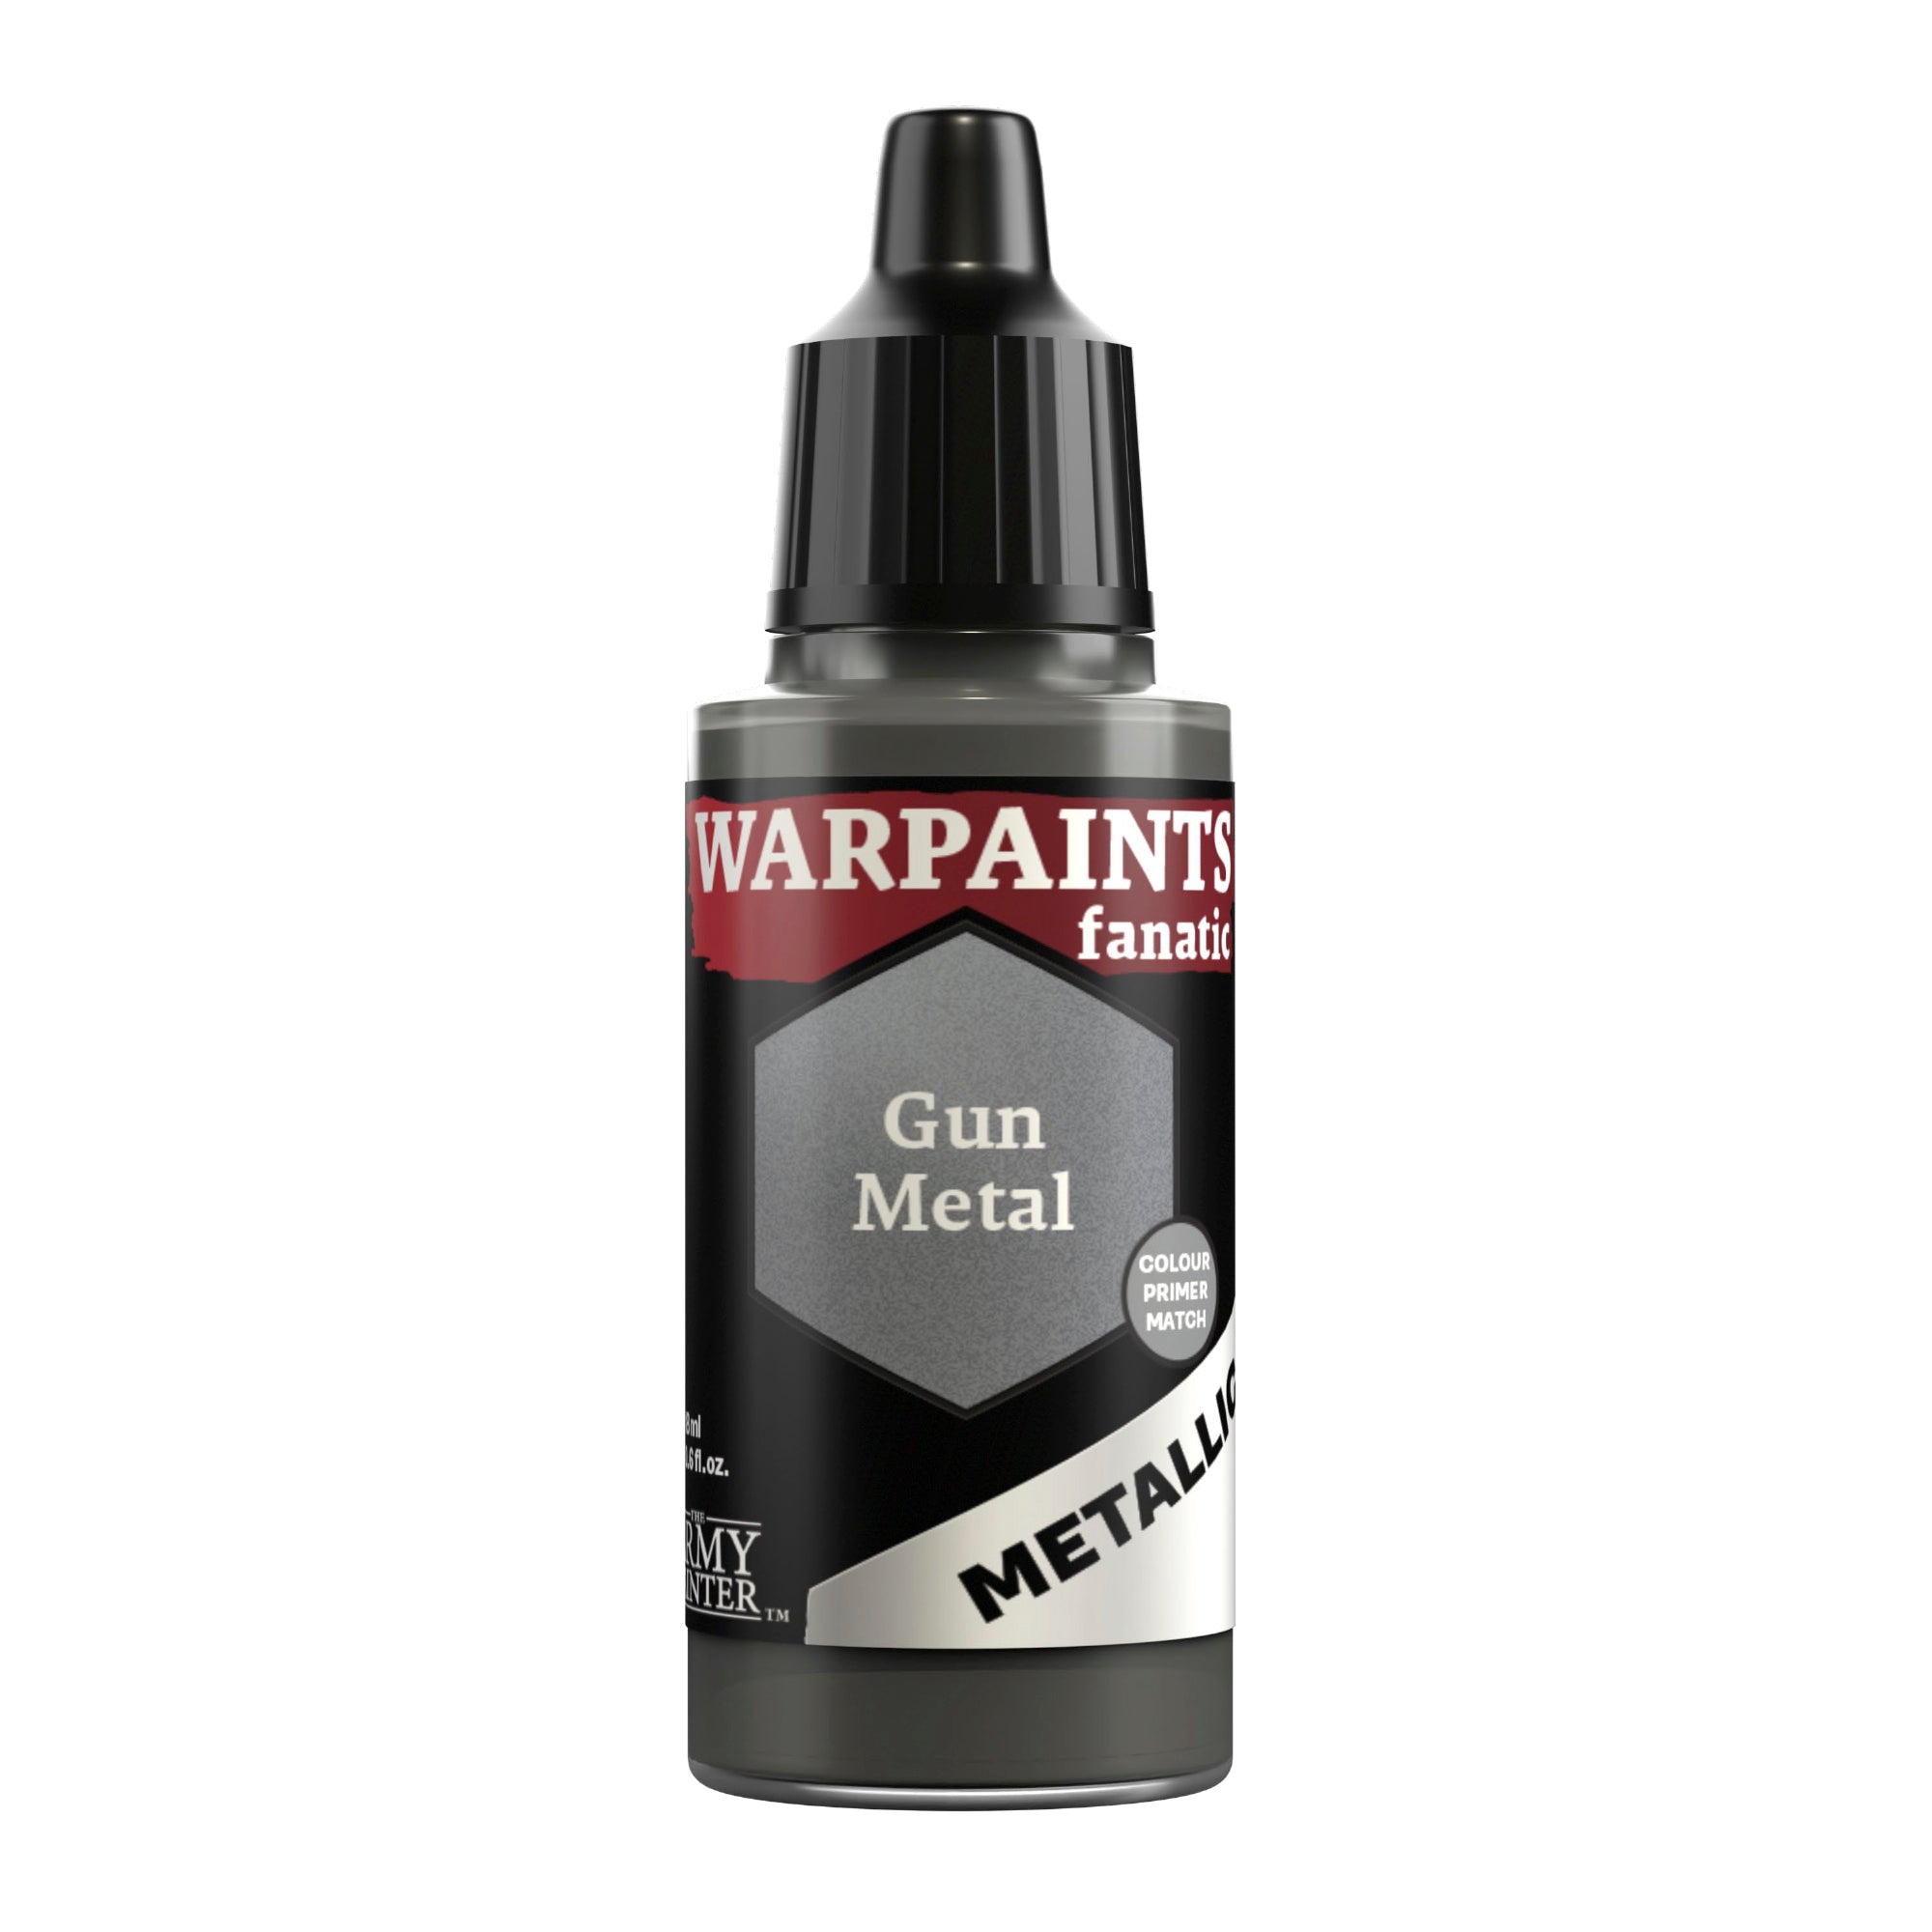
Basecoat the silver areas with Warpaints Fanatic Gun Metal.

Step 2
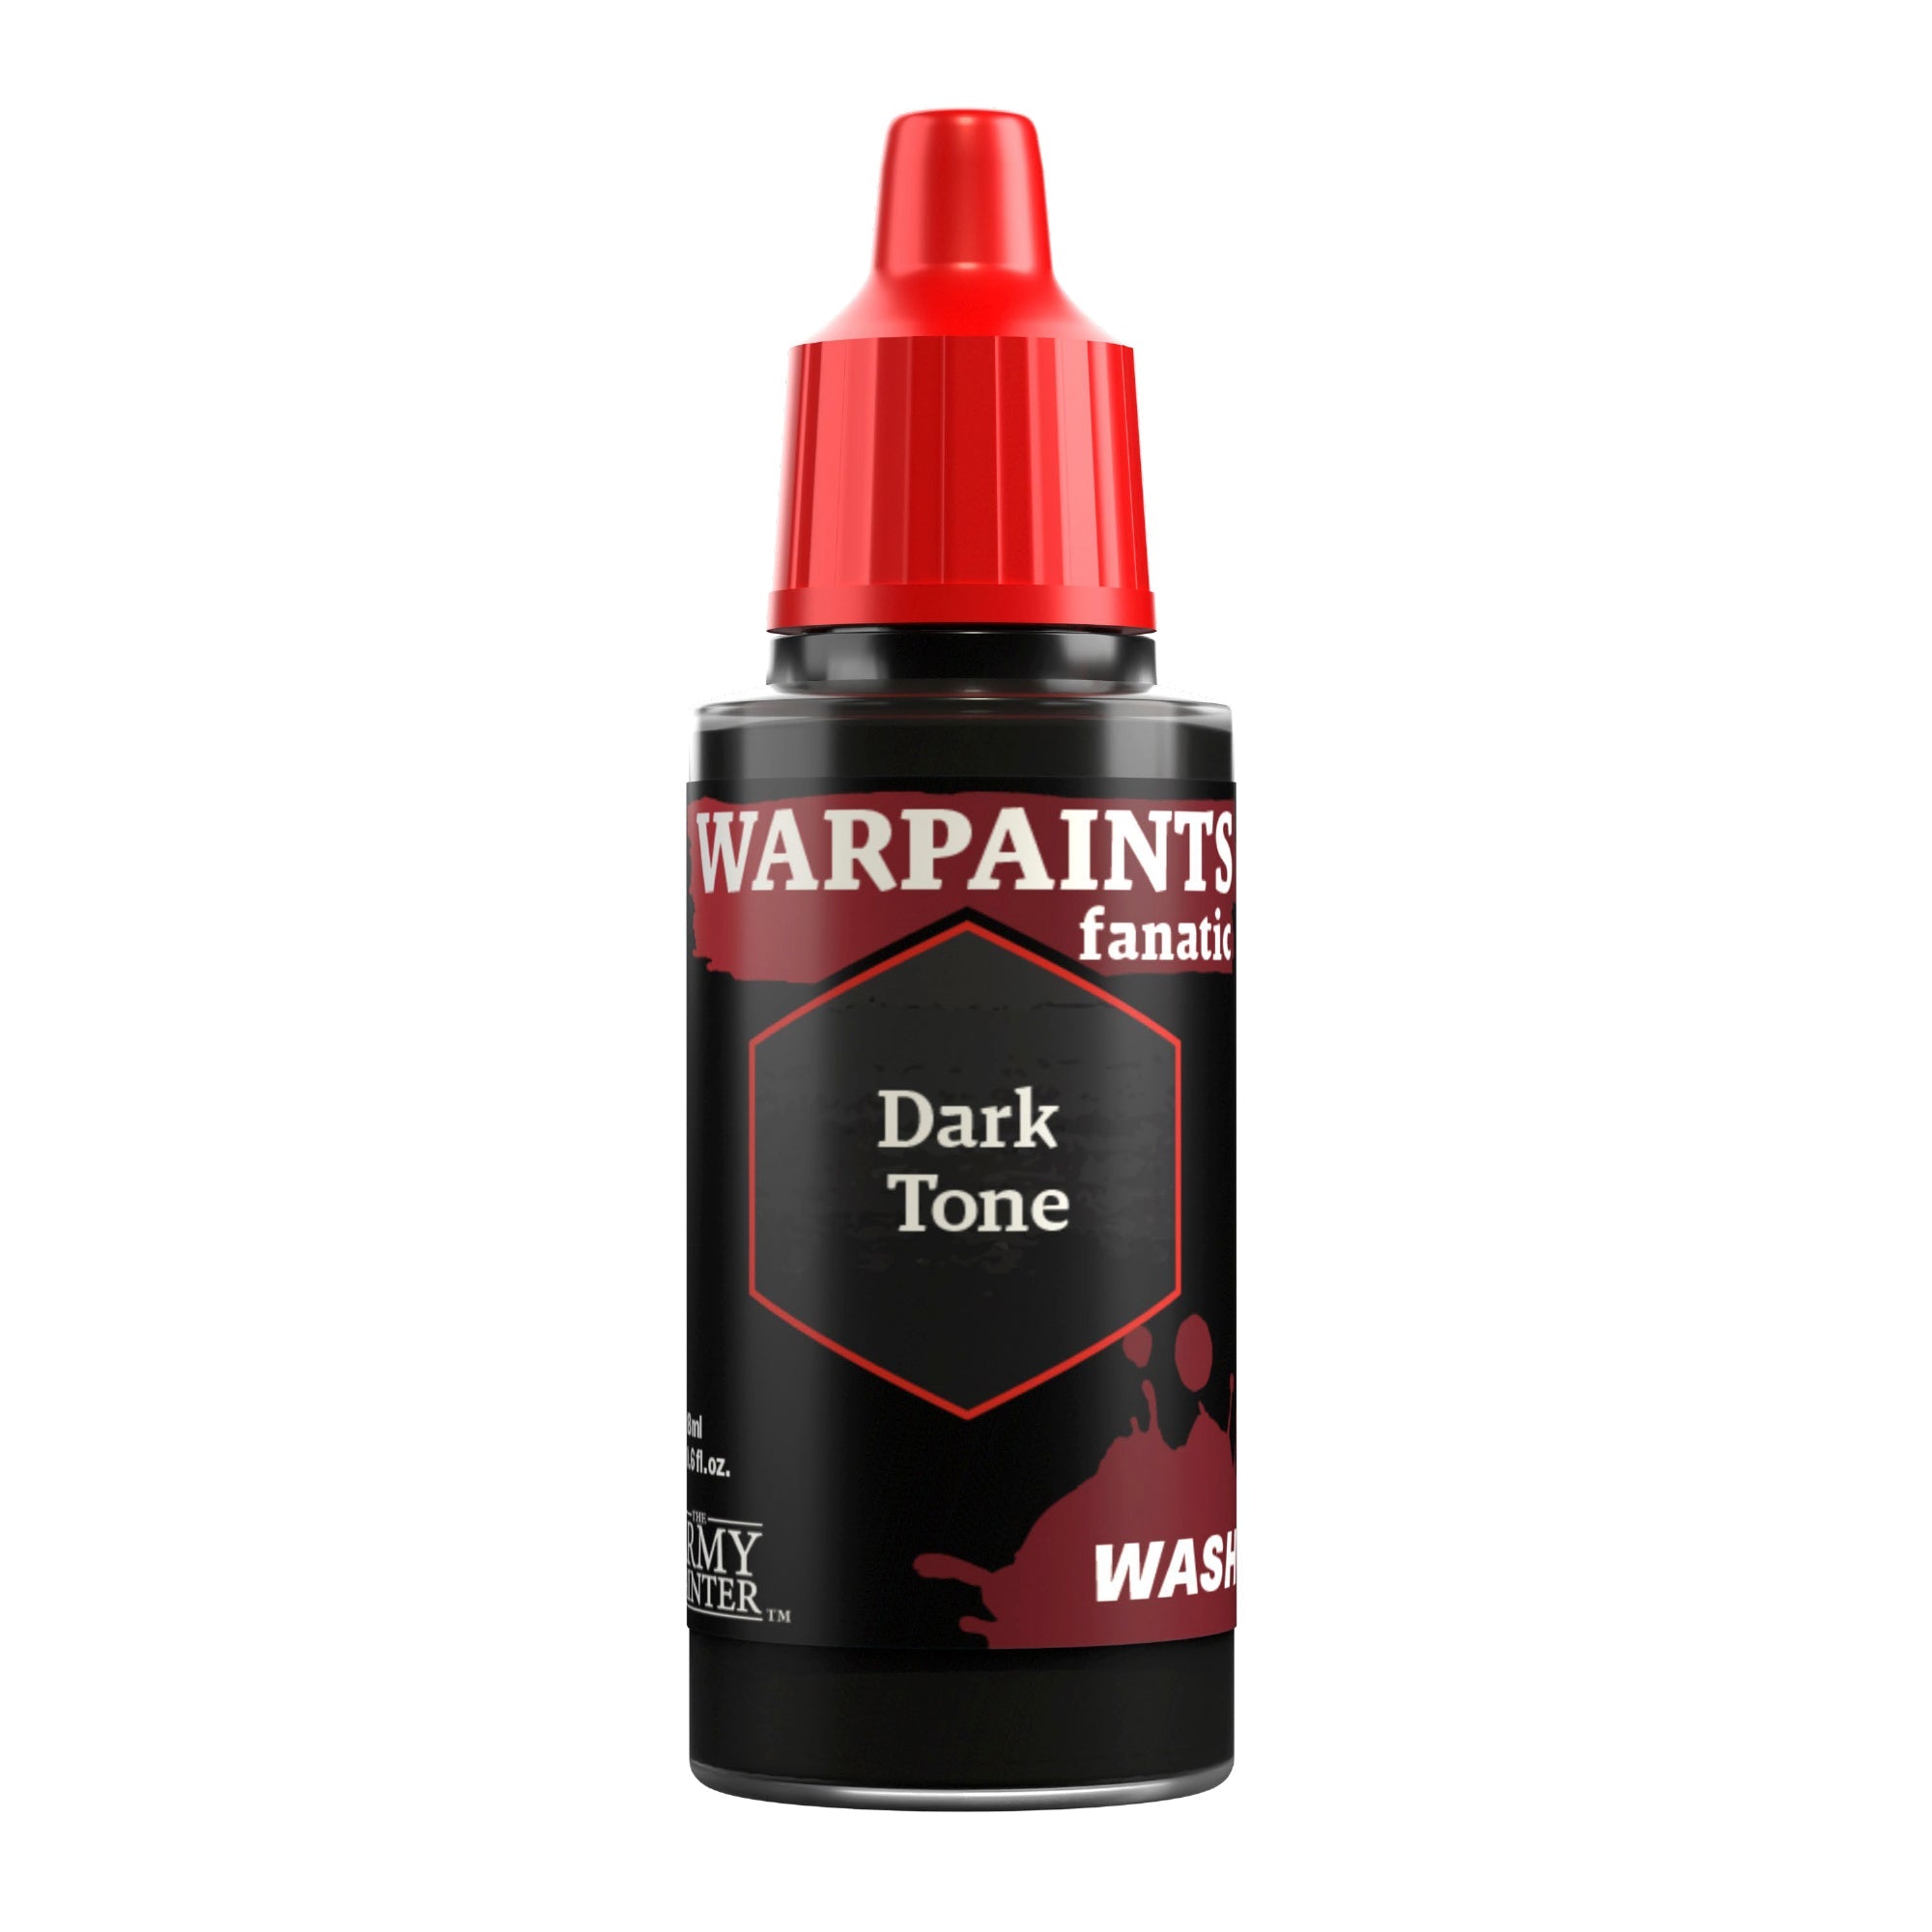
Next, apply shading with Warpaints Fanatic Wash Dark Tone.
Step 3
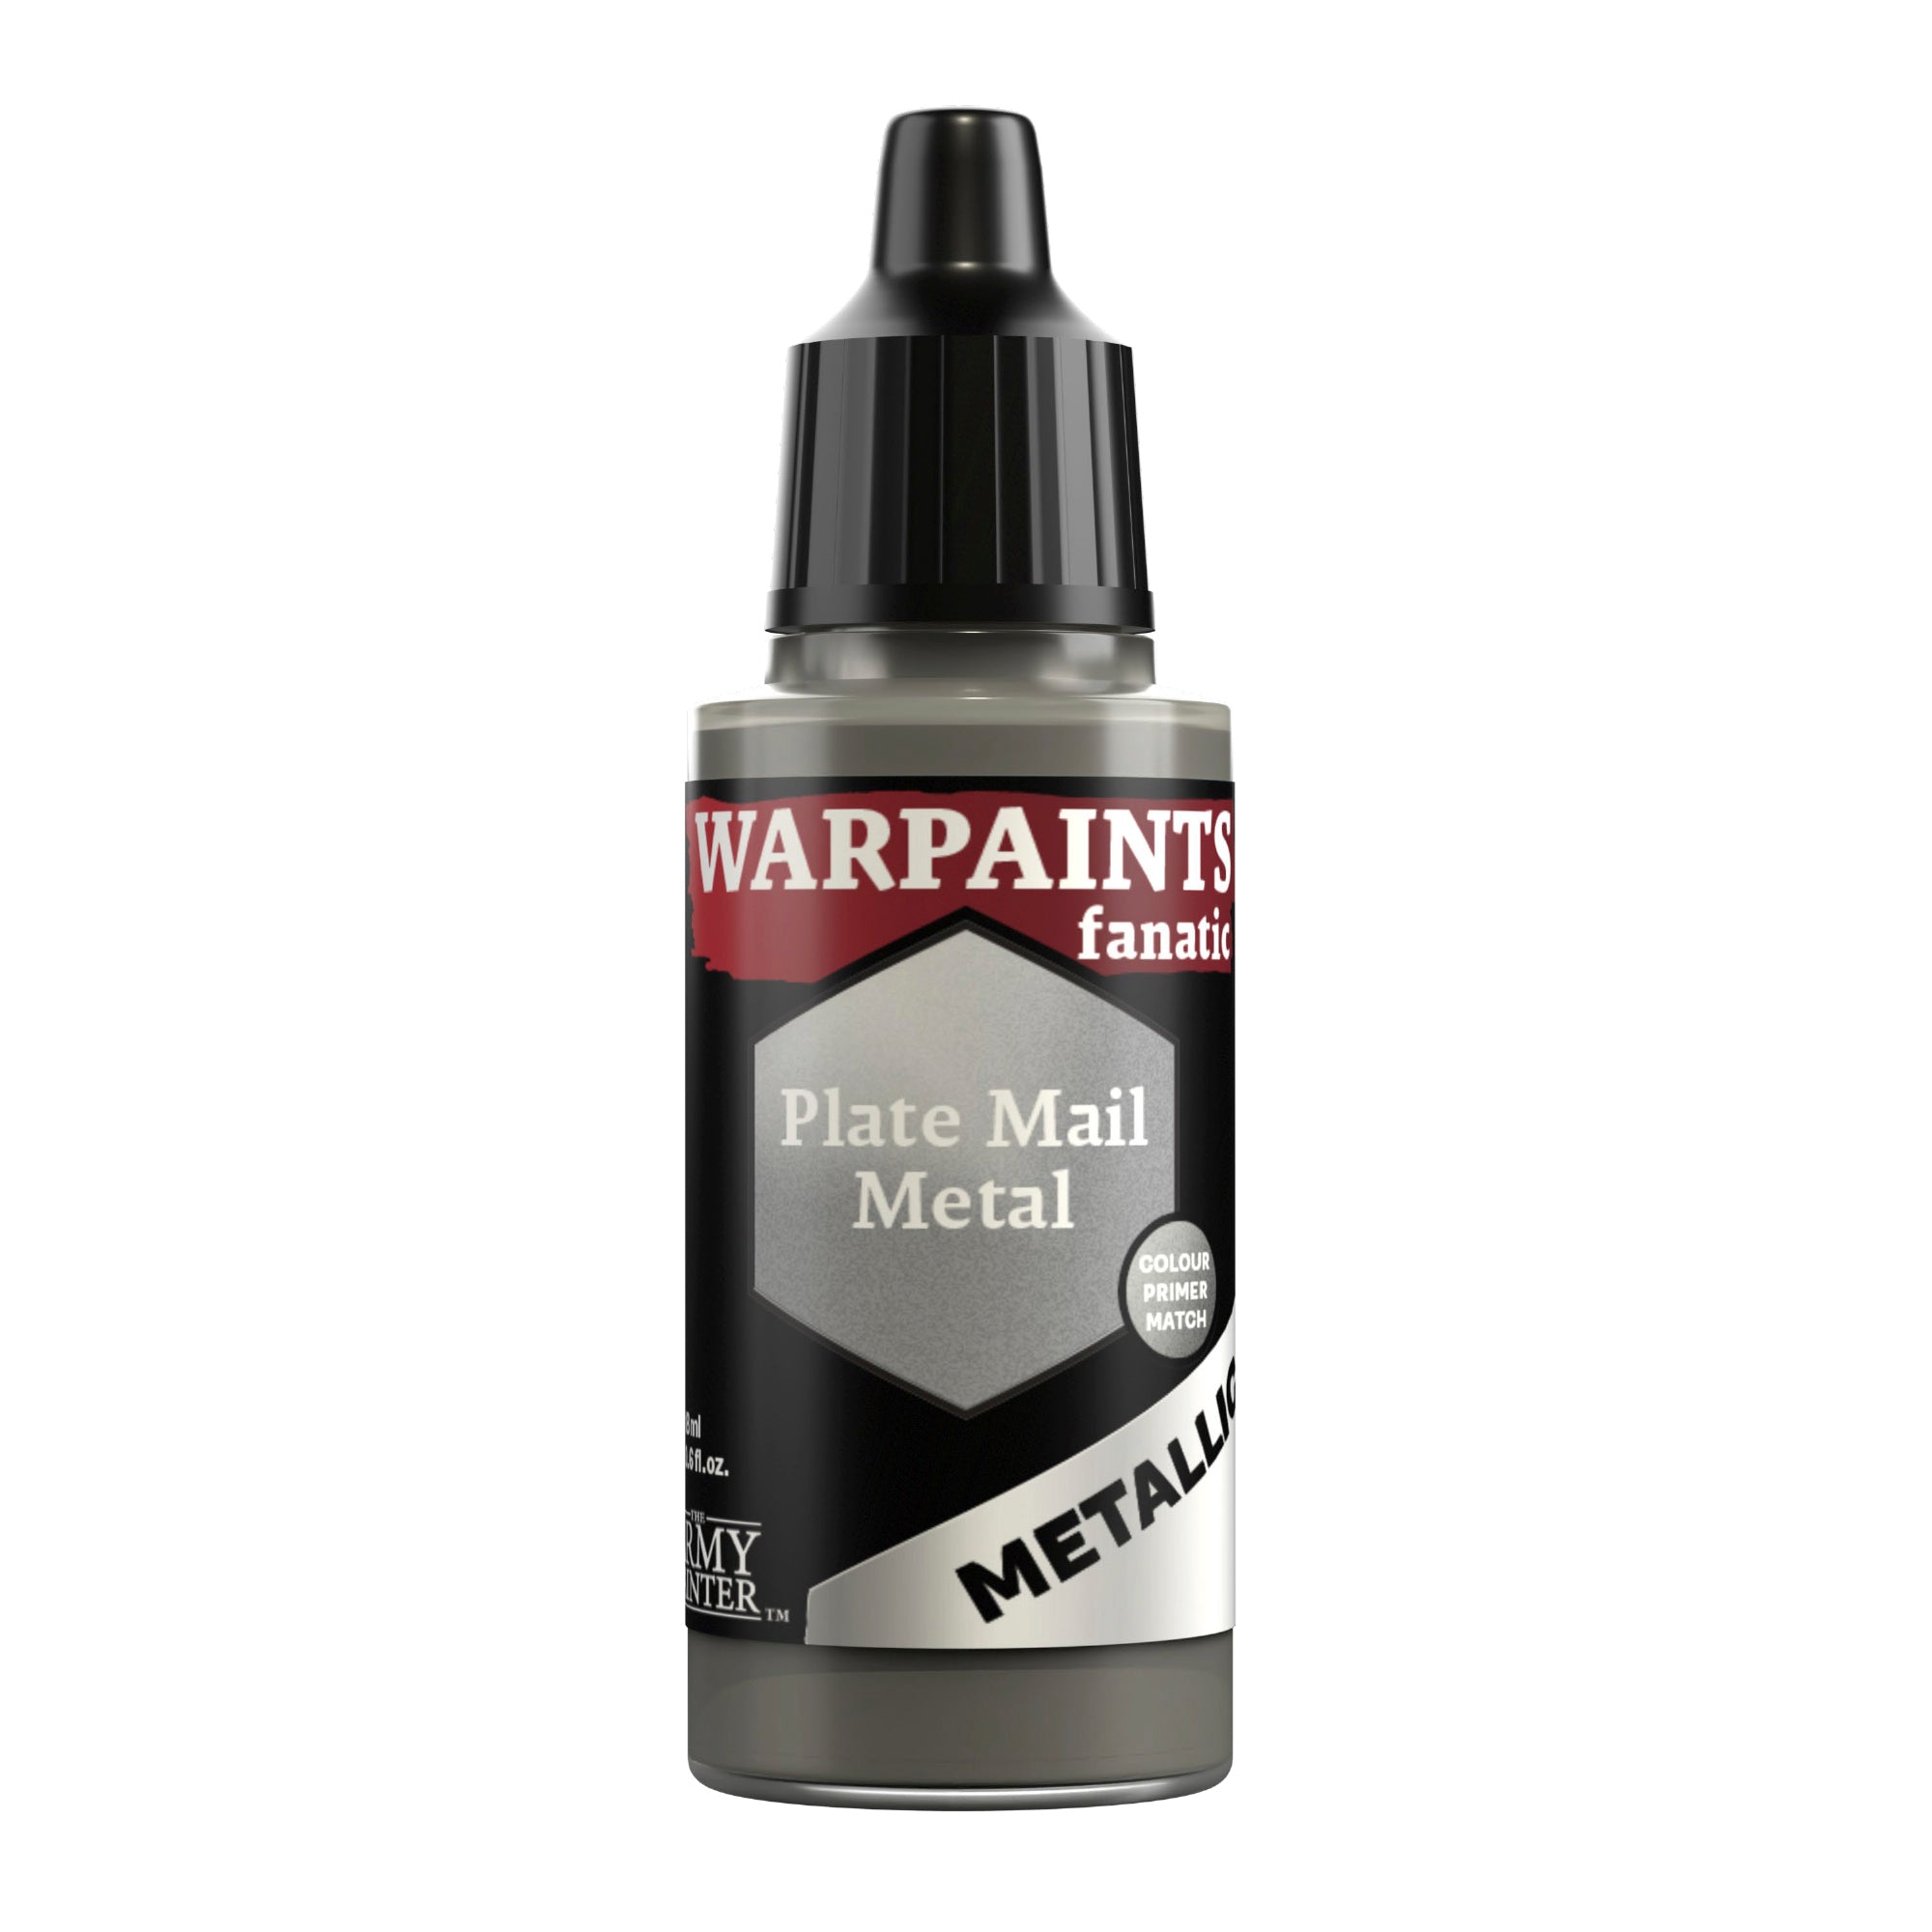
Finish the stage off with an edge highlight of Warpaints Fanatic Plate Mail Metal.
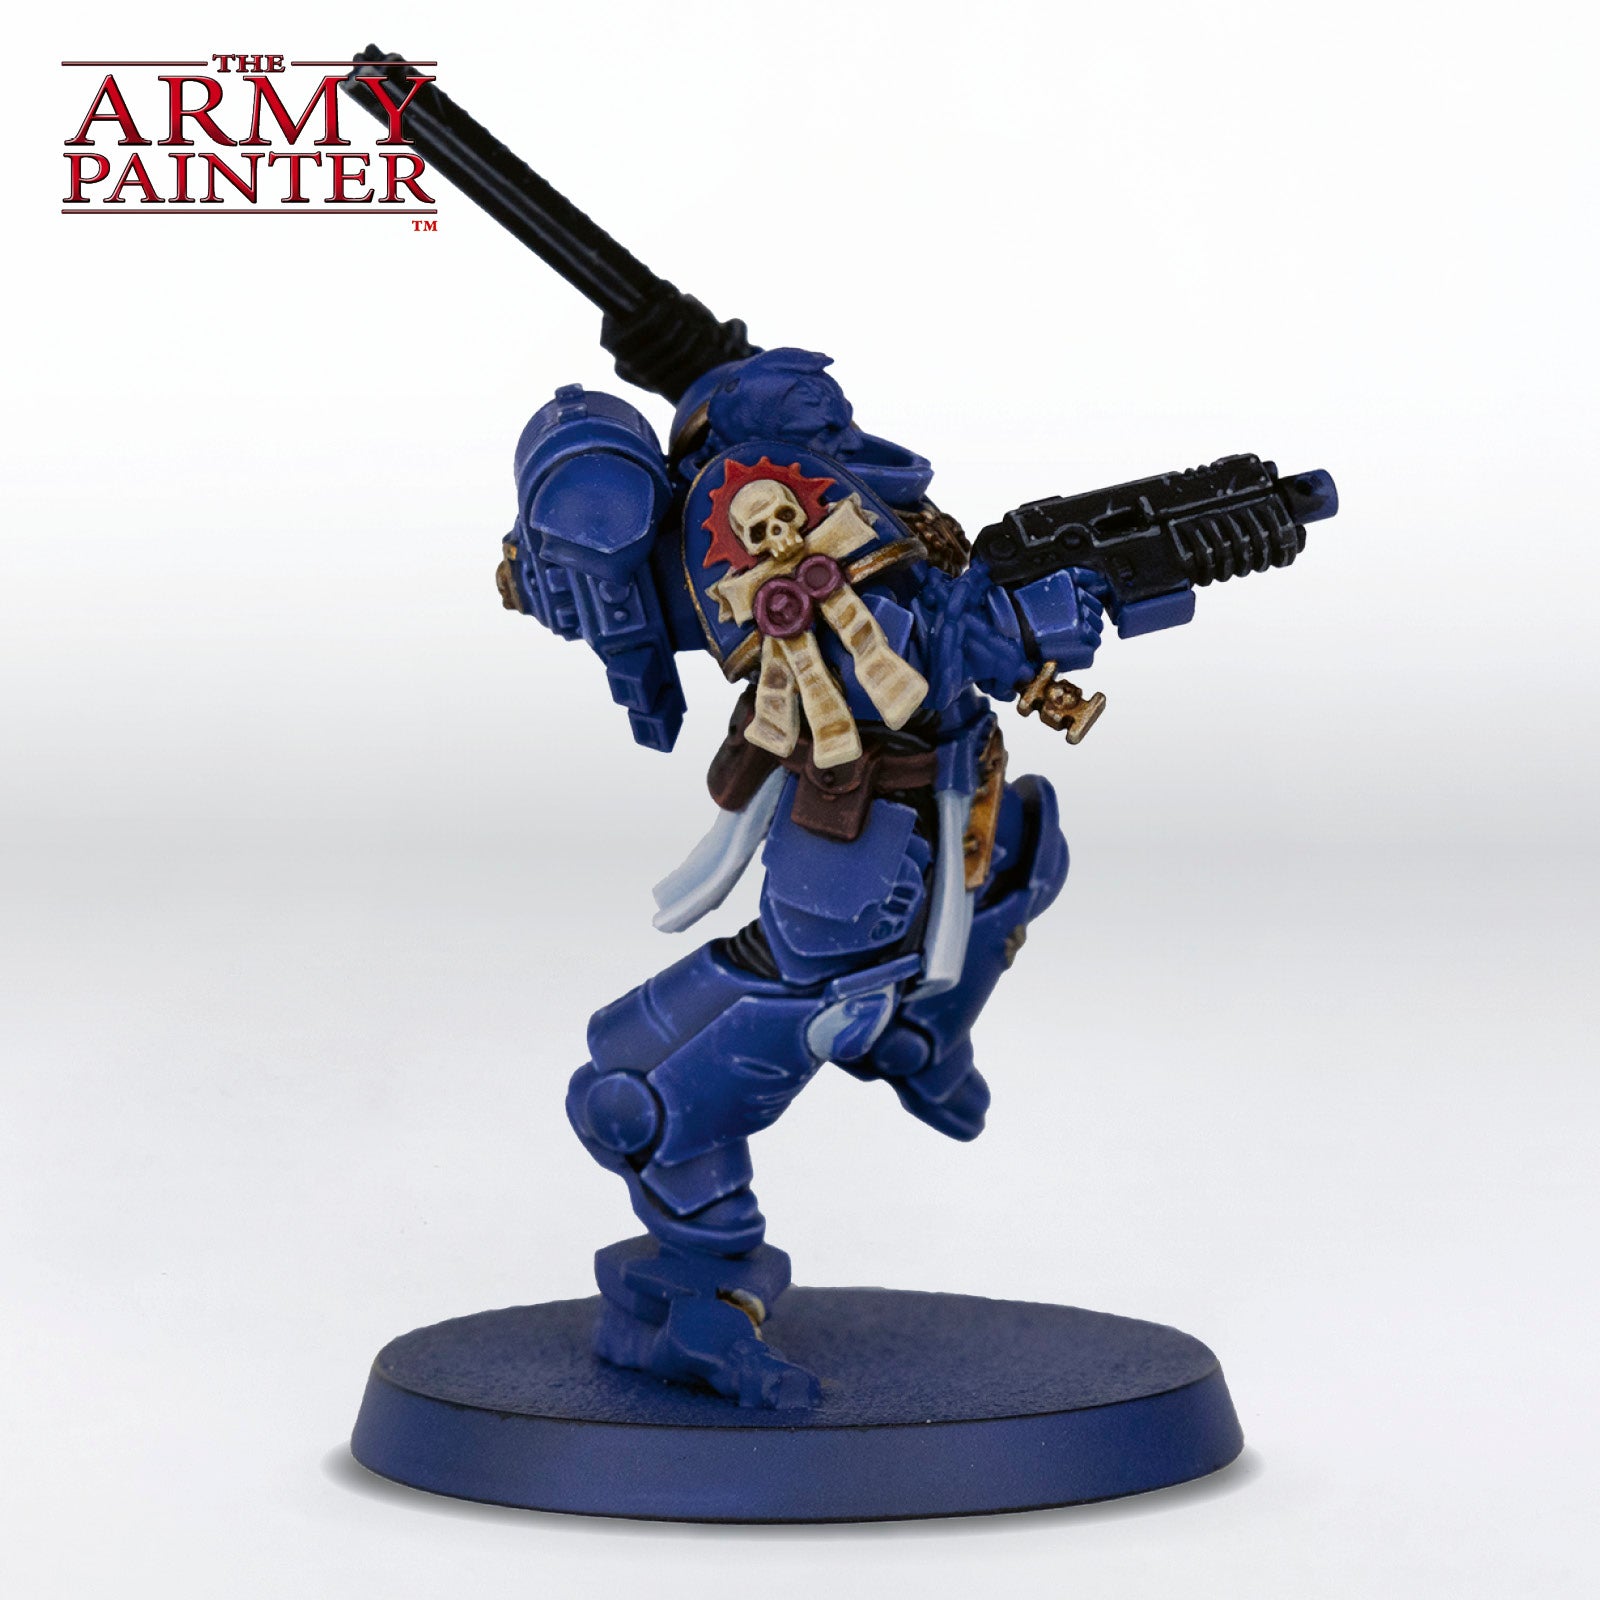
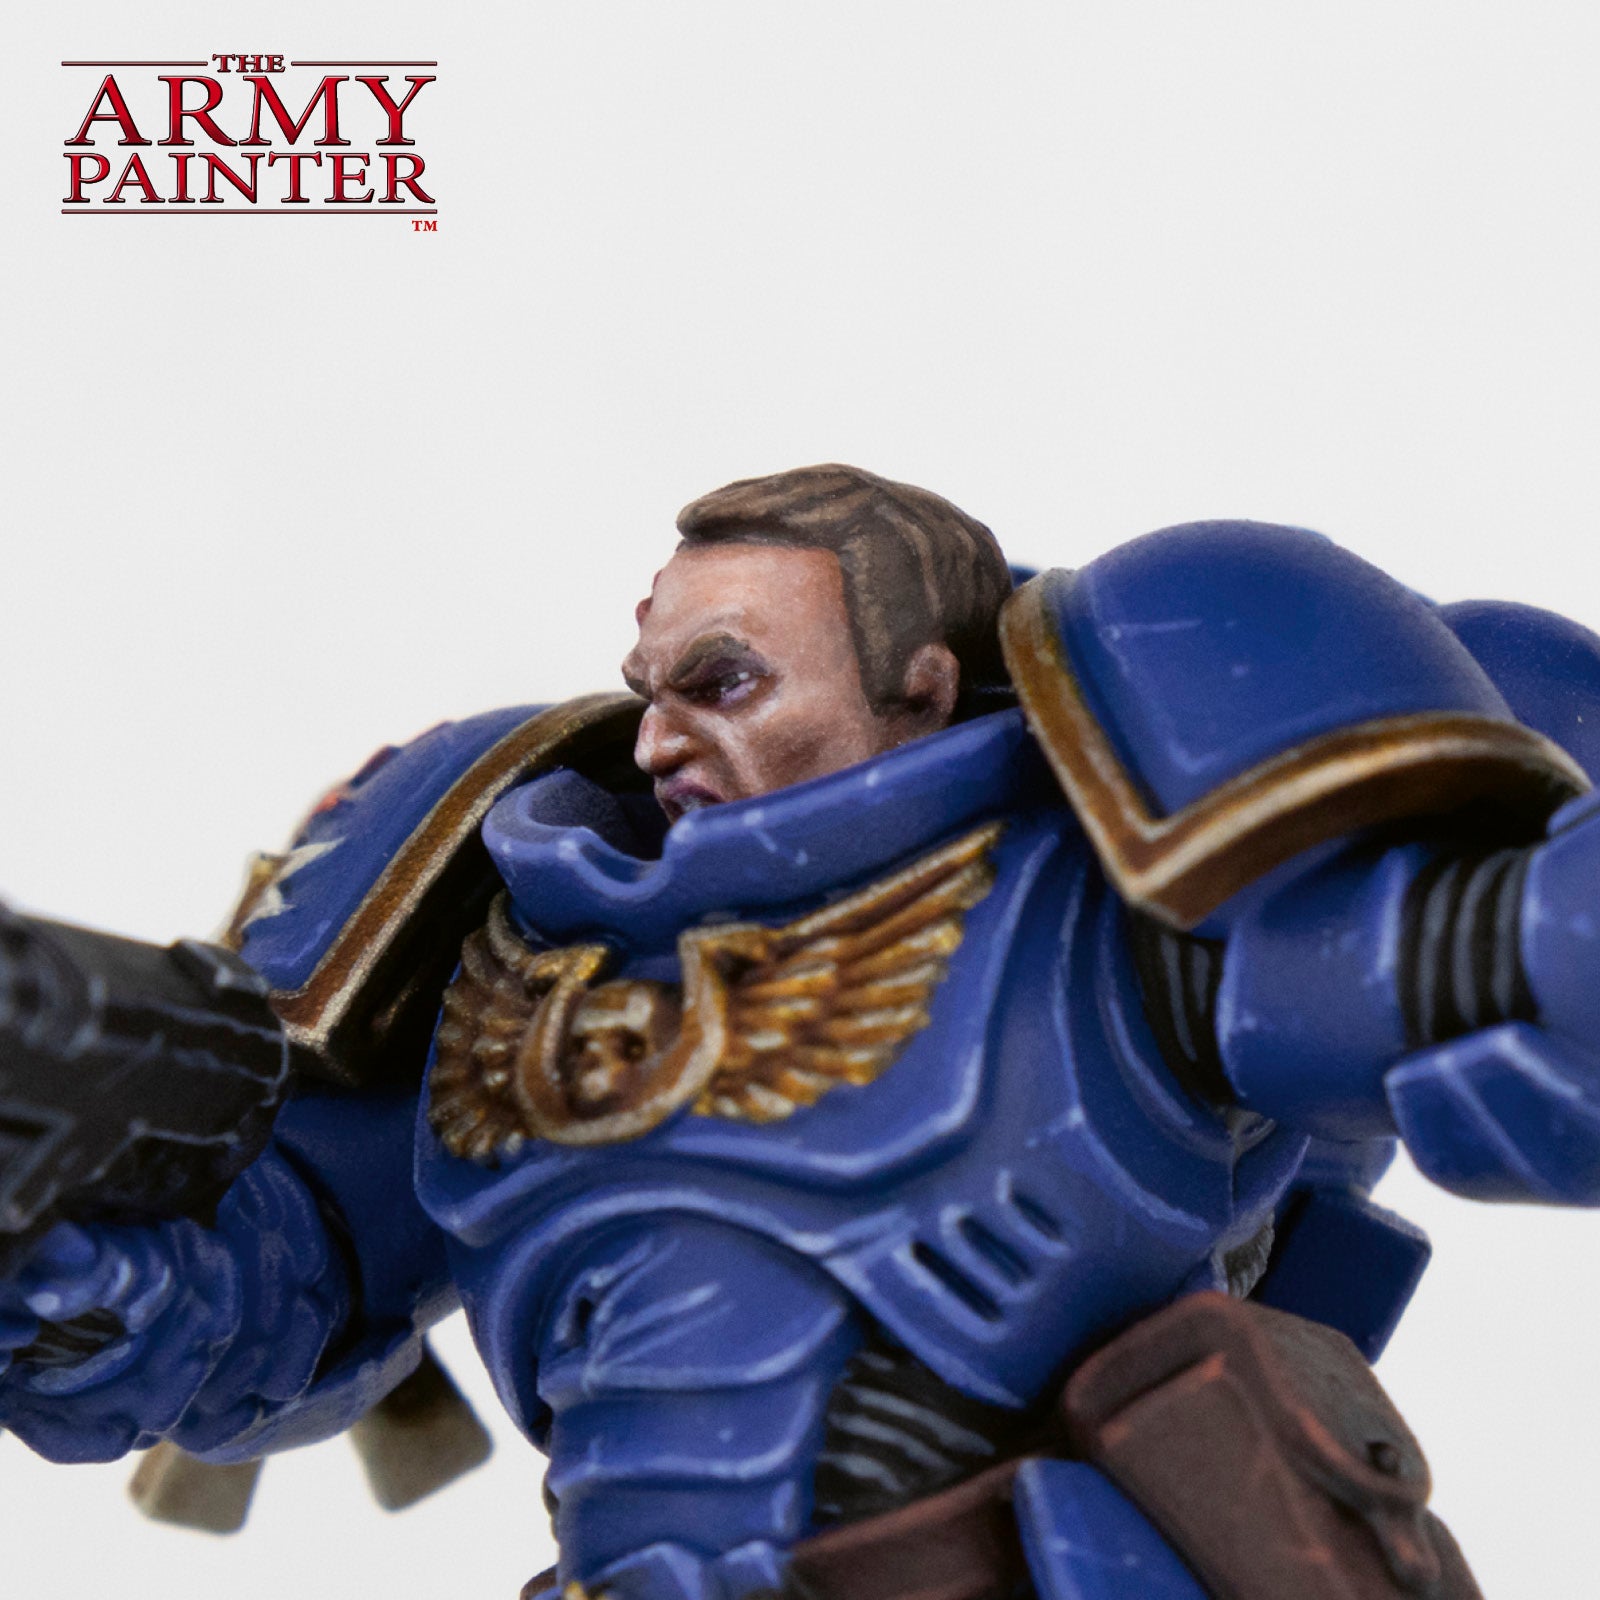
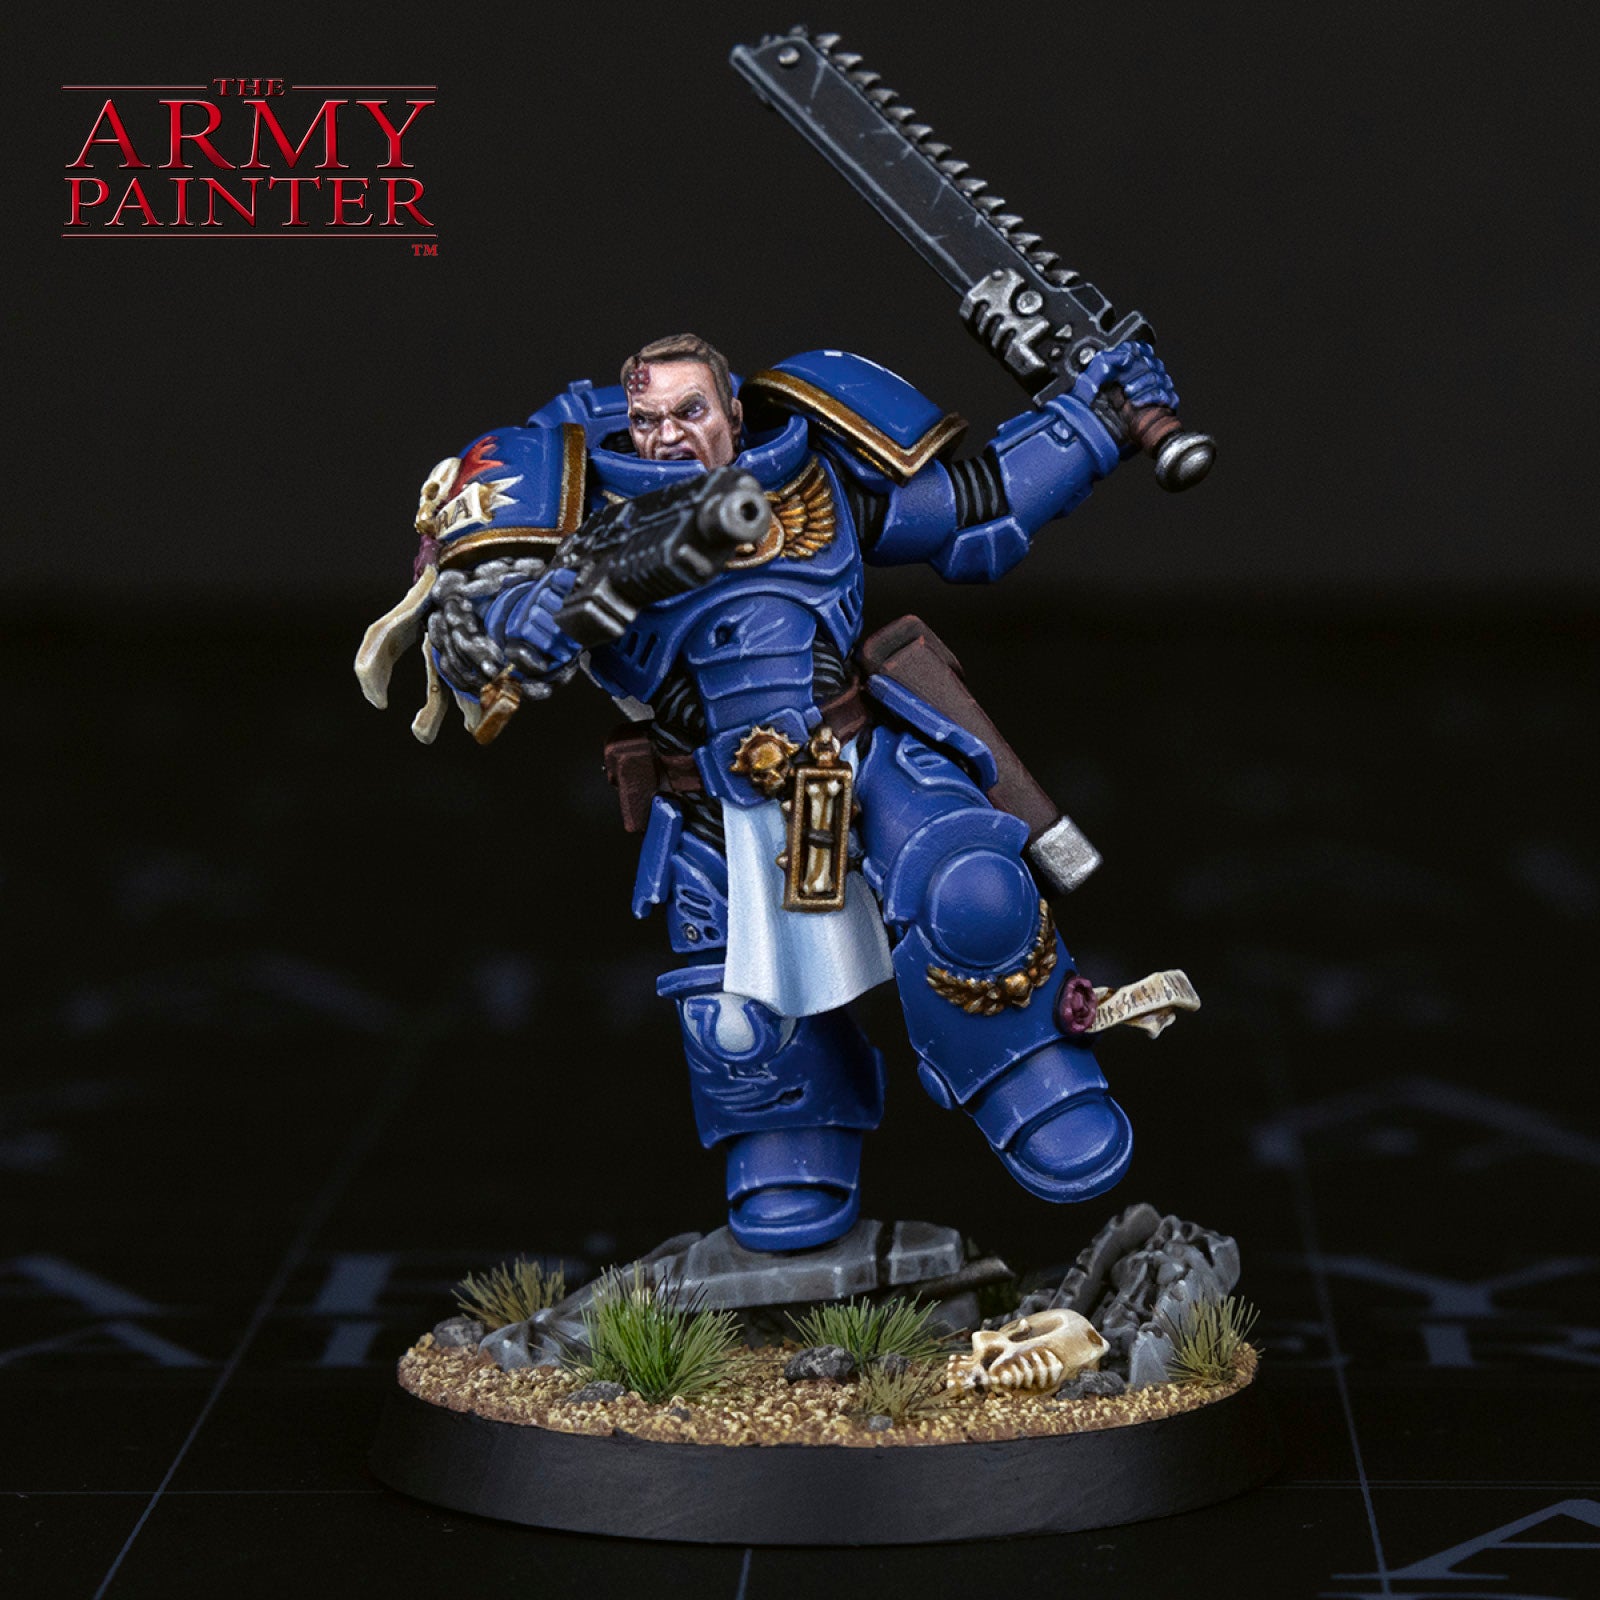
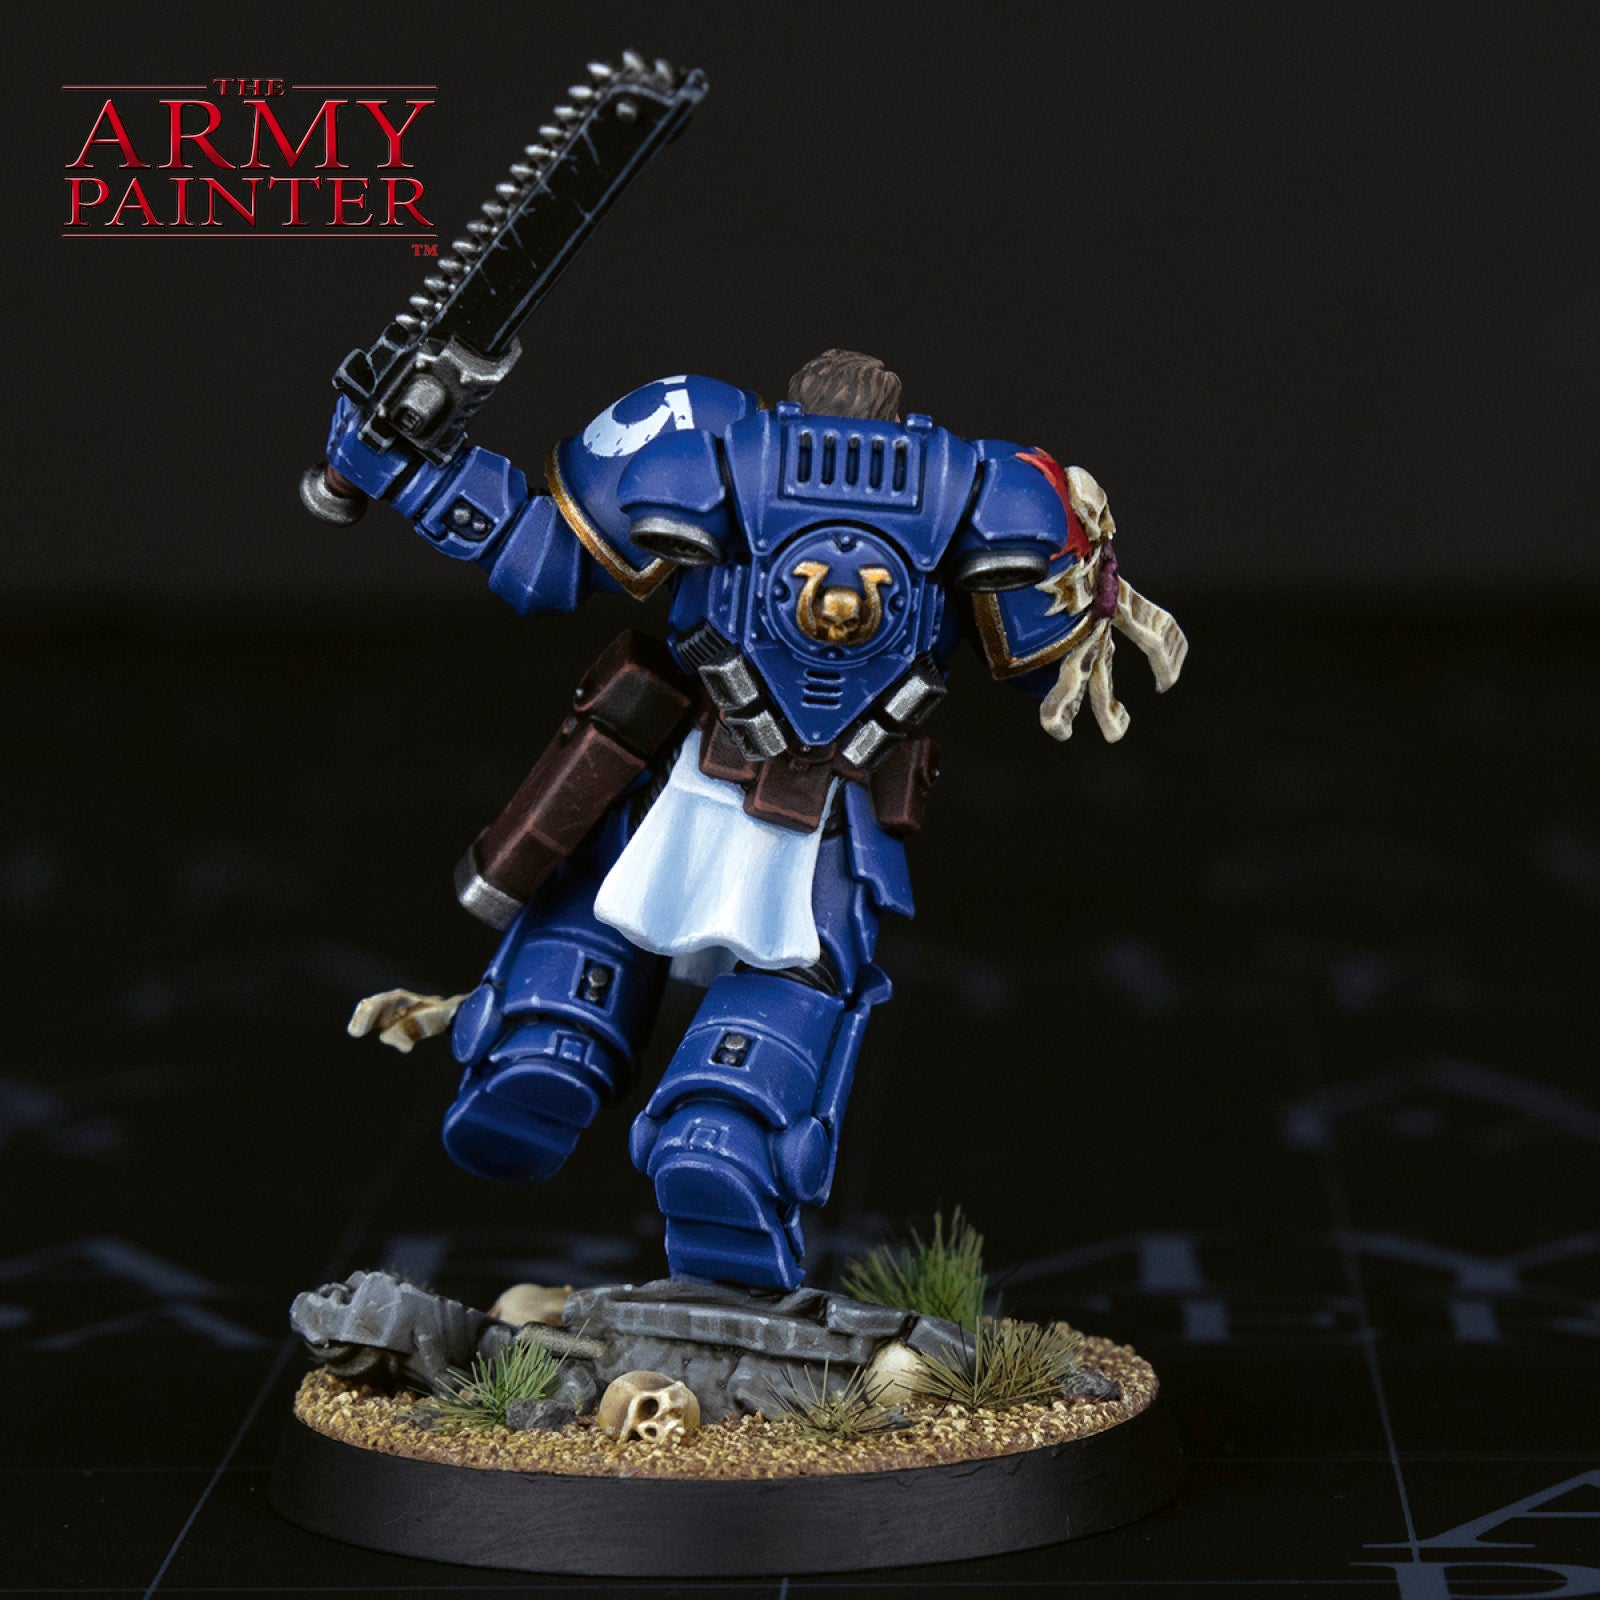
With that, your model is done!
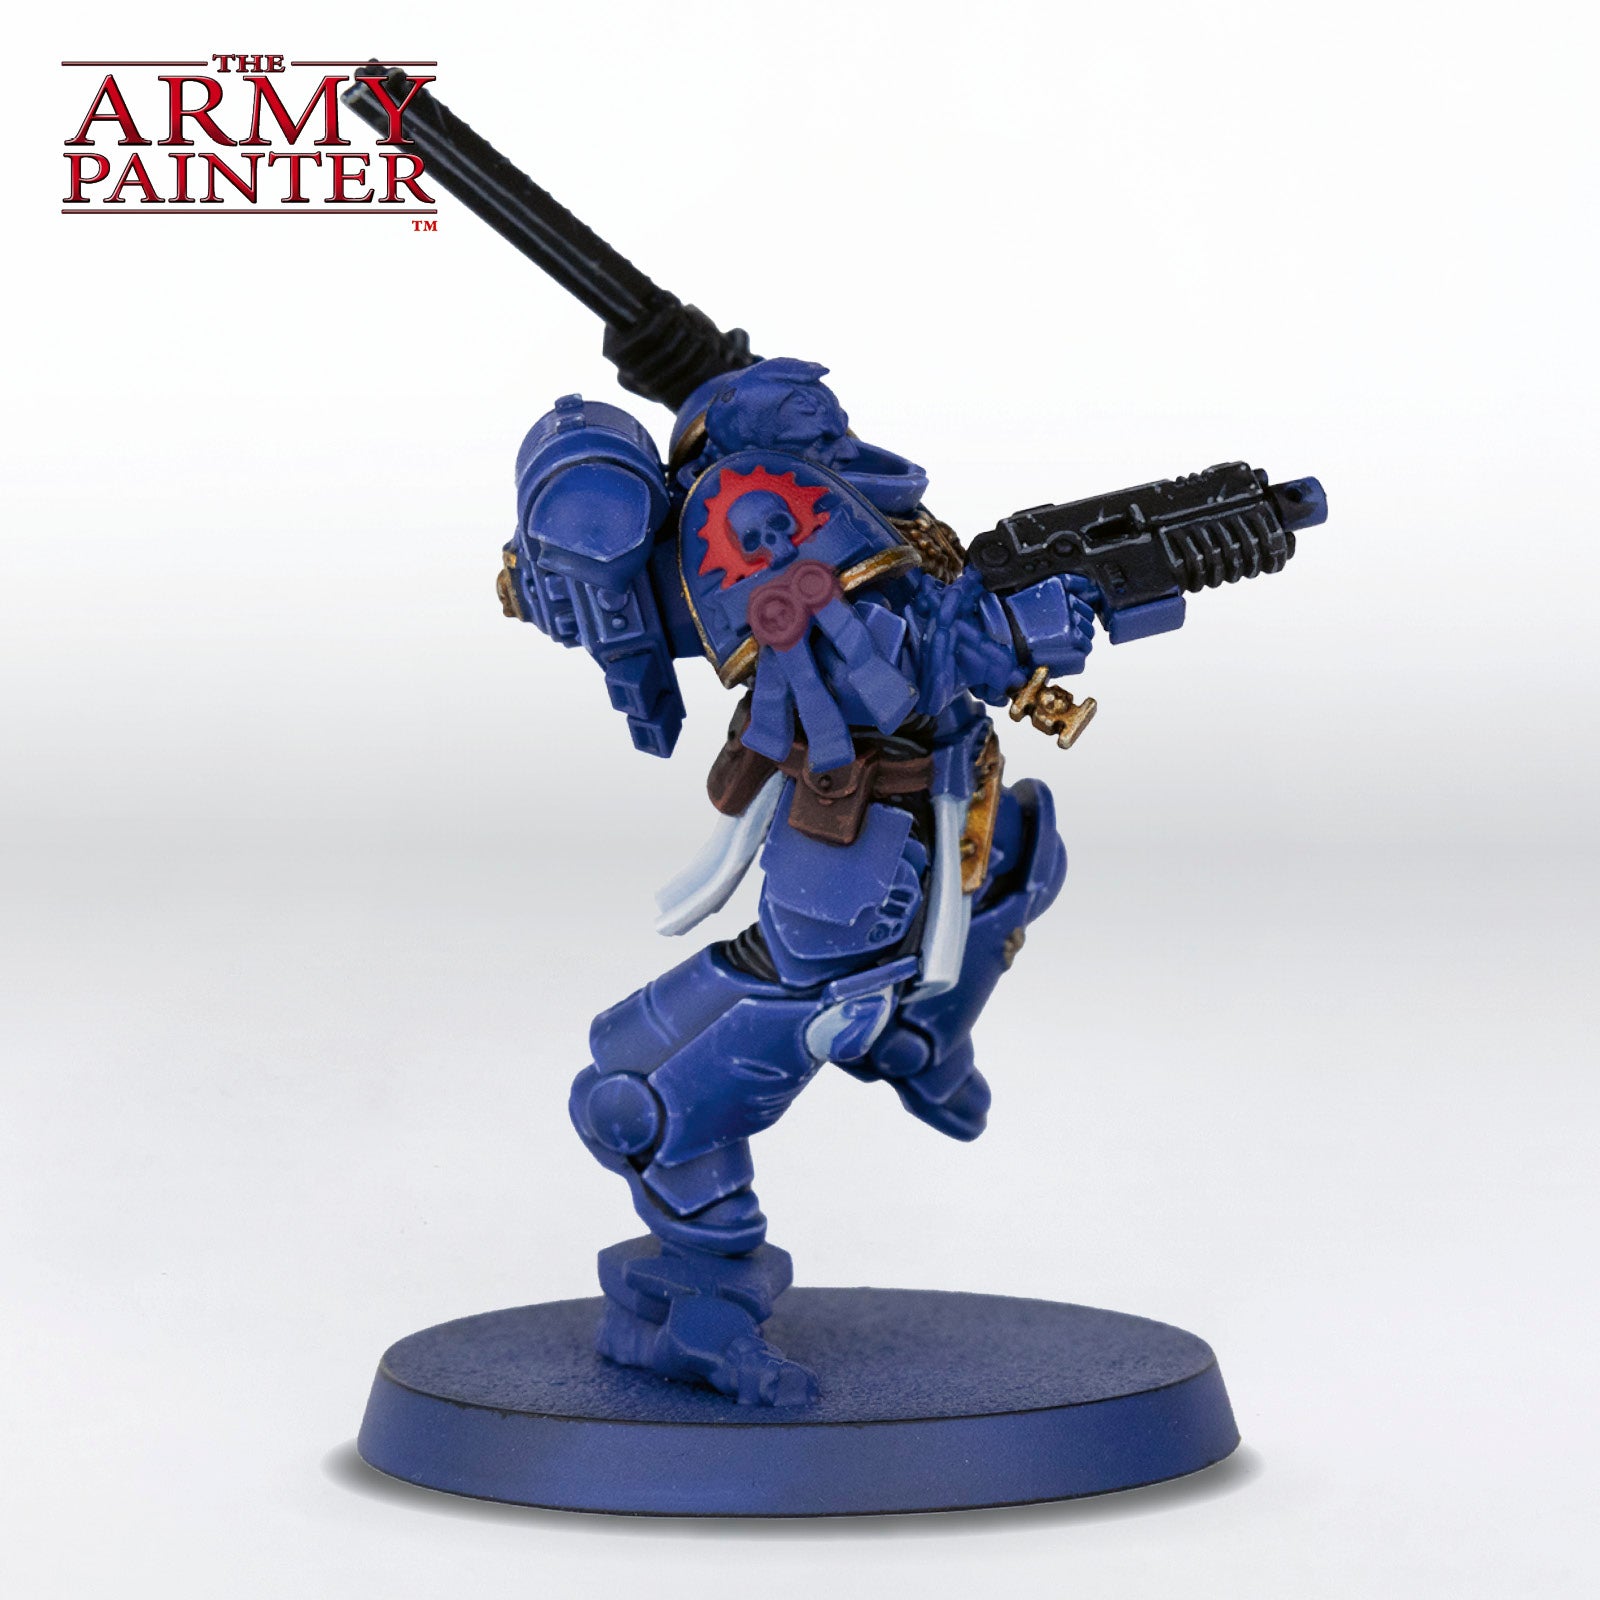
Don’t forget to add his chapter symbol to his left shoulder pad using a transfer. We applied a bit of shading to the transfer using the same methods we used to paint the white areas and then weathered it a bit to match his armour. The base was done in a simple dirt and grass scheme, with a few extra trophies added on, but you can base him to match your collection.
Be sure to tell us what you thought of this tutorial format, if you have any suggestions for improvements in the future, or even which models you want us to tackle.
If you paint your own model following one of these guides, tag it with #thearmypainteracademy to share your work!