Learn How to Paint True-Metallic Metals (TMM)
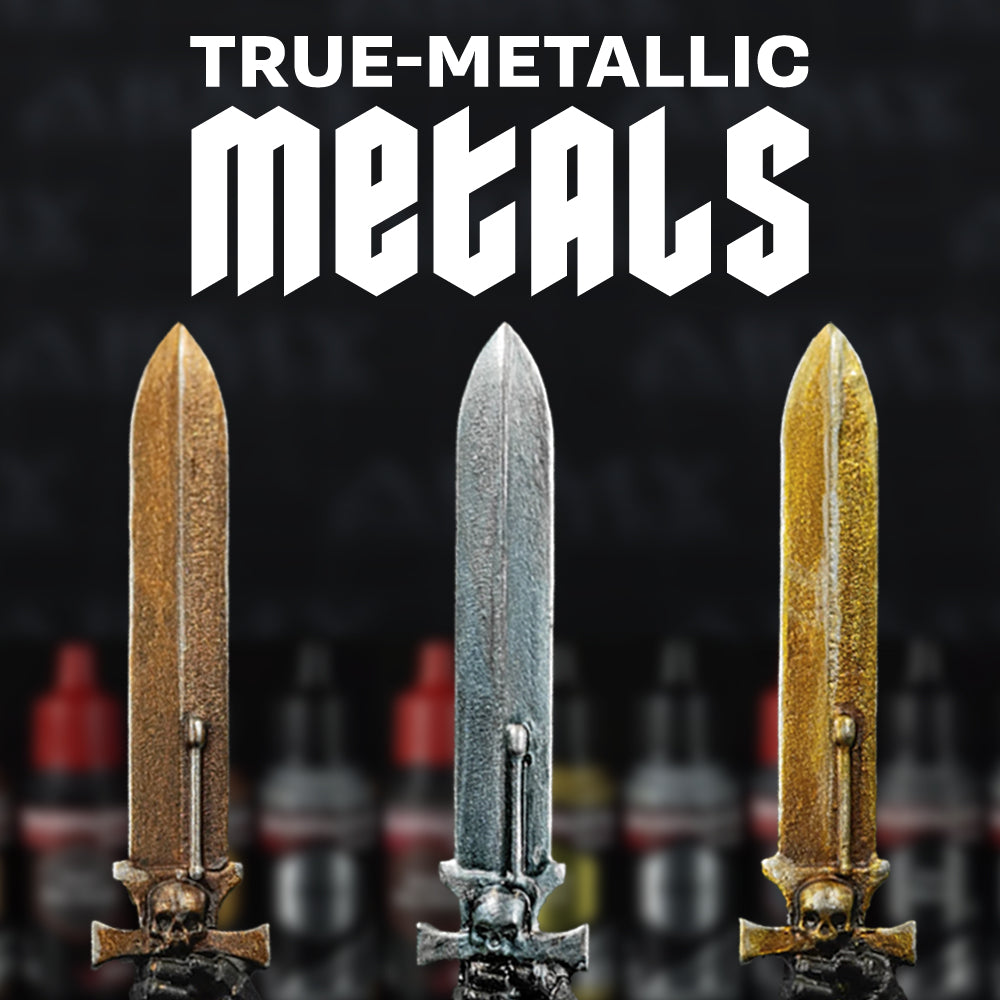
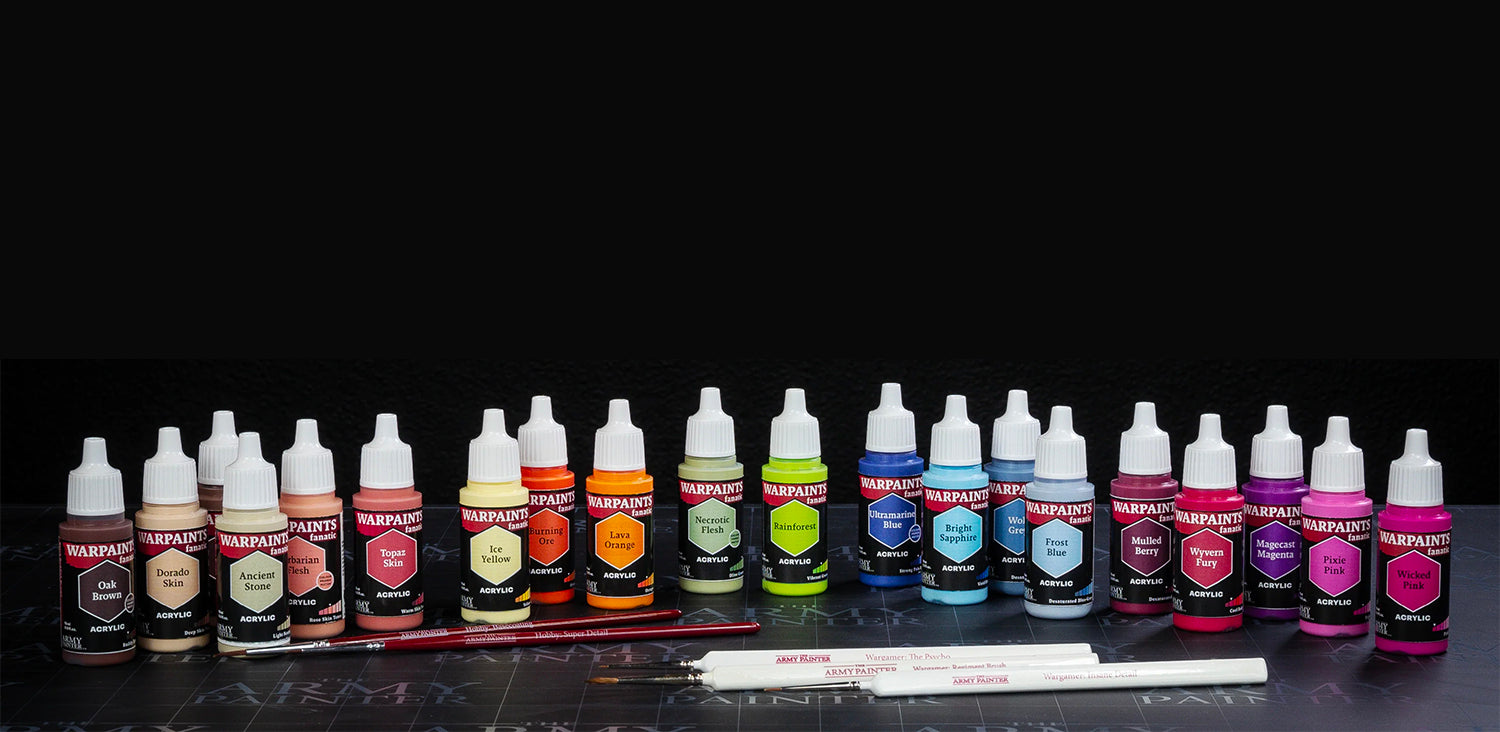
Painting TMM with Warpaints Fanatic Metallics
Magical armour, wicked weaponry, or monstrous war machines.
Using metallics can add depth, contrast, and a touch of realism to your miniatures.
And with the improved Warpaints Fanatic Metallics paints that feature a specialised blend of aluminium flake and mica for unsurpassed coverage, colour, and sheen, painting metallics has never been easier!
So, follow this guide and learn how to paint True-Metallic Metal (TMM) gold, silver, and bronze in just five easy steps.
Step-by-Step Guide to Painting TMM
In the following guides, we’ll break down the True-Metallic Metal (TMM) techniques for painting bronze, gold, and silver using the Warpaints Fanatic Metallics.
Let's get painting!

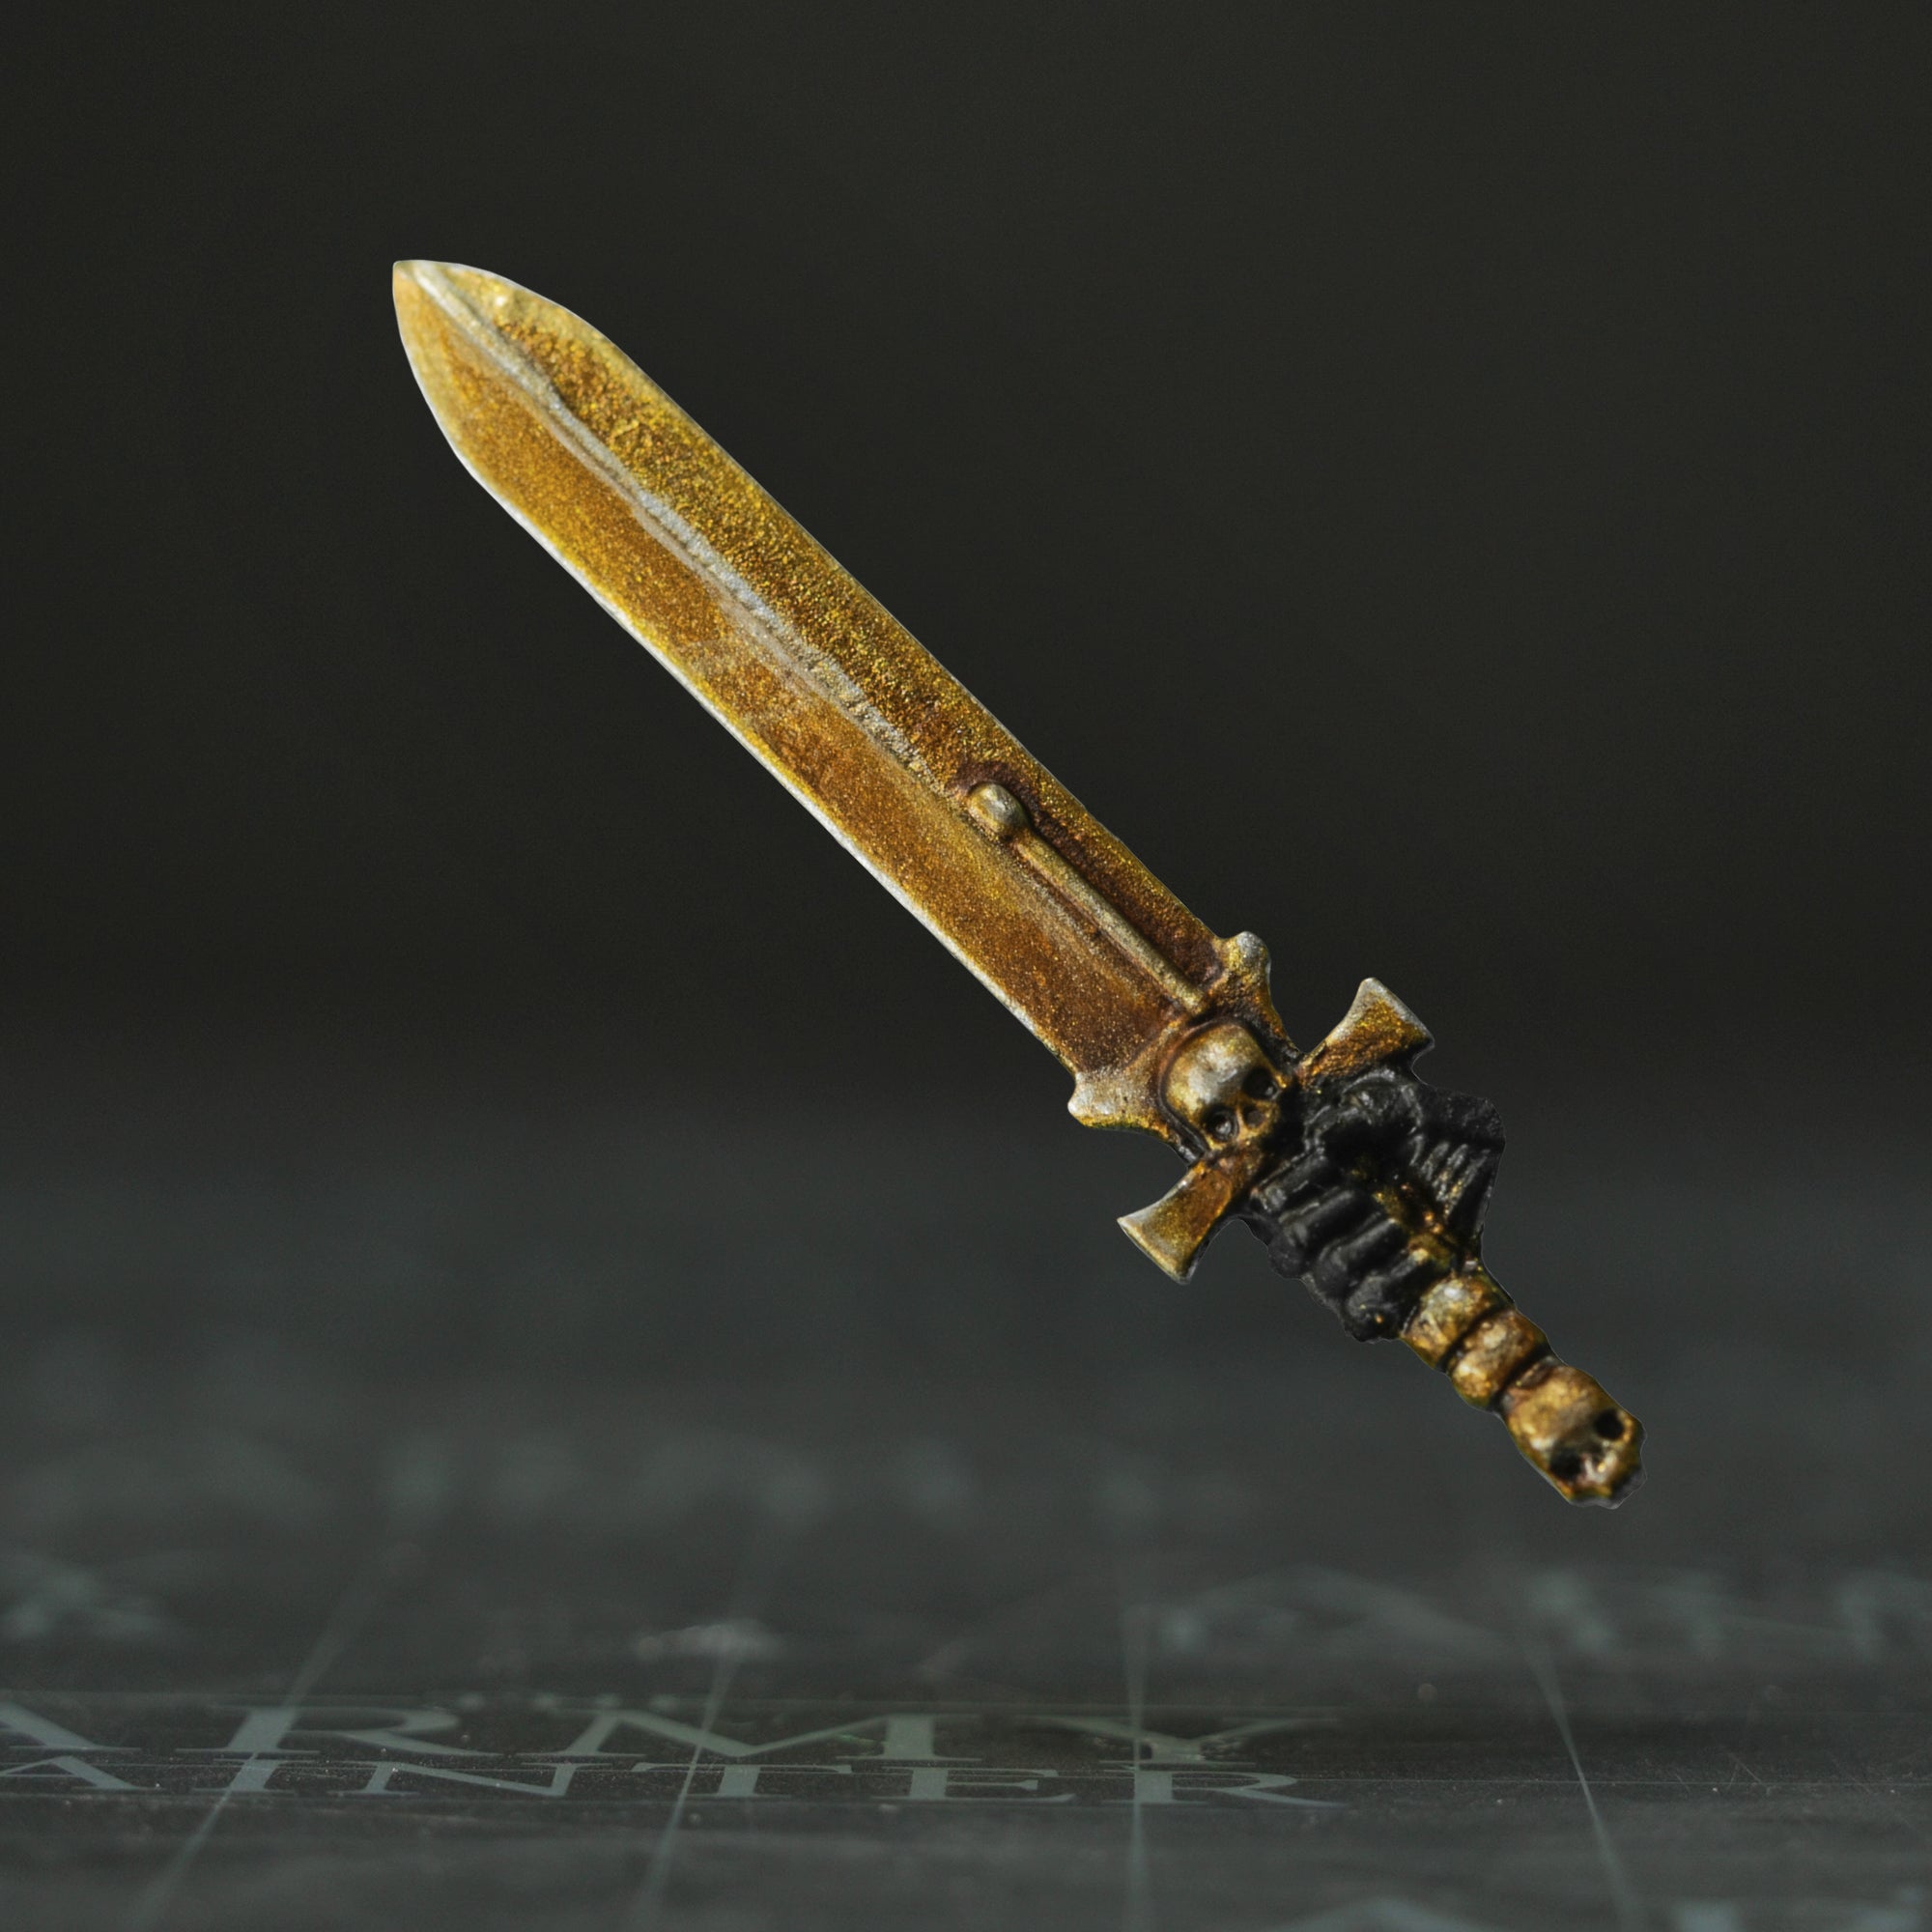
Guide to Painting Gold TMM

Step 1
Apply a basecoat of Greedy Gold.
Gold is traditionally a difficult colour to paint, but the new Fanatic Alcrylic blend of aluminium and mica really elevates the performance of these paints.
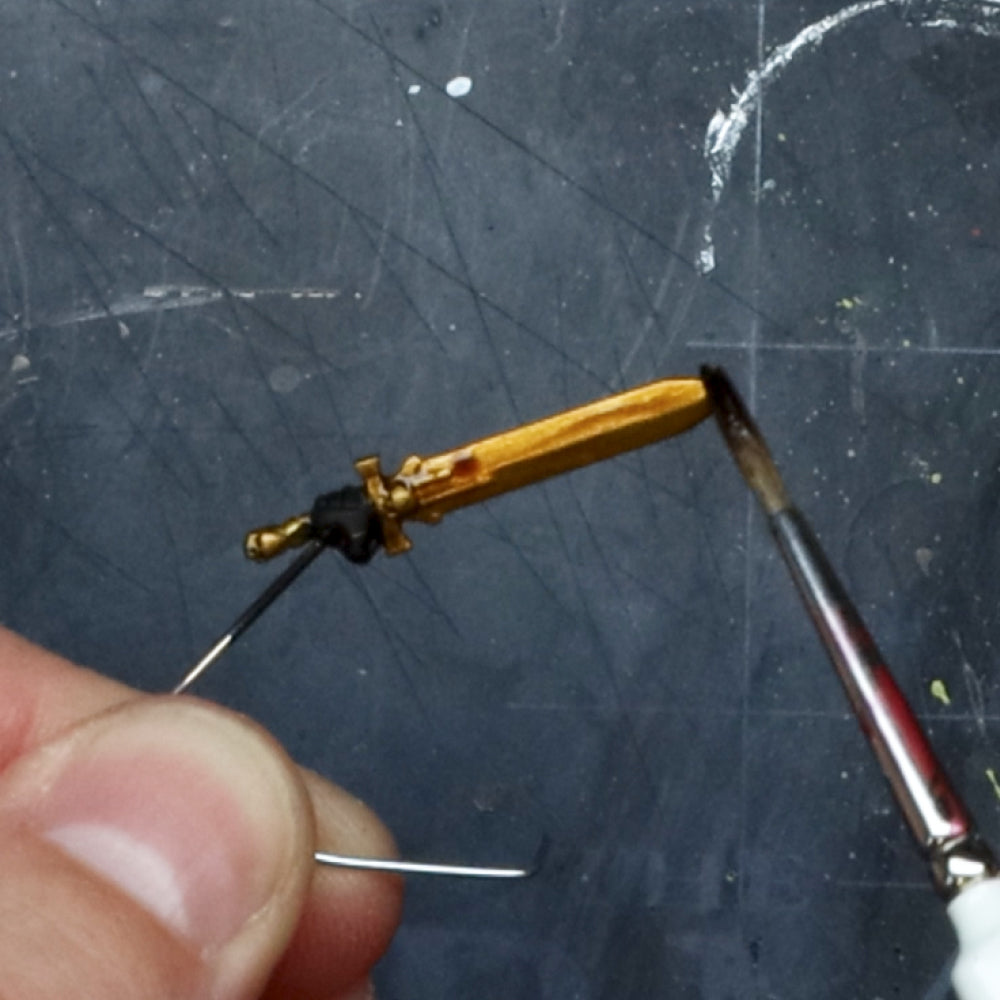
Step 2
Once the basecoat has dried, apply a shade with the Strong Skin Wash. This wash has inherent red and brown tones in it that really complement gold nicely.
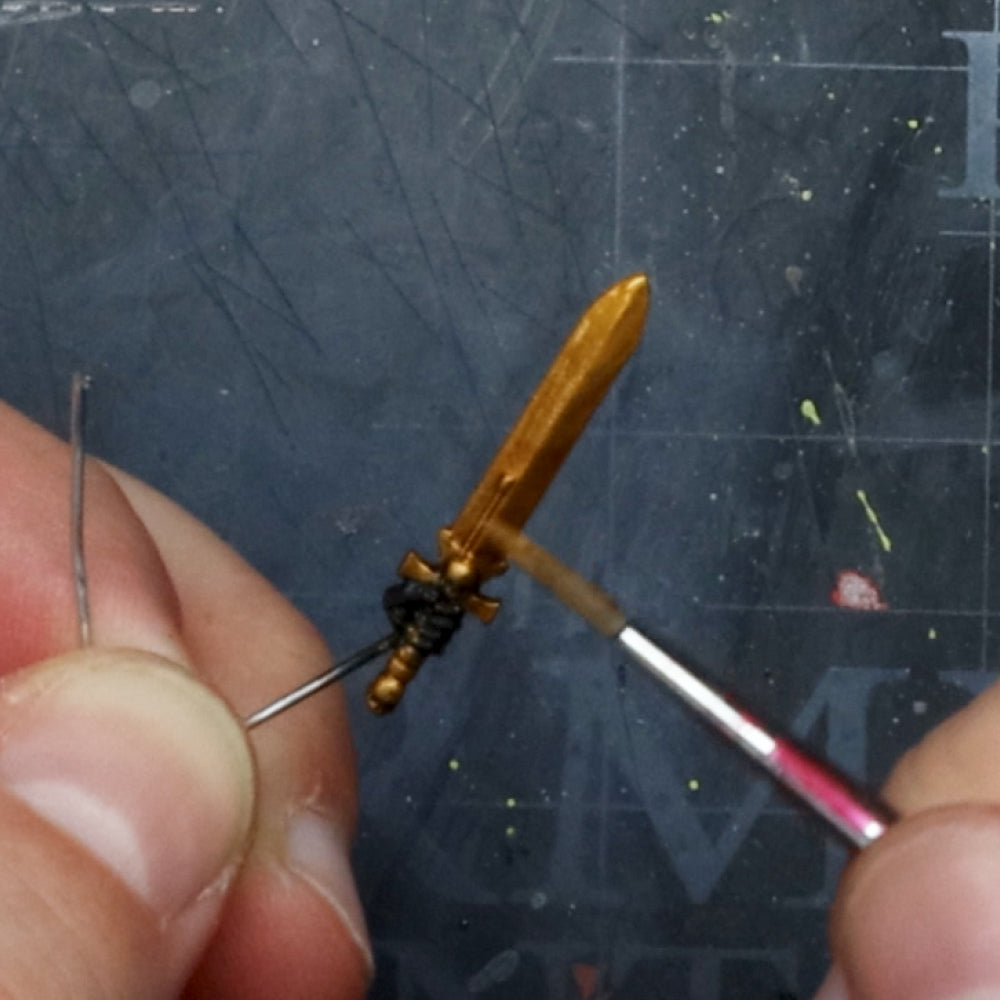
Step 3
As the wash will darken the model, use Greedy Gold again over the raised areas to reestablish the basetone.
Step 4
Use a simple blend with Bright Gold to apply gentle highlights over the most raised areas. Be careful not to paint any of this into the recesses of your miniature.
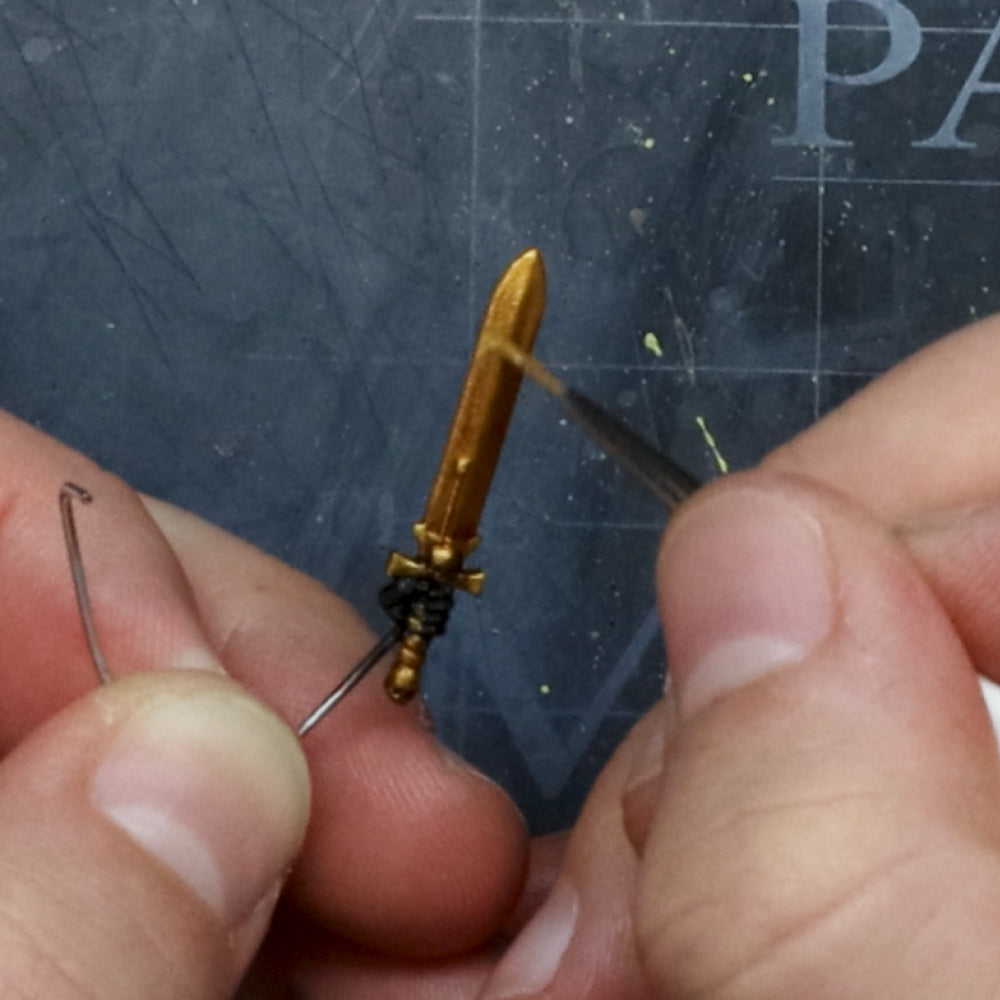
Step 5
Mix in some Mithril for a very nice gold edge highlight.
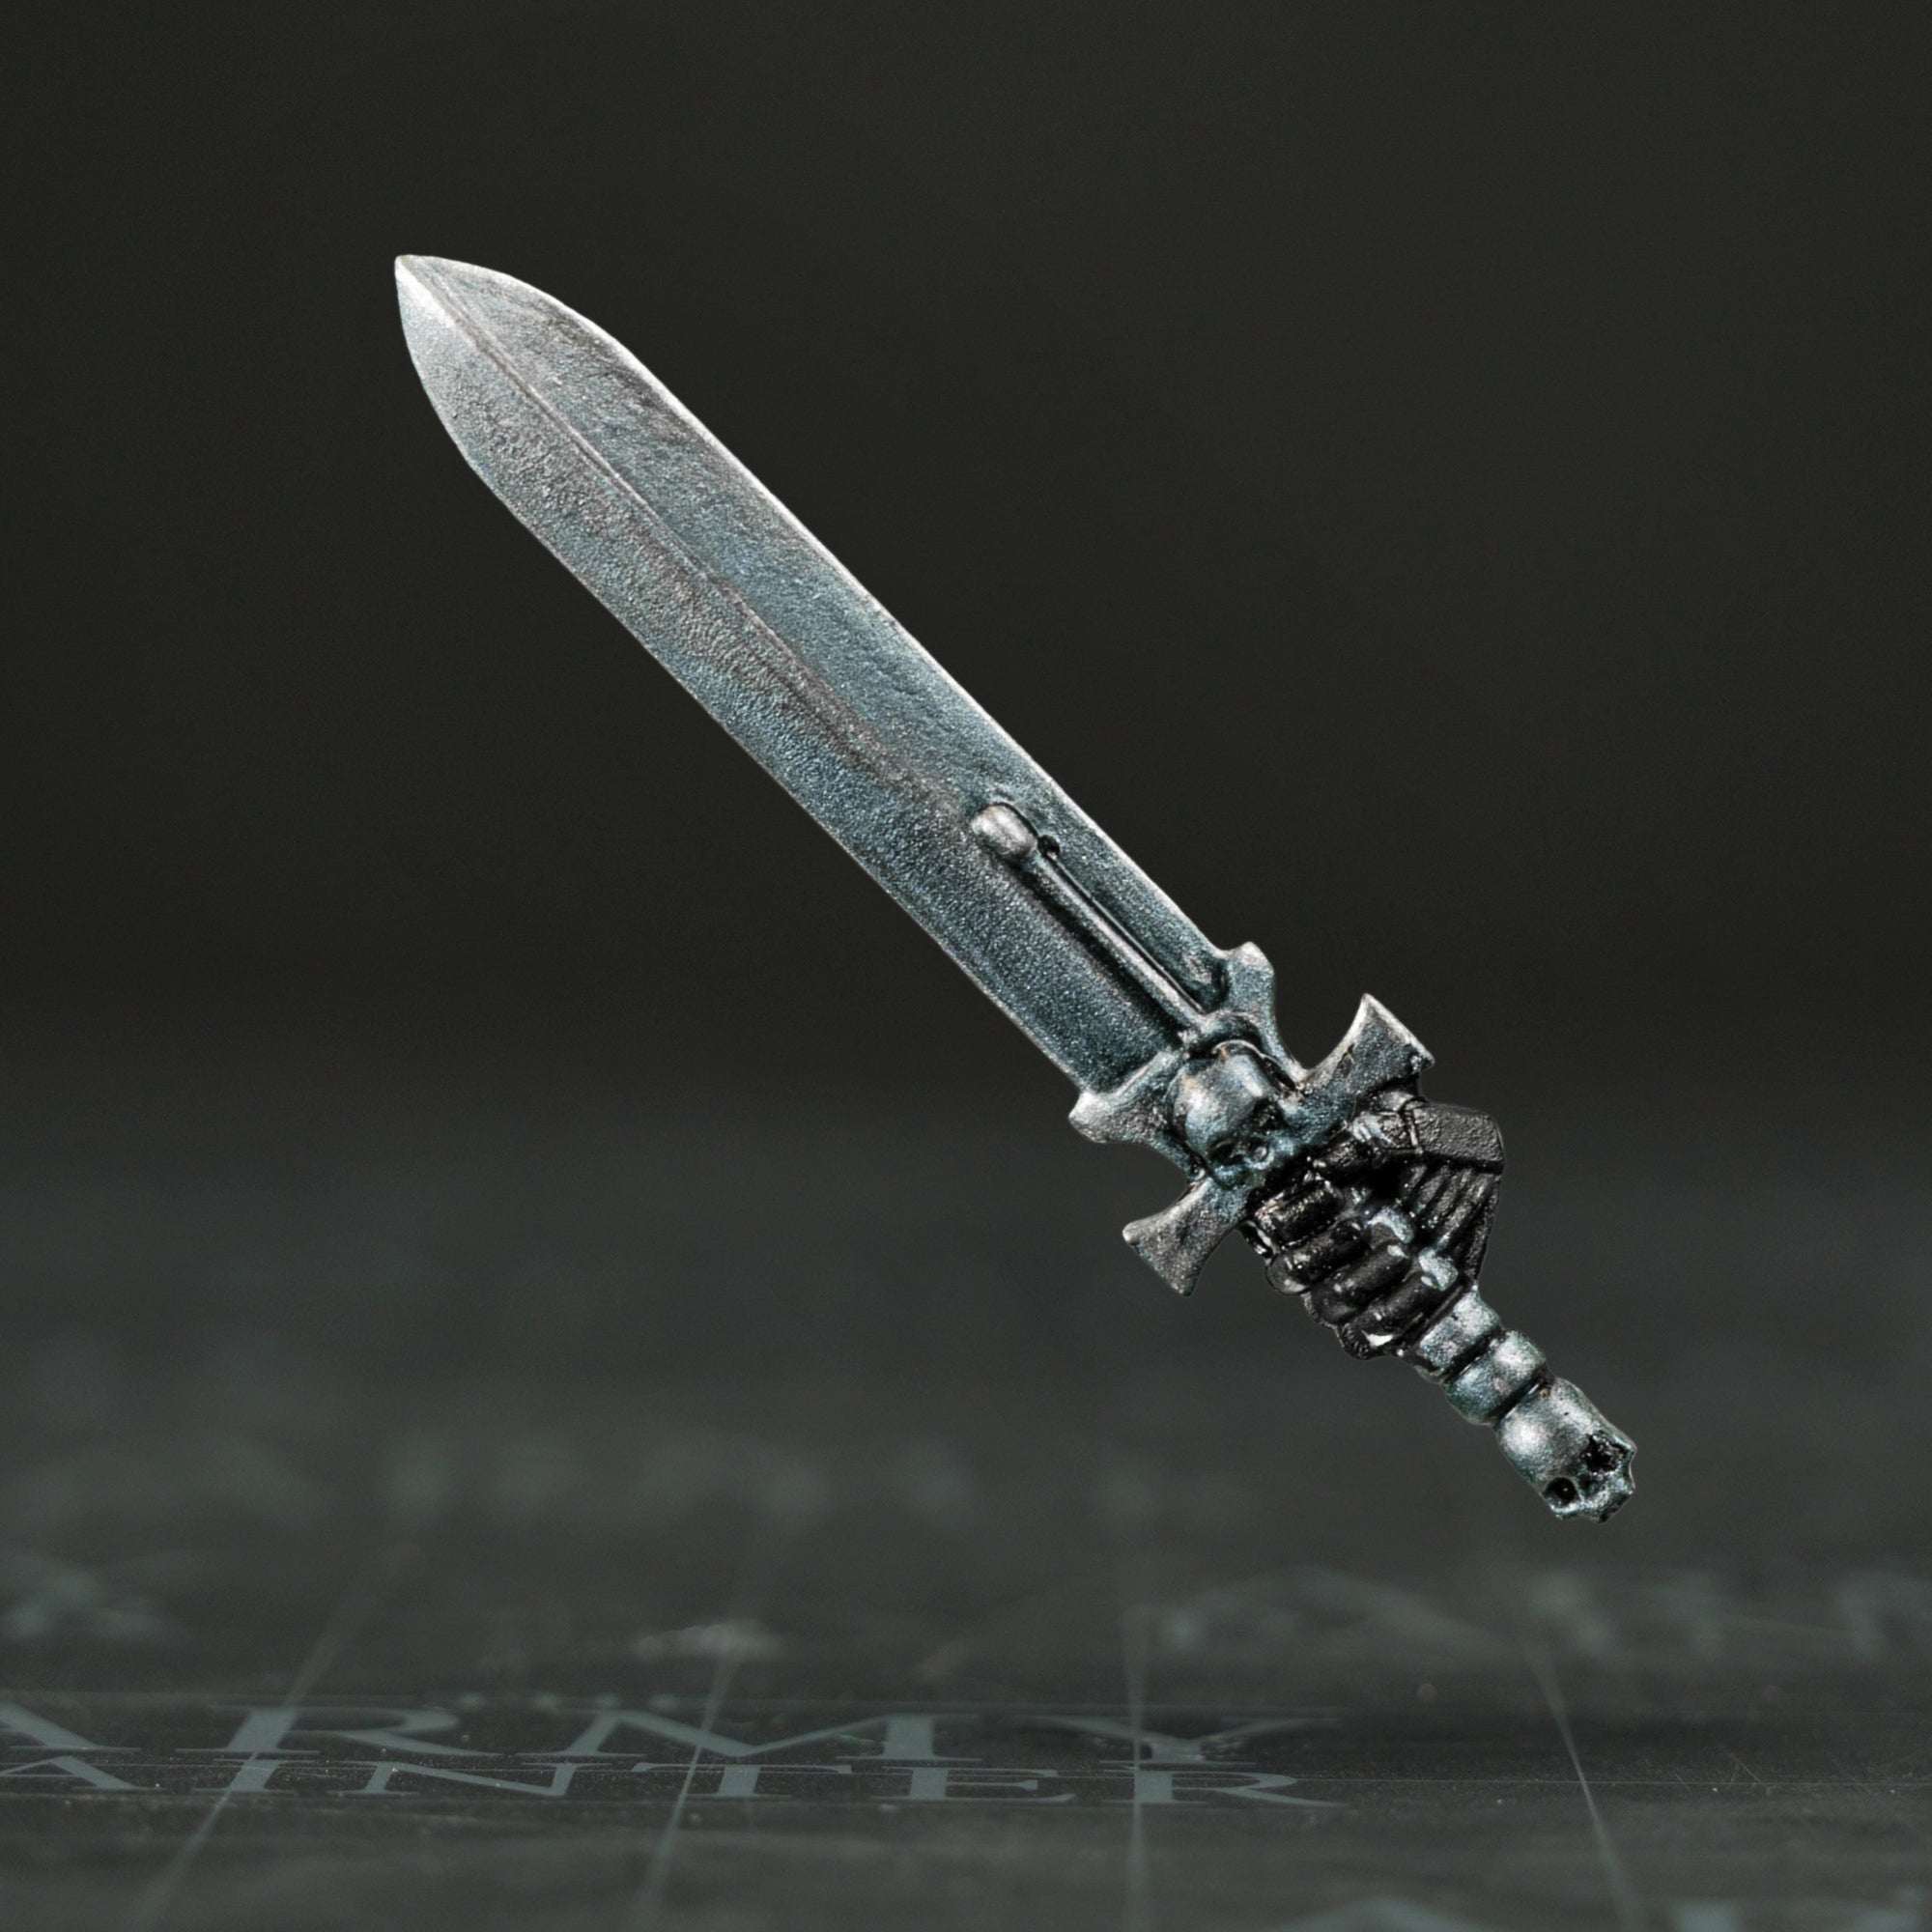
Guide to Painting Silver TMM
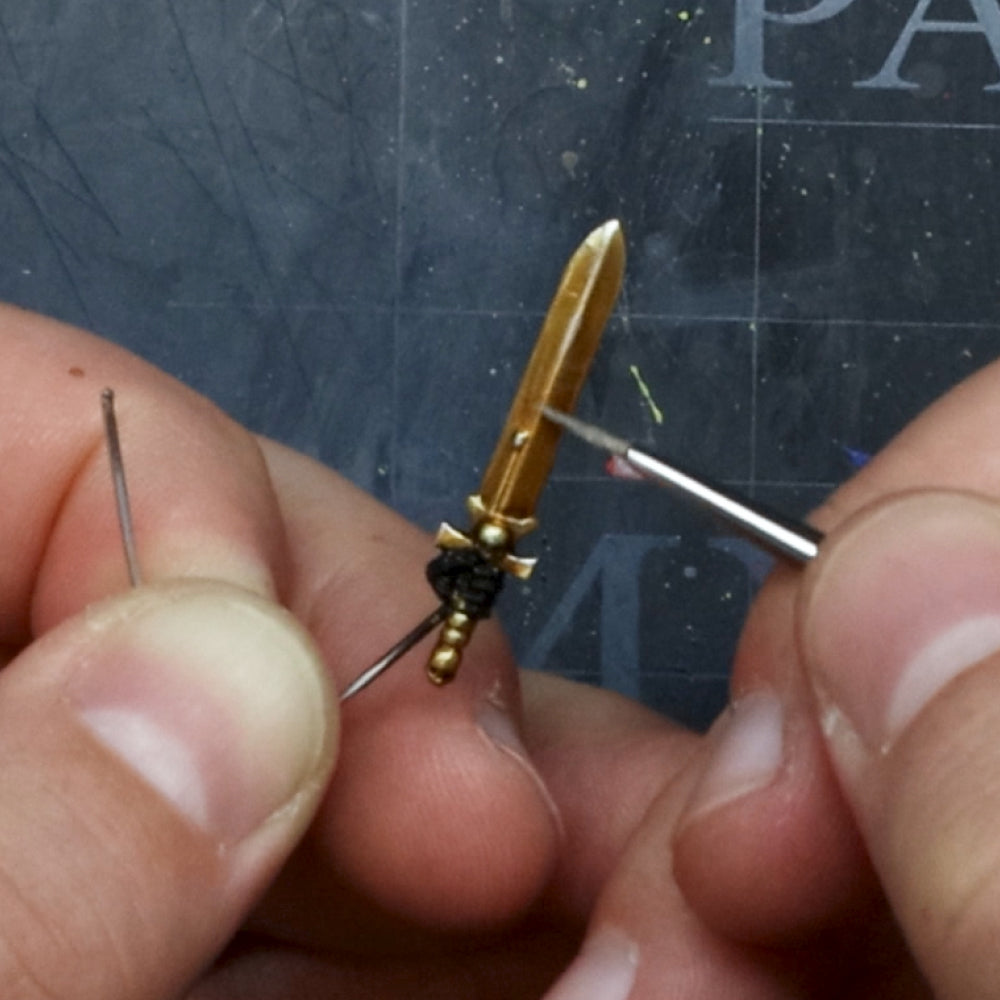
Step 1
Use Cobalt Metal to apply a basecoat. Cobalt Metal is a grey metallic with a touch of blue to it, making it a very nice baseline for any silvers or grey metallics.
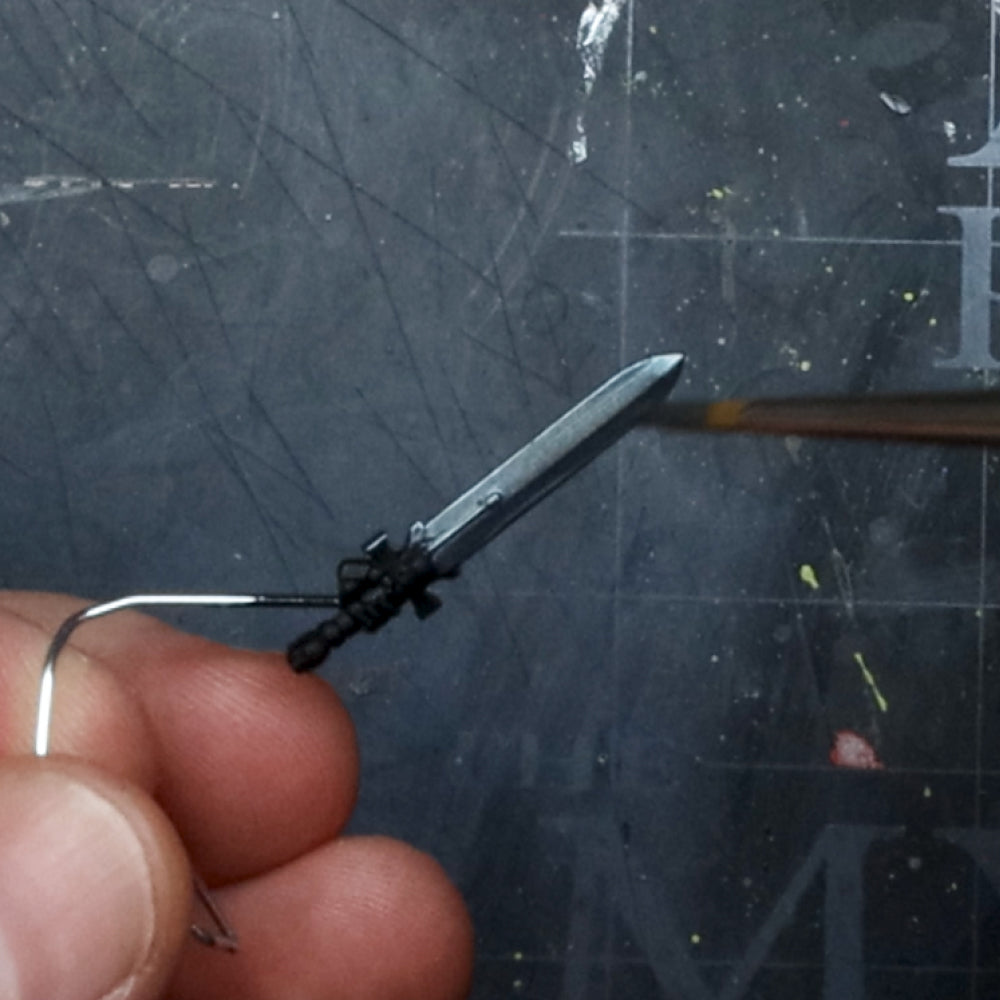
Step 2
Once the basecoat has dried, apply a shade with the Dark Blue Tone Wash.
This wash complements the inherent blue tones of the Cobalt Metal basecoat.
You can also use Dark Tone or Strong Tone depending on how clean or gritty you want your metallics to look. Make sure to work the wash into the miniature’s recesses and details.
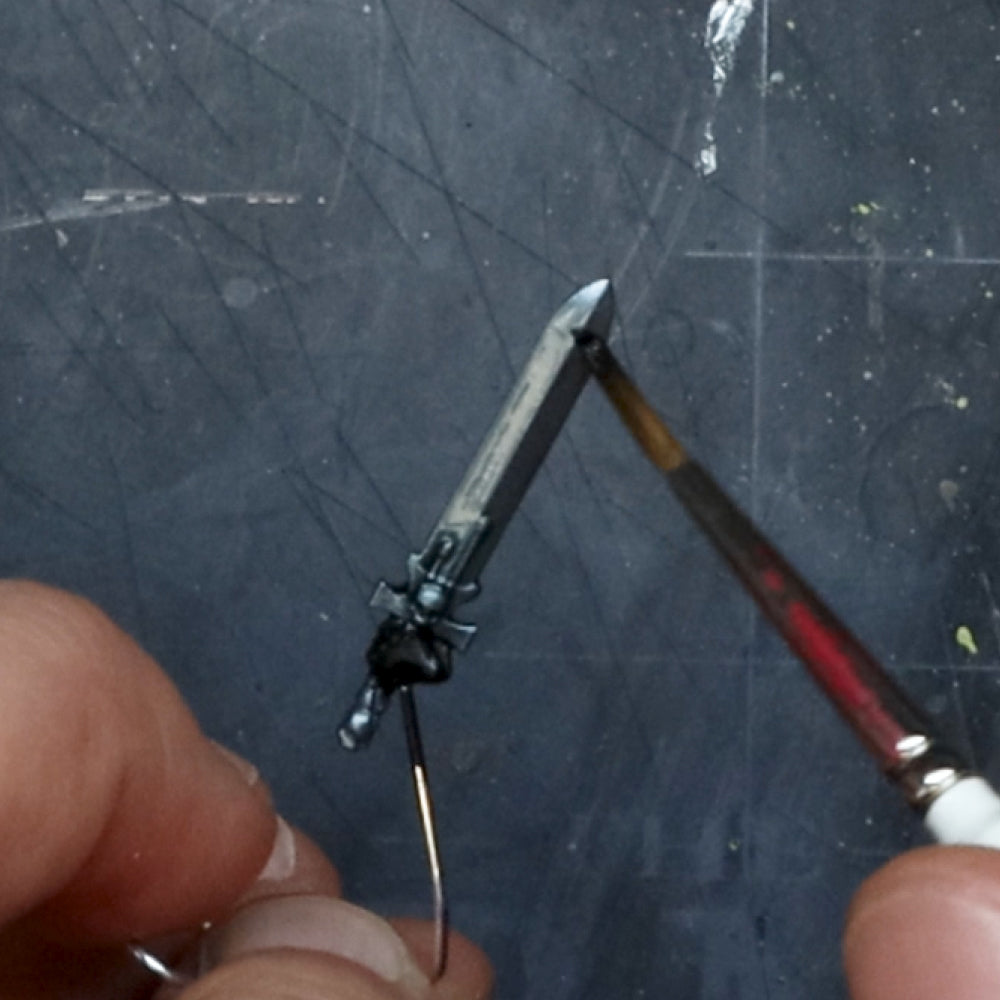
Step 3
Once the Wash has dried, reapply the basetone Cobalt Metal over the raised areas. This well help to brighten up the mini again, as the wash will darken the model down a bit.
Step 4
Use Gun Metal to apply gentle highlights over the most raised areas. Be careful not to paint any of this into the recesses of your miniature.
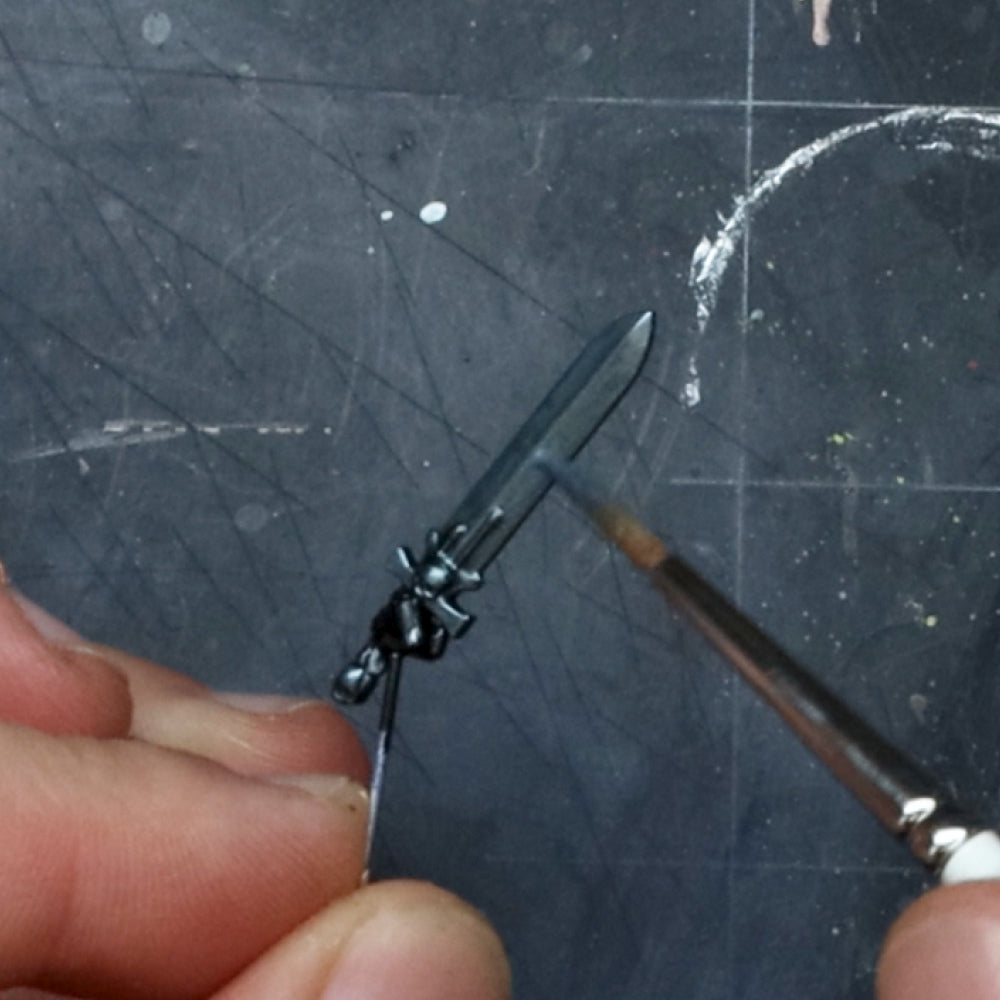
Step 5
Finish off with a refined highlight of Mithril.
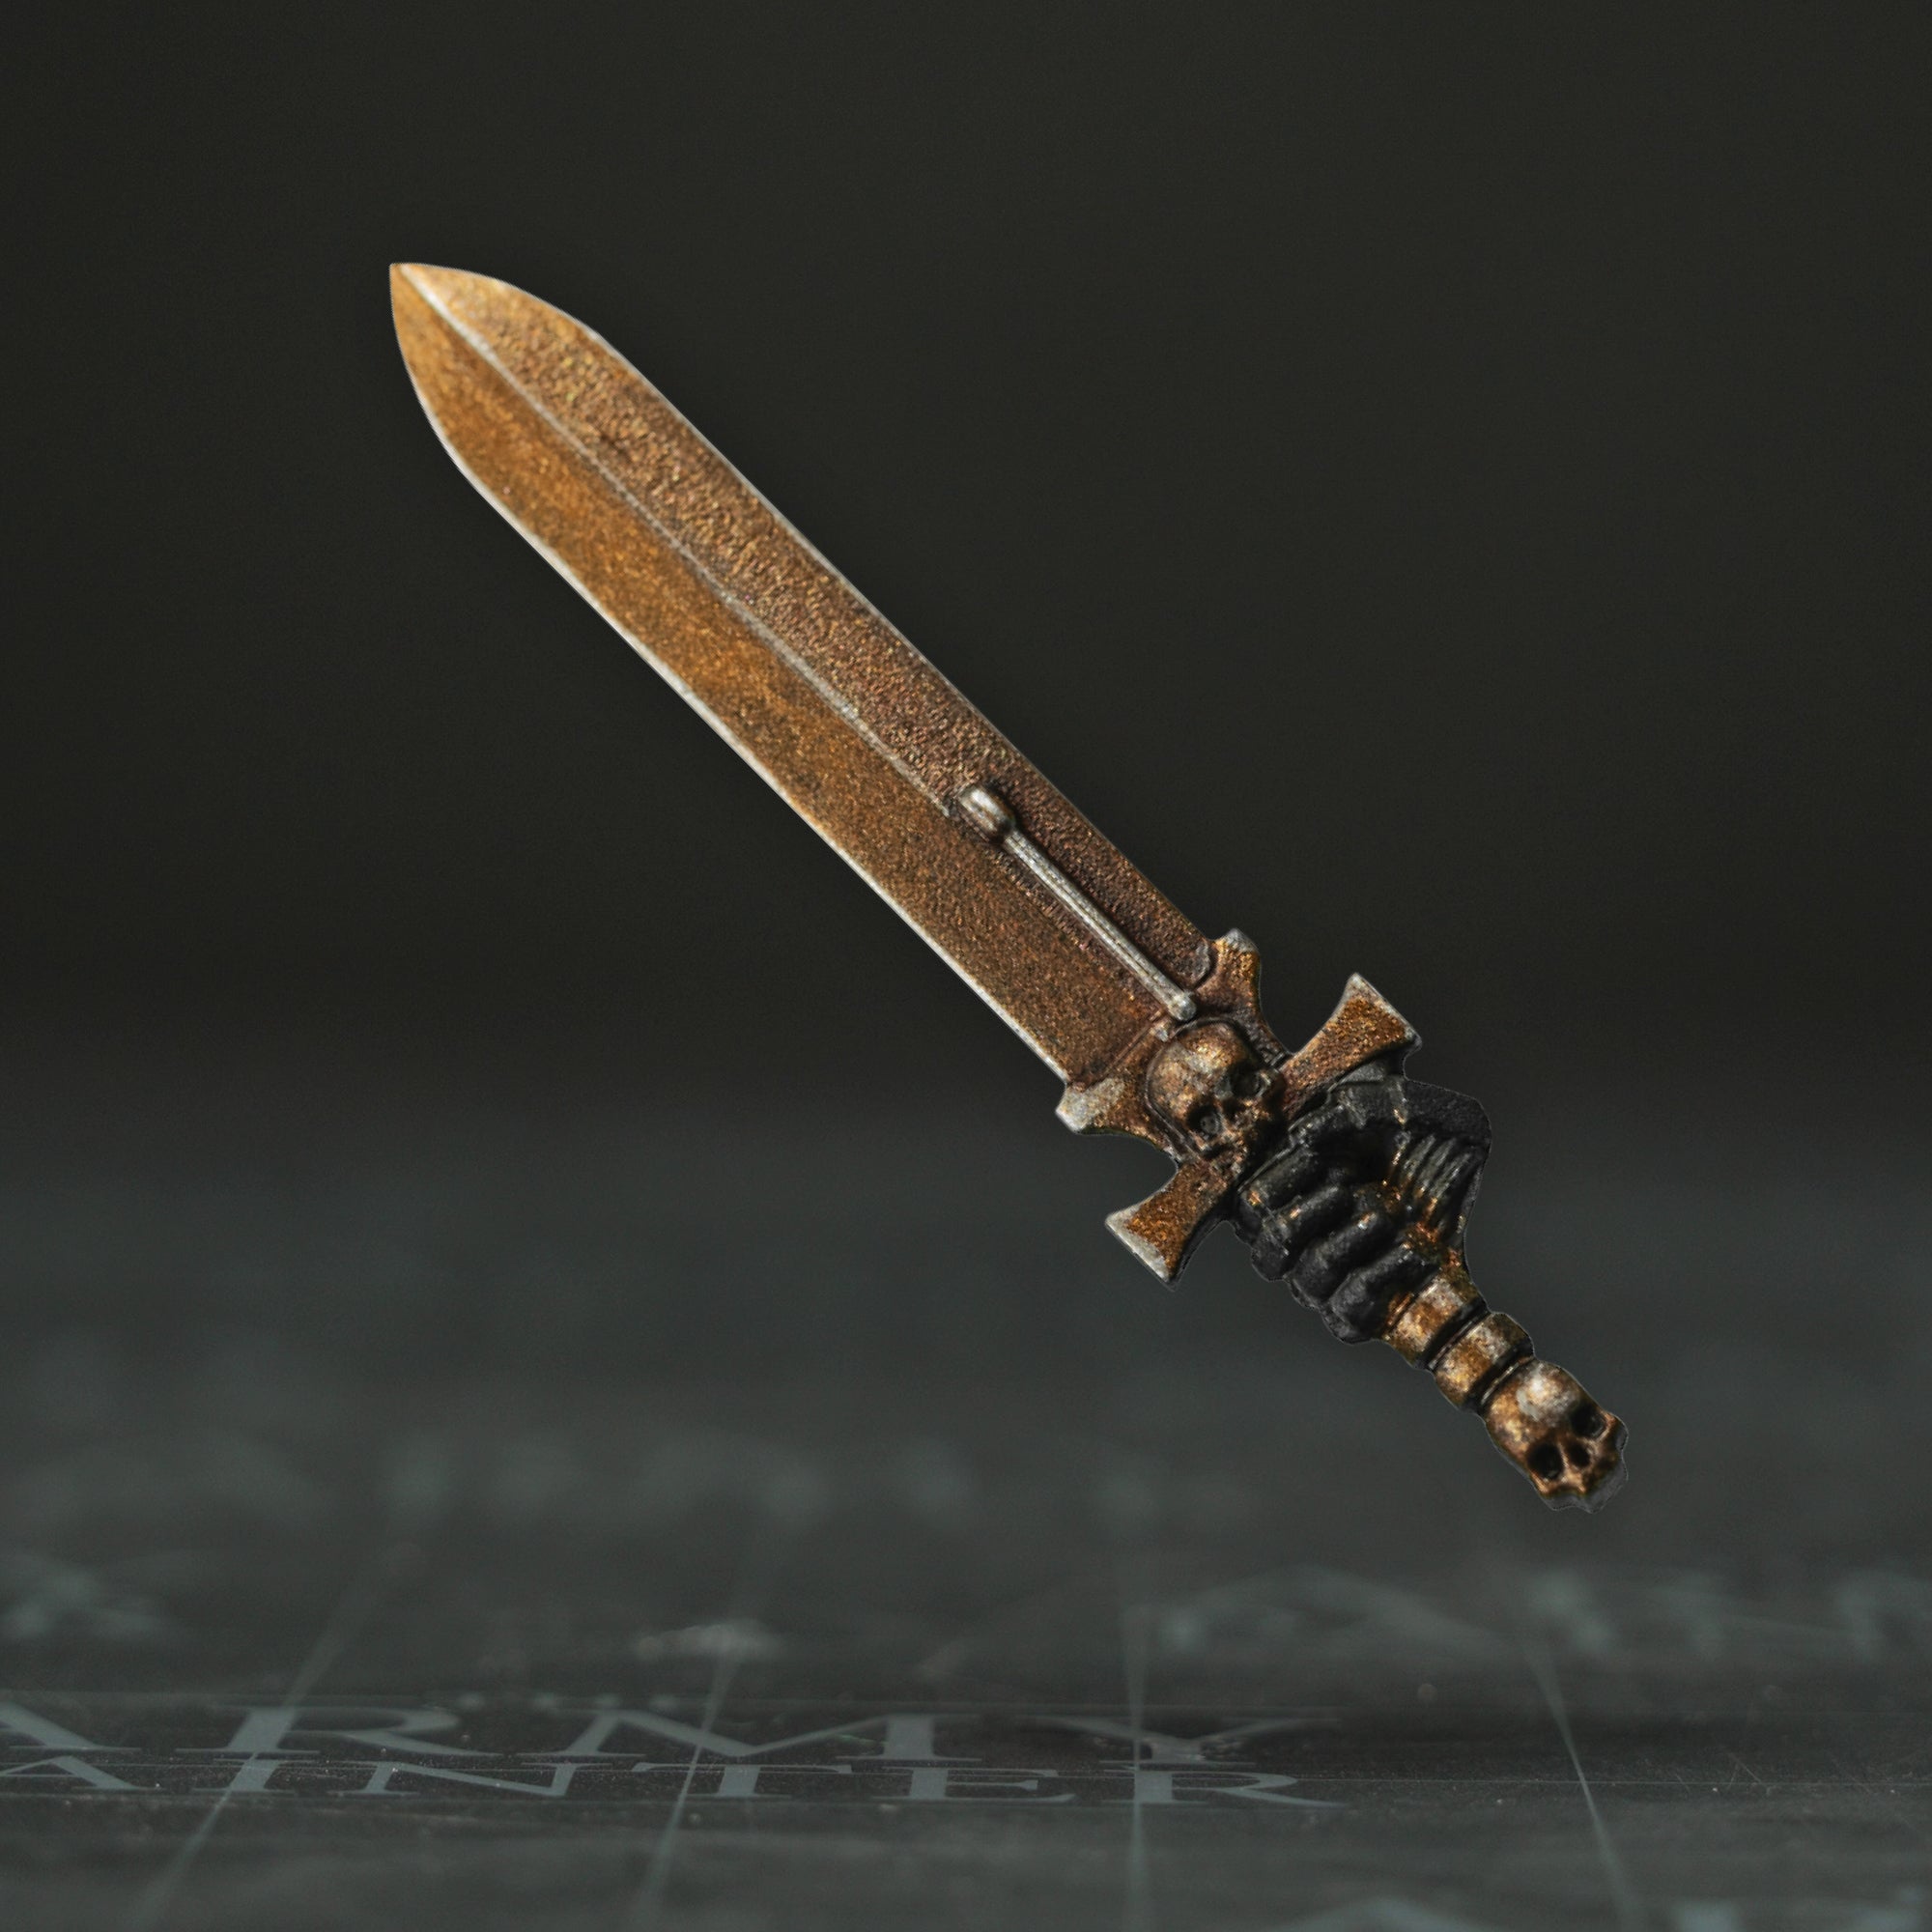
Guide to Painting Bronze TMM
Step 1
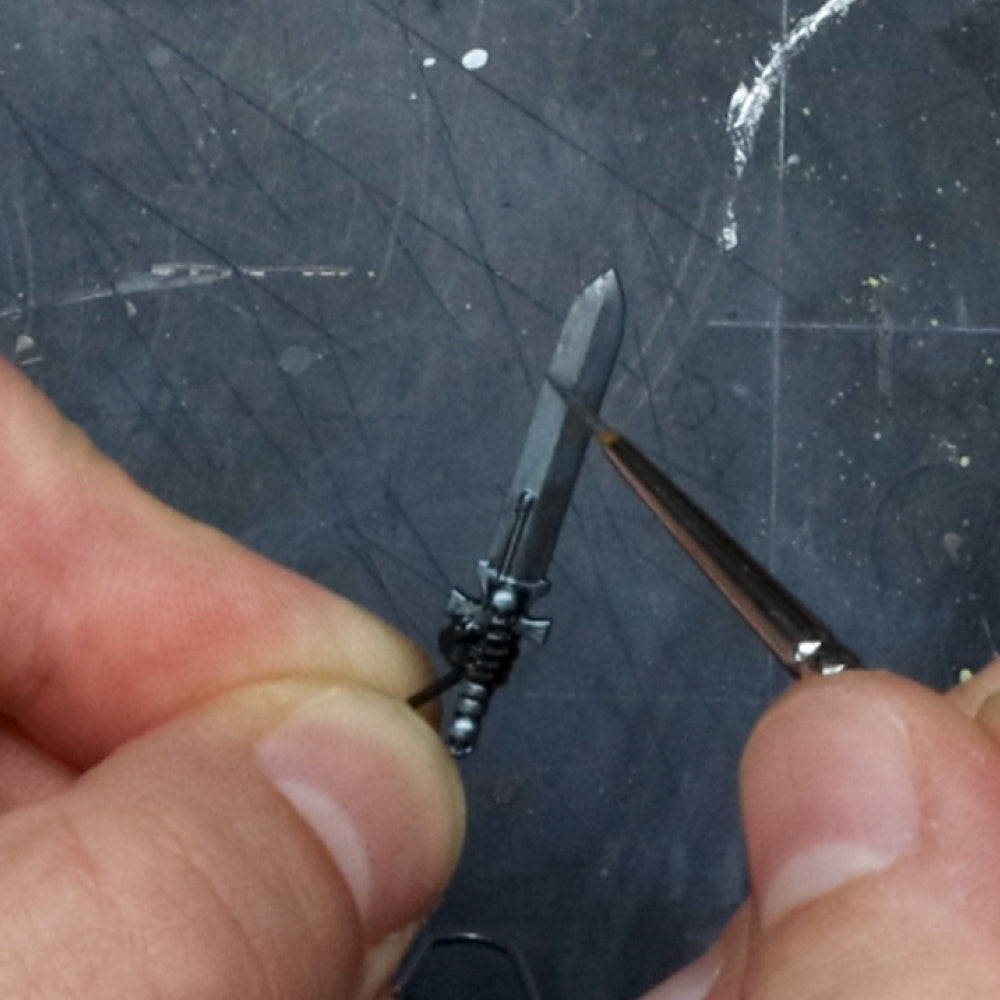
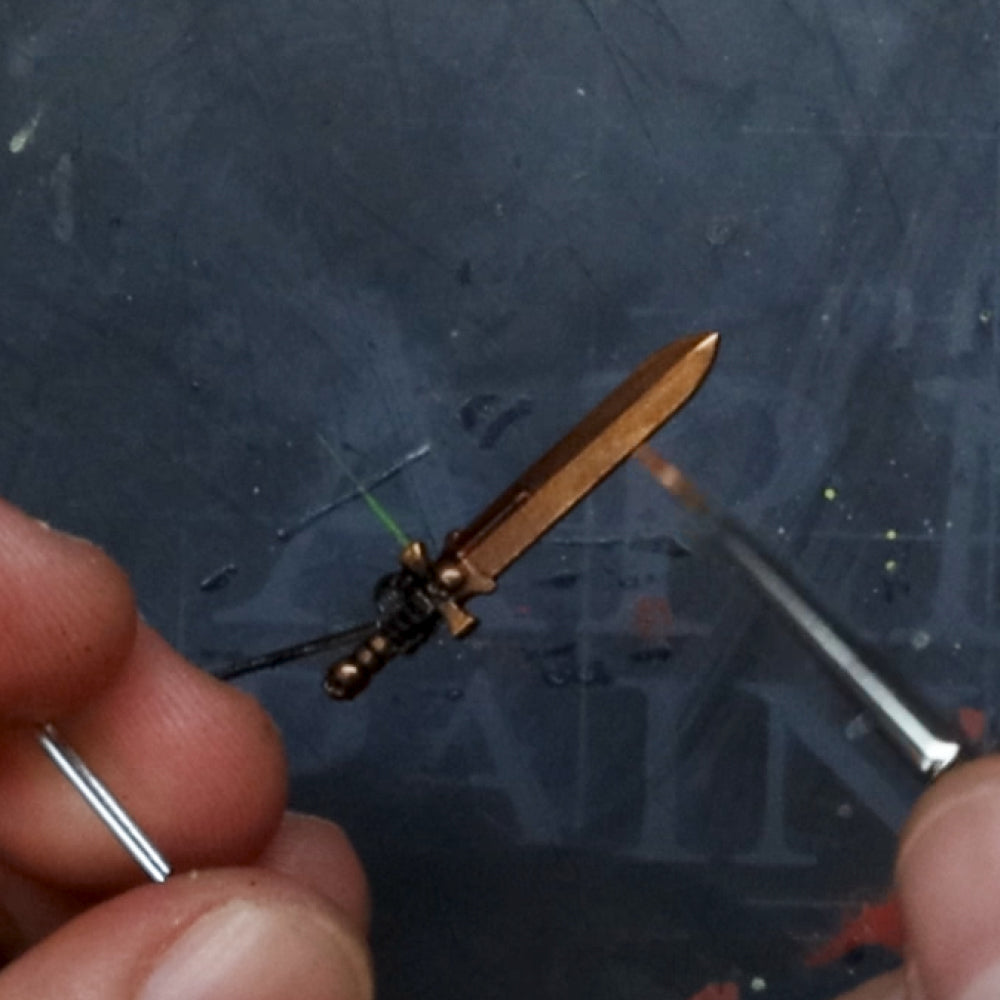
Use True Copper to apply a simple, smooth basecoat.

Step 2
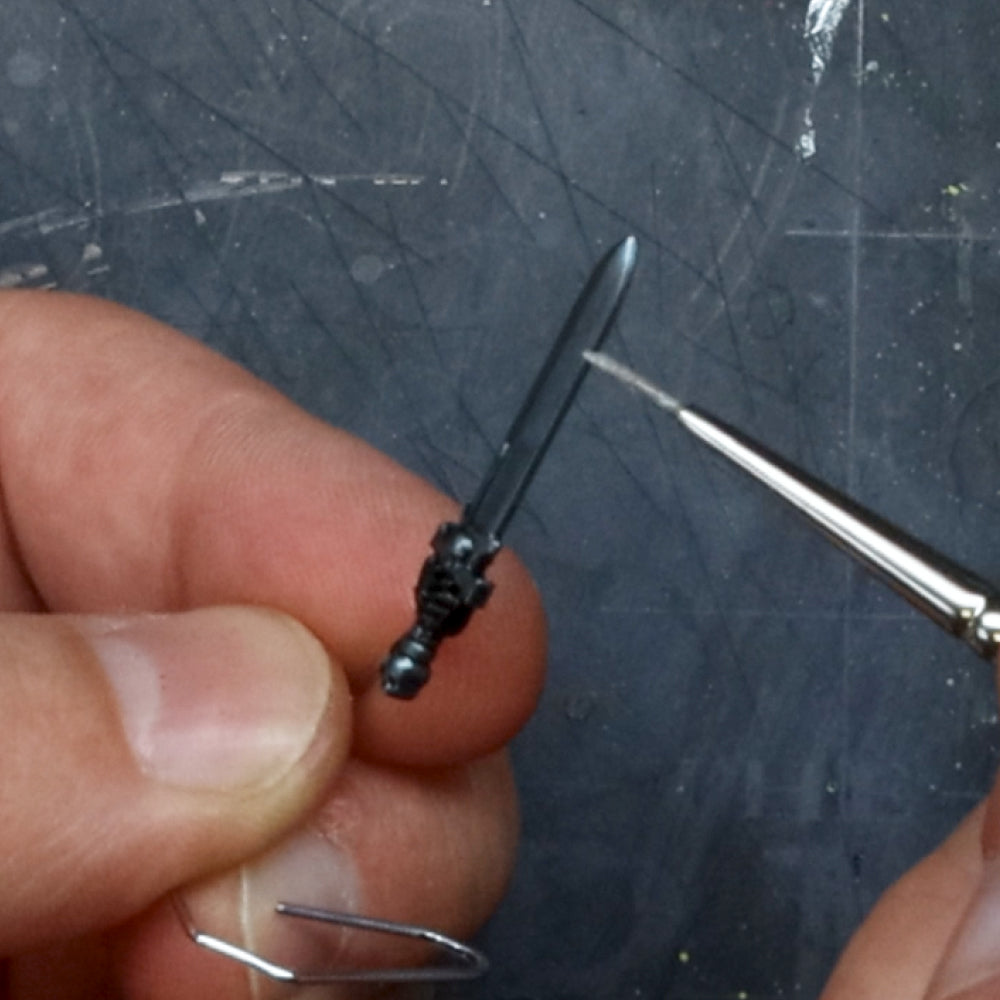
Once the basecoat has dried, apply a shade with the Dark Skin Shade Wash. Apply it all over the mini and be sure to work those deeper pigments into the recesses and details.
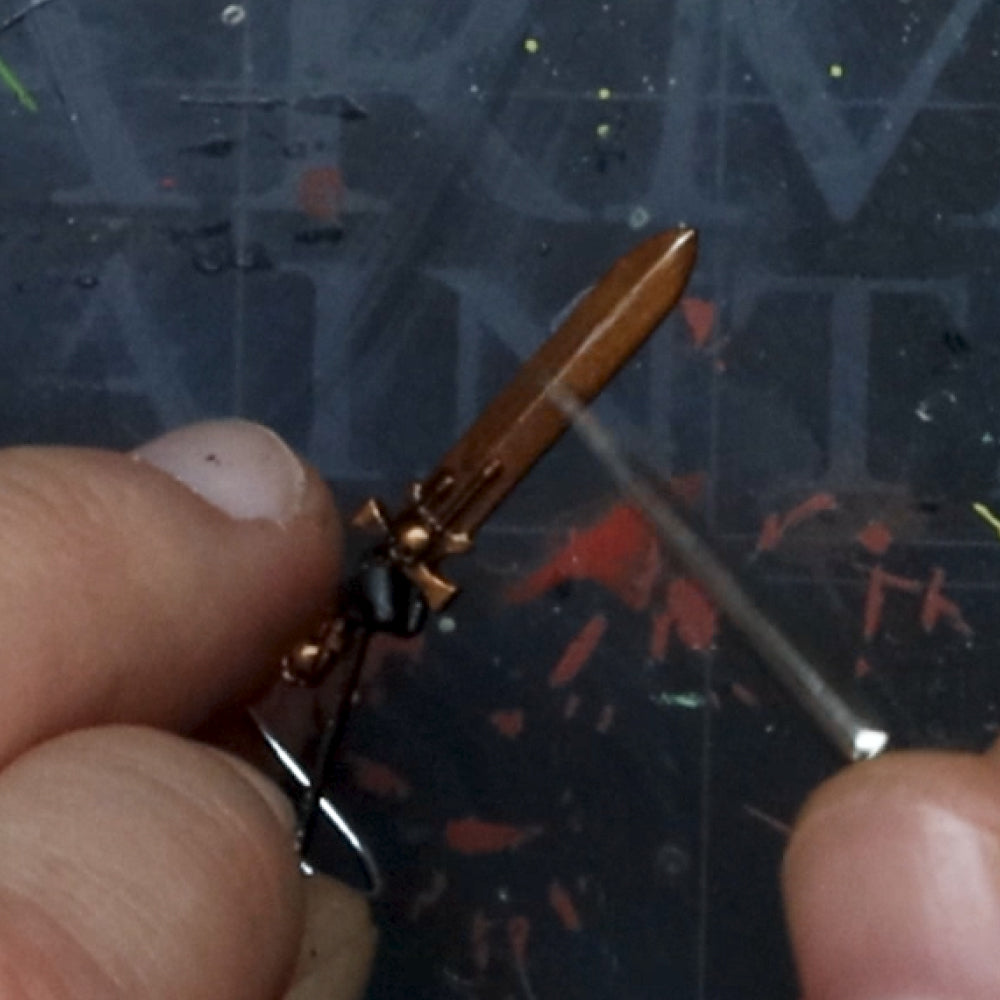
Step 3
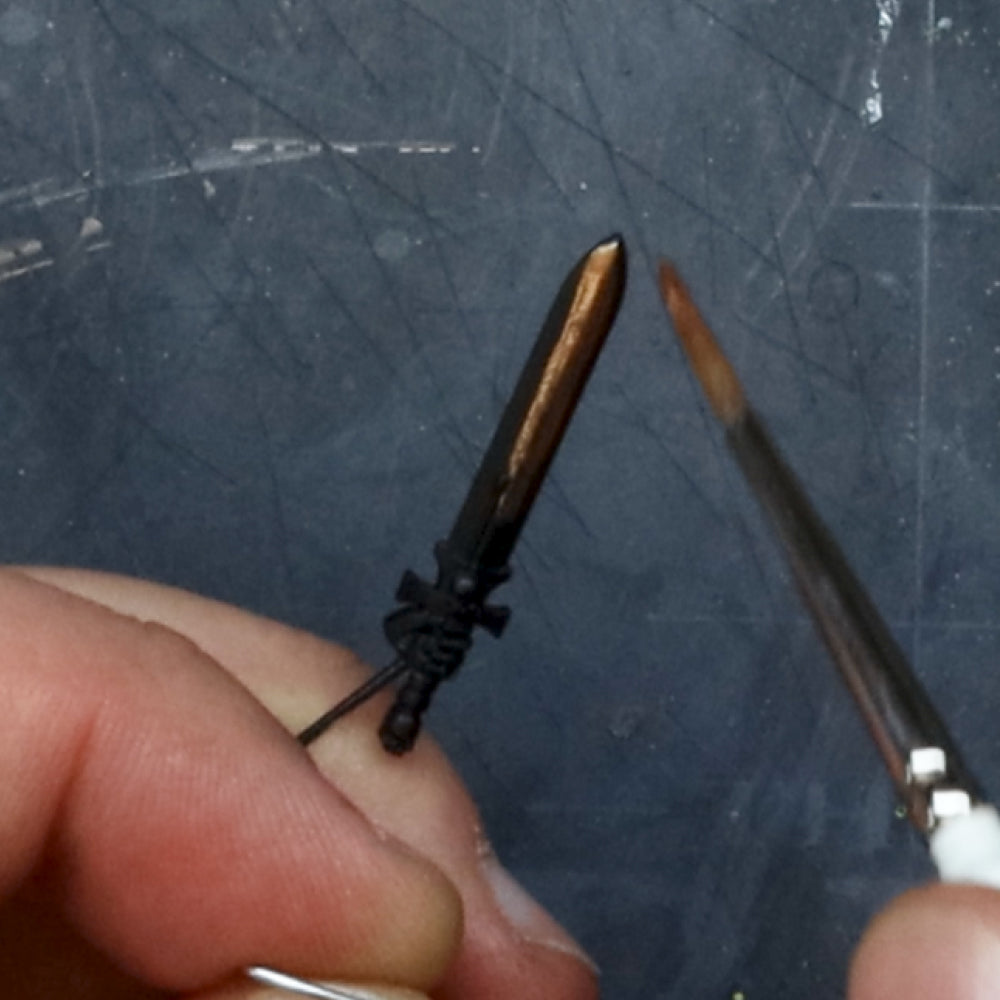
The wash will darken the model down a bit, so use the True Copper again and apply this over the raised areas, leaving the wash in the recesses. This will help to brighten it up a bit.
Step 4
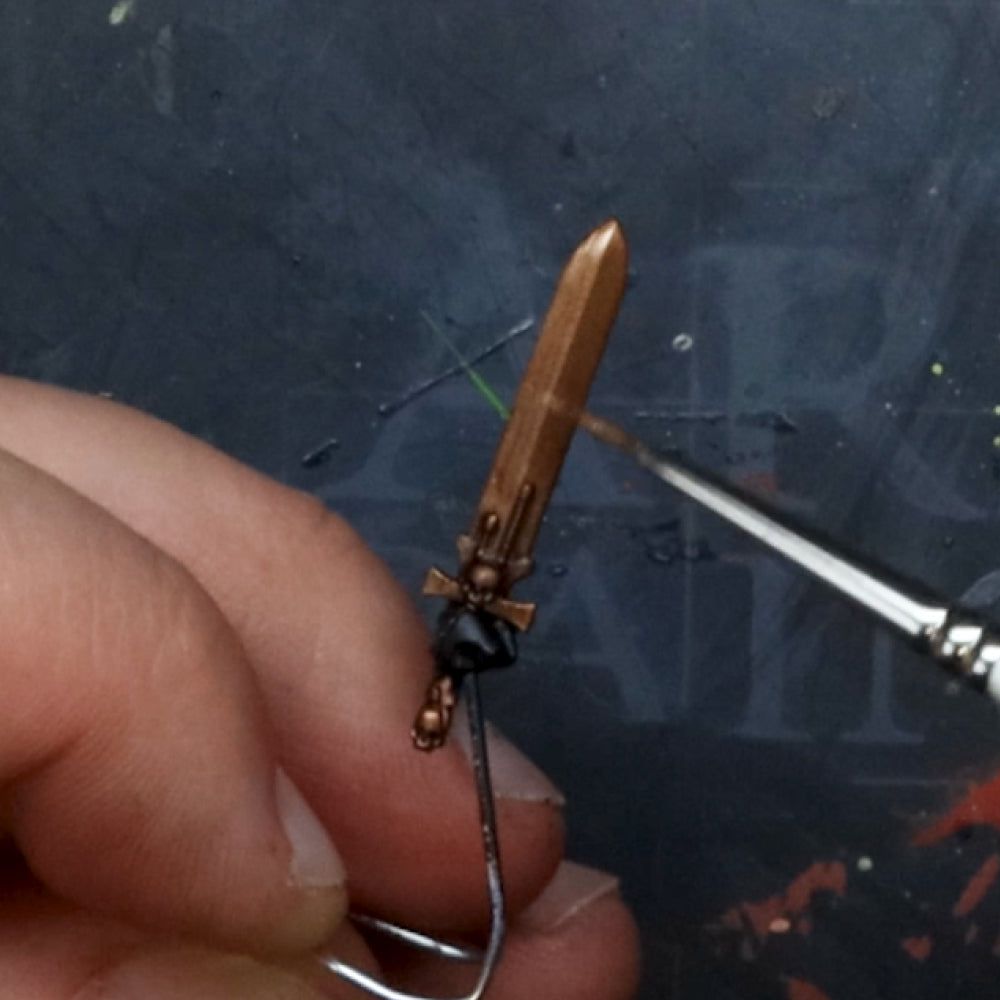
Use Weapon Bronze to apply gentle highlights over the most raised areas. Be careful not to paint any of this into the recesses of your miniature.
Step 5
Round off with some highlighting, using Mithril which is ideal for applying those final details and edge highlights.
Now your swords are done and are ready be deployed to the tabletop - or the display cabinet!
If you prefer to you can watch the full video on how to paint these swords in these amazing true-metallic metal schemes below.