


How to Paint a
BattleTech Clan Wolf Mech
Welcome to the next installment of The Army Painter Academy, a series where we break down how we paint a miniature step-by-step, complete with pictures for every bit of paint applied along the way.
The mechs from the BattleTech universe by Catalyst Game Labs are iconic within the miniature wargaming hobby. It's a brand and setting that stretches over 40 years of real-world history, and over 1,000 years of richly detailed in-universe lore. This gives you tons and tons of resources to draw upon when deciding your faction and colour scheme for your BattleTech force.
This can seem daunting at first - where do you start?
Luckily, Catalyst Games has BattleTech Universe launching later this year, which compiles all of their lore into one beautifully illustrated and designed hardbound book.
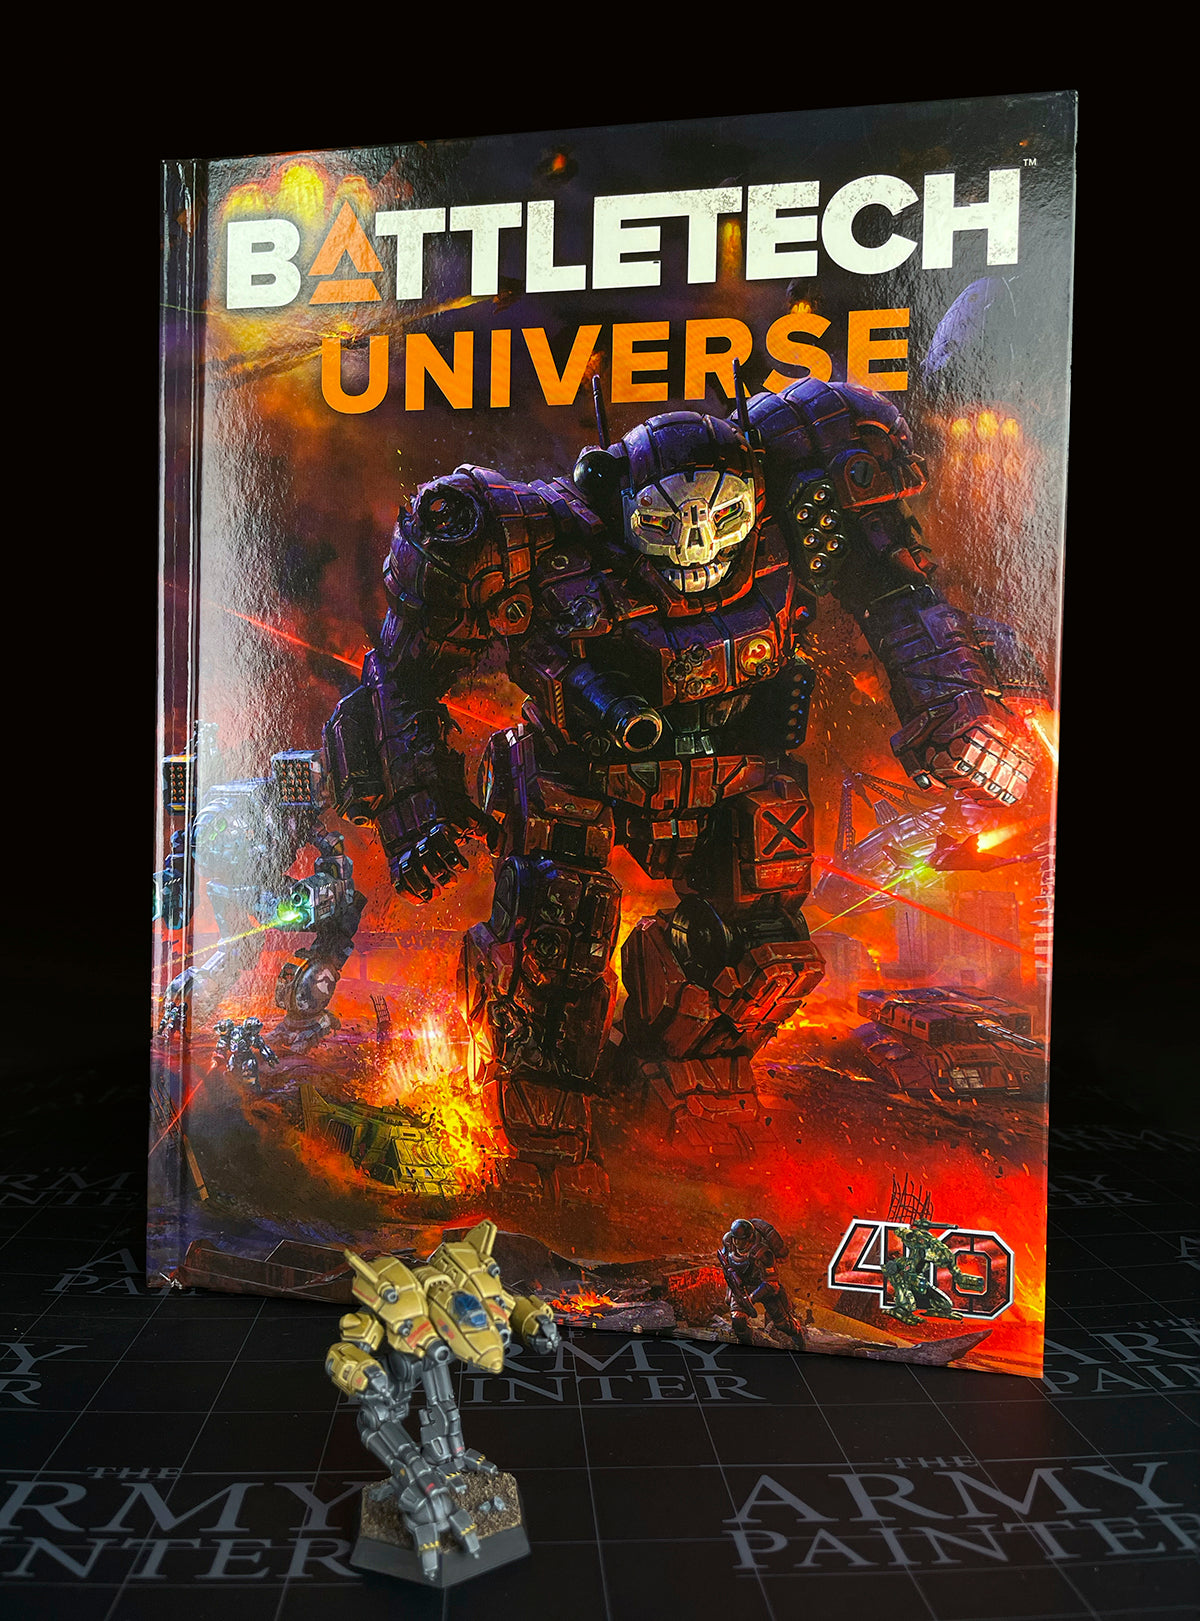
BattleTech Universe
Starting at the very beginning with the early days of the Star League in 2018, and stretching all the way to the year 3145, every major conflict, advancement, and shady political maneuver is covered in this new source book. Laid out with beautiful illustrations and maps, there is no end to the inspiration for your collection. It covers all of the major houses, clans, and mercenary forces as well, so you can pick which one is your favorite and wage war on the tabletop in their name.
BattleTech Universe is the definitive collection of the entirety of the setting's history and on top of all of that, a great visual source for your minis! The wonderfully evocative illustrations are sure to get your hobby mojo flowing.
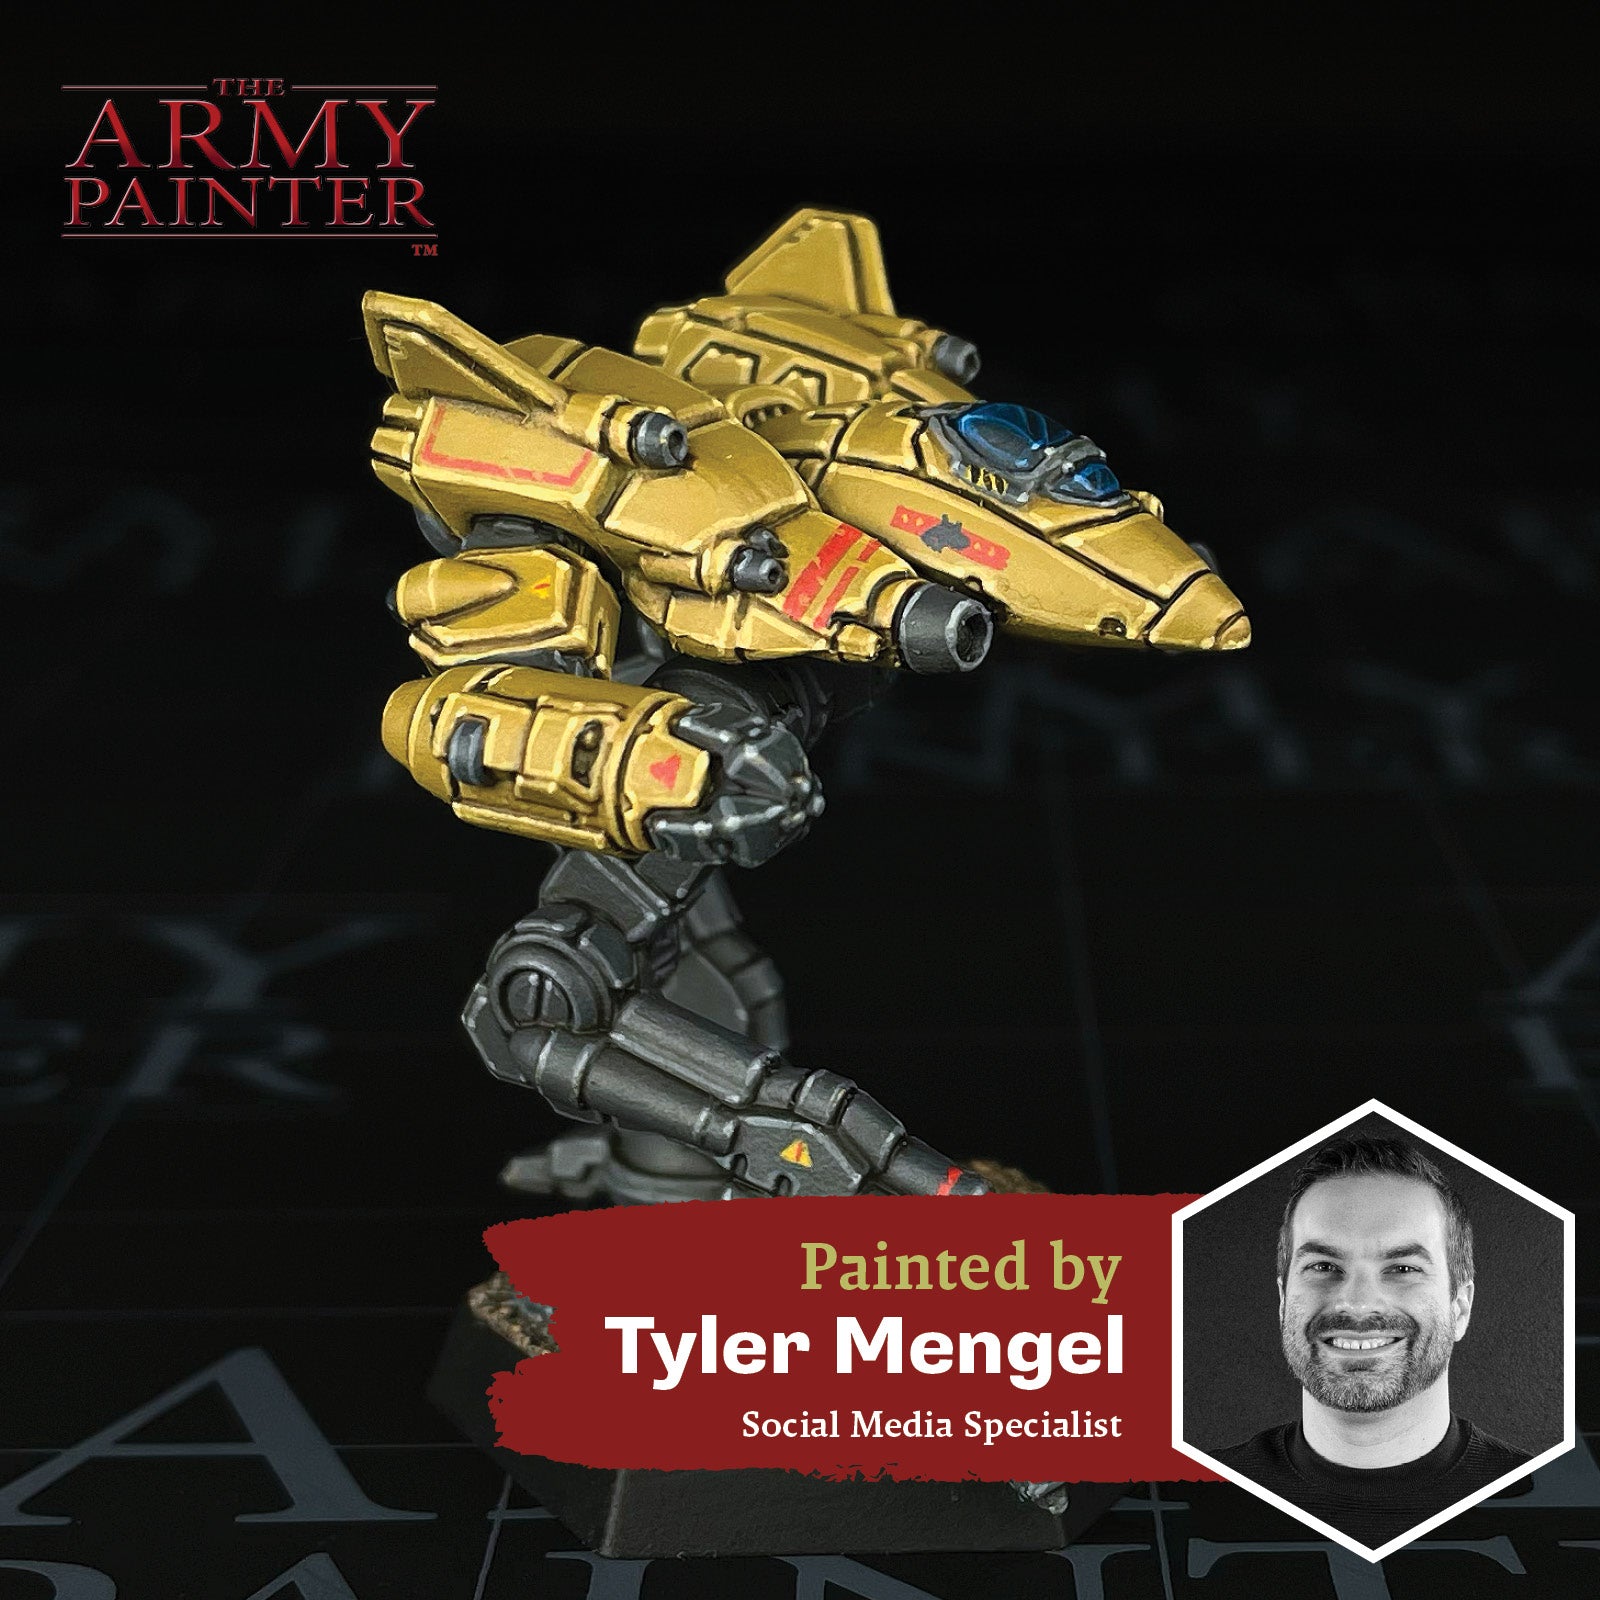
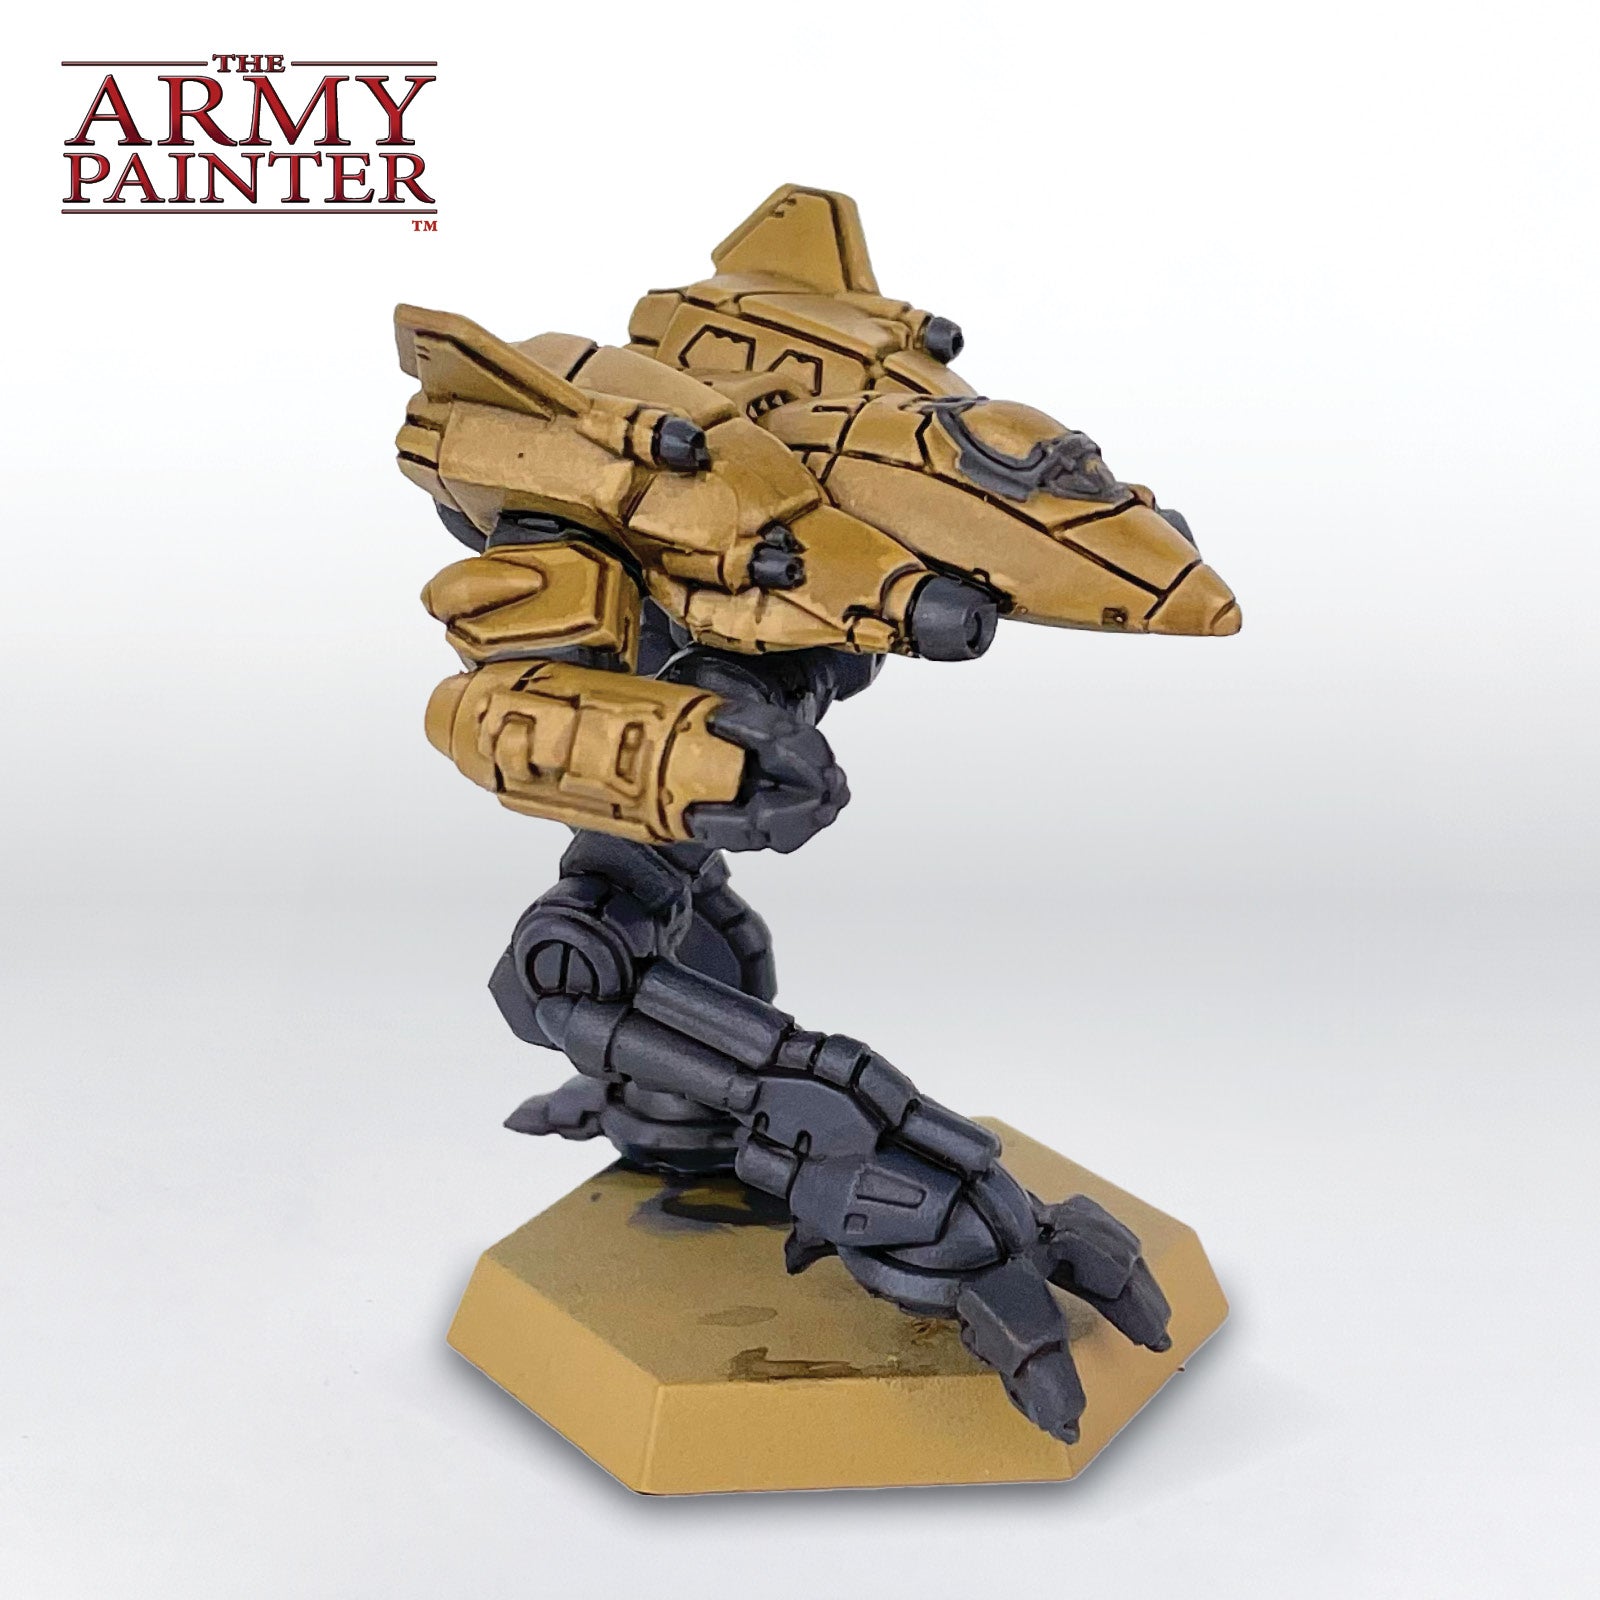
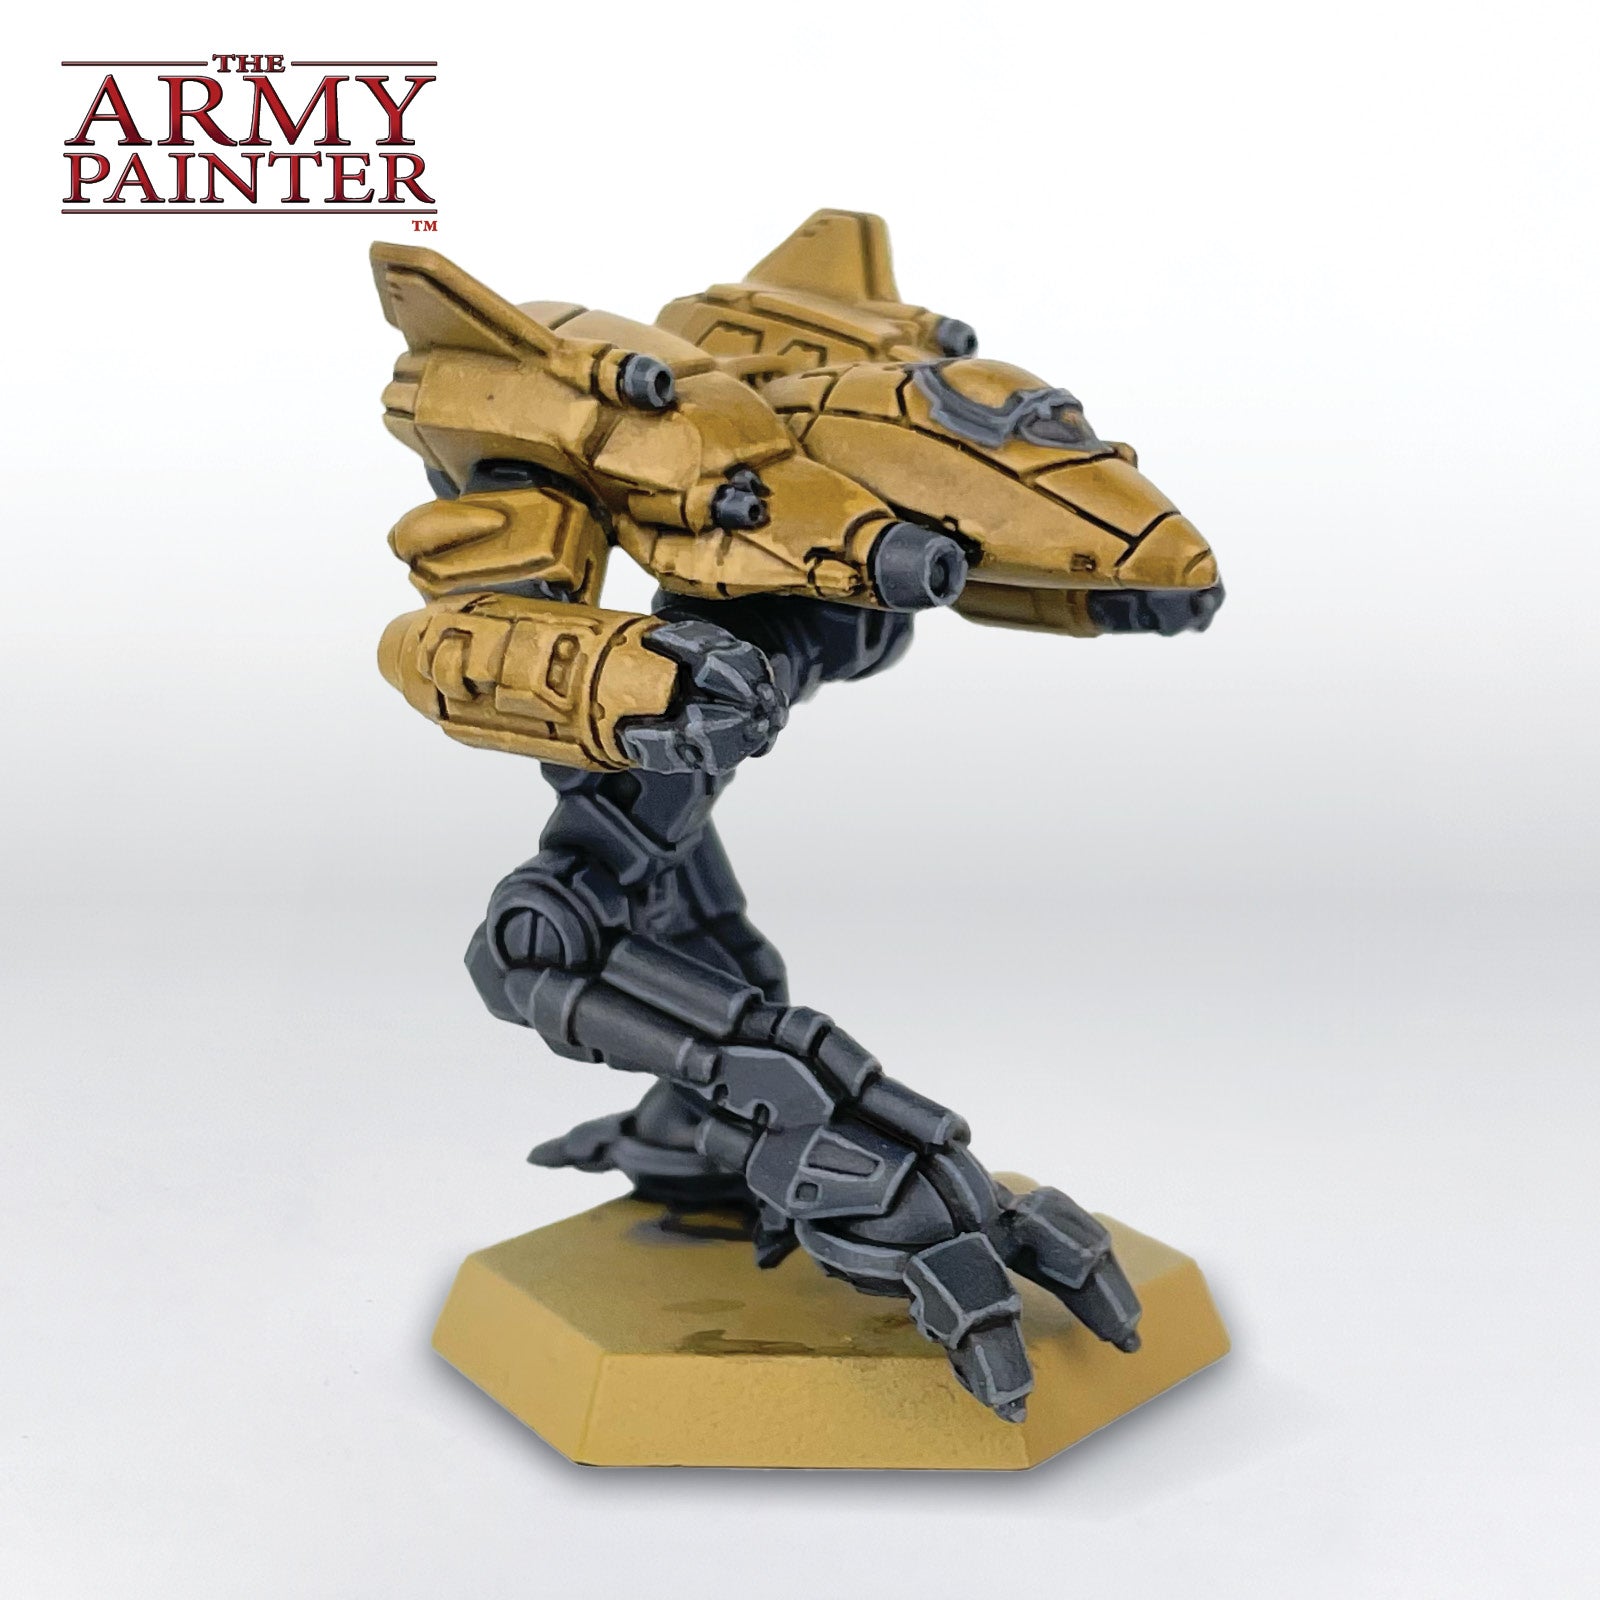
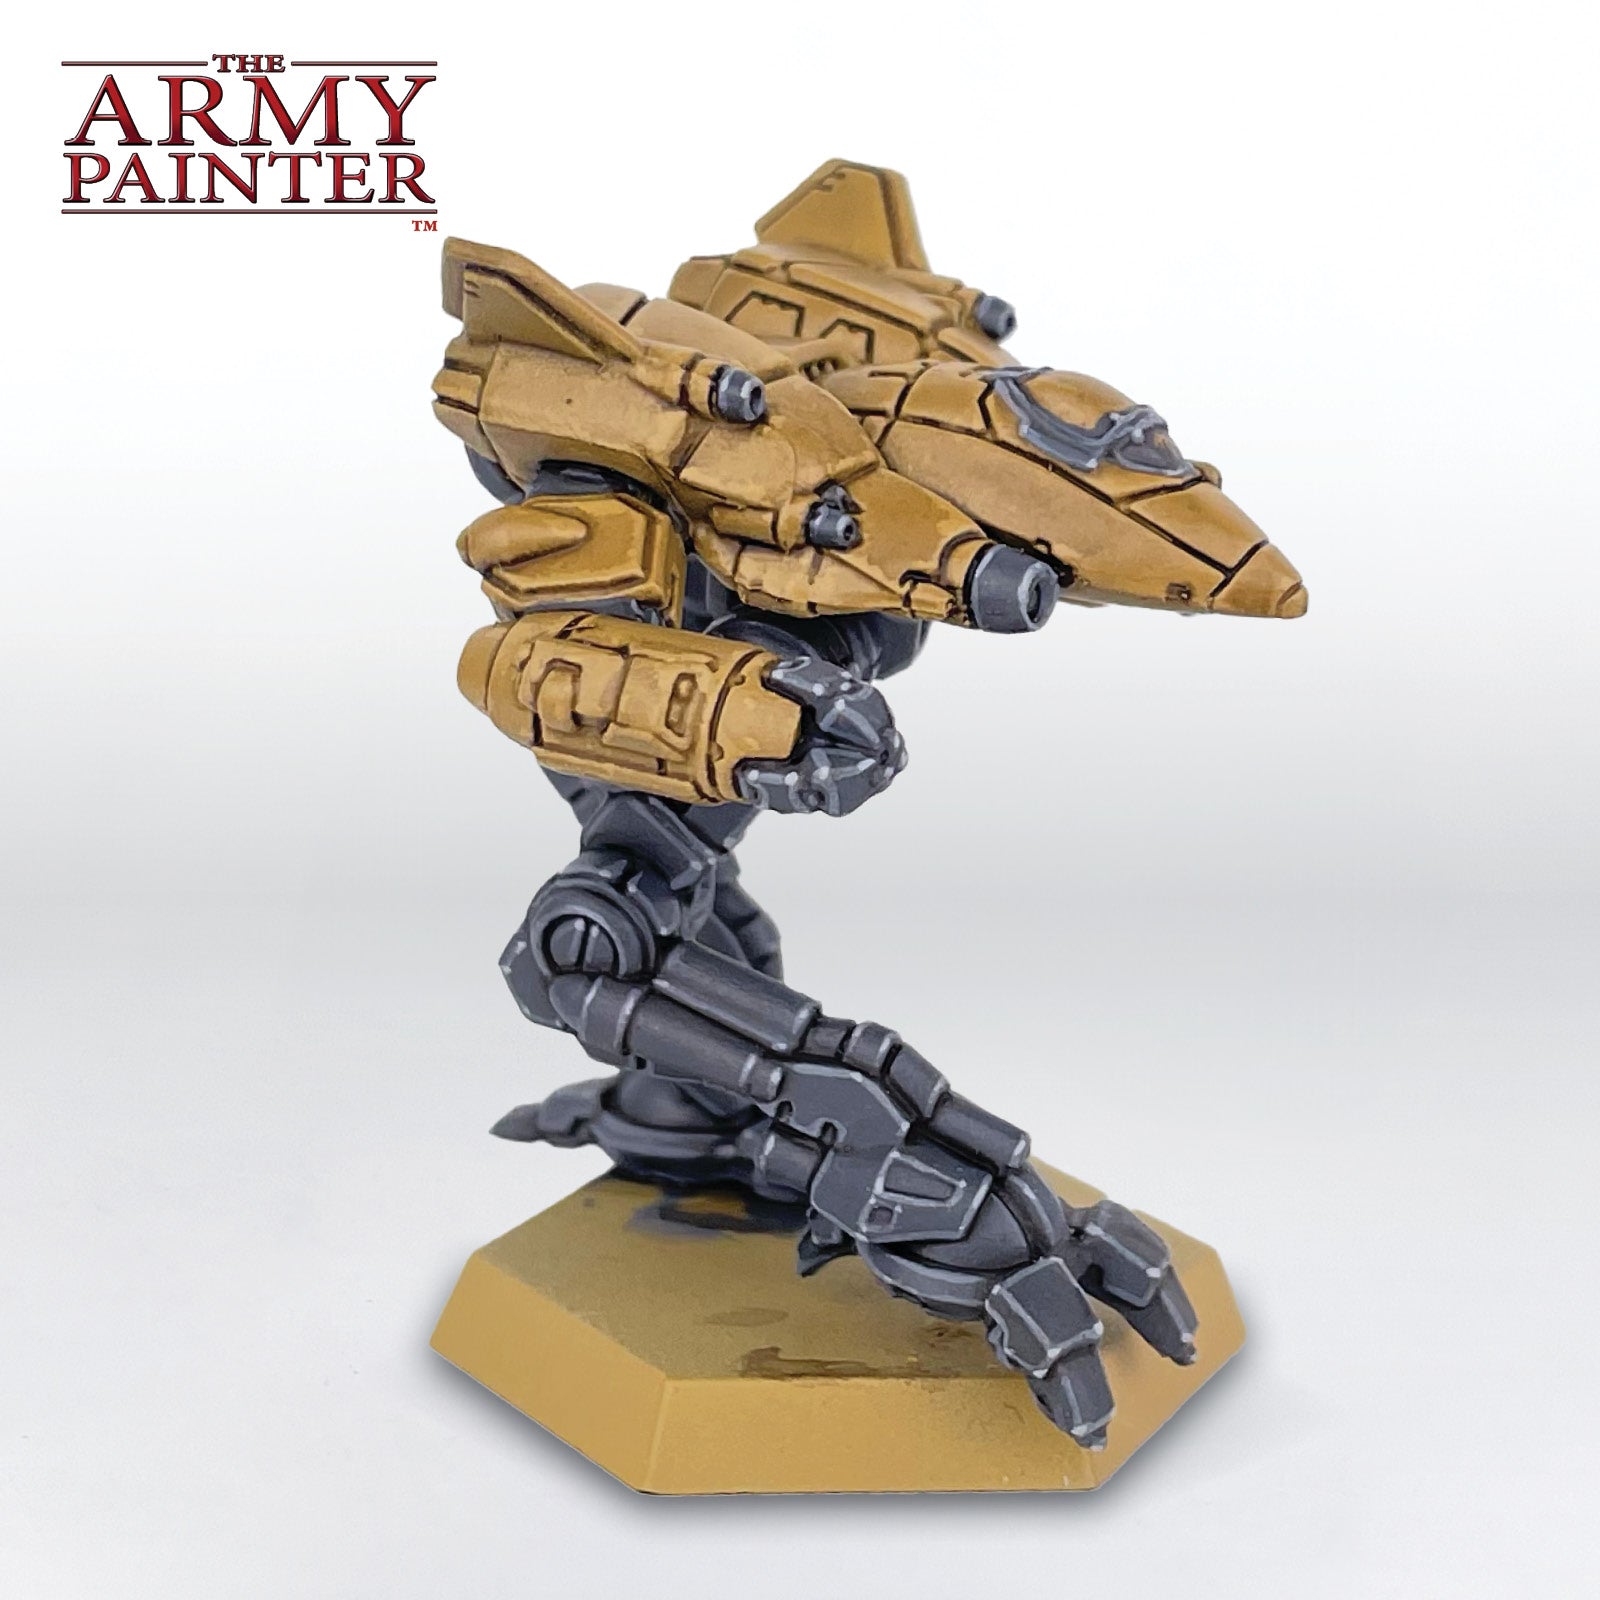
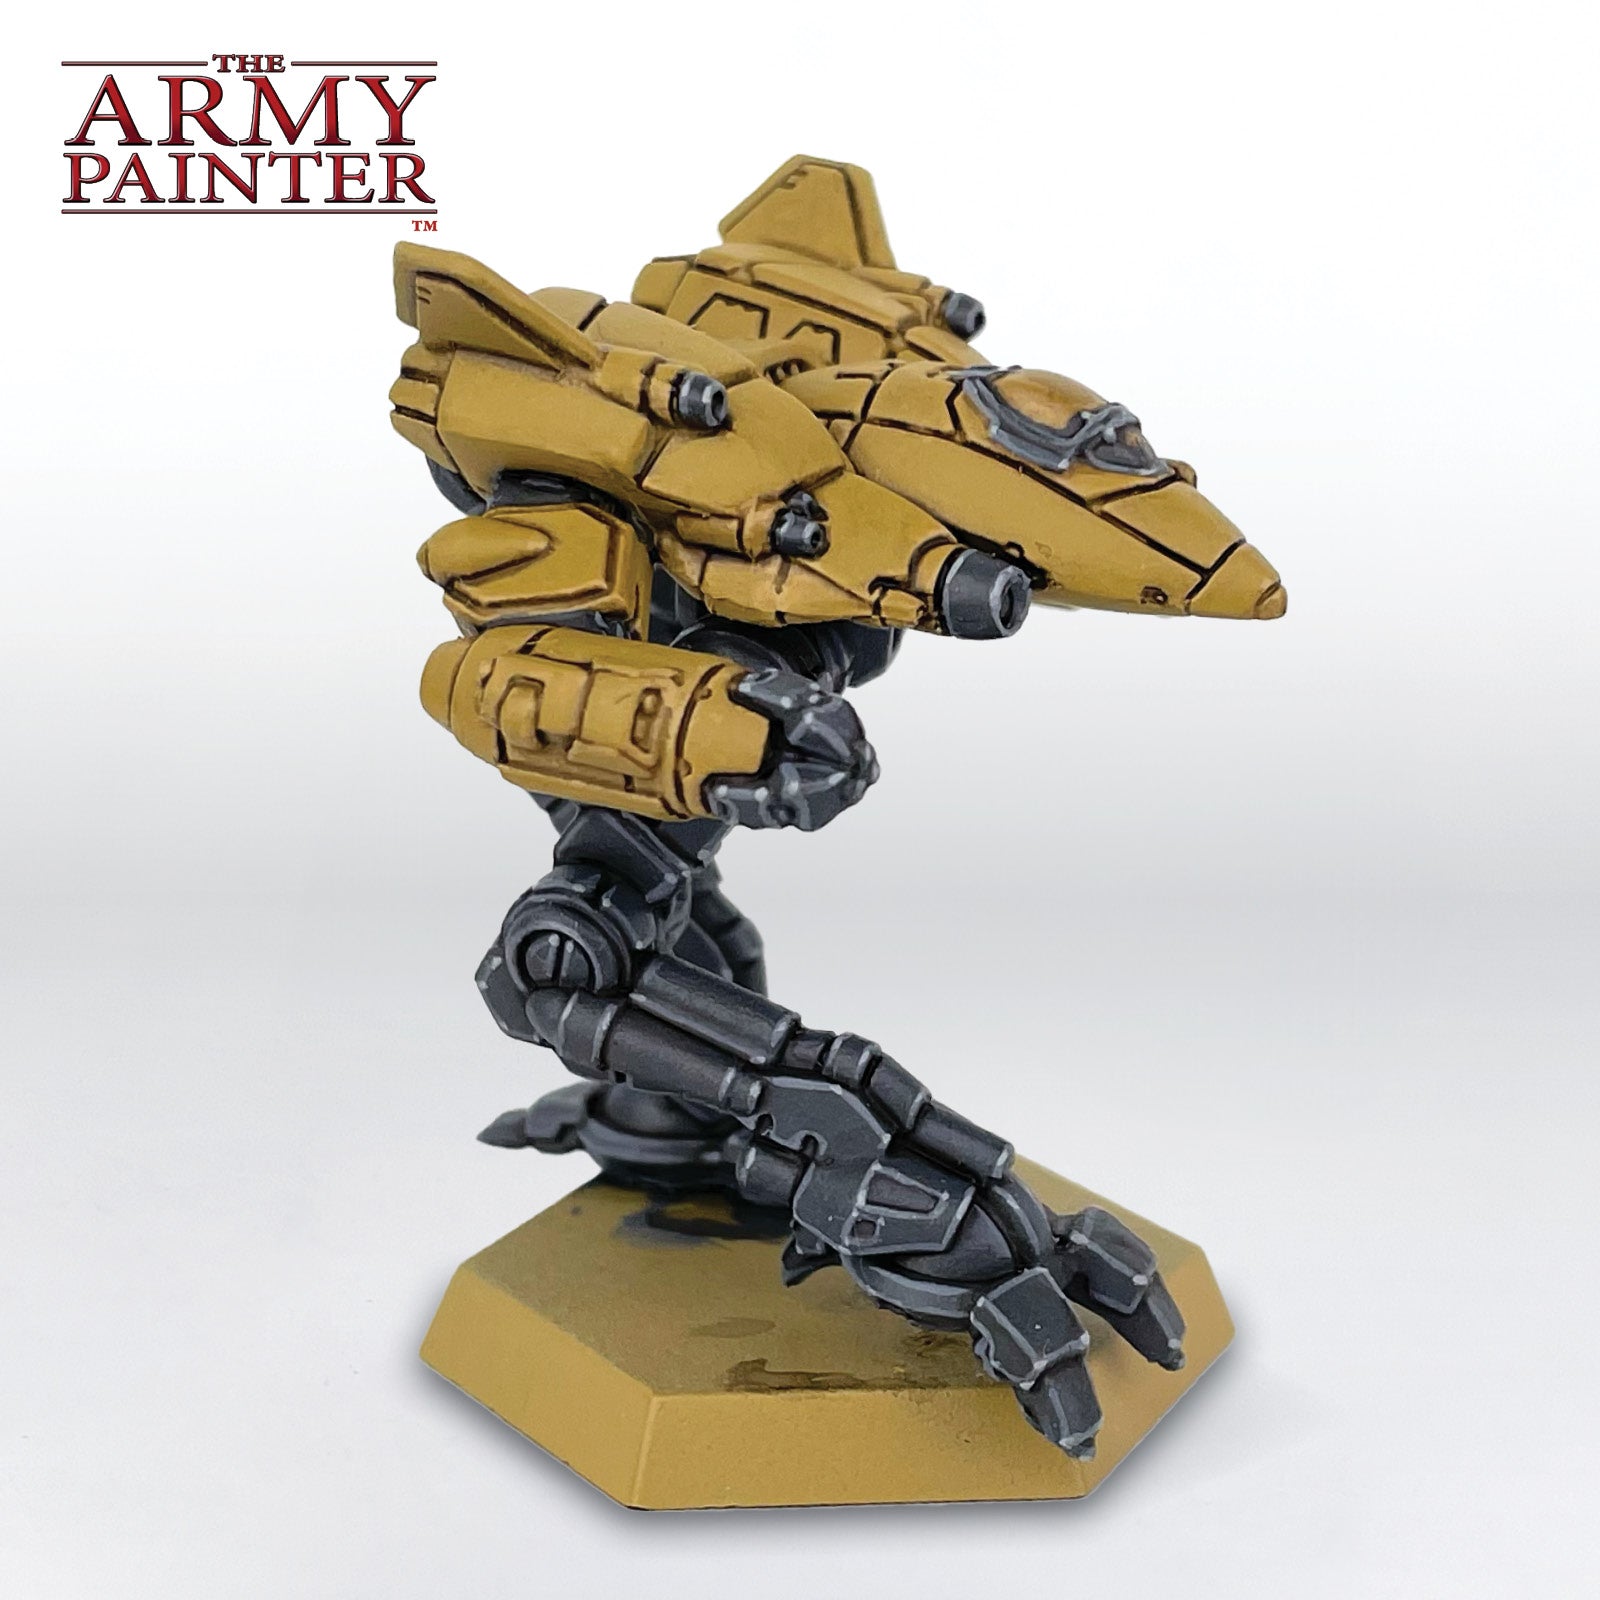
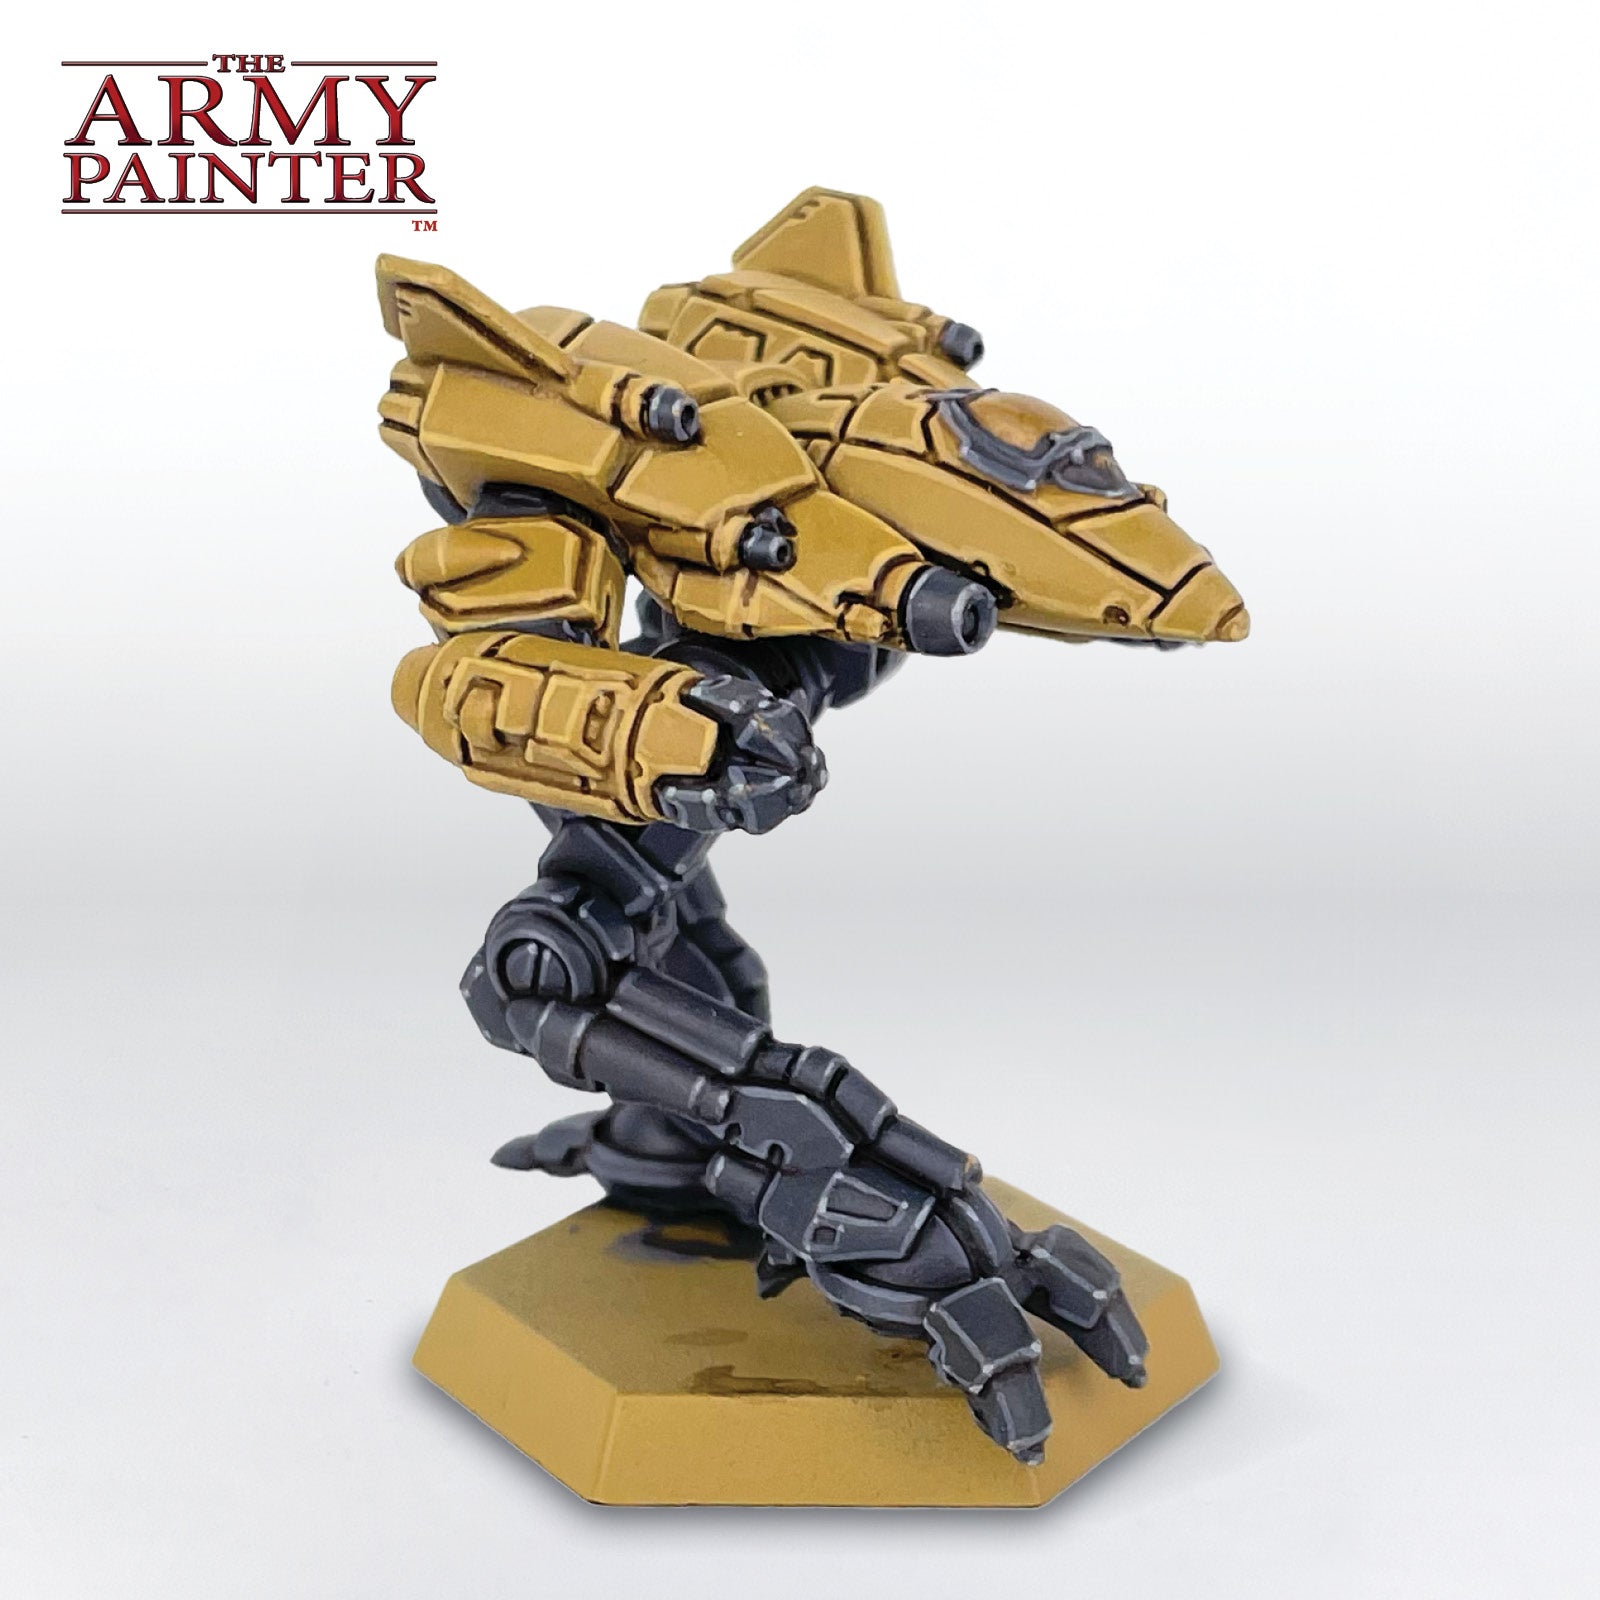
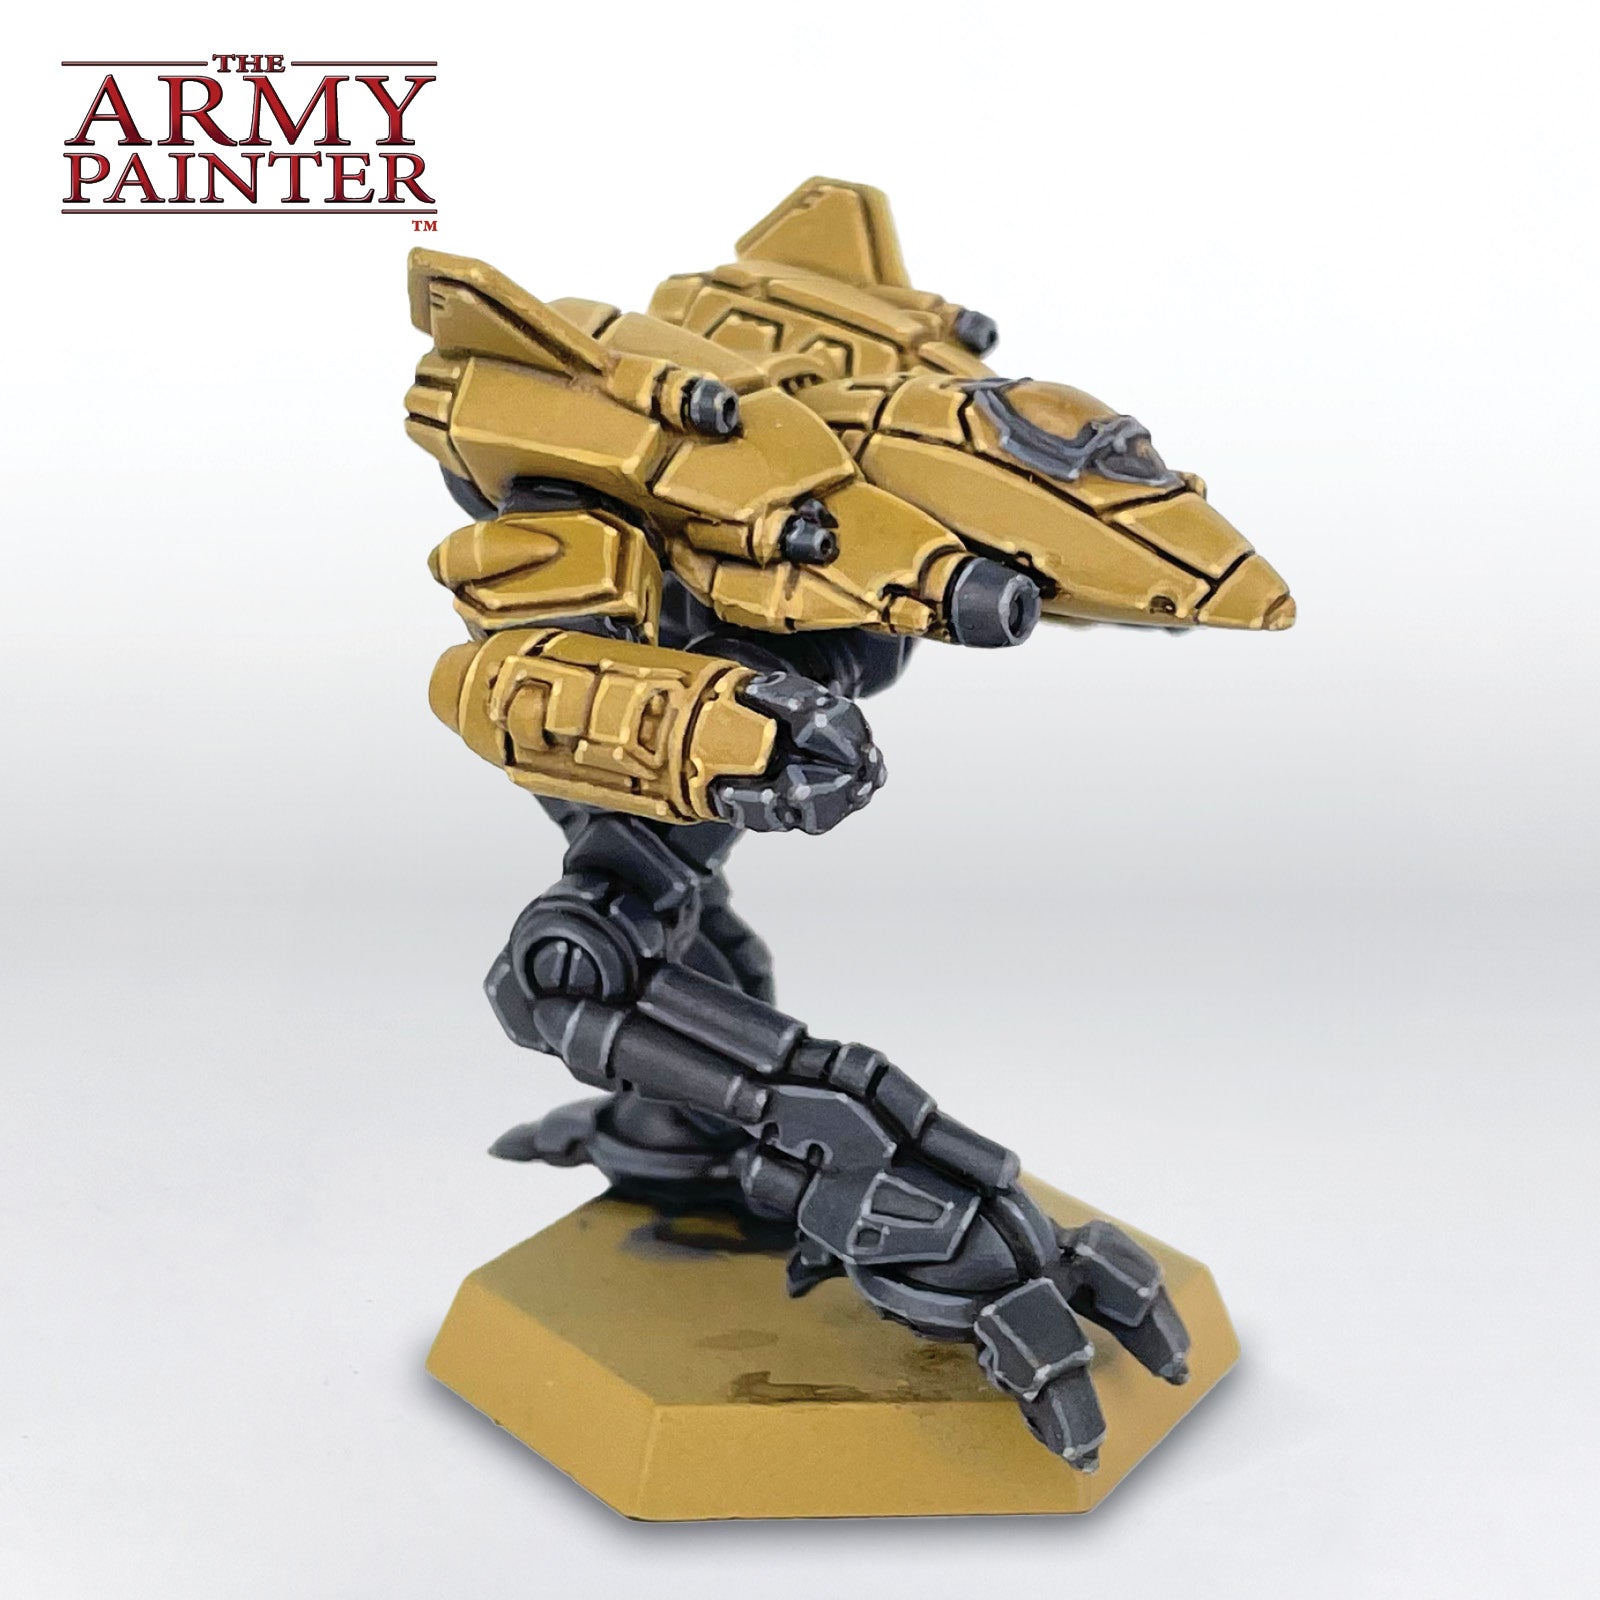
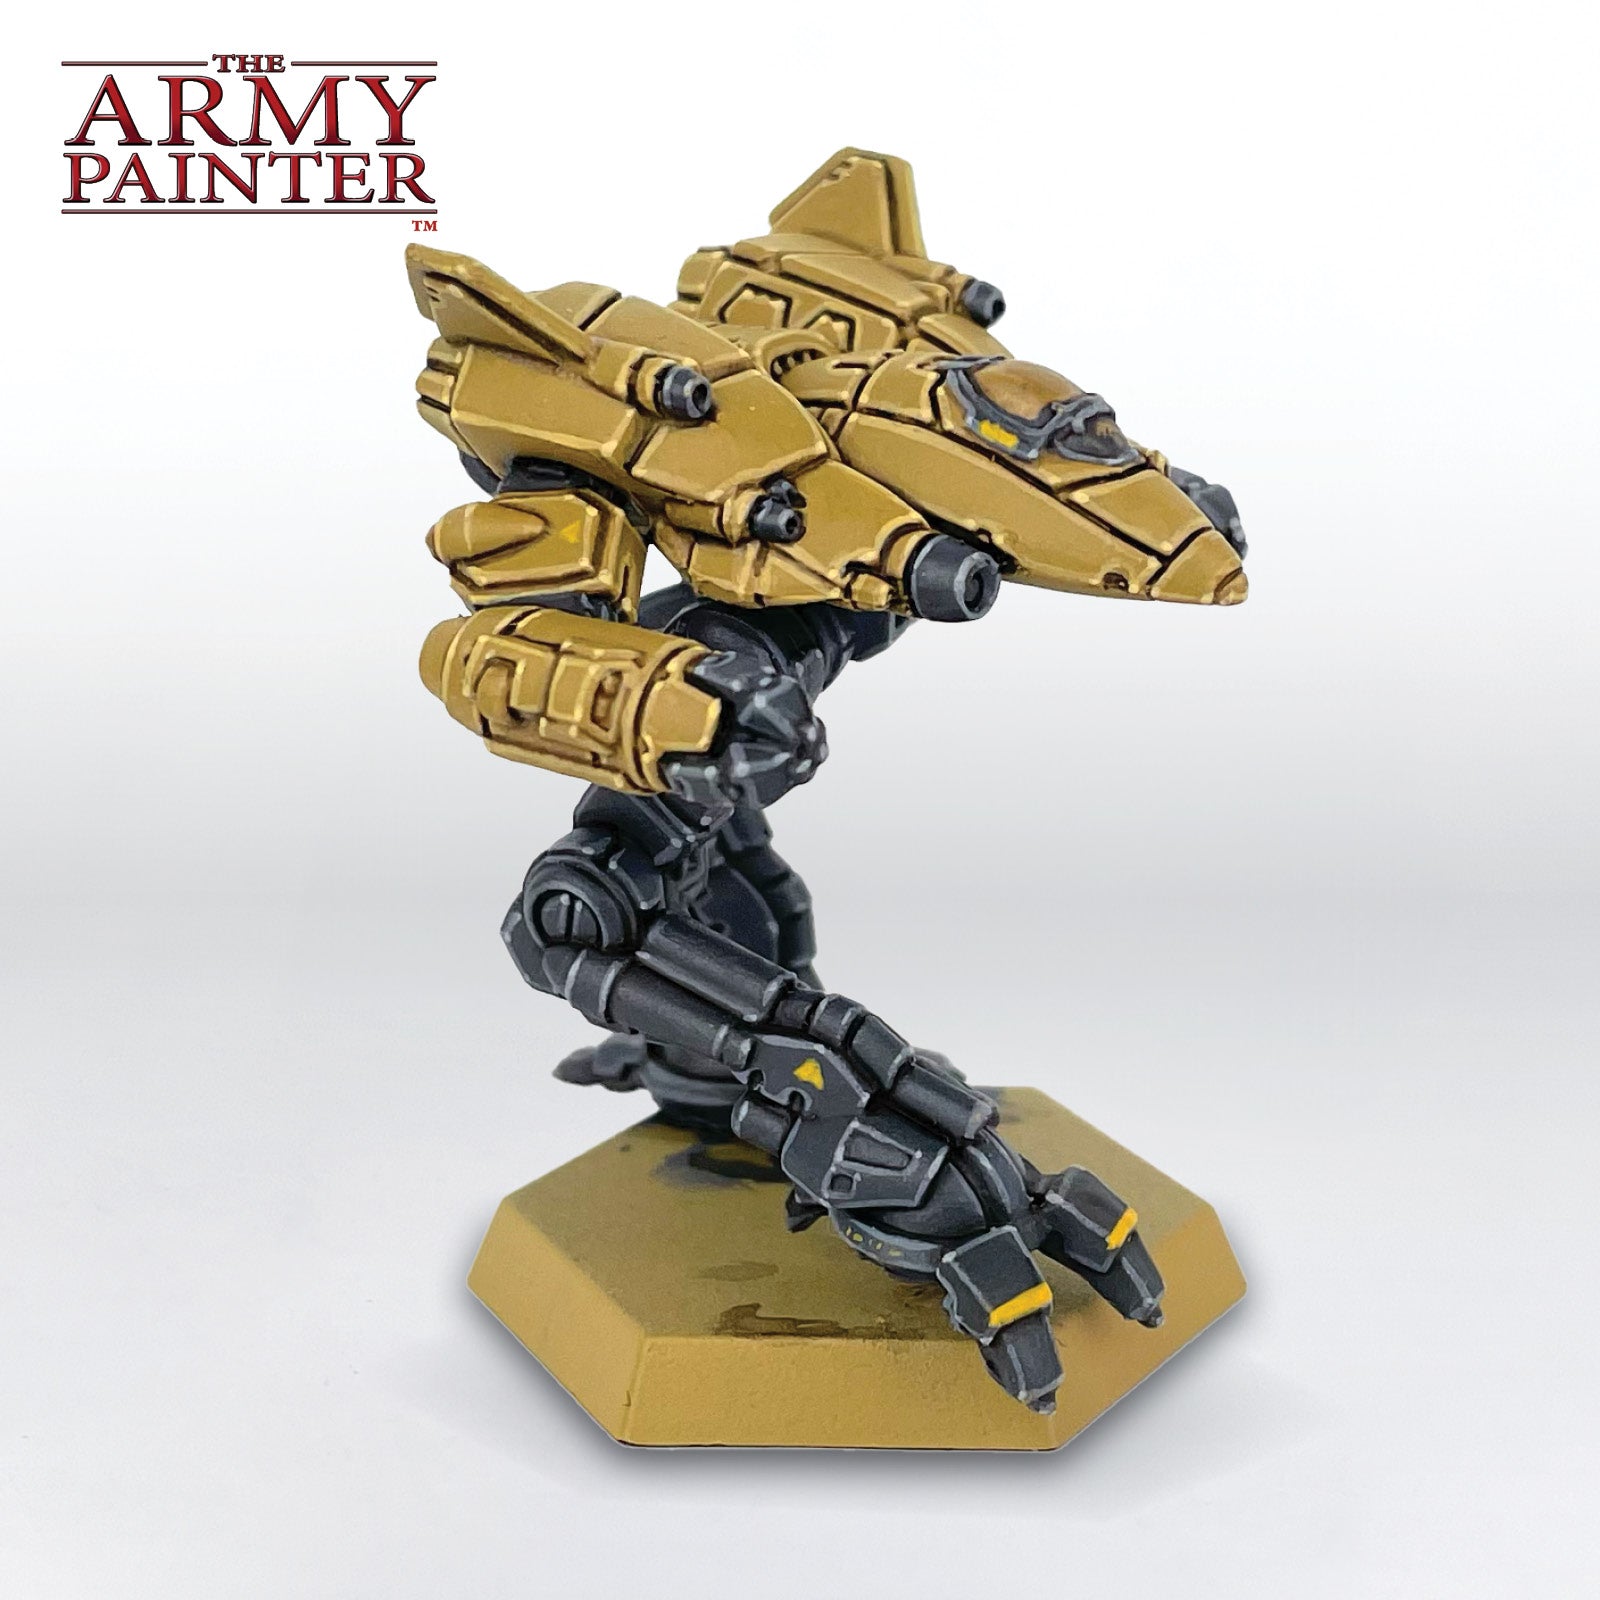
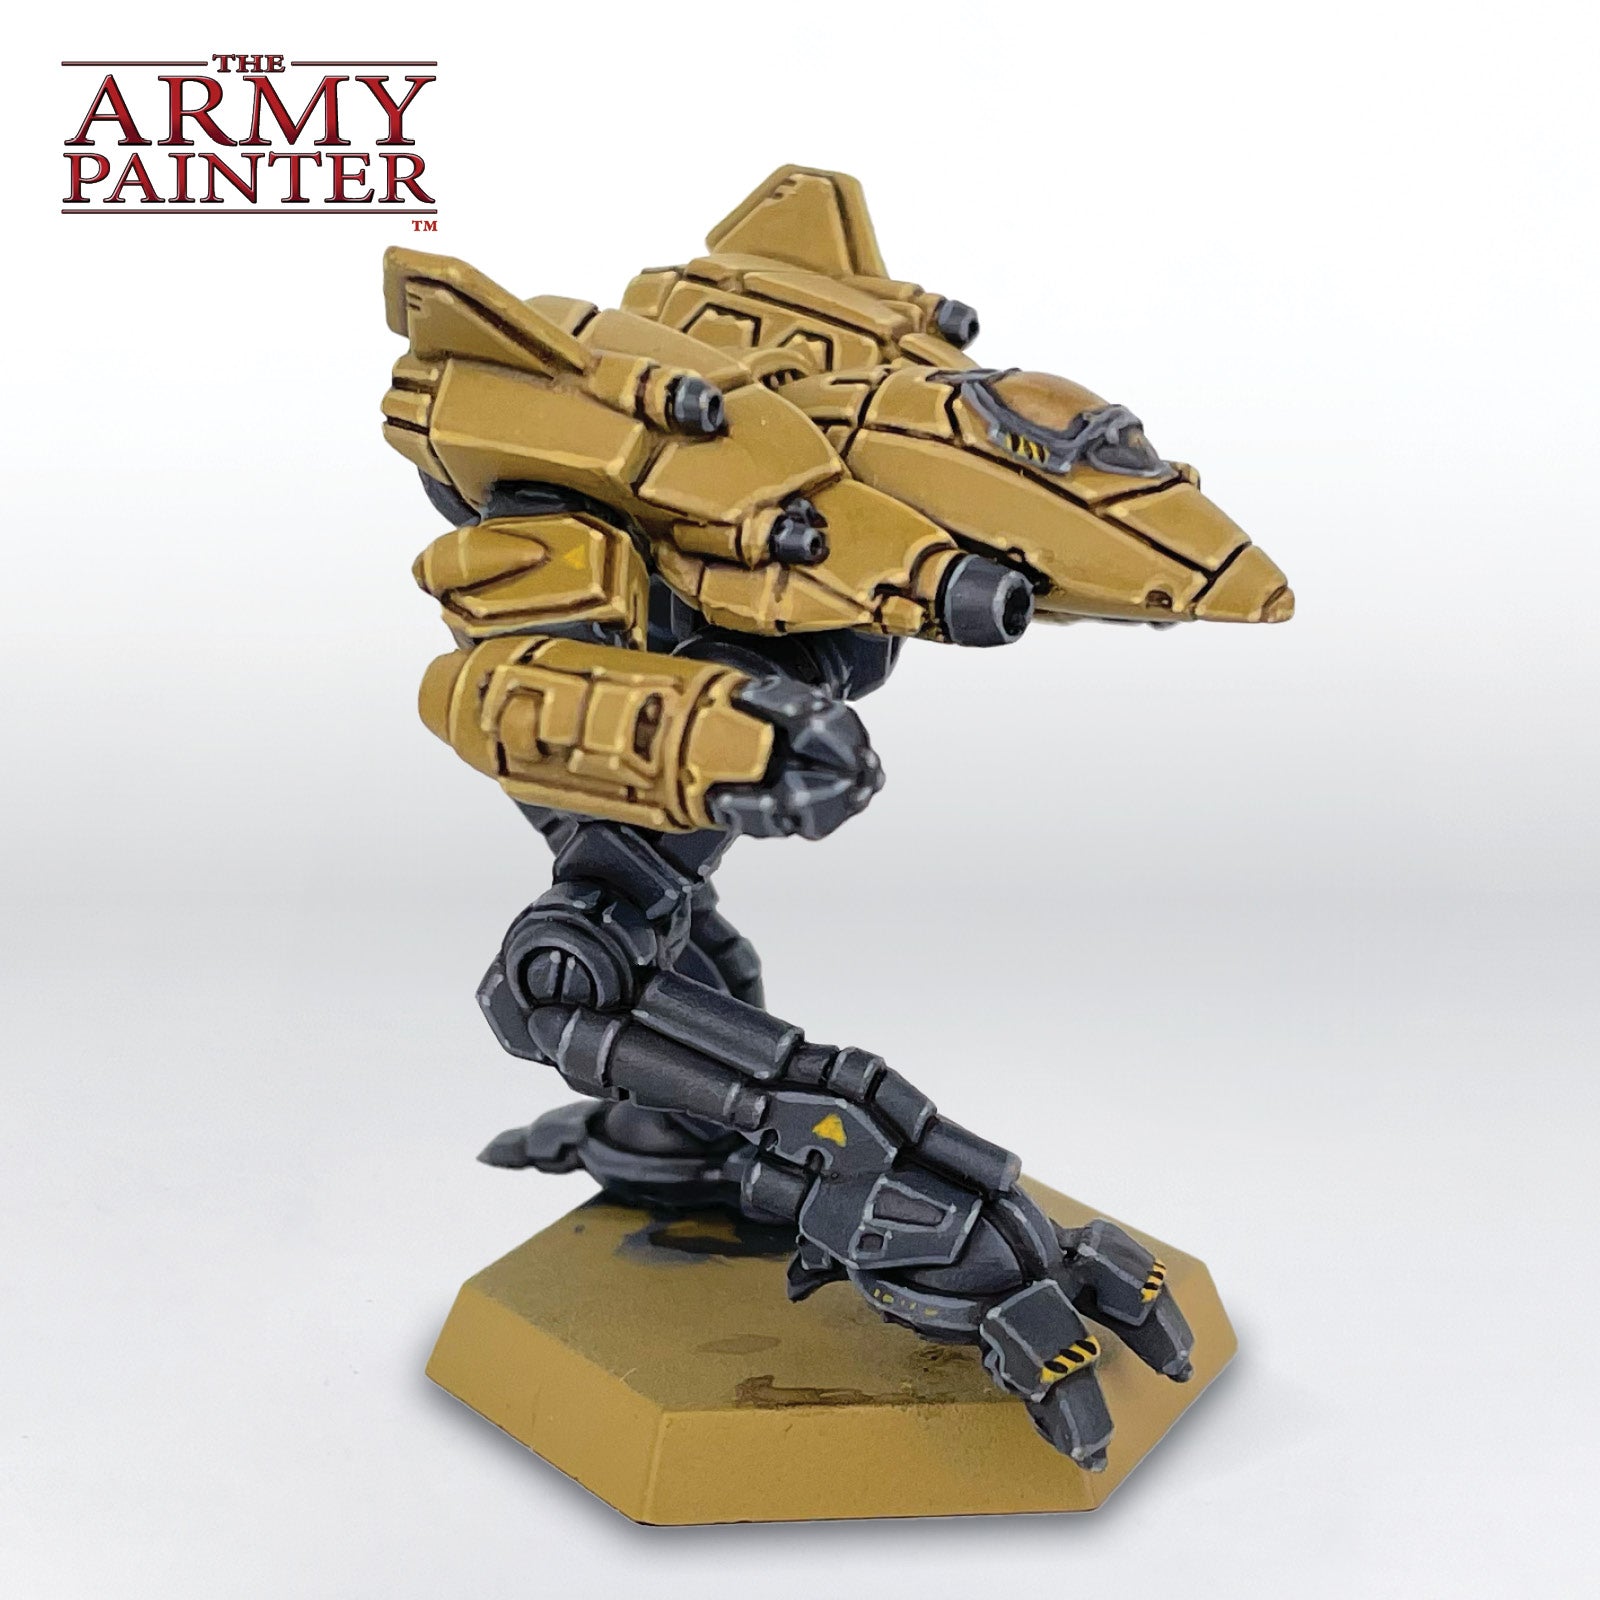
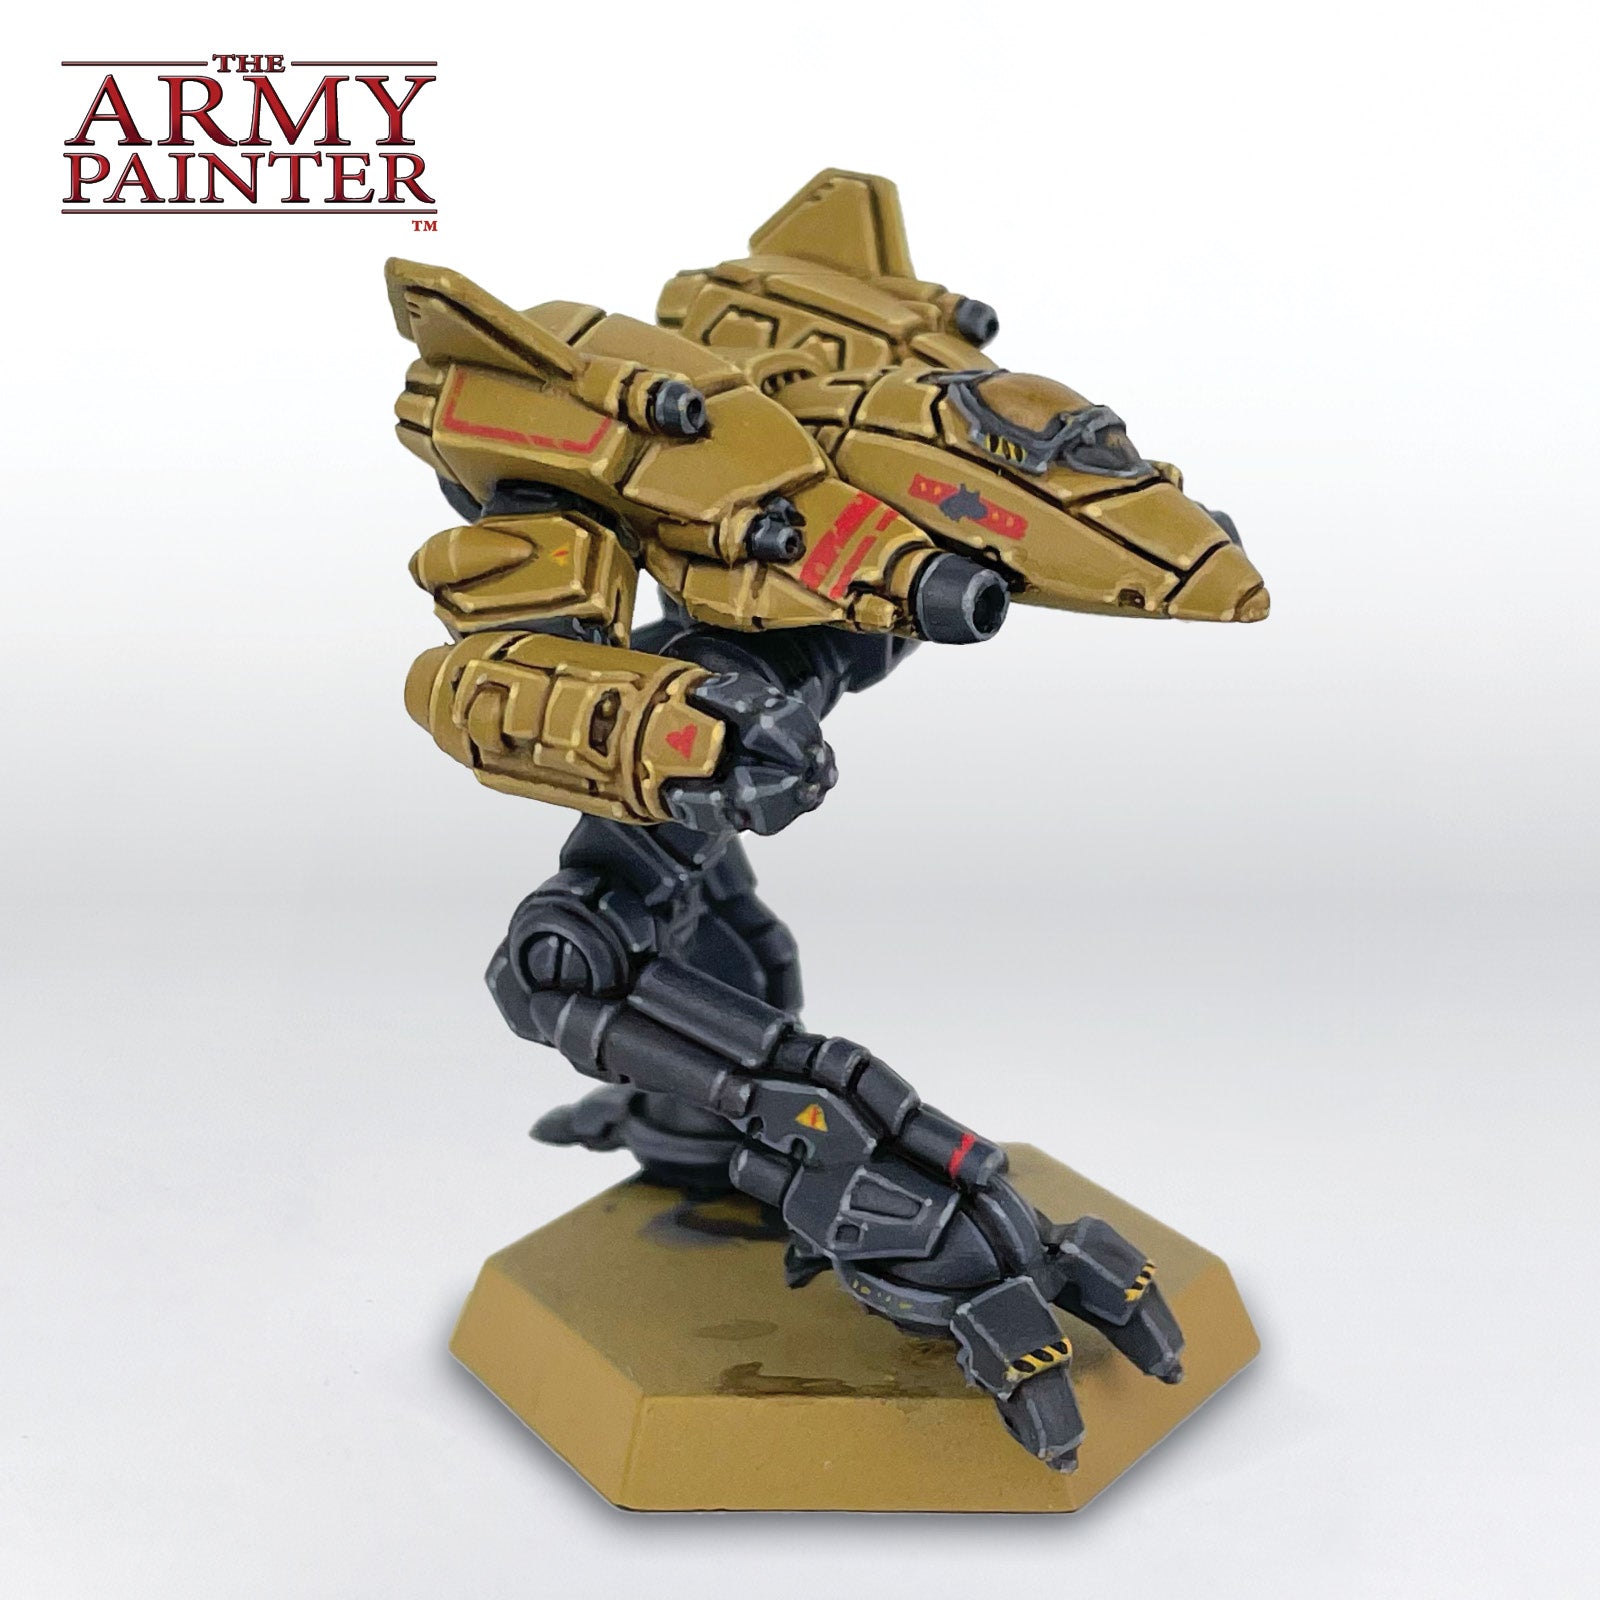
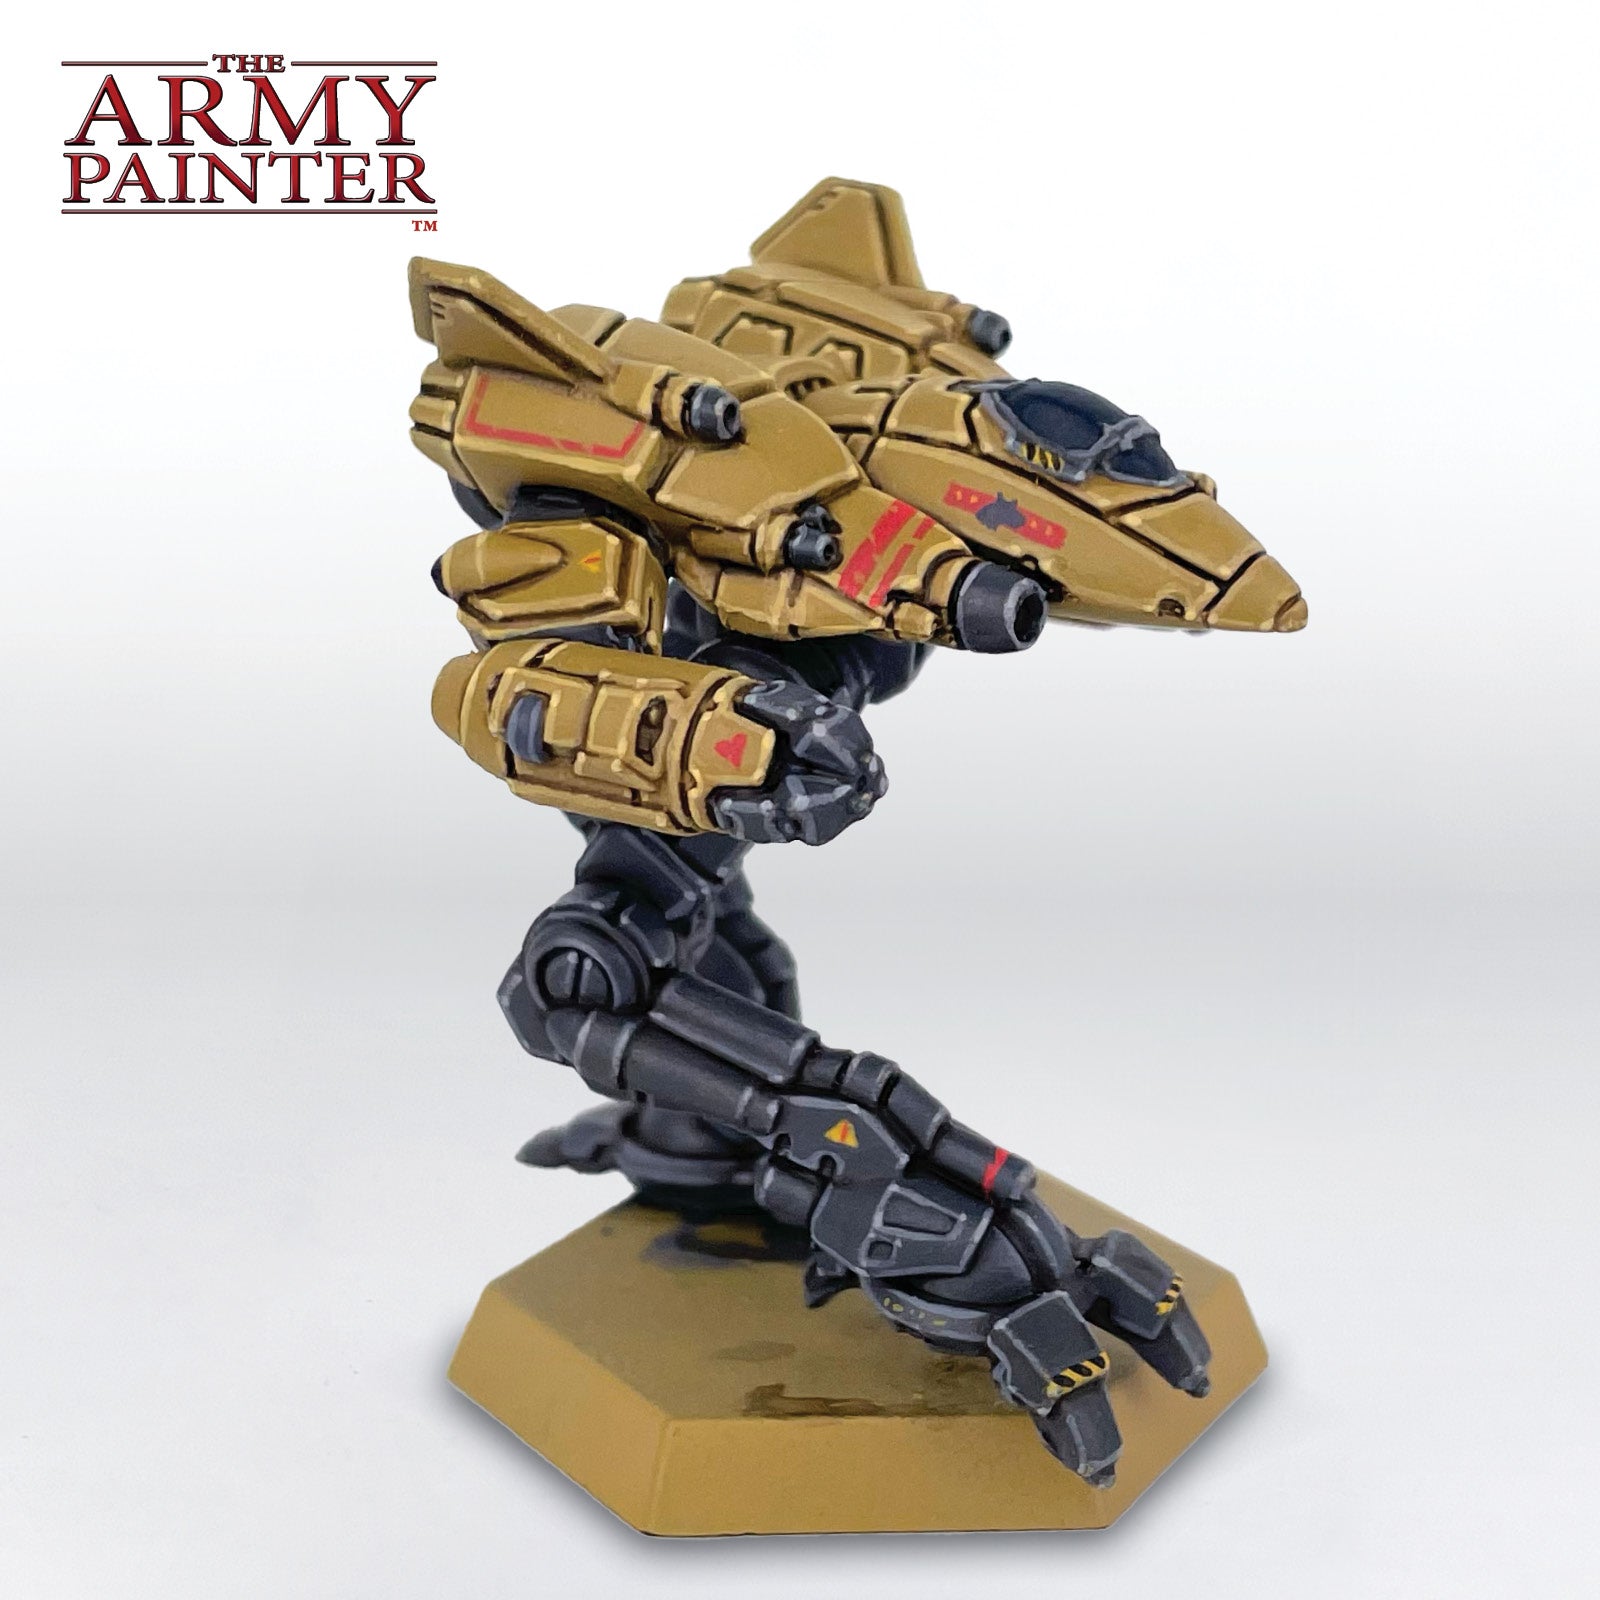
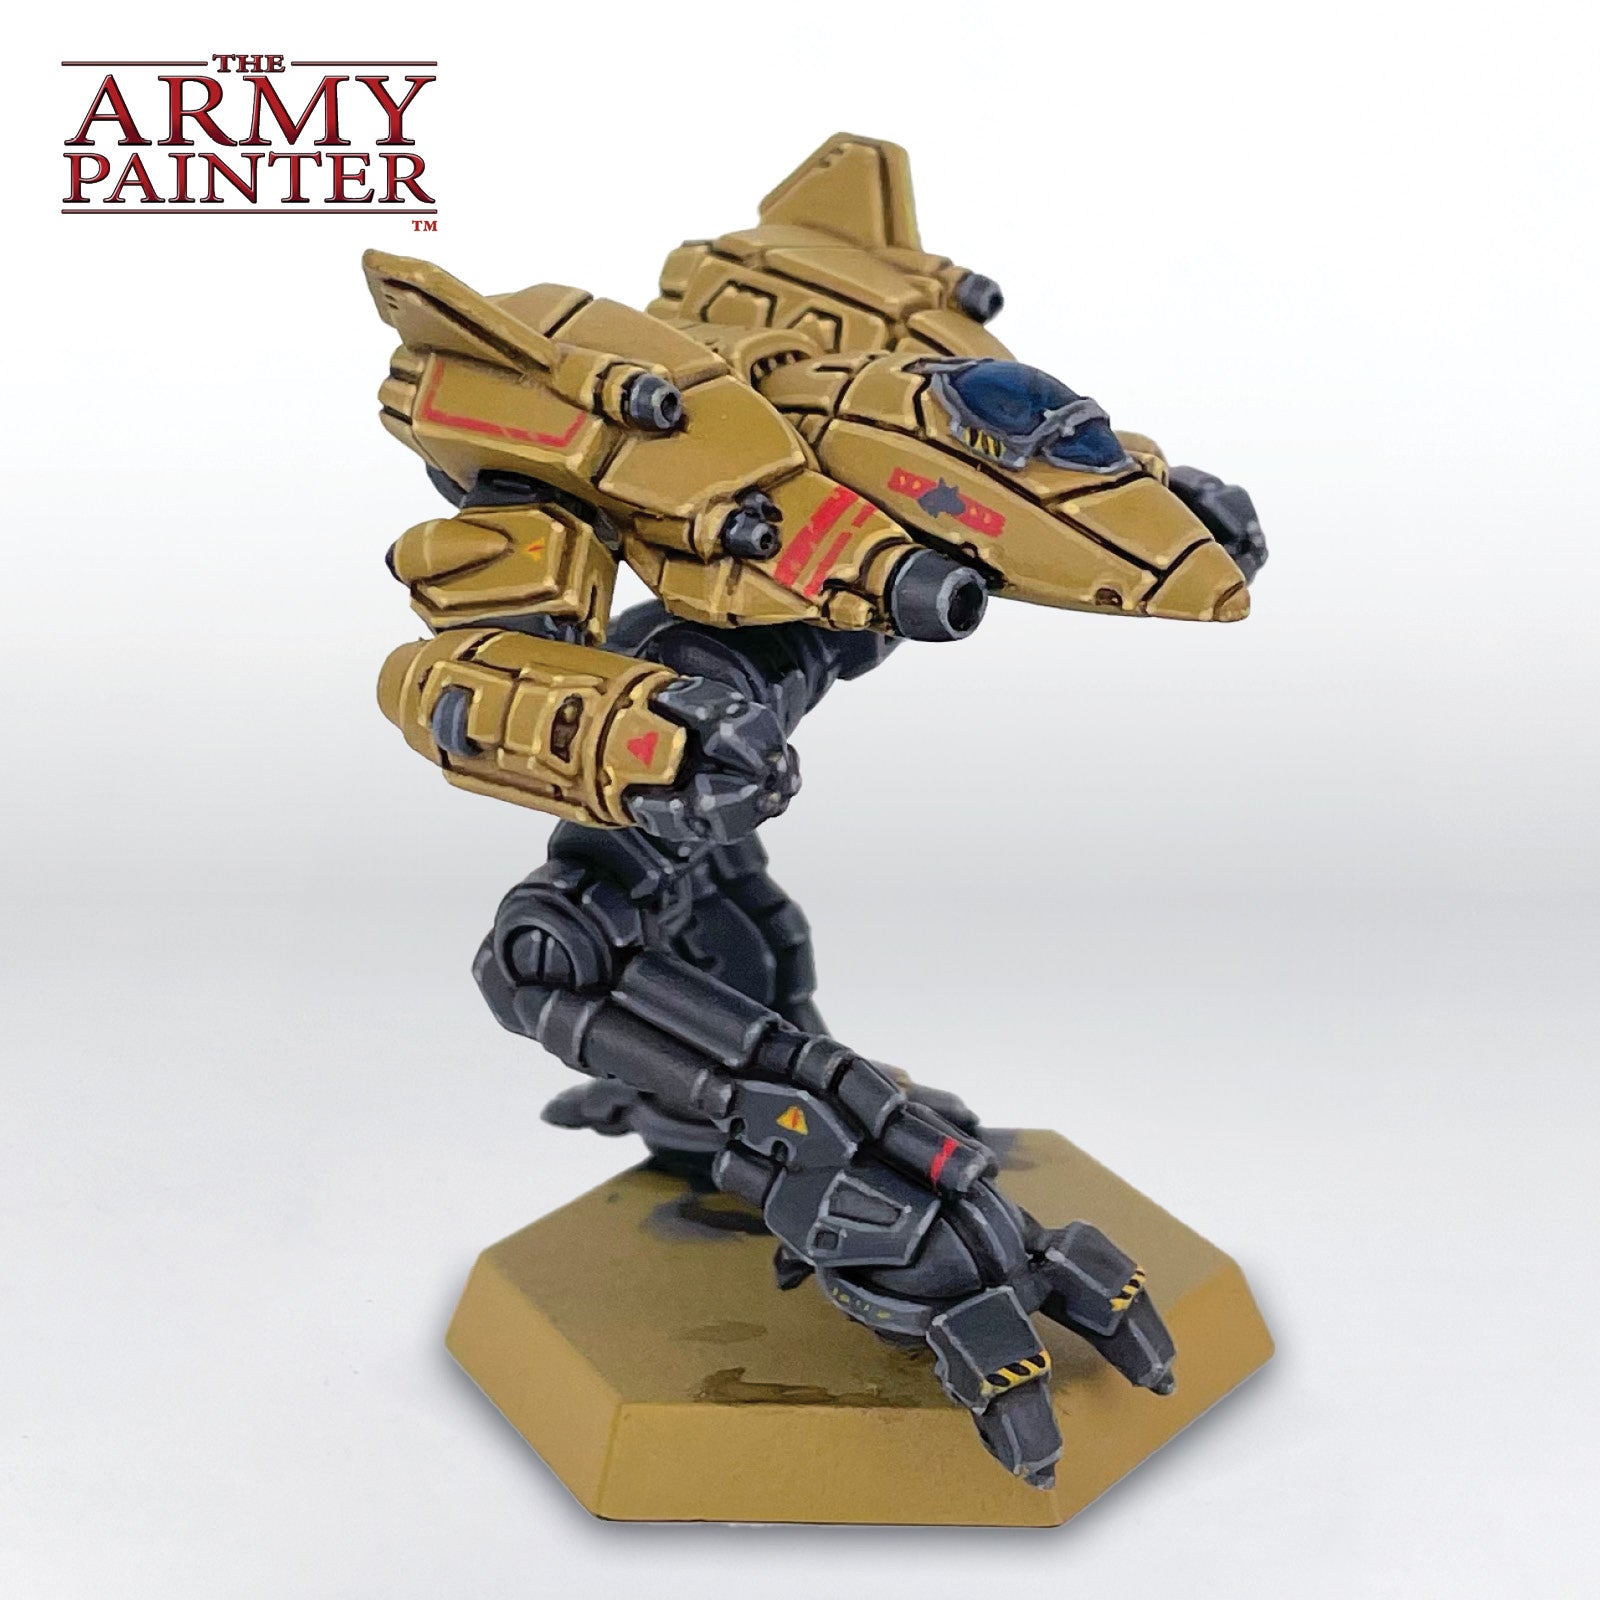
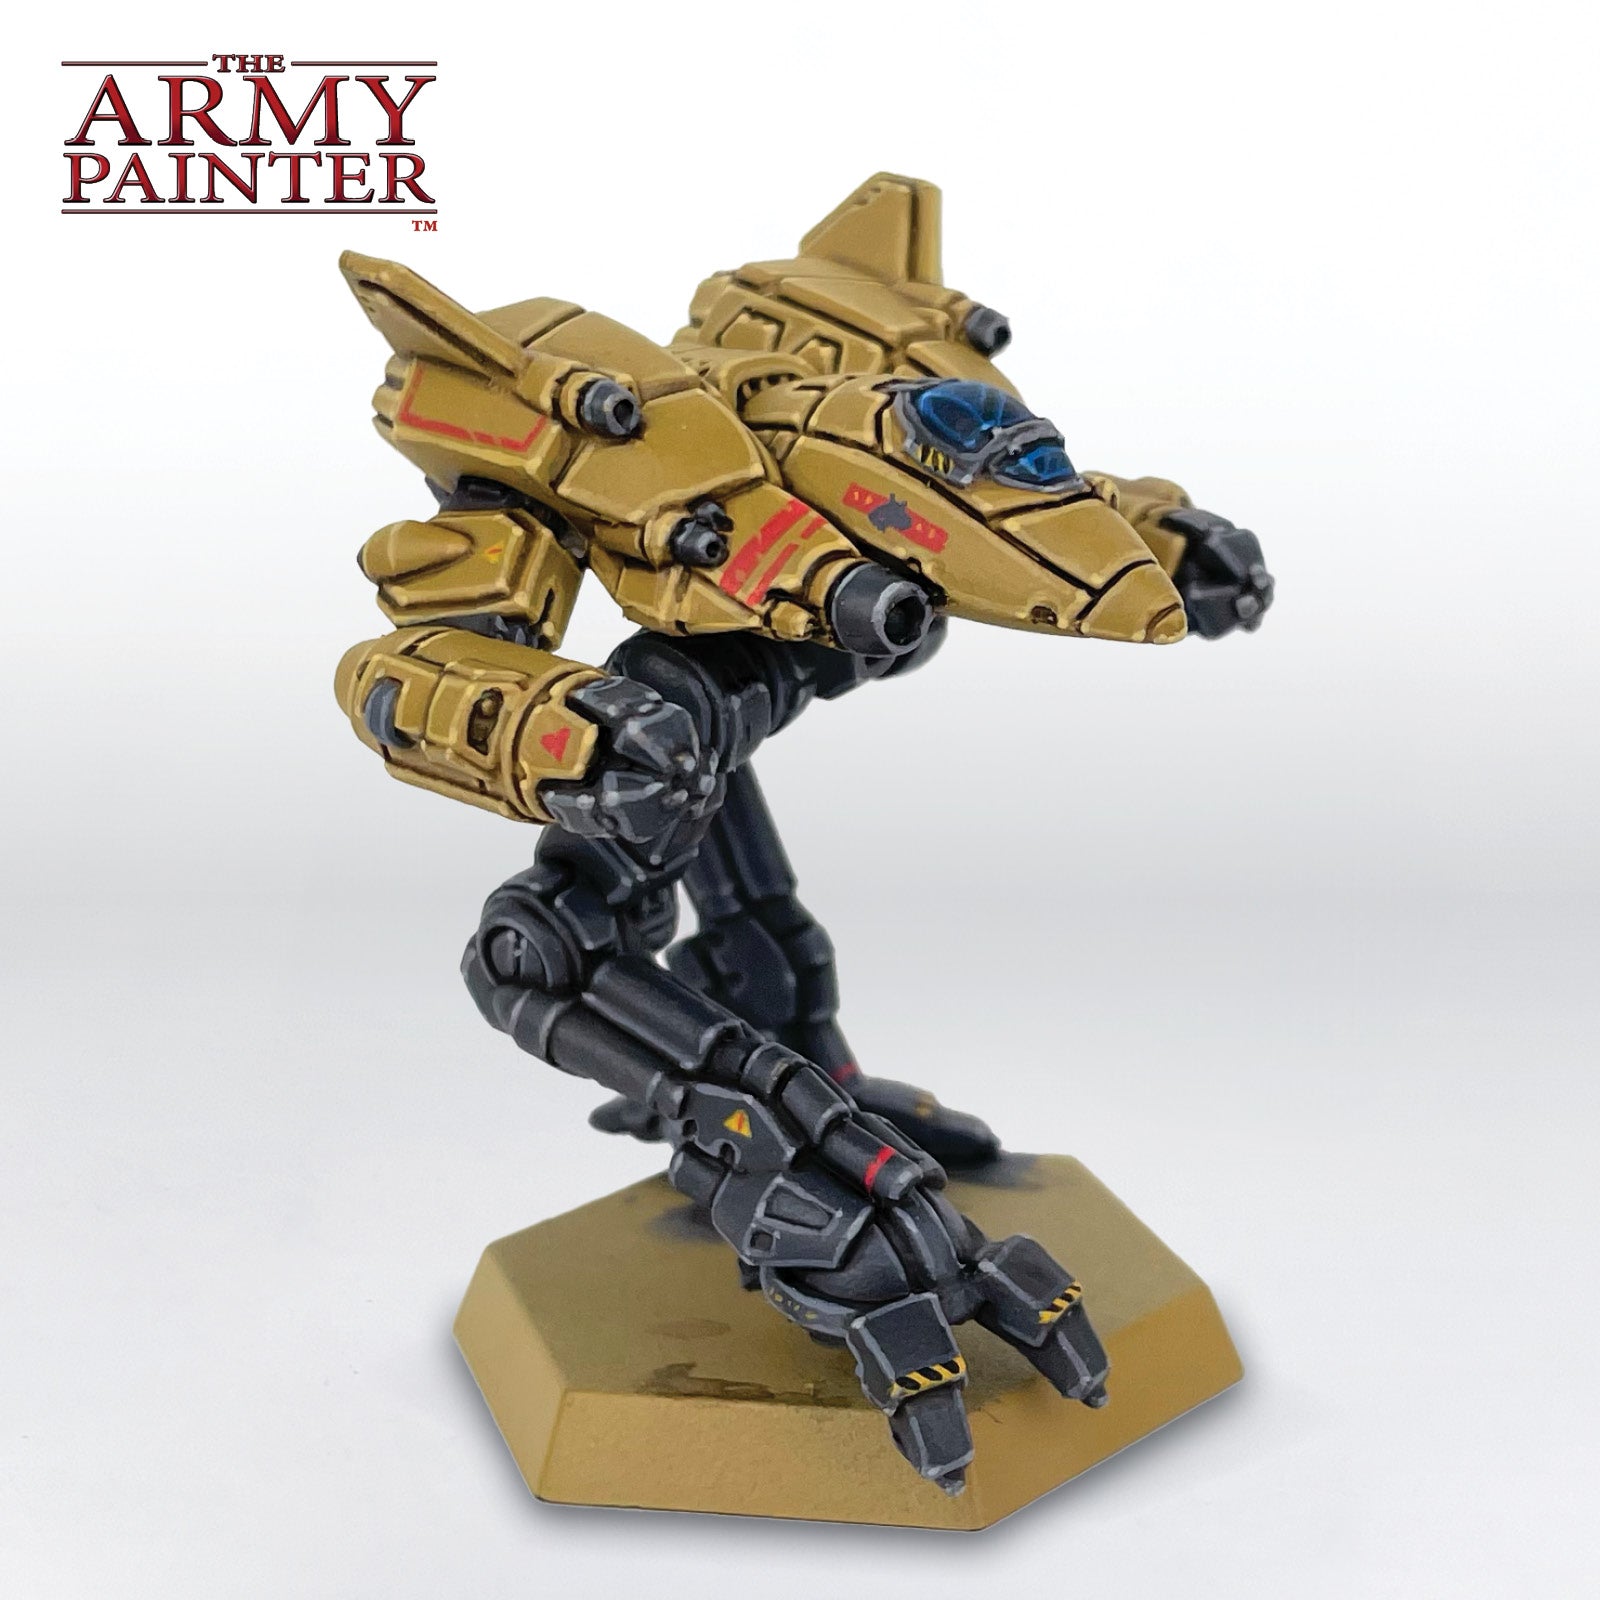
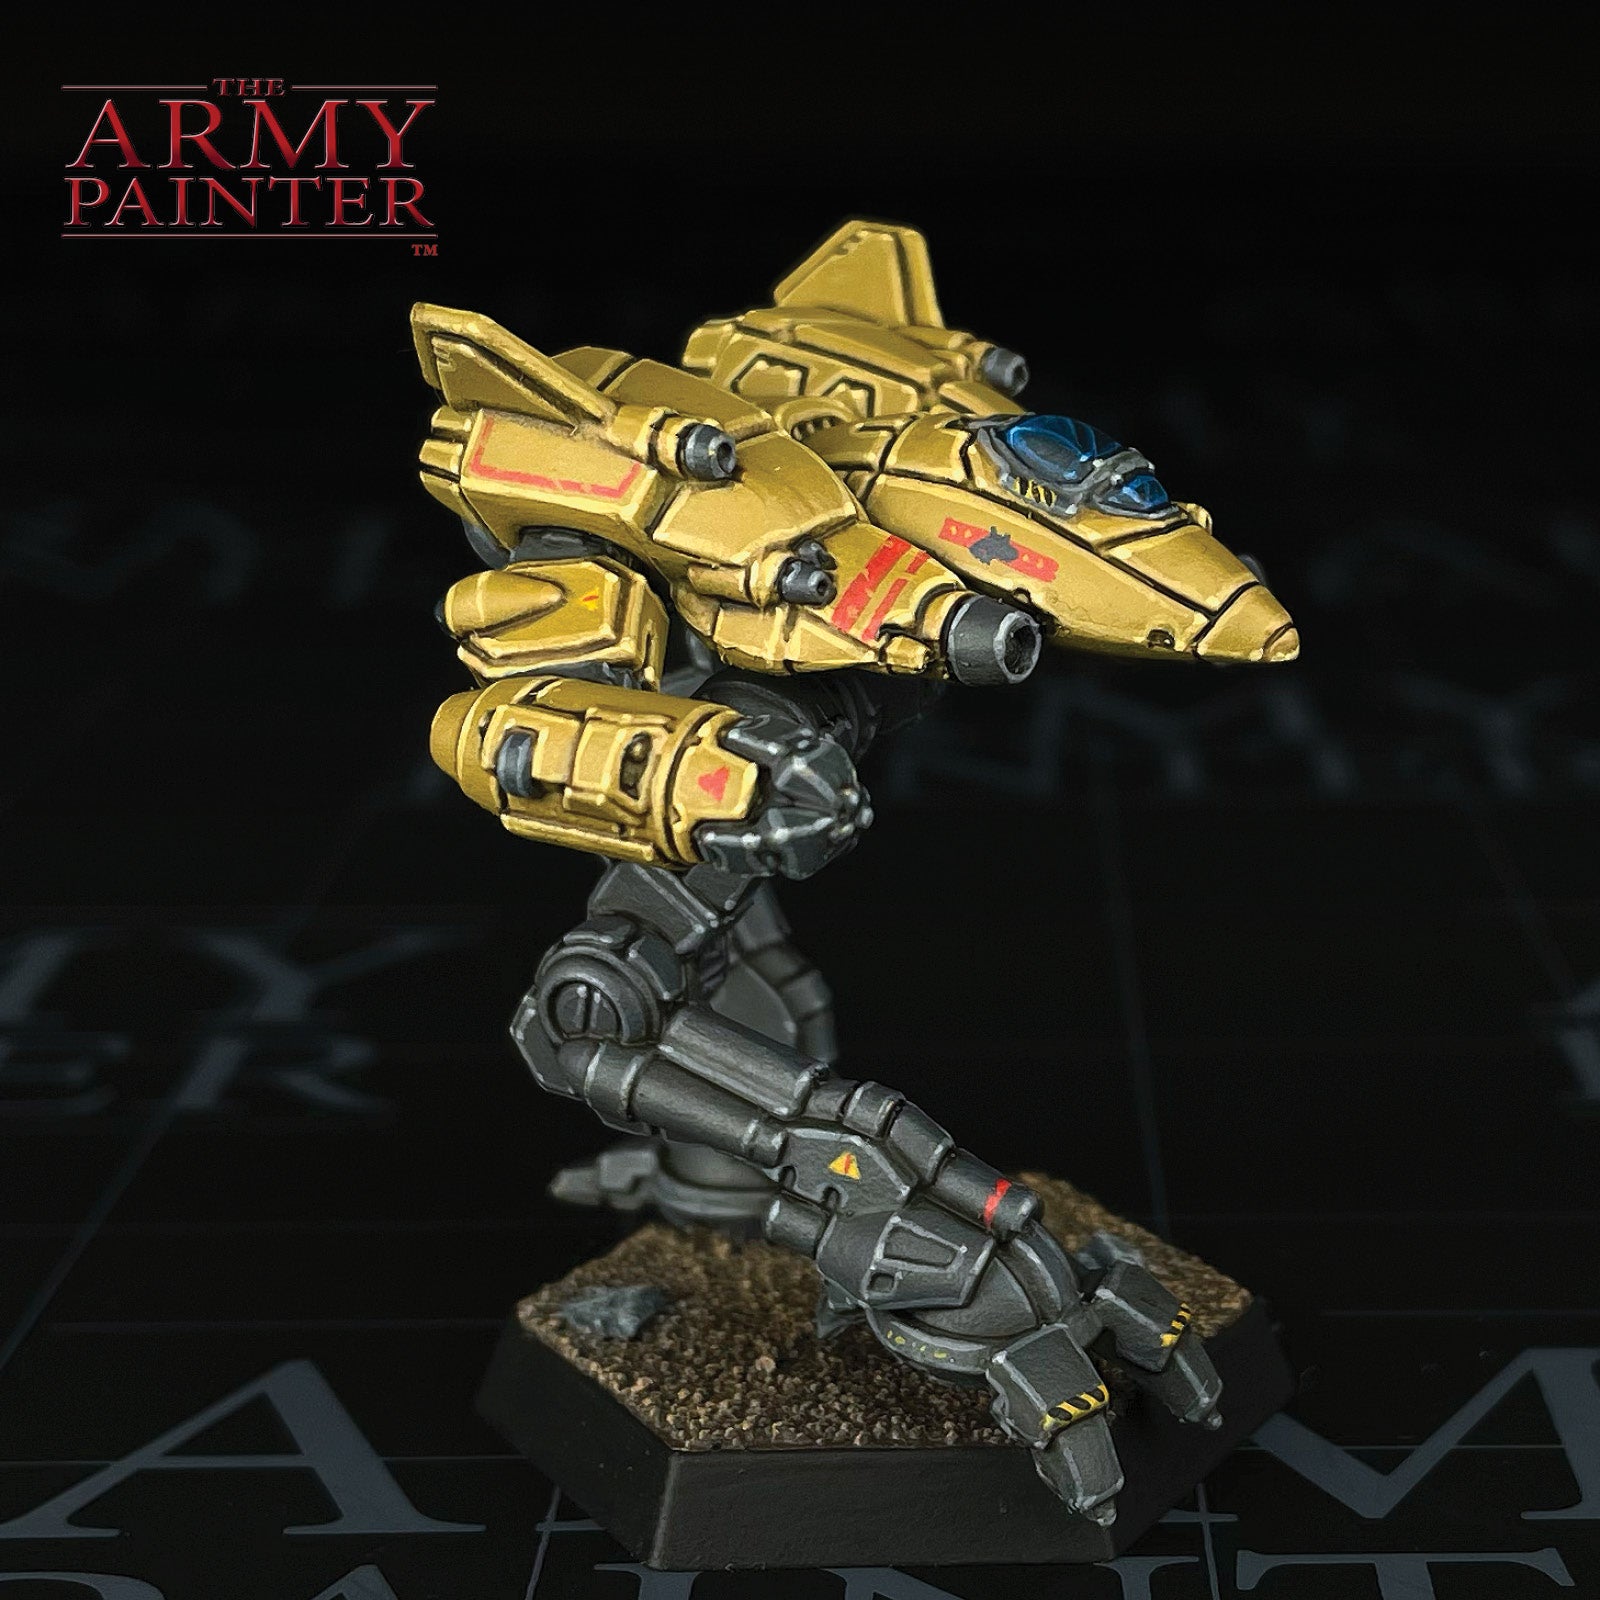
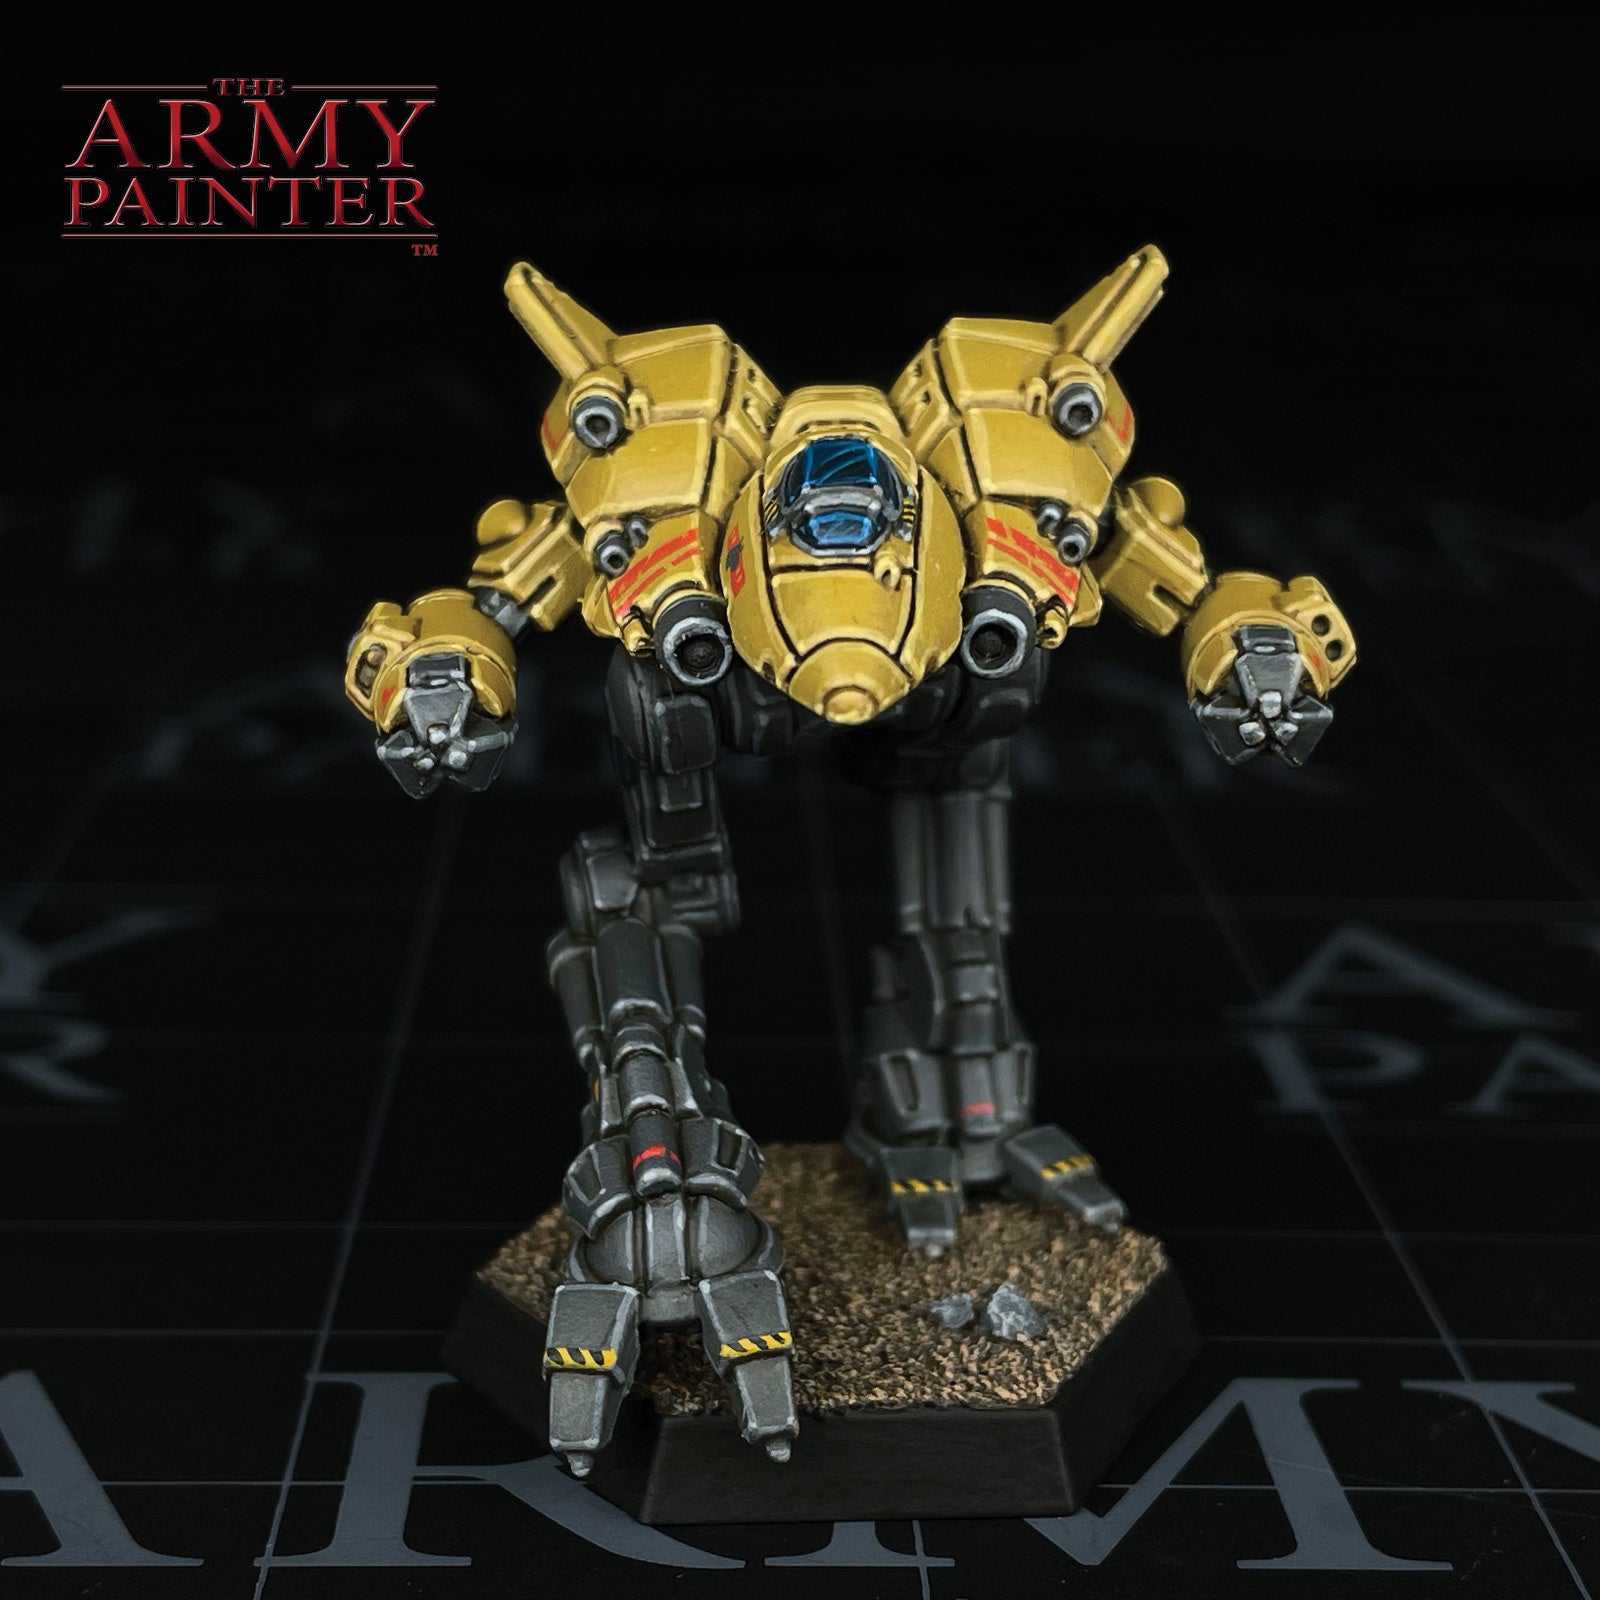
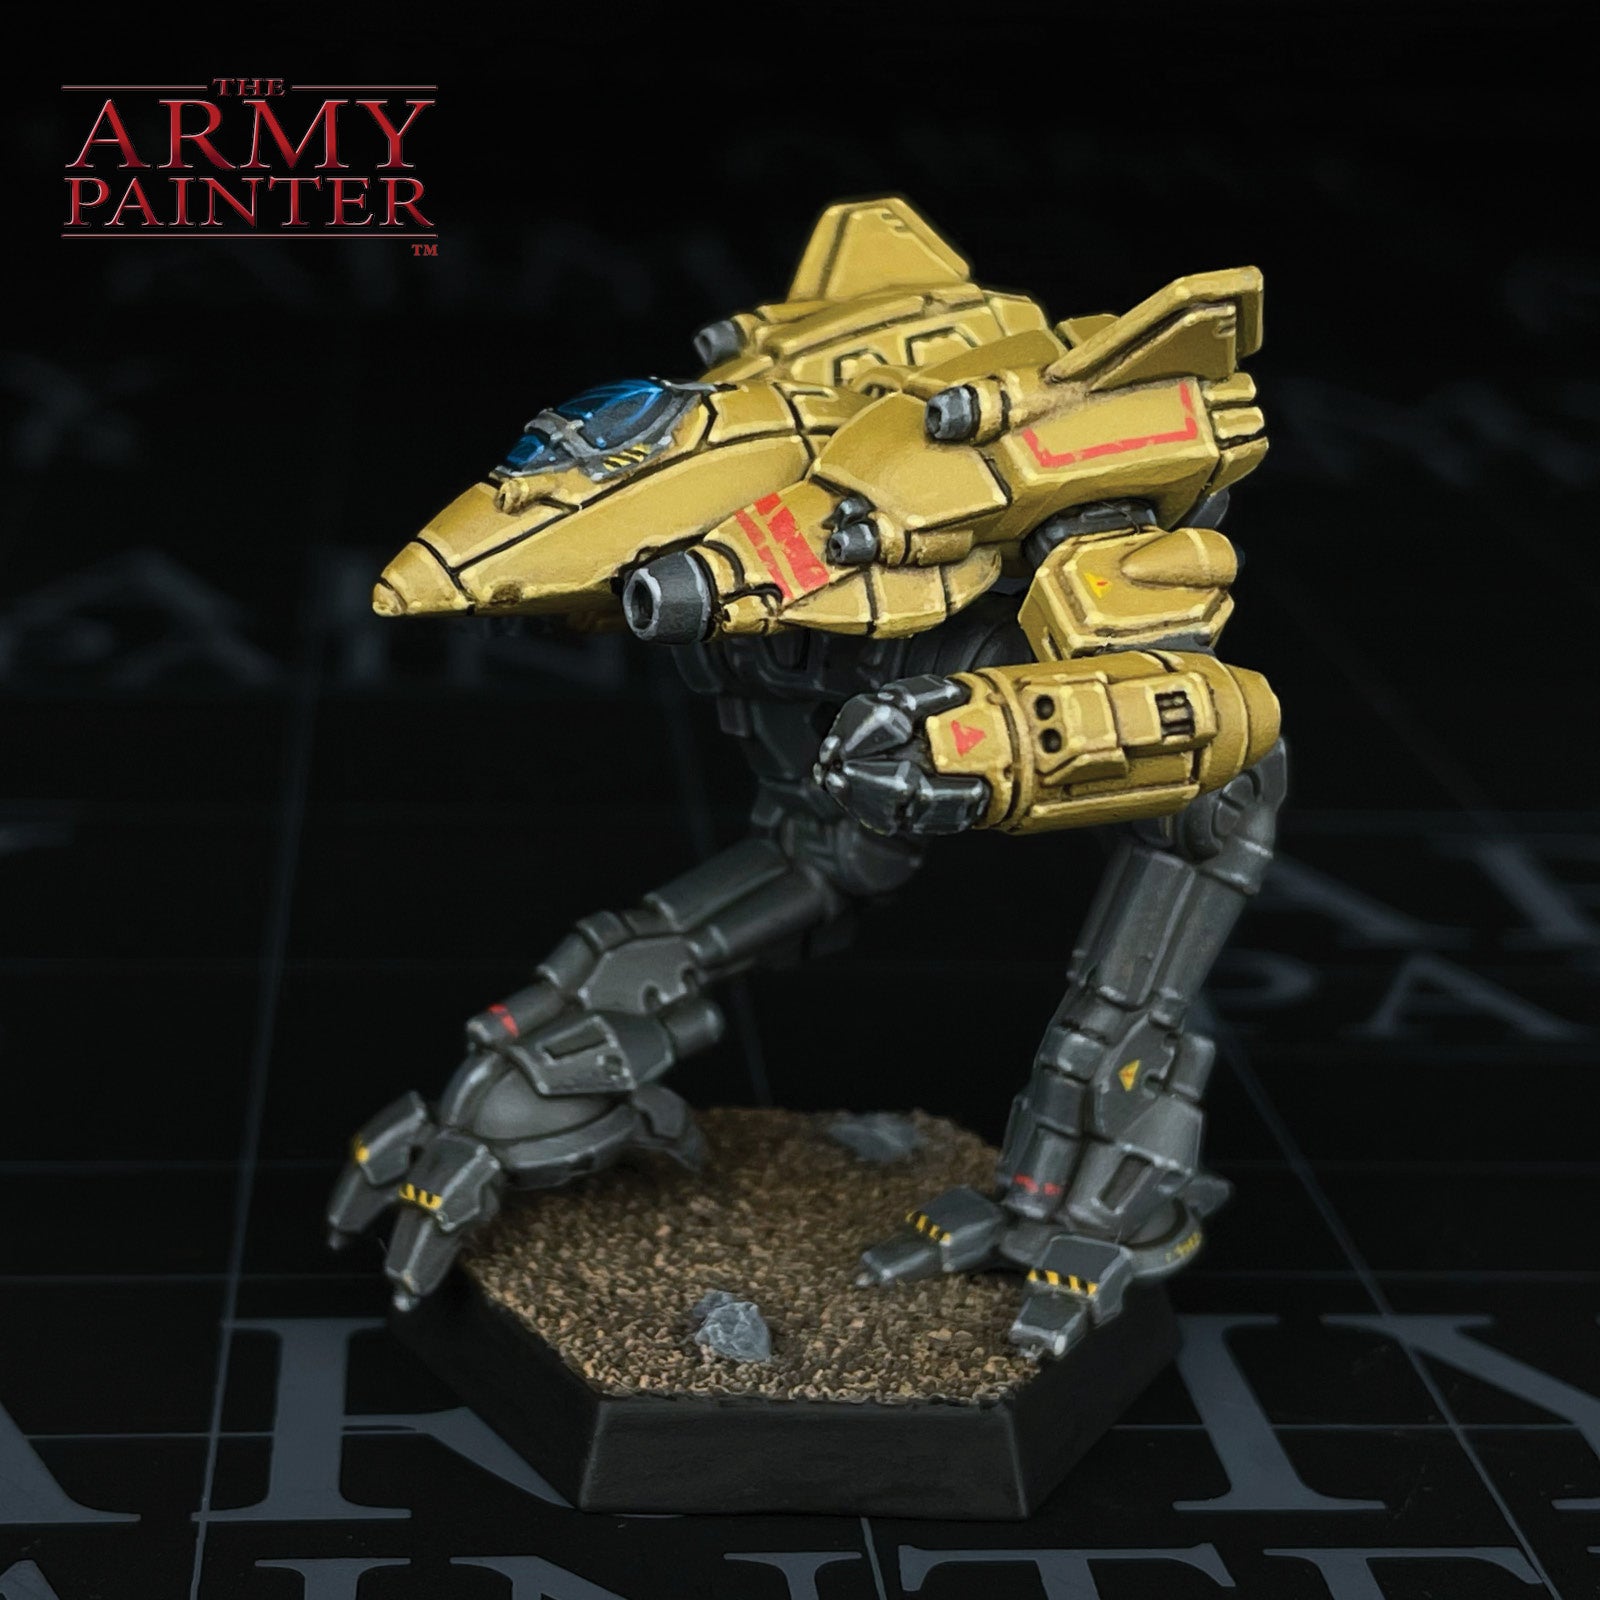
After much debate and perusing of the BattleTech Universe book, I decided to paint my mech in the colours of a firm fan favorite, Clan Wolf!
This tutorial has been broken down by colour segments, starting with the grey armour, moving onto the tan, the markings, and so on. Each section is further broken down into managable steps by applying one colour at a time. Simply click the arrows at the bottom of each section to scroll through the steps if you're on a desktop, or scroll to the side on your mobile phone.
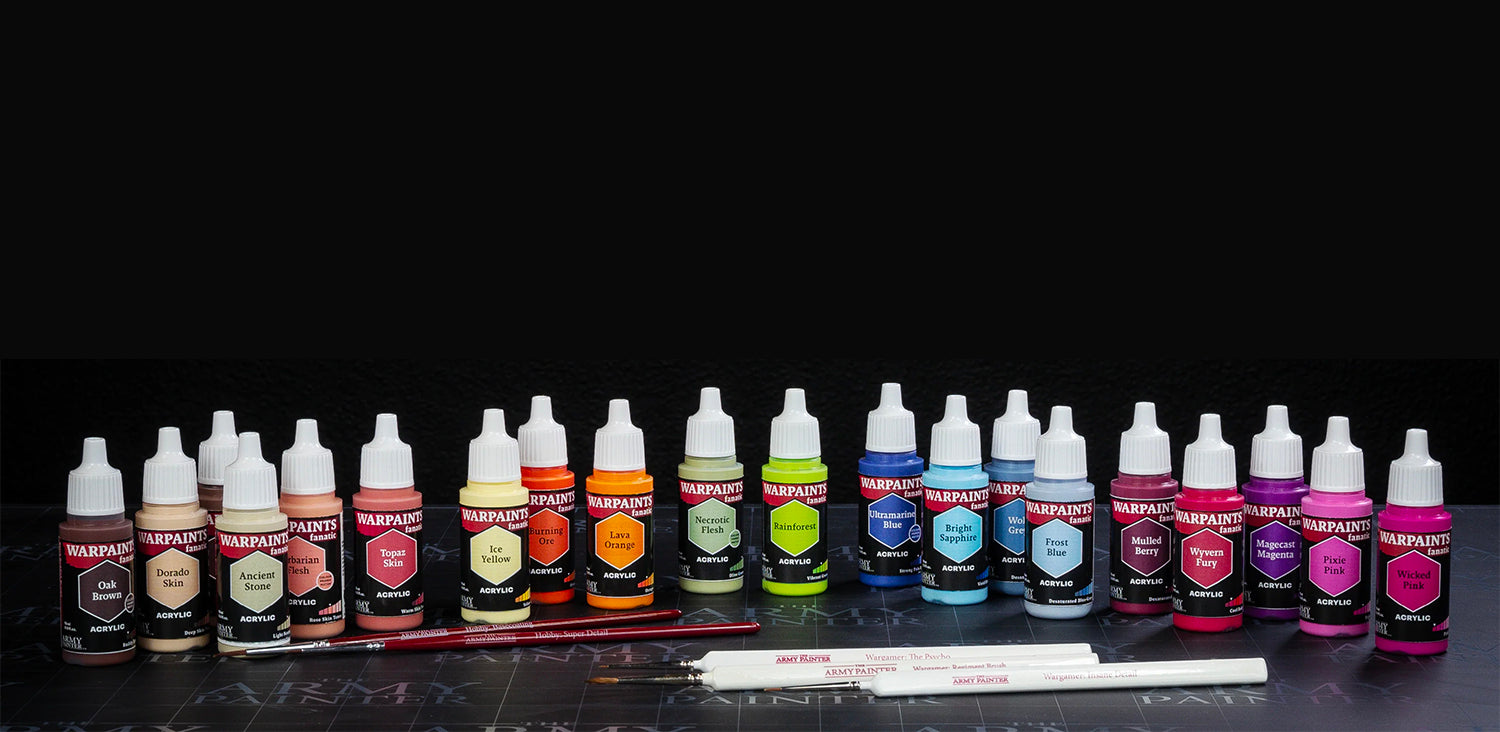
Every colour on this miniature, outside of the primer, comes from our new Warpaints Fanatic range.
Let's get painting!

The Grey Armour
Step 1
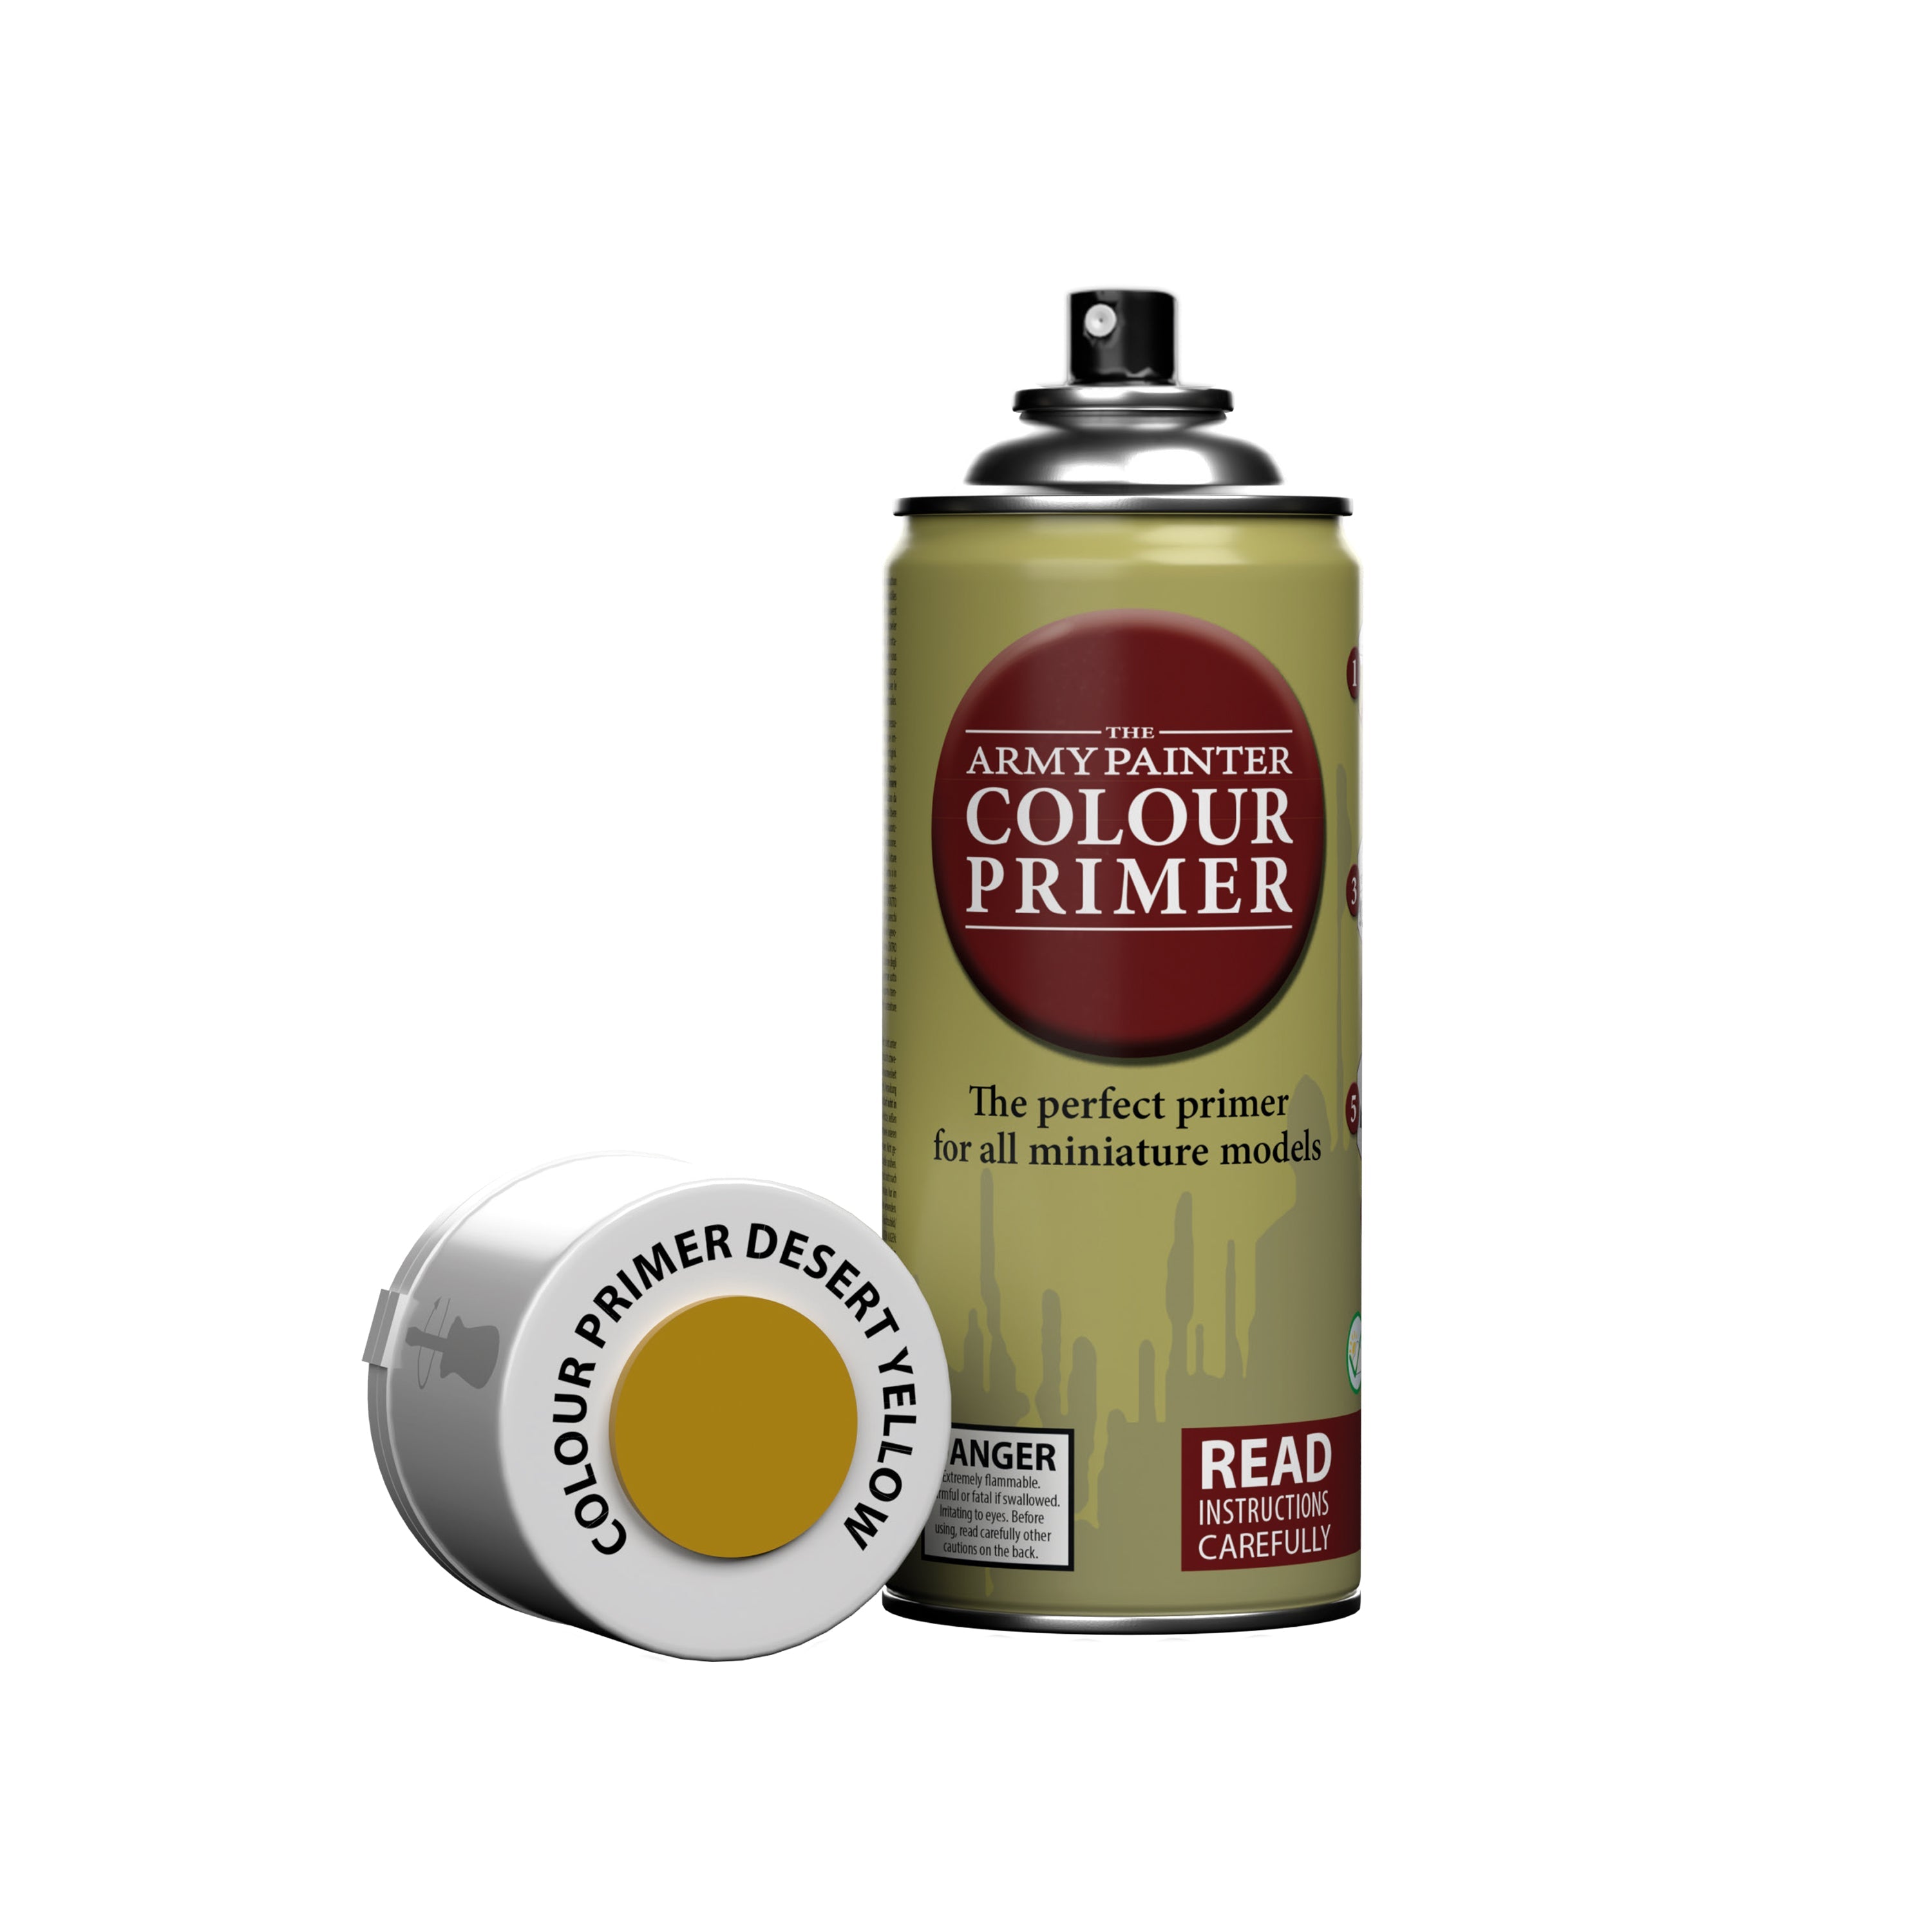
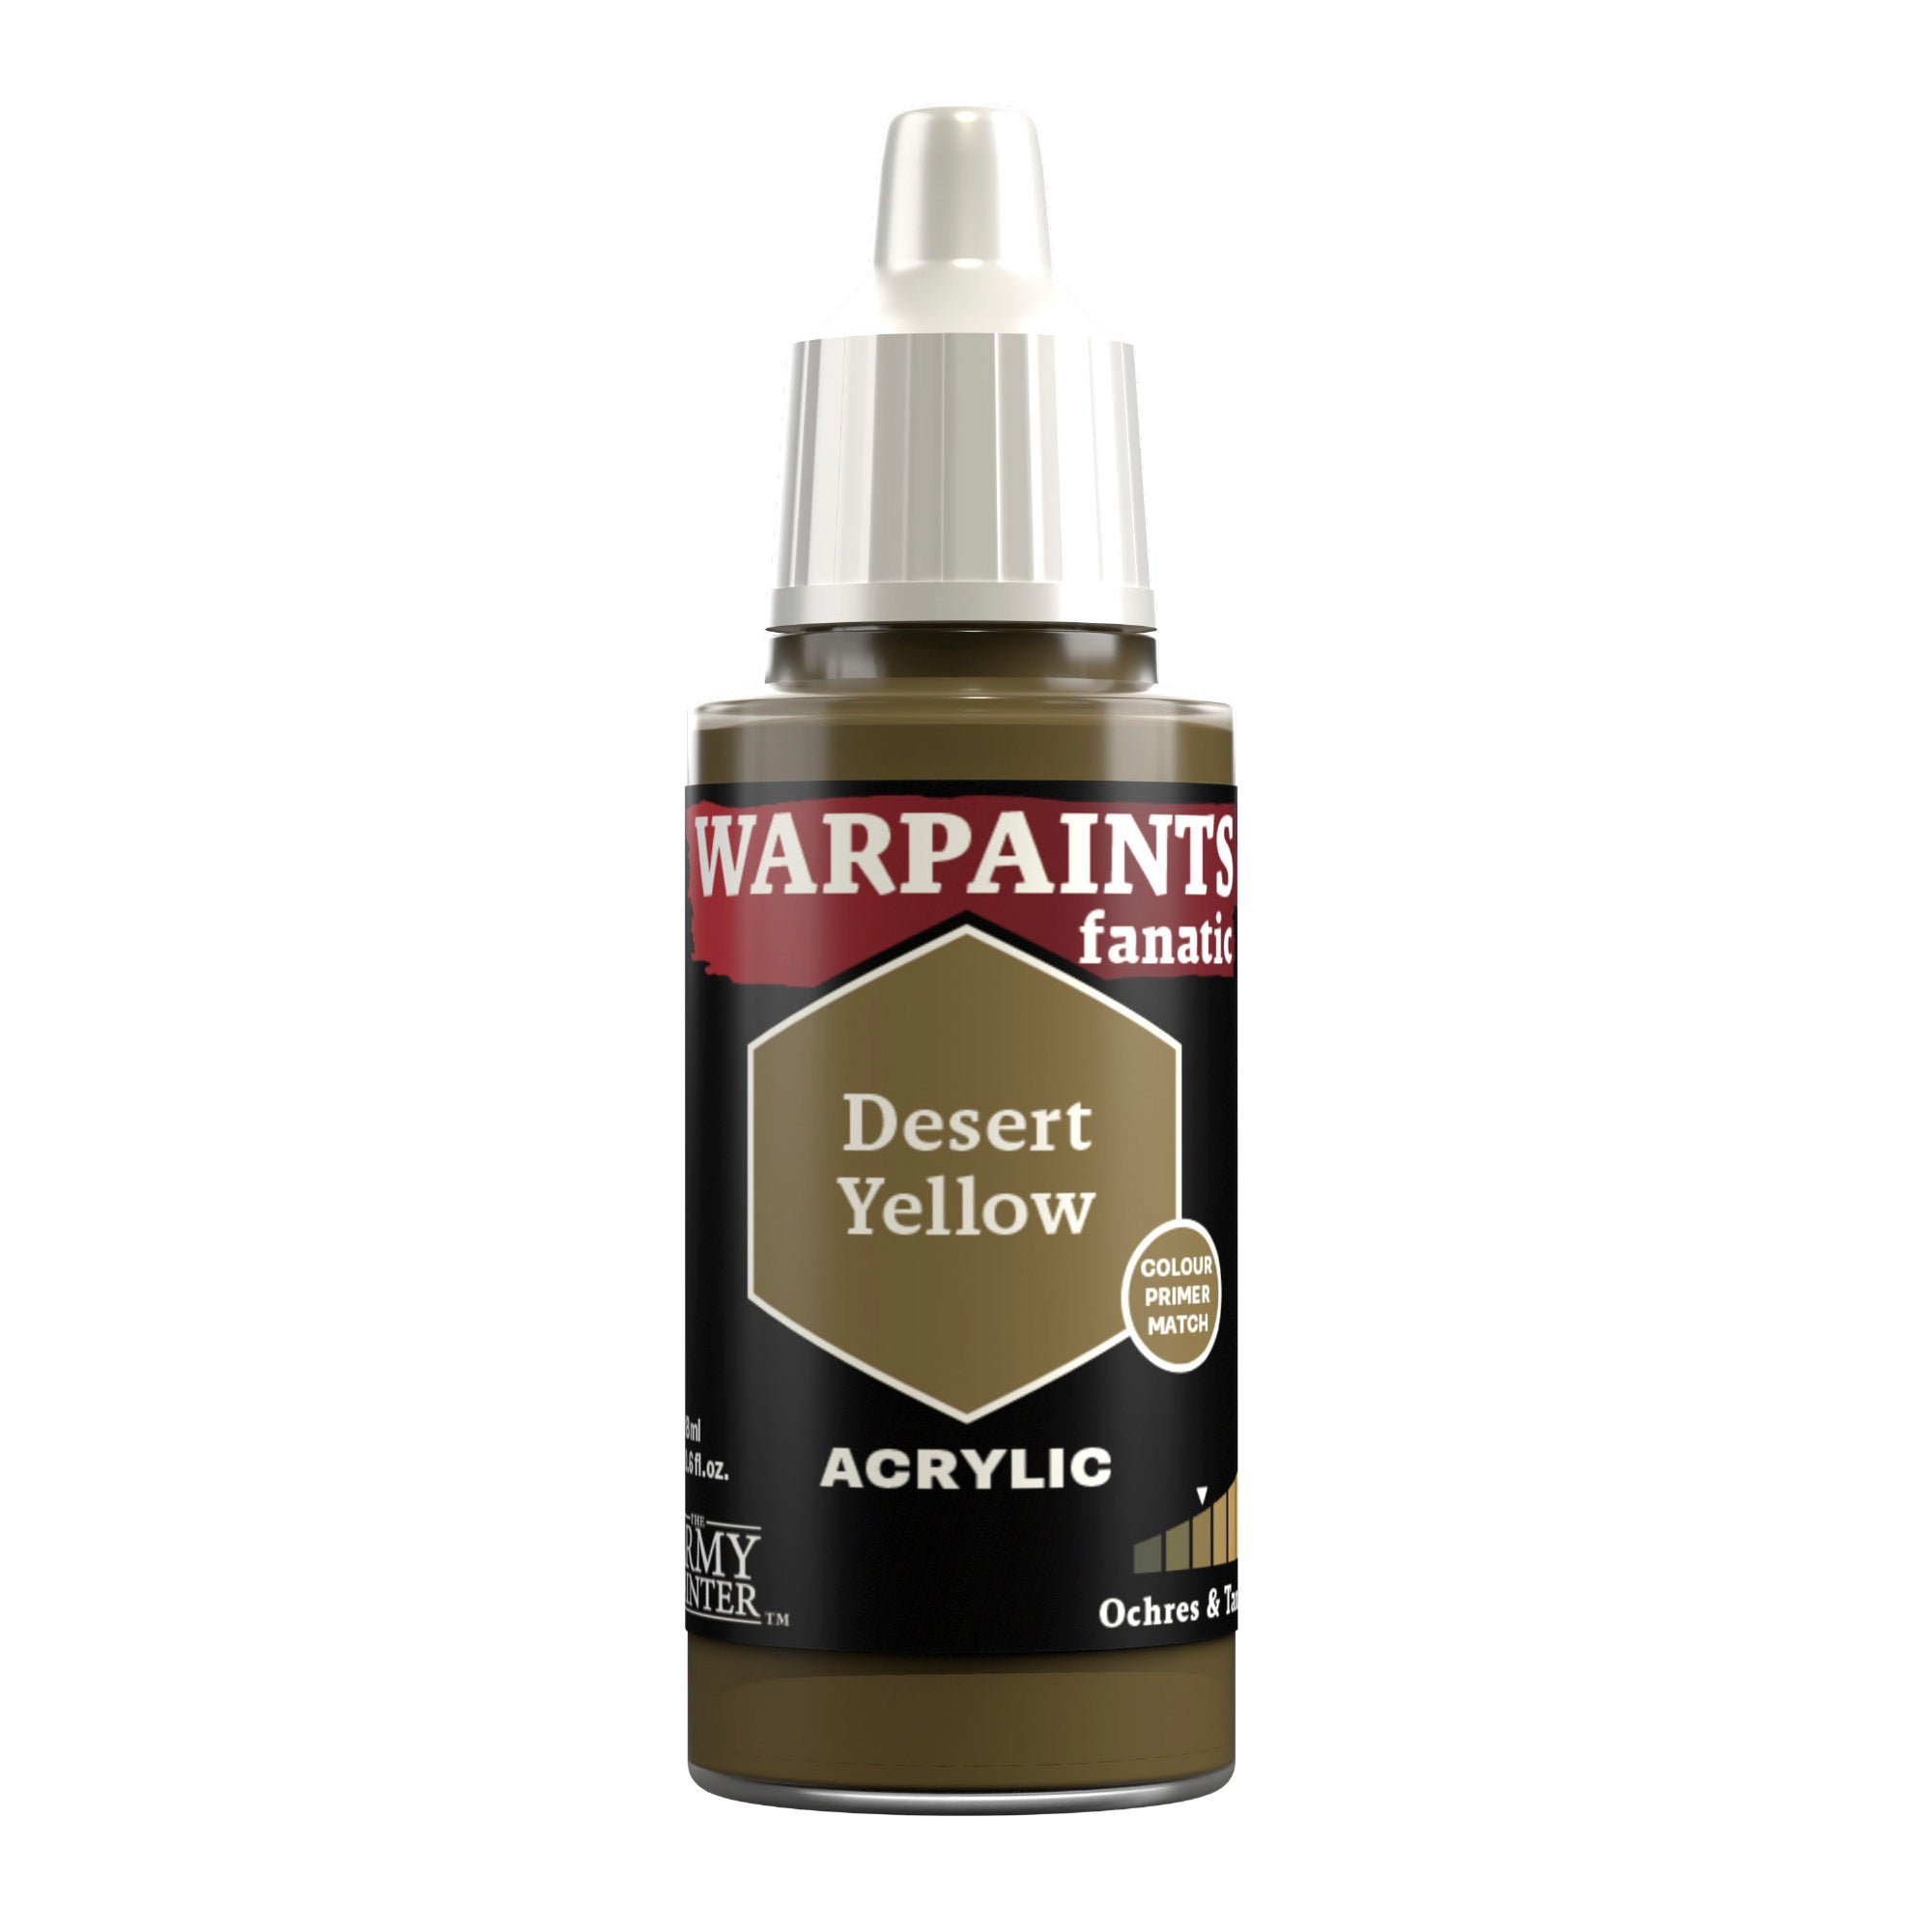
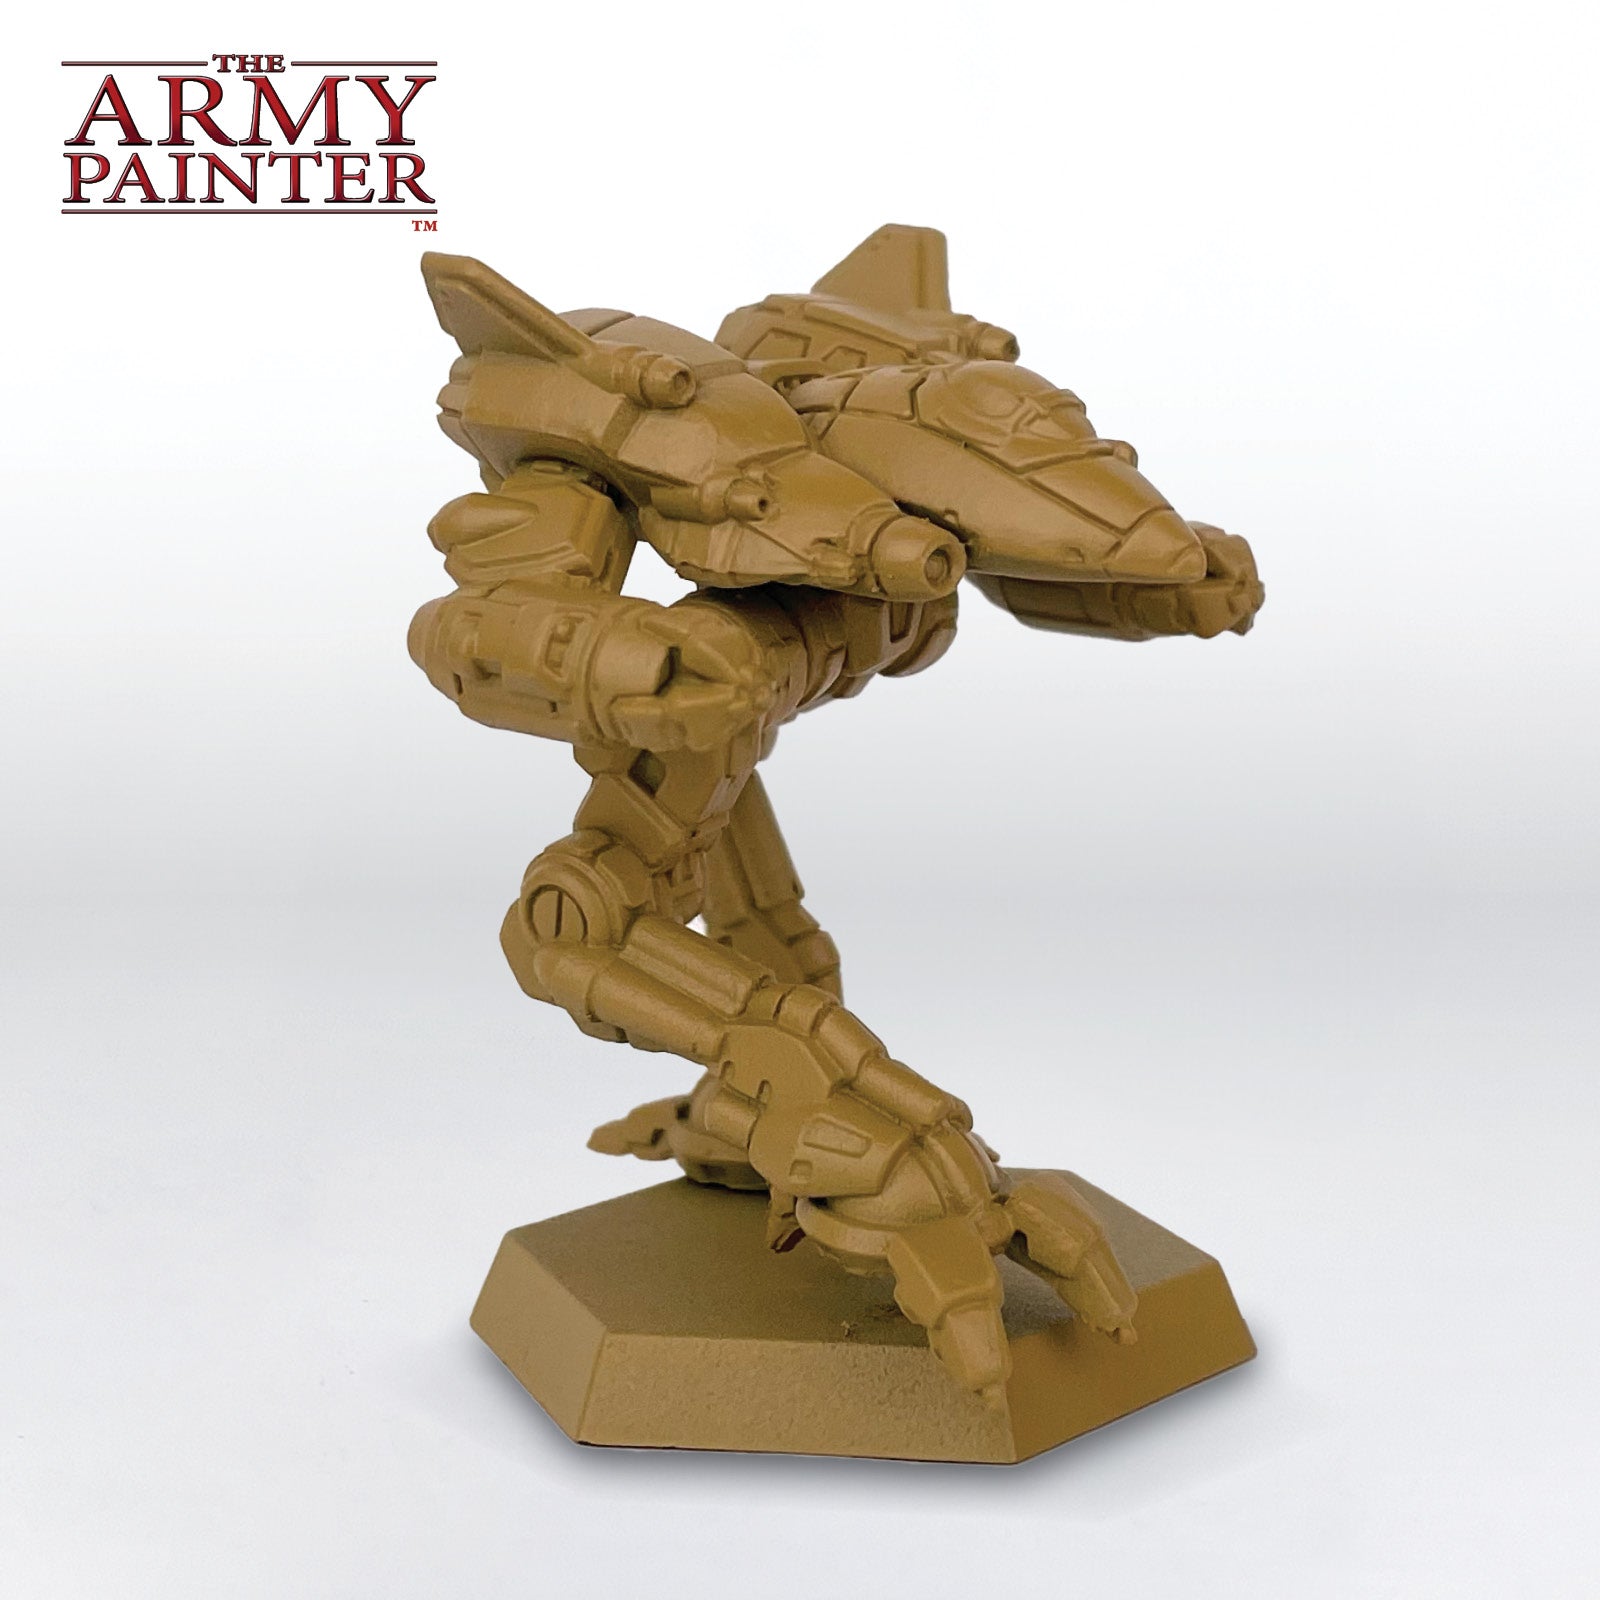
I started off by priming the model with Desert Yellow Colour Primer, as this will be the main colour of the lighter armour.
Step 2
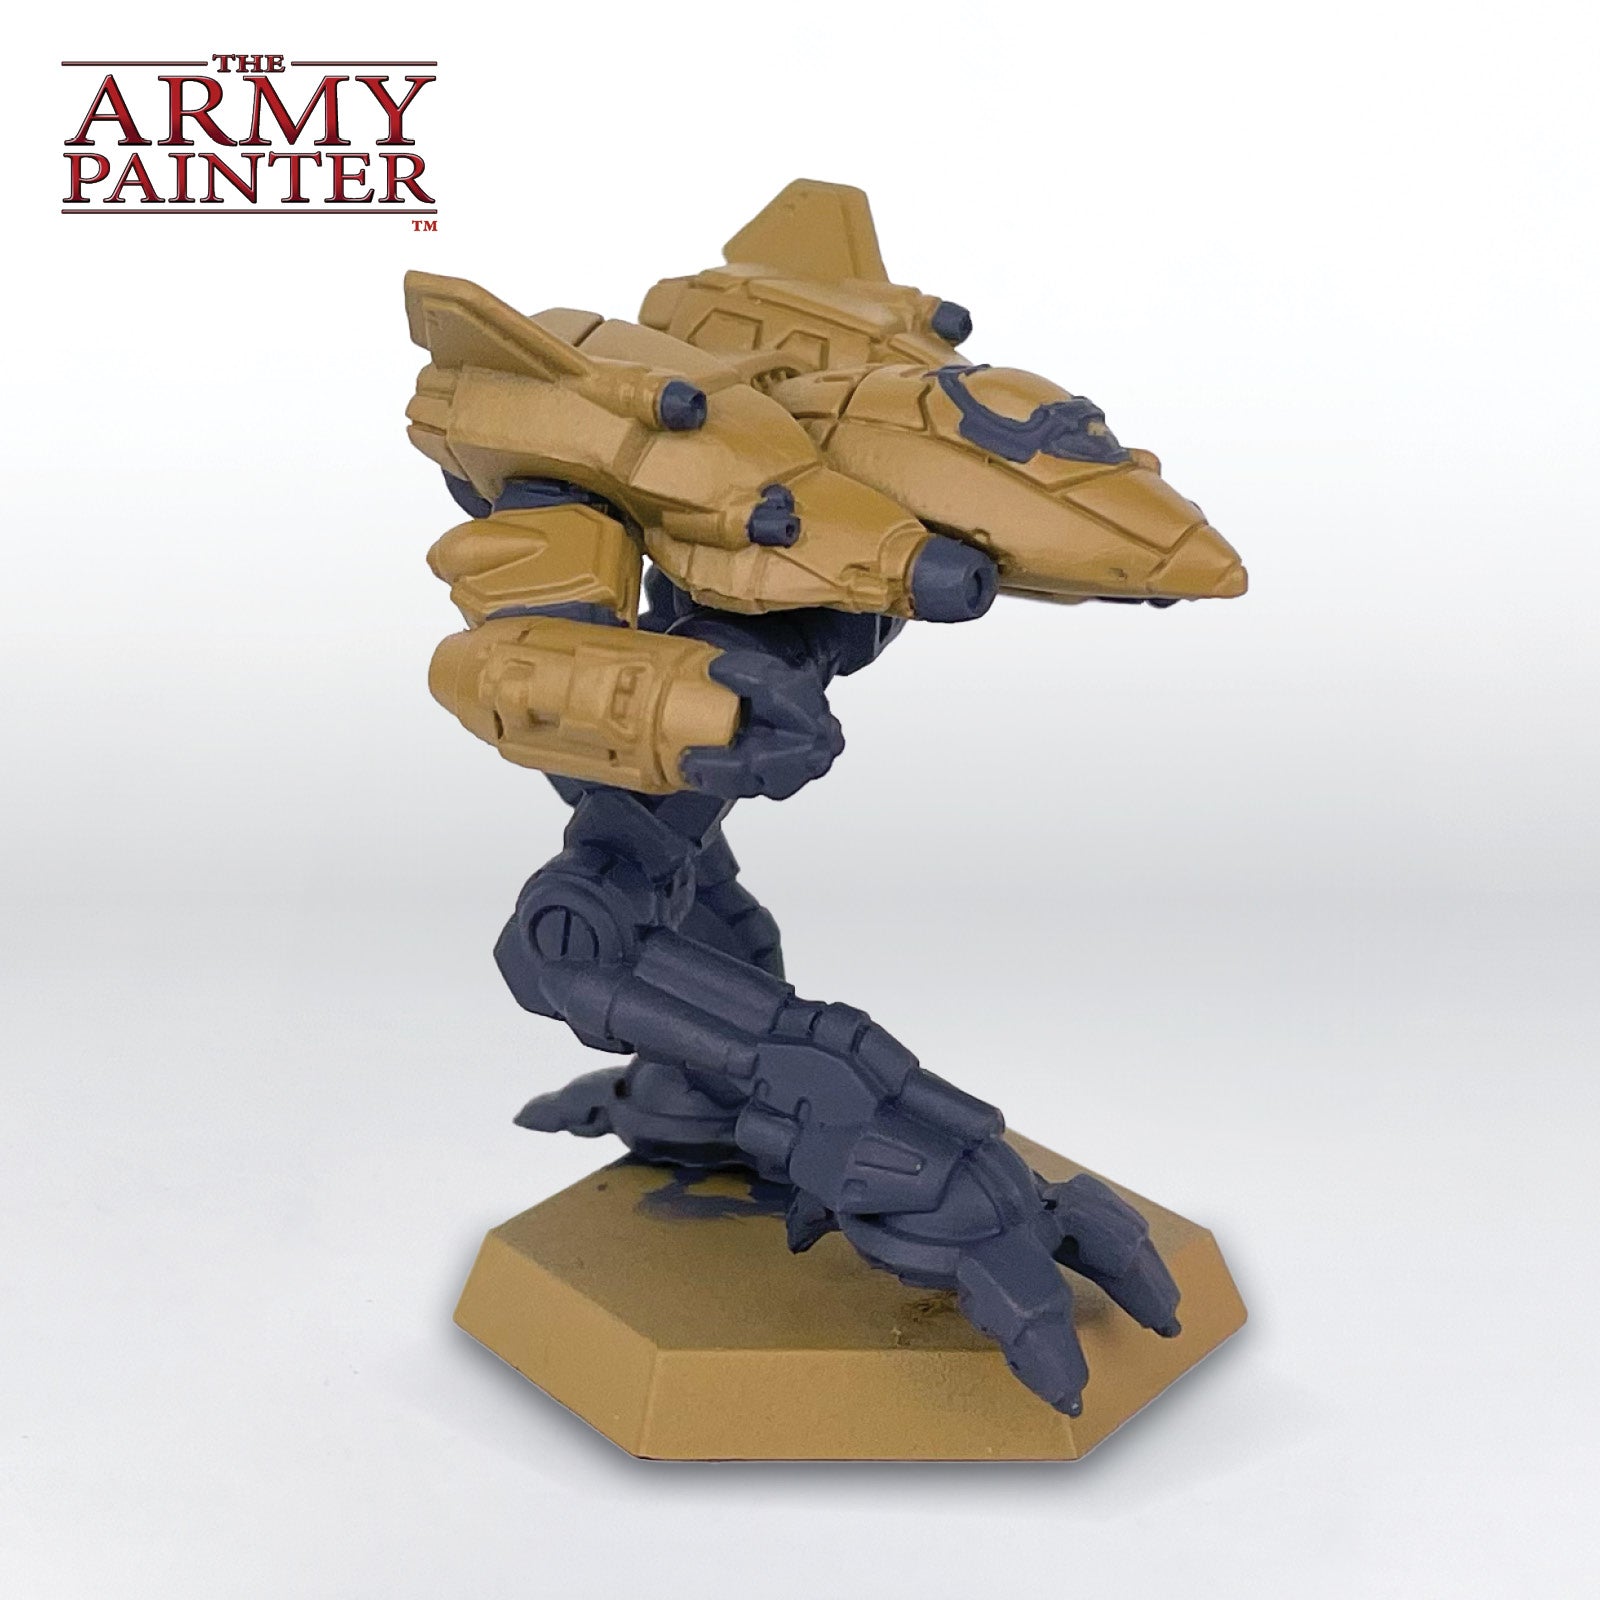
All the areas that will be grey were then basecoated with Warpaints Fanatic Deep Grey. That includes all of the legs, as well as any other areas on the model you want to differentiate. I picked out some of the guns, vents, claws, canopy frame and other doodads. I stuck with the Black and Greys Flexible Triad for this section.
Step 3
To add some definition to the model, the entire mini was given a coat of Warpaints Fanatic Strong Tone Wash. Make sure you cover the areas we didn't paint grey as well, as this will give us our shading there in the future.
Step 4
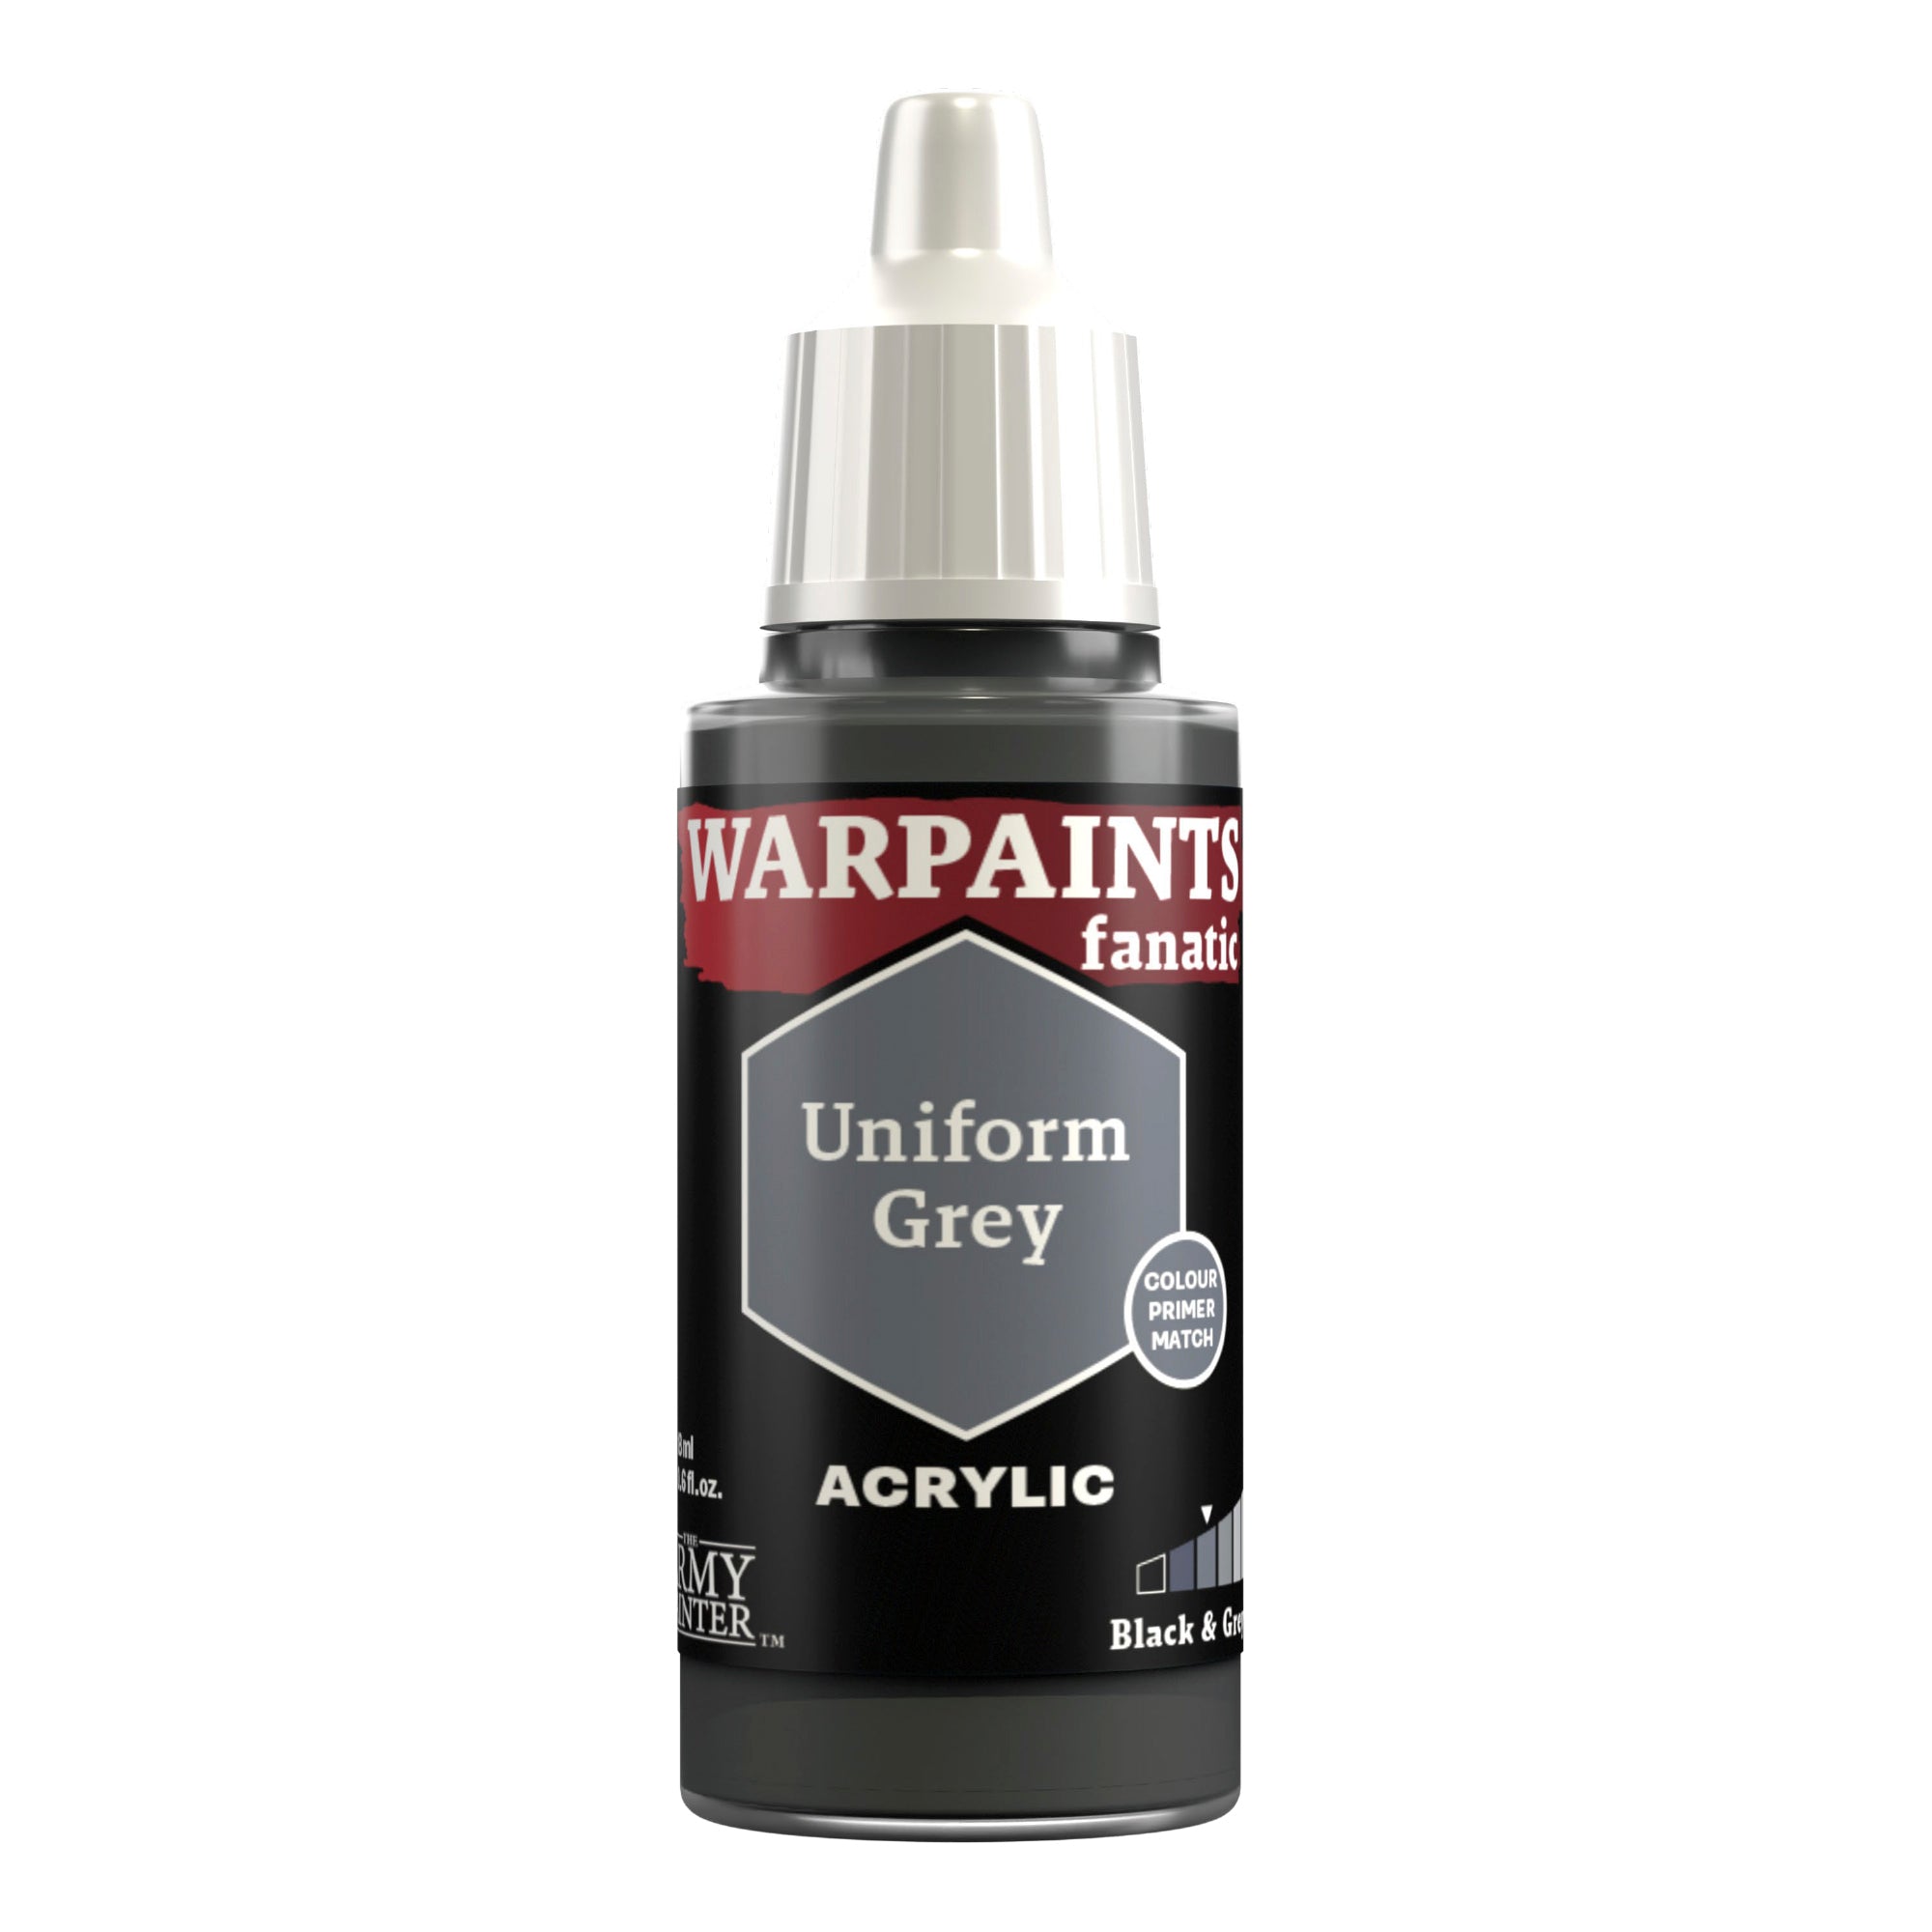
Now that we've added some shading, and also given the grey areas a nice tint of brown, I went in and edge highlighted all of the grey with Warpaints Fanatic Uniform Grey, the next colour up in the Black and Greys Flexible Triad.
Step 5
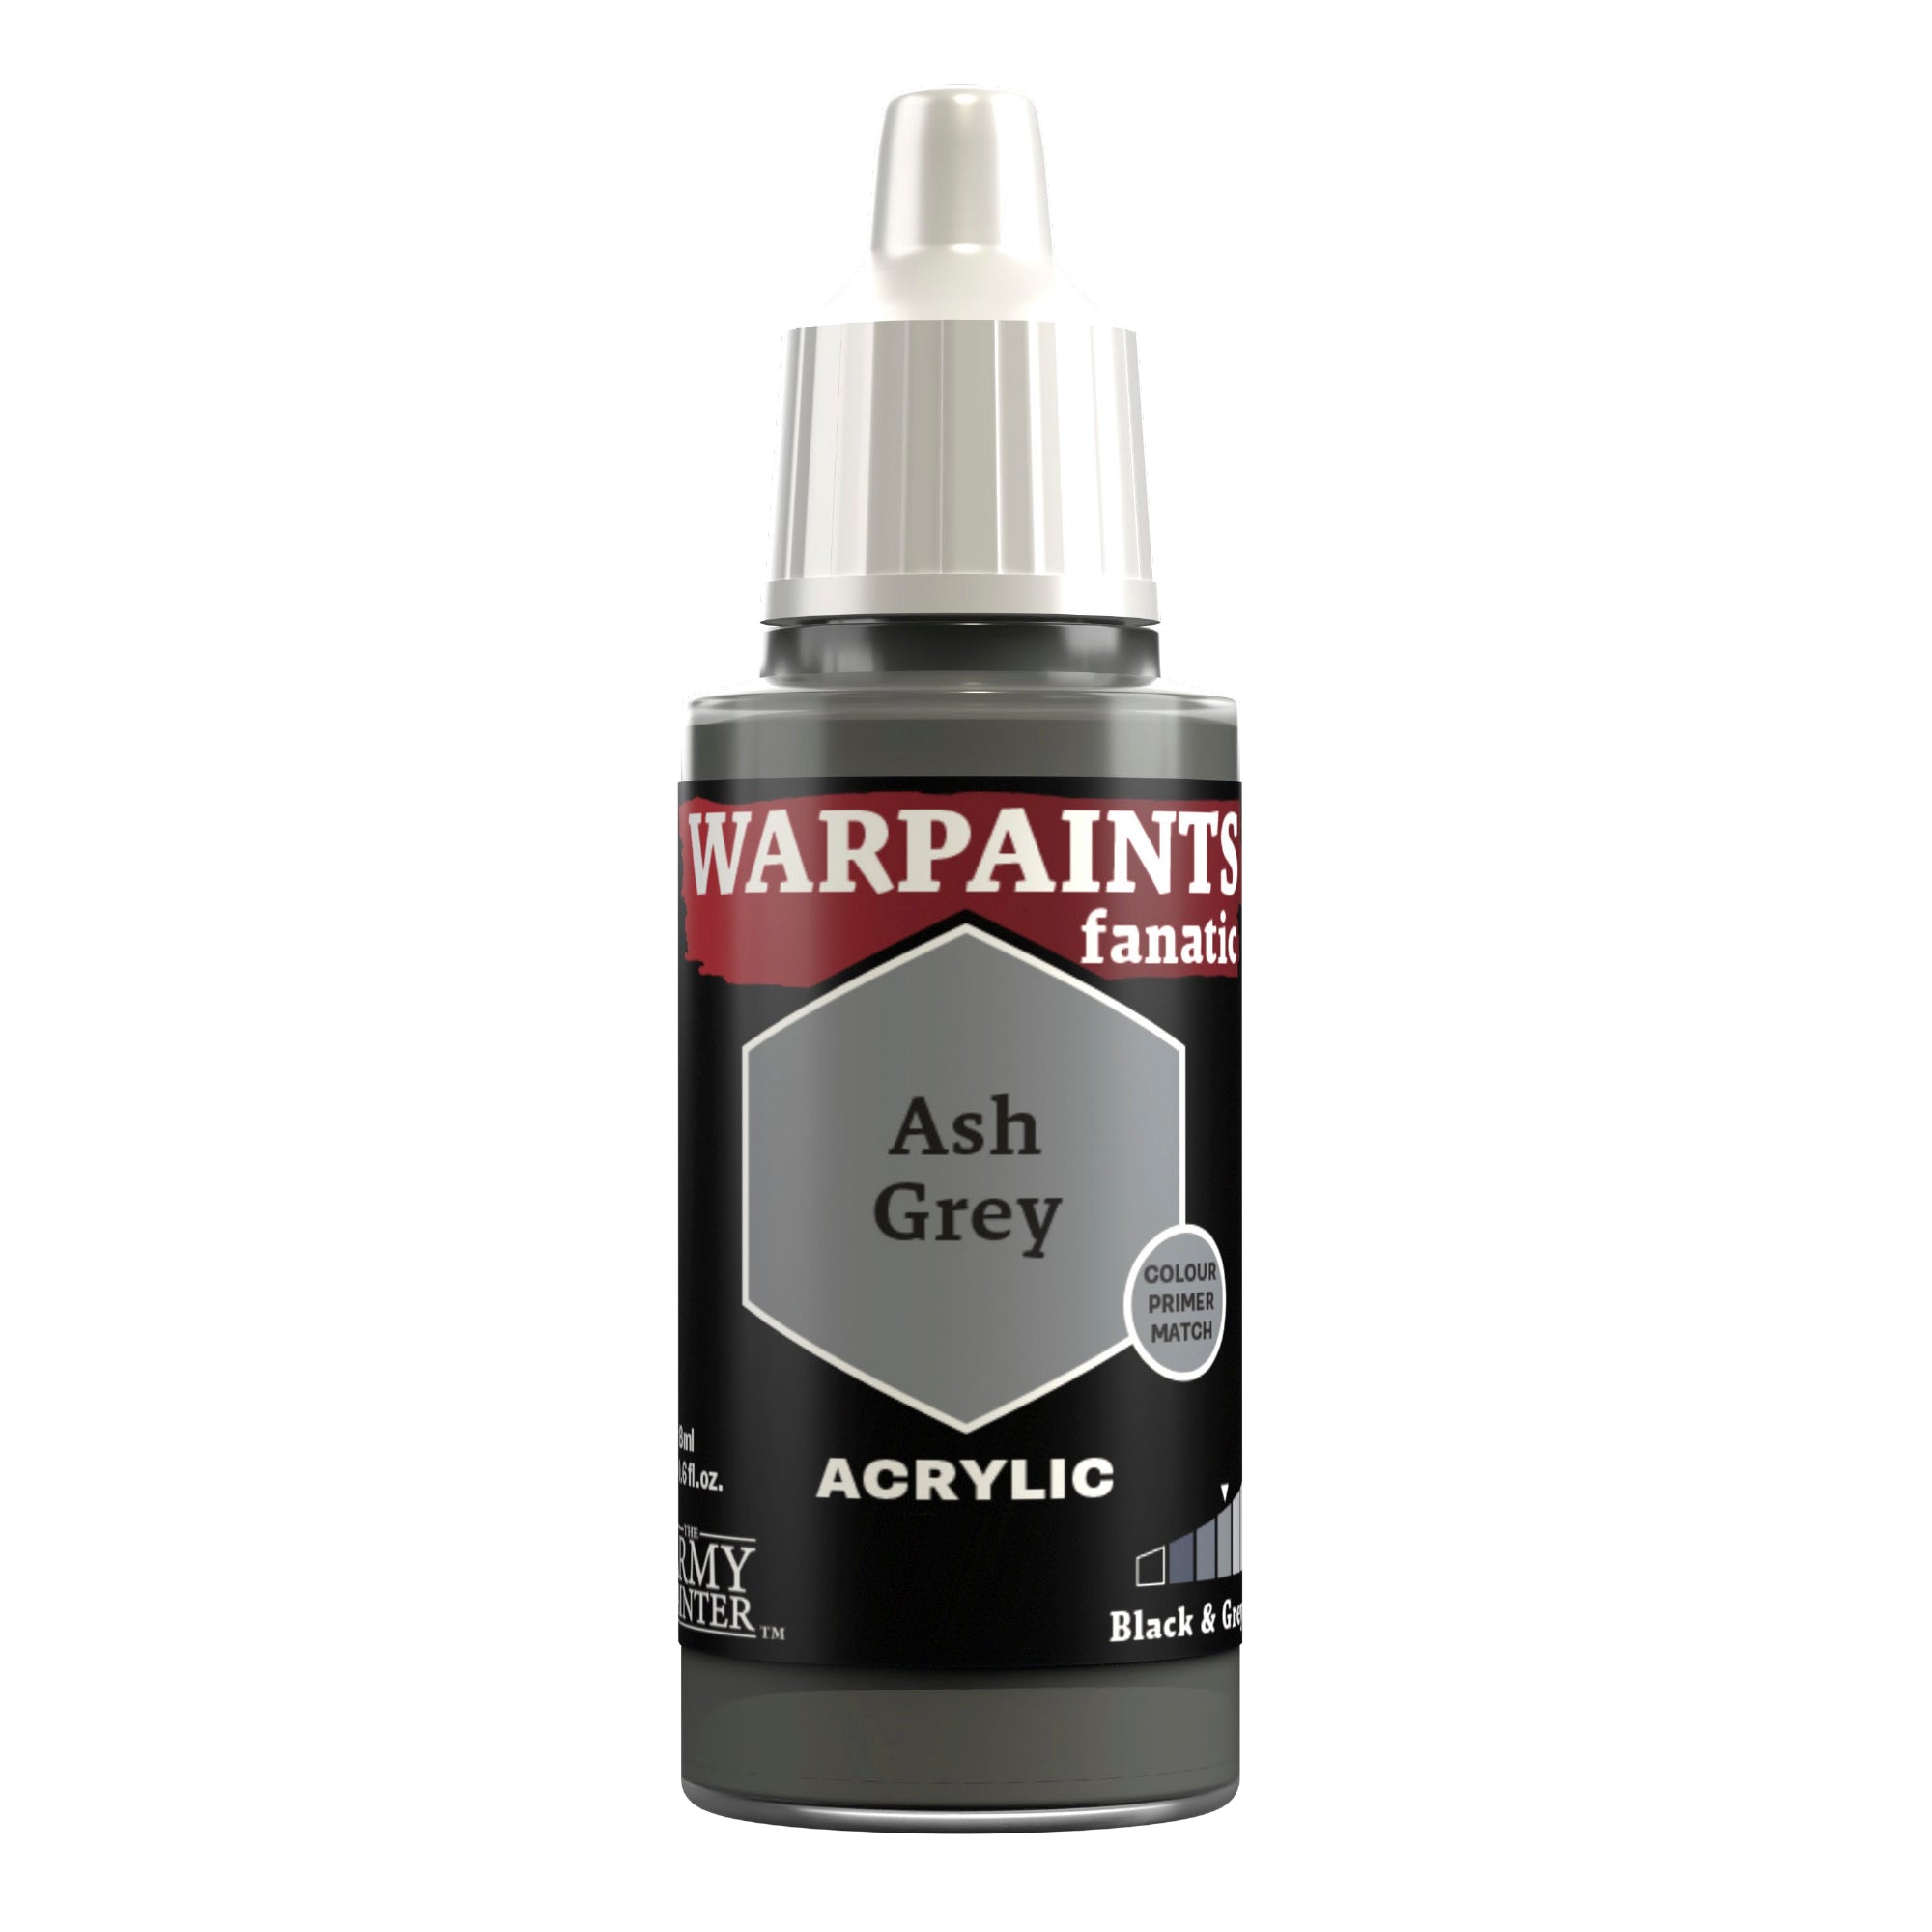
As a final touch on the grey, I went in and added dots of Warpaints Fanatic Ash Grey on all of the corners.
The Tan Armour
Step 1
Since we've already added all of the shading we need in a previous step, we can start off by going in with Warpaints Fanatic Desert Yellow and tidying up all of the tan panels, leaving the Warpaints Fanatic Strong Tone Wash in the recesses. Areas that you can't really see, such as underneath the main body, were left alone, with no tidying up.
Step 2
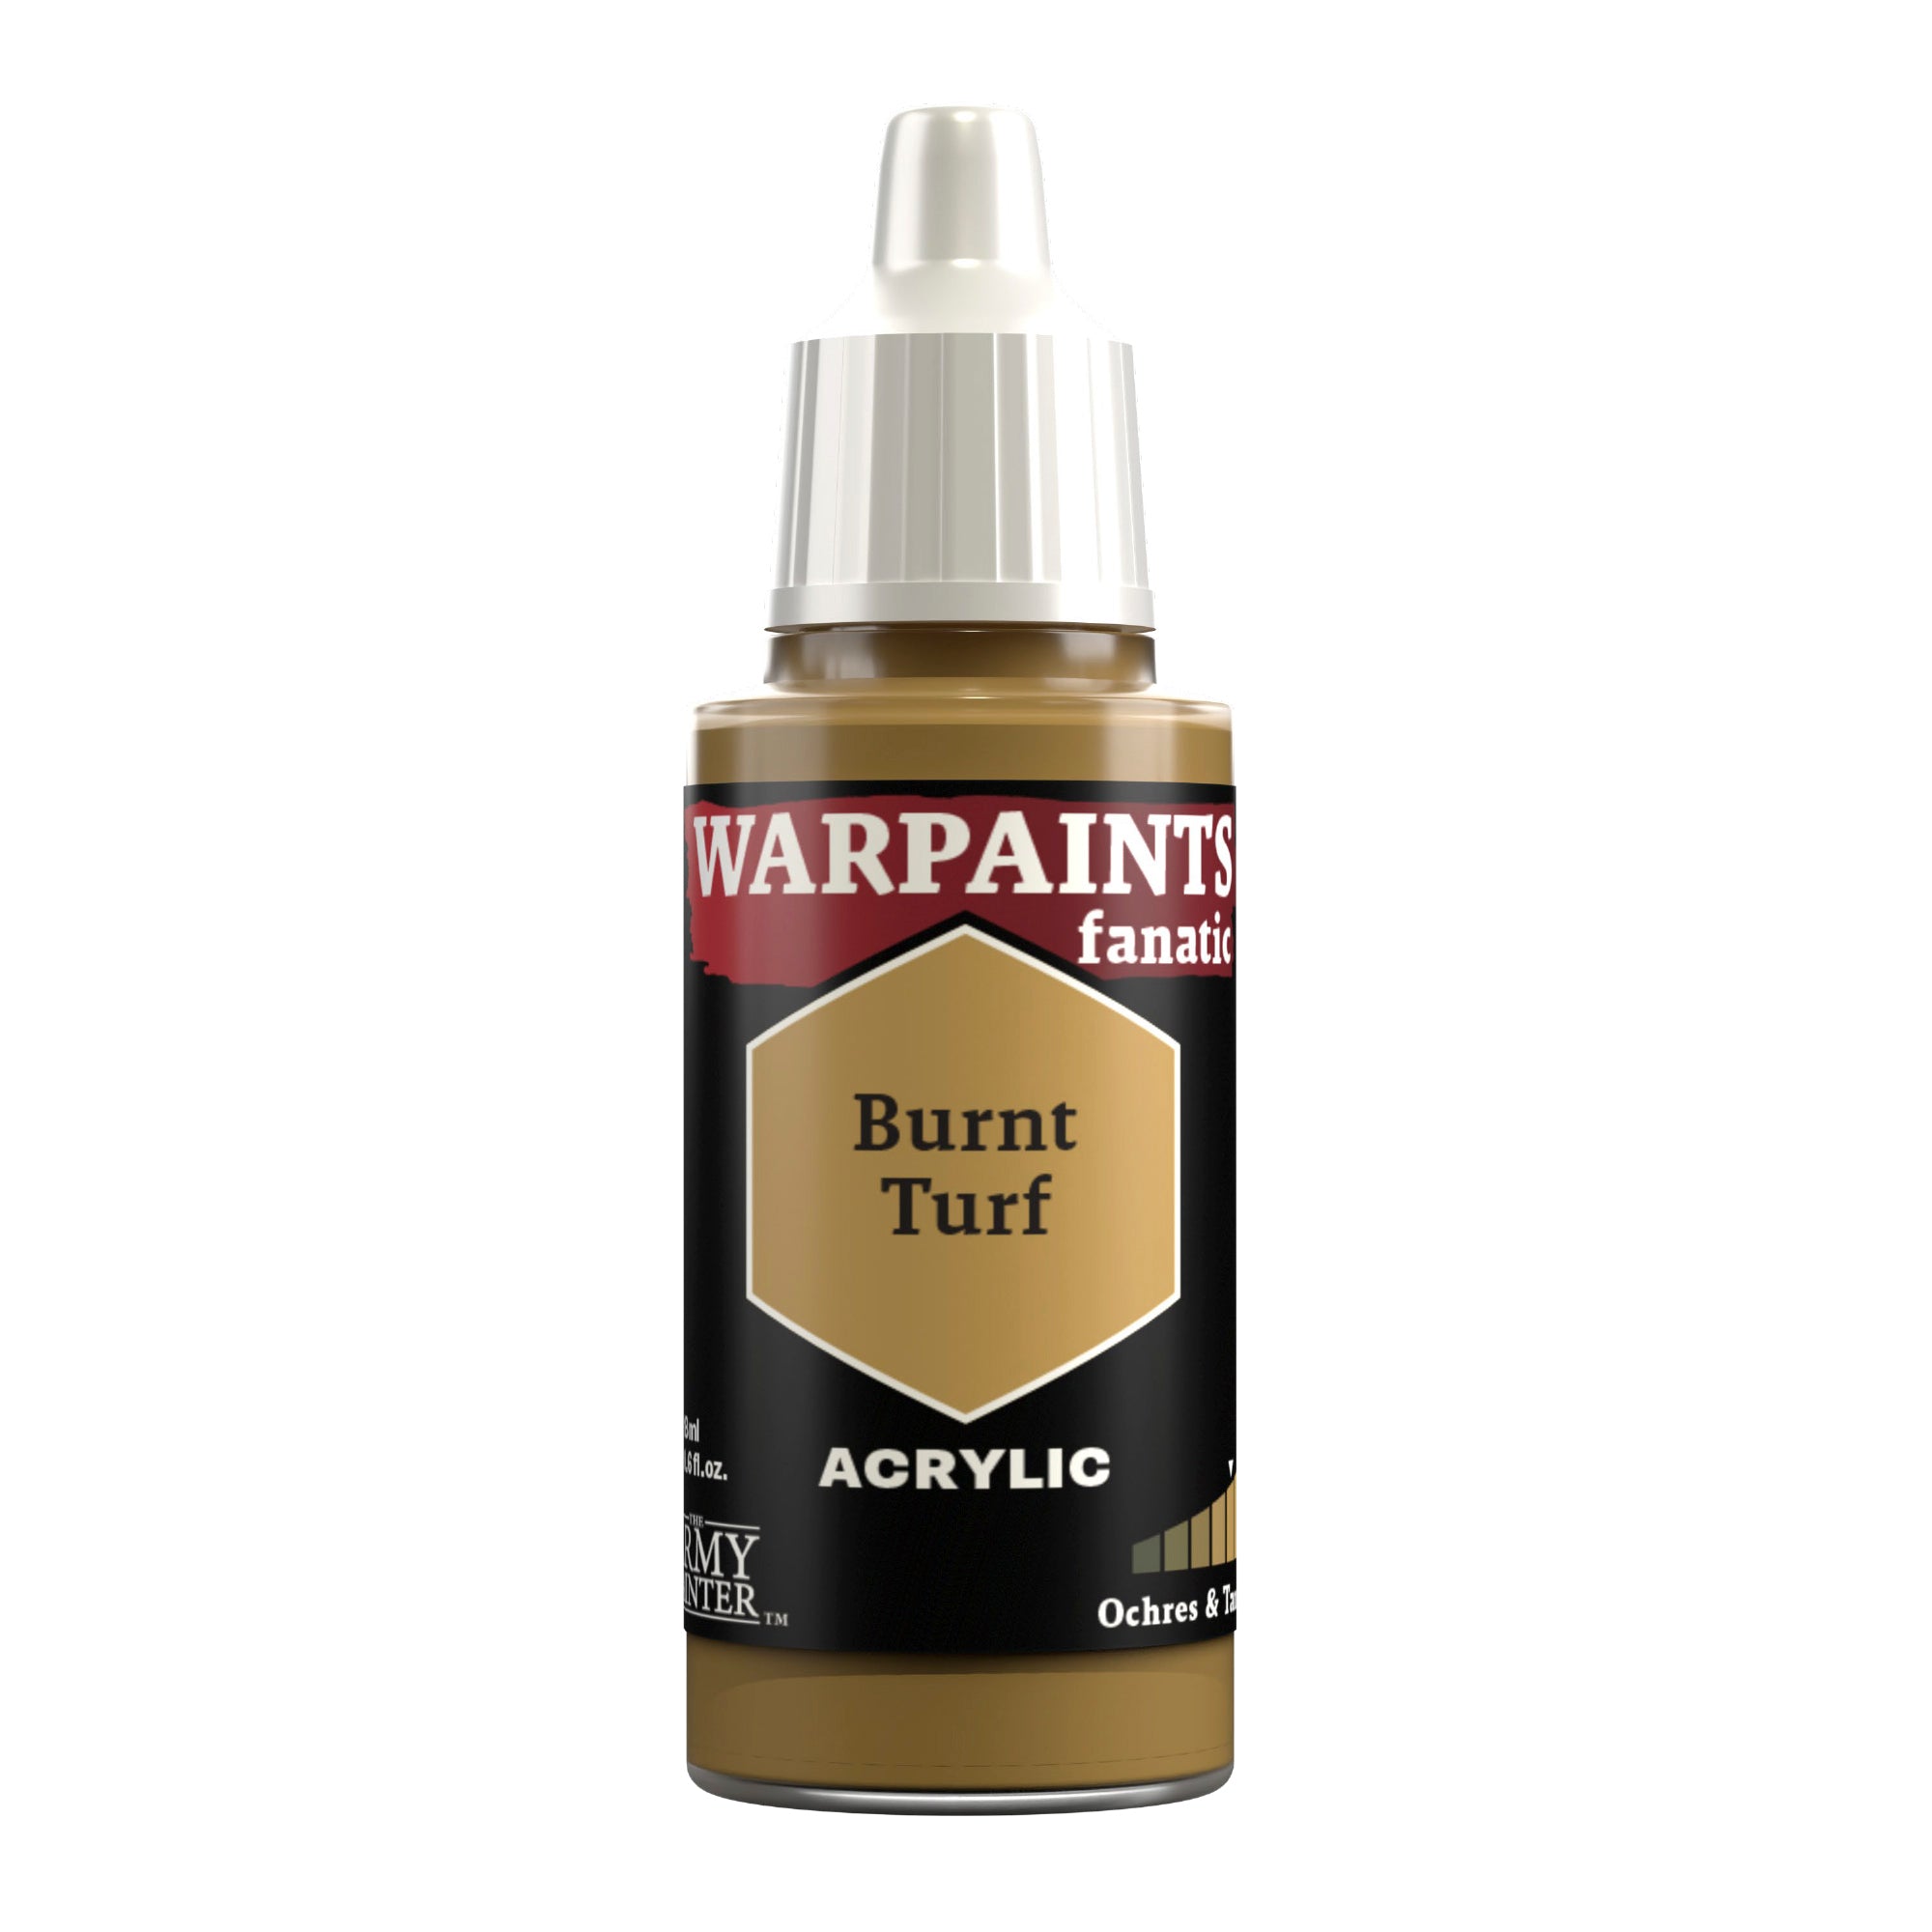
The tan areas were then highlighted with Warpaints Fanatic Burnt Turf, another colour from the Ochres and Tans Flexible Triad, in the same manner as we highlighted the grey.
Step 3
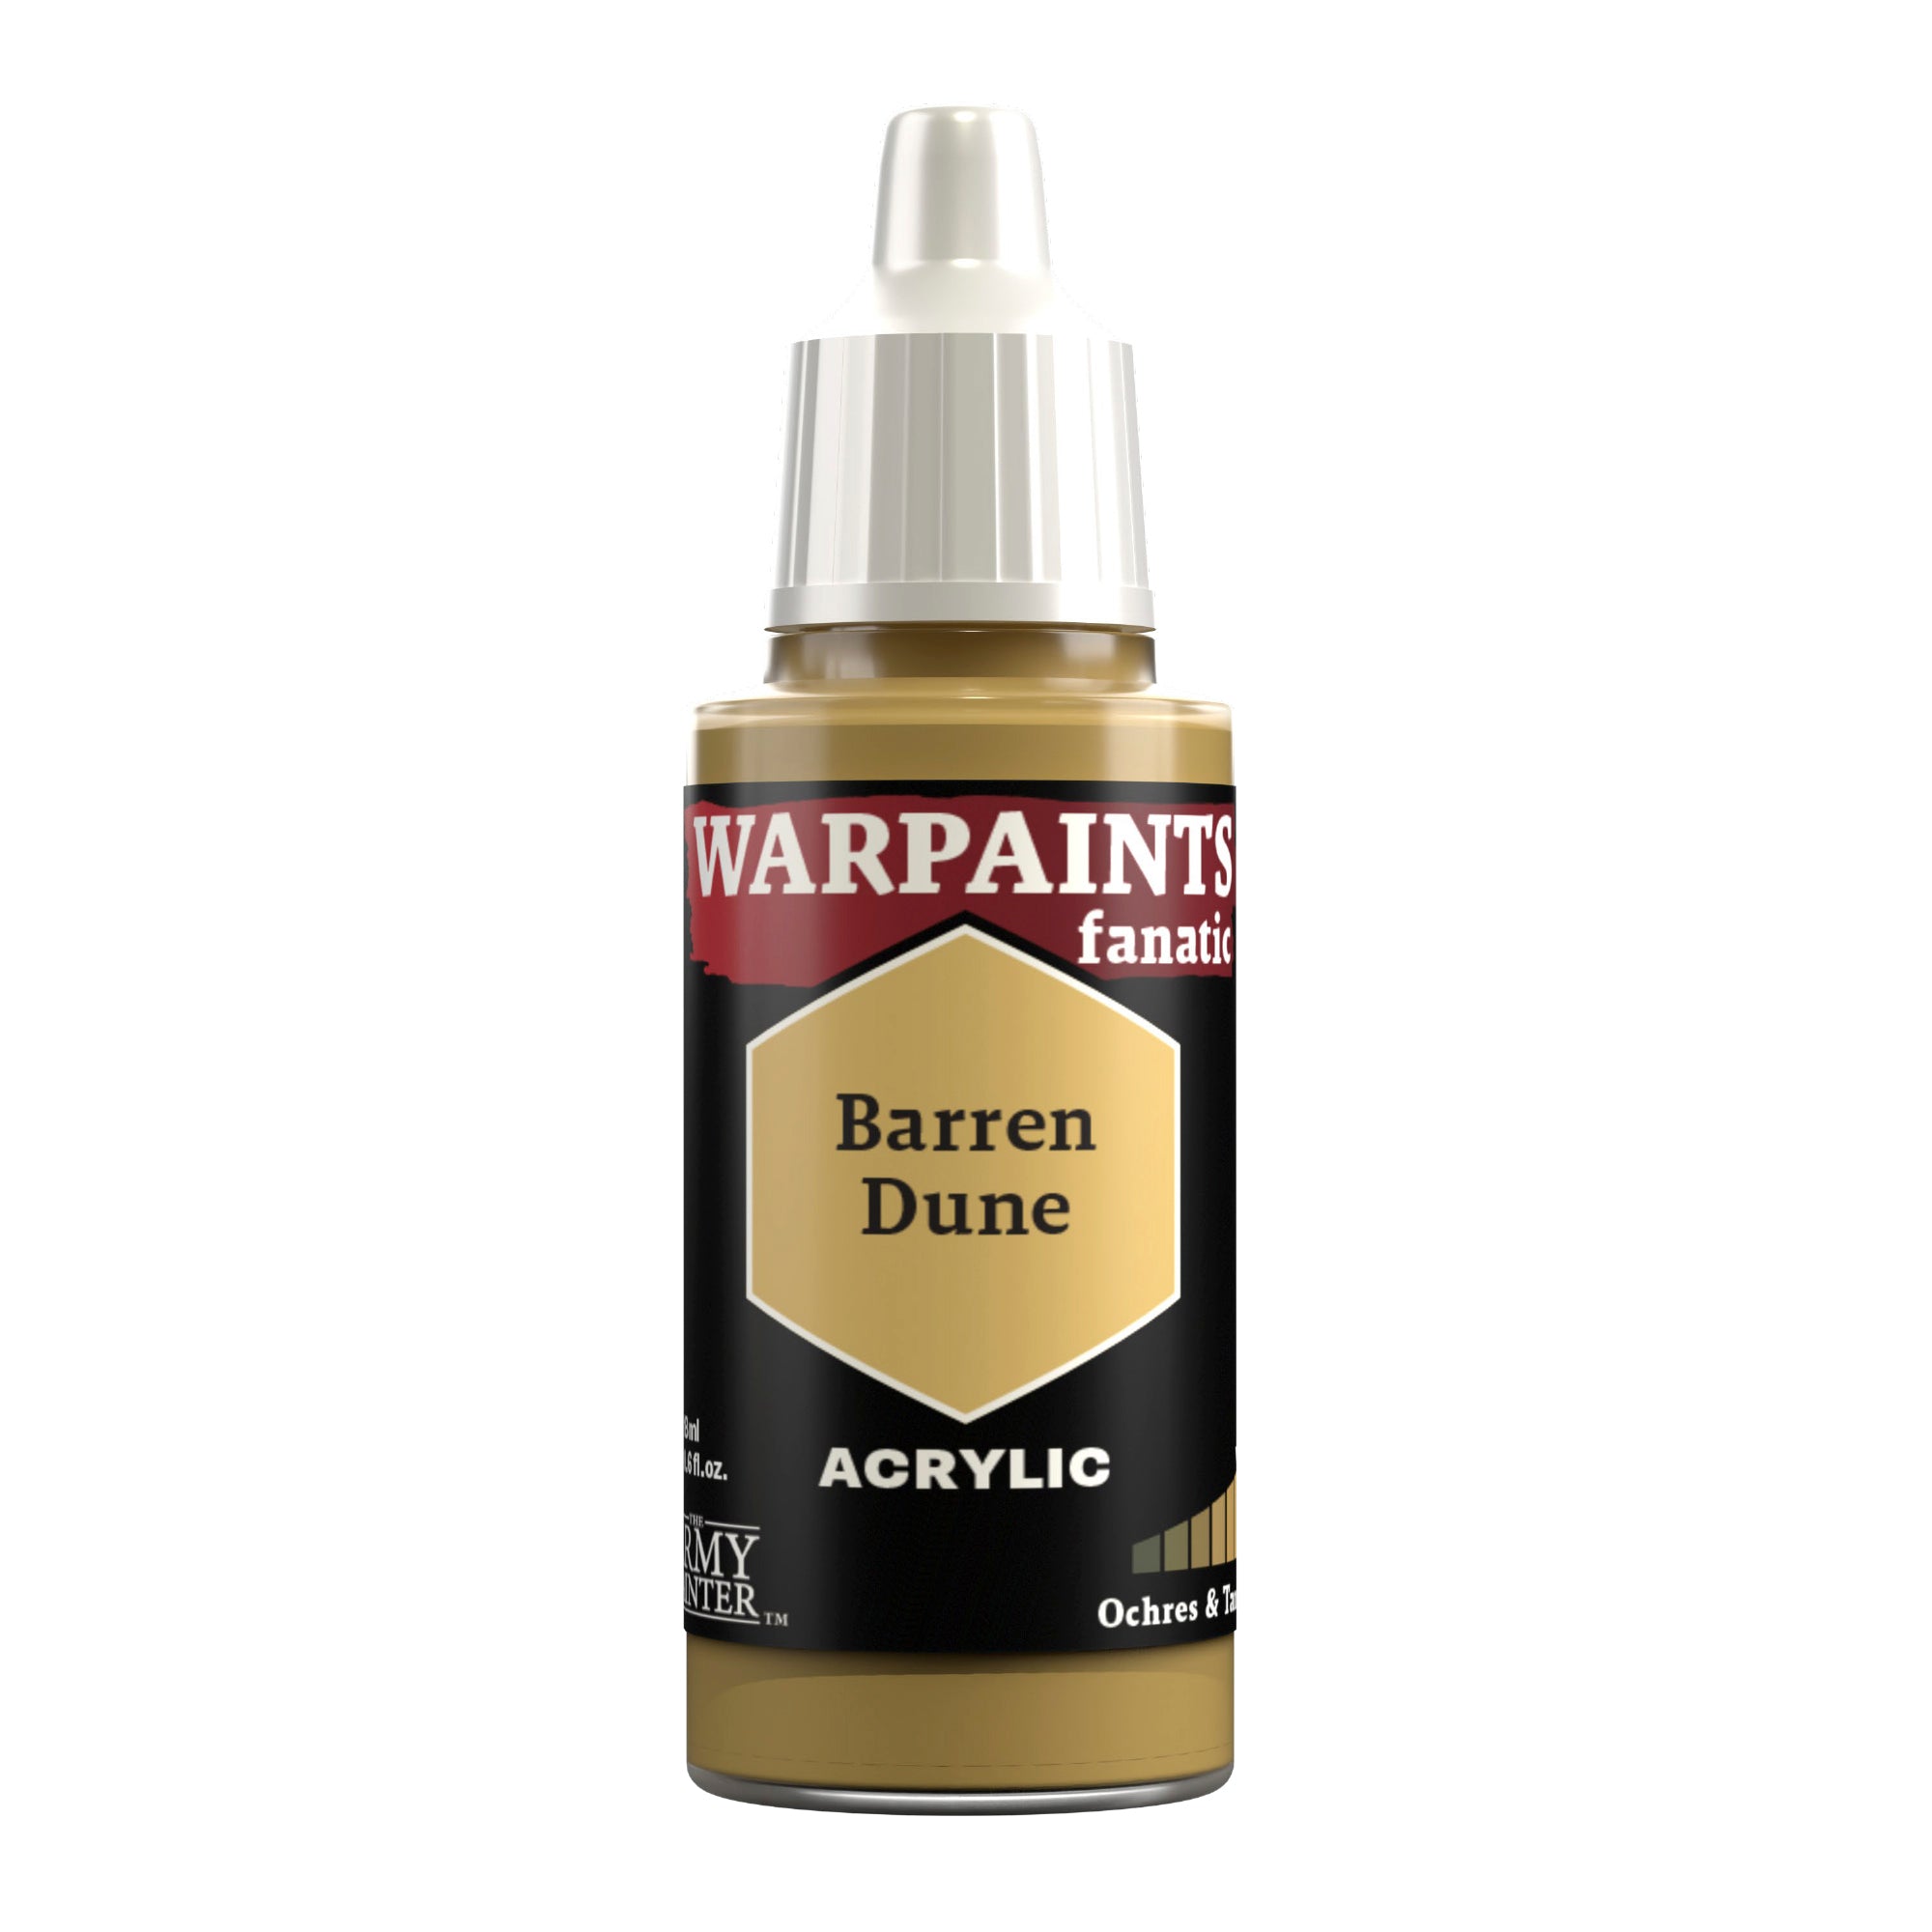
A finishing touch of Warpaints Fanatic Barren Dune was applied as a dot highlight to the corners of all of the tan panels. Since these models are so small, a clean paint job like this helps everything stand out clearly.
The Markings
Step 1
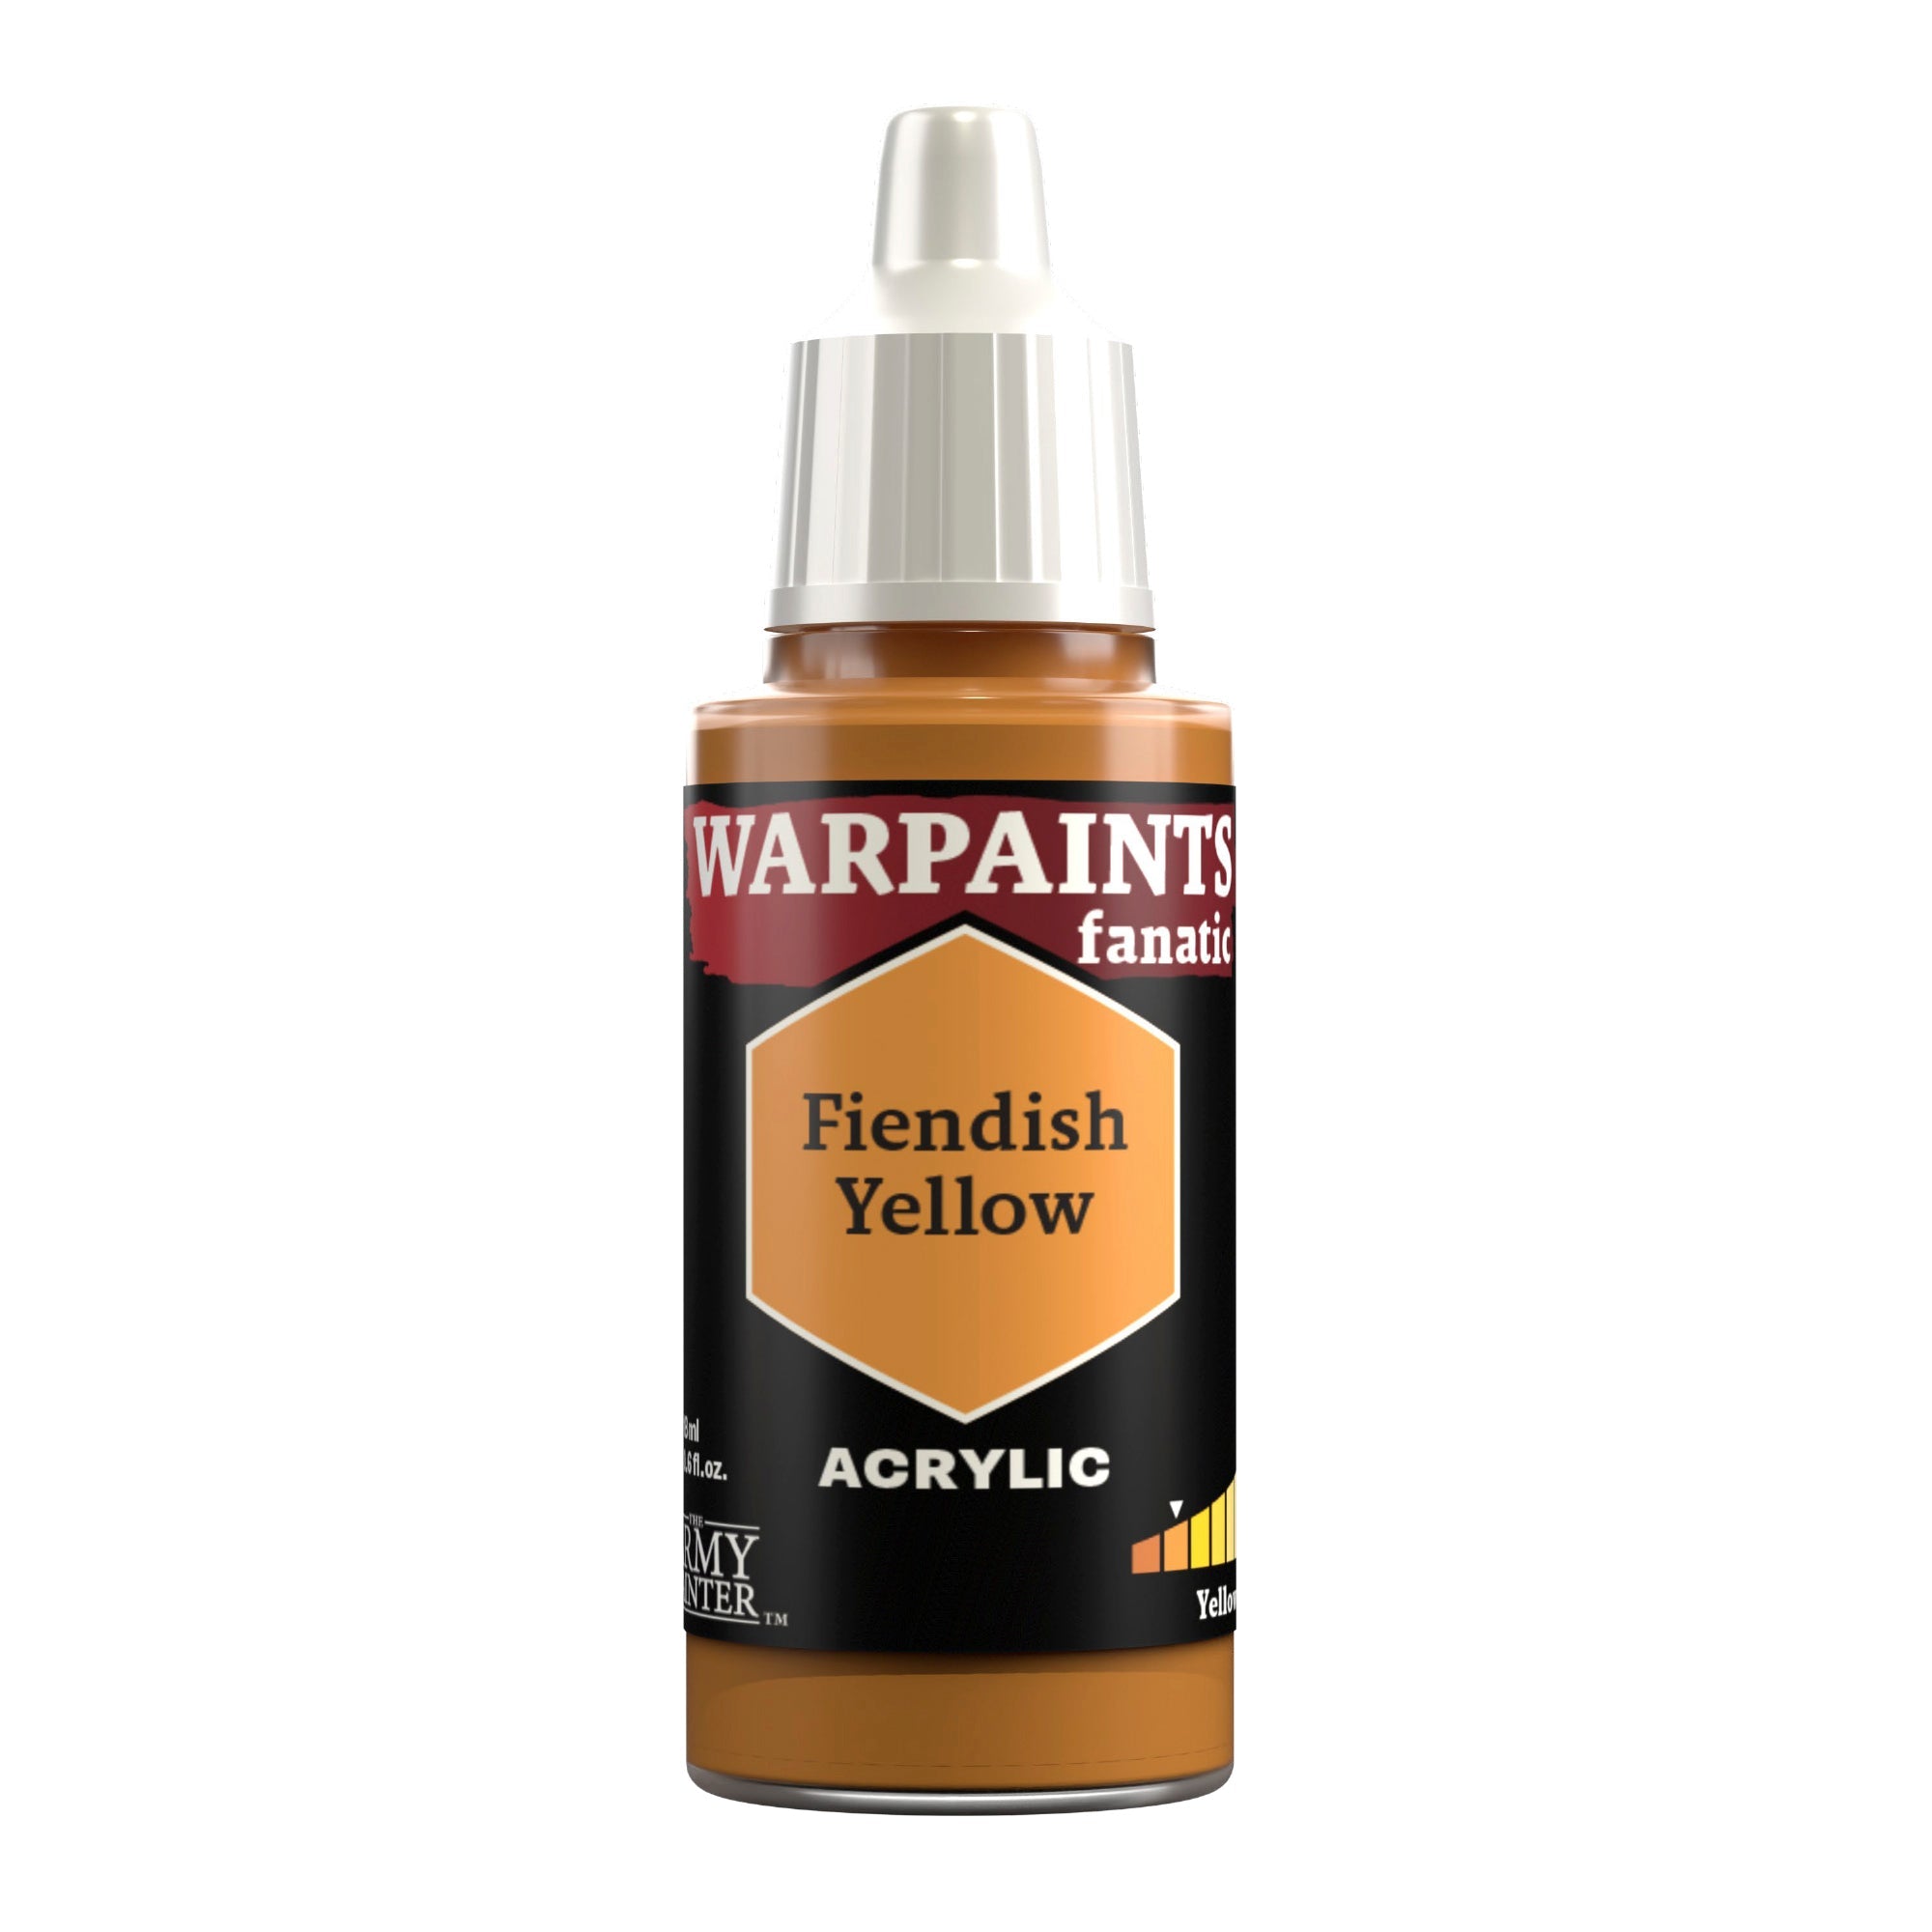
To break up all of the large flat areas, and also to help impart a sense of how large these mechs are supposed to be, I decided to add some various marking across the model. To start with I used Warpaints Fanatic Fiendish Yellow, and painted lines where I wanted hazard stripes, as well as some various warning triangles, and suggestions of text. This entire stage takes a steady hand and a good point on your brush, so I used our Wargamer: Character Brush to apply them.
Step 2
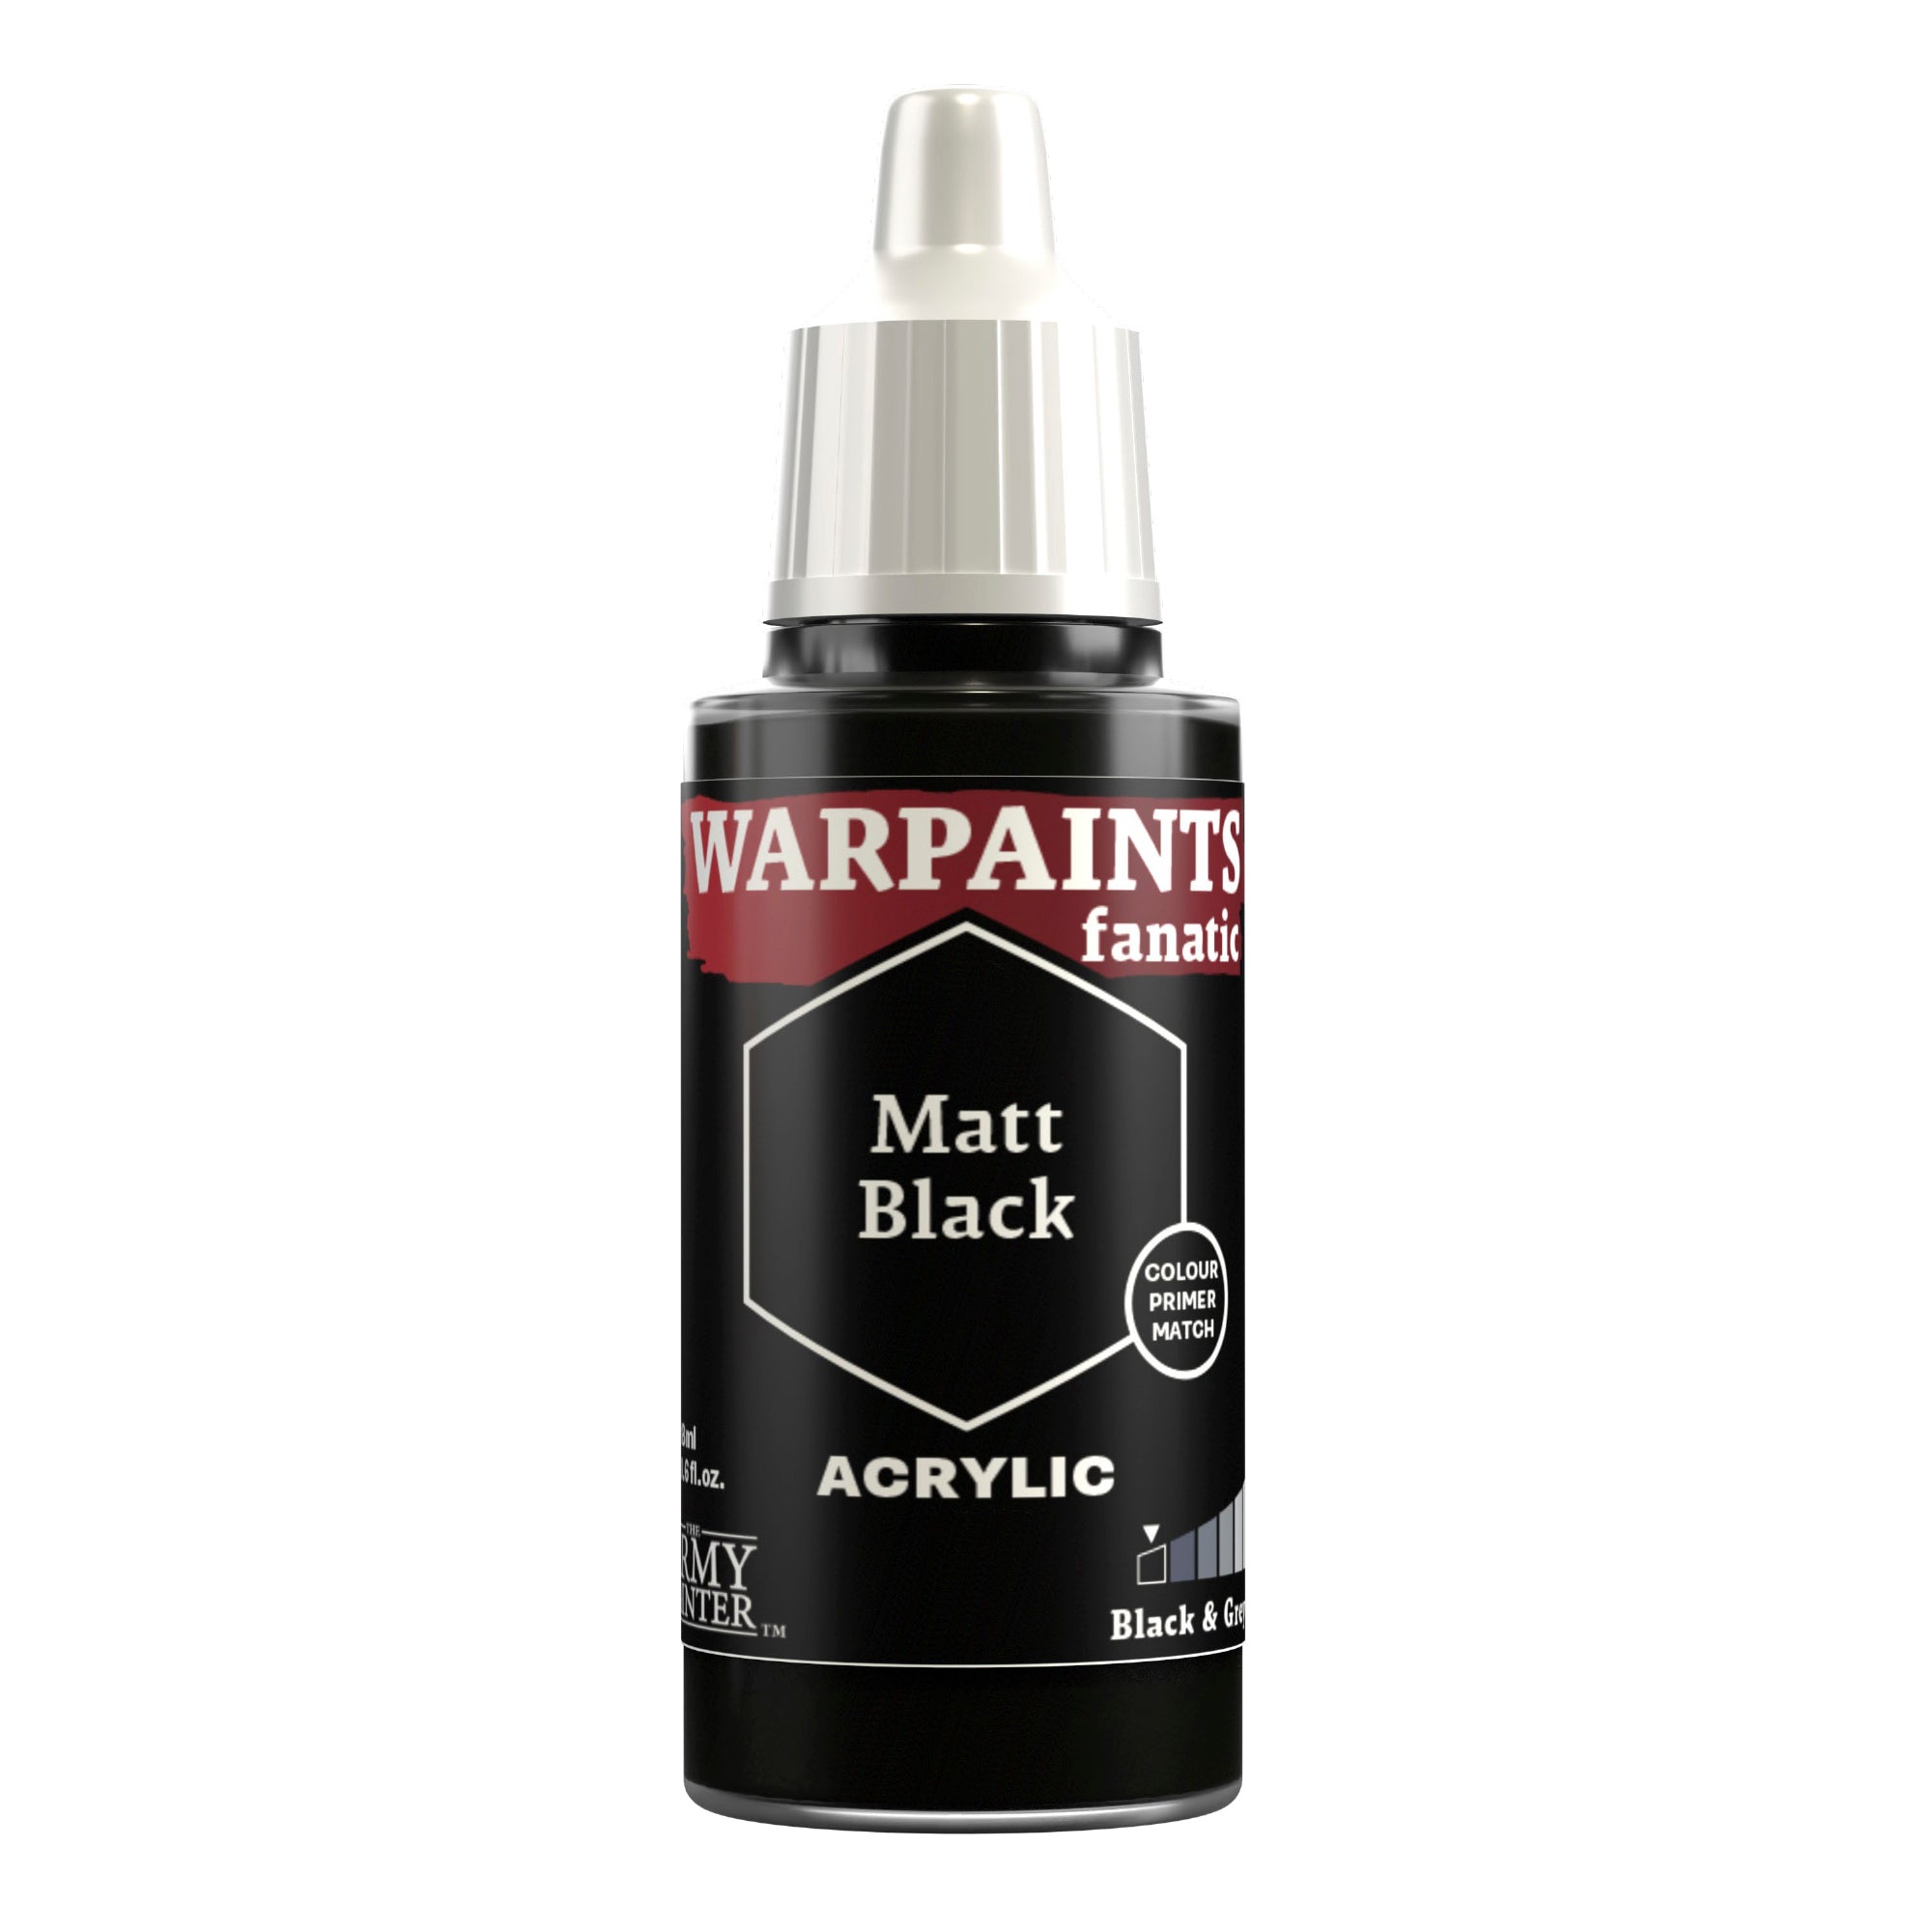
Using some Warpaints Fanatic Matt Black, I carefully added the stripes to the hazard markings on the toes and canopy frame. Don't worry if your markings get a little wonky looking in places, as we'll be cleaning them up at a later stage. At this point I also heavily watered down the paint, and painted it into a few areas of random detail, such as the interior of the gun on the right arm, to add a bit of definition and variety.

Step 3
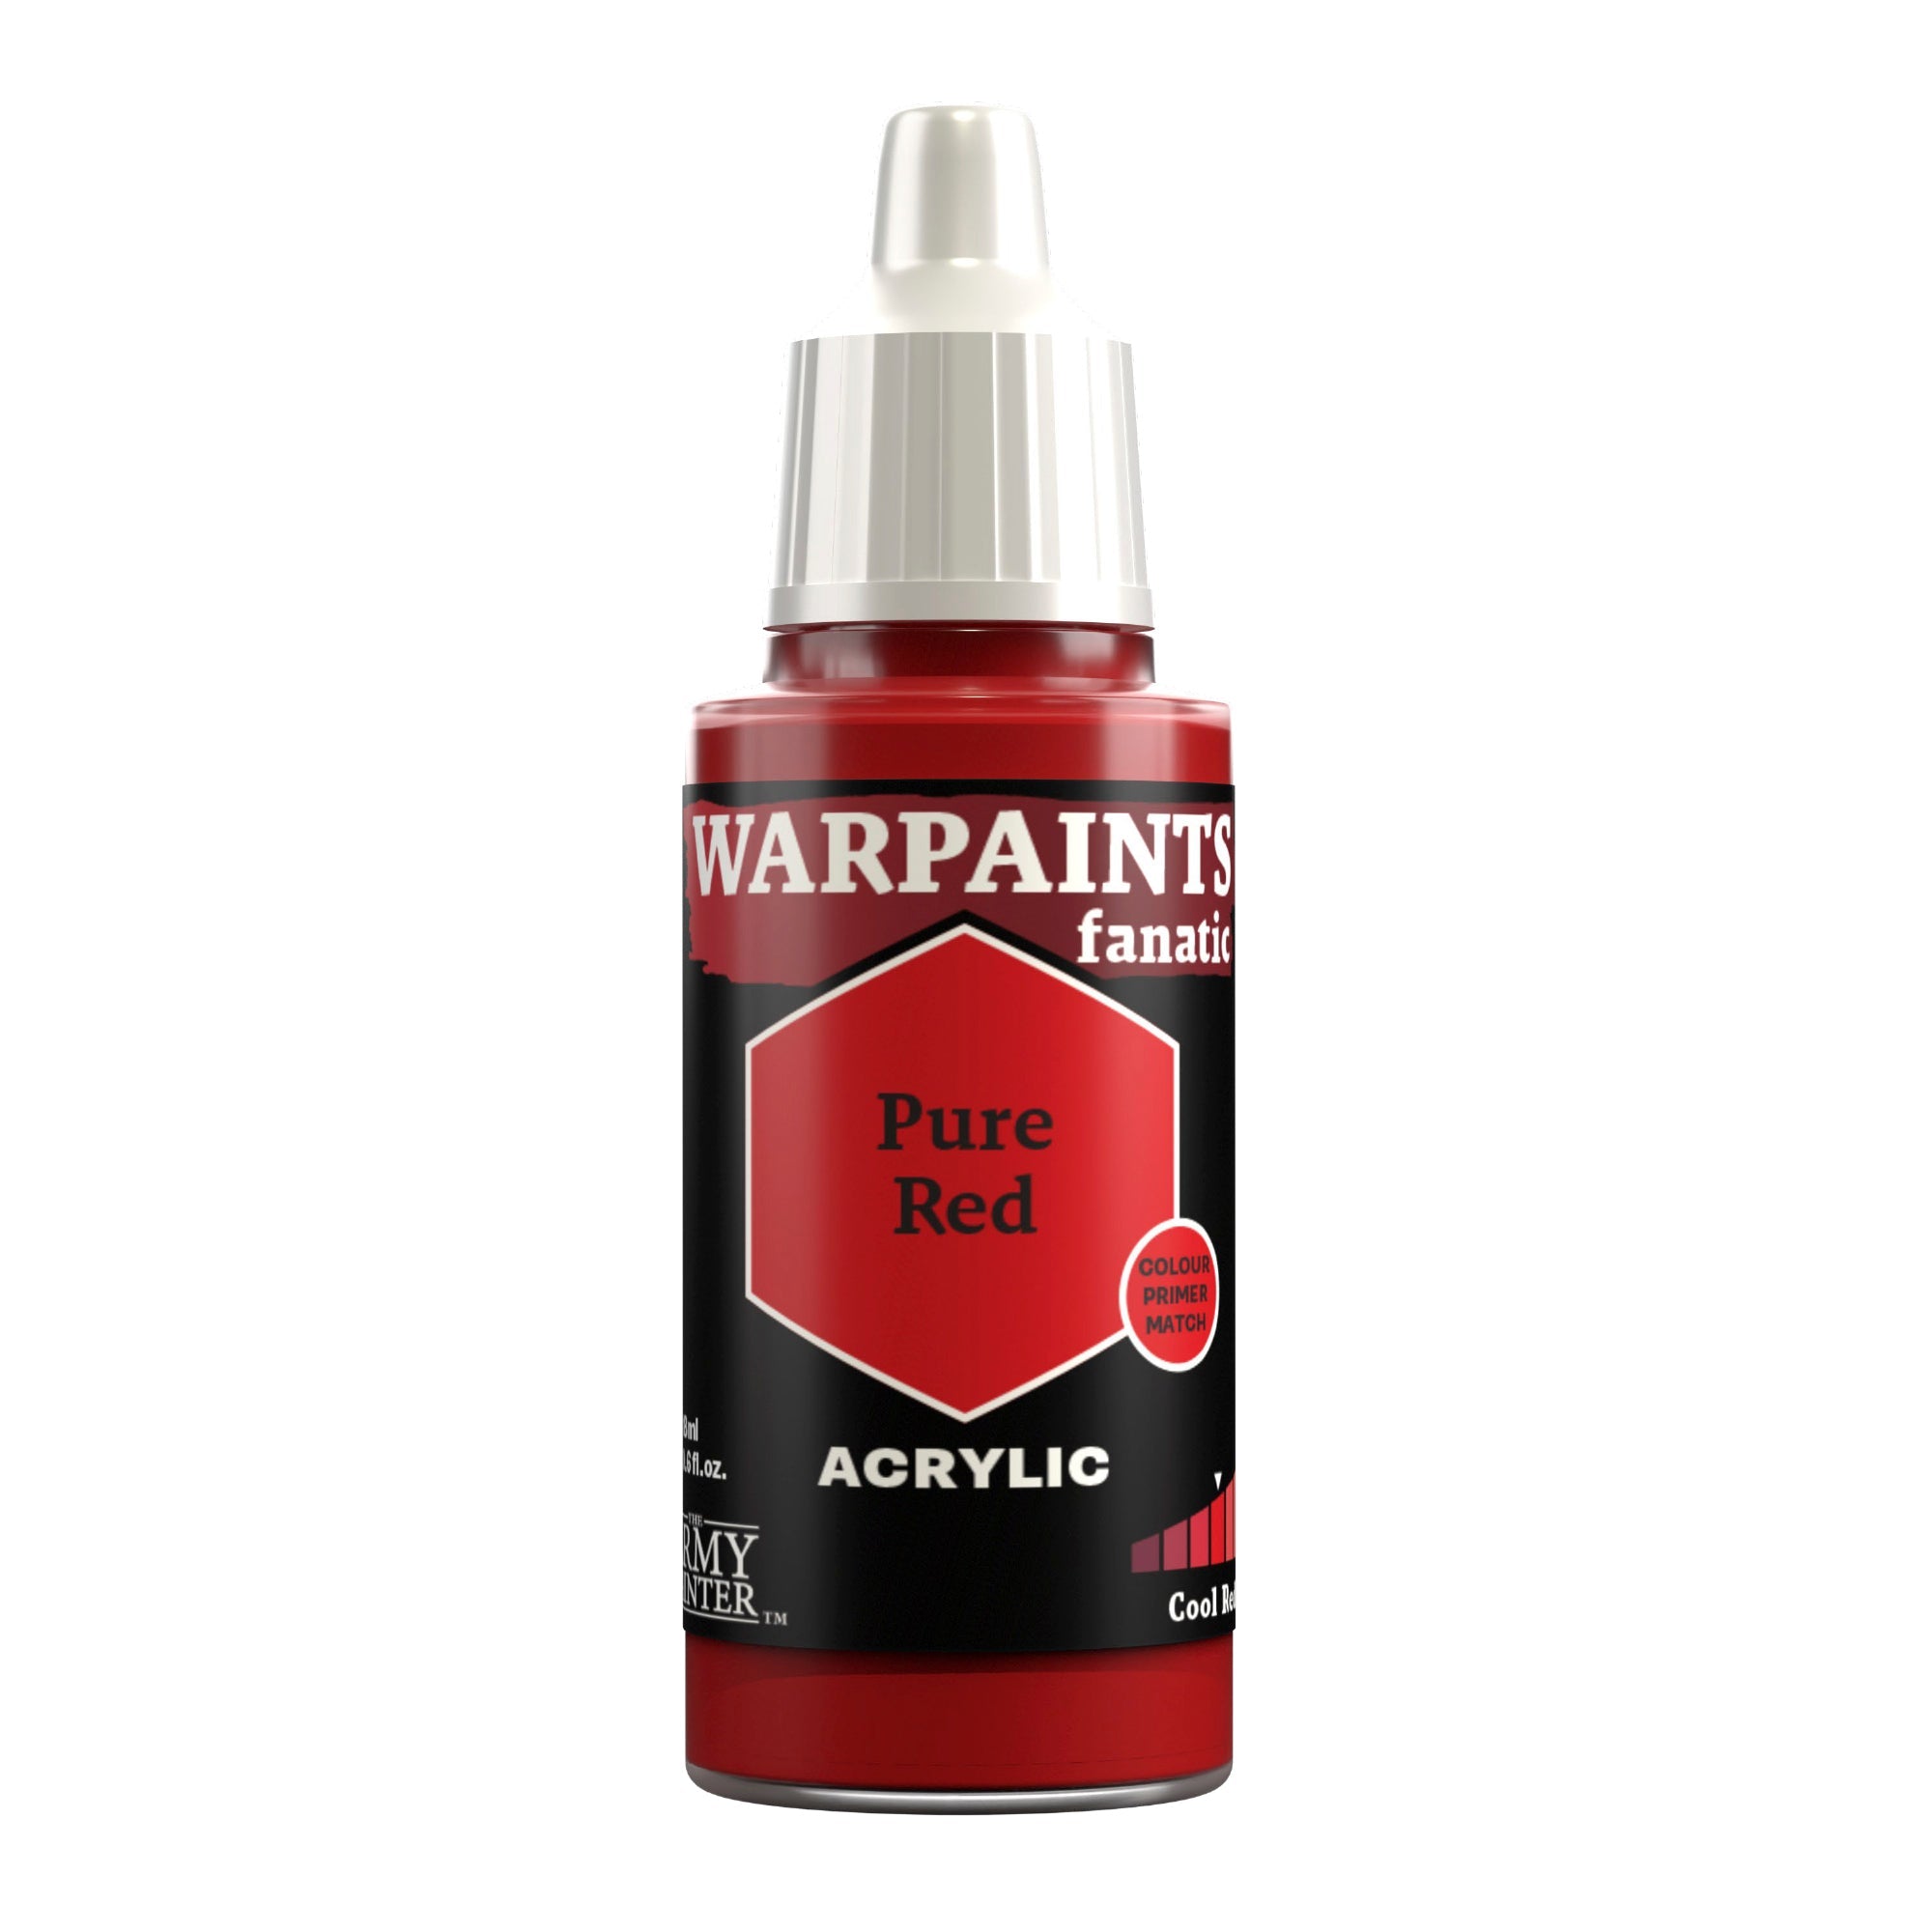
Next, I did something similar with Warpaints Fanatic Pure Red, adding a few triangles, some lines, and the start of a Clan Wolf marking on the side of the main body. I looked at some Clan Wolf colour scheme examples for inspiration on where to place the red lines, but you can personalize it as much as you want.
Step 4
The last stage on the markings is to go back in with Warpaints Fanatic Desert Yellow and Warpaints Fanatic Deep Grey and tidy up the edges of any markings that need it. I also added some light weathering on some of the markings using those same colours. At this point I finished off the Clan Wolf marking with Warpaints Fanatic Fiendish Yellow dots for the stars, and used Deep Grey for the vague suggestion of a wolf's head.
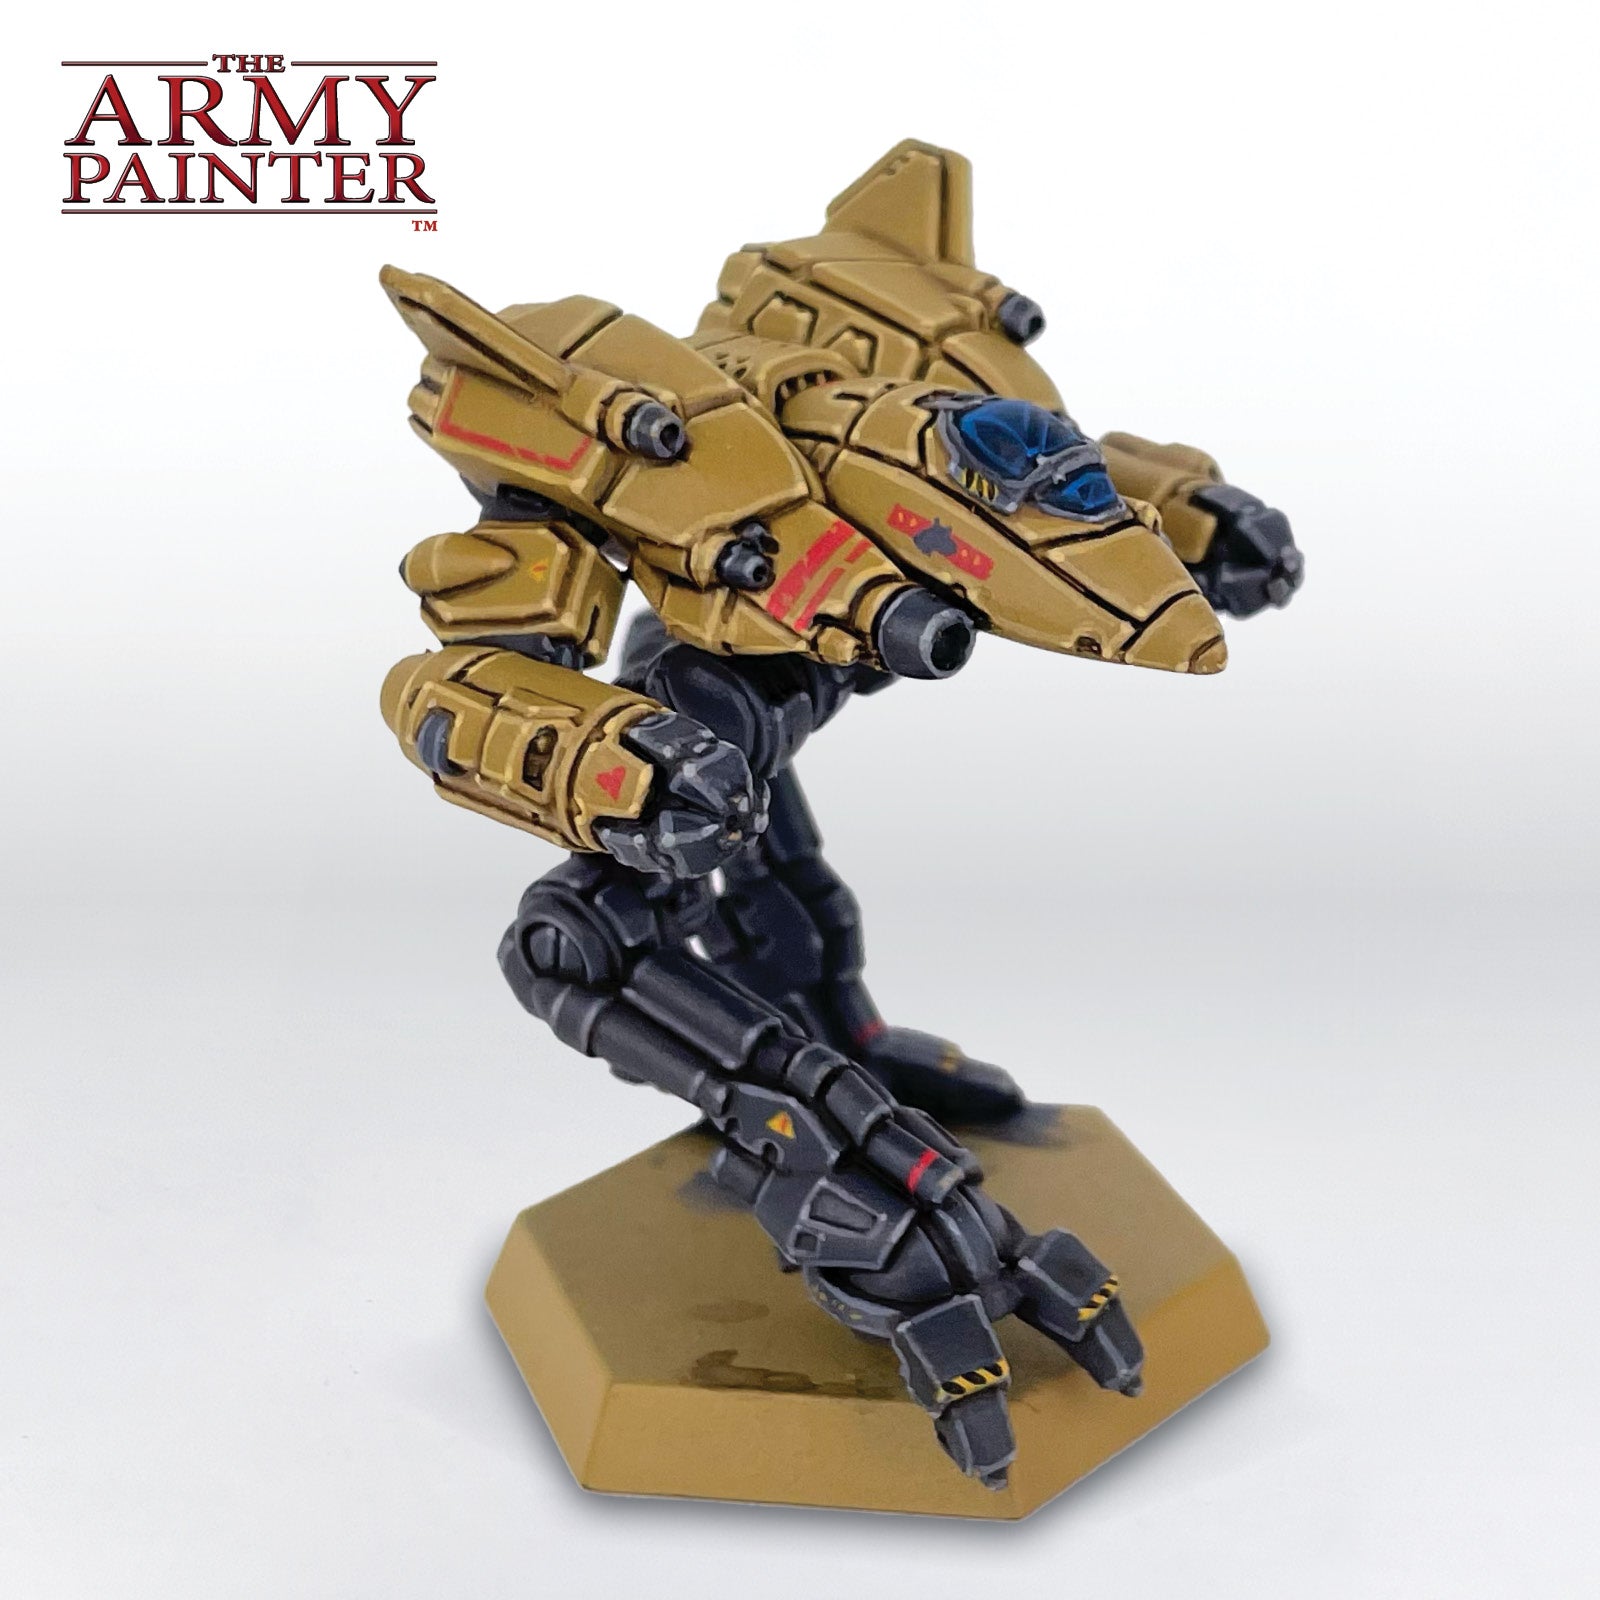
The Glass Canopy
Step 1
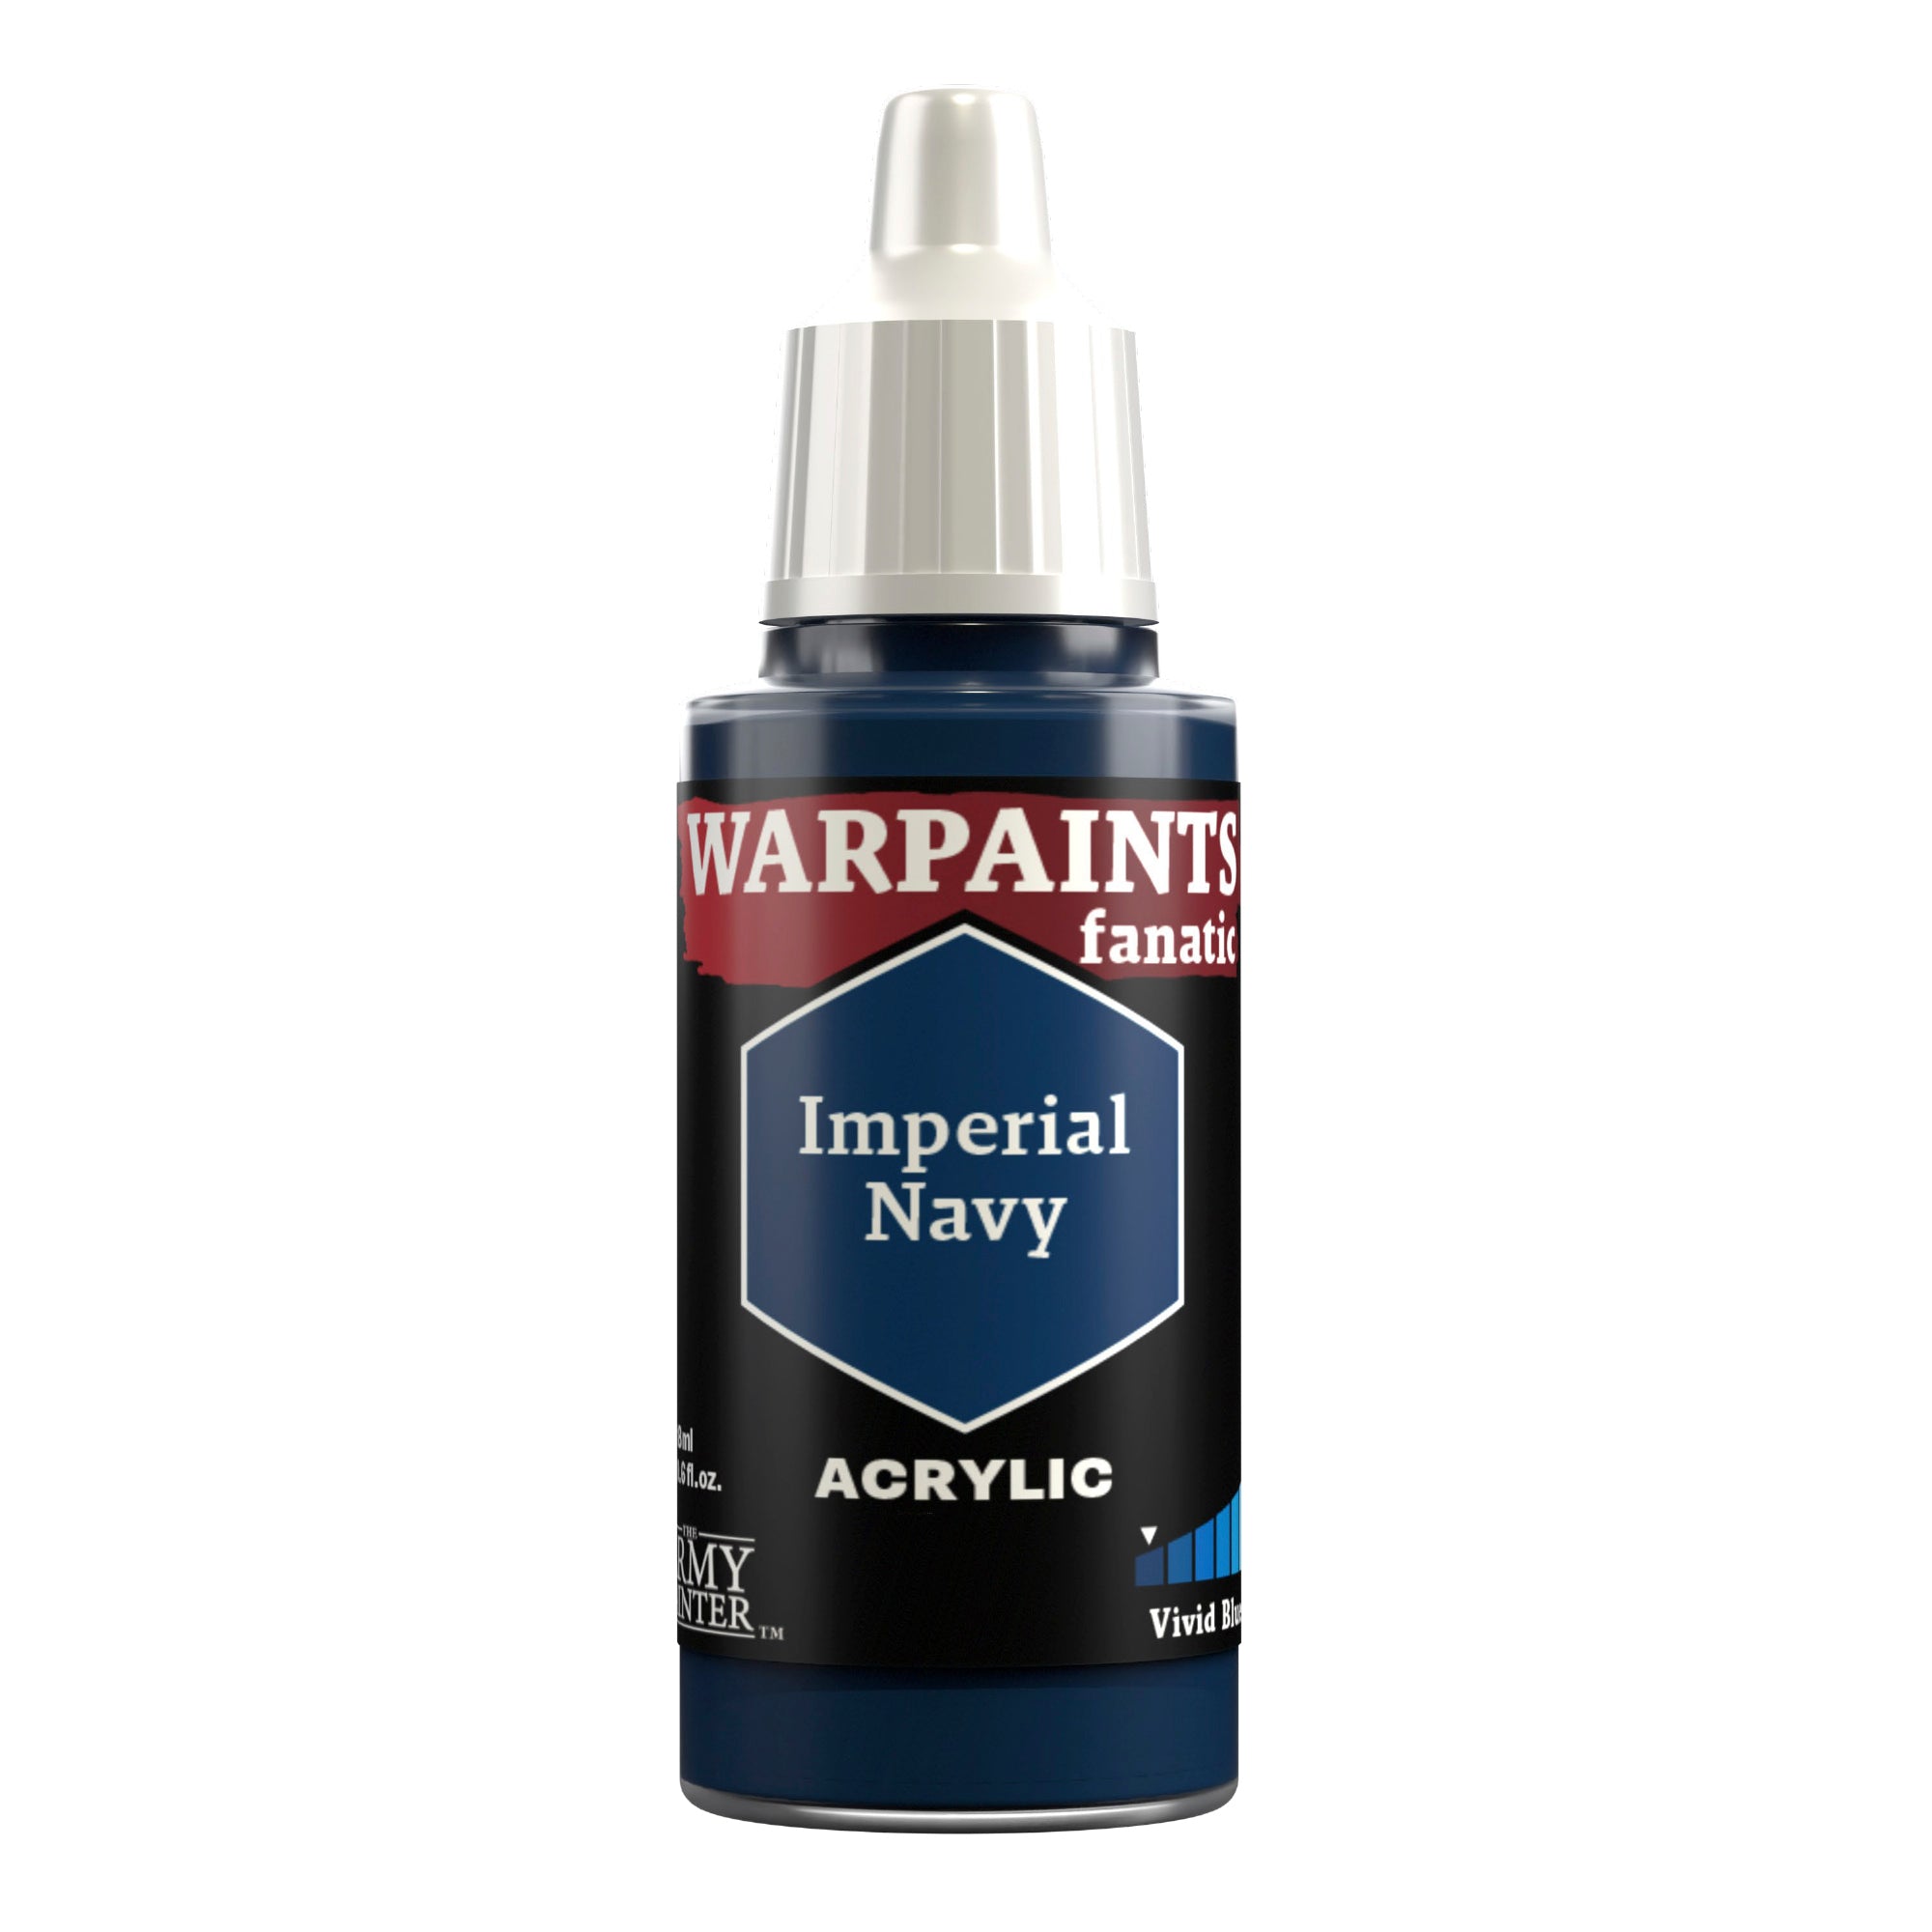
For the glass canopy I knew I wanted it to be blue, so I went with our aptly named Vivid Blues Flexible Triad. I wanted the basecoat colour to be very dark though, so I started with a 50/50 mix of Warpaints Fanatic Imperial Navy and Matt Black.
Step 2
This was then highlighted with a fairly broad highlight of pure Warpaints Fanatic Imperial Navy. I focused on the edges where the glass rounded, and also near the top/back of the glass. I also added some reflection lines across the top.
Step 3
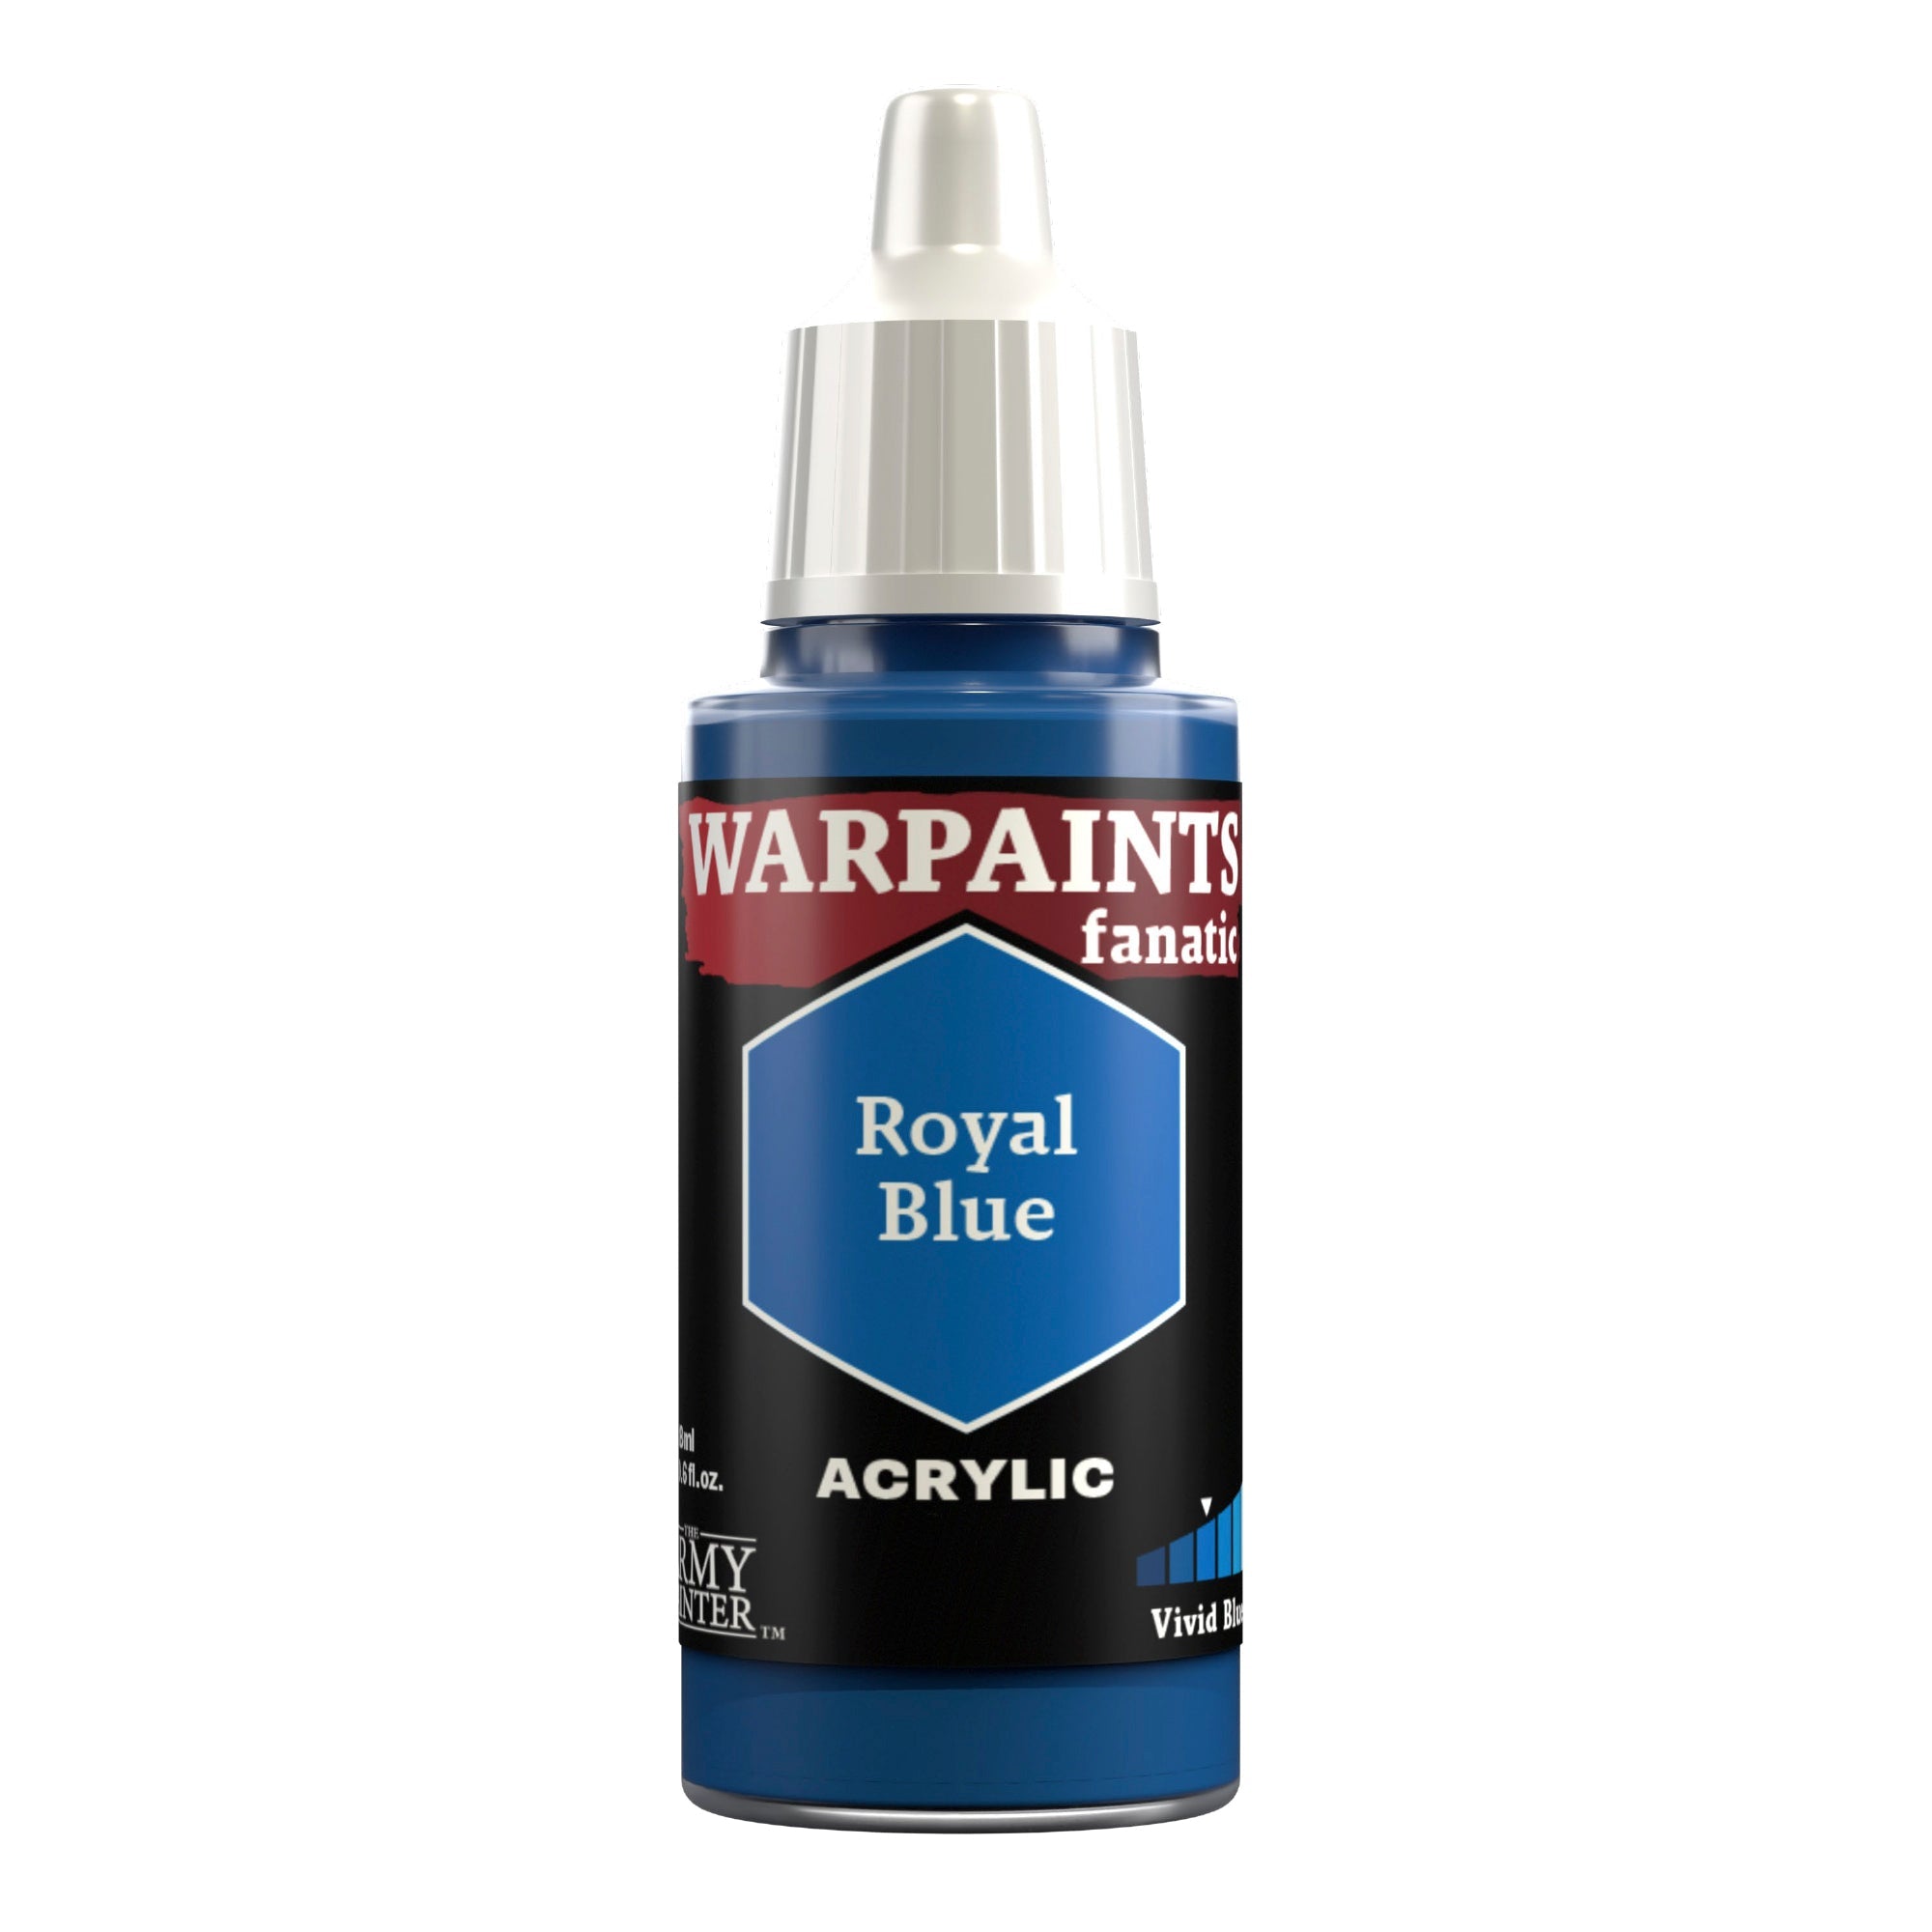
This was then repeated with Warpaints Fanatic Royal Blue, but in a more refined manner, letting some of the previous step show through.
Step 4
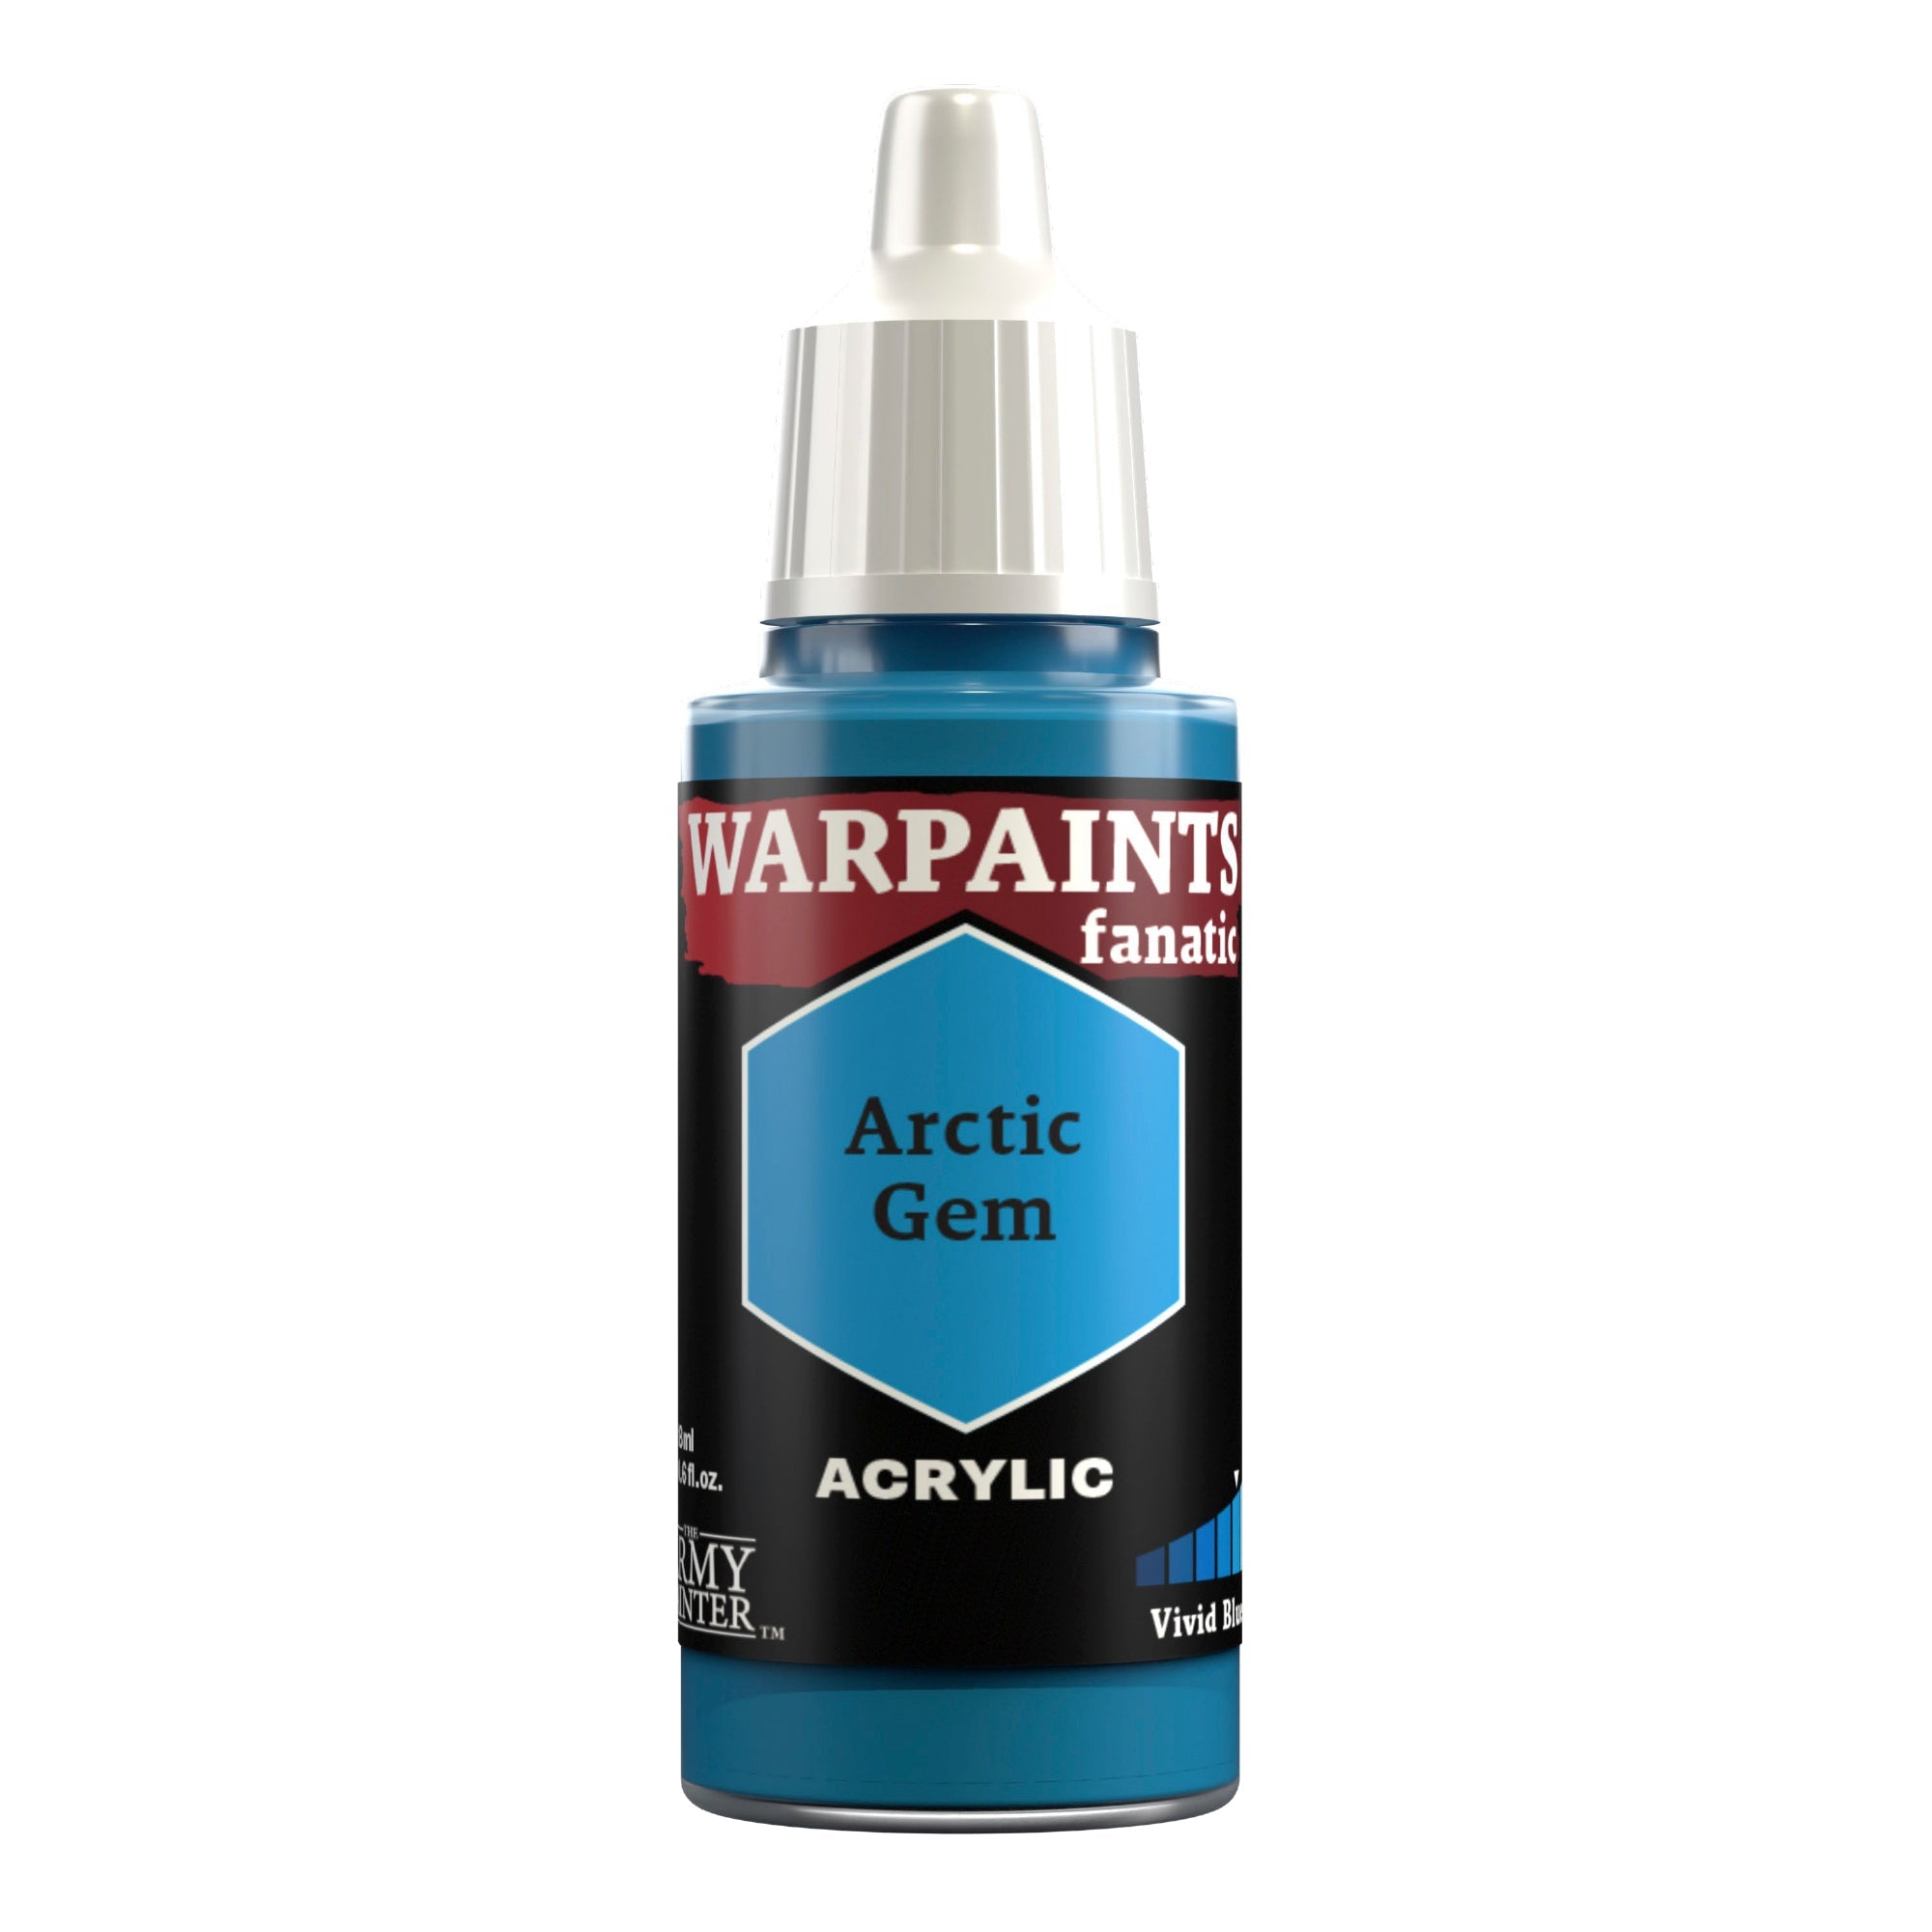
Lastly, a final, even more refined highlight of Warpaints Fanatic Arctic Gem was applied. The Glass Canopy stage was a bit more involved, but since it becomes such a visual focal point on the model, it's worth spending a bit more time on.
With that, your model is done!
Afterwards I based the model in simple dark dirt scheme, using Warpaints Fanatic Brigandine Brown drybrushed with Warpaints Fanatic Paratrooper Brown, but you can base yours however you like to fit in with your collection.
If you plan on using your model for gaming we highly recommend varnishing it with either our Spray, Warpaints Air, or Warpaints Fanatic varnishes.
Keep an eye on the Catalyst Game Labs website for news on the forthcoming BattleTech Universe book!
Be sure to let us know what you thought of this format, as well as any suggestions for improvements in the future, or even which models you would like to see us tackle.
If you paint your own model following one of these guides tag us with #thearmypainteracademy to share your work!