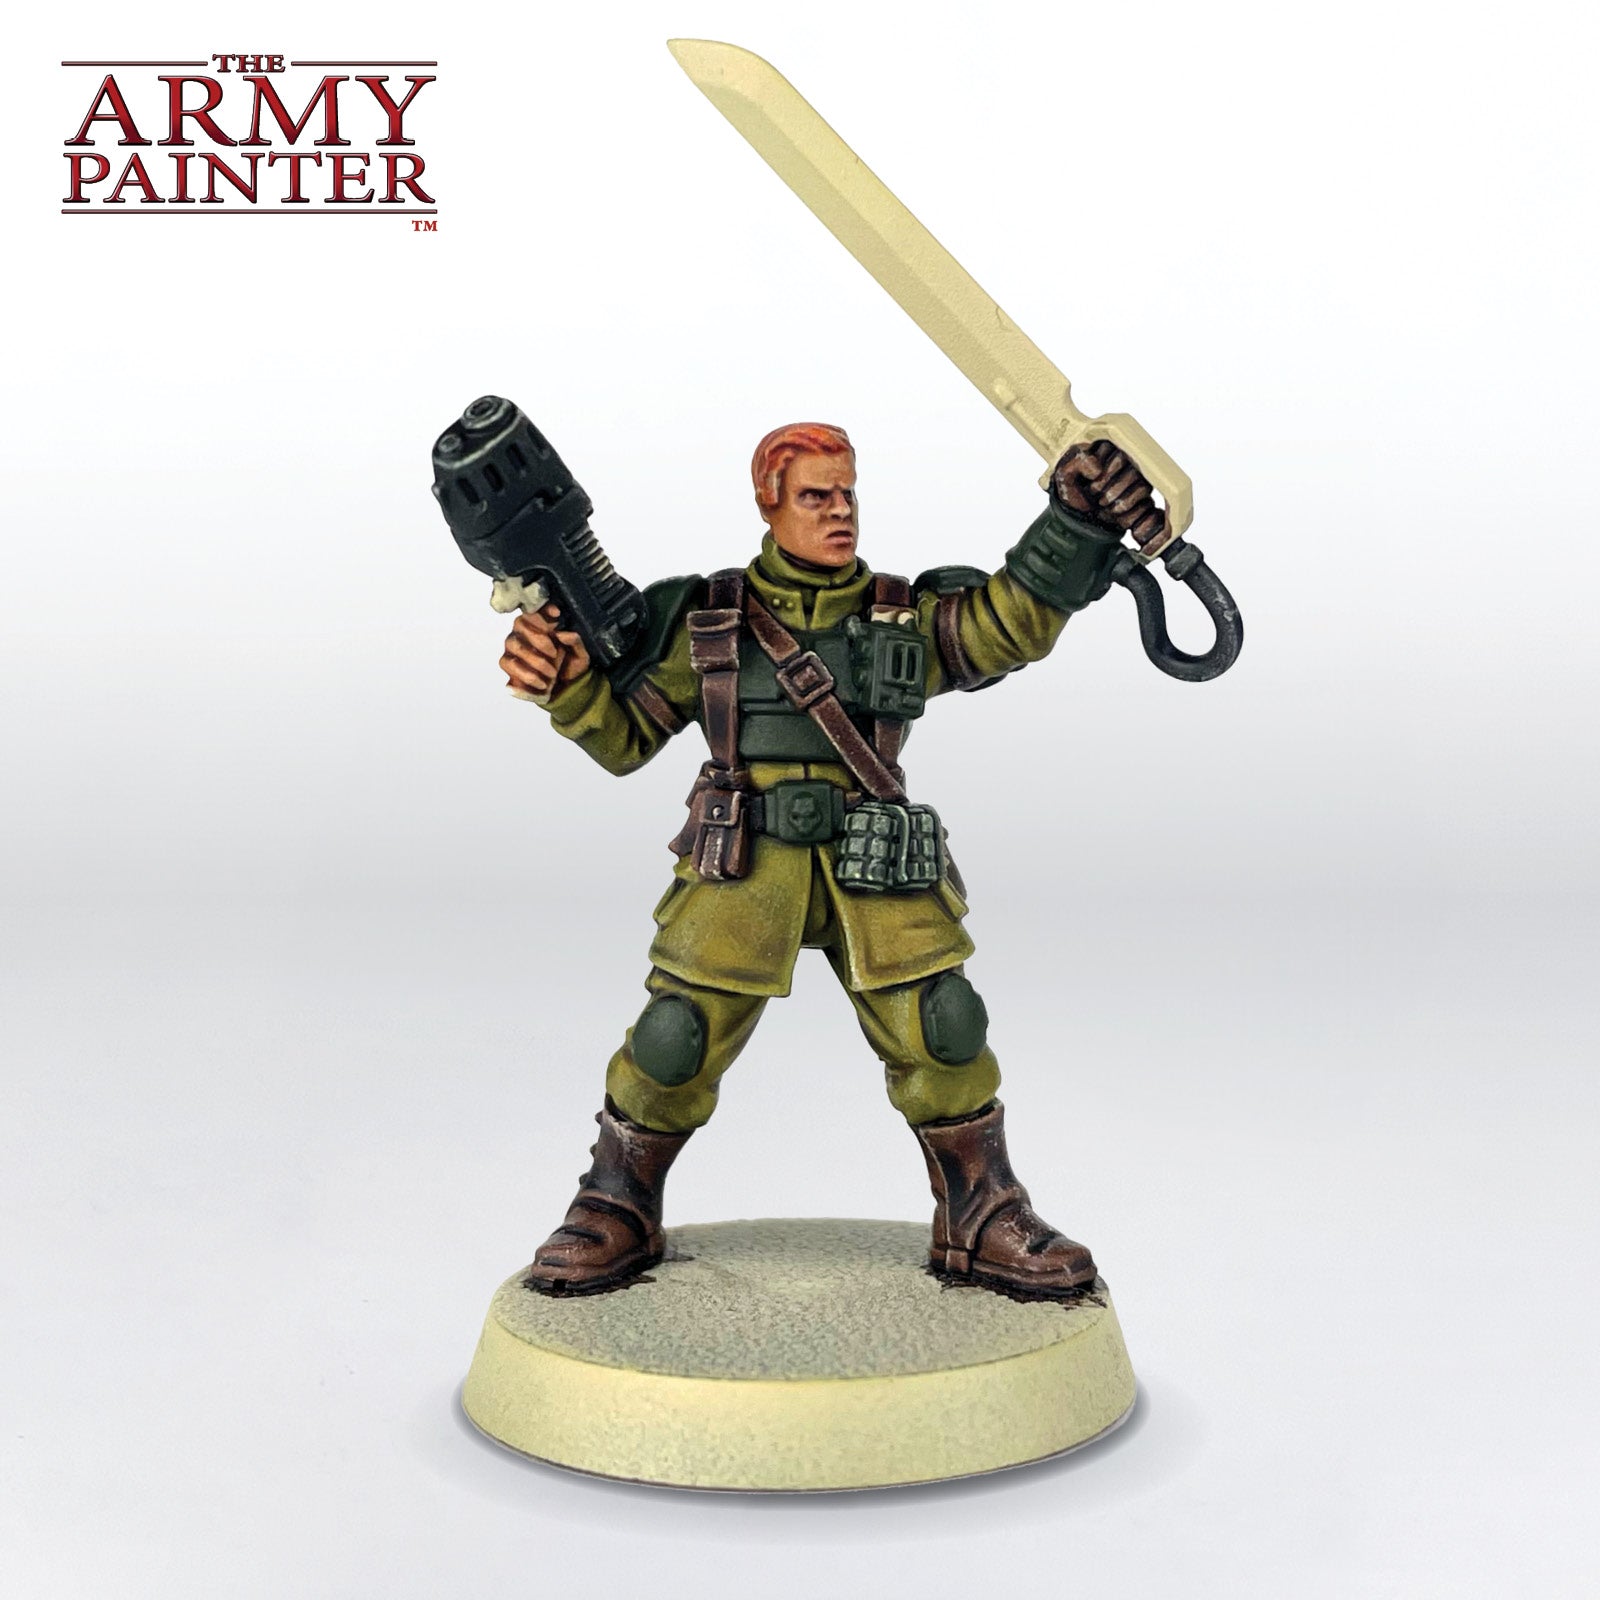
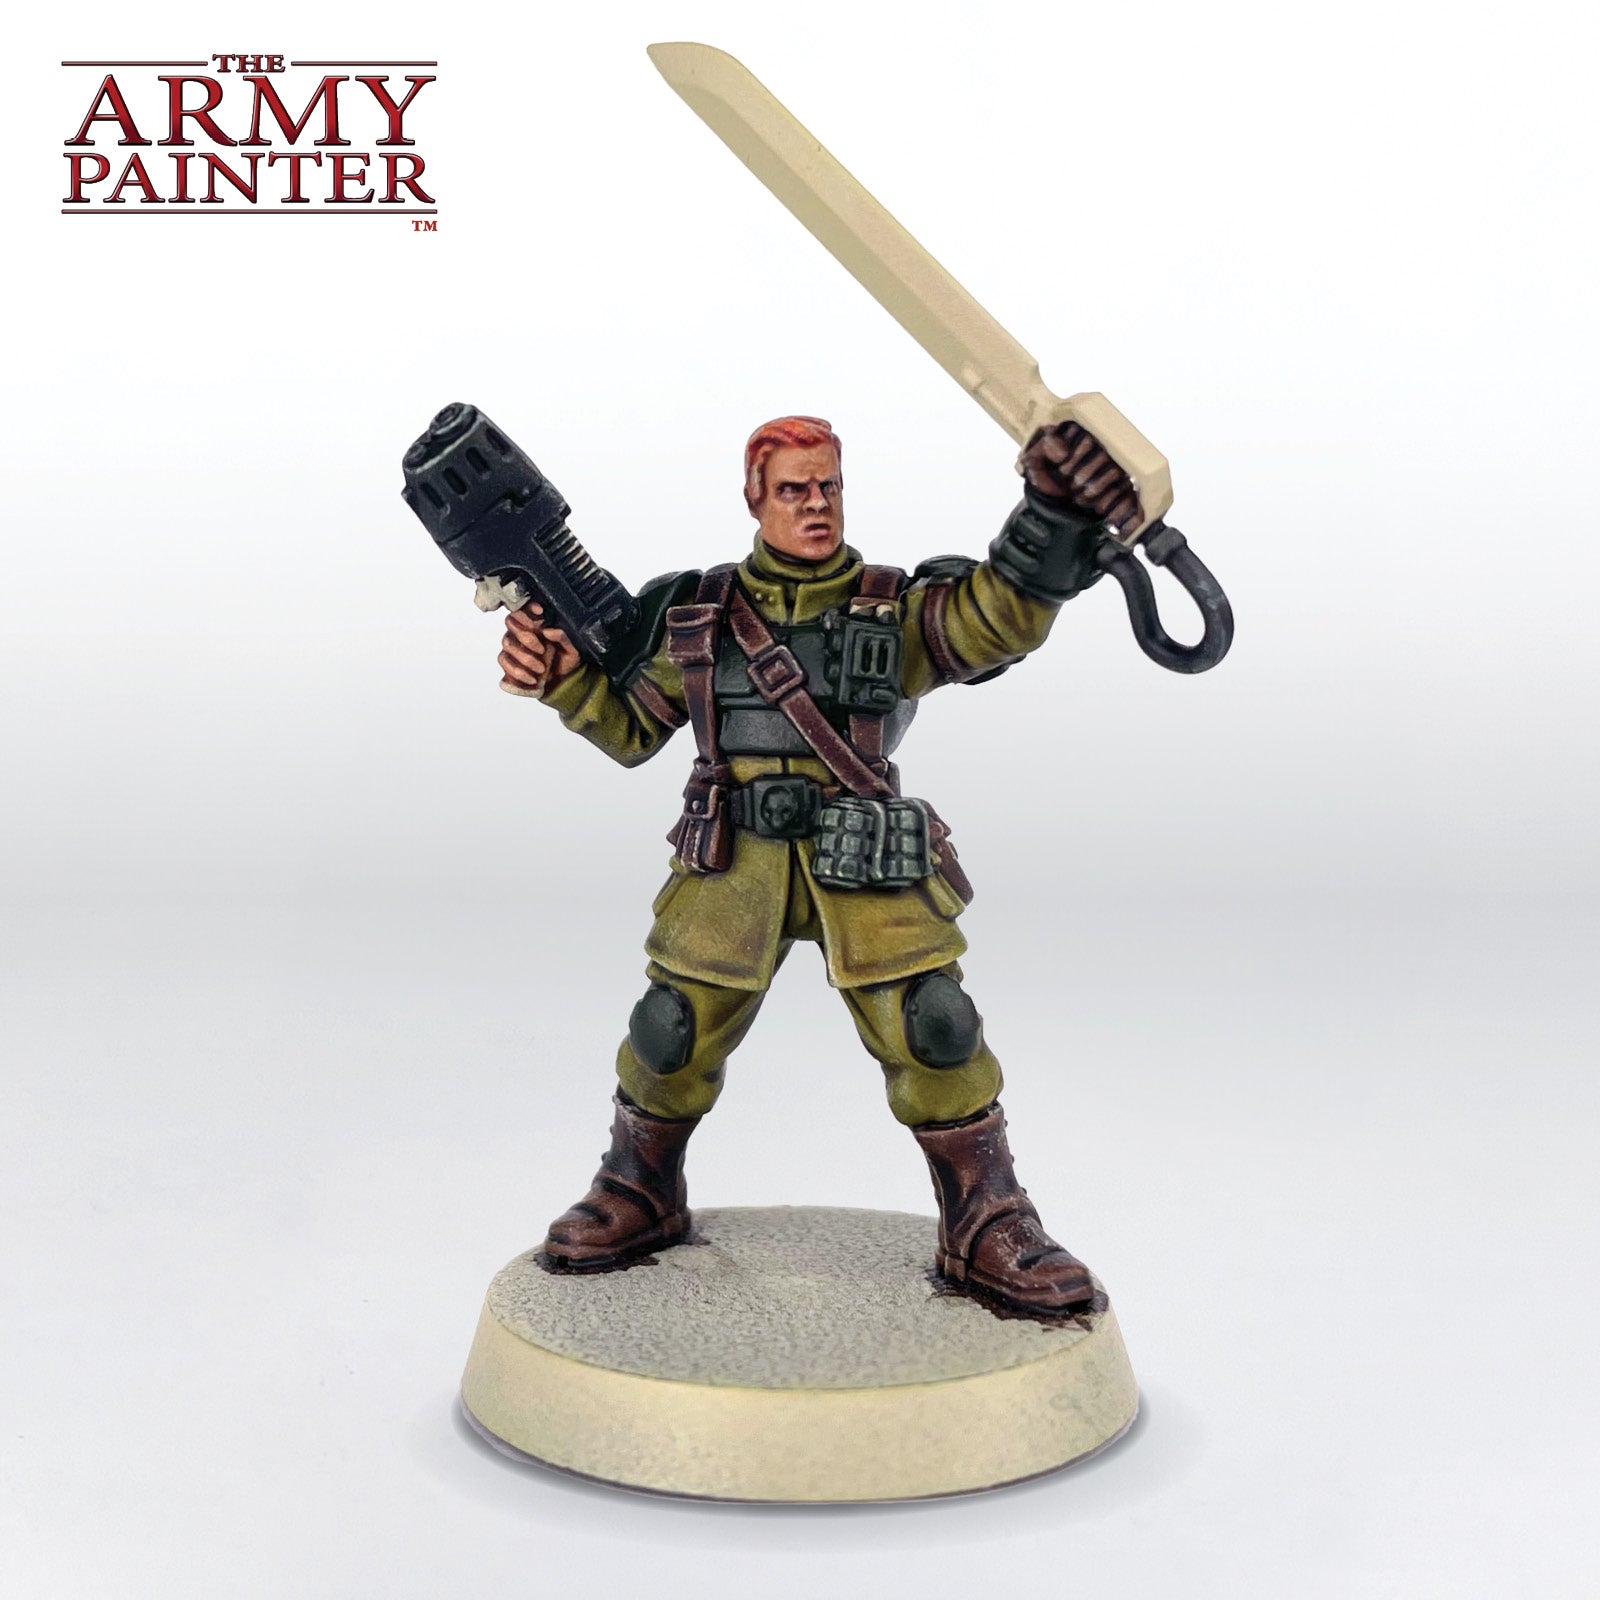
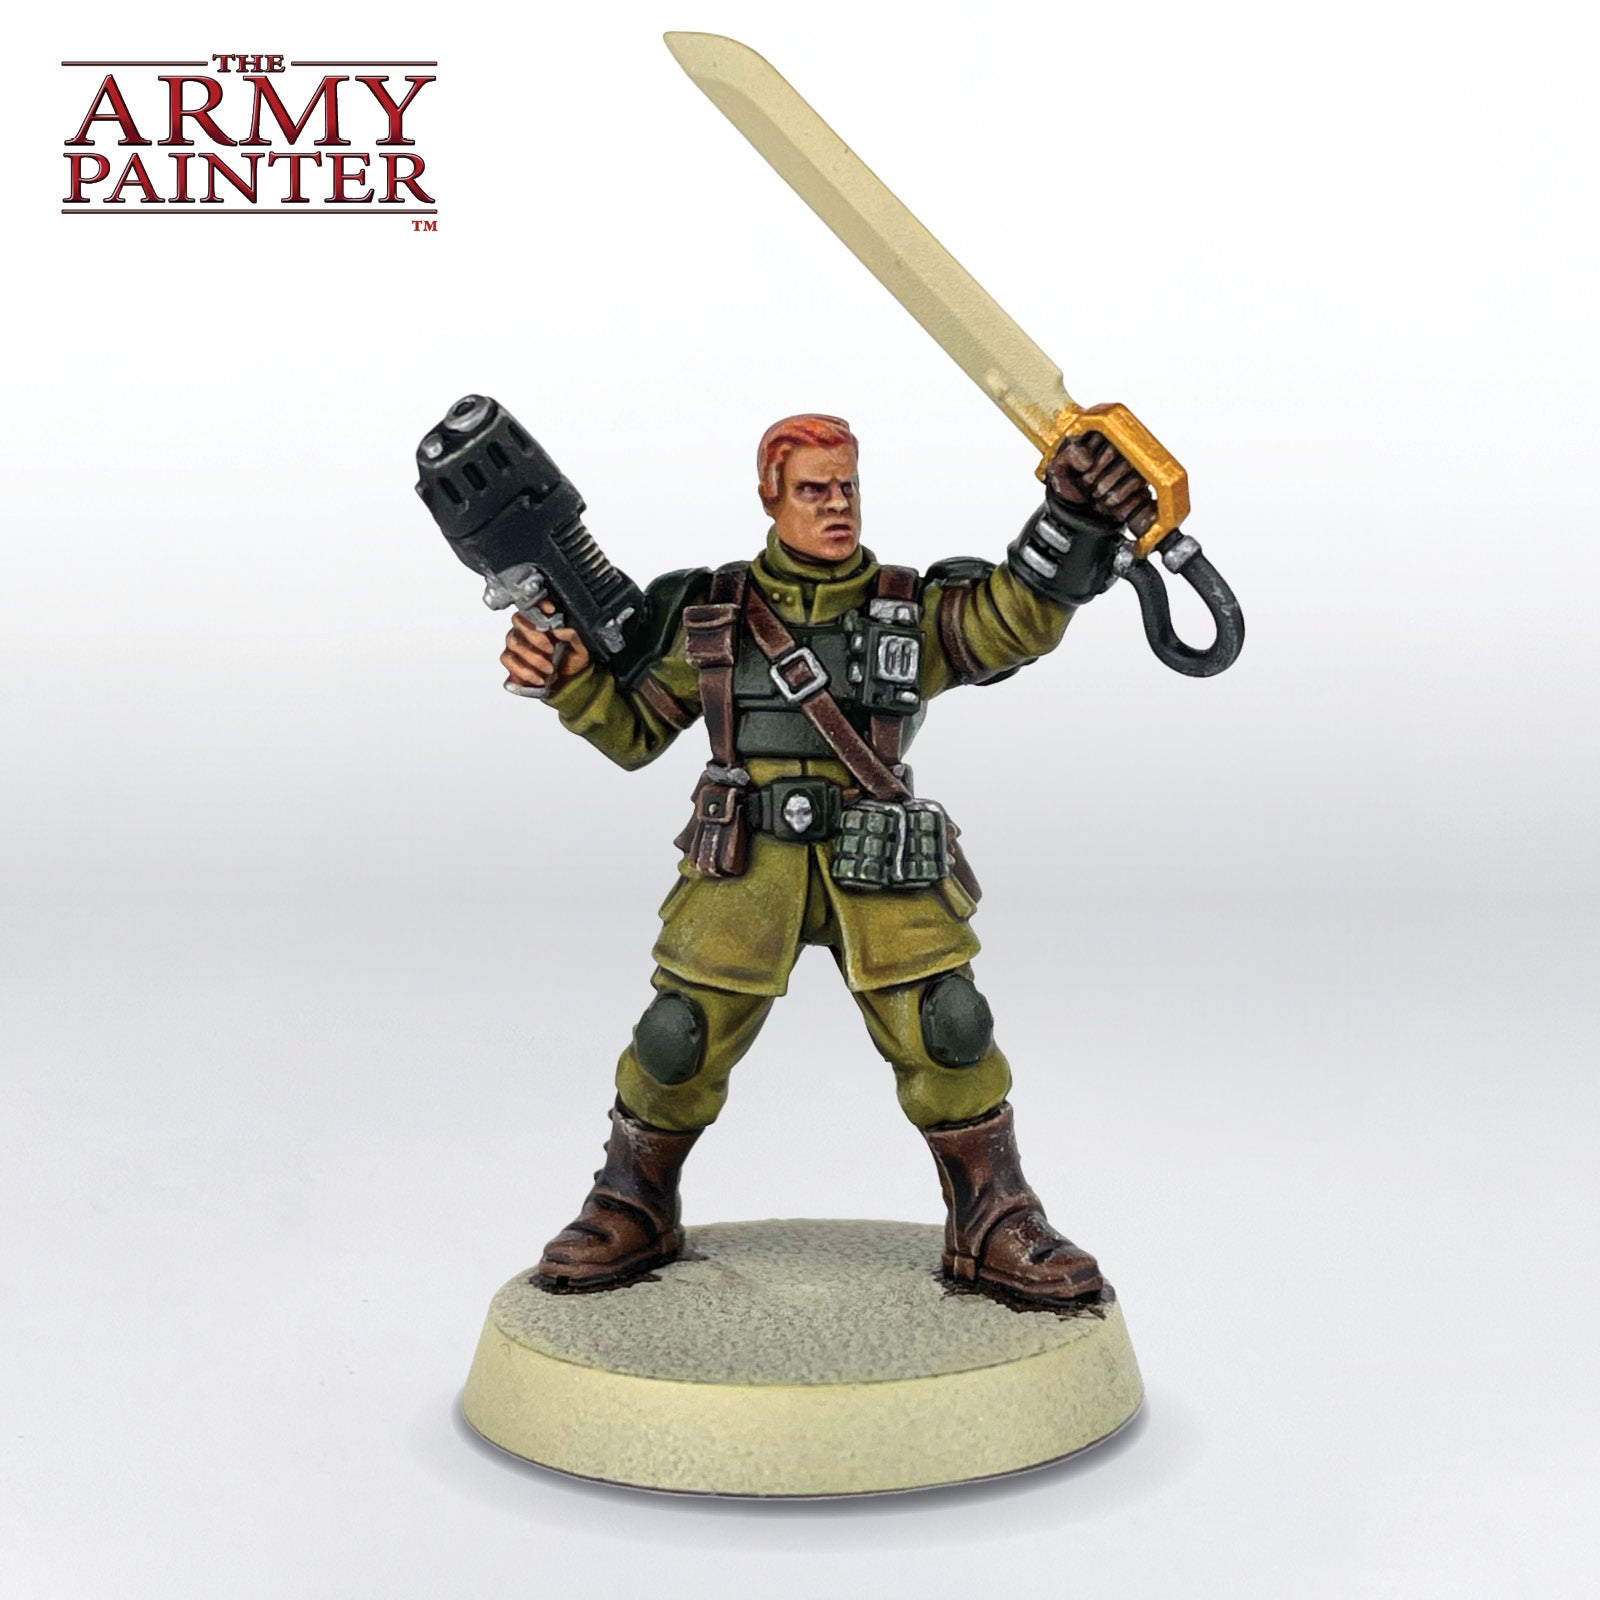
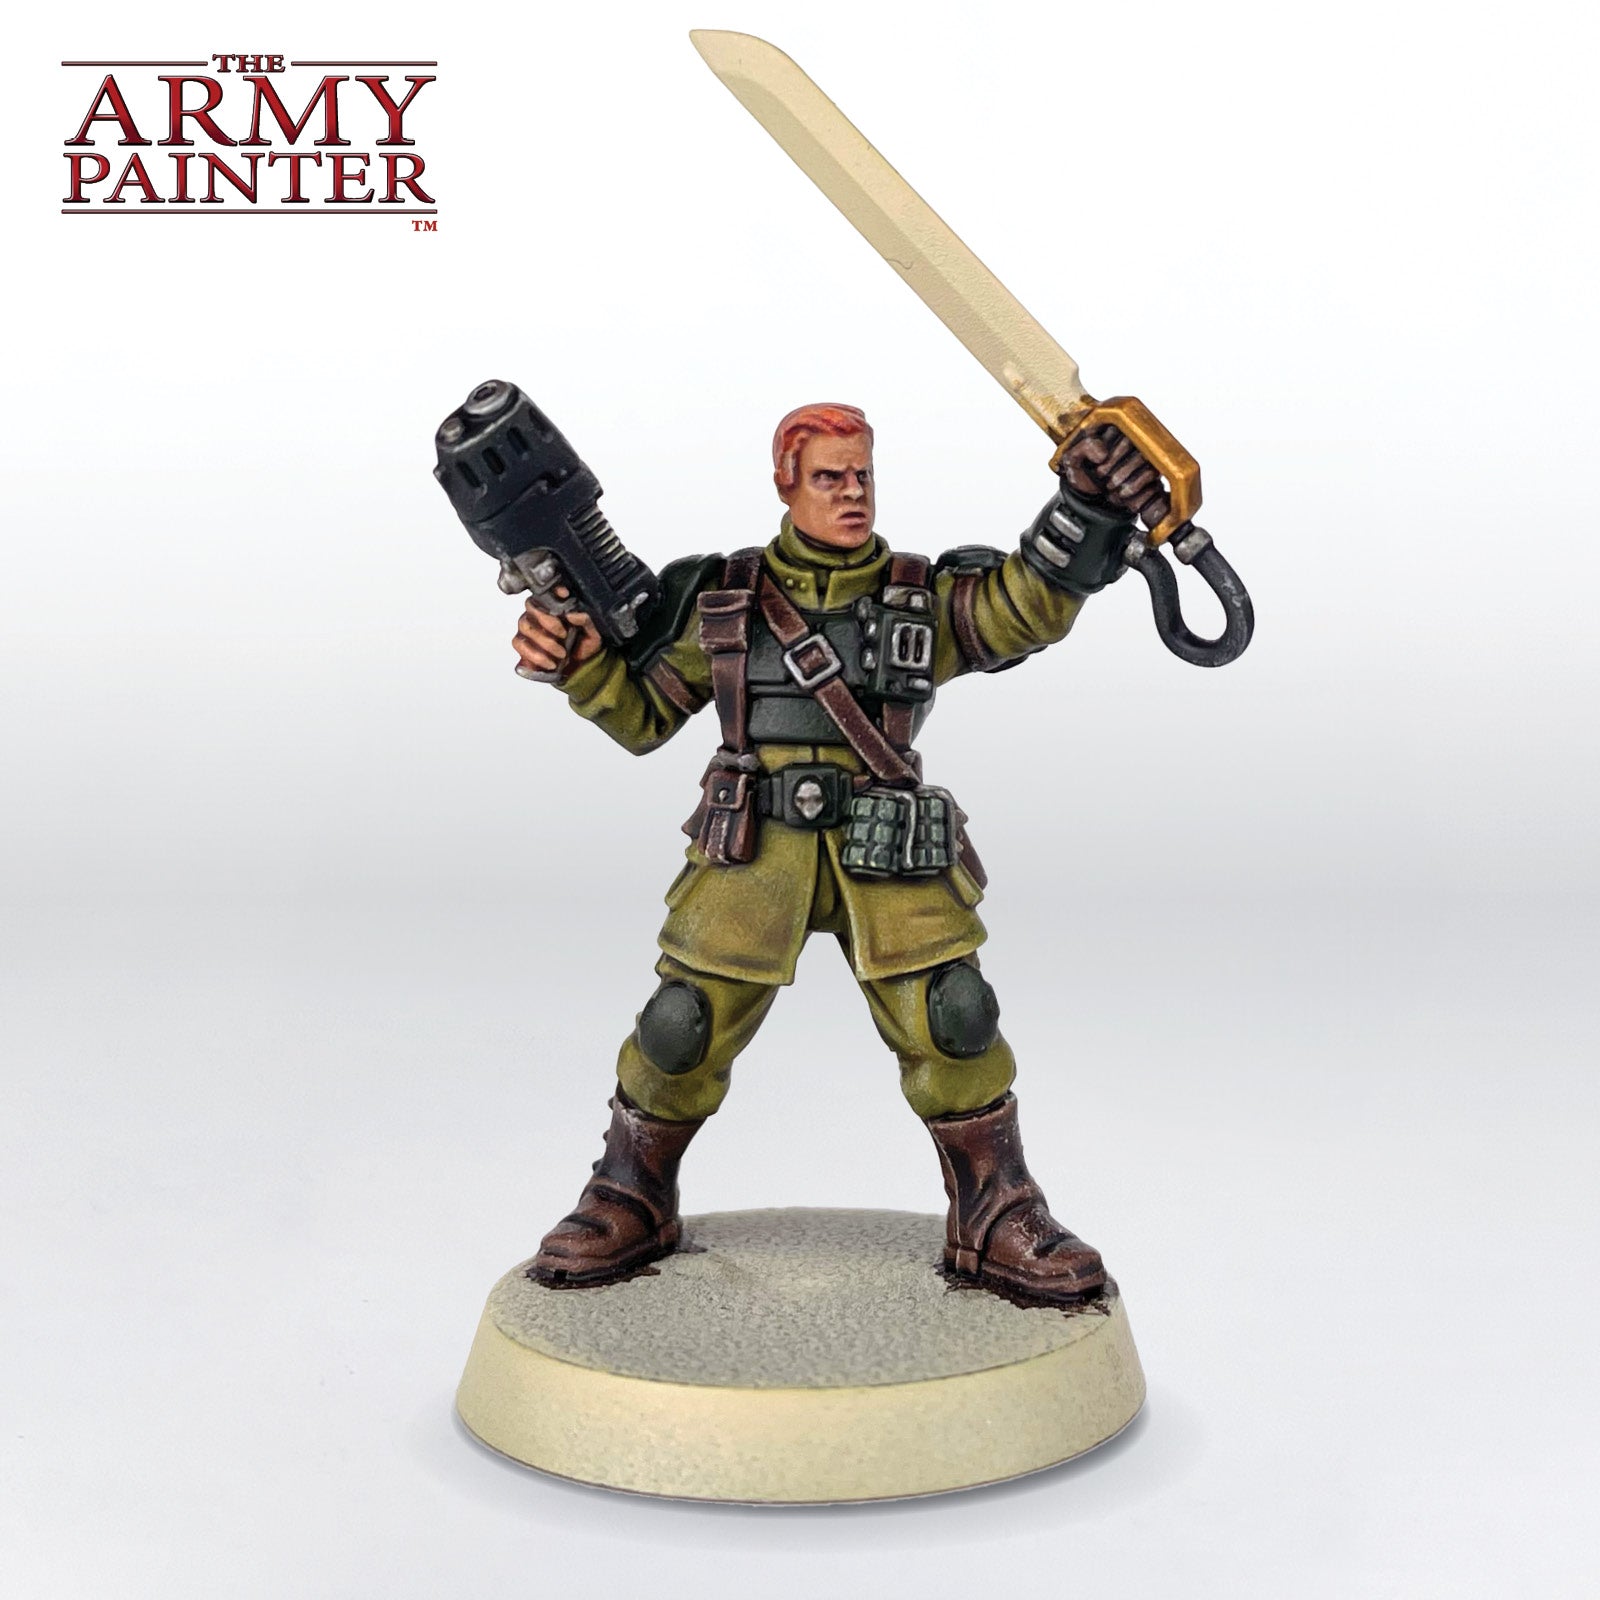
How to Paint a Cadian Guardsman Mobile
How to Paint a

Cadian Guardsman

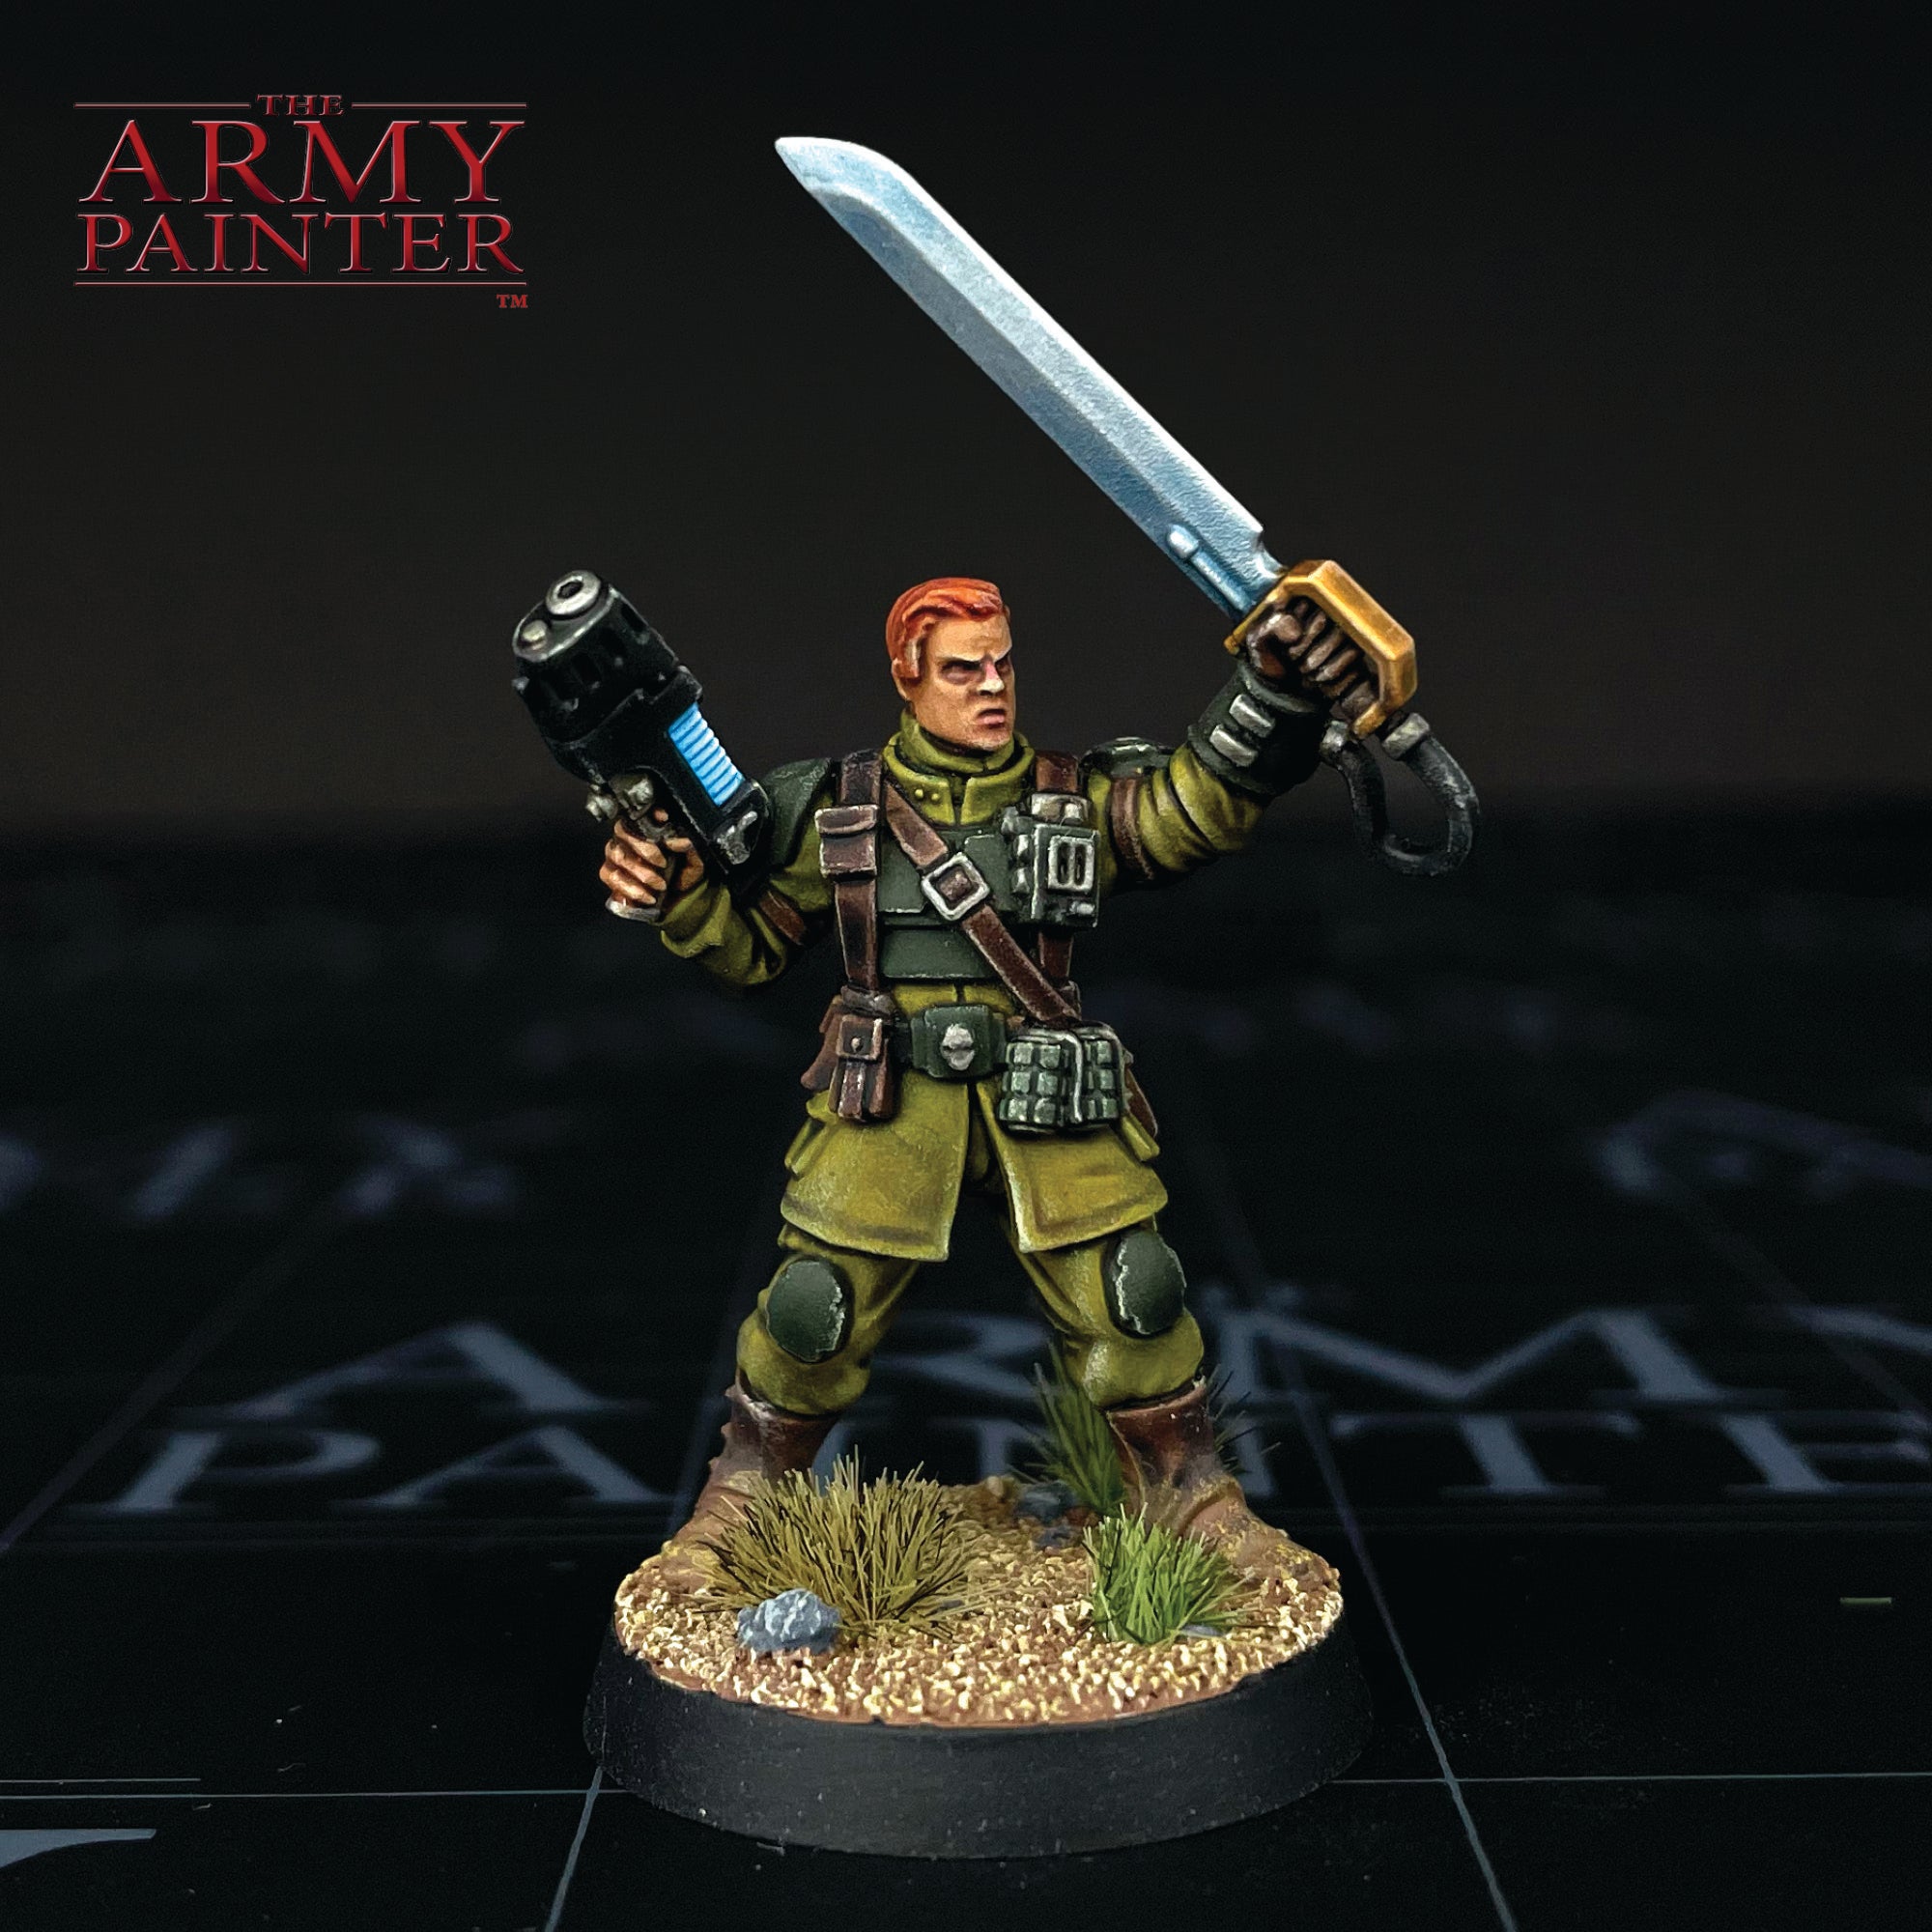
Cadian Veteran

Welcome to the next instalment of The Army Painter Academy: a series where we break down how we paint a miniature step-by-step, complete with pictures for every bit of paint applied along the way. 

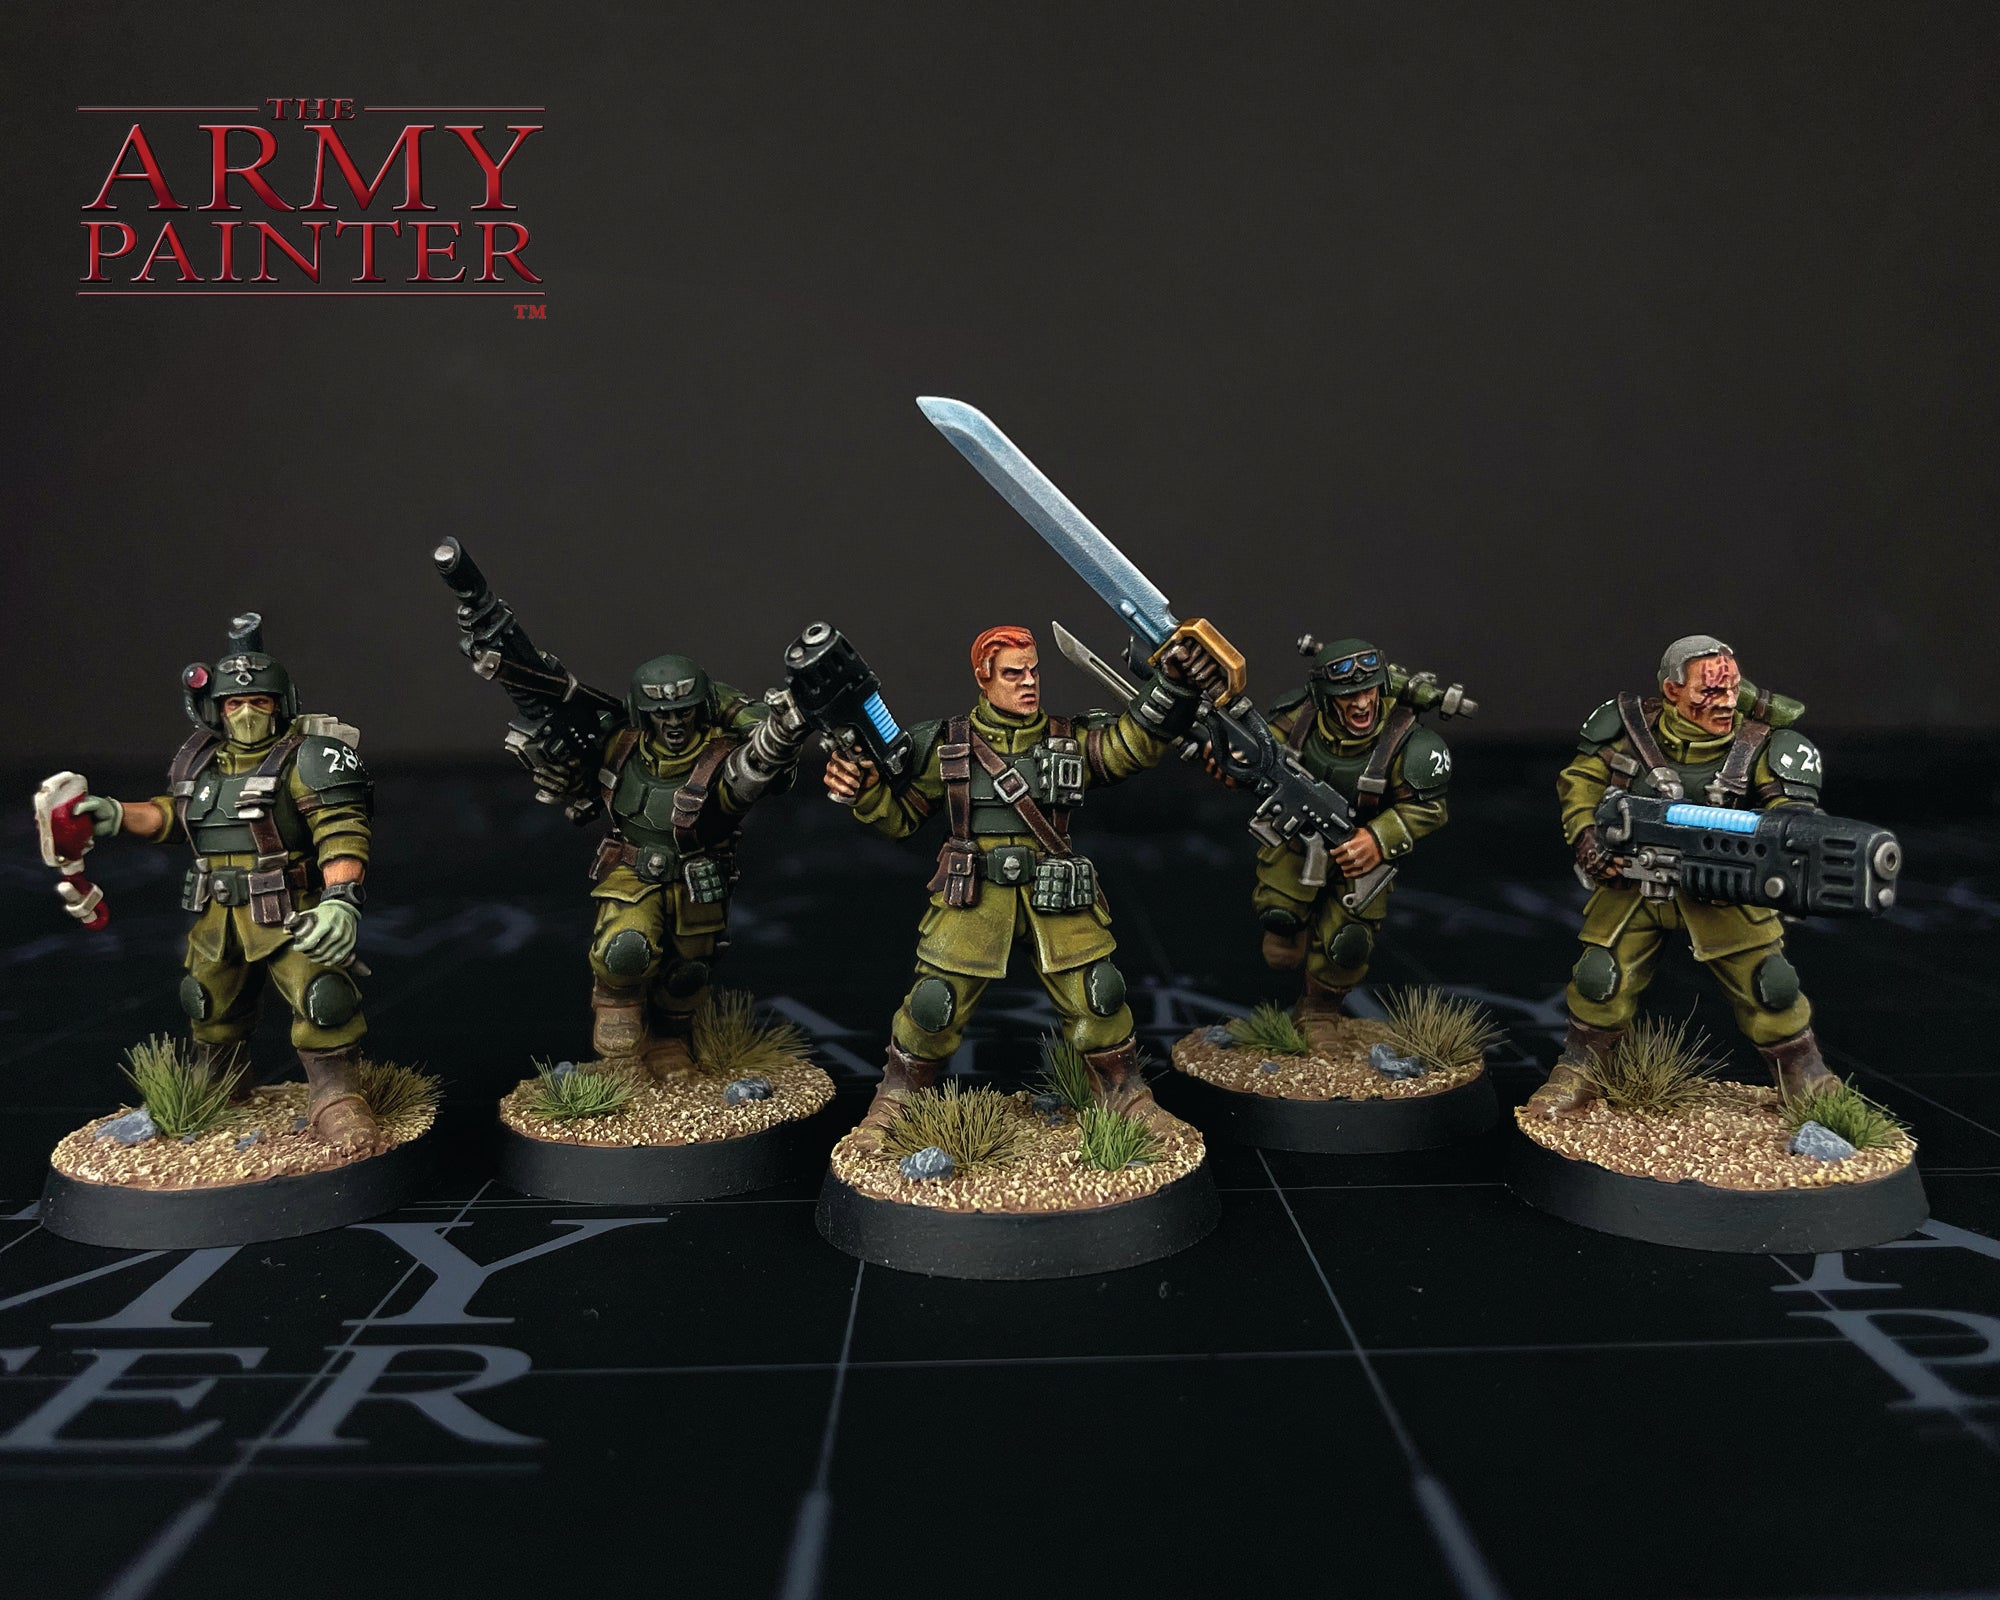
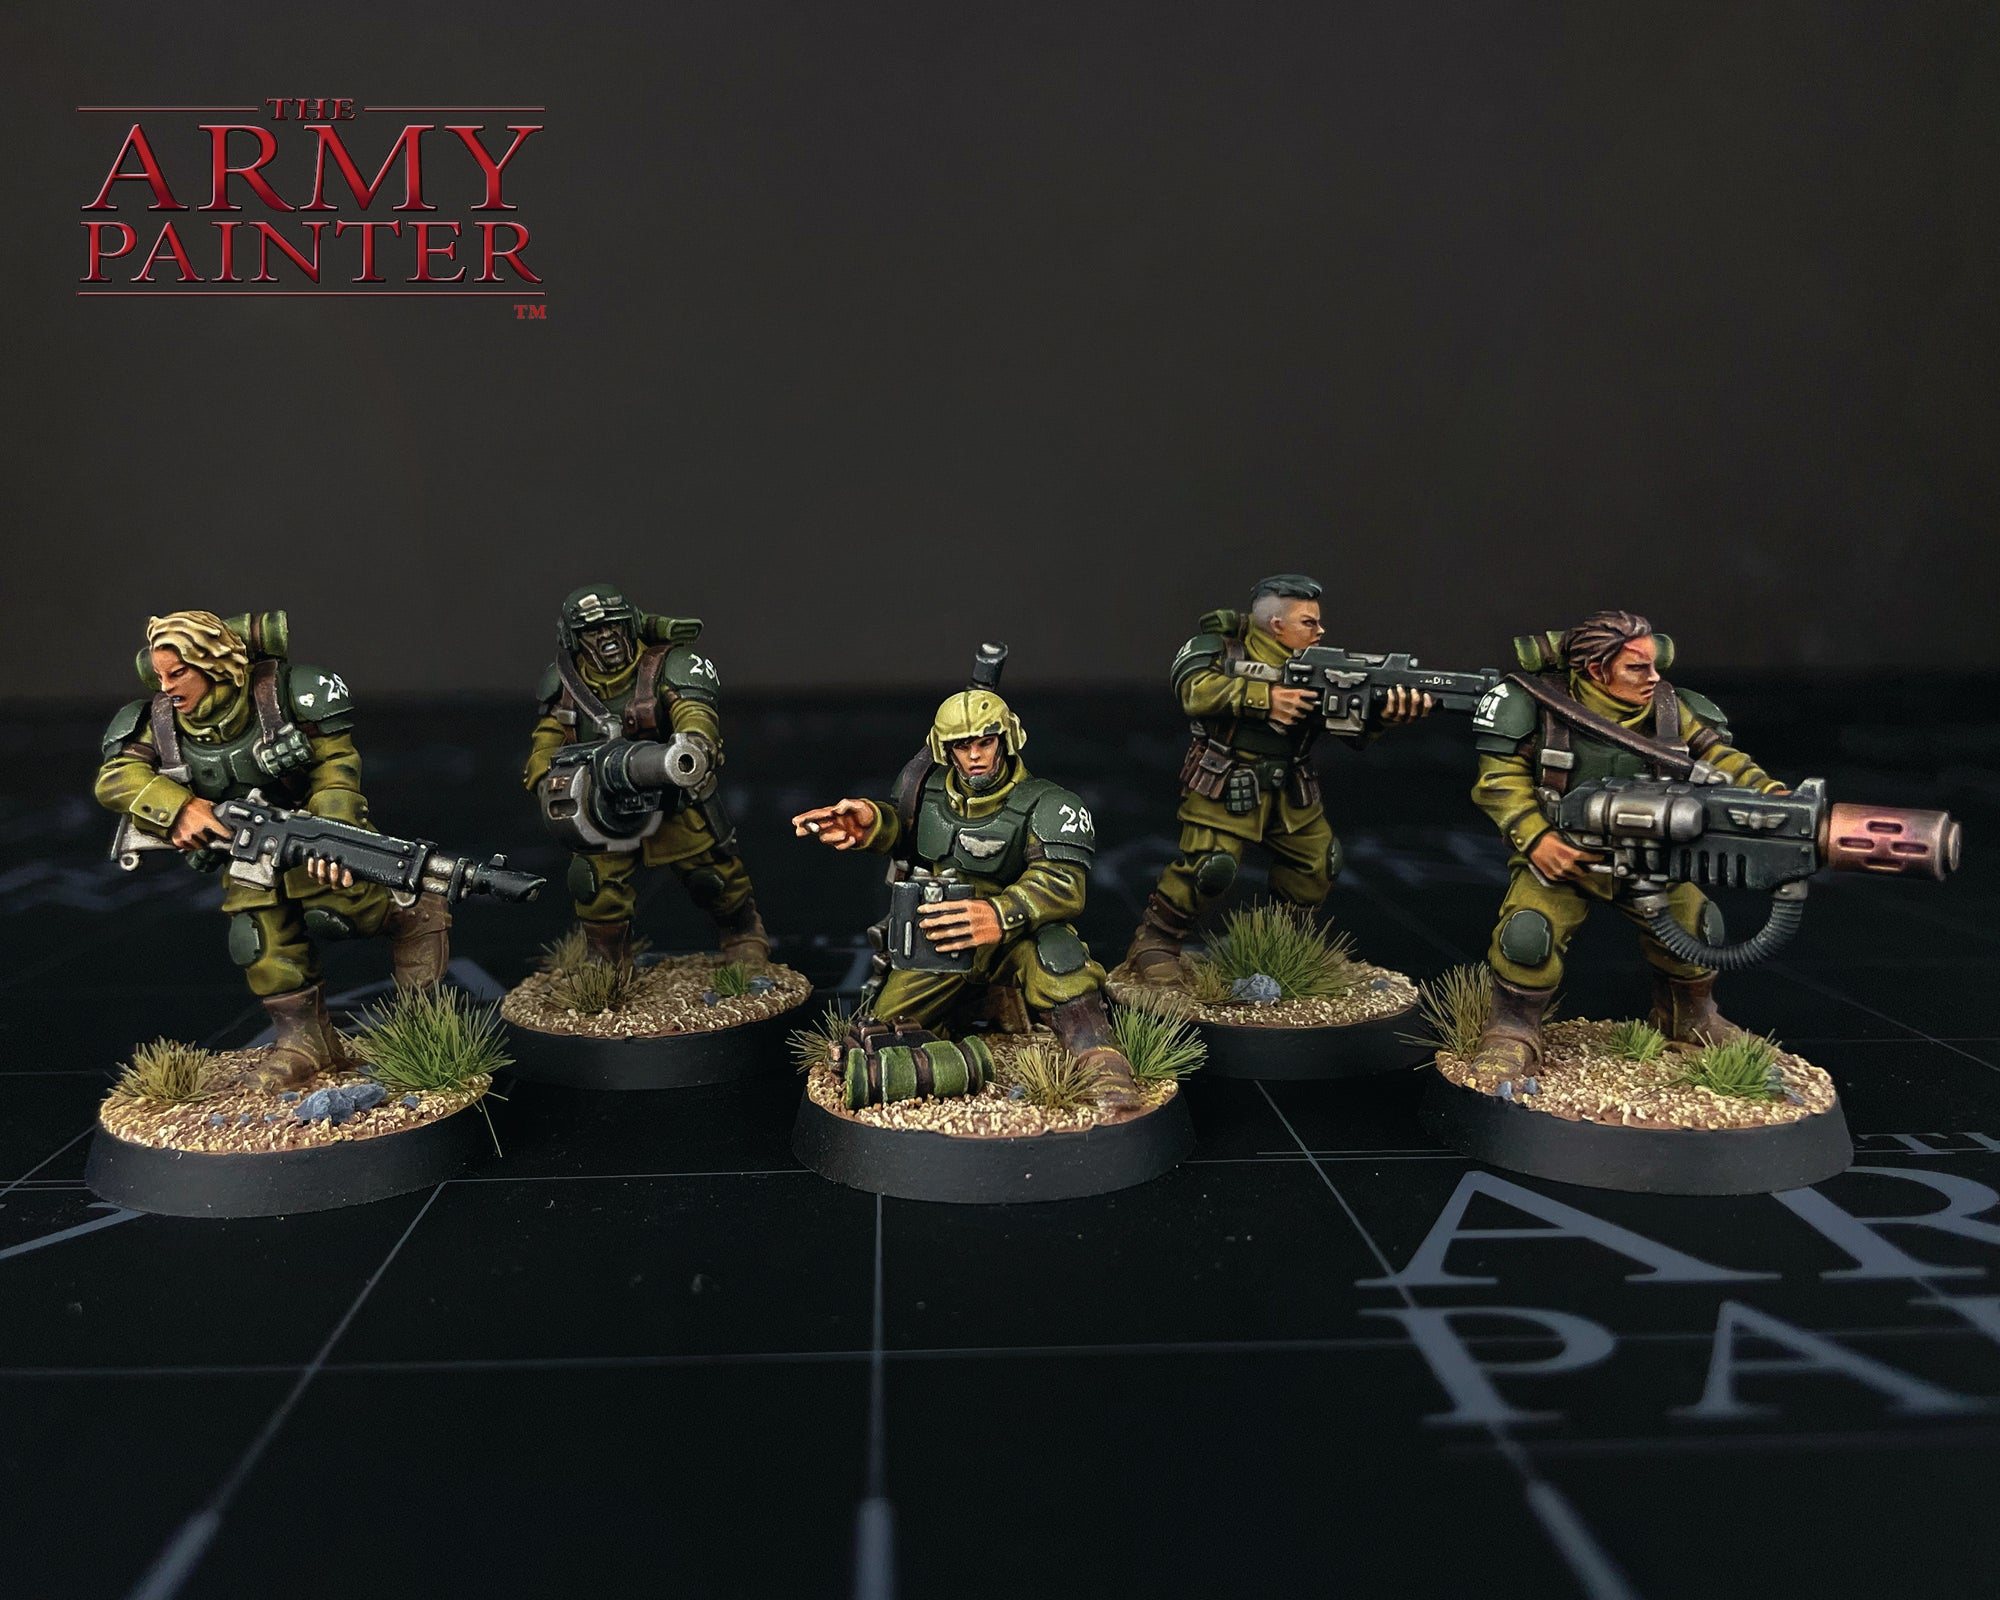
This month Tyler Mengel joins us to show how he painted his all-green colour scheme on his Cadian Astra Militarum army for the Arena of Escalation. The backbone of the Imperium’s fighting forces in Games Workshop’s Warhammer 40,000 setting, the Astra Militarum, or Imperial Guard as they’re known, more than make up for their lack of elite training with their inexhaustible numbers. Who needs superhuman skills or superior armour when you can just throw more bodies at the problem? These armies then tend to require a lot of models, which can be quite daunting, but not when you approach it with Speedpaint, a dryrbush, and the unbreakable spirit of the famed Cadians themselves.

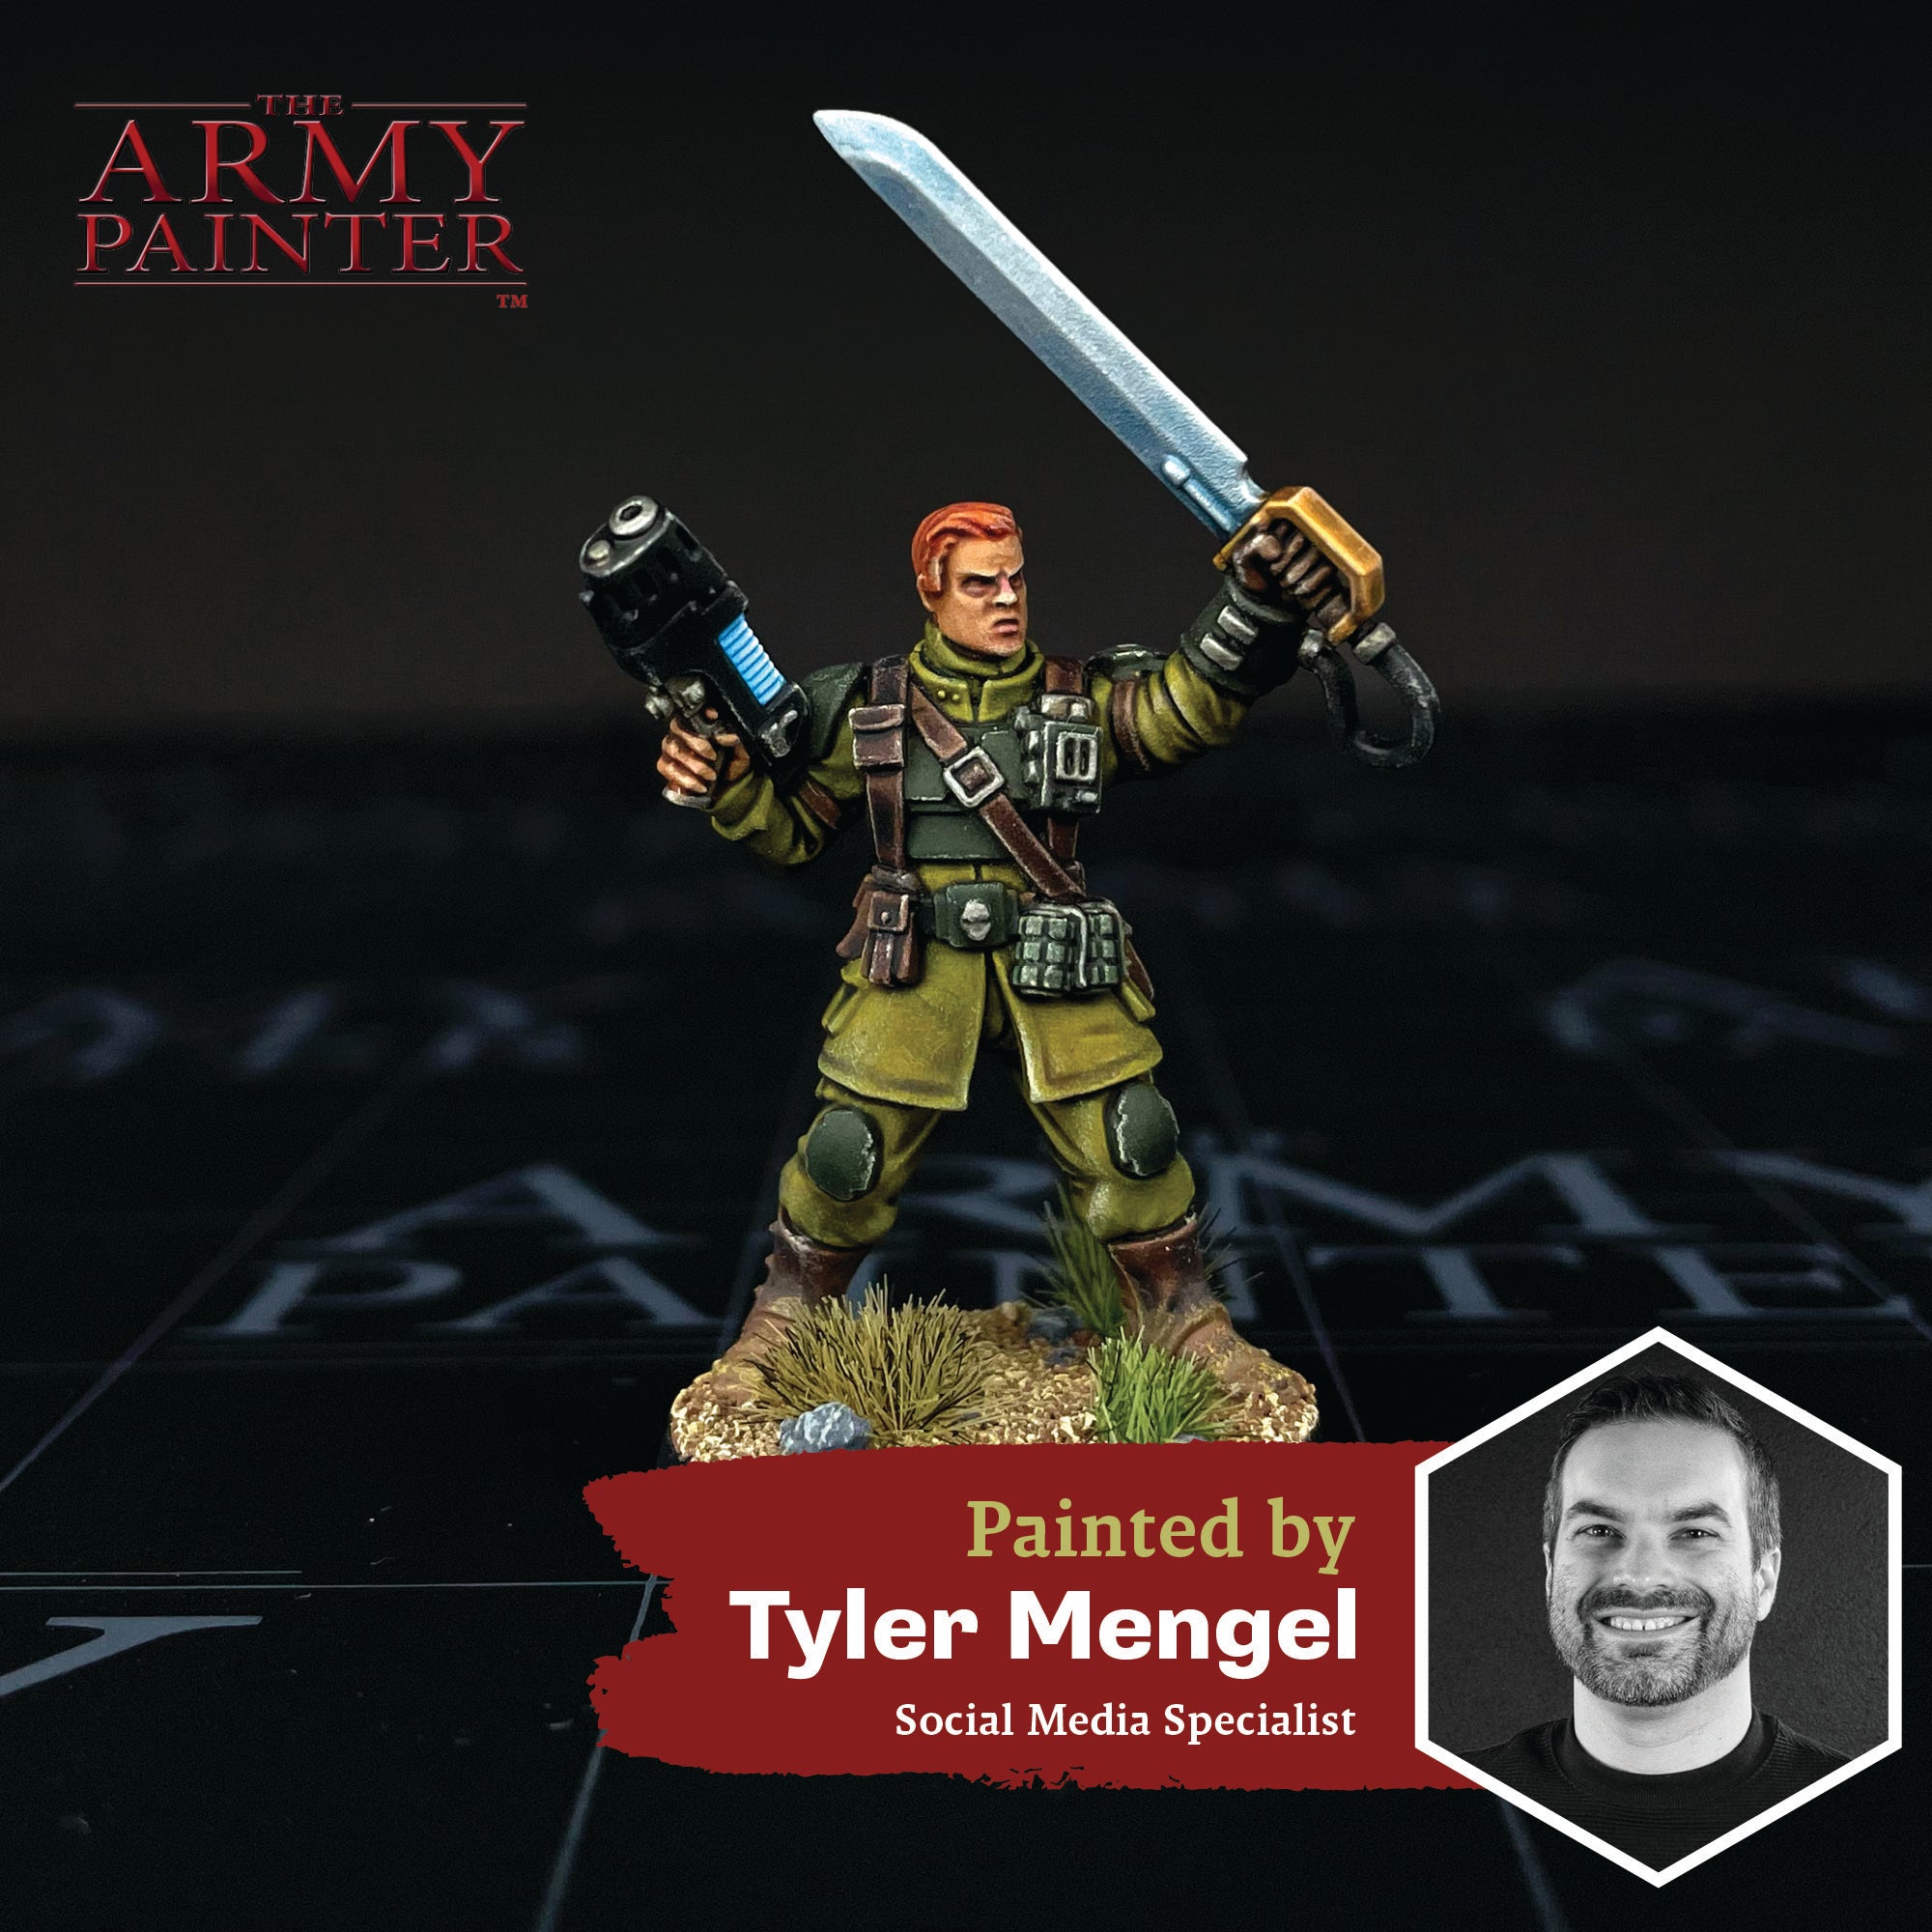
Tyler: When I first started my Astra Militarum I had one main goal in mind – speed. I knew a Guard army would include a lot of infantry and tanks, much more than I am used to painting in fact, as I usually pick more elite armies that favour my slower, more methodical painting style. Sometimes, I like to pick challenges or new ways of painting when starting a new project though, so I can learn something new, or even just try my hand at it. For these guys that meant finding a way to paint a lot models quickly, but still be happy with them as a whole.

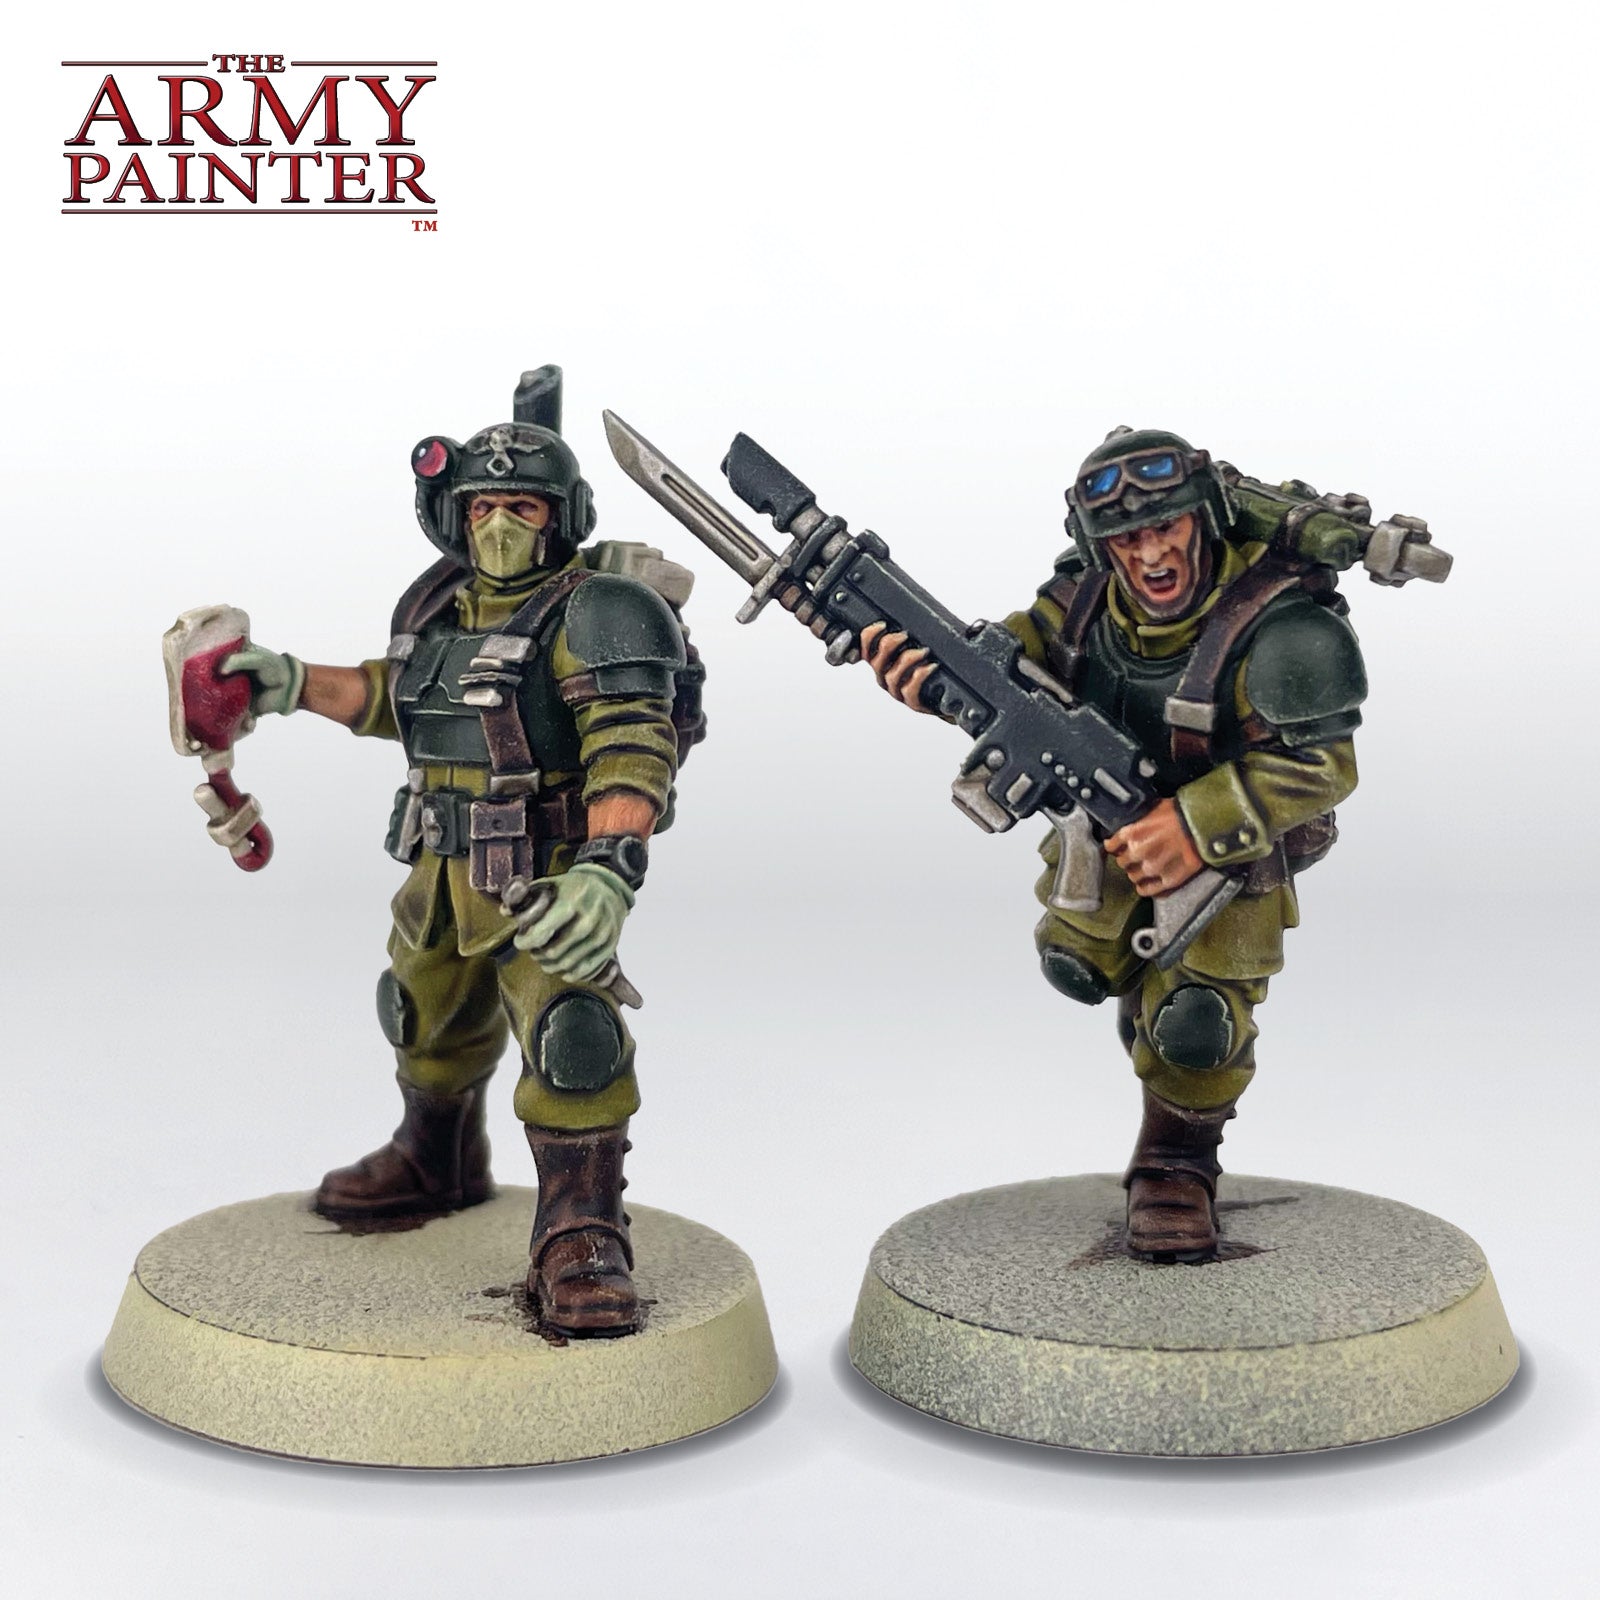
Cadian Veteran Unit

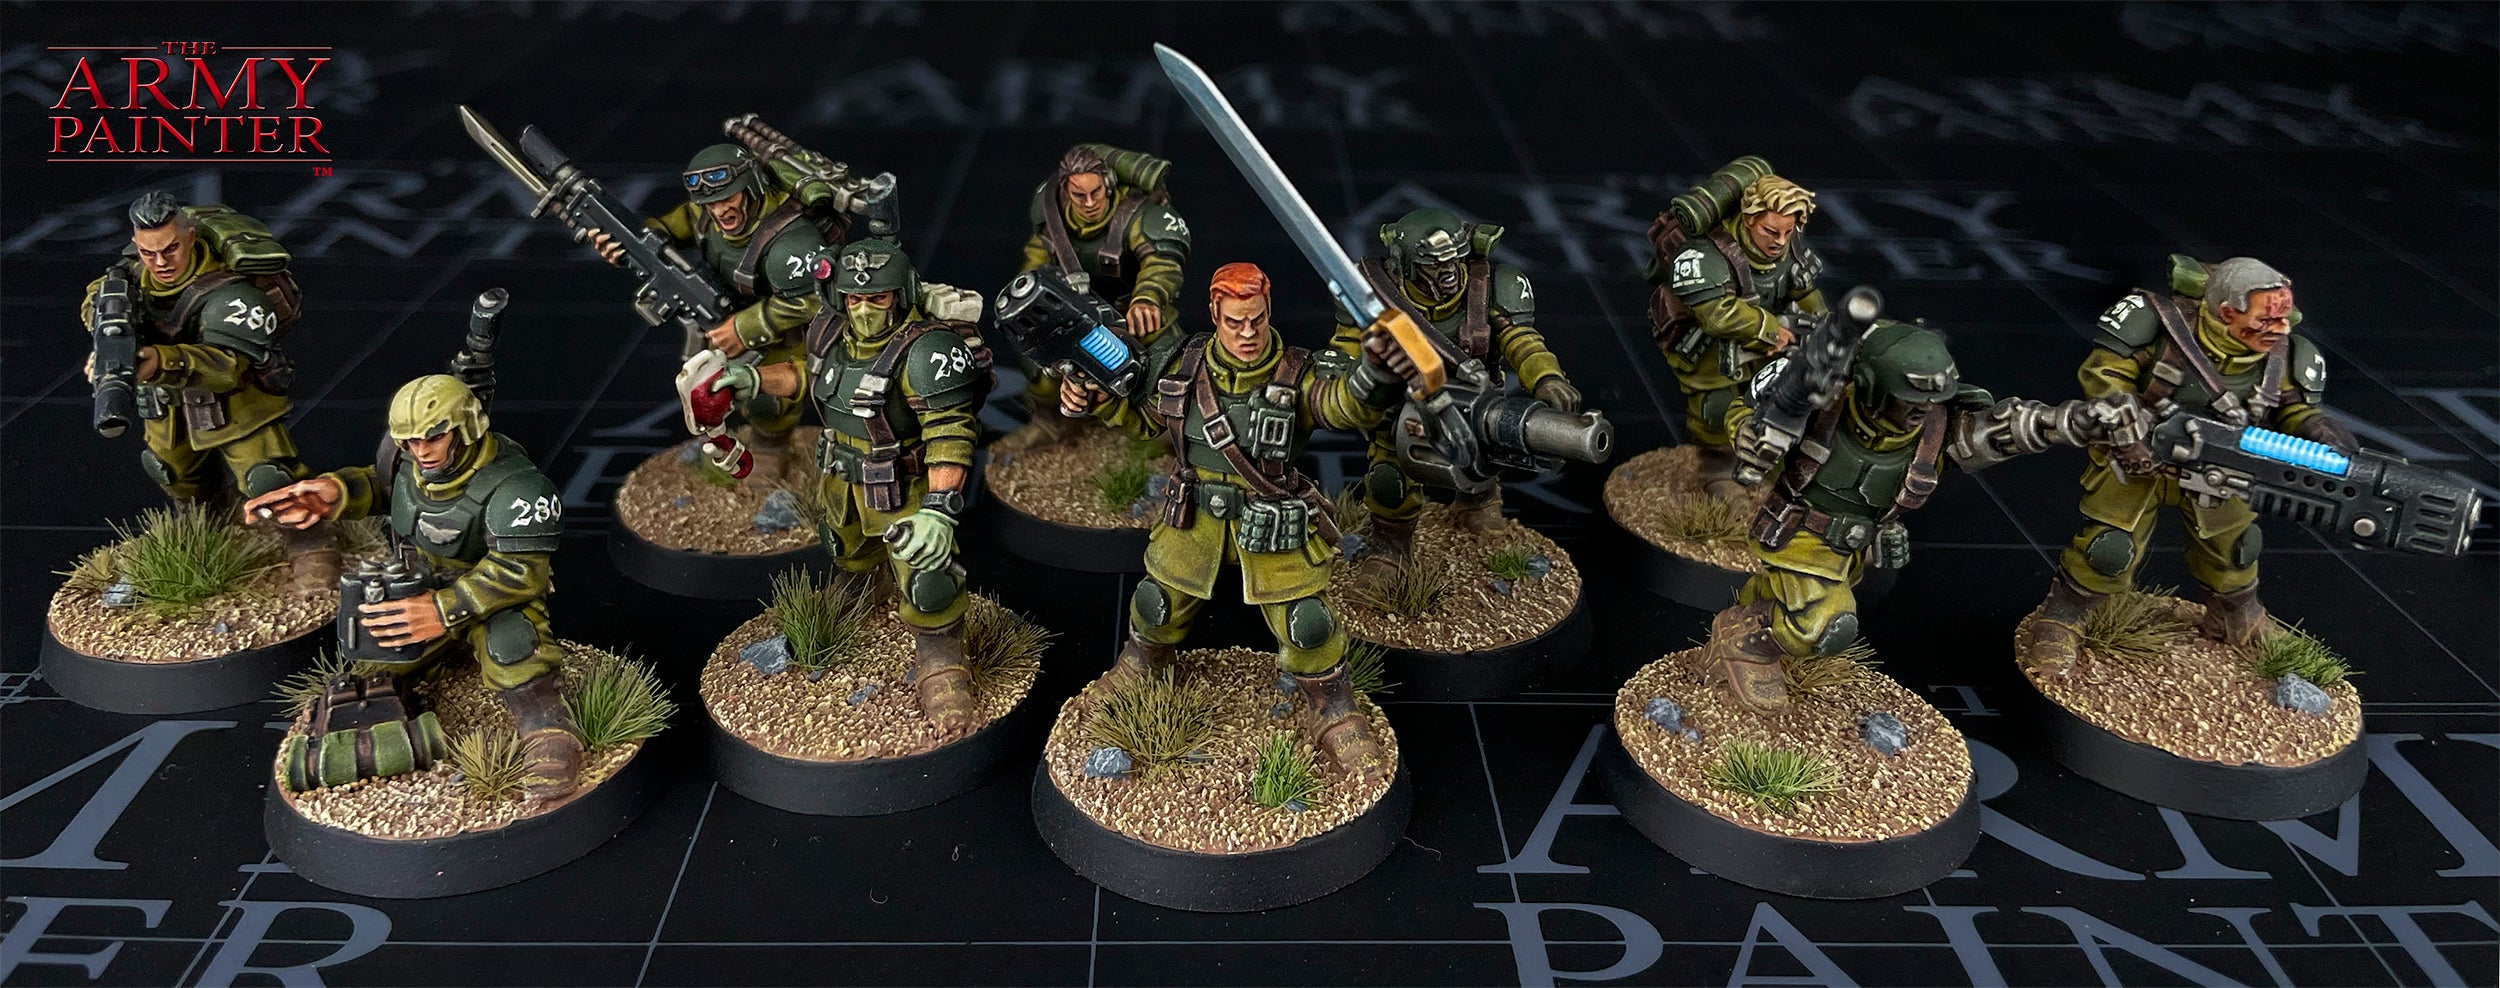
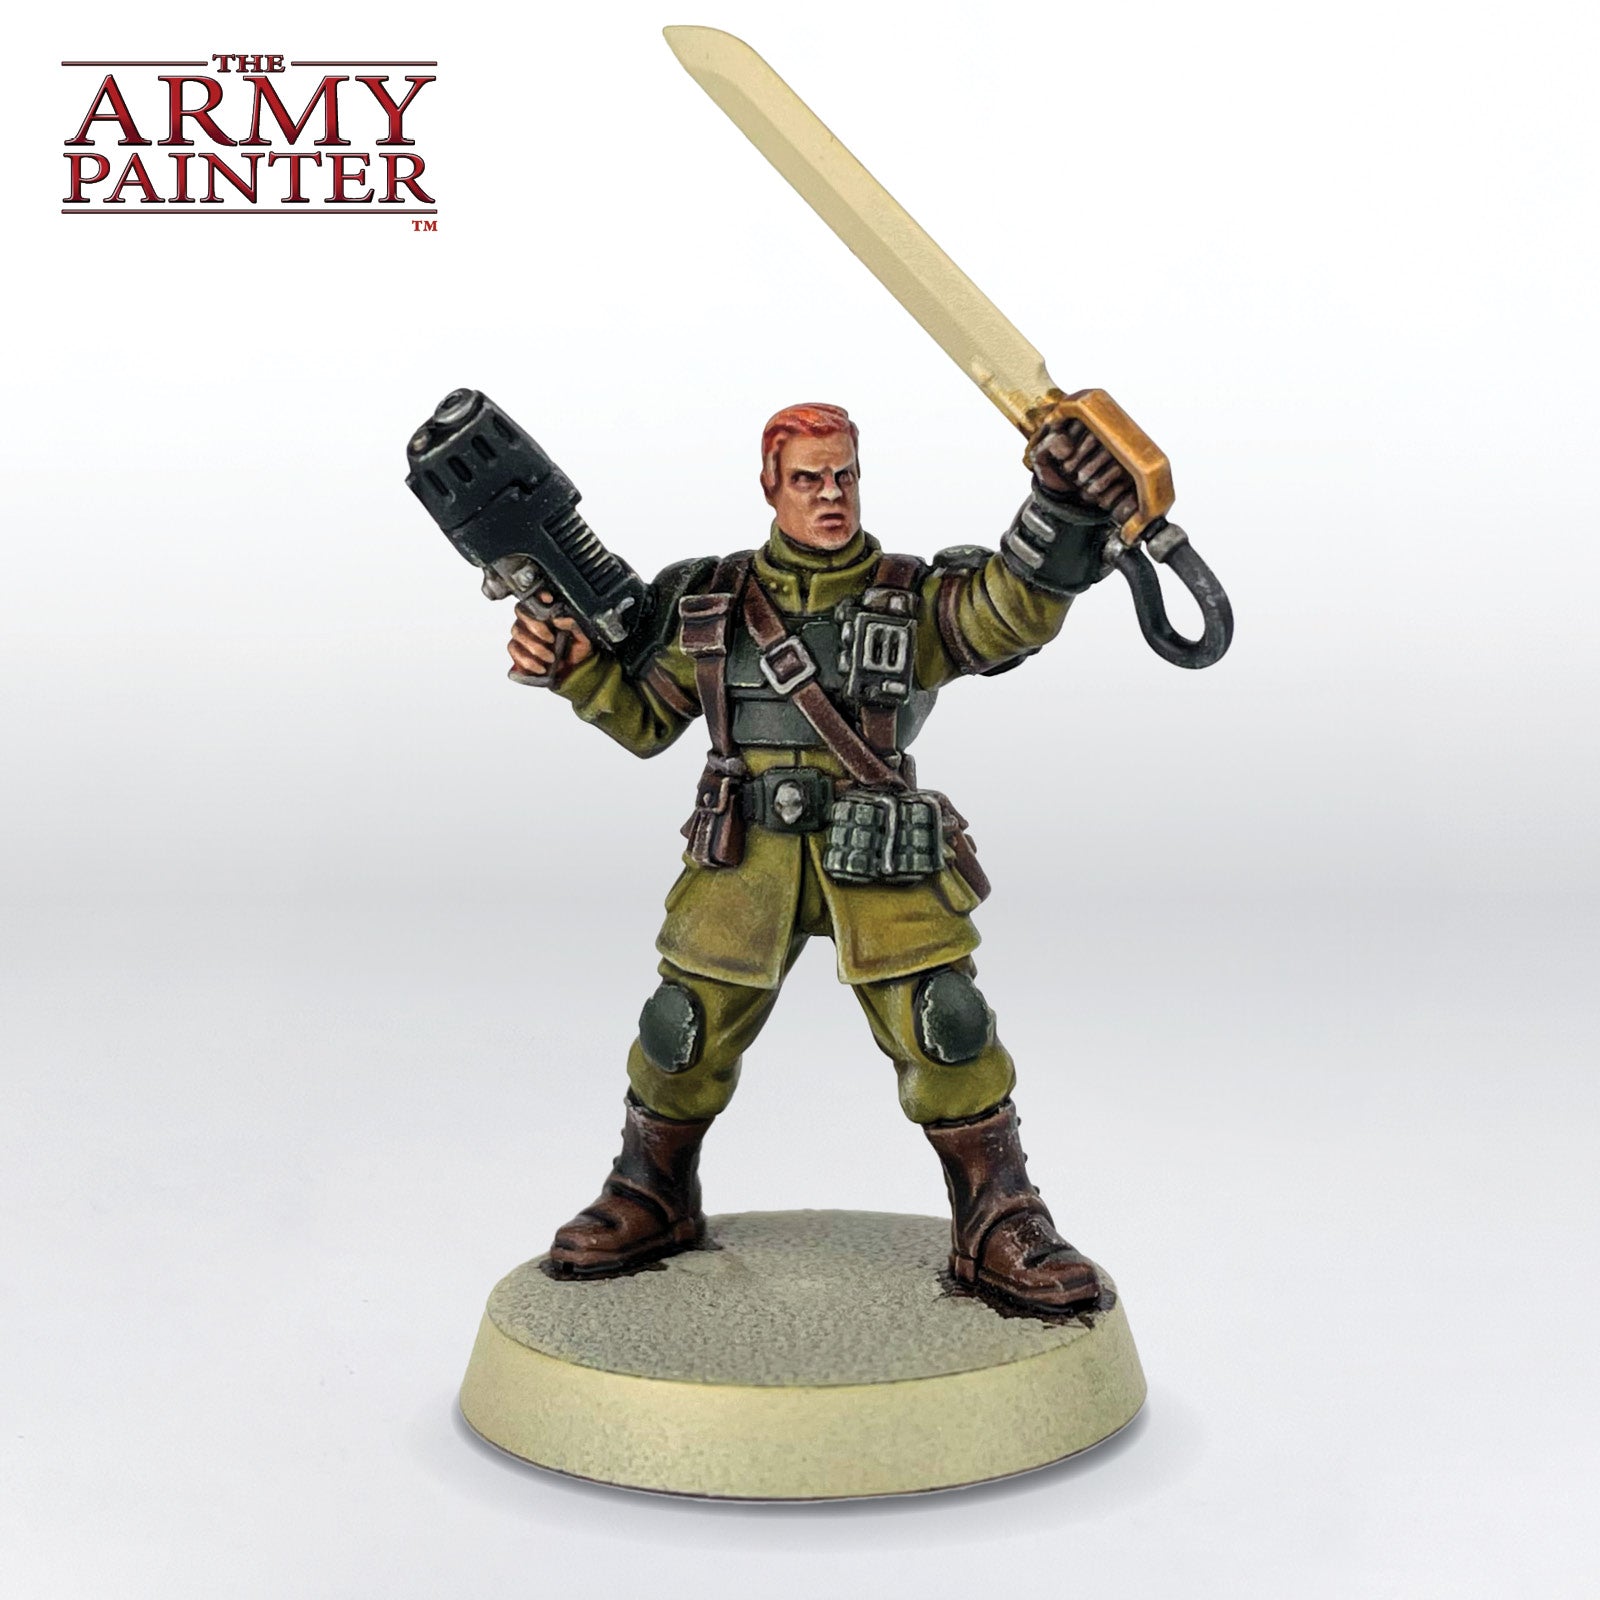
Luckily, that was easy, with a combination of Speedpaint, drybrushing, and some selective Washes. I decided to go for a colour scheme that was mainly varying shades of green. This was definitely not influenced by a recent re-watch of Band of Brothers at all. Definitely not. I ended up going with a Warpaints Air colour for the armour, despite applying it with a brush, so that it would match my tanks, which I planned on tackling with an airbrush. This whole process was a rather unique way of painting for me and was actually influenced by how I’ve started to paint scenery. Apply a bunch of basecoats, in this case with Speedpaint, do an all-over wash, and then an all-over drybrush! This grimy and dusty look is perfect for an Astra Militarum army that’s been out in the field for weeks on end and is quick and easy to do, especially on groups of 5 models at a time. 
My process has evolved a bit since the first unit many months ago, finding better ways to apply certain colours for a cleaner look and adding in a few more details here and there, but it’s still super-fast, allowing me to knock out 10 guys in a week easily! I’m looking forward to adding more to this army in the future since it’s so quick and easy. 

This tutorial is broken down into Stage 1, which has most of the initial Speedpaint applications, then Stage 2, before moving onto more specific colour segments. Each section is further broken down into manageable steps by applying one colour at a time. If you’re on a desktop, simply click the arrows at the bottom of each section to scroll through the steps or scroll to the side on your mobile phone.

Let's get painting!

Banner

Stage One

Stage 1 Step 1

Step 1

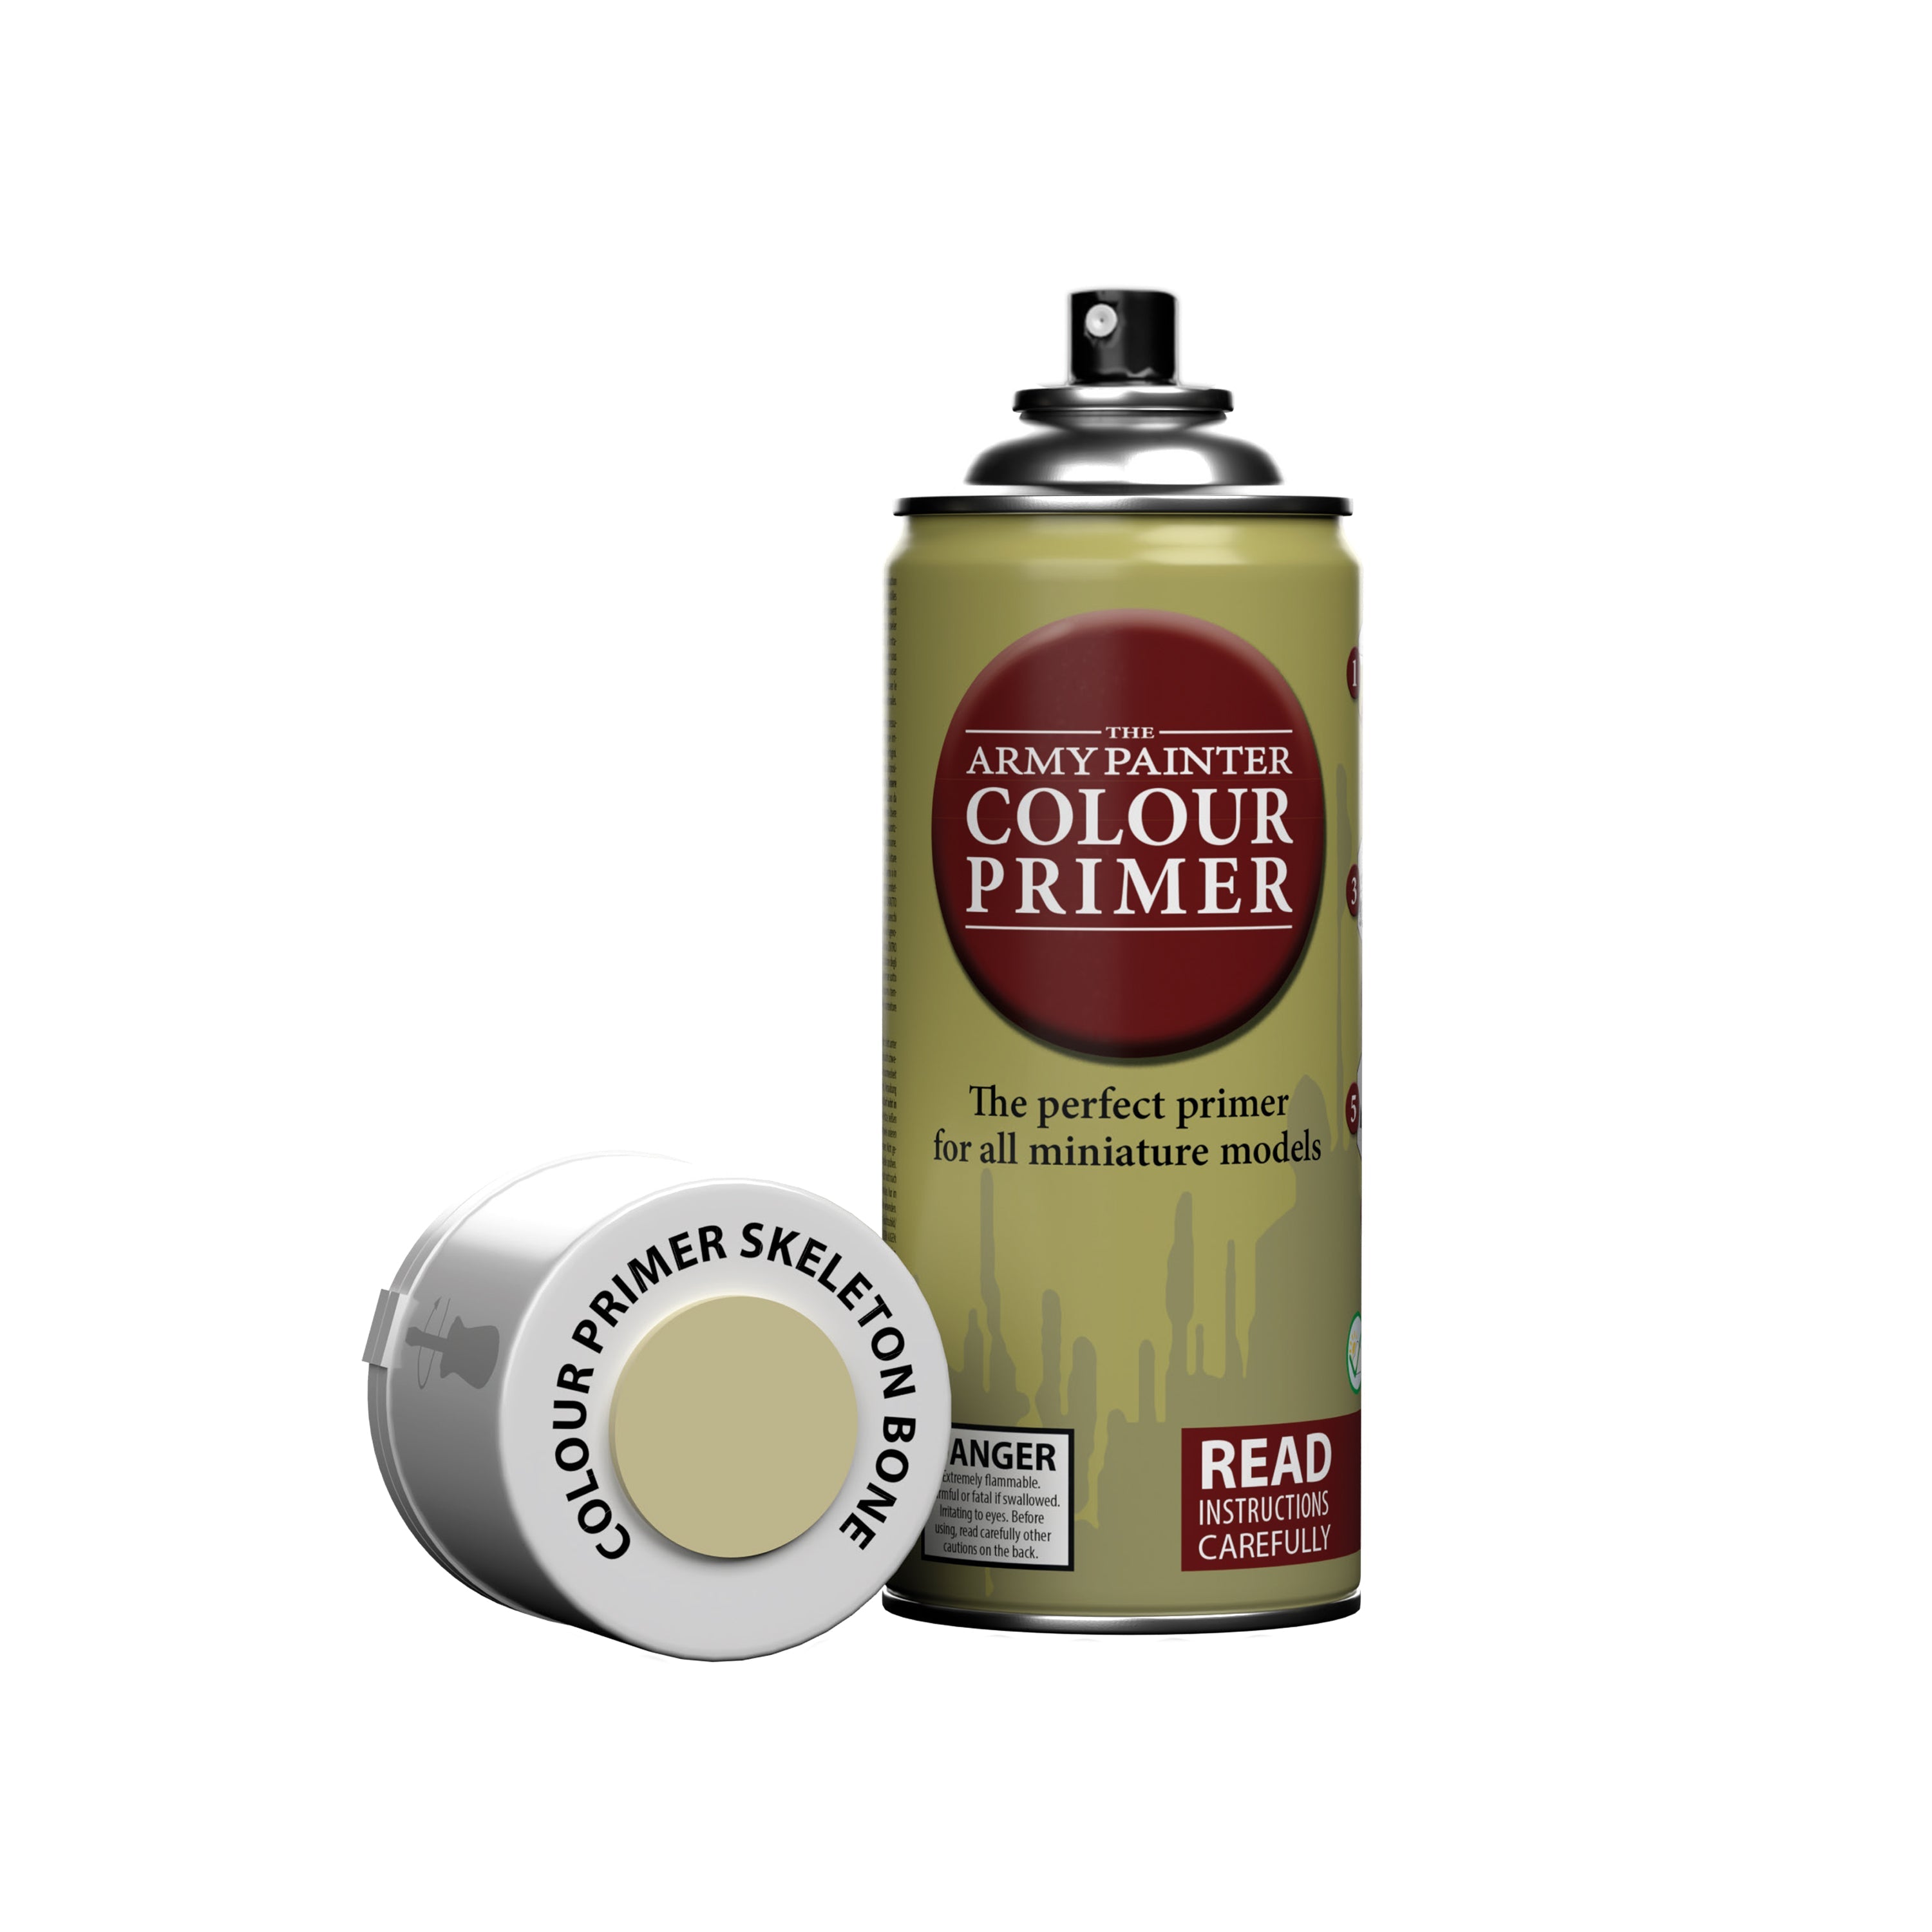
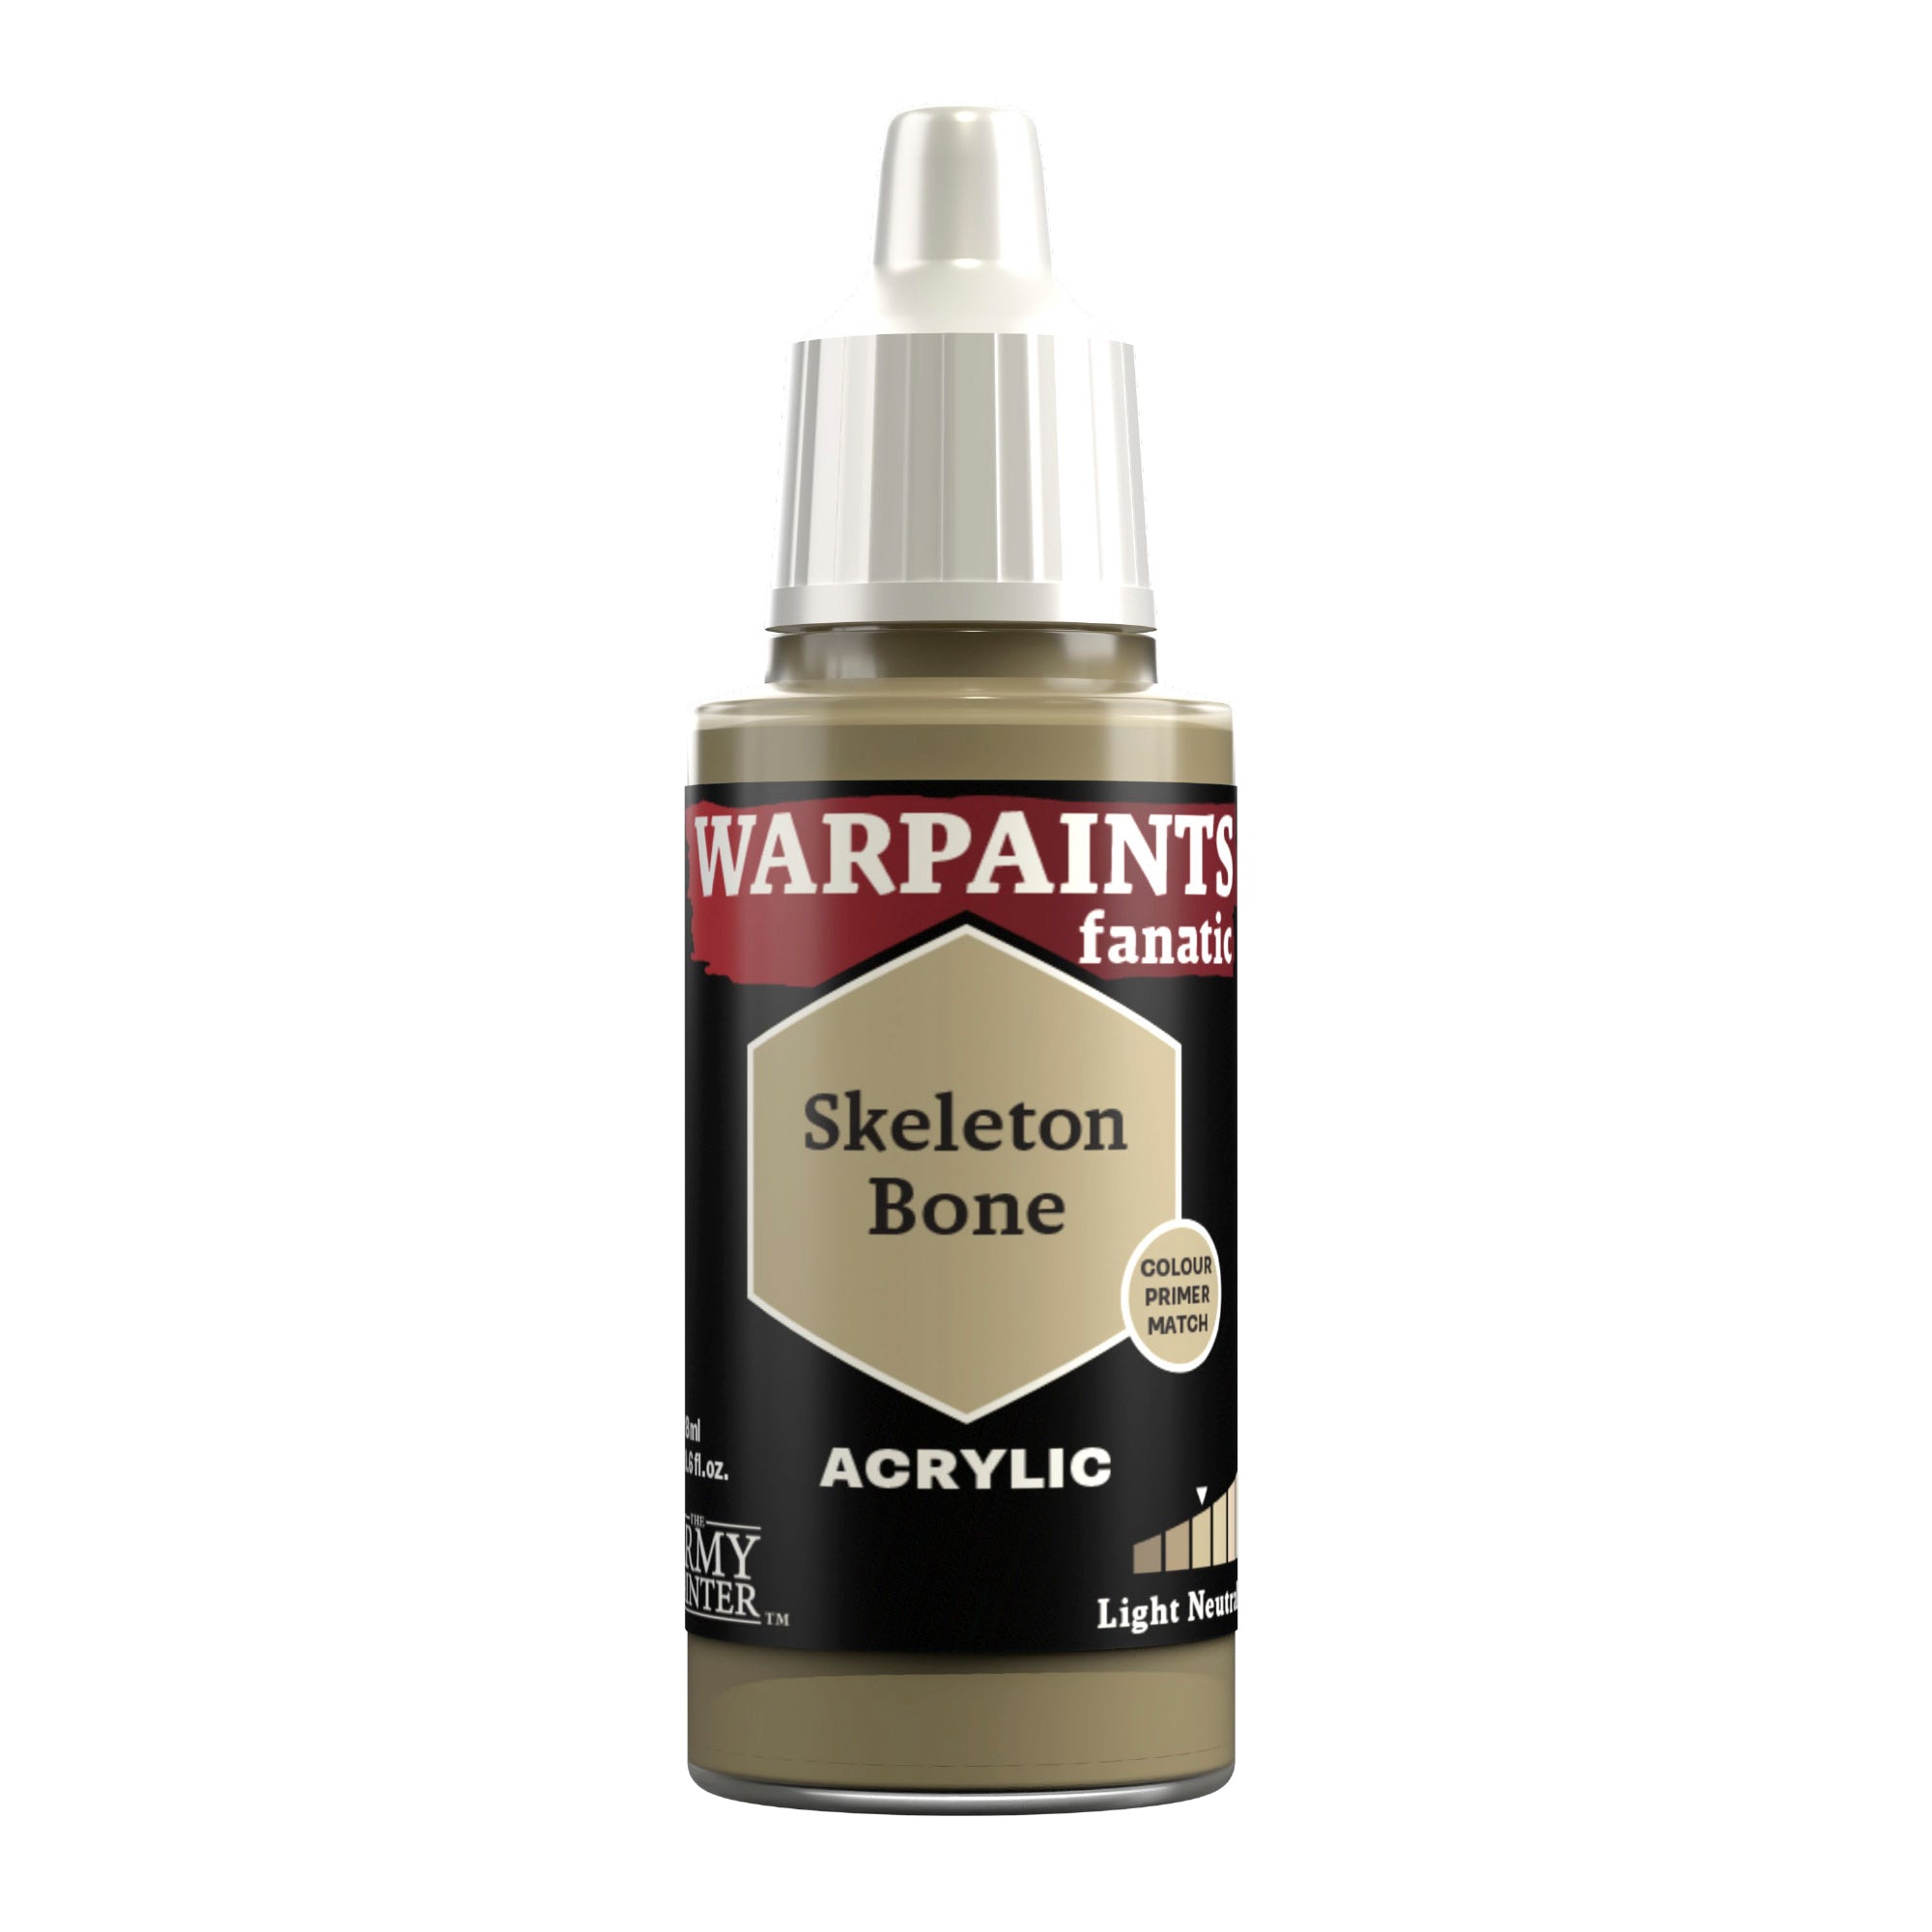
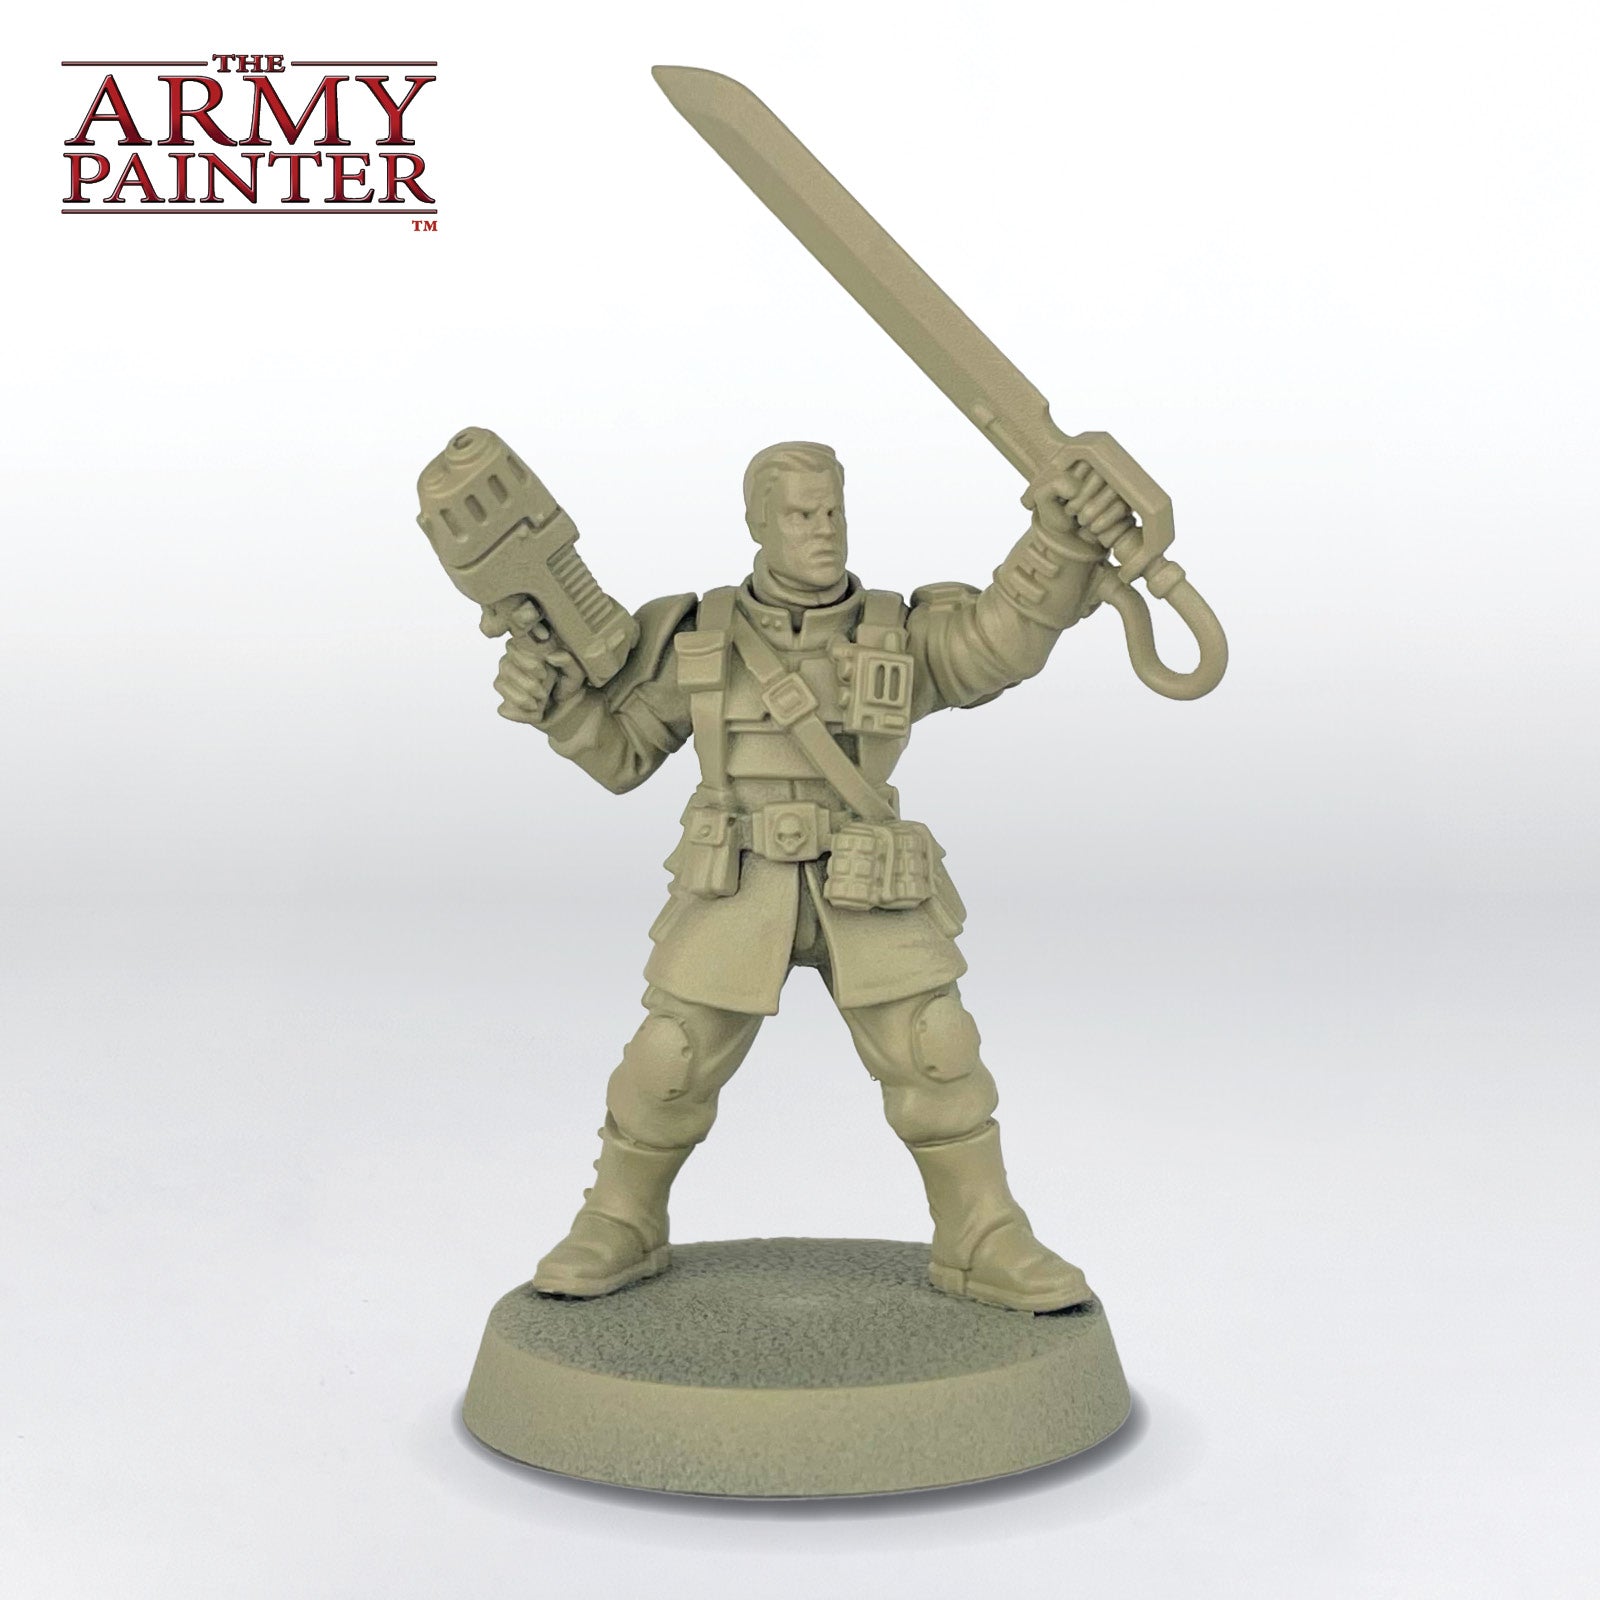
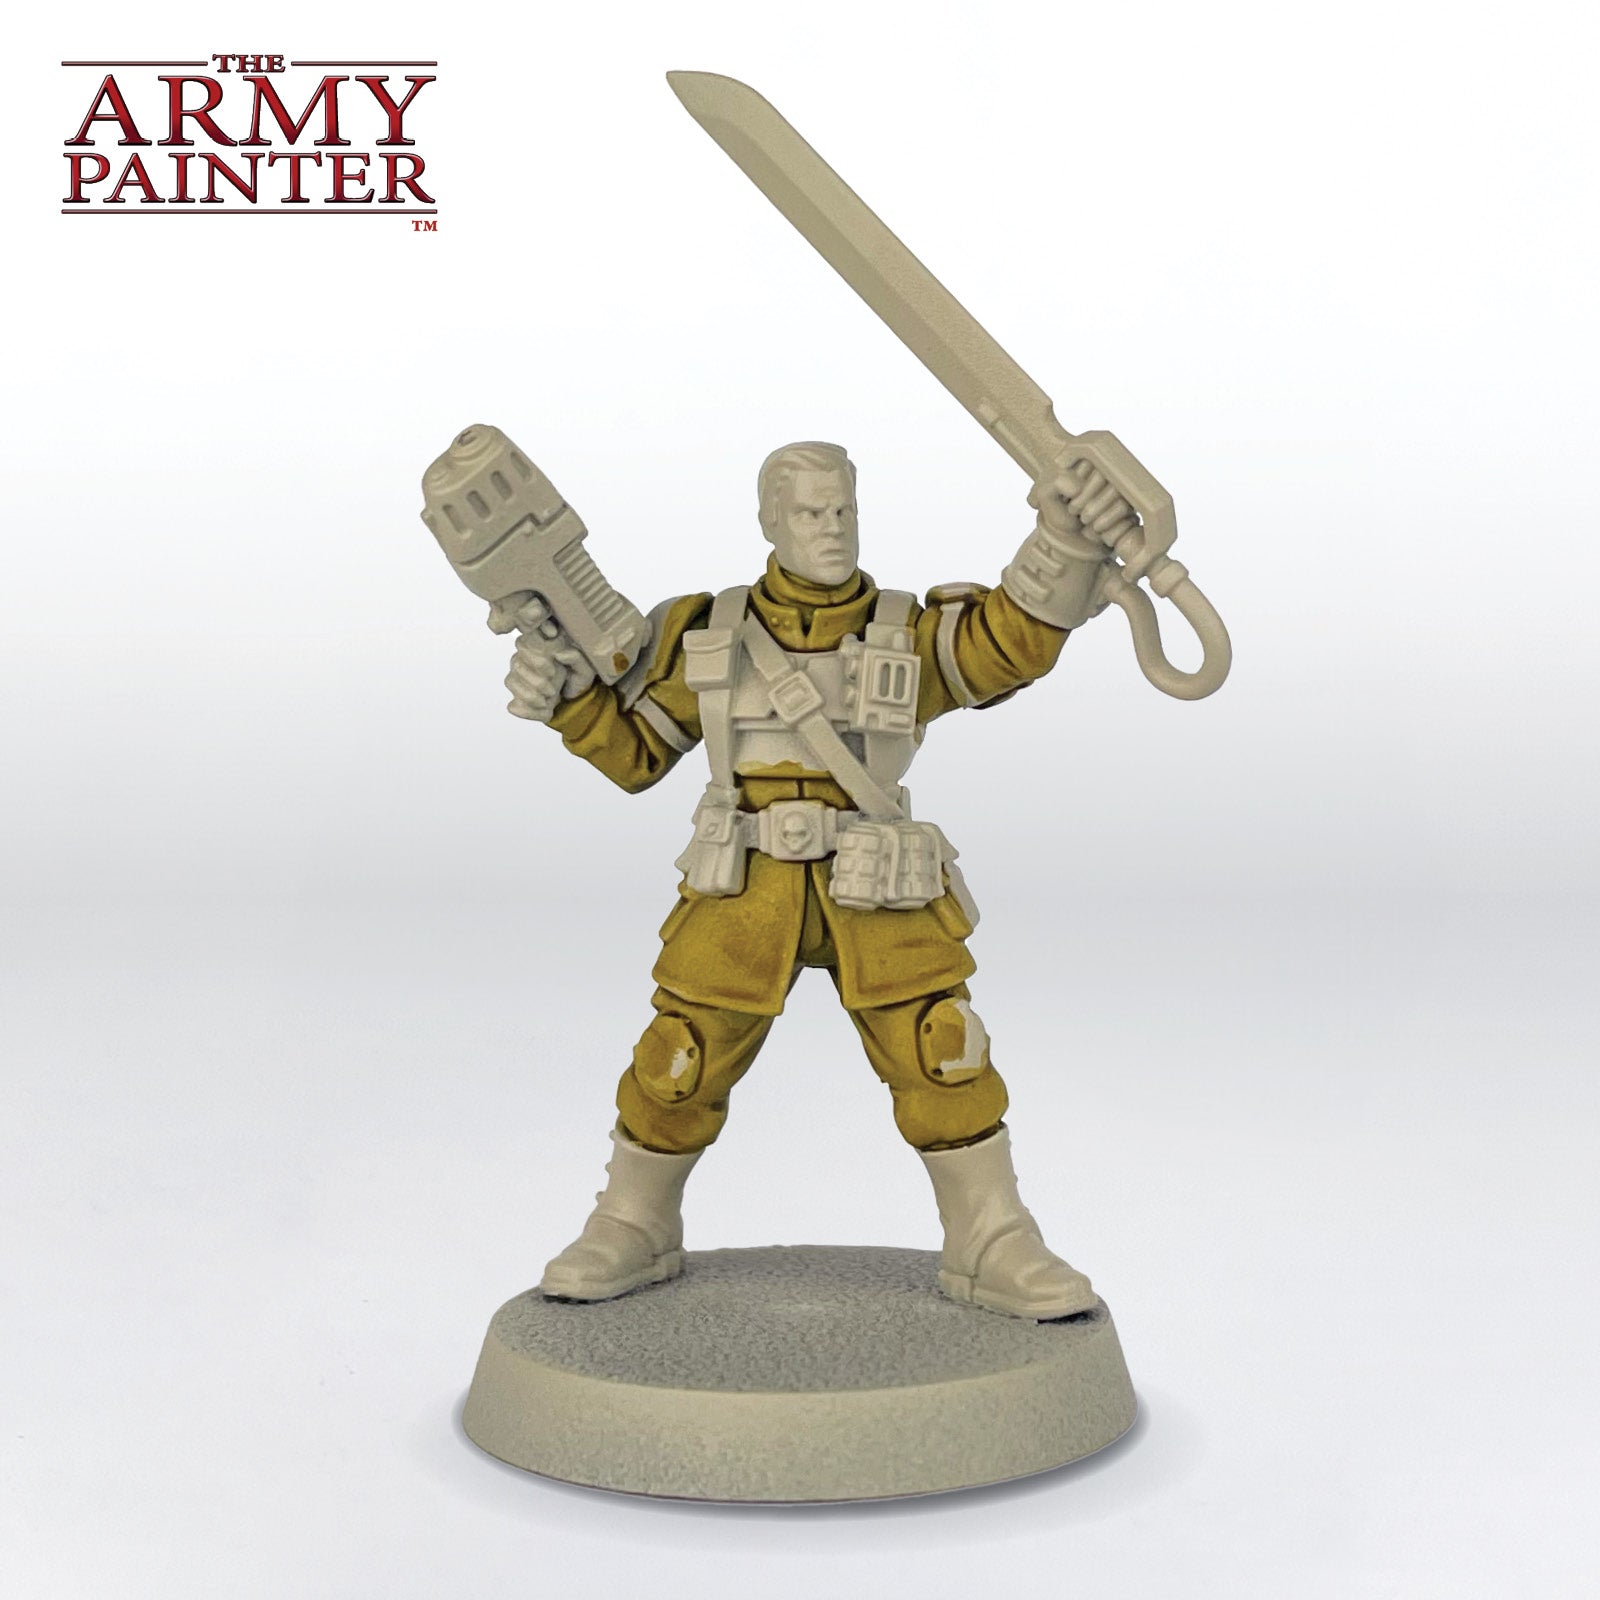
Welcome to the Guard! Grab your fatigues, lasrifle, and approved benedictions to the Emperor, and then prime the miniature with Skeleton Bone Colour Primer Spray.

Stage 1 Step 2

Step 2

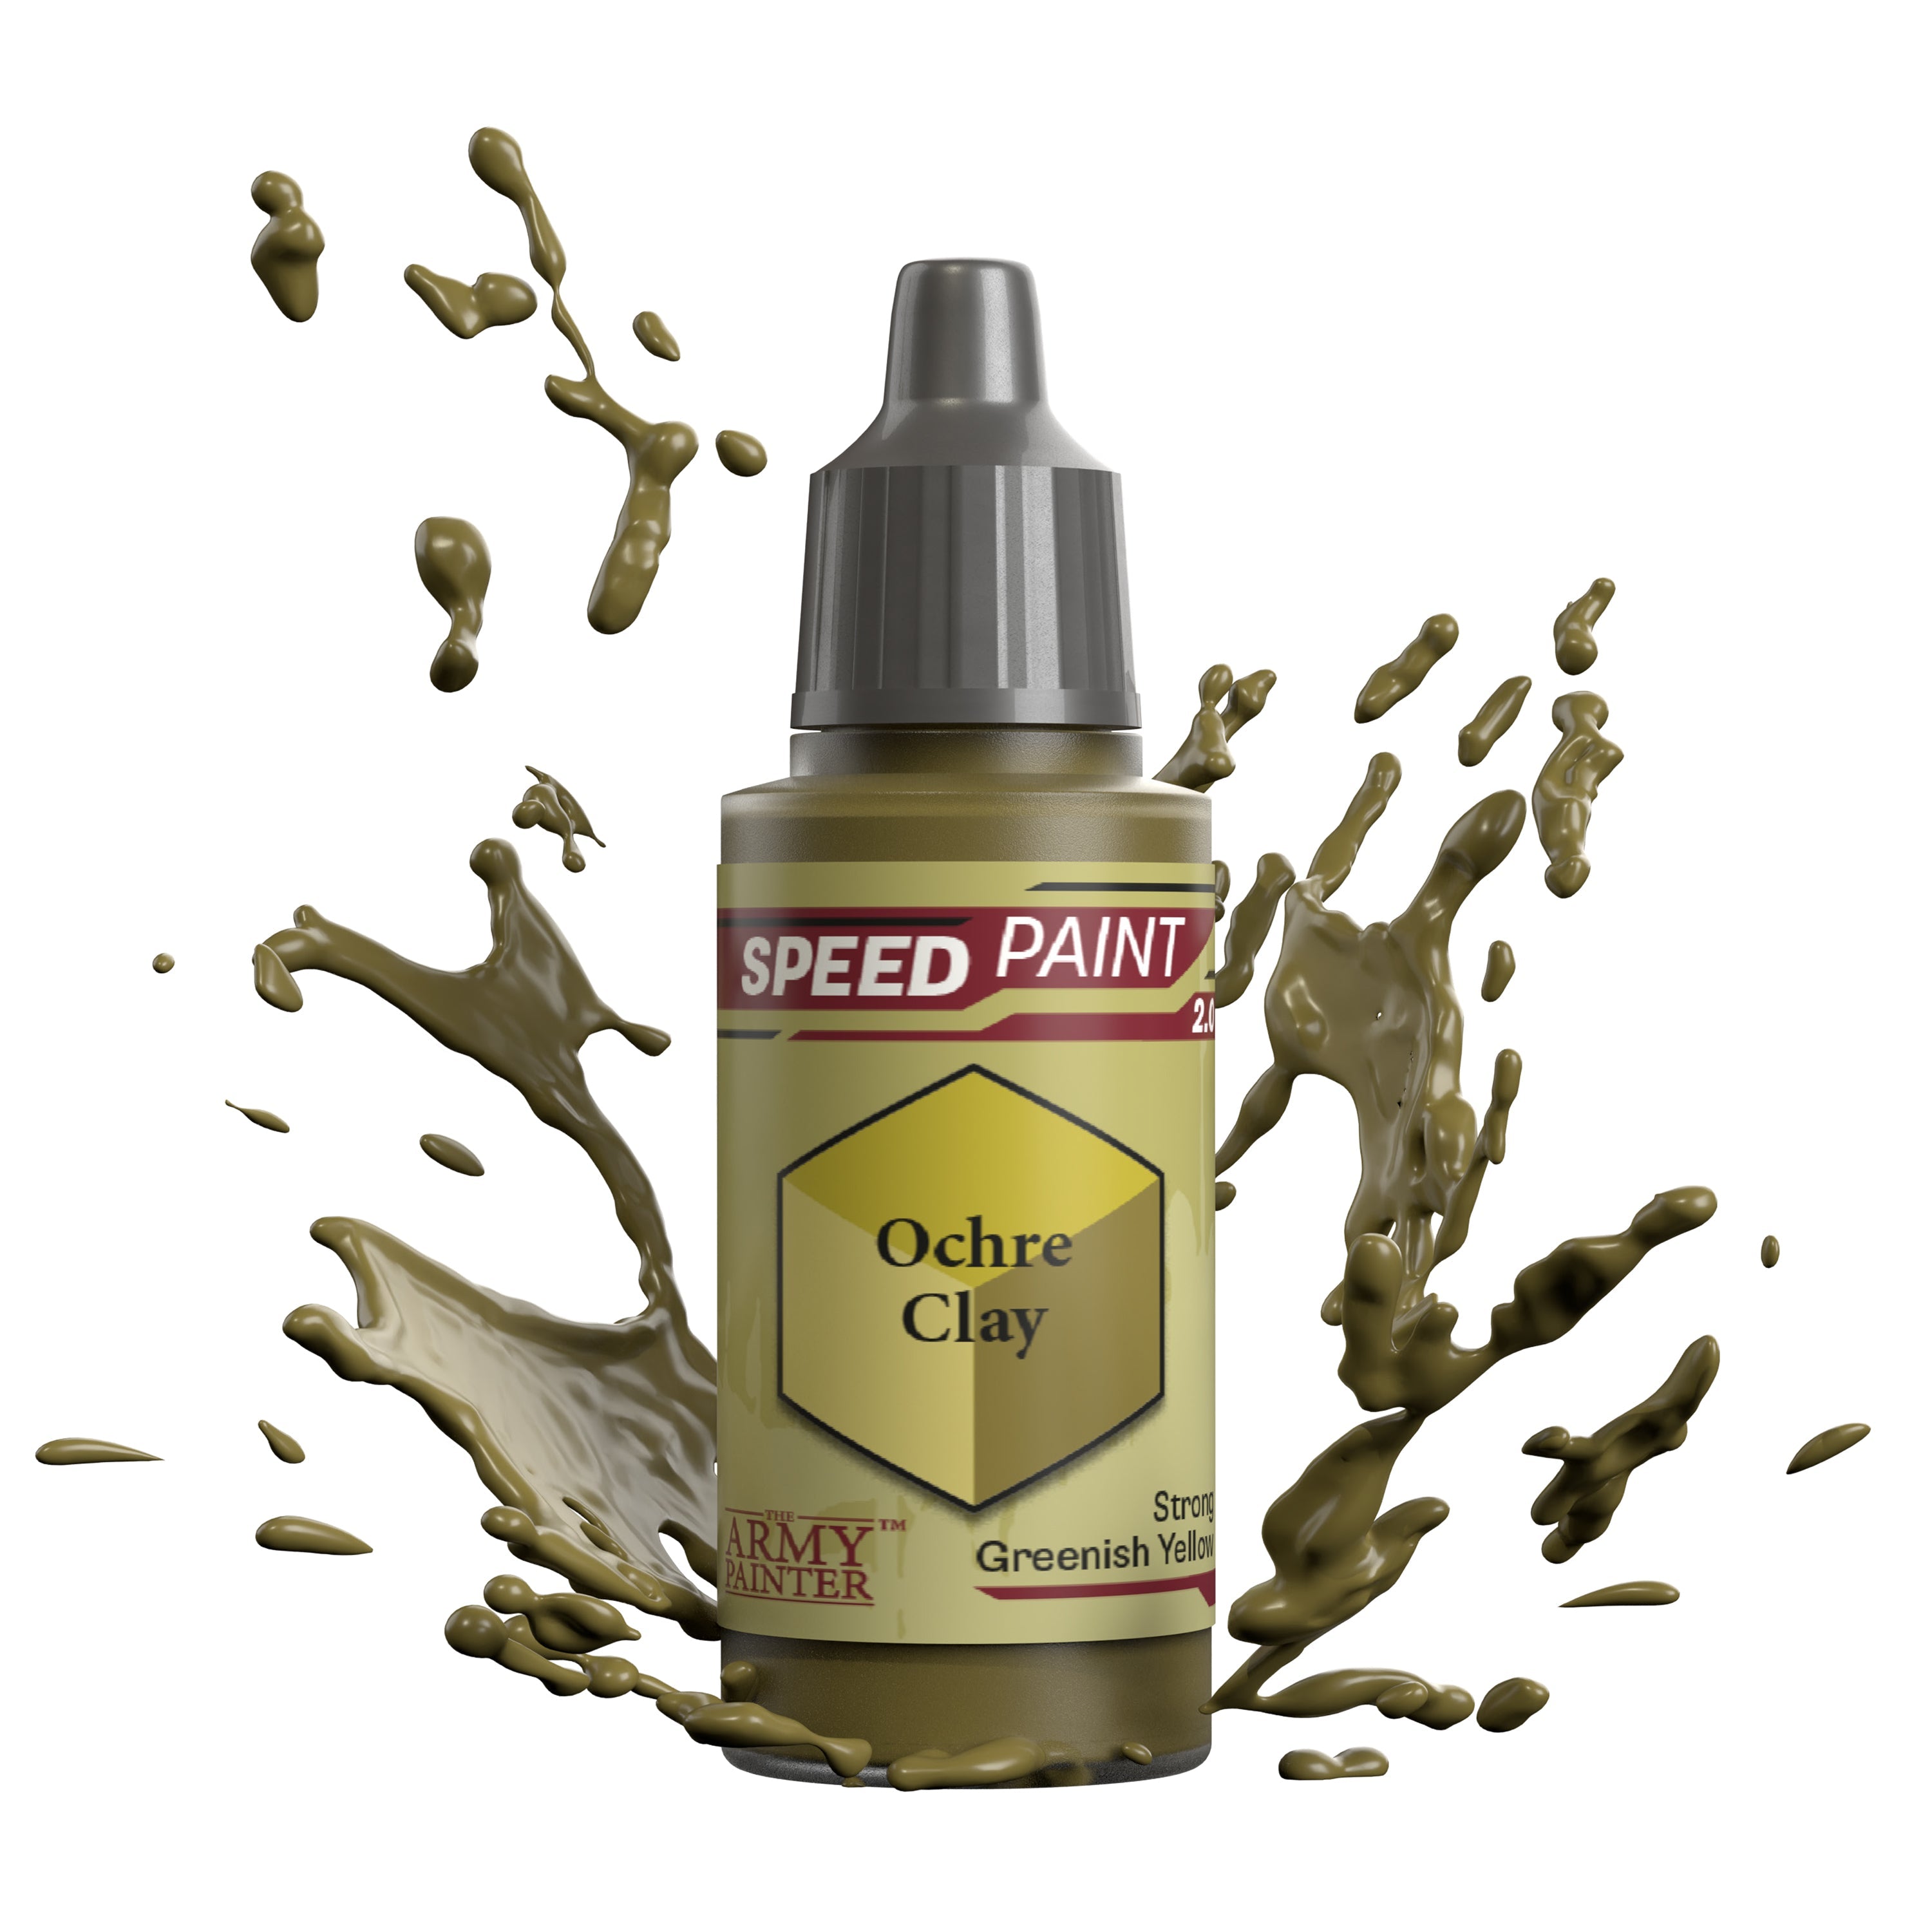
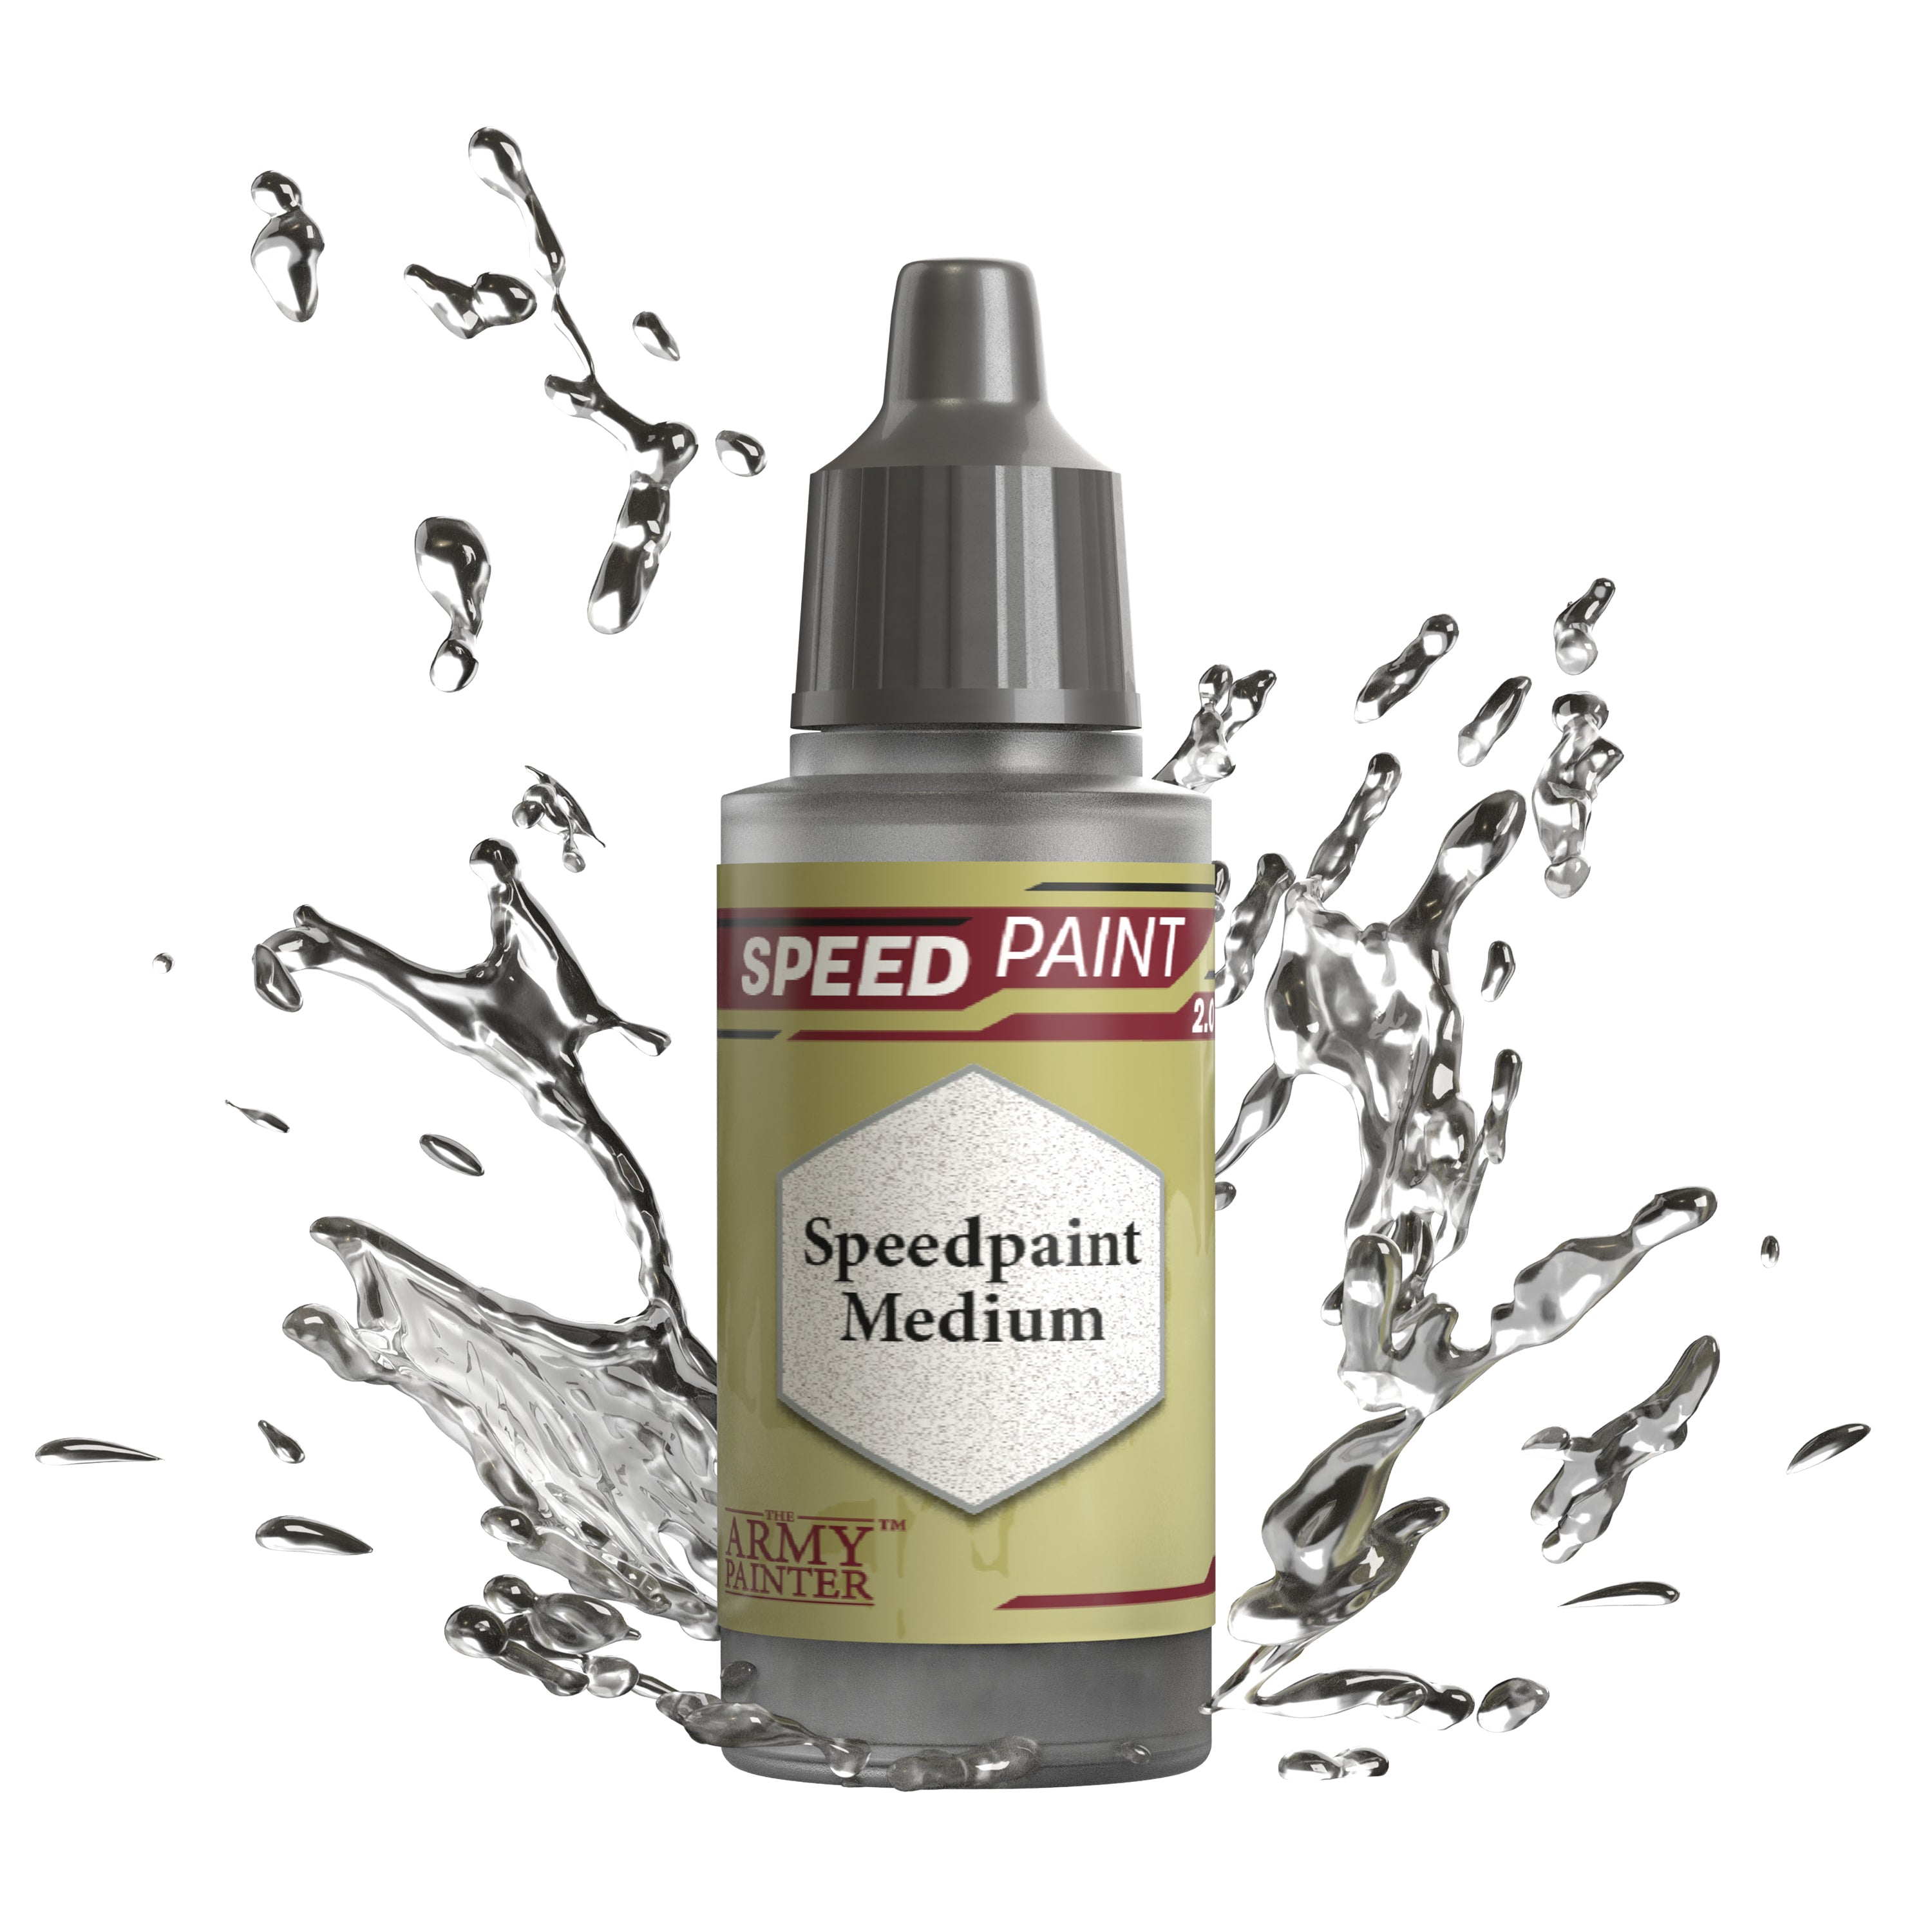
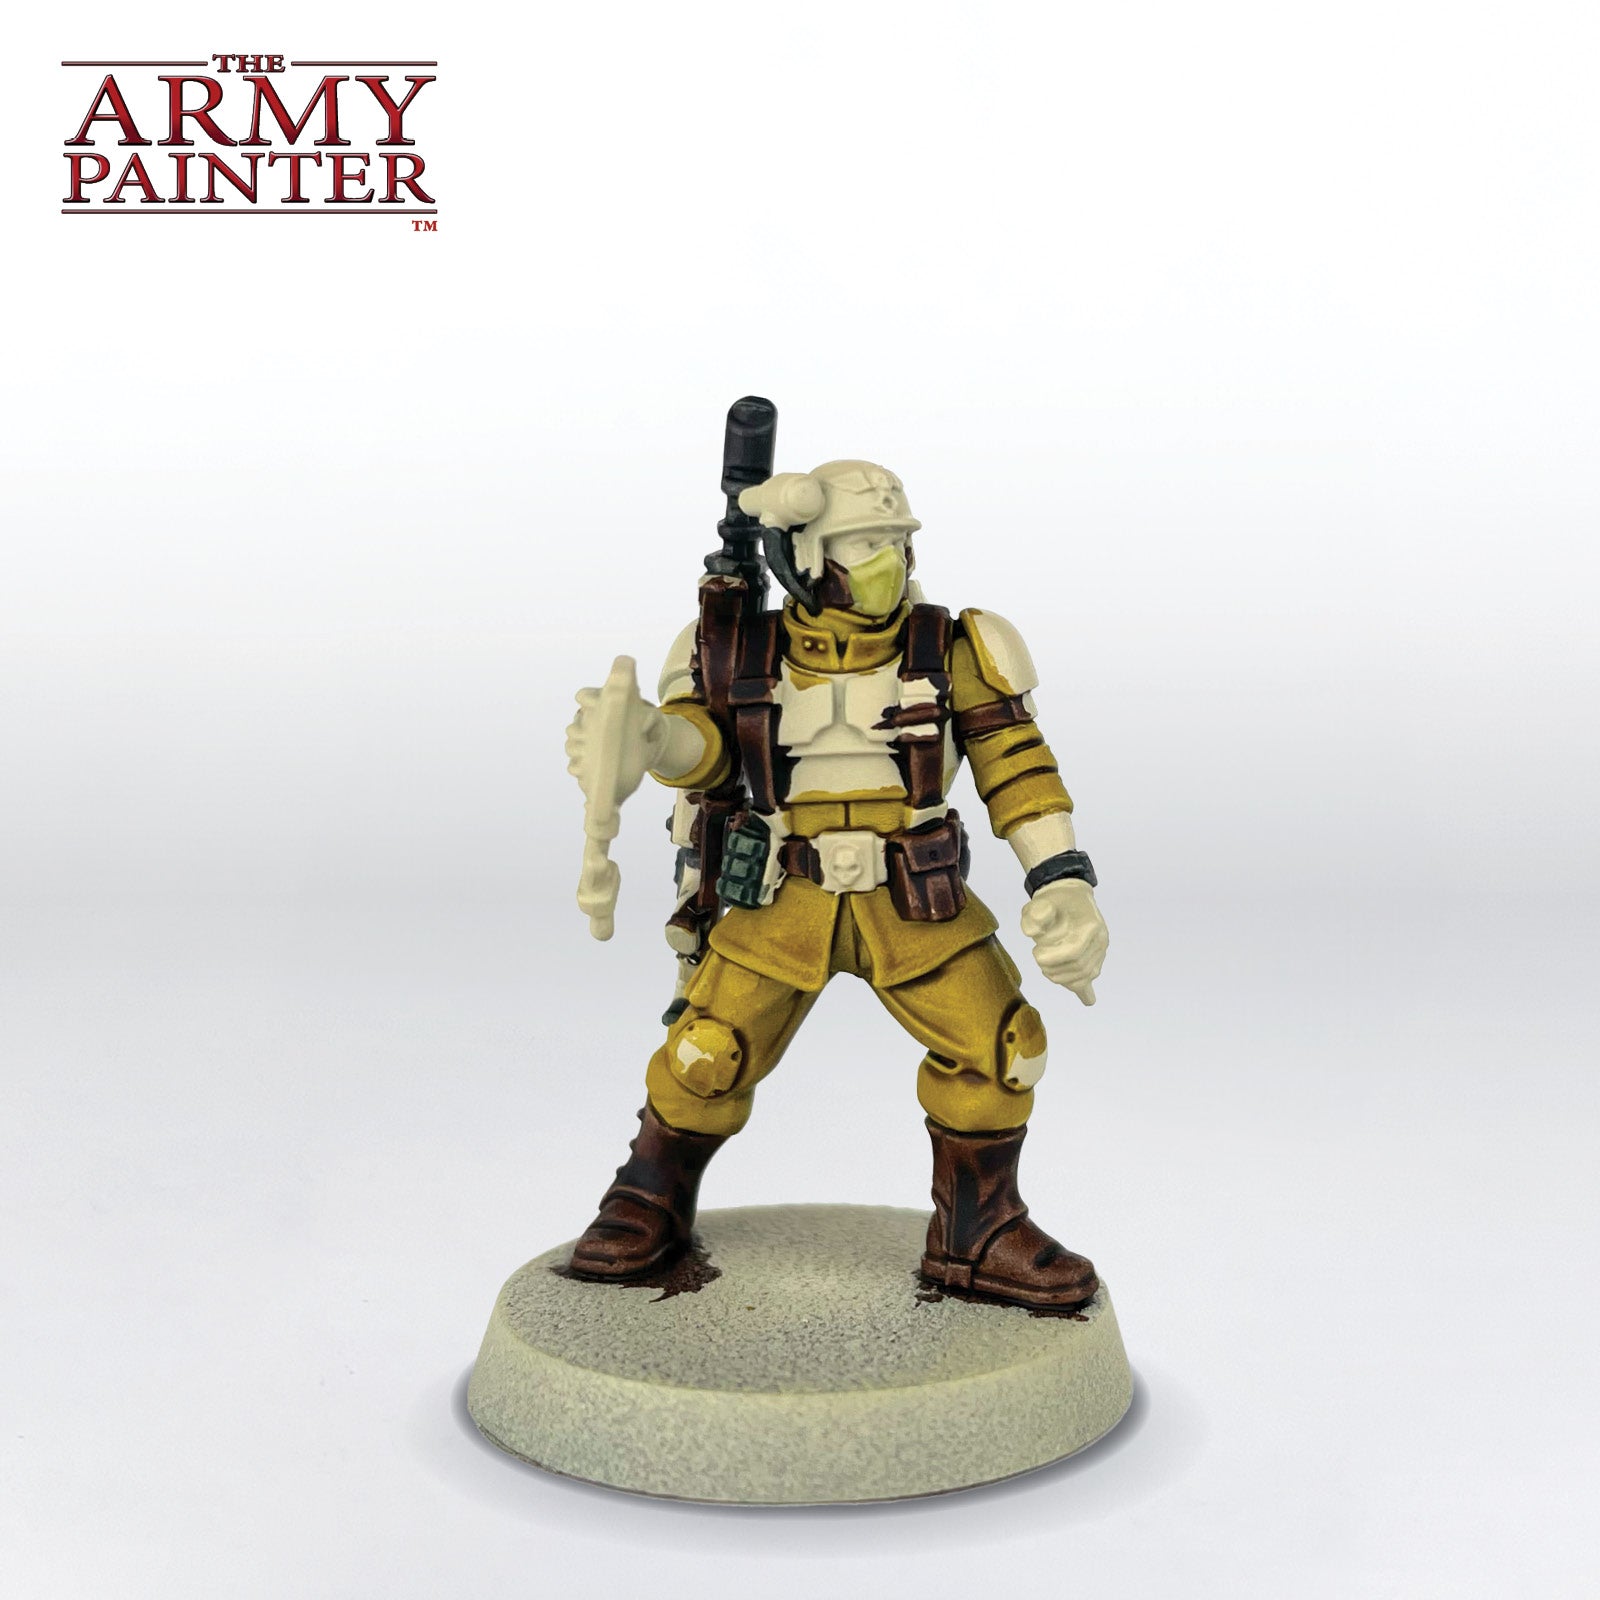
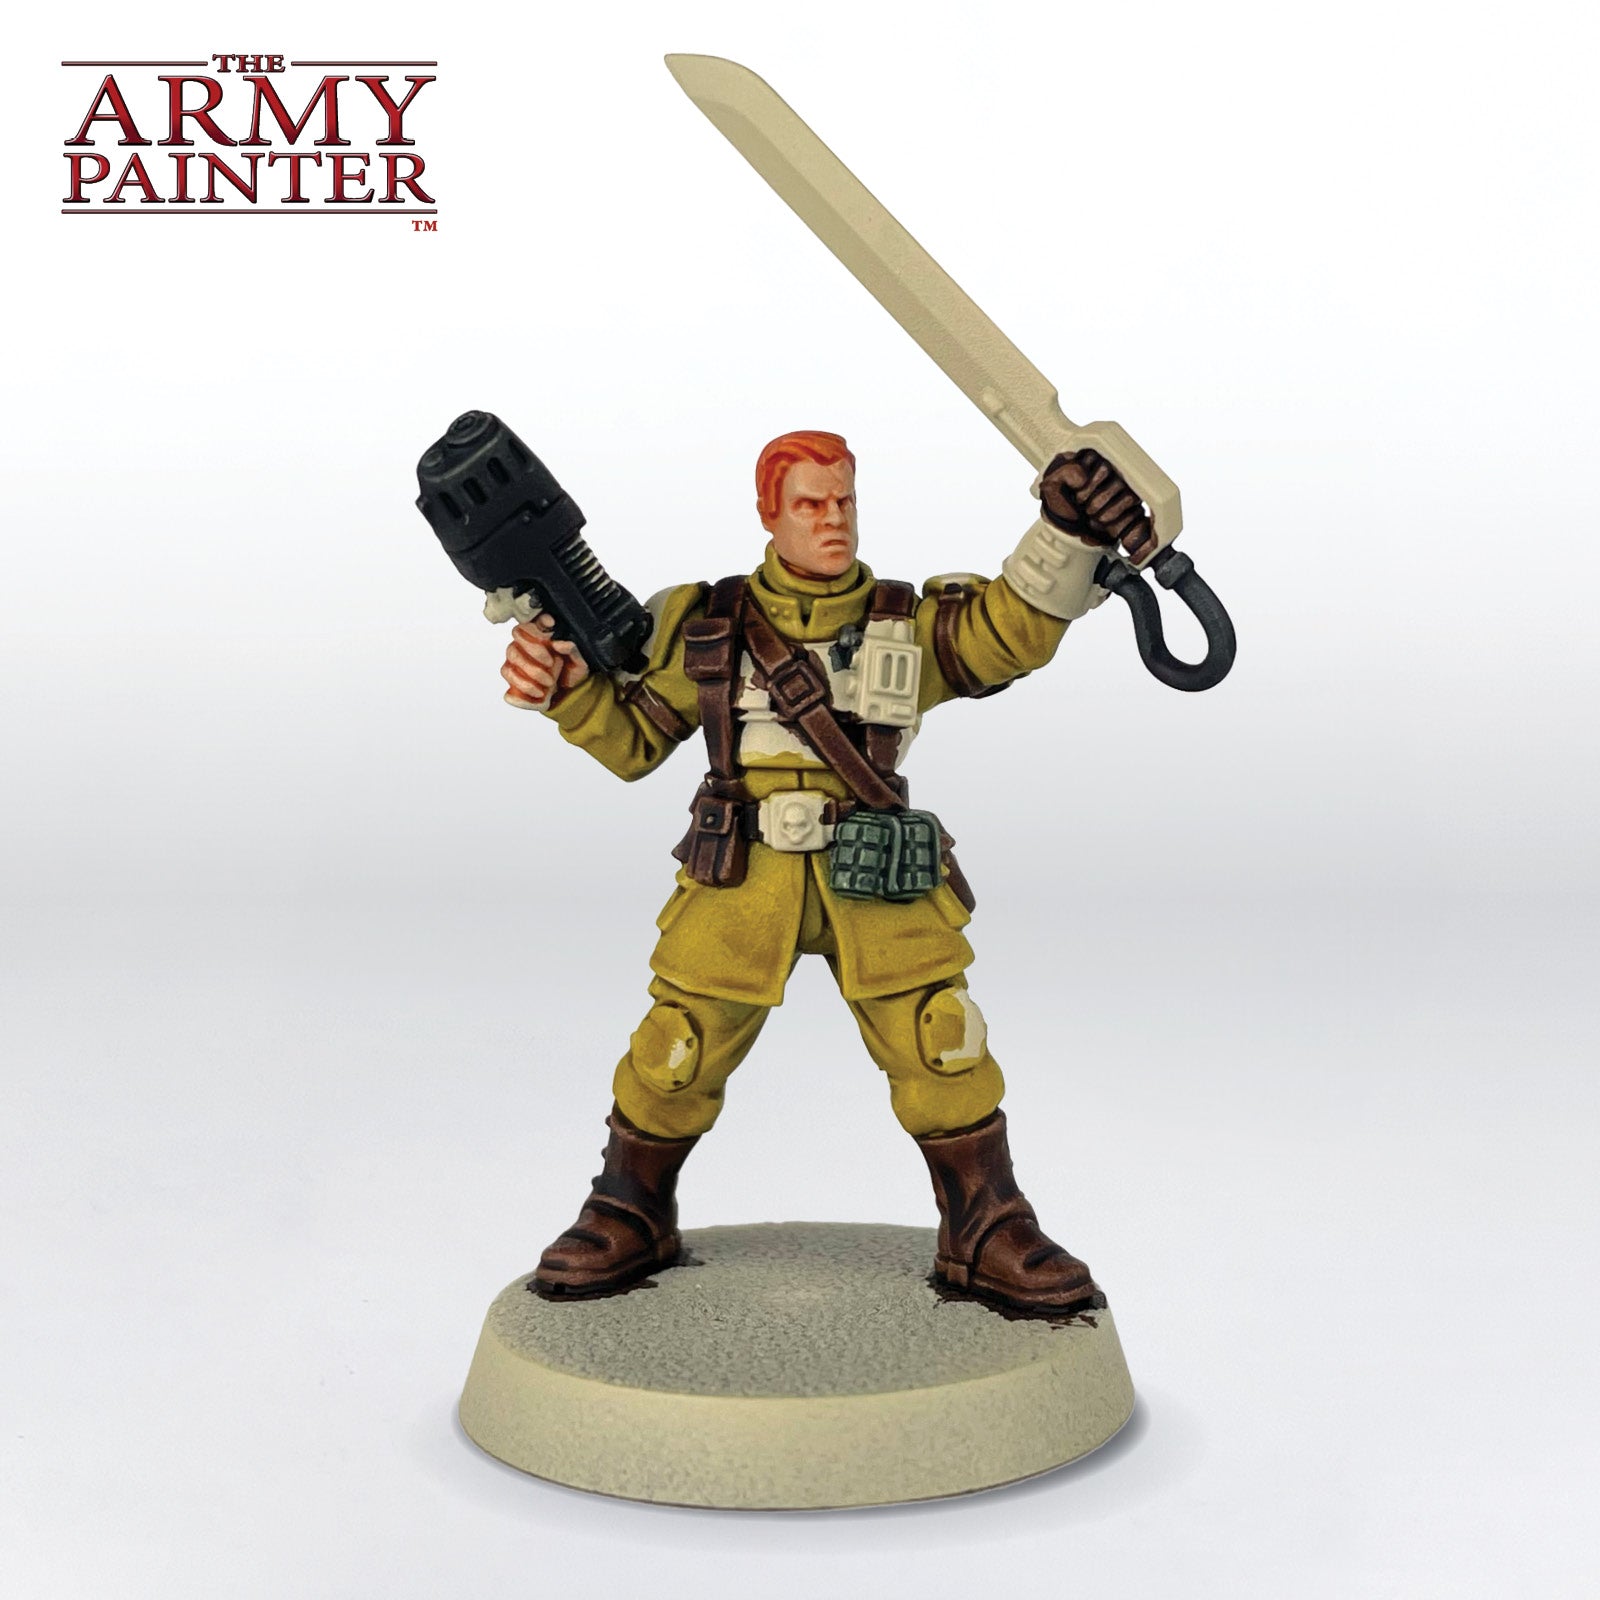
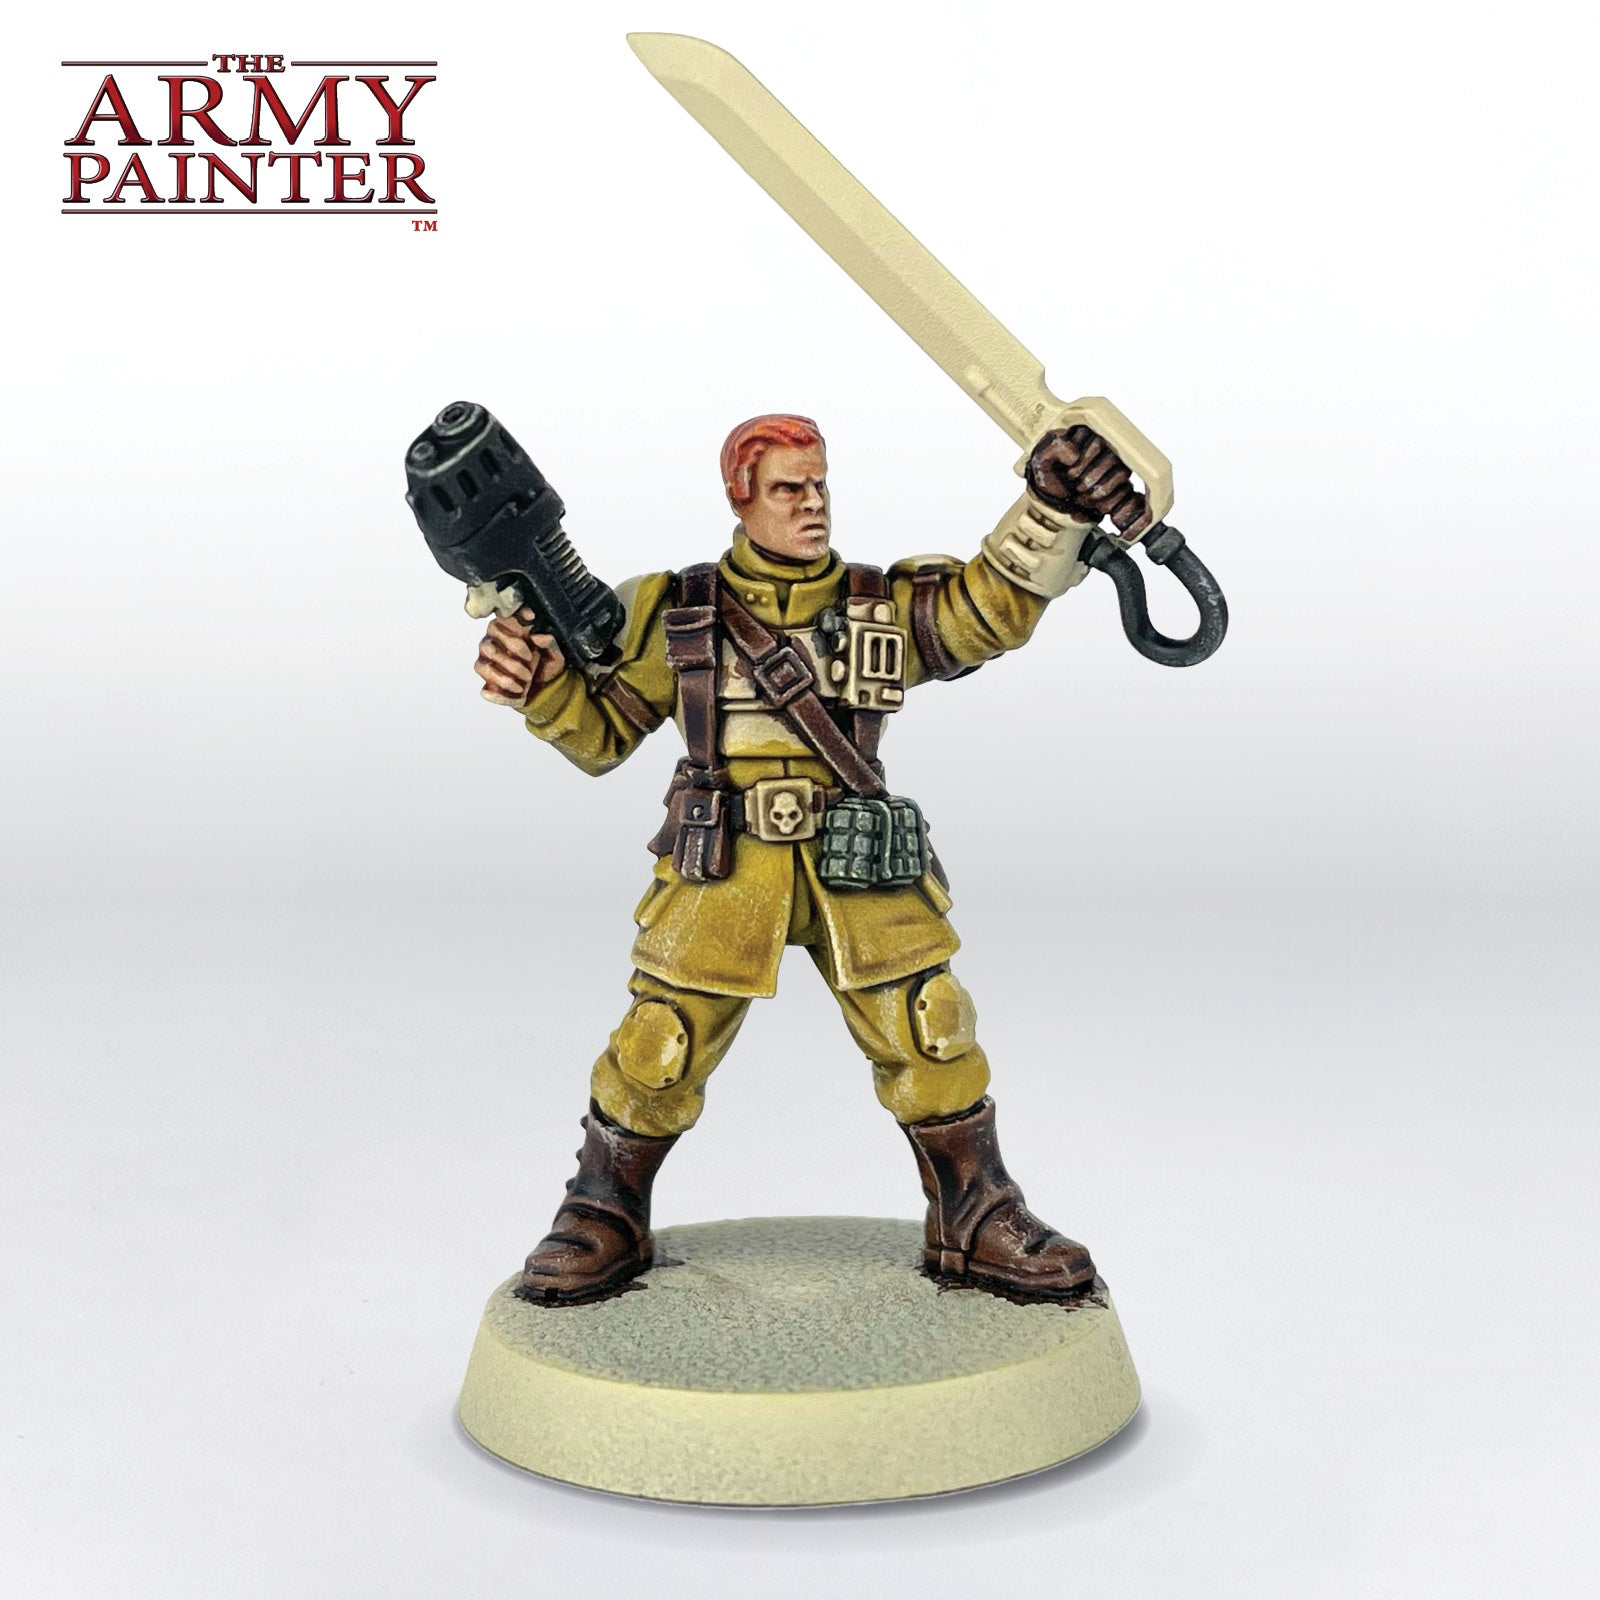
Next, apply a 1:1 mix of Speedpaint Ochre Clay and Speedpaint Medium over all the clothing. Once this is dry, apply a second coat.

Stage 1 Step 3

Step 3

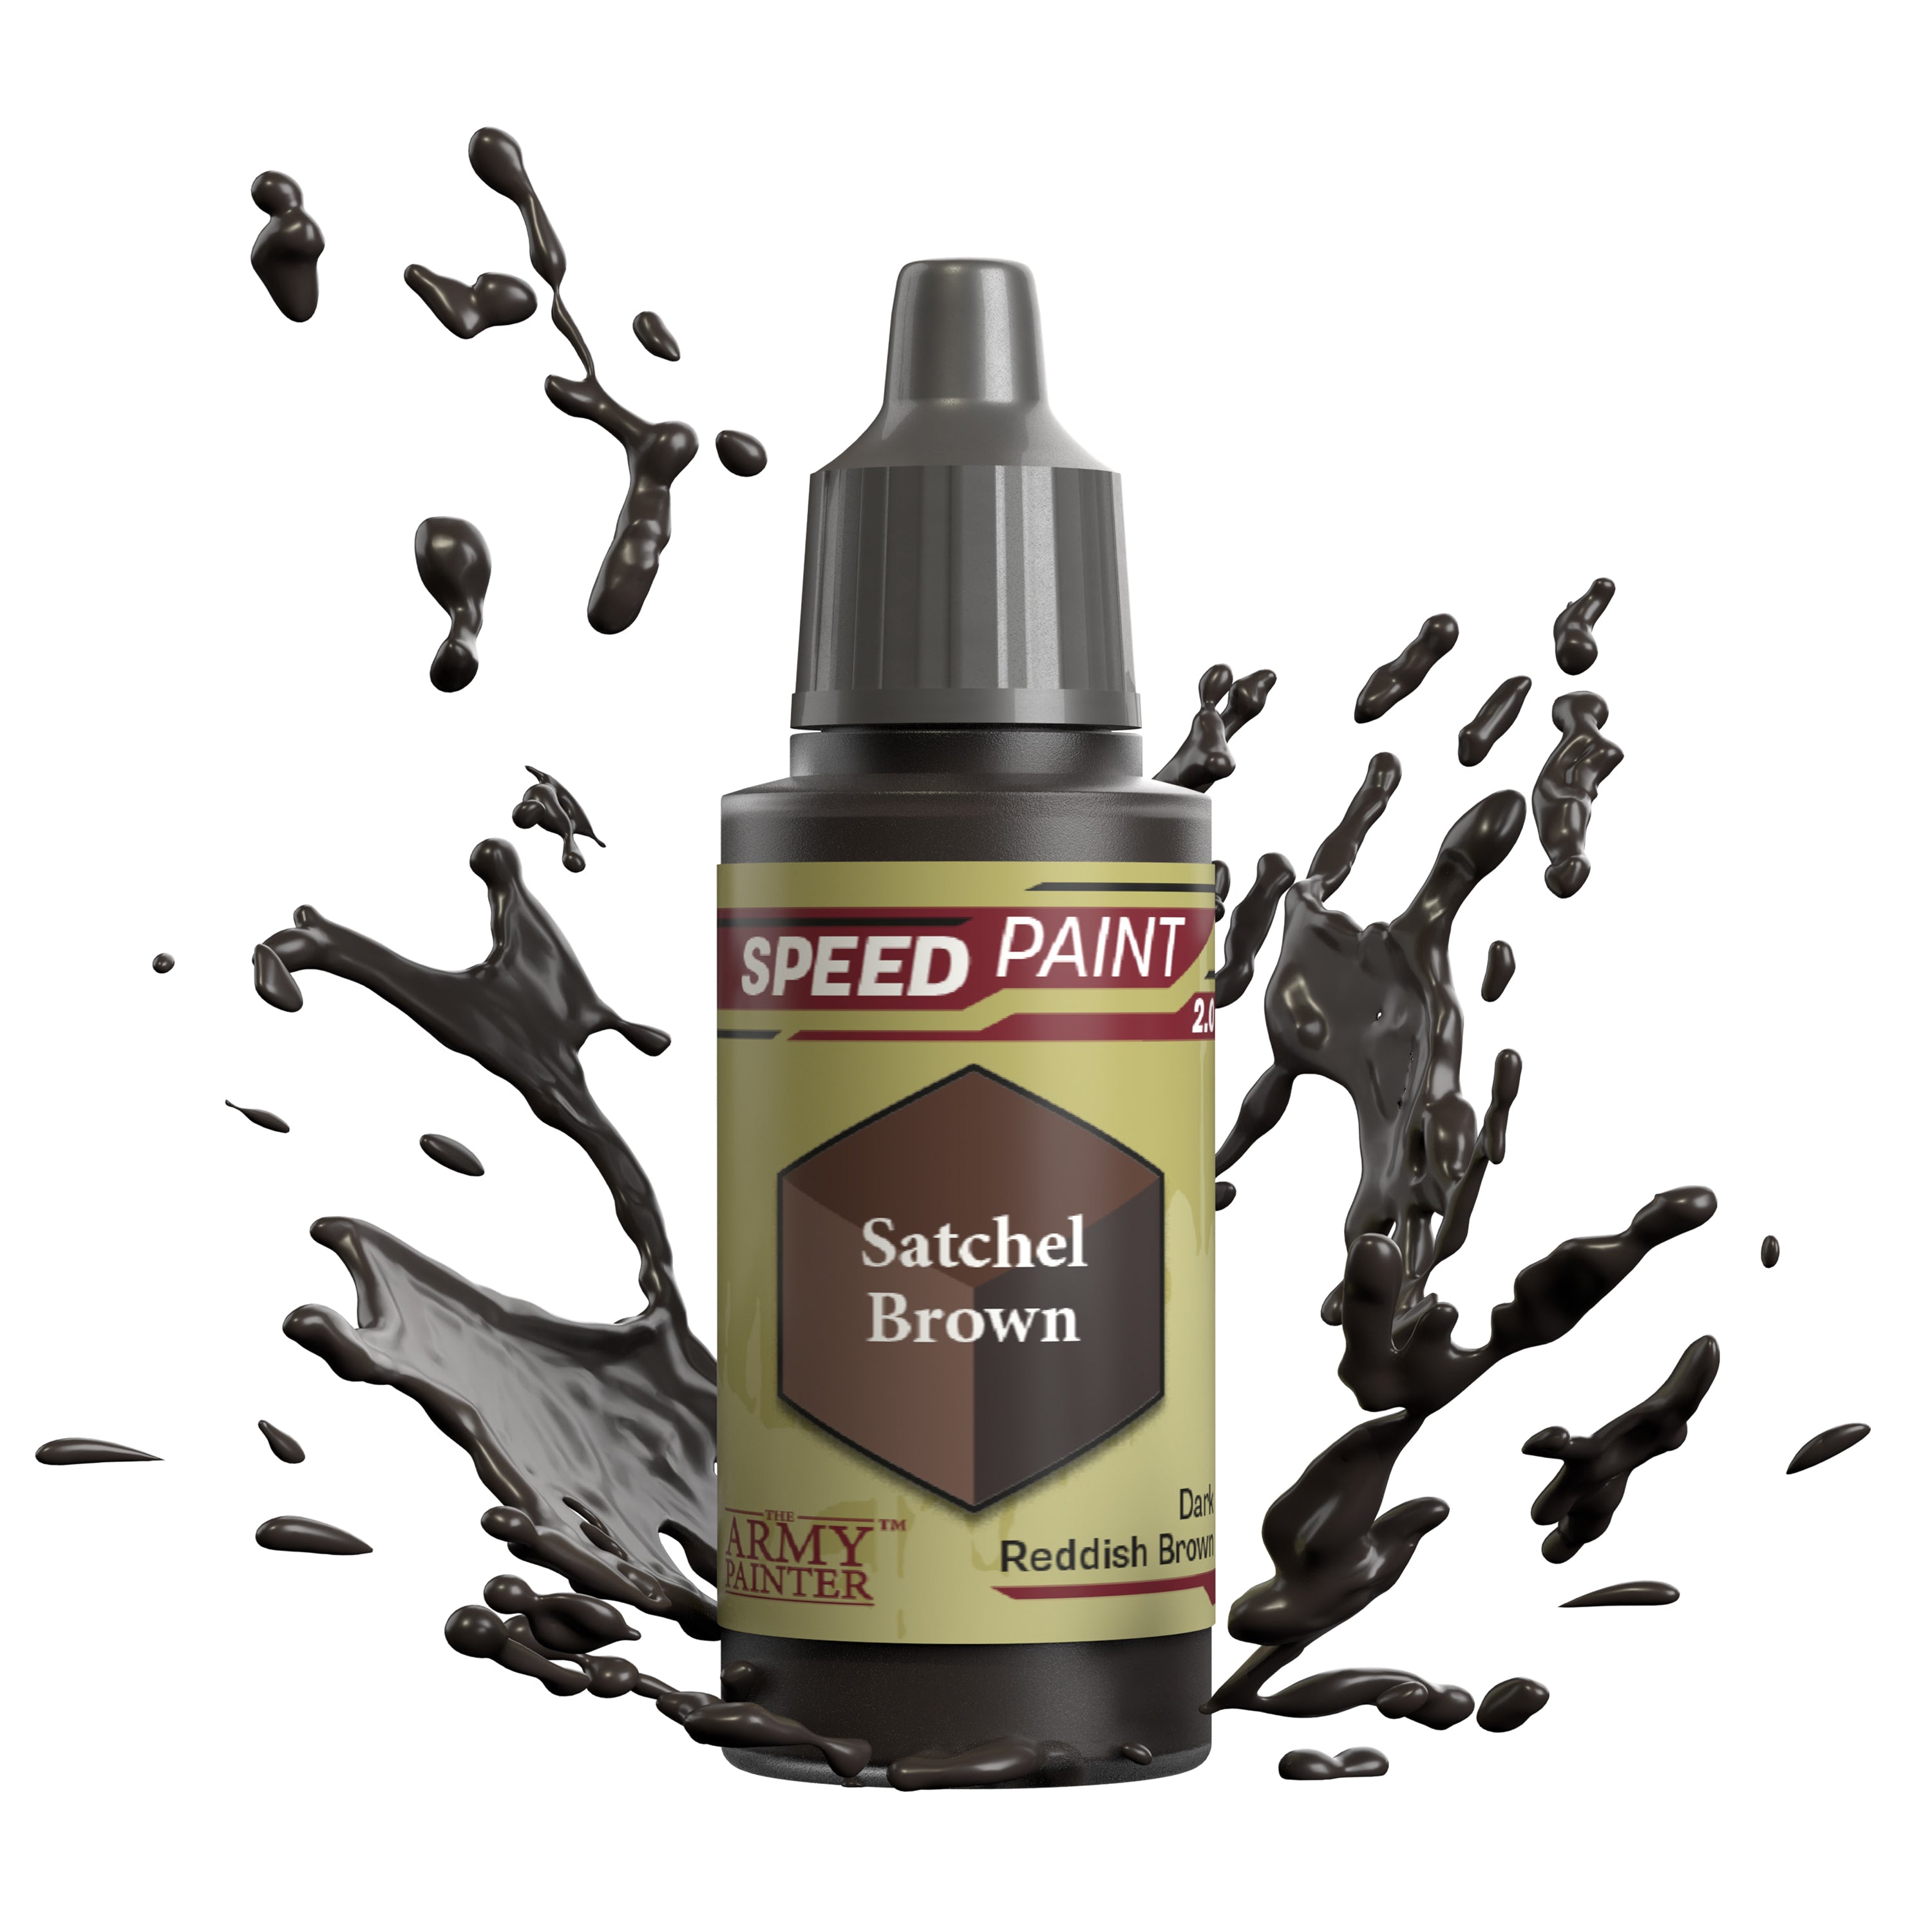
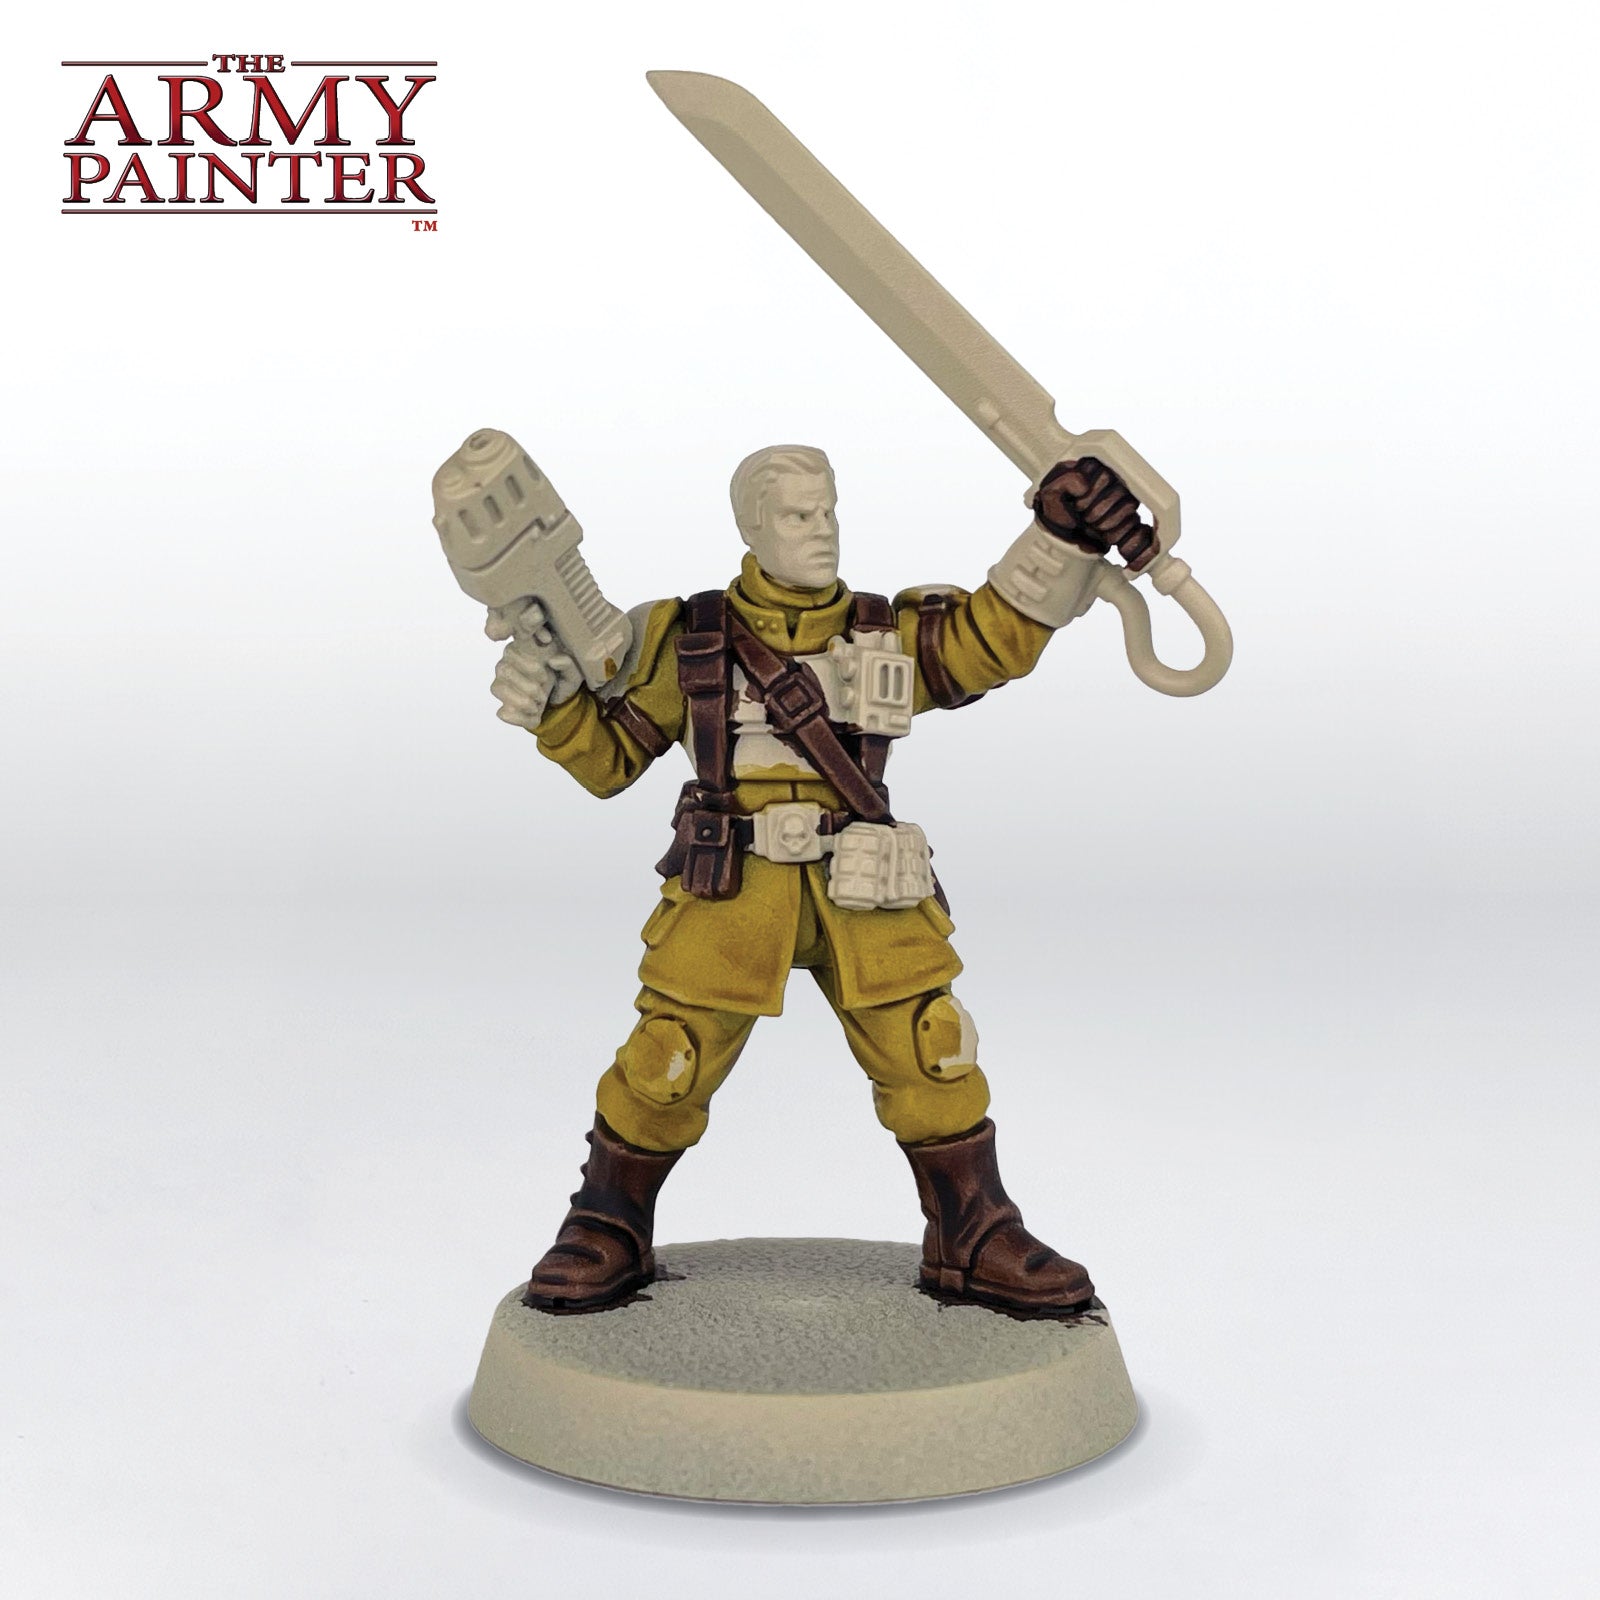
Tidy up any areas with Warpaints Fanatic Skeleton Bone as needed, this is something you will want to look at before each Speedpaint step. Then paint all the leather areas, such as the straps, pouches, backpacks, and boots, with Speedpaint Satchel Brown.

Stage 1 Step 4

Step 4

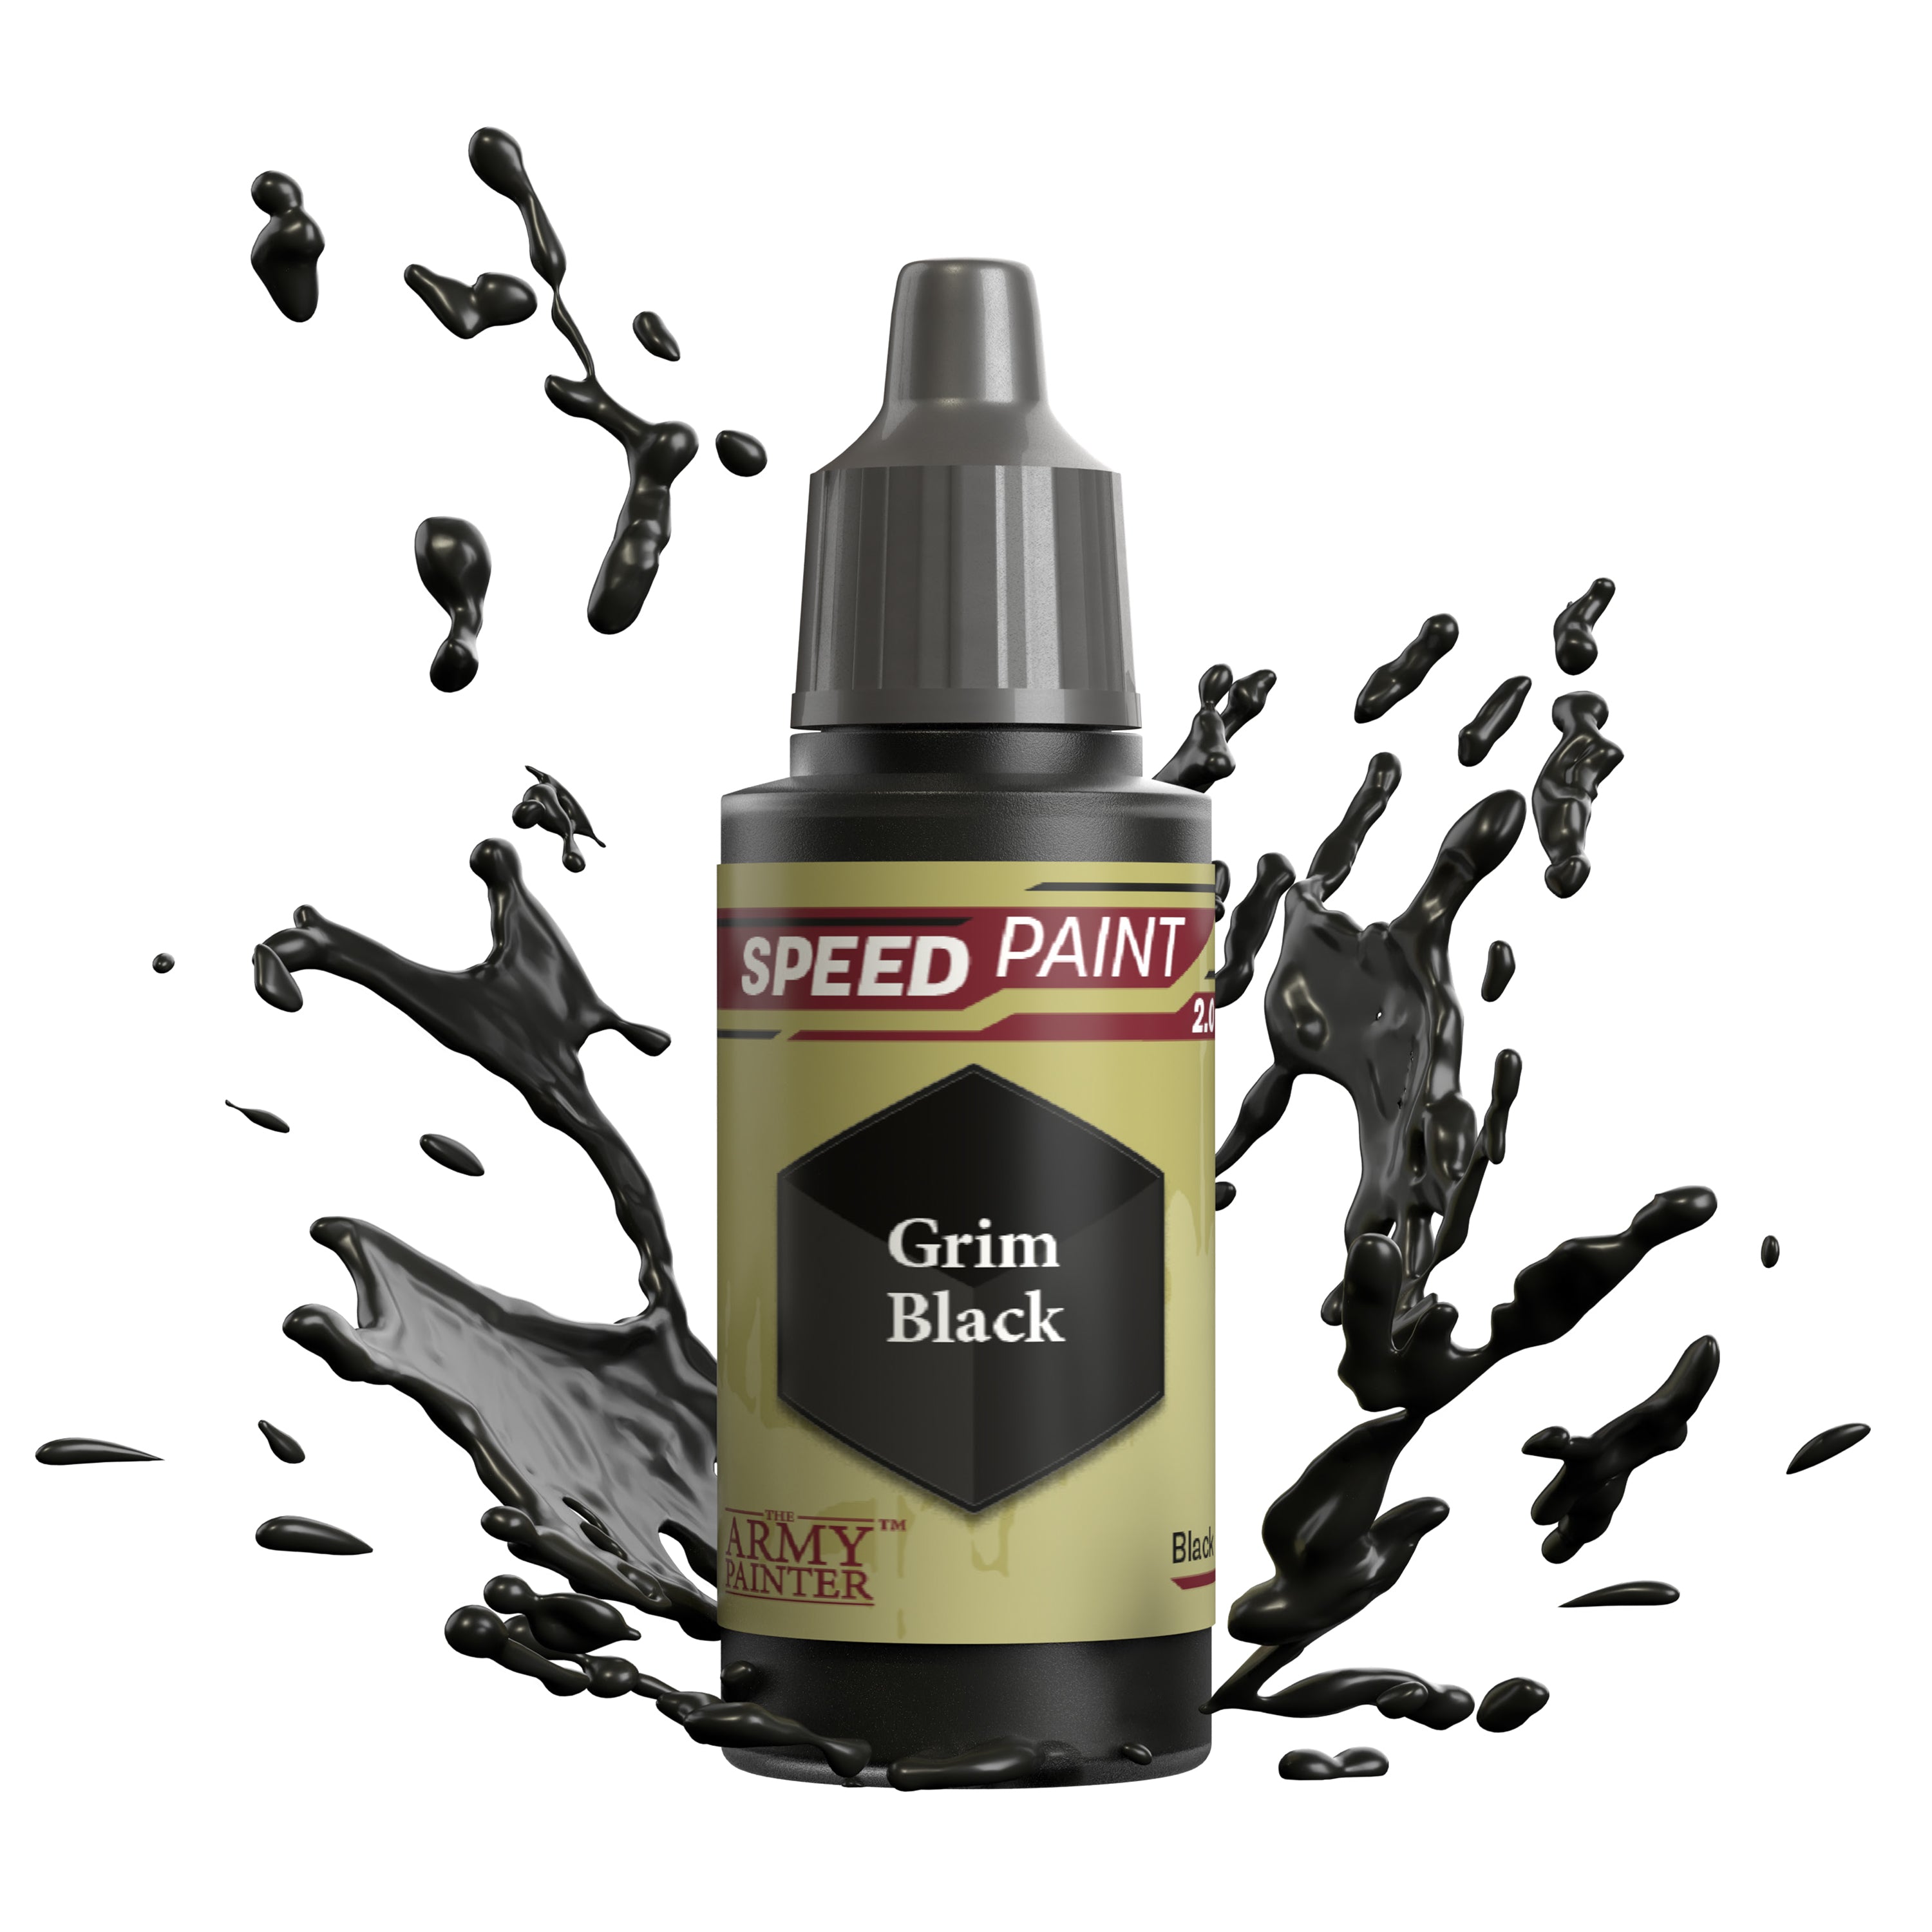
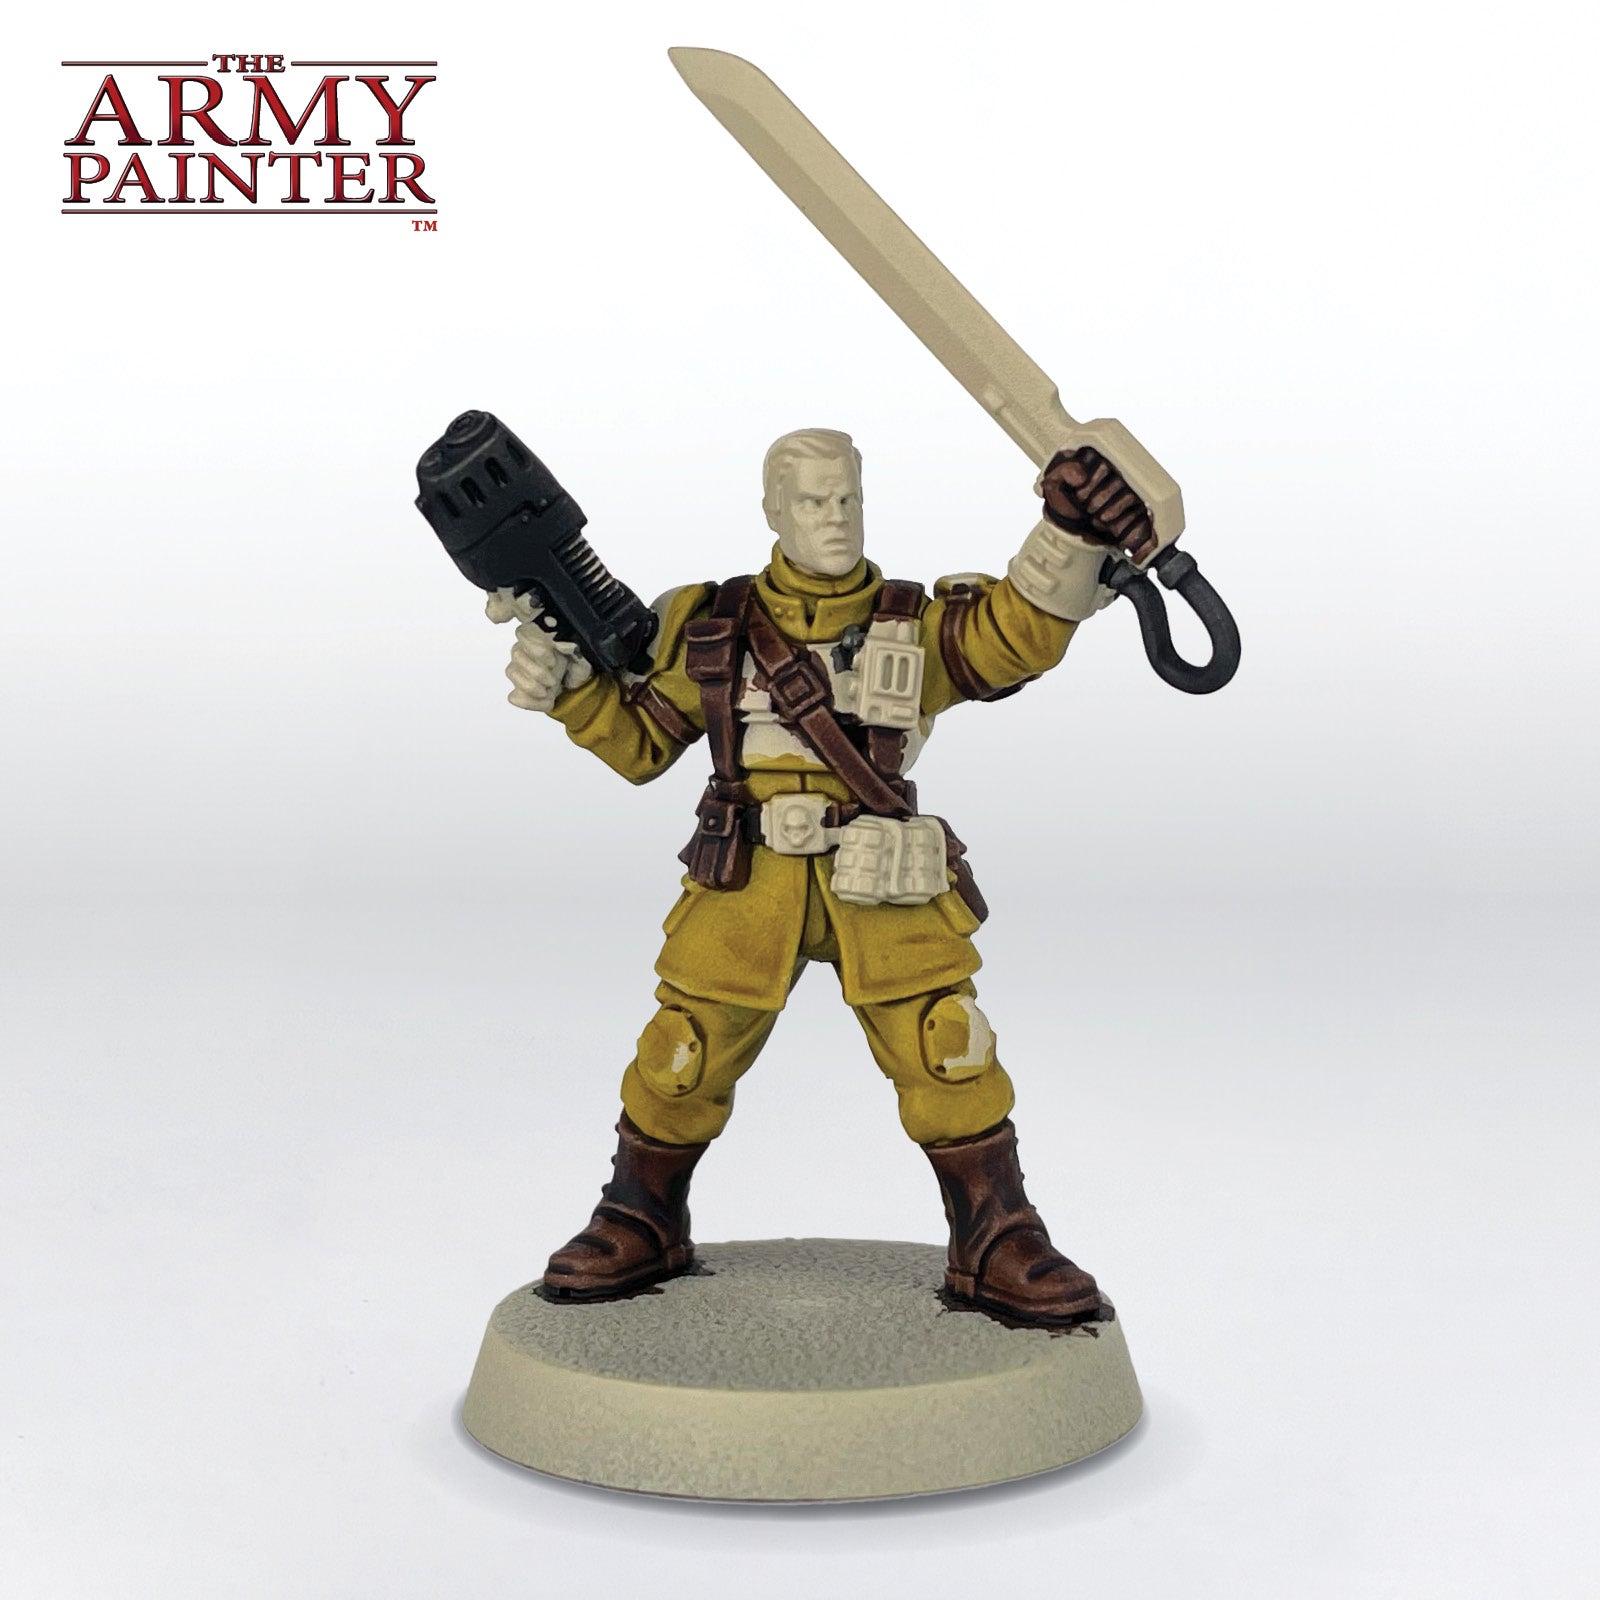
Next, apply Speedpaint Grim Black to all of the black areas, such as the gun casings and any wires. On the gun casings, once dry, apply a second coat mixed 1:1 with Speedpaint Medium.

Stage 1 Step 5

Step 5

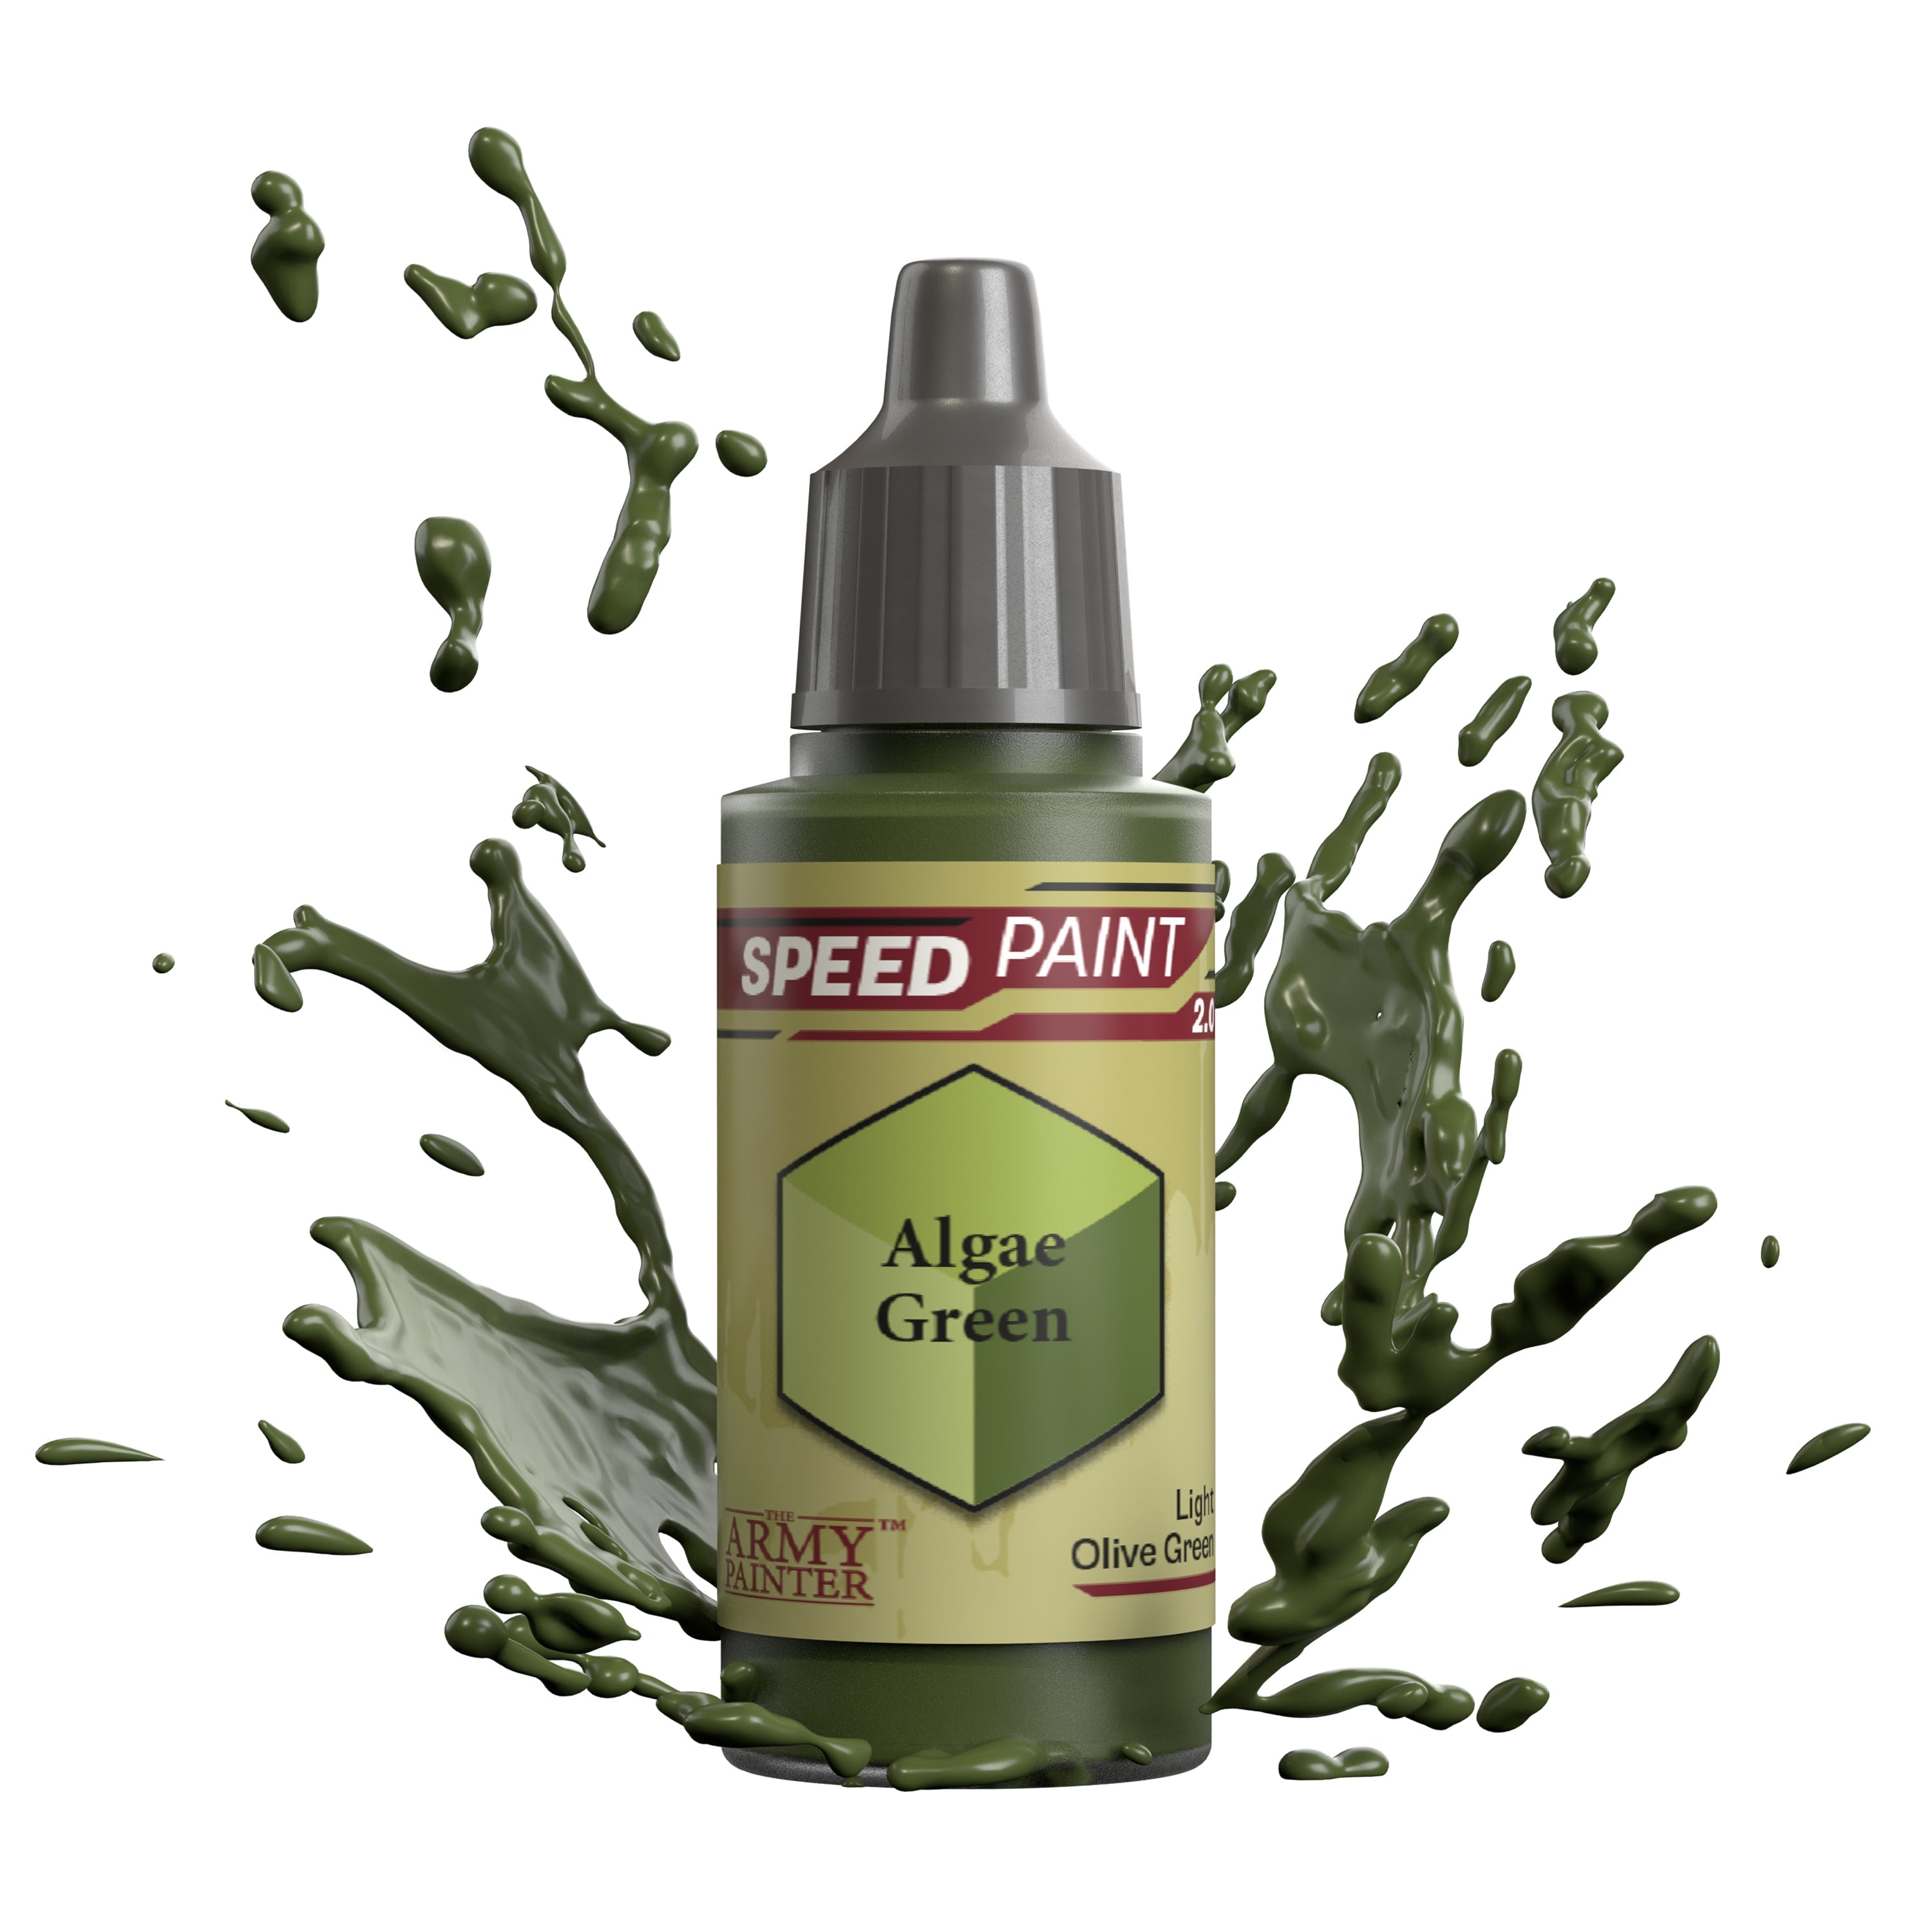
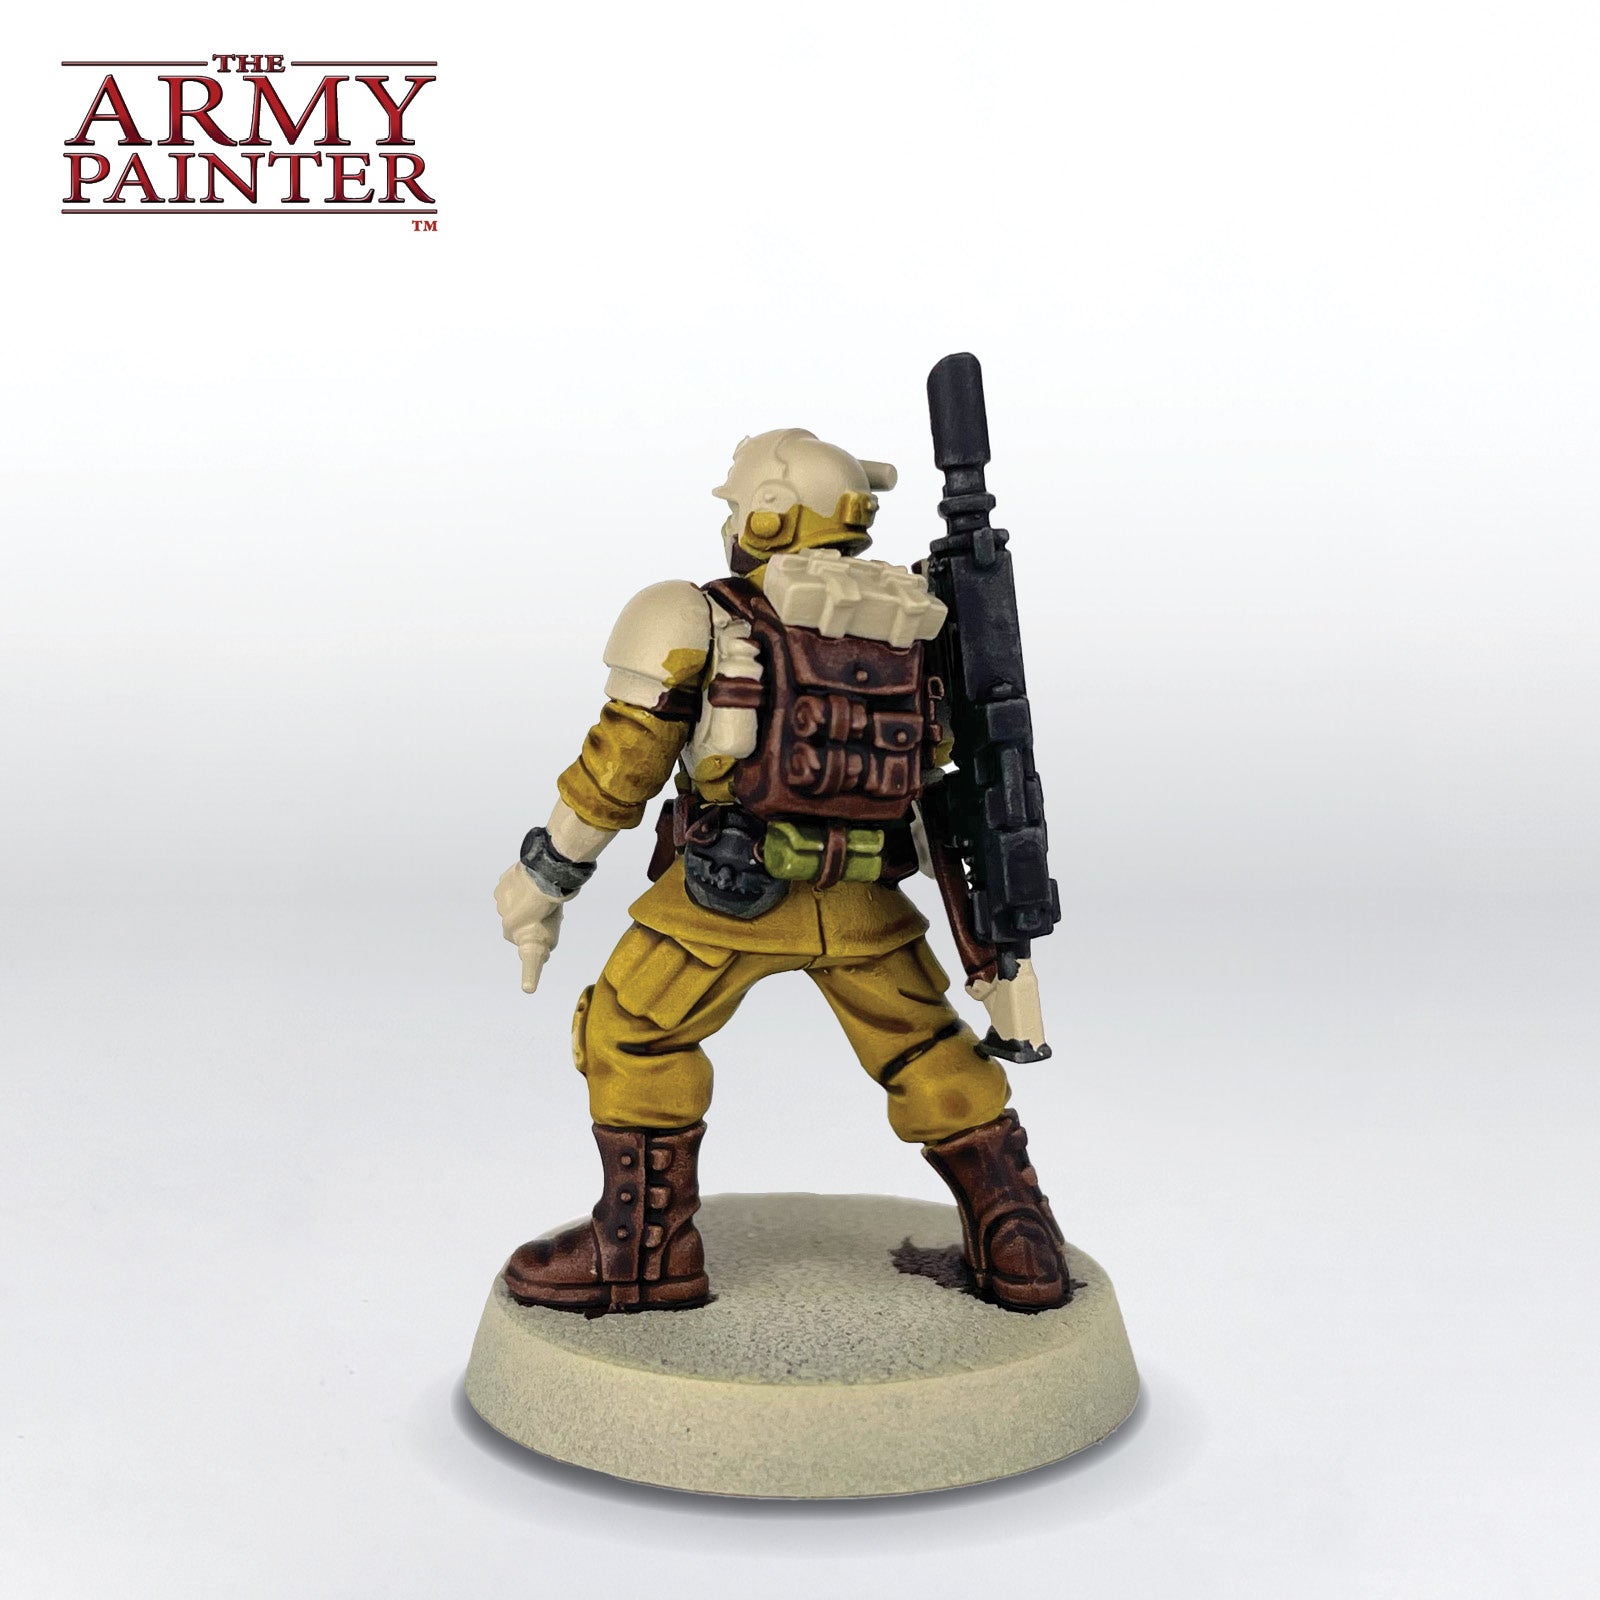
Paint all the bedrolls on the models’ backpacks with Speedpaint Algae Green.

Stage 1 Step 6

Step 6

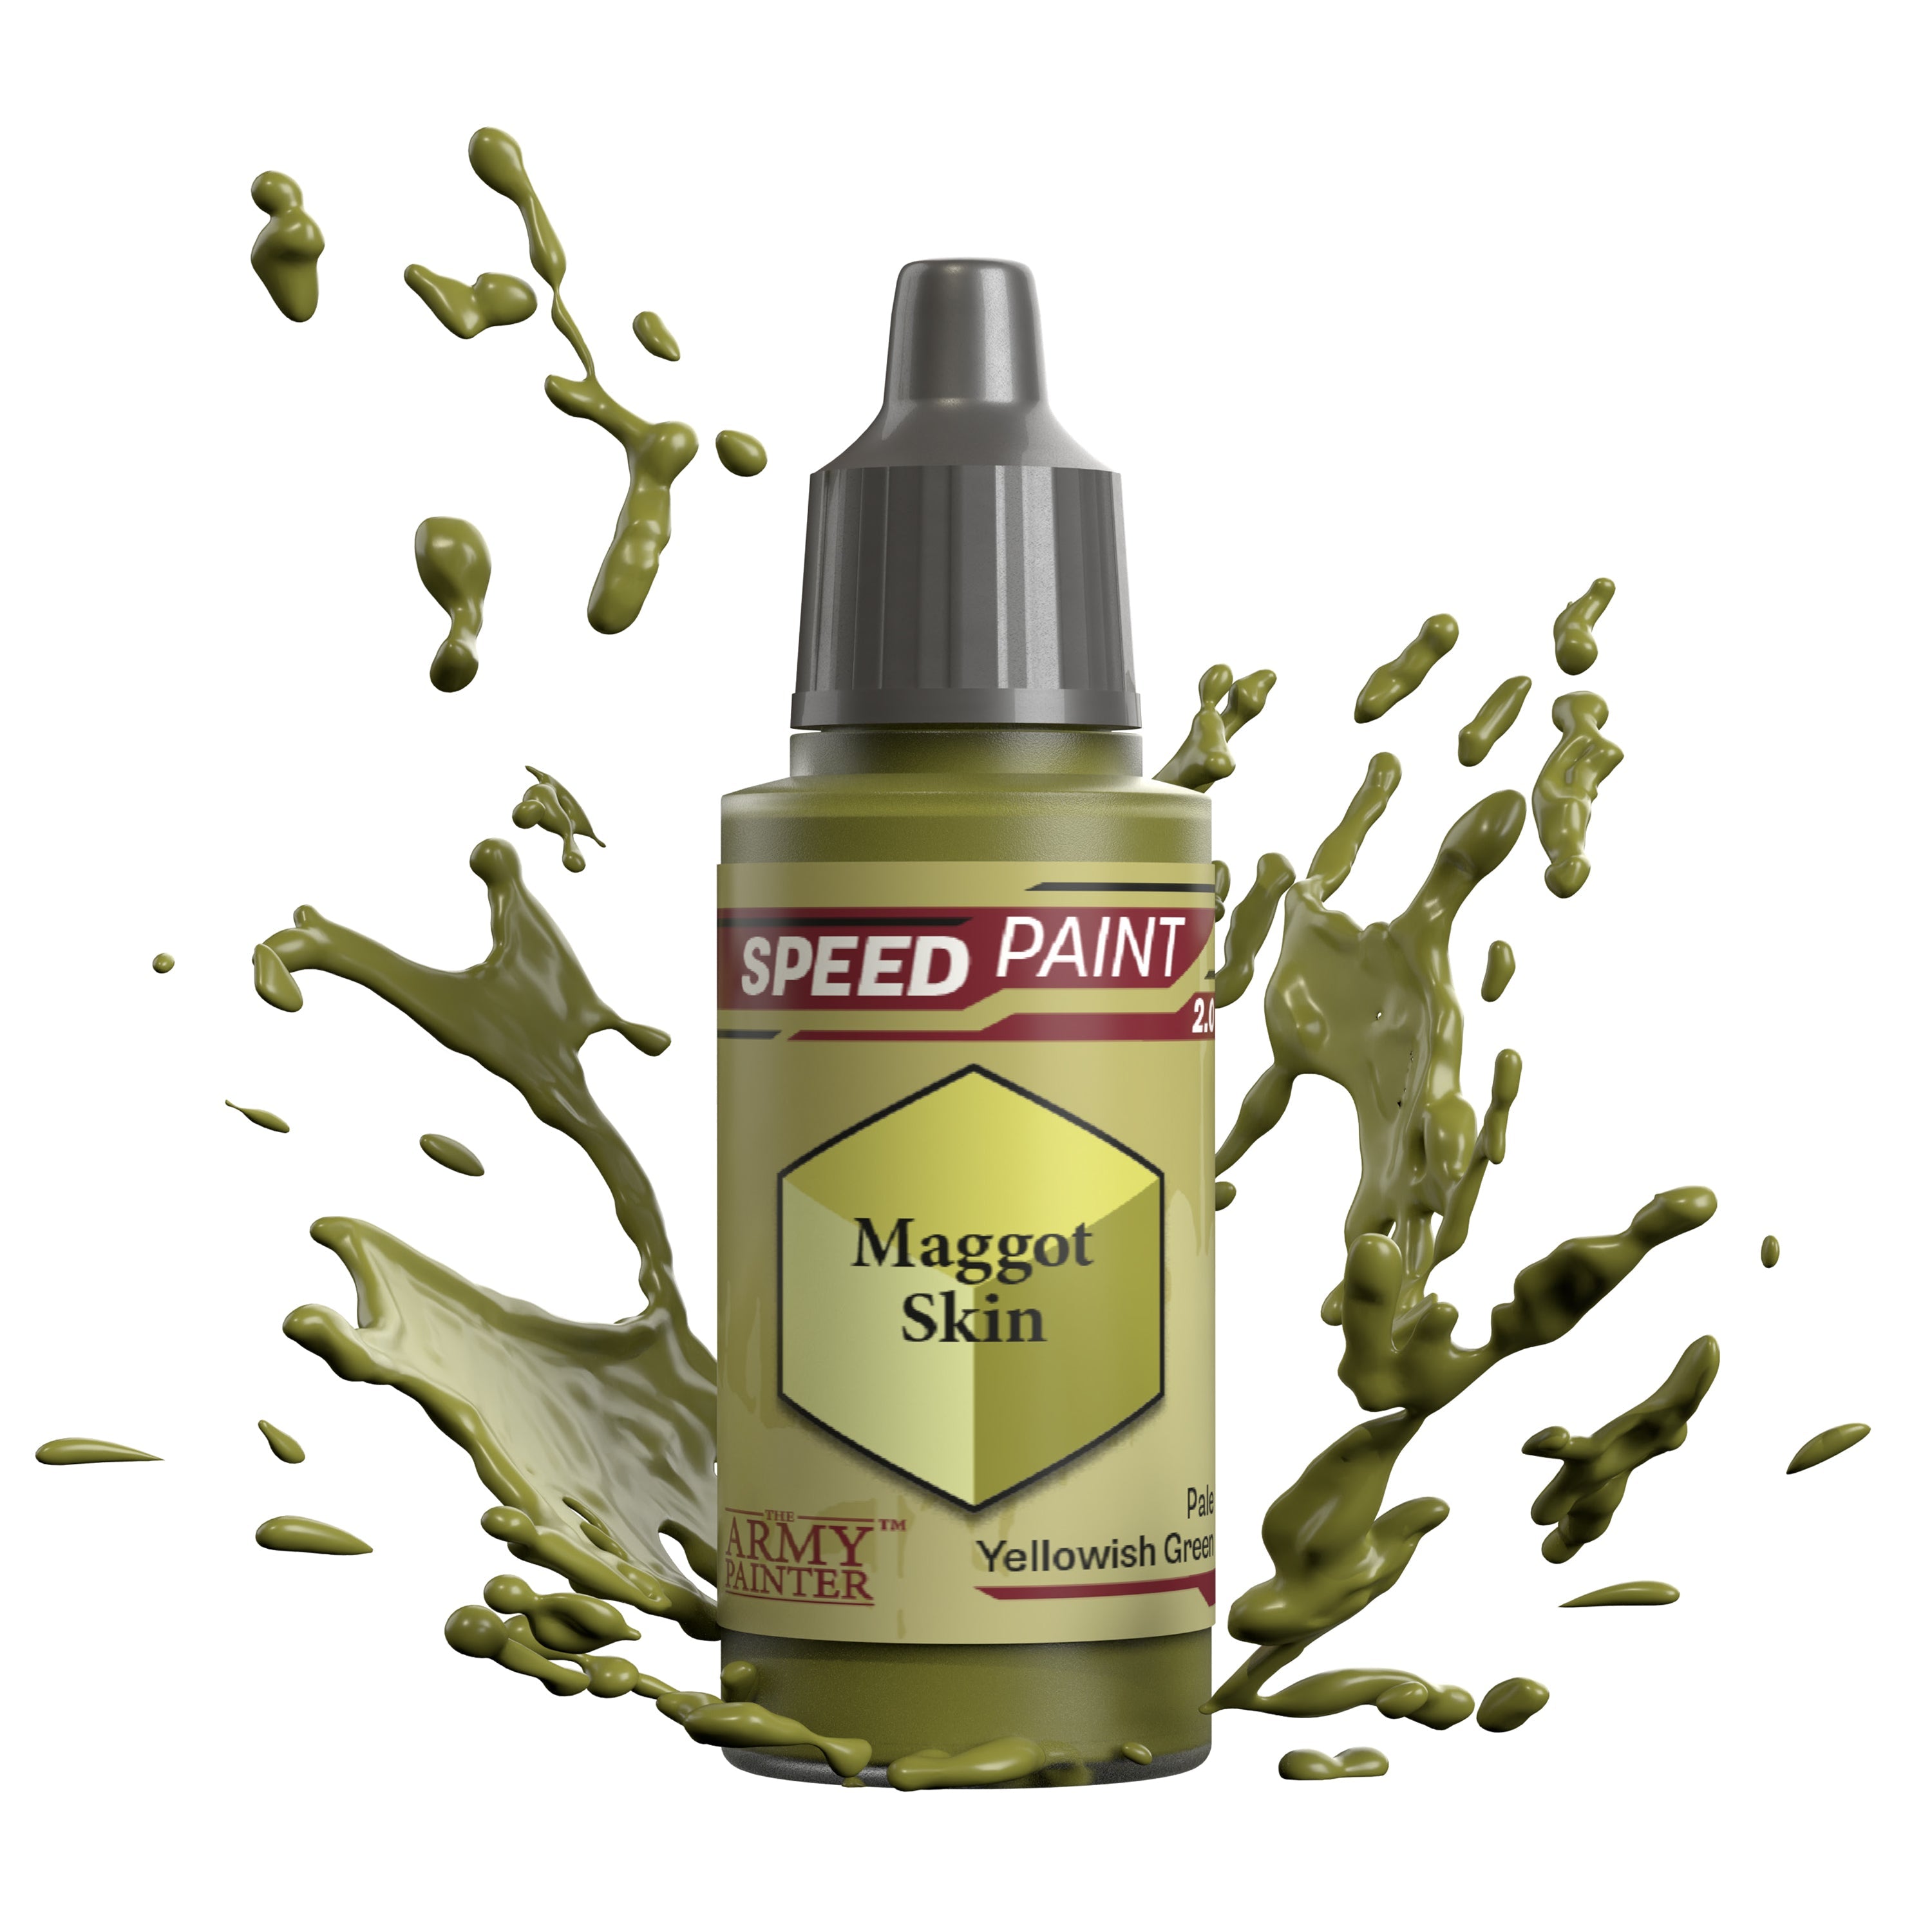
Some models have additional cloth areas, such as face masks or helmet coverings. Paint these with Speedpaint Maggot Skin.

Stage 1 Step 7

Step 7

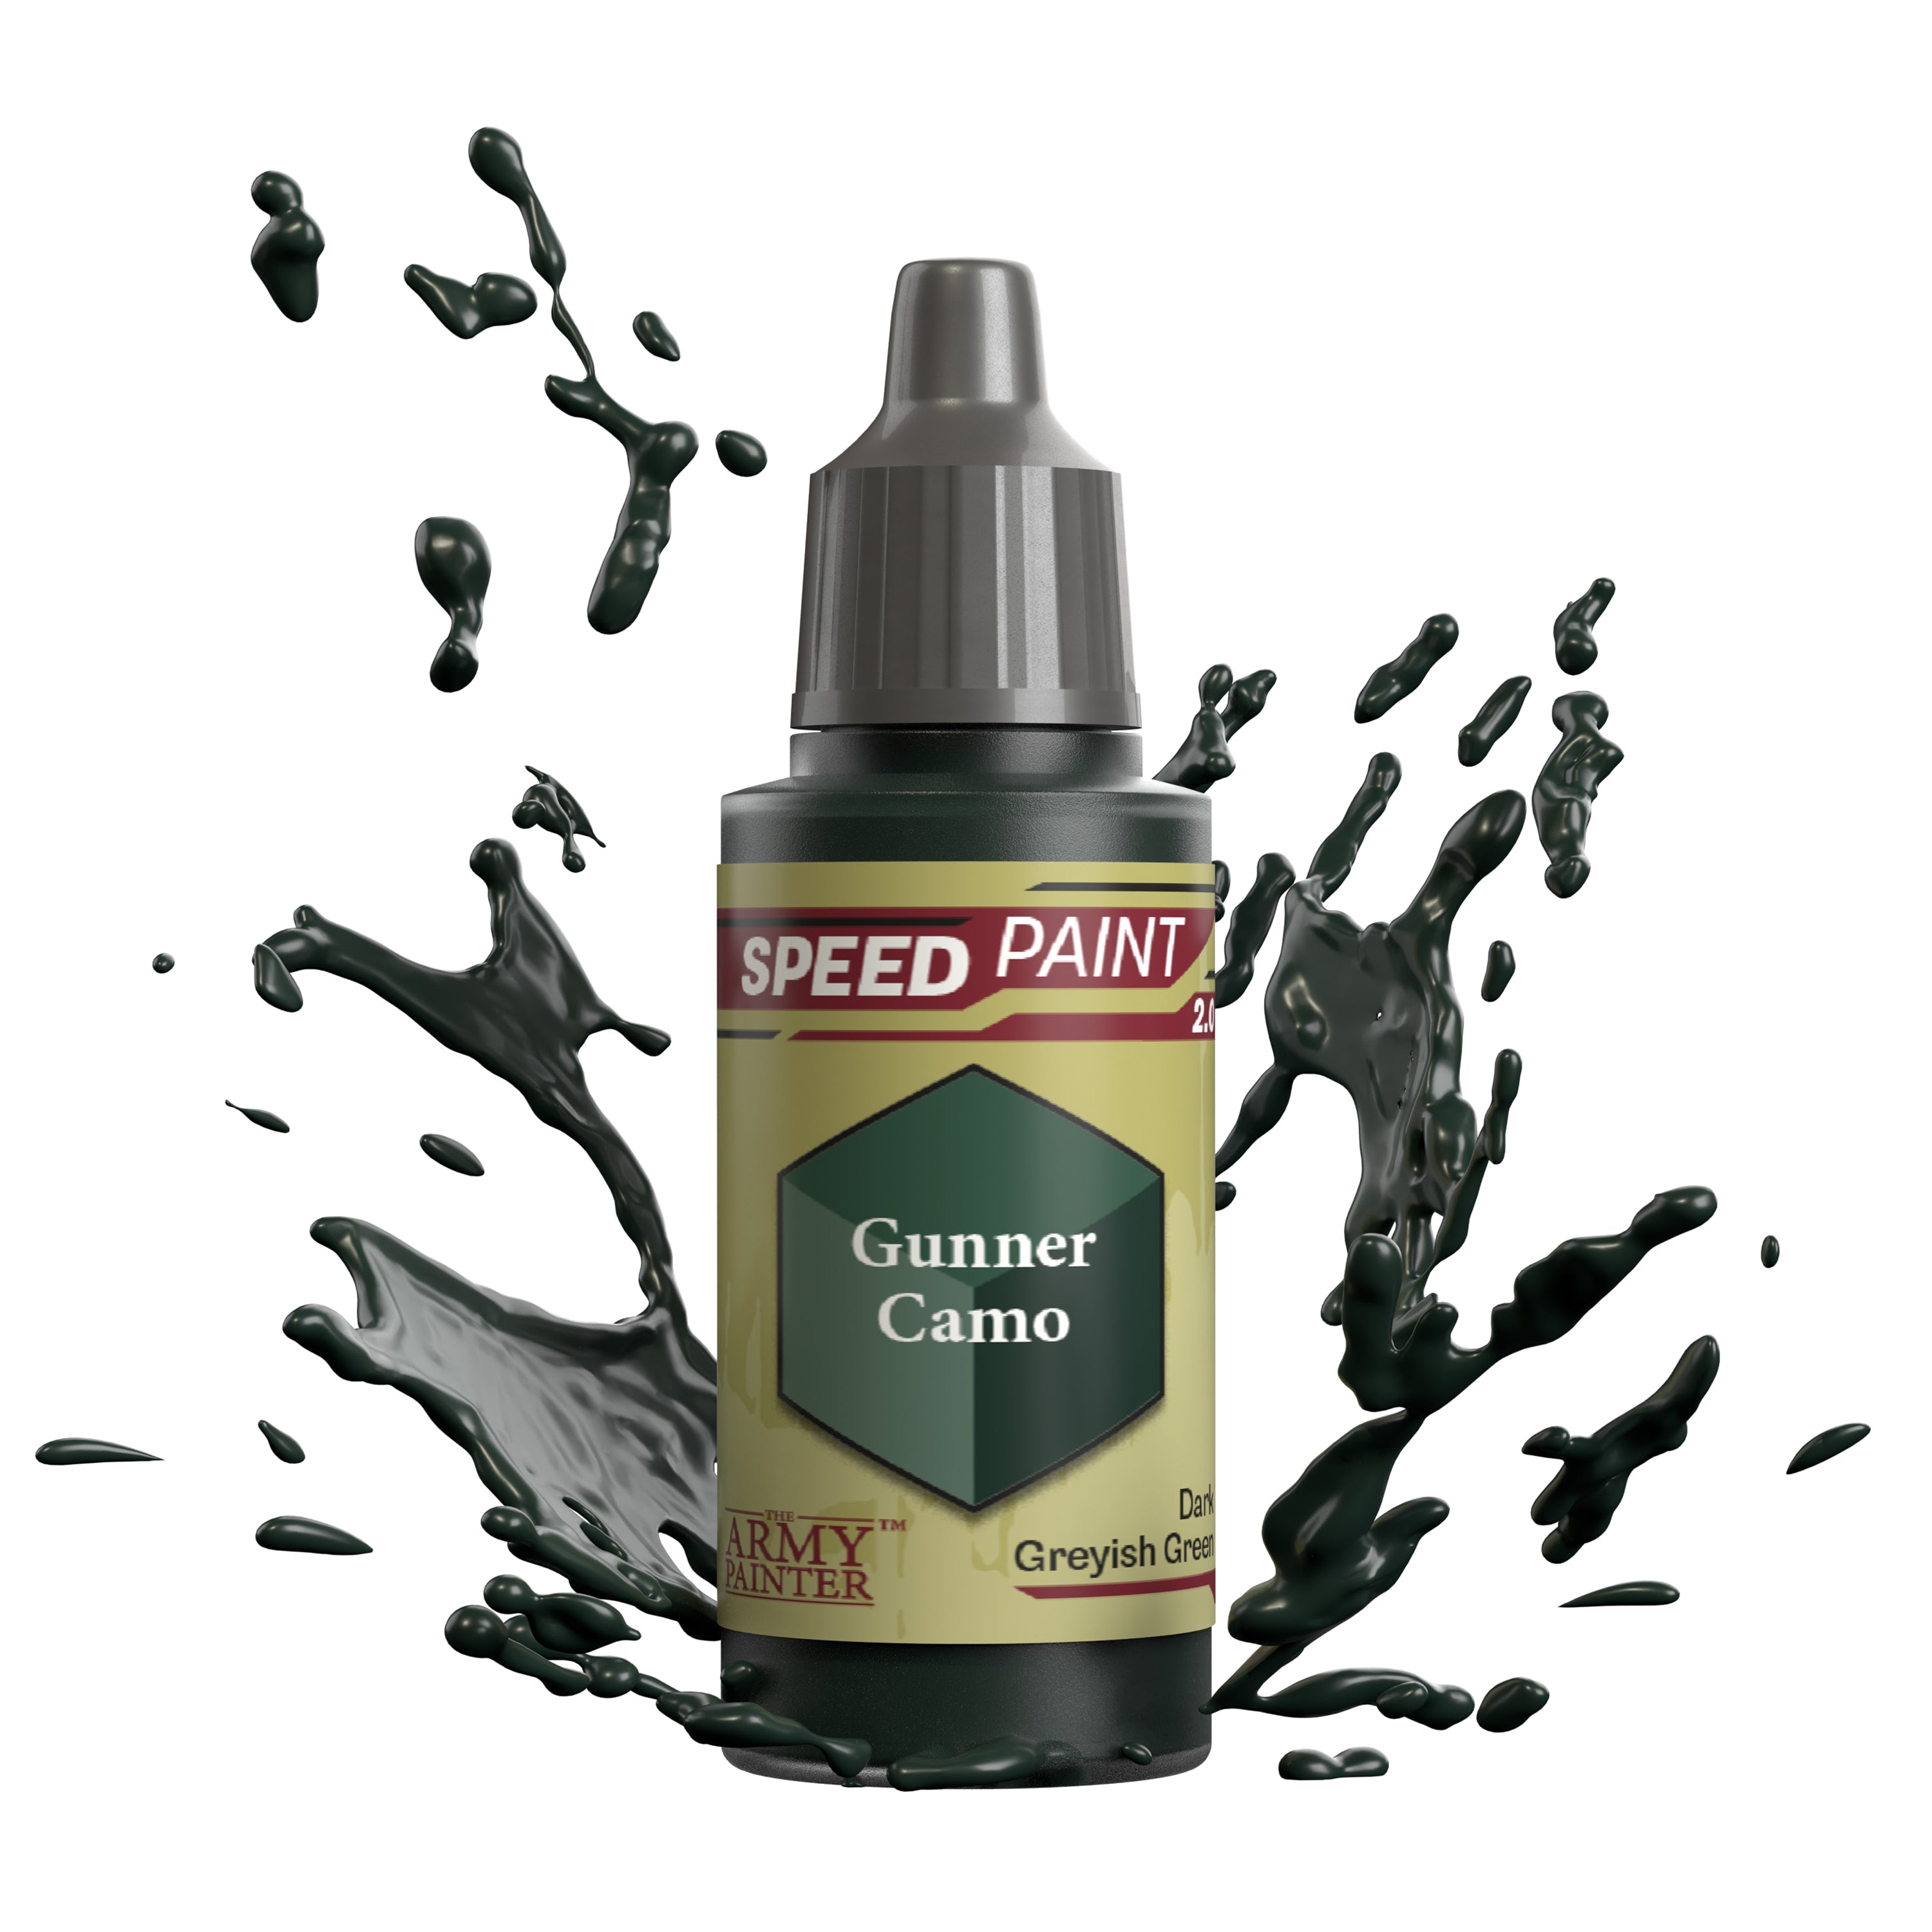
Paint the grenades with Speedpaint Gunner Camo.

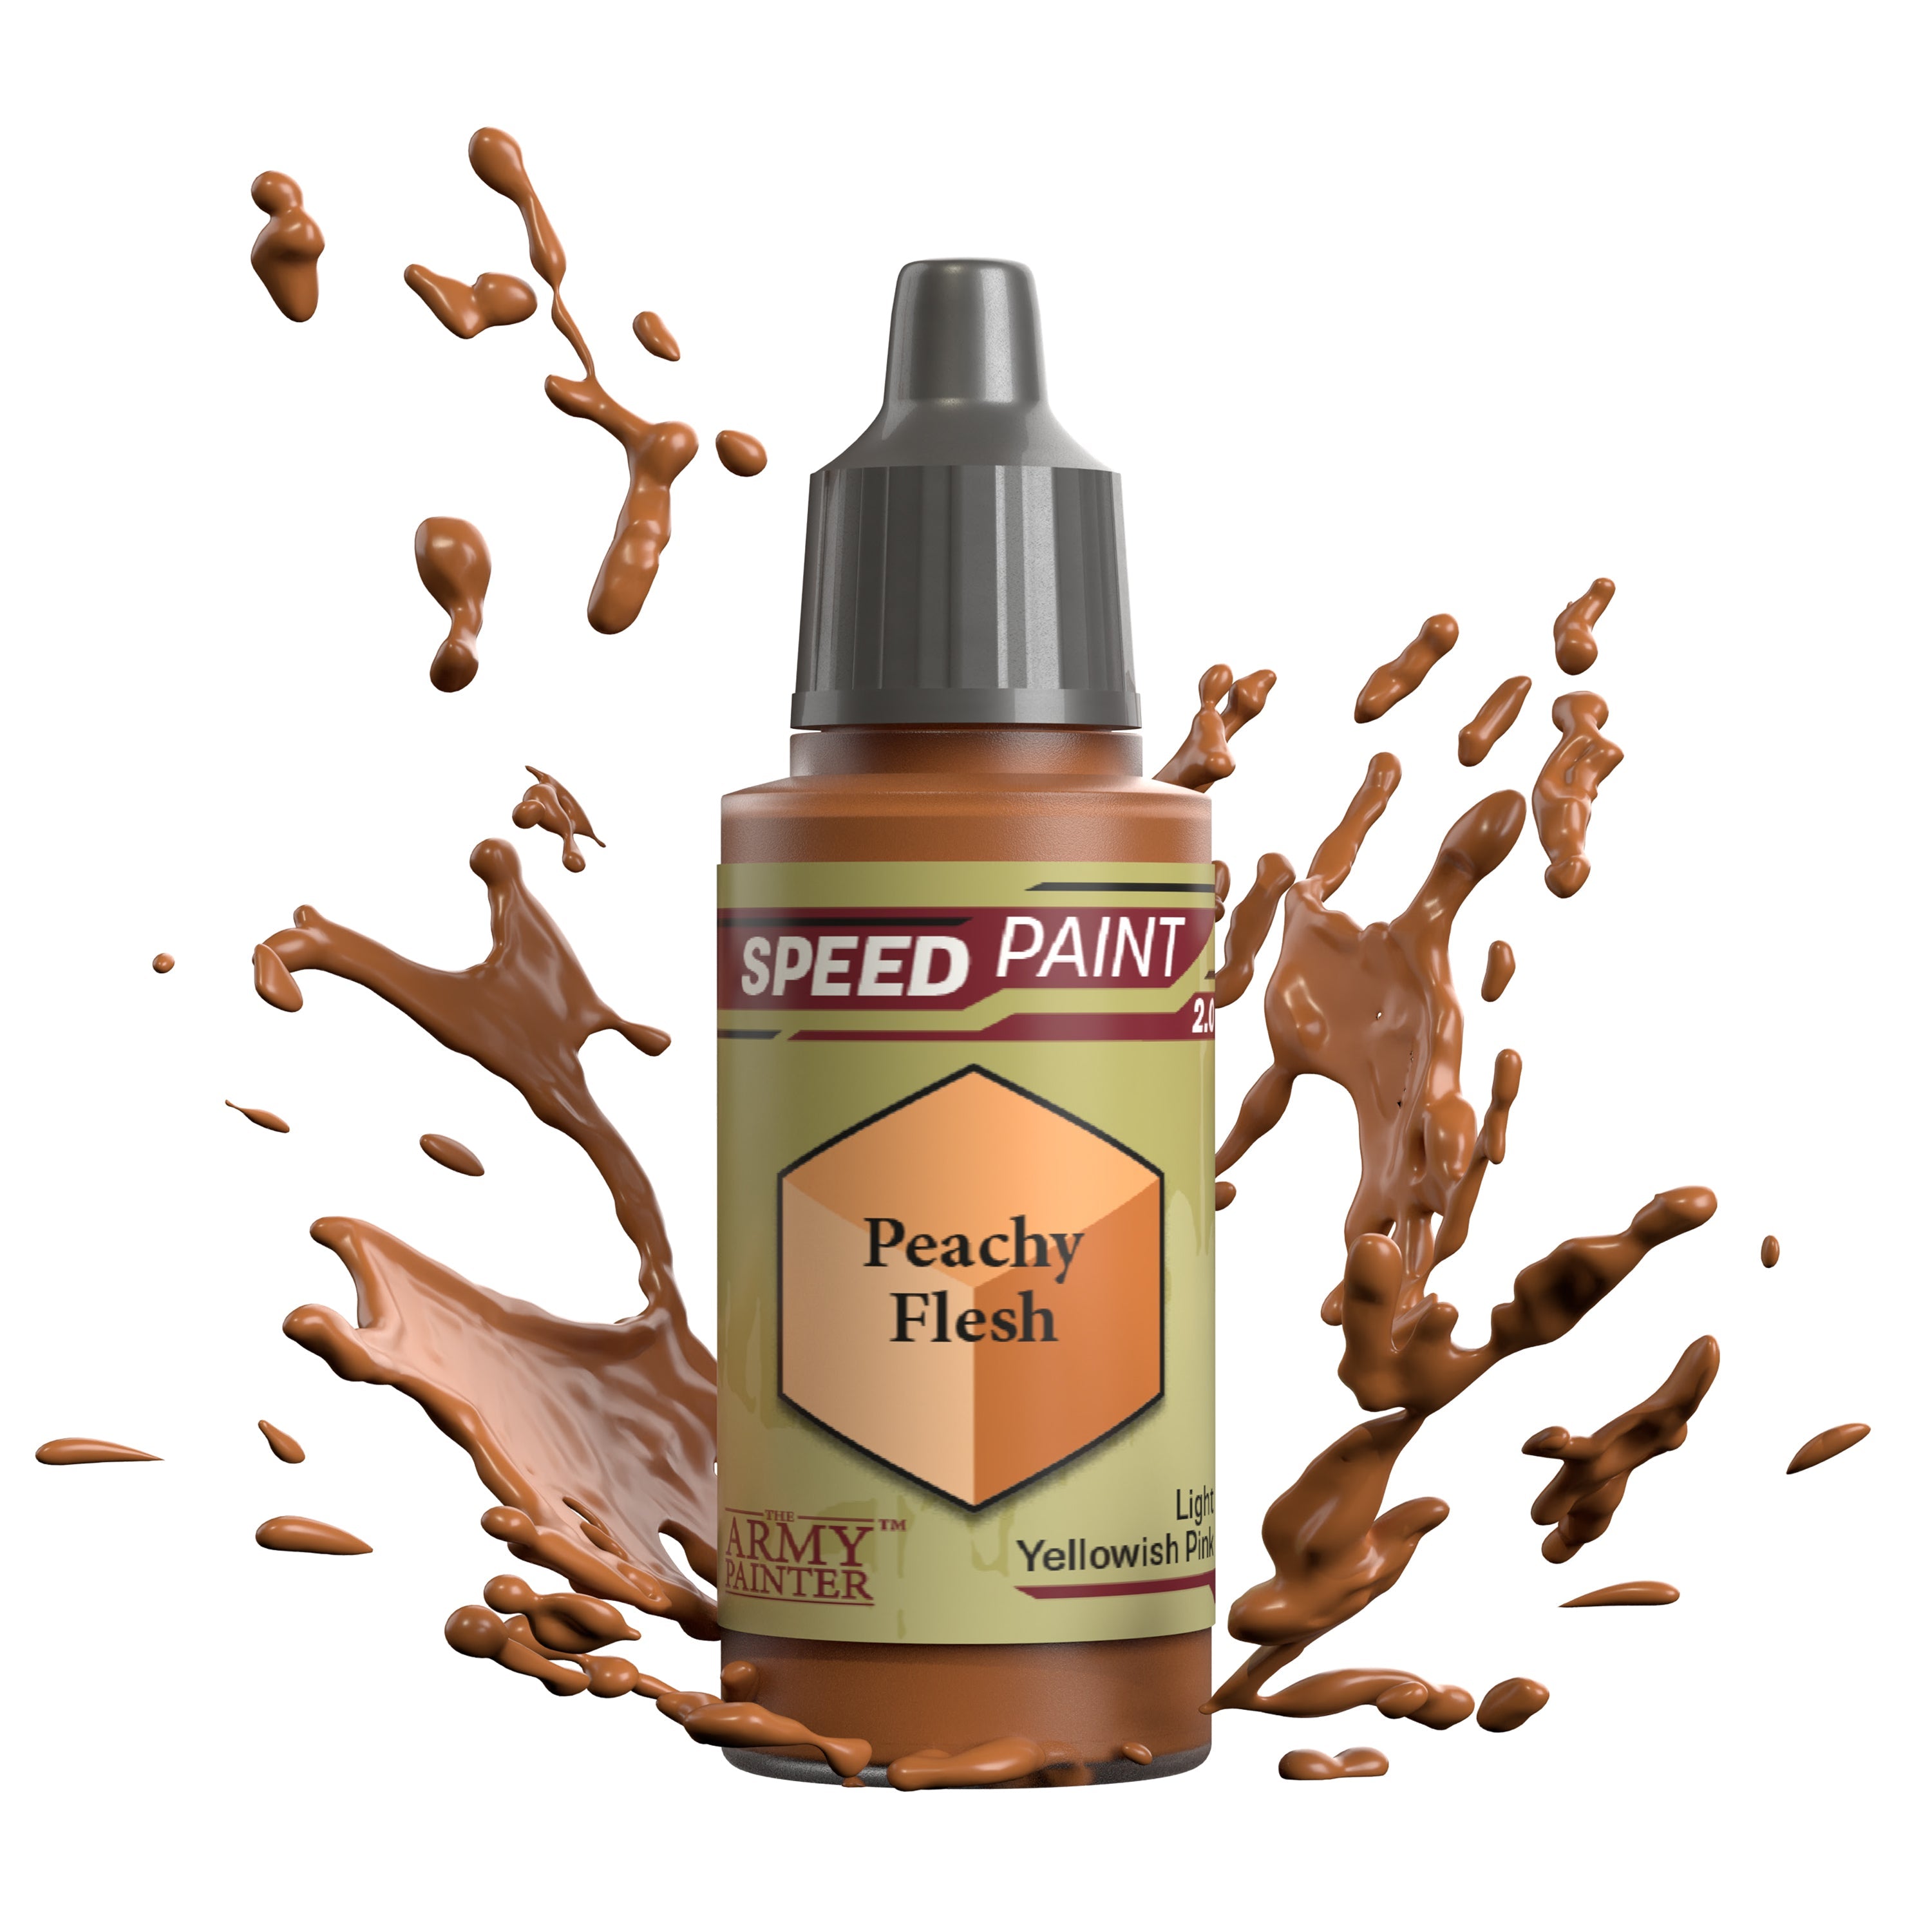
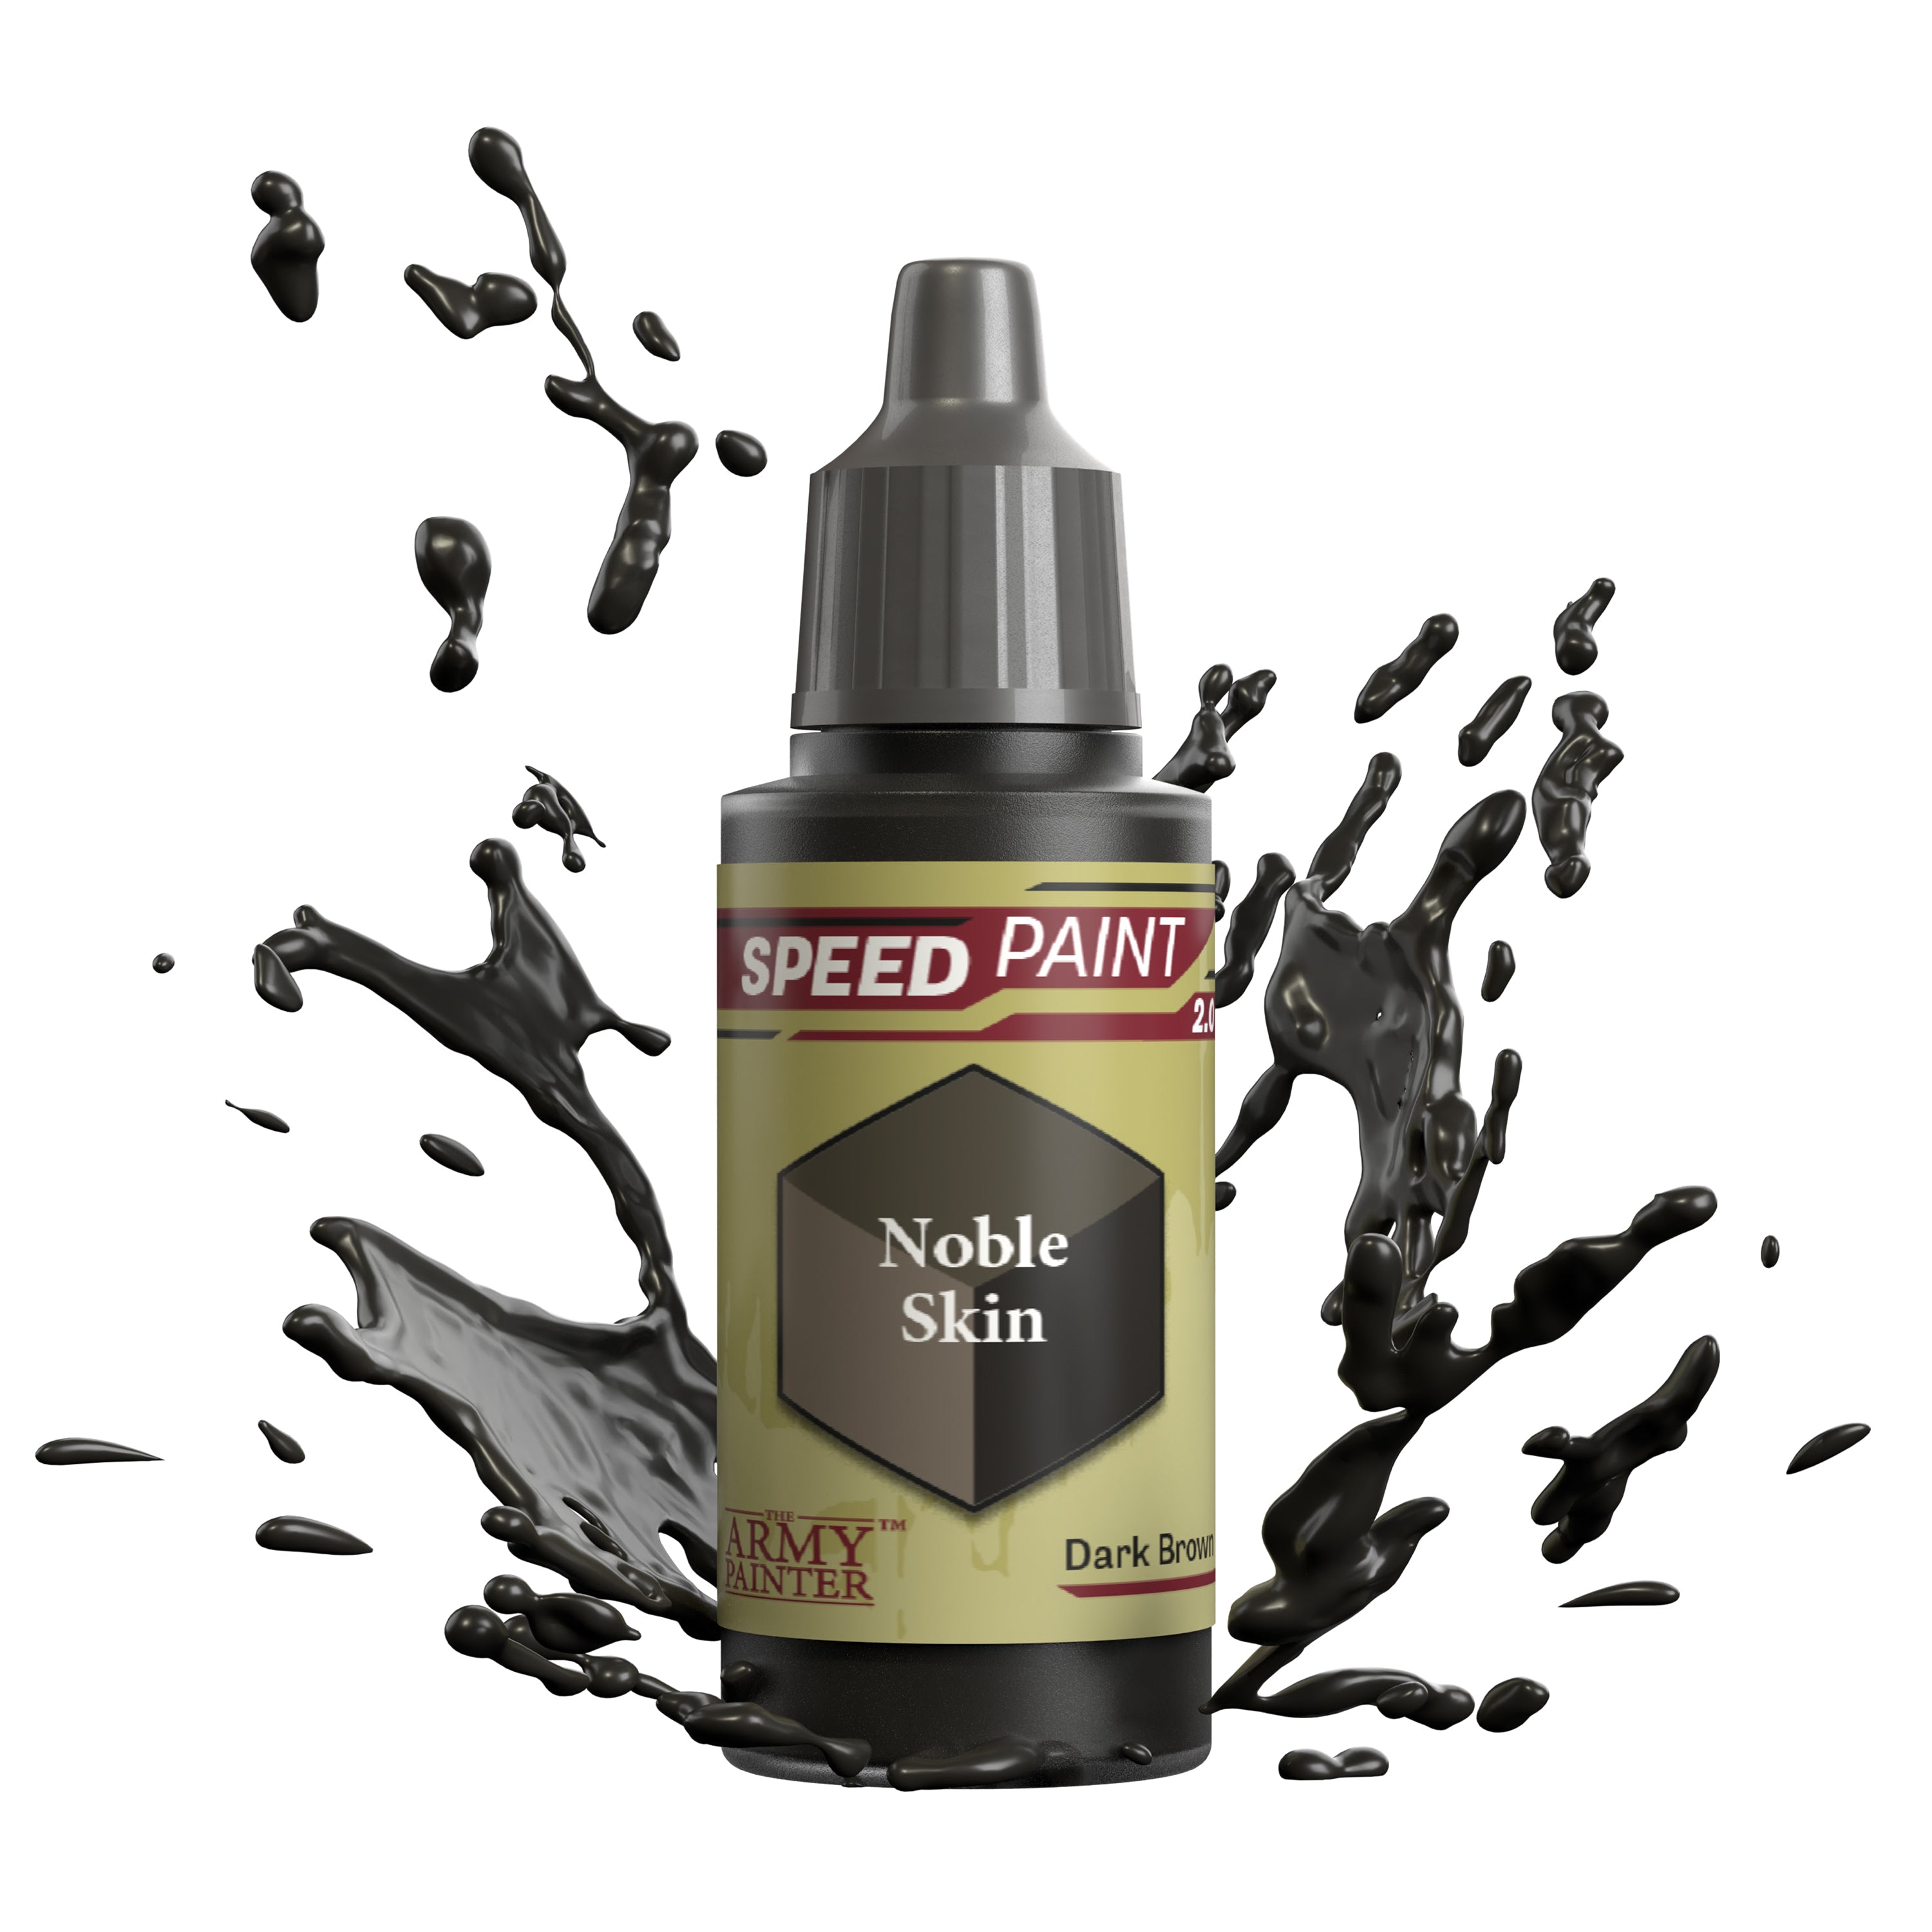
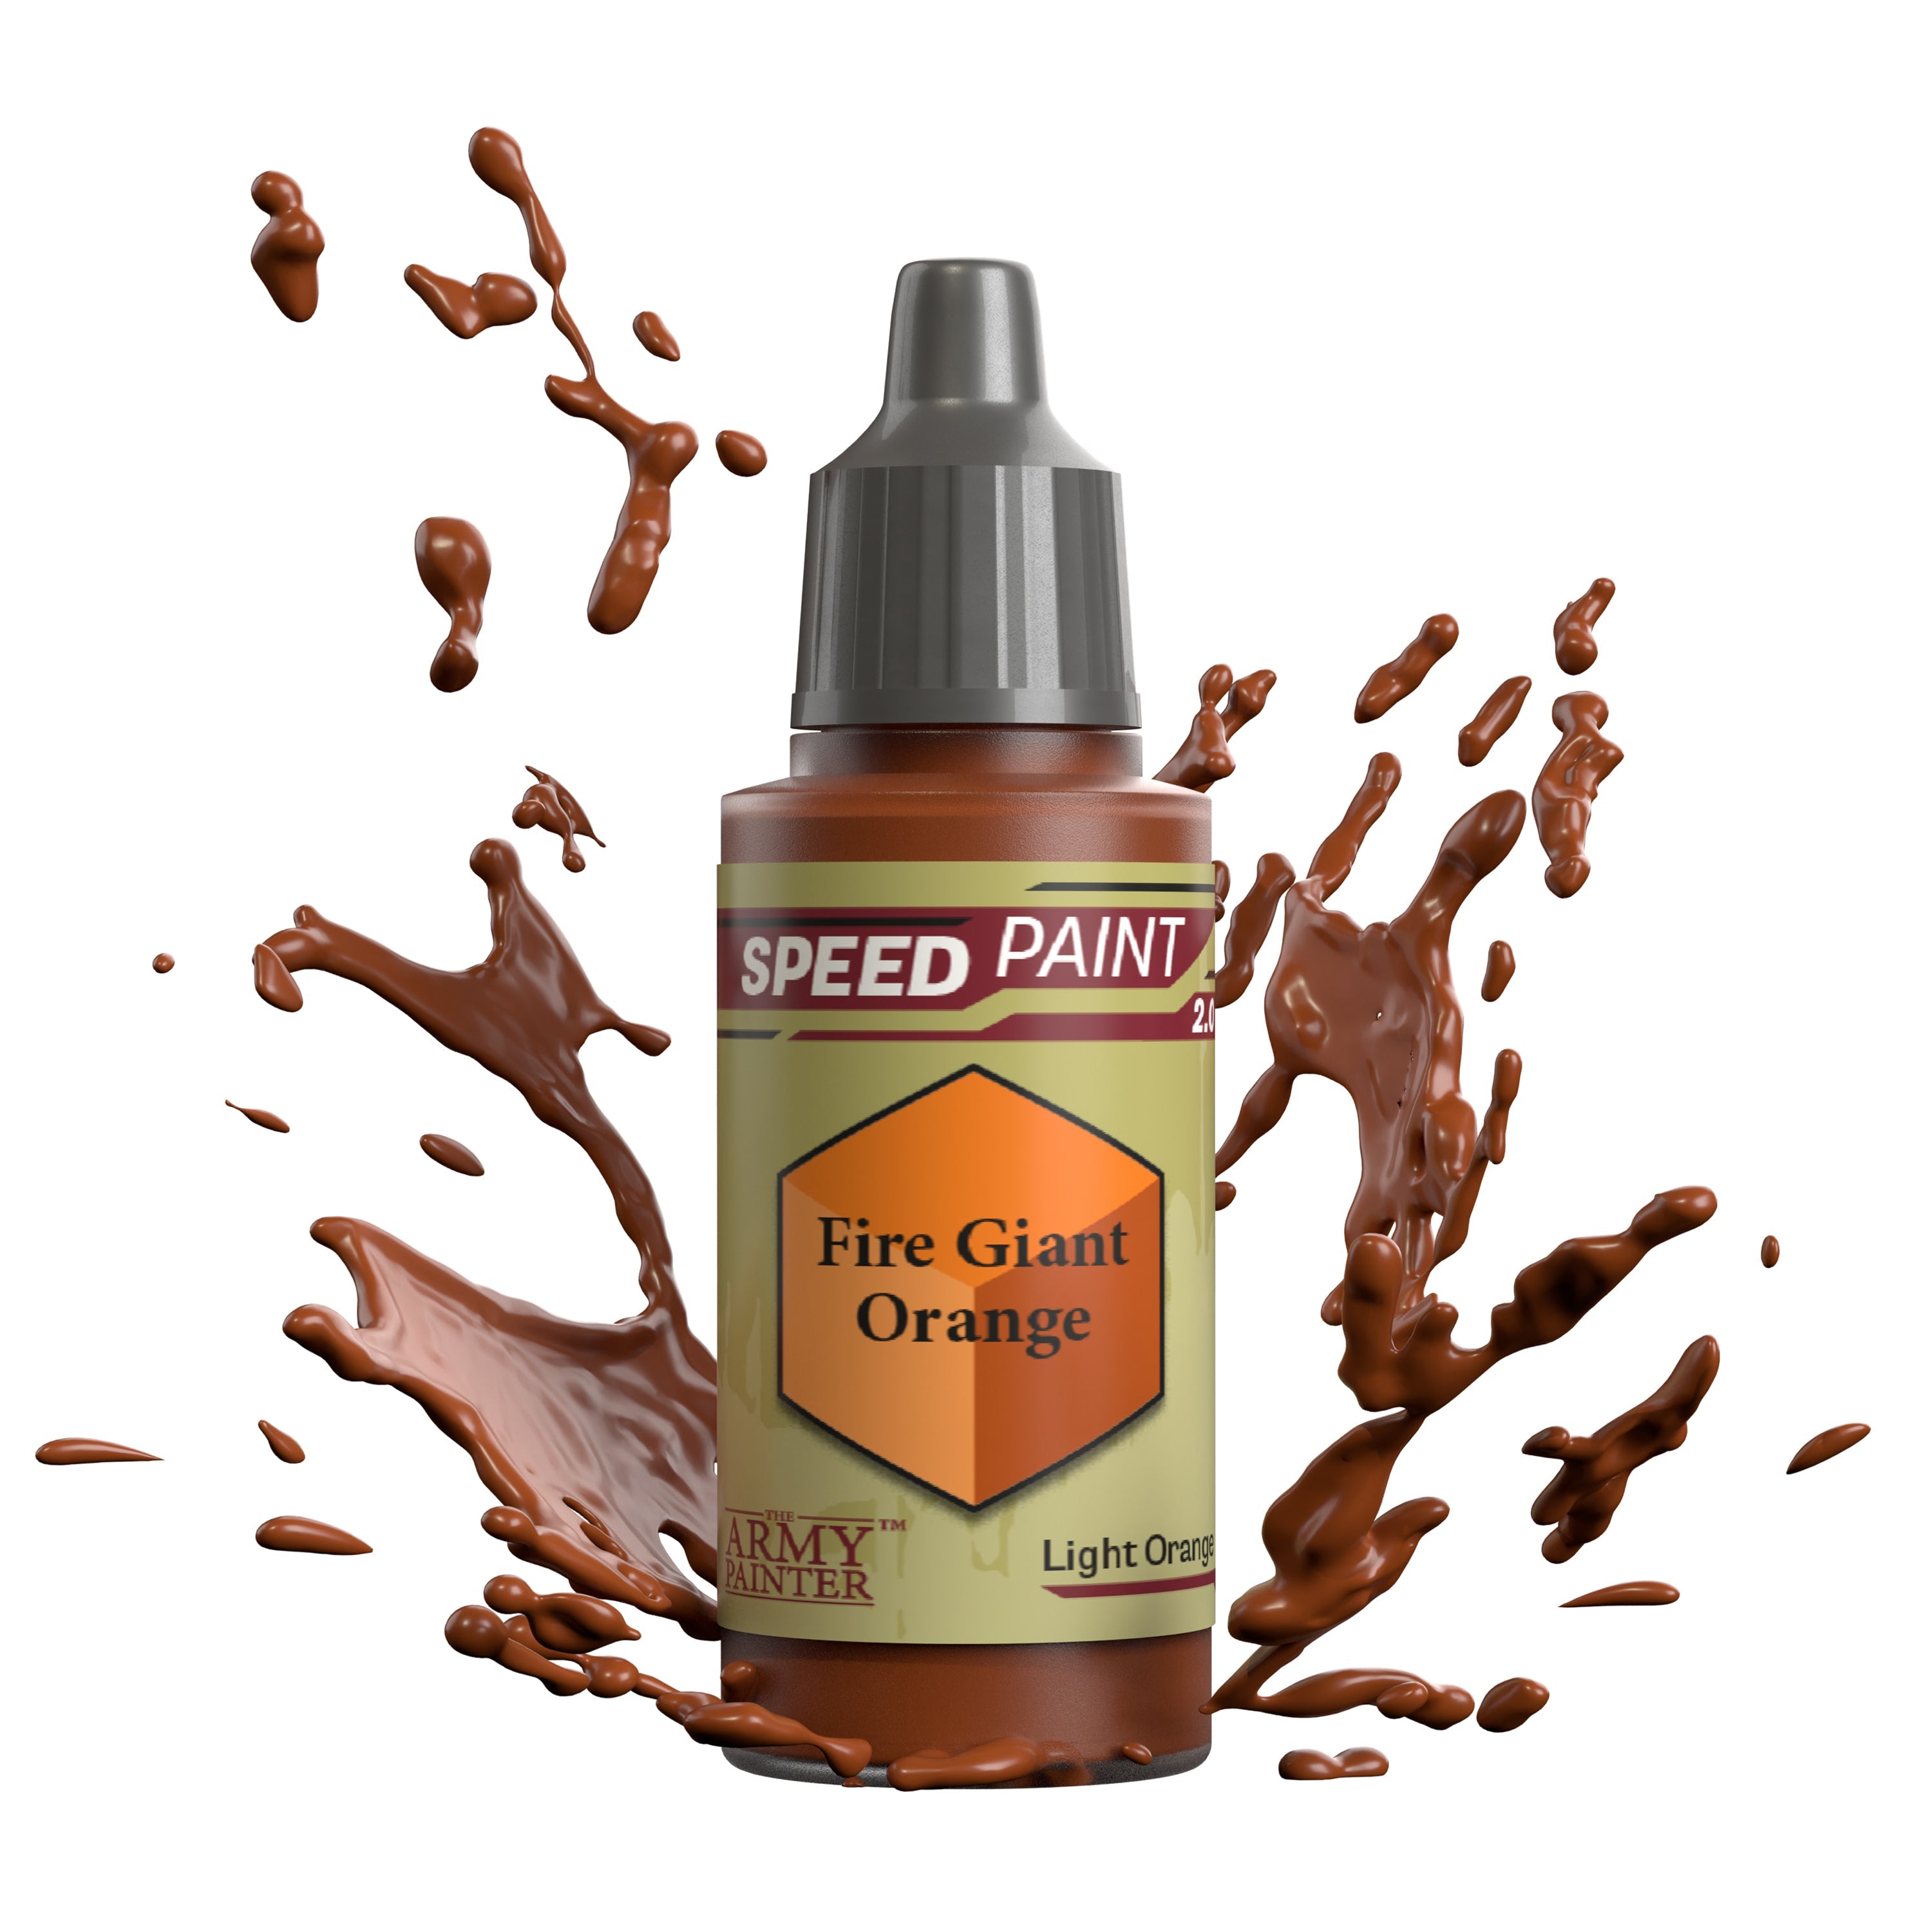
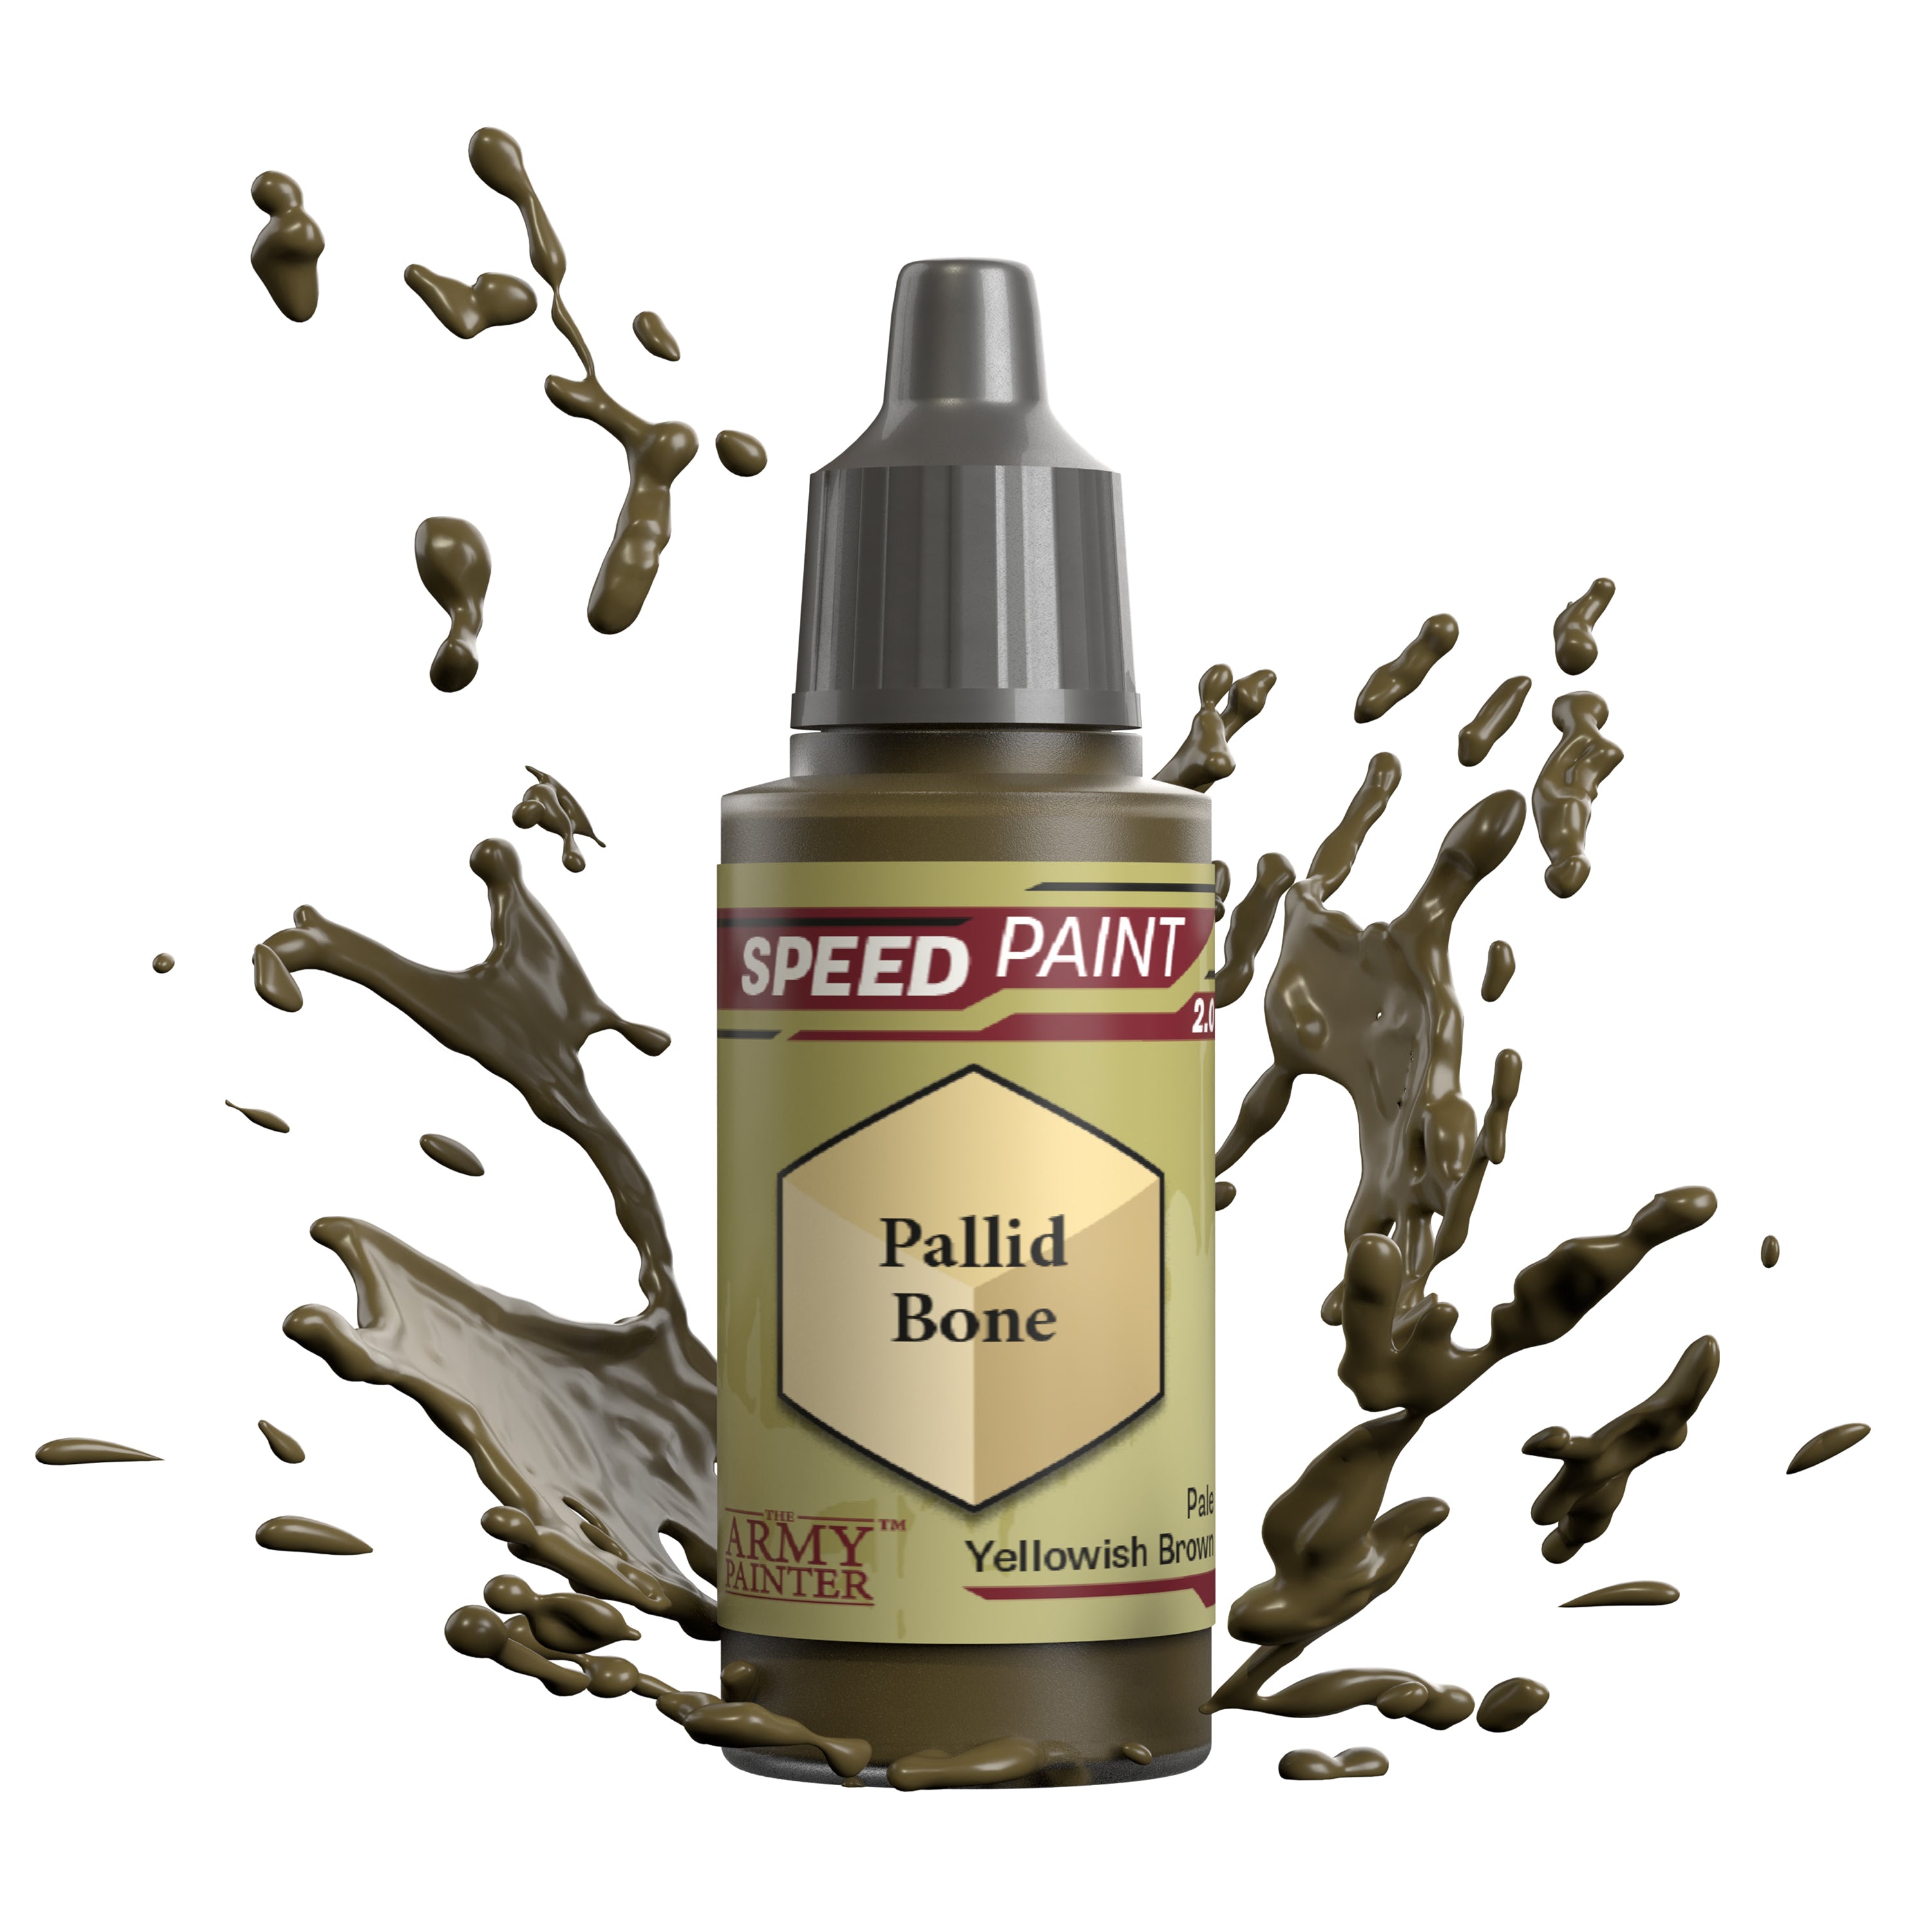
The skin can be picked out with a number of different Speedpaints. Here, the unit was painted with a mix of Speedpaint Peachy Flesh on some and Speedpaint Noble Skin on others. The hair across the models can also be picked out with whatever colours you want. Speedpaint Fire Giant Orange, Satchel Brown, Grim Black, and Pallid Bone were used on this unit.

Stage 1 Step 8

Step 8

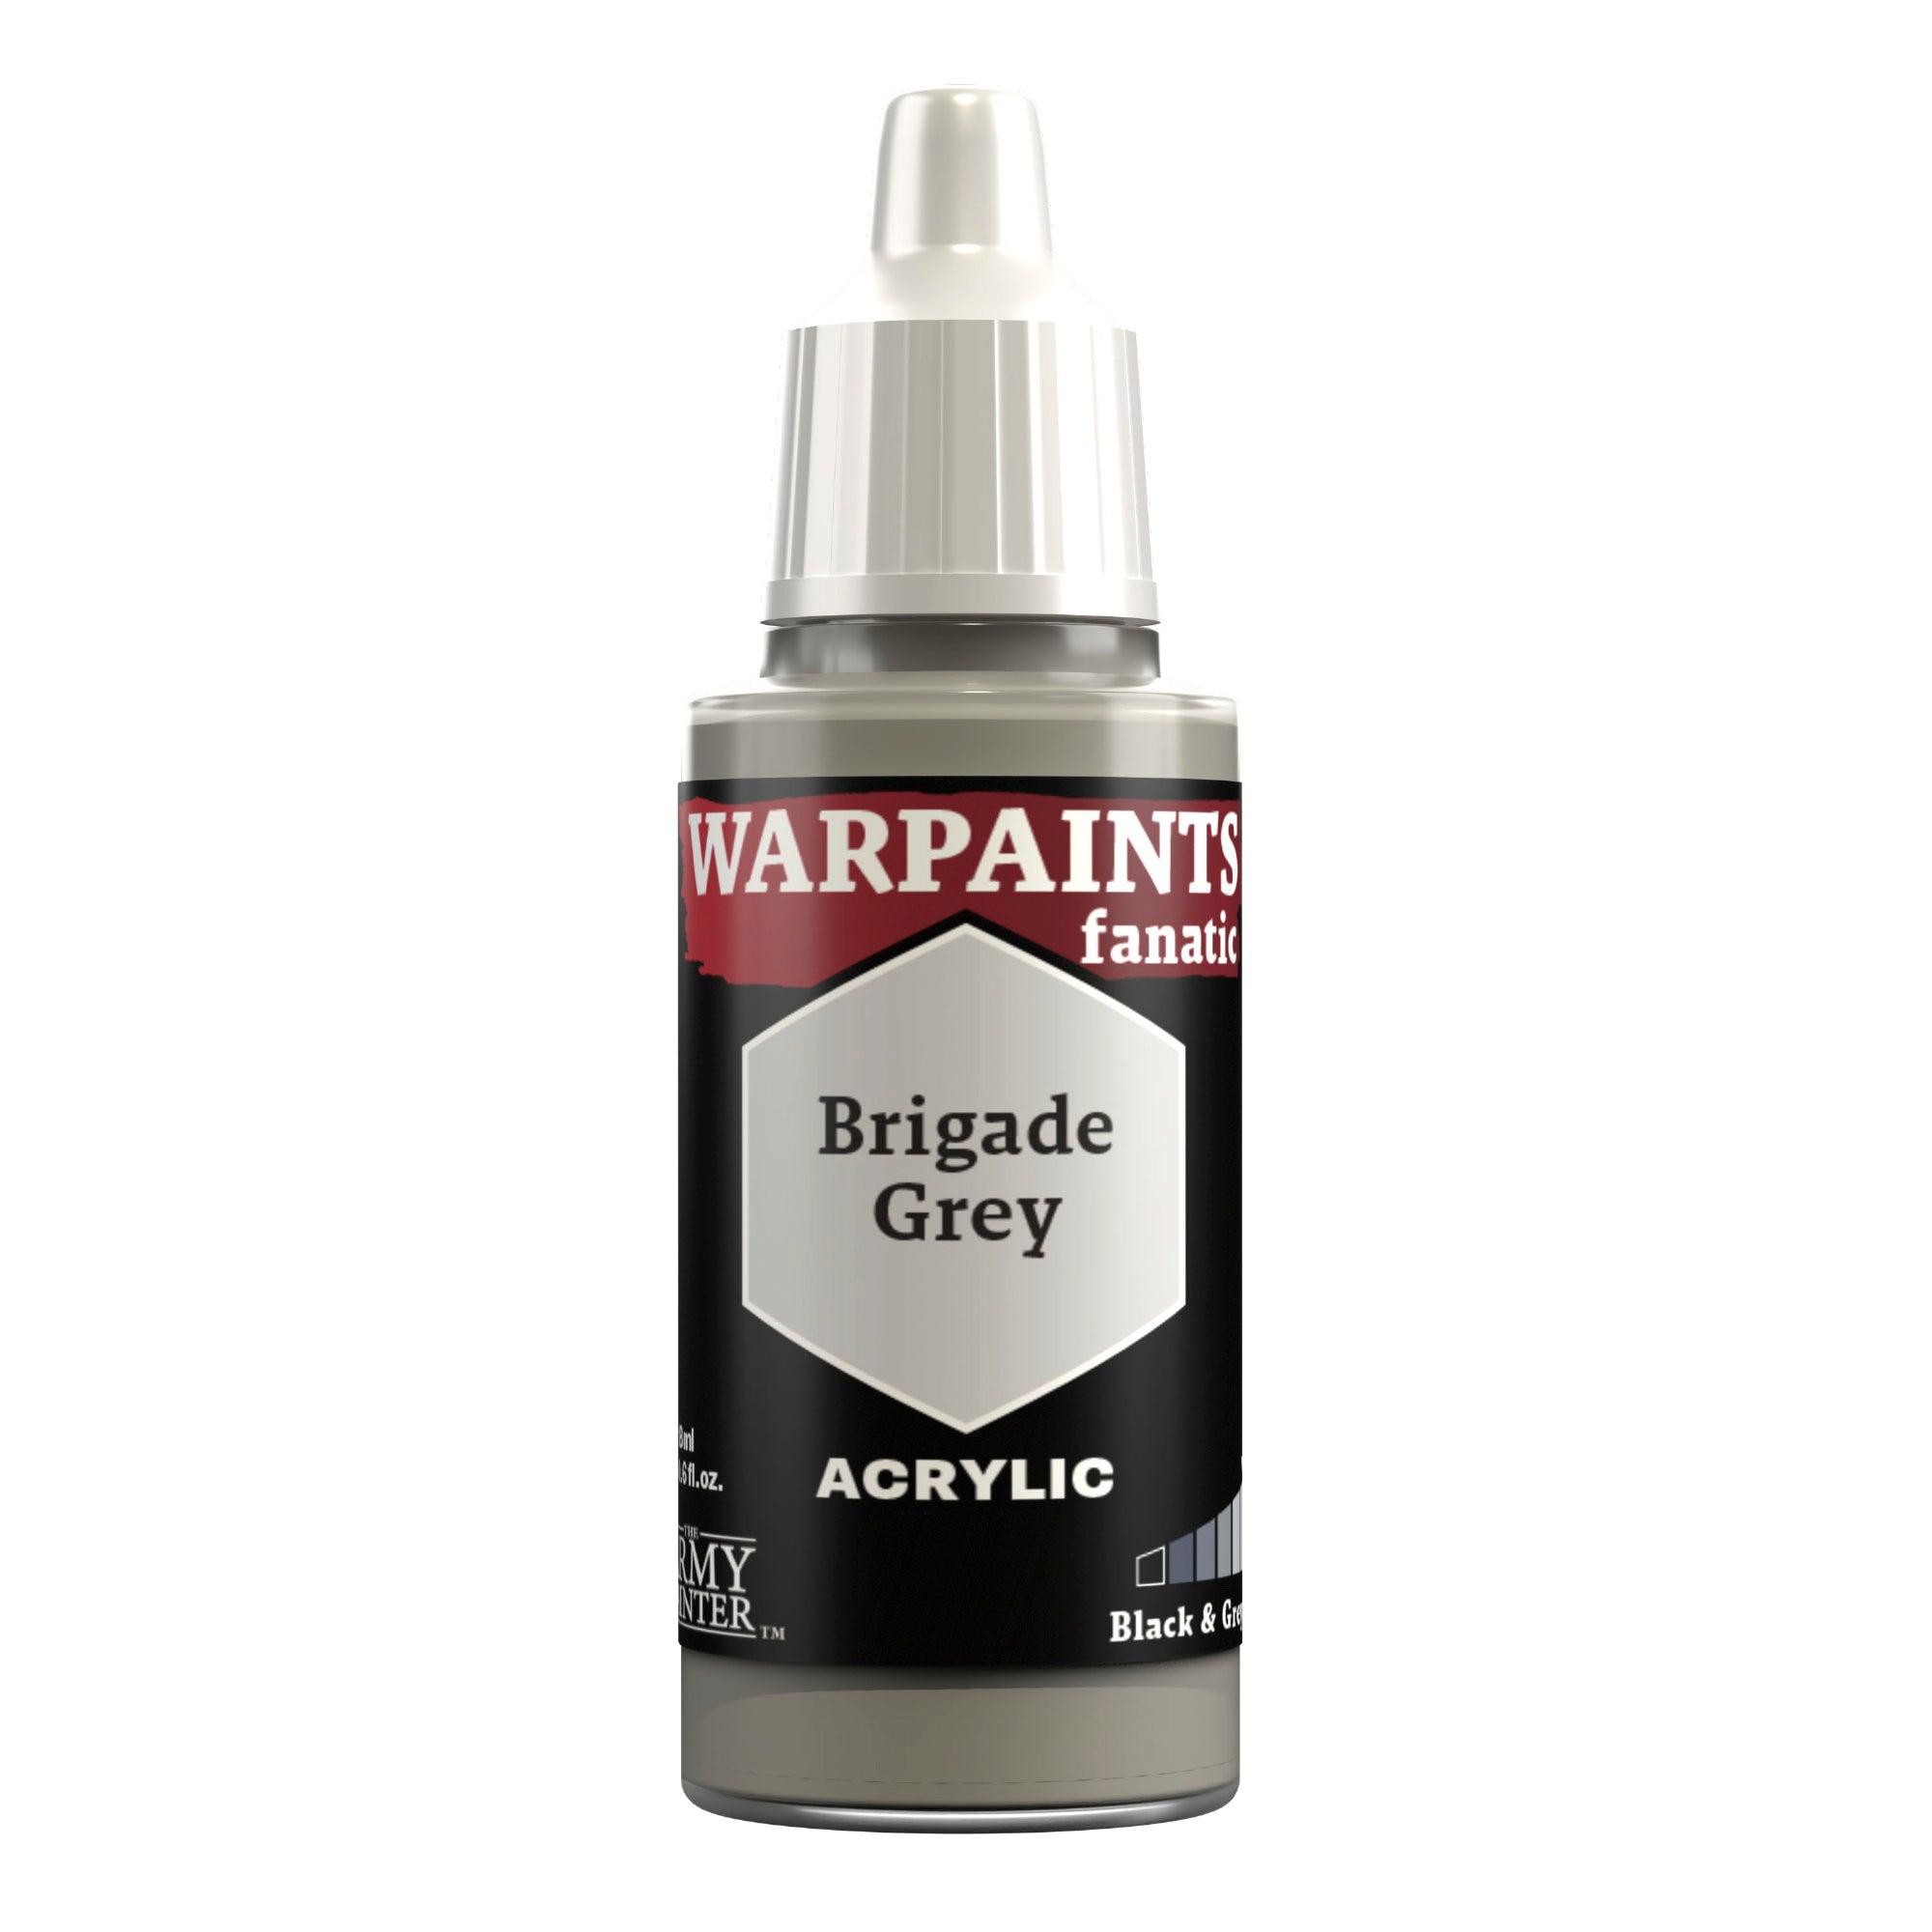
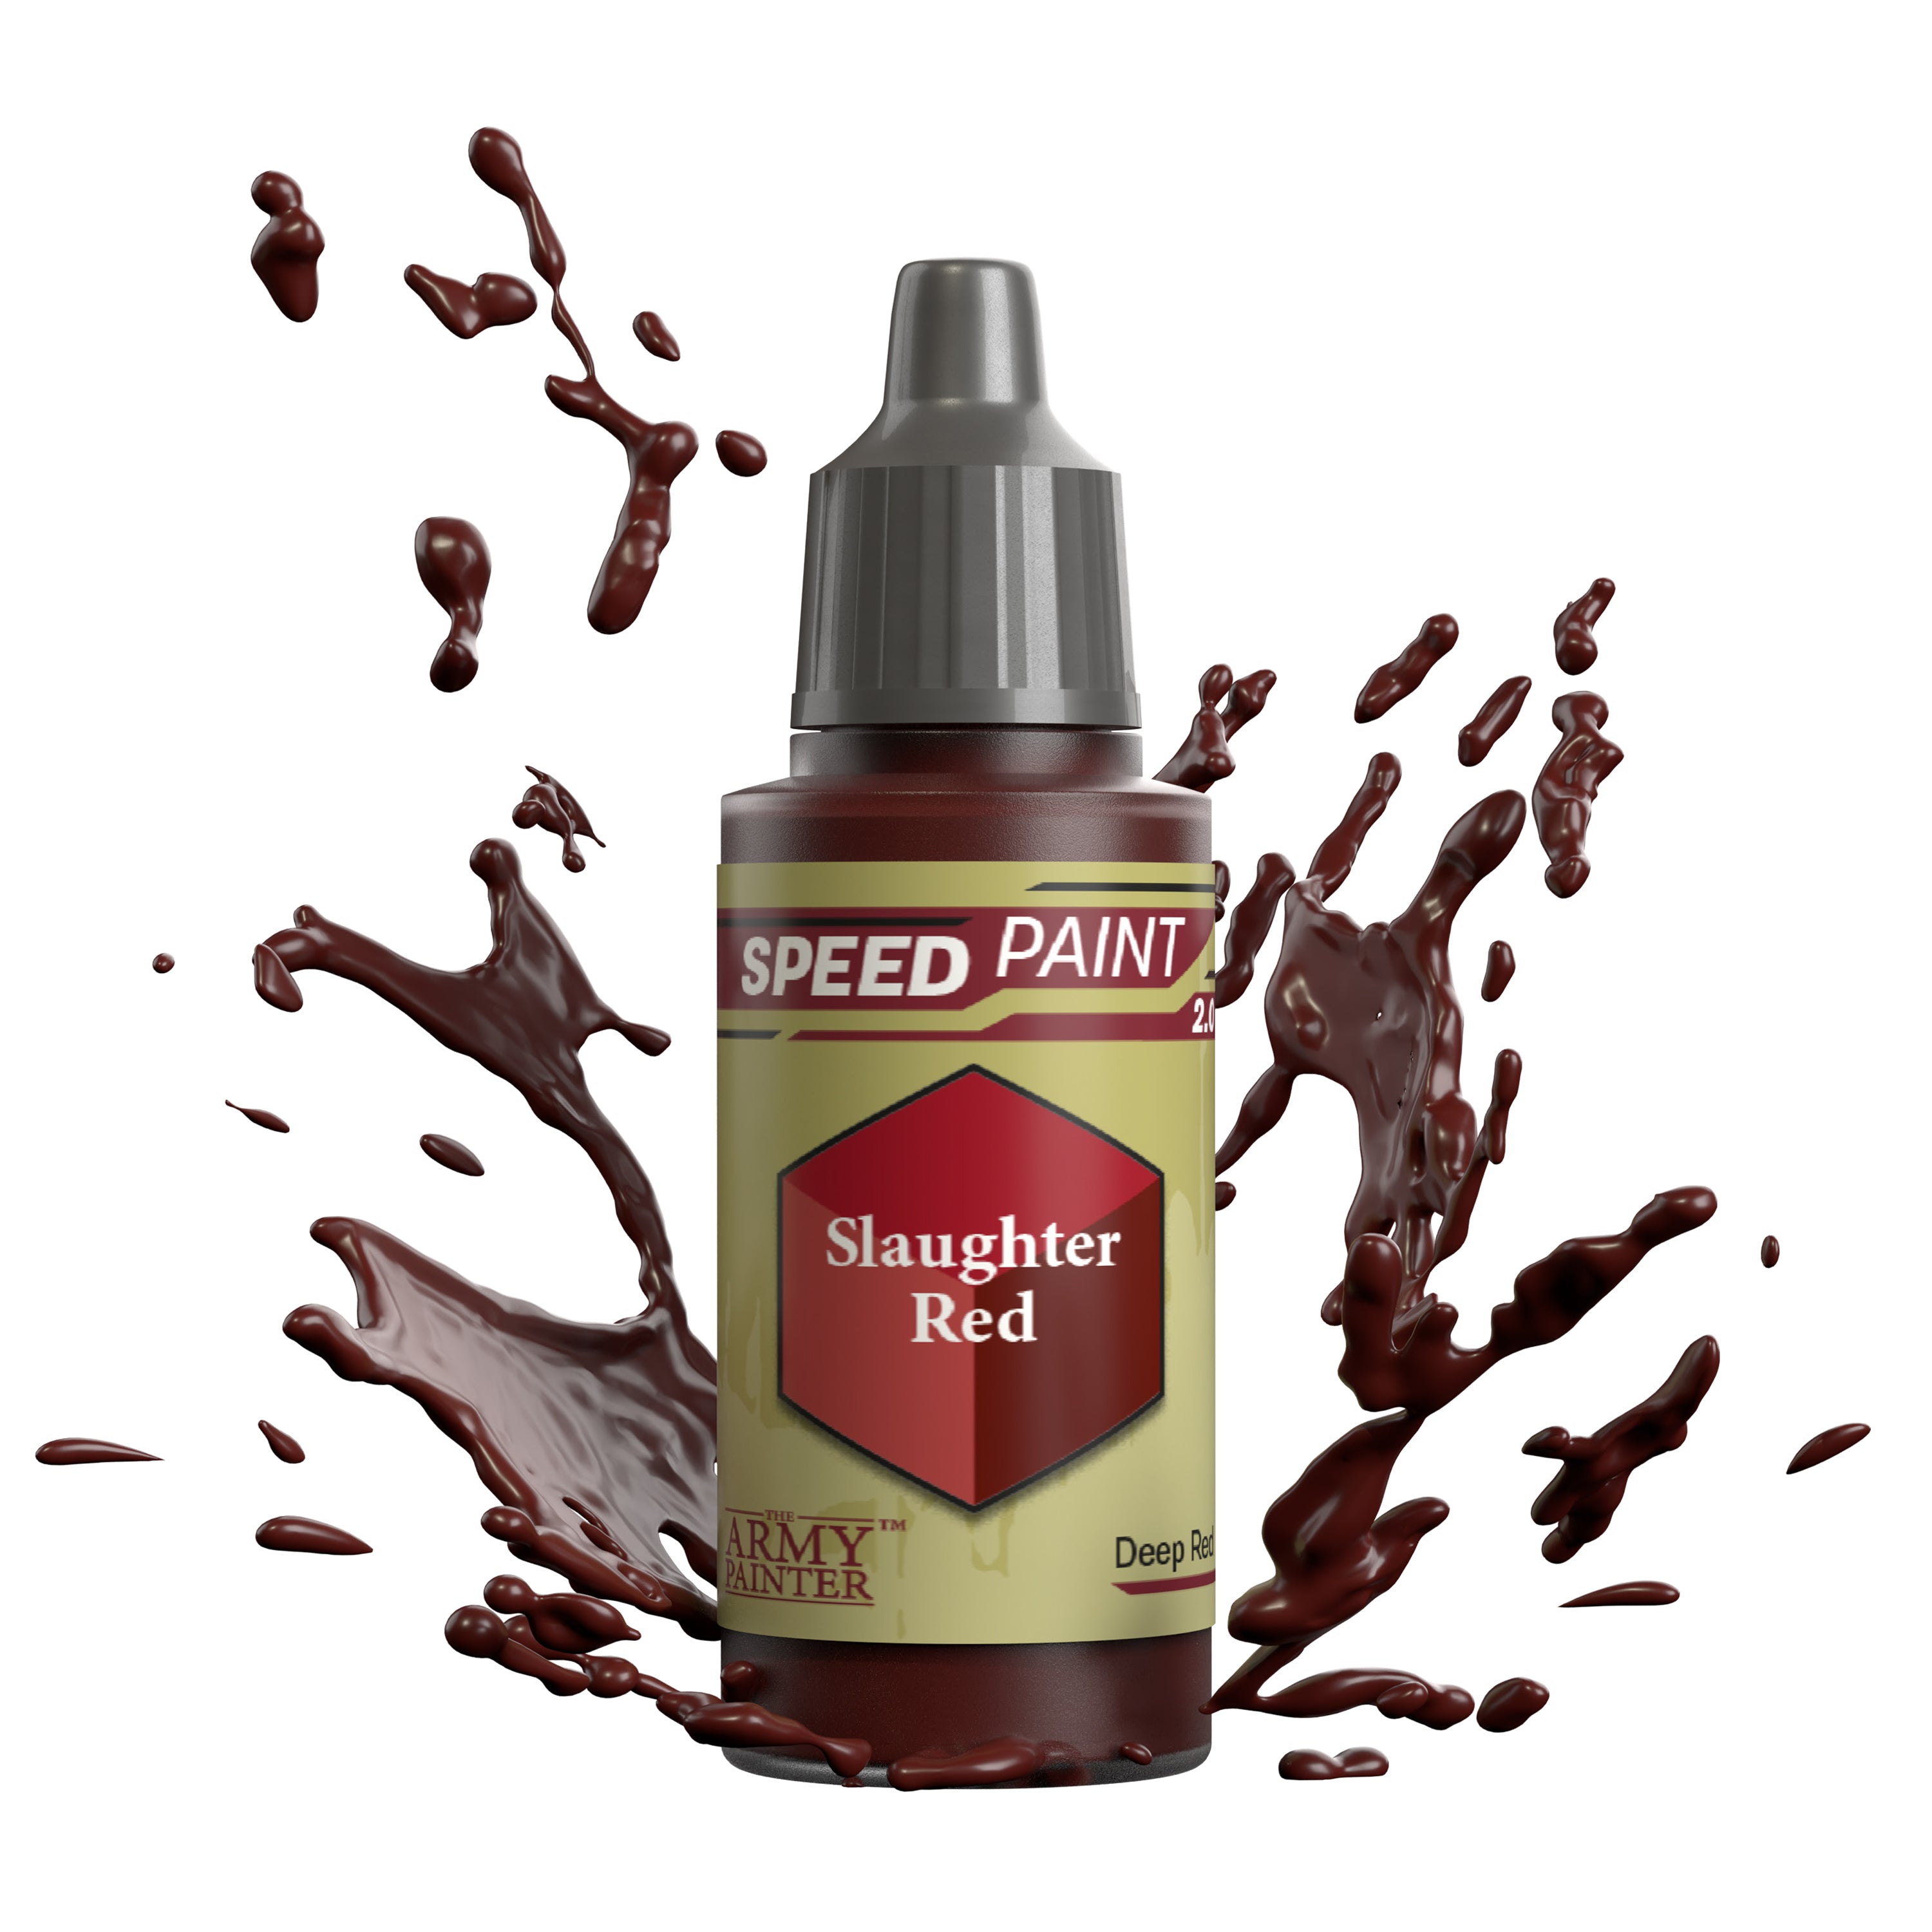
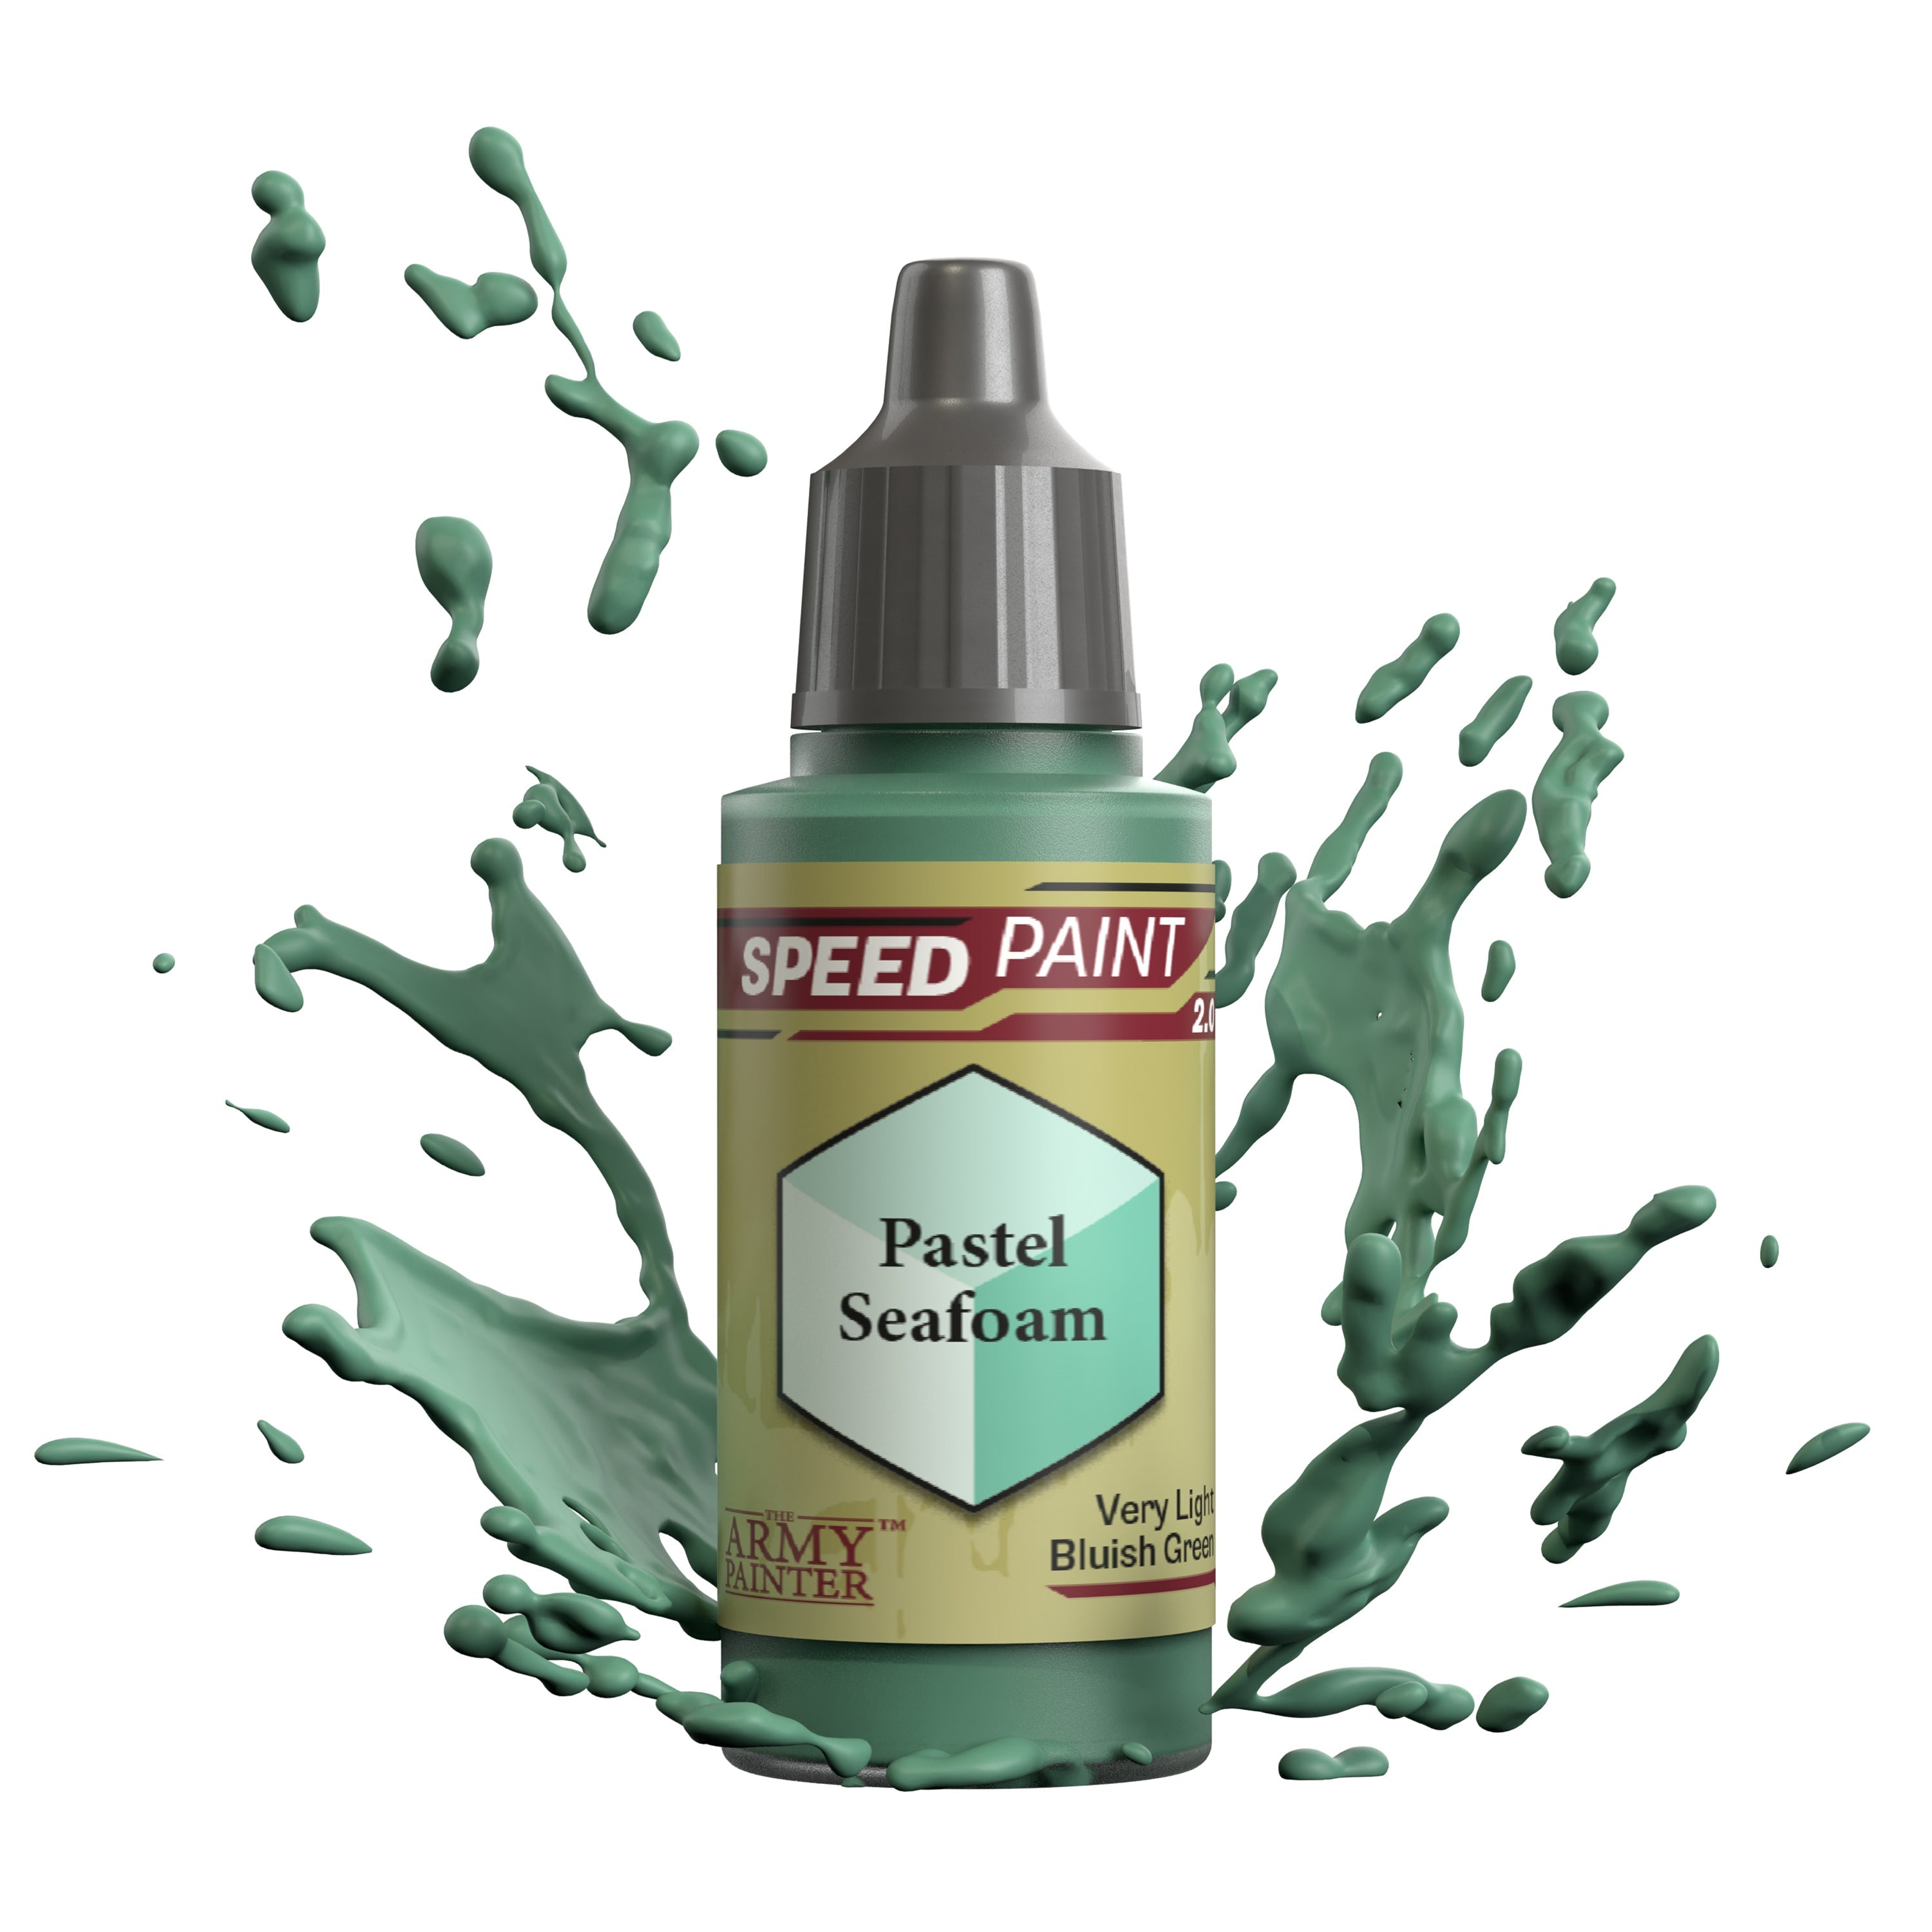
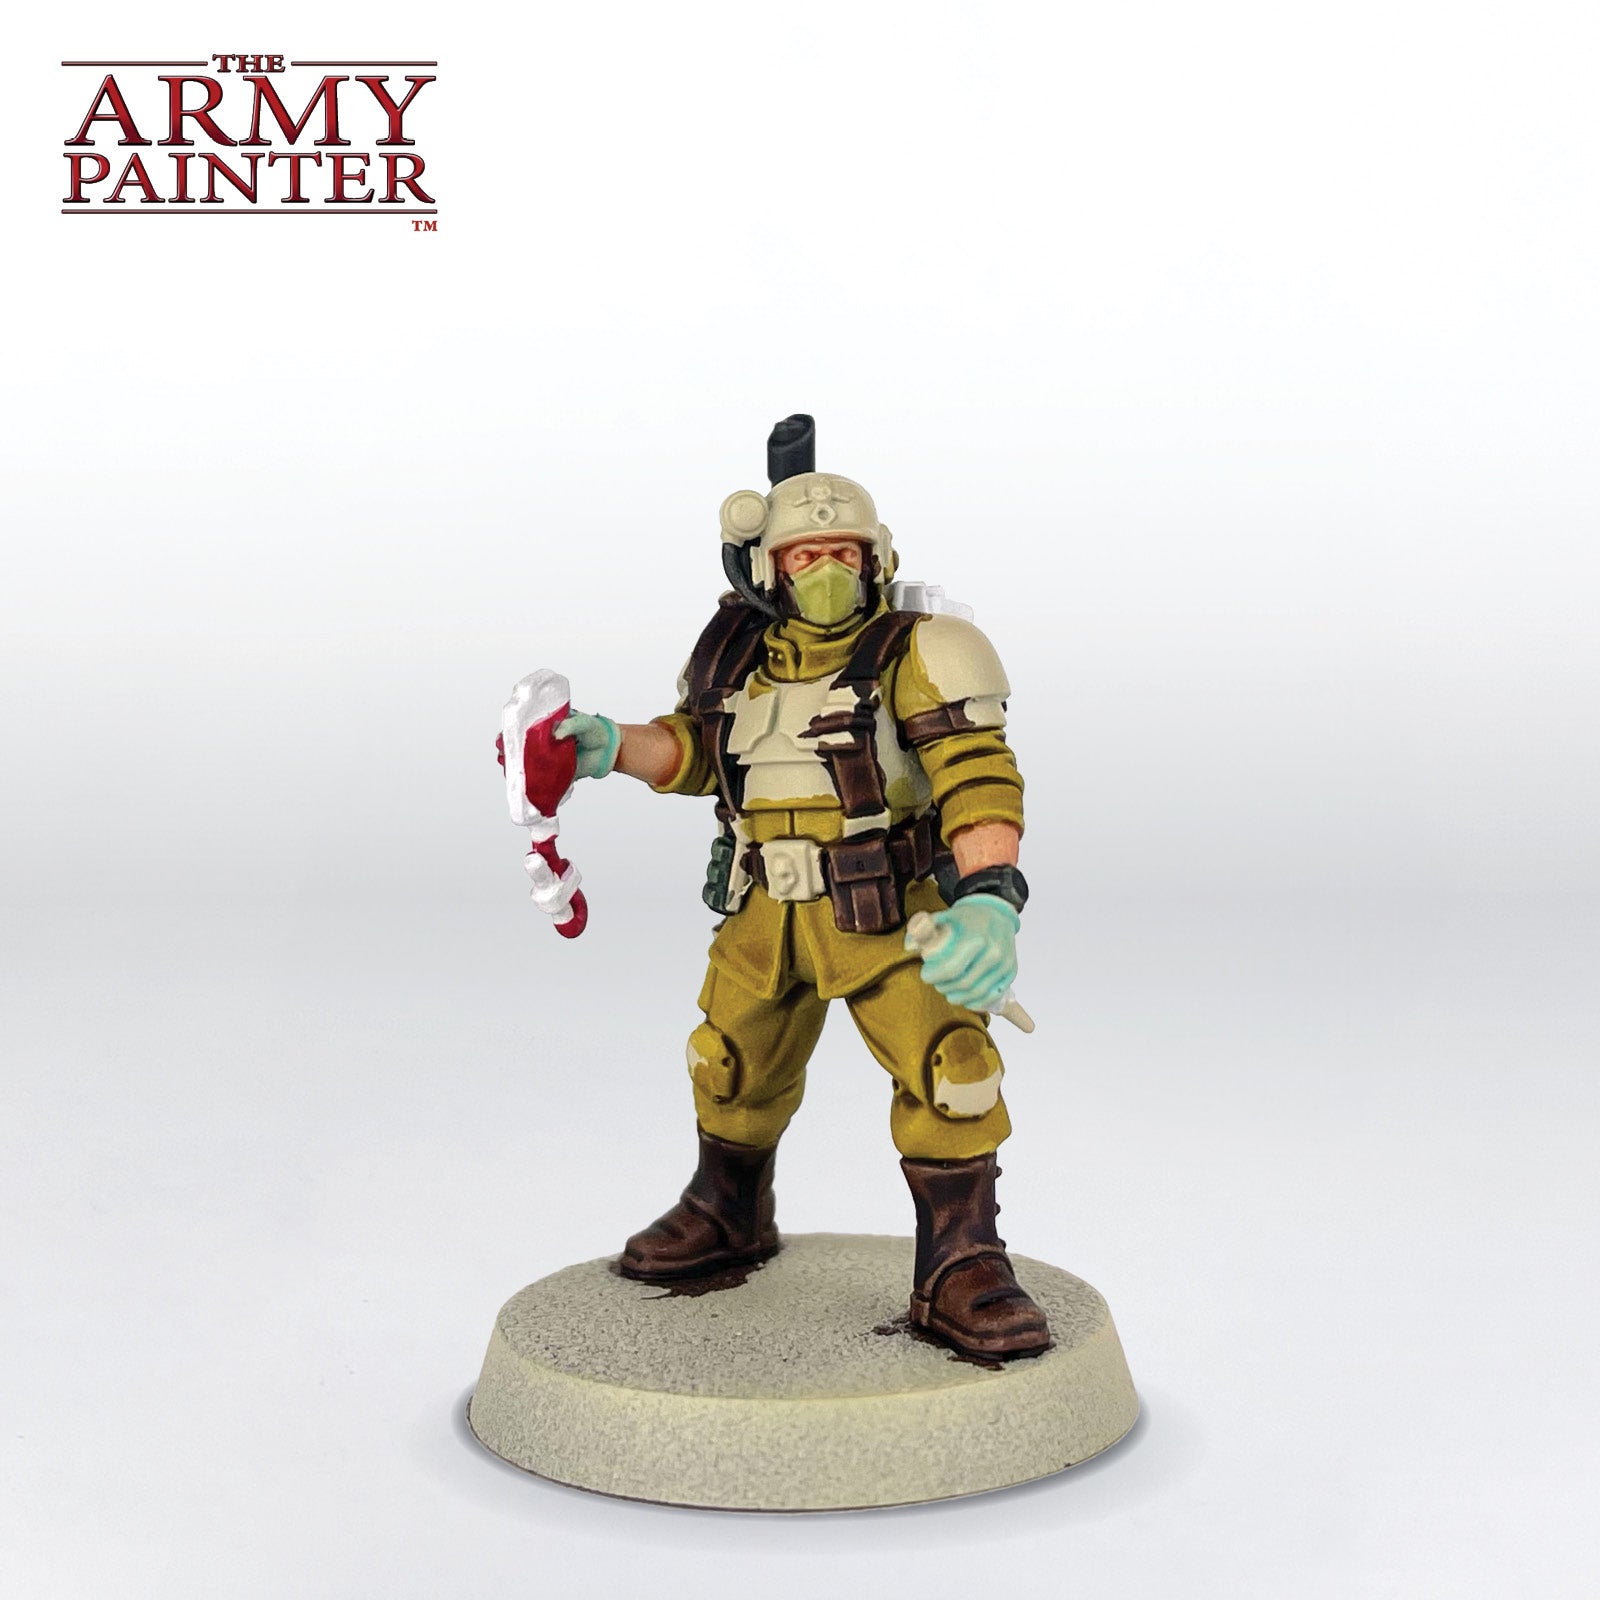
The medic in this unit has some additional areas unique to just him. Basecoat the blood pouch, the pouch ontop of his backpack, and the glass areas on the needle with Warpaints Fanatic Brigade Grey. Next, paint the blood in the pouch he’s carrying with Speedpaint Slaughter Red, and his gloves with Speedpaint Pastel Seafoam.

Stage 1 Step 9

Step 9

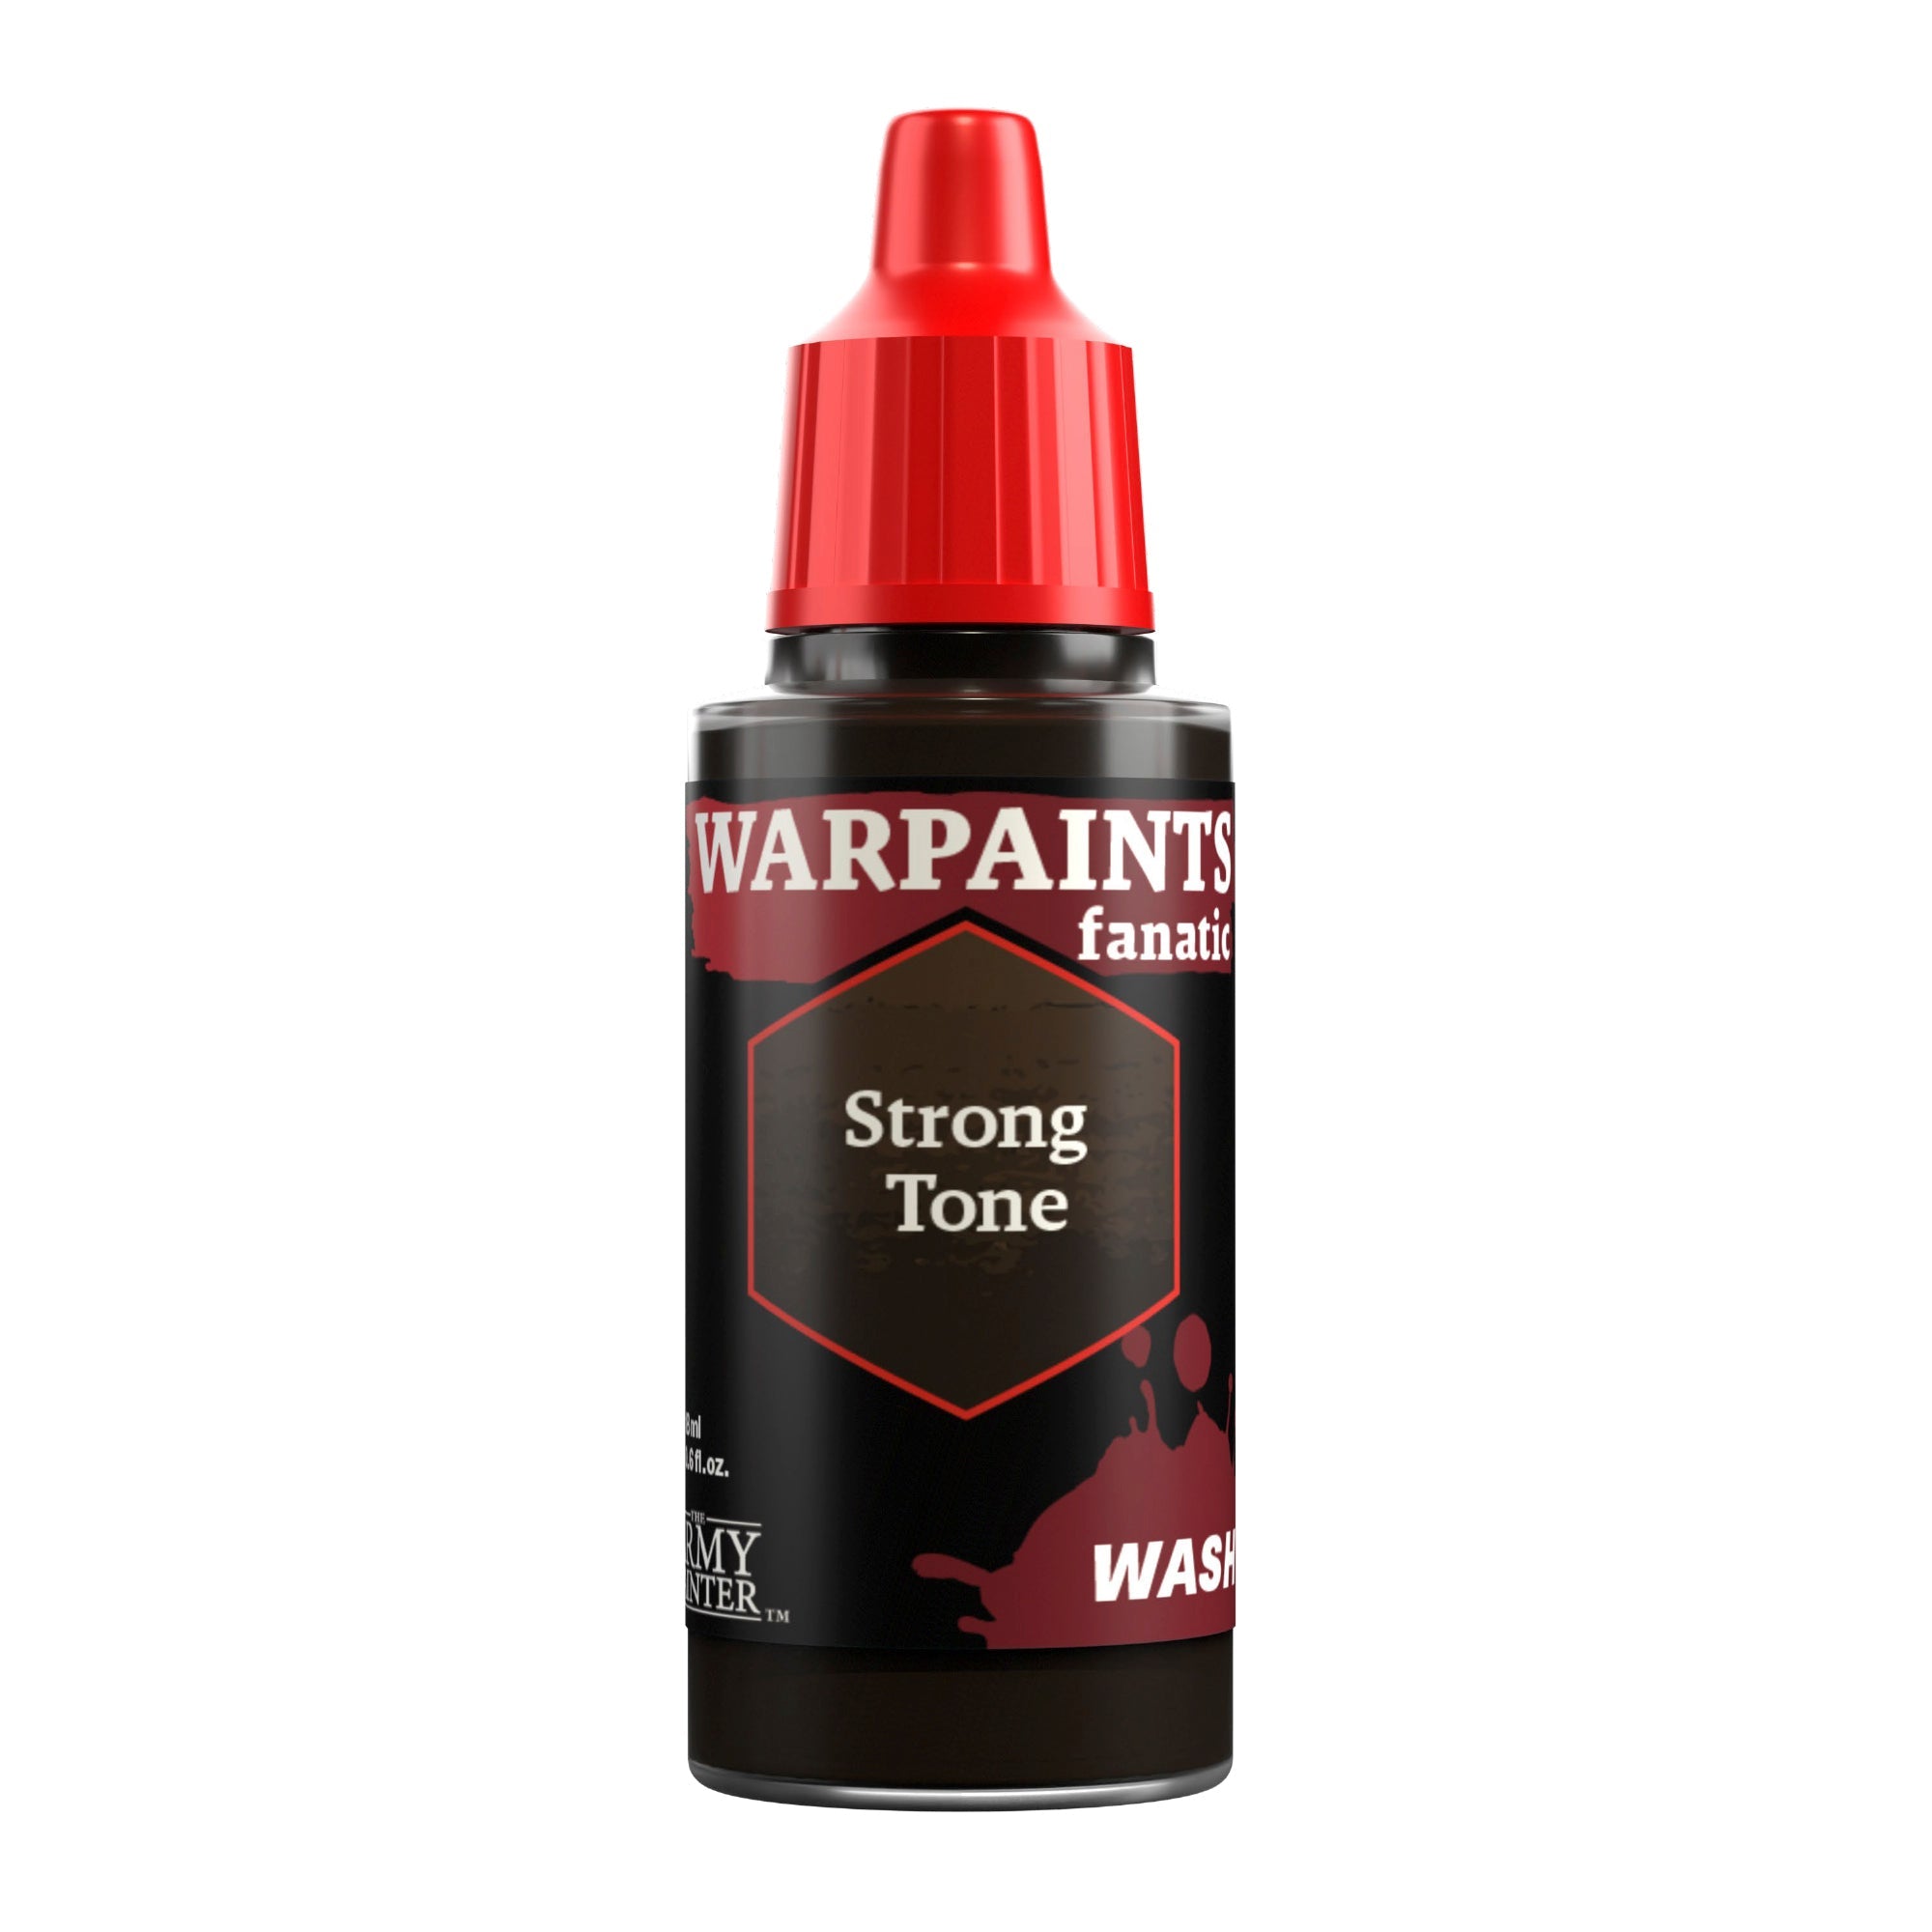
Finish off this stage with an all-over coat of Warpaints Fanatic Strong Tone. This goes over every colour we previously painted, but make sure to not let it pool to strongly in any one area.

Banner

Stage 2

Stage 2 Step 1

Step 1

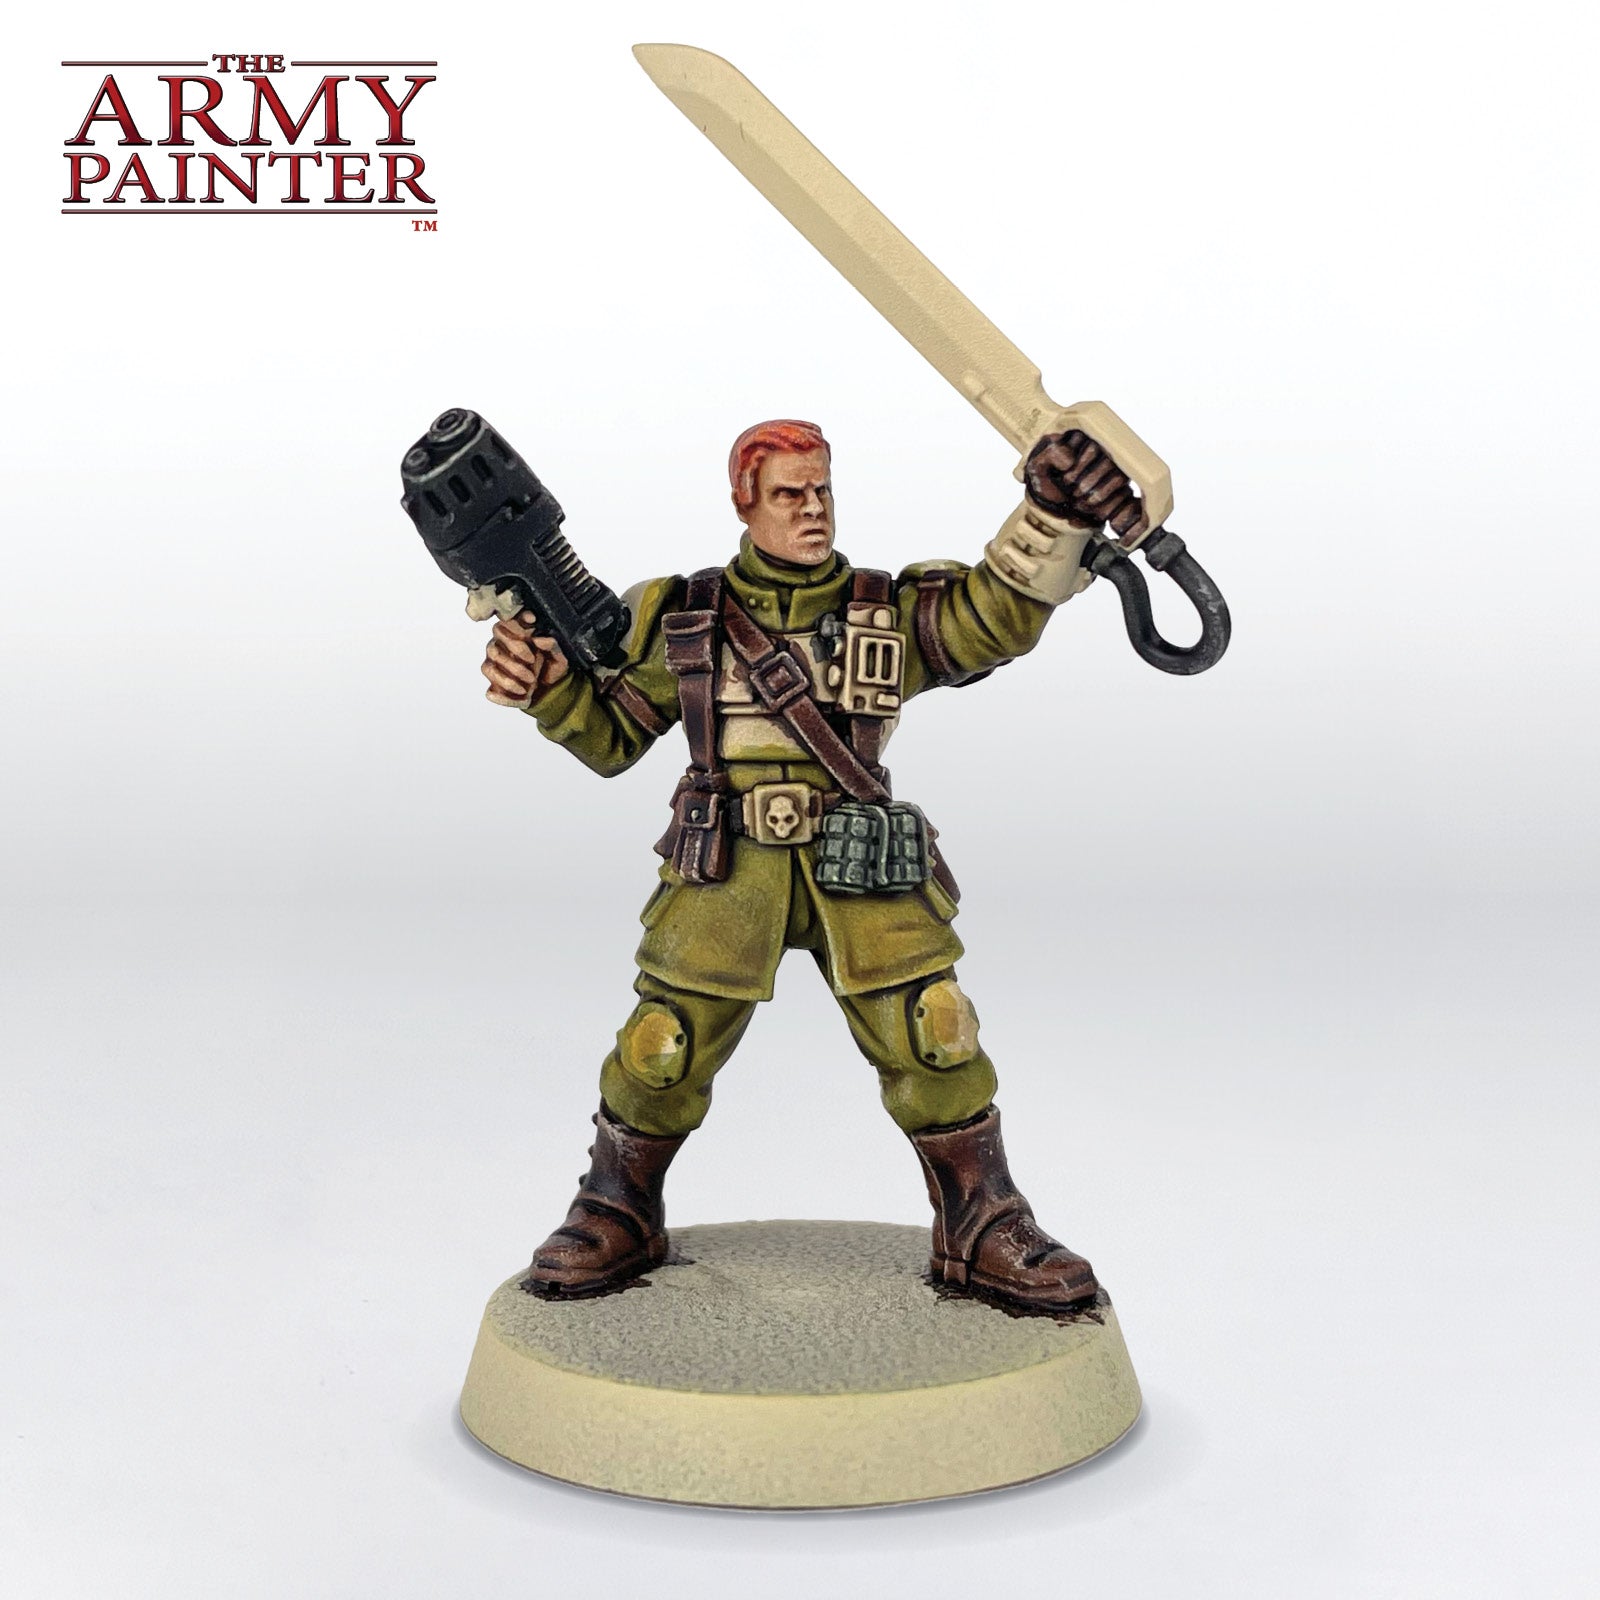
Congratulations, you’ve made it through boot camp! Now we move on to defining the model more and getting it closer to our finished goal. Start with an all-over drybrush of Warpaints Fanatic Skeleton Bone. You want to make sure the cloth and skin get a good drybrush of this, while on the leather and black areas you just want to pick out the edges, as this will be the final highlight for those parts. The Wargamer Small Drybrush is great for this as it picks out just the edges more than the Masterclass Drybrushes, which are better for getting a nice, smooth all-over drybrush effect.

Stage 2 Step 2

Step 2

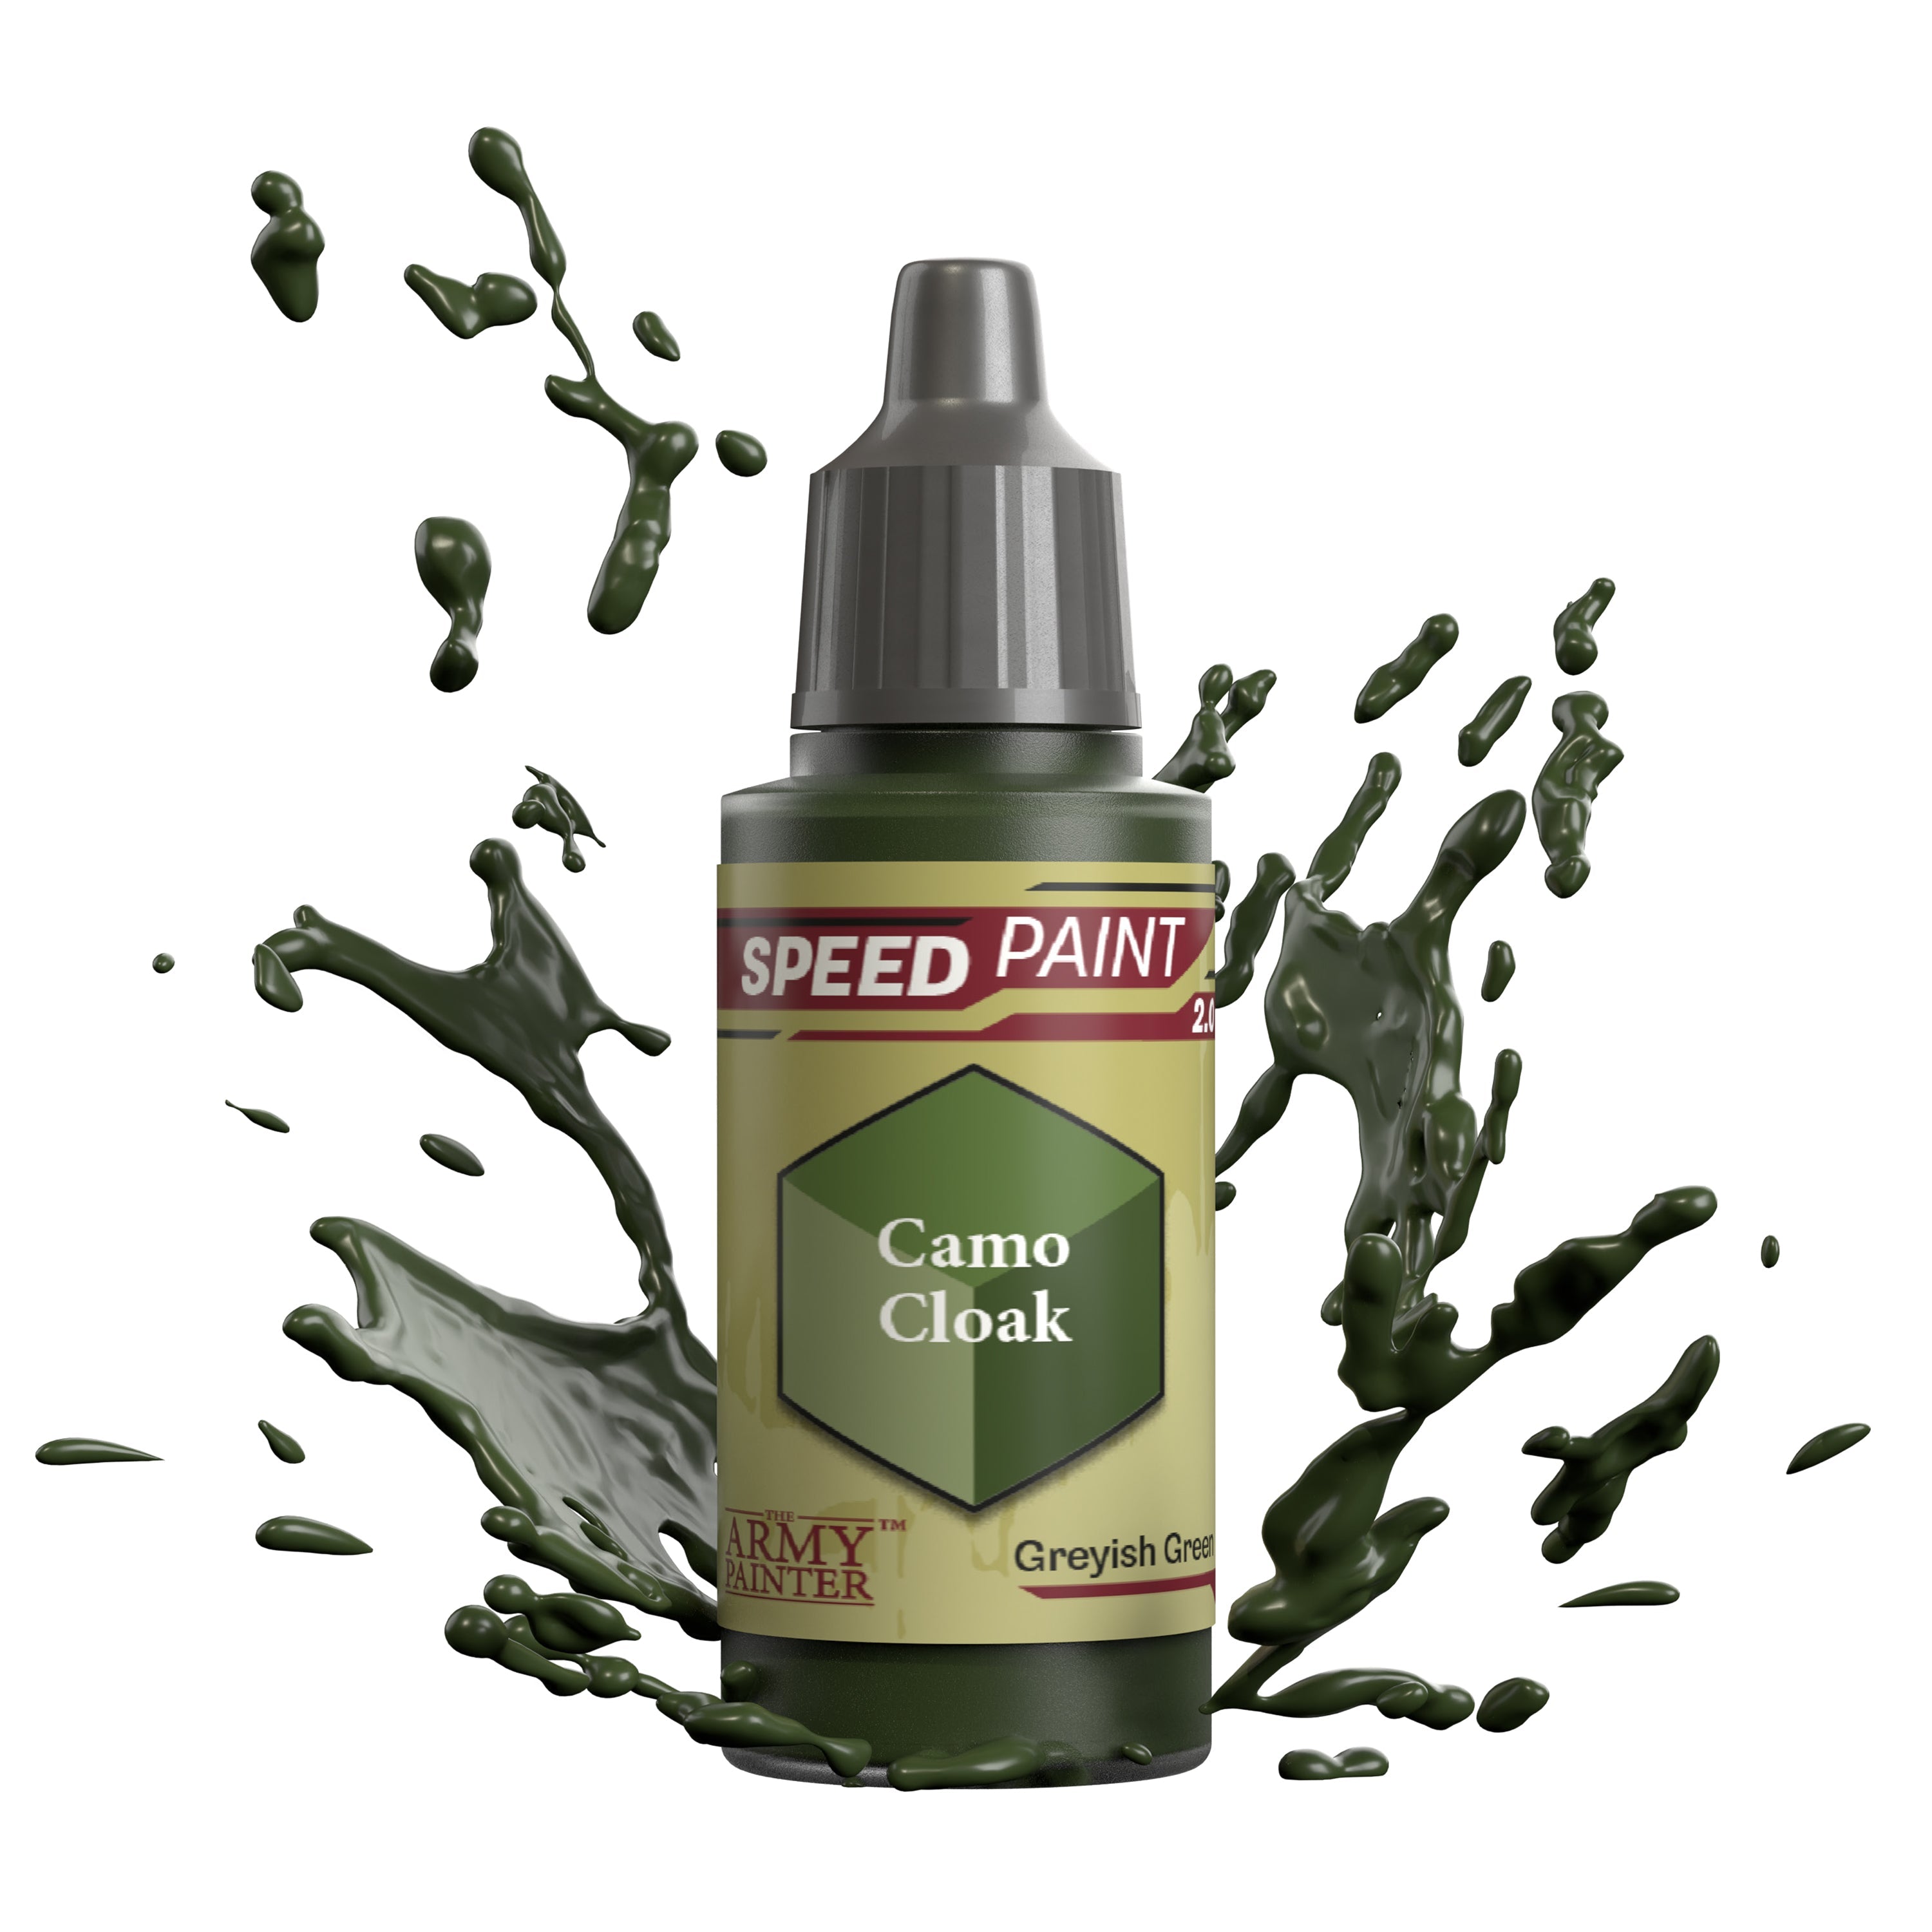
Apply a 1:1 mix of Speedpaint Camo Cloak and Speedpaint Medium to all of the clothing.

Stage 2 Step 3

Step 3

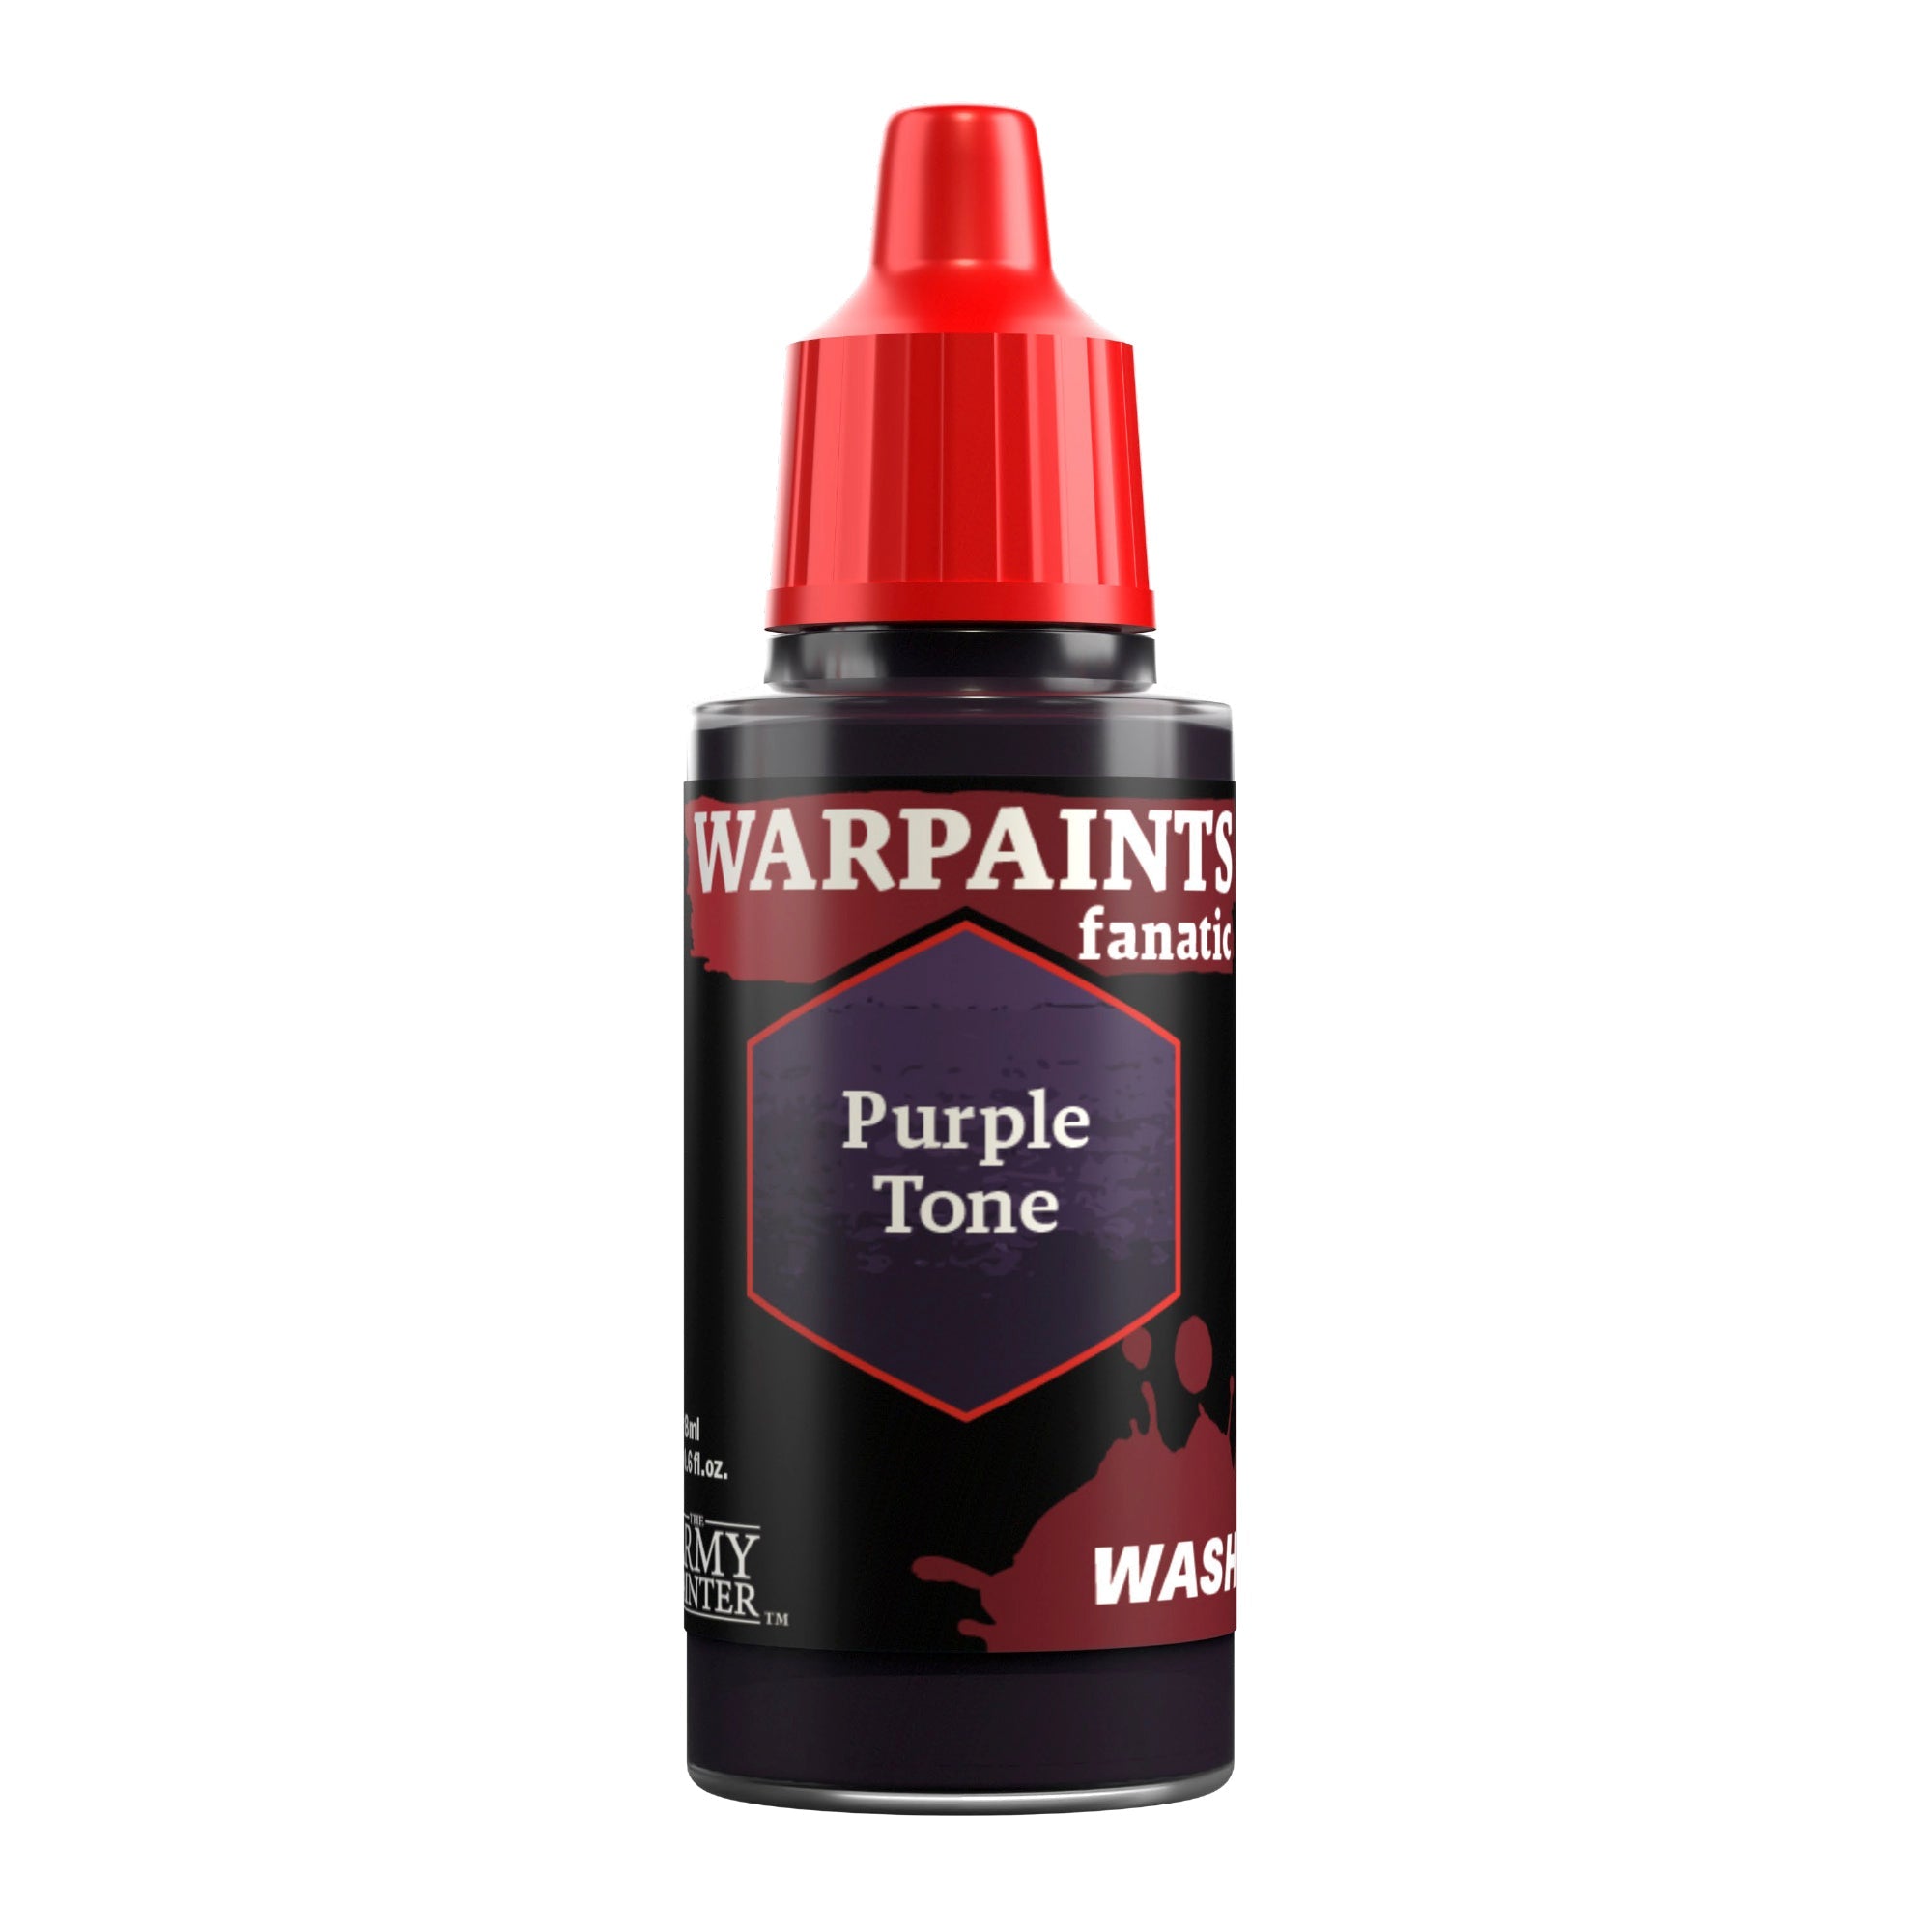
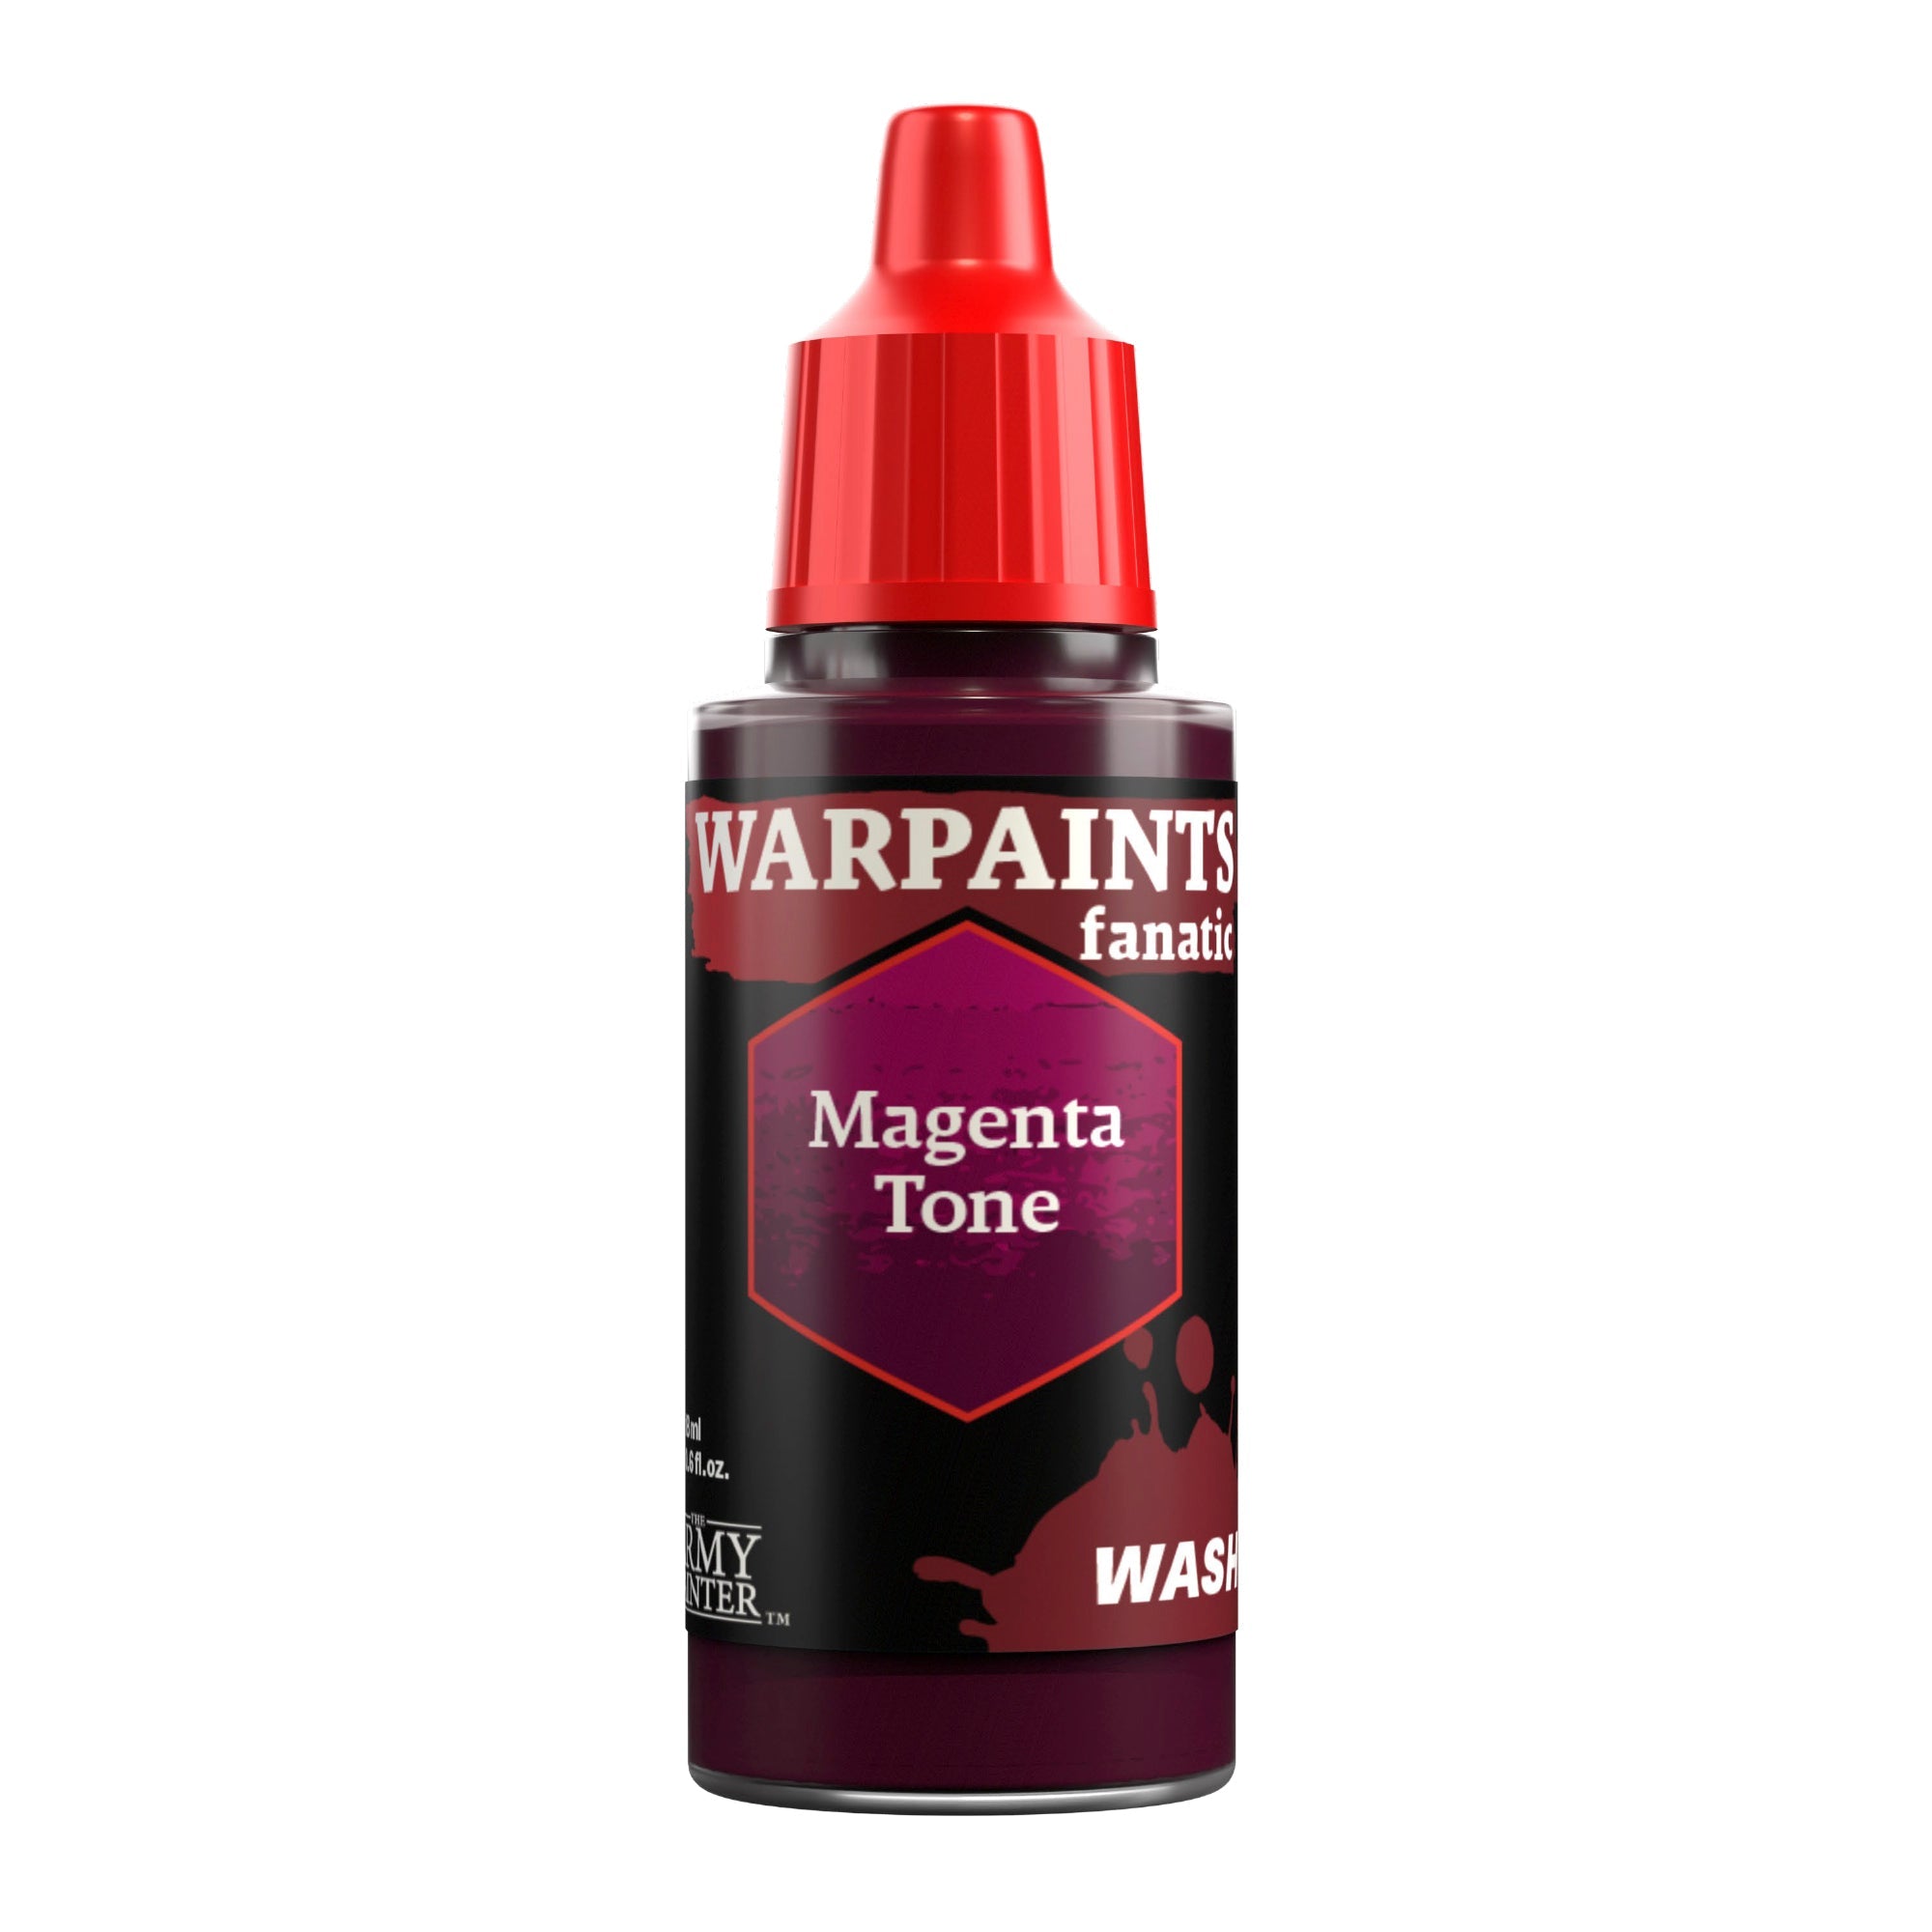
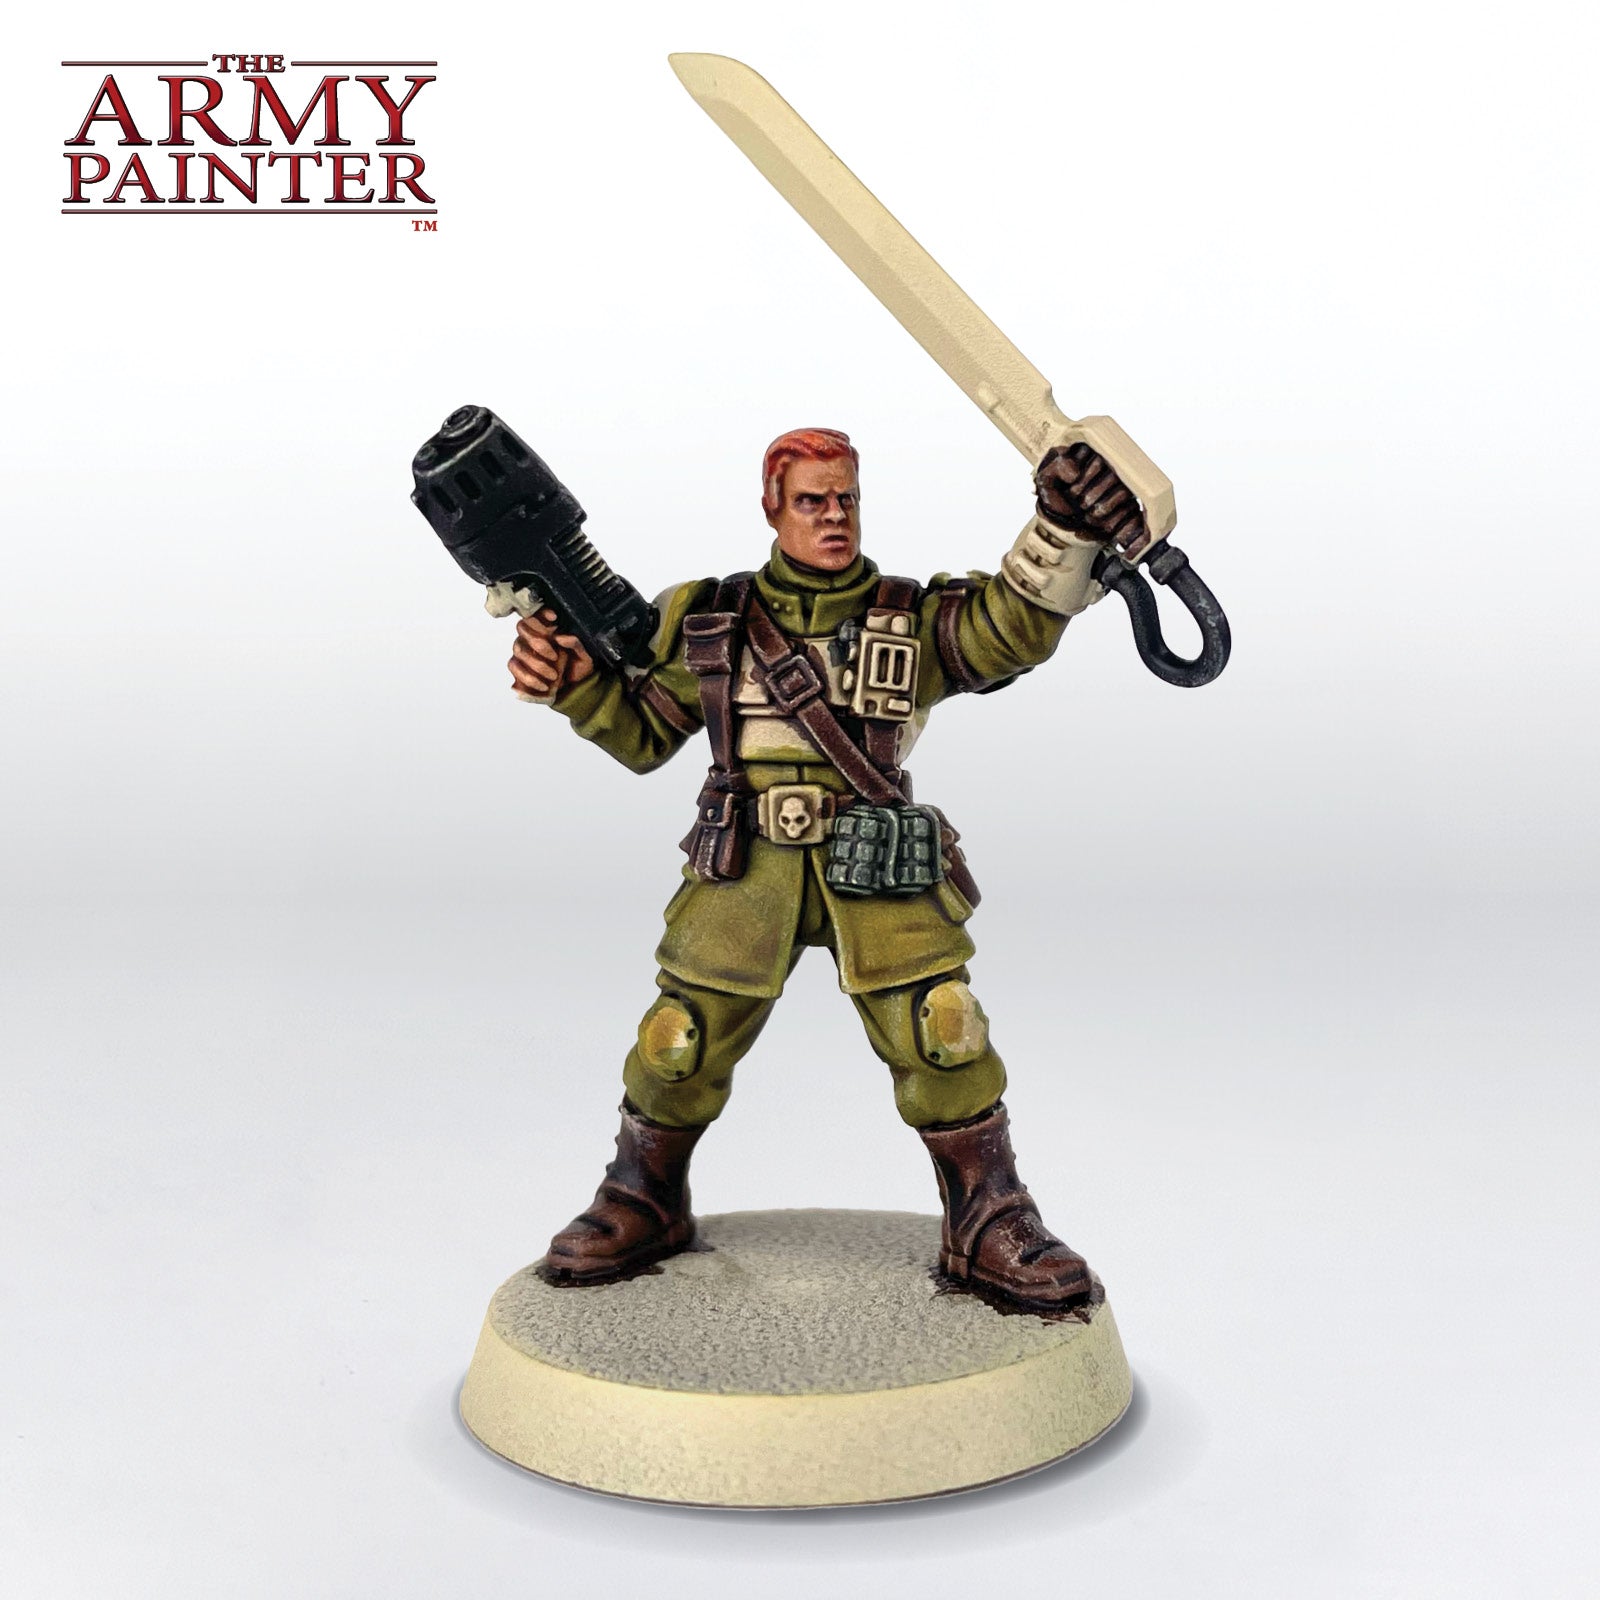
To define the skin and face more, apply a second coat of Speedpaint Peachy Flesh to the models that received that colour earlier. Then paint some Warpaints Fanatic Wash Purple Tone into the eyes, and Warpaints Fanatic Wash Magenta Tone onto the bottom lips. This brings a bit of warmth into the face.

Banner

The Armour

The Armour Step 1

Step 1

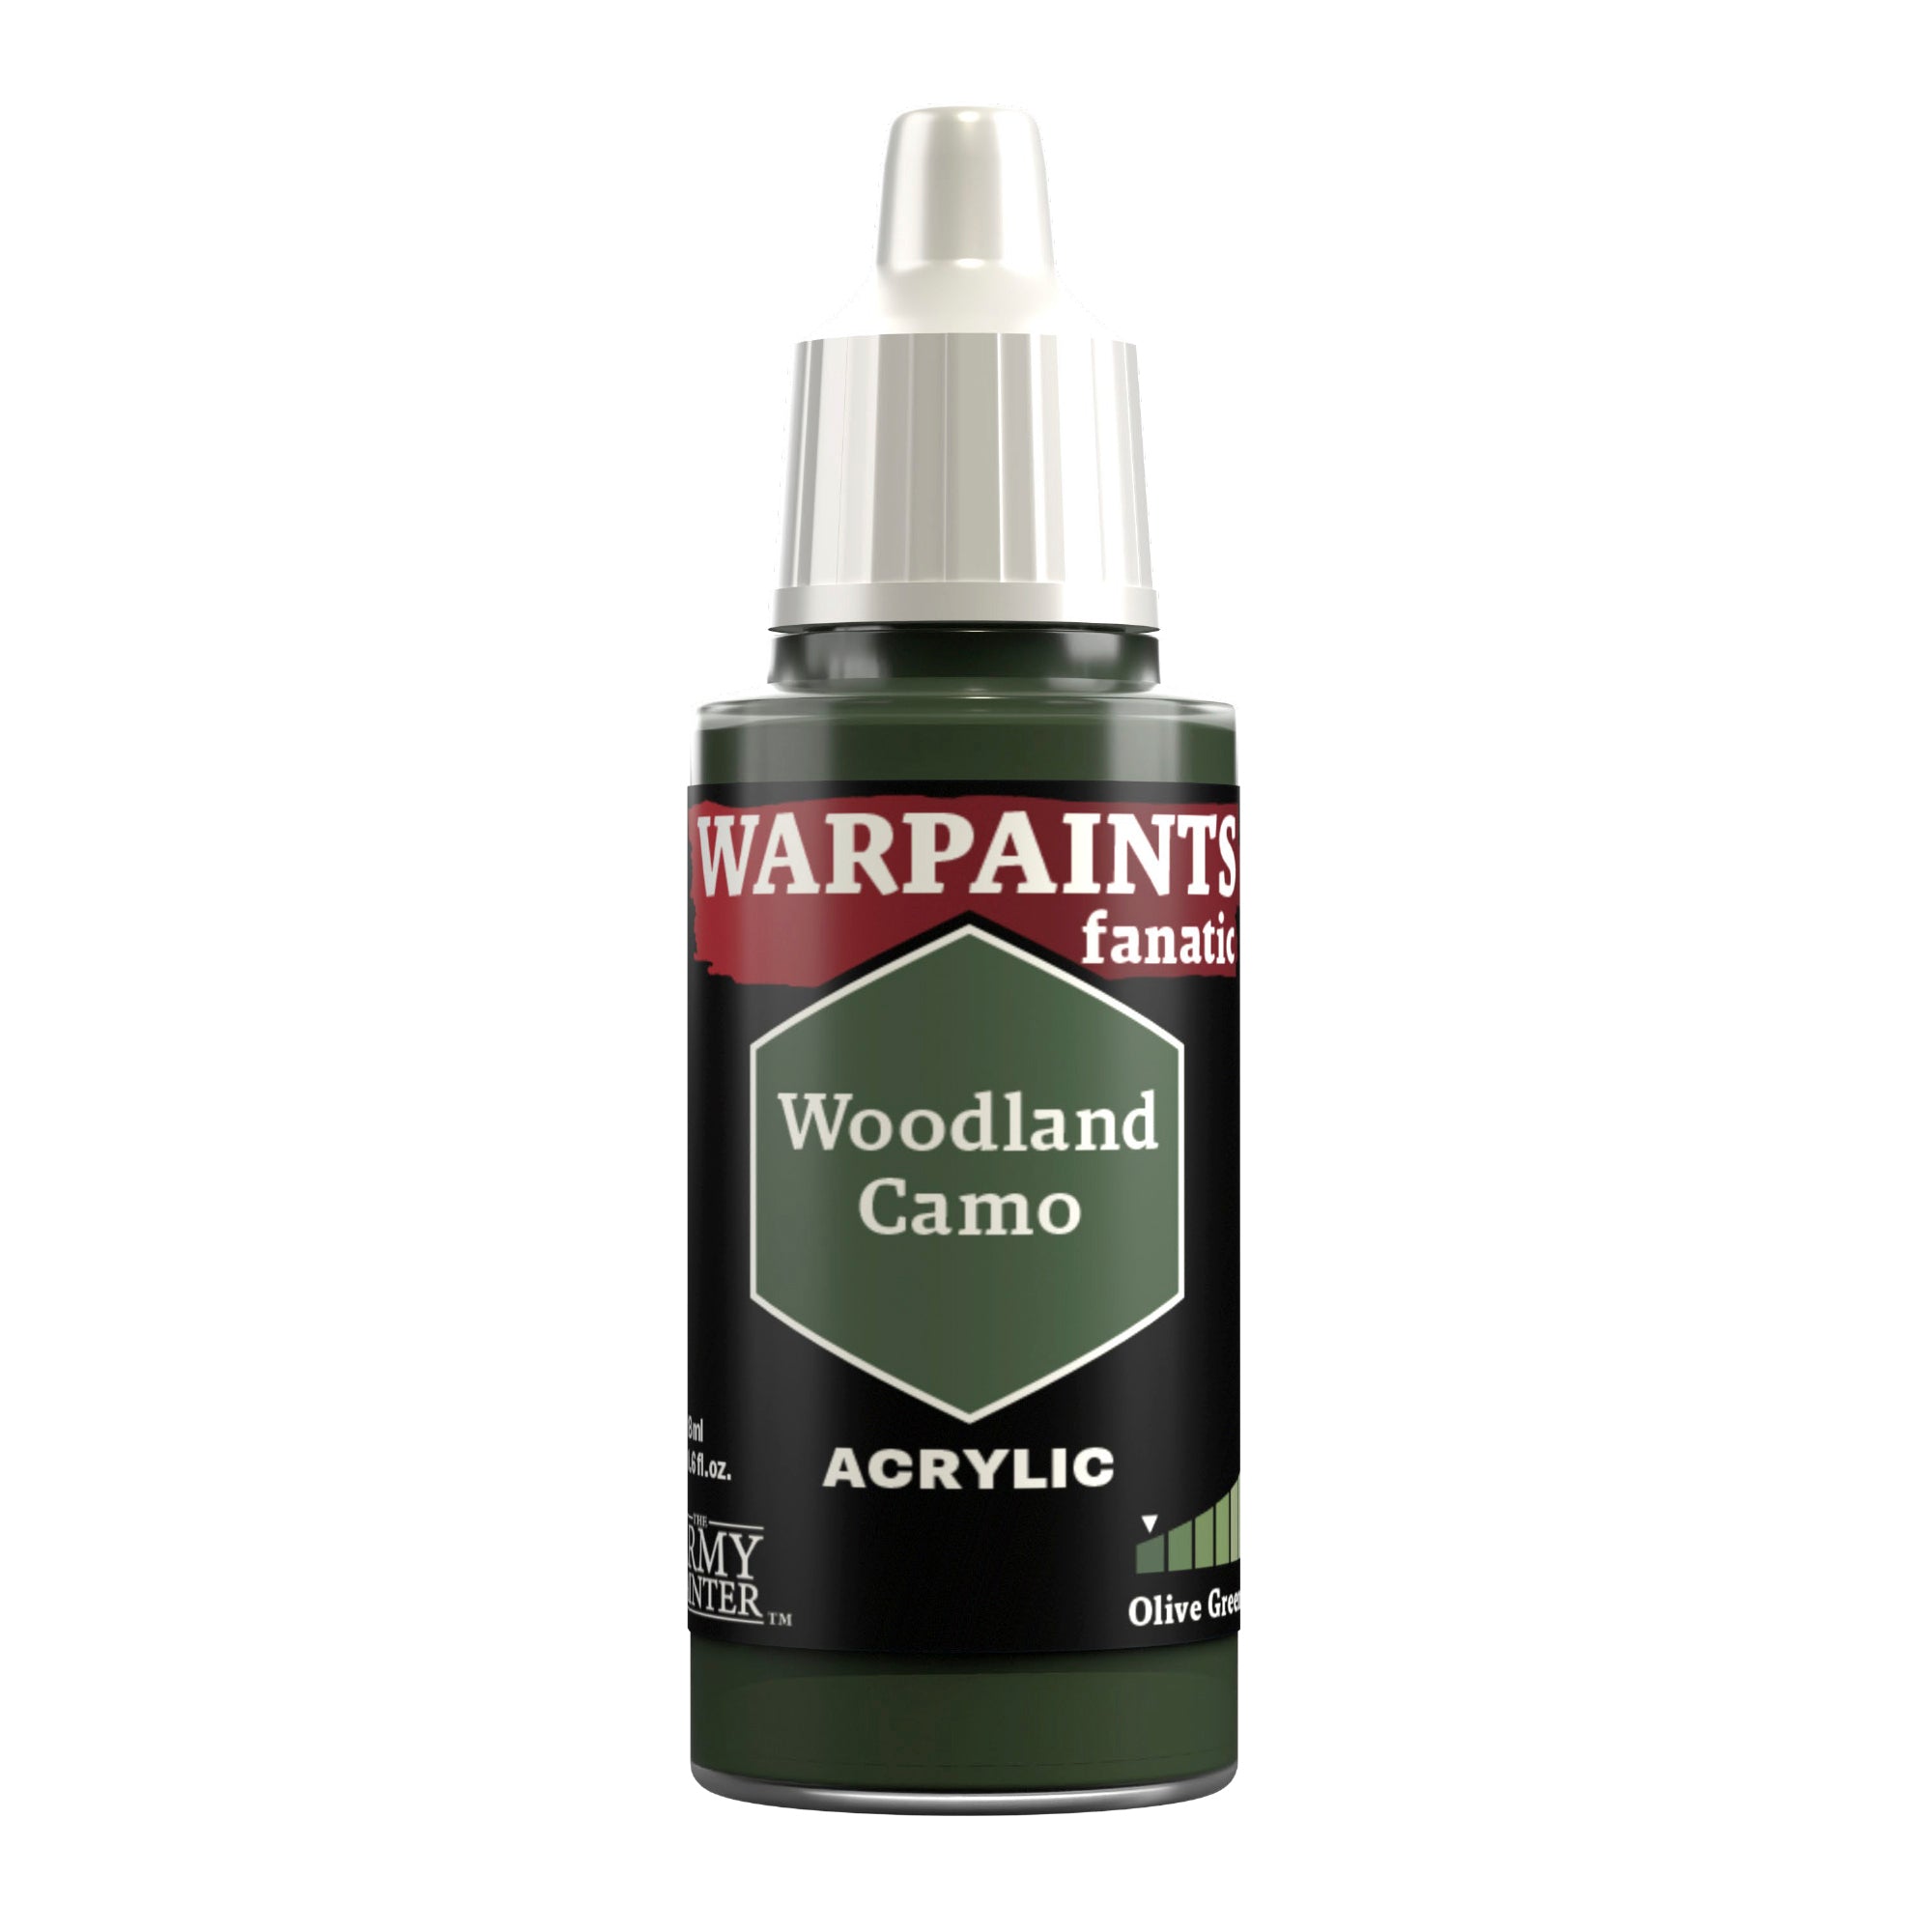
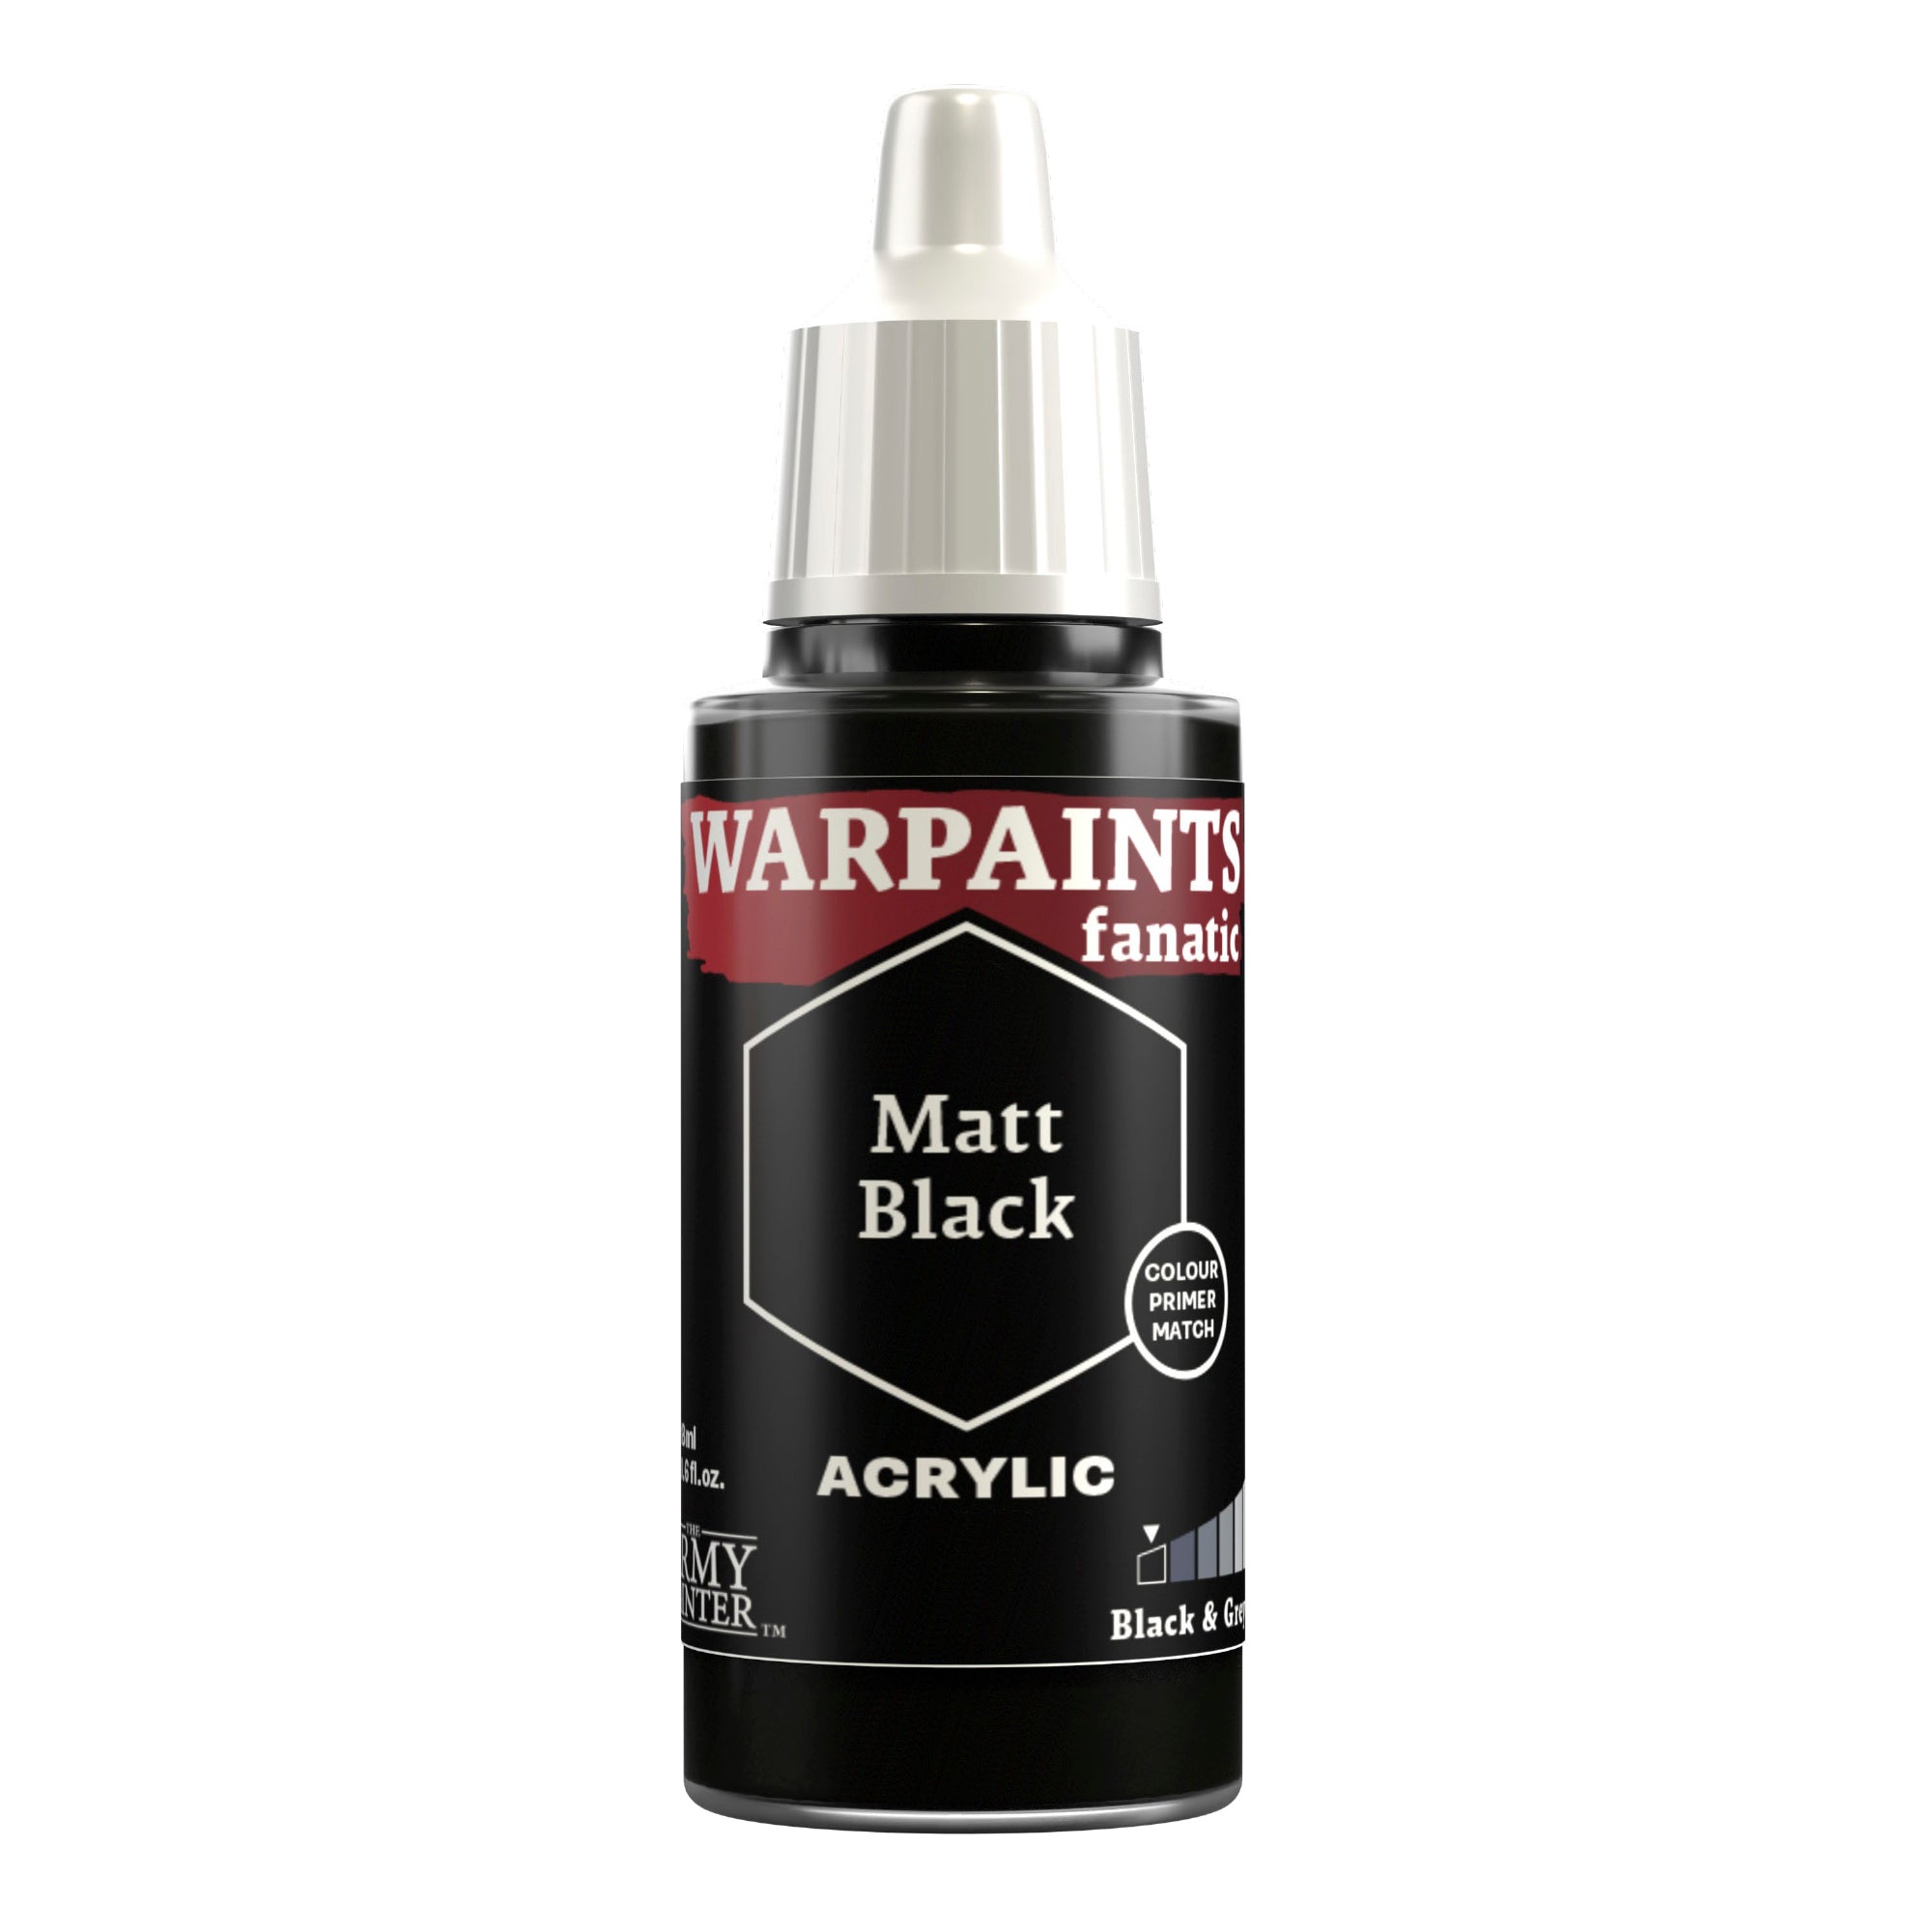
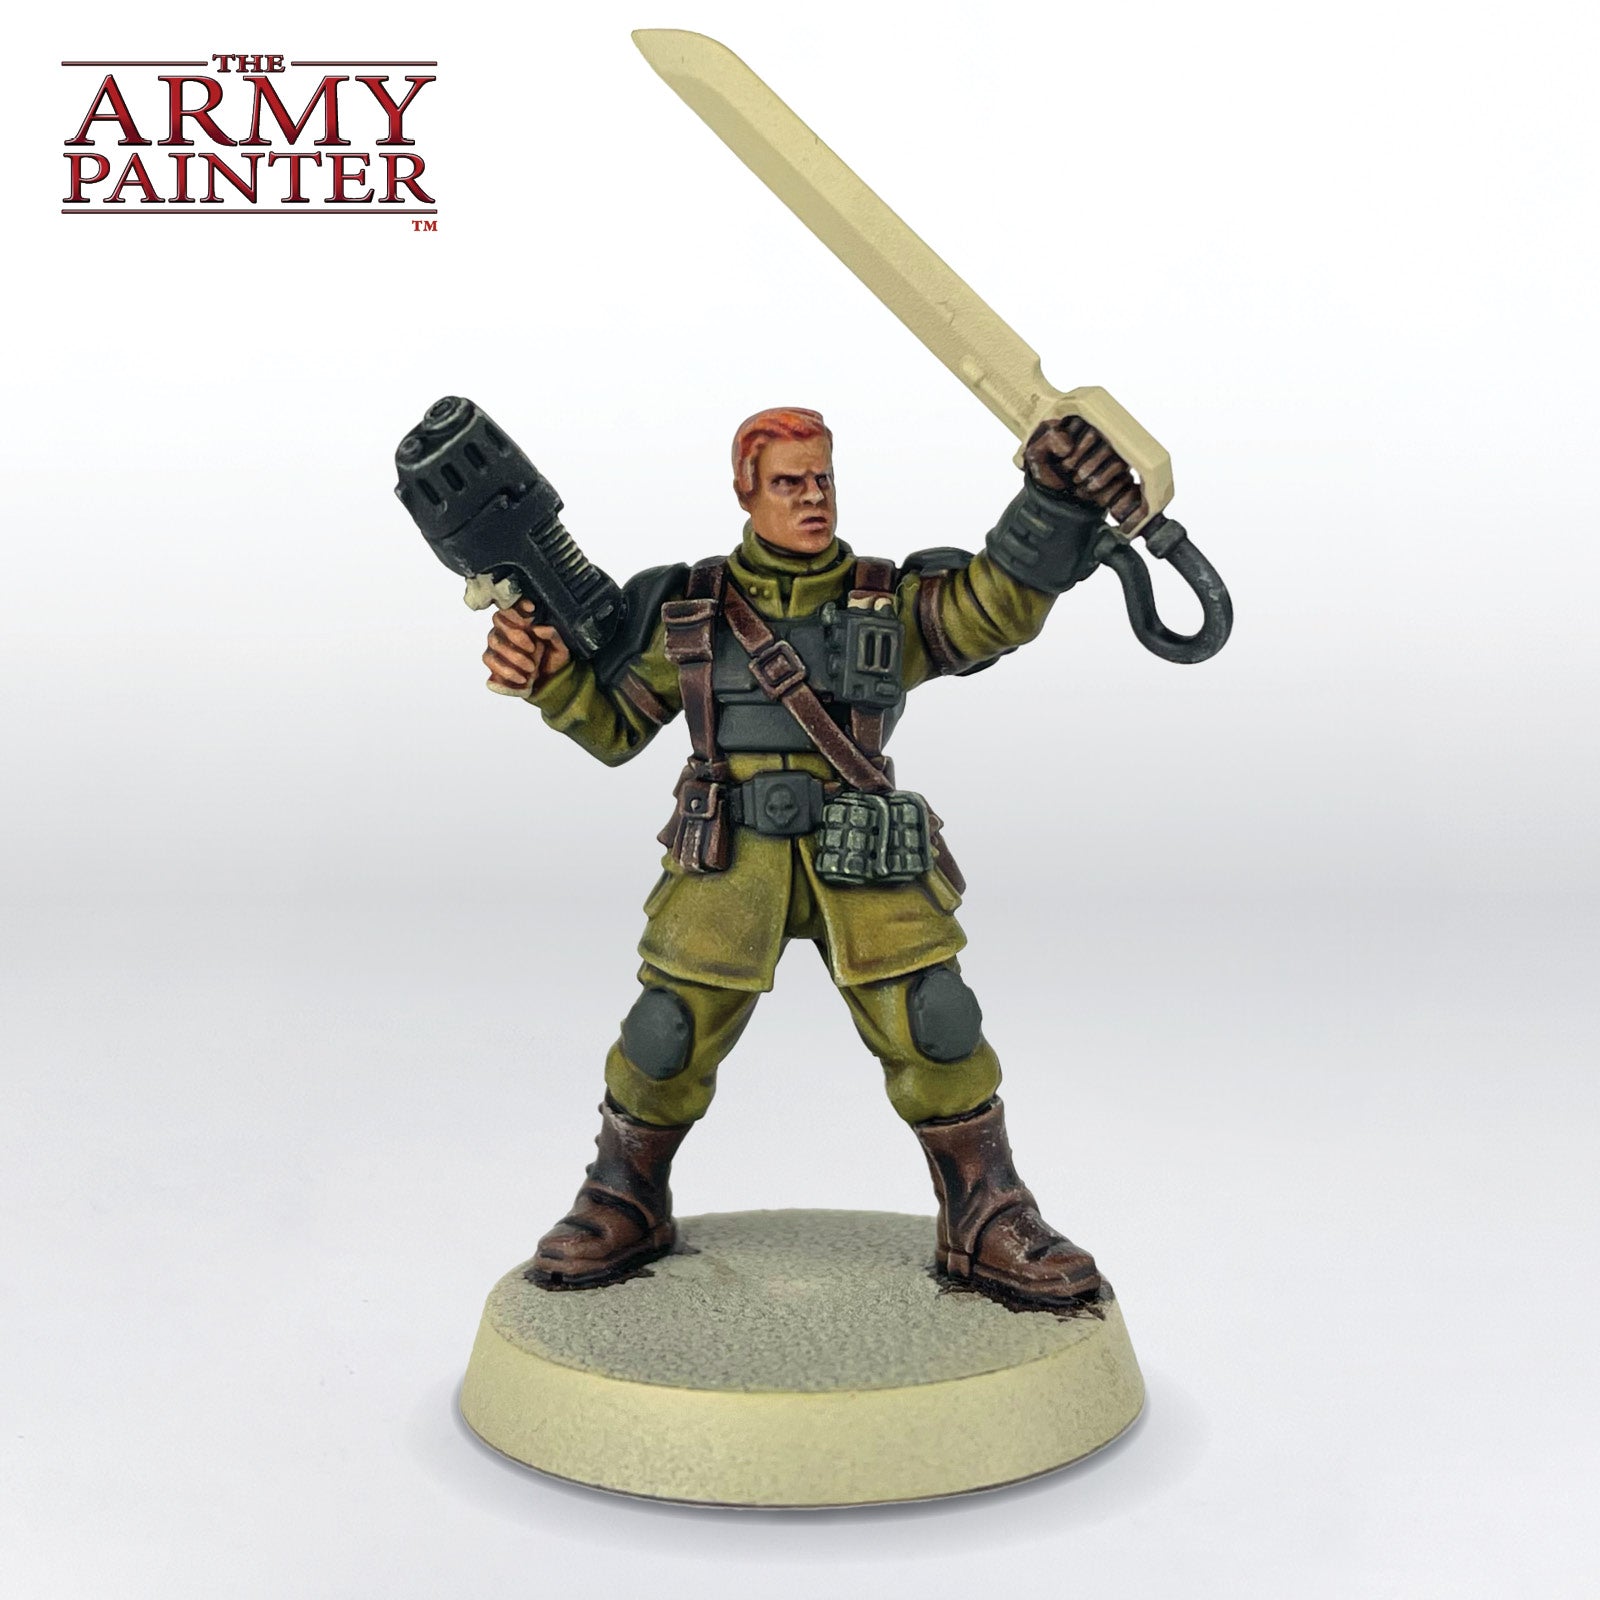
Report to your designated quartermaster and receive your regulation flak armour with a basecoat of Warpaints Fanatic Woodland Camo and Matt Black, mixed 1:1.

The Armour Step 2

Step 2

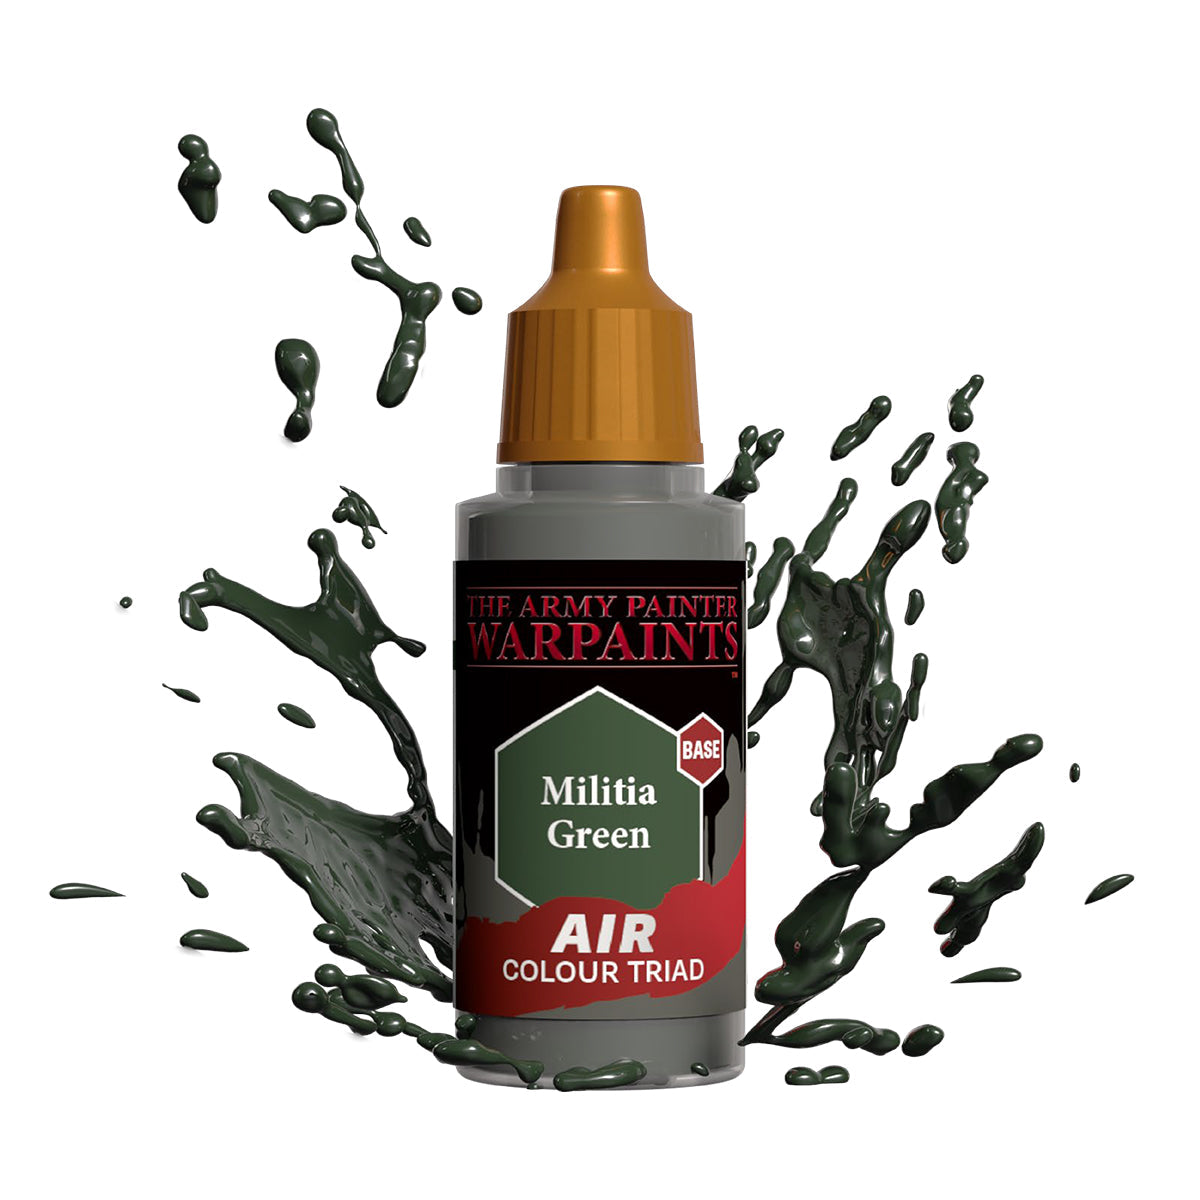
Next, apply a coat of Warpaints Air Militia Green overtop. The previous step will make this step go on in one coat, otherwise, you will have to paint around 4 layers of the Militia Green on since it’s thinned down for use in an airbrush.

The Armour Step 3

Step 3

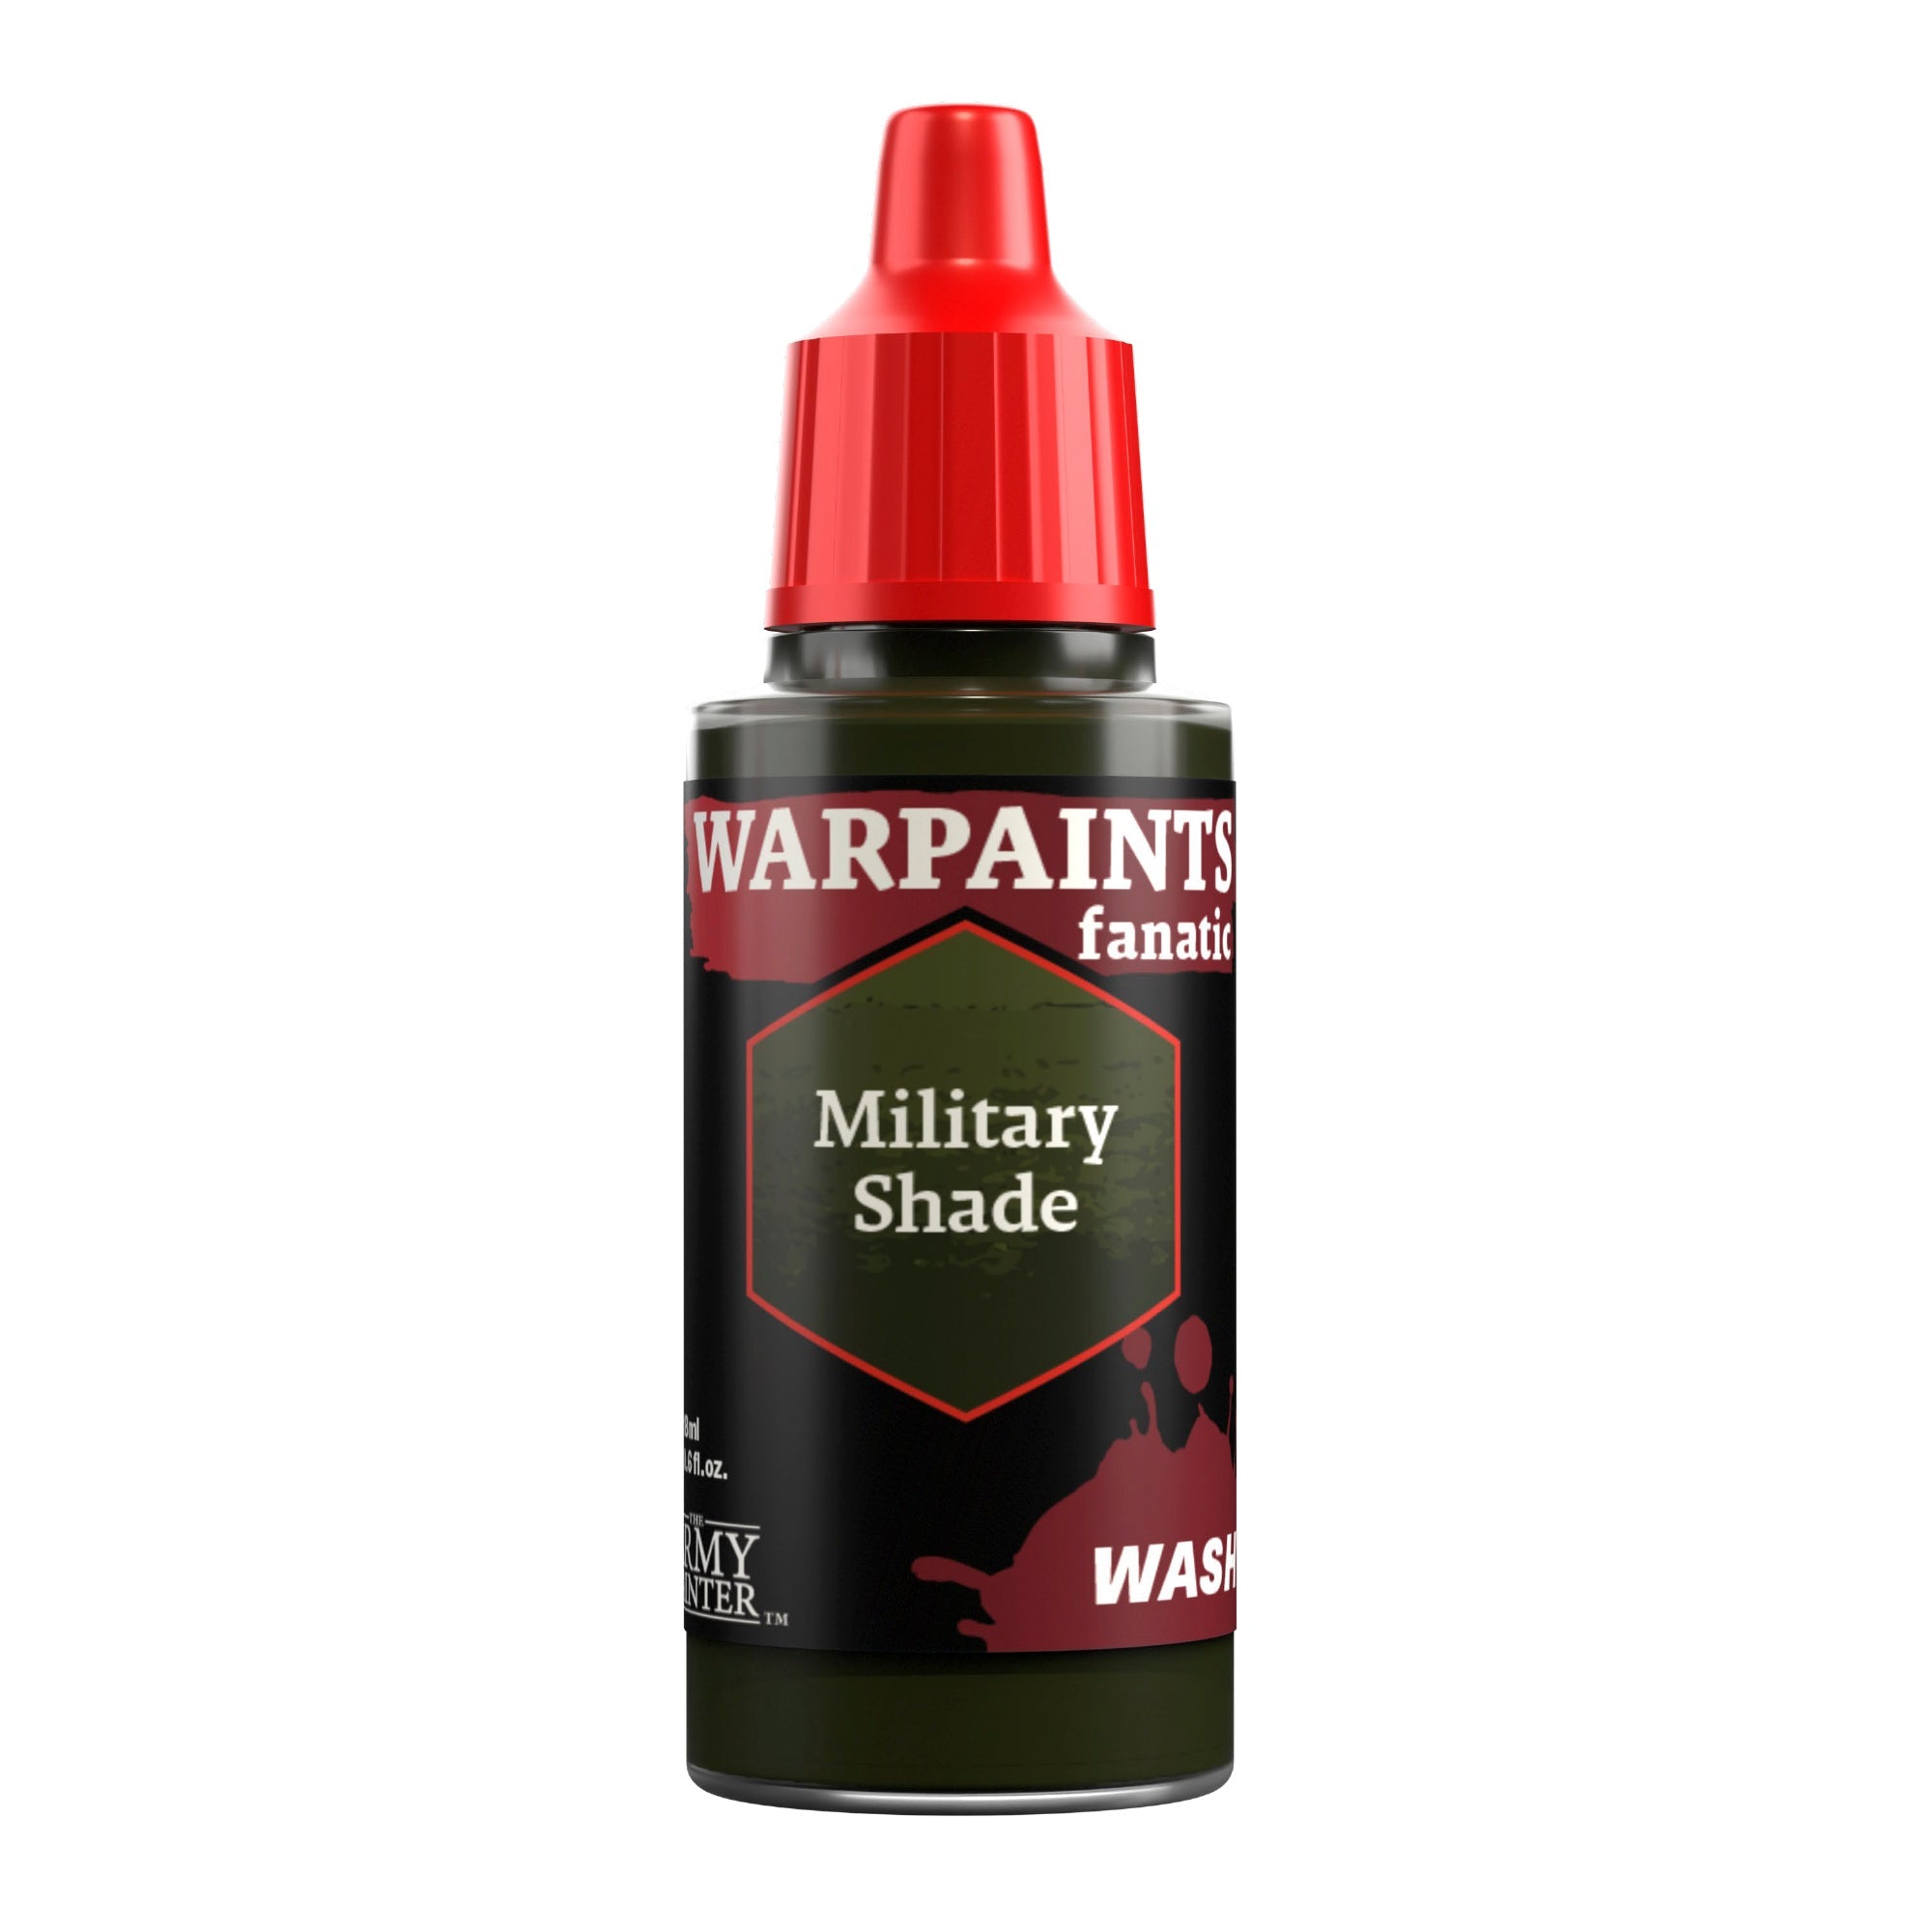
Shade all the armour with Warpaints Fanatic Wash Military Shade. You may want to touch up flatter areas, such as the tops of helmets and shoulder pads with Warpaints Air Militia Green if the wash pooled oddly.

Banner

The Metallics and Accessories

The Metallics and Accessories Step 1

Step 1

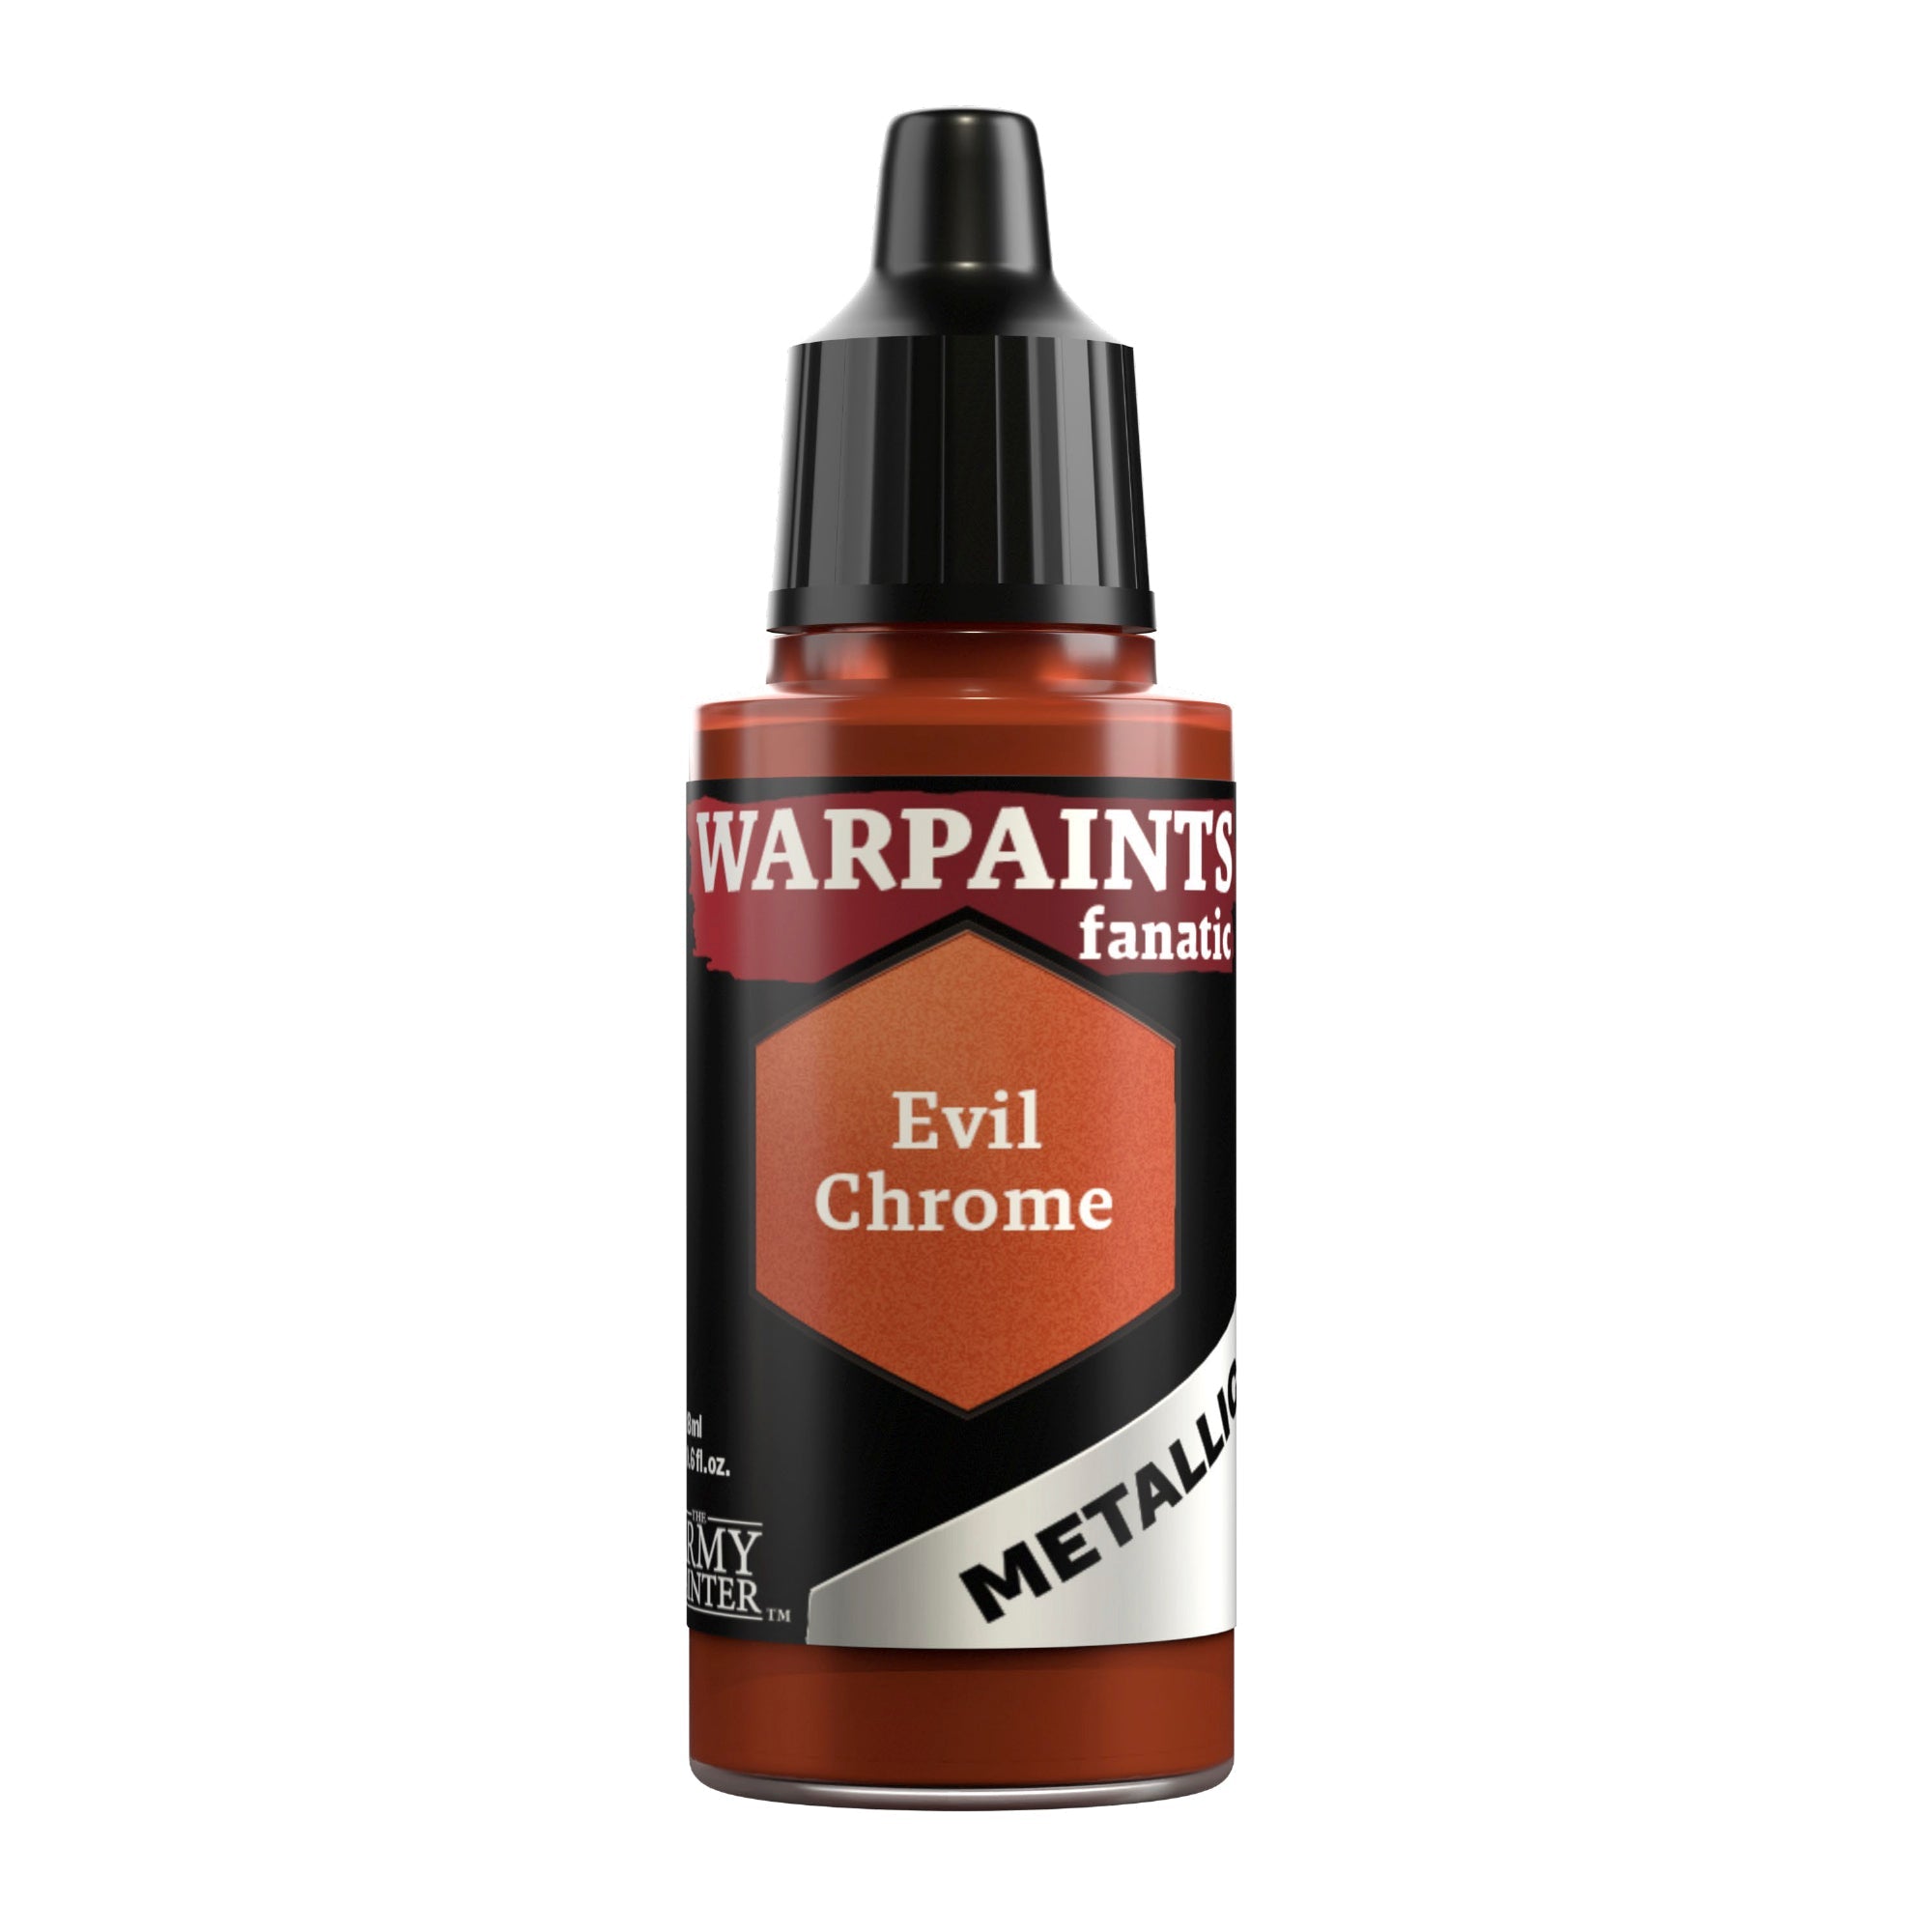
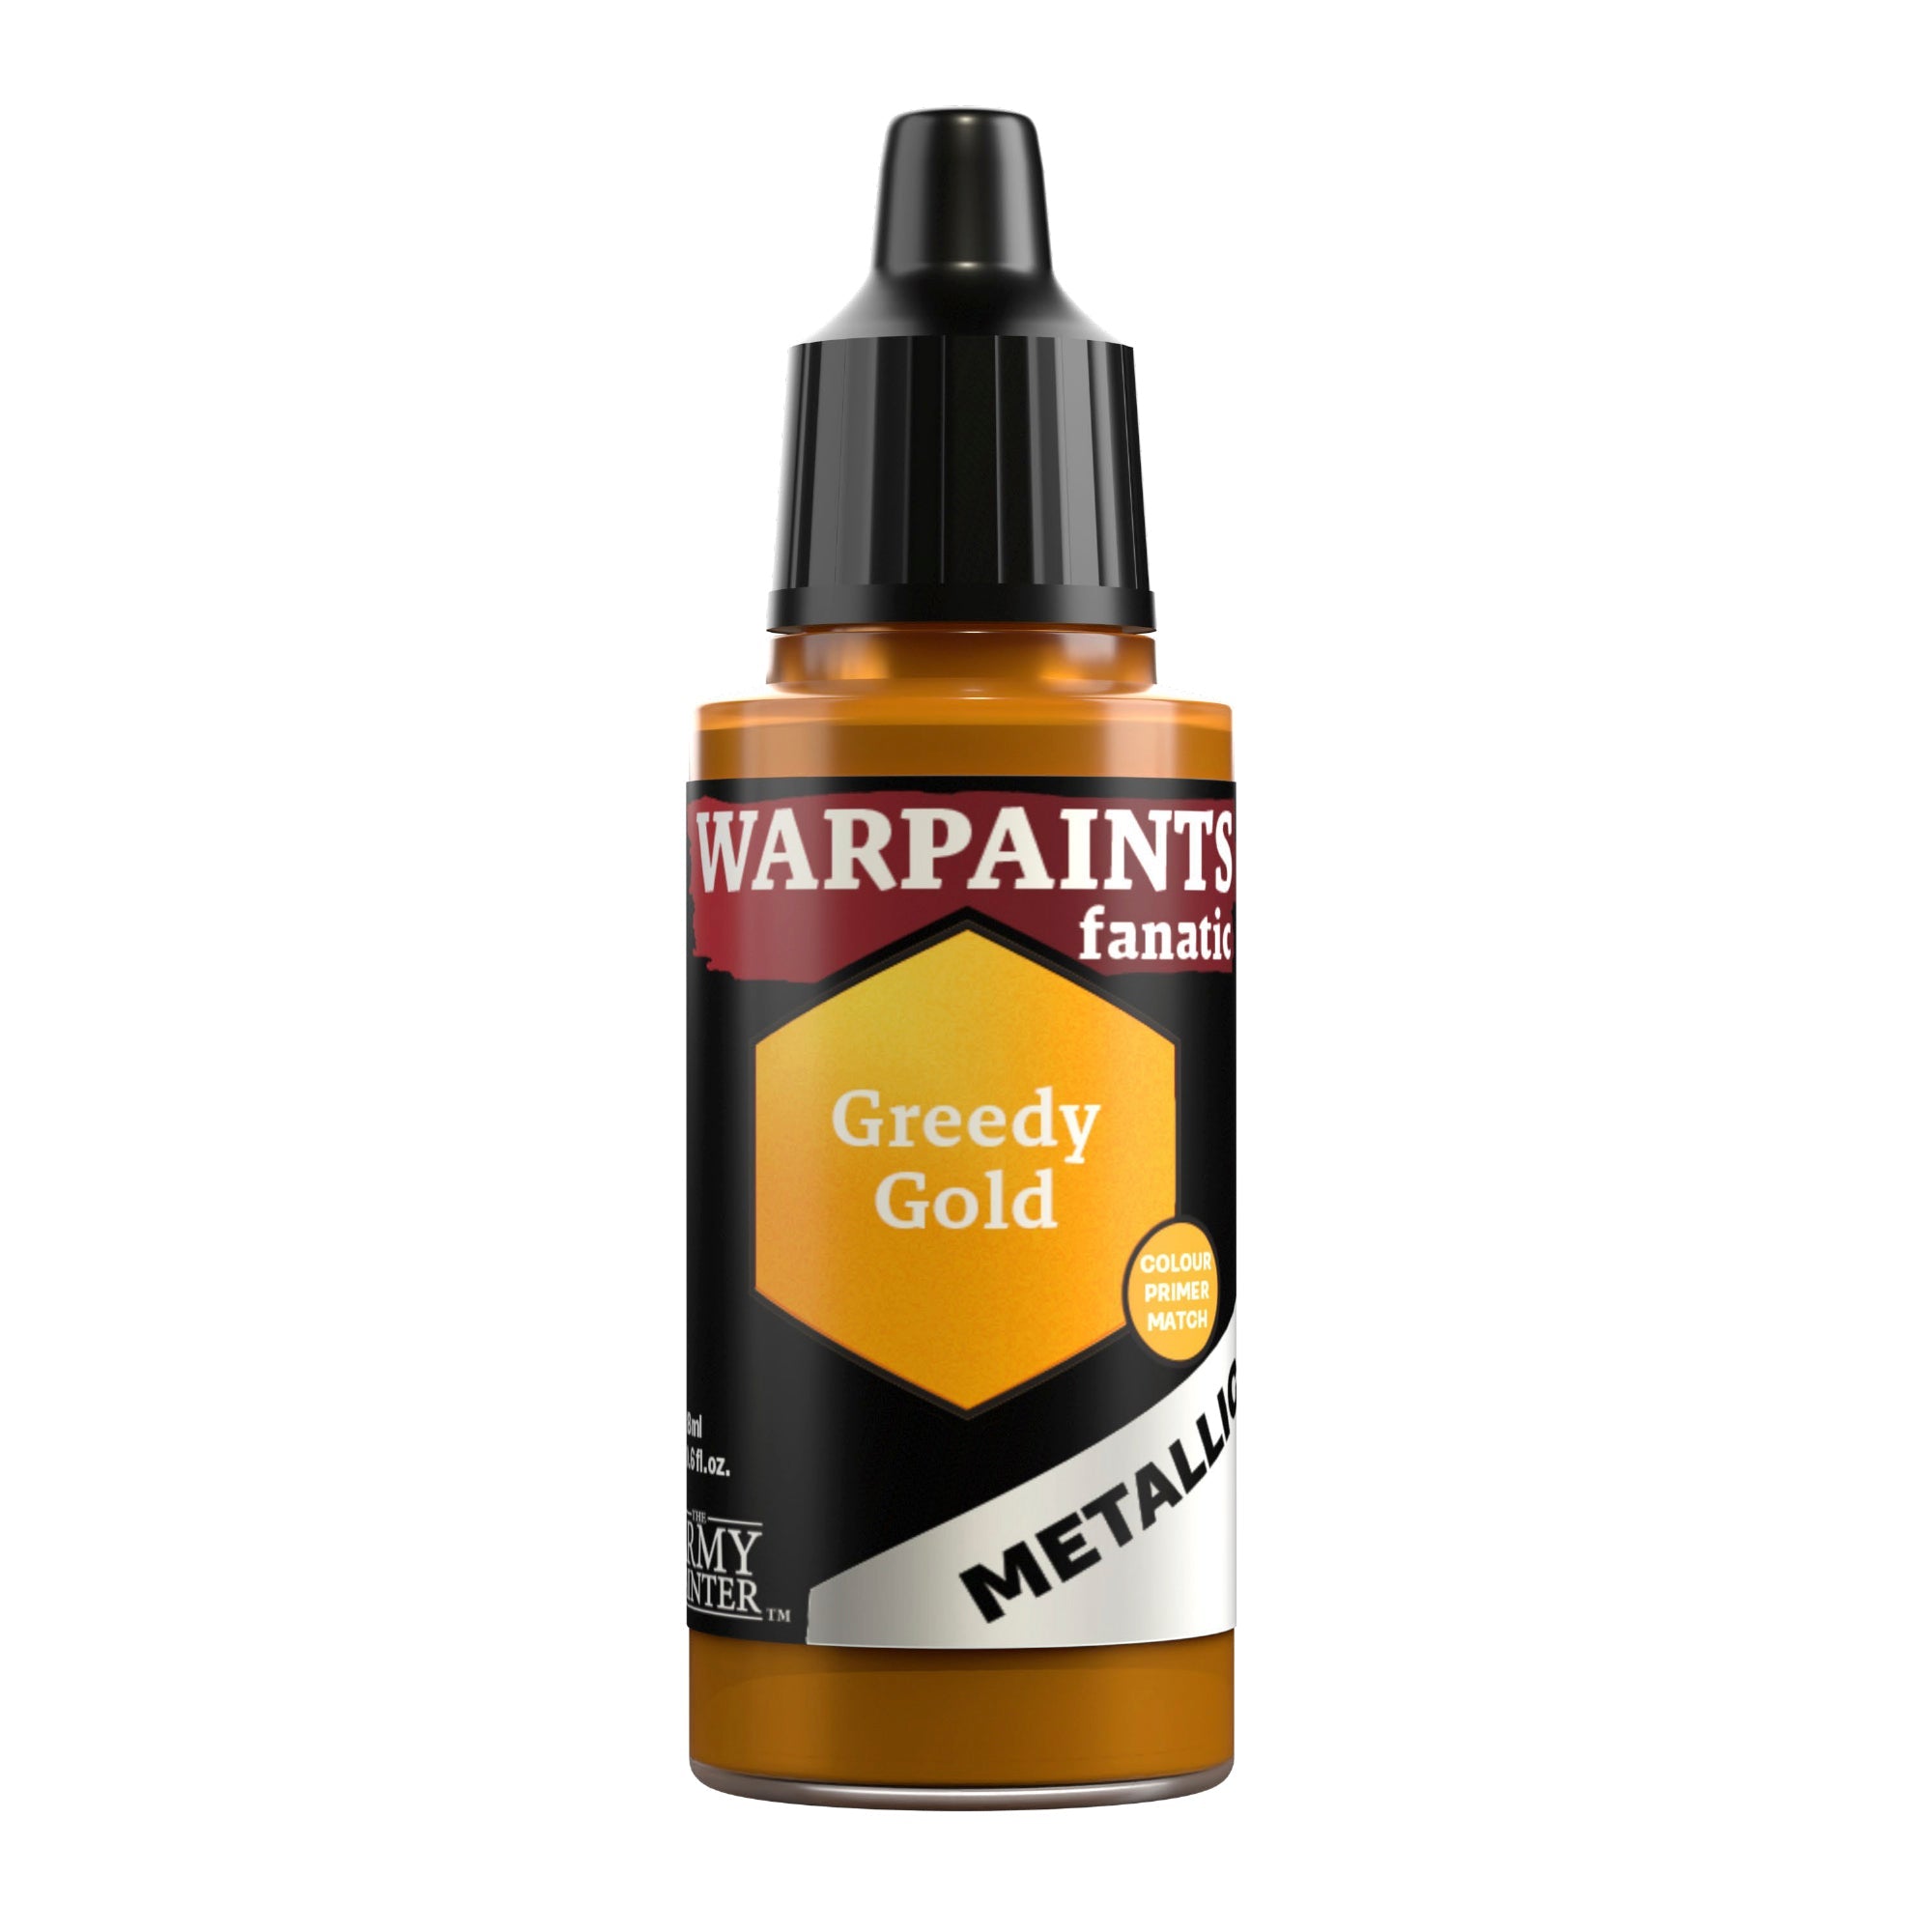
Basecoat all of the silver areas on the model with Warpaints Fanatic Gun Metal, the tips of Flamers and Meltas with Warpaints Fanatic Evil Chrome, and in this case, the hilt on the sword with Warpaints Fanatic Greedy Gold. Some models also have areas that need to be picked out in Warpaints Fanatic Brigade Grey, such as the sergeant chevrons on this model, and a variety of playing cards and other accoutrements tucked into their gear.

The Metallics and Accessories Step 2

Step 2

Shade all the areas from the previous step with Warpaints Fanatic Strong Tone.

The Metallics and Accessories Step 3

Step 3

Apply a second all-over drybrush of Warpaints Fanatic Skeleton Bone, focusing on picking out the edges of the armour, the metallics, and other newly painted areas, but also lightly picking out the clothing and skin as a final highlight. This drybrush is altogether lighter than the one applied previously.

Banner

The Final Details

The Final Detail Step 1

Step 1

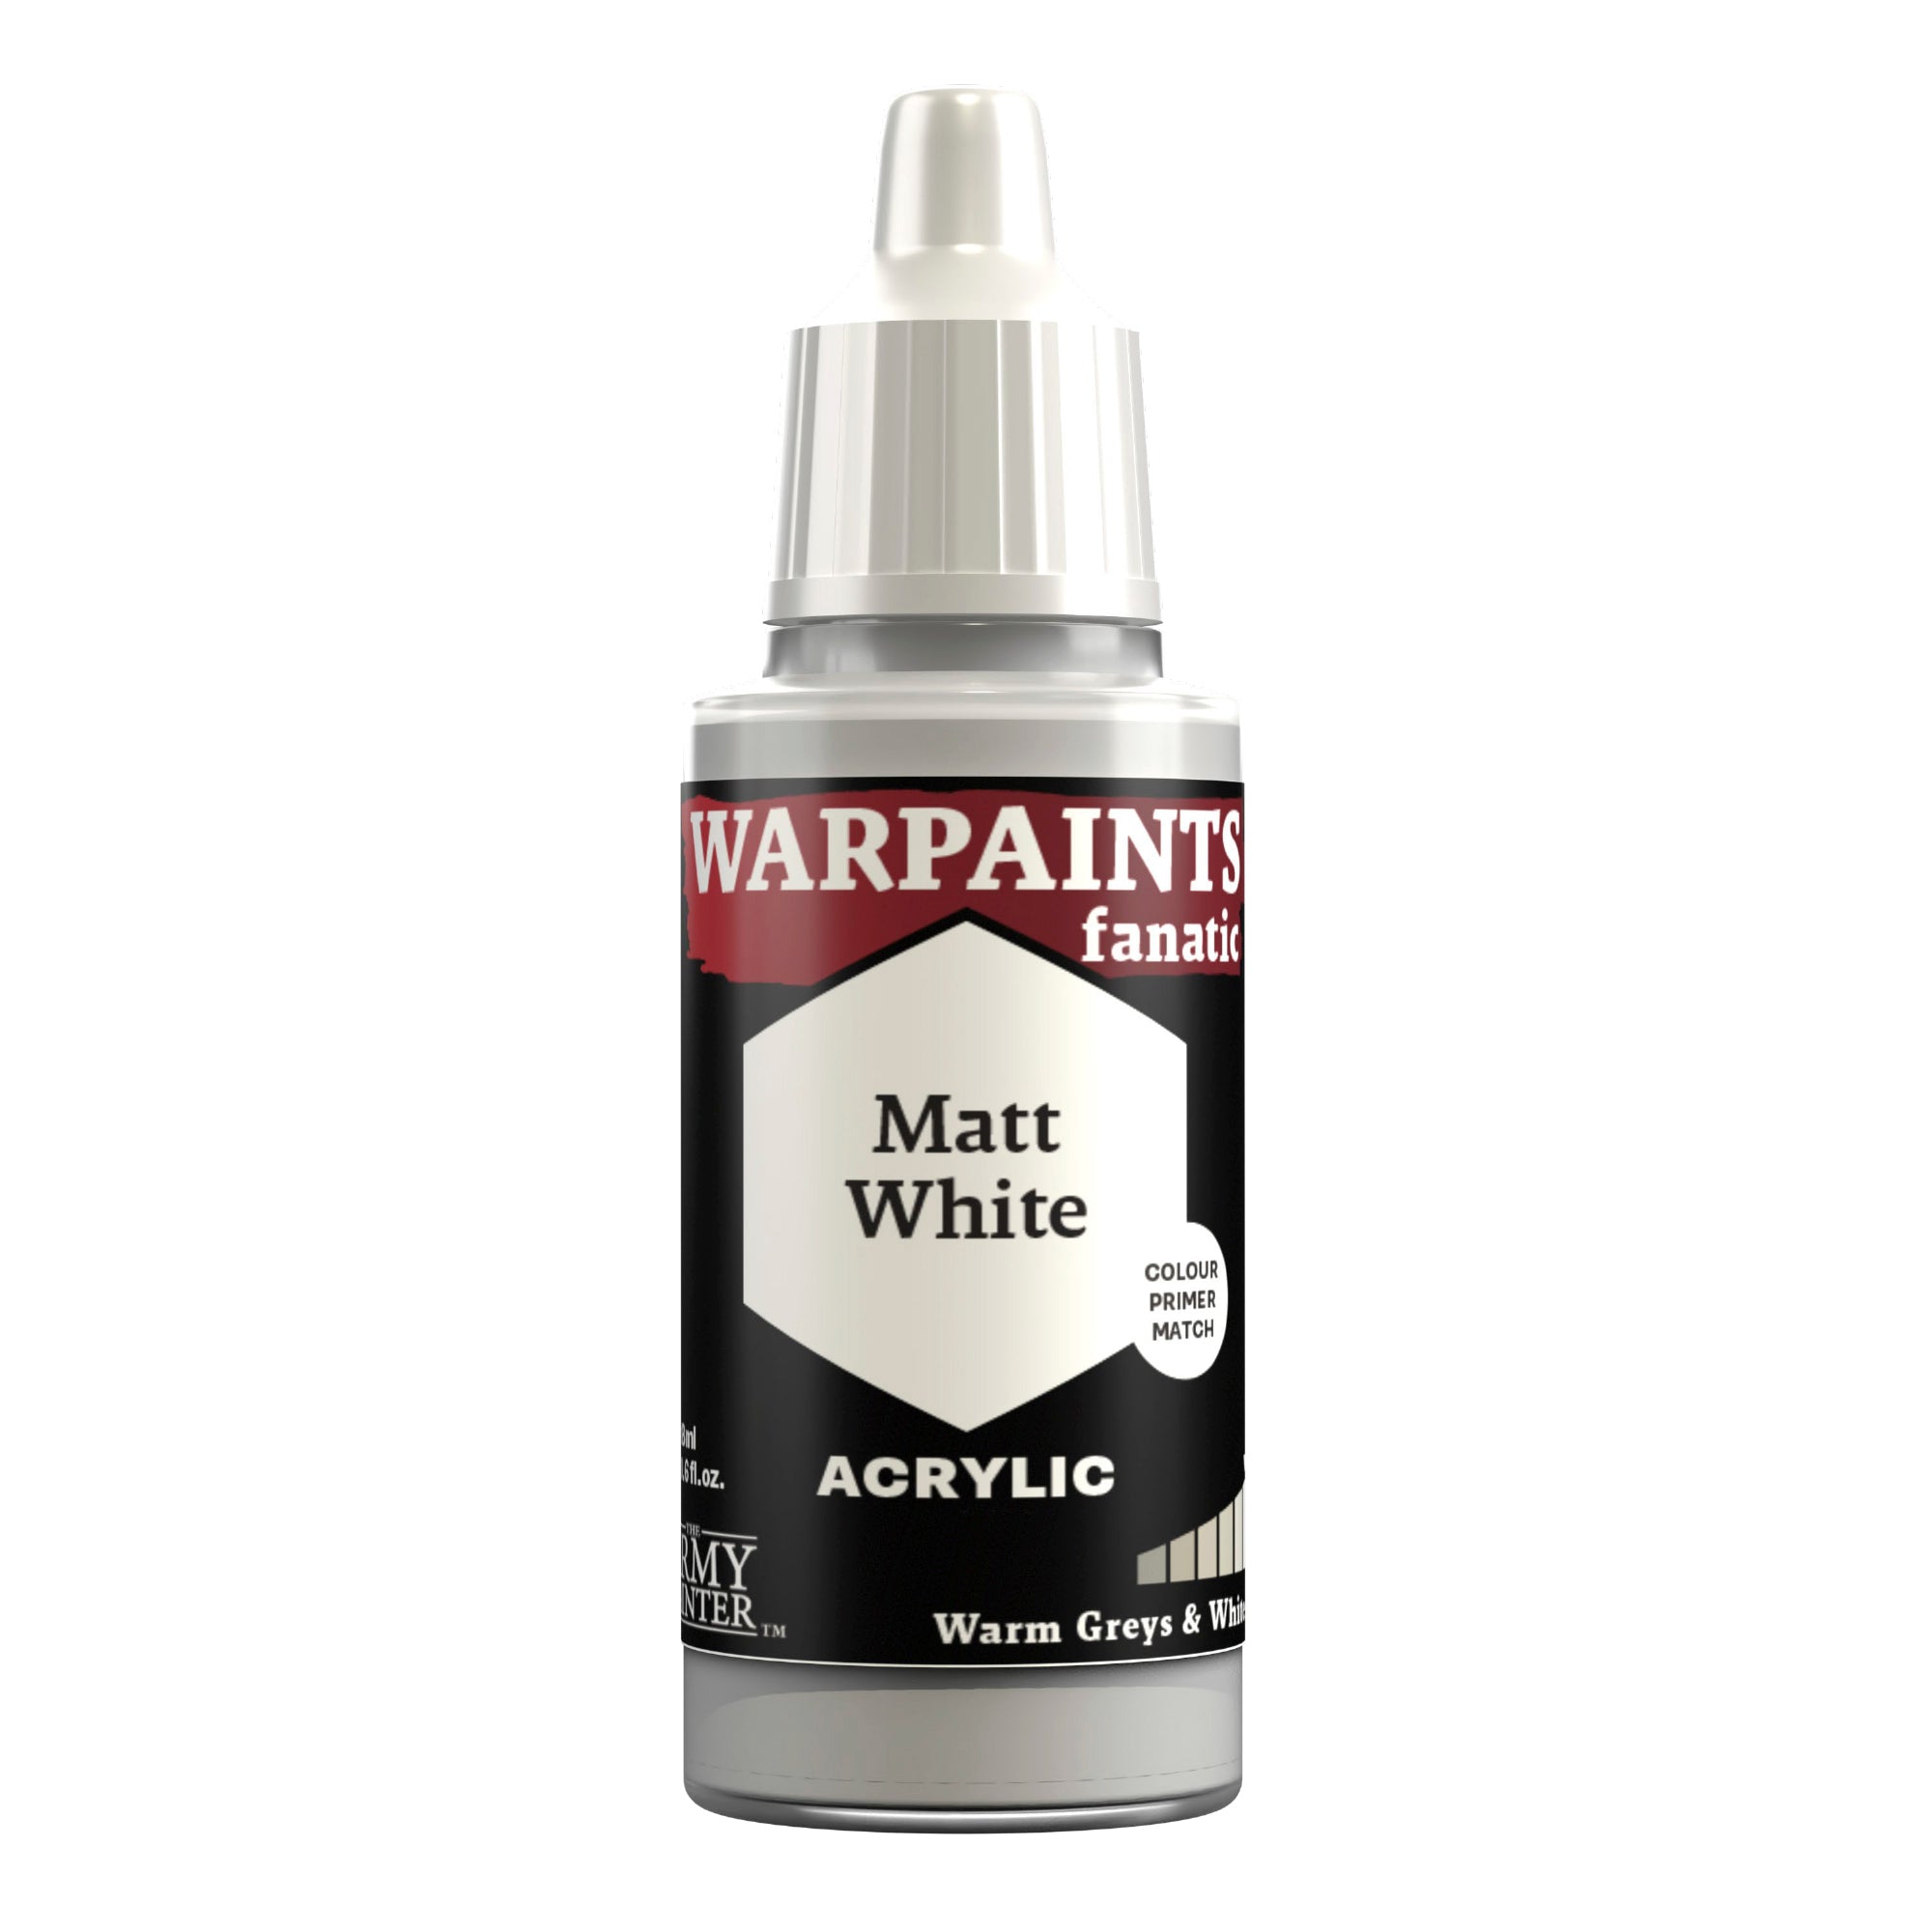
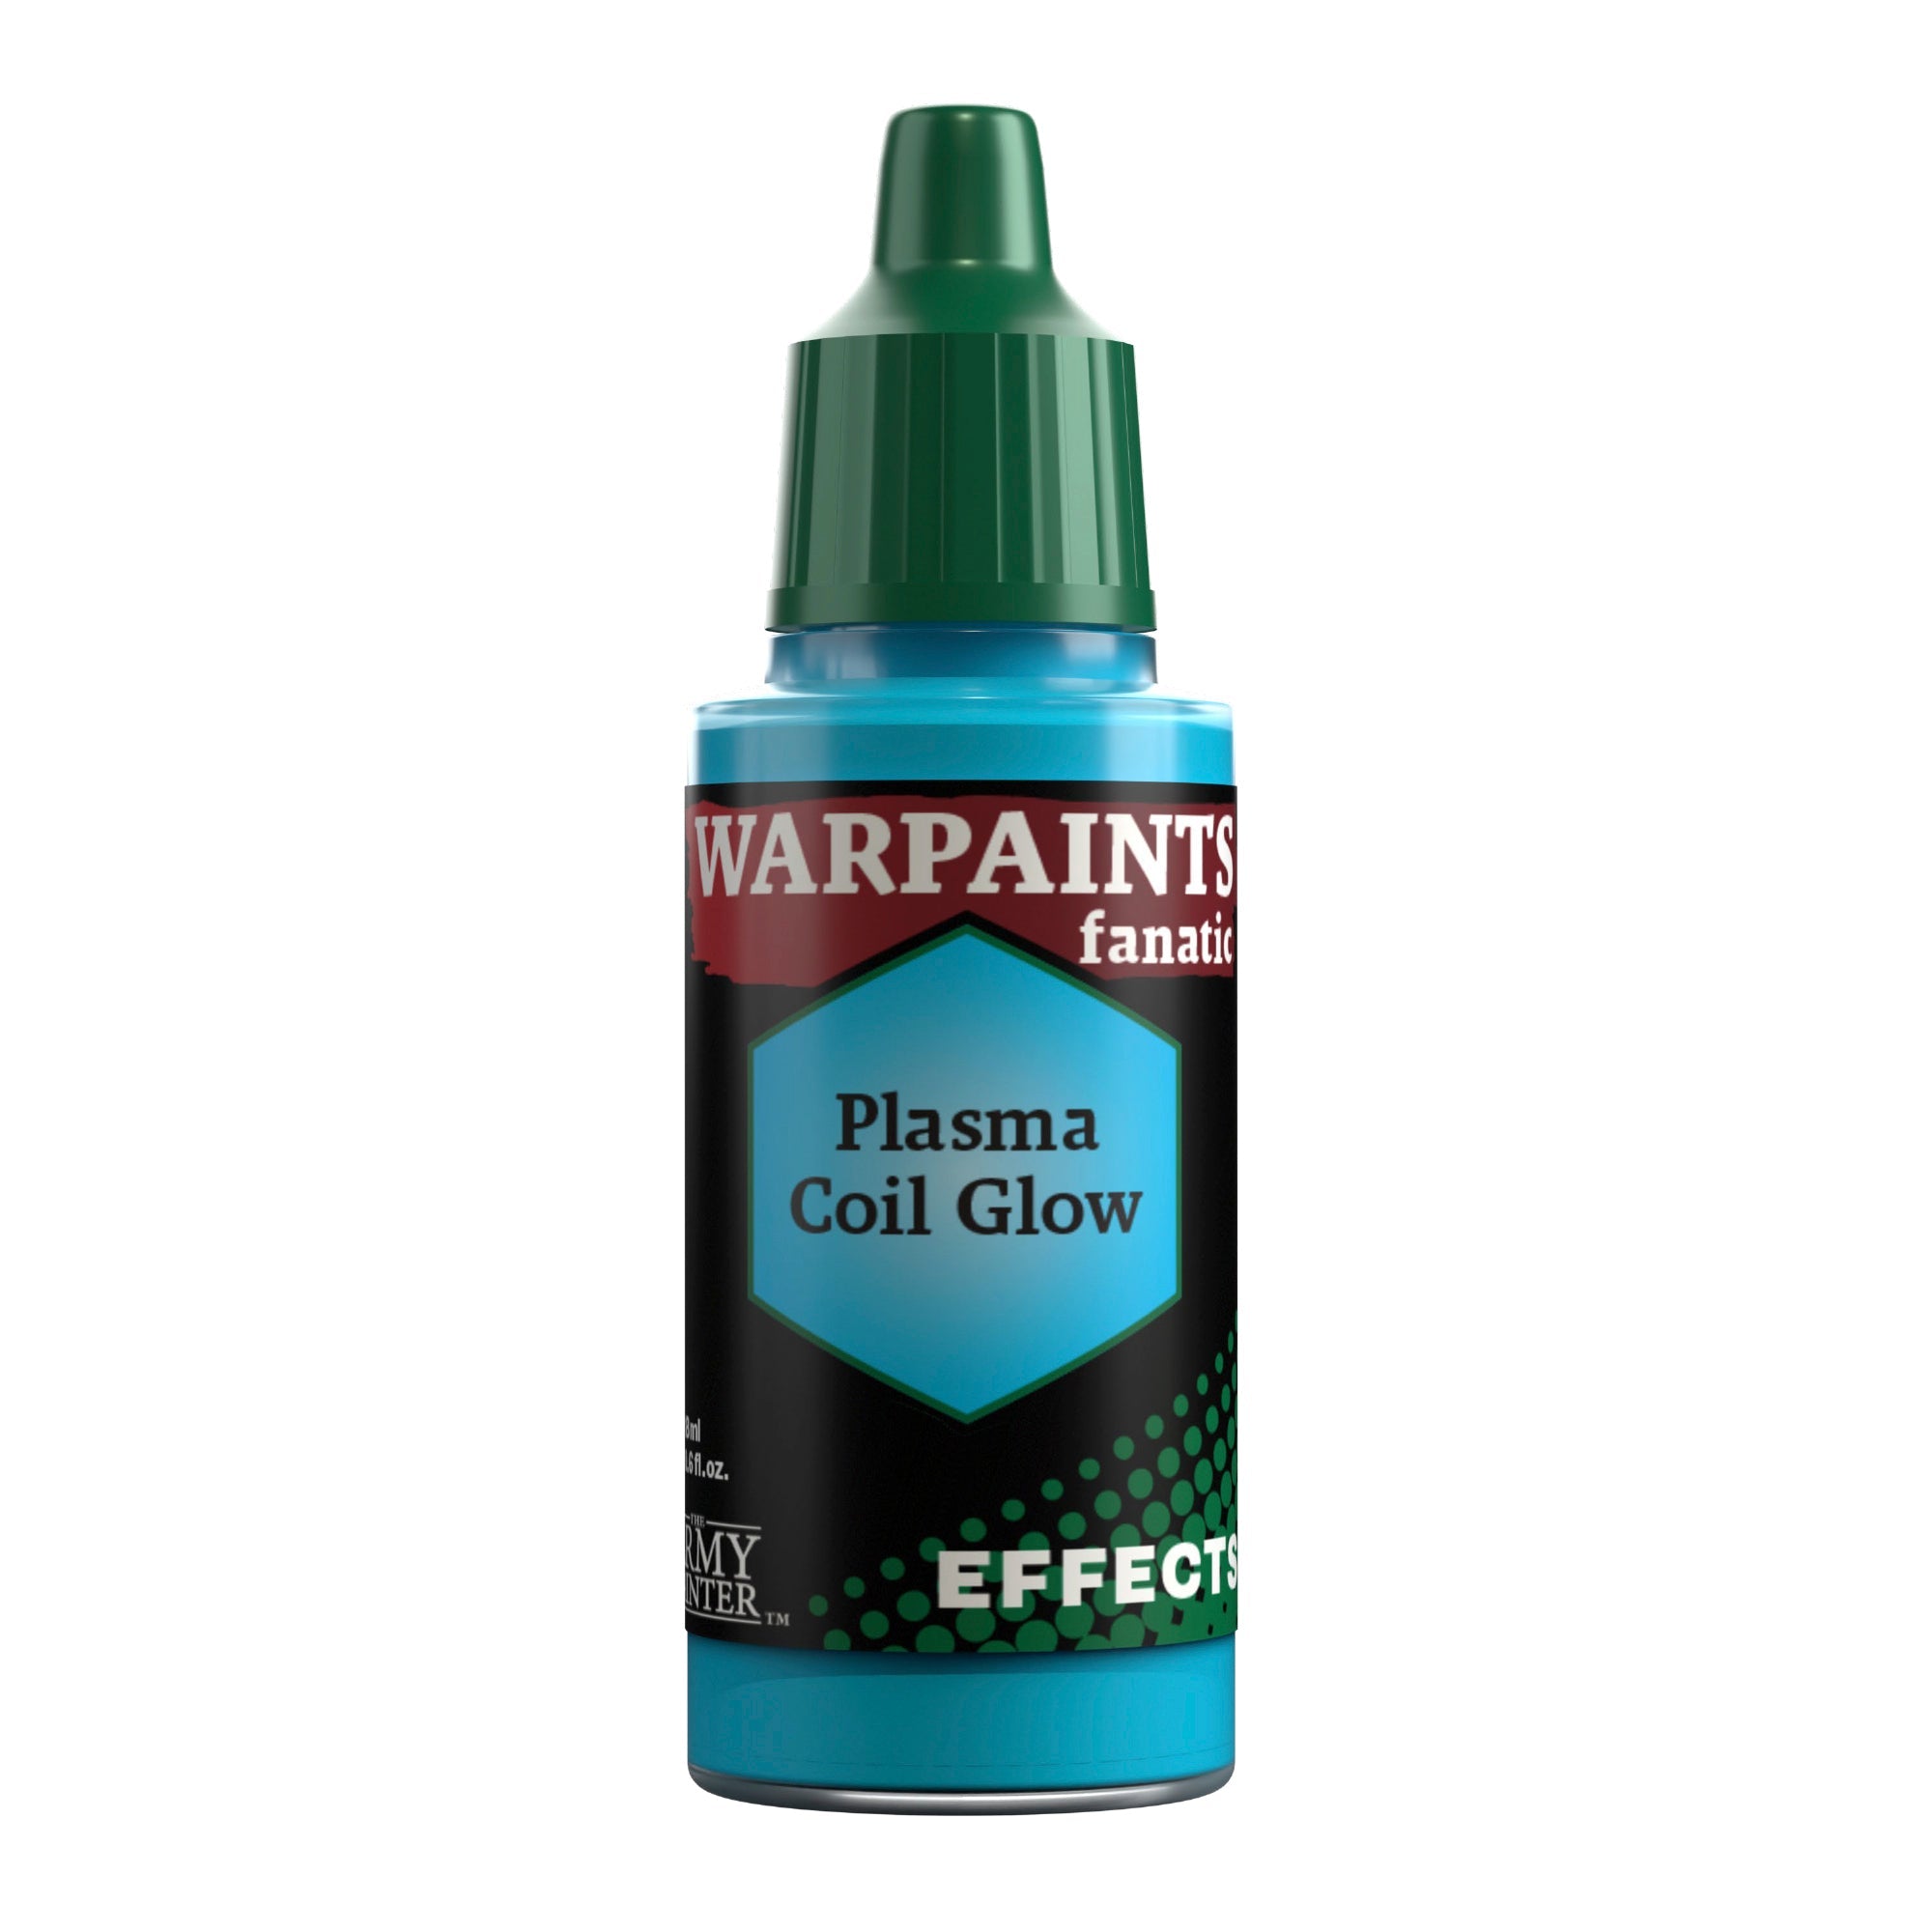
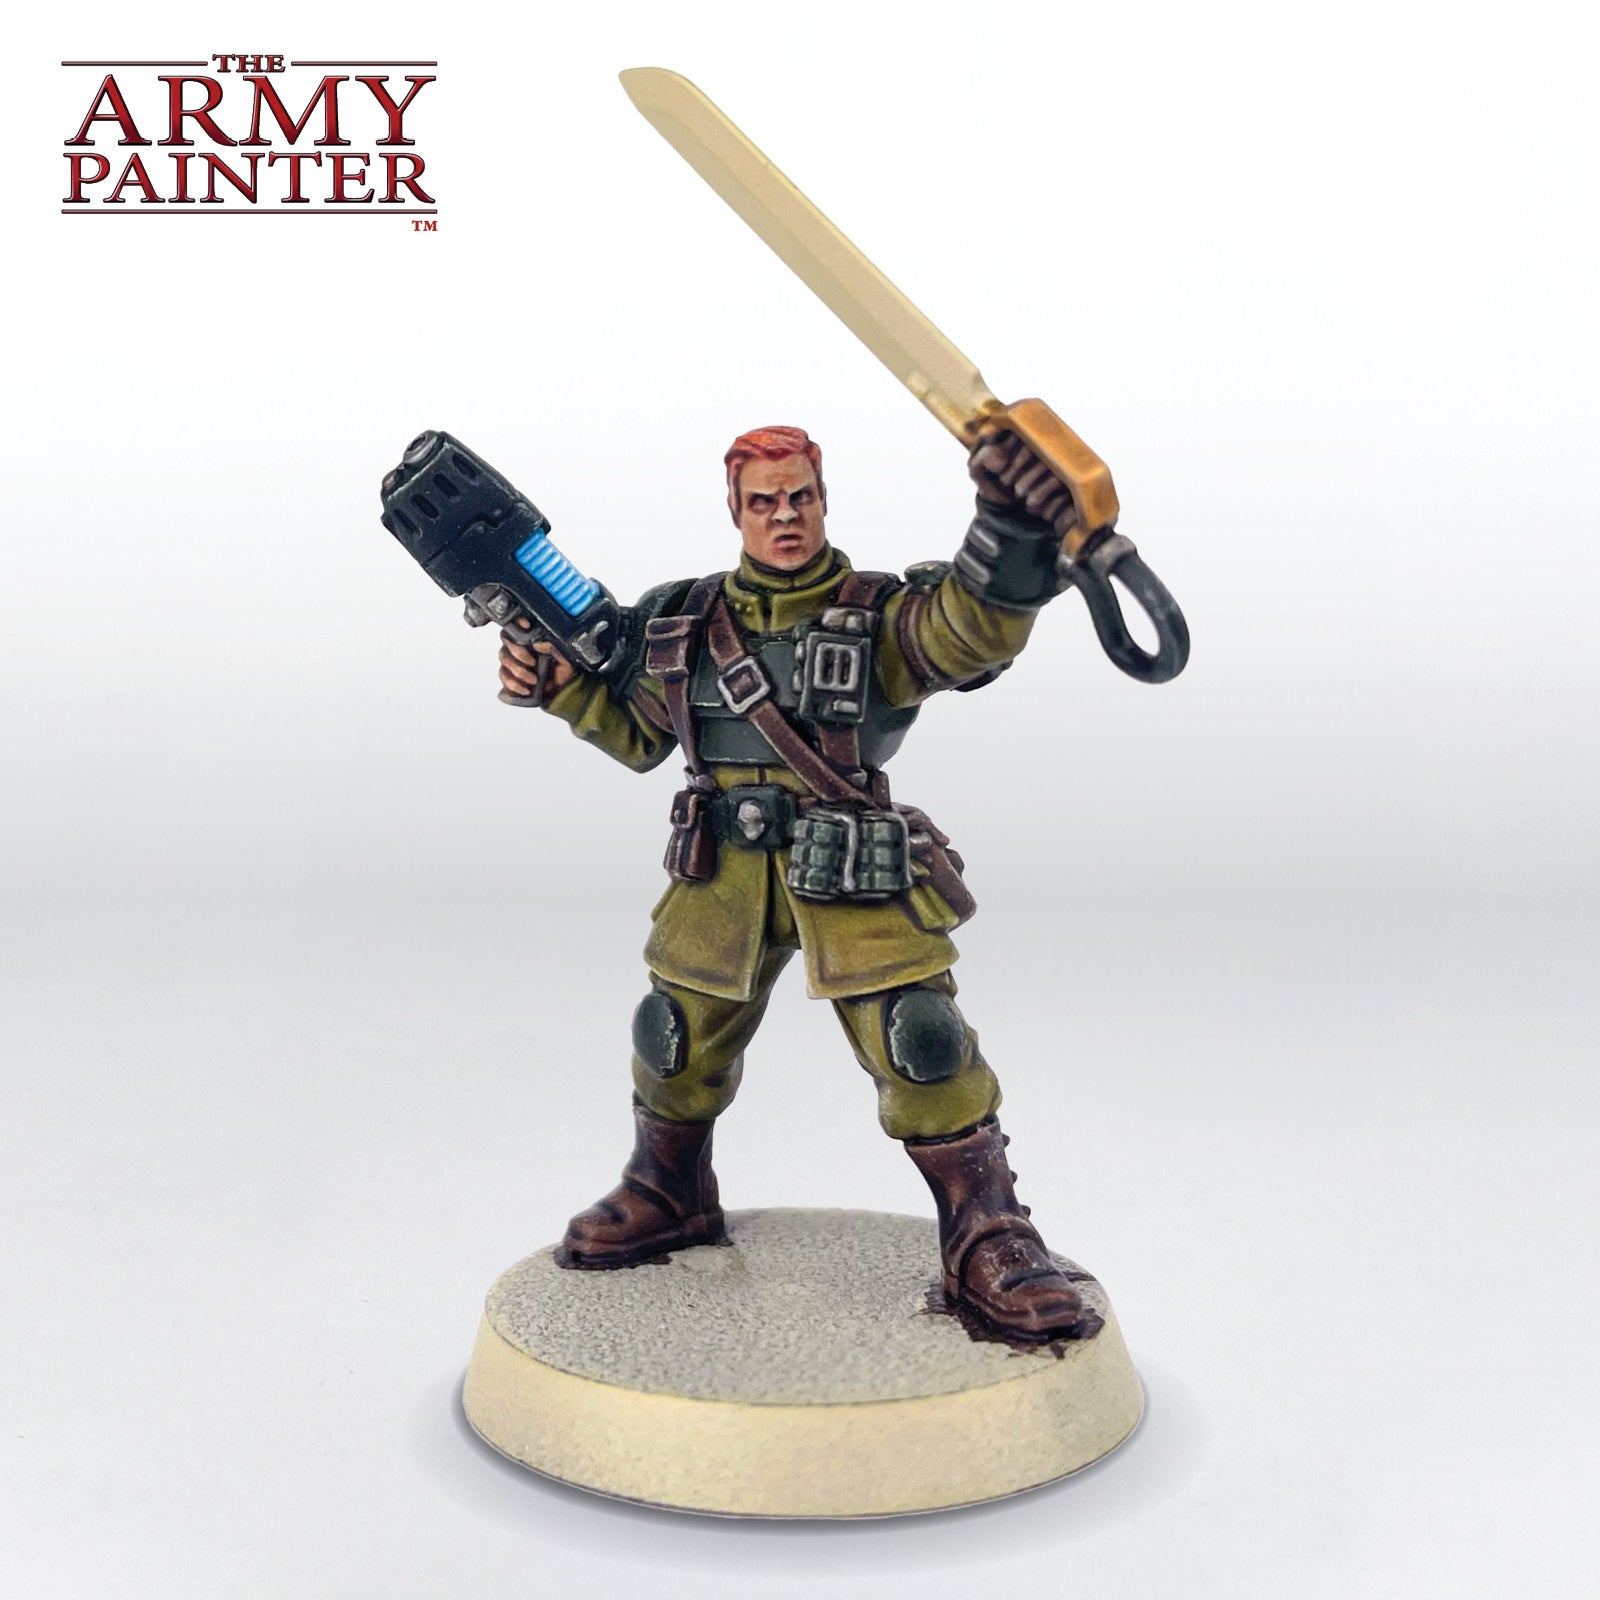
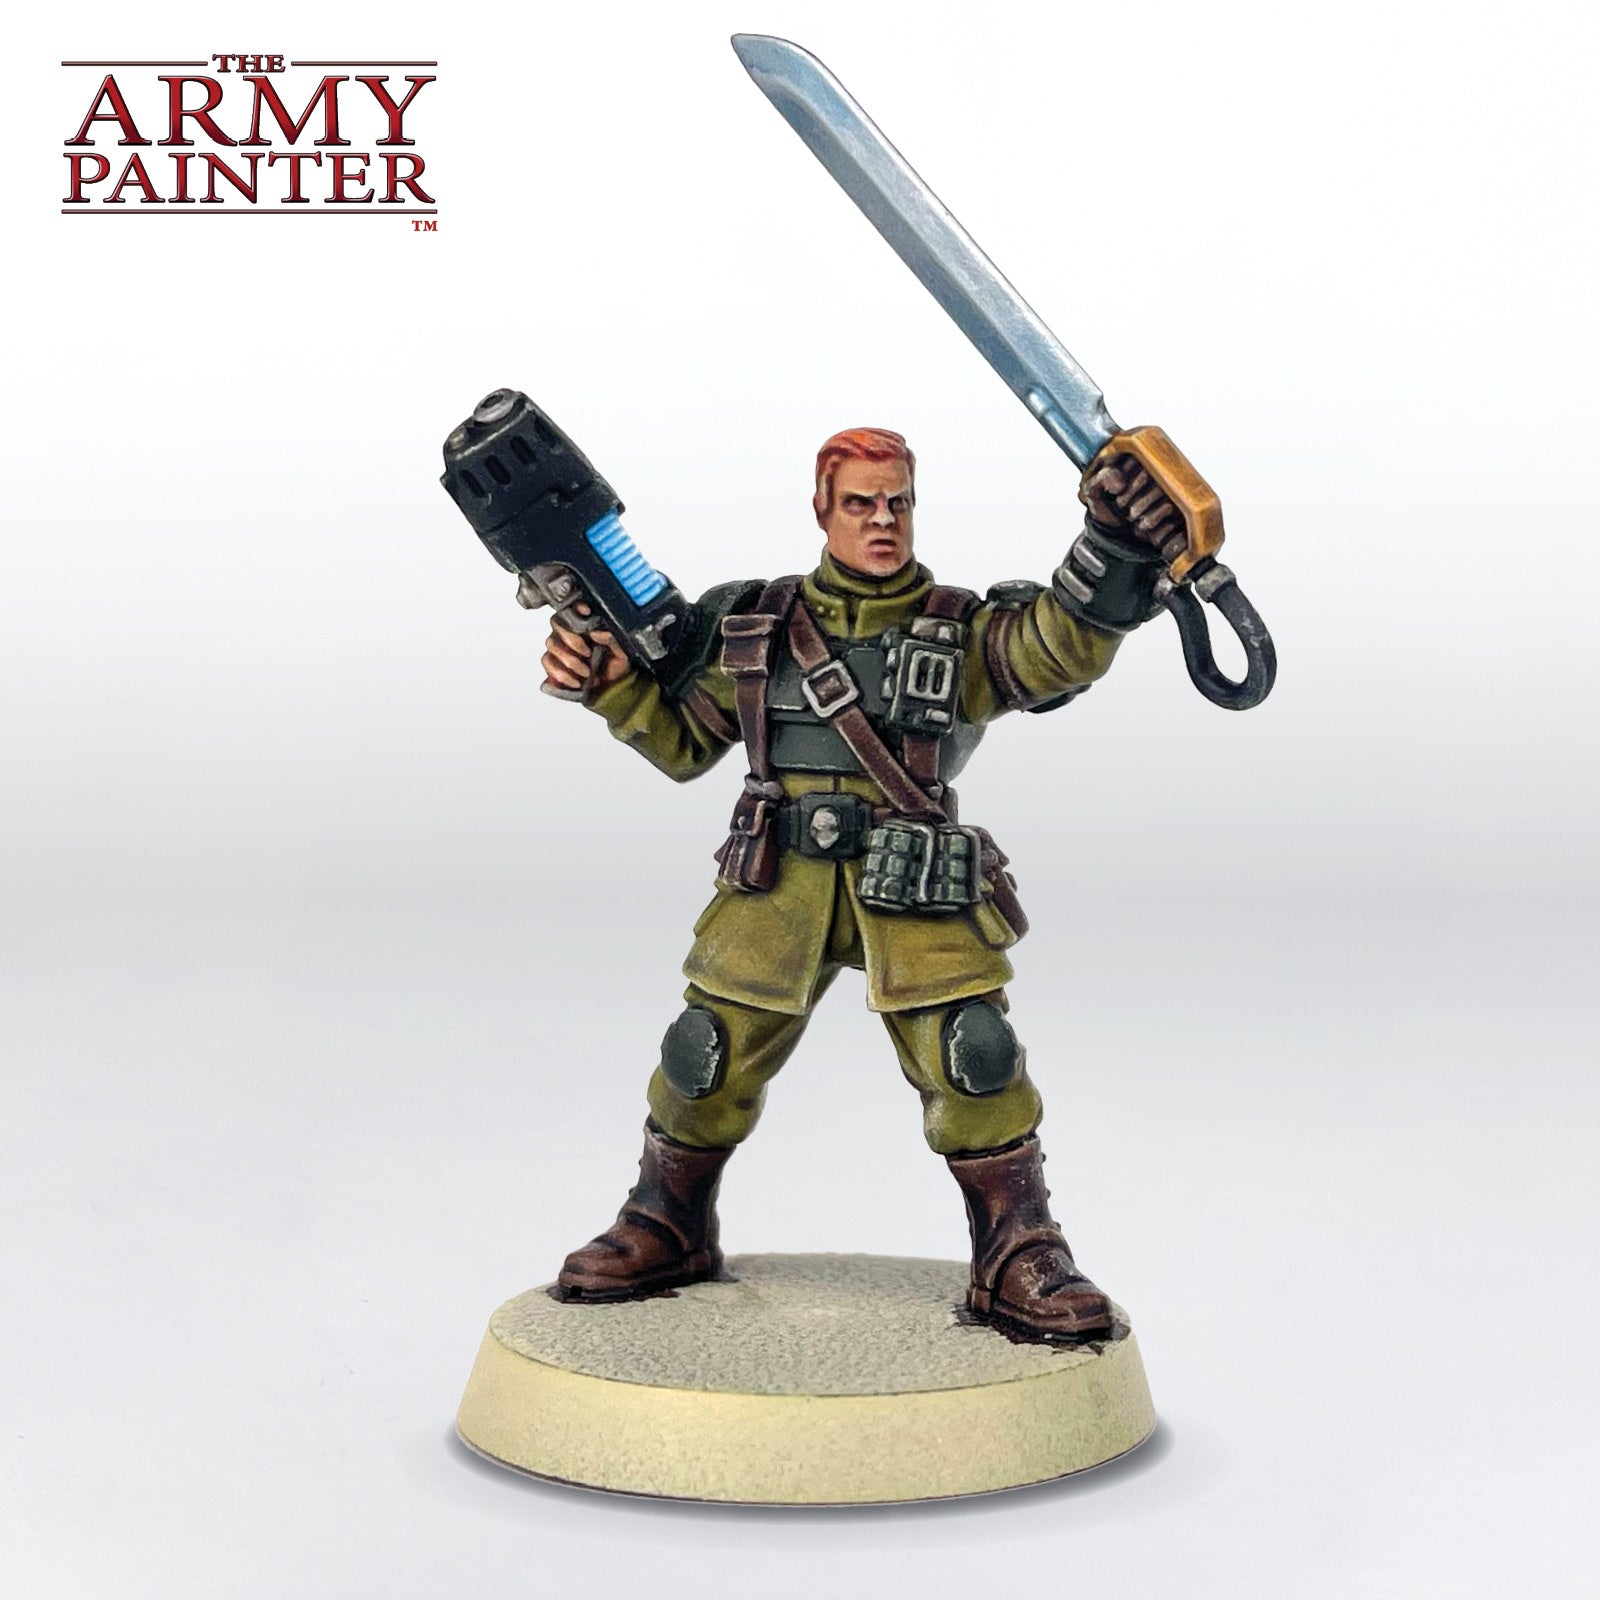
Basecoat the plasma coils on any models carrying such weapons with Warpaints Fanatic Matt White and then once dry, apply a layer of the appropriately named Warpaints Fanatic Effects Plasma Coil Glow.

The Final Detail Step 2

Step 2

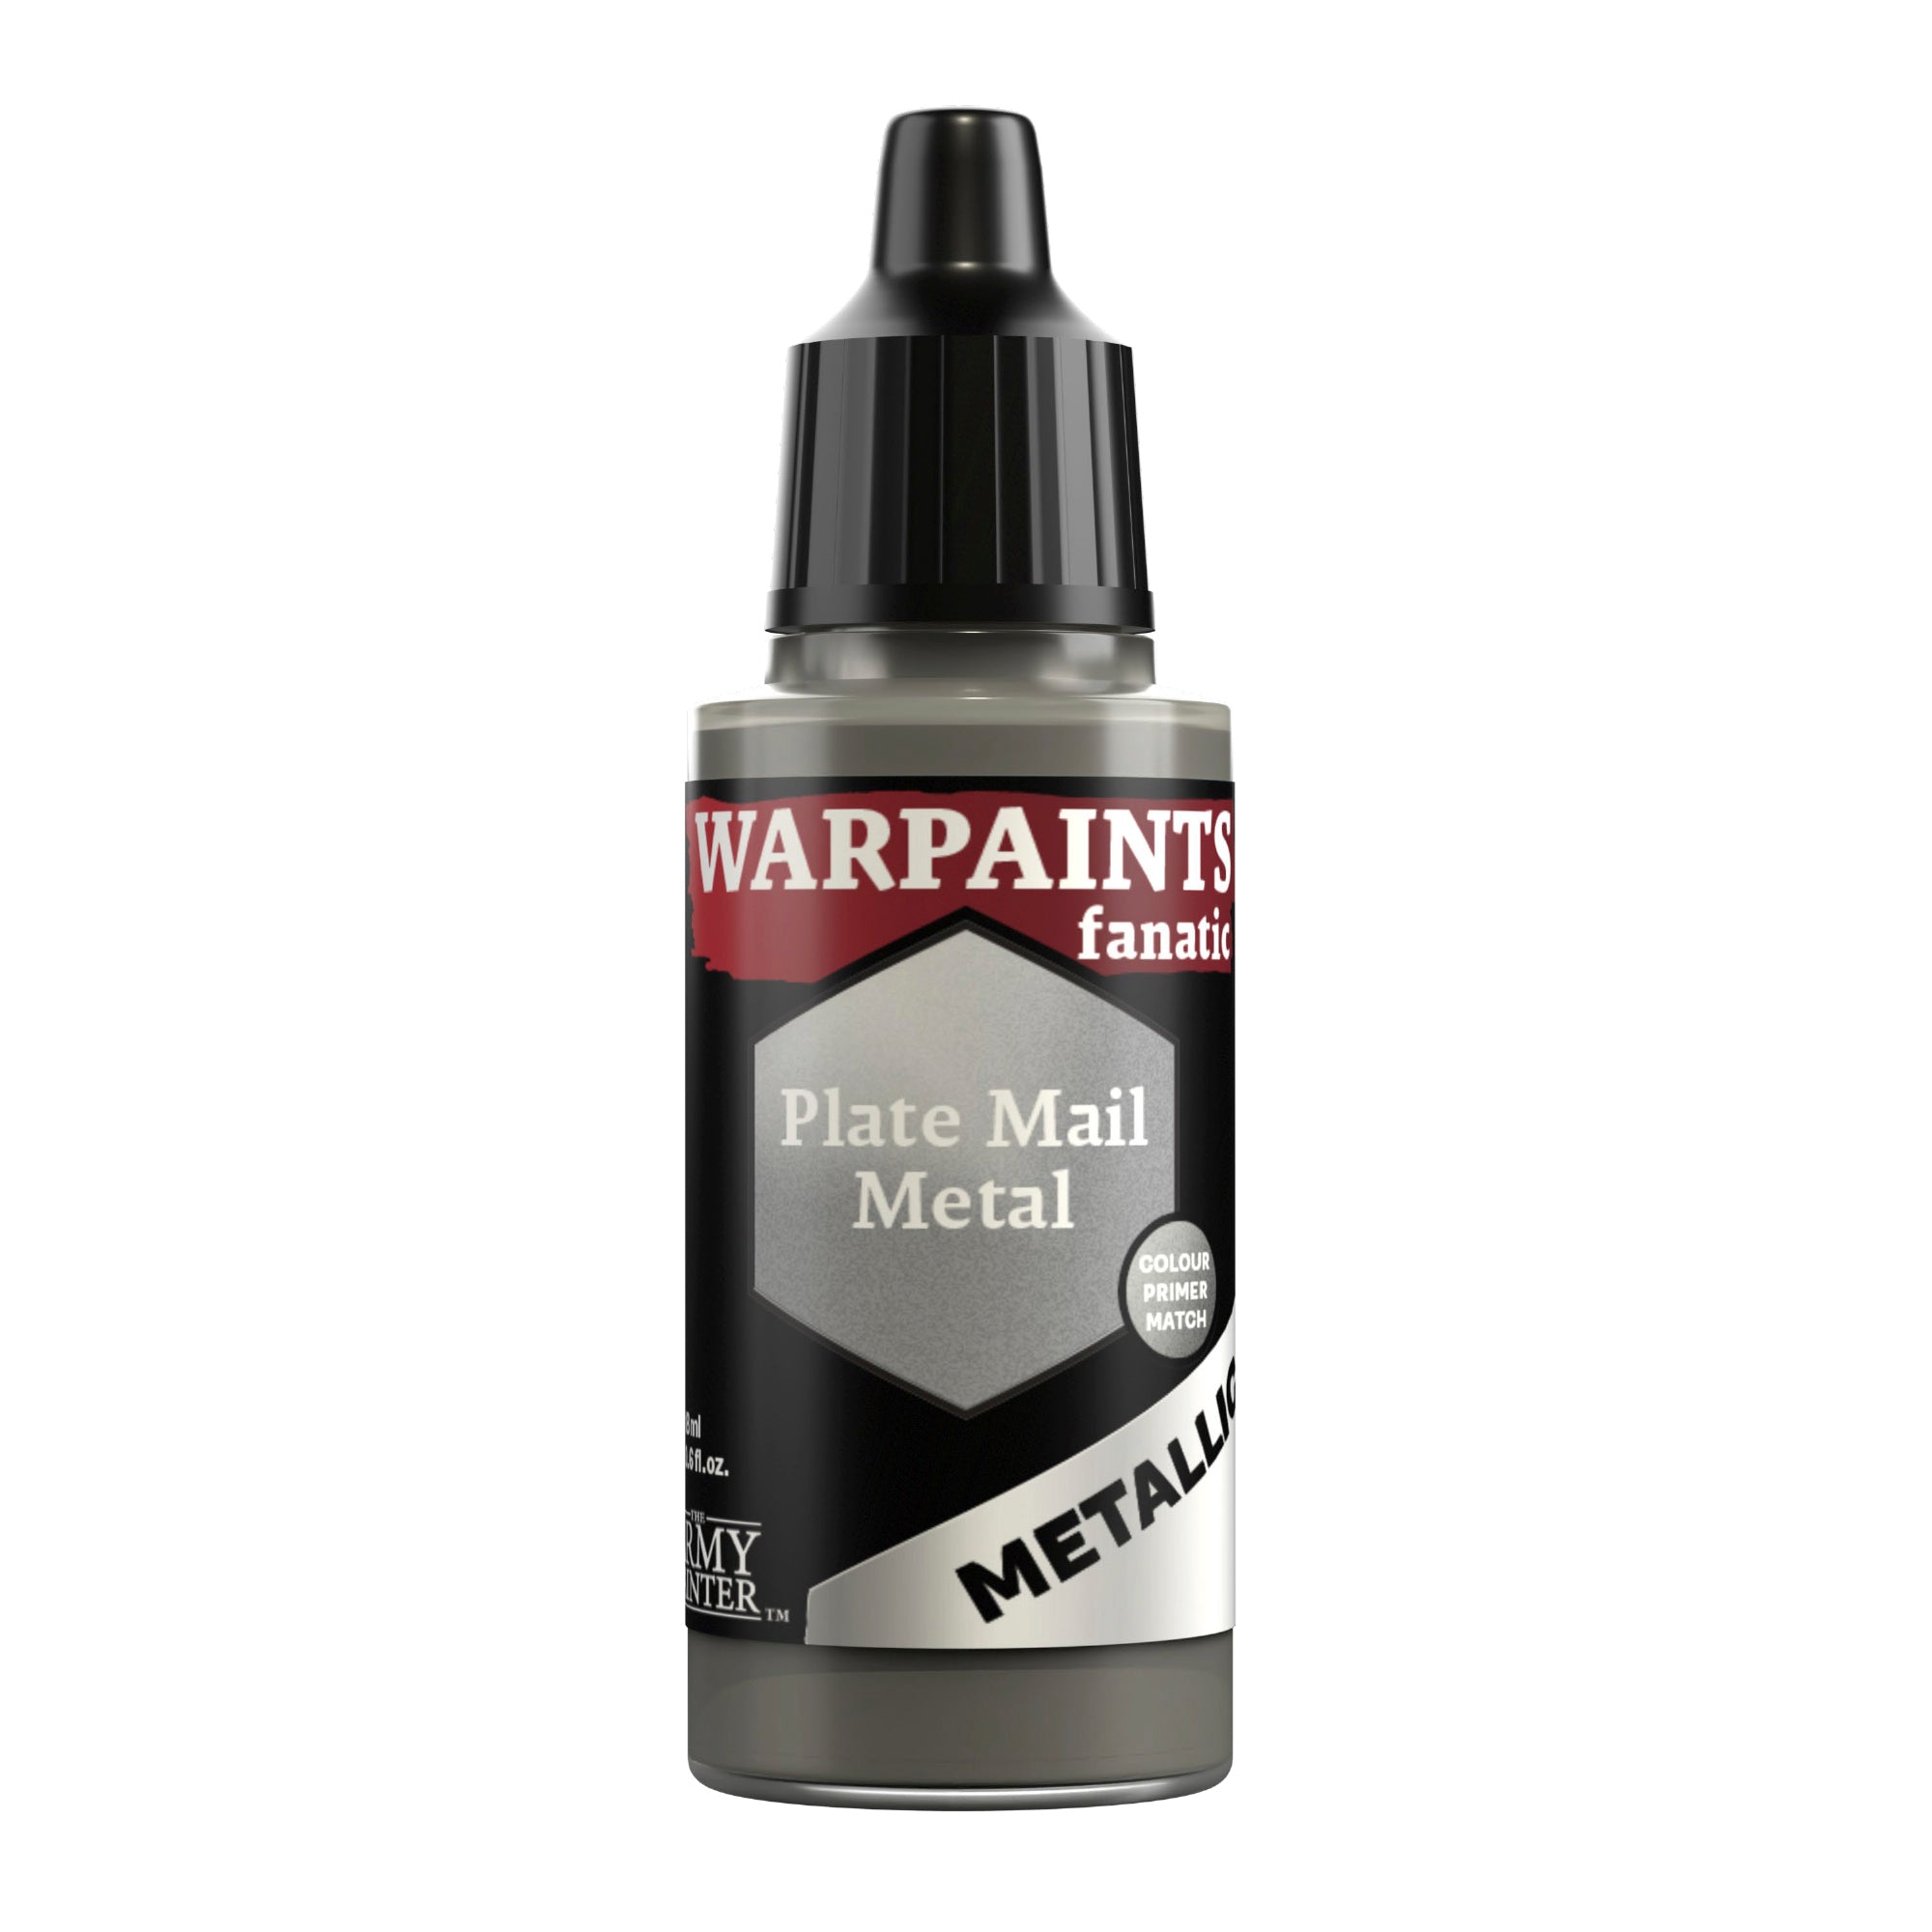
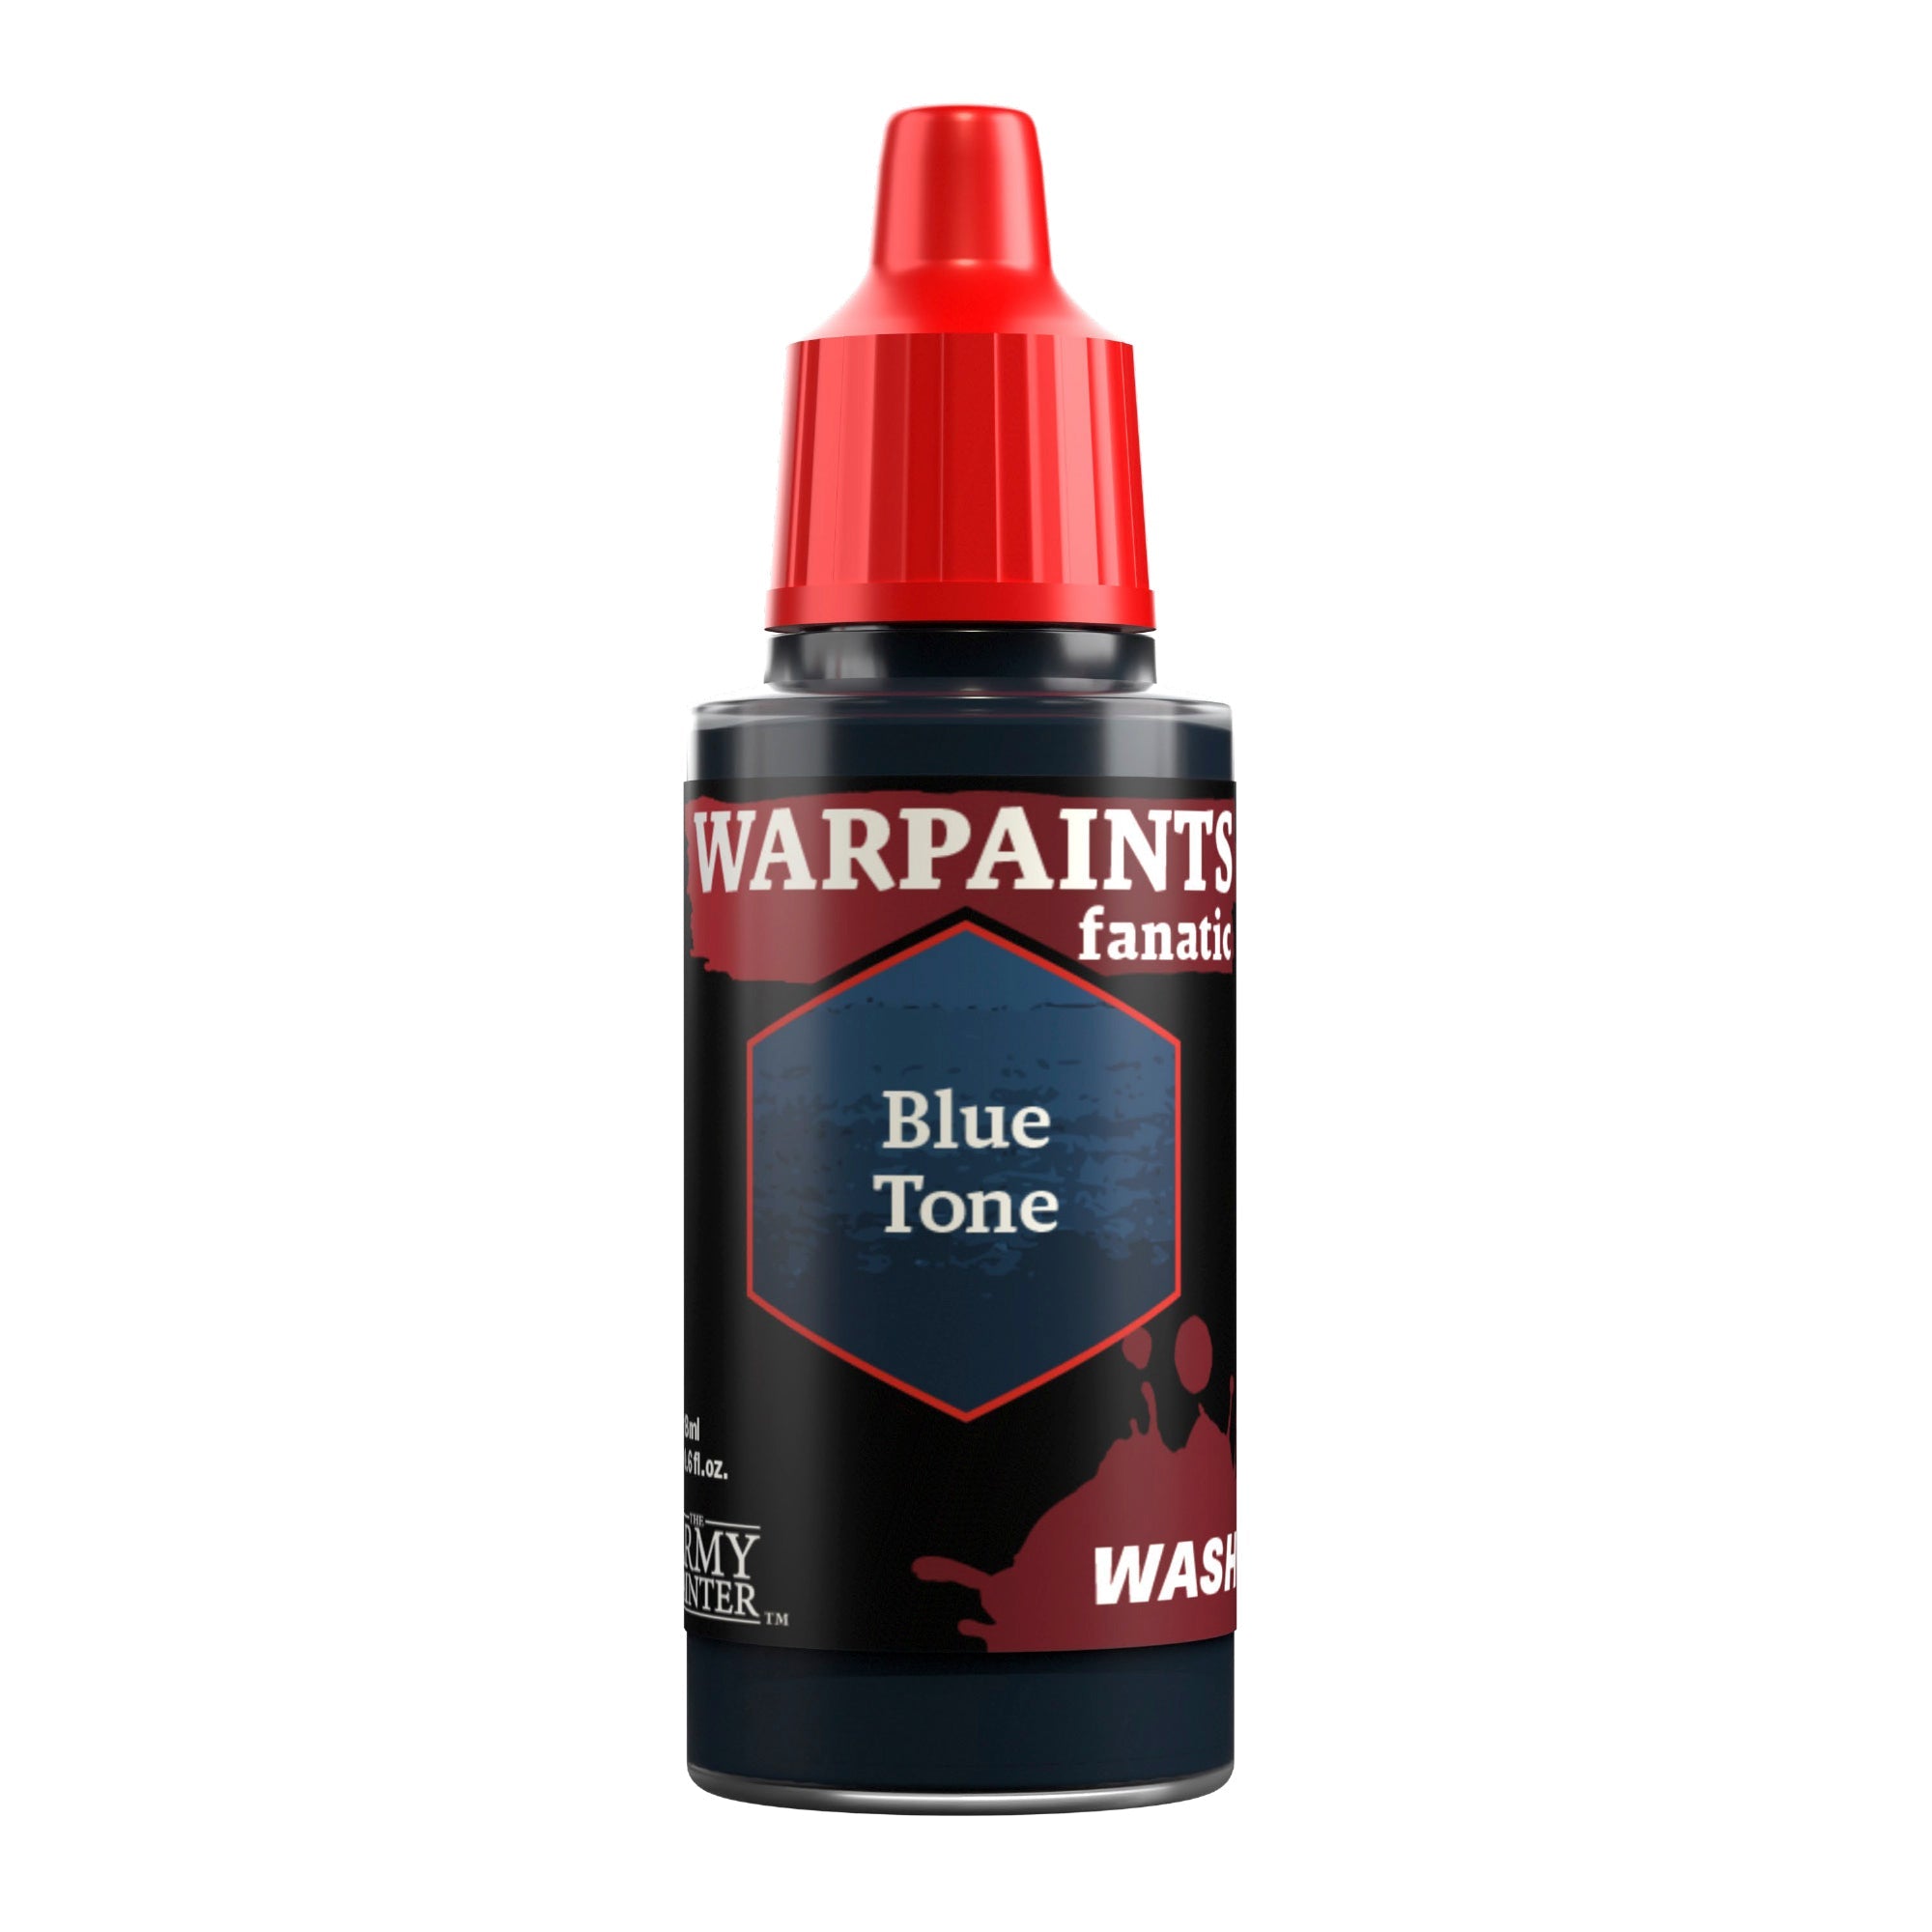
Basecoat all power weapons with Warpaints Fanatic Plate Mail Metal to give them a prized and polished appearance and then shade them with Warpaints Fanatic Blue Tone to activate their power nodes.

The Final Detail Step 3

Step 3

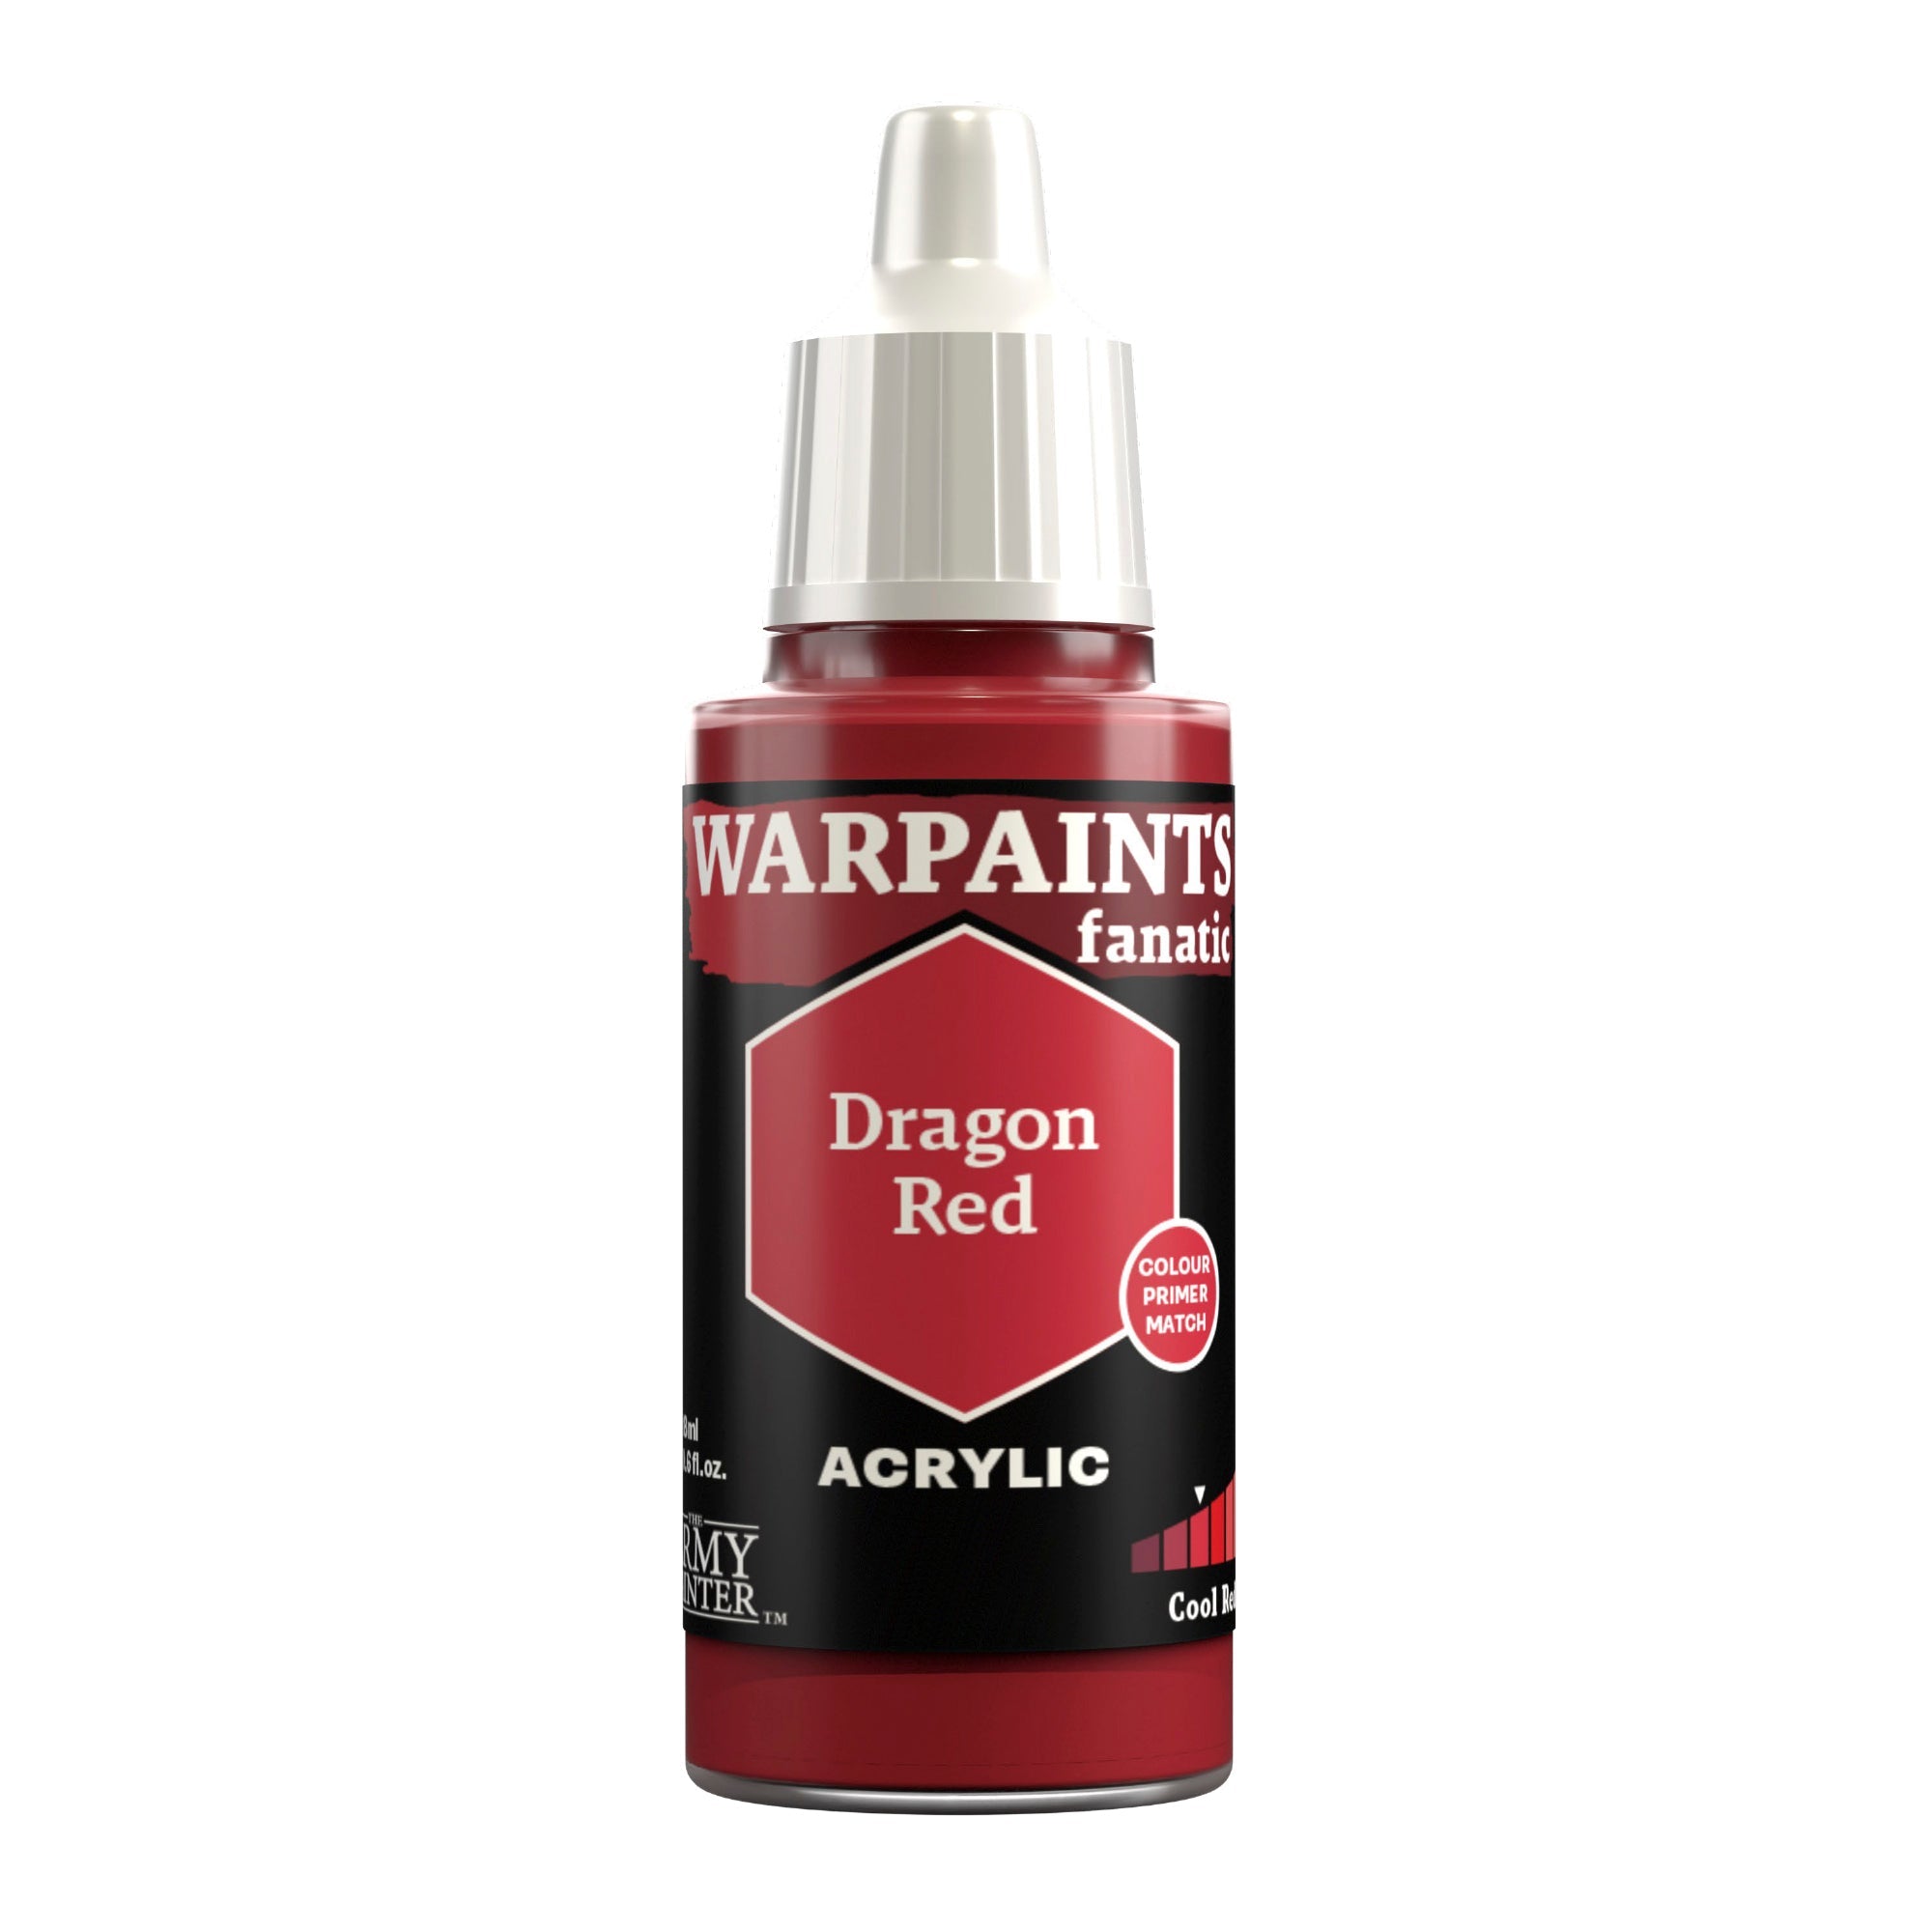
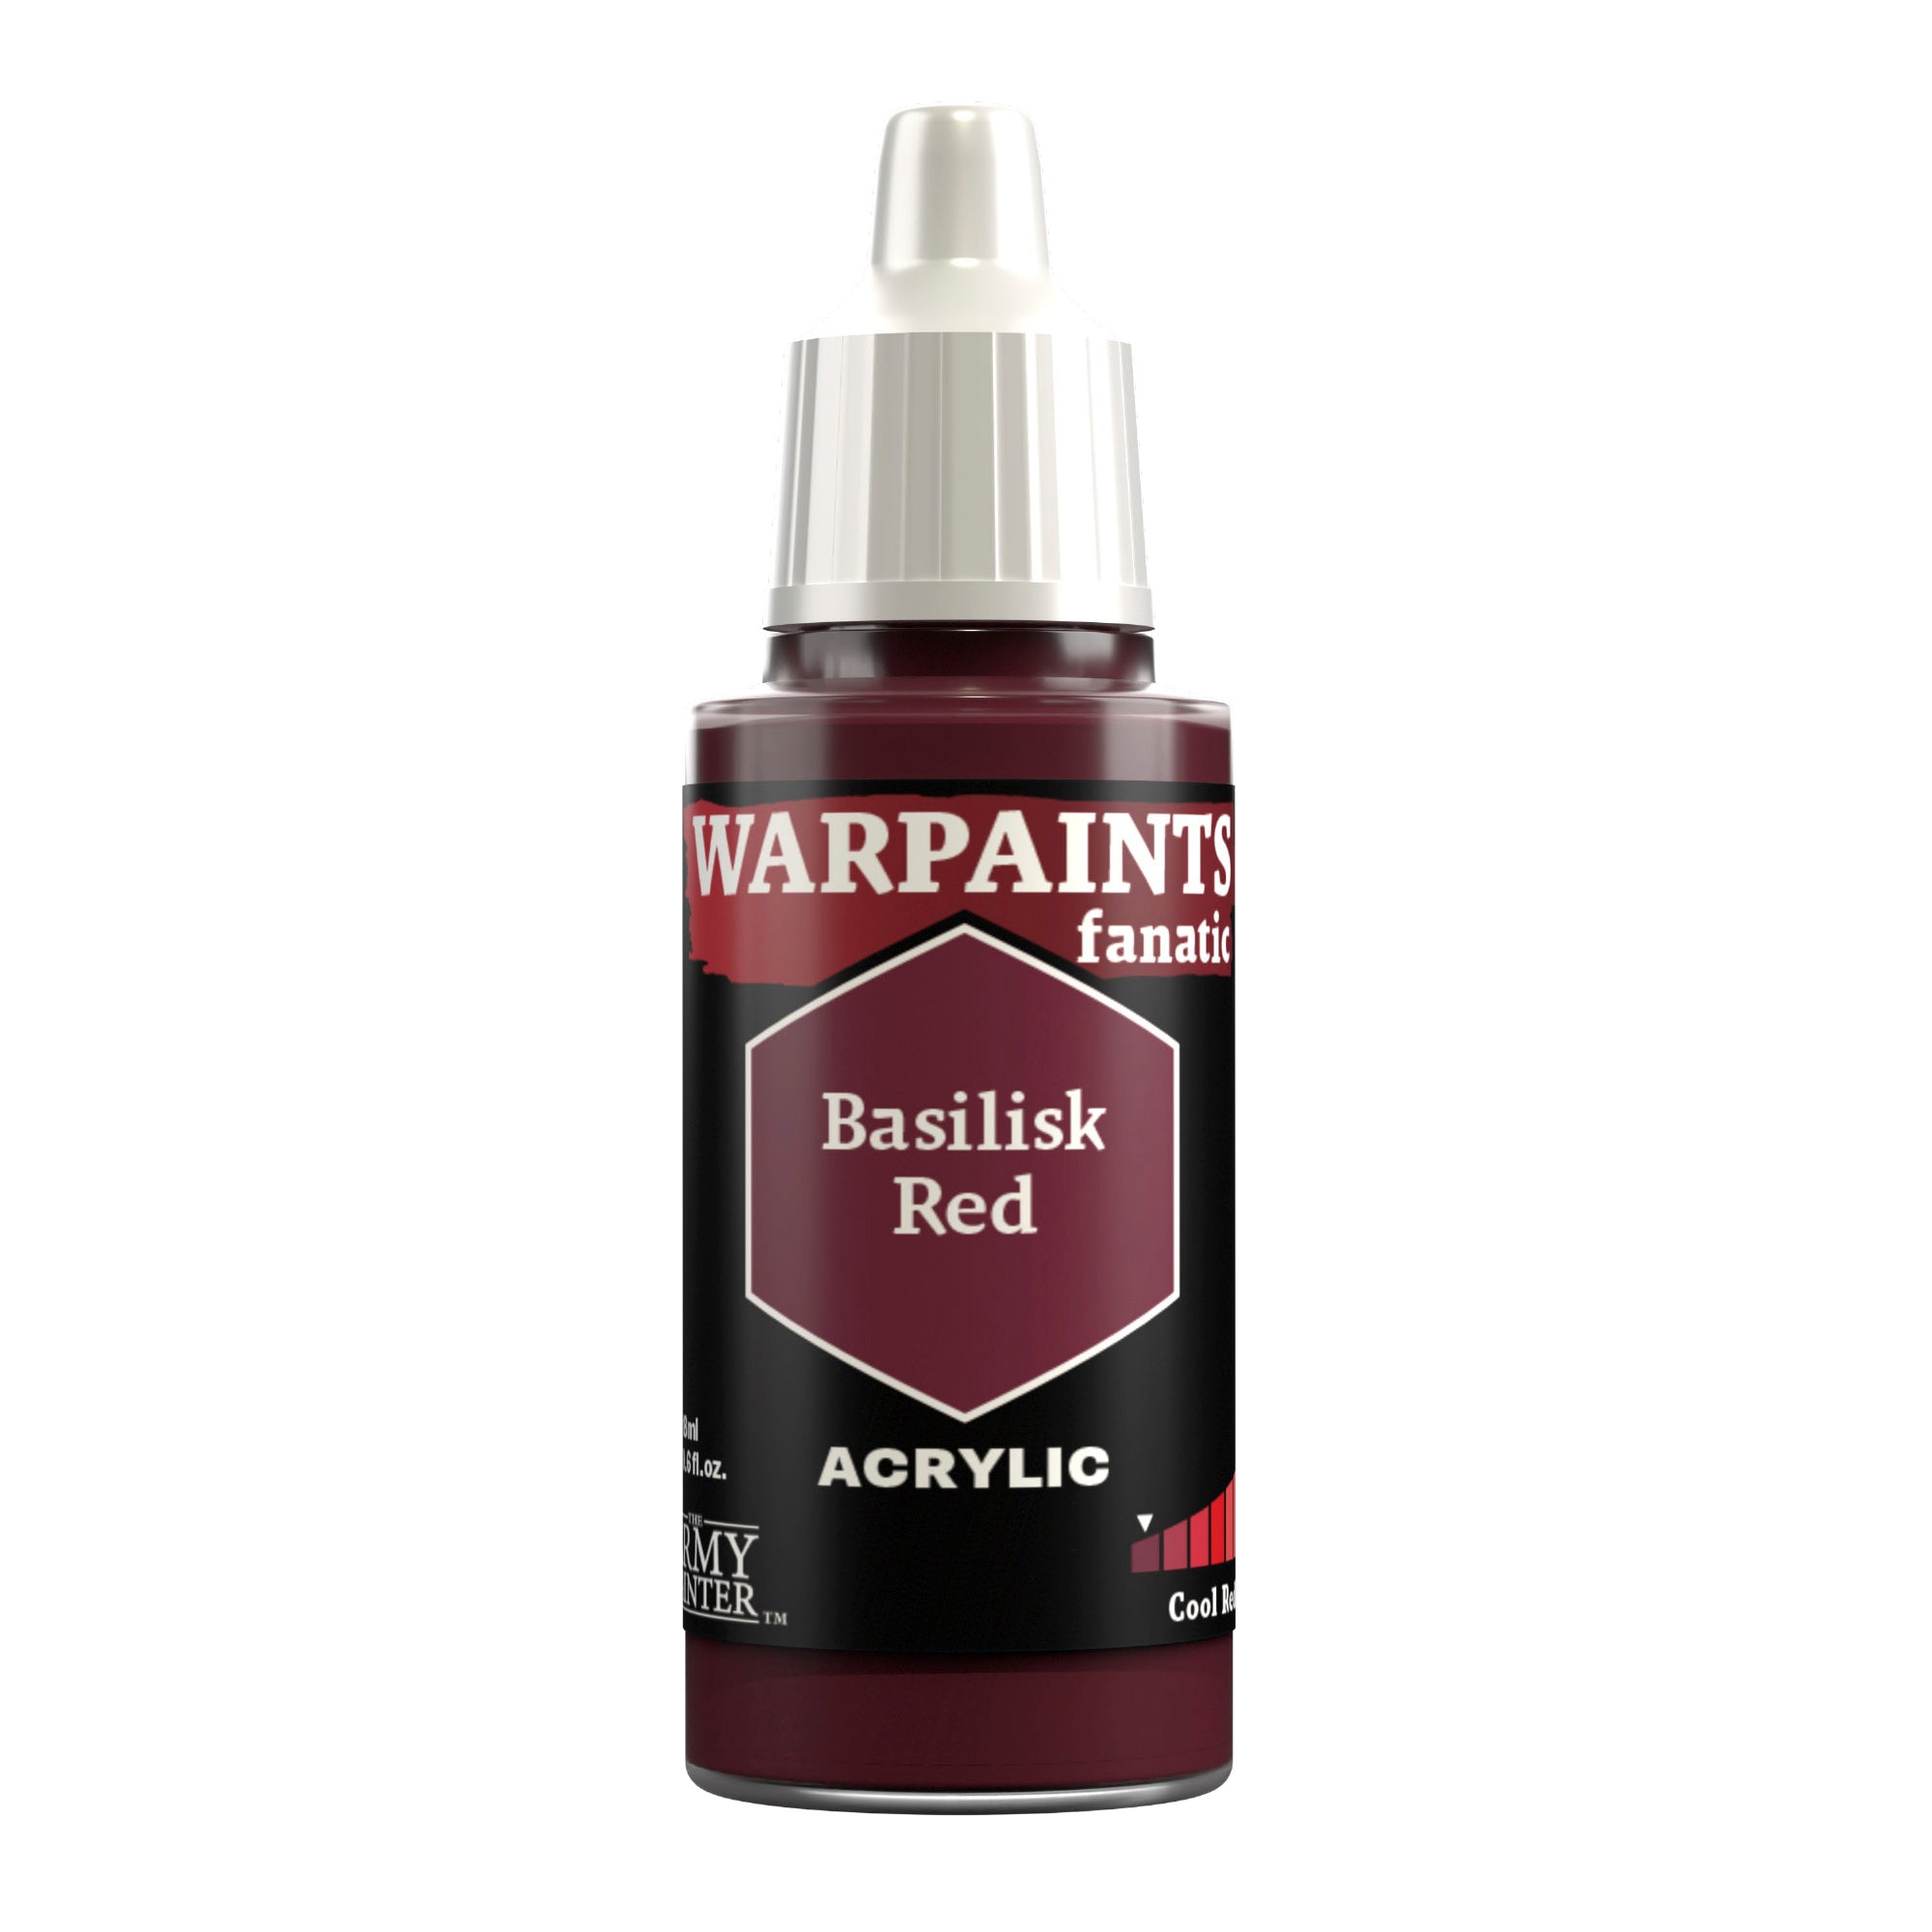
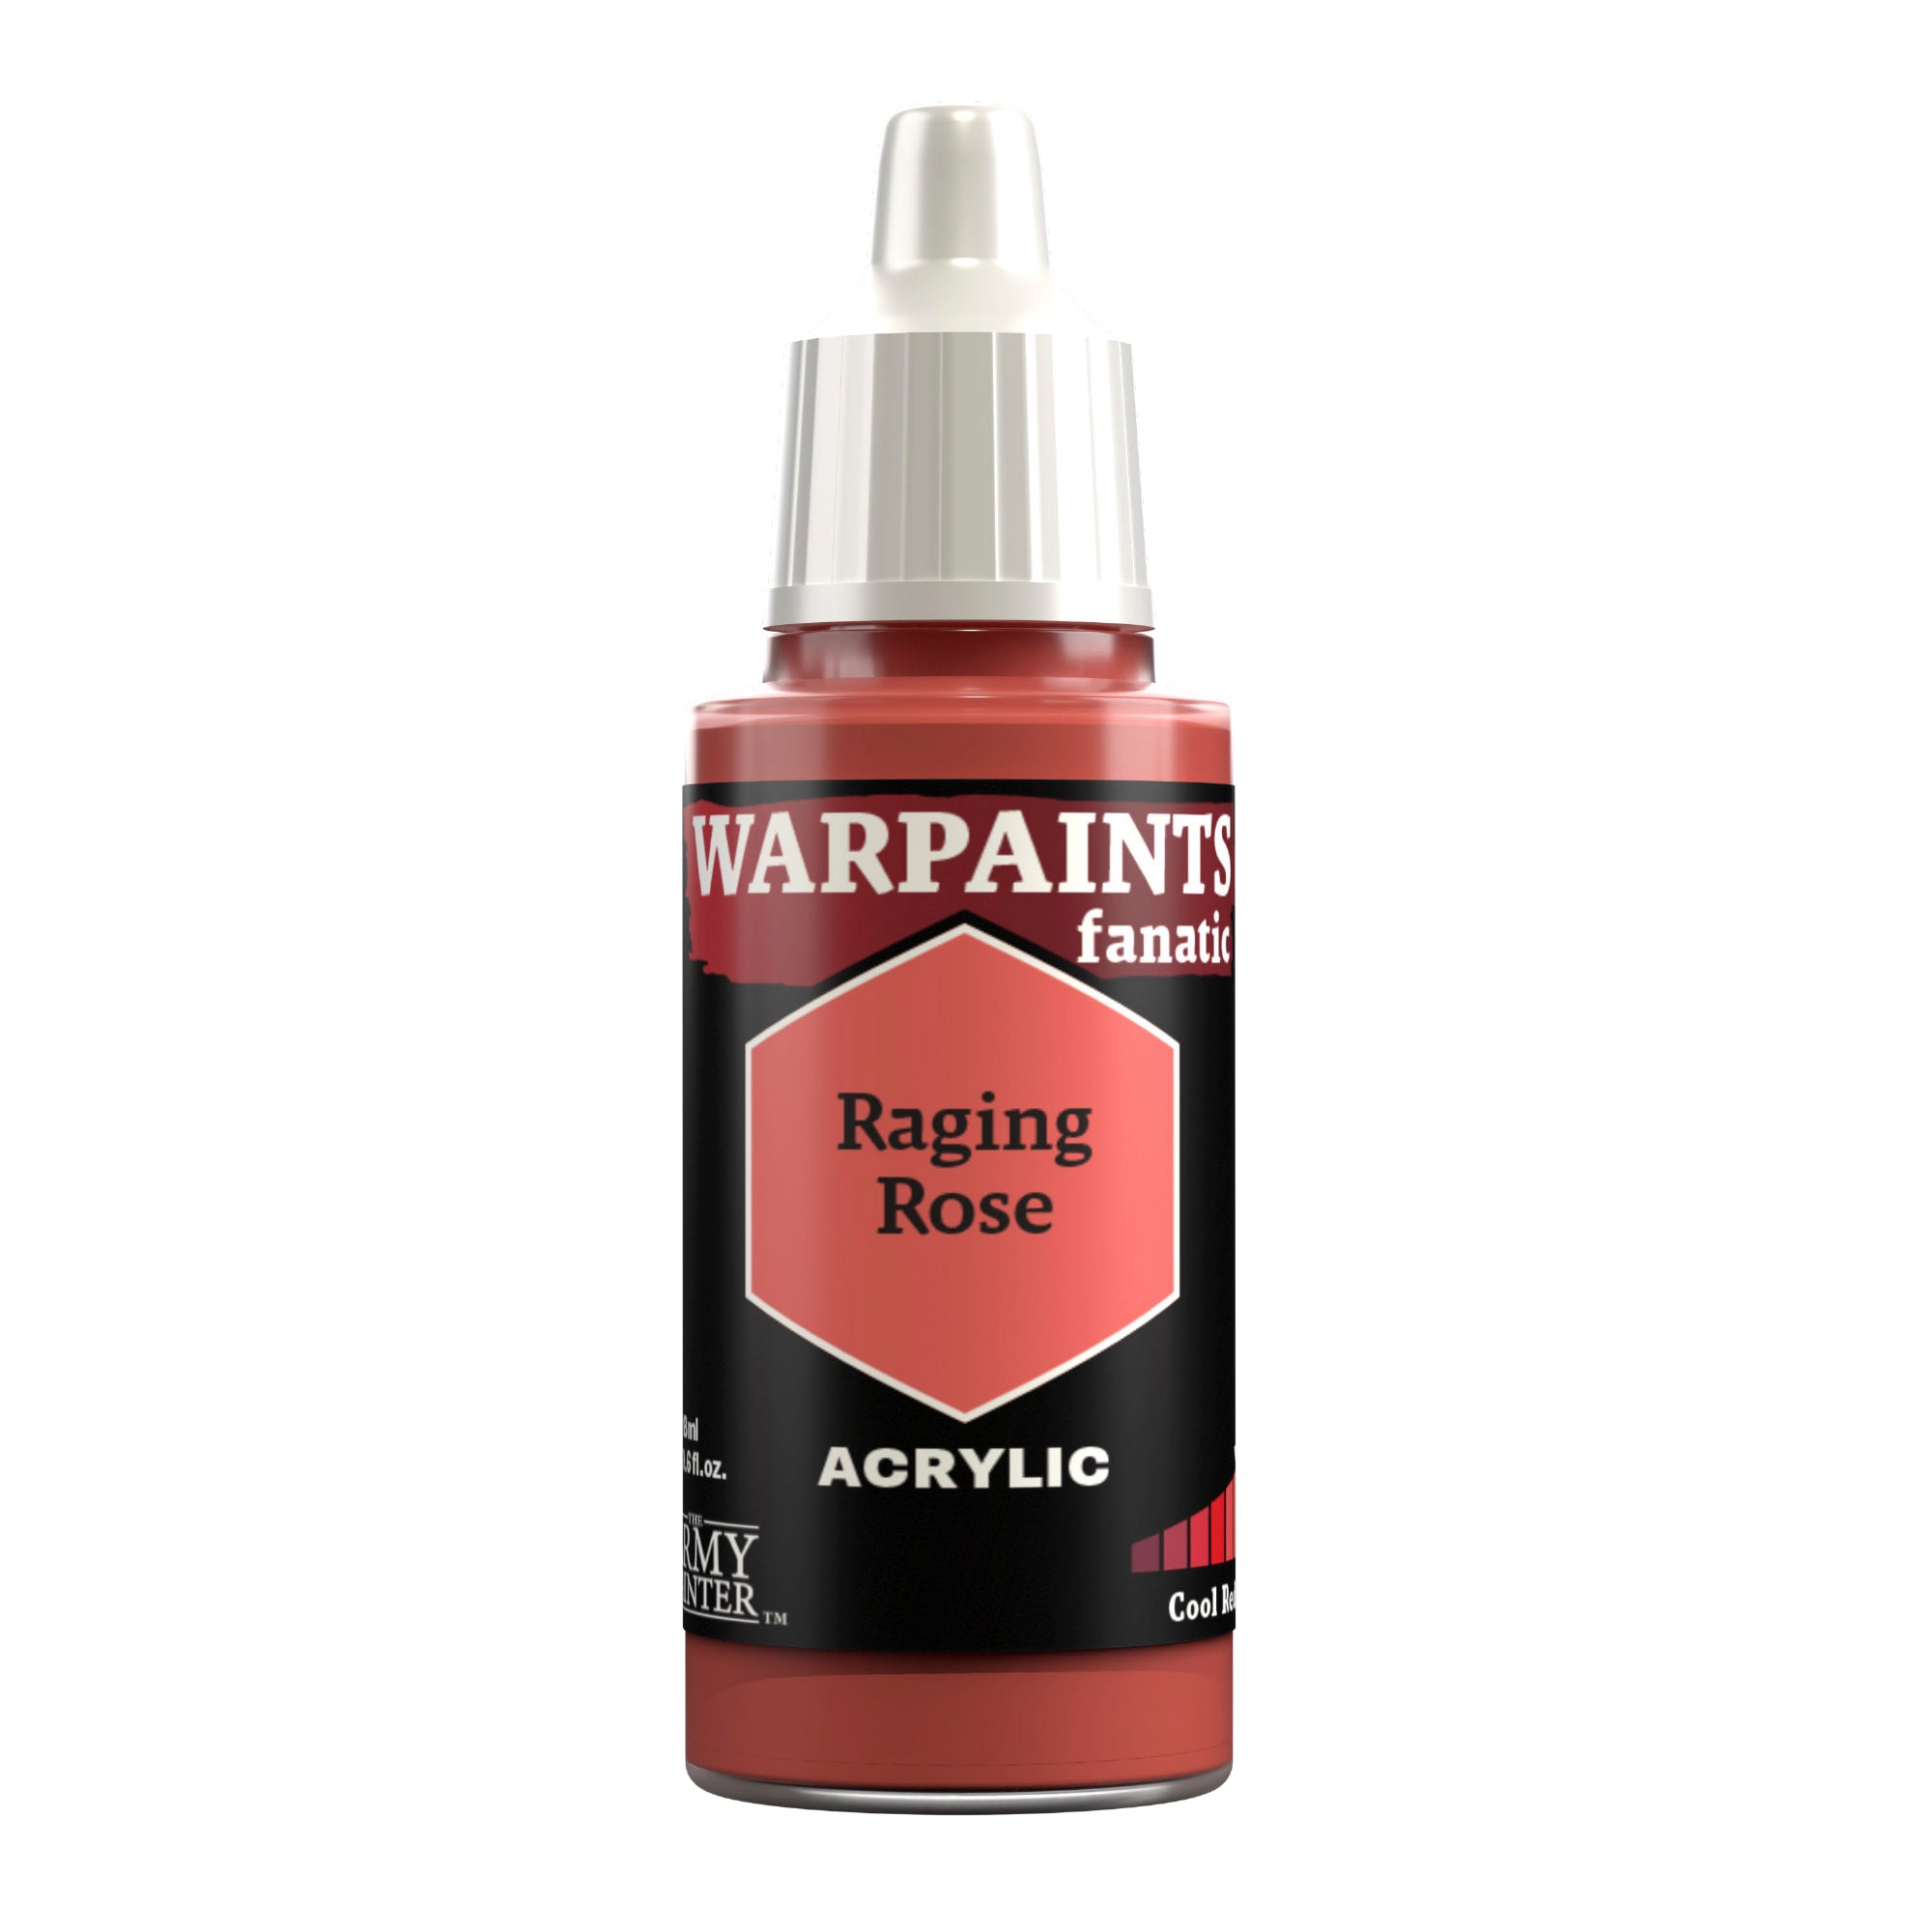
Paint any lenses with a basecoat of Warpaints Fanatic Matt Black, followed by a large crescent in the bottom right 2/3s of Warpaints Fanatic Basilisk Red. This is followed with a smaller crescent of Warpaints Fanatic Dragon Red, and then Warpaints Fanatic Raging Rose, and finally a dot of Warpaints Fanatic Matt White in the opposite, top left corner.  

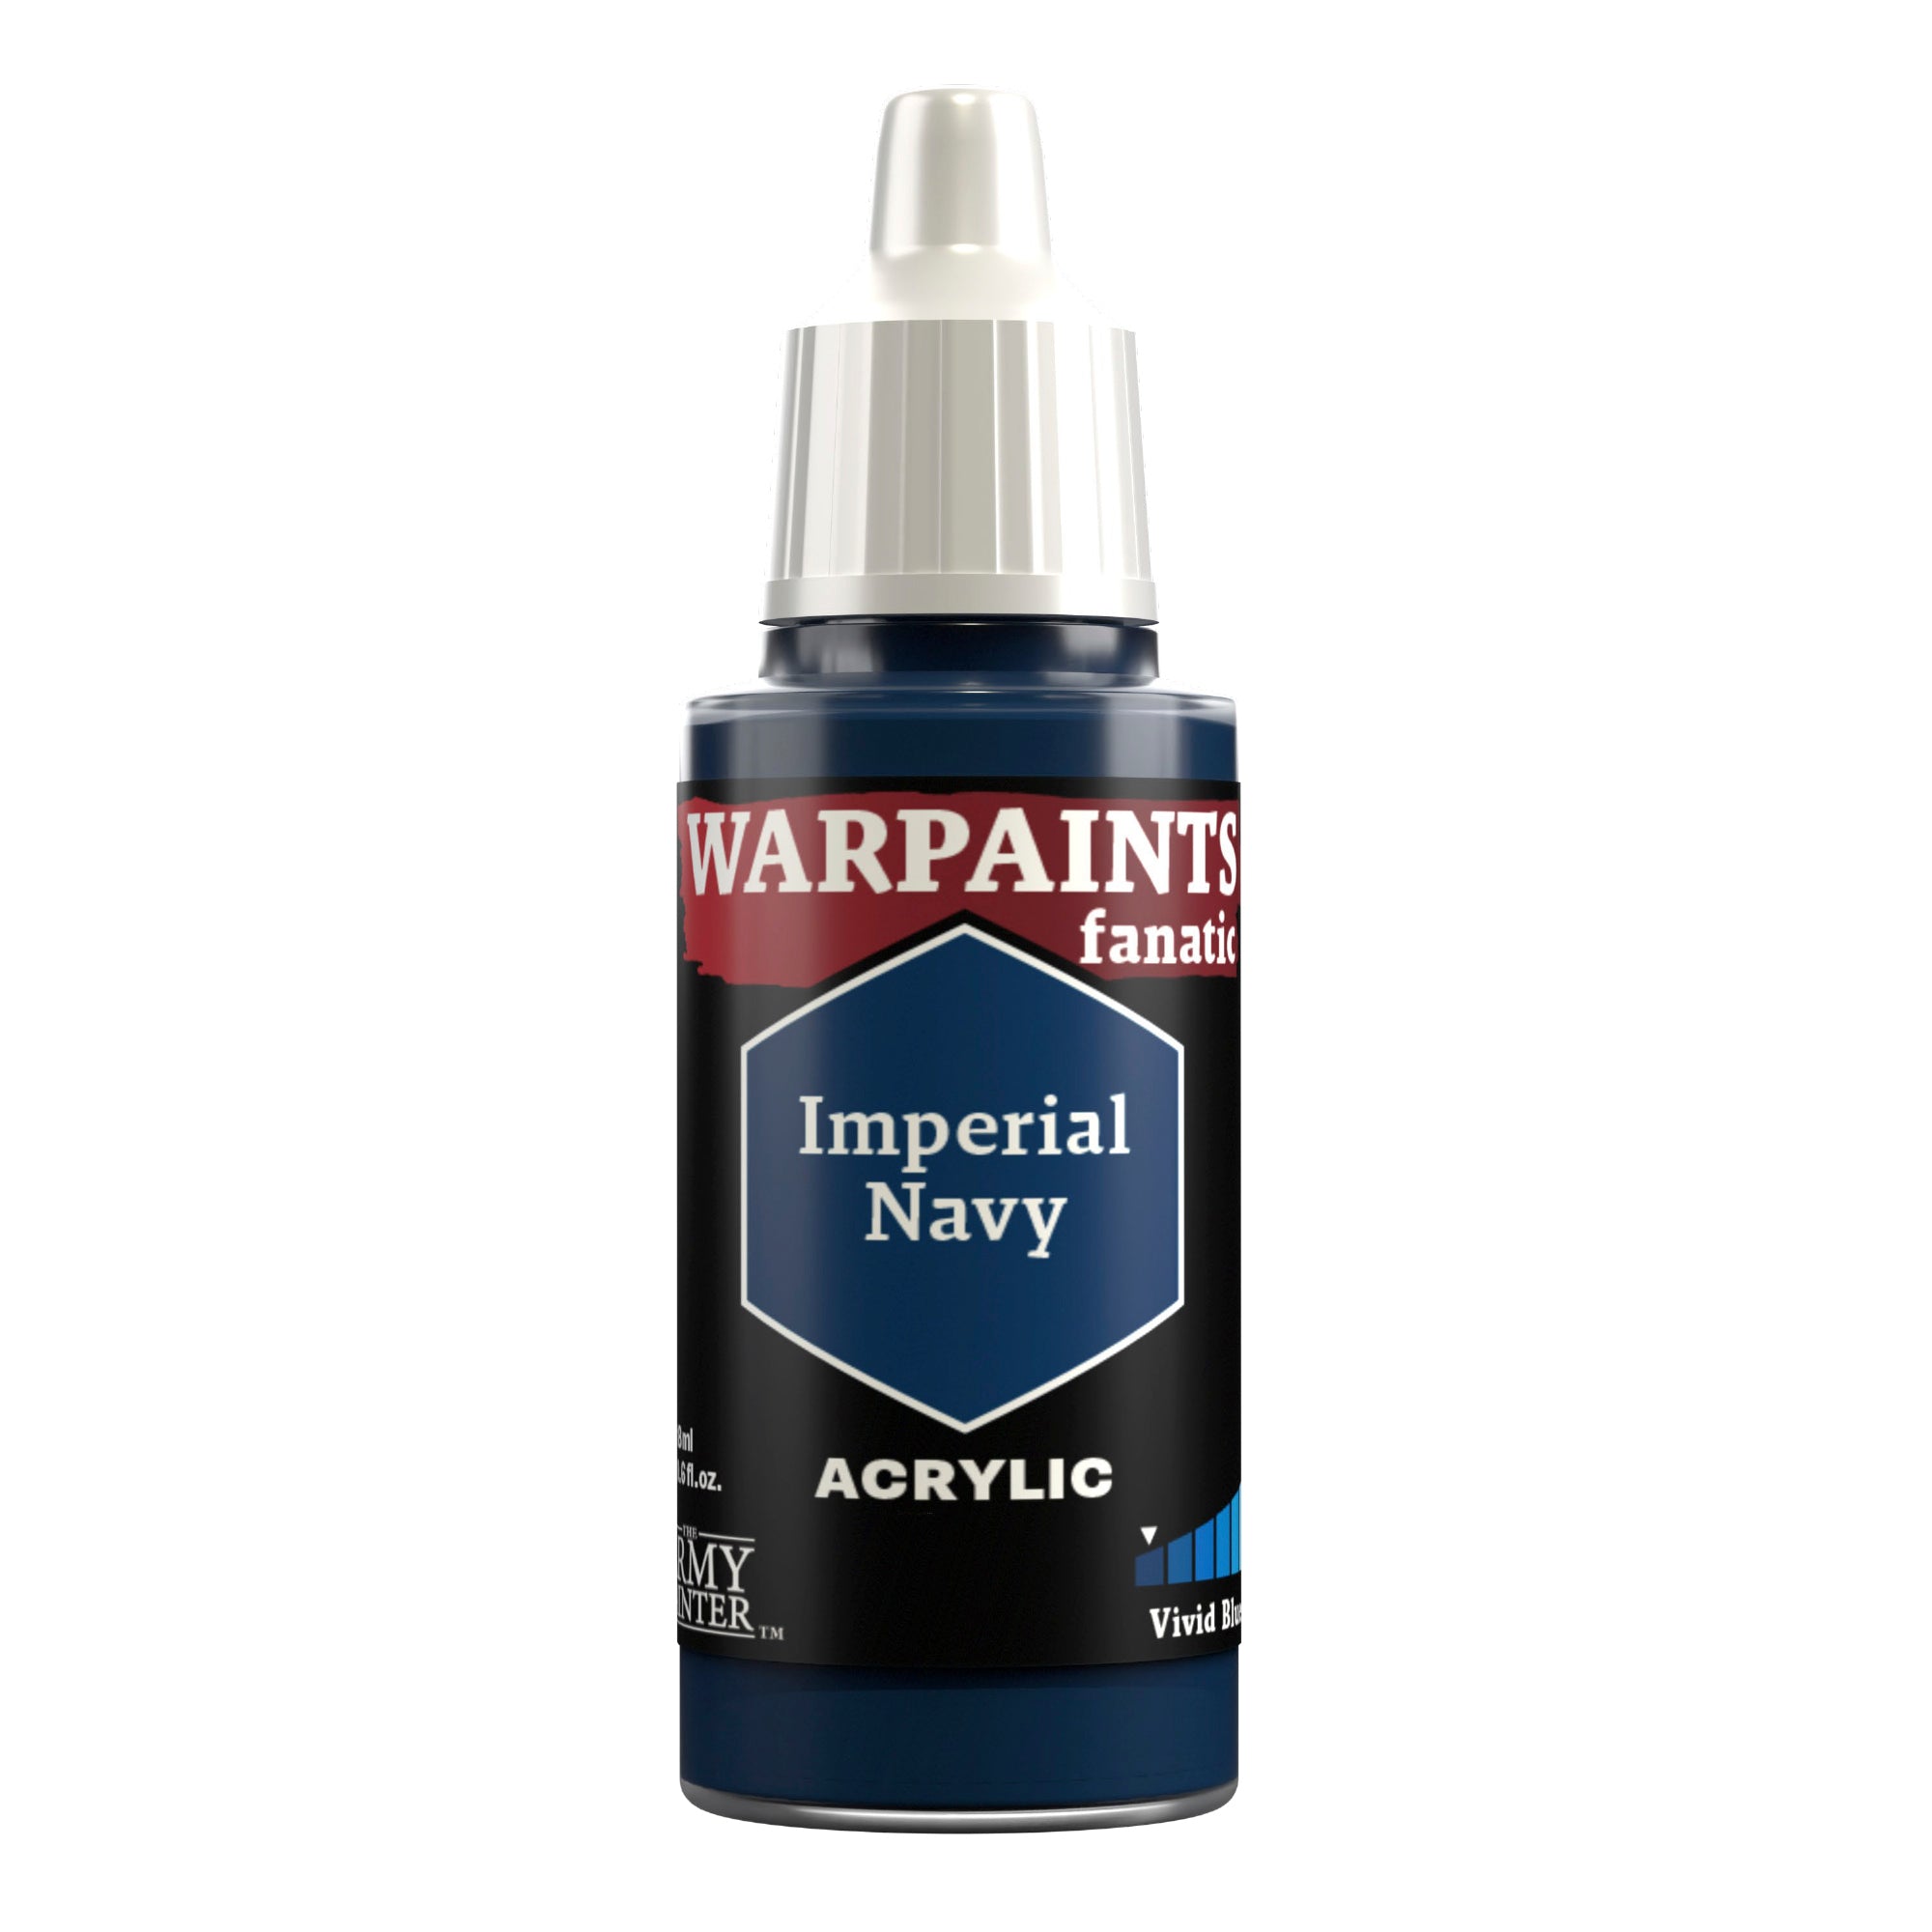
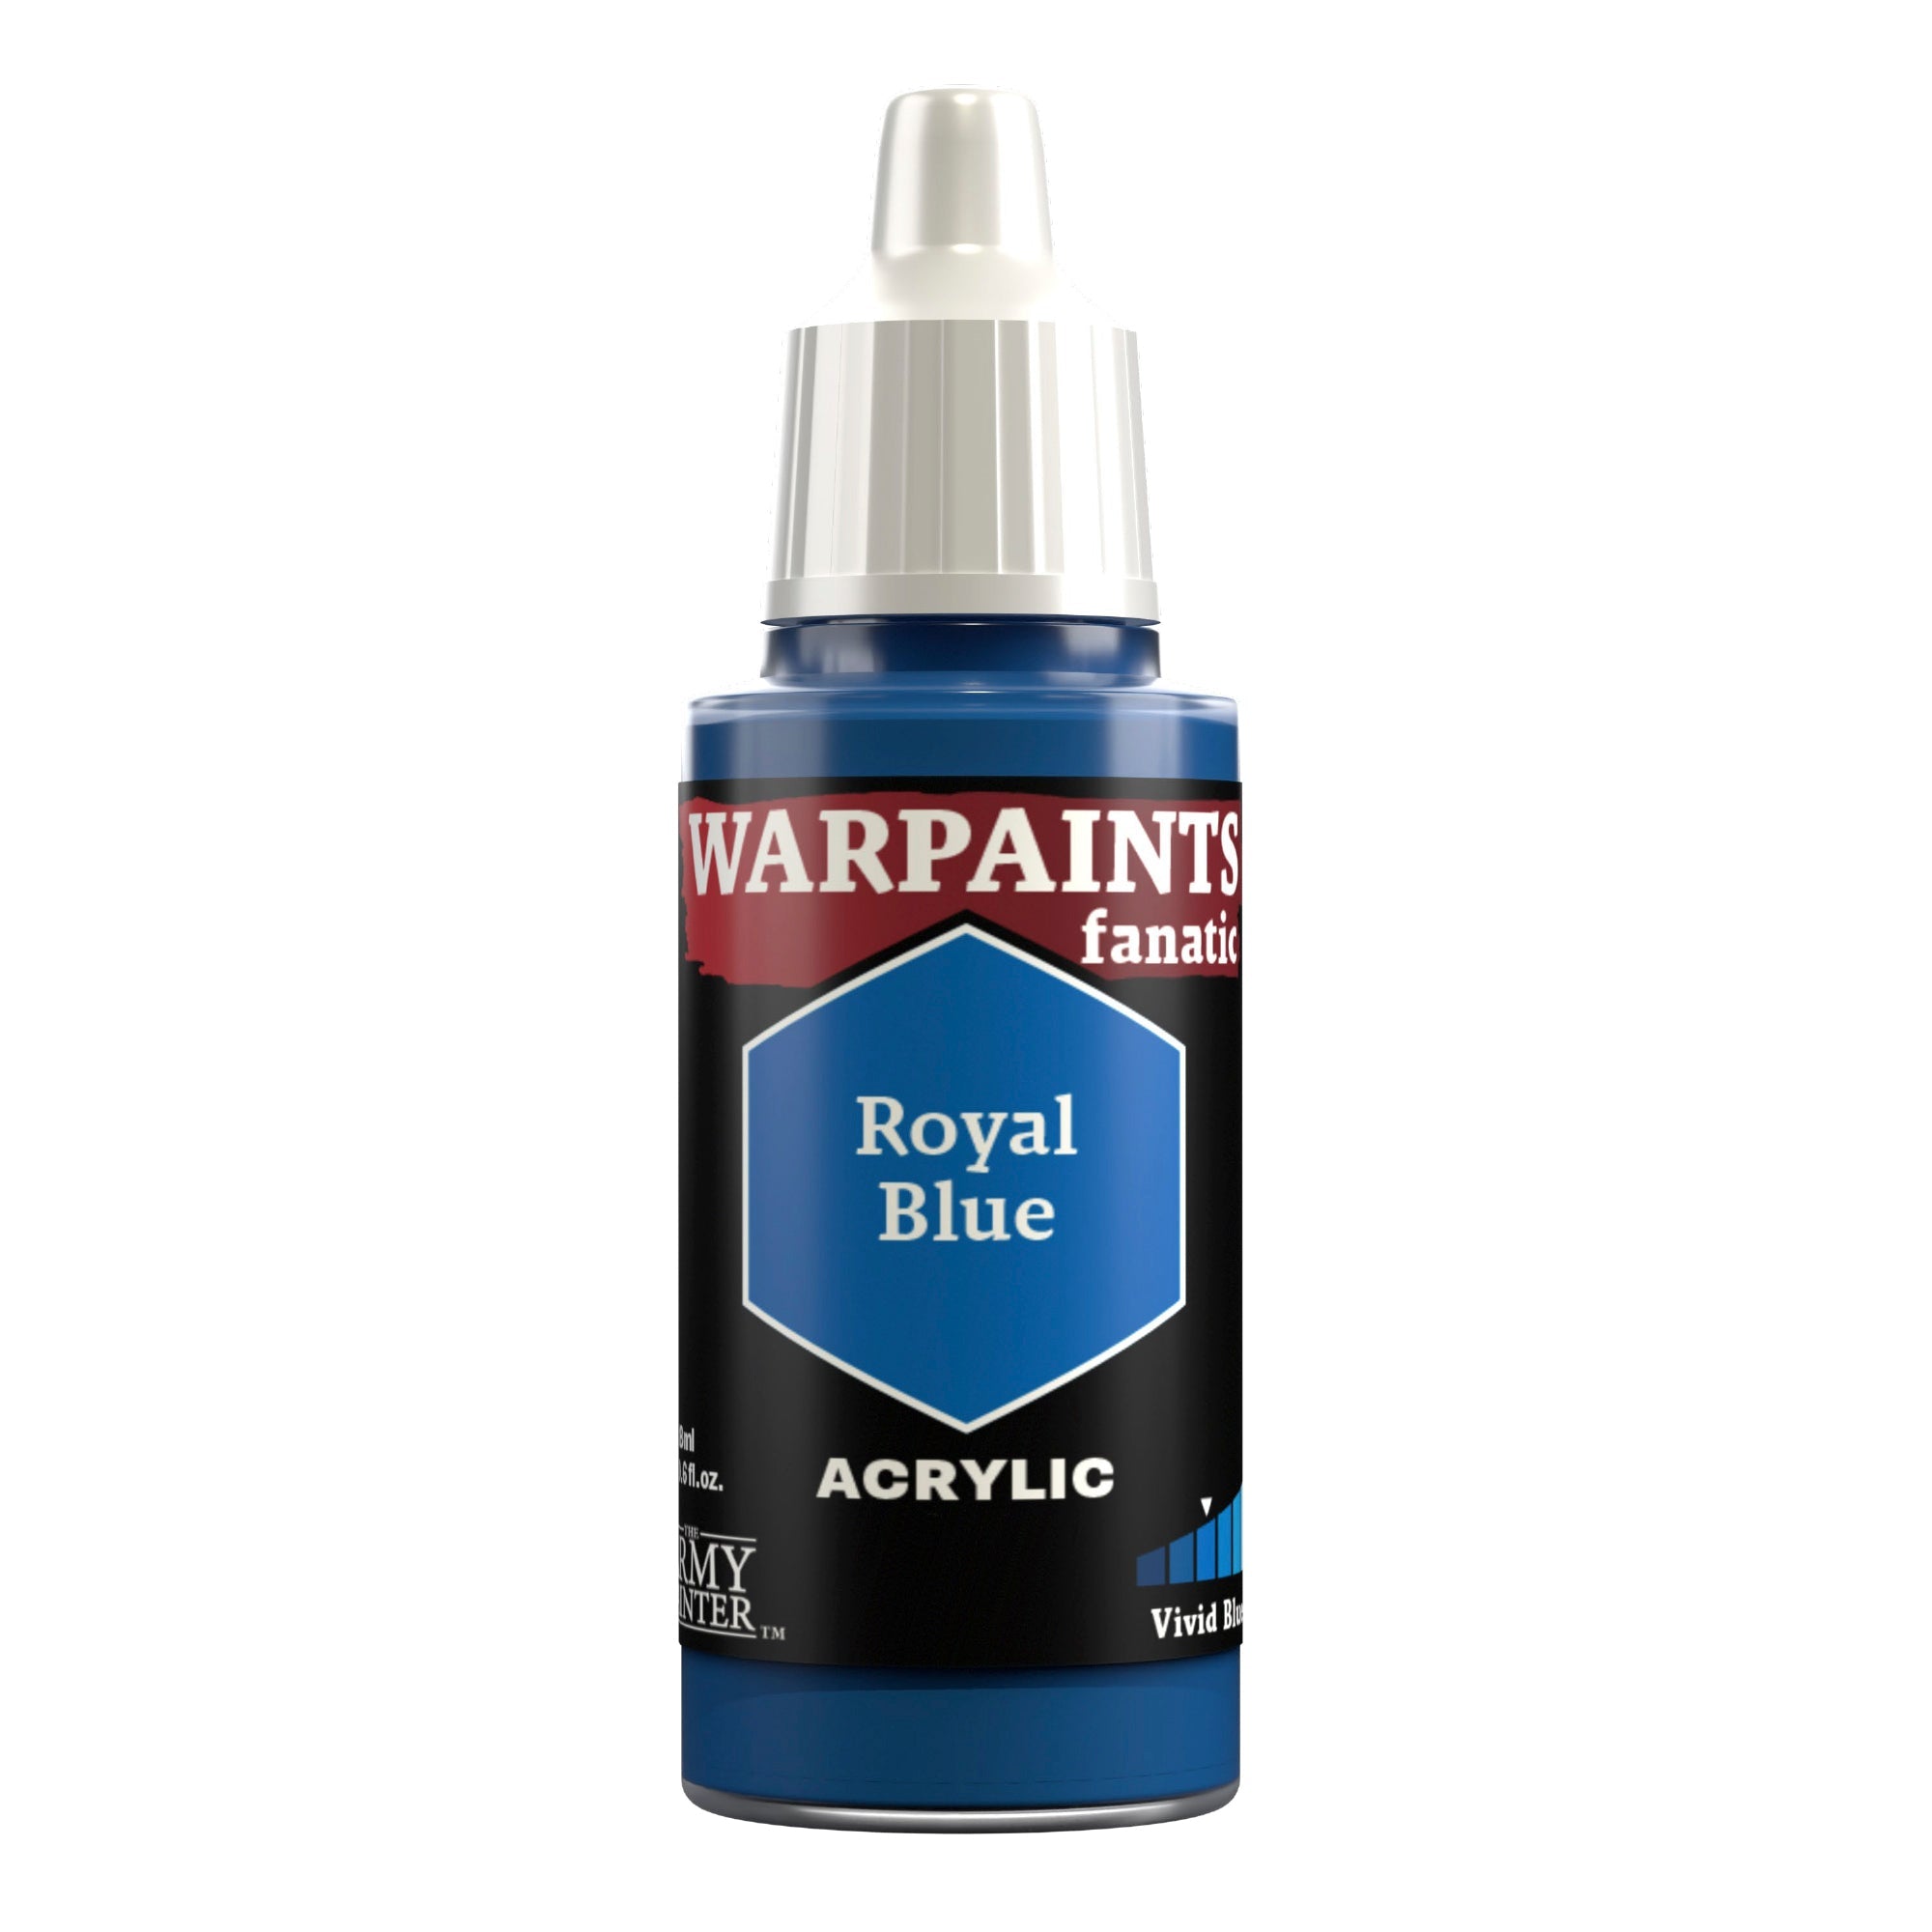
Repeat this process for any goggles or screens, but with Warpaints Fanatic Imperial Navy, Royal Blue, and Arctic Gem from the Vivid Blues Flexible Triad in place of the reds. 

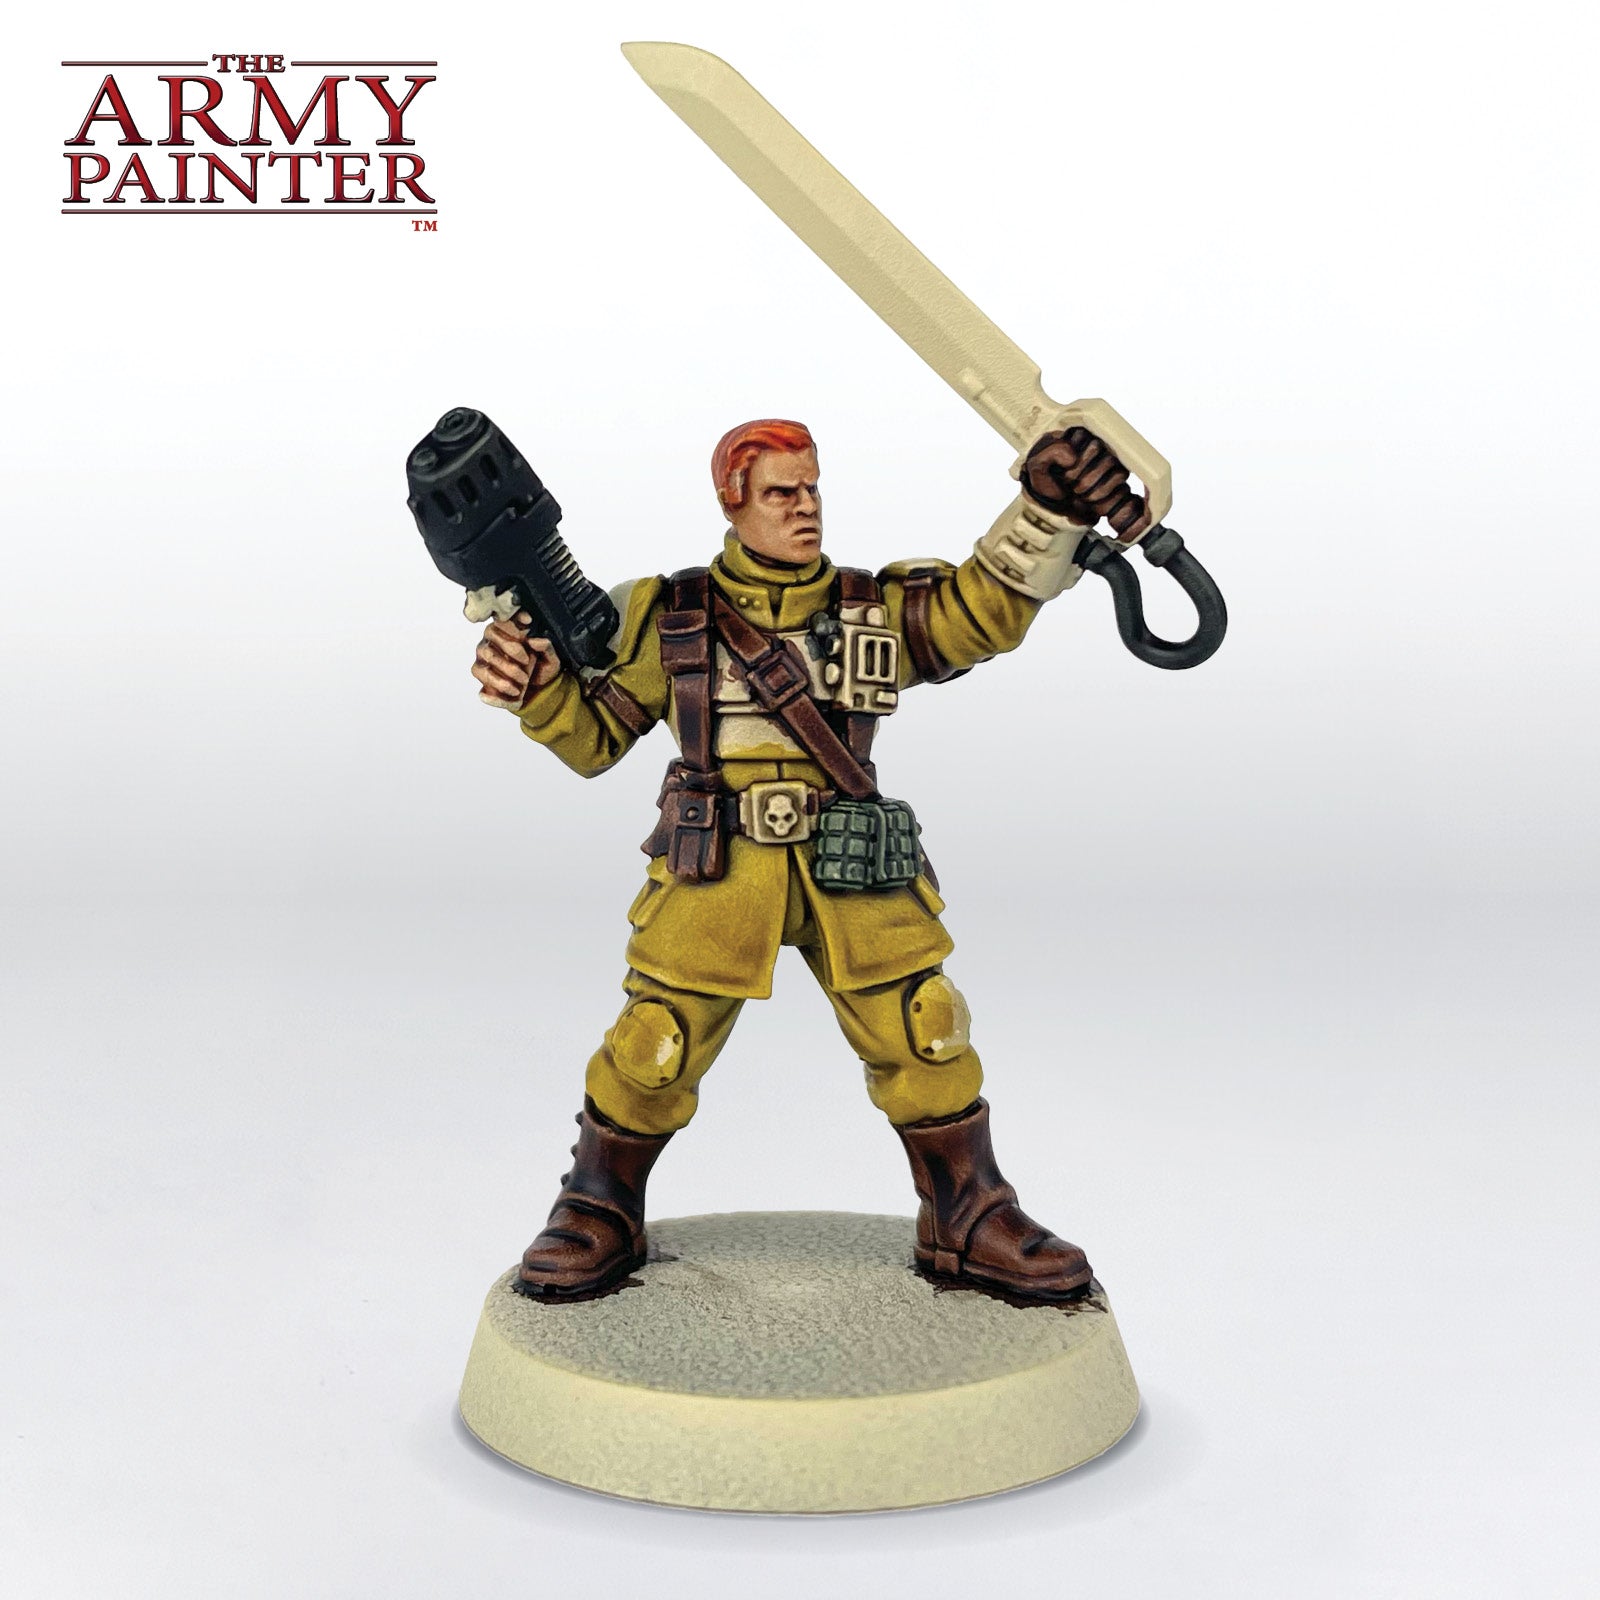
With that, your model is done!

Transfers were applied to all the models and then they were weathered with a bit of sponge and some Warpaints Air Militia Green for chipping, and a bit of Warpaints Fanatic Wash Strong Tone in a splotchy pattern for dirt and grime.

These models were based in a simple dirt and grass scheme, with some of the colours used for the dirt applied thinly to their boots to further emphasize their rough and rabble appearance and tie them into the basing, but you can use whatever basing scheme suits your collection. 

With that, your models are done and ready to take to the field of battle in the grim darkness of the far future! 

Be sure to tell us what you thought of this tutorial format, if you have any suggestions for improvements in the future, or even which models you want us to tackle. 

If you paint your own model following one of these guides, tag it with #thearmypainteracademy to share your work!