


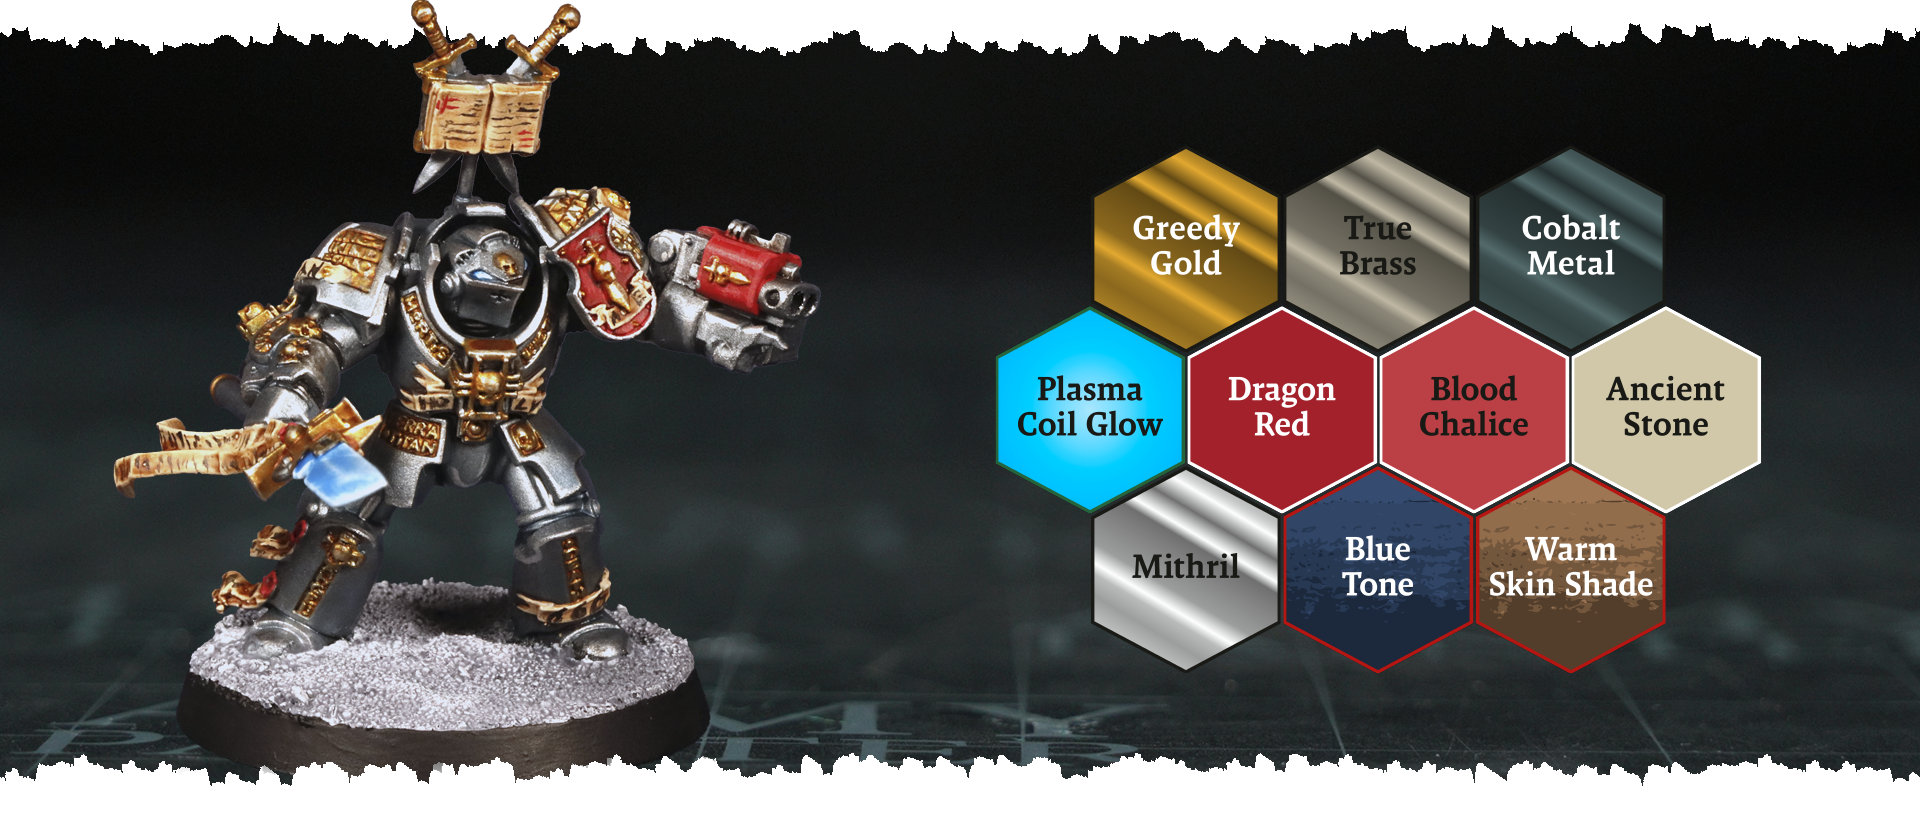
Though the Grey Knights may be shrouded in secrecy themselves, there’s no secret to how we would go about painting these shining knights of the 41st millennium. Clad in gleaming ceramite, the Grey Knights of Games Workshop’s Warhammer 40,000 setting are known for their distinctive blue-steel armour, coupled with heraldic accoutrements of red and white, and a magical psychic might that pours forth from their weapons and eyes. With their re-release into the wilds of 10th edition 40K, we scried the ancient grimoires locked up within the bowels of Dipt’s dungeon to put together a bundle of nine essential paints to bring these paladins to life.
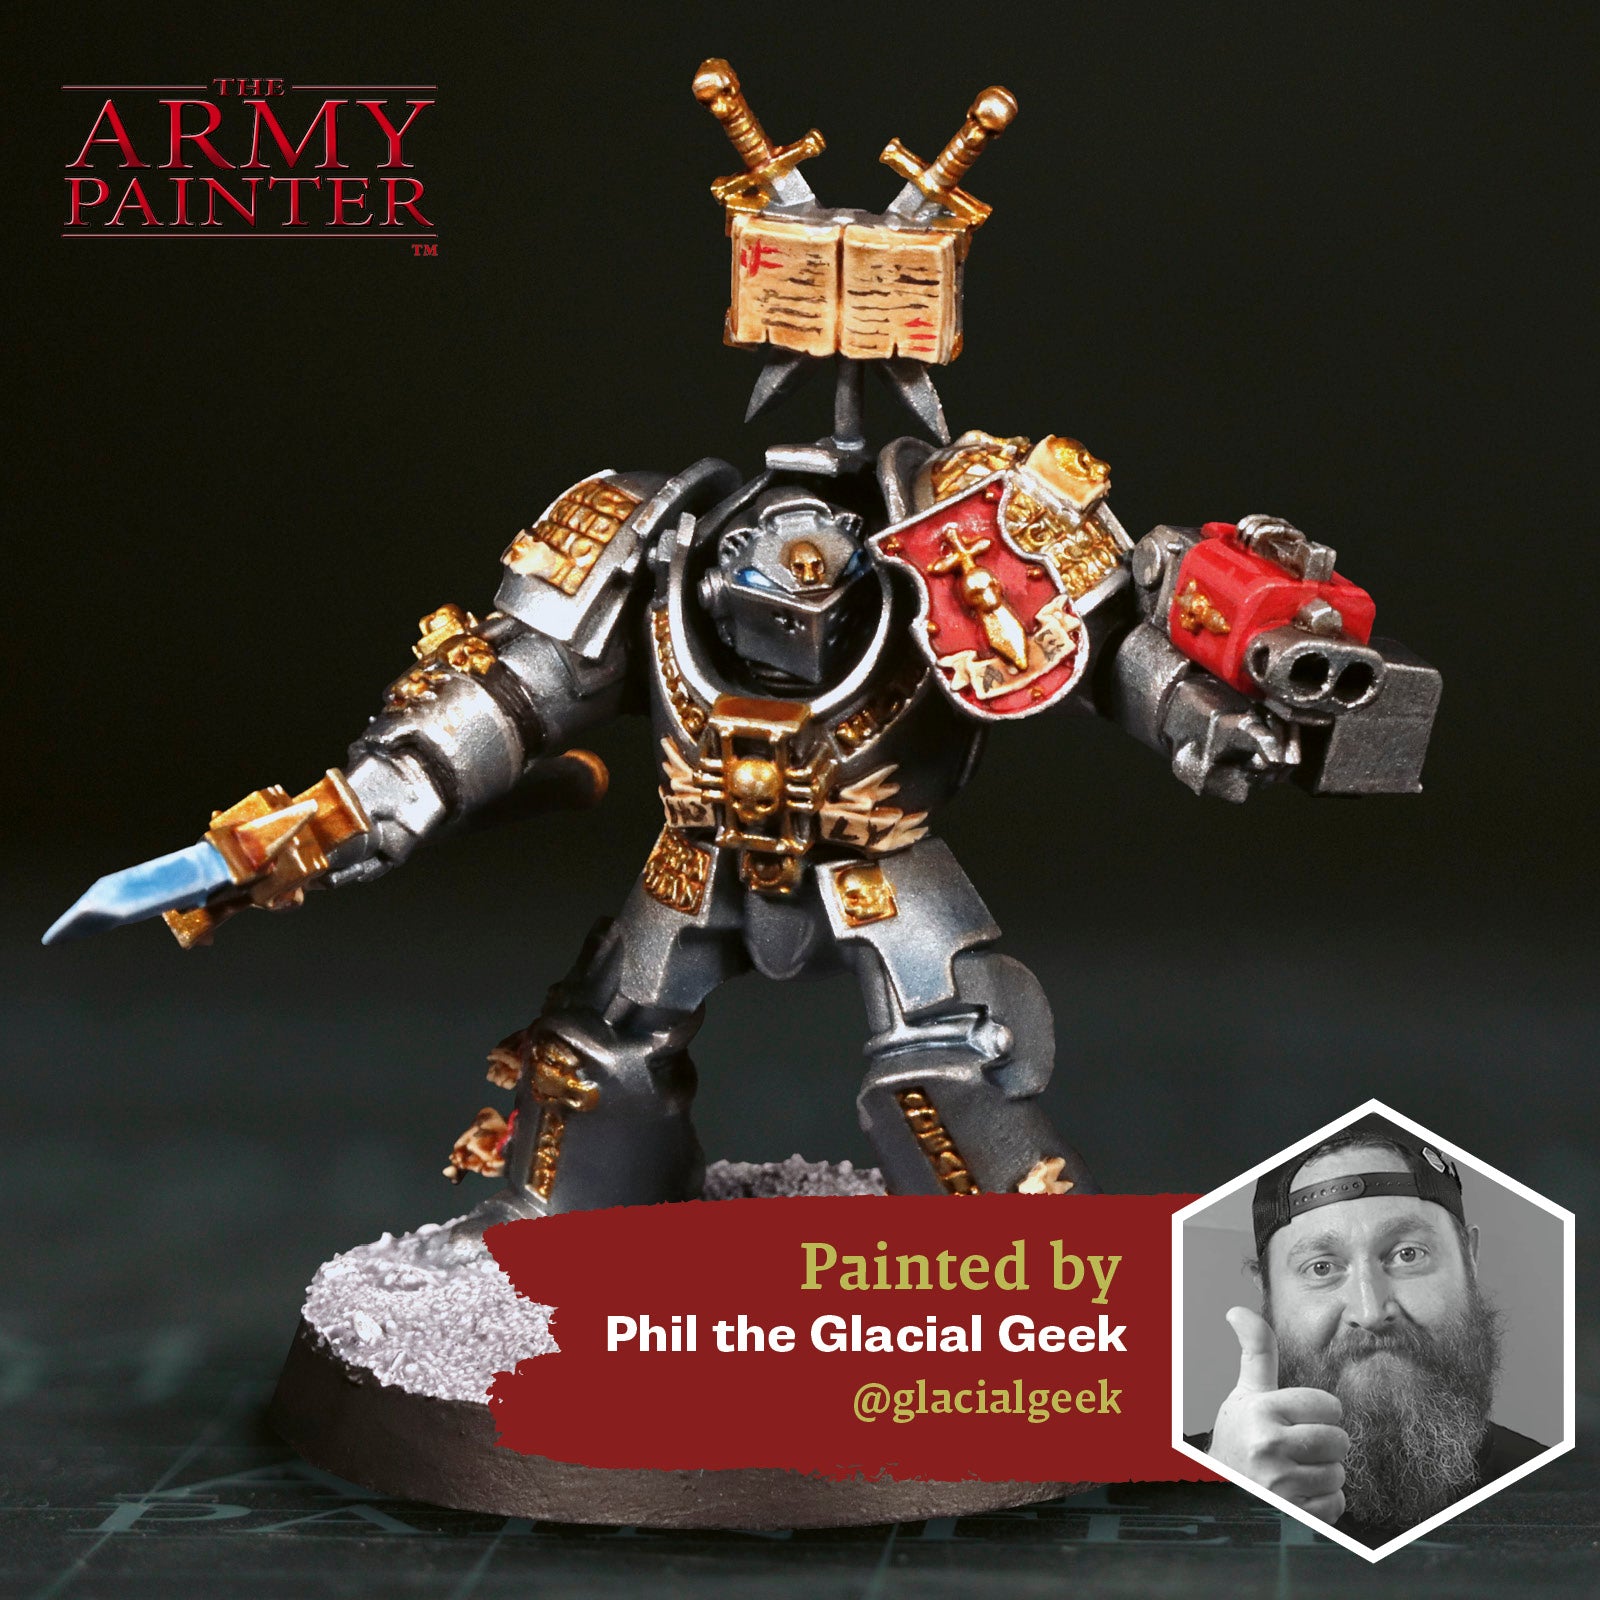
When it came to picking a painter to shoulder the mantle of the Grey Knights’ blinding purity, it could only be Phil the Glacial Geek. Armed with nine Warpaints Fanatic colours and shielded in his faith in the Emperor (and his own considerable painting might), Phil painted up a Terminator of one of the Brotherhoods in 12 easy-to-follow steps!

To see the paint in action, check out Phil's video above, or if reading is more your style, then continue on for a step-by-step guide.
Let's get painting!
How to Paint the Grey Knights
Step 1: Prime the model with Matt Black Colour Primer, and then basecoat all the armour with Warpaints Fanatic Cobalt Metal.
Step 2: Shade the armour with an all-over application of Warpaints Fanatic Wash Blue Tone.
Step 3: Next, basecoat all the gold areas with Warpaints Fanatic Greedy Gold.
Step 4: Follow this with a basecoat of Warpaints Fanatic Ancient Stone on all the parchment.
Step 5: Basecoat the gun casing, shield, and any other areas you want to be red with Warpaints Fanatic Dragon Red.
Step 6: Next, all the gold, parchment, and red areas are shaded with John Blanche Masterclass Warm Skin Shade.
Step 7: Basecoat all the black areas, such as the soft armour joints and tubes with Warpaints Fanatic Matt Black.
Step 8: Basecoat the eyes and weapon blade with Warpaints Fanatic Matt White.
Step 9: Next, add the glowing effect by painting these areas with Warpaints Fanatic Effects Plasma Coil Glow.
Step 10: Begin the highlights with Warpaints Fanatic Blood Chalice on the edges of the red areas.
Step 11: Follow this with edge highlights of Warpaints Fanatic Mithril on the armour.
Step 12: Finally, highlight the gold with Warpaints Fanatic True Brass.

Buy The Bundle!