


How to Paint a
Halo: Flashpoint Brute

Welcome to the next instalment of The Army Painter Academy: a series where we break down how we paint a miniature step-by-step, complete with pictures for every bit of paint applied along the way.
Most people in the world will at least be casually aware of the Halo series, a veritable juggernaut of the video gaming world from the early ‘noughties, and the iconic helmeted visage of John-117, aka, Master Chief. Now, six games in, several spin-off games, books, comics, and even a TV show, Halo has finally made its way to the ultimate gaming medium. I am, of course, talking about the tabletop, with Mantic Games’ Halo: Flashpoint.
This fast-paced, skirmish-level game pits the Spartans of the UNSC against the alien conglomerate of the Banished (a splinter group of the now fractured Covenant for those who haven’t played the latest instalment of the series, Halo Infinite), finally giving us what we all want—teeny, tiny, plastic models of our favourite video game characters.

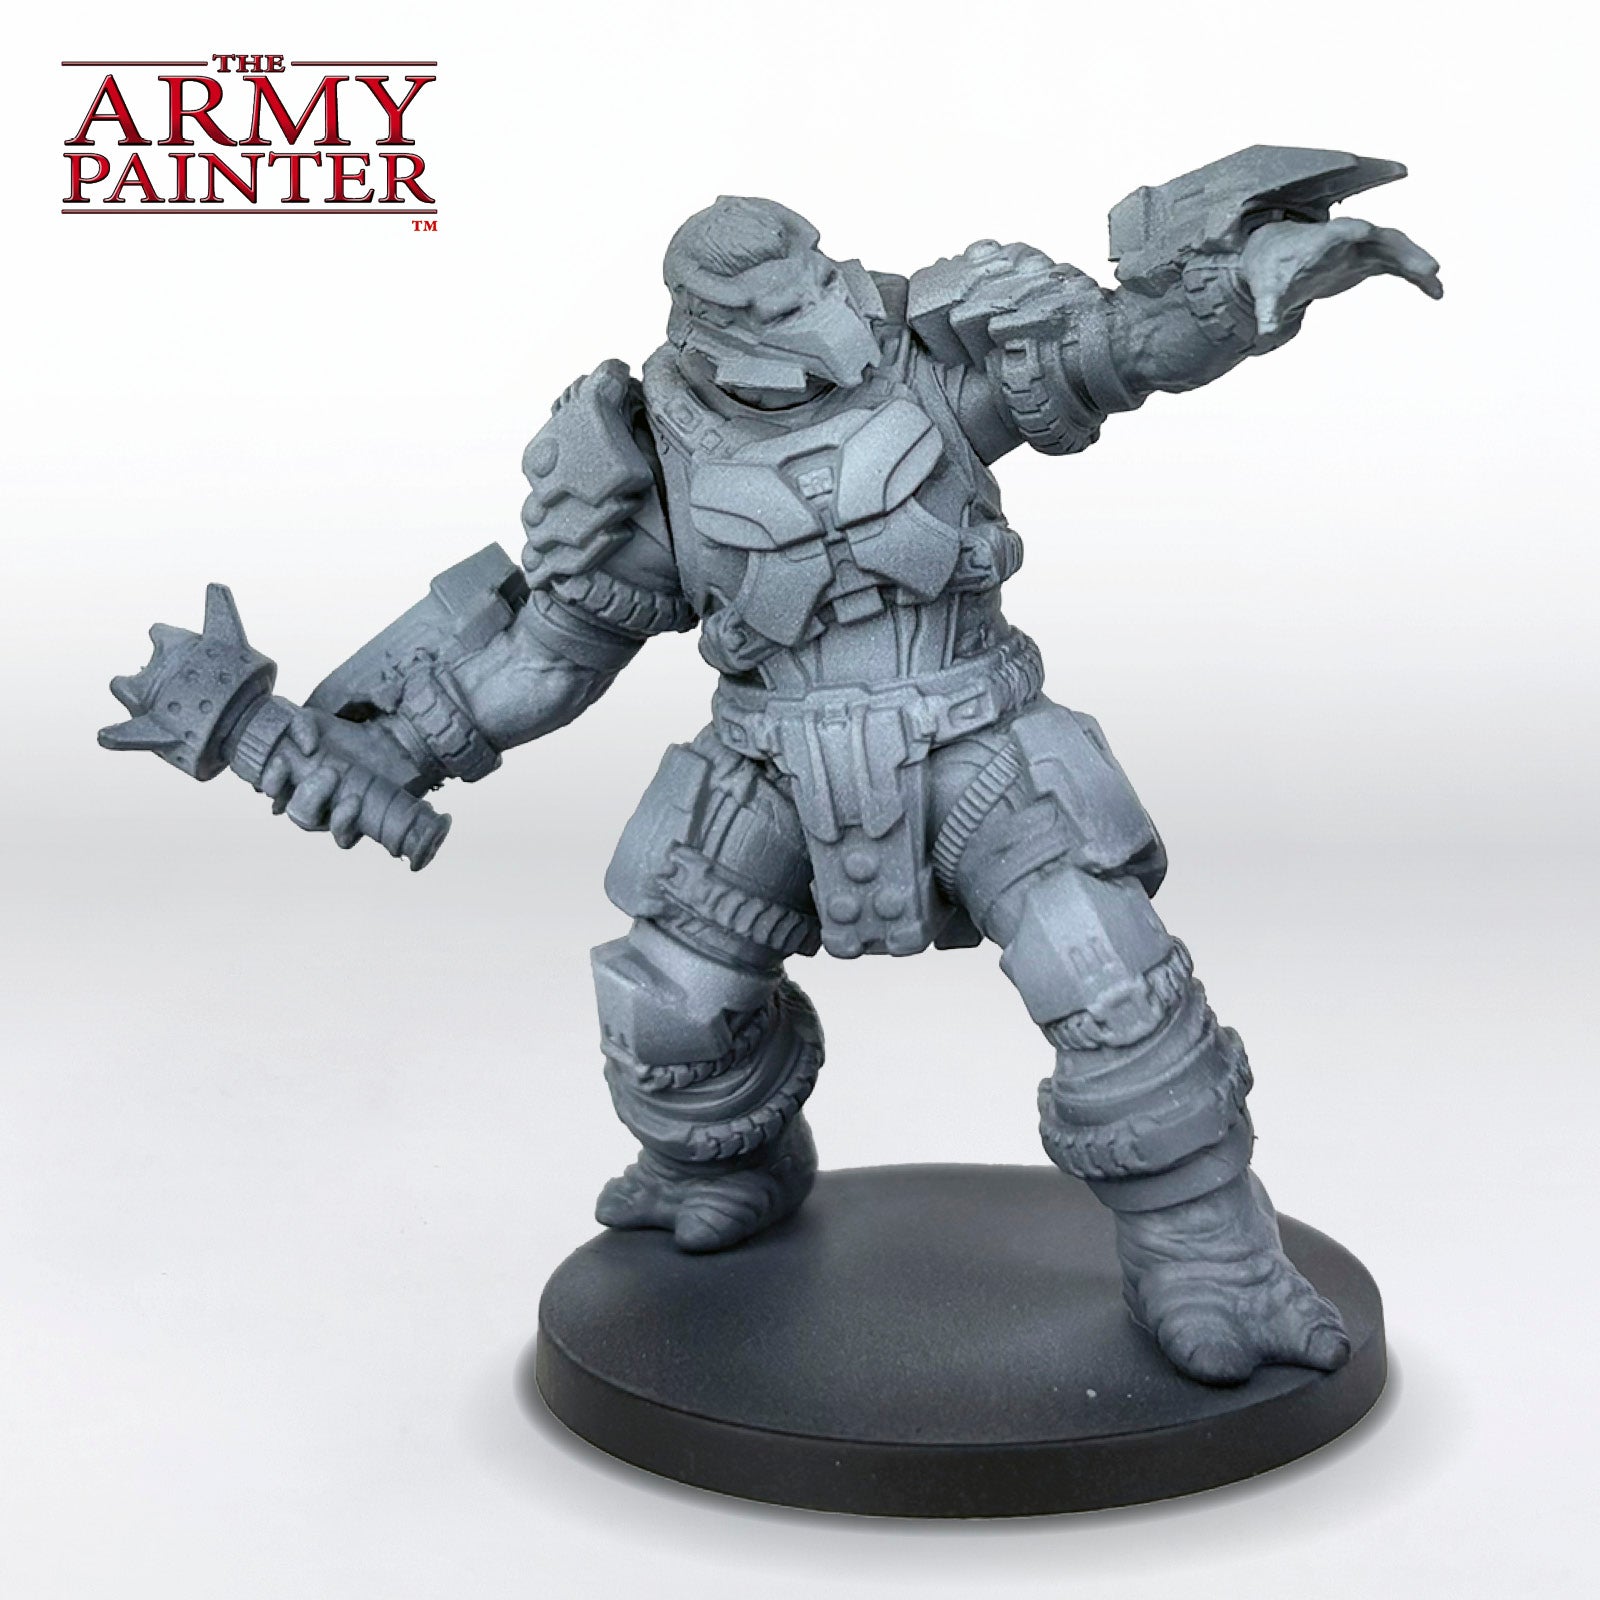
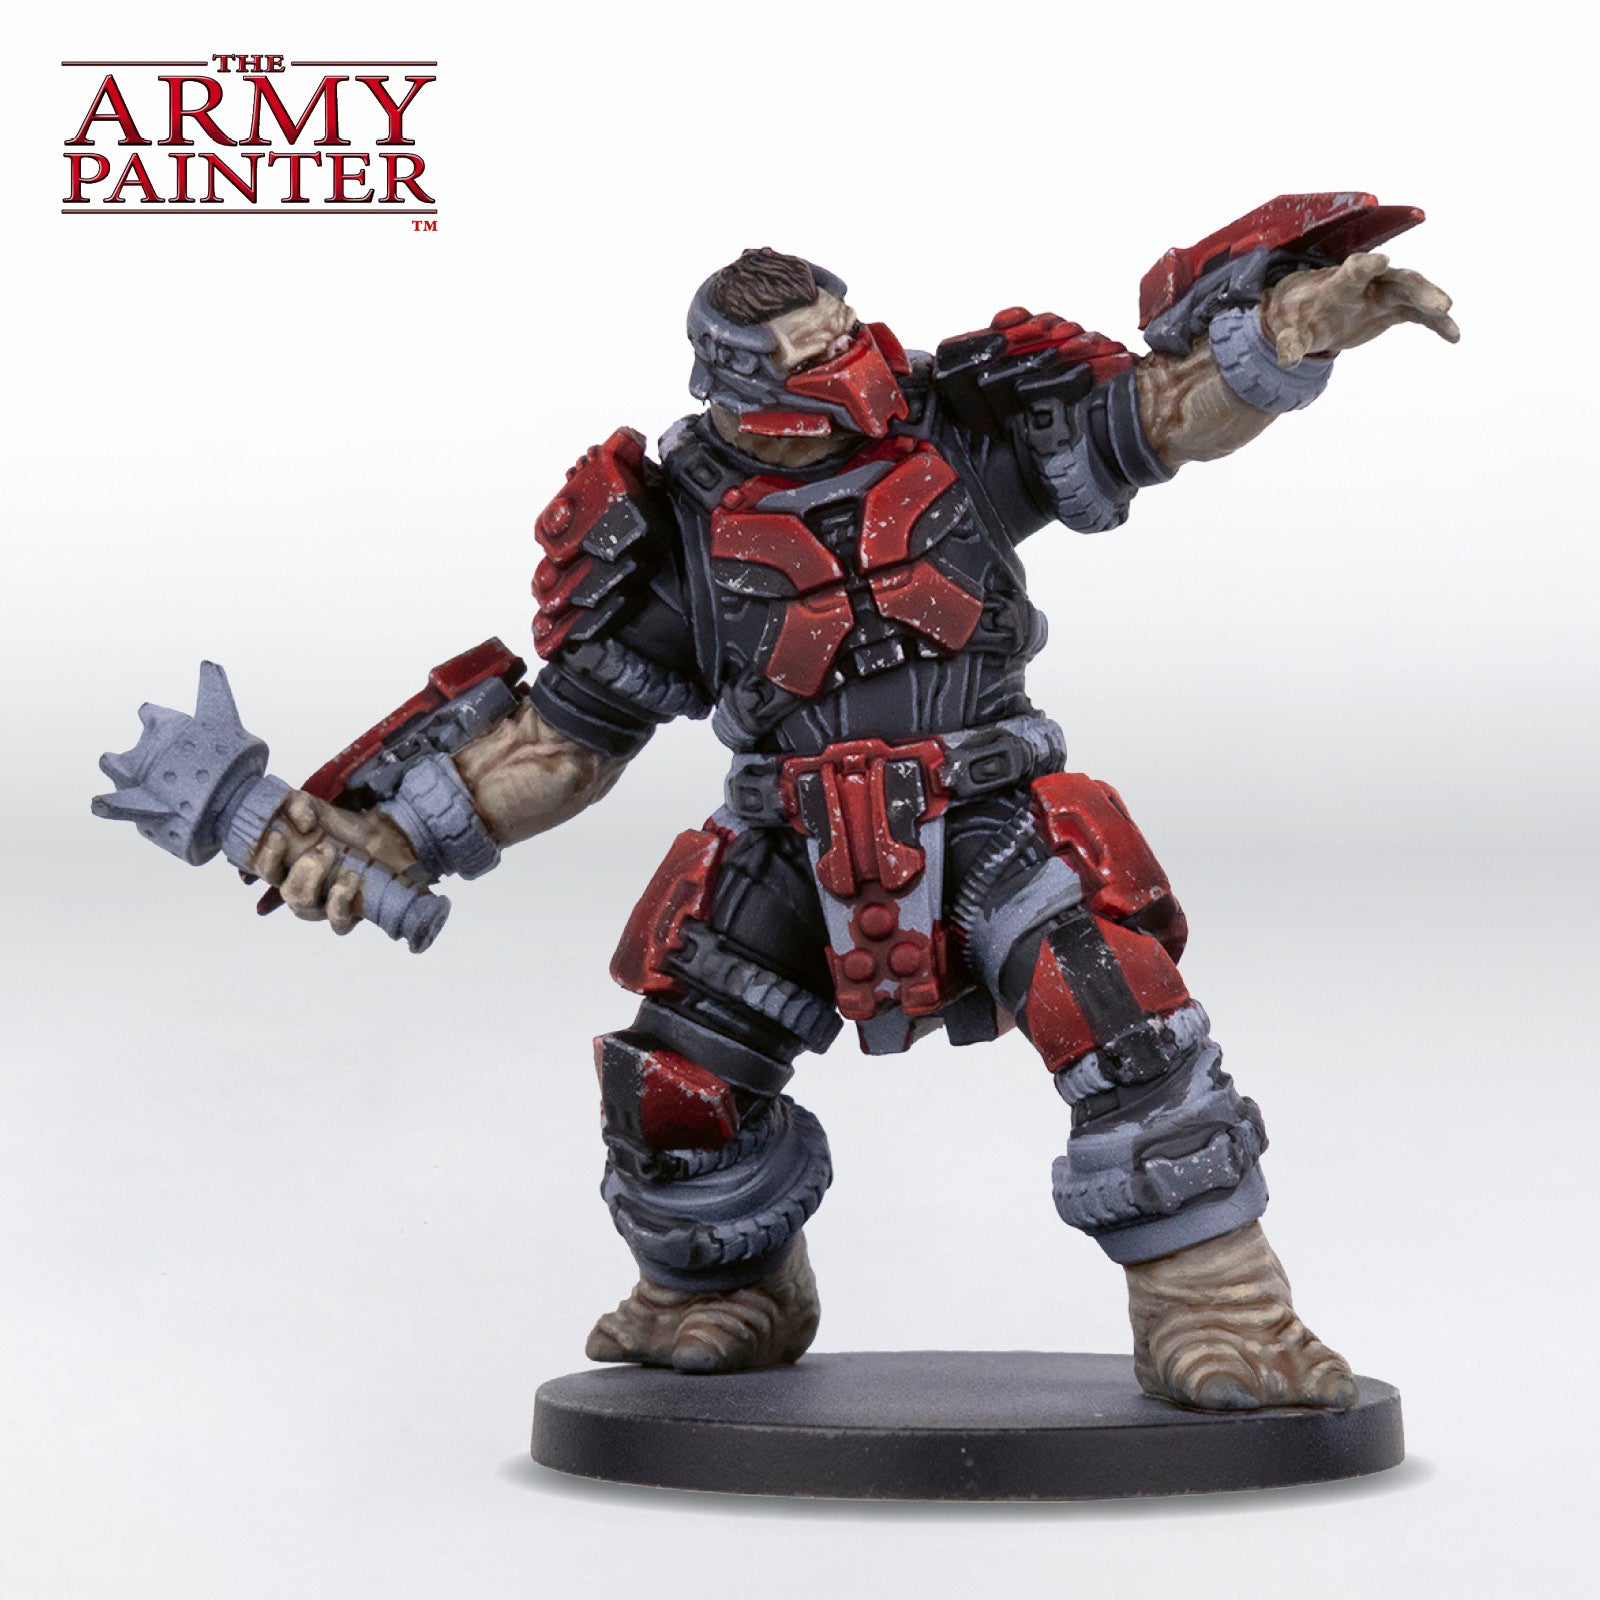
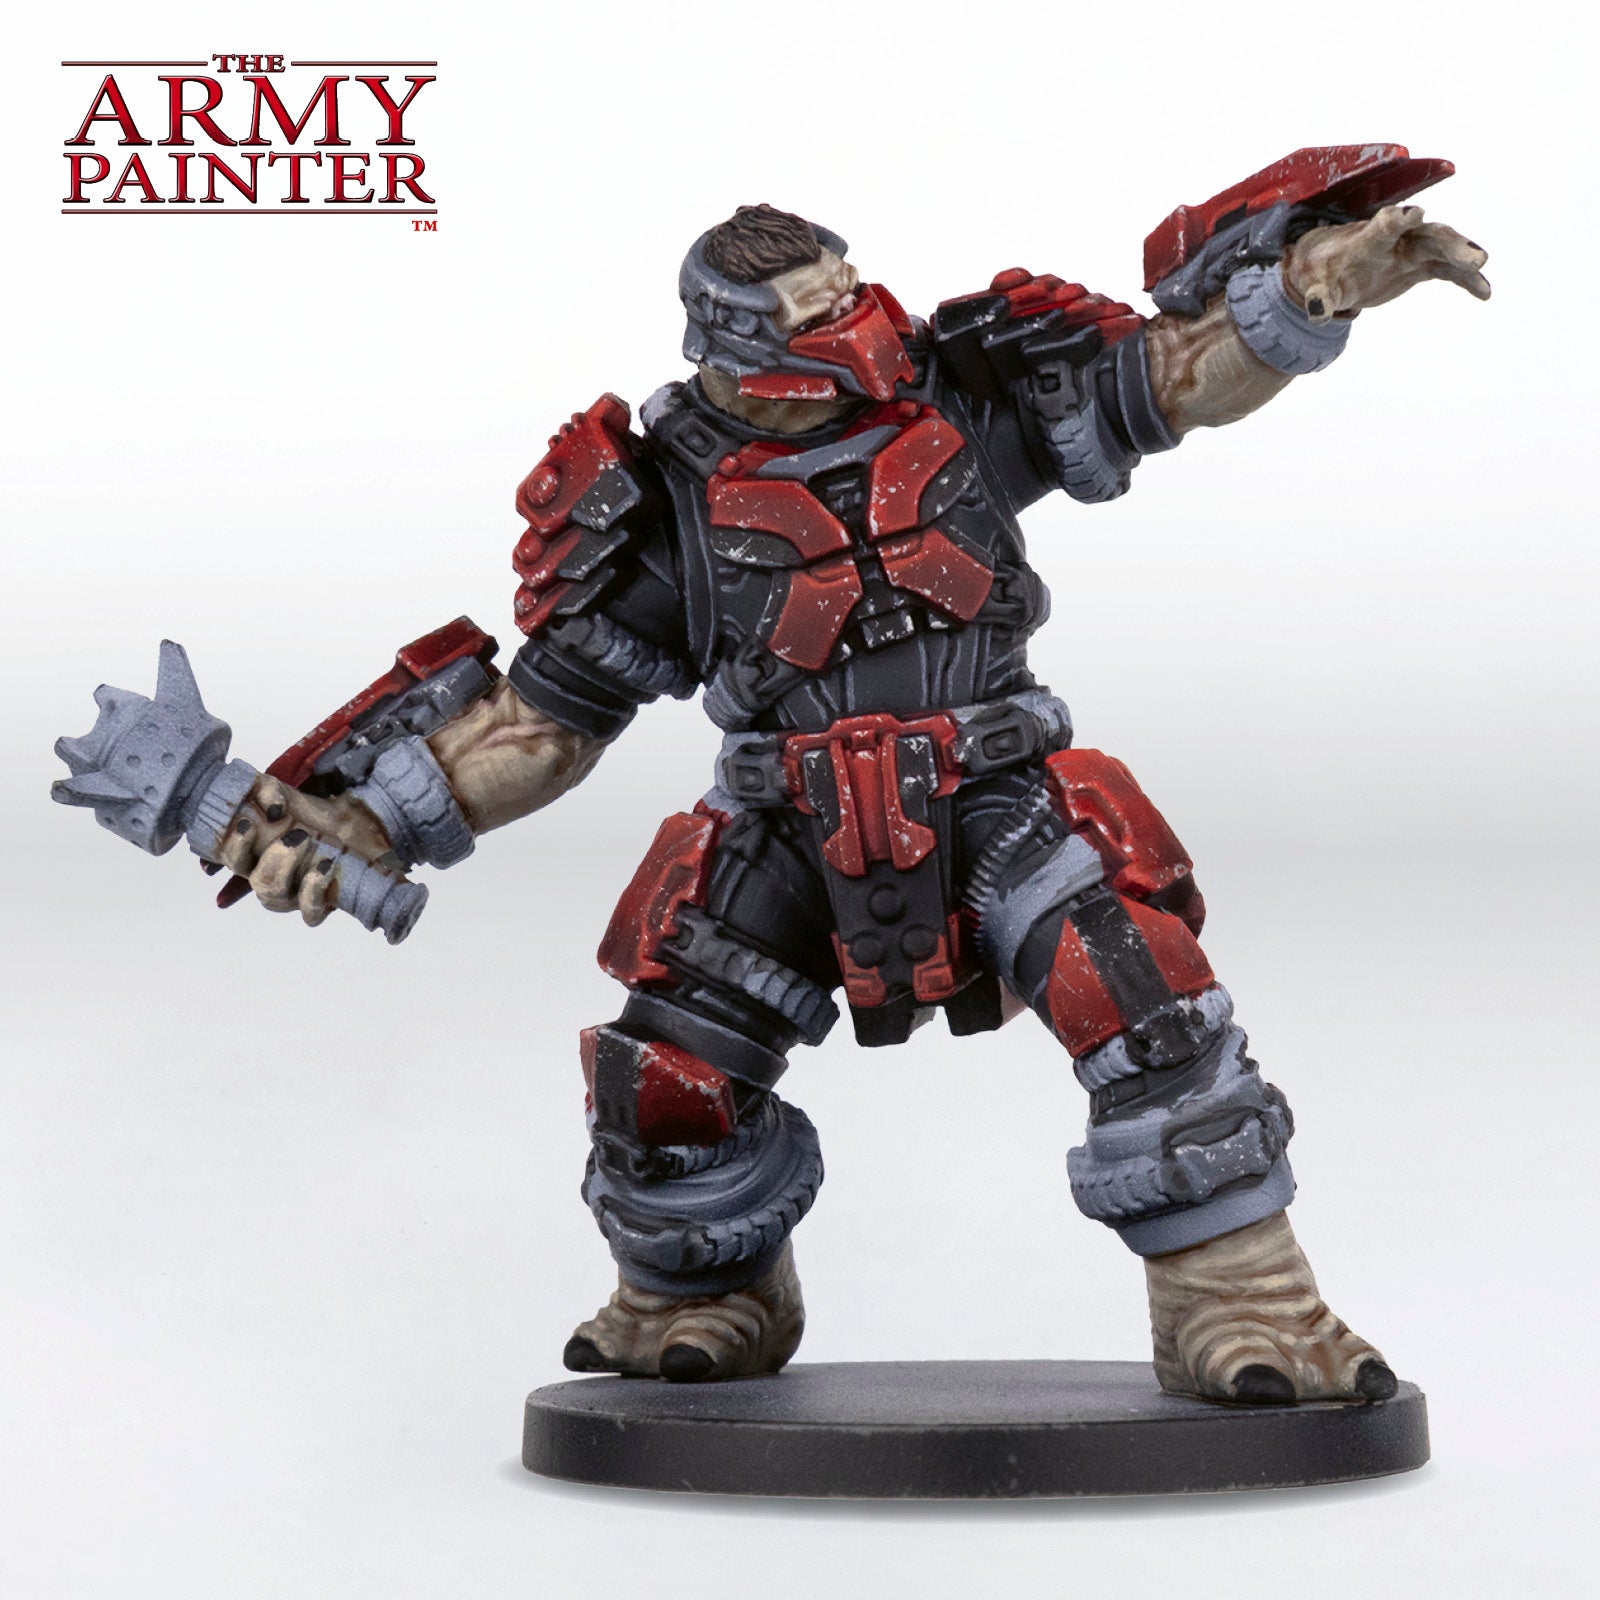
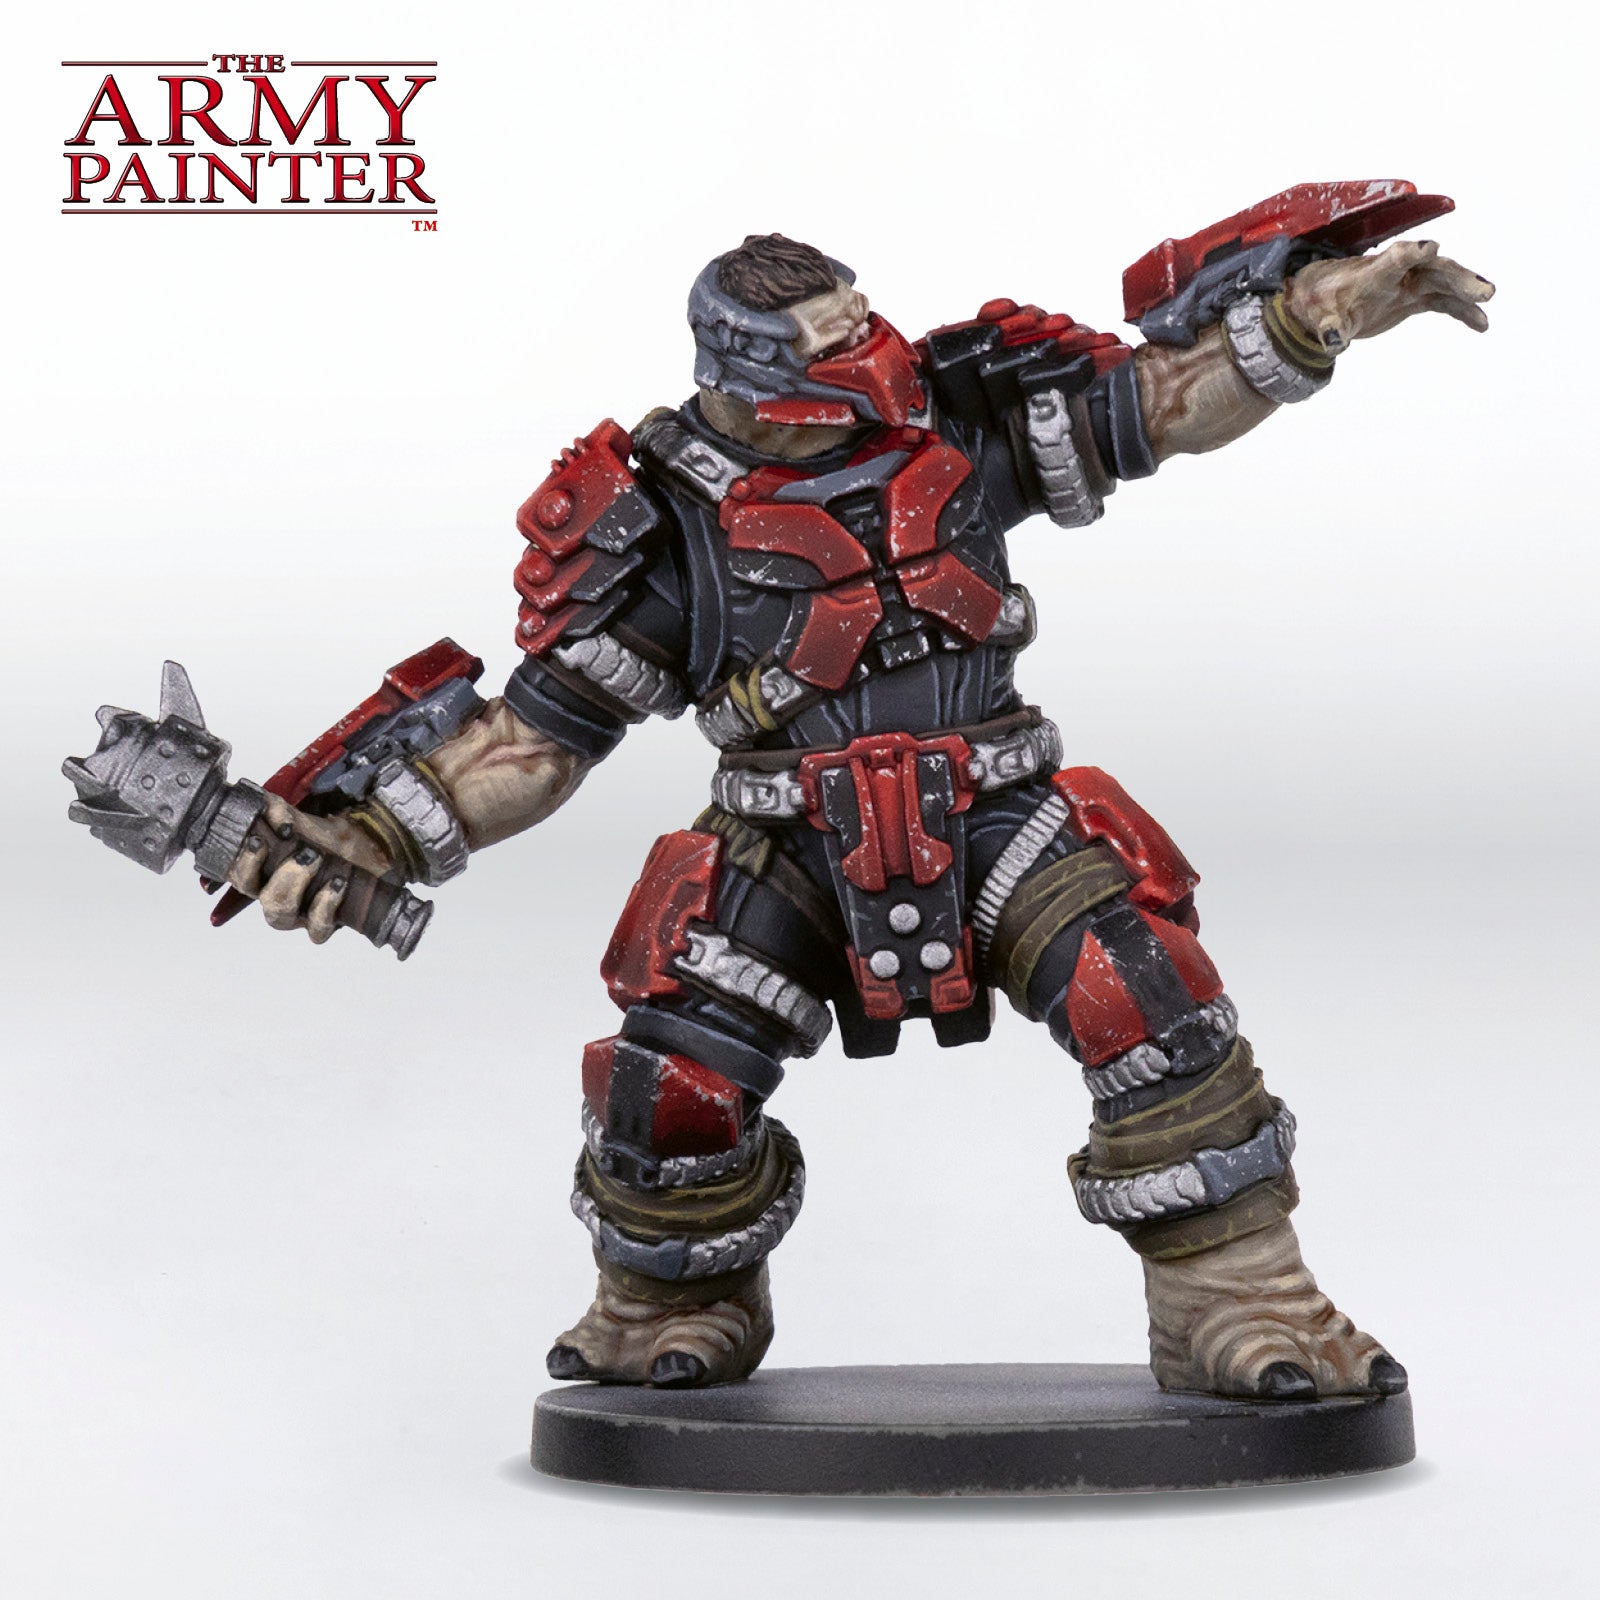
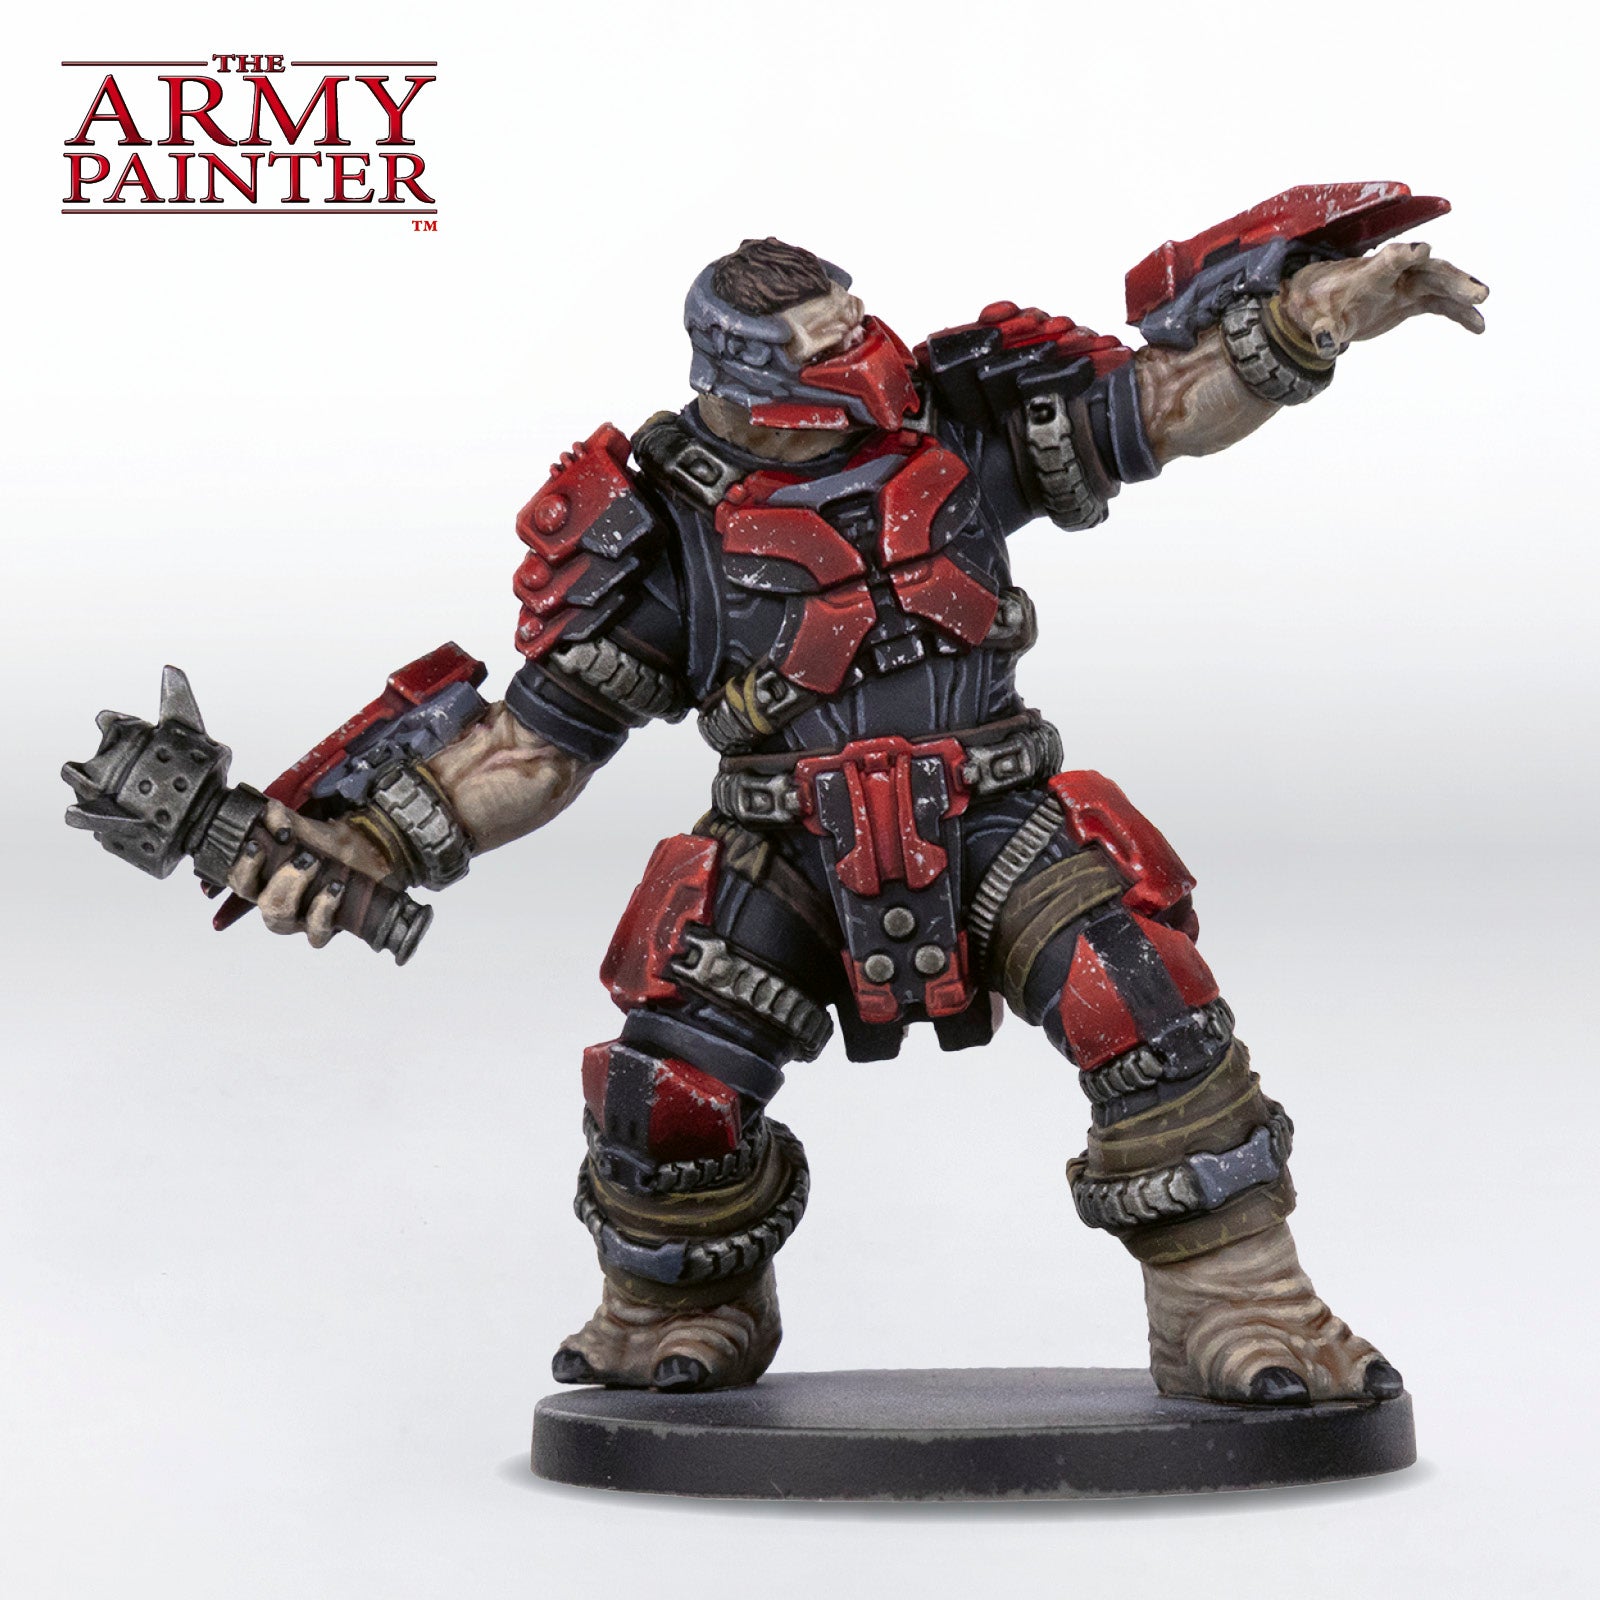
While you may have seen our video guide for the Master Chief himself already, until recently, the Banished had to make do with only the elite Sangheili—not that they’re not up to the task of taking down a Spartan or two—but reinforcements have finally arrived! In the aptly titled Rise of the Banished box set, the alien adversaries of the Halo universe are bolstered with the imposing might of the Jiralhanae, aka the Brutes. These hefty models really live up to their name, standing head and shoulders over any of the other minis in the game.
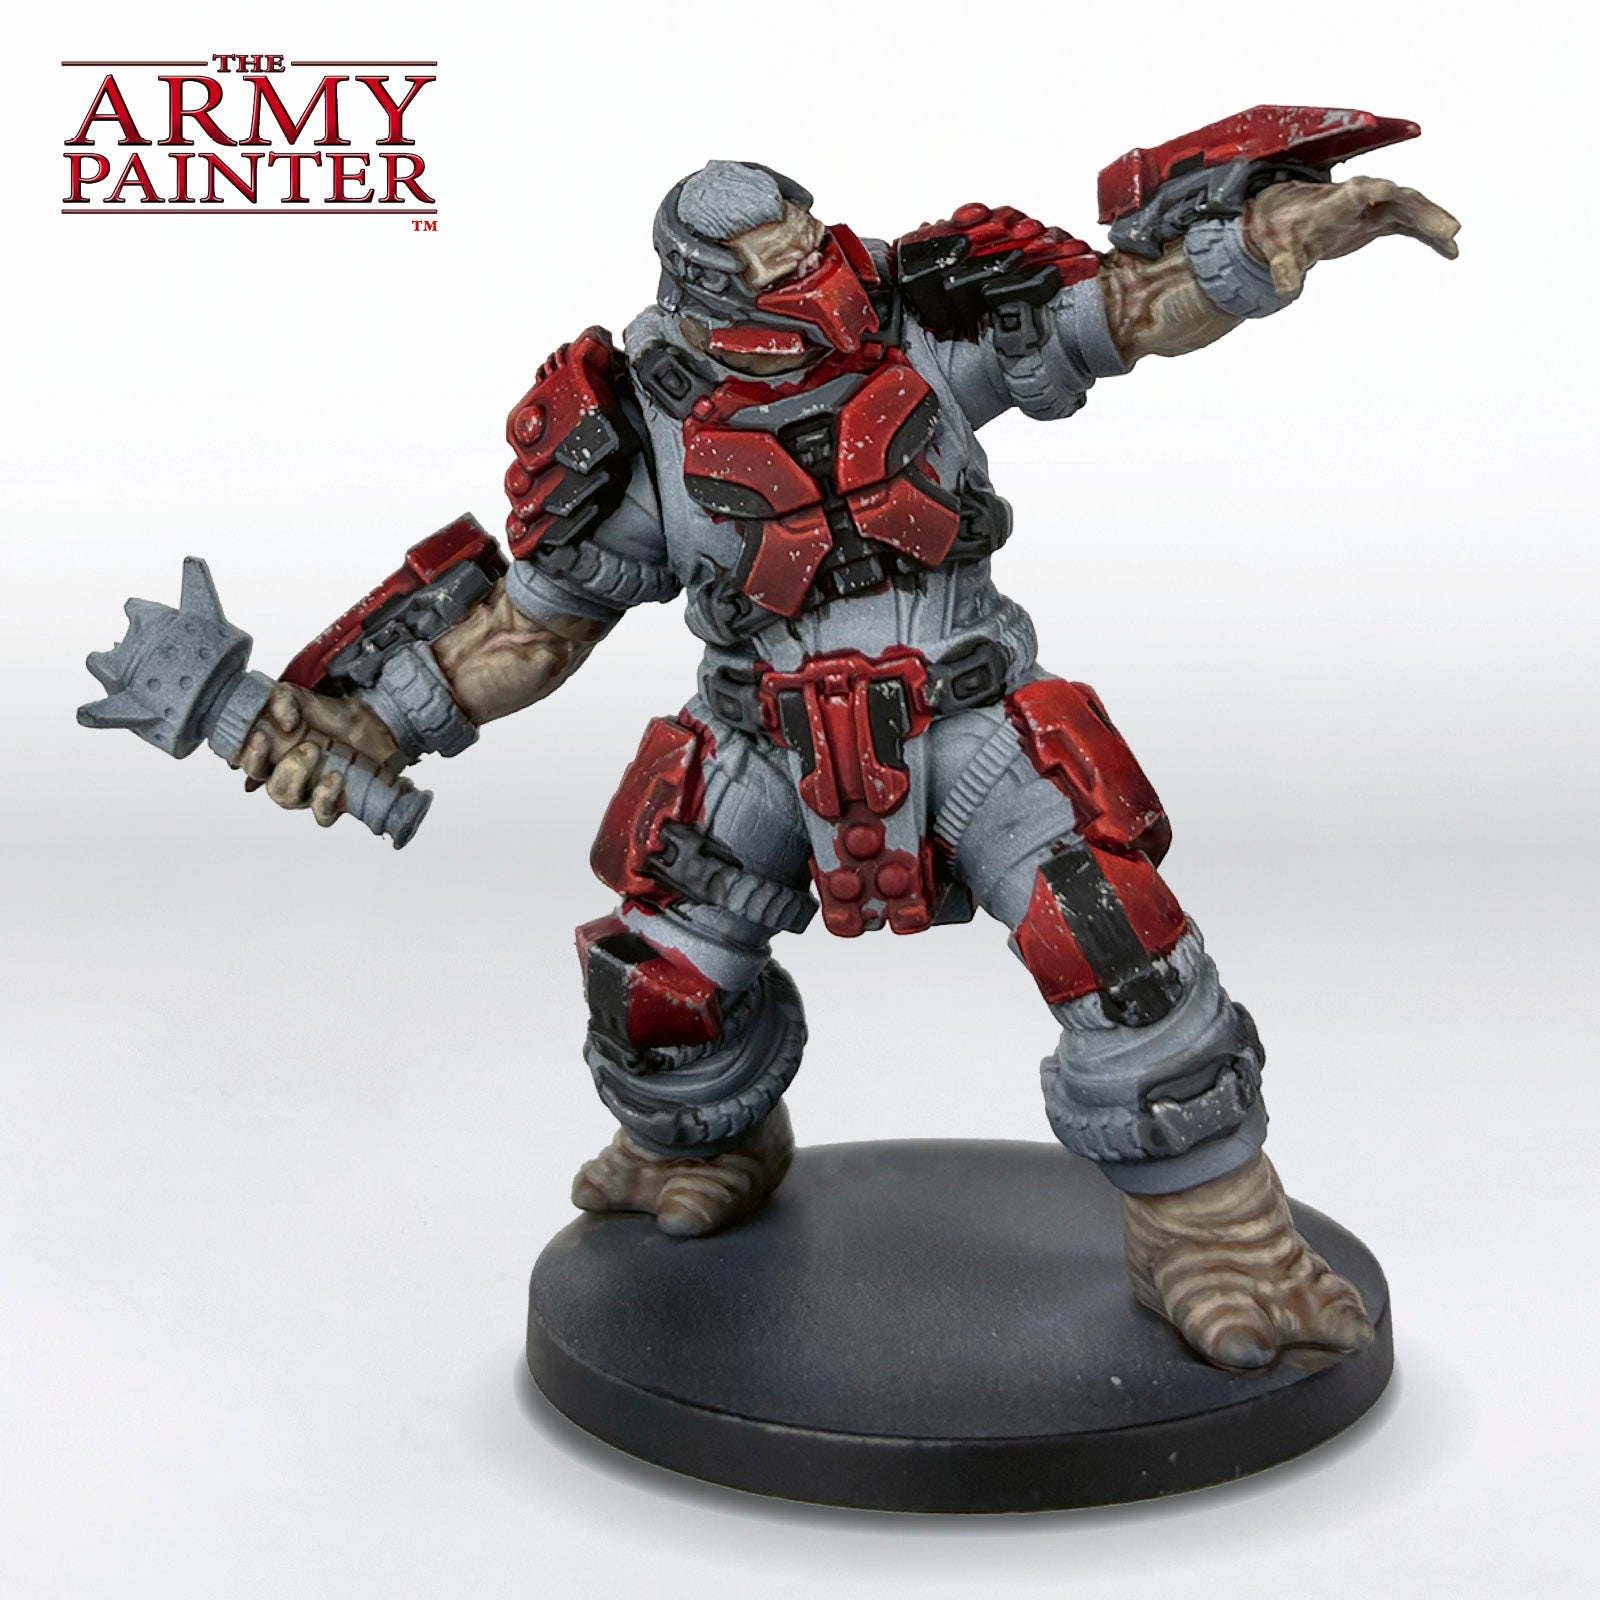
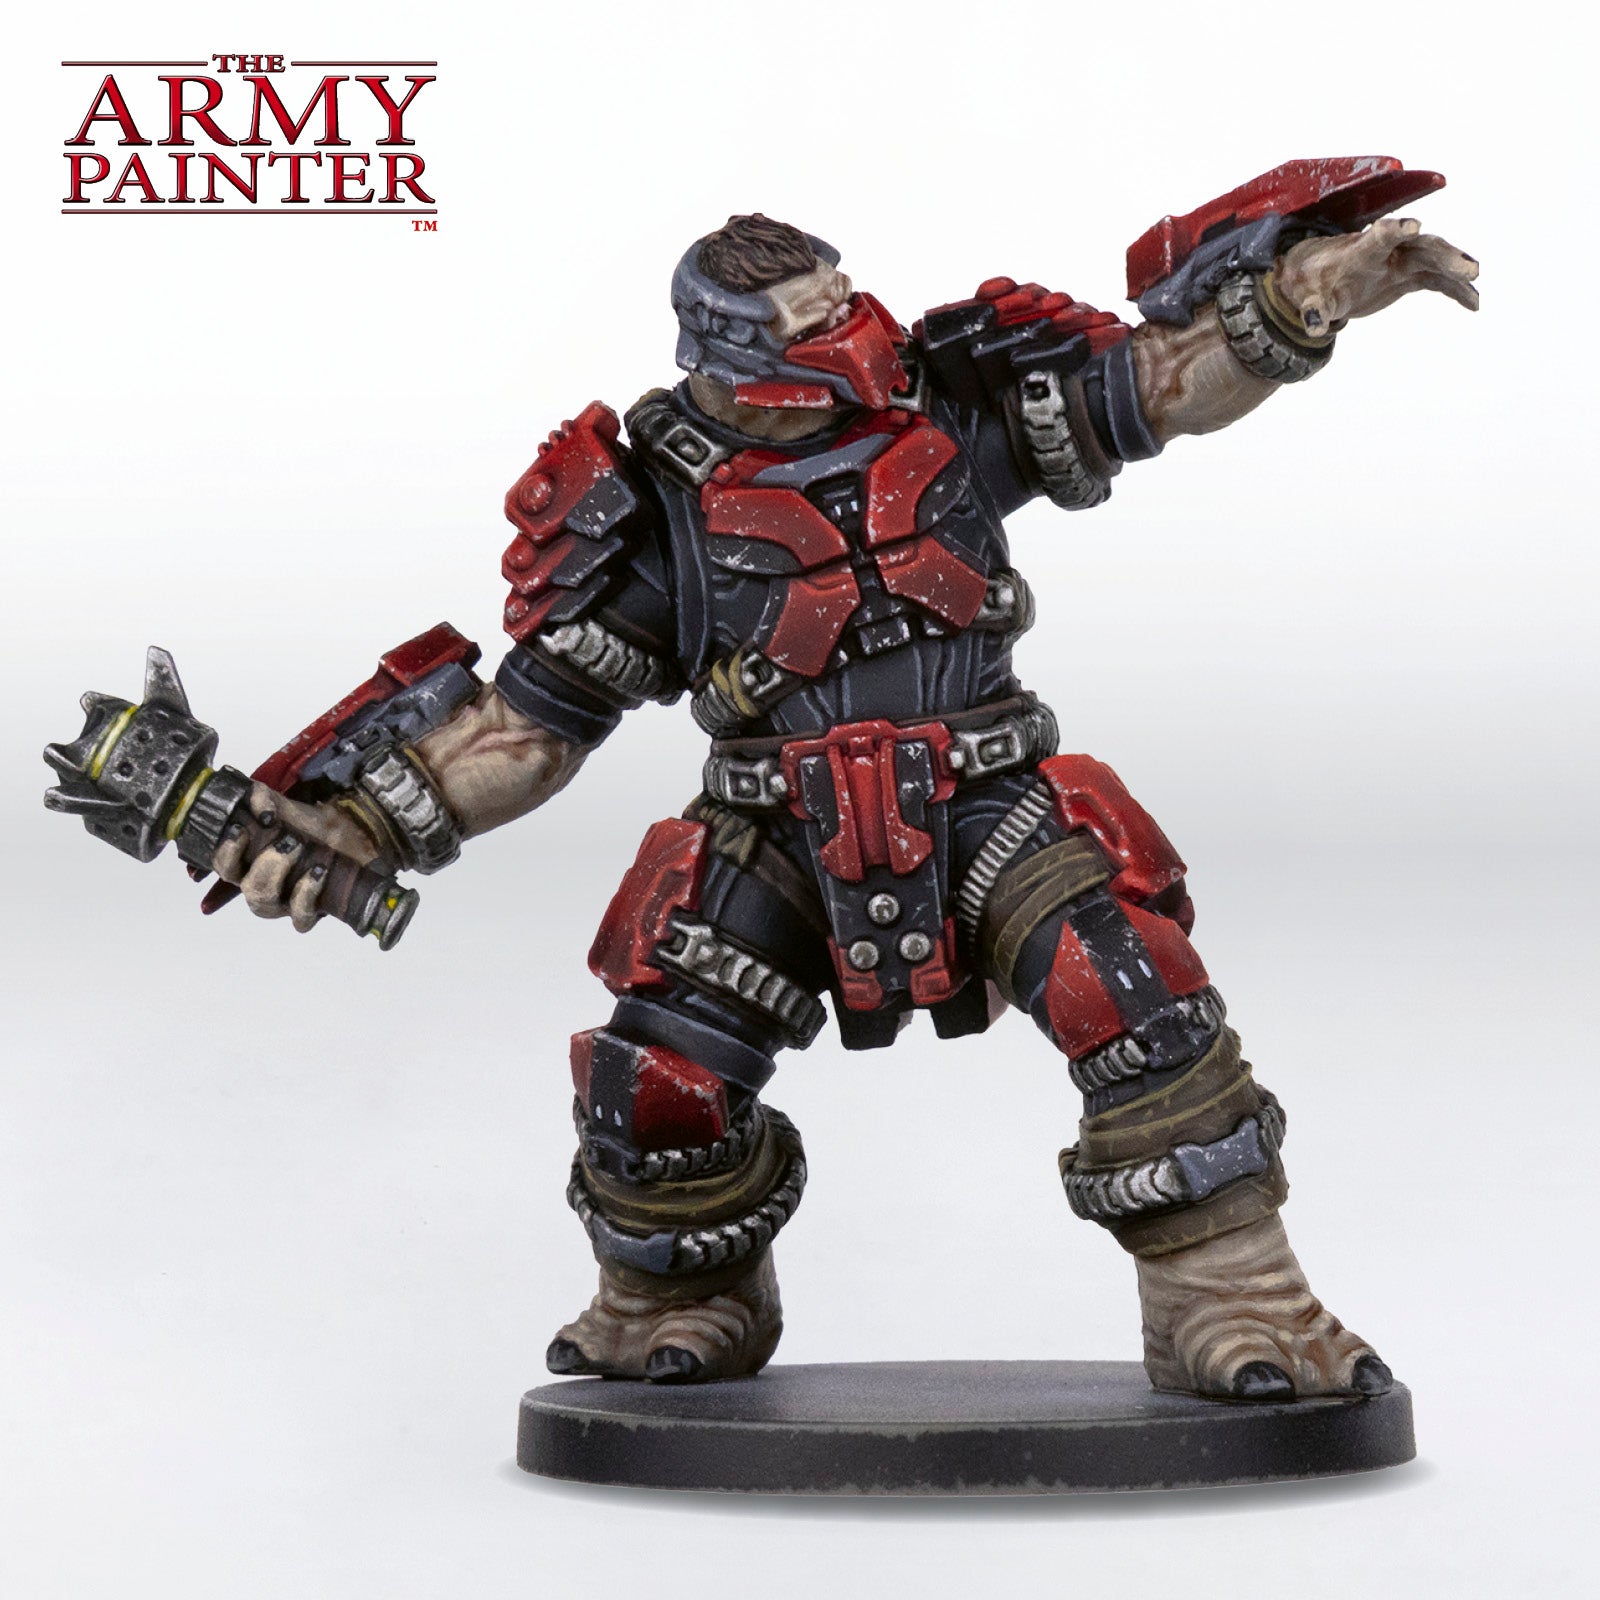
Mantic was kind enough to send us a pair of these amazing new sculpts early for our Studio Painter to dig into and give praise to Atriox in the form of a step-by-step tutorial. Armed with a collection of Warpaints Fanatic and Speedpaints, Tyler brought this duo of maniacal mayhem to life with nothing short of the high-def visuals of the world of Halo Infinite. Grab your selection of weapons, kick an Unggoy on the way out for good measure, and then get ready to head down to Zeta Halo and take the fight to the UNSC with your own painted Banished forces using this quick and easy tutorial!


The Armour
Step 1
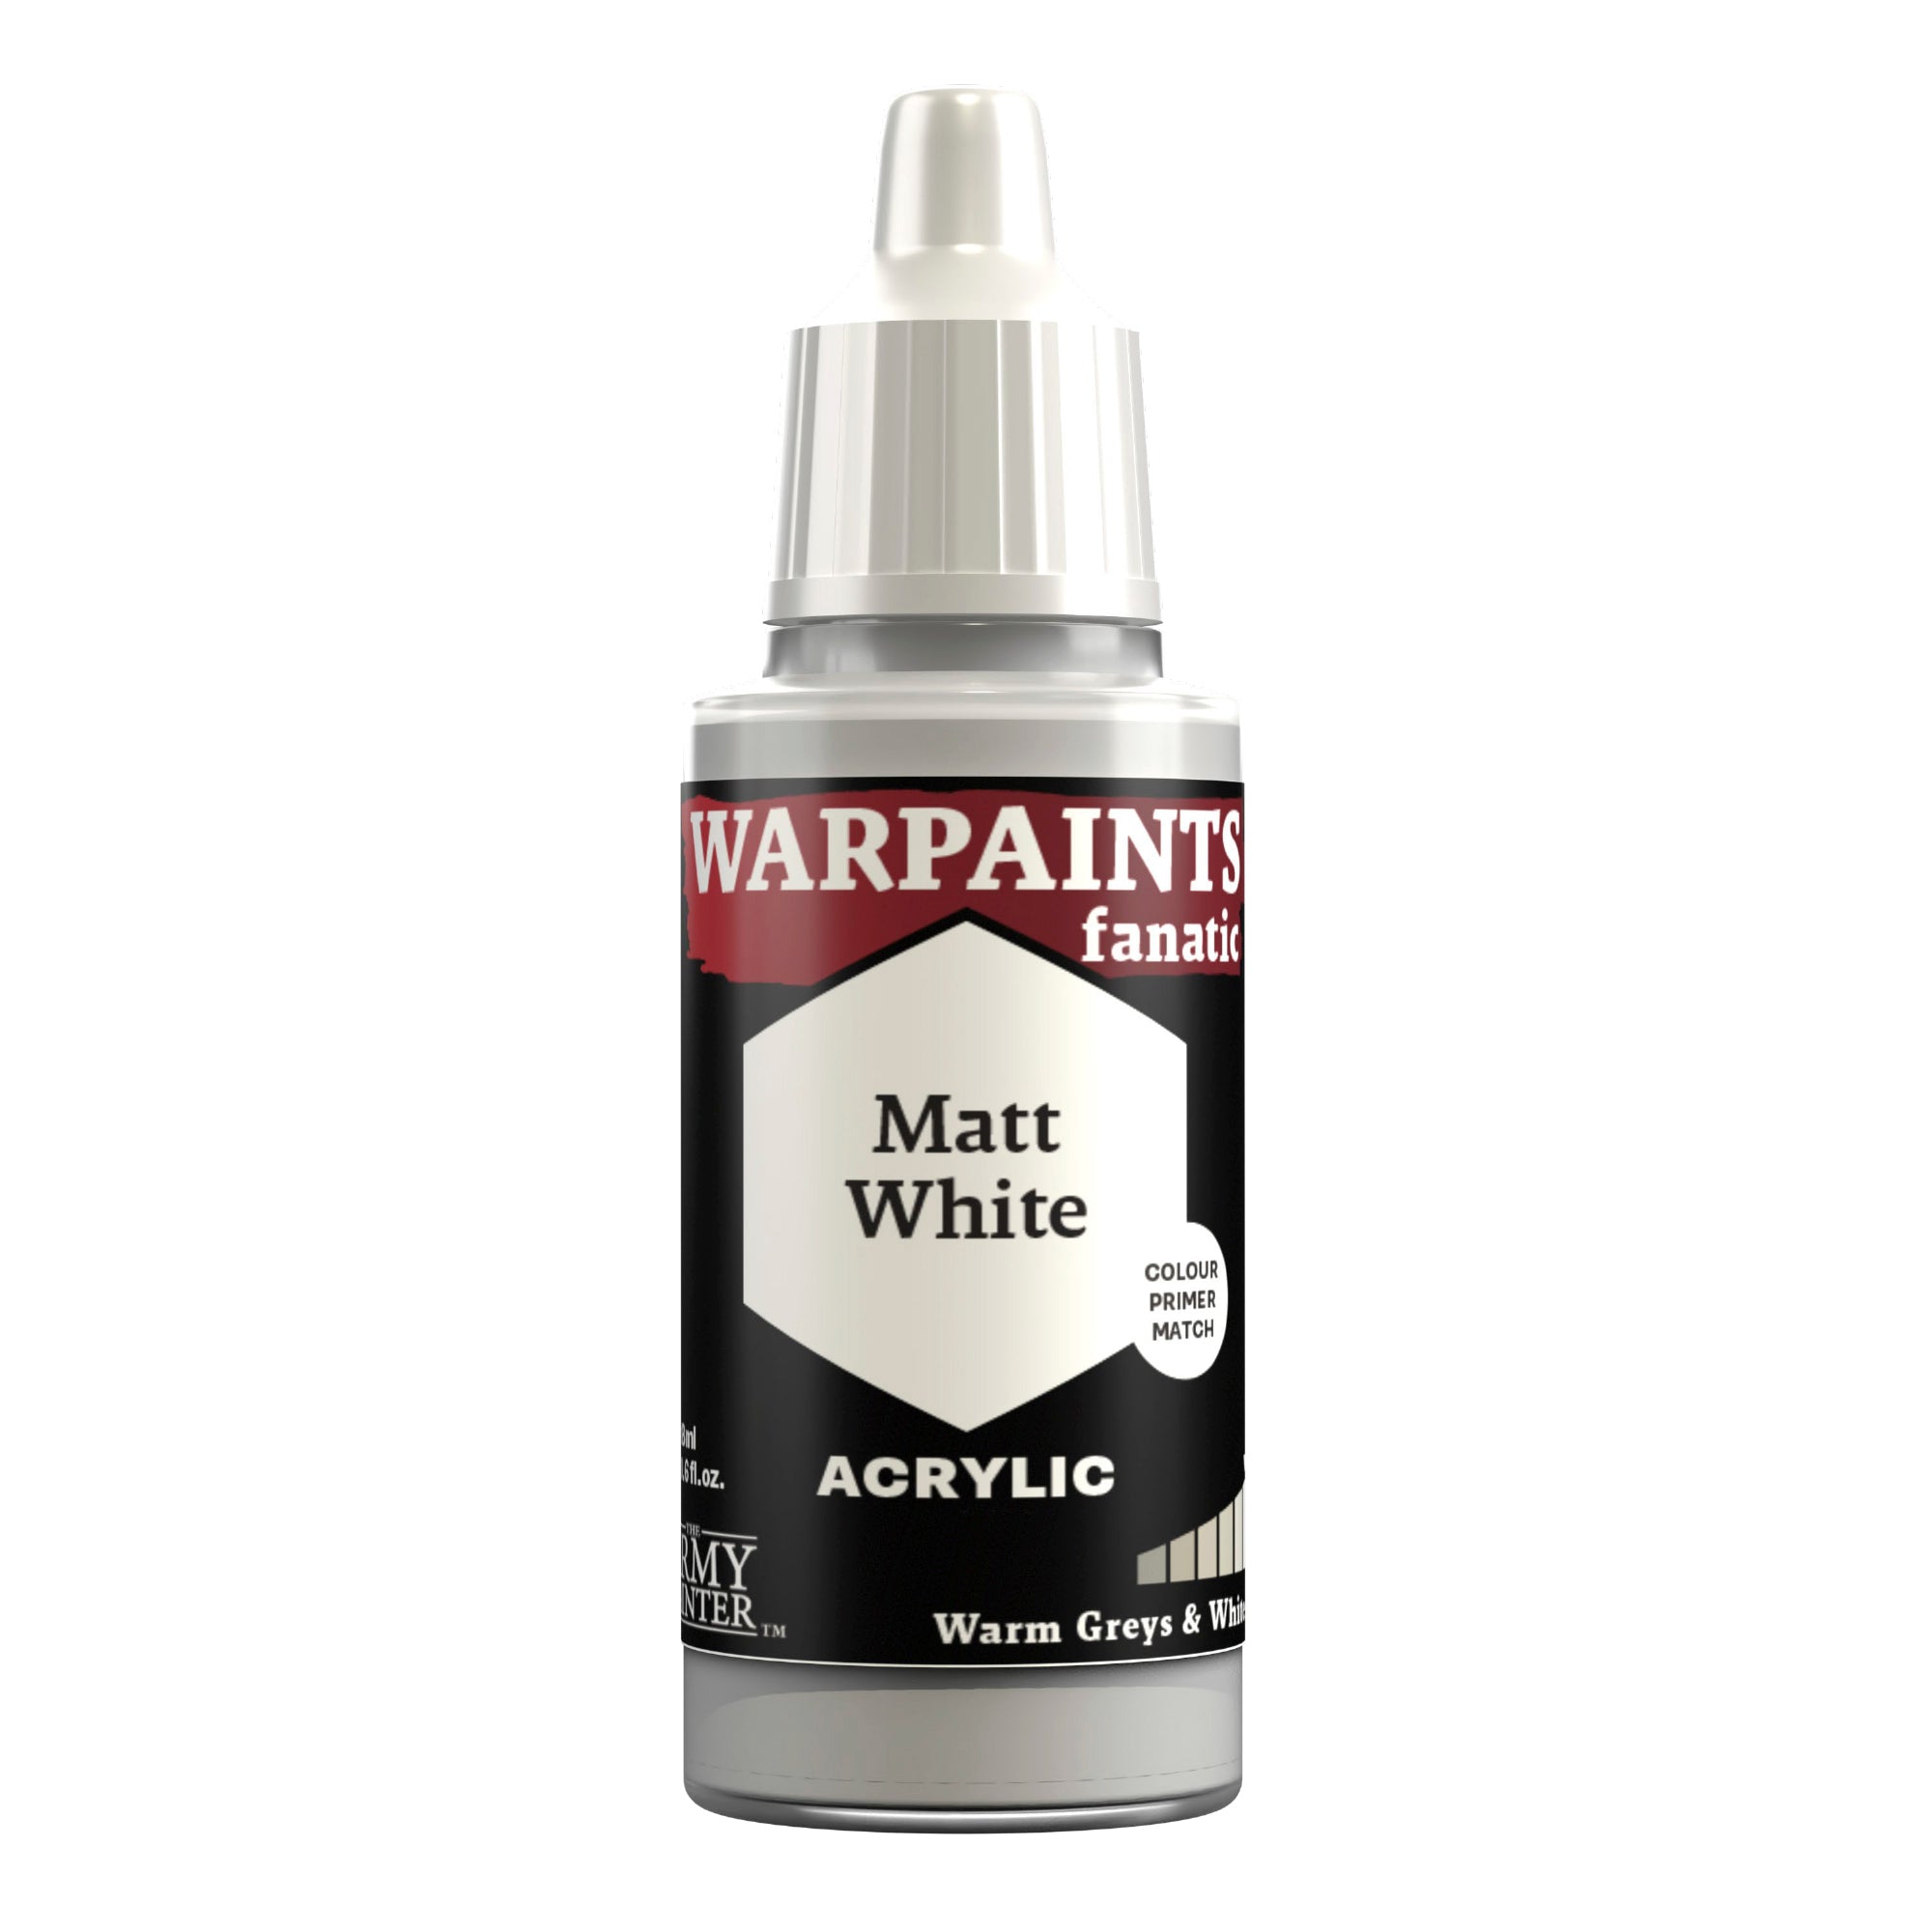
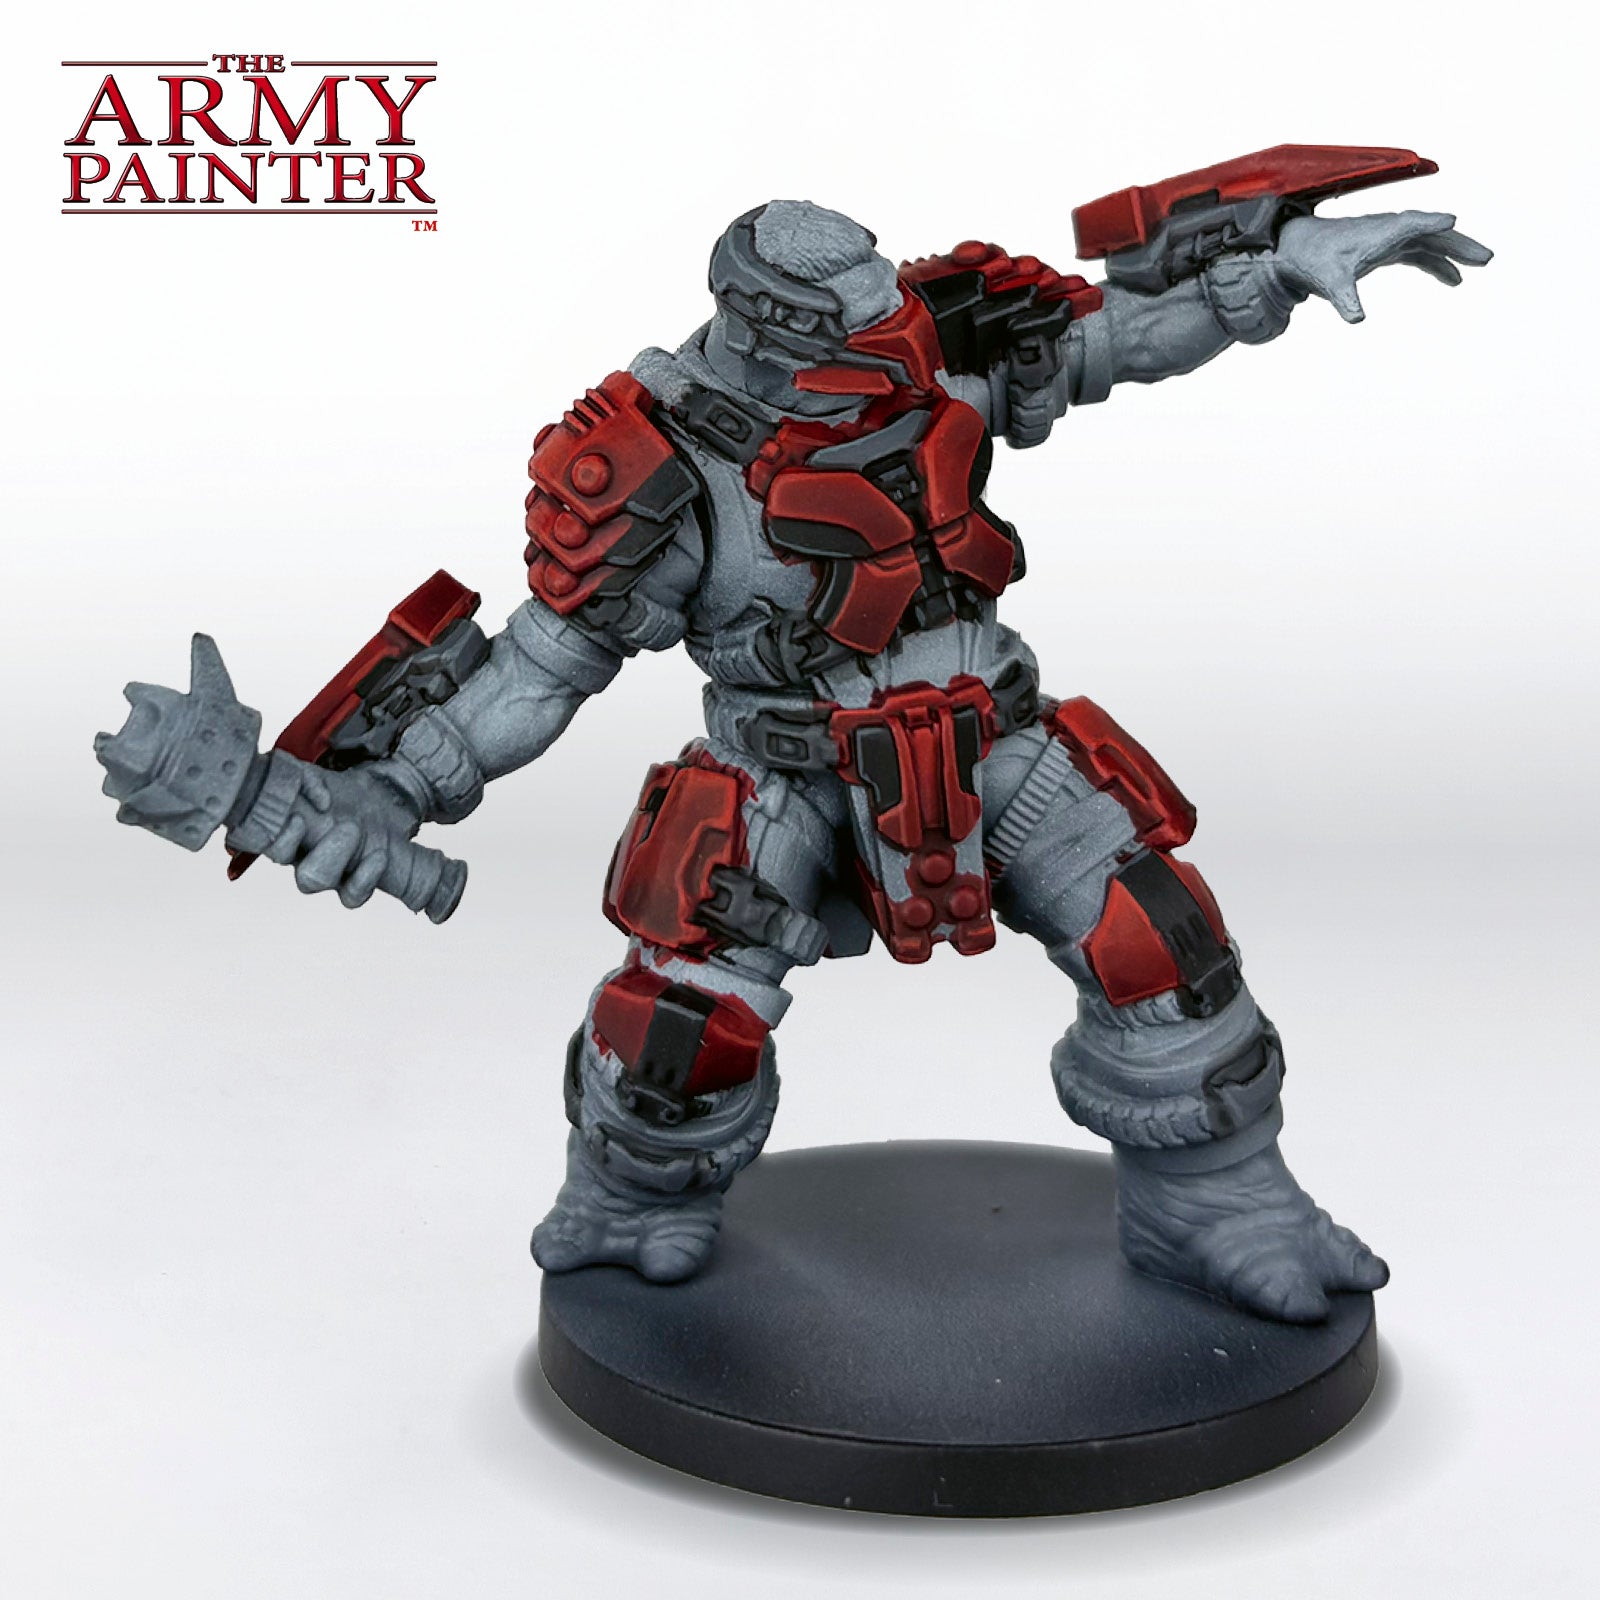
To begin, prime your model with Matt Black Colour Primer, followed by a zentihal spray of Matt White Colour Primer to create some gradients and definition. This particular model was done with an airbrush to achieve this effect, but that was simply due to it being over 100°F/38°C outside, so not suitable for aerosol priming.
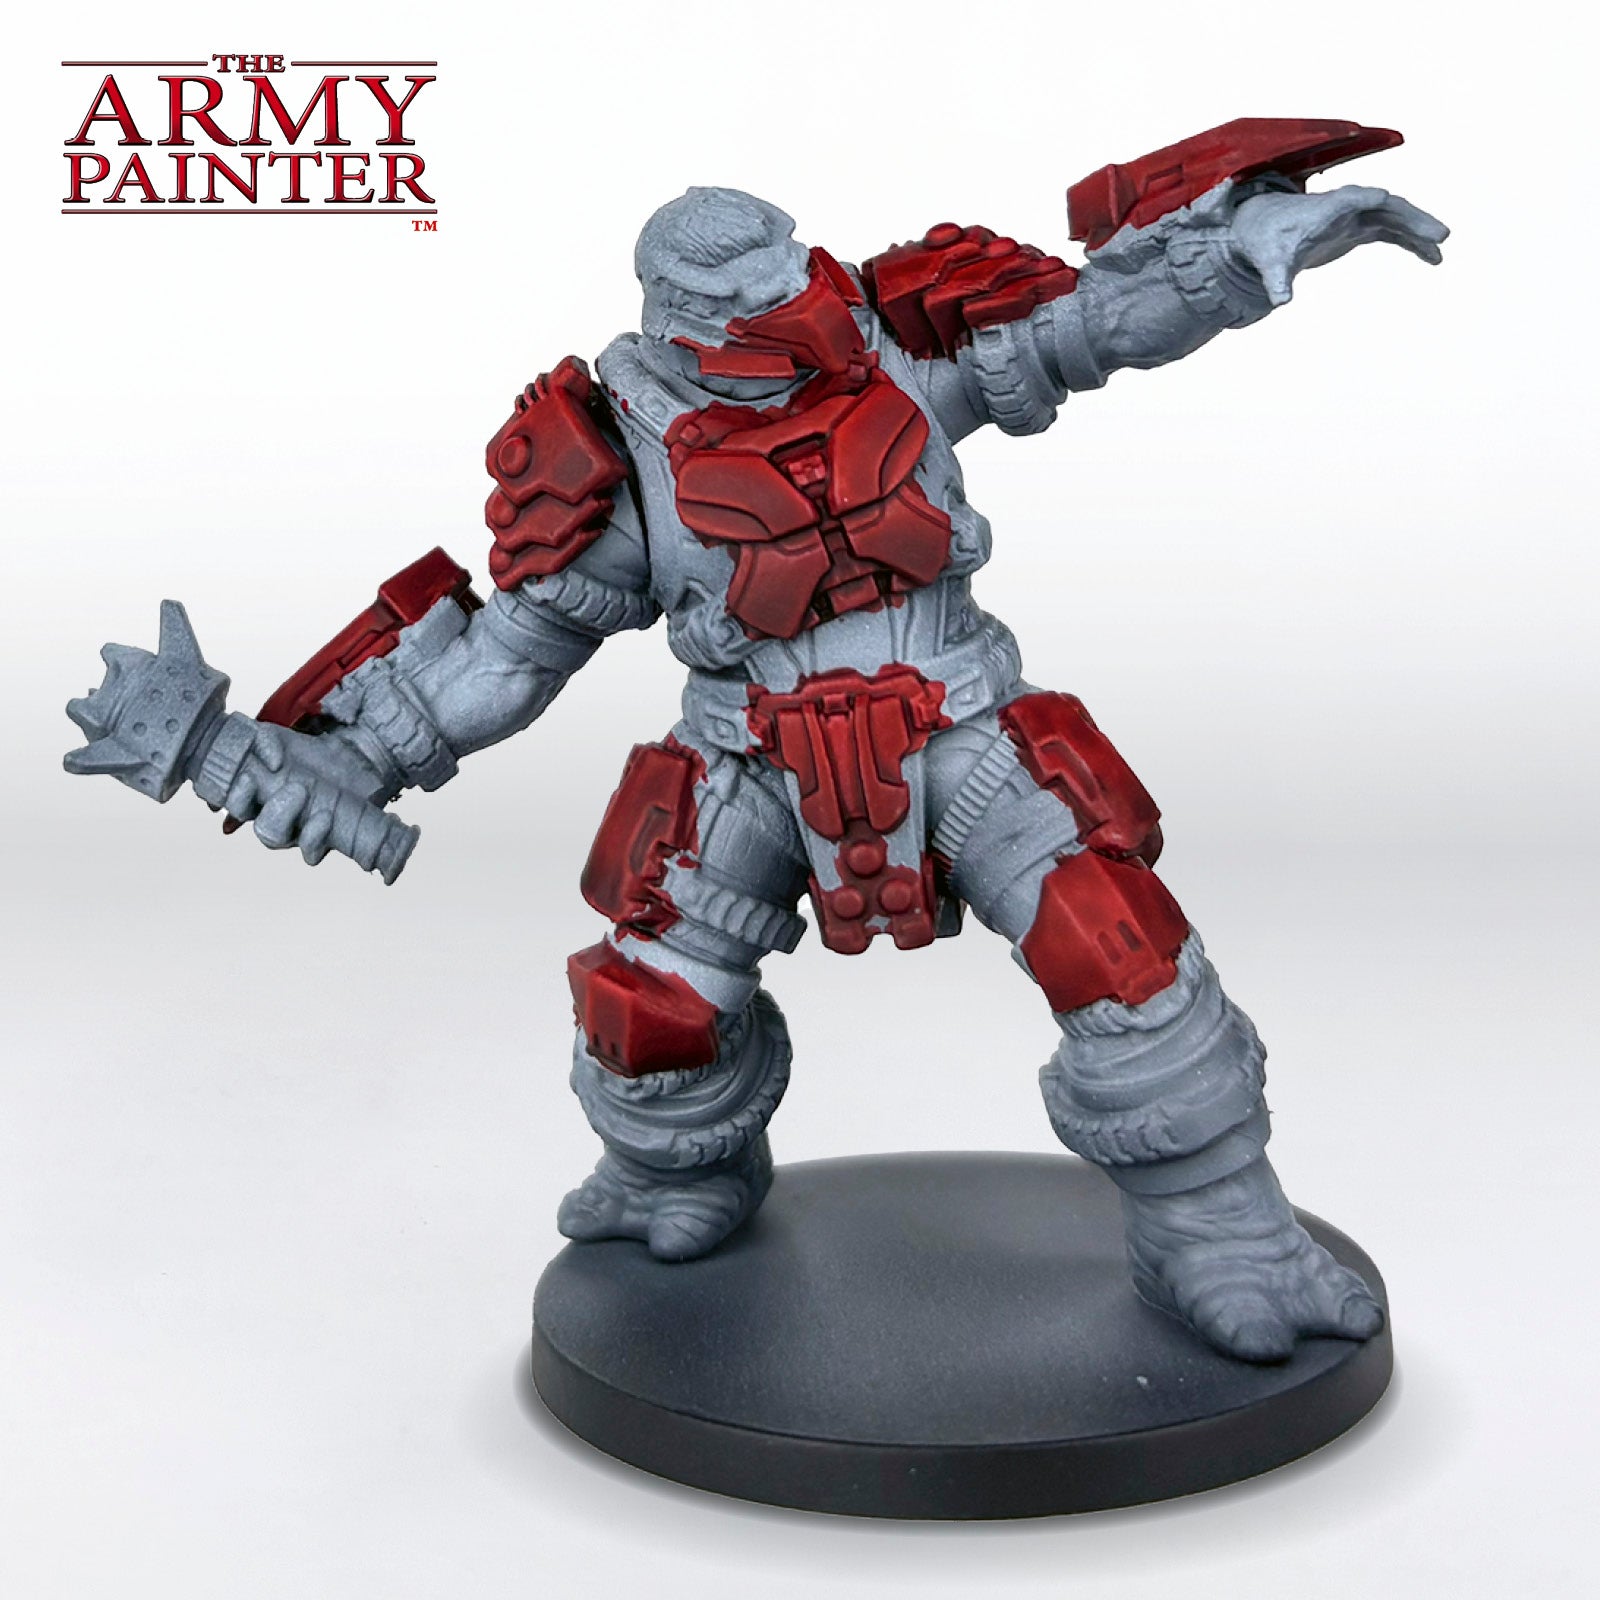
Step 2
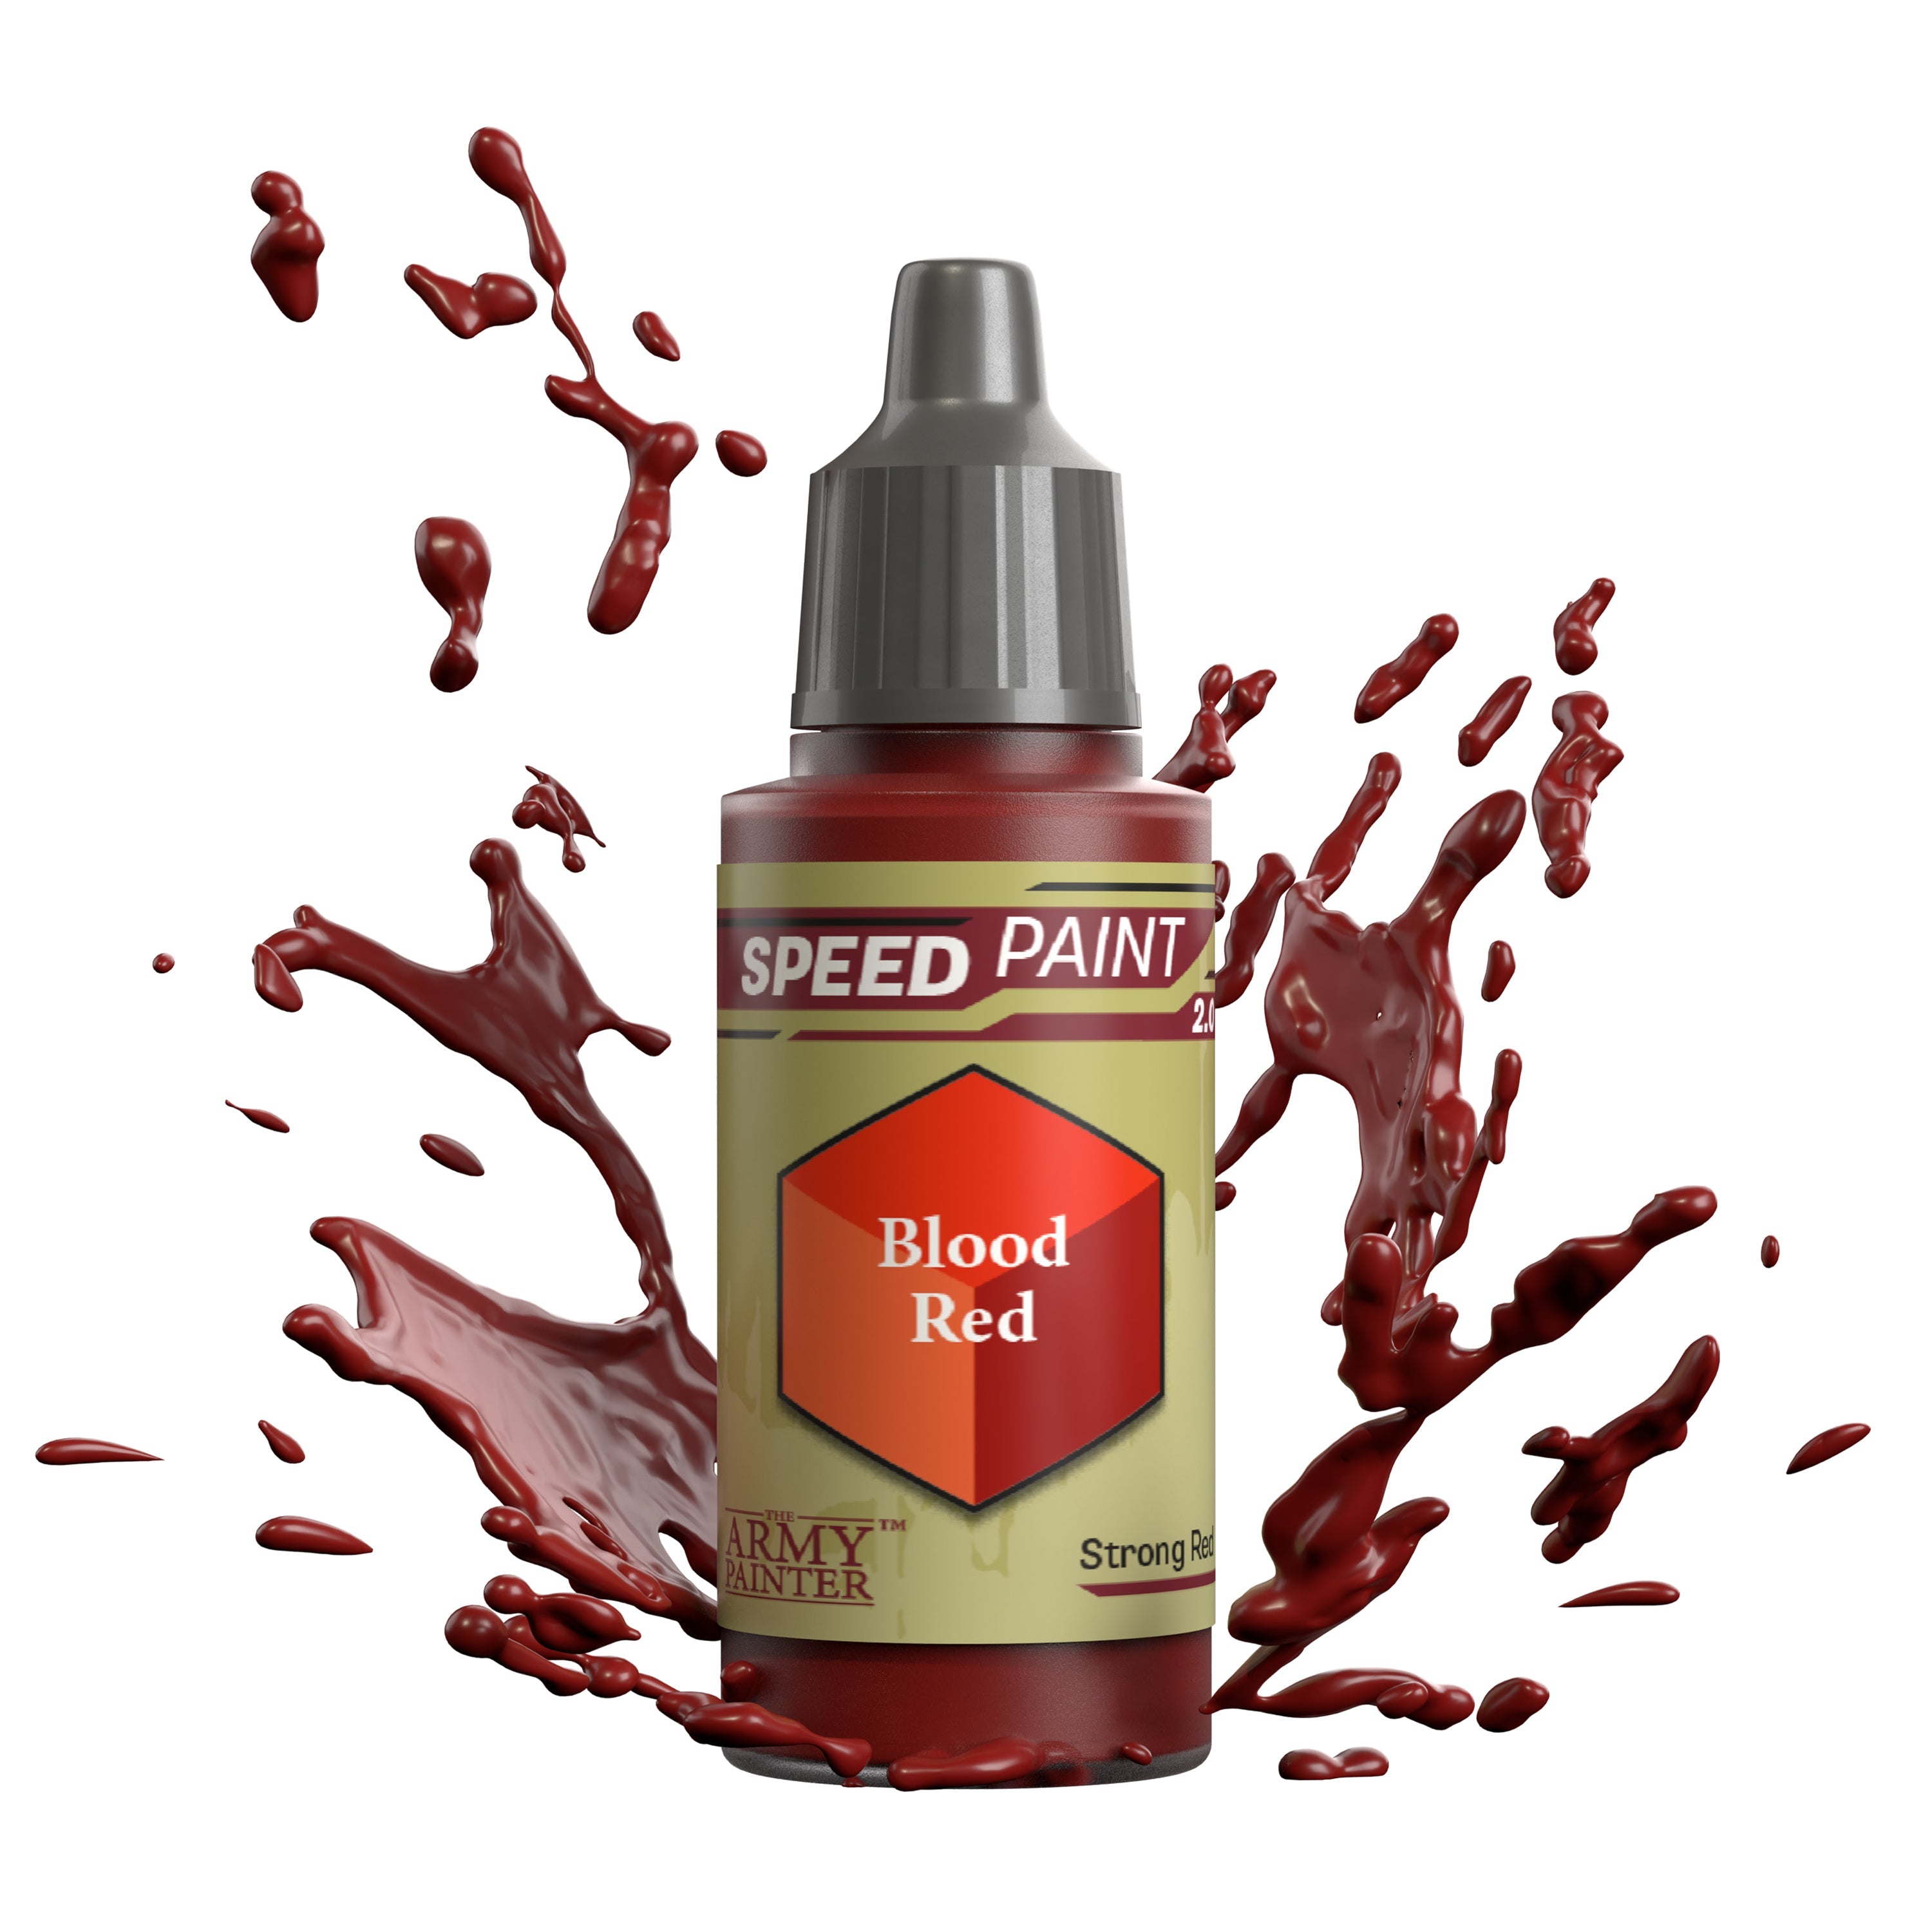
Next, paint all the armour with Speedpaint Blood Red. If there are panels that are both red and a different colour, it’s easiest just to paint them entirely red now and paint the other colours over it later. It’s okay to get this colour on other areas, except for the skin and hair. You will want to be tidy around those areas to preserve the gradient from the previous step.
Step 3
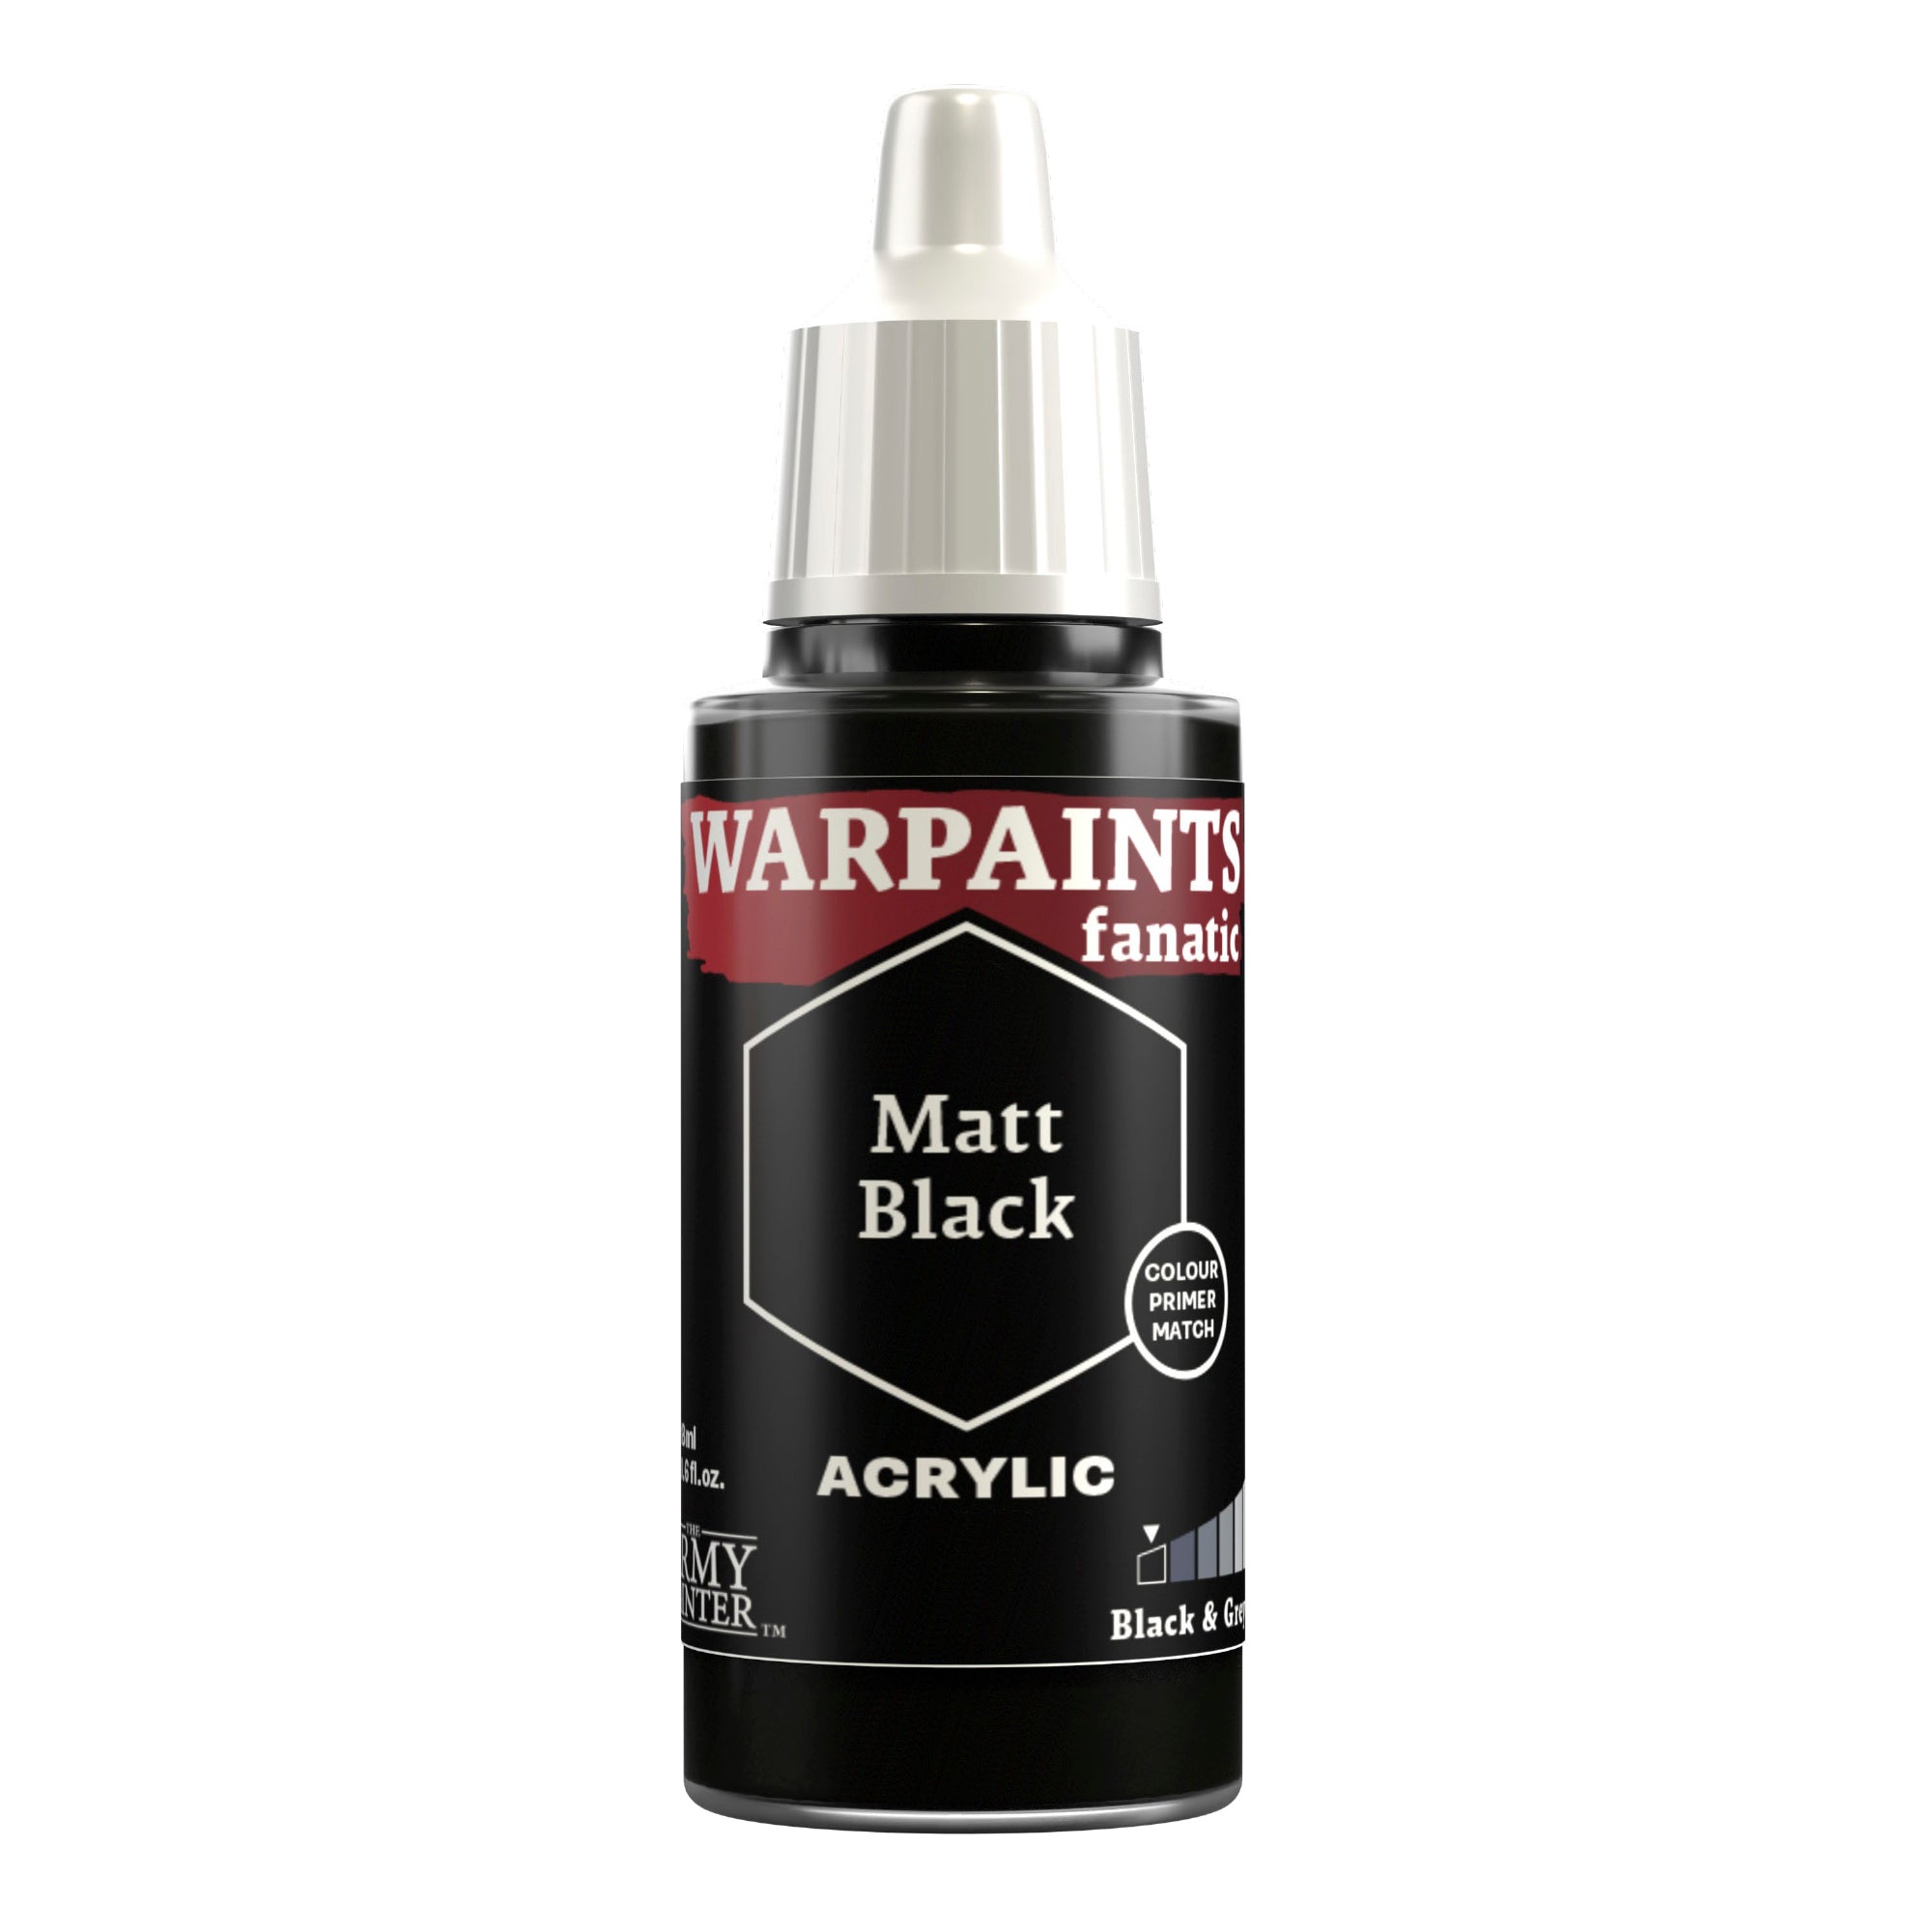
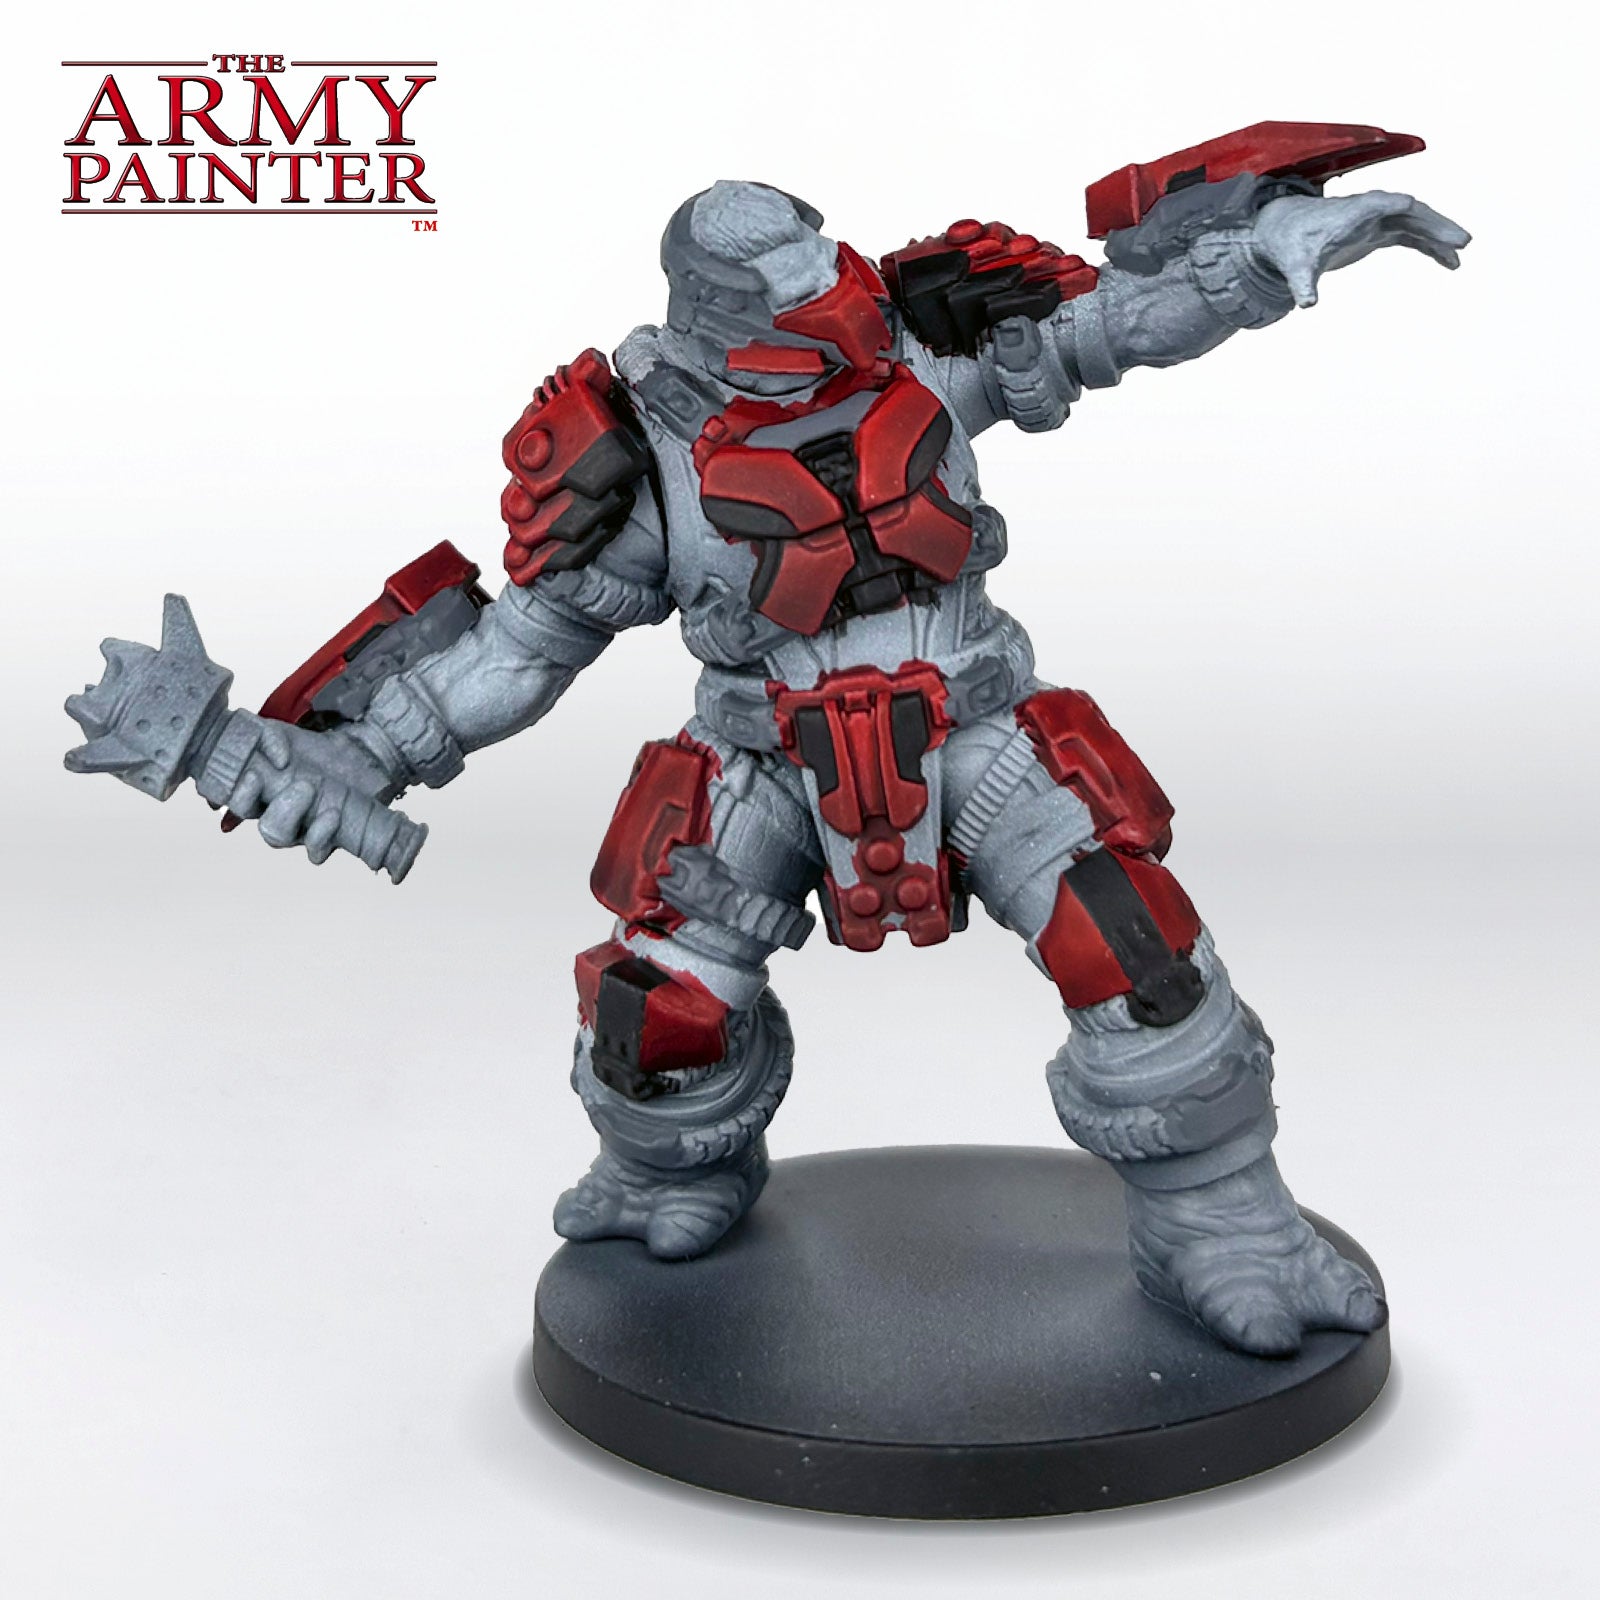
Follow this by basecoating the other armour panels with either Warpaints Fanatic Matt Black or Deep Grey. You can reference artwork or screenshots of the units from Halo, as I did here, to get the placement correctly, or just pick whichever panels look best to you. The main point is to break up the red and add some variety.
Step 4
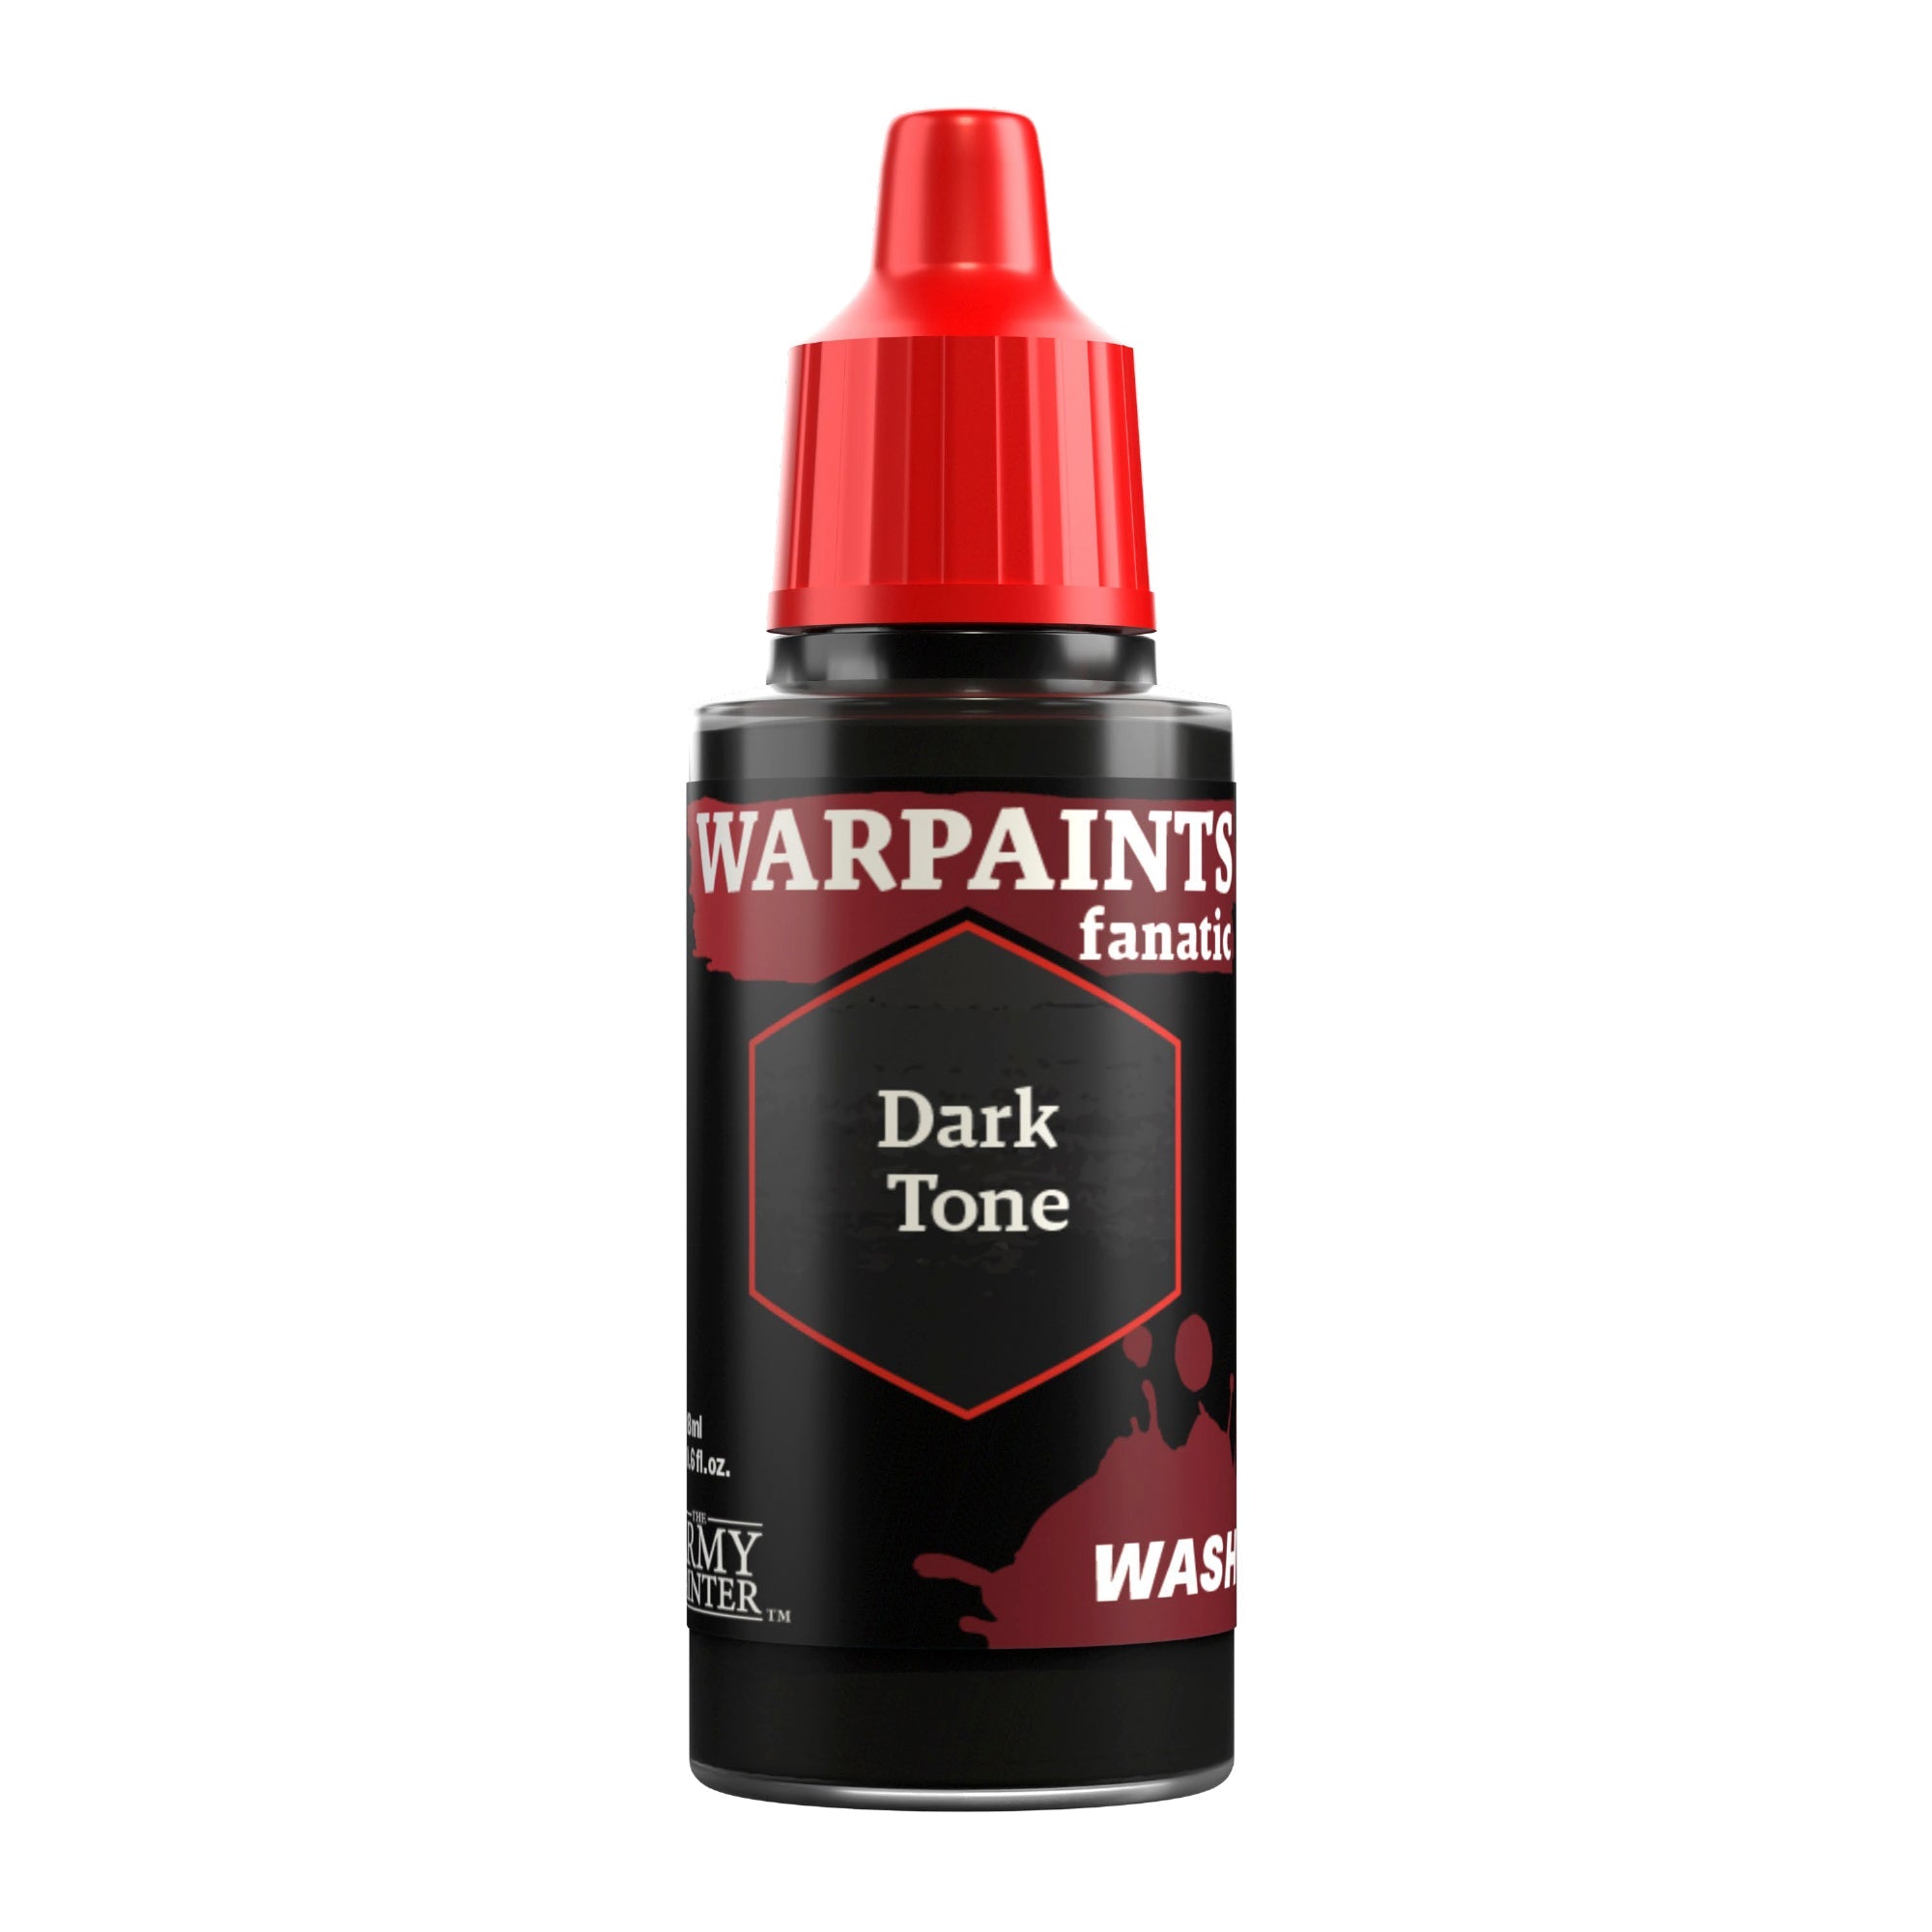
Apply a coat of Warpaints Fanatic Wash Dark Tone to all the grey panels to add shading.
Step 5
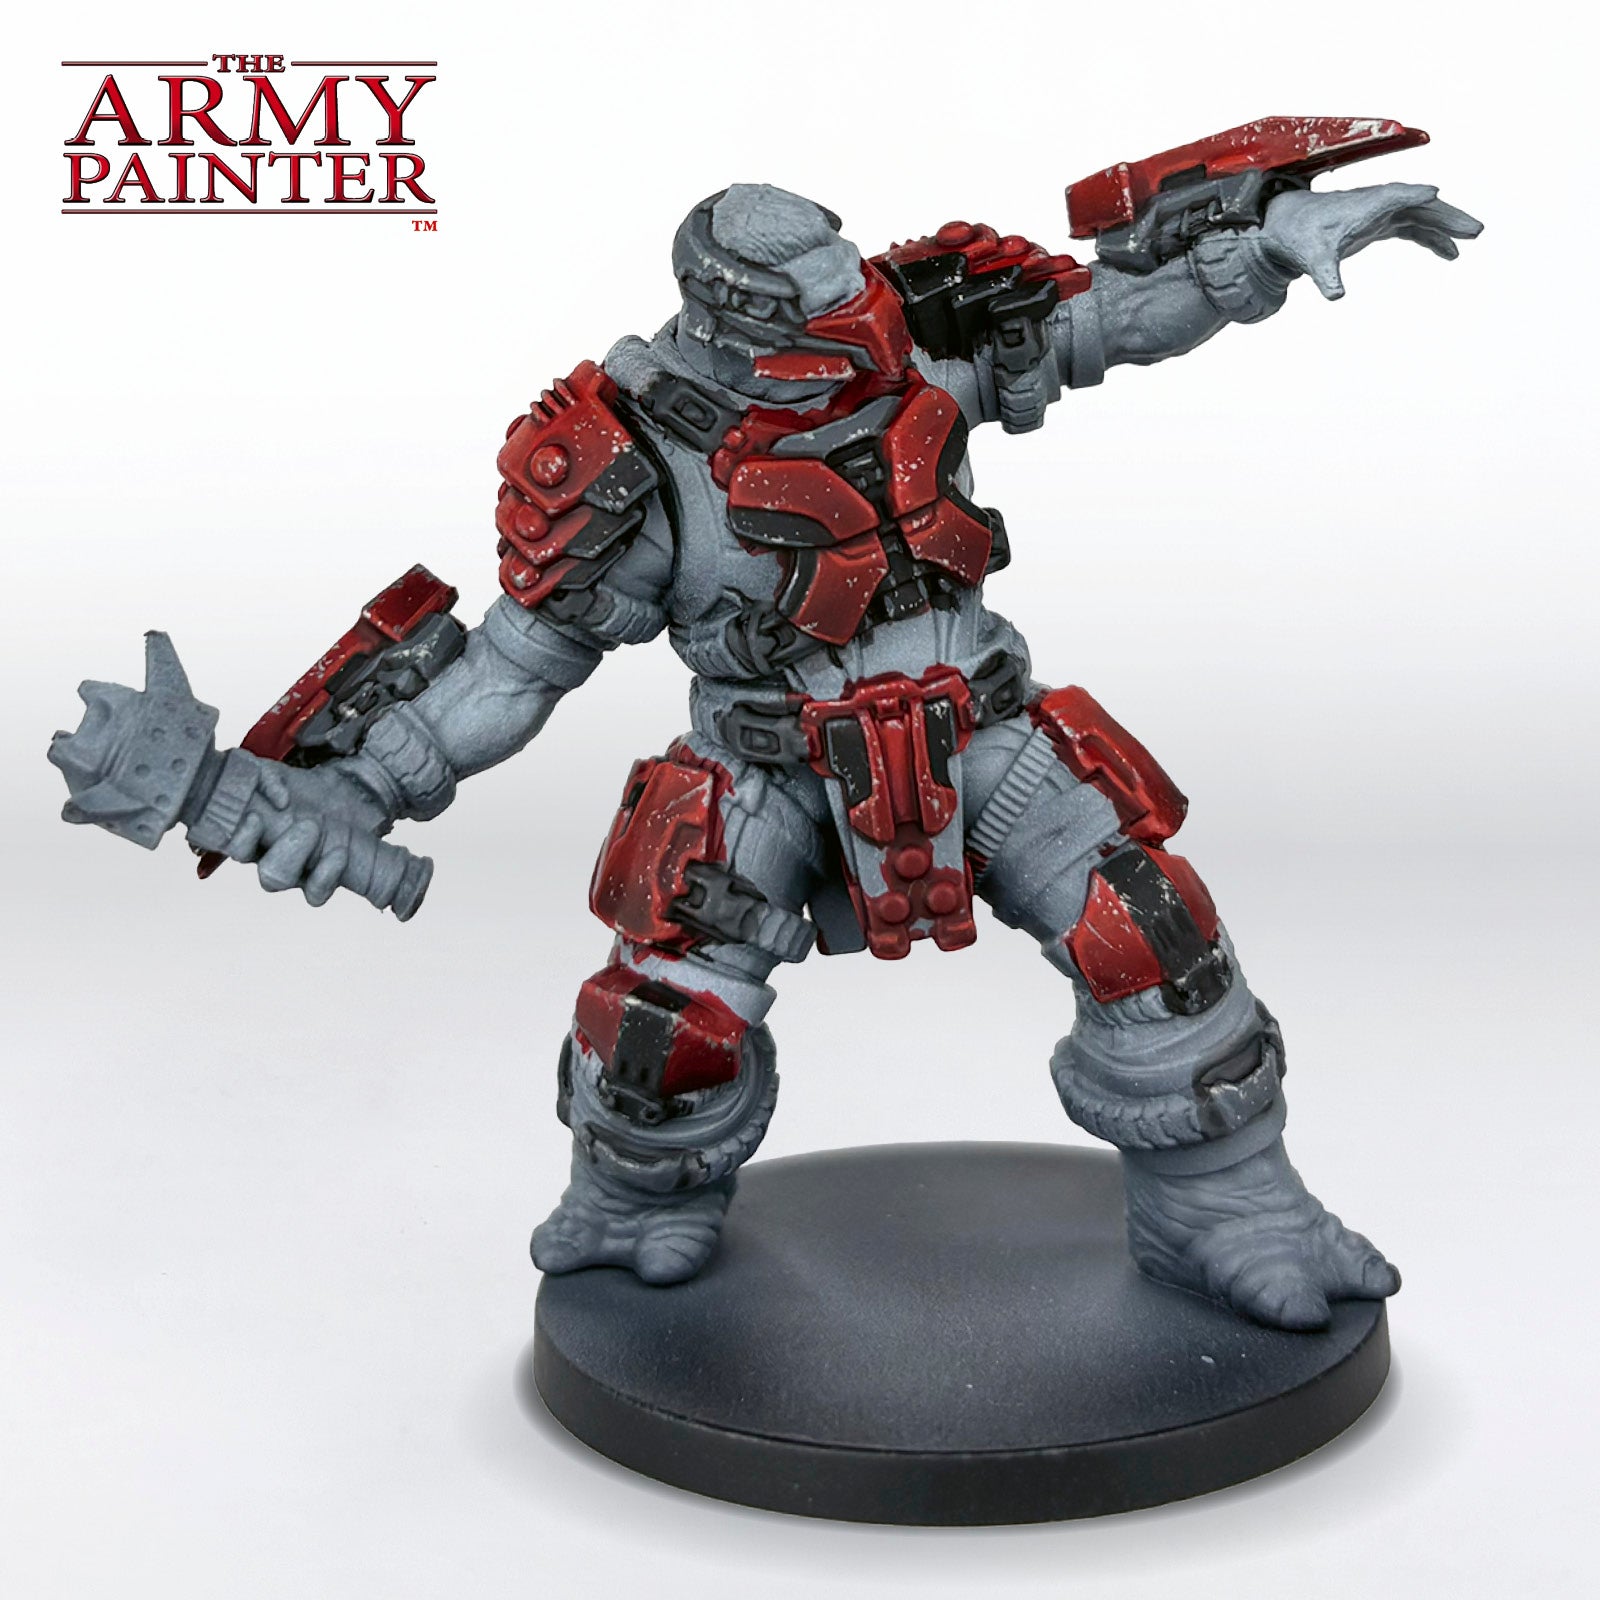
Next, highlight the red panels with John Blanche Masterclass Fiery Vermillion. On some panels, this just means picking out a few edges, on others, you may want to layer it on a bit to create more of a gradient, in these cases, thin the paint with water or Warpaints Stabilizer, and build it up over several thin layers.
Step 6
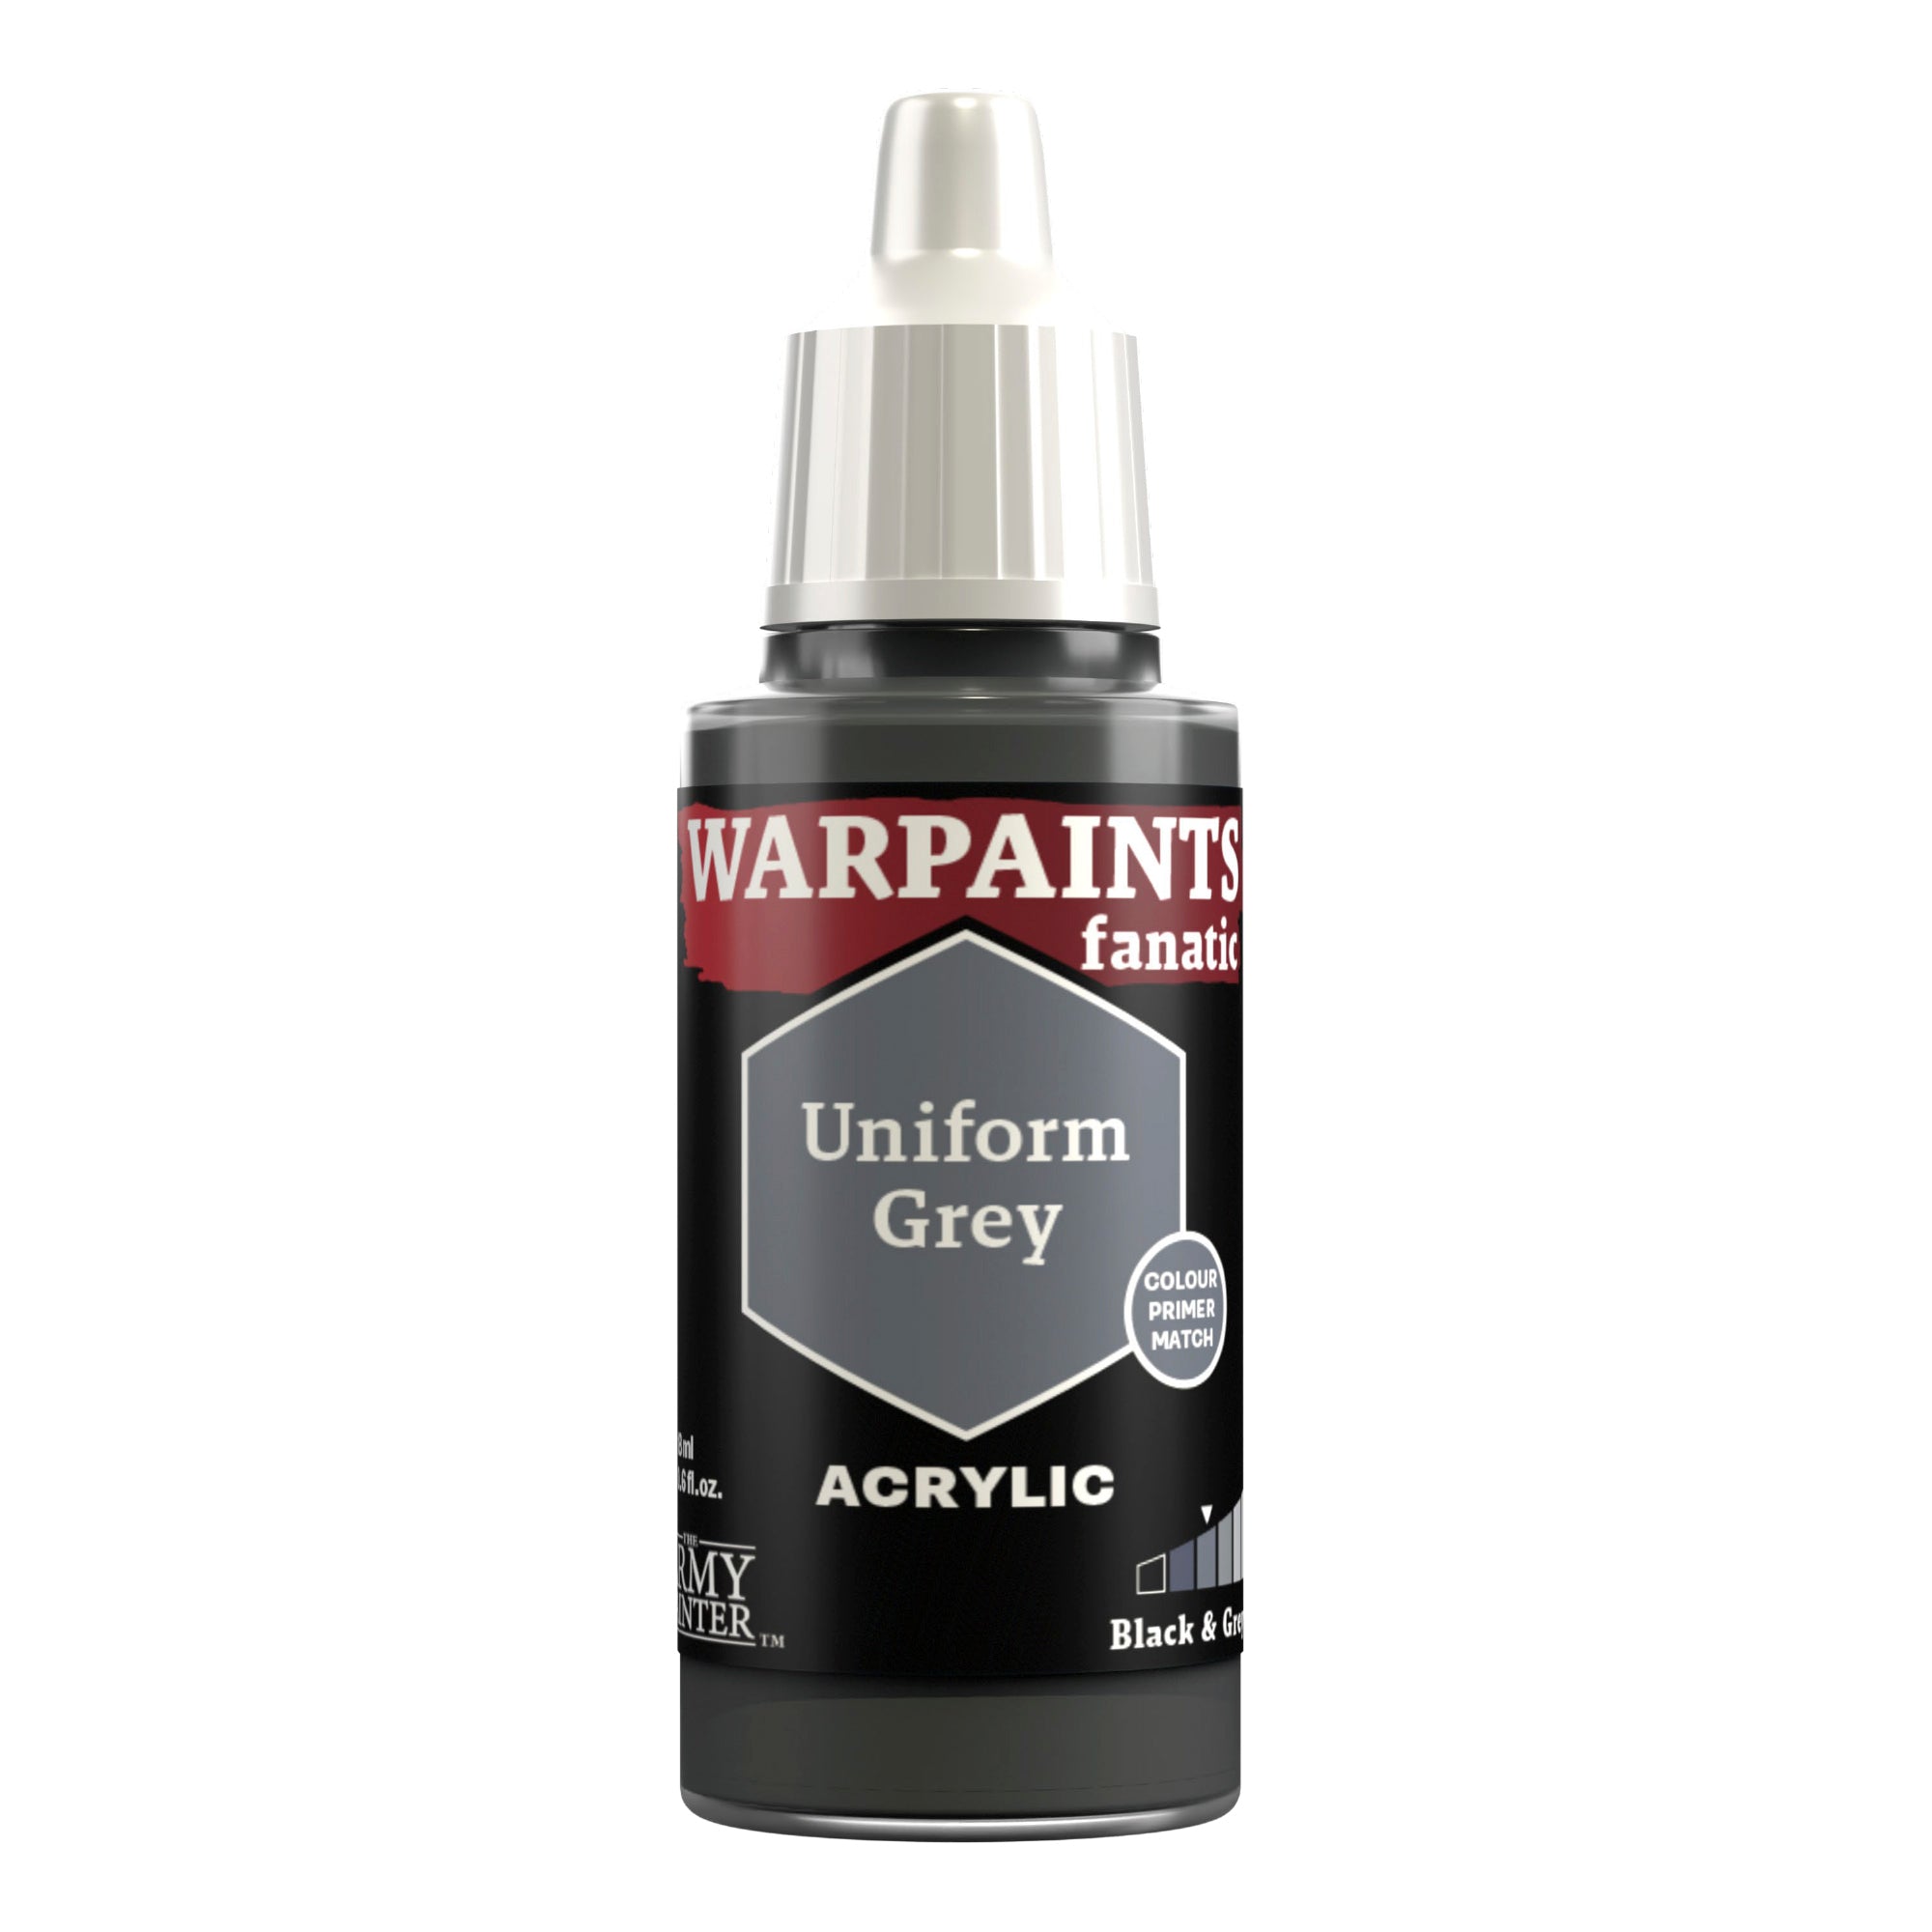
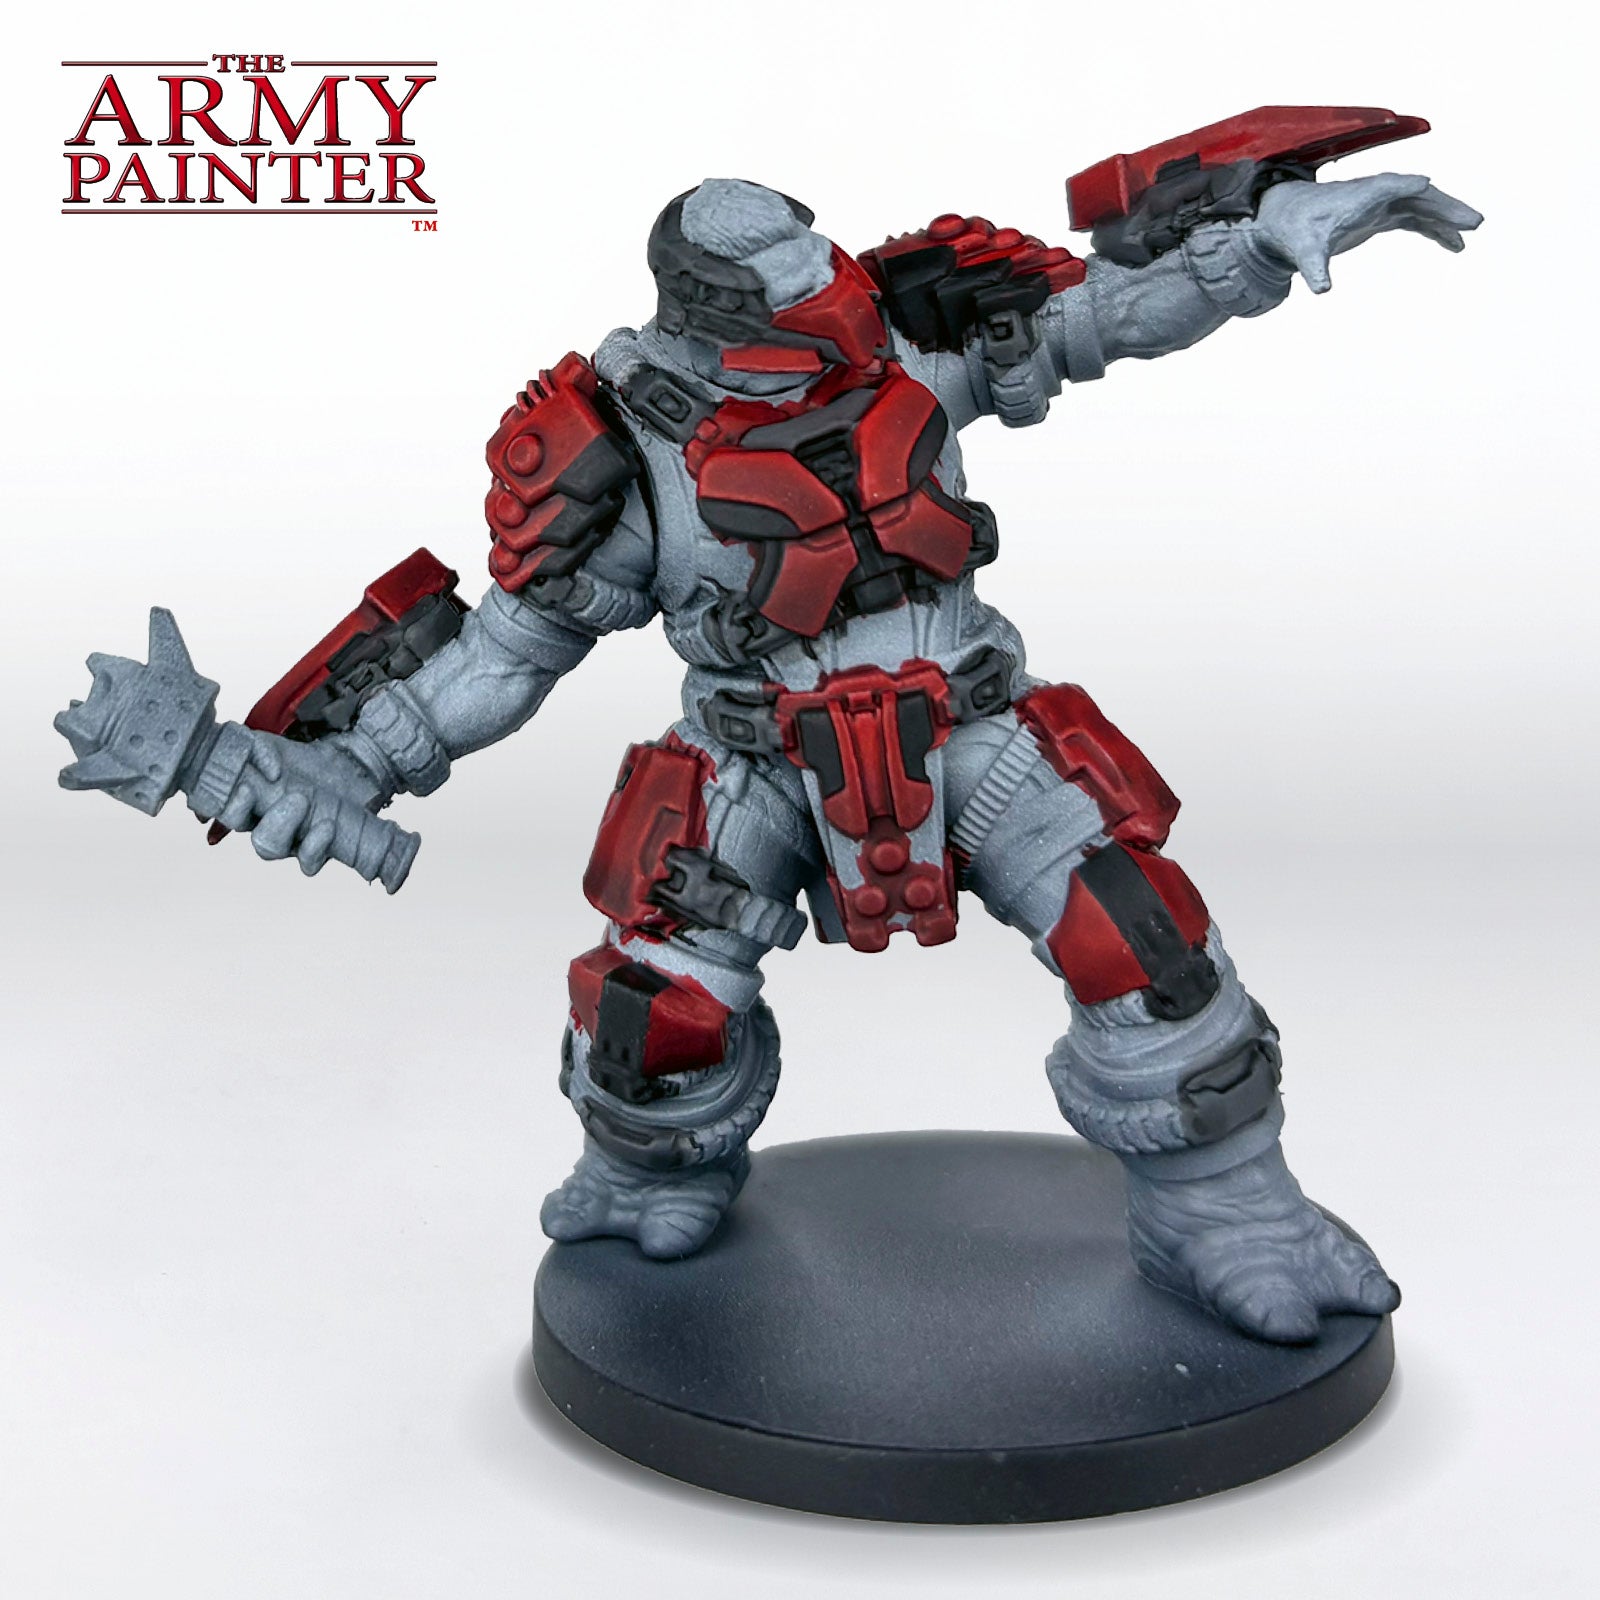
Tidy up the grey panels by re-layering Warpaints Fanatic Deep Grey, and edge highlight the black panels at the same time with this colour. Afterwards, apply an edge highlight of Warpaints Fanatic Uniform Grey to the grey panels.
Step 7
Finally, add some weathering to your model by using a bit of torn-up sponge to apply random patterns of Warpaints Fanatic Plate Mail Metal to simulate chipped paint. Remember, less is more here, as you can always add more later if needed. At the same time, use your brush to pick out a couple of edges with this colour, as well as adding some scratches here and there.

The Skin and Hair
Step 1
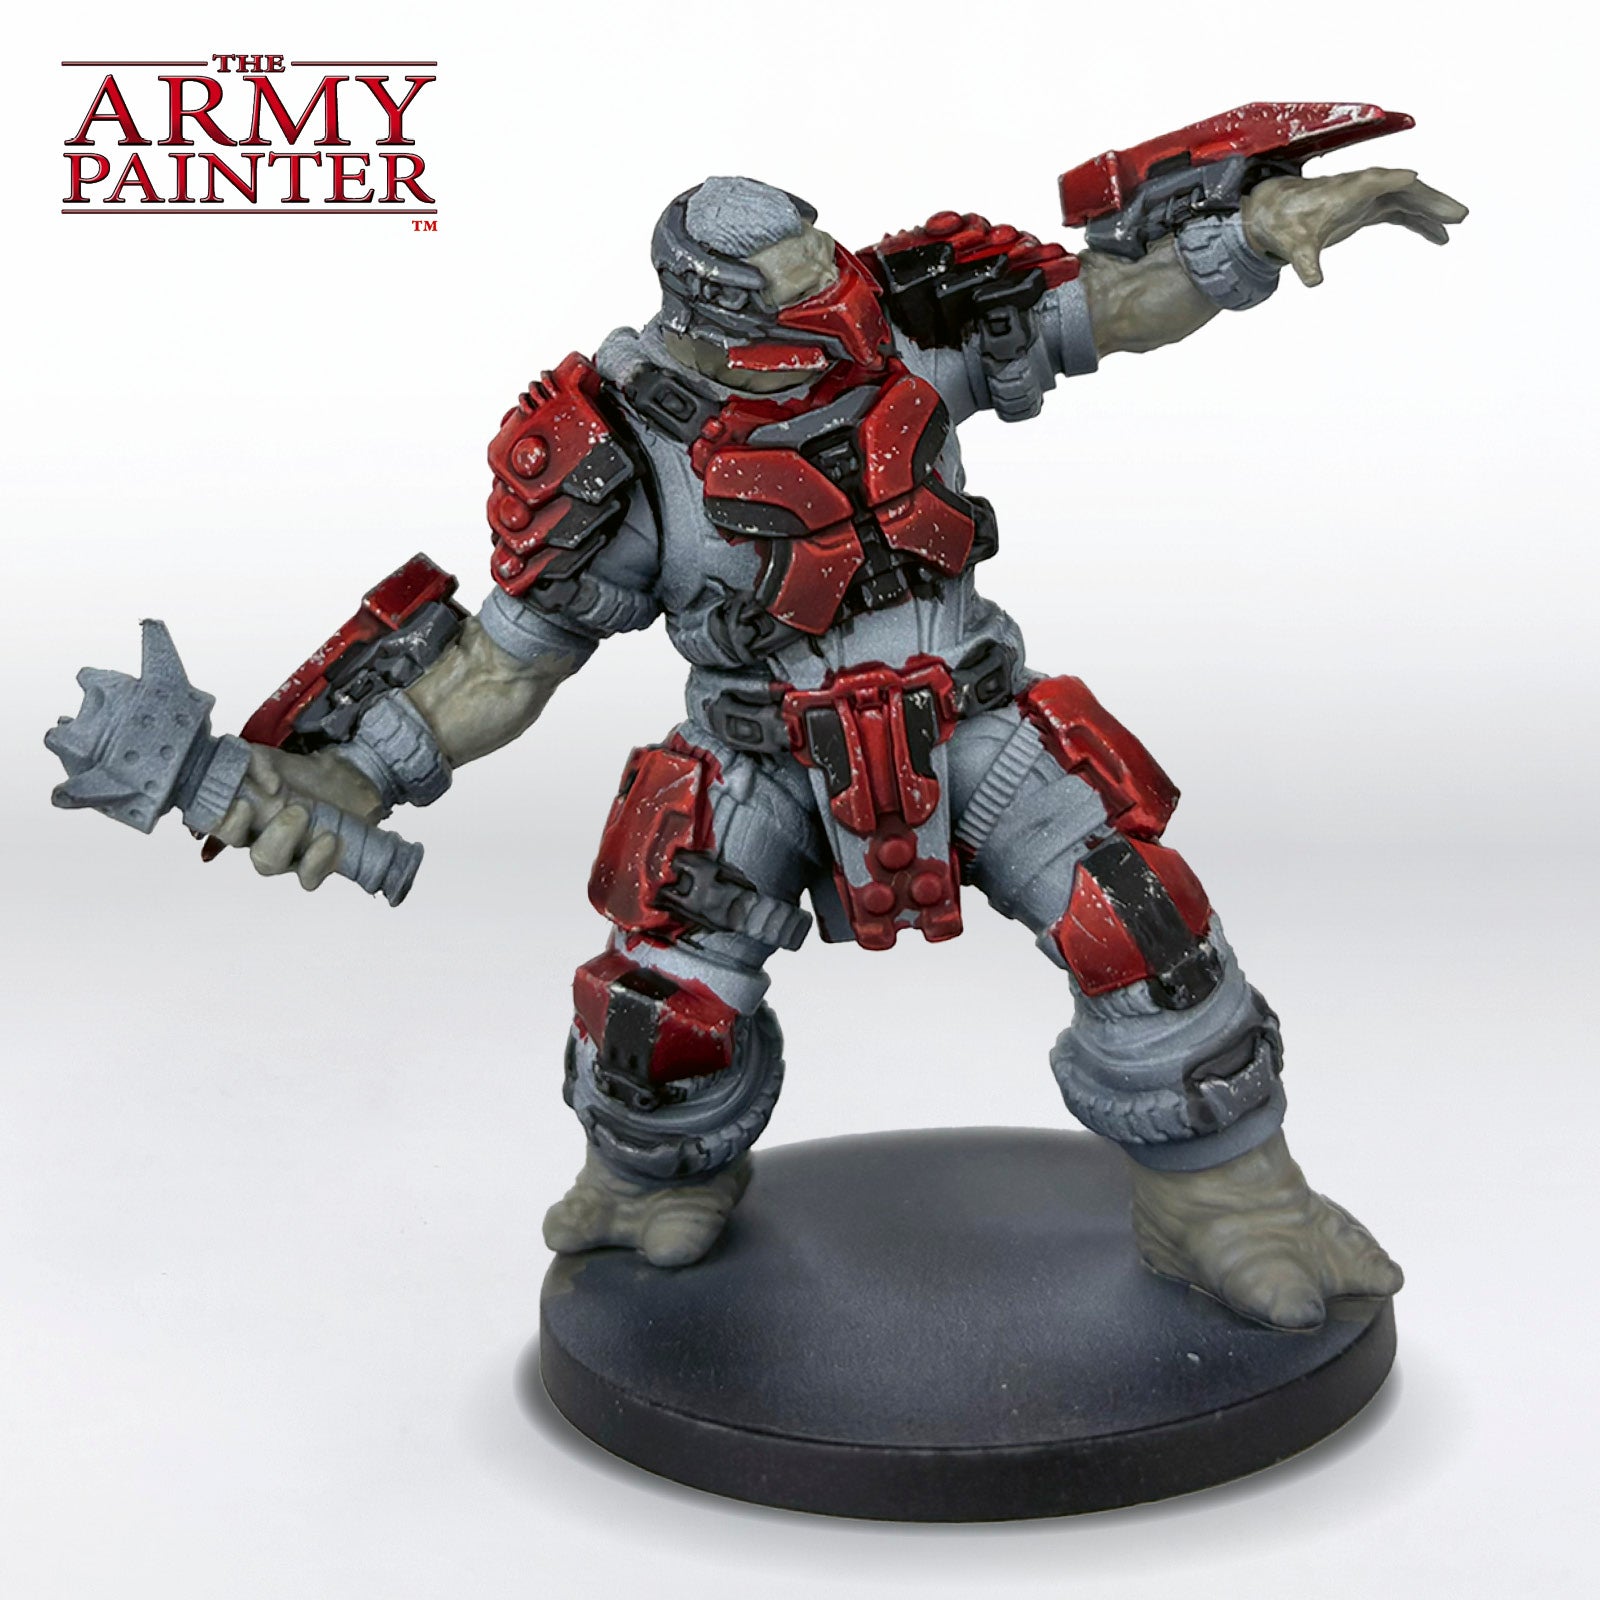
Basecoat the skin with a 6:1 mix of Speedpaint Howling Sand and Gravelord Grey.

Step 2
Once dry, apply a wash of John Blanche Masterclass Wash Warm Skin Shade to add some warmth to the model.
Step 3
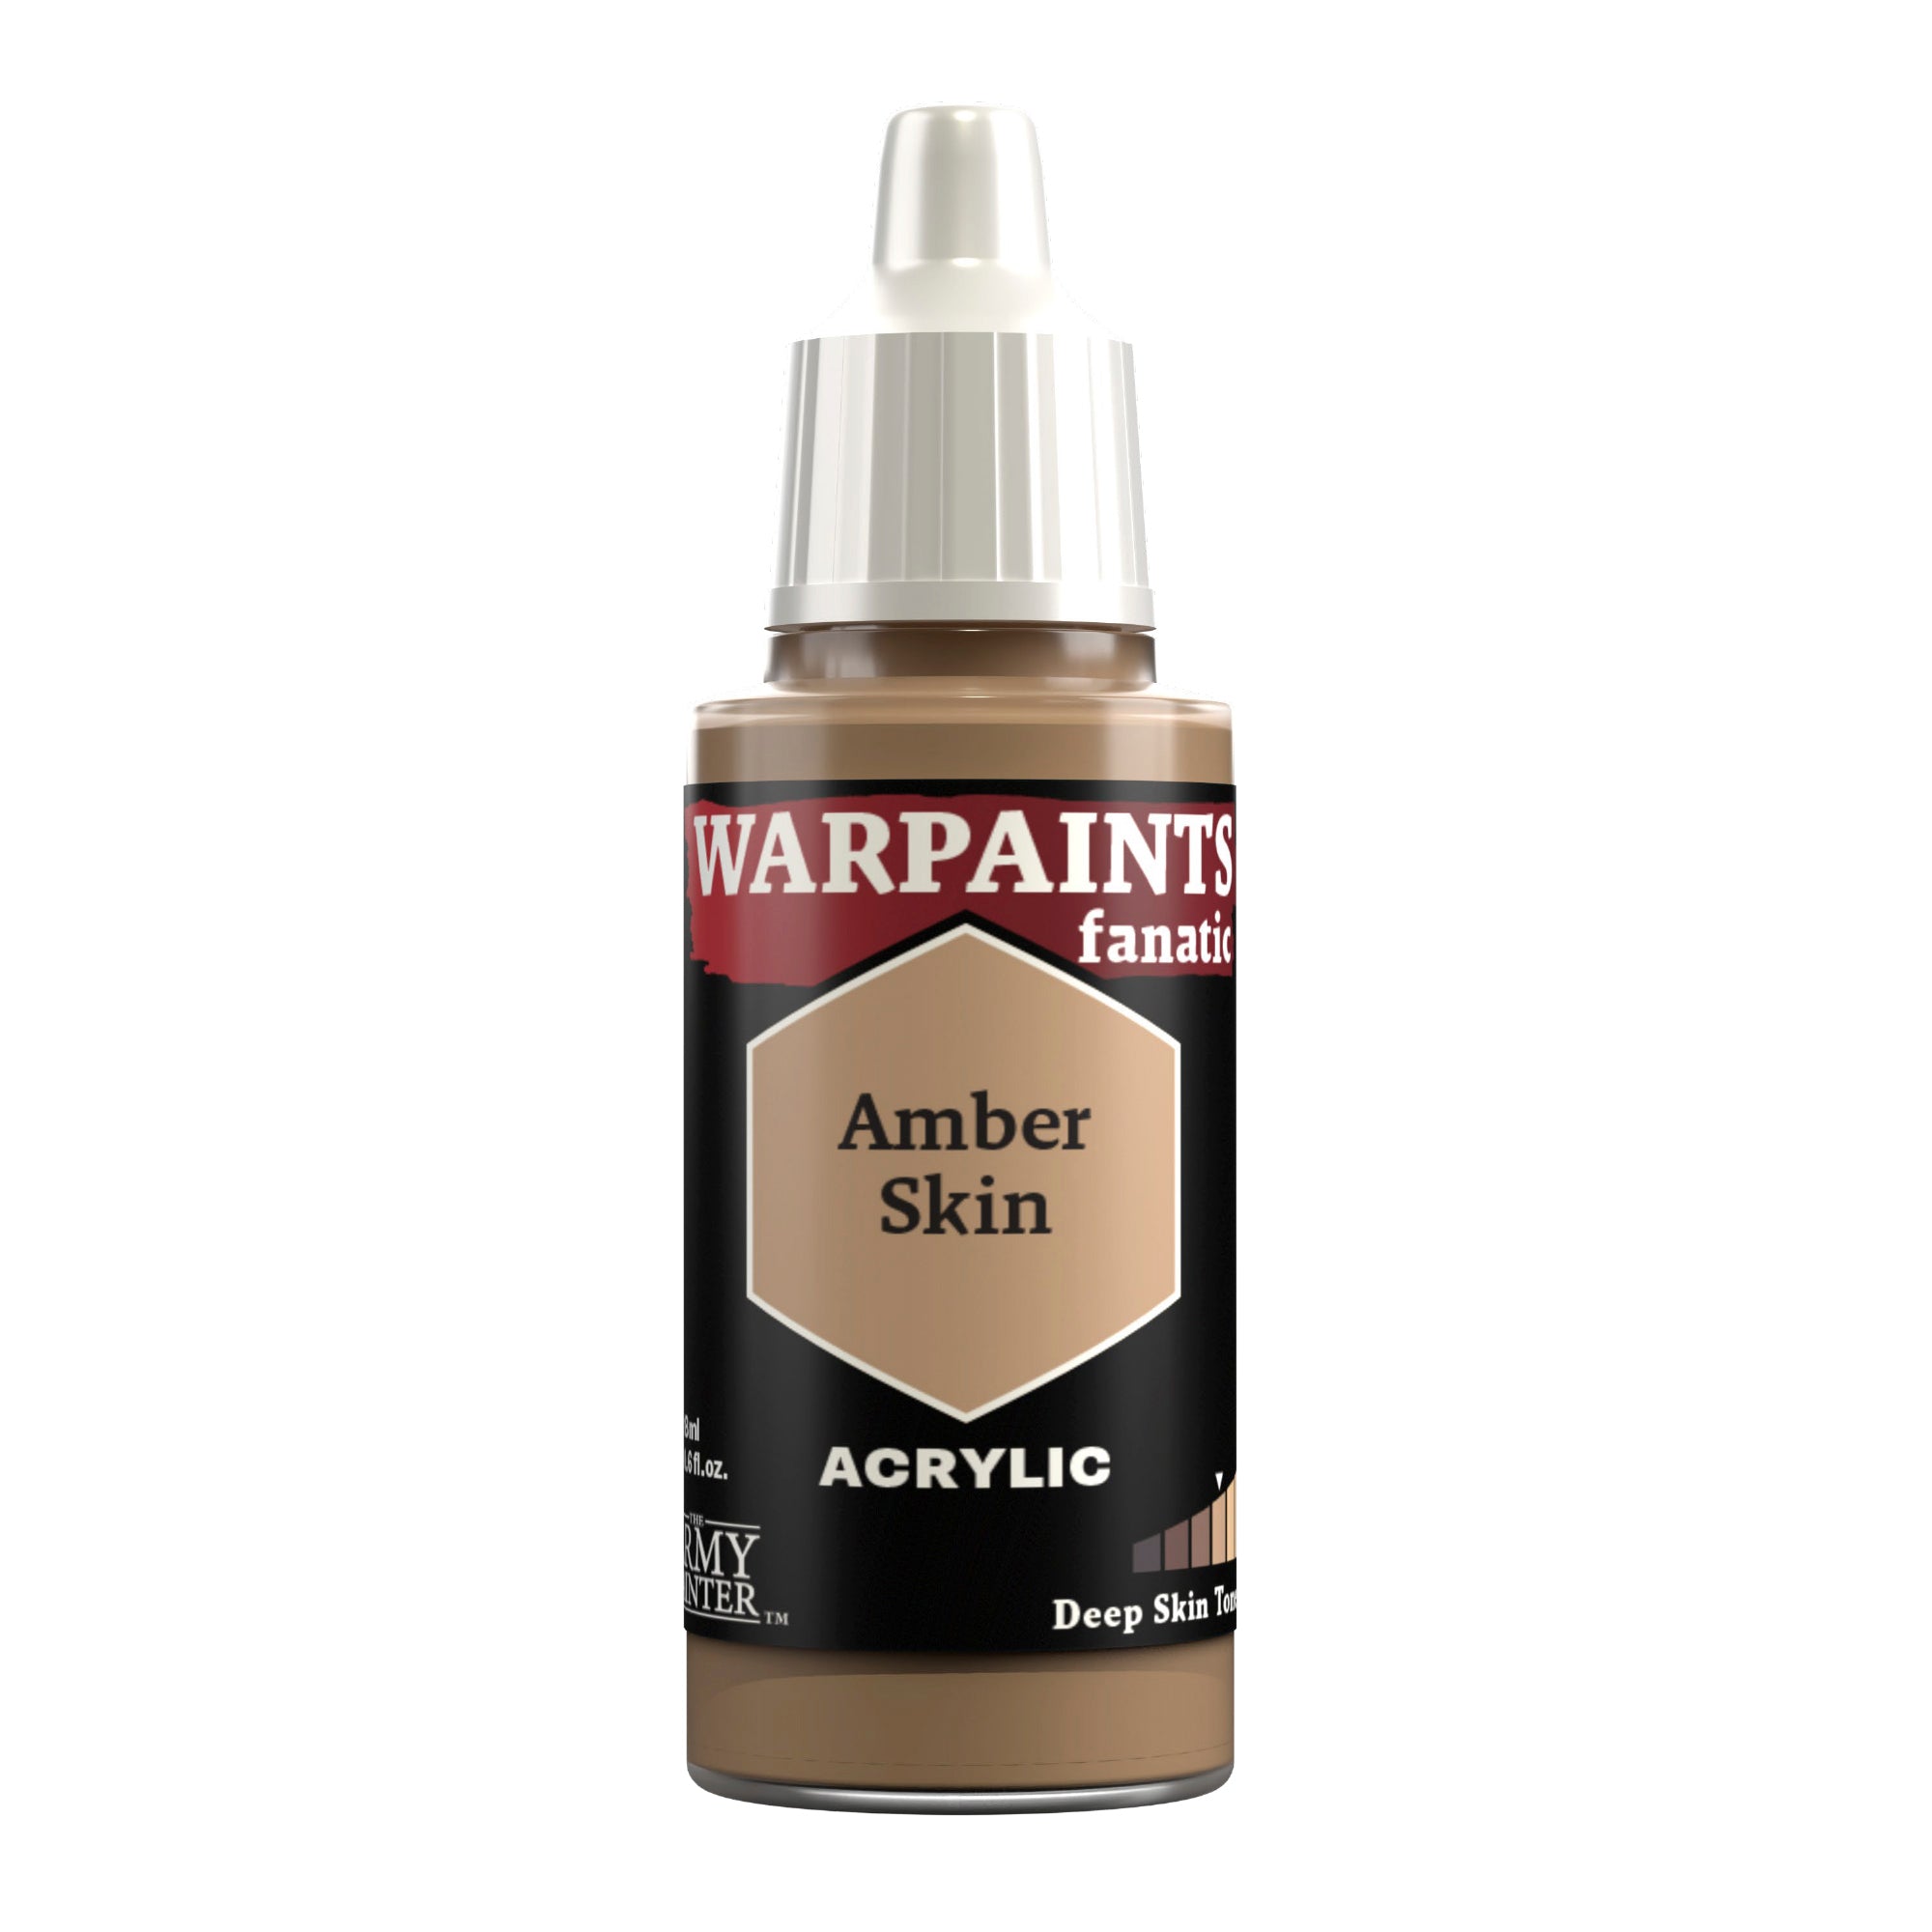
Next, highlight the skin with Warpaints Fanatic Amber Skin, paying particular attention to the face, hands, and feet. You don’t want to completely layer this over the previous step; just pick out raised edges and prominent areas.
Step 4
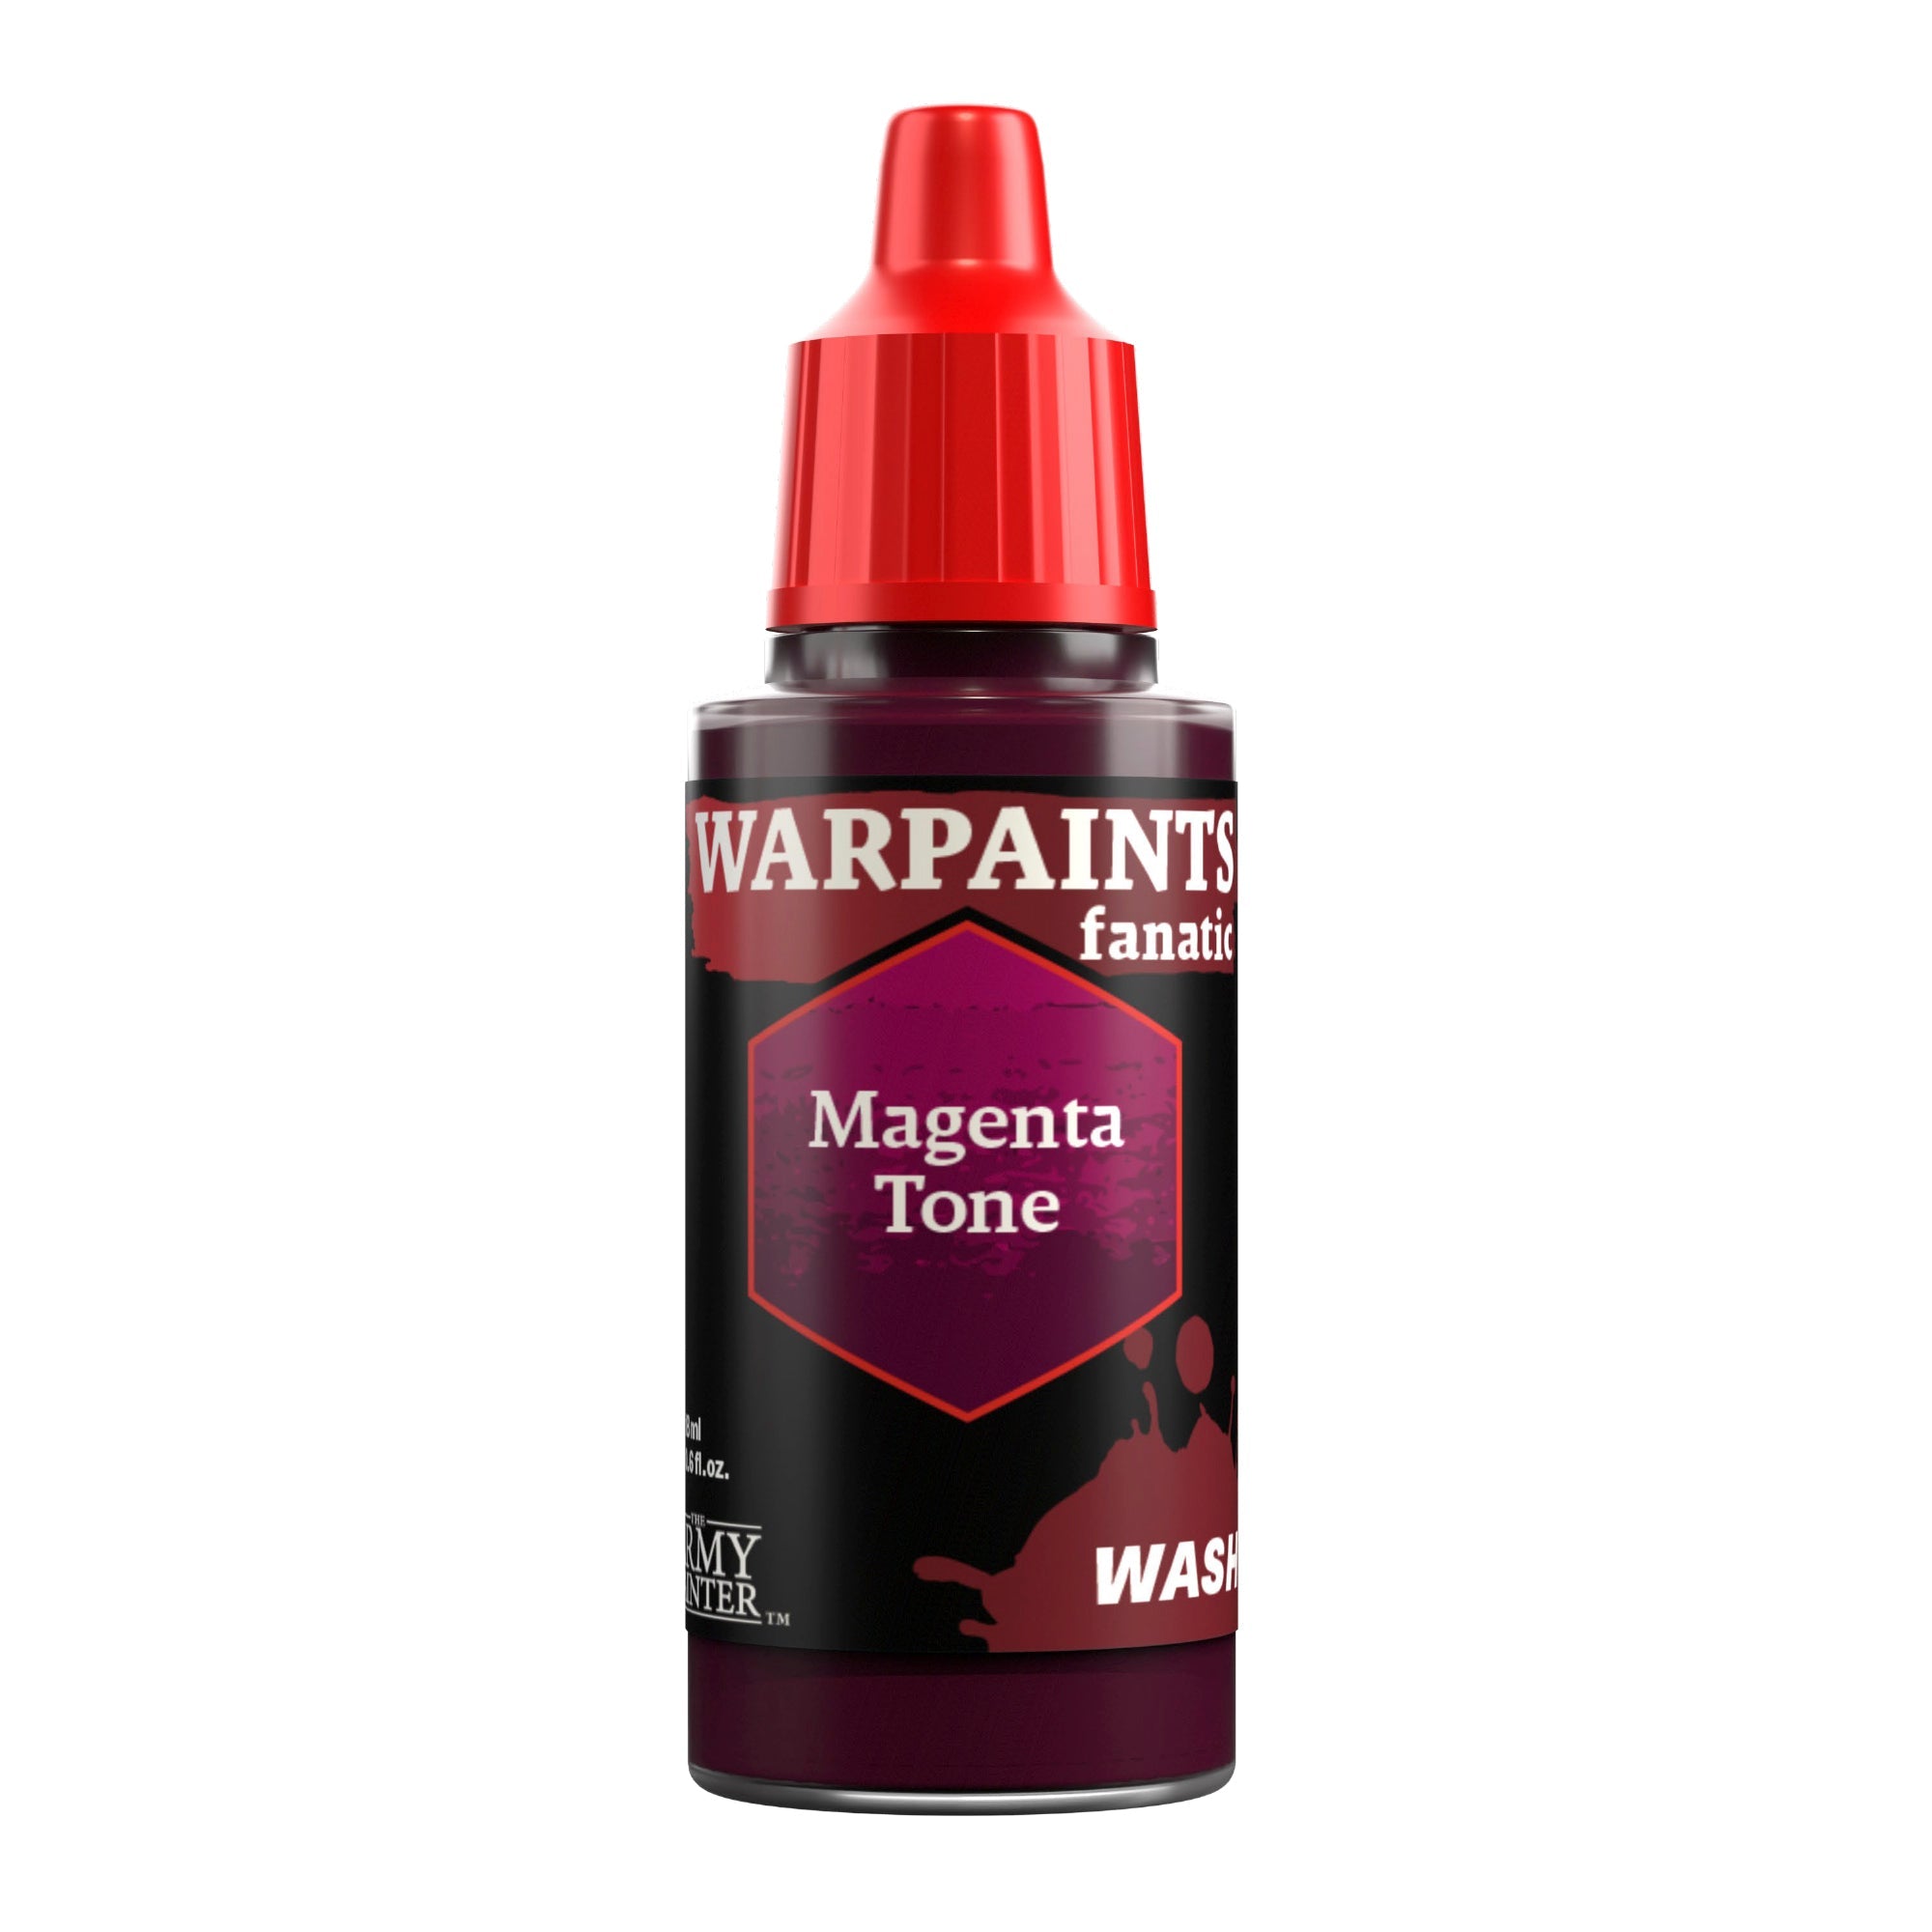
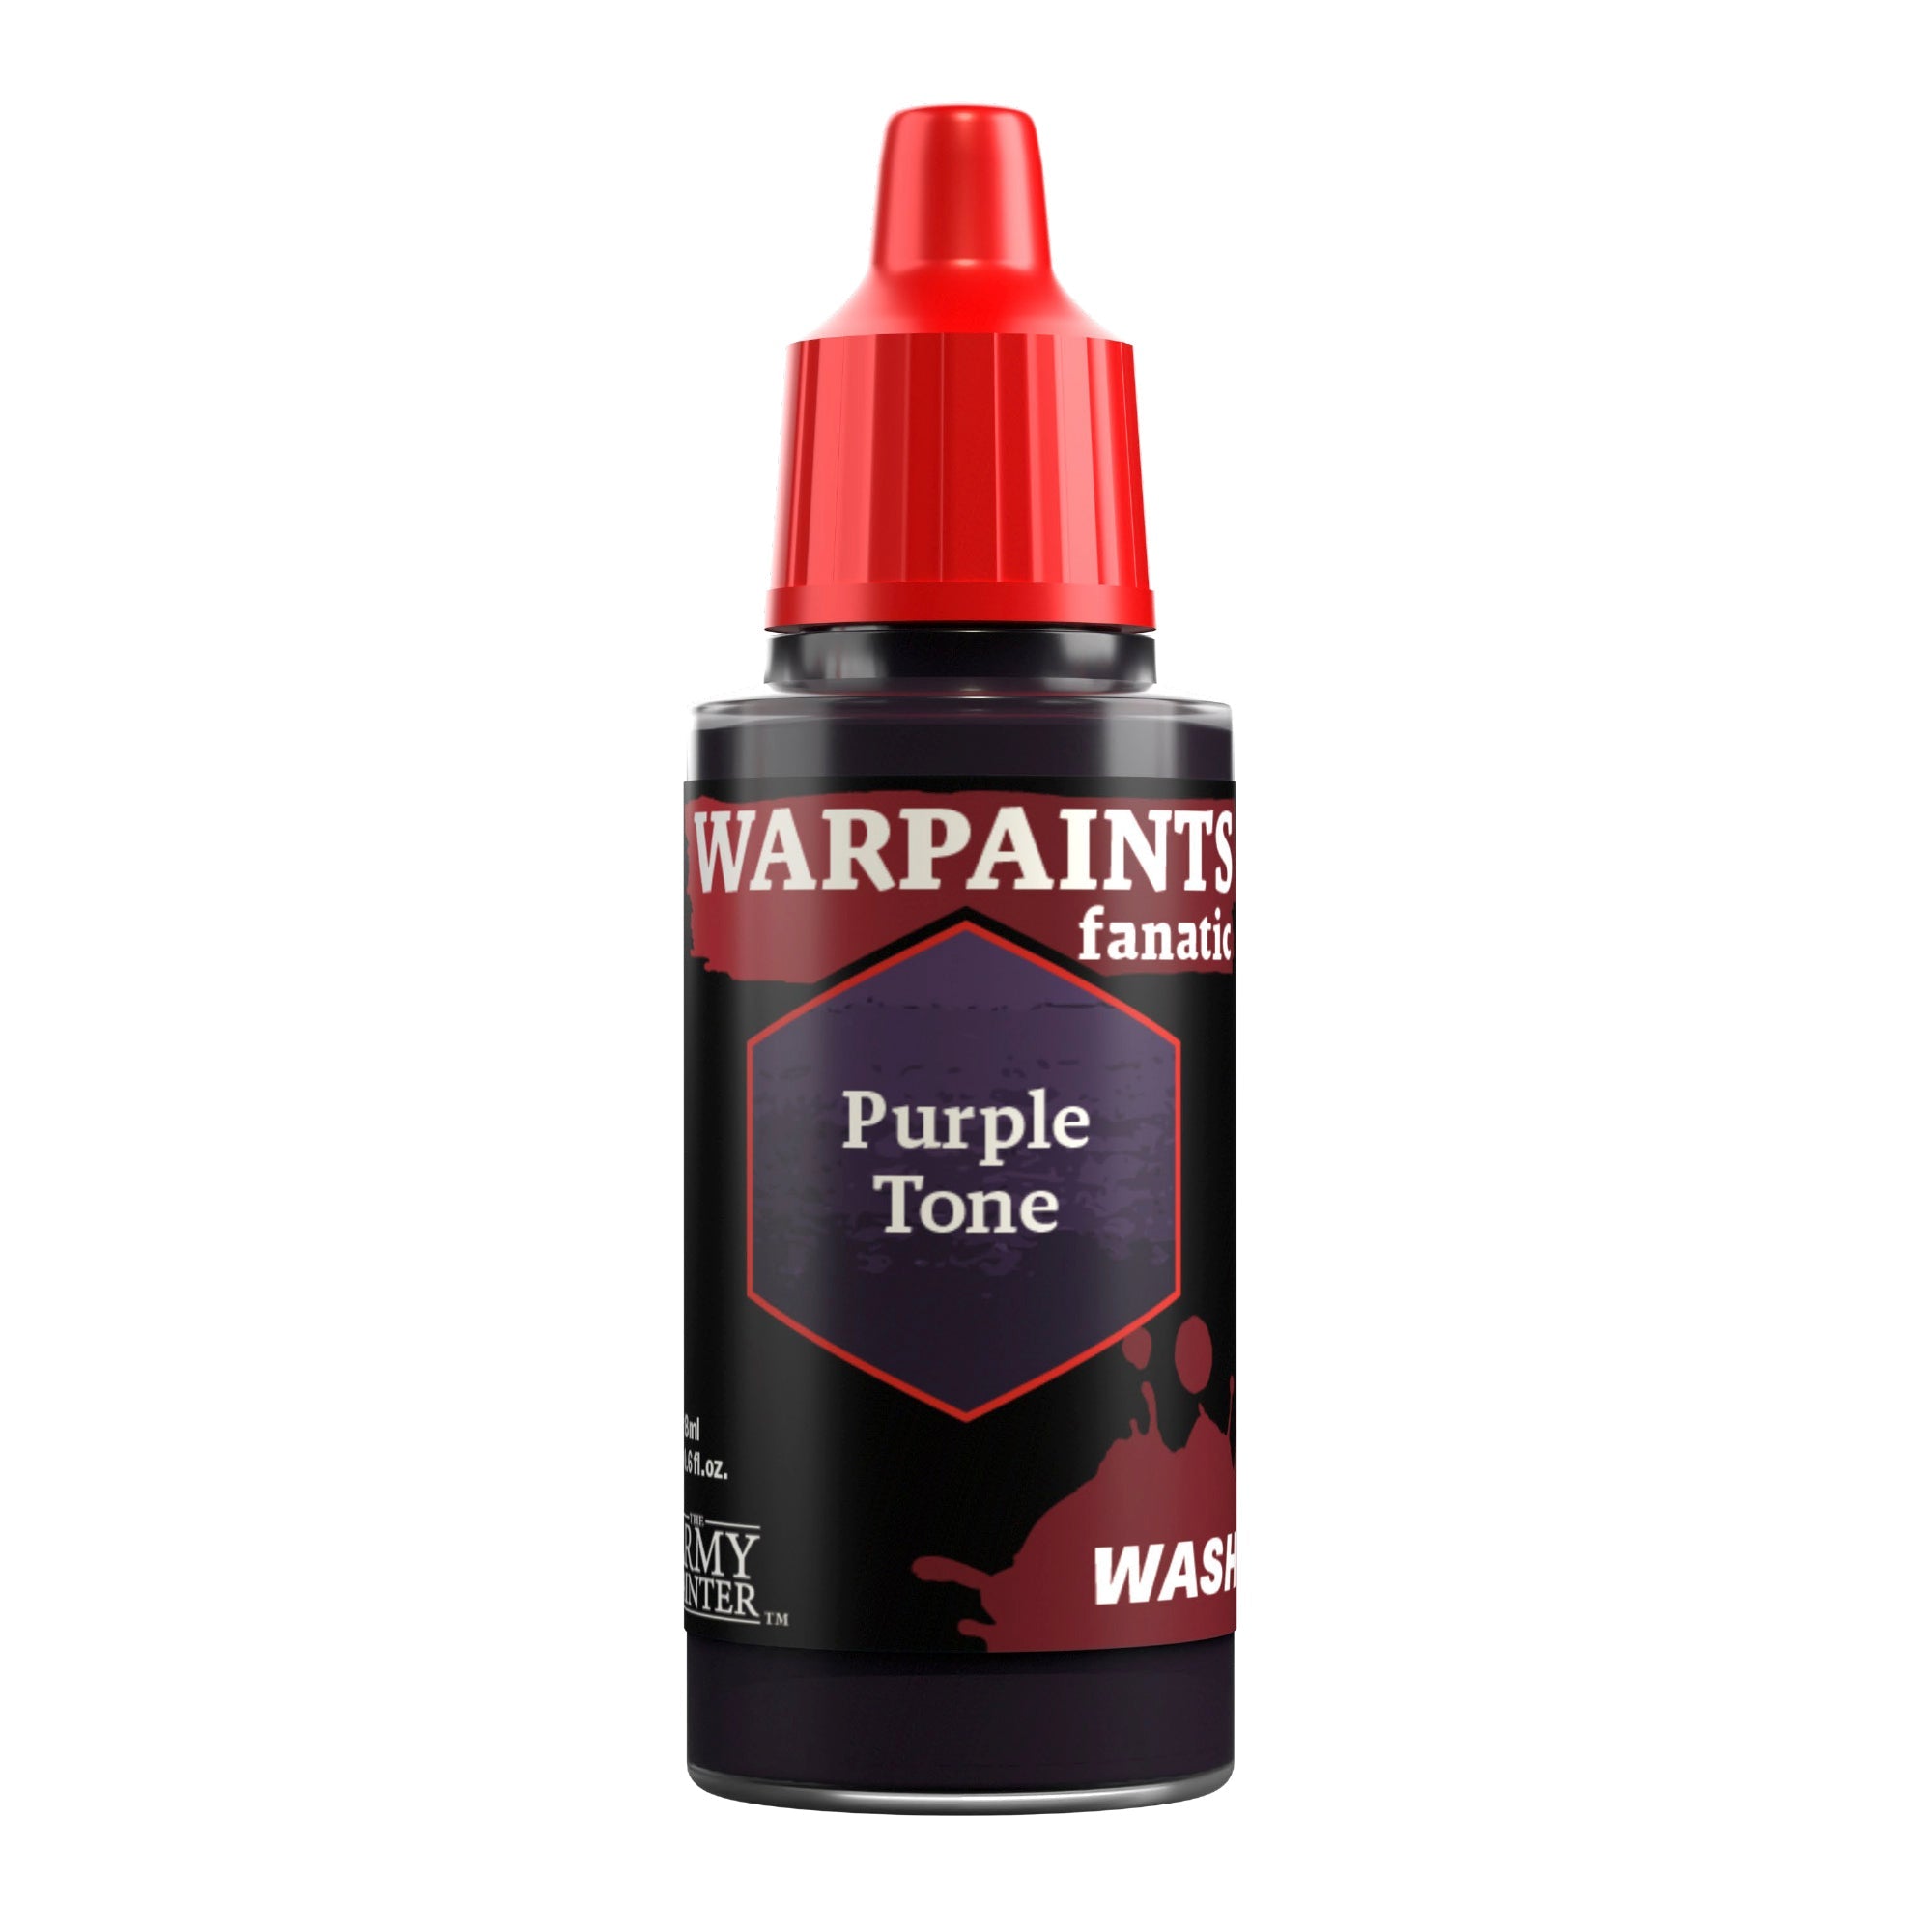
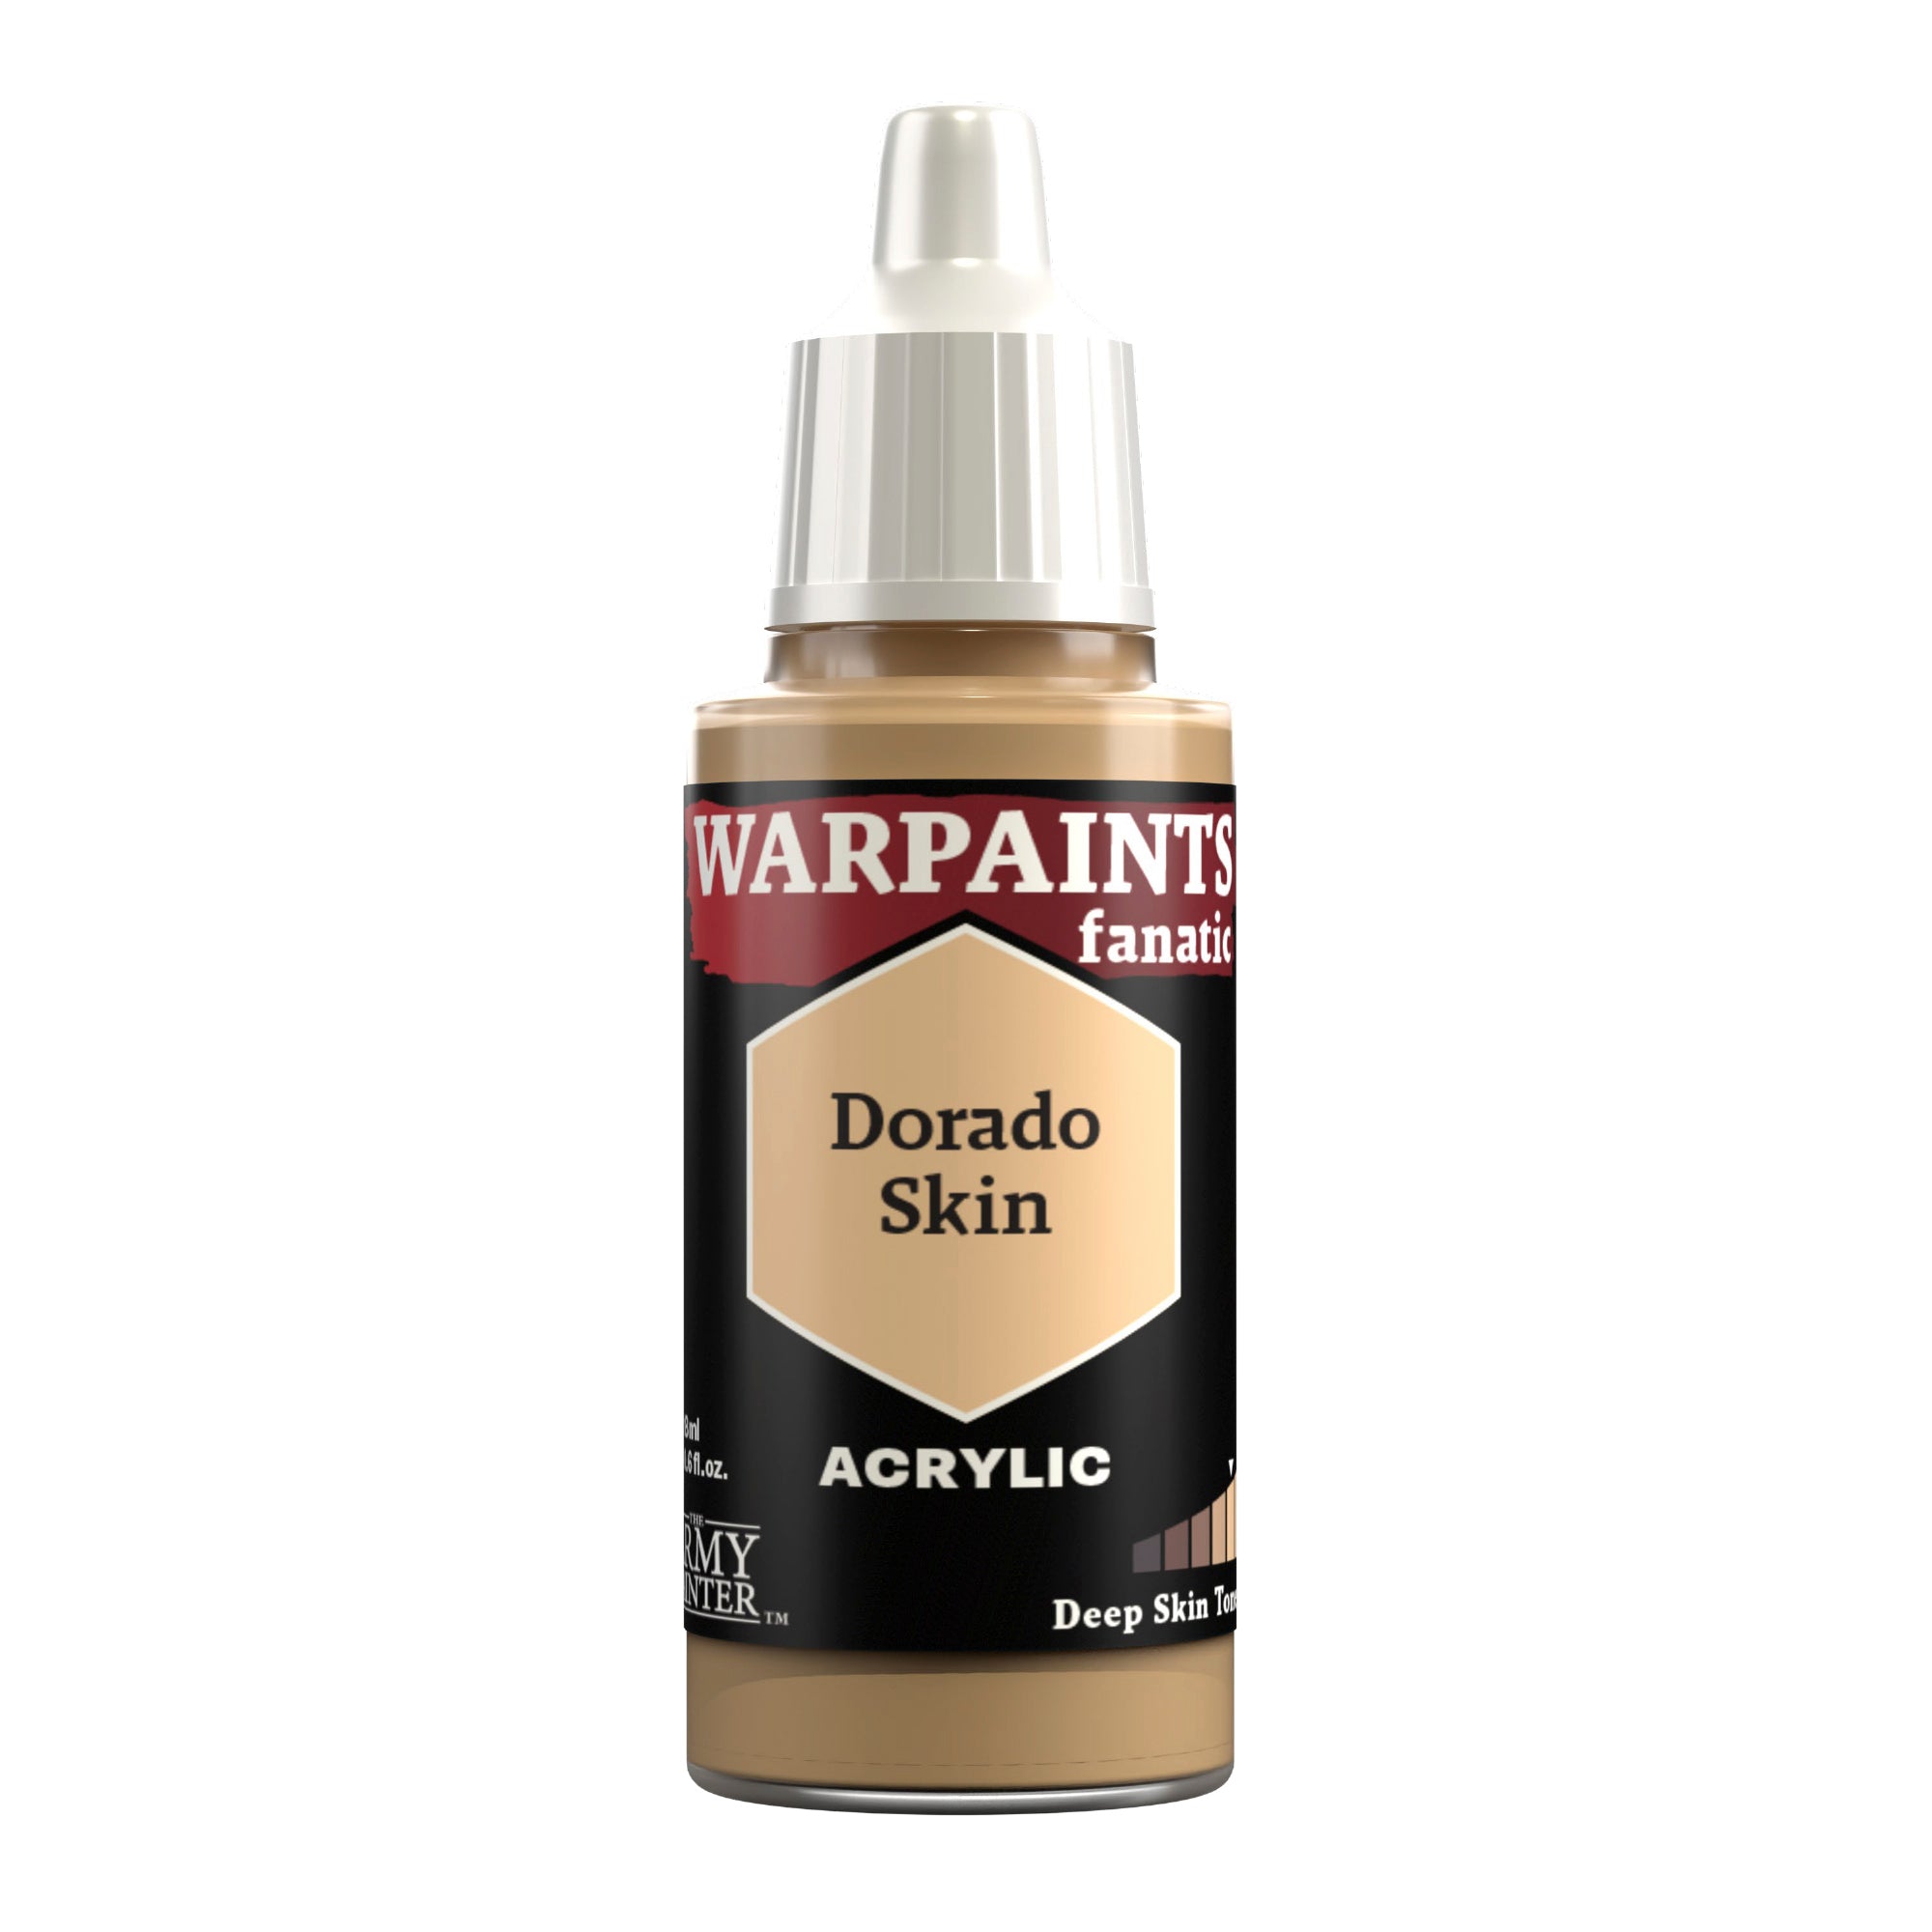
Apply glazes of Warpaints Fanatic Wash Magenta Tone to knuckles, elbows, and lip (if visible) and Warpaints Fanatic Wash Purple Tone to the eyes. You may want to water down the Magenta Tone a bit for the knuckles and elbows. Once this is dry, you can add an extra highlight of Warpaints Fanatic Dorado Skin to the face and hands if desired.
Step 5
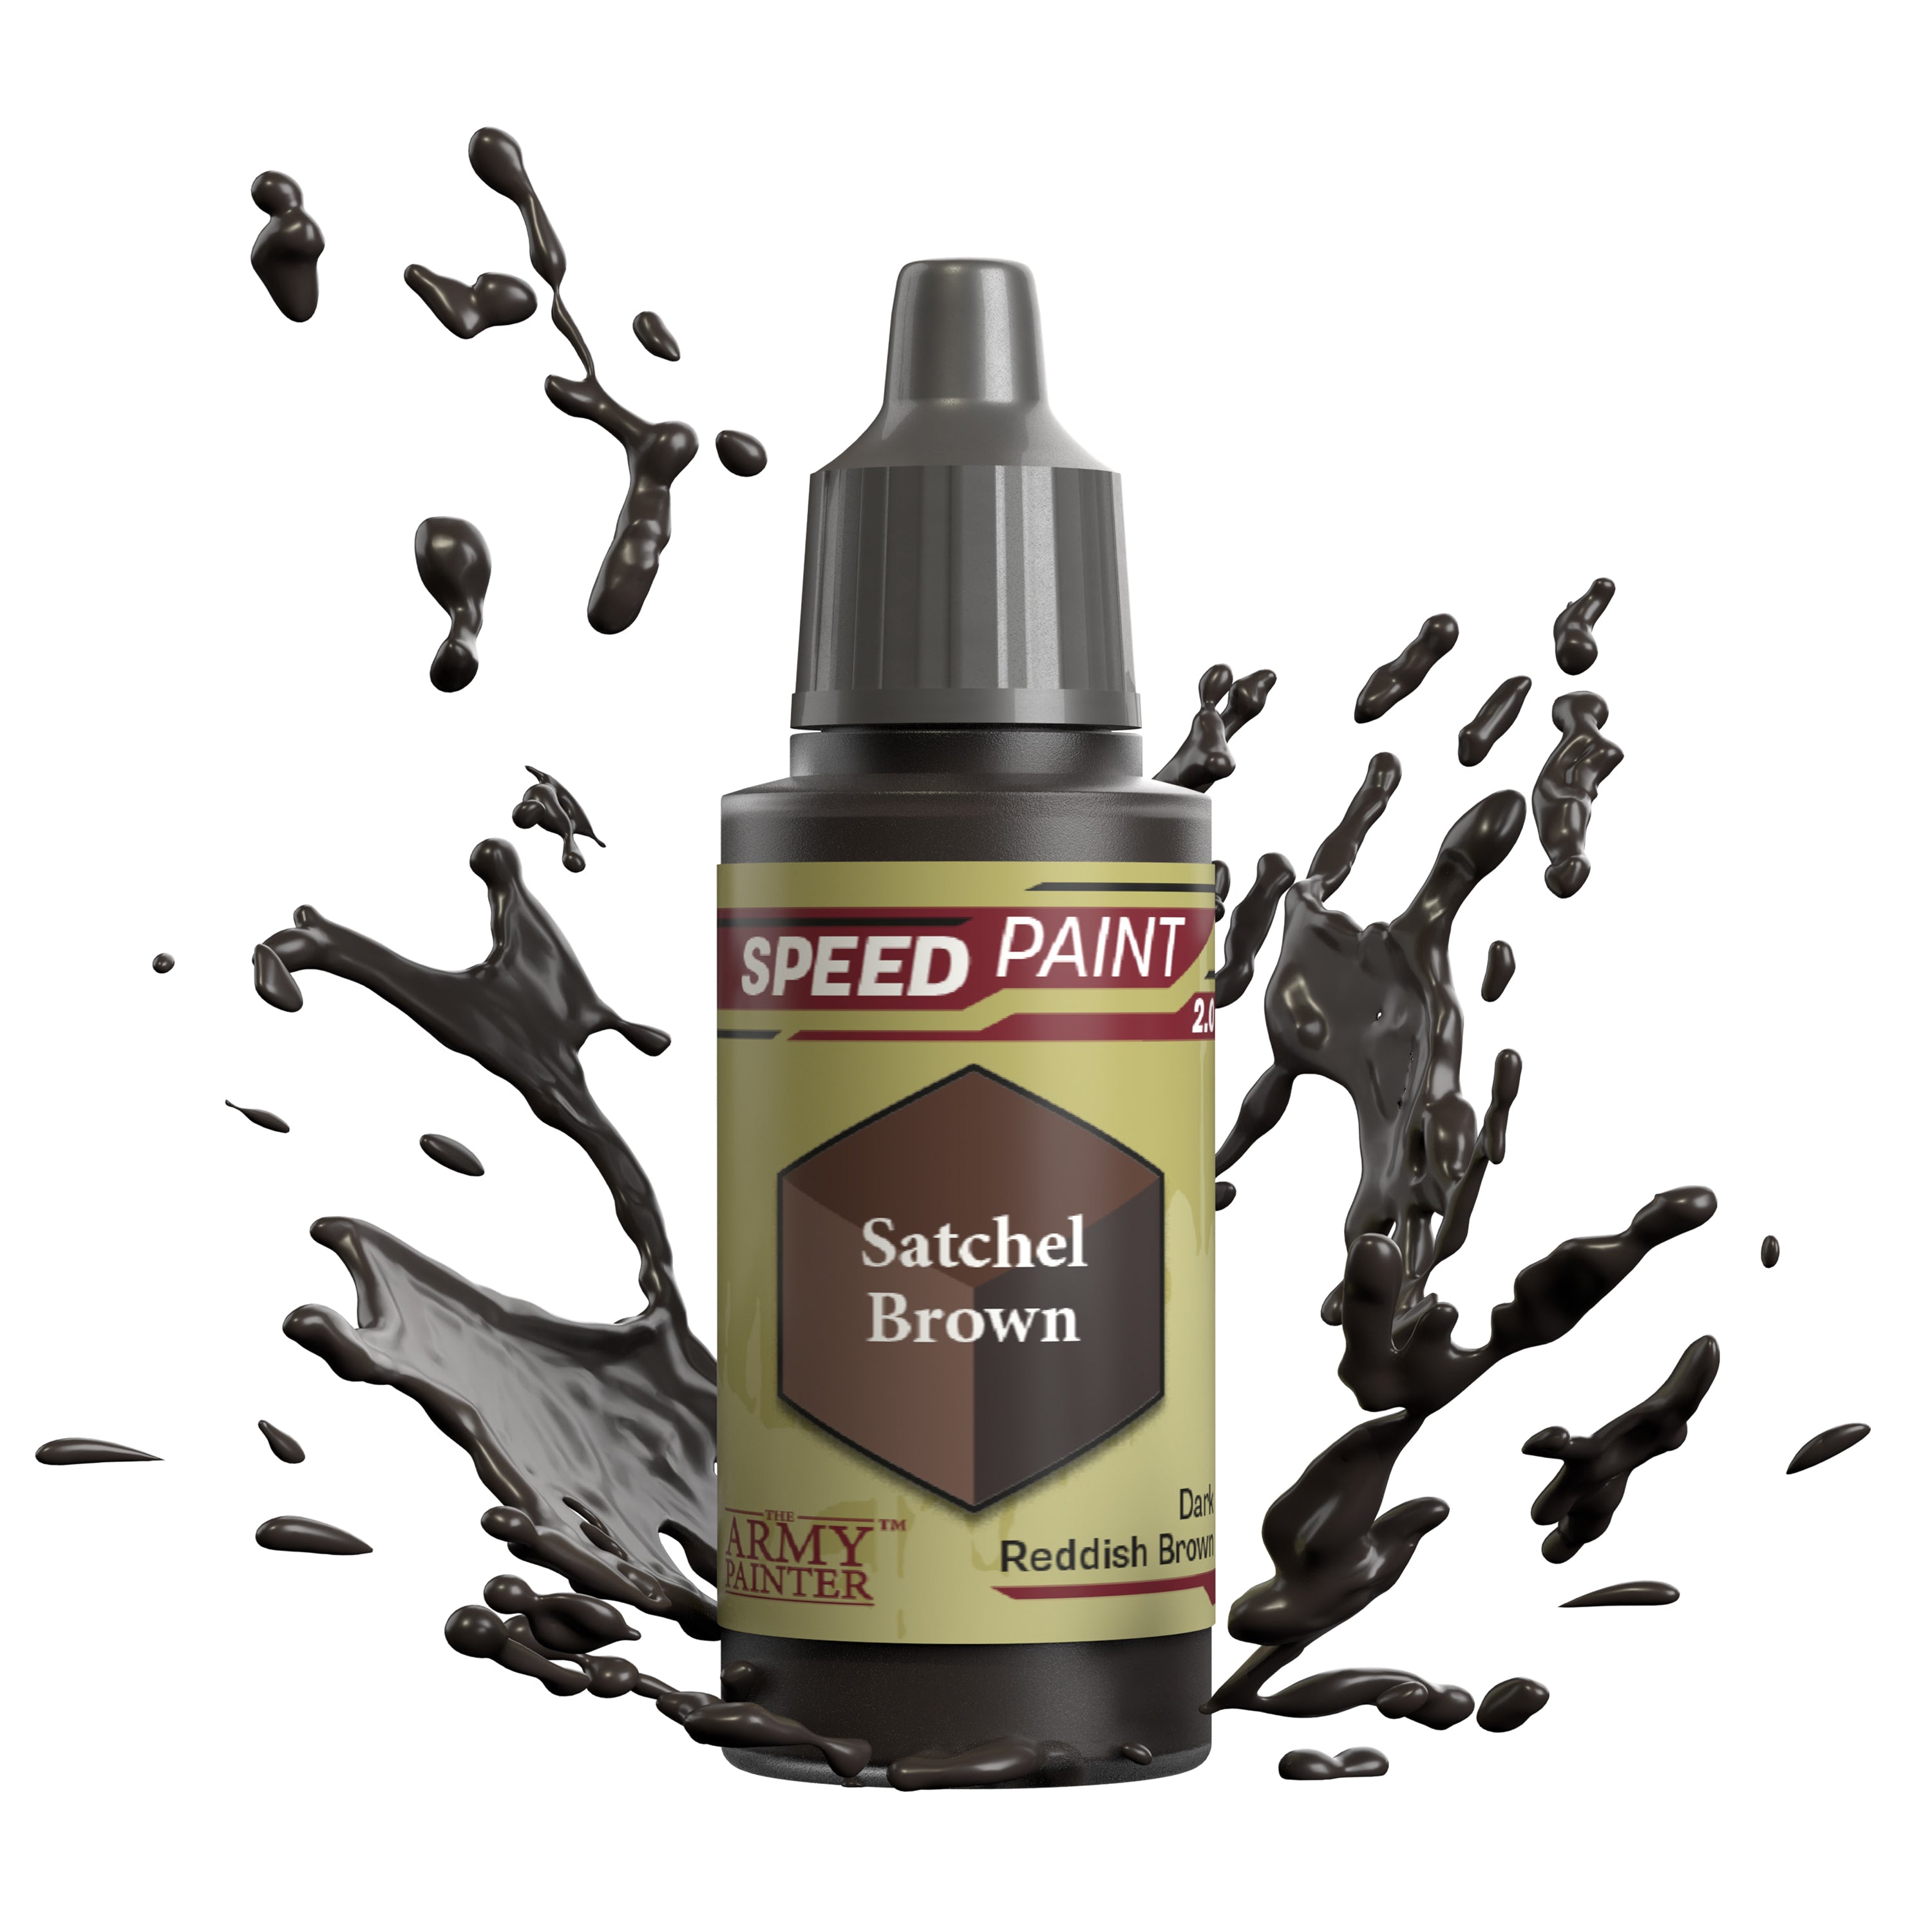
Basecoat the hair with Speedpaint Satchel Brown.
Step 6
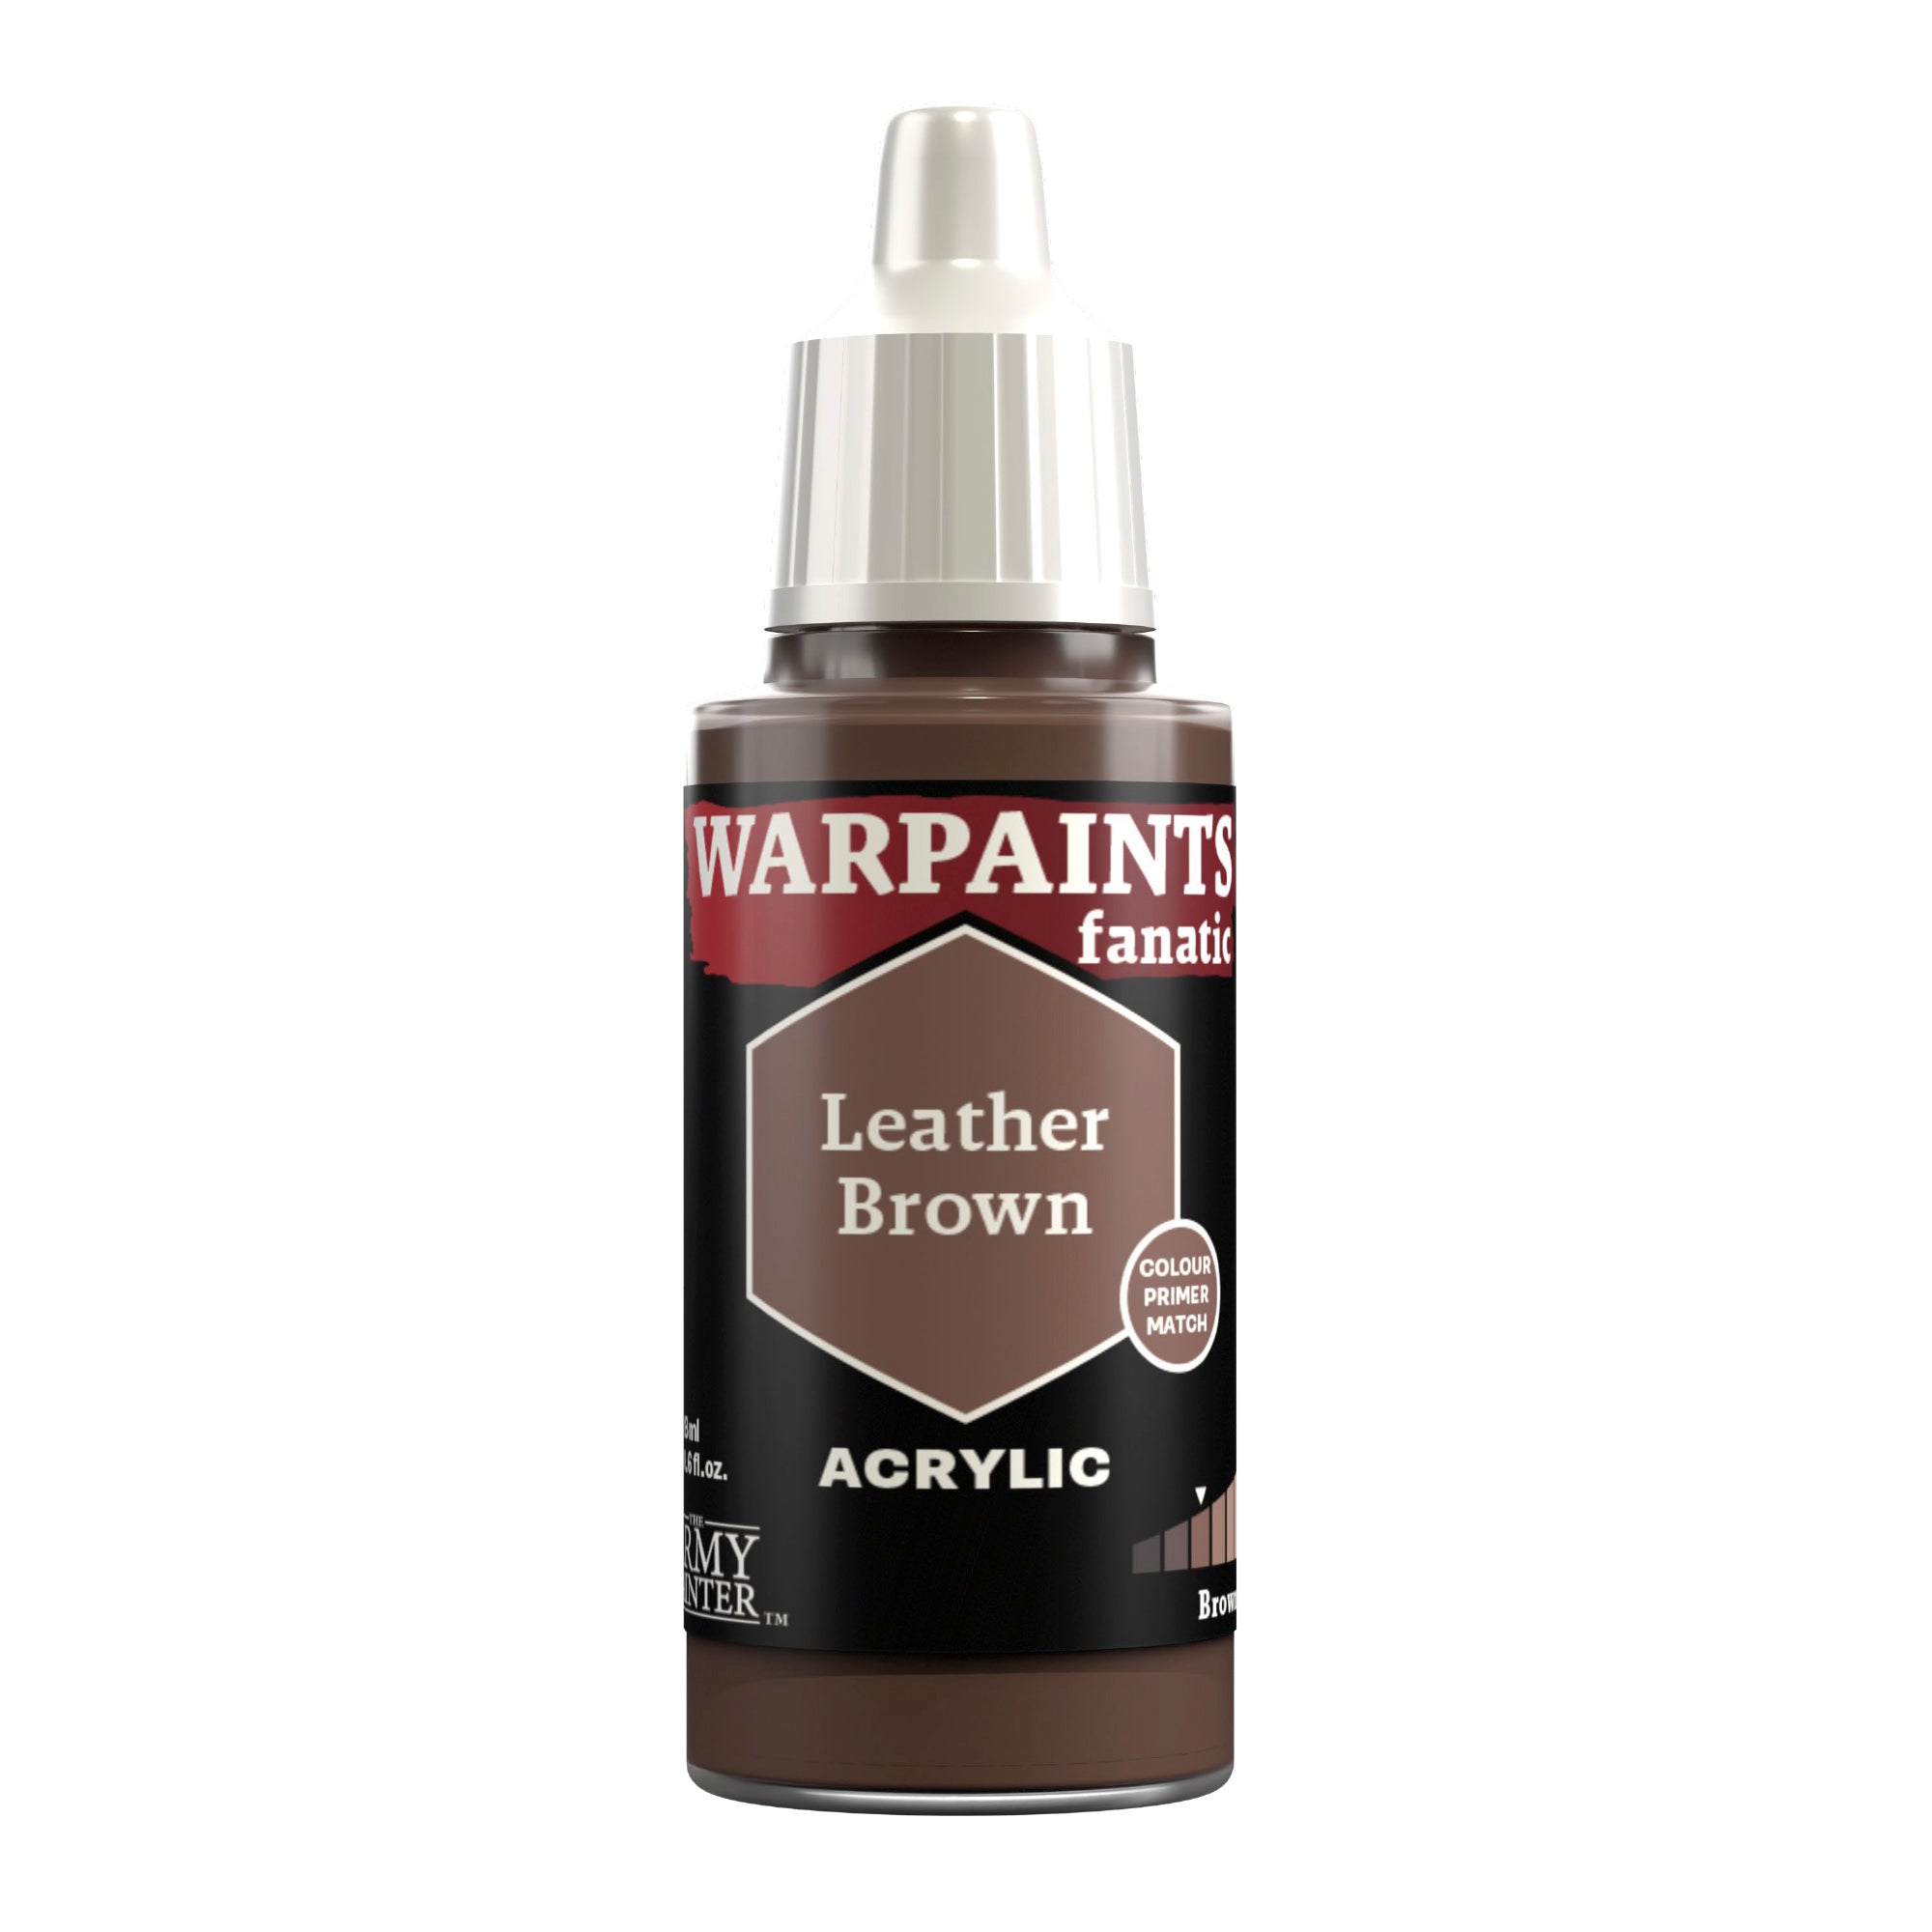
Highlight this with Warpaints Fanatic Leather Brown, picking out the sculpted details.

The Undersuit

Step 1
Basecoat the undersuit of the model with John Blanche Masterclass Ironclad Grey.
Step 2
Next, shade it with Warpaints Fanatic Wash Dark Tone.
Step 3
Finally, add a highlight of Warpaints Fanatic Uniform Grey, picking out the lines sculpted into the undersuit.

The Leather and Bandages
Step 1
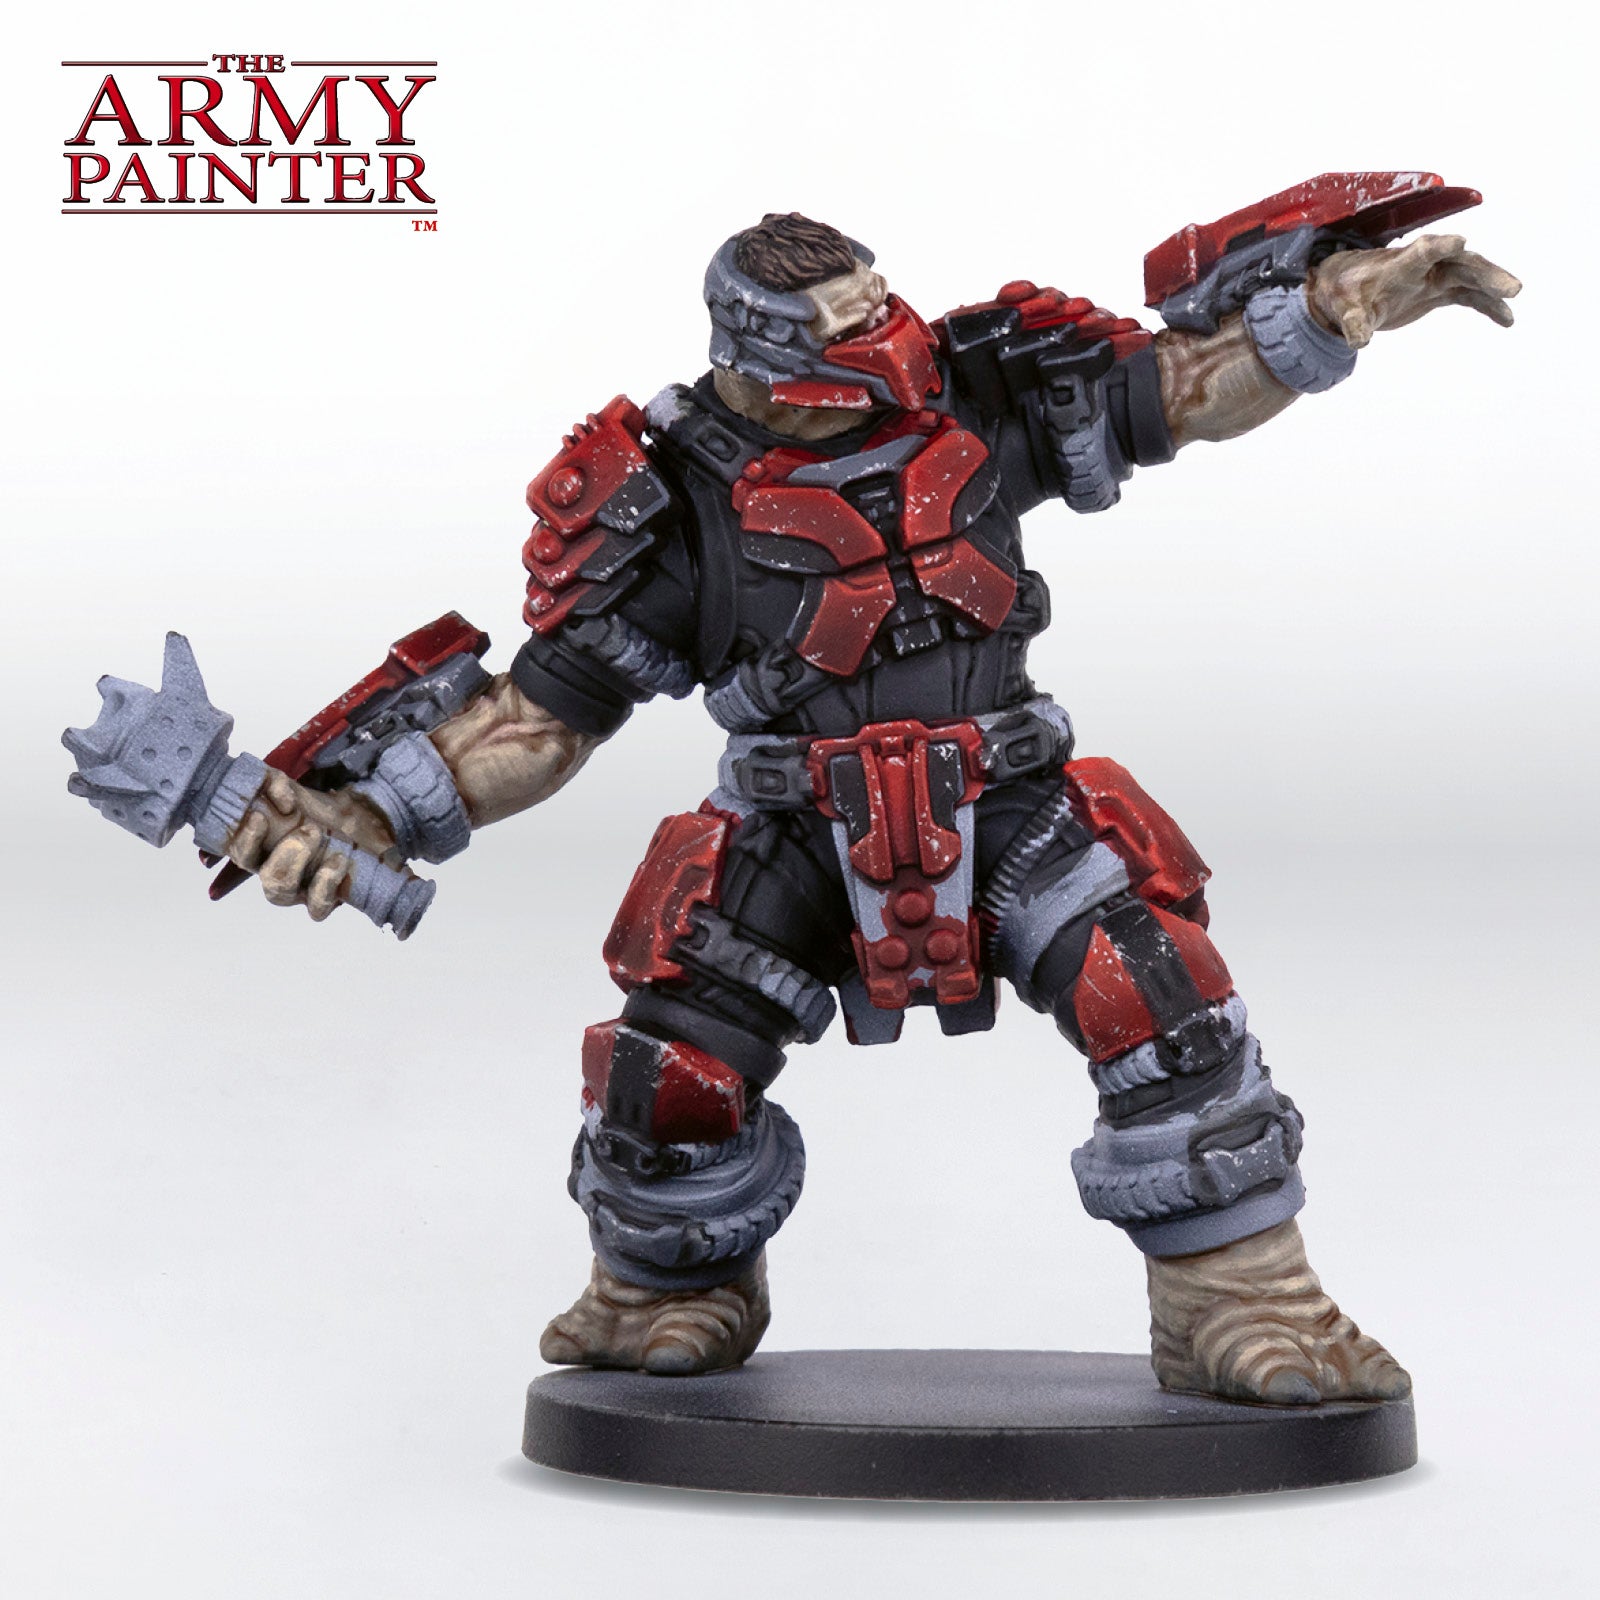
These models have a couple of areas of black leather, mostly the loin cloths, basecoat these with Warpaints Fanatic Matt Black. Basecoat the nails on the feet and hands at the same time.

Step 2
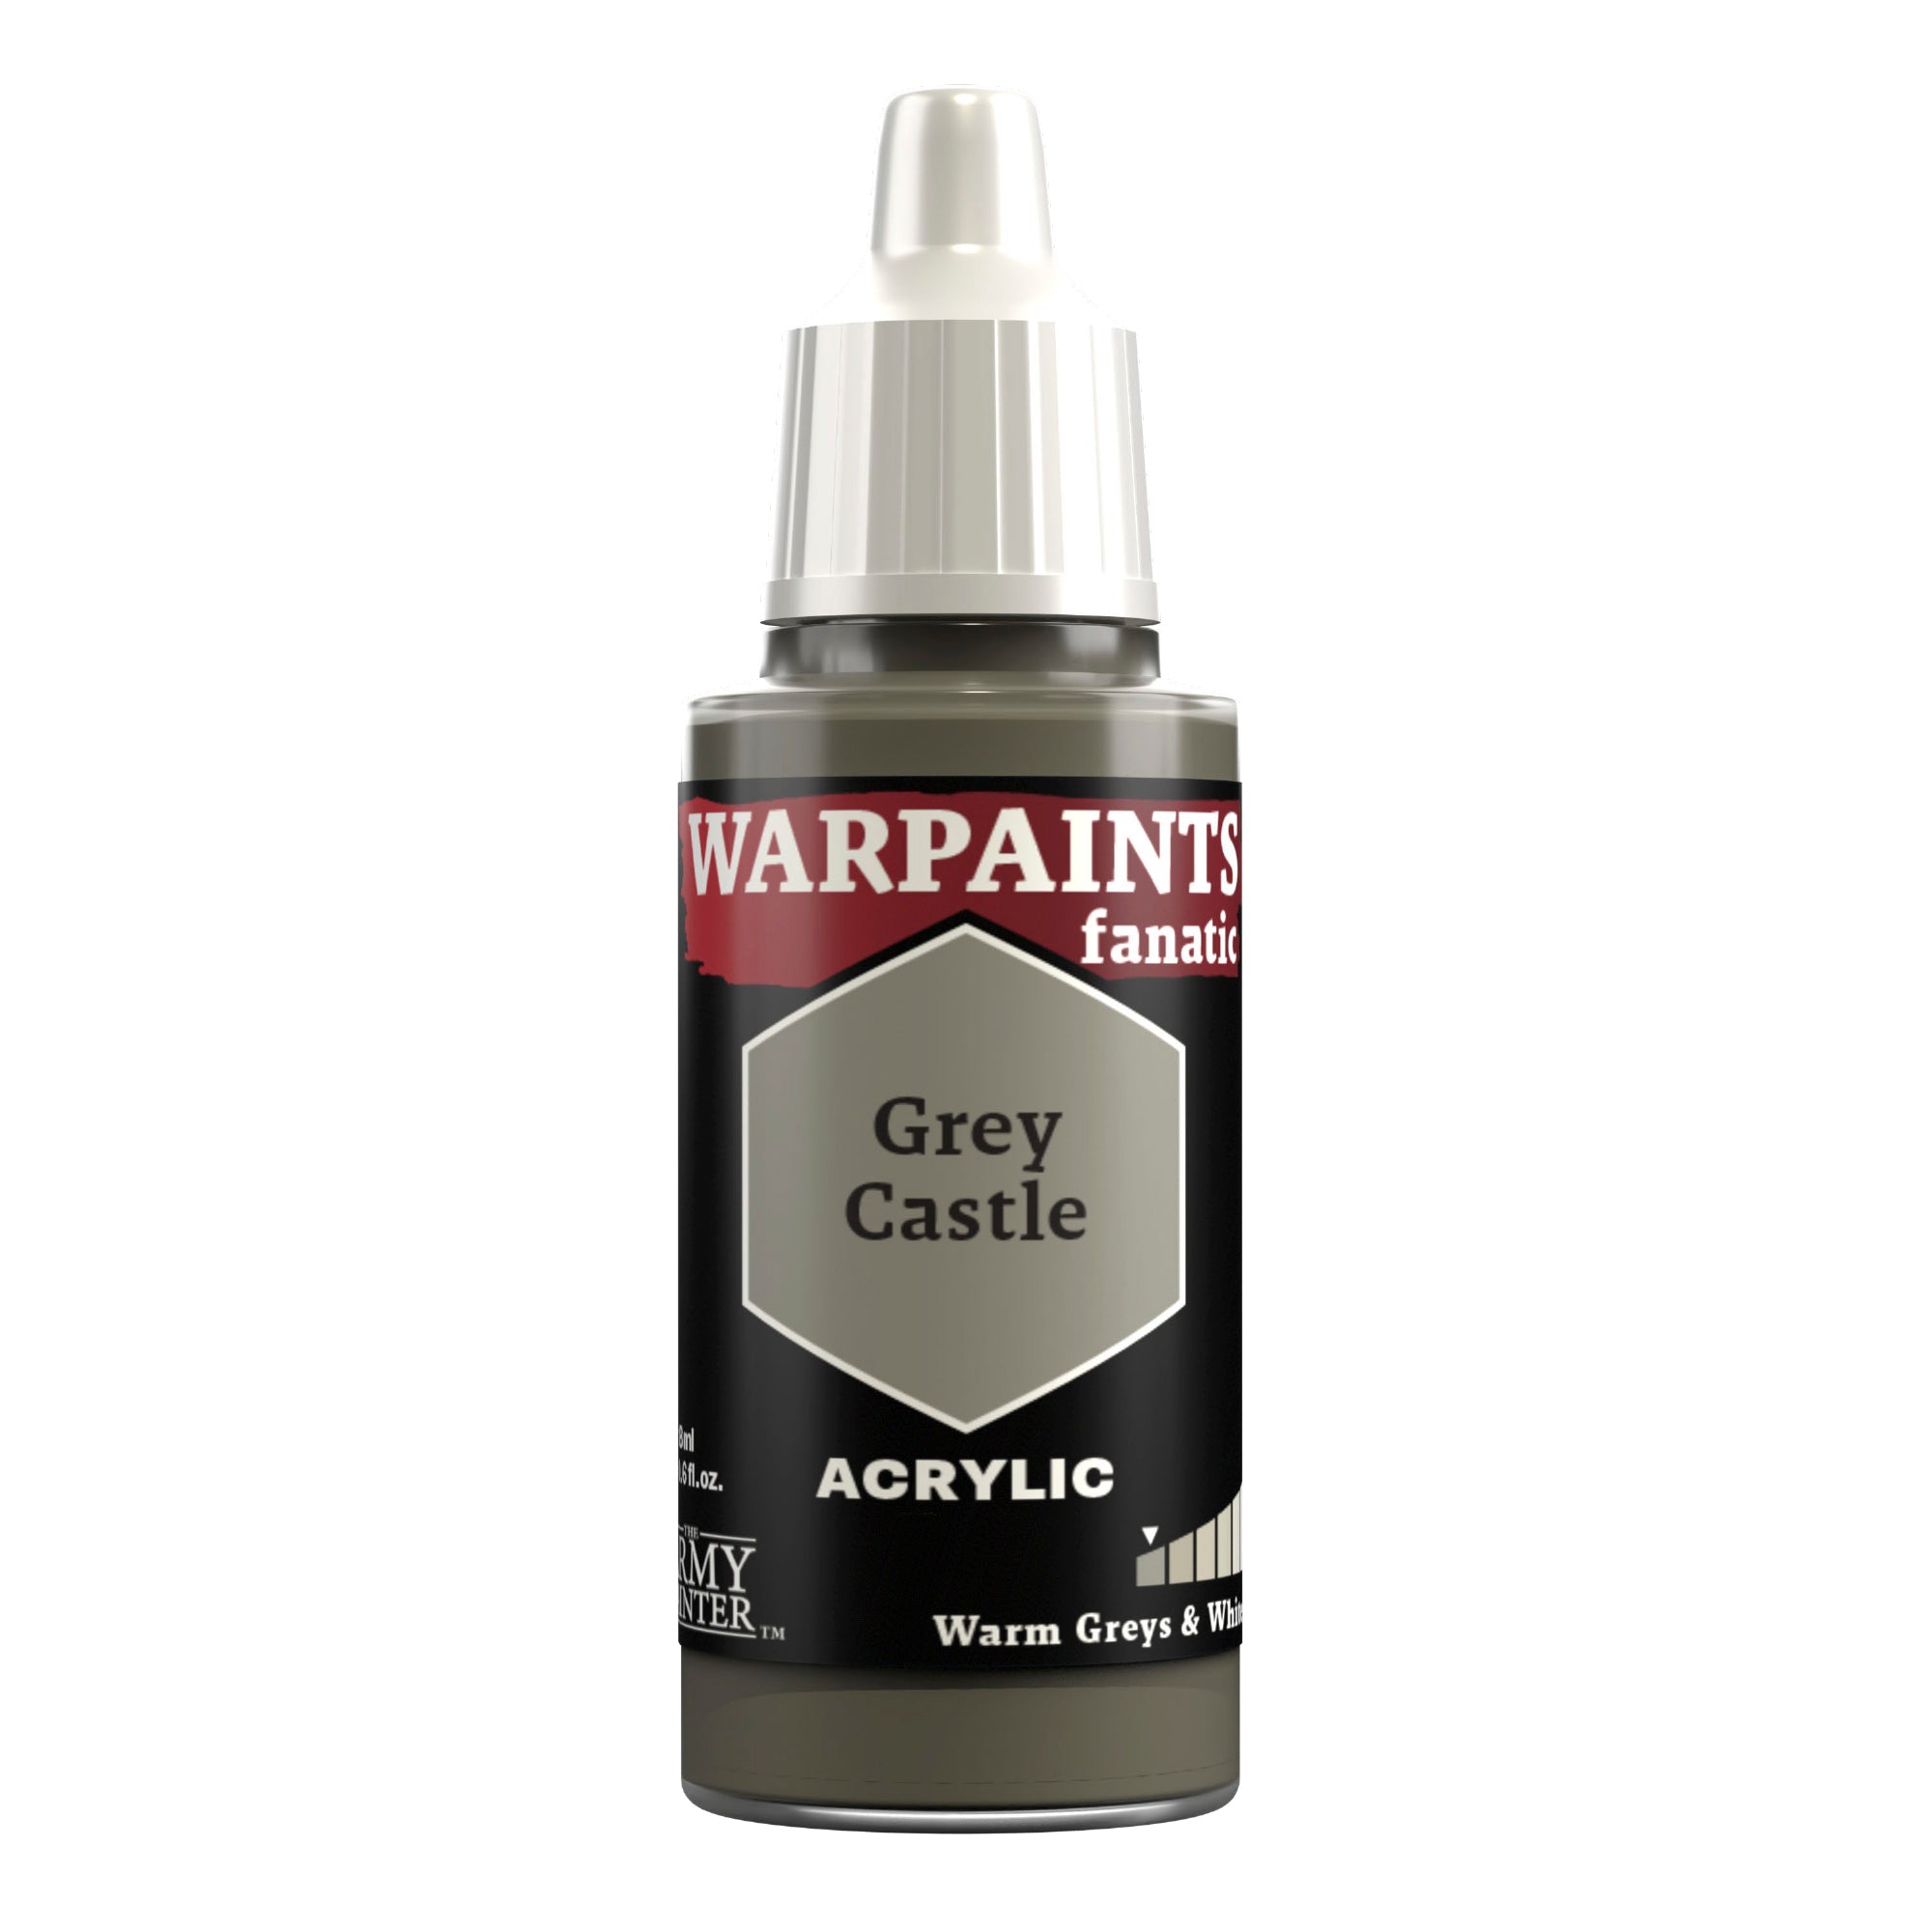
Highlight these areas, including the nails, with a 1:1 mix of Warpaints Fanatic Grey Castle and Matt Black. You can also add some scratches to the flat areas of the leather at this point to help differentiate it from the undersuit. Follow this with a highlight of pure Grey Castle on the most prominent parts of the leather.
Step 3
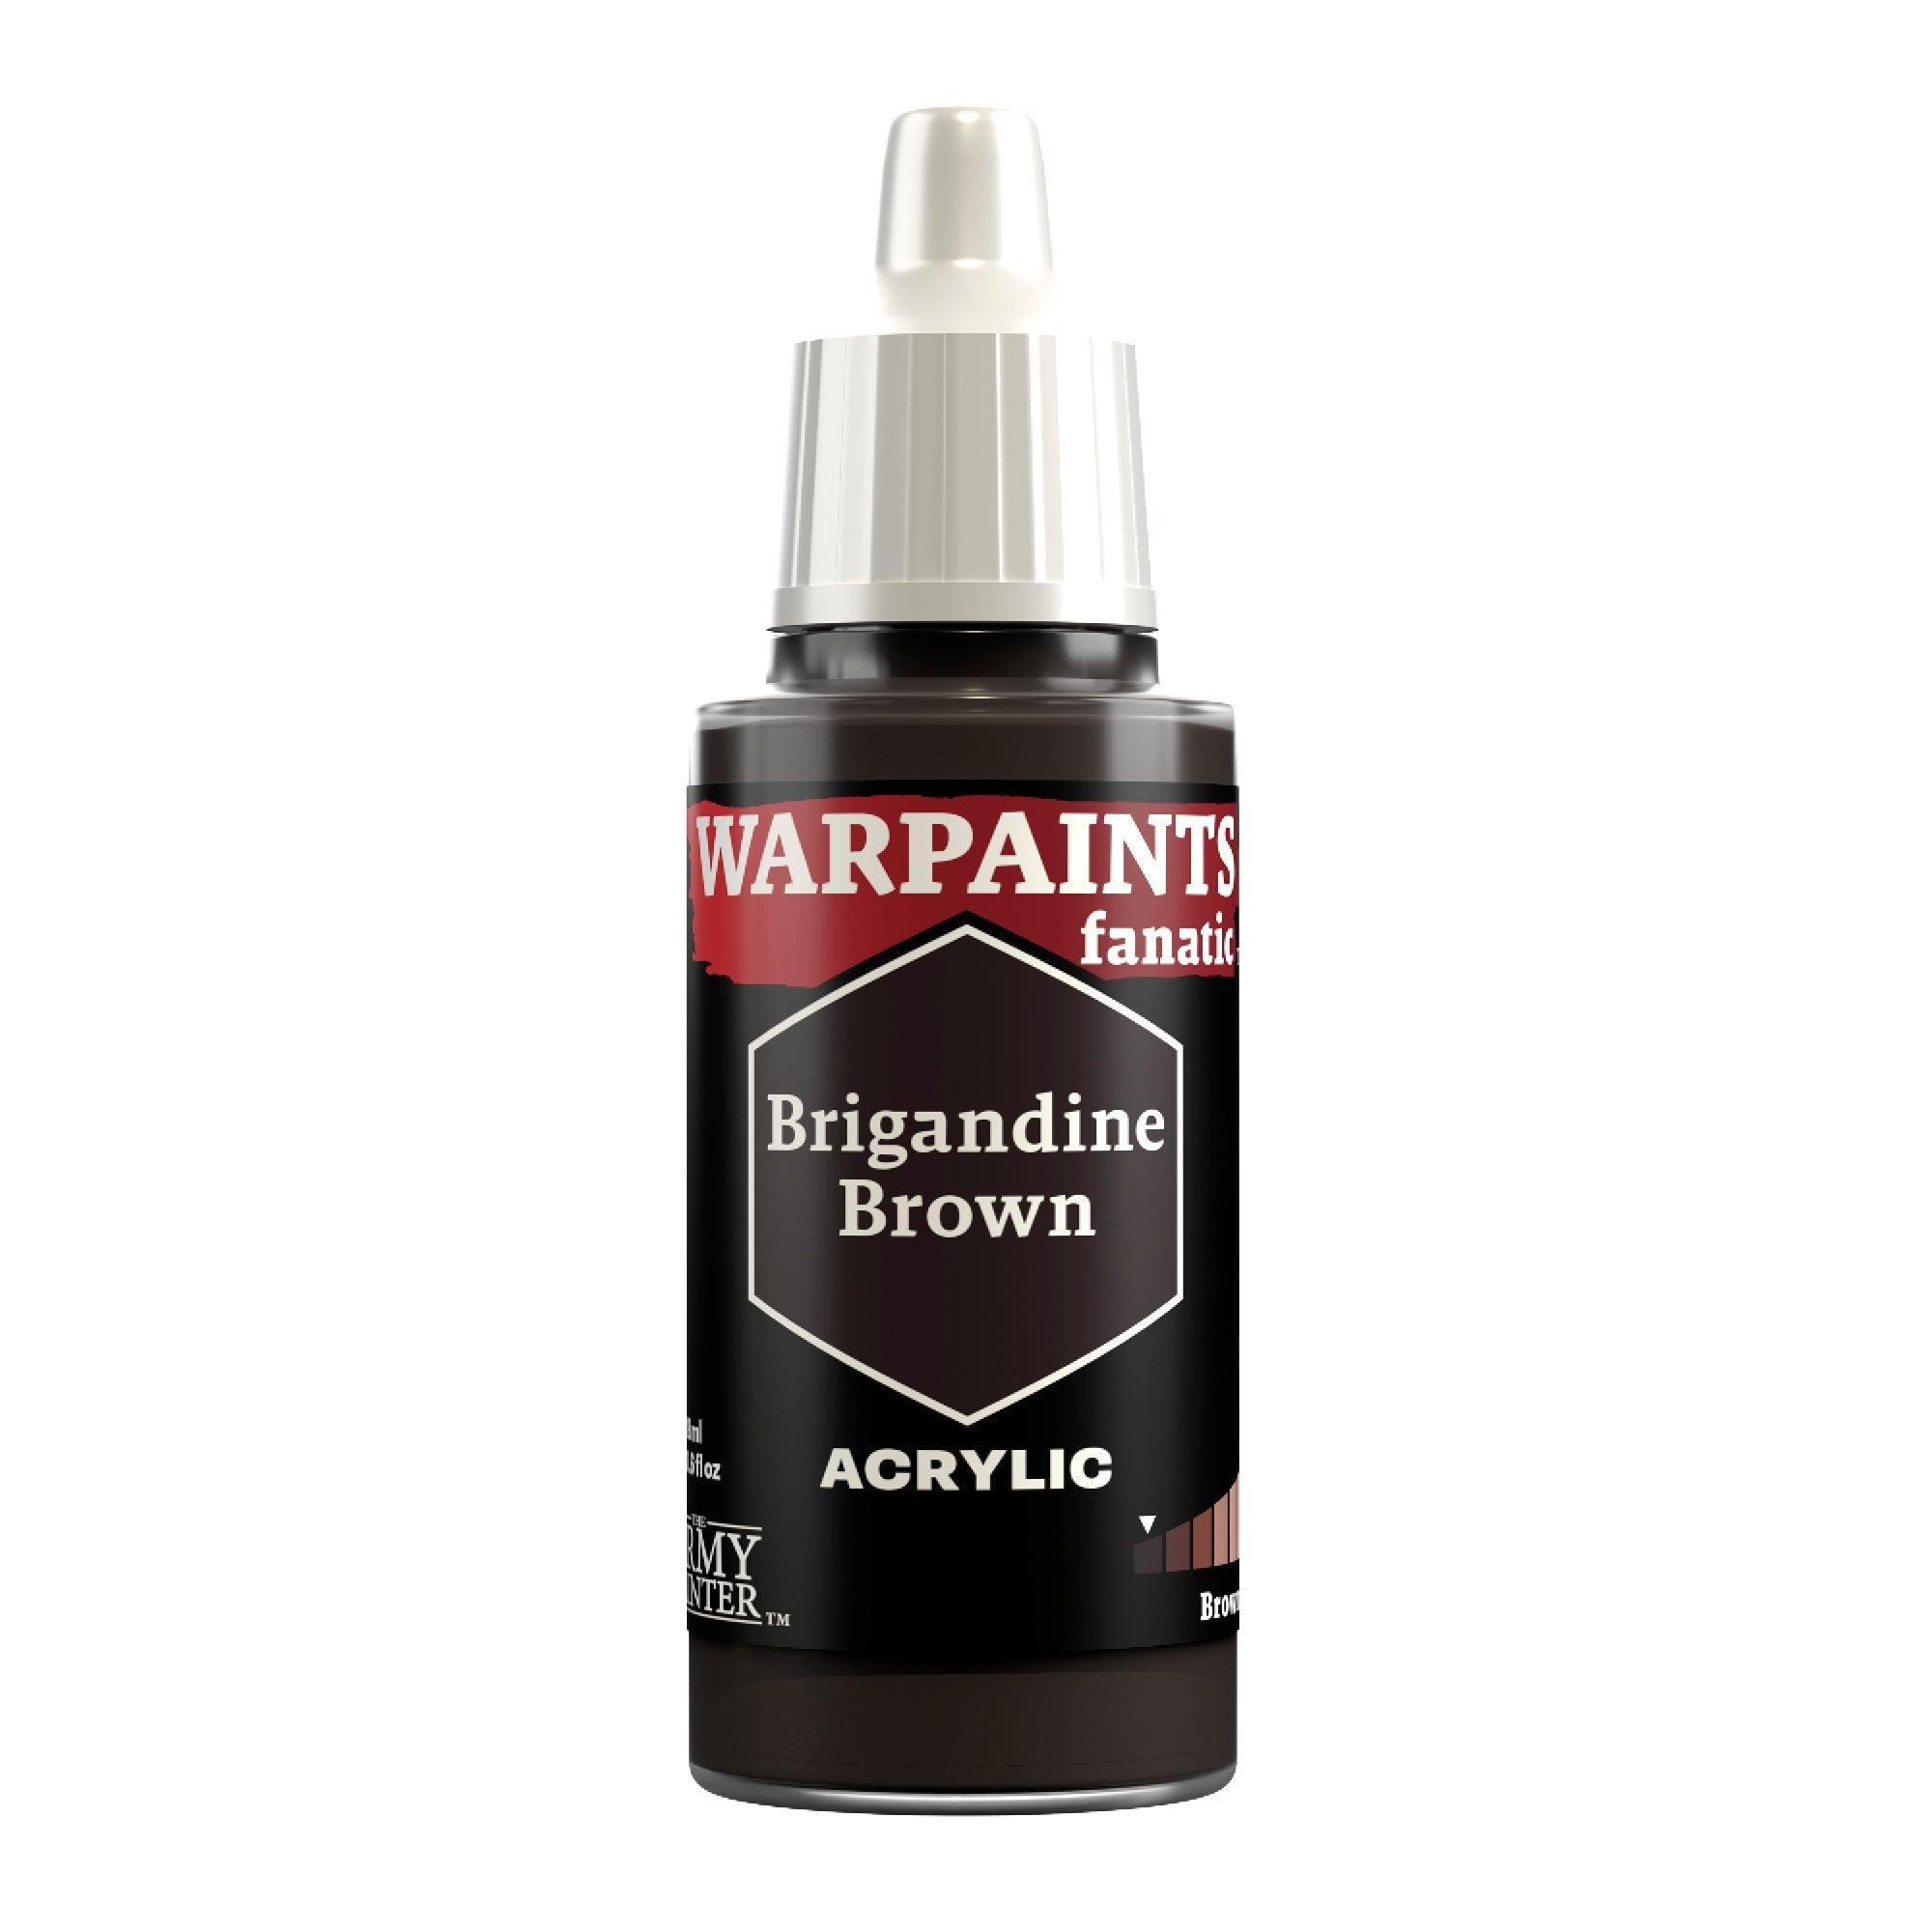
The remaining straps on the model are a mix of leather belts and bandages. Basecoat these with either Warpaints Fanatic Brigandine Brown for the belts, or a 1:1 mix of Brigandine Brown and Tundra Taupe for the bandages. You can either consult reference art to determine which is which or trust the age-old adage of miniature painting—the rule of cool.

Step 4
Shade both of these areas with Warpaints Fanatic Wash Strong Tone.
Step 5
Next, highlight the leather belts with Warpaints Fanatic Bootstrap Brown and the bandages with Warpaints Fanatic Prairie Ochre. Some scratches were added to the bandages to make them appear a bit rougher.

The Metallics
Step 1
Basecoat all the metallic buckles and straps with Warpaints Fanatic Gun Metal, and the weapon with John Blanche Masterclass Heavy Metal. The Jiralhanae models carry a variety of weapons, which all have distinct looks, so be sure to consult the art or video game for their appearance. This method should work for the looted UNSC gear and most Brute-derived weapons as well.
Step 2
Next, shade all the metallics with John Blanche Masterclass Wash Grimdark Shadow.
Step 3
Apply a second shade of Warpaints Fanatic Wash Dark Tone to just the weapon, to make it a bit darker and more distinct.
Step 4
Next, highlight all the metal with Warpaints Fanatic Plate Mail Metal, picking out prominent edges. You can use a bit of torn sponge to add some weathering to the weapon as well, to further enhance its worn appearance.
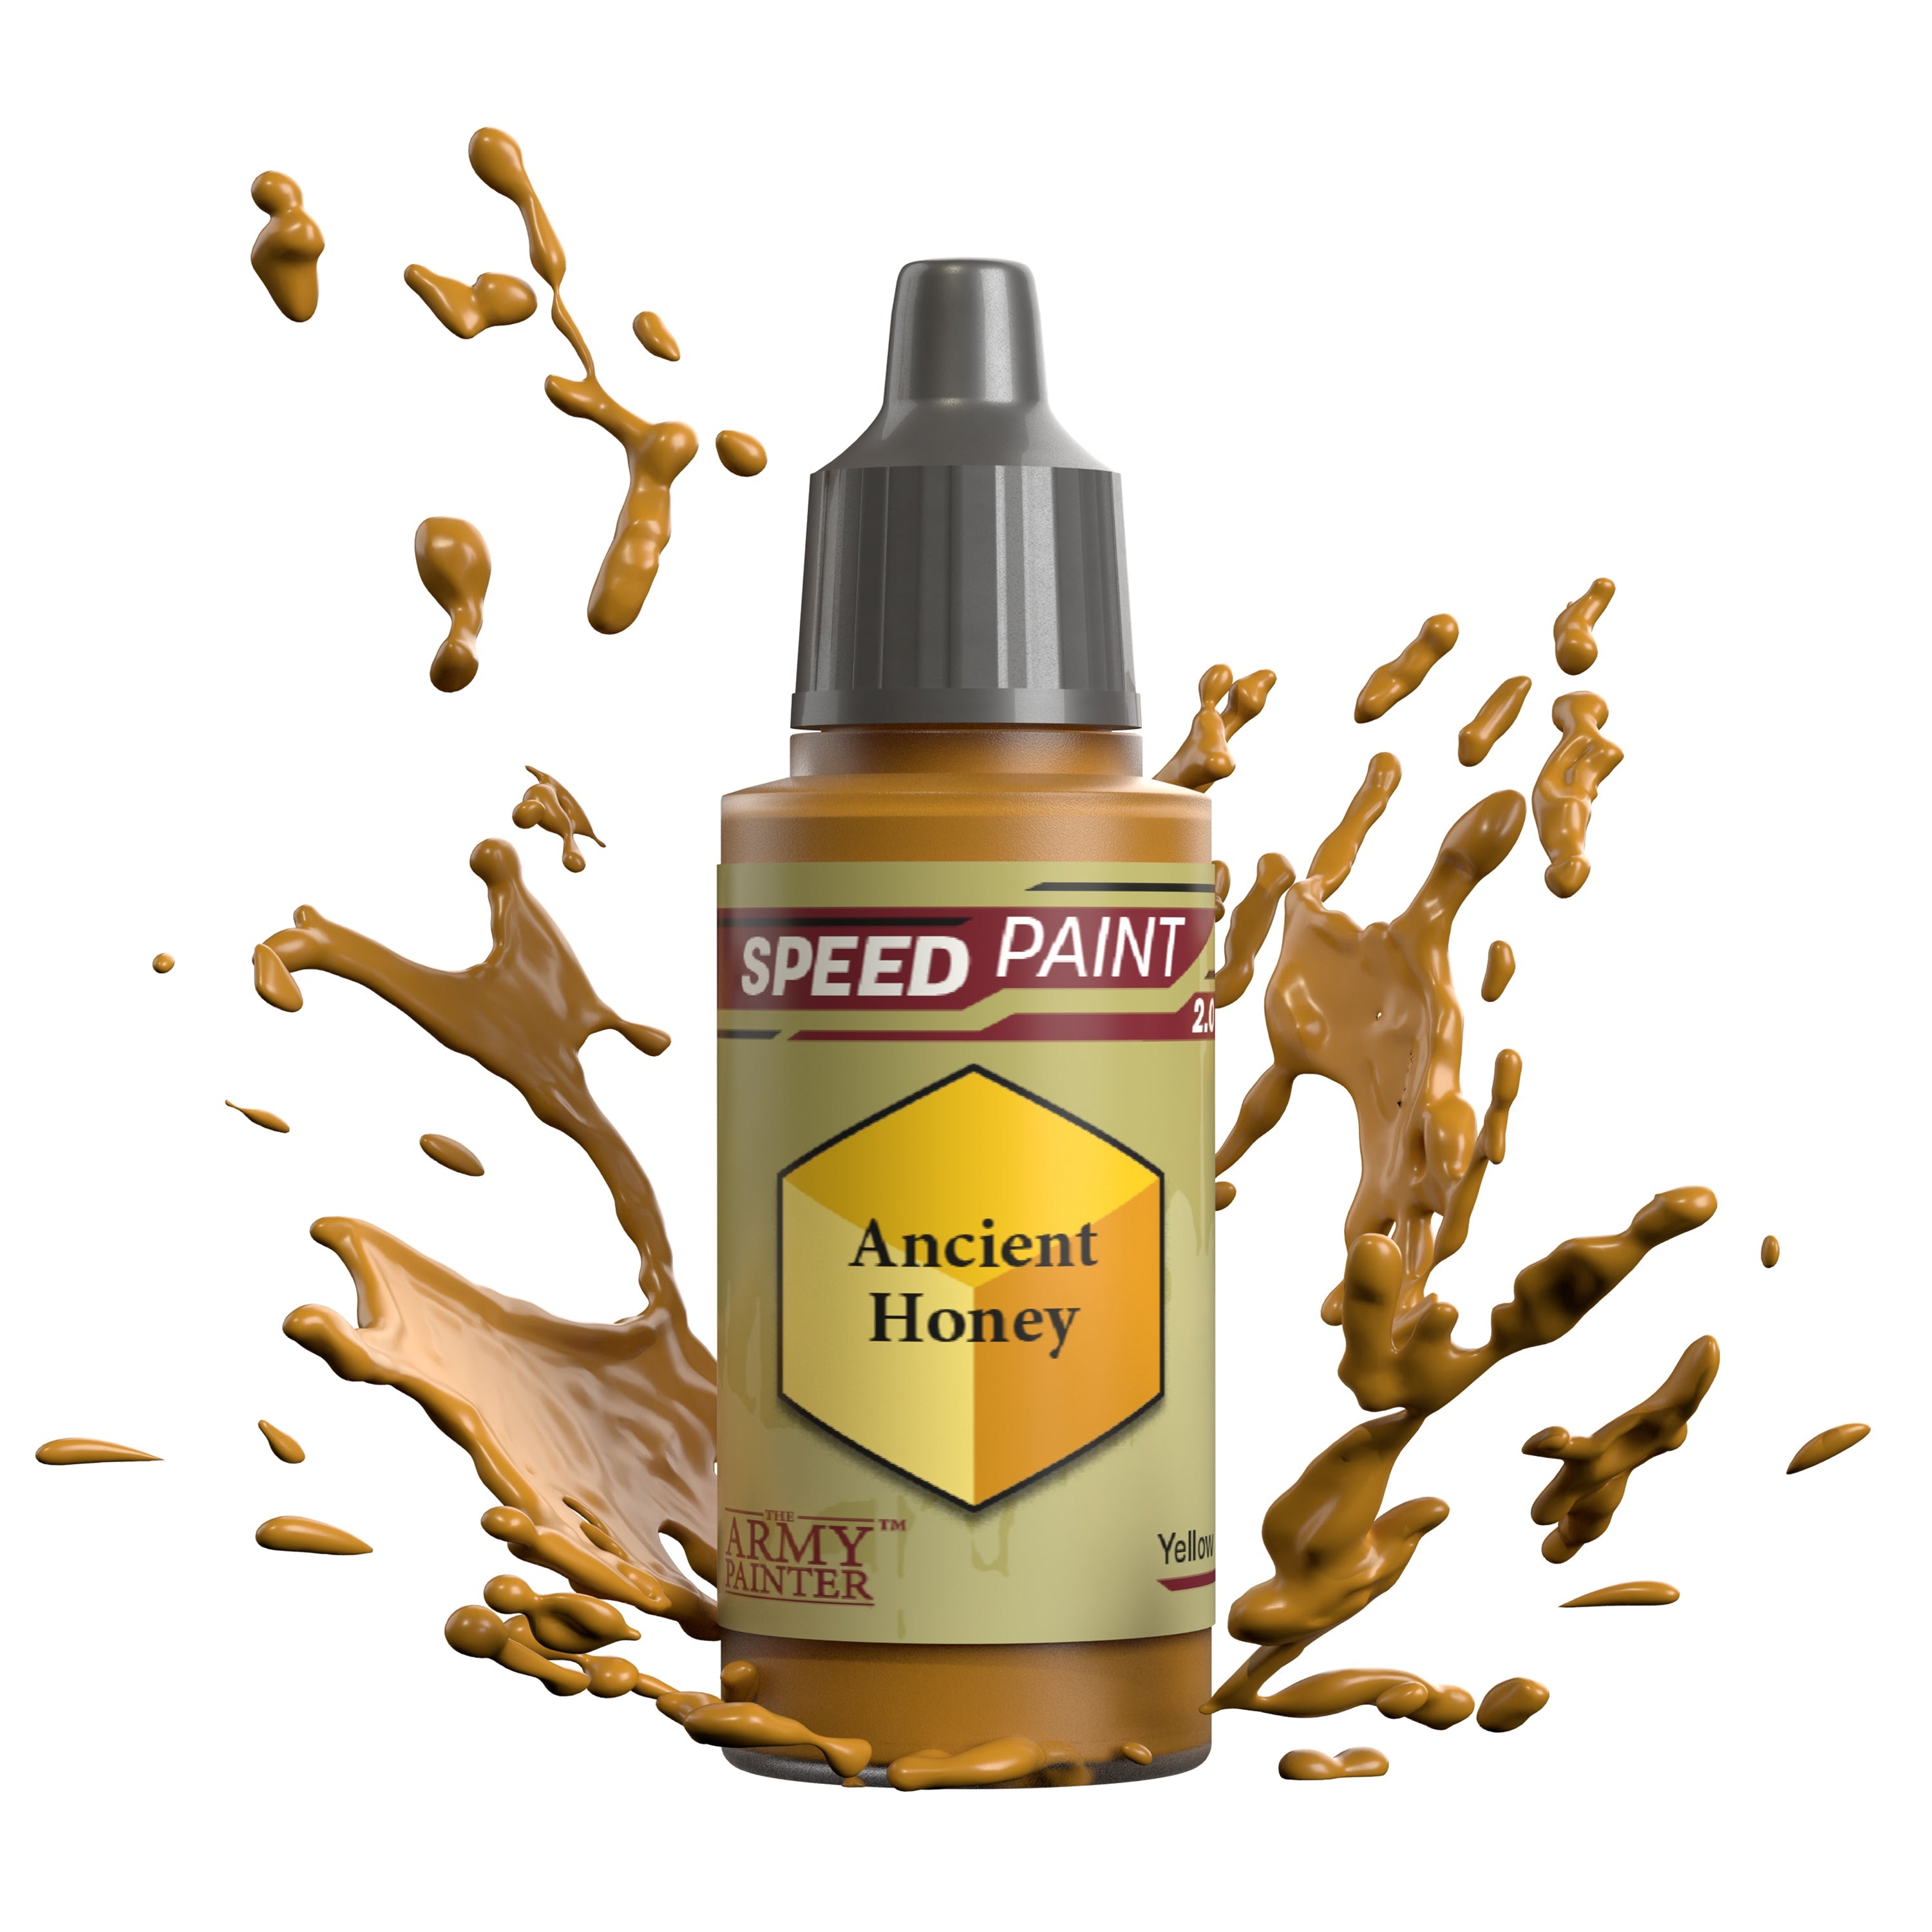
Step 5
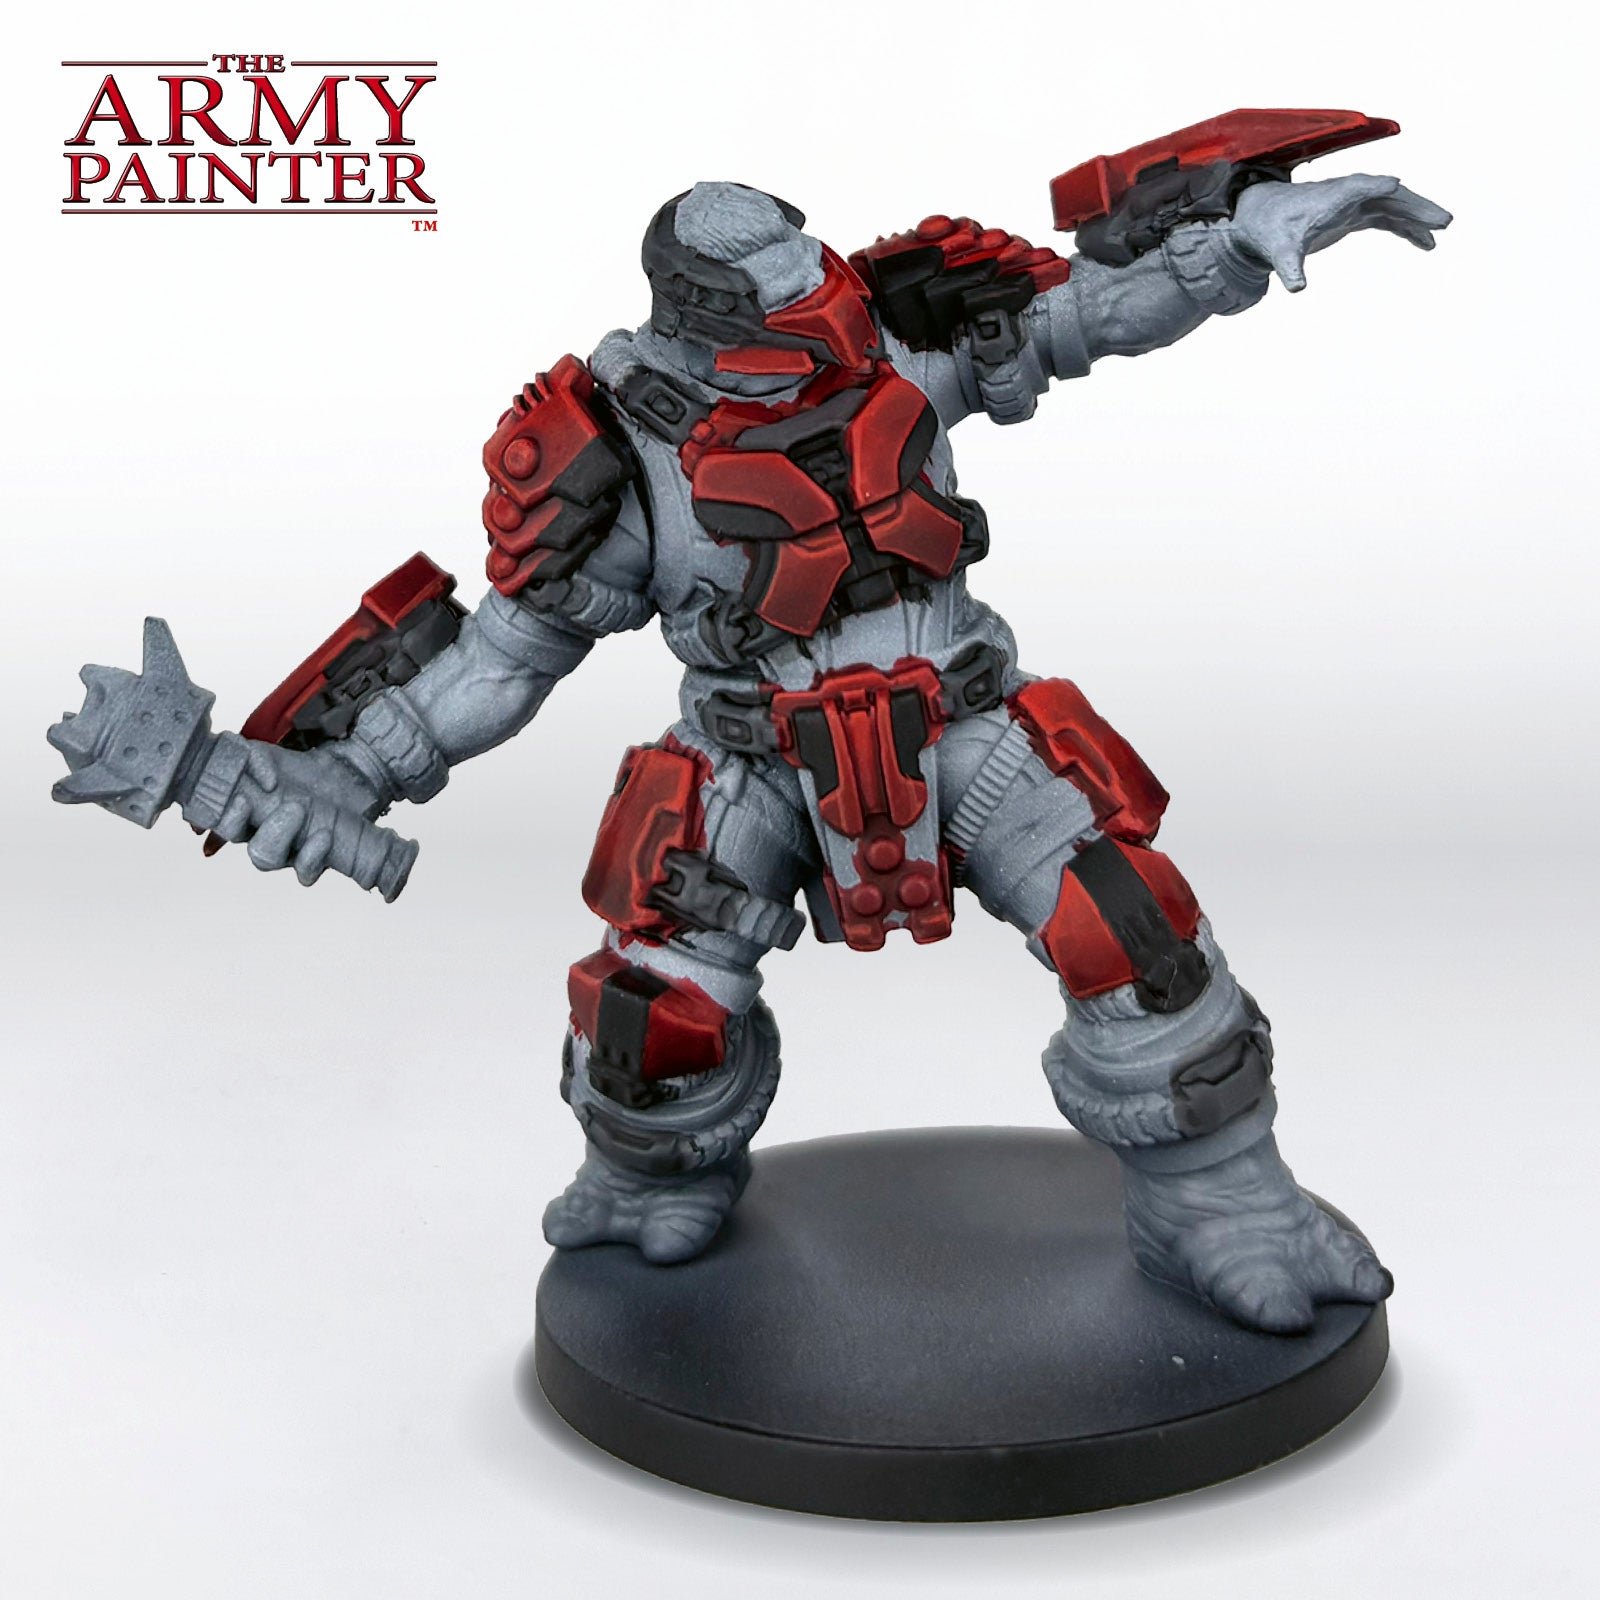
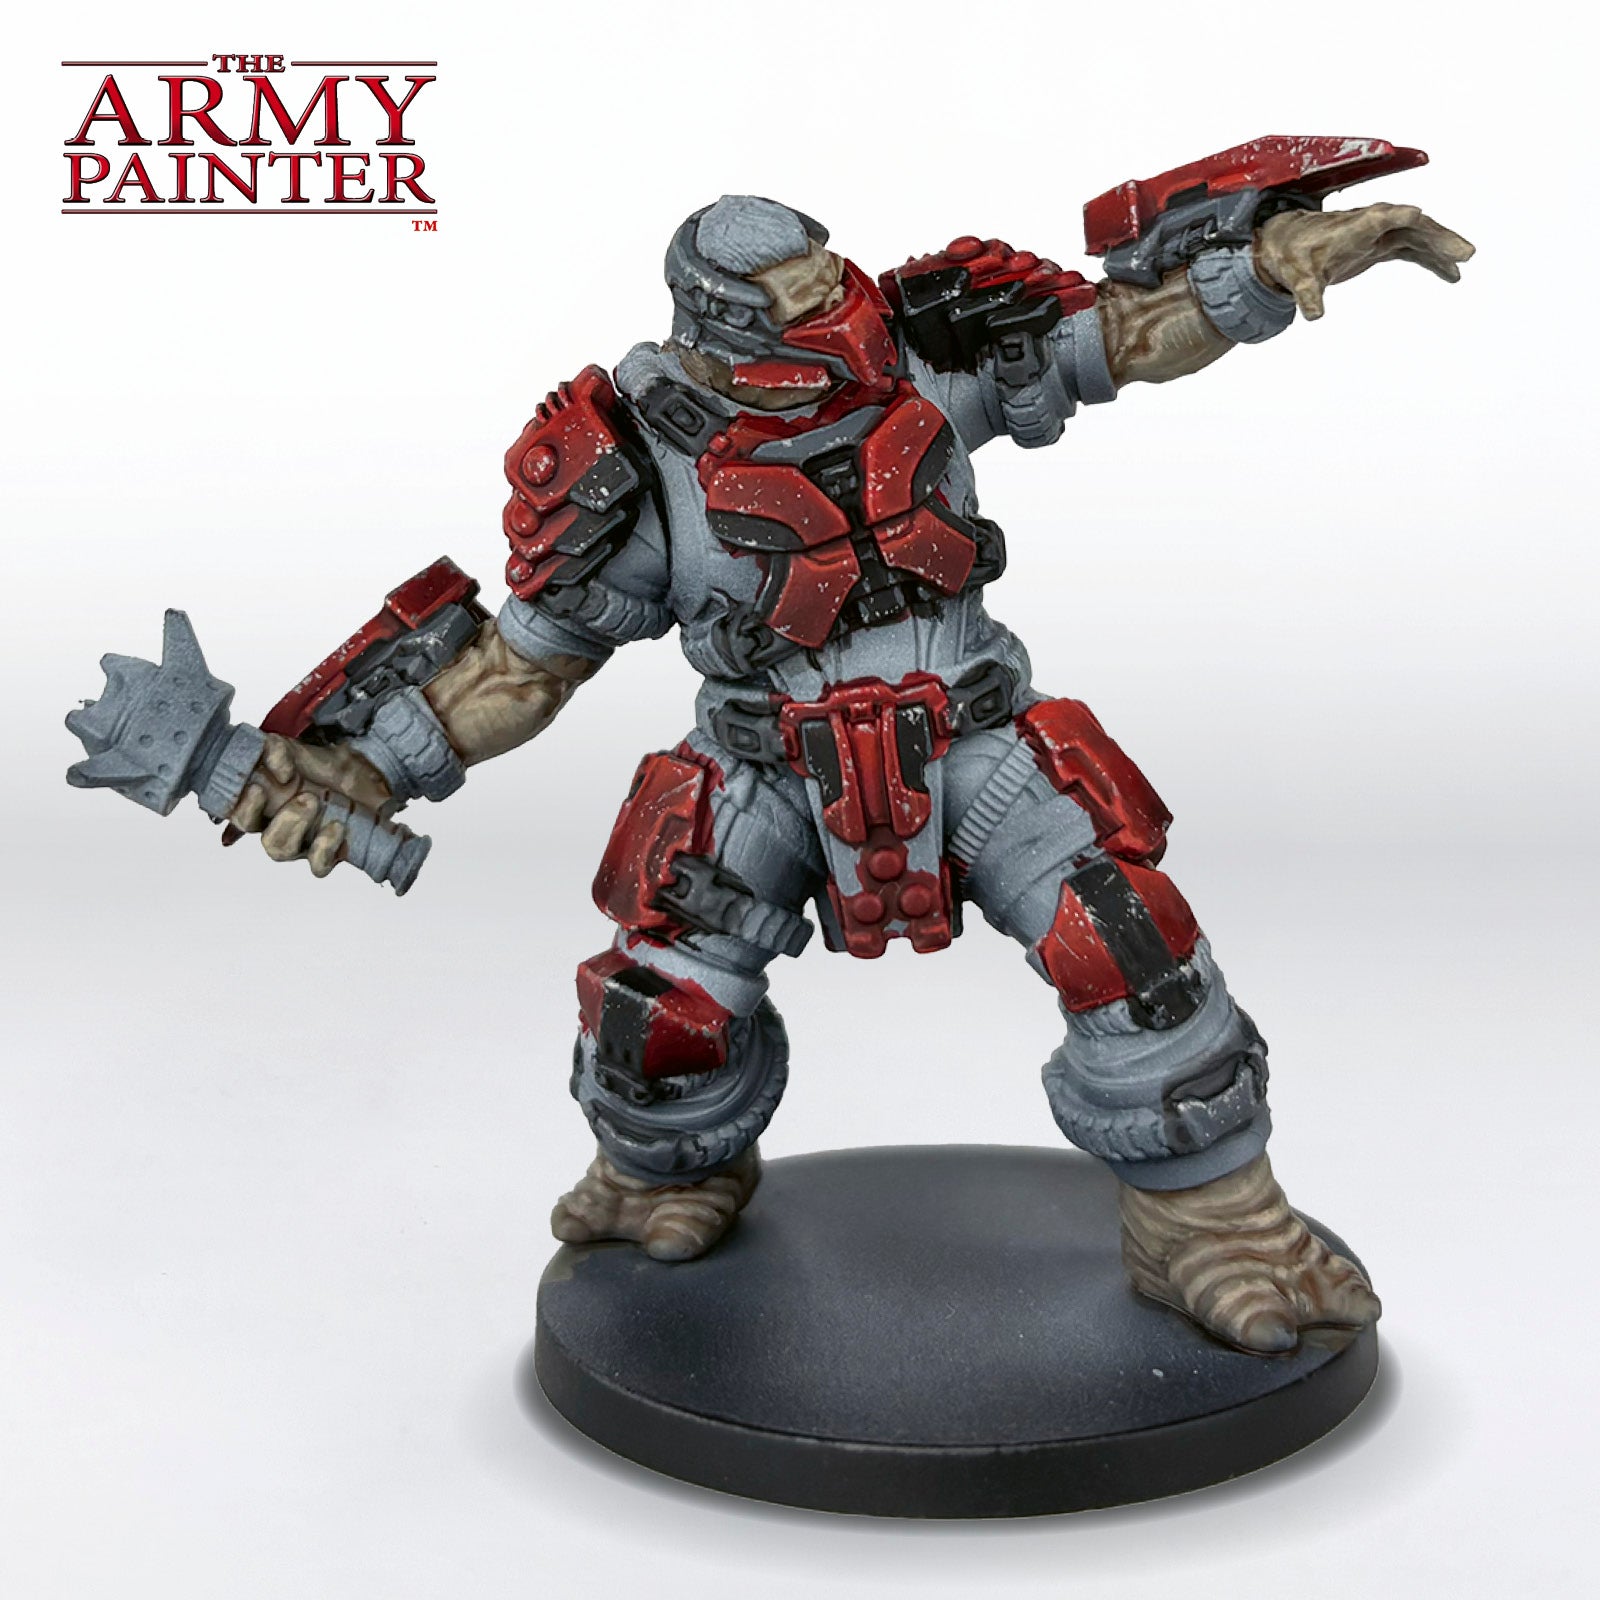
Finally, basecoat the various high-tech lights and glowing areas on the model with Warpaints Fanatic Matt White. The glowing areas on this model’s Dynamo Grenade are yellow in the game, so they also received a layer of Speedpaint Ancient Honey, followed by a highlight of Matt White again in the centre of the larger areas.
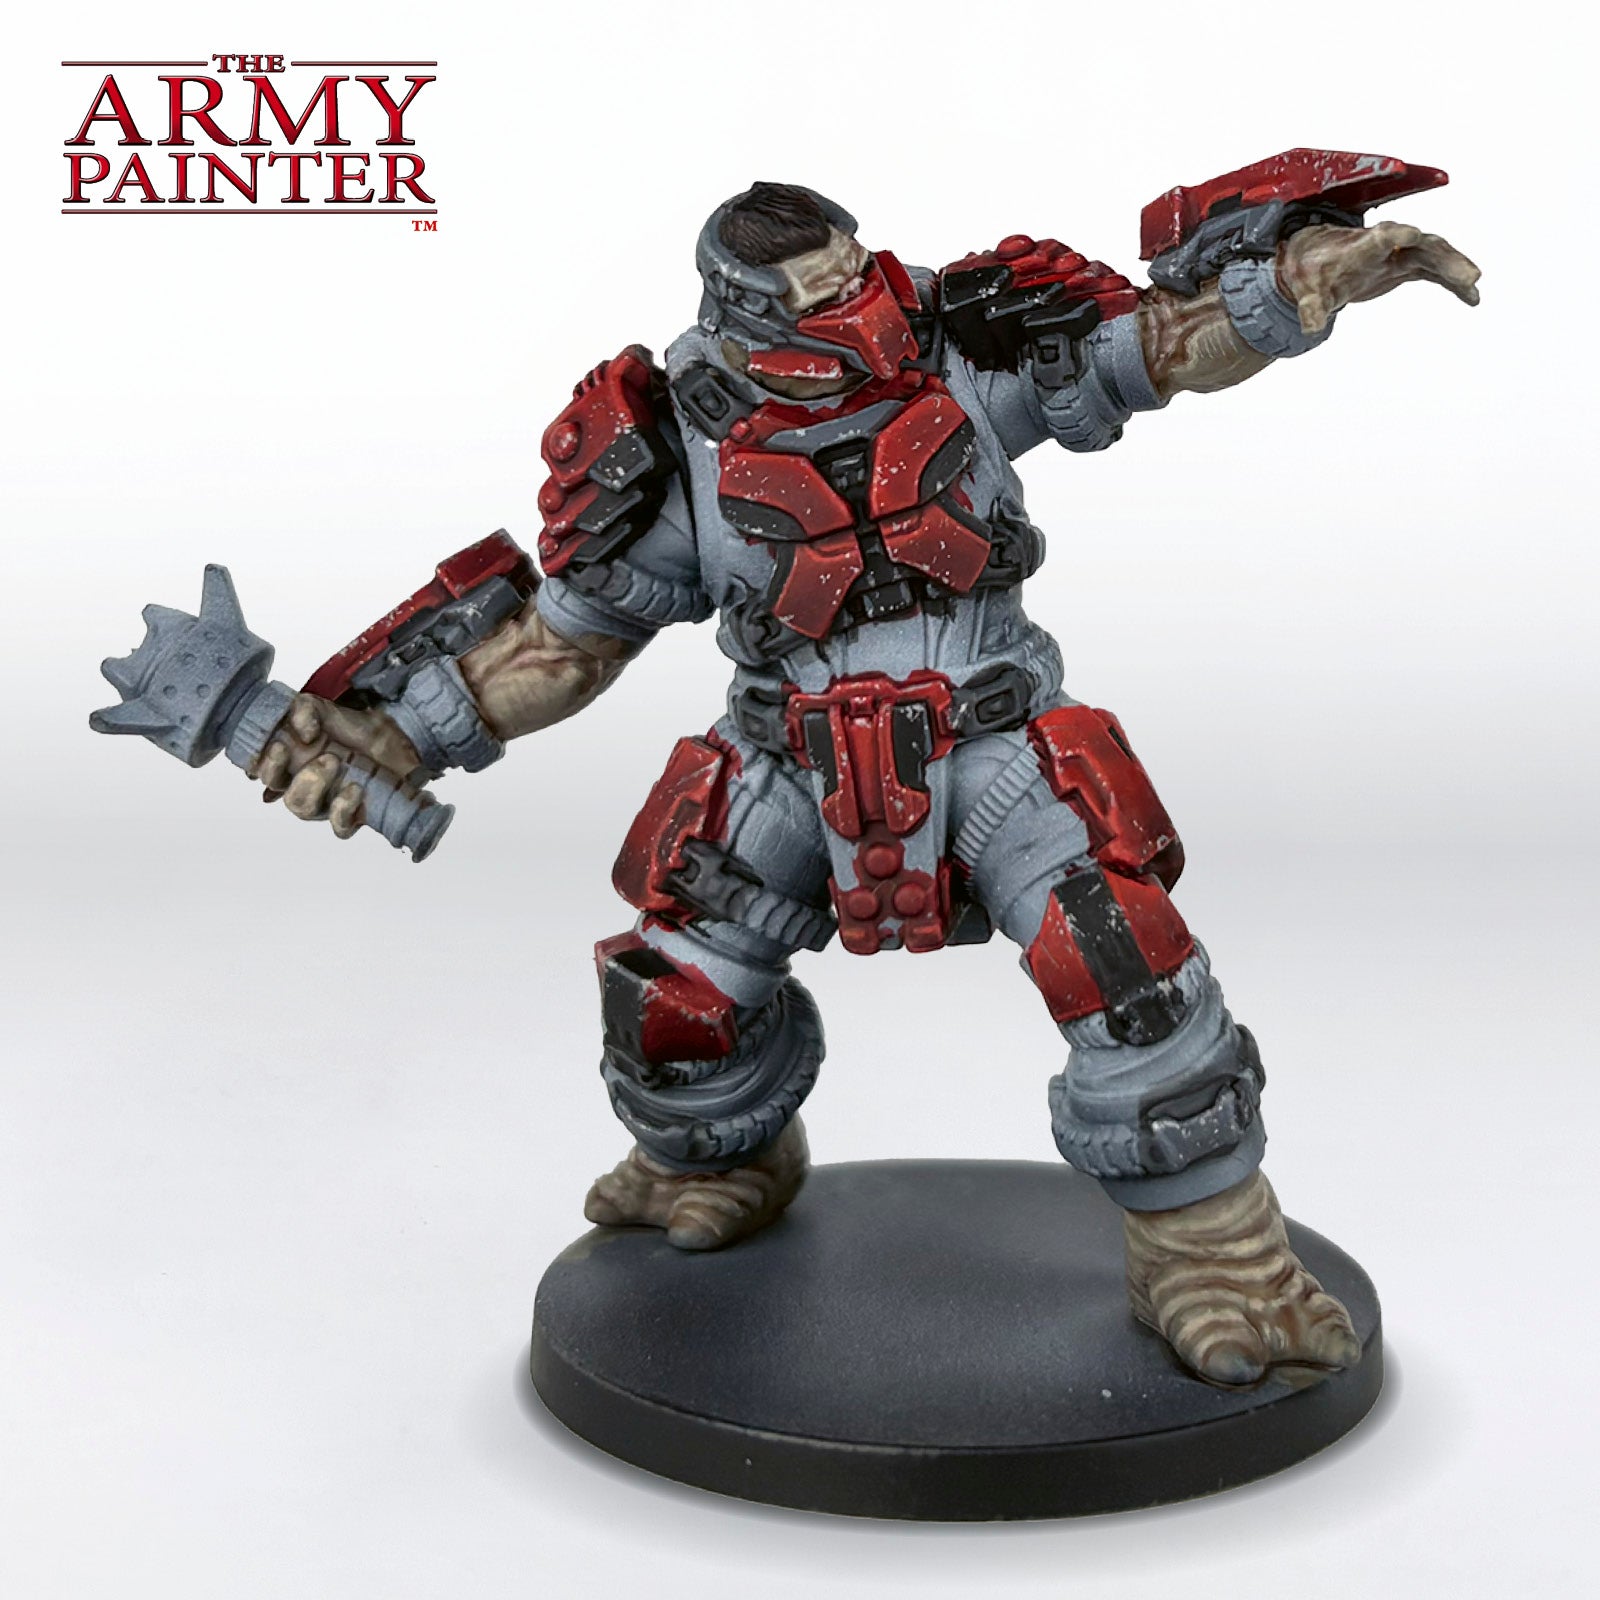
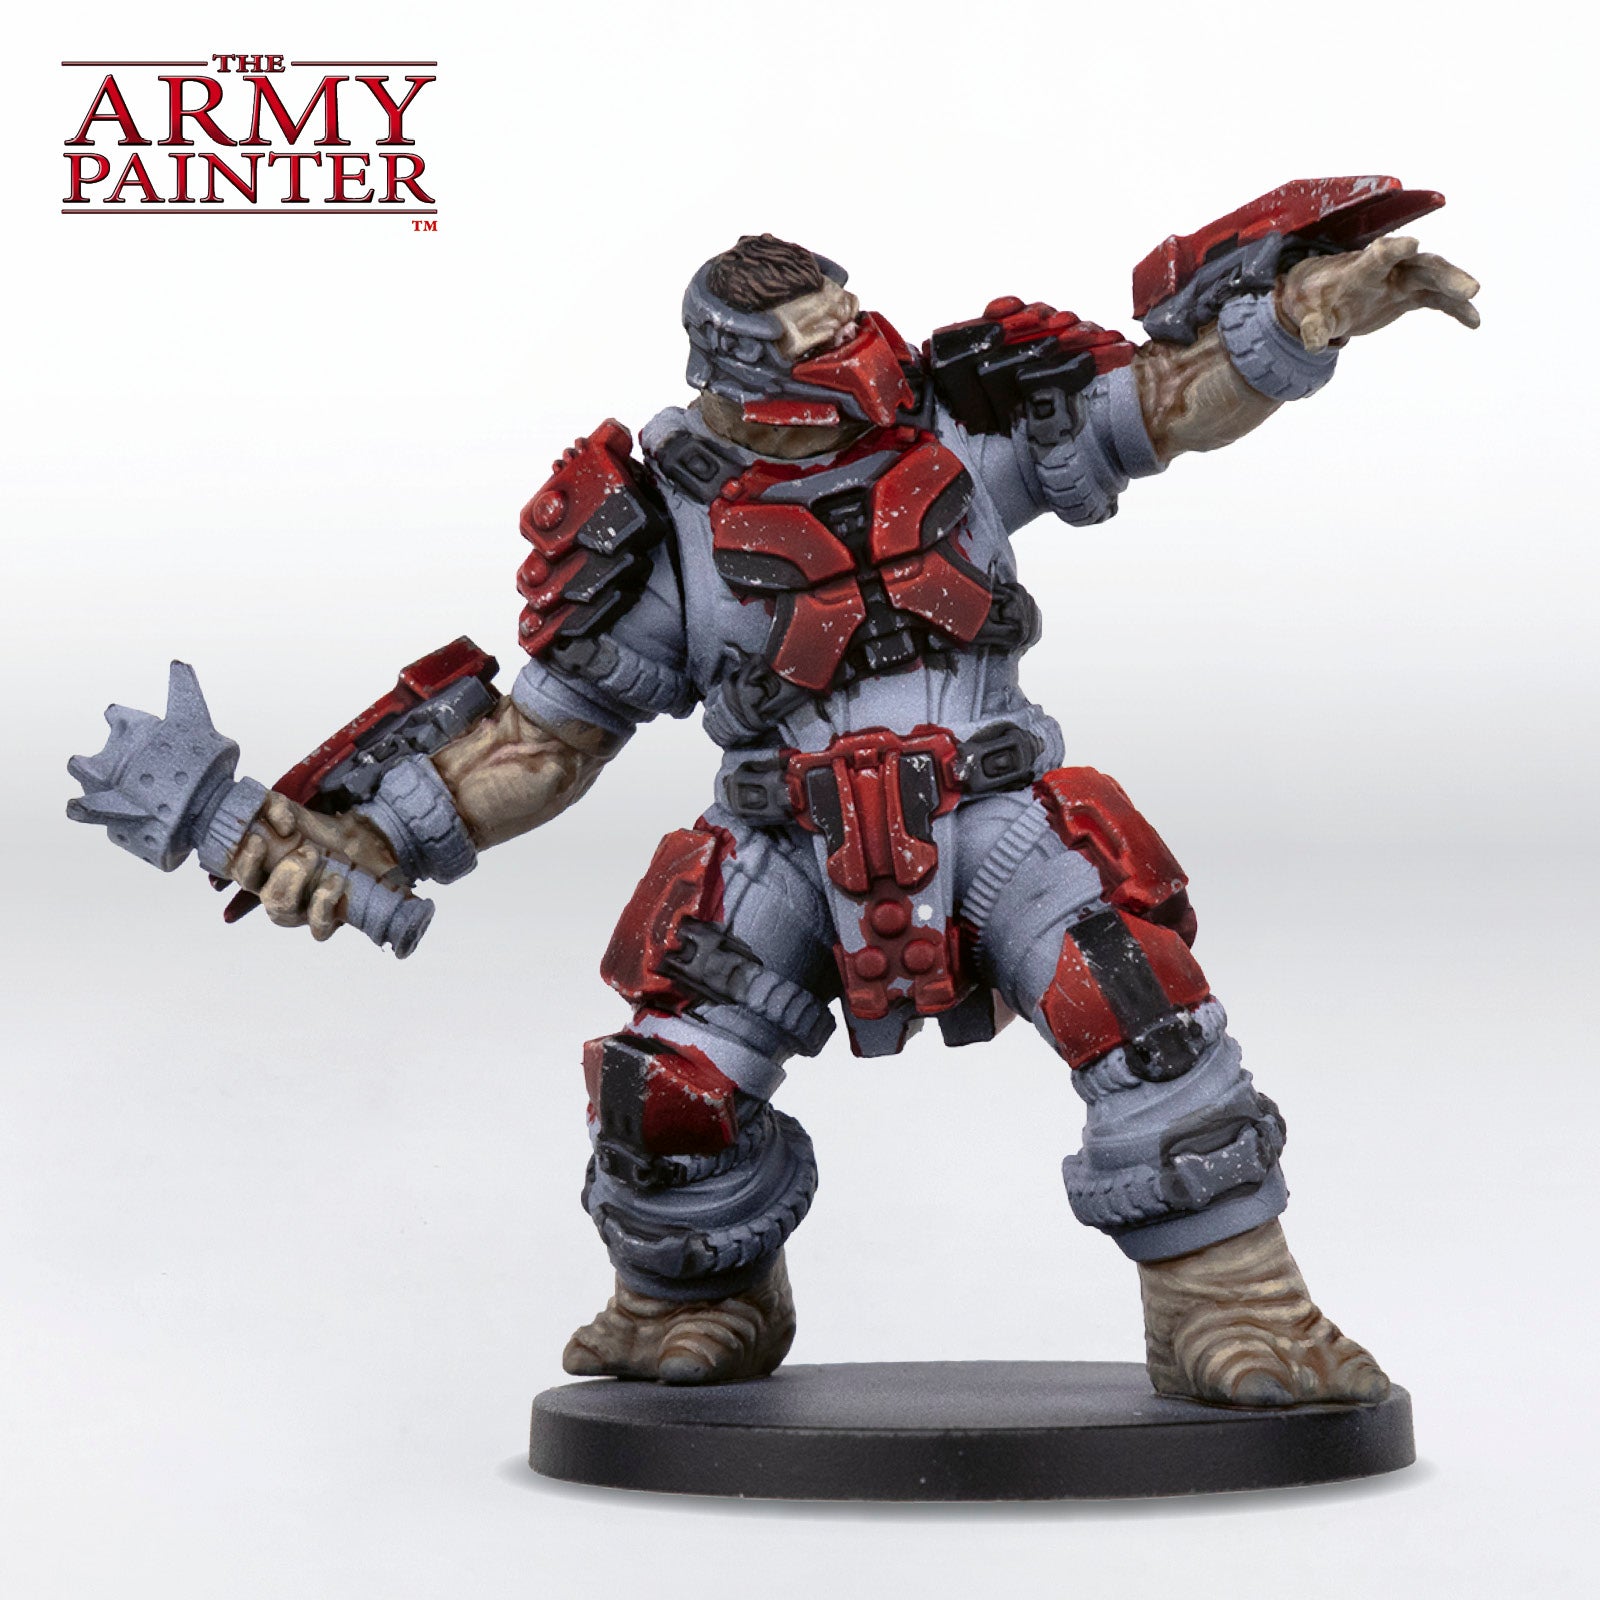
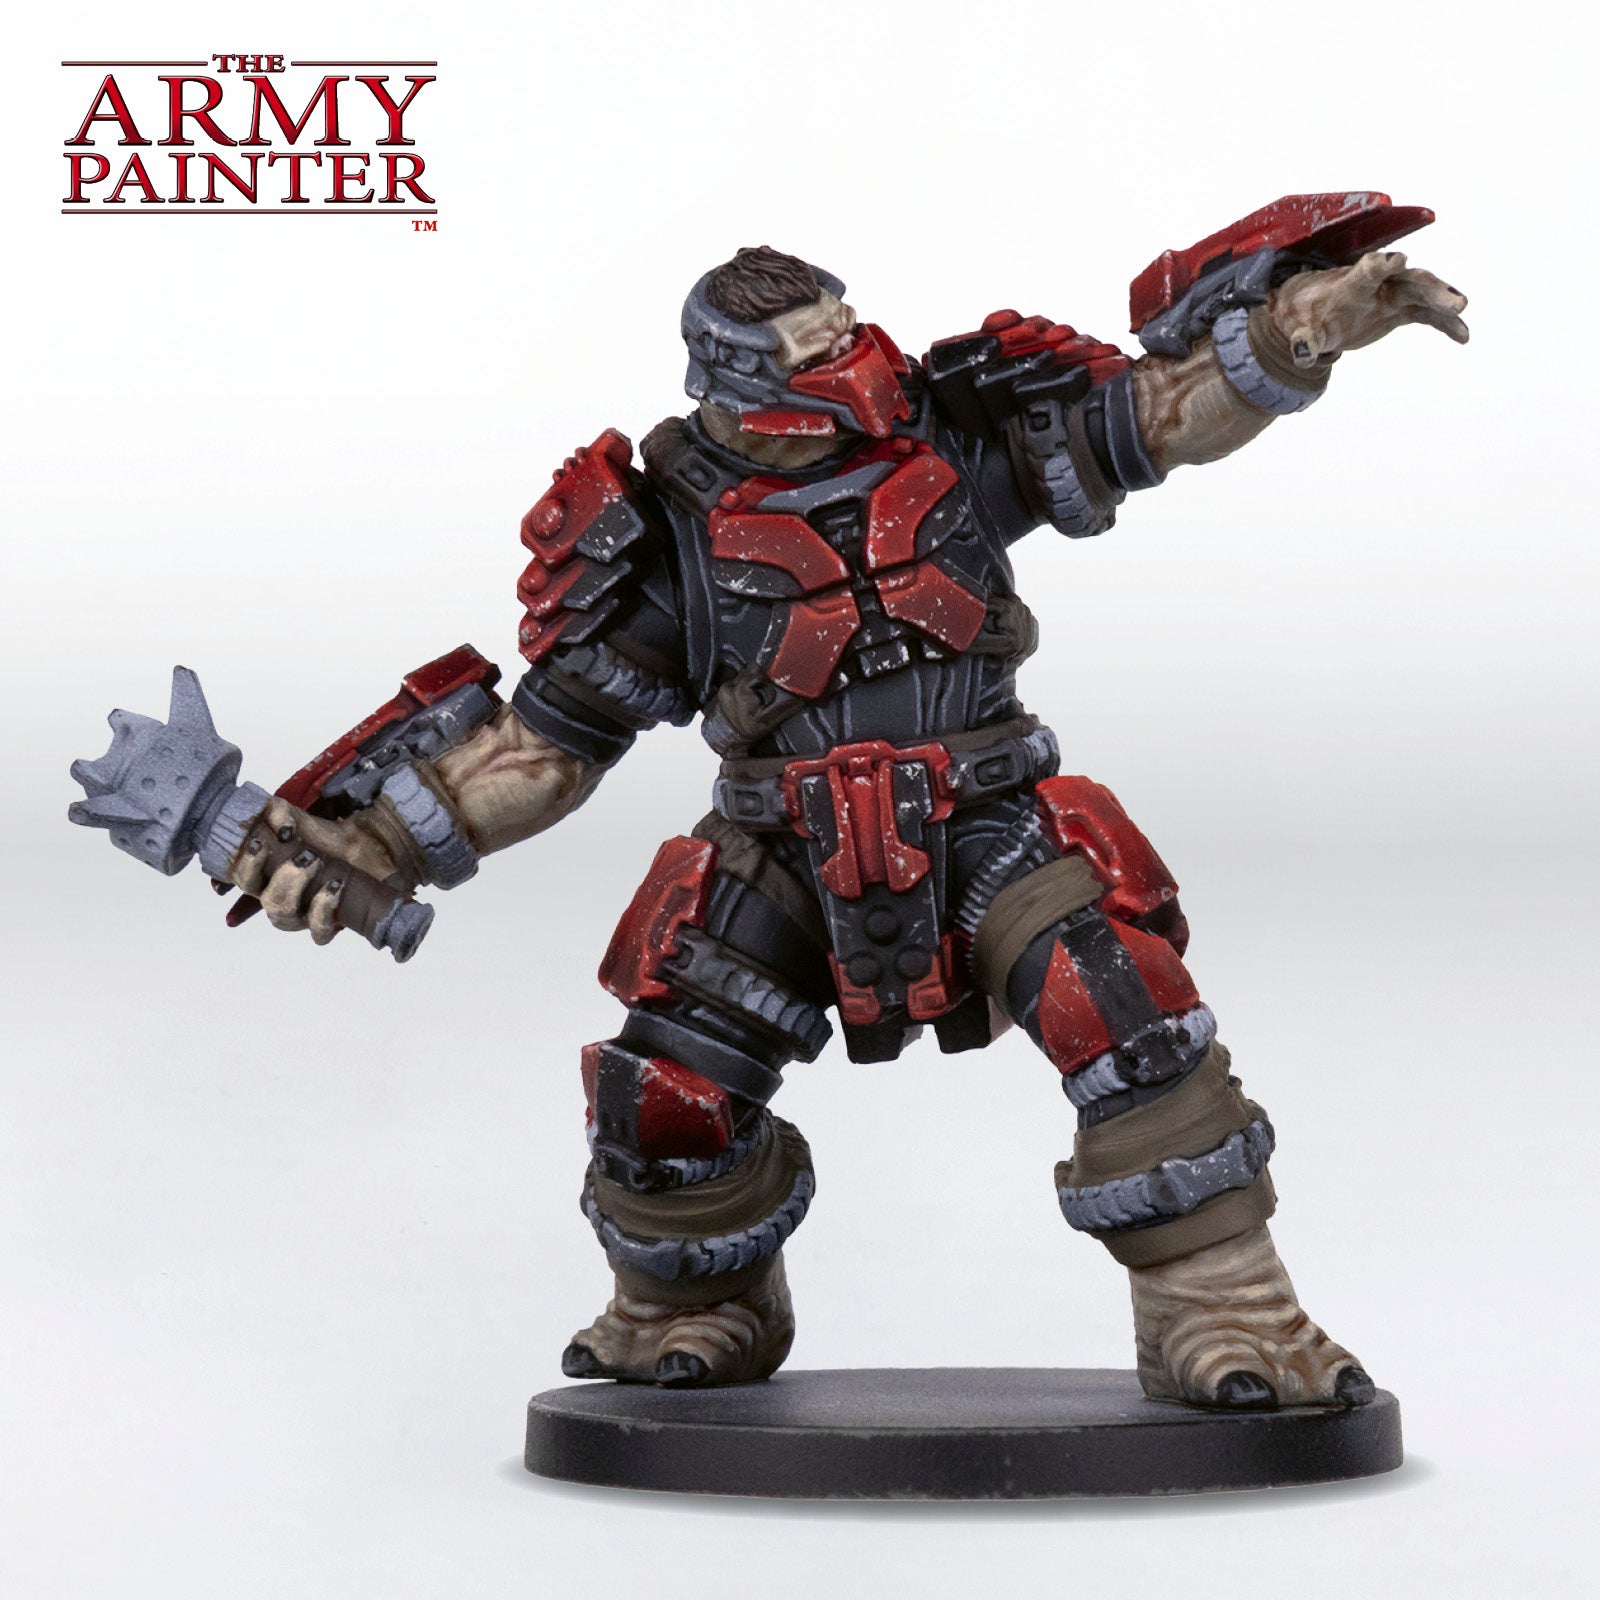
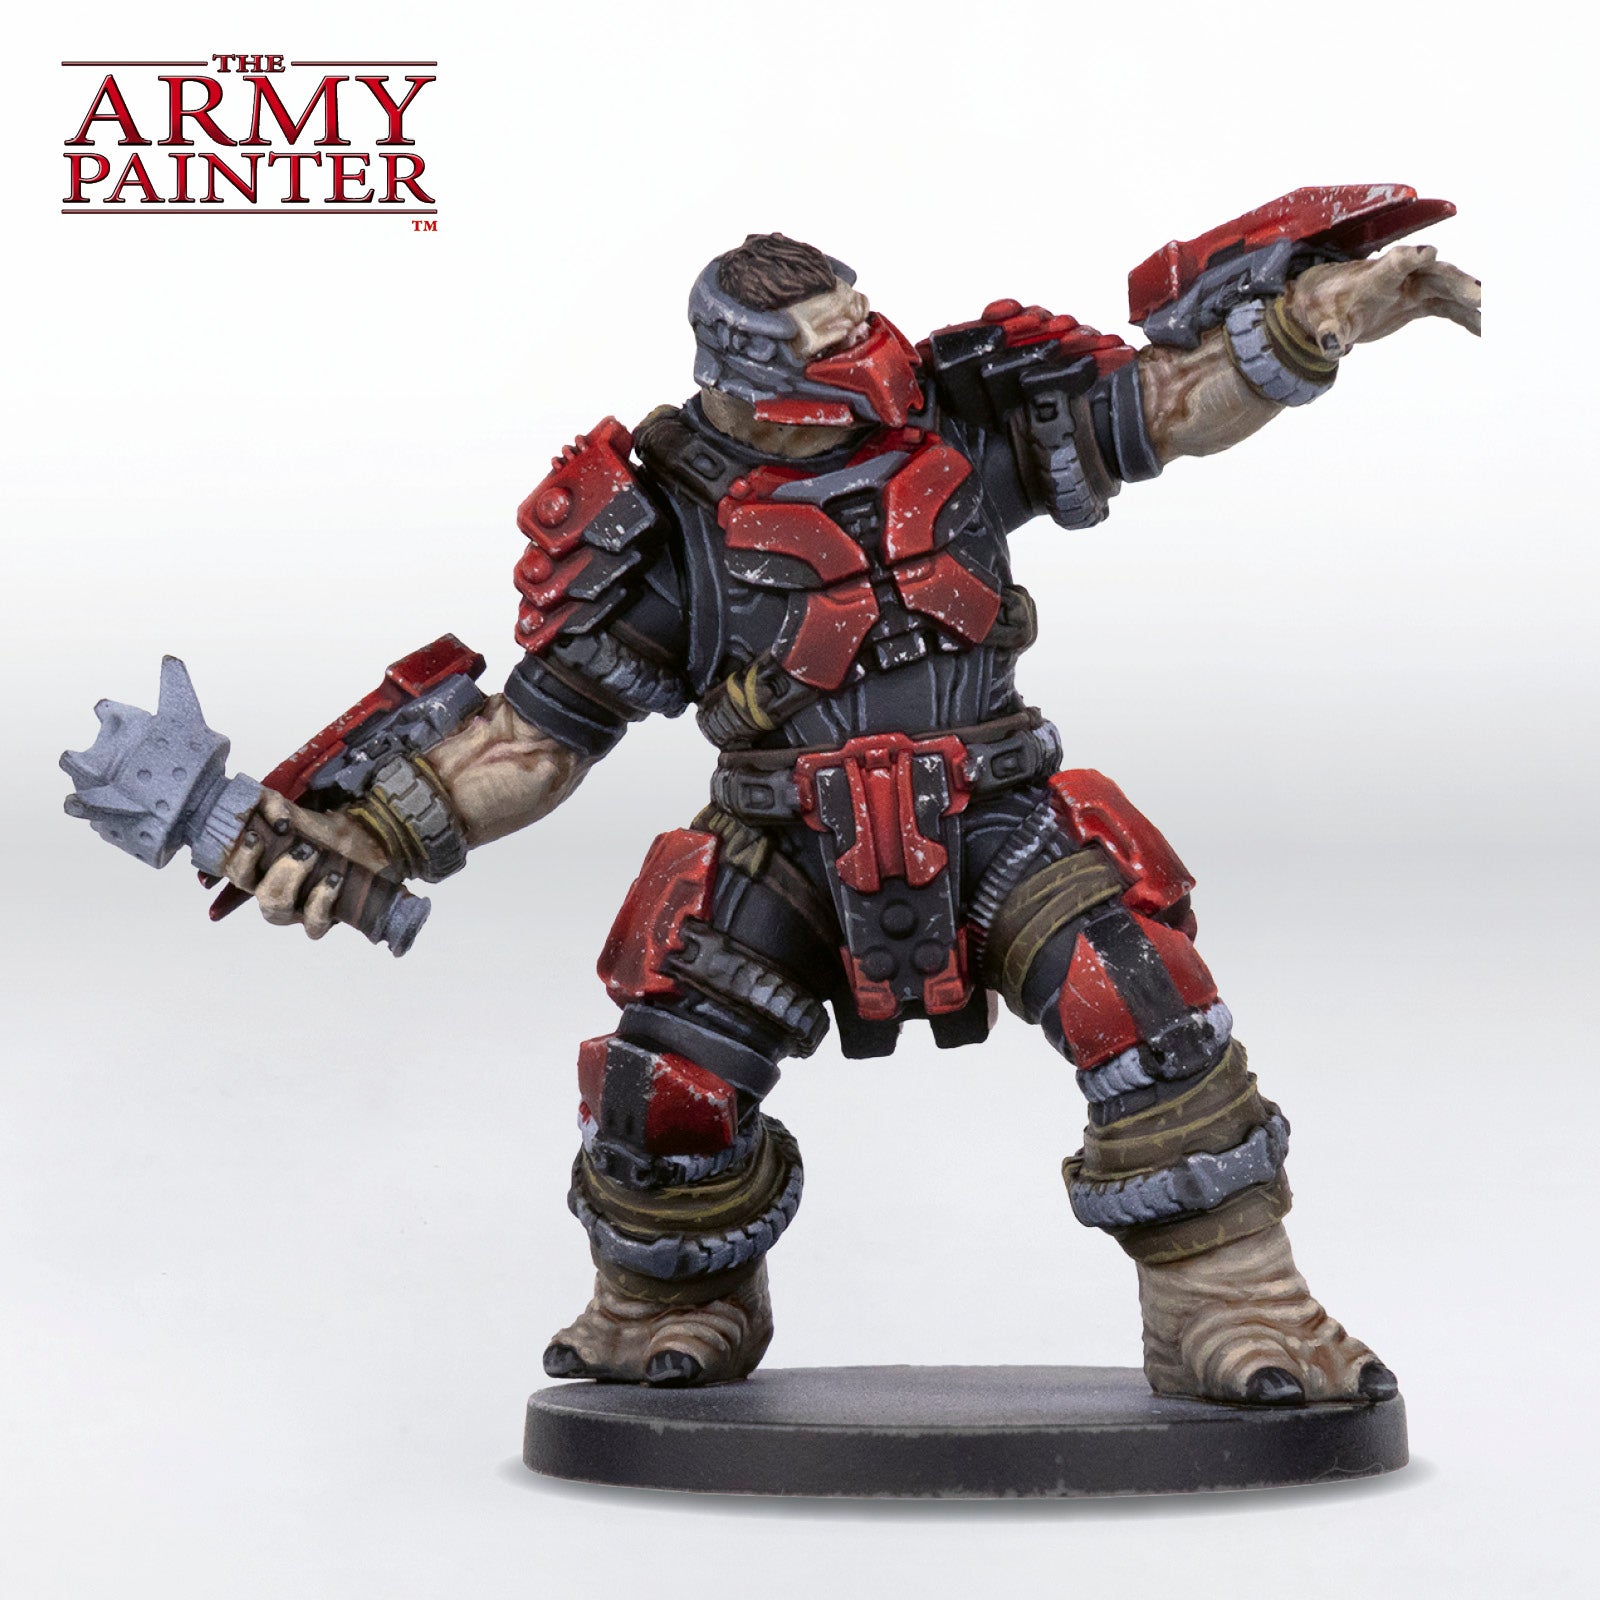
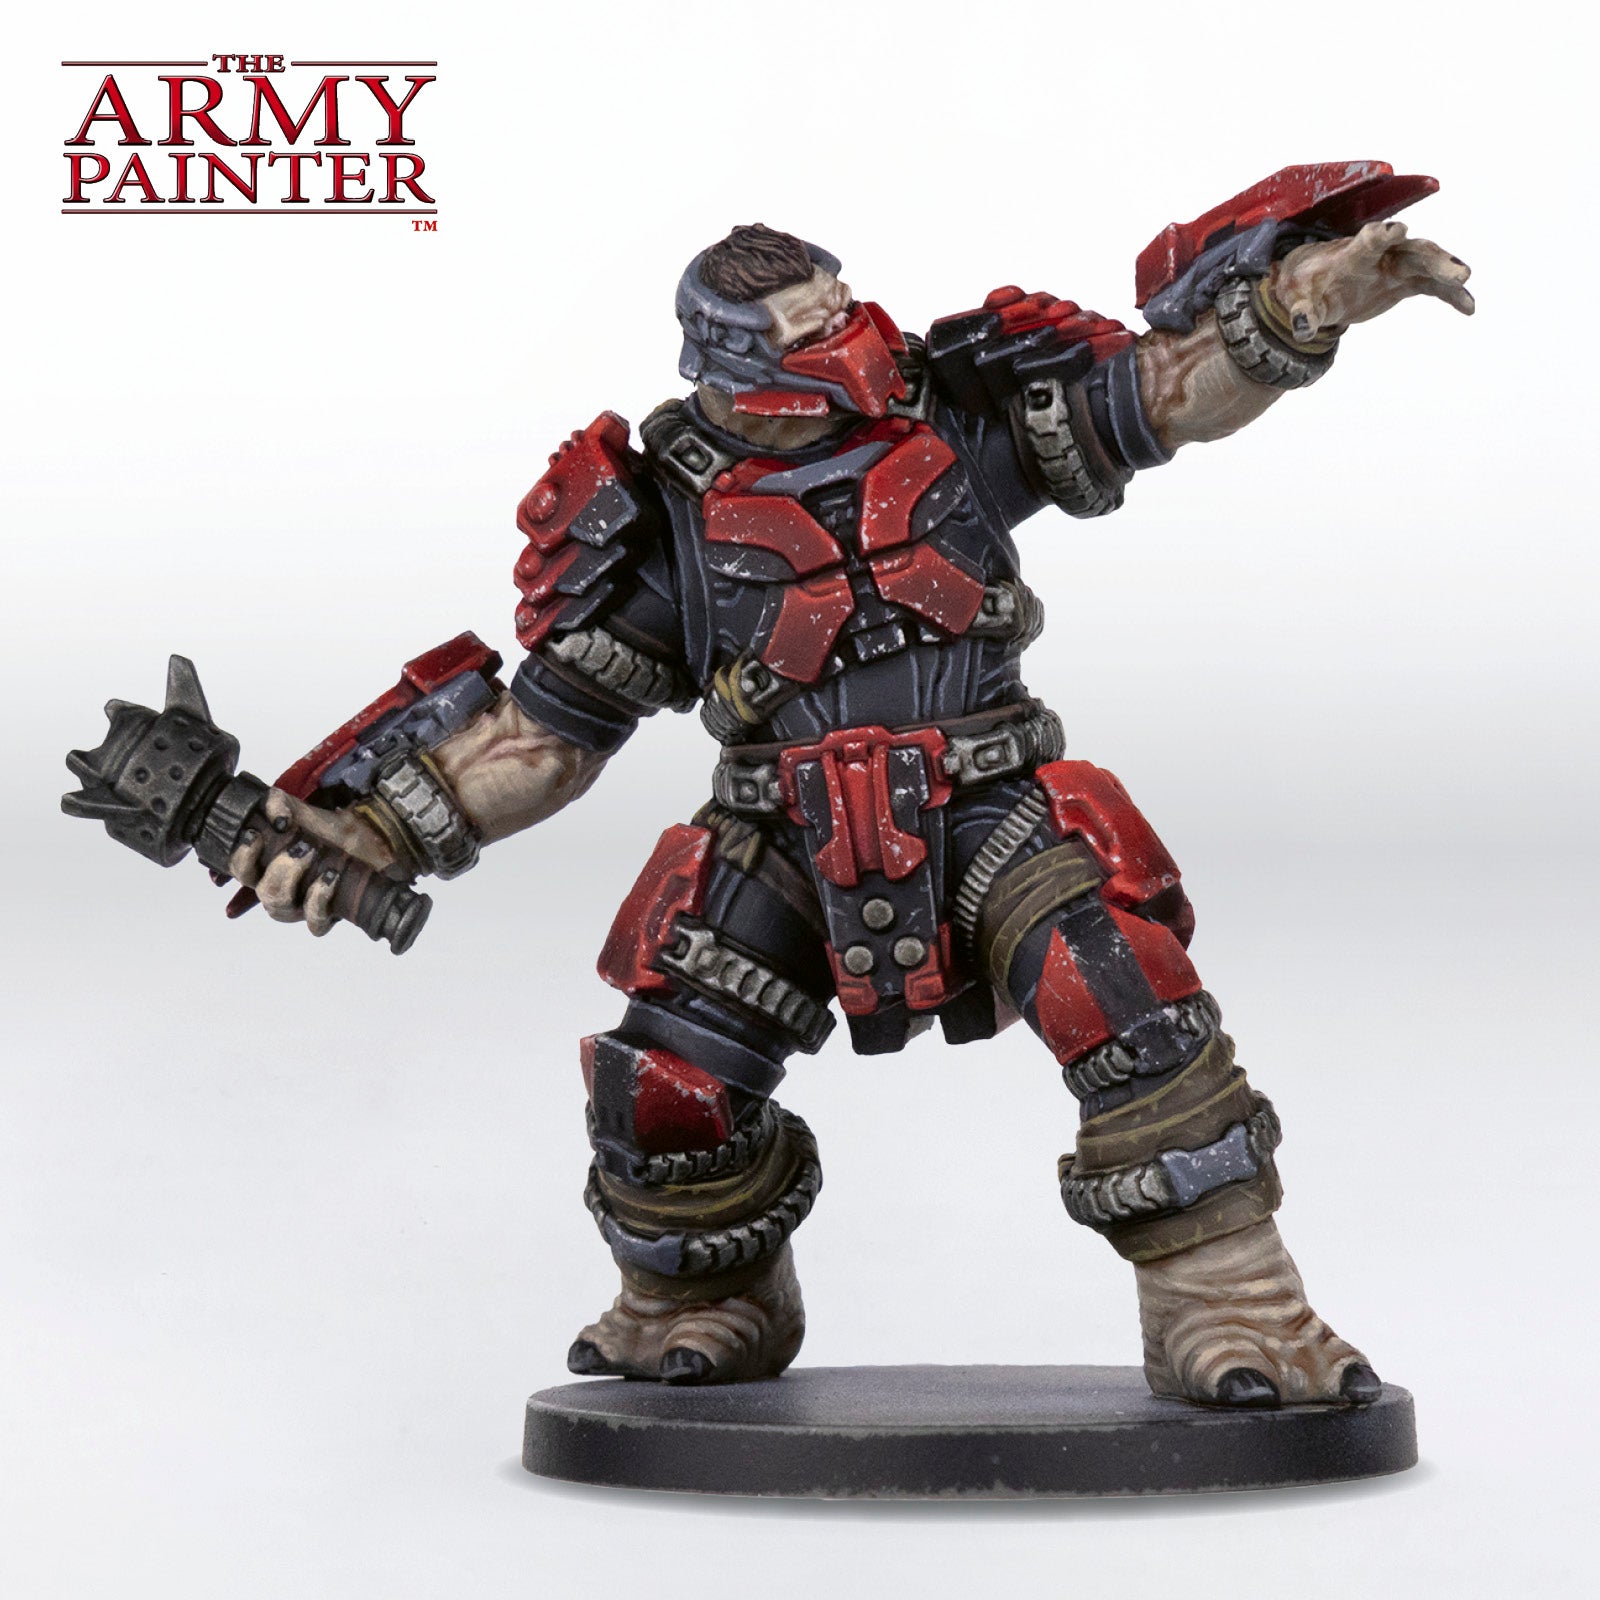
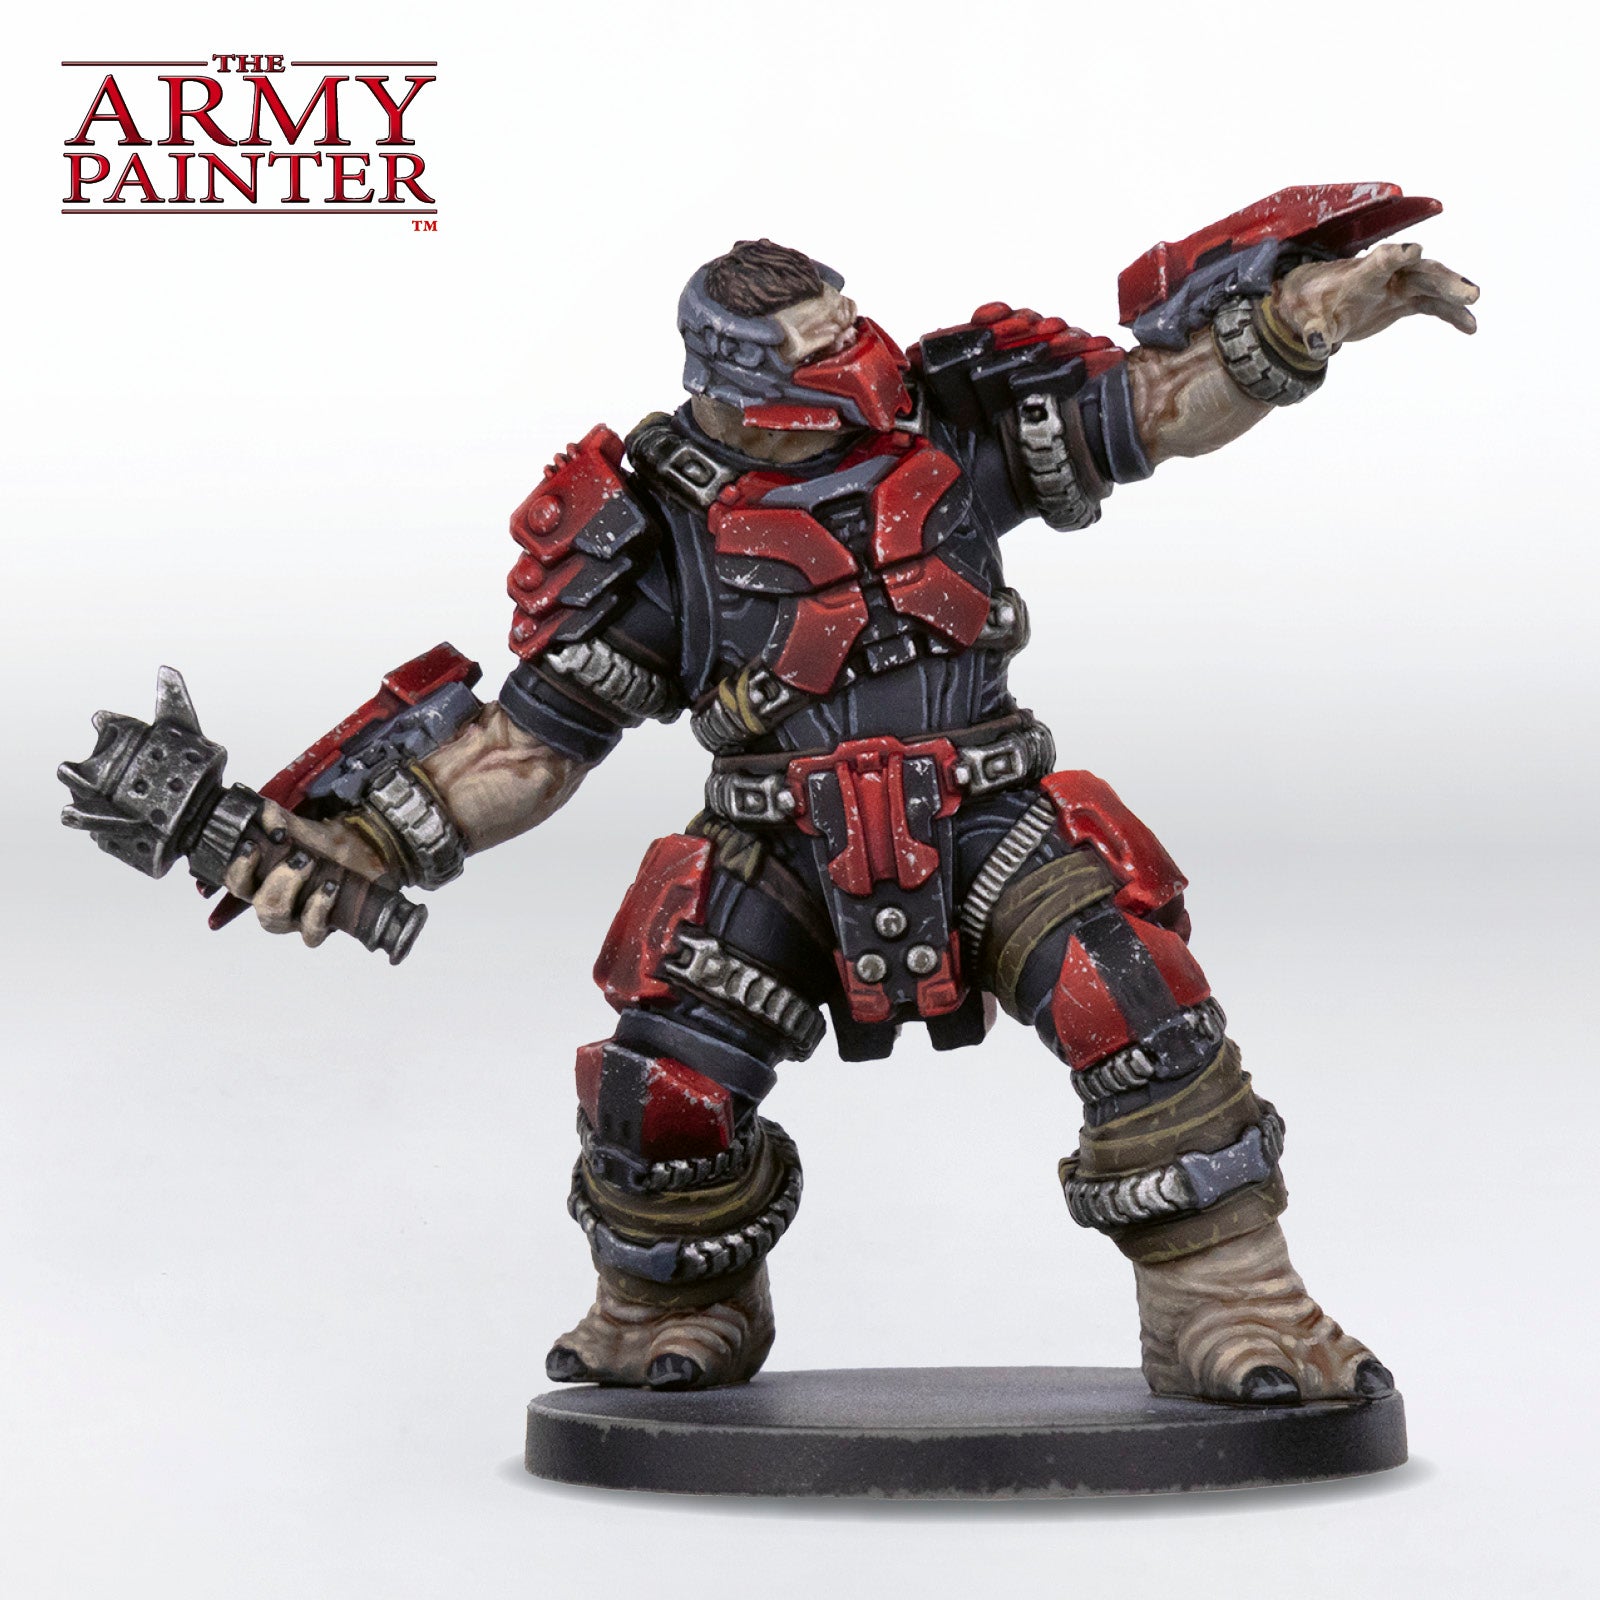
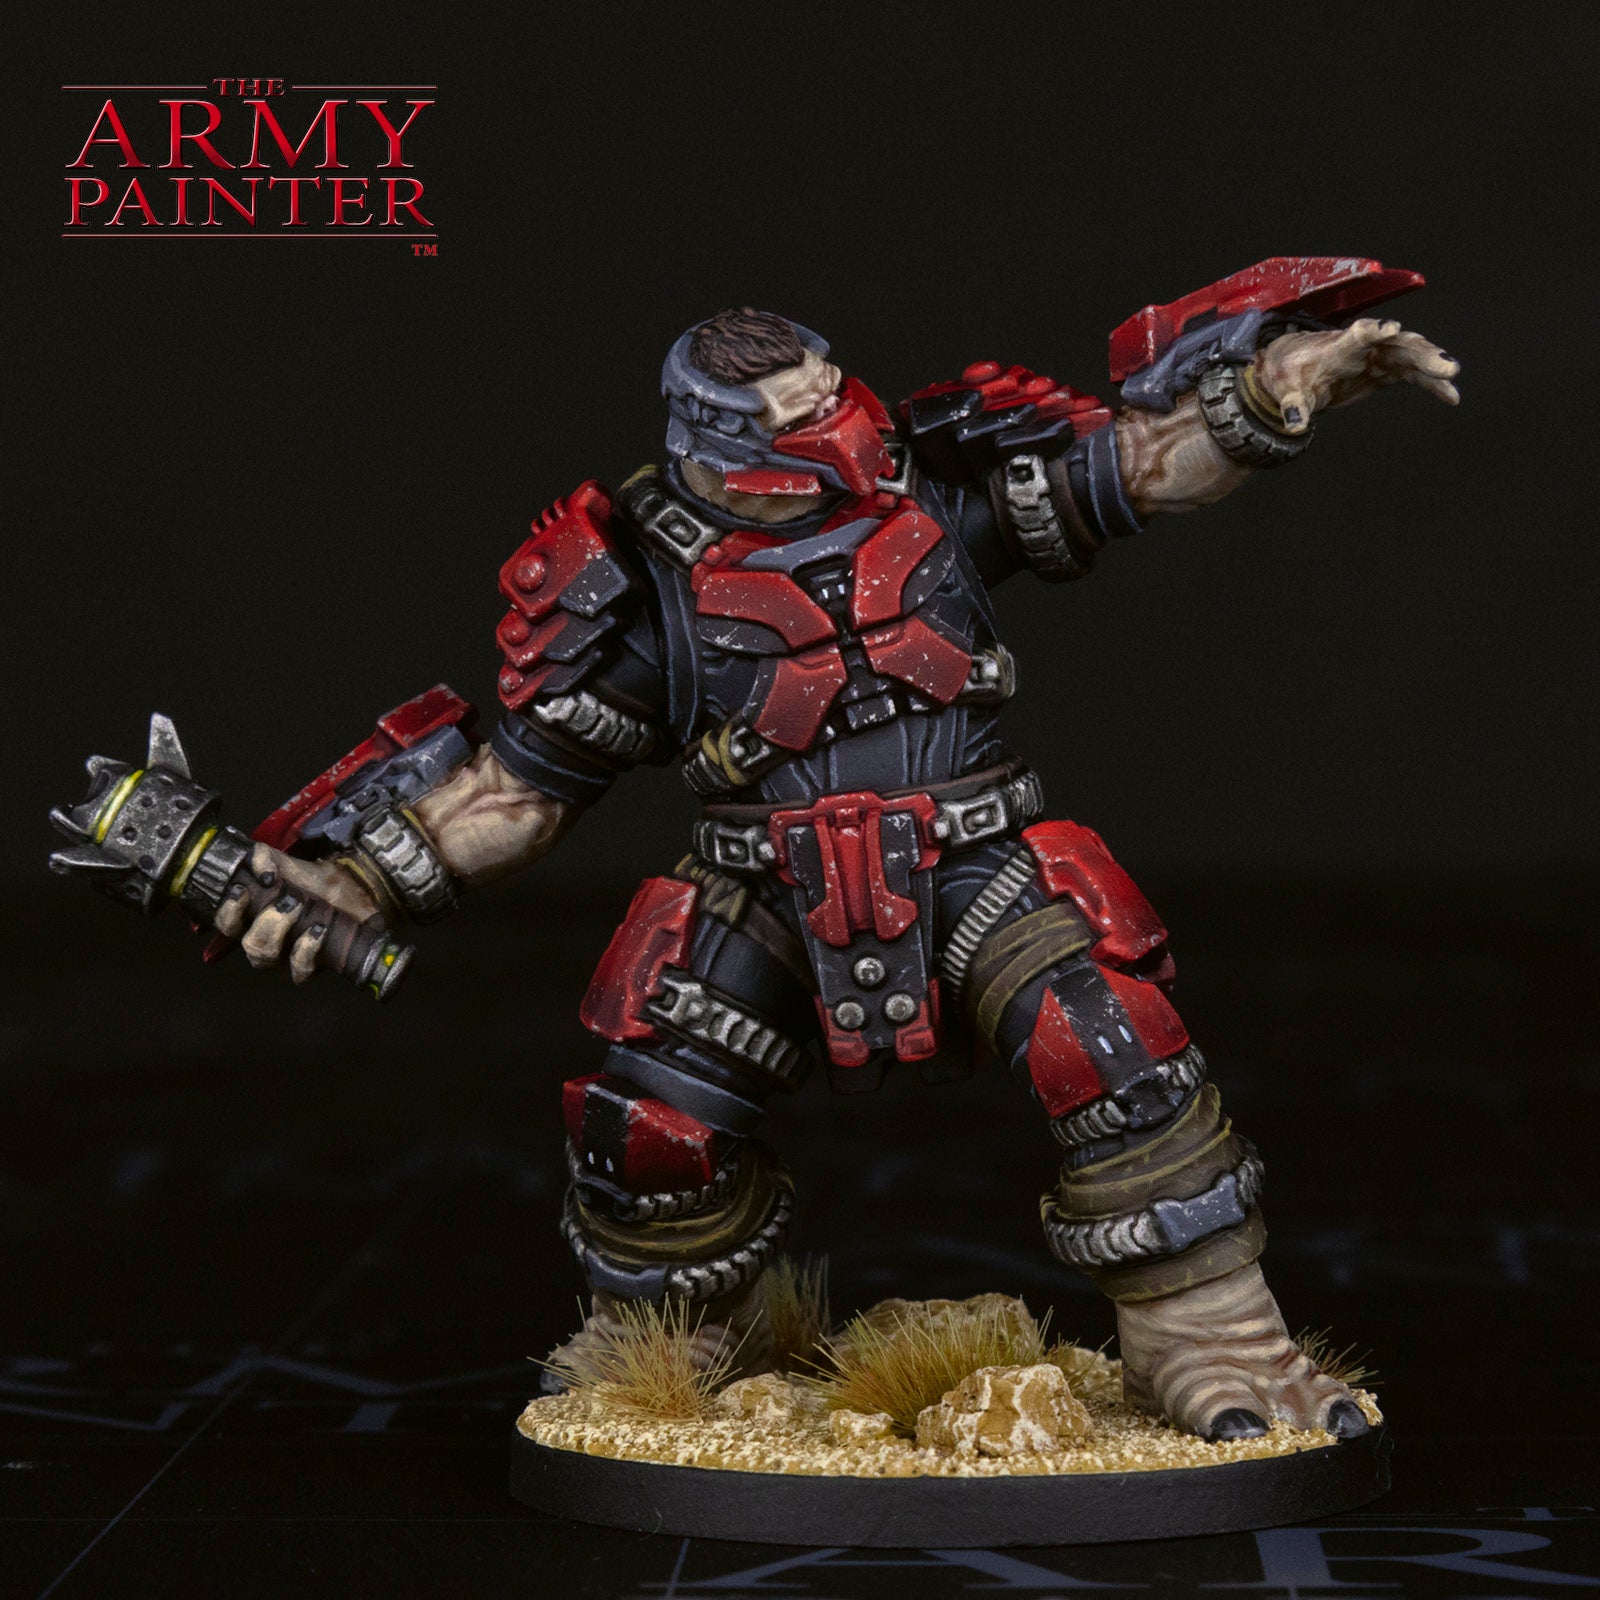
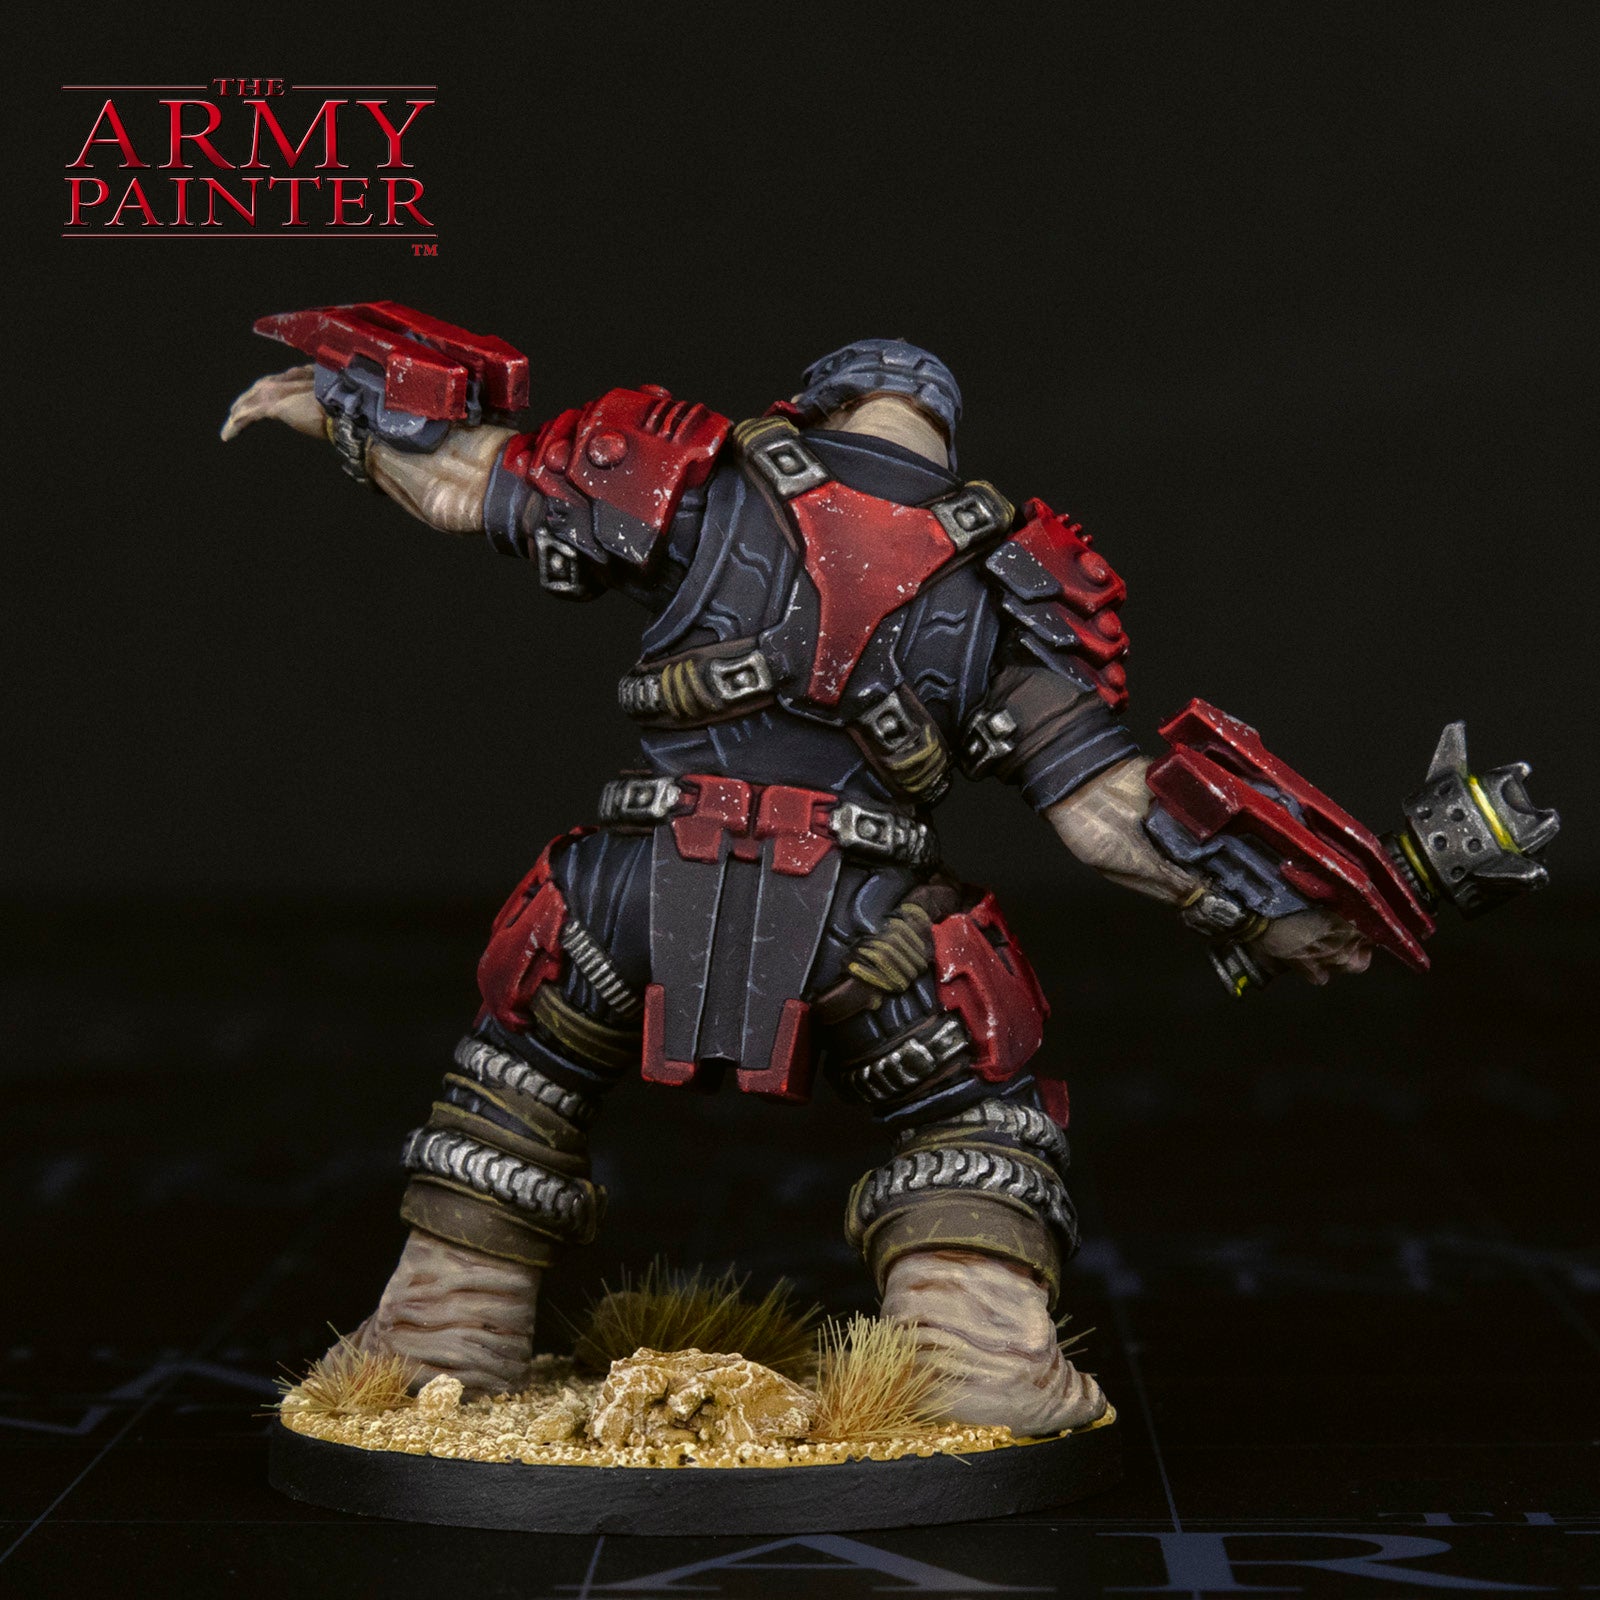
With that, your model is done!
We based ours to be fighting over one of the desert biomes of the Halo installation, but it would look equally as good in a variety of locales.
Pick up your own copy of Halo: Flashpoint - Rise of the Banished over on the Mantic store, and grab the paints used in this tutorial by clicking the Buy the Recipe button on the side of your screen today!
Be sure to tell us what you thought of this tutorial format, if you have any suggestions for improvements in the future, or even which models you want us to tackle.
If you paint your own model following one of these guides, tag it with #thearmypainteracademy to share your work!