How to Paint a
Hammers of Sigmar Stormcast Eternal
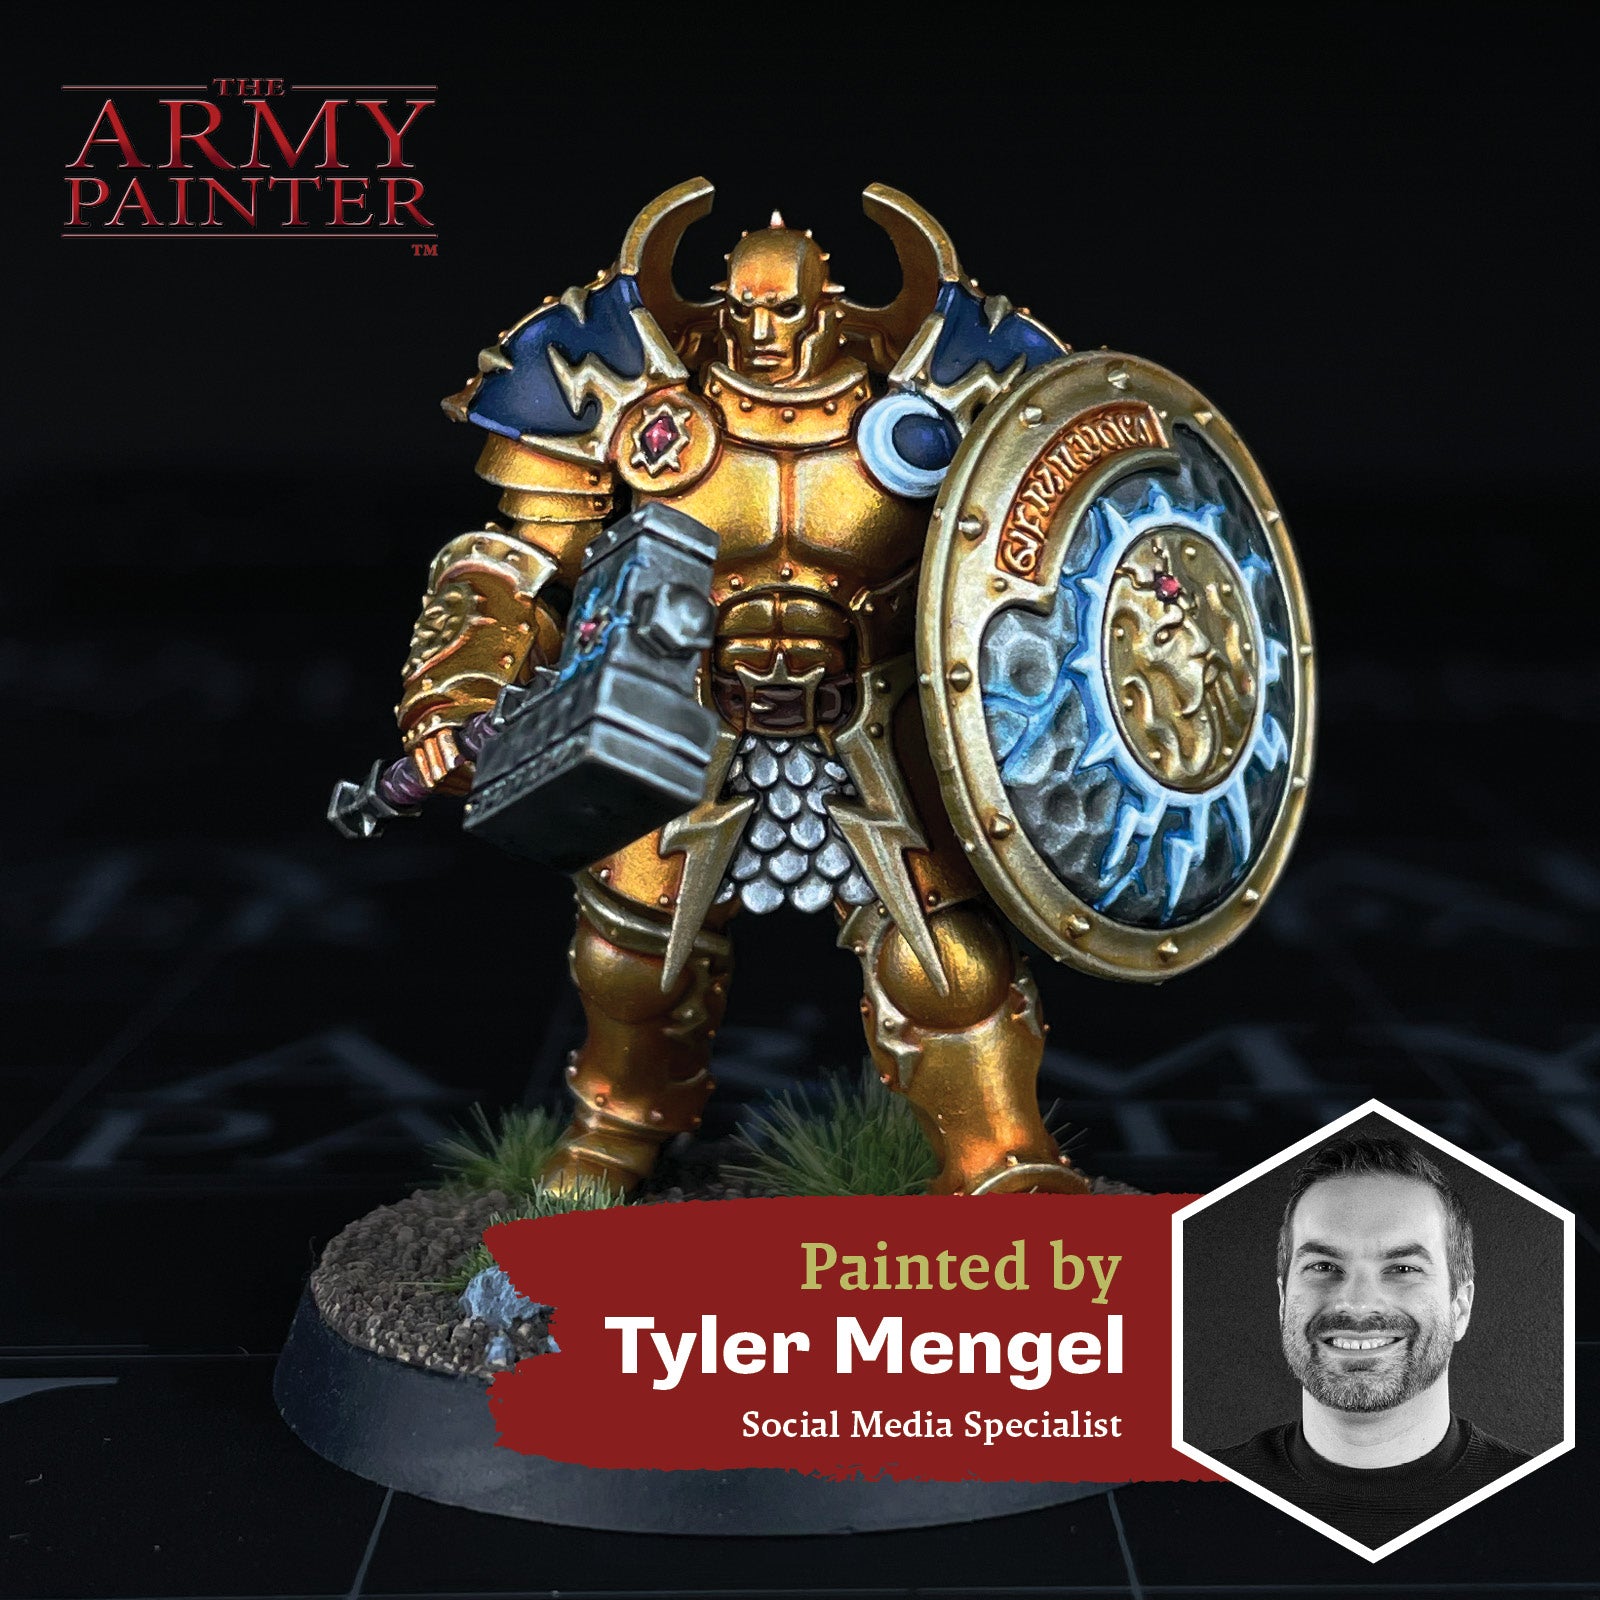
Welcome to the next instalment of The Army Painter Academy: a series where we break down how we paint a miniature step-by-step, complete with pictures for every bit of paint applied along the way.
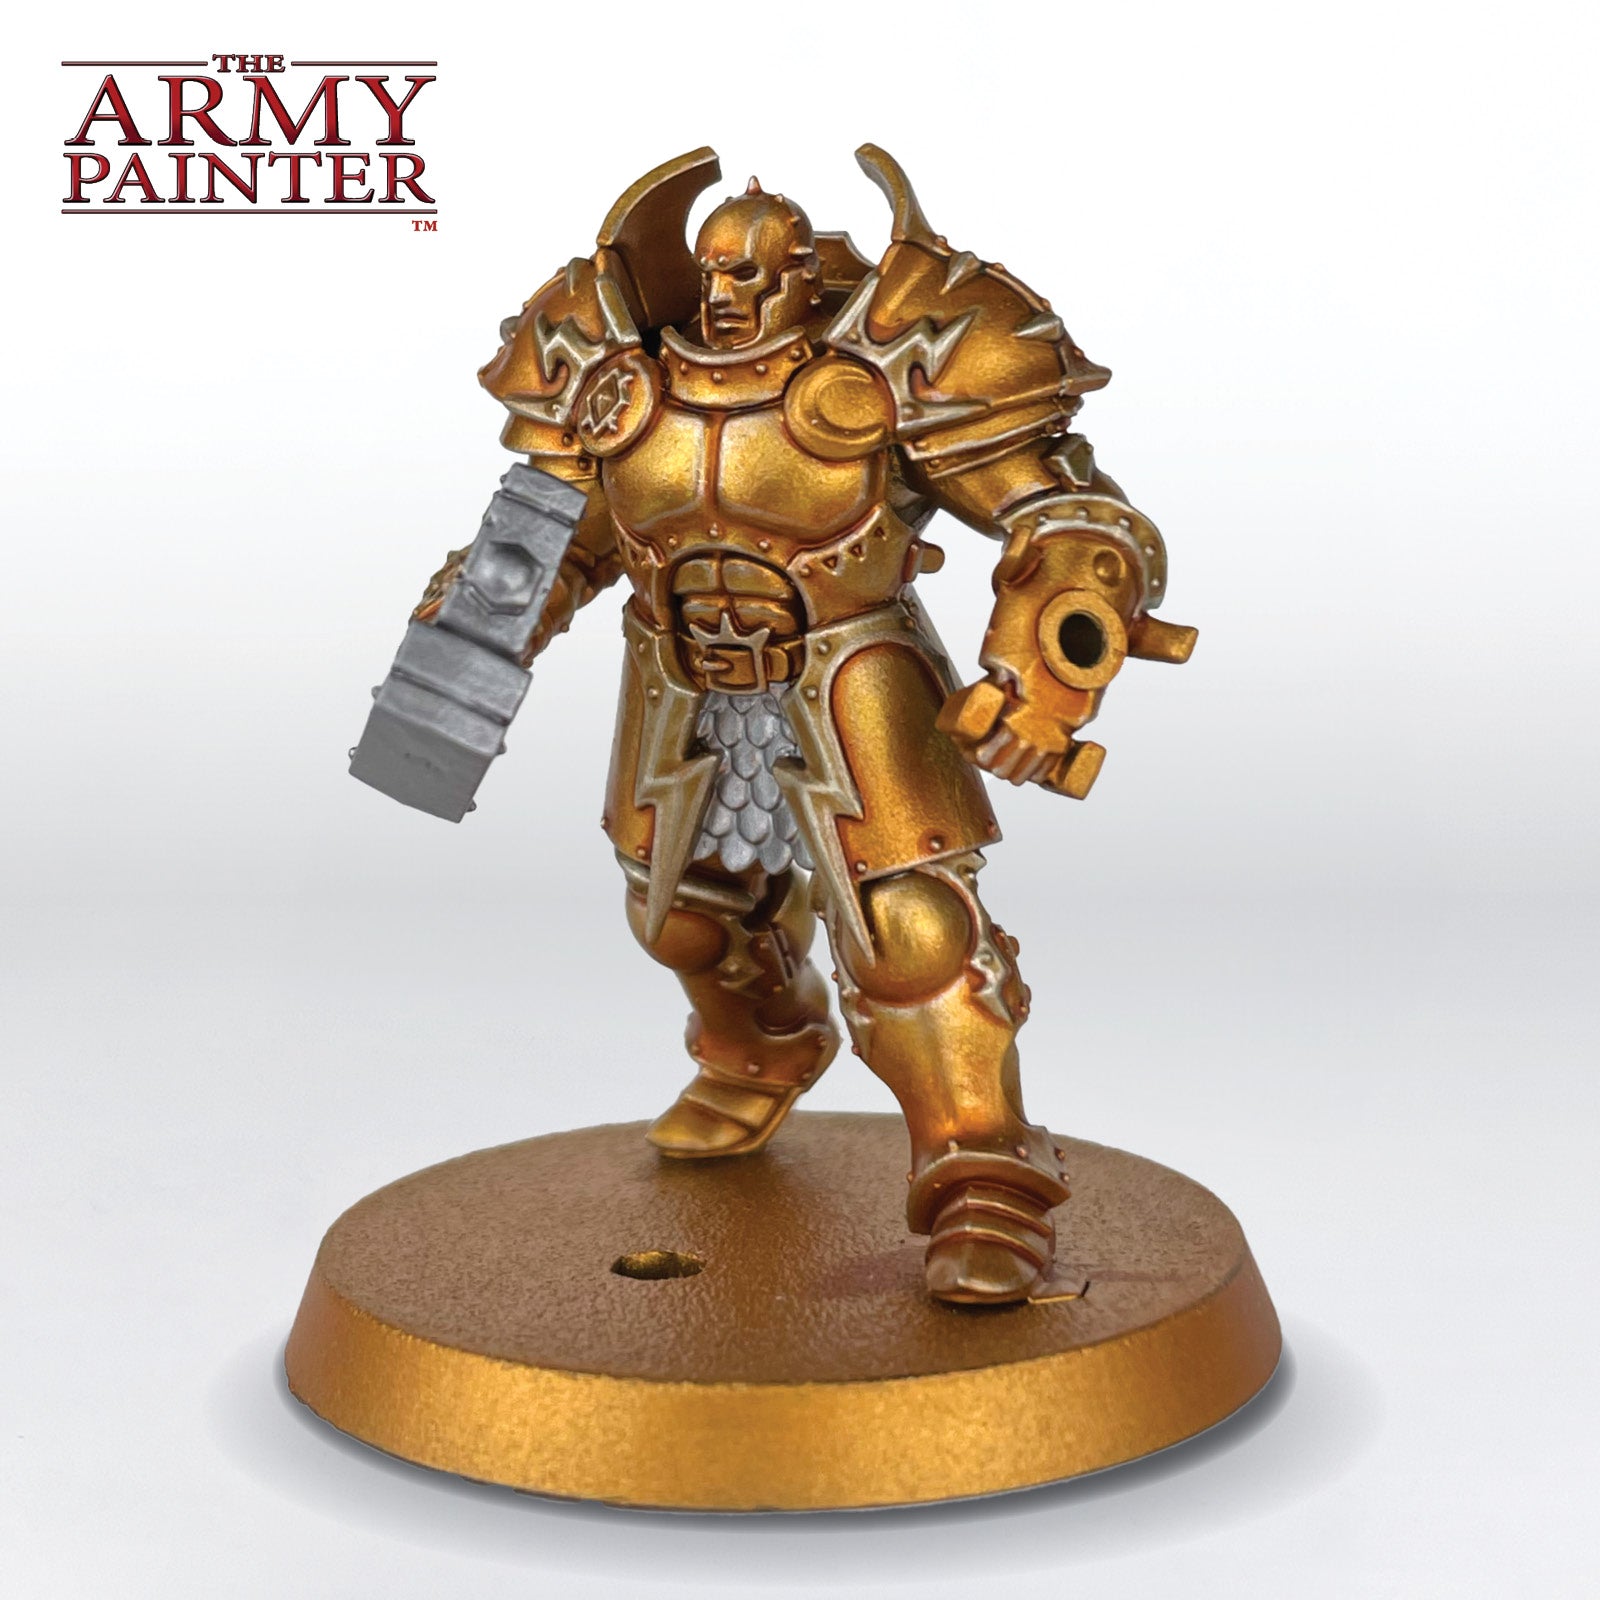
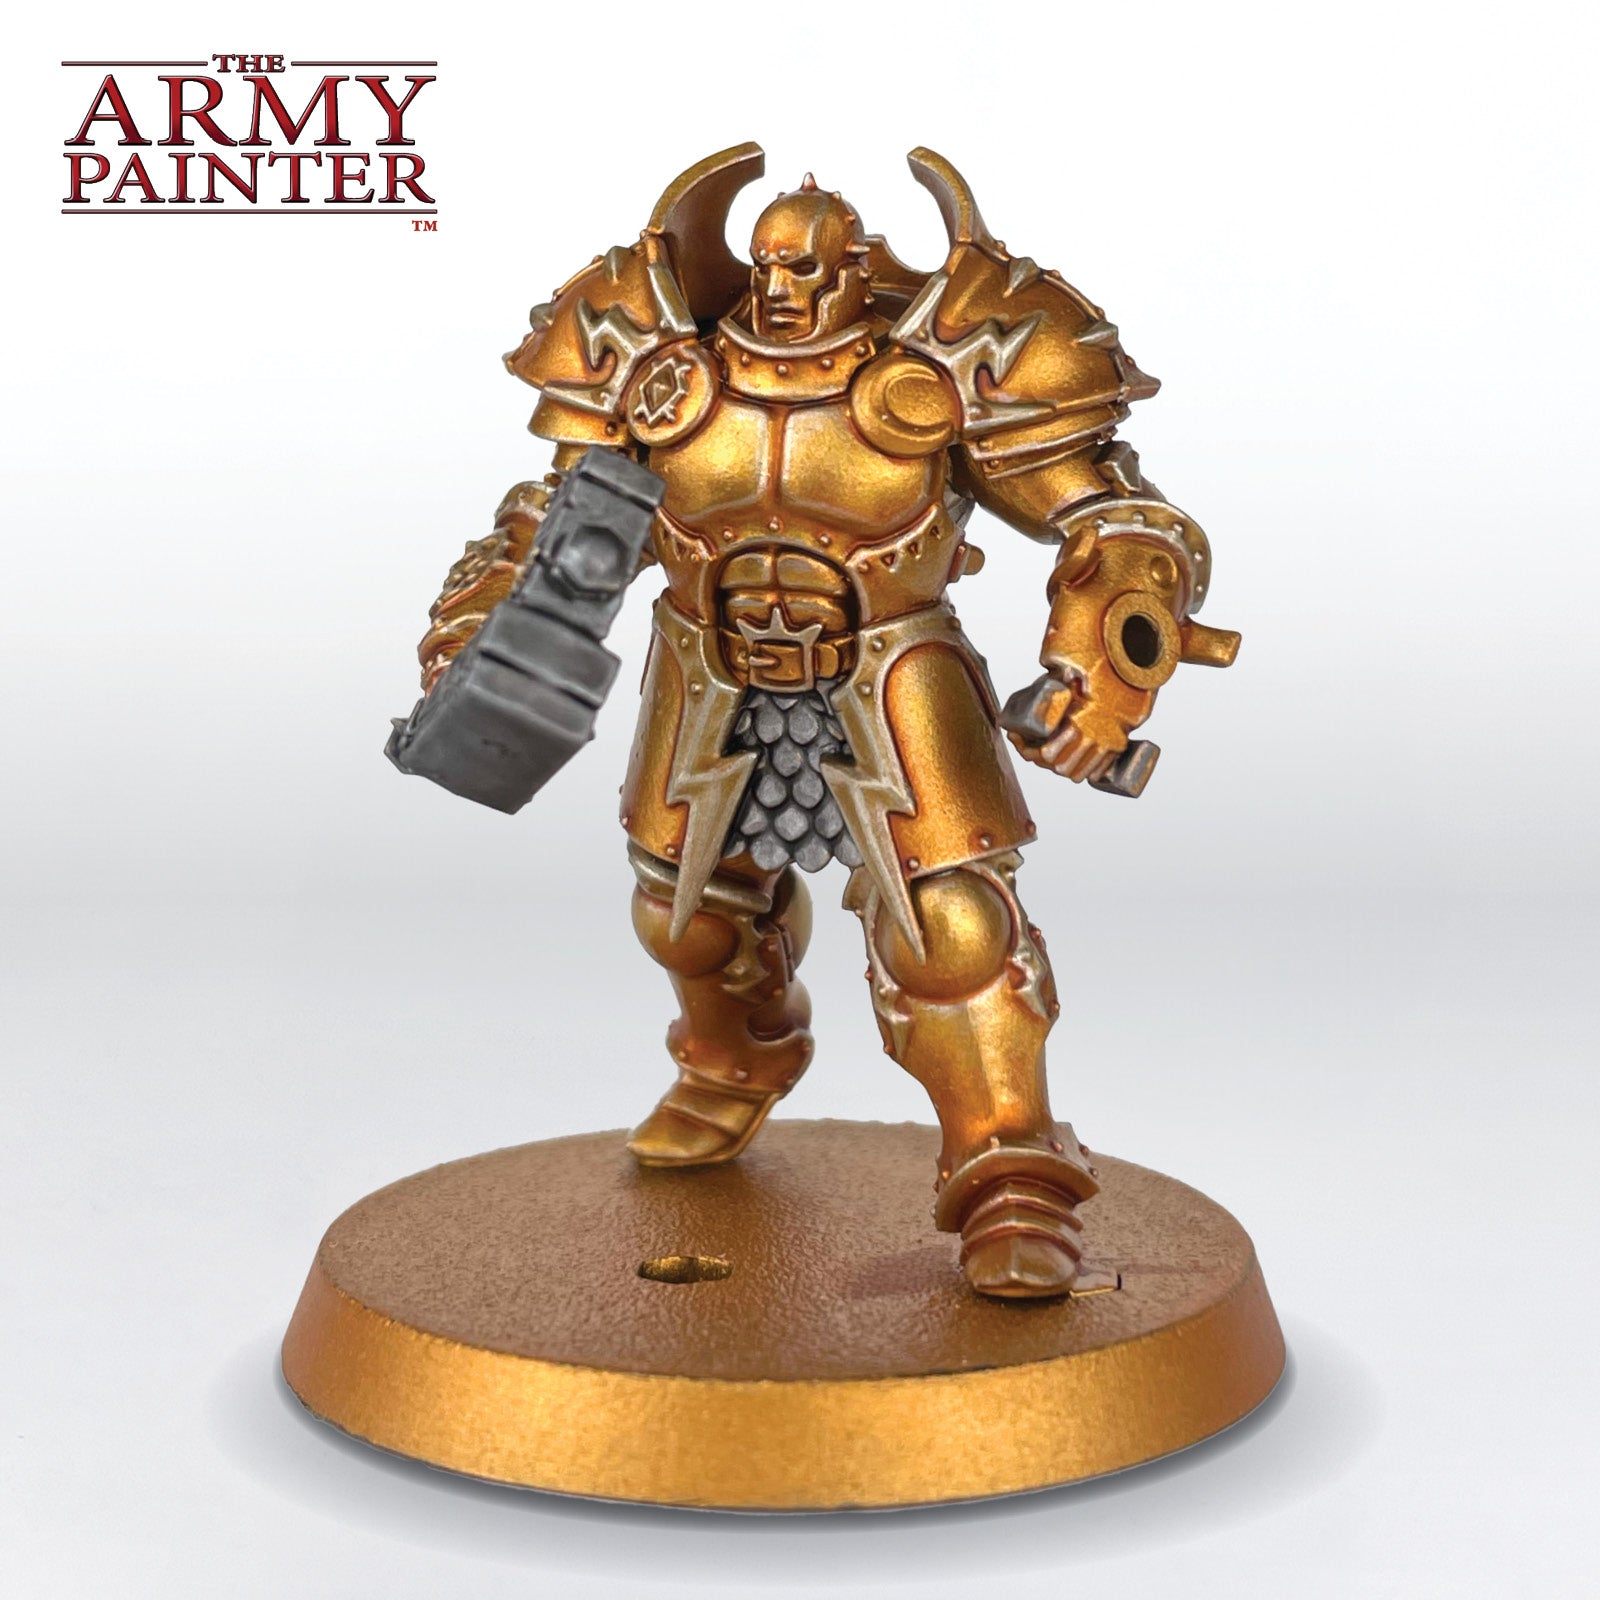
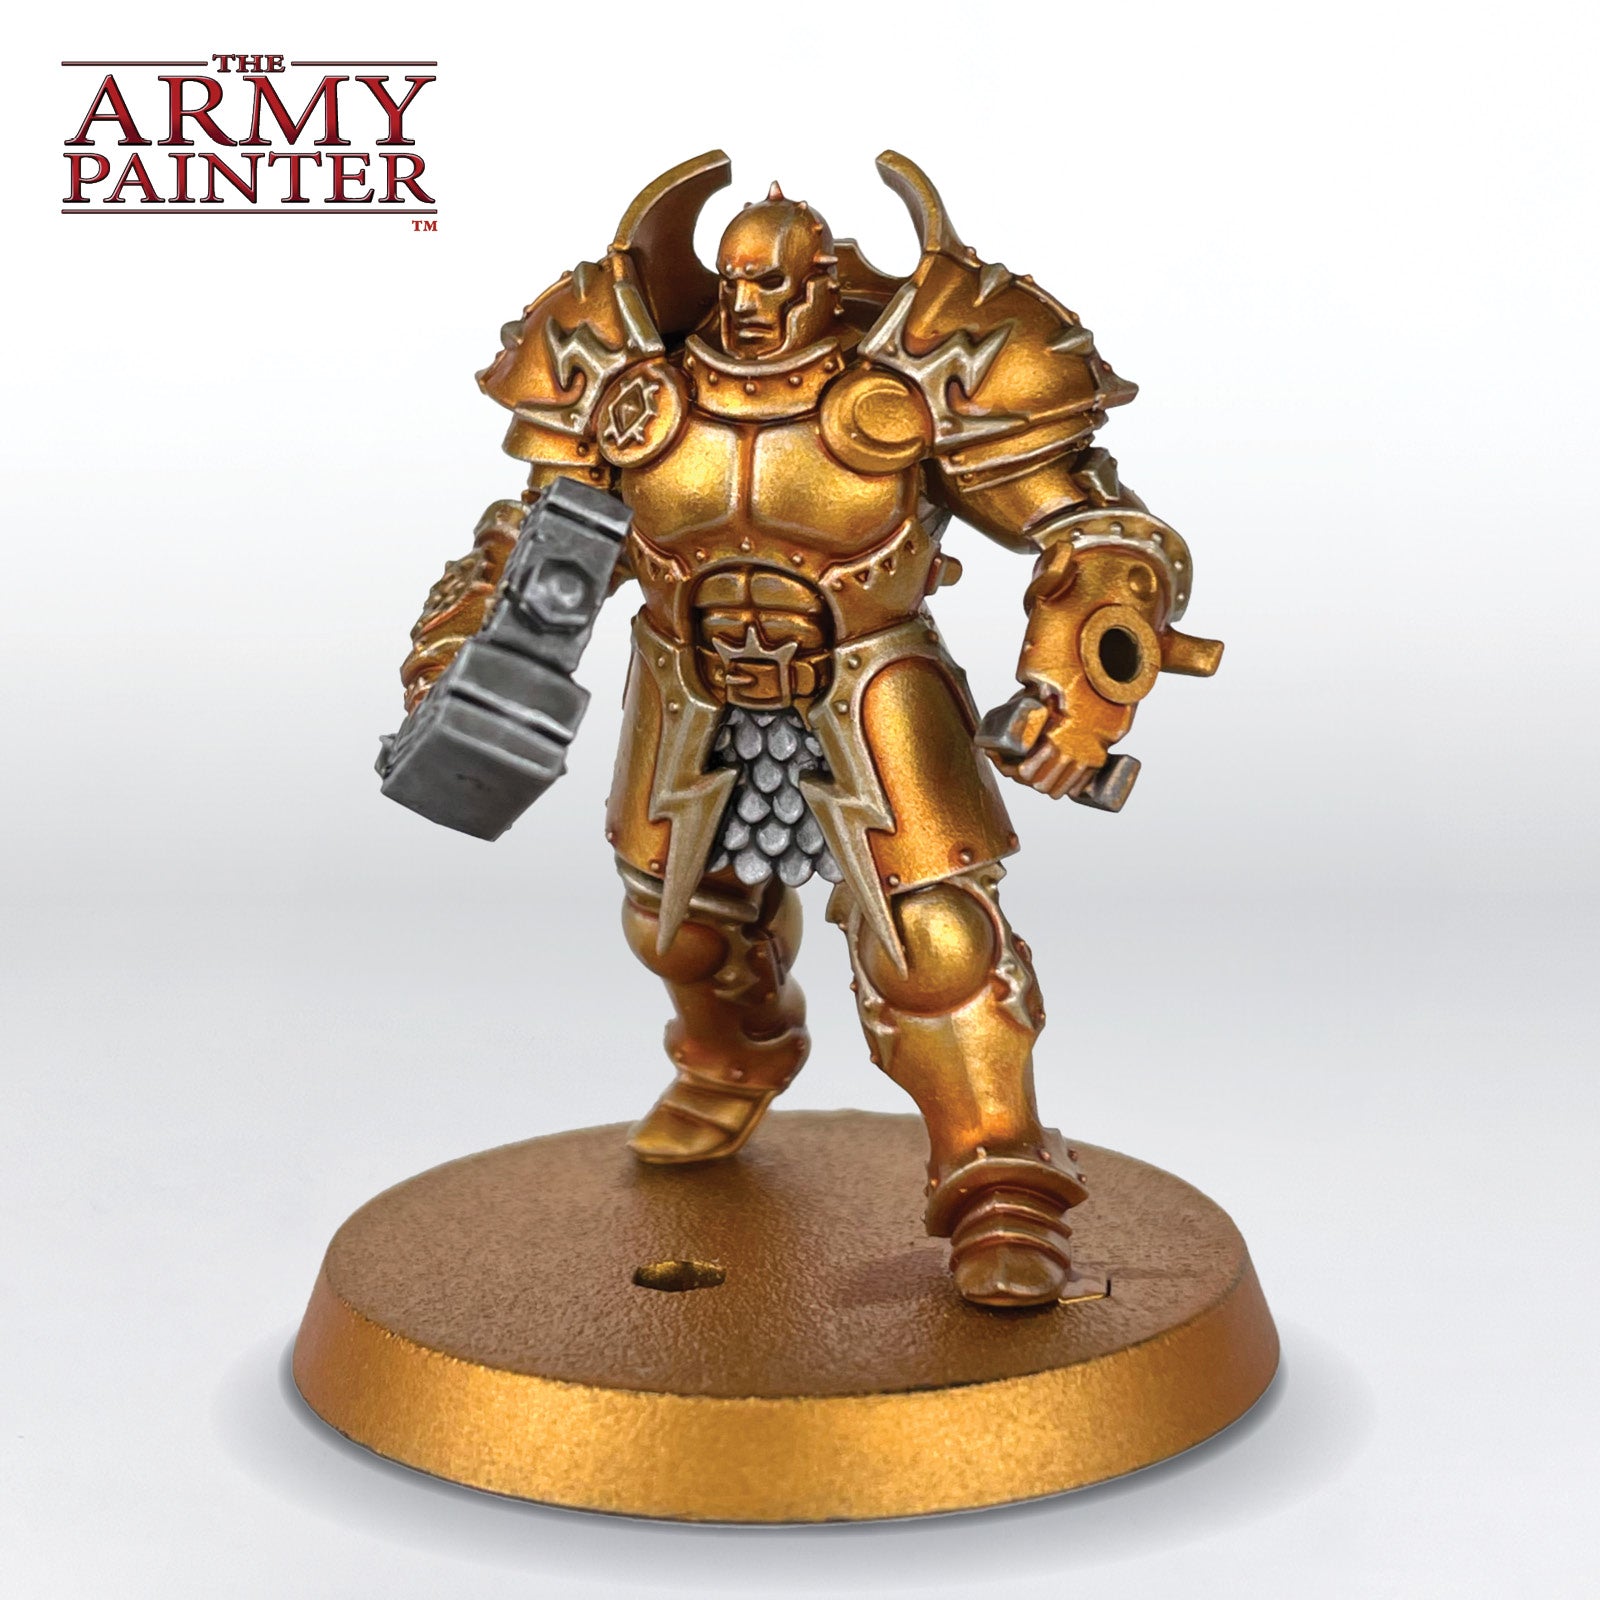
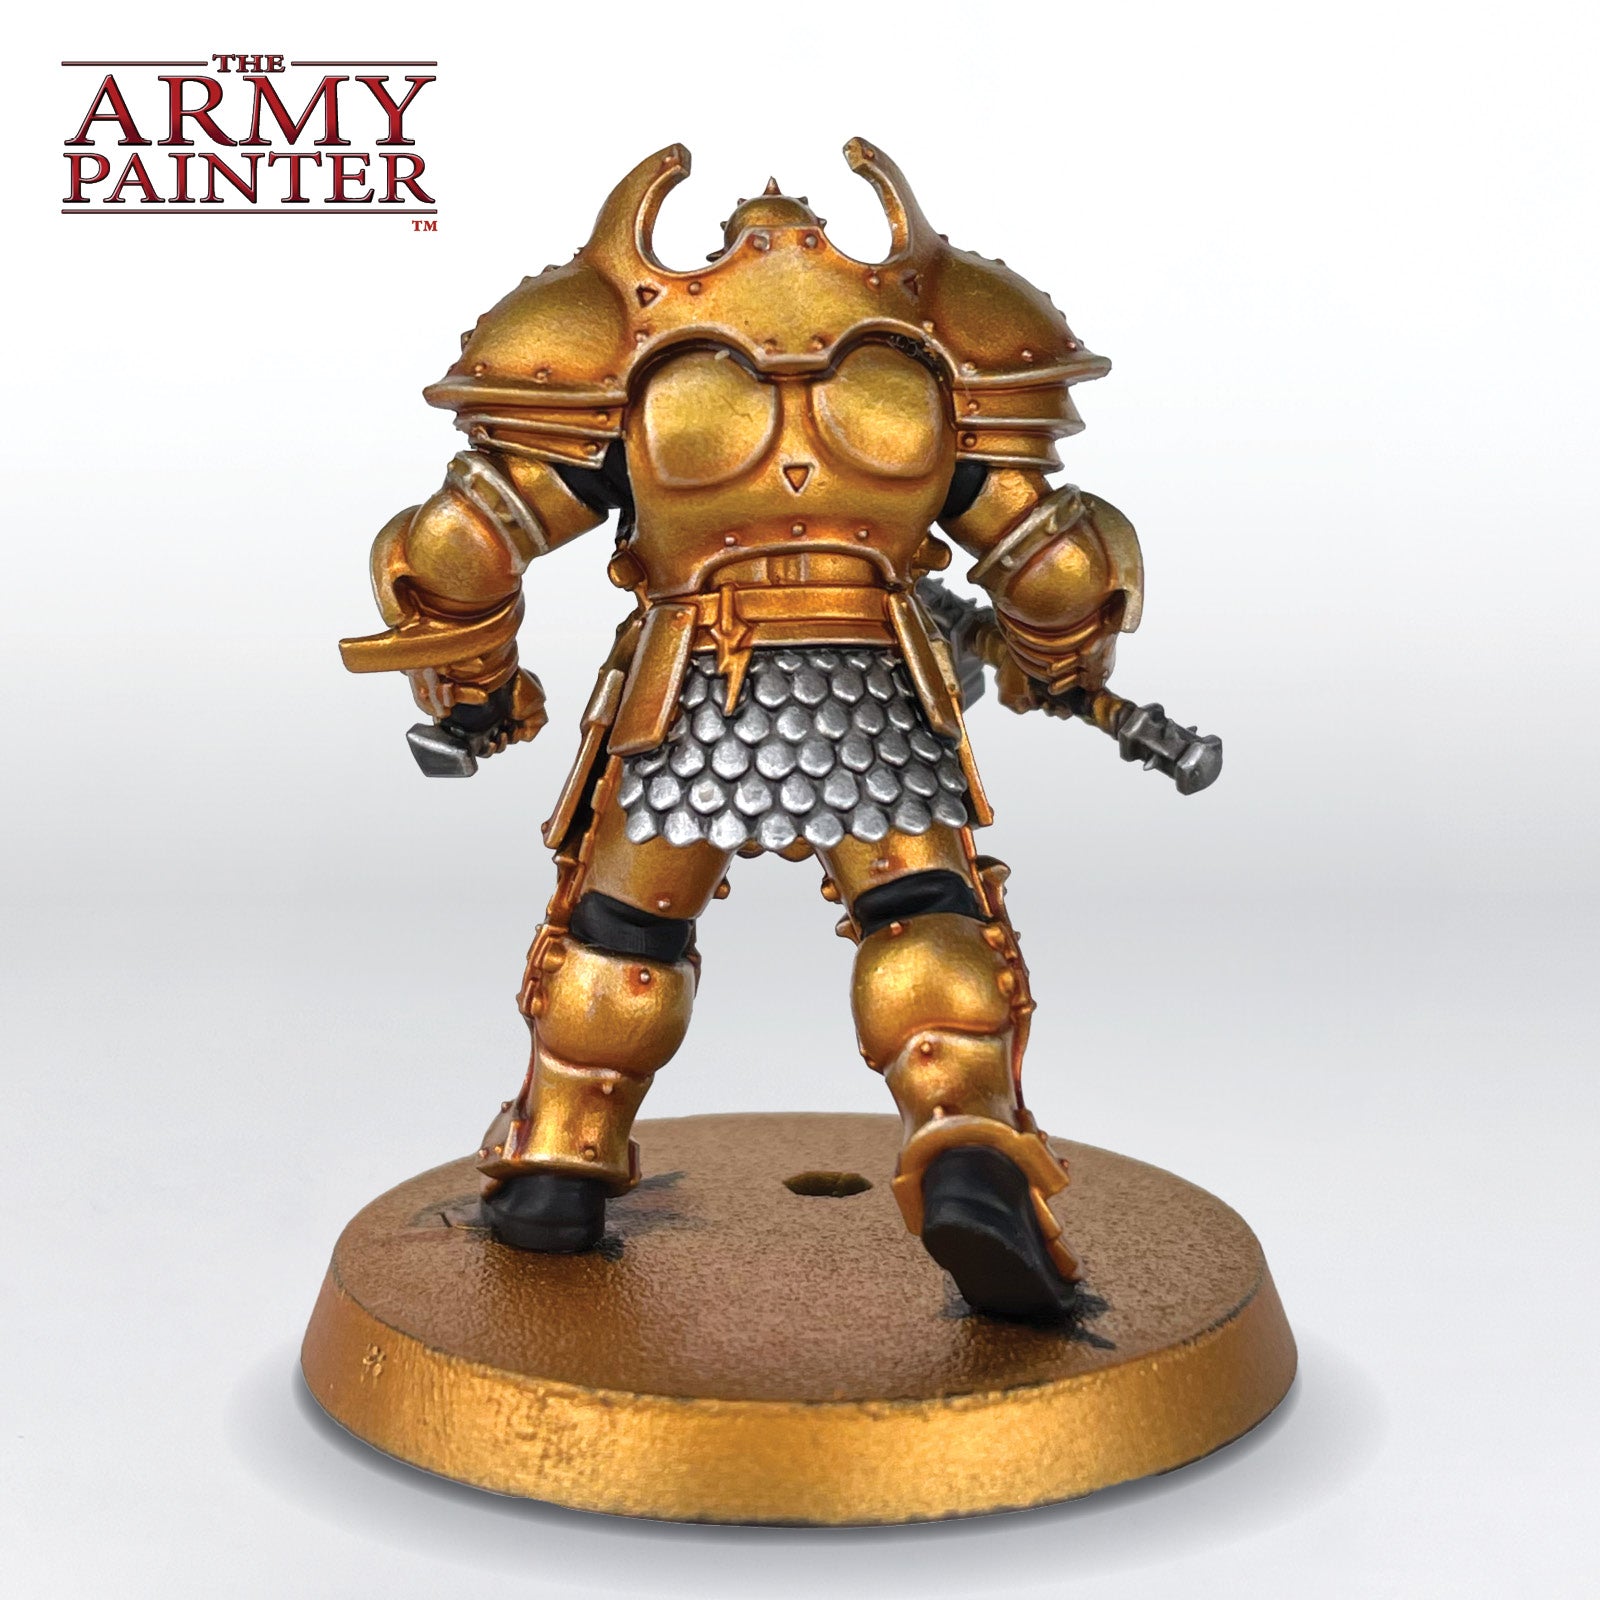
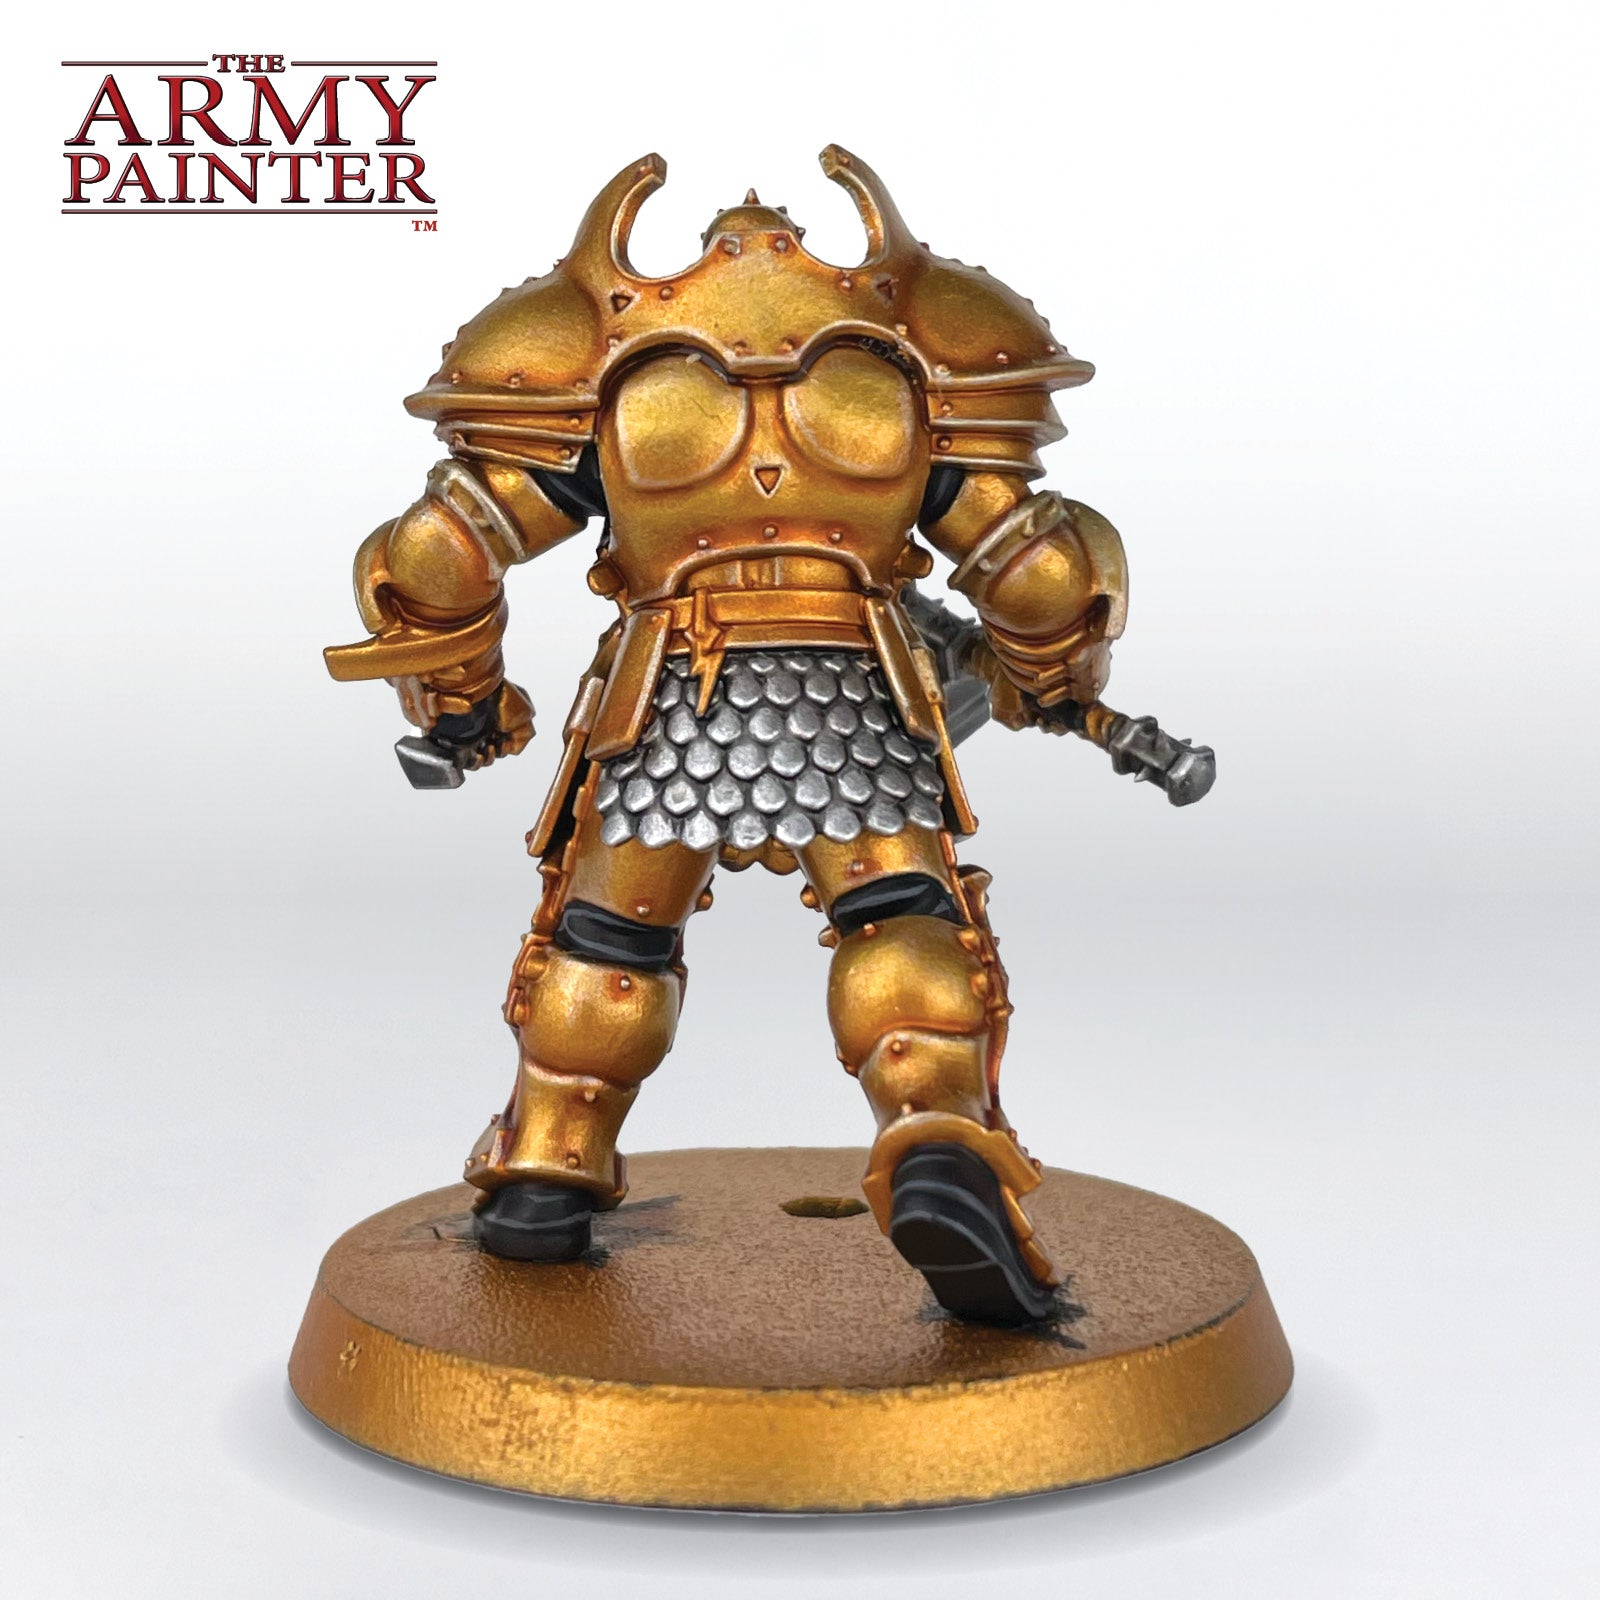
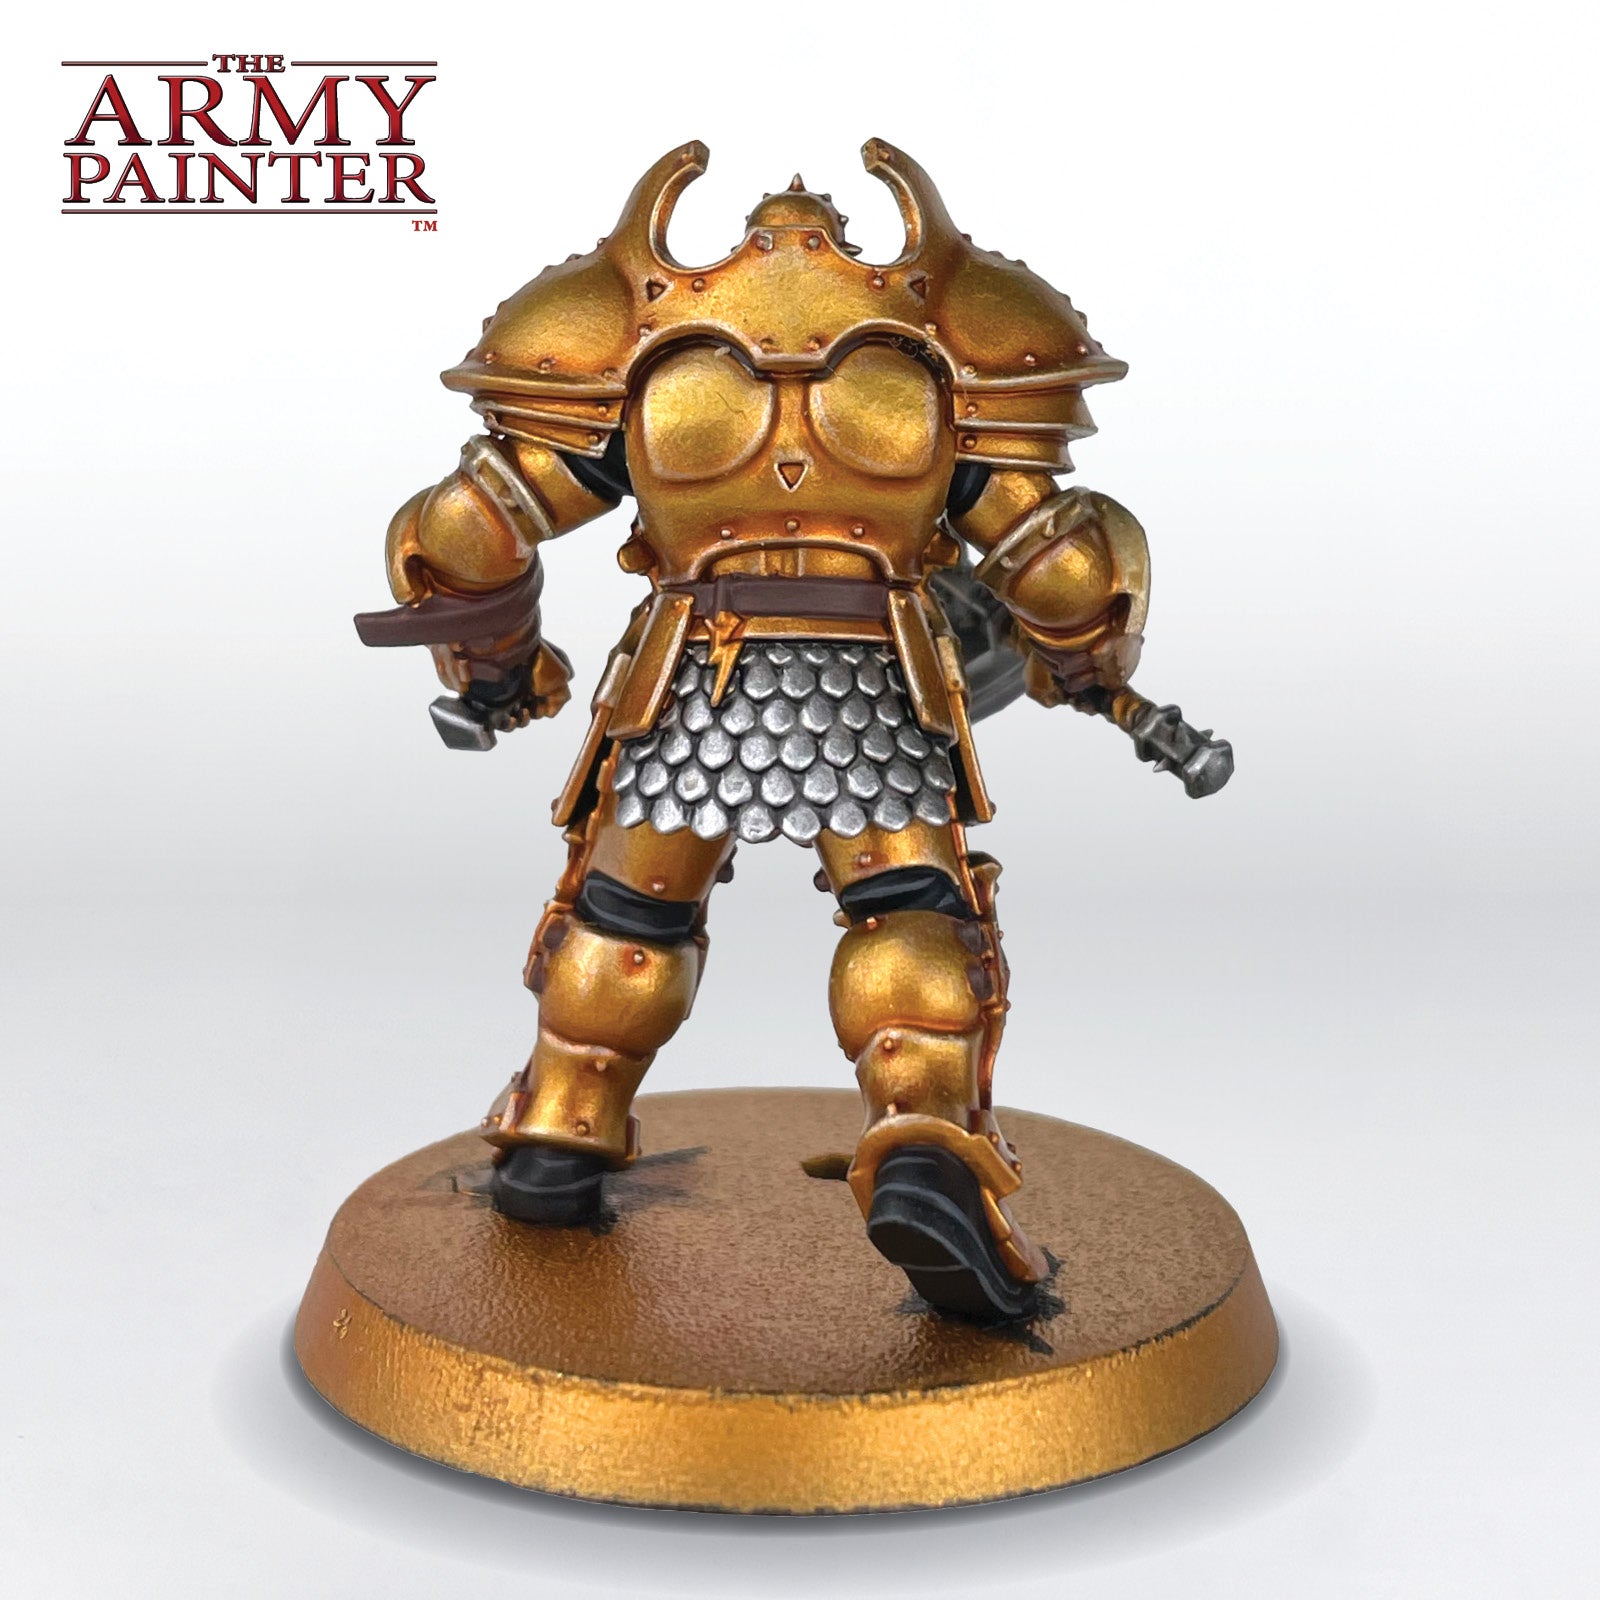
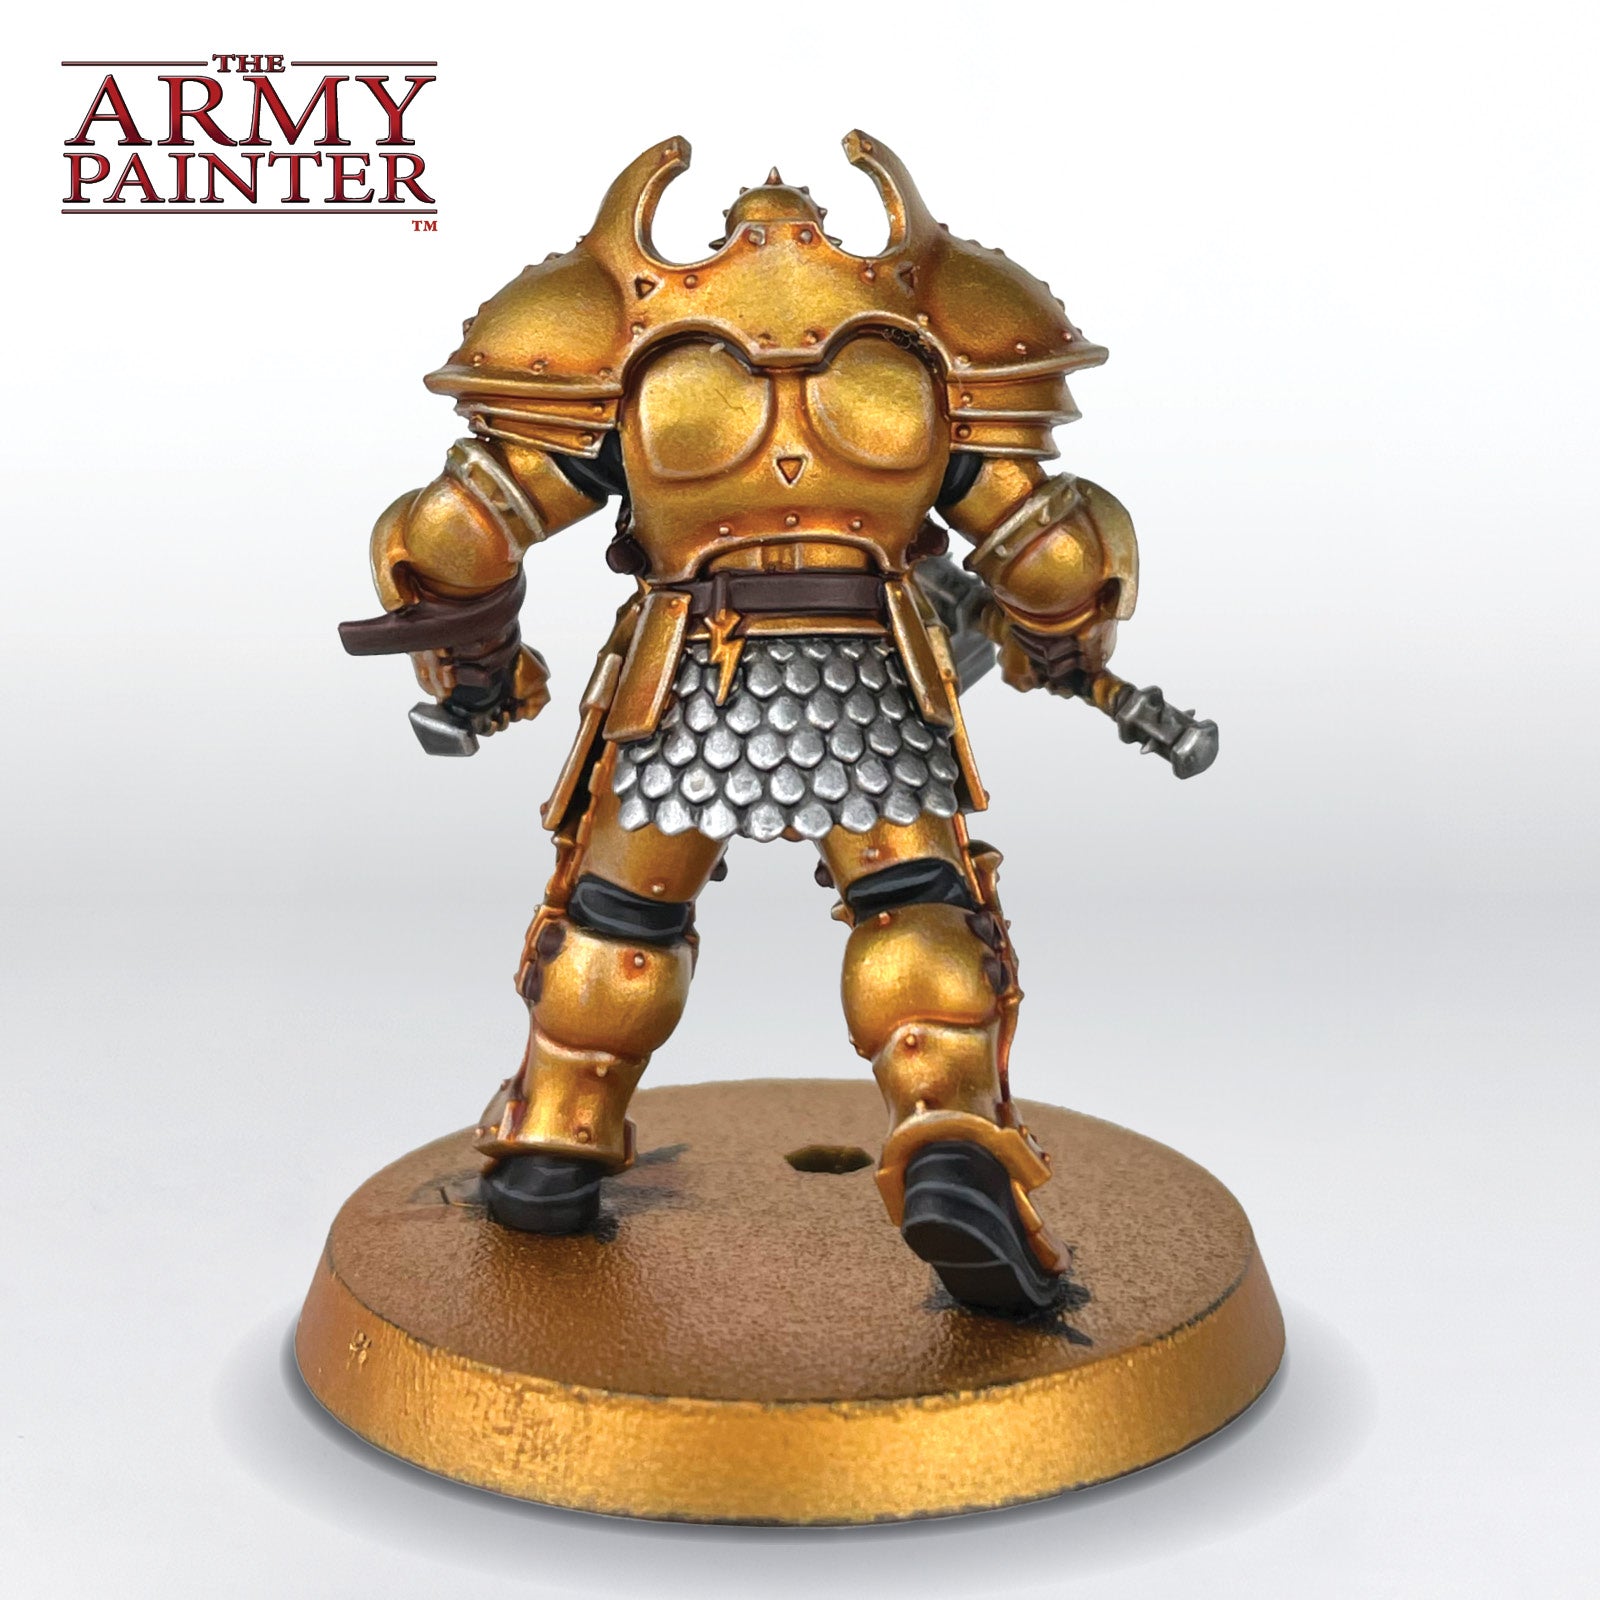
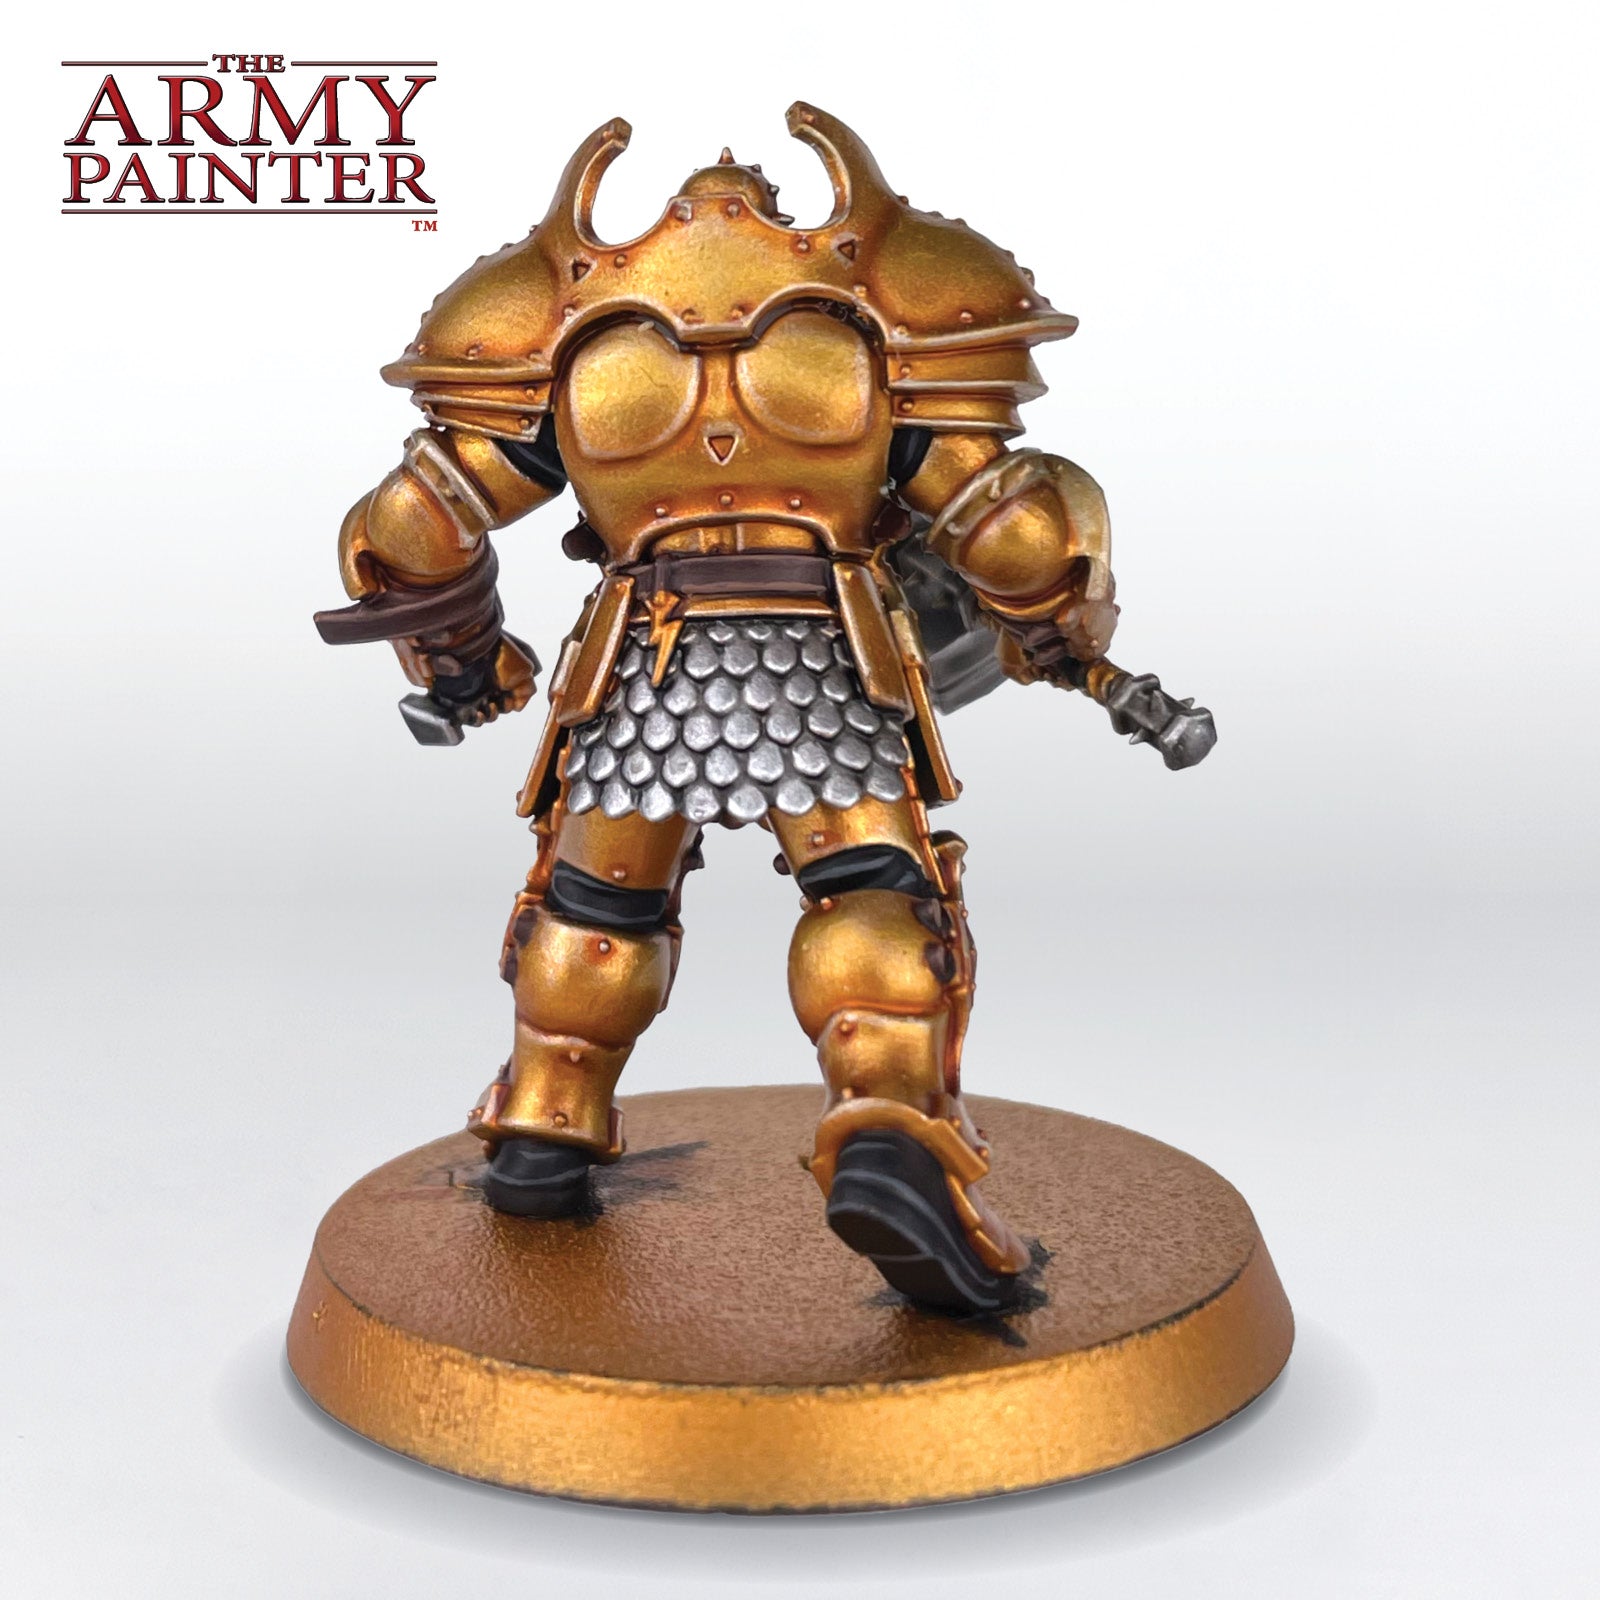
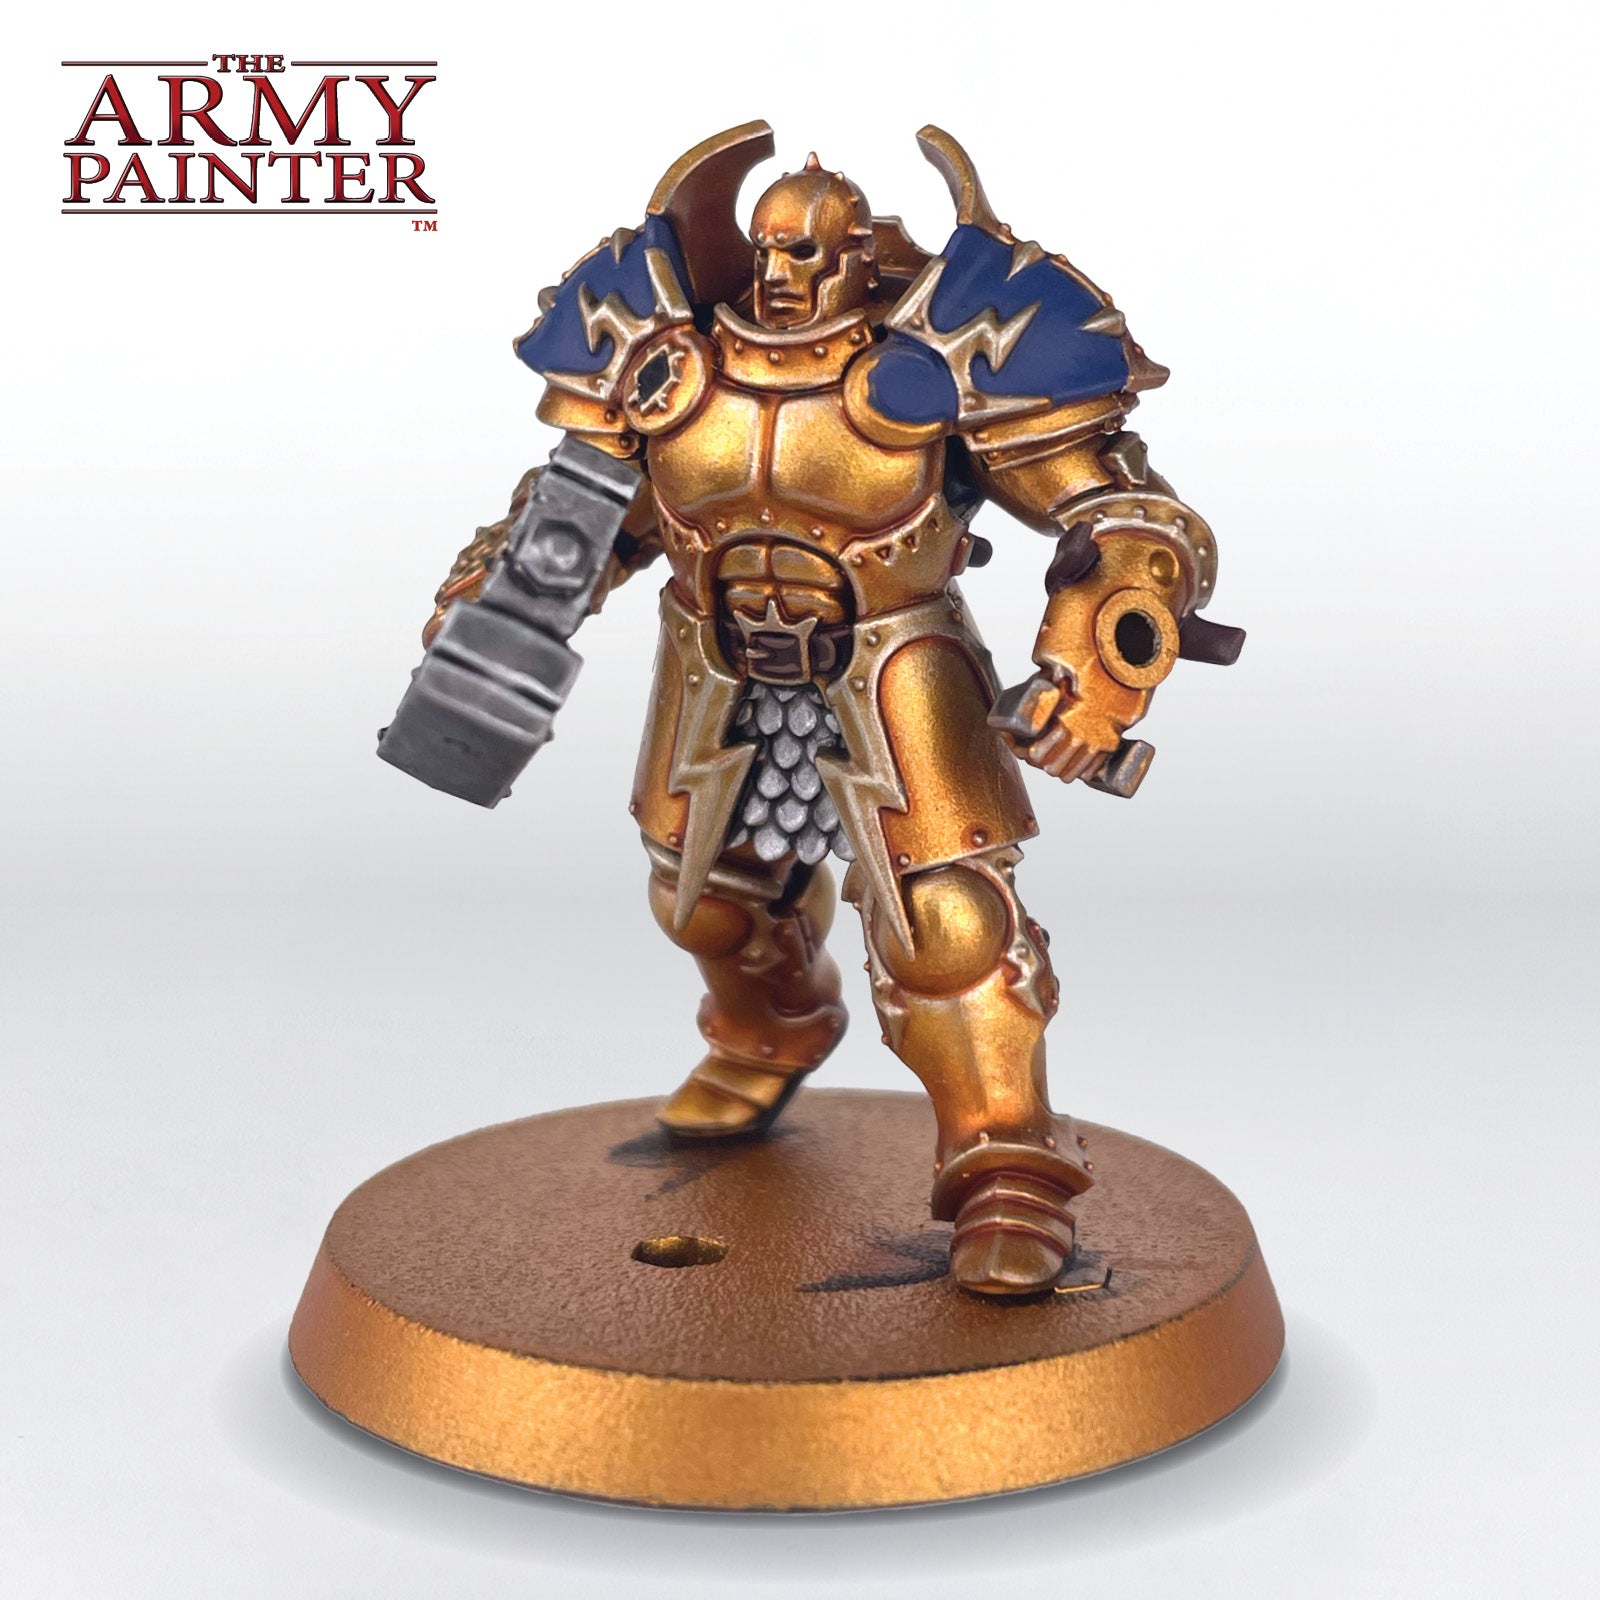
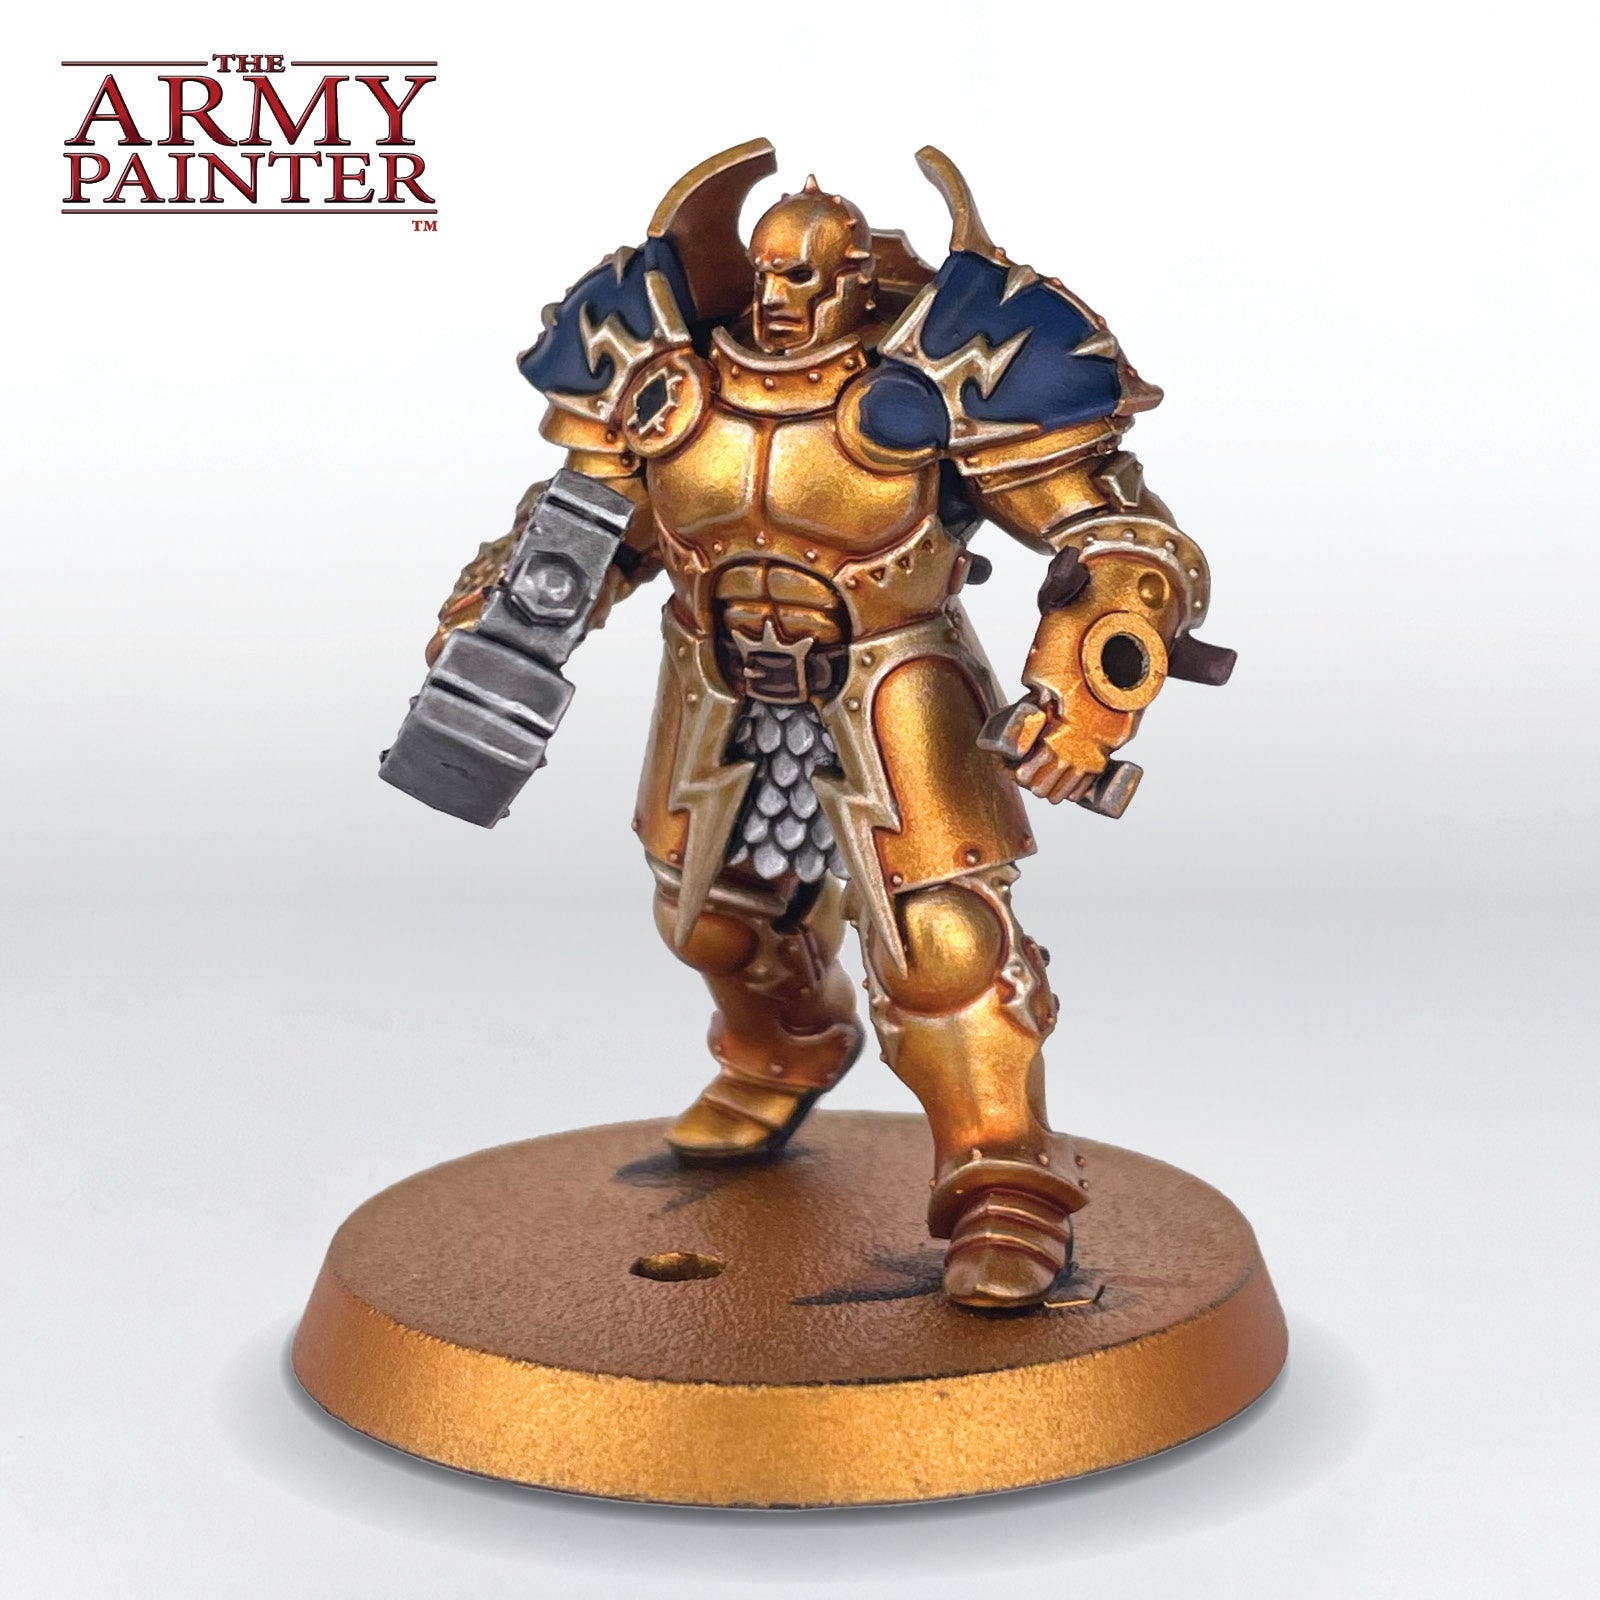
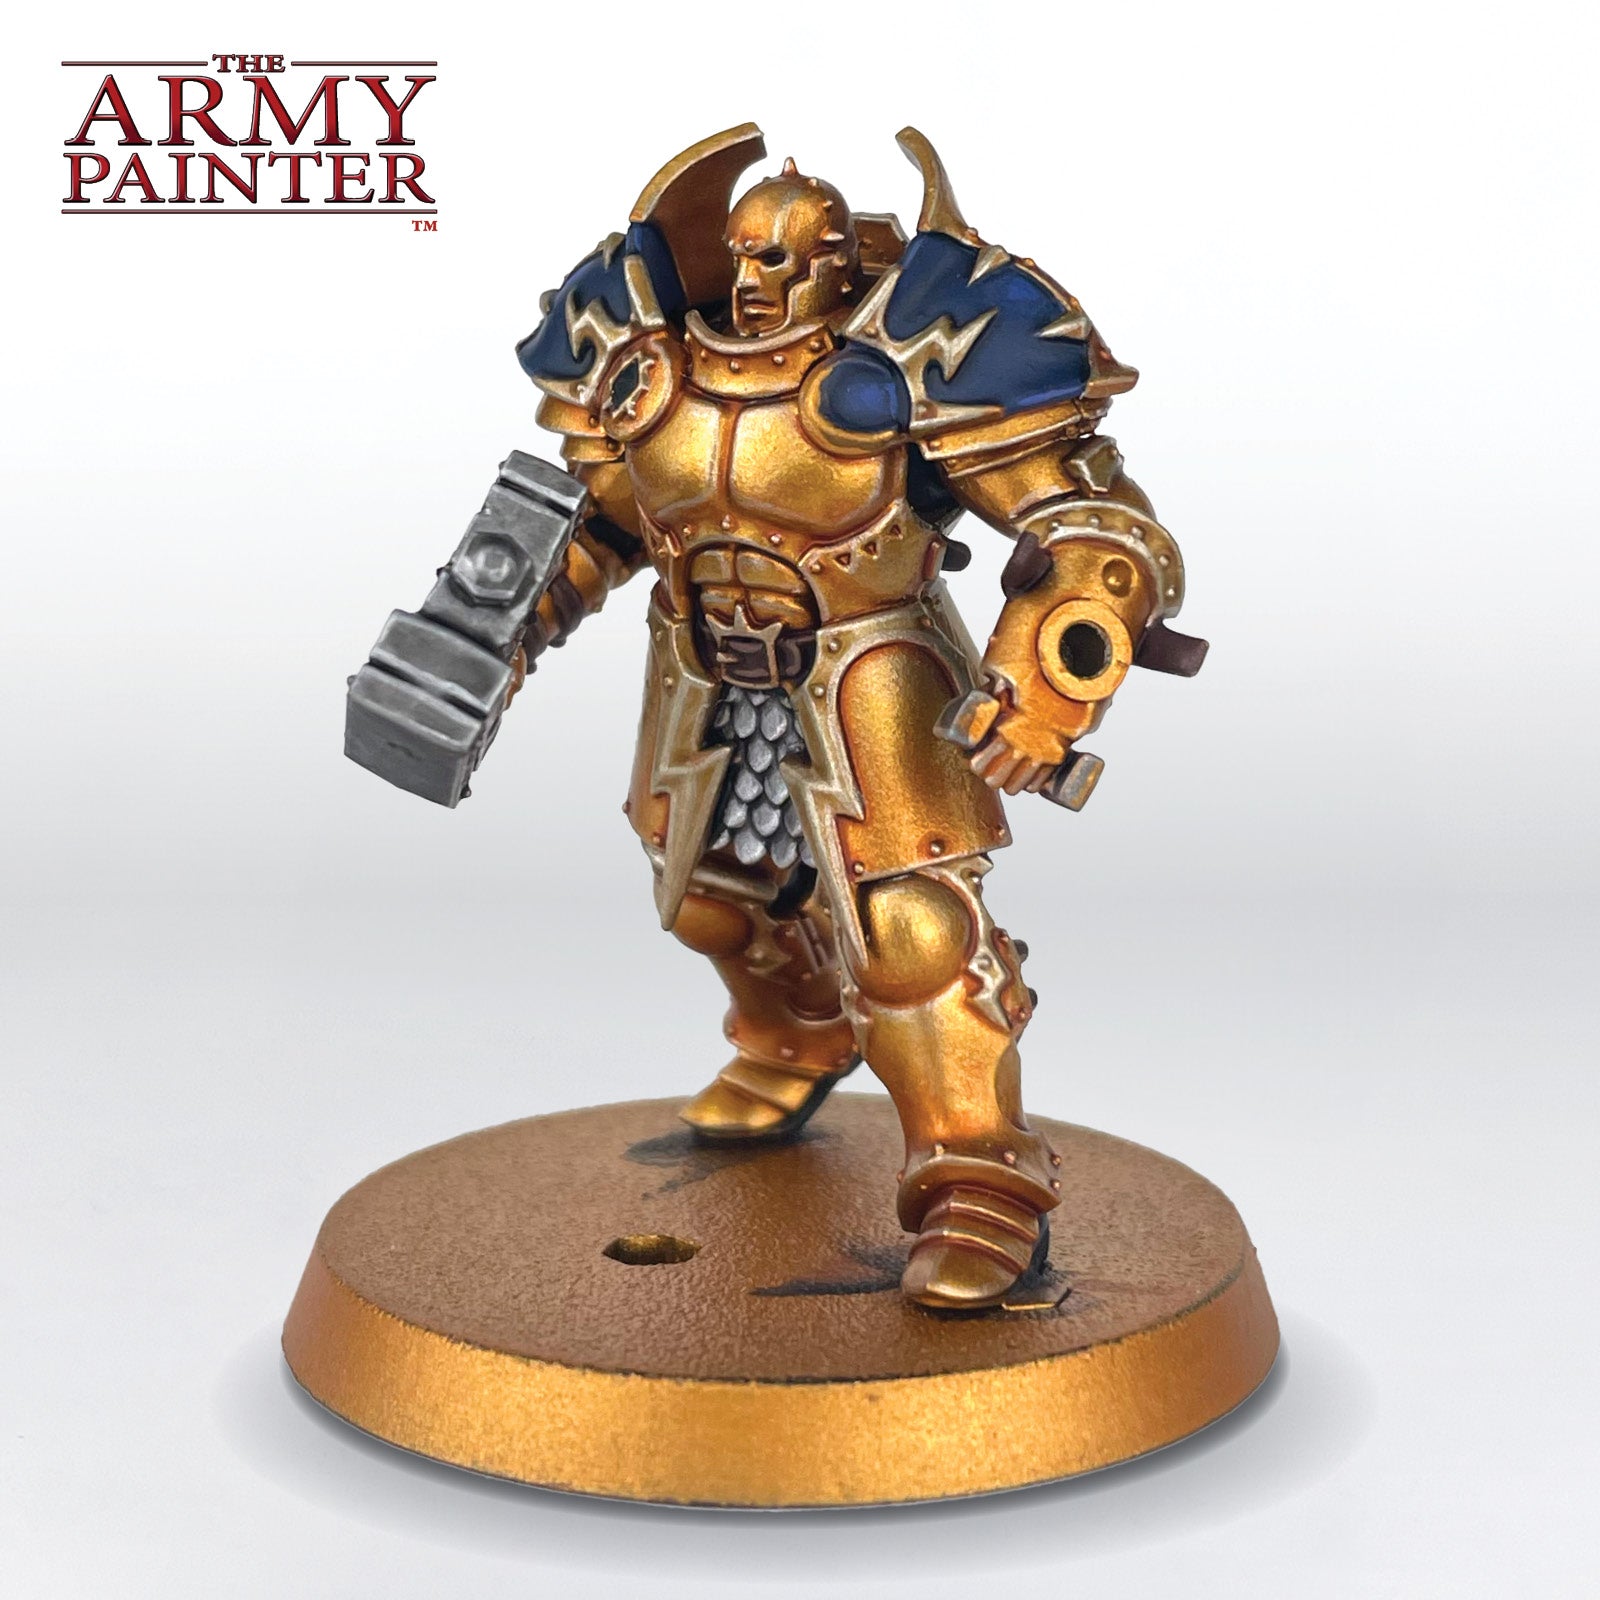
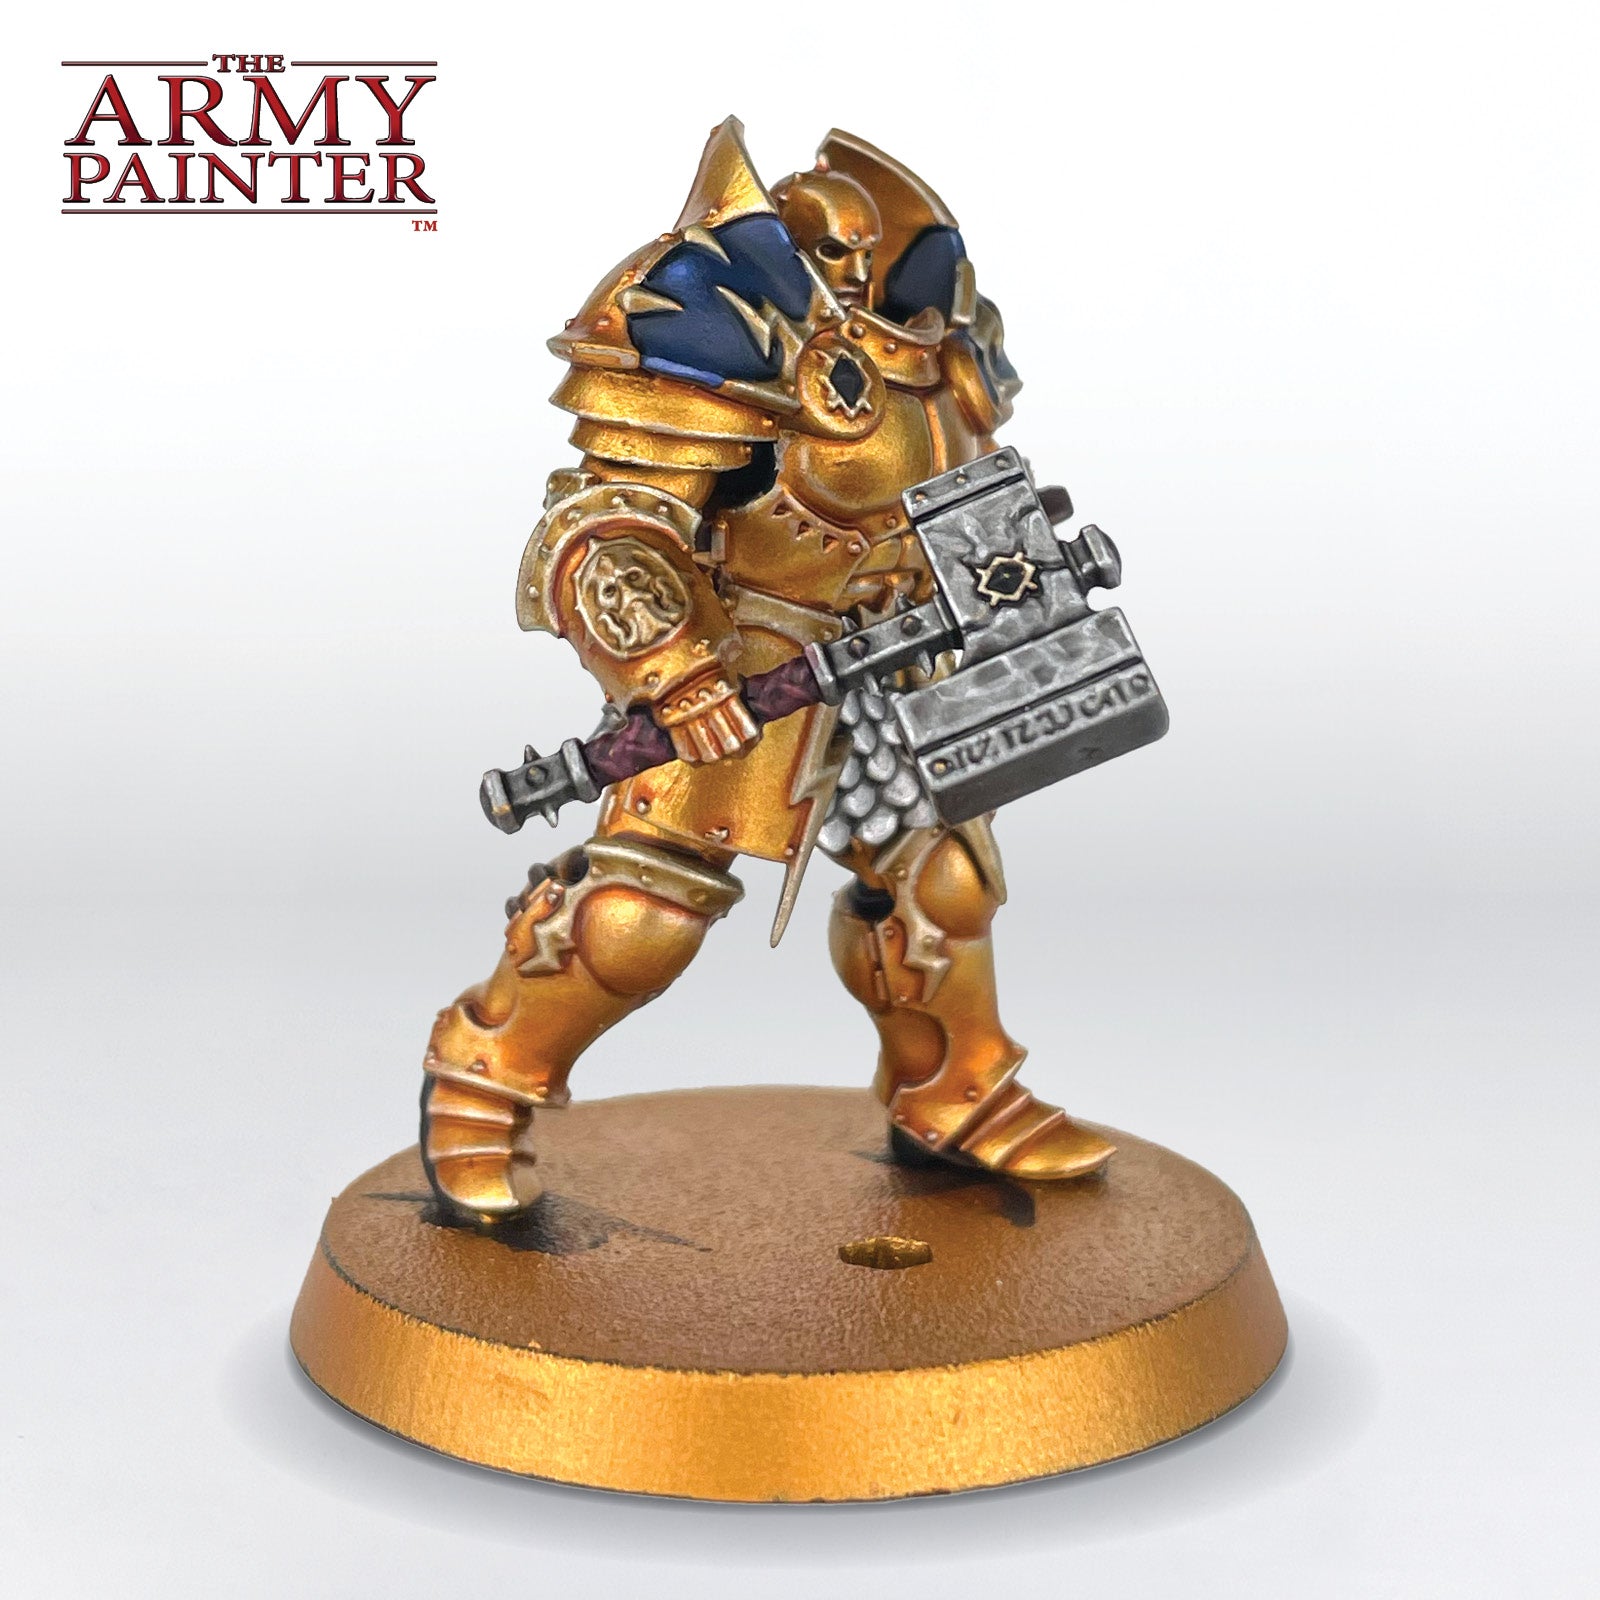
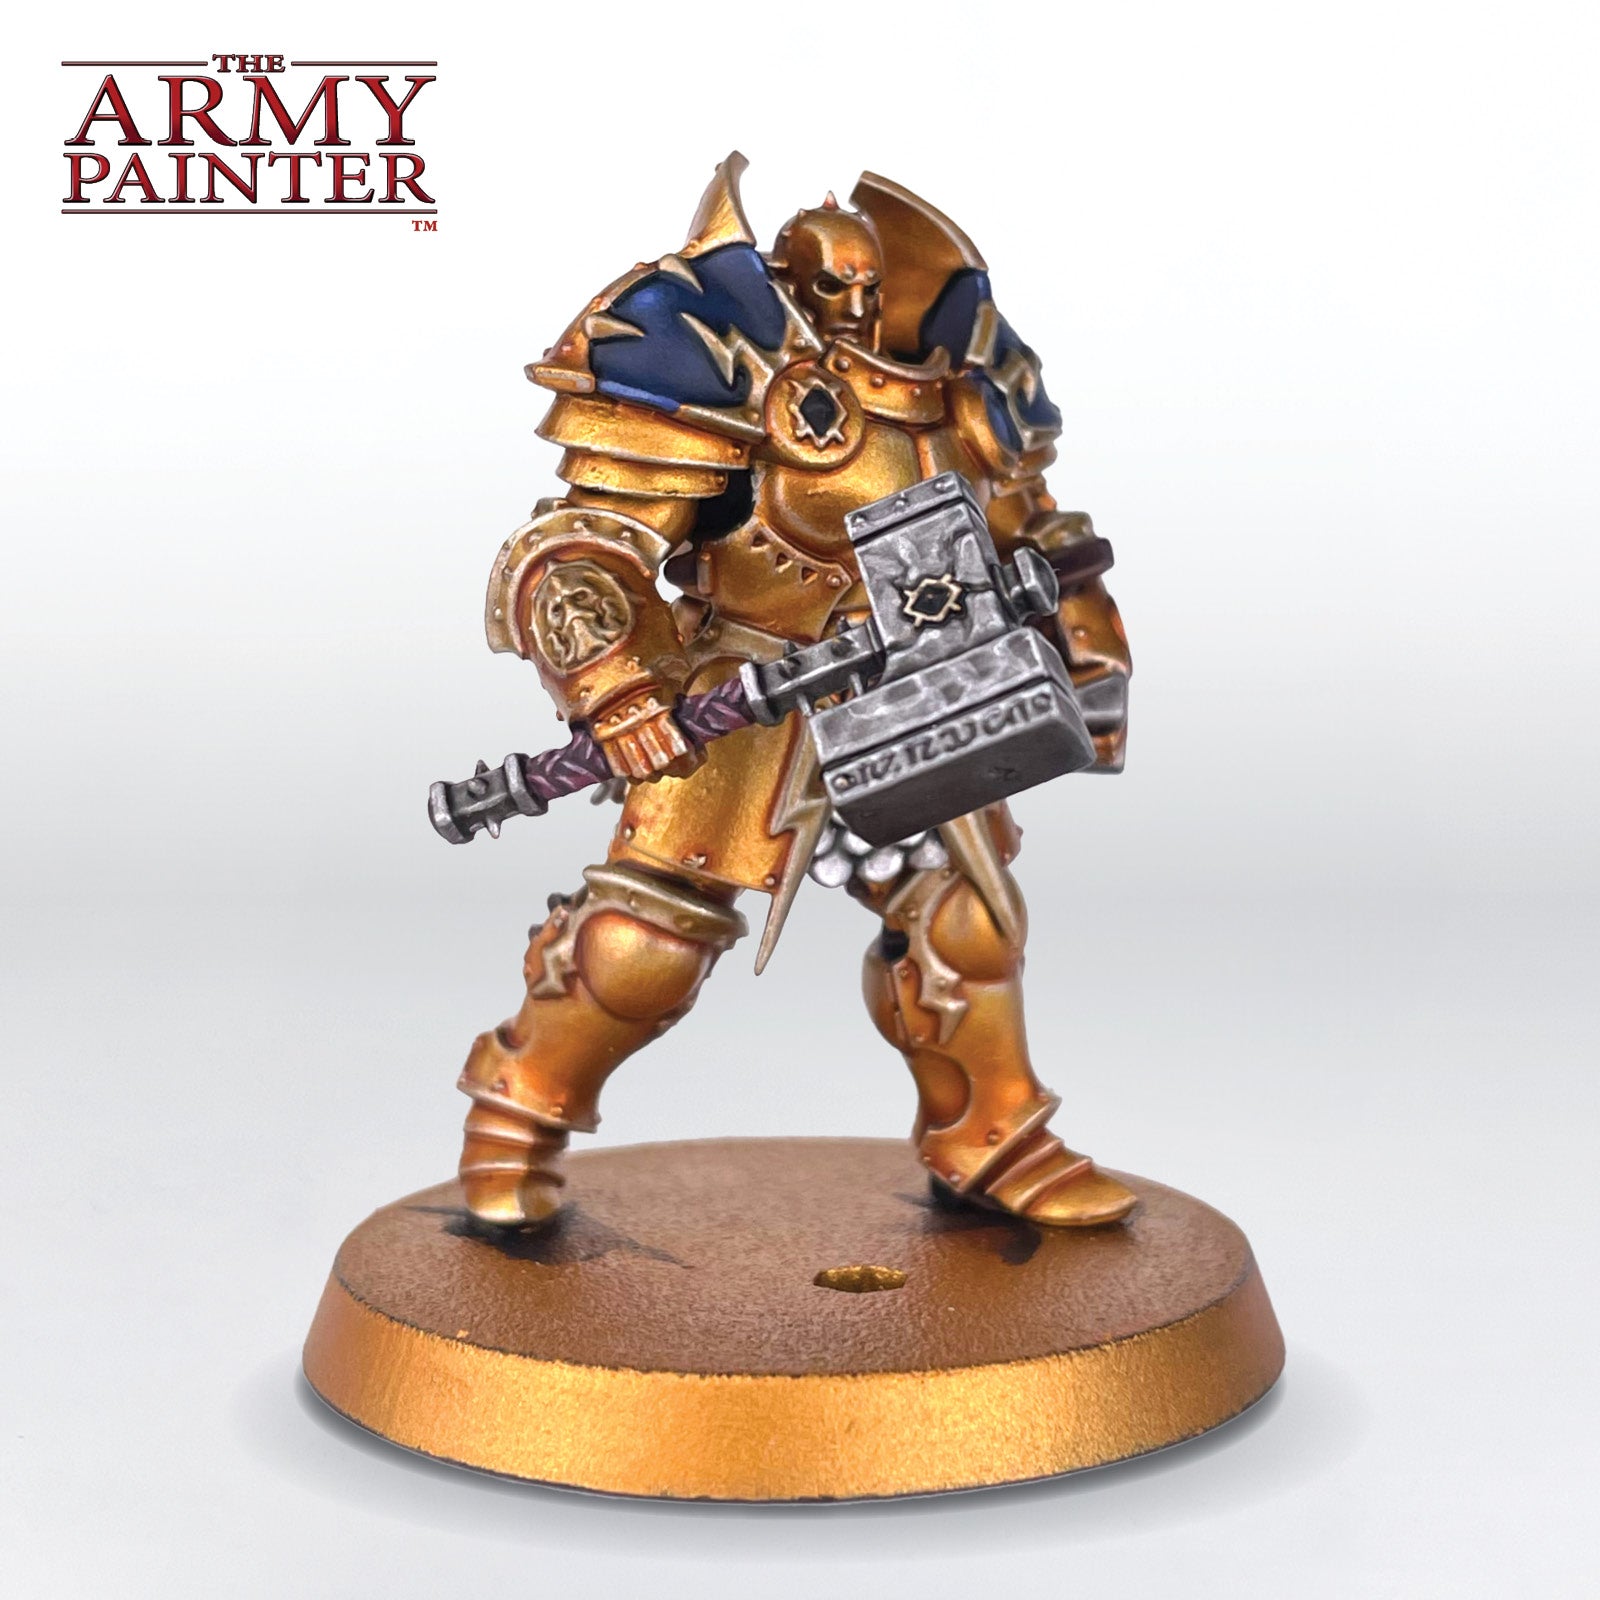
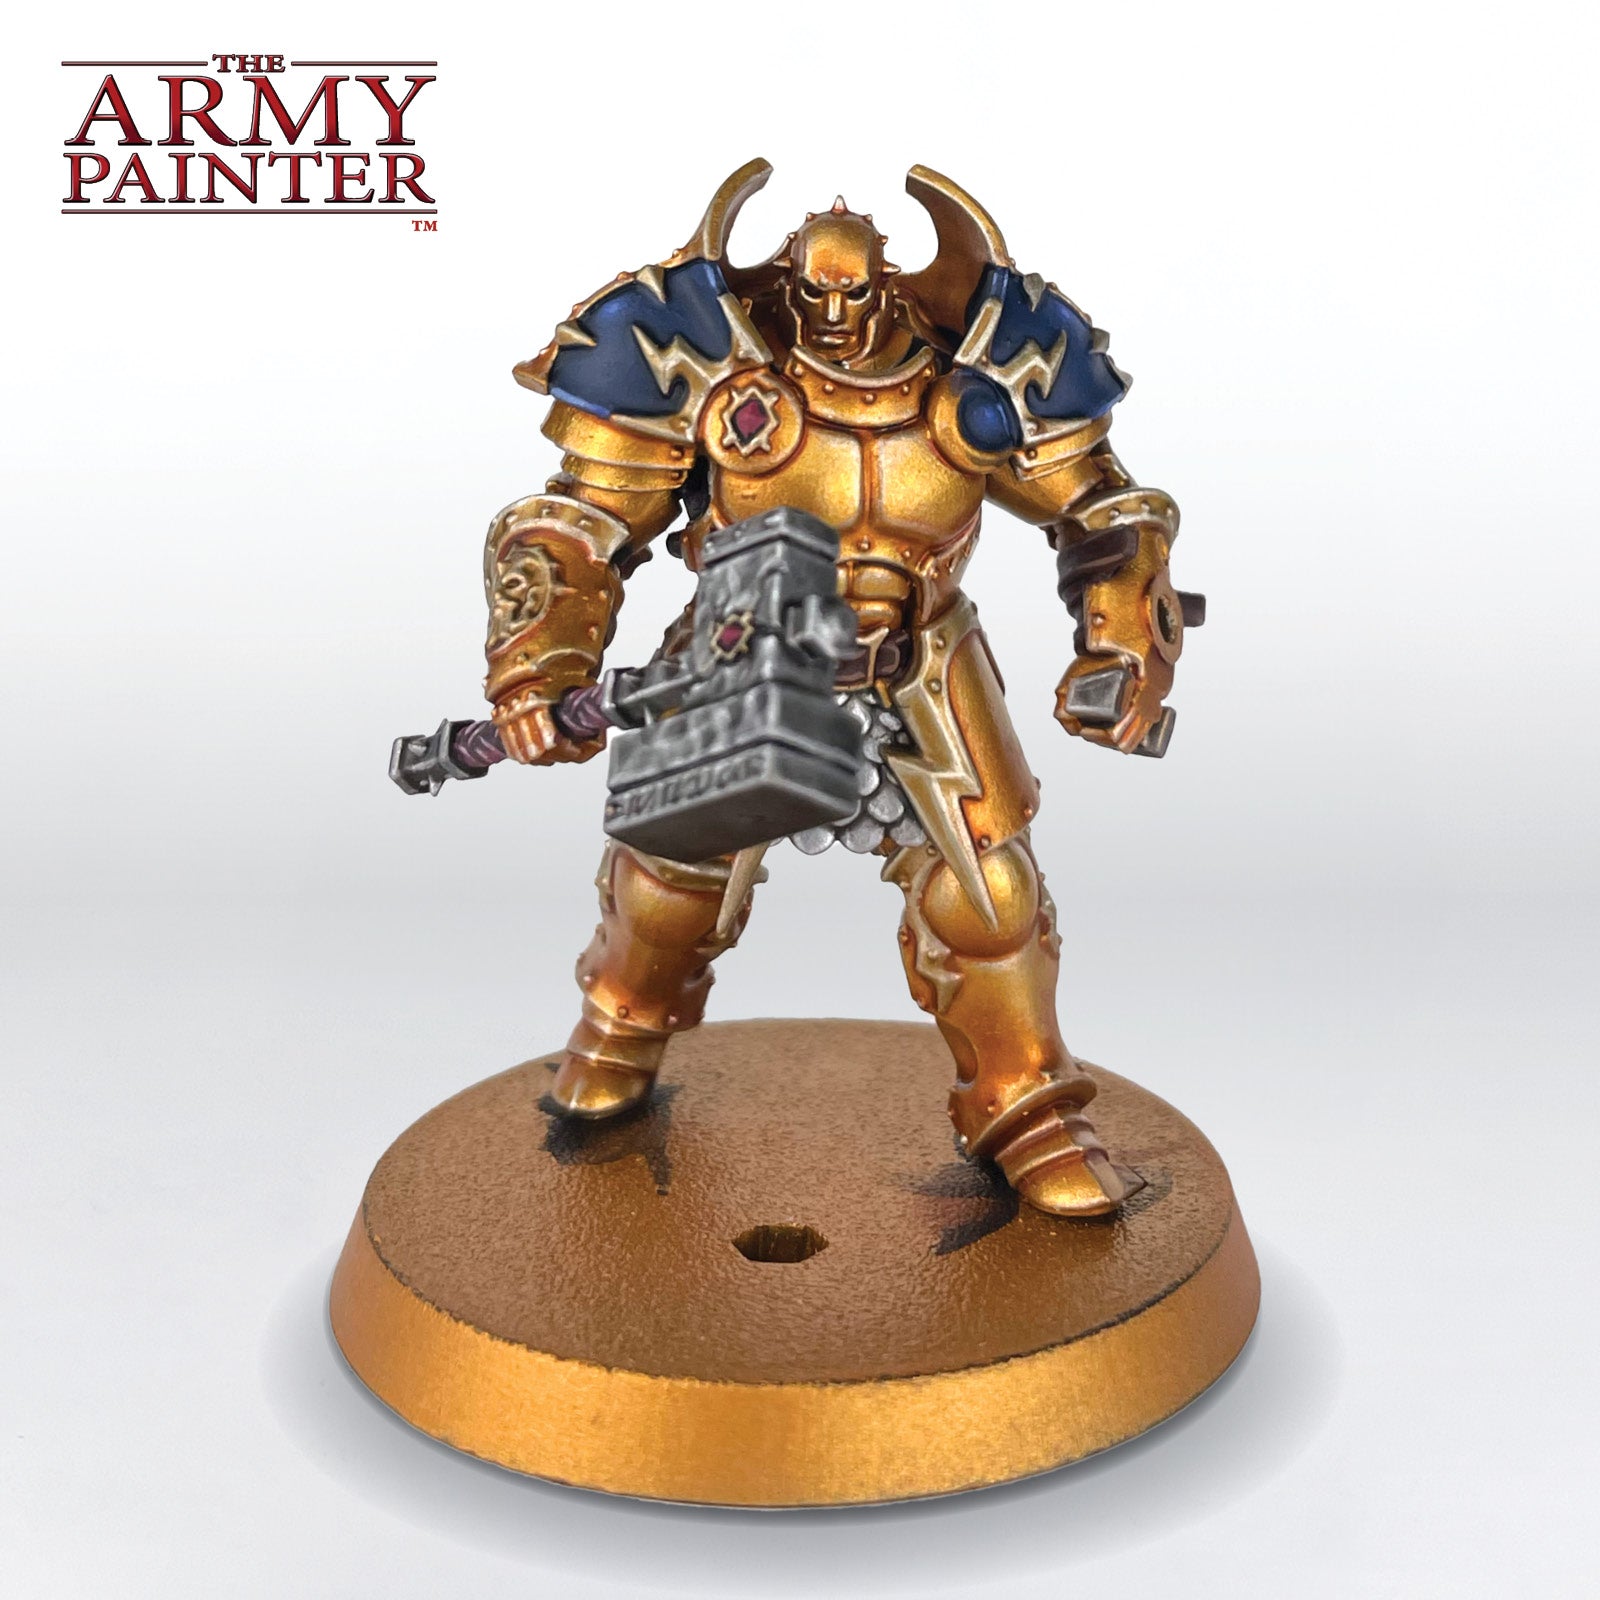
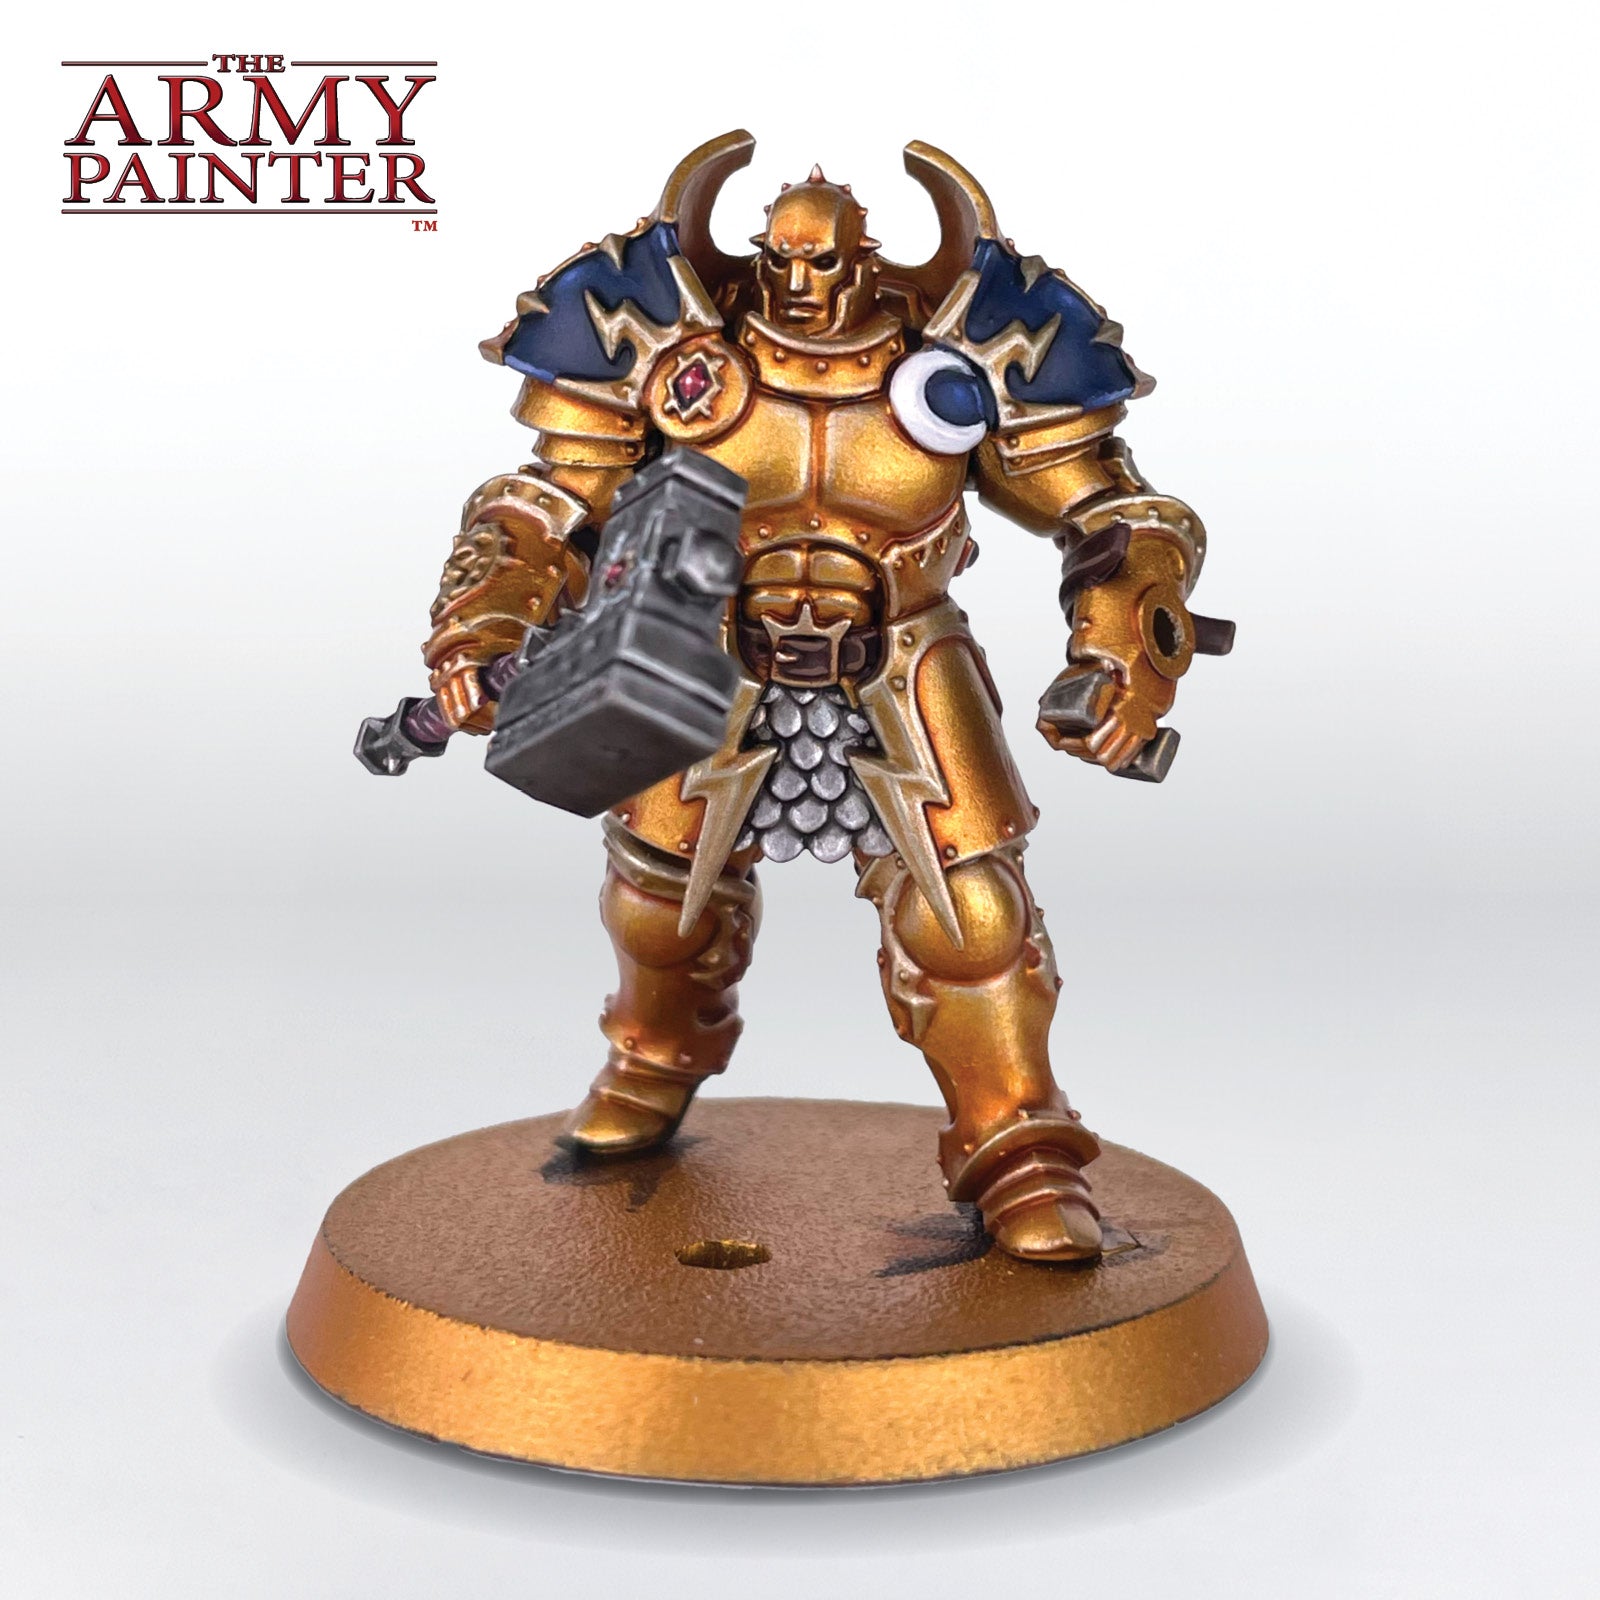
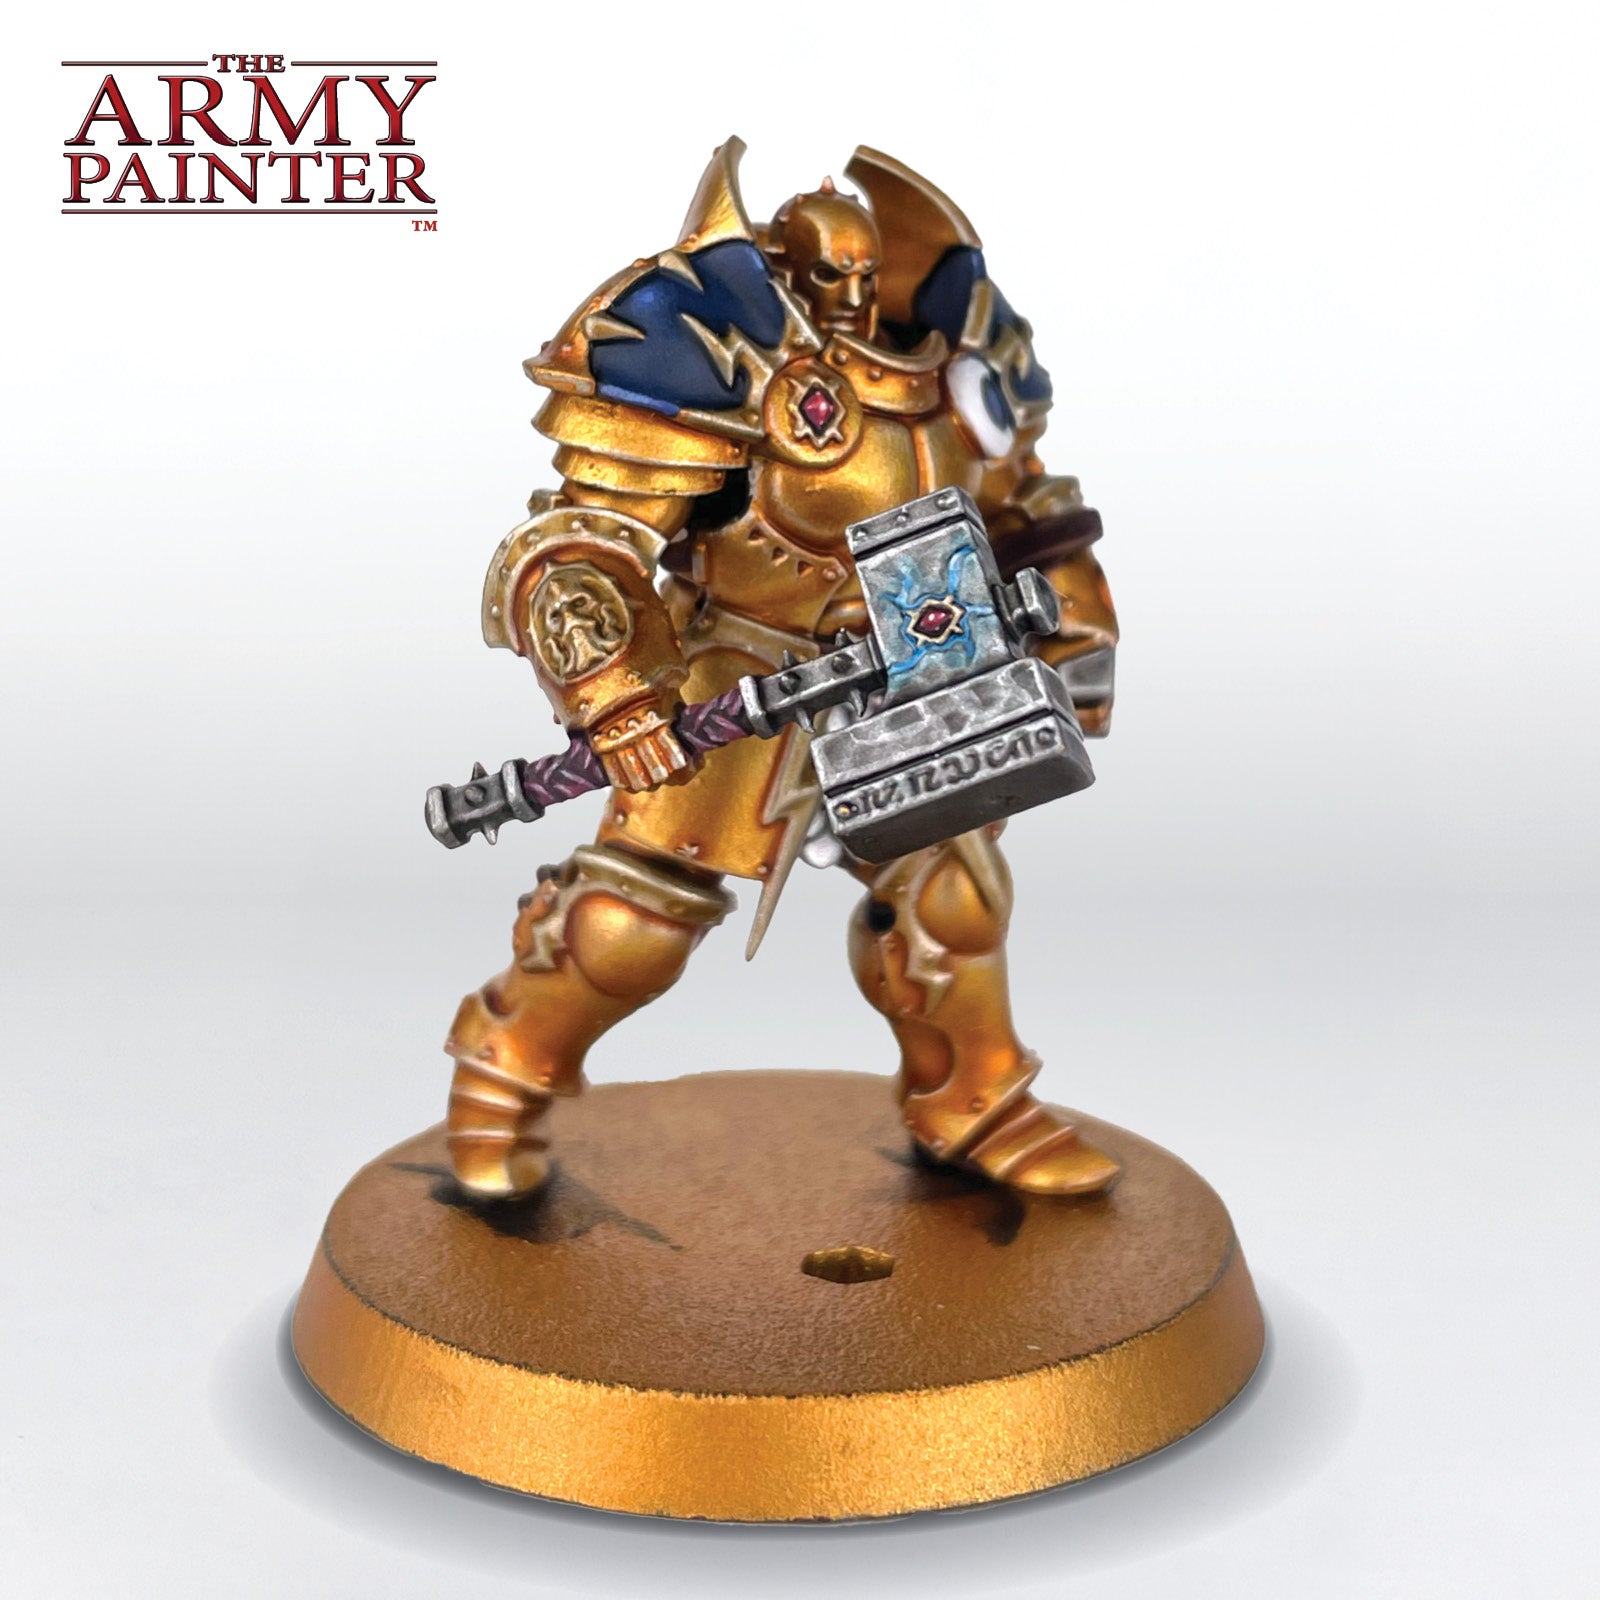
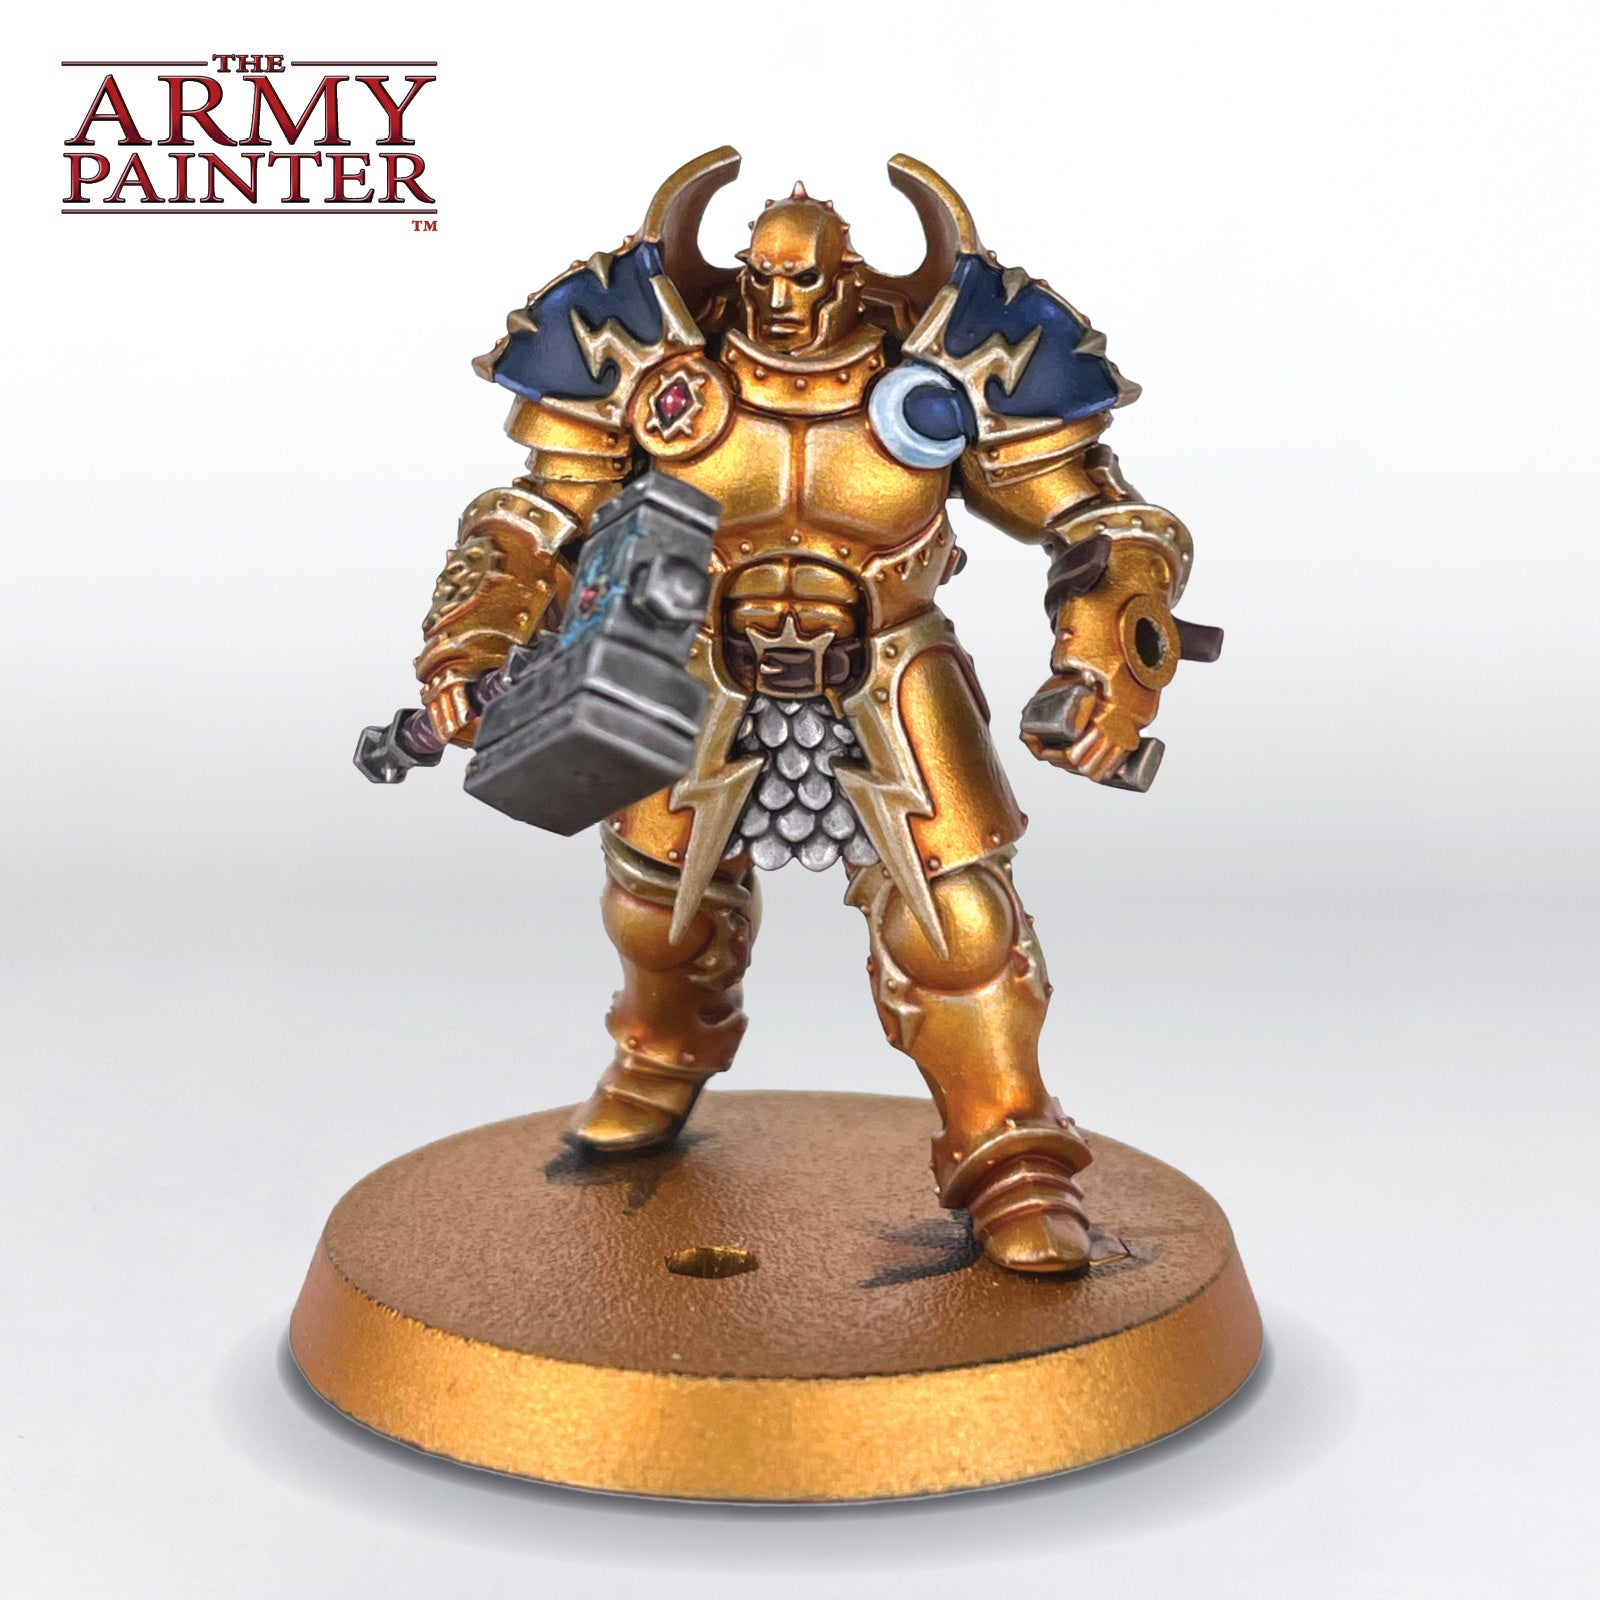
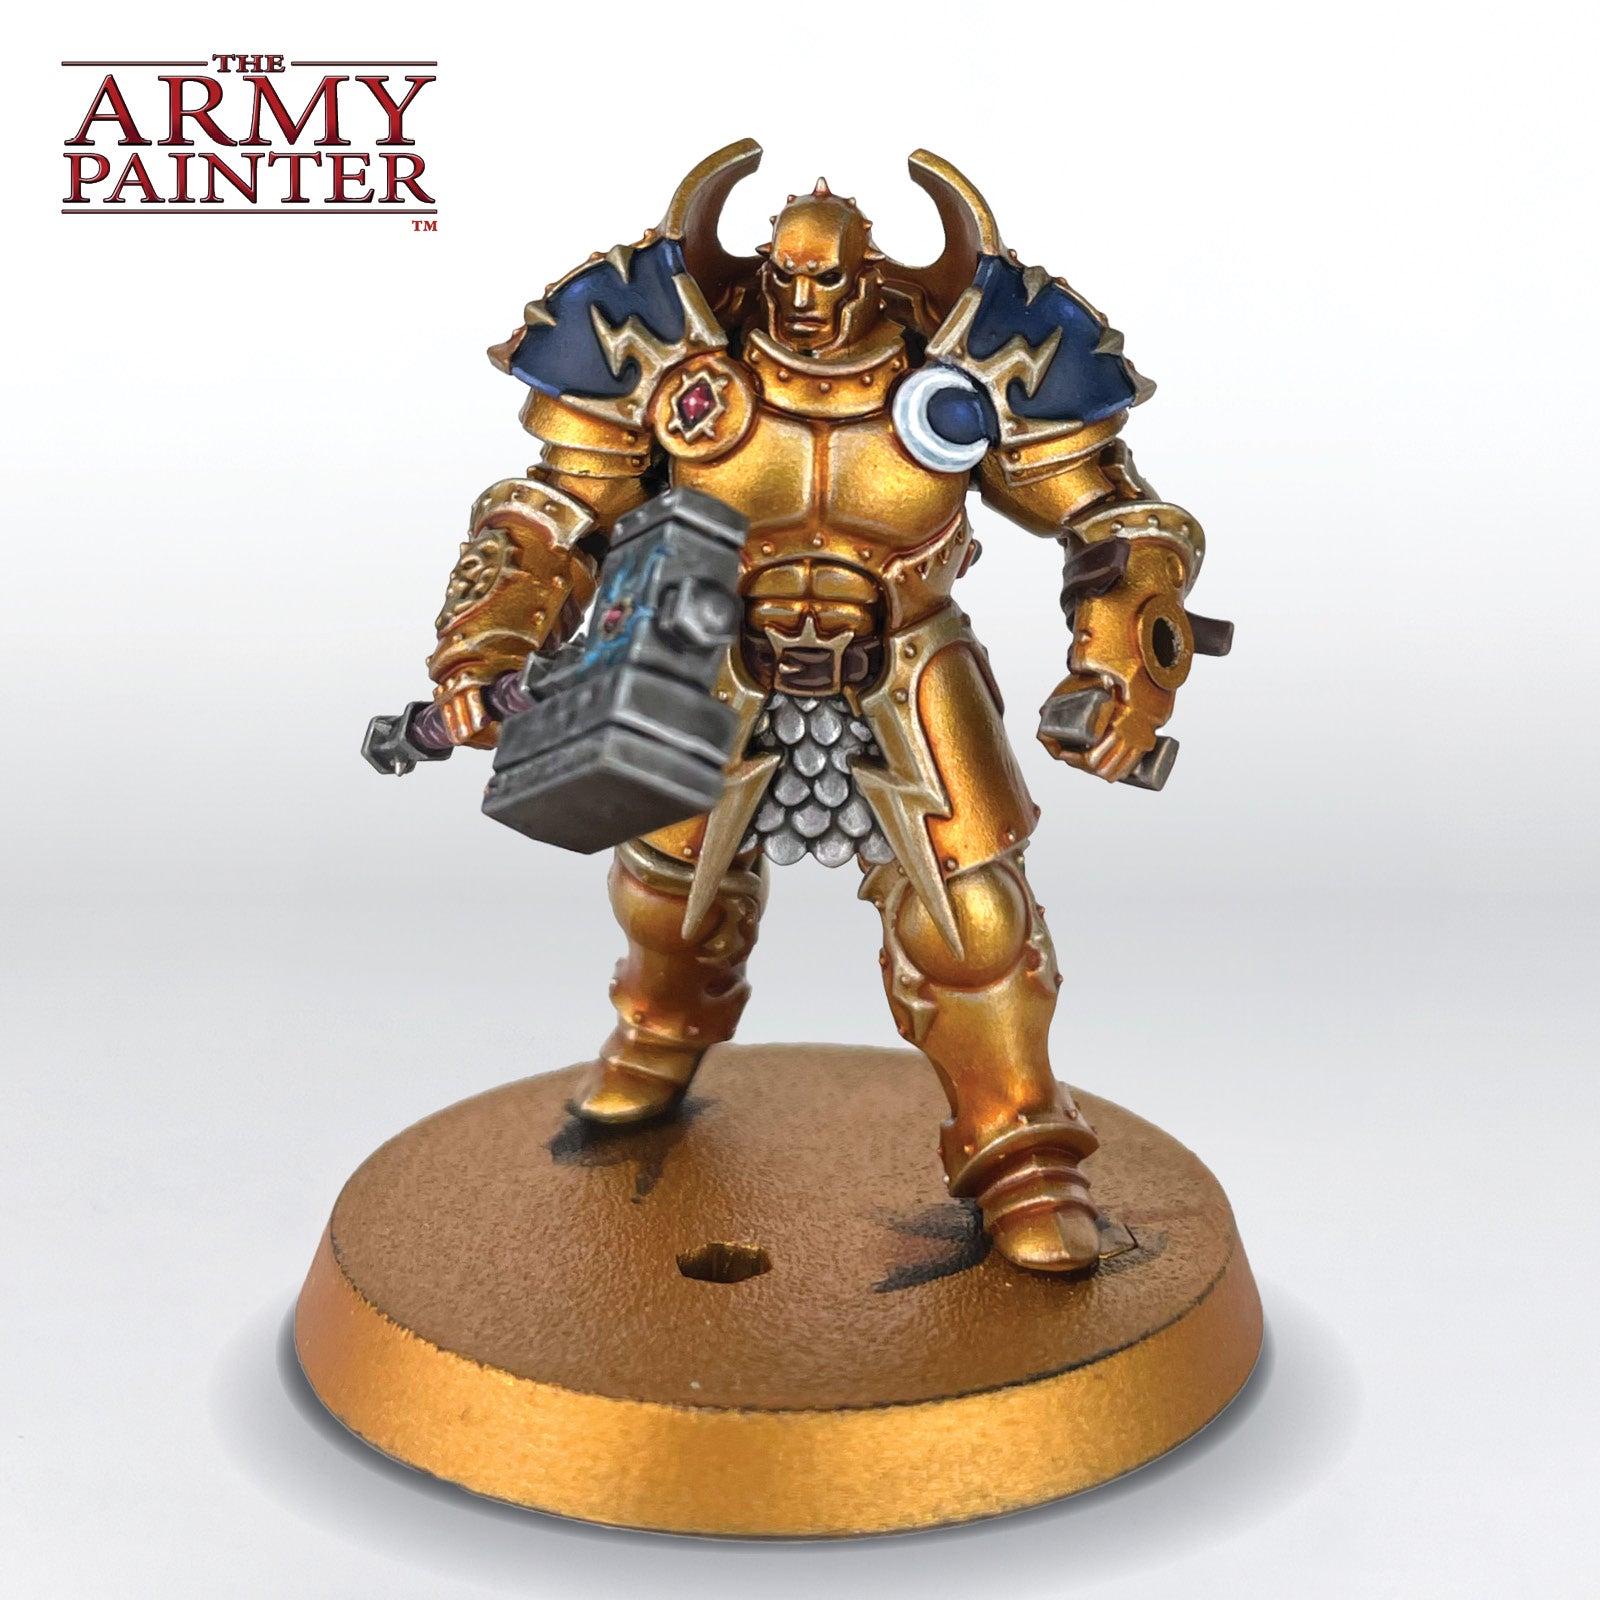
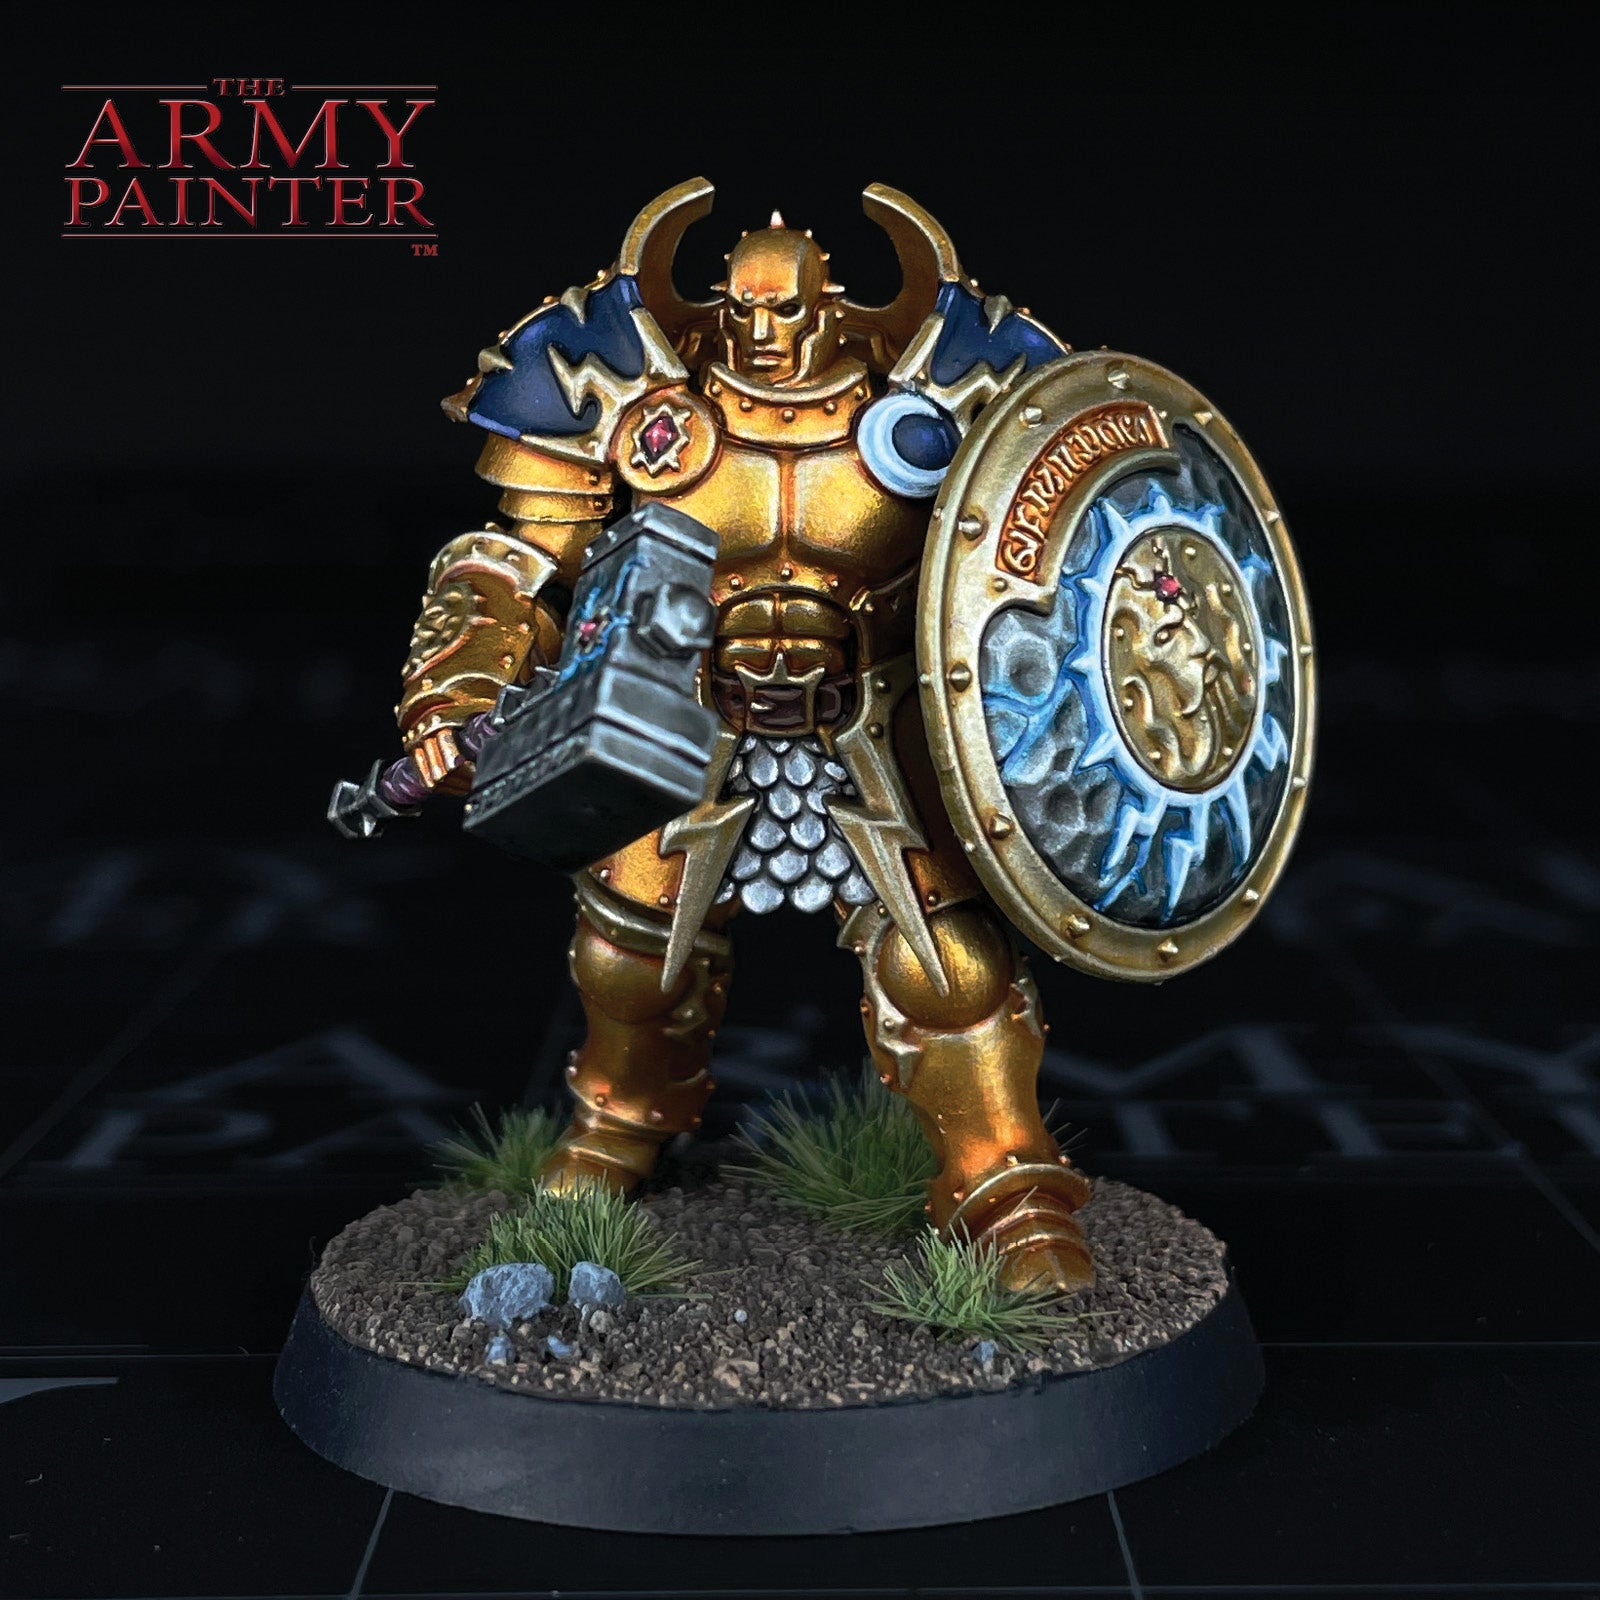
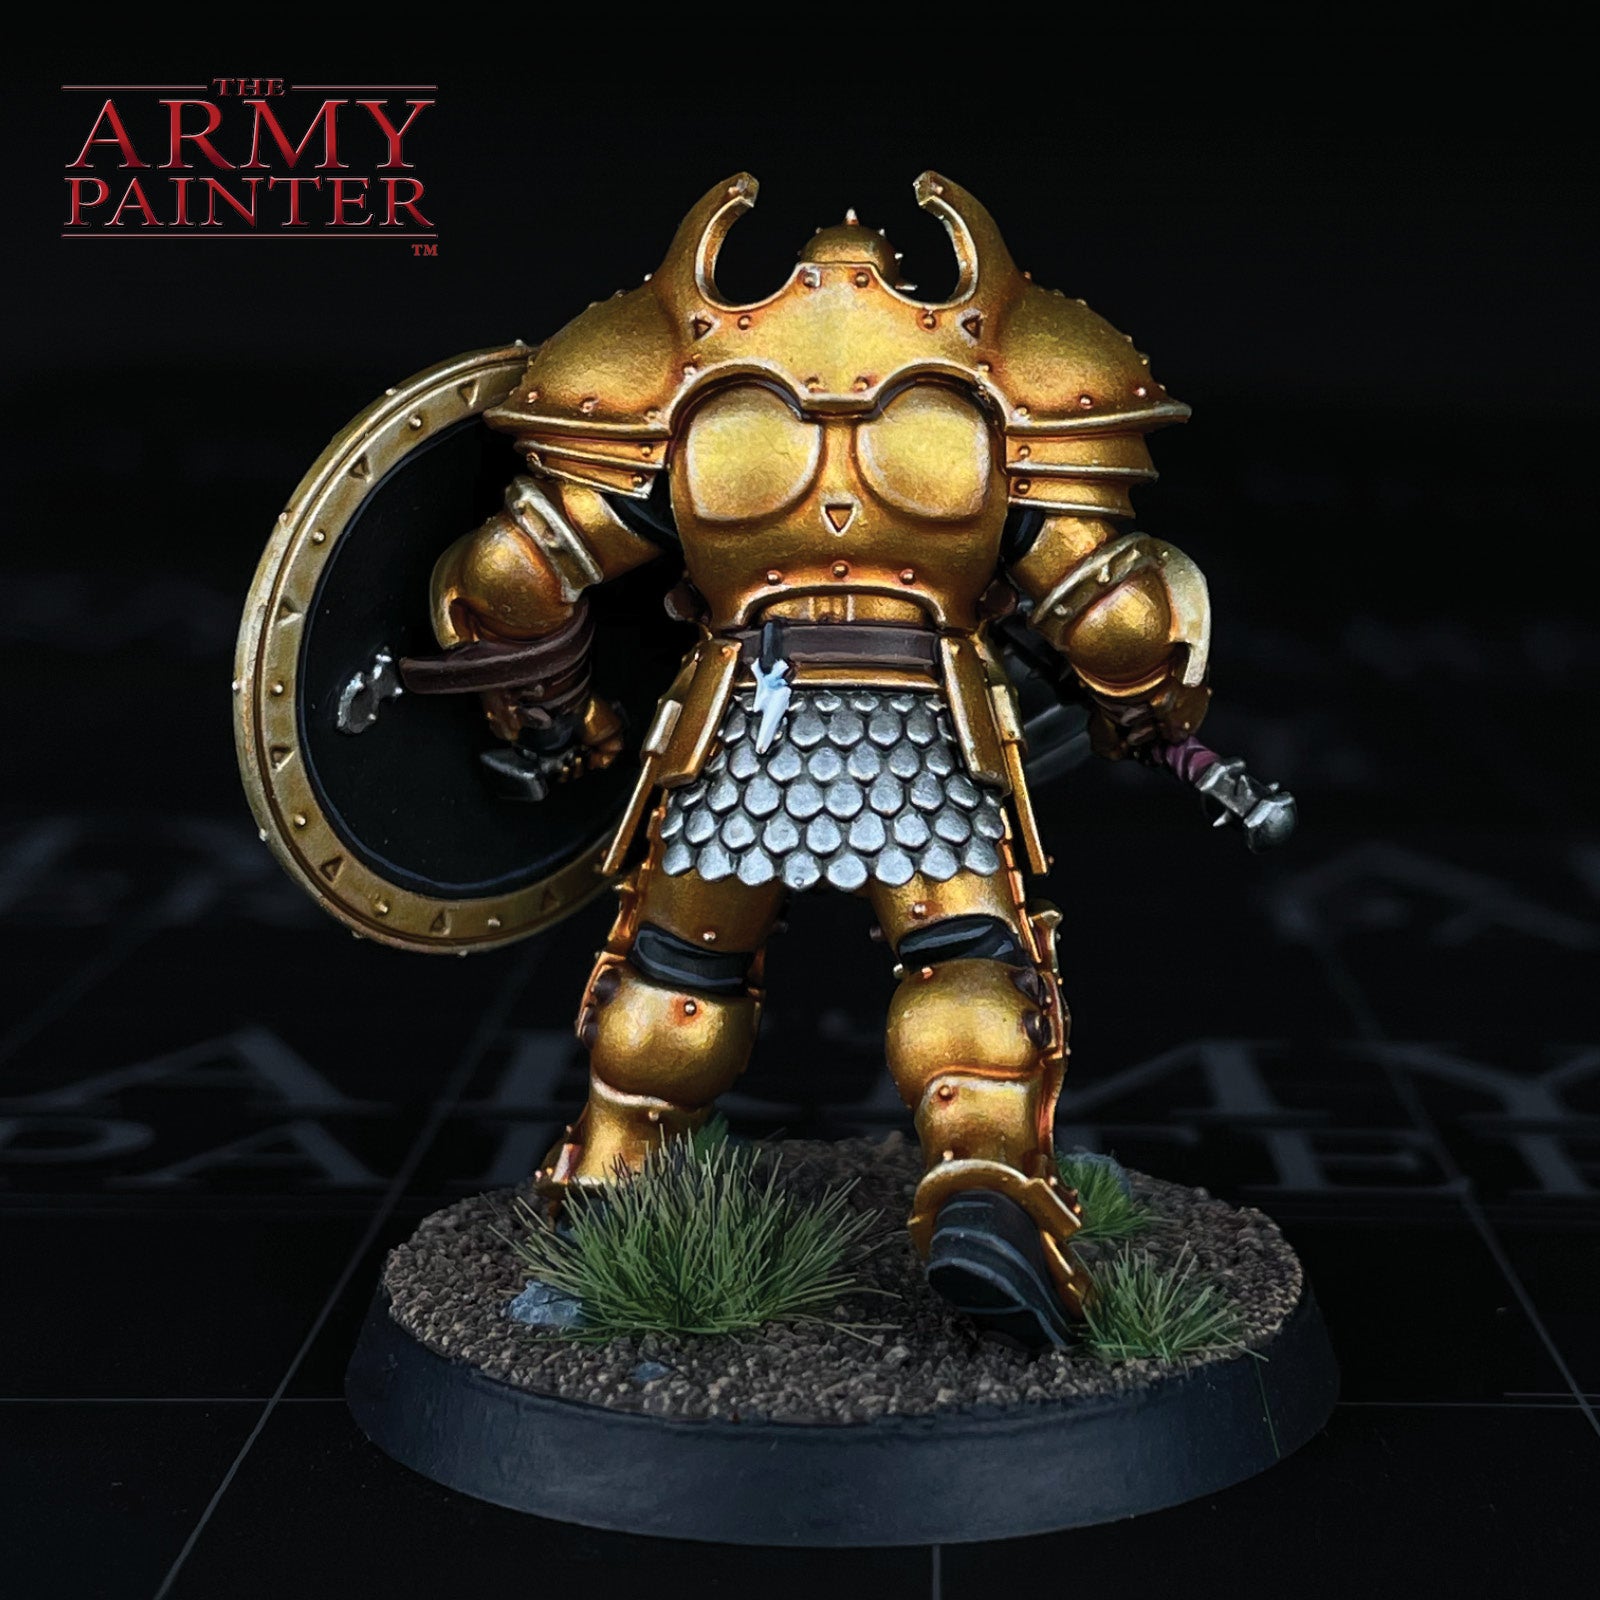
The gleaming, golden Stormcast Eternal is a hallmark of Games Workshop’s Age of Sigmar. A sign of hope and might, they bring light into the darkness of the Mortal Realms. There’s something to be said for the poster faction of a setting. Even with the darker, grimmer take on these eternal warriors proliferating the new edition of the game, the classic golden Hammers of Sigmar have a certain charm - a ray of optimism in the bleak war-torn setting. It also gives you a chance to really lean into how shiny and magnificent the Warpaints Fanatic metallics are, not to mention saving time with your Colour Primer Greedy Gold spray.
Grab your hammer, don your sigmarite, and set forth to save the realms in the name of Sigmar with this mighty Stormcast Eternals Annihilator!
This tutorial is broken down by colour segments, starting with the golden armour, then moving onto the silver, then the leather, and so on. Each section is further broken down into manageable steps by applying one colour at a time. If you’re on a desktop, simply click the arrows at the bottom of each section to scroll through the steps or scroll to the side on your mobile phone.
Every colour on this miniature, other than the primer, comes from our new Warpaints Fanatic range.
Let's get painting!

The Golden Armour

Step 1
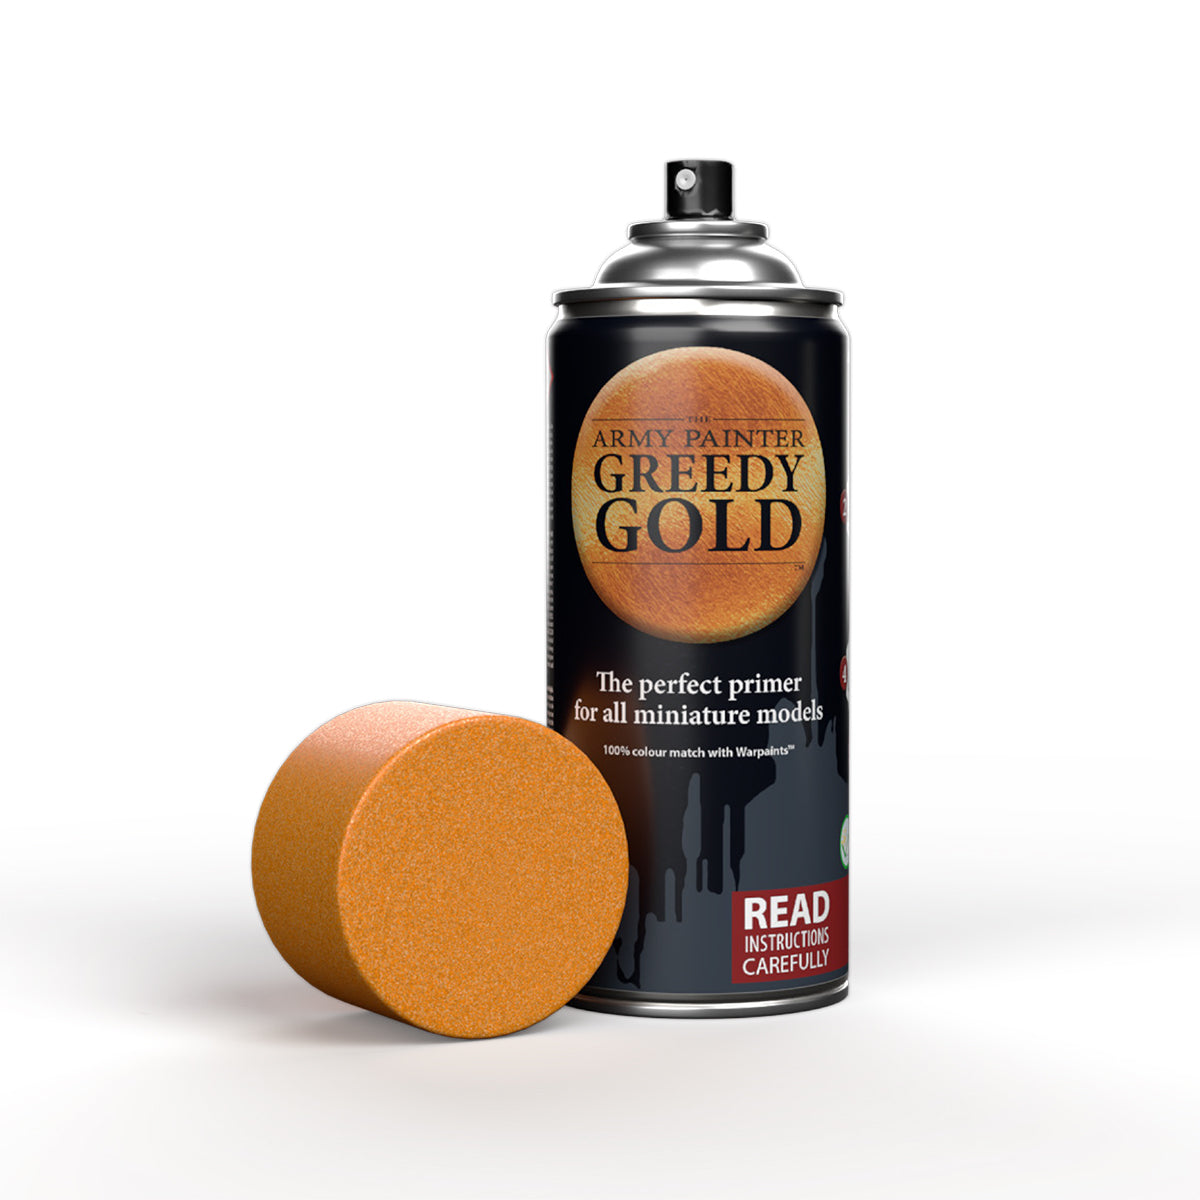
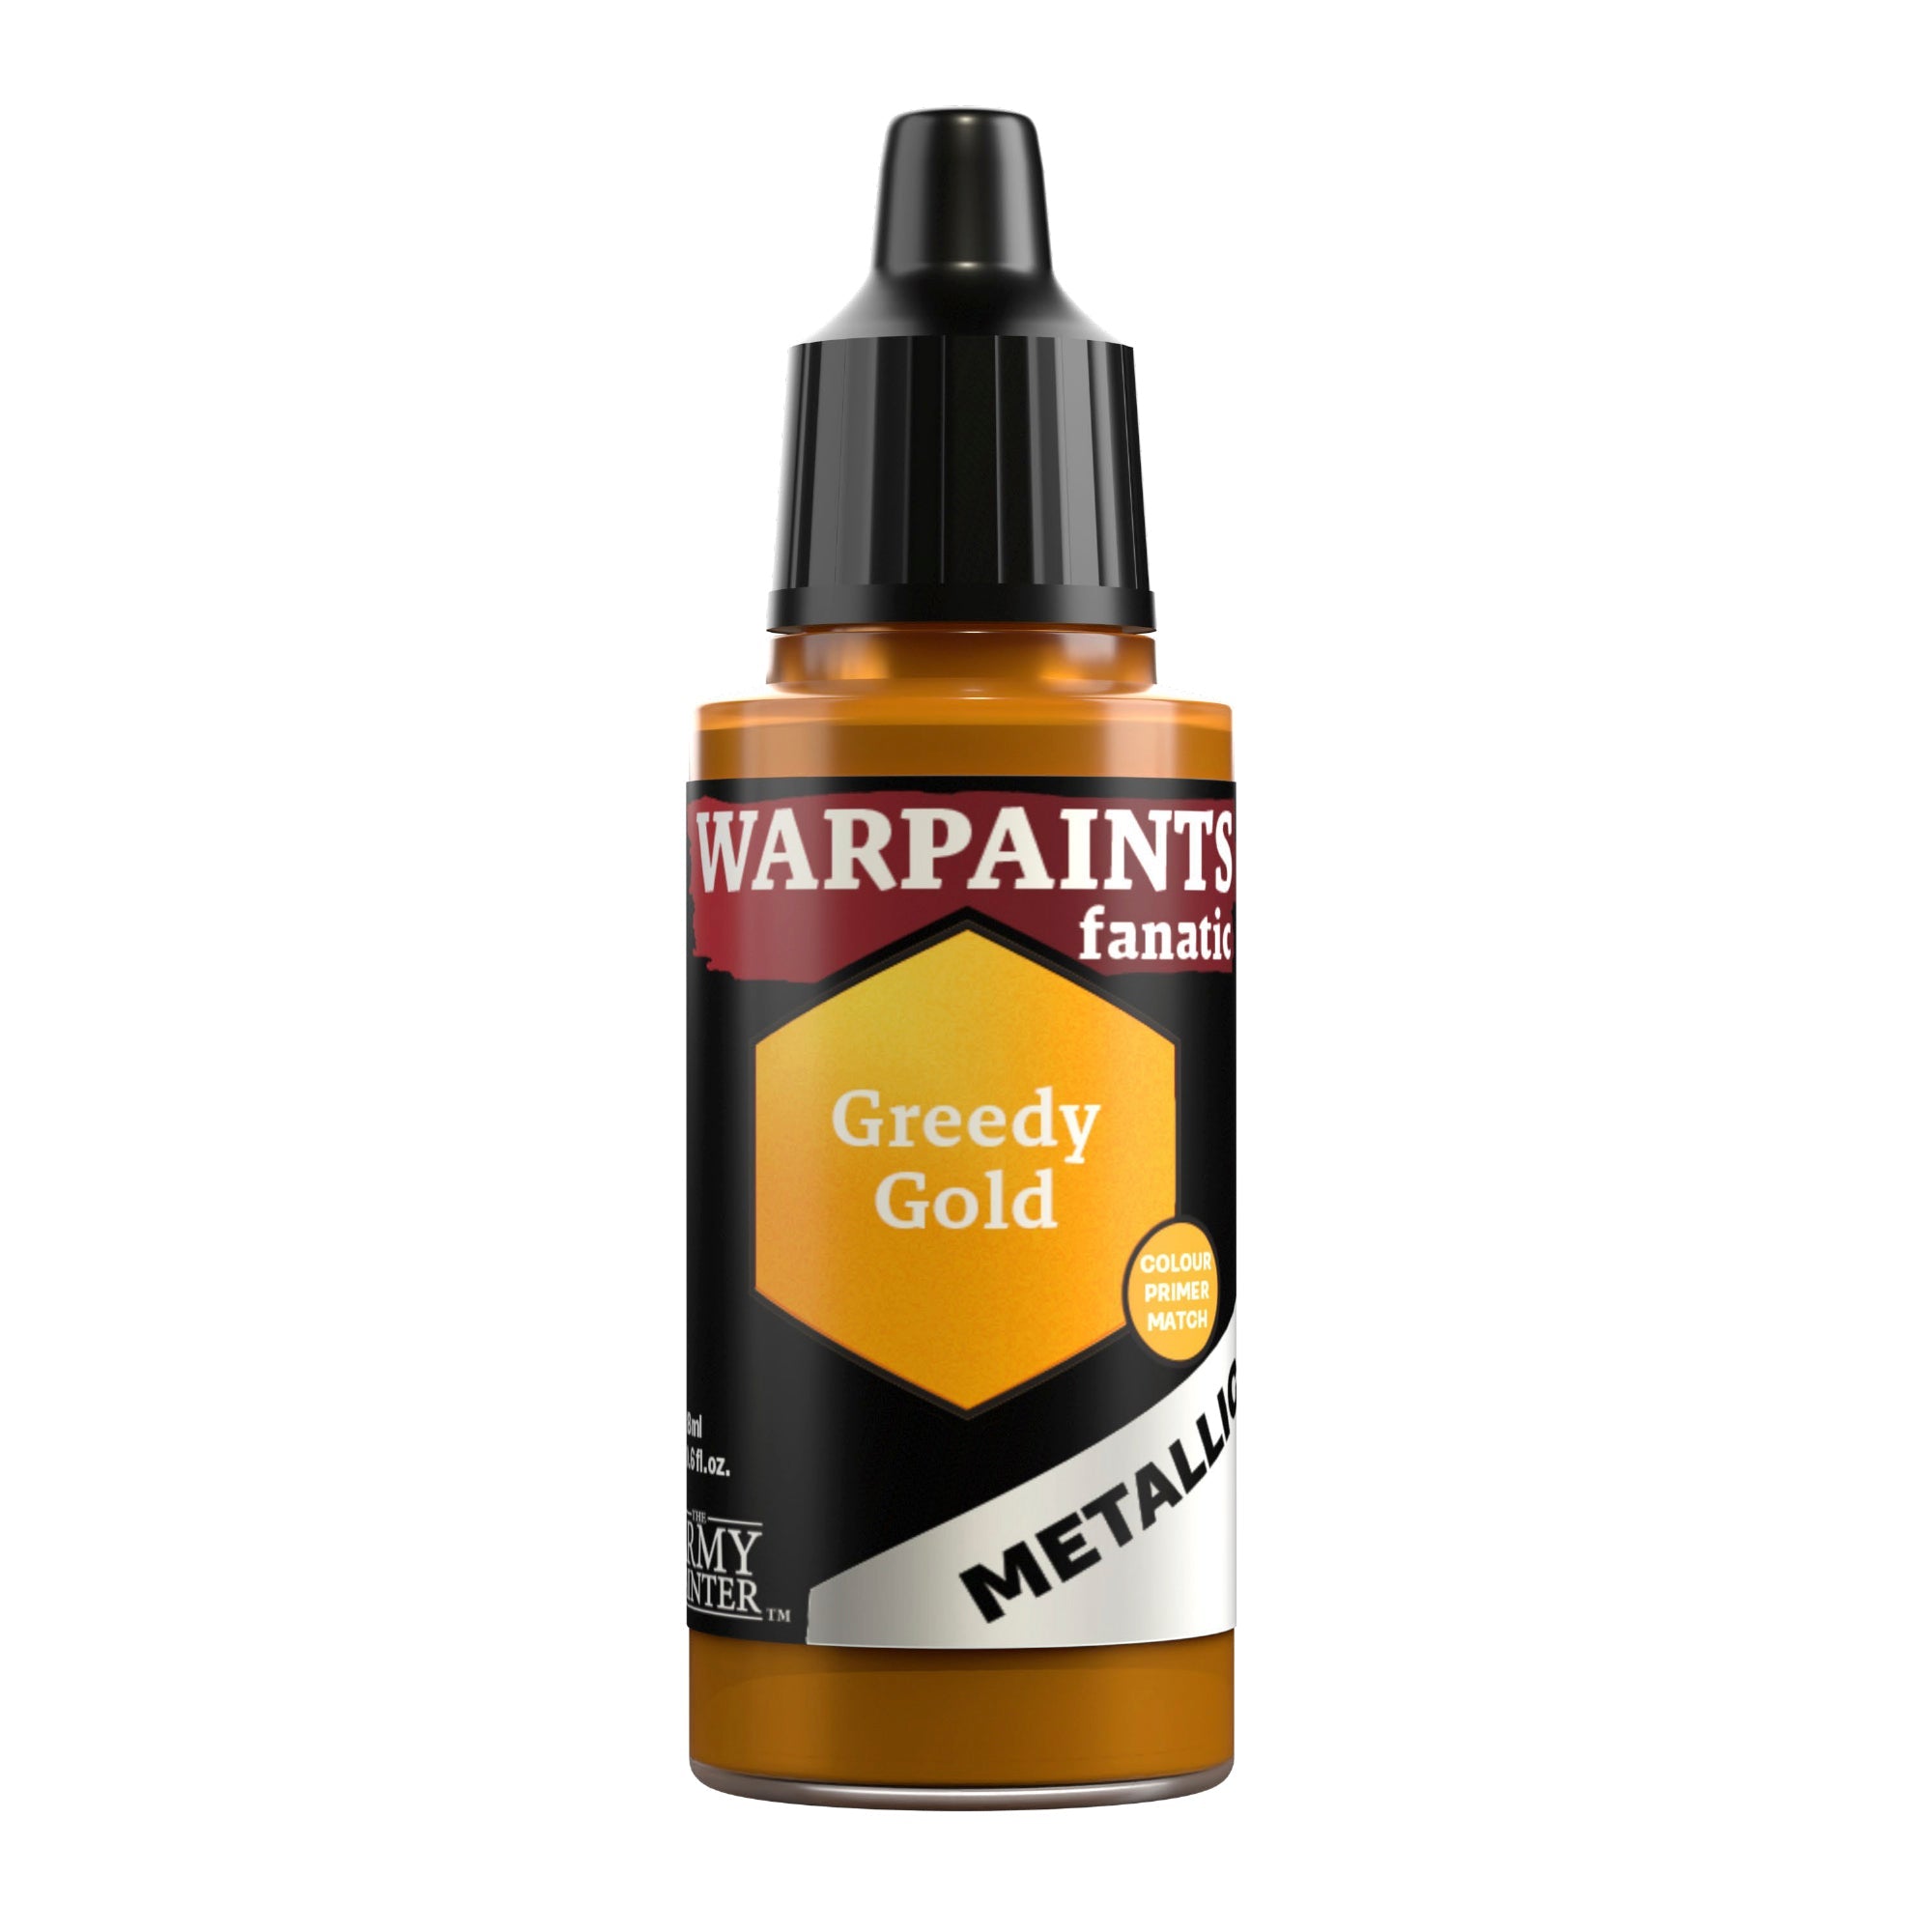
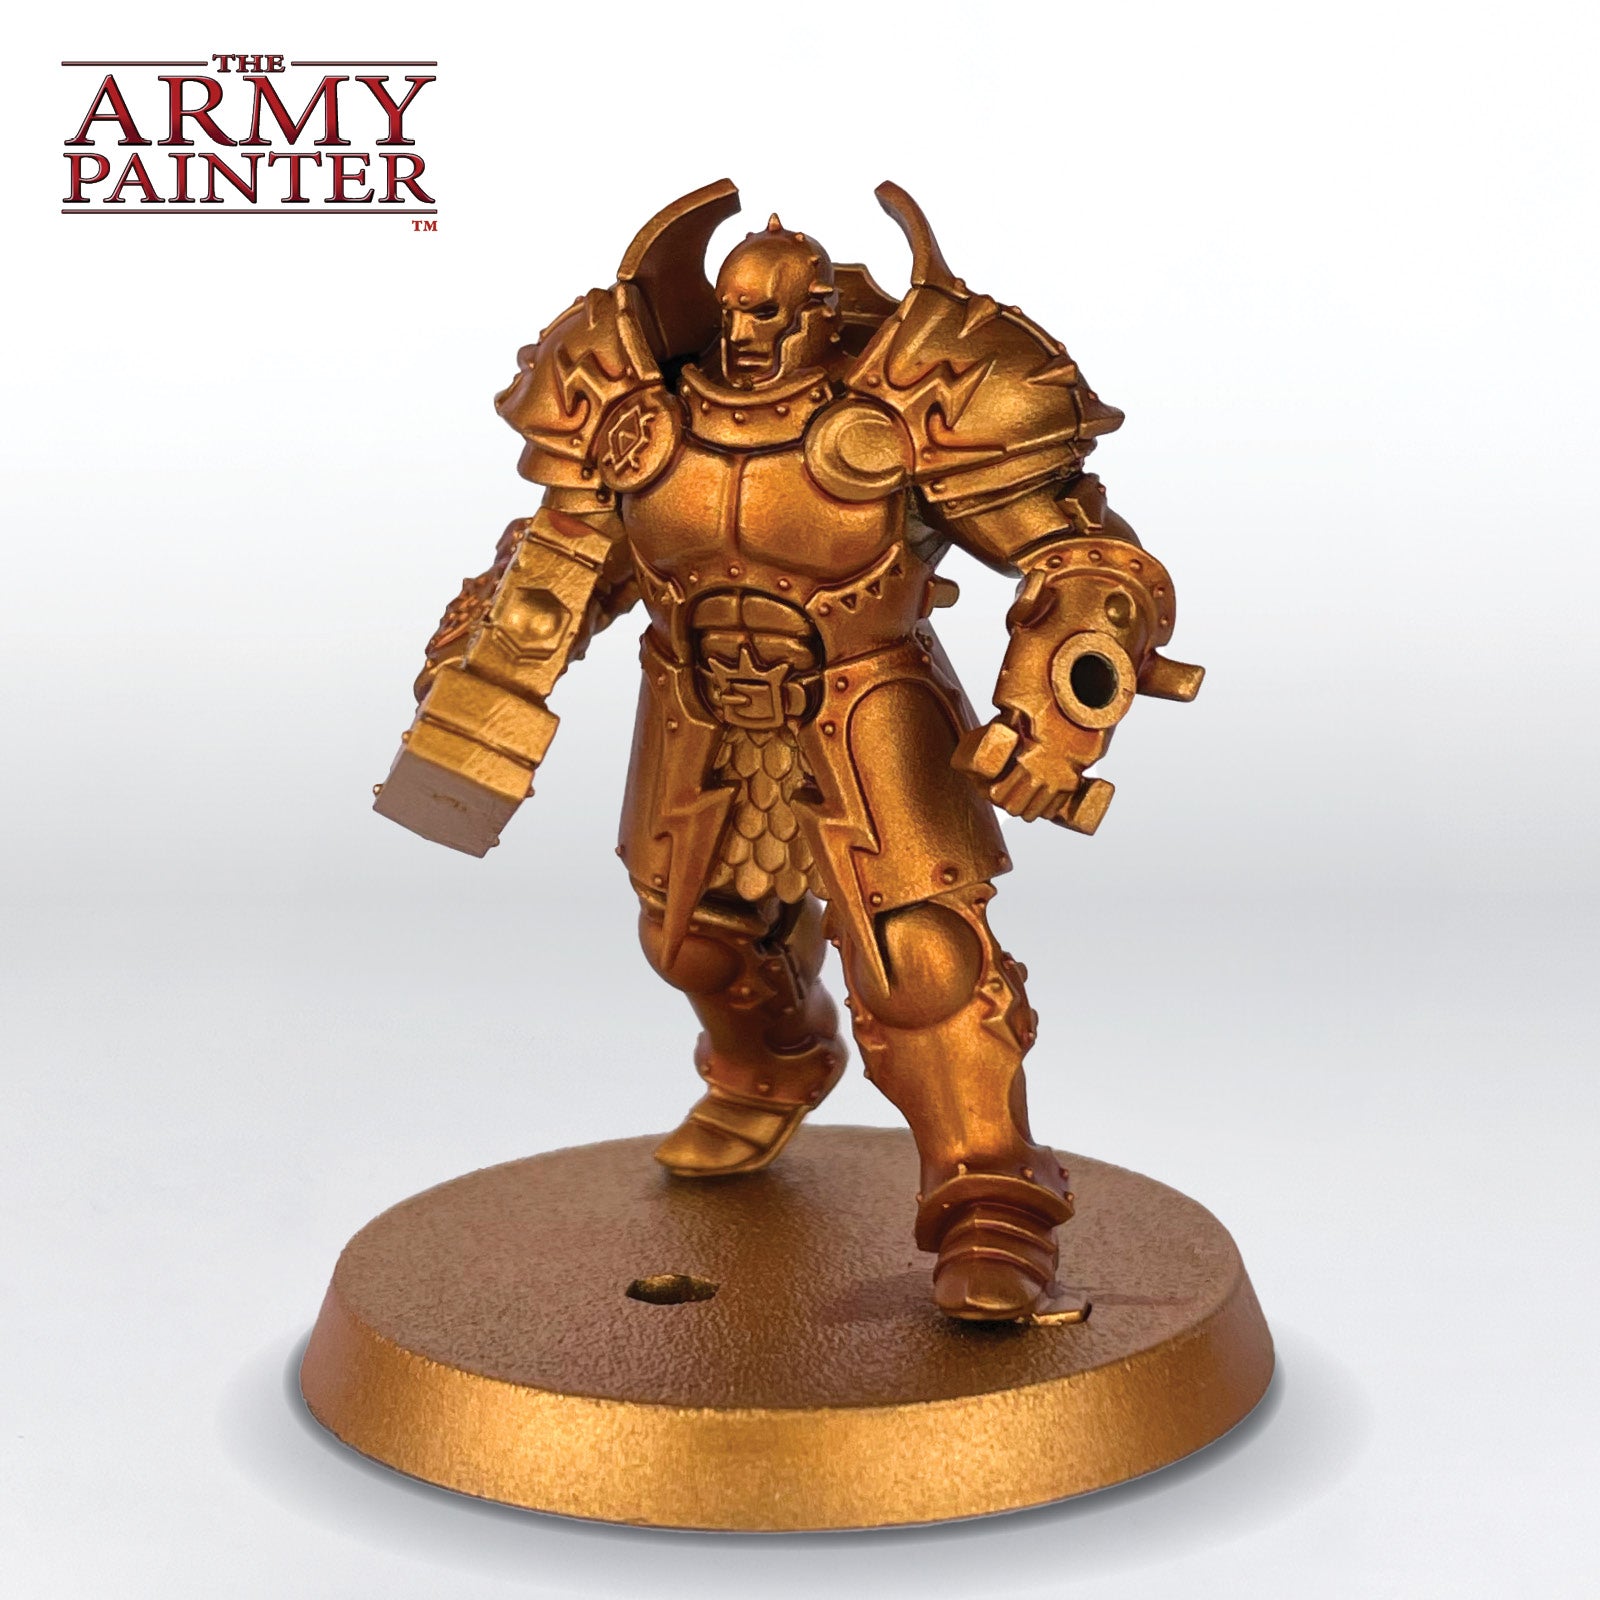
Prime the entire model with Colour Primer Greedy Gold and then touch up any missed areas with Warpaints Fanatic Greedy Gold.
Step 2
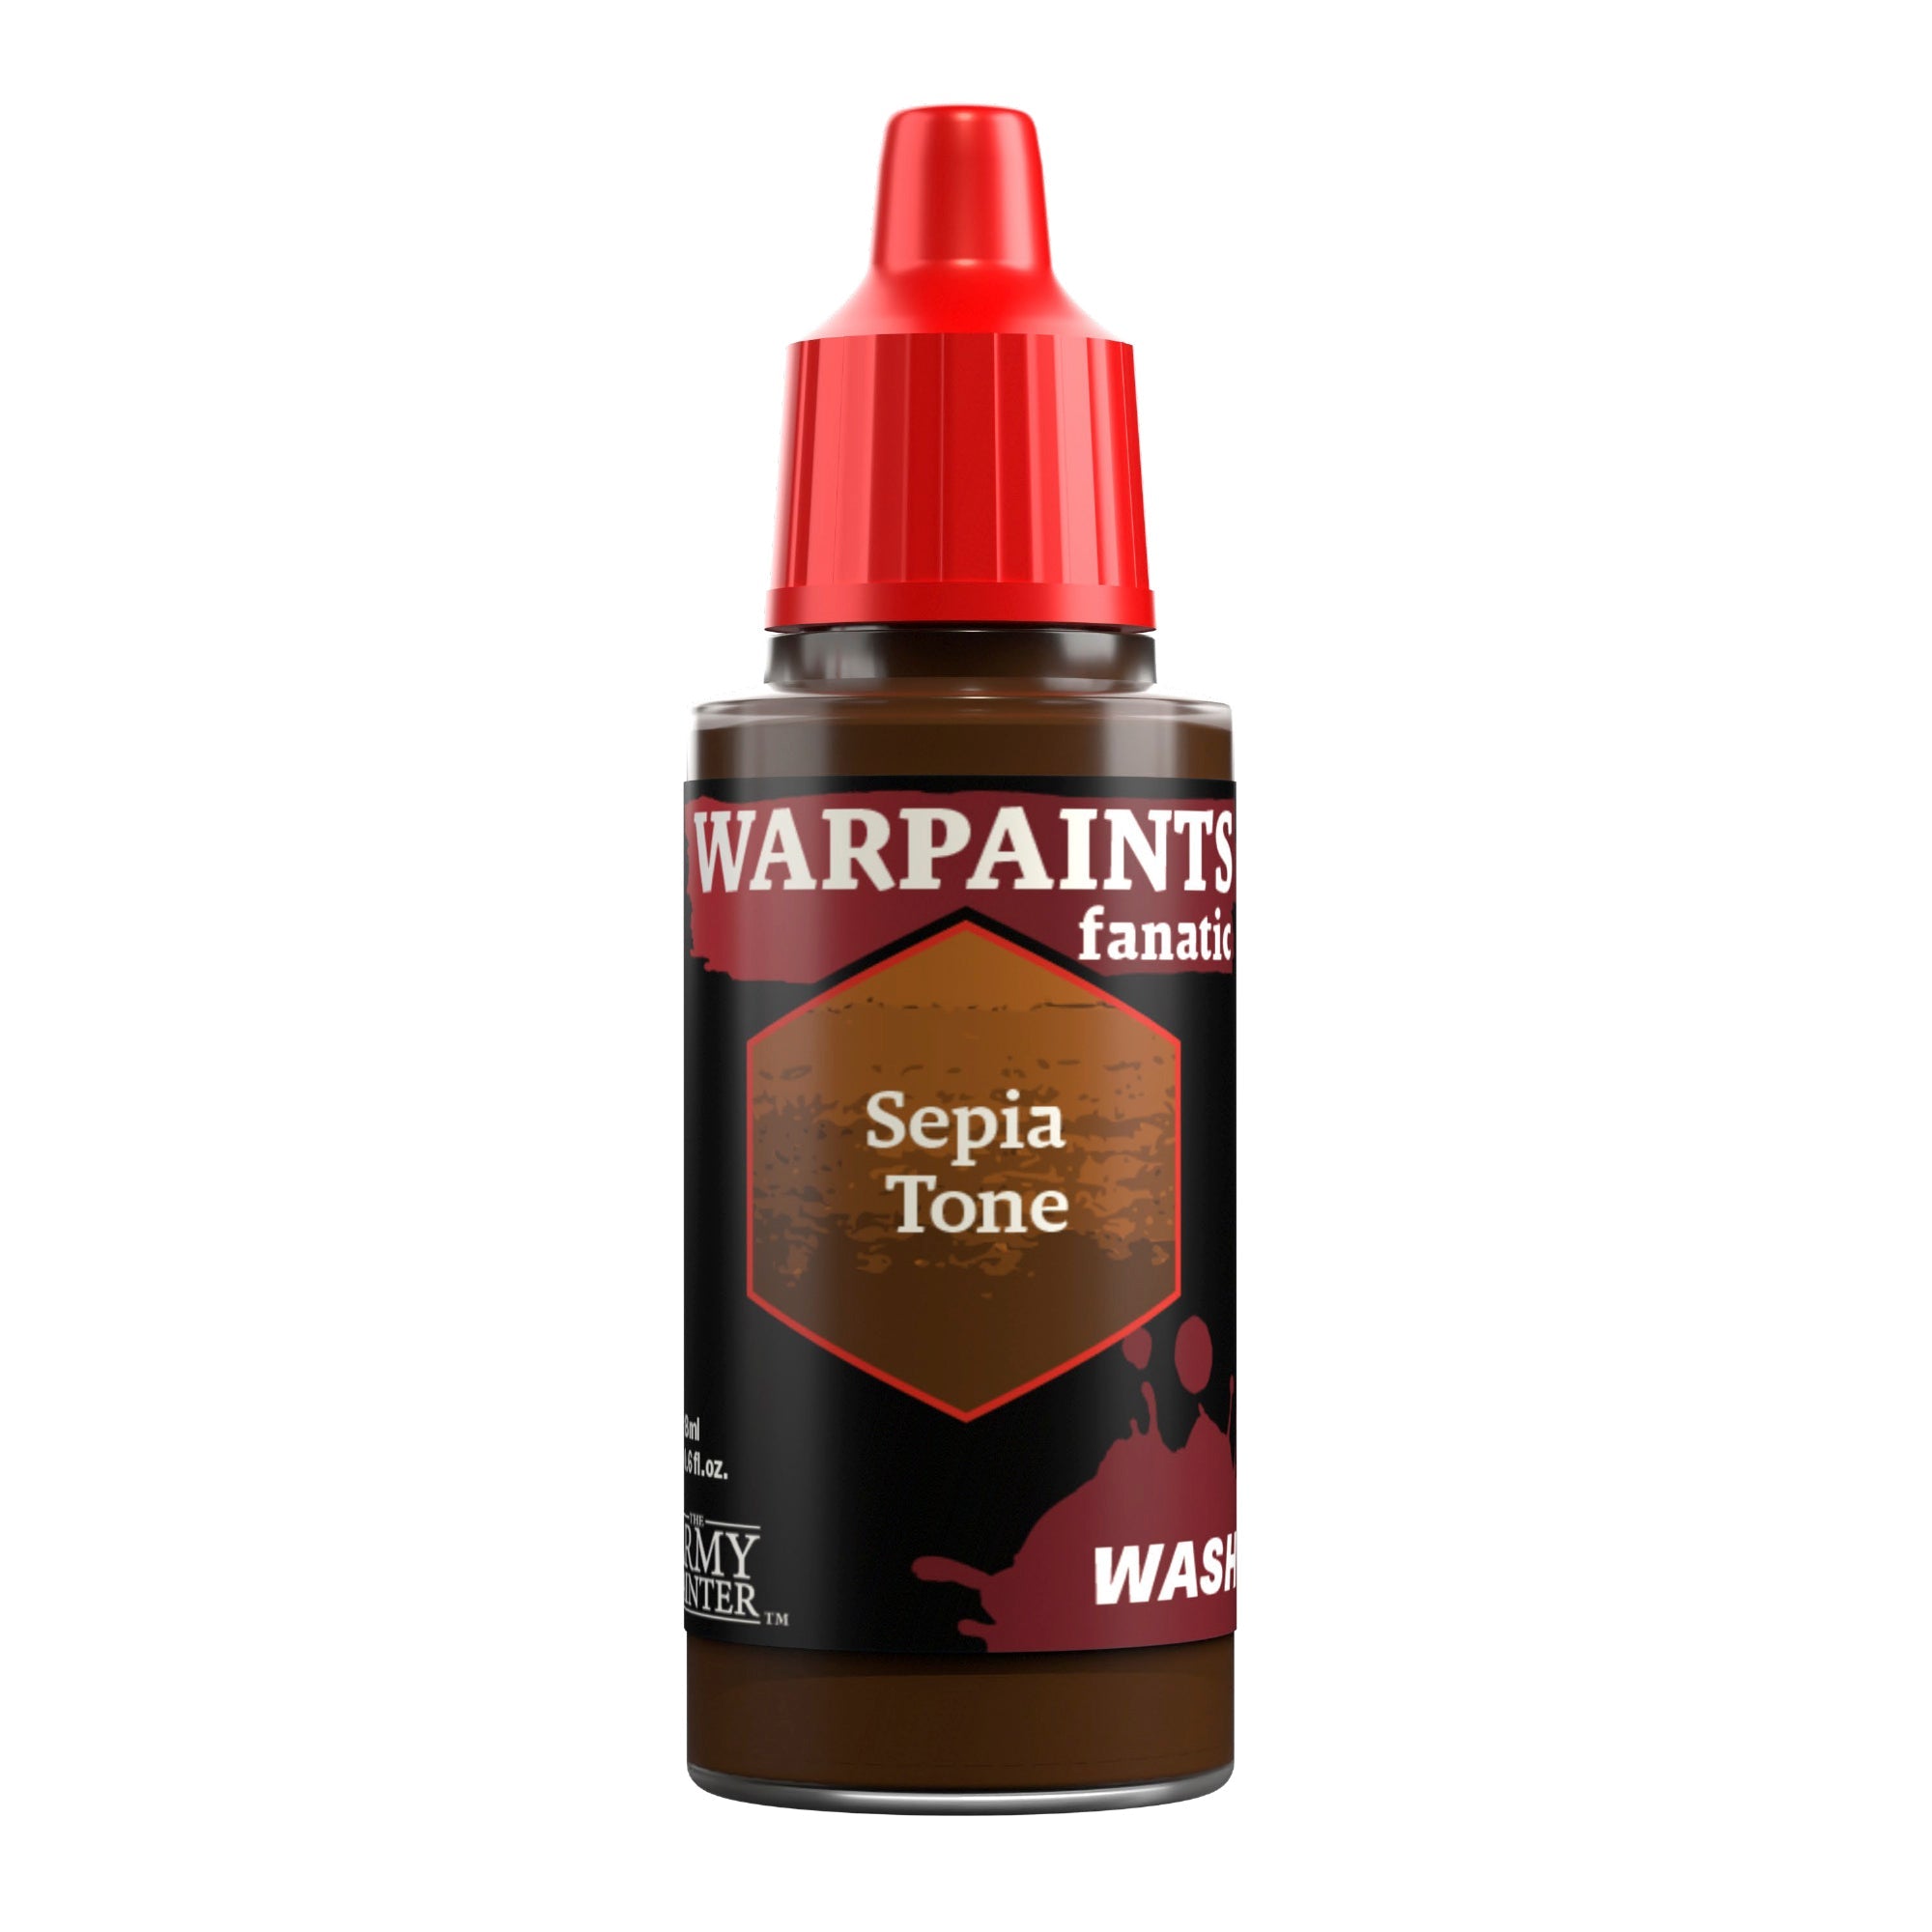
Next, shade all the gold areas with a 1:1 mix of Warpaints Fanatic Orange Tone and Sepia Tone. As this dries you can apply more around certain rivets or recesses that you feel need more definition.

Step 3
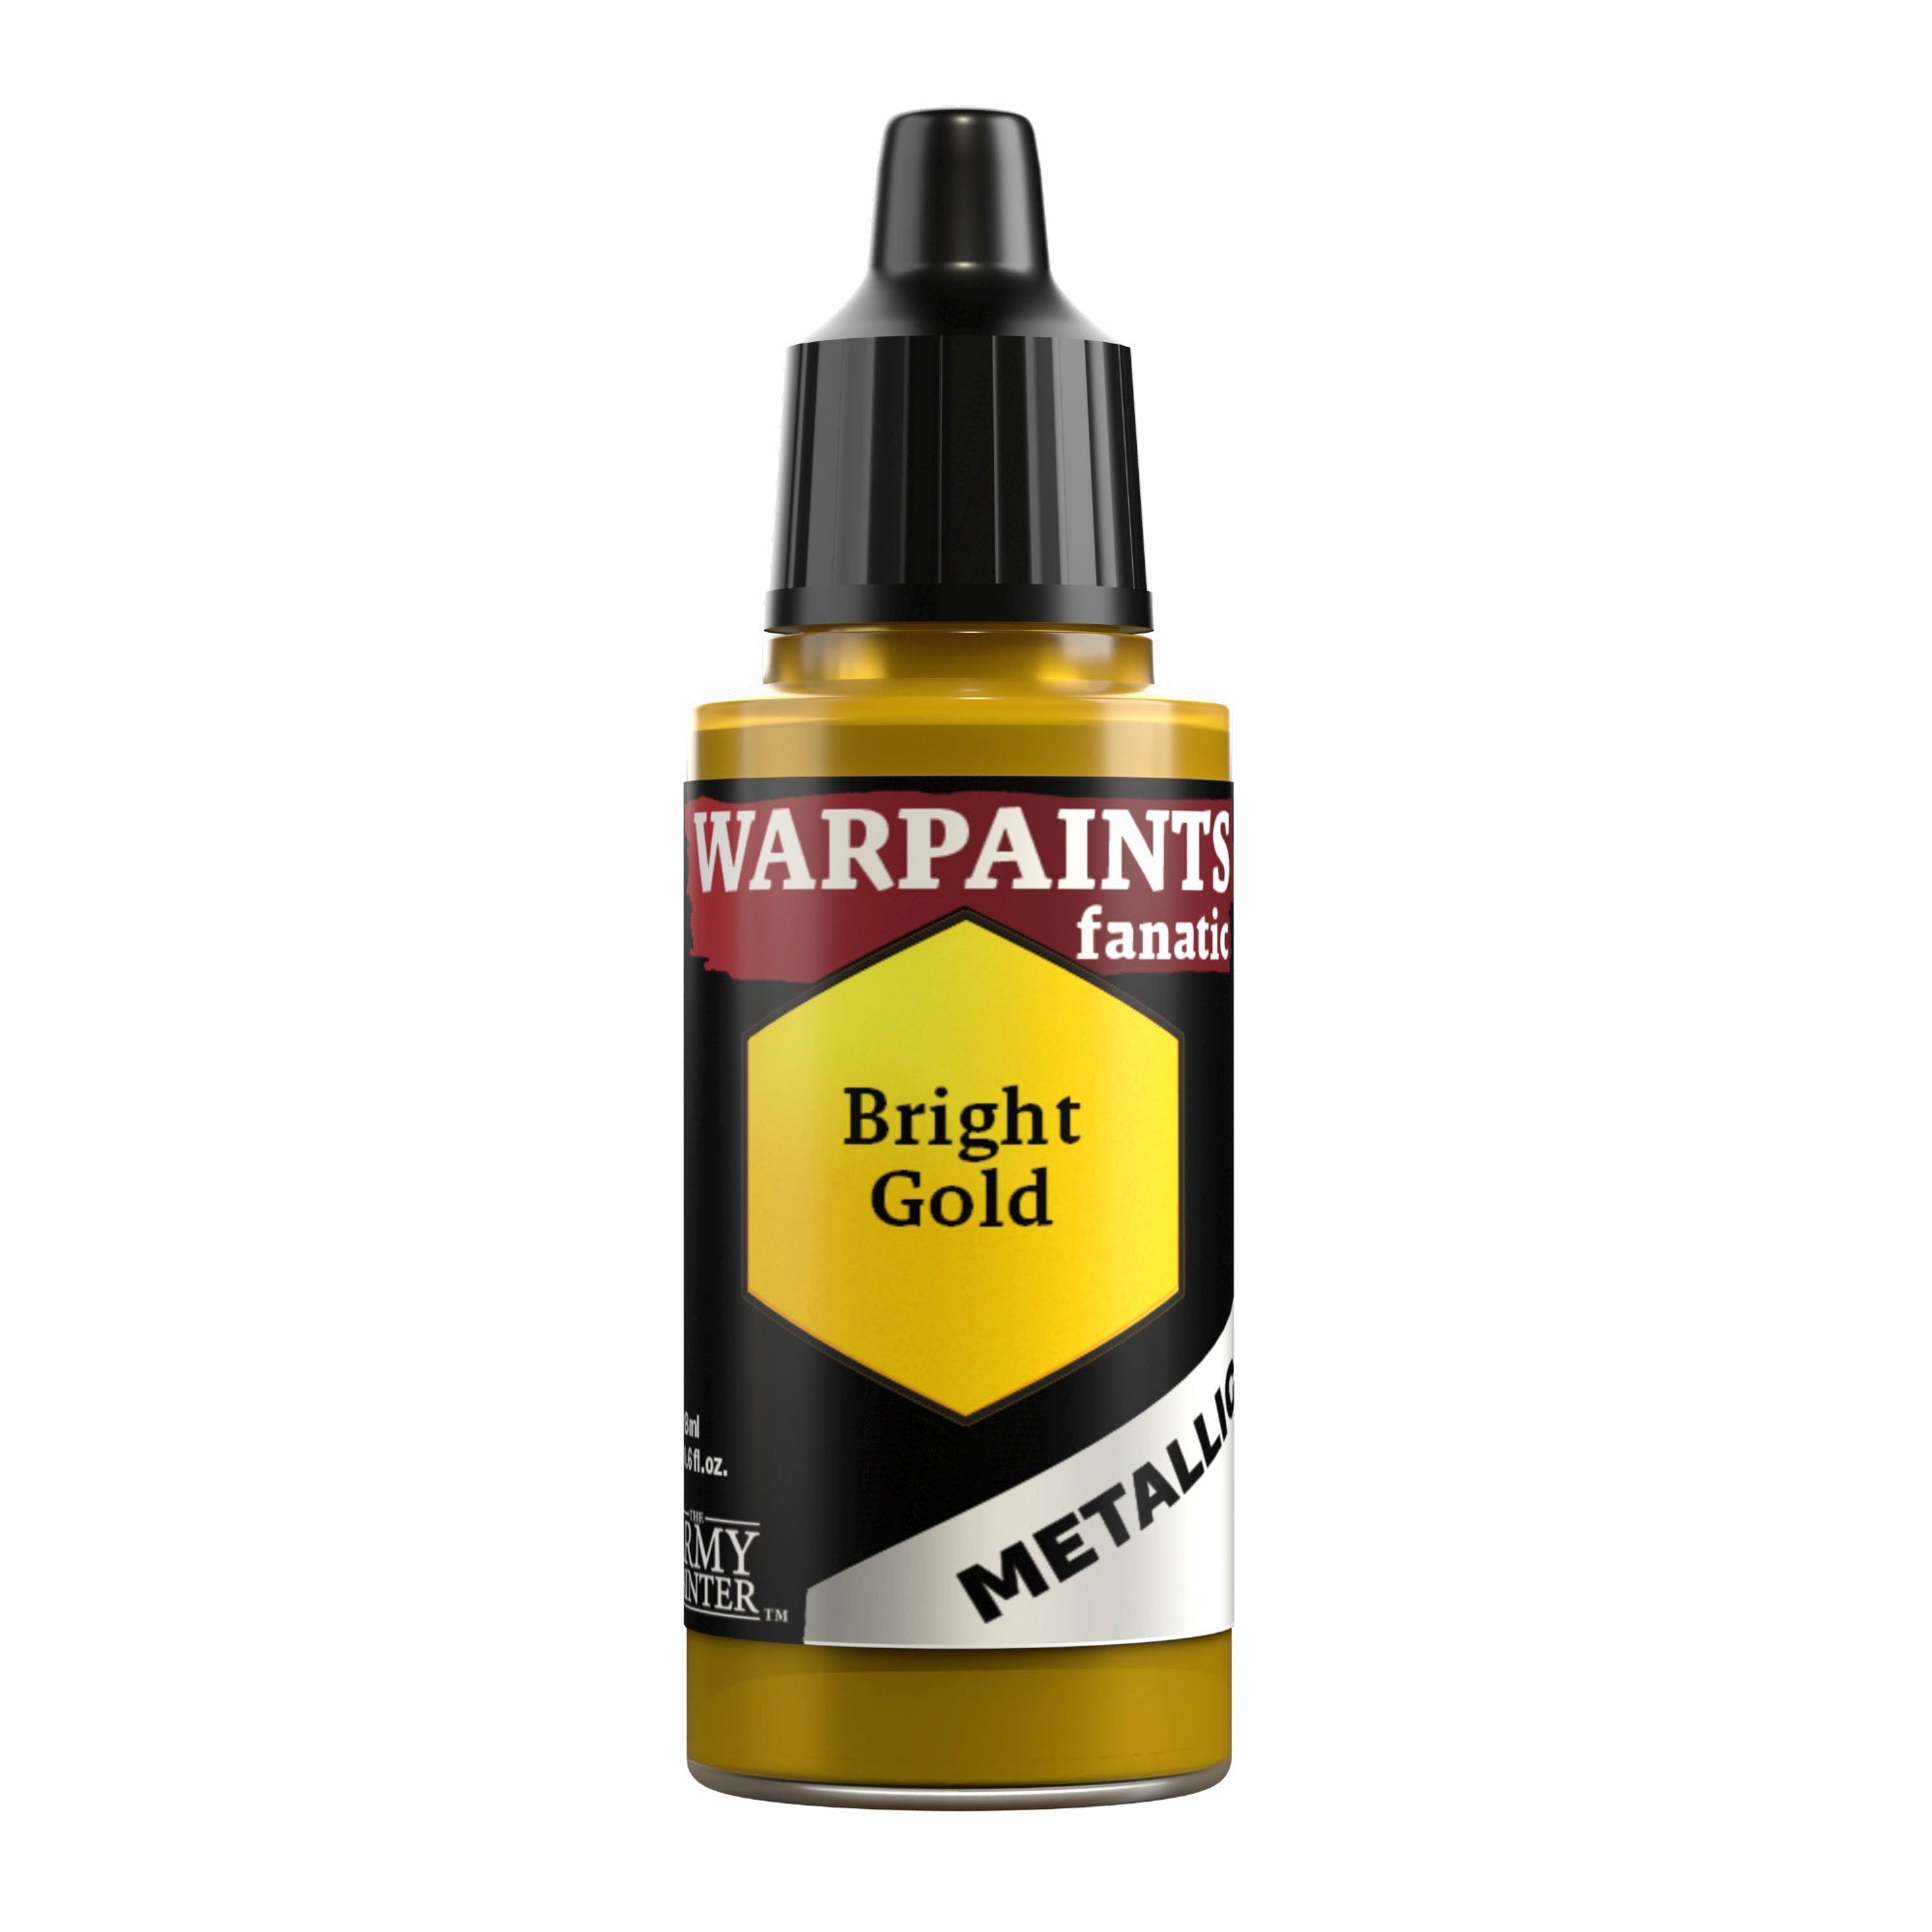
Then layer on top of this with Warpaints Fanatic Bright Gold, leaving the previous step in the recesses as well as in any dips in the armour. For instance, on the knee this was focused on the top third of the knee pad to create a gradient between the two colours.
Step 4
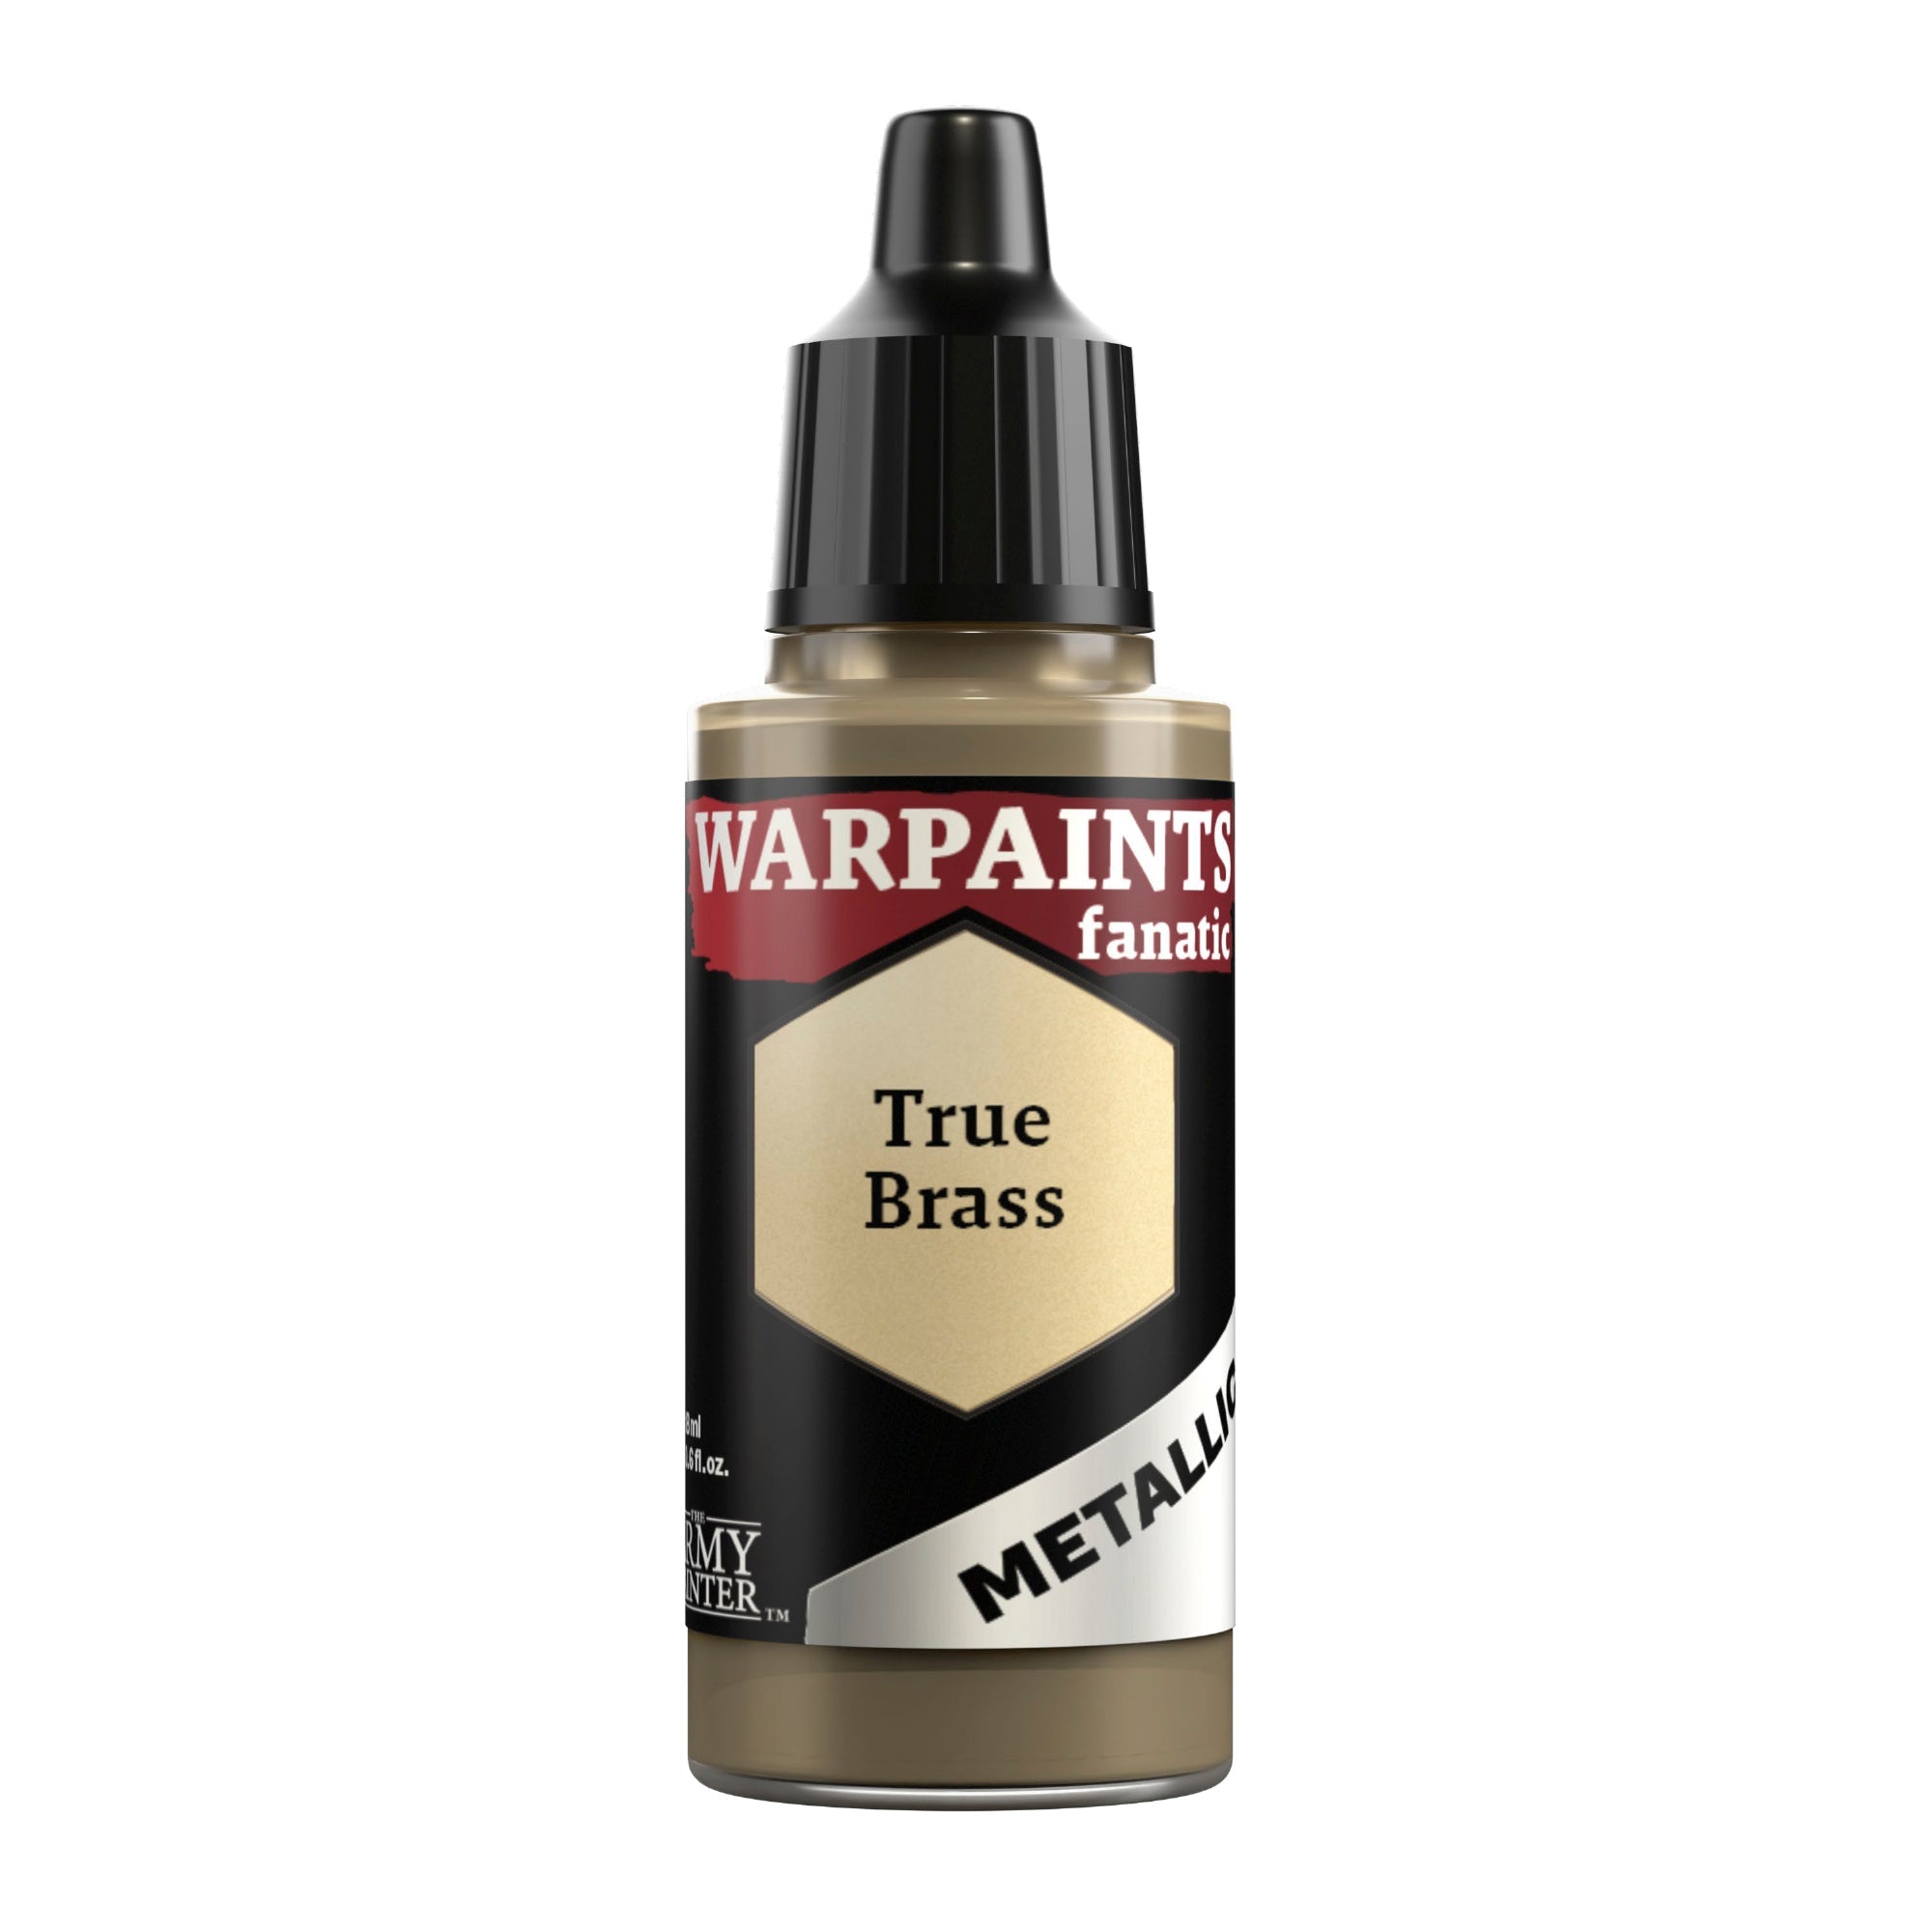
Edge highlight this with Warpaints Fanatic True Brass and basecoat all the trim sections that will be the lighter gold. Don’t forget the trim and face on the shield. You can also thin this down and use it as a glaze on the highest areas of some of the flat gold panels for an even stronger gradient, such as the very tops of the knees.
Step 5
Next, shade the light gold with Warpaints Fanatic Sepia Tone. As this dries you can apply more around certain rivets or recesses that you feel need more definition.
Step 6
Finally, edge highlight the light gold with Warpaints Fanatic True Brass.
The Silver
Step 1
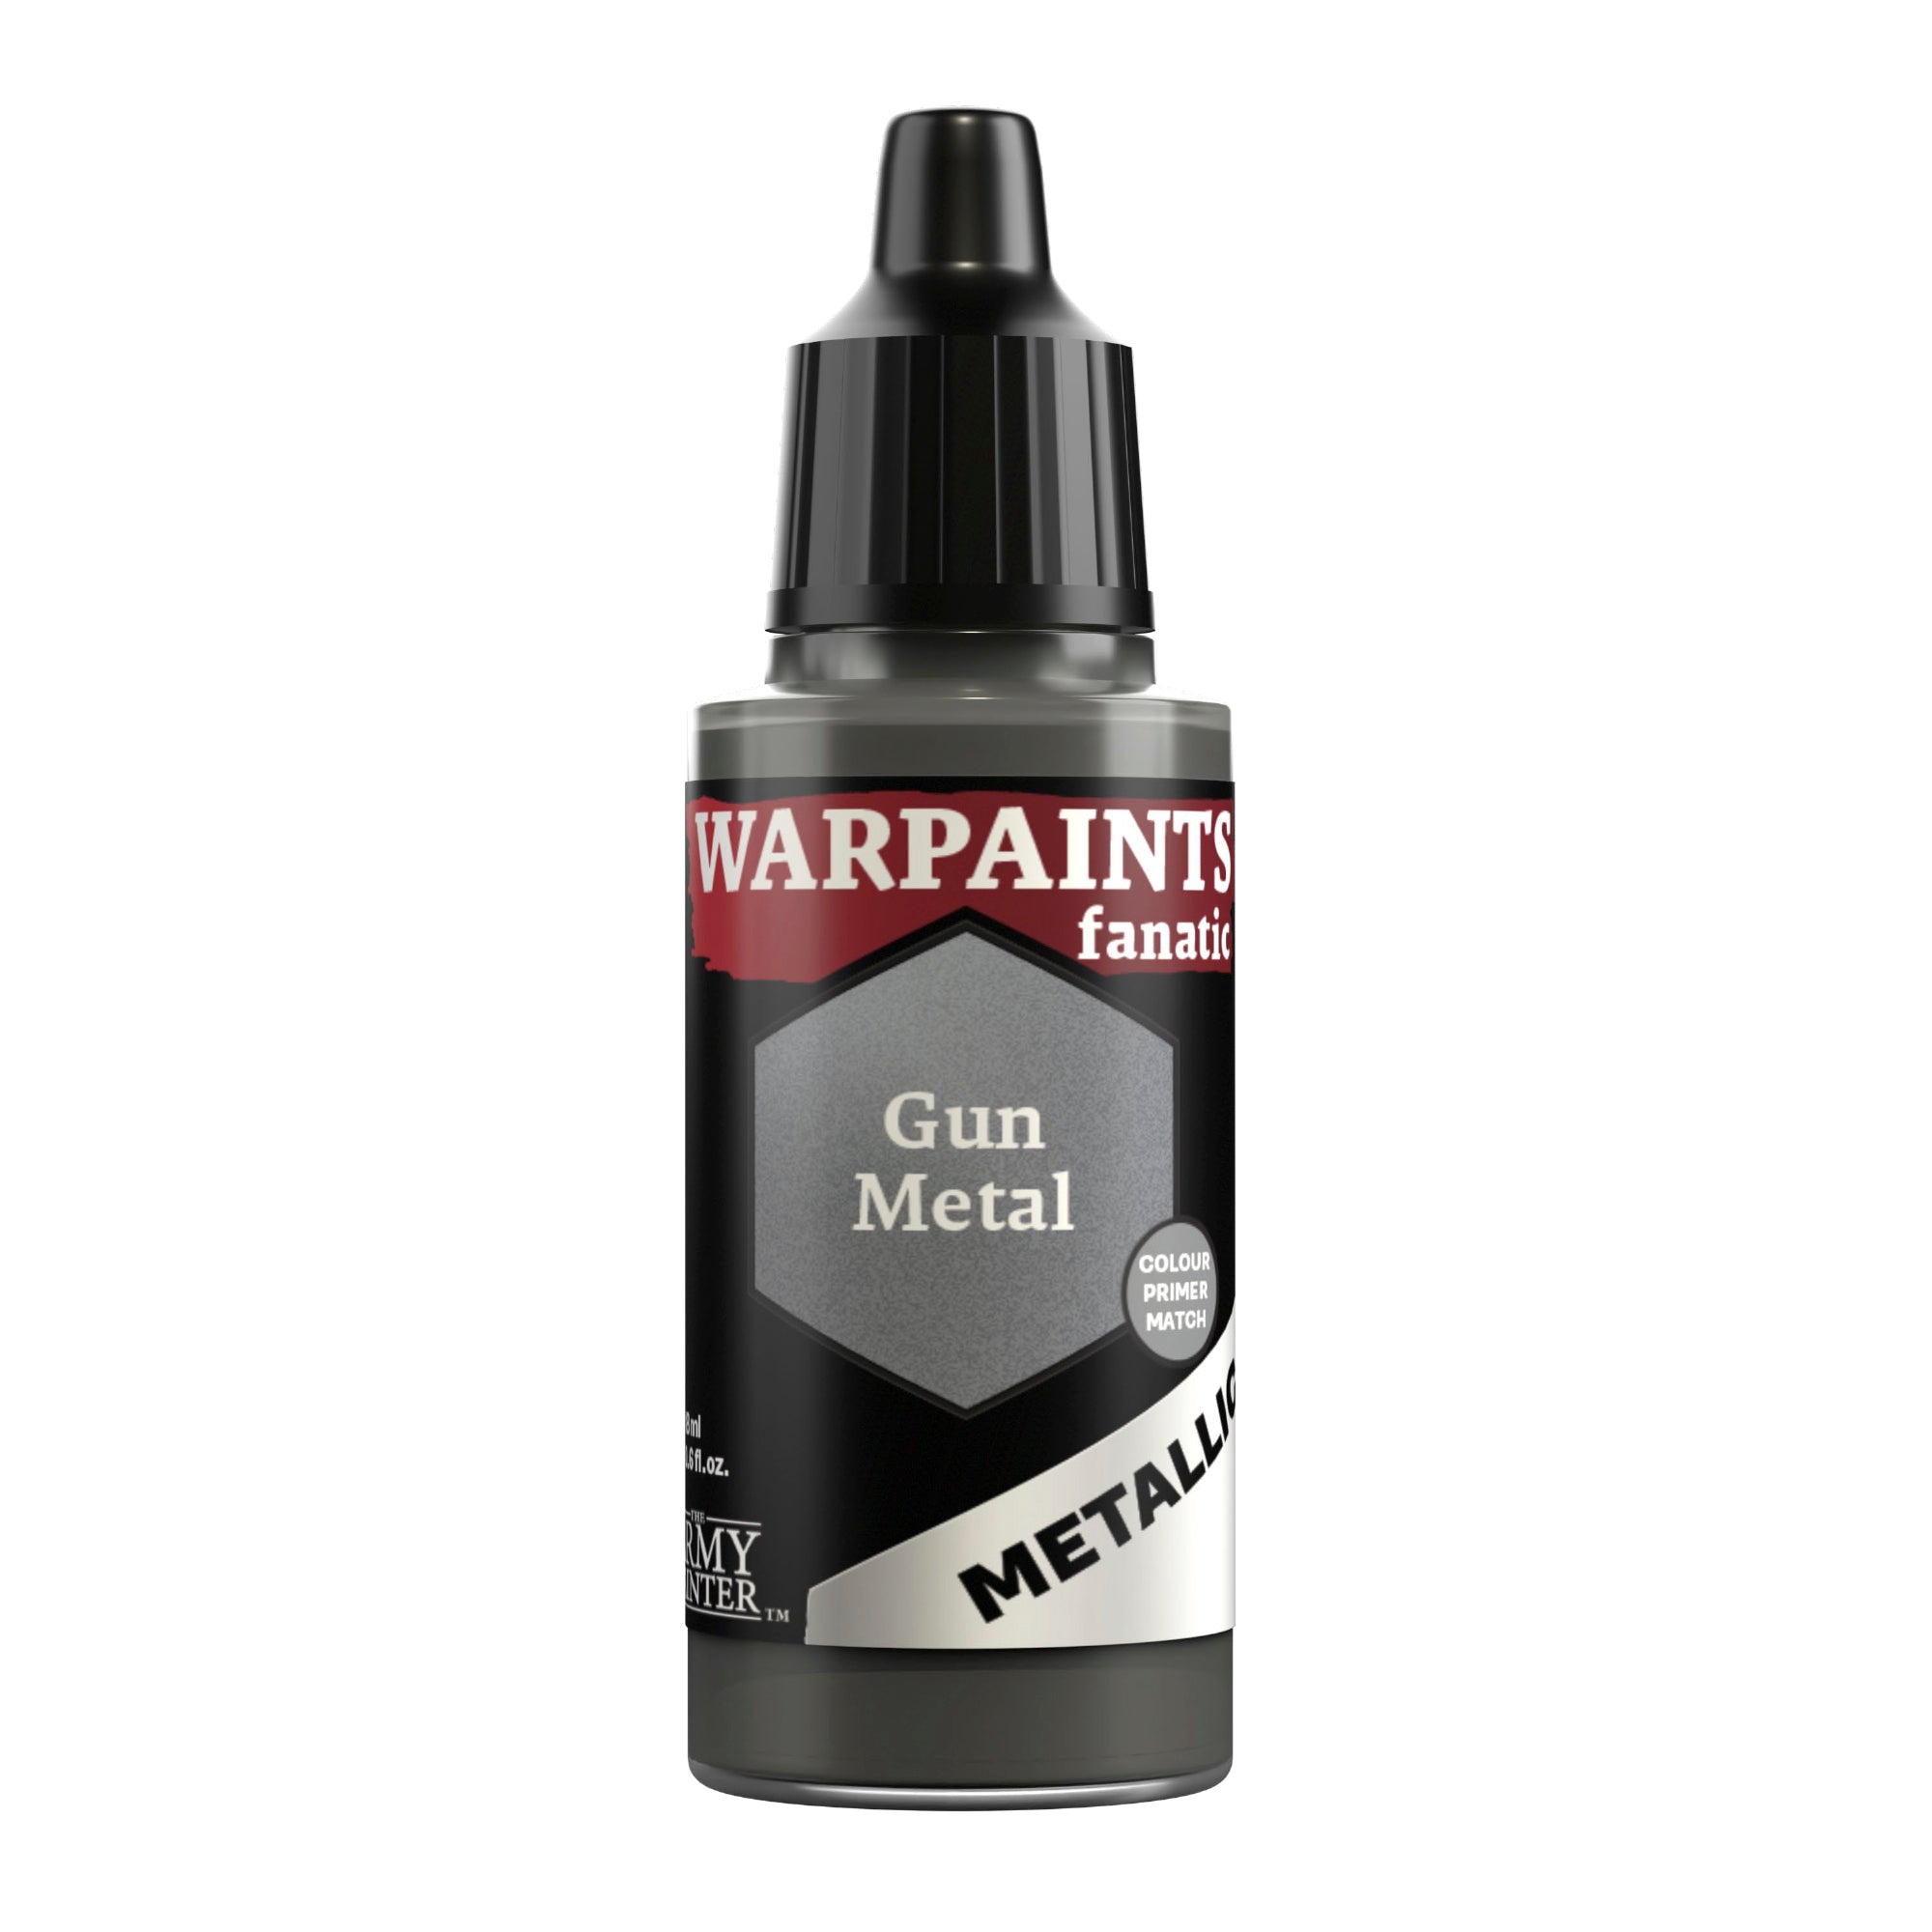
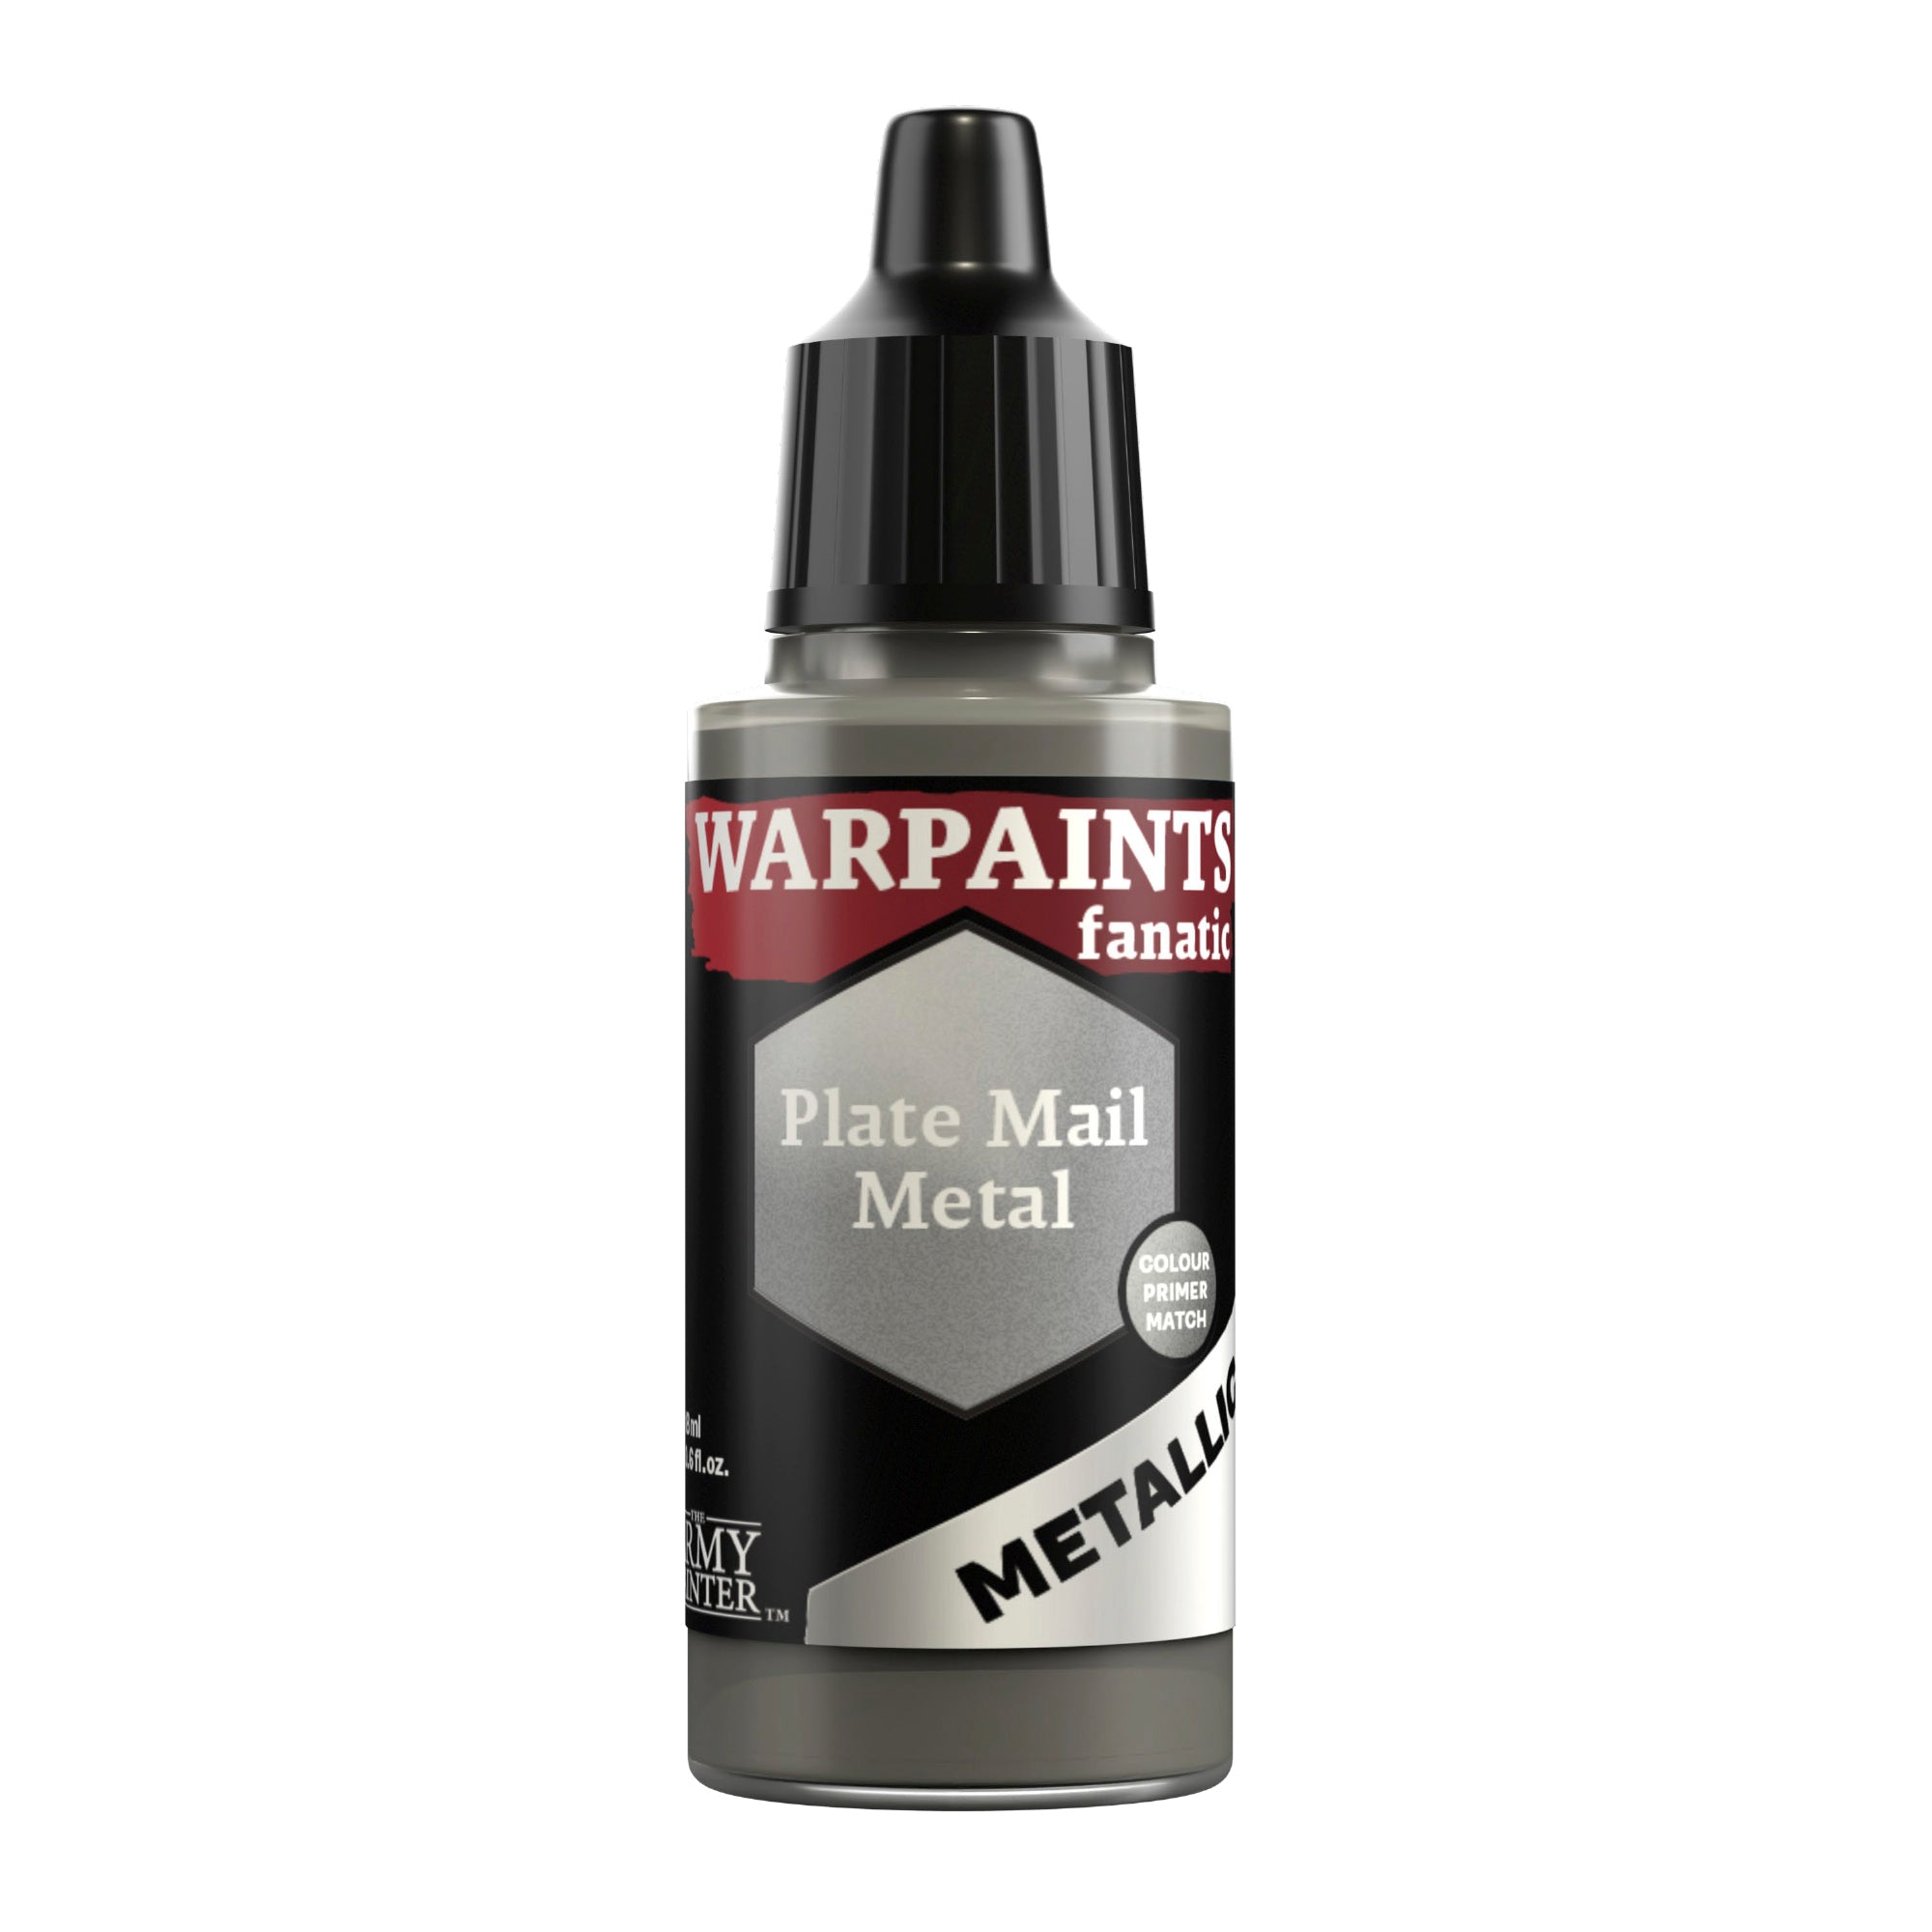
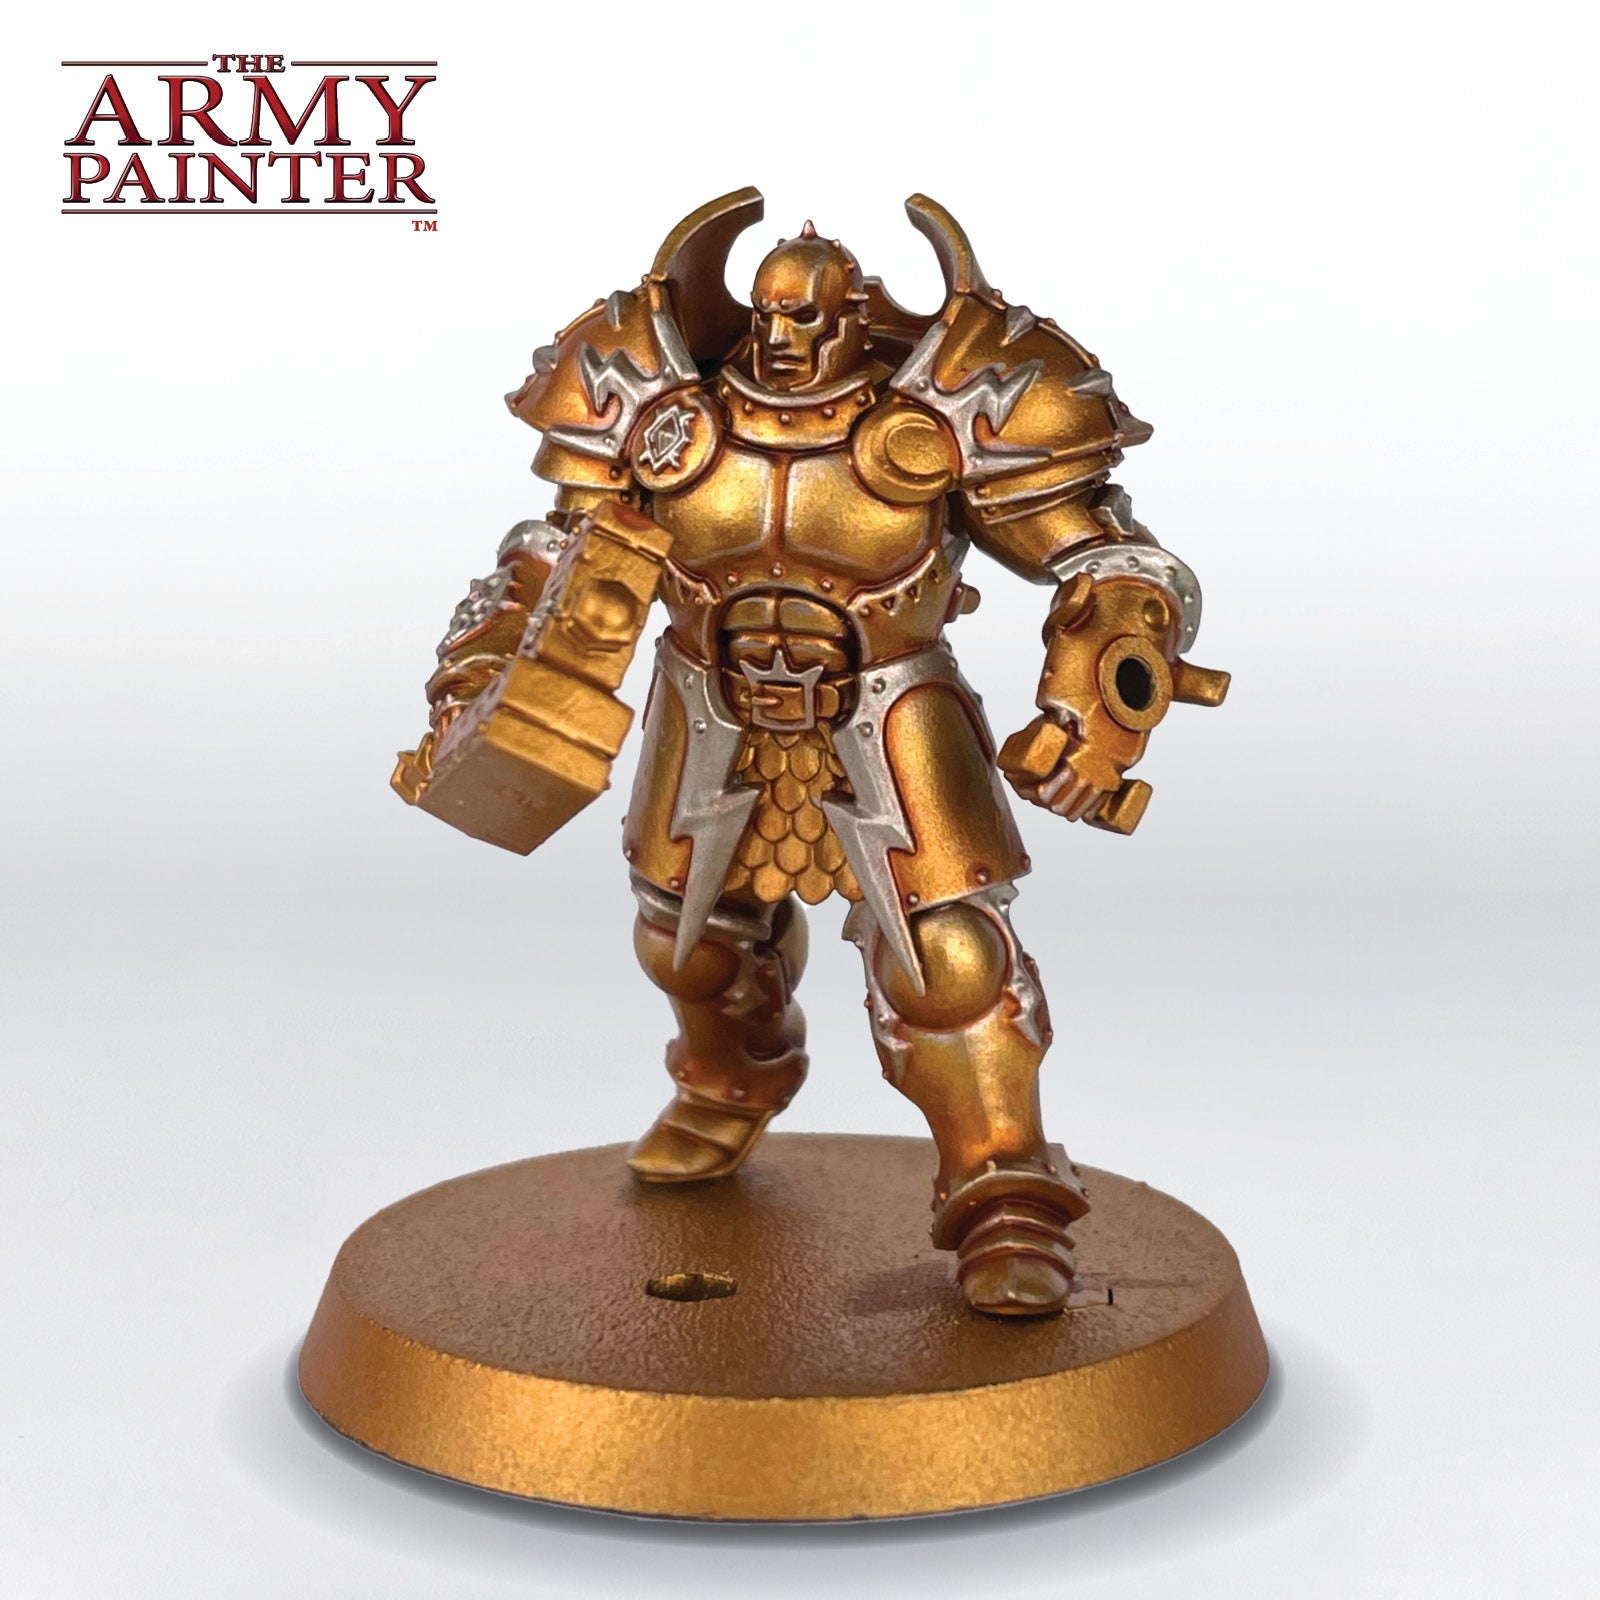
Basecoat the hammer and shield with Warpaints Fanatic Gun Metal and the scale mail skirt with Warpaints Fanatic Plate Mail Metal.
Step 2
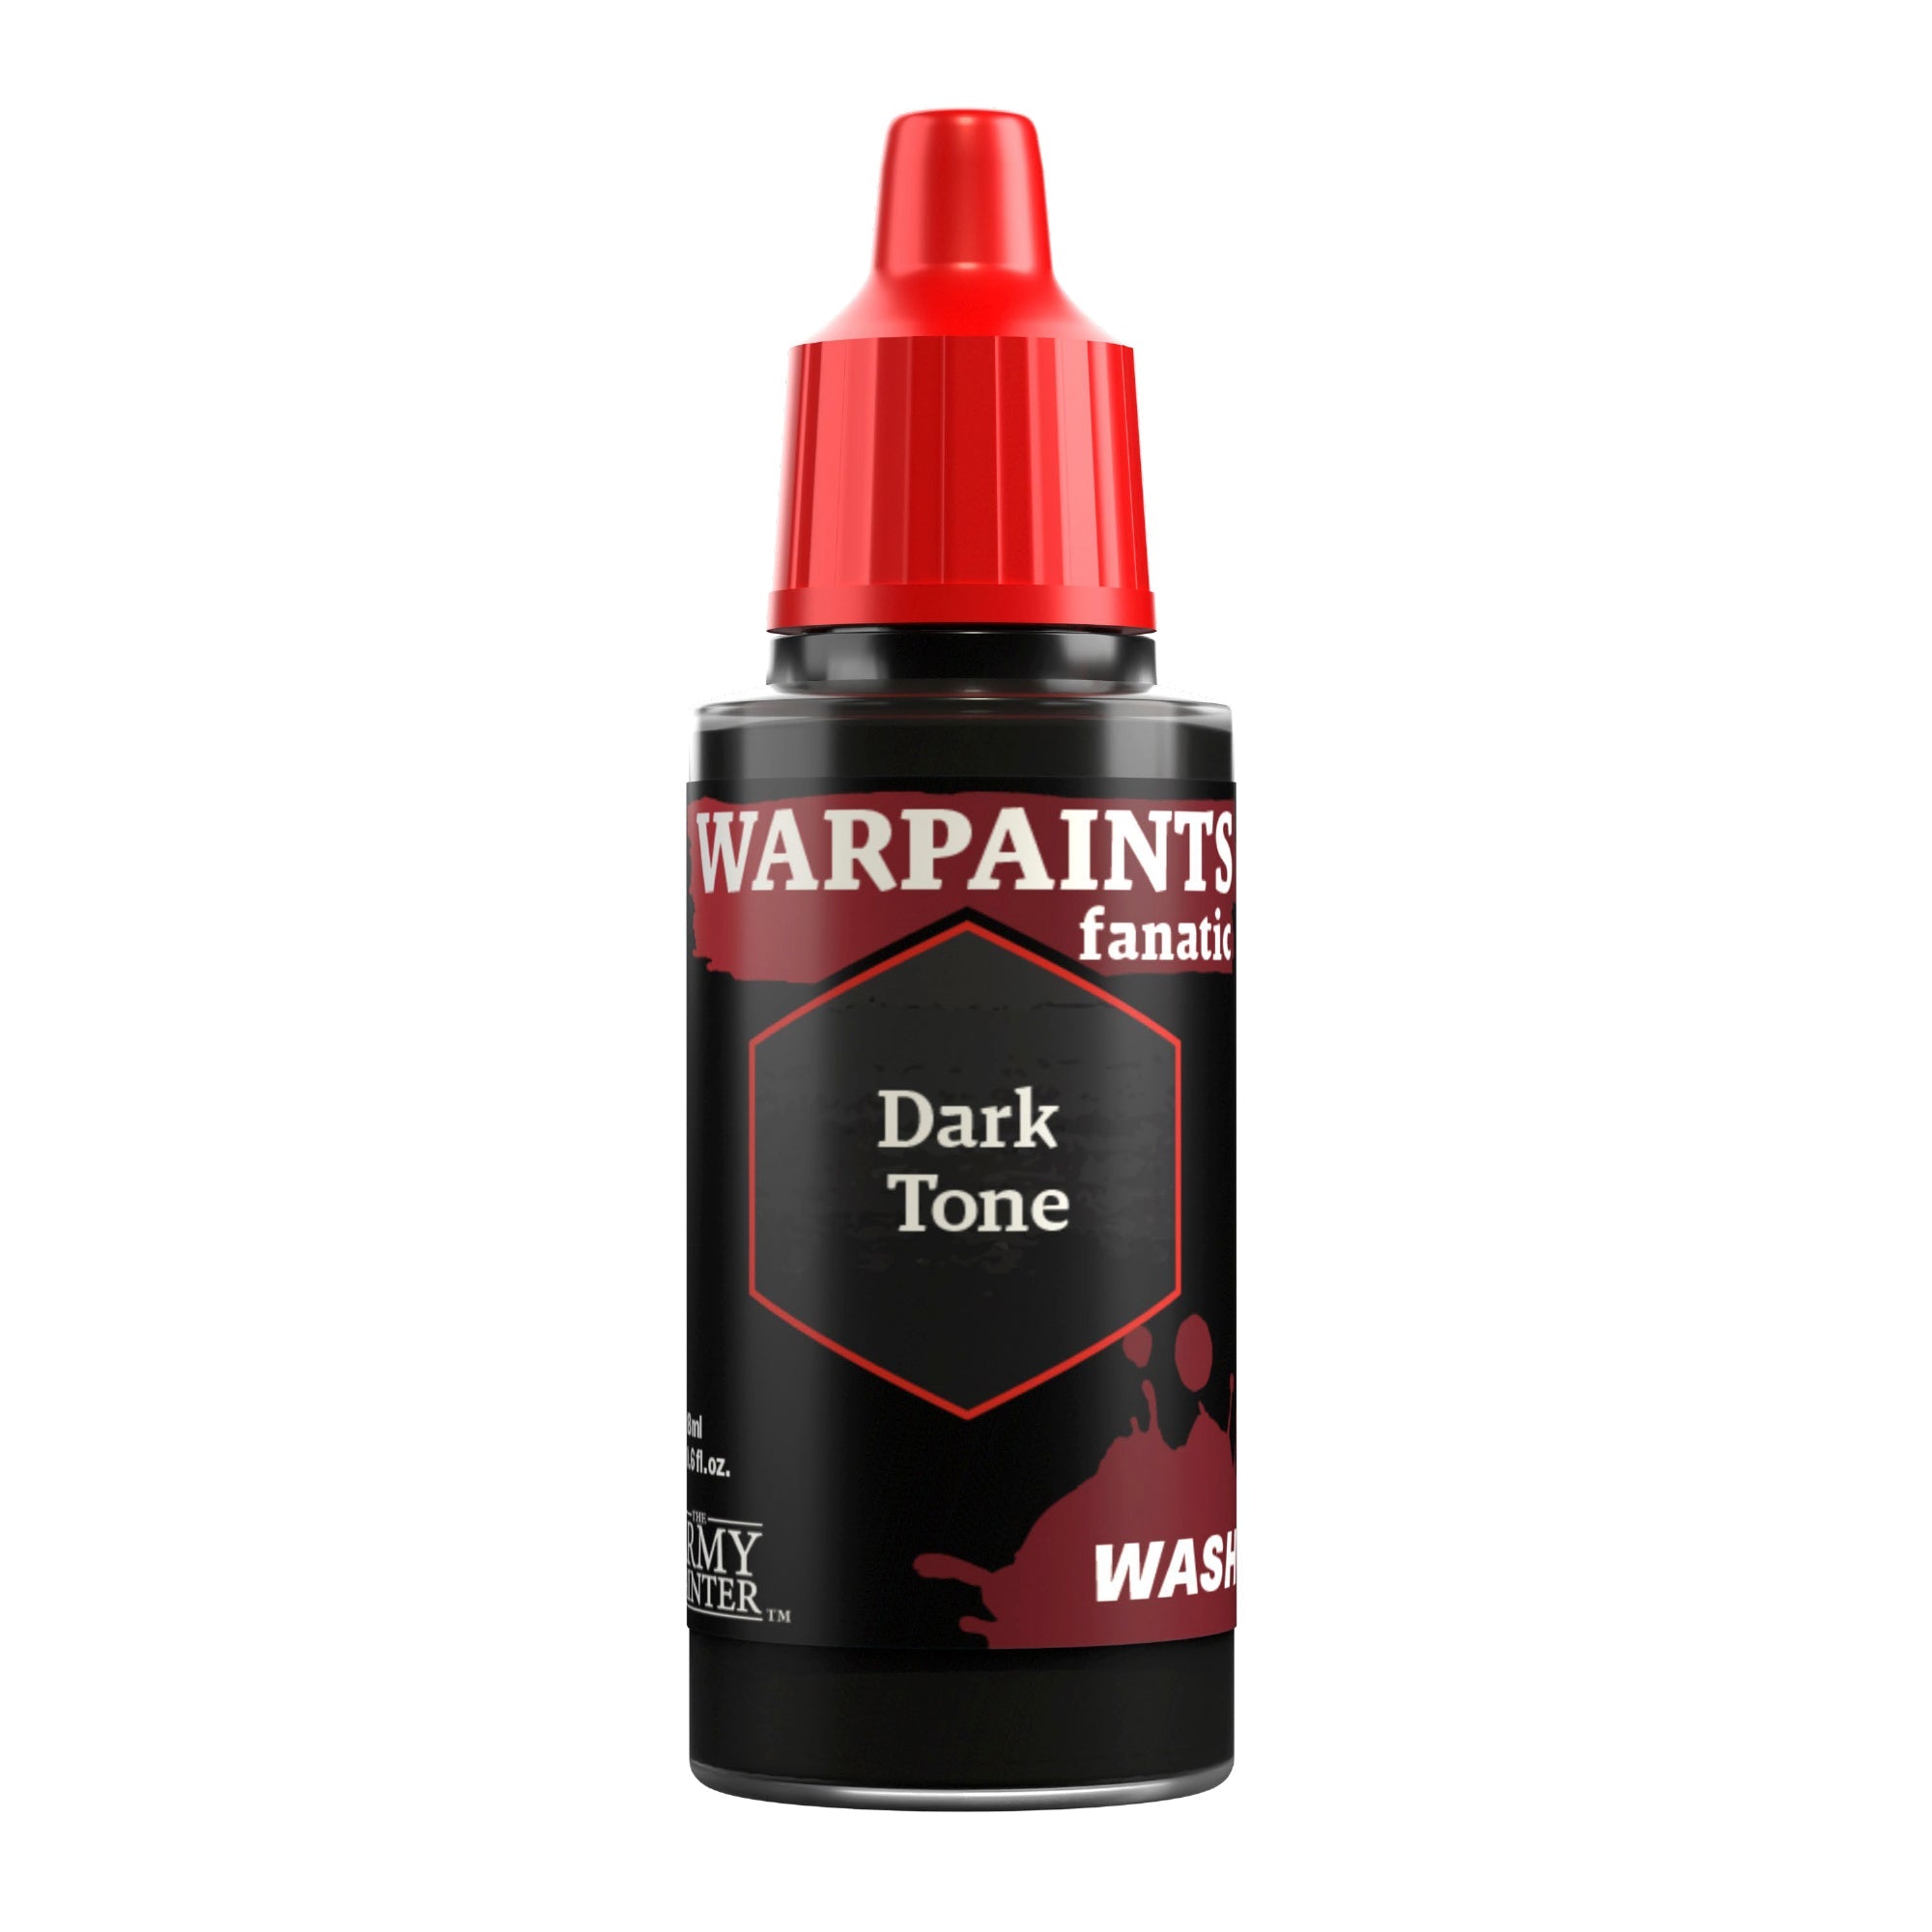
Then shade both areas with Warpaints Fanatic Dark Tone.

Step 3
Next, edge highlight the hammer and shield with Warpaints Fanatic Plate Mail Metal, and re-layer the scale mail with this same colour, leaving the wash in the recesses.
Step 4
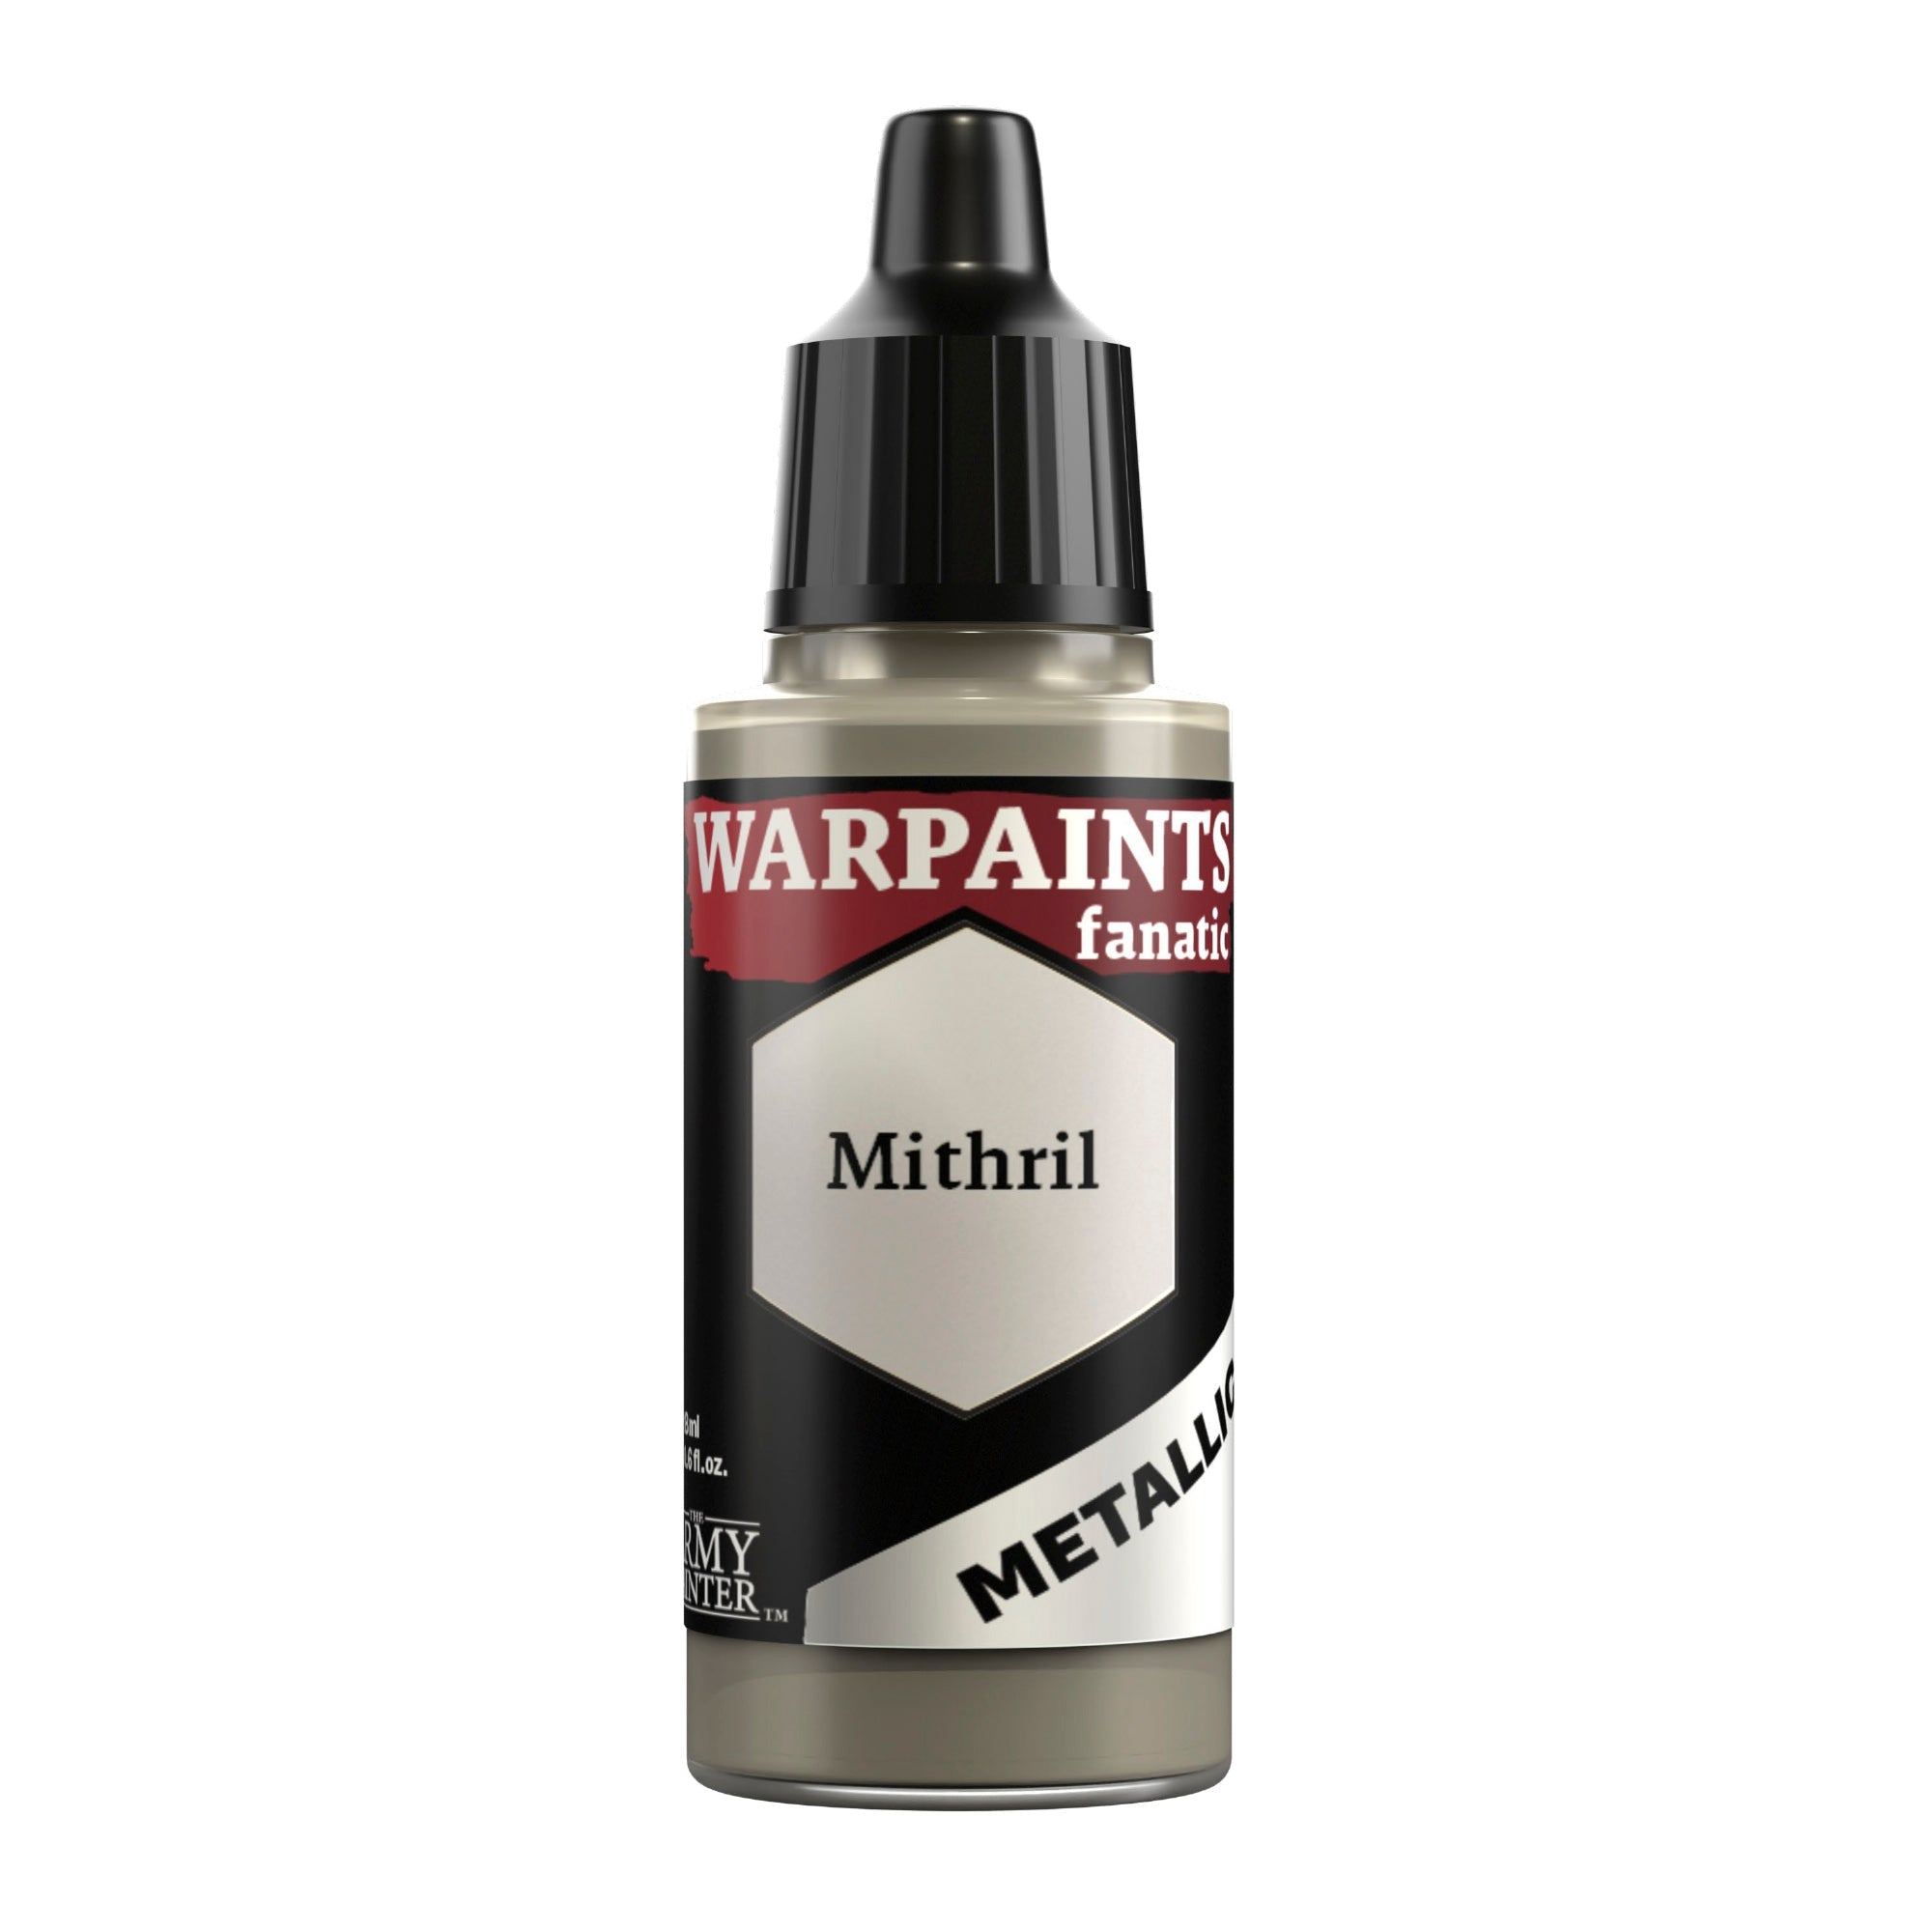
Finally, edge highlight the scale mail with Warpaints Fanatic Mithril.
The Black and Leather
Step 1
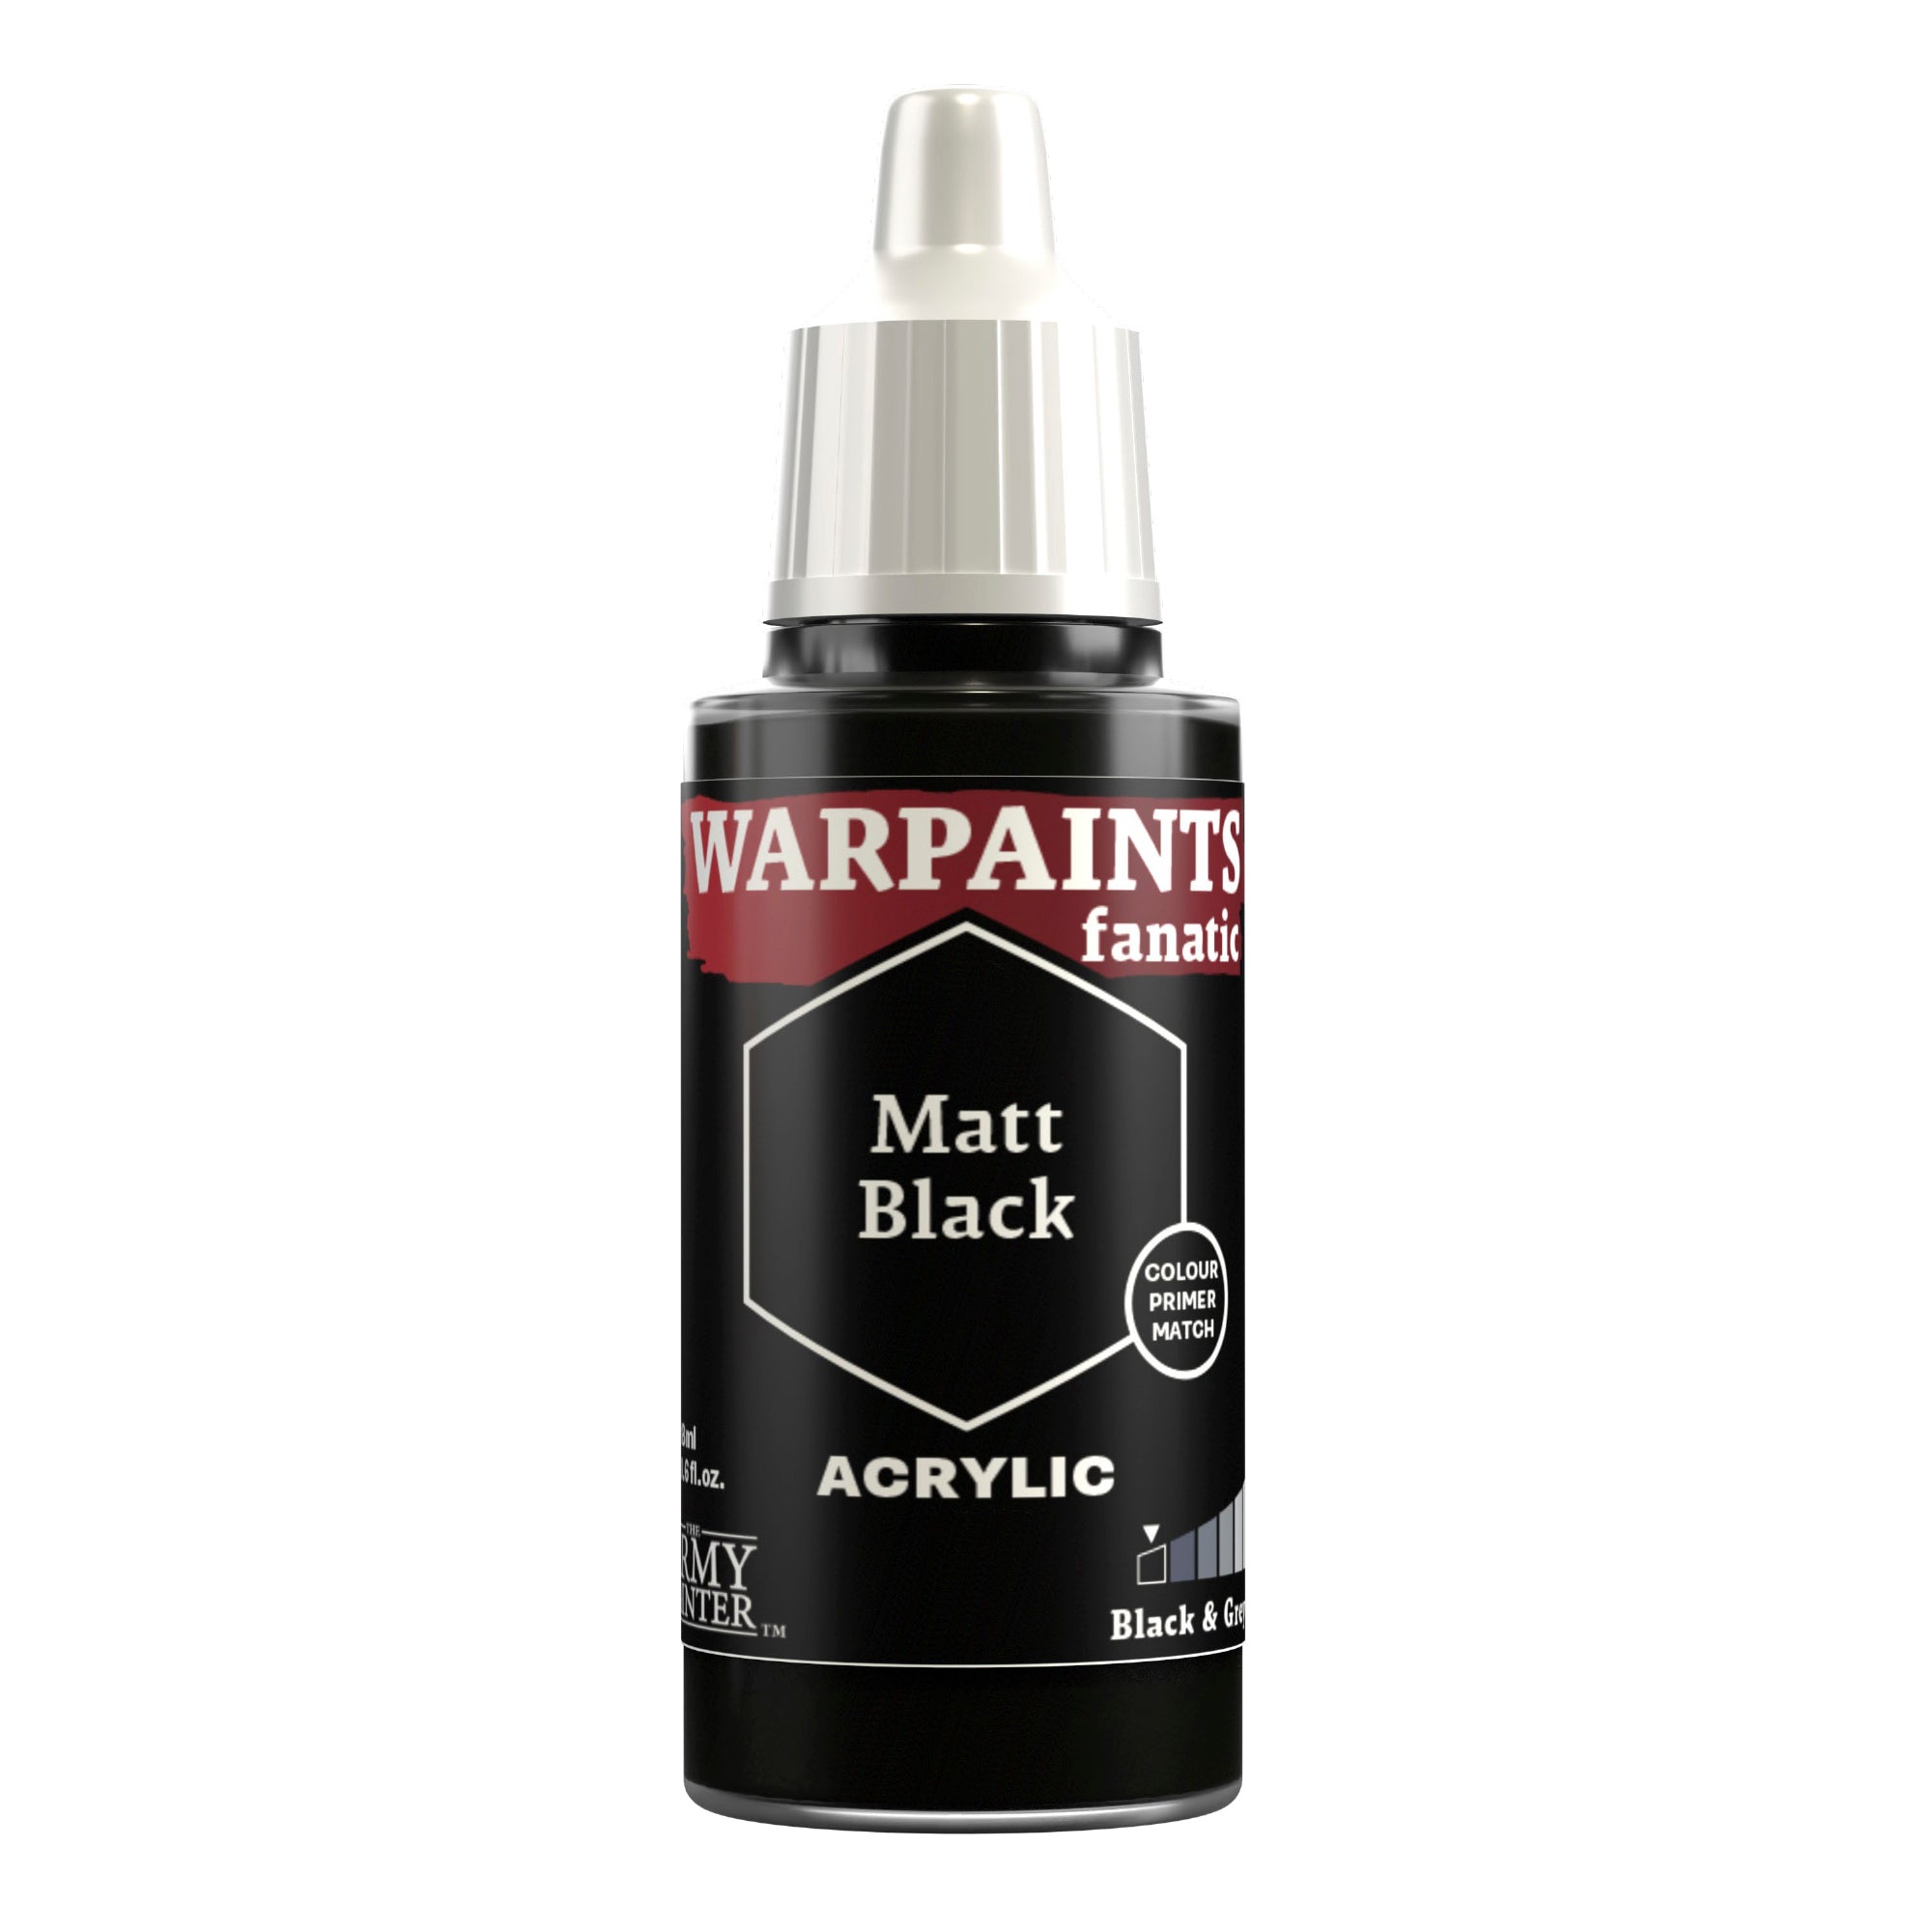
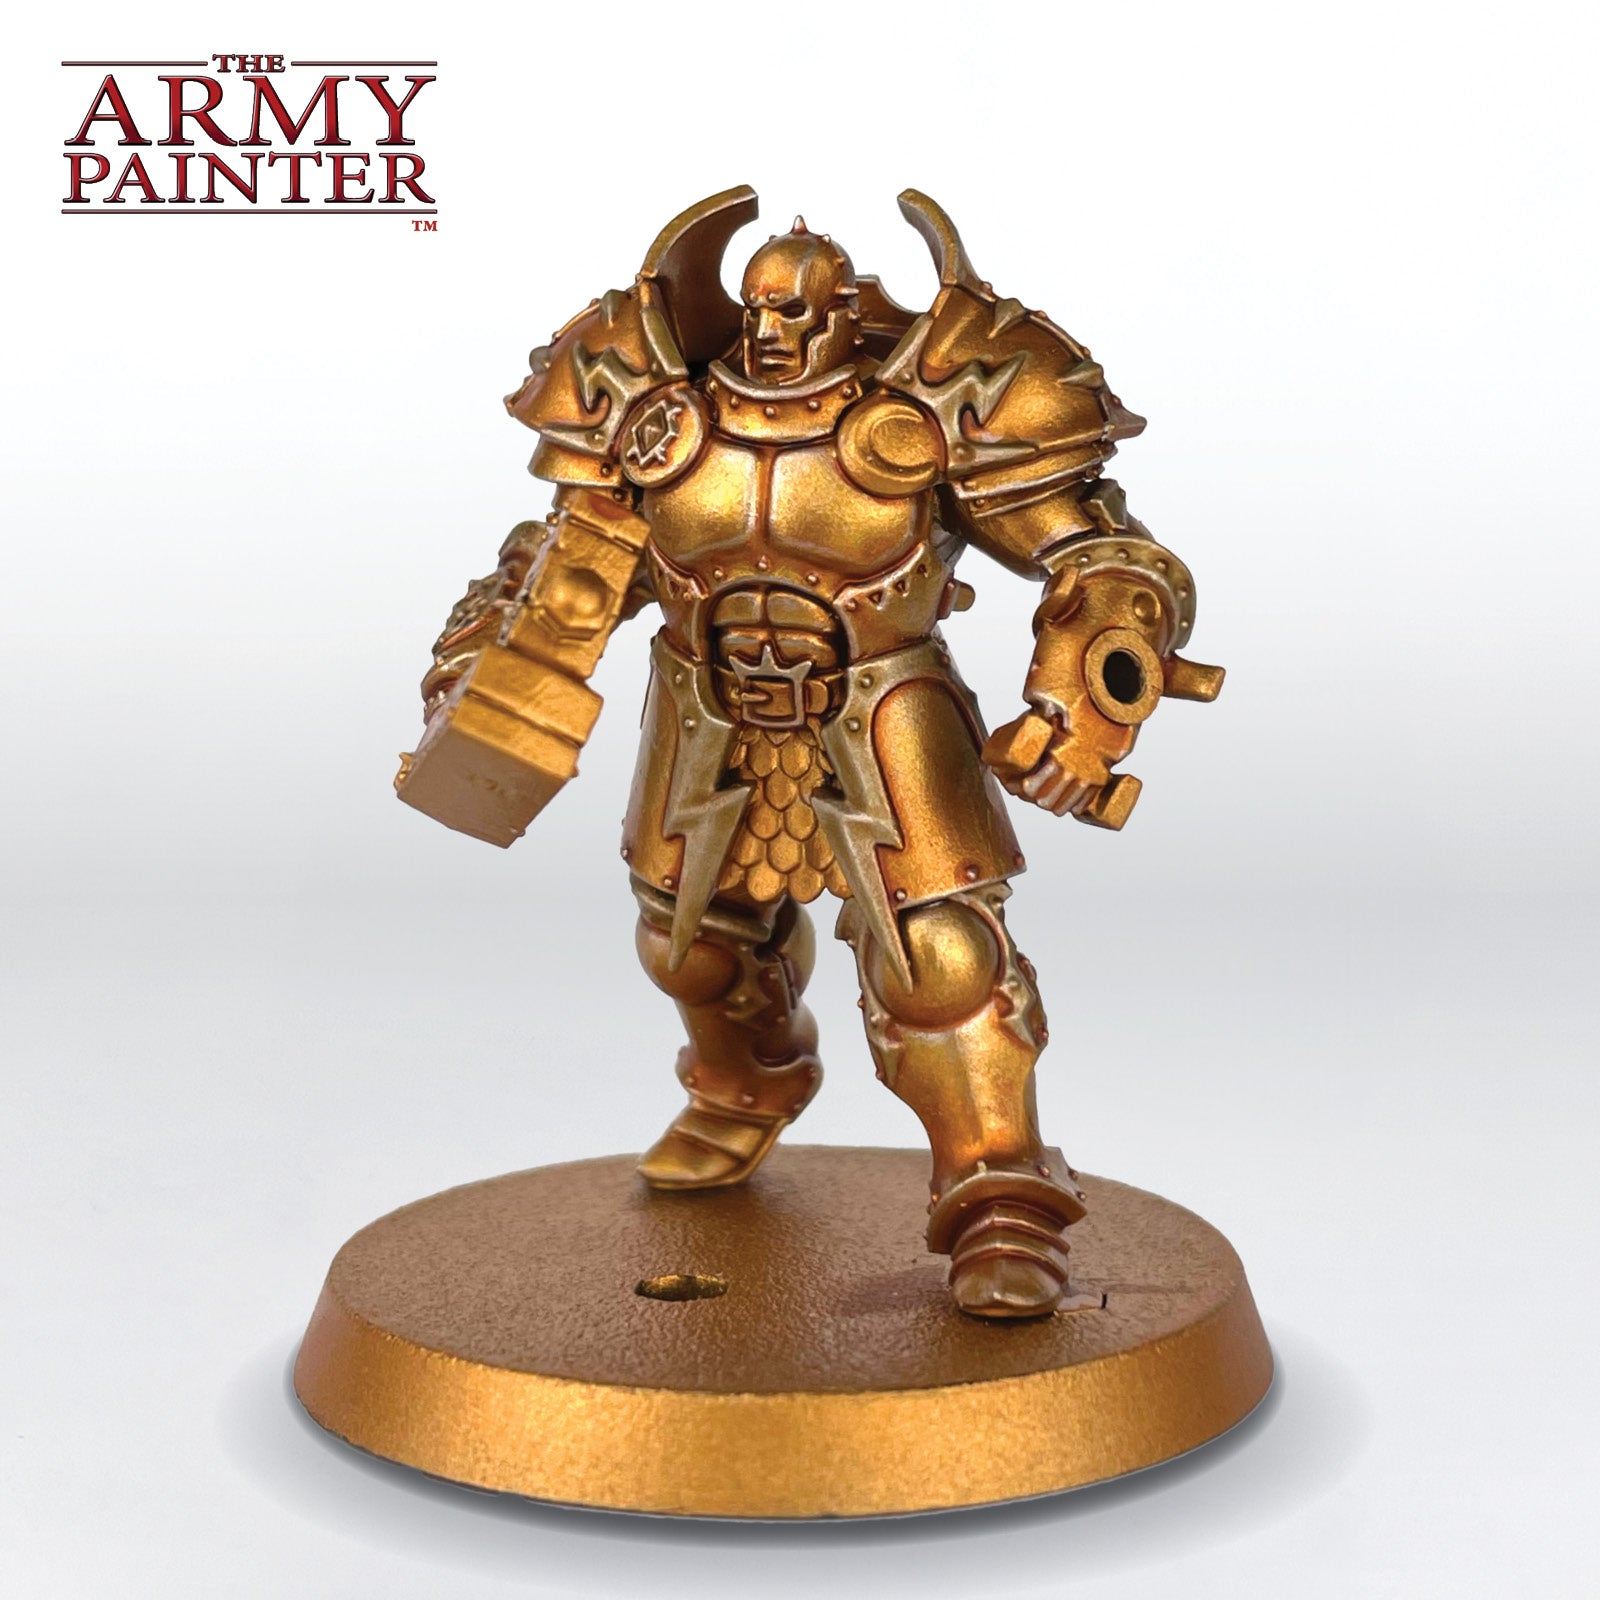
Basecoat all black areas, such as the cloth between the armour plates, the shoes, gloves, and the interior of the back of the shield, with Warpaints Fanatic Matt Black.
Step 2
Then edge highlight these with Warpaints Fanatic Deep Grey.
Step 3
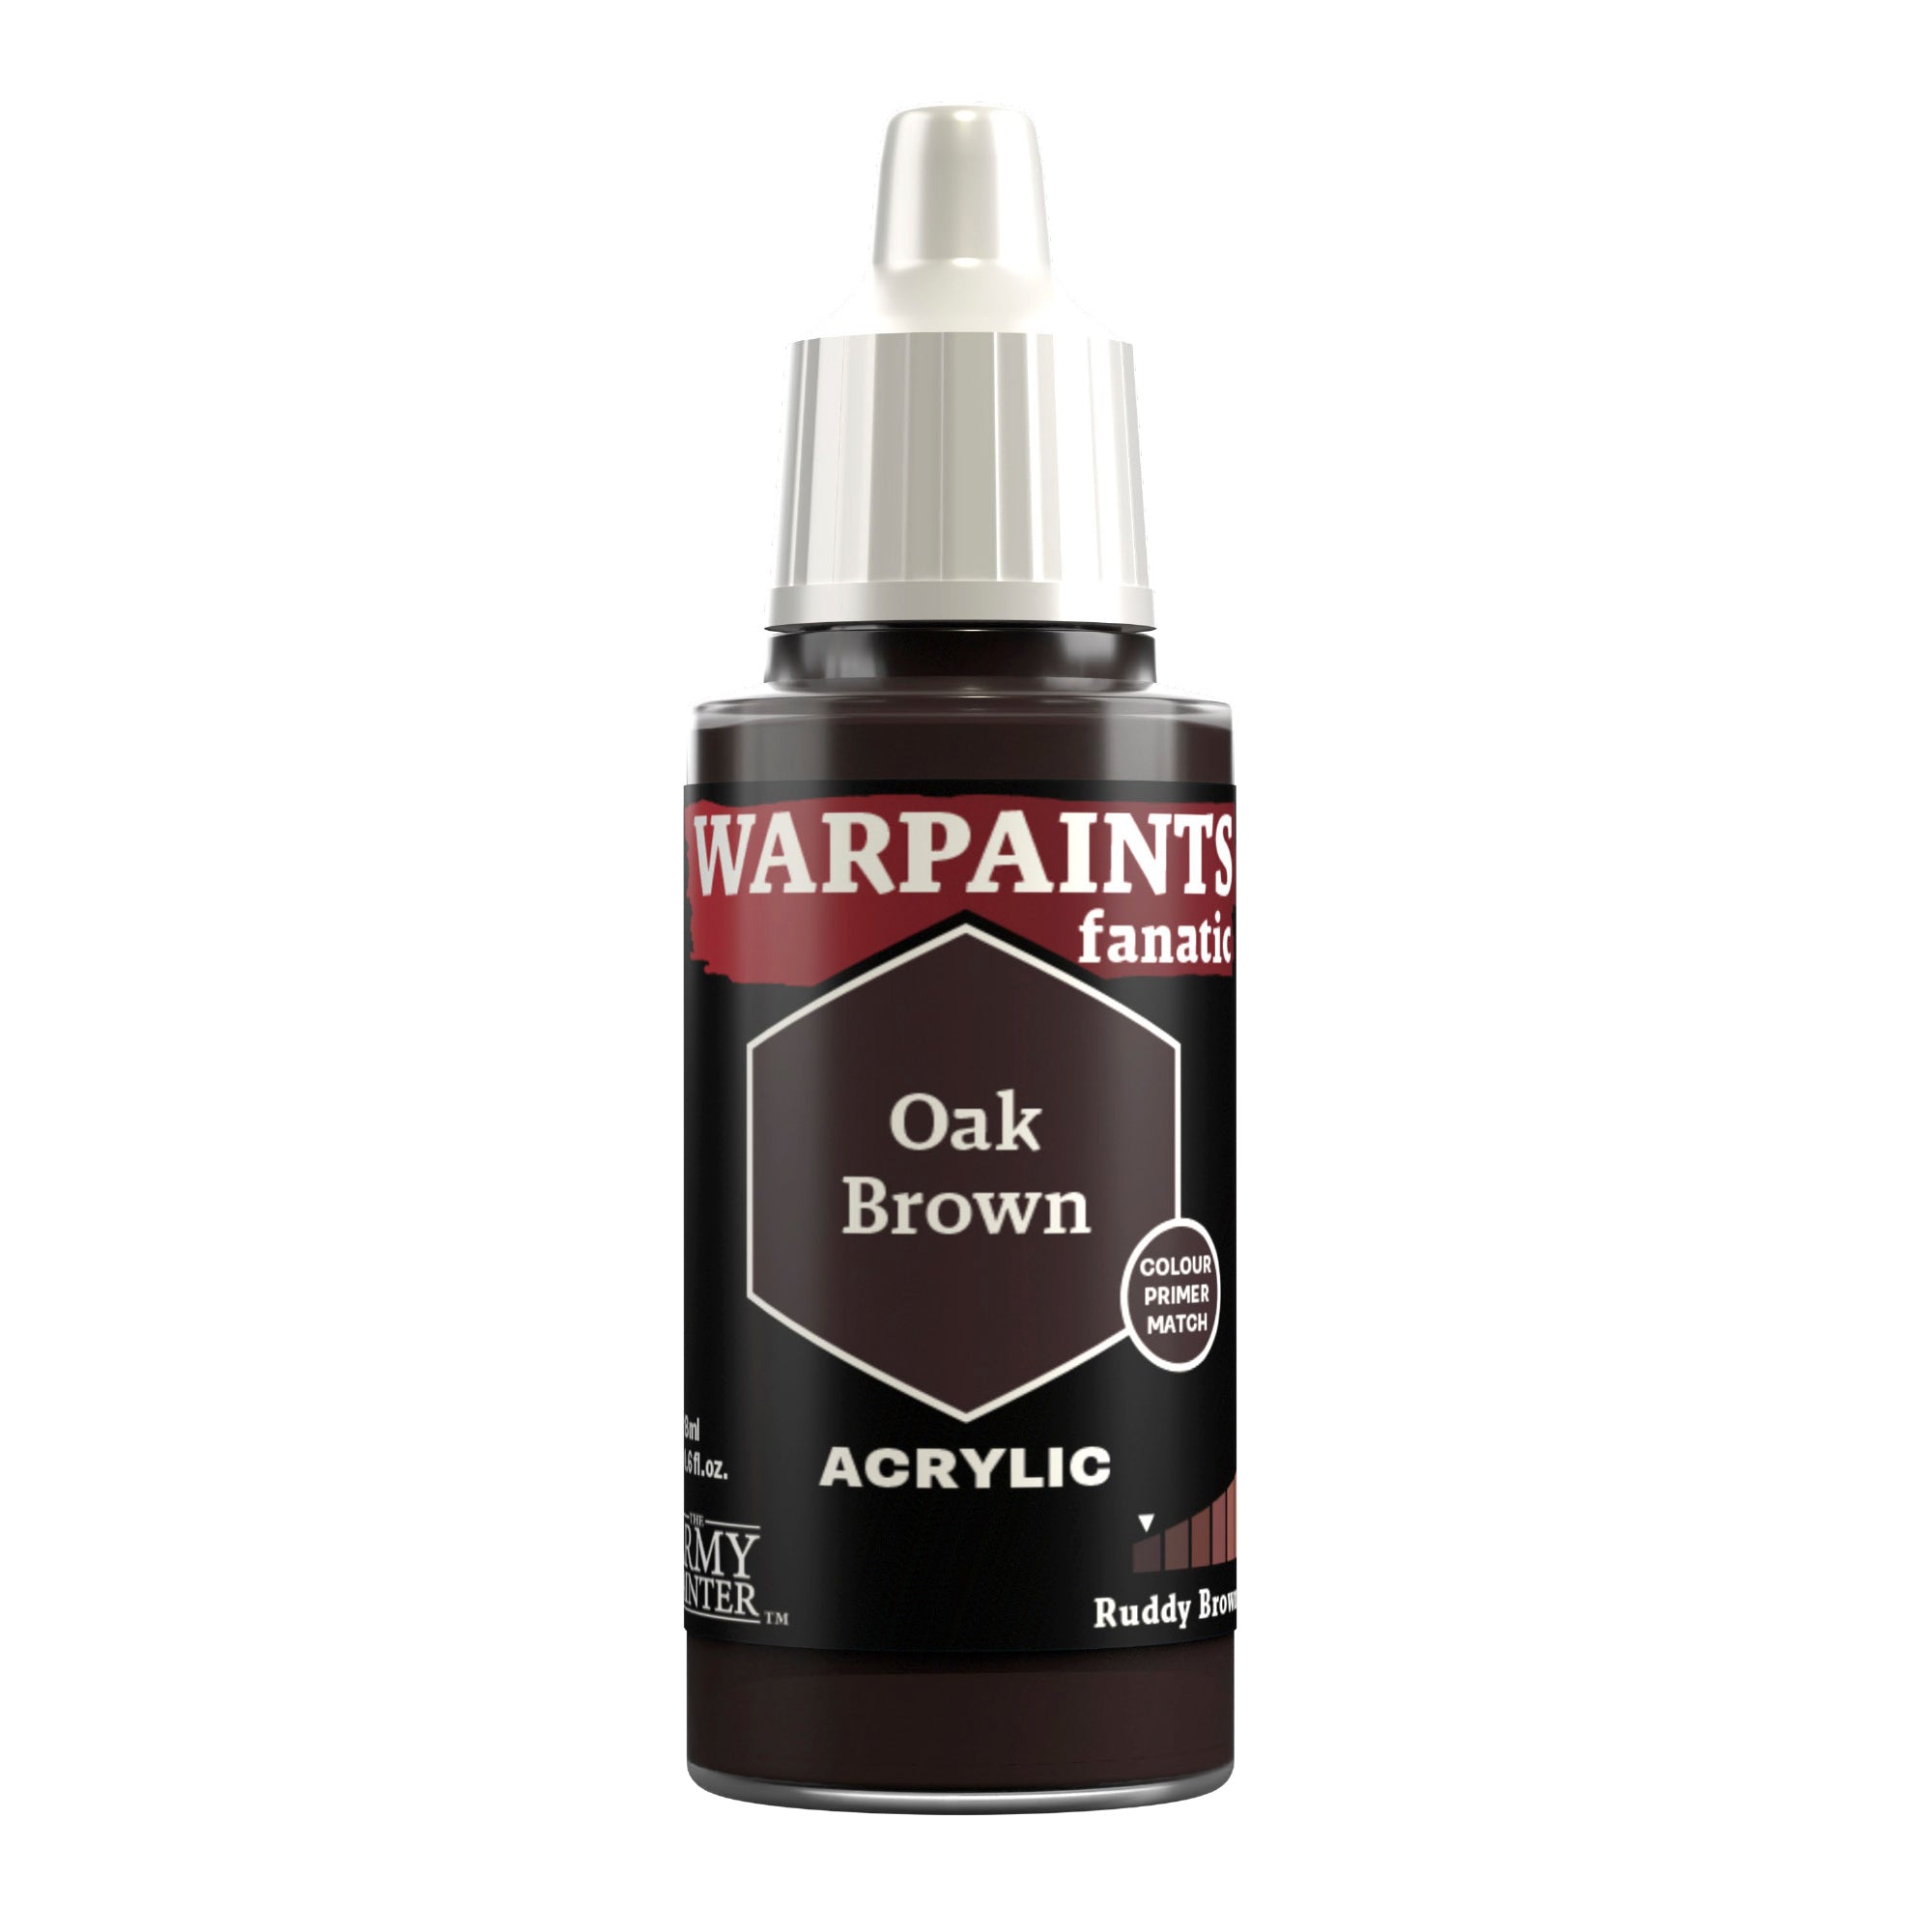
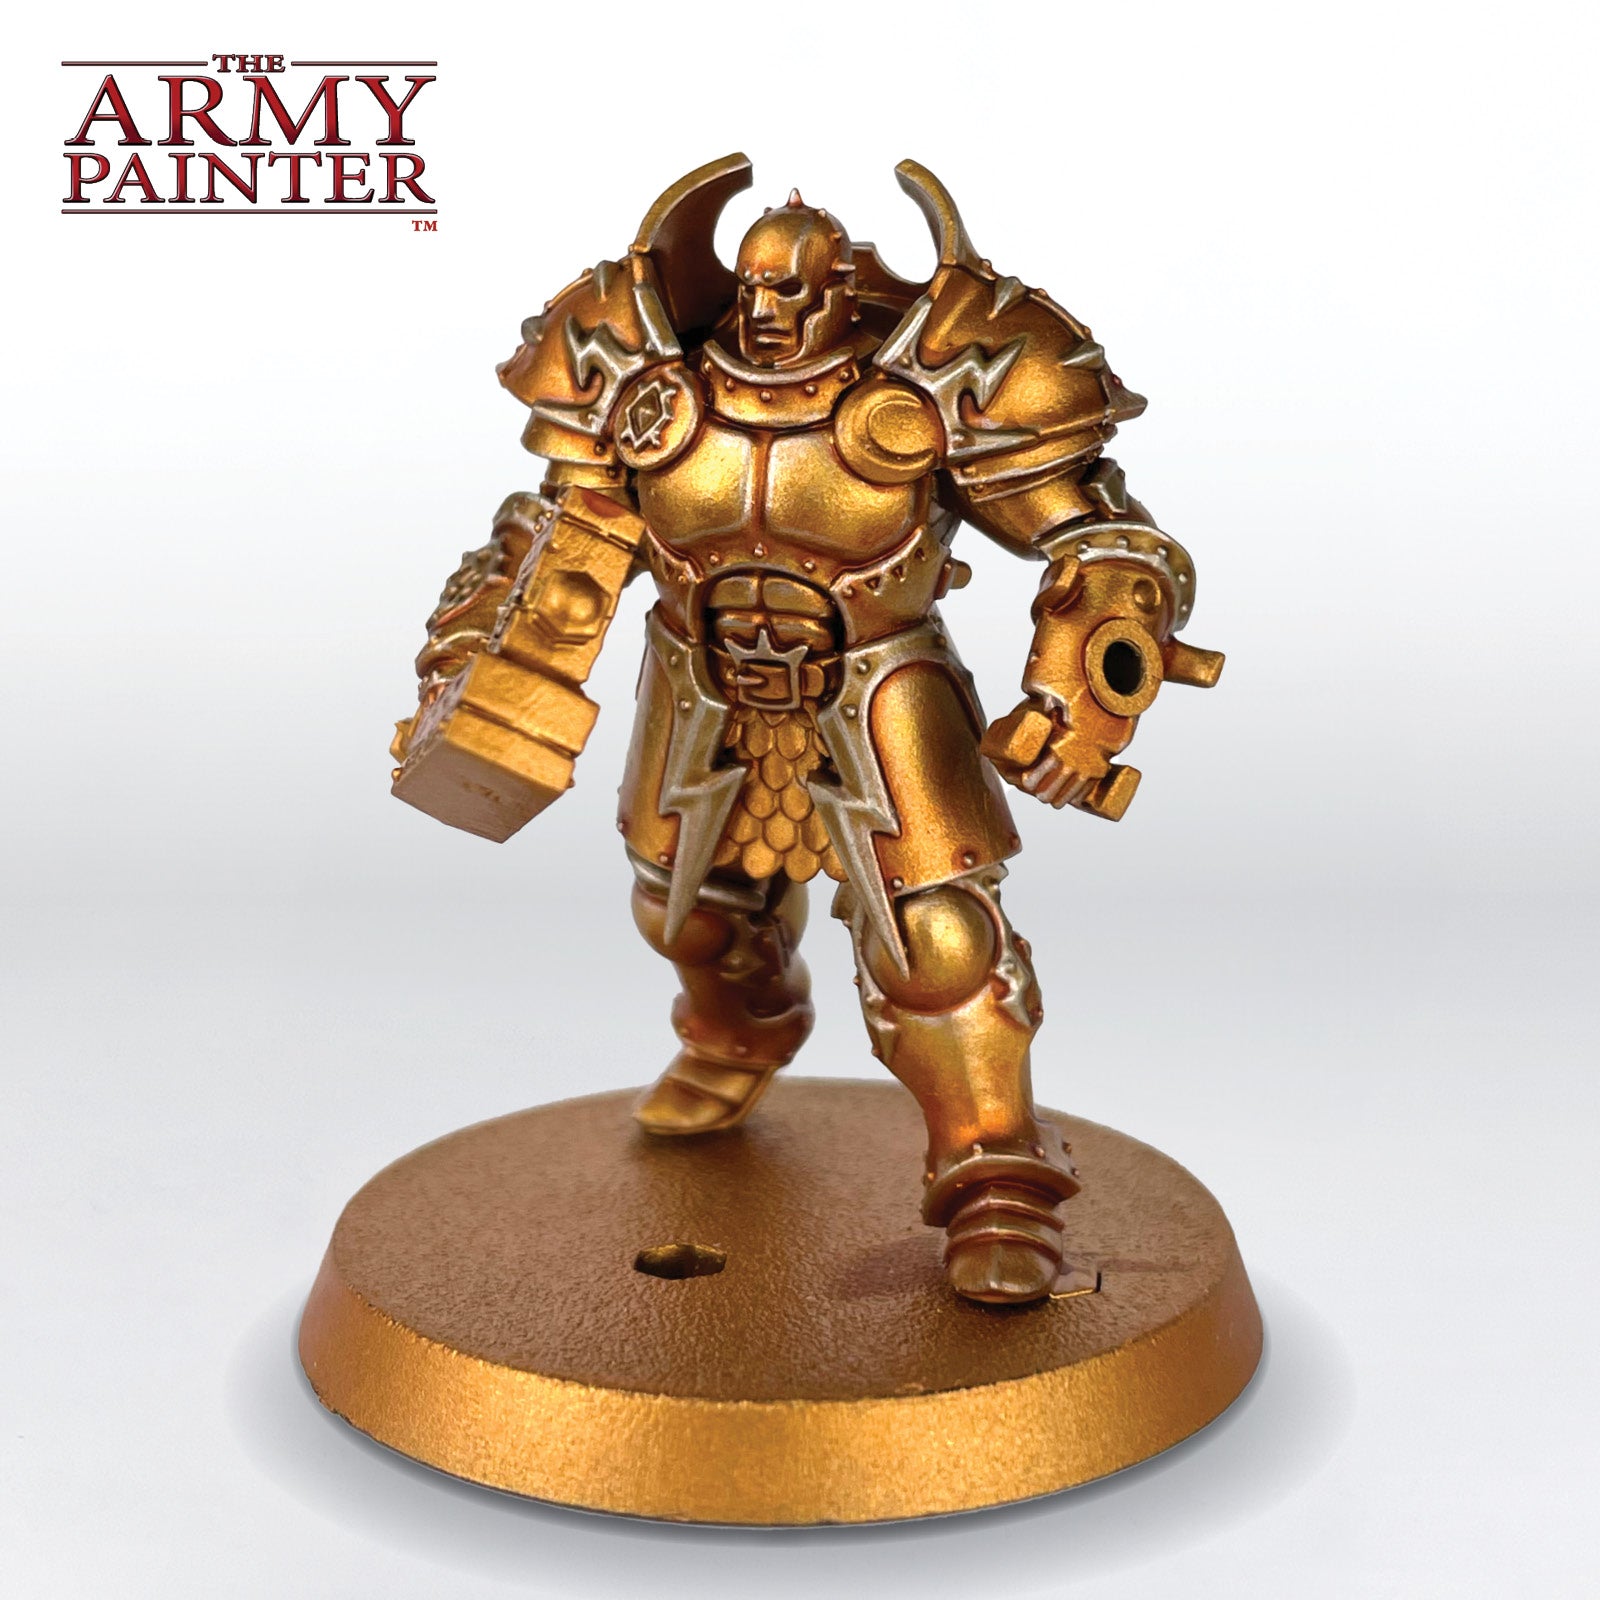
Basecoat all the brown leather areas, such as the belt and any straps, with Warpaints Fanatic Oak Brown.
Step 4
Next, shade this with Warpaints Fanatic Dark Skin Shade.
Step 5
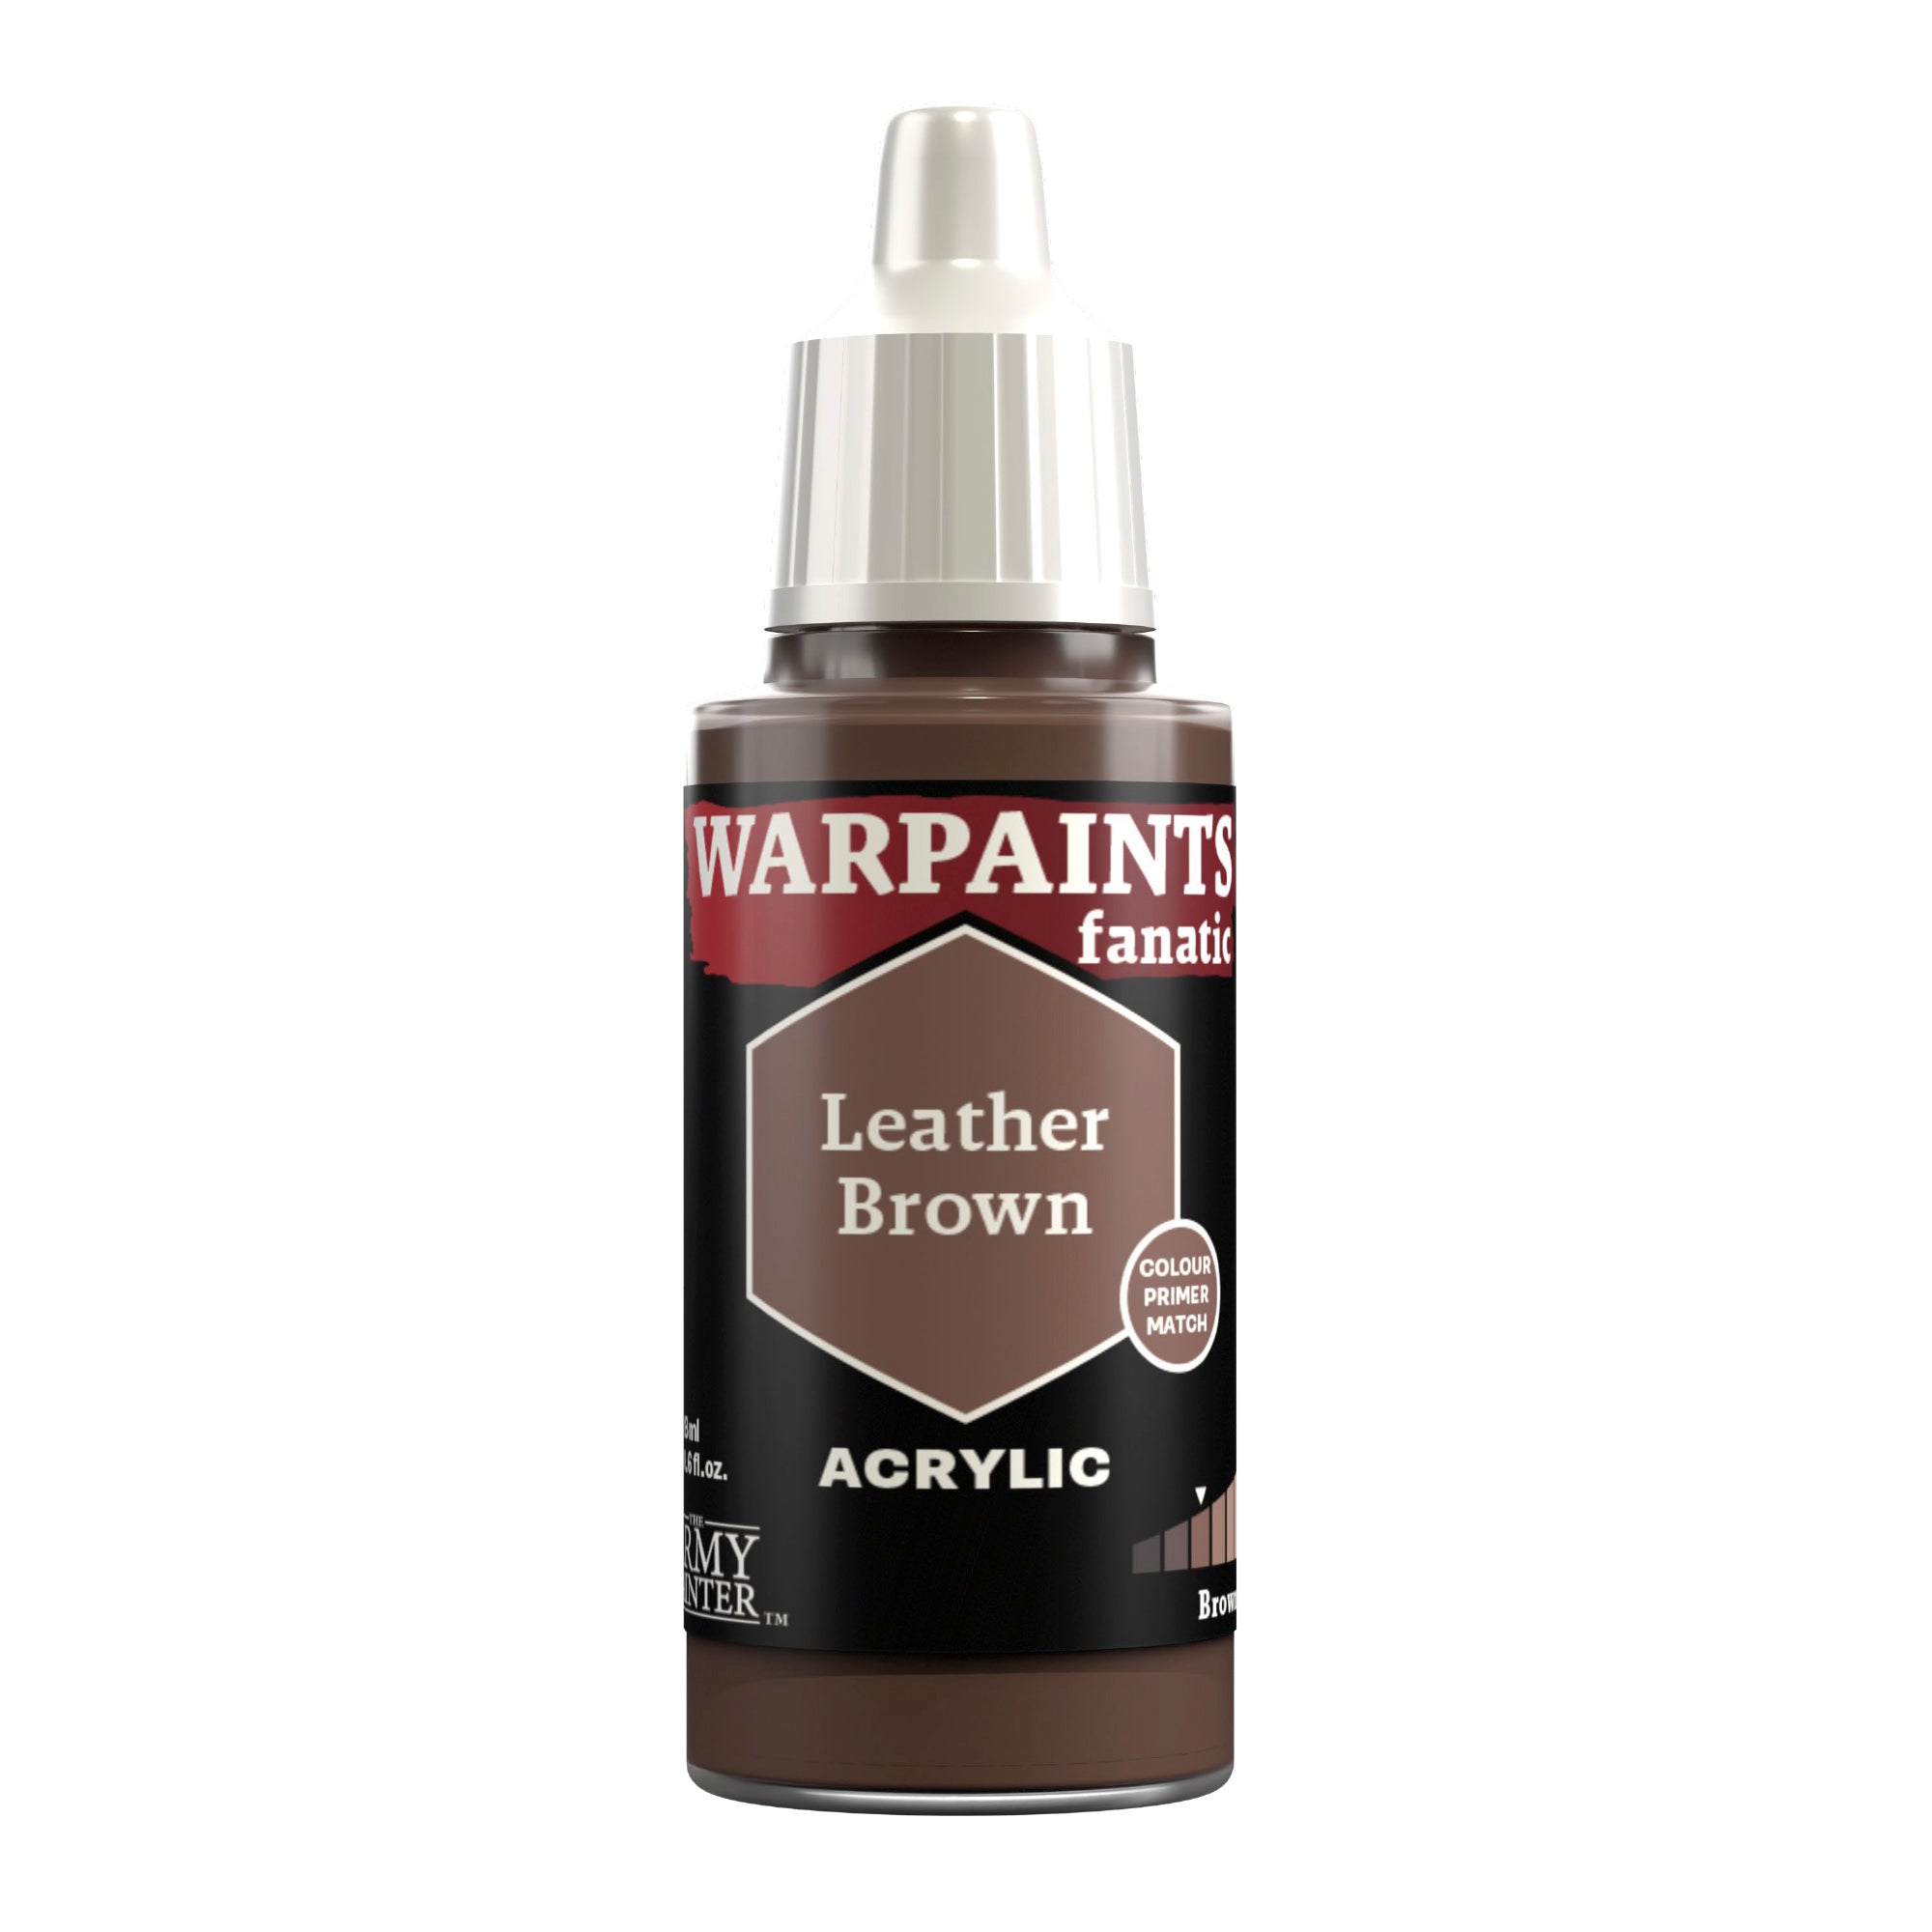
Lastly, edge highlight the brown areas with Warpaints Fanatic Leather Brown.
The Blue
Step 1
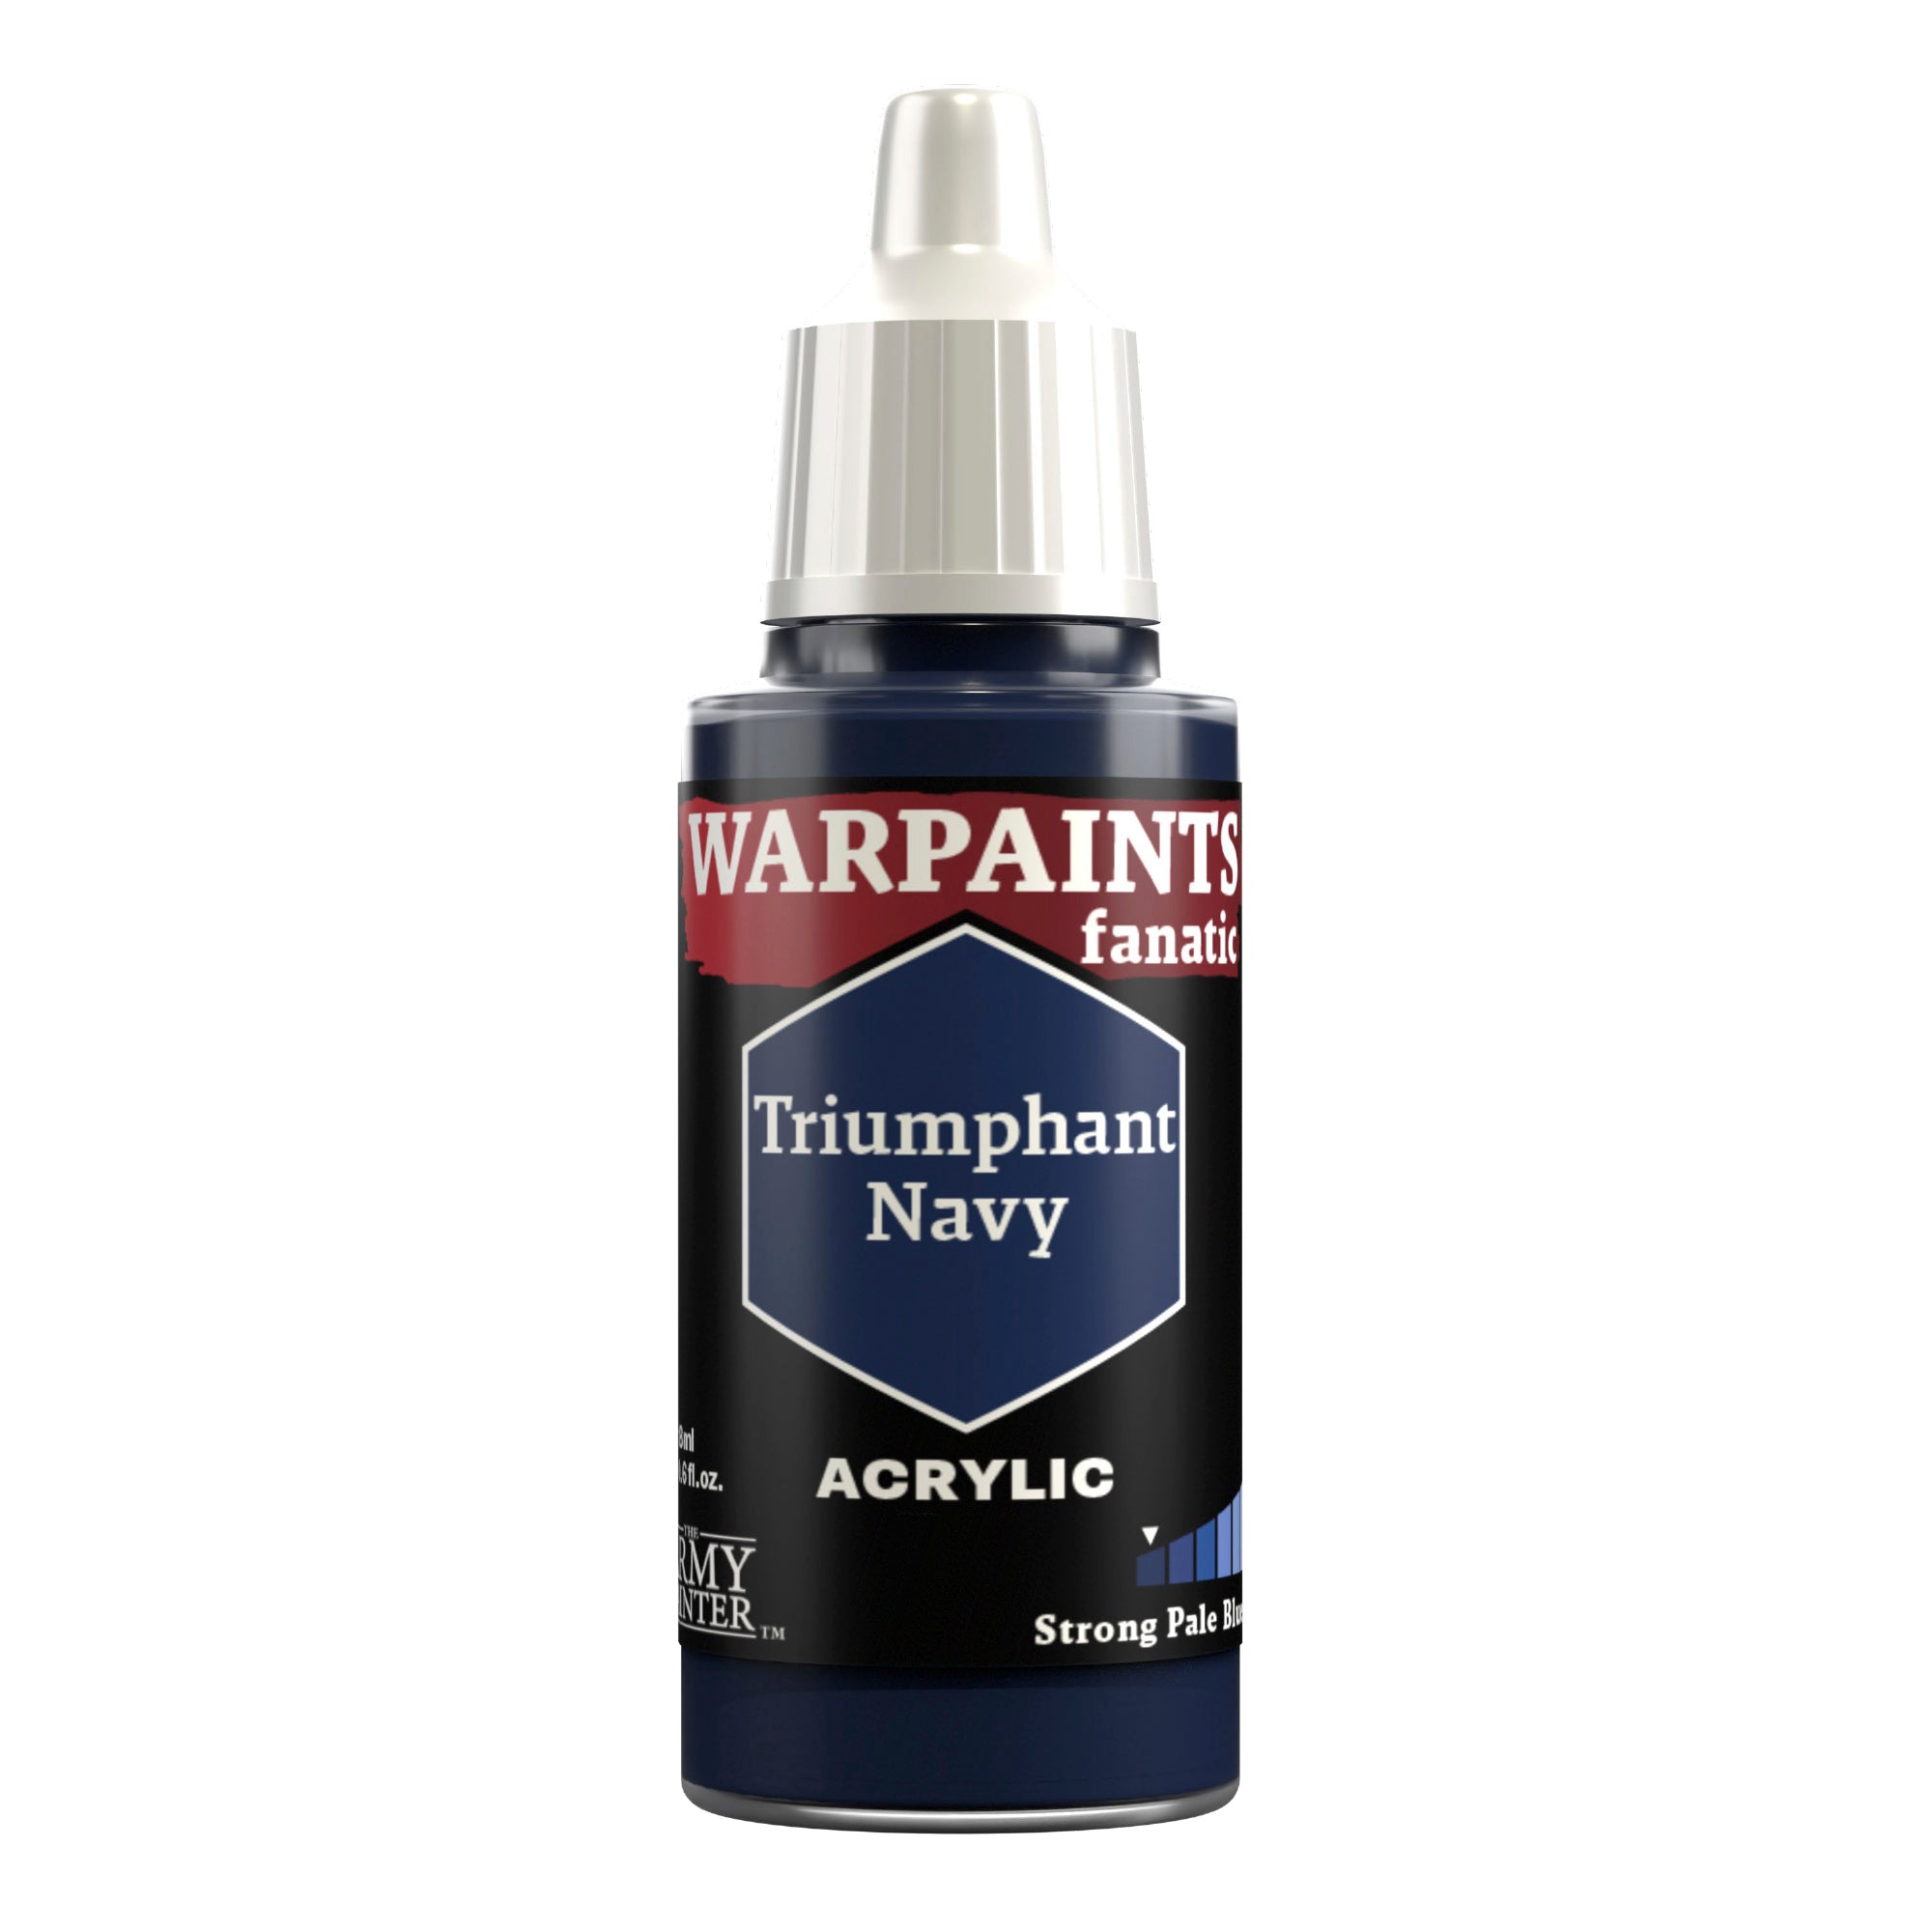
Basecoat the blue areas with Warpaints Fanatic Triumphant Navy from the Strong Pale Blues Flexible Triad.
Step 2
Next, apply a coat of Warpaints Fanatic Dark Blue Tone wash to shade it.
Step 3
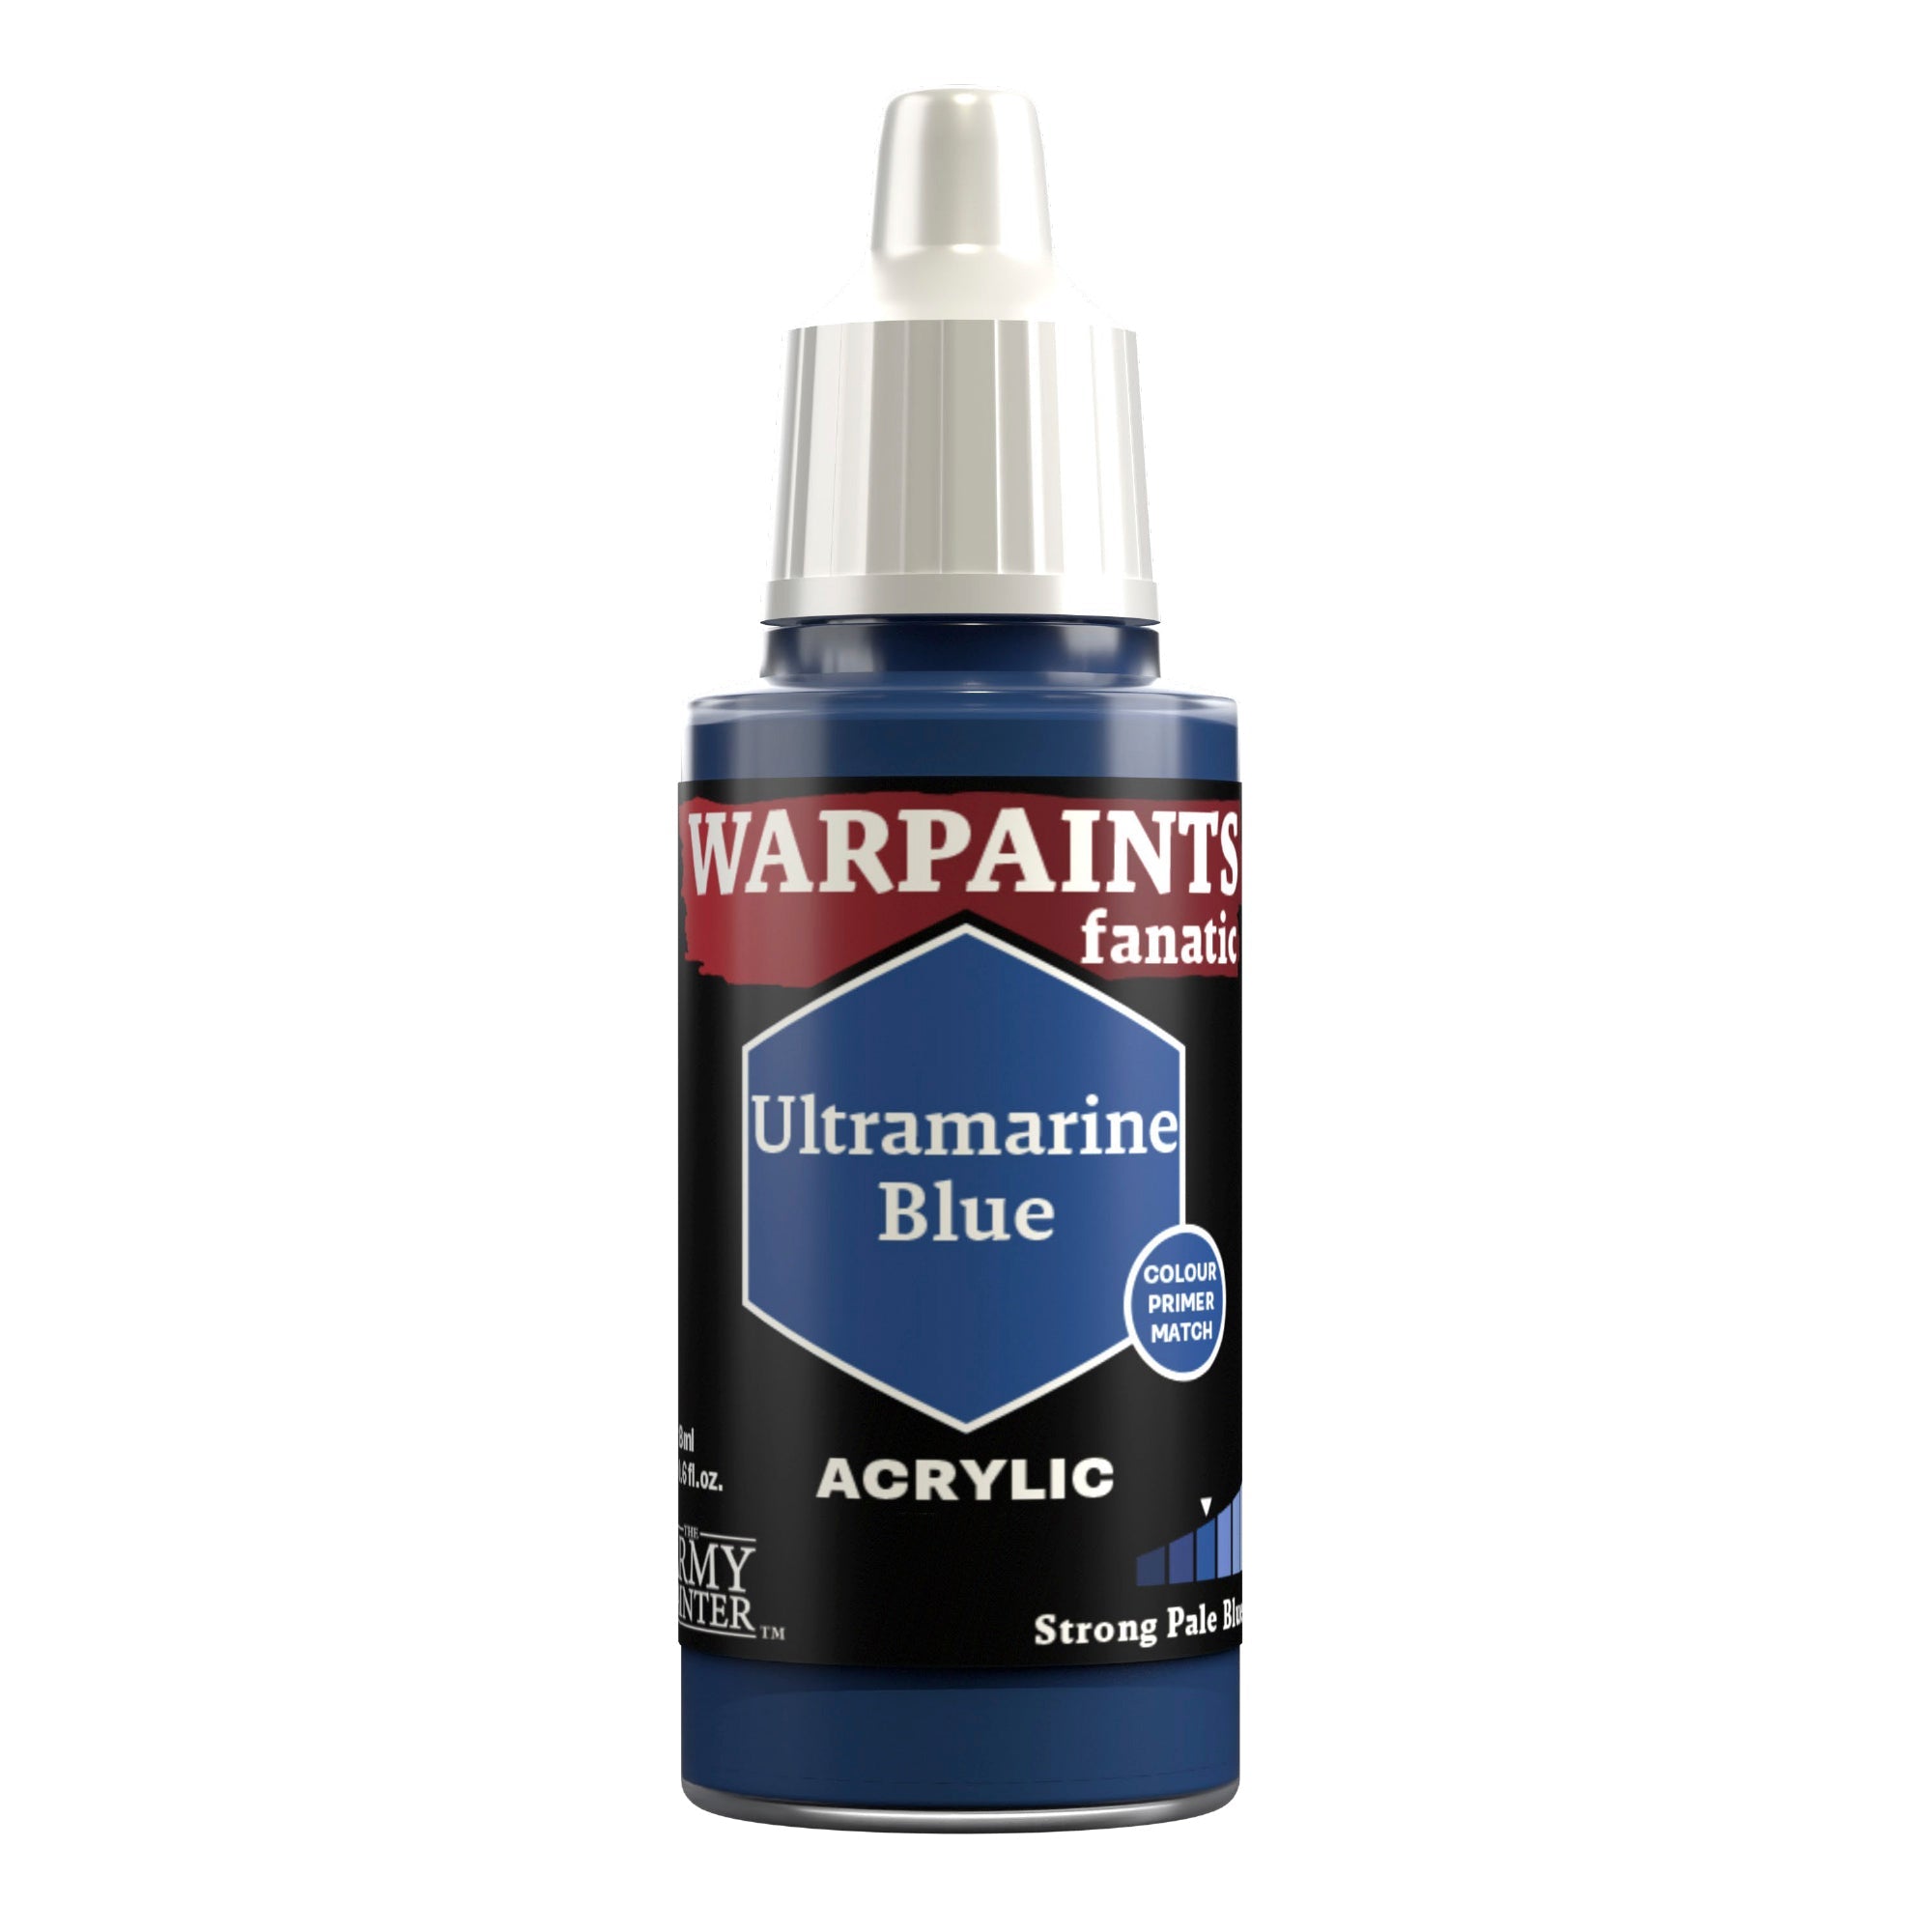
Then edge highlight it with Warpaints Fanatic Ultramarine Blue. You can also glaze a small circle of this onto the rounded area of it to simulate a light reflection.

Step 4
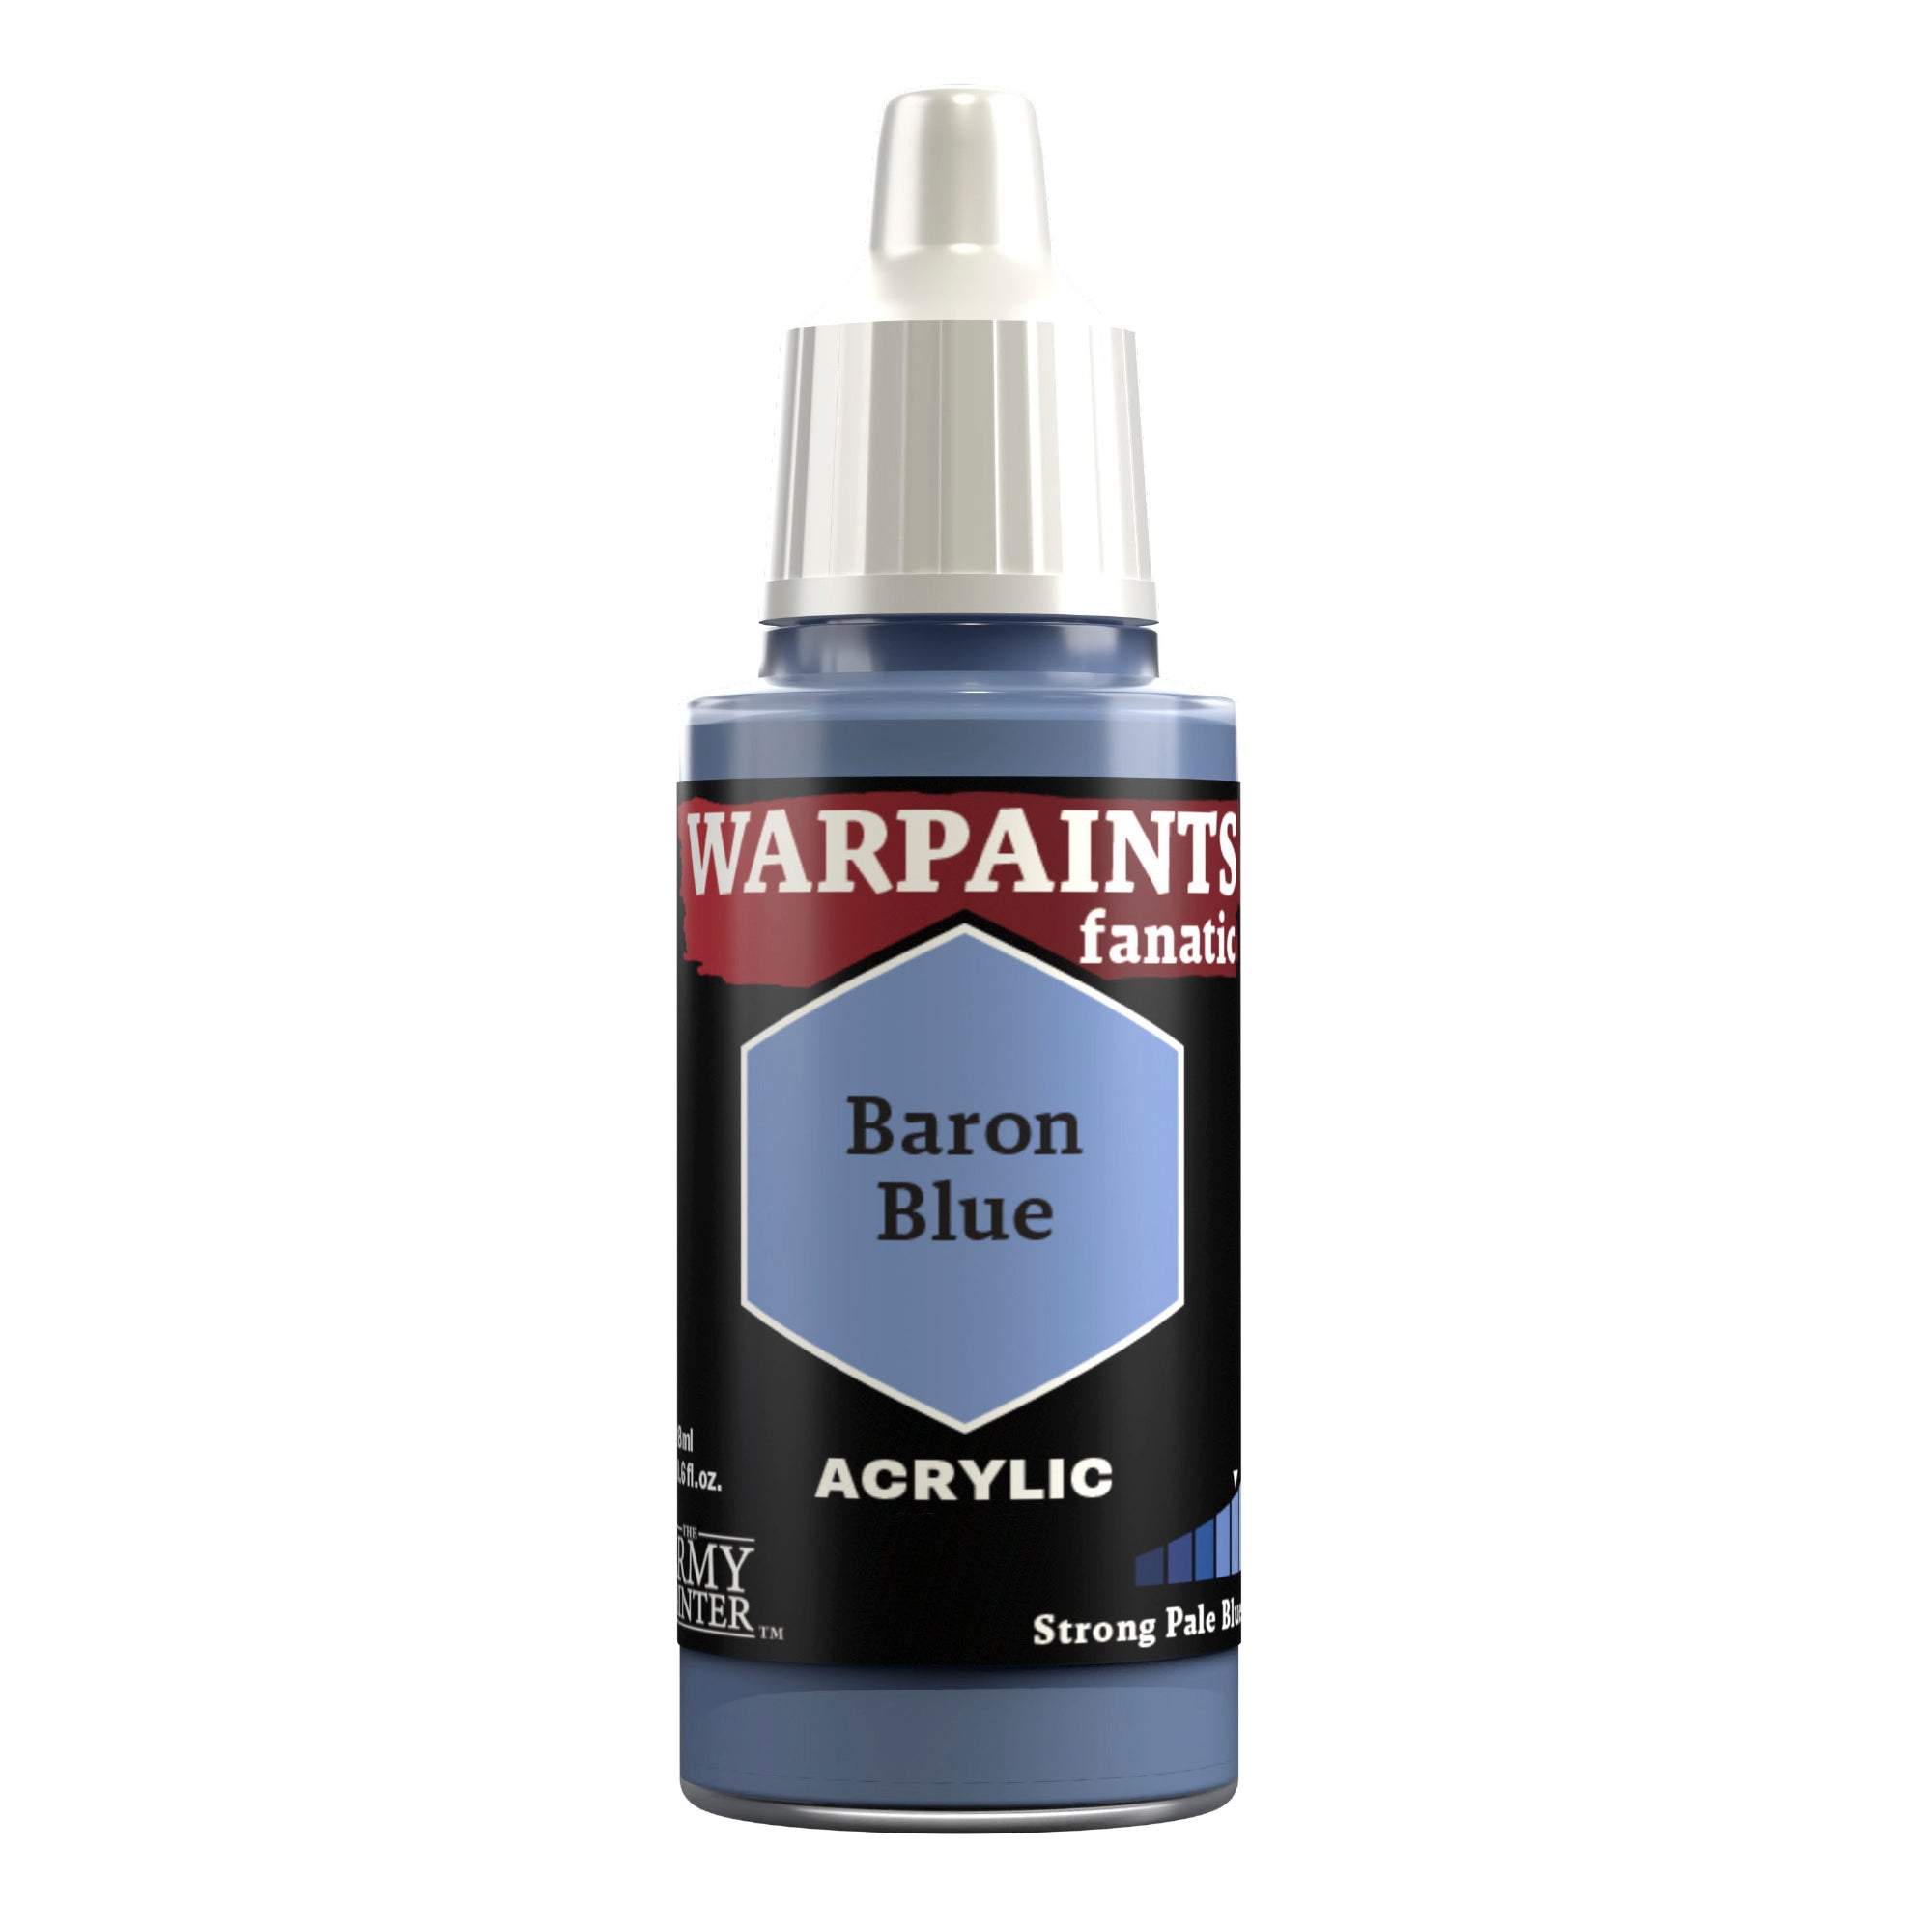
Finish this off with a more refined highlight of Warpaints Fanatic Baron Blue both on the edges and on the light reflections.
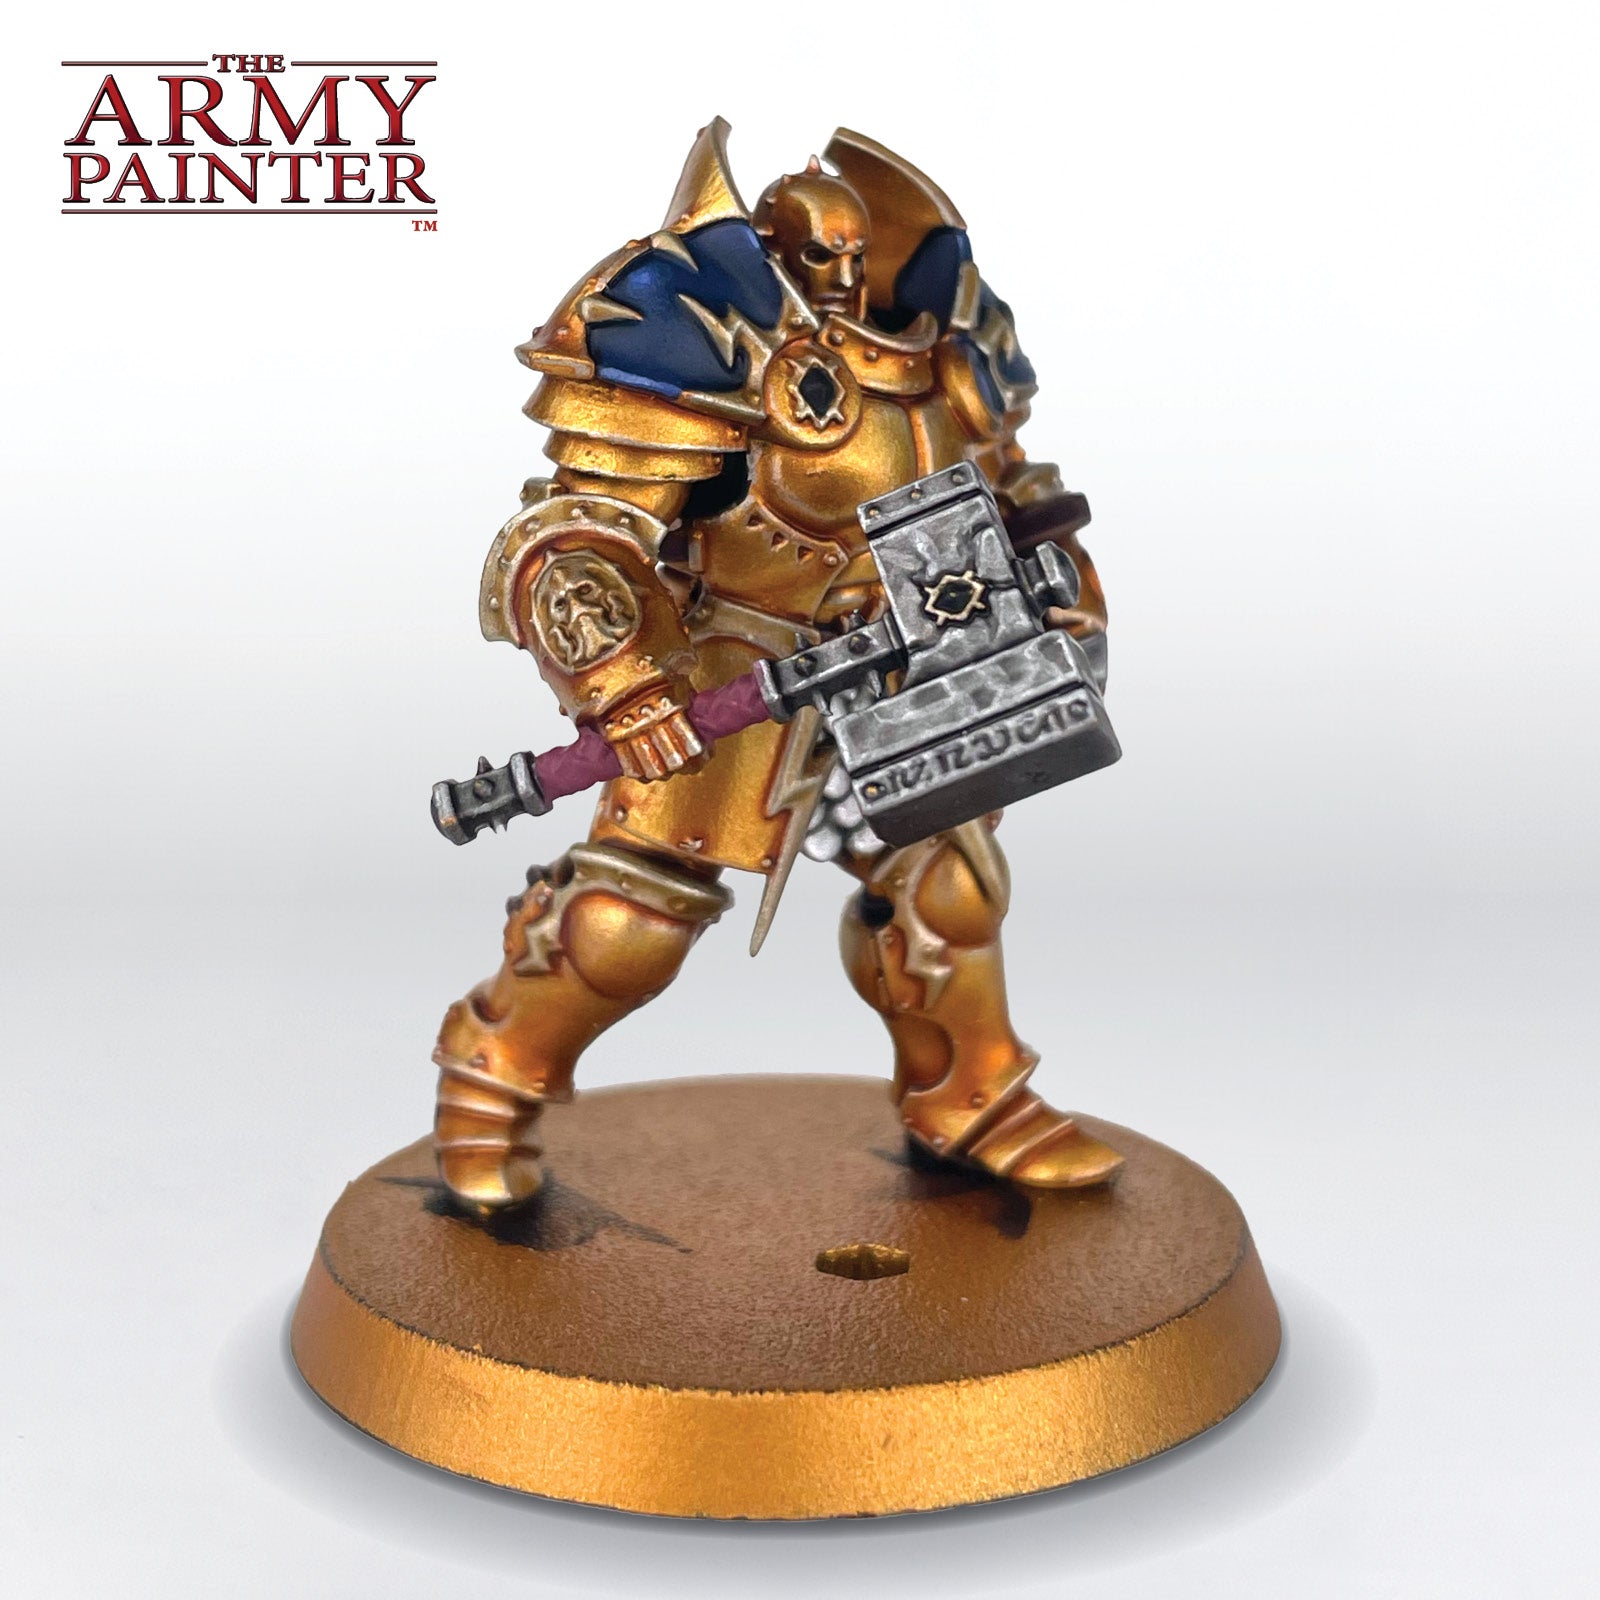
The Weapon Haft and Gemstones
Step 1
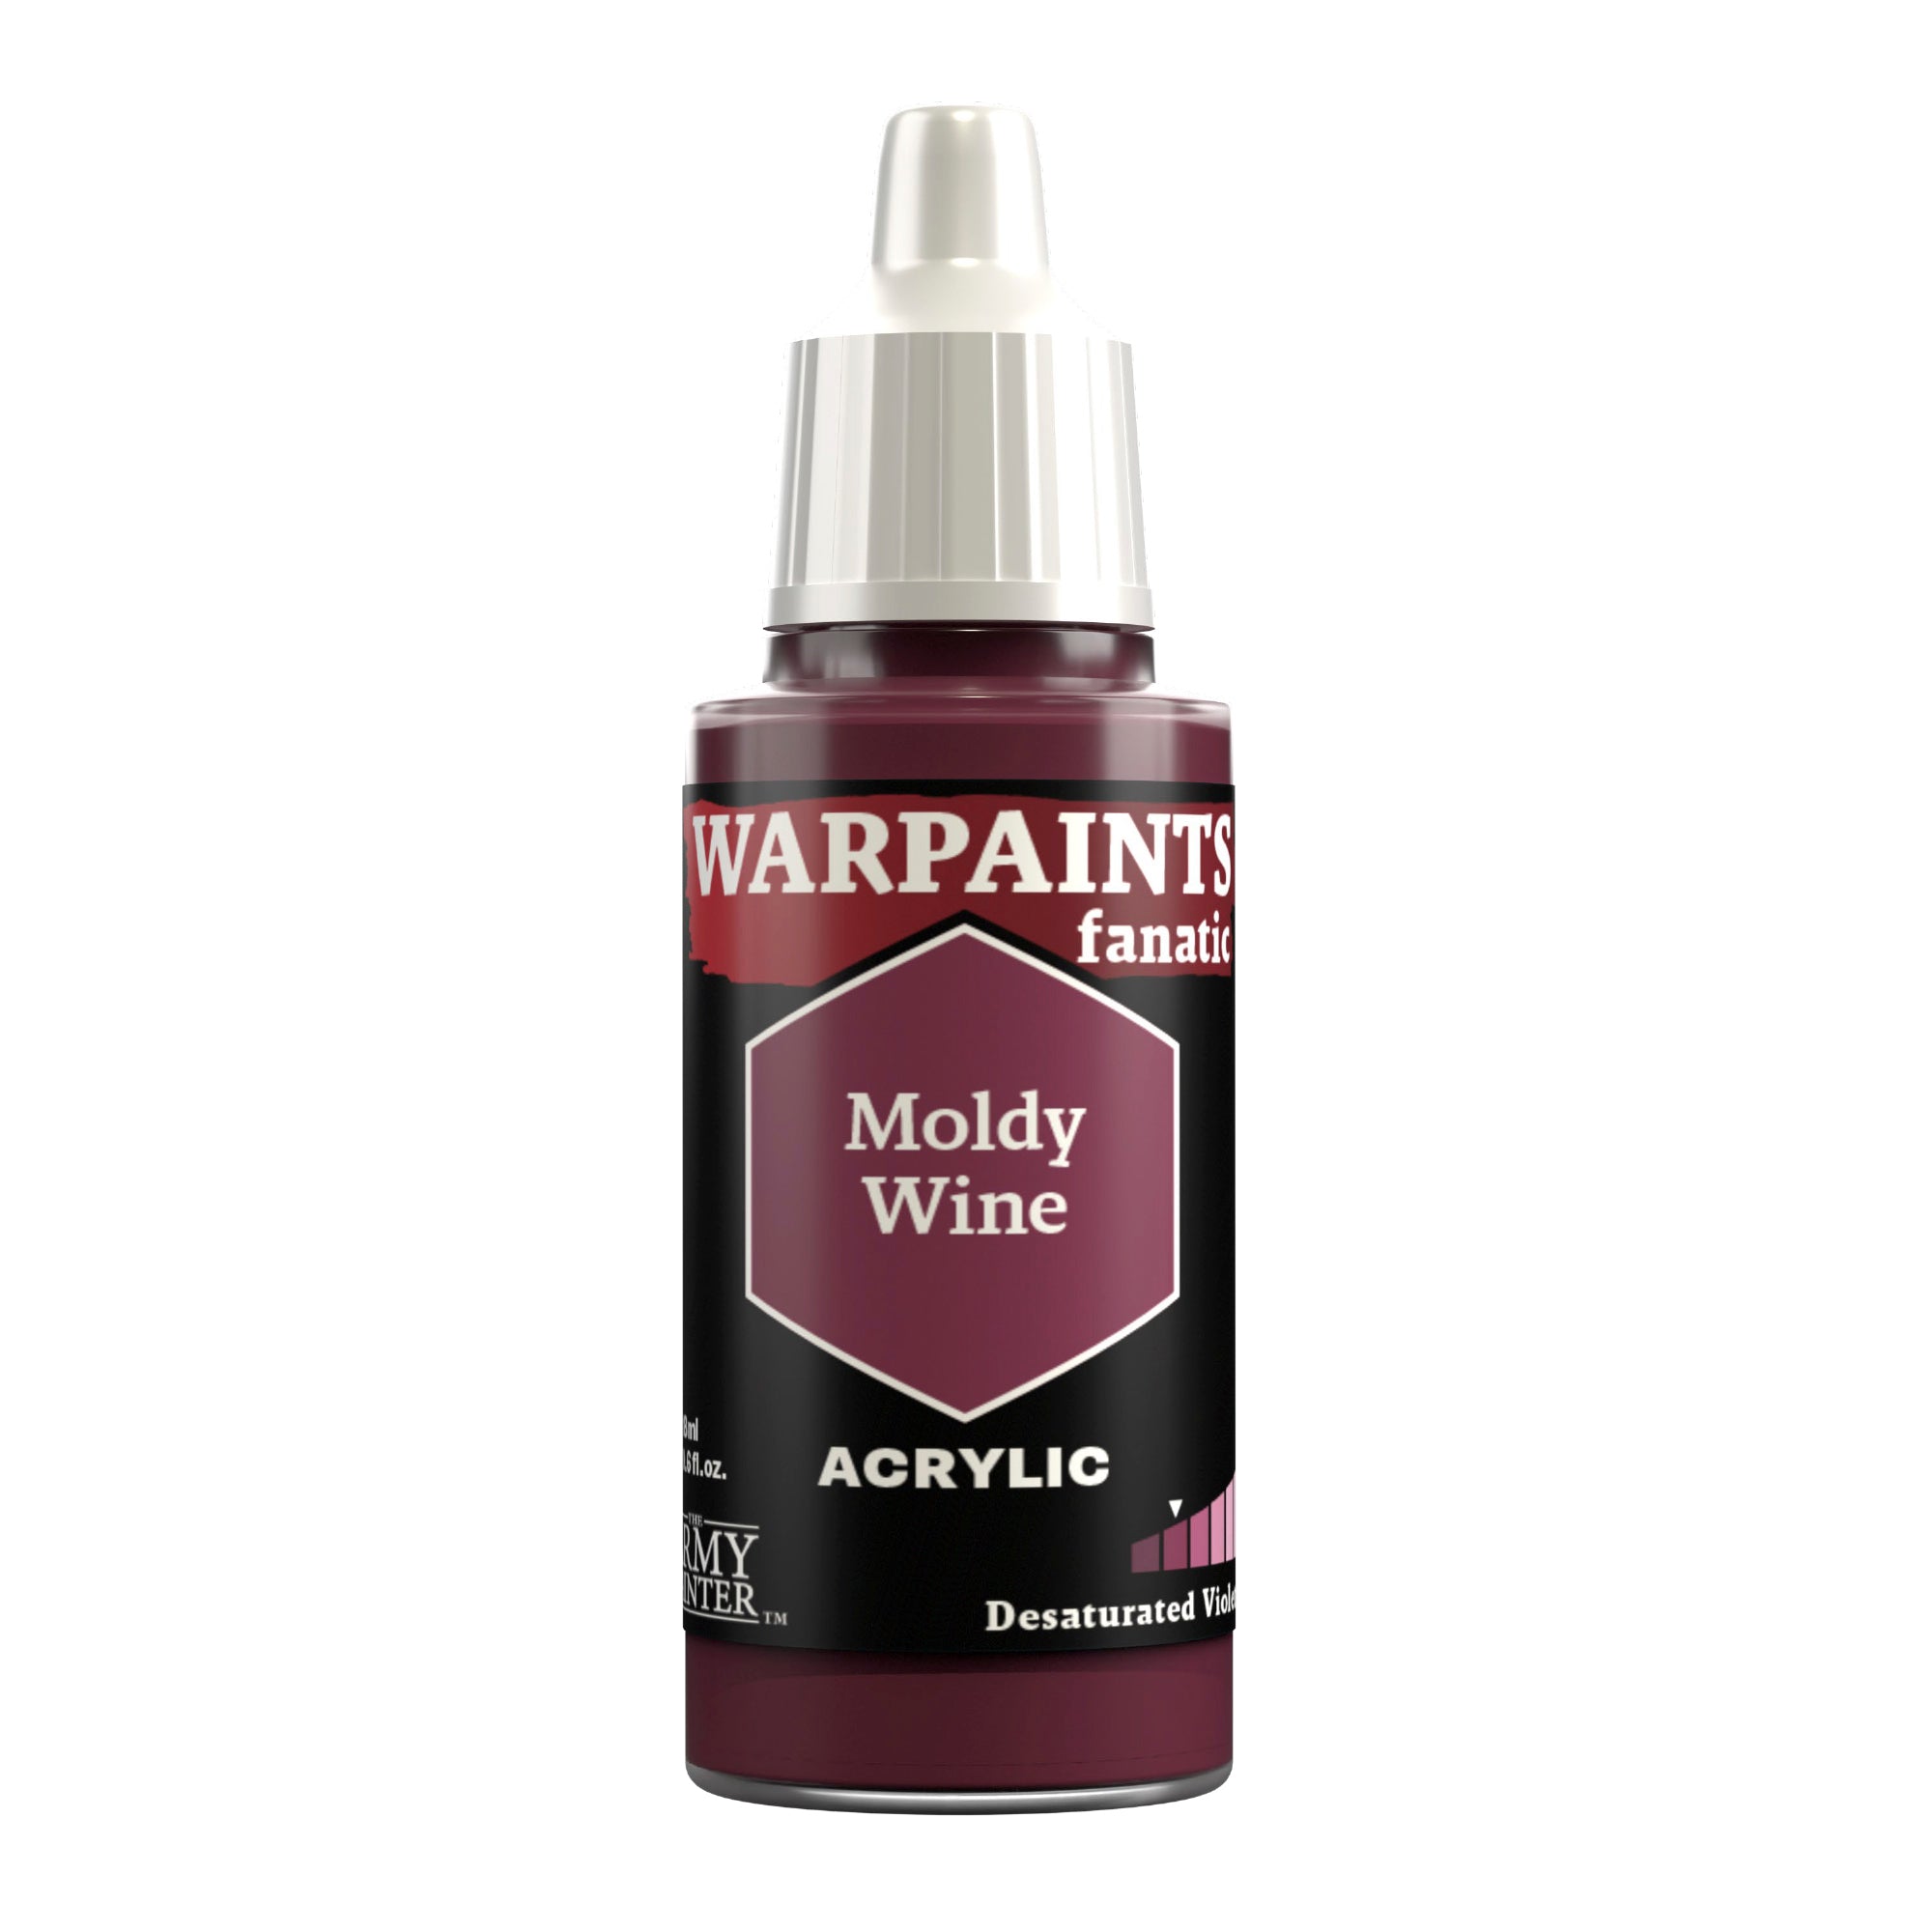
Basecoat the leather wrappings on the haft of the hammer with Warpaints Fanatic Moldy Wine.
Step 2
Shade this with Warpaints Fanatic Dark Tone.

Step 3
Next, re-layer the wrappings with Warpaints Fanatic Moldy Wine, leaving the previous step in the recesses.
Step 4
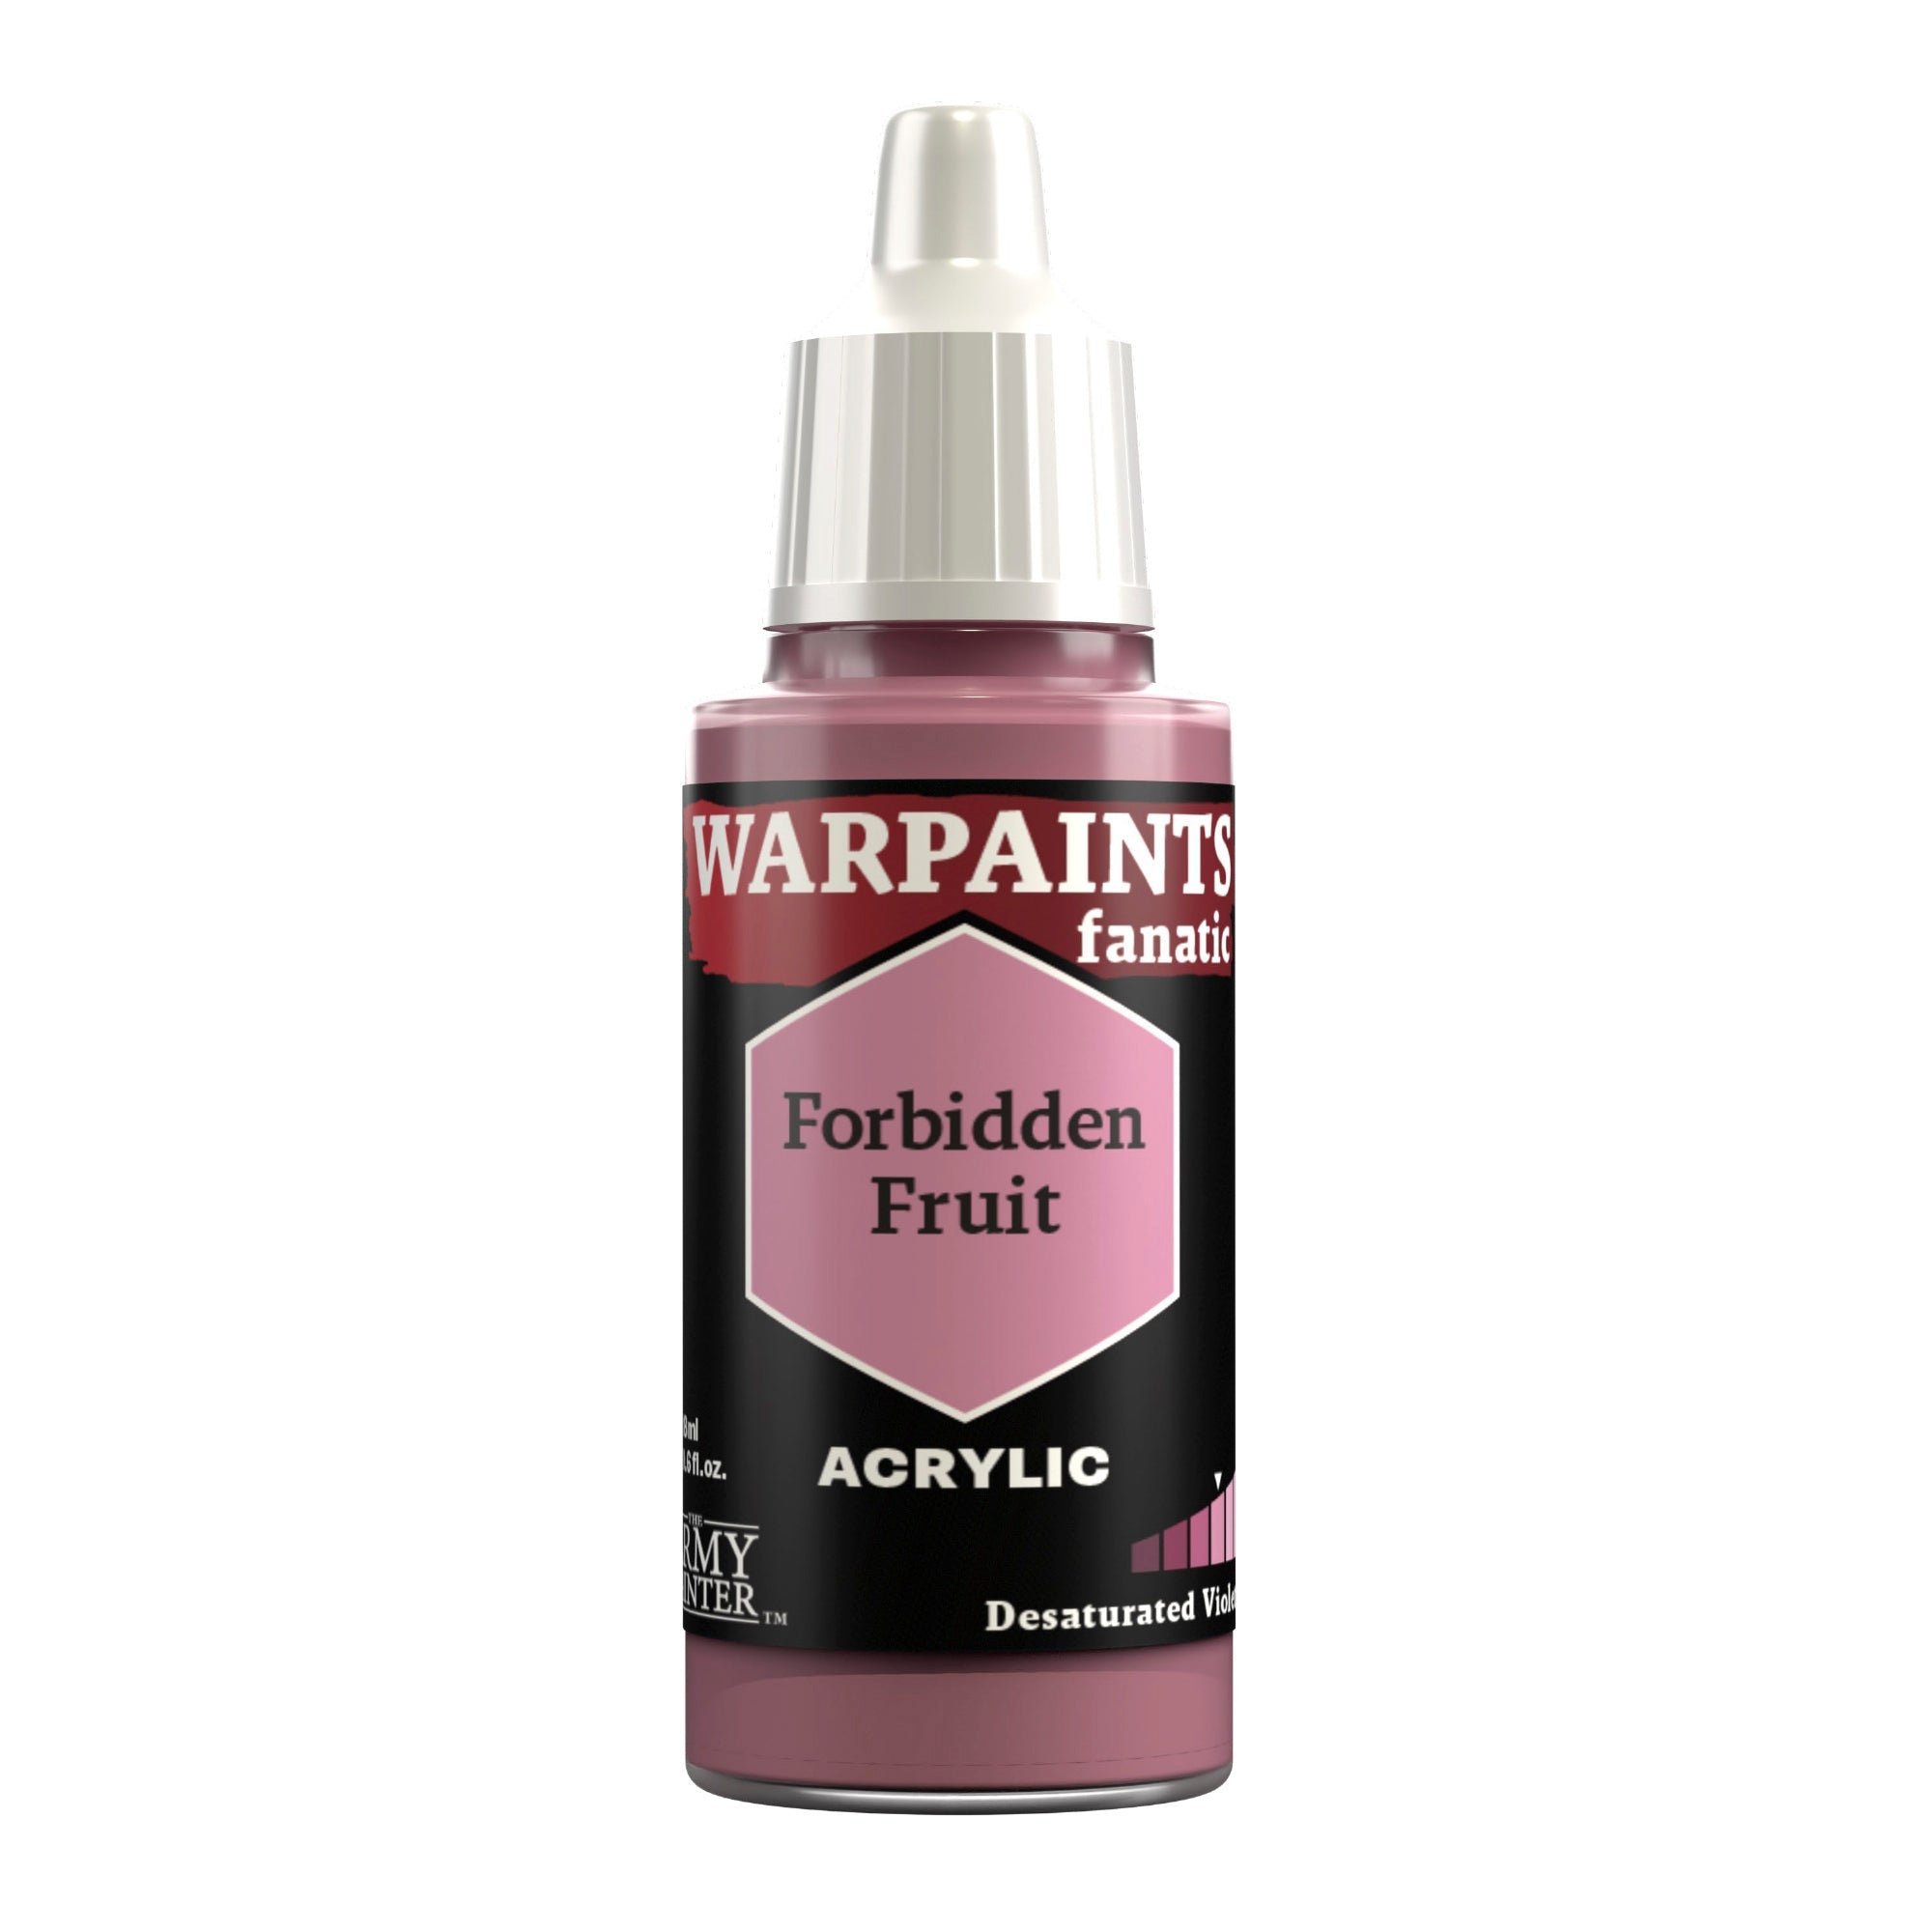
Lastly, edge highlight them with Warpaints Fanatic Forbidden Fruit.
Step 5
Basecoat all the gems with Warpaints Fanatic Basilisk Red.

Step 6
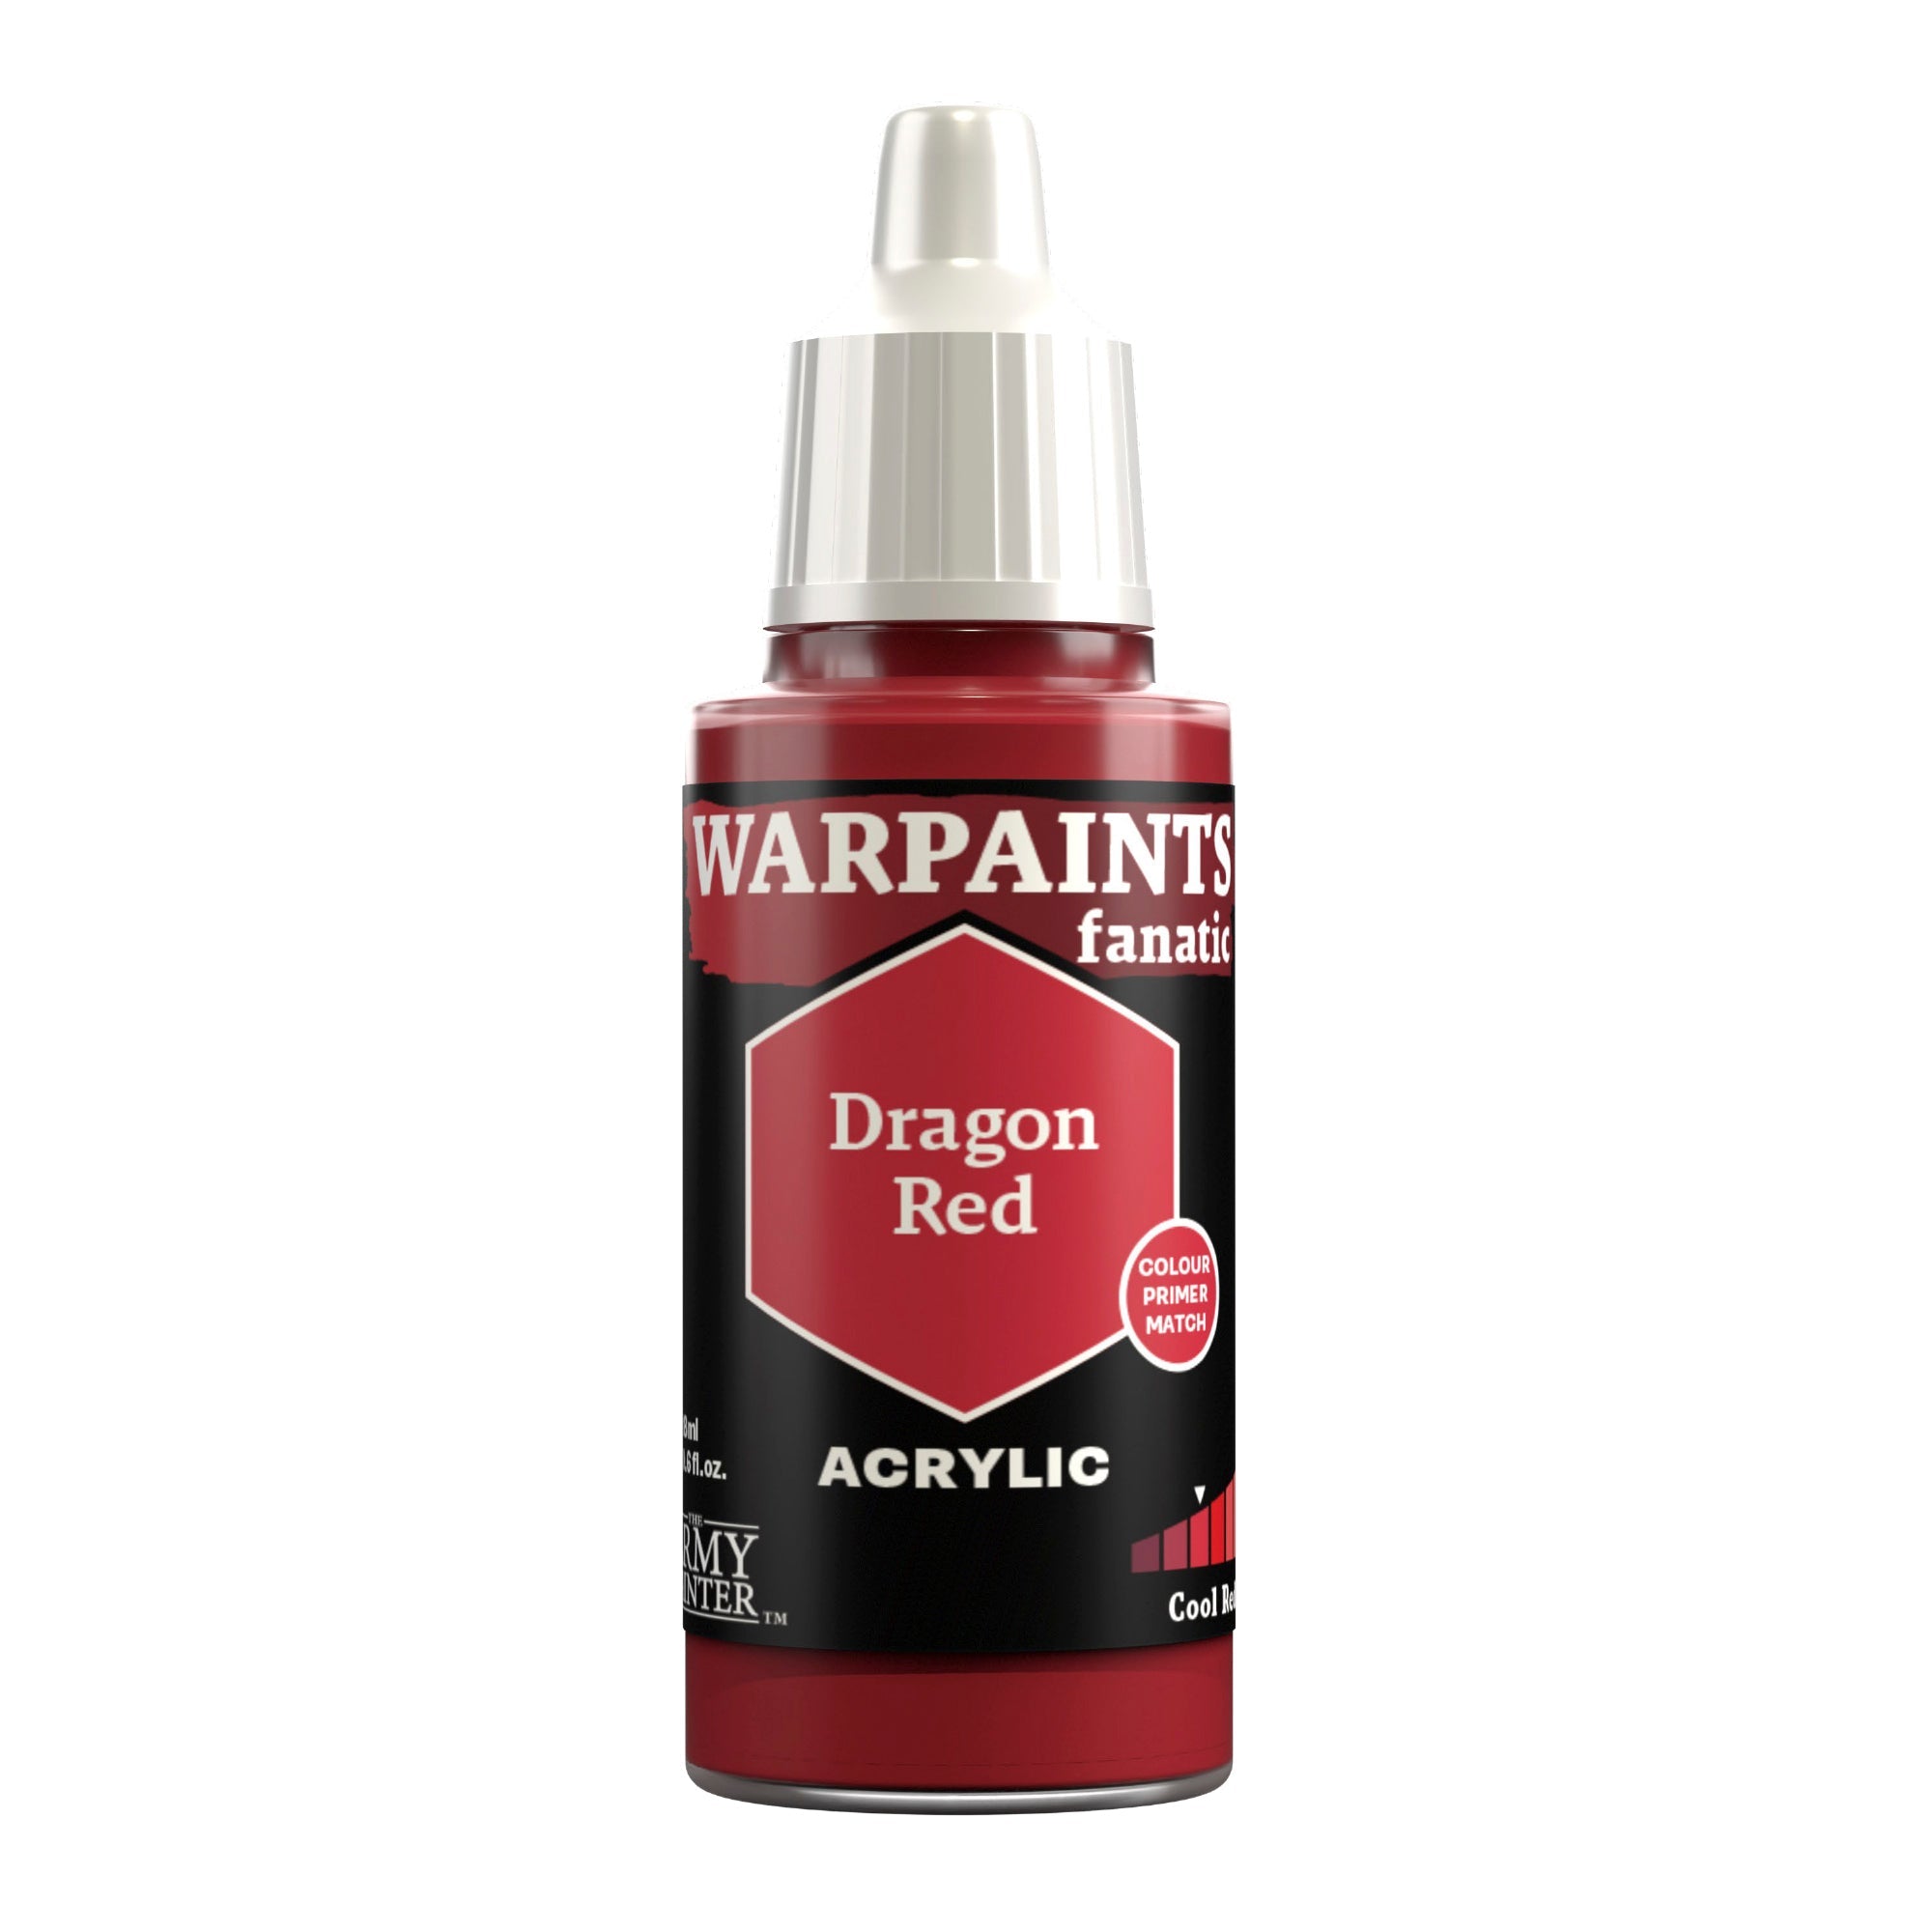
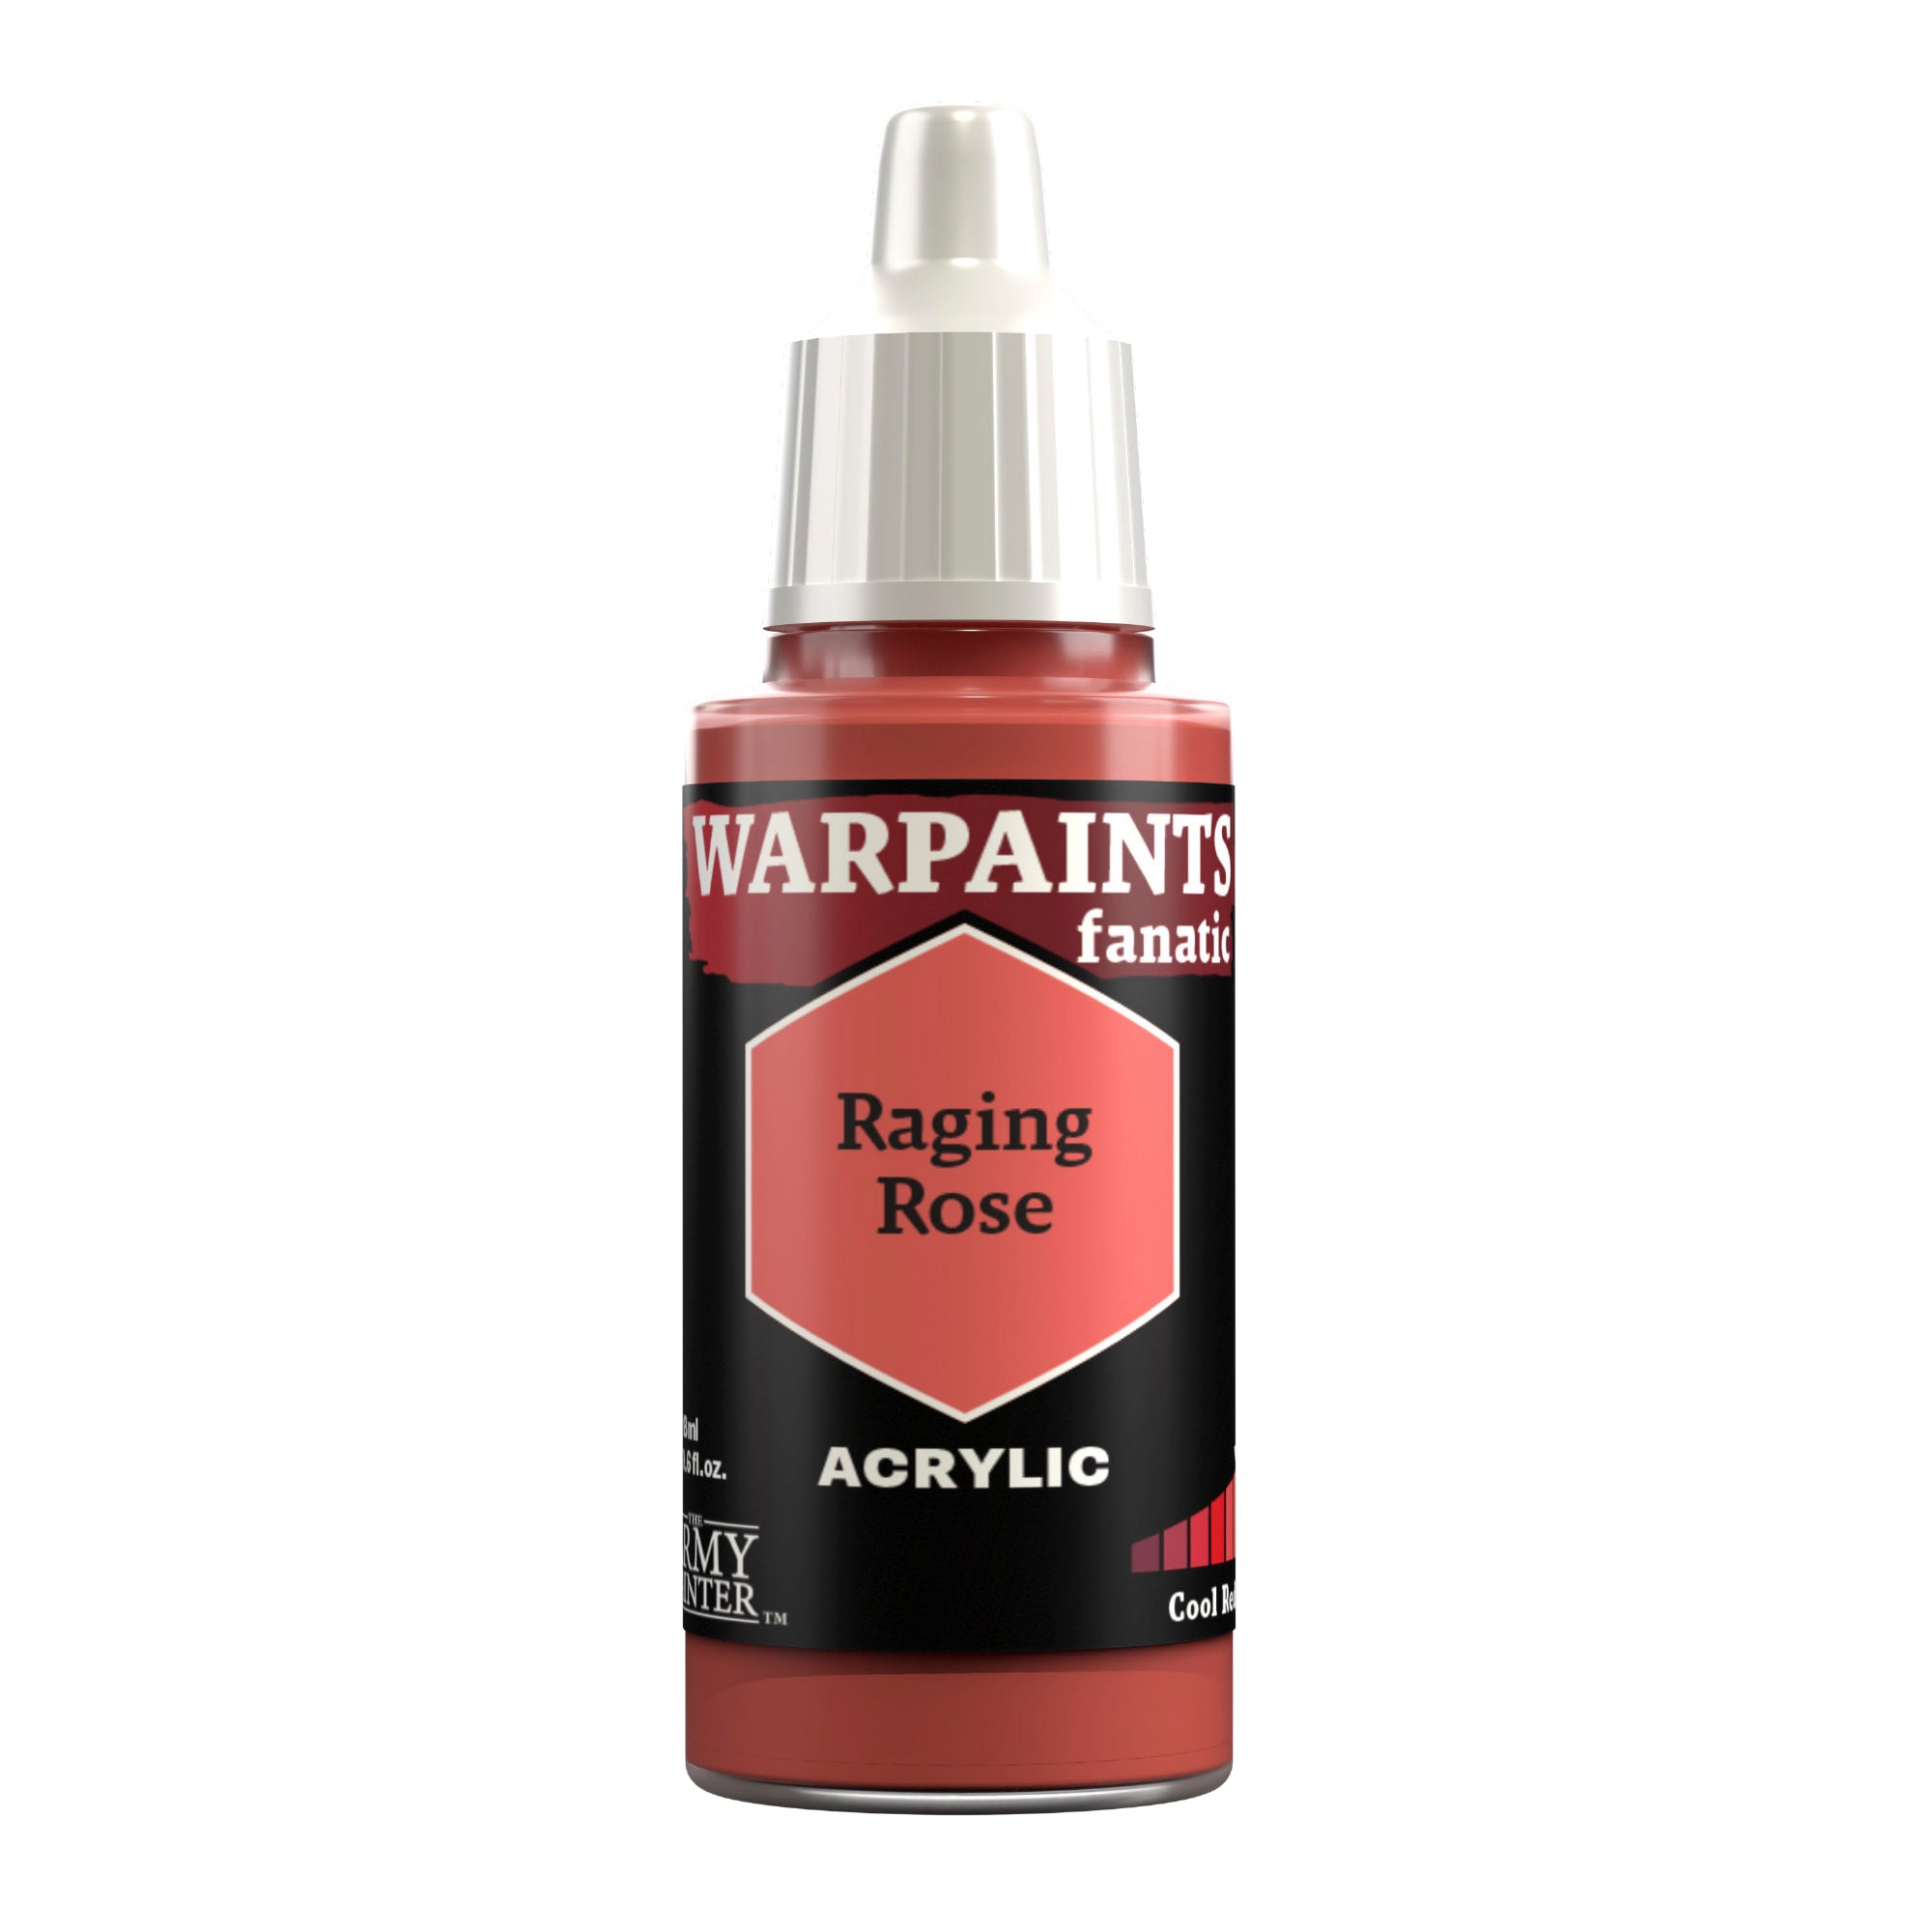
Then highlight these with Warpaints Fanatic Dragon Red, followed by a more refined highlight of Warpaints Fanatic Raging Rose, and then finally some reflection dots of Warpaints Fanatic Matt White.
The White
Step 1
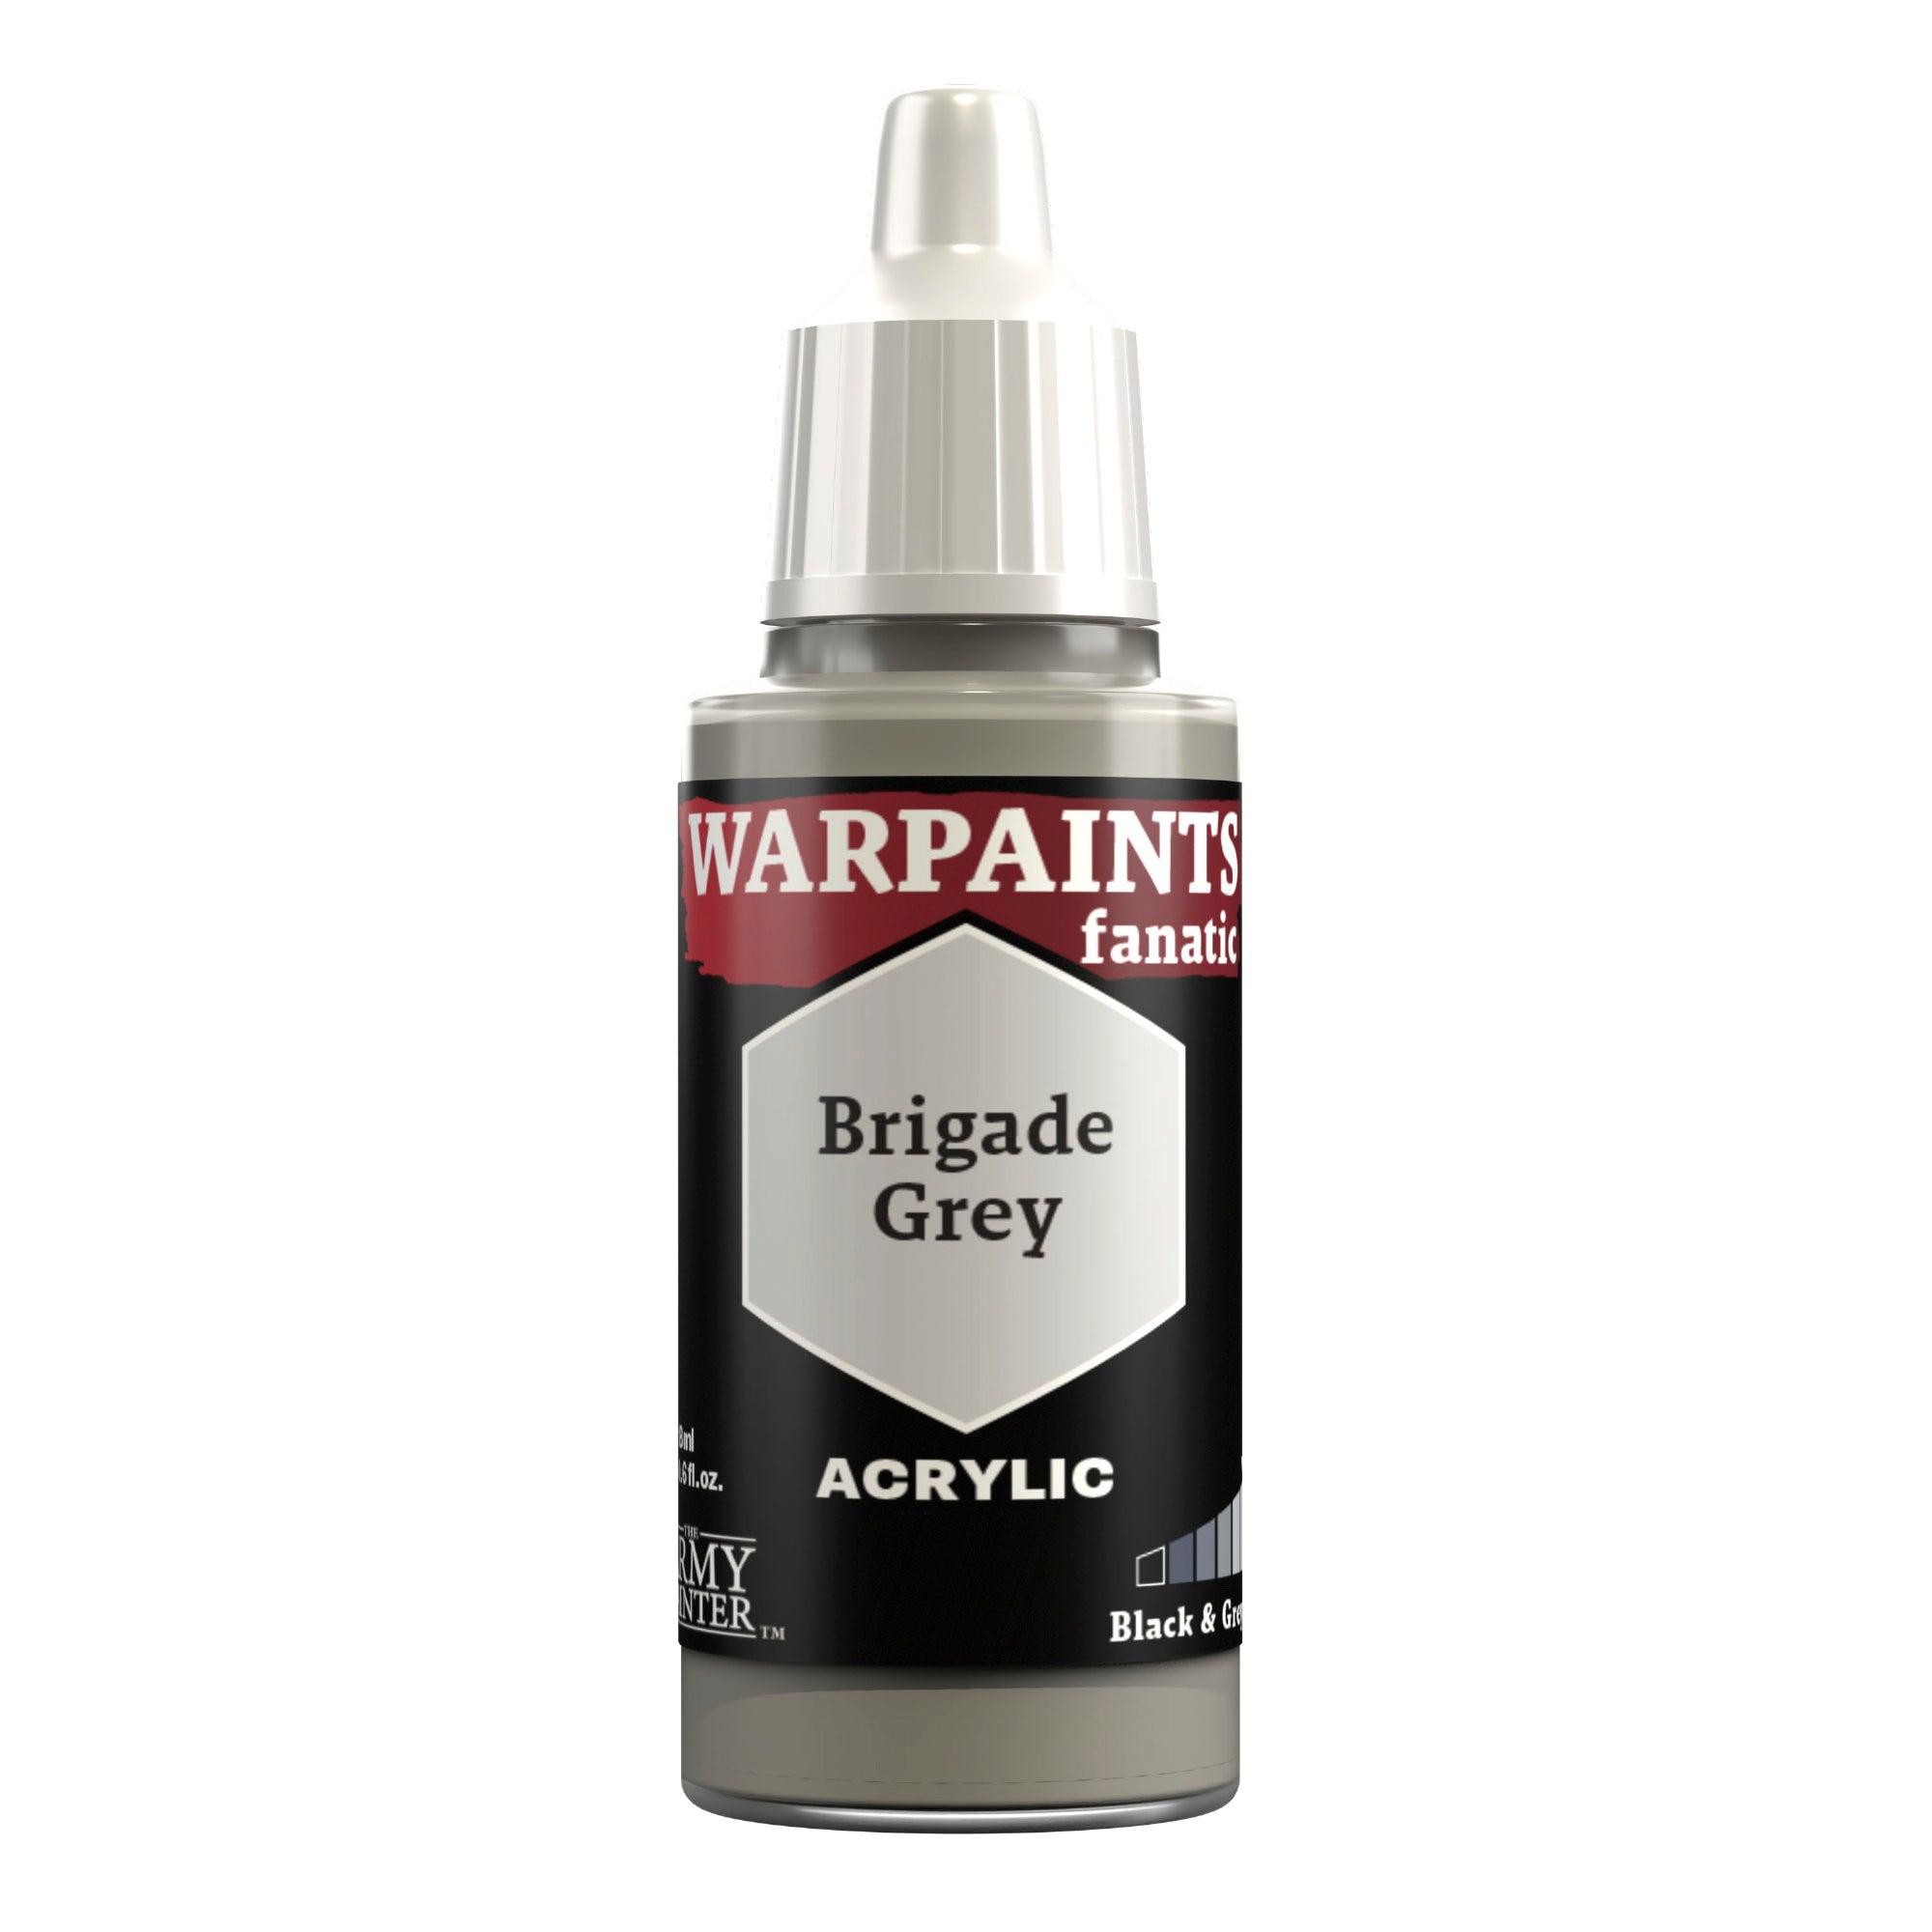
Basecoat all the white areas, including the lightning cracks on the hammer and shield, with Warpaints Fanatic Brigade Grey.
Step 2
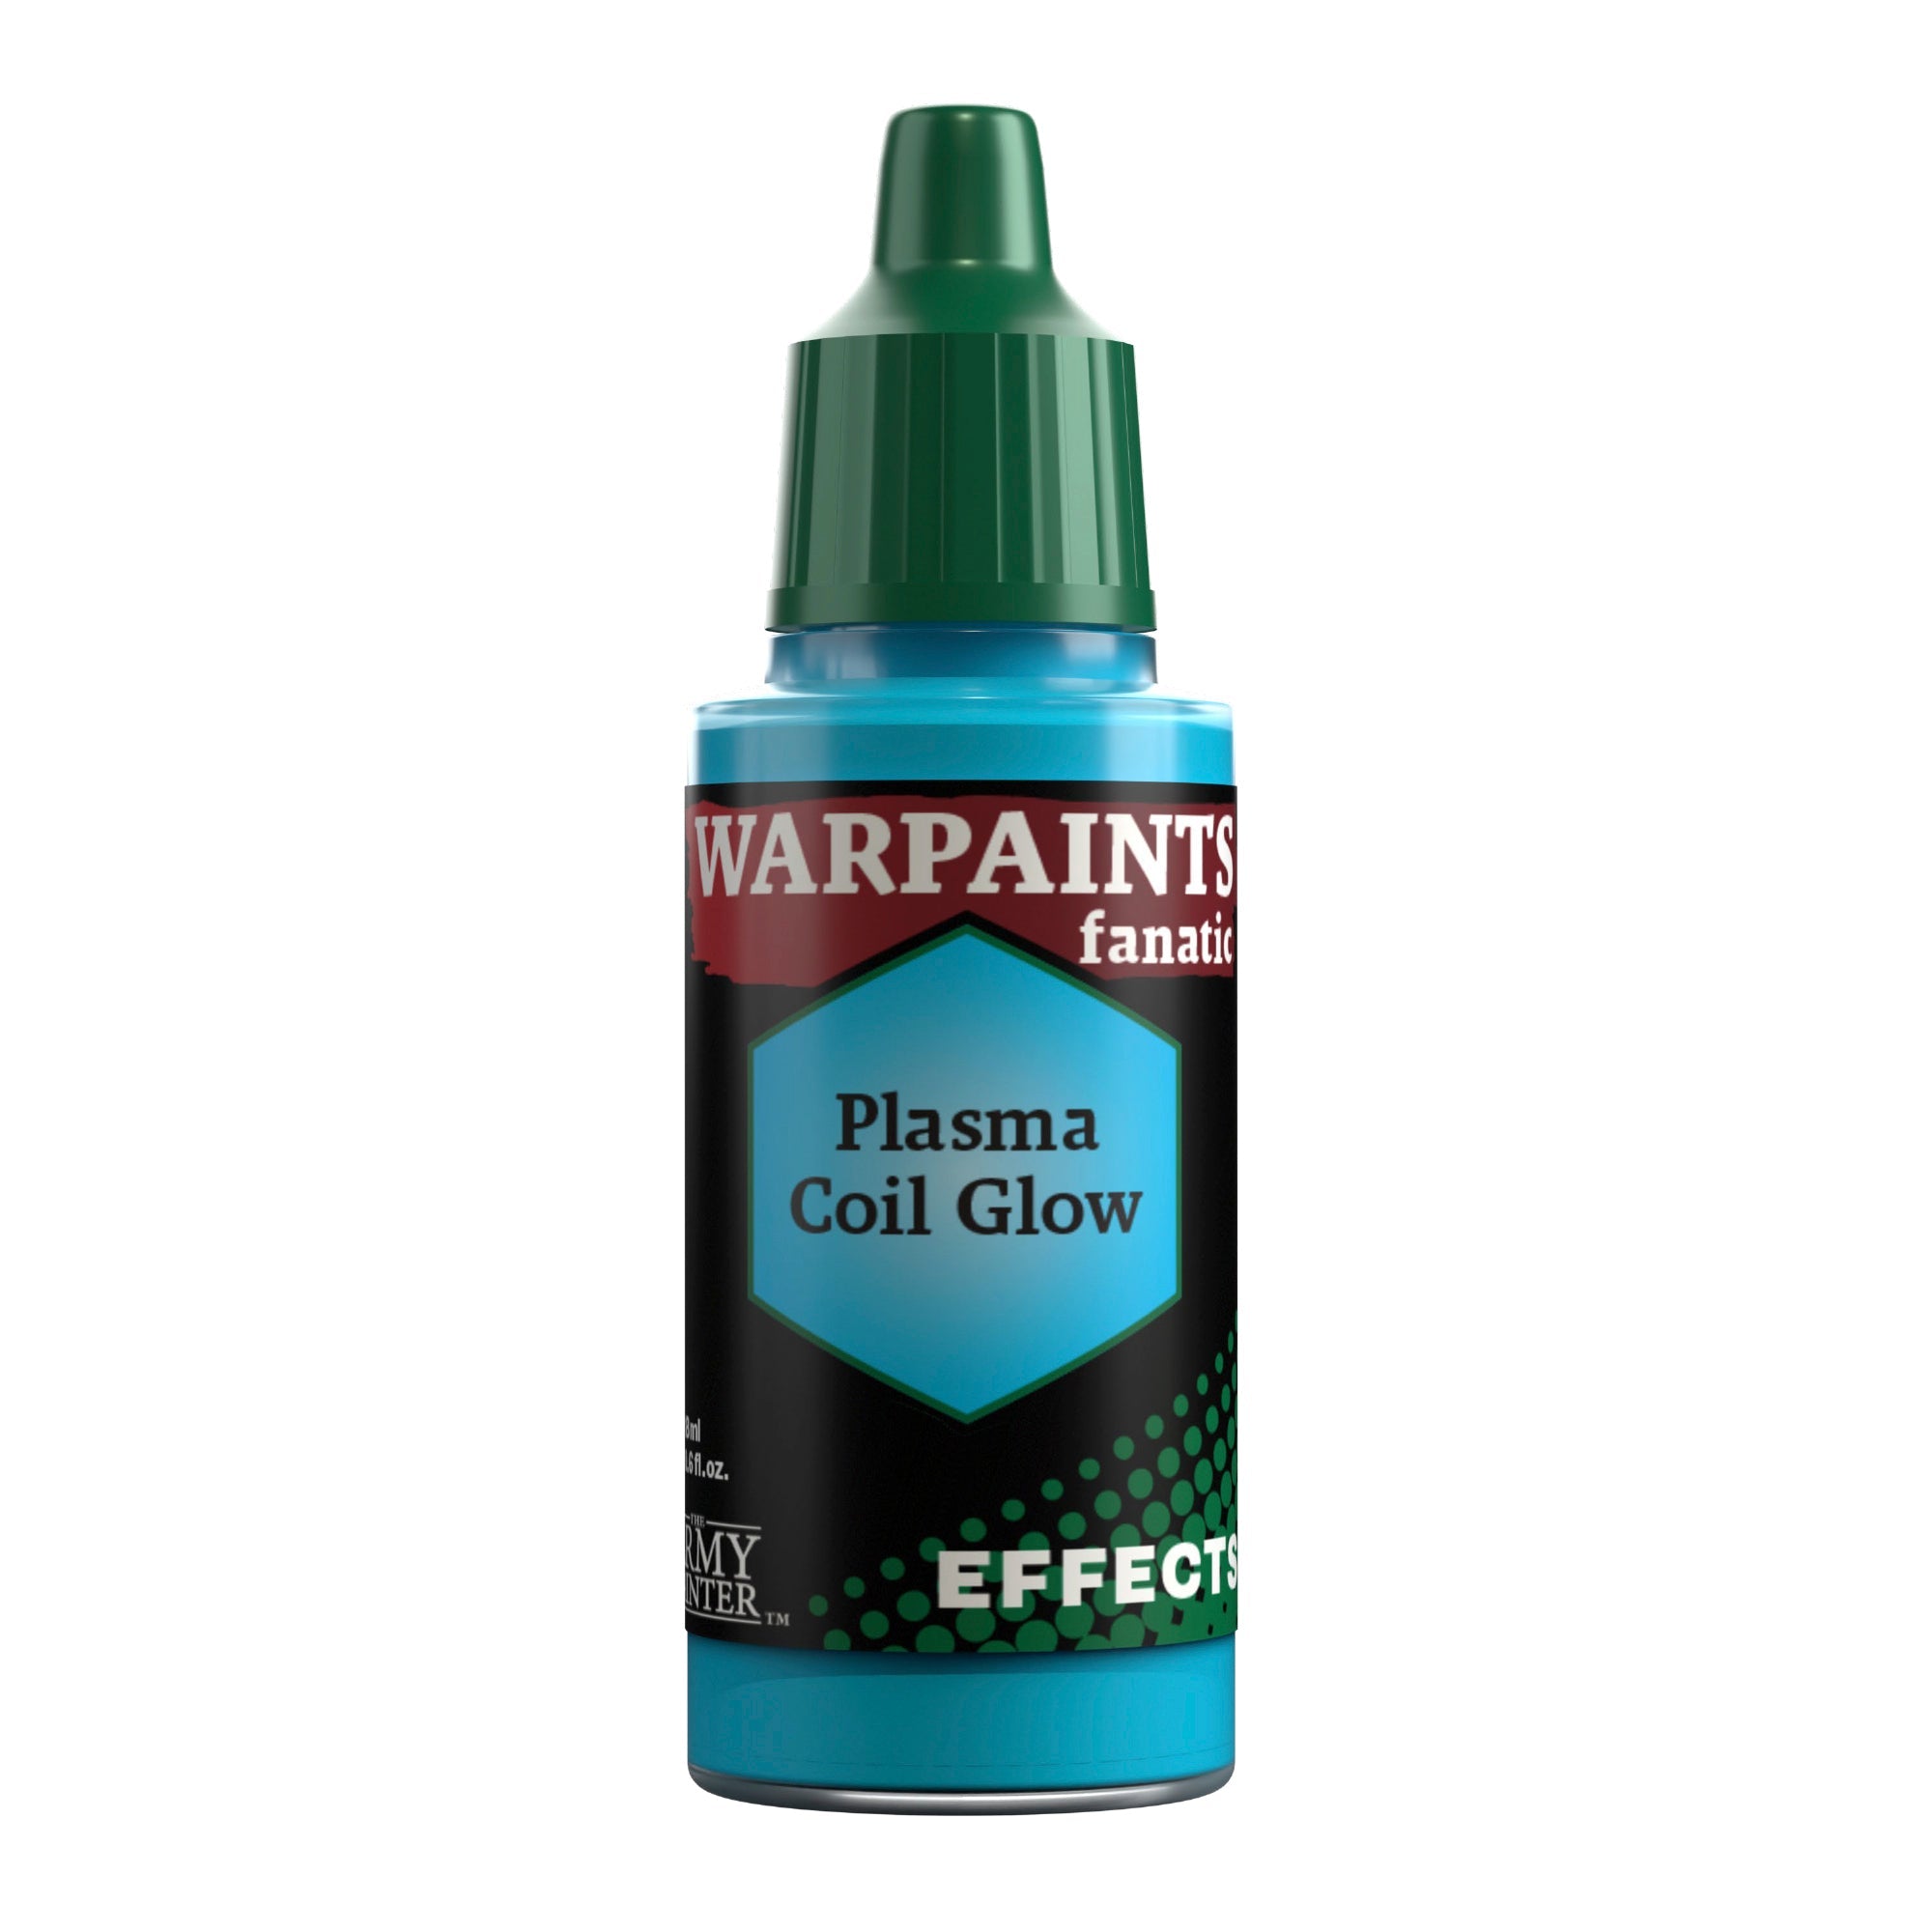
Then paint the lightning with Warpaints Fanatic Plasma Coil Glow. You can go over the edges of these slightly to add a faint glow effect.
Step 3
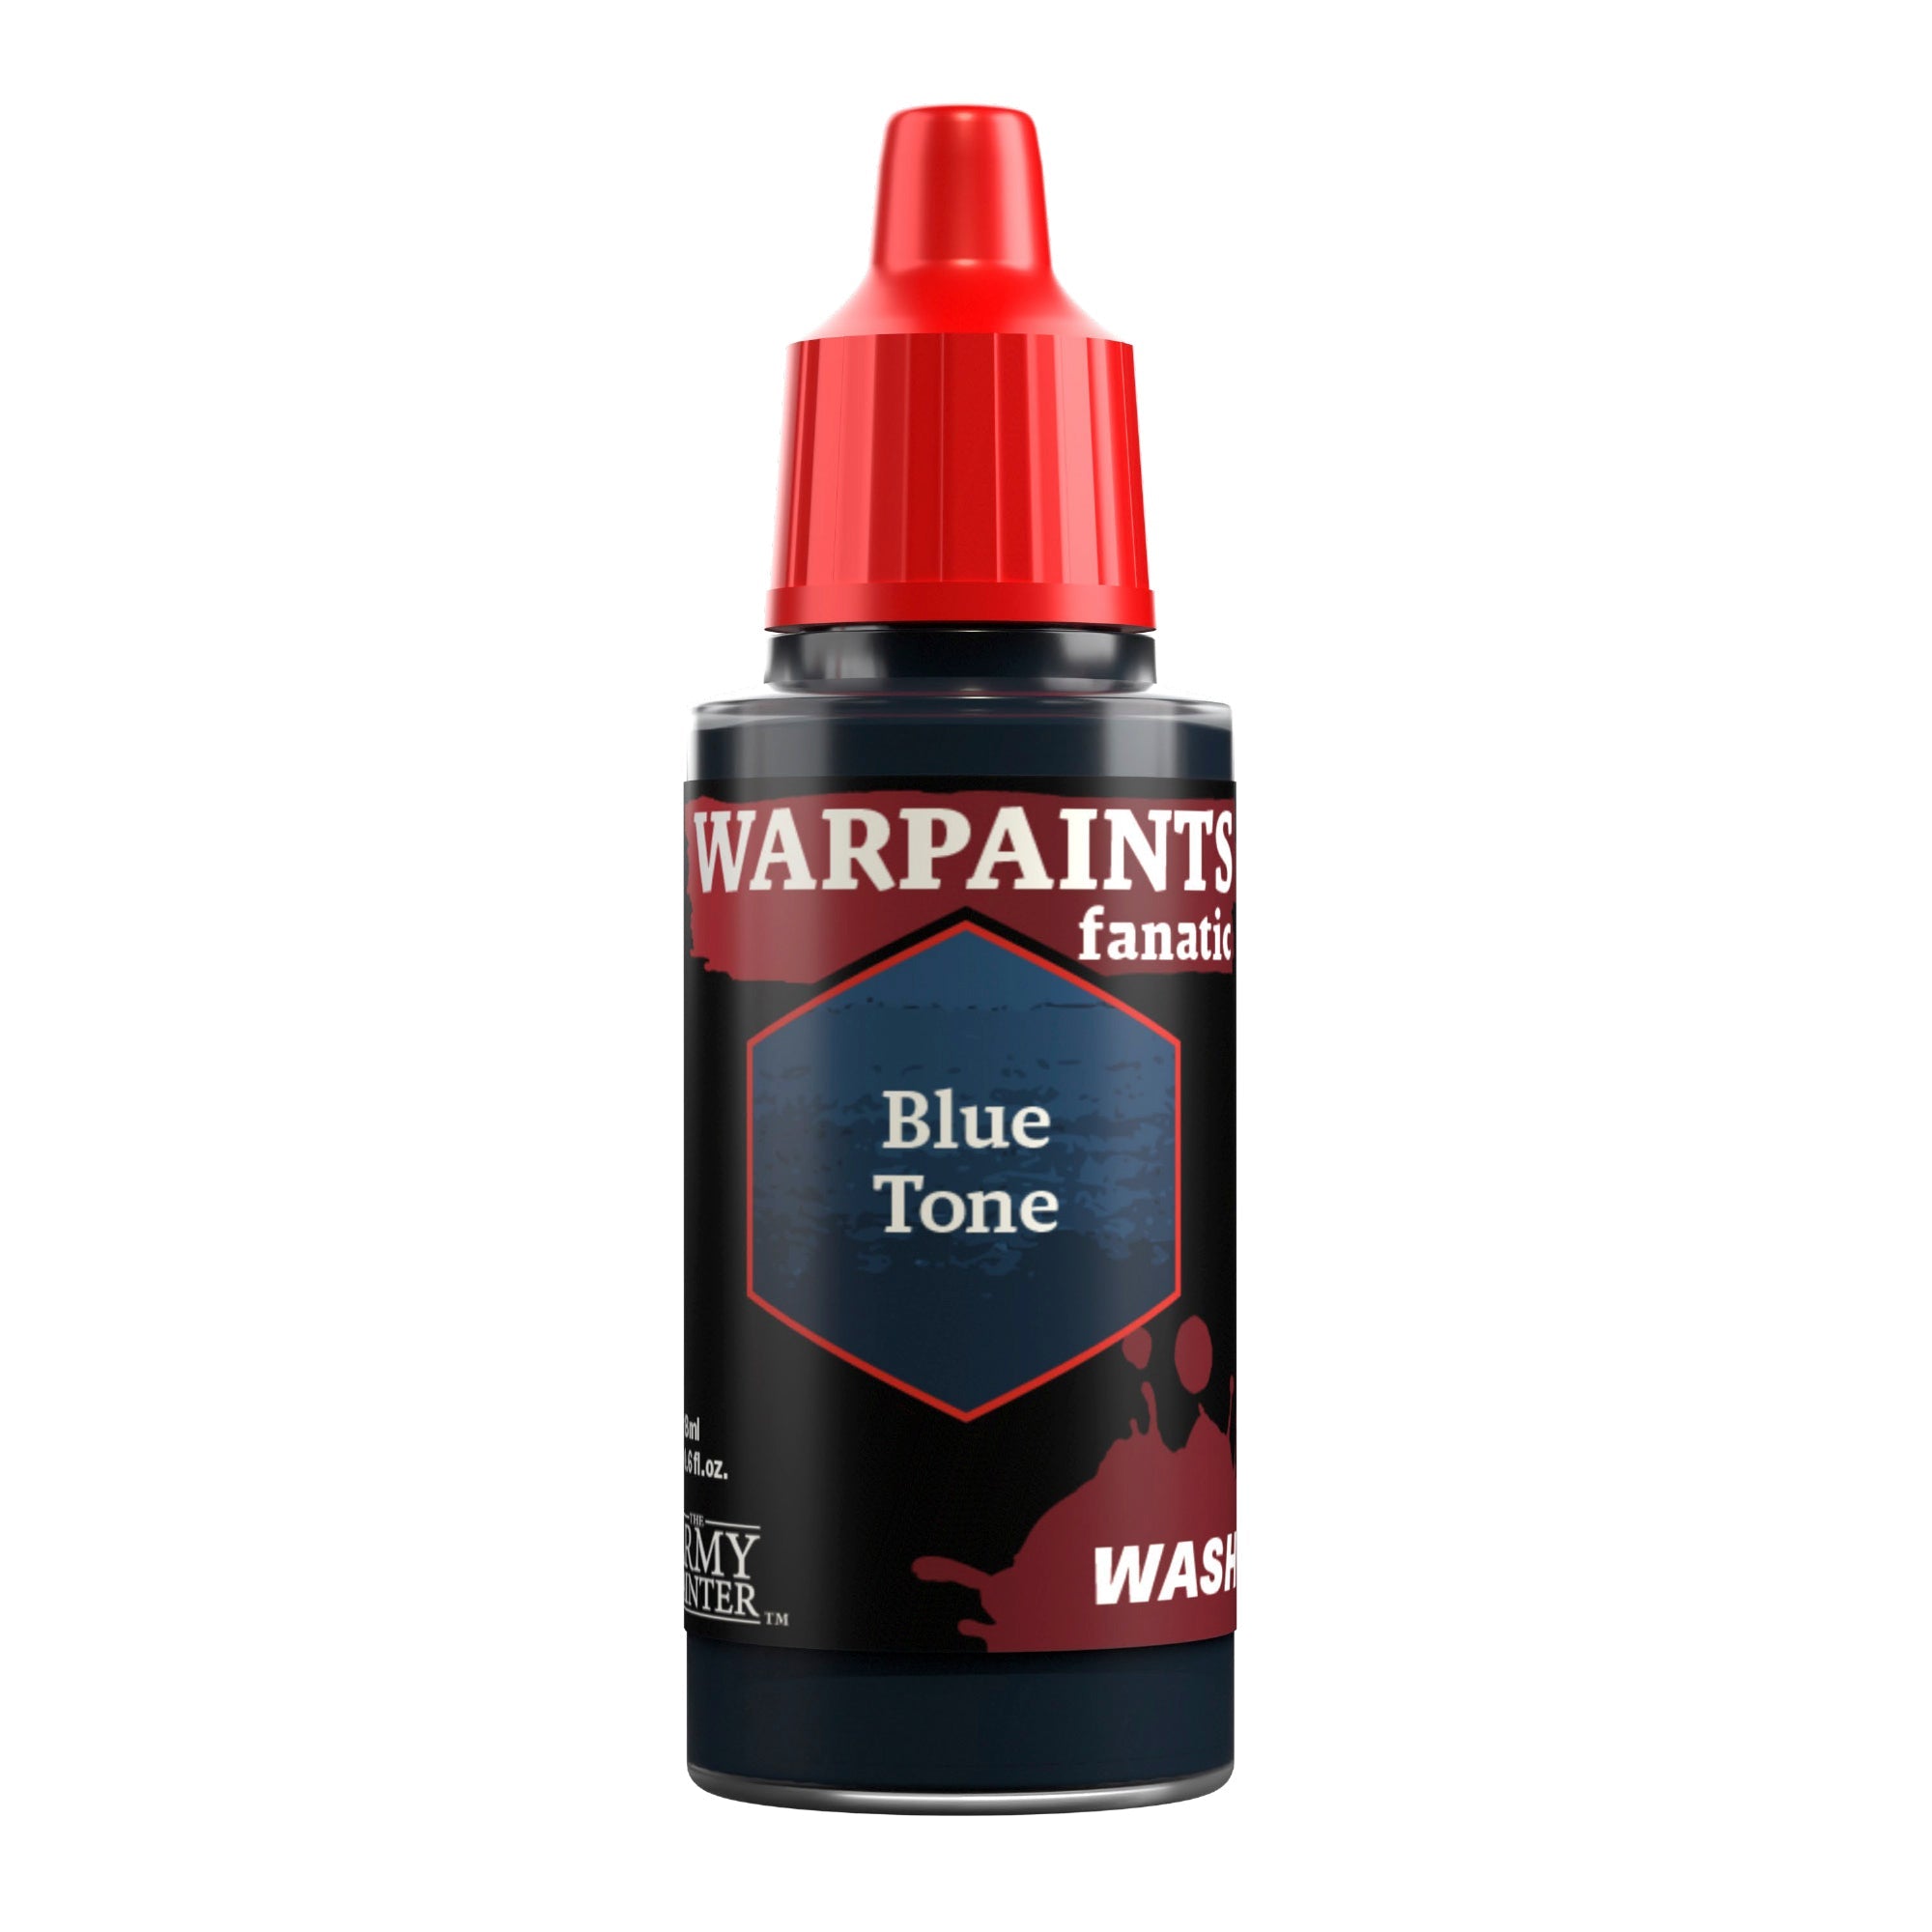
Next, shade the remaining white areas with Warpaints Fanatic Blue Tone.
Step 4
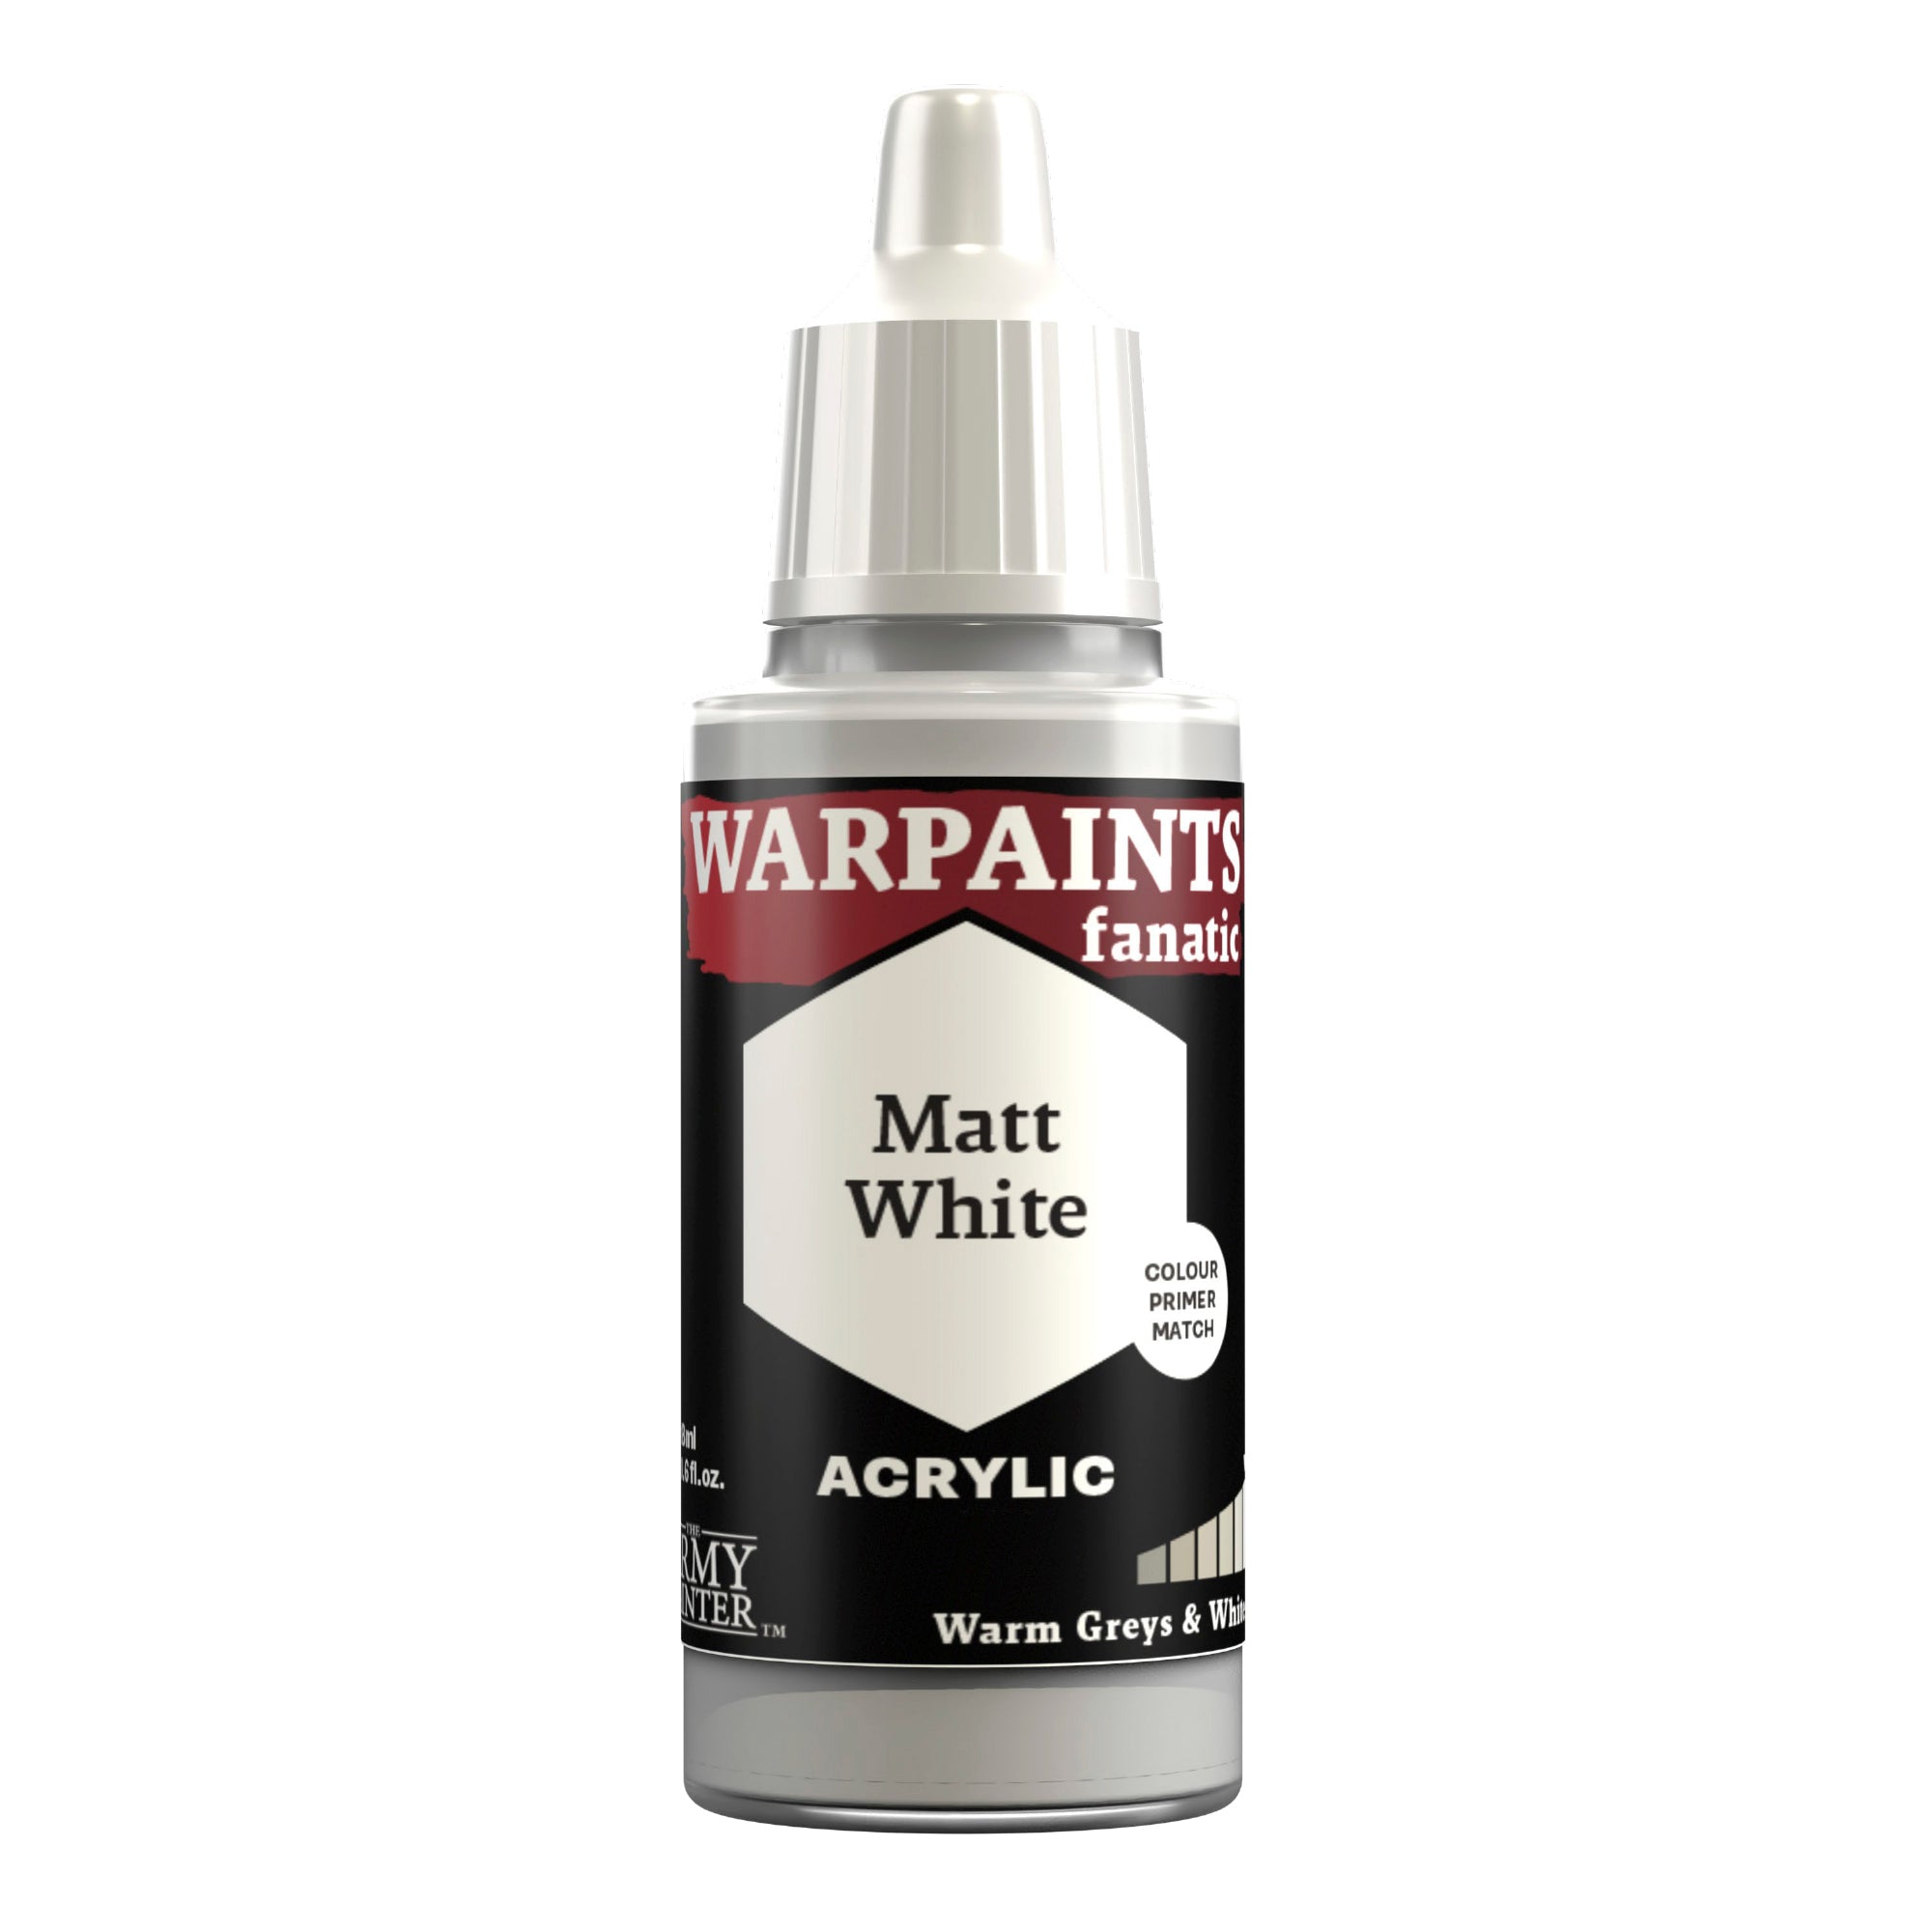
Finally, highlight the white, excluding the lightning, with Warpaints Fanatic Matt White.
With that, your model is done!
Afterwards, we based the model in a simple dirt and grass scheme, but you can base yours however you like to fit in with your collection.
If you plan on using your model for gaming, we highly recommend varnishing it with either our Spray, Warpaints Air, or Warpaints Fanatic varnishes.
Be sure to tell us what you thought of this tutorial format, if you have any suggestions for improvements in the future, or even which models you want us to tackle.
If you paint your own model following one of these guides, tag it with #thearmypainteracademy to share your work!