


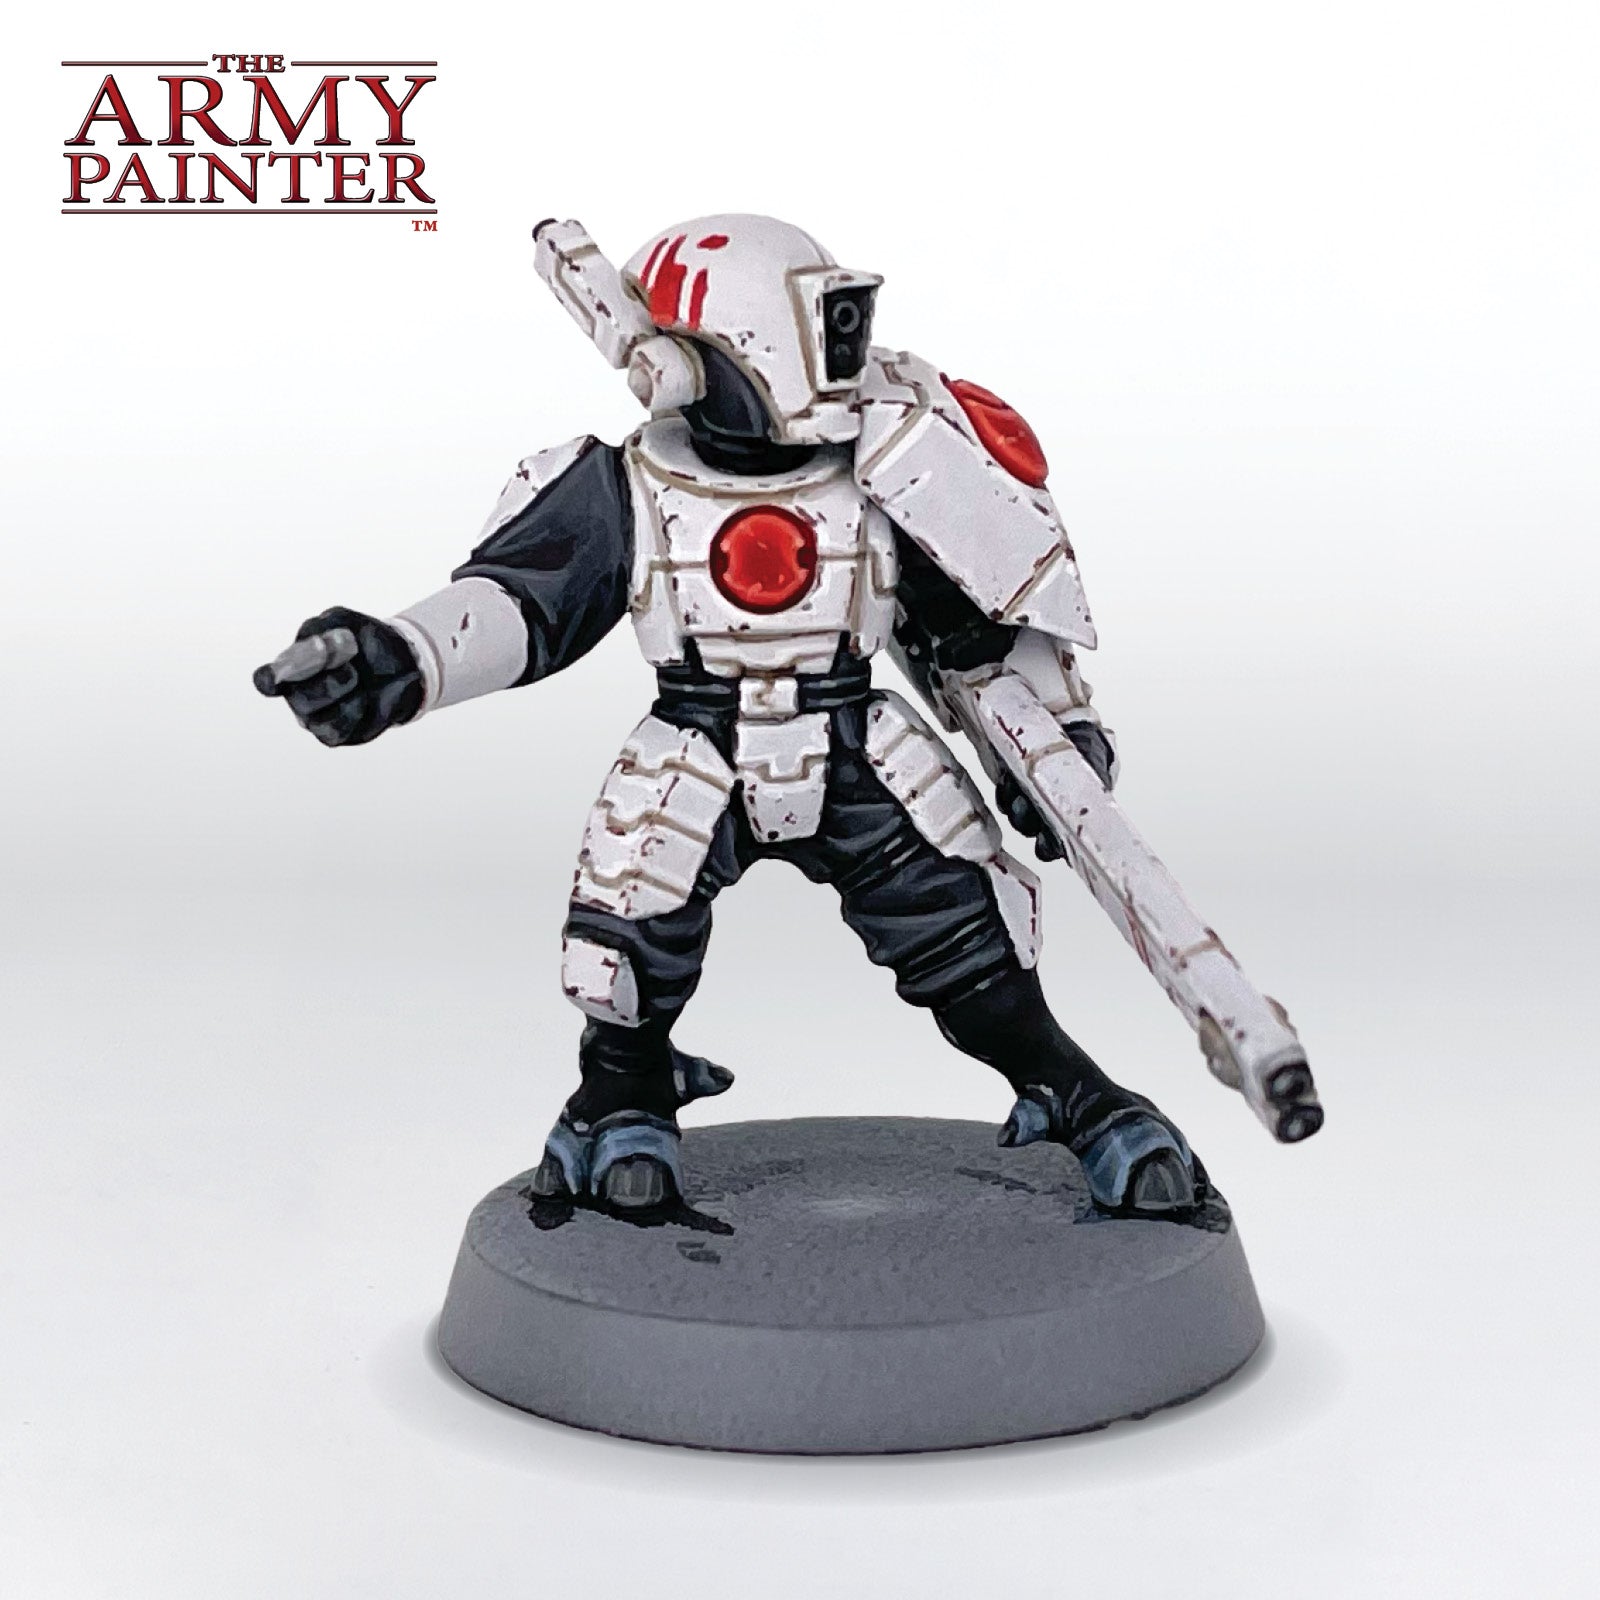
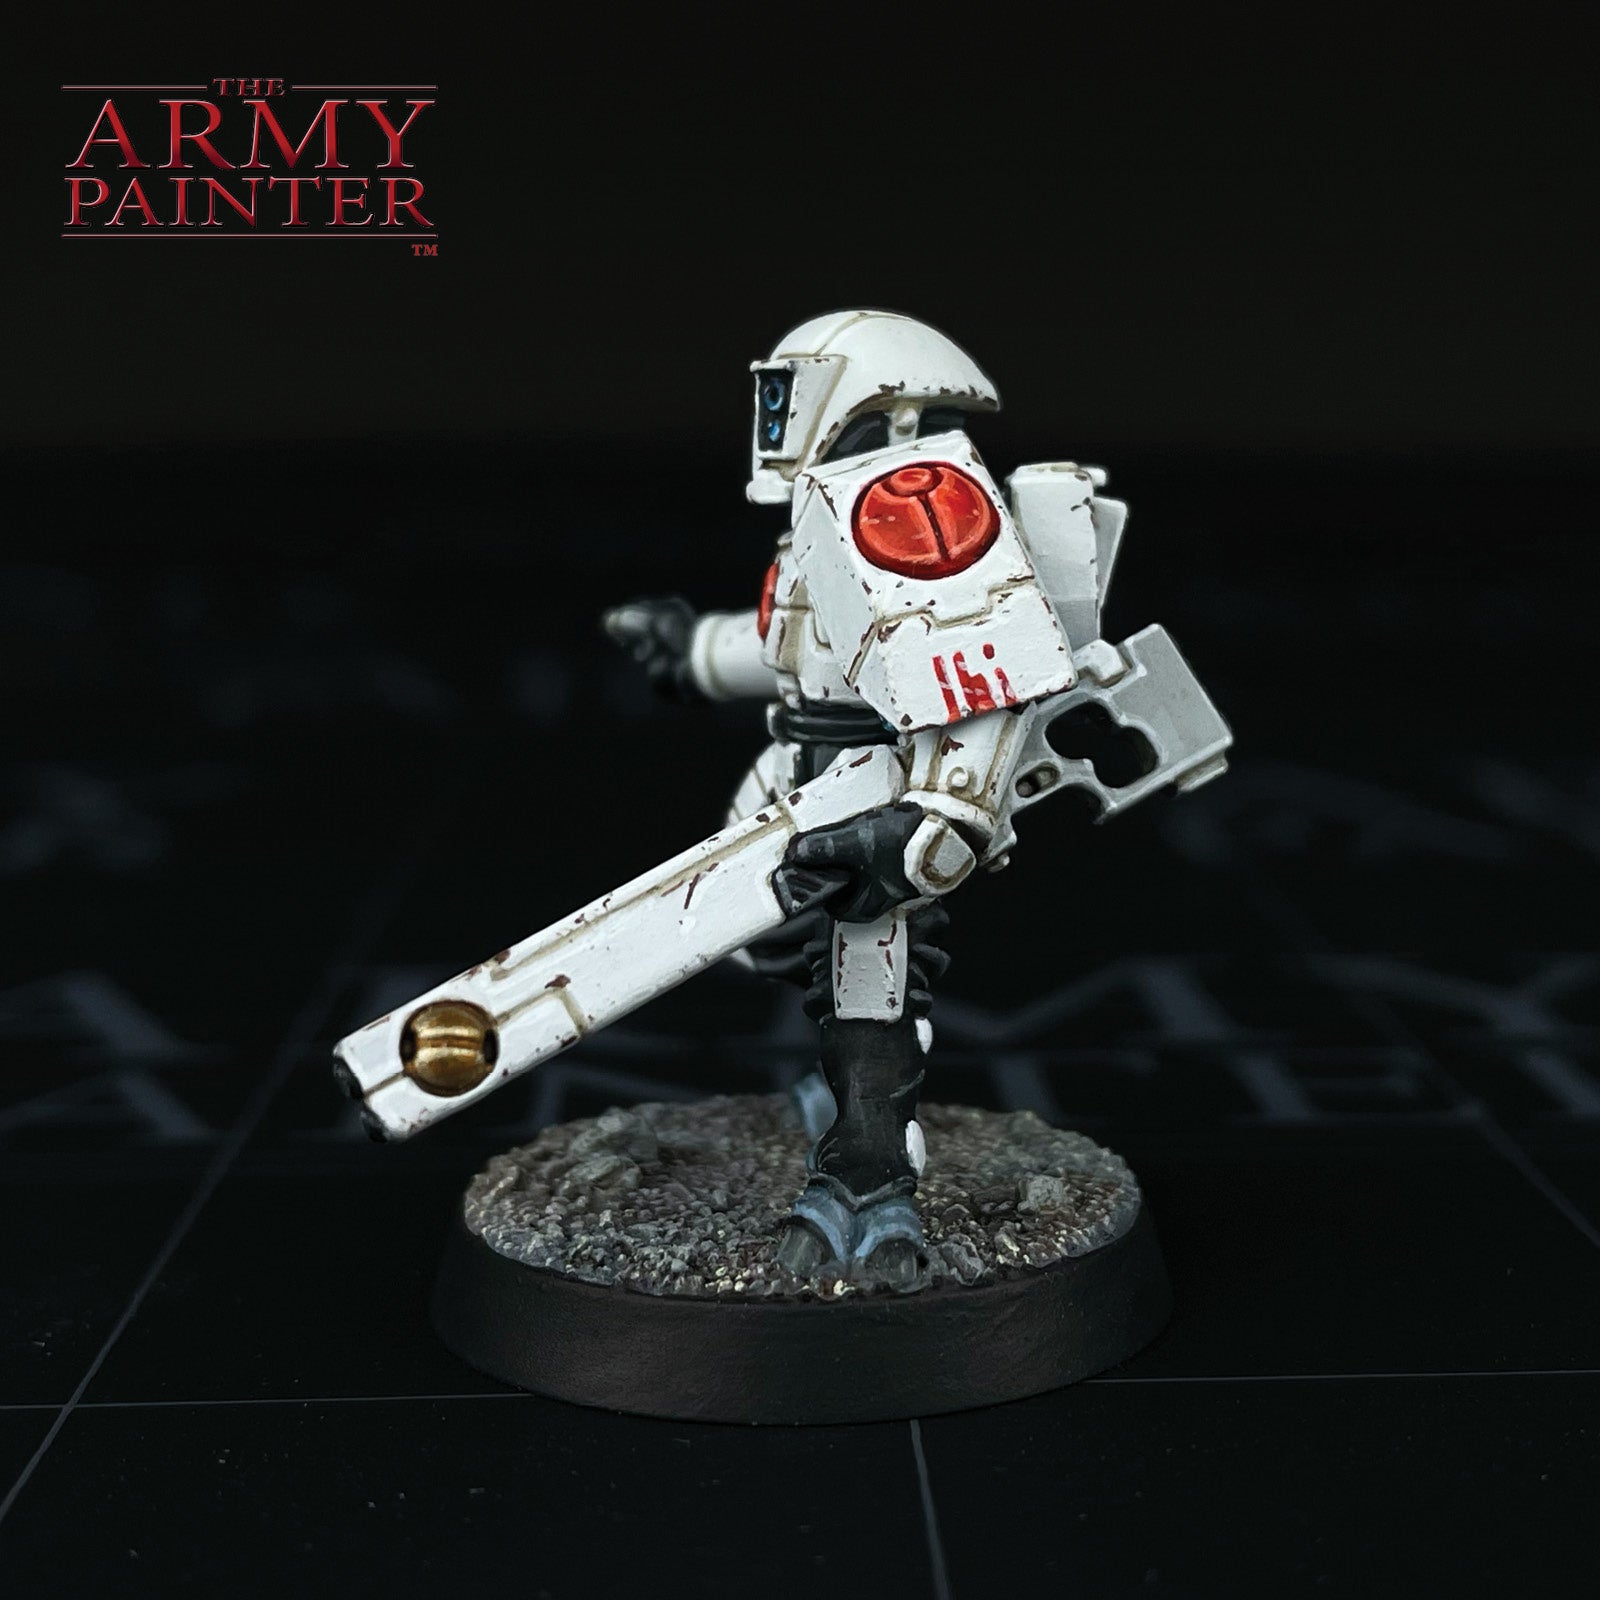
How to Paint a
T'au Fire Warrior
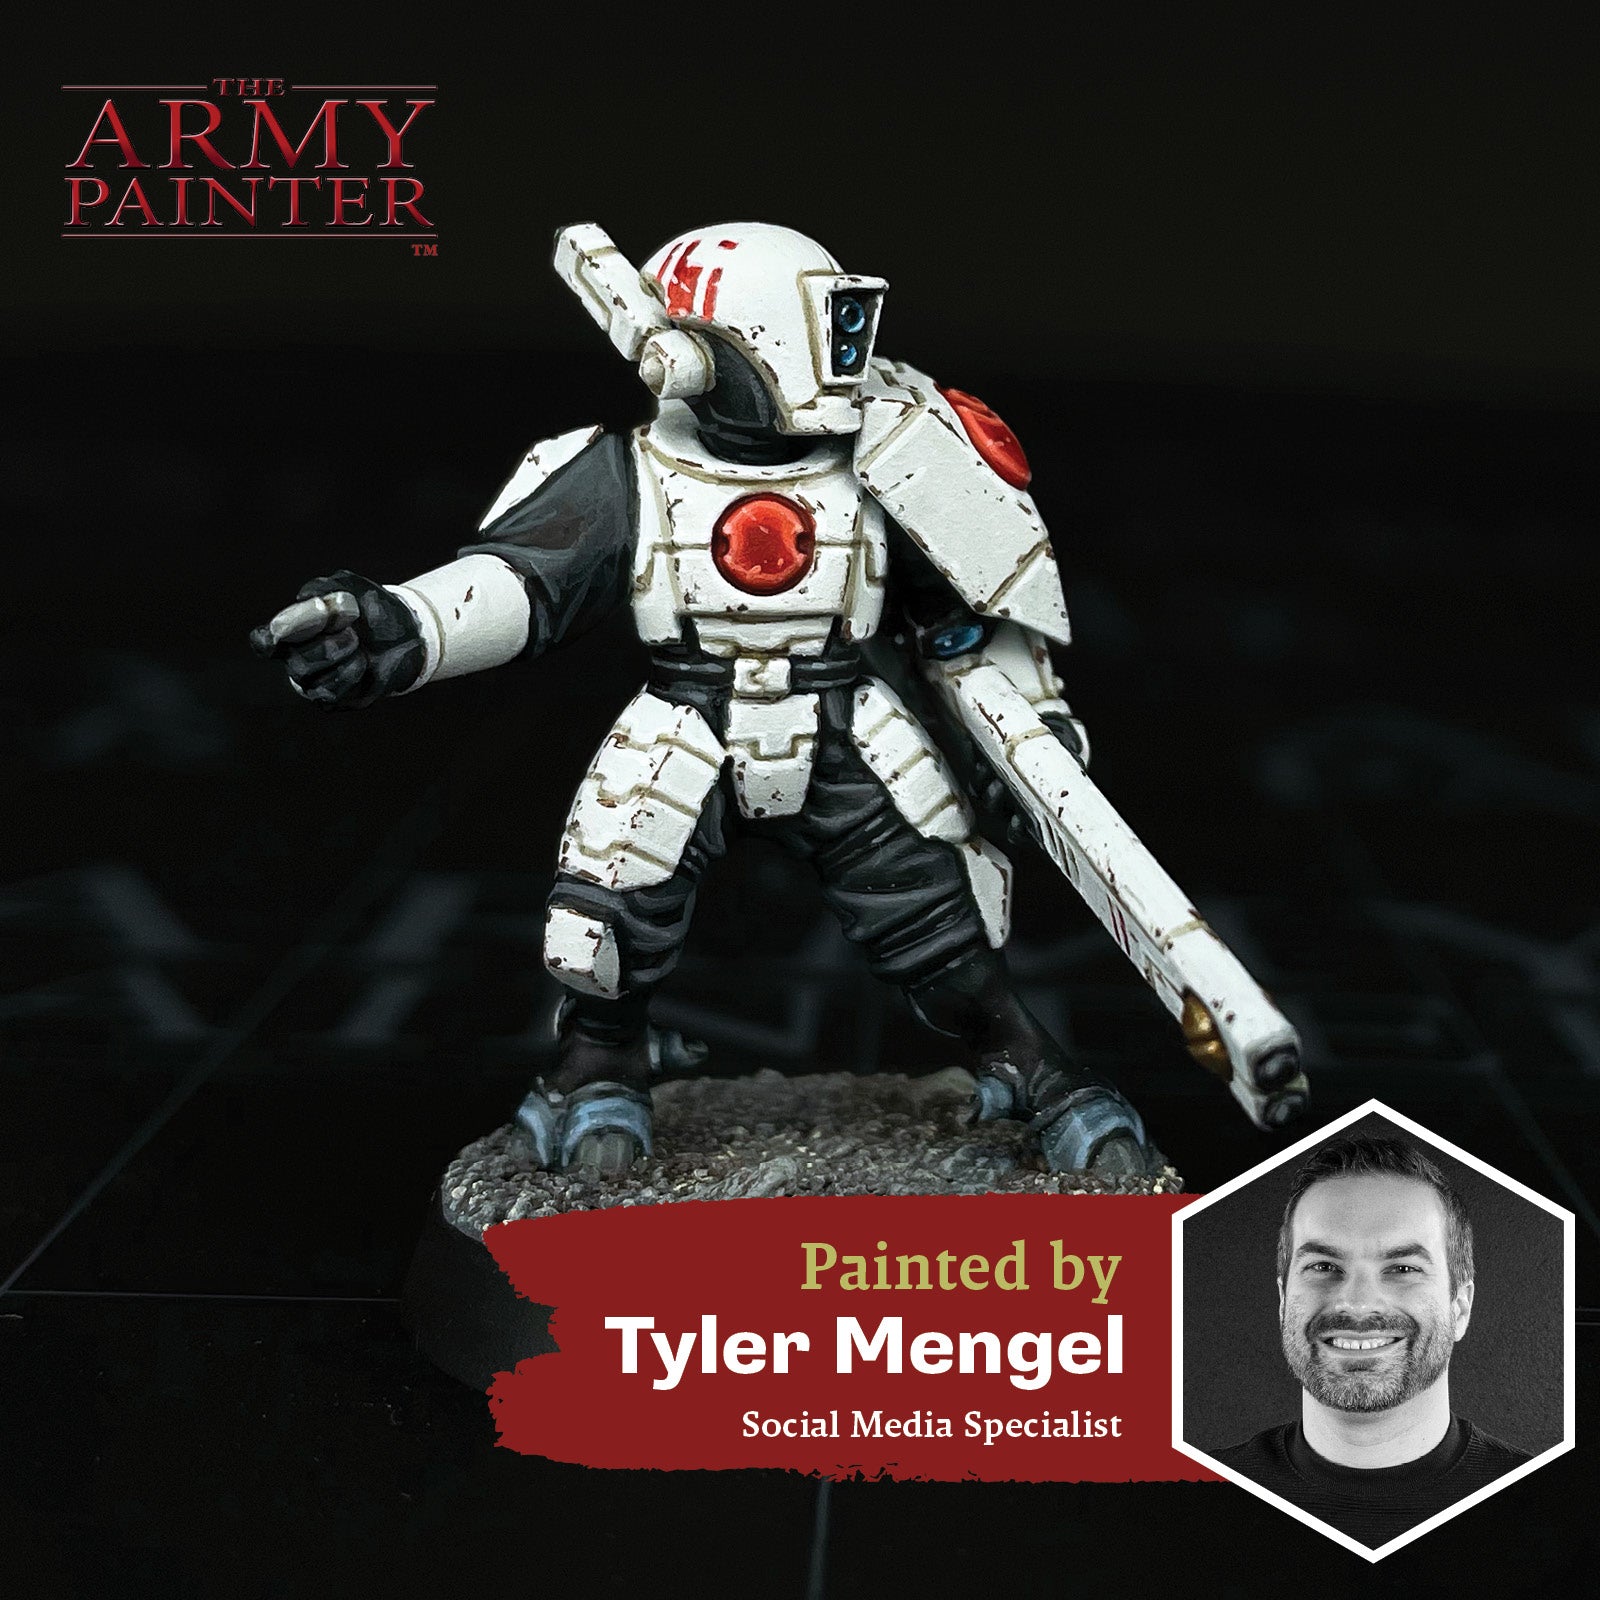
Welcome to the next installment of The Army Painter Academy, a series where we break down how we paint a miniature step-by-step, complete with pictures for every bit of paint applied along the way.
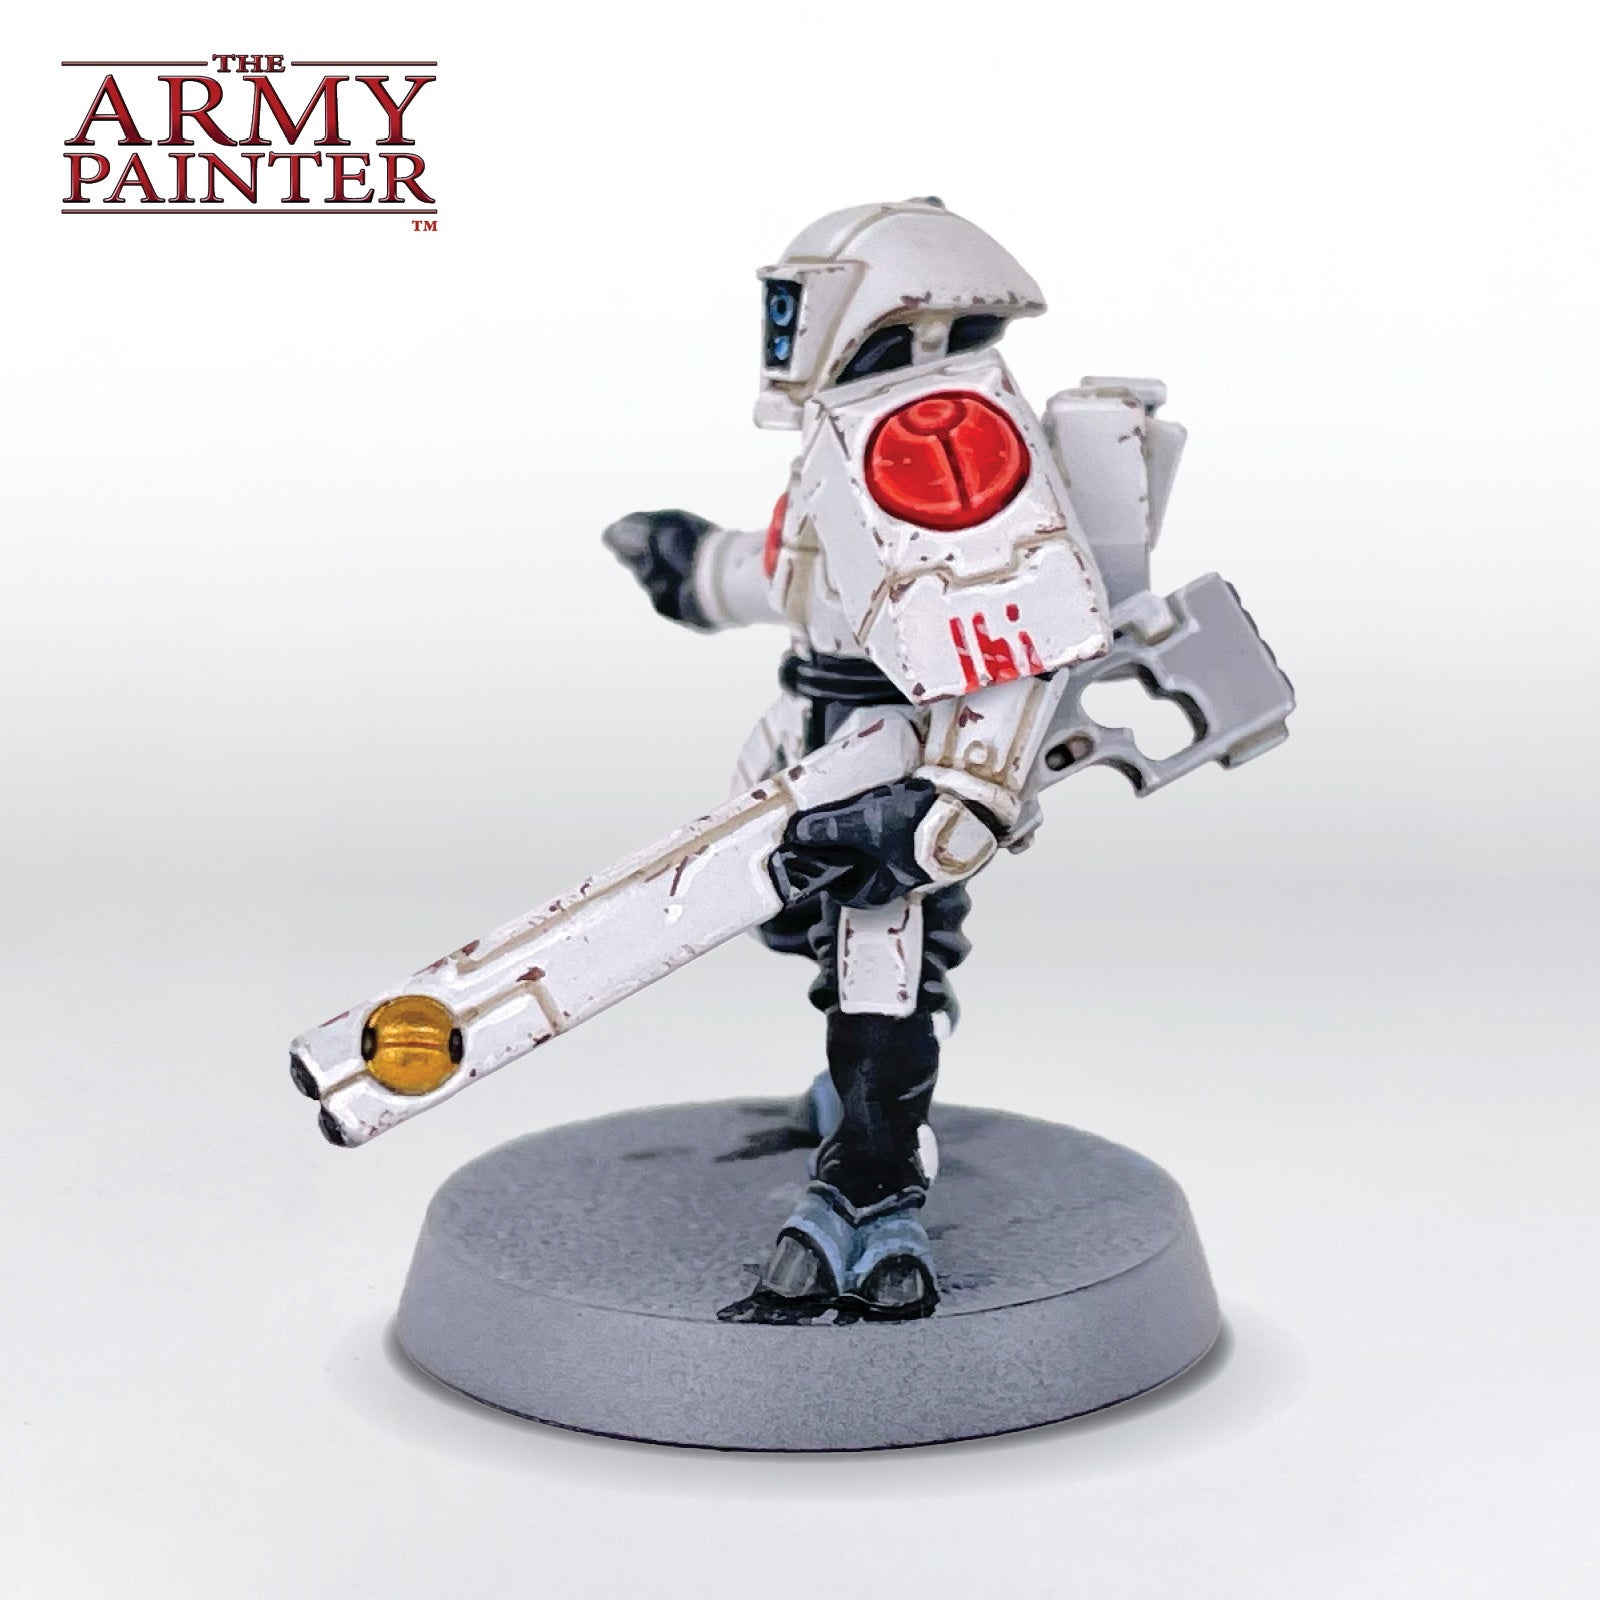
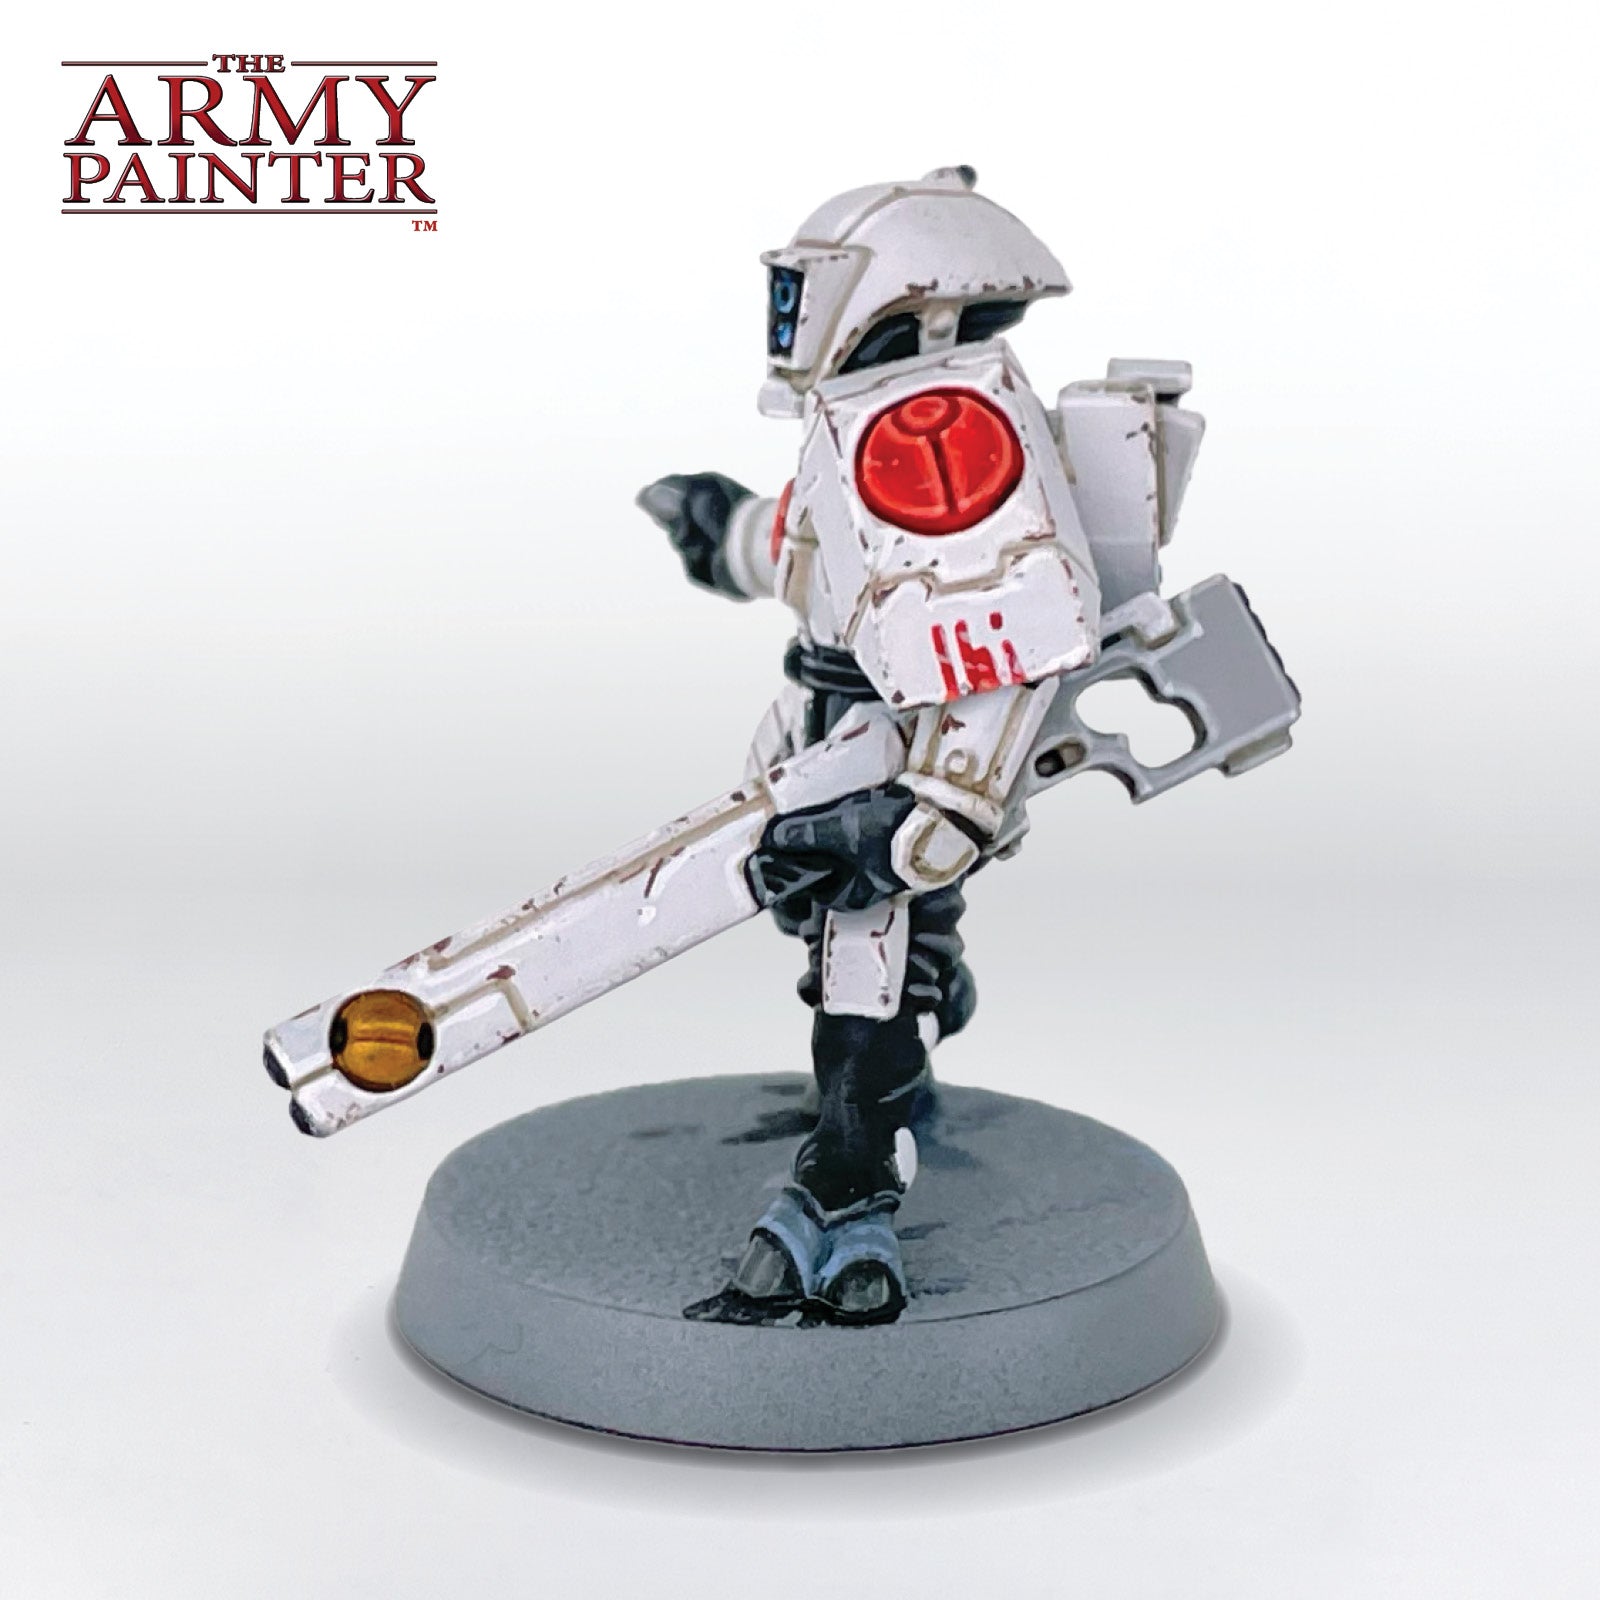
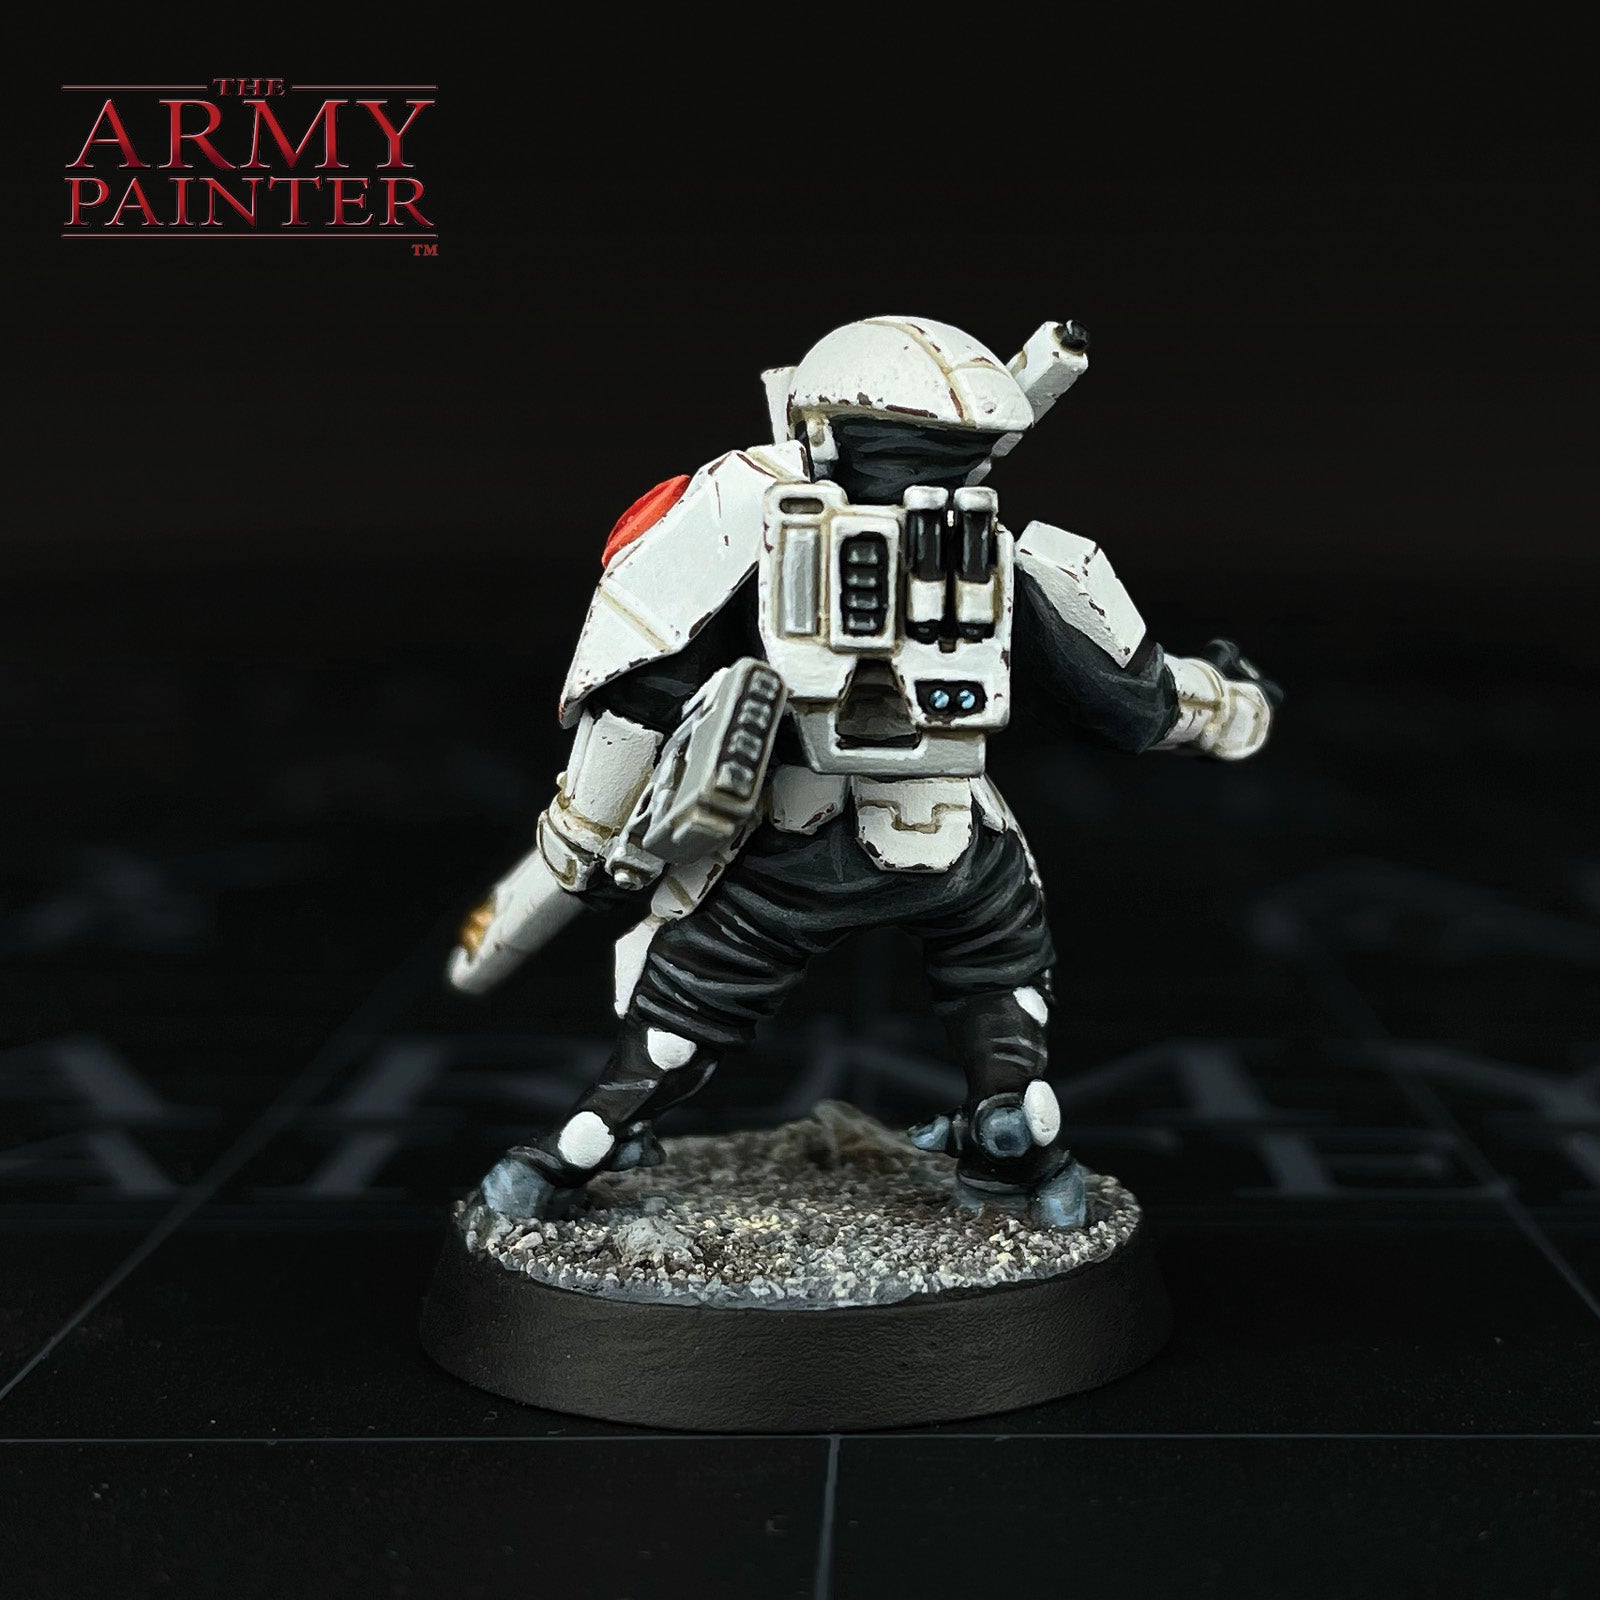
The T'au, from Games Workshop's Warhammer 40,000 setting, offers a great canvas to try out both a clean, futuristic palette, coupled with some slight weathering - especially with the stark colour scheme of the Vior'la sept. The crisp white of their armour is a fantastic backdrop for chipping and weathering. The rather limited colour palette, of white, black, and red, also allows you to spend a bit more time on some of the stages if you want.
Grab your pulse rifle and recite your mantra of the Greater Good, it's time to paint some T'au!
This tutorial has been broken down by colour segments, starting with the white armour, and moving onto the cloth, the metallics, and so on. Each section is further broken down into managable steps by applying one colour at a time. Simply click the arrows at the bottom of each section to scroll through the steps if you're on a desktop, or scroll to the side on your mobile phone.
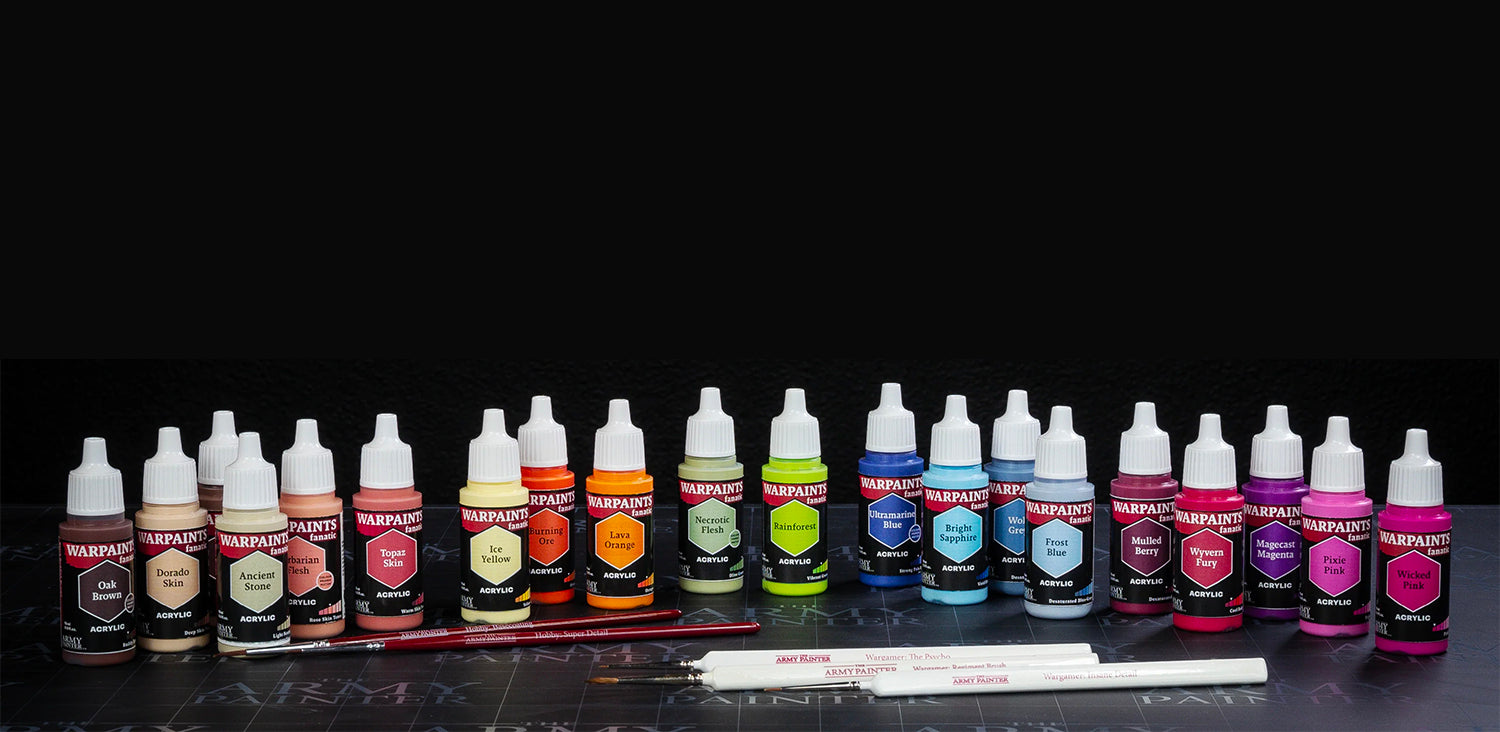
Every colour on this miniature, outside of the primer, comes from our new Warpaints Fanatic range and our Speedpaints range.
Let's get painting!

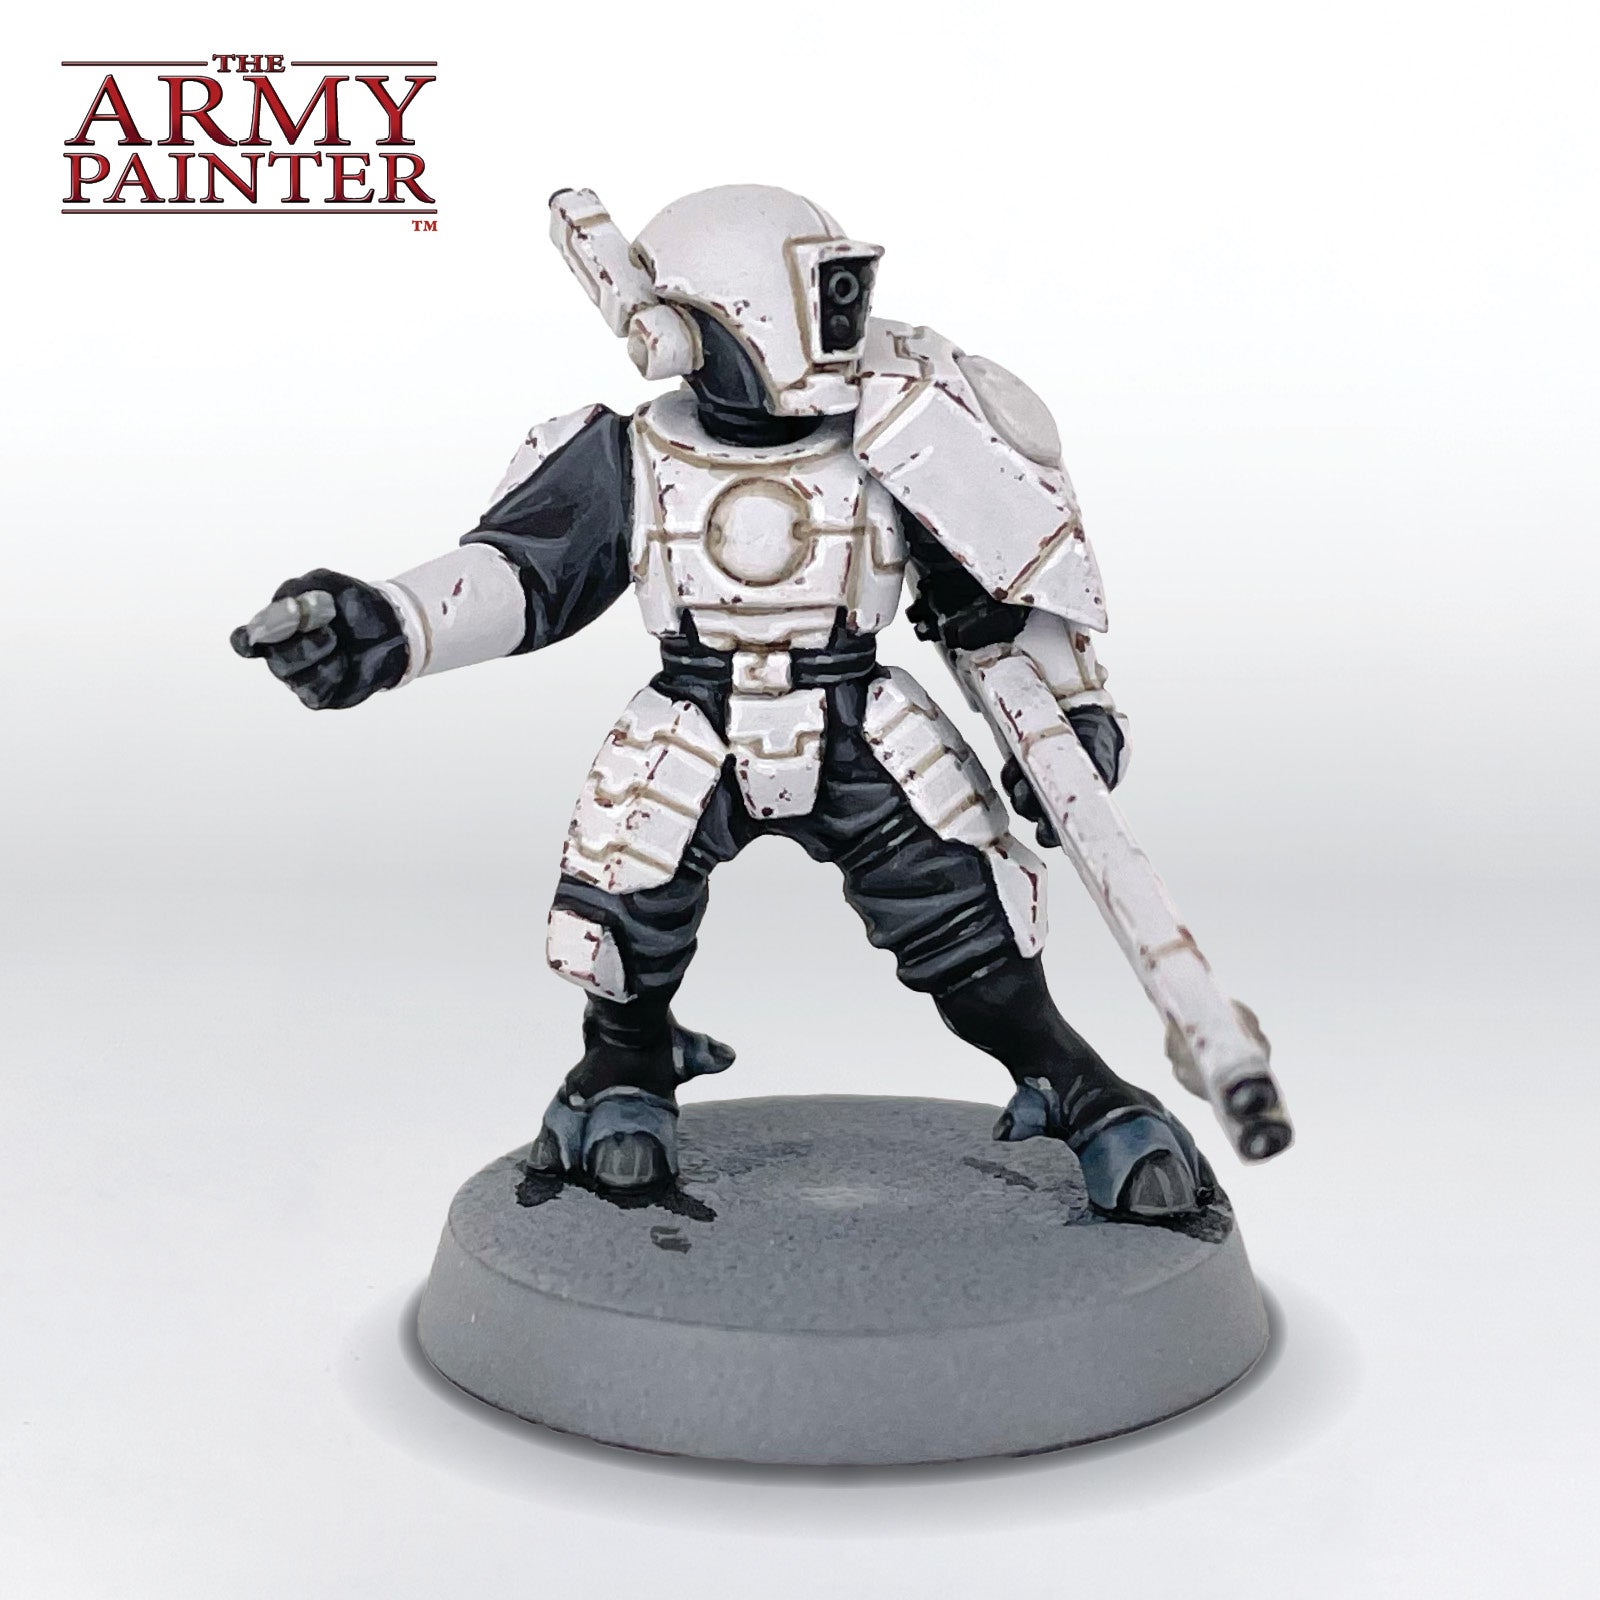
The White Armour
Step 1
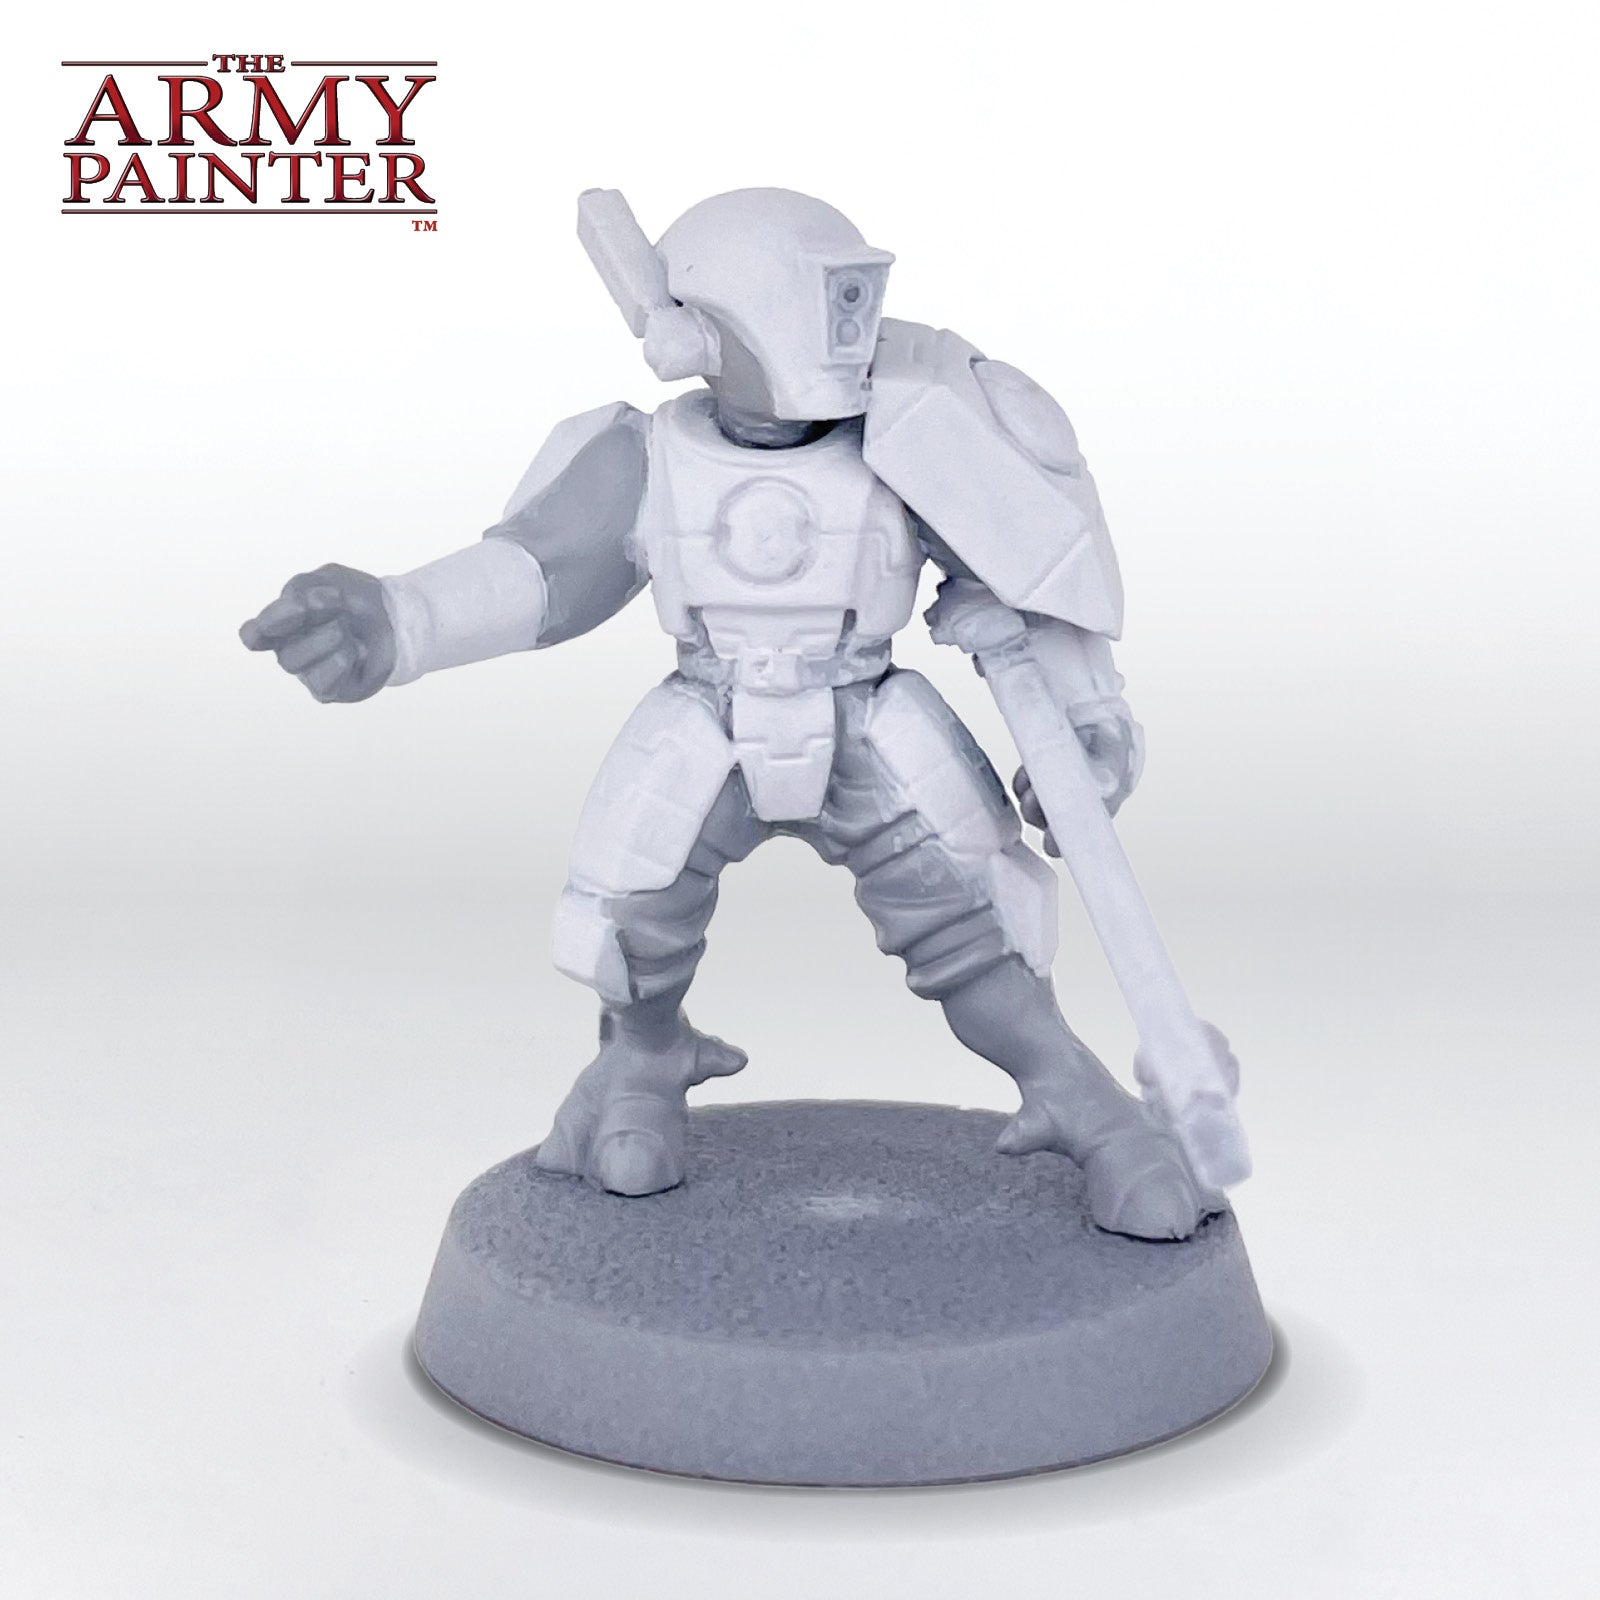
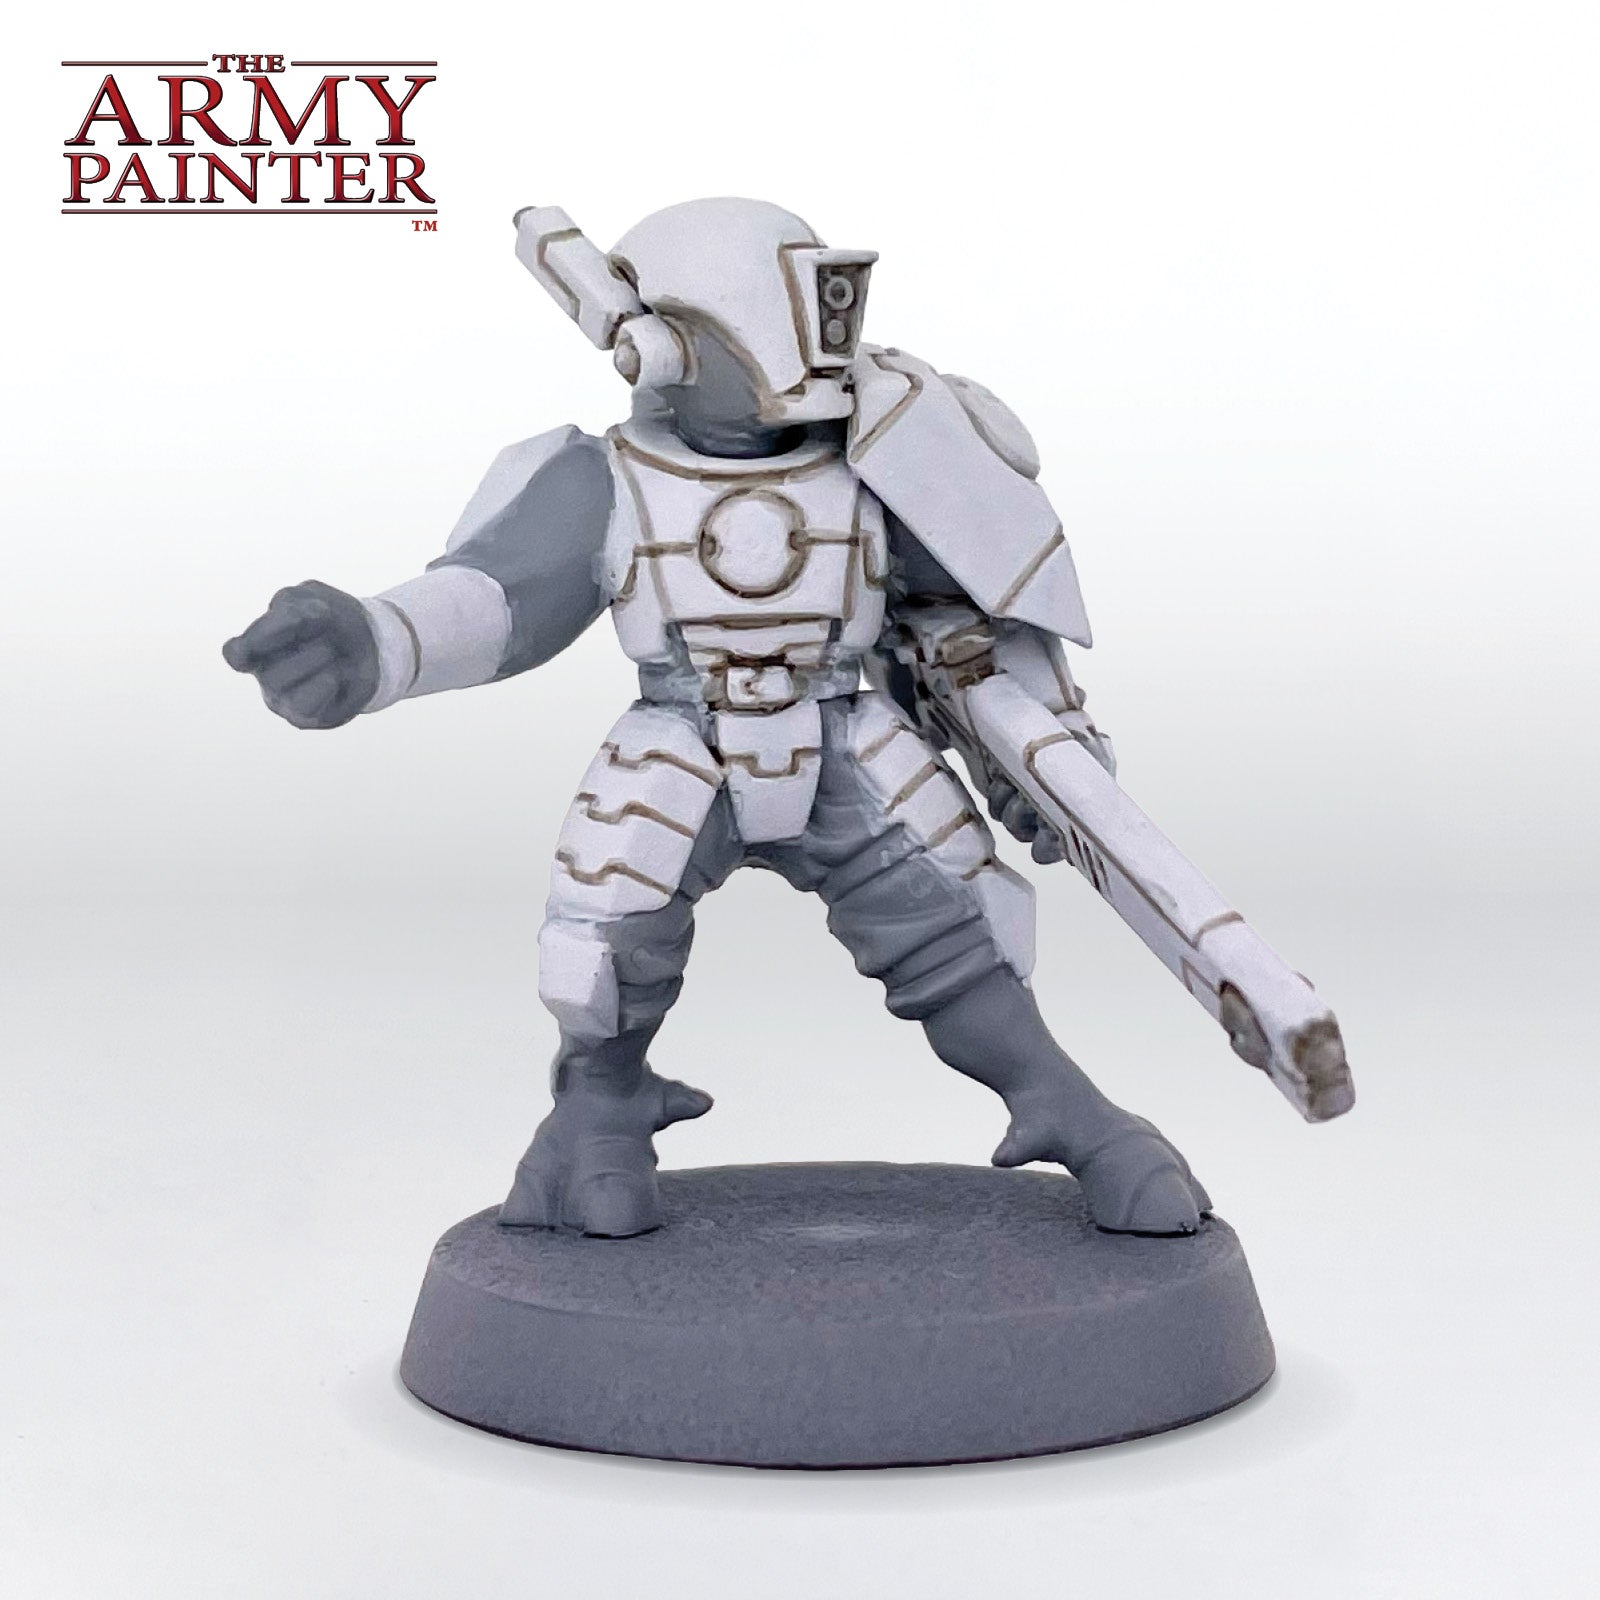
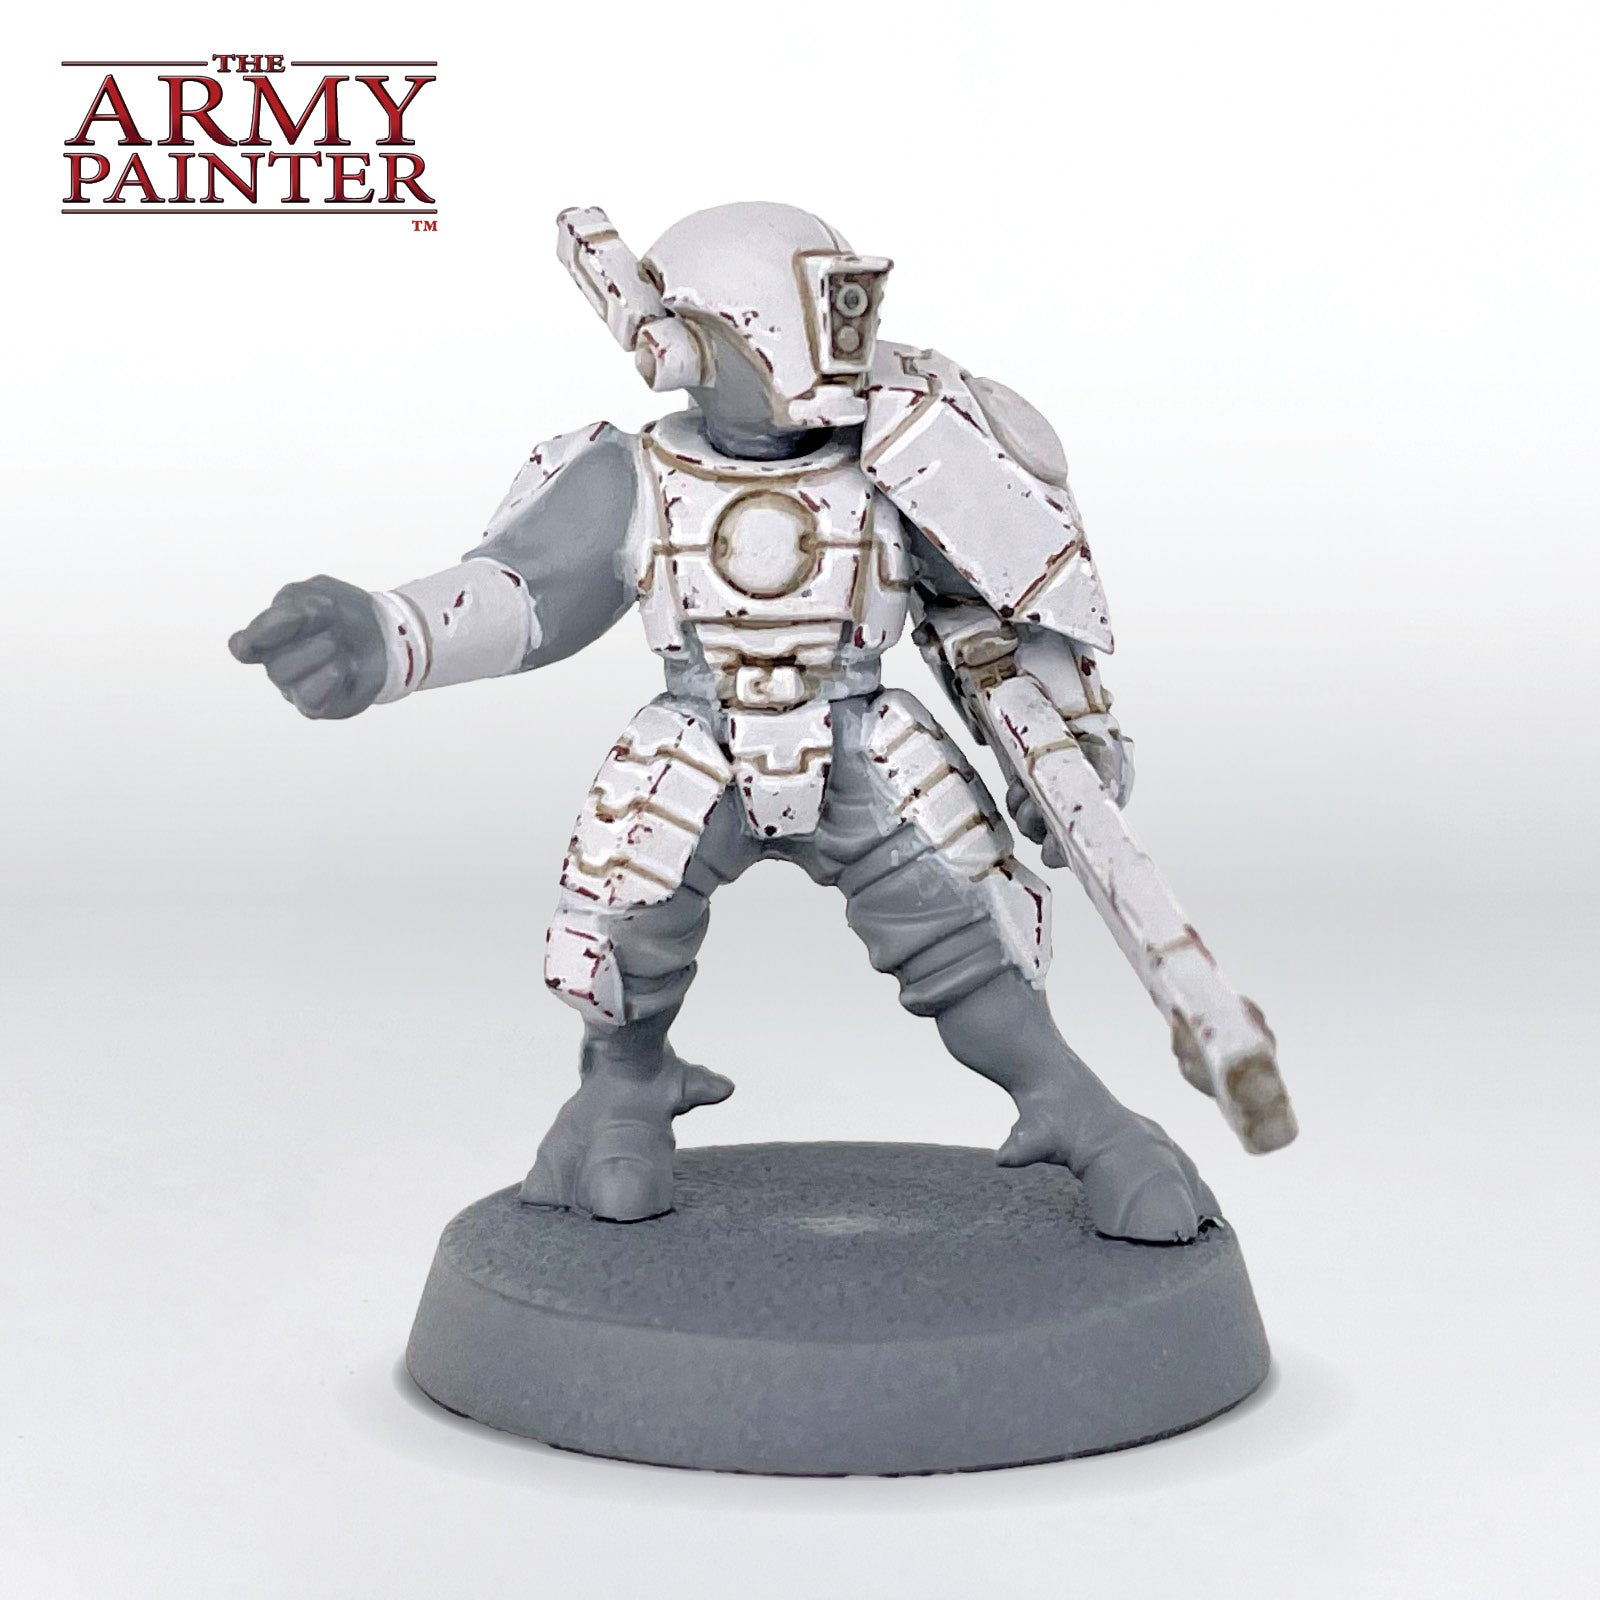
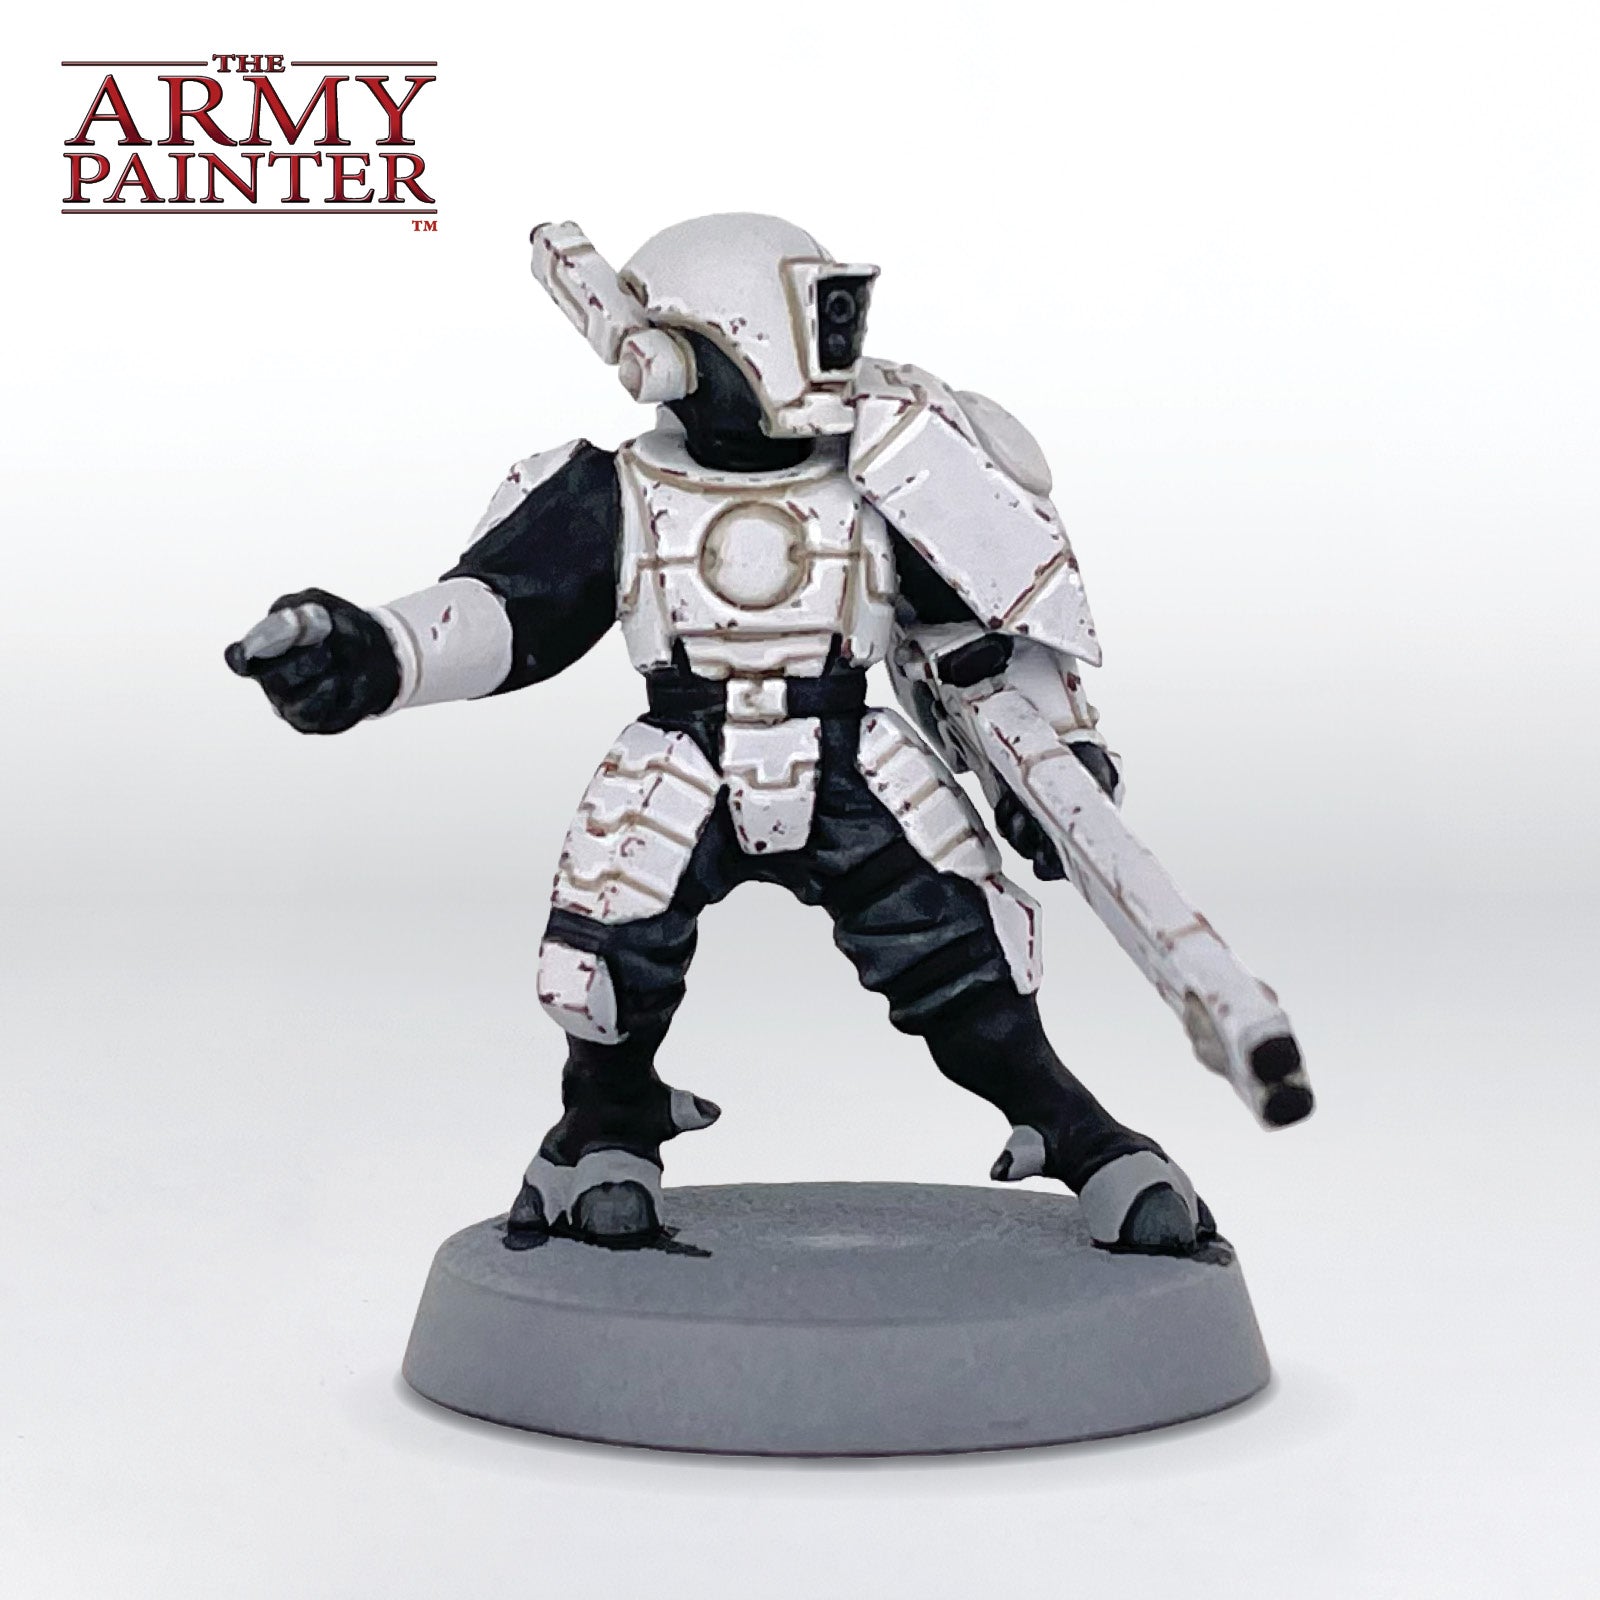
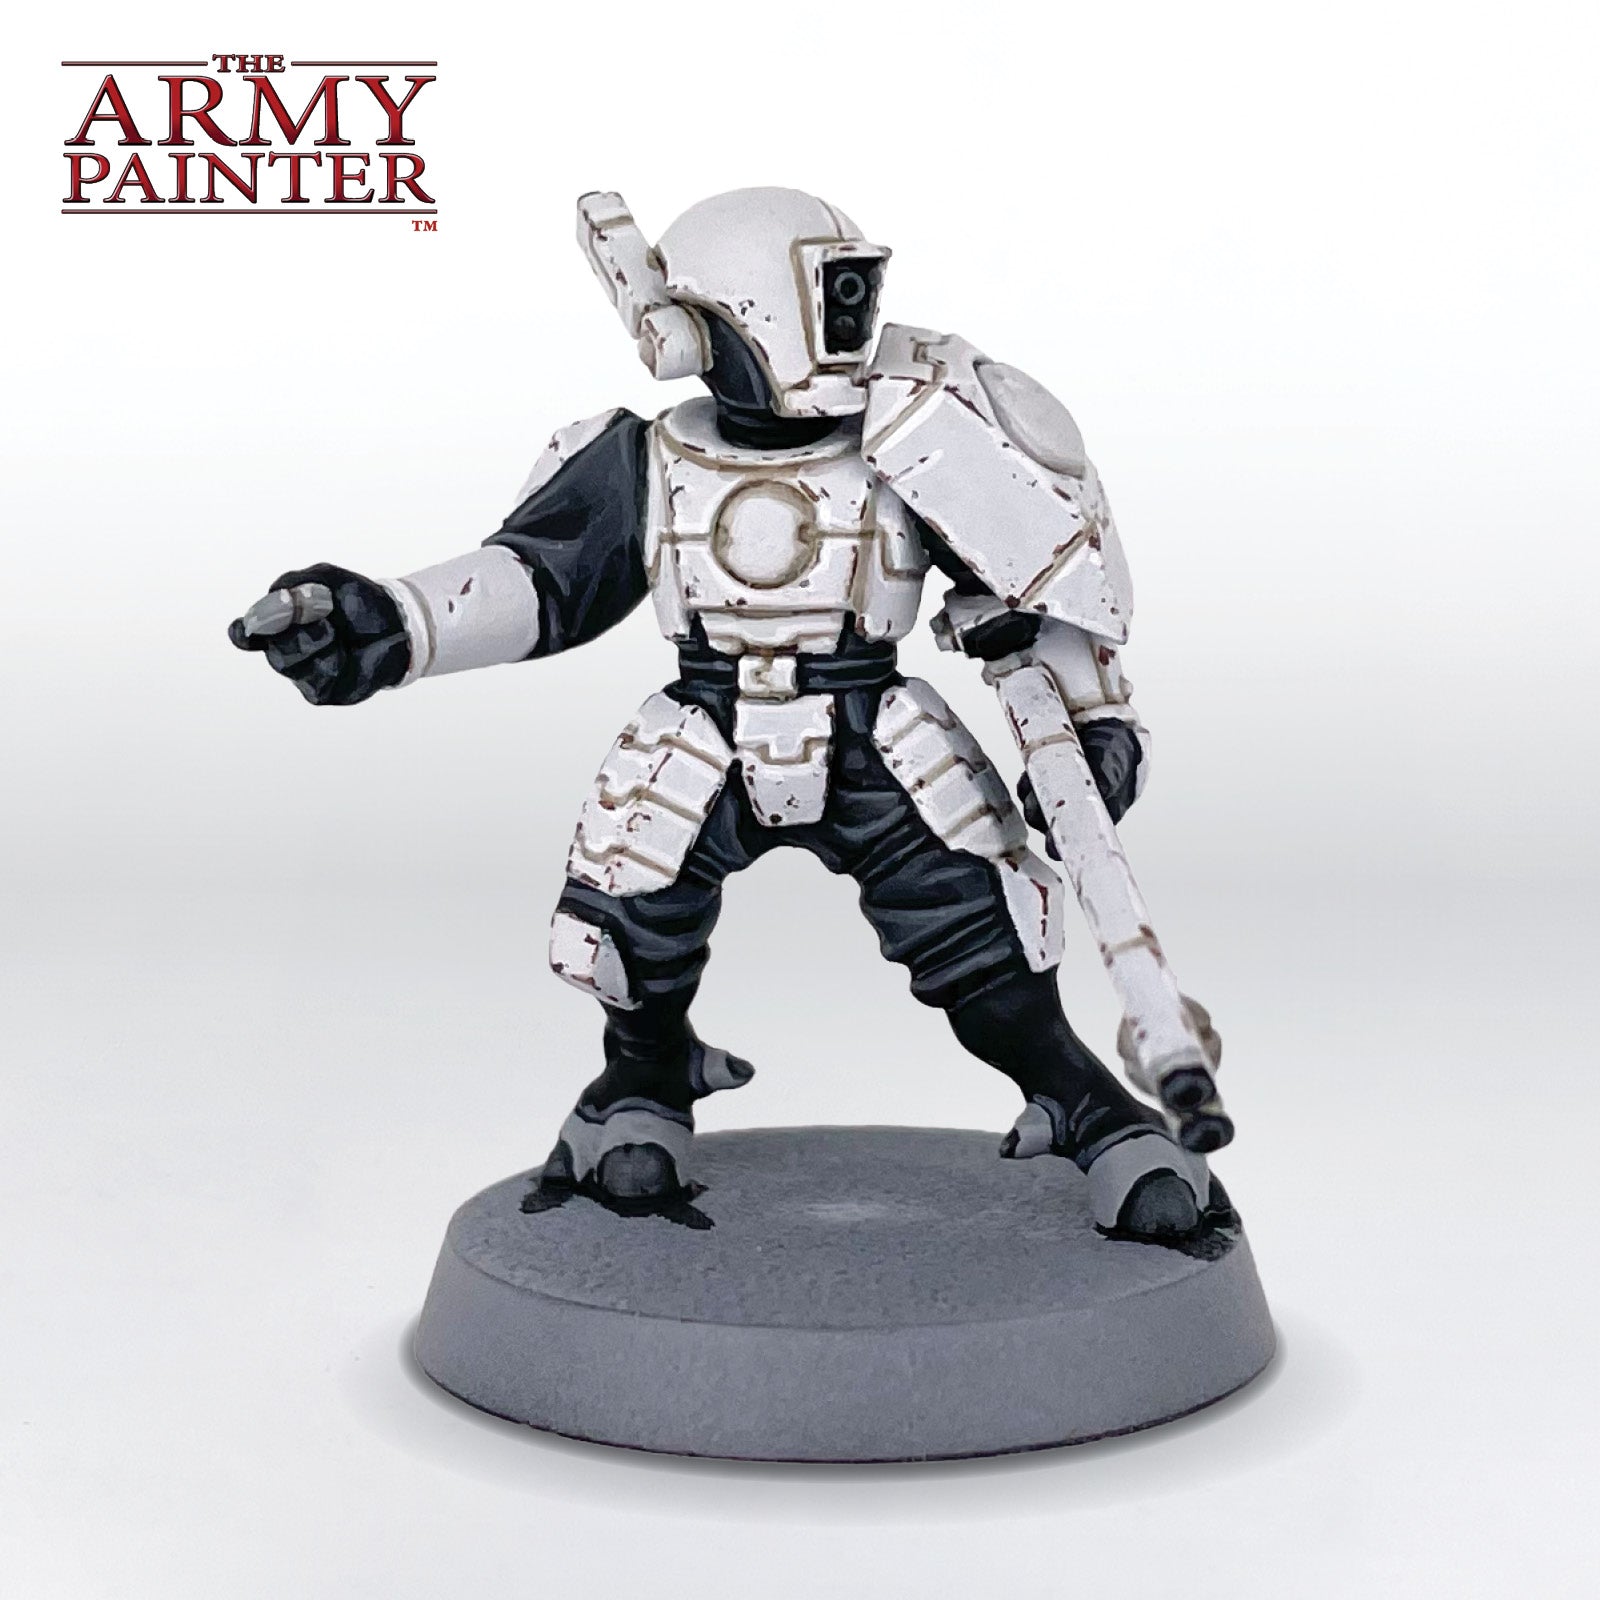
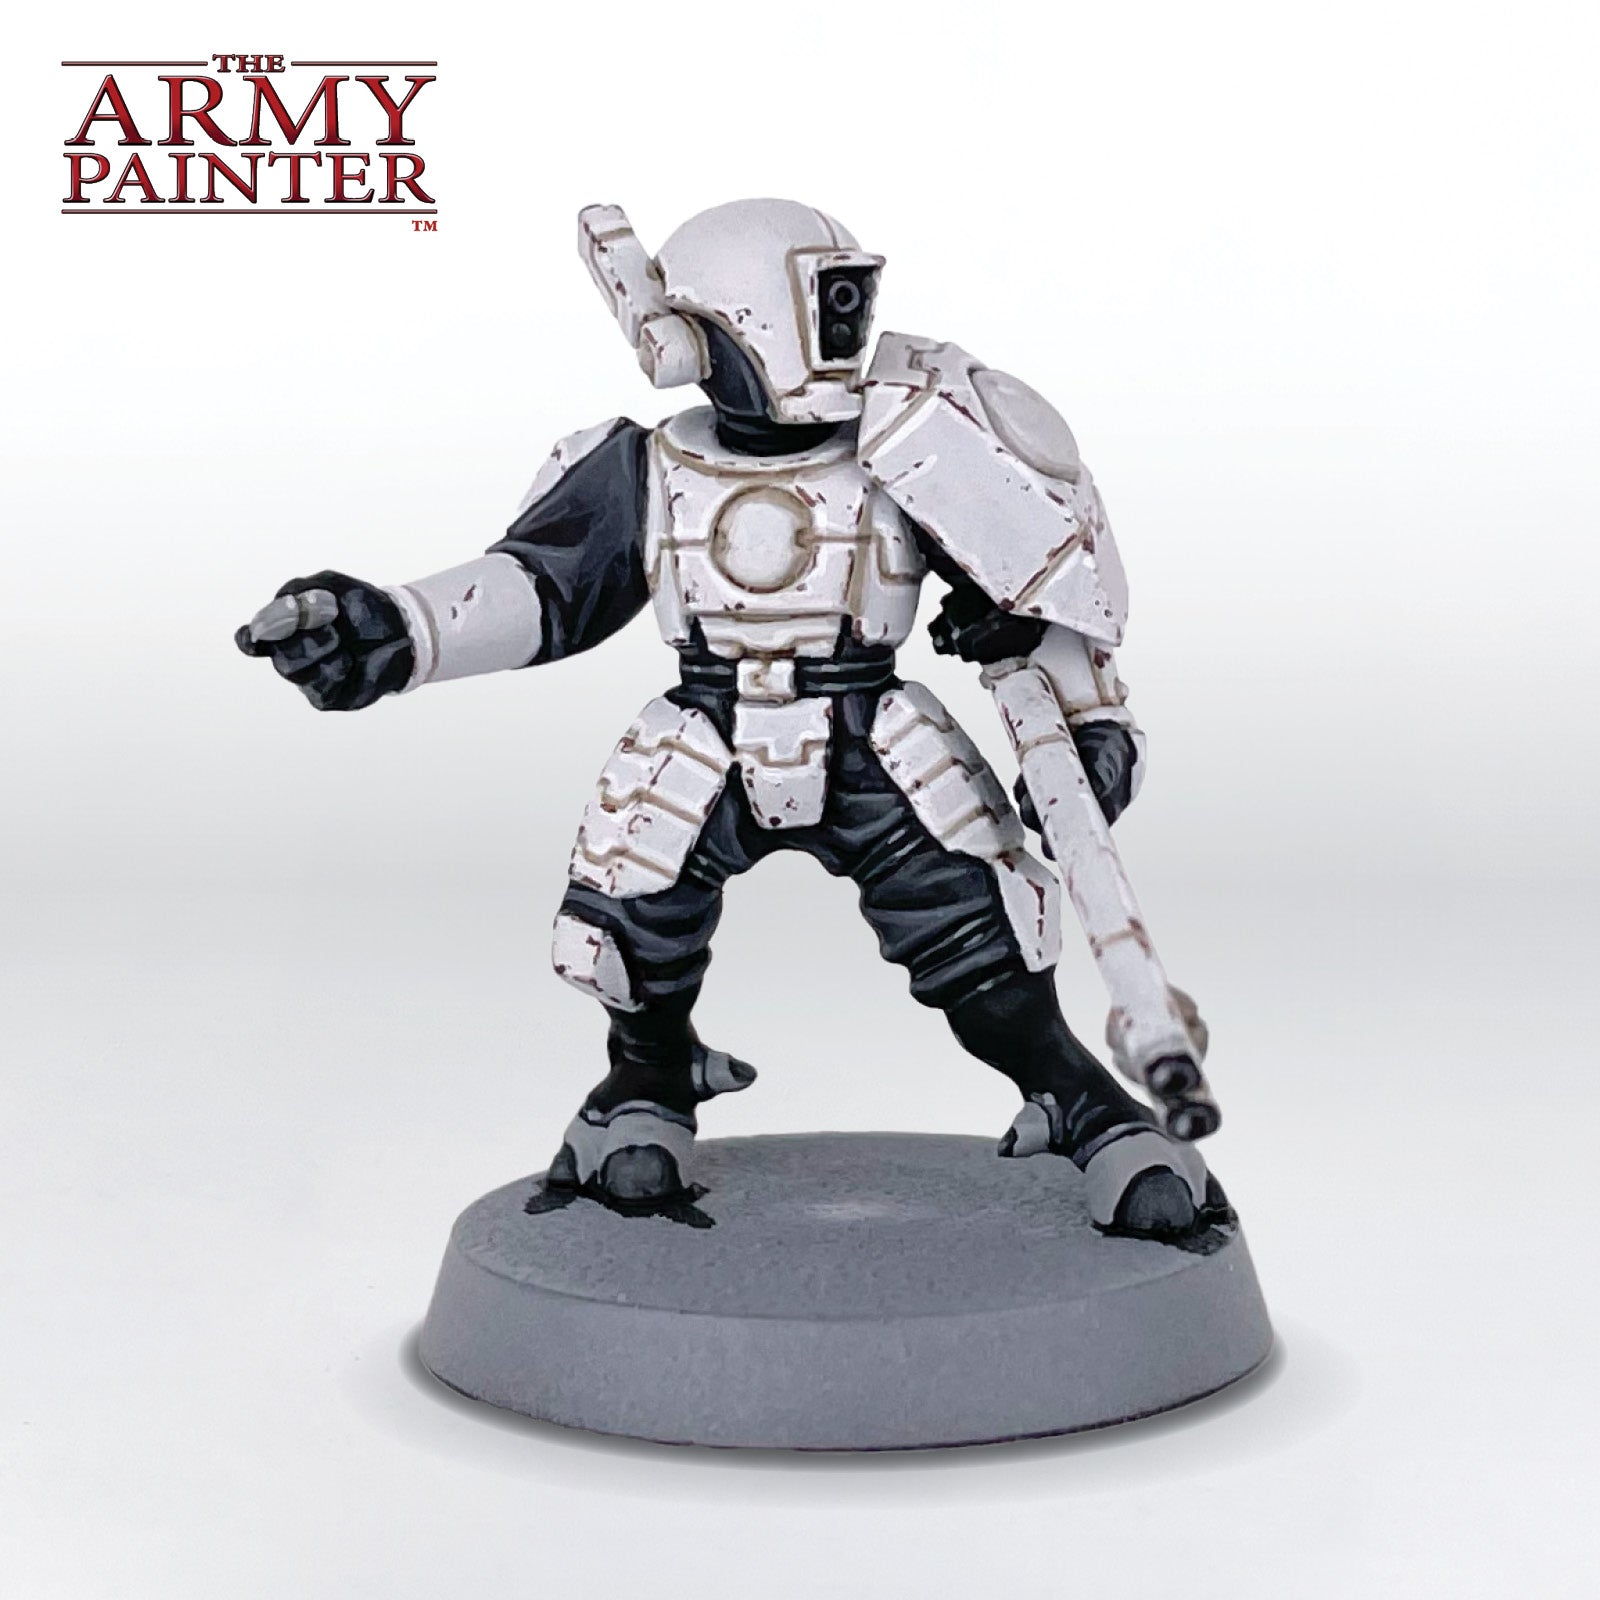
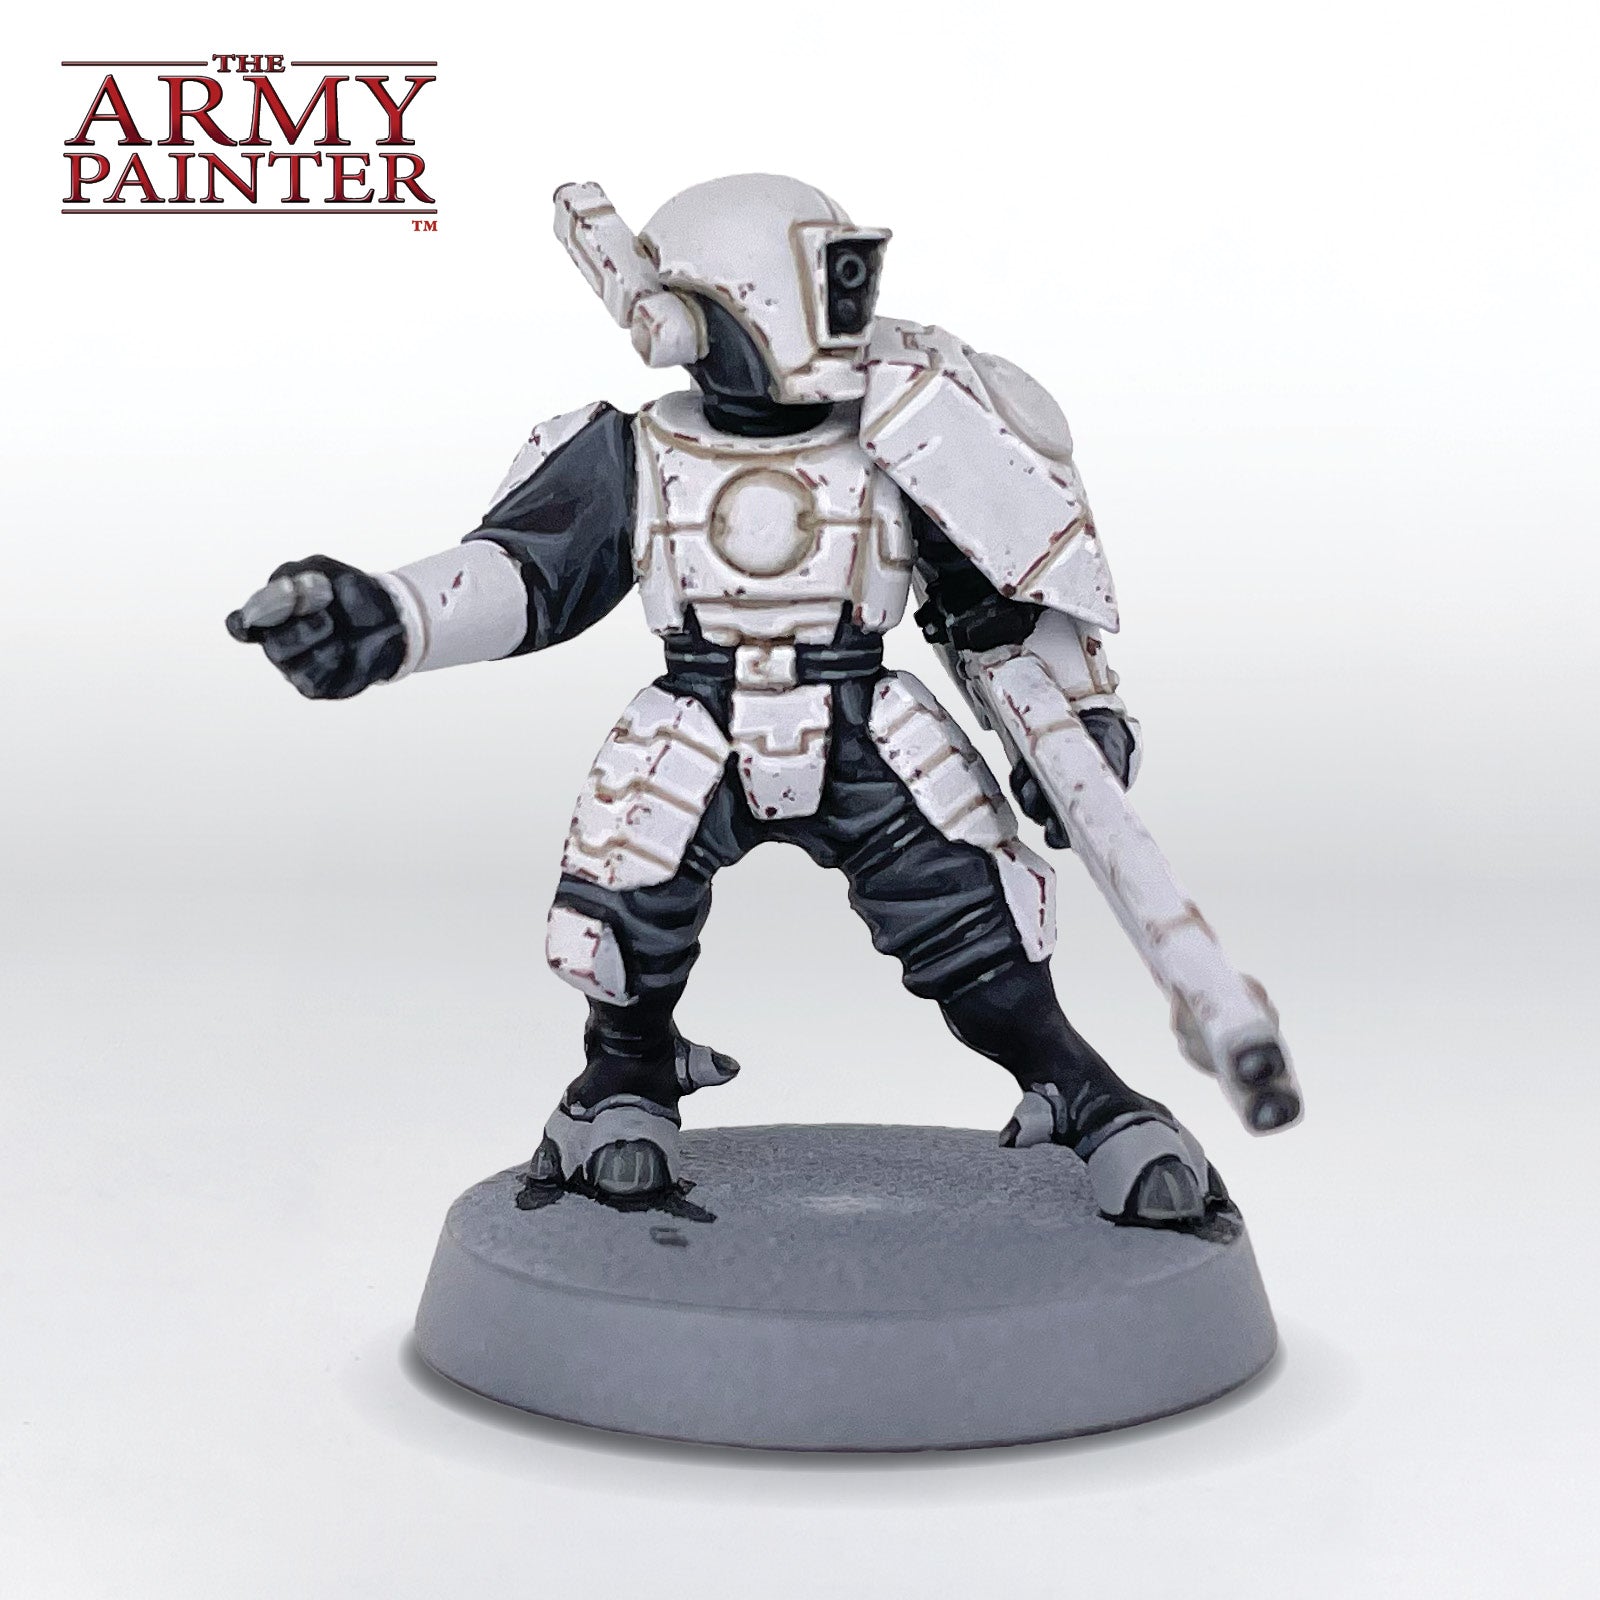
I started off by priming the model with Ash Grey Colour Primer. Afterwards, all of the white armour was given a solid basecoat of Warpaints Fanatic Brigade Grey, the lightest colour in the Flexible Triad: Black & Greys, and a great off-white.
Step 2
To add some definition, I painted Warpaints Fanatic Strong Tone Wash directly into the panel lines and between panels on the armour. I also did this on the areas the will be grey later.
Step 3
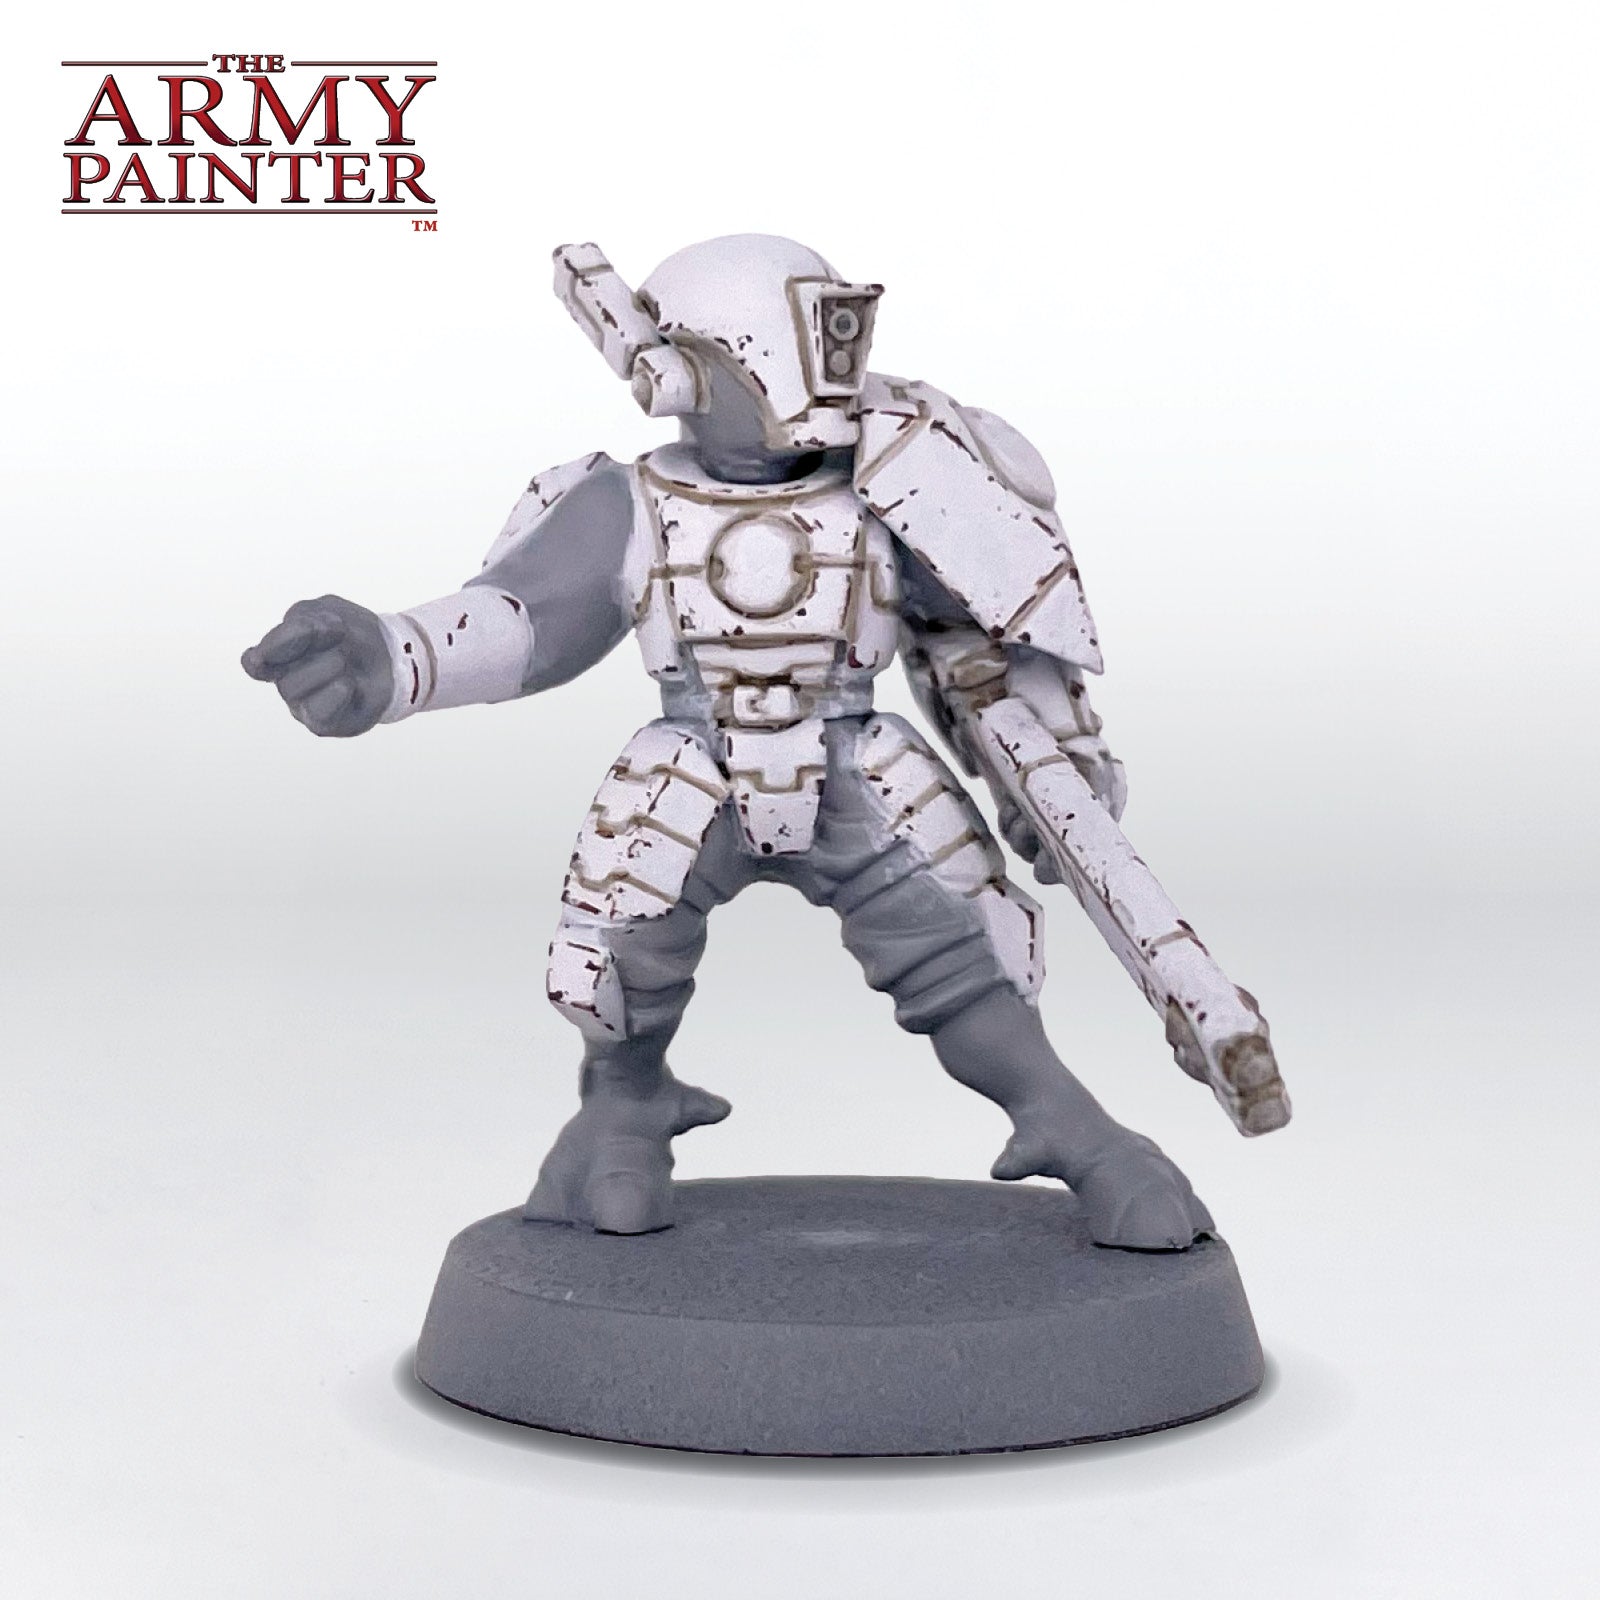
To add some weathering, I used a bit of torn sponge, and lightly sponged on some Warpaints Fanatic Oak Brown onto the edges and areas that will receive wear and tear. Be sparing with this. I then went in with a brush and added some longer lines and scratches in areas. This will help add volume to the armour too.
Step 4
Finally, I went through and edge highlighted all of it with Warpaints Fanatic Matt White. This last step is optional, as it will look great with just the weathering too. You can reserve this for characters or special units you want to stand out.
The Grey Armour
Step 1
If you defined the grey areas with the Warpaints Fanatic Strong Tone already in the previous steps, then all you'll have to do here is tidy up with Warpaints Fanatic Ash Grey. I also took this opportunity to tidy up all of the areas that will be black later.
Step 2
These areas were then edge highlighted with Warpaints Fanatic Company Grey. There aren't a ton of grey areas on the Fire Warriors, but there are on other models in the range, such as Drones and Crisis Suits.
Step 3
As a finishing touch, all of the corners were picked out with Warpaints Fanatic Brigade Grey.
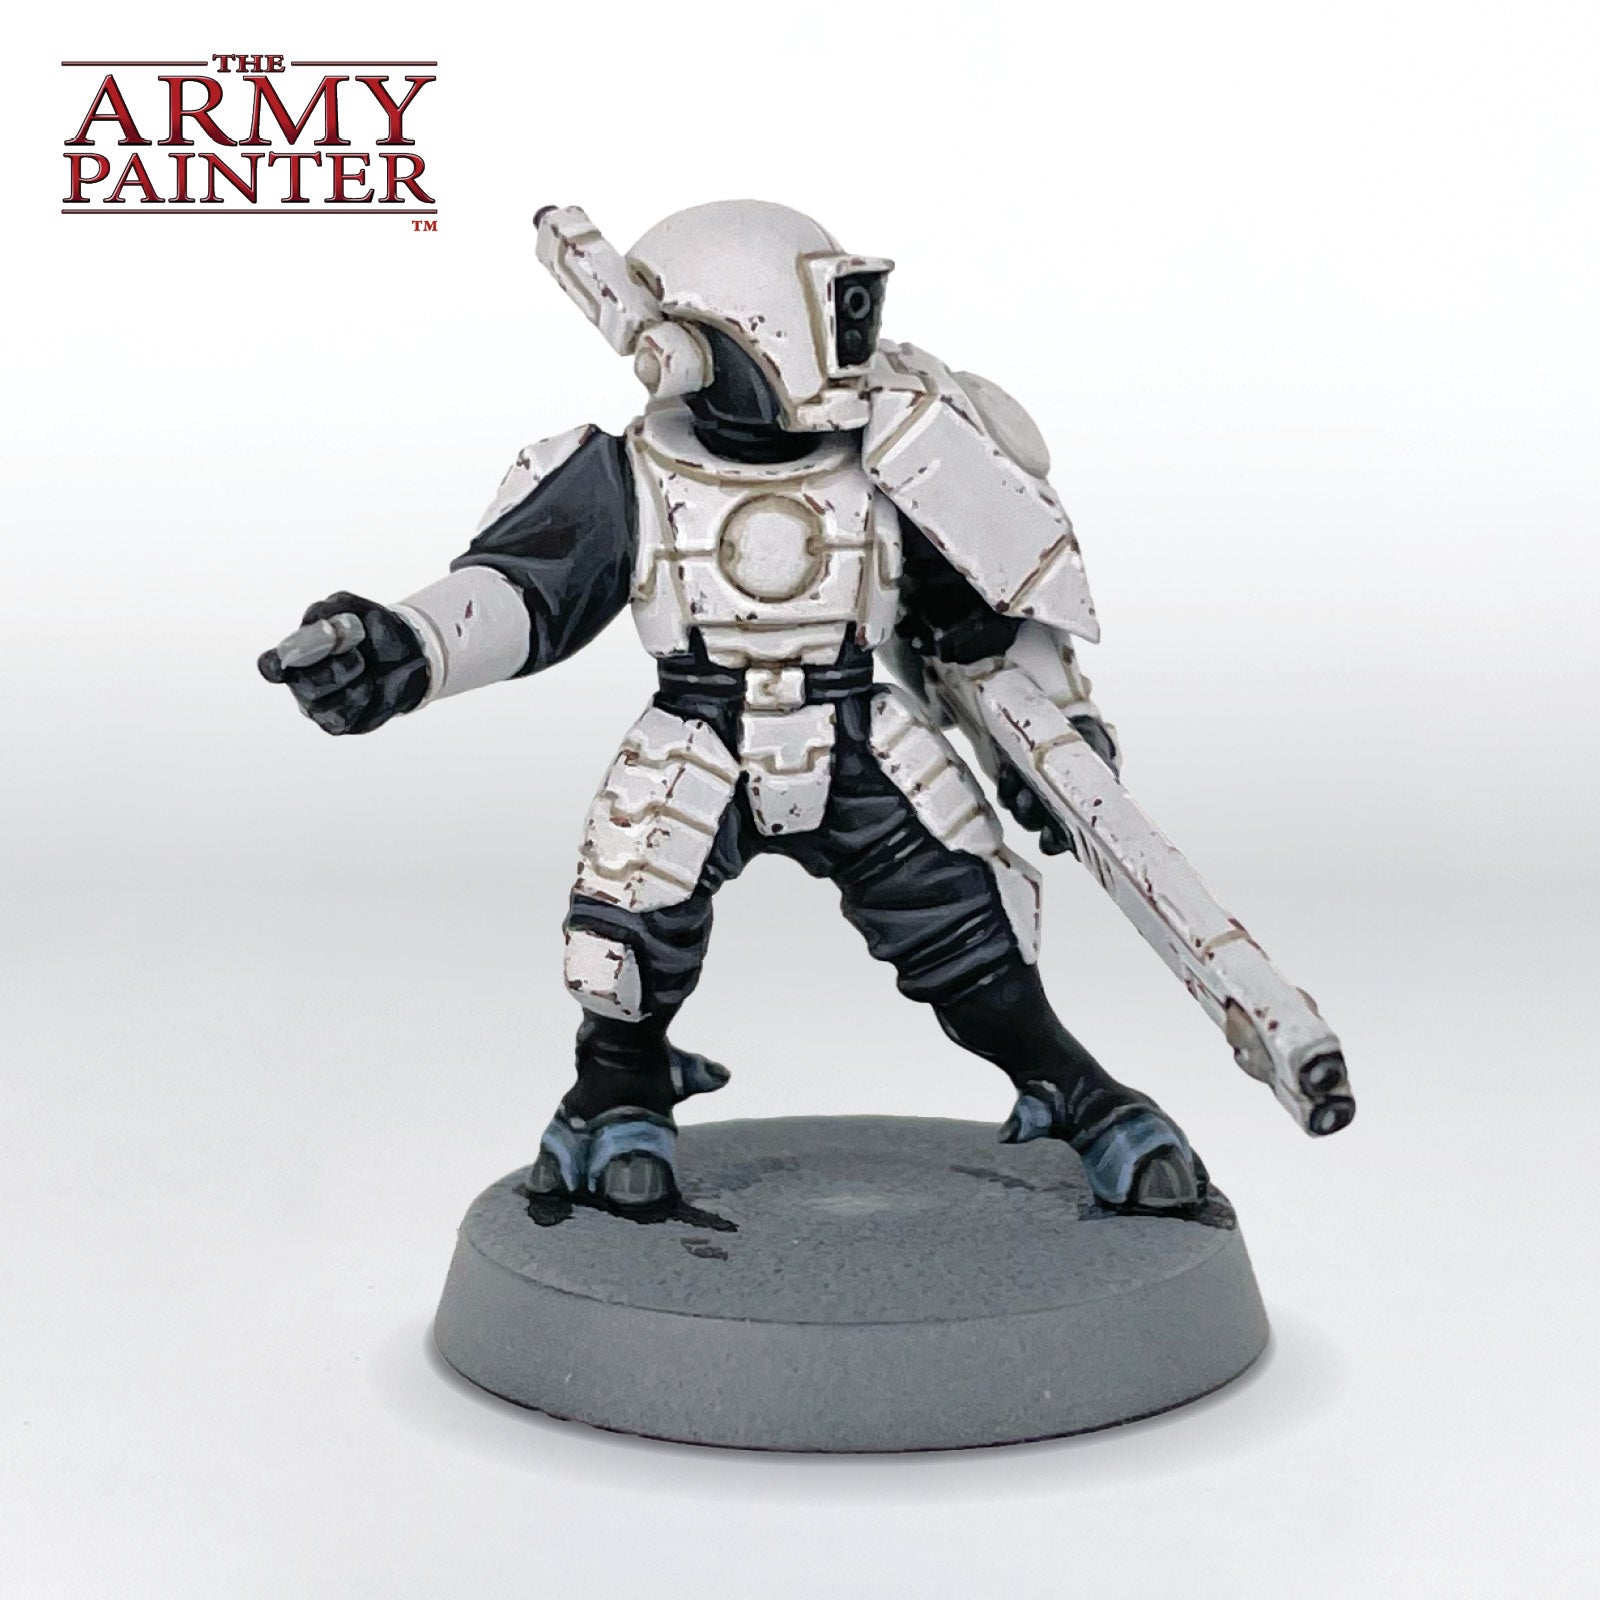
The Black Areas
Step 1
All of the areas that are black were given a coat of Speedpaint Grim Black. Areas that are leather or parts of the gun were given a second coat to make them slightly darker.

Step 2
All of the cloth was then highlighted with Warpaints Fanatic Deep Grey. You can be fairly broad on this highlight in areas.
Step 3
The cloth was then given a final and more refined highlight of Warpaints Fanatic Uniform Grey. This was also used as the first highlight on the leather and hard surfaces, such as on the gun. This will make those surfaces feel more reflective since they have a starker highlight.
Step 4
The leather and hard surfaces were then given a more refined highlight of Warpaints Fanatic Ash Grey. I mostly used this to pick out reflection points.
Step 5
Finally, the toe nails/hooves were highlighted with Warpaints Fanatic Grey Castle with a little bit of Warpaints Fanatic Matt Black mixed in. This was painted on in a striated manner to simulate growth in the nails.
The Blue Skin
Step 1
To achieve that characteristic blue skin of the T'au I applied a coat of Speedpaint Runic Grey, followed by a coat of Warpaints Fanatic Blue Tone Wash to punch up the vibrancy a bit.
Step 2
This was then highlighted with Warpaints Fanatic Runic Cobalt.
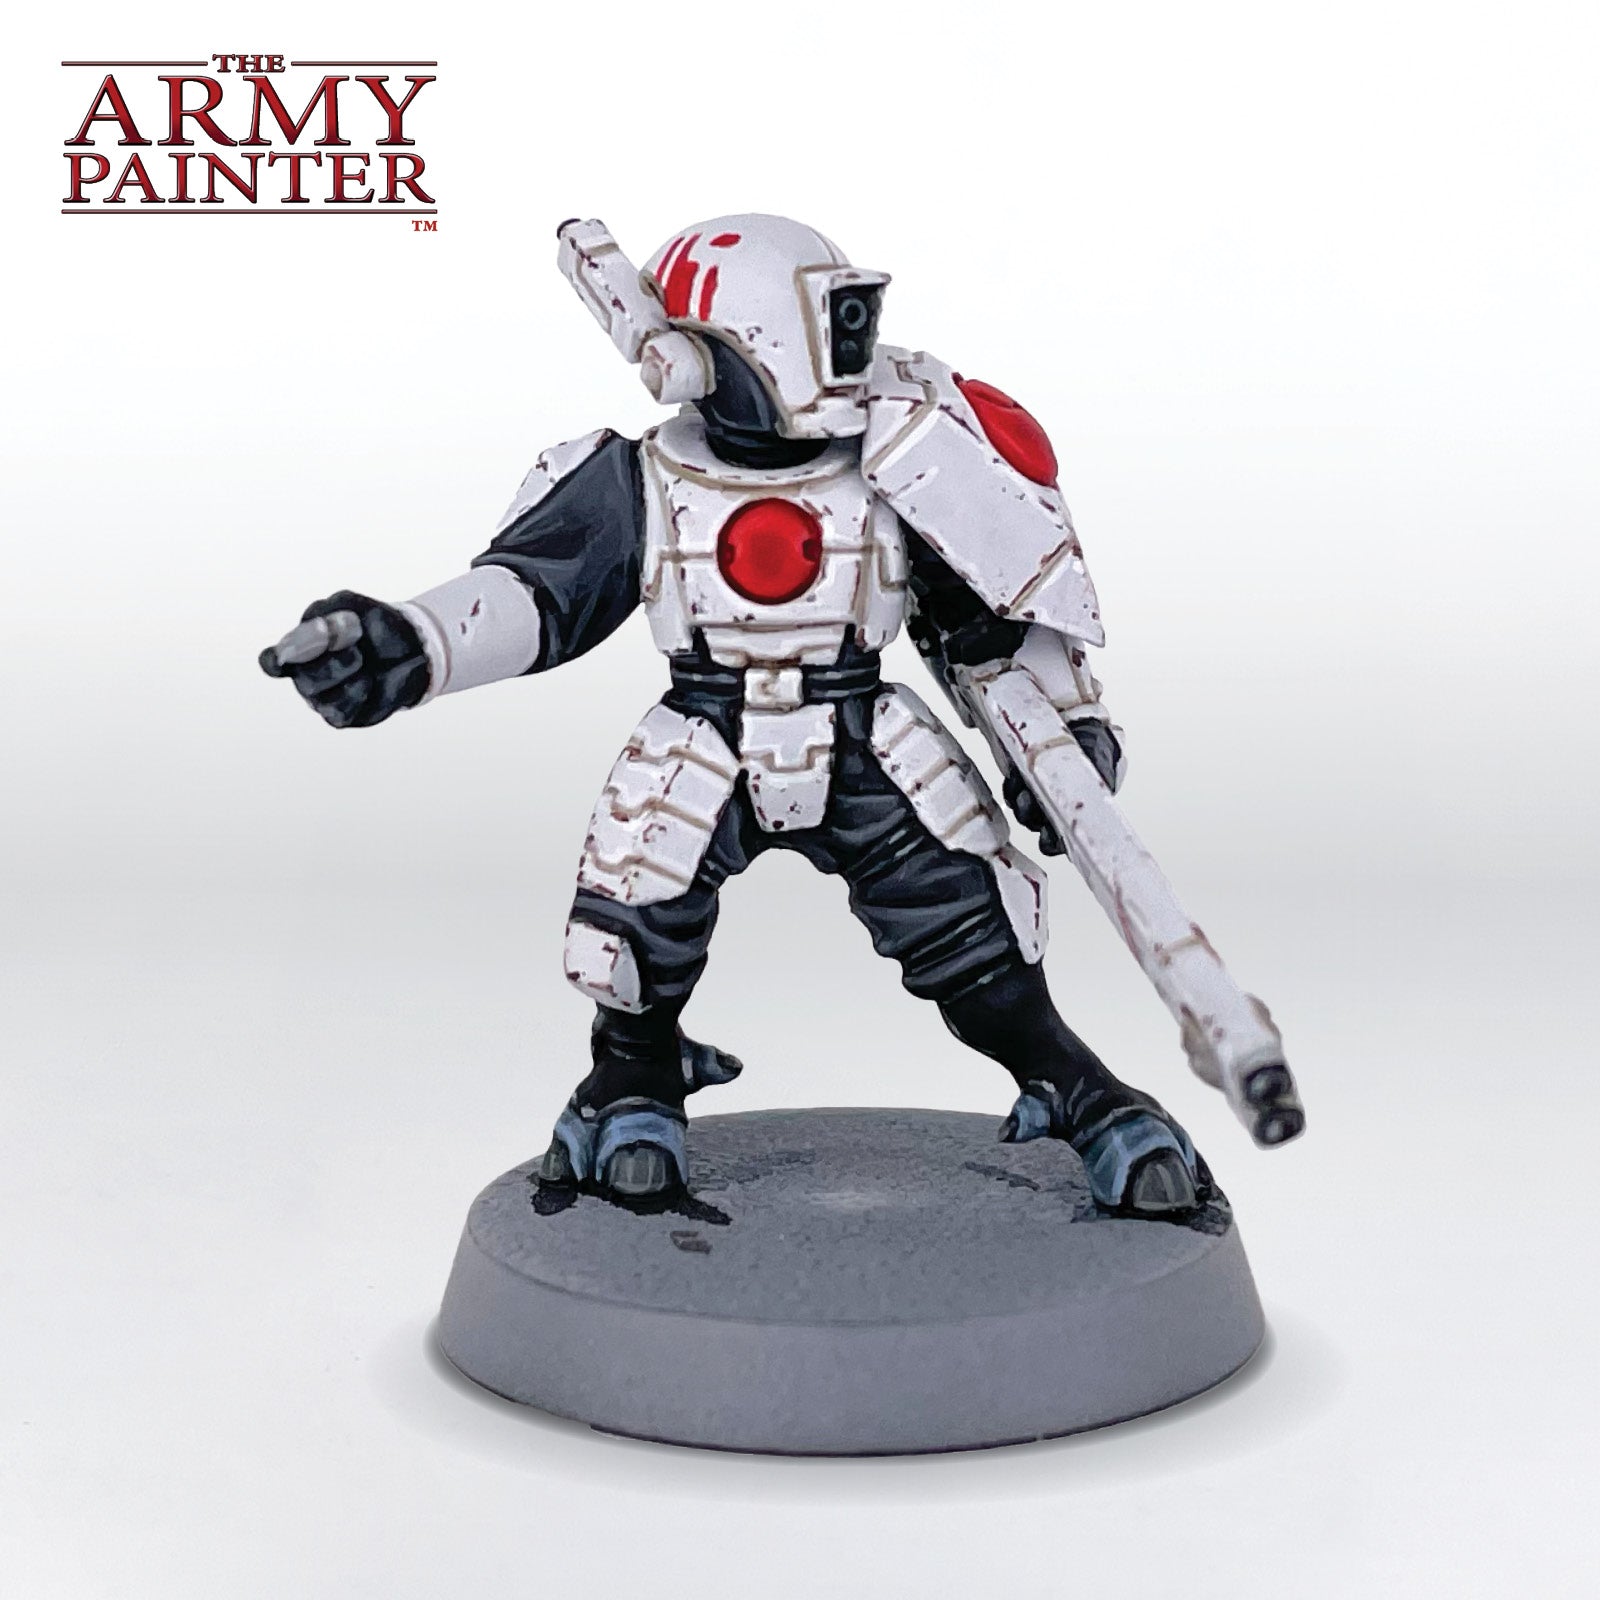
The Red Areas
Step 1
All of the red areas were given a coat of Speedpaint Blood Red. I also used this to paint on the unit markings. Don't worry if they're a bit sloppy now, as we'll tidy them up later in a future step.

Step 2
These were then edge highlighted with Warpaints Fanatic Angelic Red. On the markings you only need to add highlights where they actually touch the edges of the armour.
Step 3
Next, a more refined highlight of Warpaints Fanatic Sacred Scarlet was applied, along with some scratches on the two larger symbols to tie them into the battered white armour more.
Step 4
Since the red is a visual focal point of the model, I applied one final dot highlight of Warpaints Fanatic Raging Rouge to any corners.

Step 5
The final step is to use some Warpaints Fanatic Brigade Grey to tidy up the unit markings and add some weathering with chips and scratches. This will also help hide any mistakes in the freehand.
The Blue Lenses
Step 1
First, make sure all of the lenses are blacked out with Warpaints Fanatic Matt Black, and then paint one of the bottom corners with Warpaints Fanatic Regal Blue. I filled up about 3/4s of the lens with this colour.
Step 2
This was followed with a more refined crescent of Warpaints Fanatic Arctic Blue, taking up even less of the lens.
Step 3
Finally, an even more refined highlight of Warpaints Fanatic Bright Sapphire was applied followed by a dot of Warpaints Fanatic Matt White in the opposite corner.
The Gold Metallics
Step 1
The gold, which is just on the gun for this model, was basecoated with Warpaints Fanatic Greedy Gold.
Step 2
This was then shaded all over with Warpaints Fanatic Strong Skin Shade Wash.
Step 3
Lastly, an edge highlight of Warpaints Fanatic Greedy Gold mixed with Warpaints Fanatic Mithril was applied.
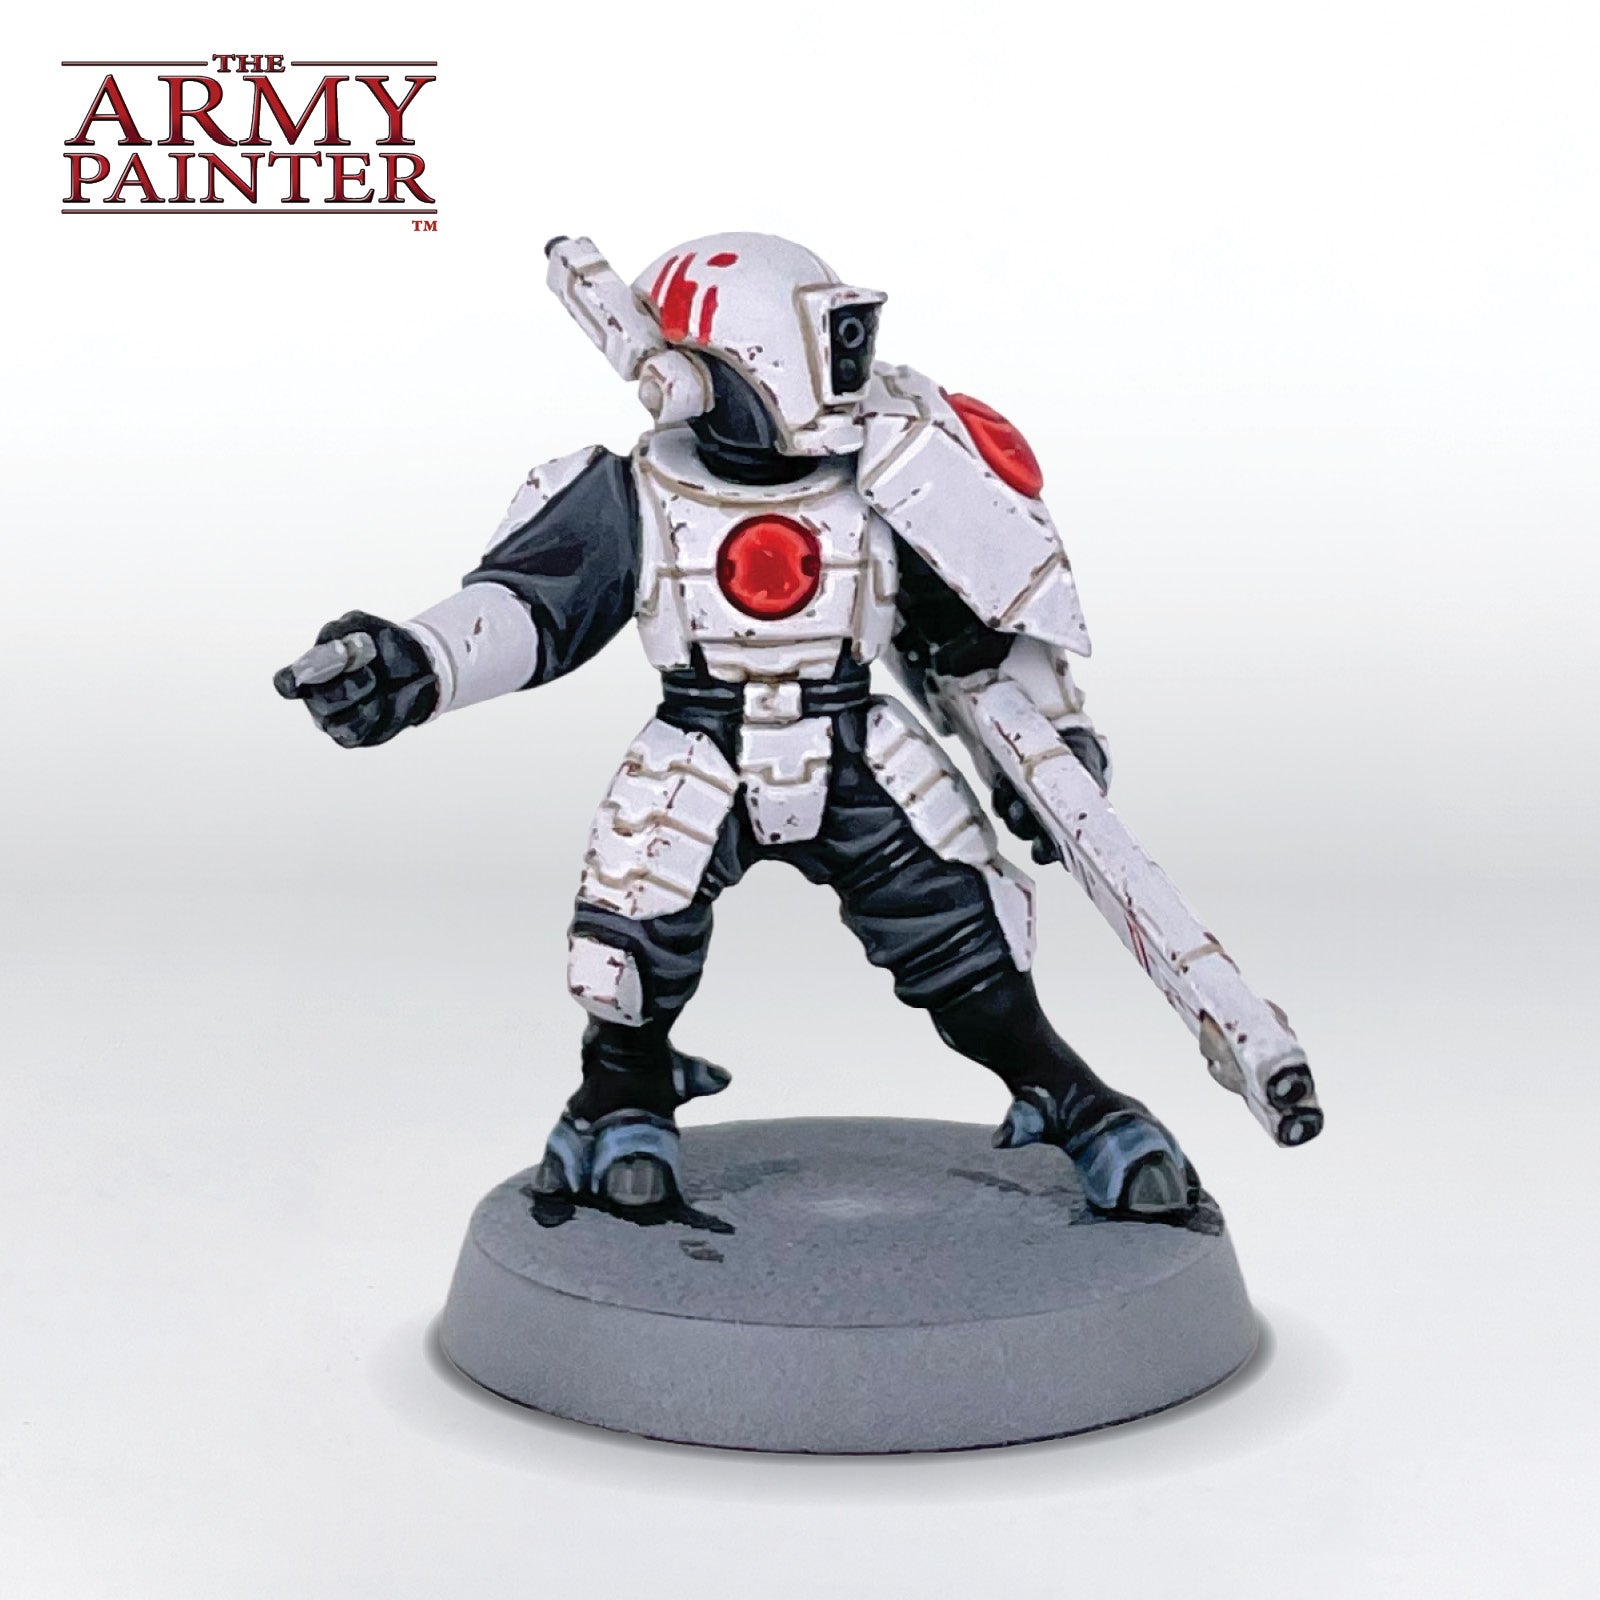
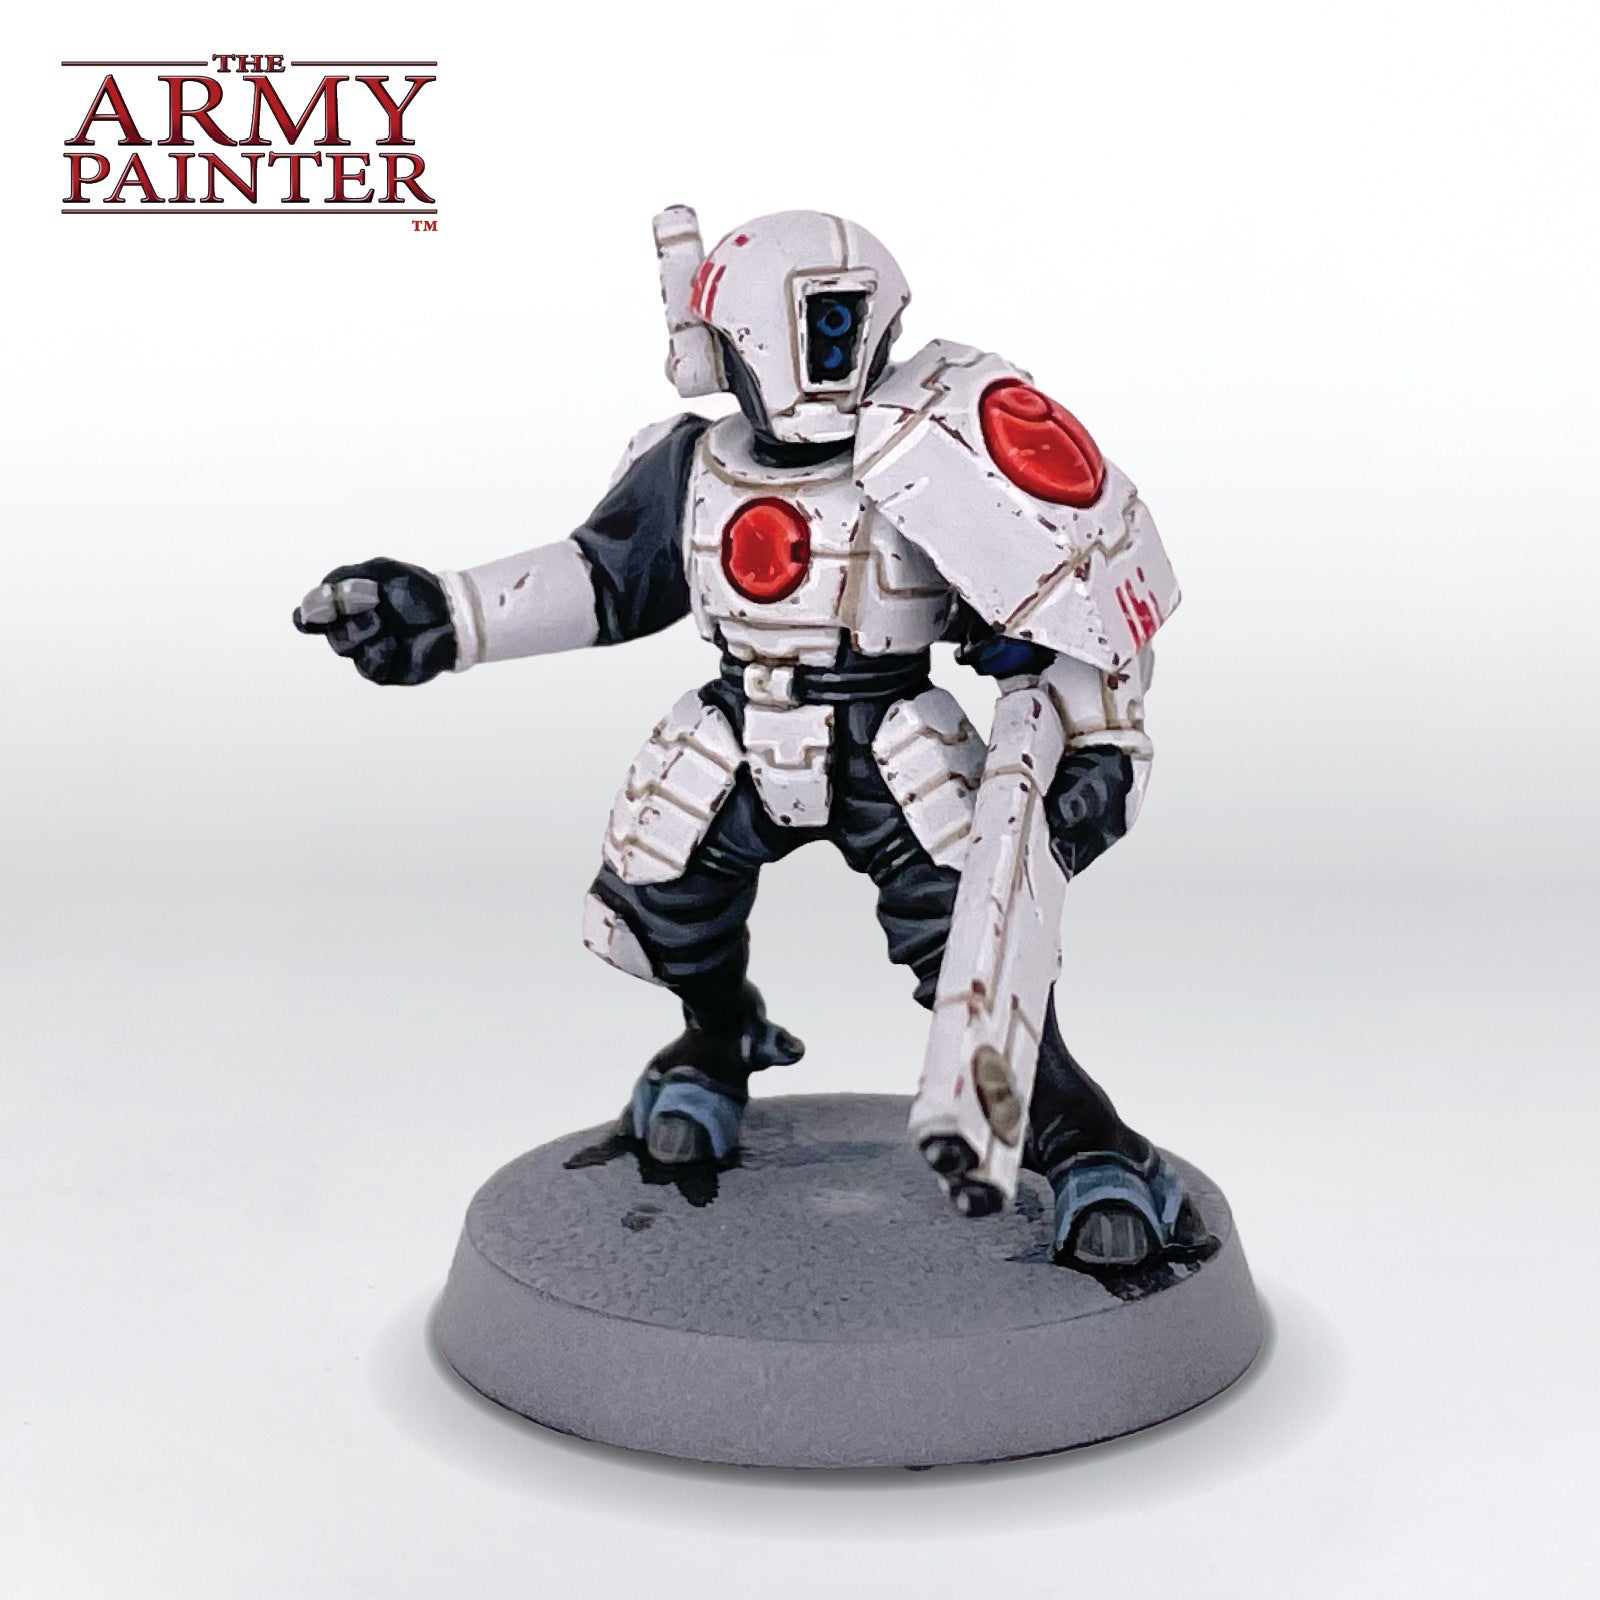
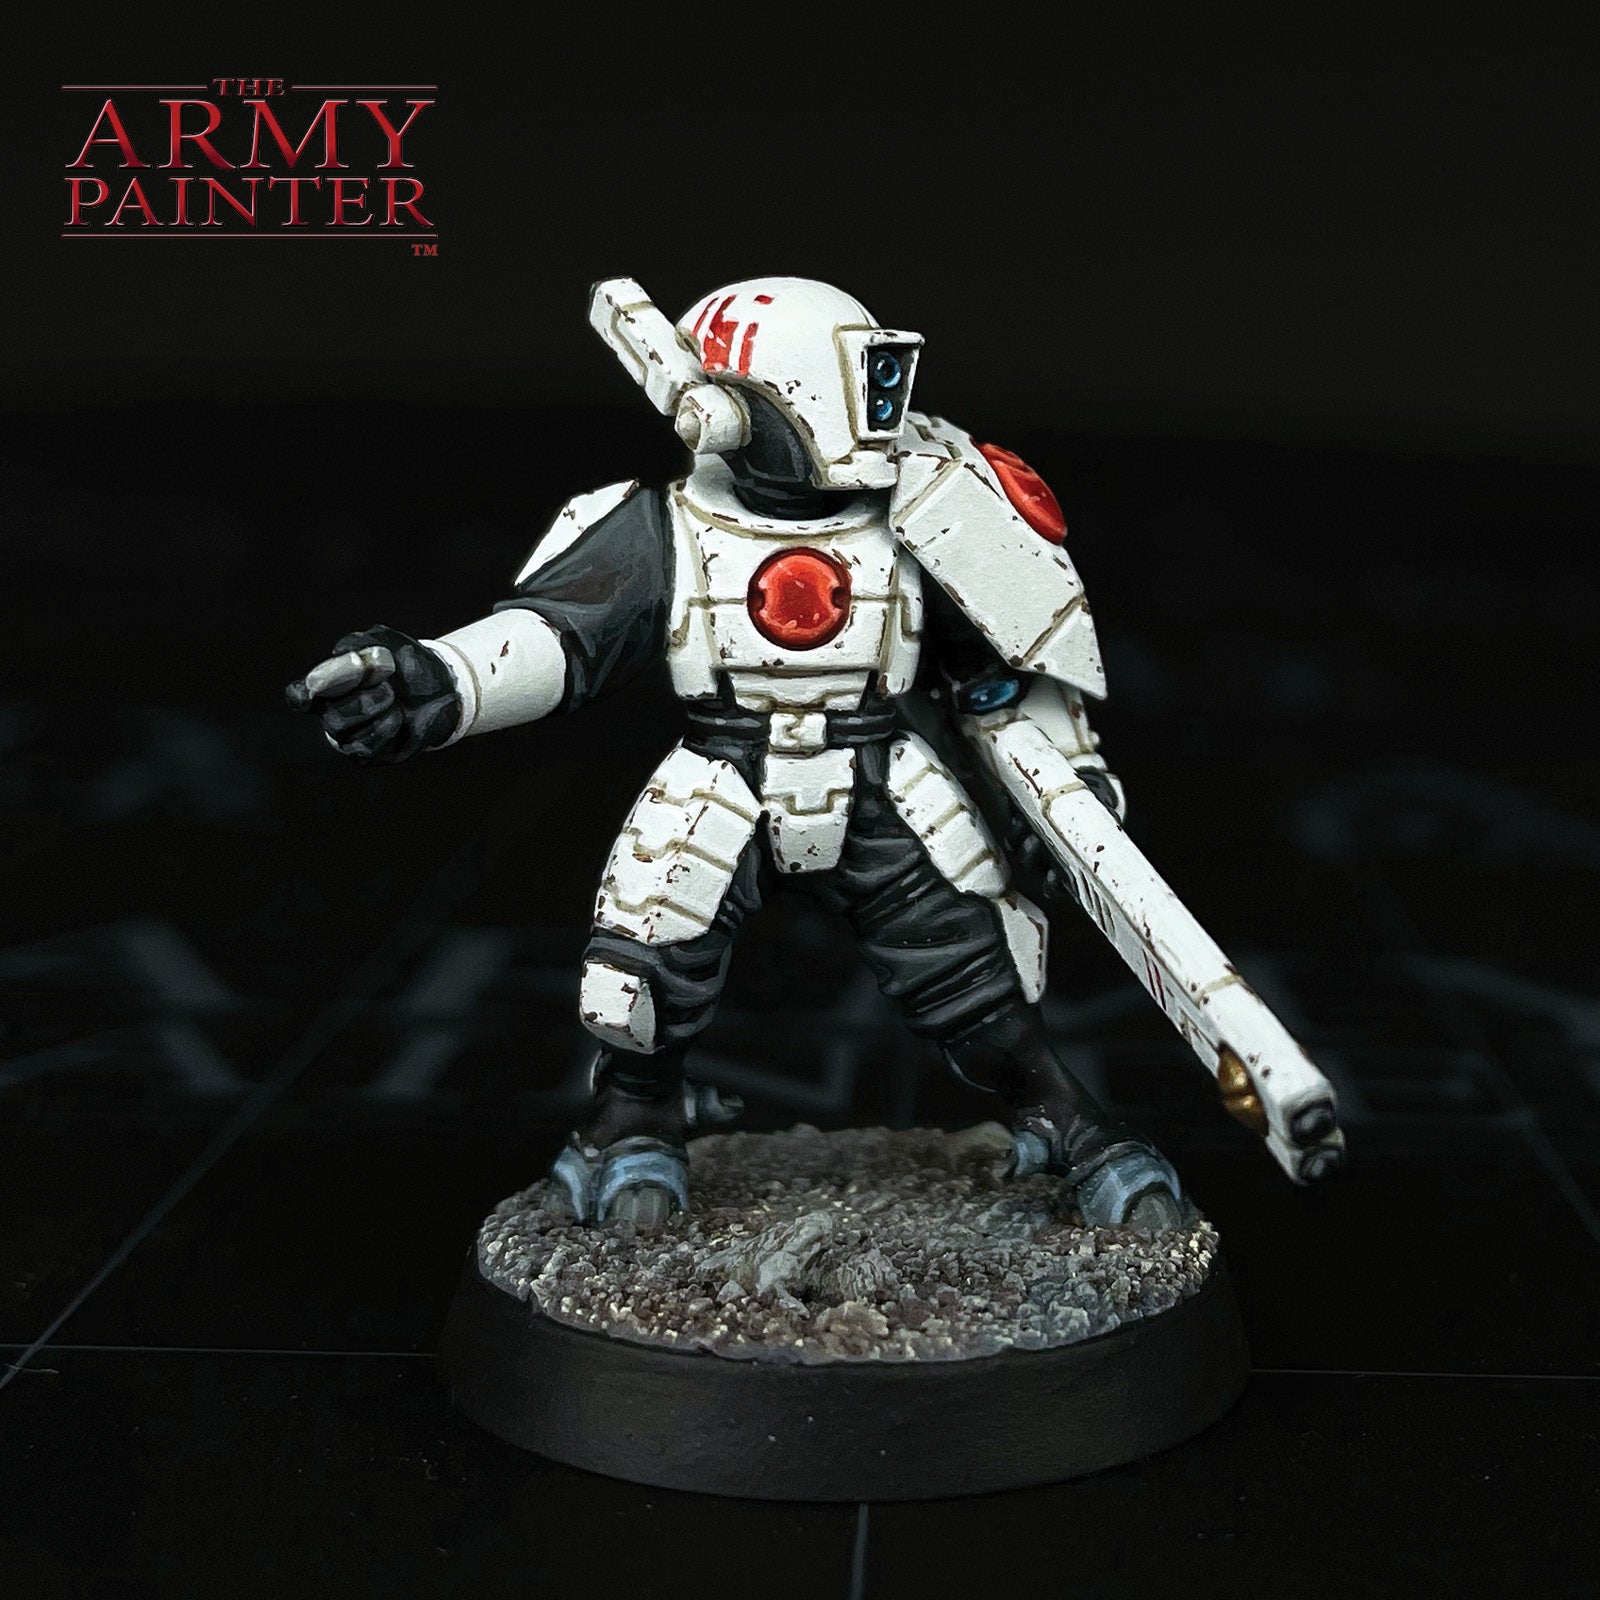
With that, your model is done!
Afterwards I based the model in an urban scheme, but you can base yours however you like to fit in with your collection.
If you plan on using your model for gaming we highly recommend varnishing it with either our Spray, Warpaints Air, or upcoming Warpaints Fanatic varnishes.
Be sure to let us know what you thought of this format, as well as any suggestions for improvements in the future, or even which models you would like to see us tackle.
If you paint your own model following one of these guides tag us with #thearmypainteracademy to share your work!