



How to Paint
Skin Tones

Welcome to the next instalment of The Army Painter Academy: a series where we break down how we paint a miniature step-by-step, complete with pictures for every bit of paint applied along the way.
The sun's out, the temperature's rising, and it can only mean one thing—it's time to work on that beach bod! We mean the many miniature bare, grey plastic bodies littering your painting desk, of course.
Join Joachim as he ditches his shades to paint inside and shows off how to use each of our three skin tone Flexible Triads on a trio of familiar faces straight out of your favourite action movies with minis from Reptilian Overlords. EAUGH!
Let's get painting!

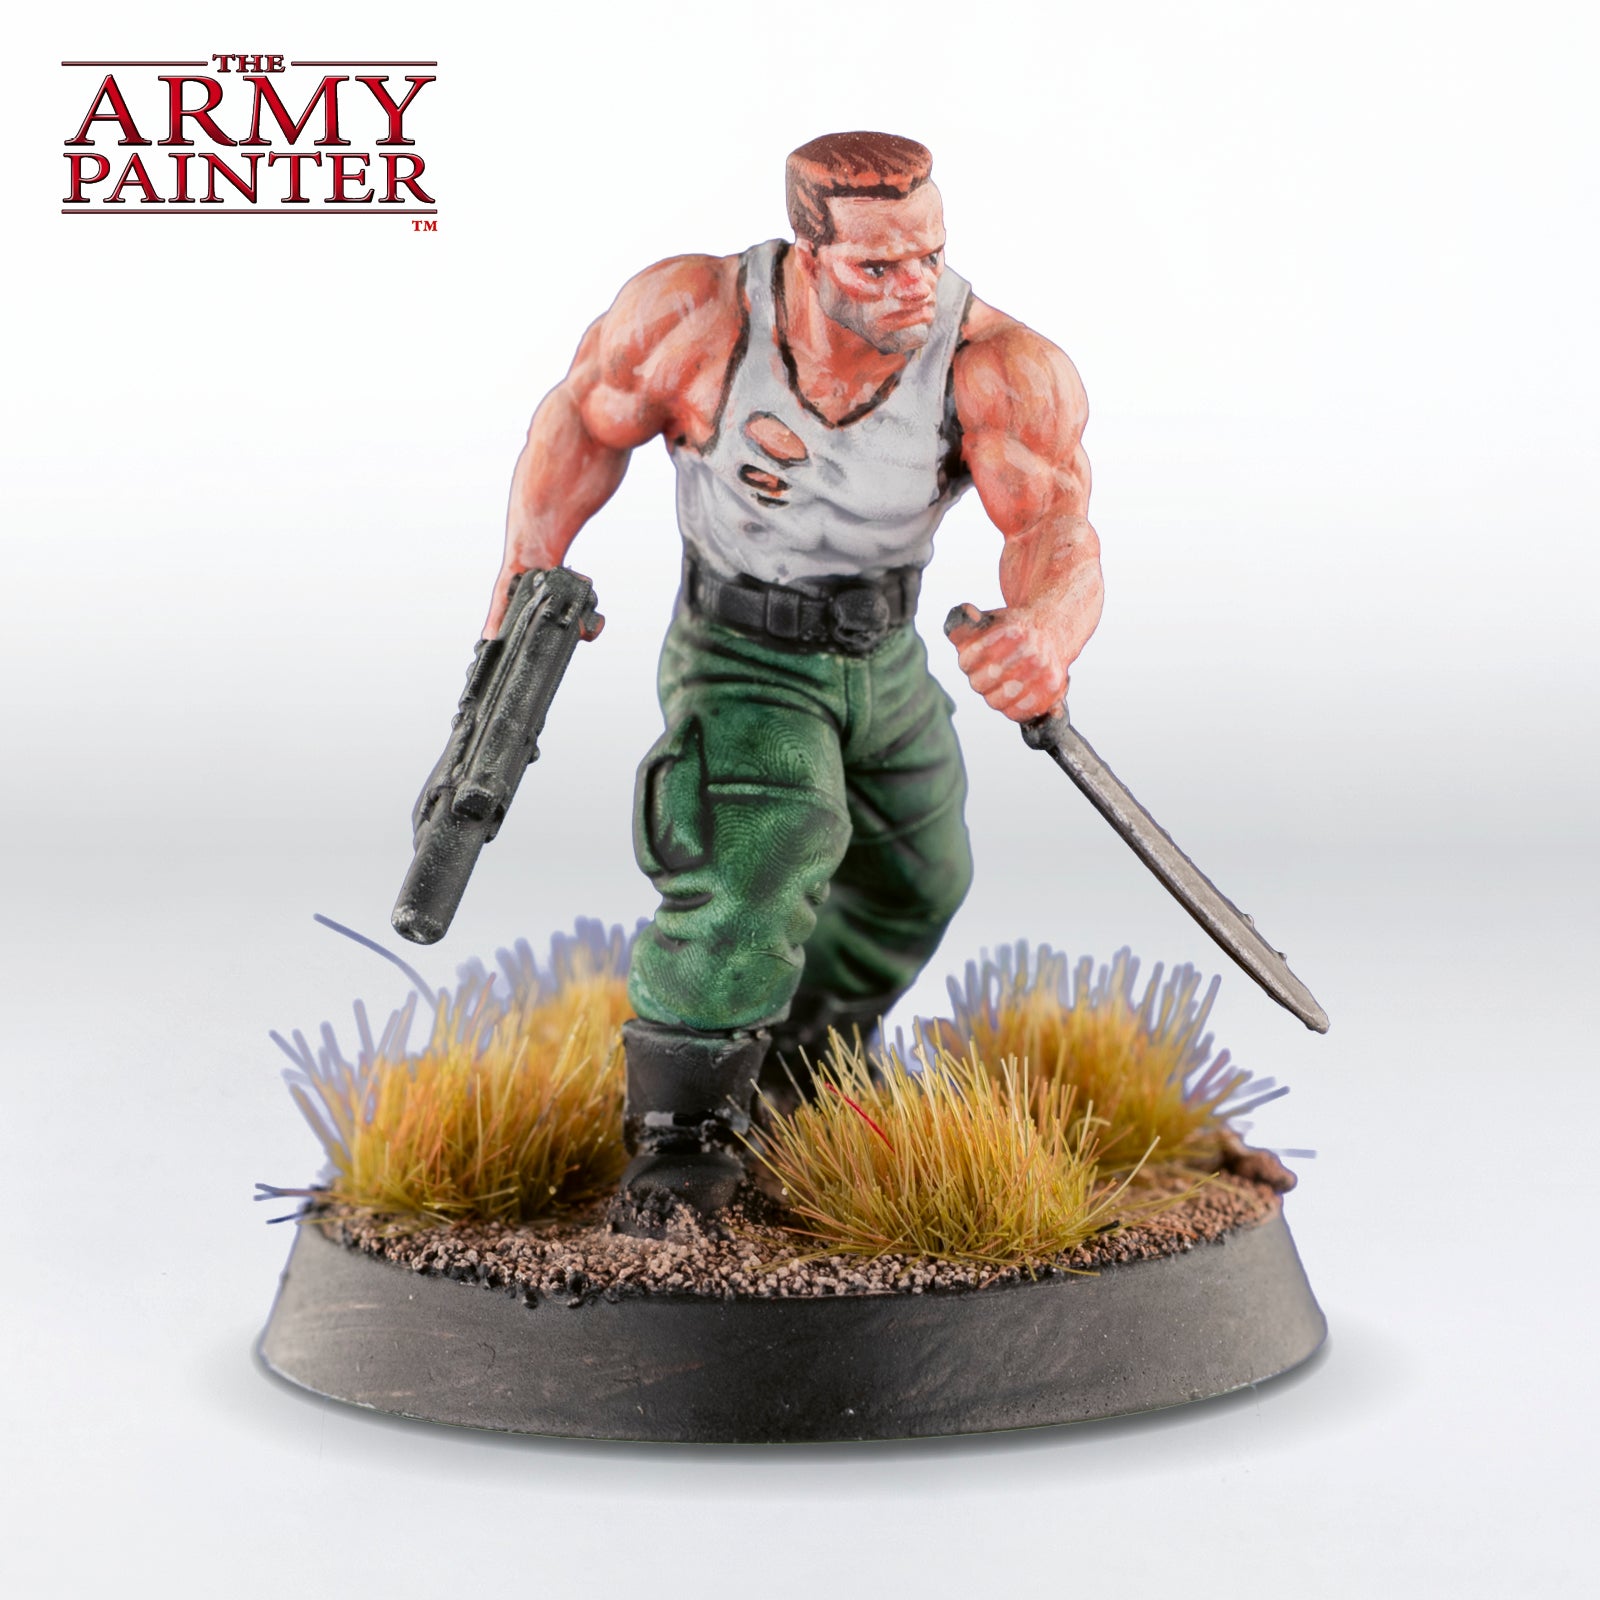
Light Skin
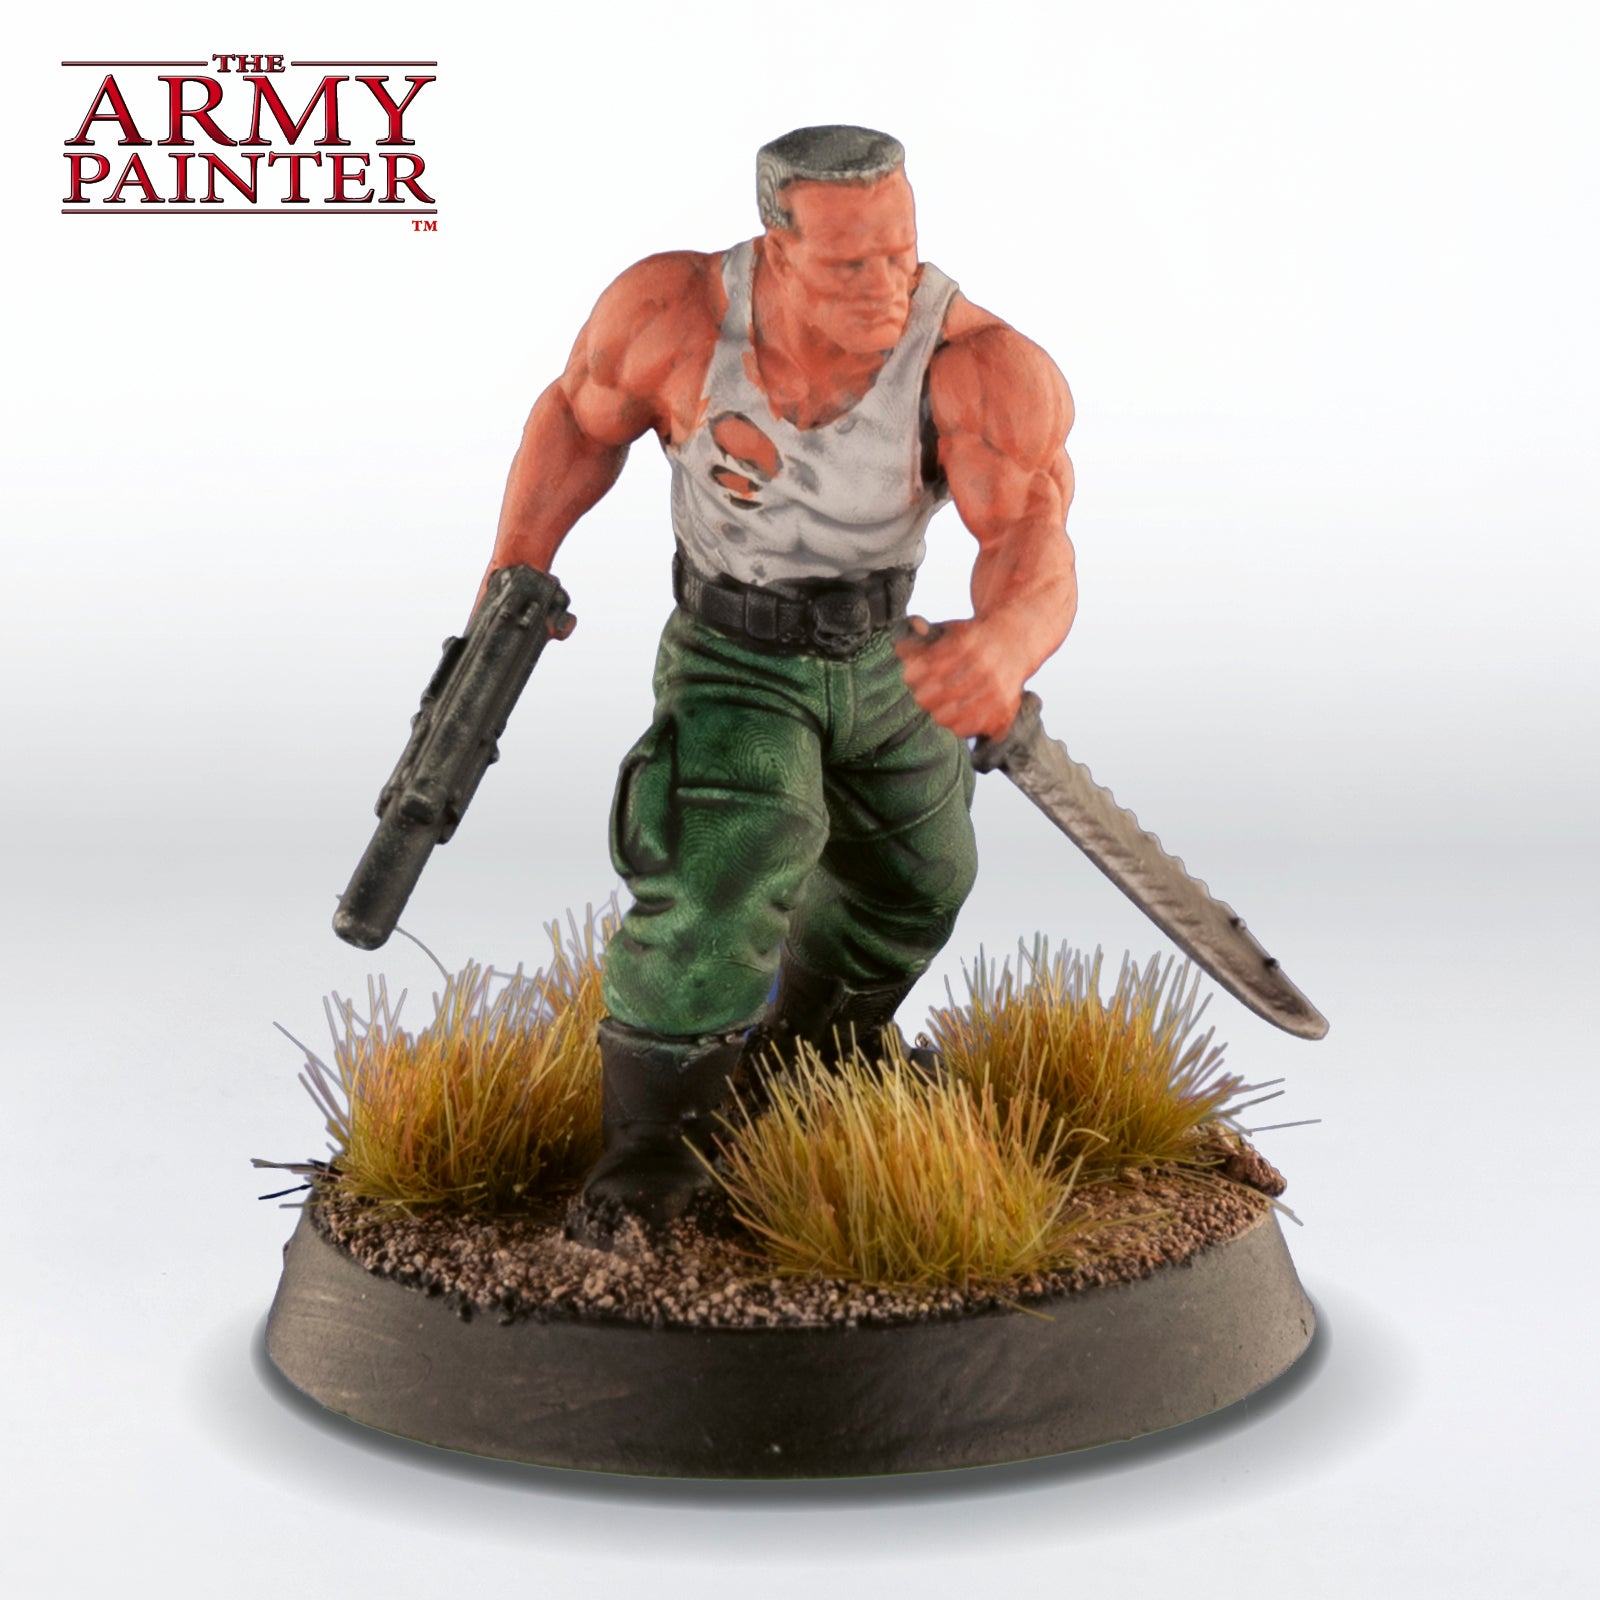
Step 1
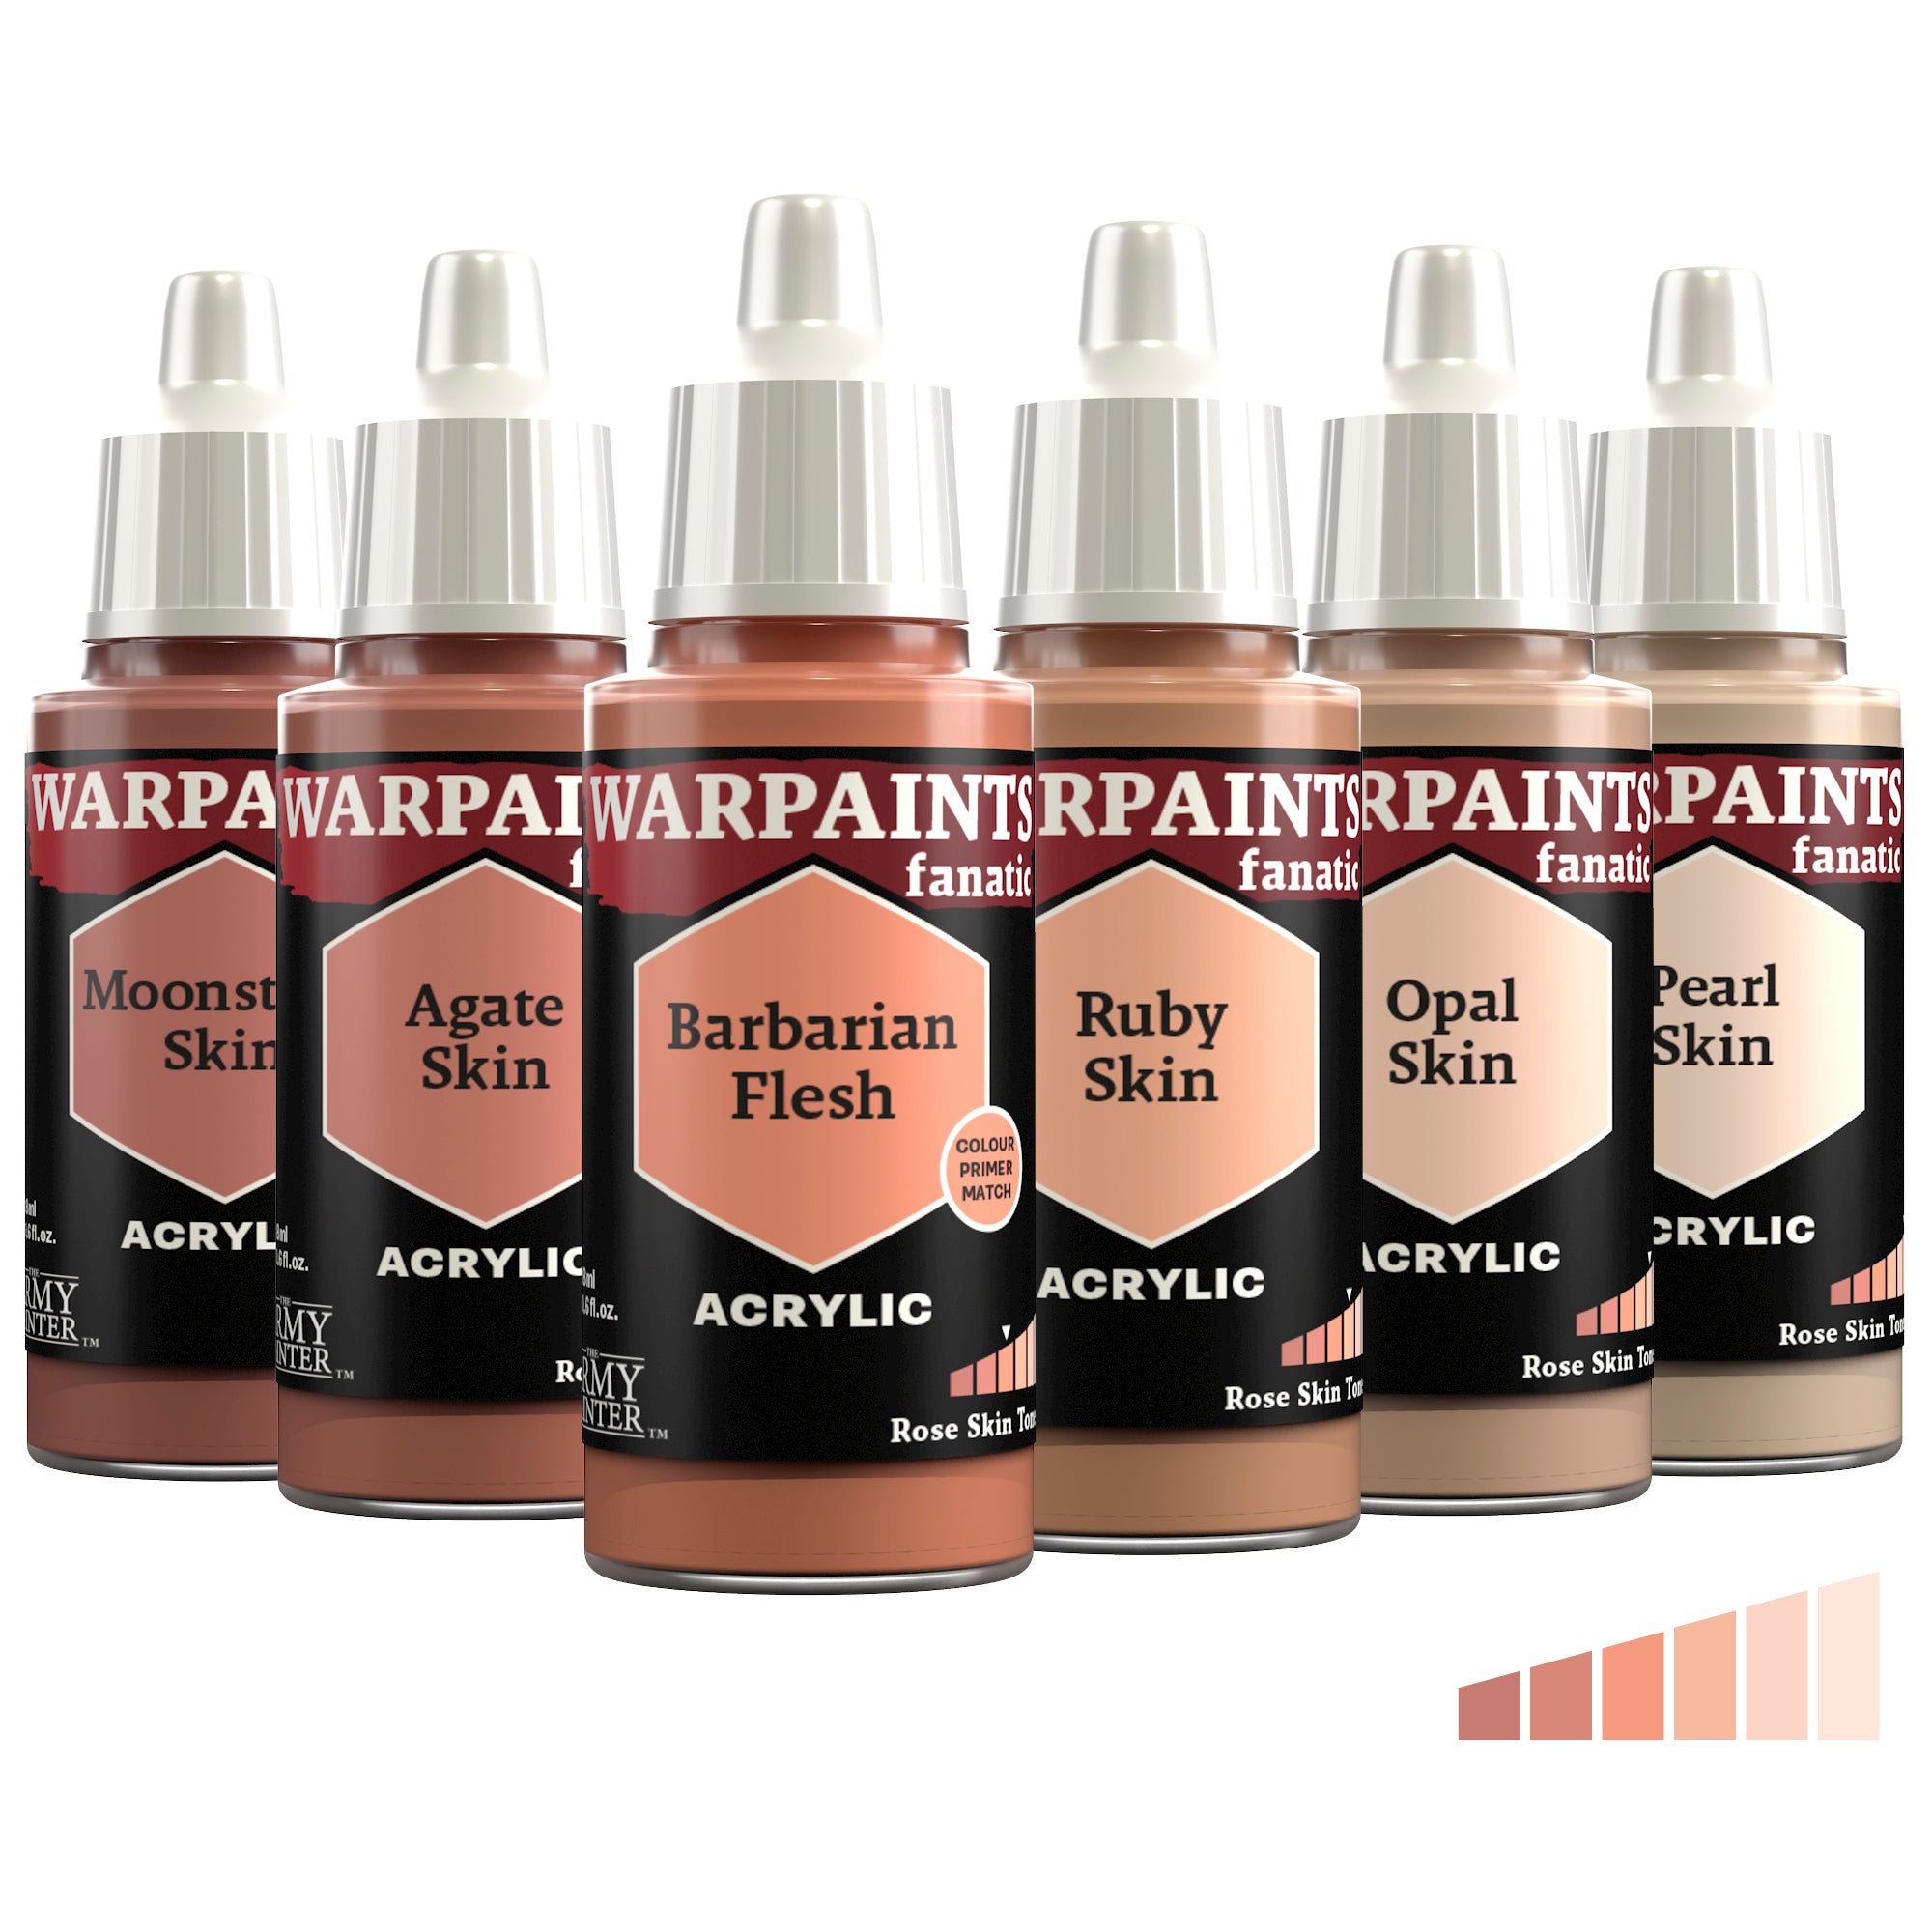
Basecoat the skin with Warpaints Fanatic Topaz Skin followed by a highlight of Warpaints Fanatic Moonstone Skin.
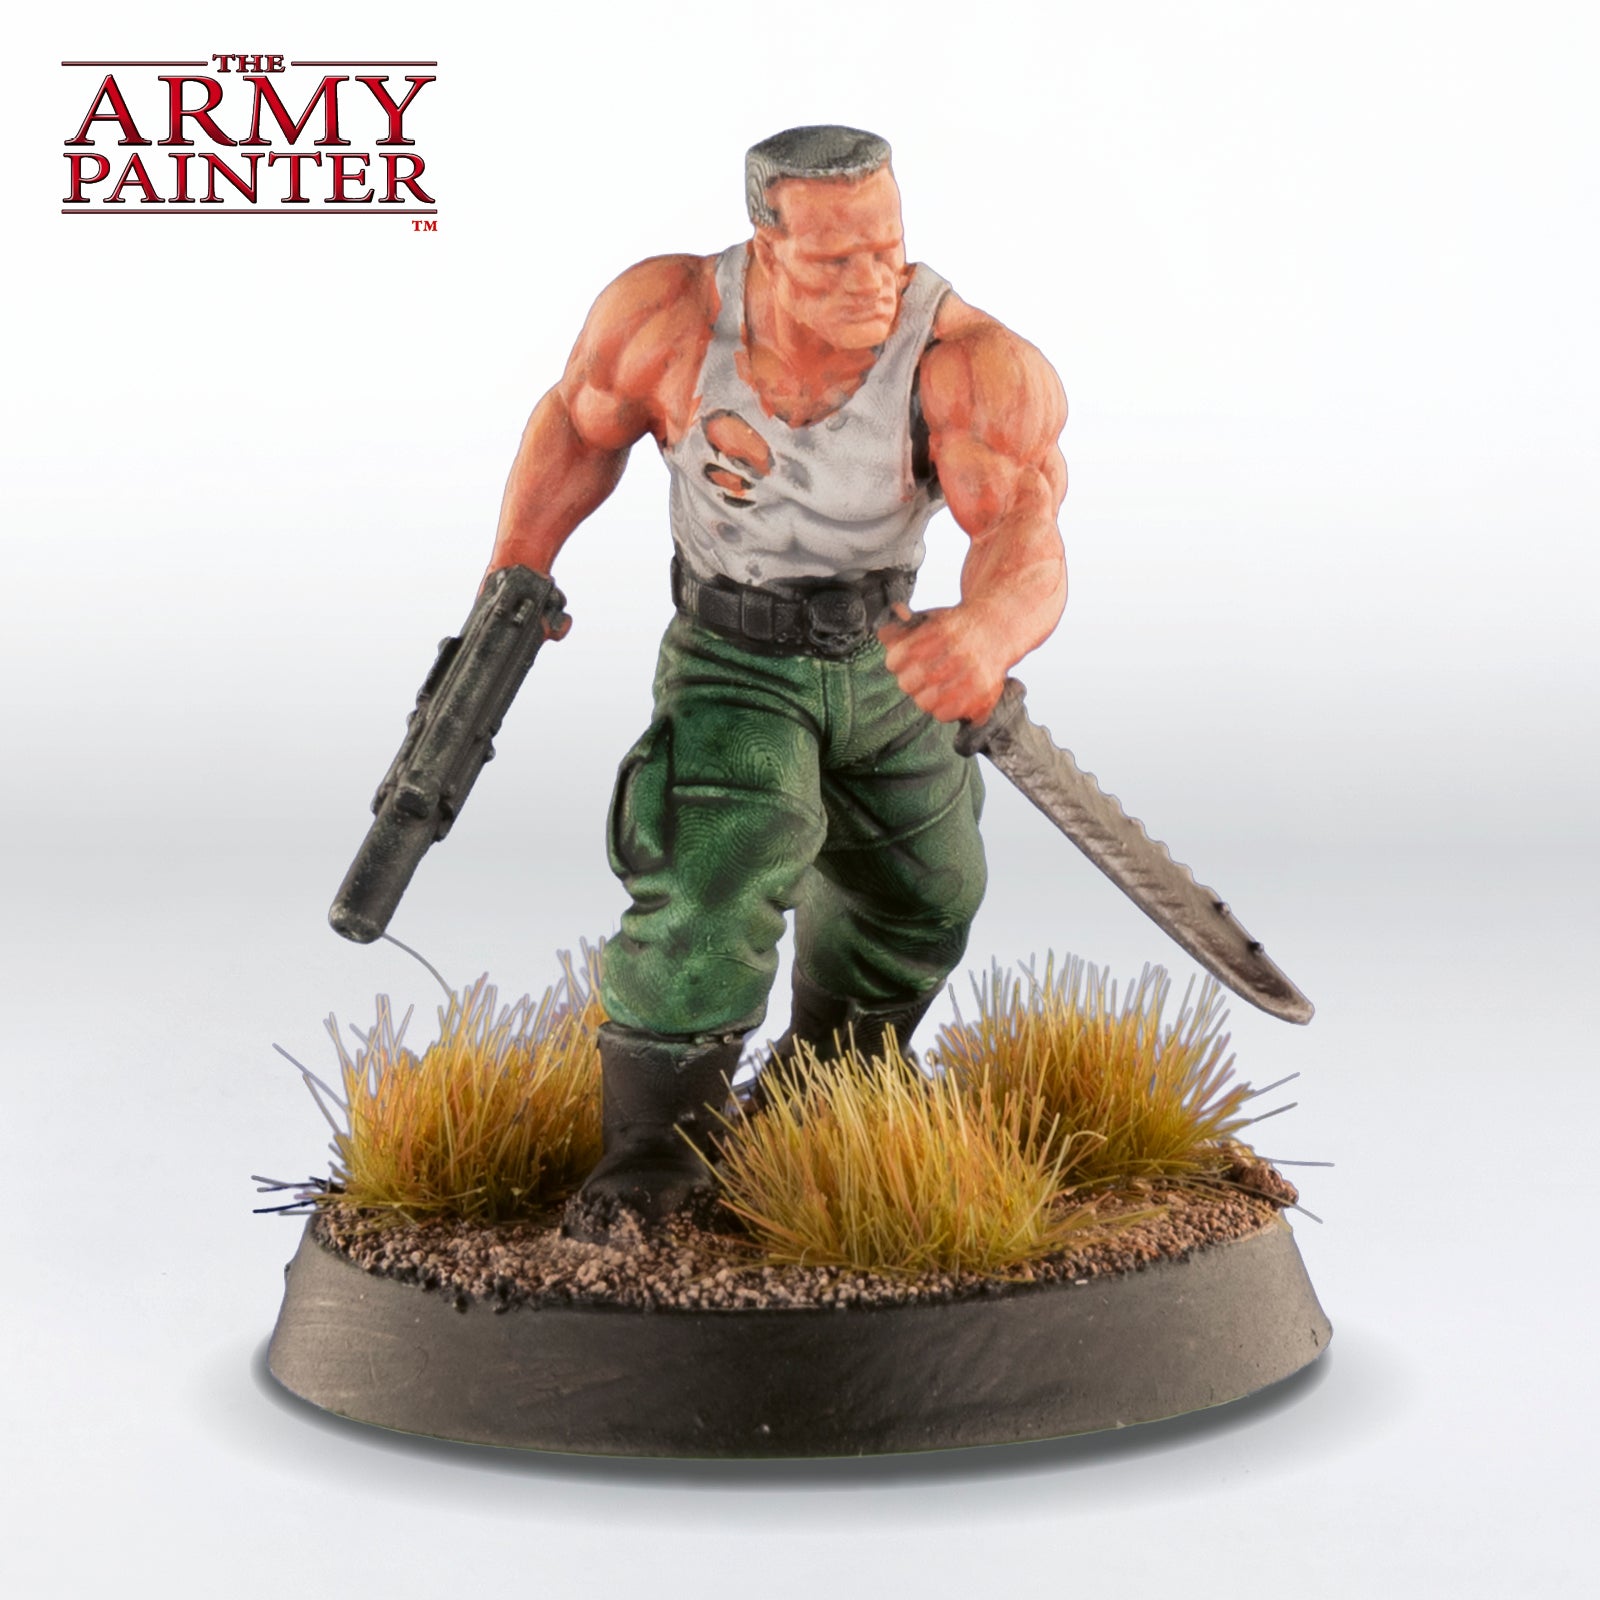
Step 2
Next, apply another highlight of Warpaints Fanatic Barbarian Flesh in a more refined manner.
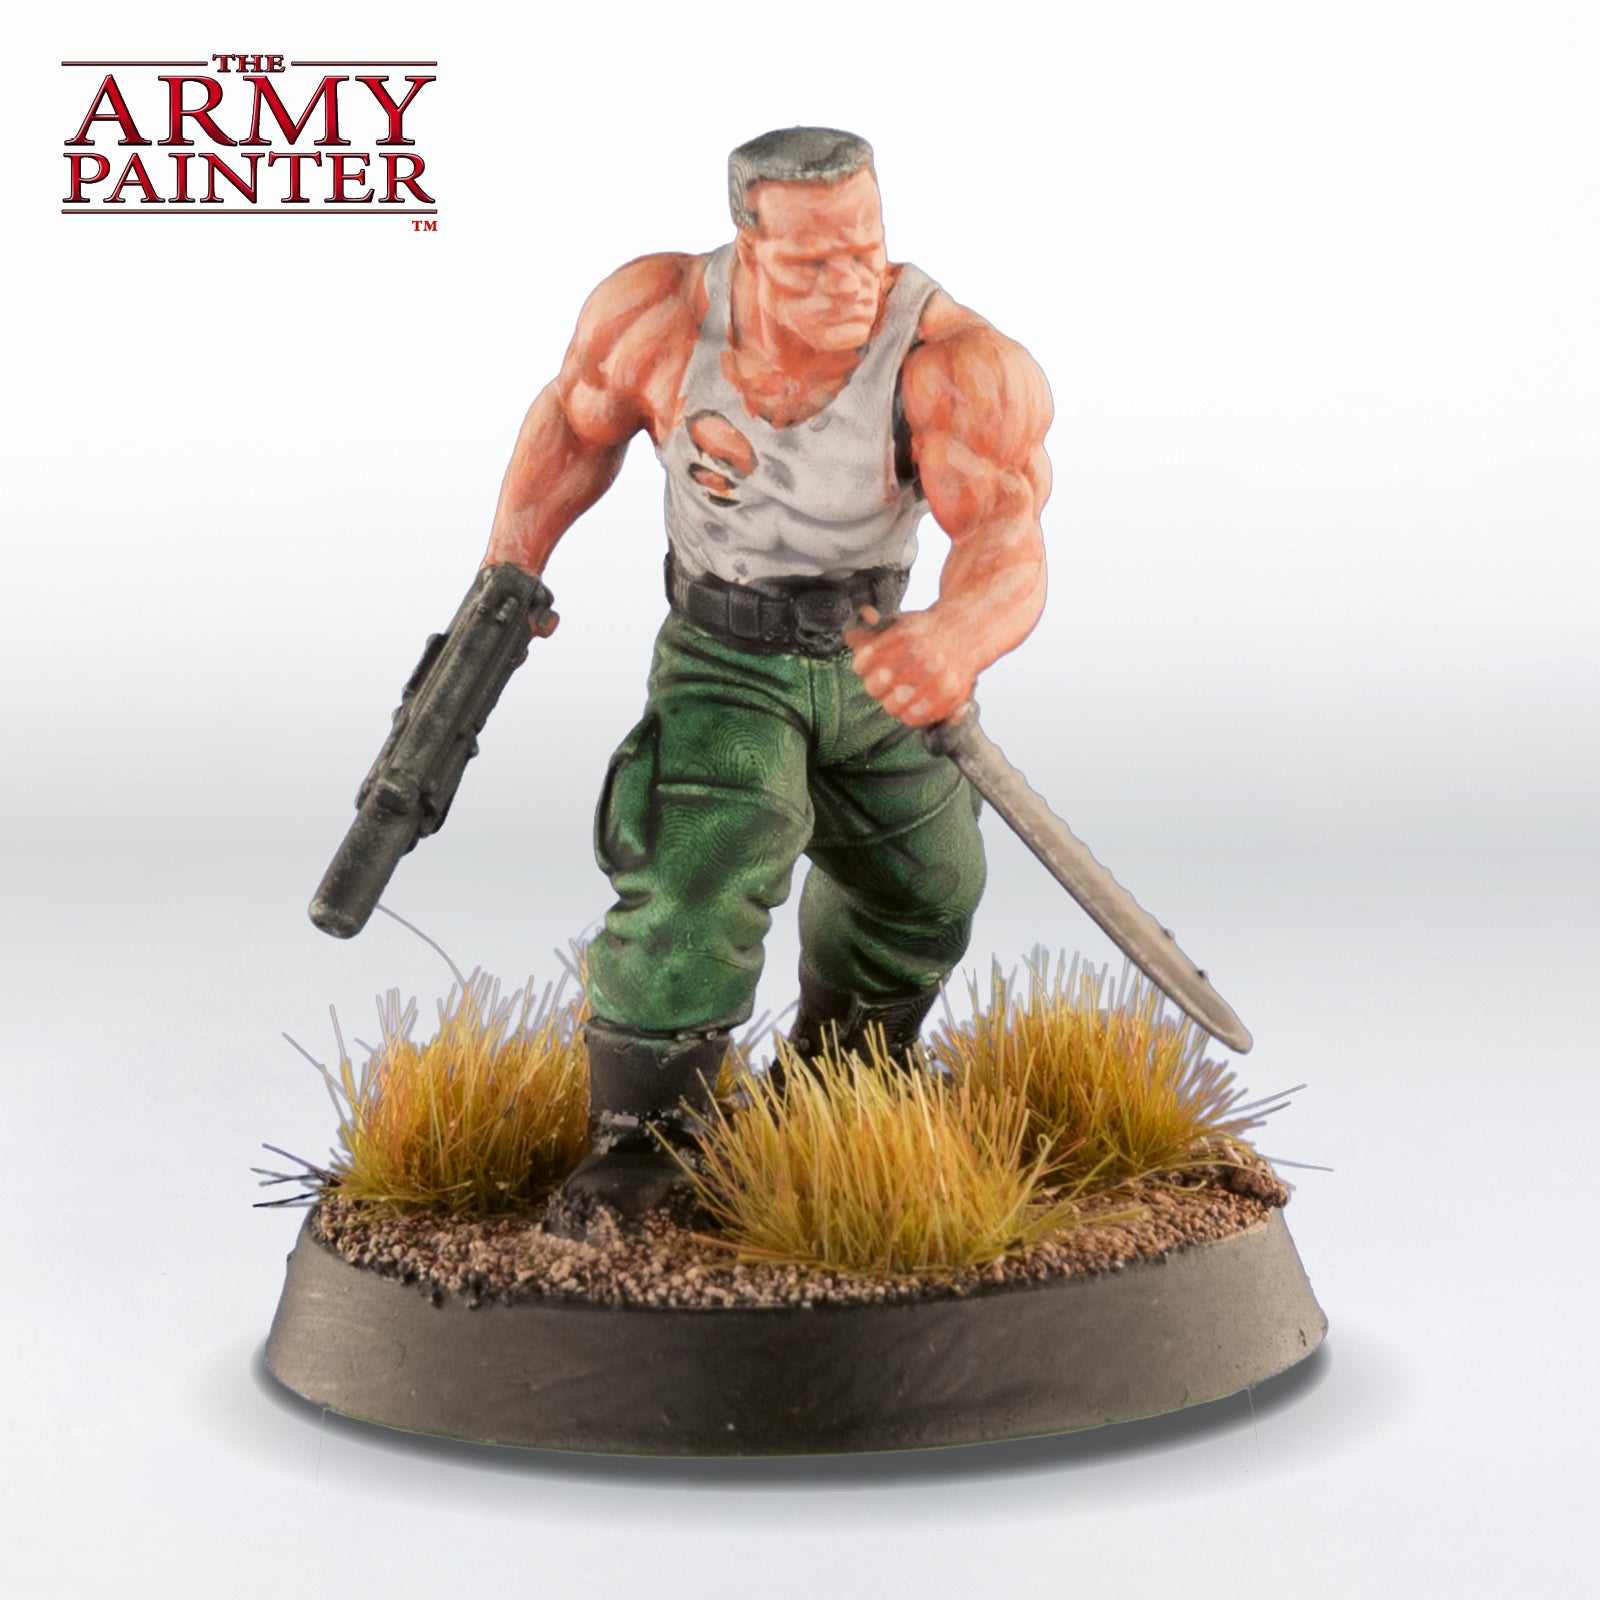
Step 3
Finish off the highlights with Warpaints Fanatic Ruby Skin on only the most prominent areas.
Step 4
Finish the skin off with some thin glazes of Warpaints Fanatic Dragon Red around areas like the nose and elbows and then add some stubble with a glaze of a thinned down Warpaints Fanatic Matt Black and Runic Cobalt, about 1:1.
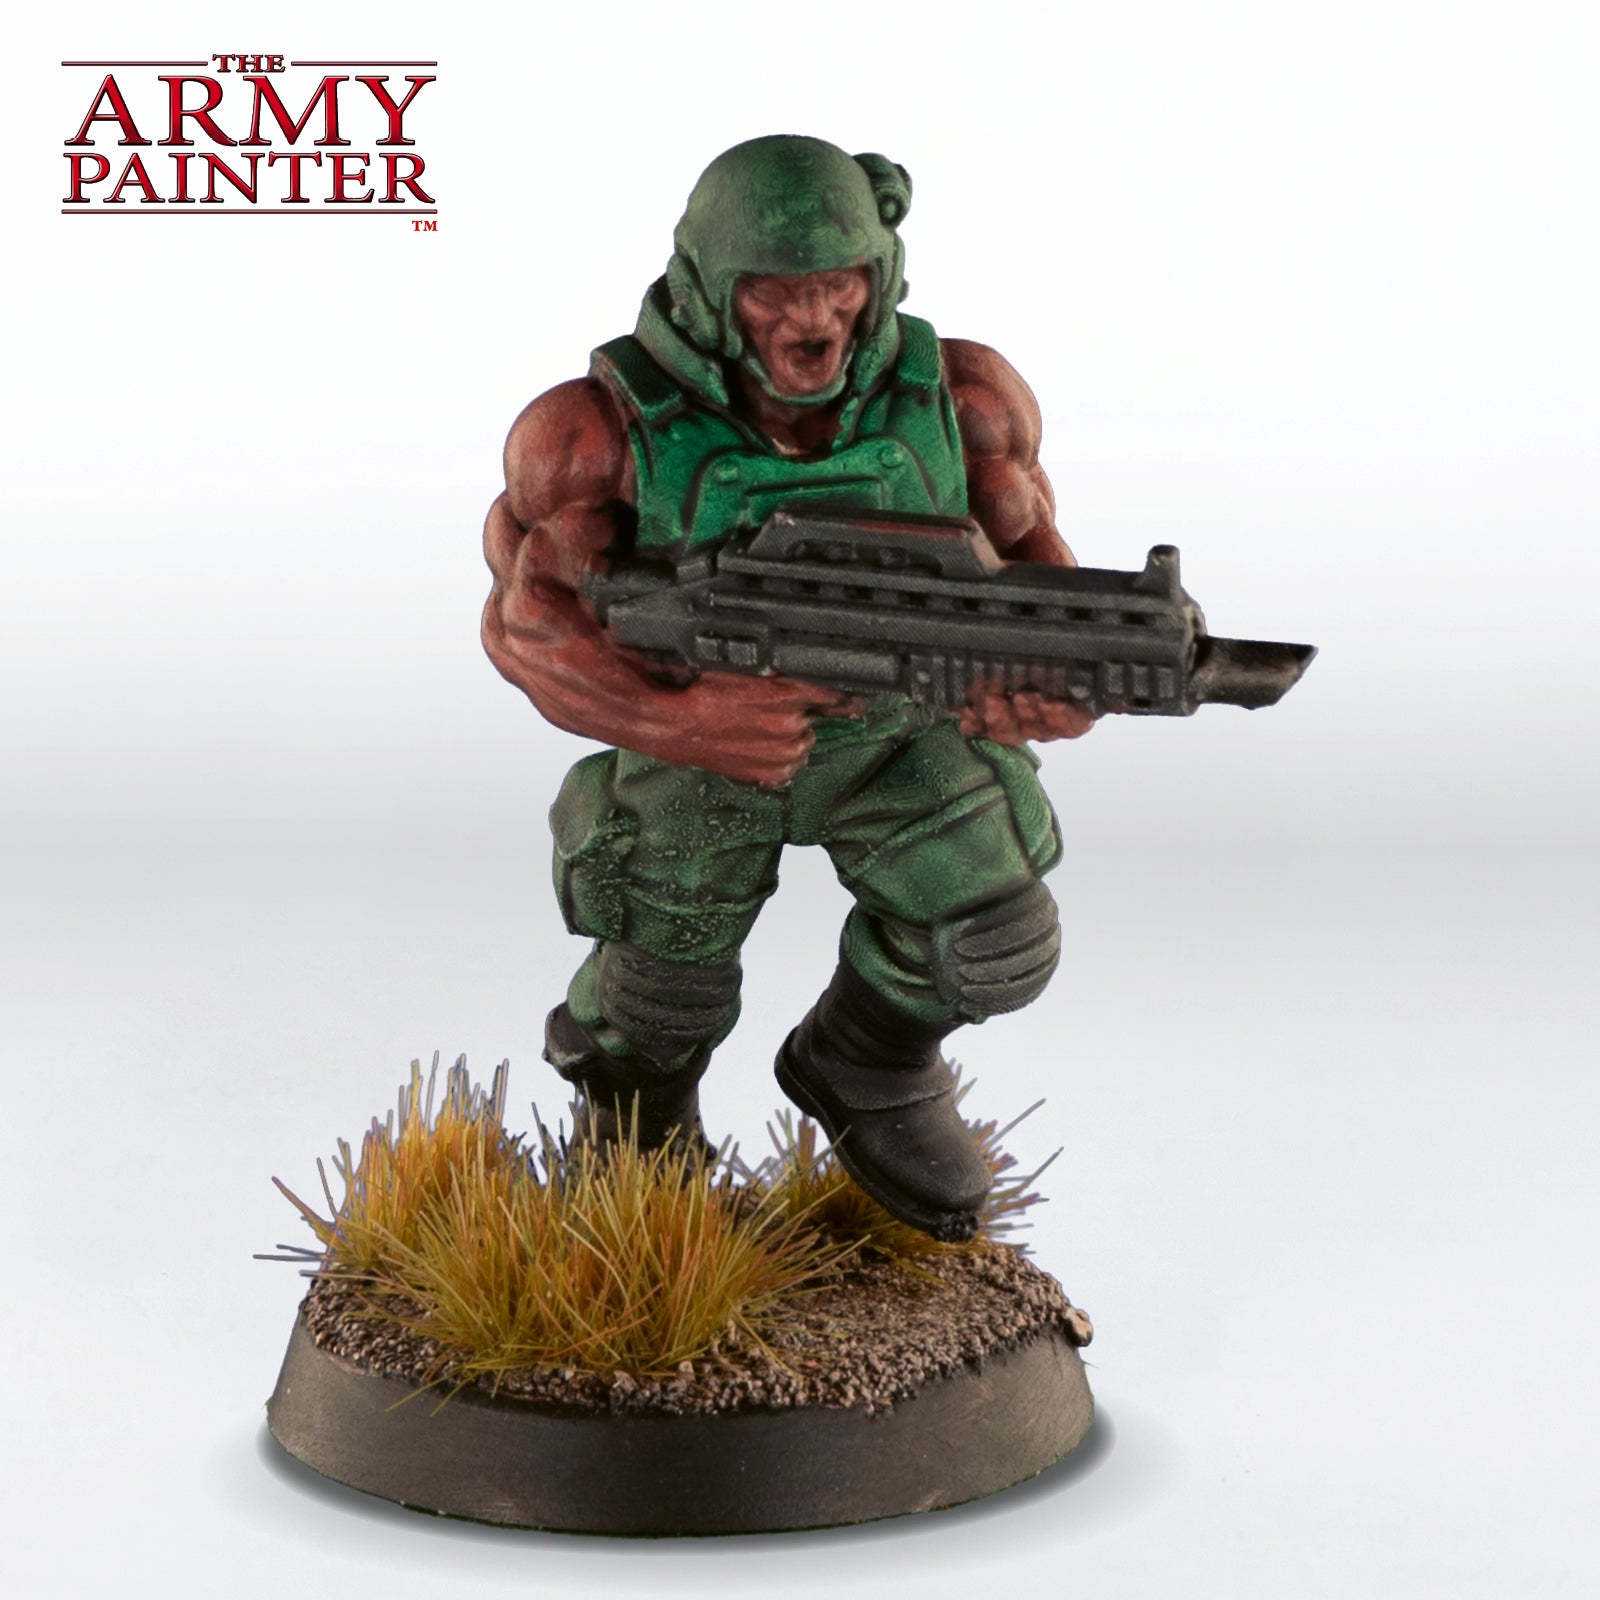
Dark Skin
Step 1
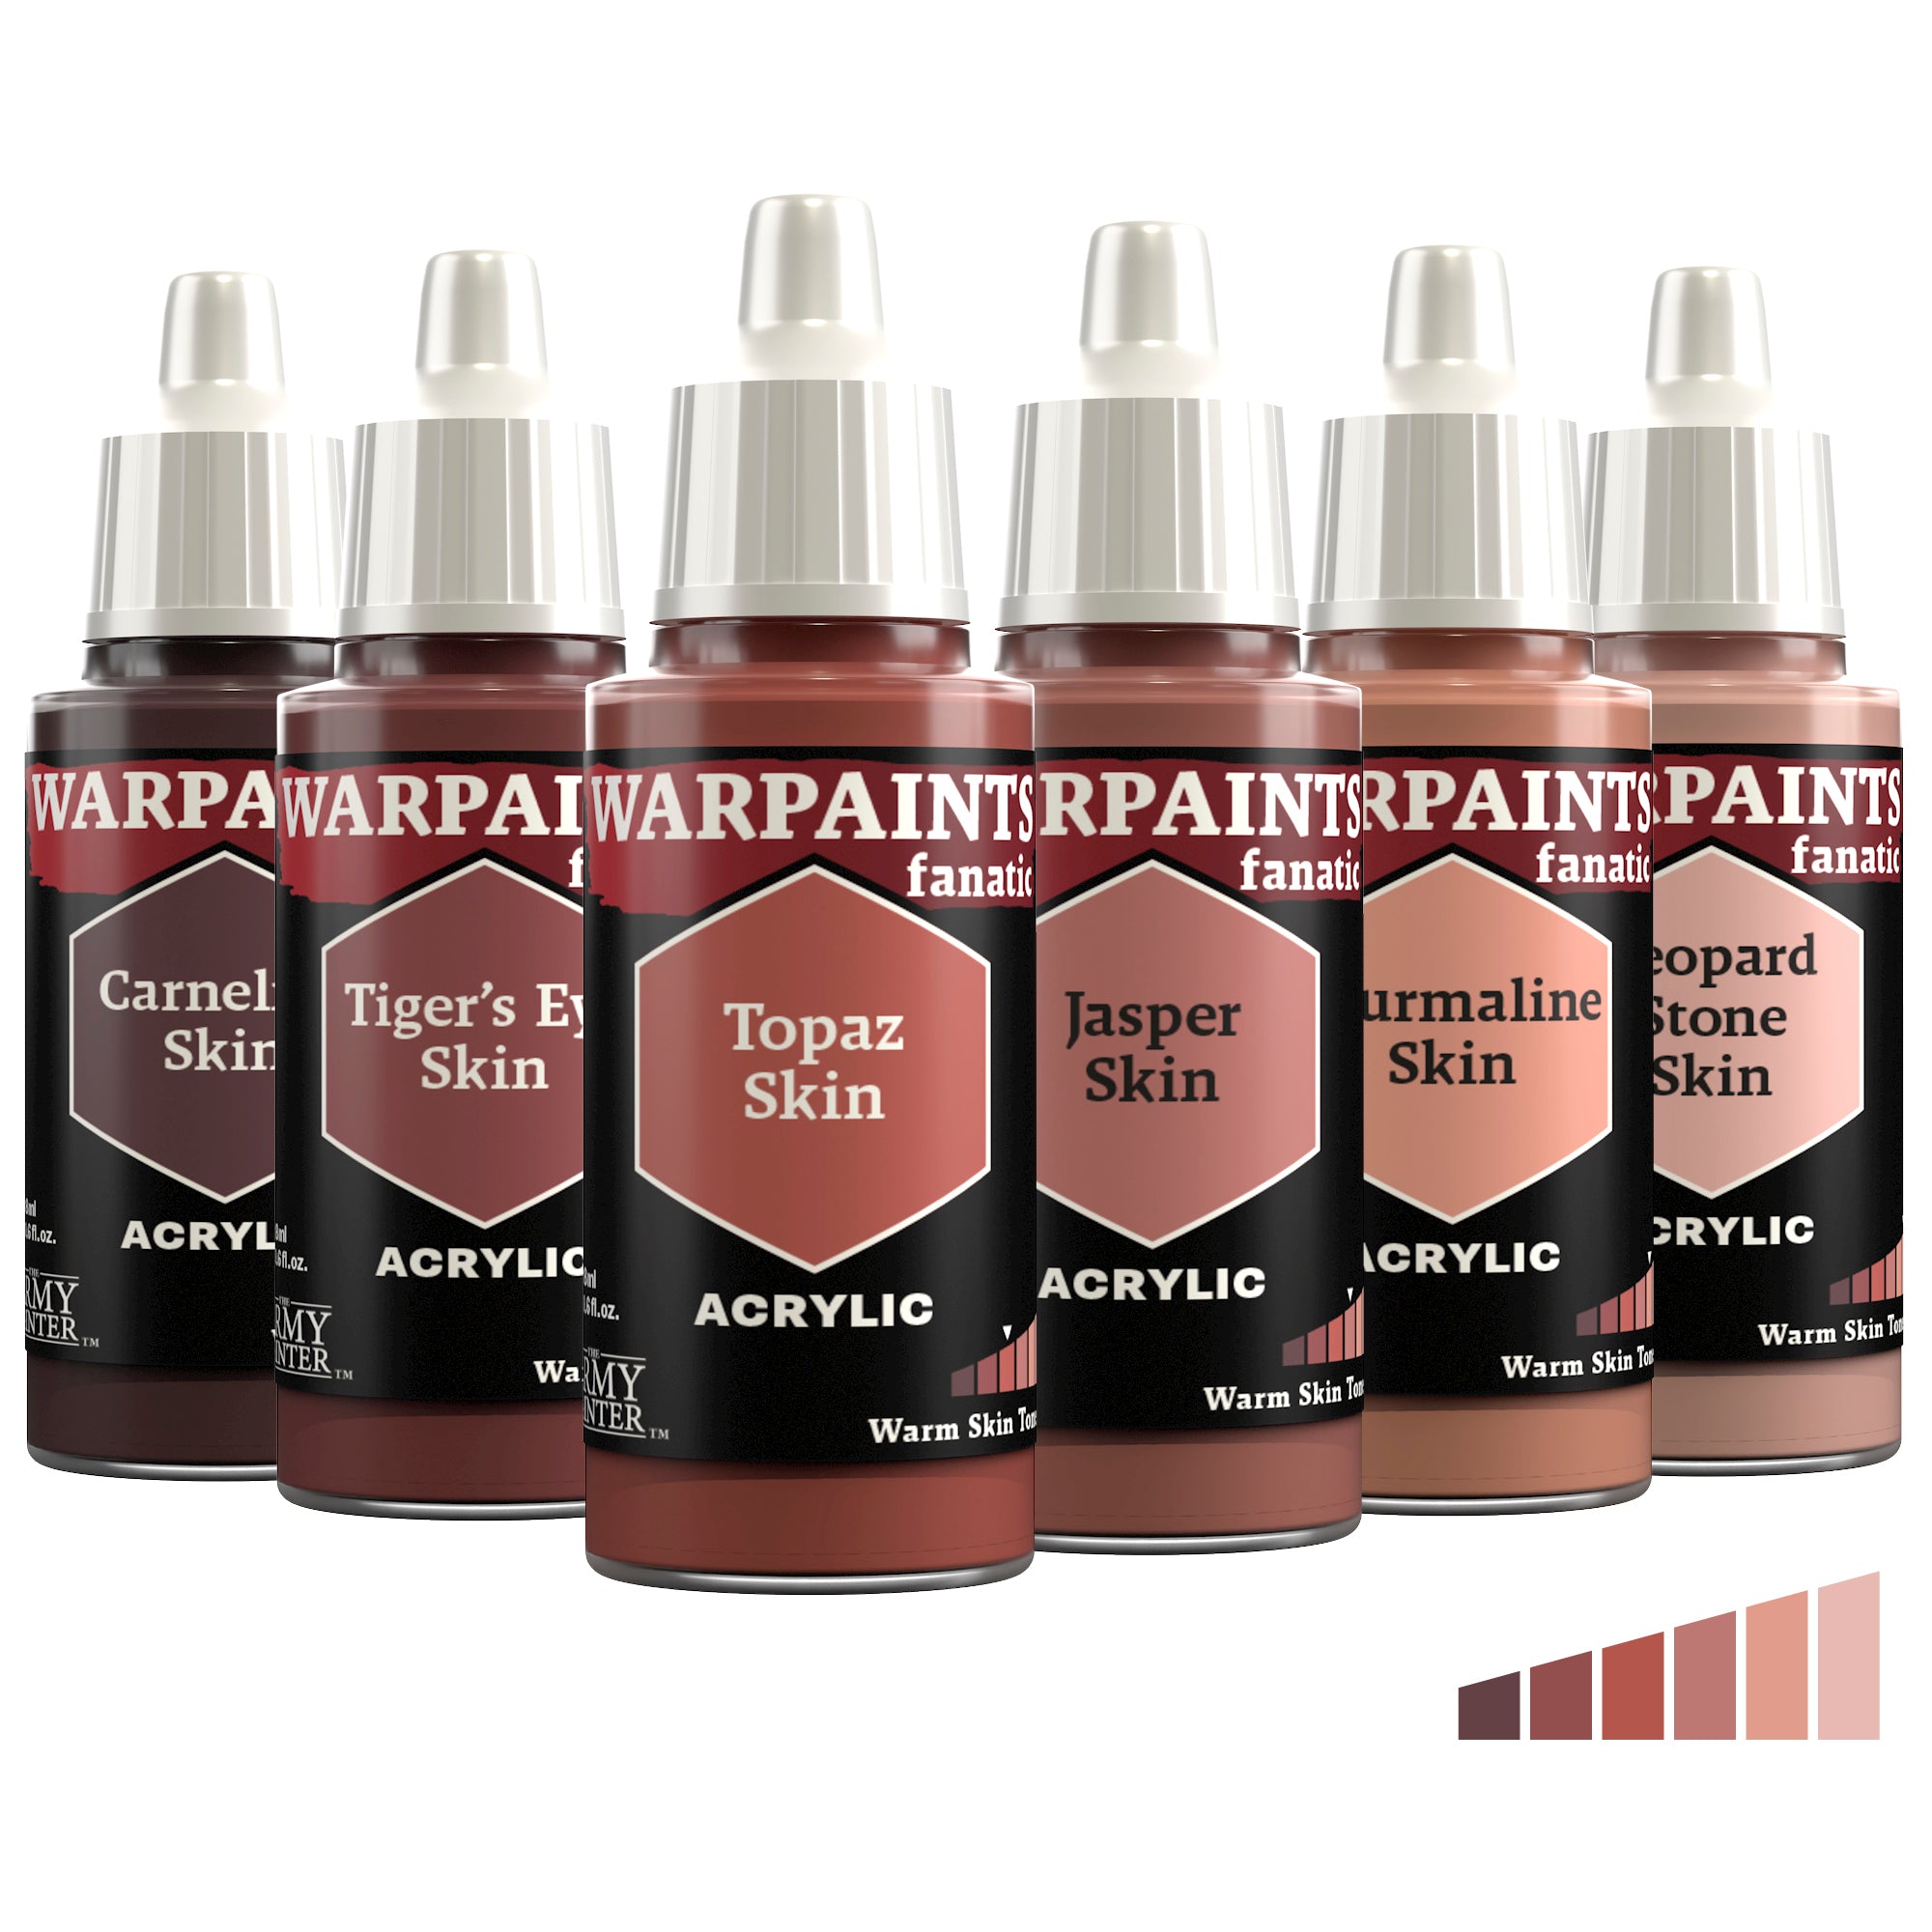
Begin by basecoating all the skin with Warpaints Fanatic Carnelian Skin. Next, highlight this with Warpaints Fanatic Tiger’s Eye Skin, focusing on the areas that would catch the most light.
Step 2
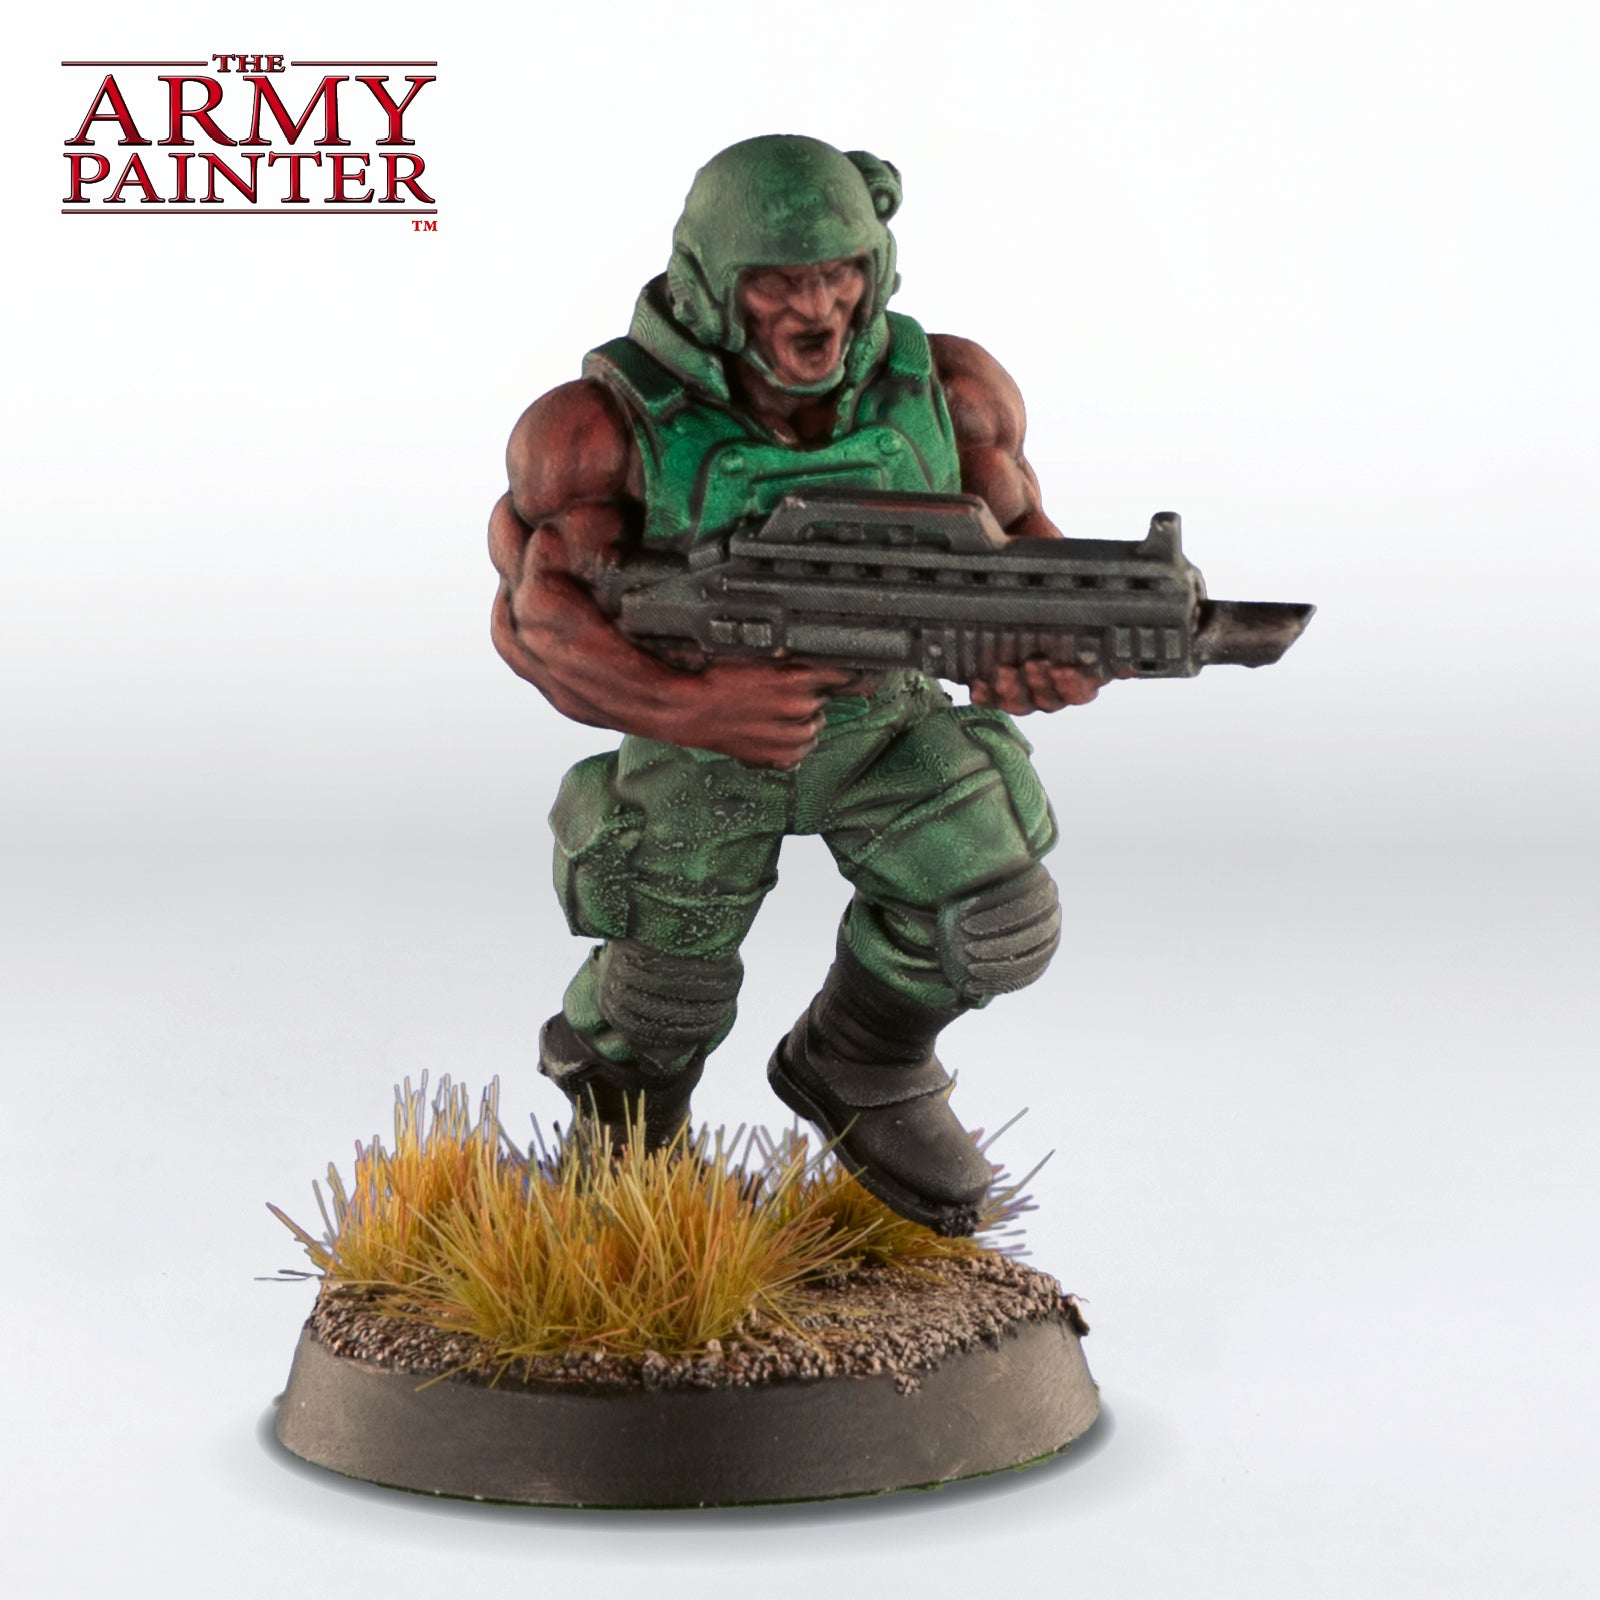
Unify these two layers with a wash of Warpaints Fanatic Dark Skin Shade all over the skin.
Step 3
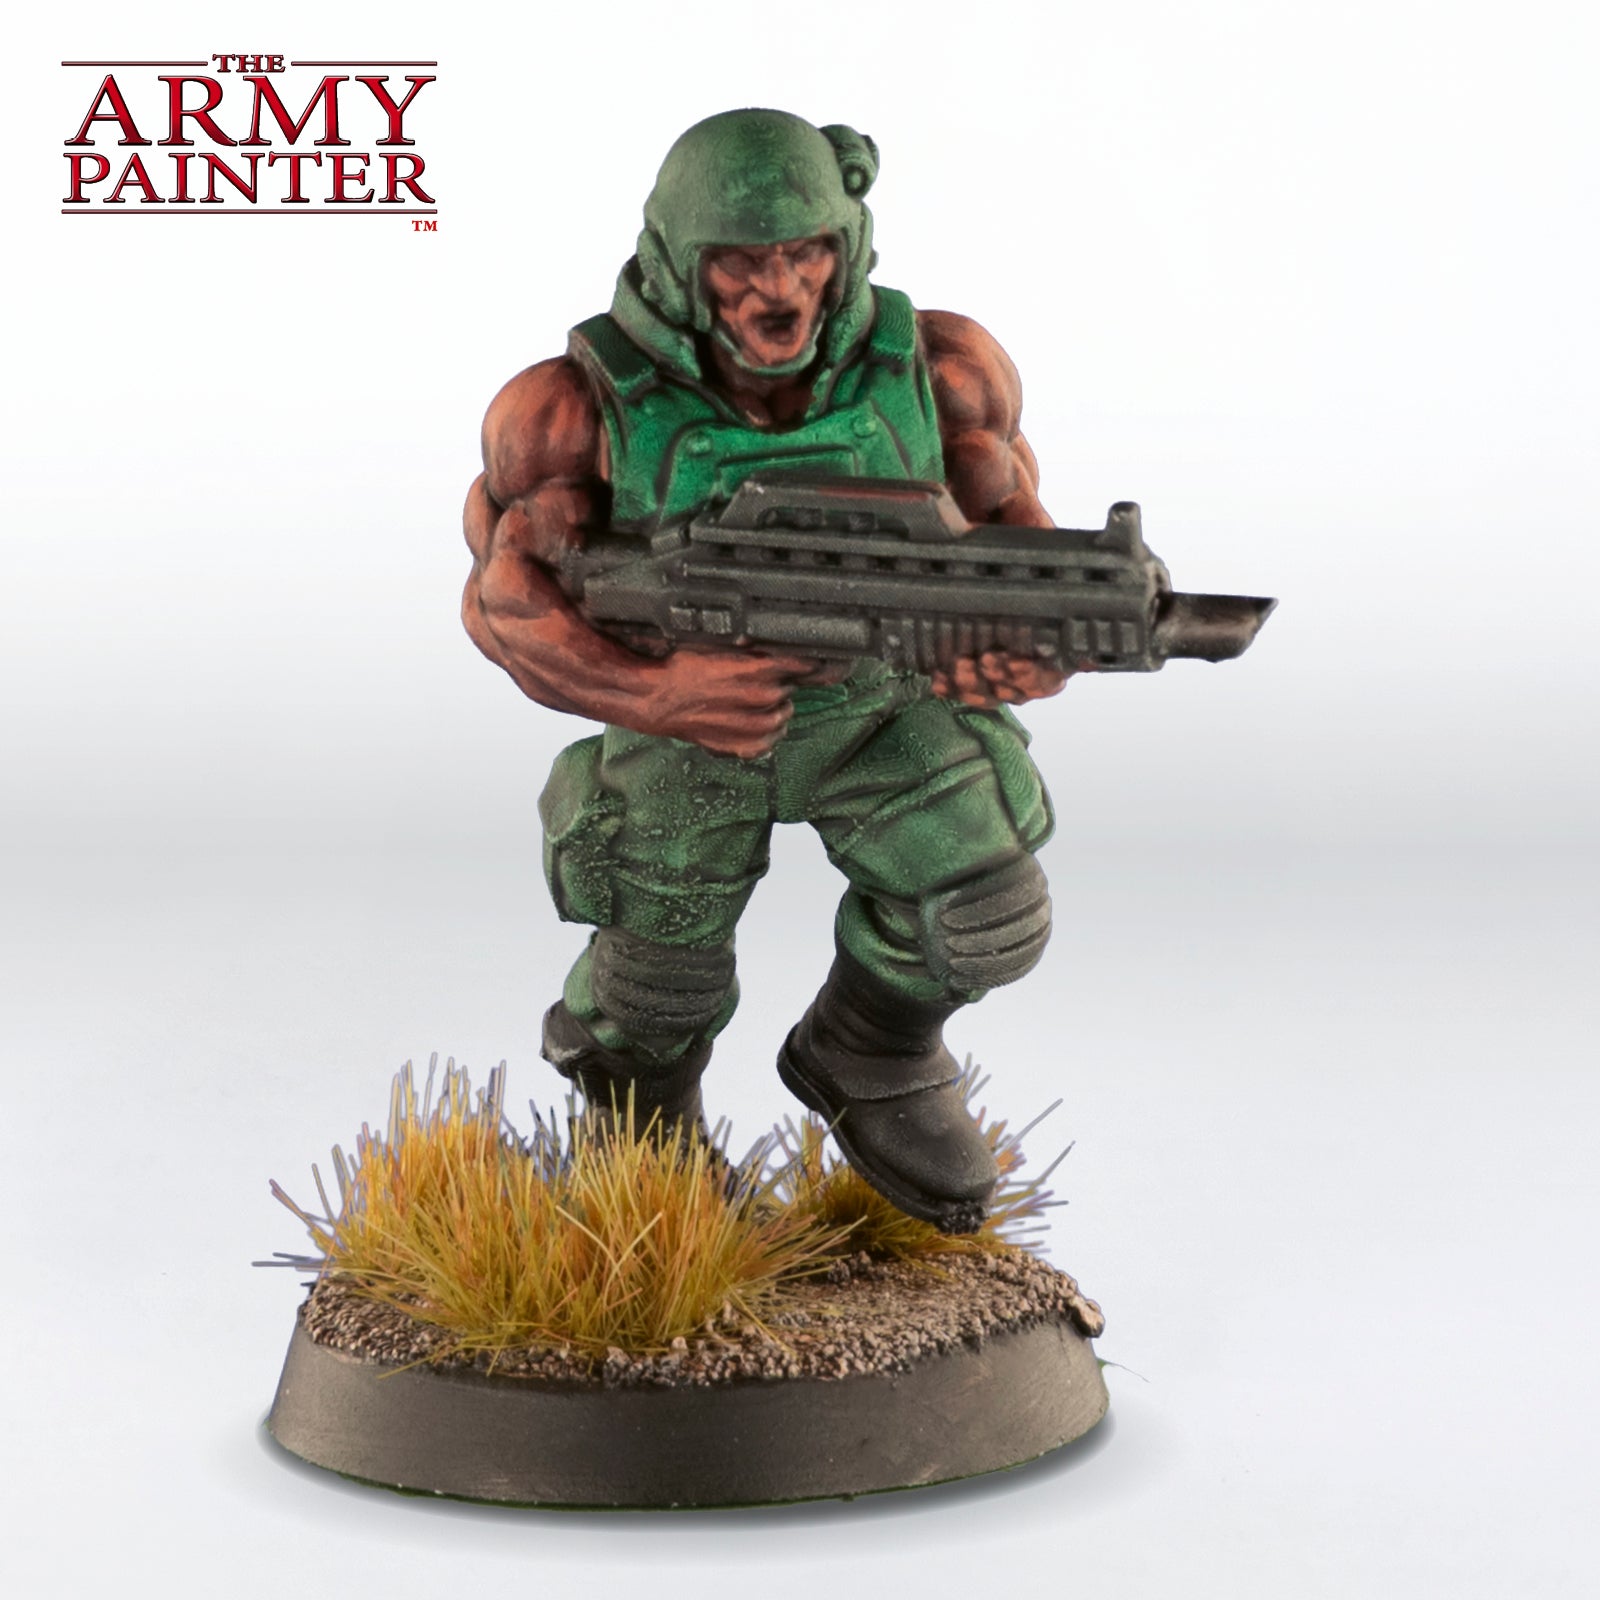
Follow this with a highlight of Warpaints Fanatic Topaz Skin.
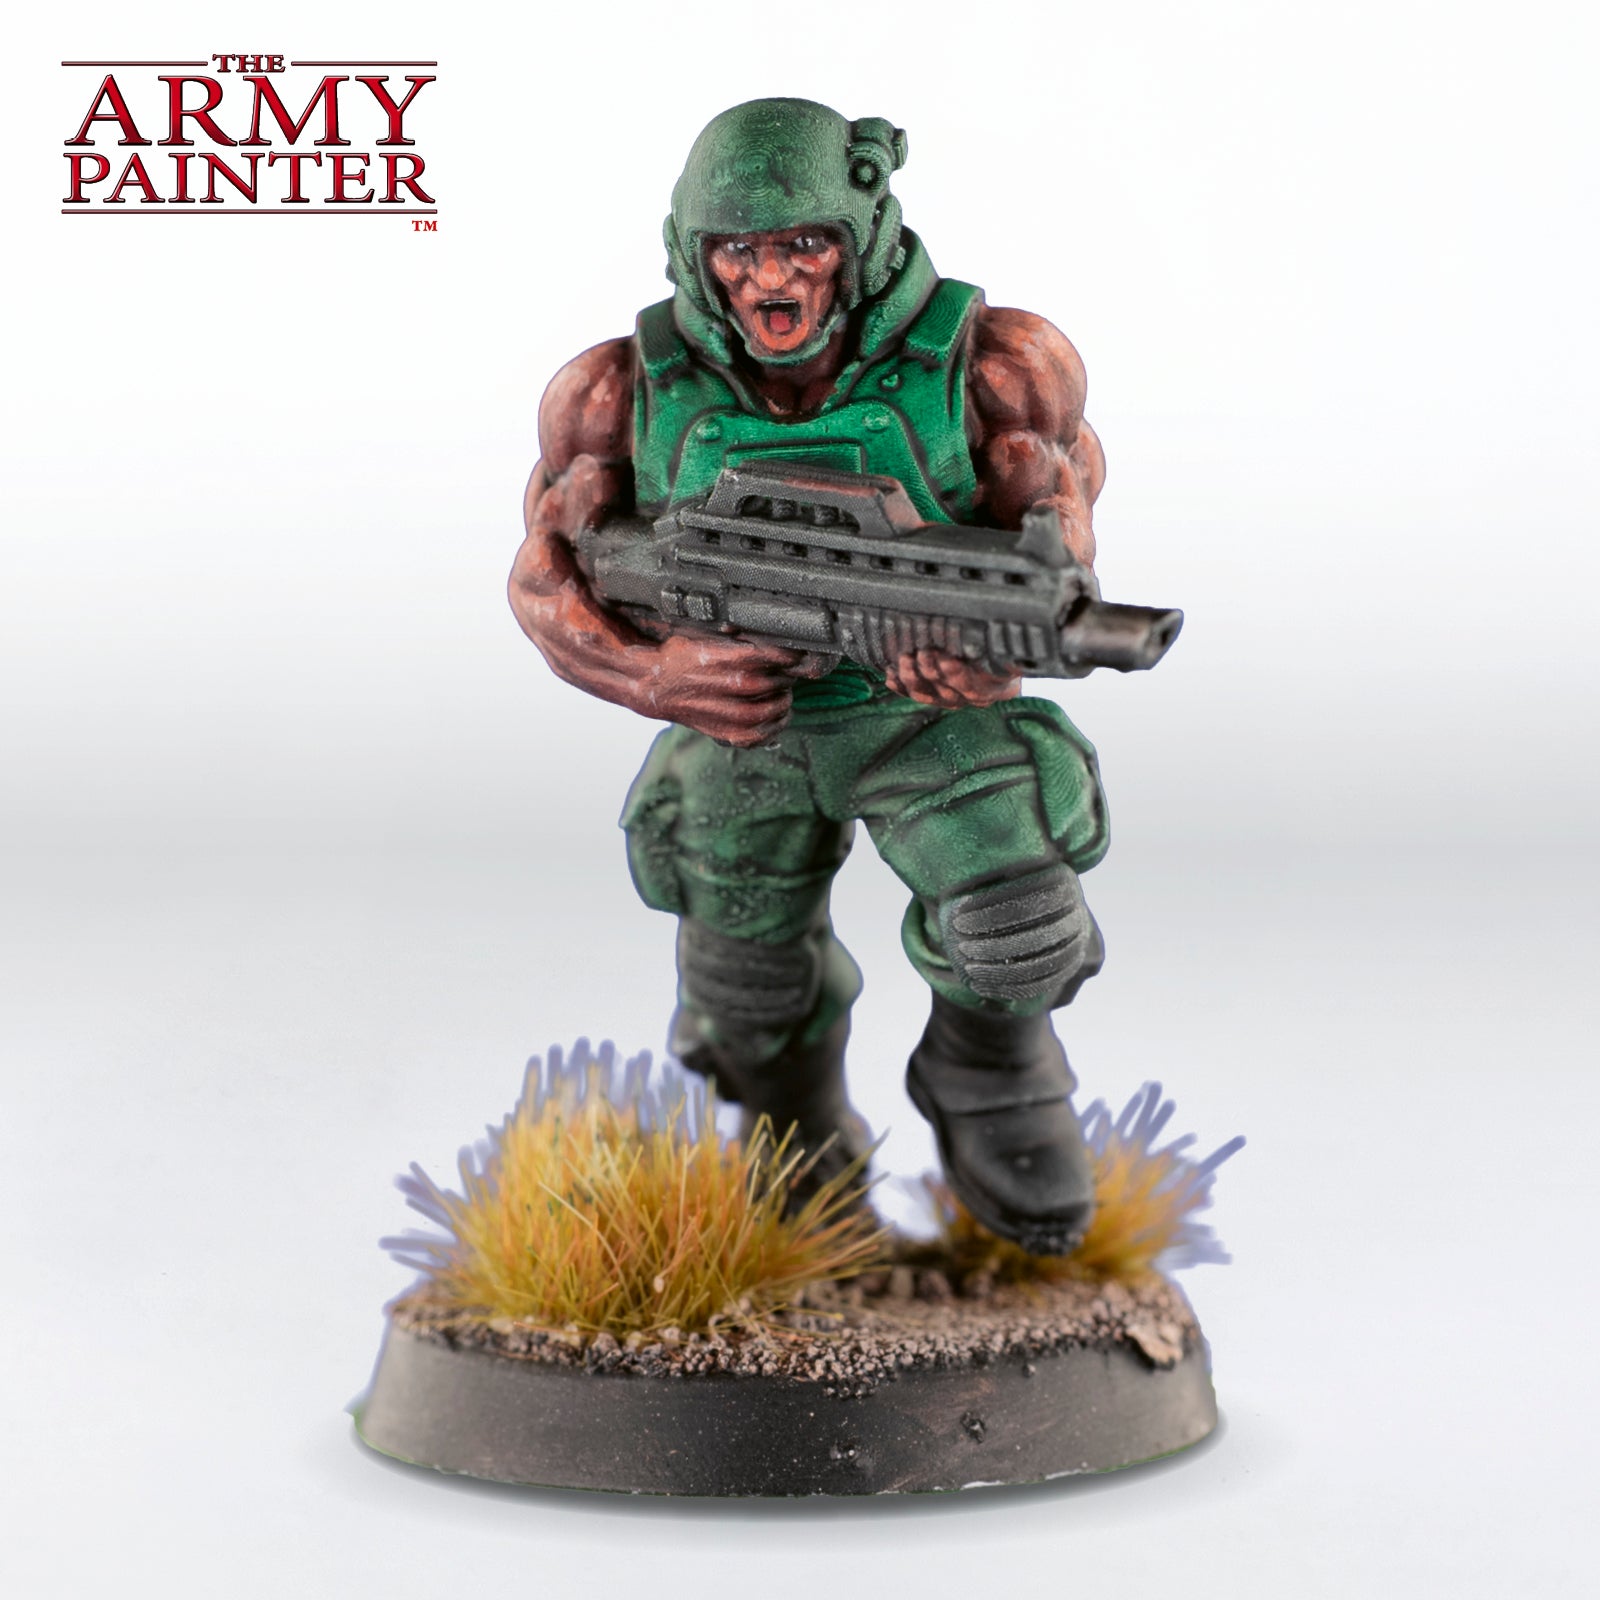
Step 4
Finally, apply a specular highlight of Warpaints Fanatic Tourmaline Skin and then another glaze of Warpaints Fanatic Dark Skin Shade to knock back some of the highlights.
Tan Skin
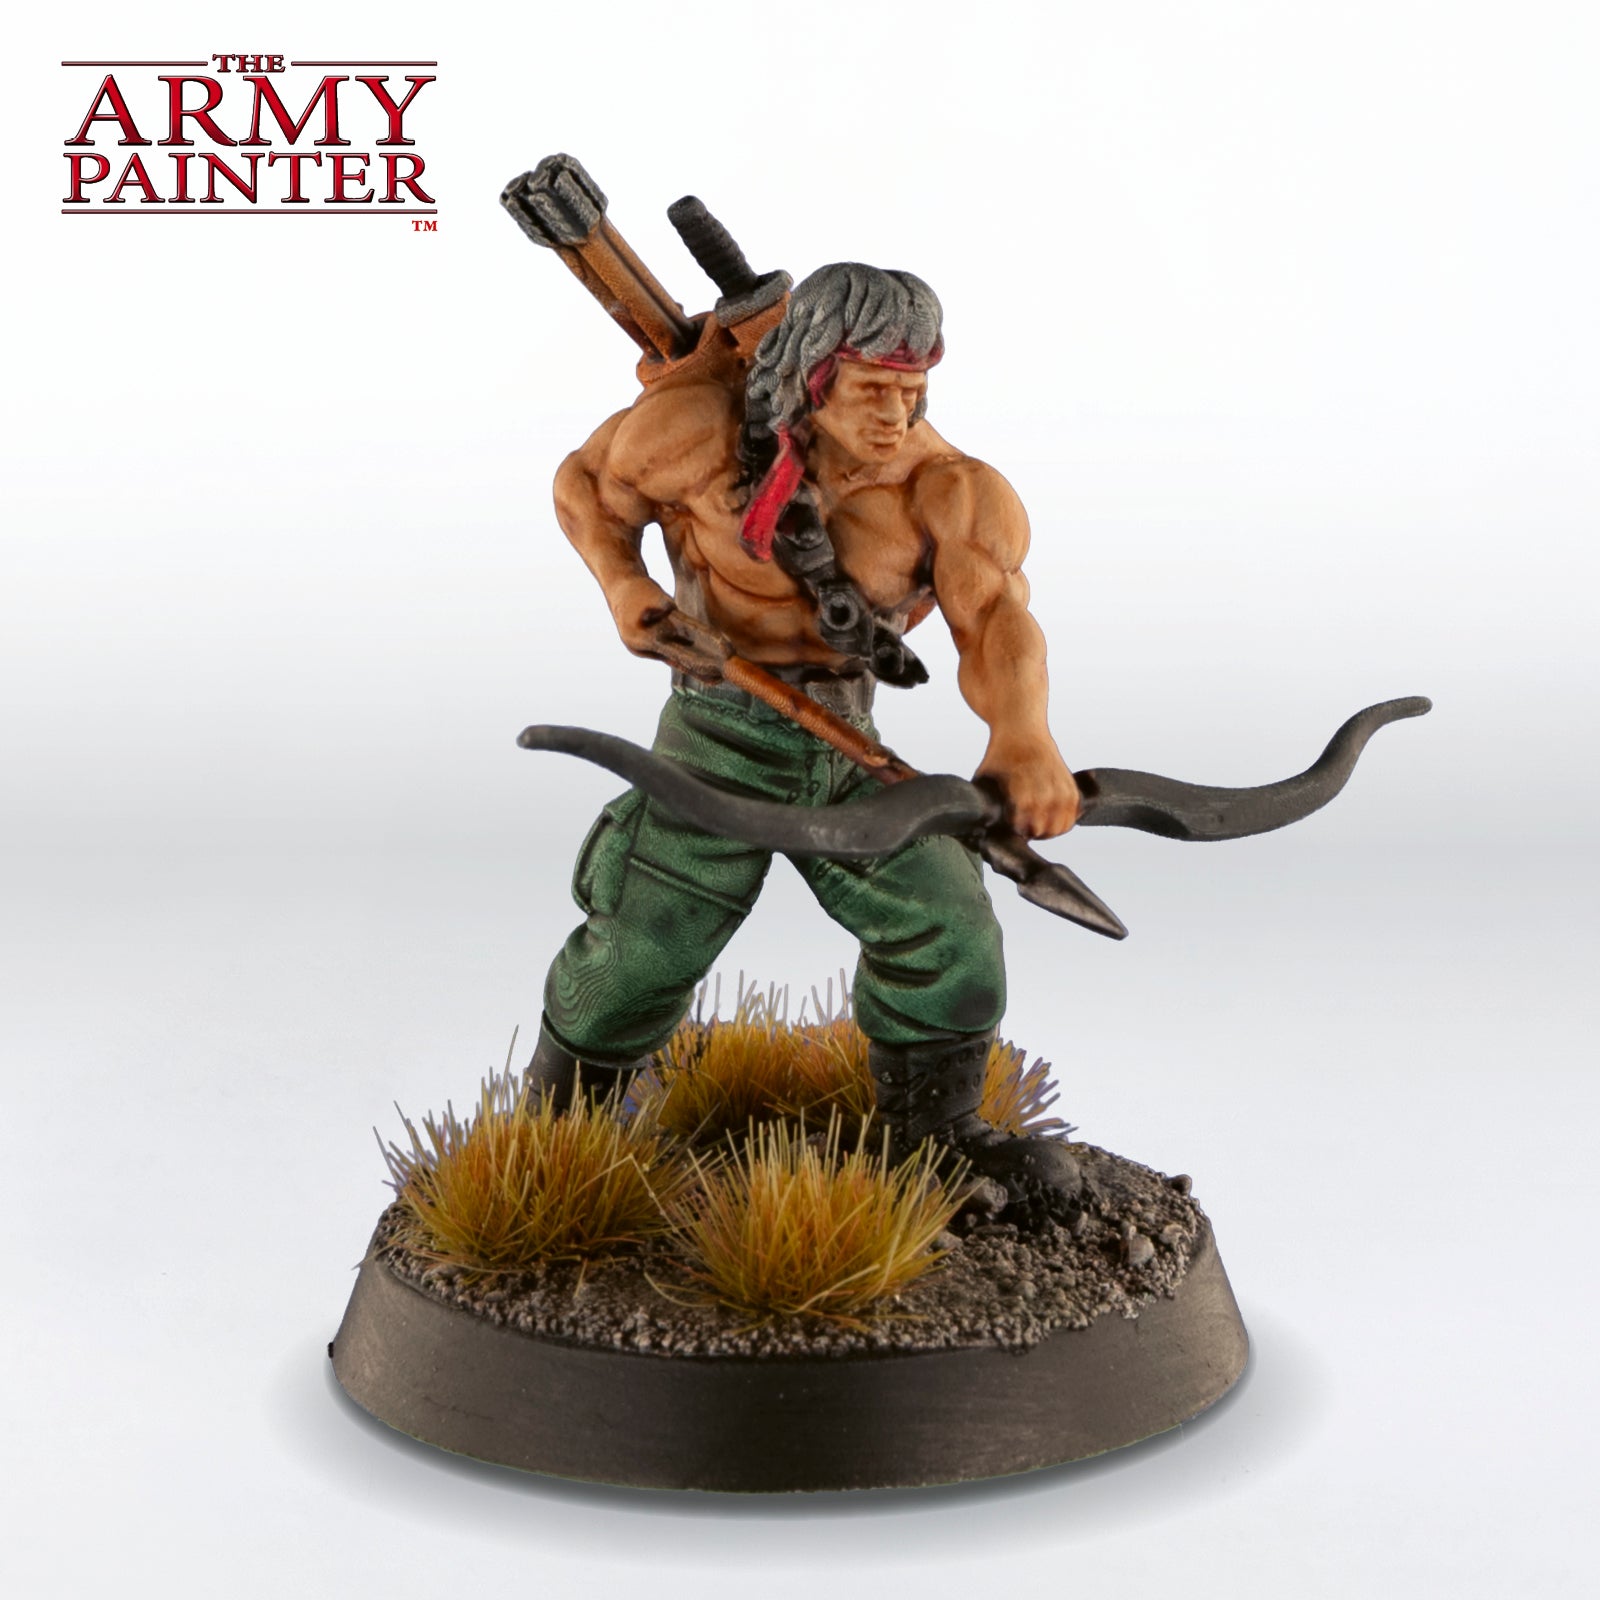
Step 1
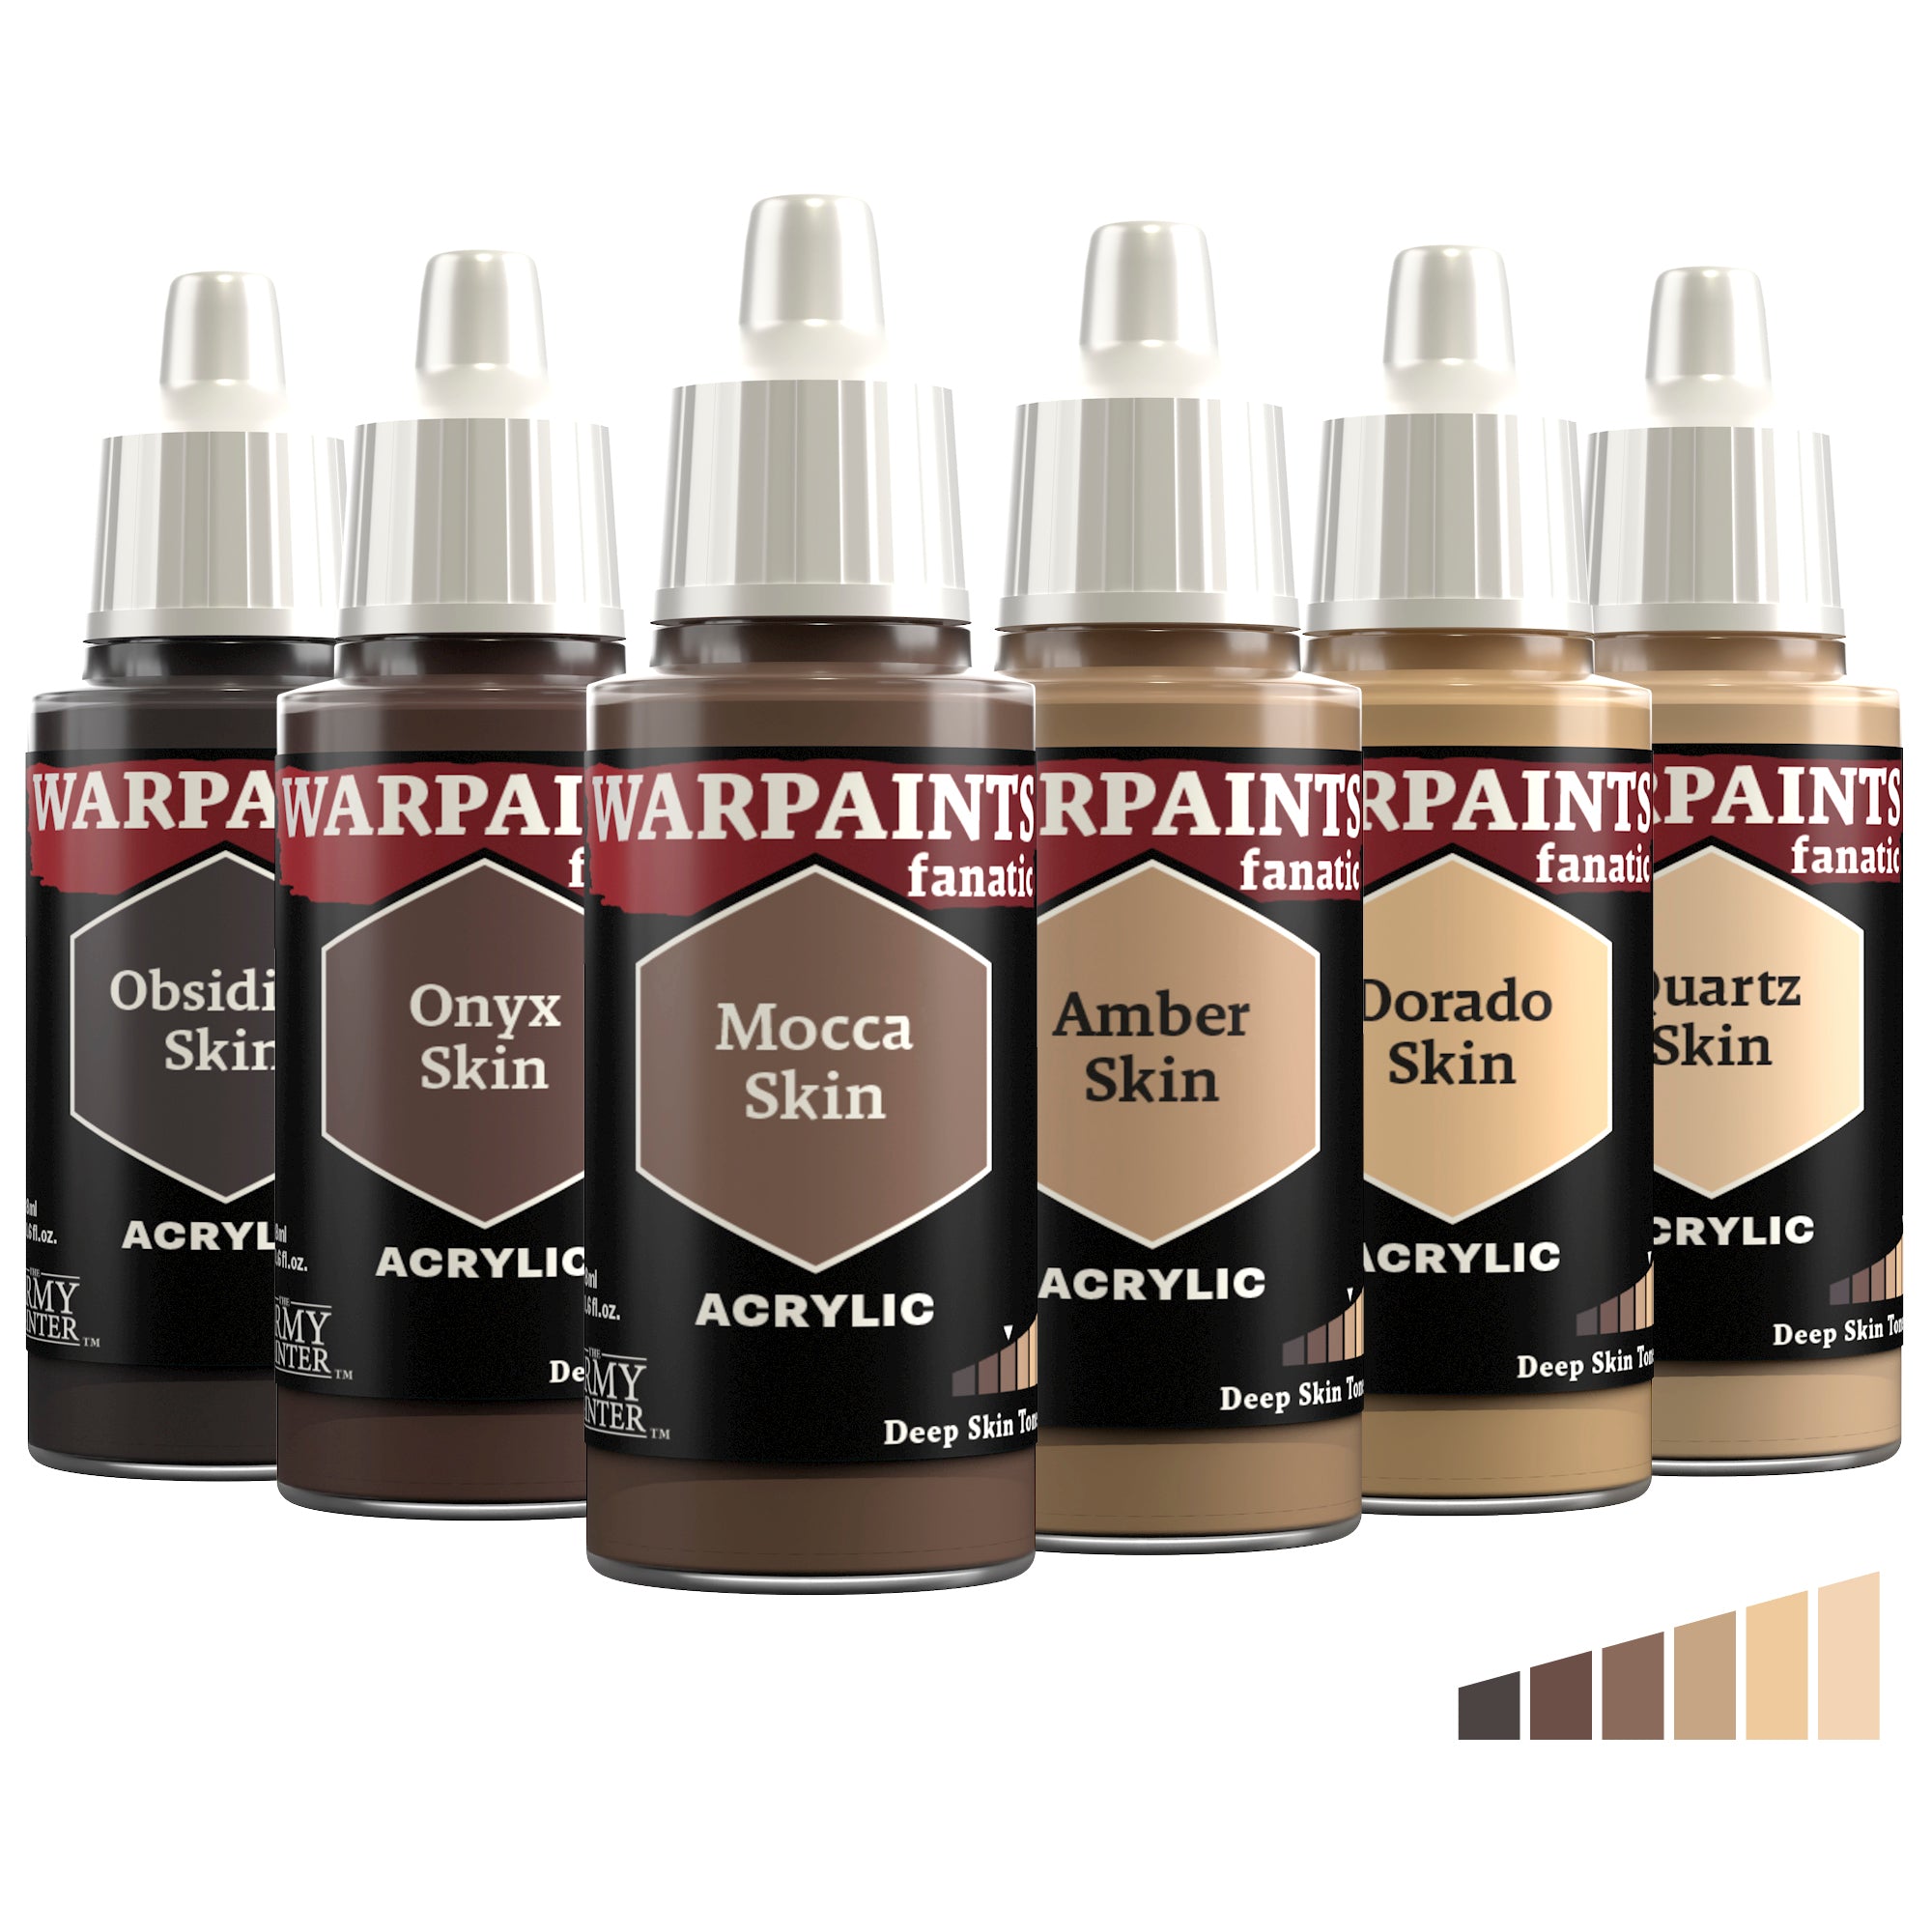
Basecoat the model’s skin with Warpaints Fanatic Mocca Skin followed by a layer of Warpaints Fanatic Amber Skin. Next, apply a coat of John Blanche Masterclass Warm Skin Shade Wash all over the skin.
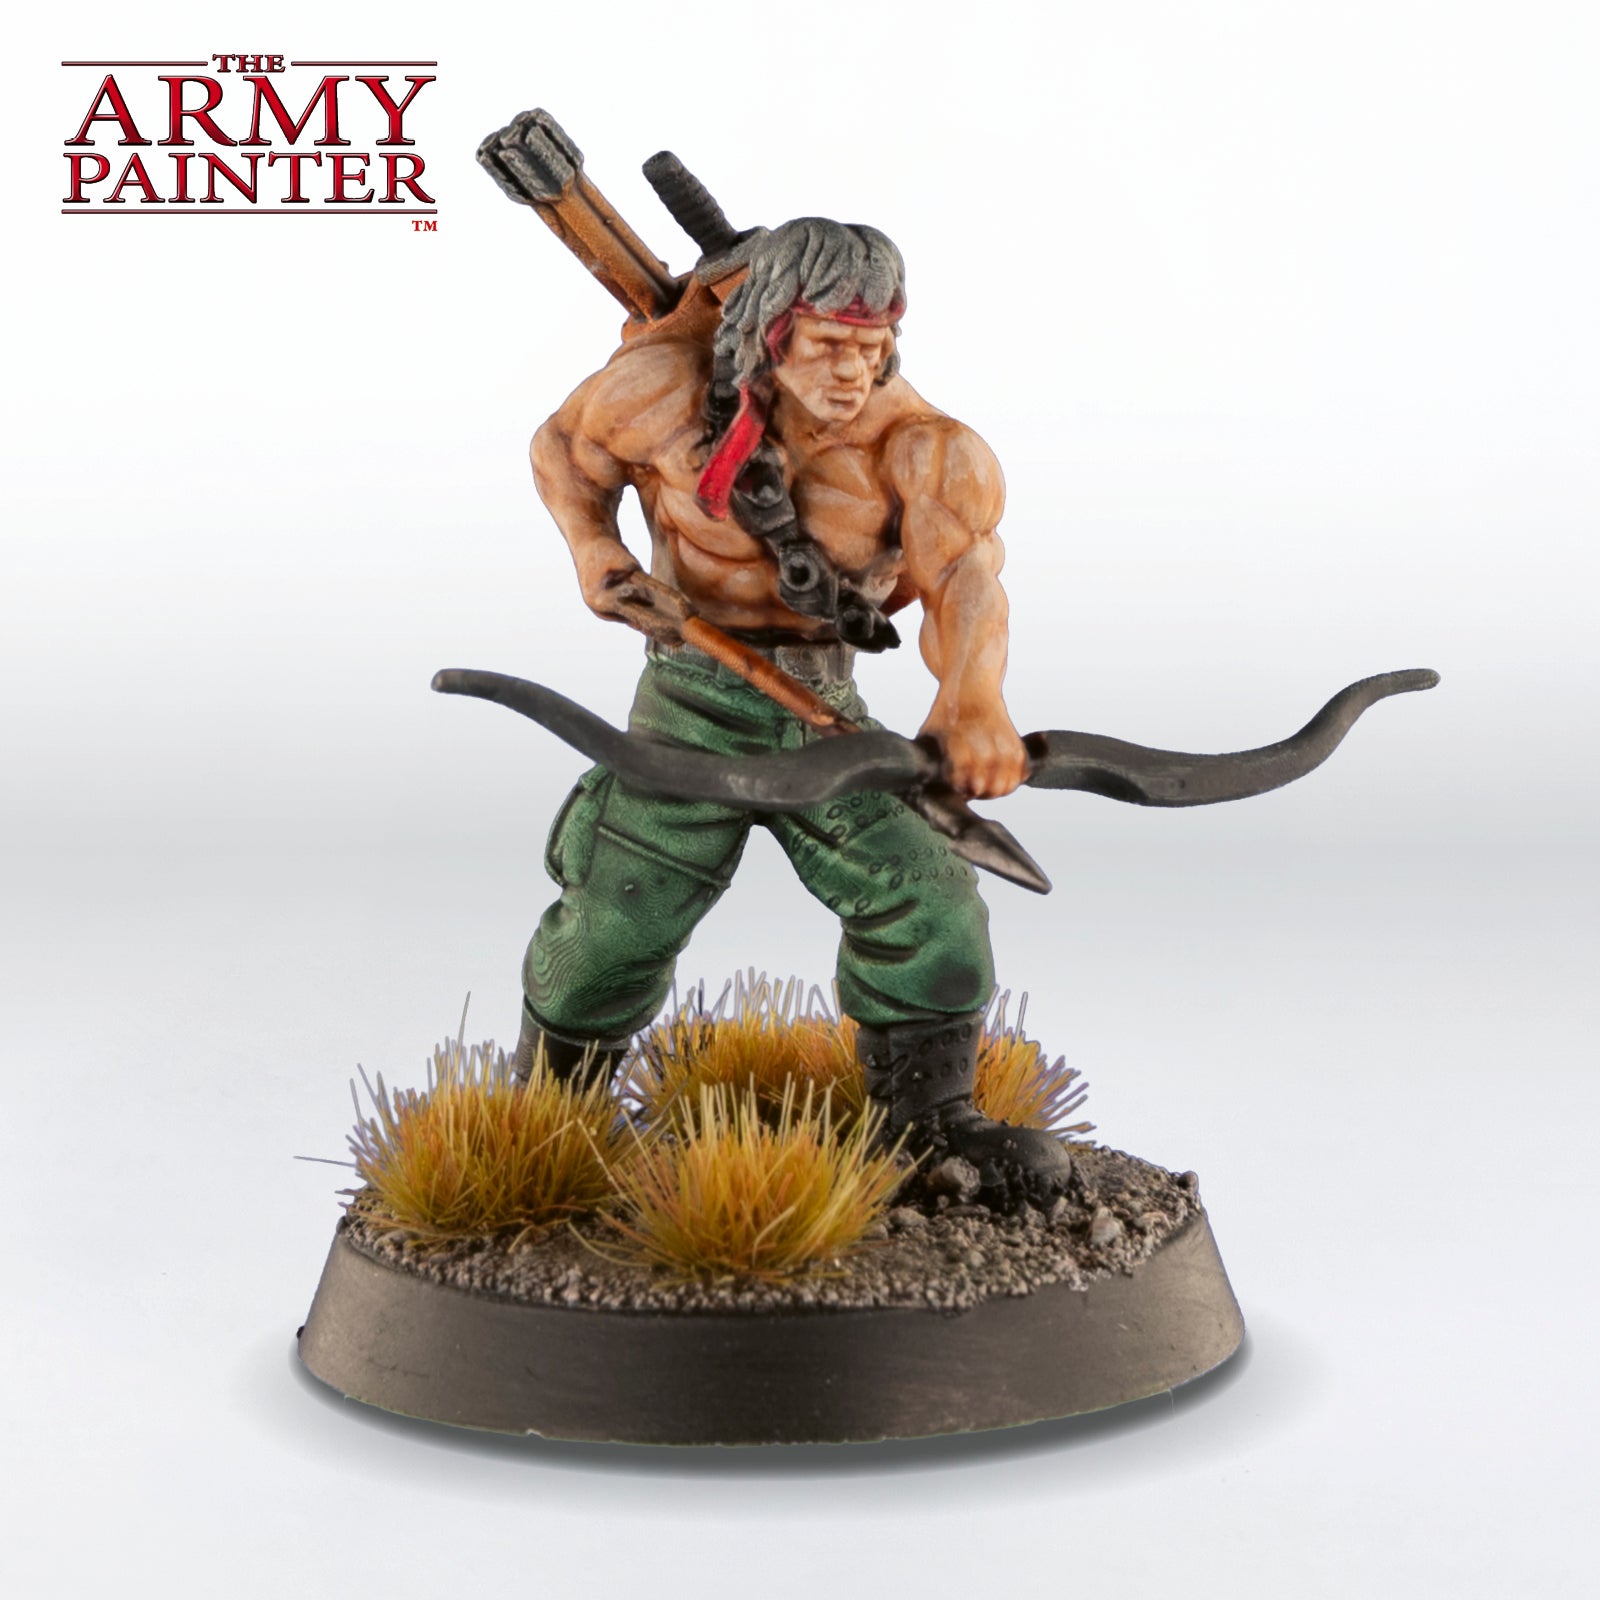
Step 2
Follow this with a highlight of Warpaints Fanatic Dorado Skin, focusing on only the upper areas.
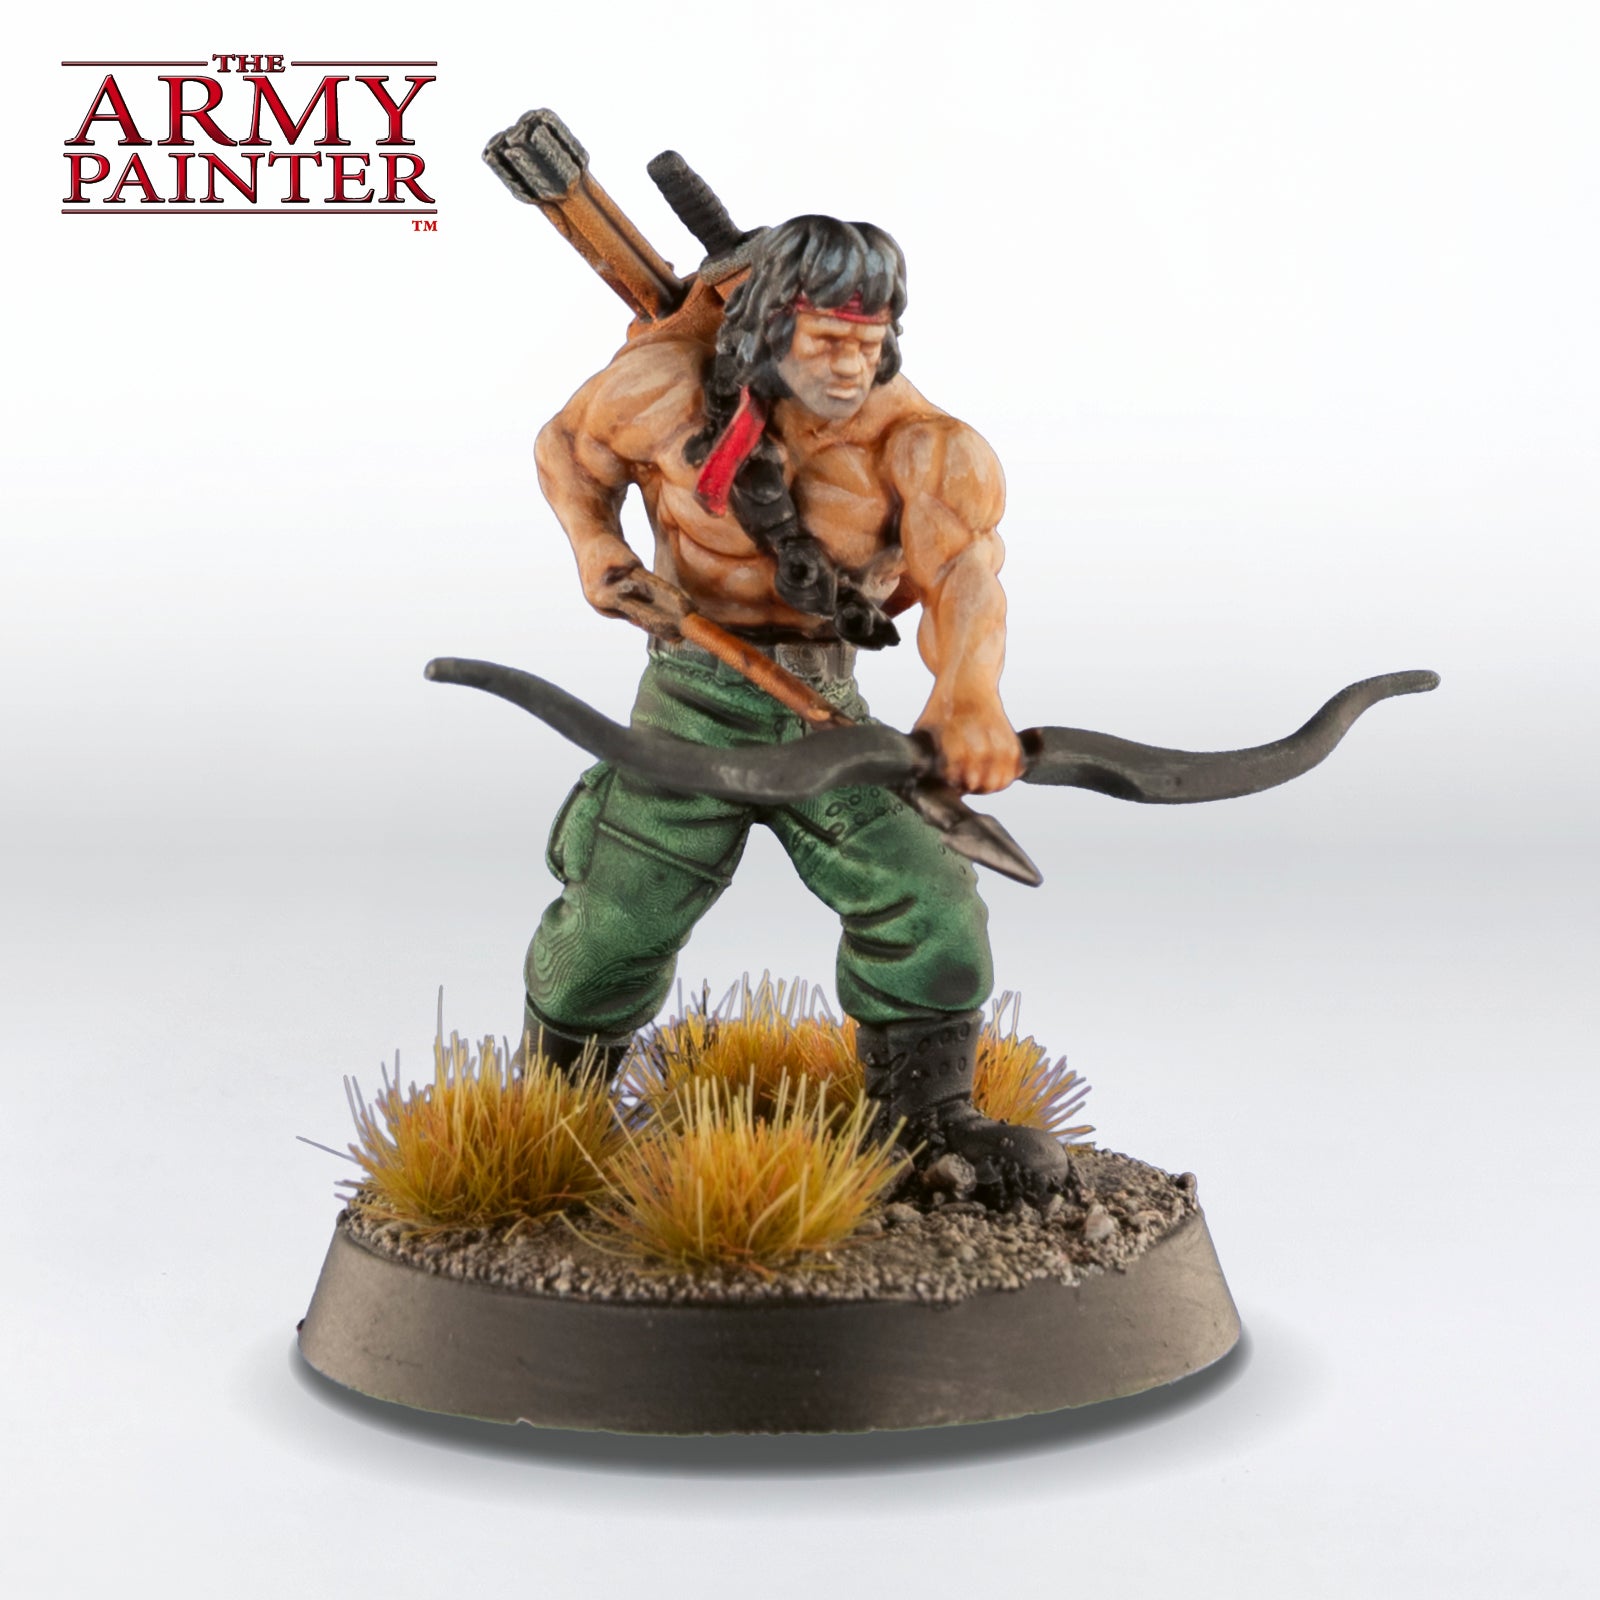
Step 3
Add a bit of stubble to his chin with a thinned down glaze of Warpaints Fanatic Uniform Grey.
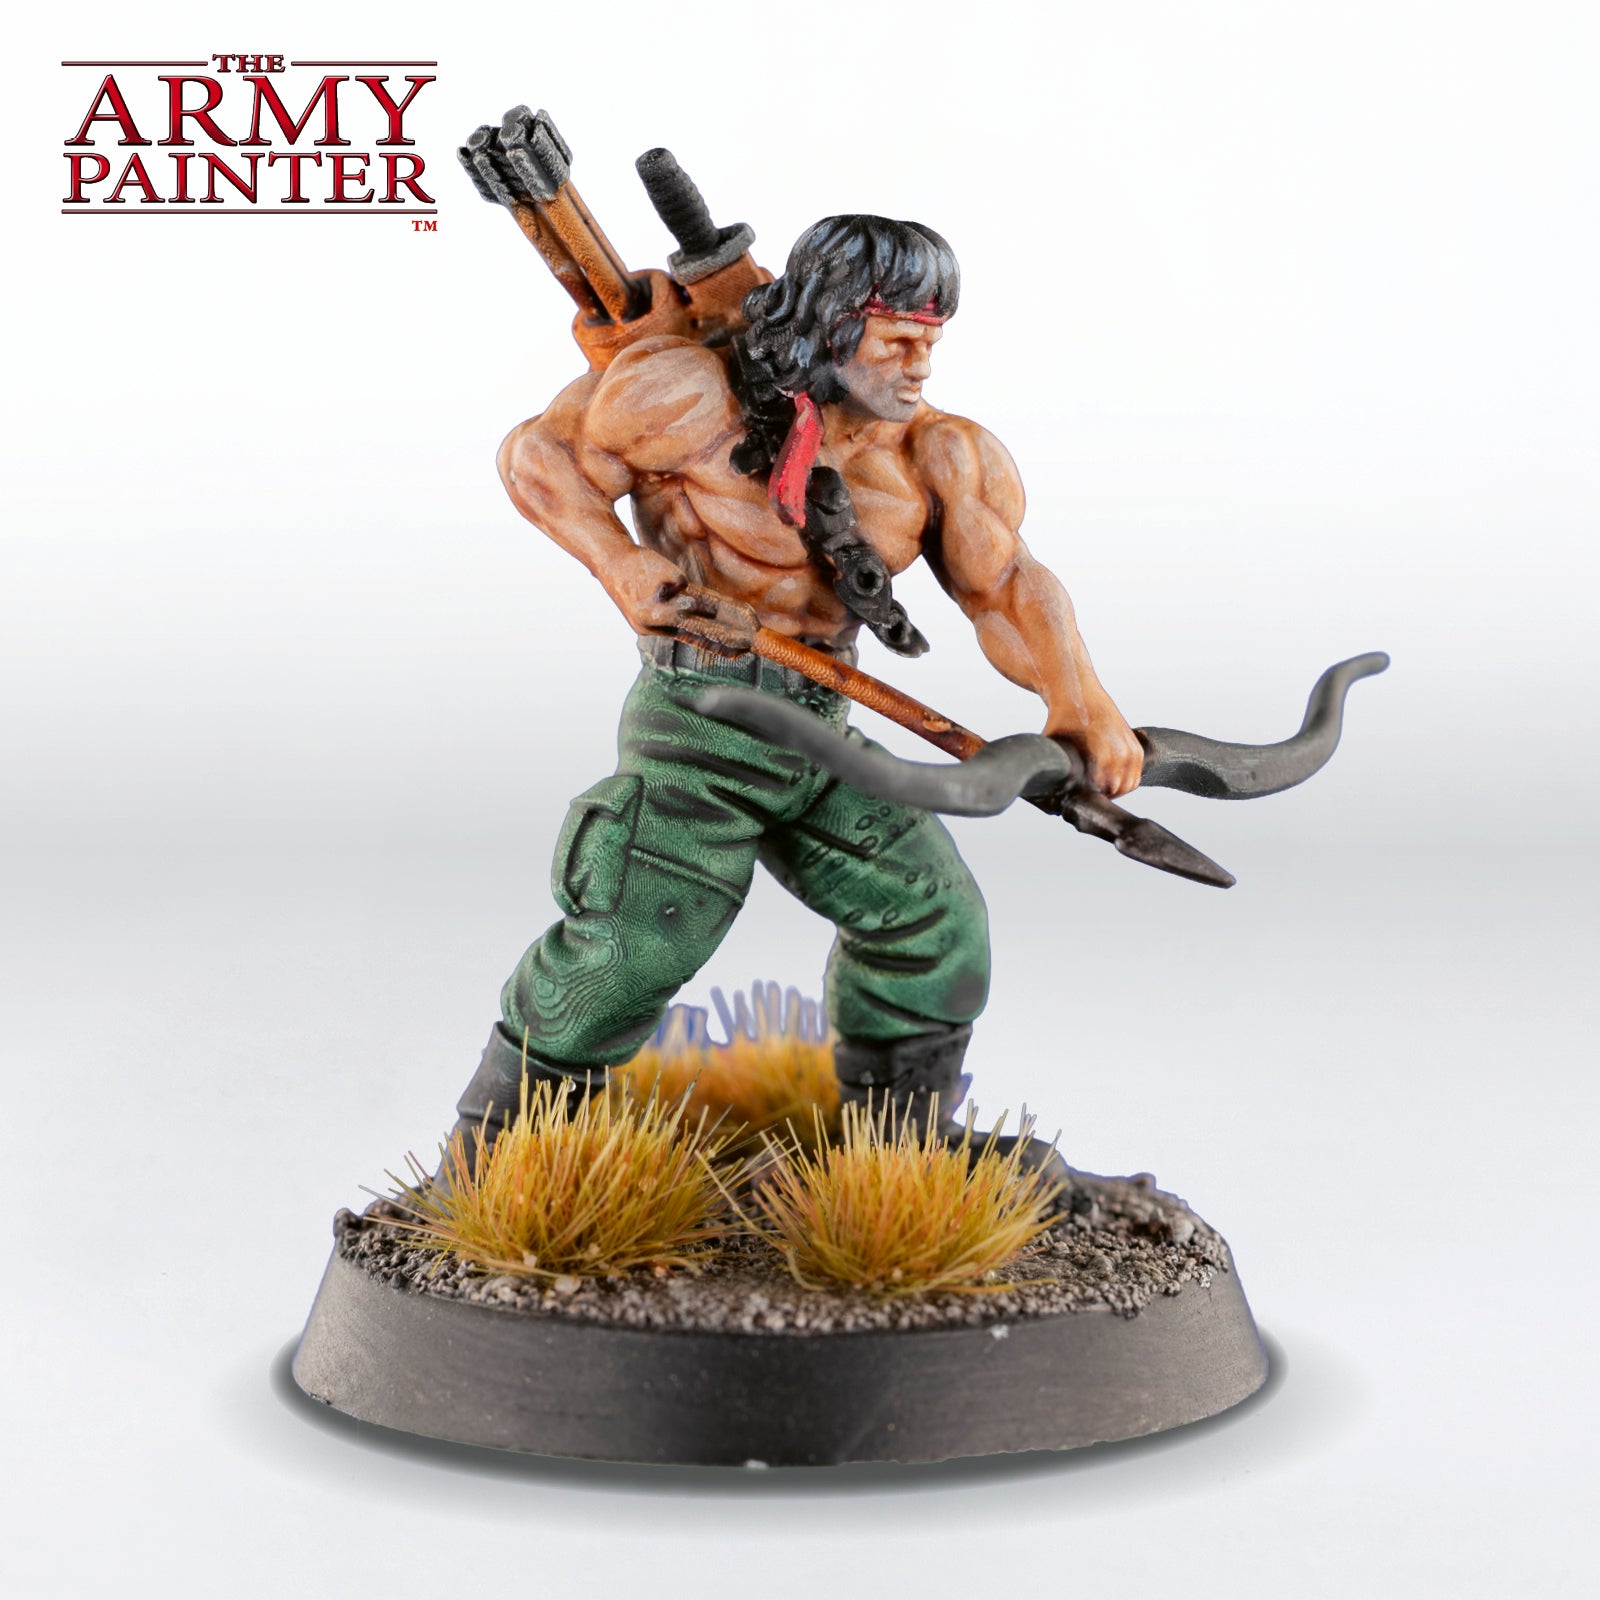
Step 4
Finish the model off with a basecoat of Warpaints Fanatic Matt Black on the hair, and then a highlight by mixing in a bit of Warpaints Fanatic Runic Cobalt.
With that, your models are done!
If you'd prefer to watch all three tutorials in a video format then you can check out the tutorial video below, as well as the Flexible Triads used to paint the skin tones.

Featured collection
Be sure to tell us what you thought of this tutorial format, if you have any suggestions for improvements in the future, or even which models you want us to tackle.
If you paint your own model following one of these guides, tag it with #thearmypainteracademy to share your work!