


How to:
Zenithal Priming
How to paint with a Zenithal Prime
An advanced step to priming miniatures is called Zenithal Priming, a technique that utilises the fact that paint is not entirely opaque to simulate light from the sun when it is at its zenith.
Despite its name (priming), zenithal priming is more than just priming and giving your miniature a basecoat. Zenithal priming is a method that lays the groundwork for stunning light and shadow effects, giving your miniatures a more dynamic and realistic appearance.
This article will give you a step-by-step guide to mastering zenithal priming - let's get started!
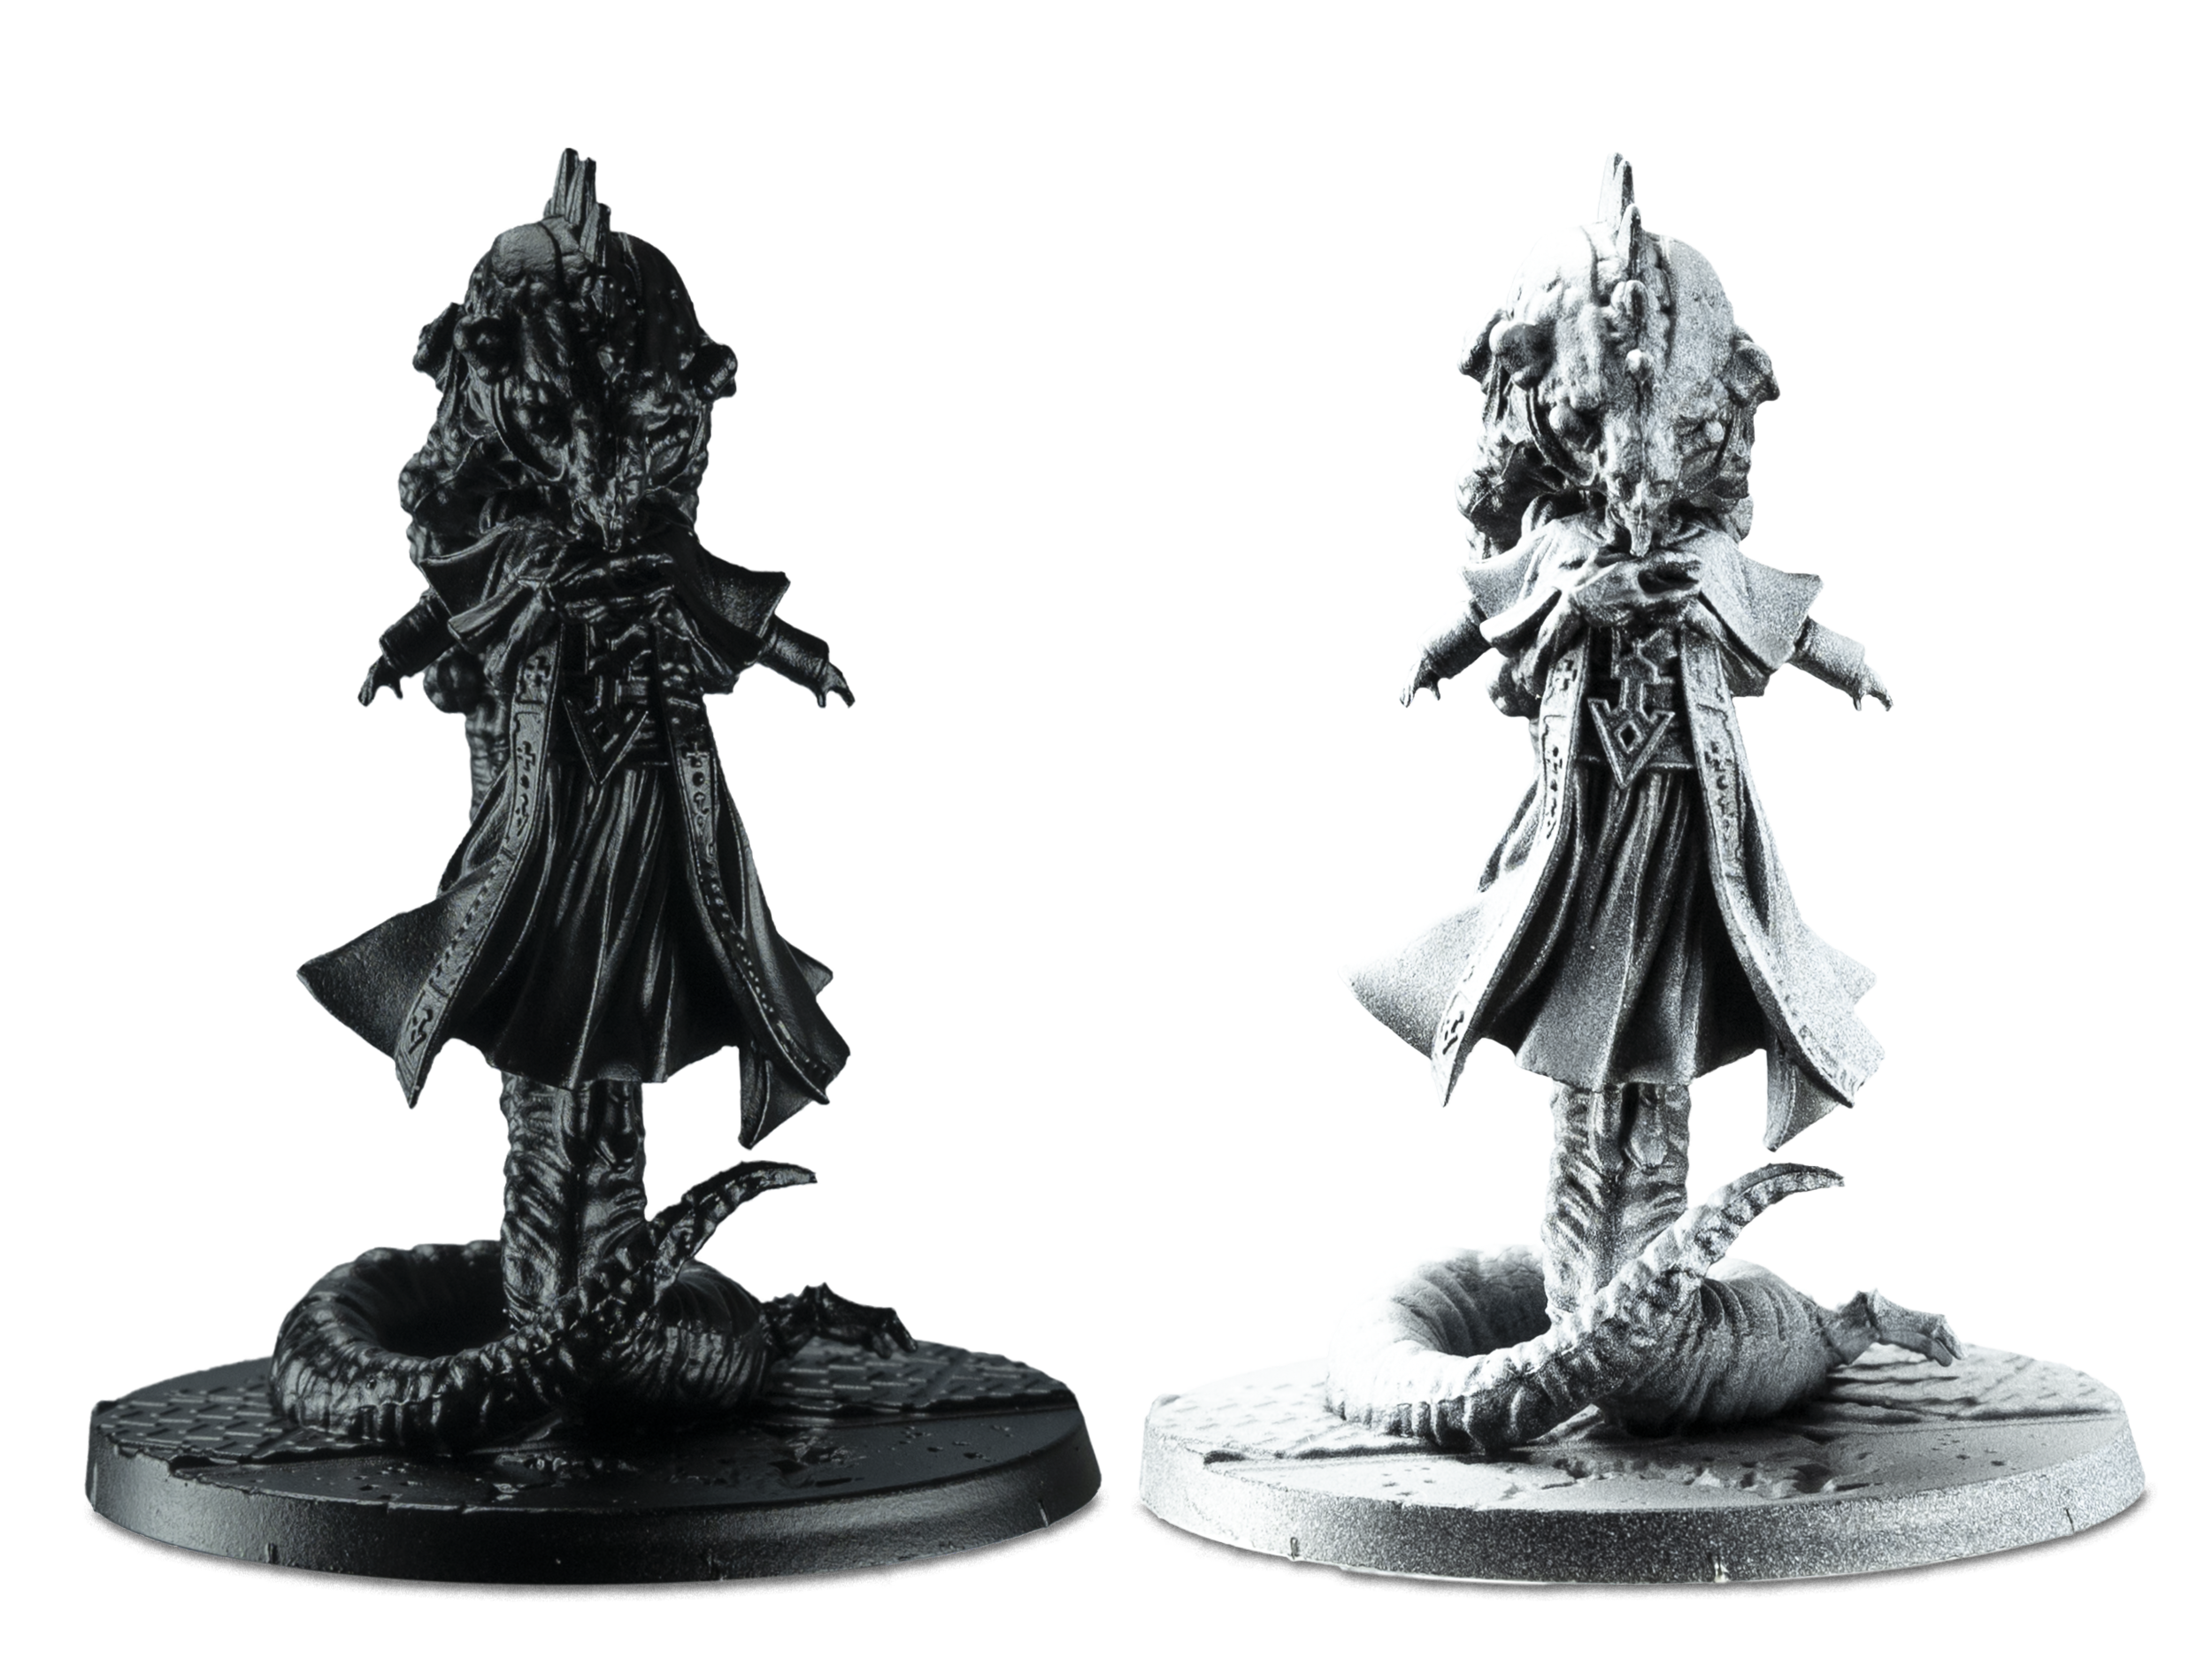
Example of a miniature with zenithal priming
What is “Zenithal Priming”?
Now, what exactly is zenithal priming? Let’s divide the term into “zenithal” and “priming”.
Priming is the essential first step you take before painting your miniature. Here, you give your miniature a surface that paint can adhere to more effectively and smooth out any imperfections. You can read more about priming and how to prime in the article “How To Use a Colour Primer”
Zenithal comes from “zenith”, which refers to the point in the sky directly above a particular location. In astronomy, the zenith is the highest point in the sky relative to a specific observer on the ground. The term “zenithal” in this painting technique is thus used to describe the direction and angle of the simulated light source, which is from above, akin to the sun’s position at its zenith in the sky.
So, zenithal priming is a method of pre-shading your miniature with two different colours to emulate shadows from a specific direction and how light will naturally fall onto your model. The top surfaces of the miniature will be highlighted, leaving the lower areas and recesses darker, as they would be naturally shadowed. The result is a miniature with more details and depth, seeming more realistic and three-dimensional.
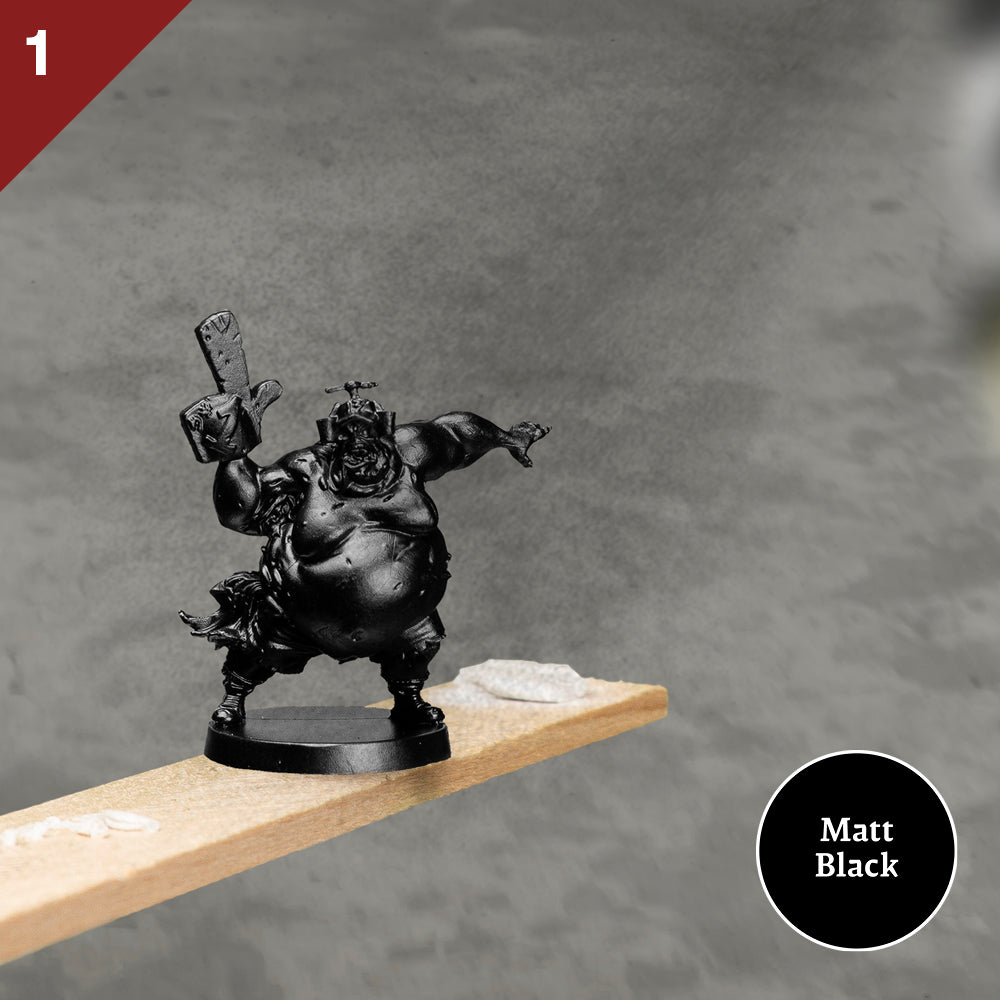
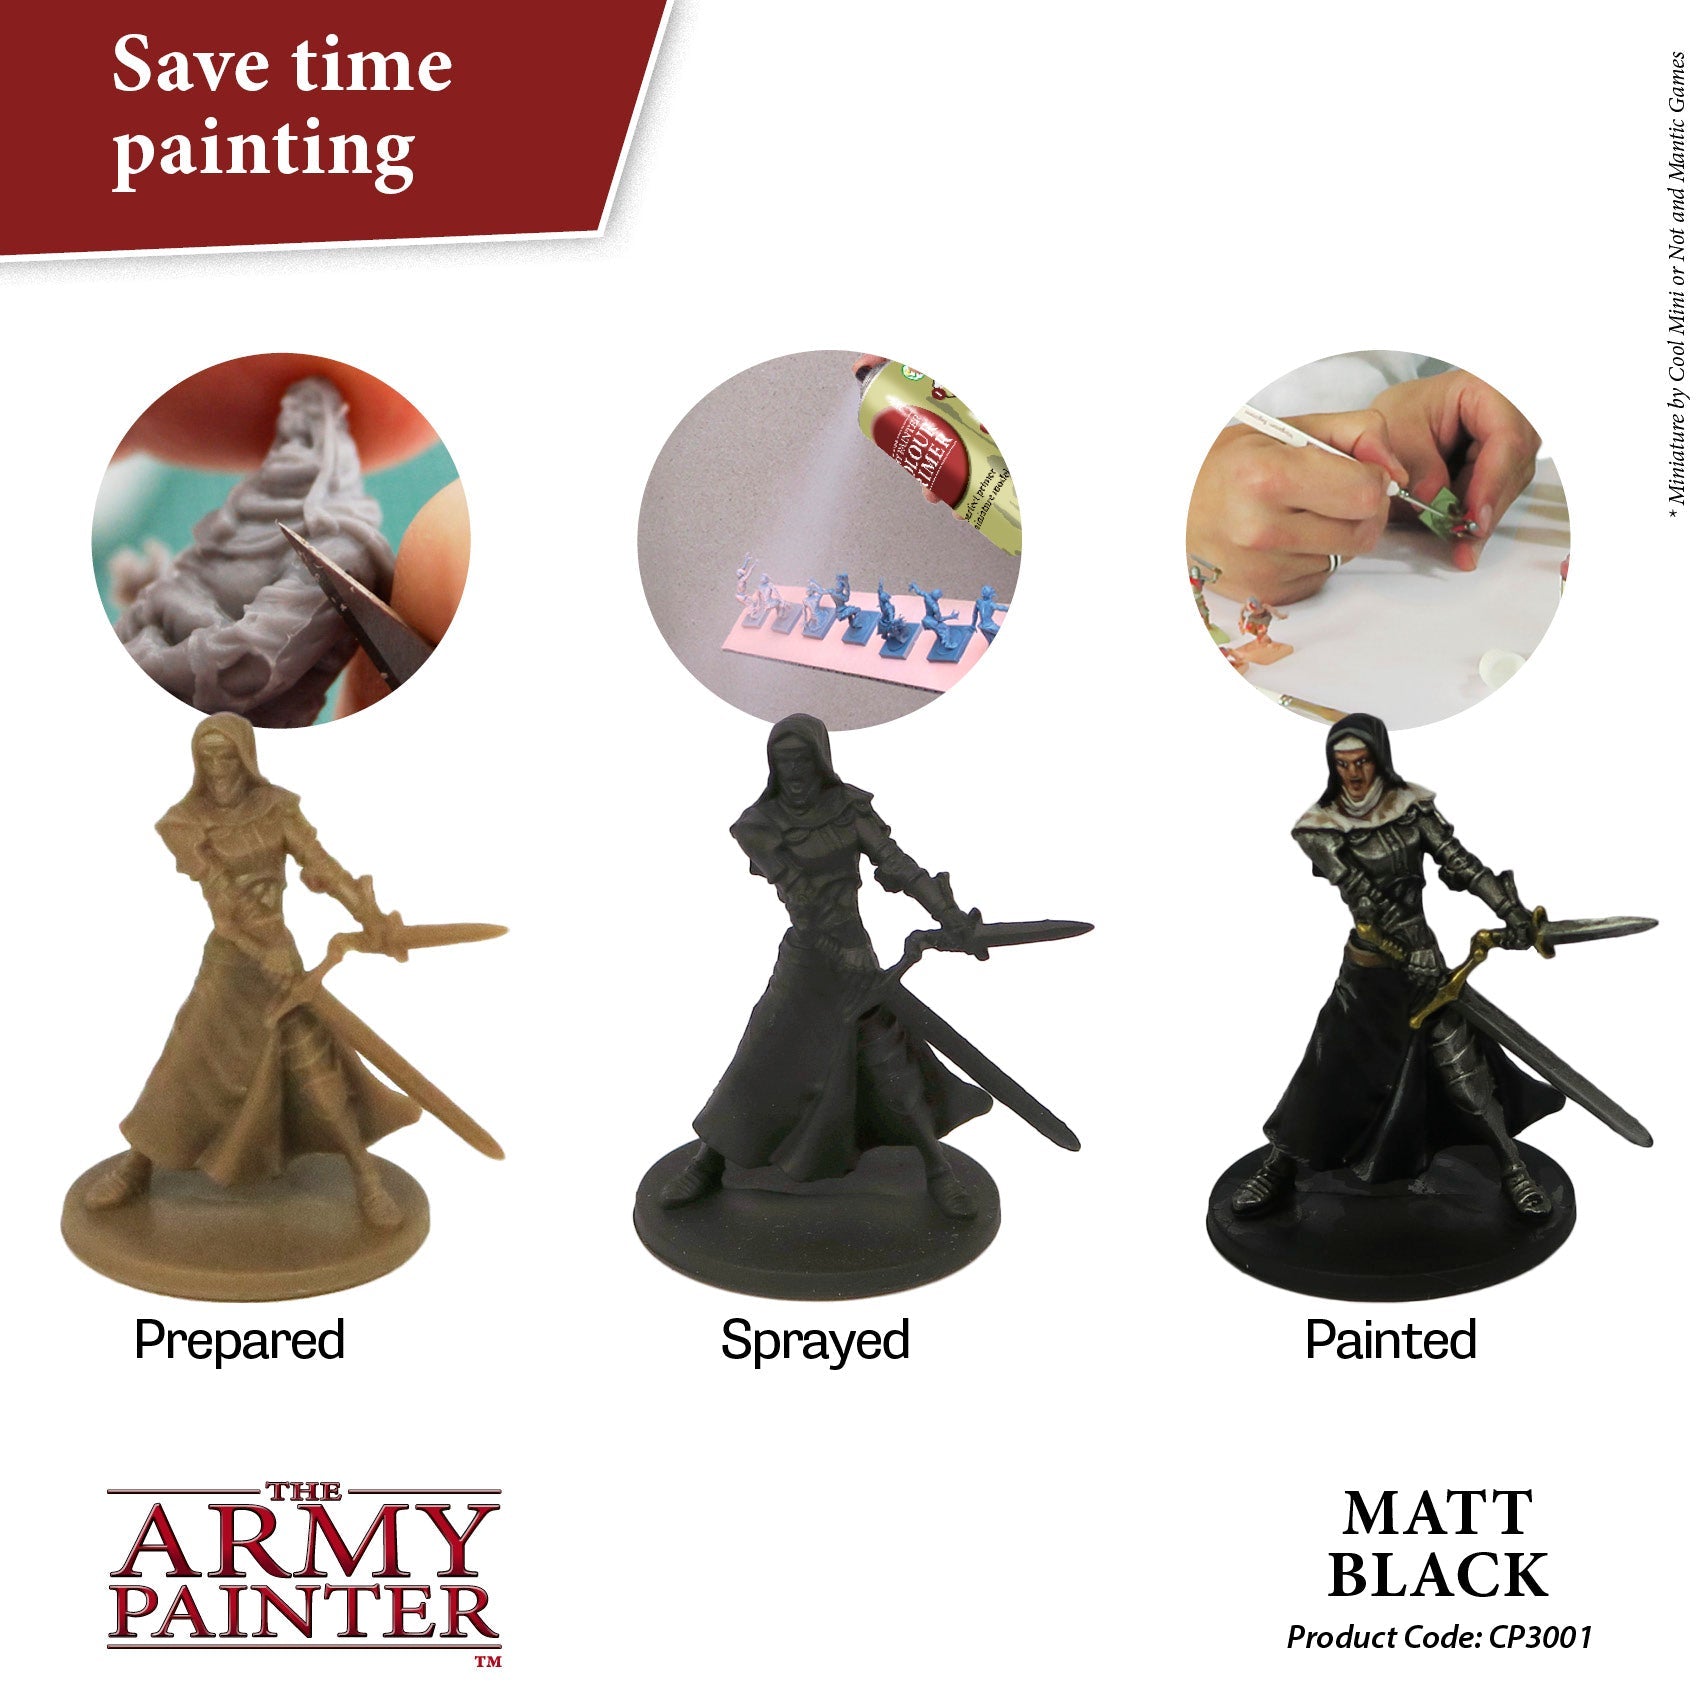
Prime with the darkest colour
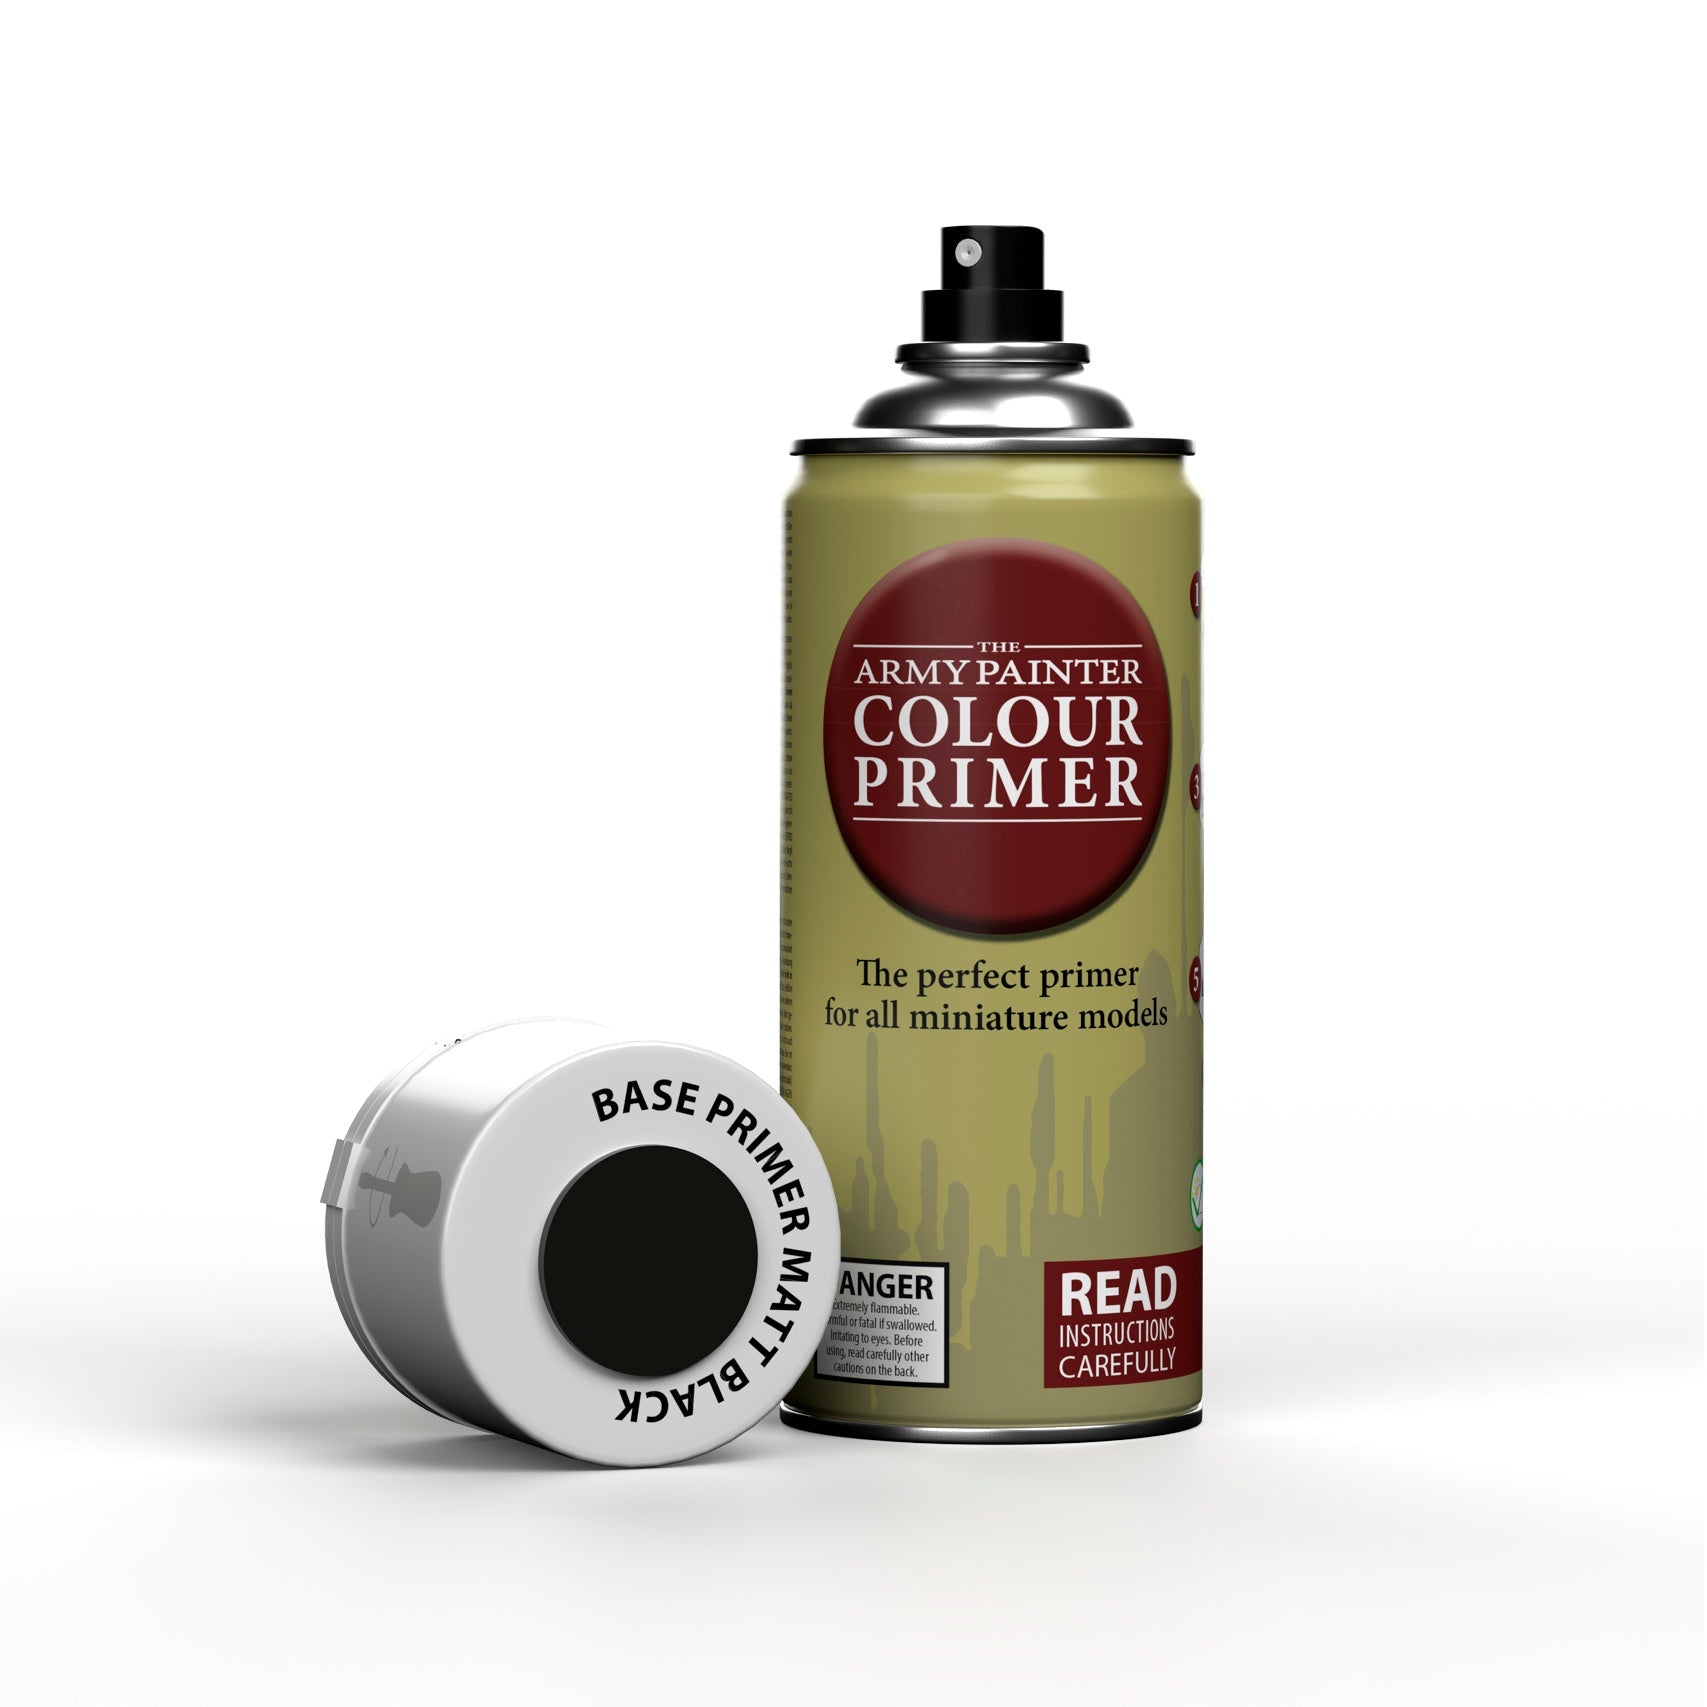
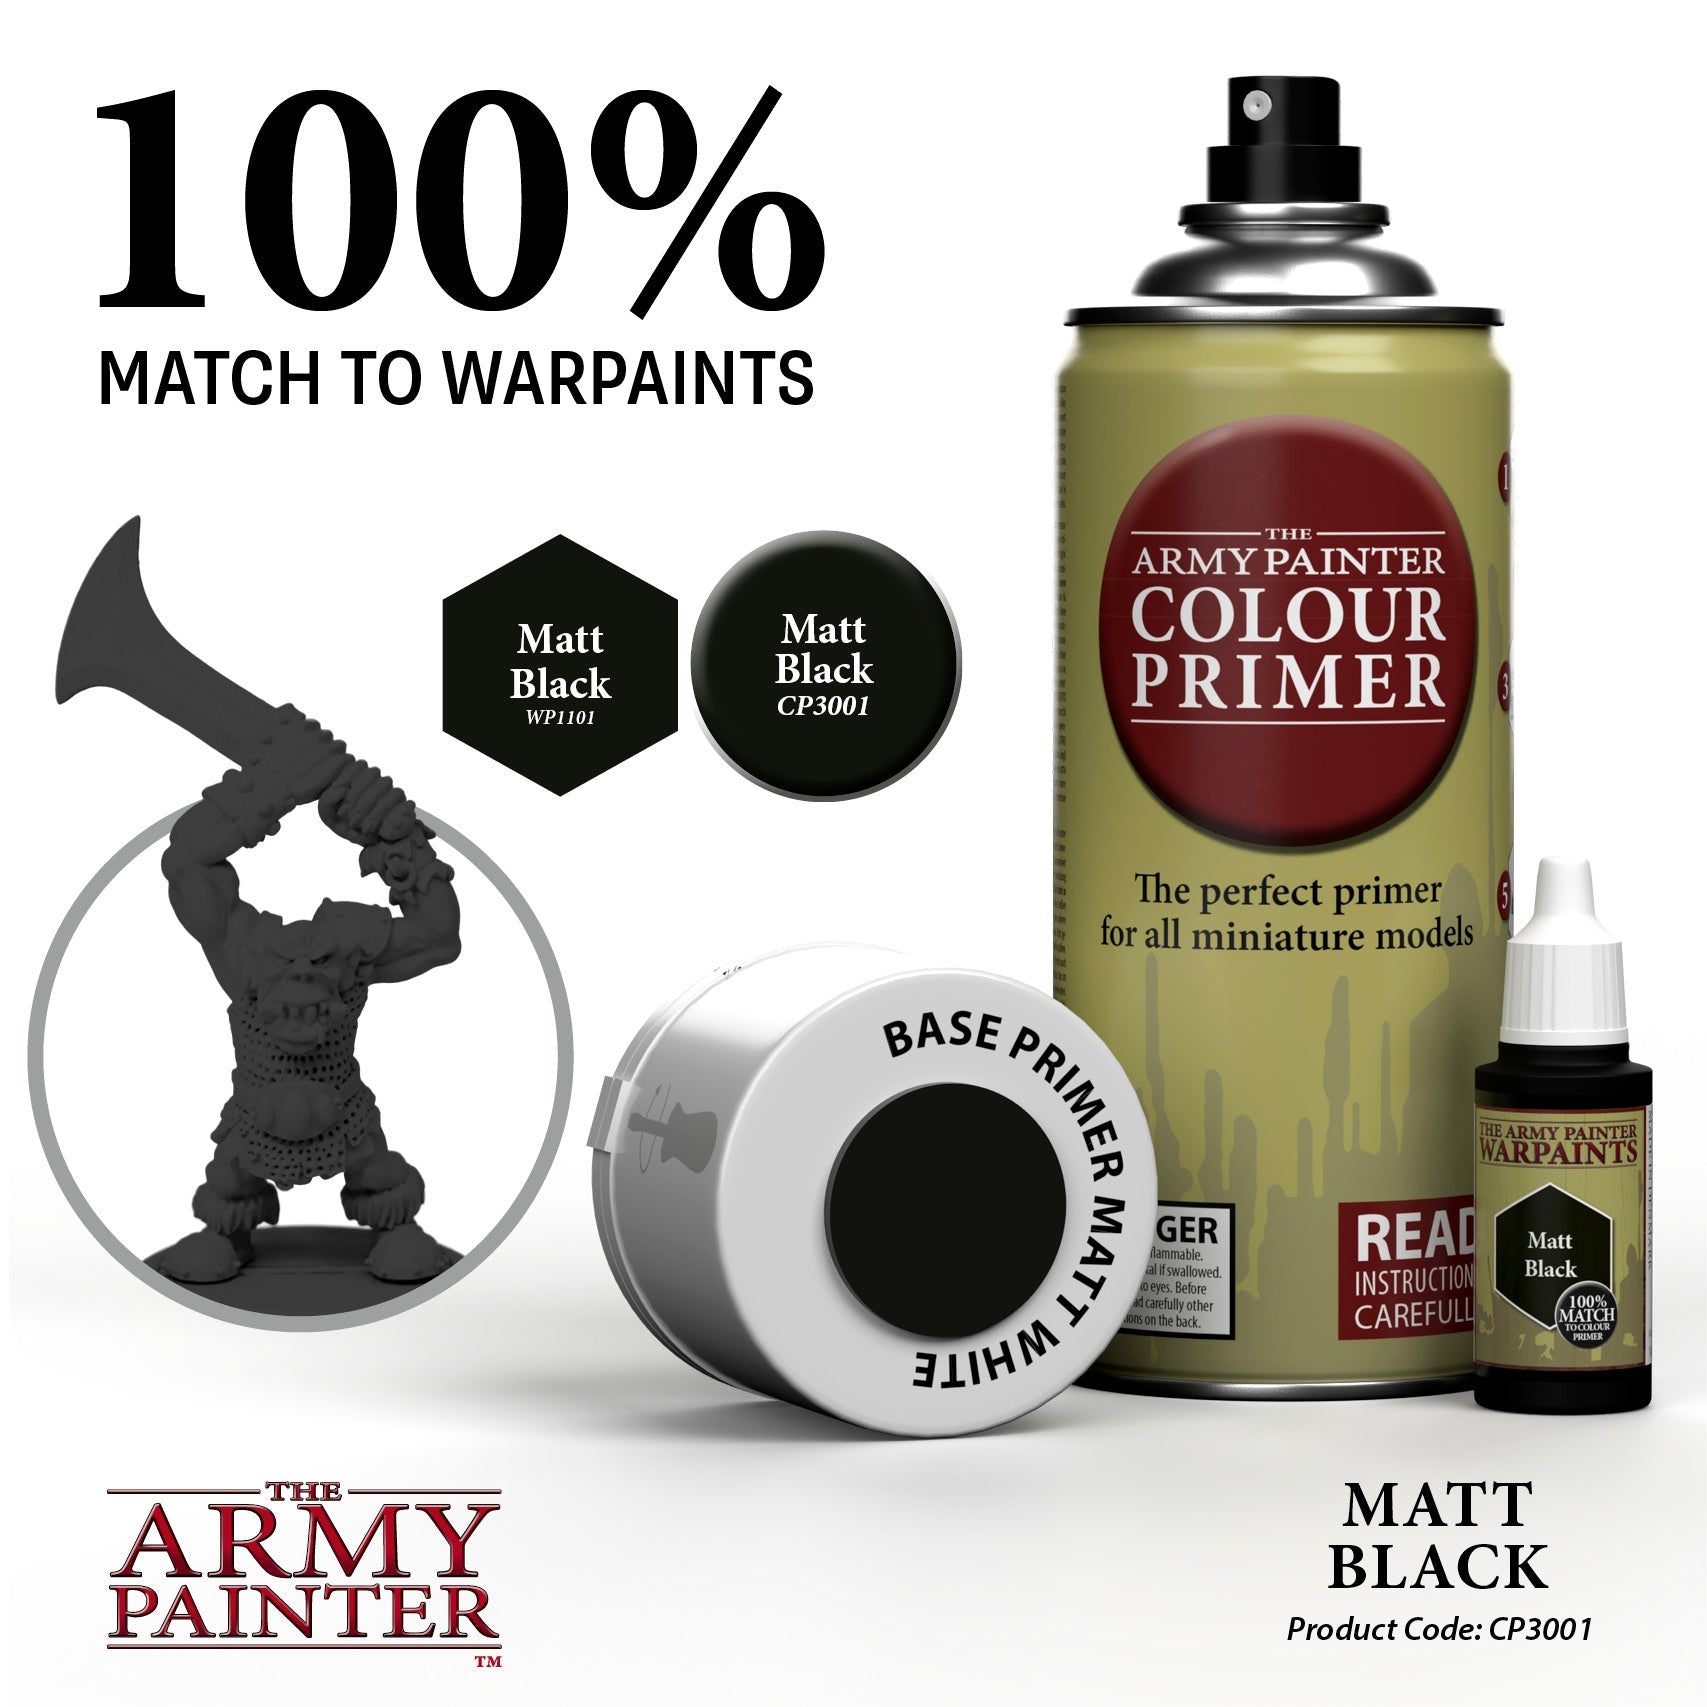
Start by priming your miniatures with the darkest primer and let it dry completely. Here, we’ve used the Matt Black Colour Primer.
This first layer is the shadow layer and is essential for creating the contrast in your zenithal priming. Make sure to get coverage into all the recesses and underneath areas of the miniature.
If you’re unsure of how to use a Primer, check out our step-by-step guide: “How to use a Colour Primer”.
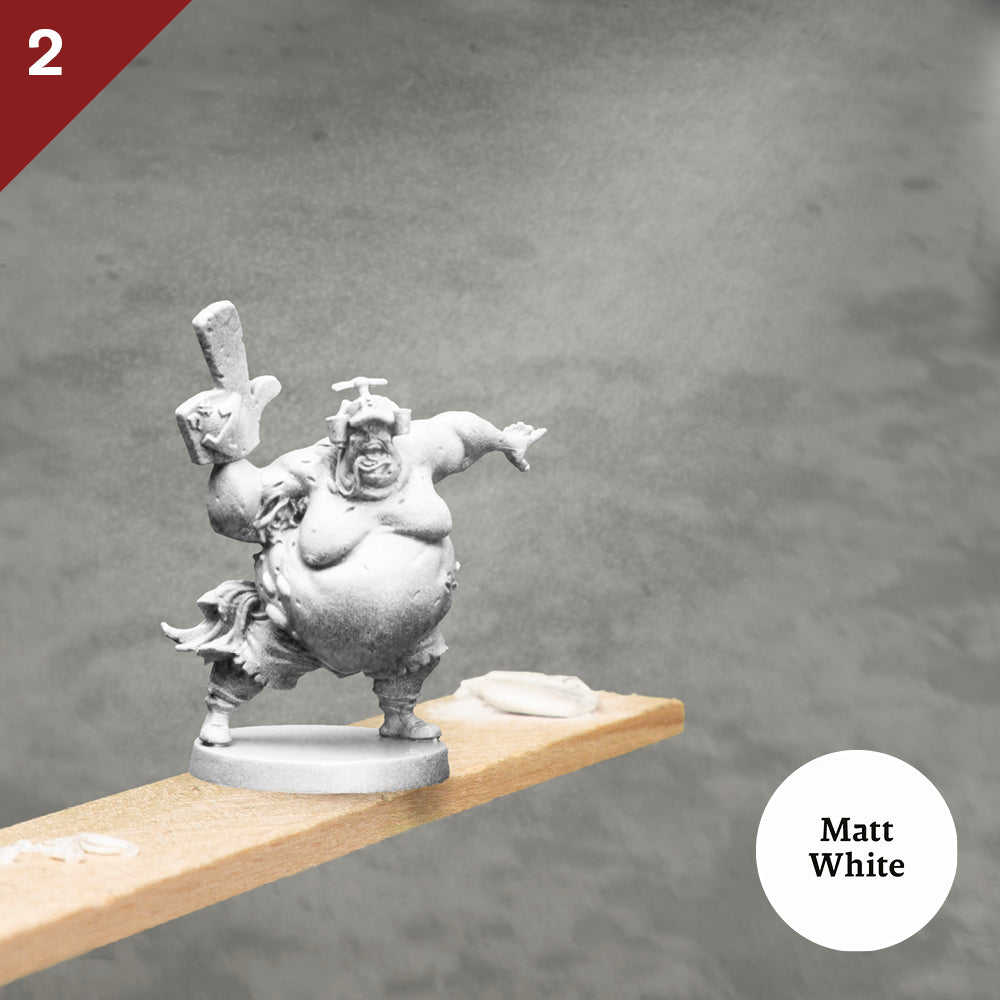
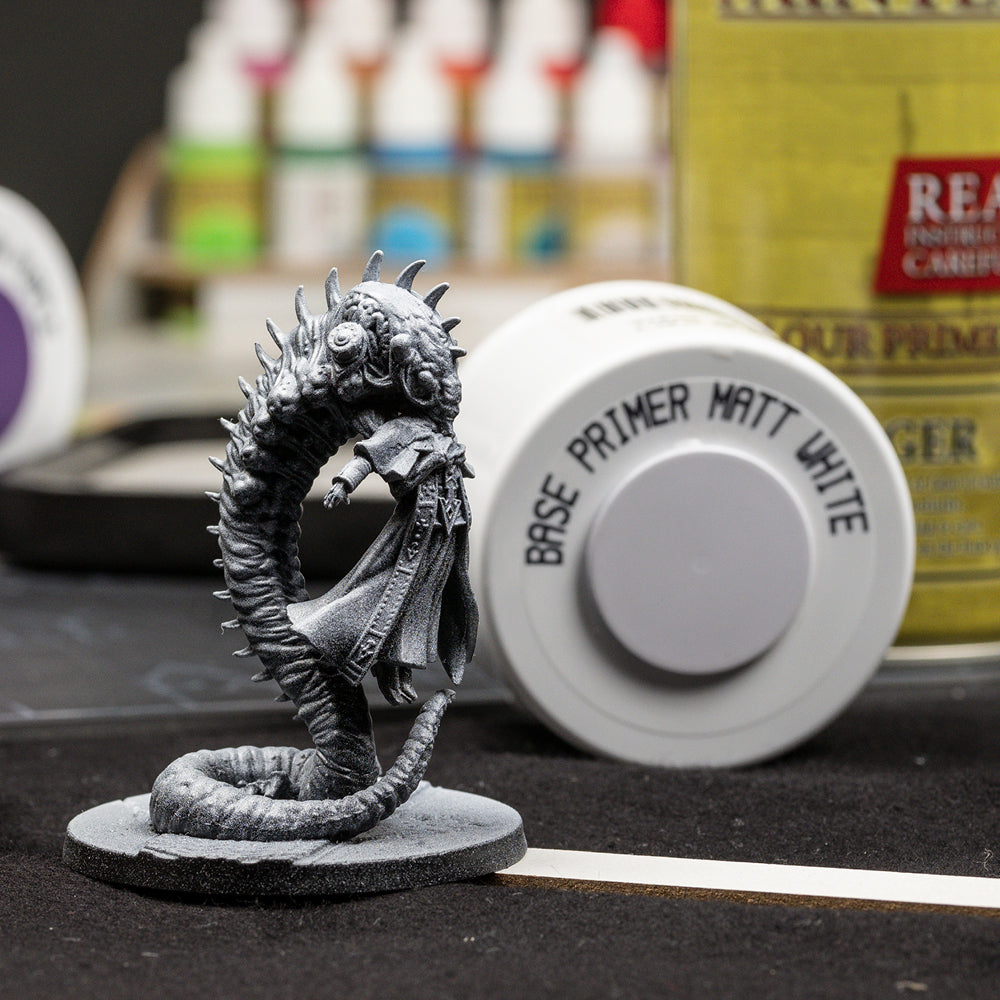
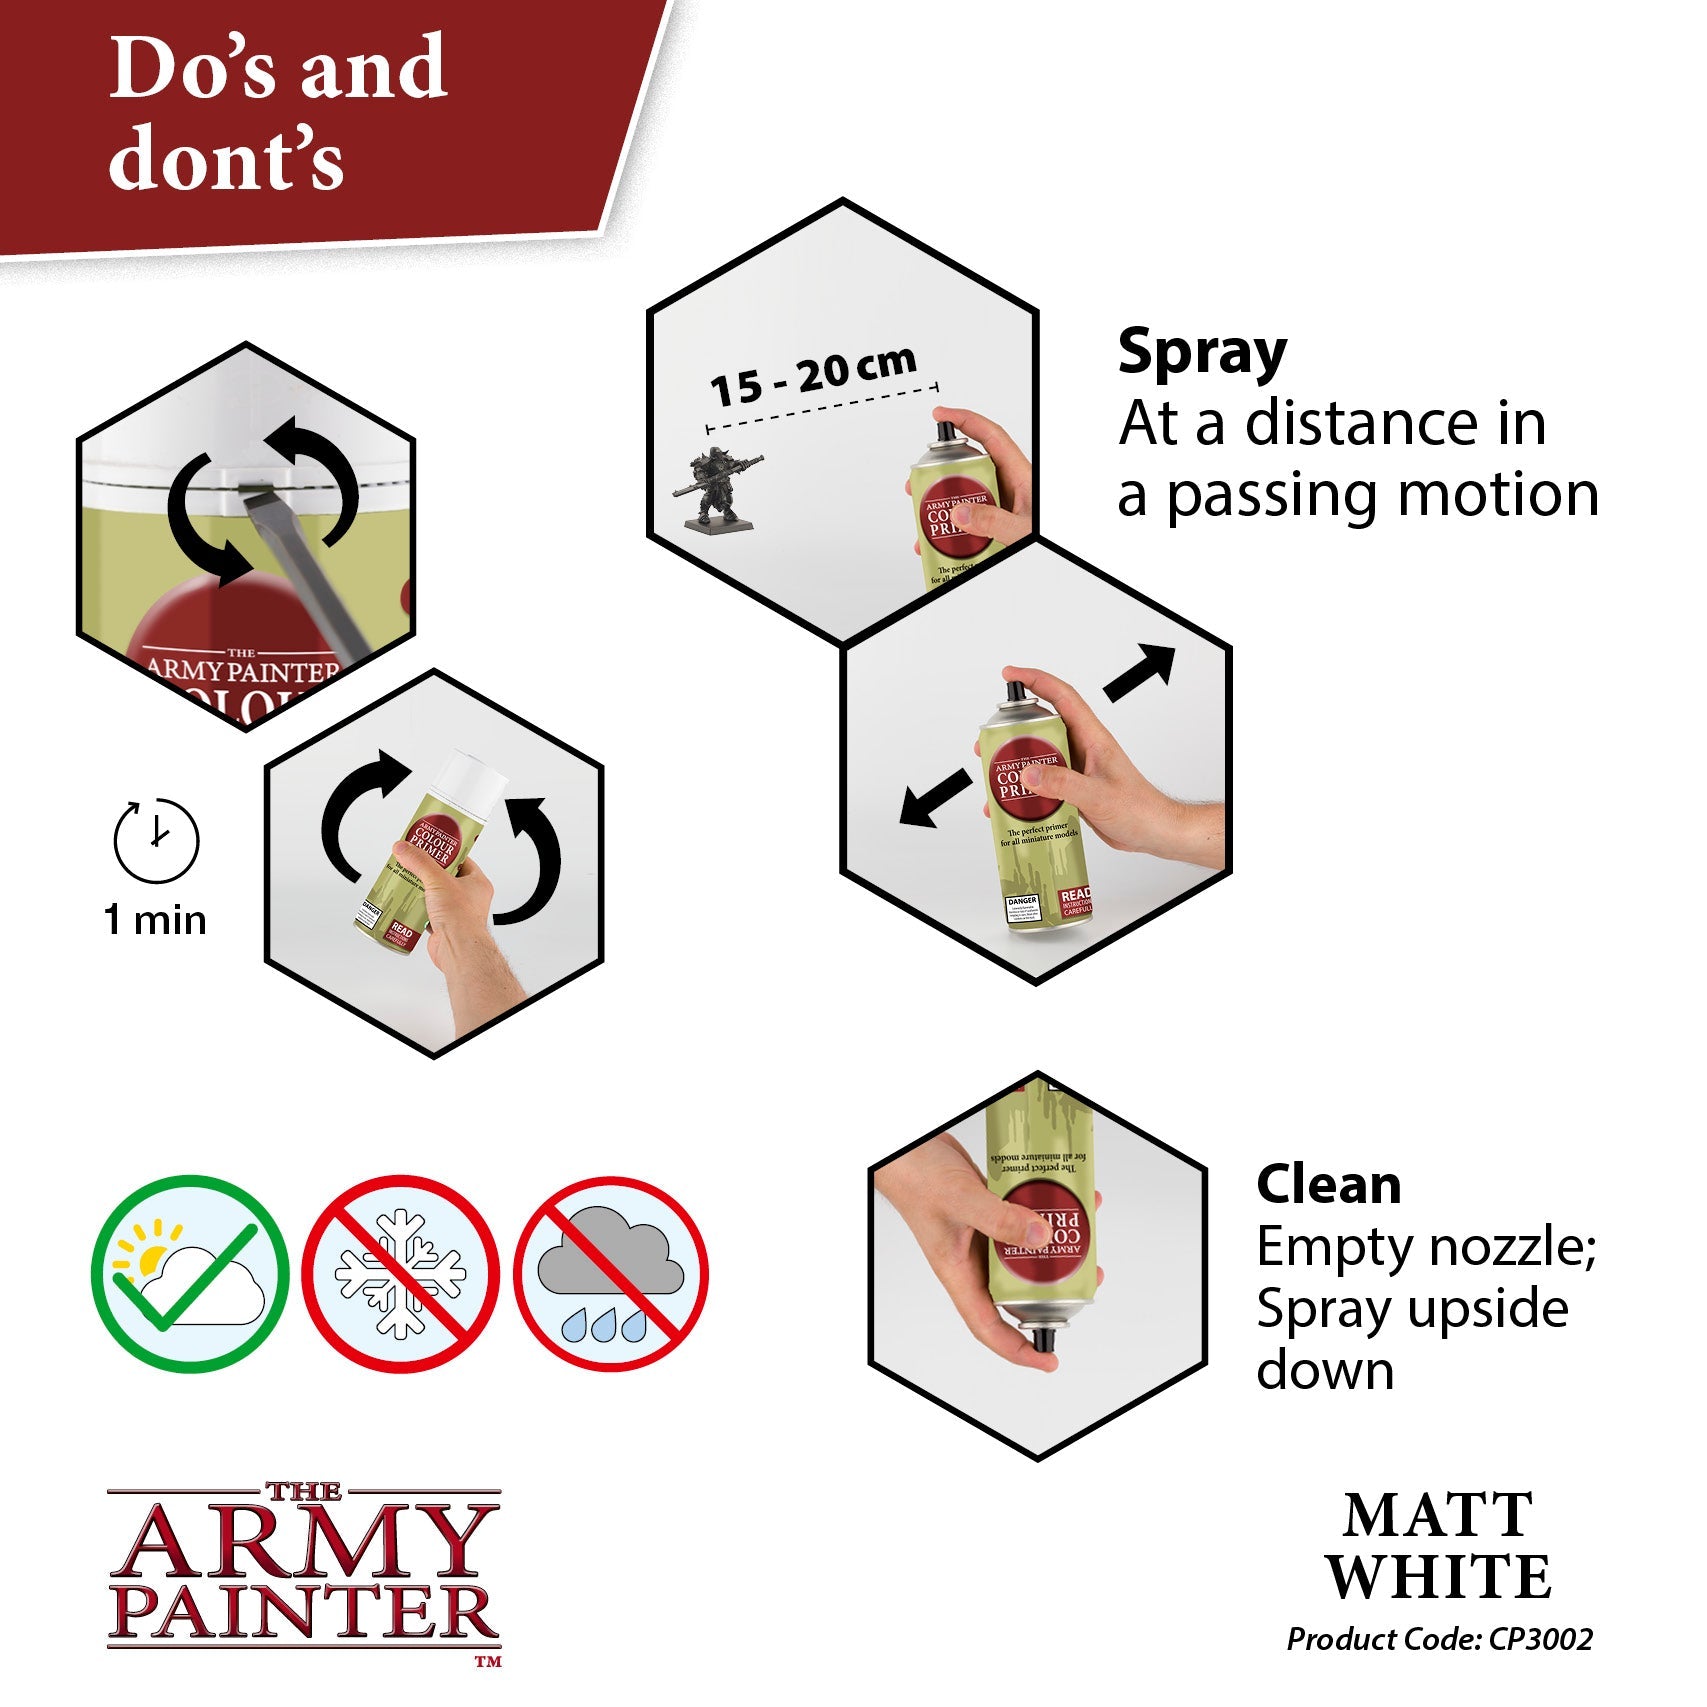
Prime with the lightest colour
The next step is to spray a lighter-coloured primer from above, at an angle akin to the direction of natural light. Here, we’ve used the Matt White Colour Primer. This will leave the recesses and underside of the miniature black. You could also do this step with Warpaints Air through an airbrush.
Apply the lighter primer sparingly. You want to highlight the raised areas while keeping the recesses dark. It’s better to apply several light layers than one heavy layer to ensure a smooth gradient from light to dark.
Apply colours
While we’re technically done with the zenithal priming part now, we have one step left in our guide: painting the miniature.
To get the most out of your zenithal priming, follow the highlights and shadows created by the zenithal priming. Use thin layers of paint to preserve the zenithal highlights underneath.
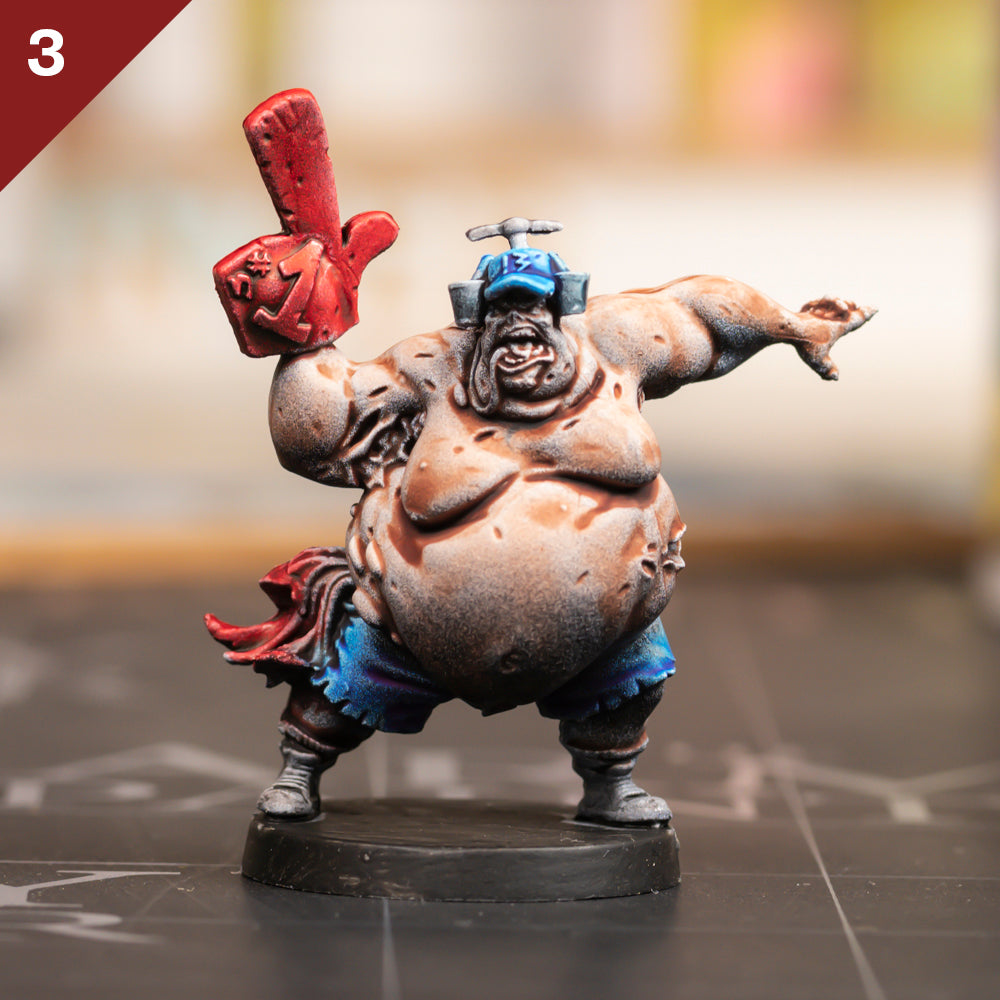
This can be painted with Speedpaint to maximise the zenithal highlight’s effect as seen to the right, or it works equally as well with Warpaints Fanatic as a guide on where to place your acrylic paints.
Prime with the darkest colour
Start by priming your miniatures with the darkest primer and let it dry completely. Here, we’ve used the Matt Black Colour Primer.
This first layer is the shadow layer and is essential for creating the contrast in your zenithal priming. Make sure to get coverage into all the recesses and underneath areas of the miniature.
If you’re unsure of how to use a Primer, check out our step-by-step guide: “How to use a Colour Primer”.
Prime with the lightest colour
The next step is to spray a lighter-coloured primer from above, at an angle akin to the direction of natural light. Here, we’ve used the Matt White Colour Primer. This will leave the recesses and underside of the miniature black. You could also do this step with Warpaints Air through an airbrush.
Apply the lighter primer sparingly. You want to highlight the raised areas while keeping the recesses dark. It’s better to apply several light layers than one heavy layer to ensure a smooth gradient from light to dark.
Apply colours
While we’re technically done with the zenithal priming part now, we have one step left in our guide: painting the miniature.
To get the most out of your zenithal priming, follow the highlights and shadows created by the zenithal priming. Use thin layers of paint to preserve the zenithal highlights underneath.
This can be painted with Speedpaint to maximise the zenithal highlight’s effect as seen to the right, or it works equally as well with Warpaints Fanatic as a guide on where to place your acrylic paints.
CAN YOU DO ZENITHAL PRIMING WITH OTHER COLOURS?
As in the example above, where we’ve used the Matt Black and Matt White Colour Primers, black and white are common choices for zenithal priming.
But this doesn’t mean you can’t experiment with other colours from our Colour Primer range. As different colours give different effects, your imagination sets the boundaries. Many of our Colour Primers also have close colour matches within our Warpaints Fanatic range as well, making it easy to clean up and enhance your zenithal primed model afterwards. Below, you can see examples of zenithal priming with other colours.
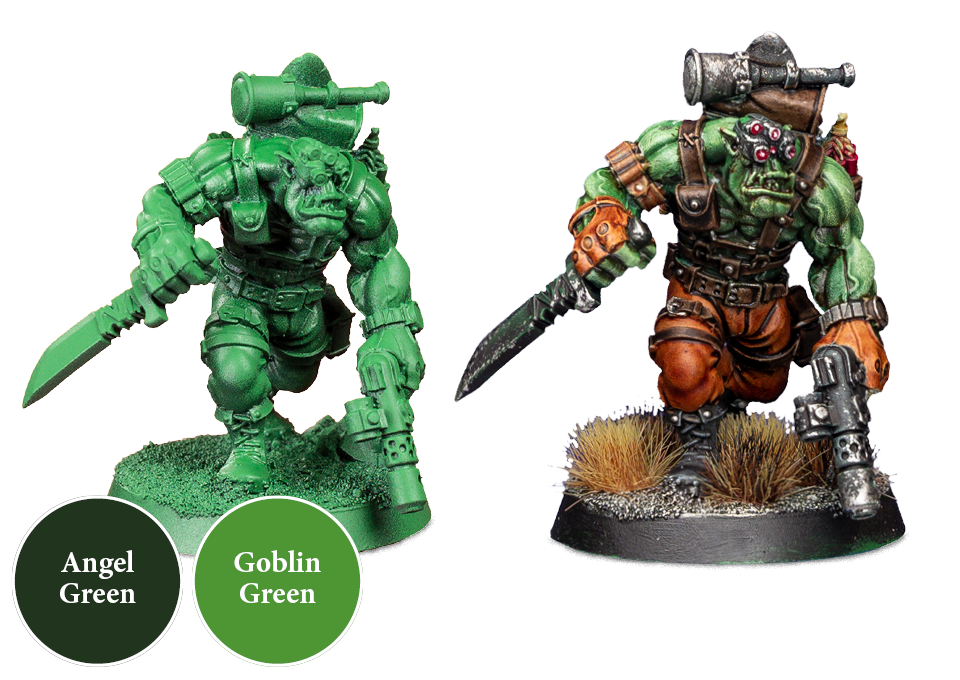
Here, we’ve combined the idea with our principle of letting the Colour Primers do as much work for you as possible. The orc has been primed with Angel Green Colour Primer and Goblin Green from above to get the same effect and accomplish the first basecoat in the same step.
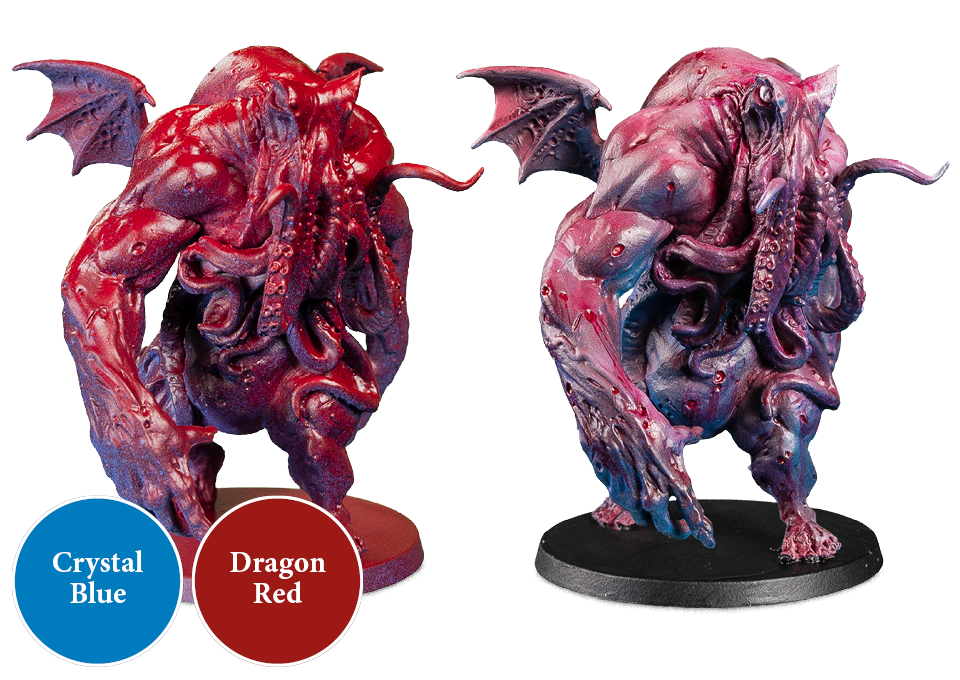
You can also combine contrasting colours to get unique effects!
This monster was primed with Crystal Blue and given a Dragon Red zenithal highlight. Leaving the shadows cool and giving a disgusting looking purple skin with lots of variation.
Ready to try zenithal priming?
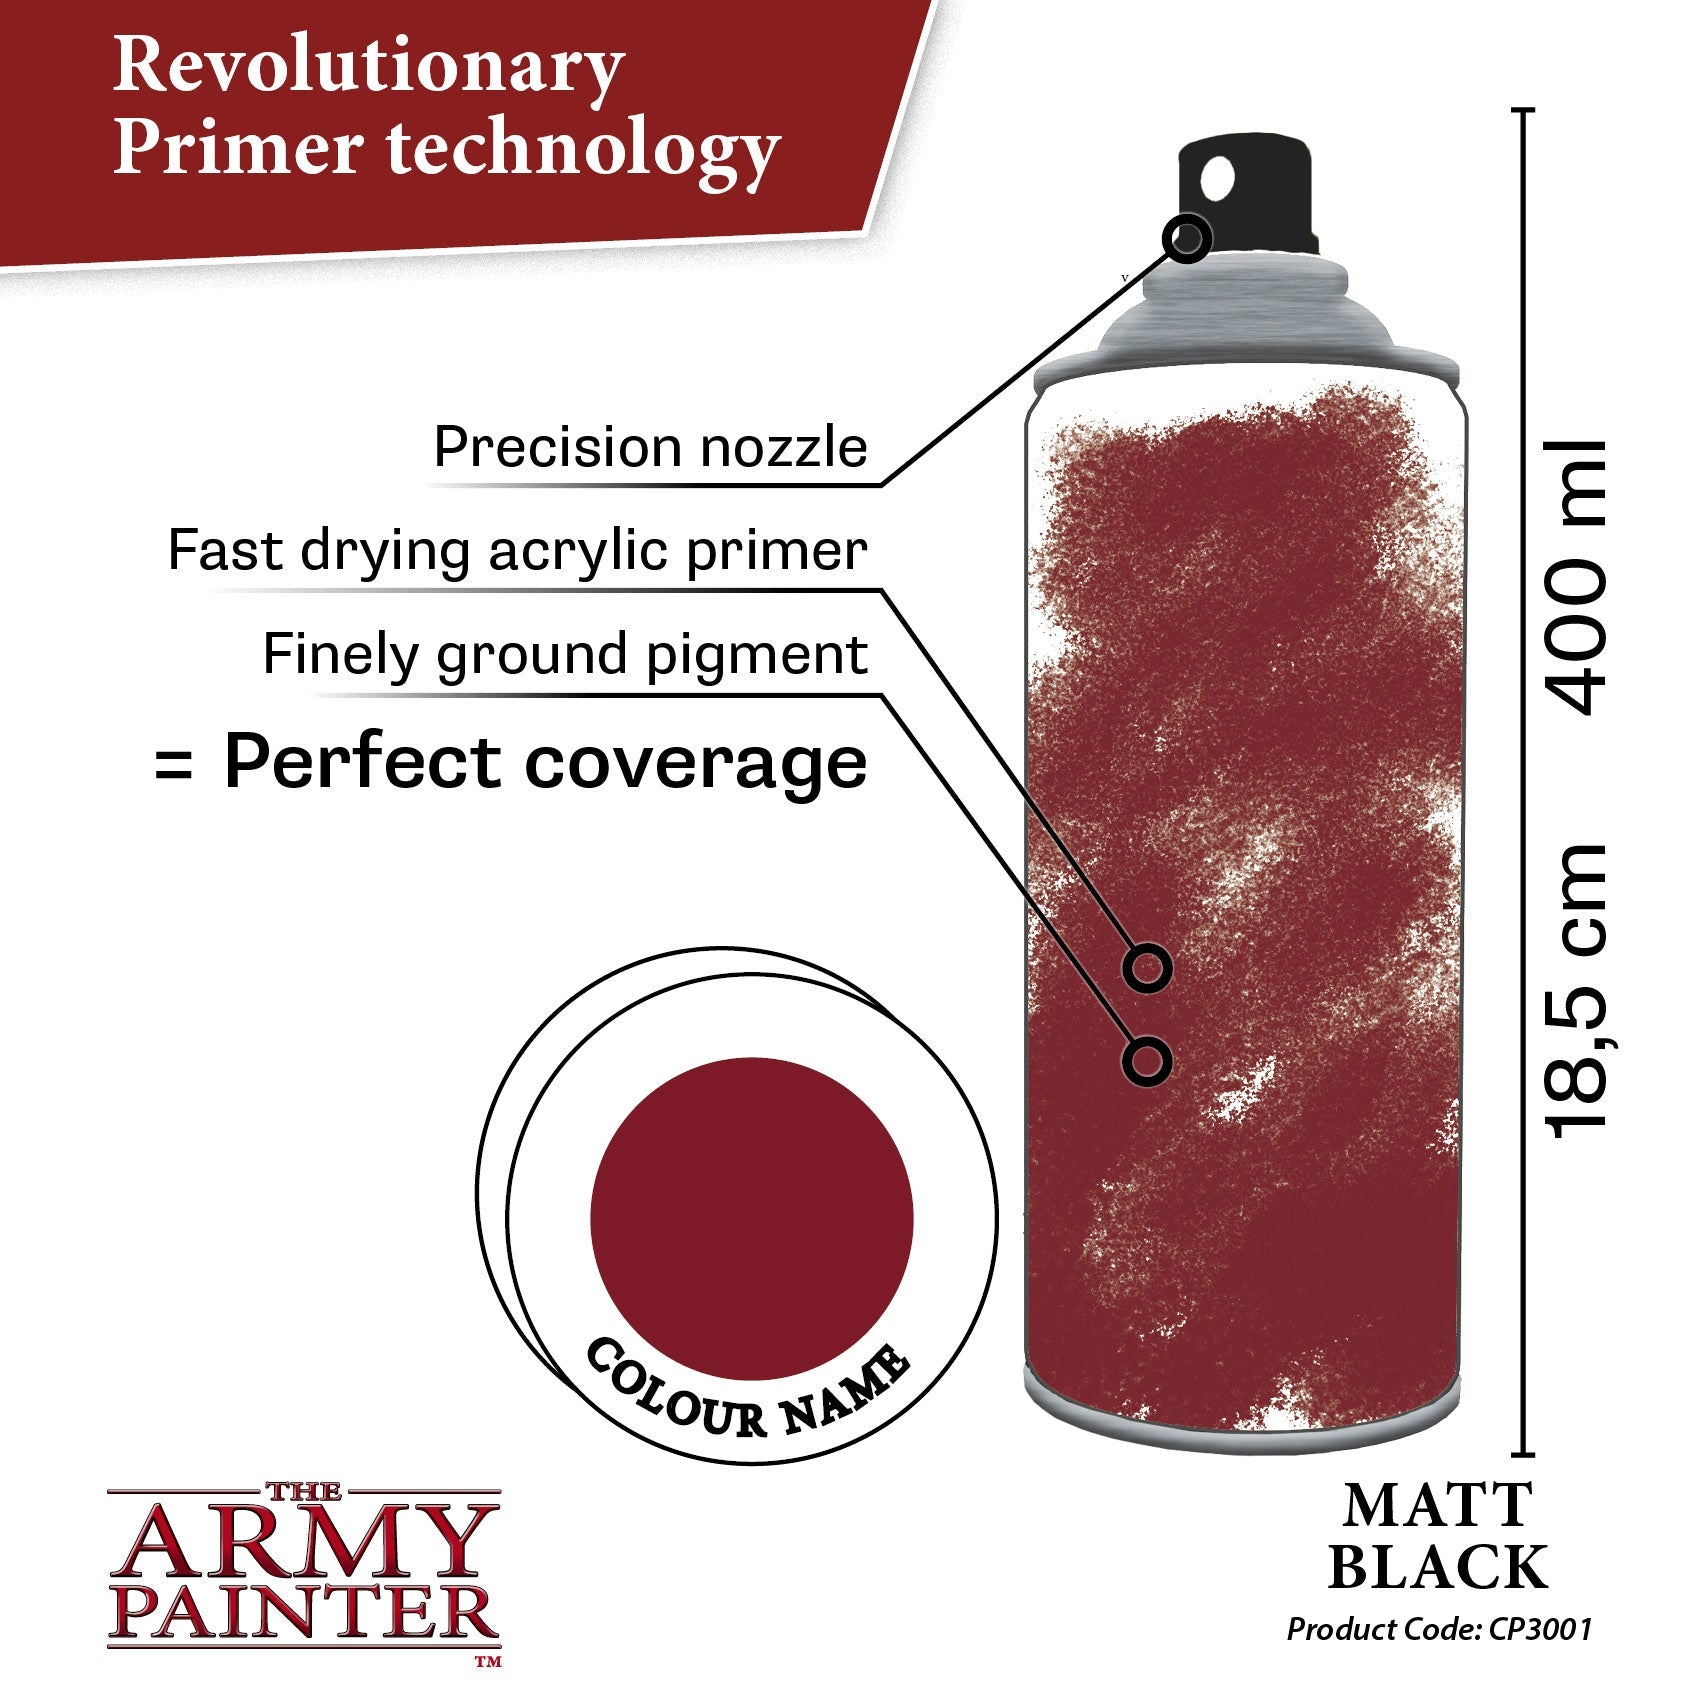
Quite simply the best Black Spray on the market.
- Saves time painting - Prime your model with your chosen base colour
- Precision nozzle and fast drying acrylic primer = Perfect coverage!
- 24 Colours, with a 100% matching Warpaint
- Leaves every detail on the miniature in excellent condition.
Share your creations with us on social media!
We’d love to see your painted miniatures. Share your creations with us by tagging us on social media or using the #thearmypainter hashtag.