


Prime your miniature in 6 easy steps
Why you should always prime your miniature
Priming is the essential first step you take before painting your miniature.
When you prime your model, the Primer provides a surface that paint can adhere to more effectively than plastic, resin, or metal. Paint may not stick well without a primer, leading to poor coverage and flaking or chipping over time. The Primer also creates a uniform surface over the miniature, covering any imperfections or variations in the material. This uniformity ensures that the paint applies evenly across different areas of the miniature.
Overall, priming is an essential step for achieving a high-quality and long-lasting finish. It prepares the surface for painting, enhances the paint job’s durability, and ensures that the fine details of the miniature are preserved and accentuated.
And Colour Primers from The Army Painter are the best and easiest ways to prime your models. Not only is The Army Painter’s Colour Primers a unique combination of primer and colour, but the range of colours you can choose from is also vast.
In this guide, we’ll show you – step by step – how to prime your miniature and get it ready for paint!
6 Steps to colour prime your miniature
Before we get our proverbial hands dirty with priming, there is one thing we must cover first: where to prime.
Always prime outdoors when possible
While it is possible to prime your miniature models inside, we recommend that you always prime outdoors! Find a spot that isn’t too windy and avoid priming your miniatures under difficult conditions, i.e., too cold, too wet, or too hot, to avoid any issues with the finish.
If you do prime your mini indoors, always do so in a well-ventilated area. Primers can produce fumes, so if you work indoors, open windows and use a fan to help circulate fresh air. Also, wear a mask to avoid inhaling fumes and gloves to protect your hands. Find a cardboard box and use it to protect the area around you from overspray.
Step 1: Prepare your miniatures

Before you prime your miniatures, make sure they are clean and remove any dust, oils, or mold release agents. If necessary, wash the miniature with warm, soapy water and let it dry completely. This ensures that the primer adheres well.
Mount the miniatures on a piece of cardboard or wood with either white tack or spraying a bit of primer on the surface and attach the miniatures onto the stick before the paint dries. This is very easy and fast.
By mounting your miniatures on a piece of cardboard or wood, you can easily rotate it and access all angles of the miniature. It will also keep your hands clean and prevent smudging or fingerprints on your miniature.
Step 2: Open the Primer’s Lid

The Colour Primer comes in two versions – the only difference is the lid’s design and how you open it.
The “old” version: When opening the Colour Primer’s lid for the first time, insert a flathead screwdriver into the slot on the lid to break the seal. Twist the screwdriver to lift the cap. Do not just tear it open, as you risk damaging the nozzle inside the lid.
The “new” version: Carefully remove the plastic tab with a set of pliers or with your hands. Using your thumb, gently push the lid and it will pop right off.
Step 3: Shake the Primer and Do a Test Spray

Give the primer a good shake in a clockwise/counterclockwise motion for at least 1 minute. This helps to agitate the pigment with the priming agents, so the primer is well-mixed. This prevents uneven coverage or a rough finish. A dull rattle sound means the primer isn’t mixed well enough. Give the can another good shake.
Before priming your miniature, always spray on a test model first. This gives you a feel for the spray pattern and flow and helps you determine if you’ve chosen the correct colour primer.
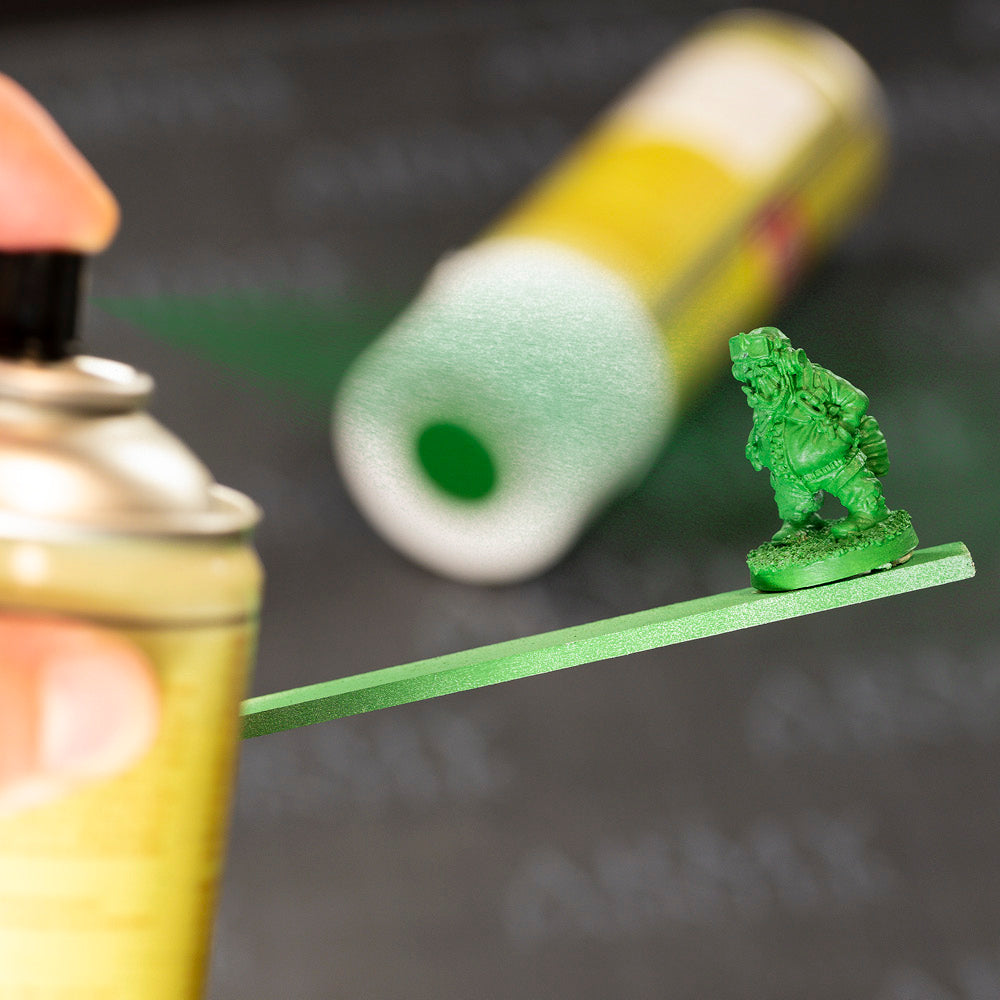
Step 4: Spray/Prime your mini

Hold the Colour Primer about 15-20 cm (6-8”) away from your miniature and apply the primer in short, controlled bursts, covering the model in a thin, even coat.
Move the spray at all times to avoid drowning the miniature in paint and obscuring the details.
Step 5: The Golden Rule of Priming: Thin to Win

Spray multiple thin coats in a constant passing motion, starting and stopping while pointing away from the miniature. This ensures a smooth, even layer of primer without obscuring the model’s detail. Because when it comes to primers, the golden rule is “thin to win”. Thick coats of primer can obscure the fine details of your miniature – the very details you’re trying to enhance.
So, be patient and avoid the temptation to spray away and apply one single, heavy coat, as this will lead to a thick, uneven finish.
After applying the primer, it’s important to let it dry thoroughly before painting to ensure proper adhesion and prevent the paint from peeling or chipping later. Drying times can vary depending on the temperature and humidity. Generally, it’s best to wait at least a few hours or overnight for the primer to dry completely. You can use a hair blow-dryer set to the lowest heat setting to speed up the drying process.
After the primer is dry, inspect your work and check the miniature for coverage. Look for any areas that may have been missed or need more primer. Apply additional primer as needed.
Step 6: Empty and store your primer properly

When you are done priming your model, it’s important to clear the nozzle of any remaining primer. Doing so helps prevent the nozzle from clogging and ensures smooth spraying the next time you use the primer.
To empty the nozzle from any remaining primer, turn the can upside down after use and activate the nozzle until pigments stop spraying from it. Store the Primer at room temperature and away from direct sunlight when not in use.
What are the optimal weather conditions for/when priming?
We previously mentioned that you should avoid priming your miniatures under difficult conditions as they can affect the end result. But the question is: what are “difficult conditions”?
When you know how different weather conditions may affect the priming job, it’s possible to adapt to it. If you’re unable to create a suitable outdoor environment, consider using a Brush-On Primer or setting up a spray booth indoors with adequate ventilation.
You’re Now Ready To Paint!

By following these 6 easy steps, you can achieve a smooth, even layer on your miniature. The foundation and basecoat provided by the primer helps the paint adhere better and enhances the durability of your paint job. What’s not to like?
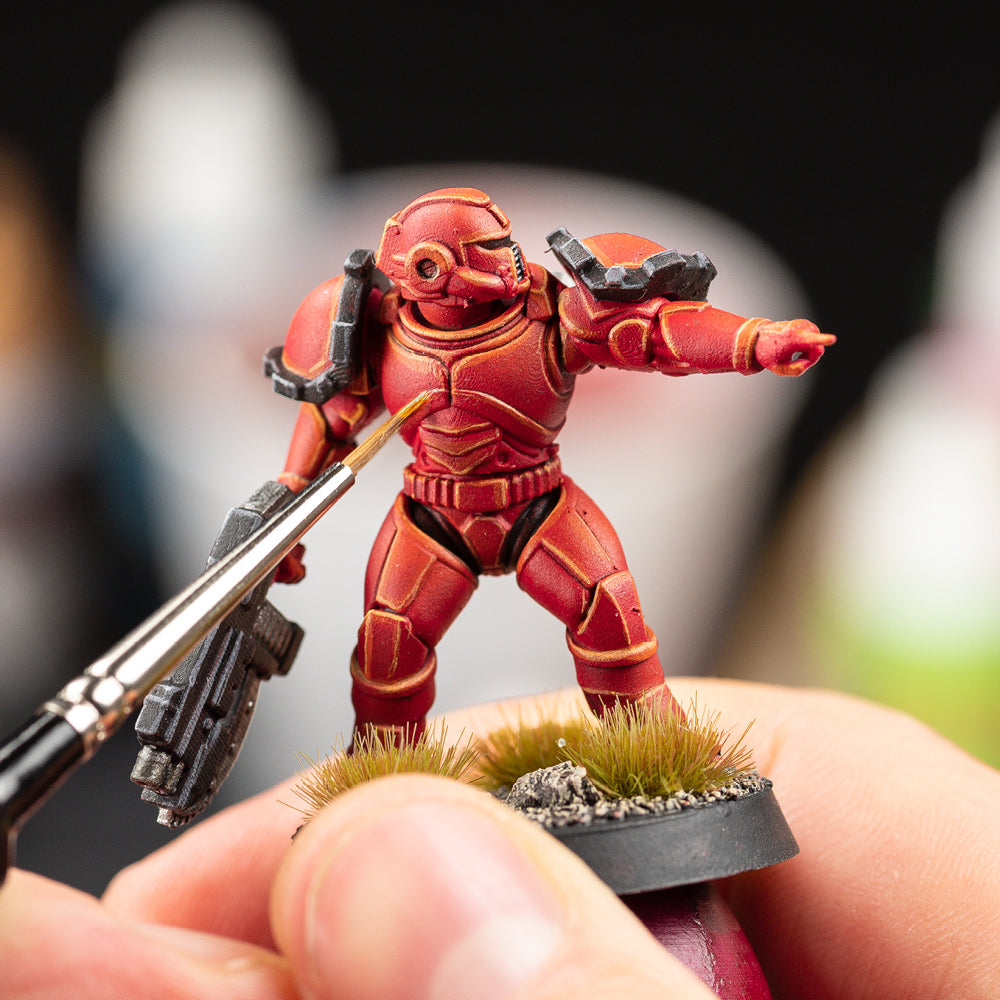
Your model is now ready to be painted with Warpaints Fanatic, Speedpaint, or airbrushed.
