


Next level highlighting
There are a ton of ways to take your army centrepieces to the next level. Simple tips and techniques to make your miniatures stand out on the table and separate them from the rank-and-file.
In this article, we’ll show you how to expand on your repertoire and understanding of the subject, starting with Edge Highlighting. A simple technique that will yield great results on any hard surfaces.
Catch the light

When light hits a hard edge, it will generally create a much brighter highlight than larger surfaces. You can use this principal to make an informed decision on where you need to place your highlights, and this is where edge highlights come in handy.
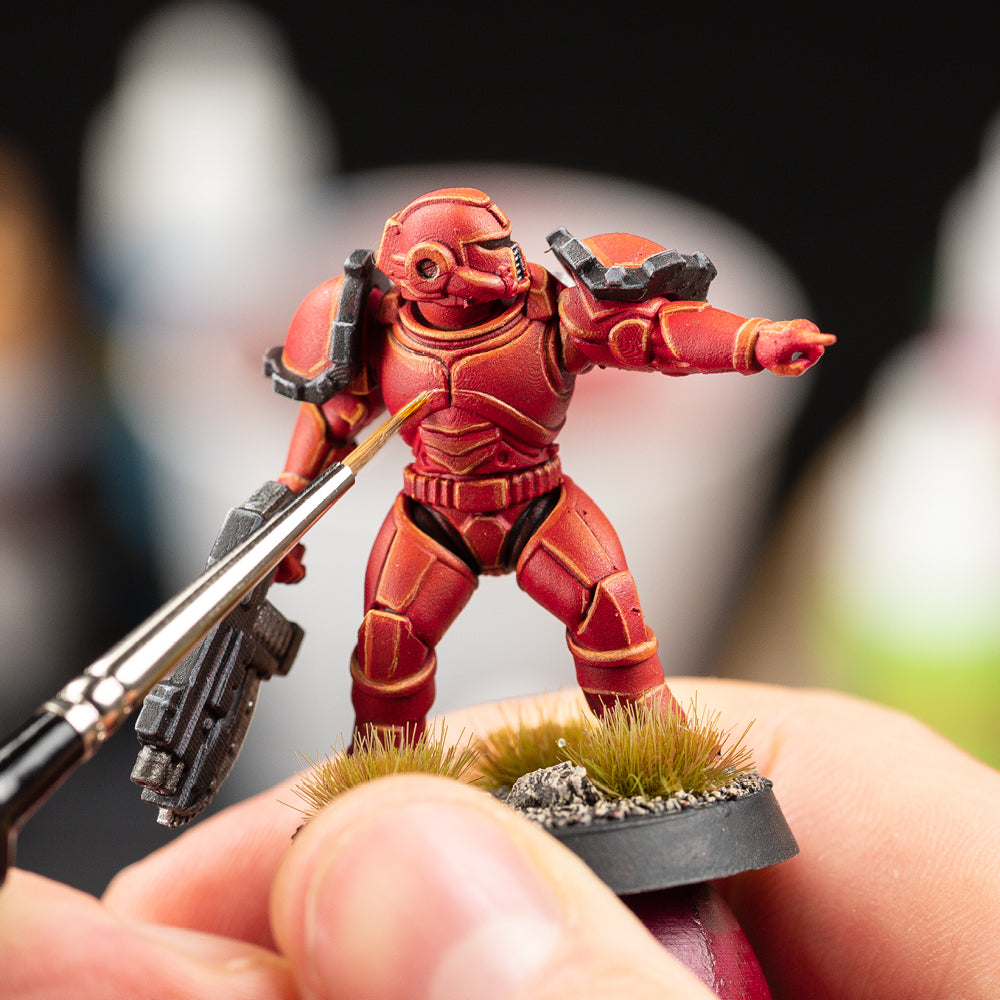
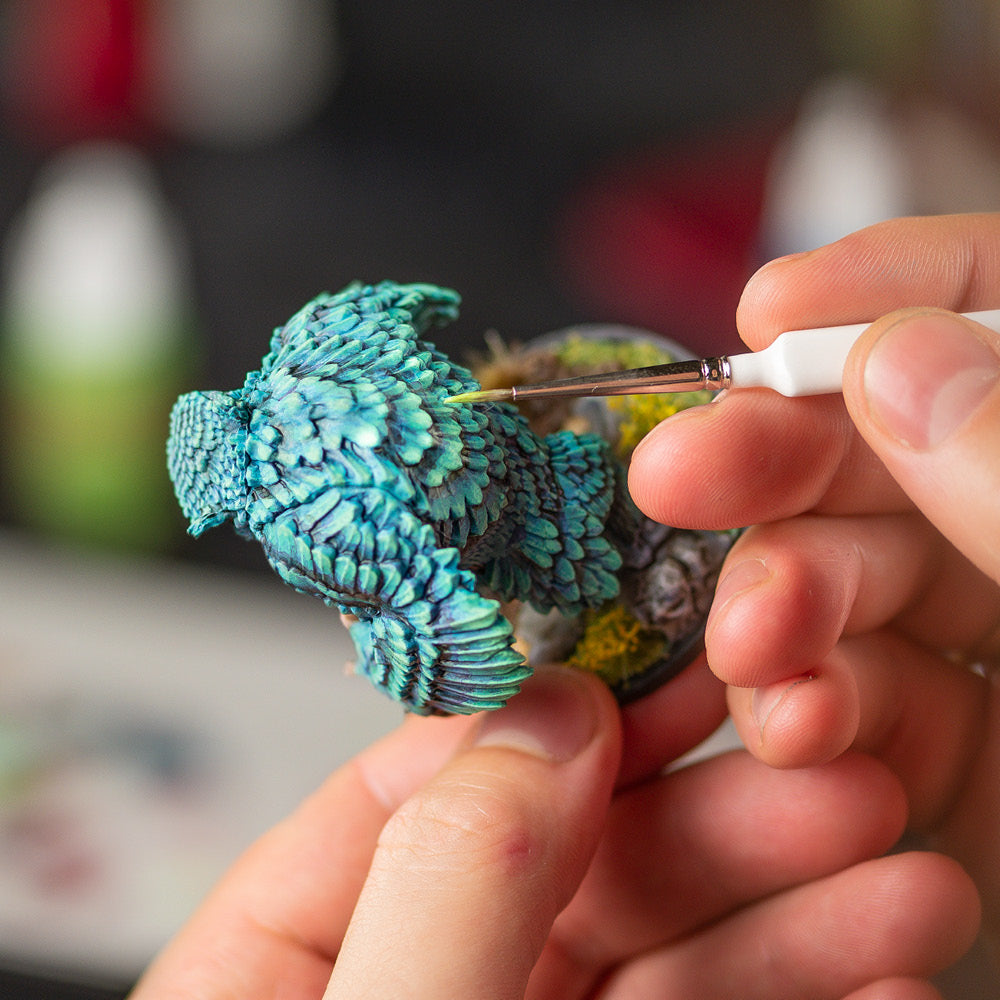
By applying a bright highlight along raised edges, such as armour panels, weapons and draconic scales, you not only simulate the light hitting the object, but create separation between the elements that will make your miniatures much more readable for the eye.

By framing the face with Edge Highlights from the armour panels and helmet your eye will be drawn to the face. Here, a Y-shaped Edge Highlight defines the visor glass of the helmet to create a very powerful look.

Different materials catch the light differently. For example: cloth doesn’t reflect nearly as much light as the gems. Therefore, it will not have small bright highlights of pure Matt White, but will have much smoother transitions.

By using vibrant colours for your highlights, you can almost make it appear as though the radiates power.
How to edge highlight in 3 easy steps
Step 1: Get the right consistency paint

Add a drop of water to your Warpaints. You want a slightly thinner consistency when painting most highlights and this is no different with edge highlights.
Step 2: Use the side of the bristles

The key to precise edge highlights is using the side of the bristles to hit the edges. Make sure your brush is not too loaded with paint when you do this.
Step 3: Use the light source to edge highlight

You don’t need to highlight every edge on your miniatures, just the edges facing your light source. This will both save you time and look more realistic.