


Highlighting like a Pro

Highlighting is where a model can really come to life. This is where you paint a lighter colour onto raised areas on the miniature.
When it comes to army painting, this technique is mostly used on character models or centre pieces. Two highlights on a model that’s been shaded with a Wash or Quickshade Dip make for a very dramatic effect.
Highlighting is an advanced technique that requires time to master but it is a very rewarding process once you do. As fun as it is – highlighting can be very time consuming.
Drybrushing in 3 easy steps

Drybrushing is an easy technique that will give you great highlighting results, fast. Finishing a large army project gets quite a bit easier if you only add a drybrush step for the highlights.
There are of course areas where this technique will give you better results than others. Miniatures with a lot of texture like fur, chainmail, stone, rubble, and such will always prefer a drybrush to any other technique.
Step 1: Load the brush with paint

Make sure you load the bristles with paint, not just the tips.
Step 2: Remove excess paint

Remove excess paint on a paper towel, leaving only the pigment on the bristles.
Step 3: Apply it to the miniature

Gently flick the bristles on the raised surfaces only picking out the edge details.
Examples of drybrushing

Fur is a great example of an area of a model that is perfect for drybrushing.

Likewise, metal, especially chainmail and mechs with lots of edges can benefit greatly from this technique.
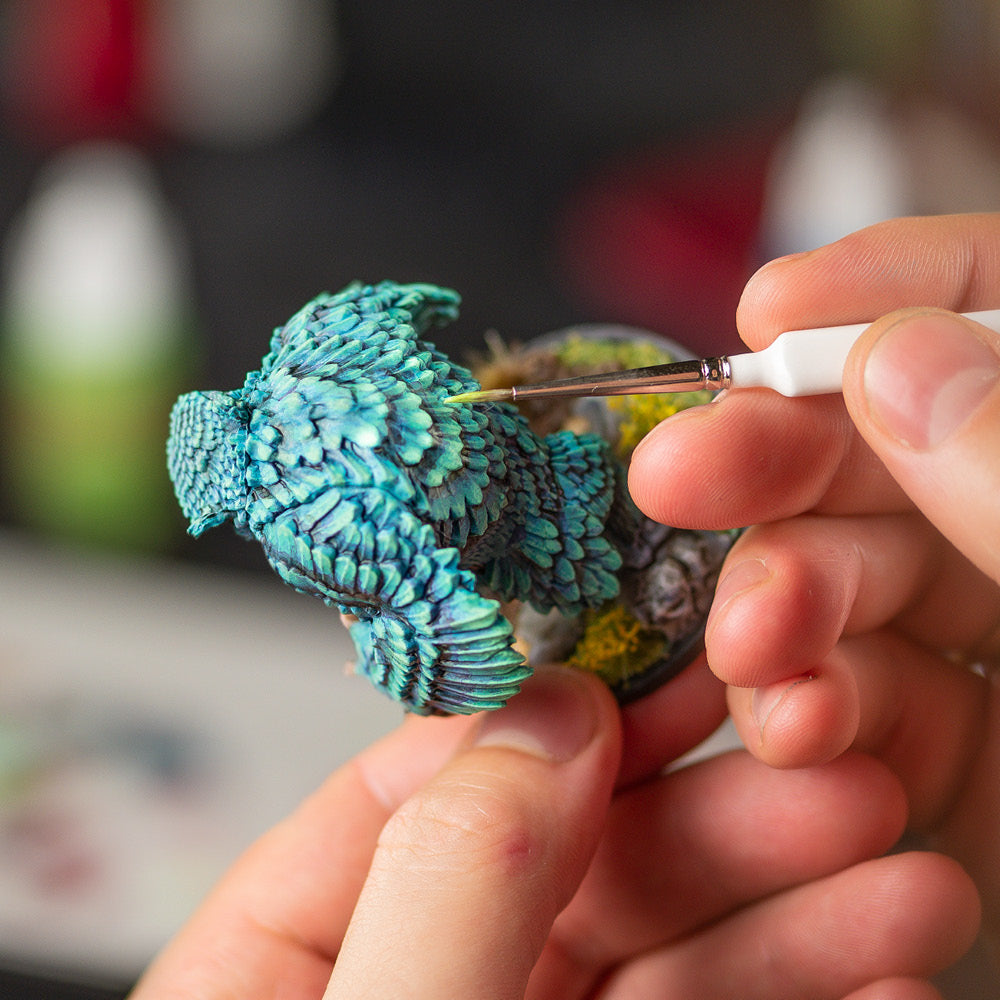
How to layer highlight in 4 steps
Step 1: Focus on raised areas

Start by painting Snake Scales on all the raised areas of the skin.
Step 2: Highlights on smallest details

Use Kraken Skin to build up an even brighter highlight on the smallest details, hitting only the most prominent features.
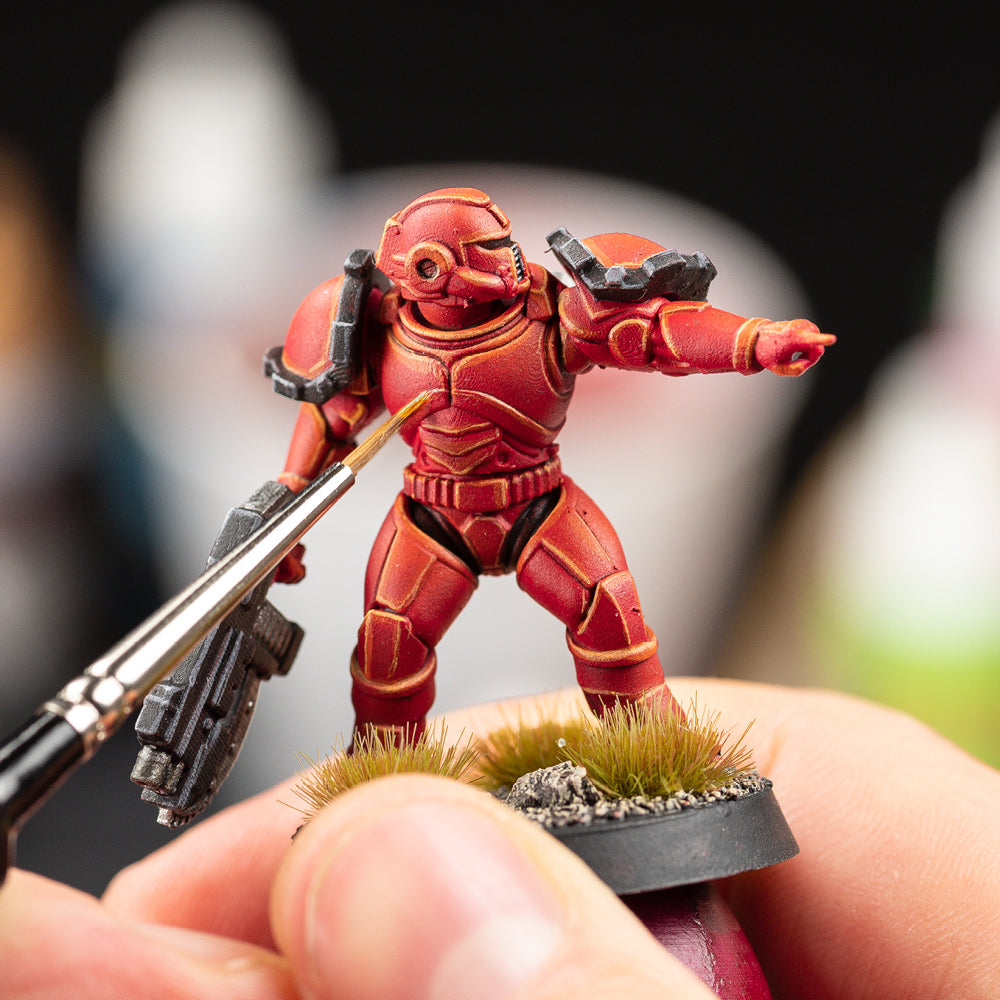
Step 3: Adding scatches

Drag the brush along the edge of the yellow armour with some Brainmatter Beige to add some scratches.
Step 4: Repeat process with another colour

The metal is highlighted the same way as the armour, but with Shining Silver as the highlight colour.

Now we are ready to finish the model with a base. If you want you can add even more highlights, this part of the painting process can take up as much time as you want. But generally we recommend focusing your time on a few key highlights.