


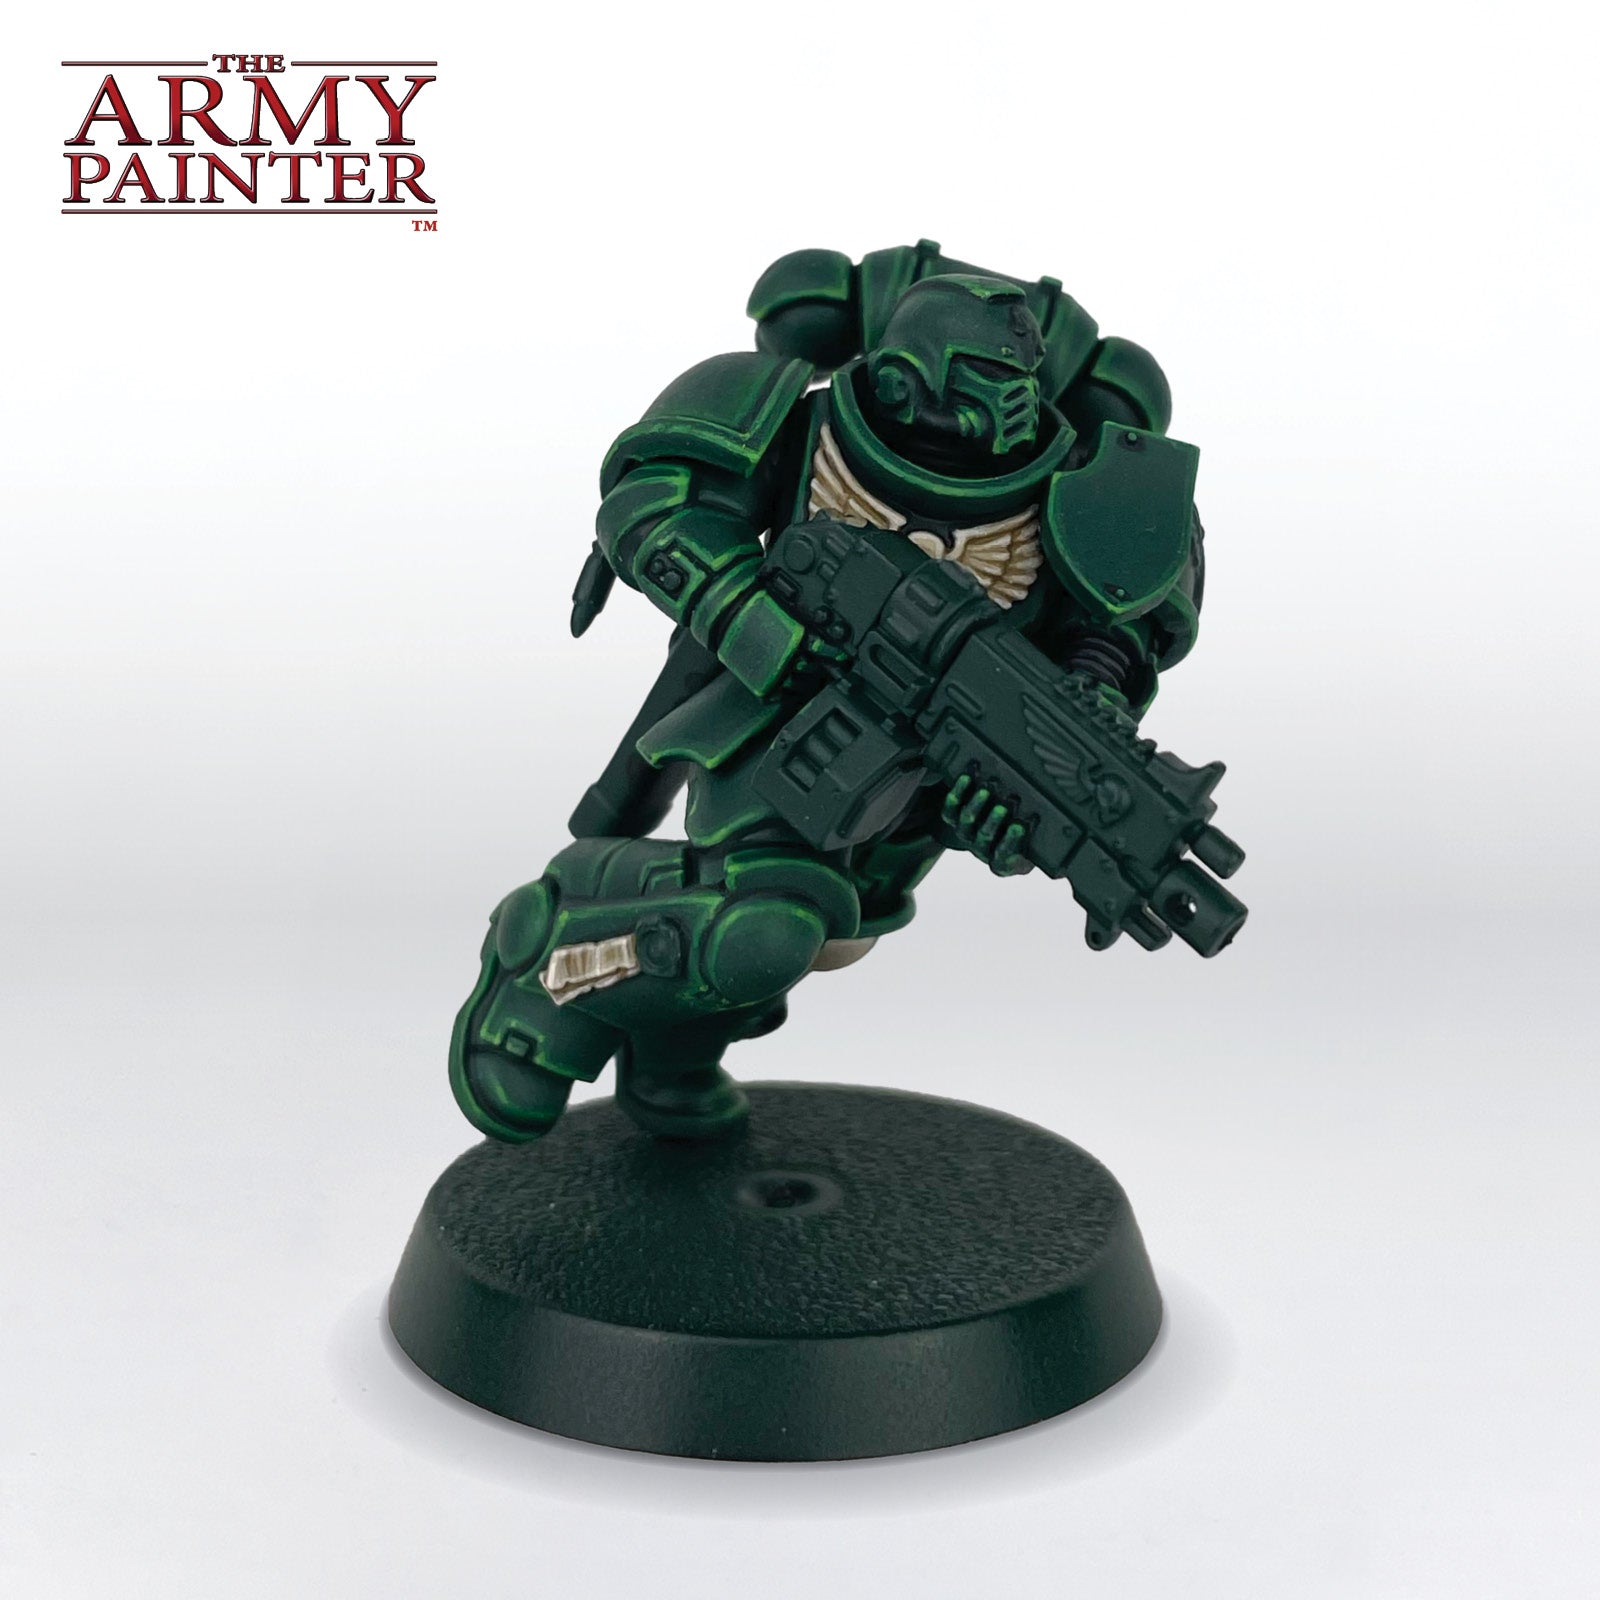
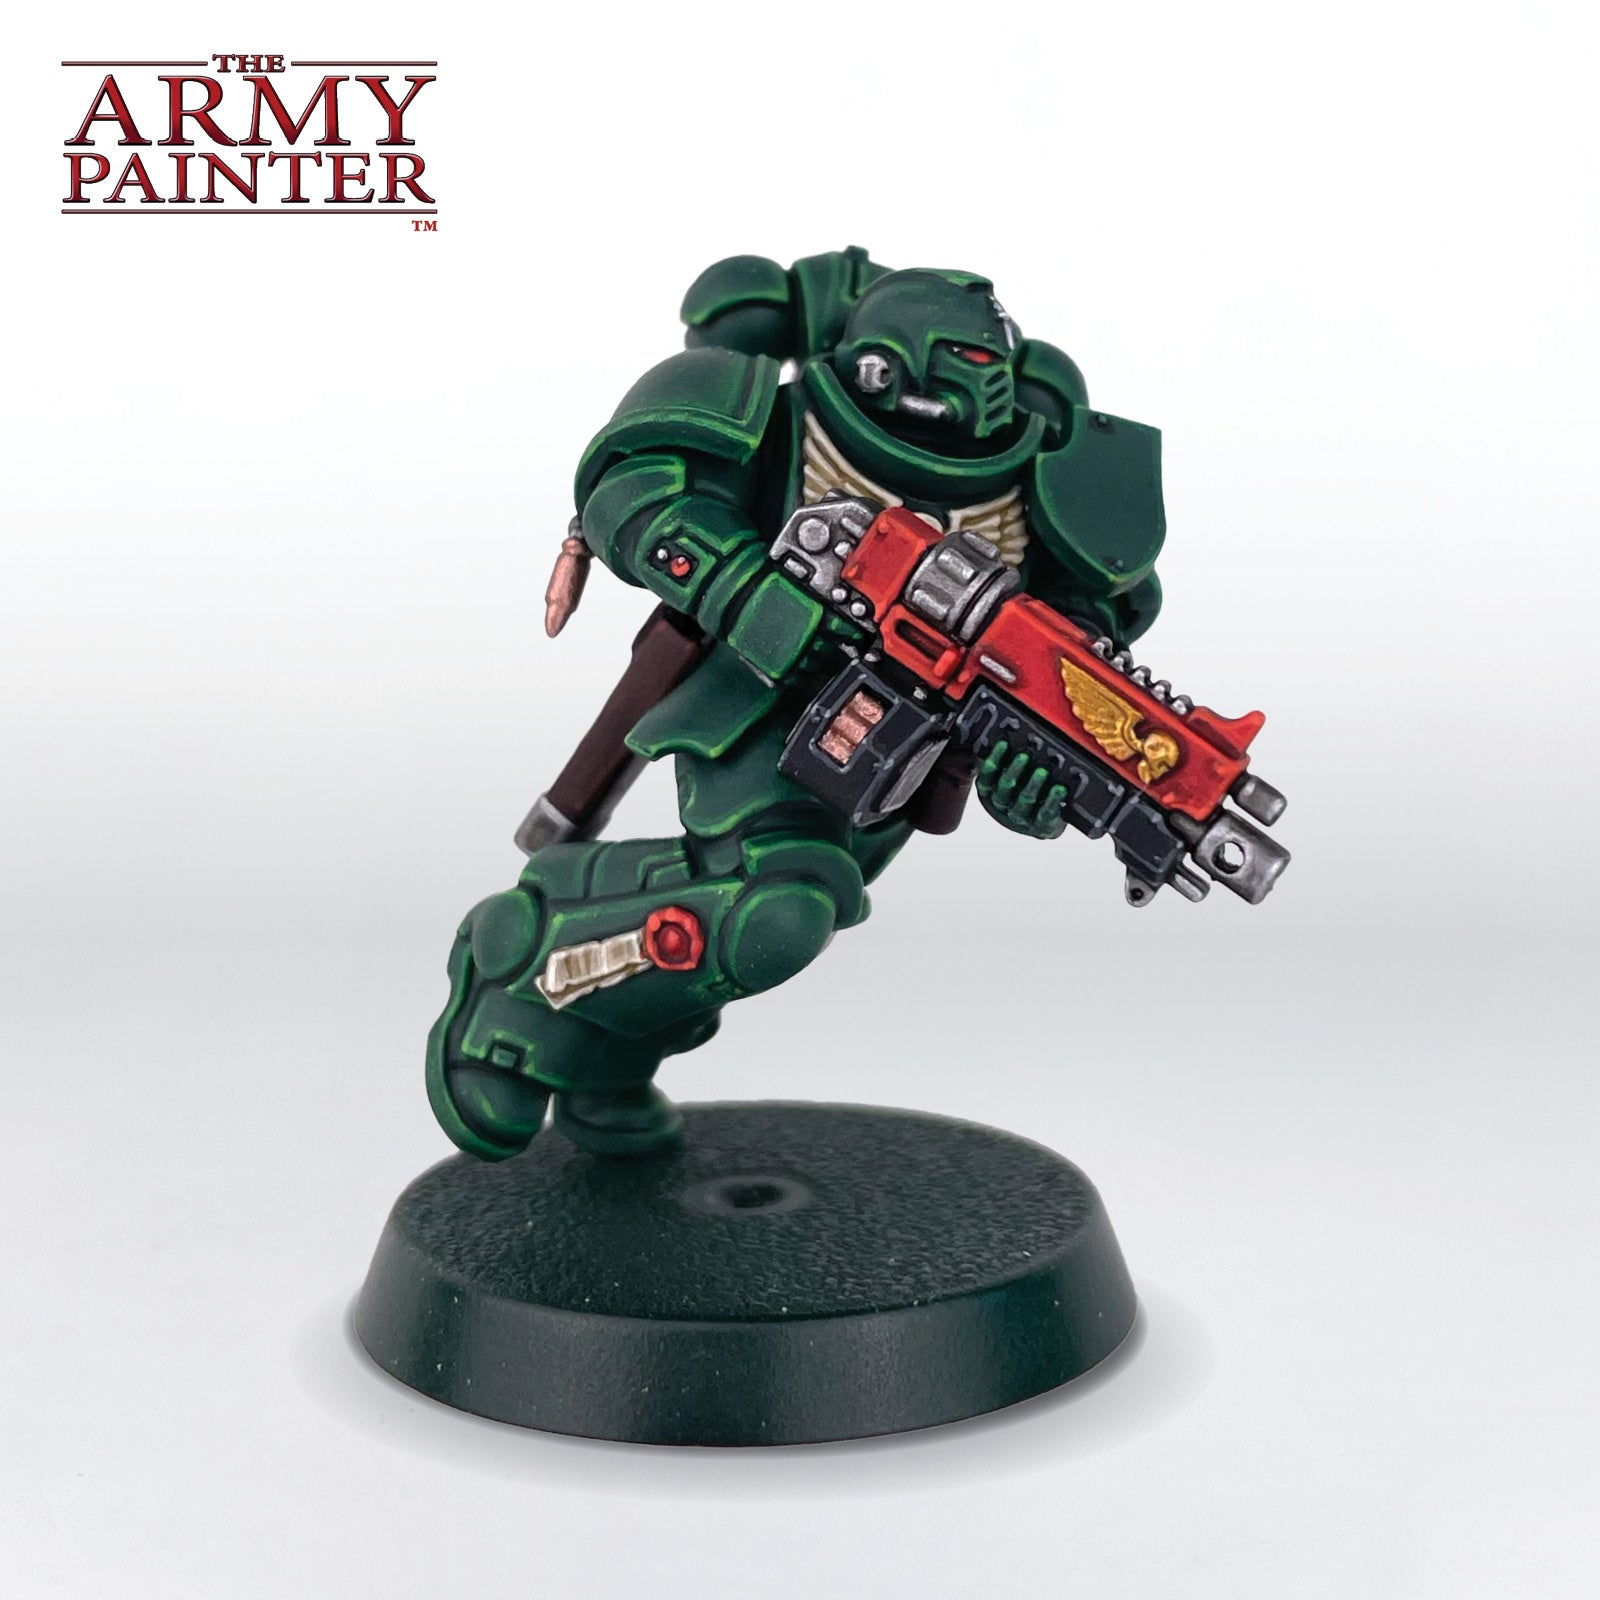
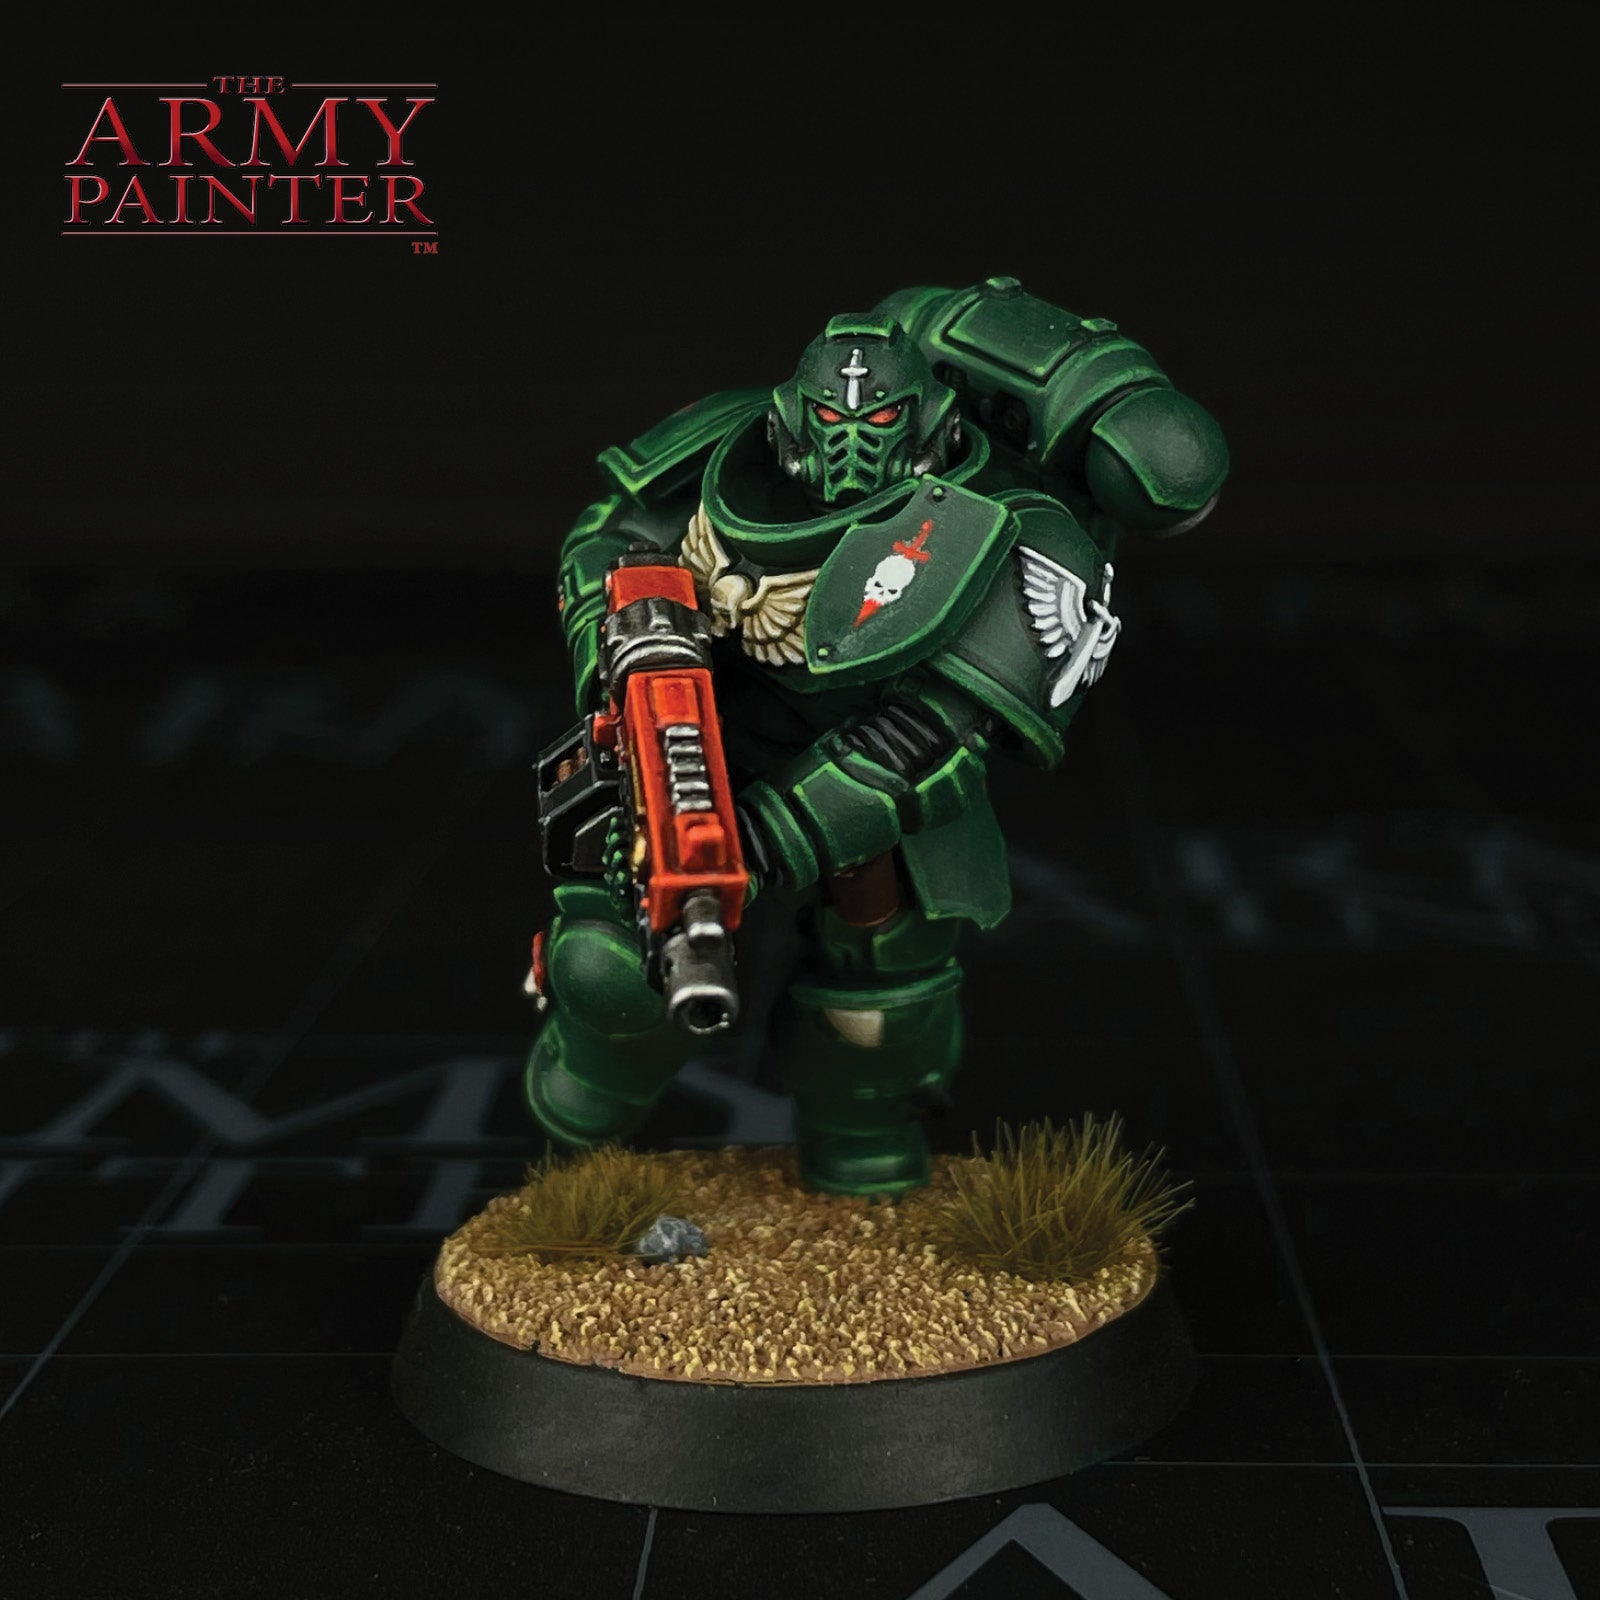
How to Paint a
Dark Angel Intercessor
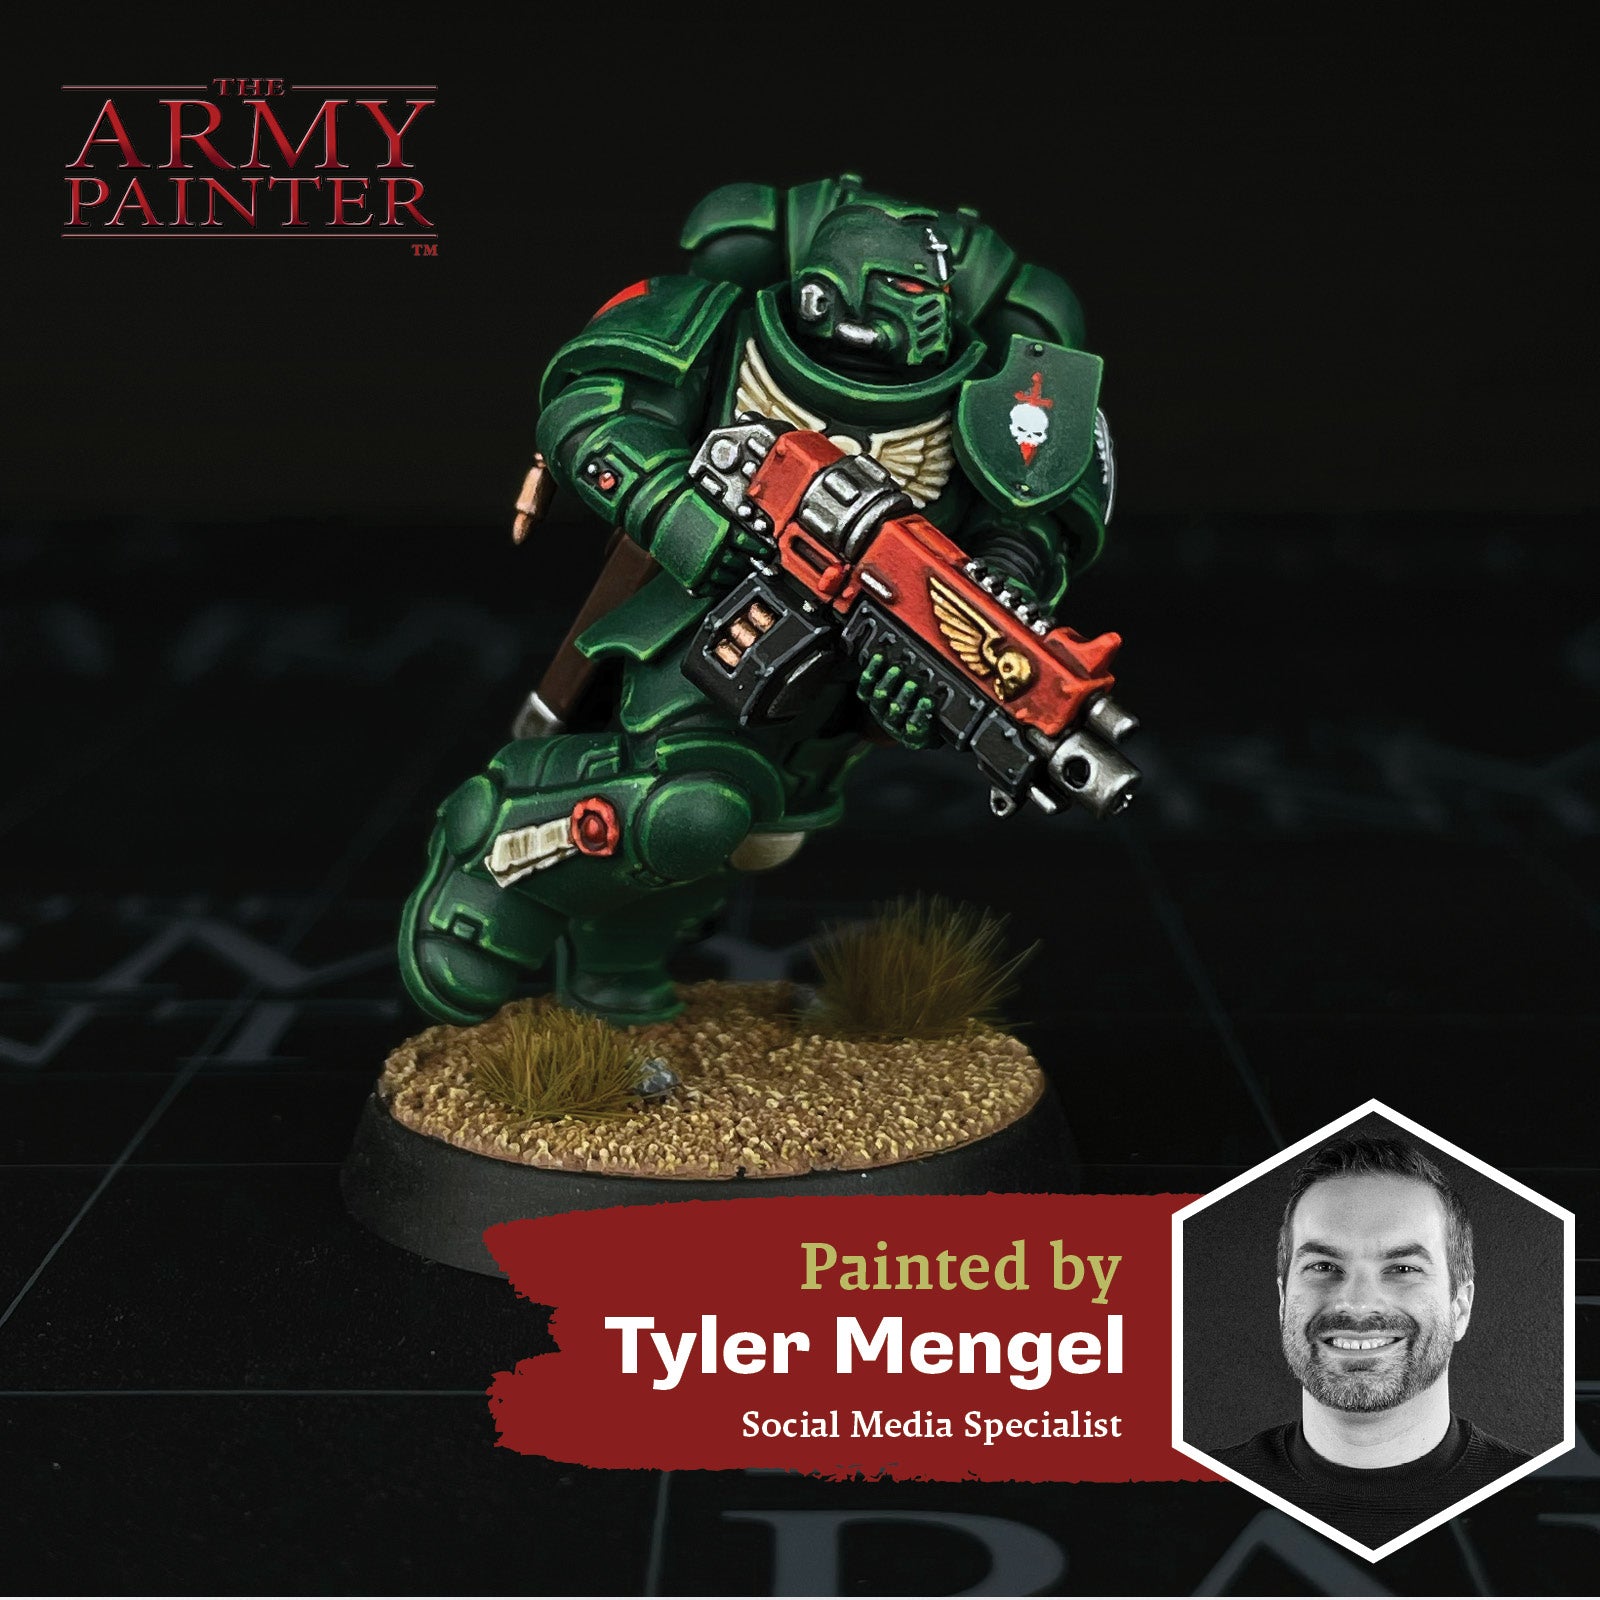
Welcome to the first installment of The Army Painter Academy, a series where we break down how we paint a miniature step-by-step, complete with pictures for every bit of paint applied along the way.
Straight from the mind of Mengel, Tyler Mengel that is, we kick things off with an indomitable son of The Lion - a Dark Angel Intercessor from Games Workshop's Warhammer 40,000. The ubiquitous Space Marine is a stalwart of many hobbyist's collections and a great place to practice the ancient art of edge highlighting - a technique sure to make your model pop on the tabletop.
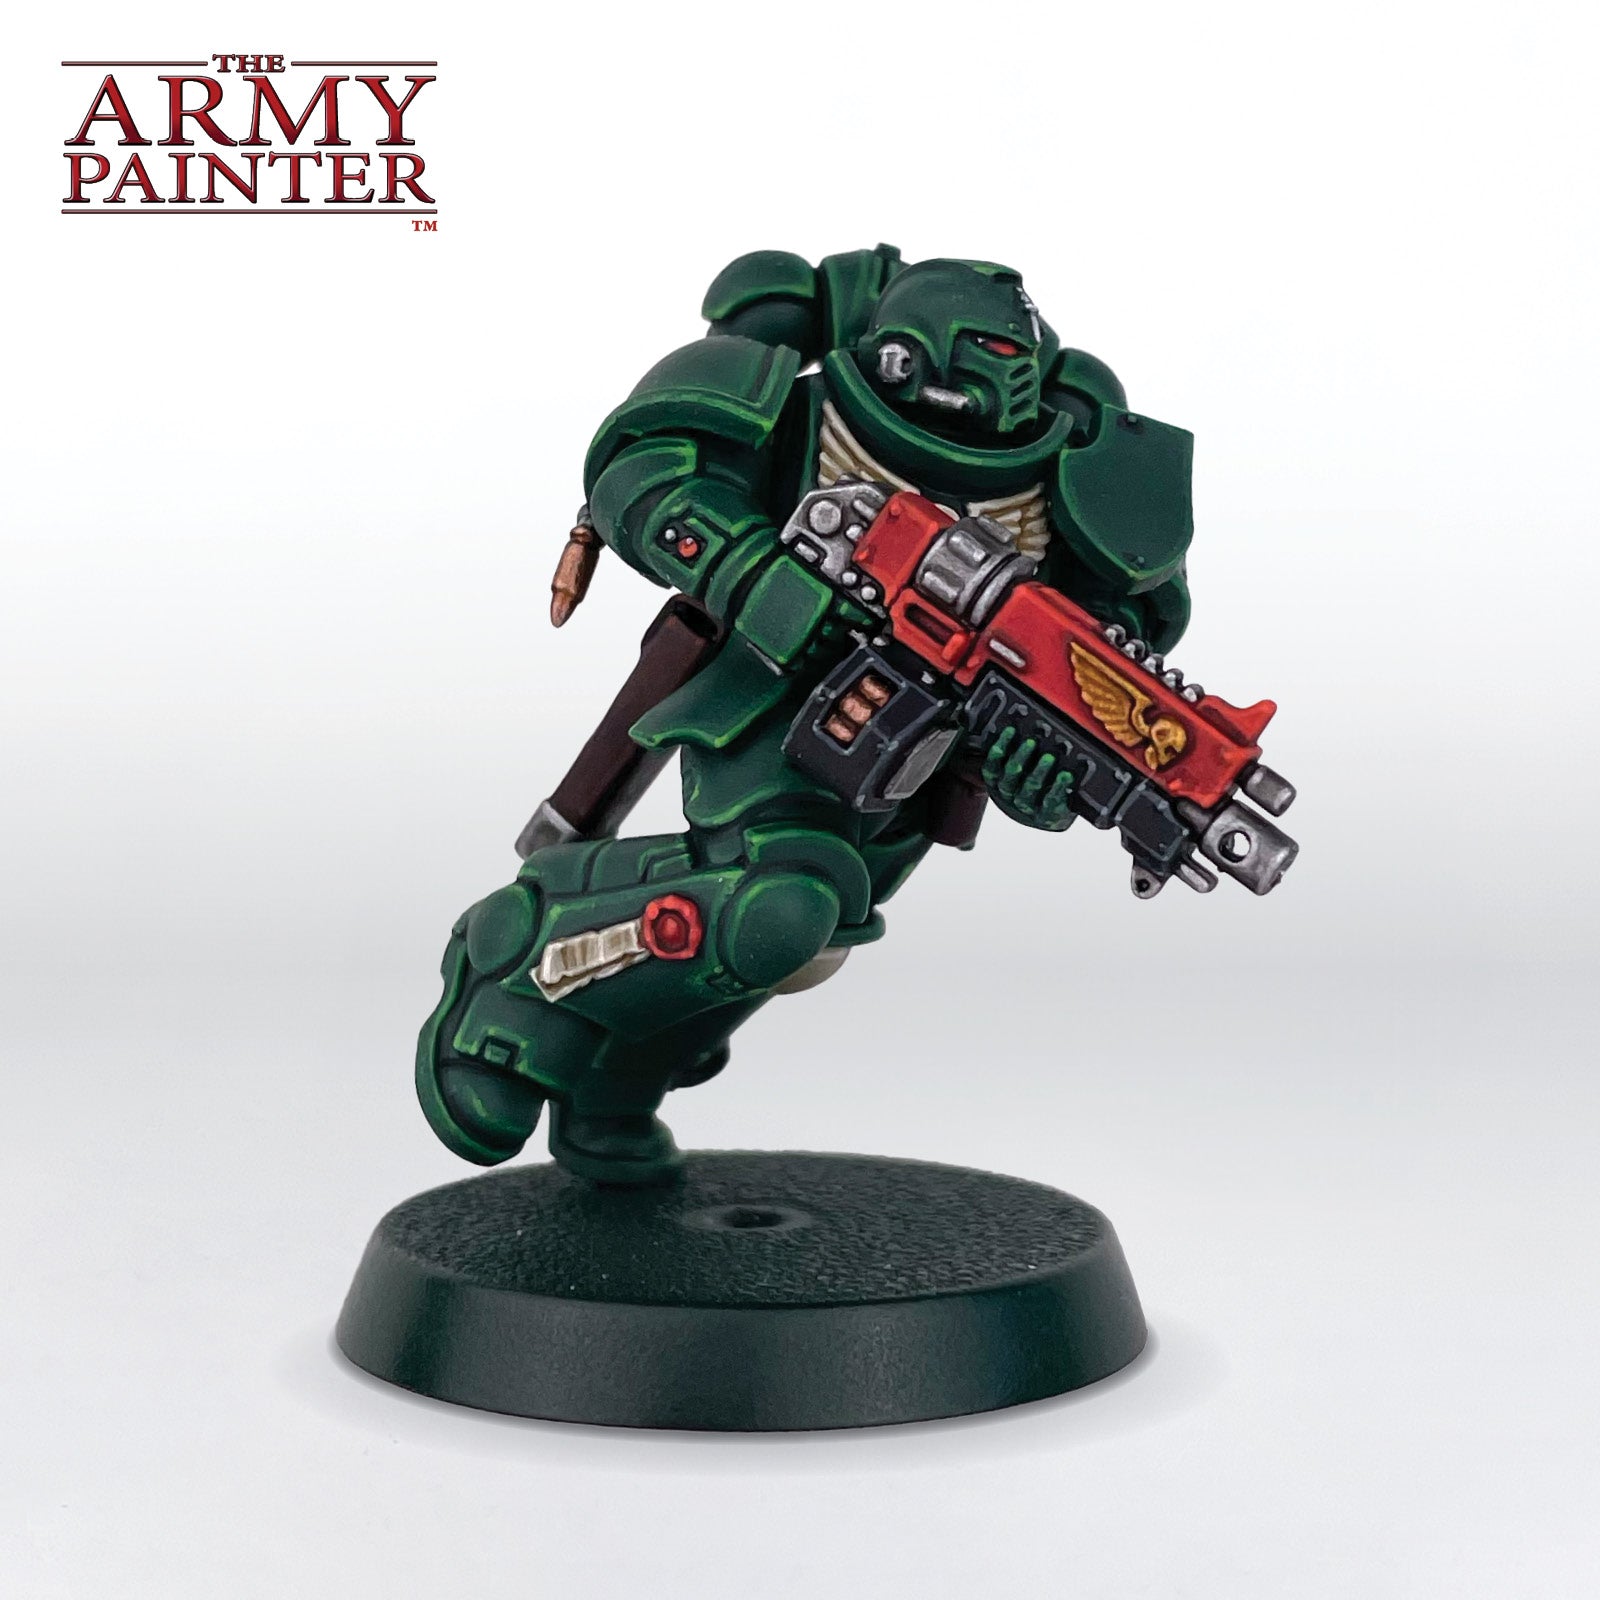
This tutorial has been broken down by colour segments, starting with the green armour, and moving onto the leather, the metallics, and so on. Each section is further broken down into managable steps by applying one colour at a time. Simply click the arrows at the bottom of each section to scroll through the steps if you're on a desktop, or scroll to the side on your mobile phone.
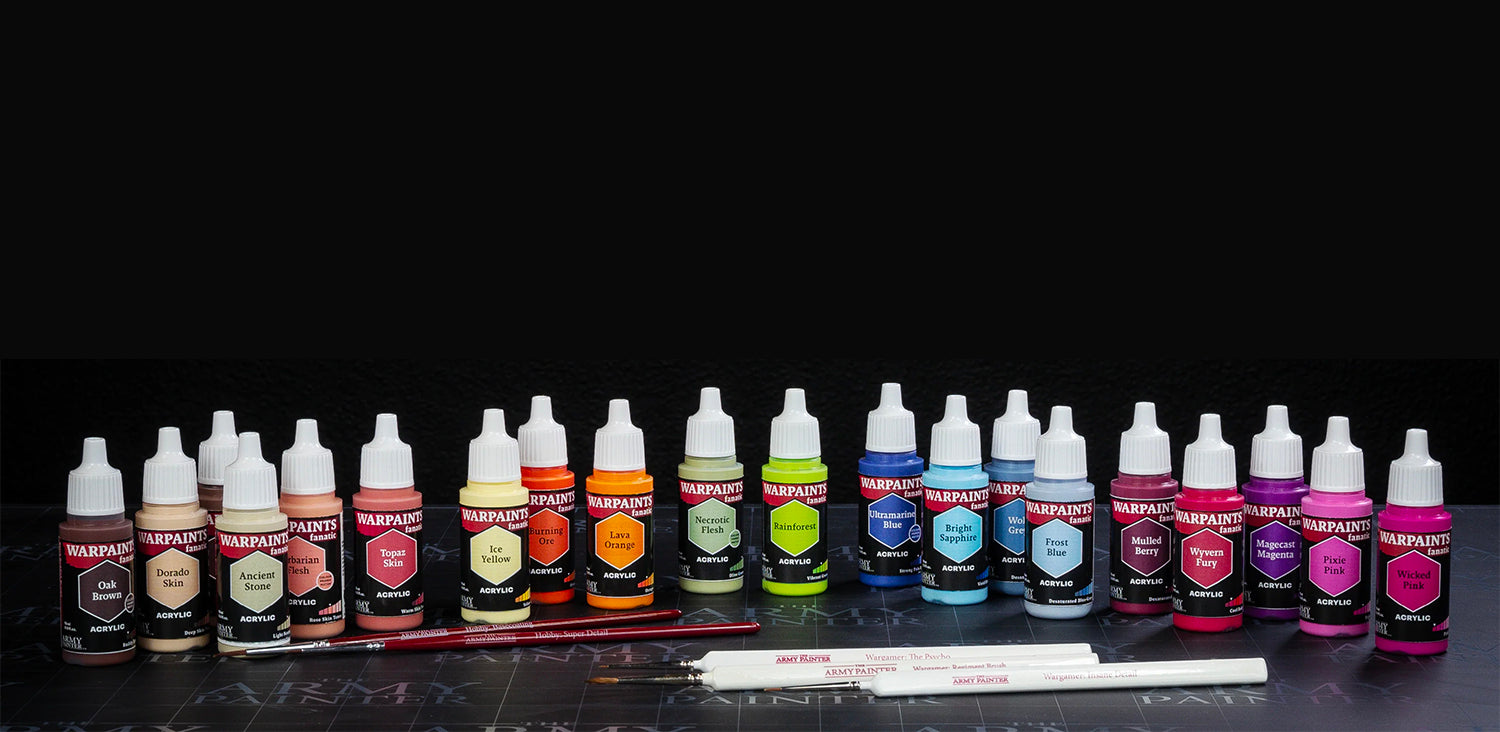
Every colour on this miniature, outside of the primer, comes from our new Warpaints Fanatic range, and uses the Flexible Triad System as much as possible.
Let's get painting!

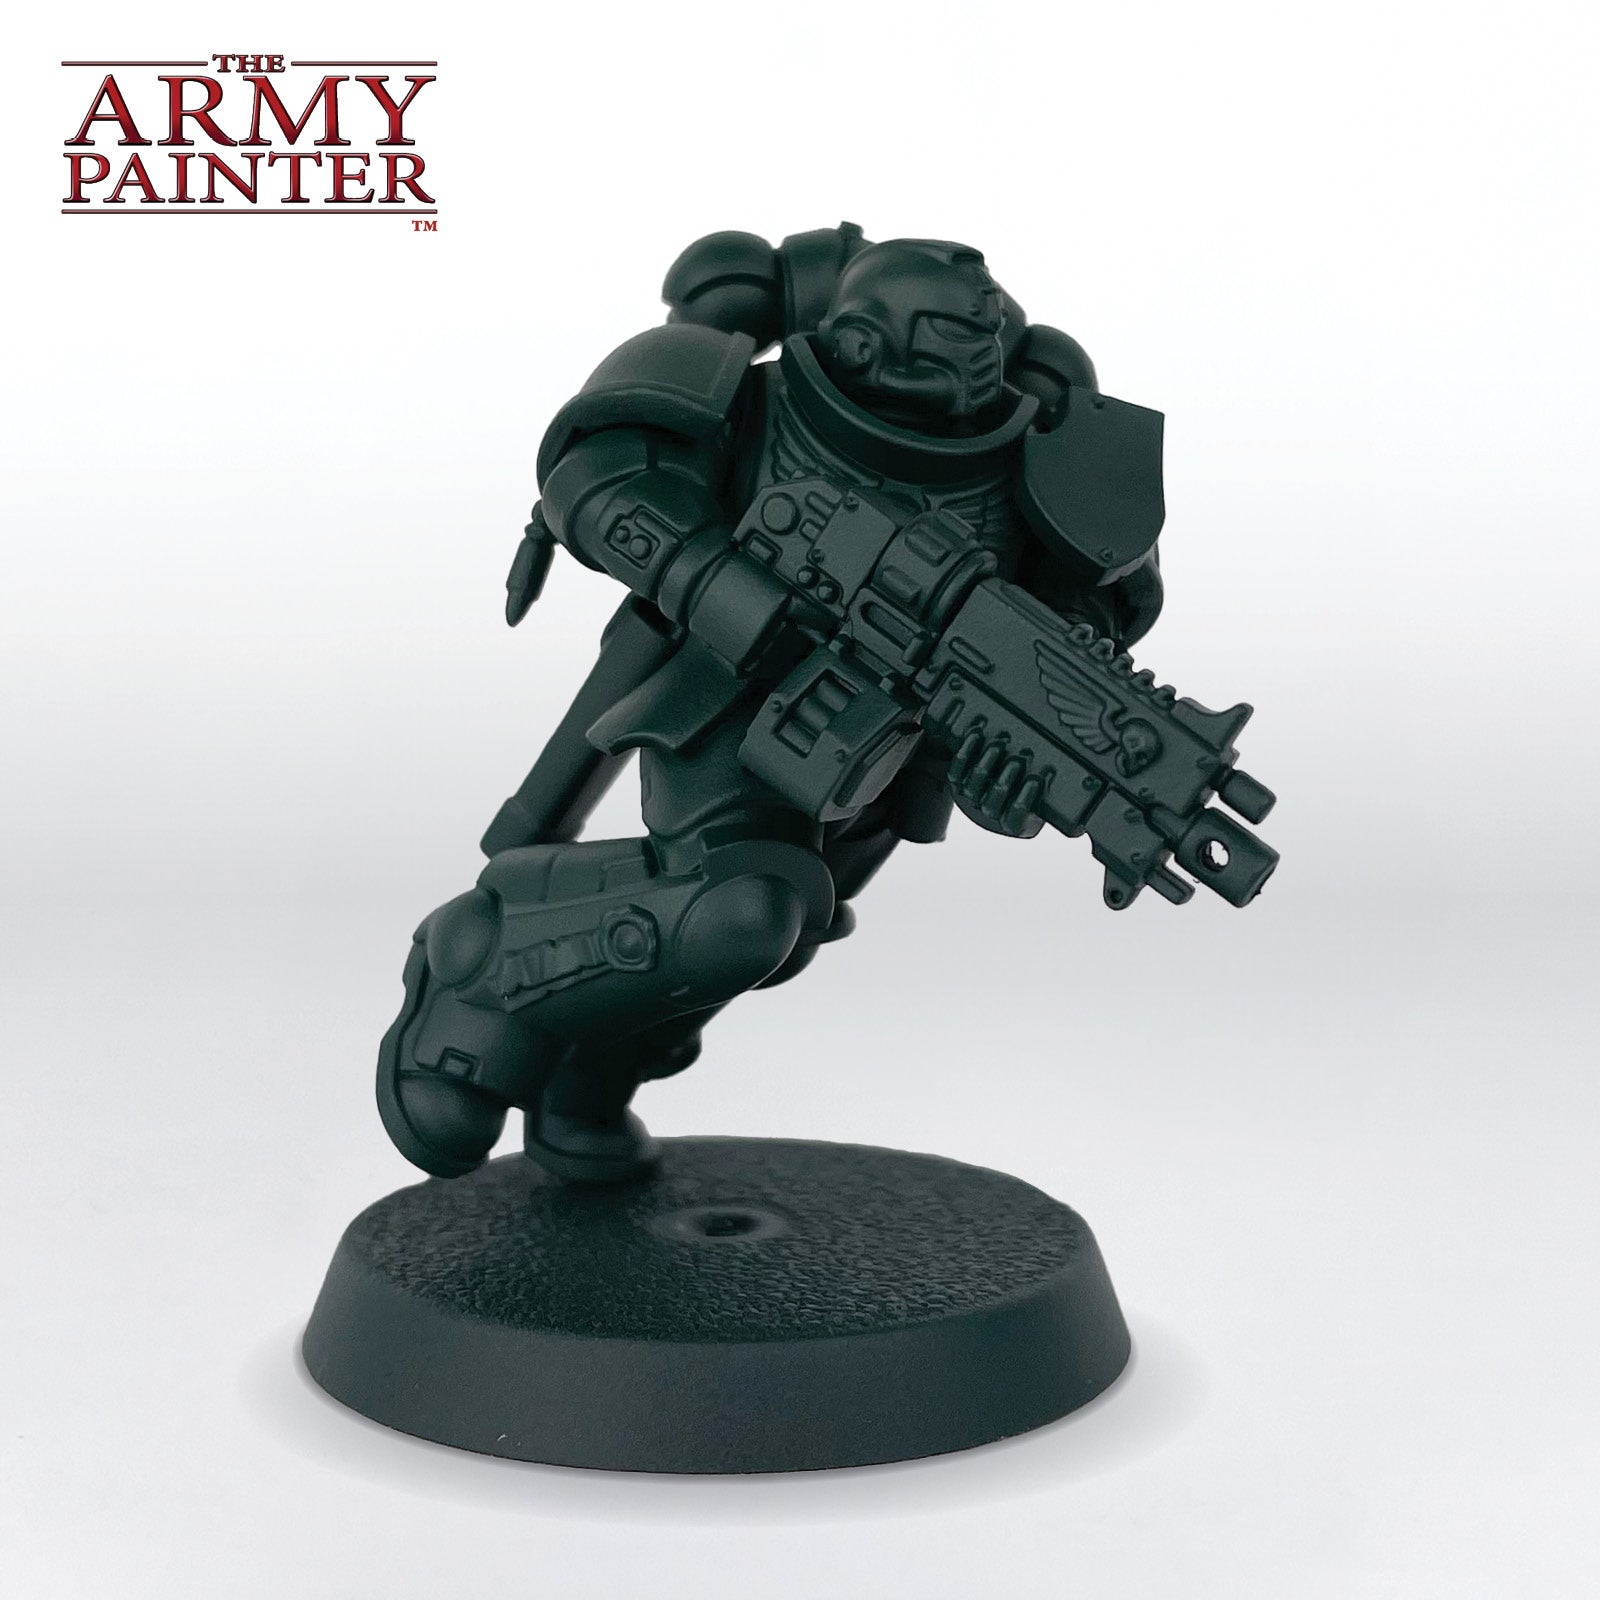
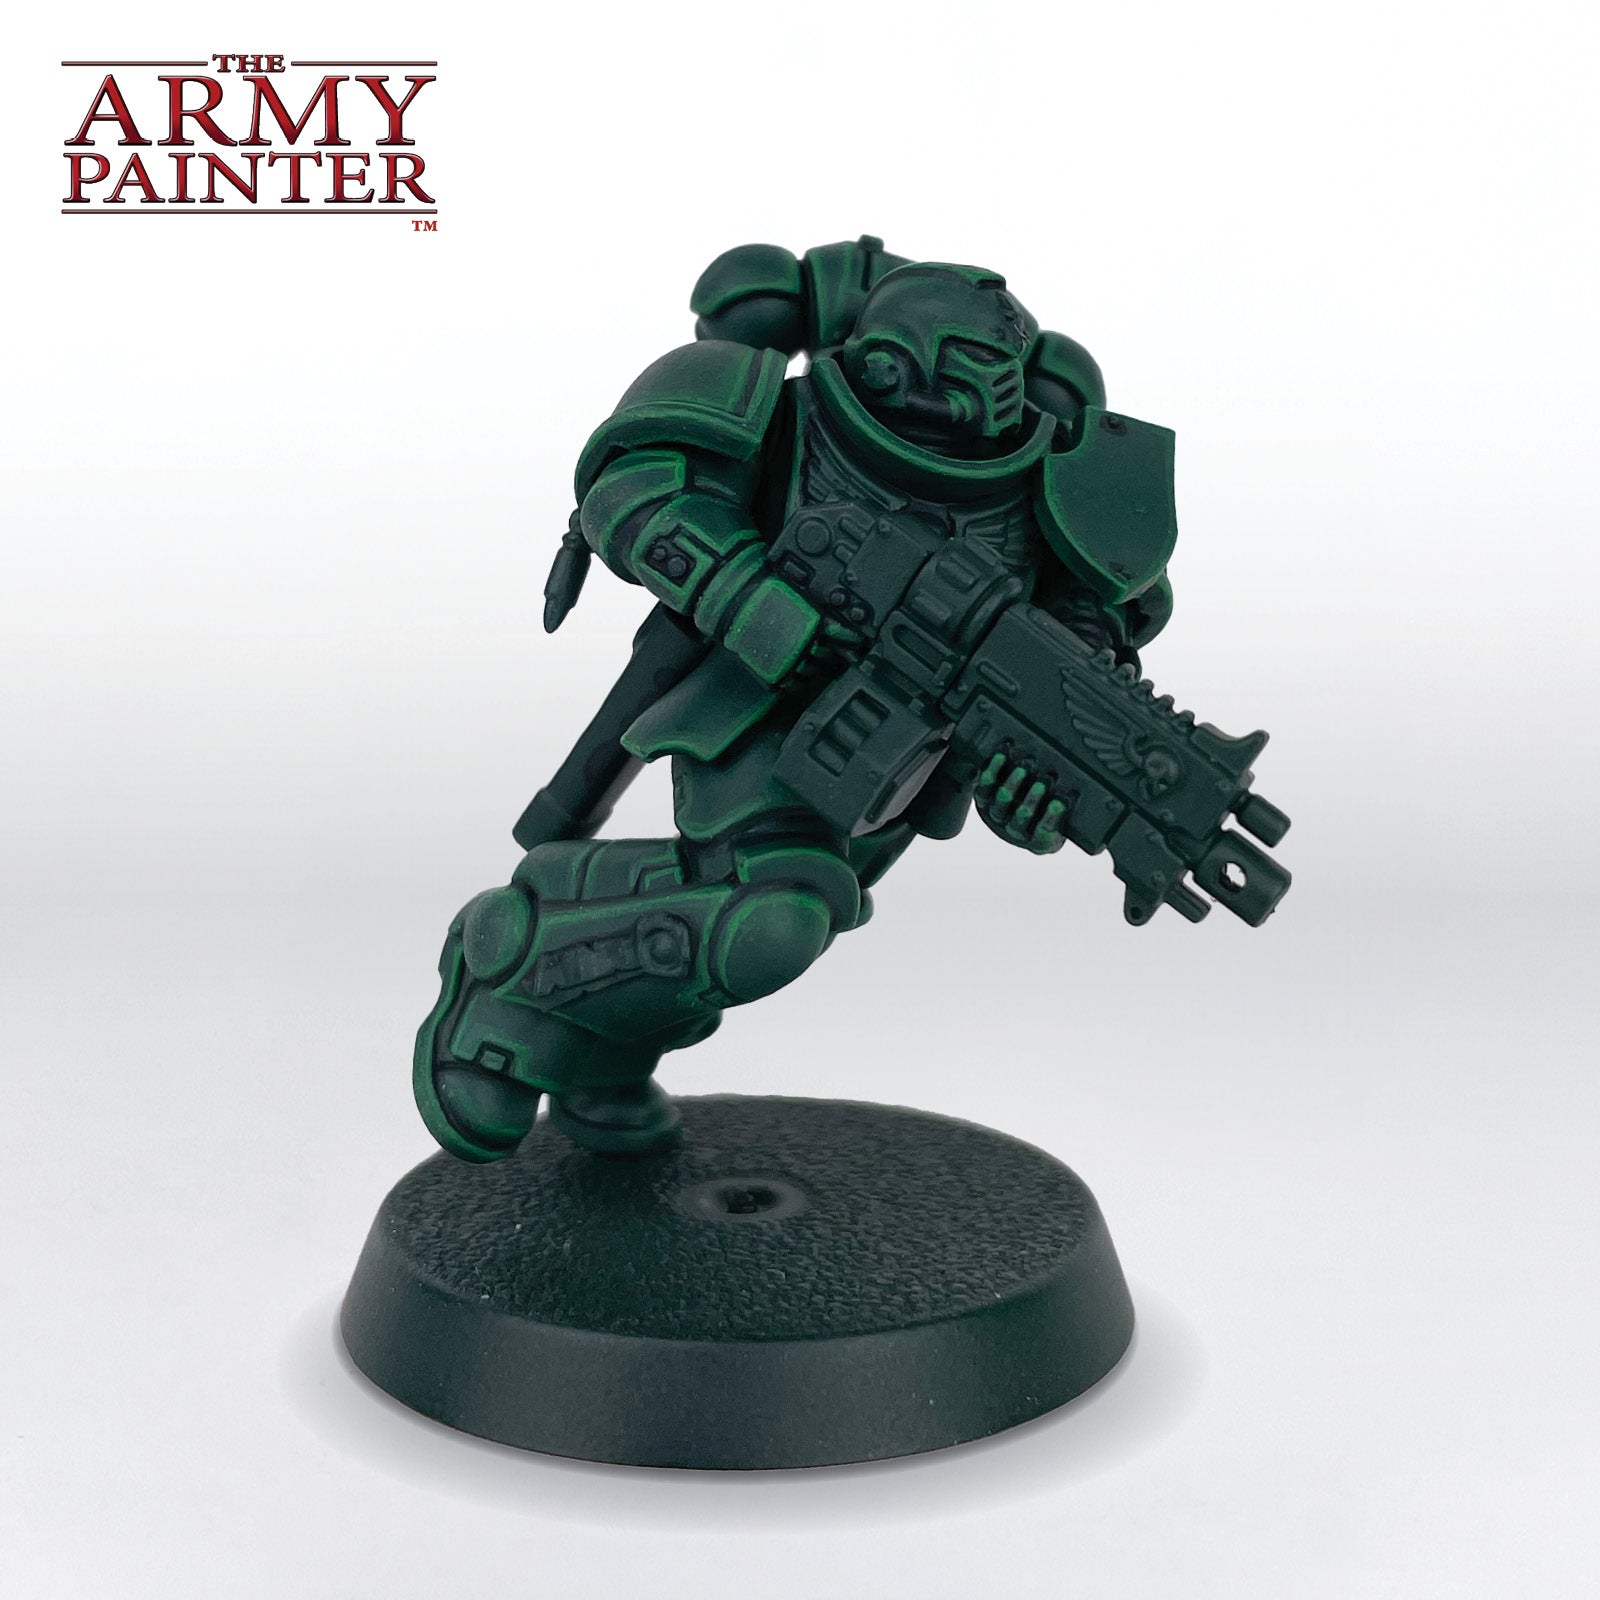
Step 1
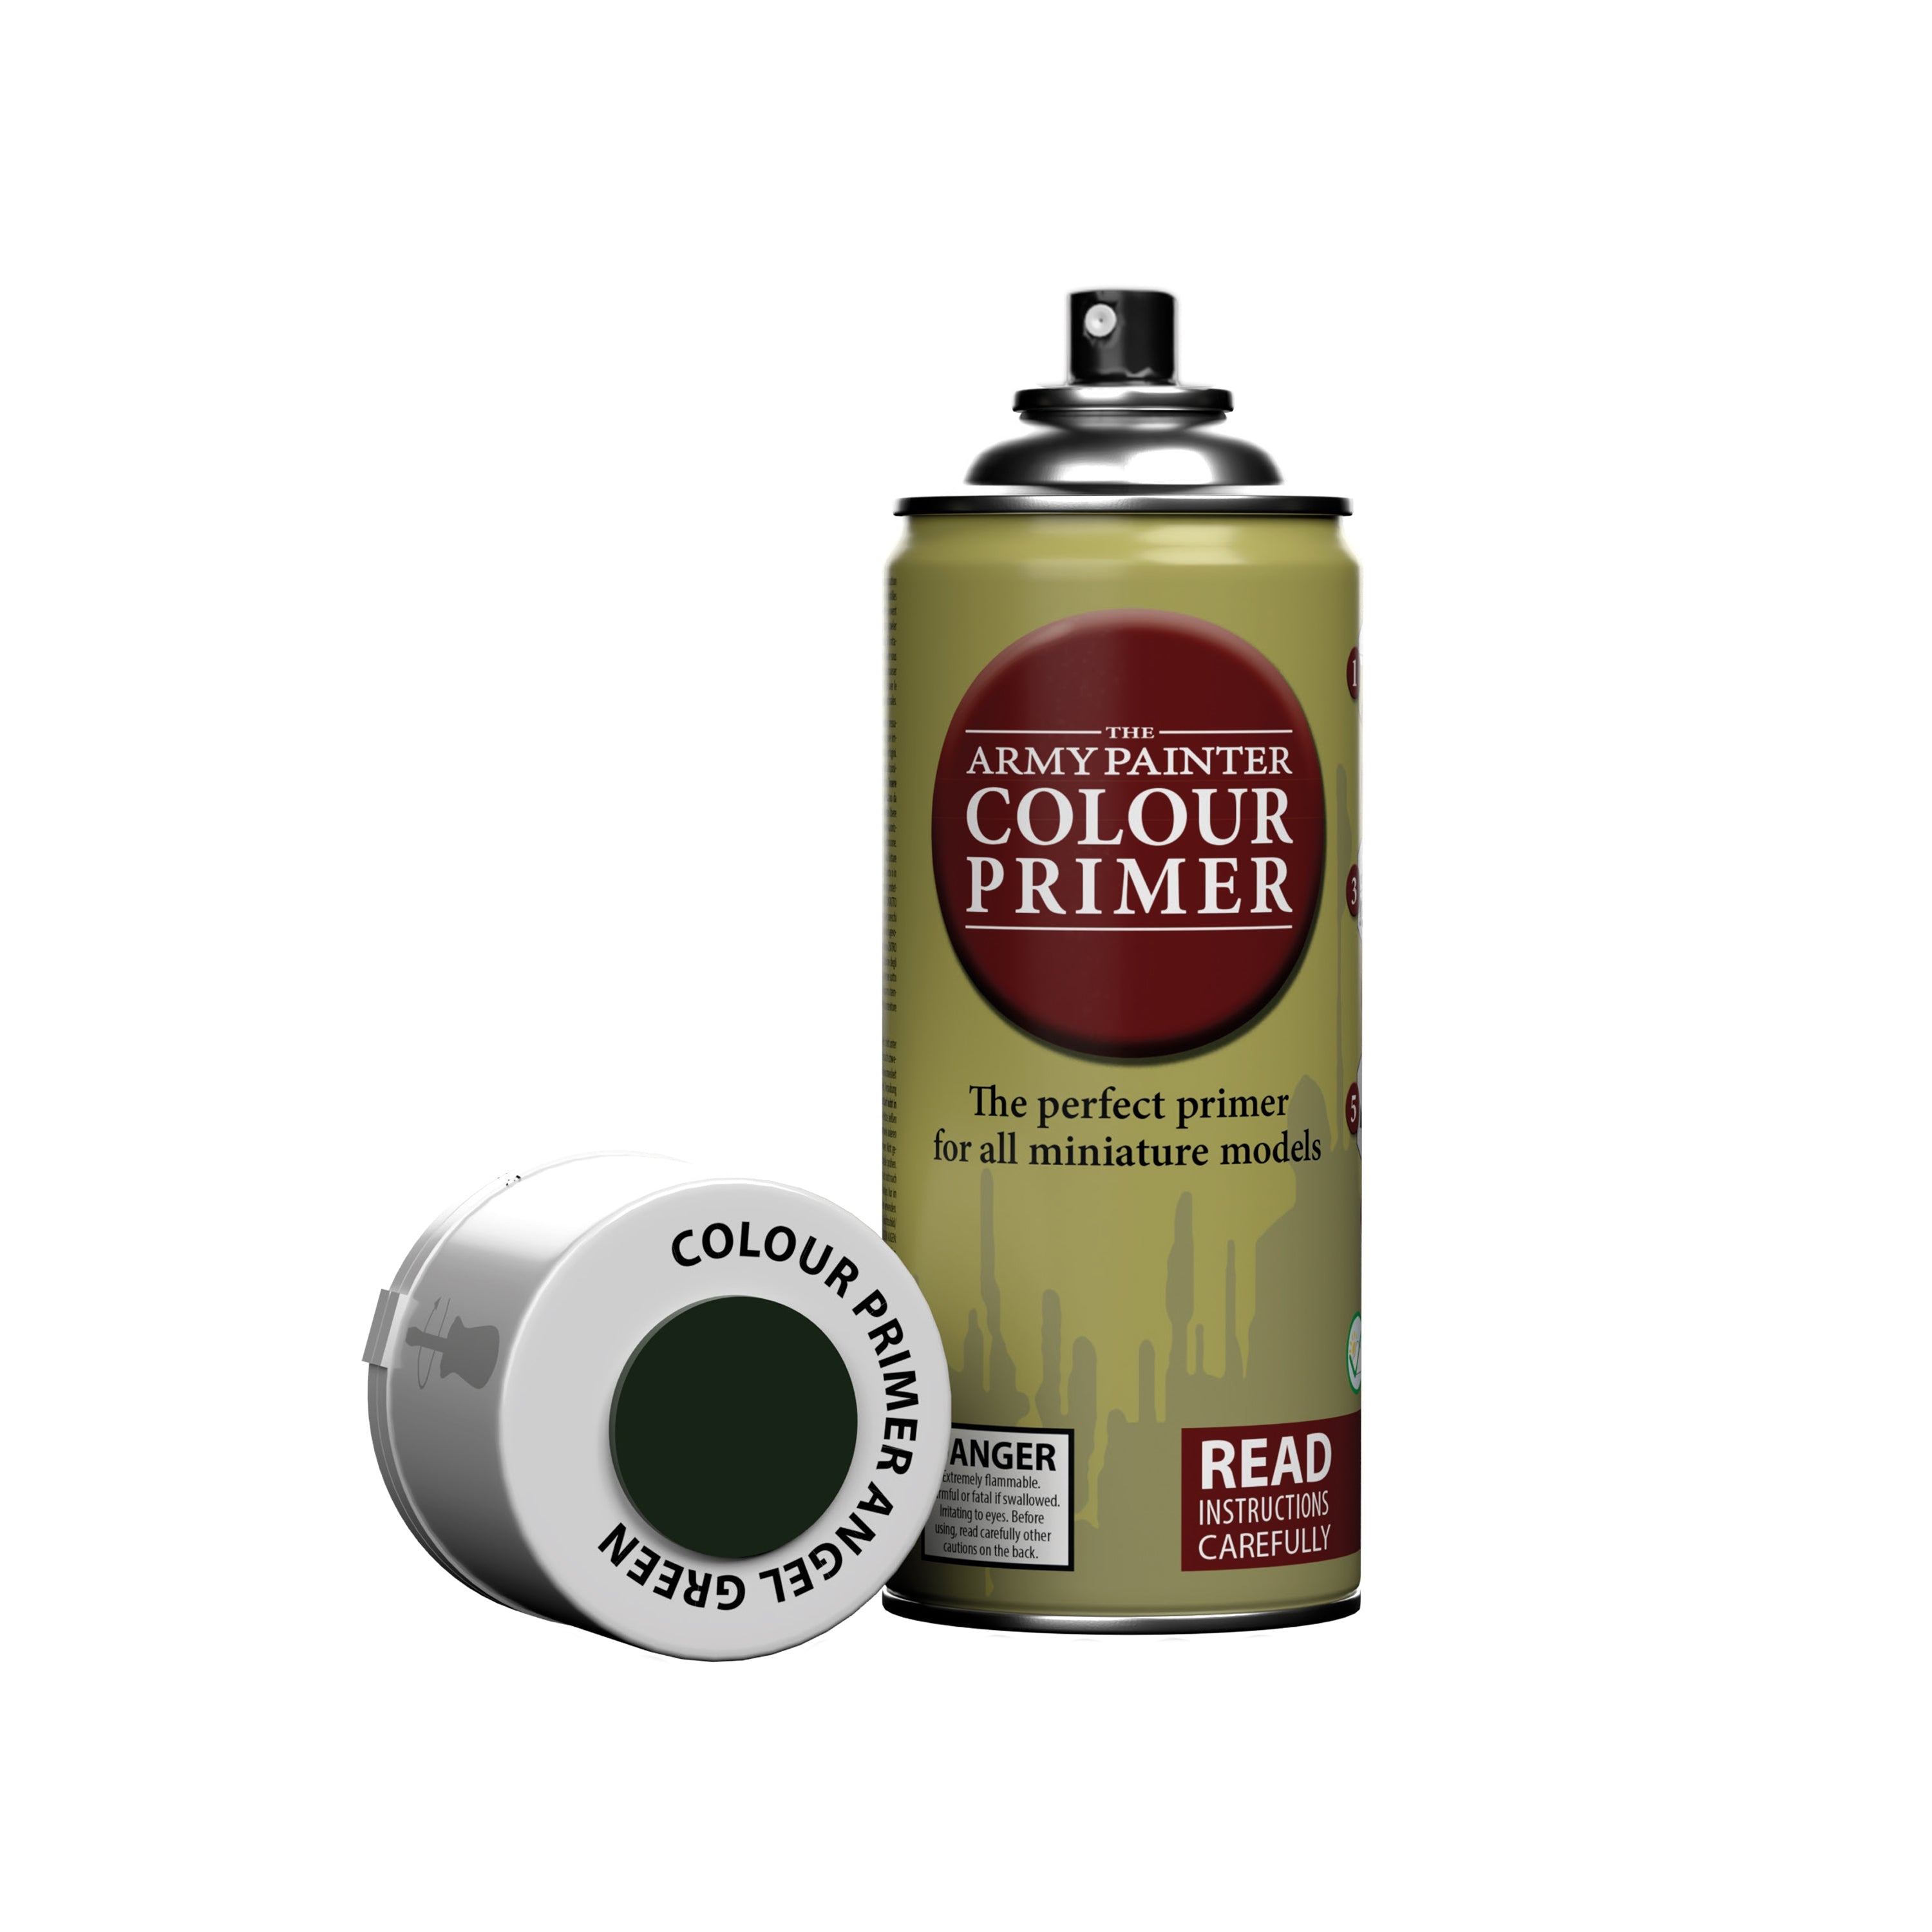
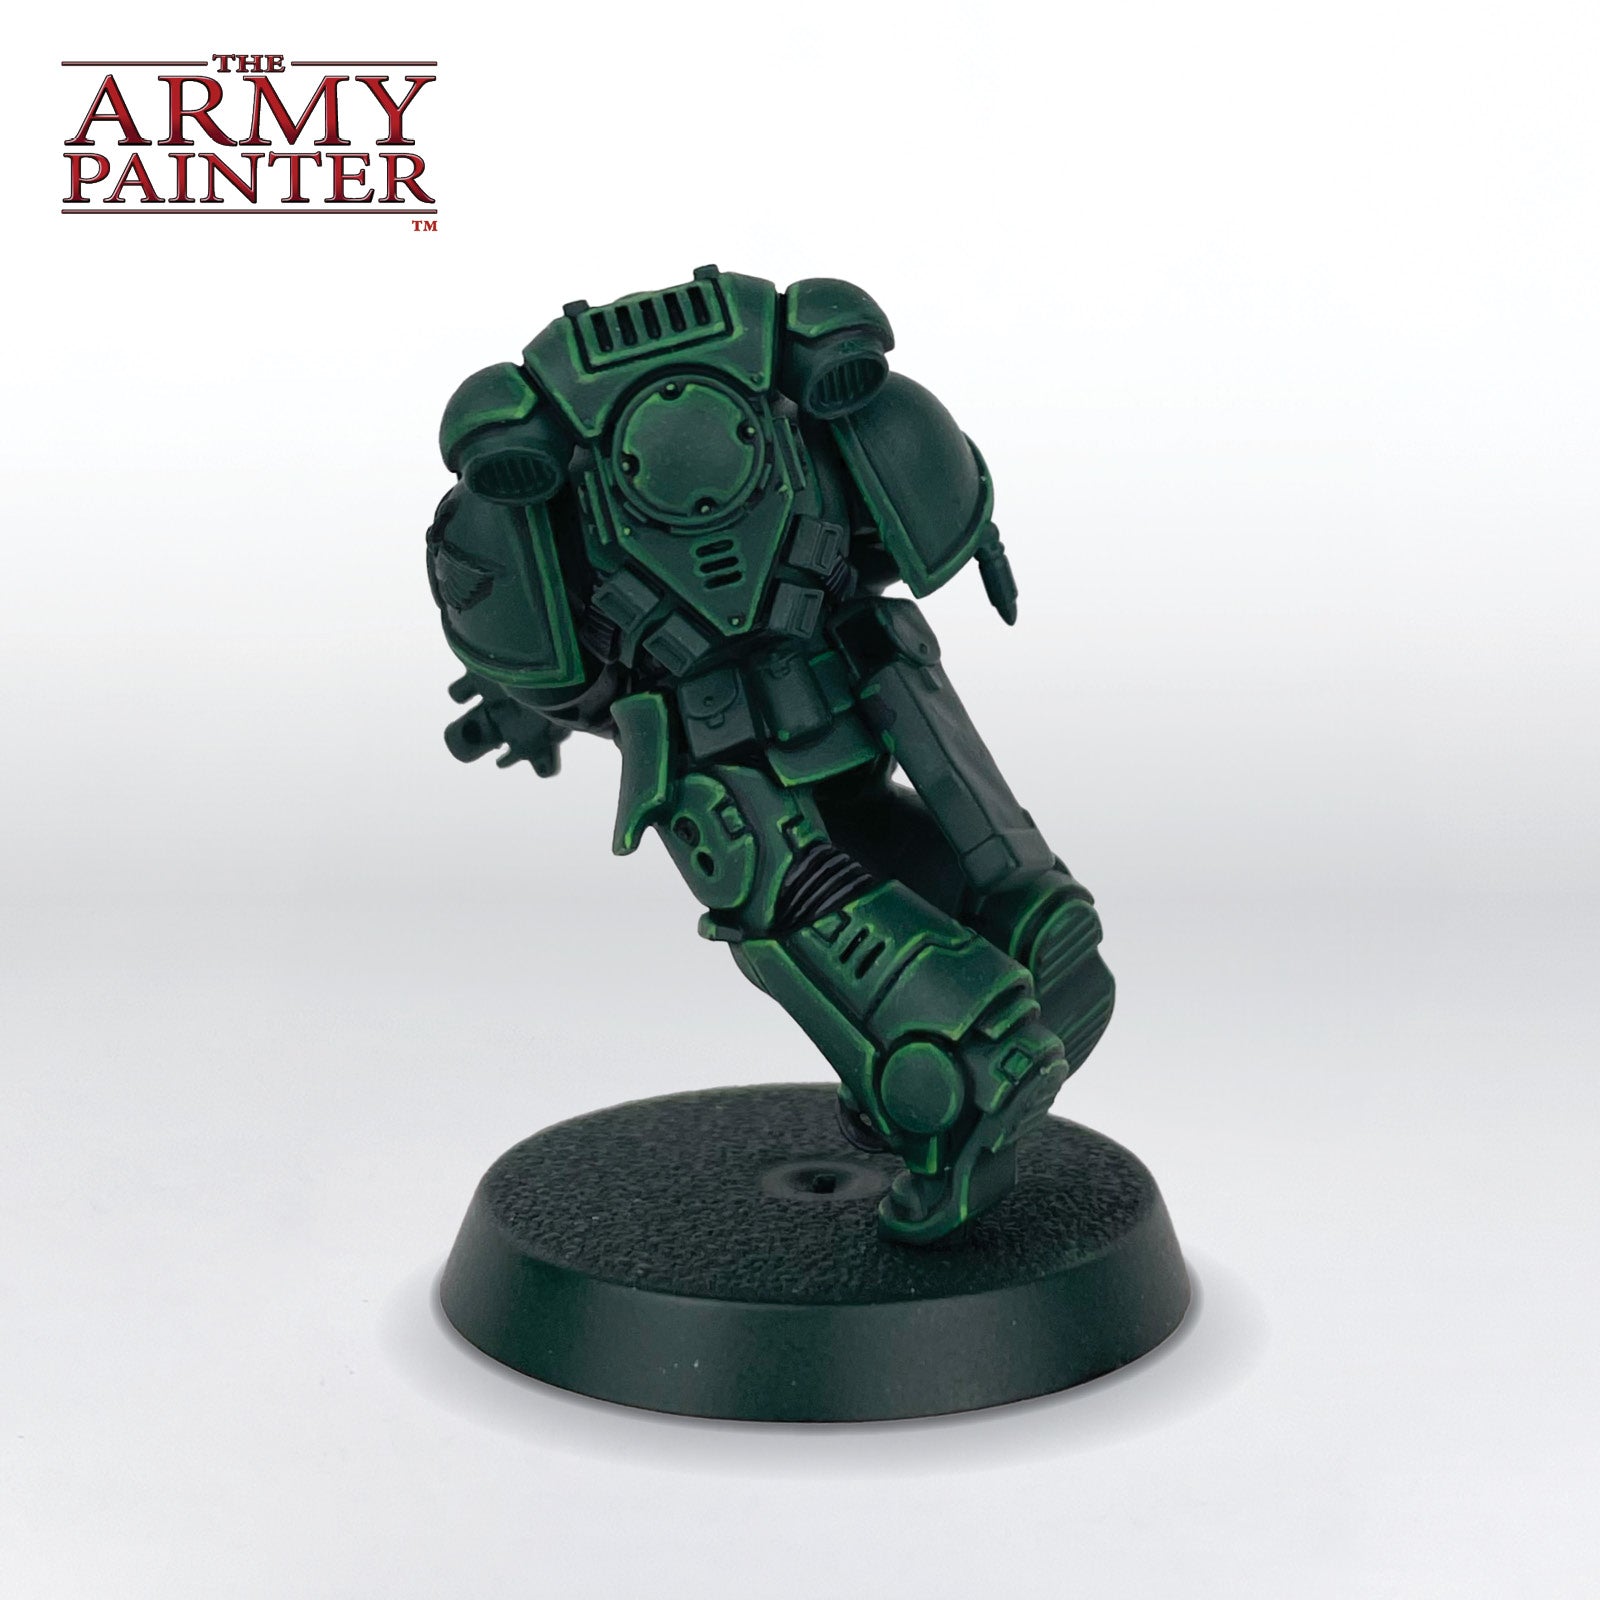
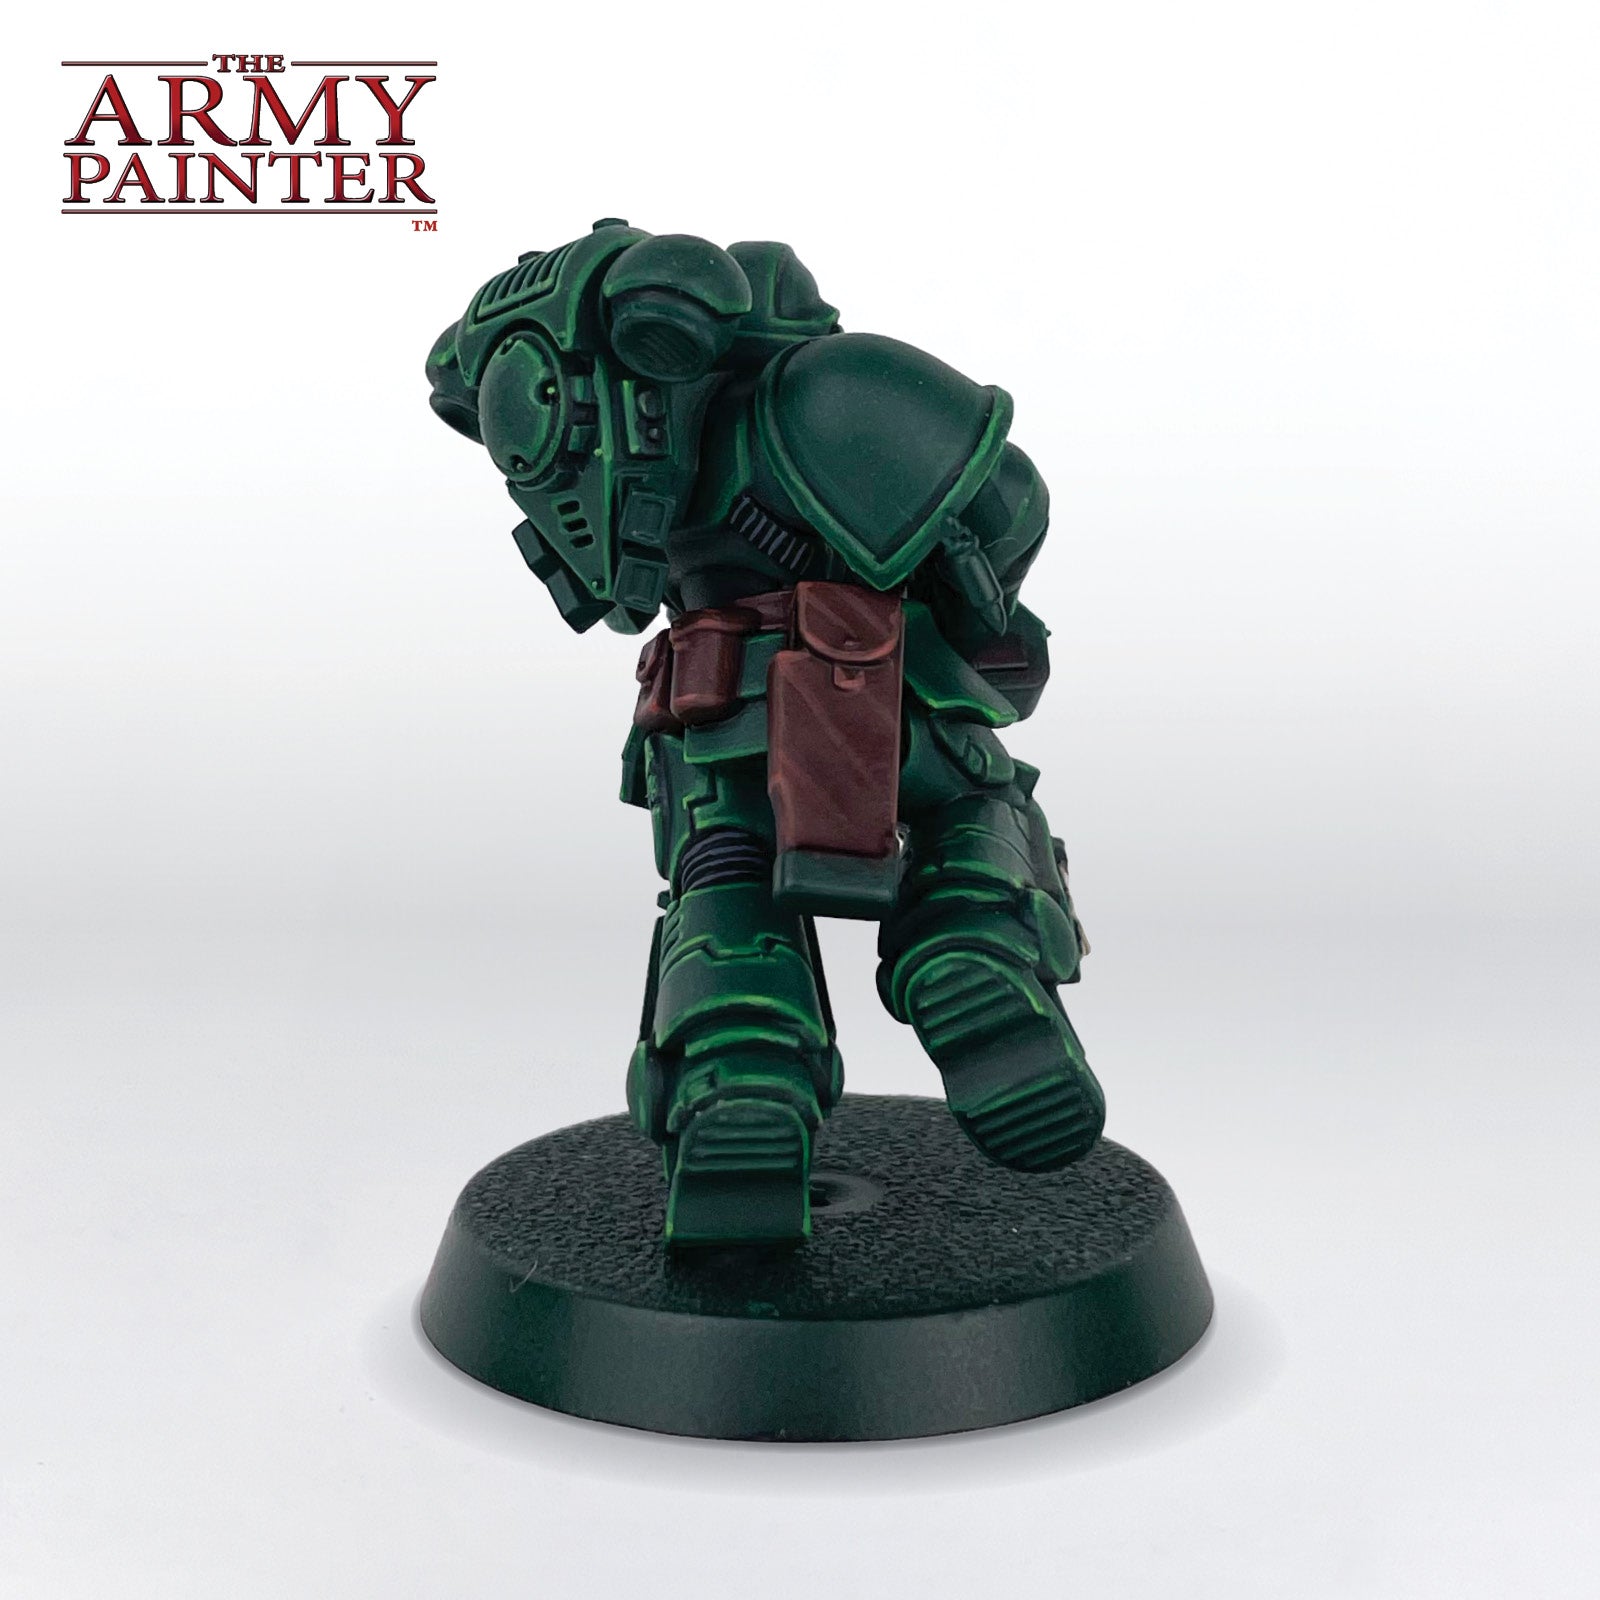
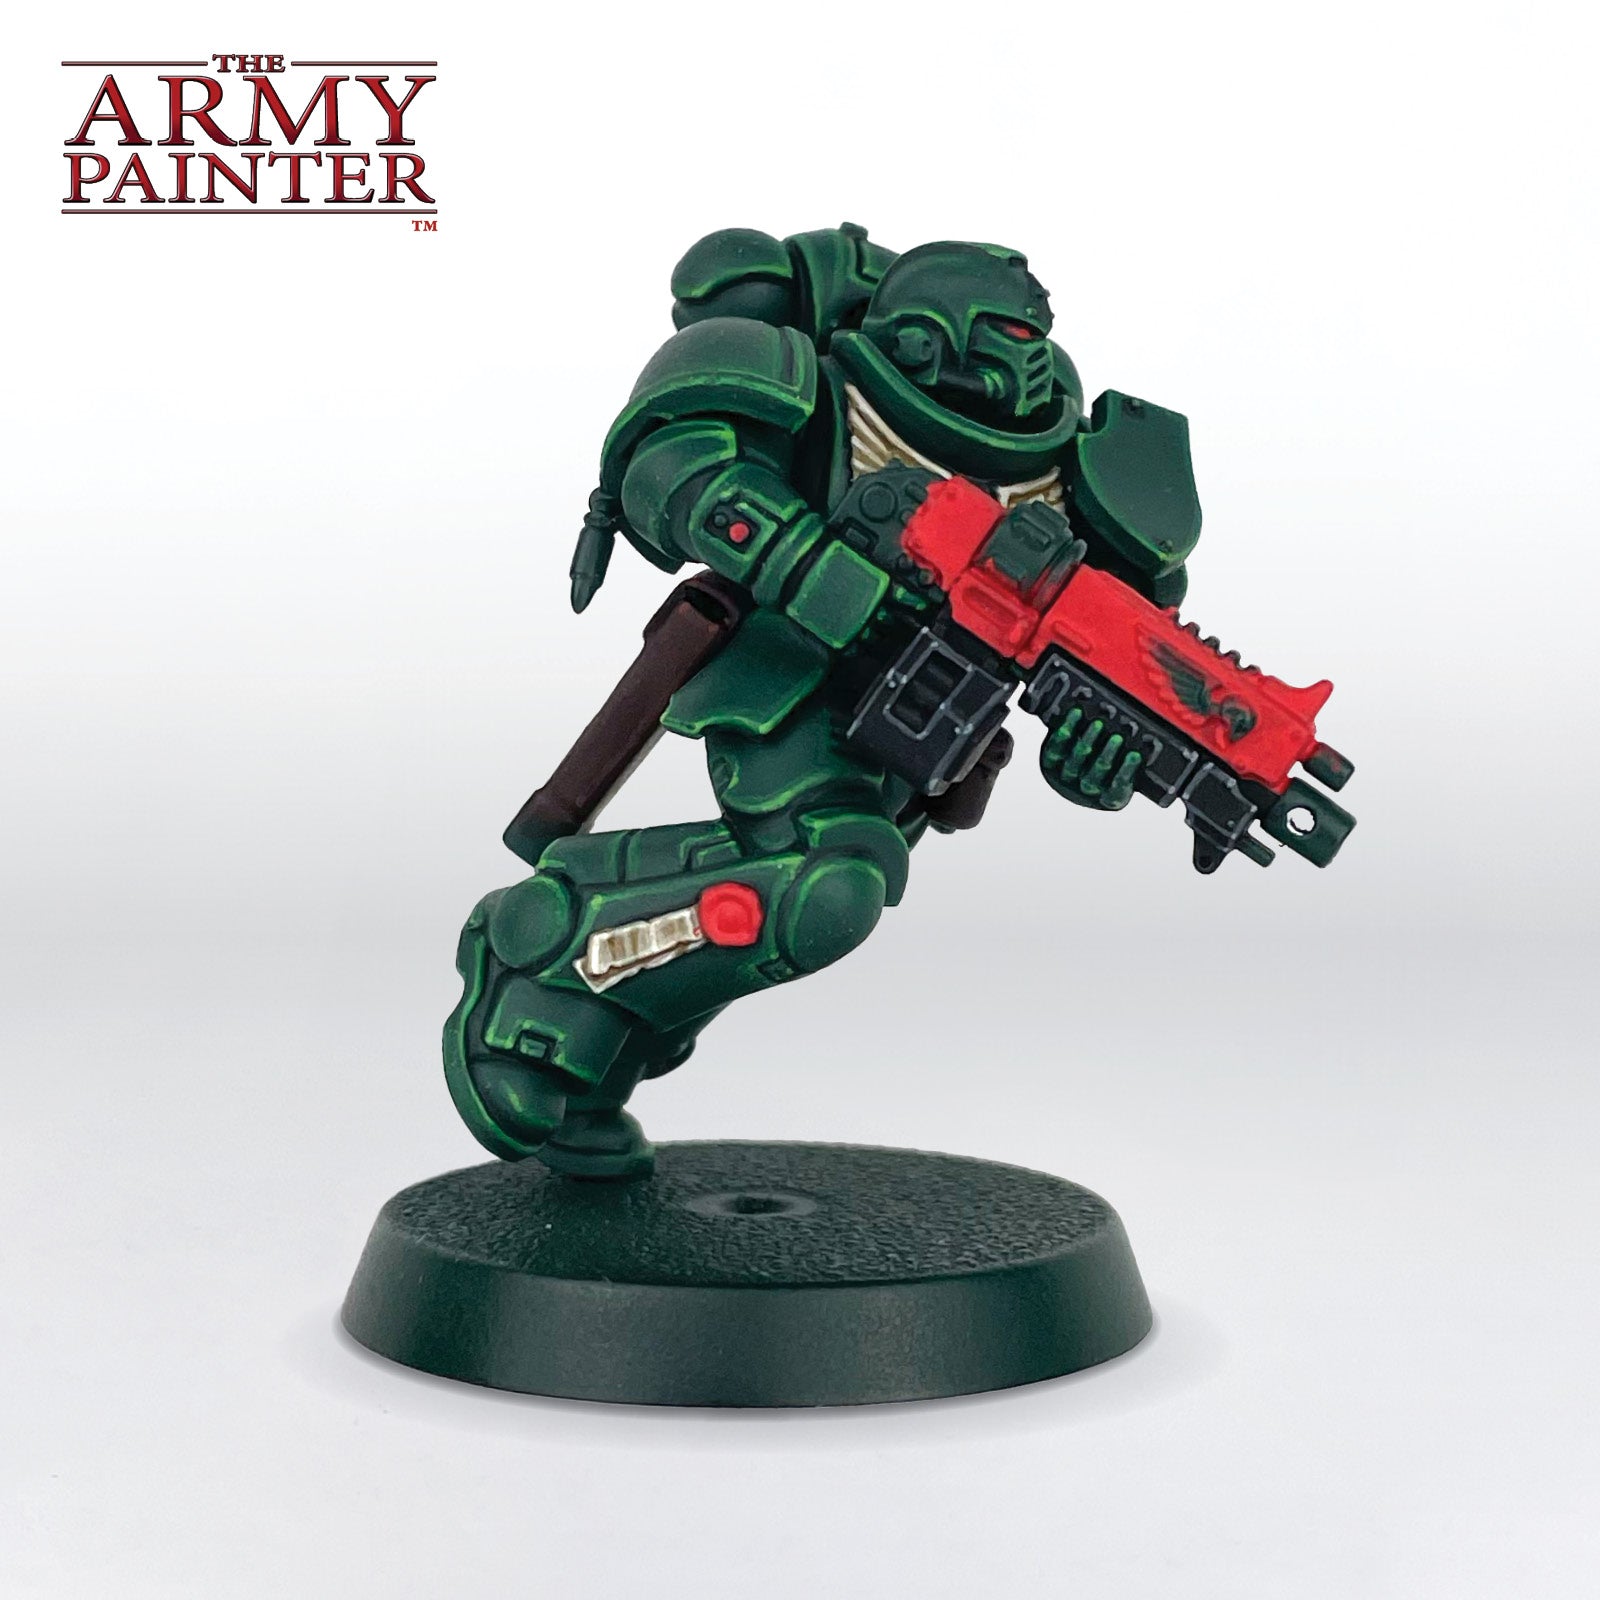
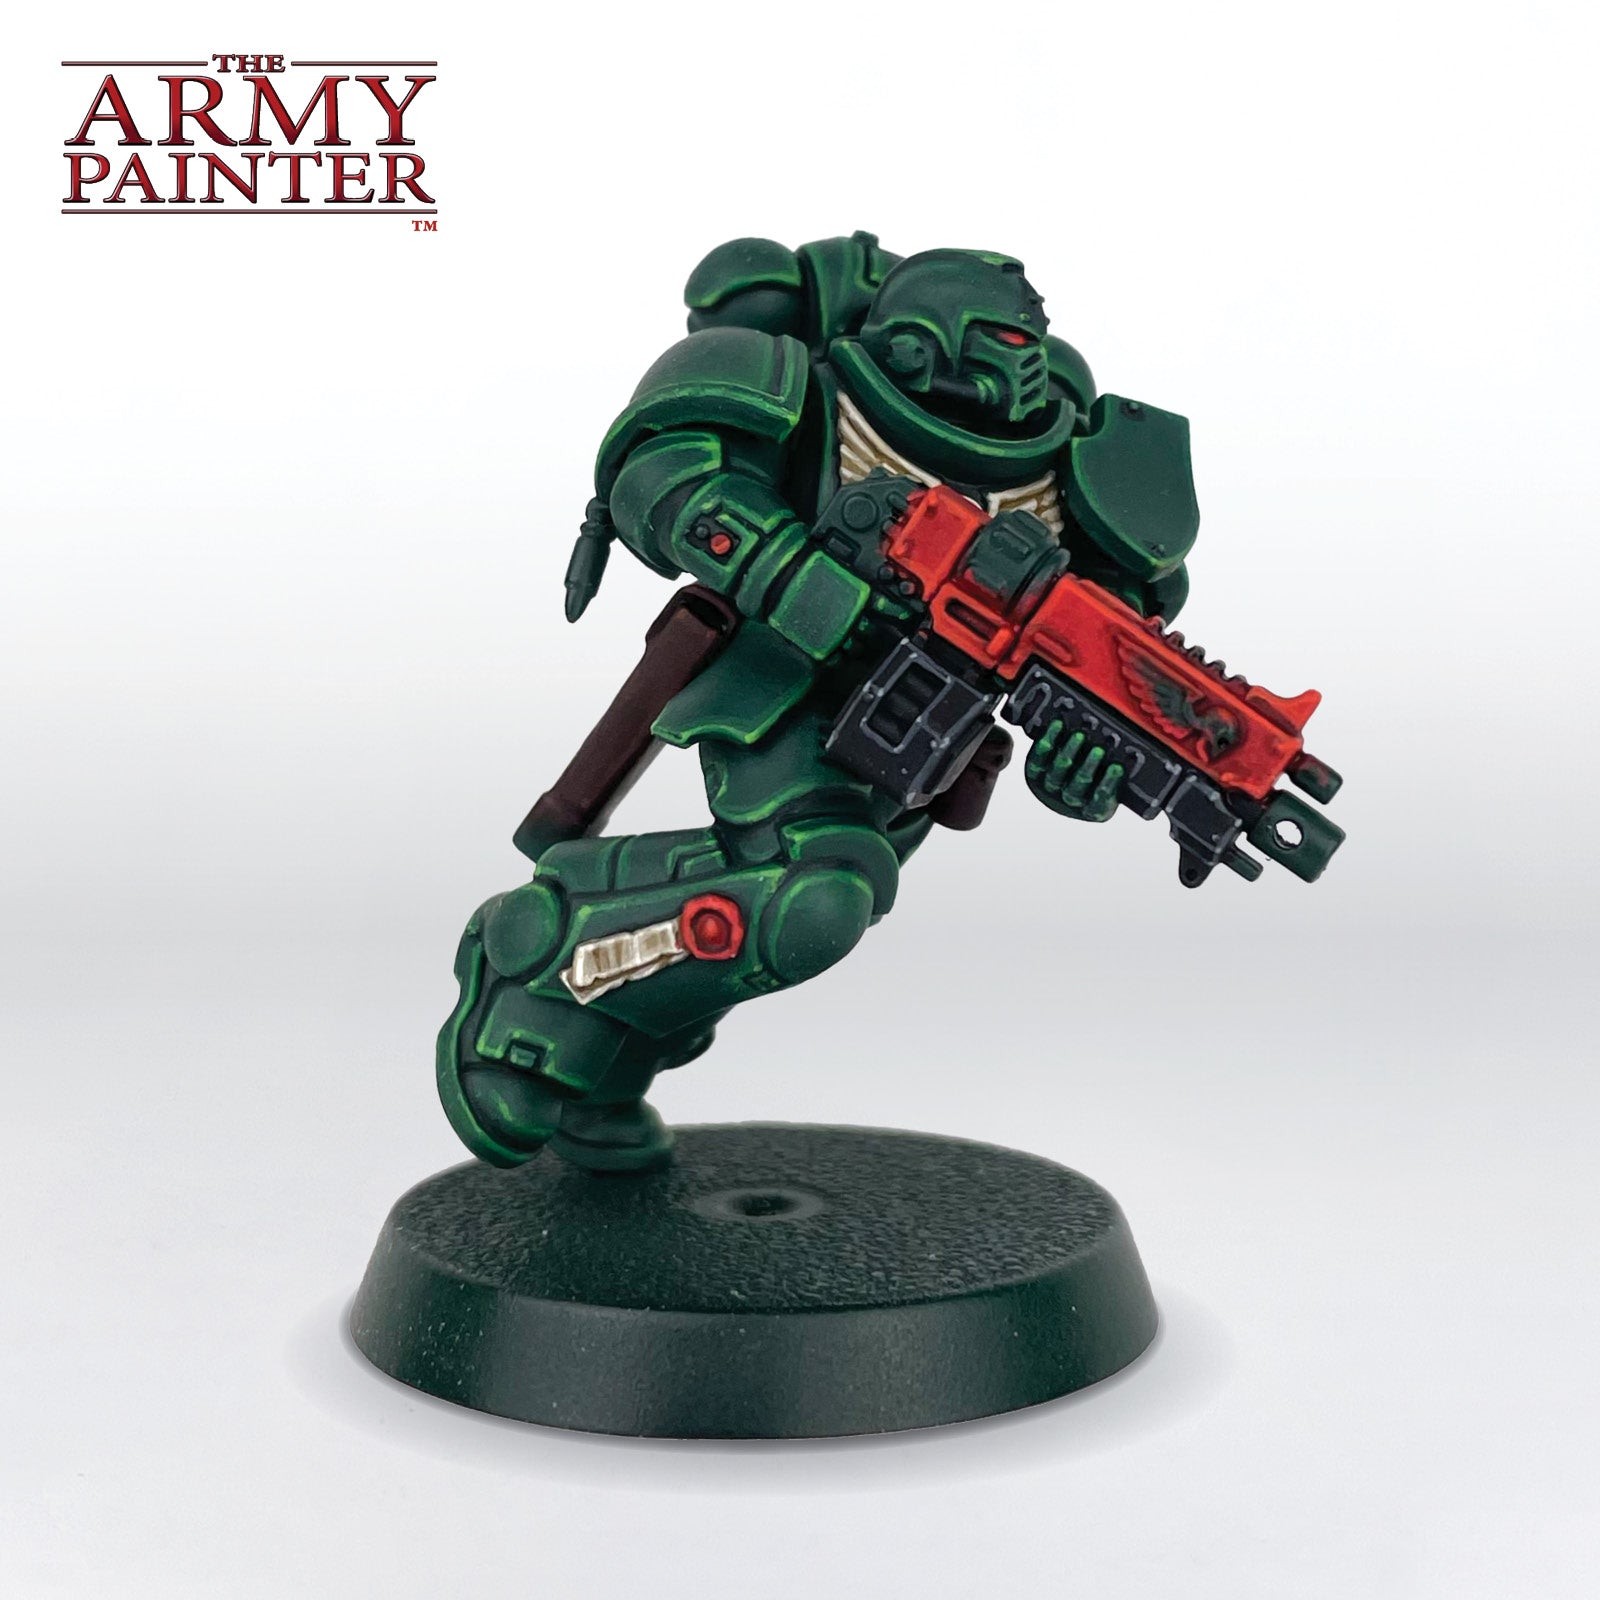
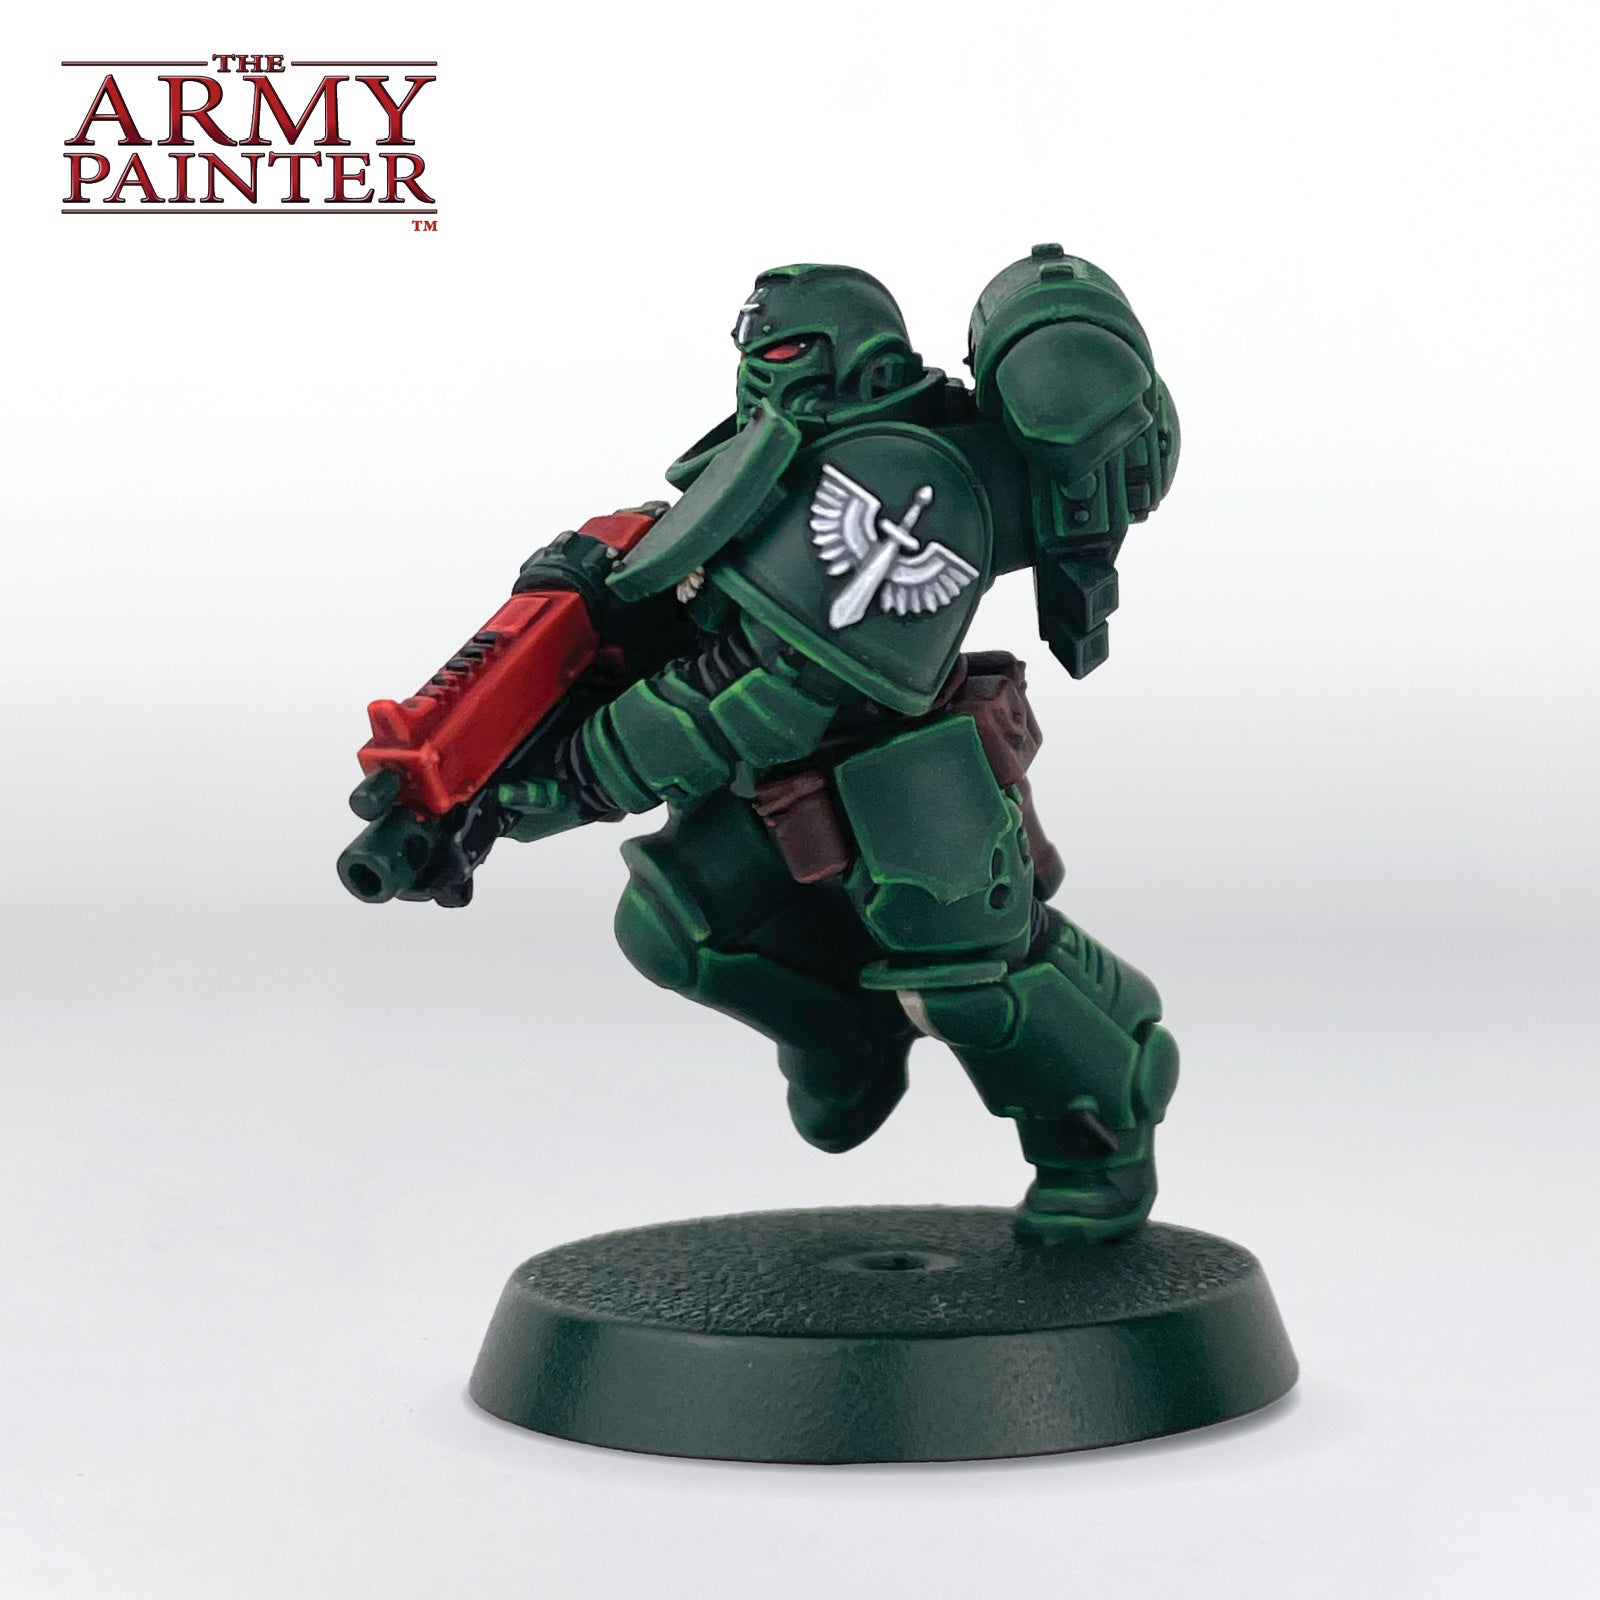
I started off by priming the model with the Angel Green Colour Primer, and then touching up any missed areas with the Warpaints Fanatic Angel Green. Note that even though the colours do match, the finish is different, with the acrylic paint having a much matter finish than the primer. If you intend to varnish your model at the end, which we recommend, it won’t make a difference, as that will even out the finish. I did a quick thin coat of the Warpaints Fanatic all over though to get a consistent finish whilst painting.
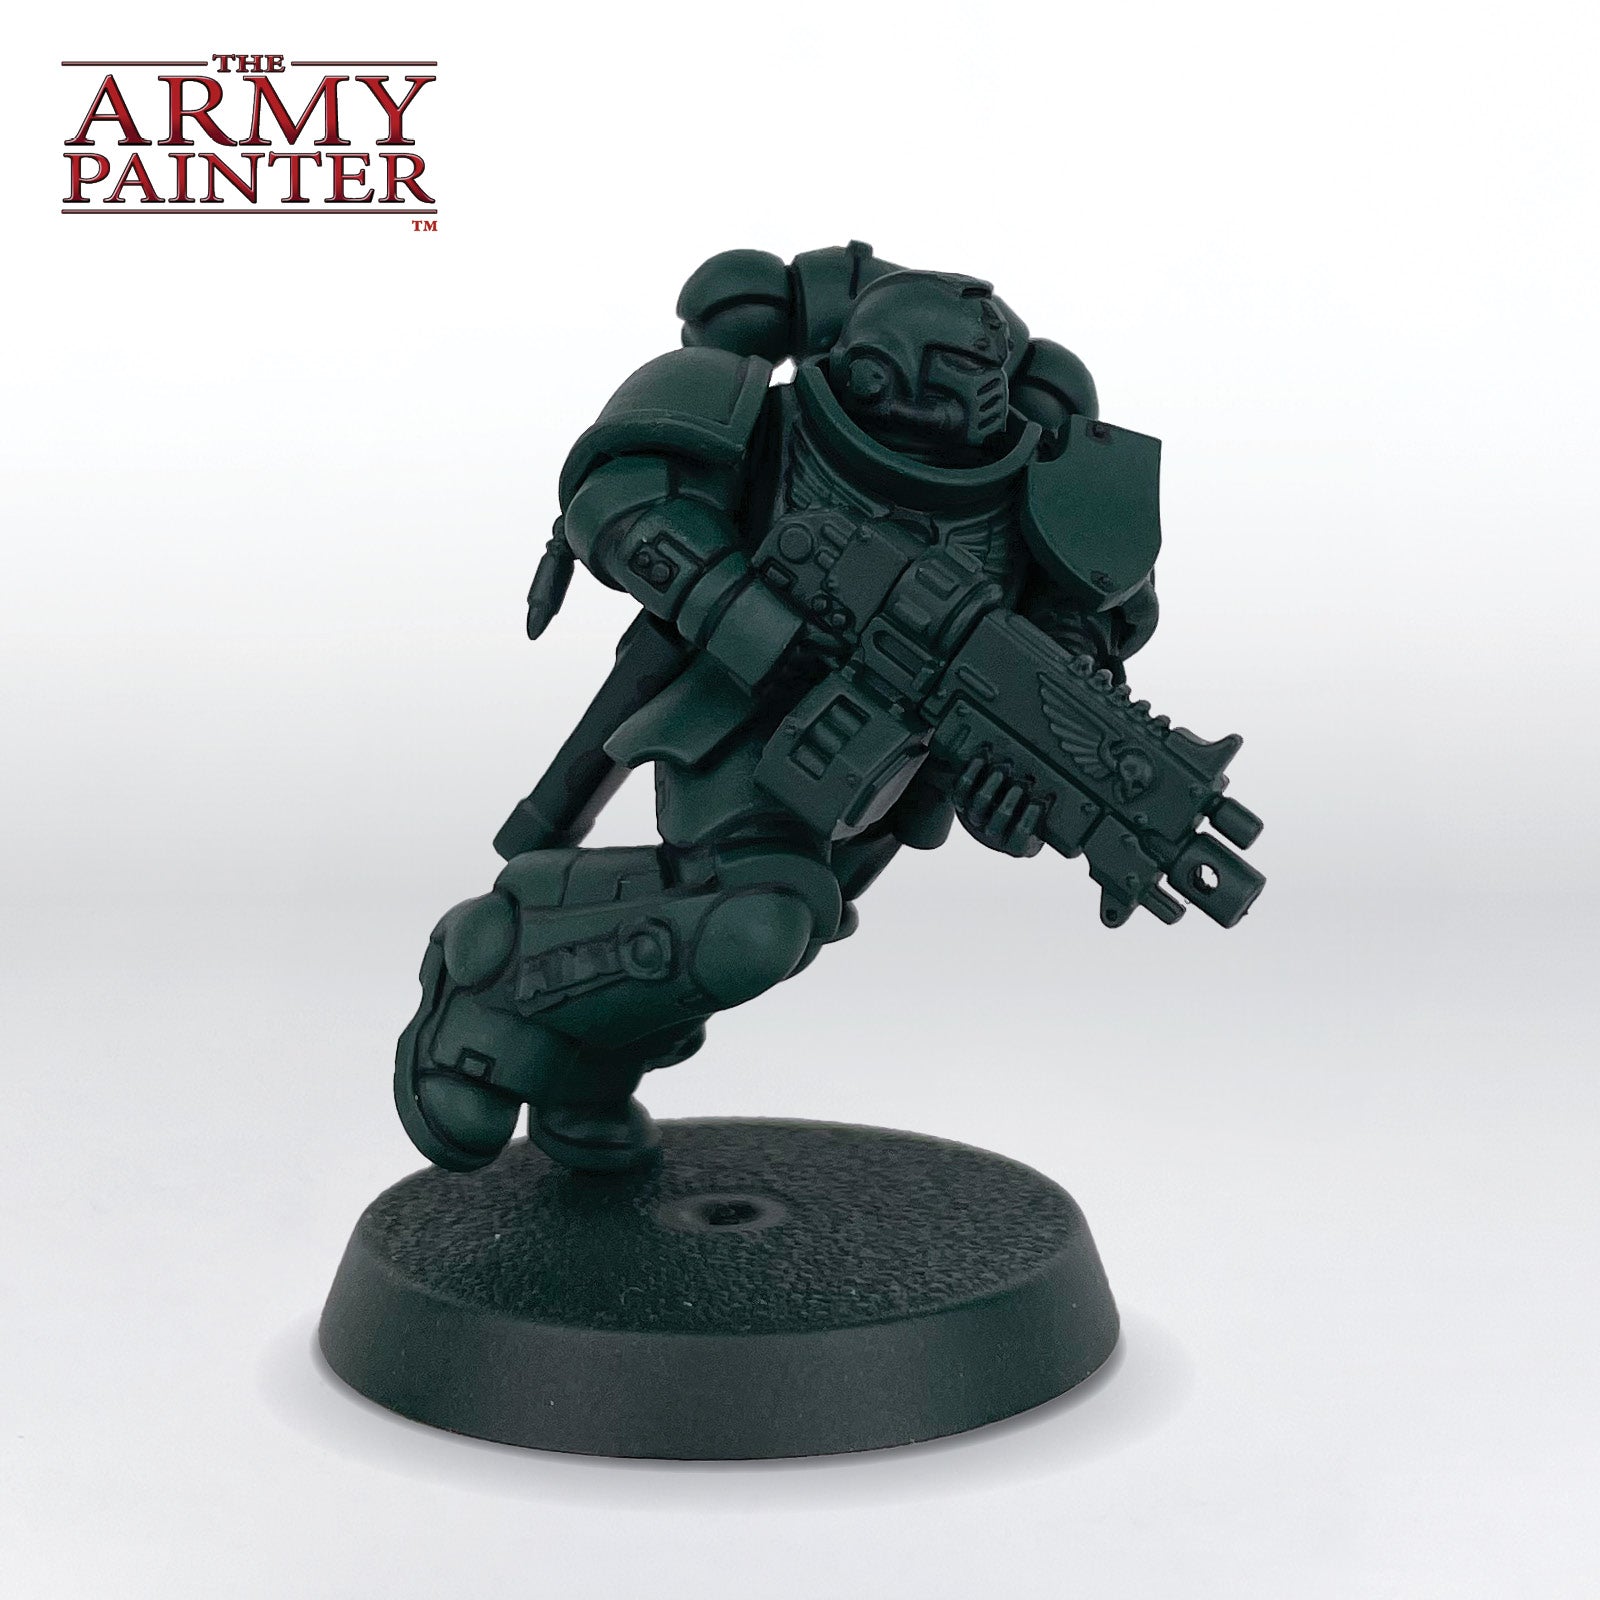
Step 2
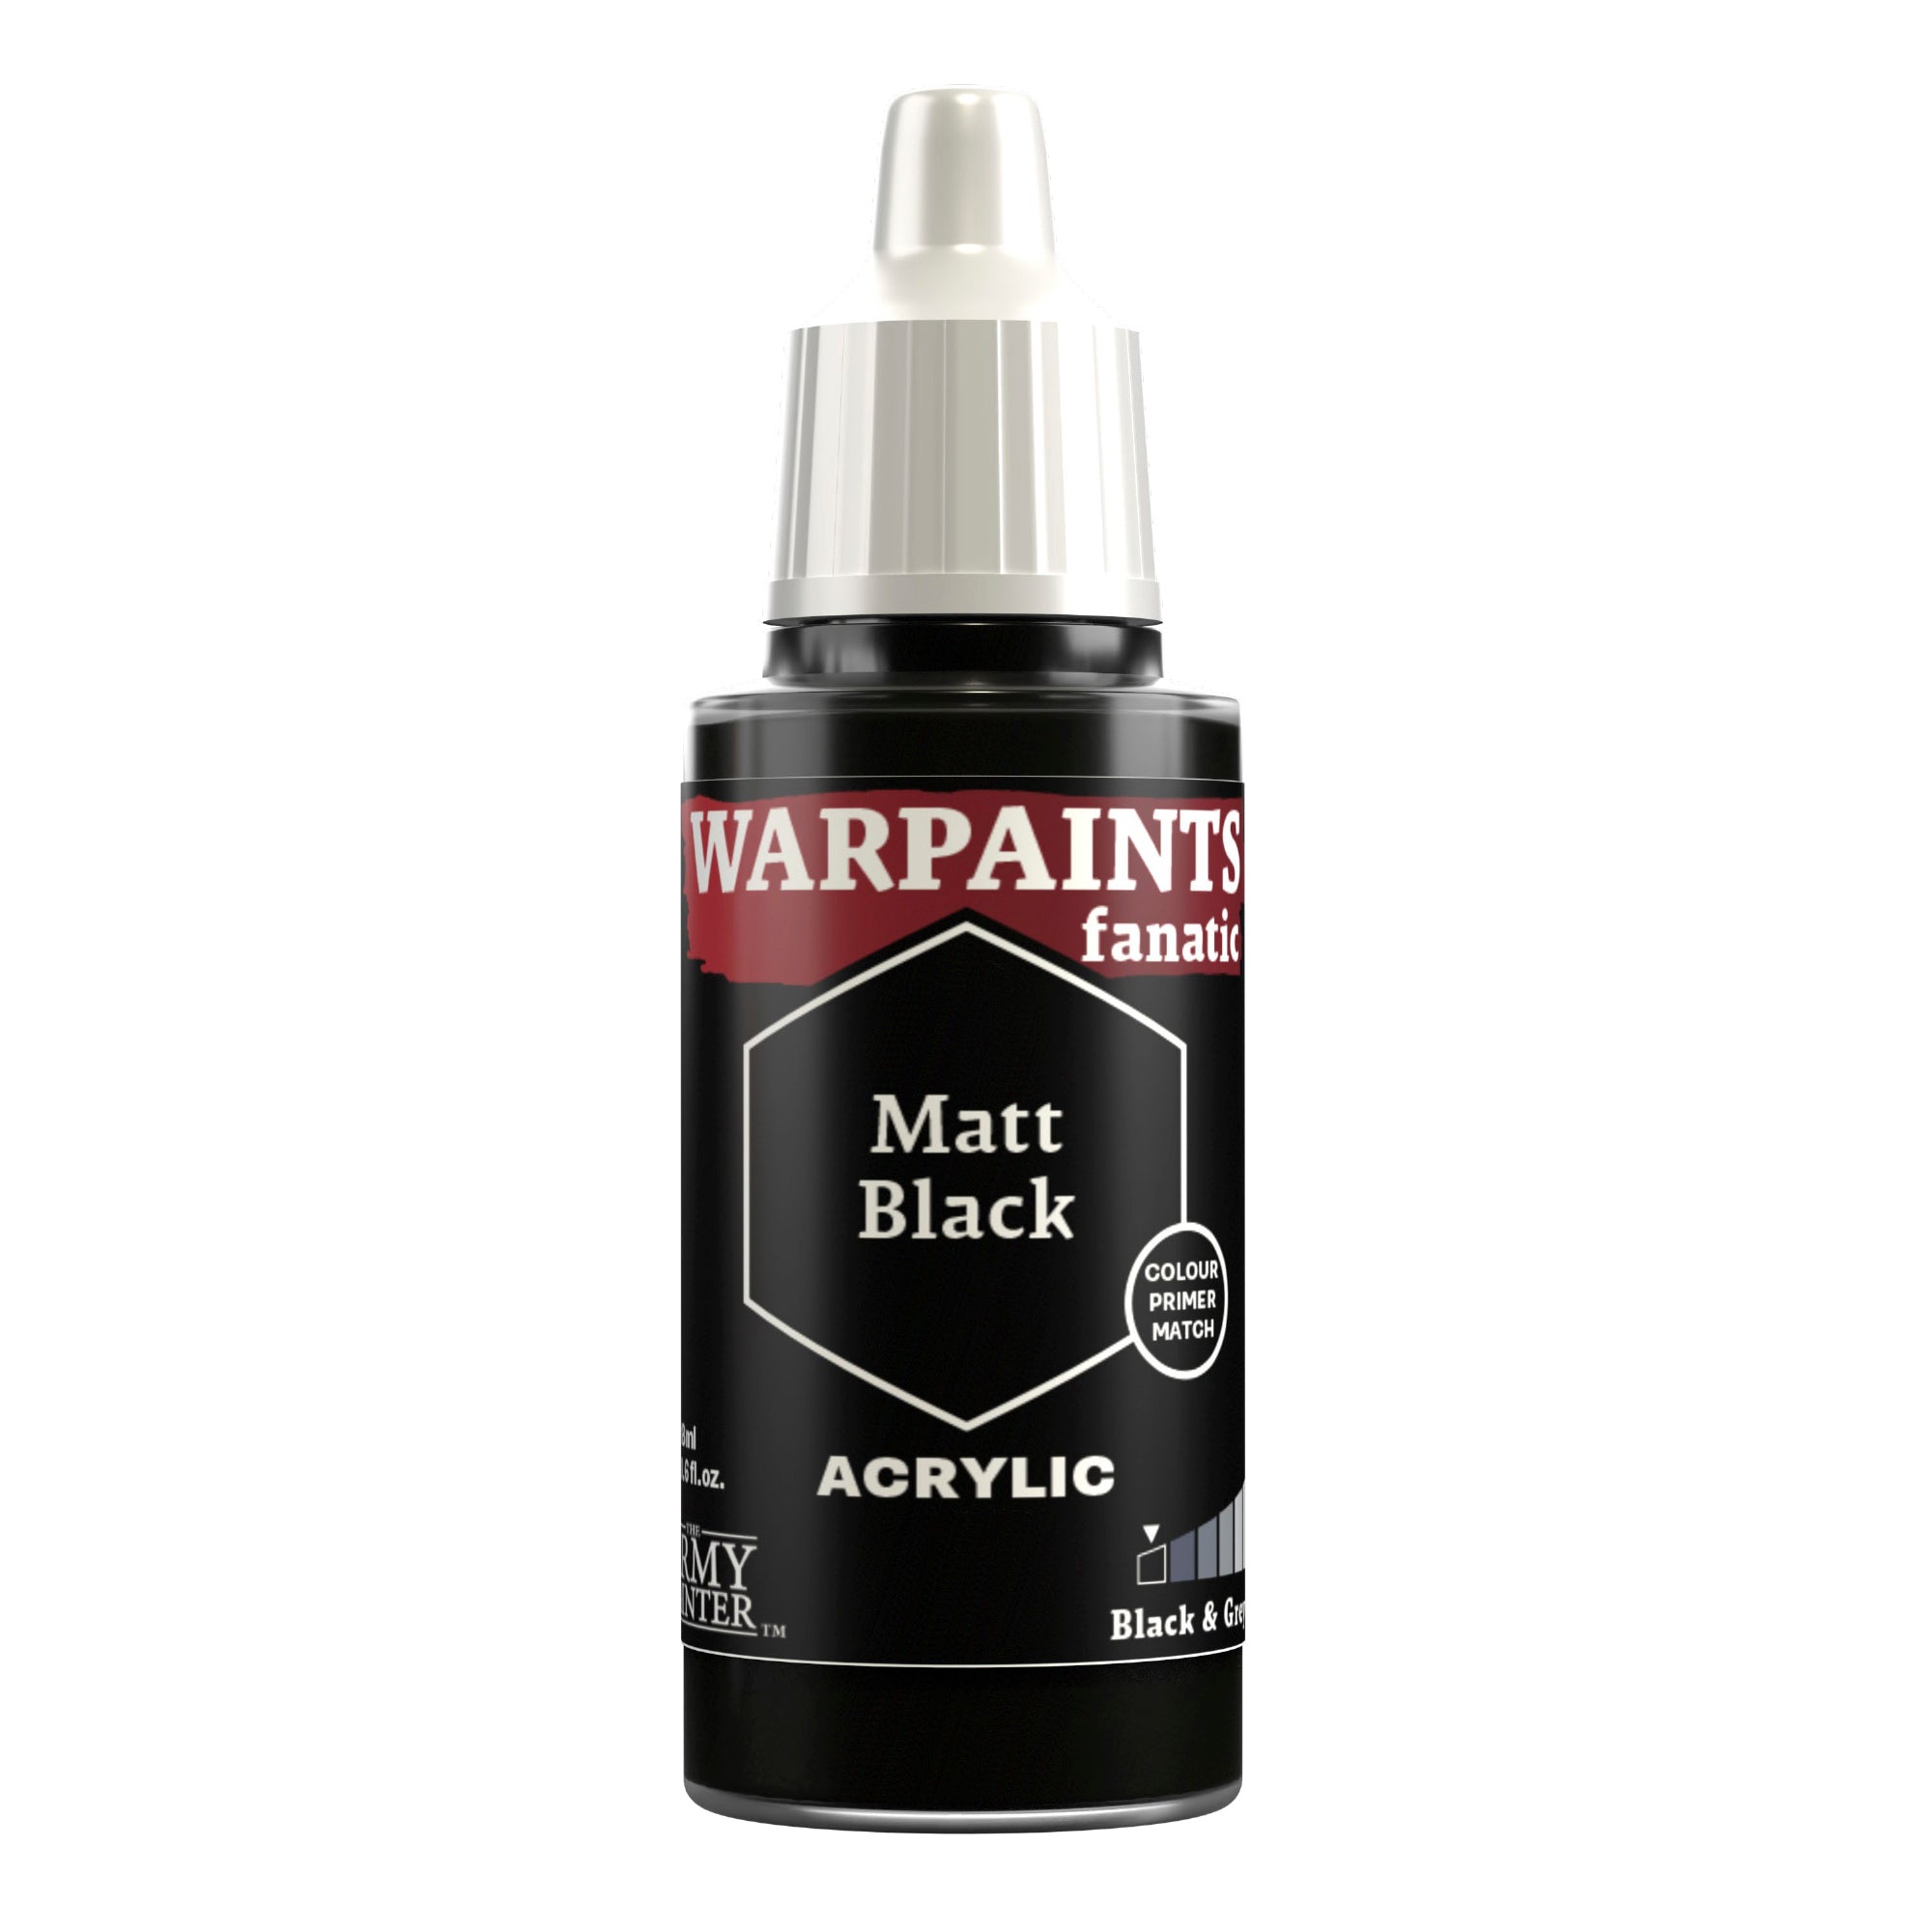
Next, I decided to add a bit more definition, using a 50/50 mix of Warpaints Fanatic Matt Black and Angel Green. This was painted into all of the recesses on the armour. You can tidy back up with pure Angel Green if needed.
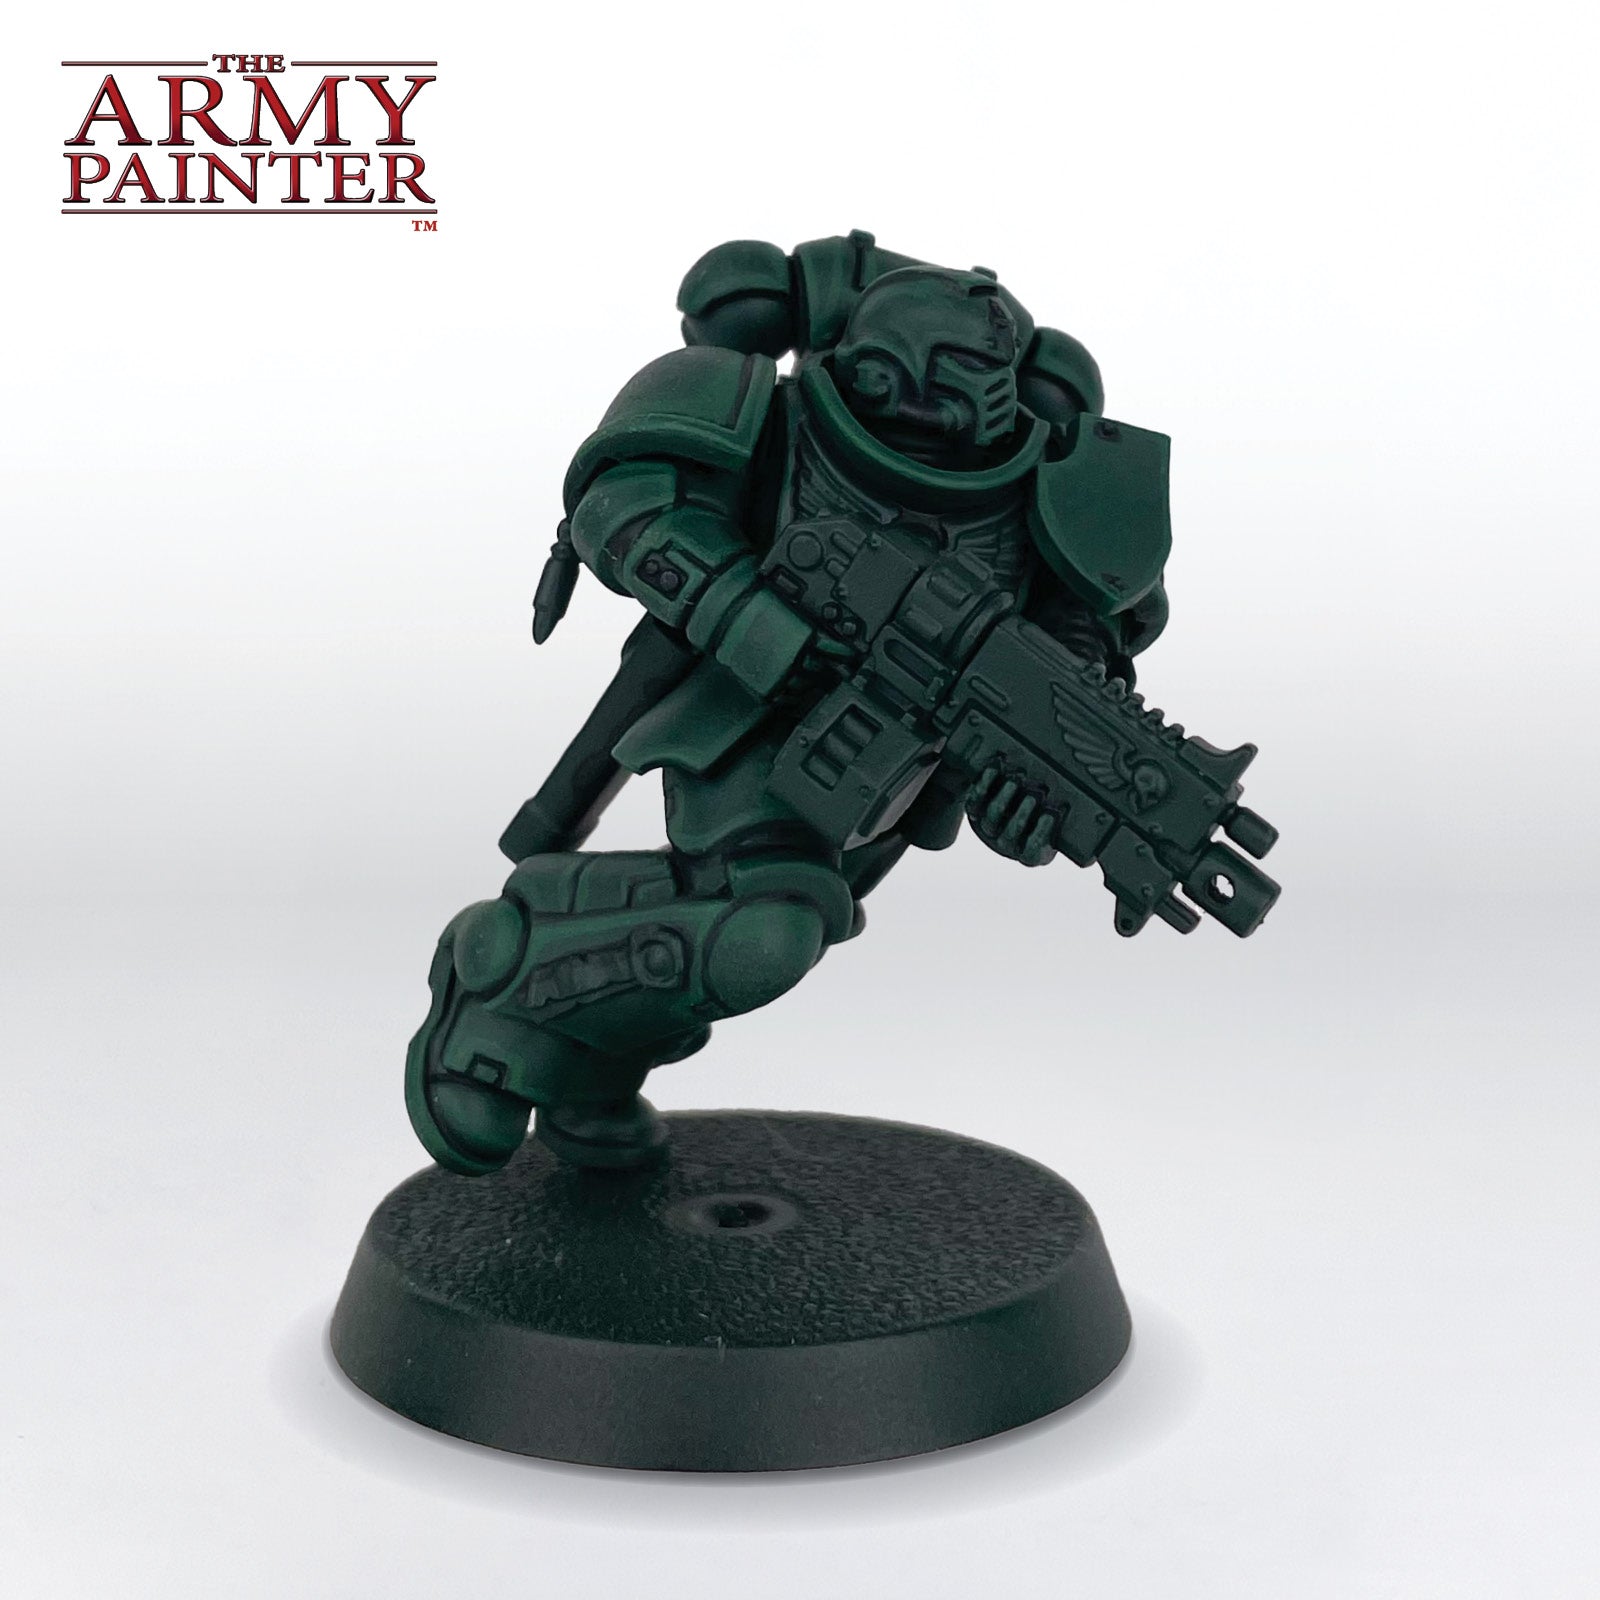
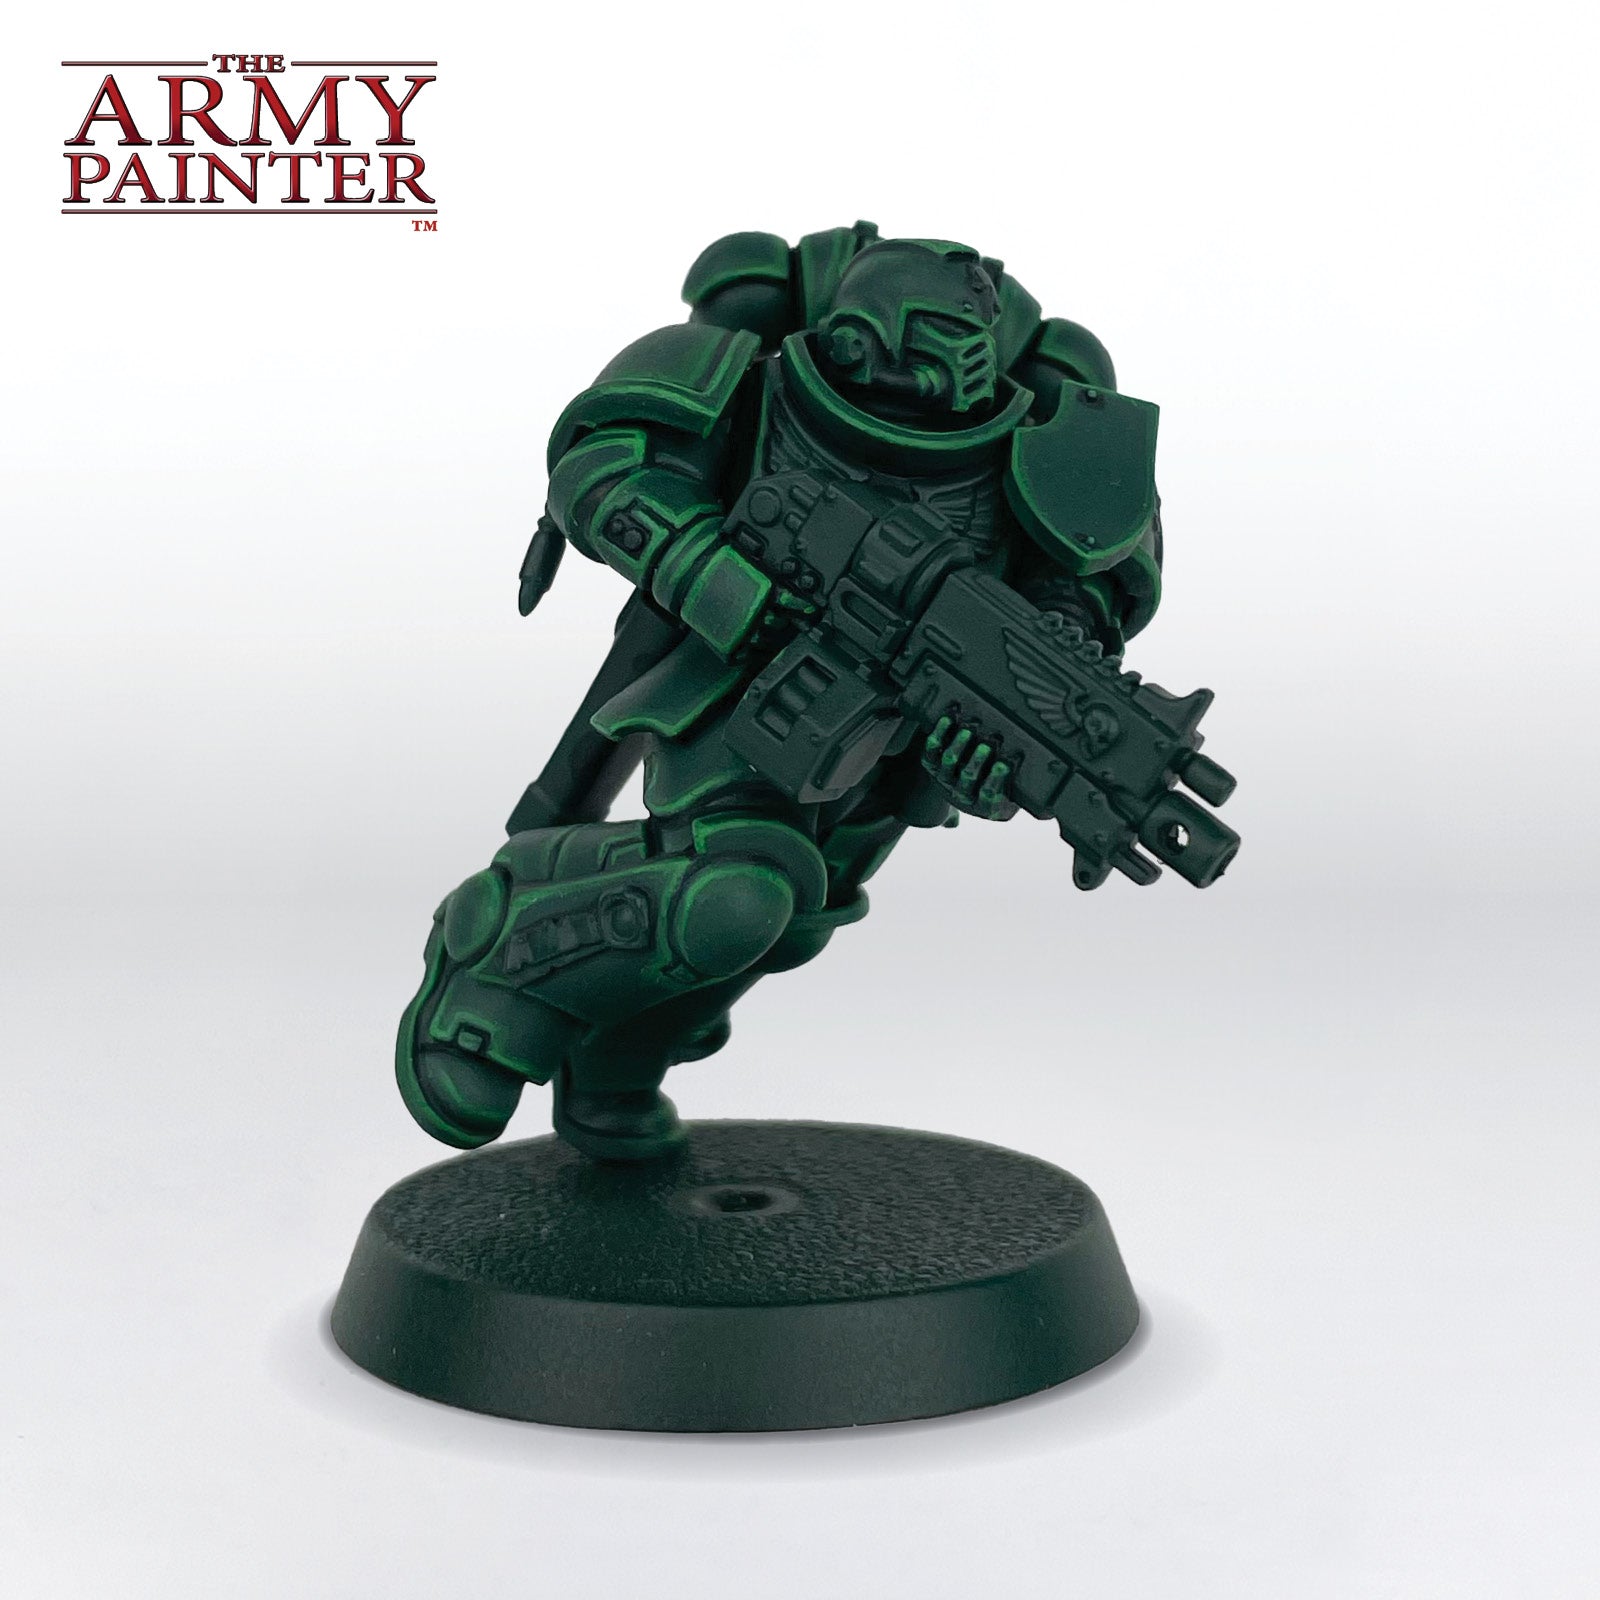
Step 3
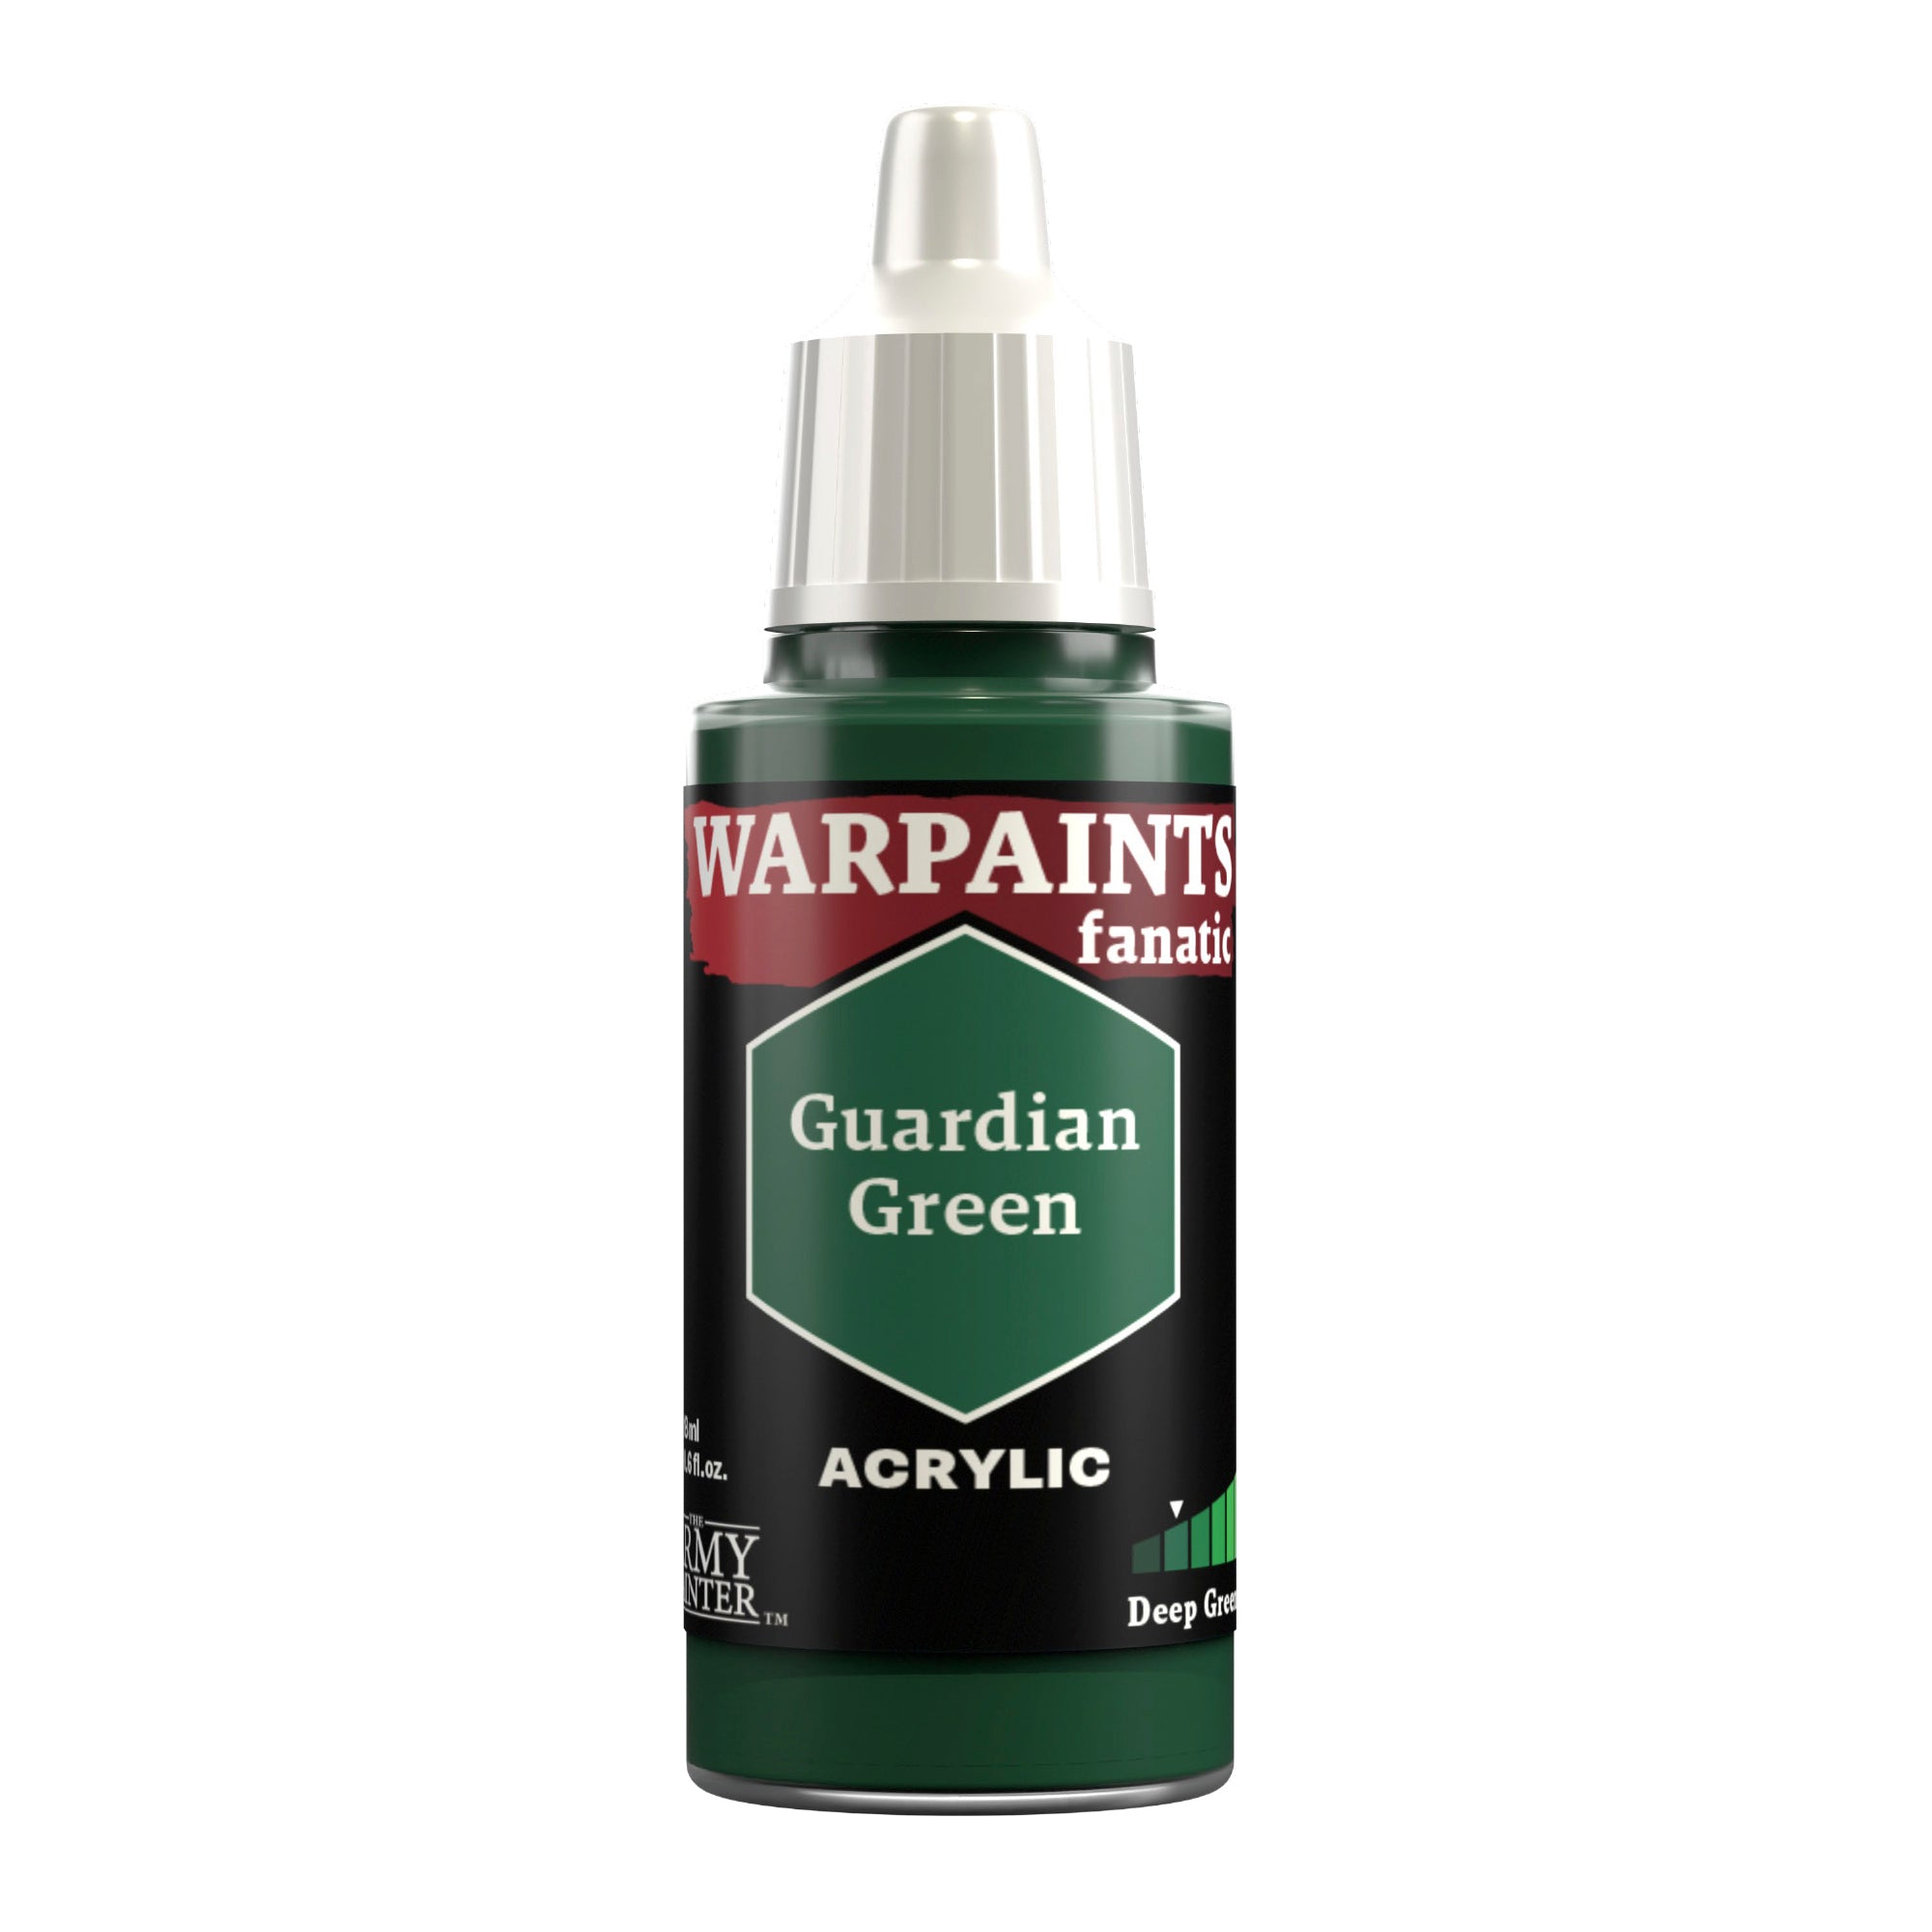
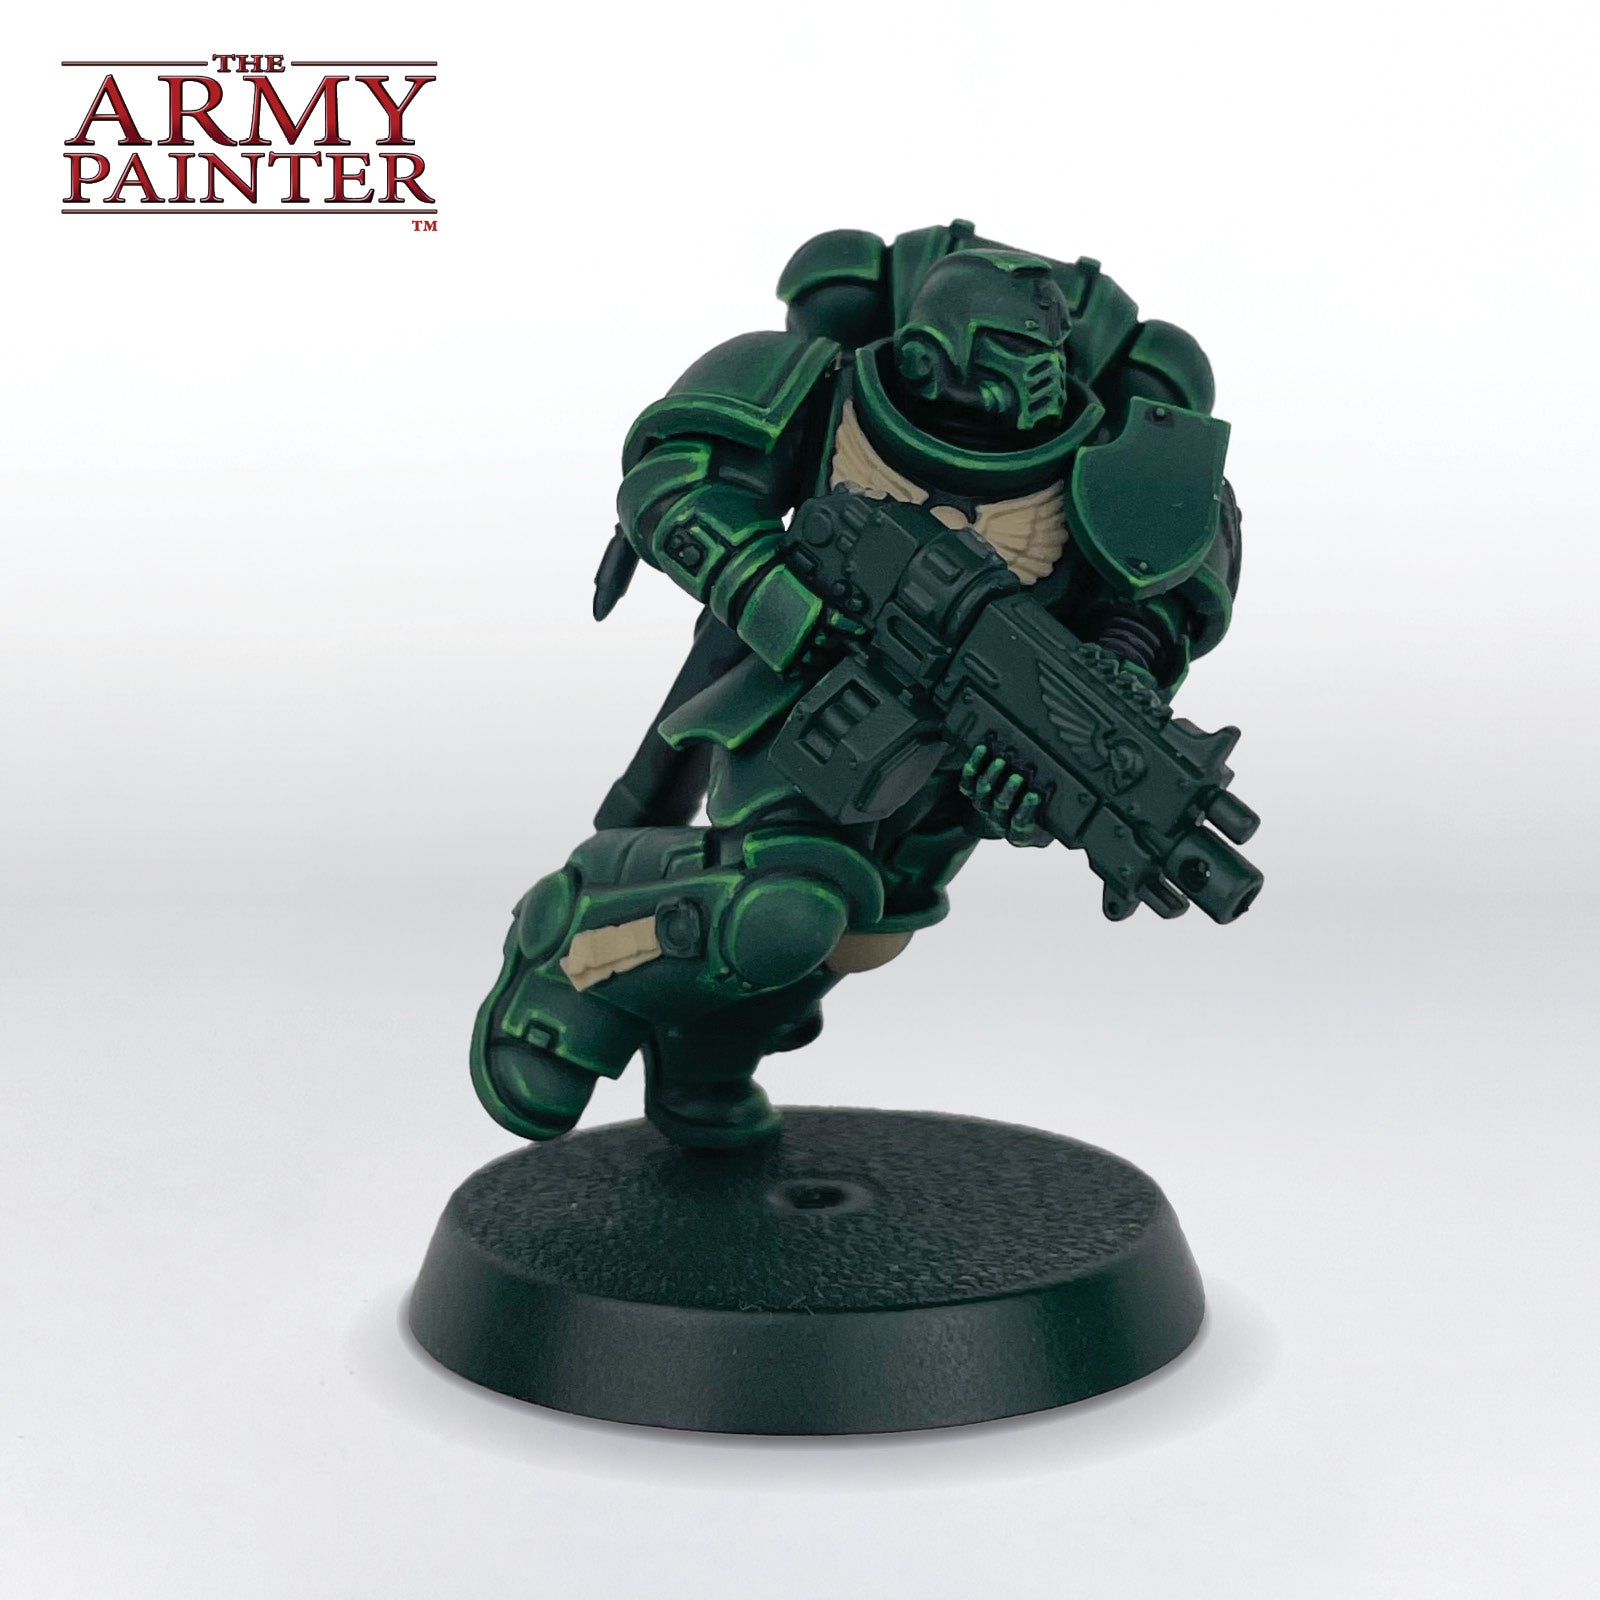
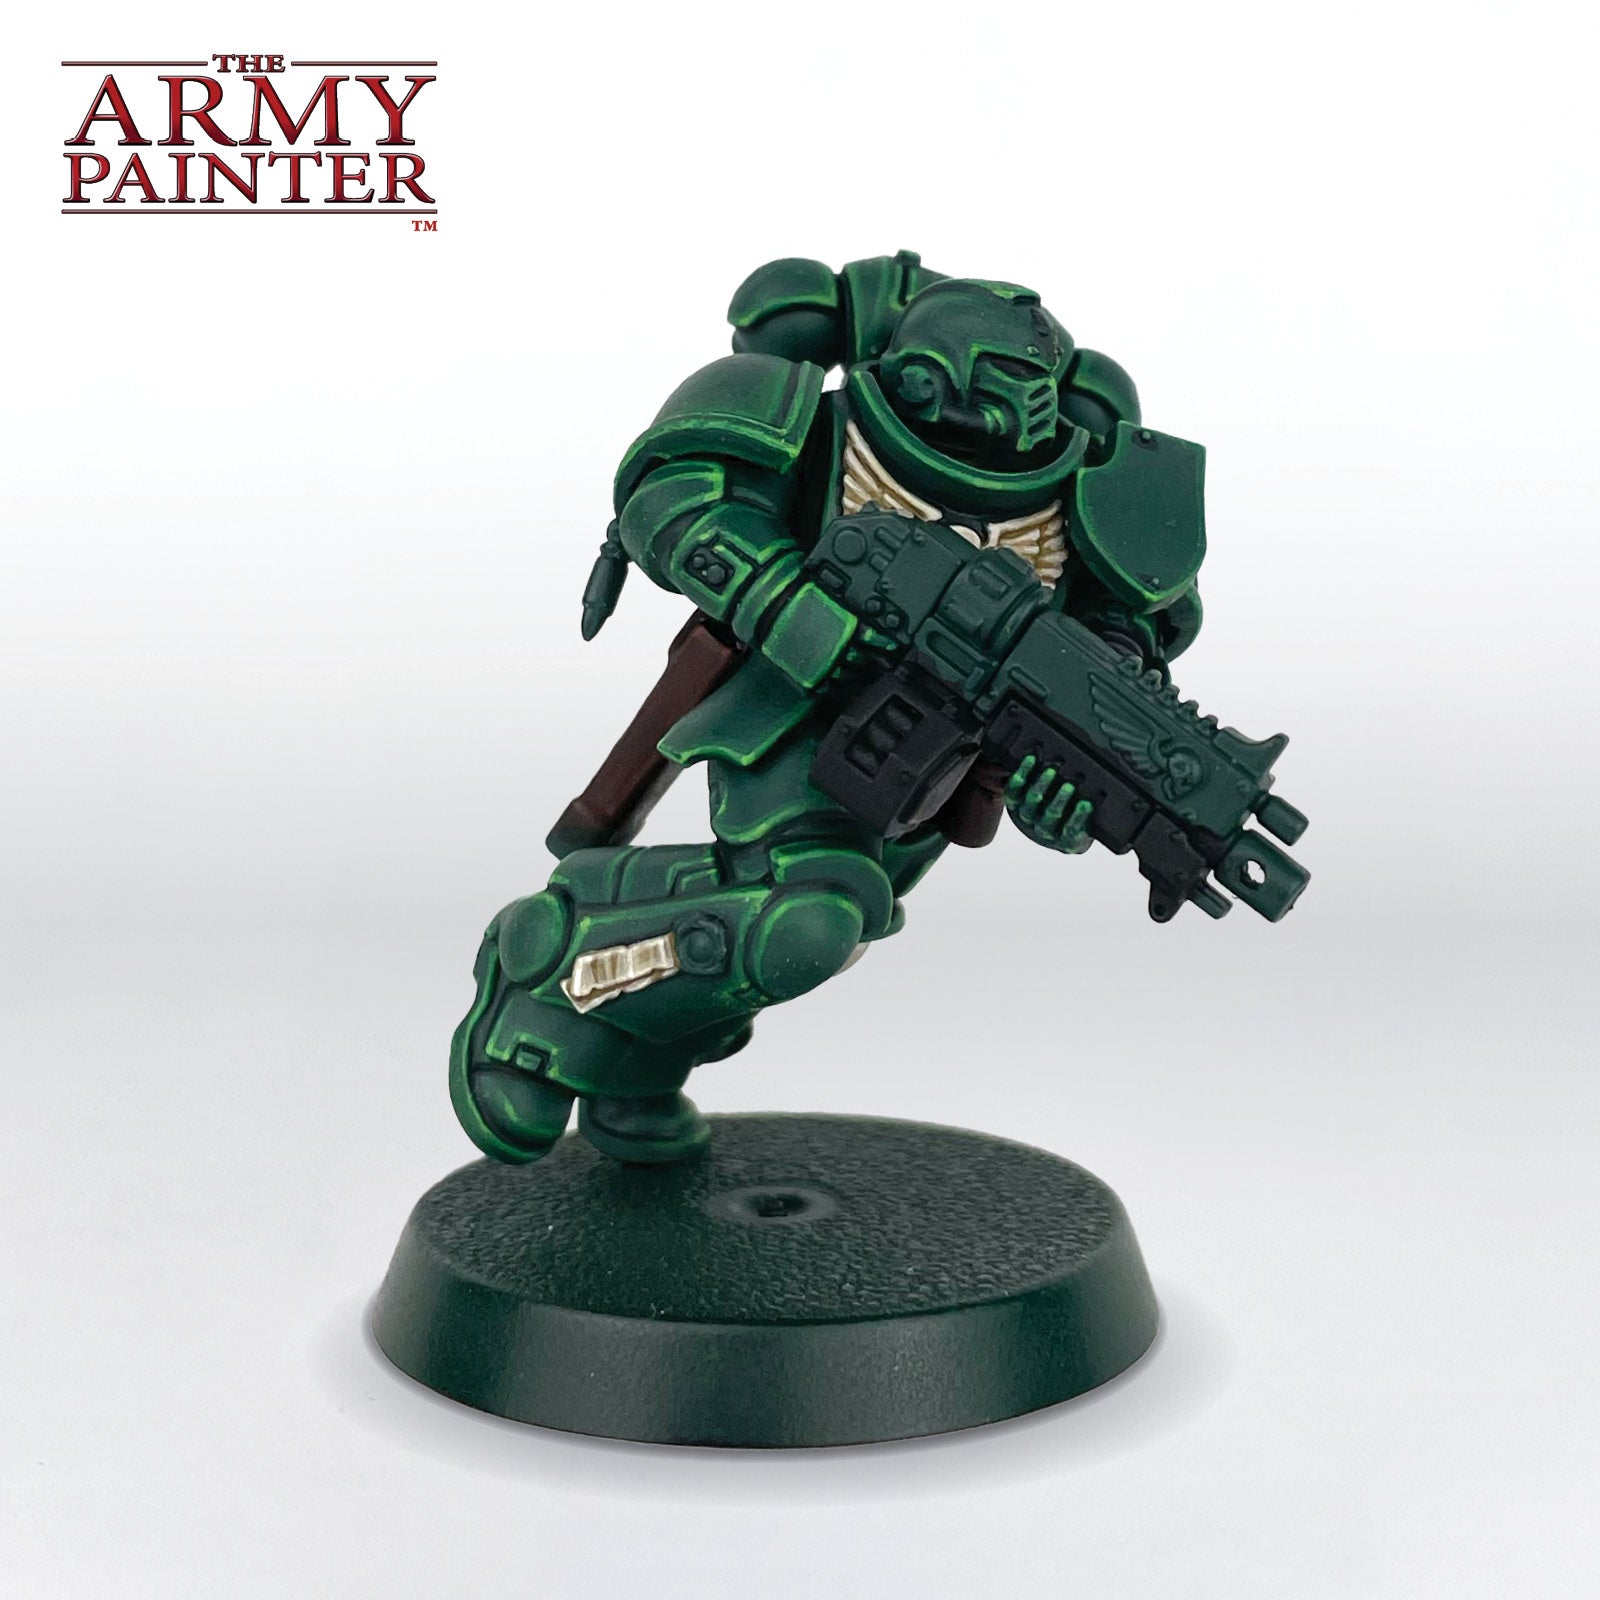
I then moved onto the first highlight step, applying a “chunky” highlight of Warpaints Fanatic Guardian Green to all of the edges. A chunky highlight is one that you purposefully make a little thicker so your later highlights can sit inside of it, giving you a gradient.
Step 4
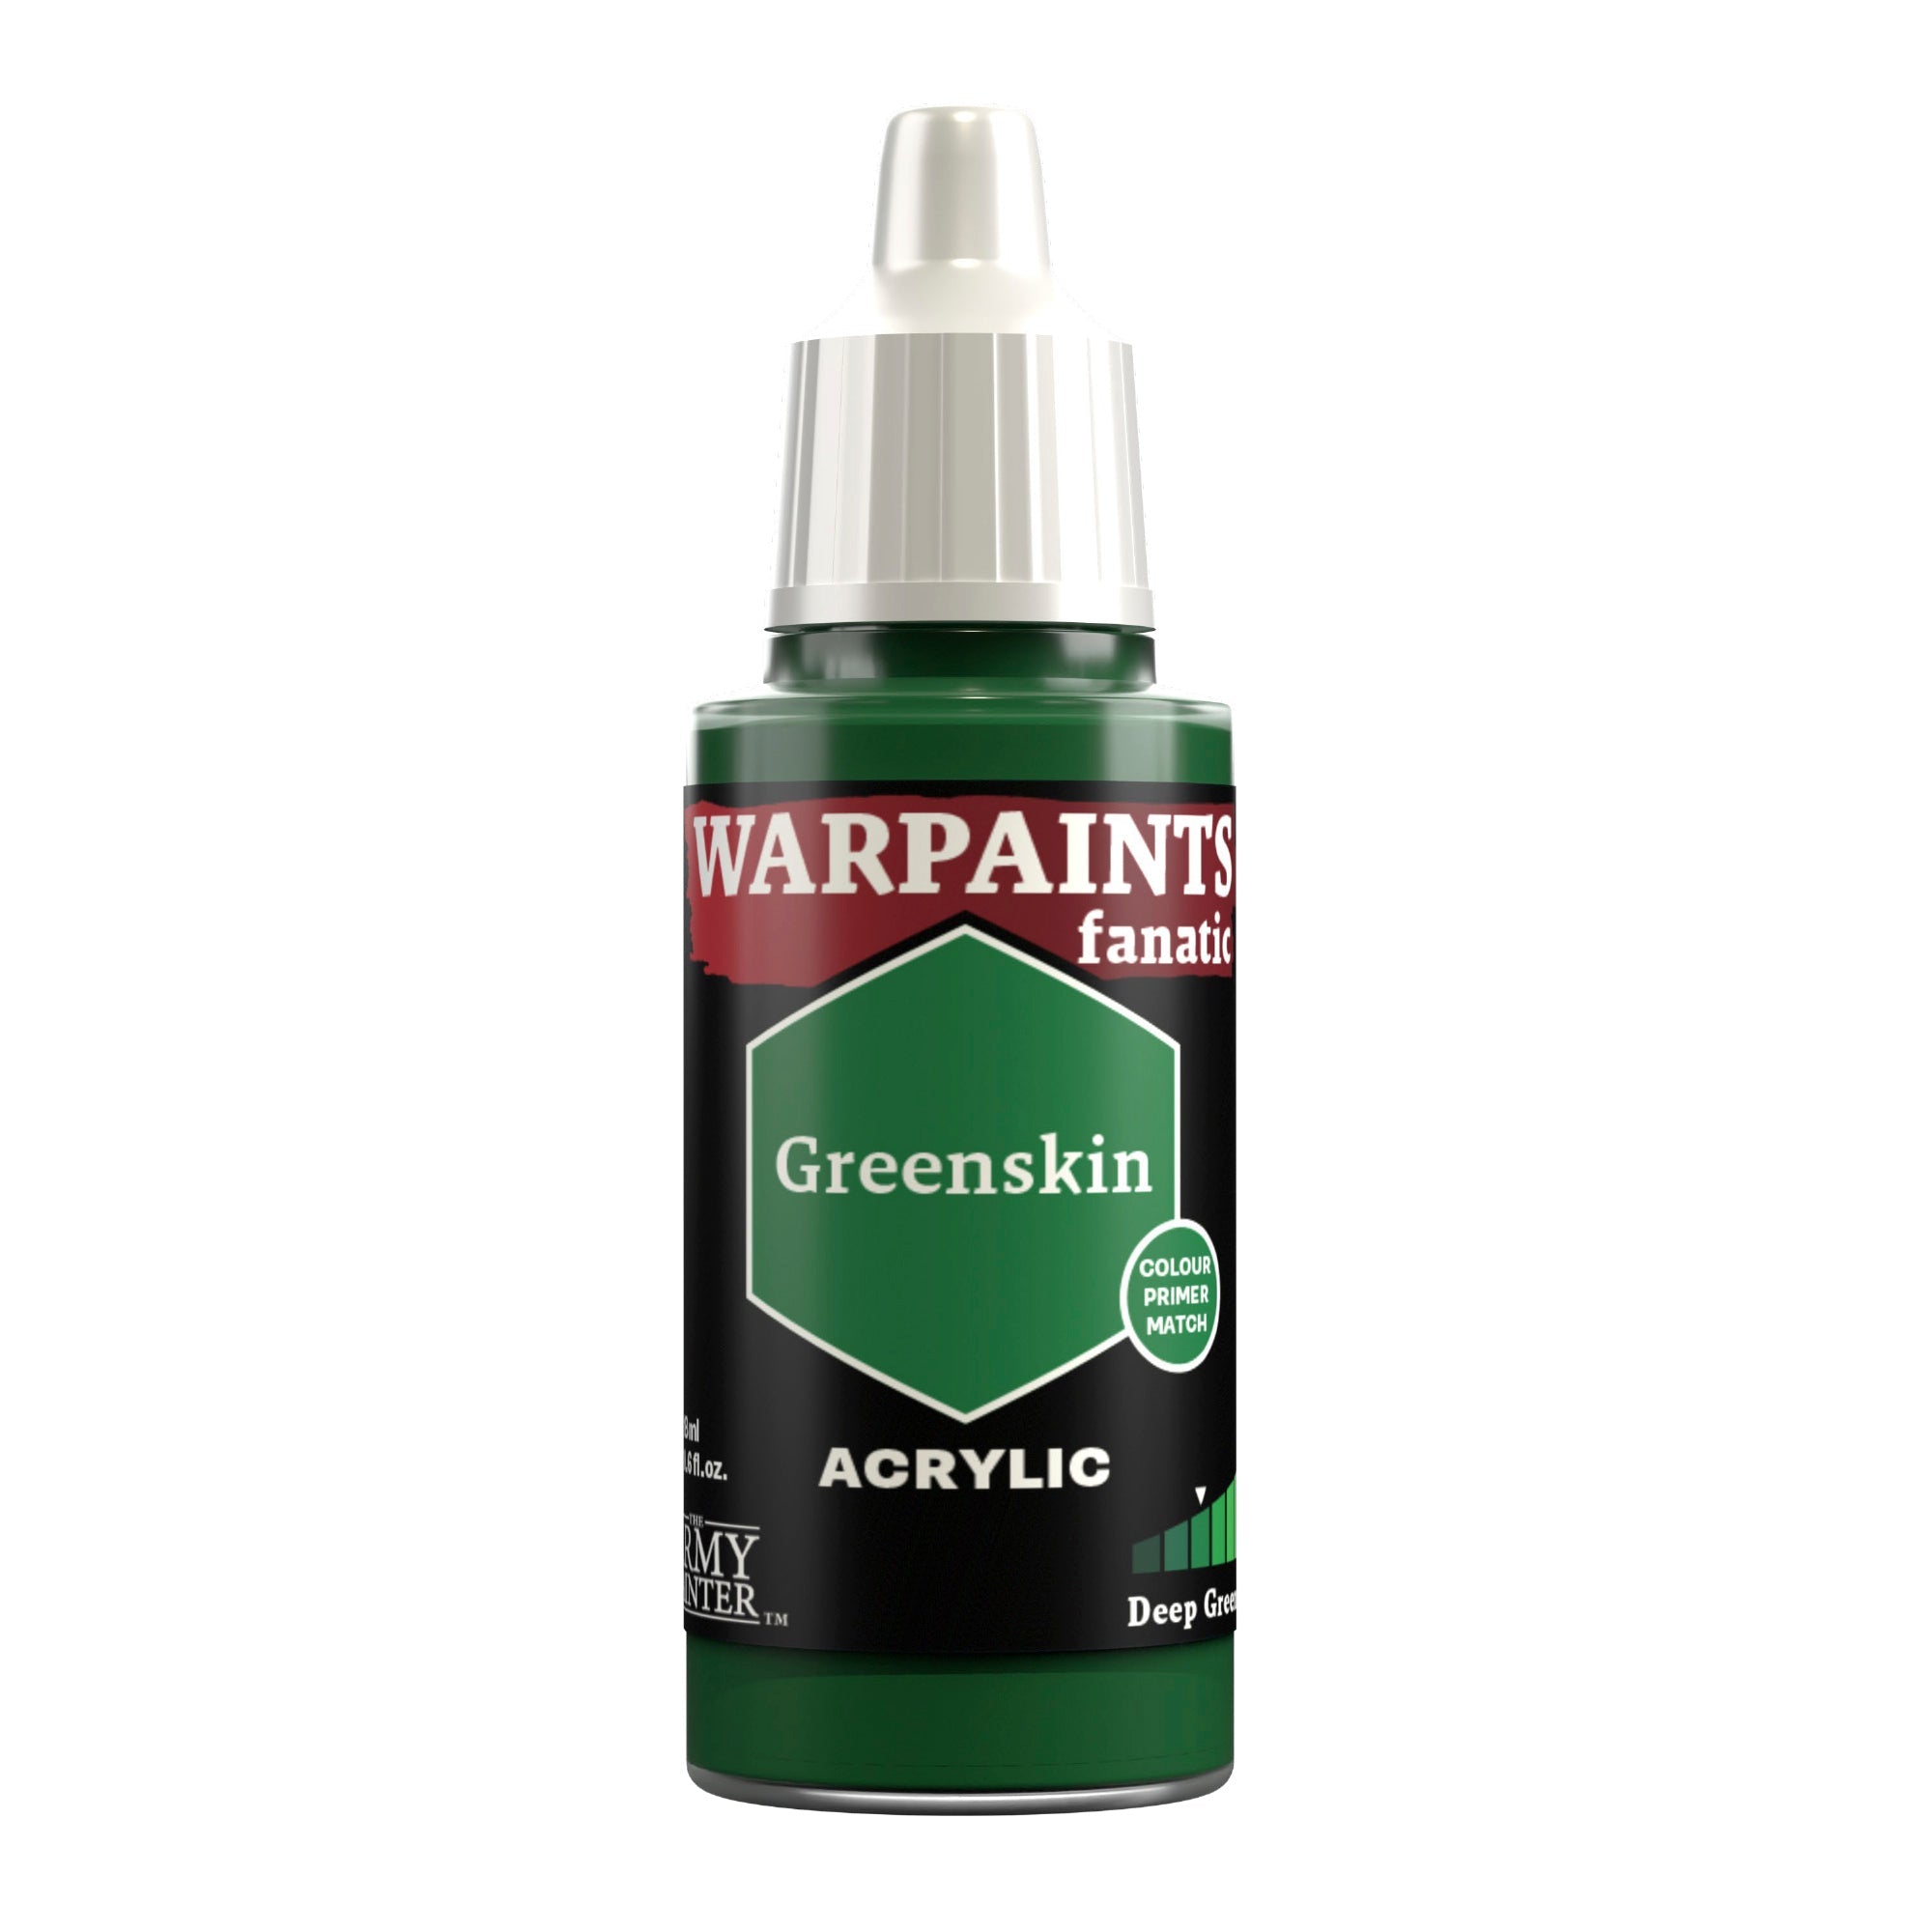
This was followed up with an edge highlight of Warpaints Fanatic Greenskin. I applied this as a thin highlight along the edges of all of the armor panels.
Step 5
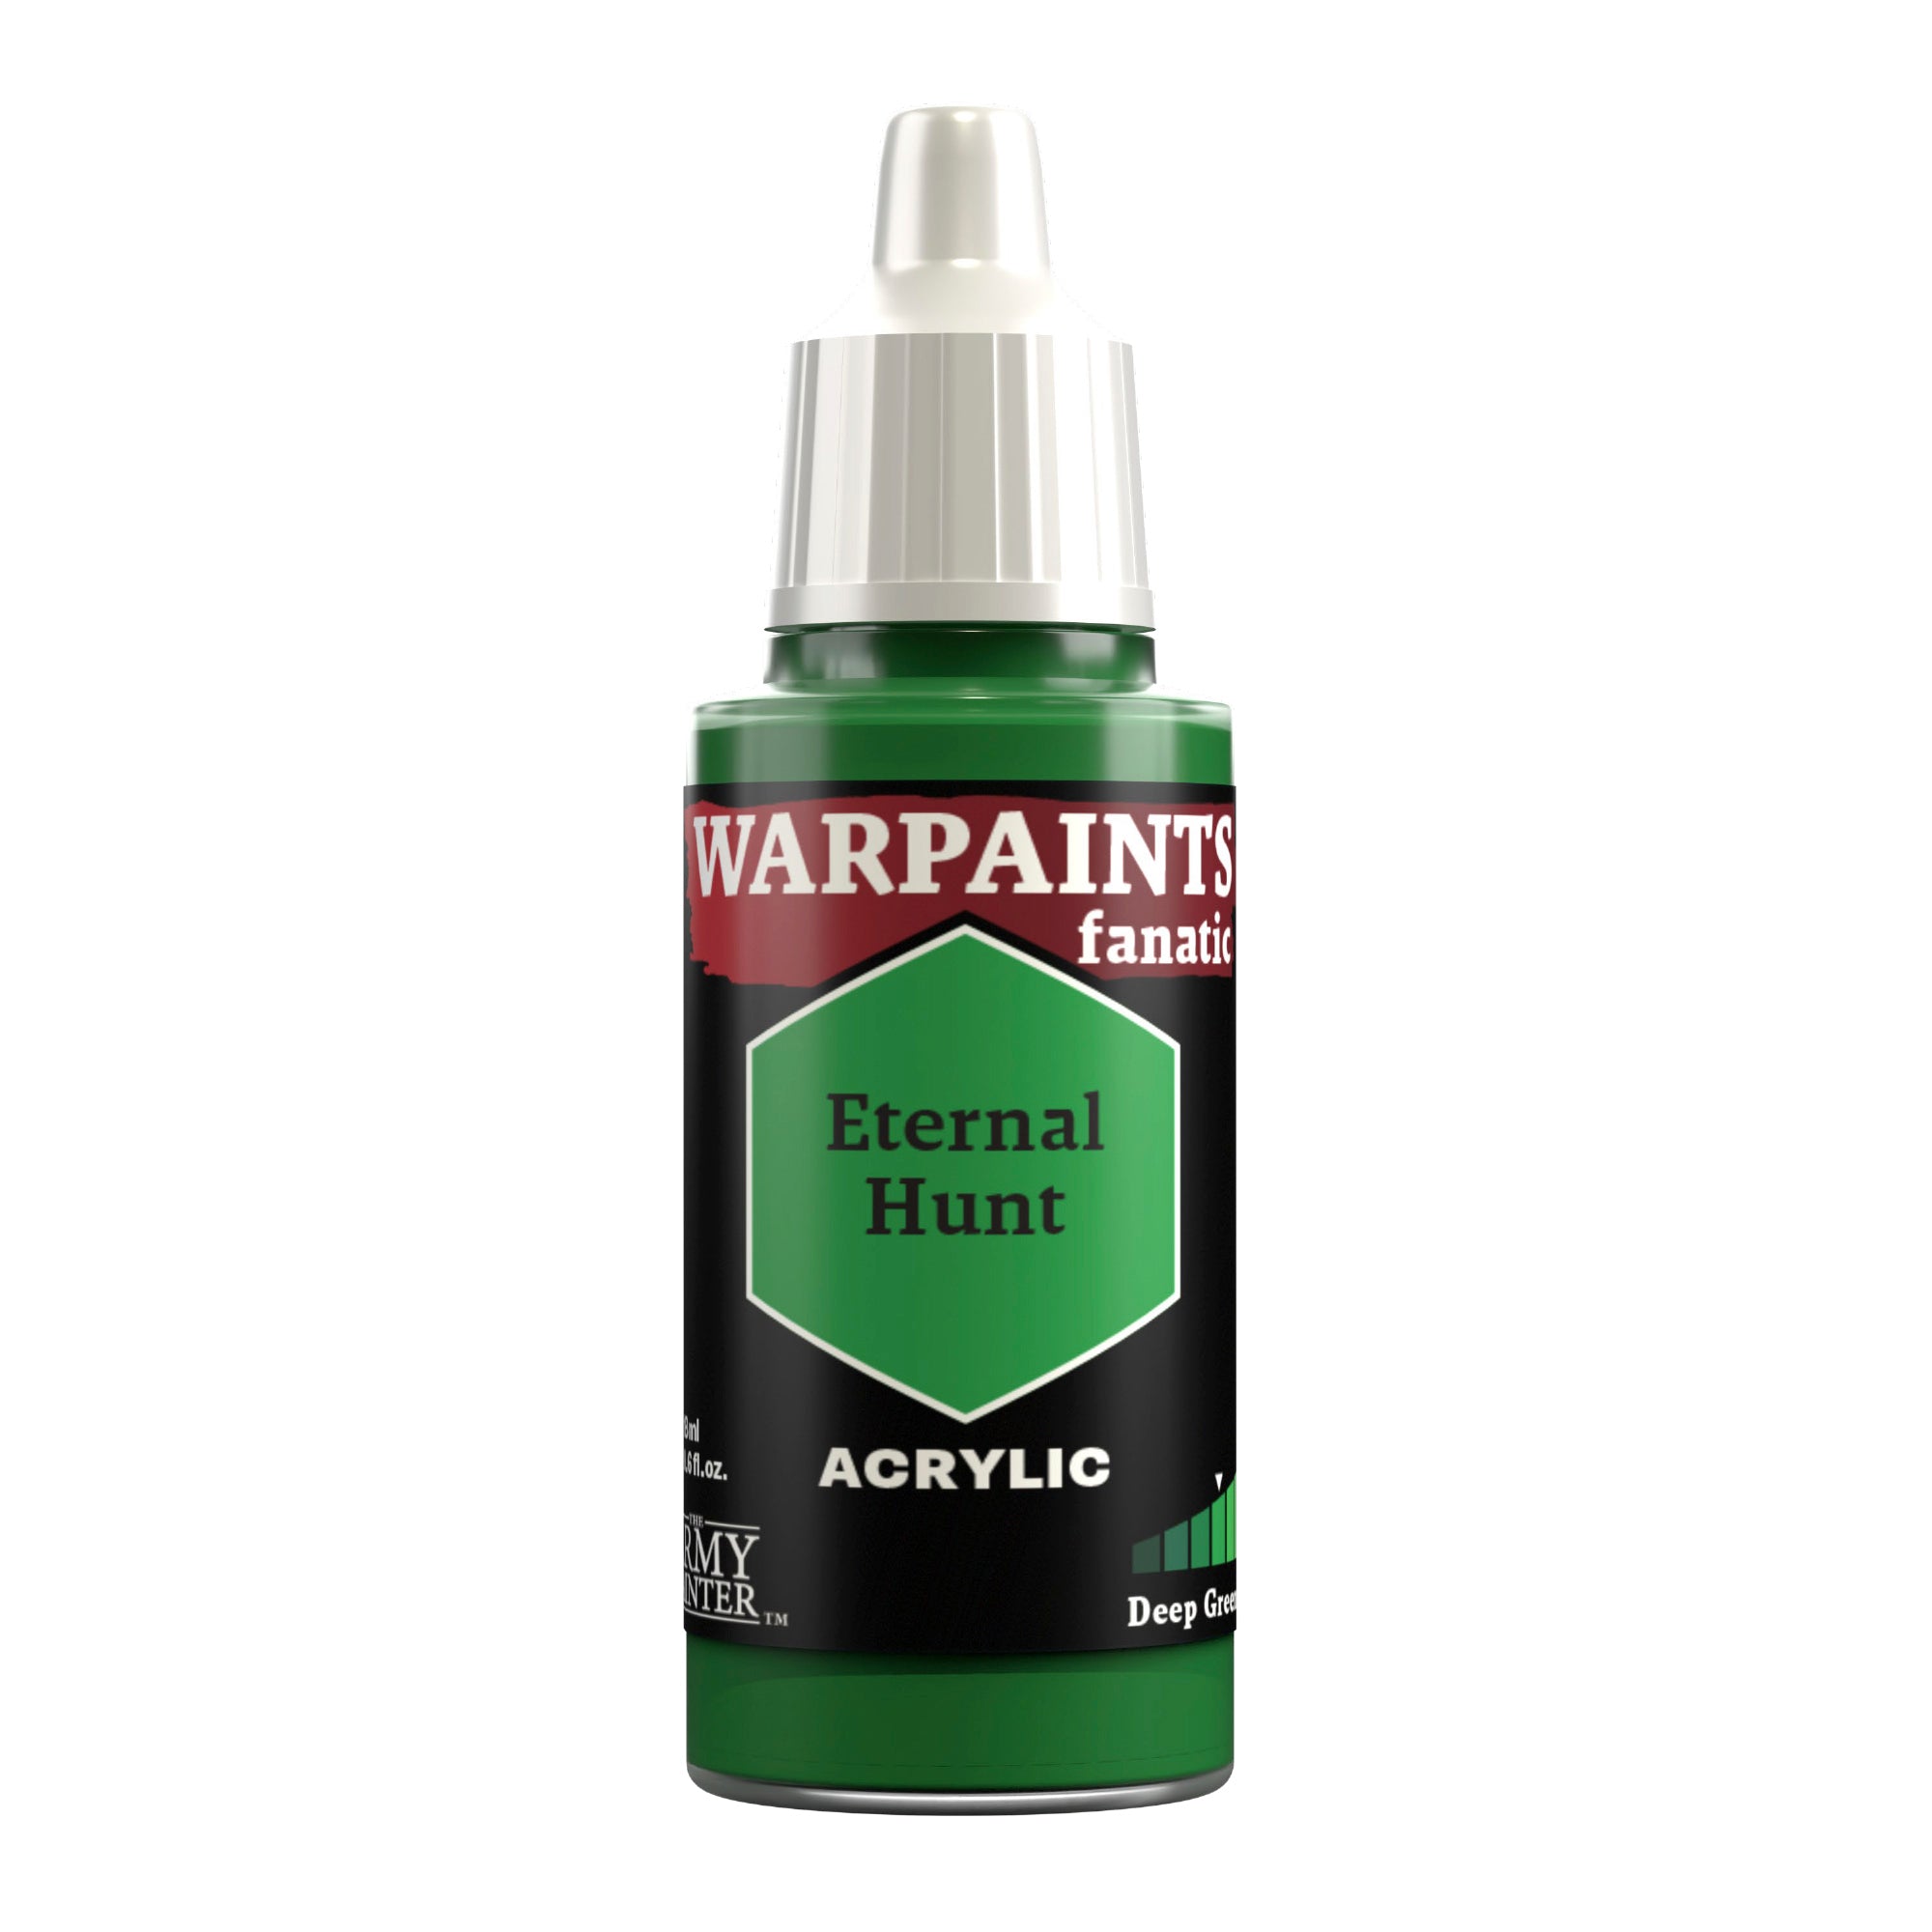
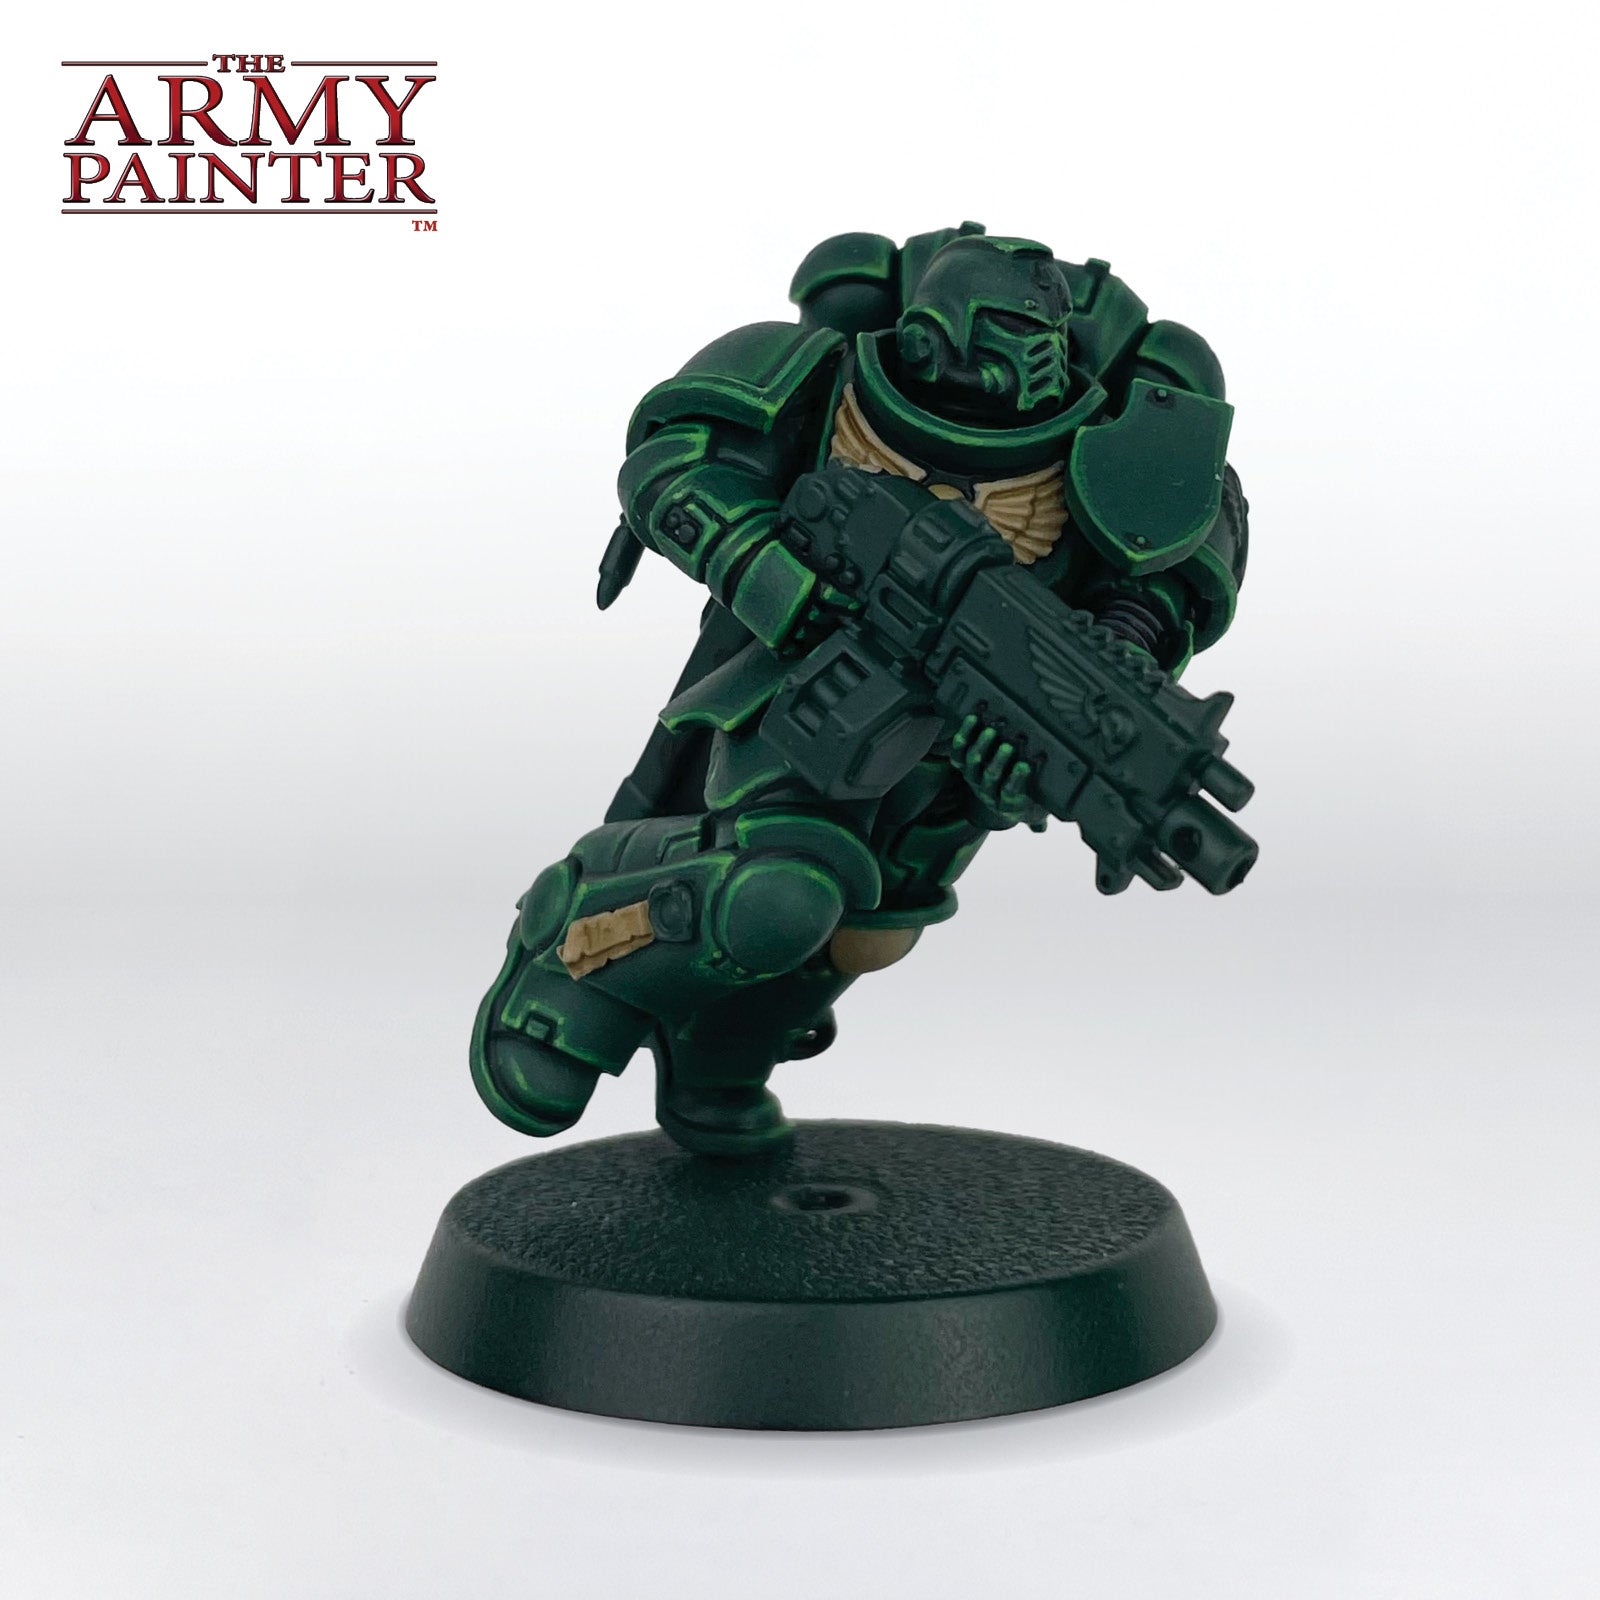
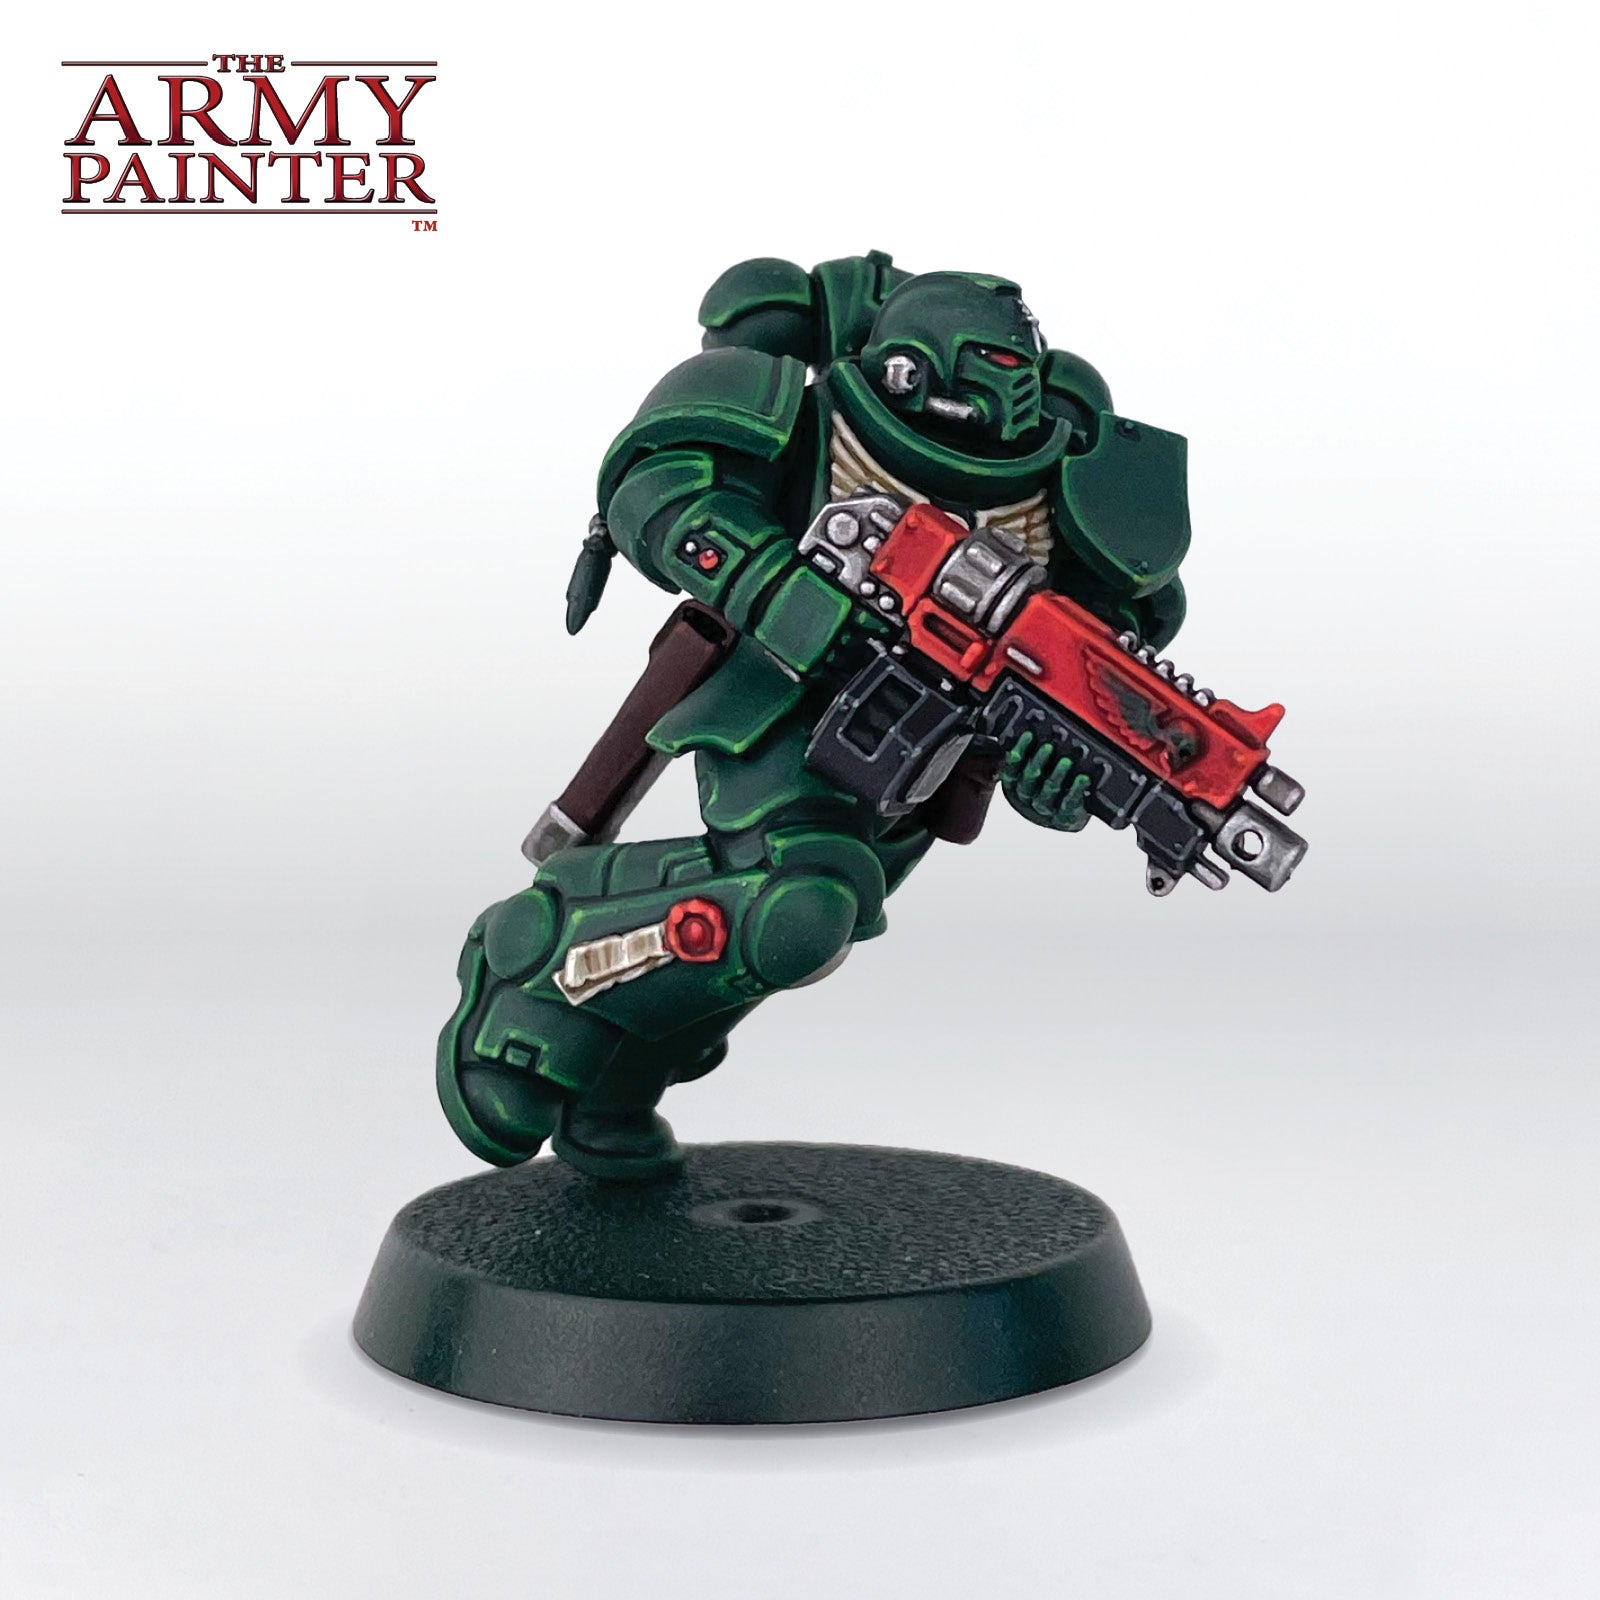
Next, I applied an even more refined highlight of Warpaints Fanatic Eternal Hunt. Keep this closer to corners or areas you think would catch the light more or you want to emphasize.
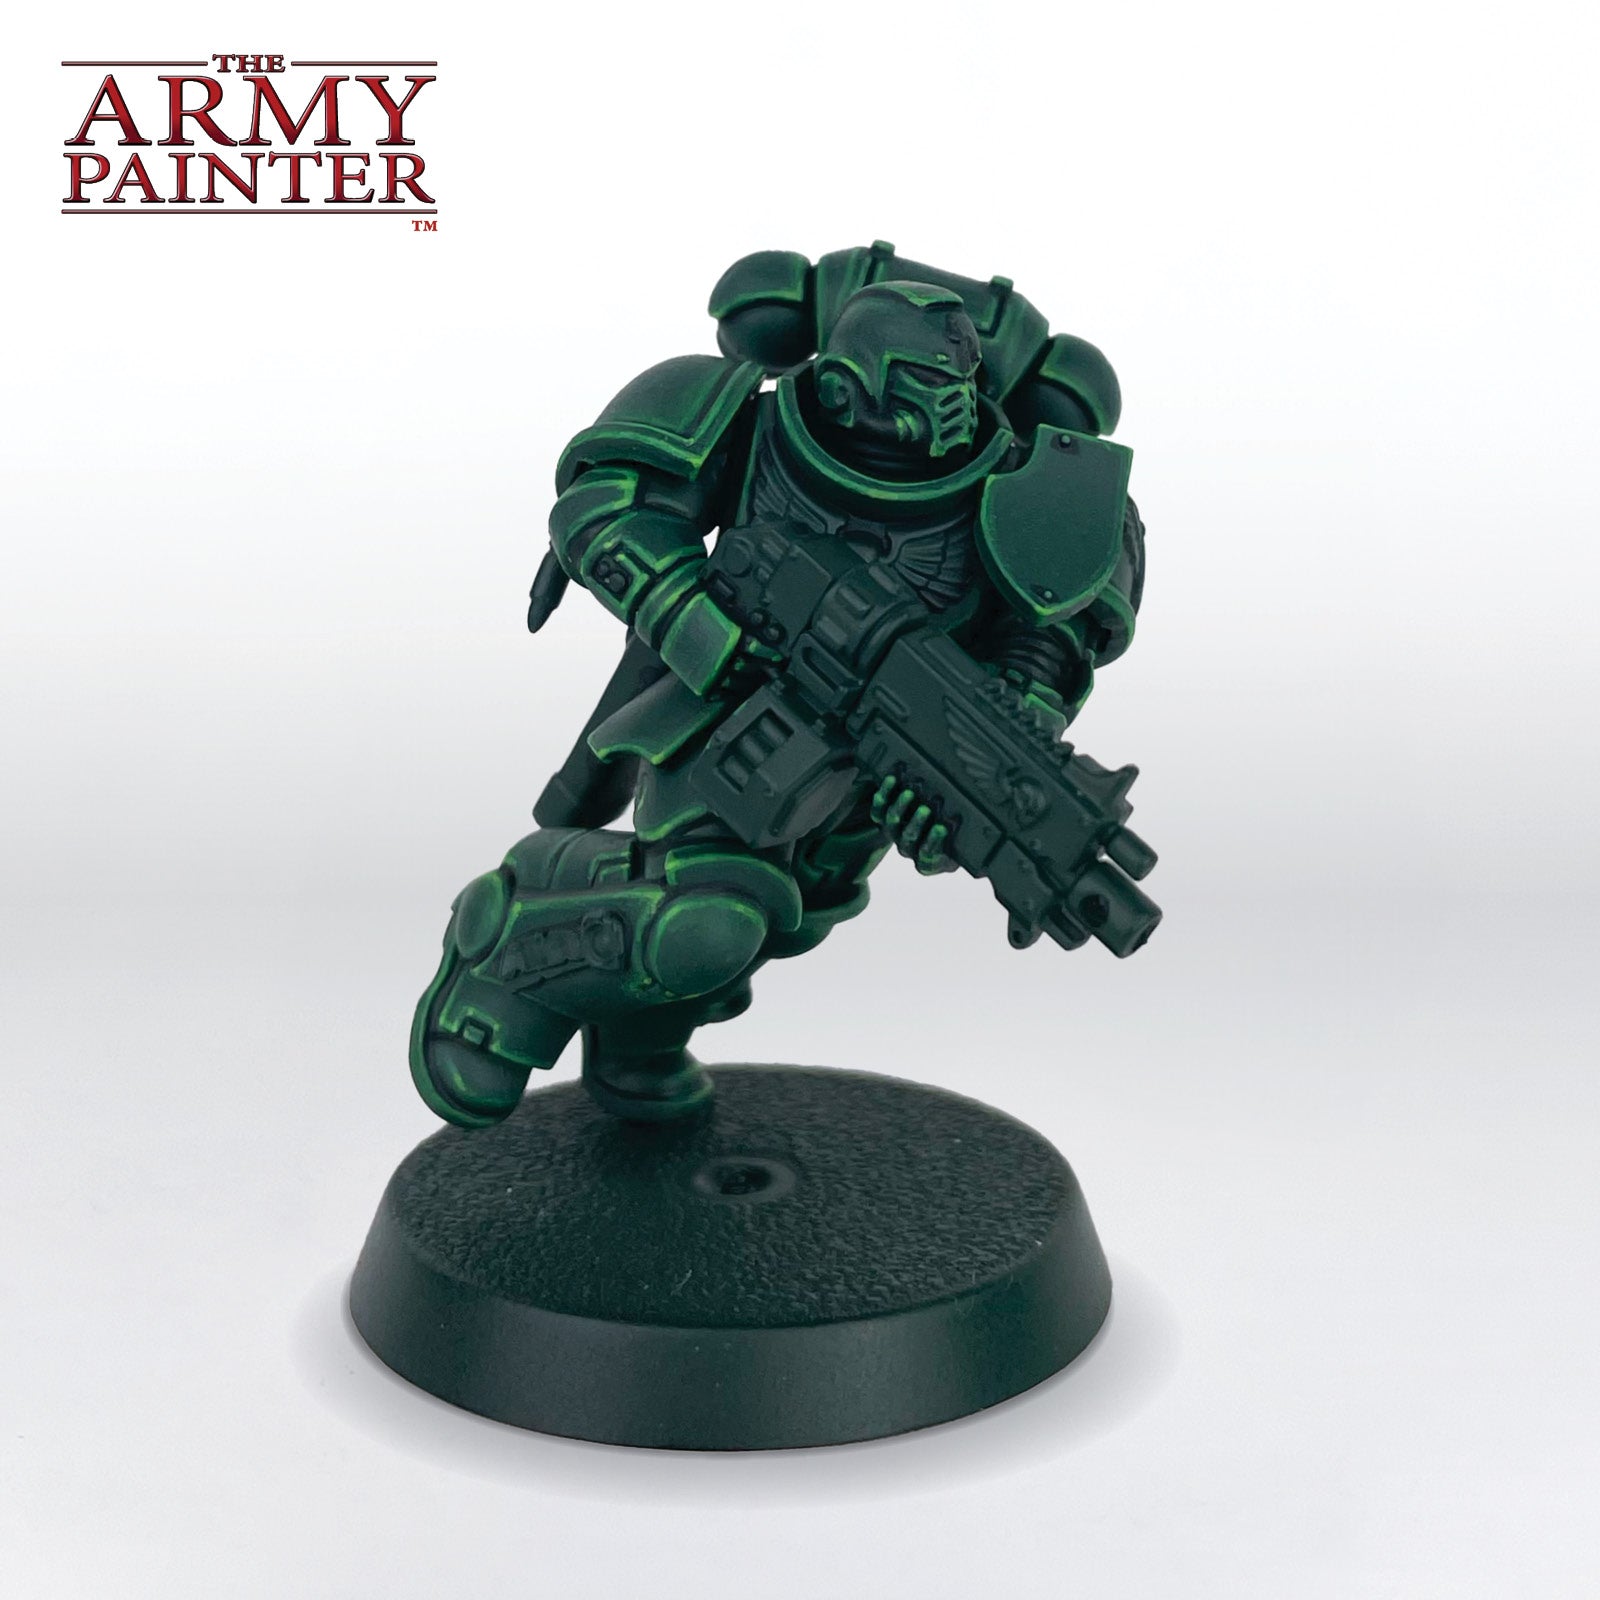
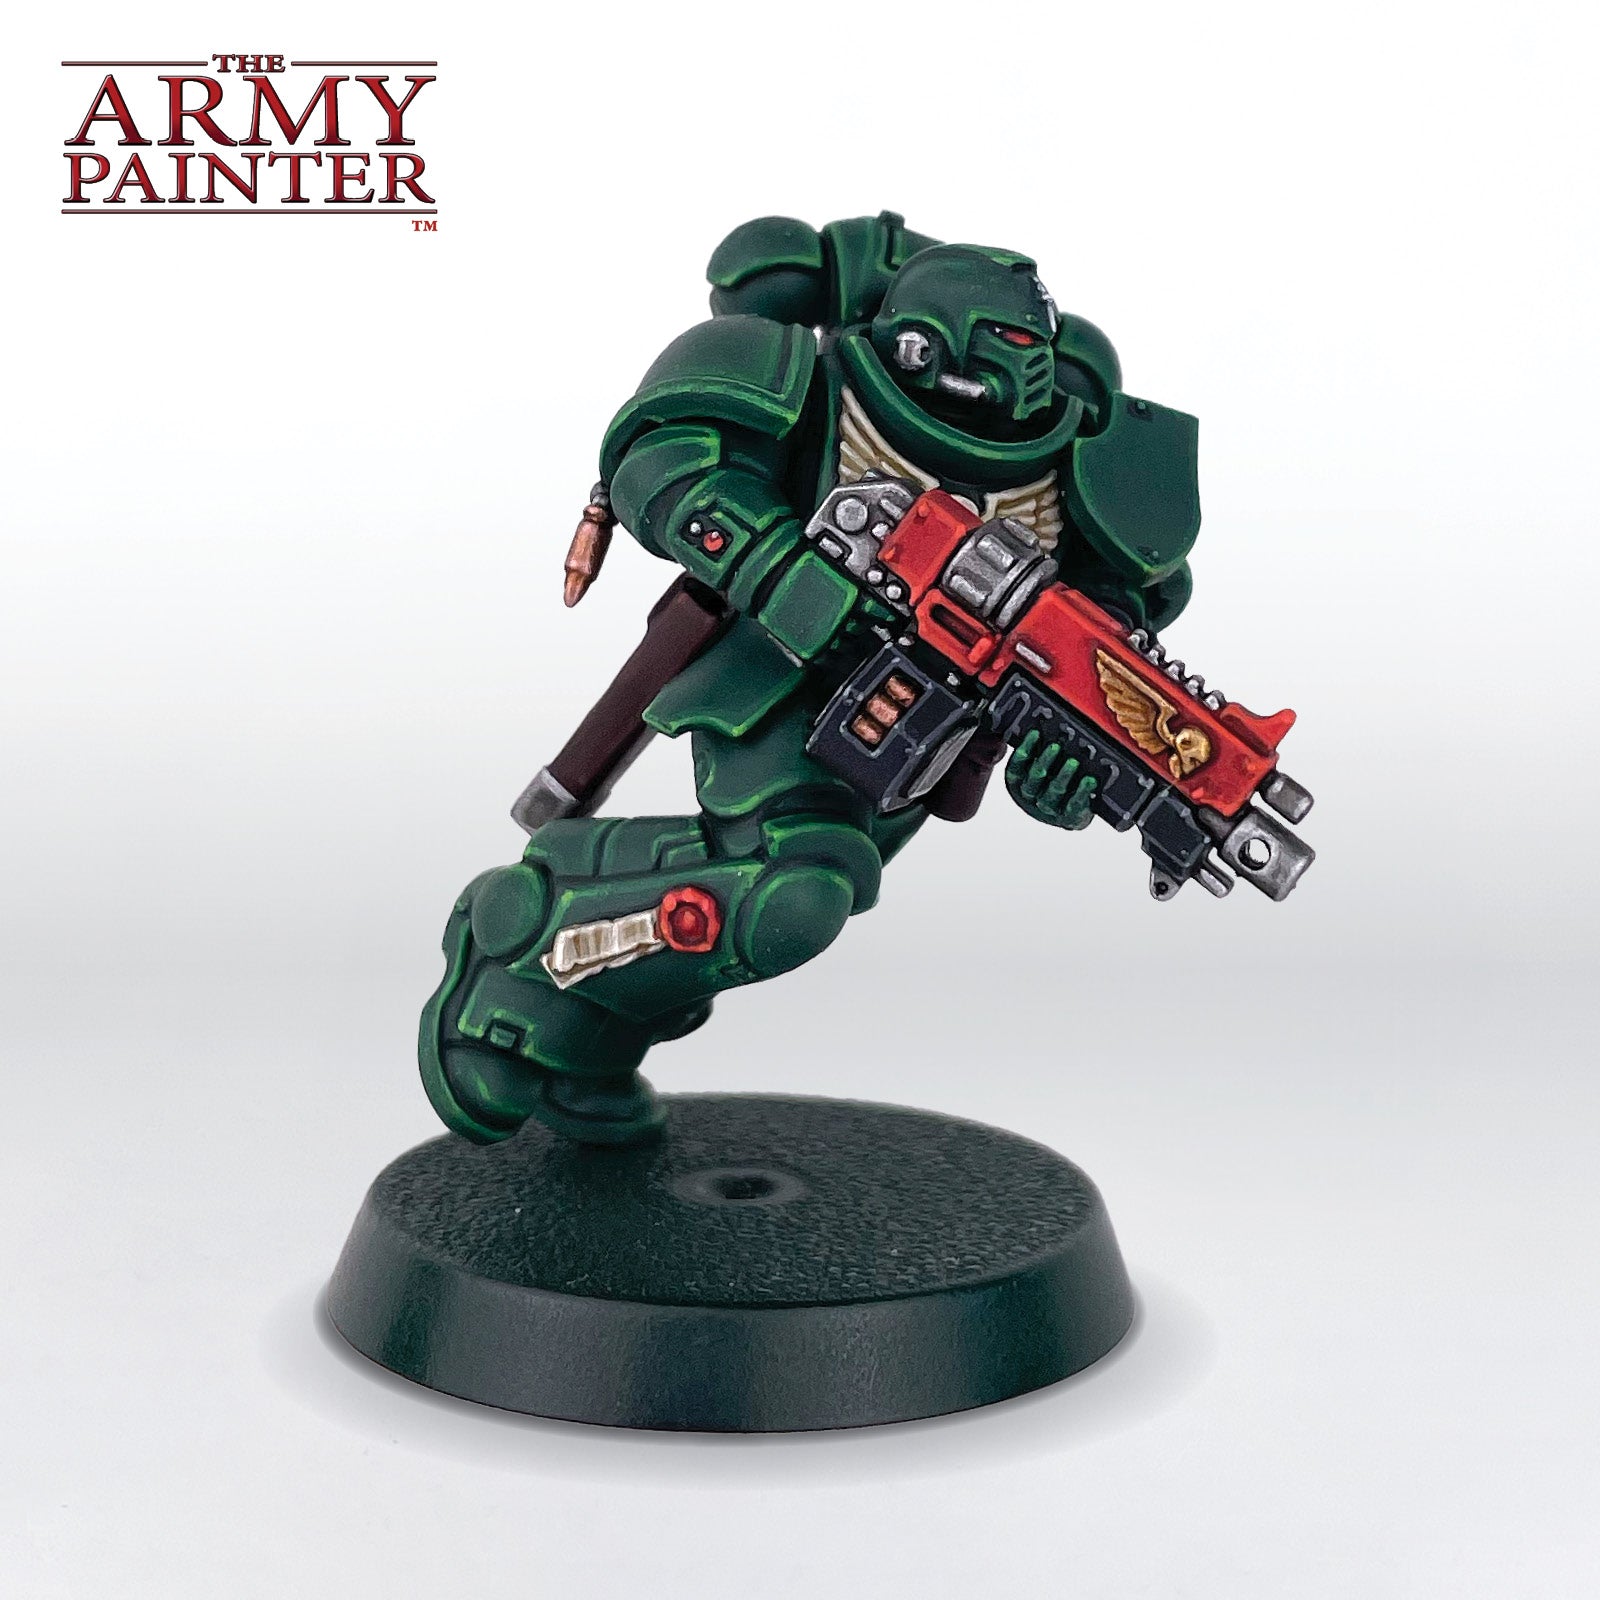
Step 6
Lastly I applied a “dot” highlight of Warpaints Fanatic Emerald Forest to all of the corners. A dot highlight is what it sounds like, just a small dot of paint. I went into the Flexible Triad: Vibrant Greens for this last colour to add a bit more, well, vibrance to the greens.
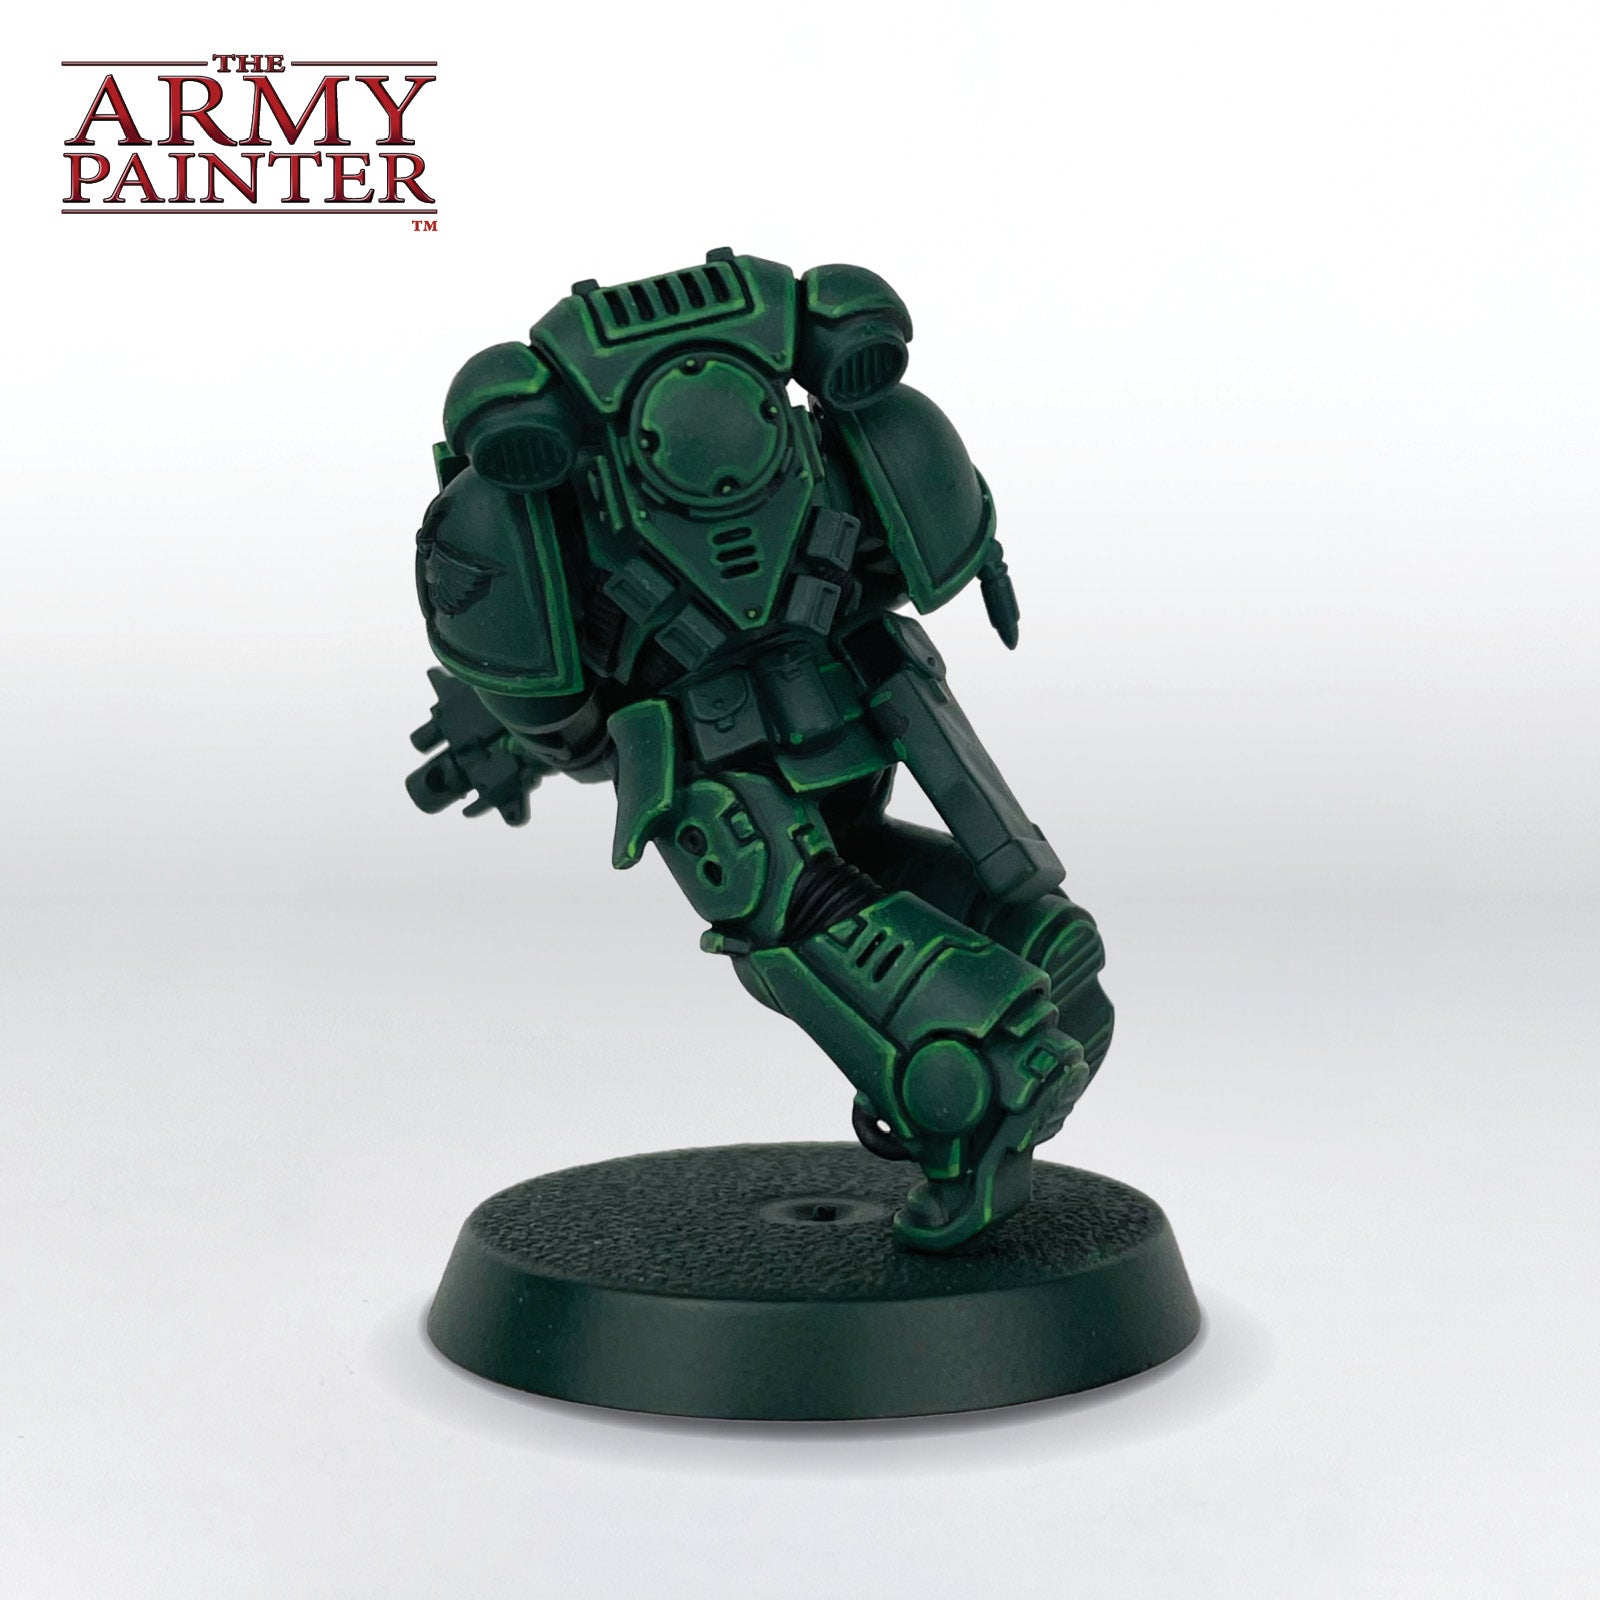
Step 1
All of the soft armour at the joints was basecoated with Warpaints Fanatic Matt Black.
Step 2
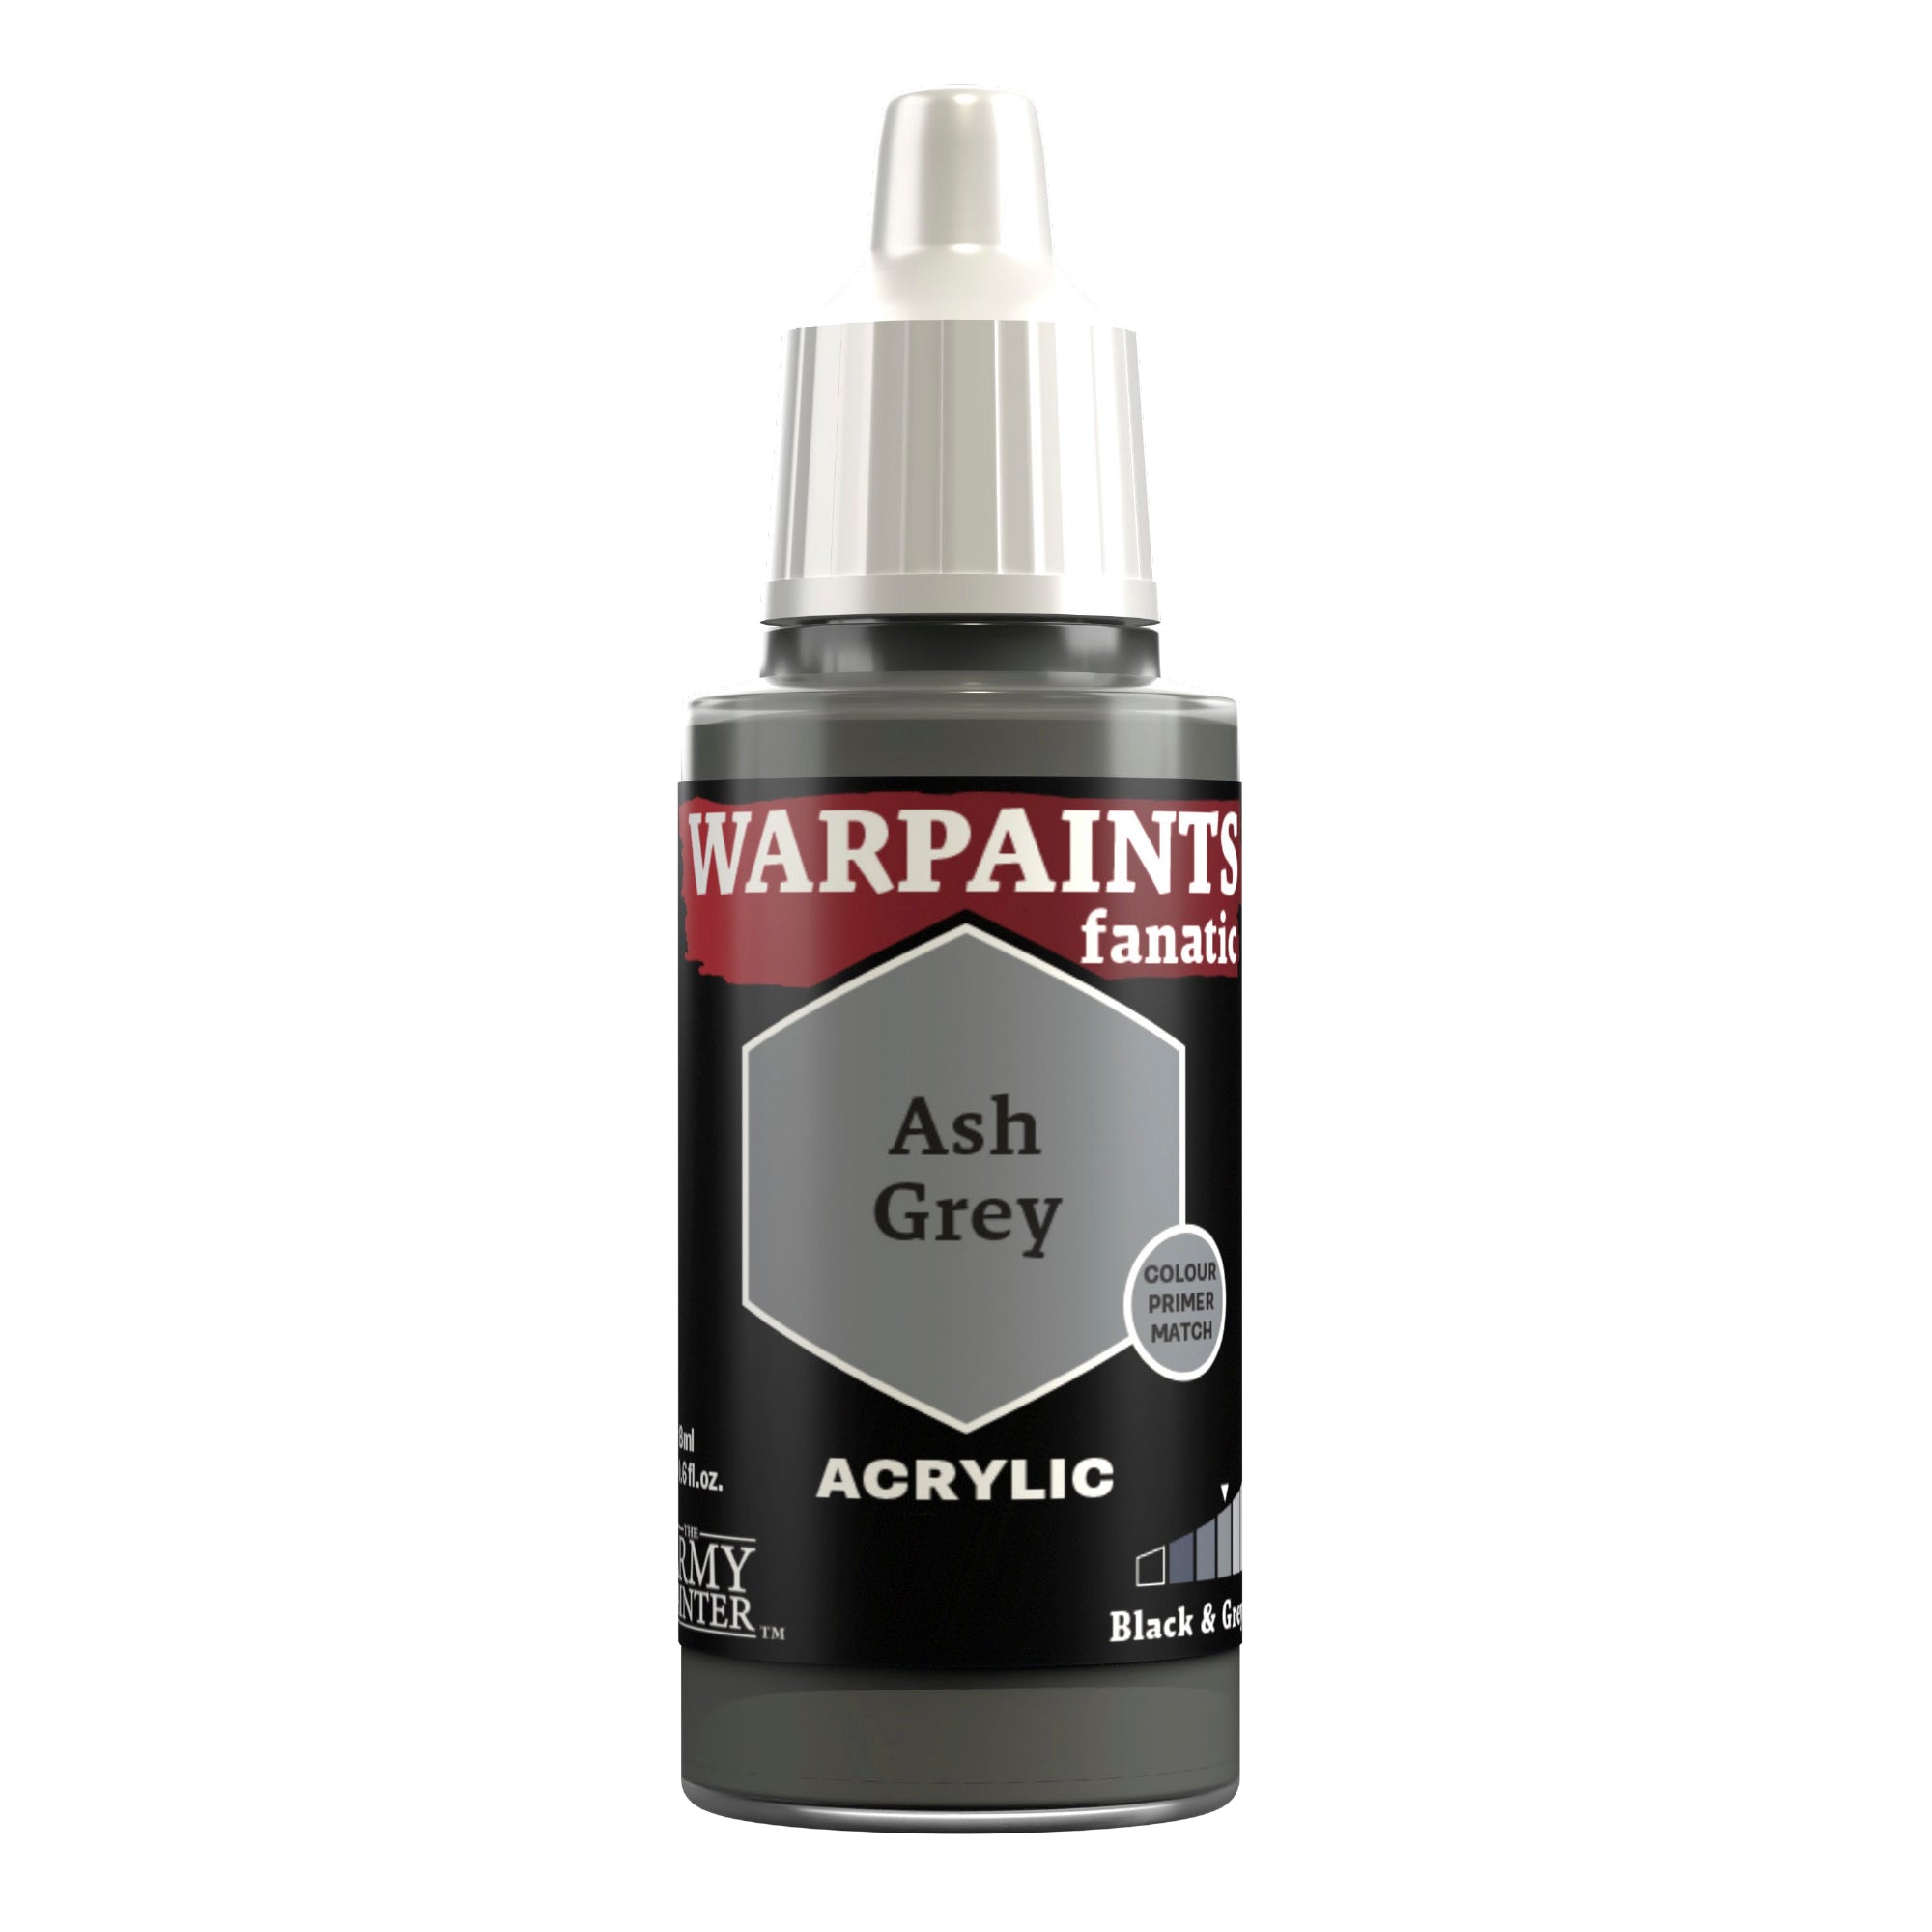
This was then highlighted with Warpaints Fanatic Deep Grey.
Step 1
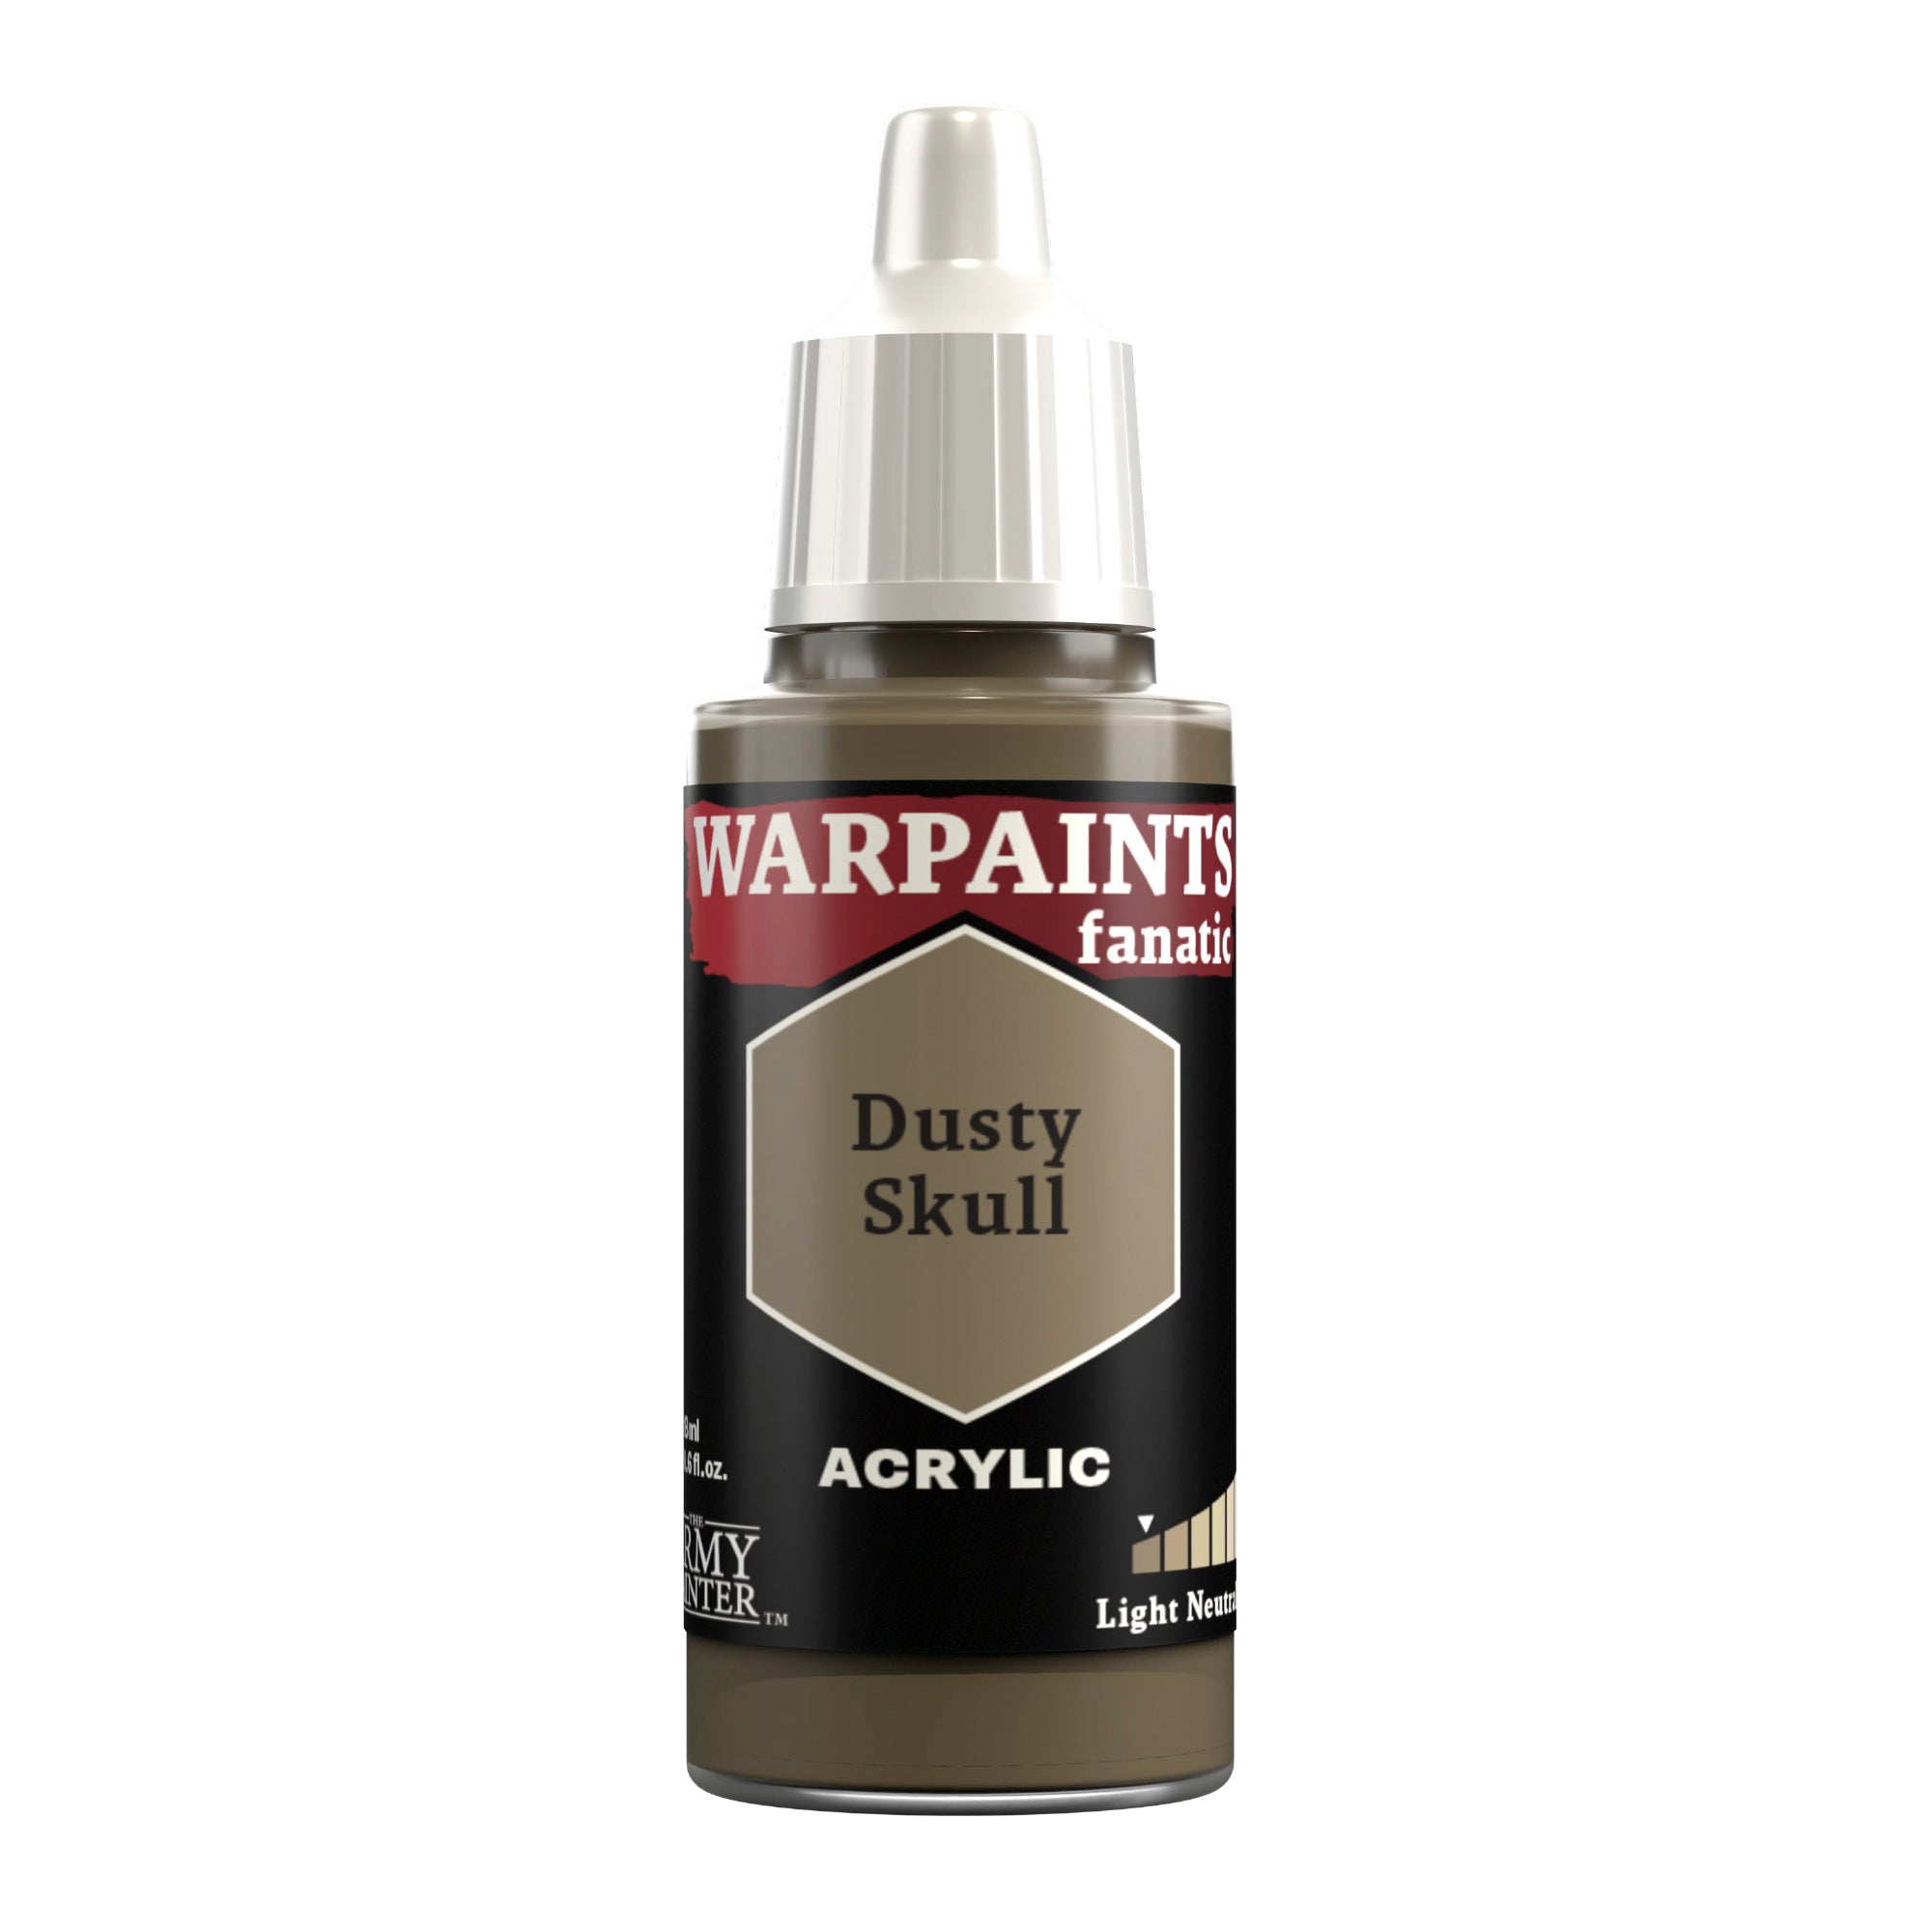
The purity seal, Imperialis on the chest, and the company symbol on the left knee were basecoated with Warpaints Fanatic Dusty Skull.
Step 2
The Imperialis and purity seal were then given a coat of Warpaints Fanatic Soft Tone Wash.
Step 3
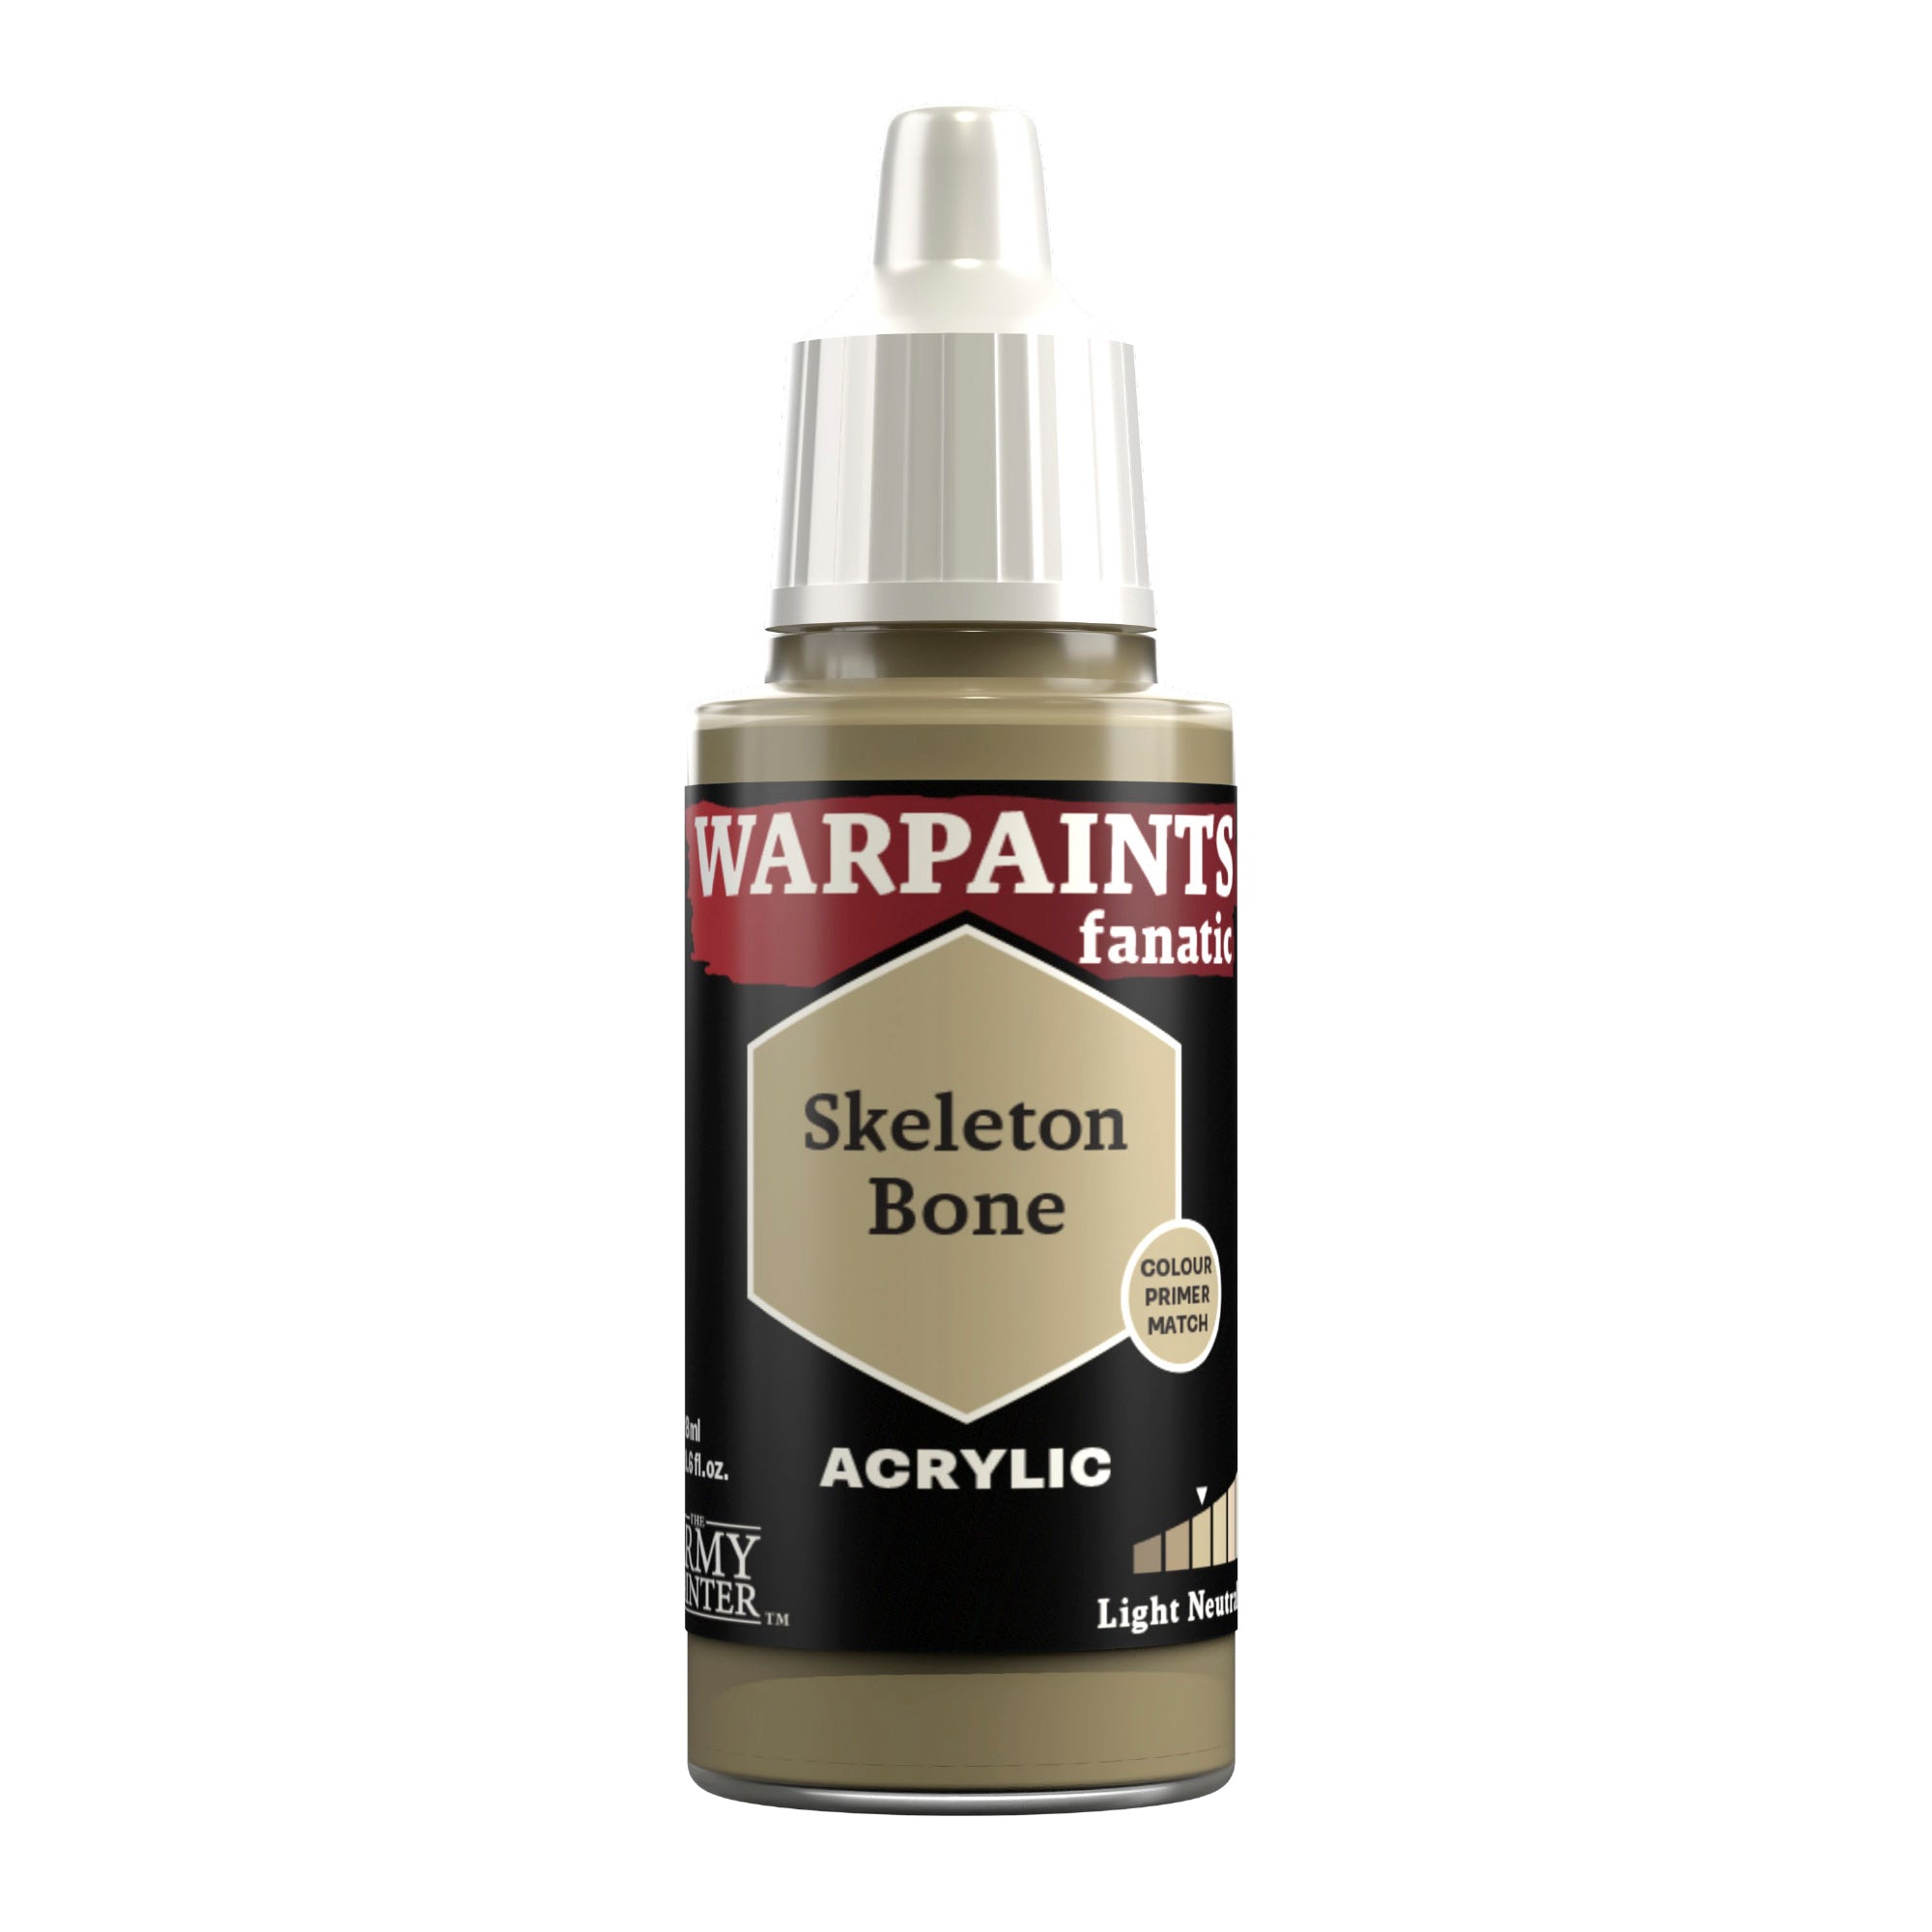
All of the bone areas were then layered with Warpaints Fanatic Skeleton Bone, leaving the Soft Tone in the recesses. On the knee pad this was applied to the top half of the company symbol and feathered into the darker colour.
Step 4
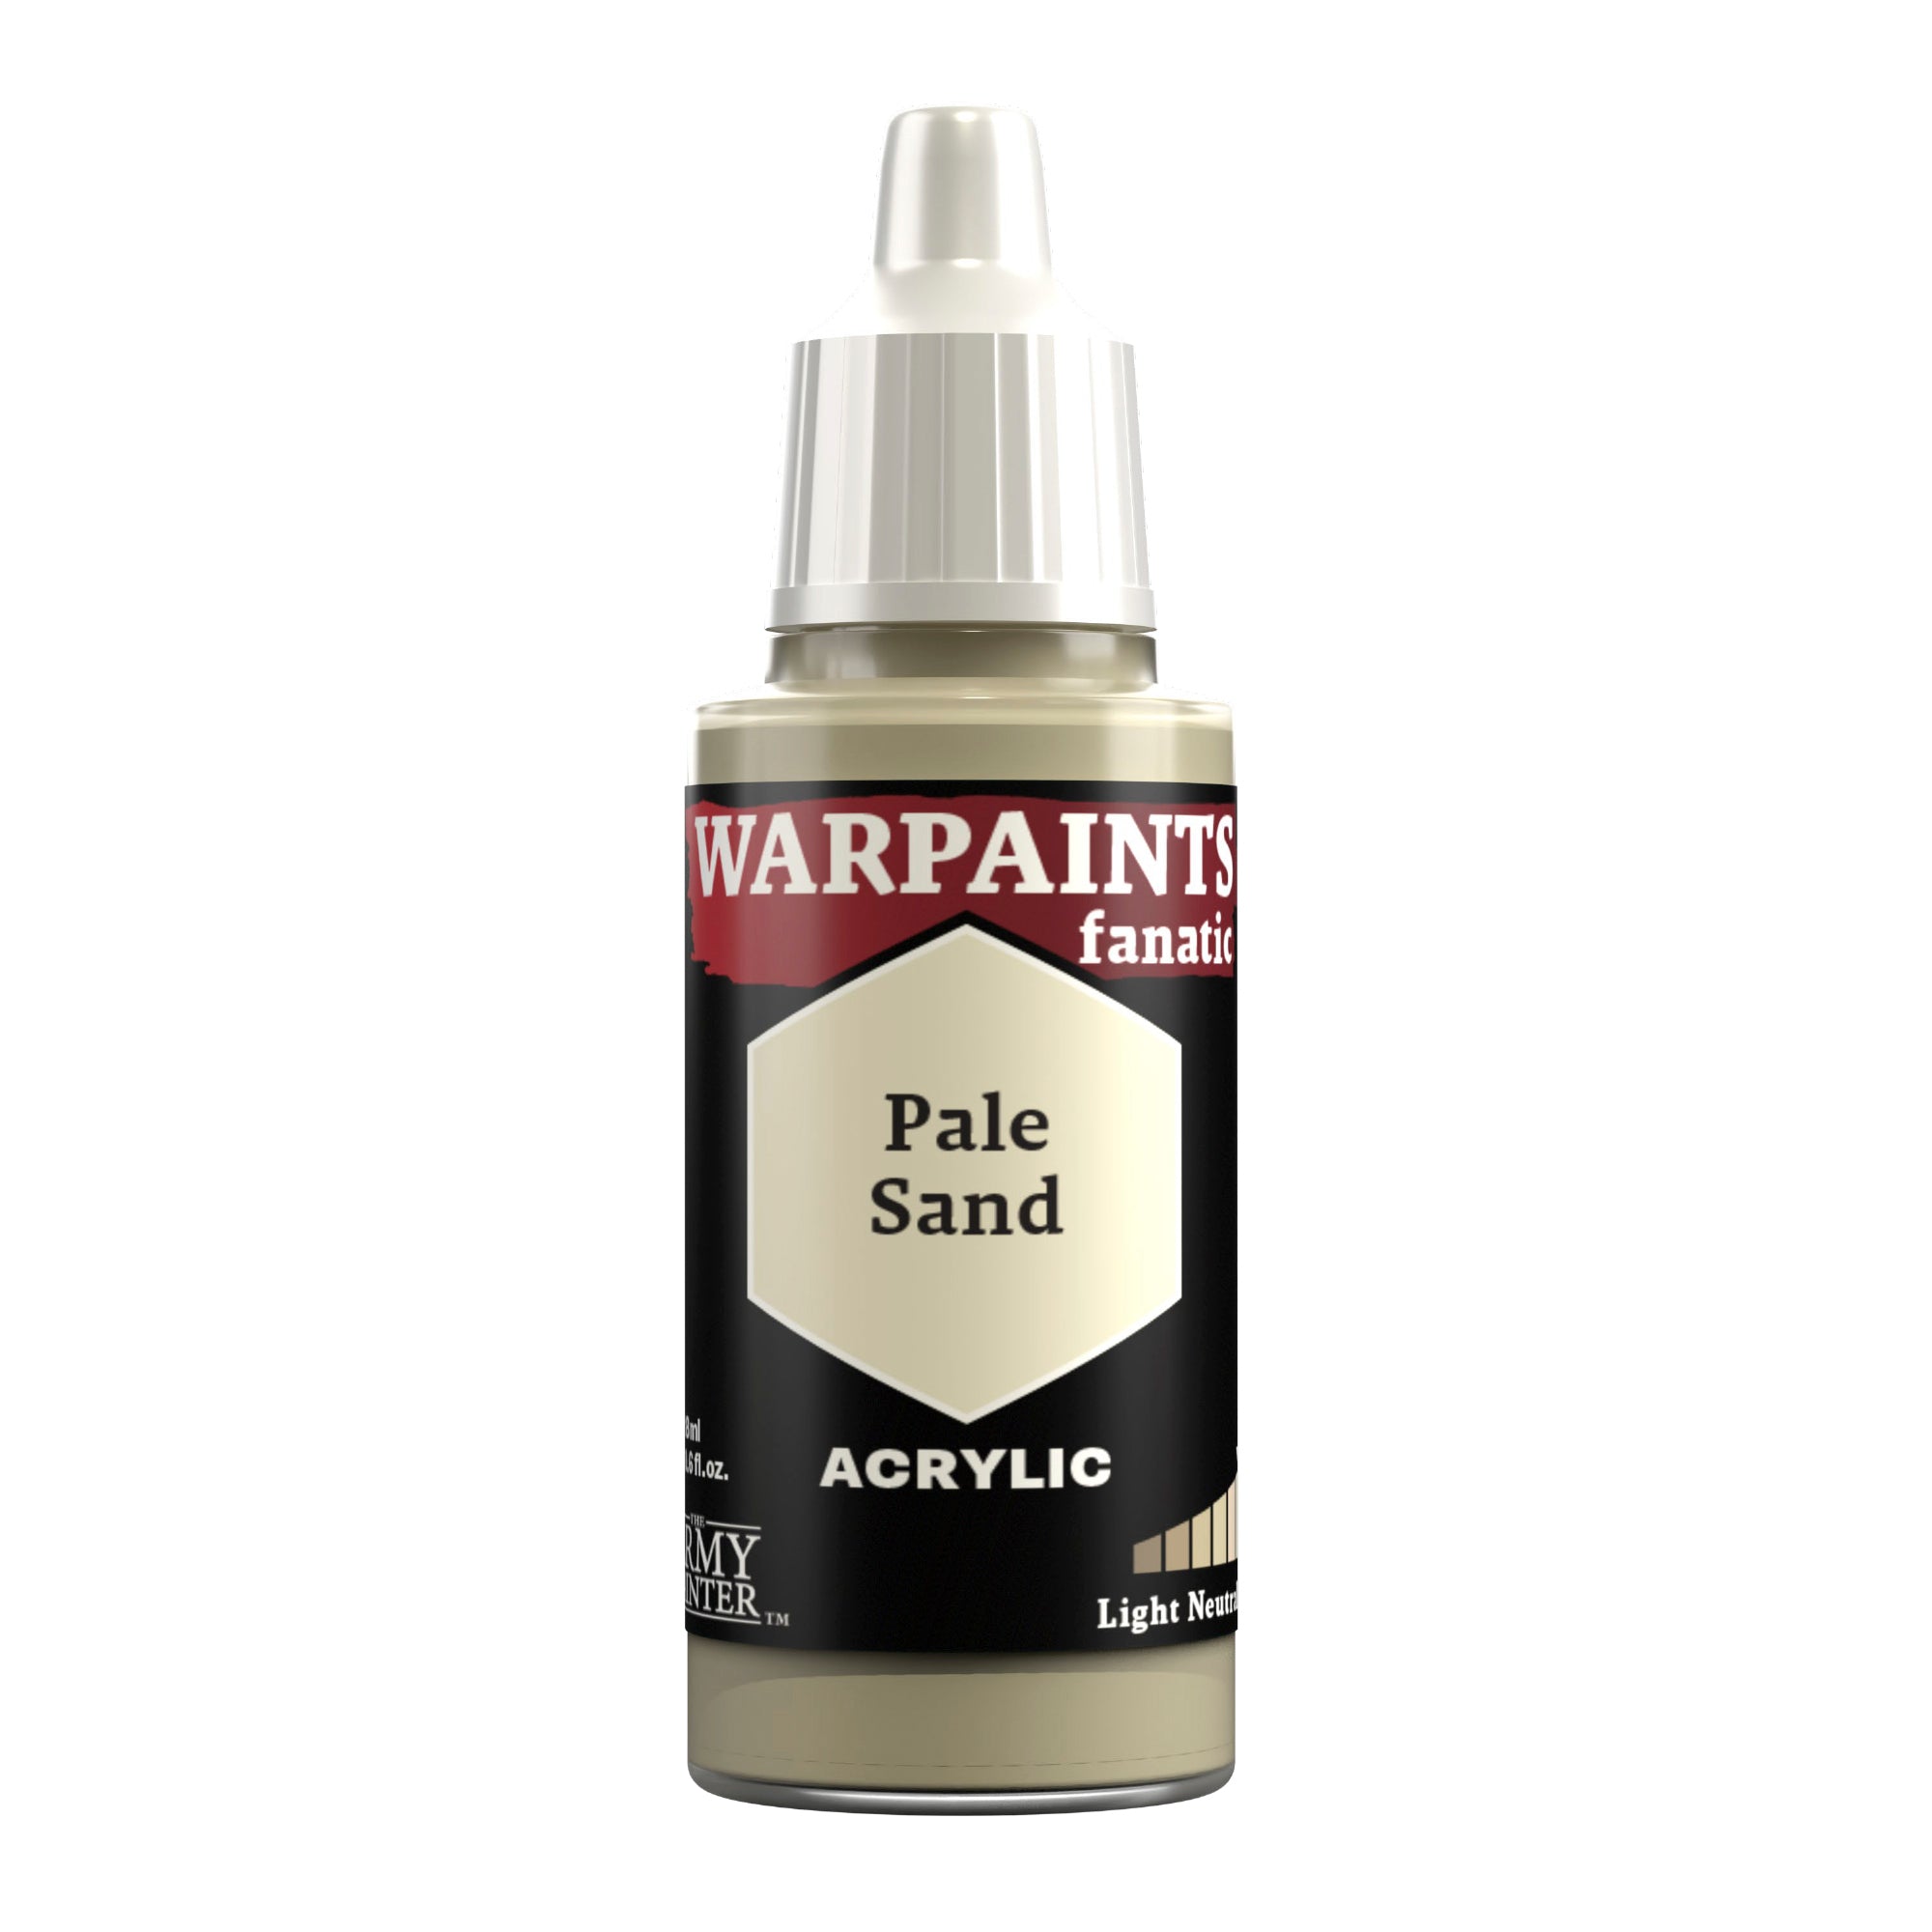
Lastly, it was all edge highlighted with Warpaints Fanatic Pale Sand.
Step 1
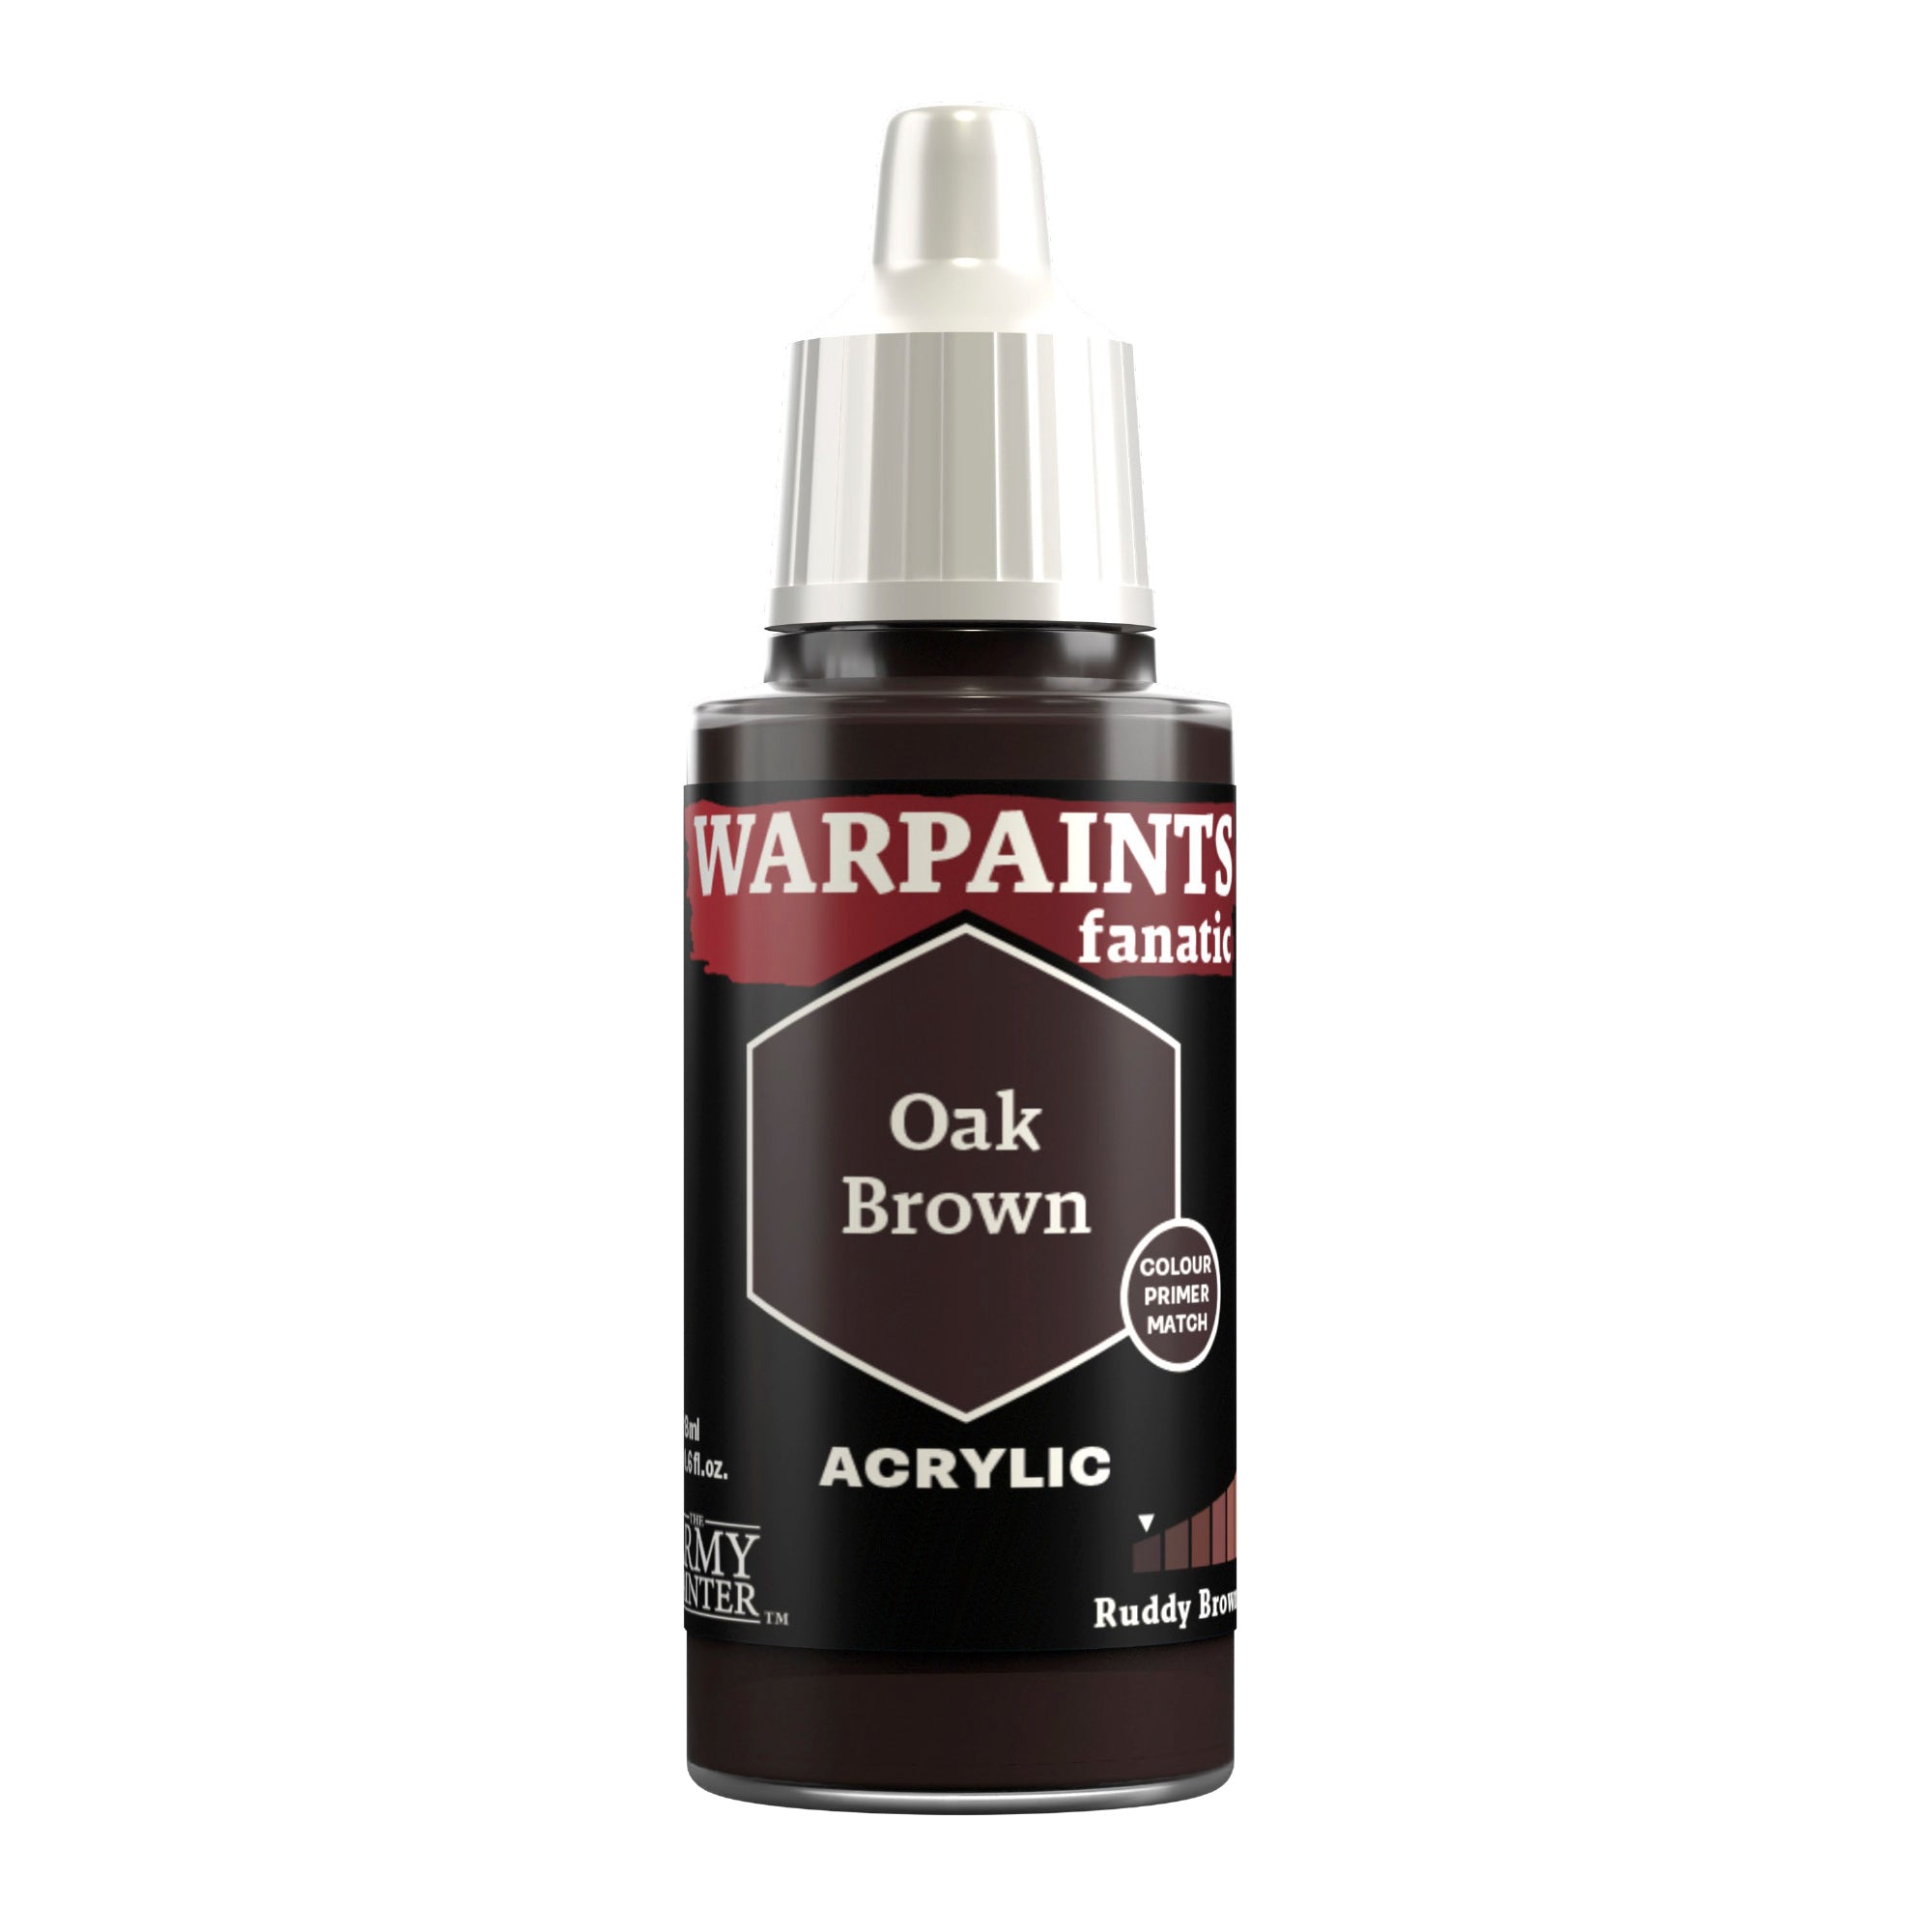
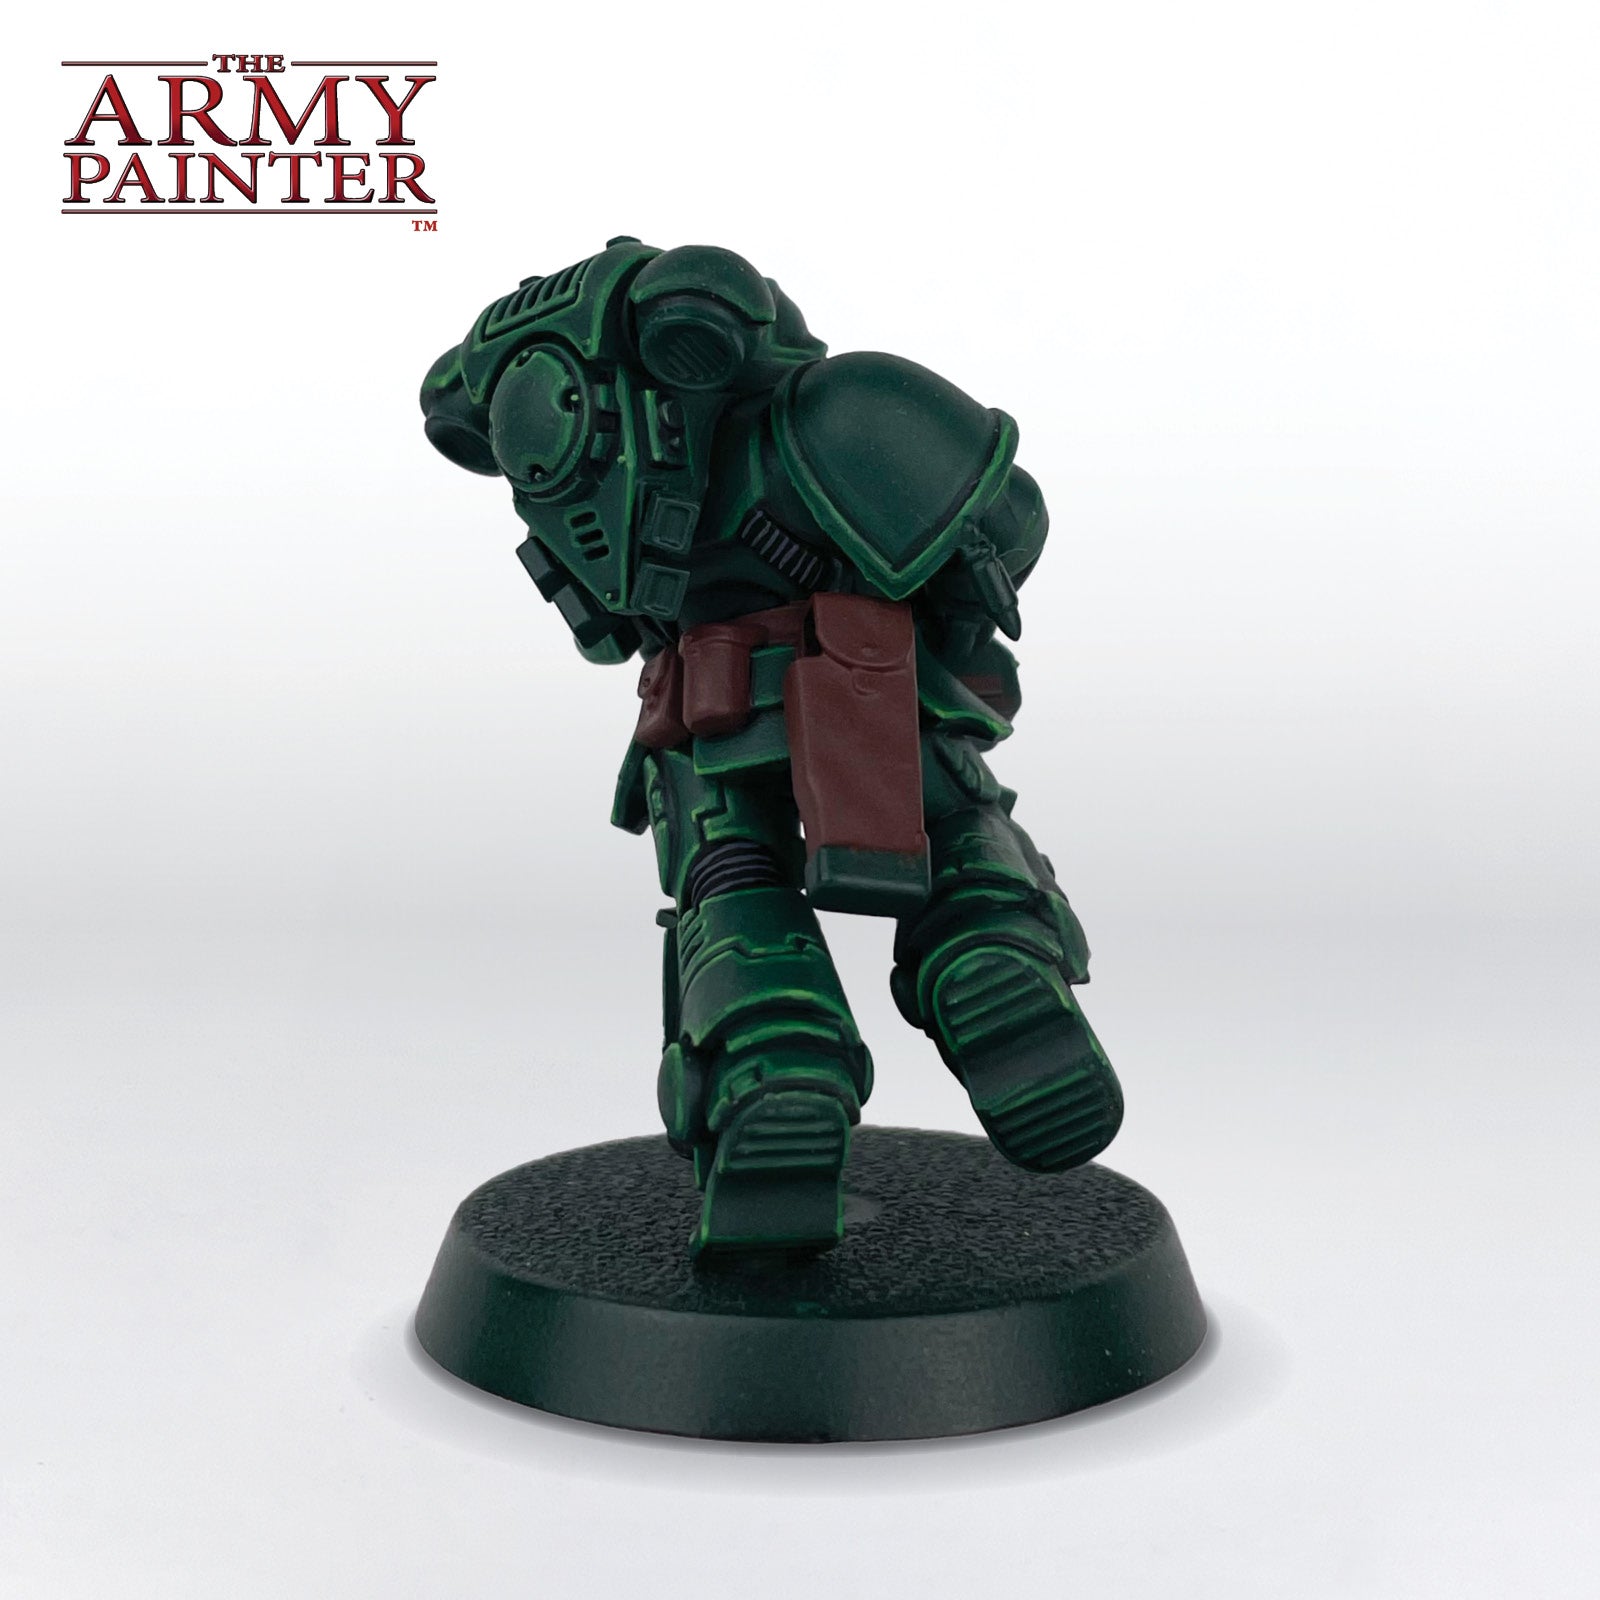
All of the leather areas on the model were basecoated with Warpaints Fanatic Oak Brown.
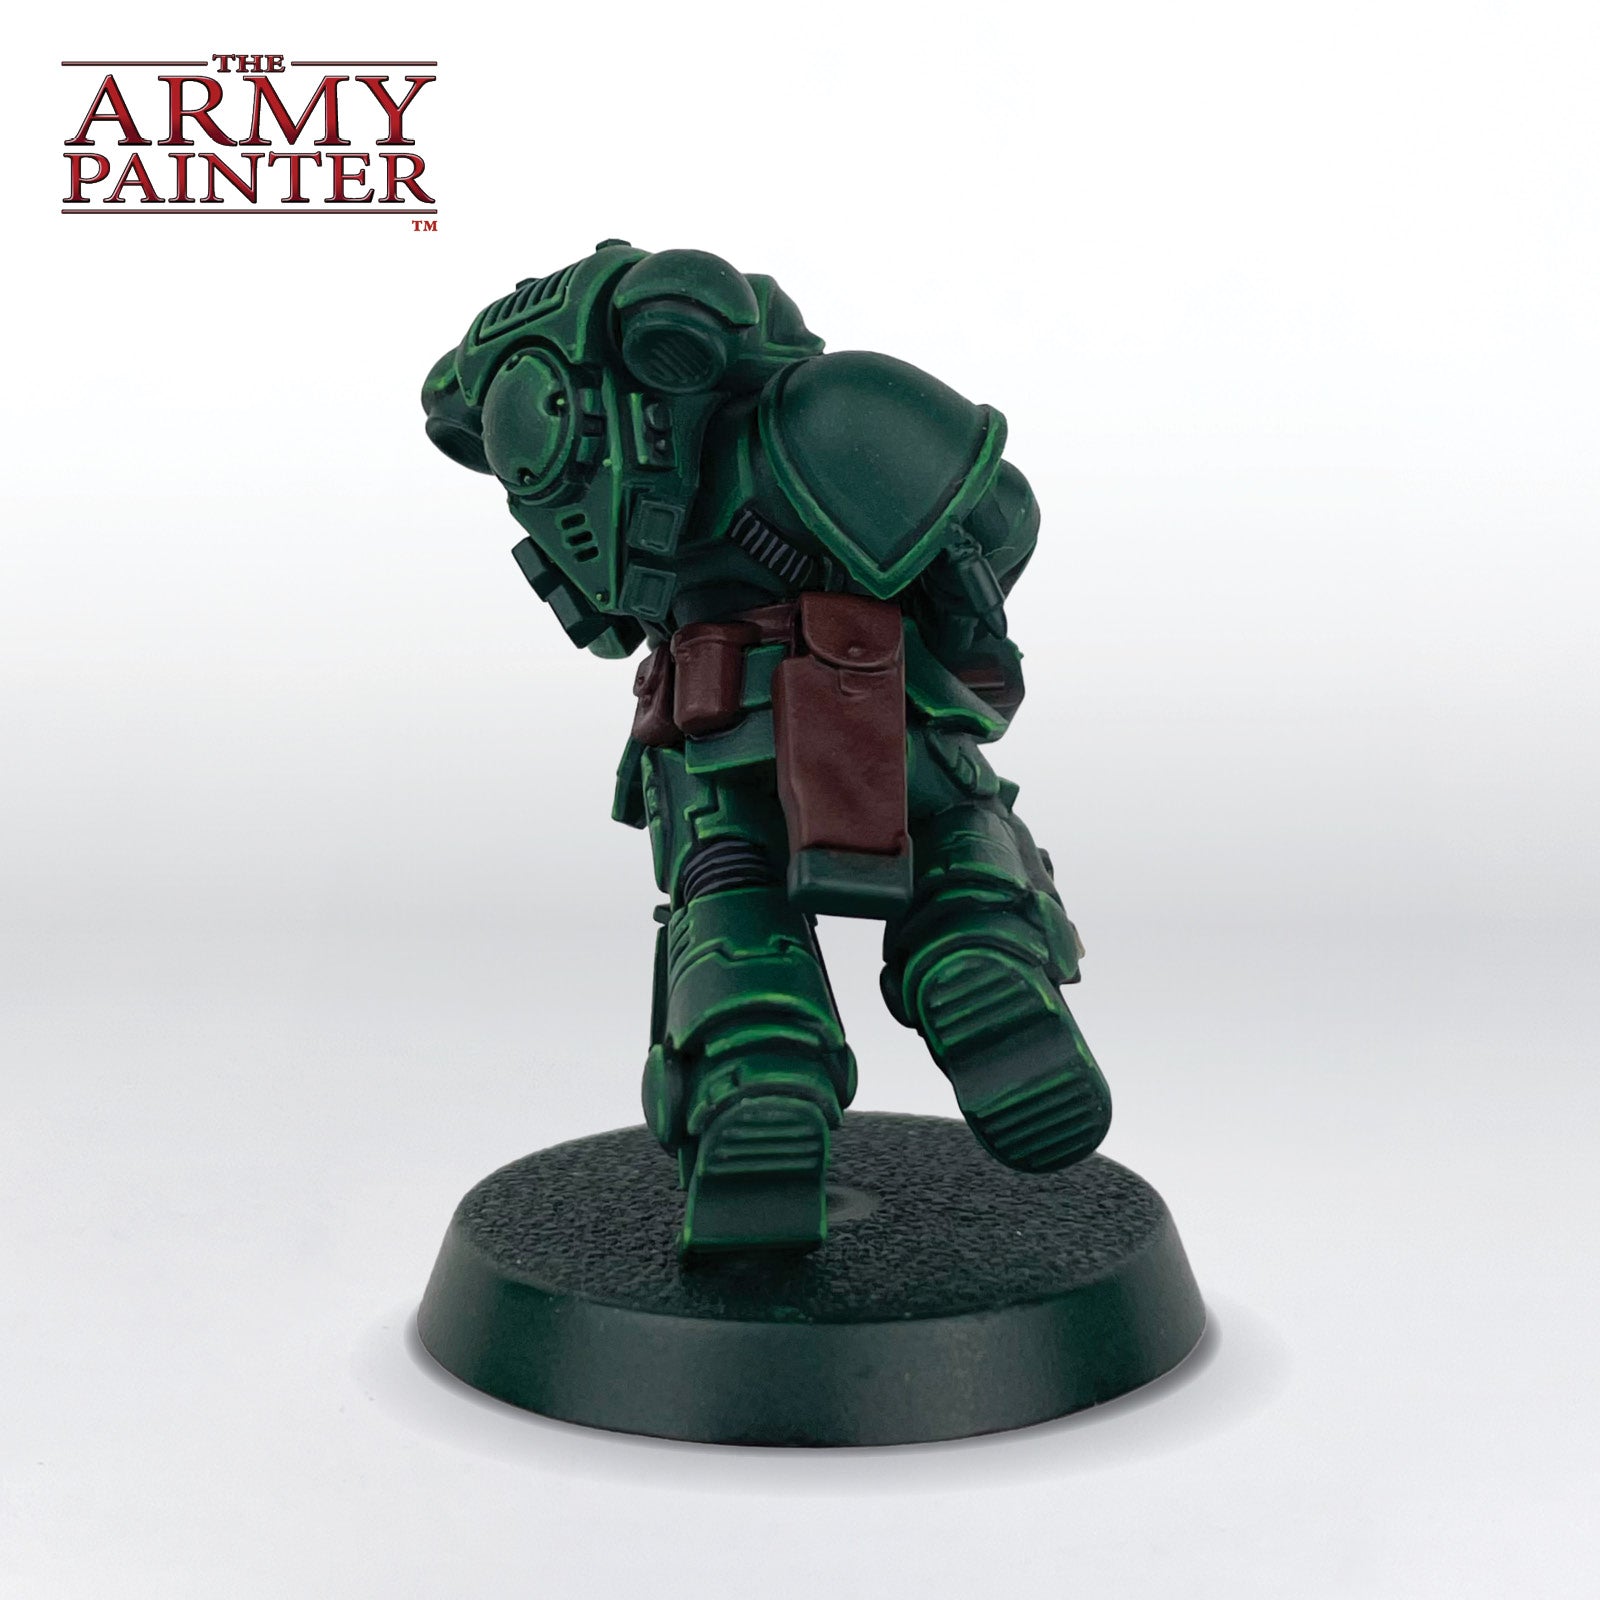
Step 2
These were then all given a layer of Warpaints Fanatic Dark Skin Shade Wash.
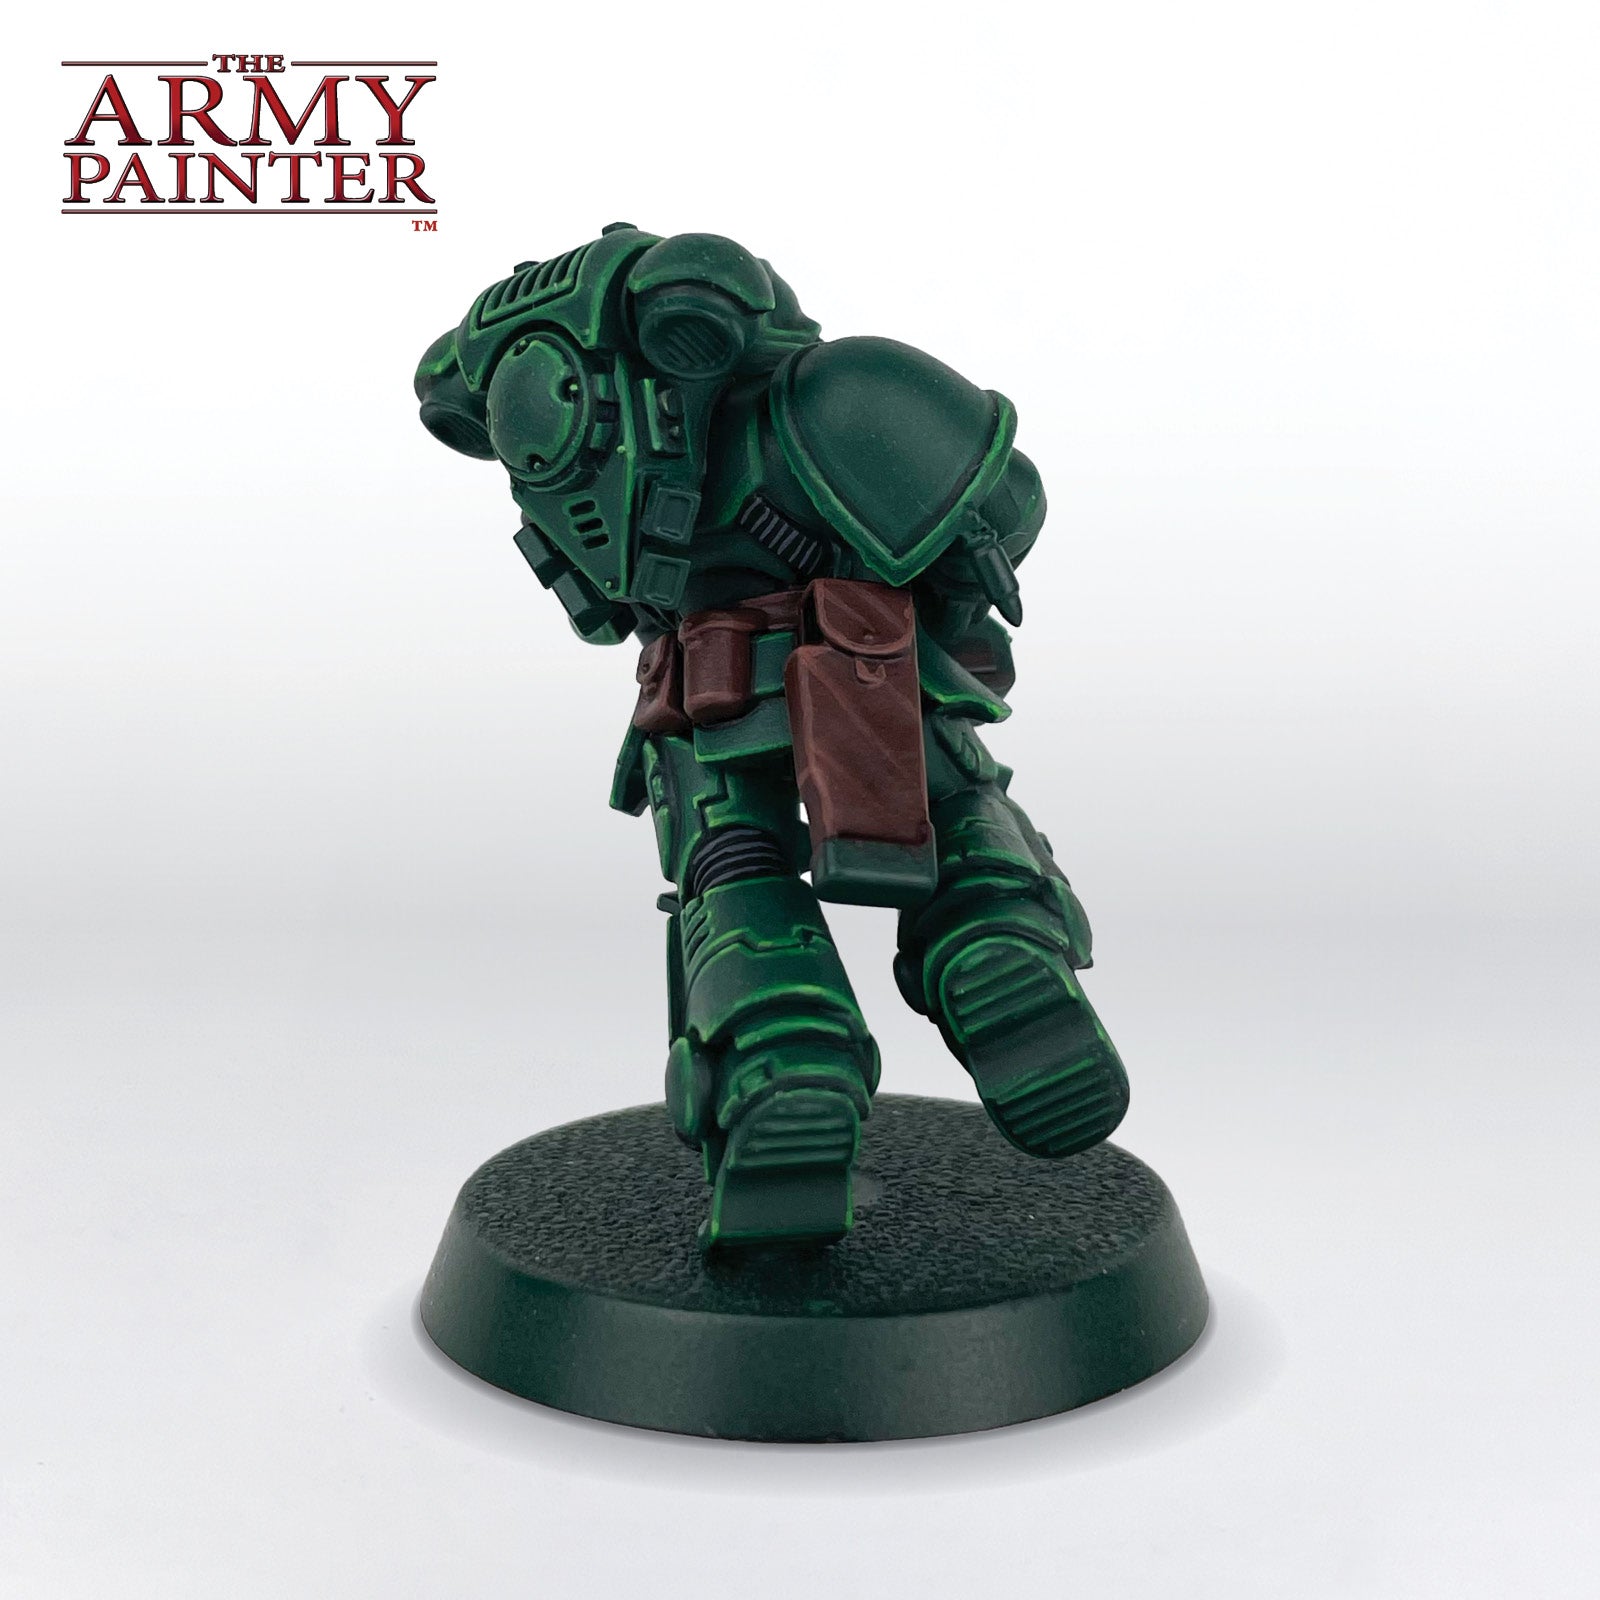
Step 3
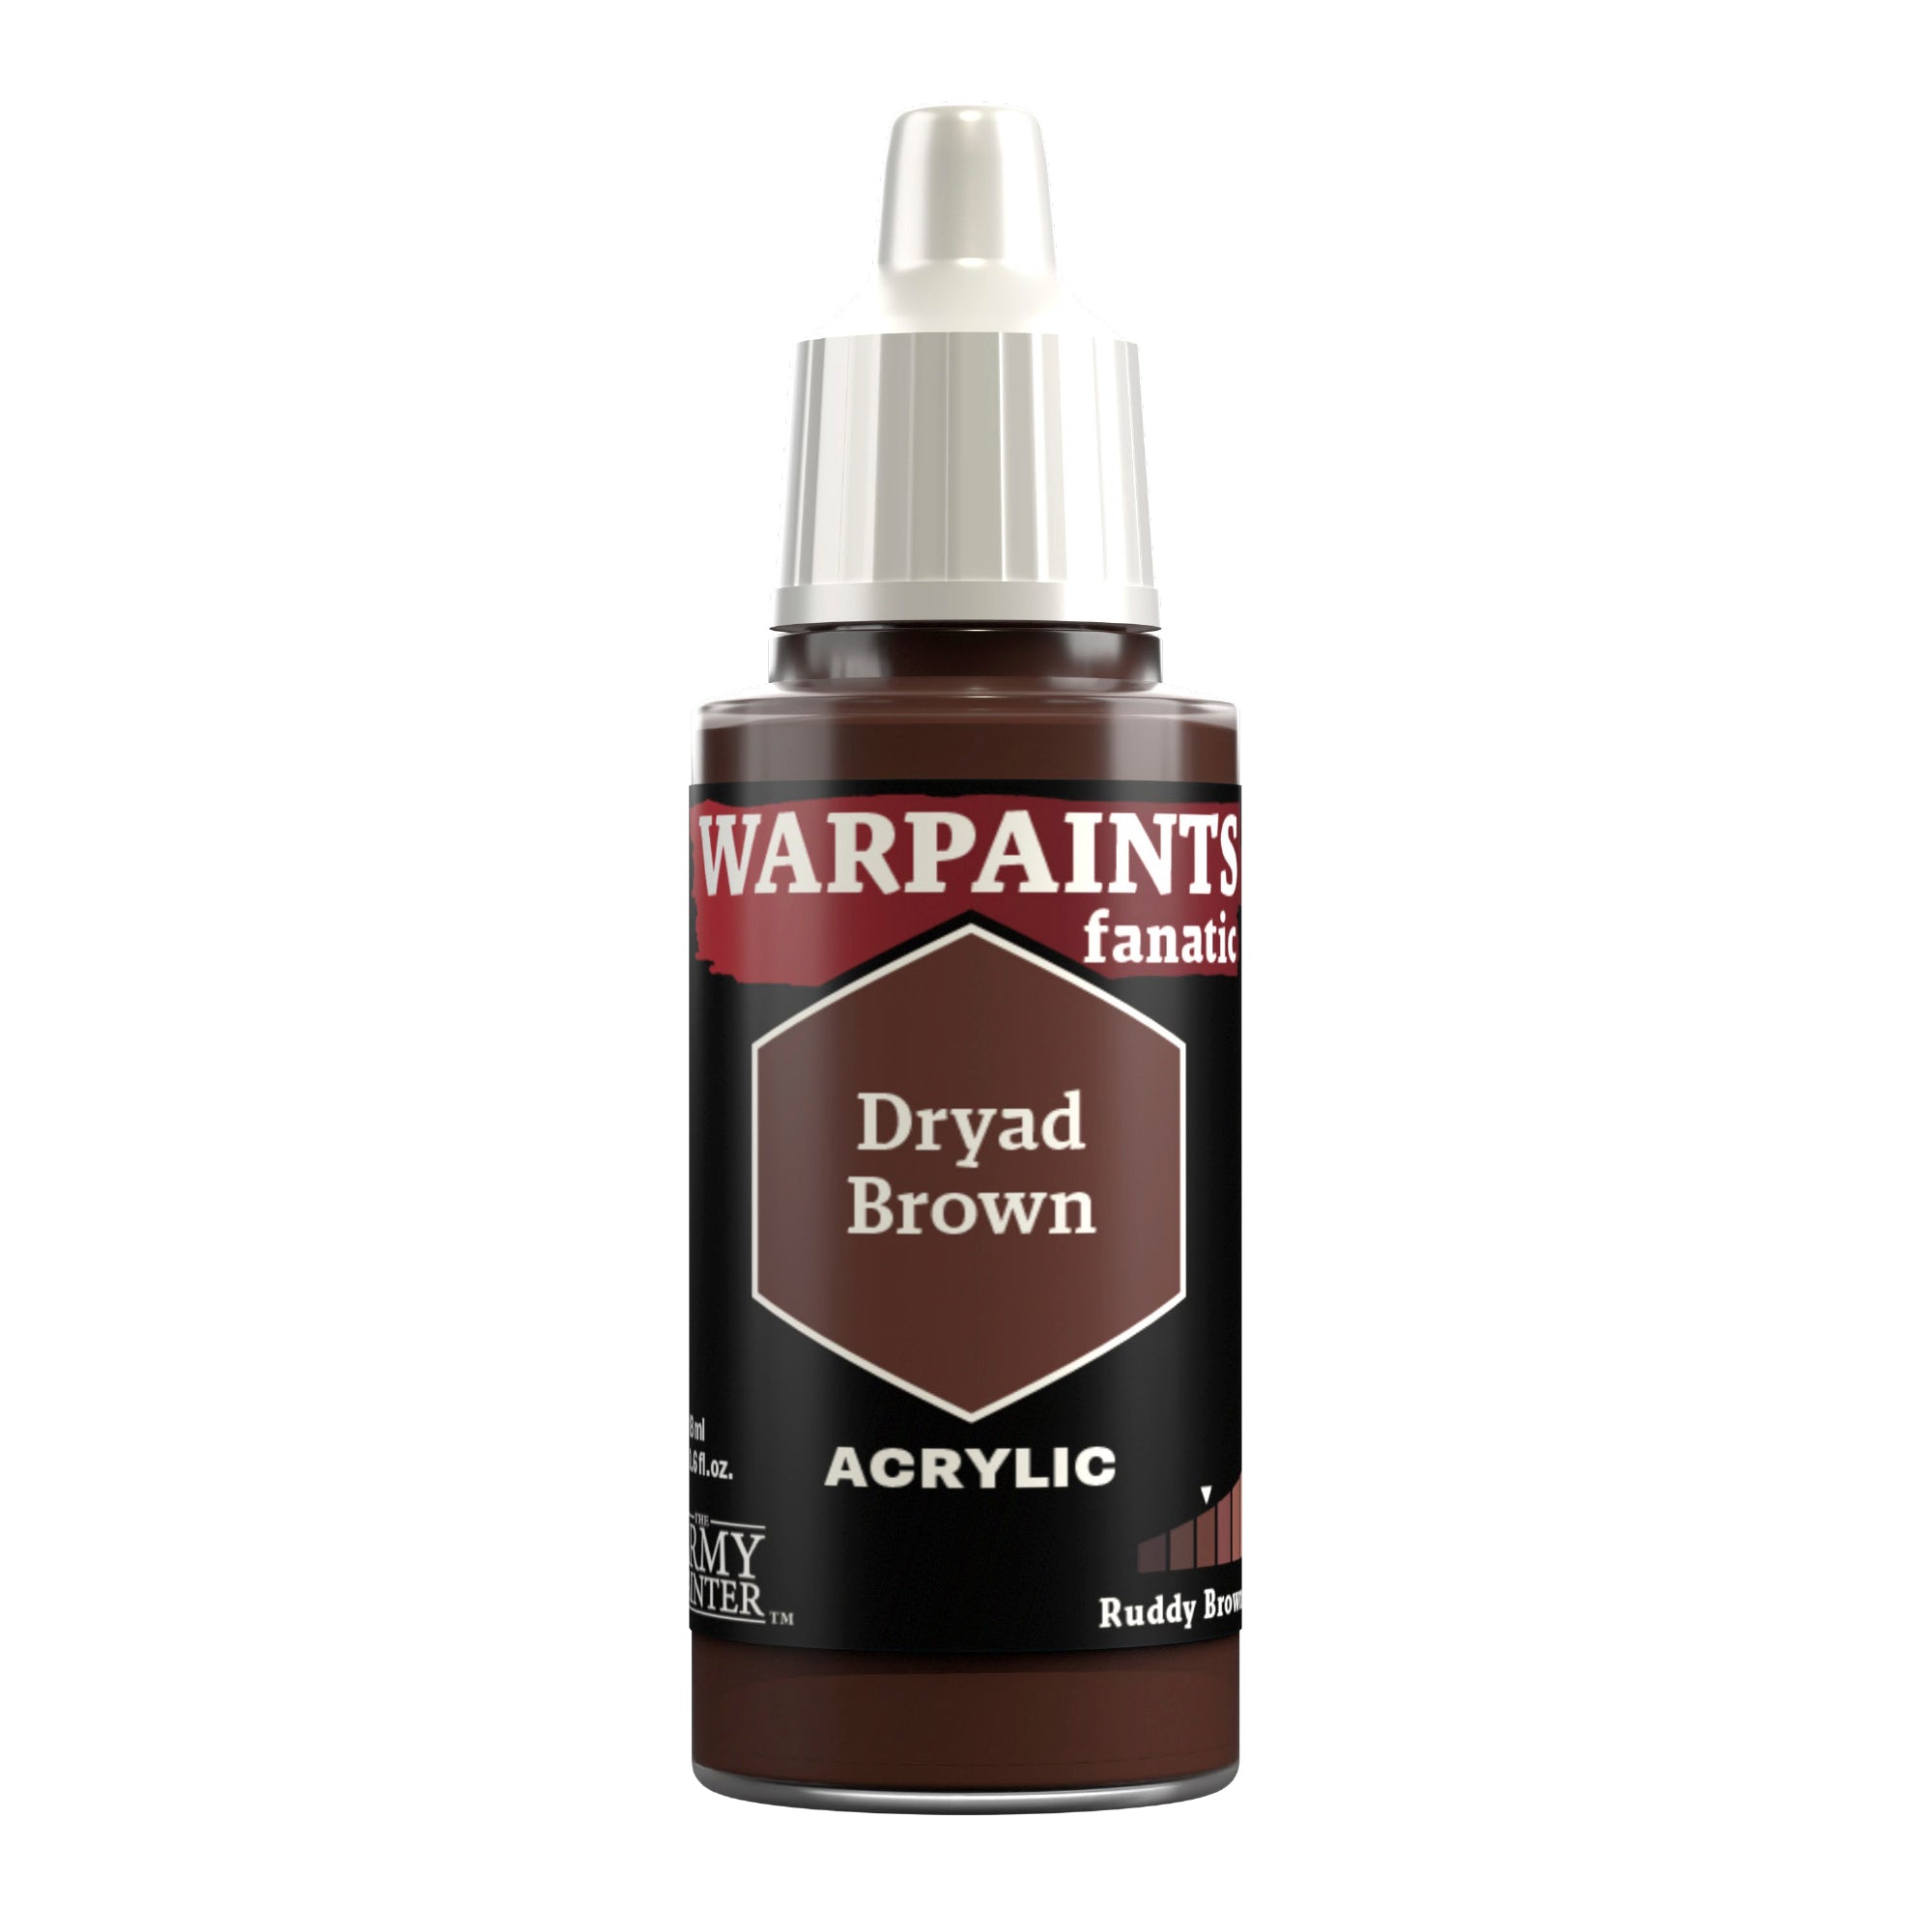
Next, I highlighted them with Warpaints Fanatic Dryad Brown, picking out the edges and any folds.
Step 4
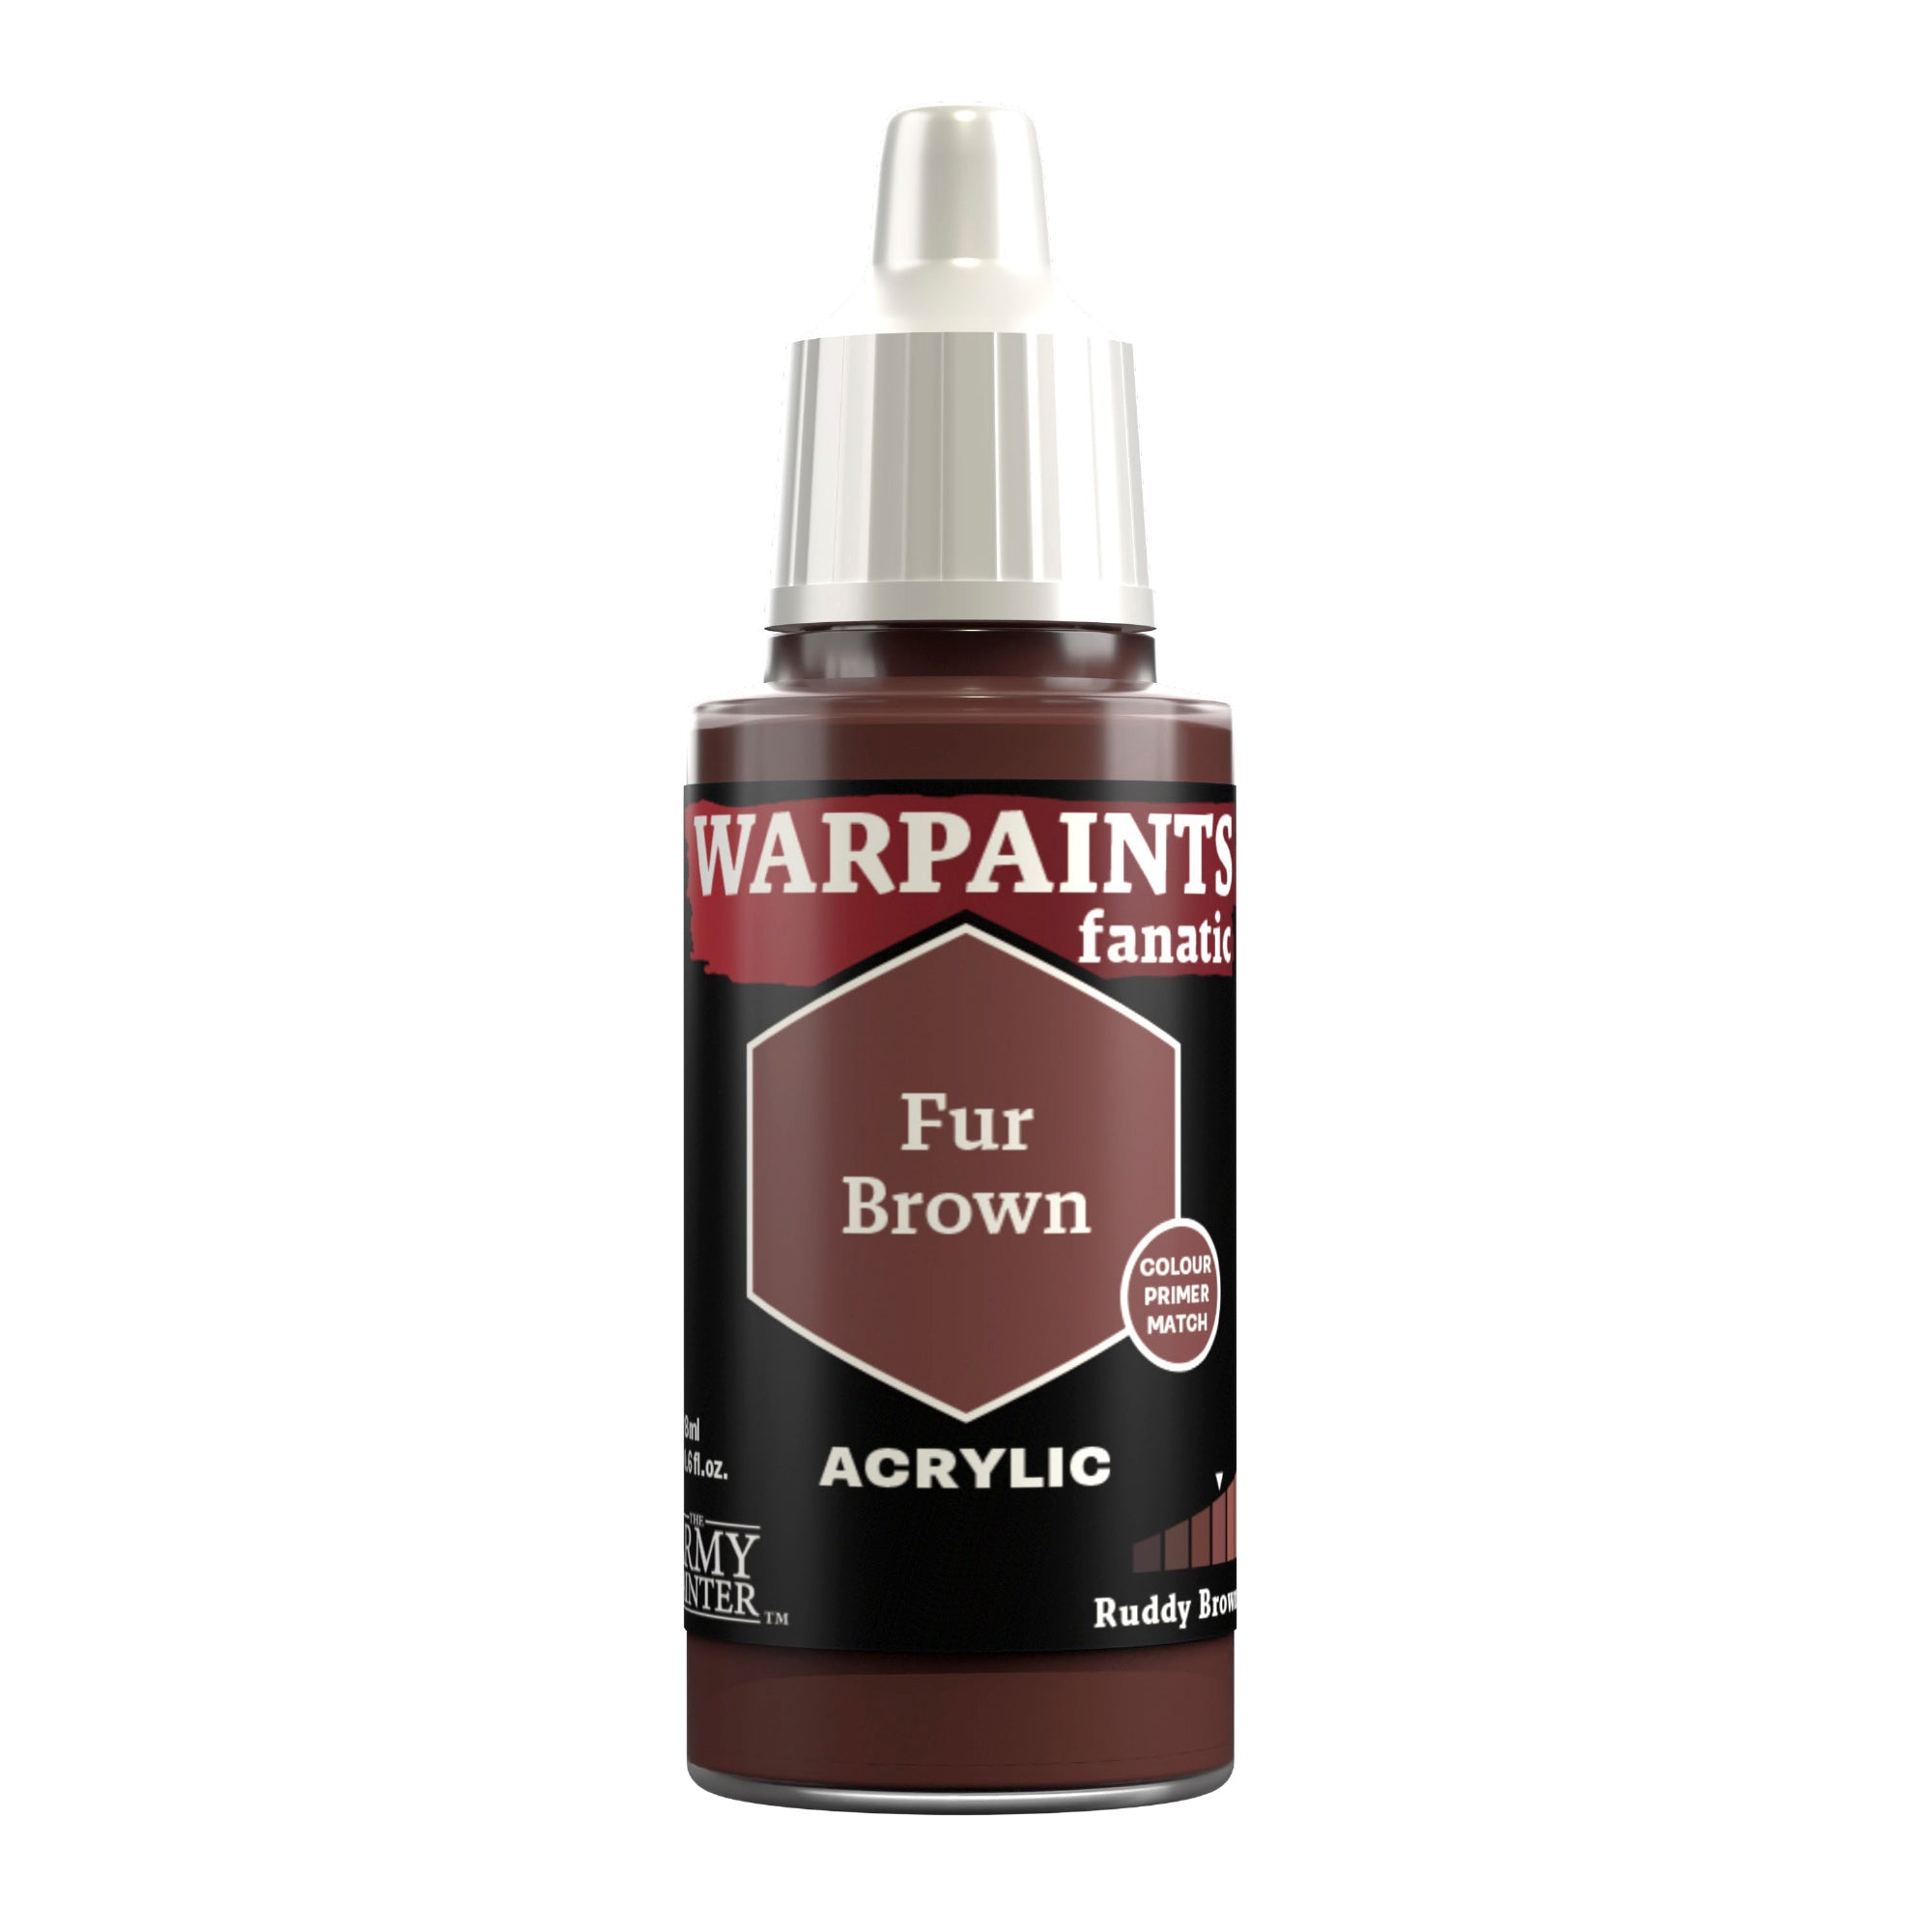
Finally, I applied a “dot” highlight of Warpaints Fanatic Fur Brown to the corners.
The Black
Step 1
The black parts of the gun casing as well as the eye lenses on the helmet were basecoated with Warpaints Fanatic Matt Black.
The Red
Step 1
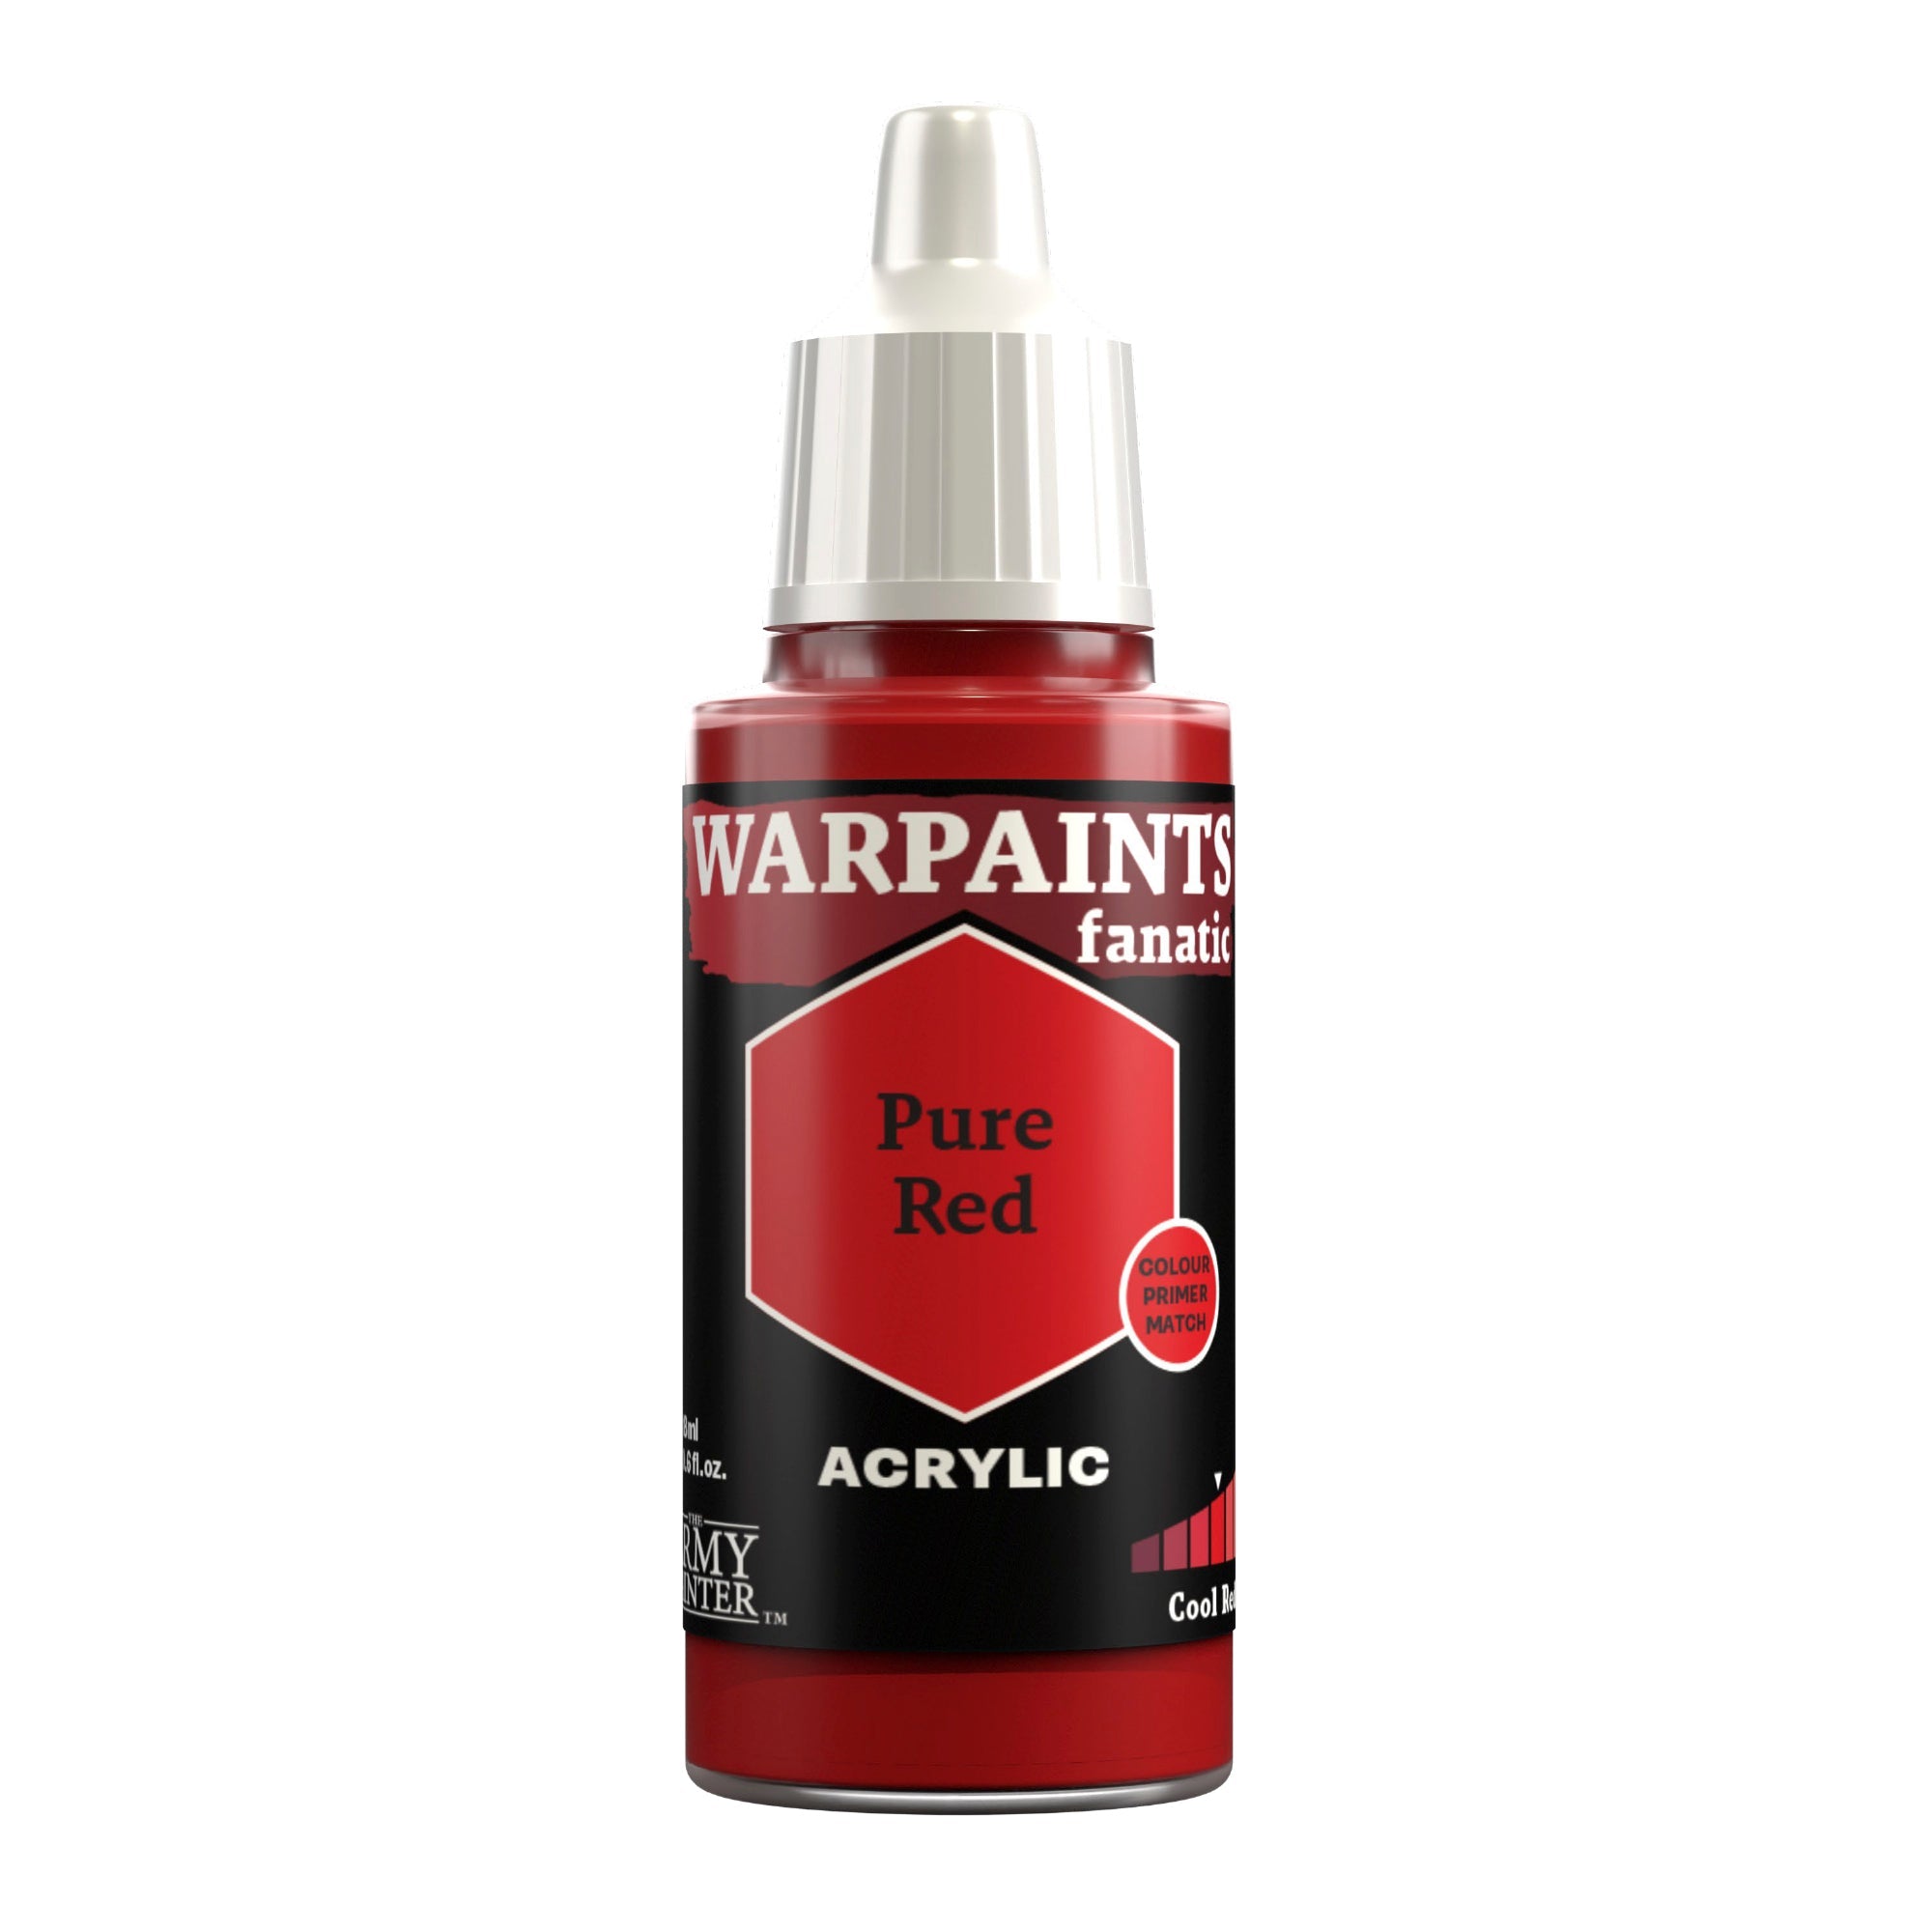
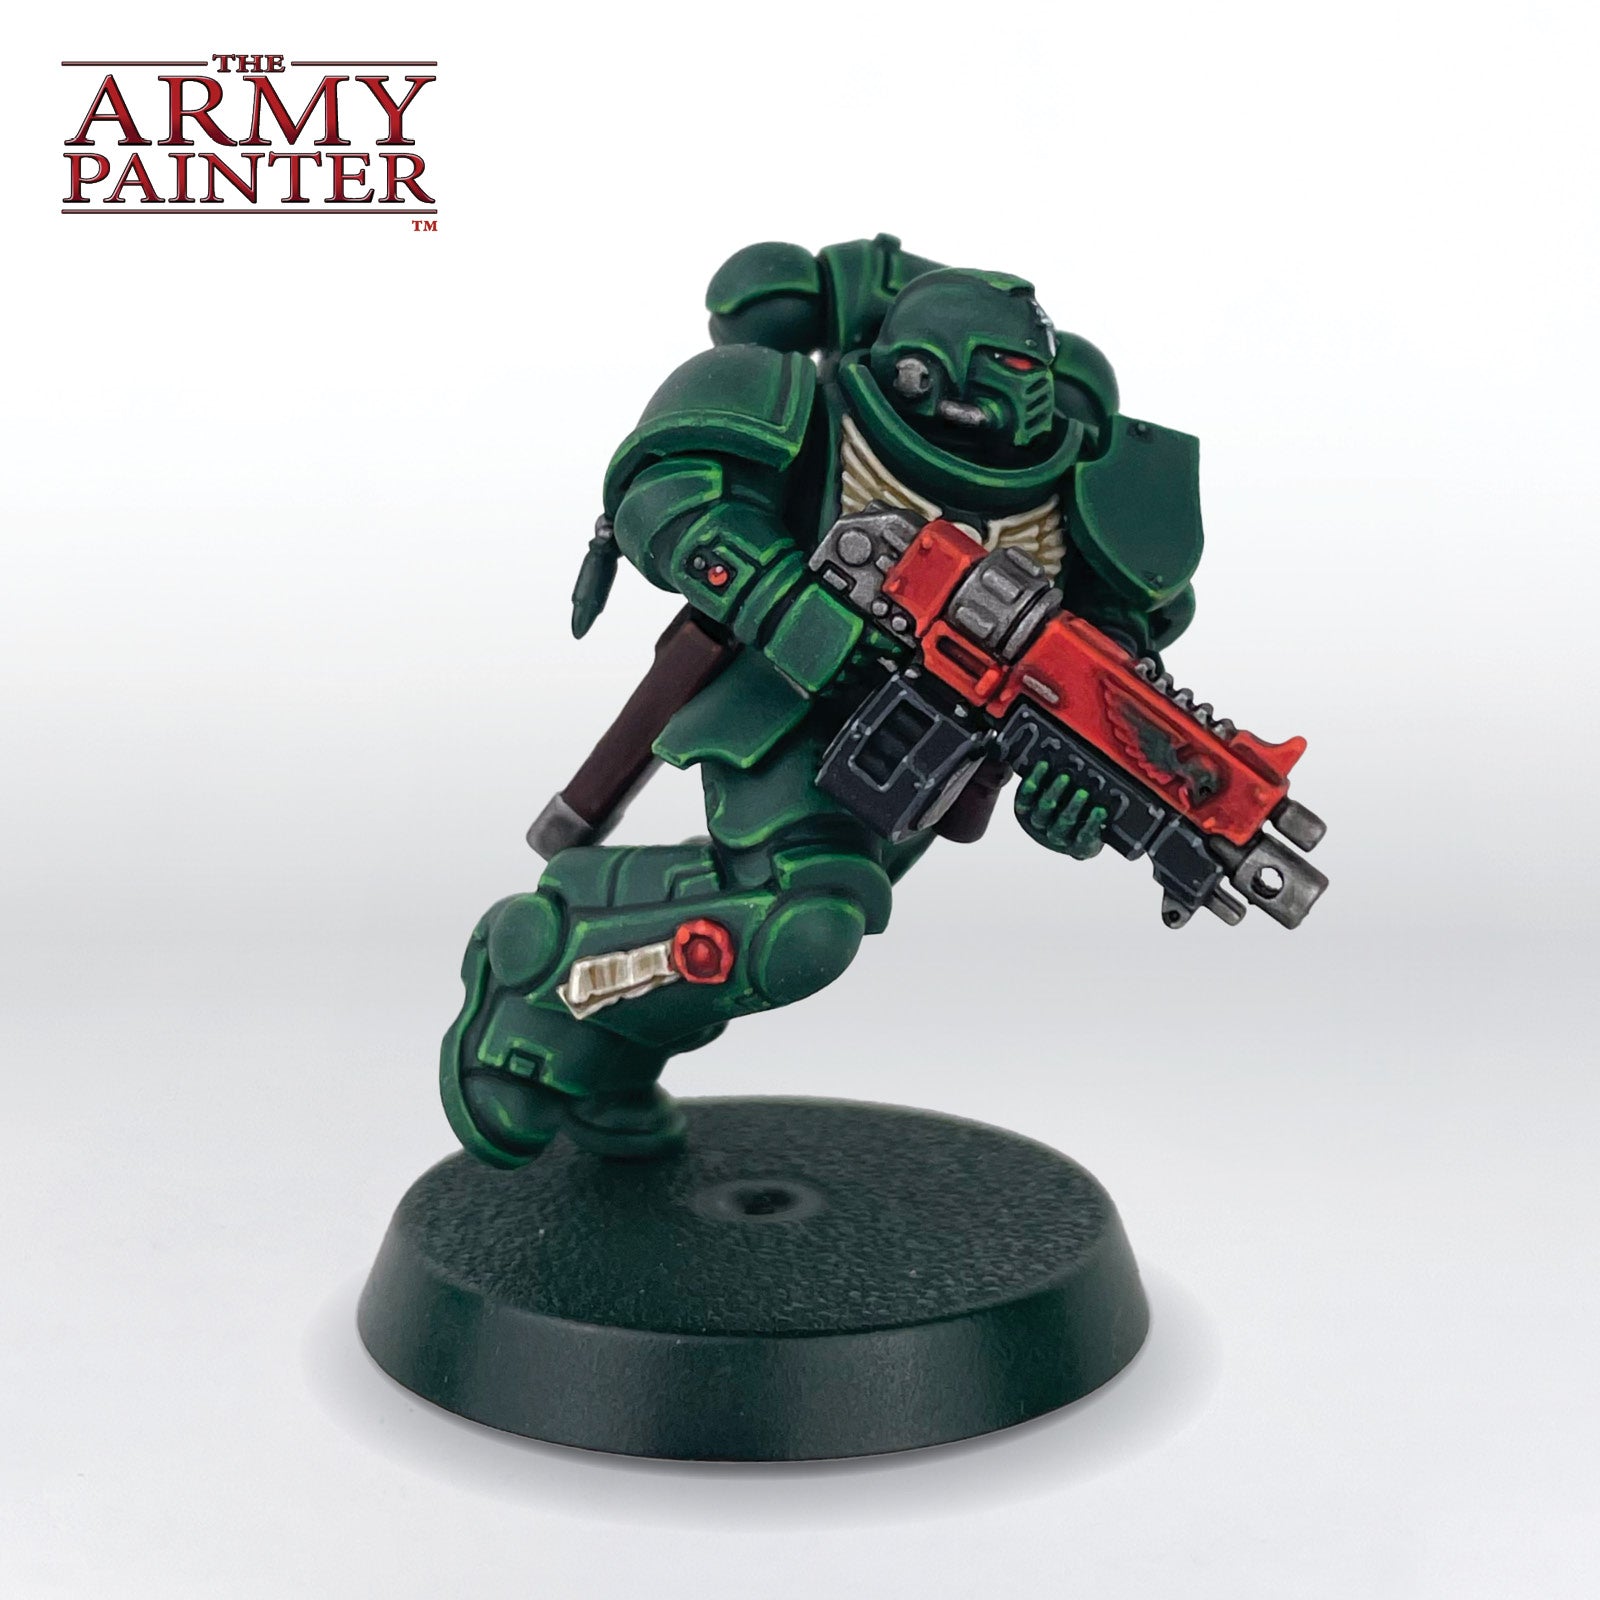
While the gun casing is the main spot of red on the model, you’ll also want to paint the wax on the purity seal, and the eye lenses at the same time. These were all basecoated with Pure Red. The lenses only had this painted into the front two-thirds of the lenses.

The Red
Step 2
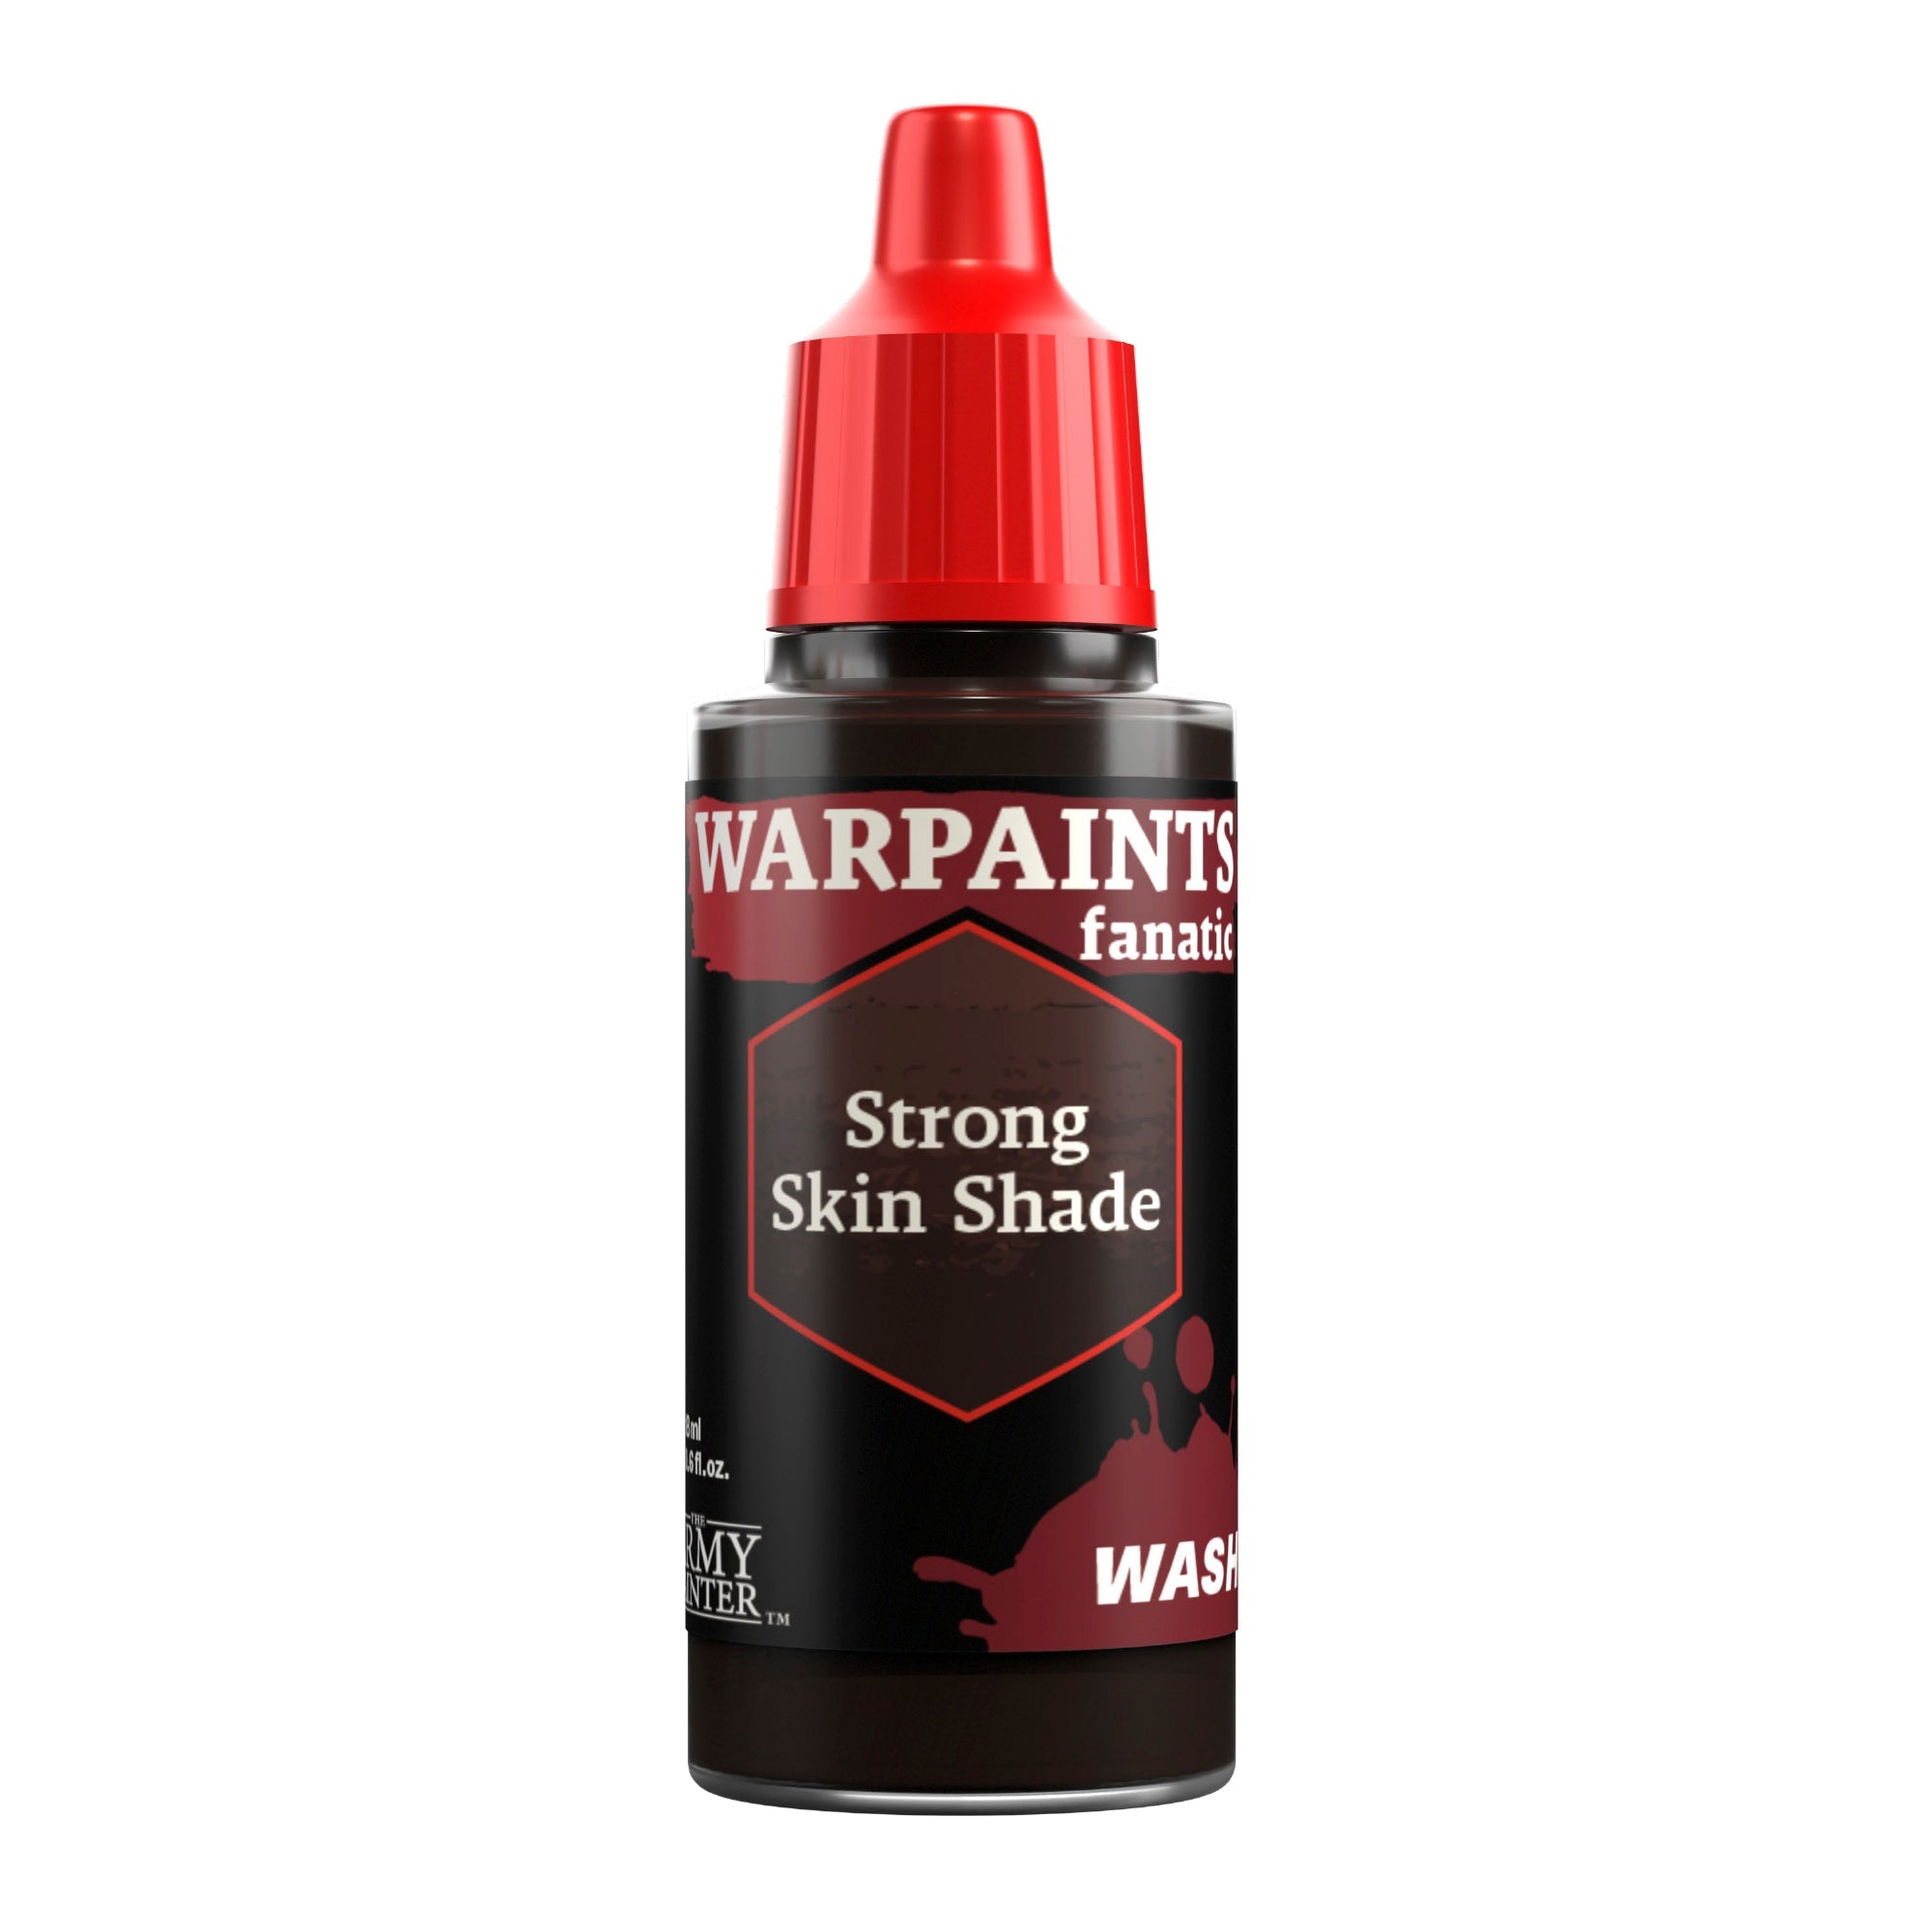
The casing and the wax were then given a shade with Warpaints Fanatic Strong Skin Shade Wash.
The Red
Step 3
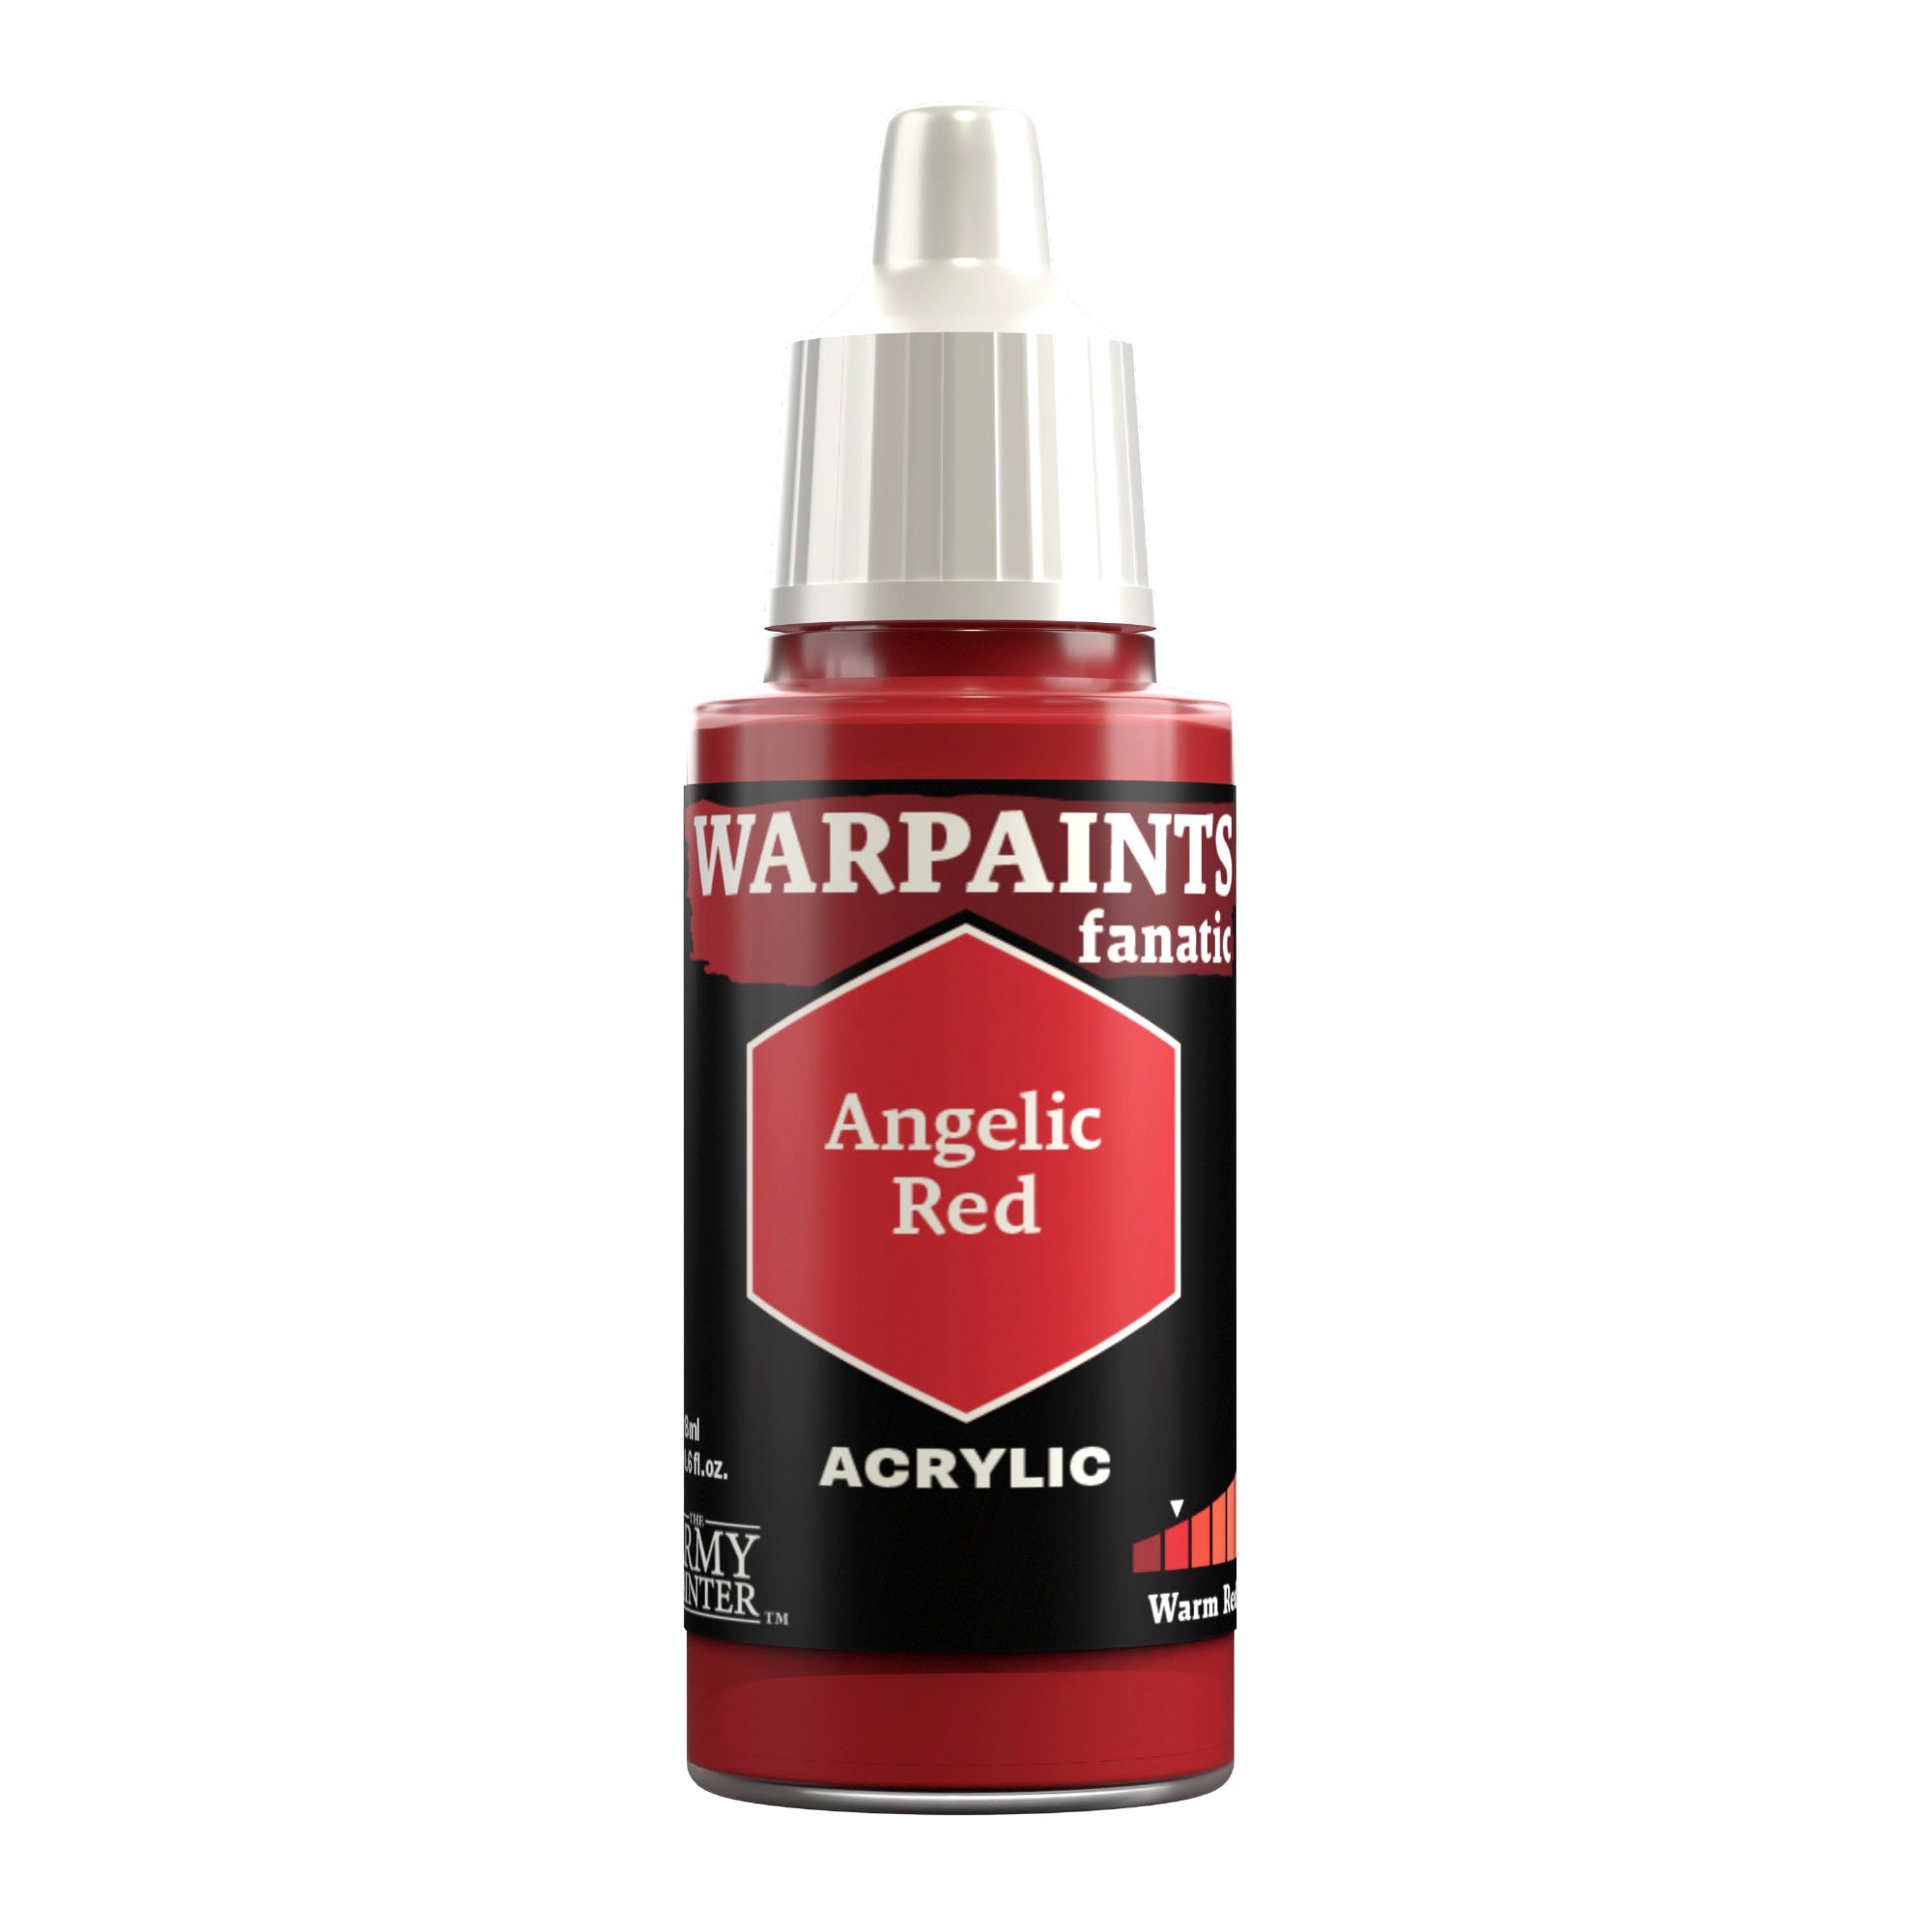
These were then edge highlighted with Warpaints Fanatic Angelic Red. On the lenses this went into the front third.

The Red
Step 4
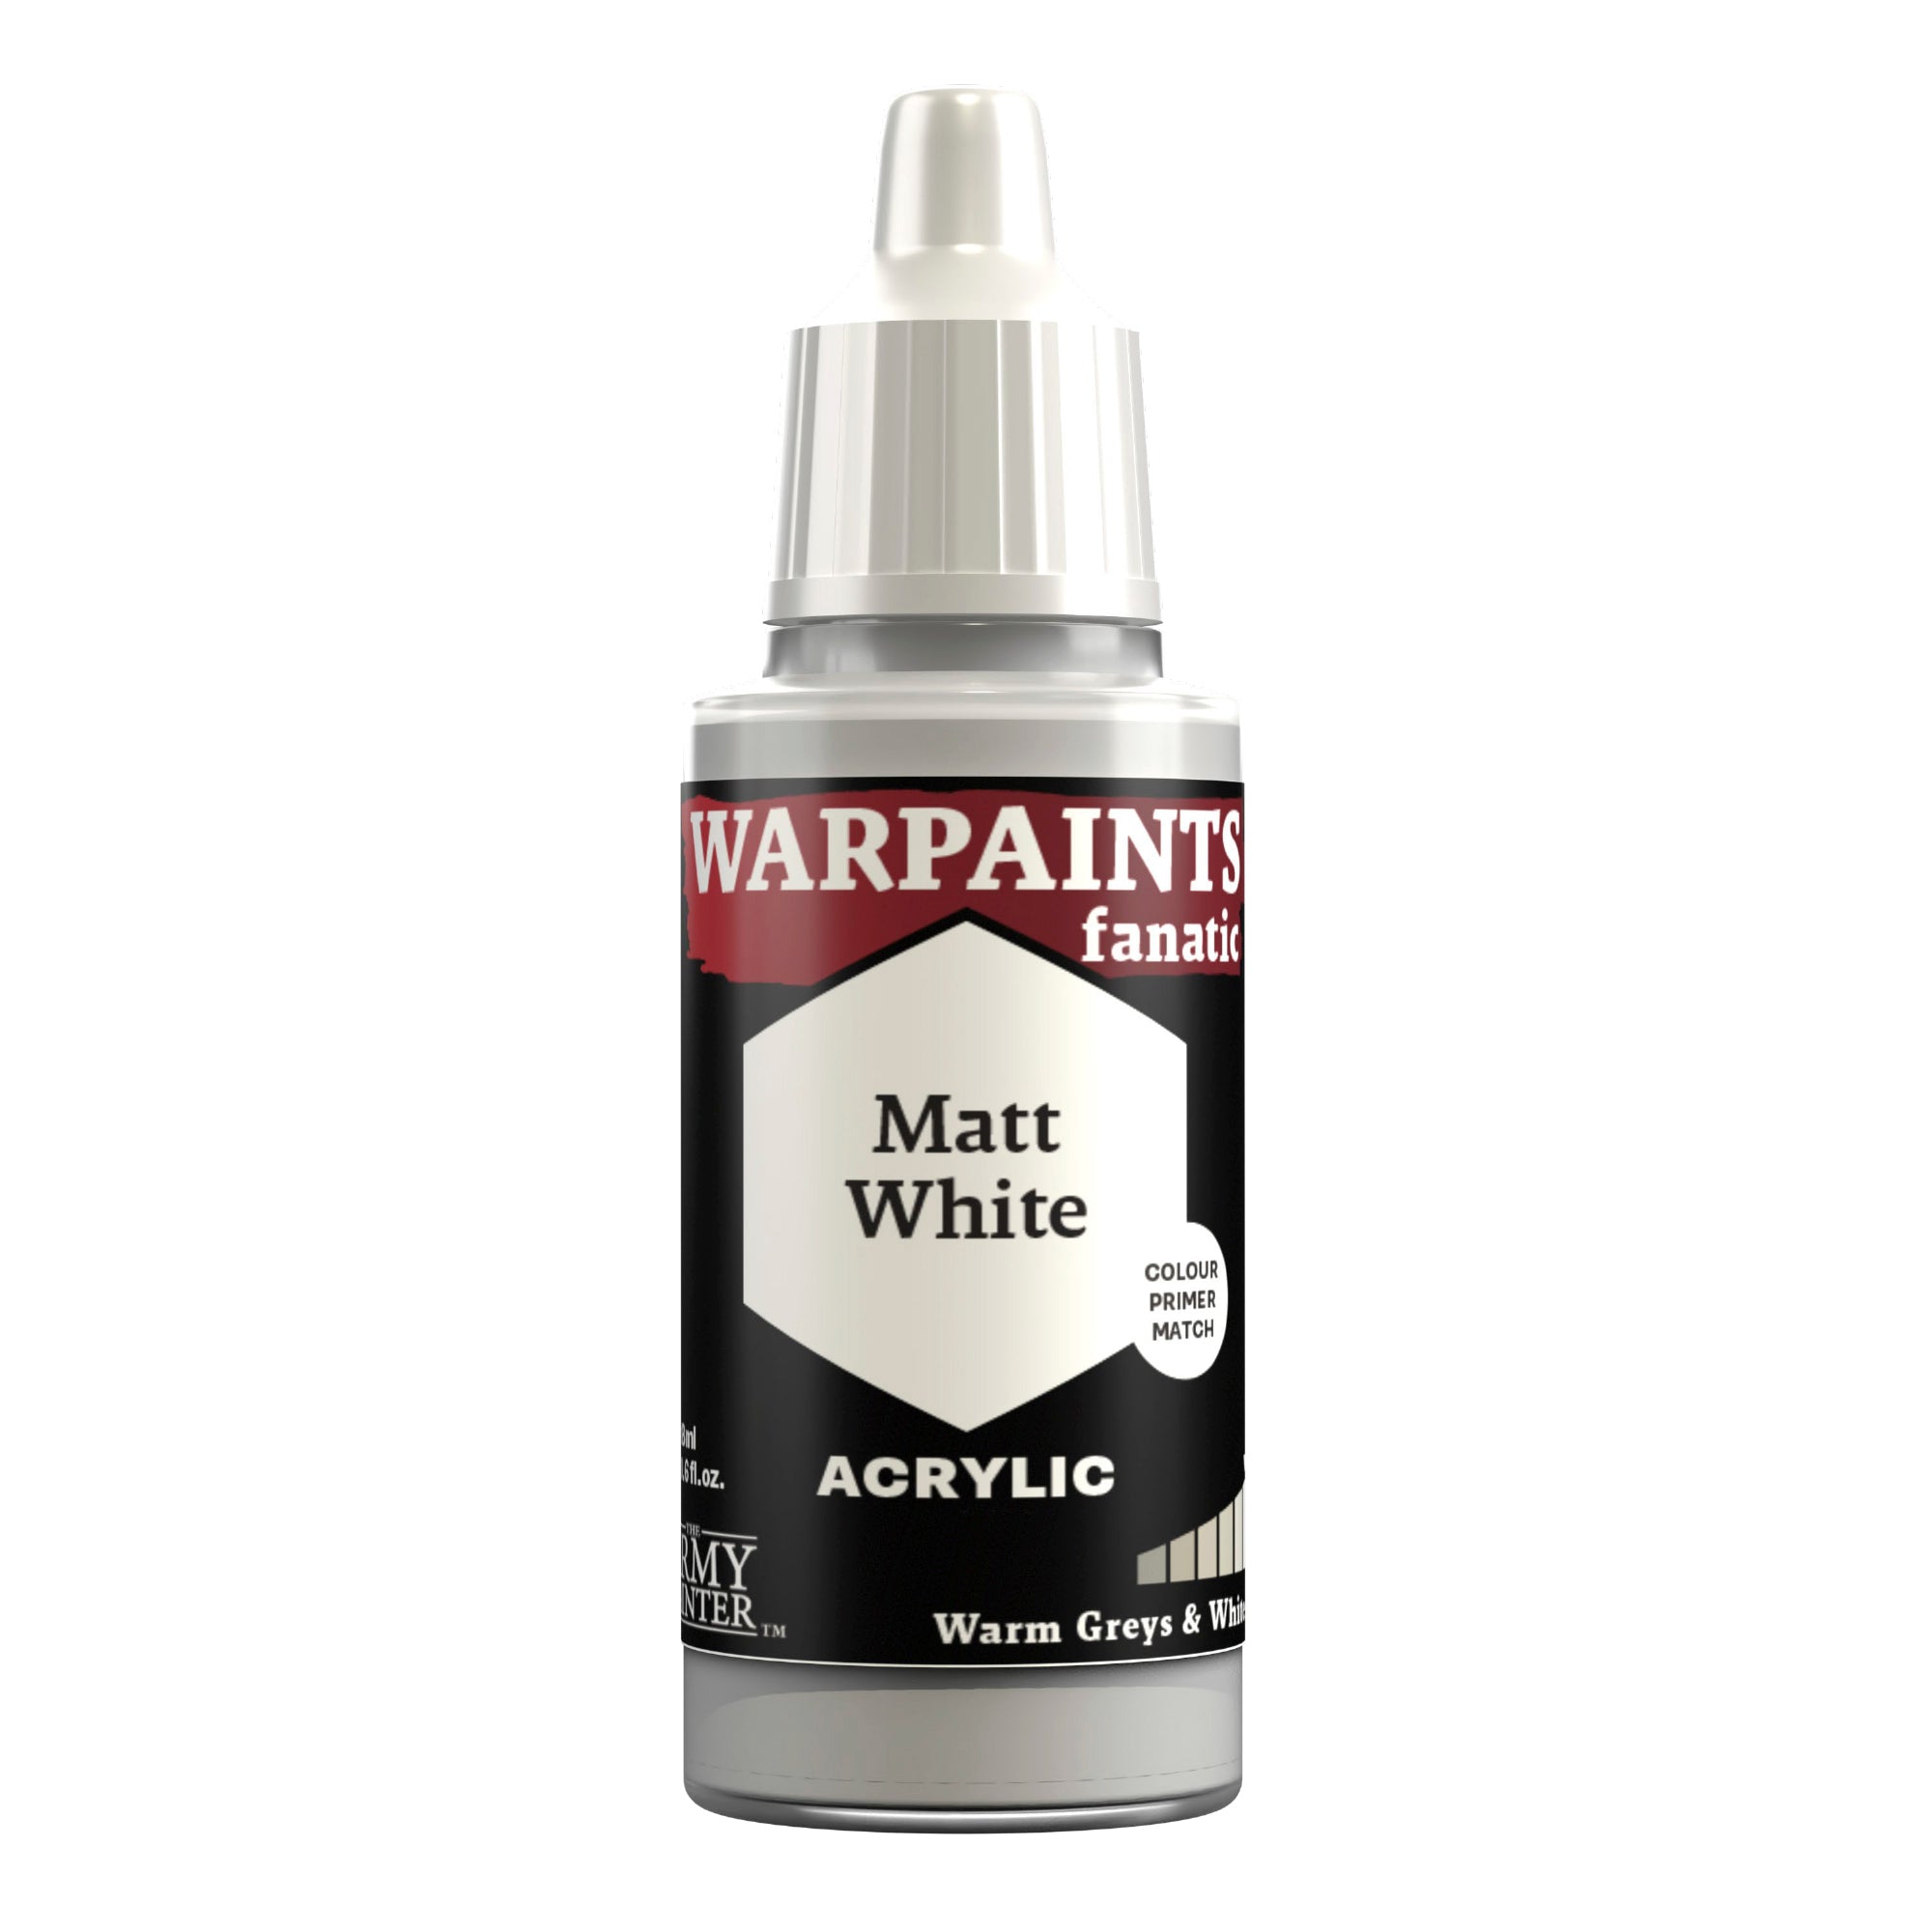
Finally, a “dot” highlight of Warpaints Fanatic Legendary Red was applied to the corners, and to the very front of the lenses. I also applied a quick reflection dot of Warpaints Fanatic Matt White to the back of each eye lens.
Step 1
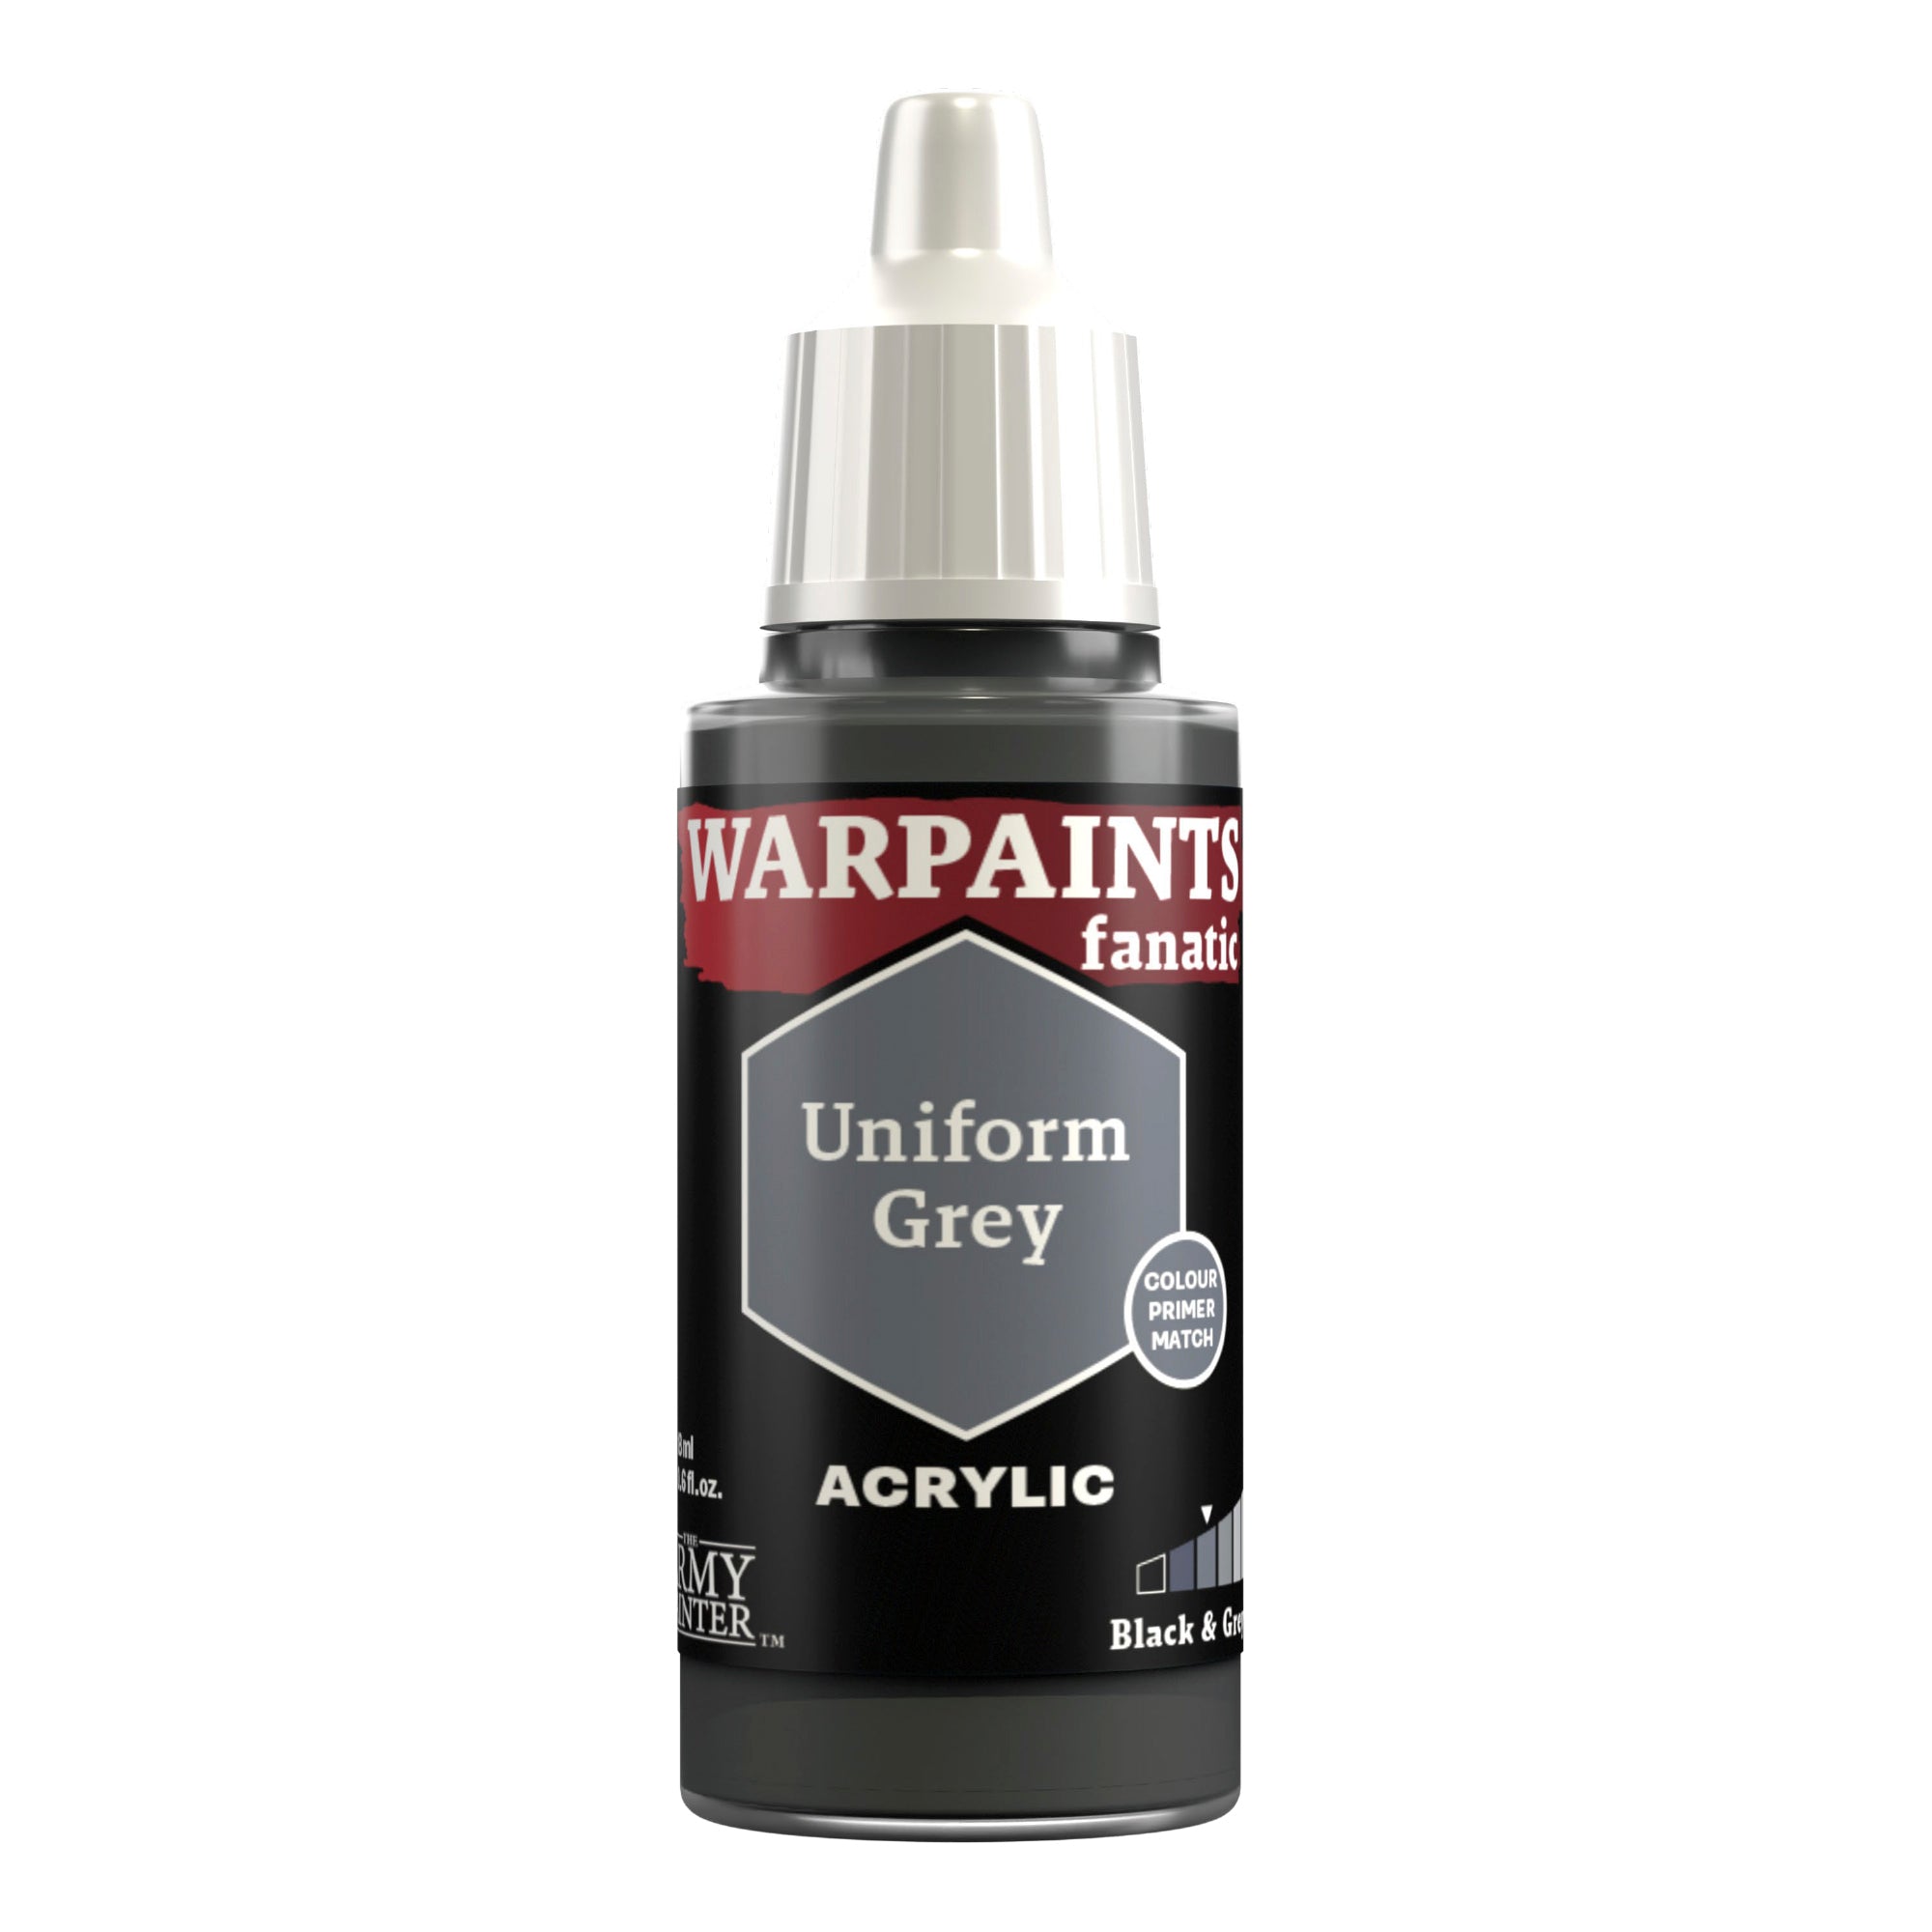
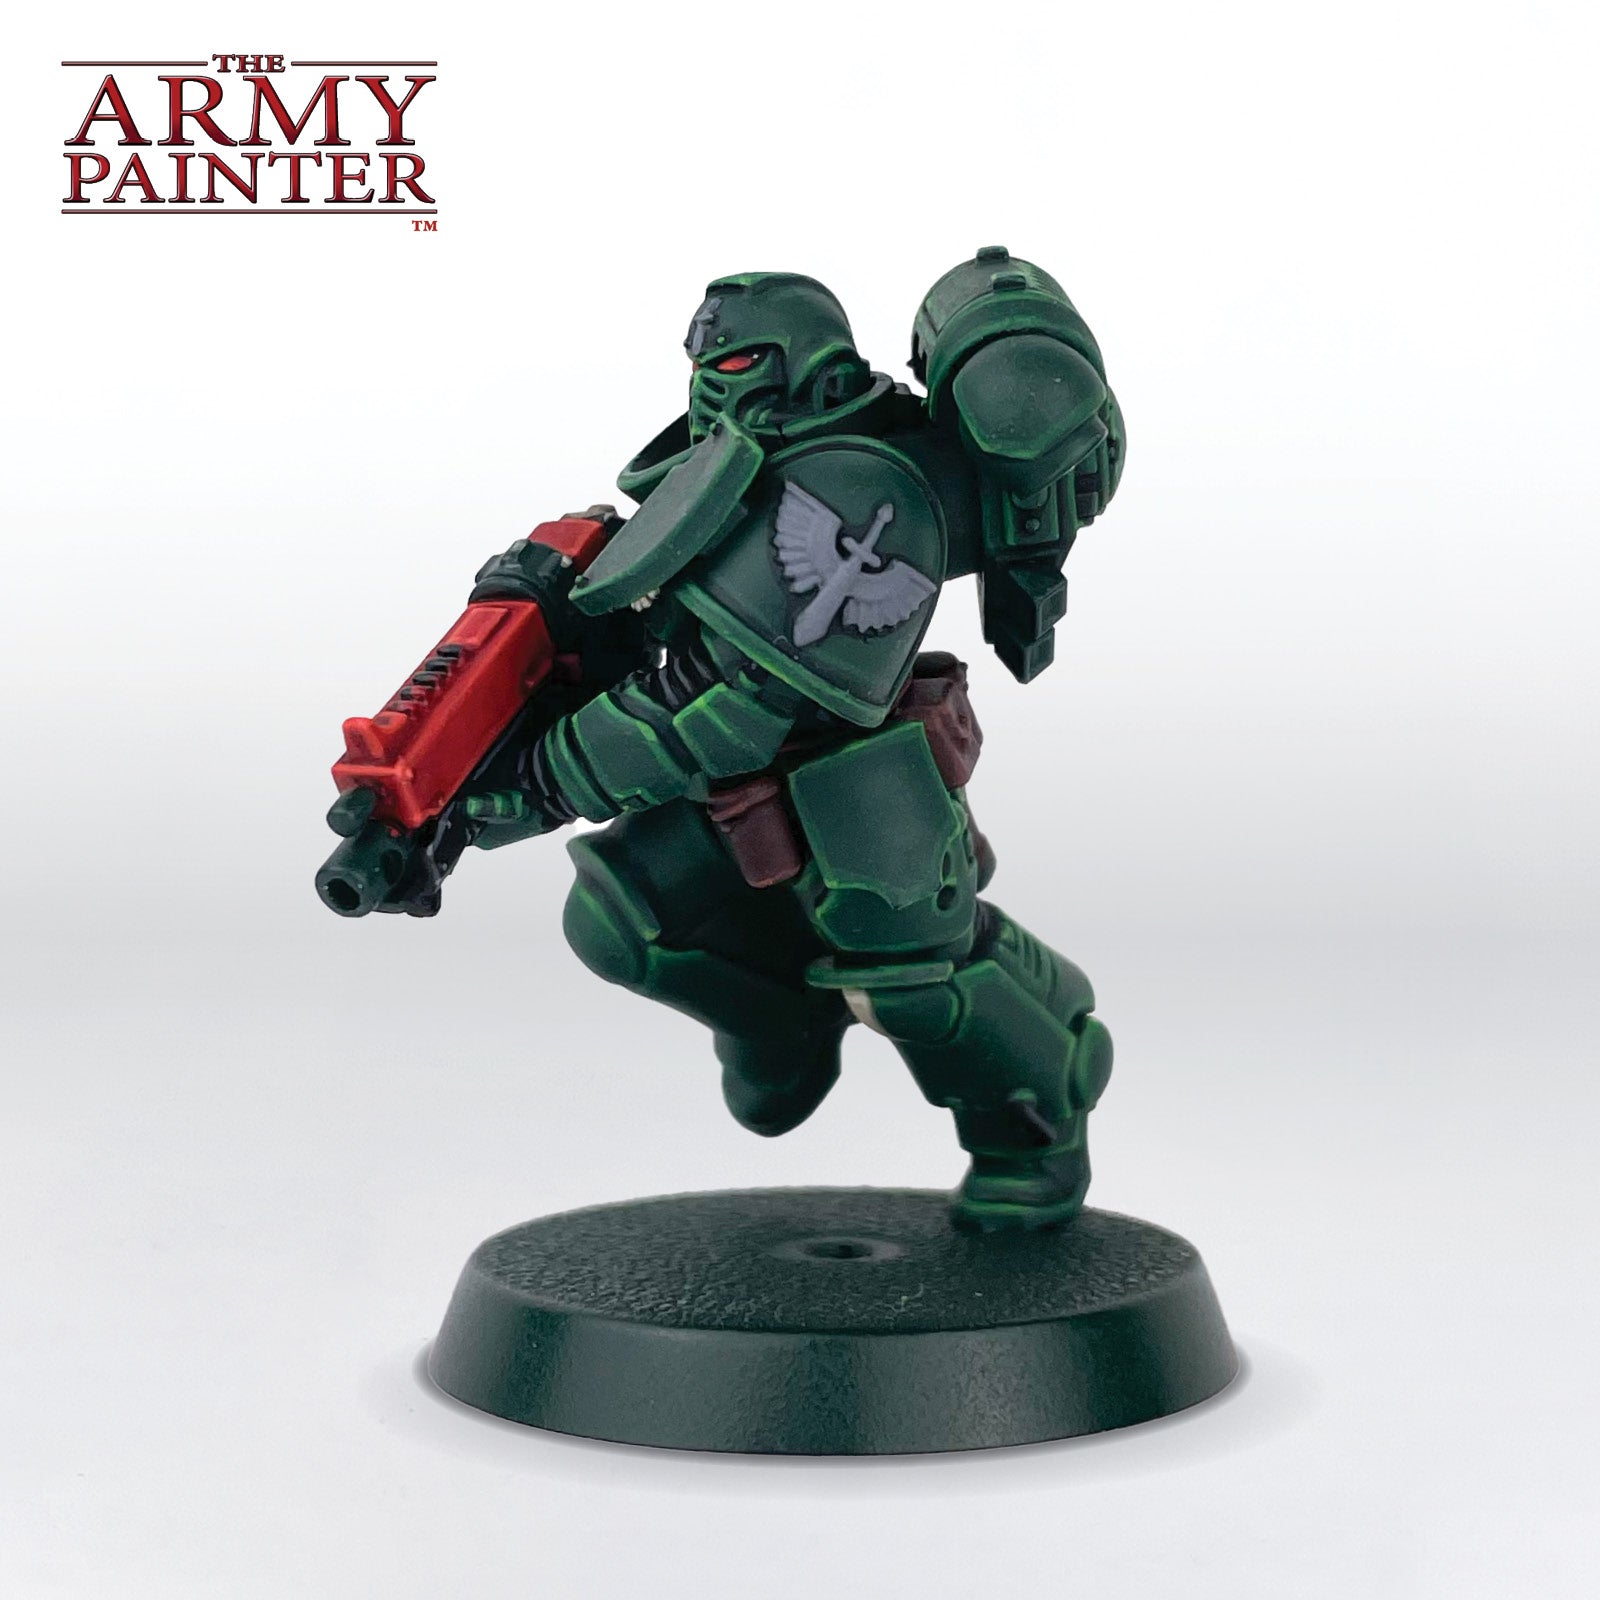
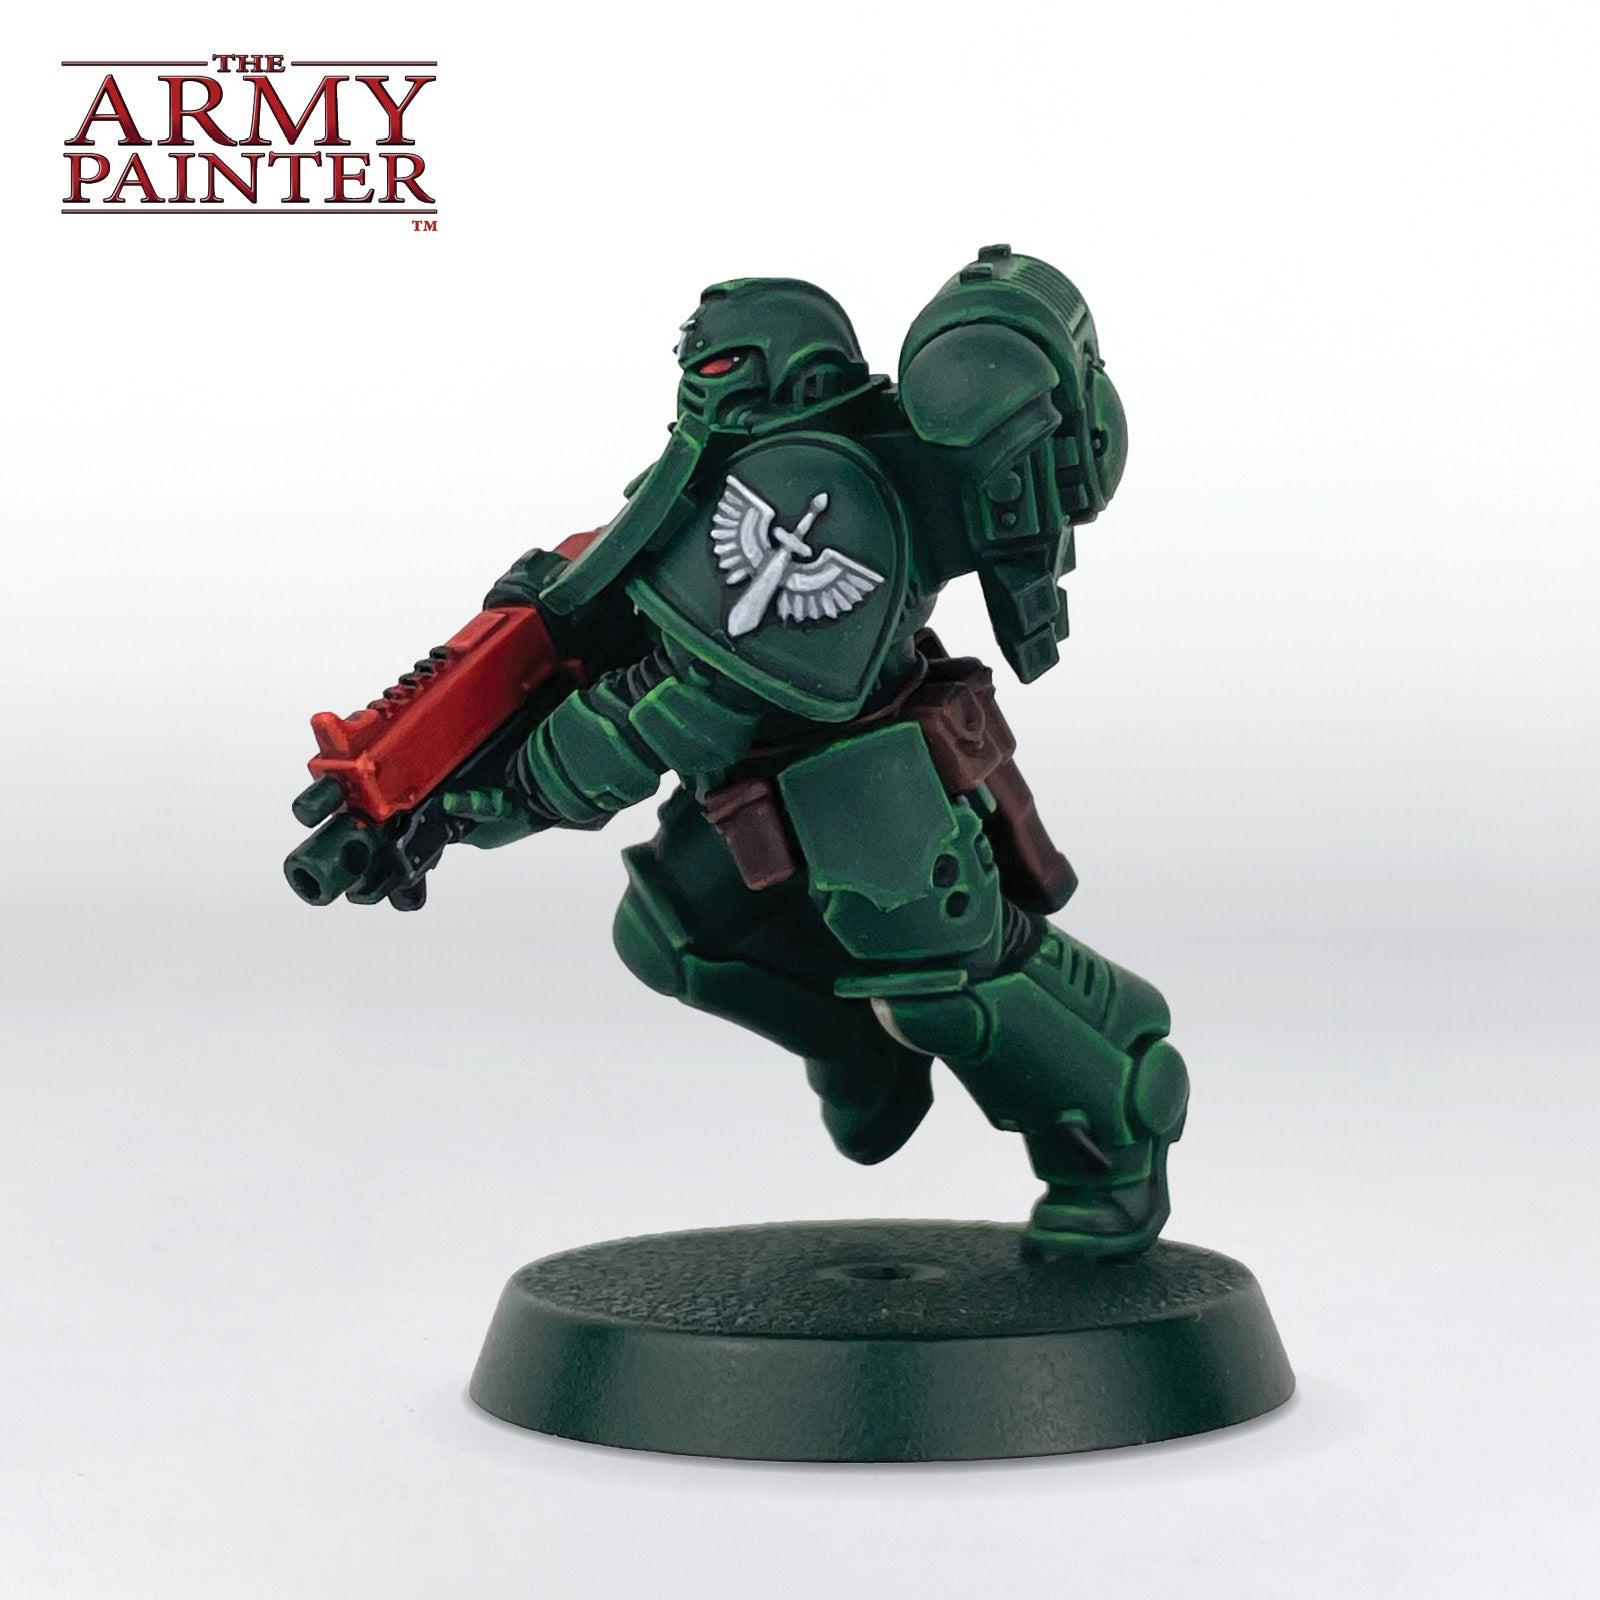
The chapter symbol on the shoulder pad as well as the sword on the helmet were basecoated with Warpaints Fanatic Uniform Grey.
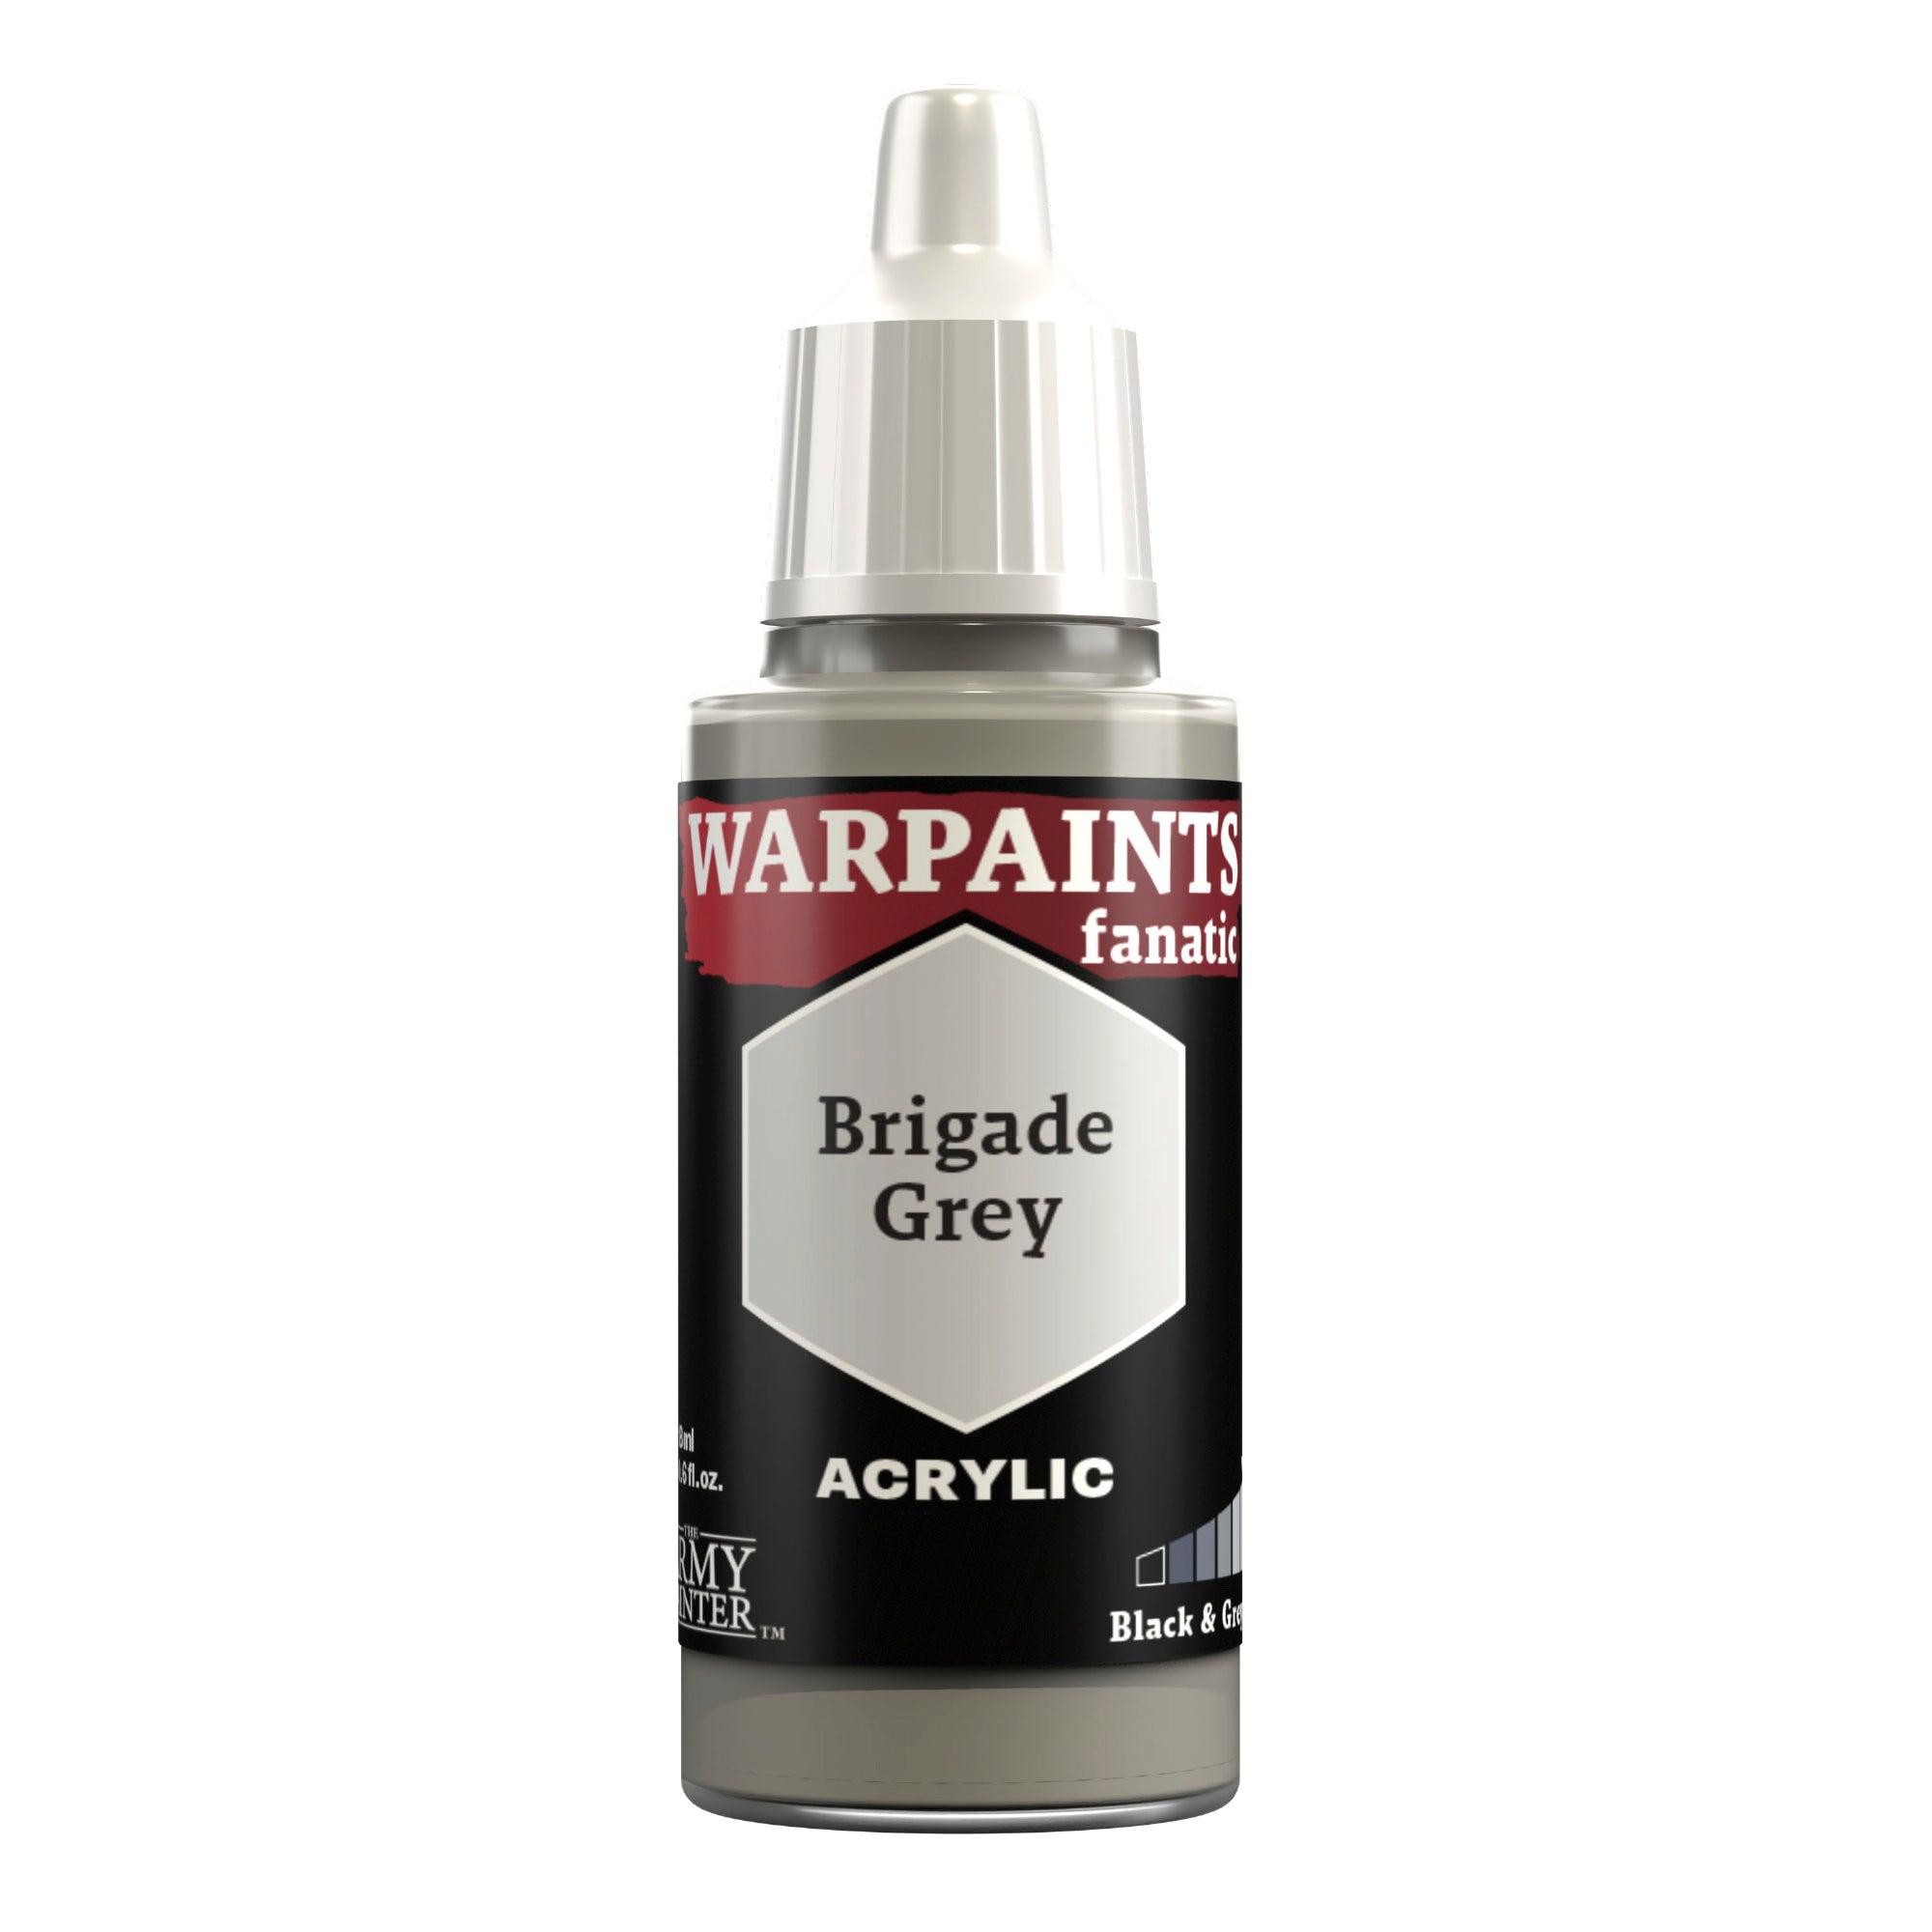
Step 2
This was then layered with Warpaints Fanatic Brigade Grey, leaving the darker colour in the recesses.
Step 3
Finally, an edge highlight of pure Warpaints Fanatic Matt White was applied.

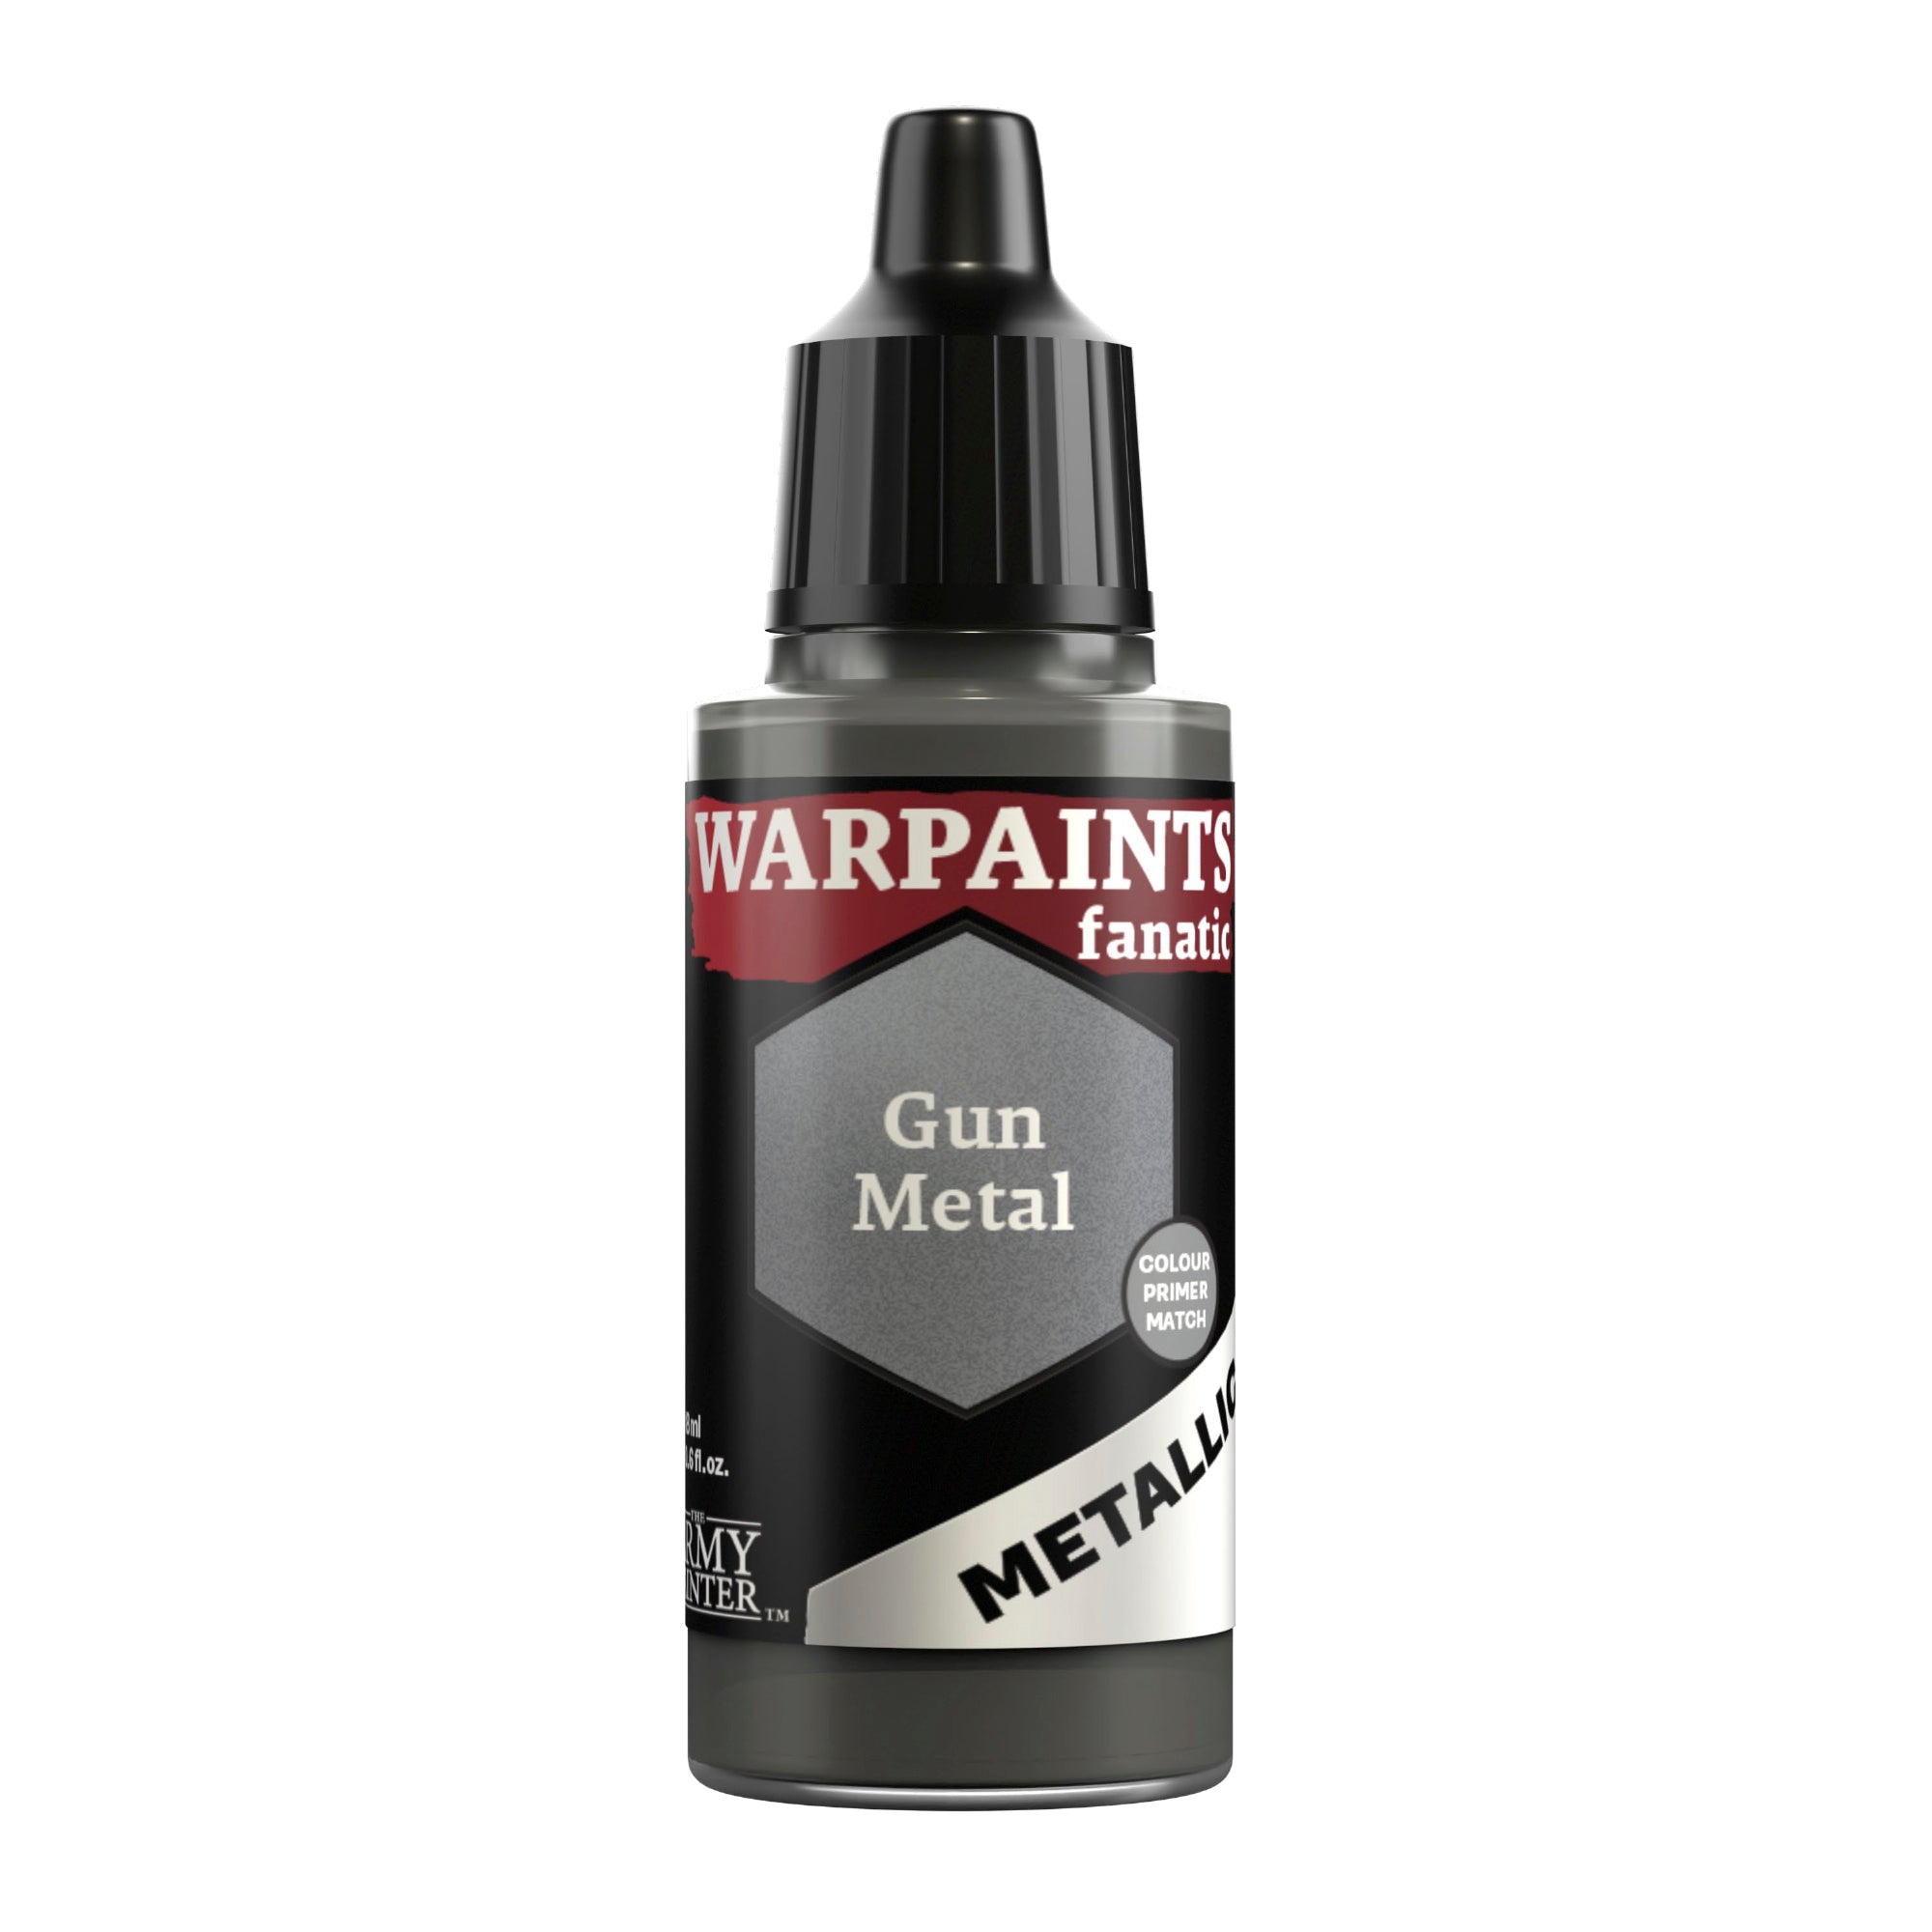
Step 1
All of the silver metallic areas were basecoated with Warpaints Fanatic Gun Metal.
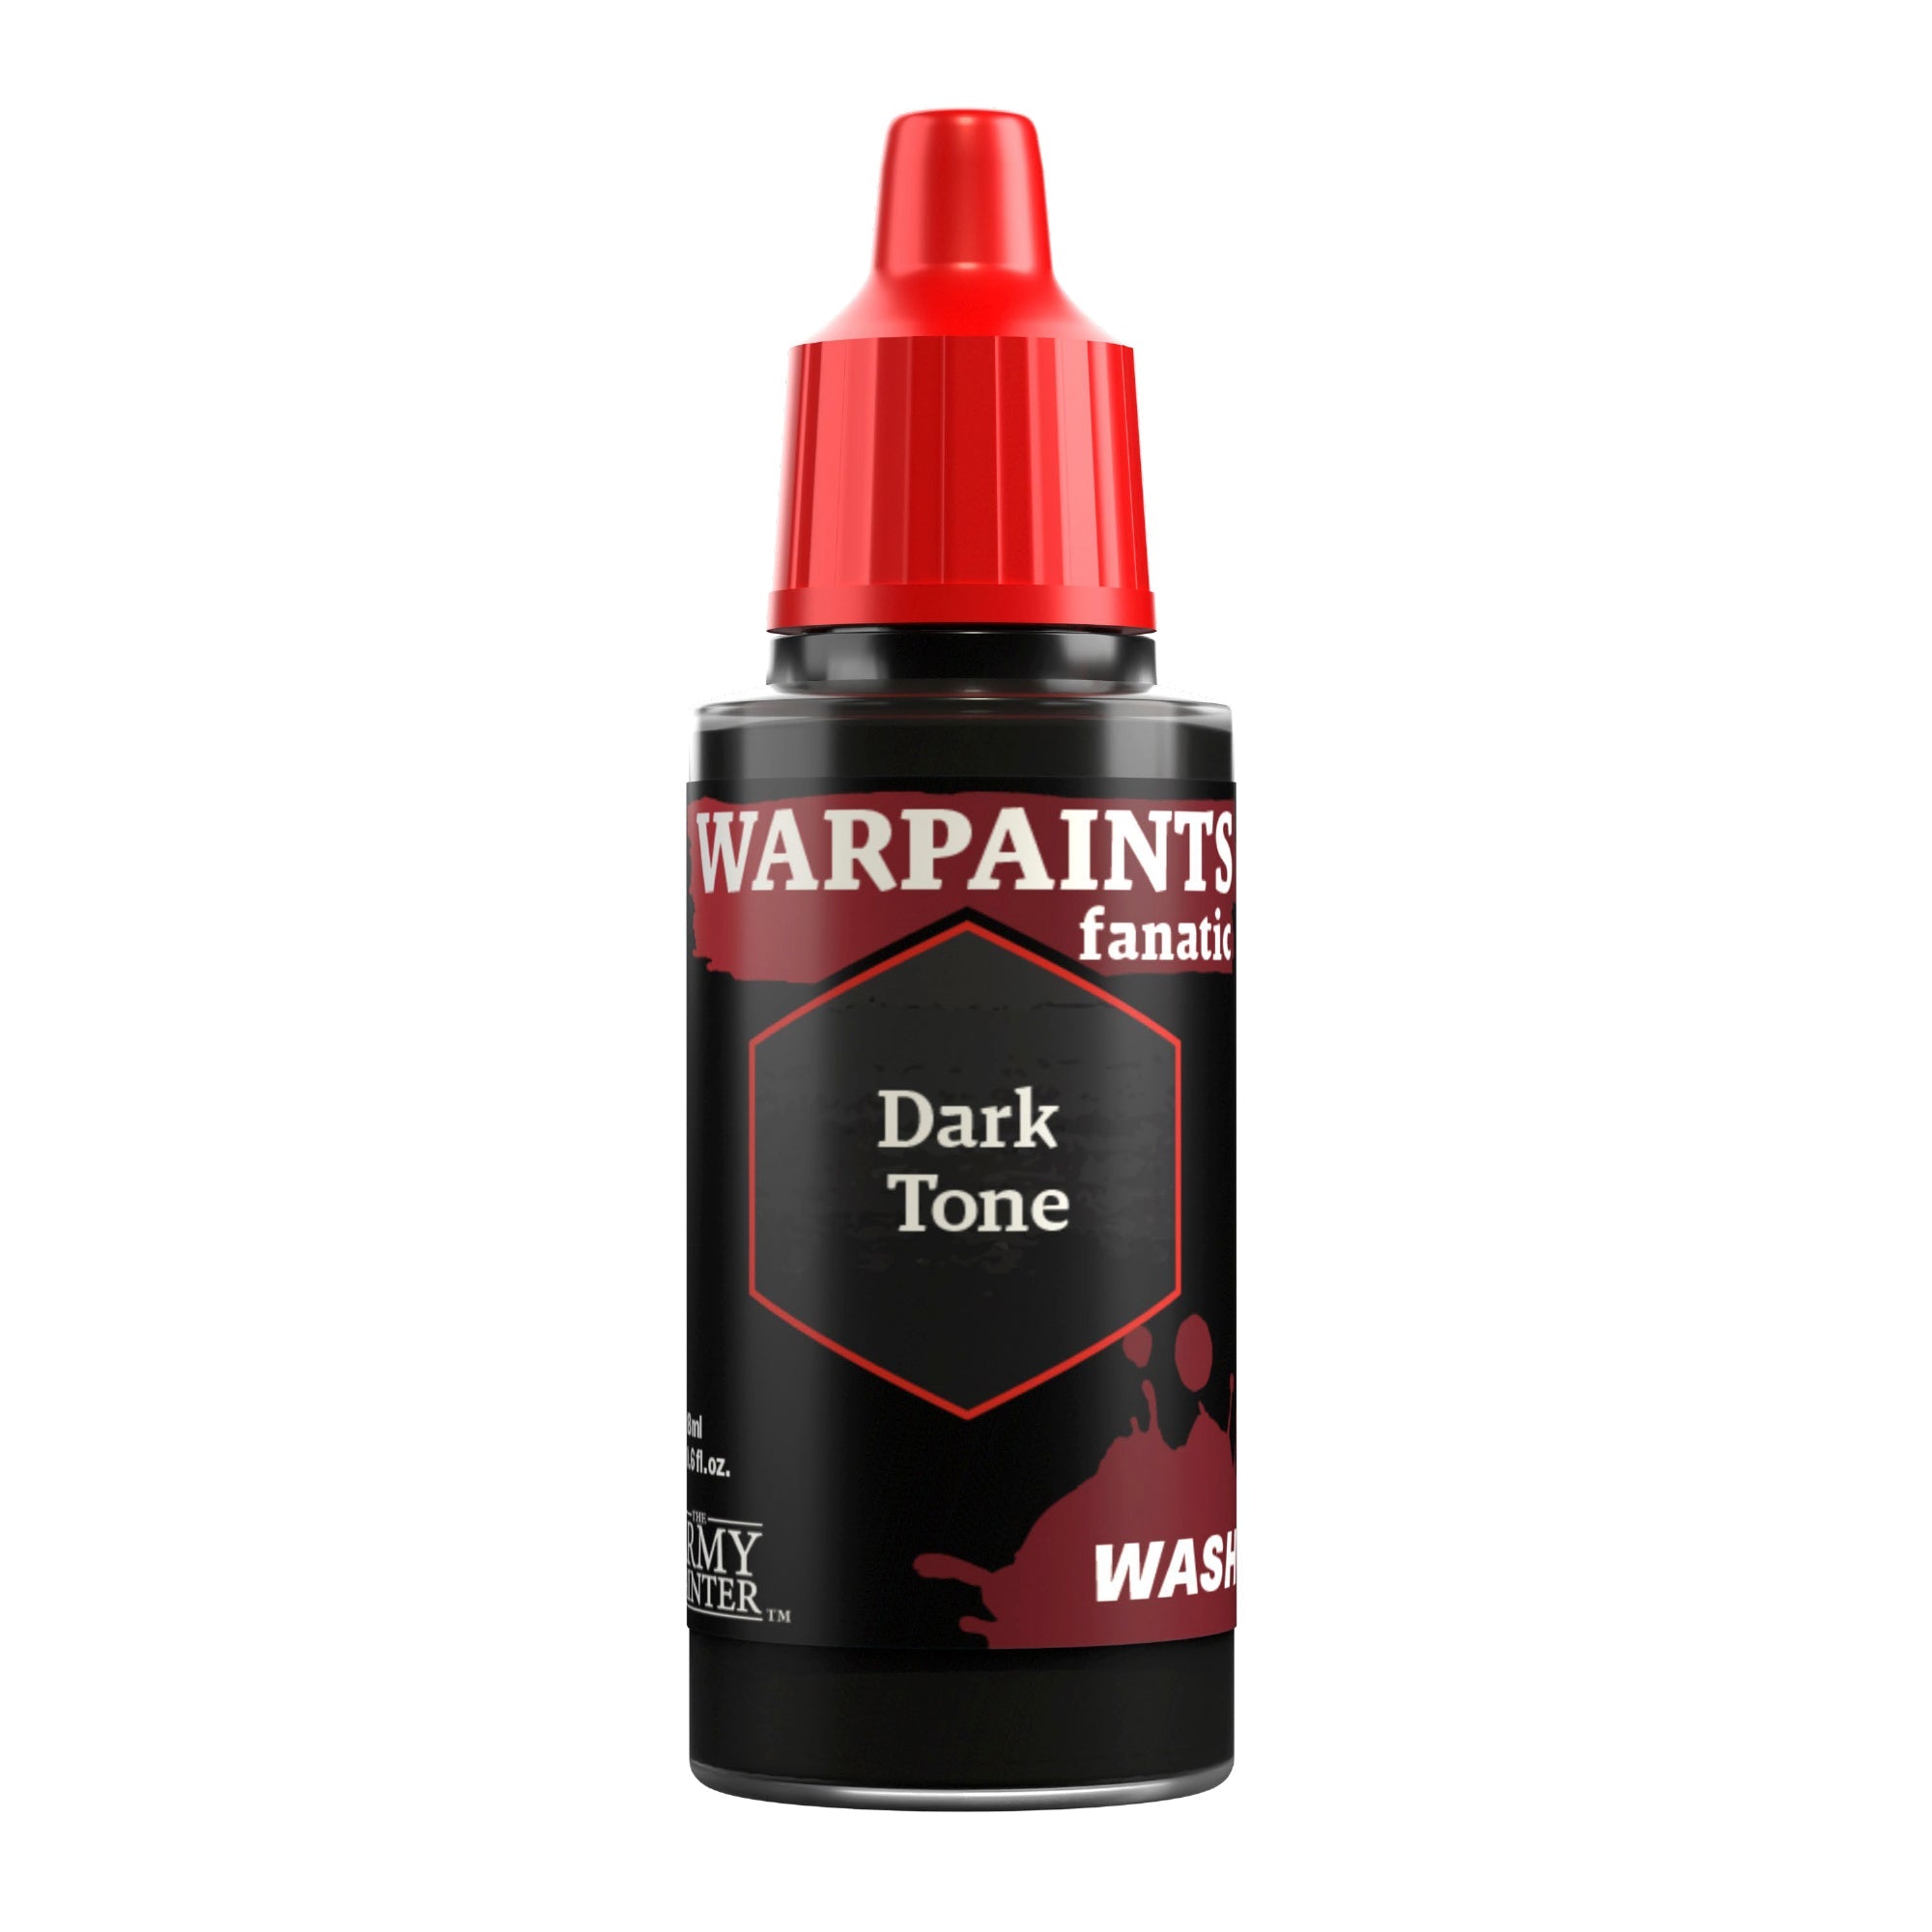
Step 2
This was then shaded all over with Warpaints Fanatic Dark Tone Wash.
Step 3
Lastly, an edge highlight of Warpaints Fanatic Plate Mail Metal was applied.
Step 1
The bronze and gold areas were both basecoated with Warpaints Fanatic Evil Chrome.
Step 2
After that, the gold was layered with a solid coat of Warpaints Fanatic Greedy Gold.
Step 3
All of these areas were then given a shade with Warpaints Fanatic Strong Skin Shade Wash.
Step 4
The brass was then highlighted with Warpaints Fanatic Evil Chrome where needed and the gold was highlighted with a mix of Warpaints Fanatic Greedy Gold and Mithril.
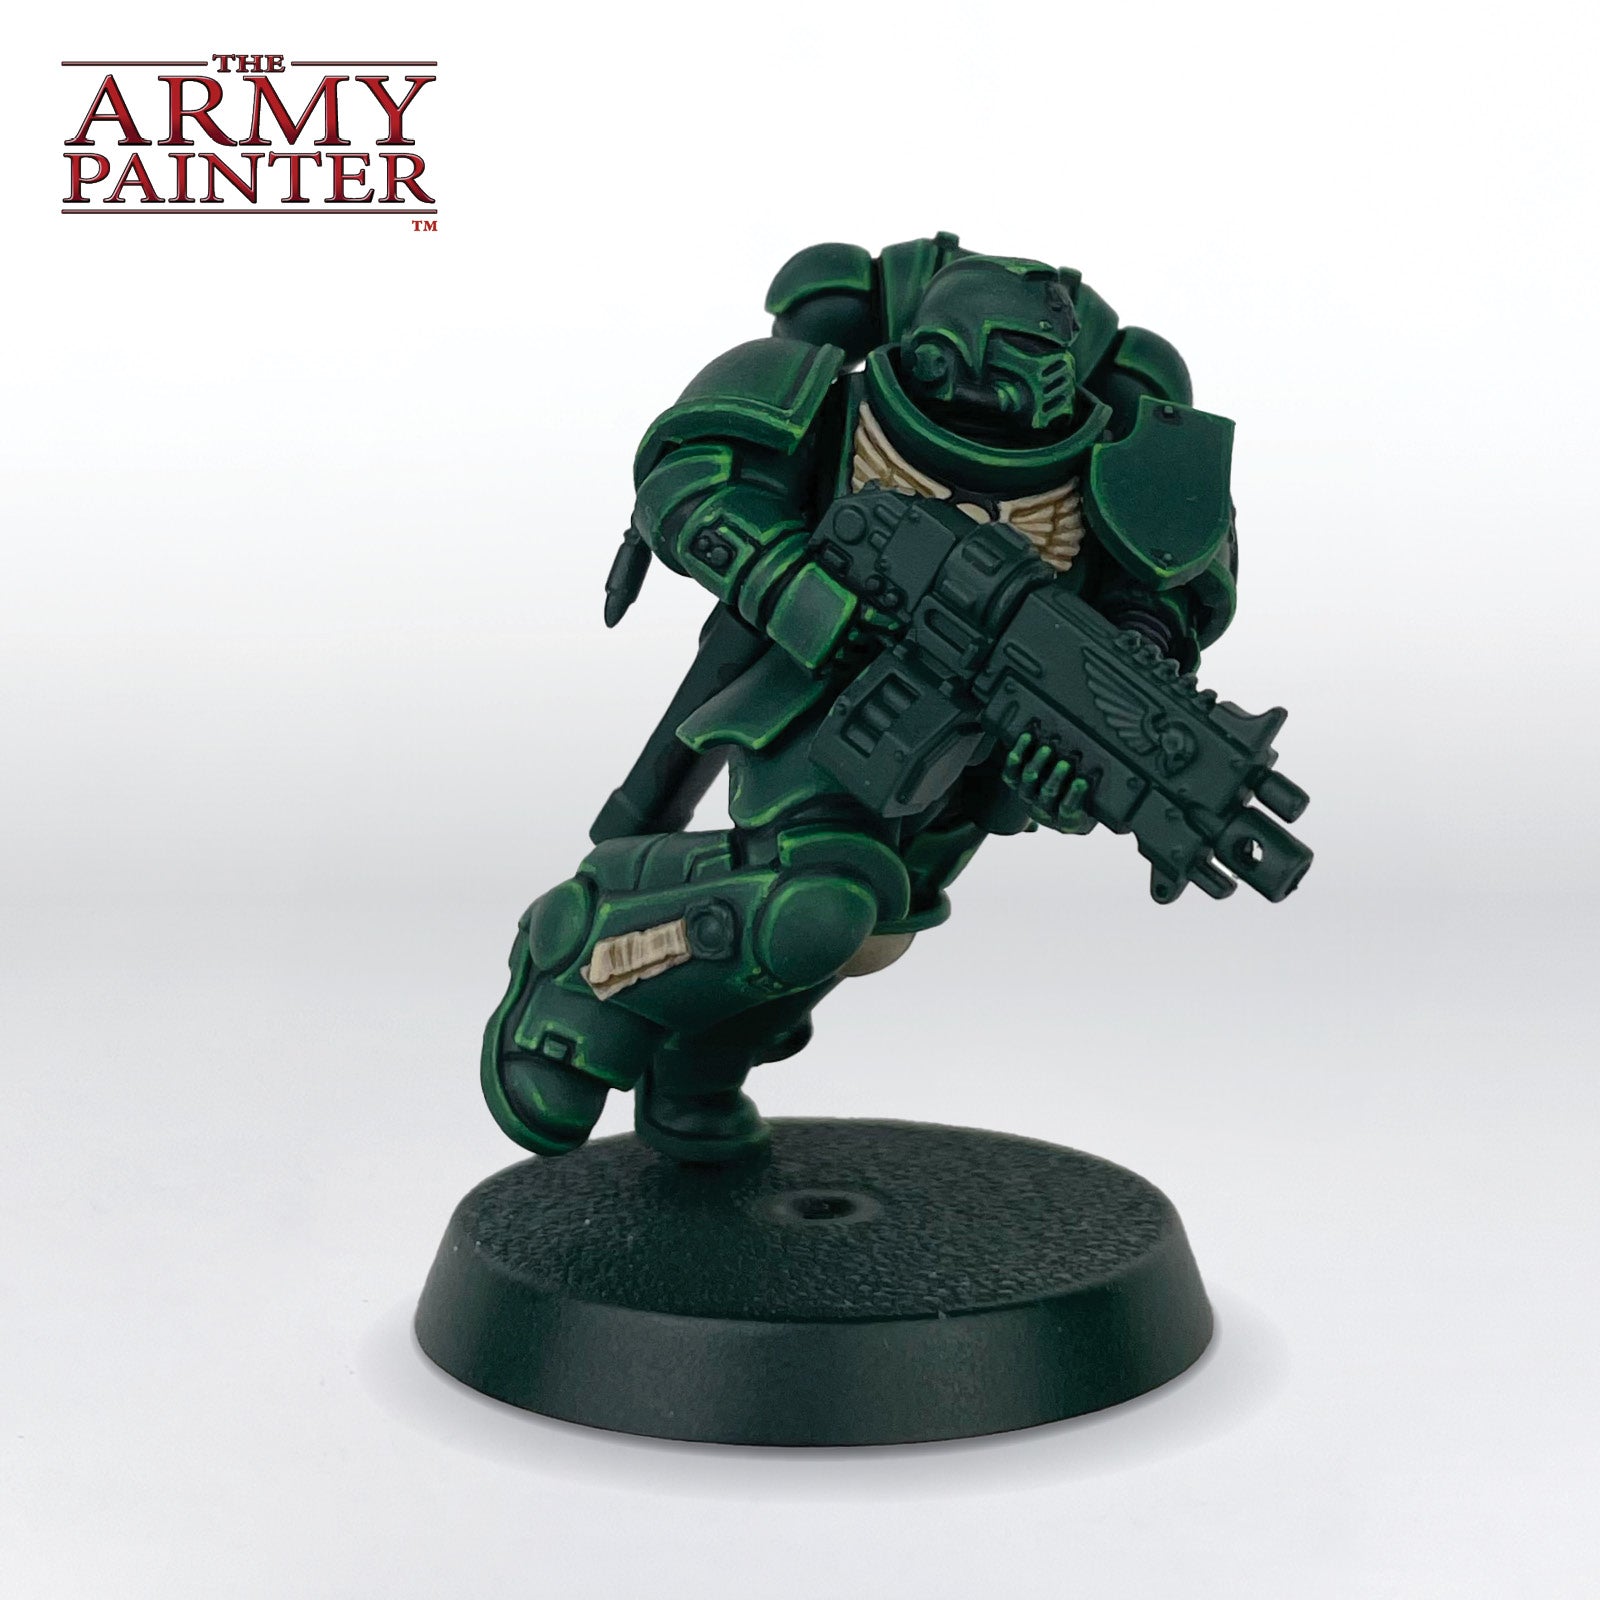
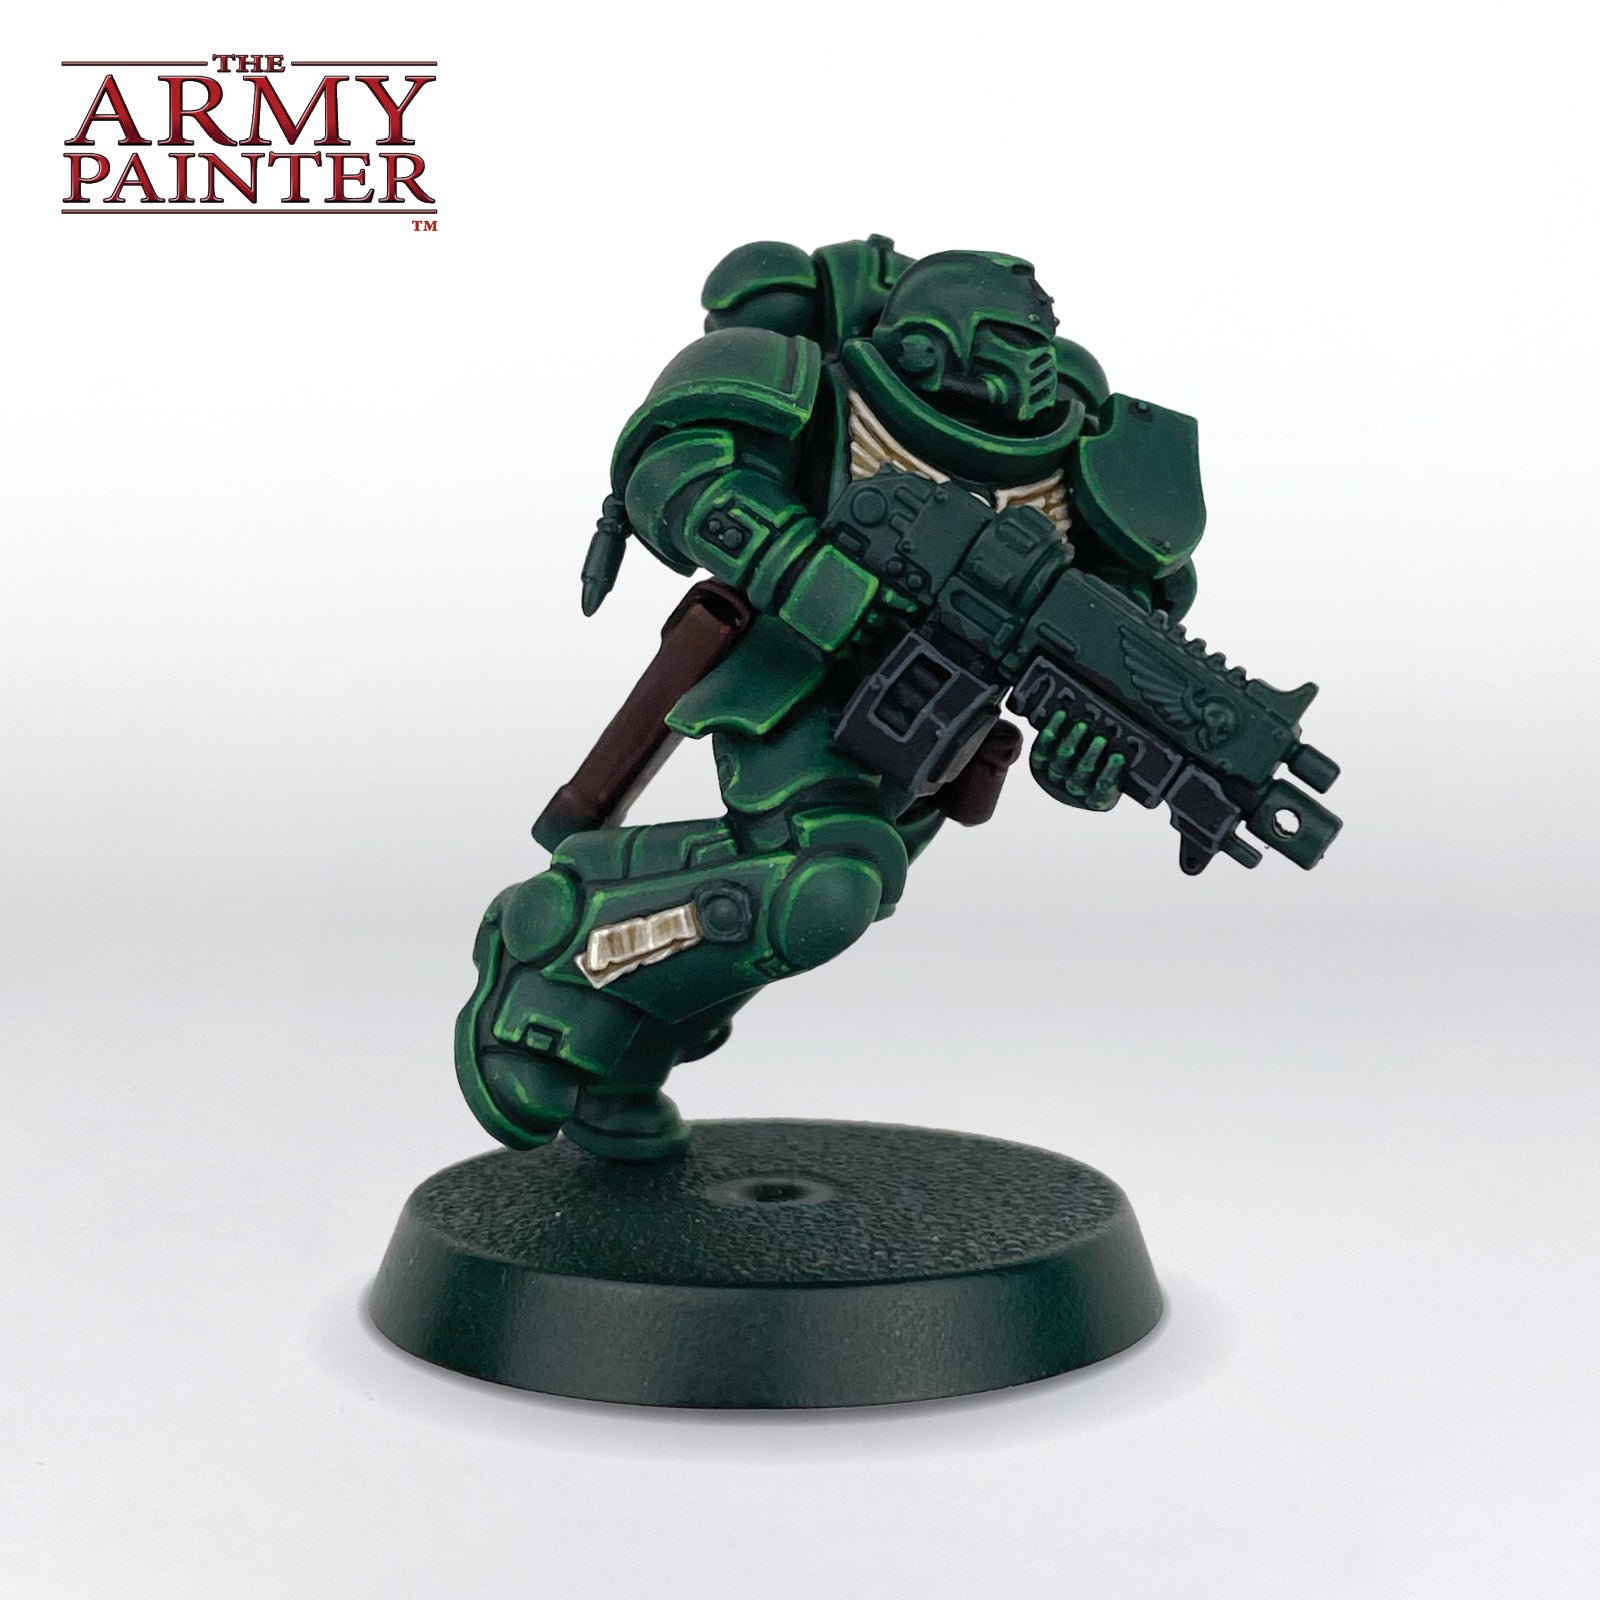
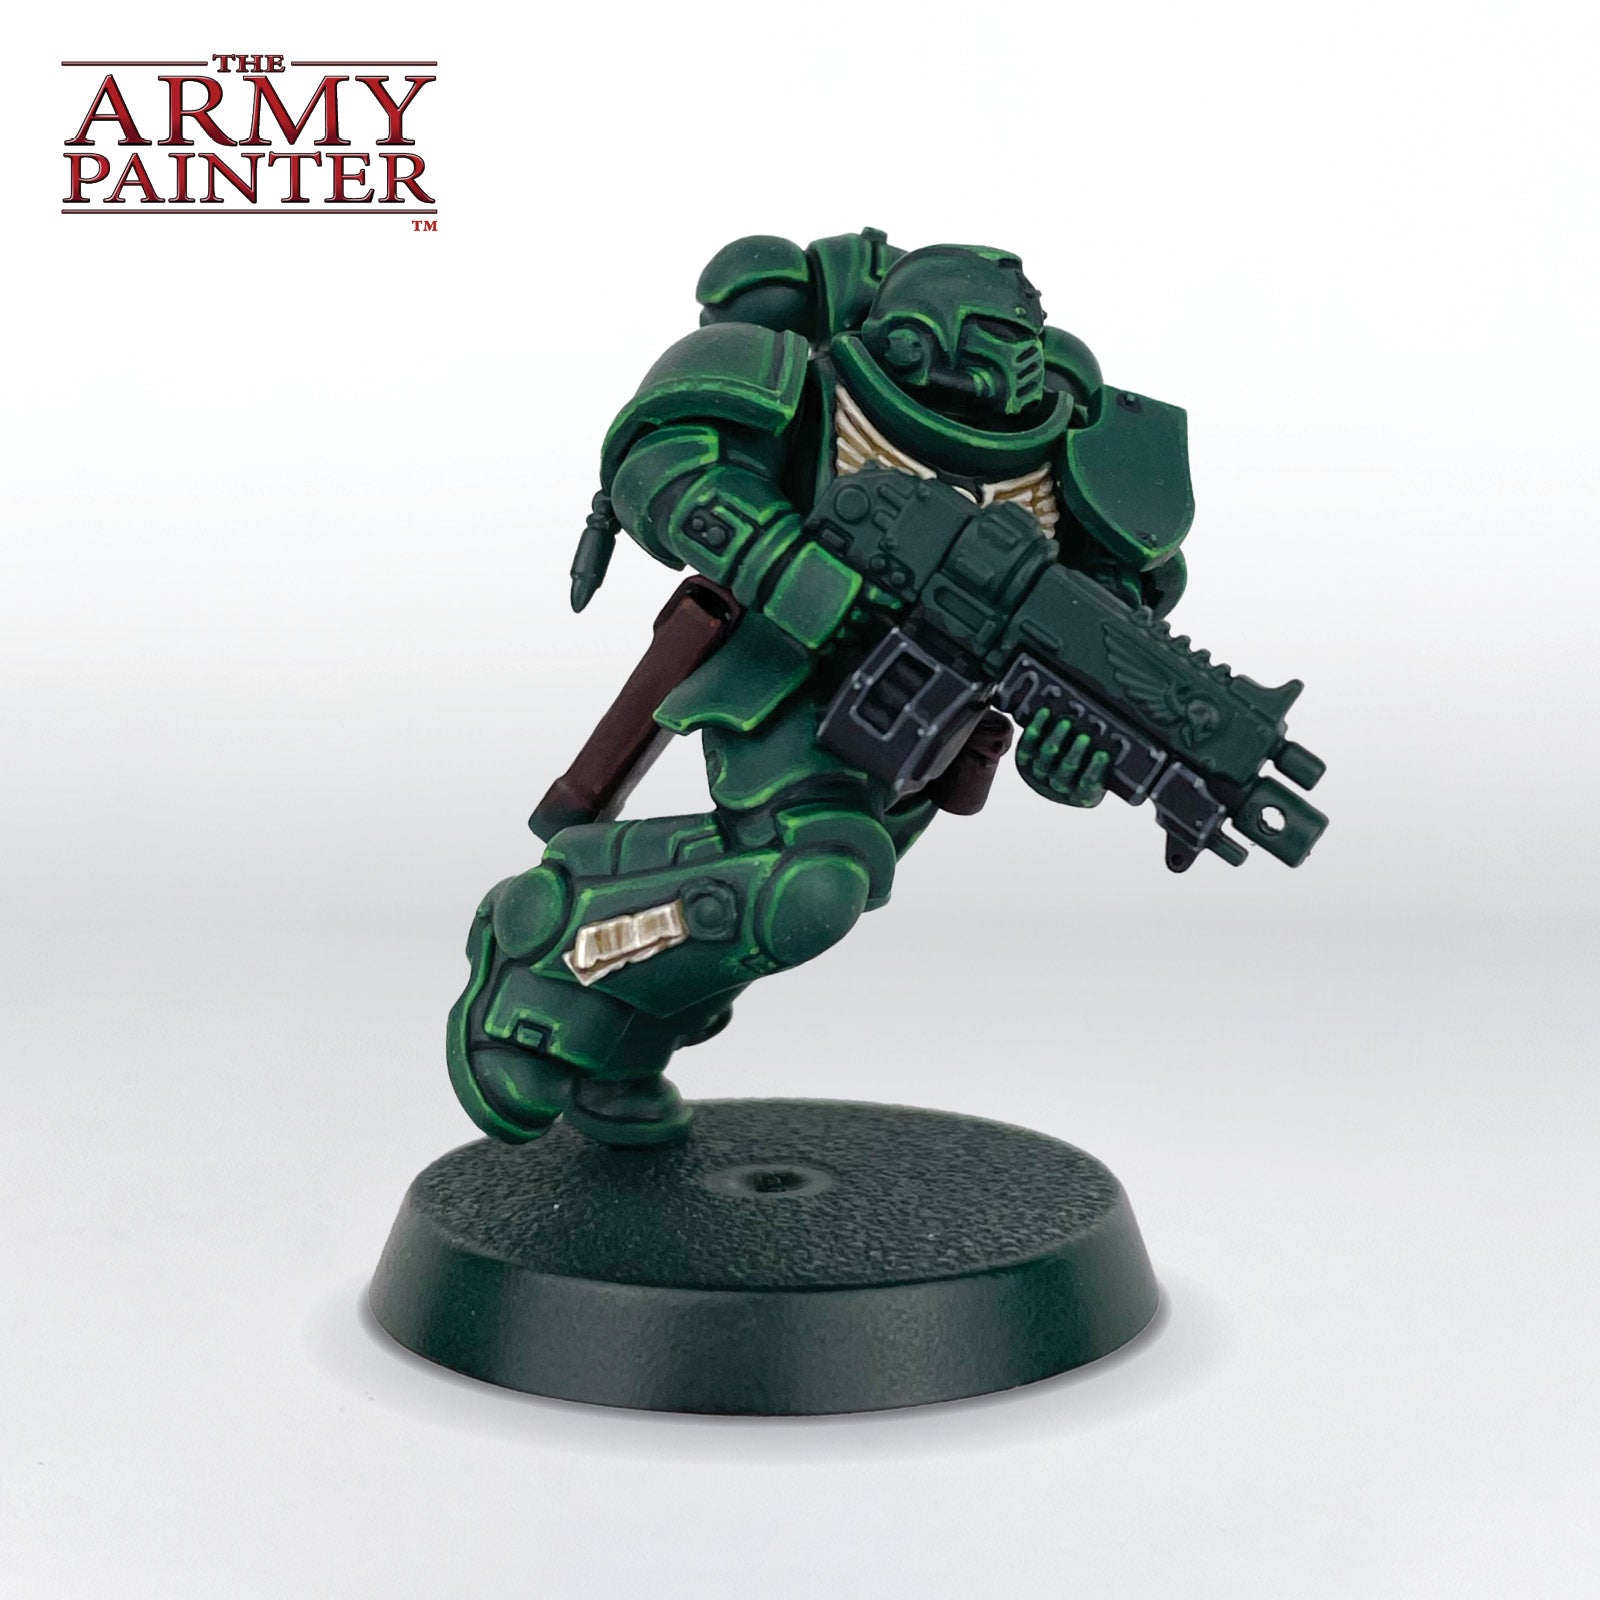
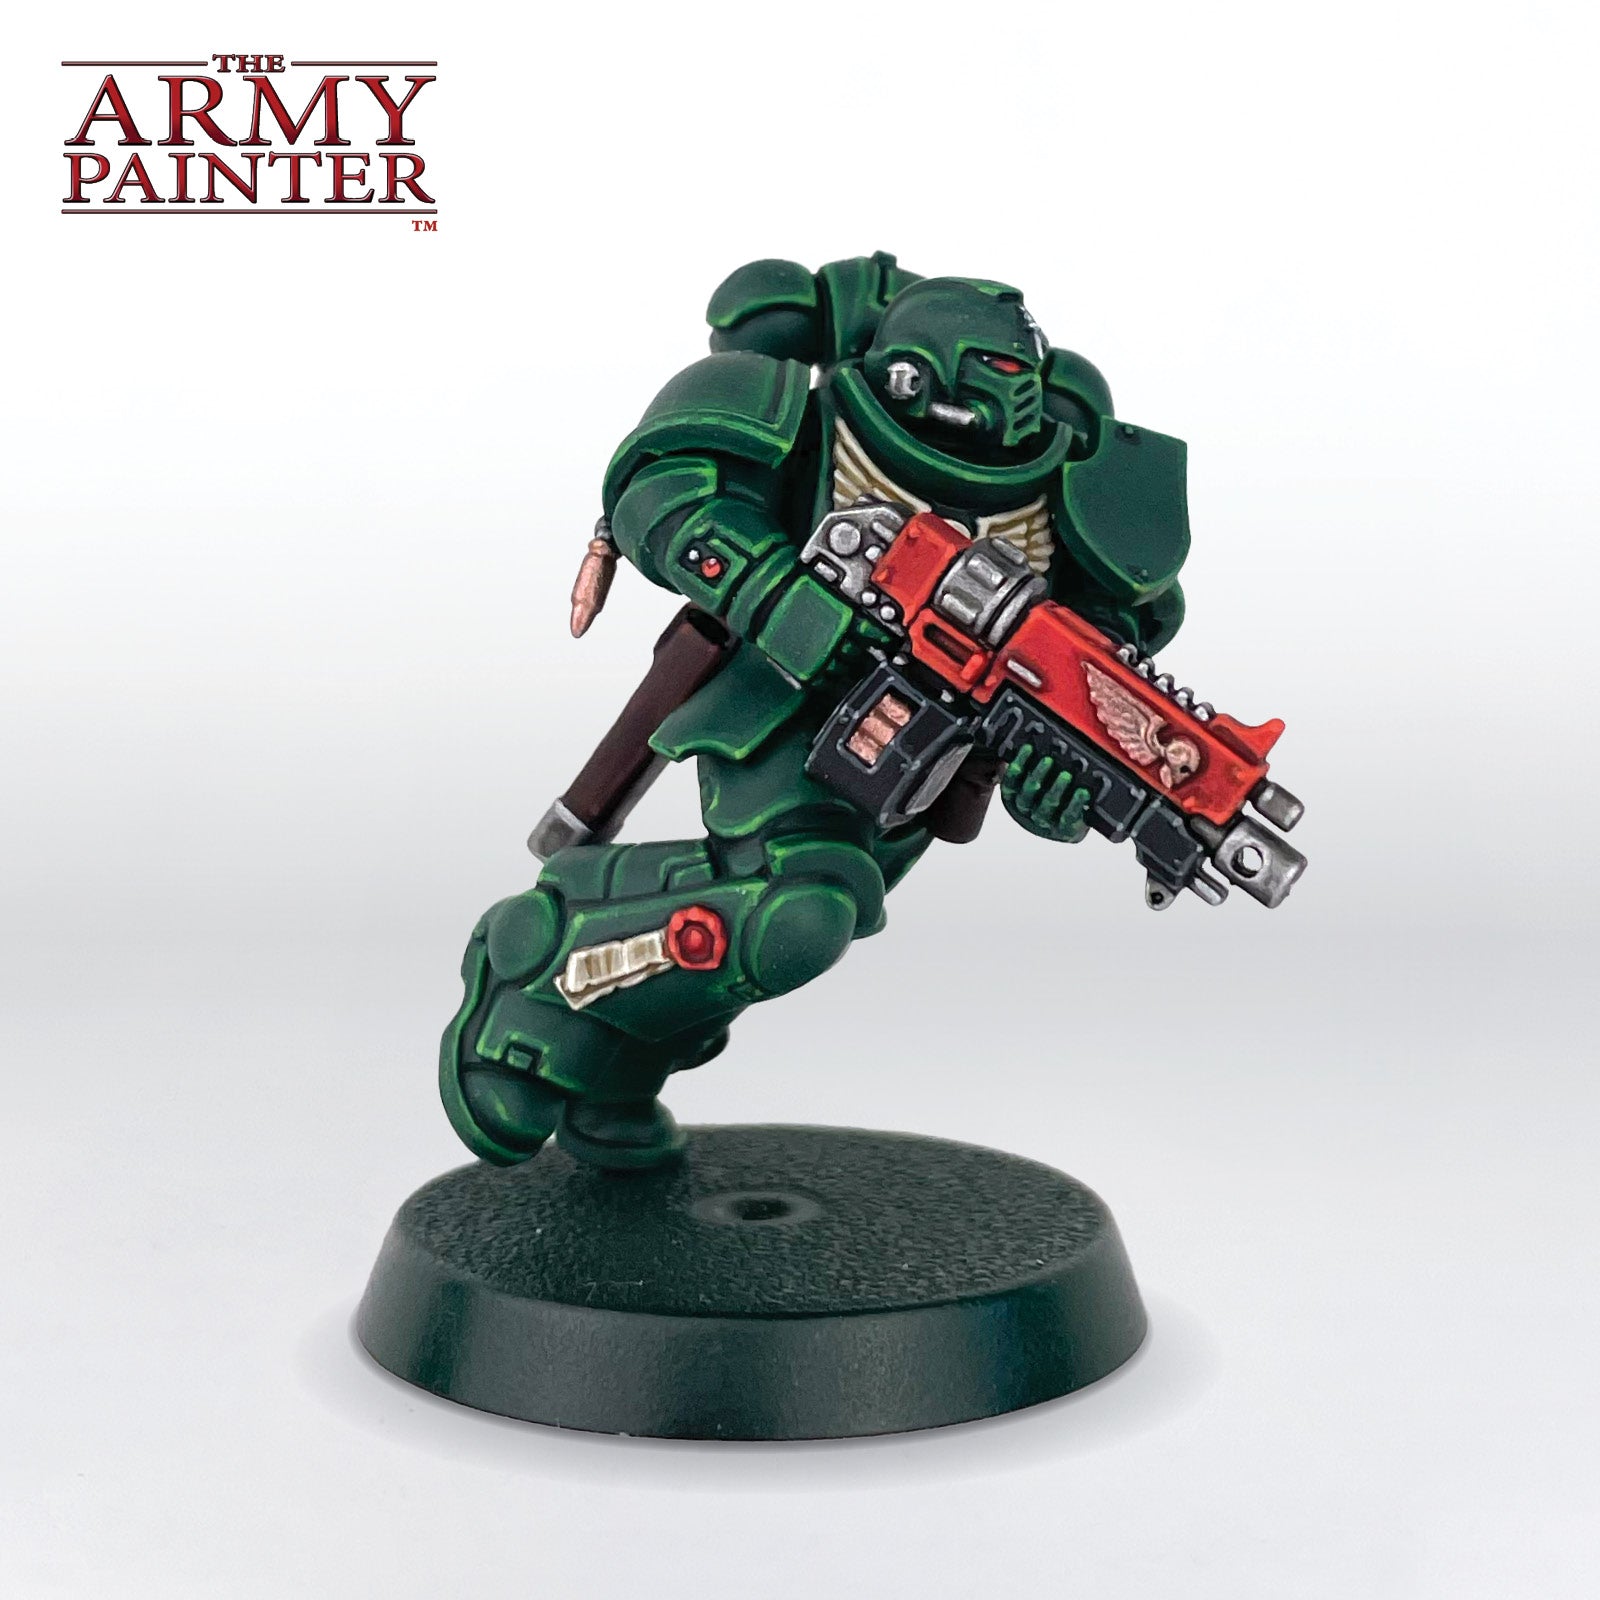
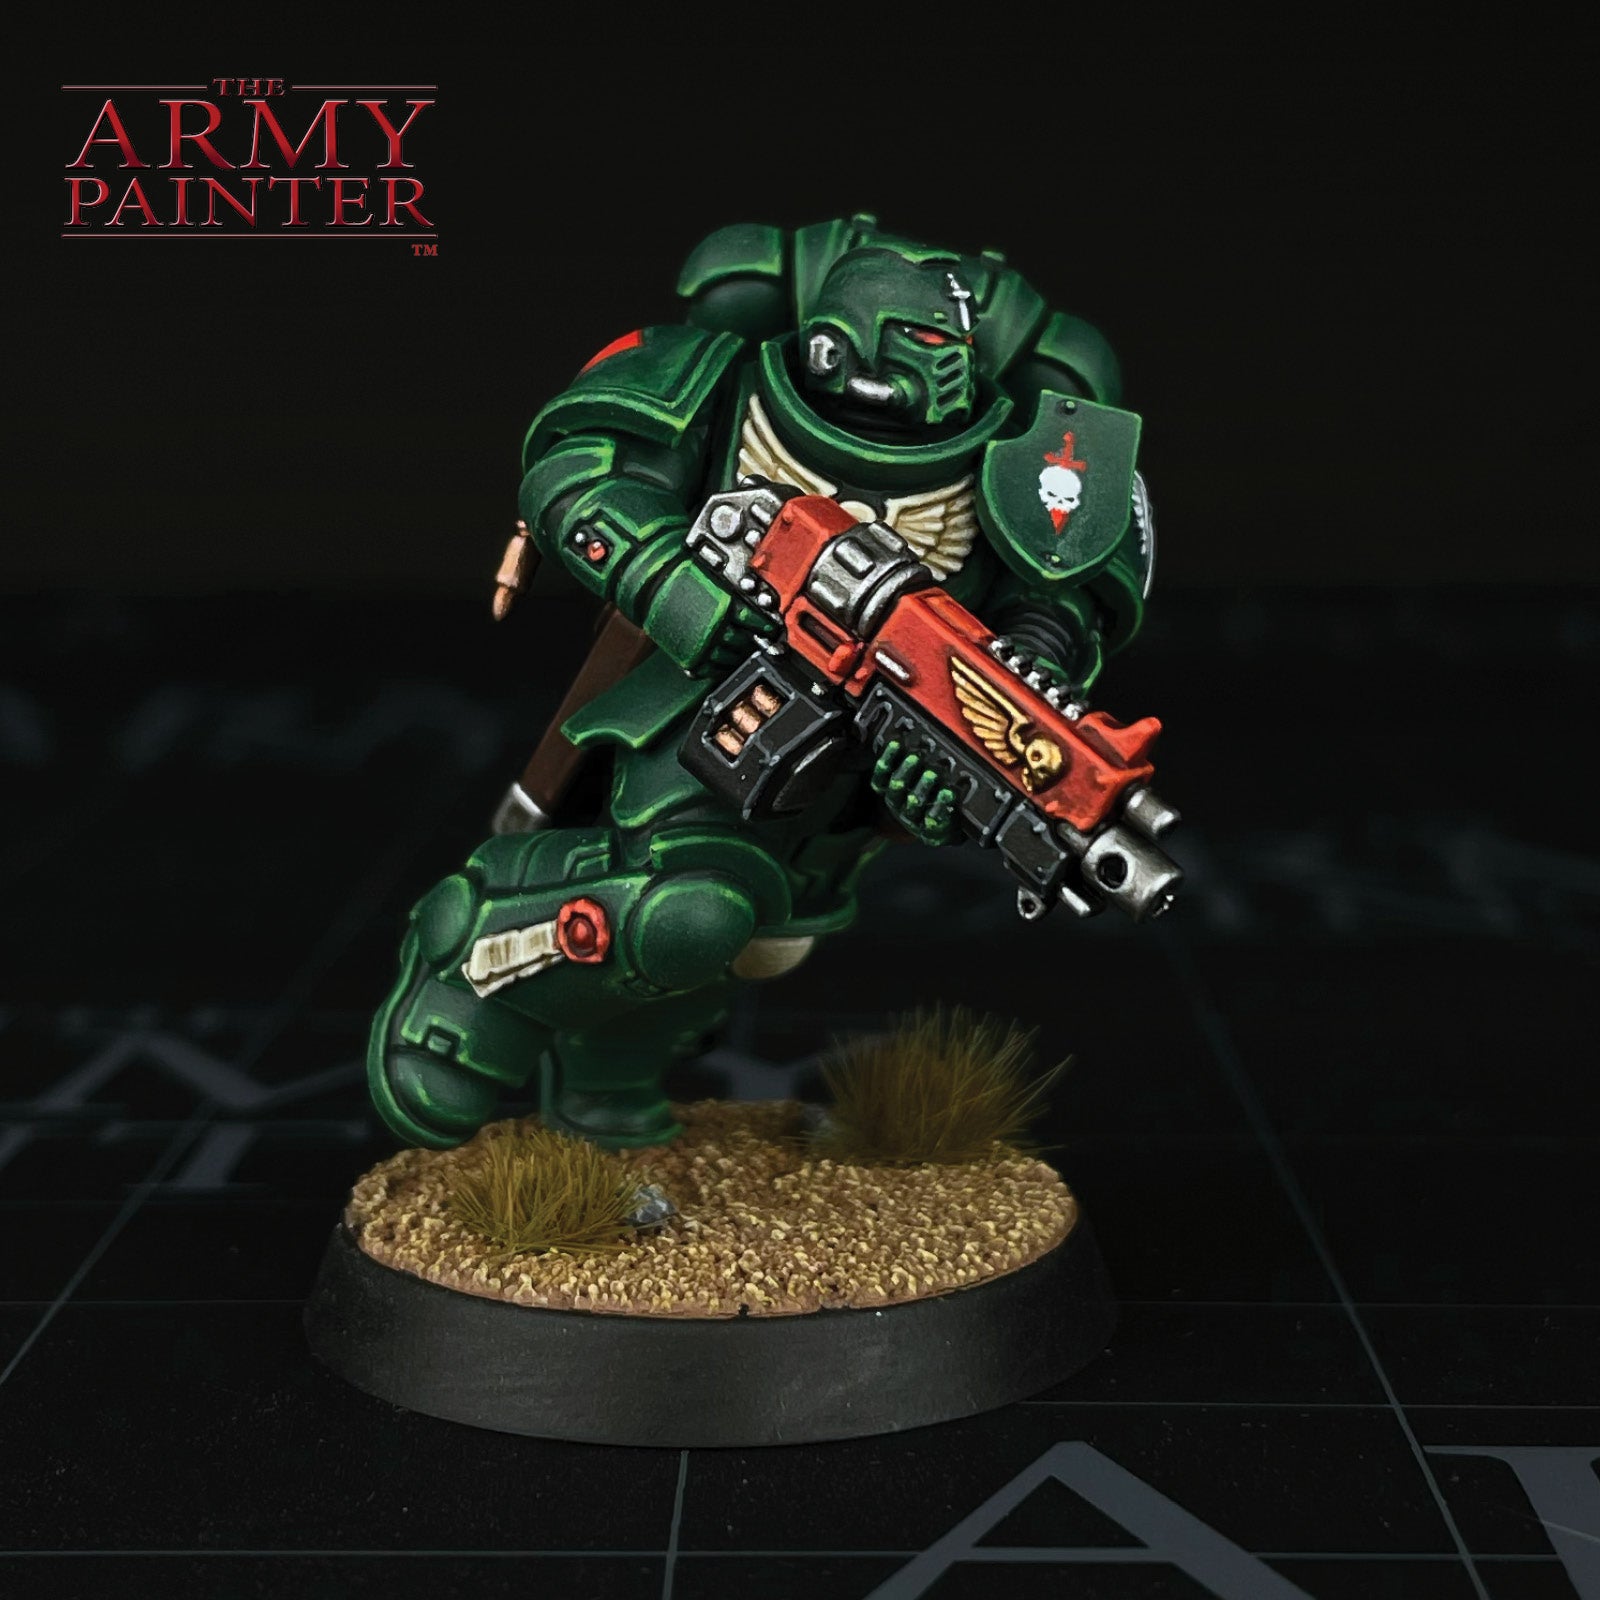
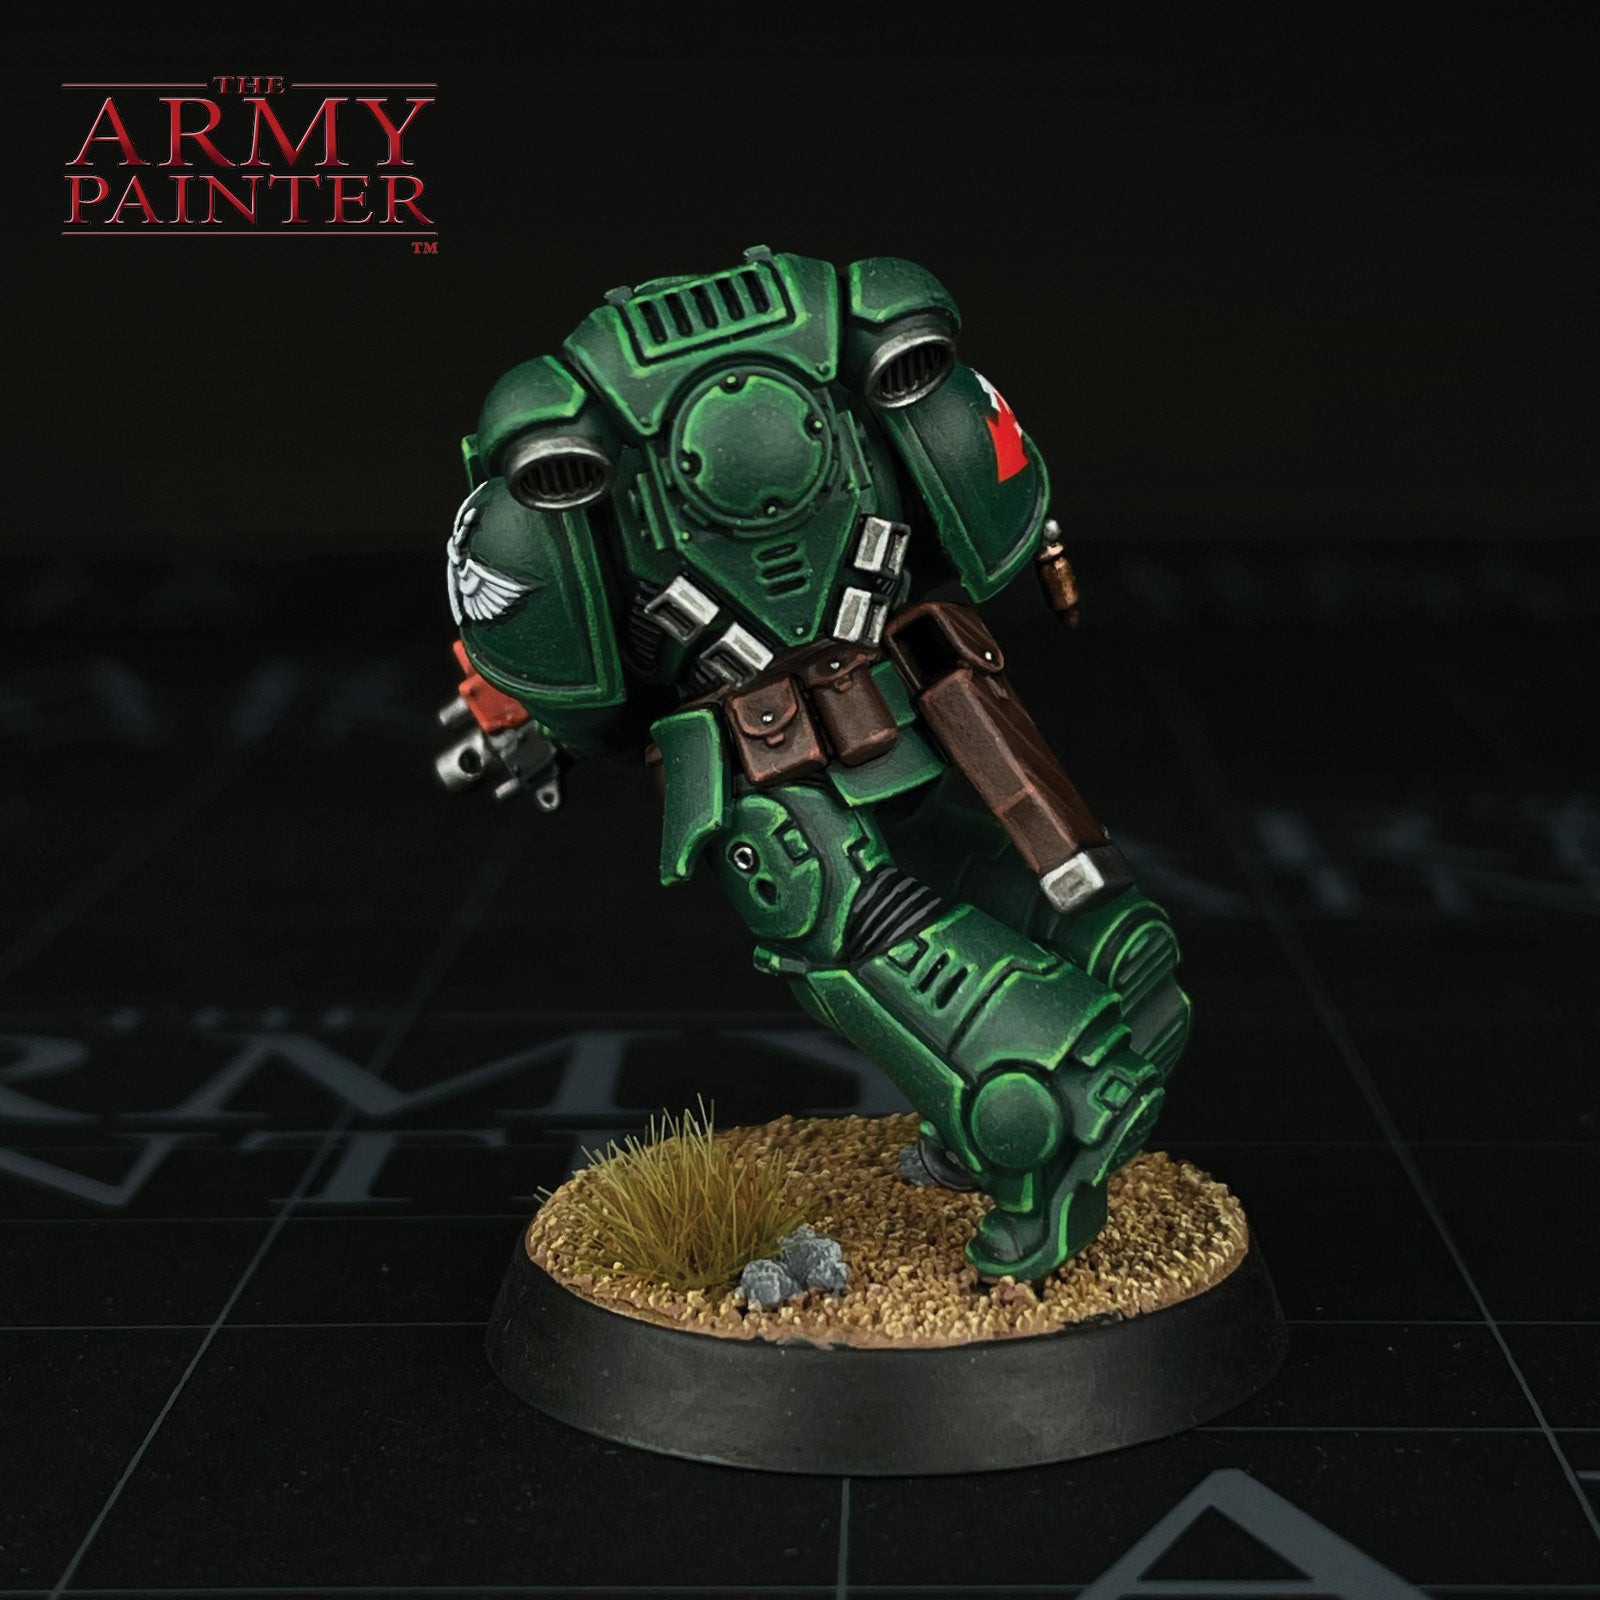
With that, your model is done!
Afterwards I applied transfers to the mini and based it in a simple dirt and grass scheme, but you can base yours however you like to fit in with your collection.
If you plan on using your model for gaming we highly recommend varnishing it with either our Spray, Warpaints Air, or upcoming Warpaints Fanatic varnishes.
Be sure to let us know what you thought of this format, as well as any suggestions for improvements in the future, or even which models you would like to see us tackle.
If you paint your own model following one of these guides tag us with #thearmypainteracademy to share your work!