


How to Paint
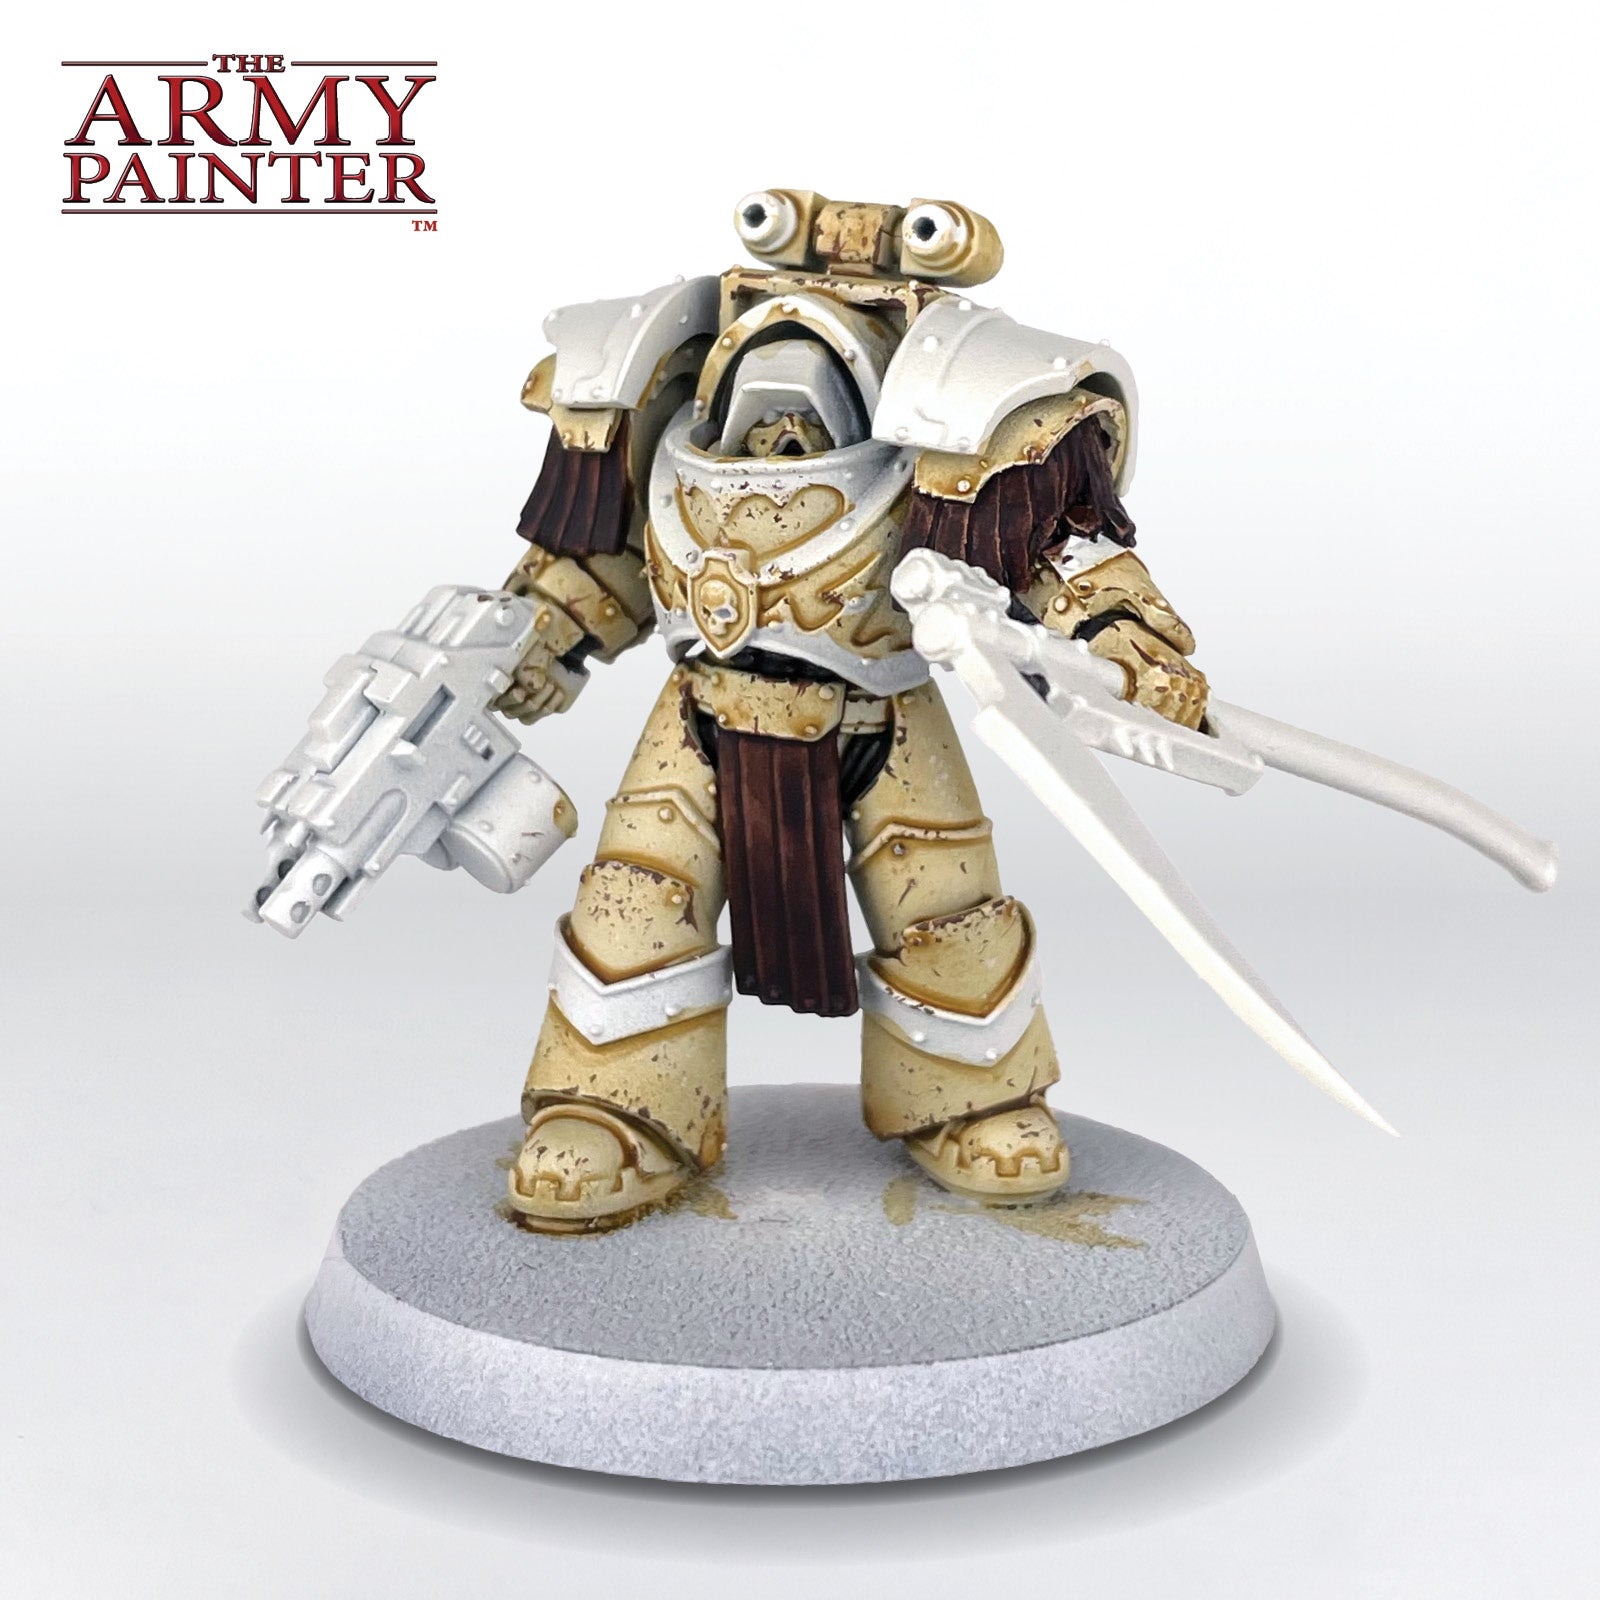
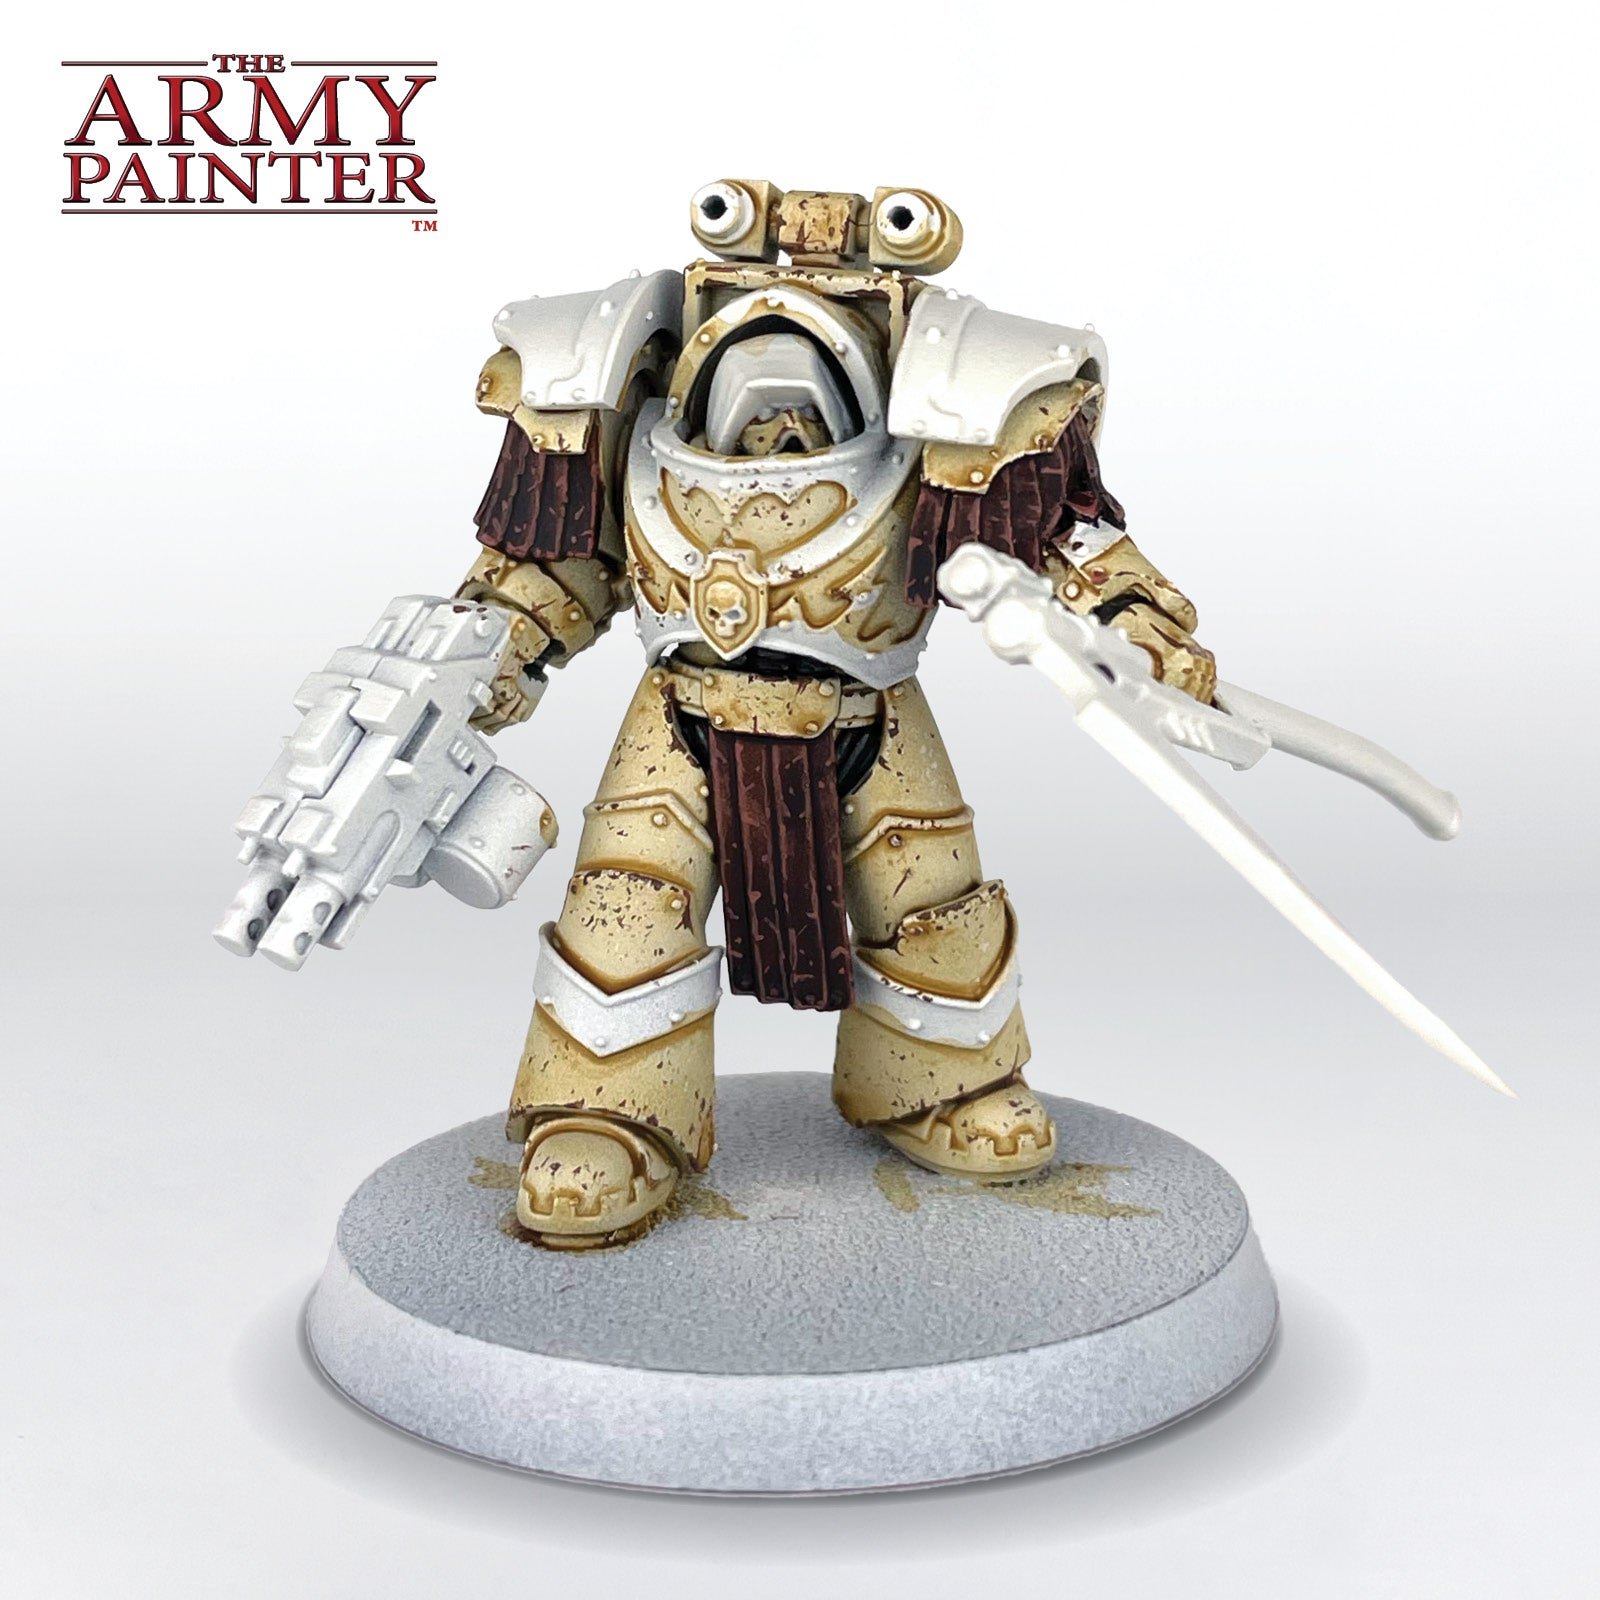
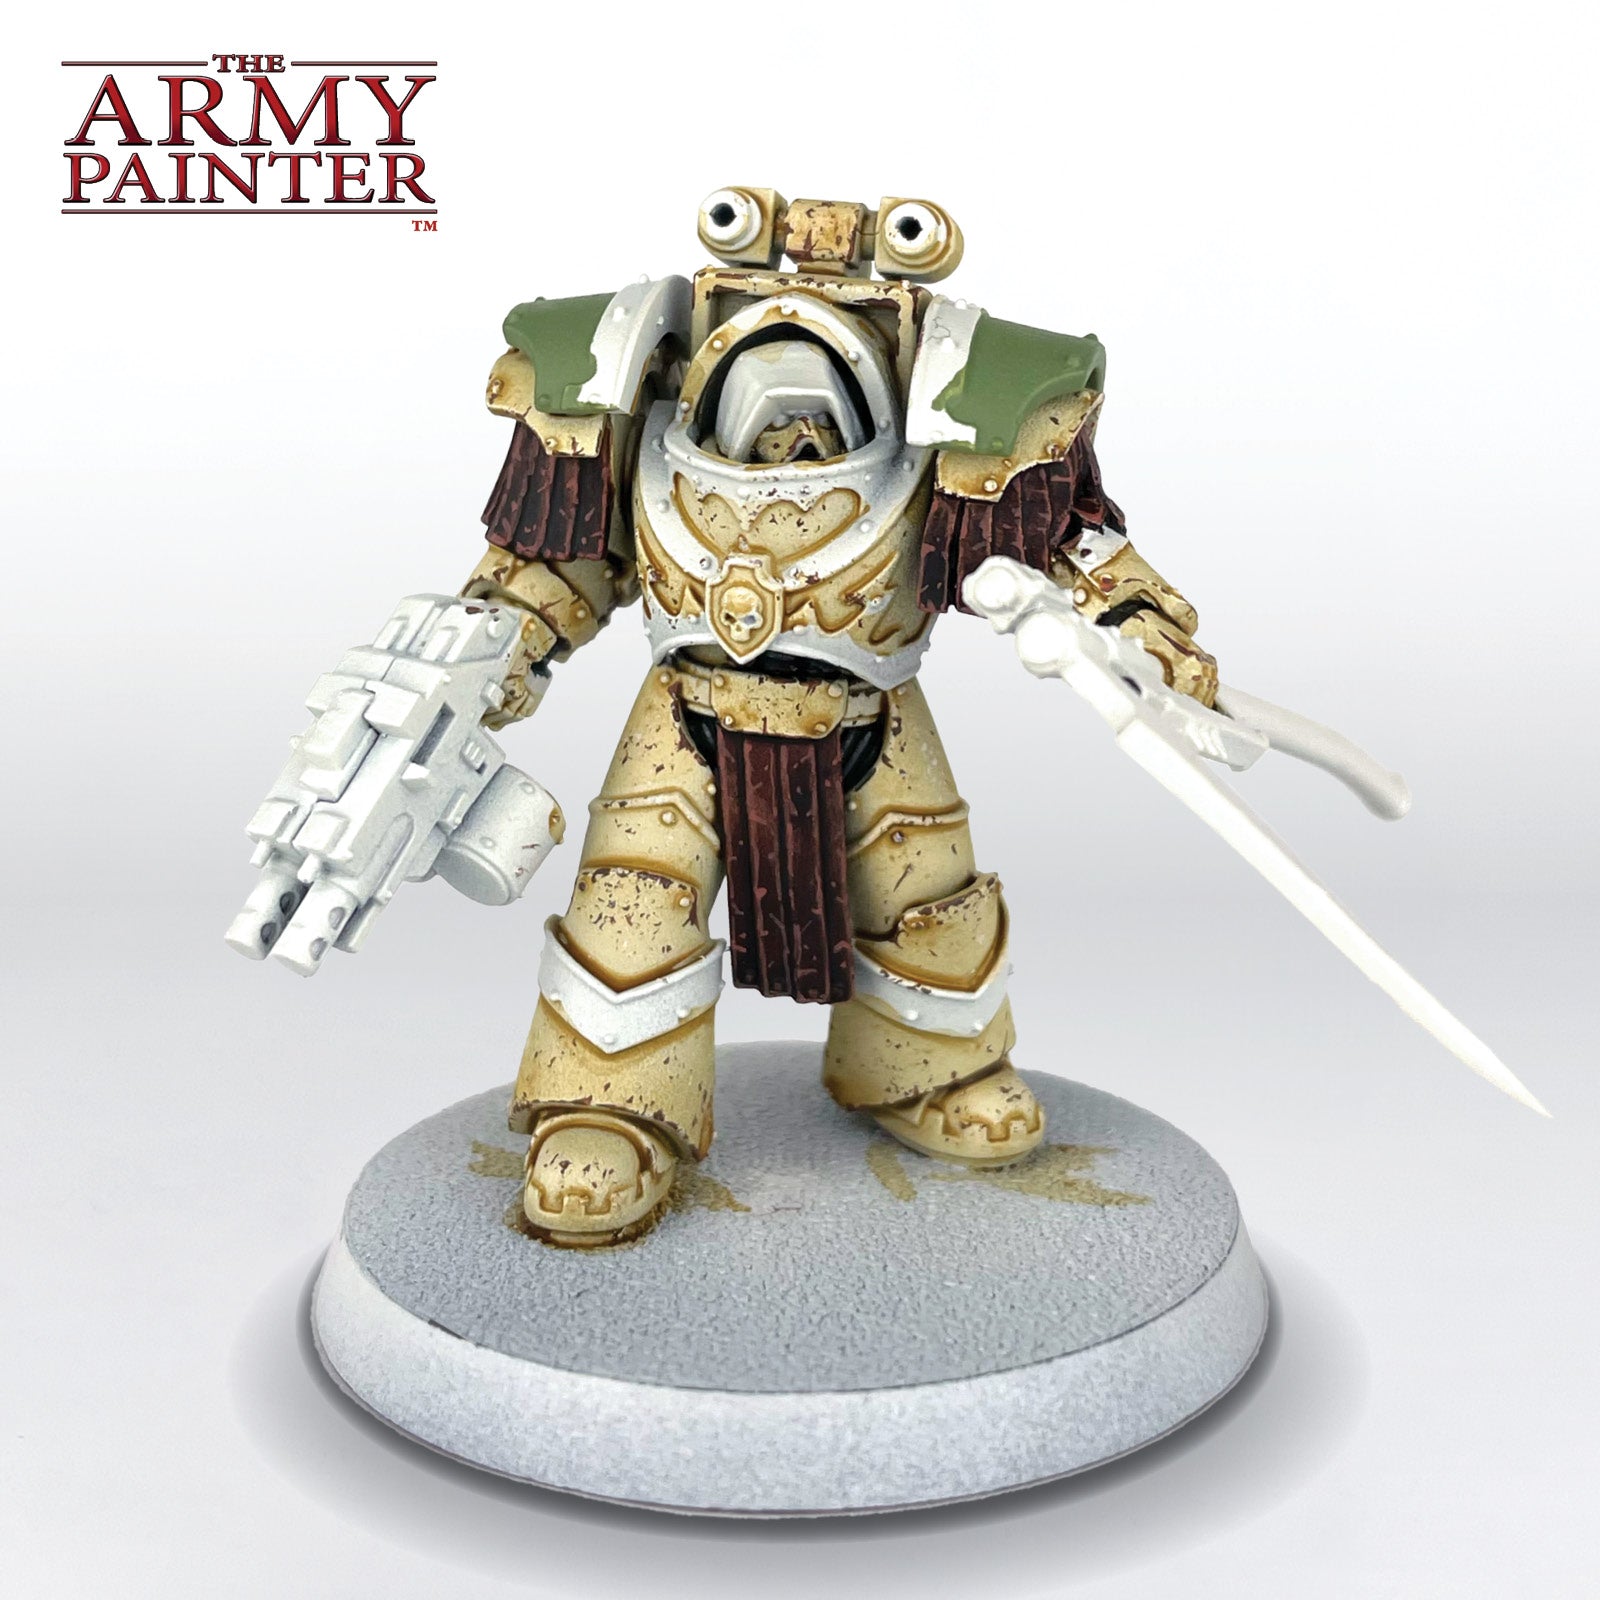
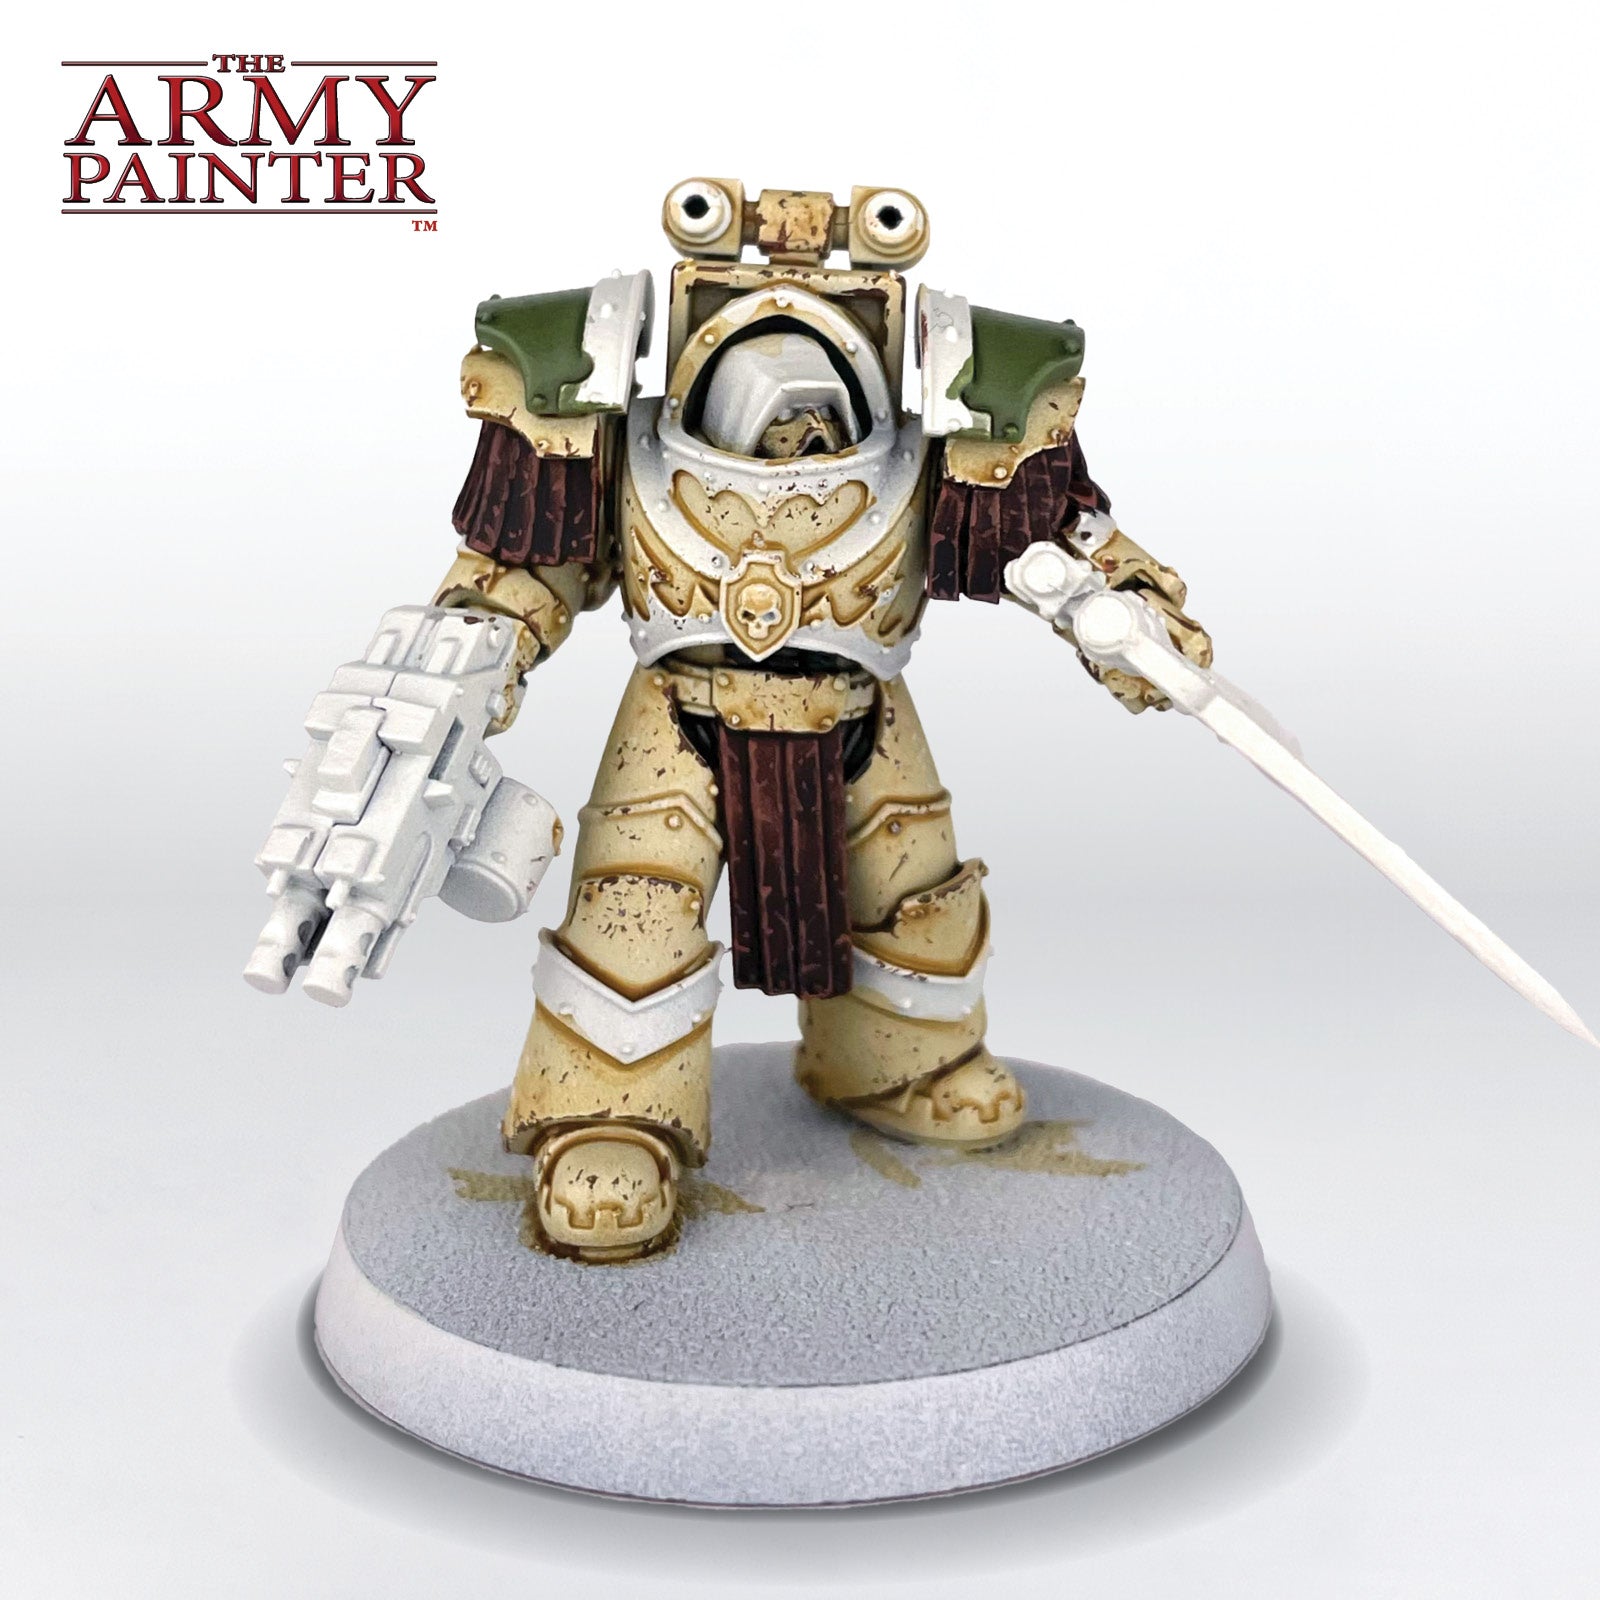
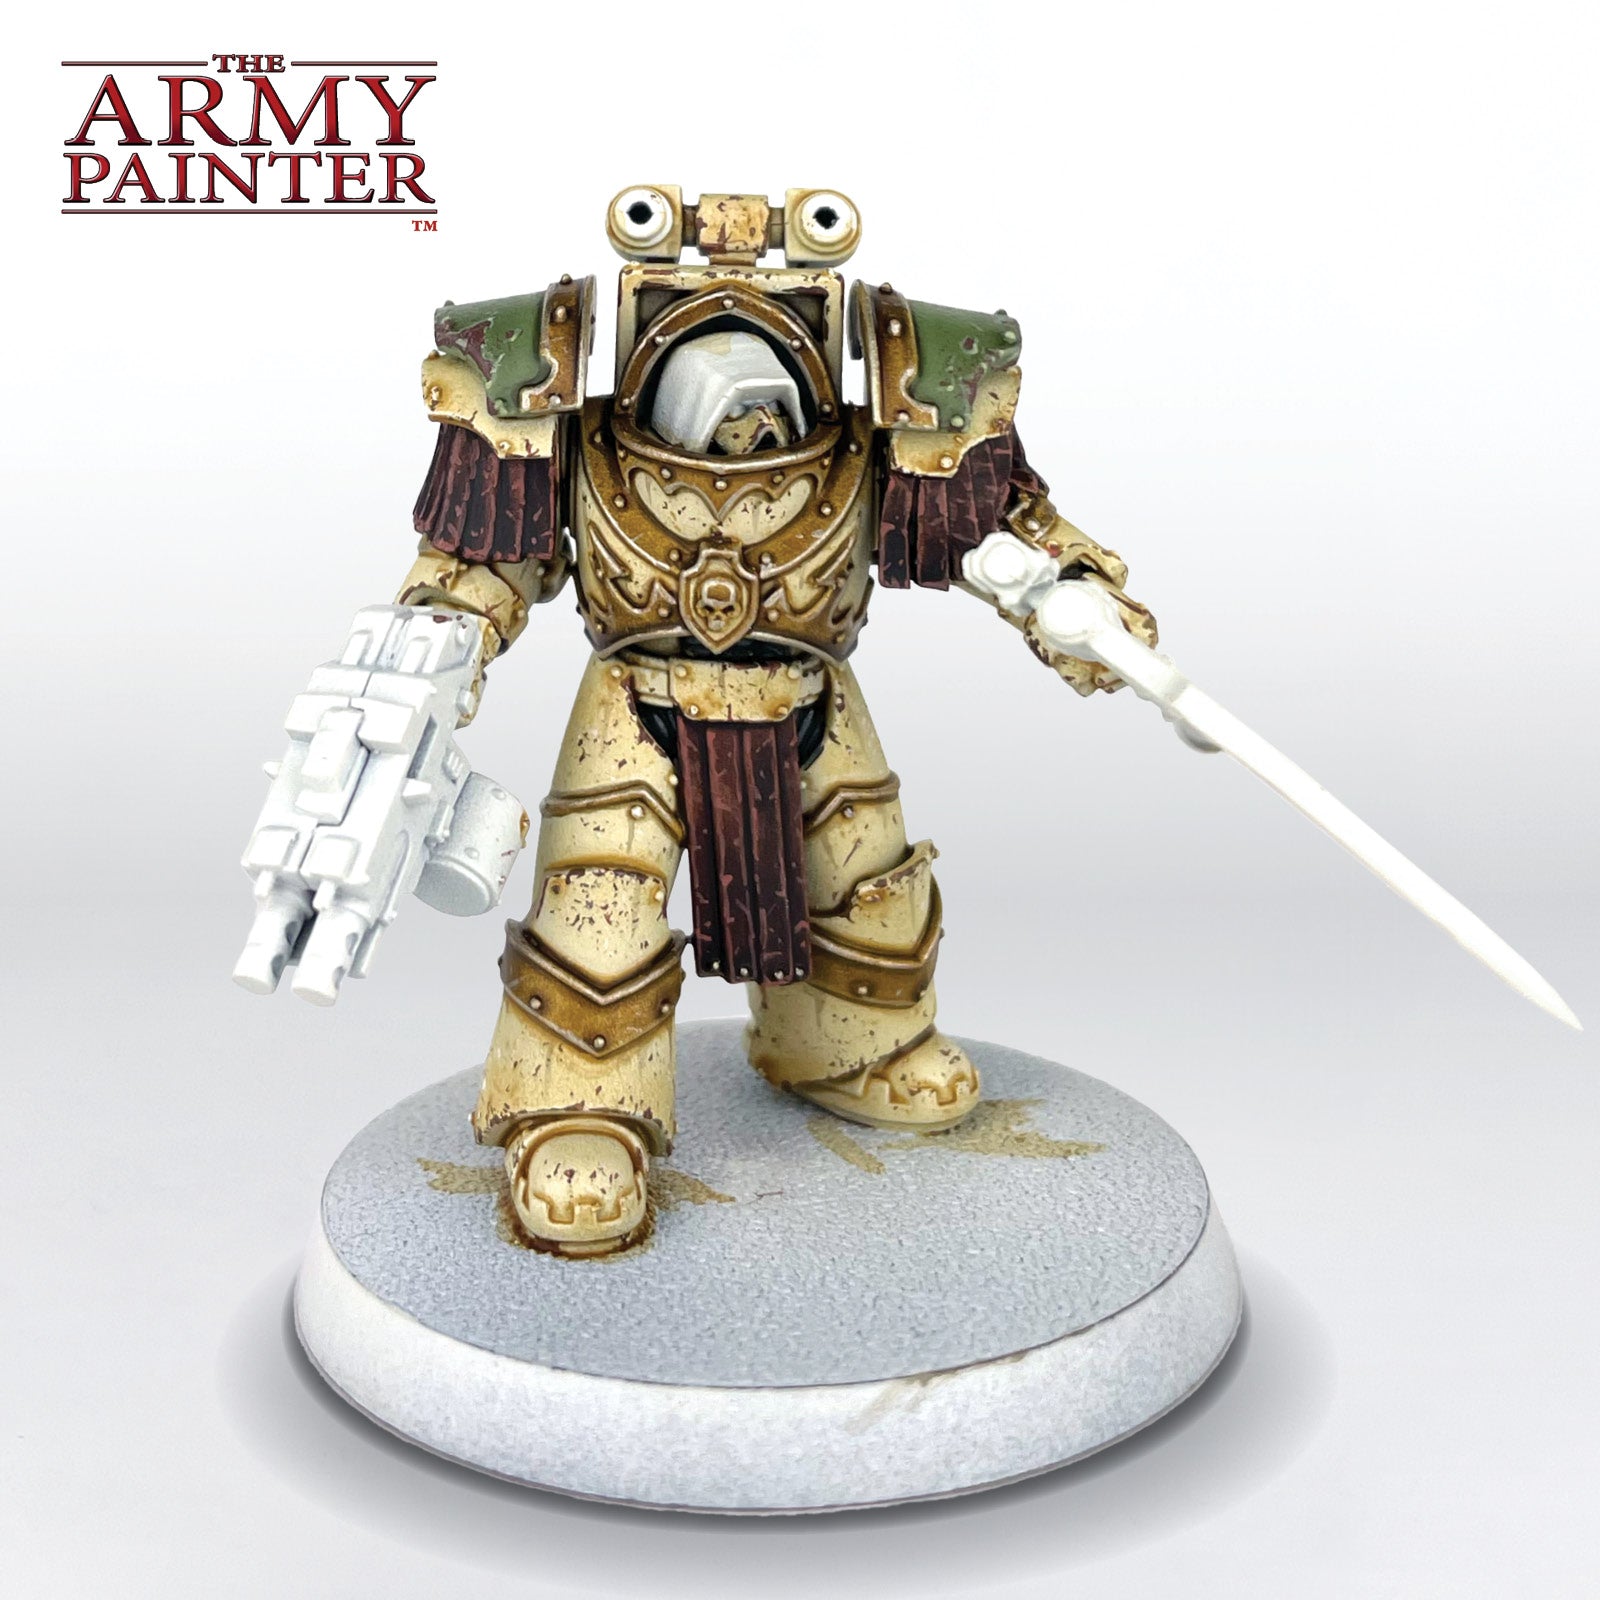
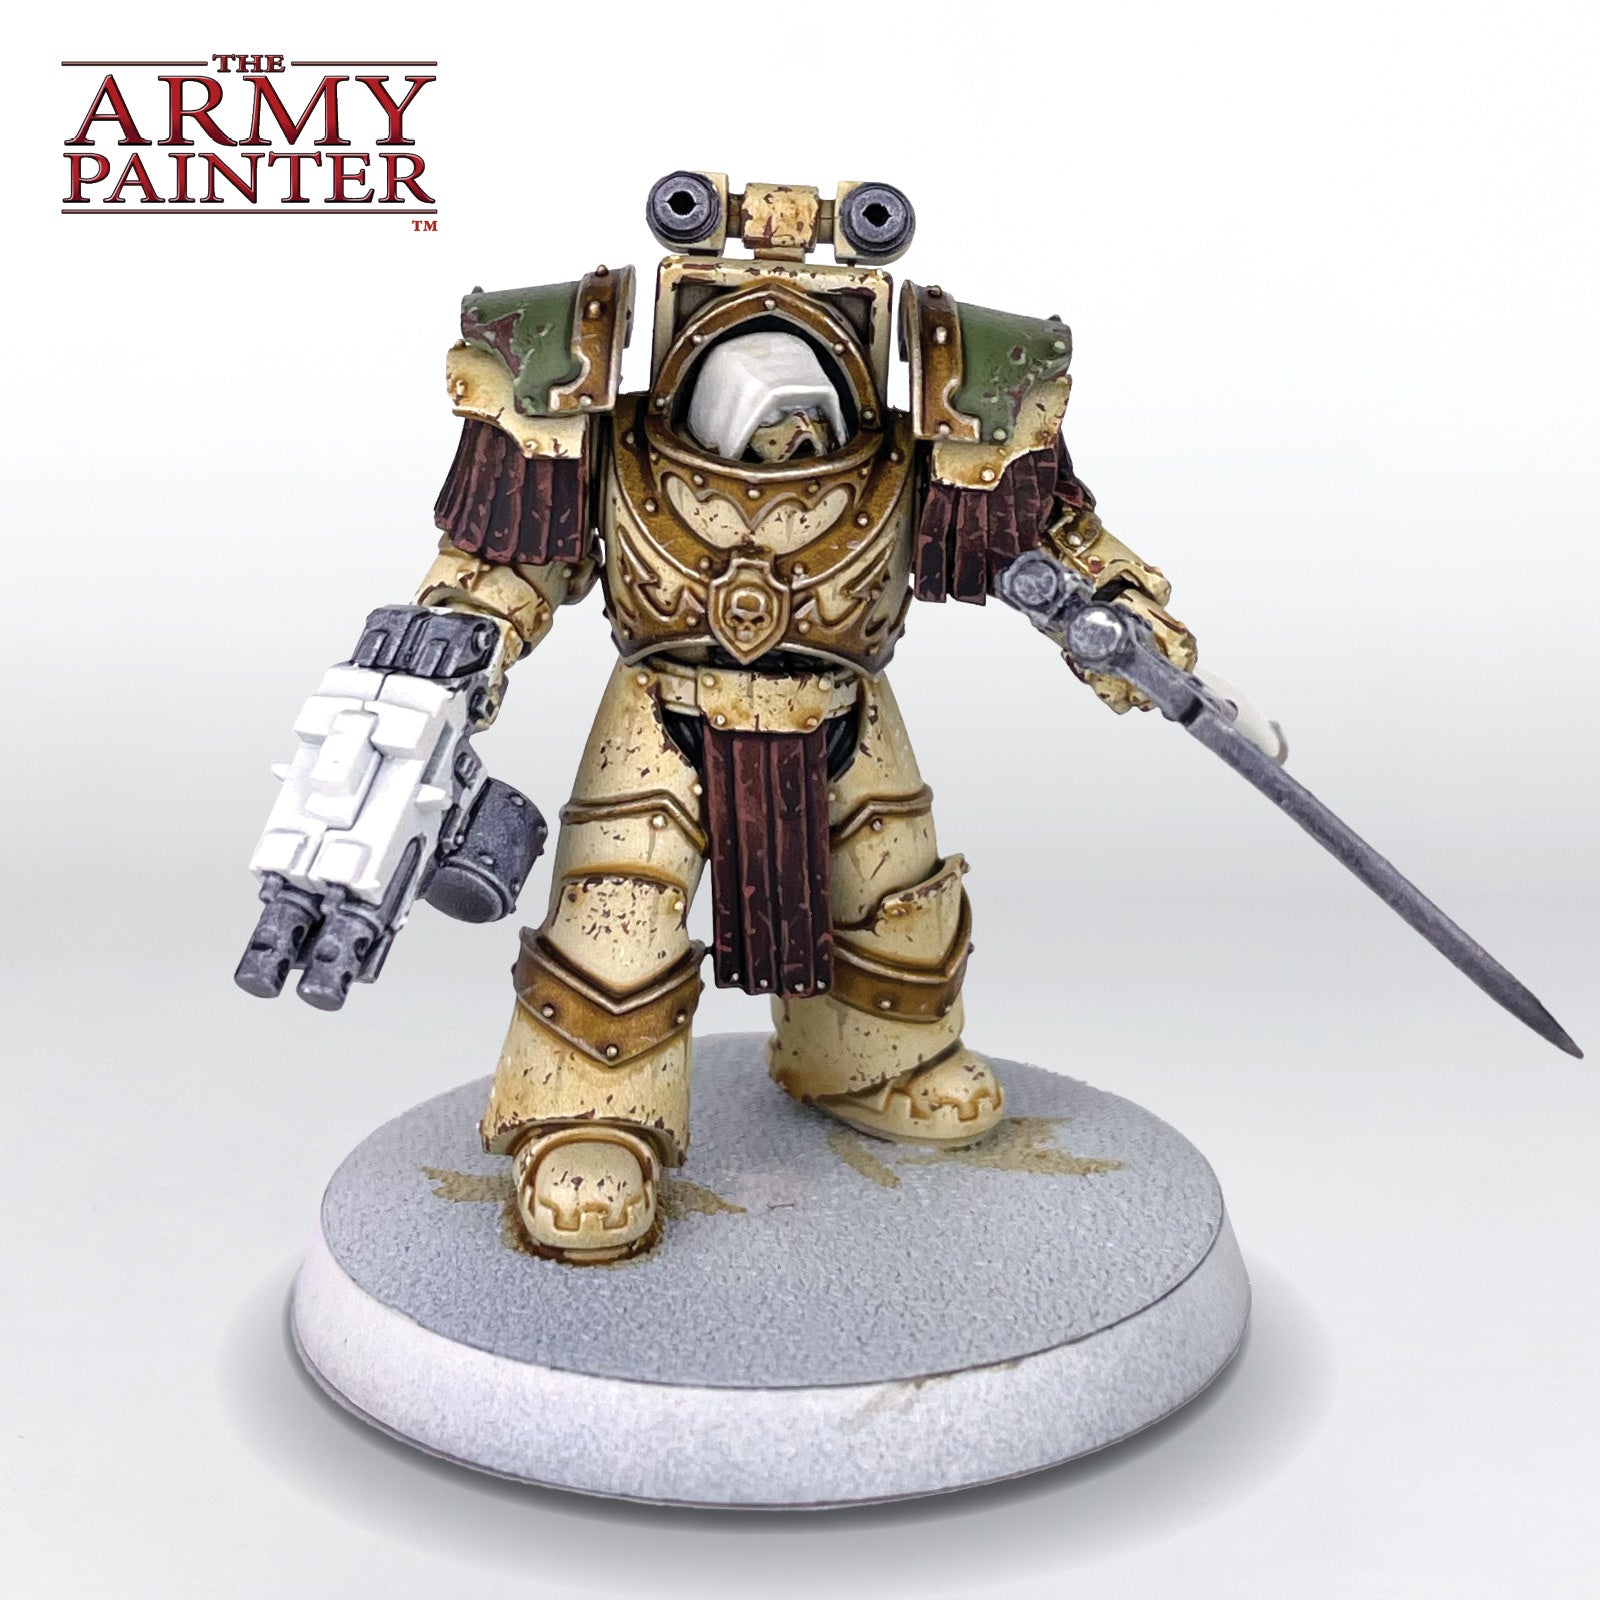
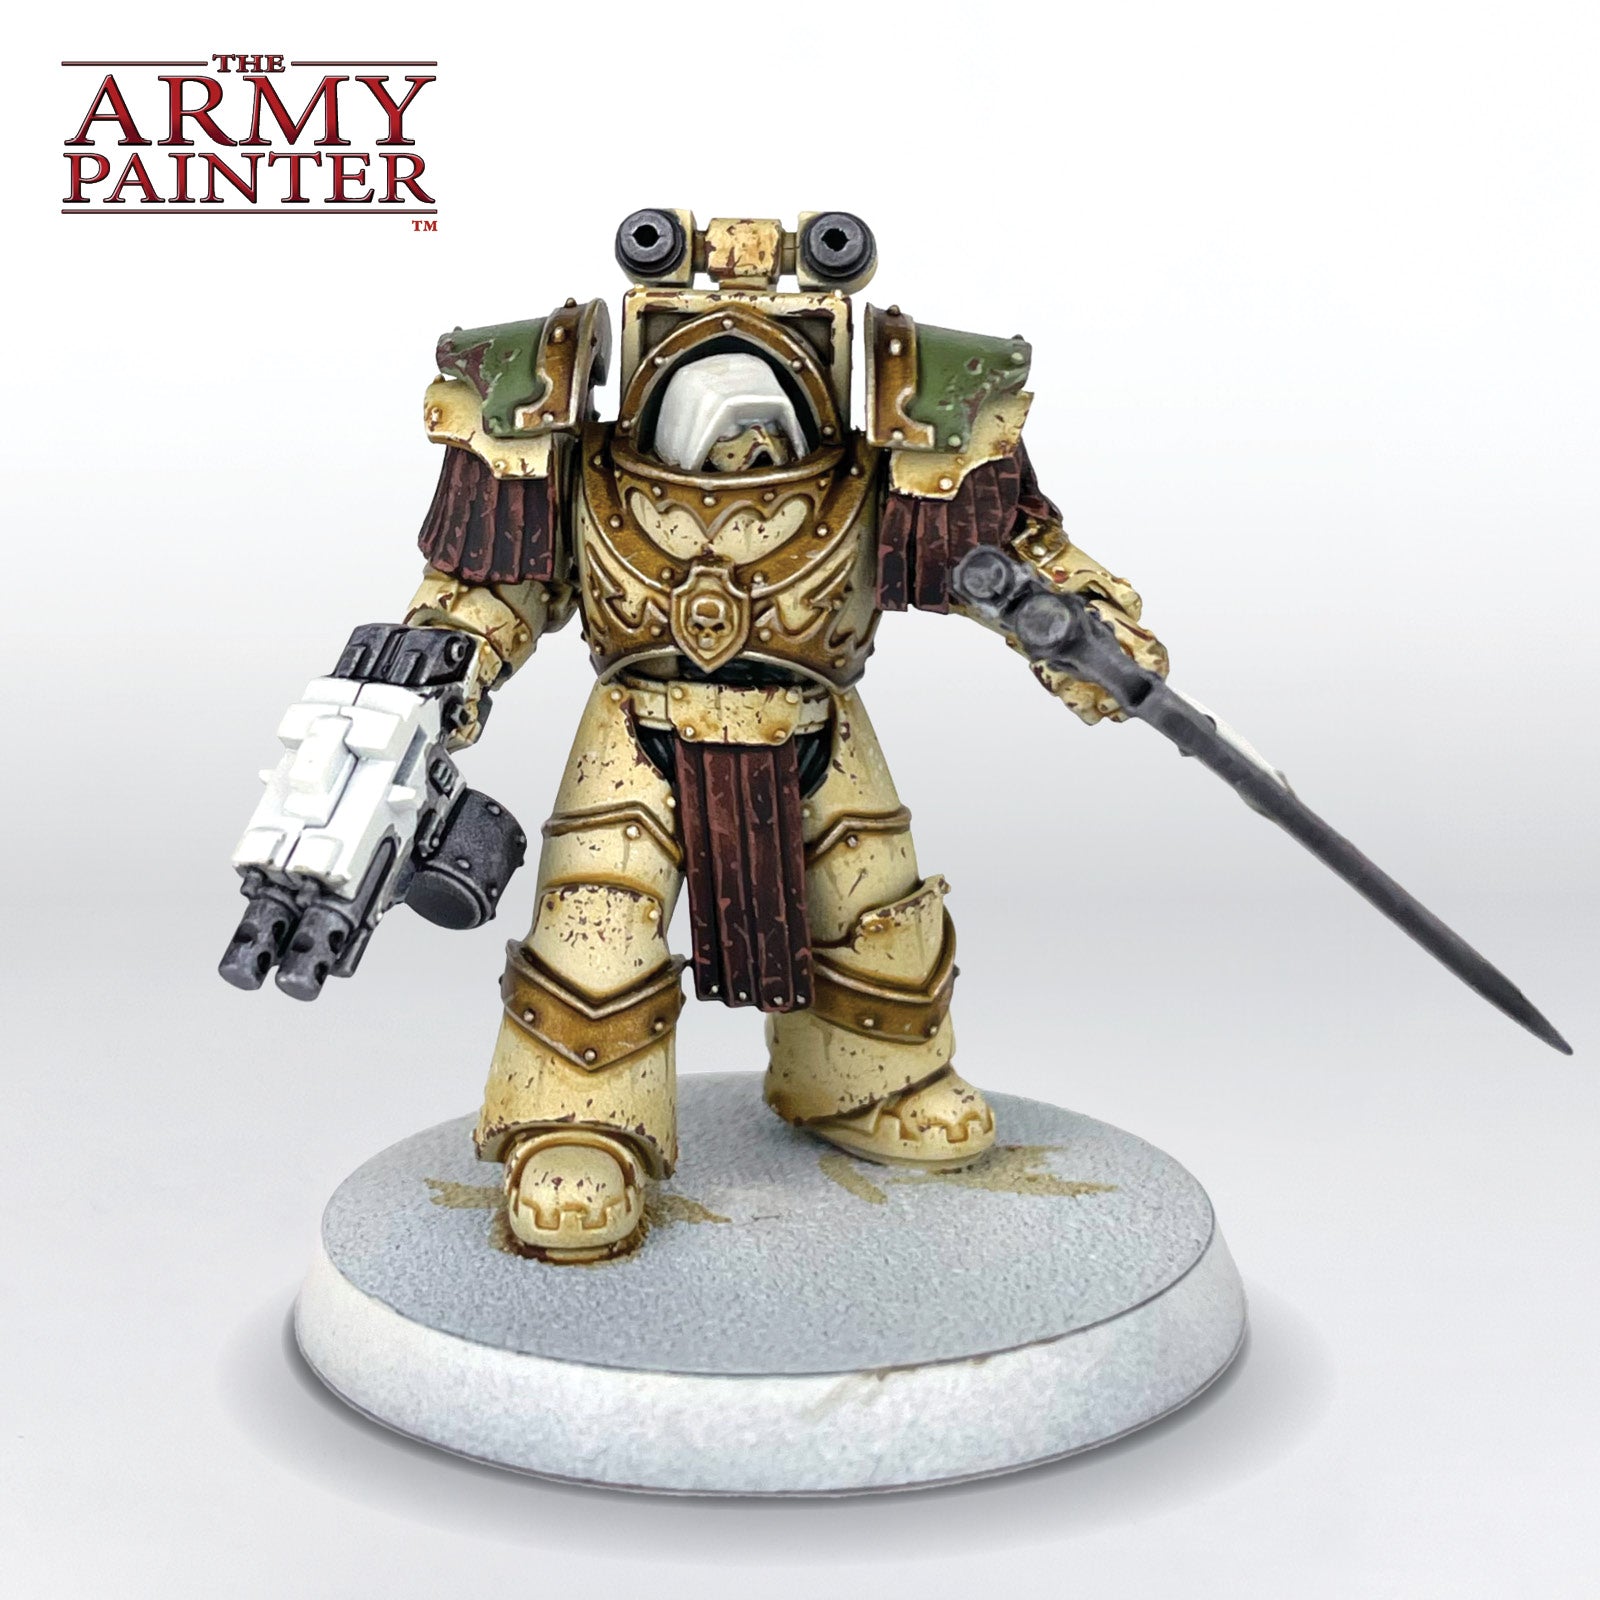
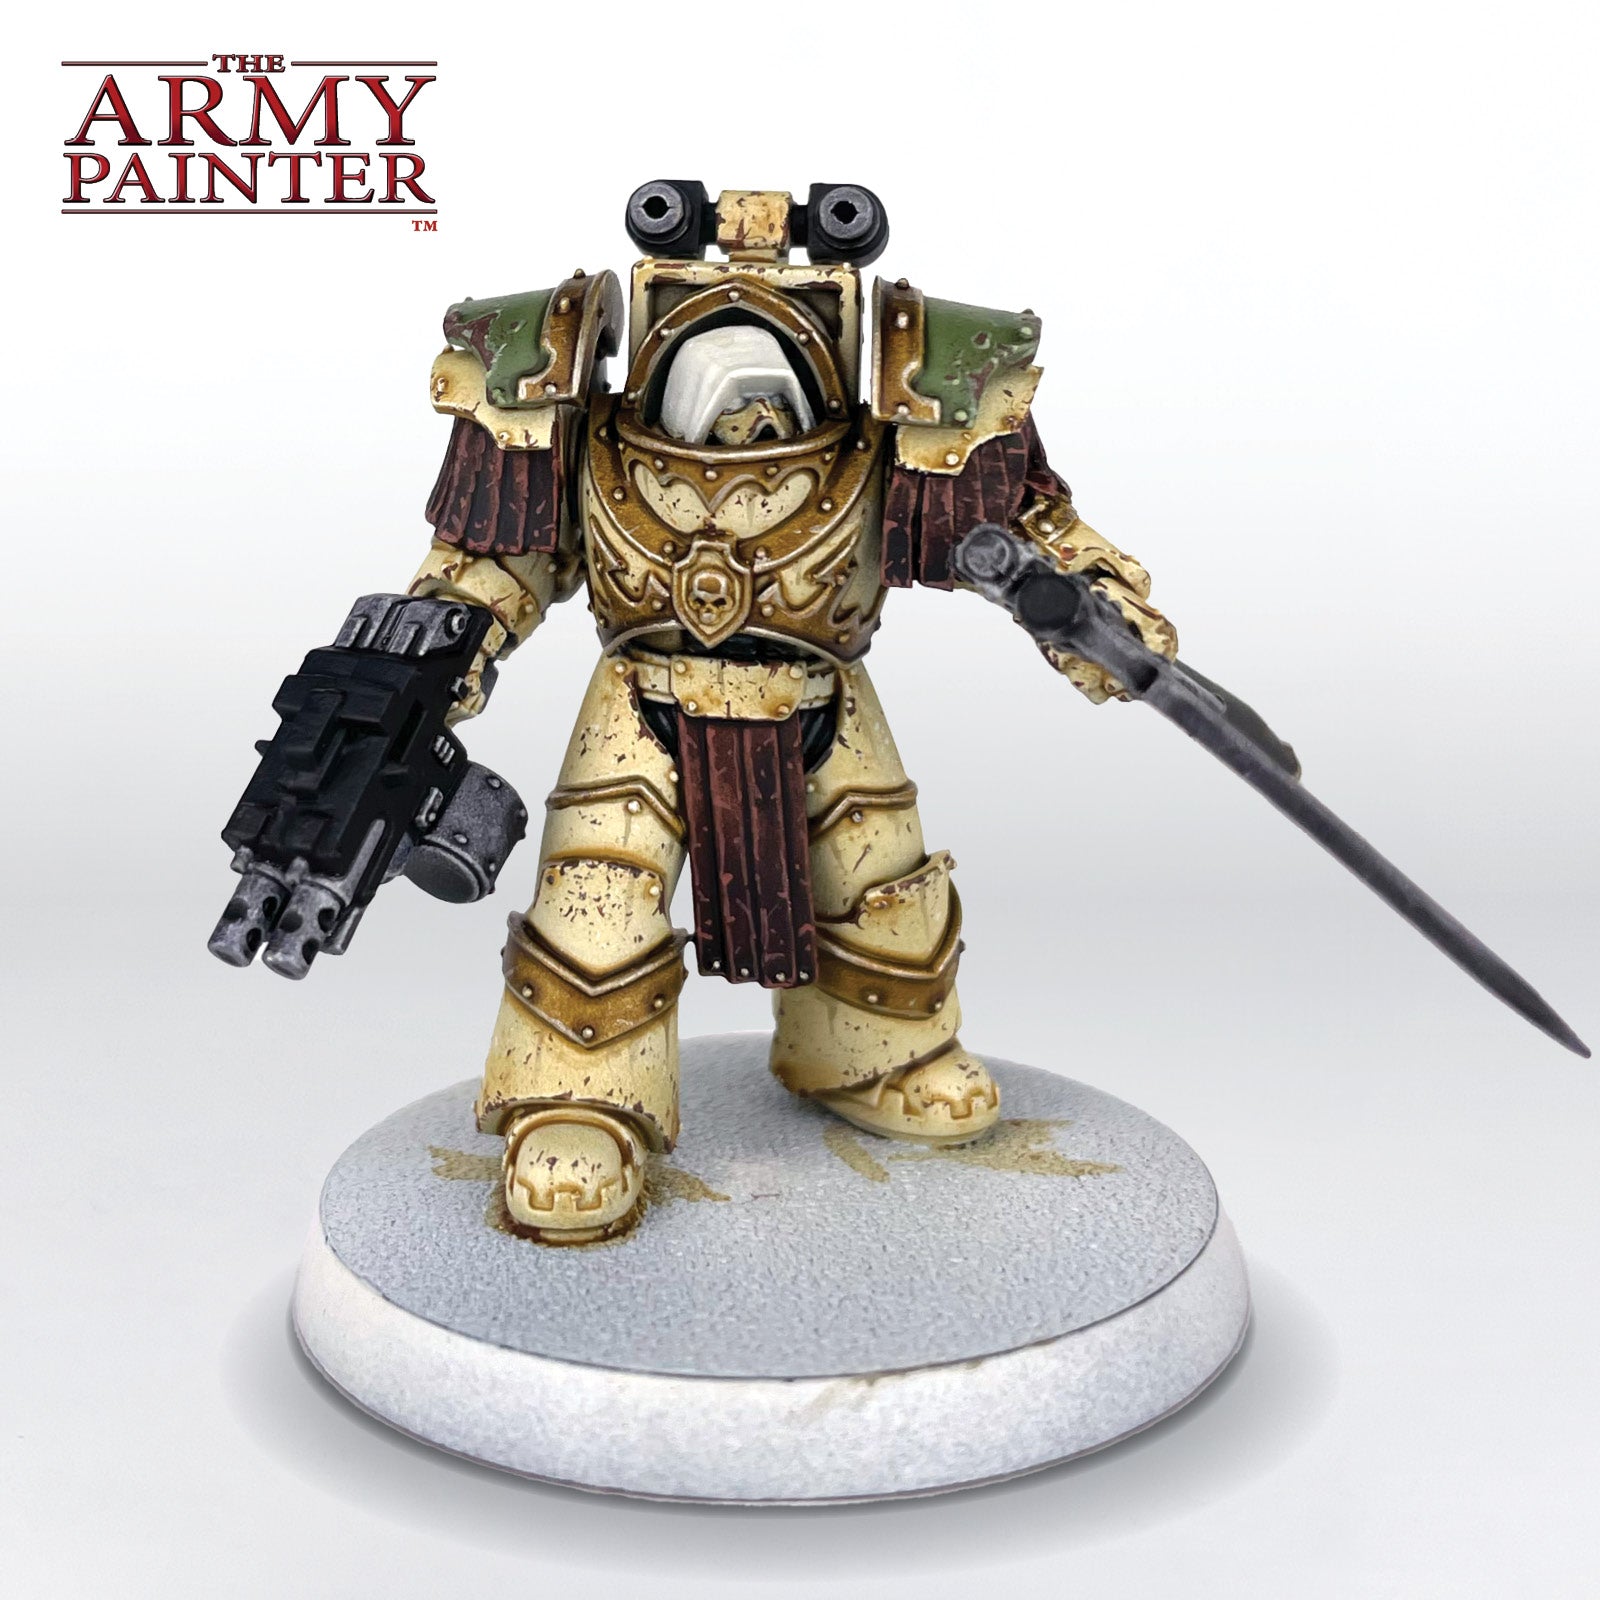
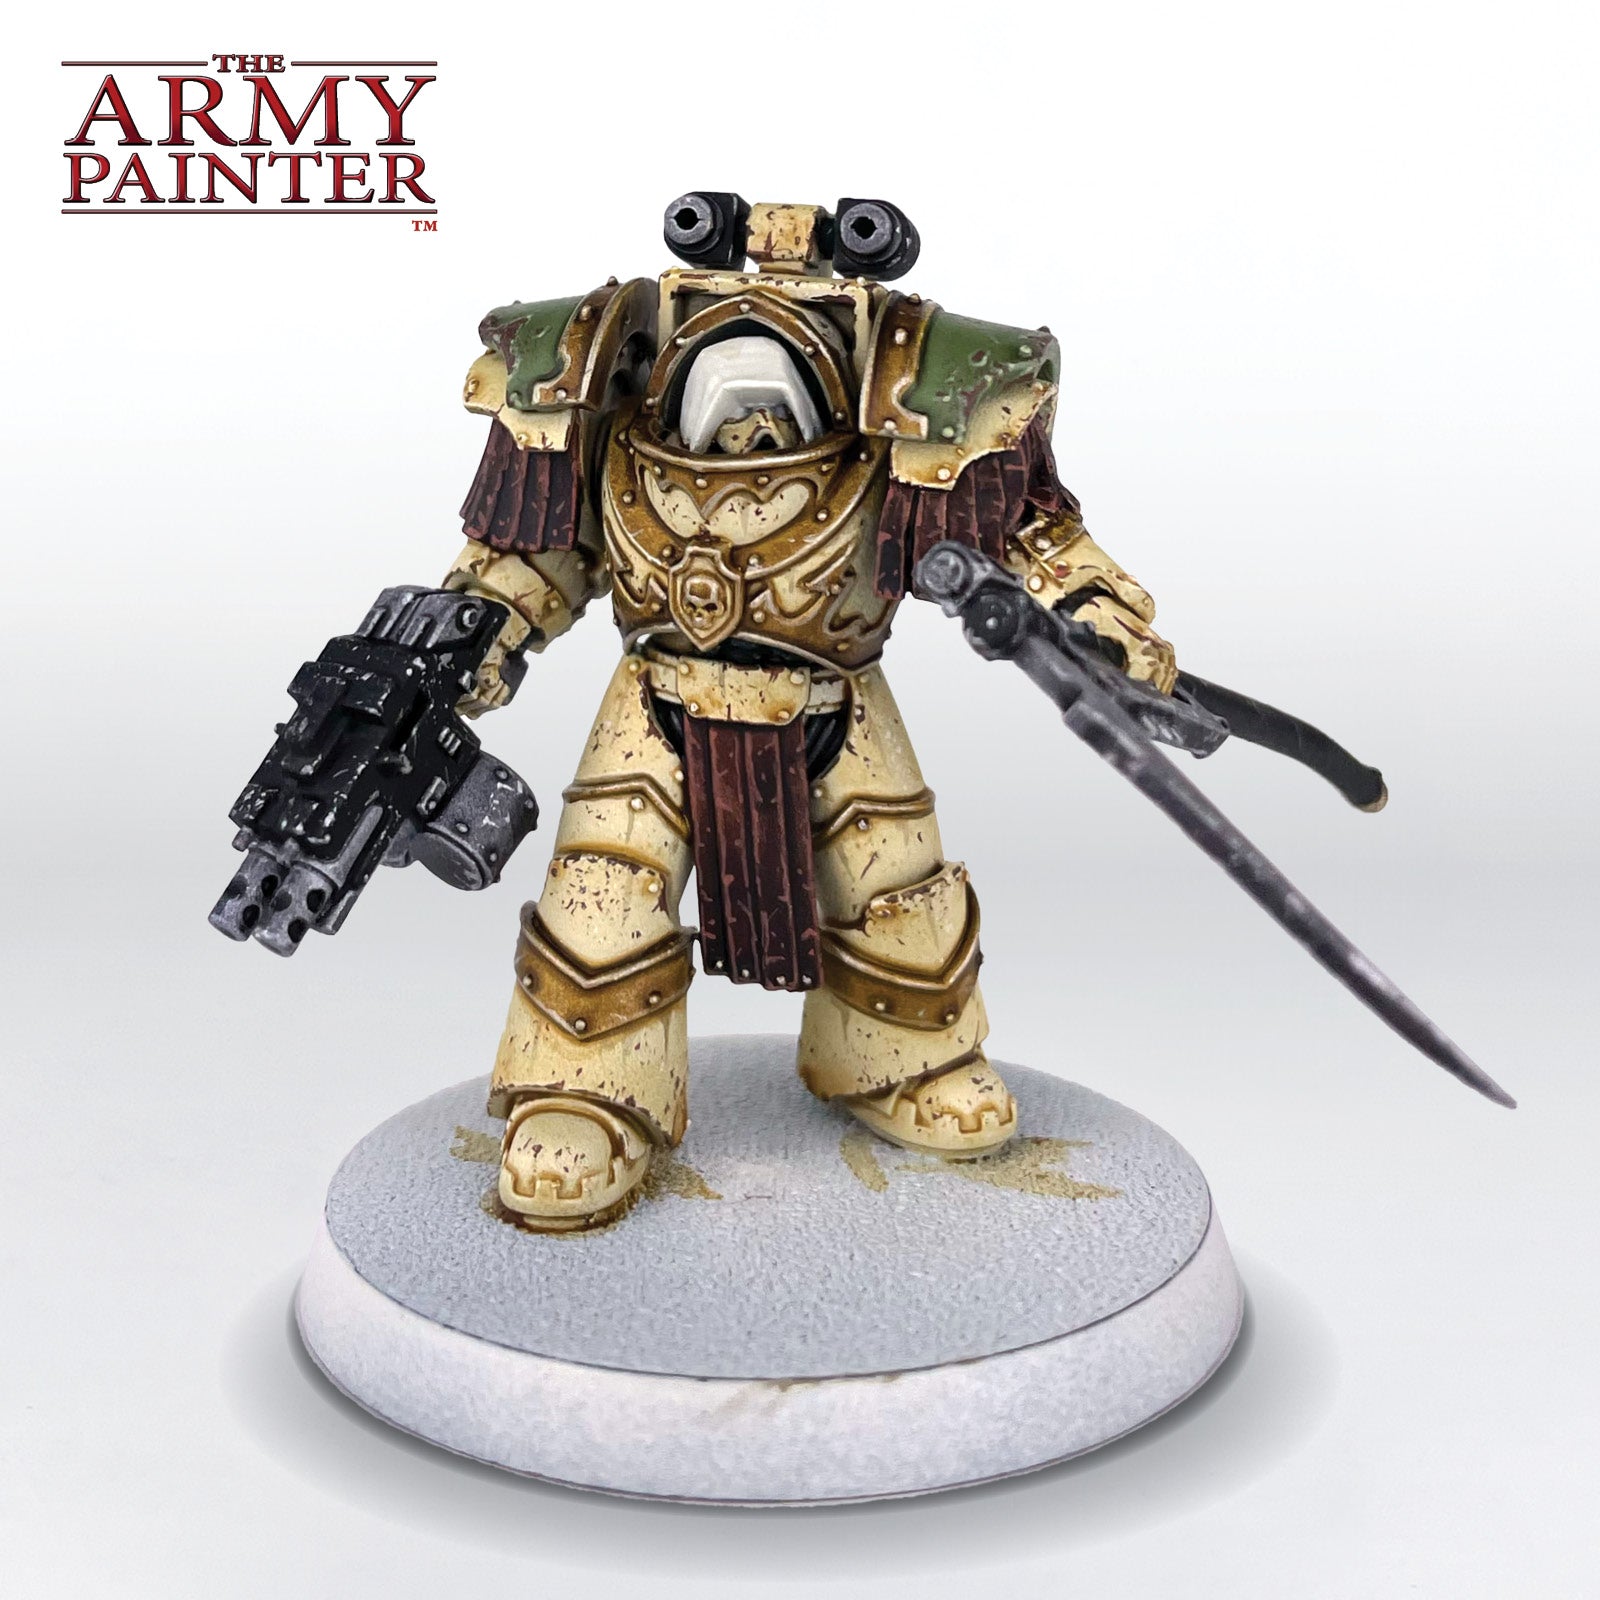
Horus Heresy Death Guard
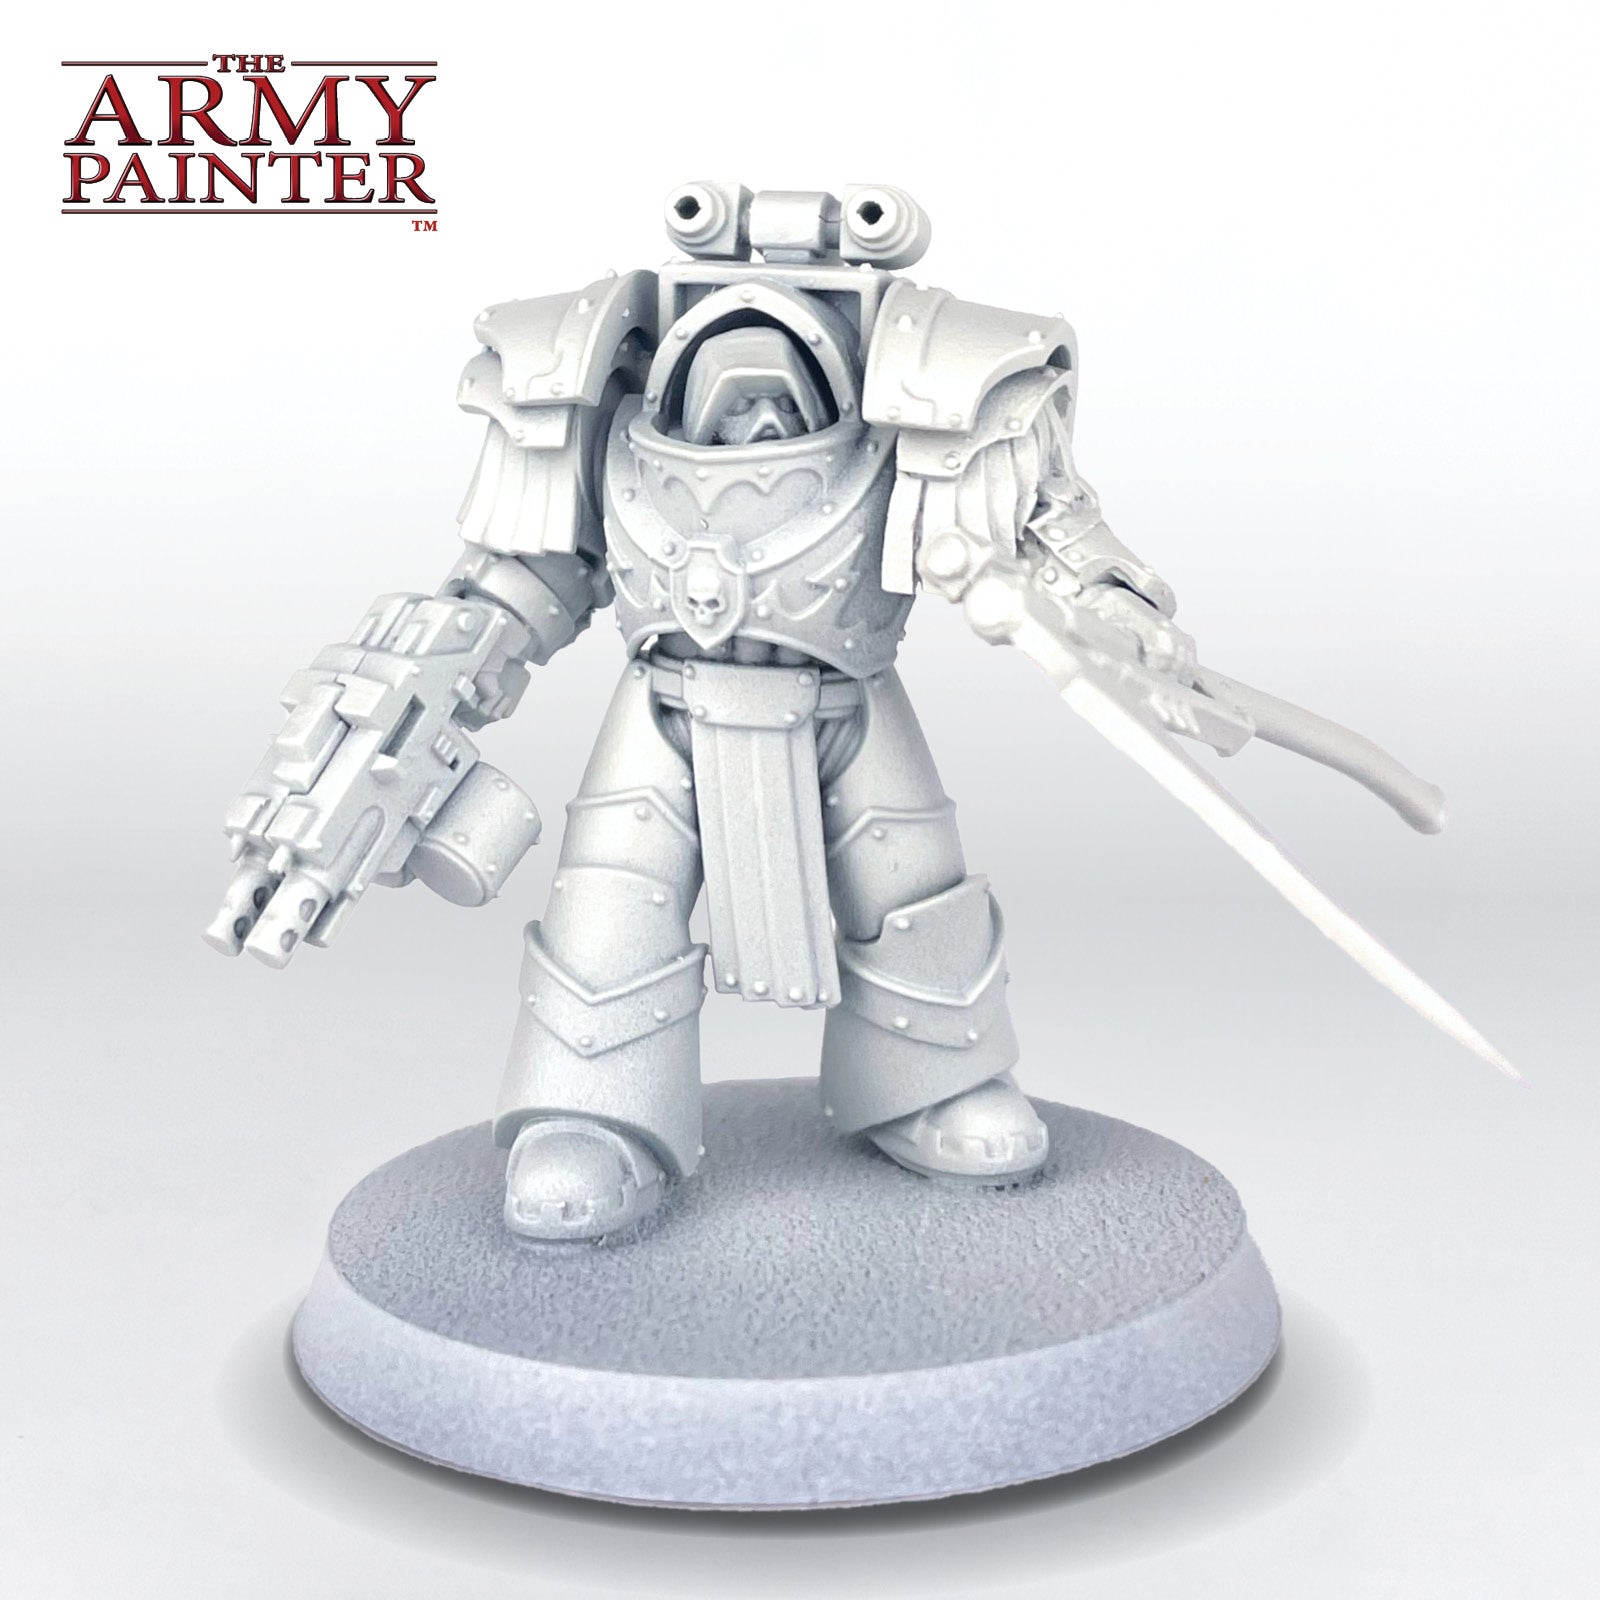
Welcome to the next instalment of The Army Painter Academy: a series where we break down how we paint a miniature step-by-step, complete with pictures for every bit of paint applied along the way.
This instalment comes from our Social Media Specialist, Tyler Mengel, as he not only shows off a step-by-step tutorial for the Death Guard Legion during the Horus Heresy, but also takes us through a bit of the process of getting a mini force of them done quickly! Sometimes you have to Heresy, and sometimes you have to Heresy in a Hurry!
Tyler: The Horus Heresy setting by Games Workshop has always been a favourite of mine, from the extensive novel series to the art books, and of course, the miniatures and game. While I’ve painted some Heresy models in the past, I’ve never gotten a playable force of them fully painted. When a local event, the Michigan GT, posted that it was going to be running a small, 750-point 1-day Heresy event, I jumped at the opportunity. 750 points seemed entirely doable, and having an event with a firm date gave me the motivation and deadline I needed to make sure I actually finished them.
I had painted some Death Guard marines about a year ago when I was messing around with Speedpaint. The first marine was a complete test, and also incorporated my, at the time, newly arrived Warpaints Fanatic Mega Set. I was excited to try out all the new paints, including some of the Effects paints, but afterwards decided it was too much weathering, even for Mortarion’s sons.
After a bit more experimentation, I arrived at a version of the scheme that still used much of what went into that first test model, but more refined. For example, I decided to thin down the Speedpaint Pallid Bone for the armour, and mixed up a special batch of it to be more consistent across all the models. The finalized colour scheme ended up being mostly Speedpaint, with chipping and weathering standing in for a lot of what would normally be highlighted, with only a few colours painted in a more traditional way to draw your eye. This sort of “sleight of hand” is a technique I use frequently when army painting. Spend a bit more time on a few key areas and it elevates the entire model without having to invest all that time in the entire mini.
With that in mind, I set to work finishing the rest of my force using the tutorial below!

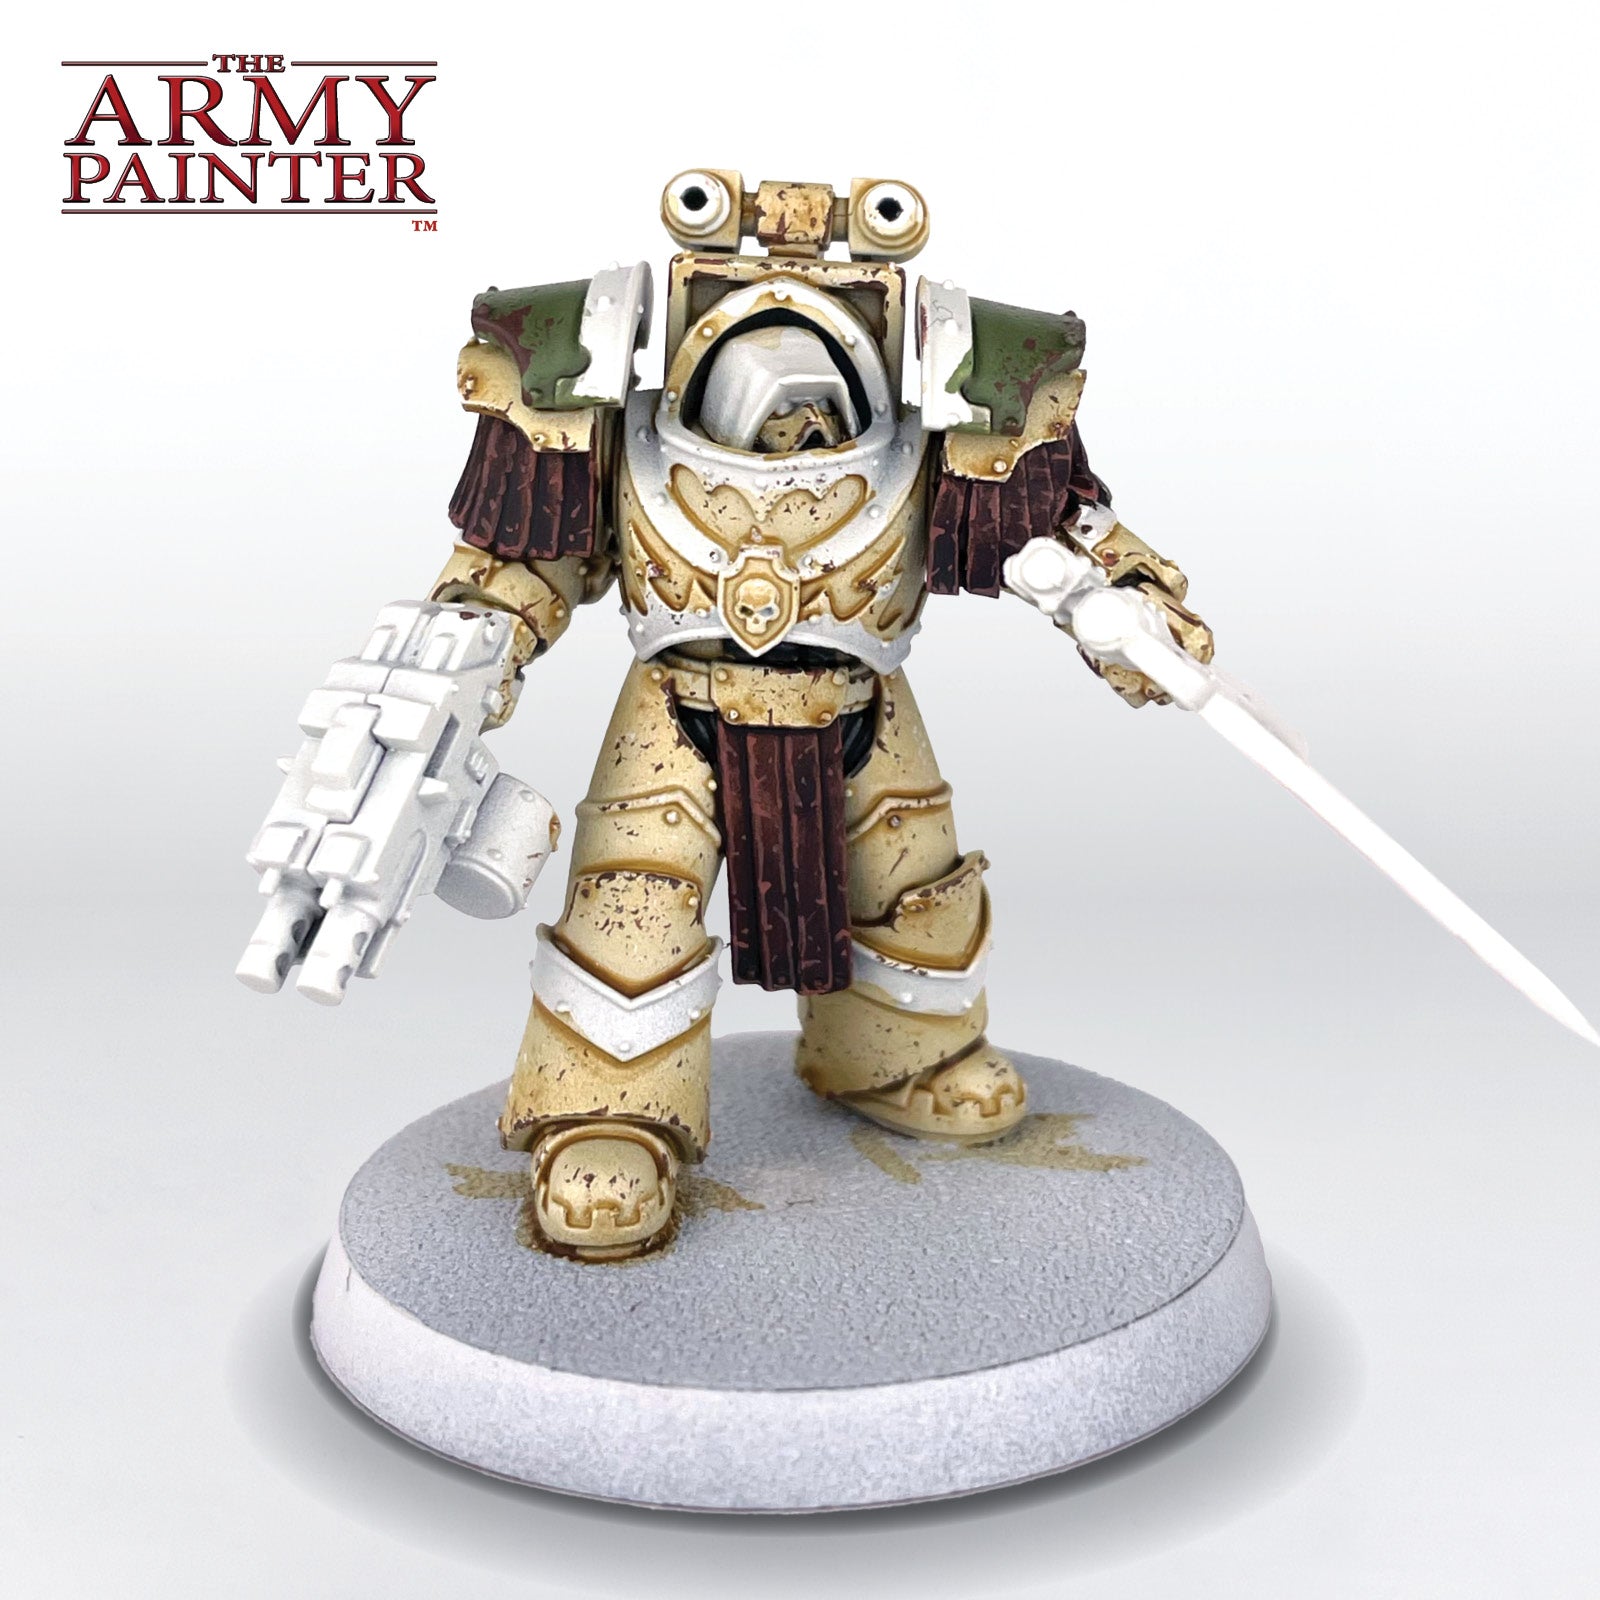
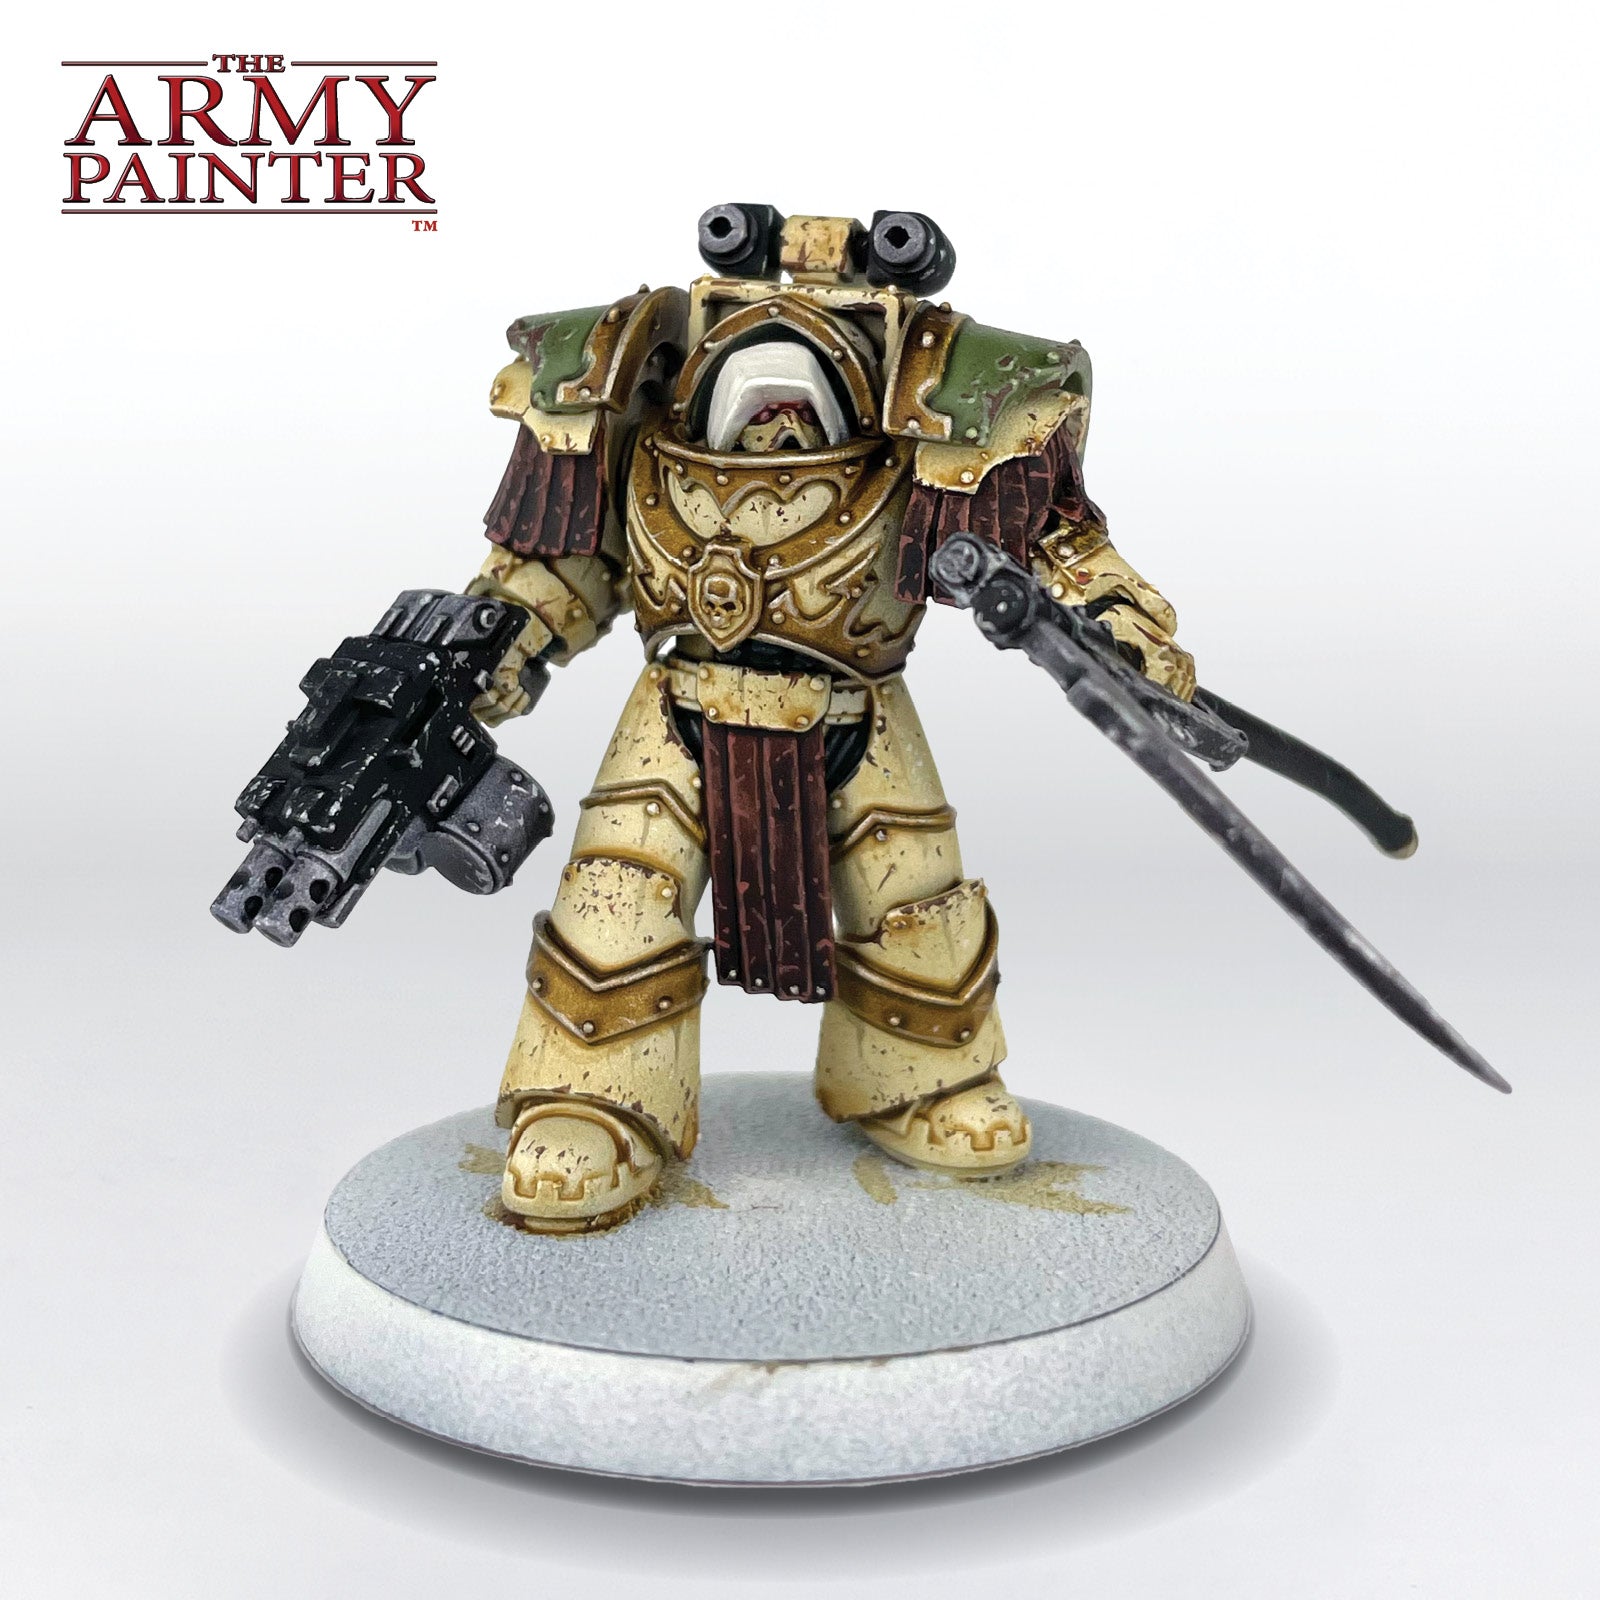
The Bone Armour
Step 1
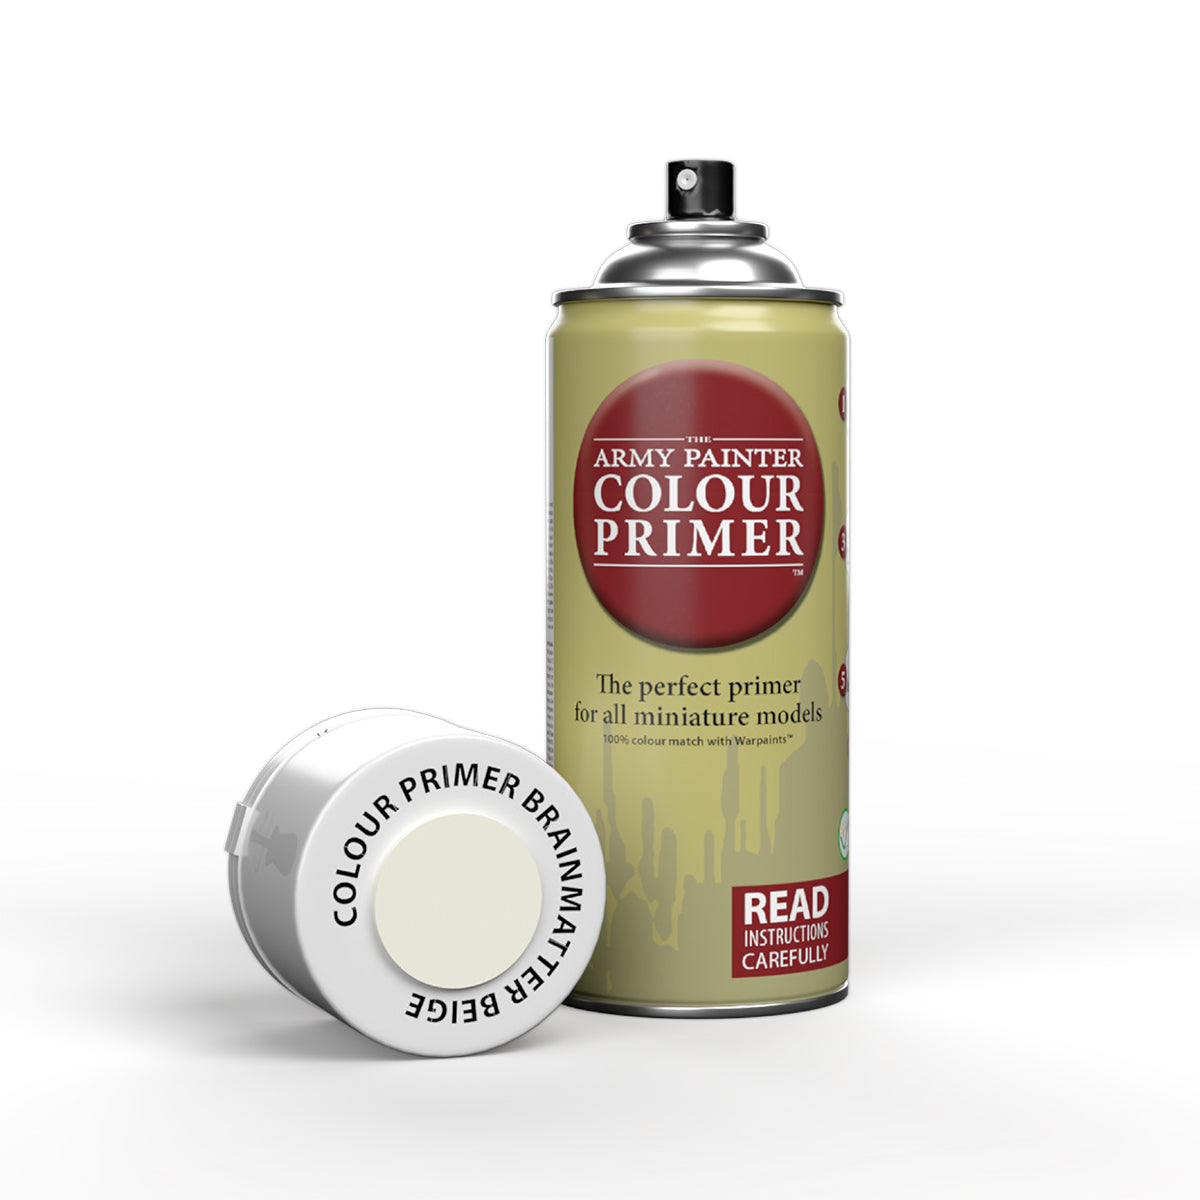
Prime the model with Brainmatter Beige Colour Primer.
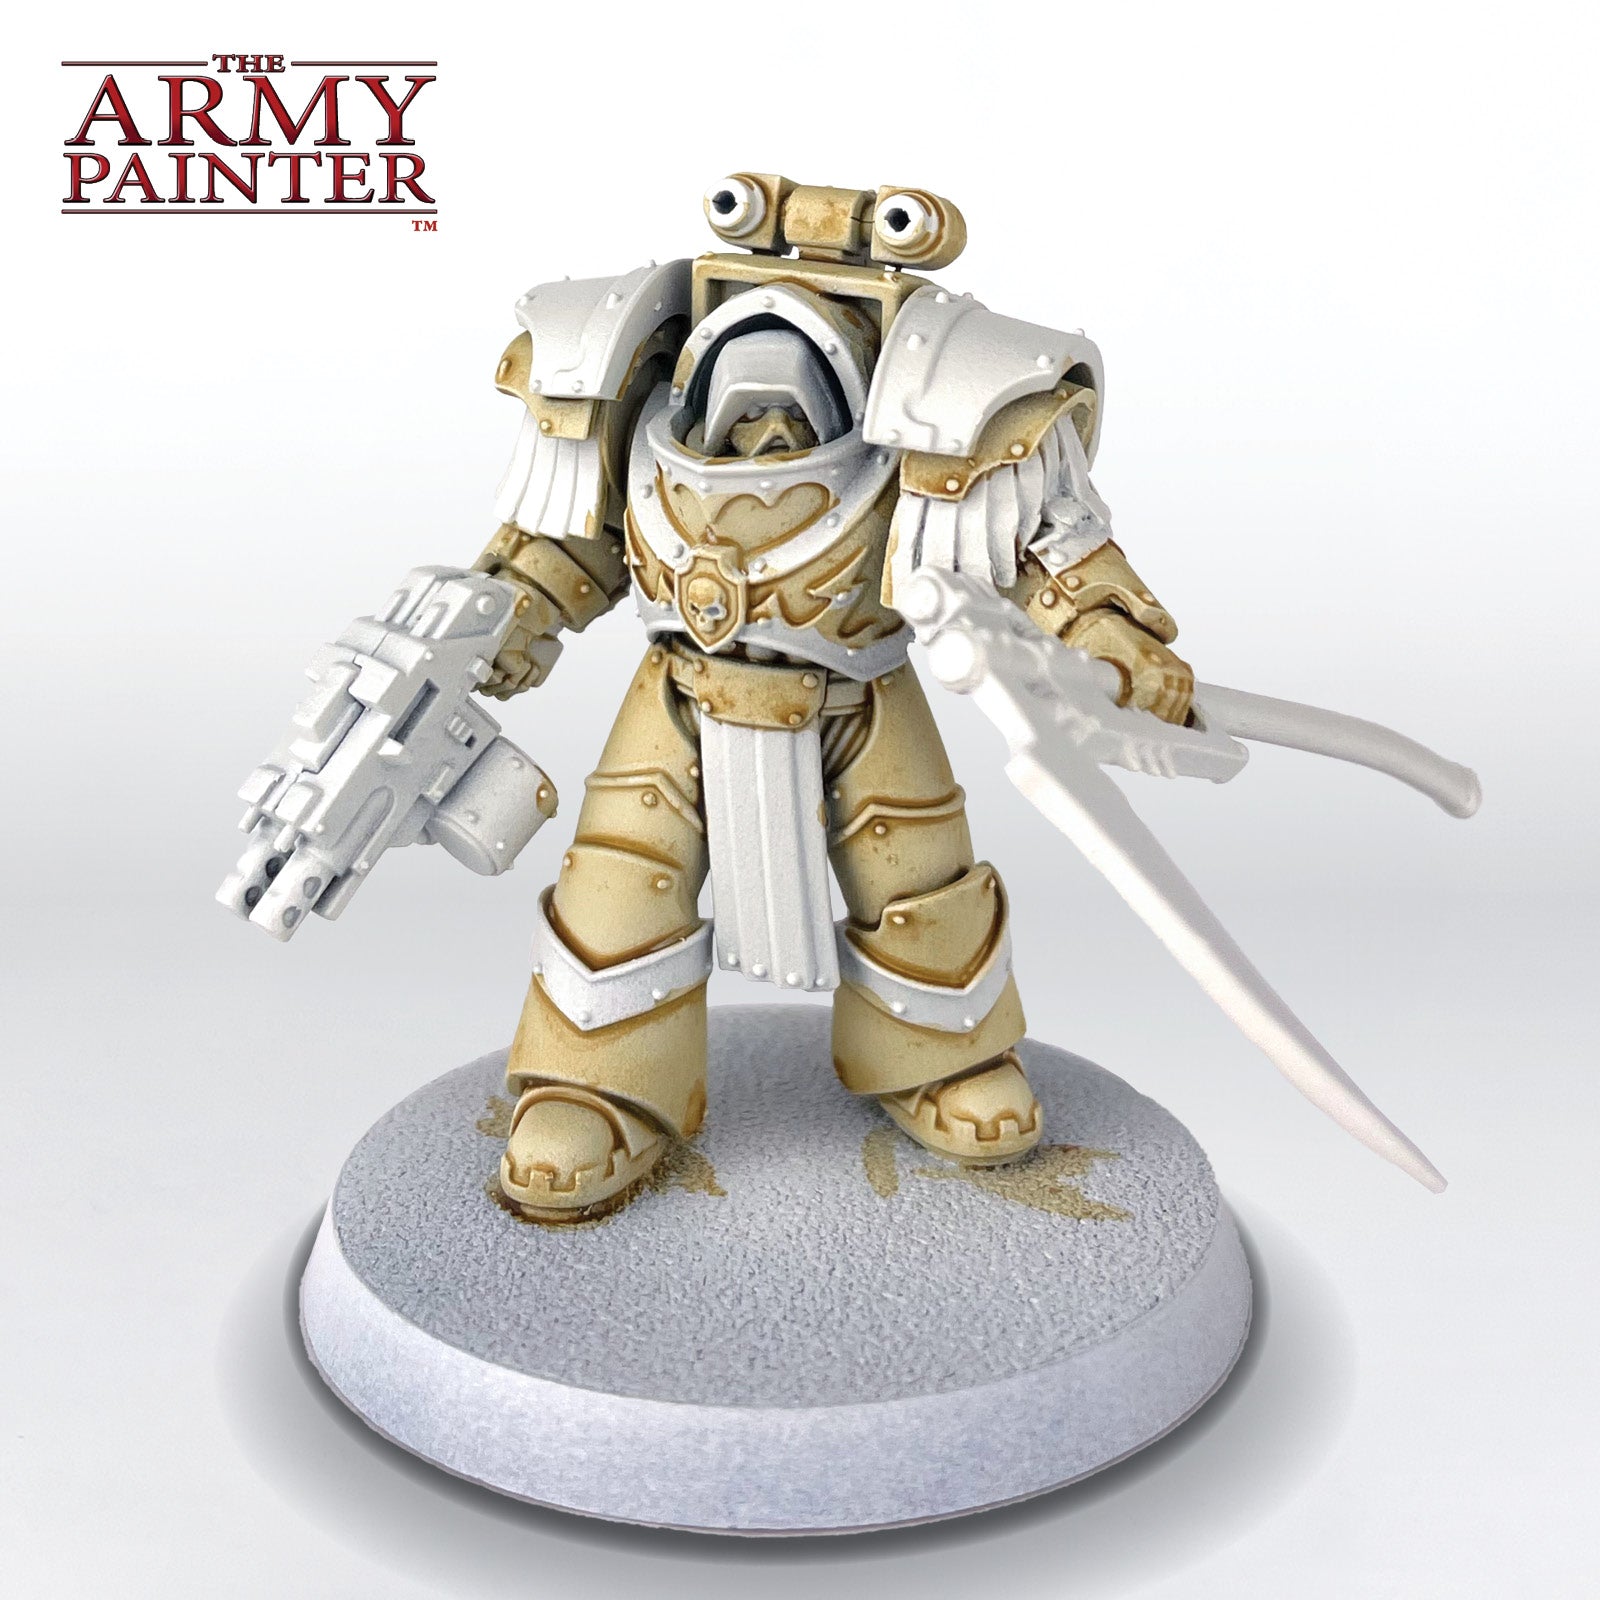
Step 2
Paint all of the armour with a 50/50 mix of Speedpaint Pallid Bone and Speedpaint Medium. Focus on one armour panel at a time to ensure the smoothest application.
Step 3
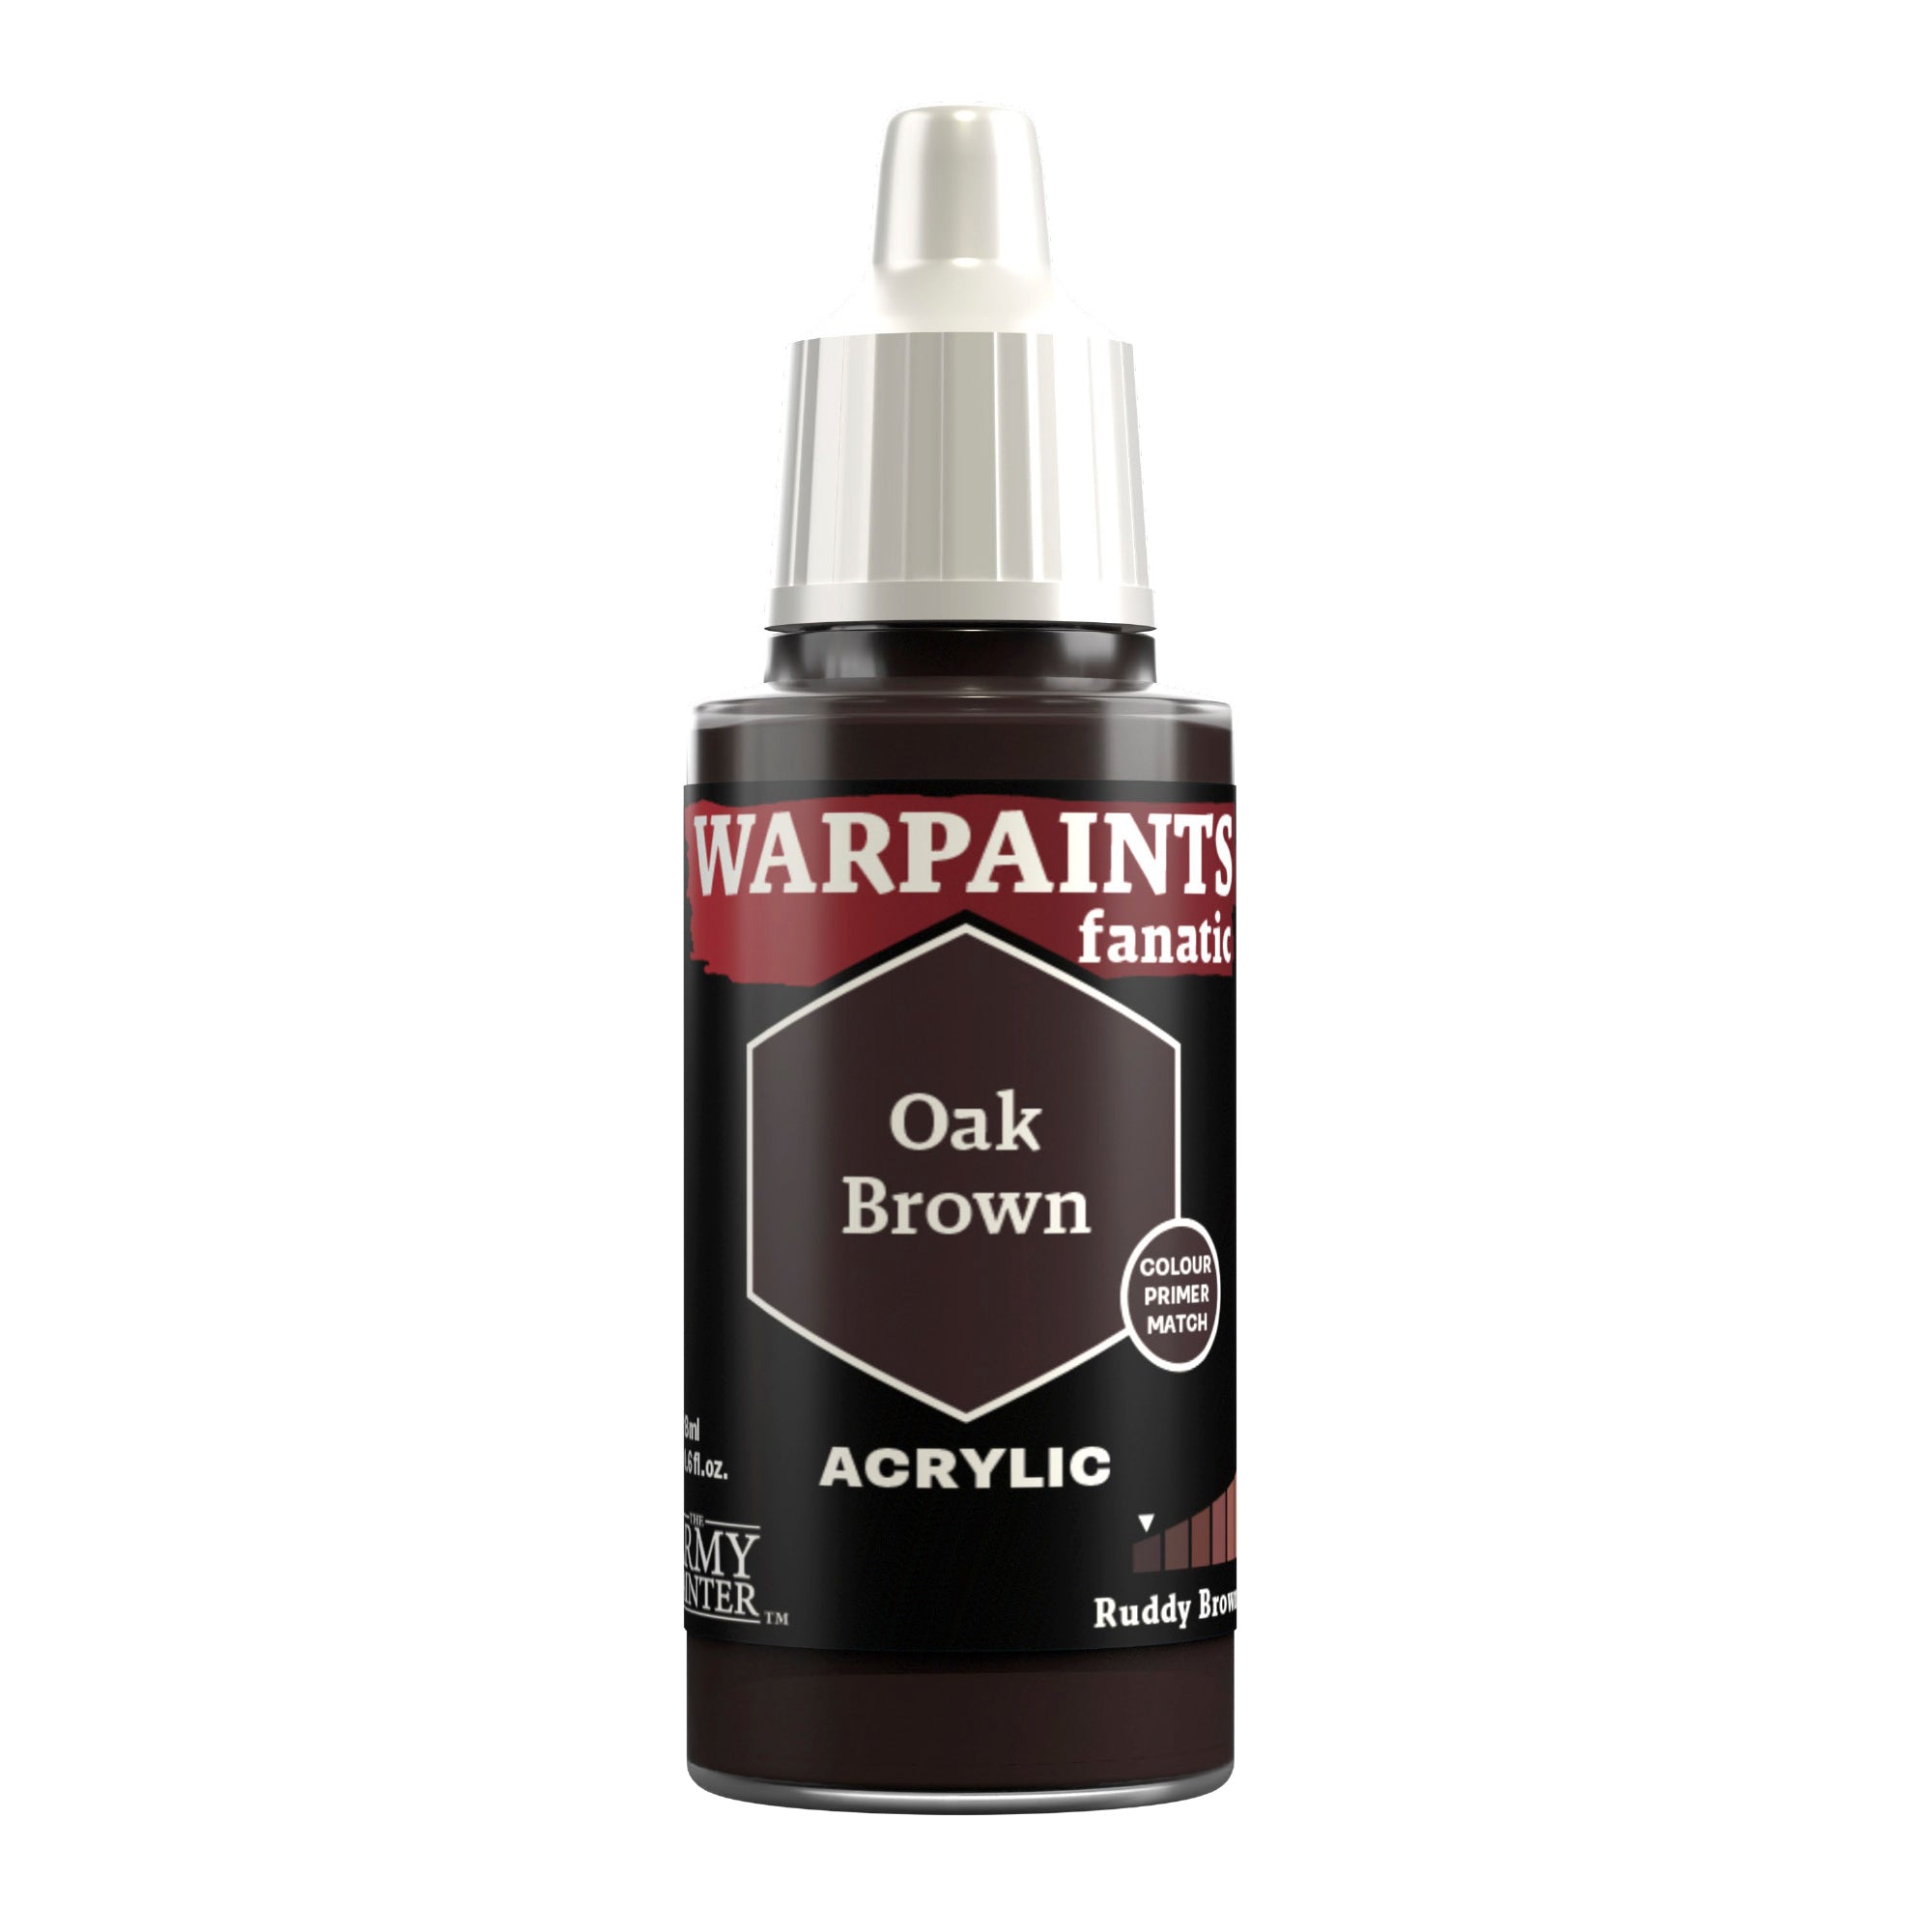
Next, use a piece of sponge to add chipping to the armour with Warpaints Fanatic Oak Brown. Aim for smaller chips, and remember, less is more. You can always add more weathering later if needed. After that, go in with a brush and pick out some of the edges with Oak Brown for more chipping and some longer scratches.
Step 4
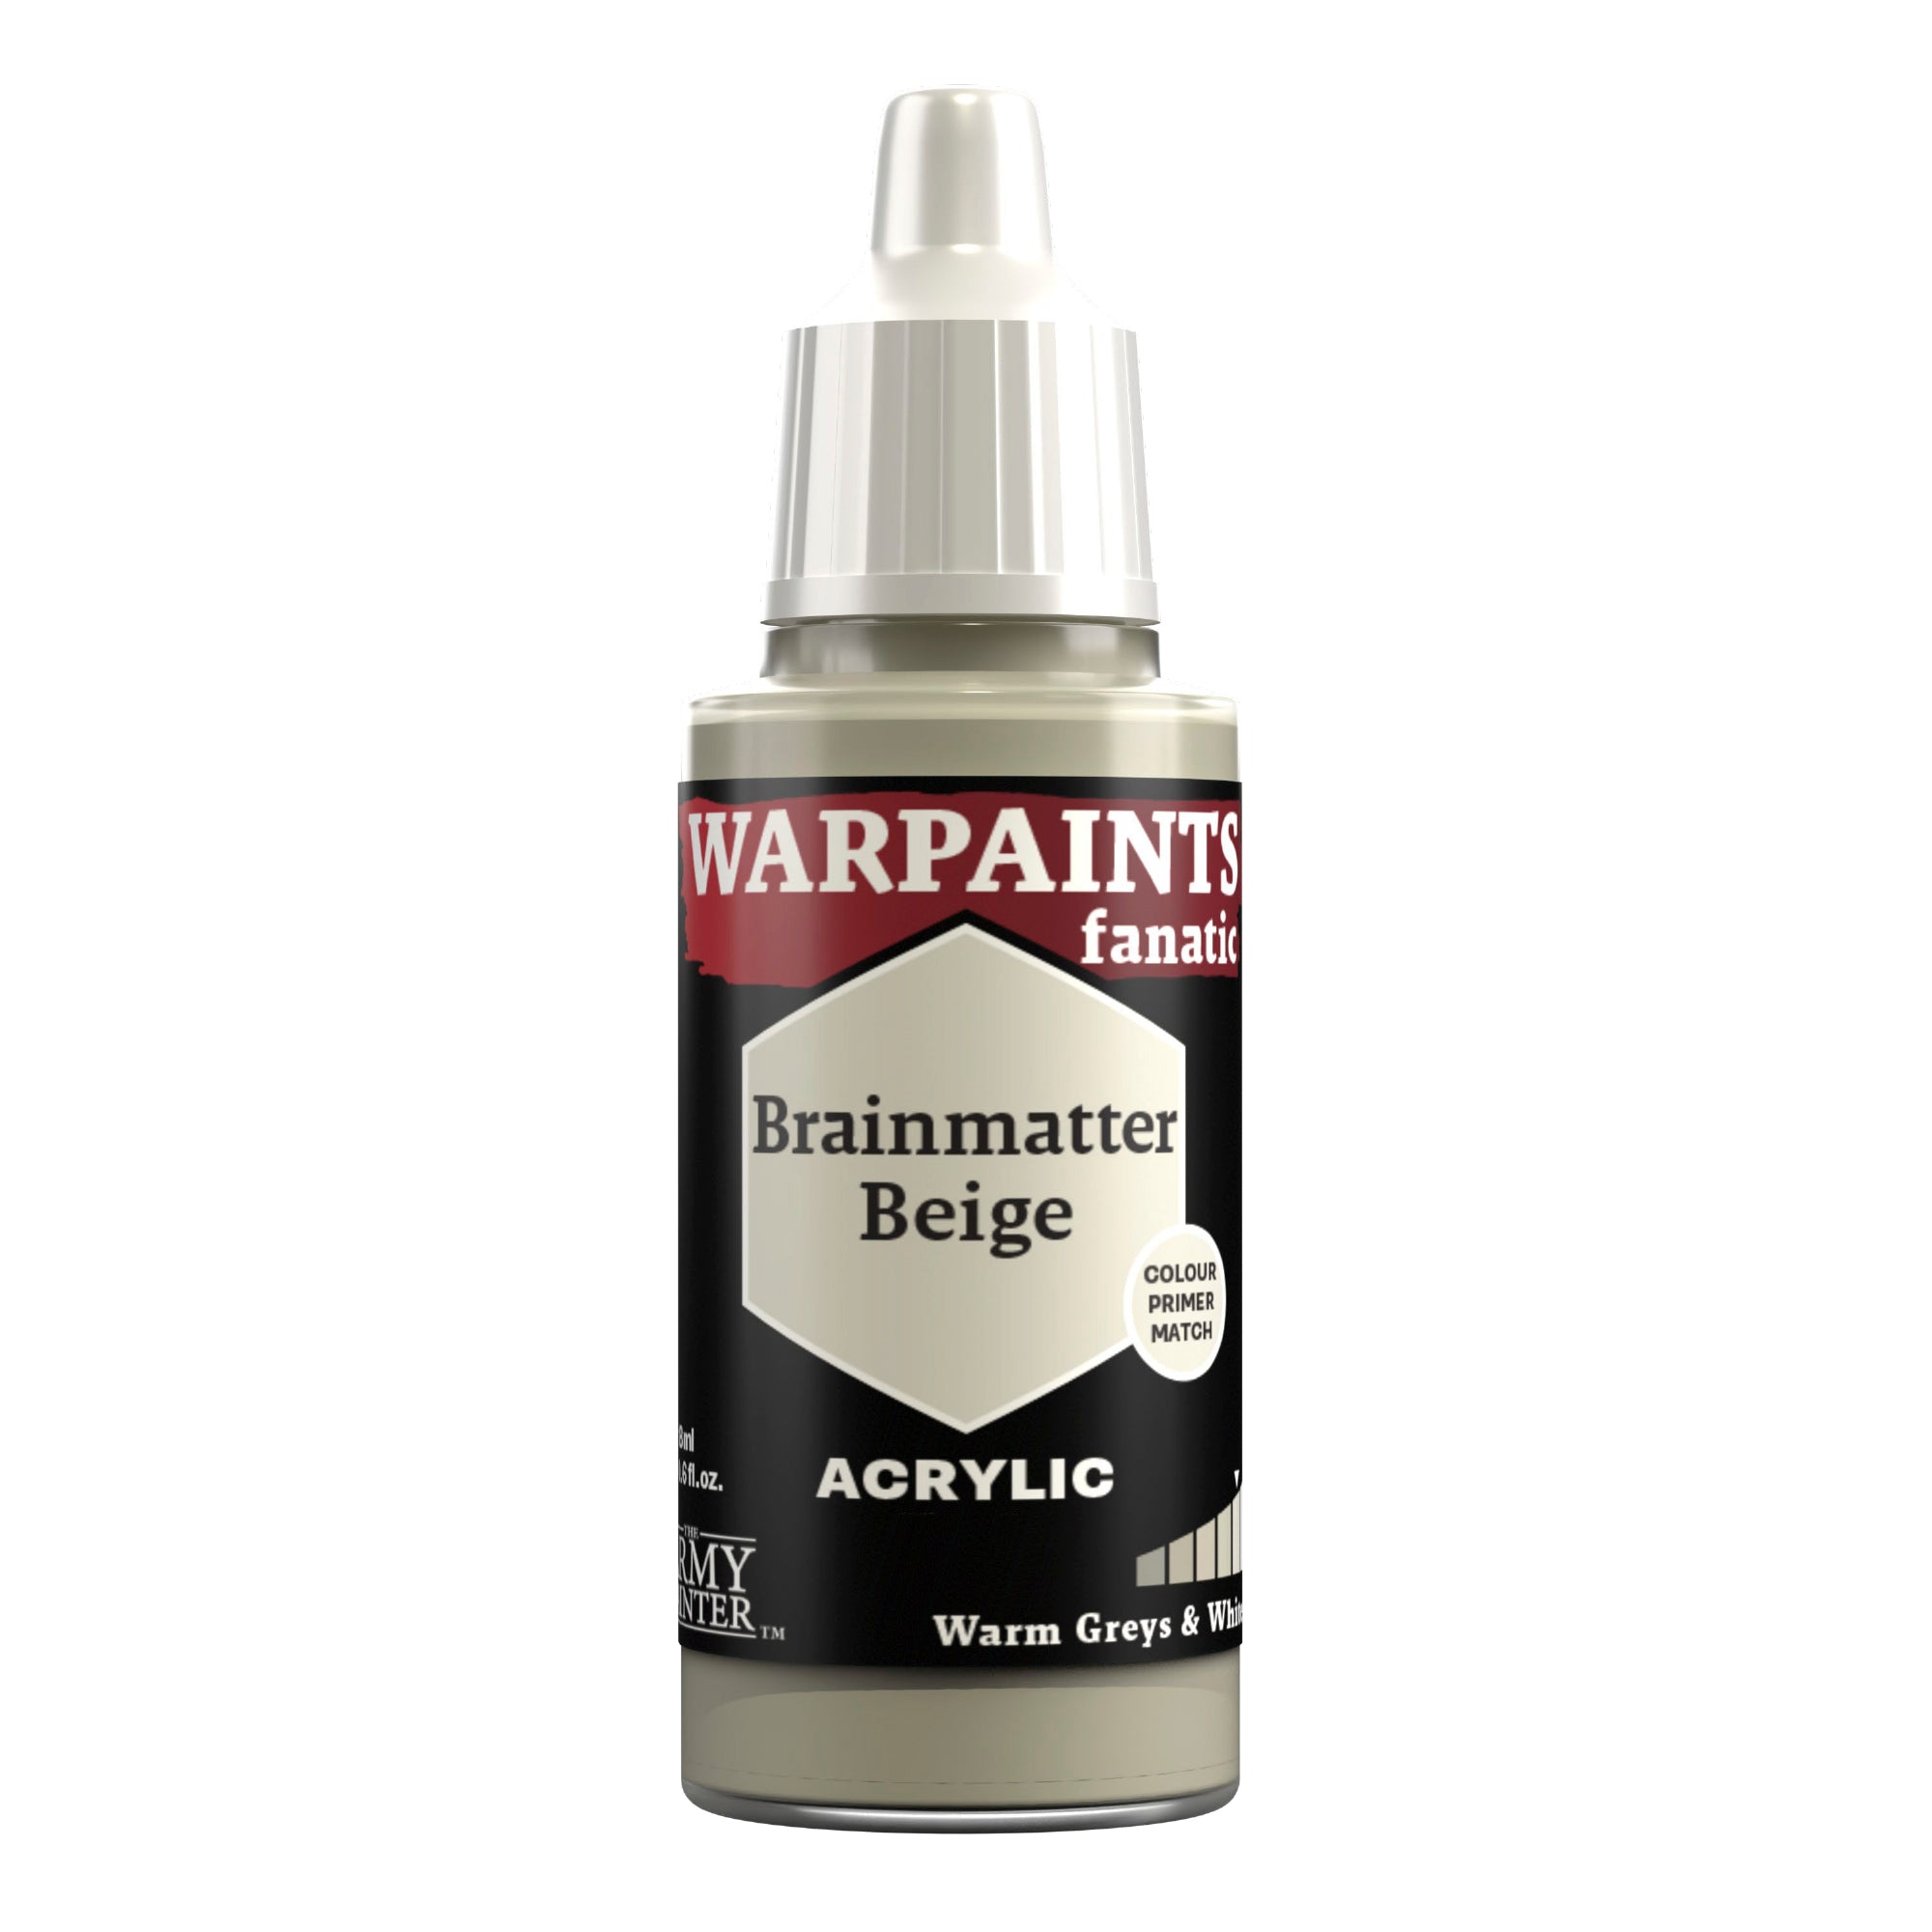
Repeat the sponging process, except this time with Warpaints Fanatic Brainmatter Beige and be much more reserved with the application. This is just to add a bit more texture and variety to the armour.
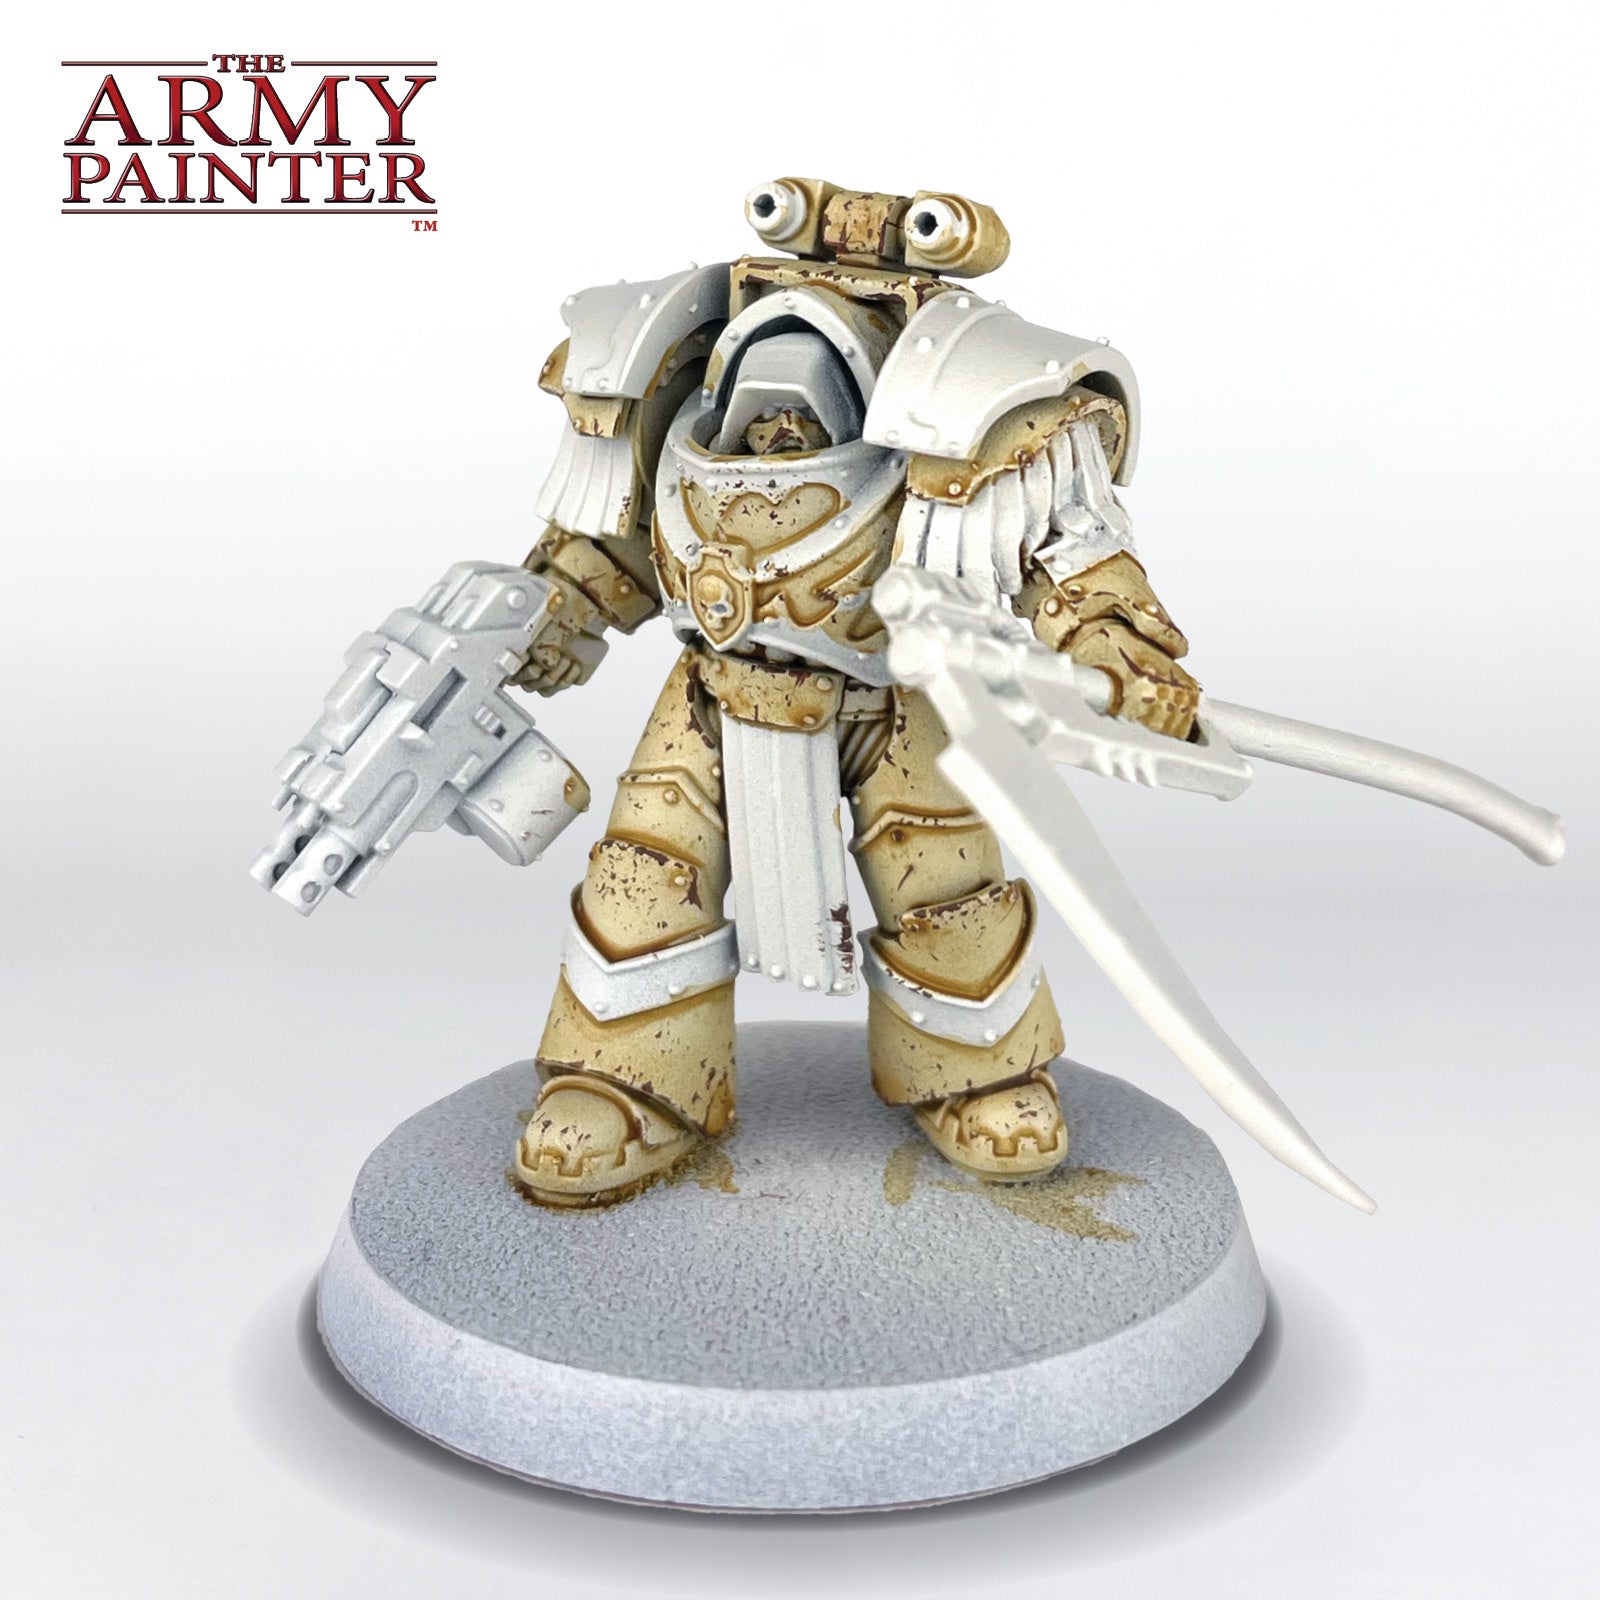
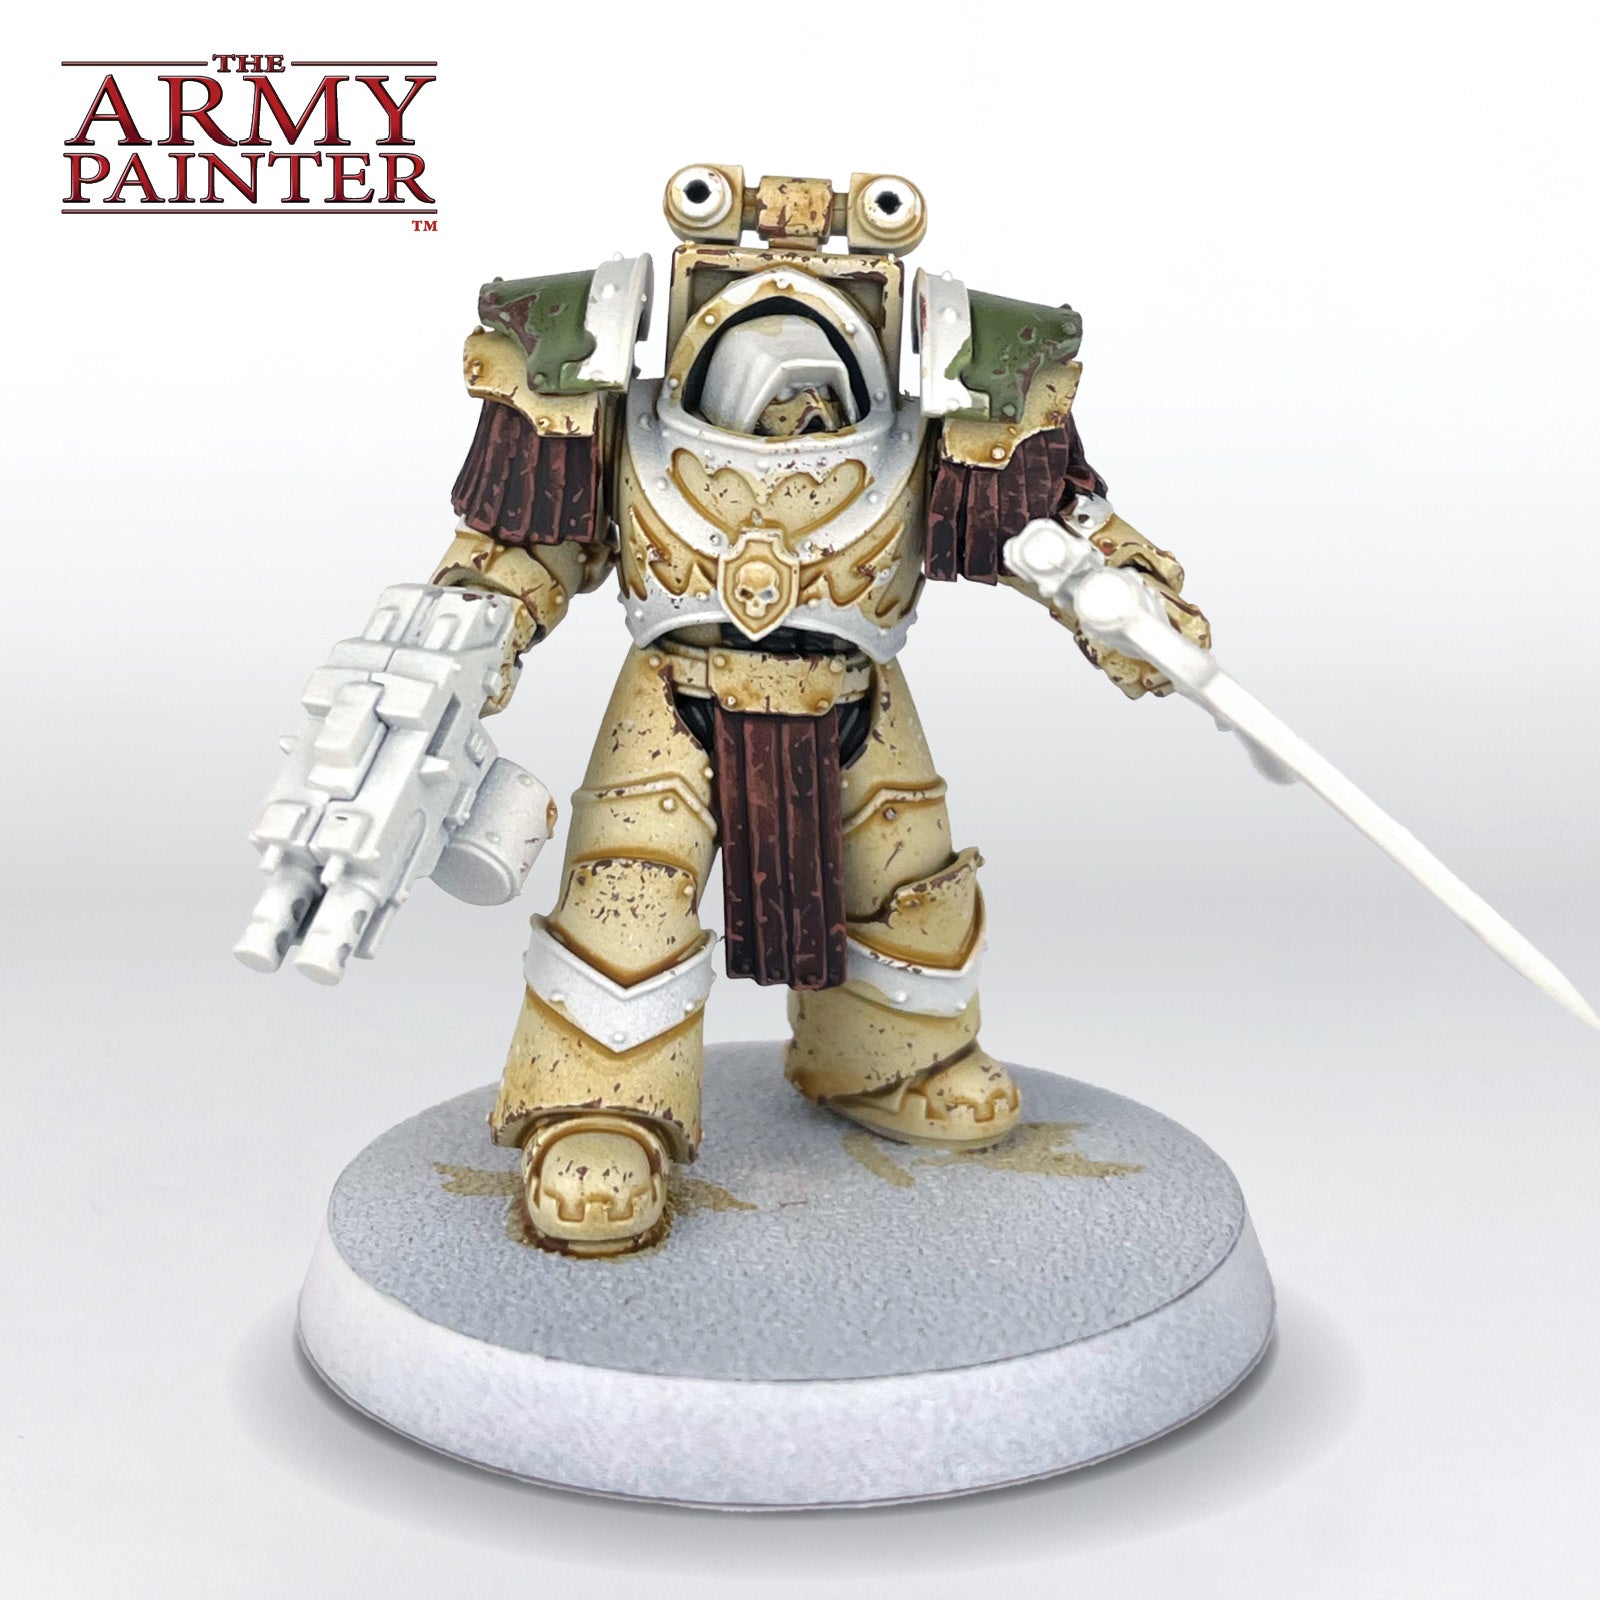
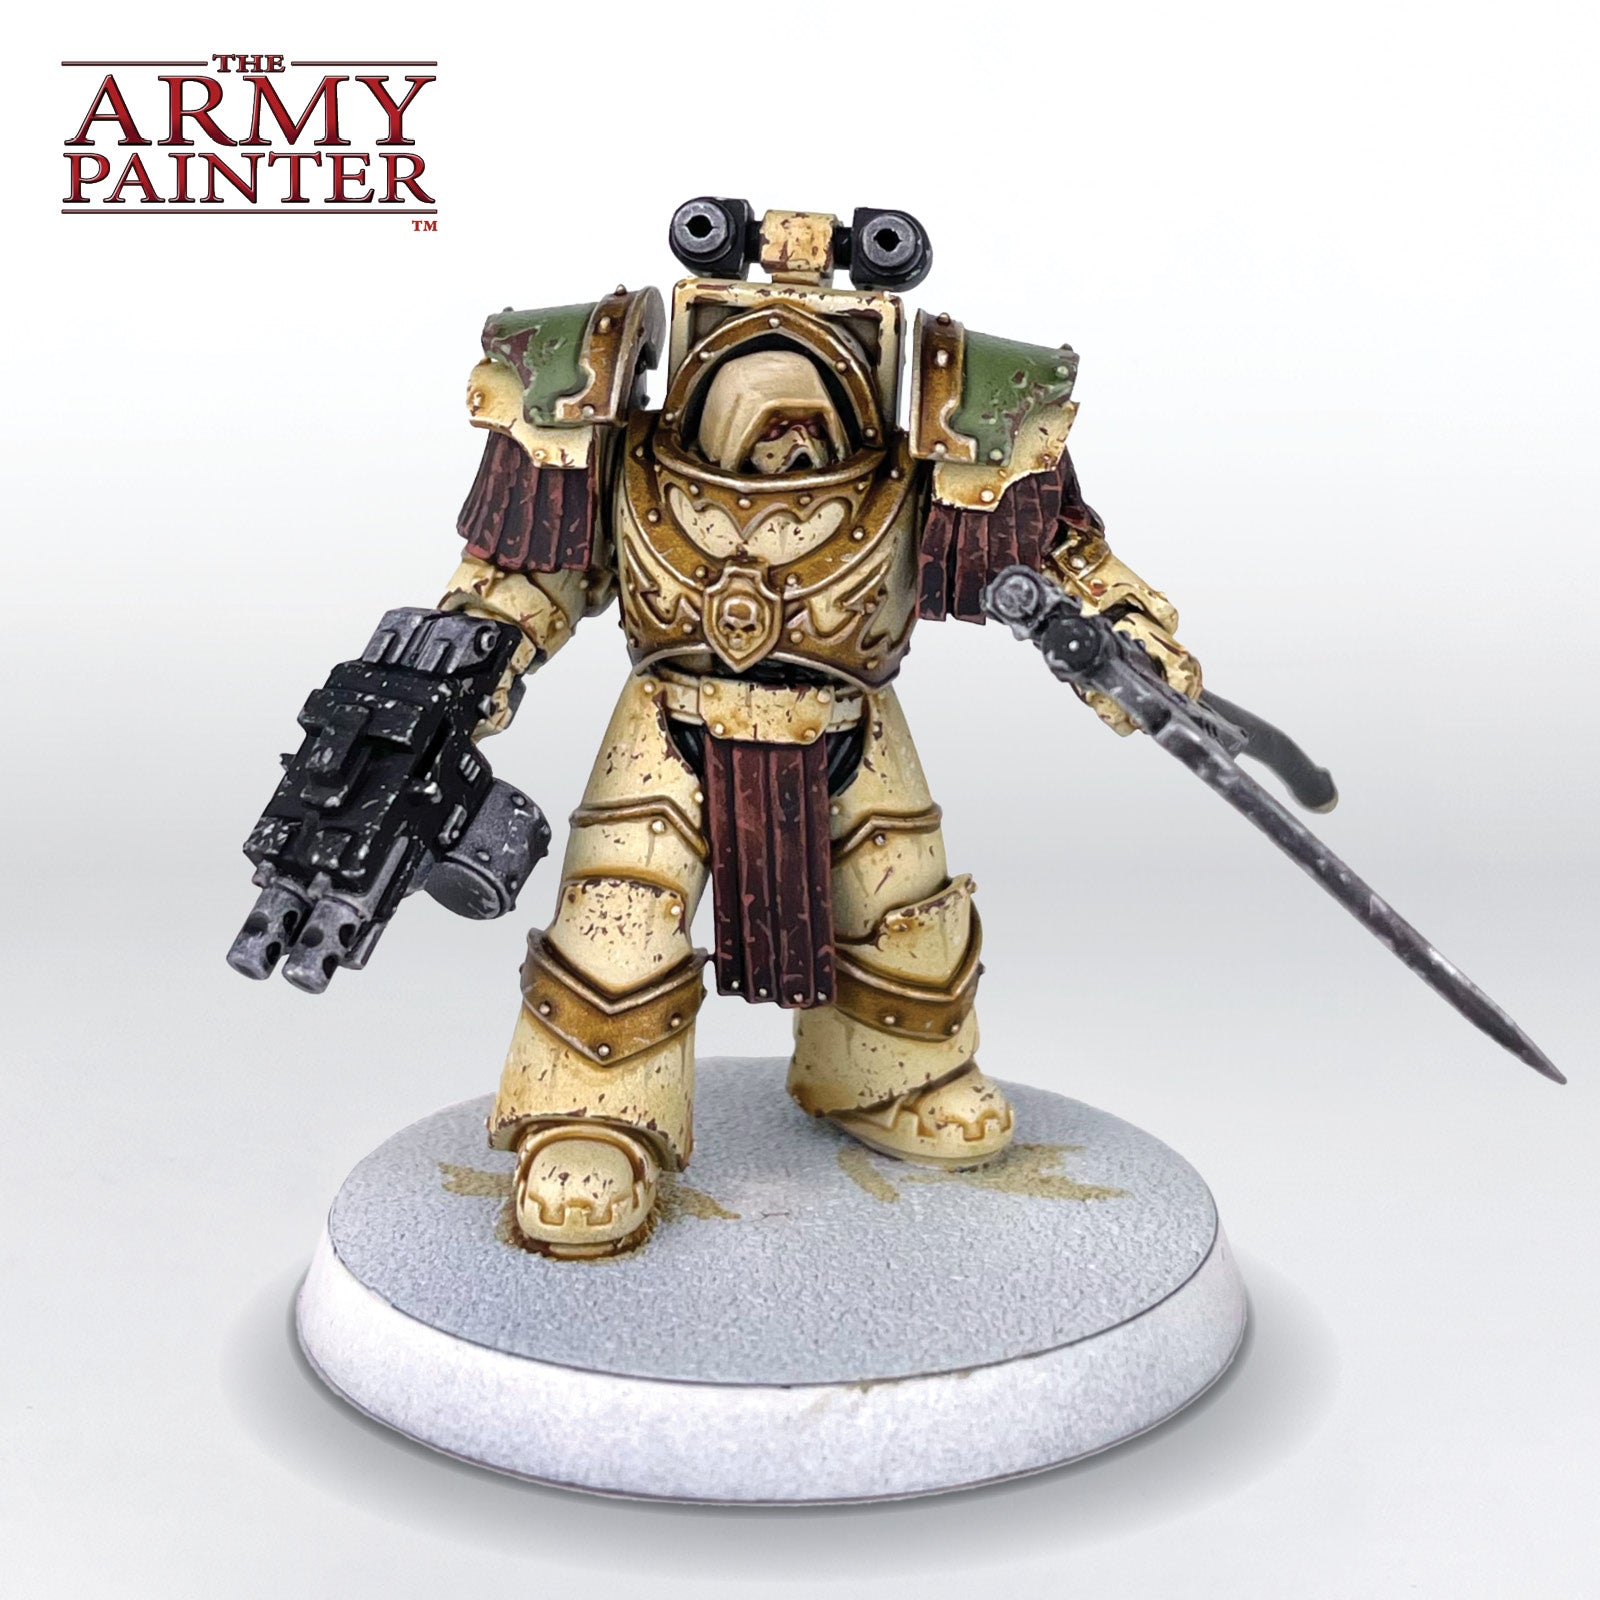
The Soft Armour and Leather
Step 1
Apply Speedpaint Grim Black to all the armour joints, wires, and tubing. Each Speedpaint step will require a clean layer of Warpaints Fanatic Brainmatter Beige as the undercoat, so tidy up with the colour before each application if needed throughout the rest of this tutorial.
Step 2
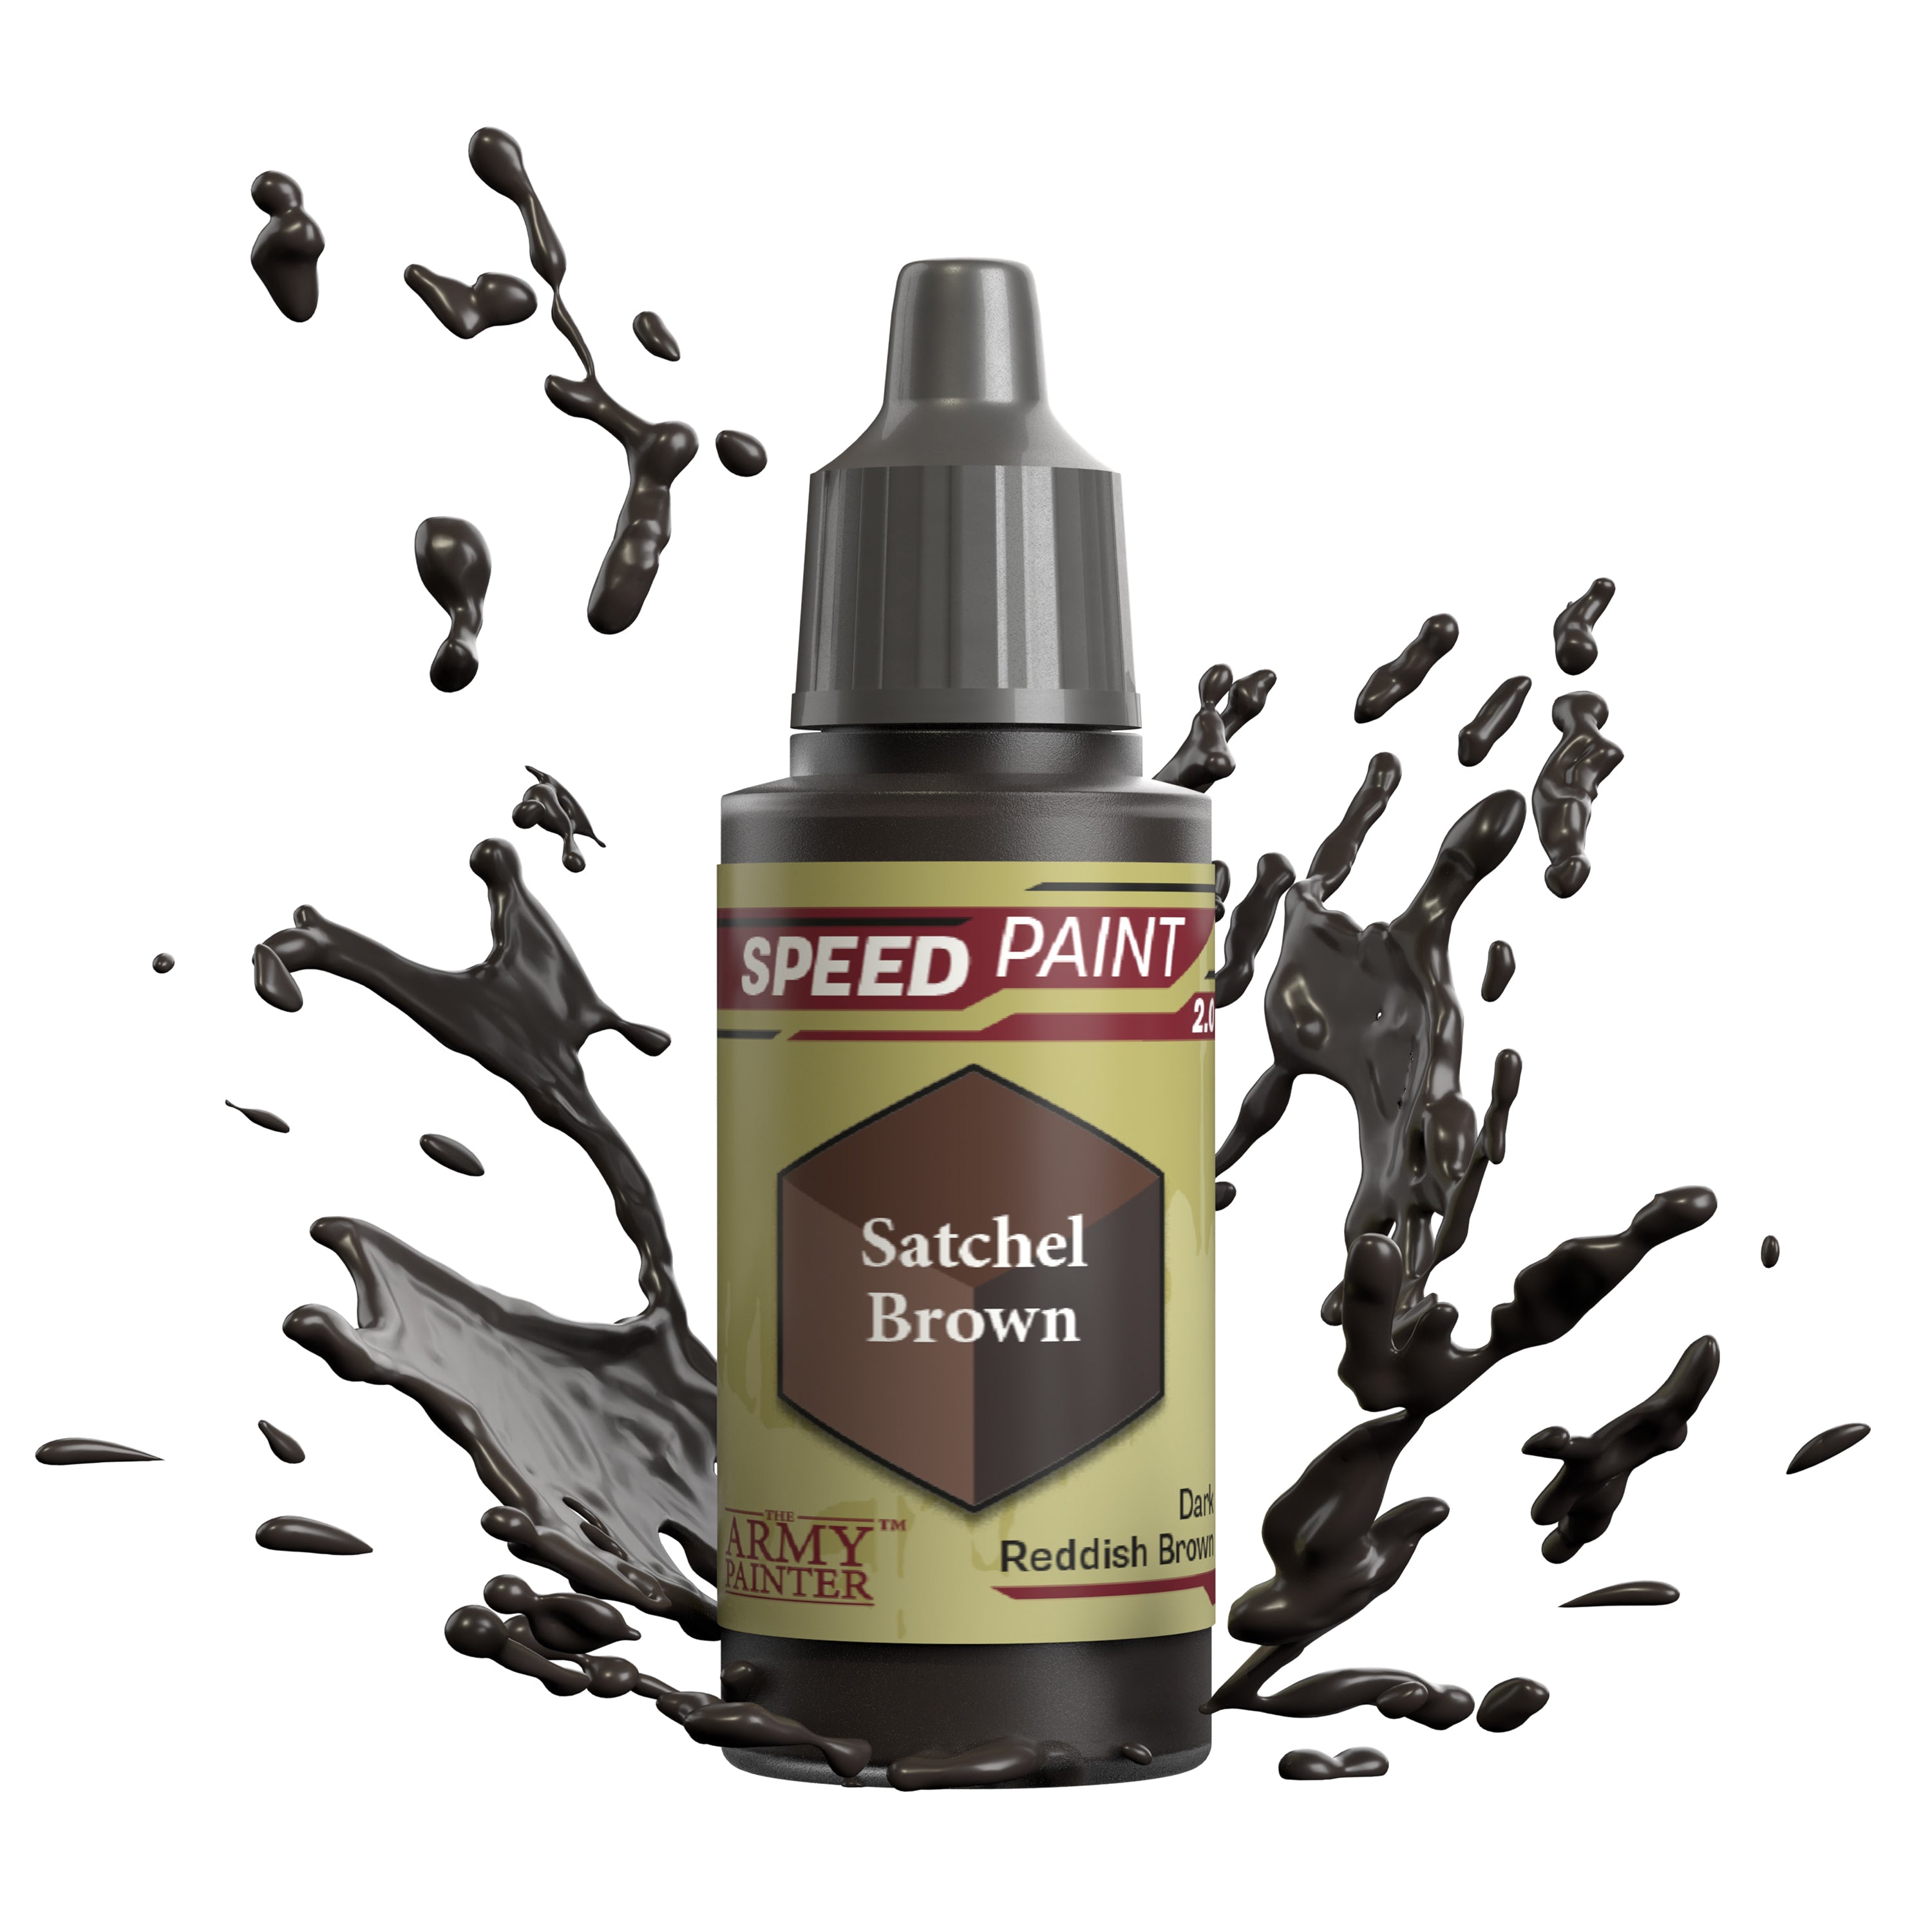
Paint all the leather straps with Speedpaint Satchel Brown. This may require a second layer, thinned with Speedpaint Medium in some areas if it’s not dark enough.
Step 3
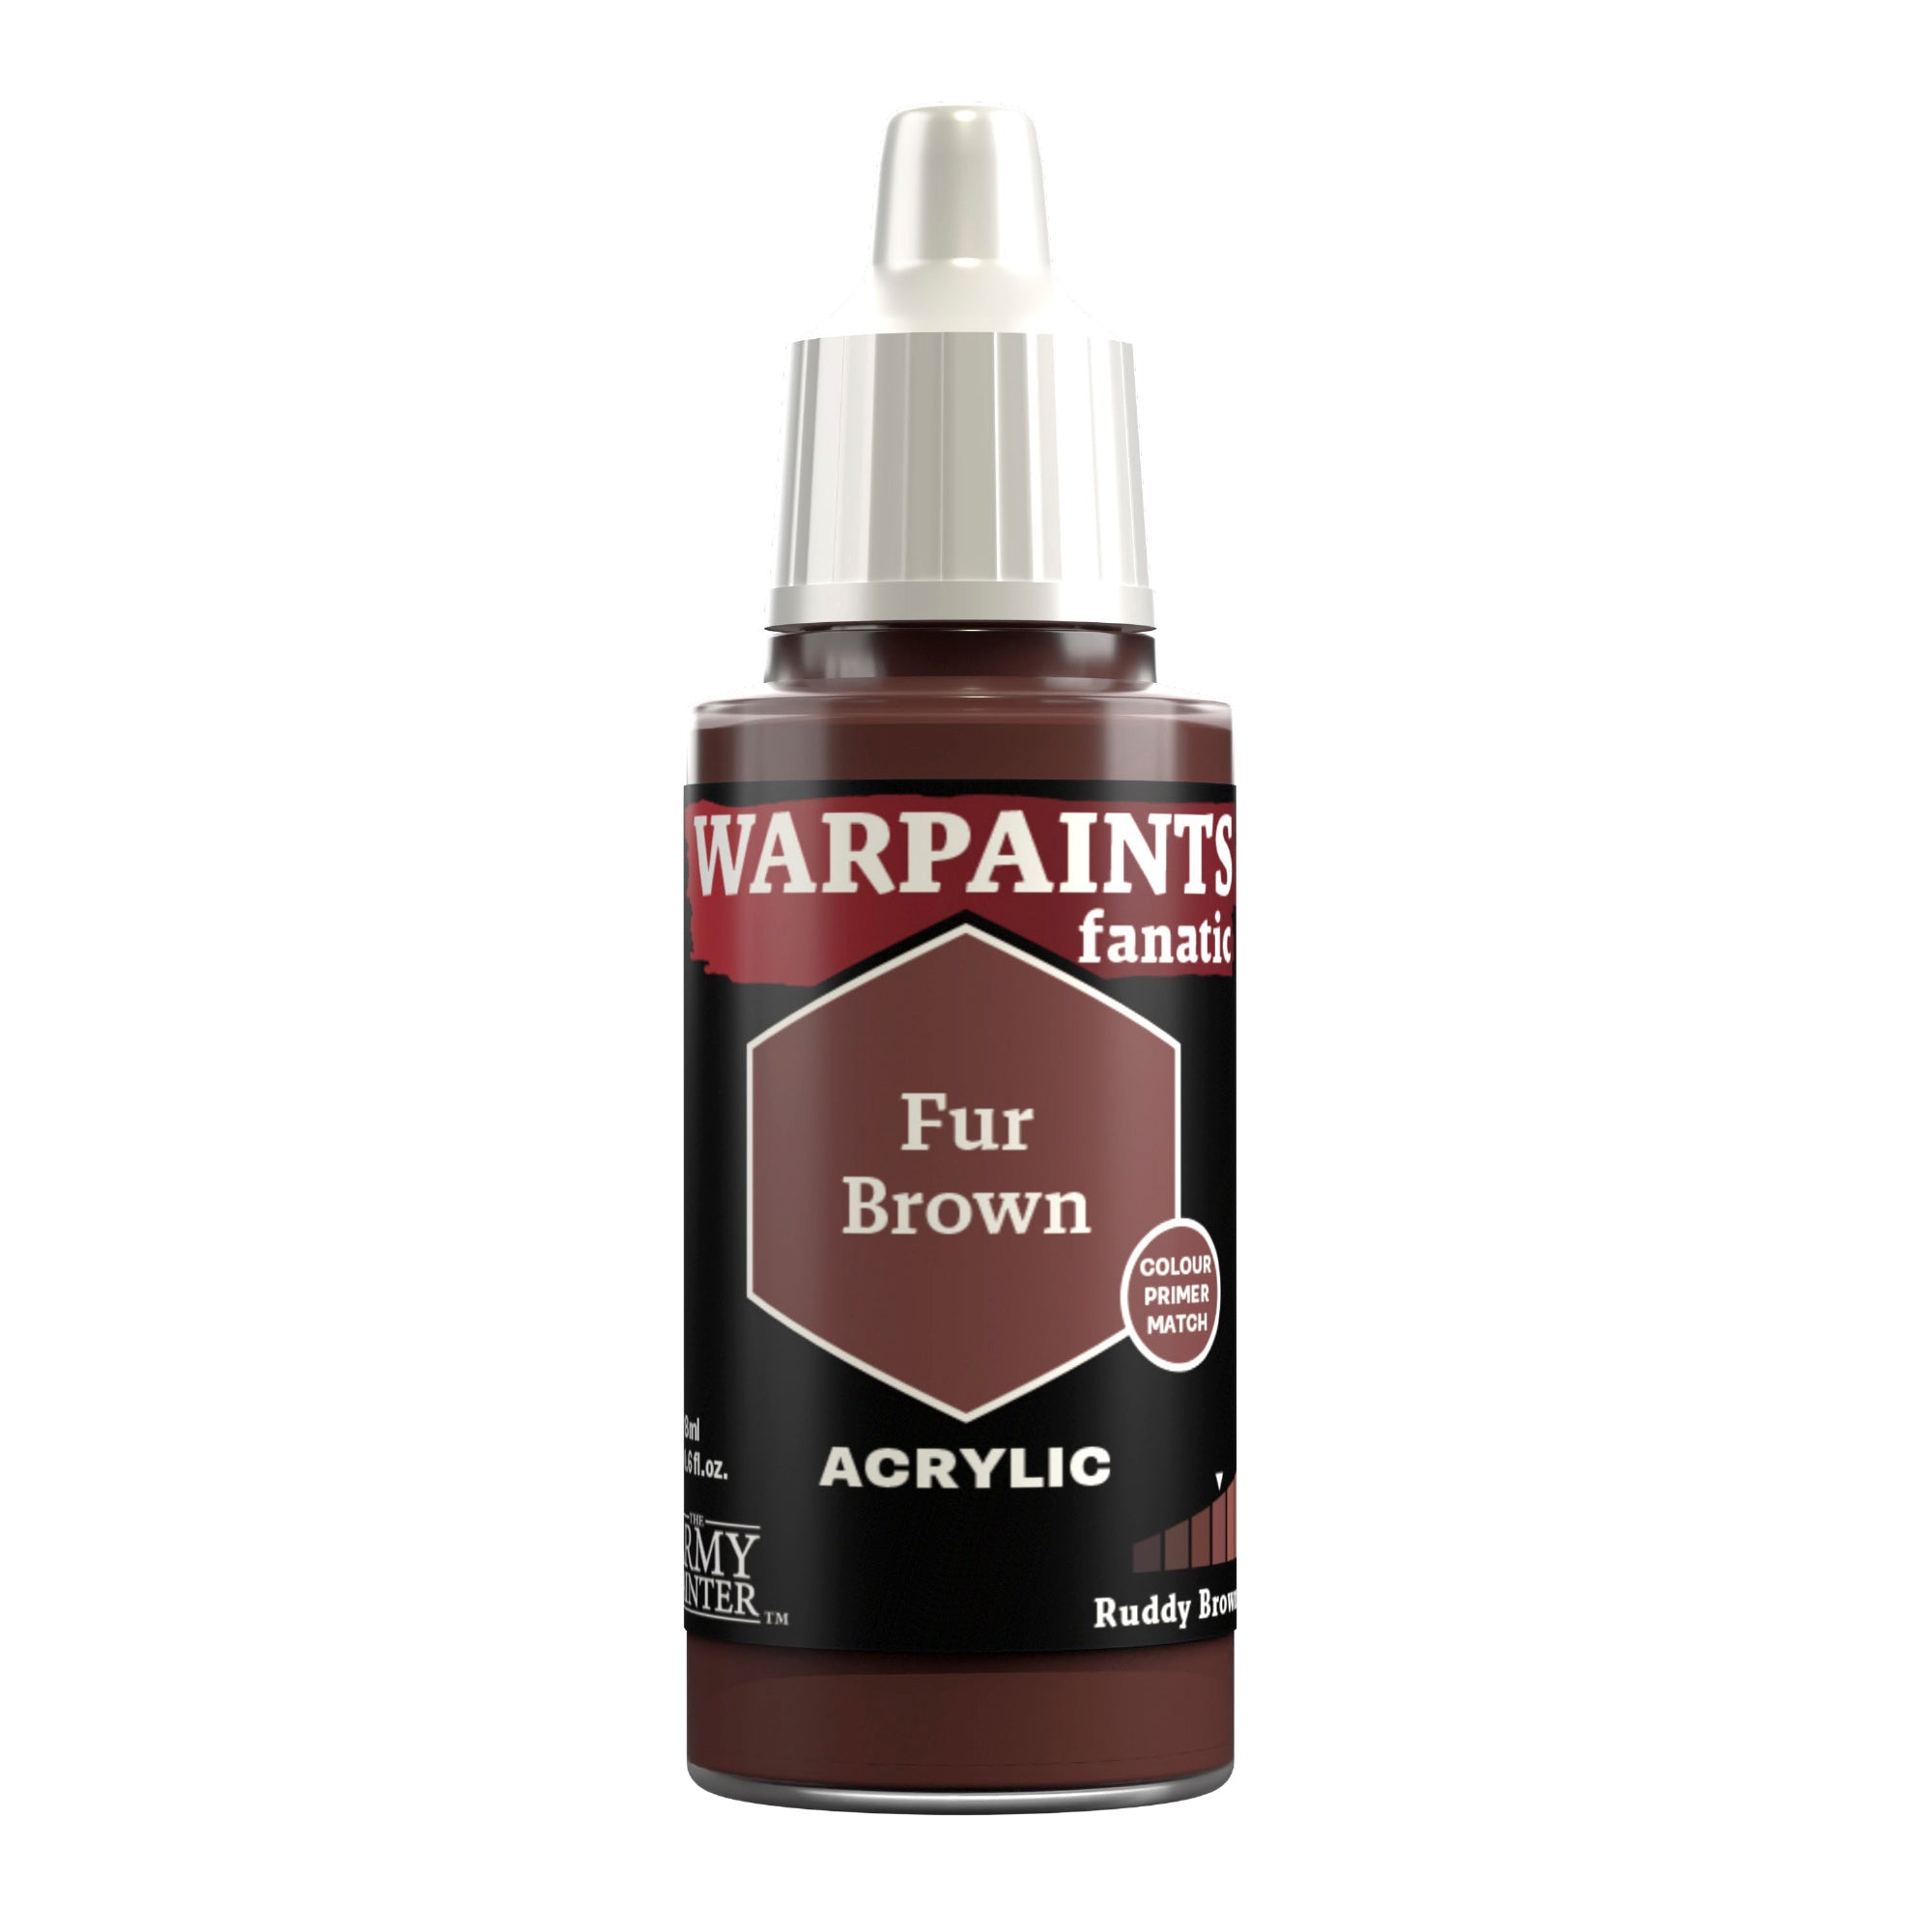
Next, highlight the leather with Warpaints Fanatic Fur Brown in an uneven fashion to mimic the look of worn leather. You can add some scratches as well.
The Green Armour
Step 1
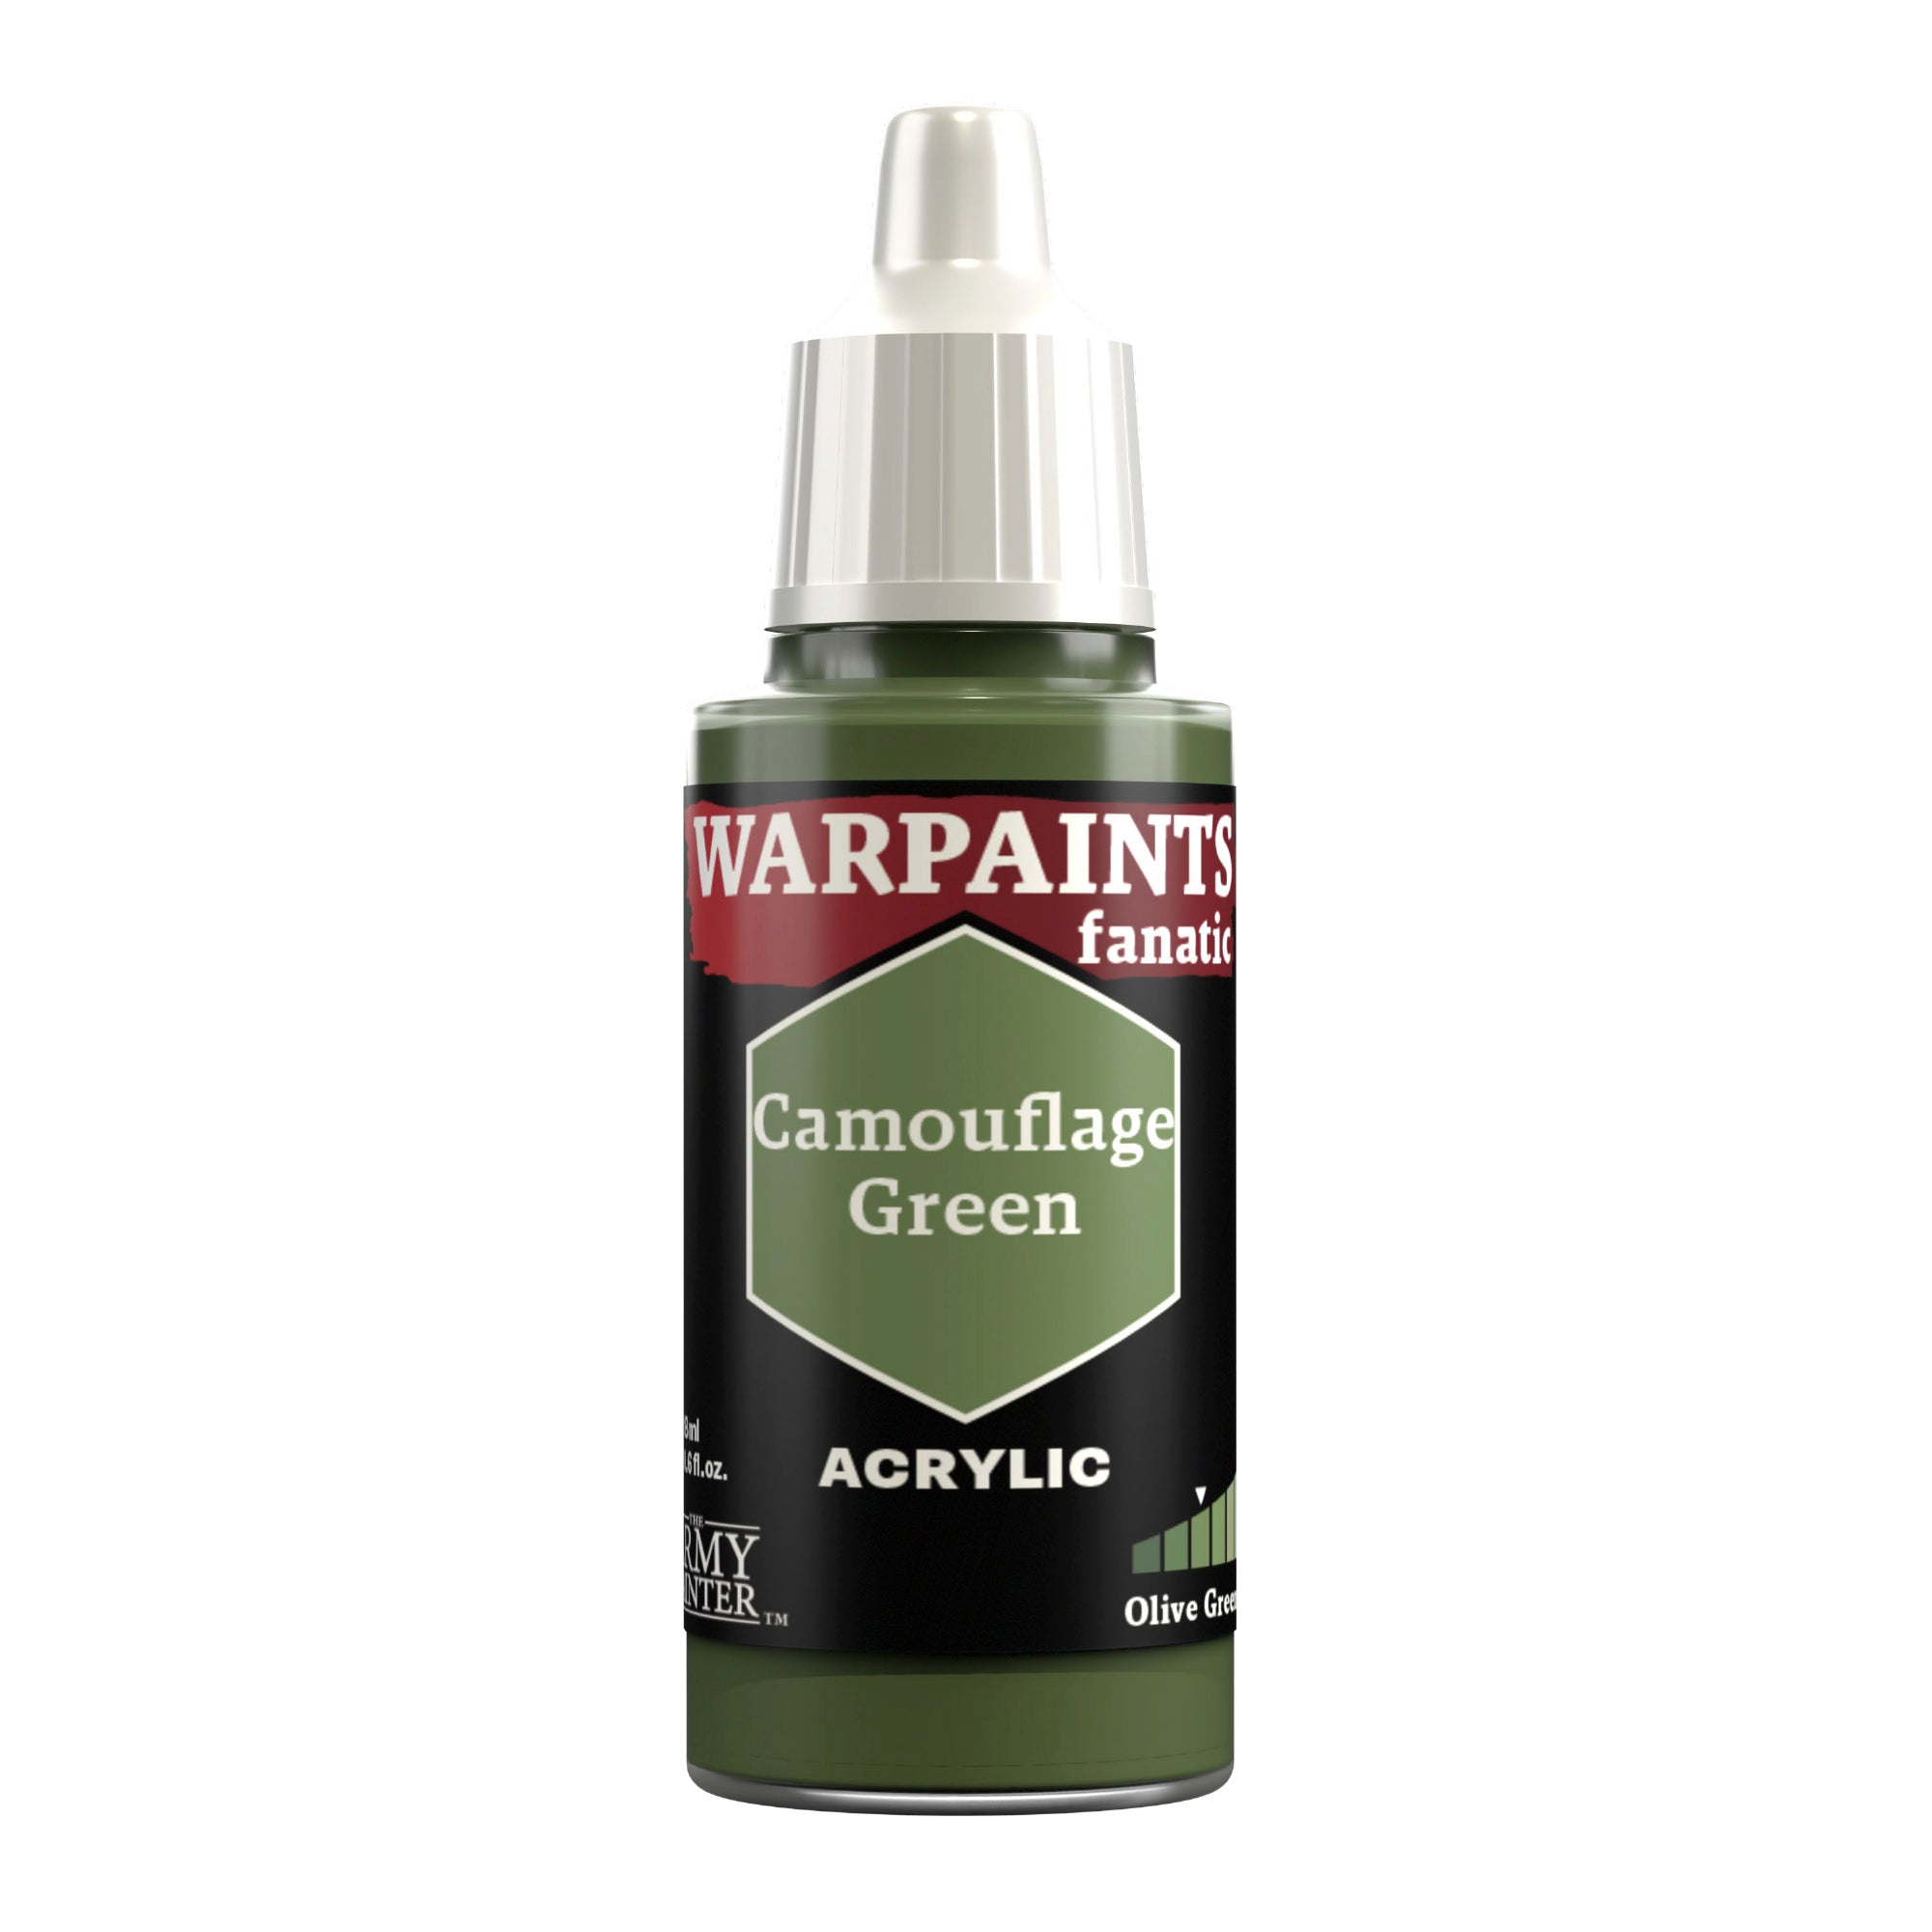
Basecoat all the green areas with Warpaints Fanatic Camouflage Green.
Step 2
Apply a wash to the green with an all-over coat of Warpaints Fanatic Wash Military Shade.
Step 3
Add chipping to the green in the same fashion as we did on the rest of the armour with a sponge and Warpaints Fanatic Oak Brown.
Step 4
Next, highlight the green with Warpaints Fanatic Olive Drab by picking out the edges of the armour, around any chipping, and also in a few small scratches.
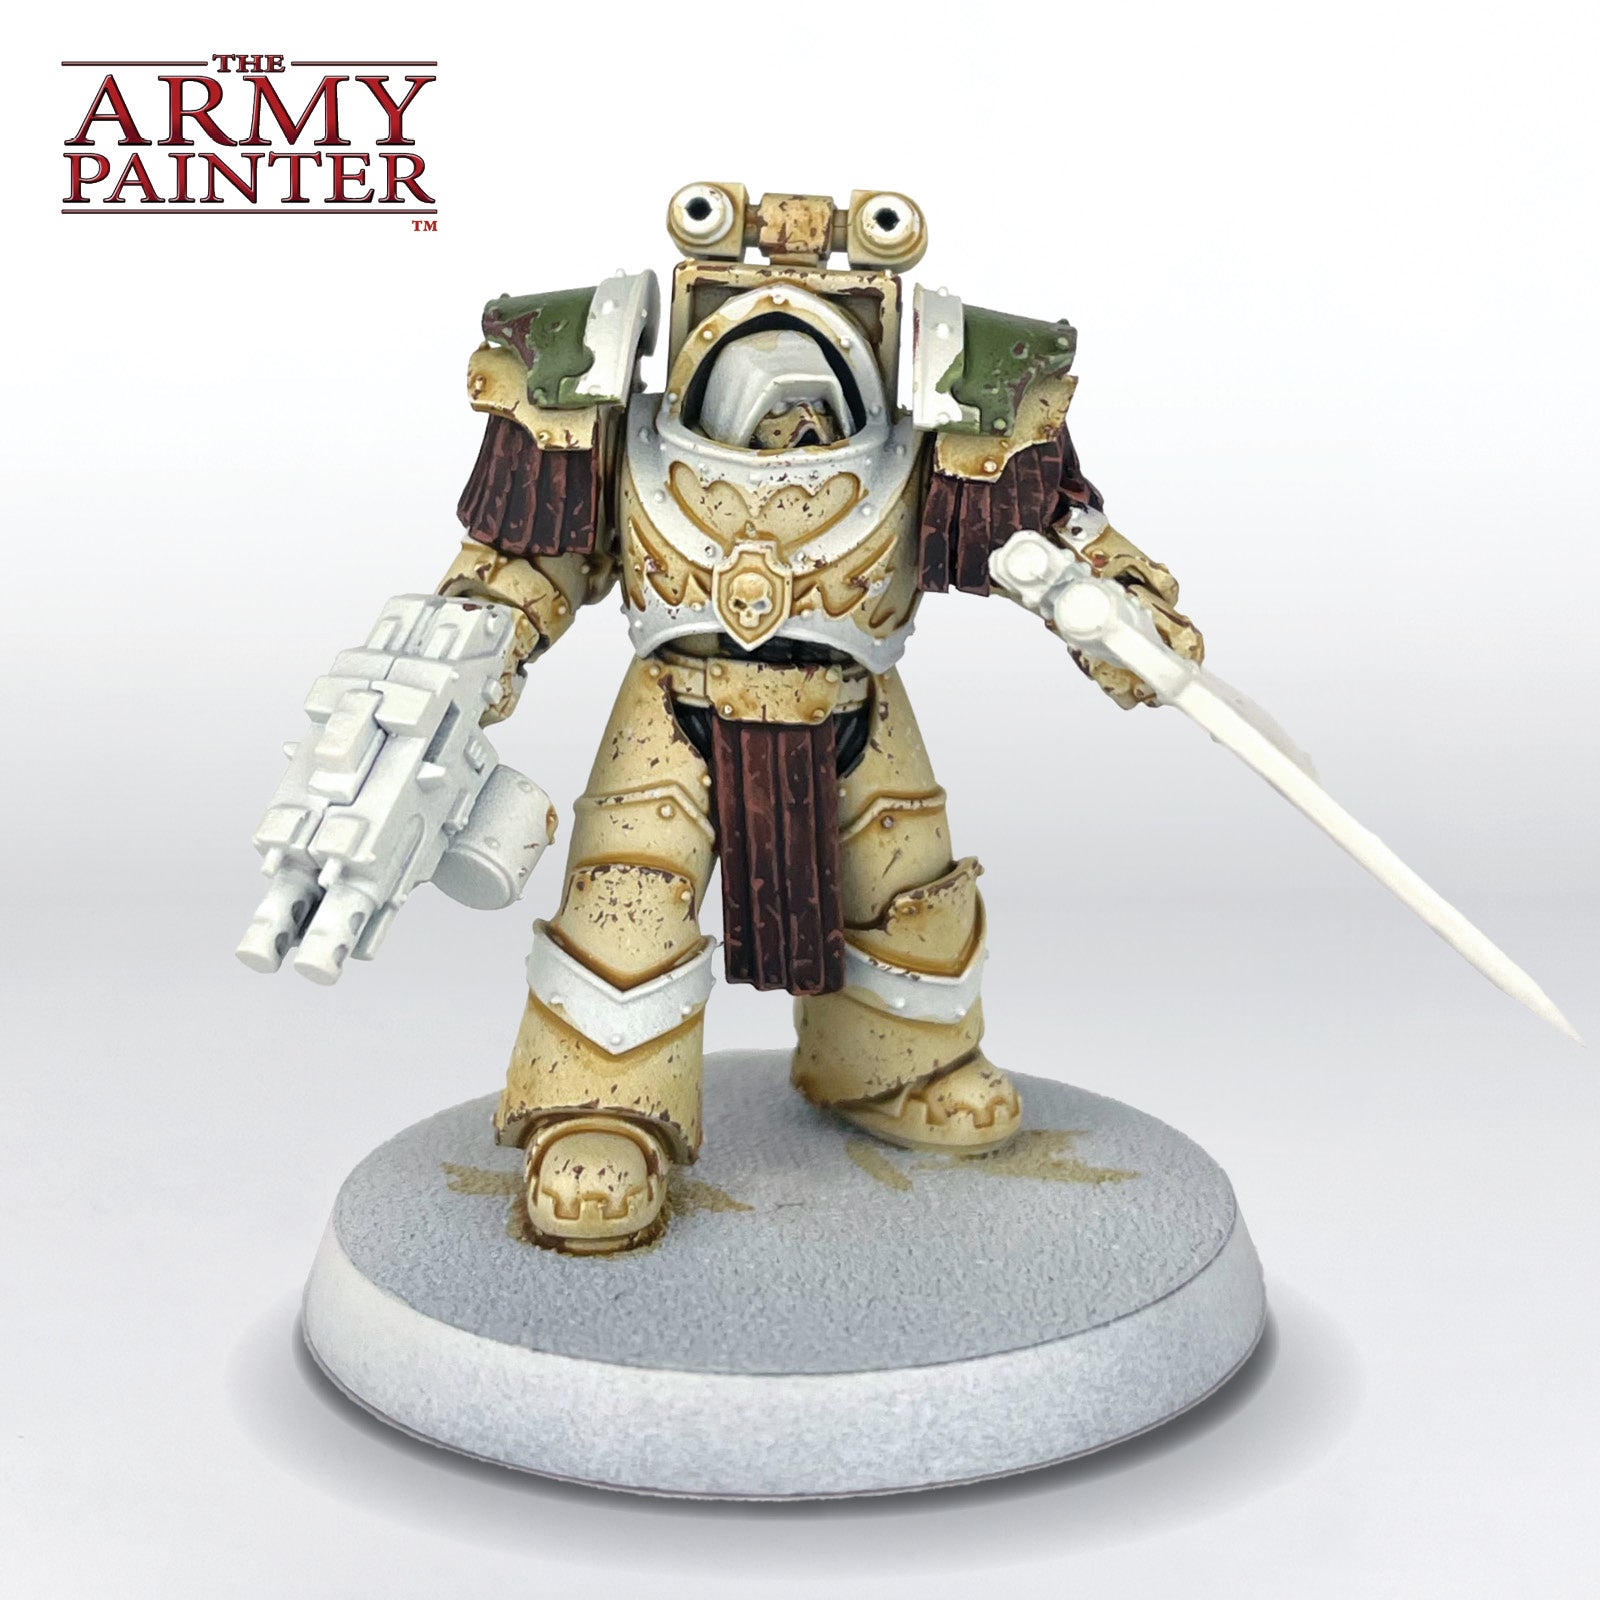
Step 5
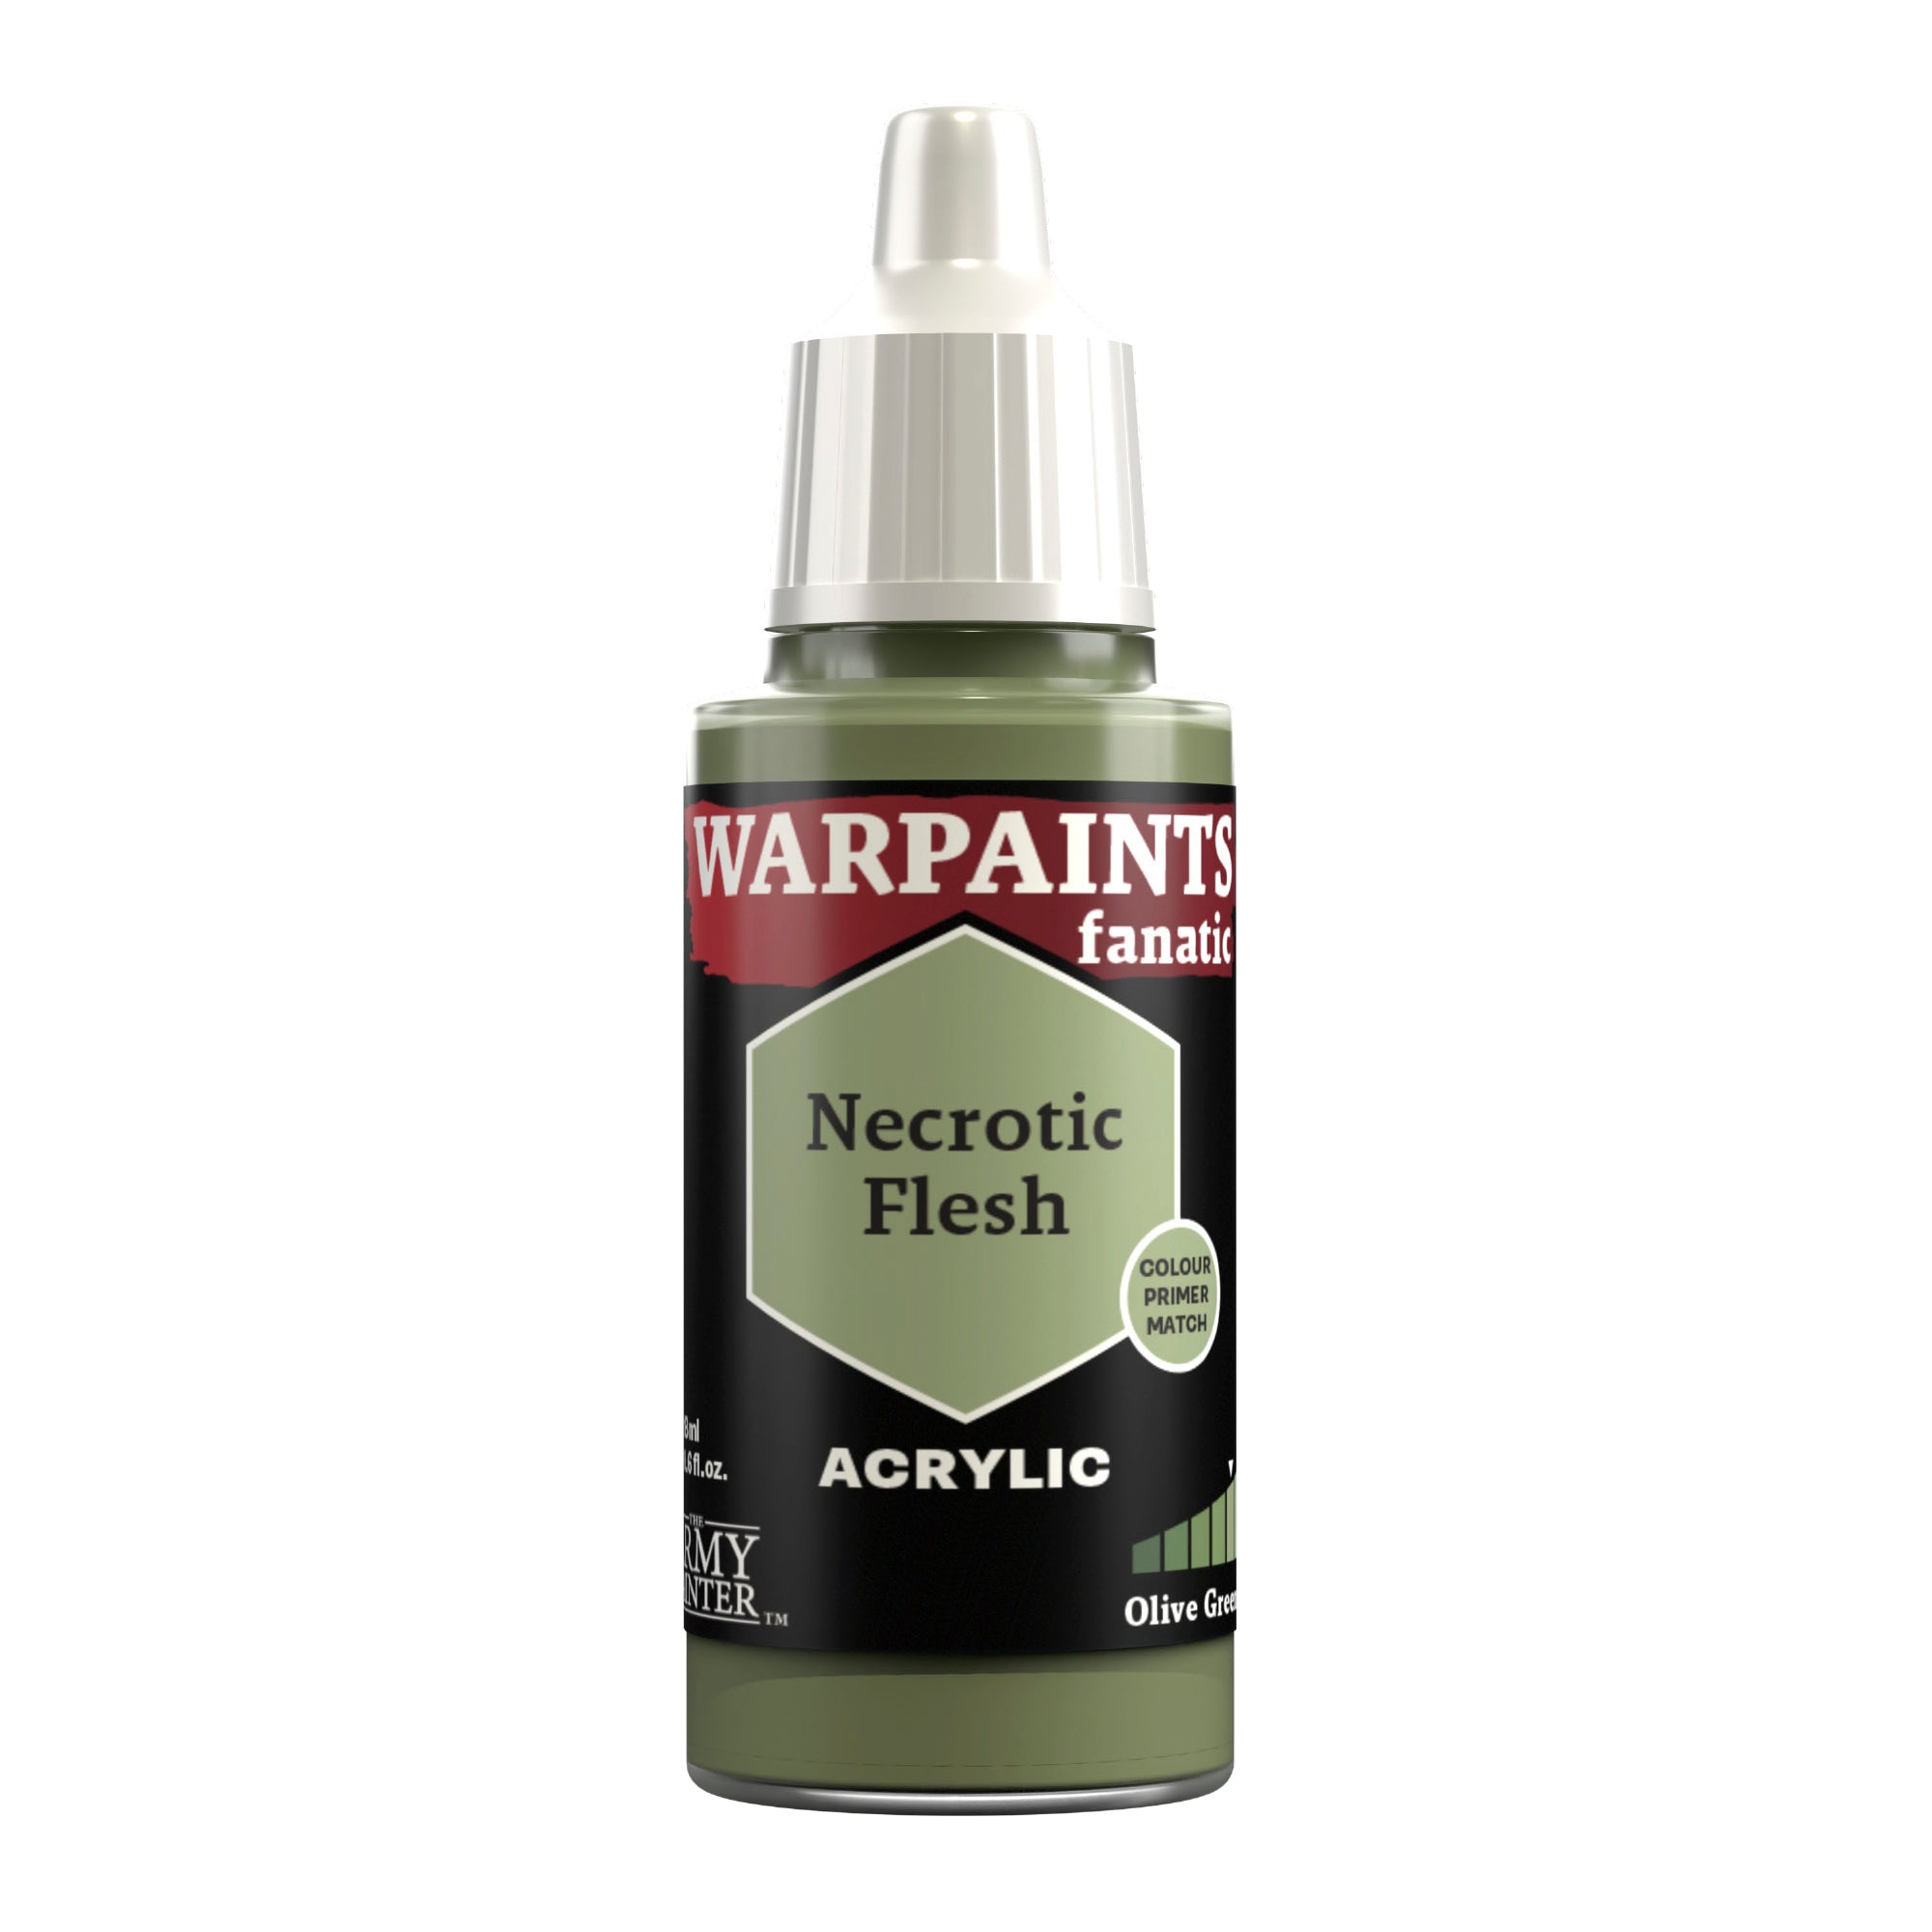
Finally, apply a specular highlight of Warpaints Fanatic Necrotic Flesh to the corners of the armour, any rivets, and to the corners of some of the chipping.
The Gold Trim
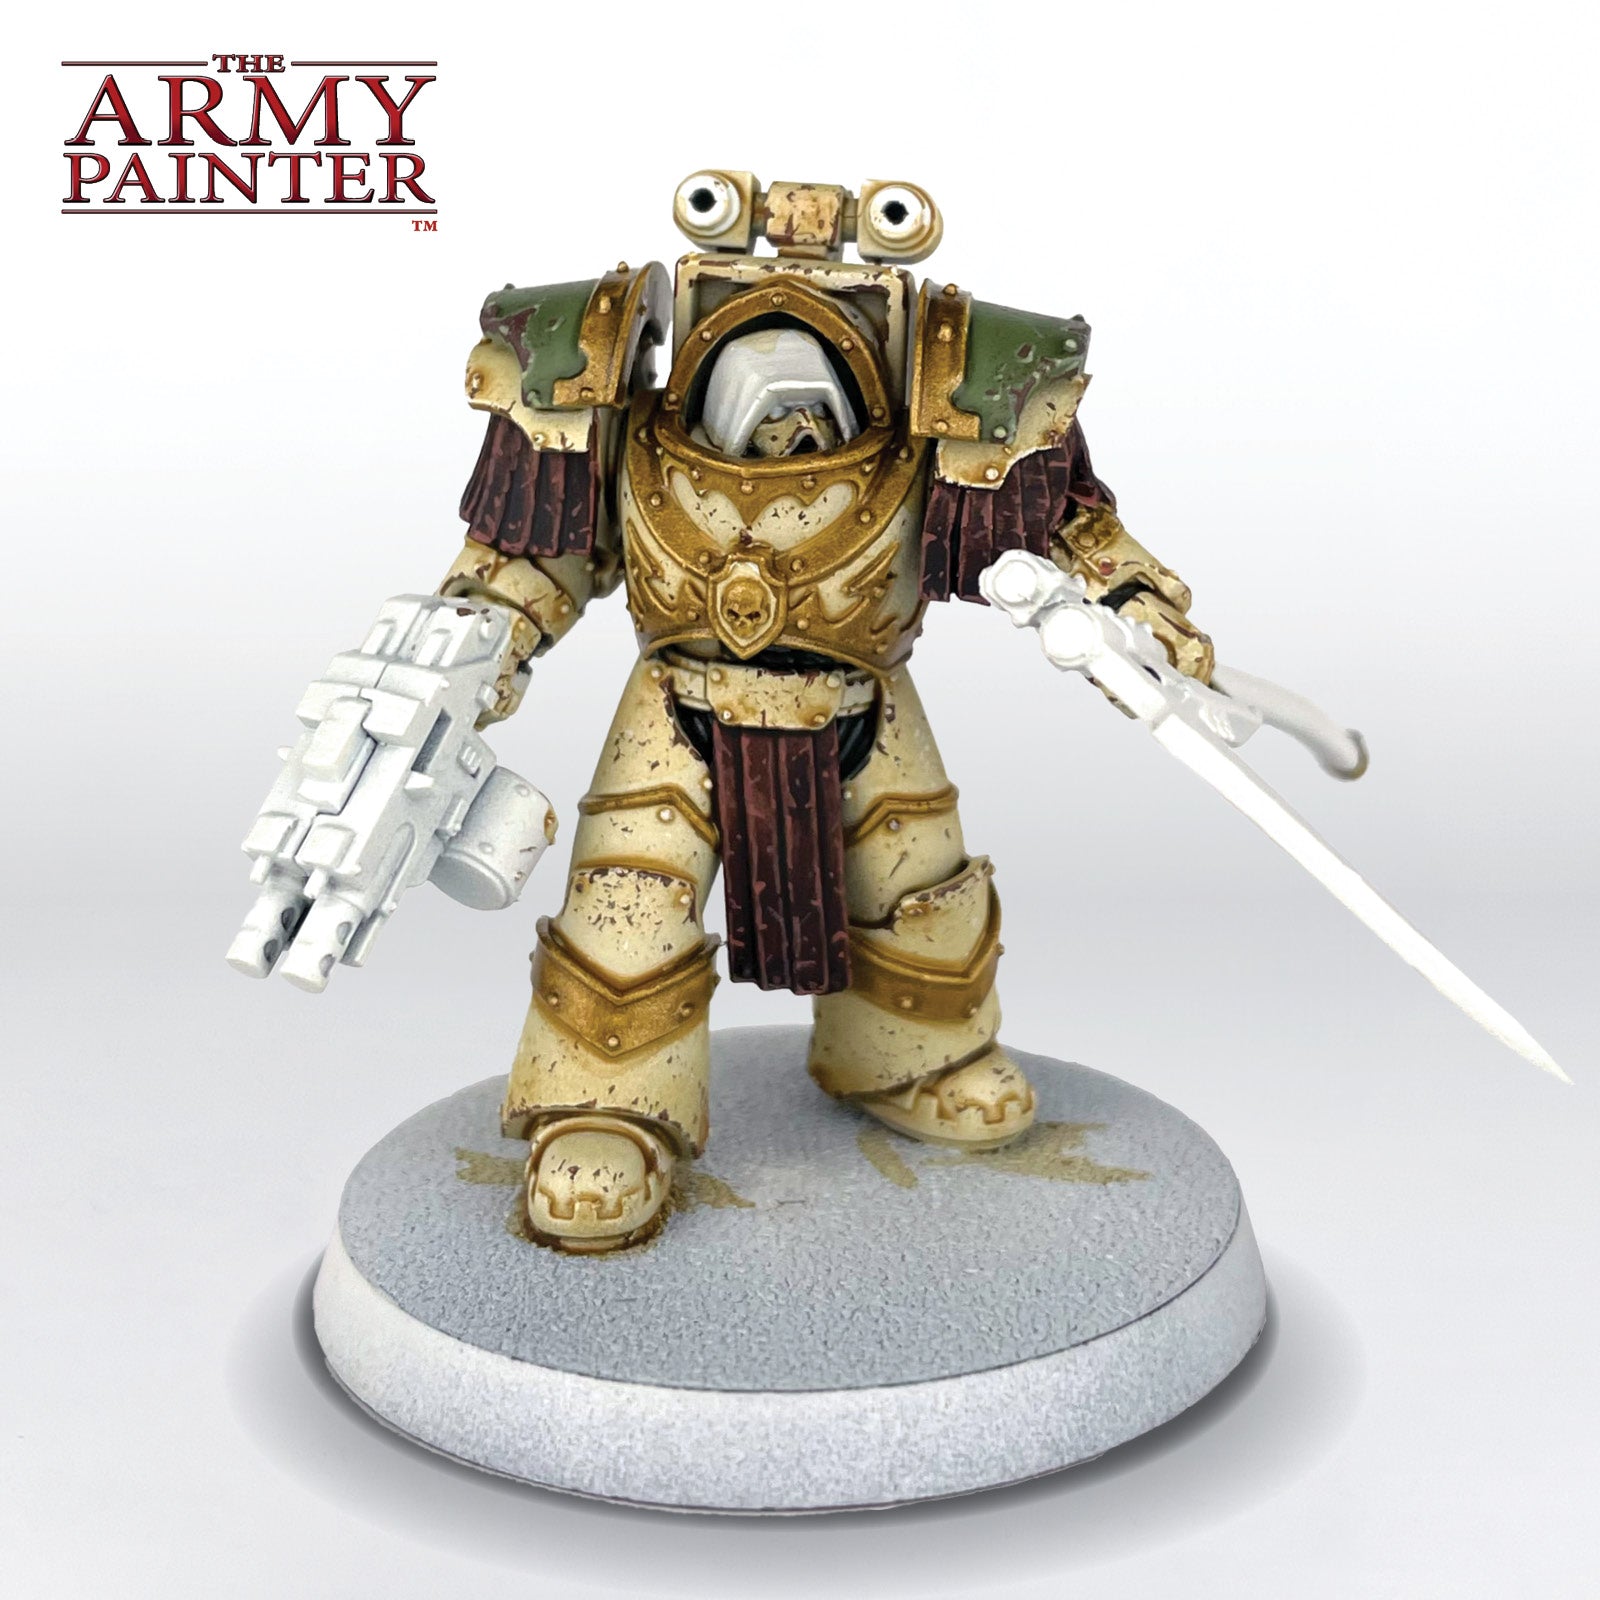
Step 1
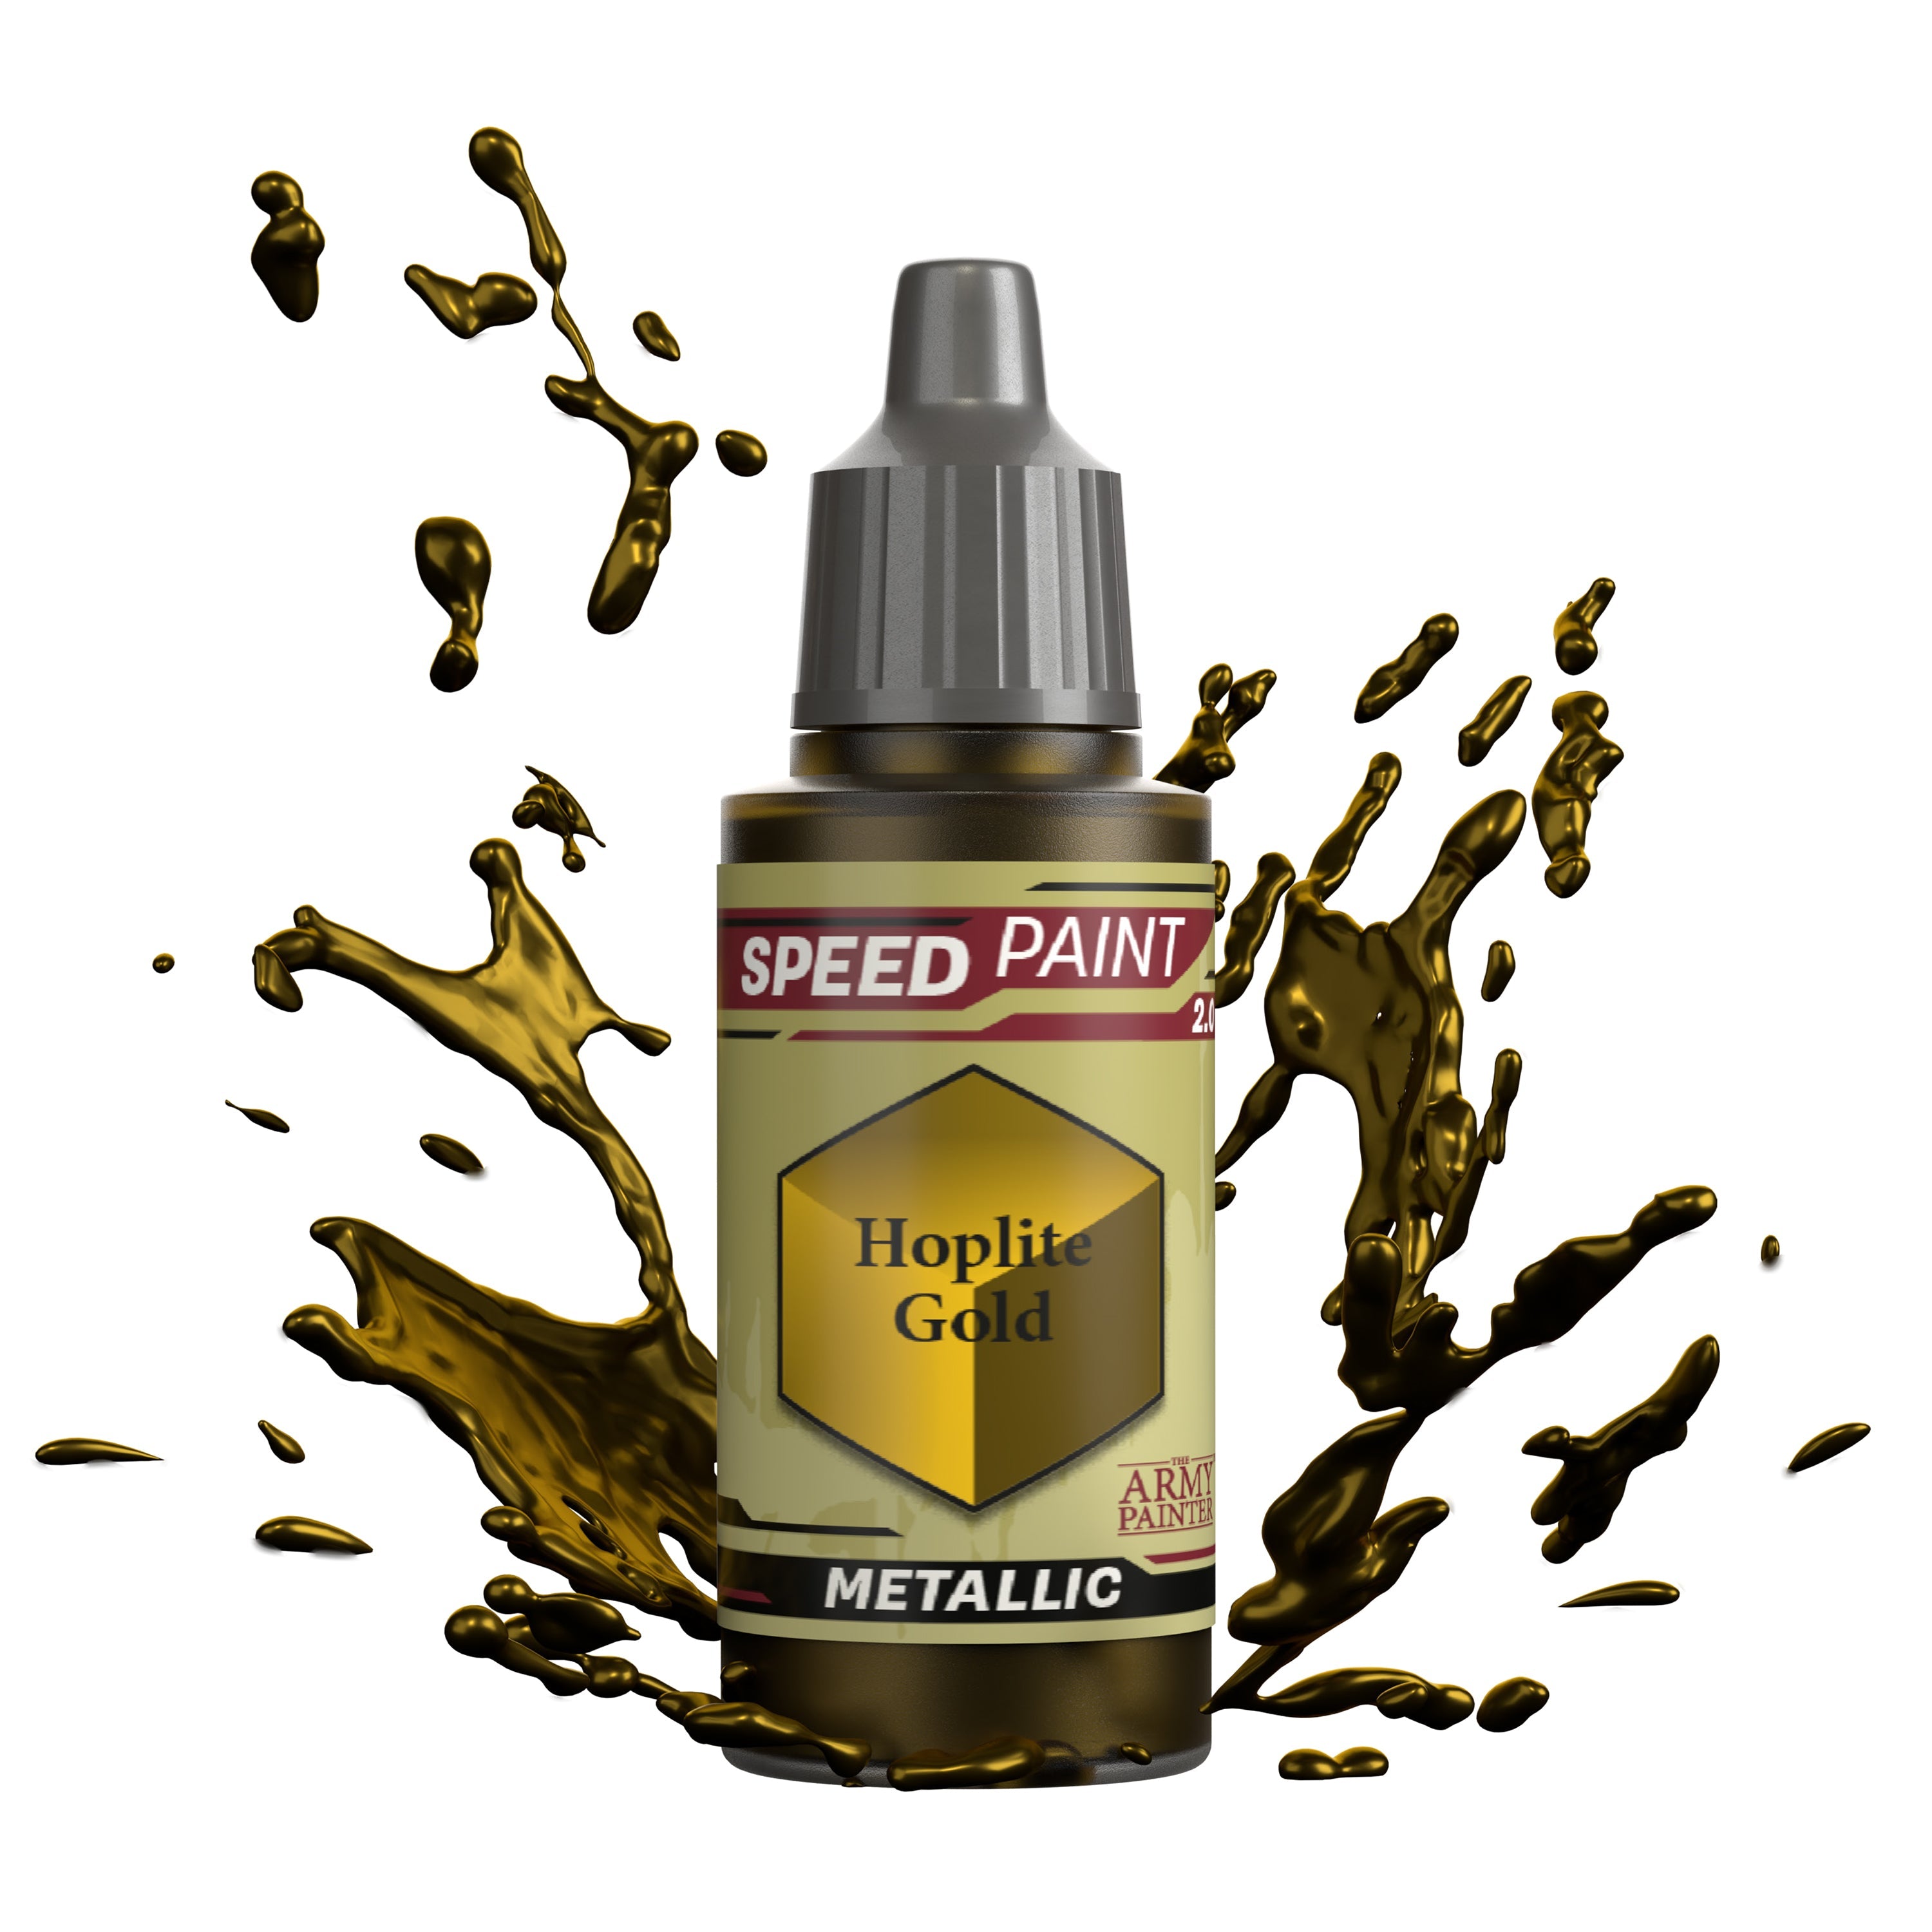
Paint all the gold areas with a solid coat of Speedpaint Hoplite Gold.

Step 2
Next, these all received shading with Warpaints Fanatic Wash Strong Tone.
Step 3
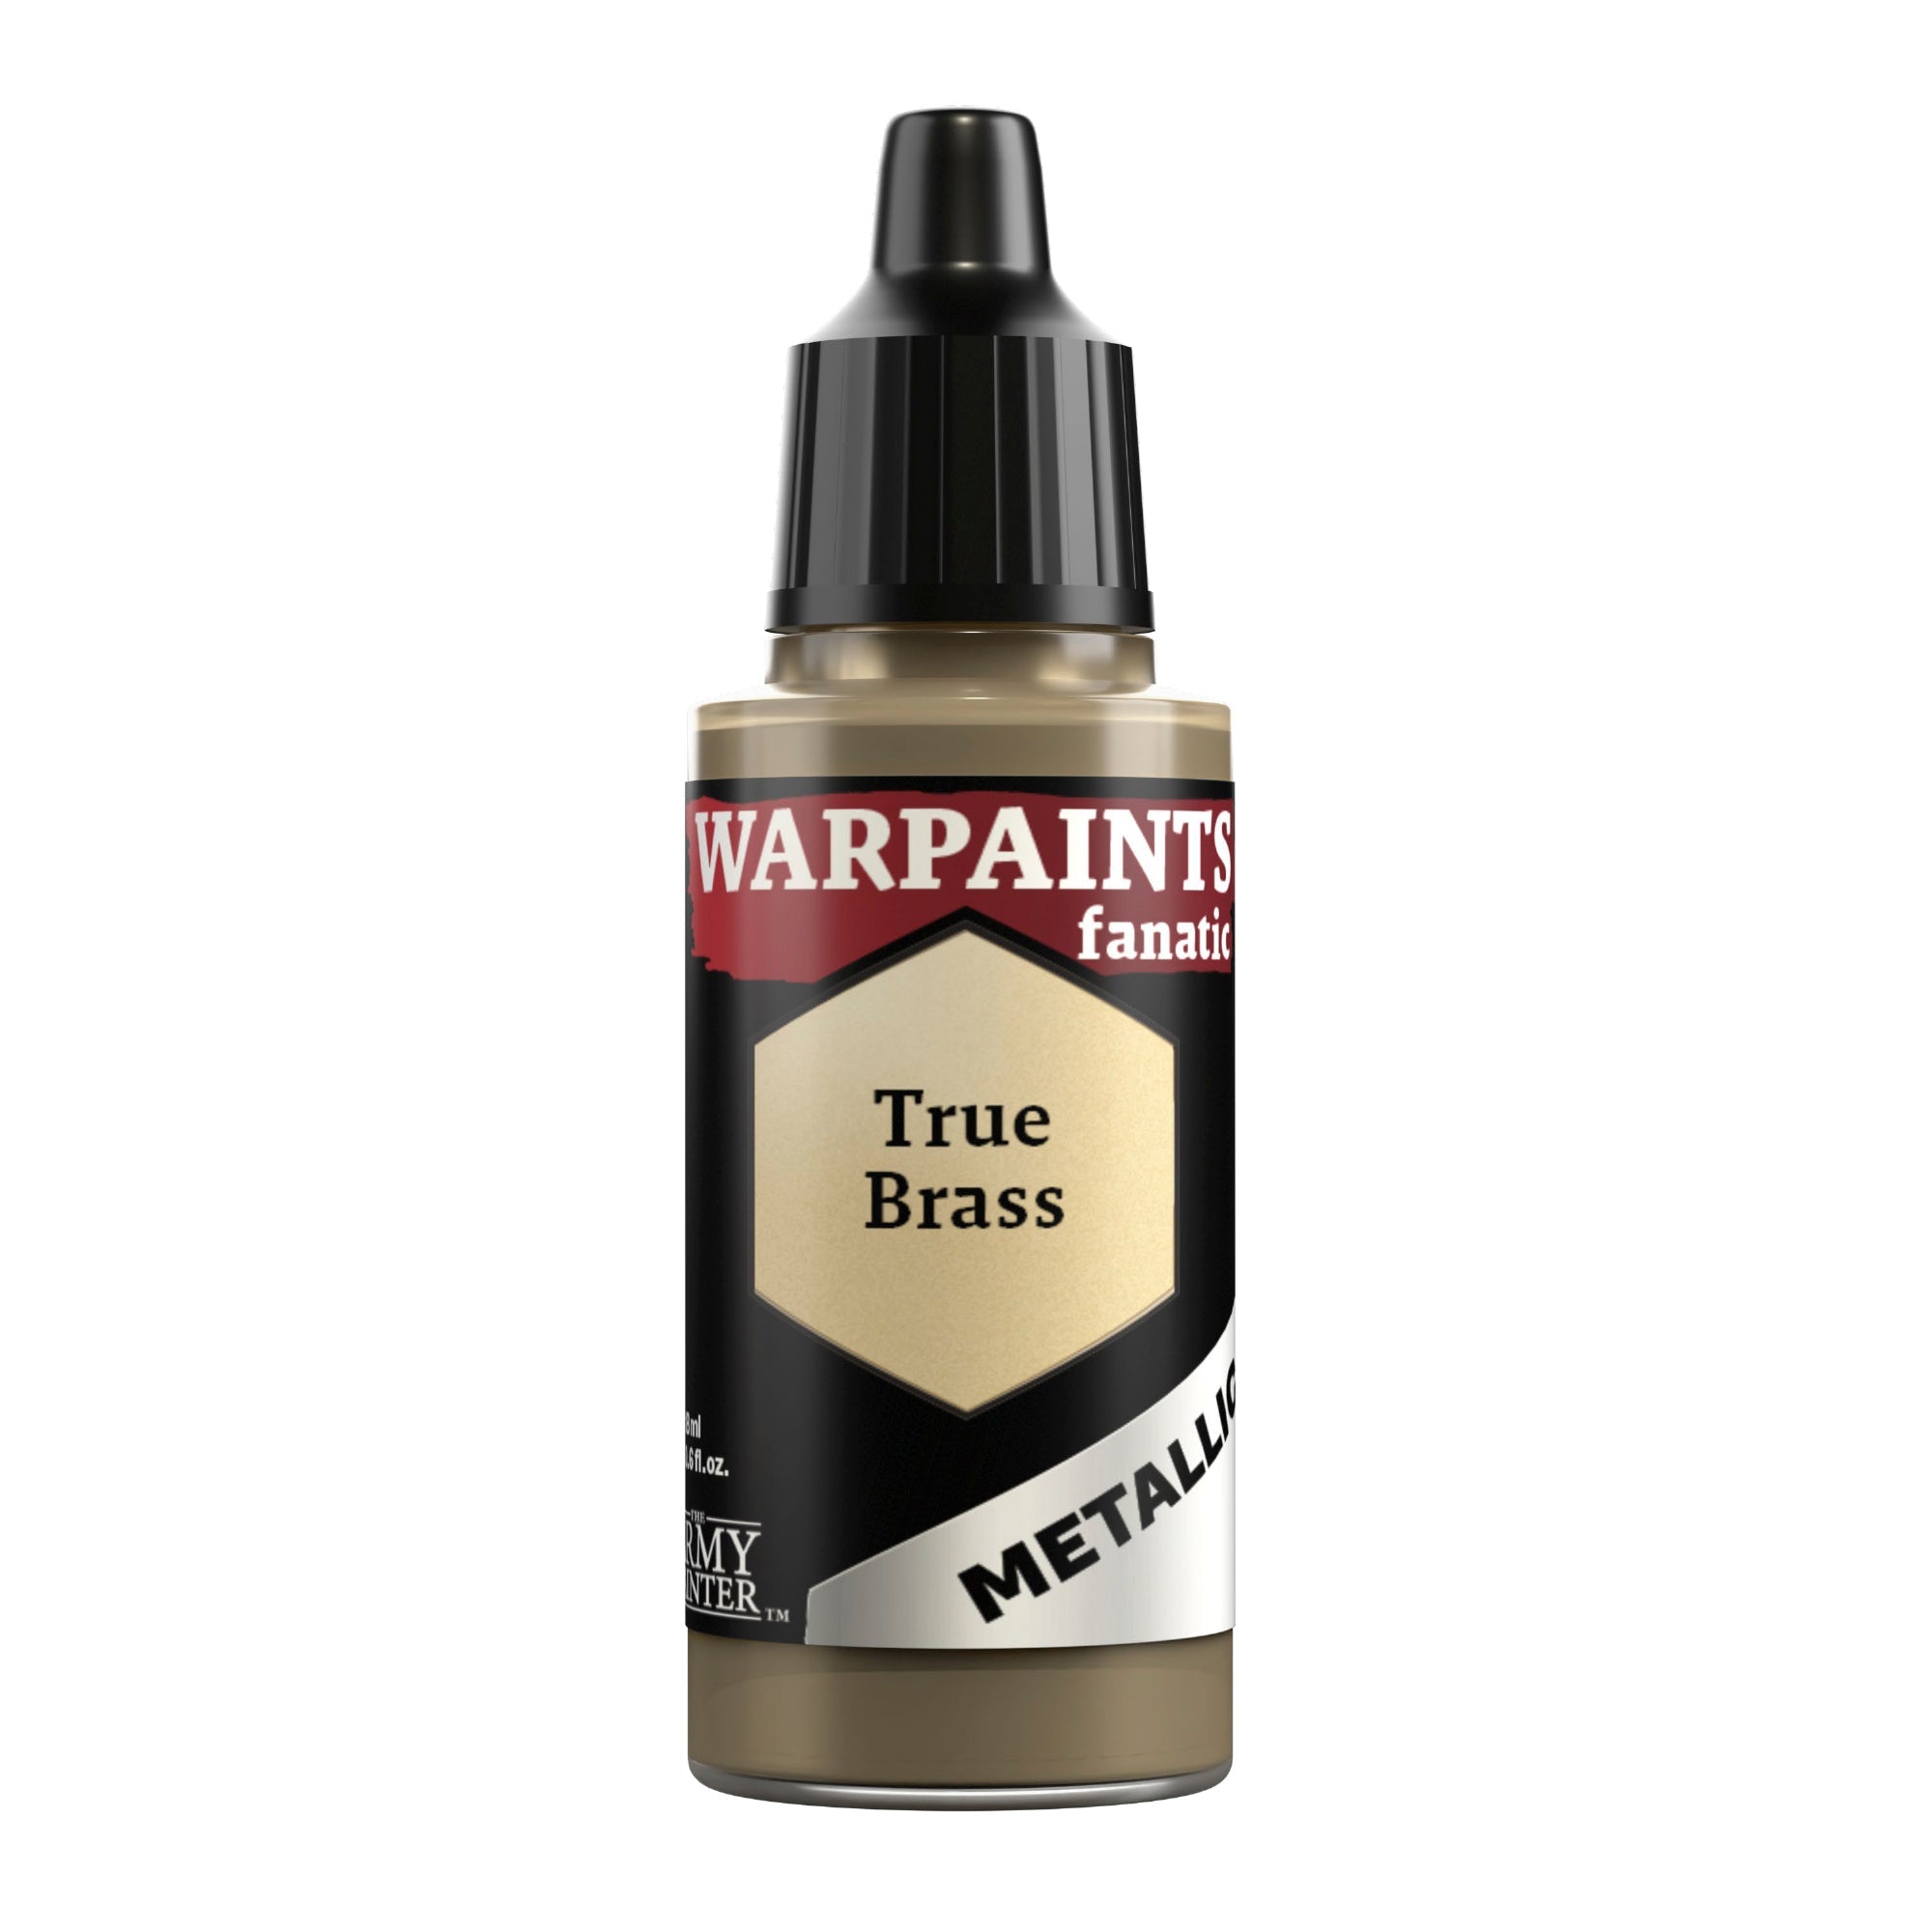
Finally, apply an edge highlight with Warpaints Fanatic True Brass.
The Black and Silver
Step 1
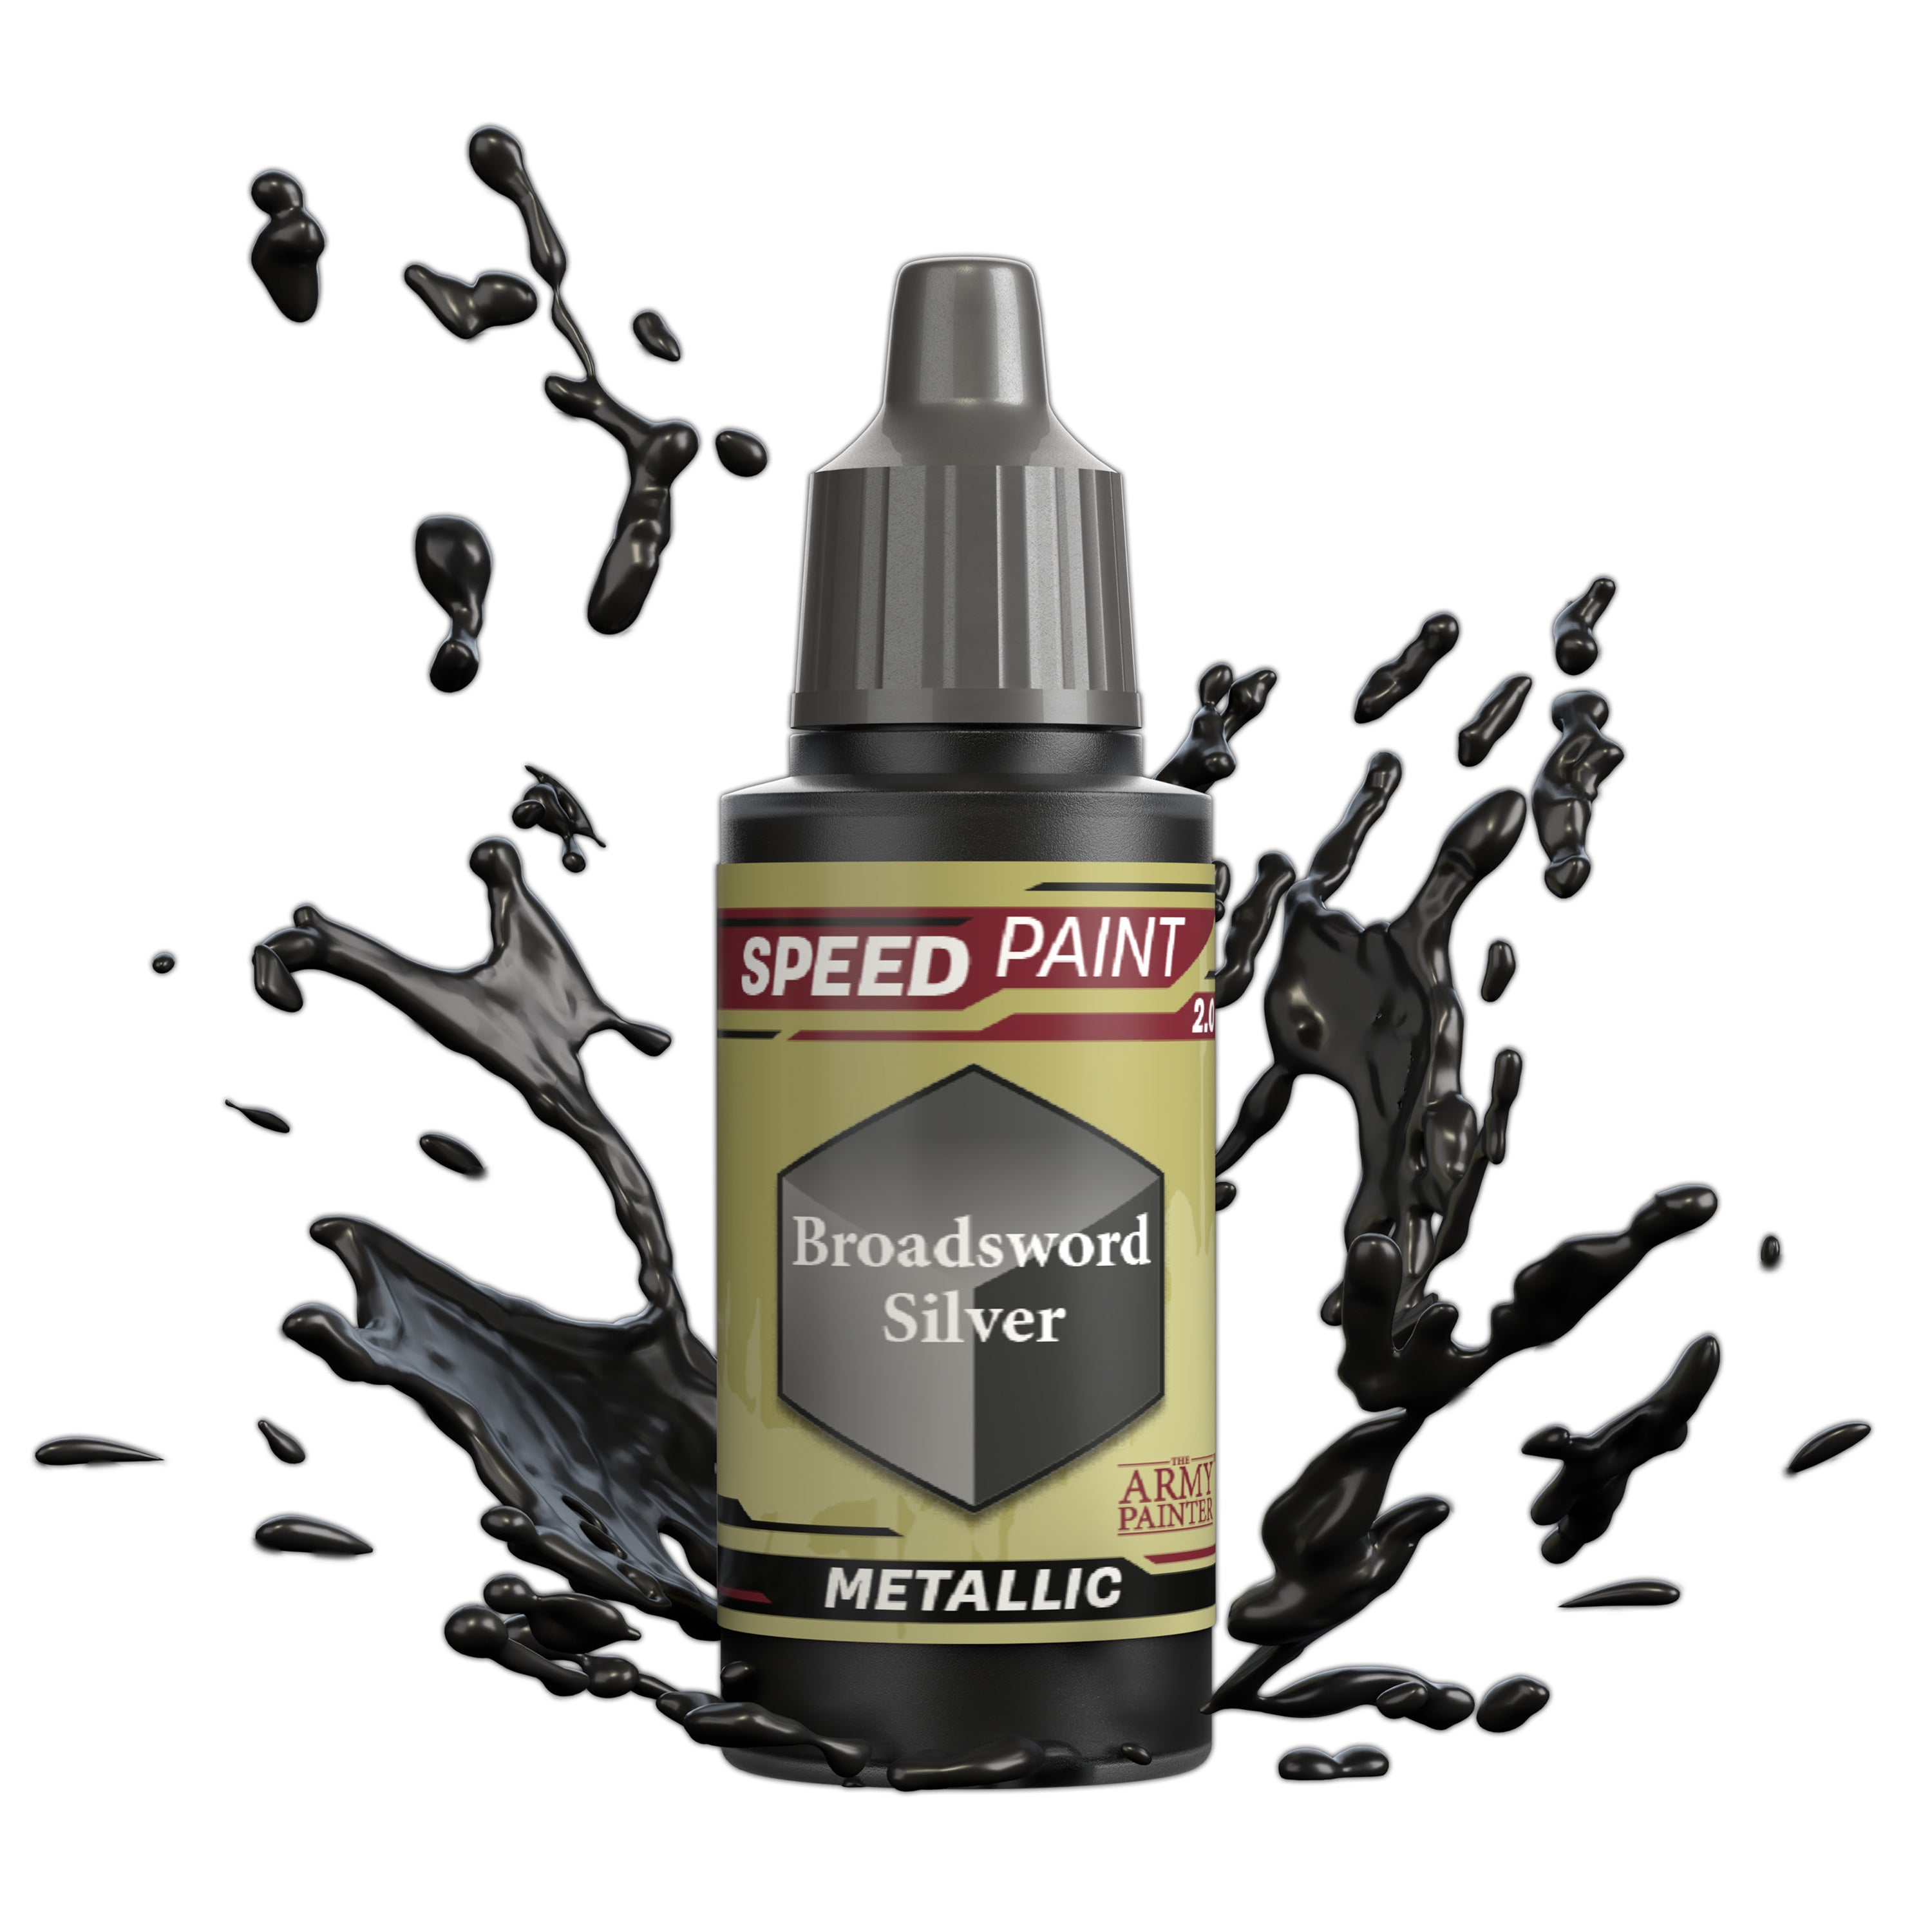
Paint all of the mechanical bits on the models and the weapons with a solid coat of Speedpaint Broadsword Silver.
Step 2
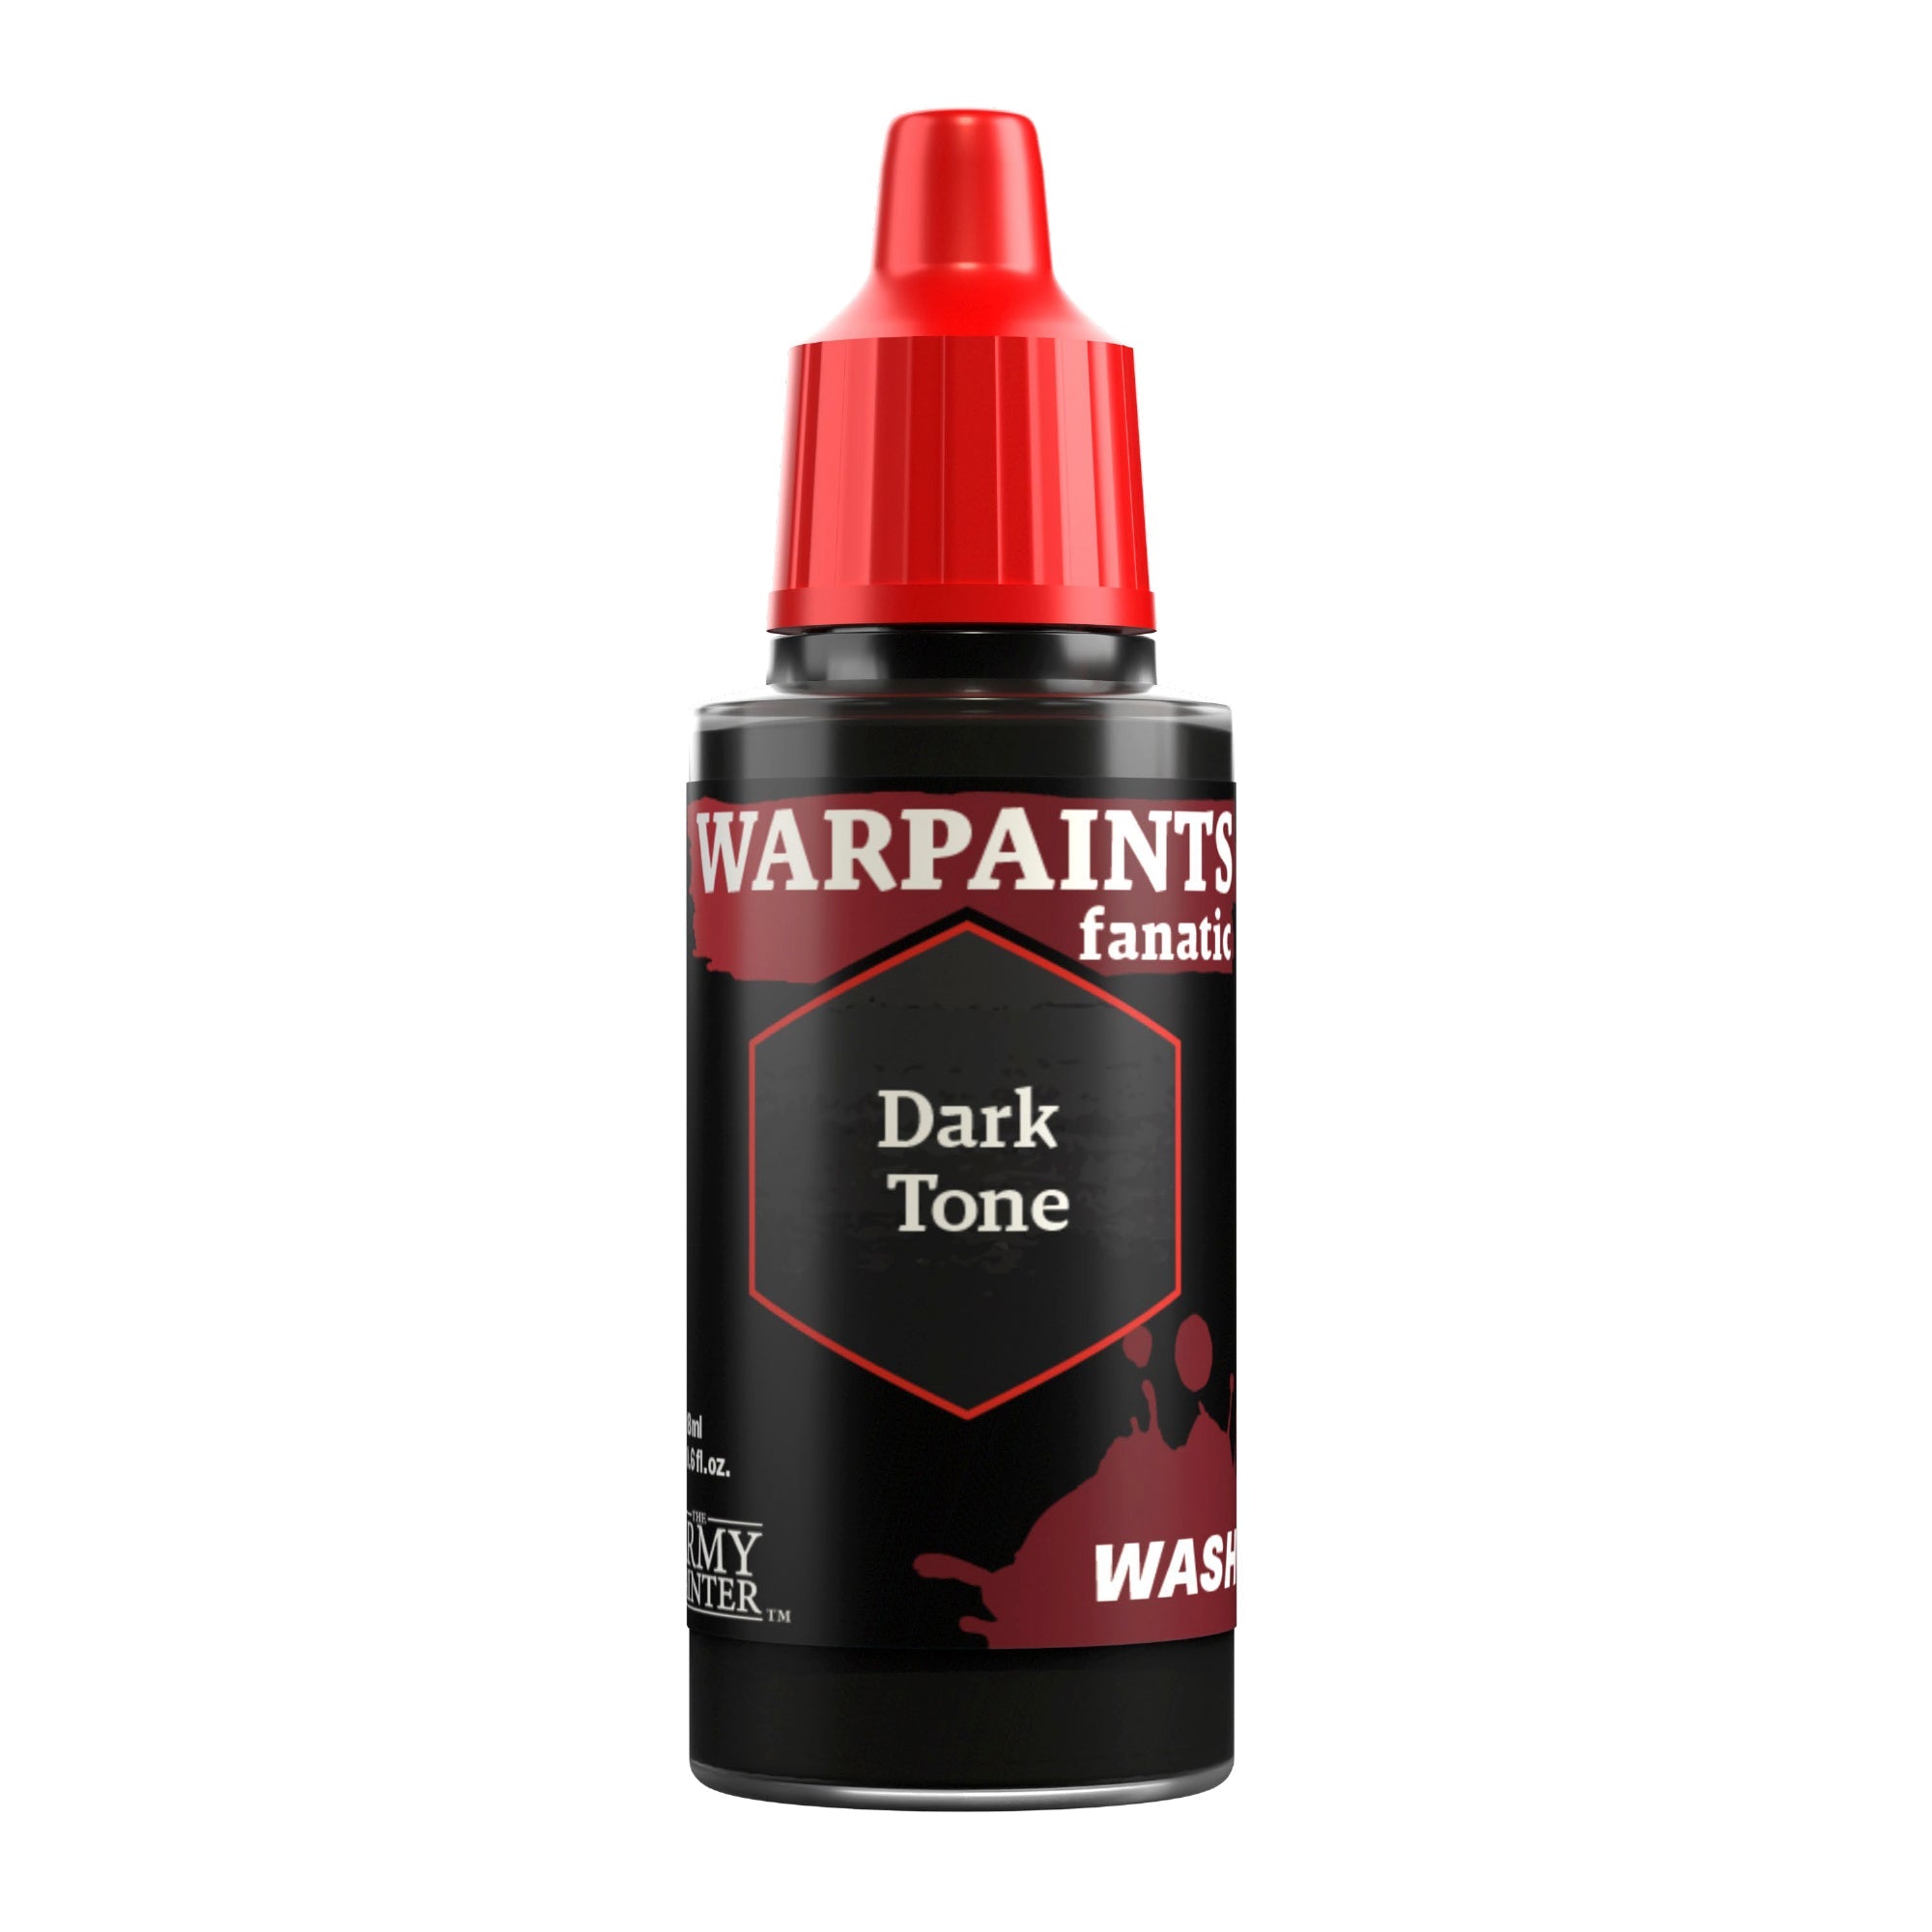
Then shade all of this with Warpaints Fanatic Wash Dark Tone.
Step 3
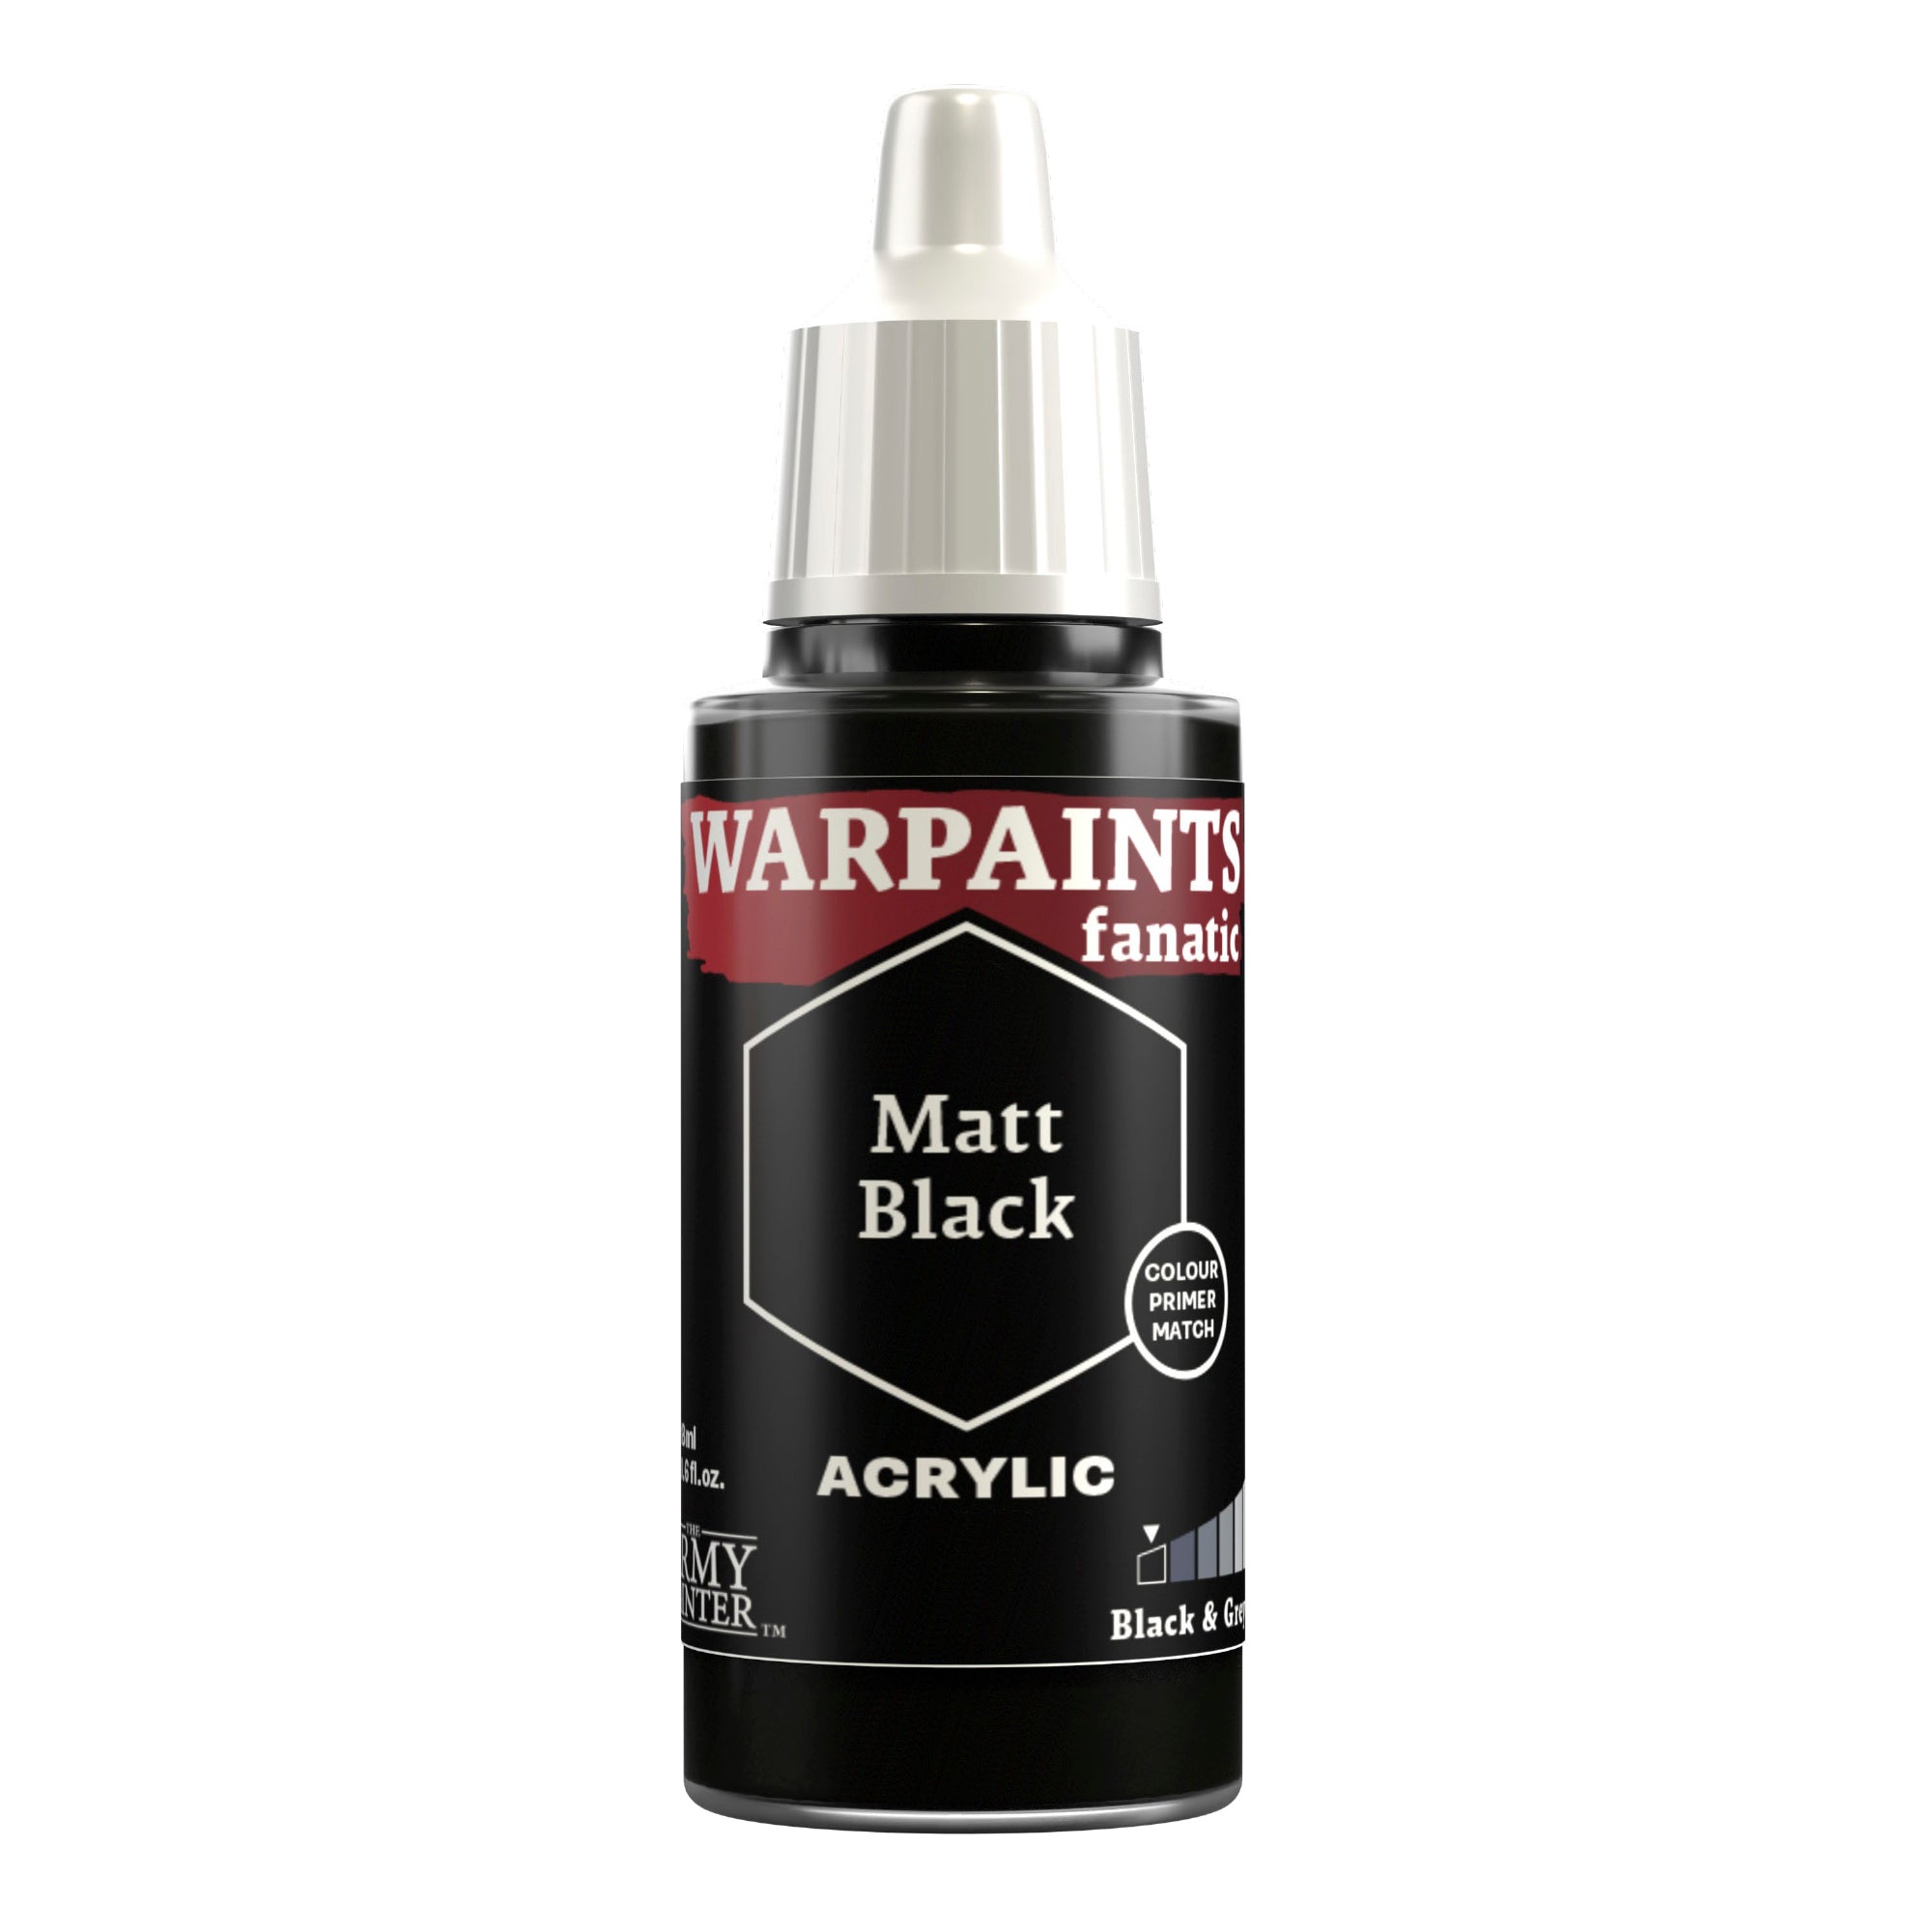
Next, basecoat the weapon casings with Warpaints Fanatic Matt Black.
Step 4
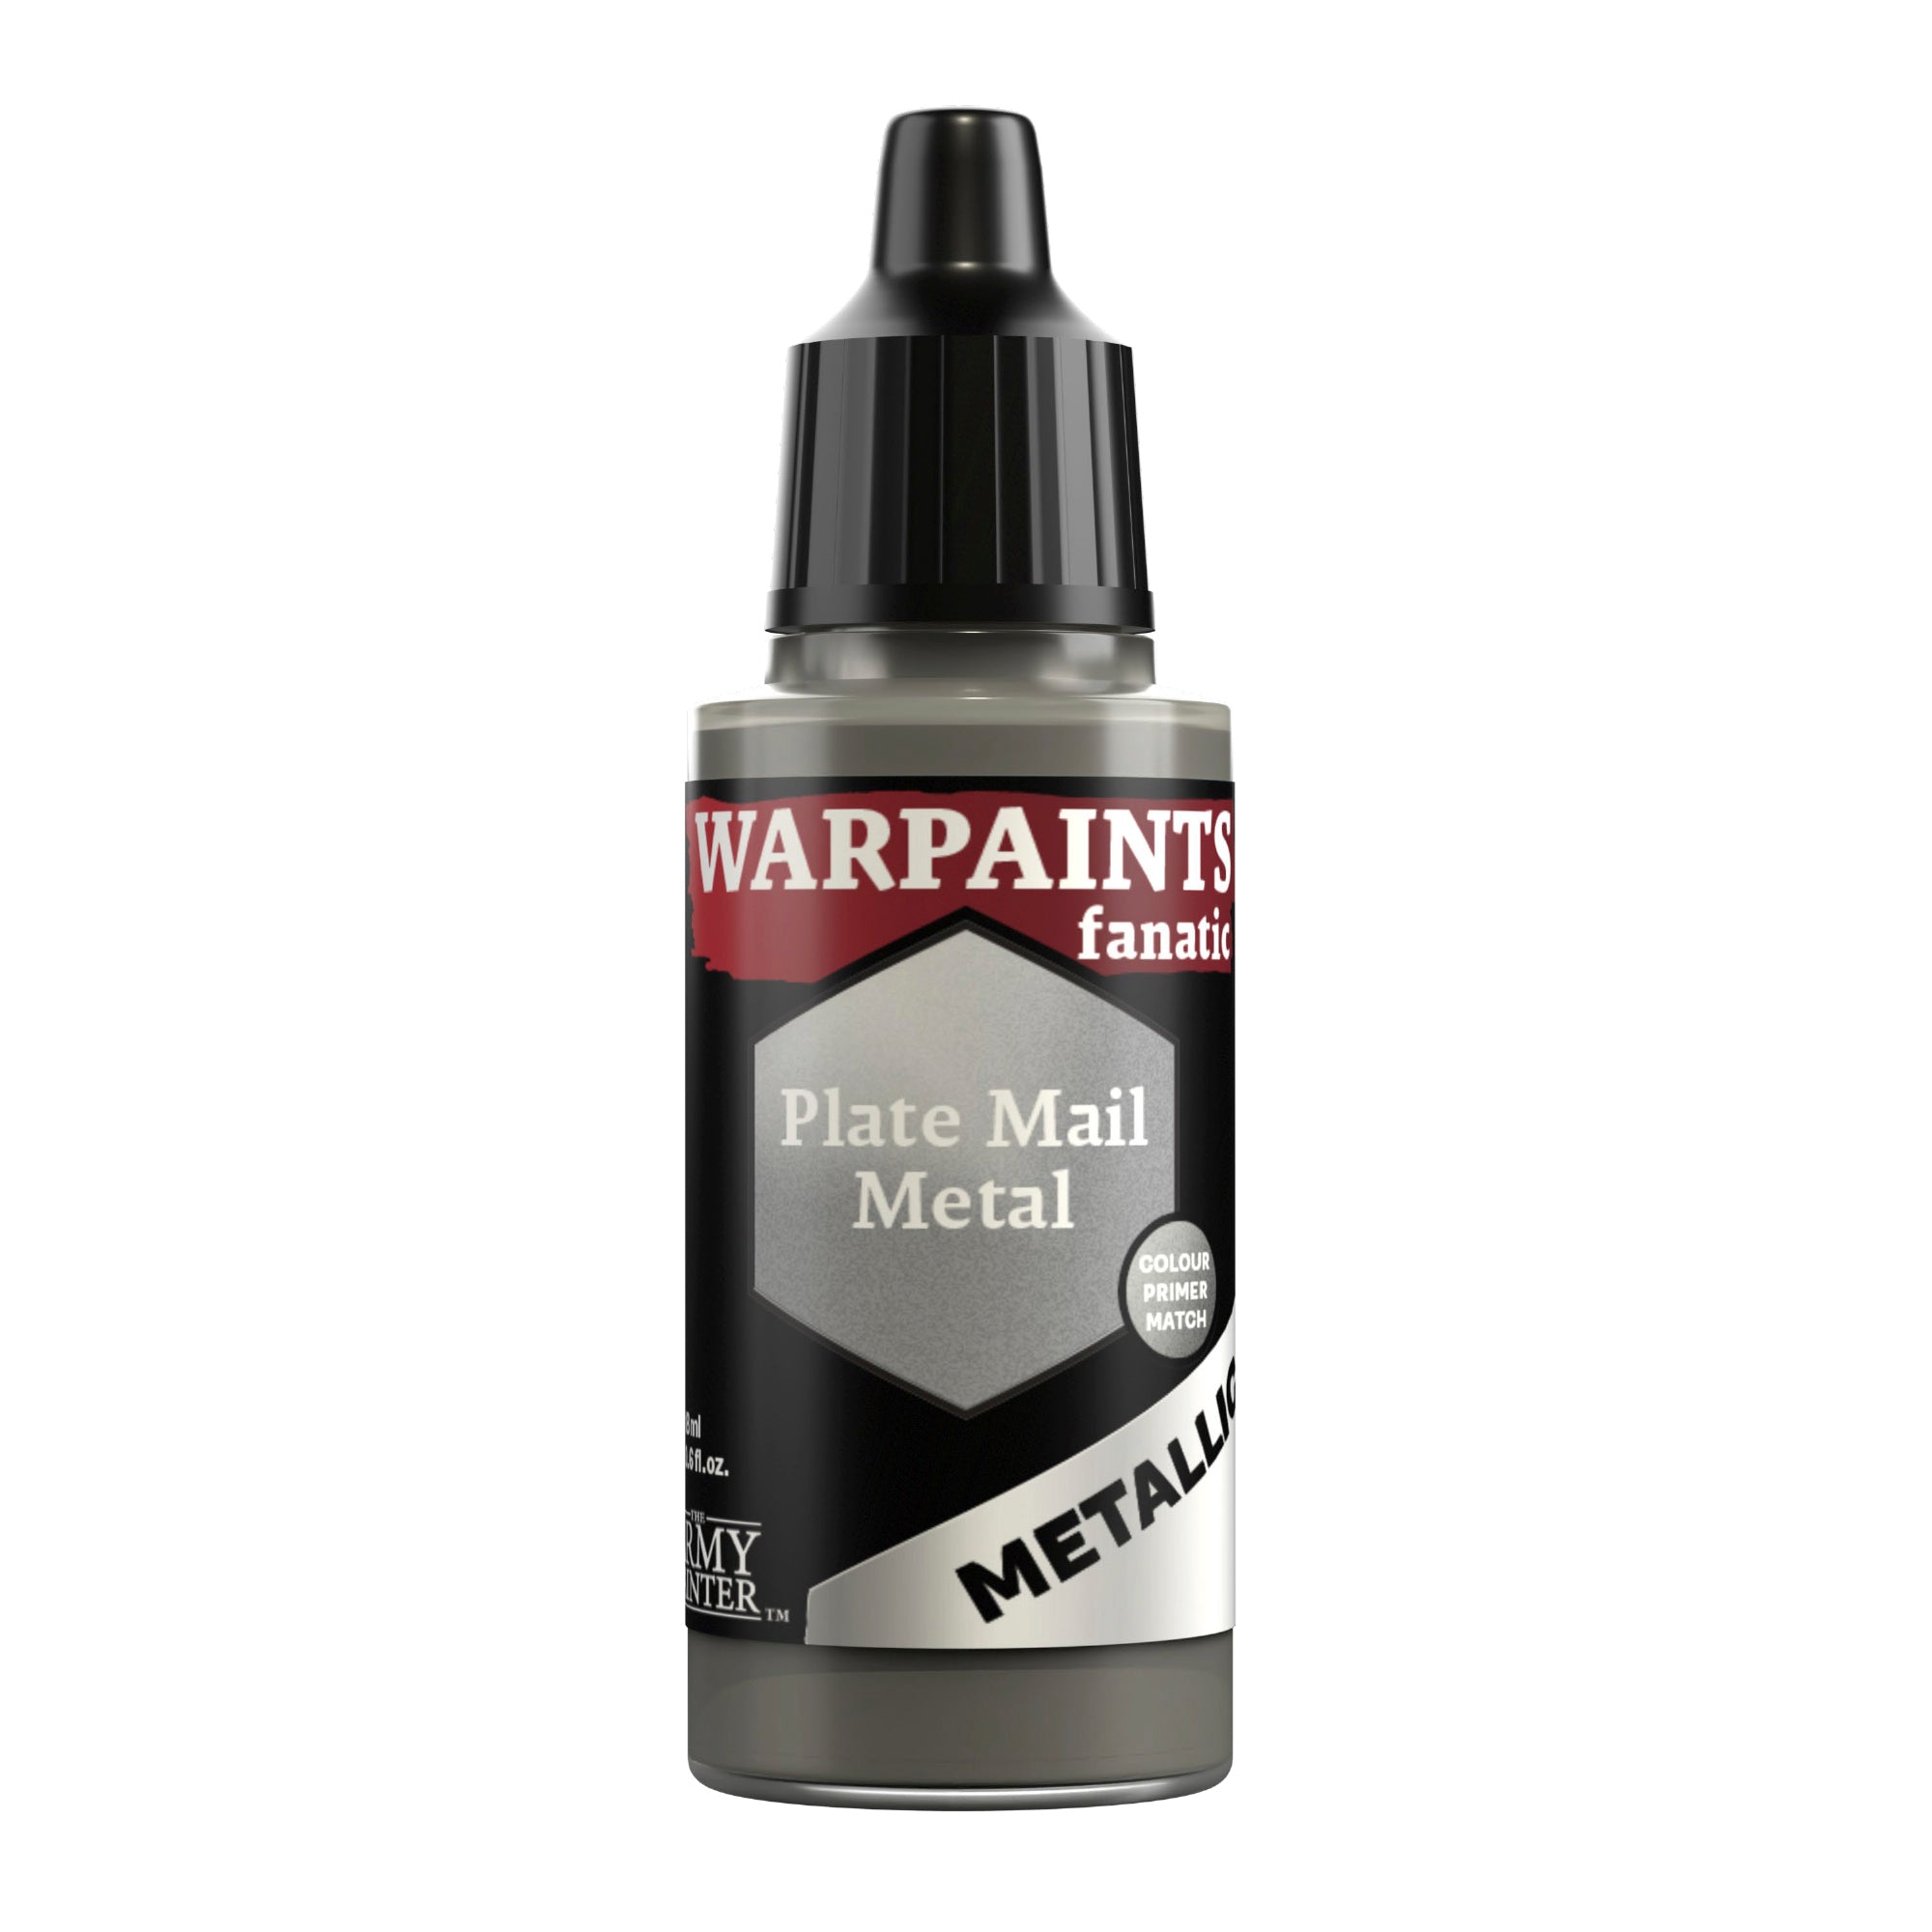
Lastly, apply chipping to the mechanical bits, weapons, and weapon casing with a bit of sponge and Warpaints Fanatic Plate Mail Metal.
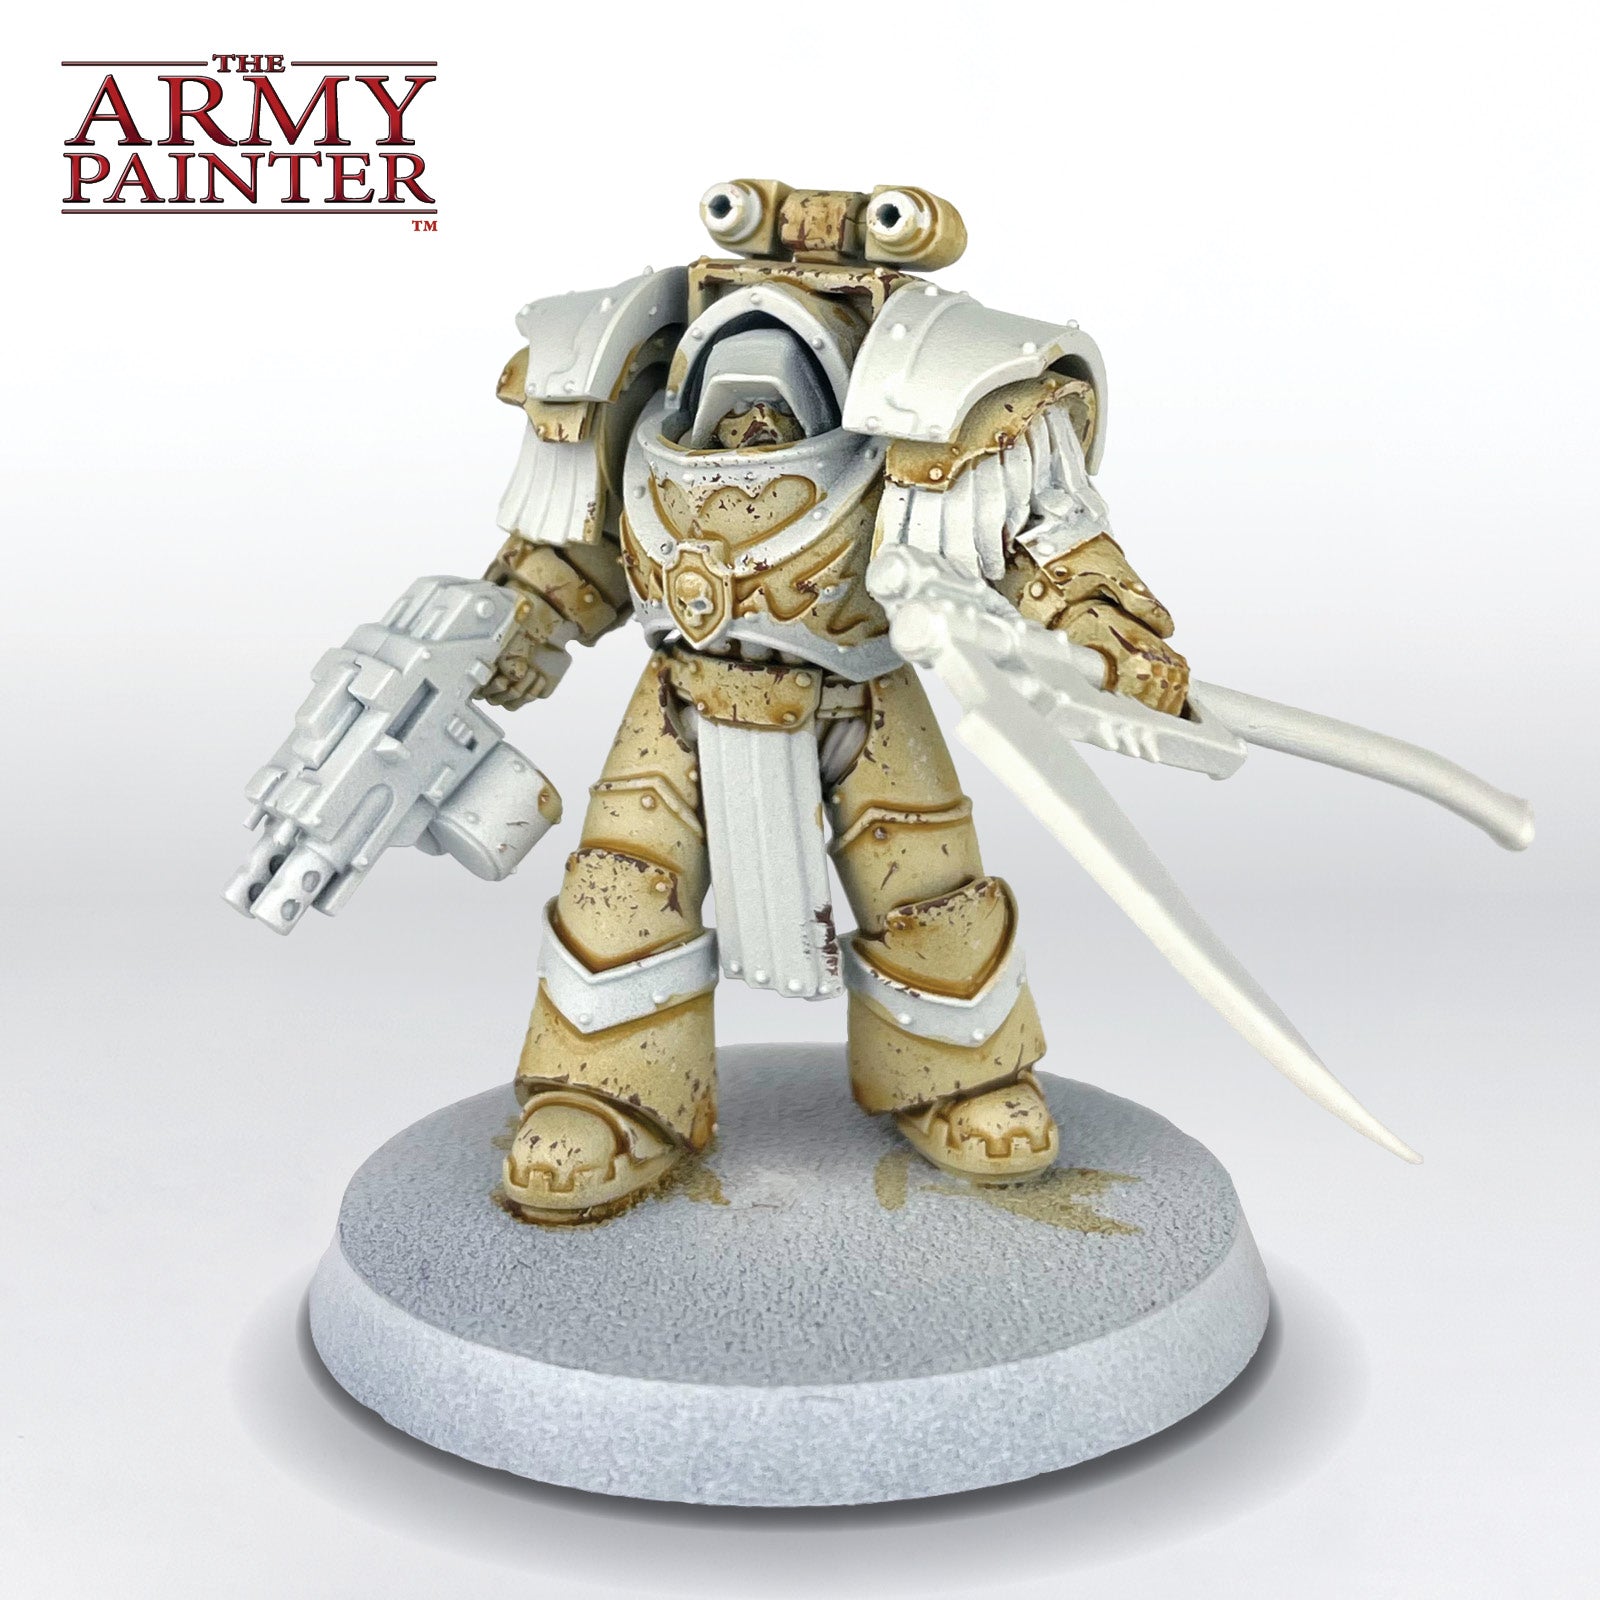
The Head
Step 1
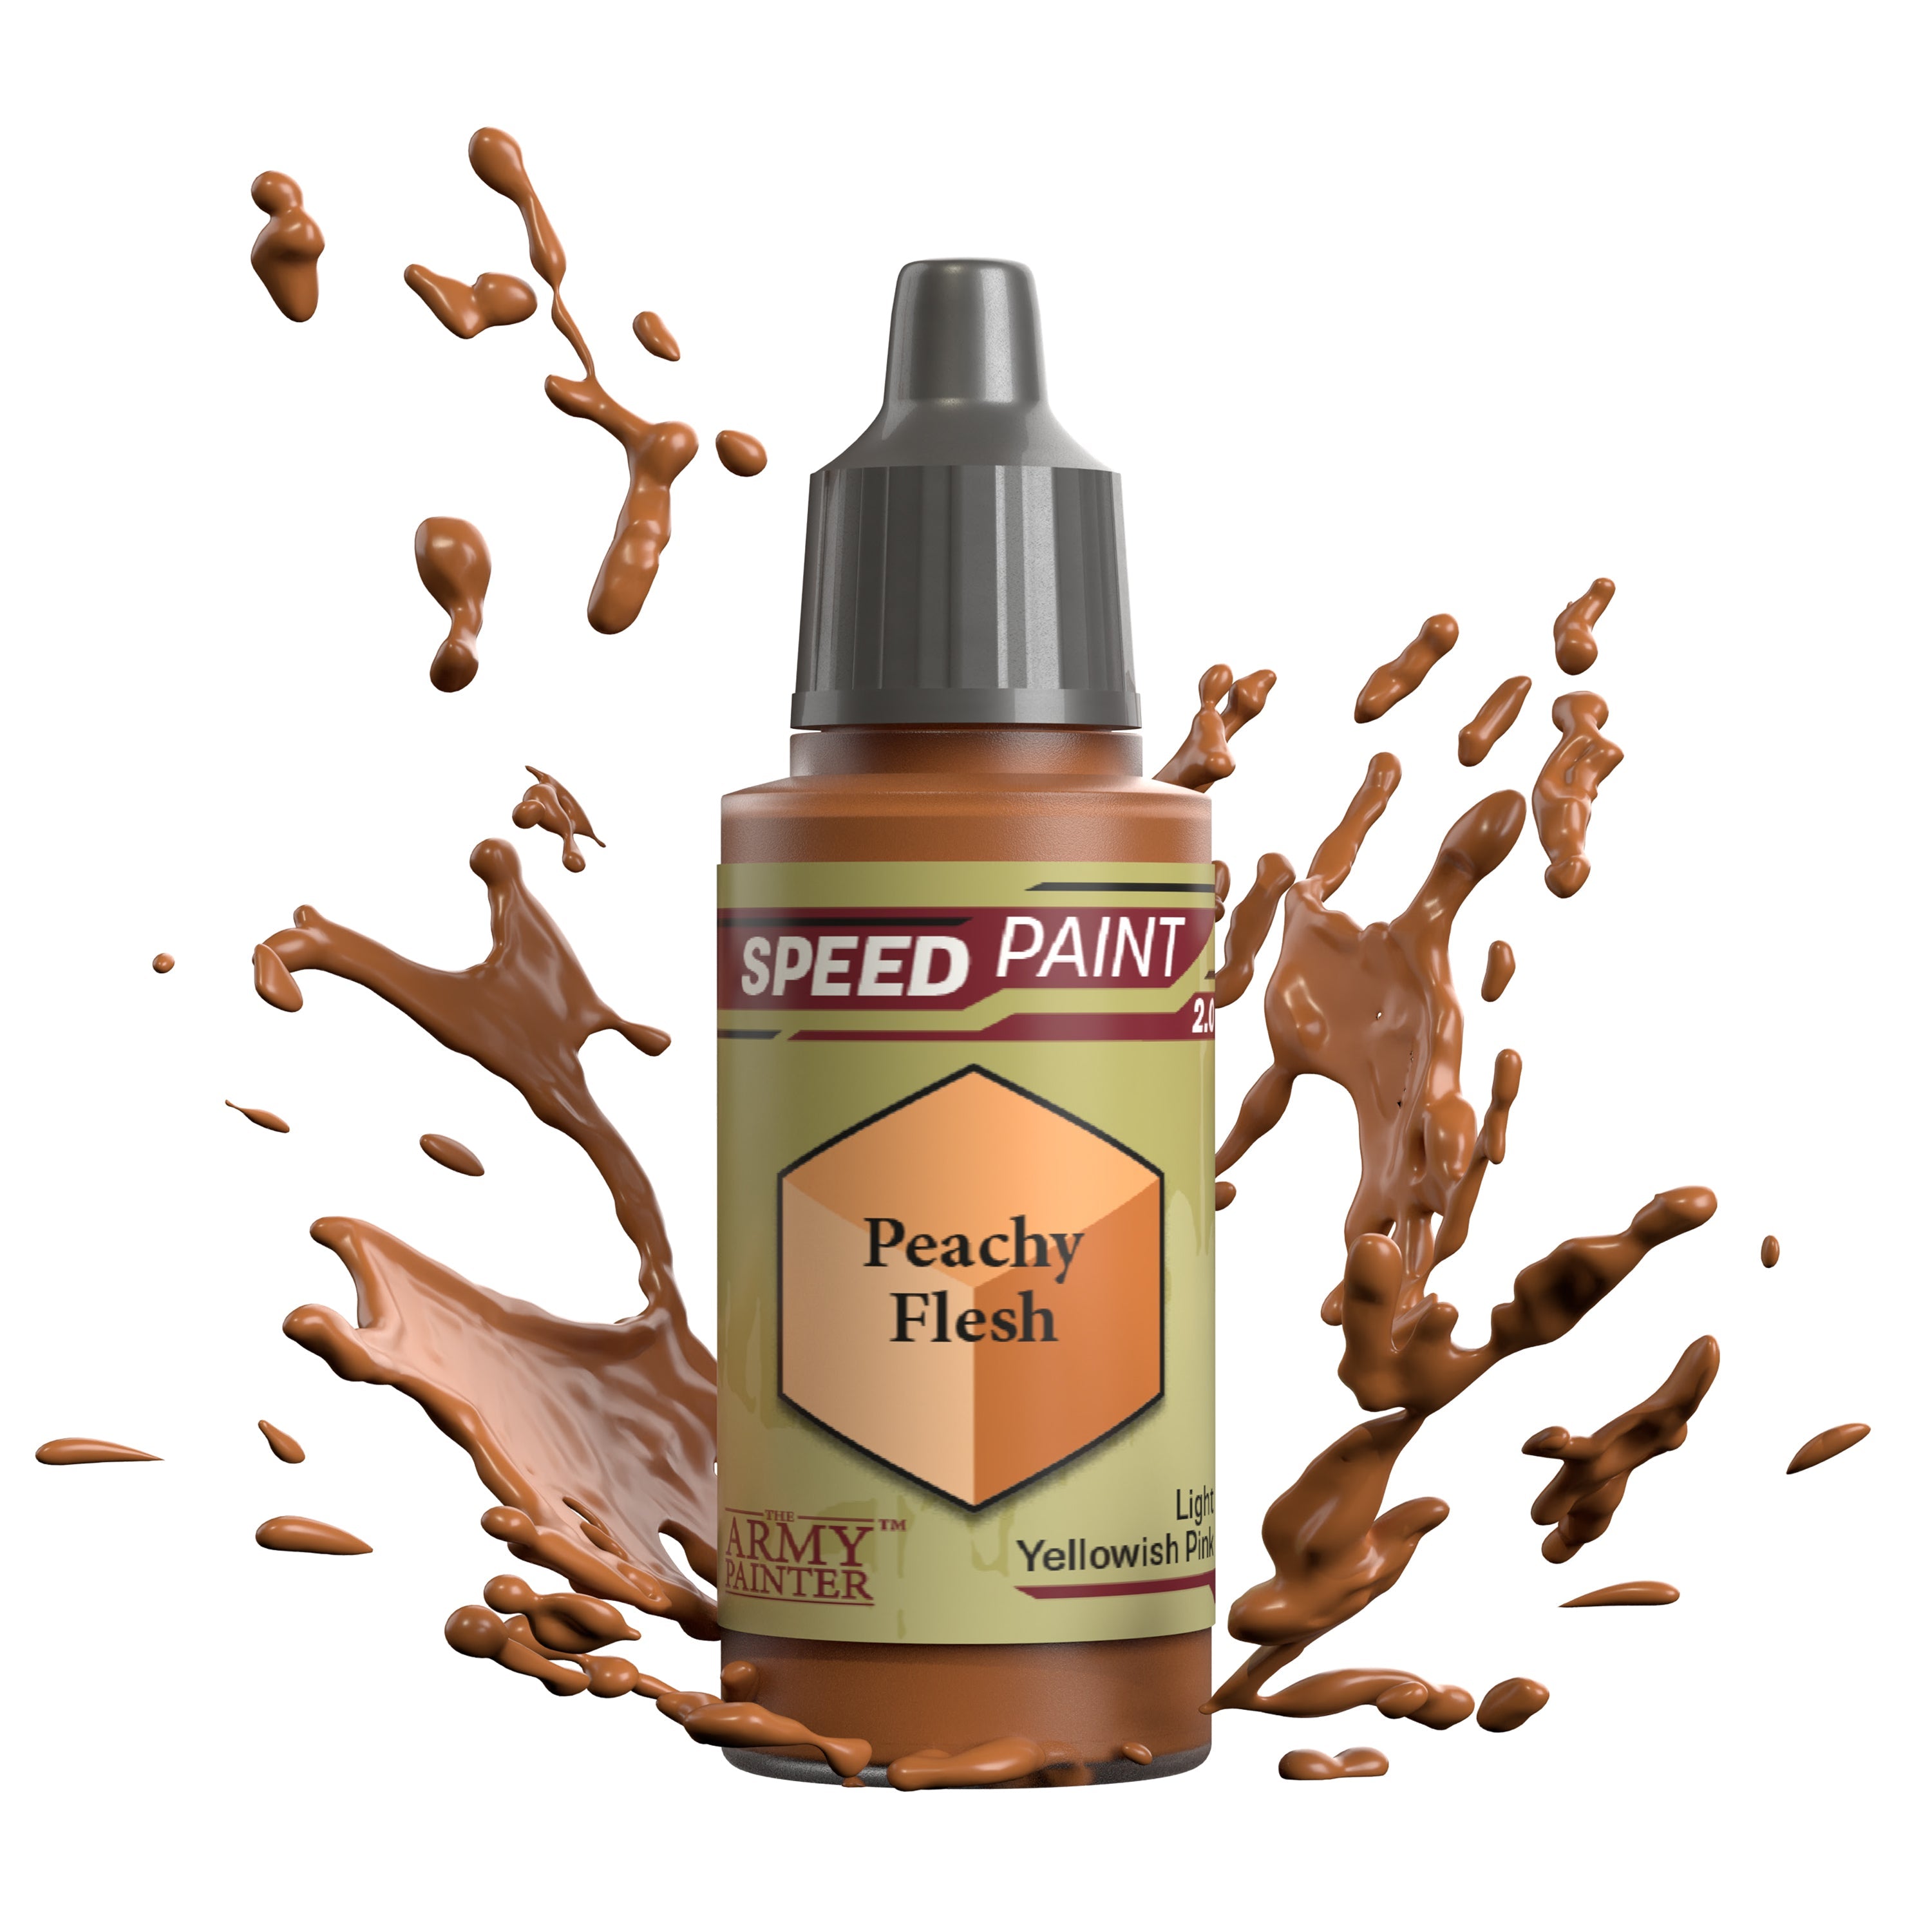
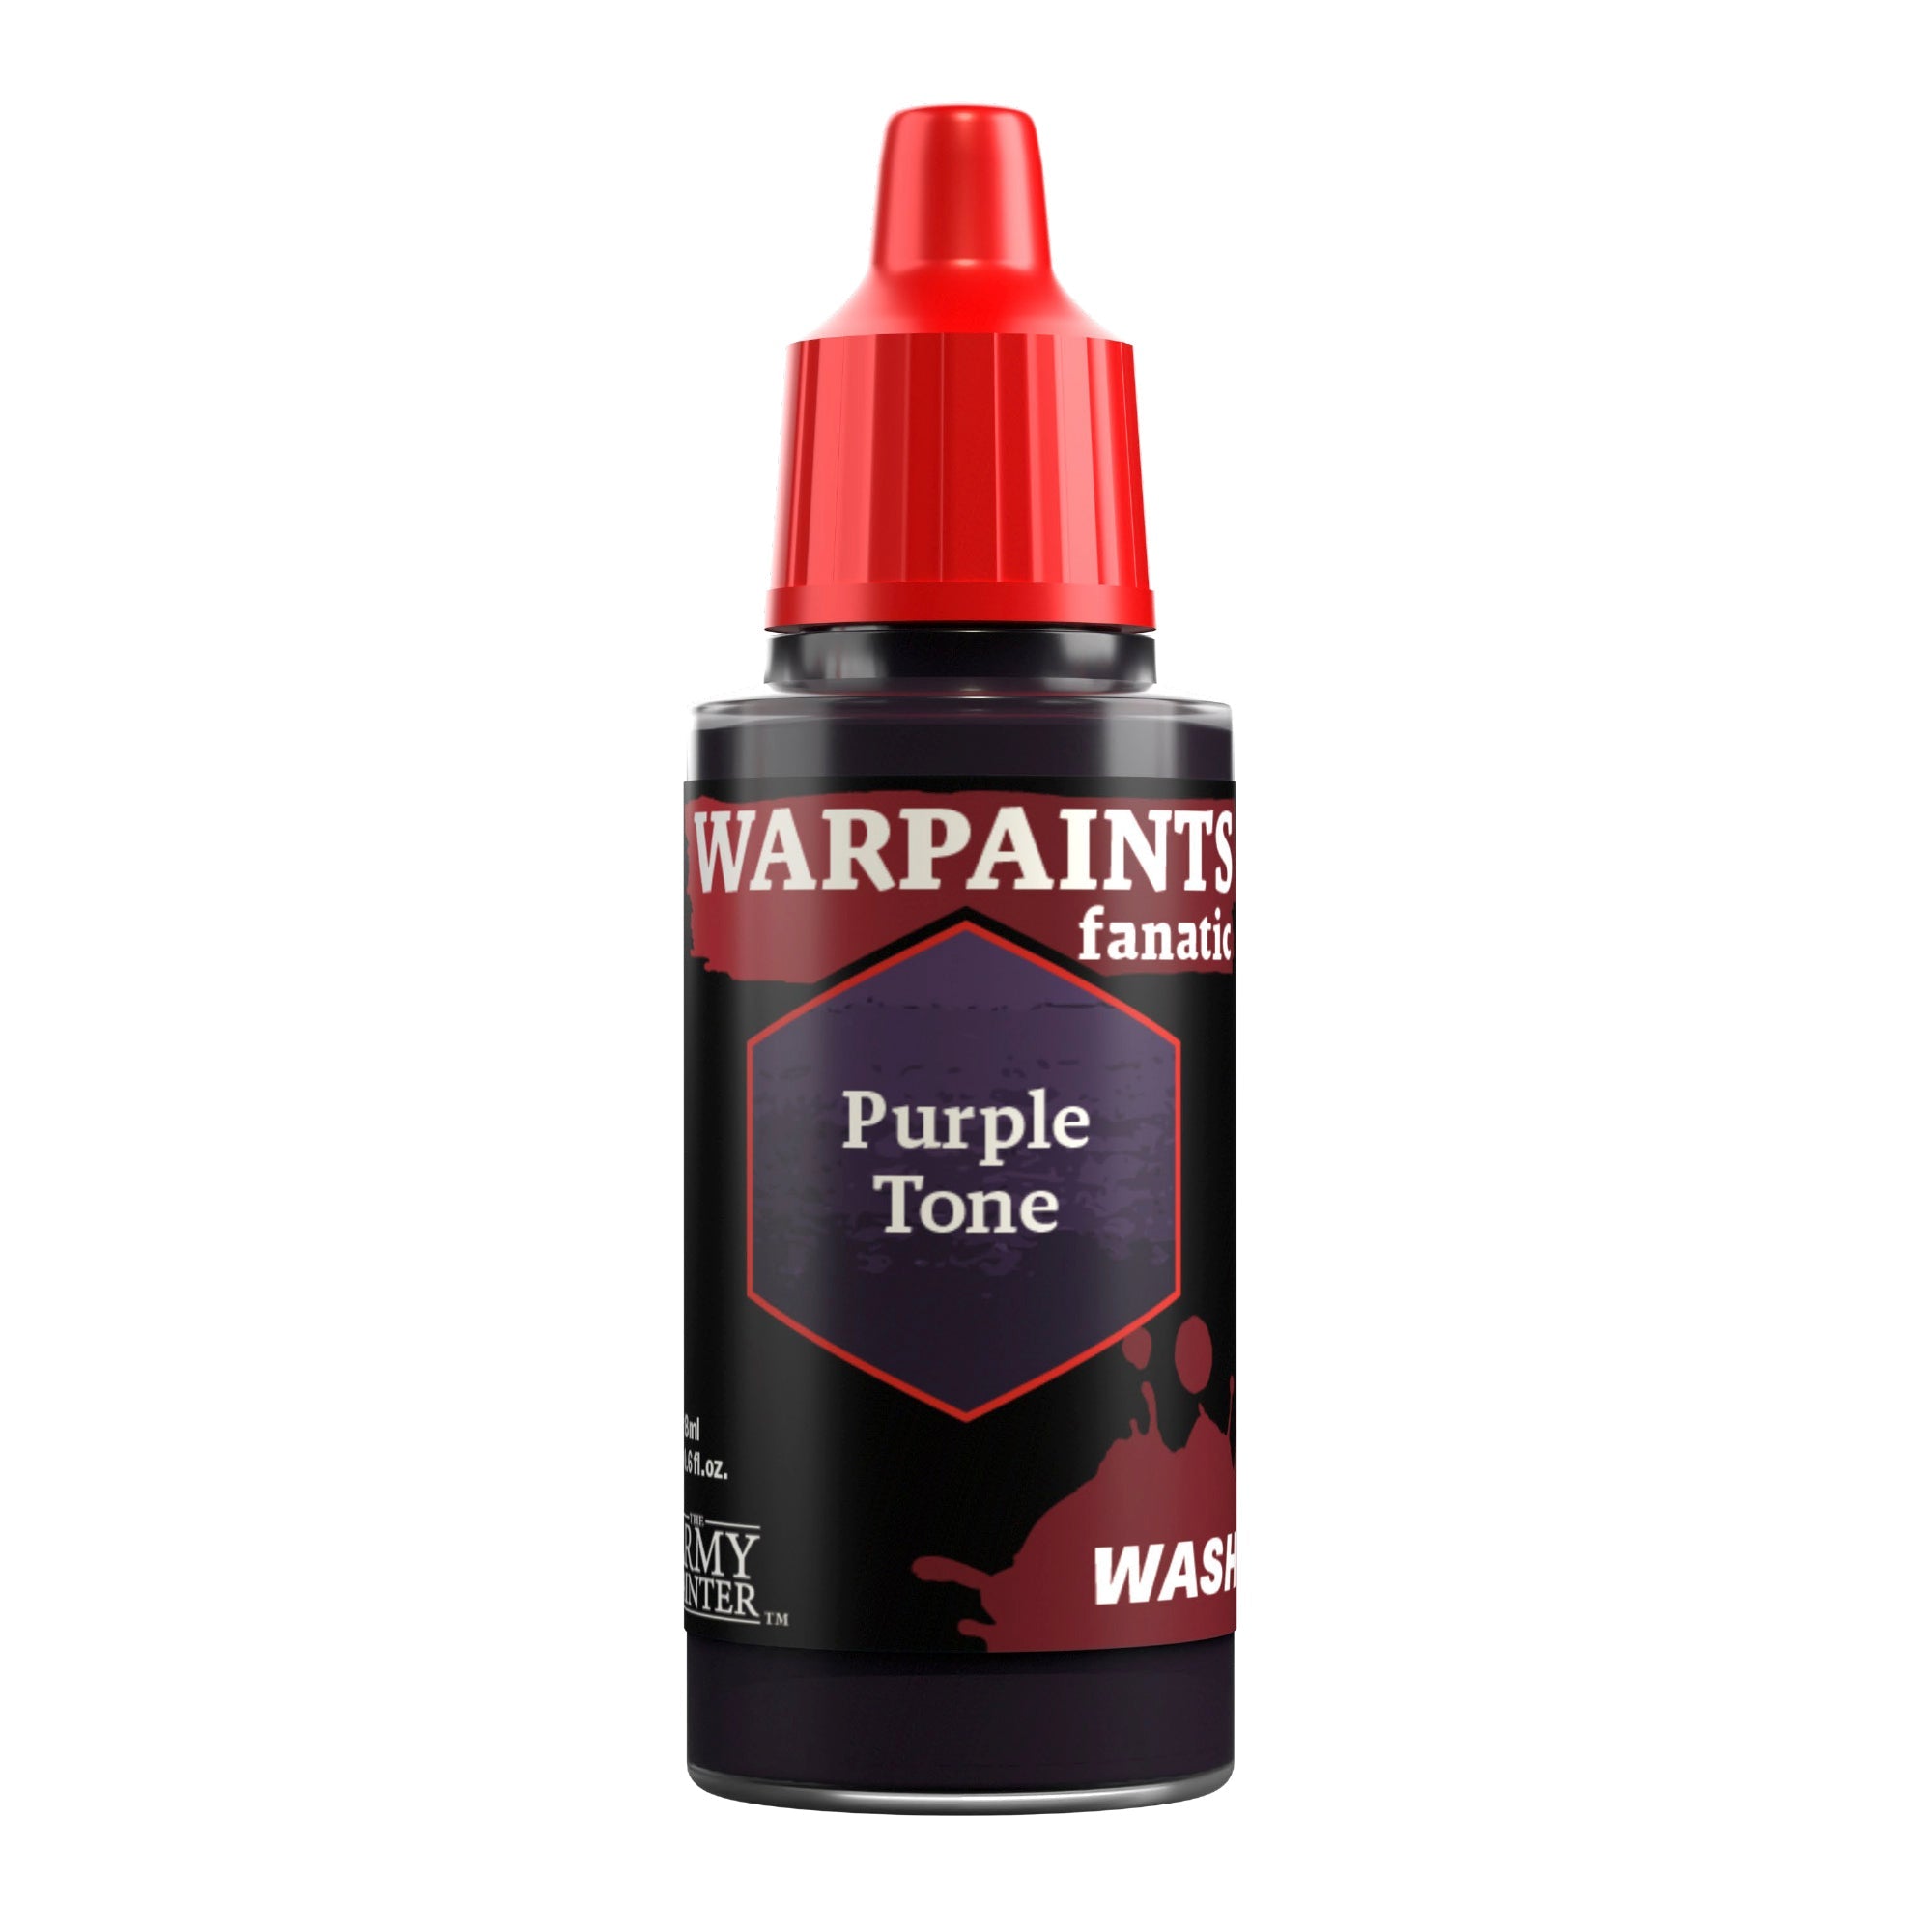
This model has an unhelmeted head with a hood, so requires a bit more attention. Paint the small bit of visible face with Speedpaint Peachy Flesh, then, once dry, apply some Warpaints Fanatic Wash Purple Tone to the eyes for more shading.
Step 2
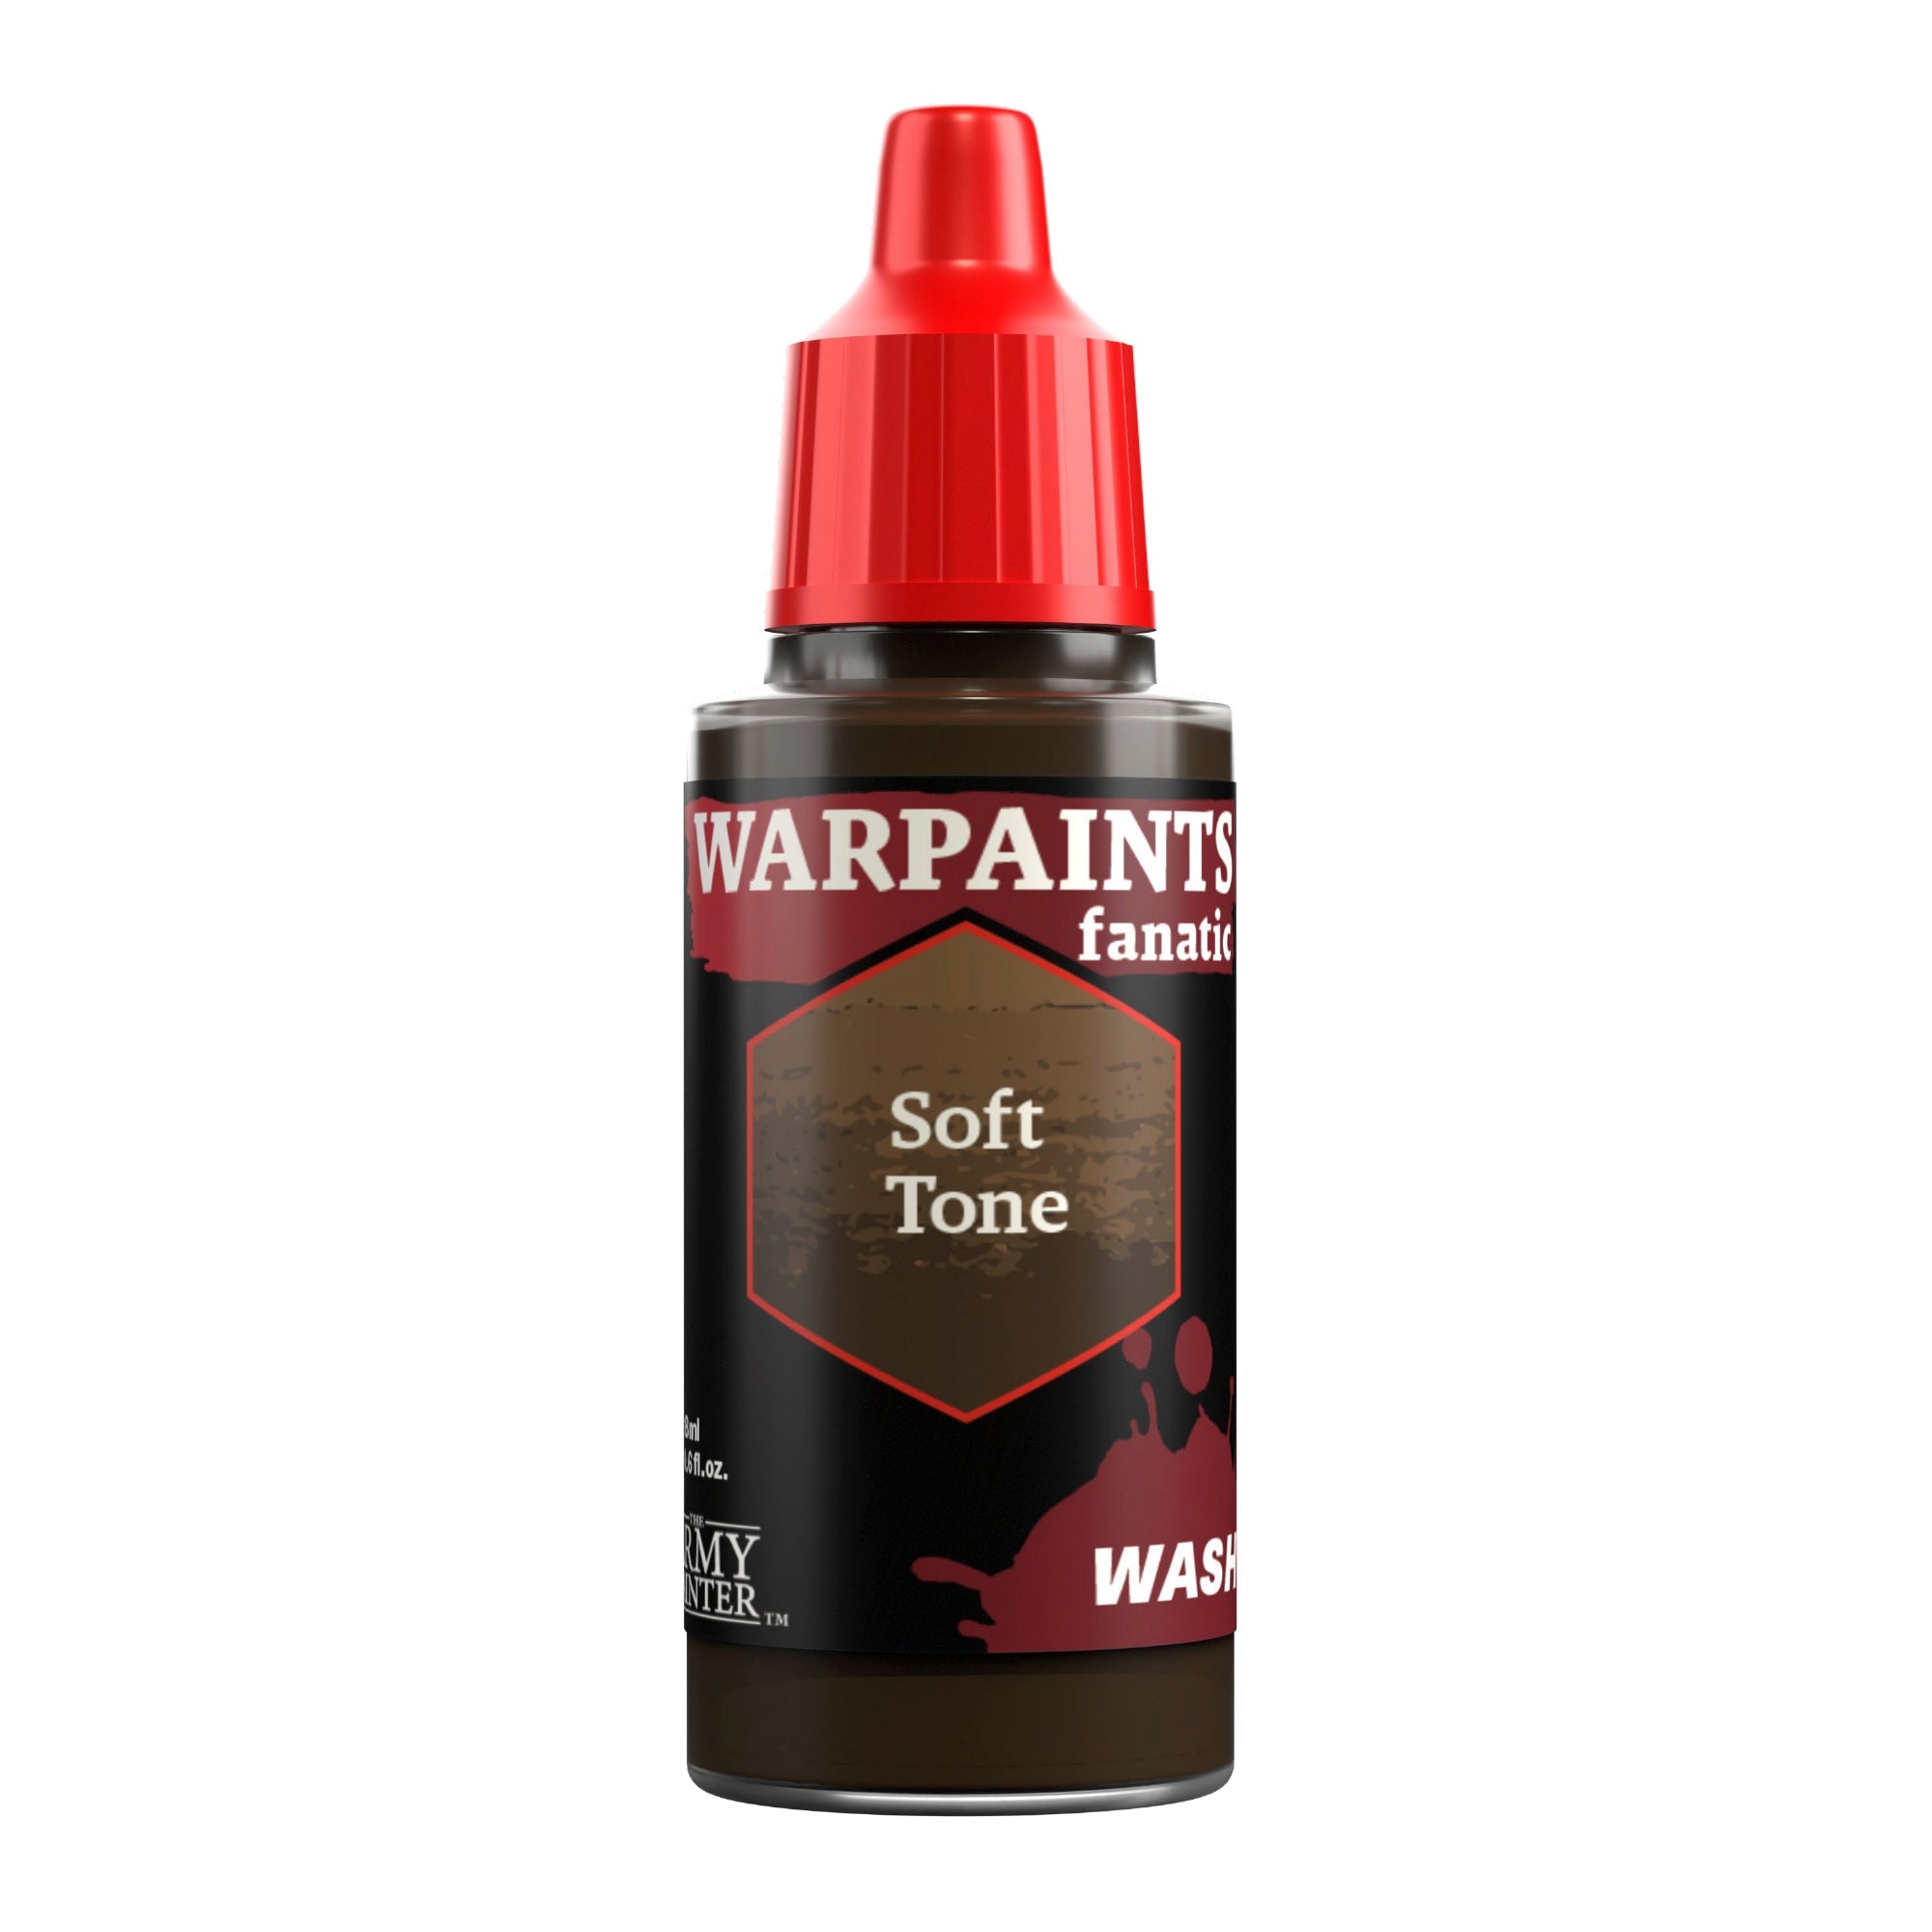
Make sure the hood has a nice, solid coat of Warpaints Fanatic Brainmatter Beige, then apply Warpaints Fanatic Wash Soft Tone diluted with a bit of water. You can build this up in some of the folds as needed.
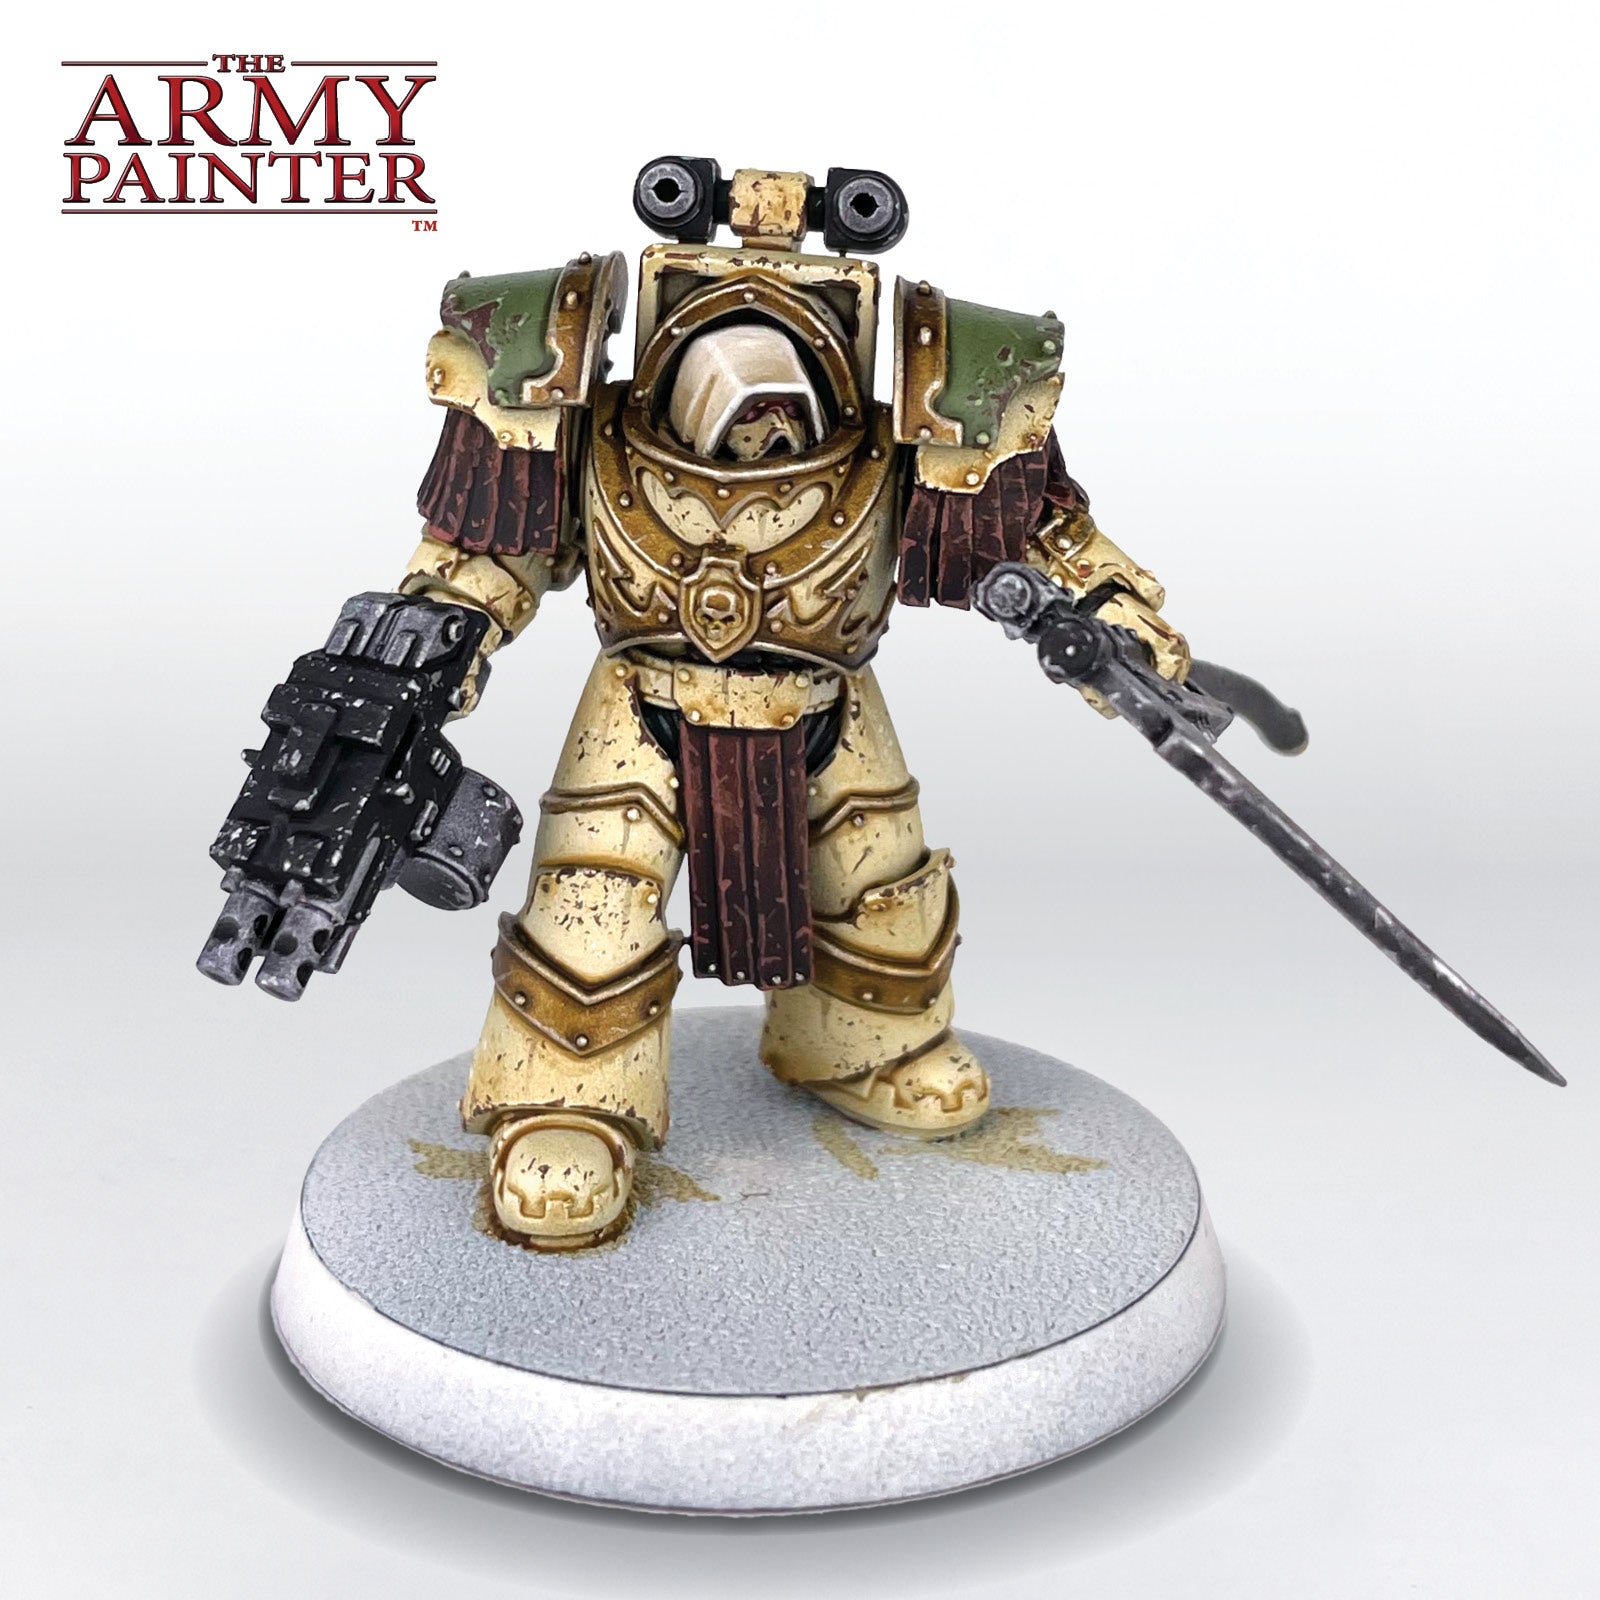
Step 3
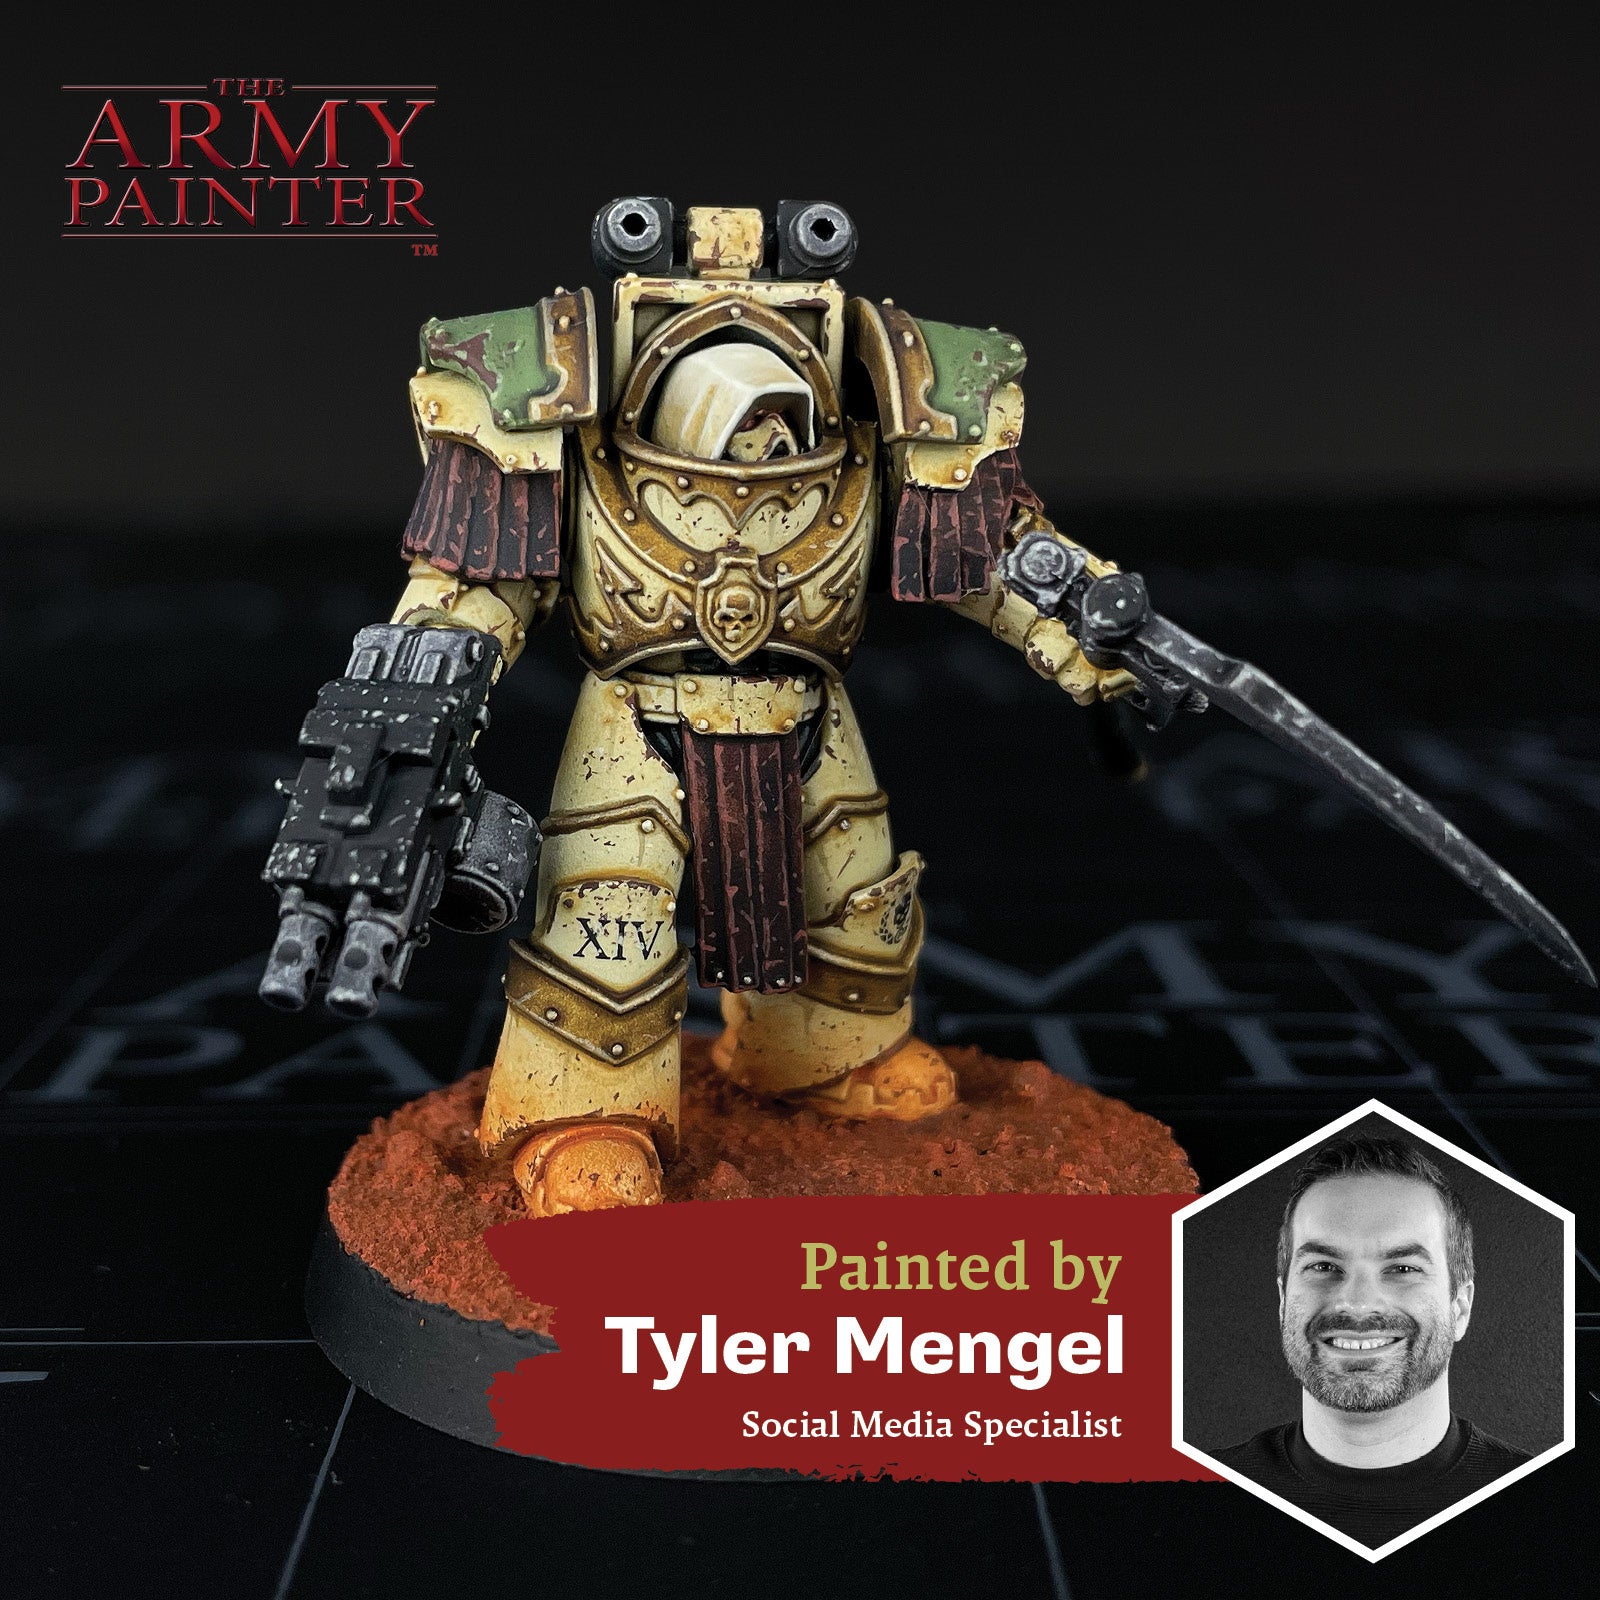
Finally, using thinned-down Warpaints Fanatic Brainmatter Beige, tidy up the raised surfaces of the hood, but leave the paint a little bit translucent so the wash shows through, then apply a solid edge highlight of Brainmatter Beige to the edges and tops of the folds. This model also had Warpaints Fanatic Dusty Skull painted into the inside of the hood to simulate the shadows and make the face stand out a bit more.
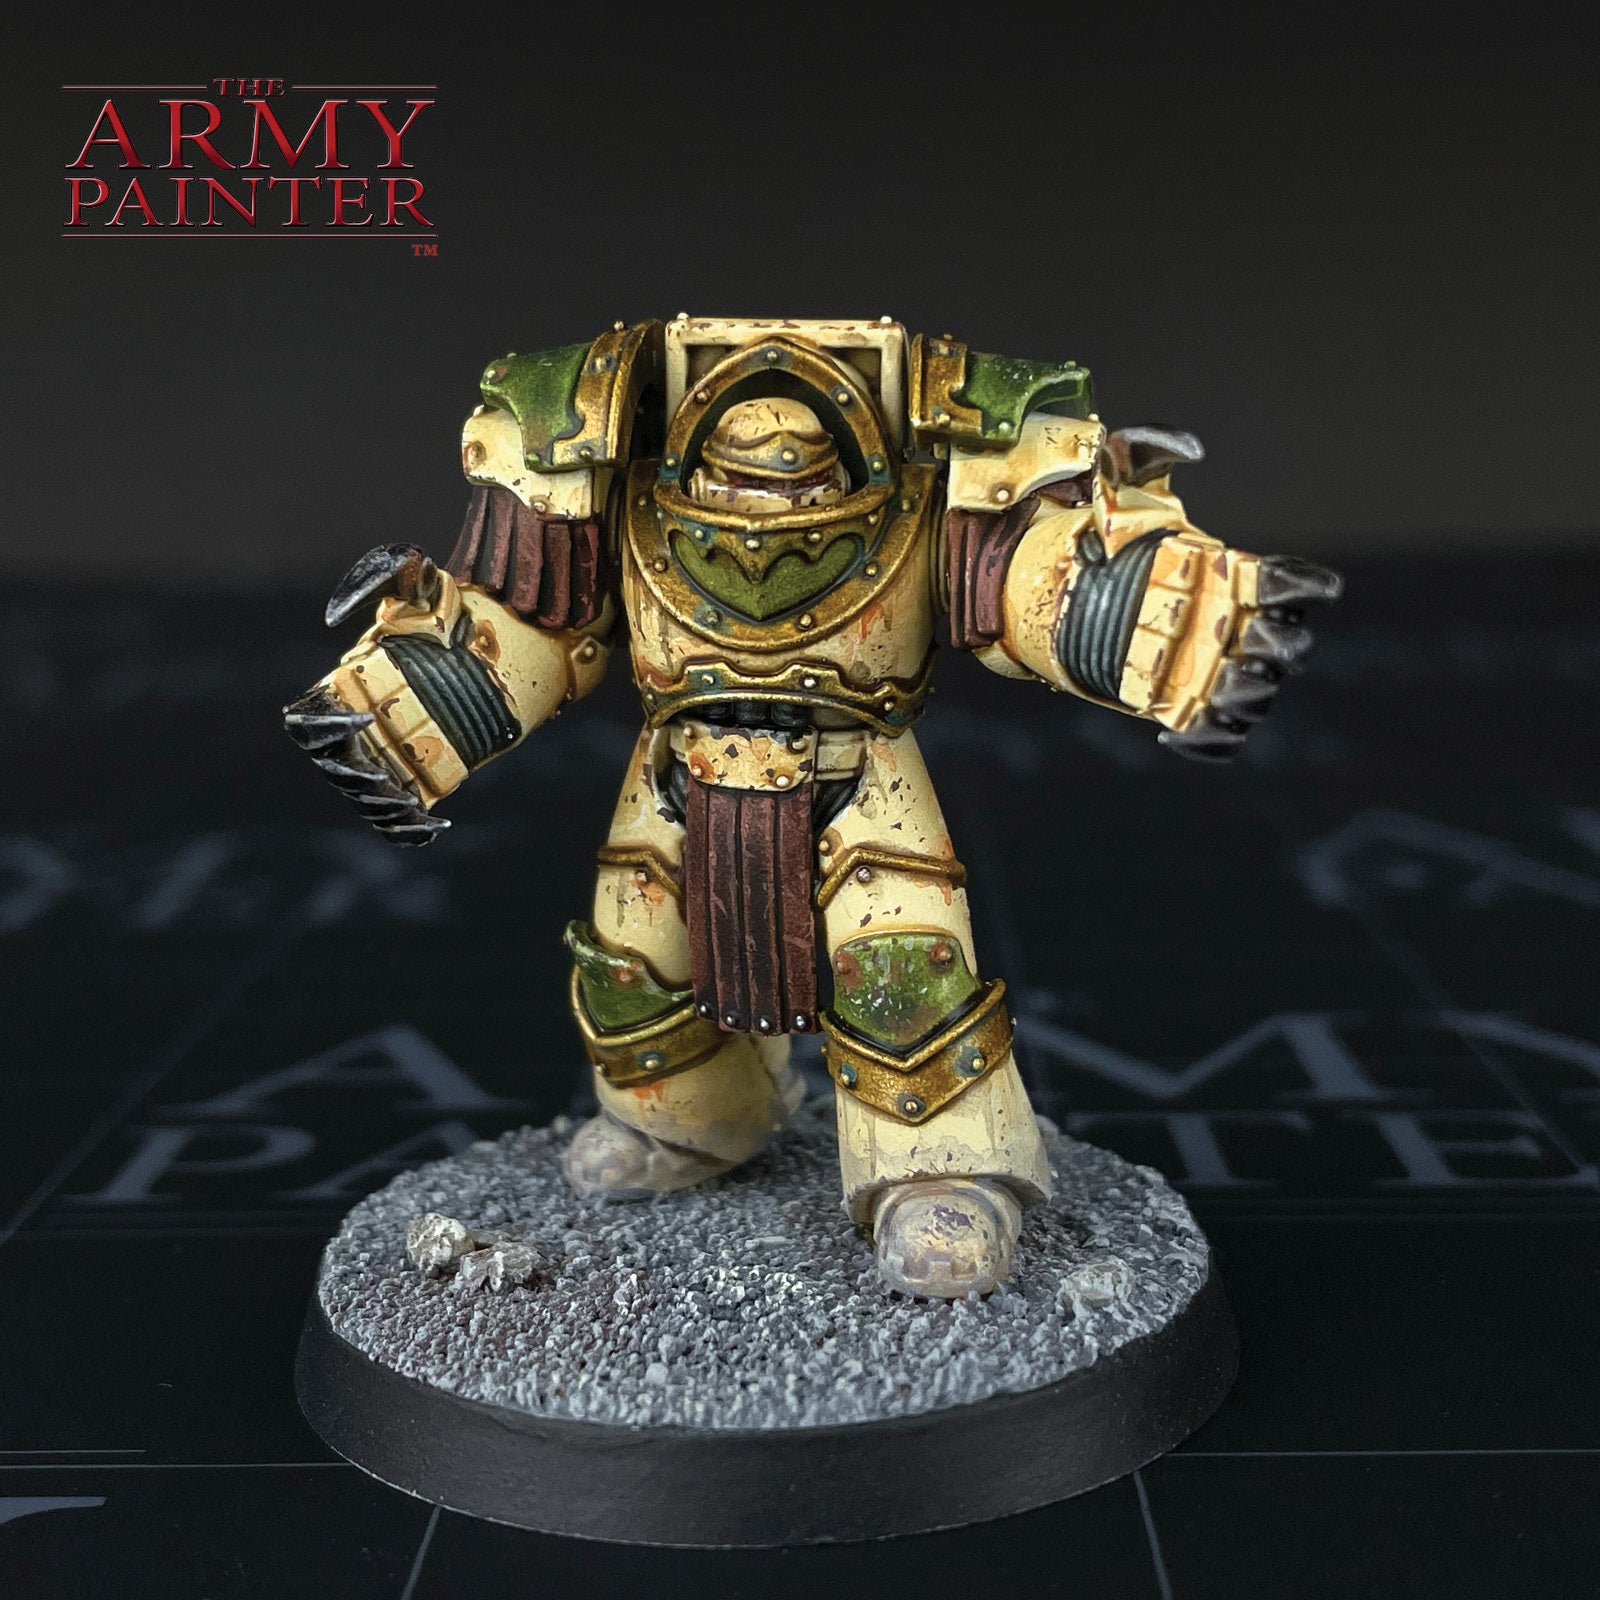
With that, your model is done!
I finished it off by using Thomas’ amazing rust-basing scheme he developed, which you can see more about in our tutorial video for The Lion here. I felt that this basing really made the models stand out, and suited the more grim, stripped-back nature of the Heresy aesthetic. It was an added bonus that it’s so quick and easy to do as well!
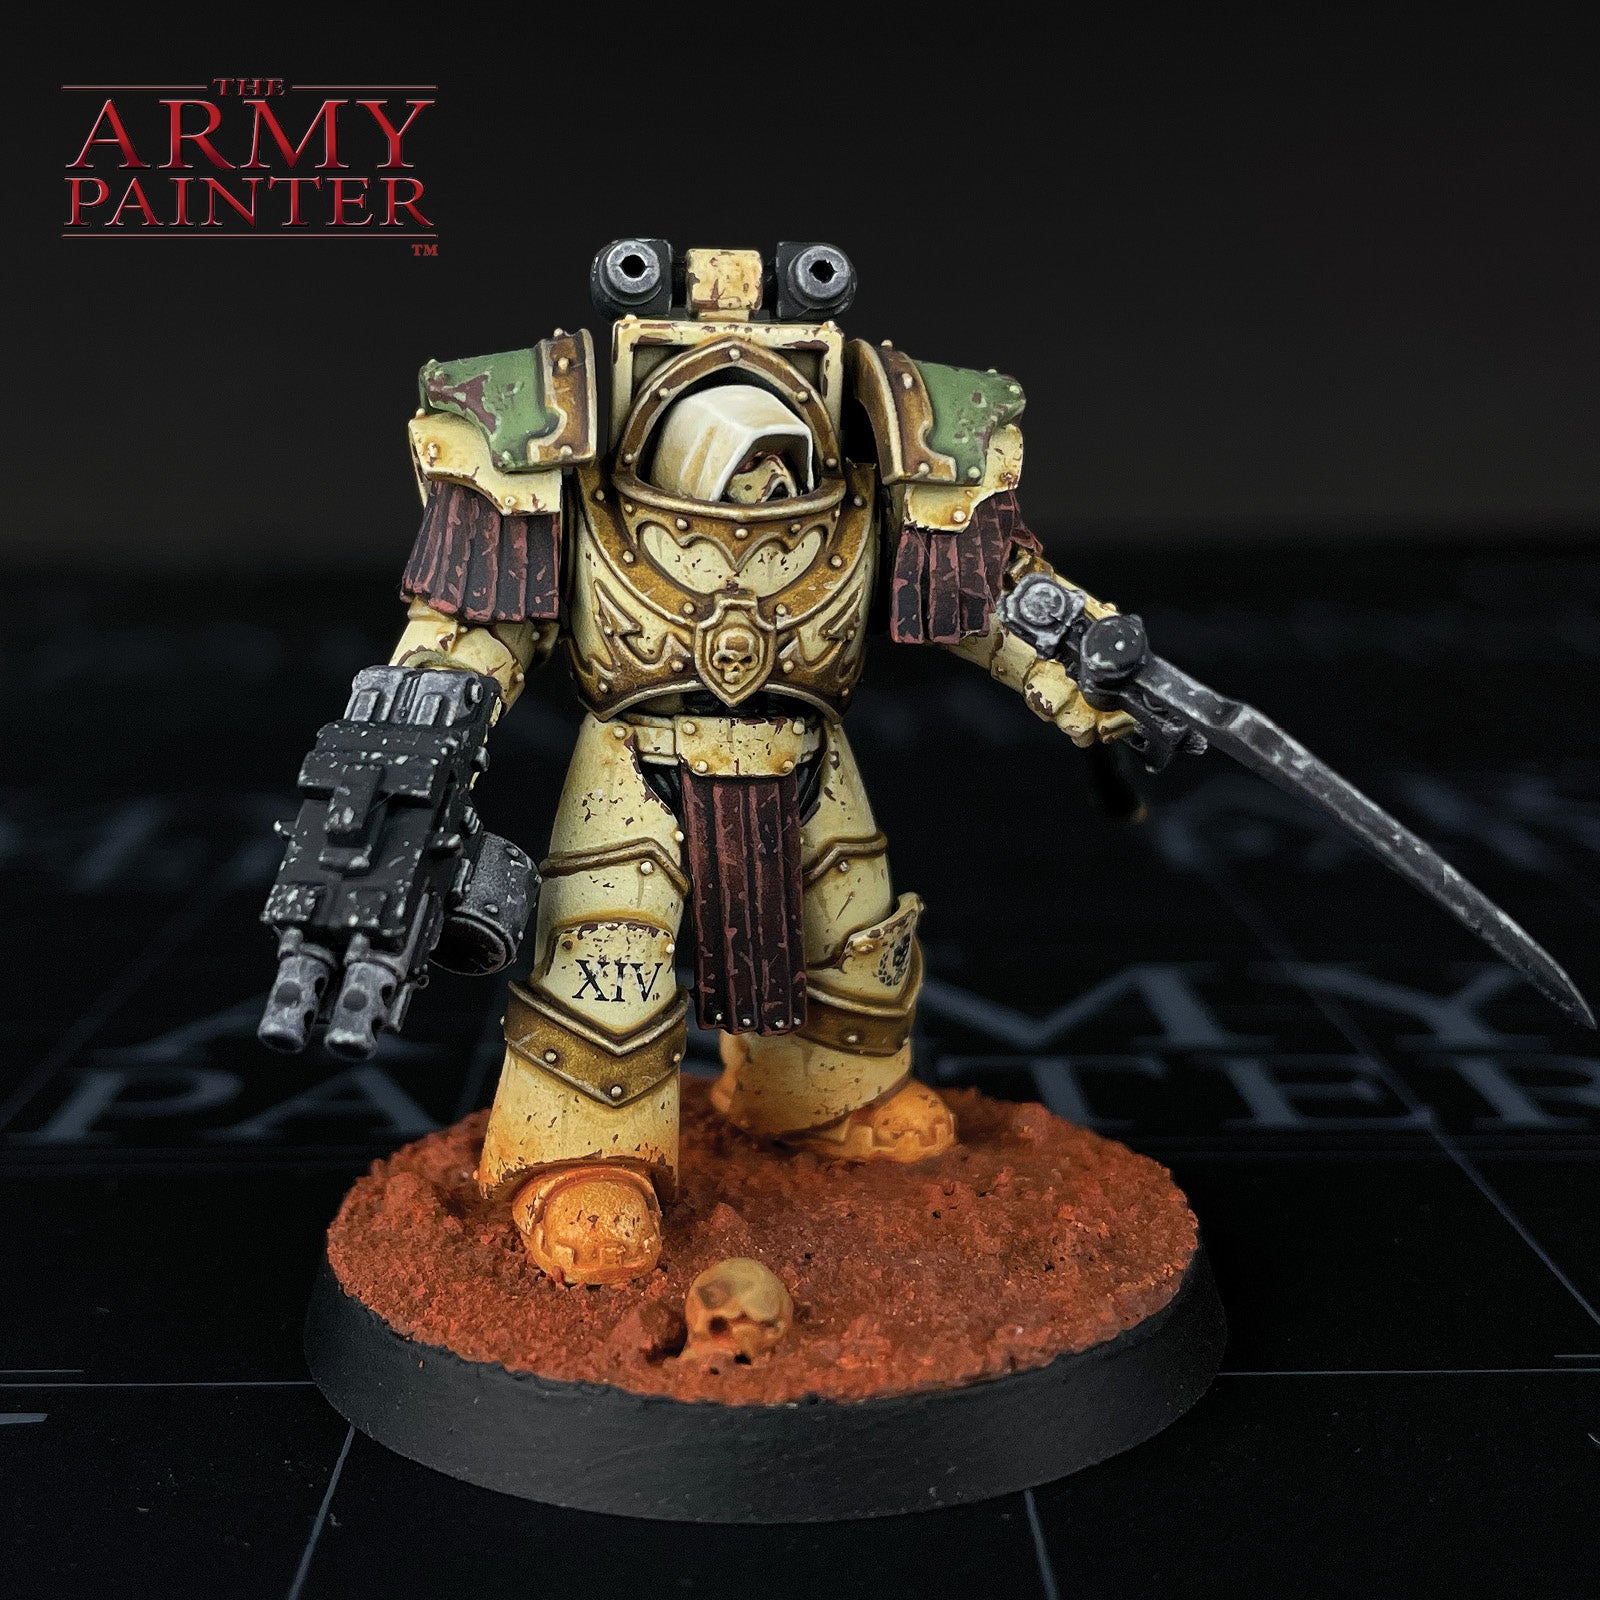
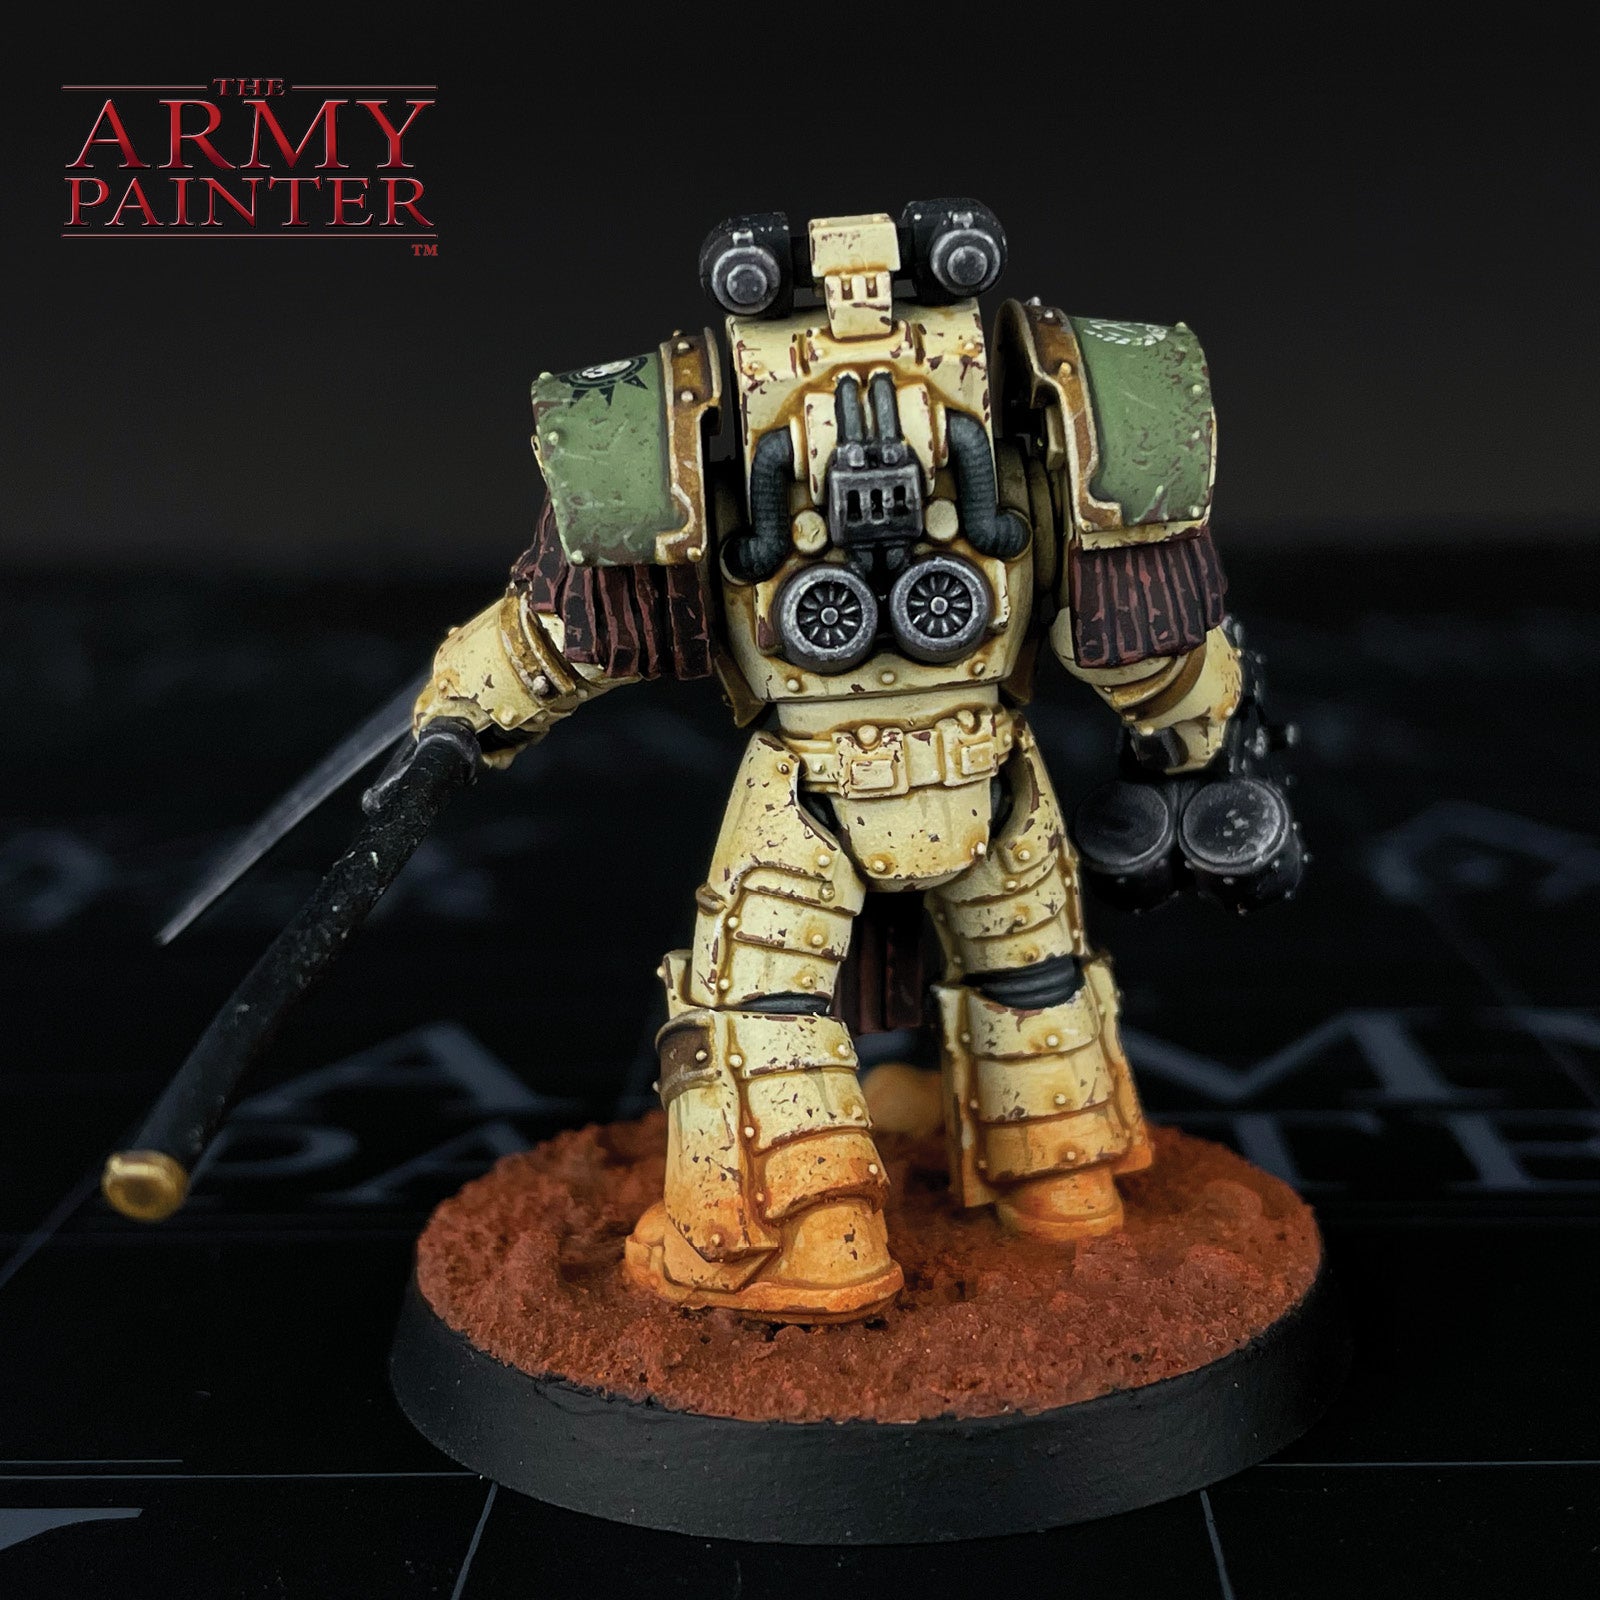
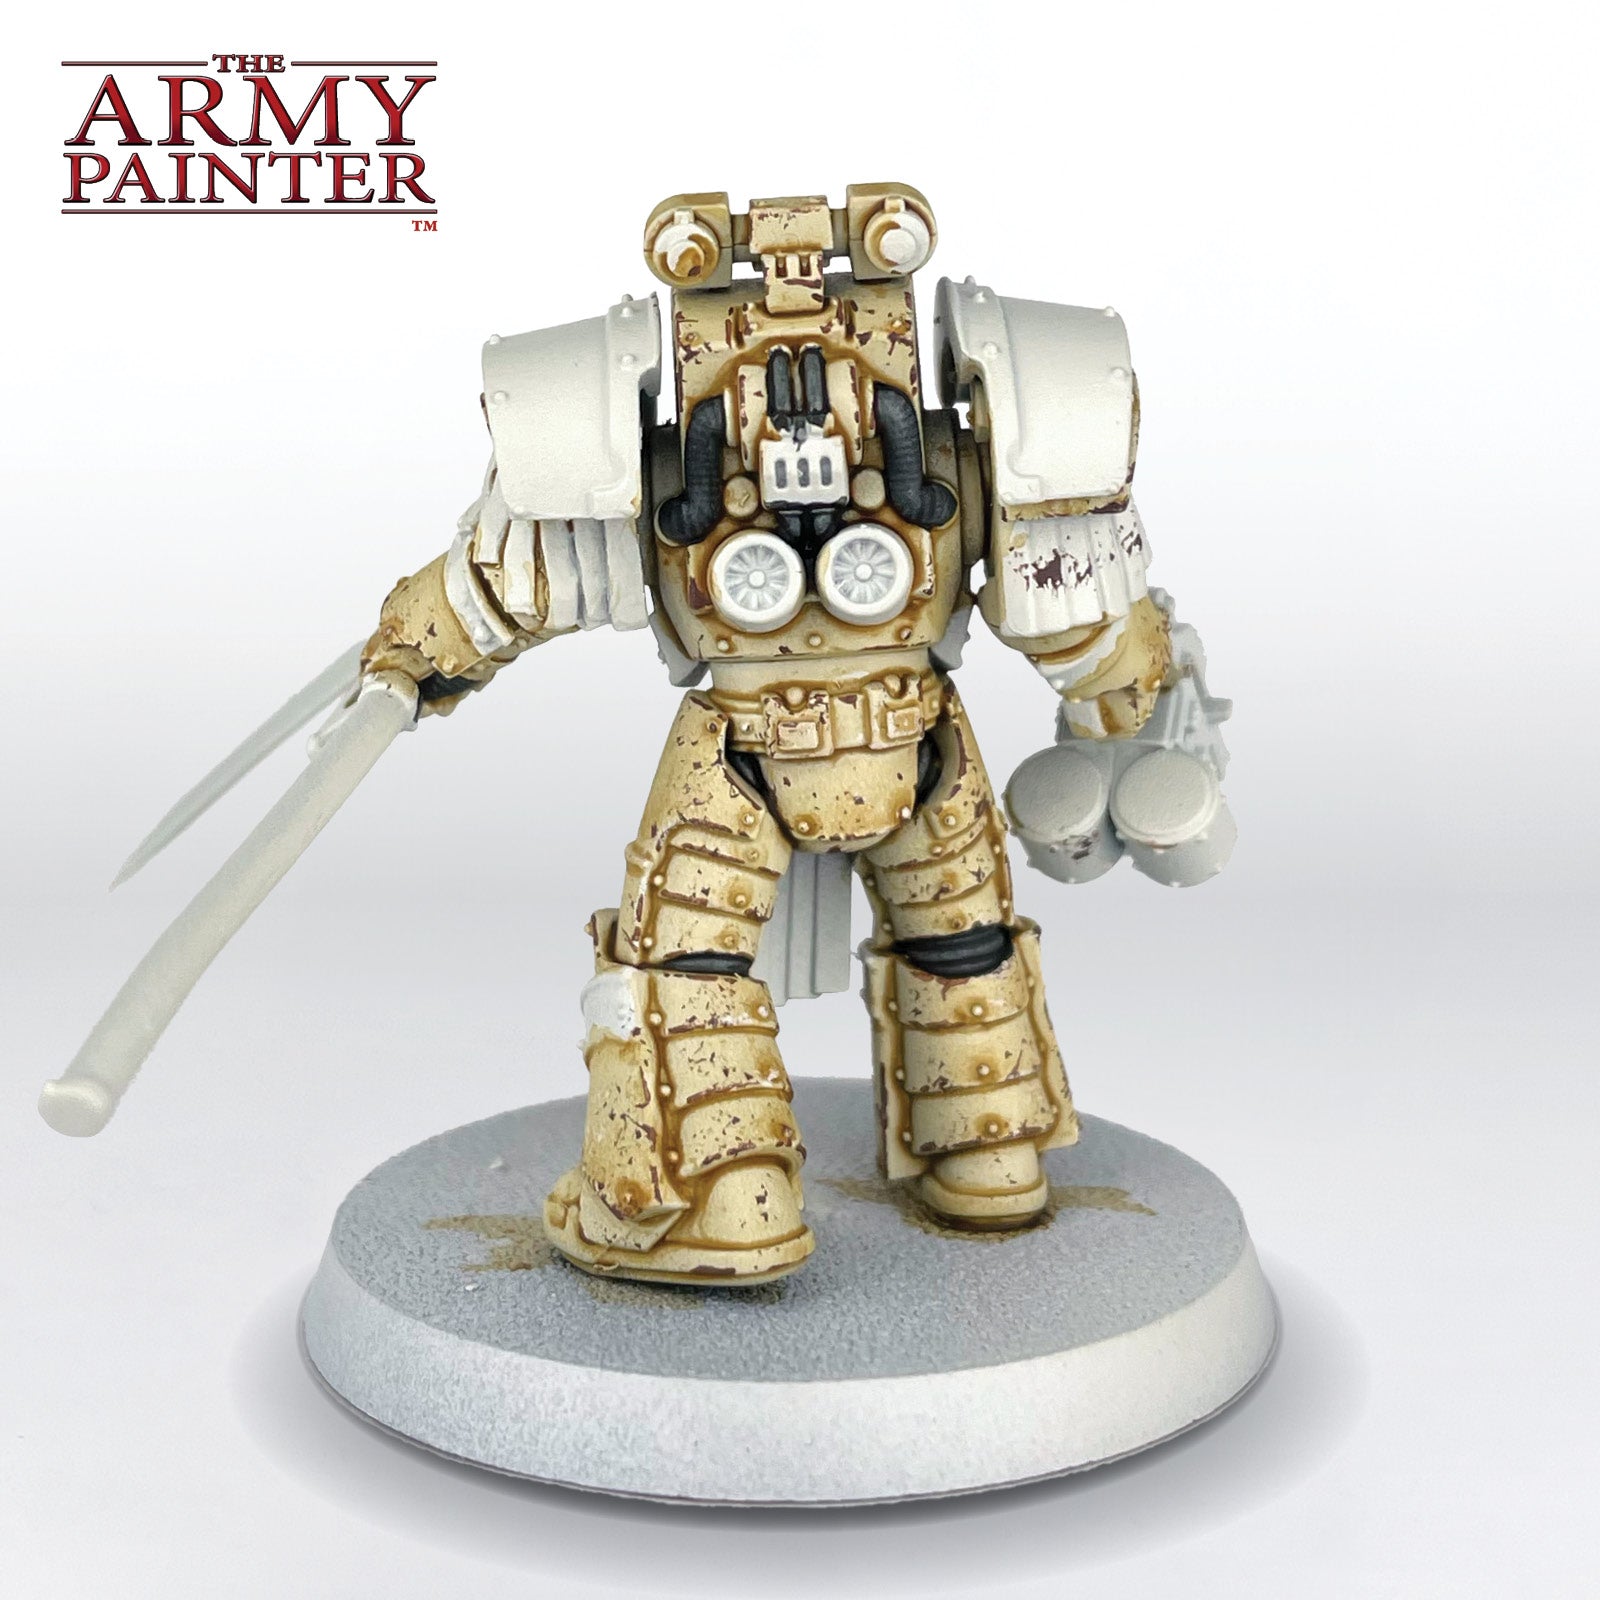
Since I was aiming for 750 points of Death Guard in a fairly short amount of time, I decided to go for a Pride of the Legion force, which meant my army ended up being two squads of Terminators, a Delegatus to lead them, and a Contemptor to back them all up. 12 models total! The Delagatus was painted in the same manner, but with a bit more care, and some more steps on things like his cloak, whereas the Contemptor Dreadnought had its armour painted with an airbrush using the same Speedpaint Pallid Bone mix as the rest of the force. This is due to its size and wanting to get an even coat. It also allowed me to do some nice fades on the colour.
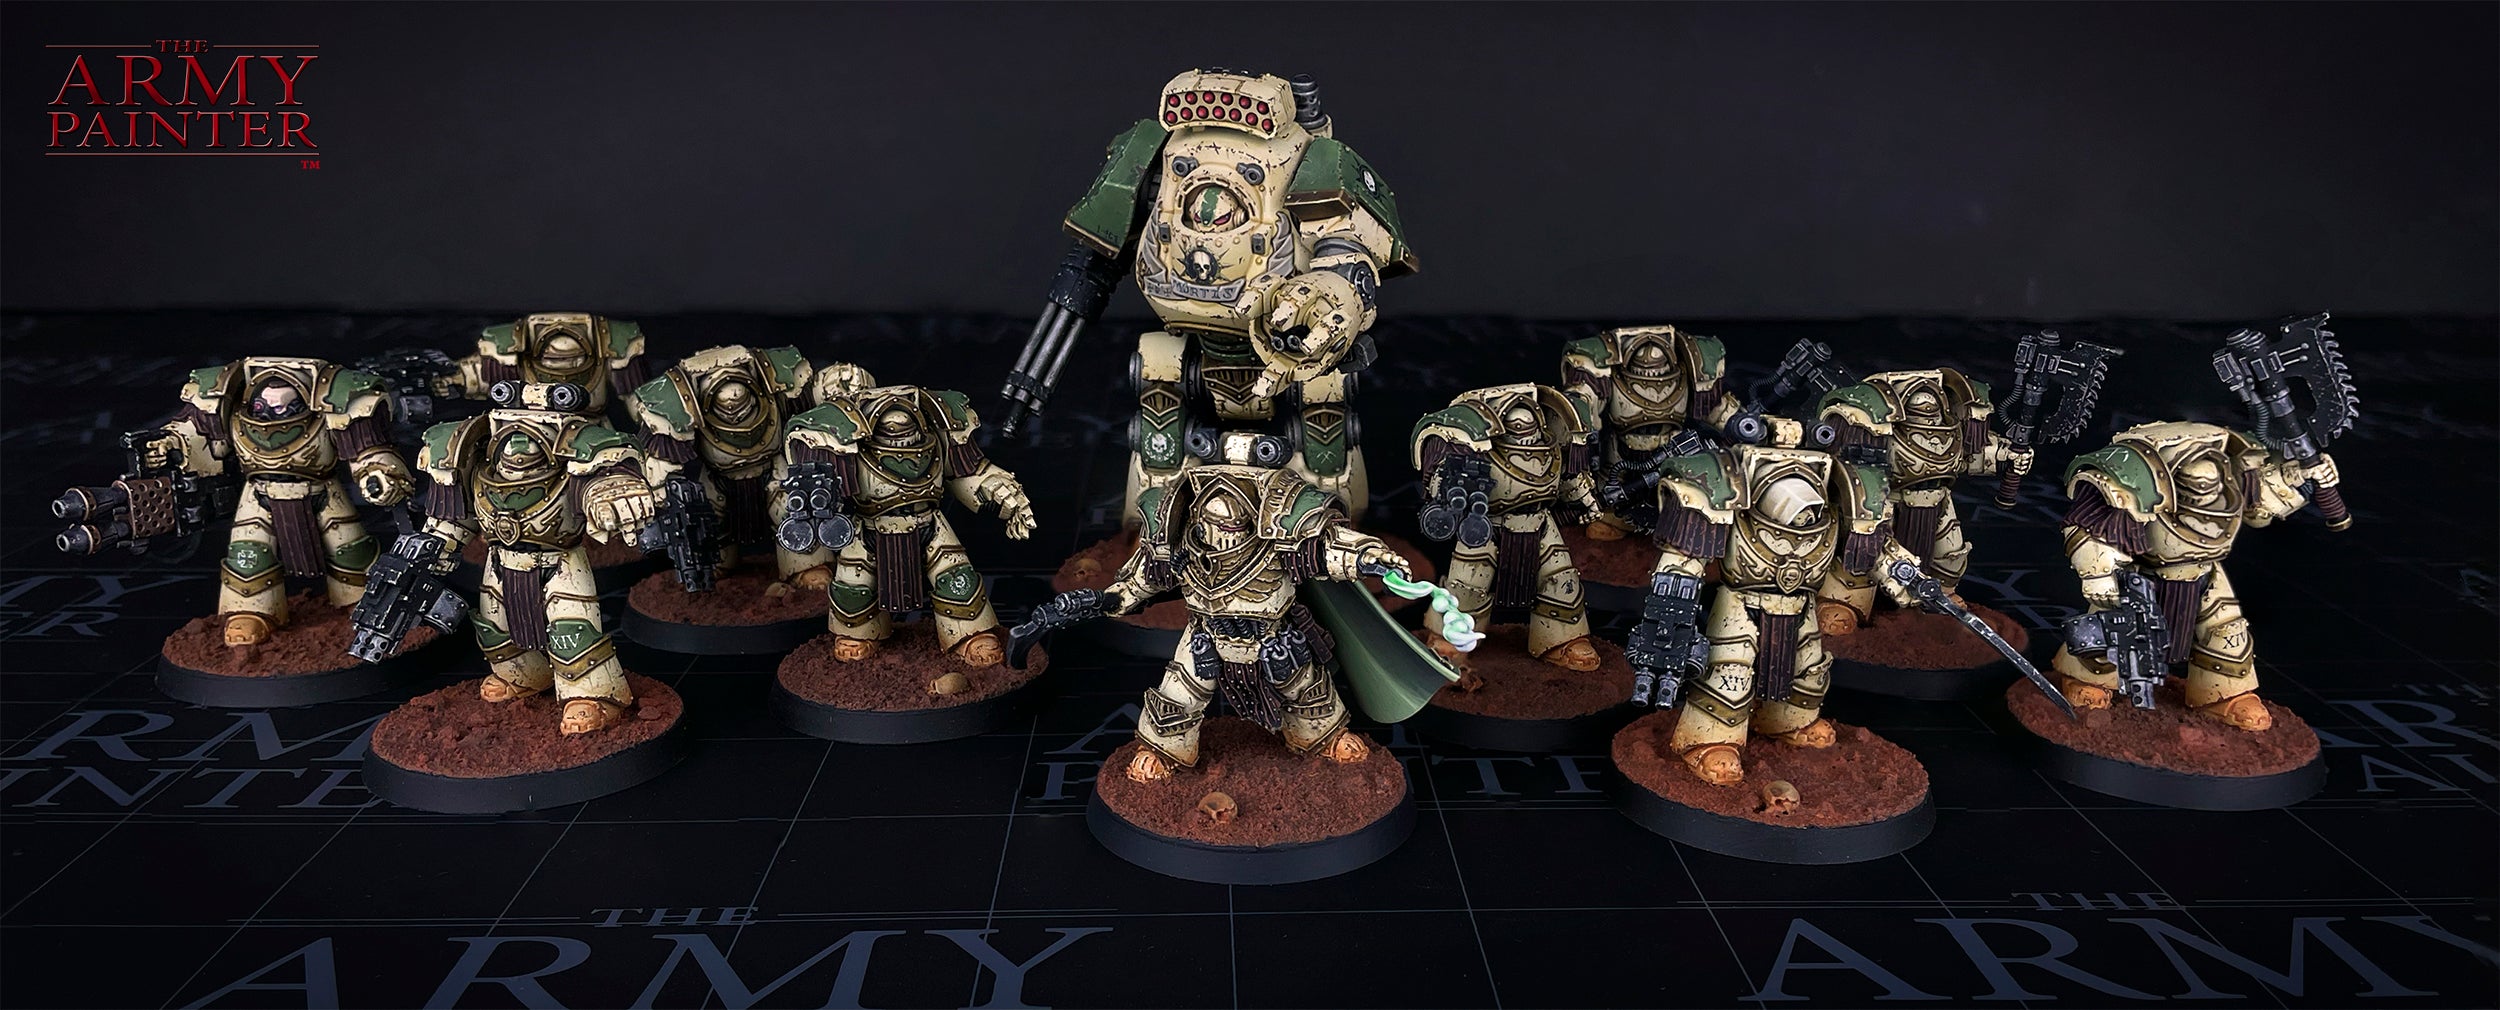
I may have finished it all up a day before the event, but the important thing is that I got it done and they reaped an impressive tally of loyalist marine lives in the game! Now I can apply the same techniques to the rest of the army and have a good core of models to add to. I plan on keeping it as a Pride of the Legion force for now, which means more Terminators and a thankfully low model count.
Be sure to tell us what you thought of this tutorial format, if you have any suggestions for improvements in the future, or even which models you want us to tackle.
If you paint your own model following one of these guides, tag it with #thearmypainteracademy to share your work!