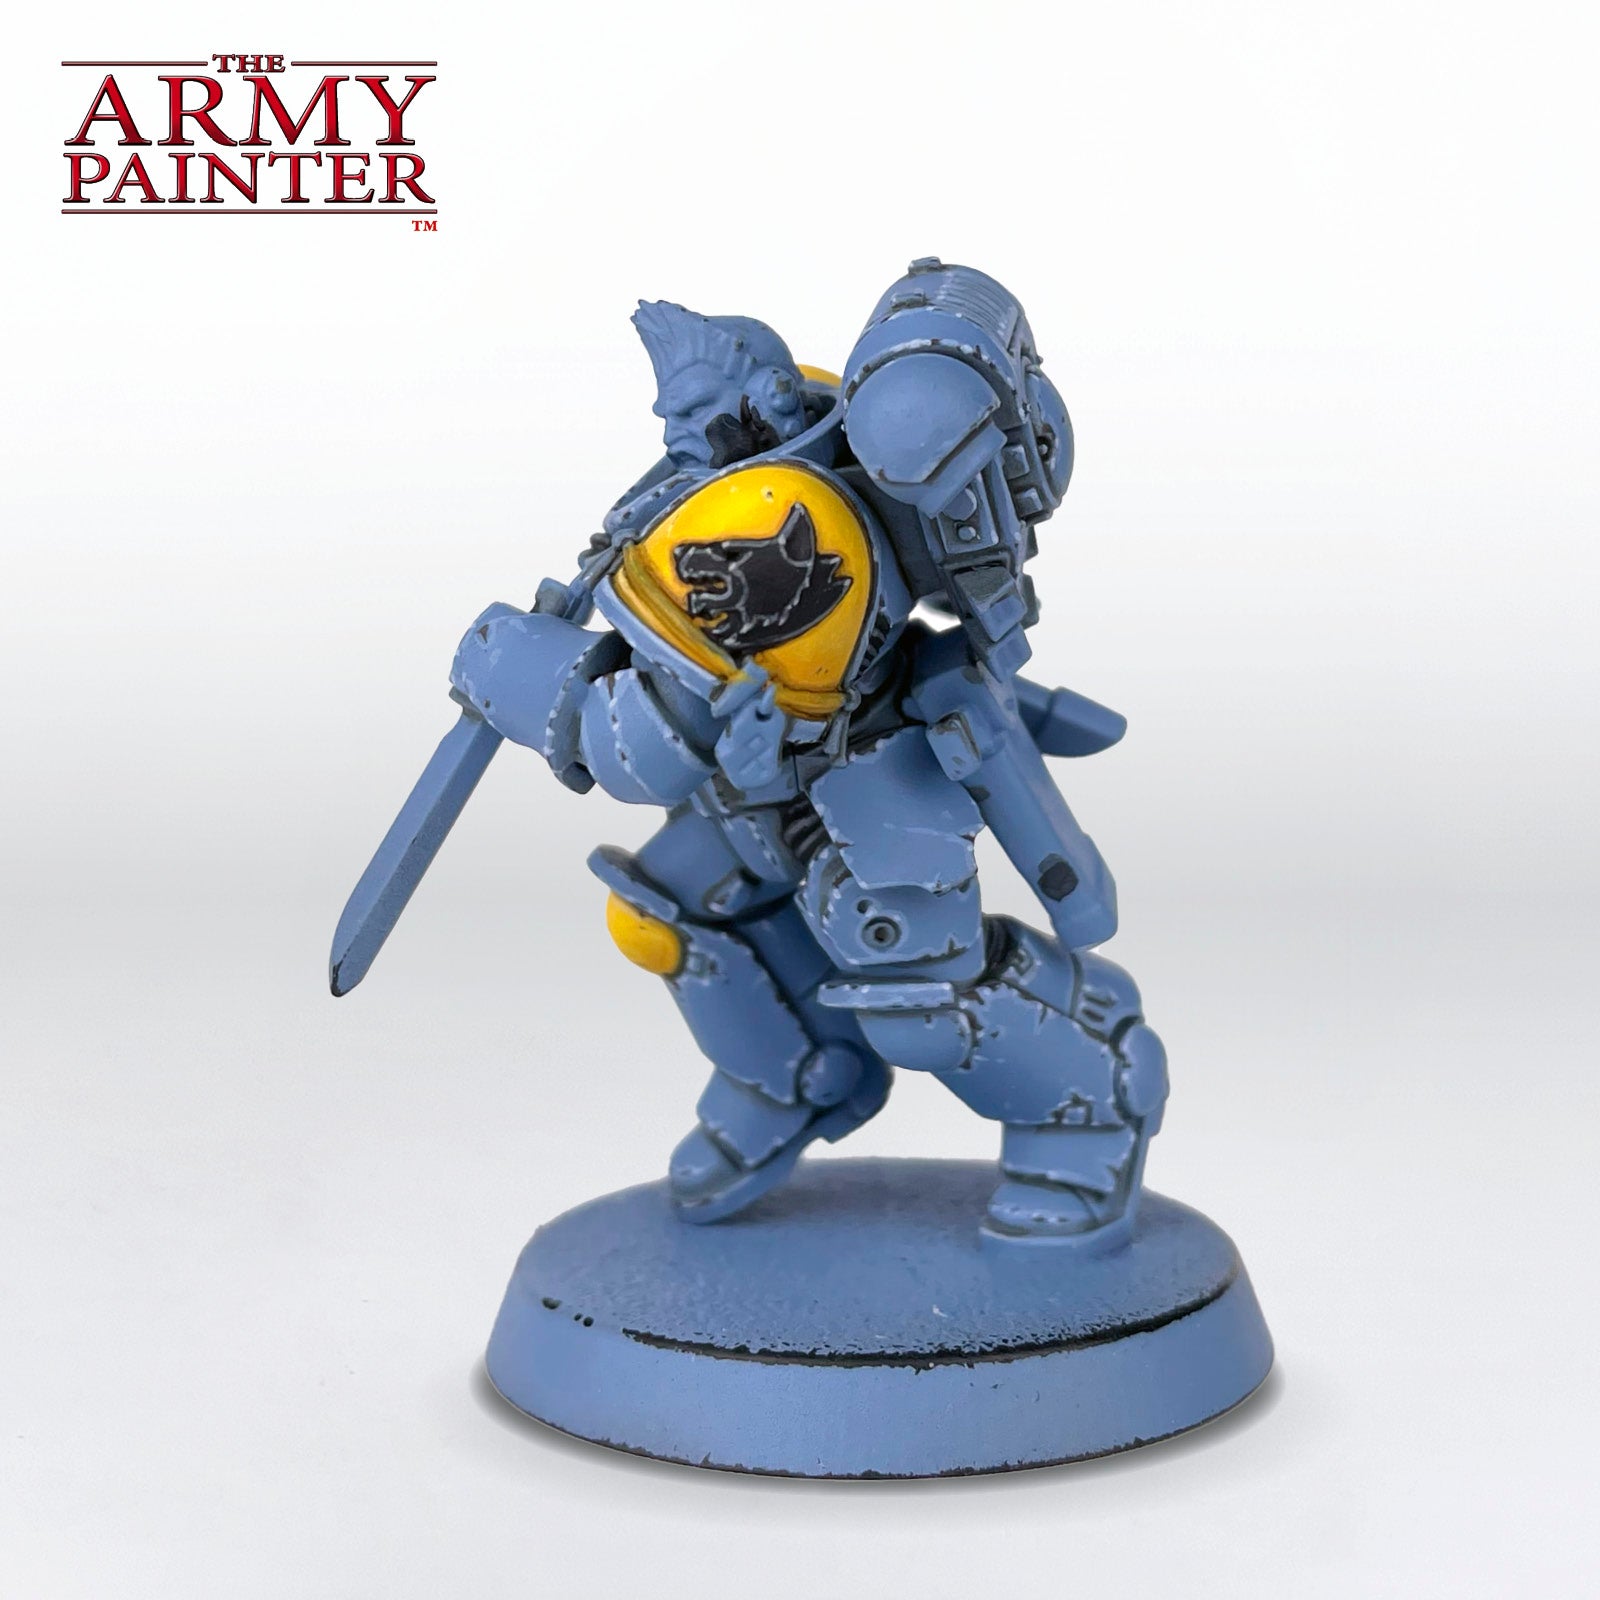
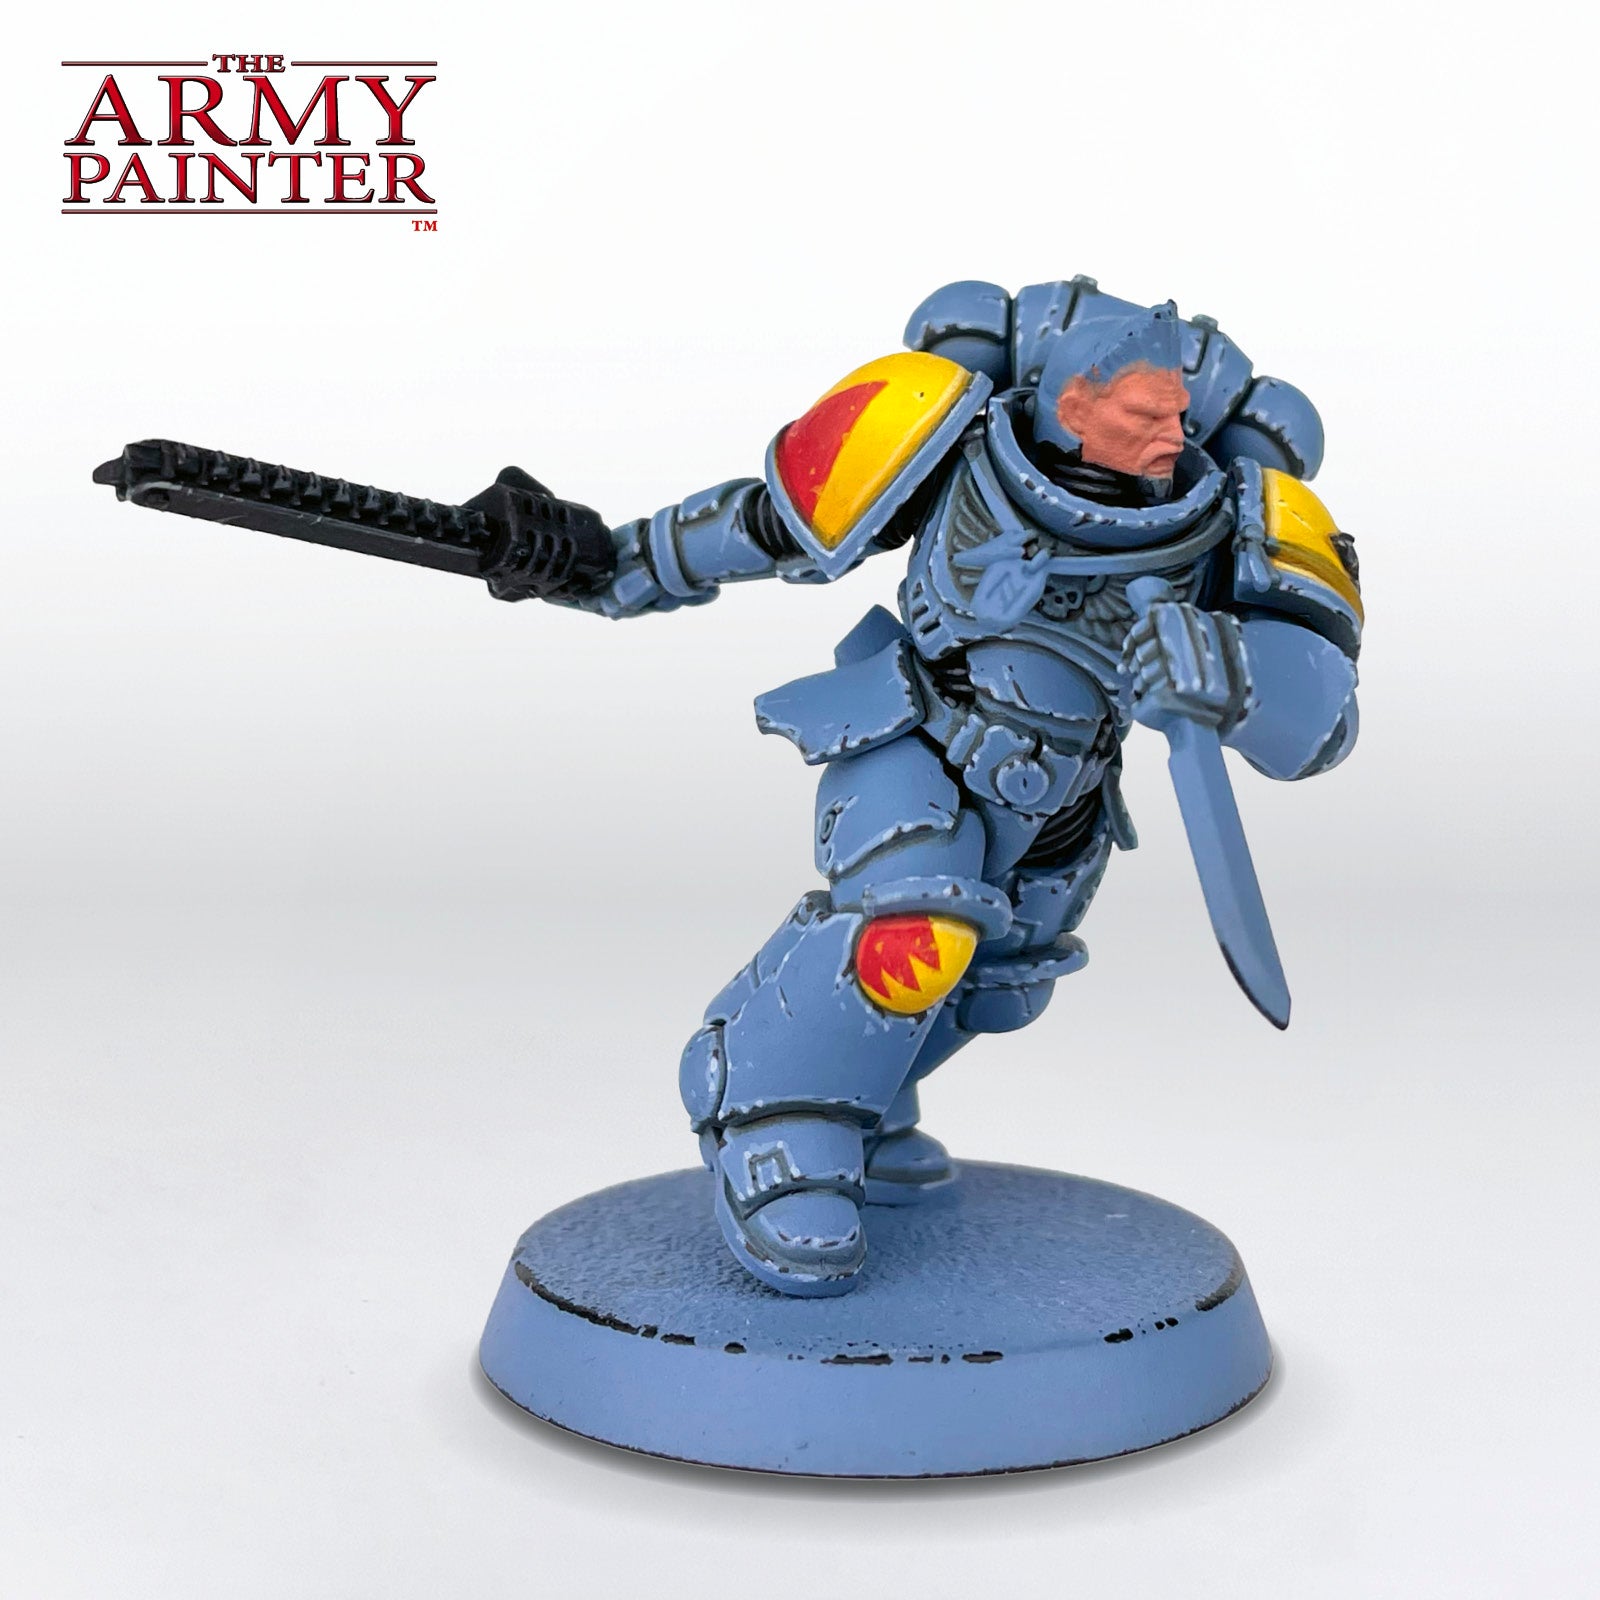
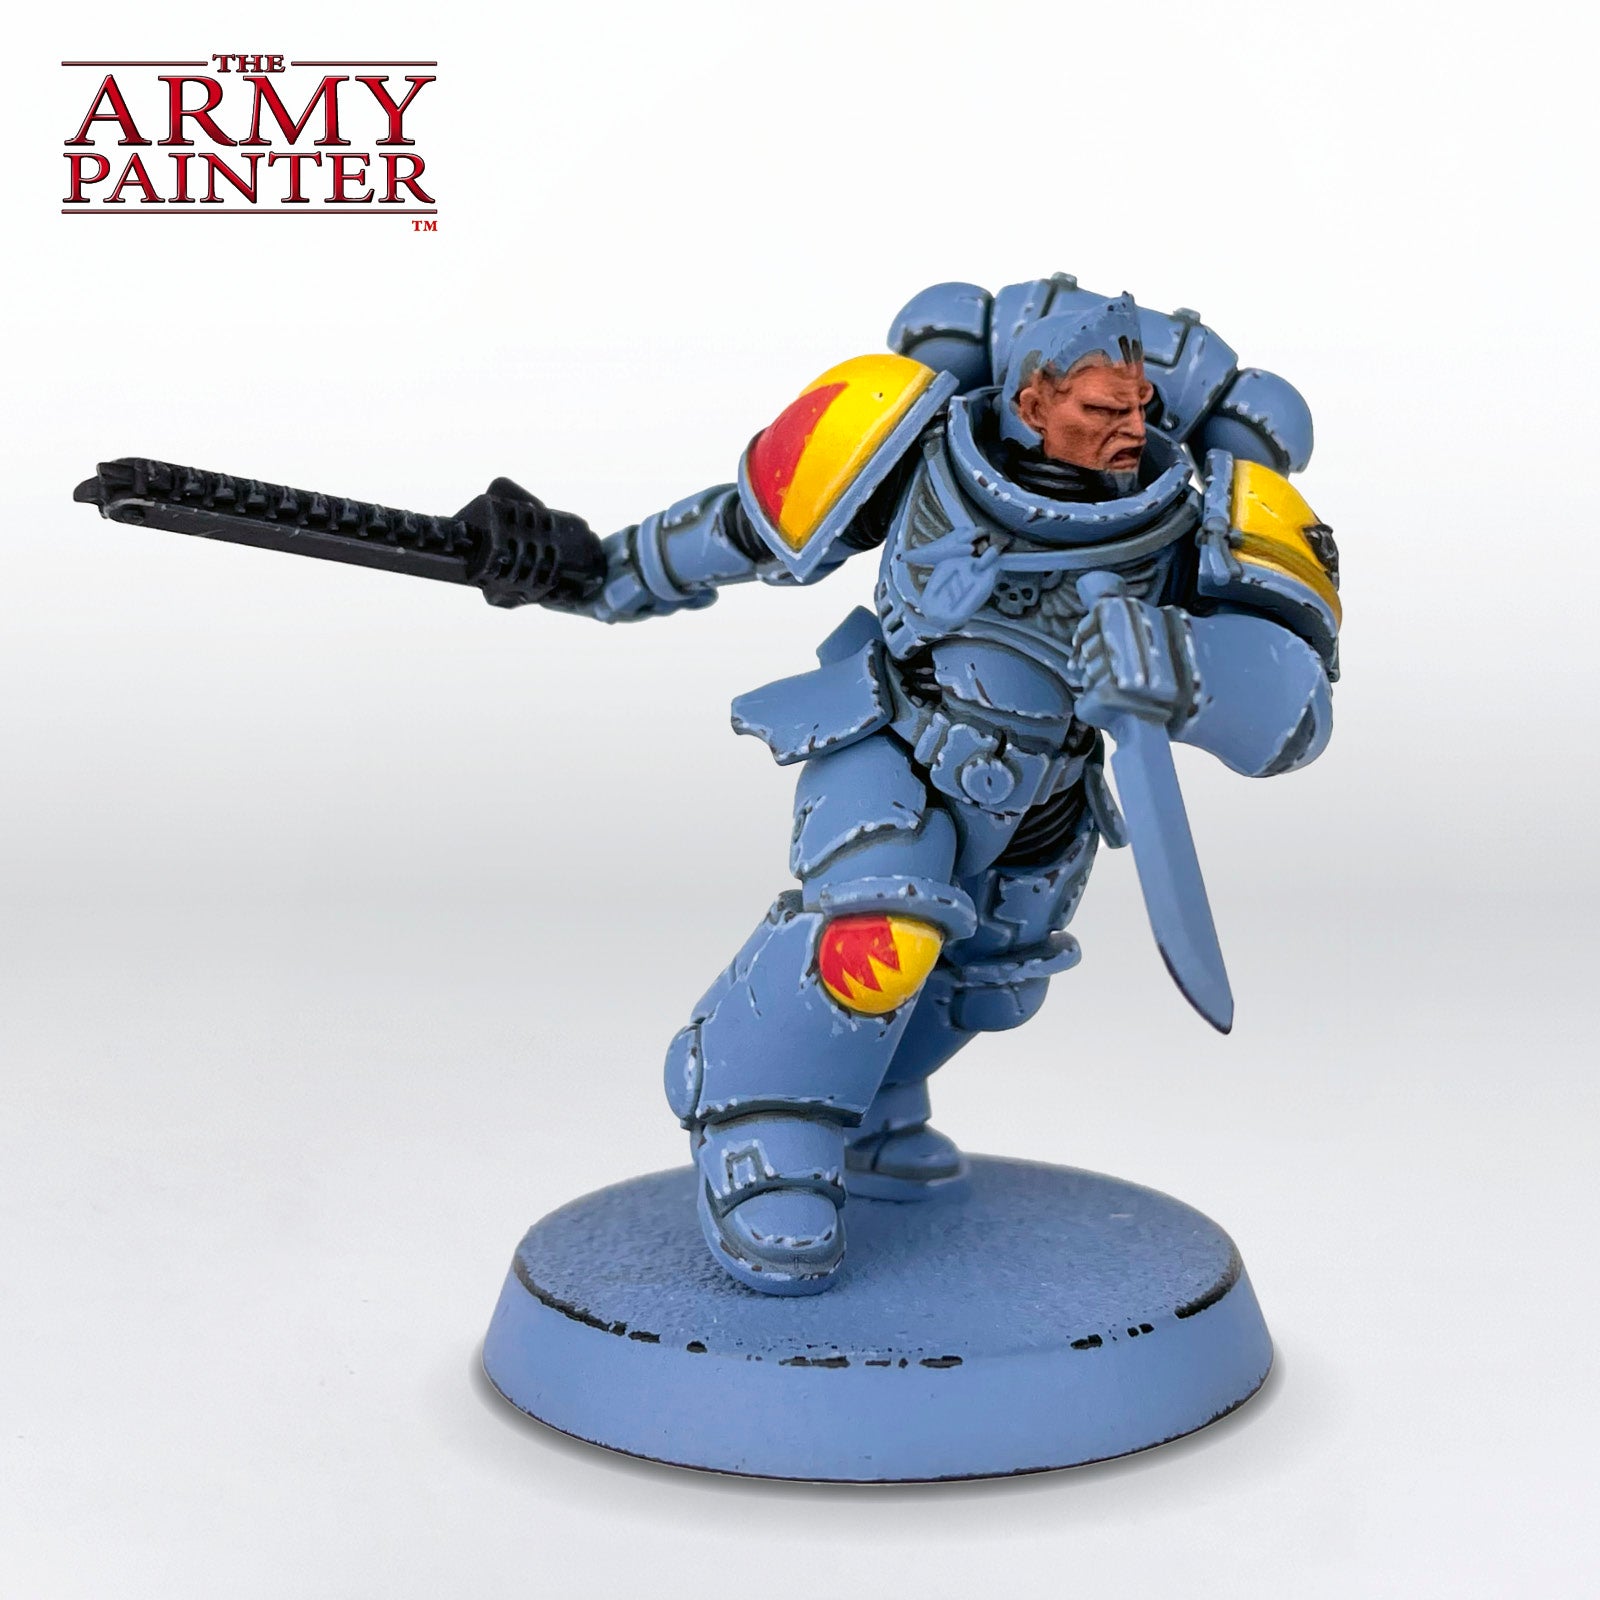
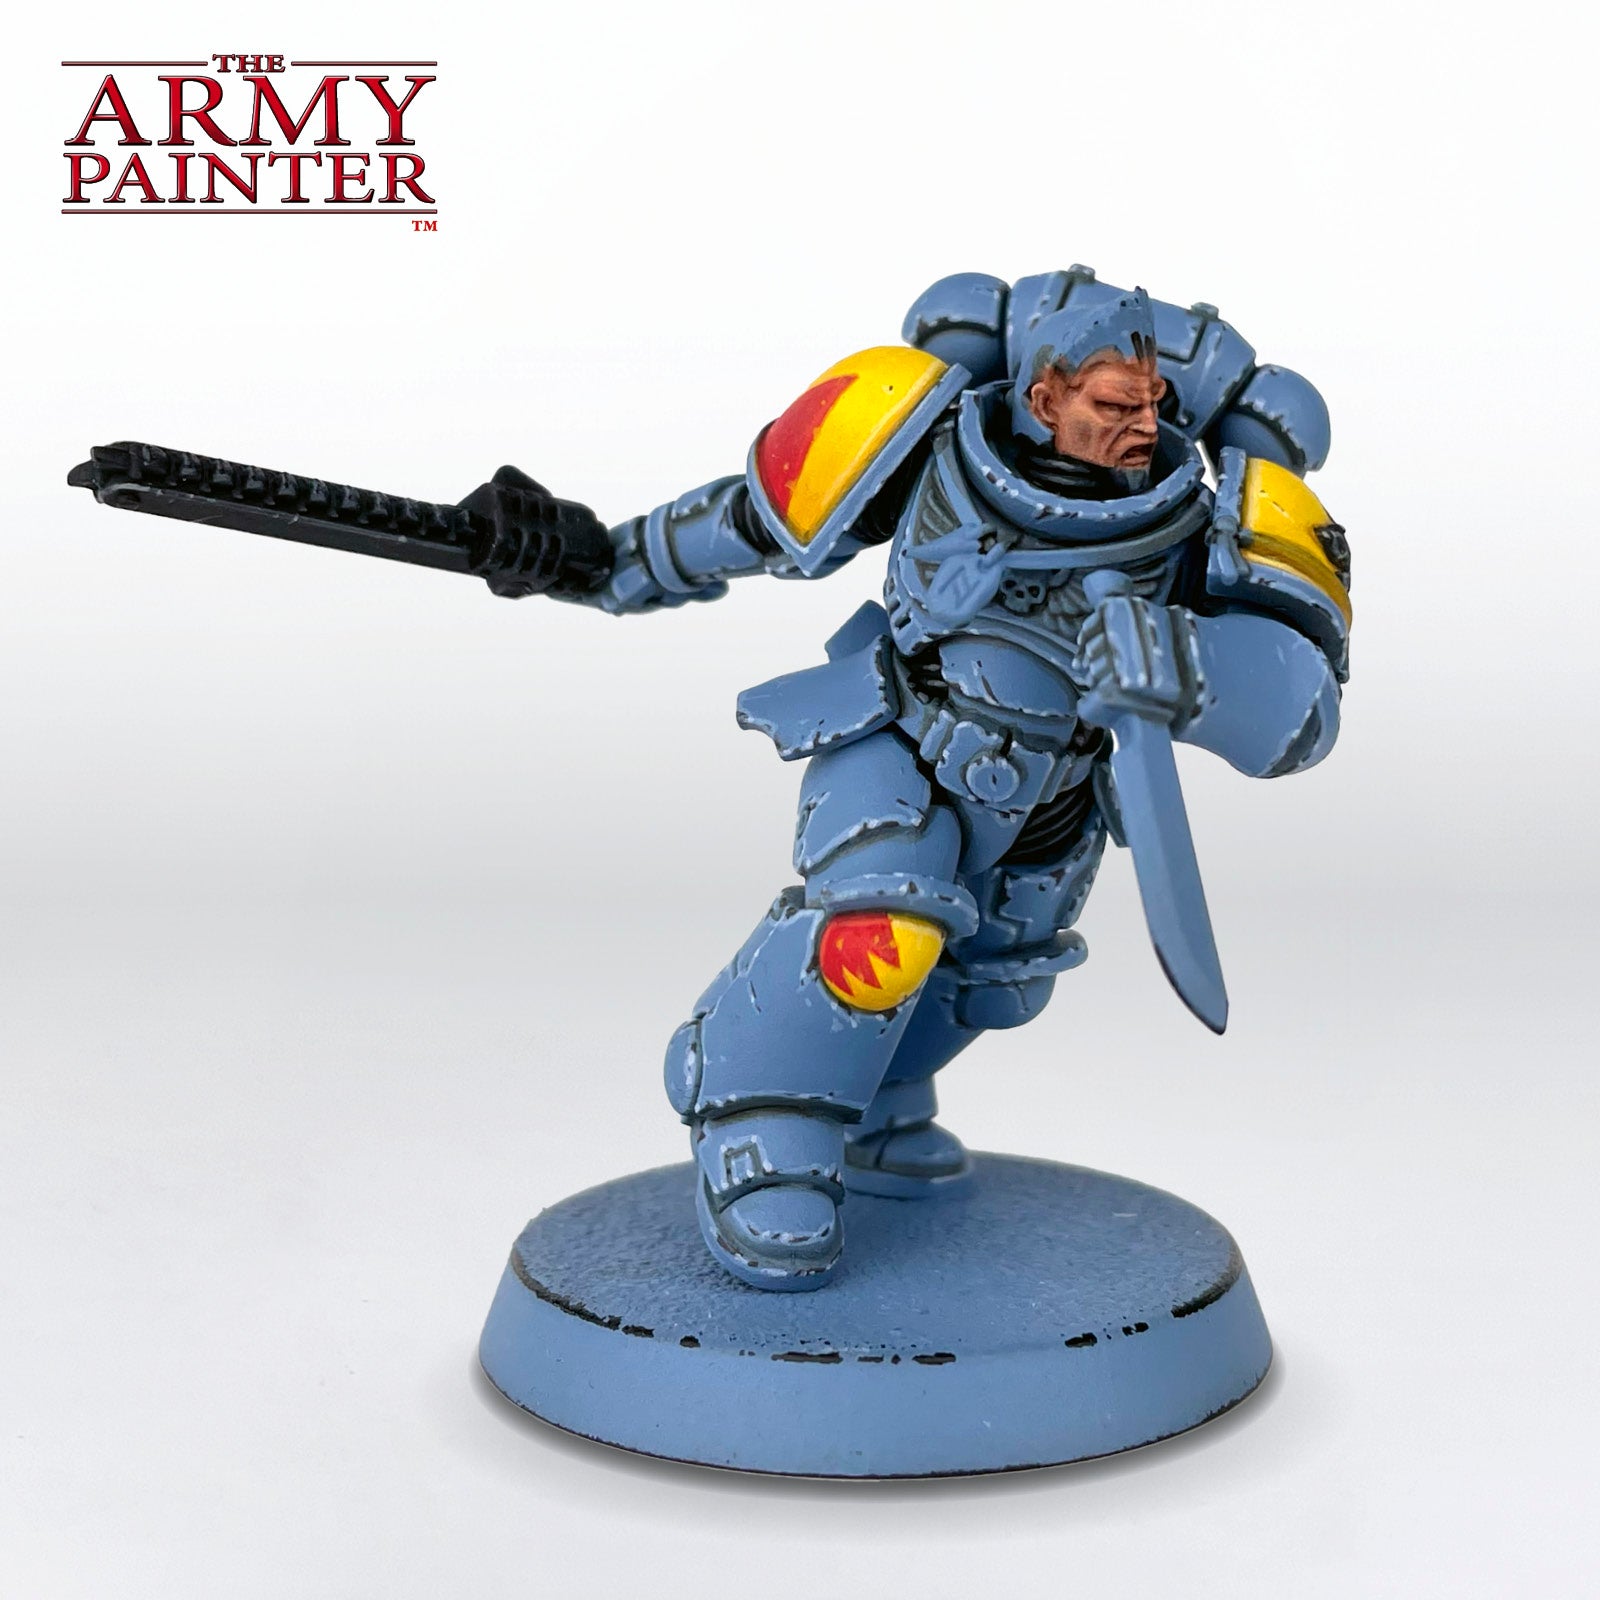
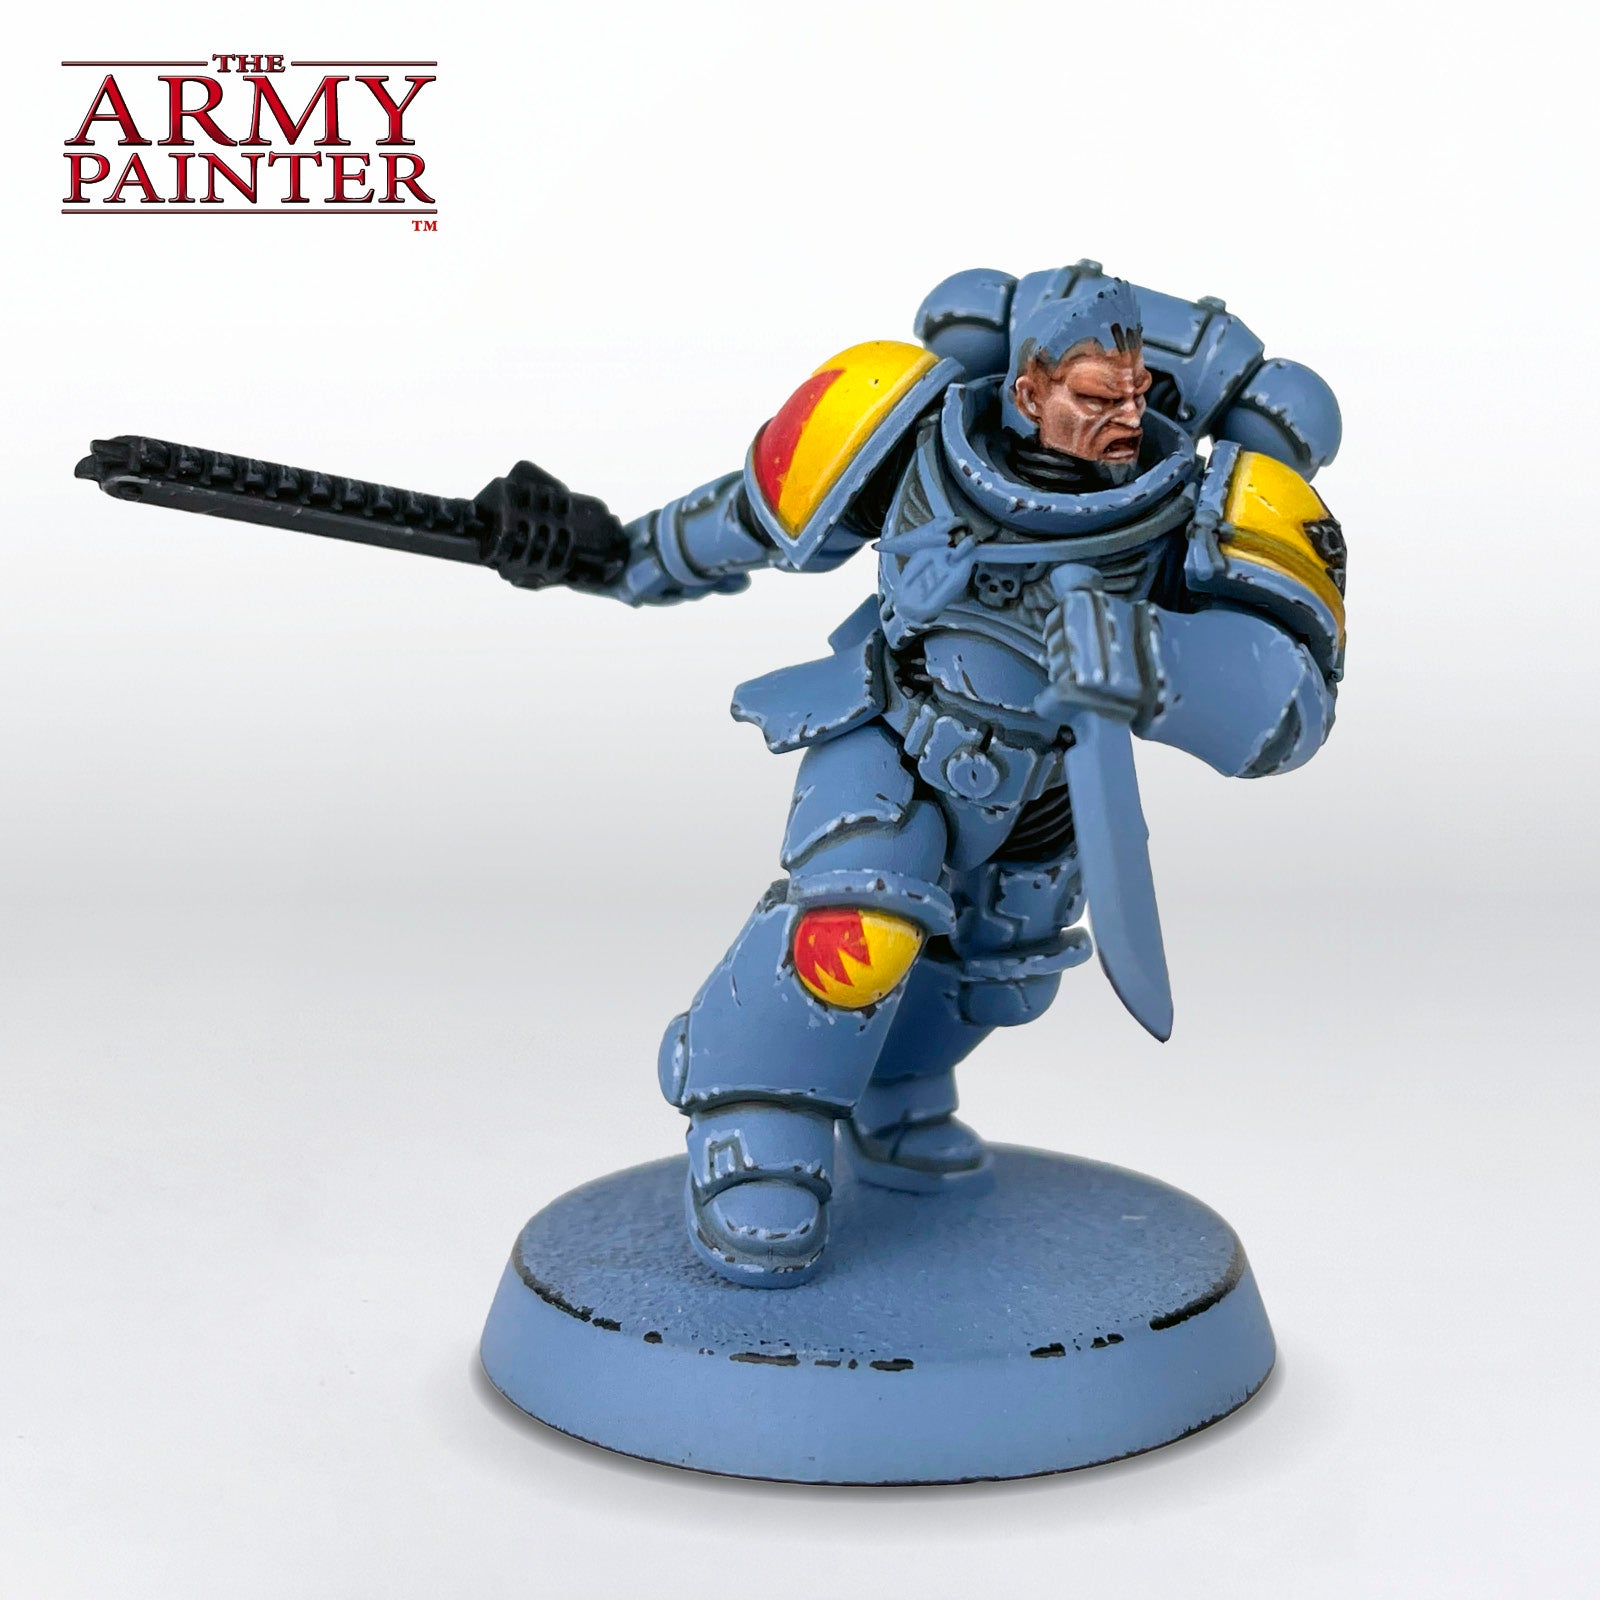
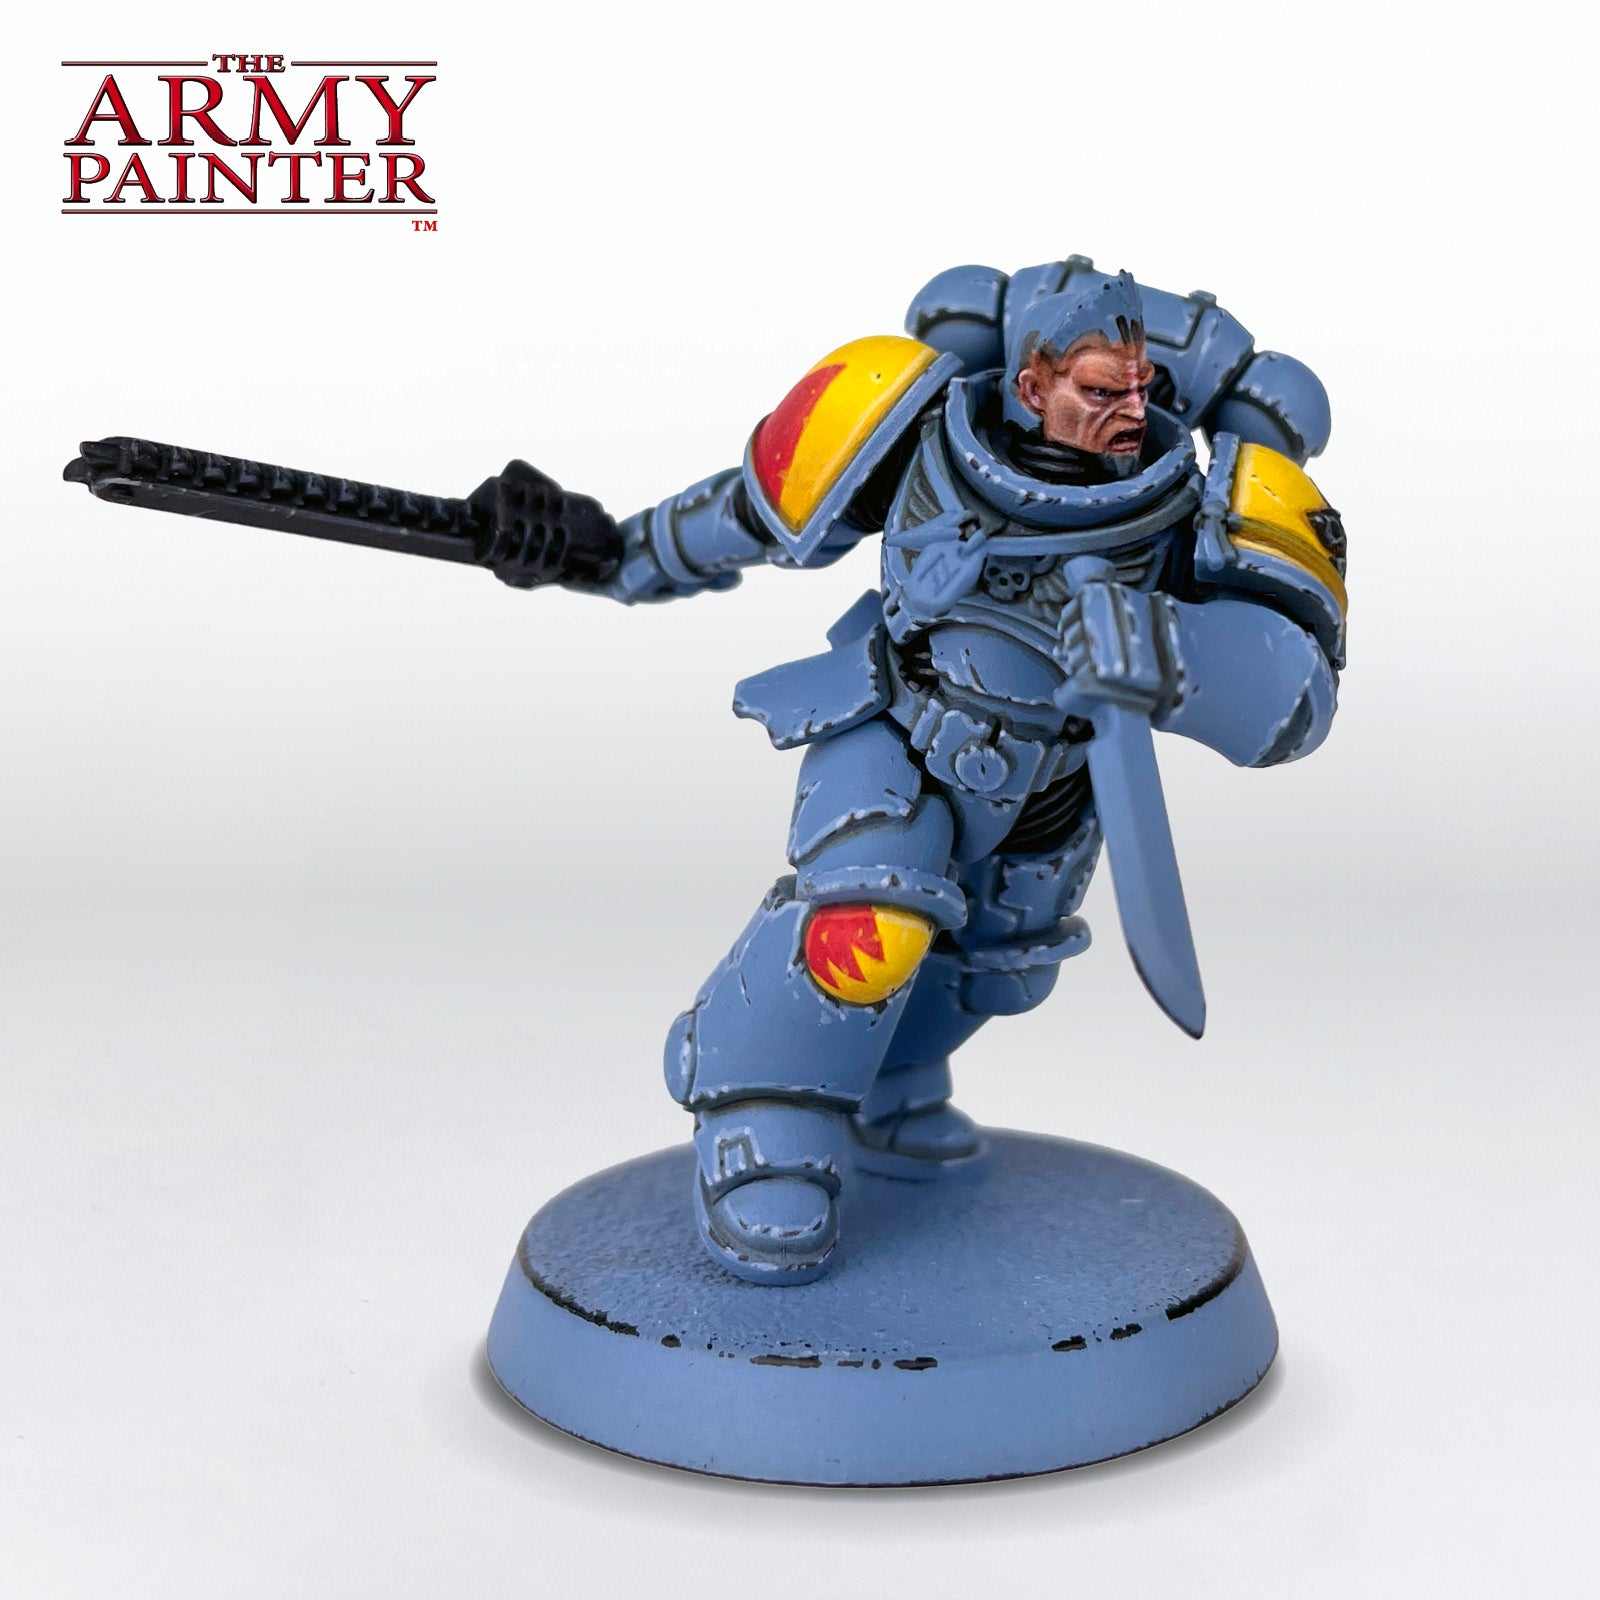
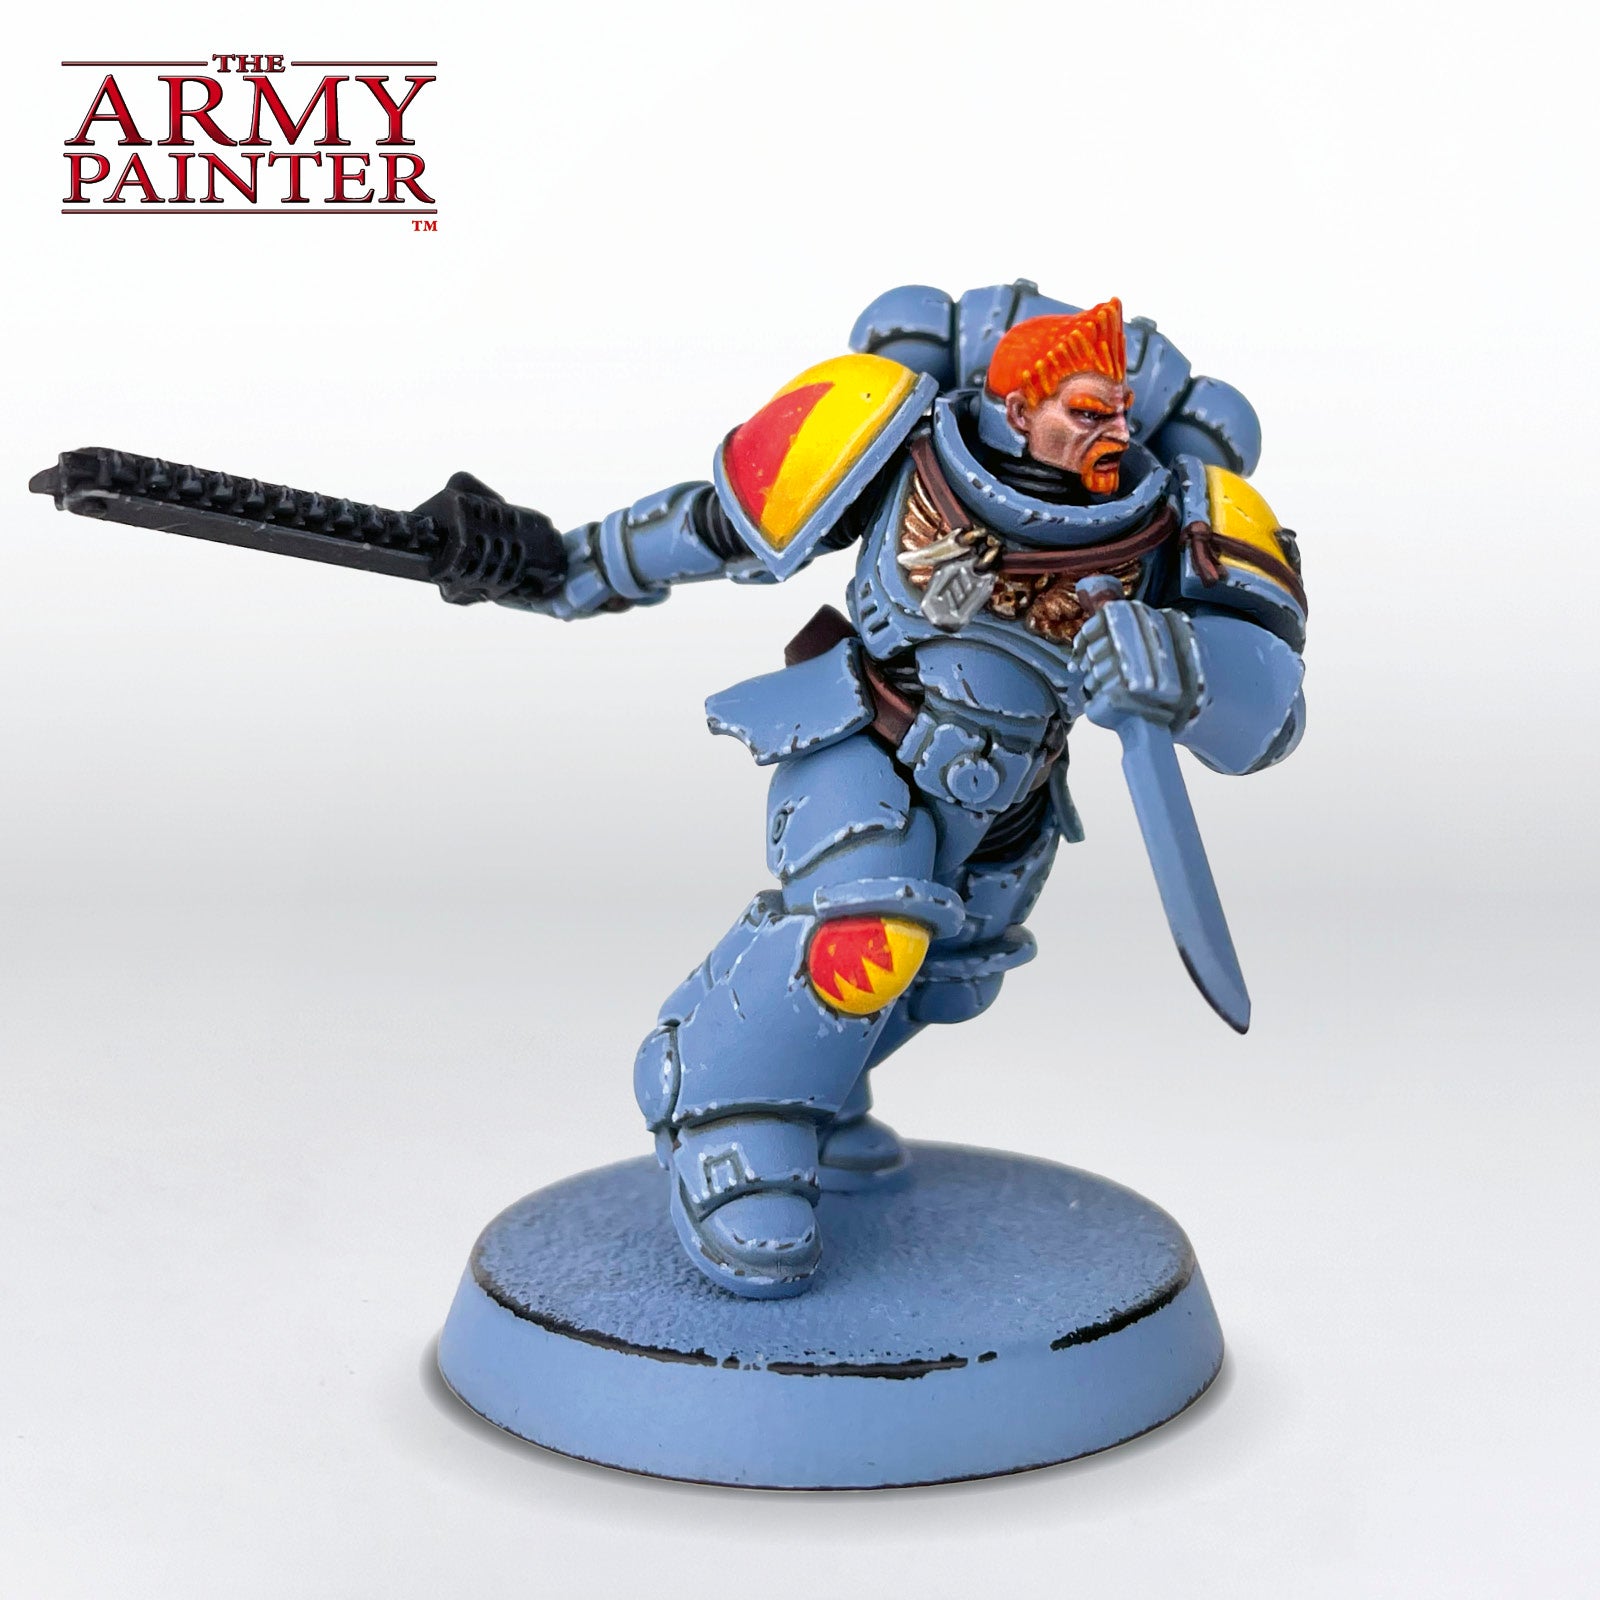
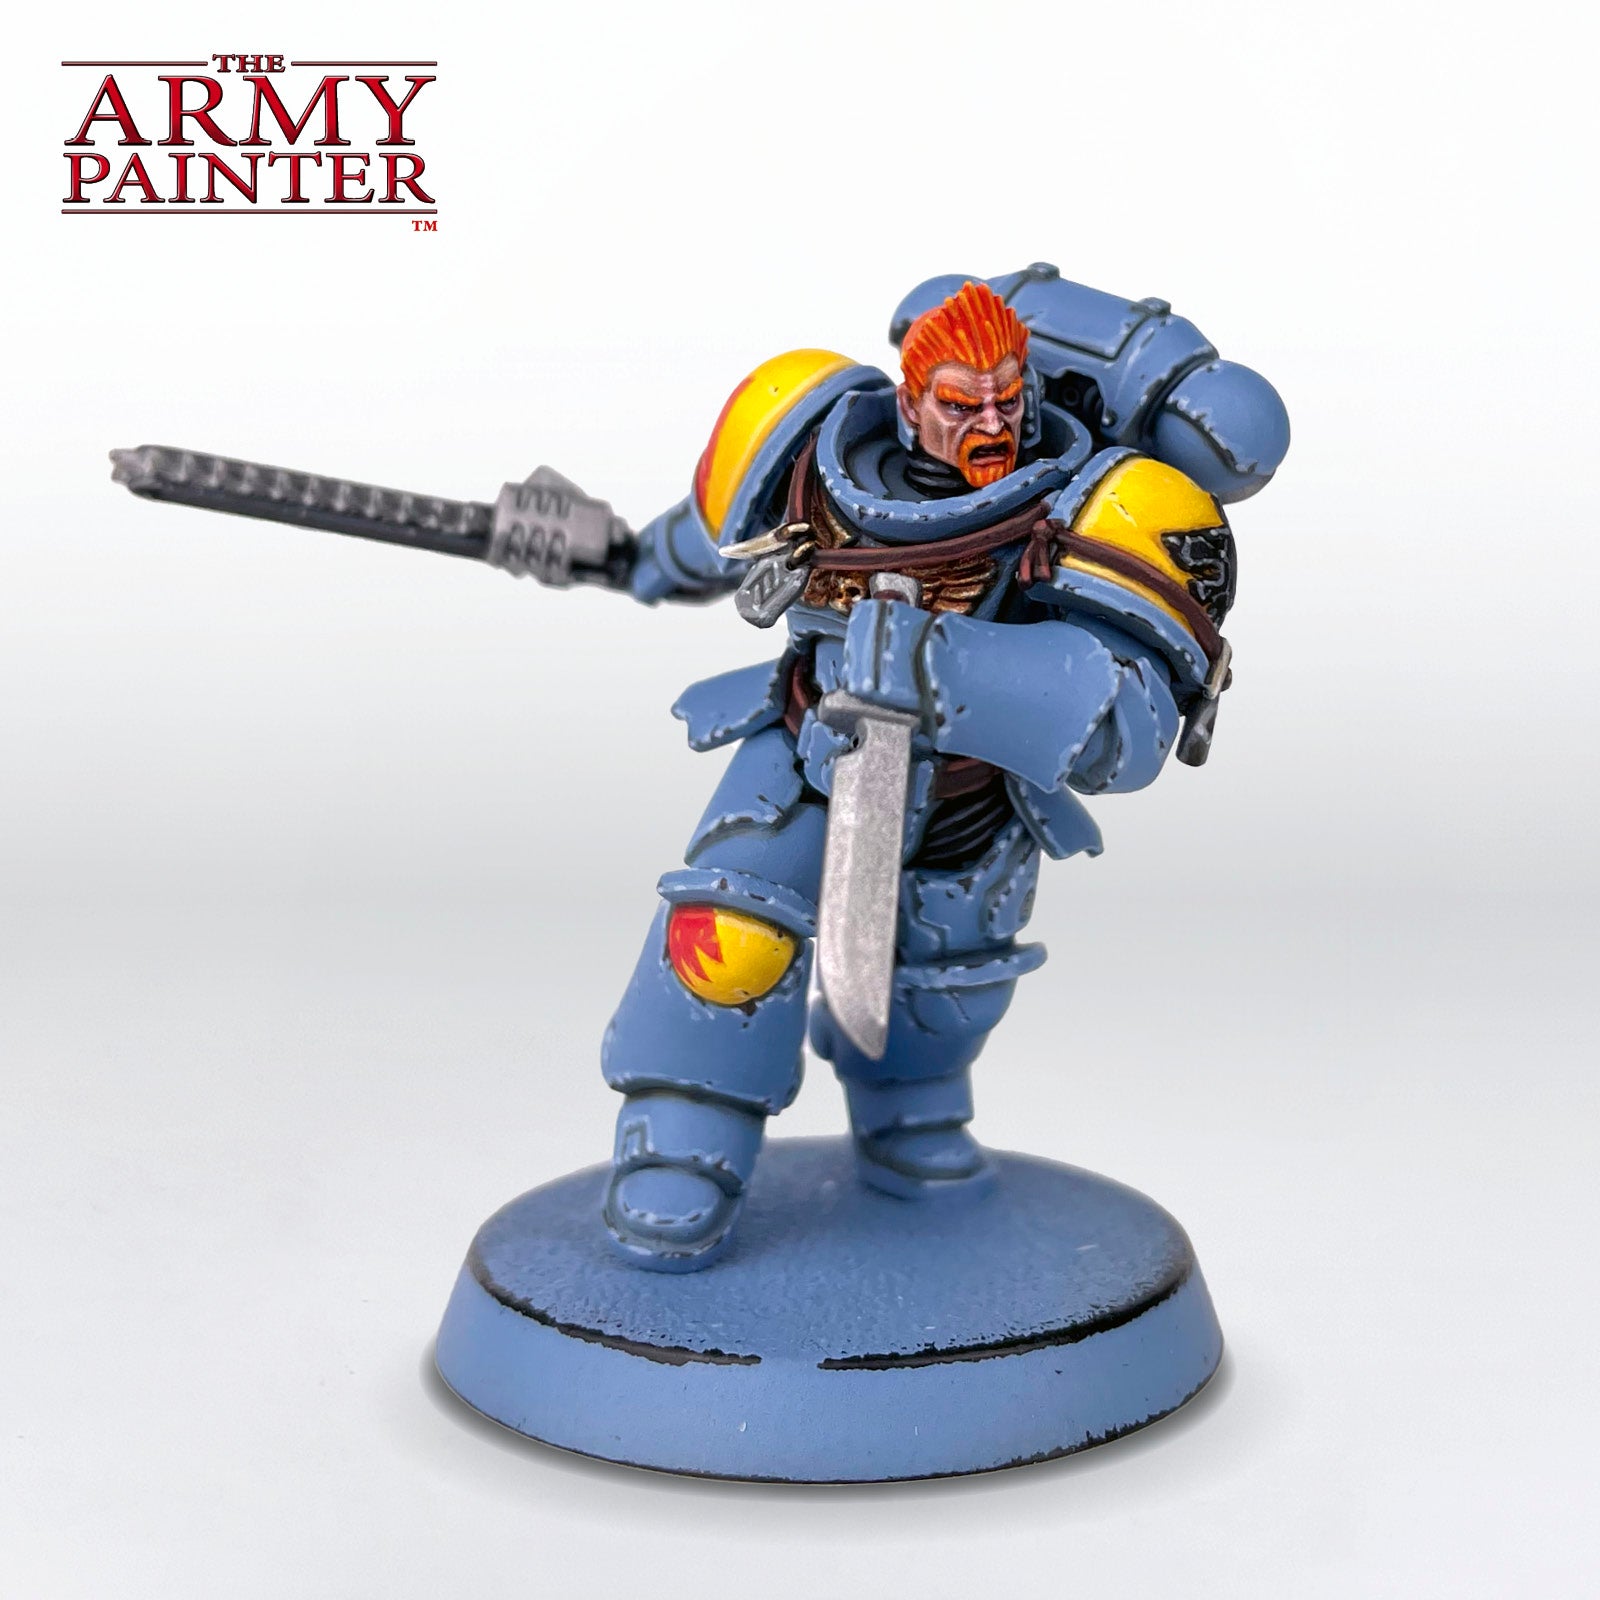
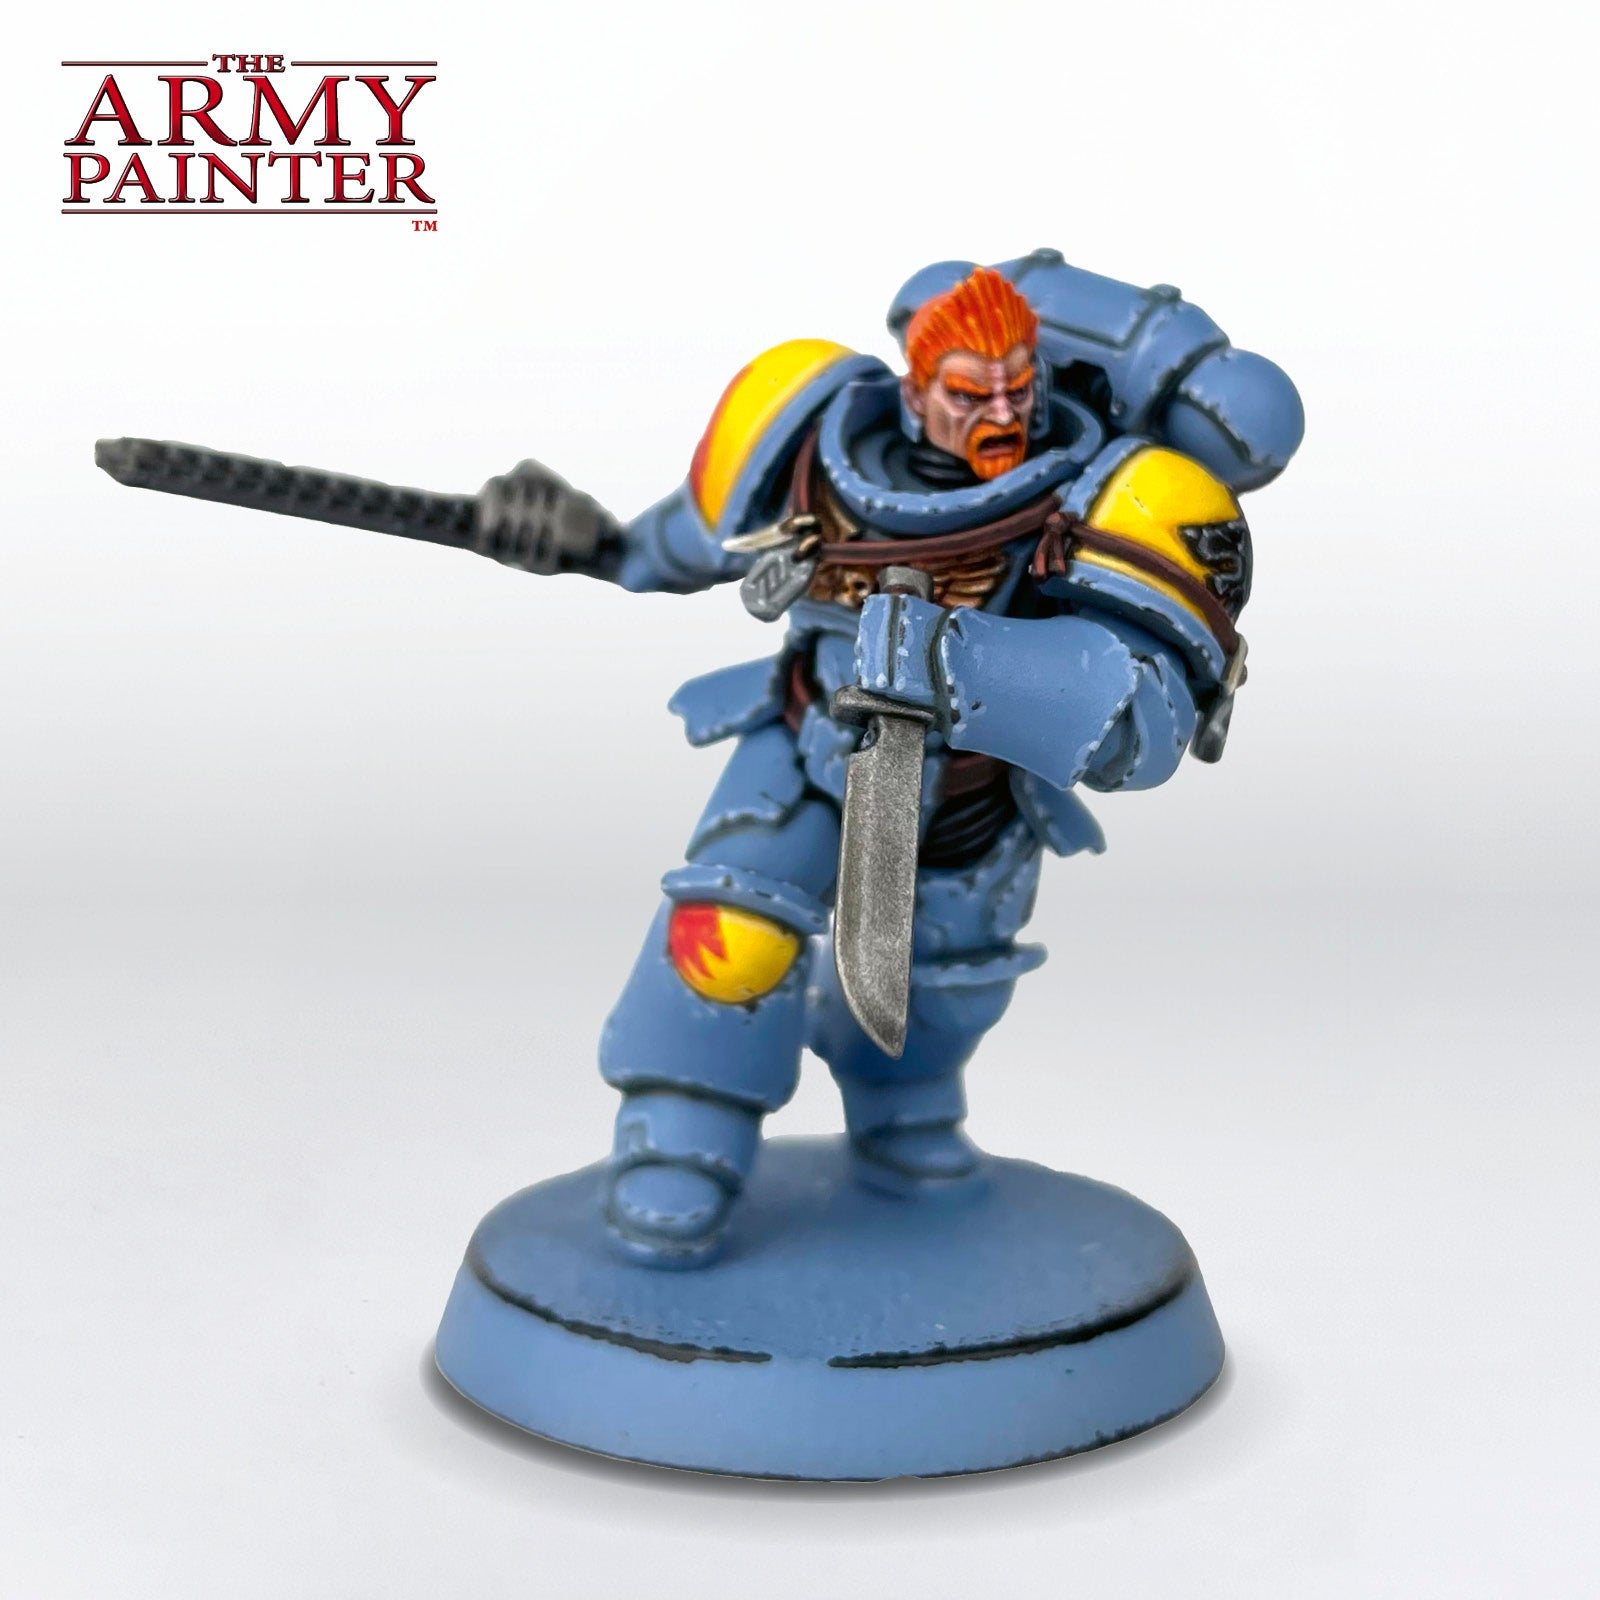
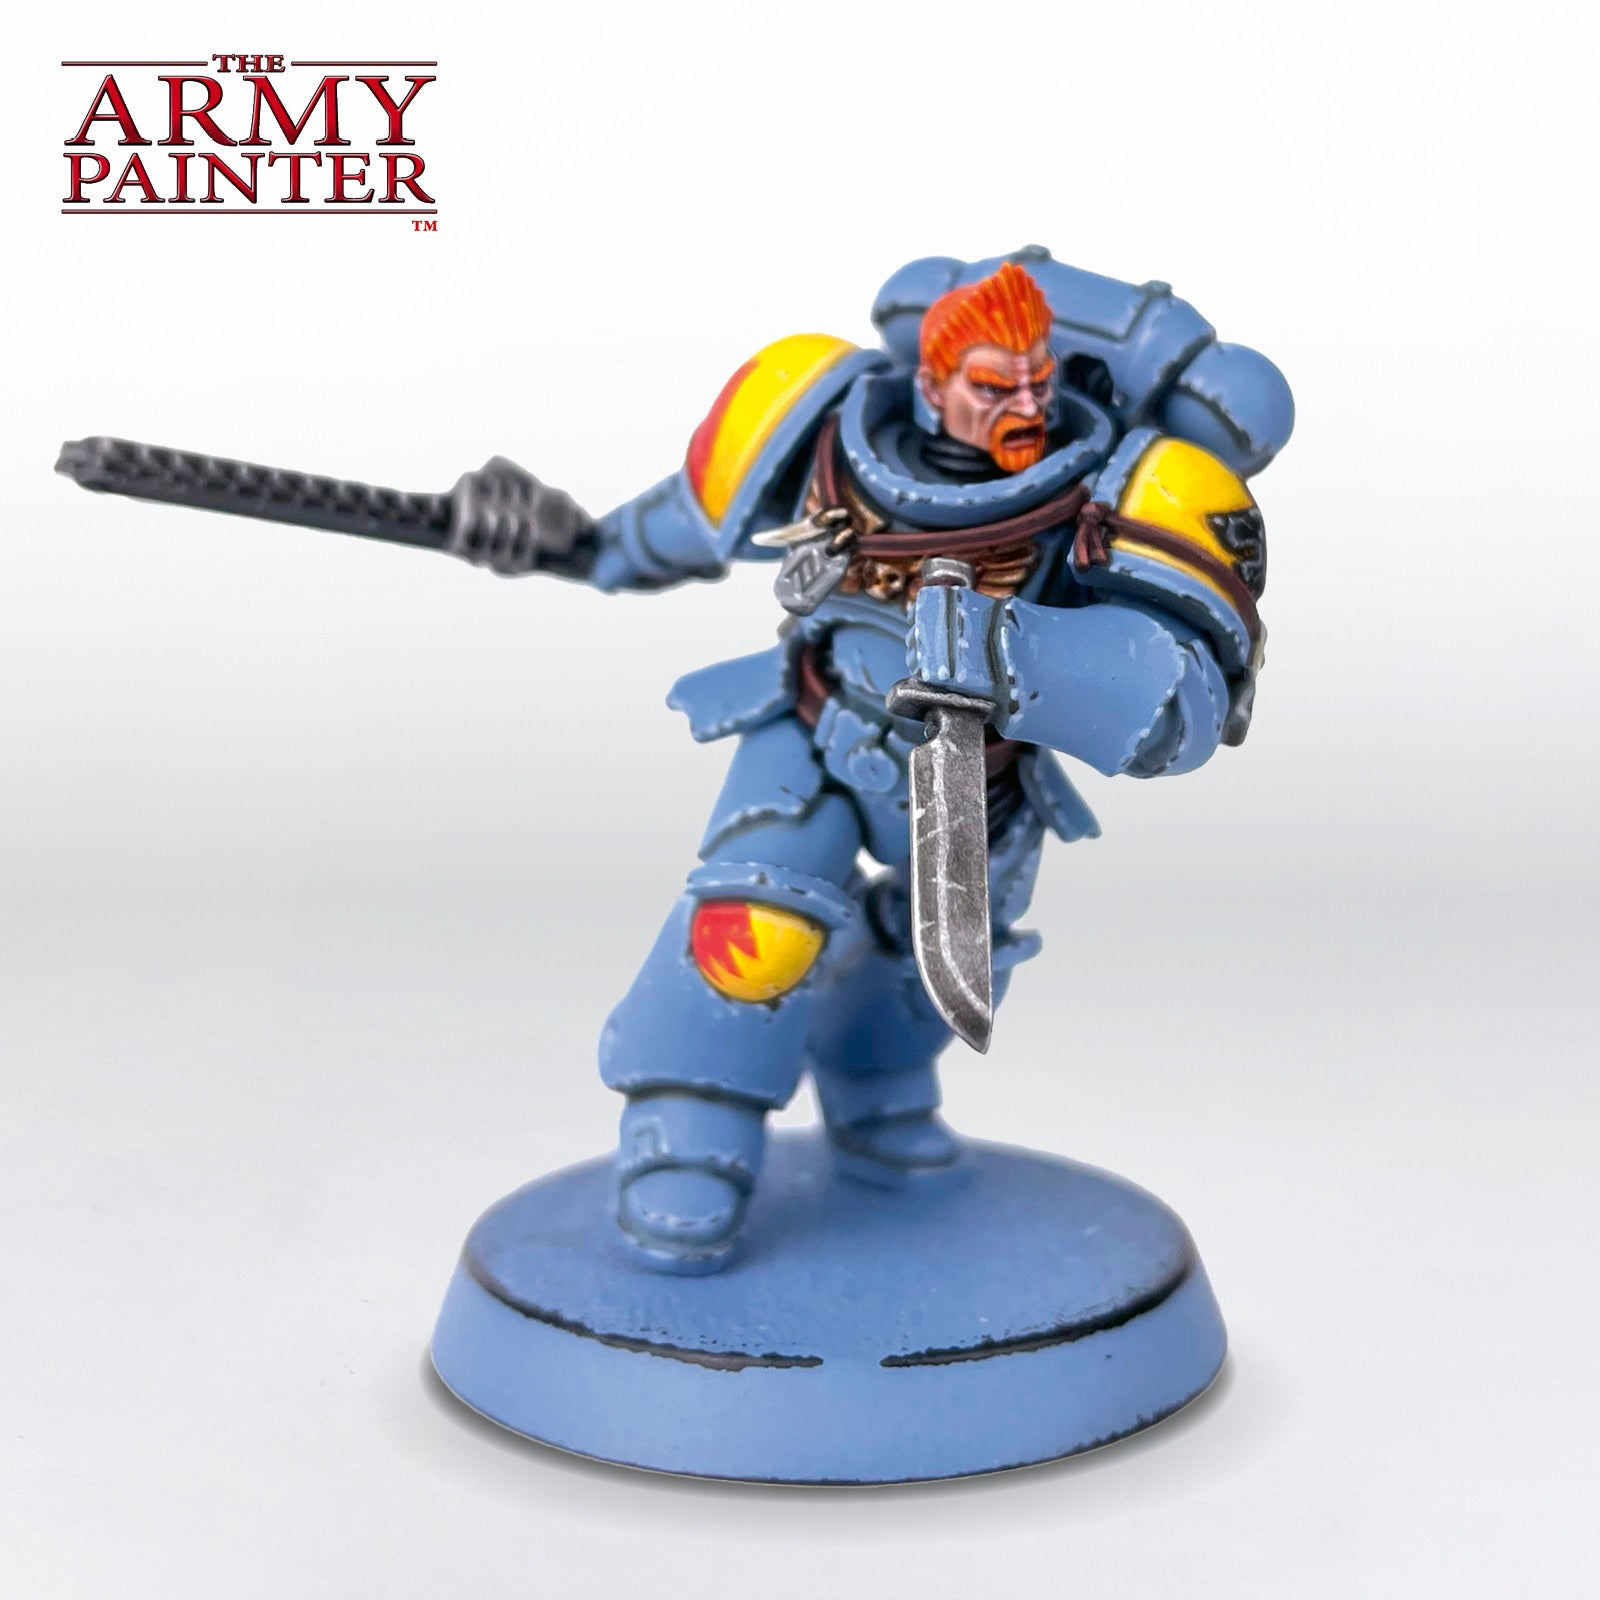
How to Paint a Space Wolf Mobile
How to Paint a

Space Wolf

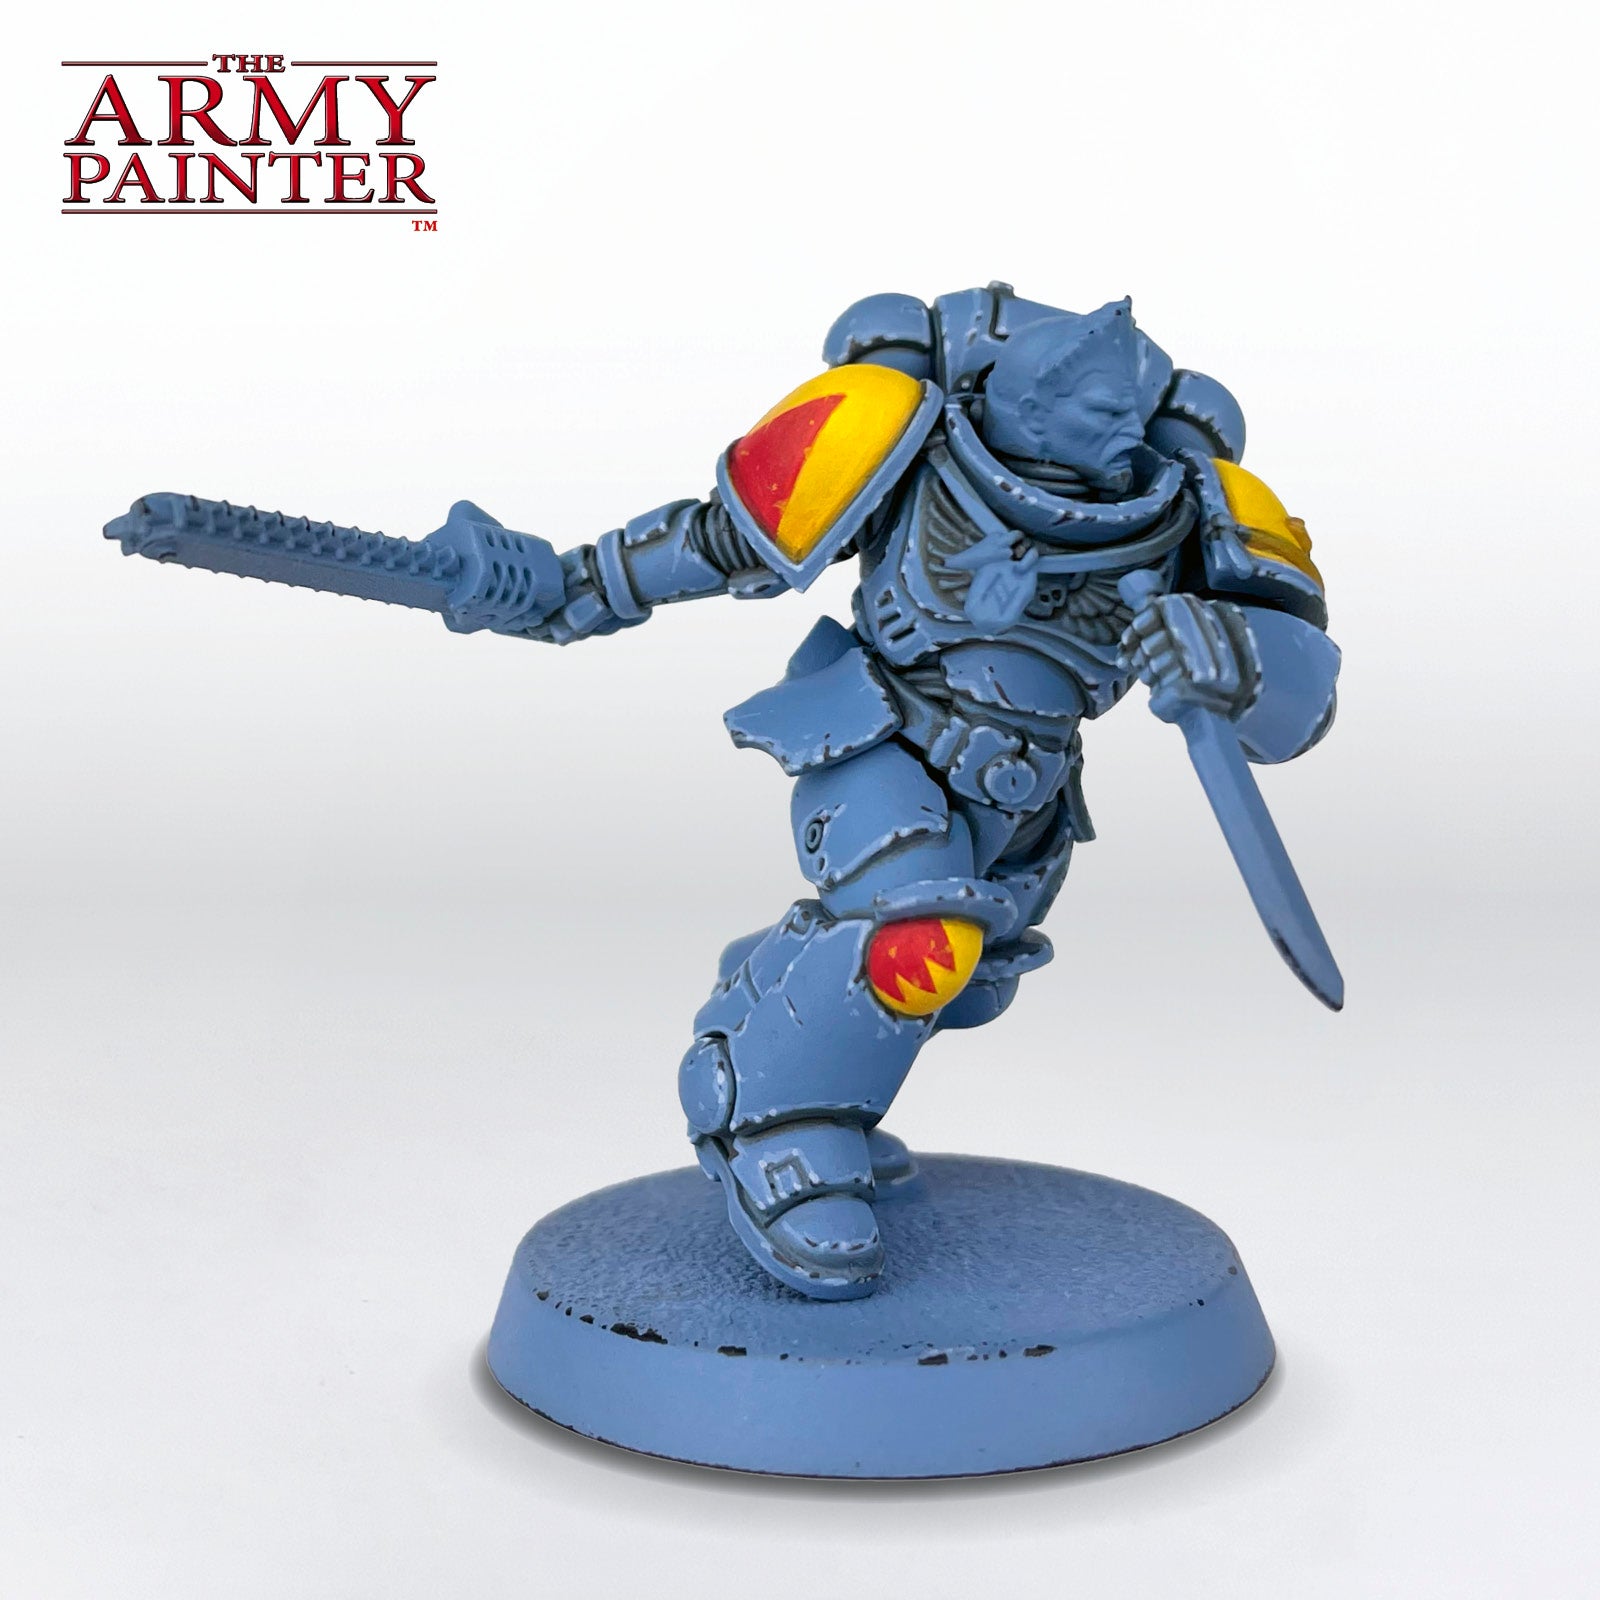
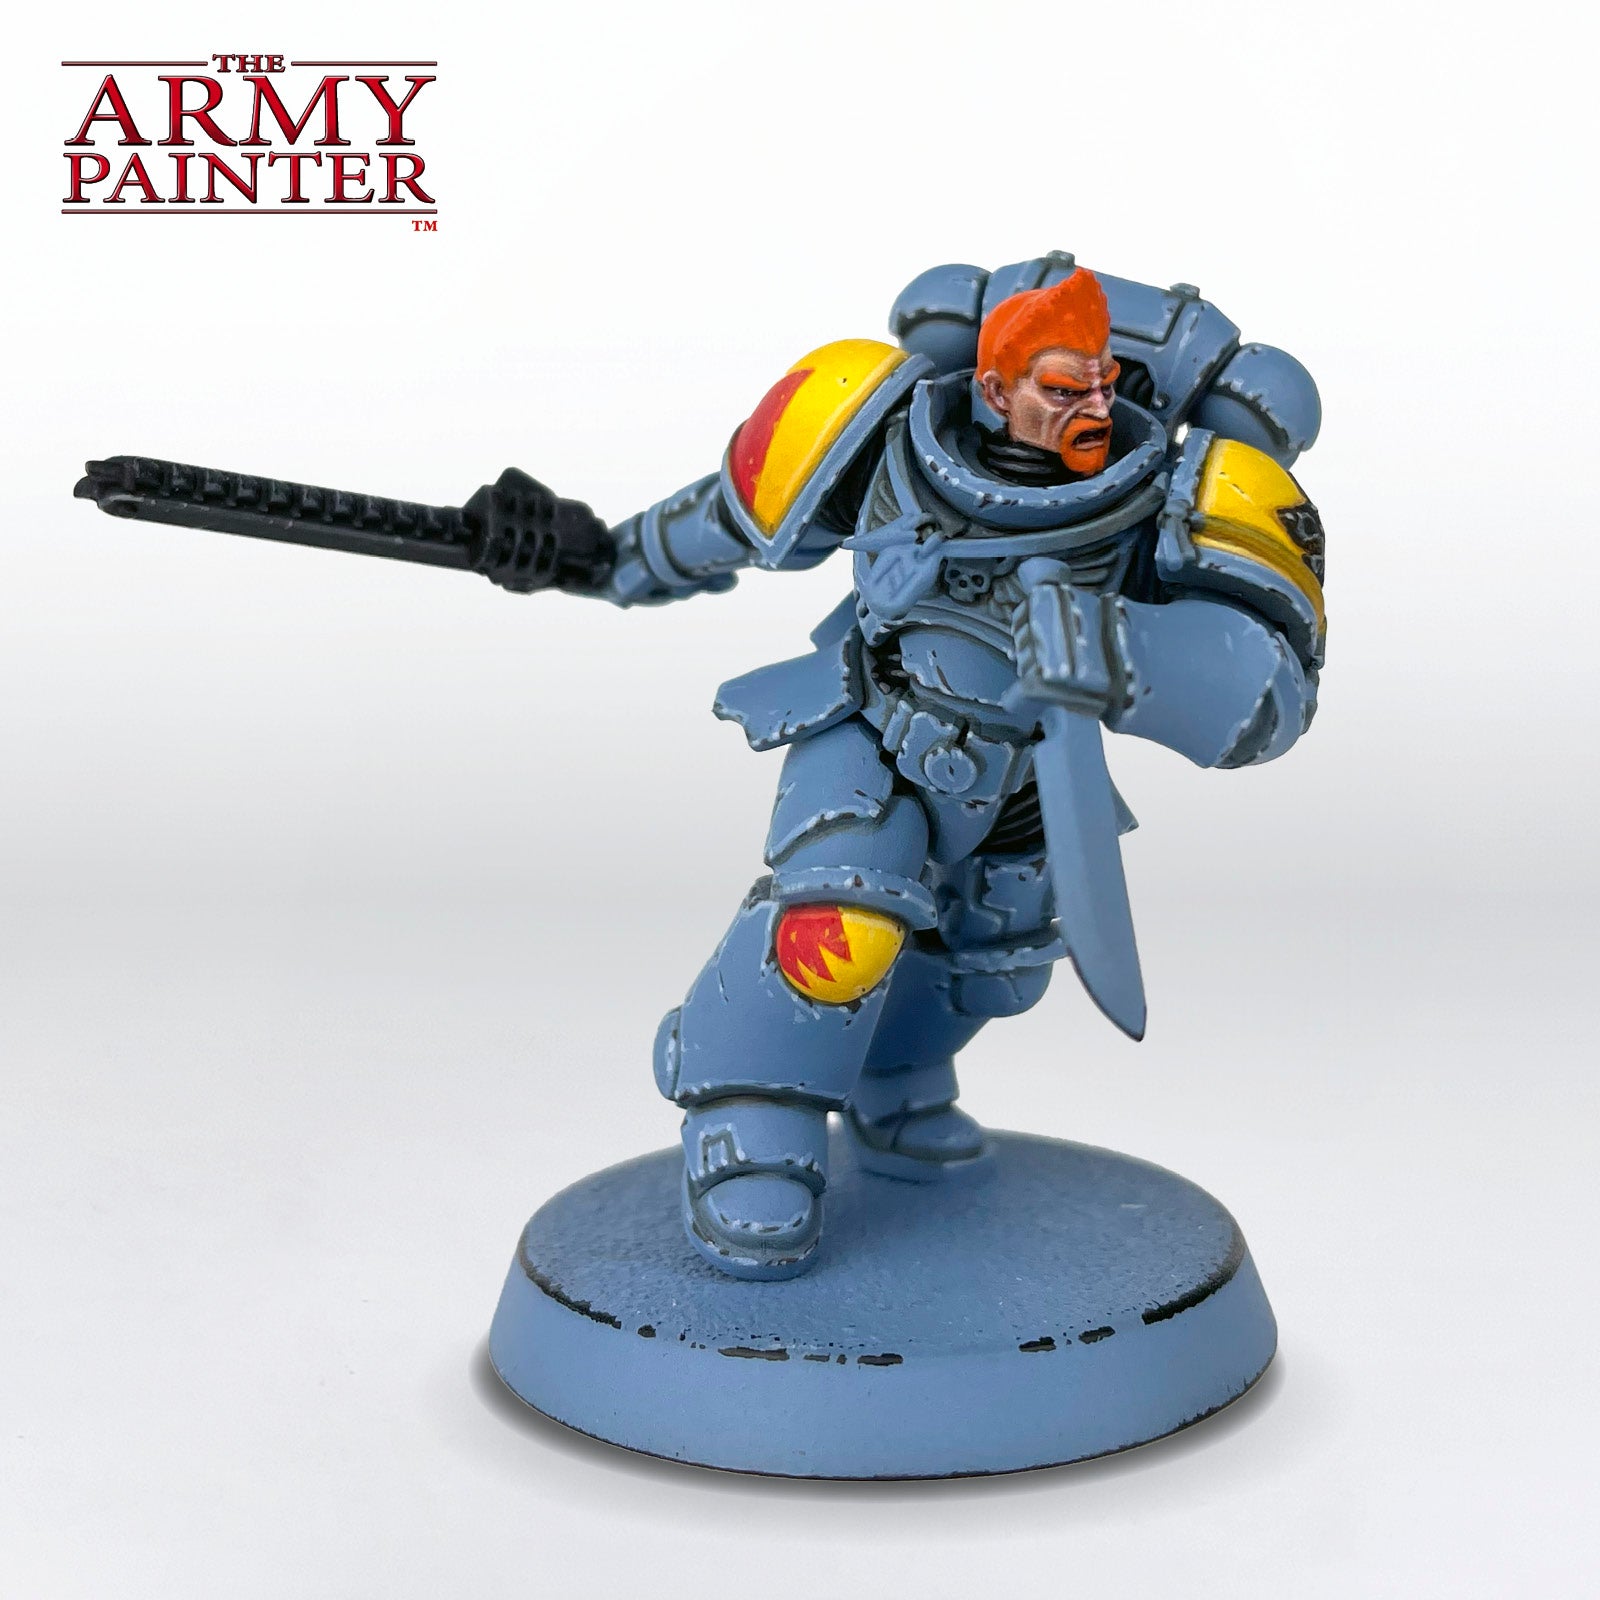
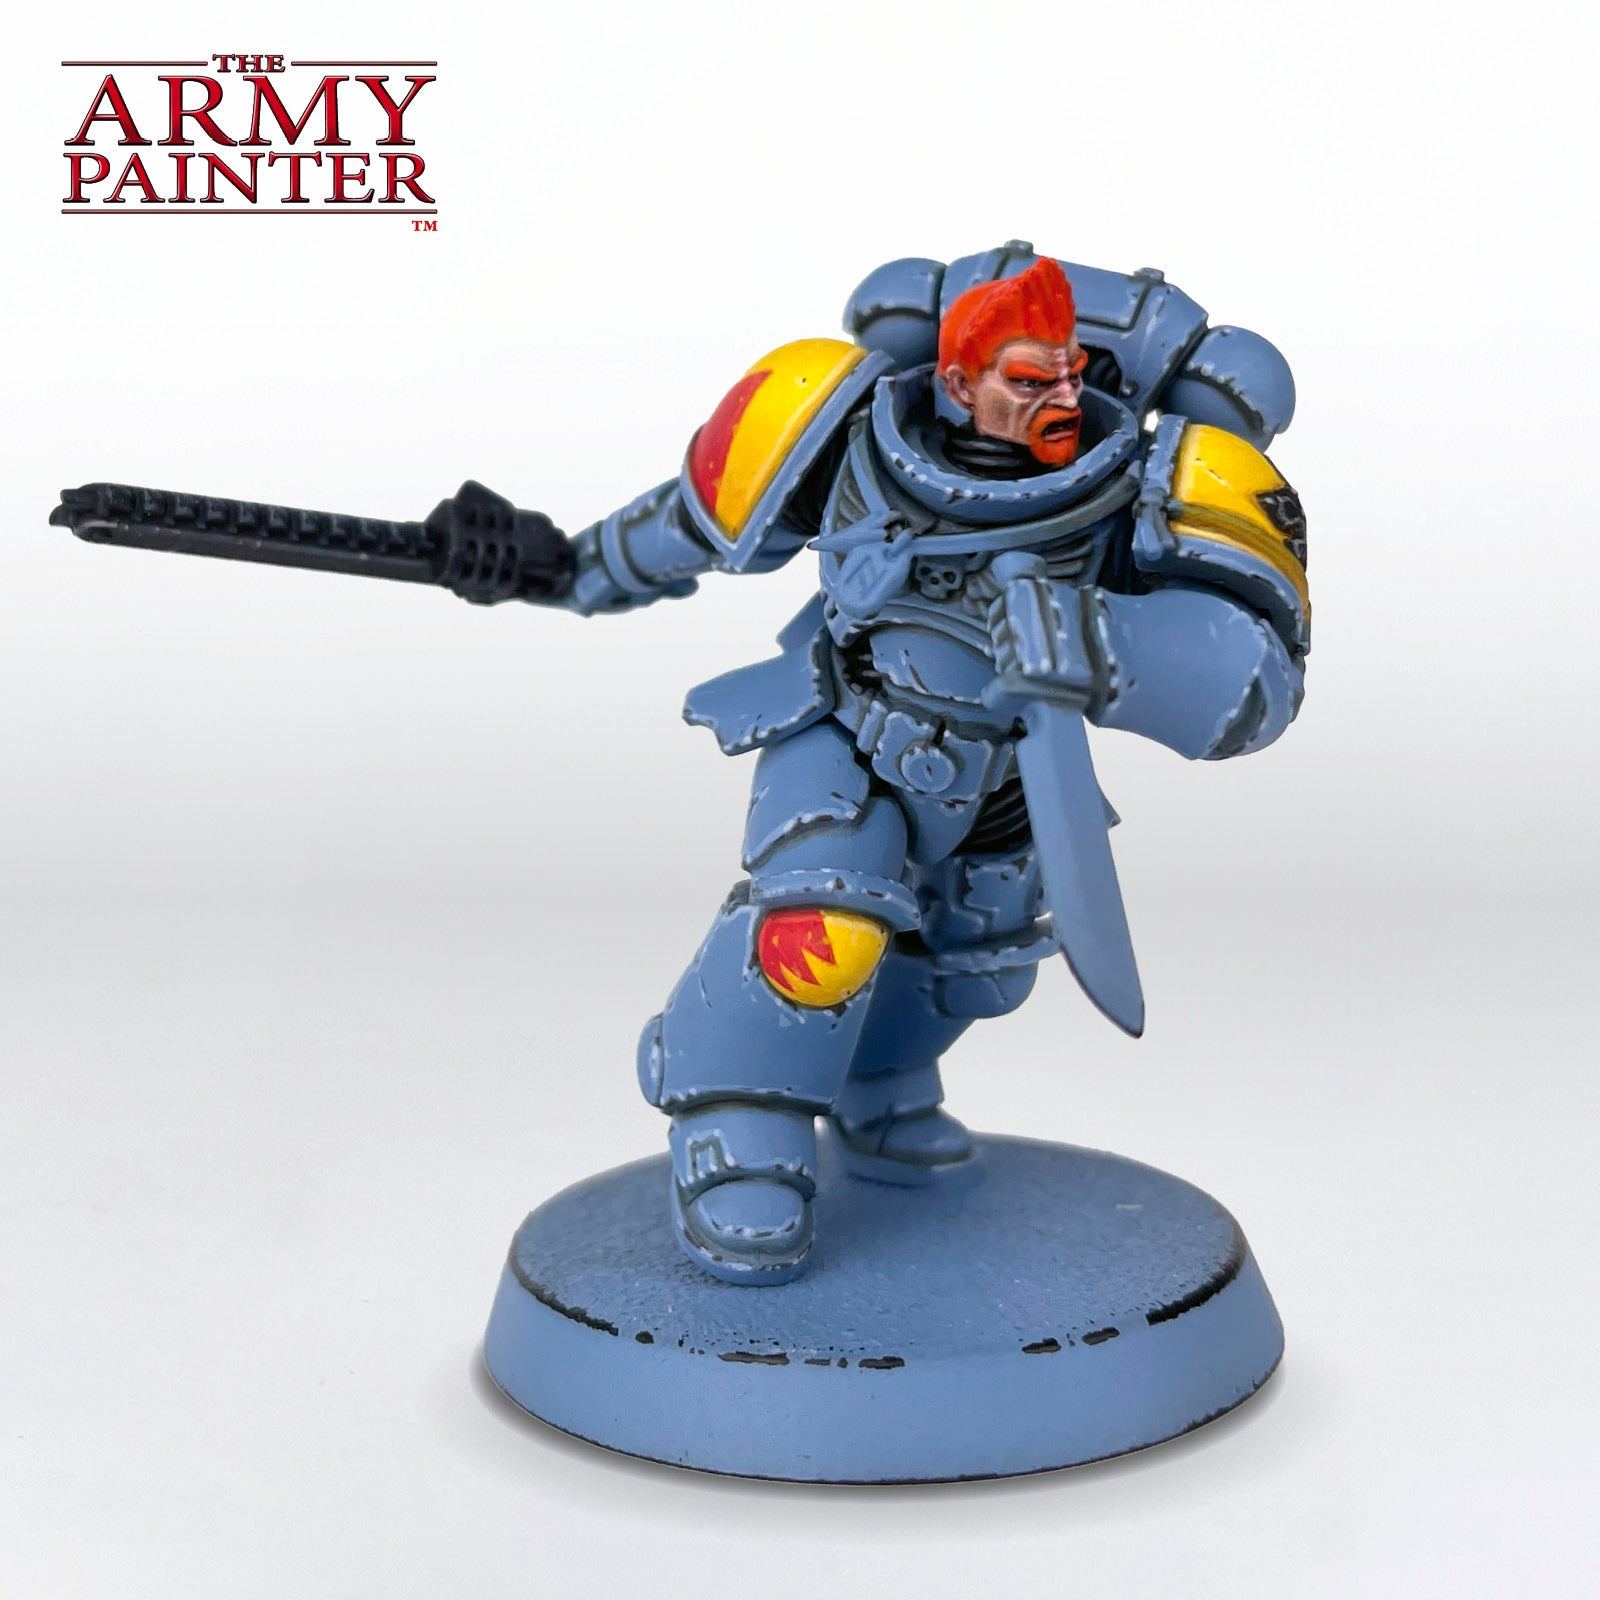
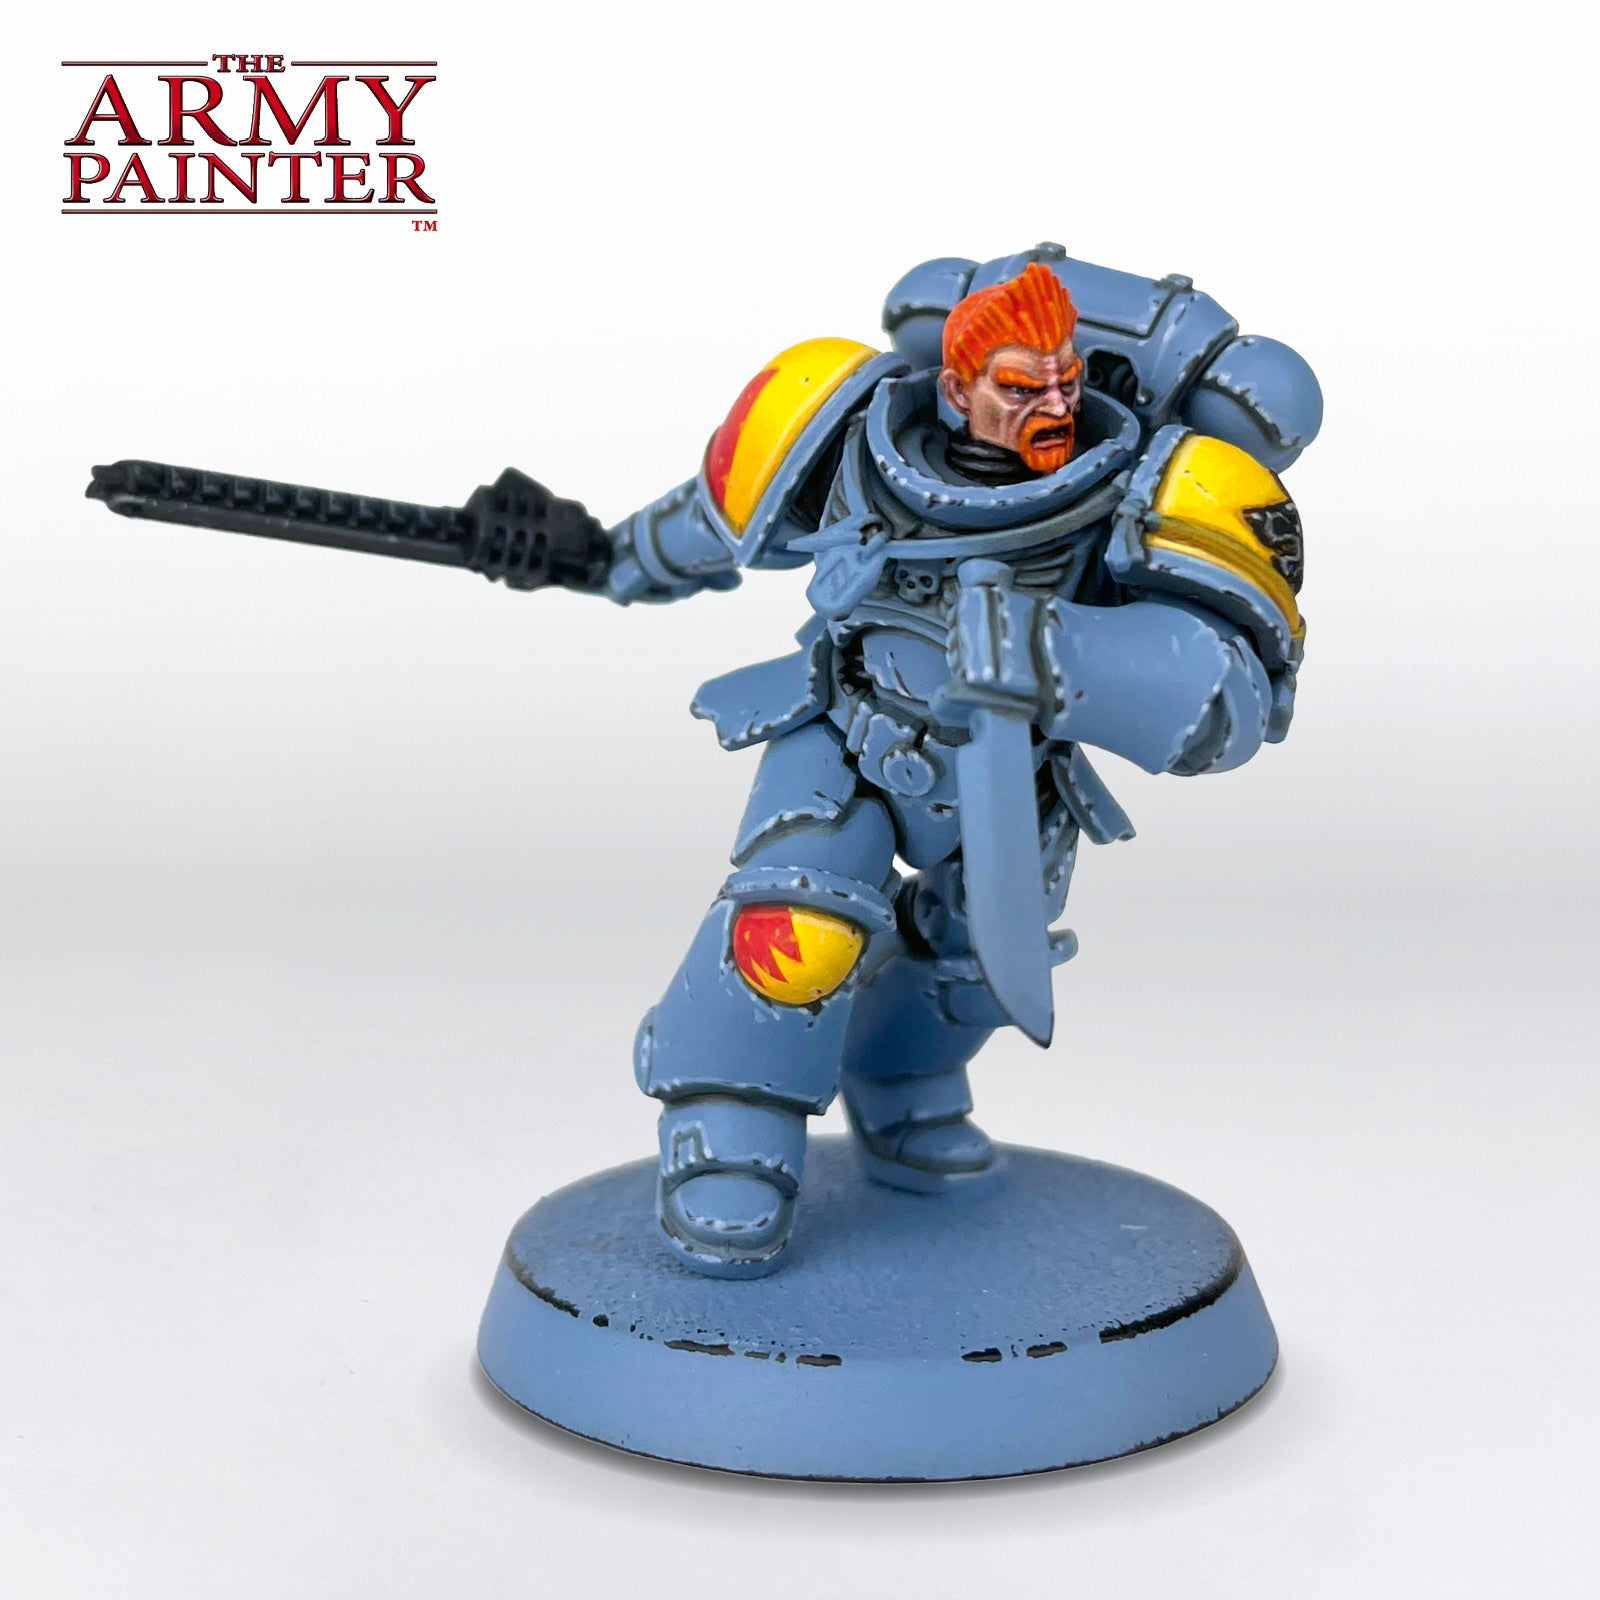
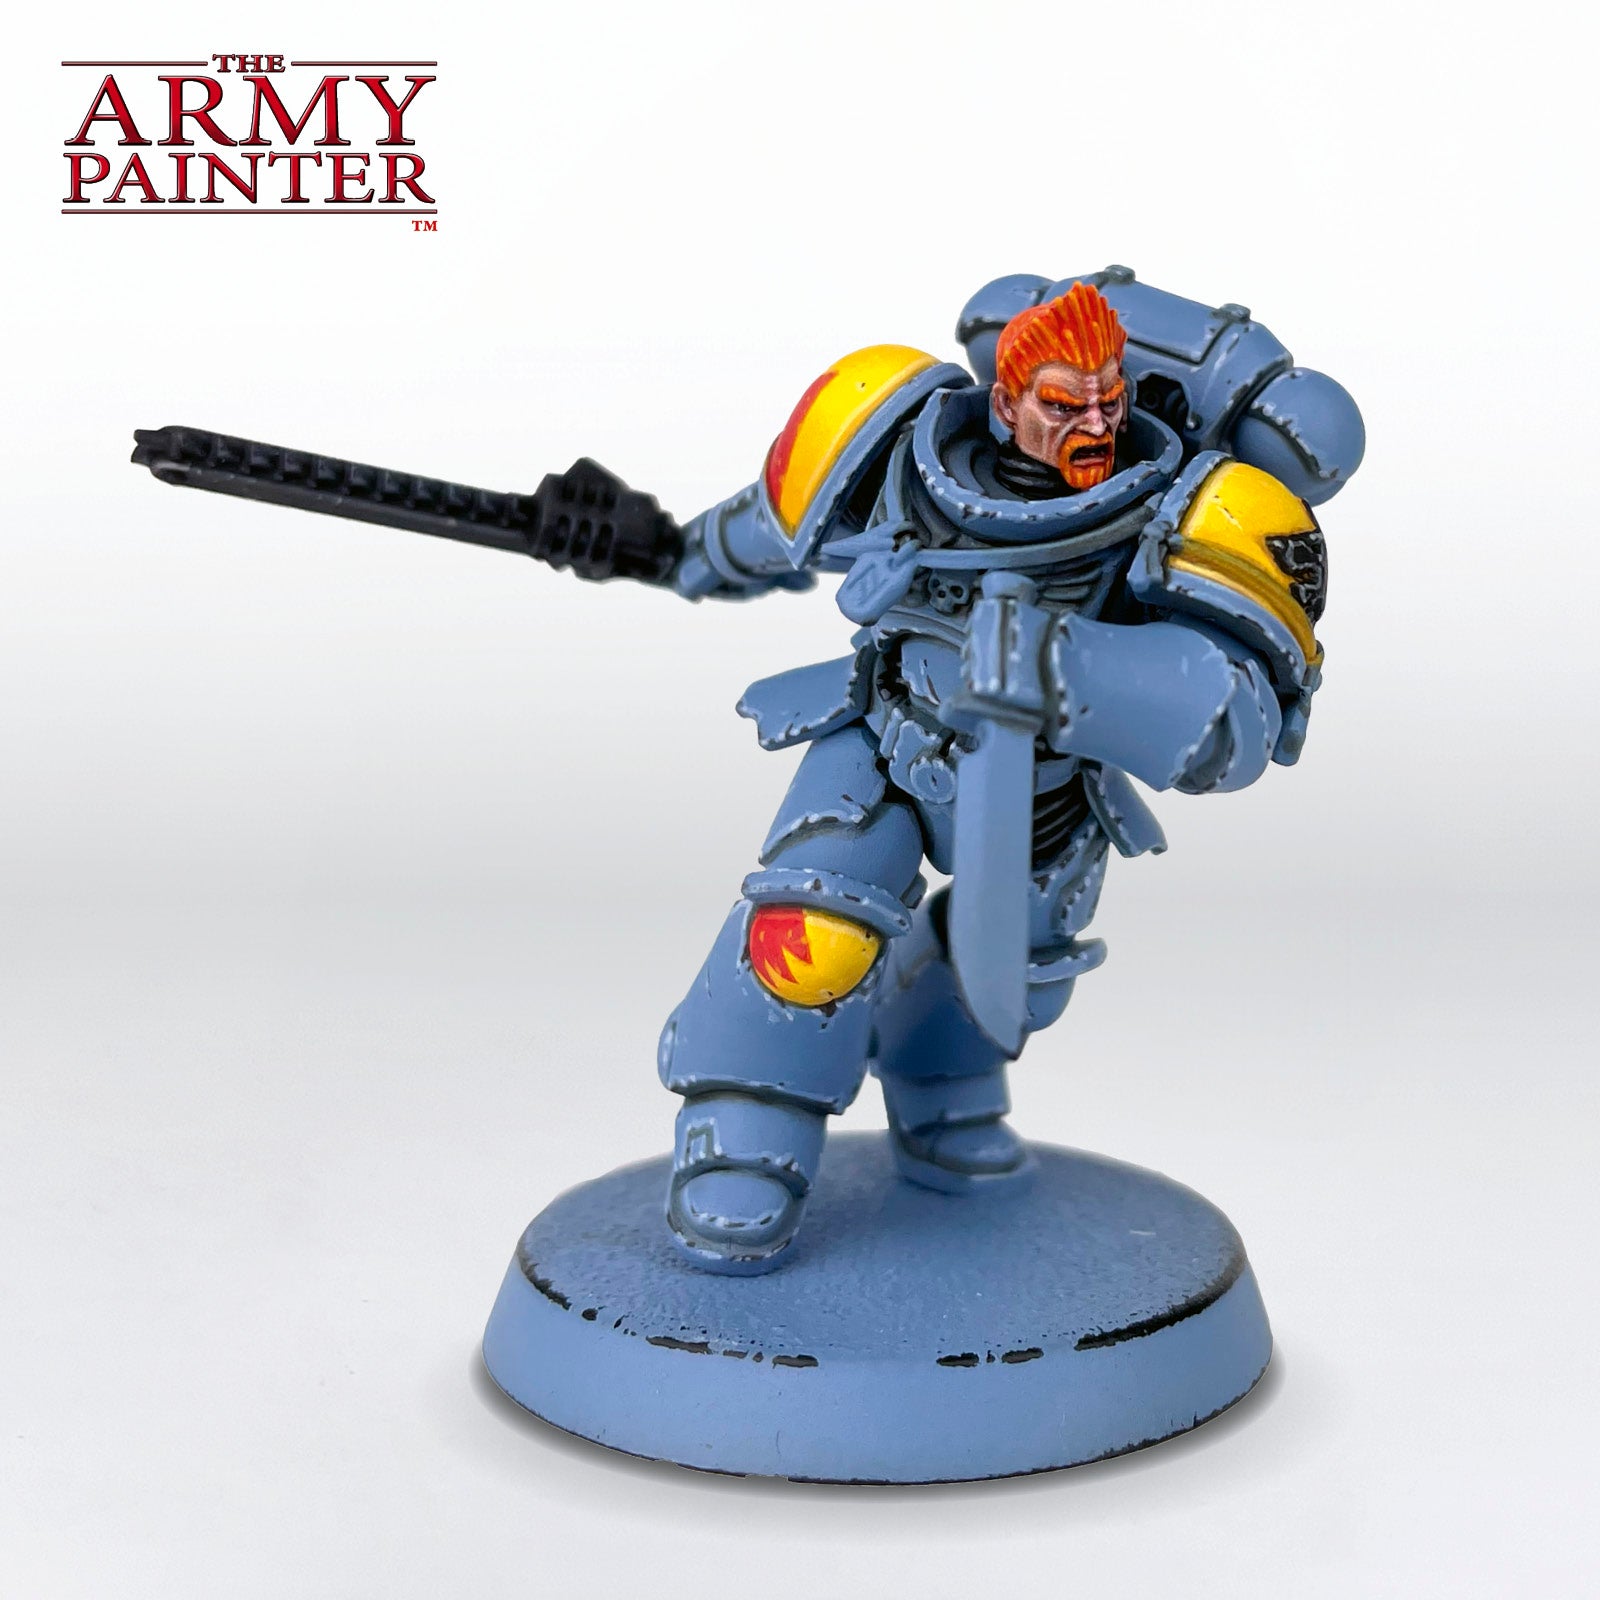
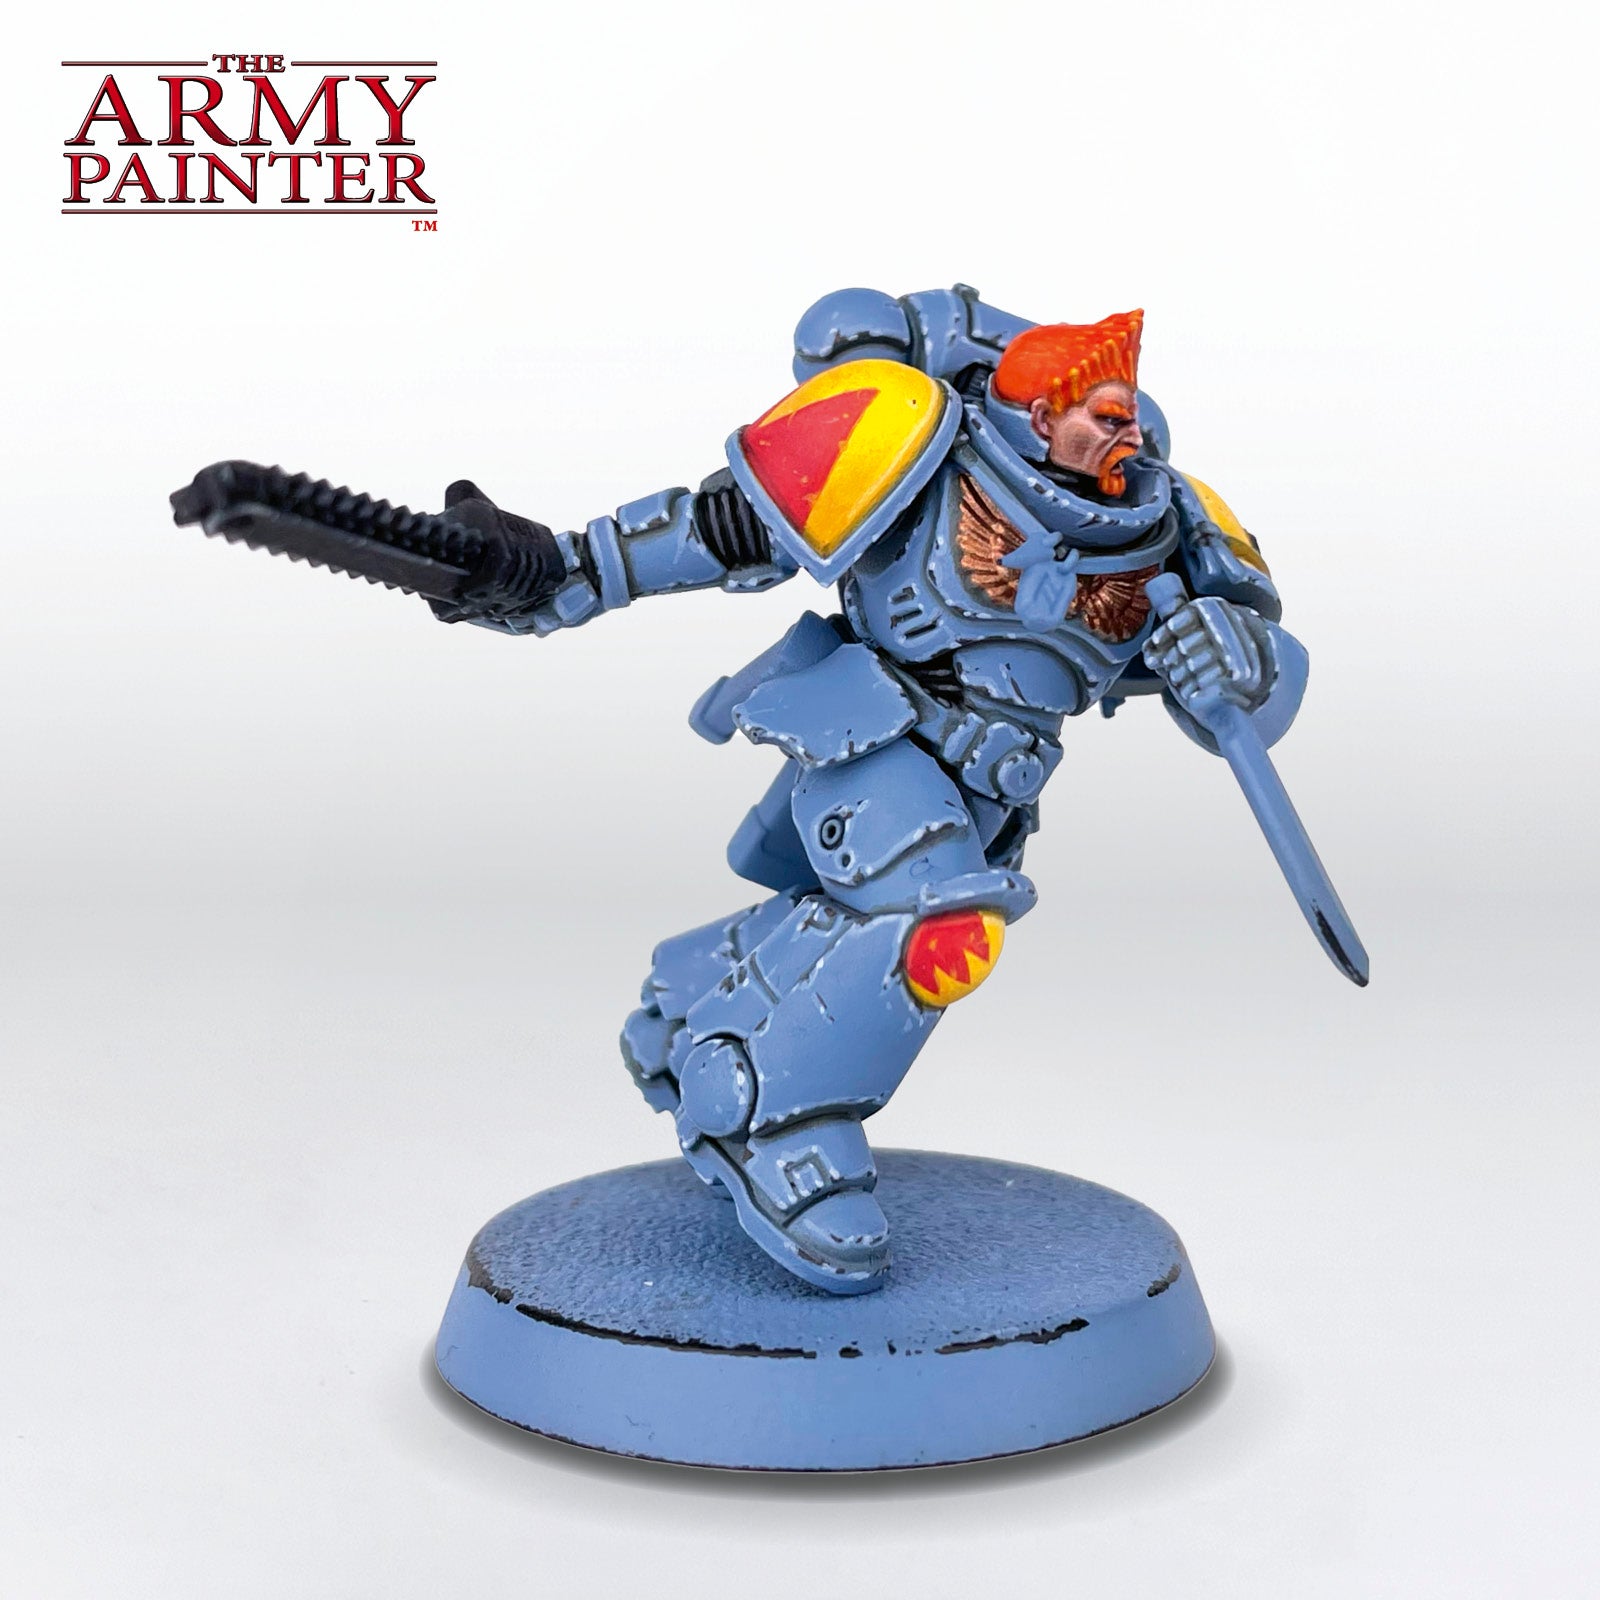
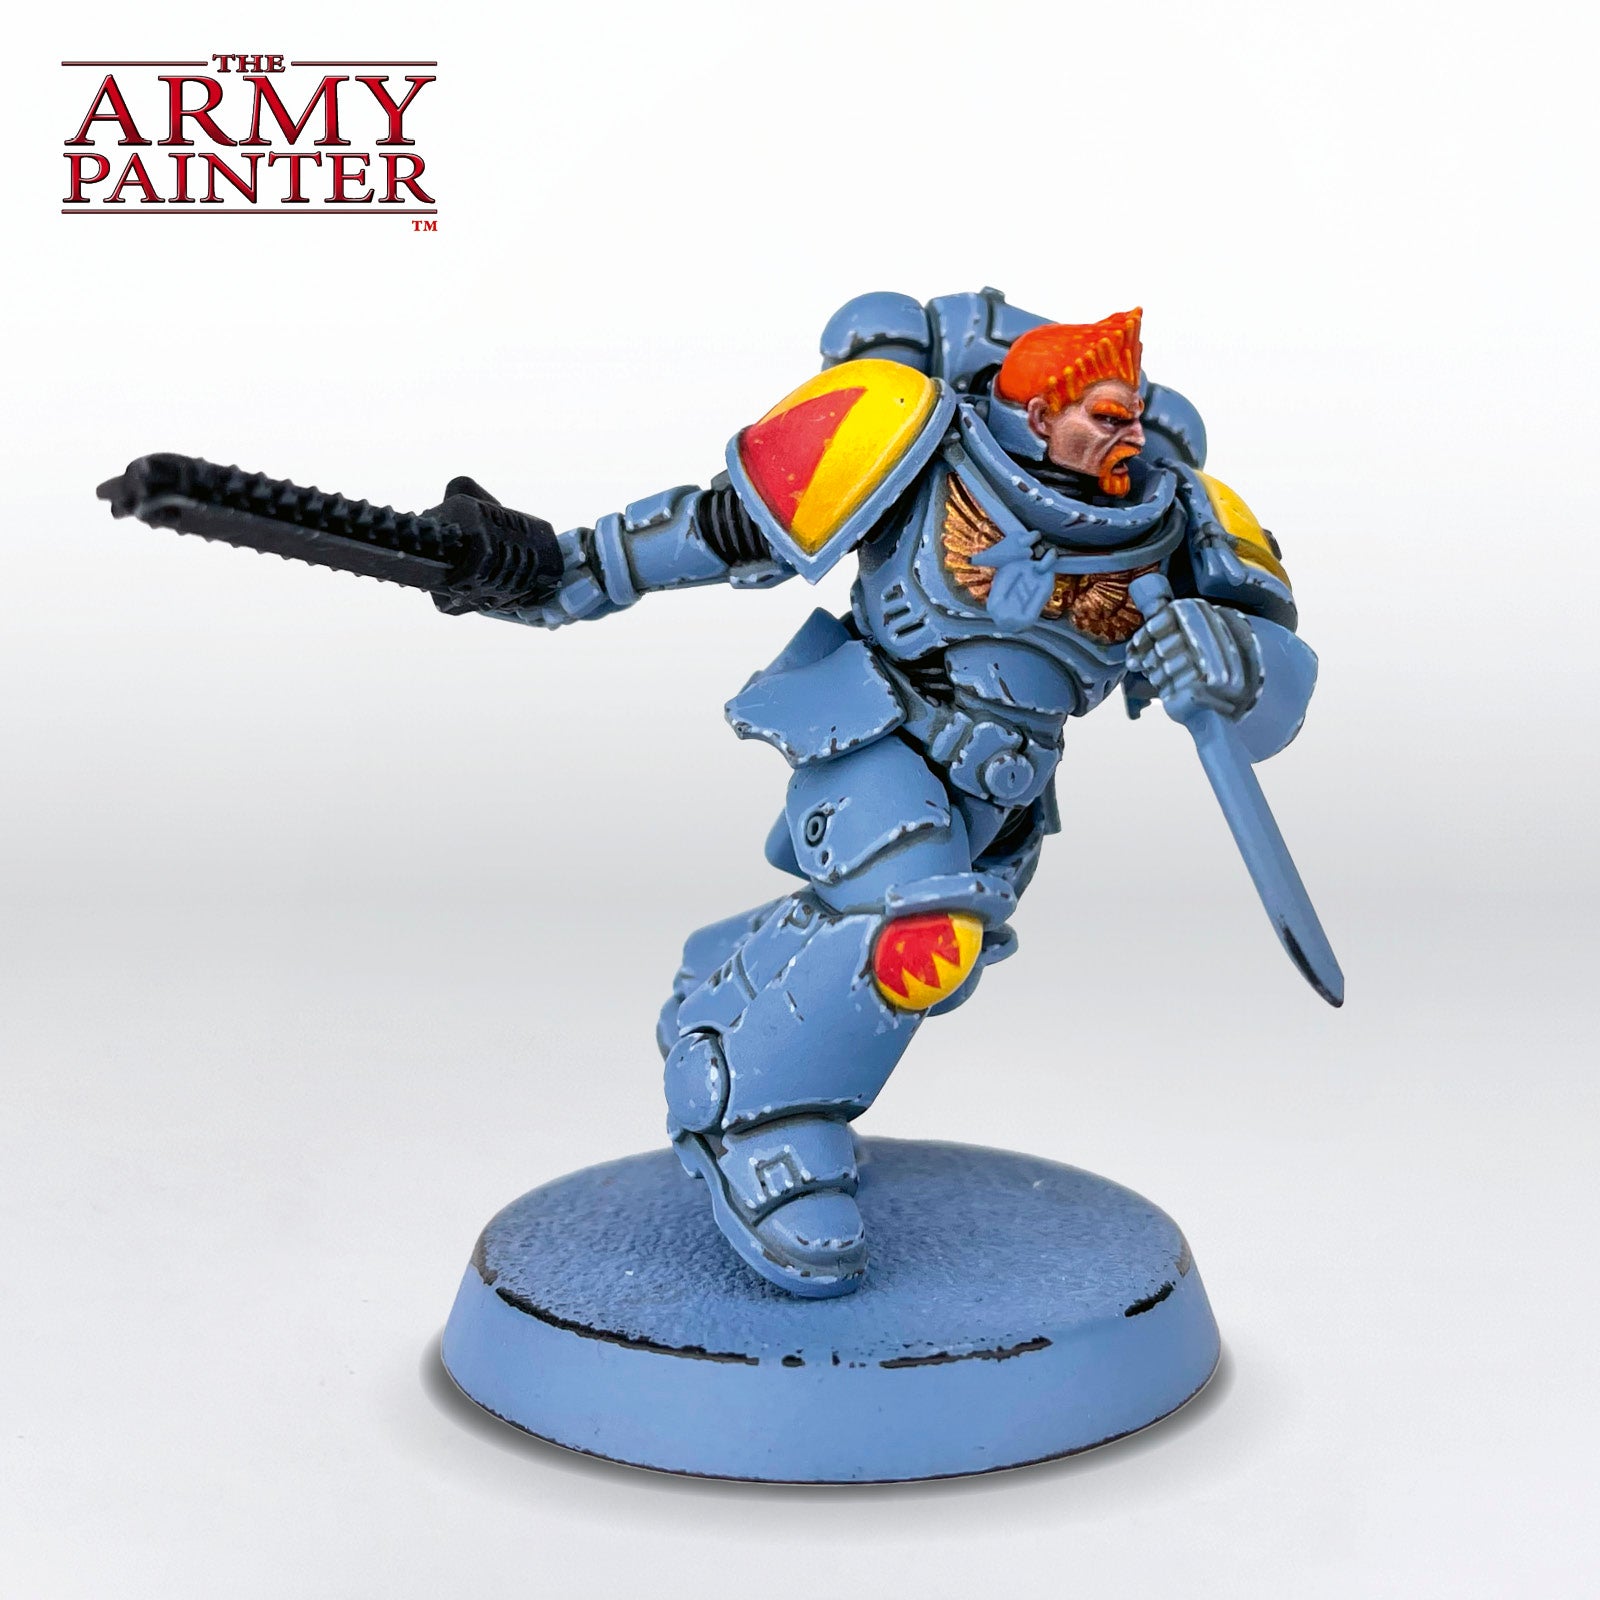
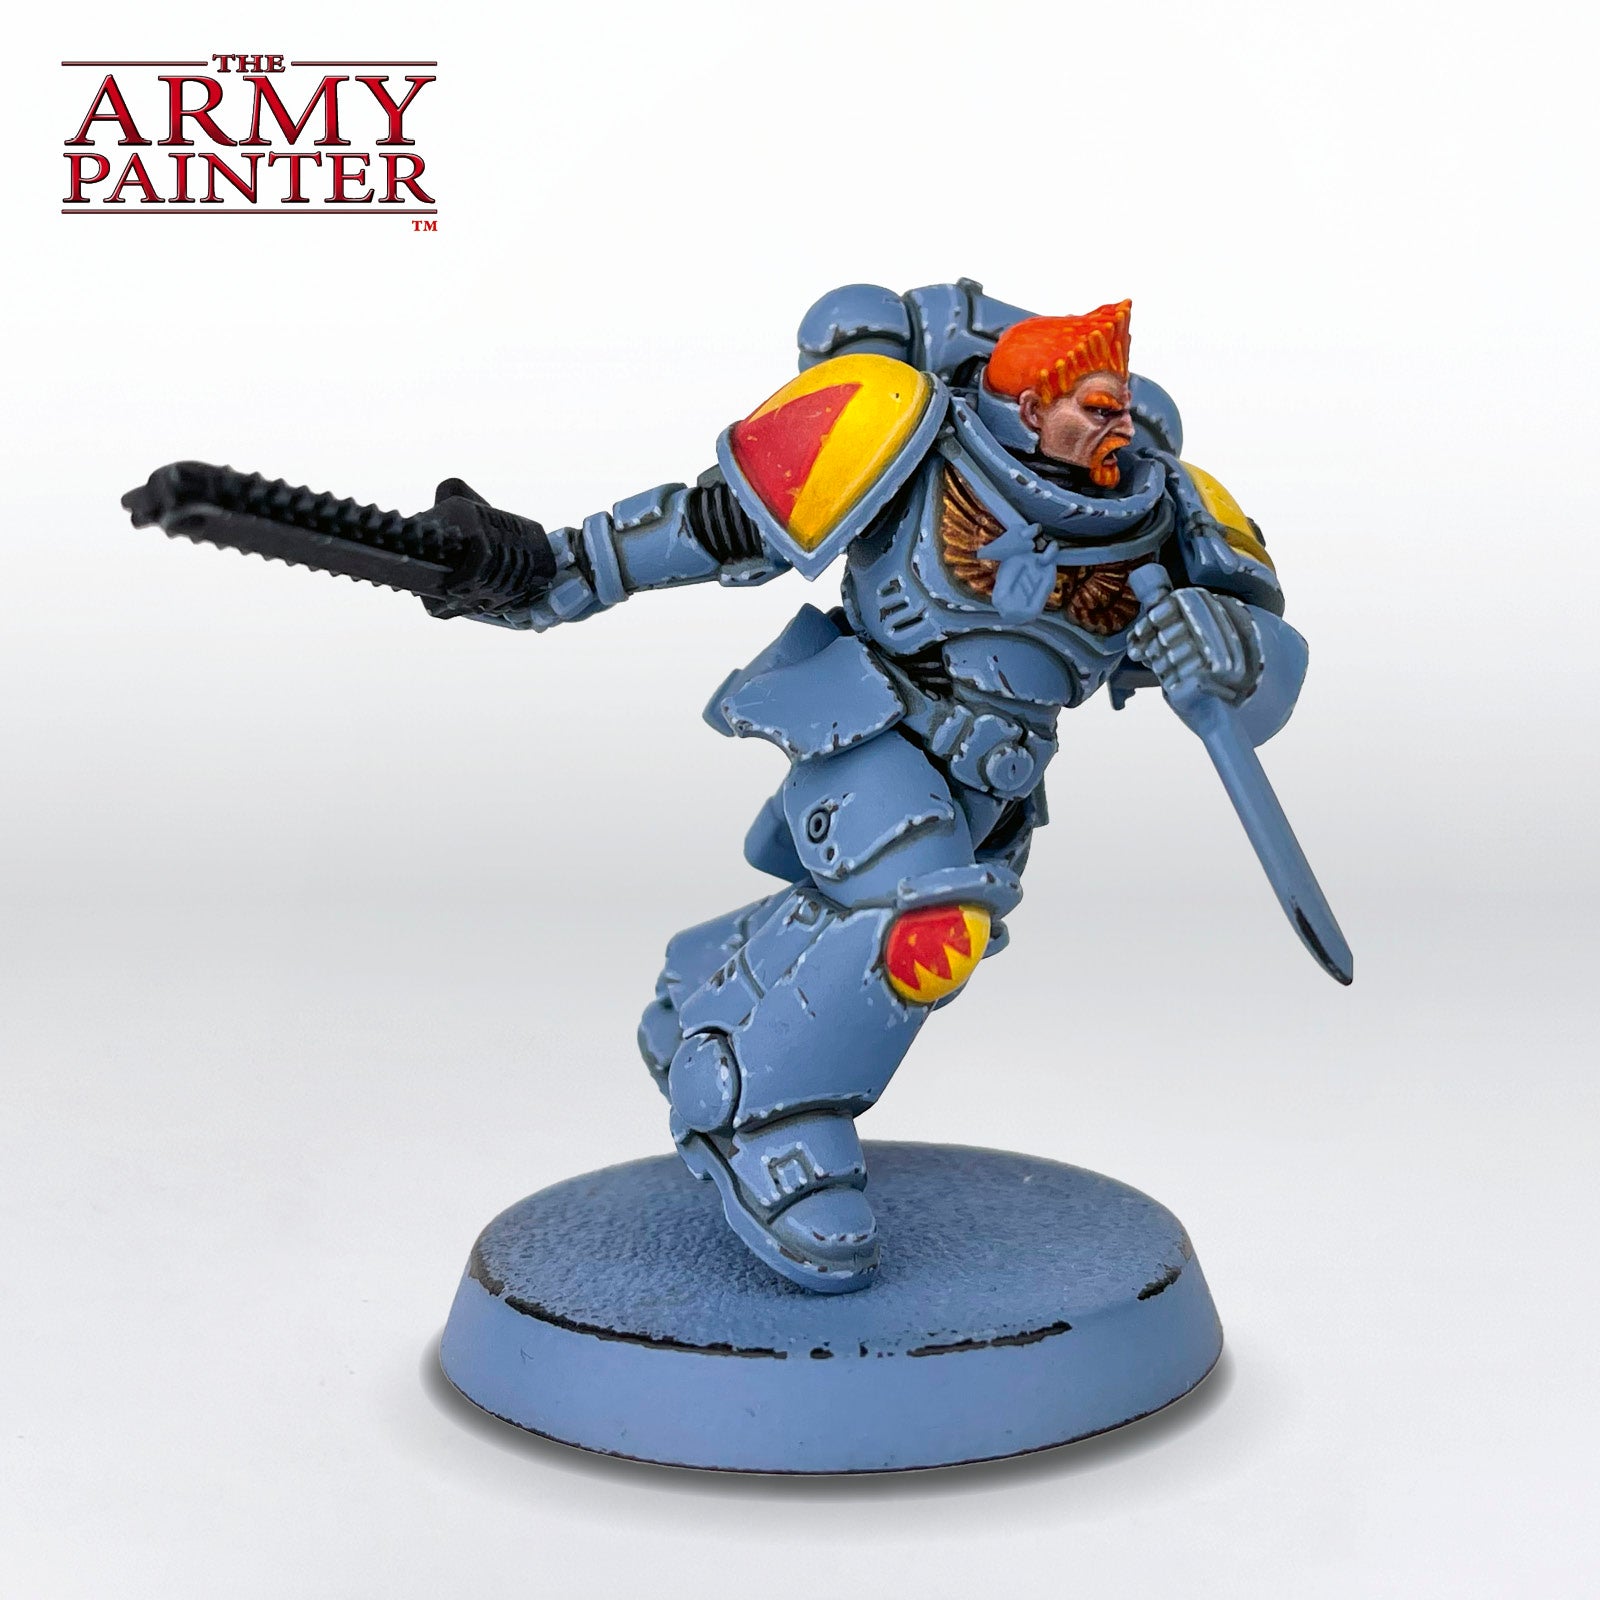
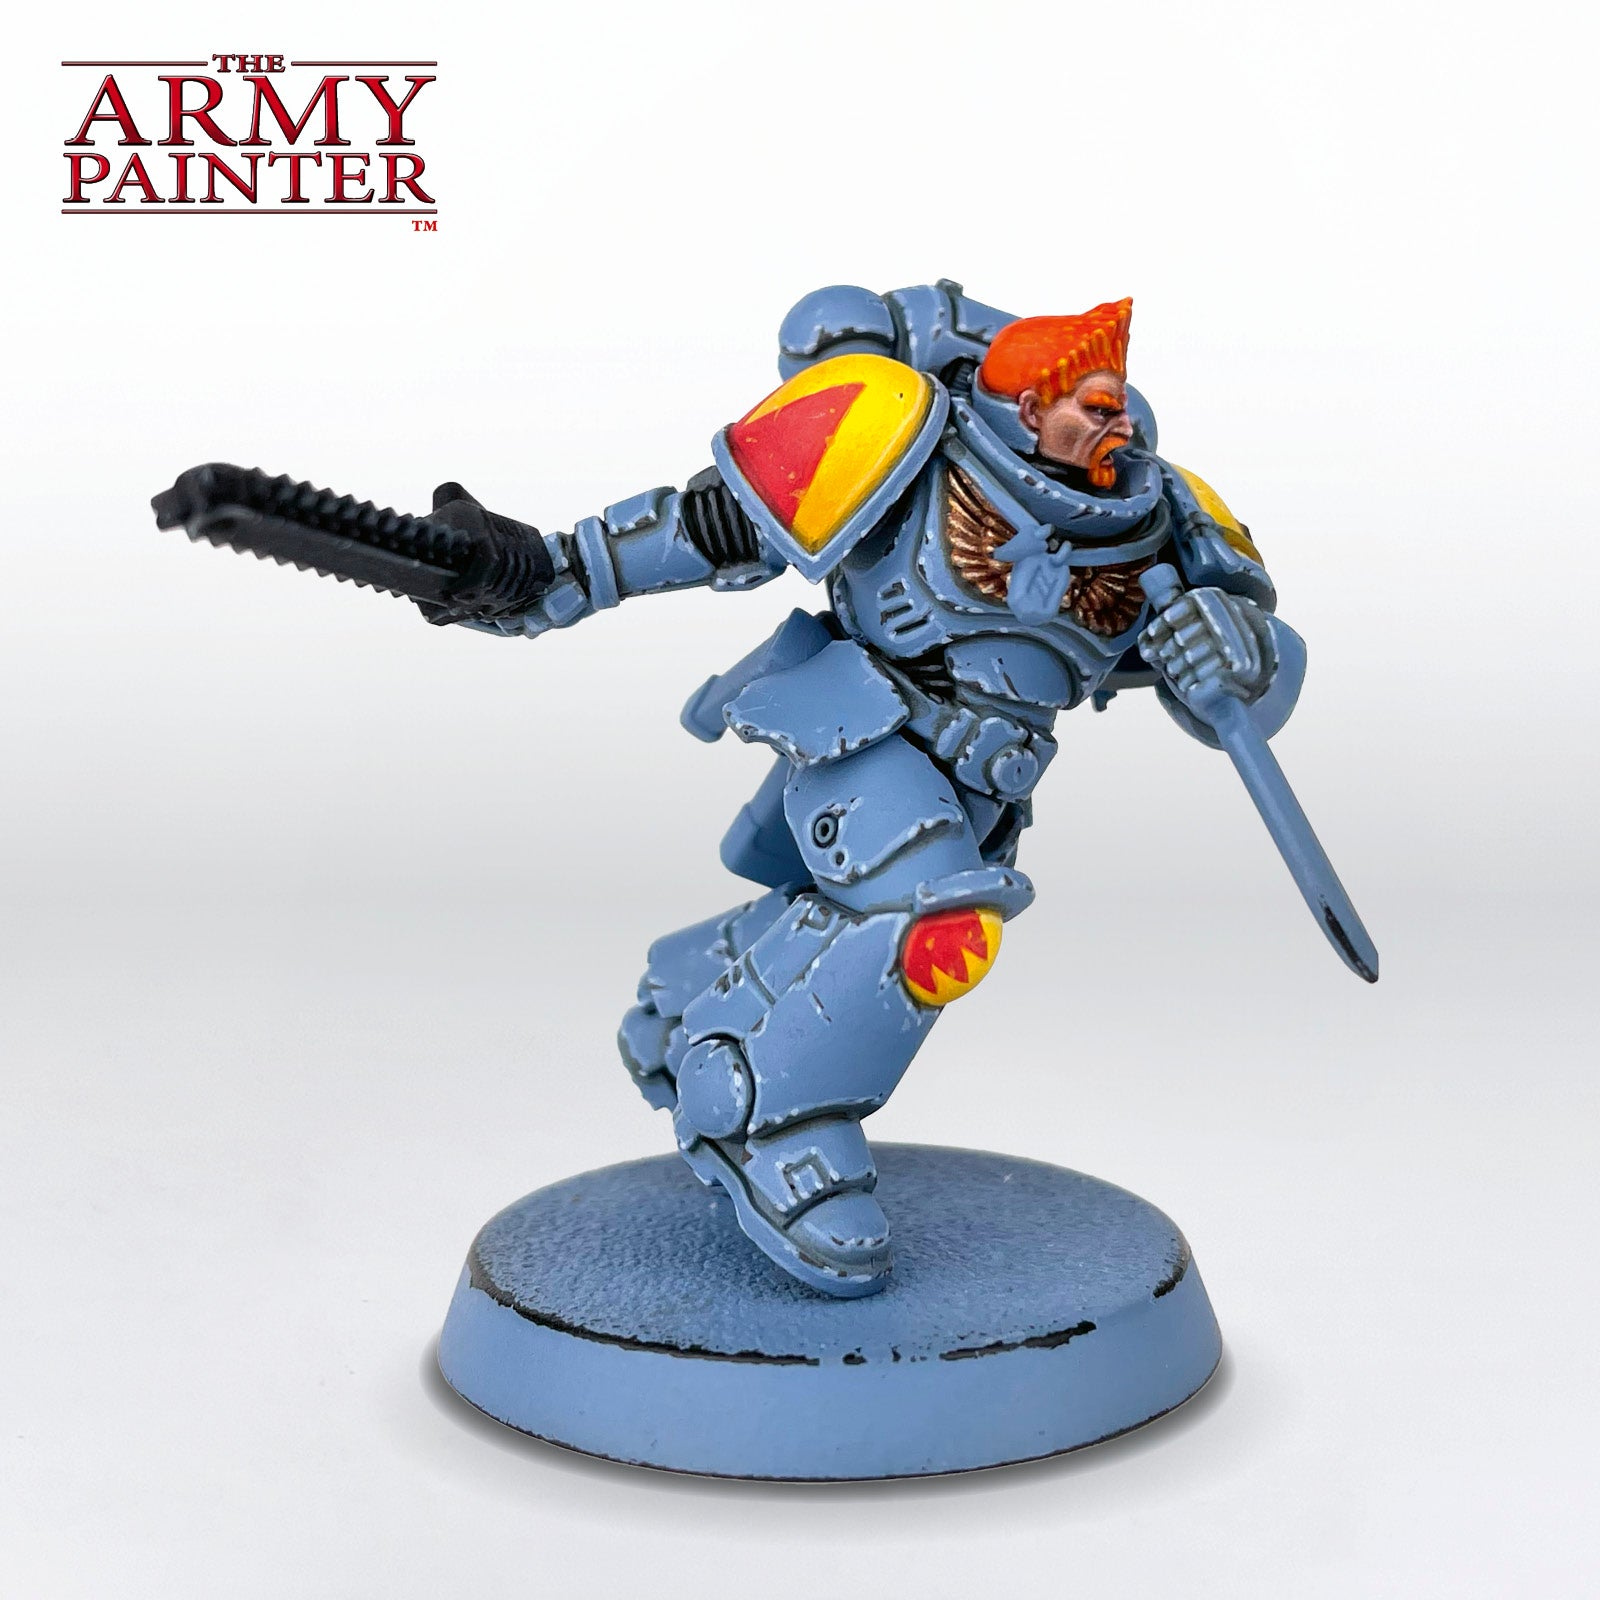
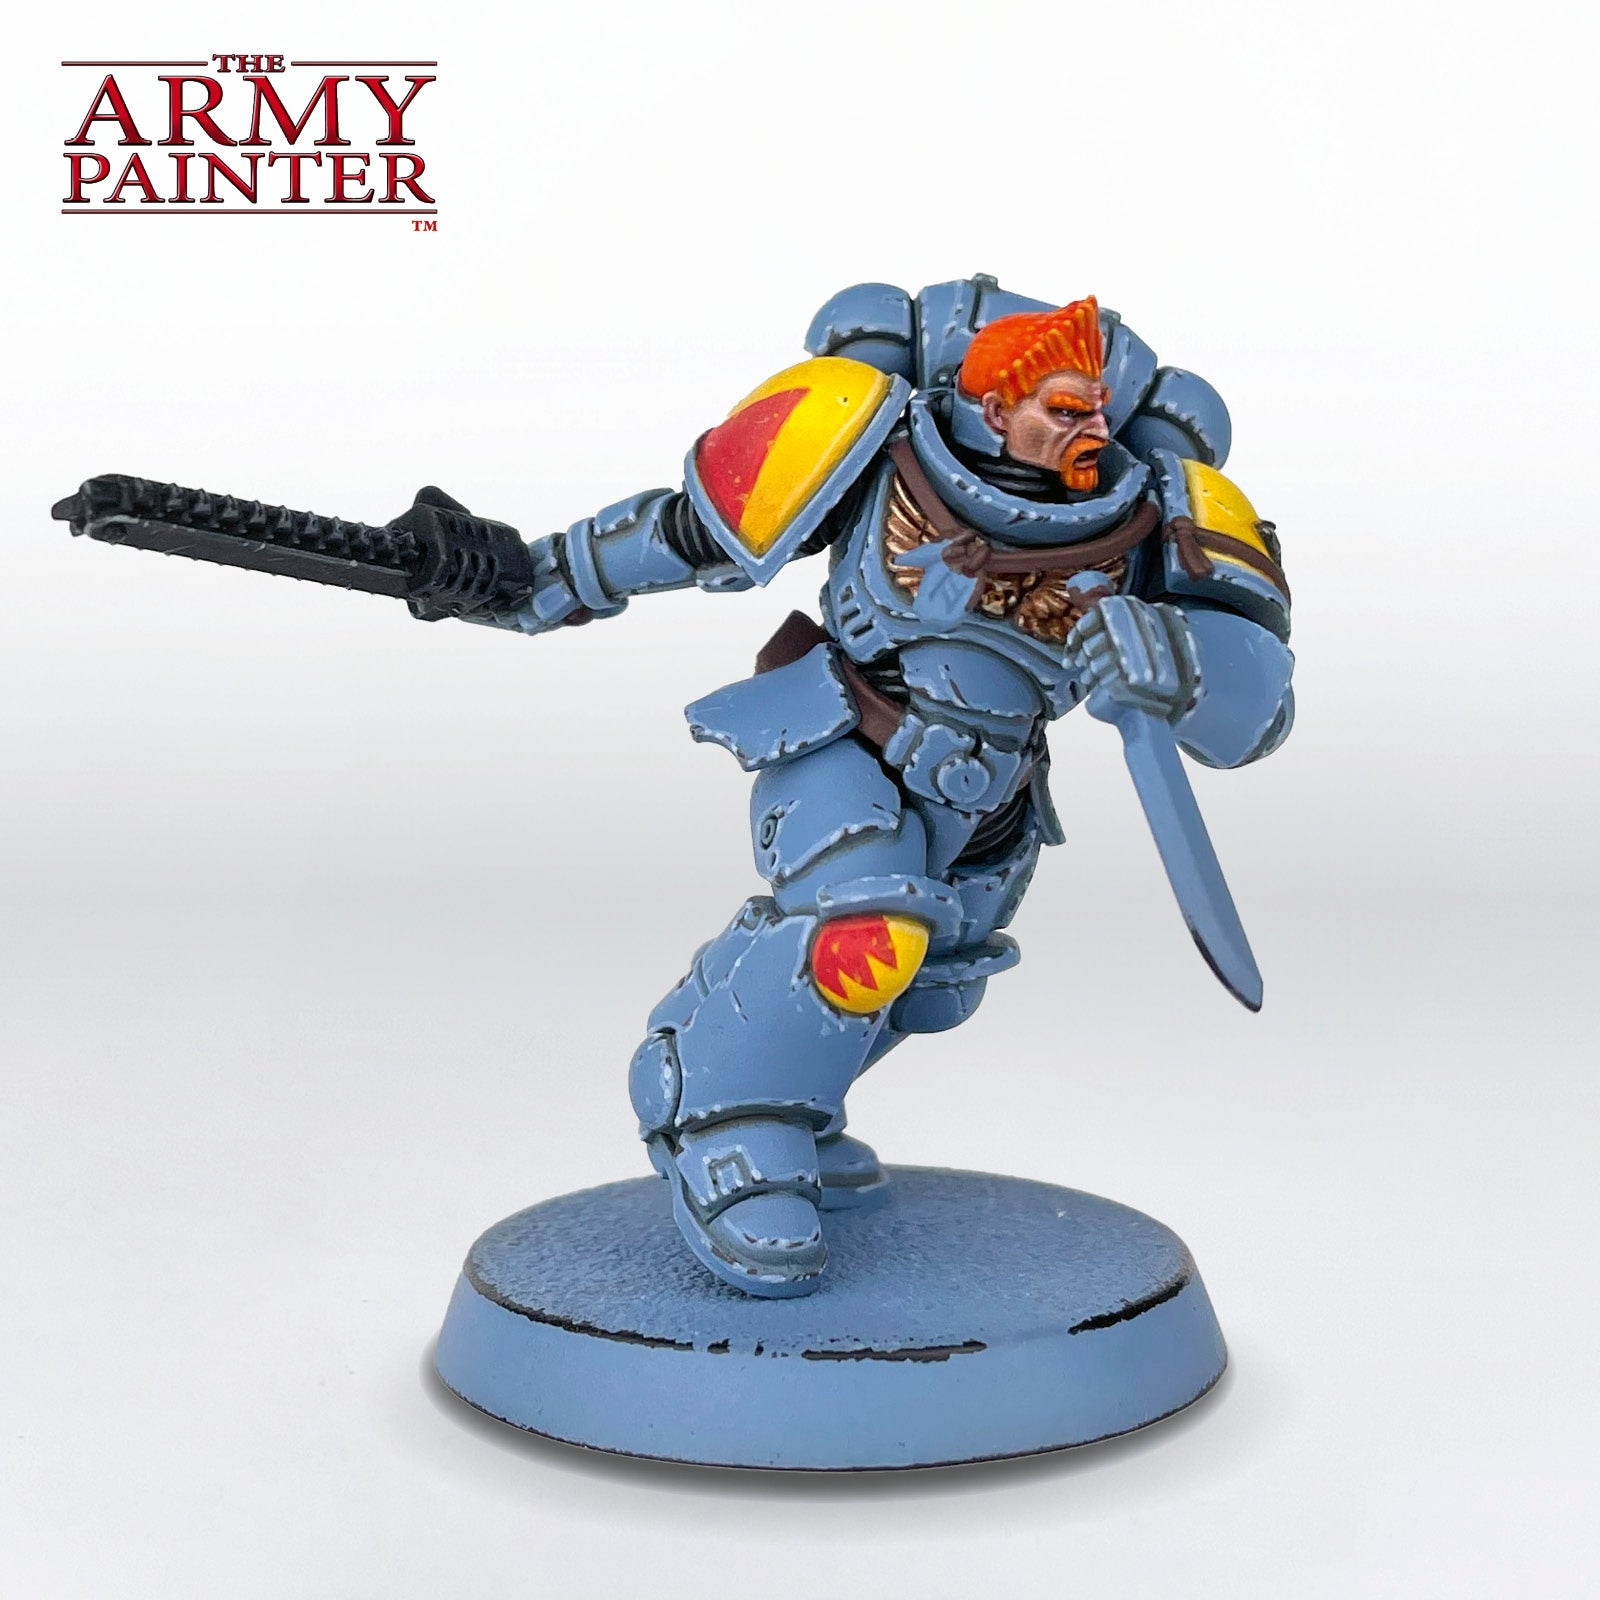
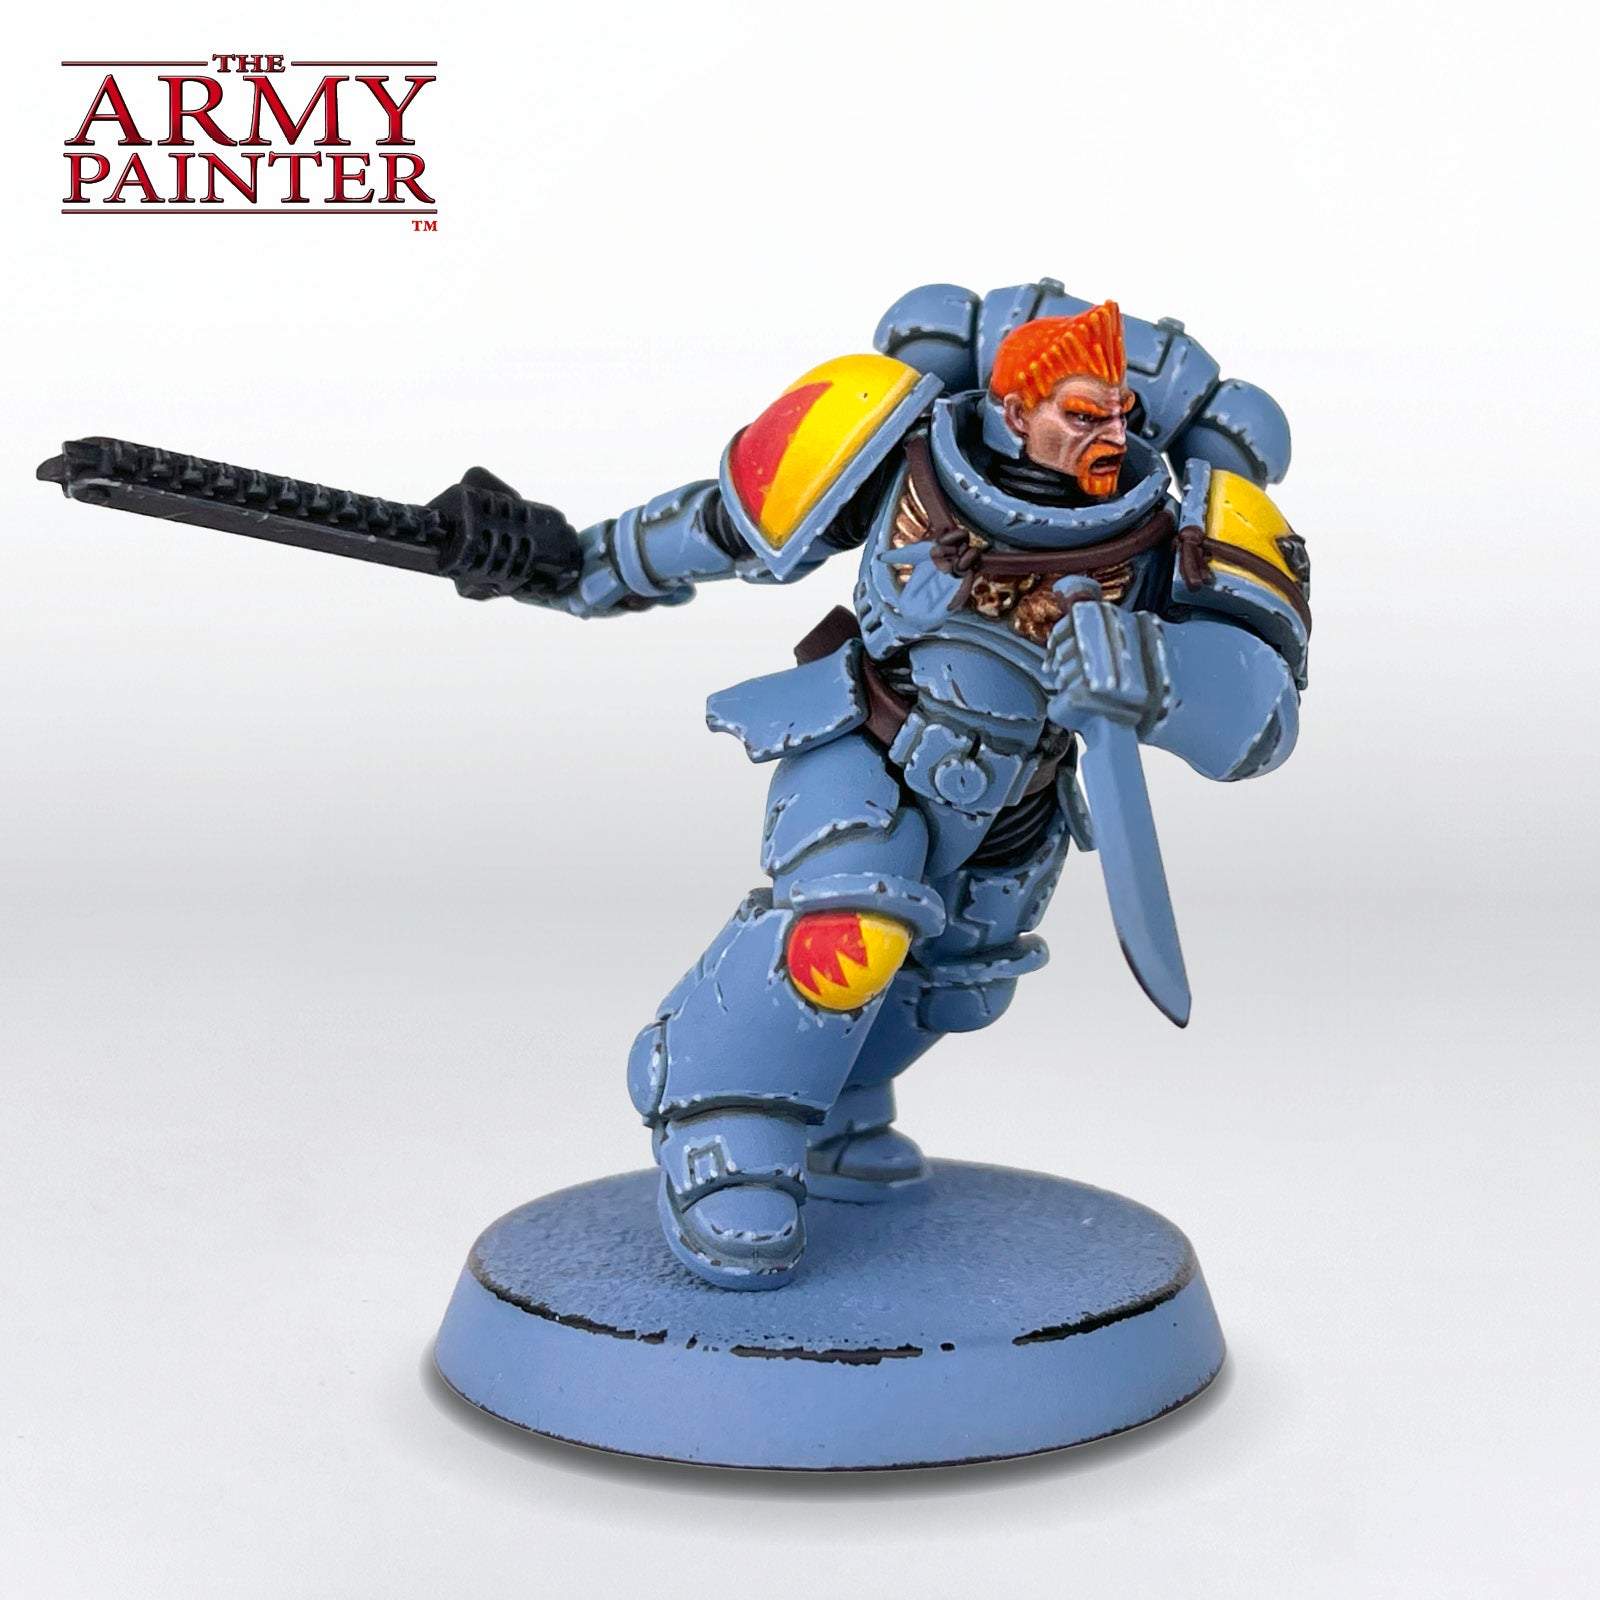
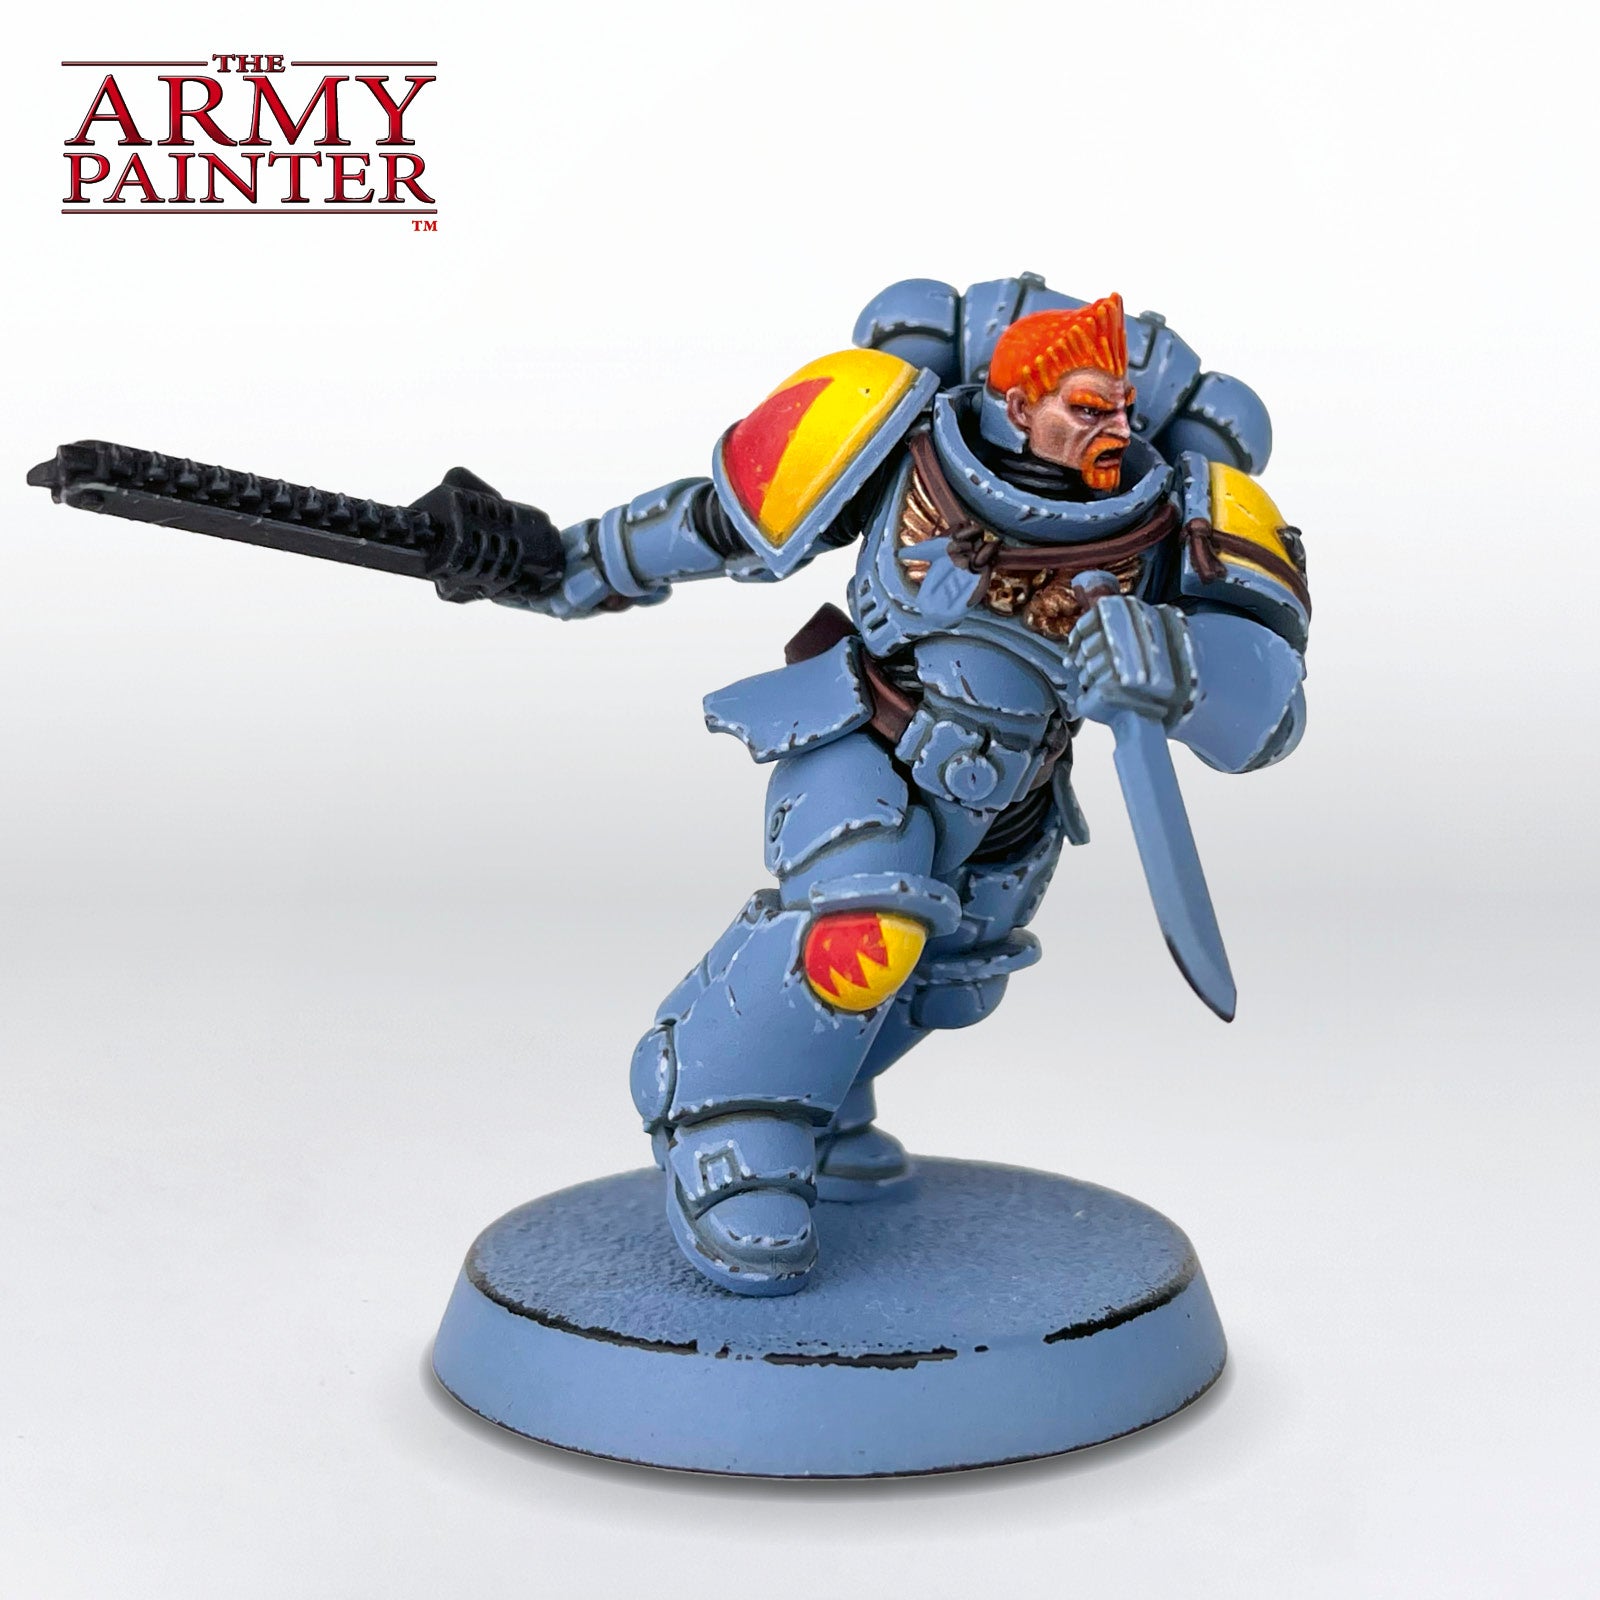
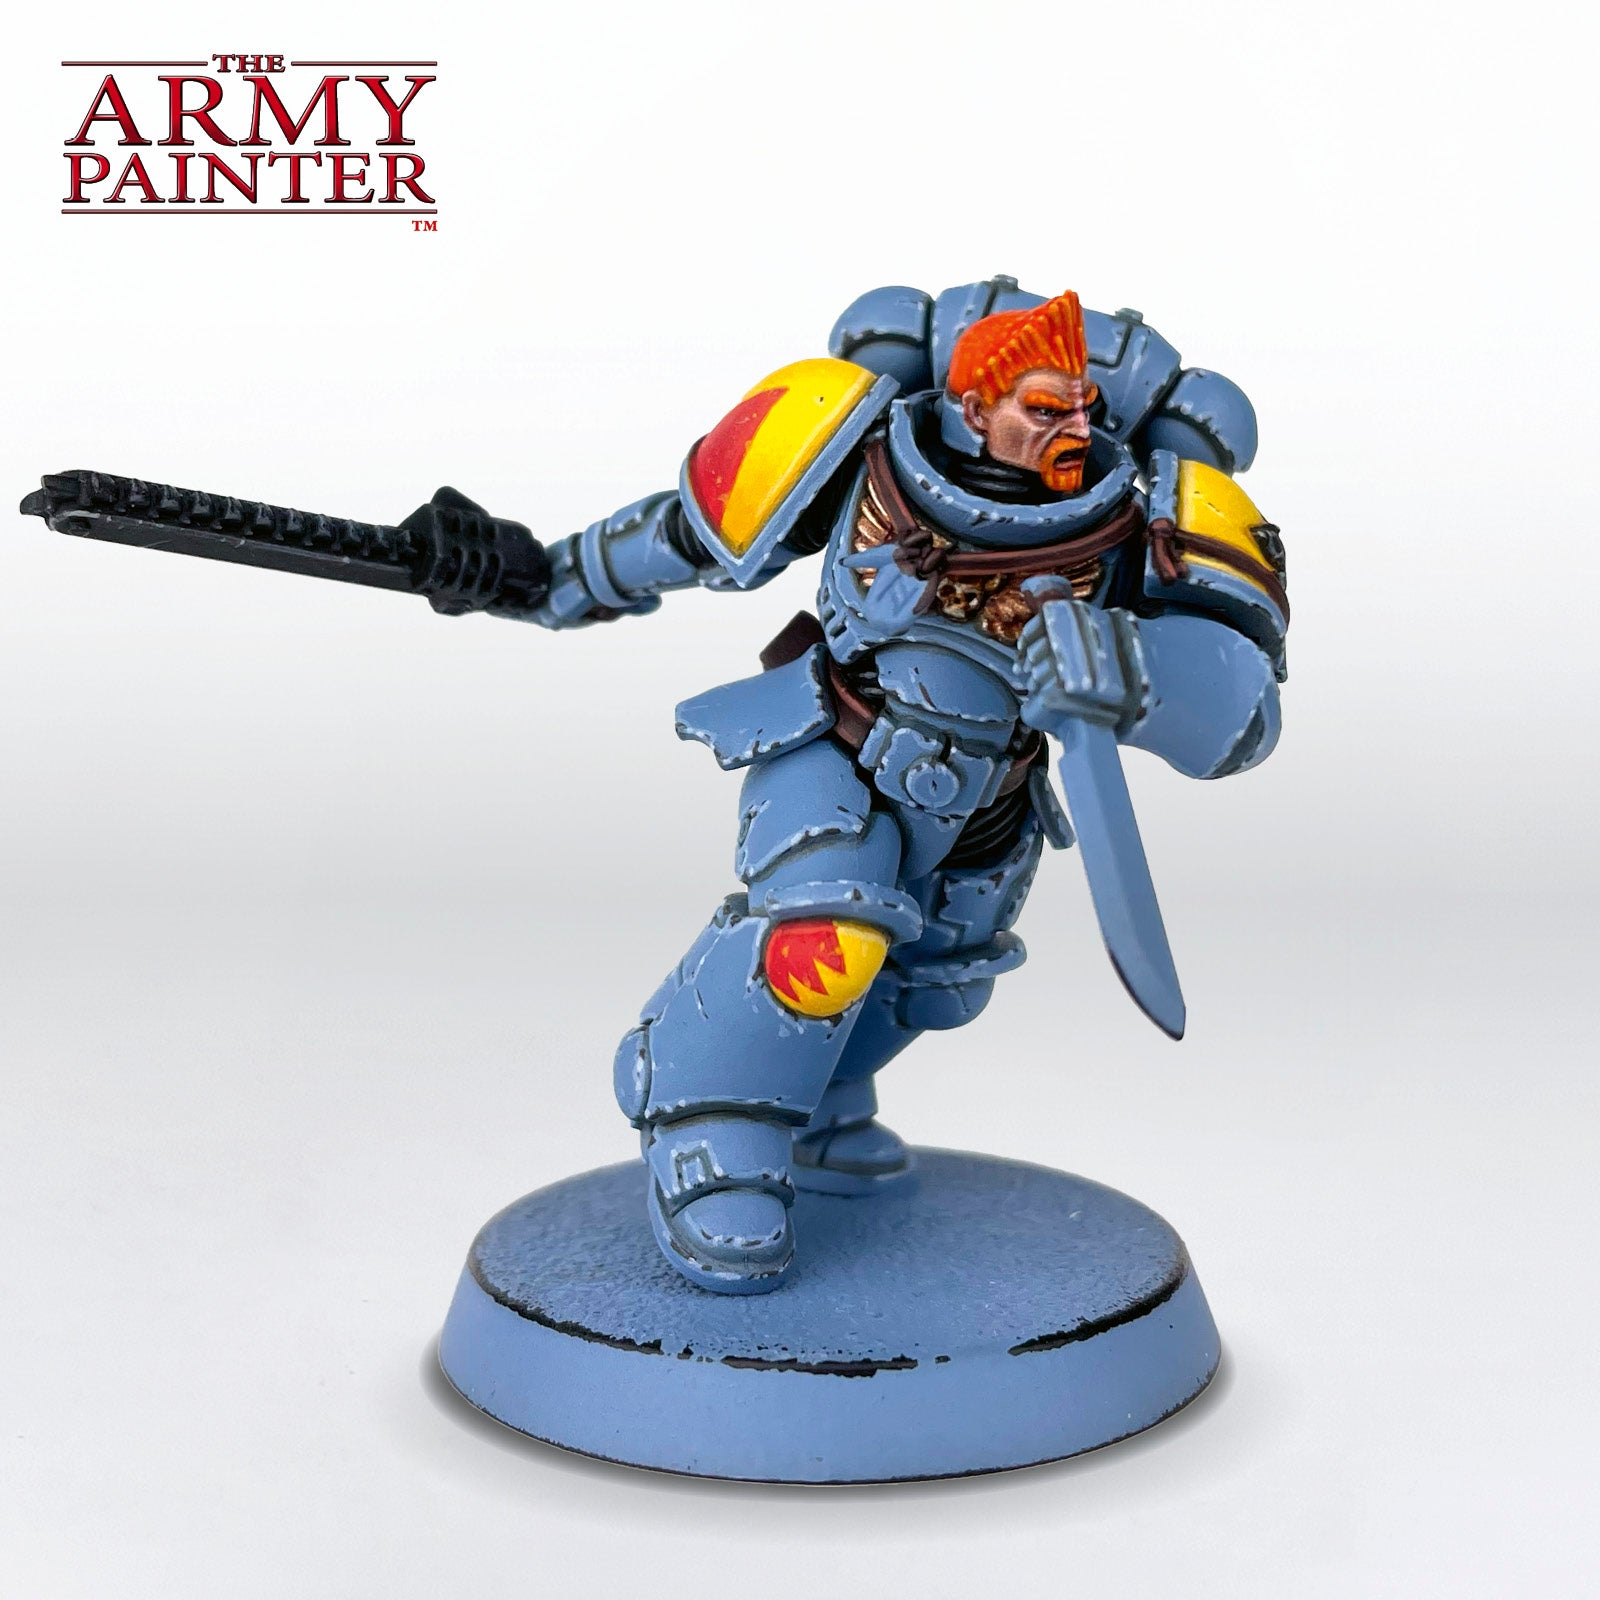
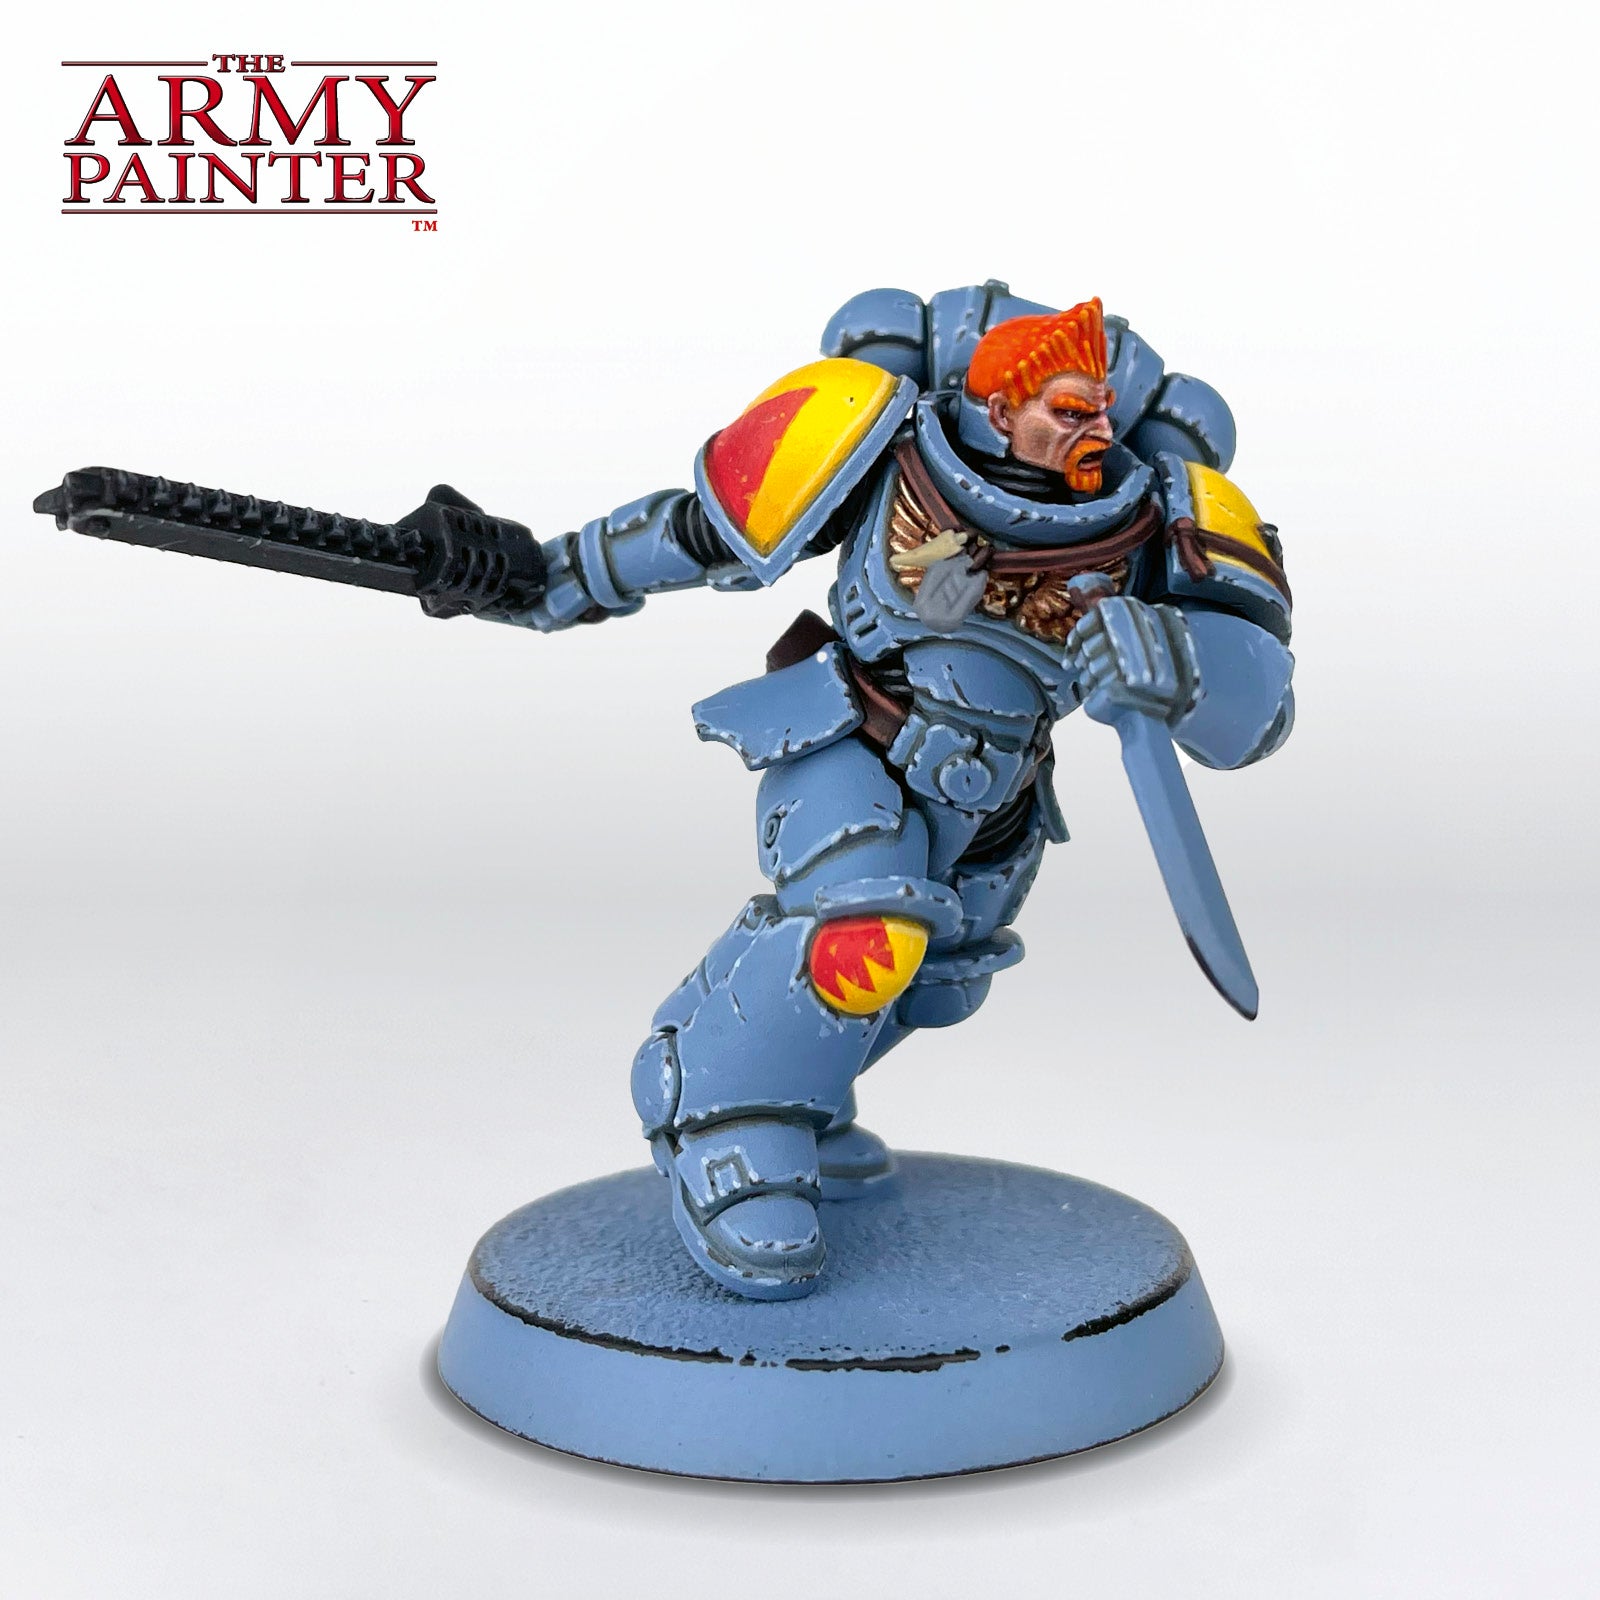
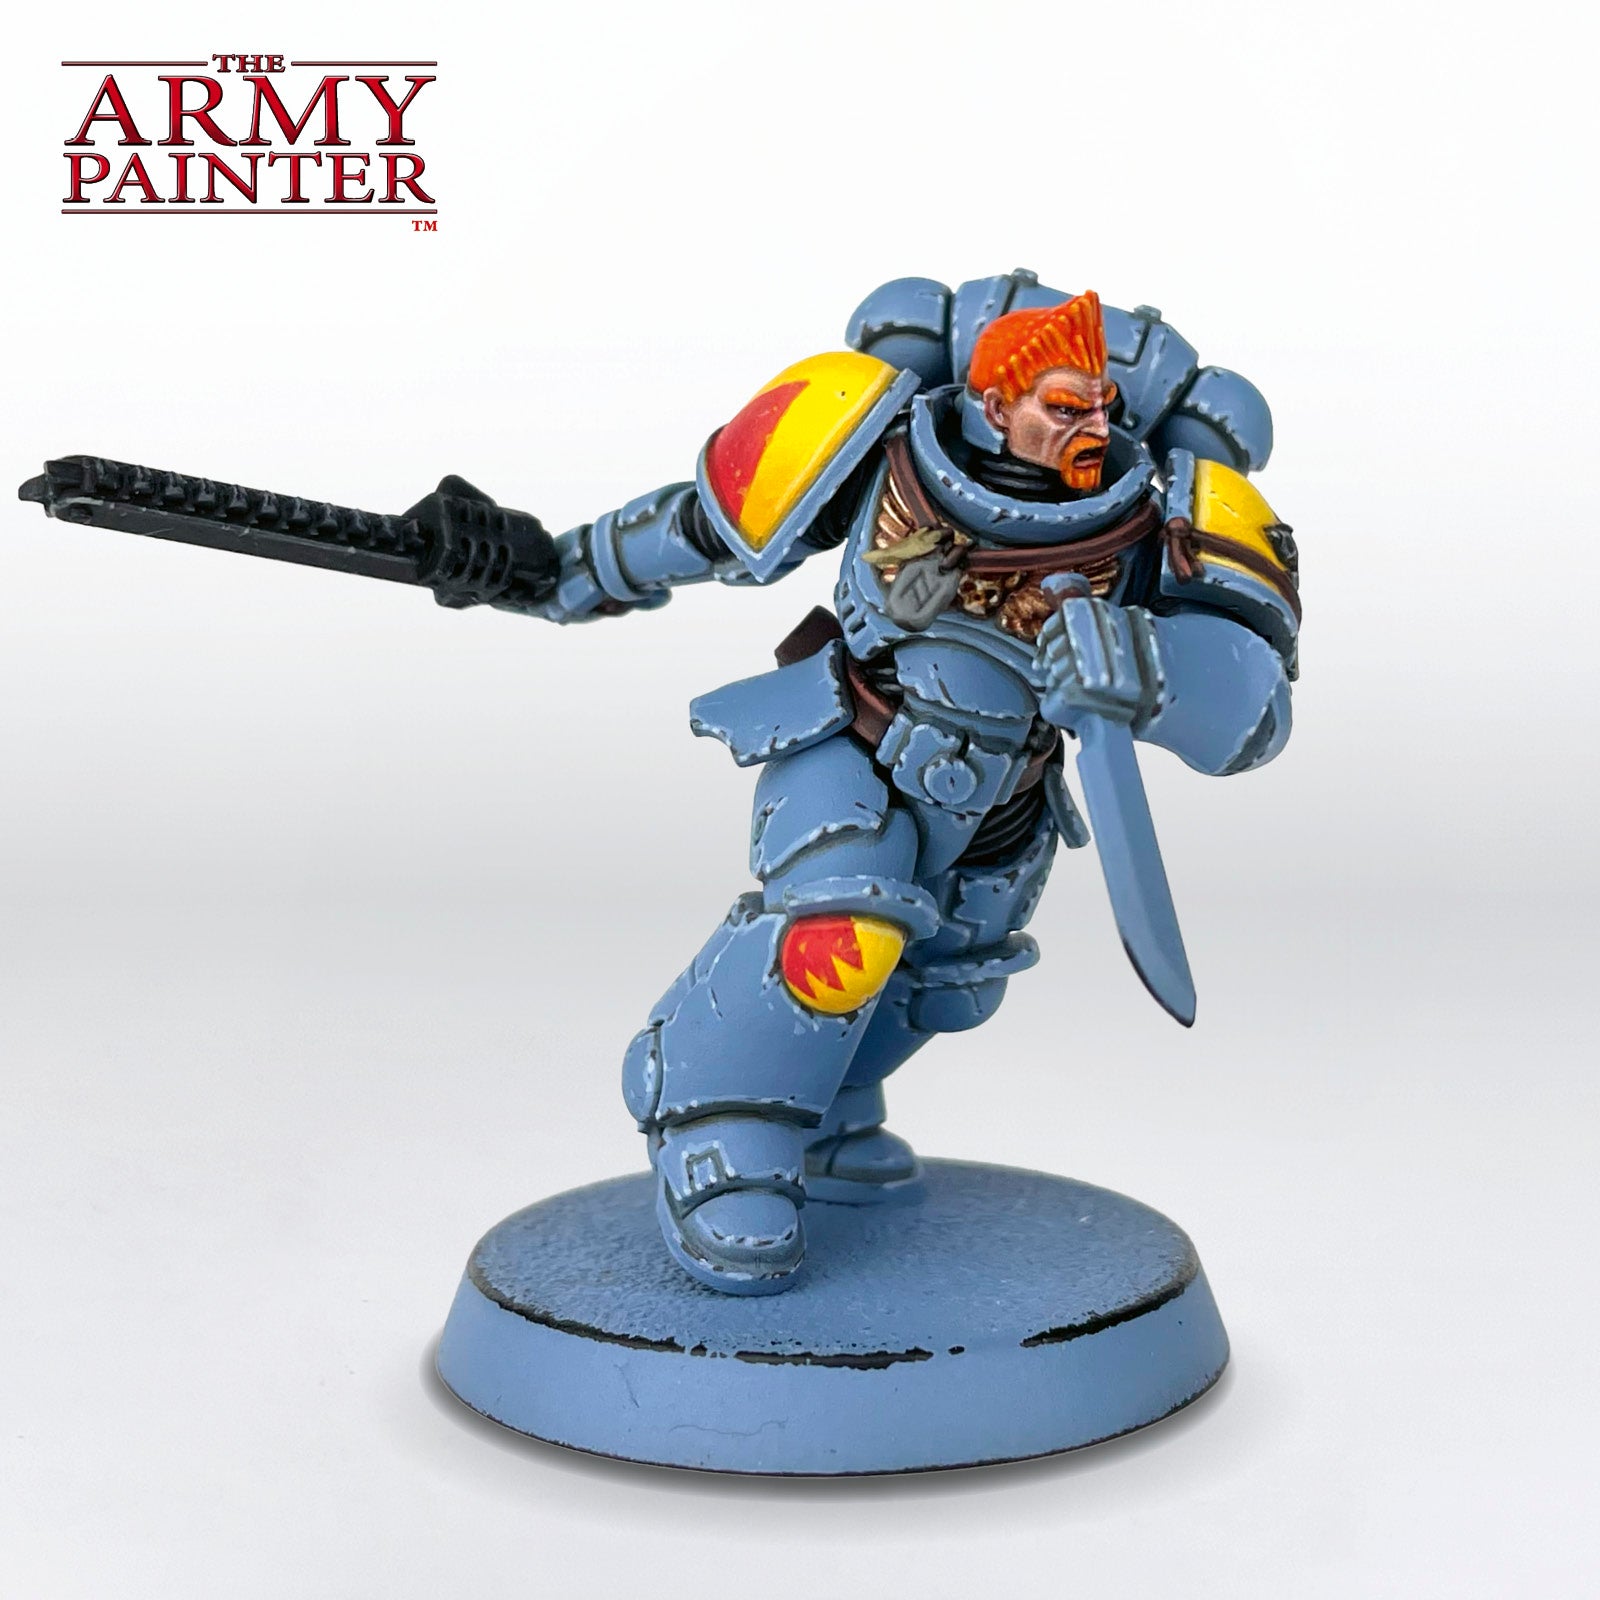
Space Wolf Final

Welcome to the next instalment of The Army Painter Academy: a series where we break down how we paint a miniature step-by-step, complete with pictures for every bit of paint applied along the way. 

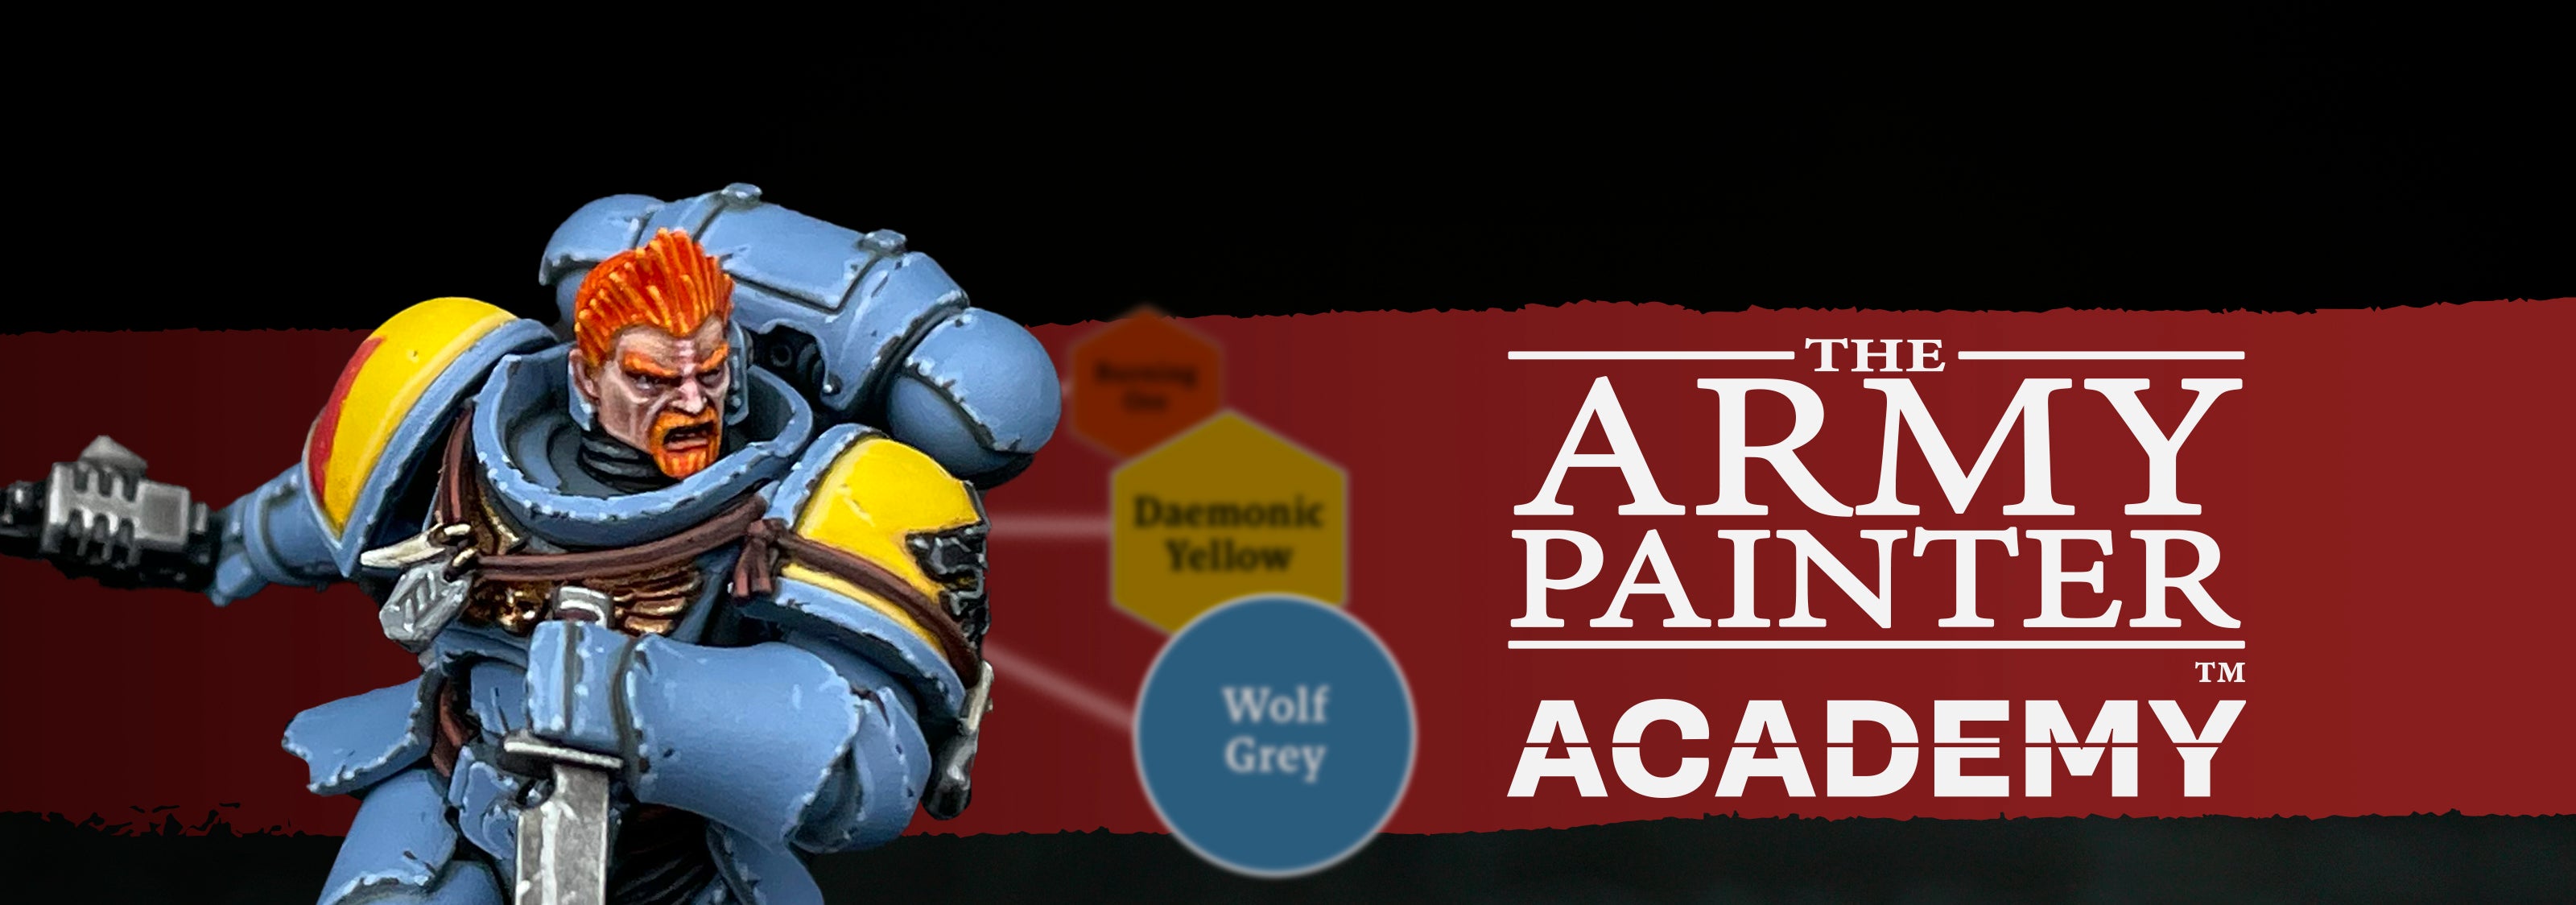
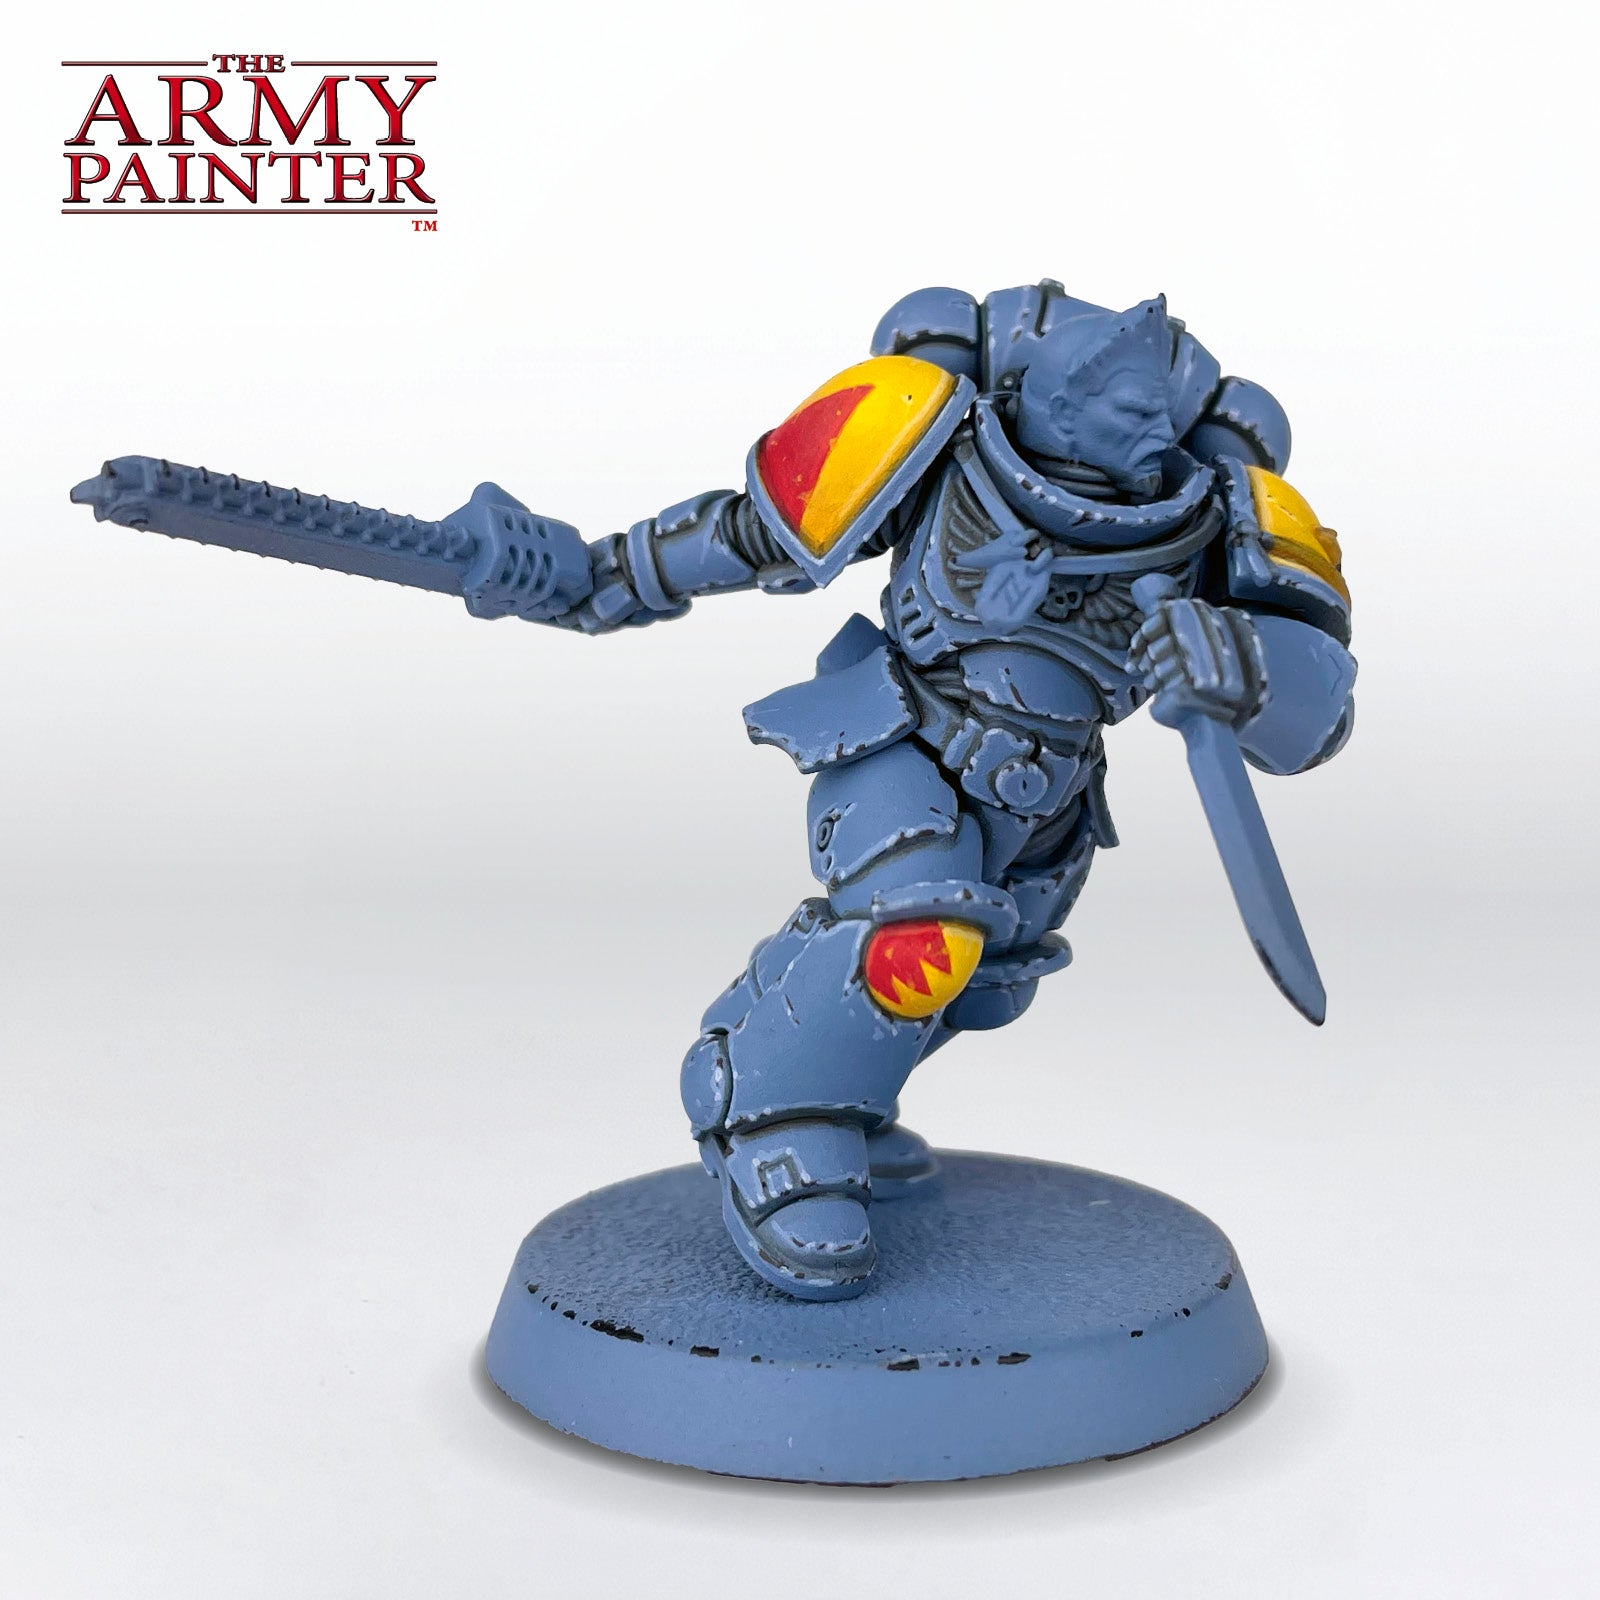
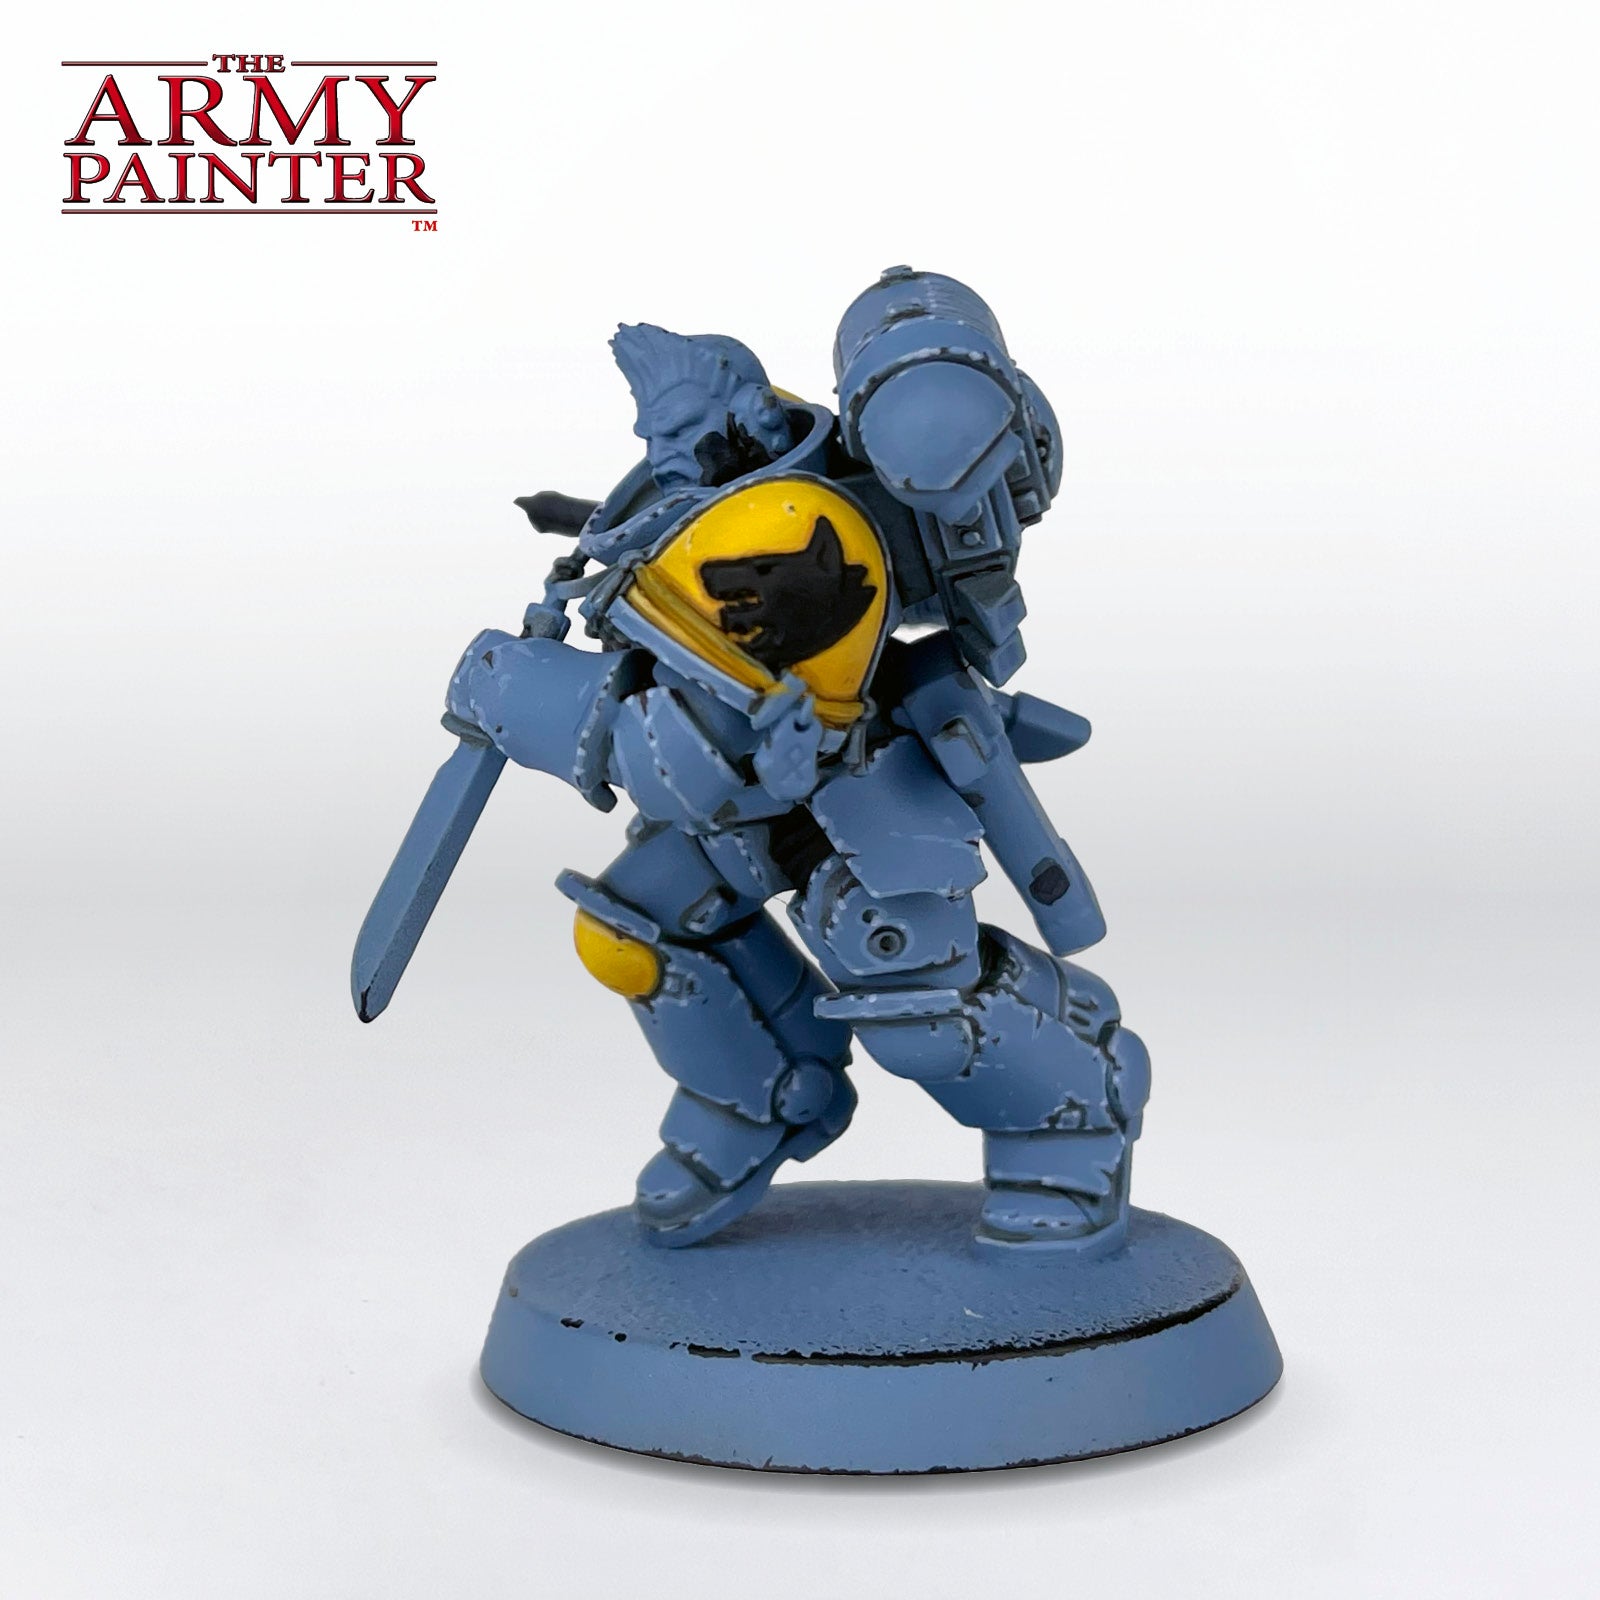
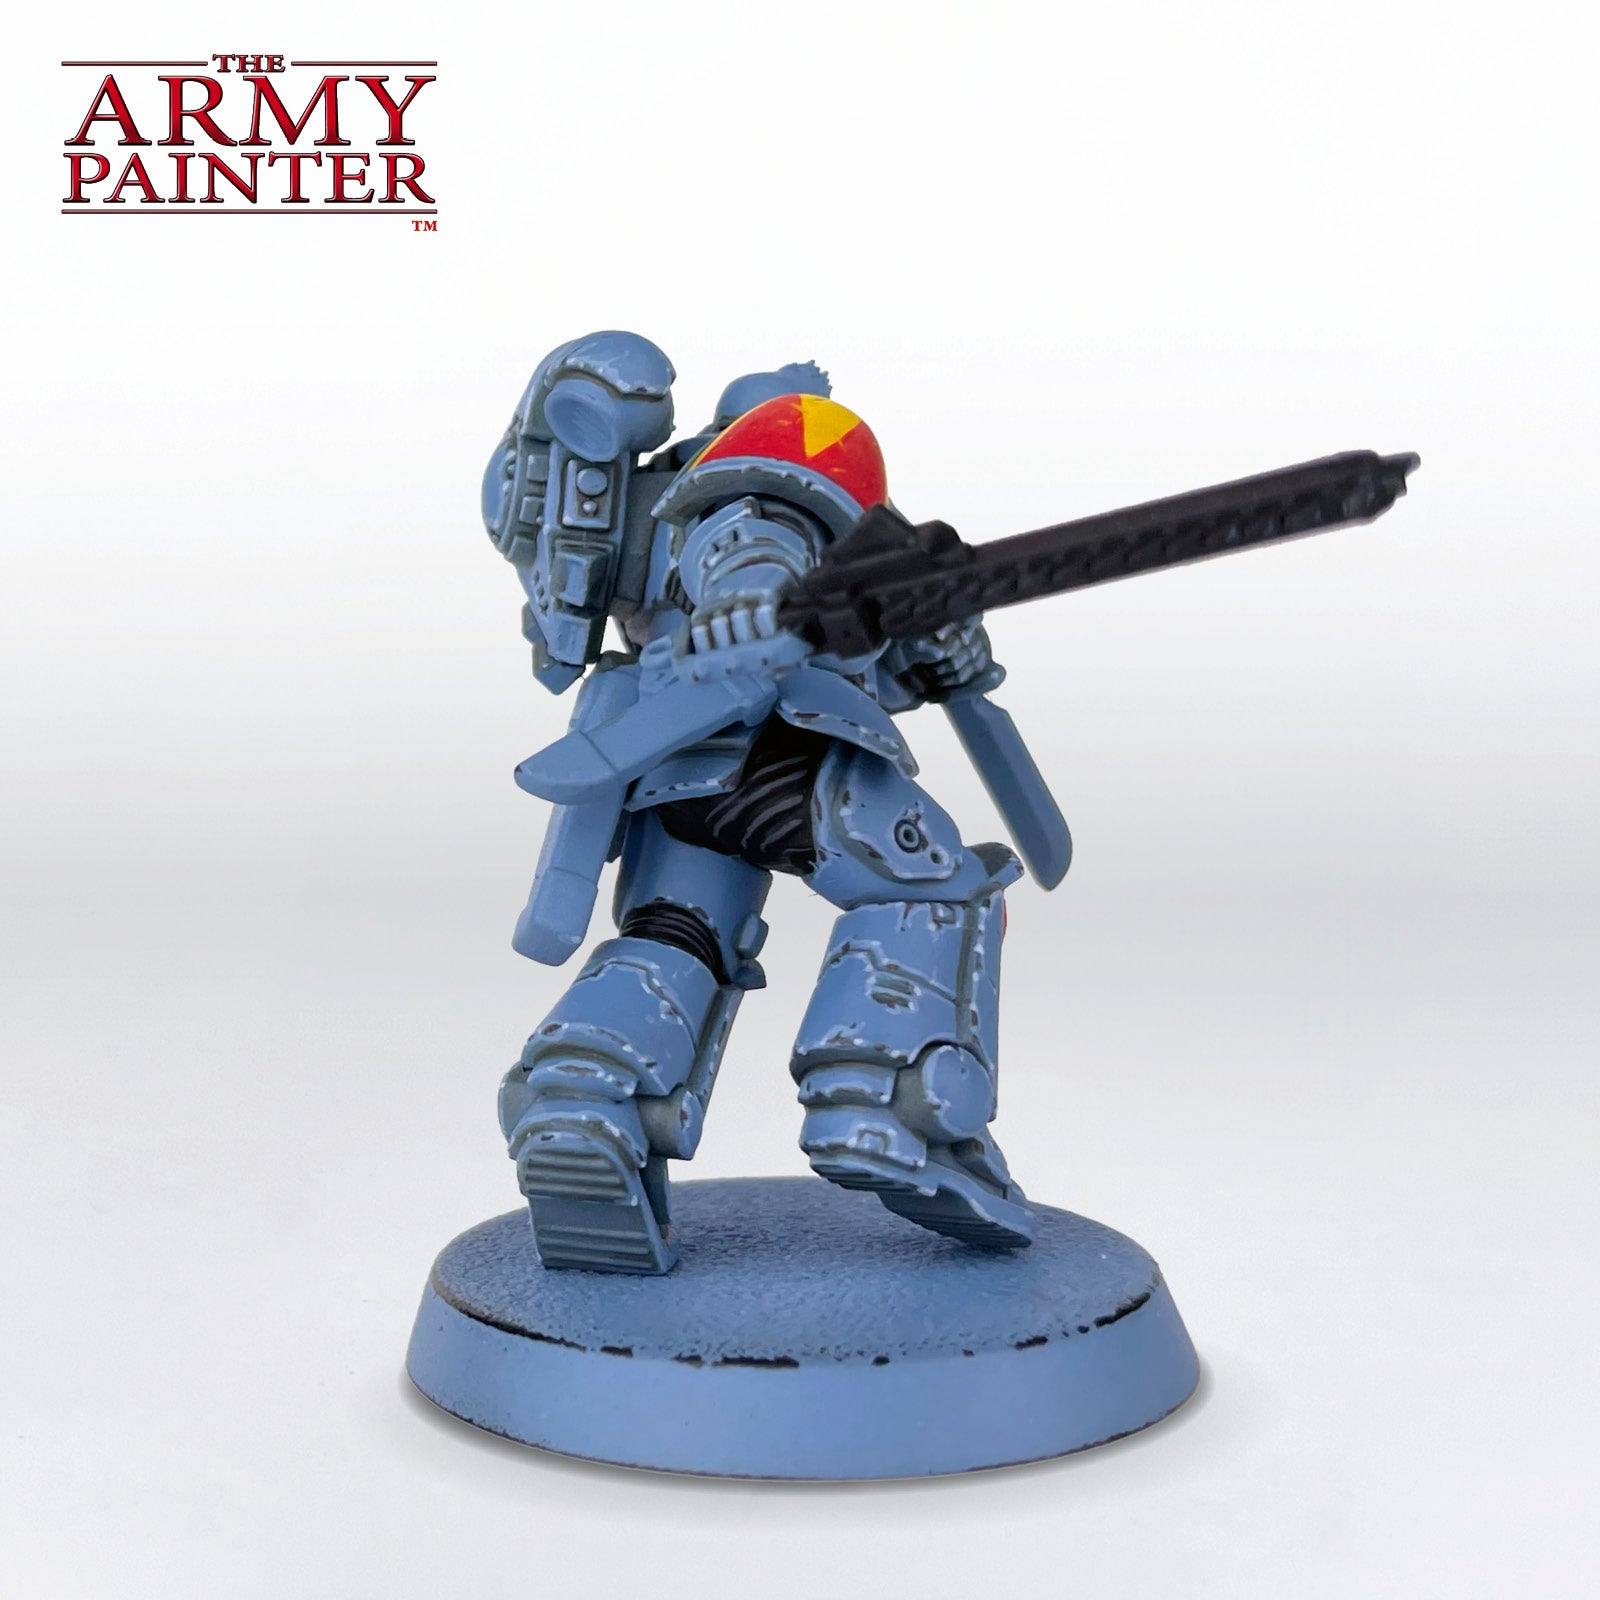
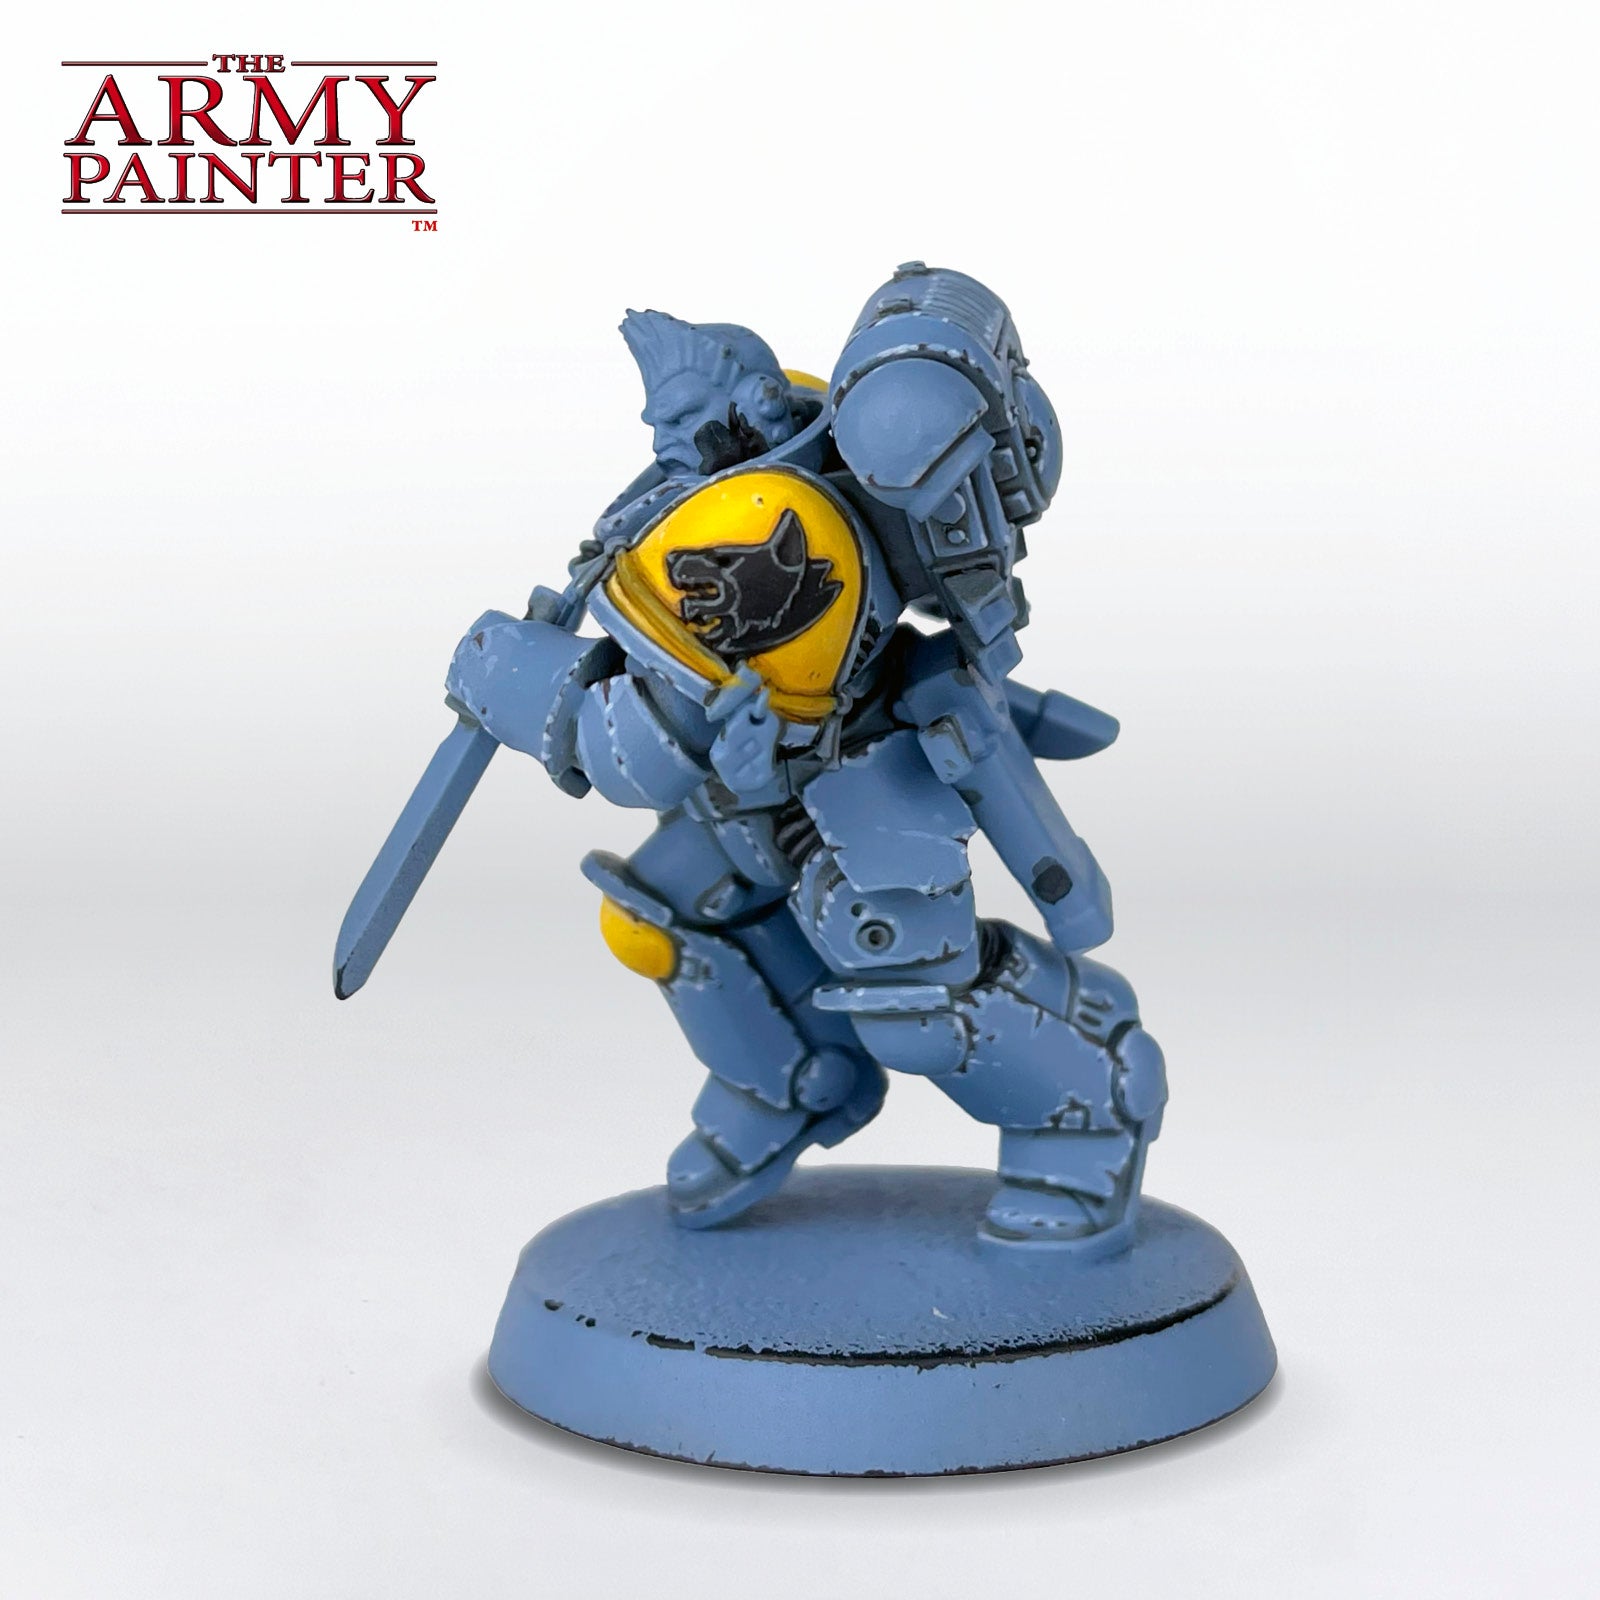
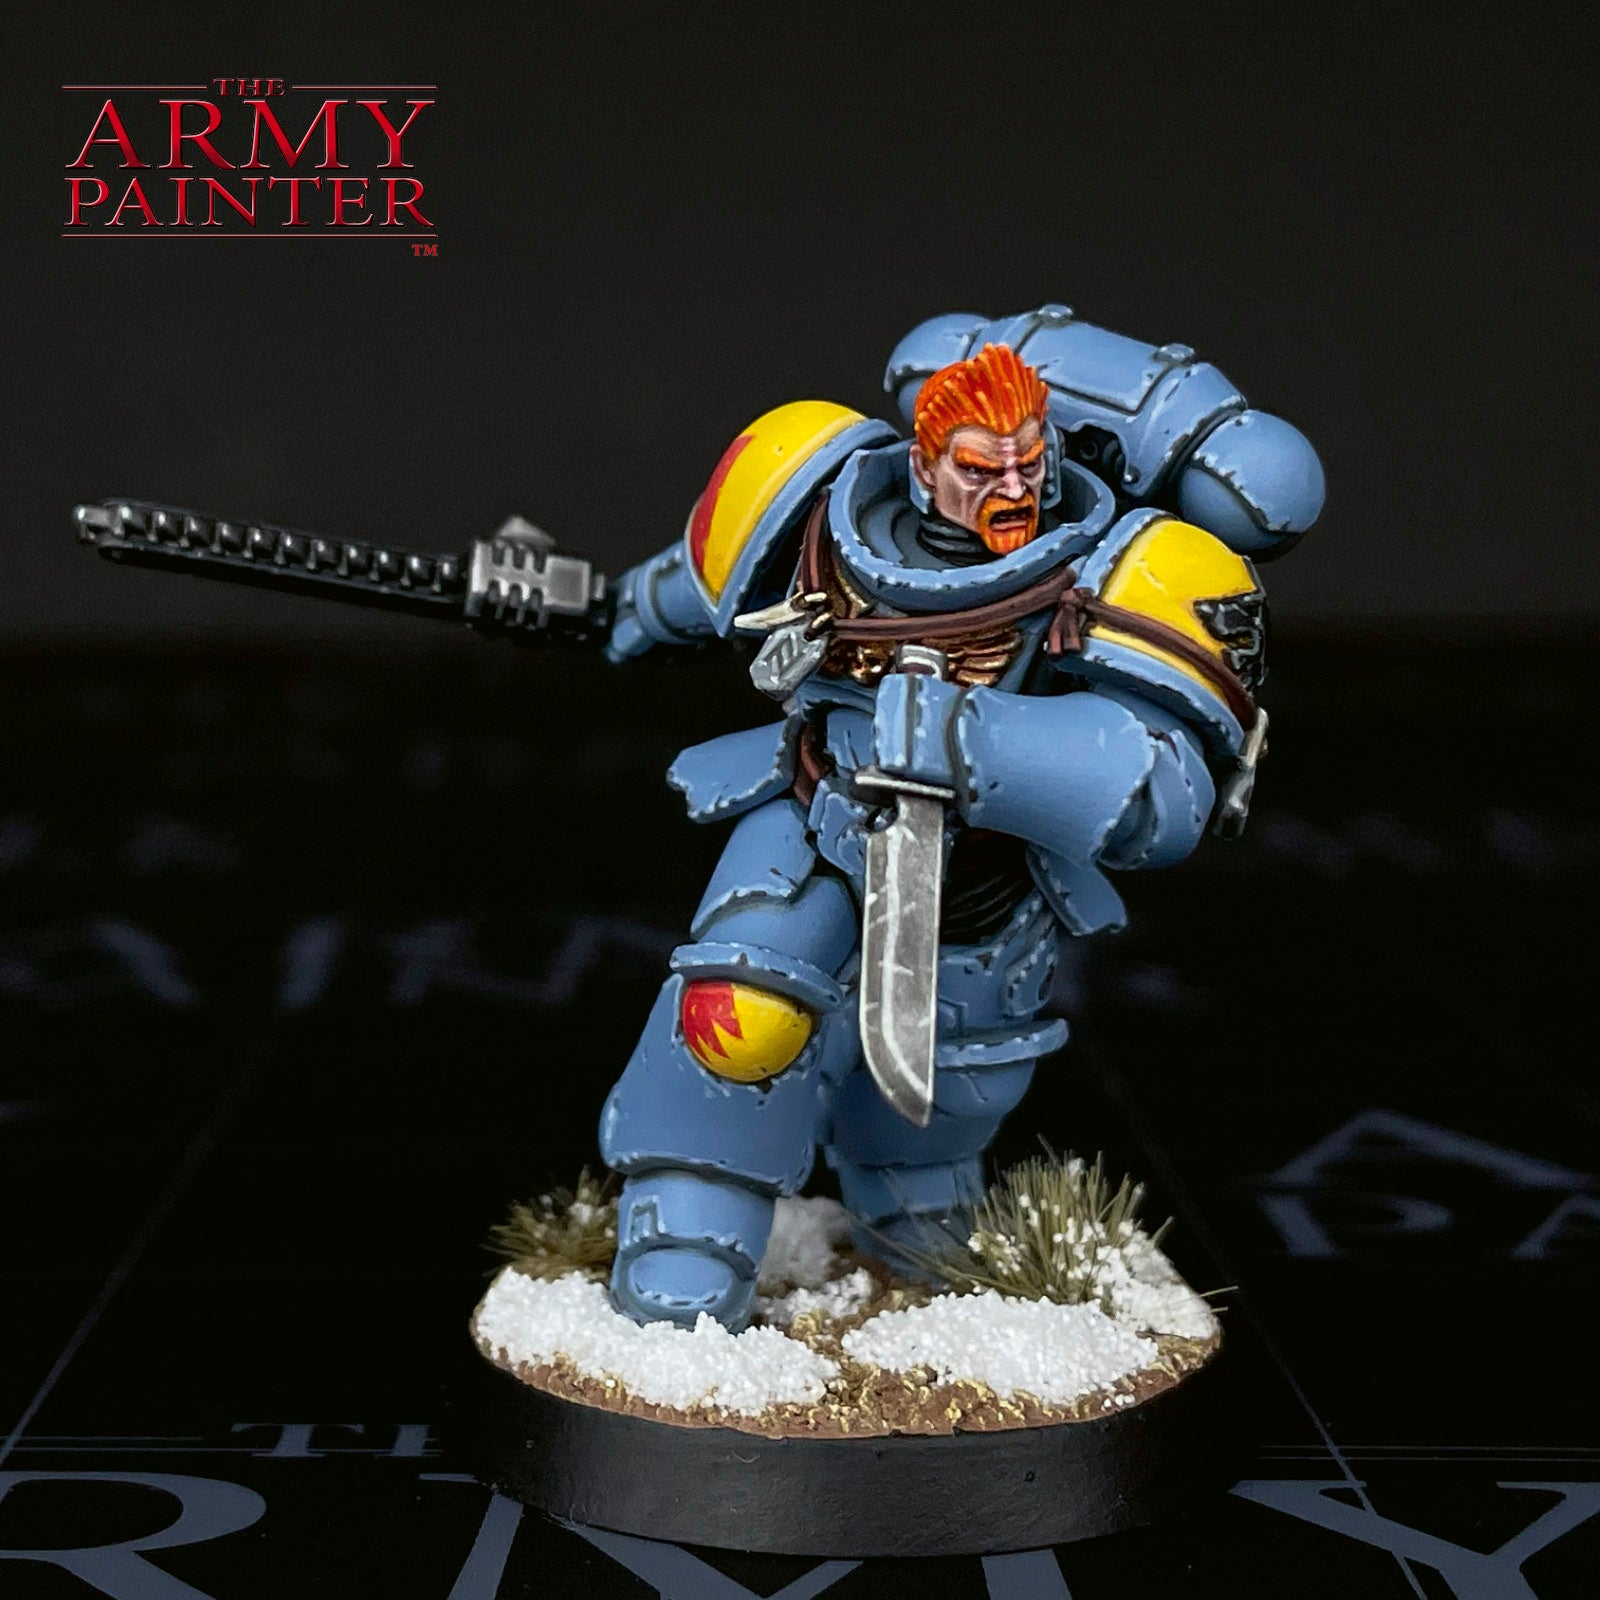
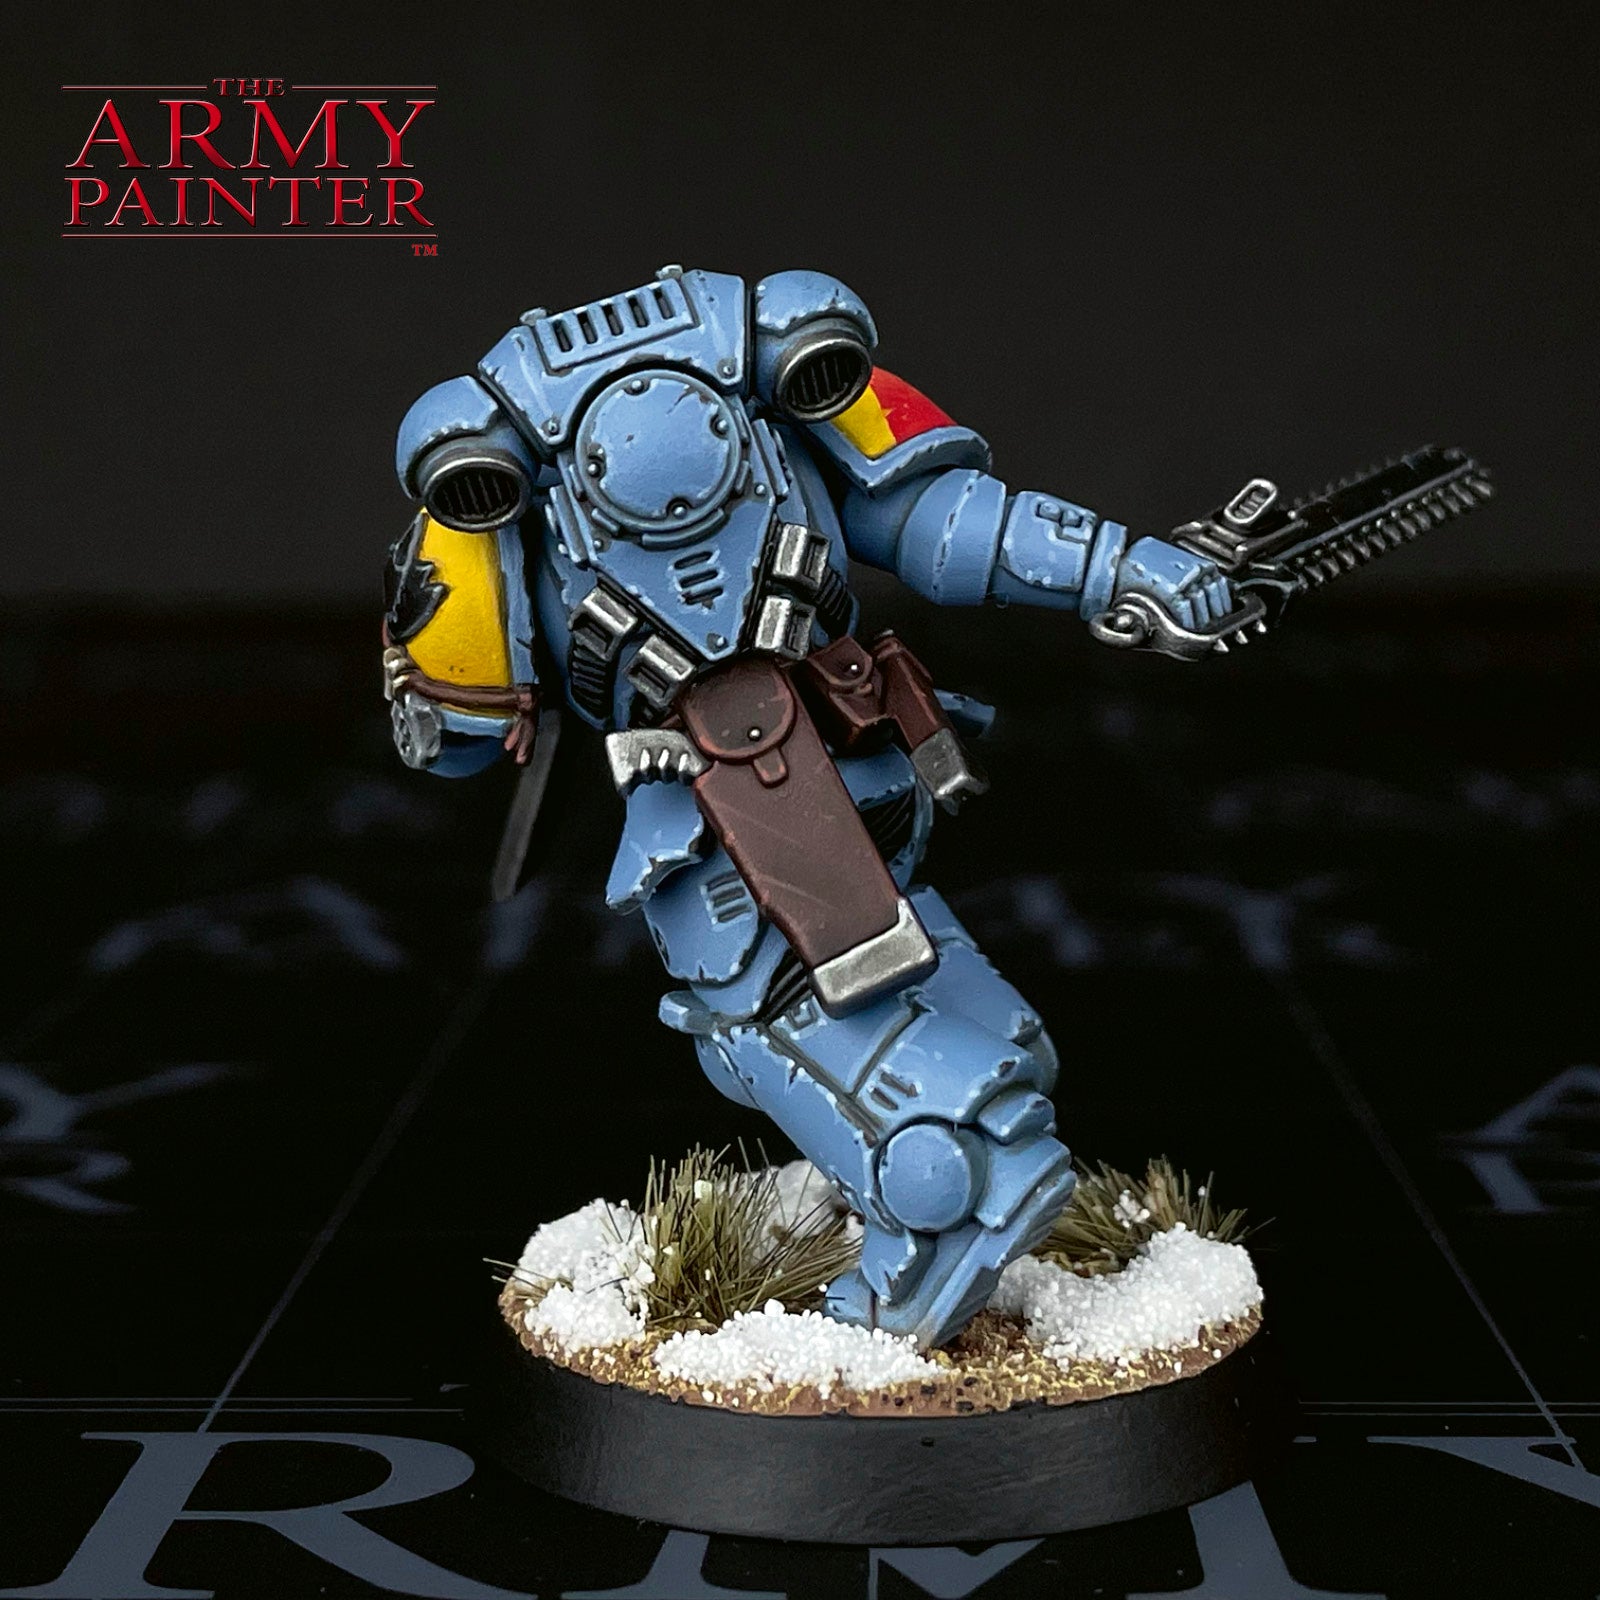
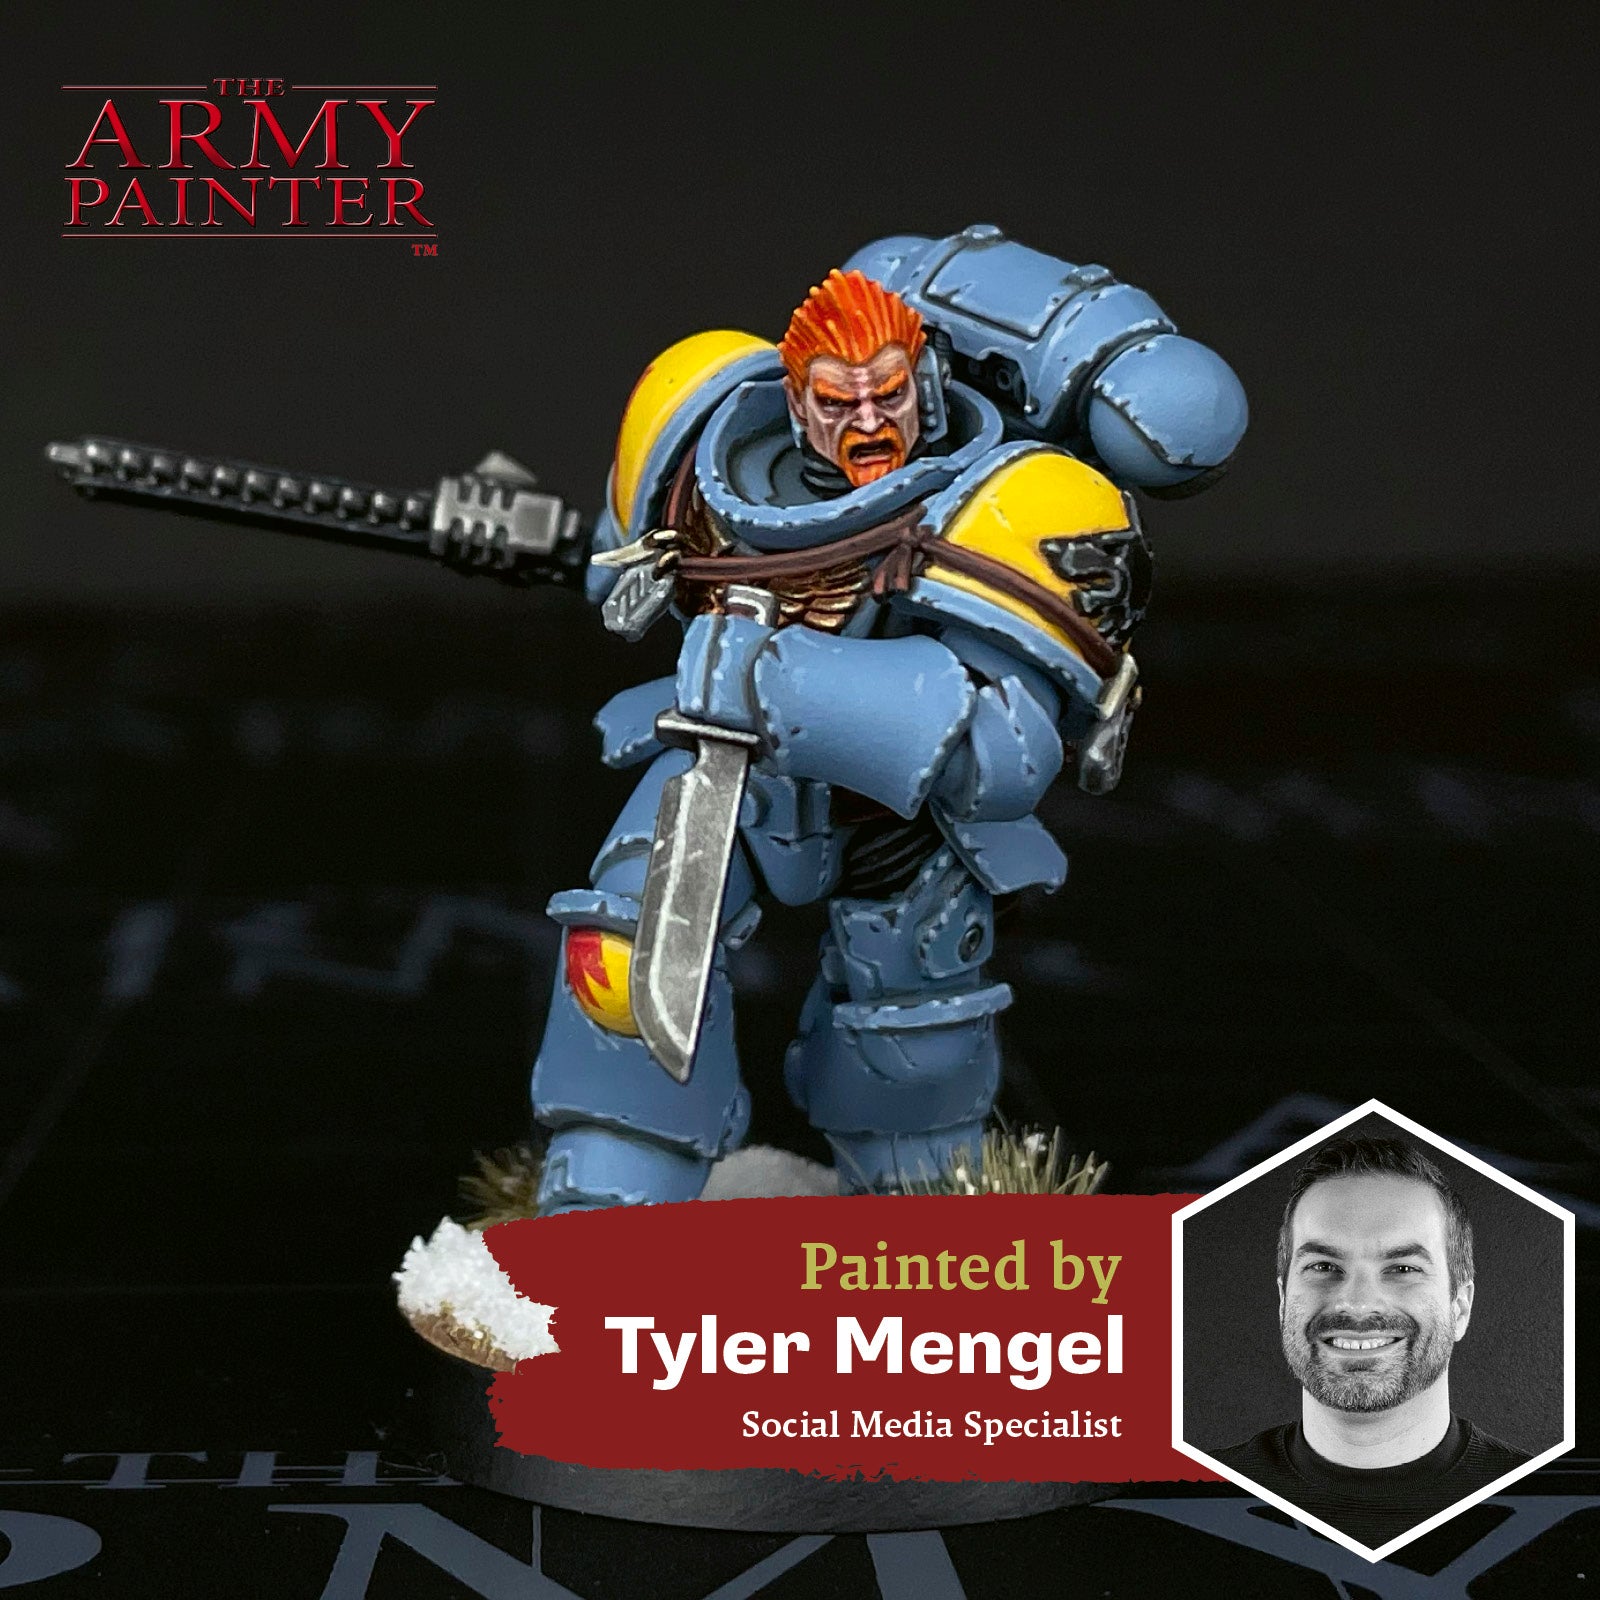
The winds of winter are beginning to howl the world over, and who’s better suited to answer its call than the sons of Russ? The Space Wolves, from Games Workshop’s Warhammer 40,000 setting, are a firm fan favourite when it comes to power armoured post-humans of the far future. Clad in frosty blue armour and bedecked in furs, trinkets, and items of ritualistic power, the Fenrisian warriors are a fearsome and awe-inspiring sight. Who doesn’t love space Vikings, after all? When it came to painting one up, we just had to choose a Bloodclaw with their fiery nature, and in this case, hair!

This tutorial is broken down by colour segments, starting with the slate blue armour, then moving onto the yellow, then the black, and so on. Each section is further broken down into manageable steps by applying one colour at a time. If you’re on a desktop, simply click the arrows at the bottom of each section to scroll through the steps or scroll to the side on your mobile phone.

Let's get painting!

Banner

The Armour

Space Wolf Armour Step 1

Step 1

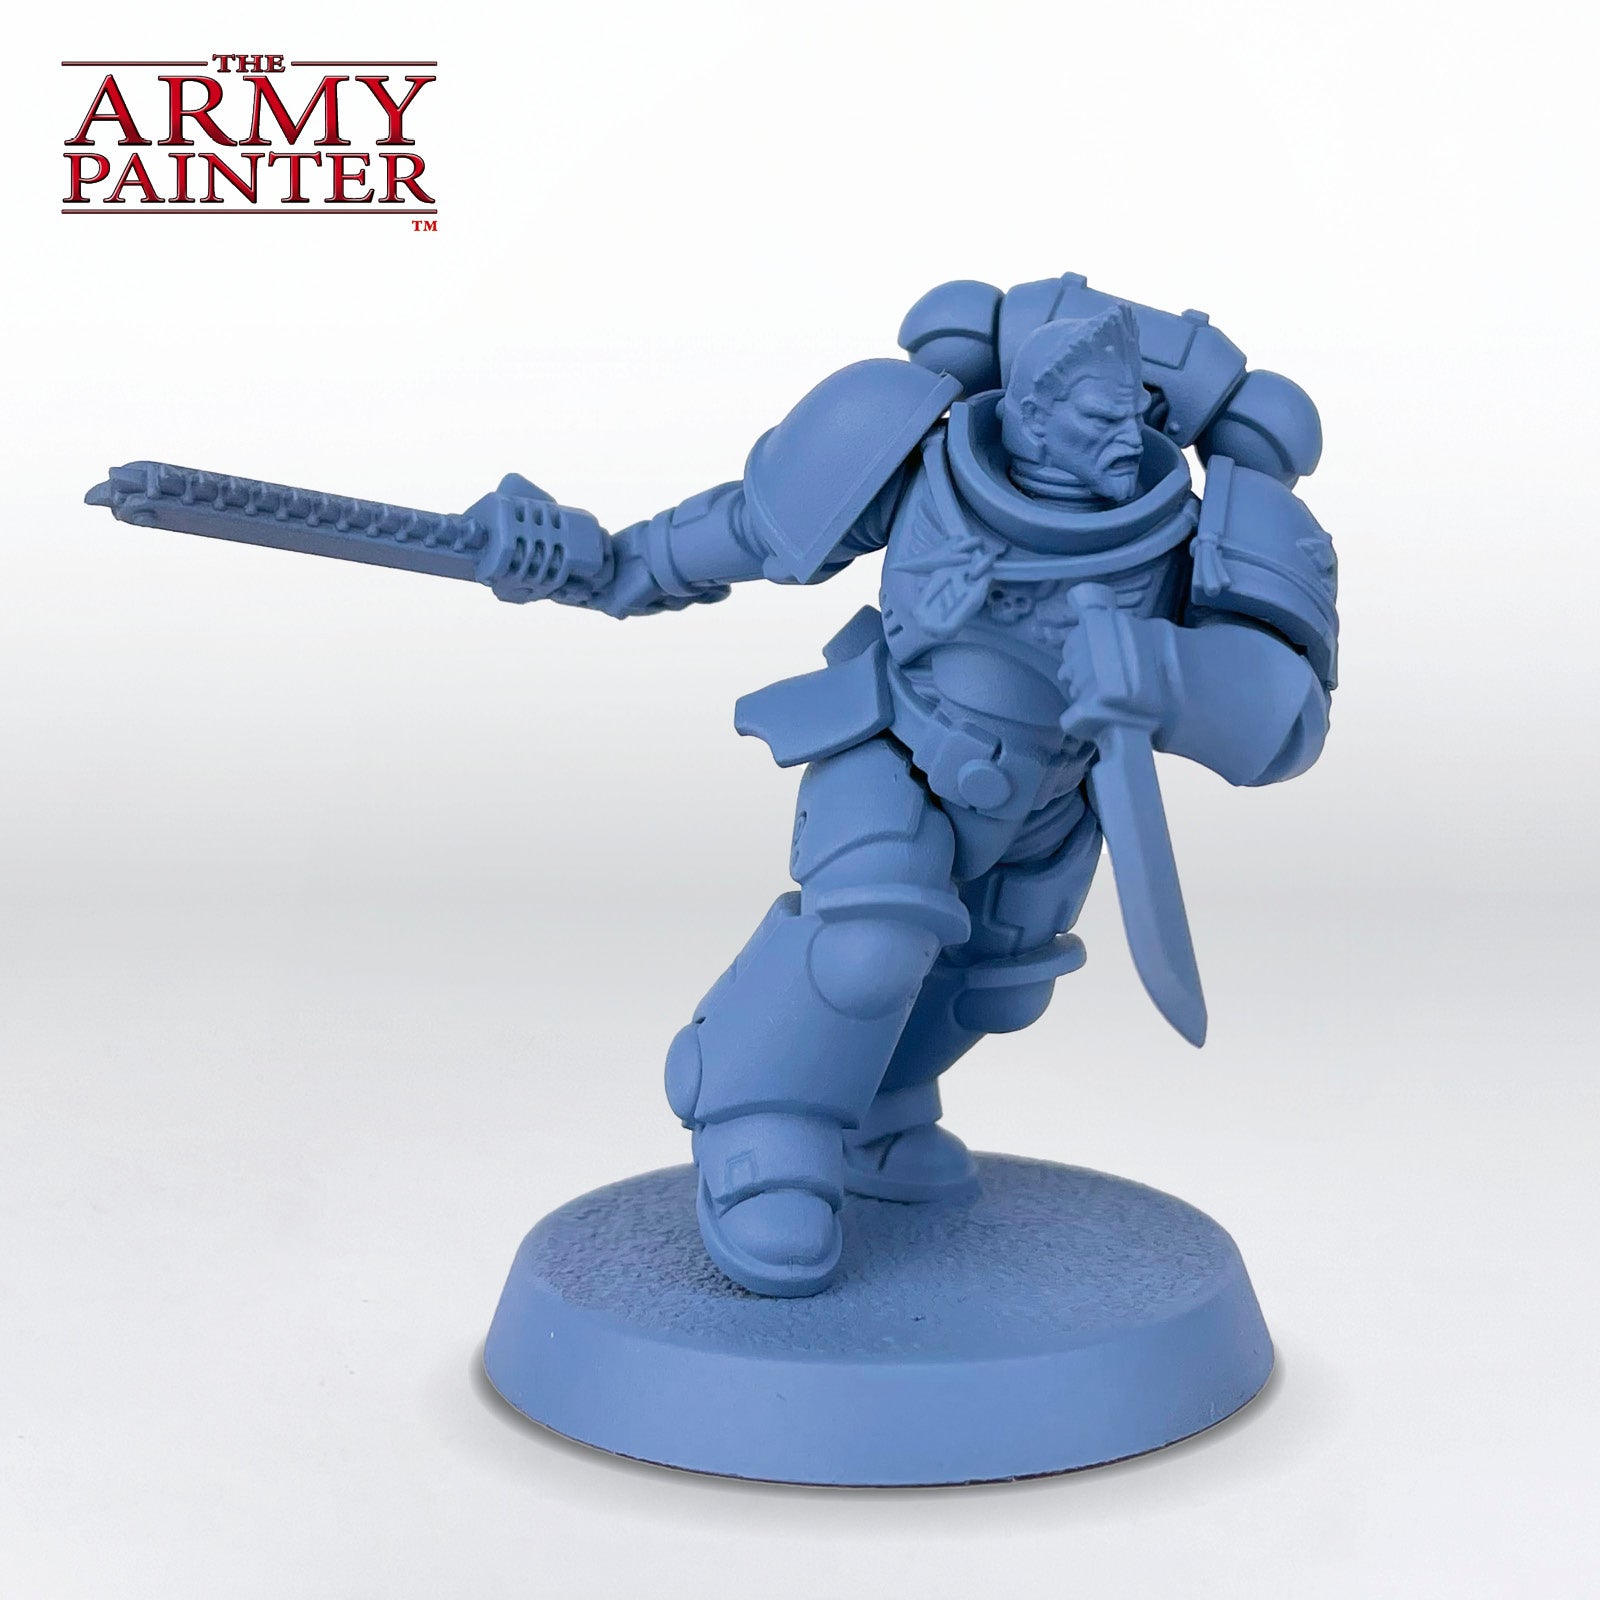
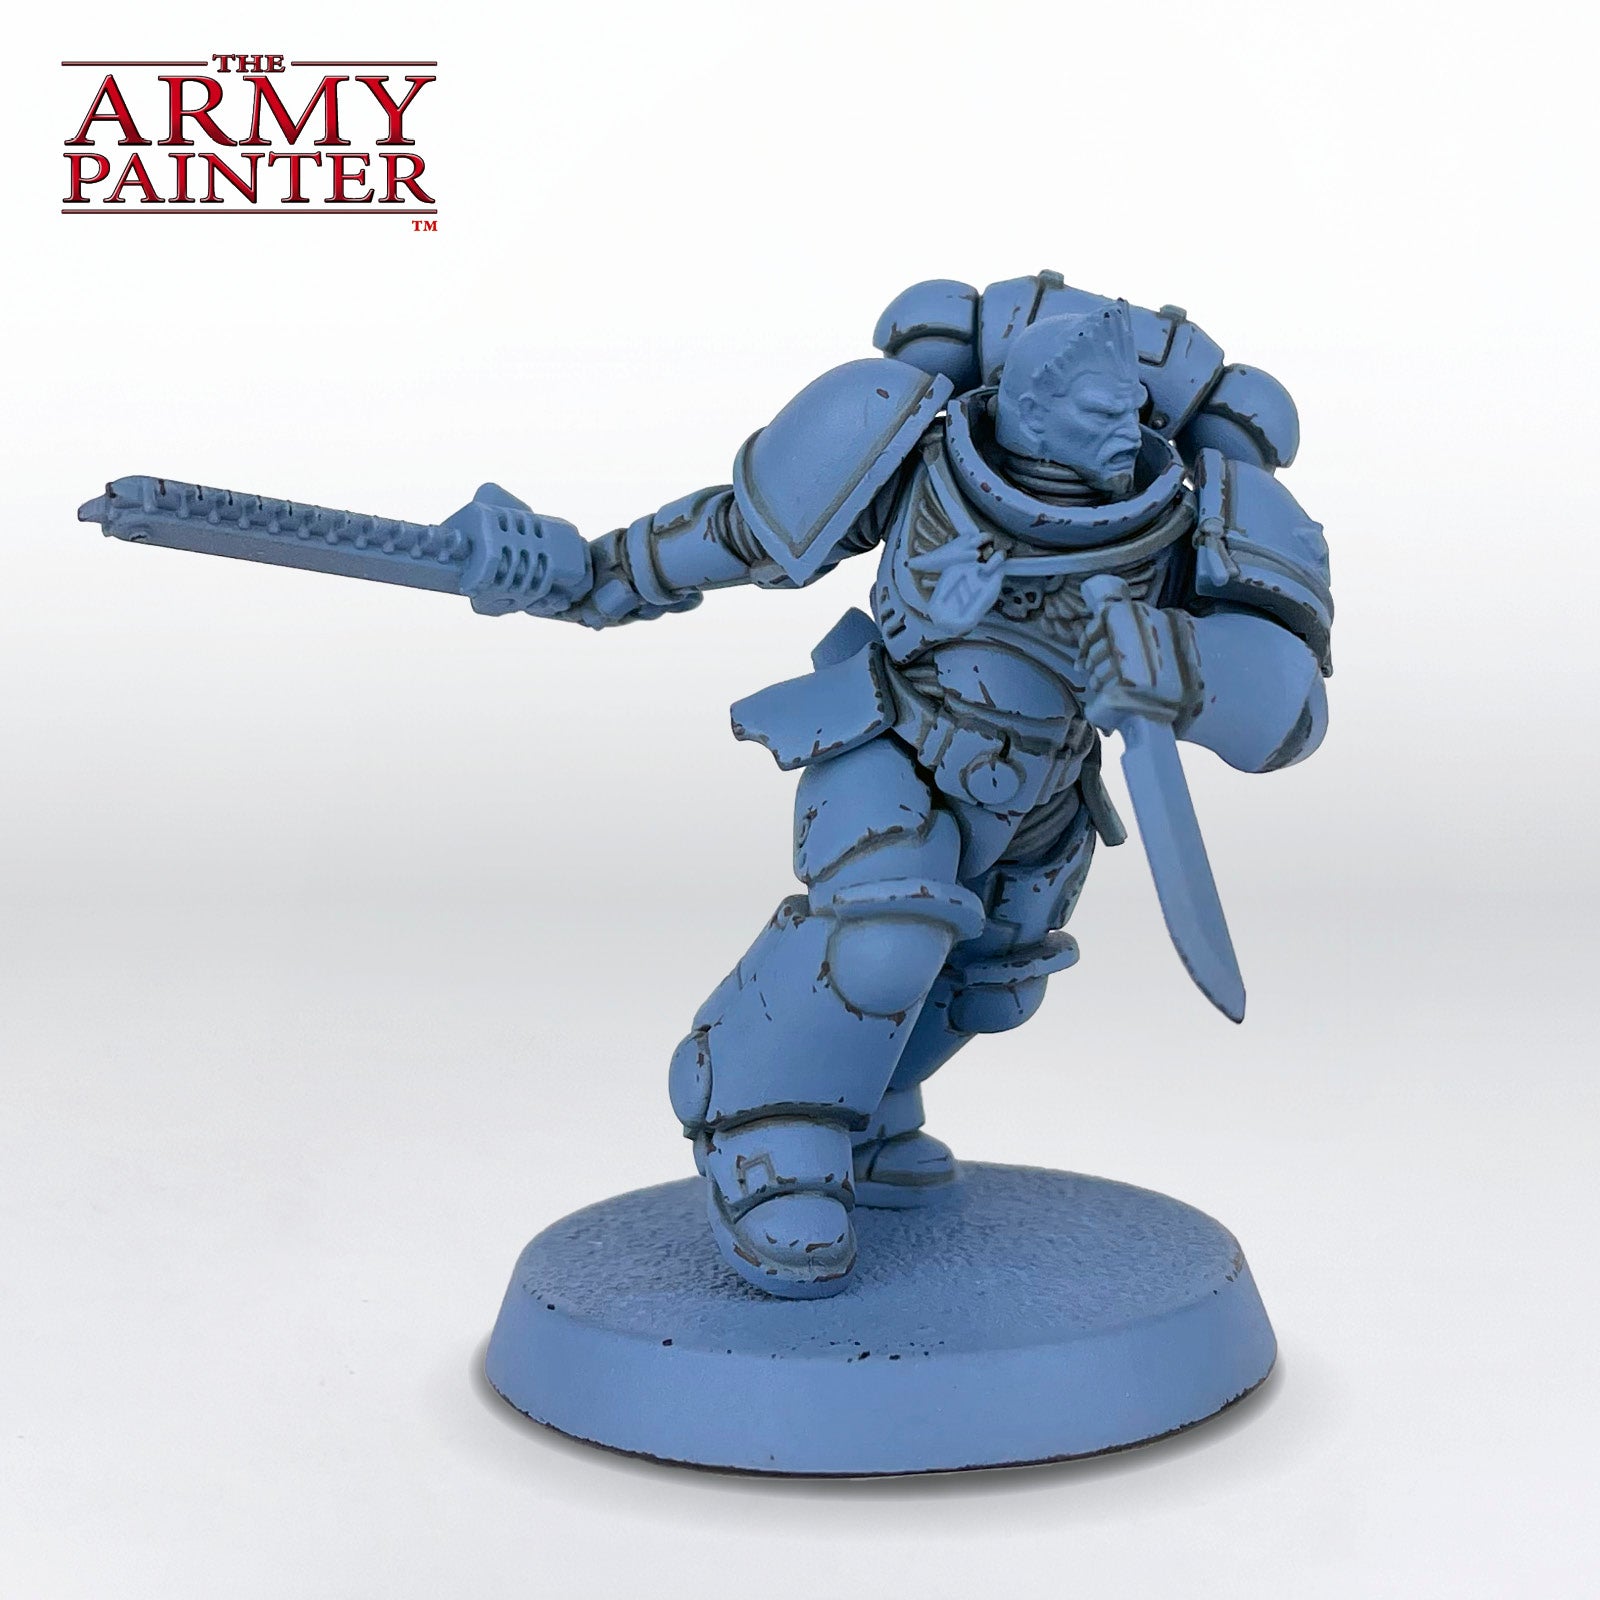
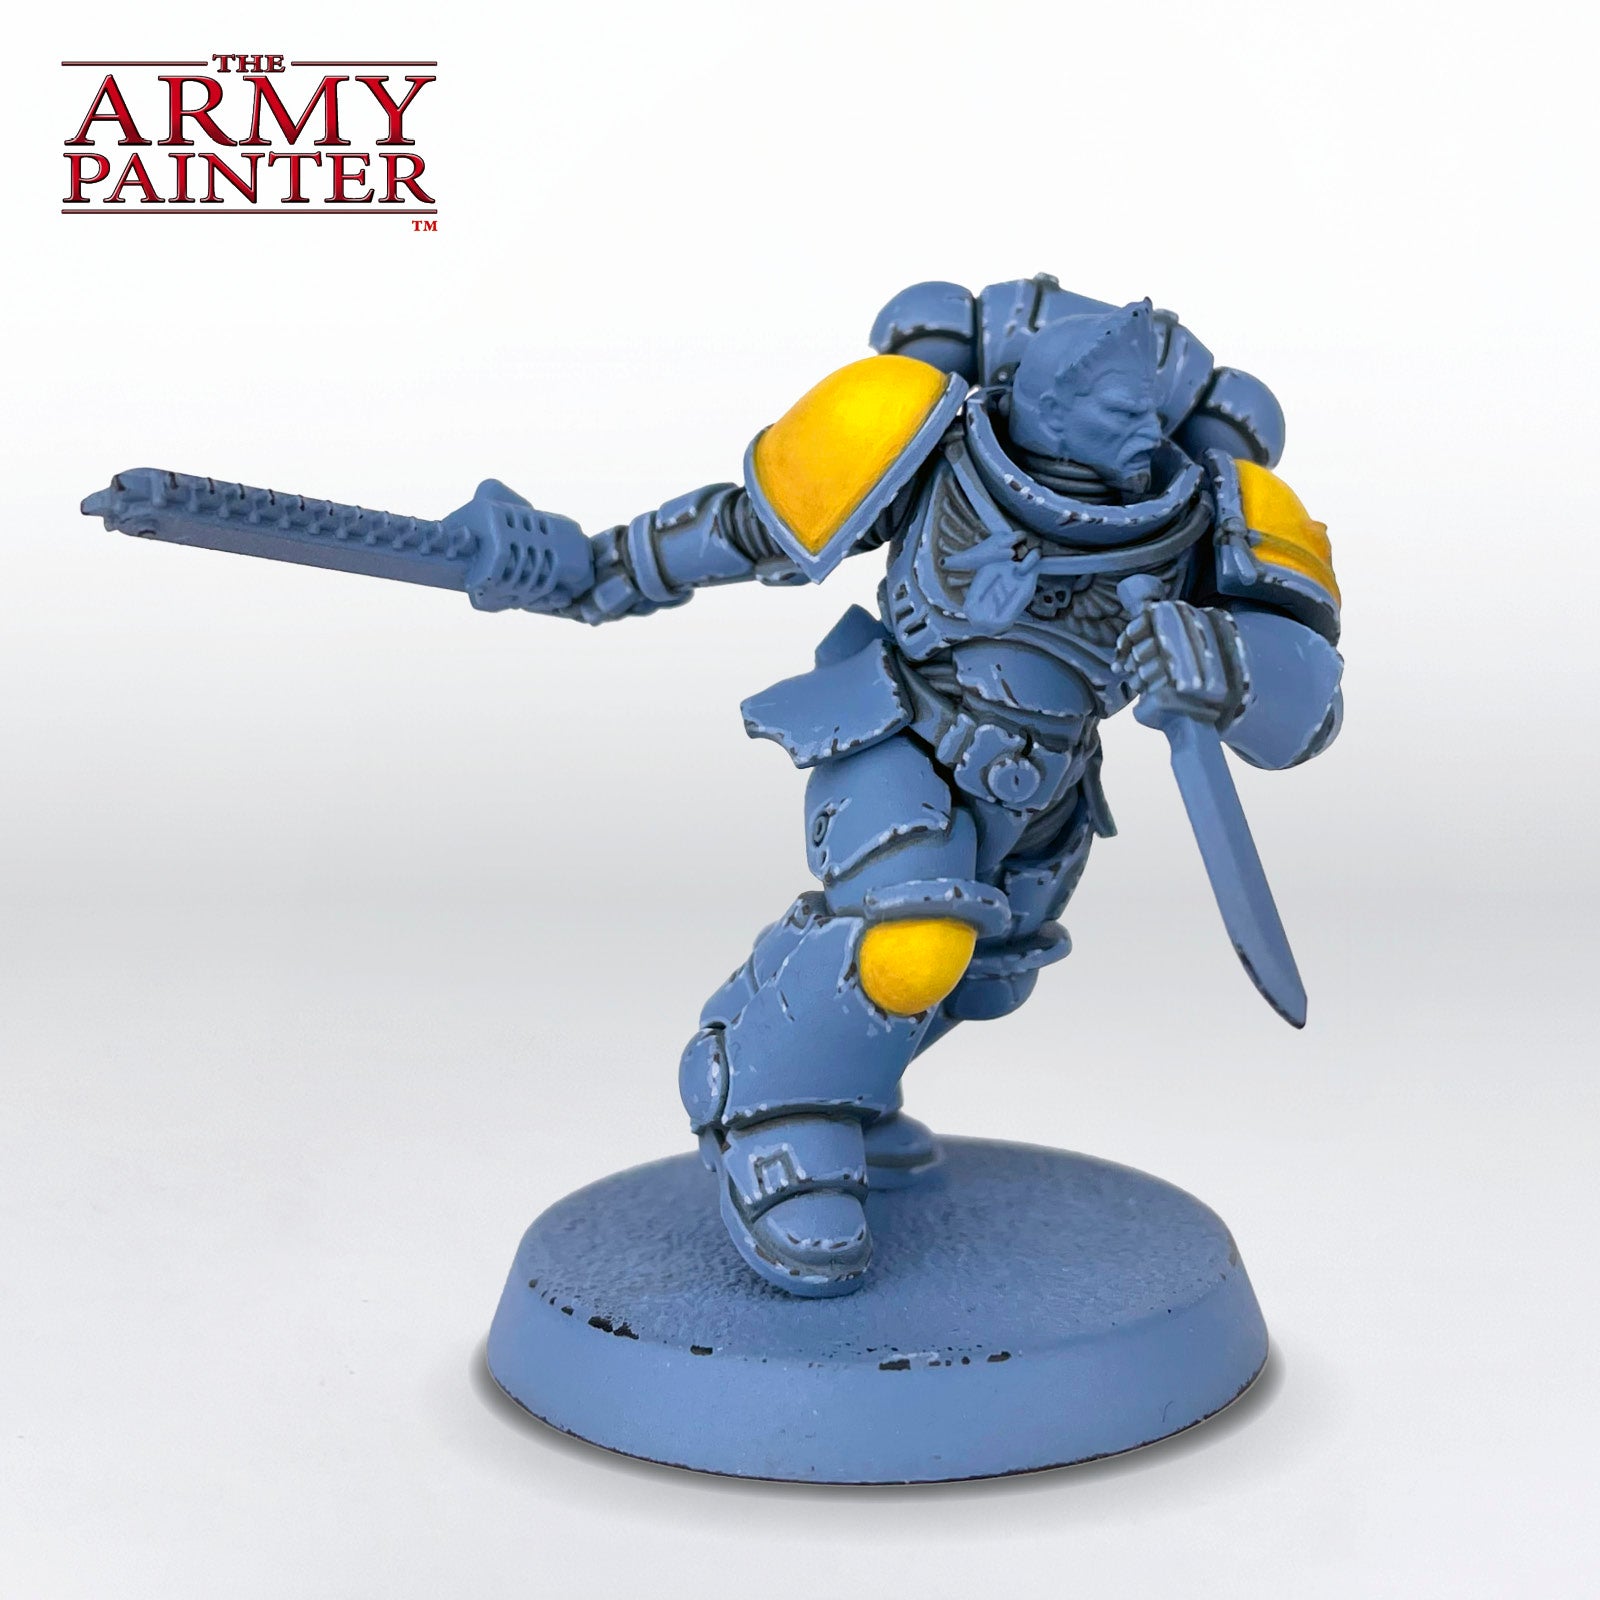
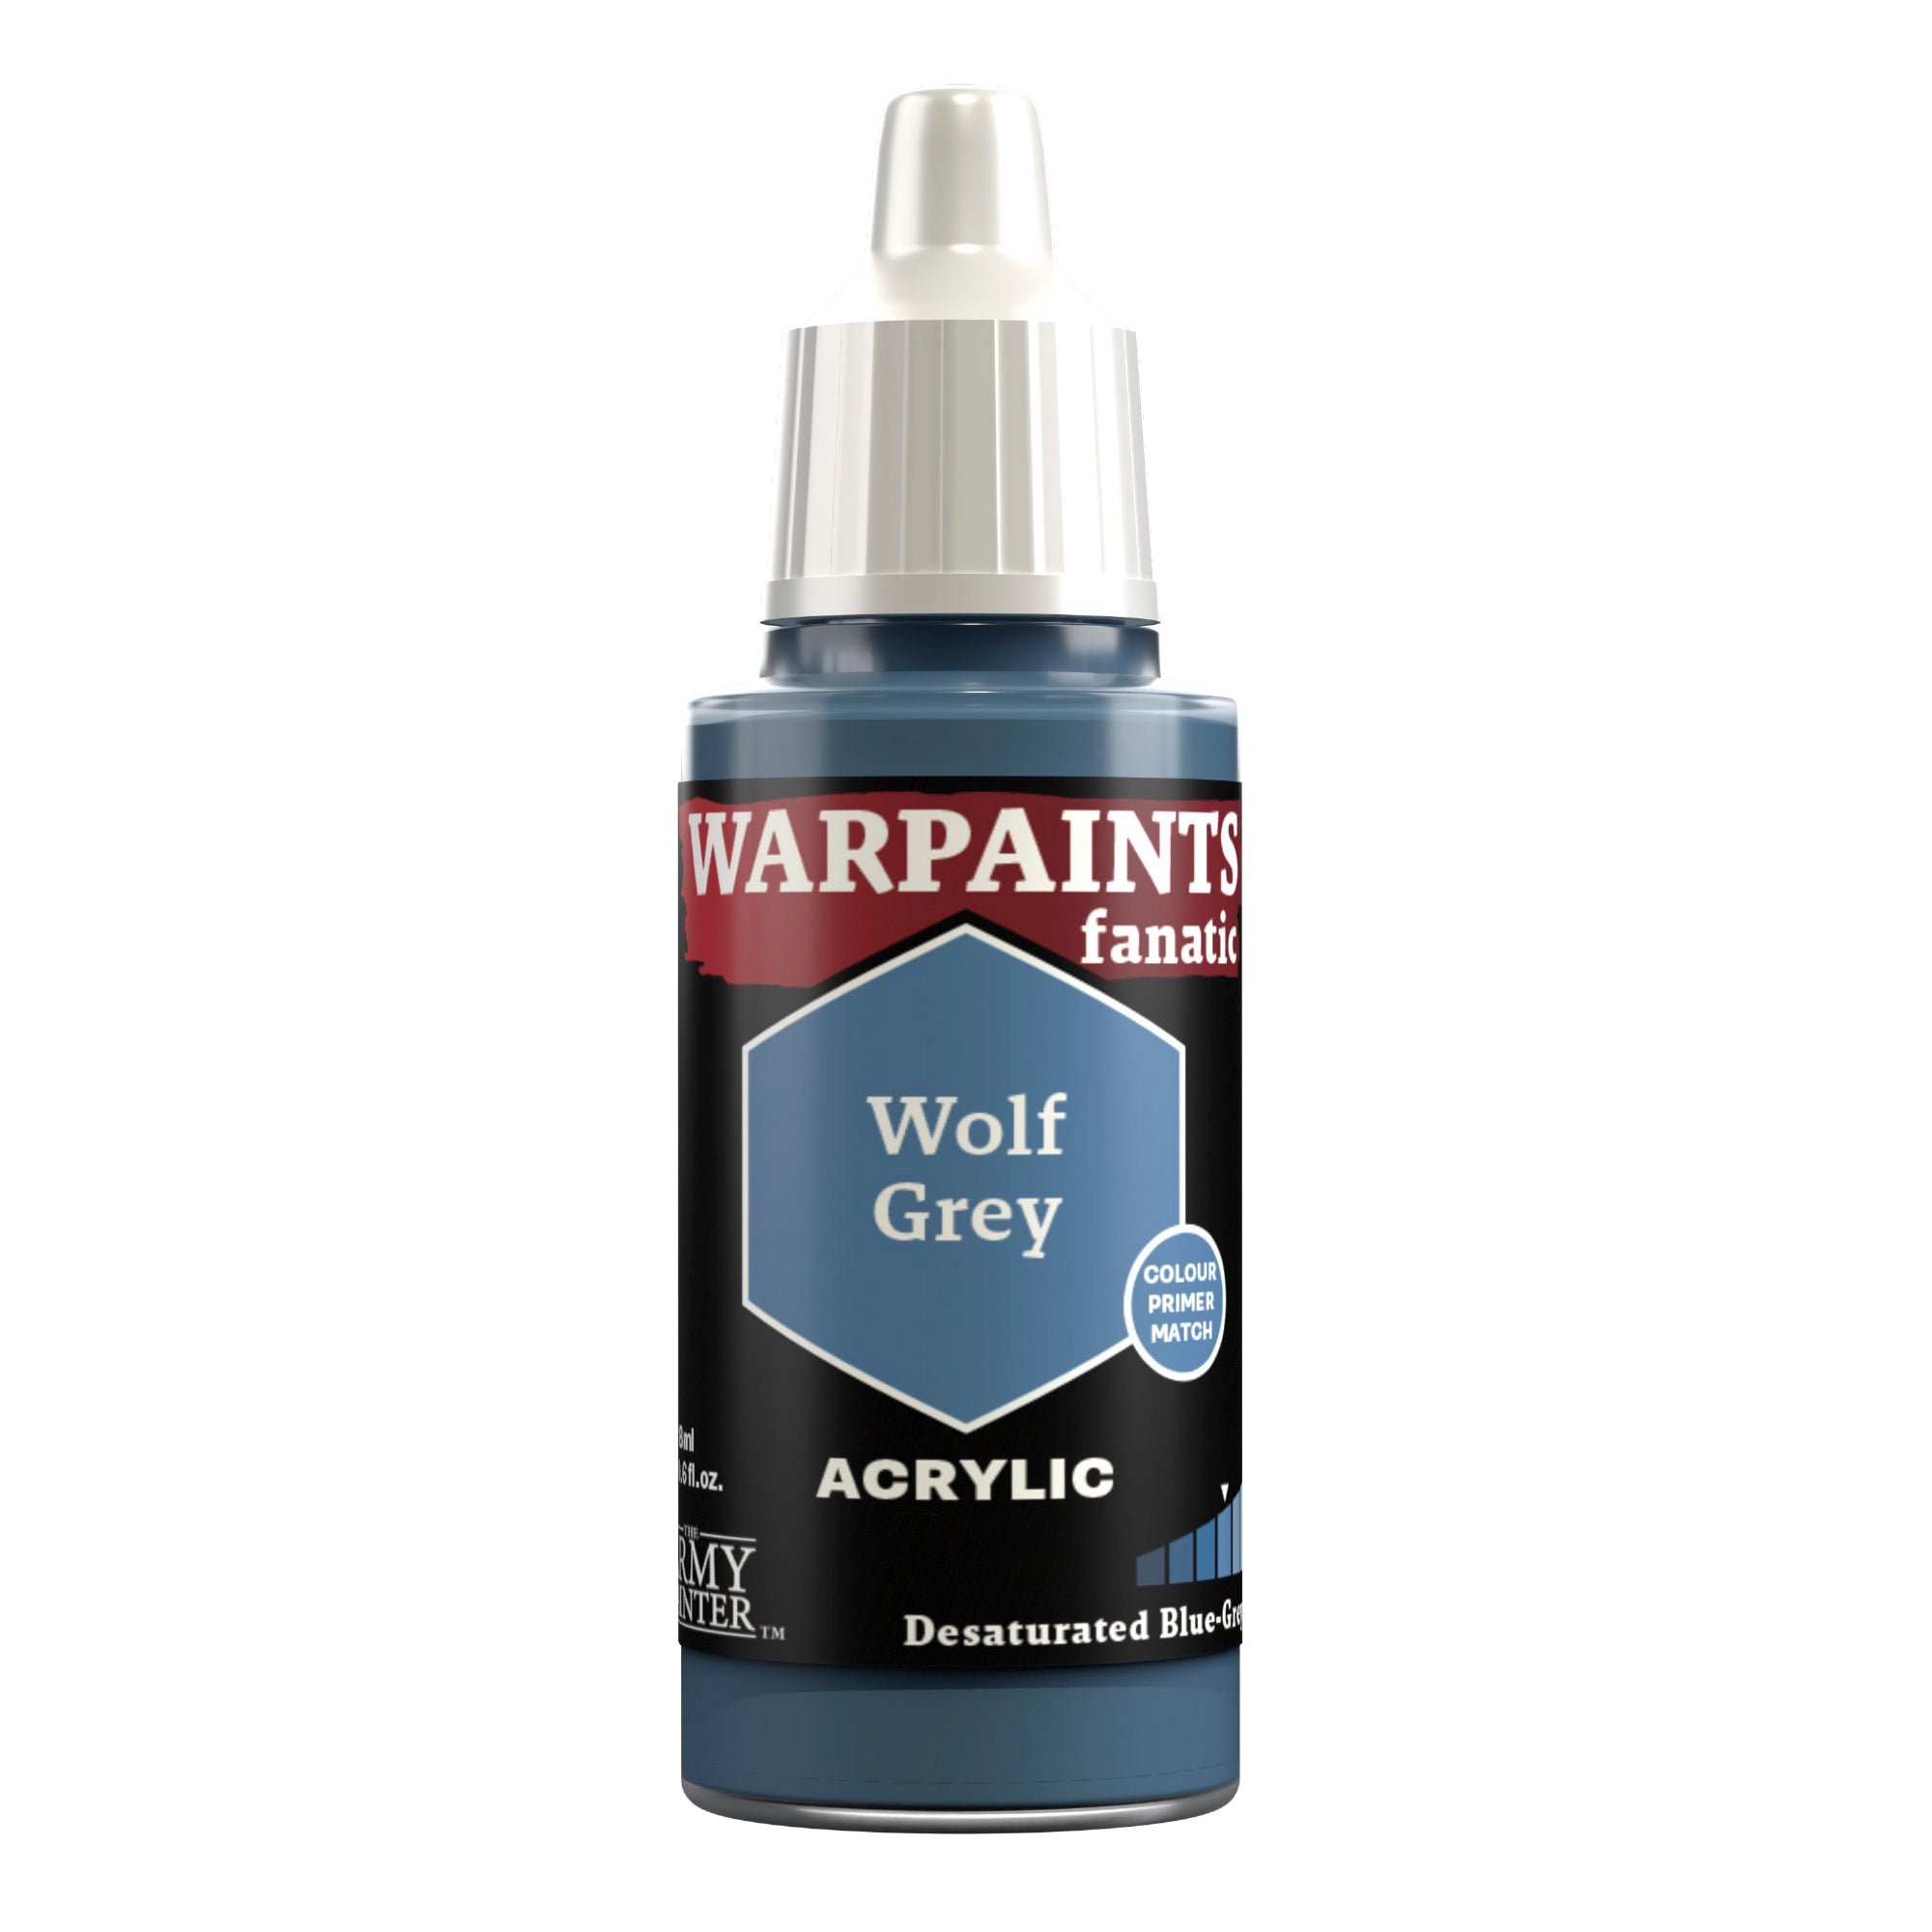
Prime the model with Wolf Grey Colour Primer.

Space Wolf Armour Step 2

Step 2

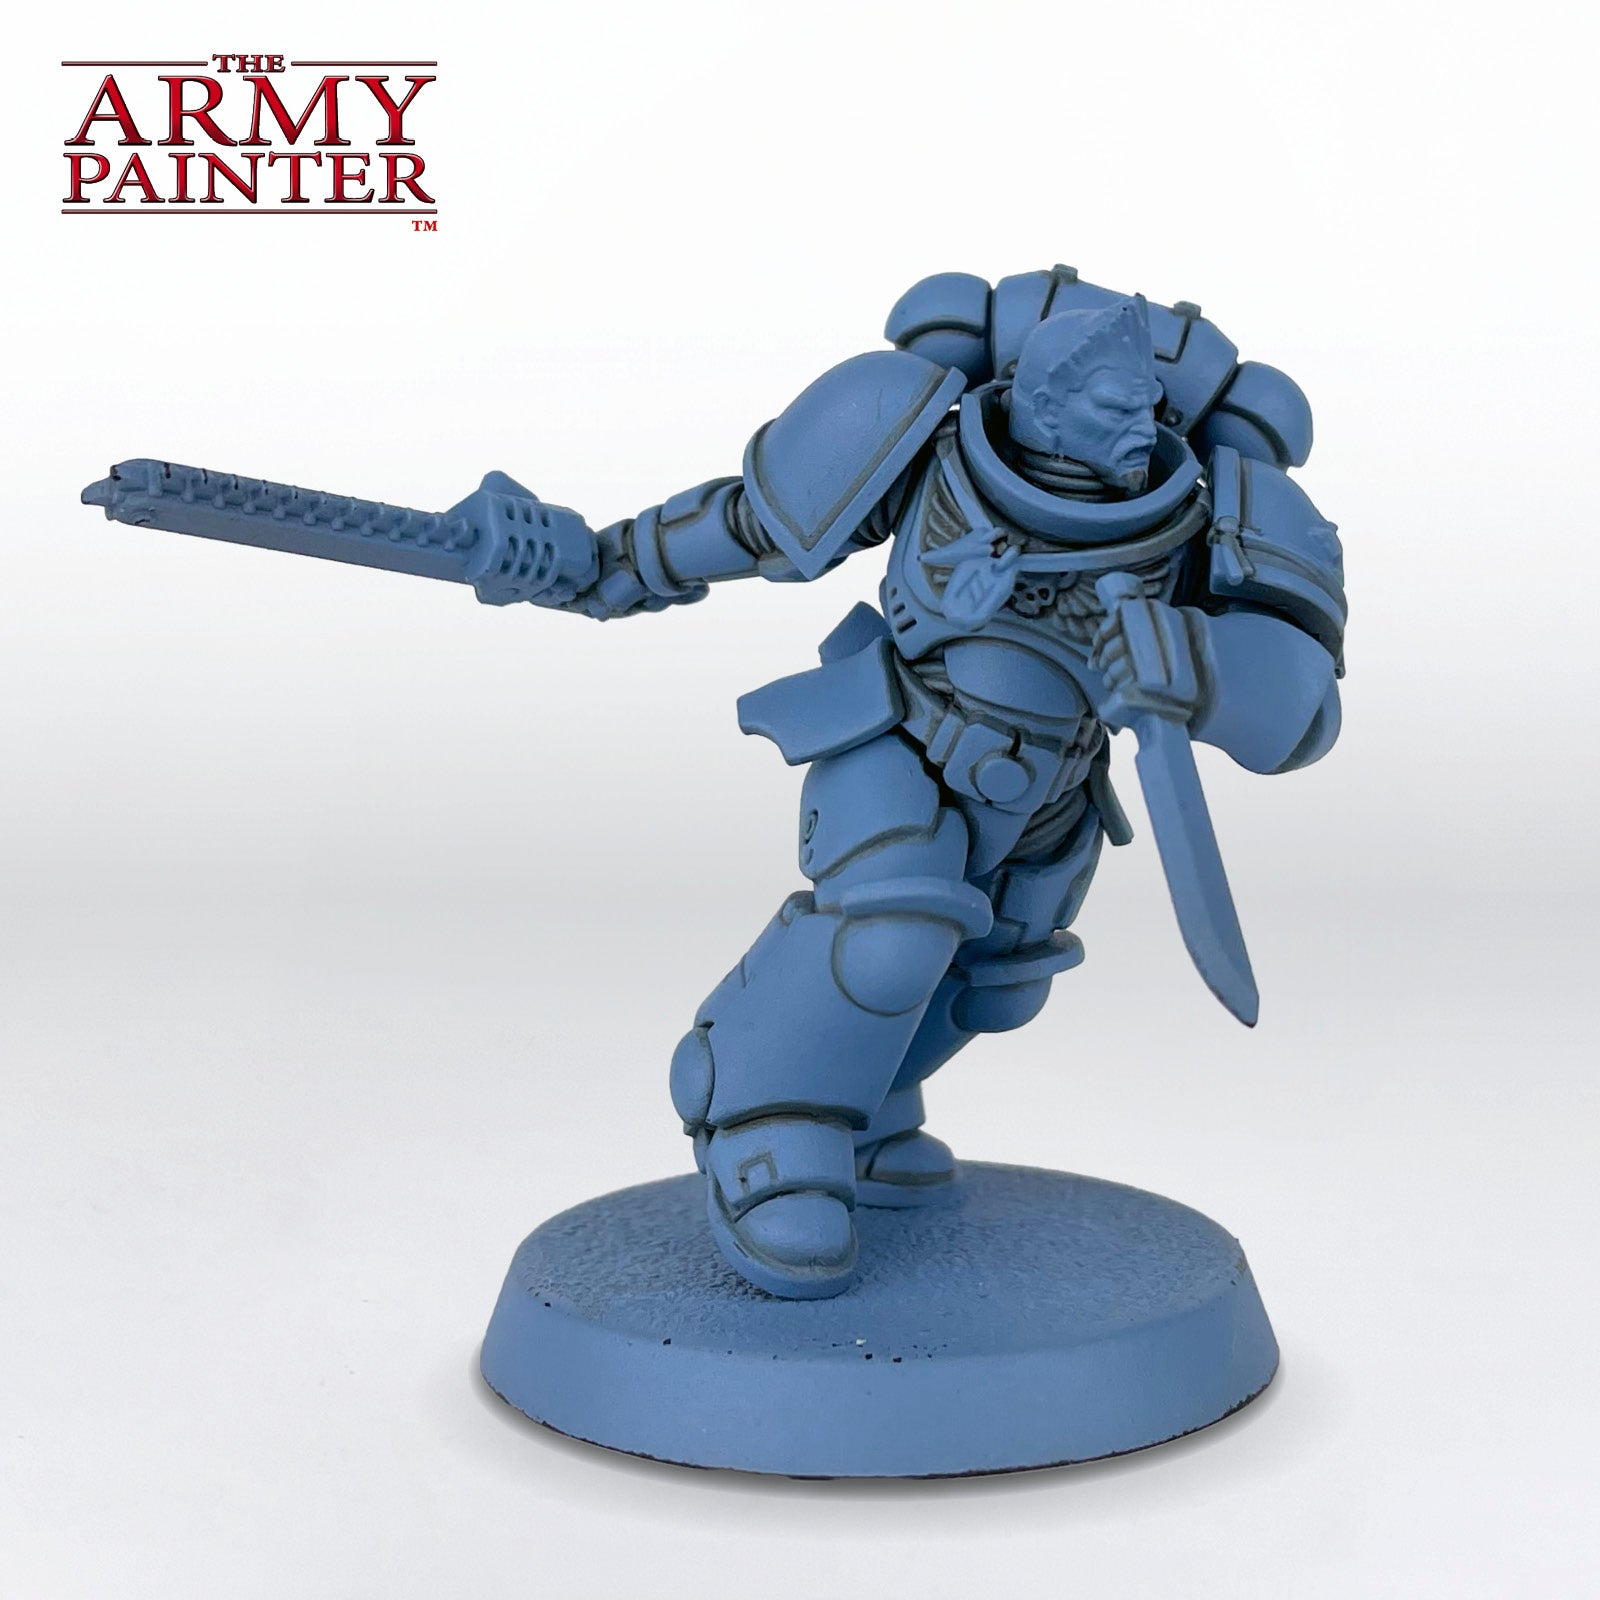
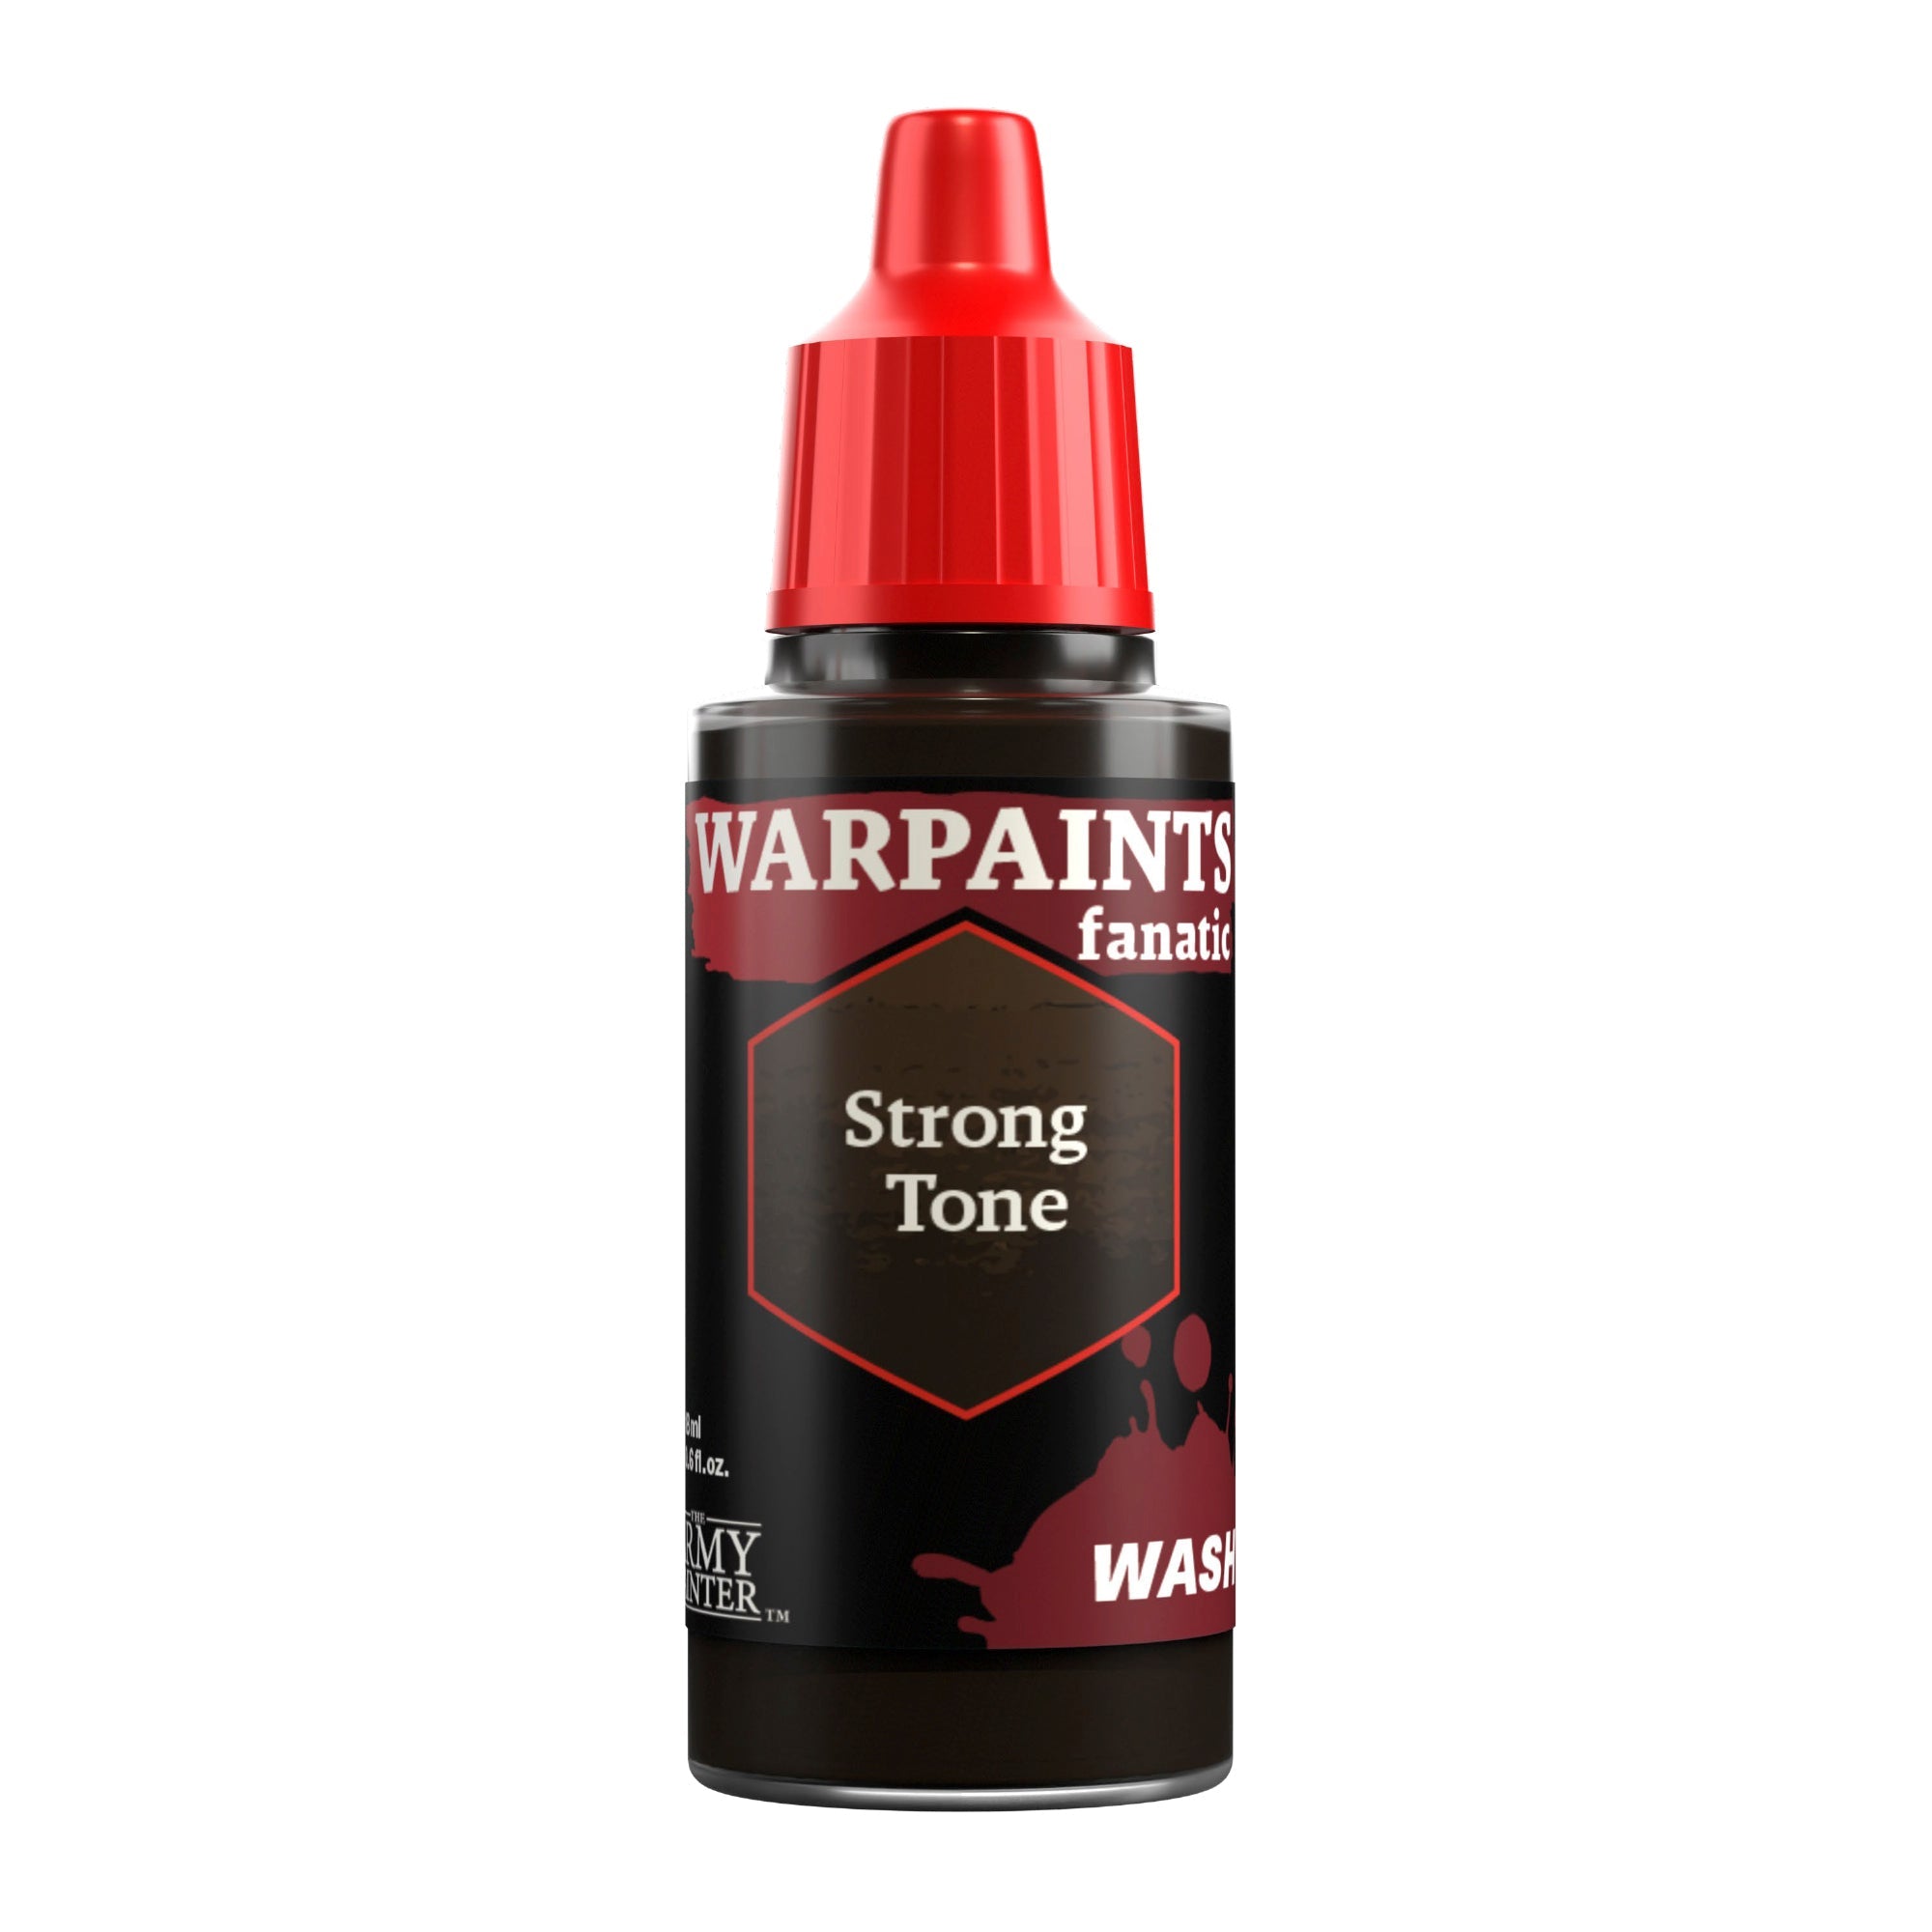
Using Warpaints Fanatic Wash Strong Tone, paint in all the panel lines and crevices of the armour, then tidy up where needed with Warpaints Fanatic Wolf Grey. Alternatively, you can shade all the armour with Strong Tone and then re-layer the flat parts with Wolf Grey, but this will take you longer in the tidy up phase.

Space Wolf Armour Step 3

Step 3

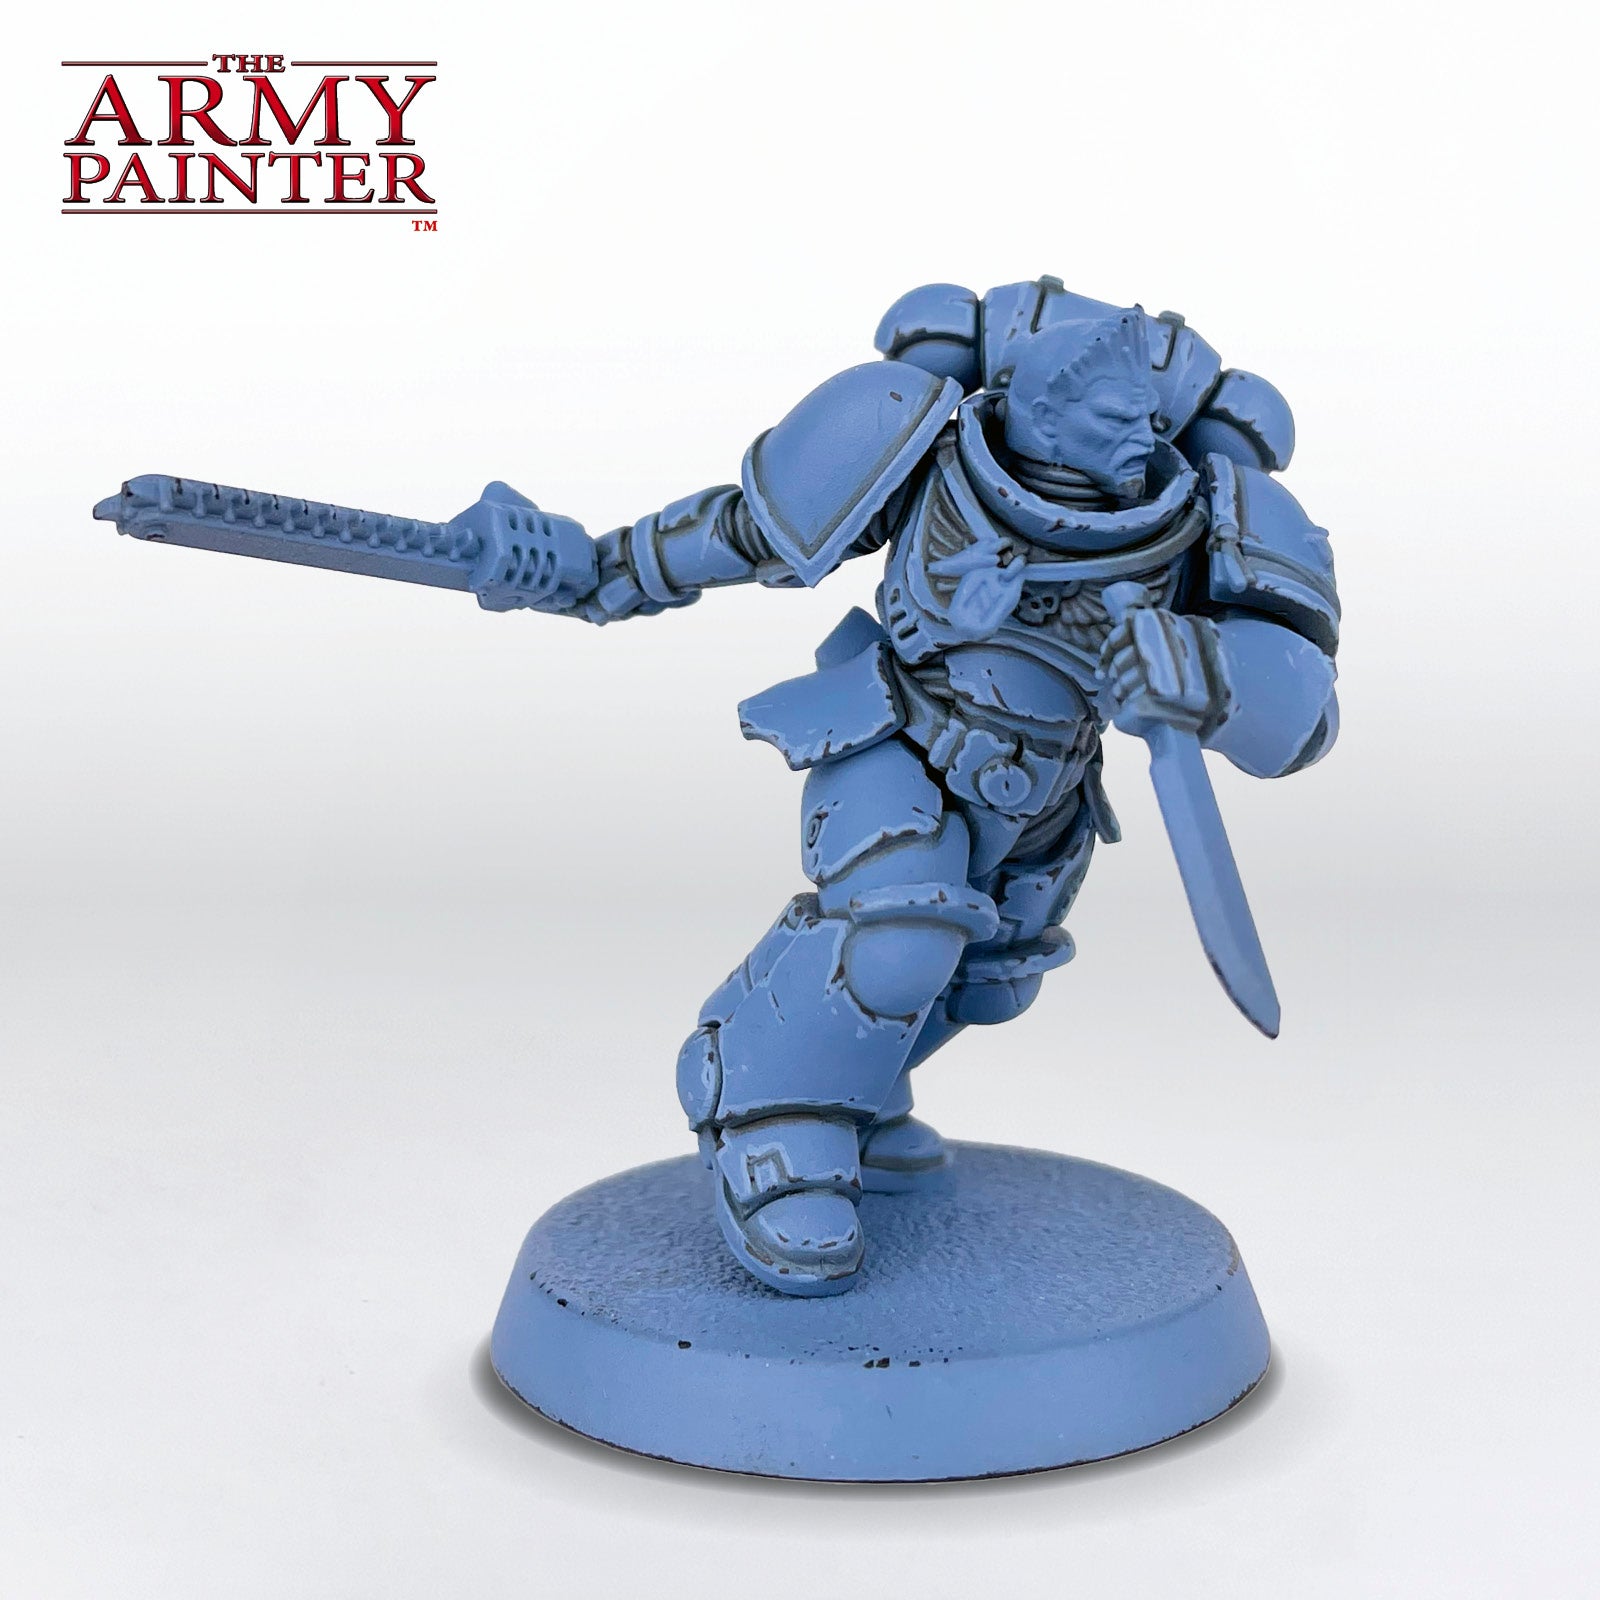
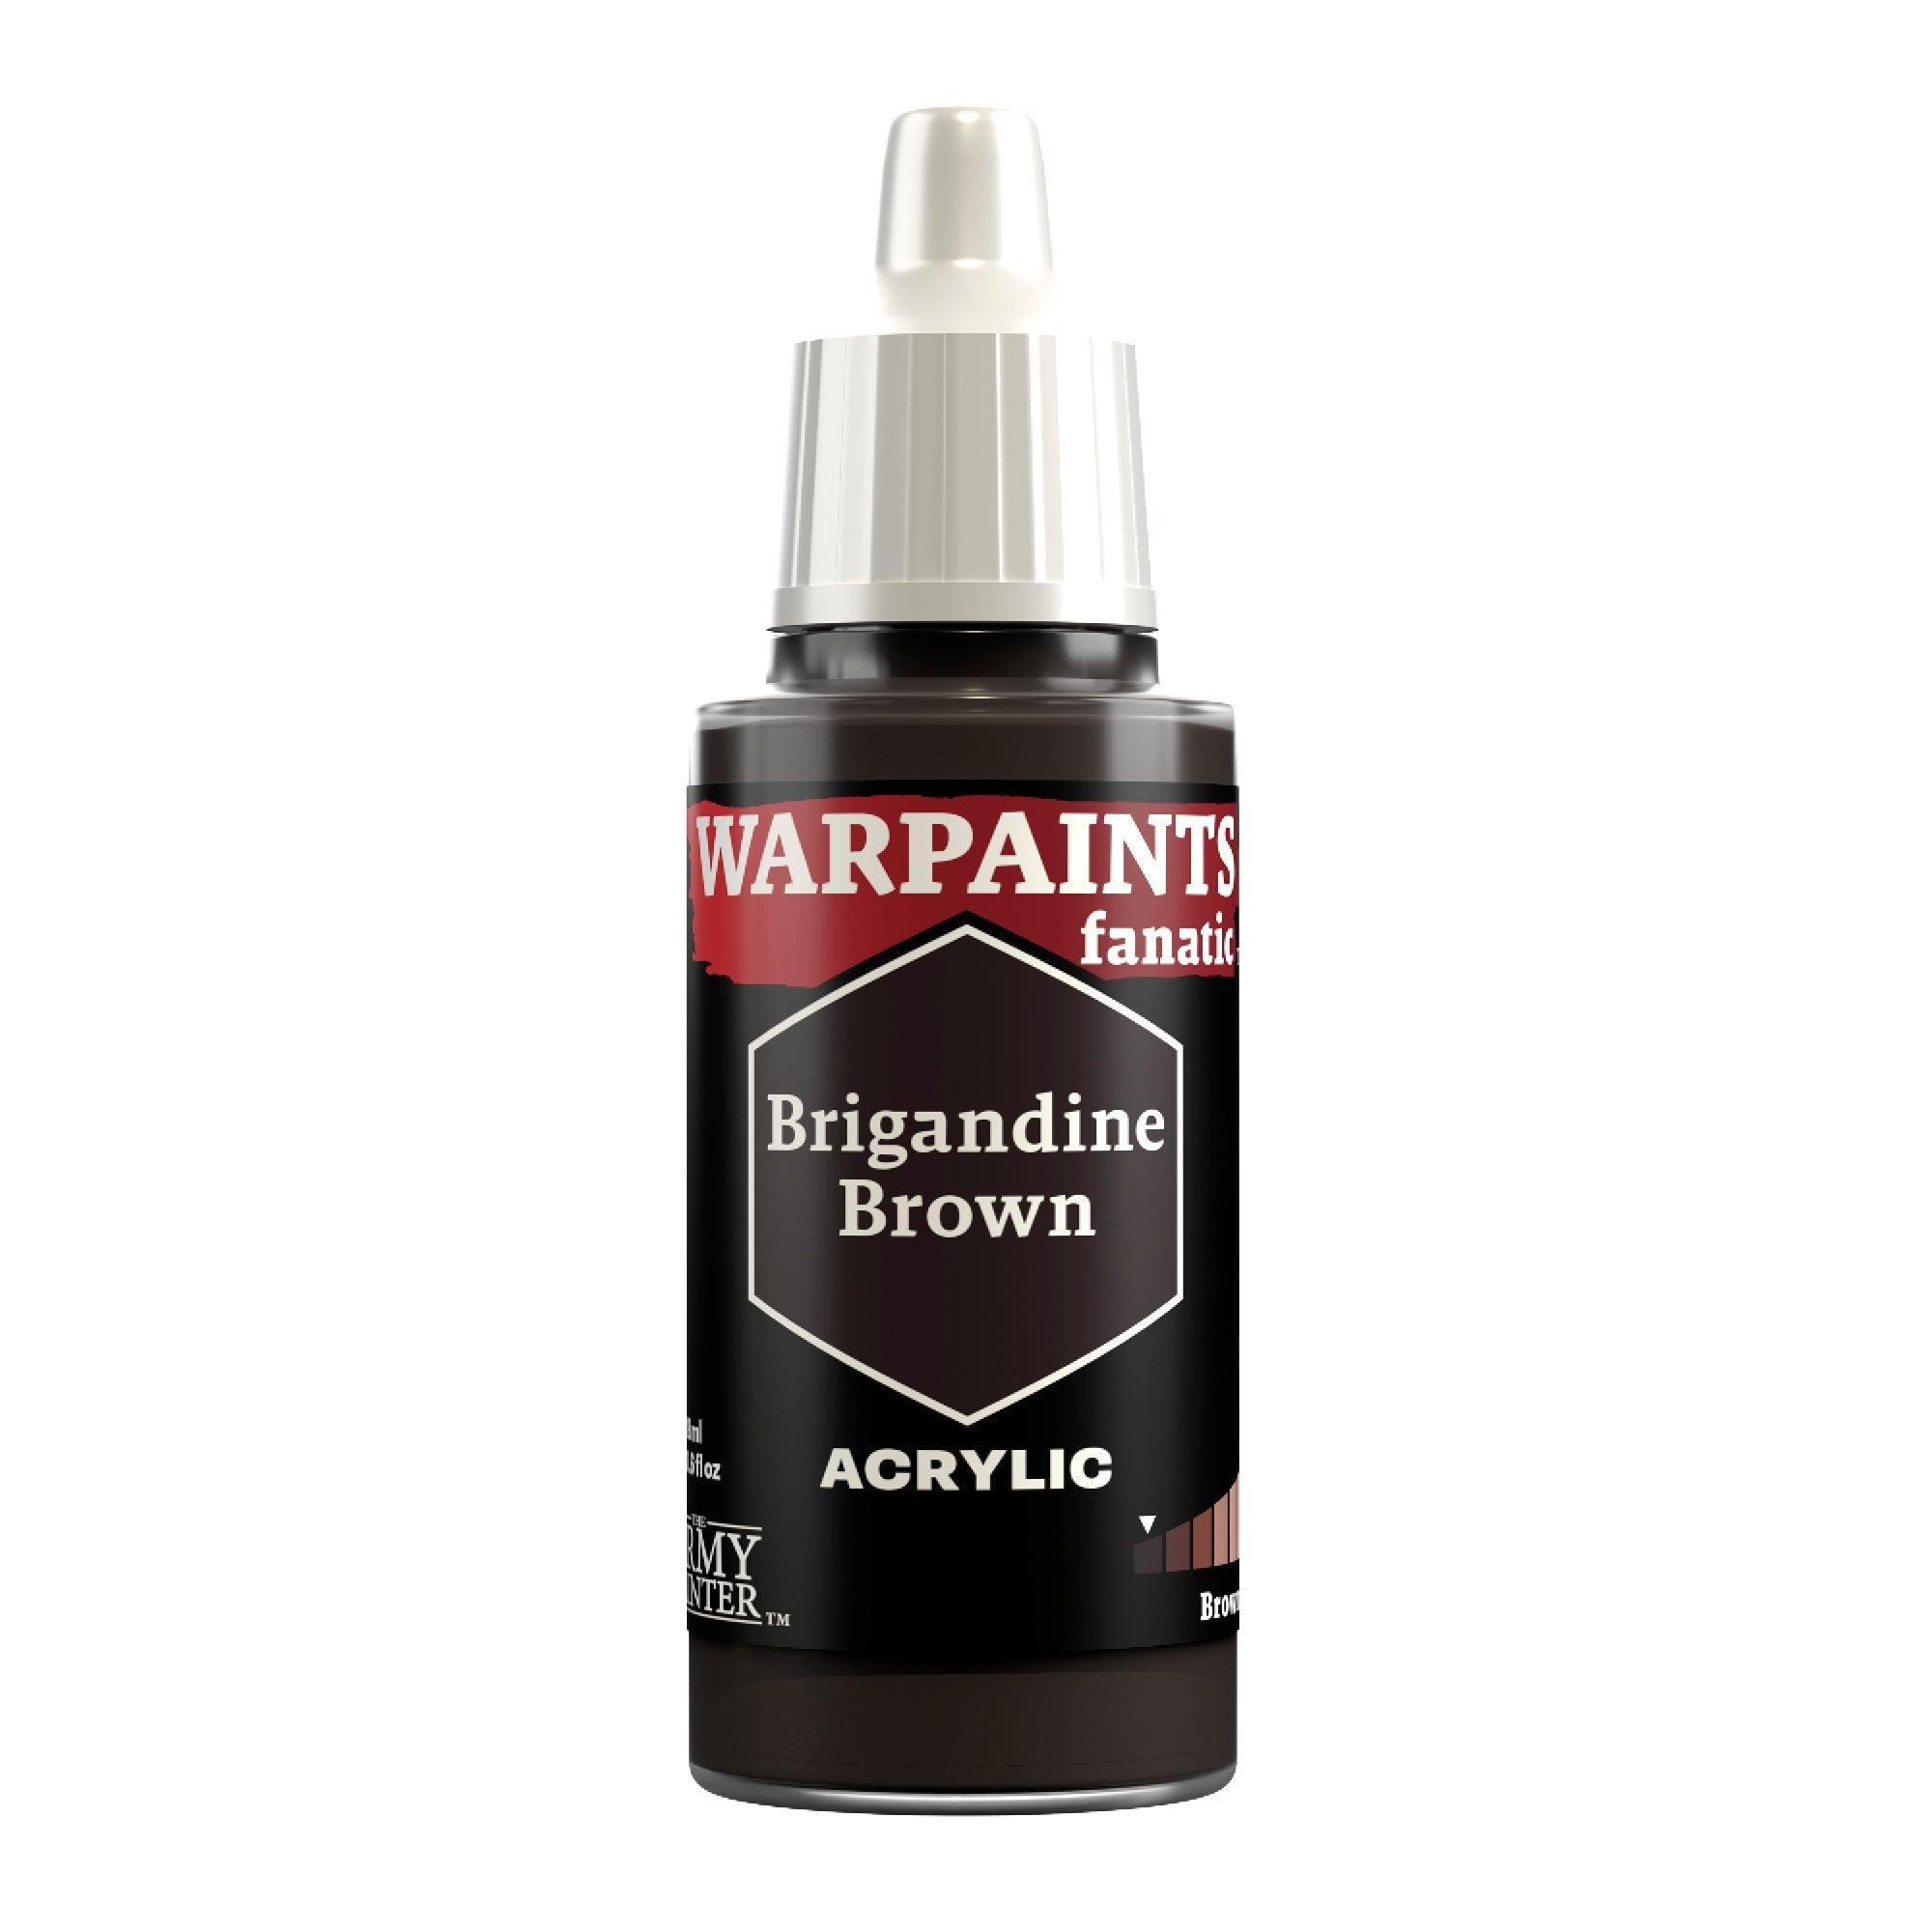
Add chipping and weathering to the armour with Warpaints Fanatic Brigandine Brown. Focus this on the edges of plates and where it would make sense to have some scratches and dents. Less is more here, and if you accidentally add too much, just cover some back up with Warpaints Fanatic Wolf Grey.

Space Wolf Armour Step 4

Step 4

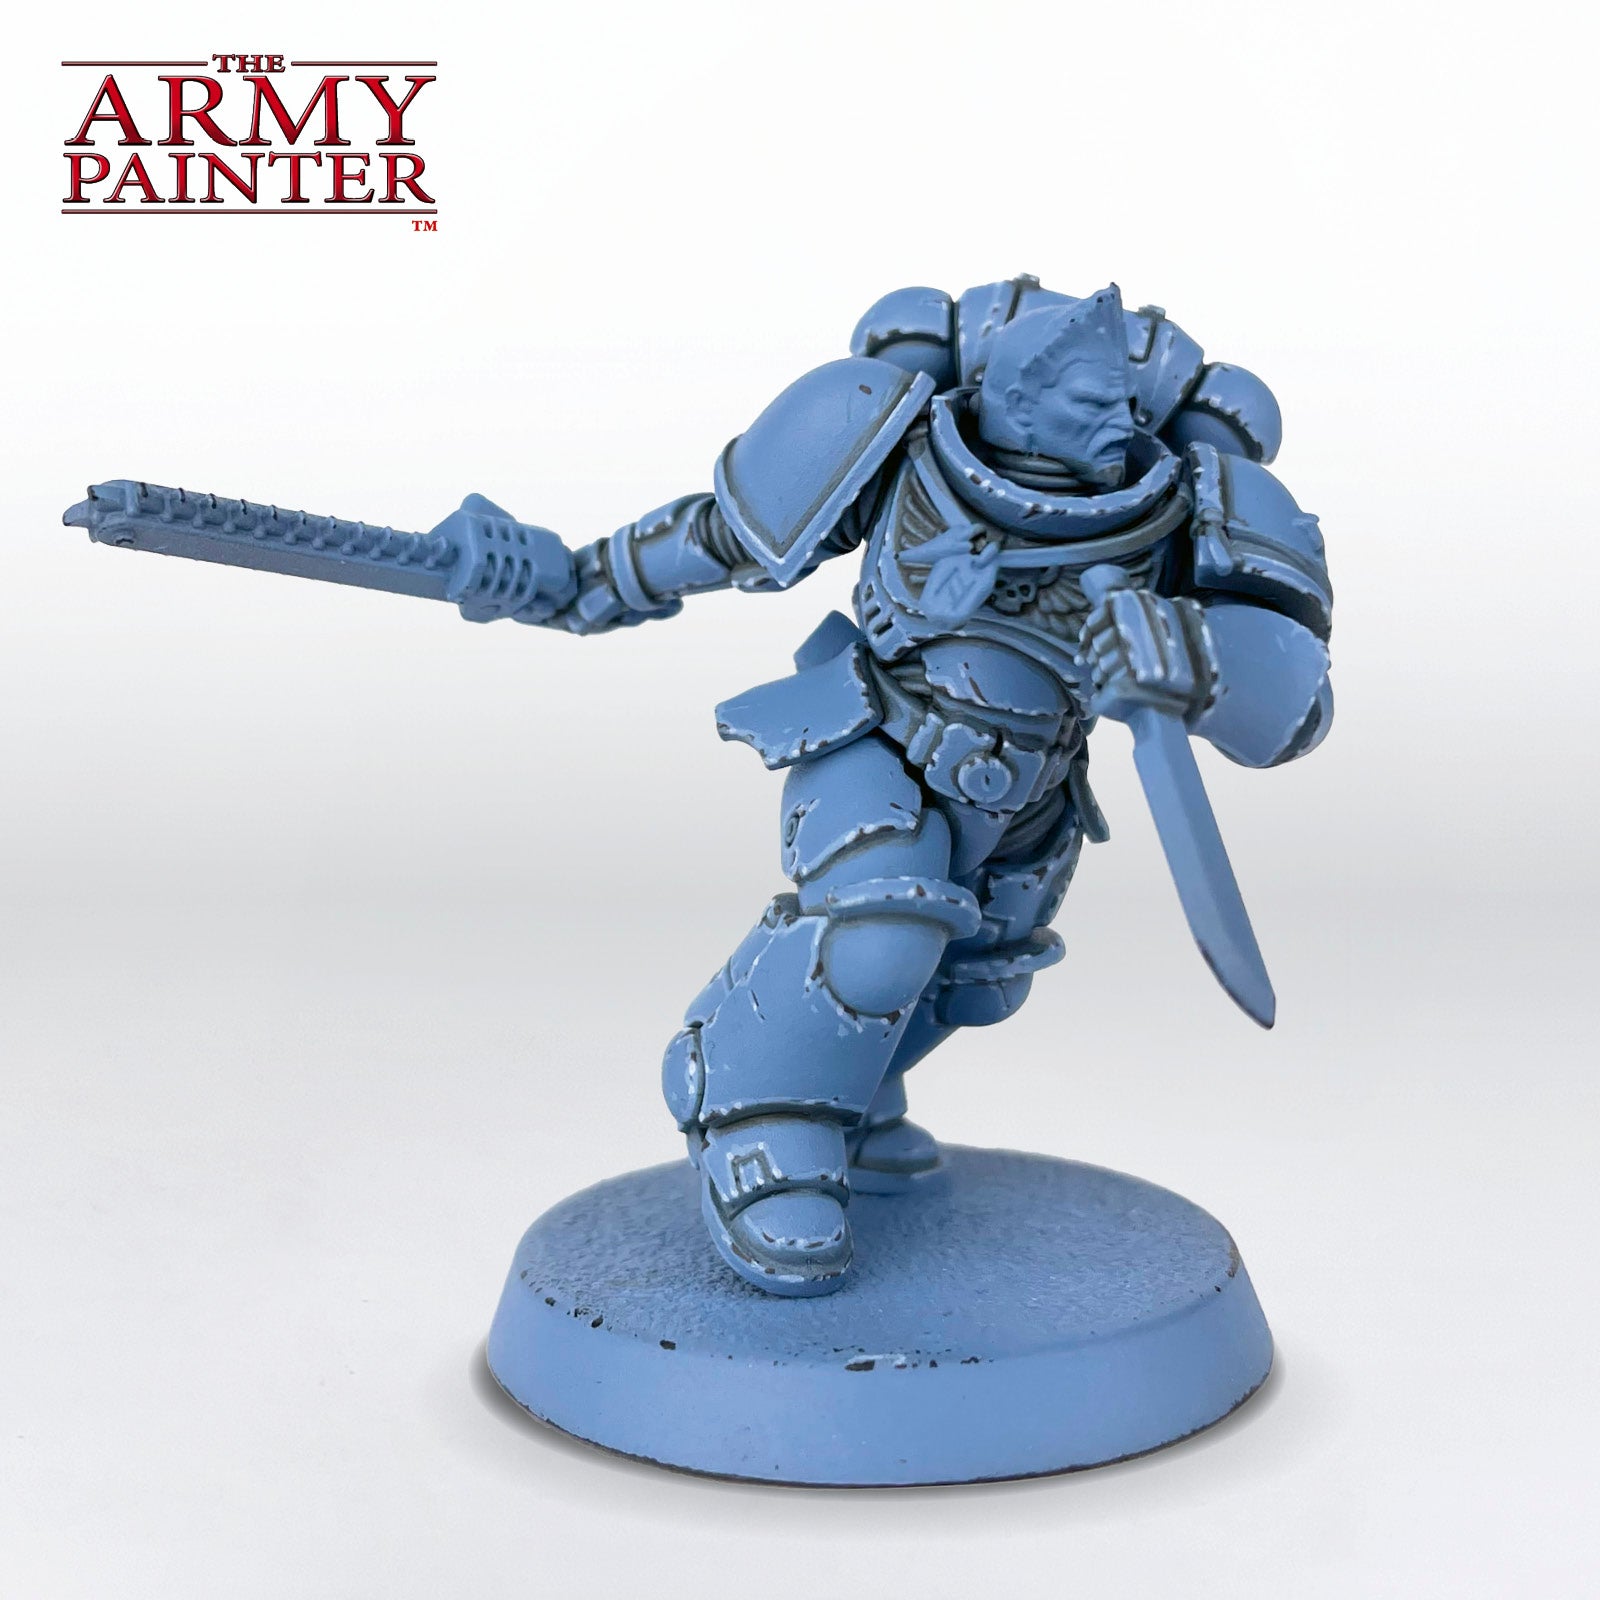
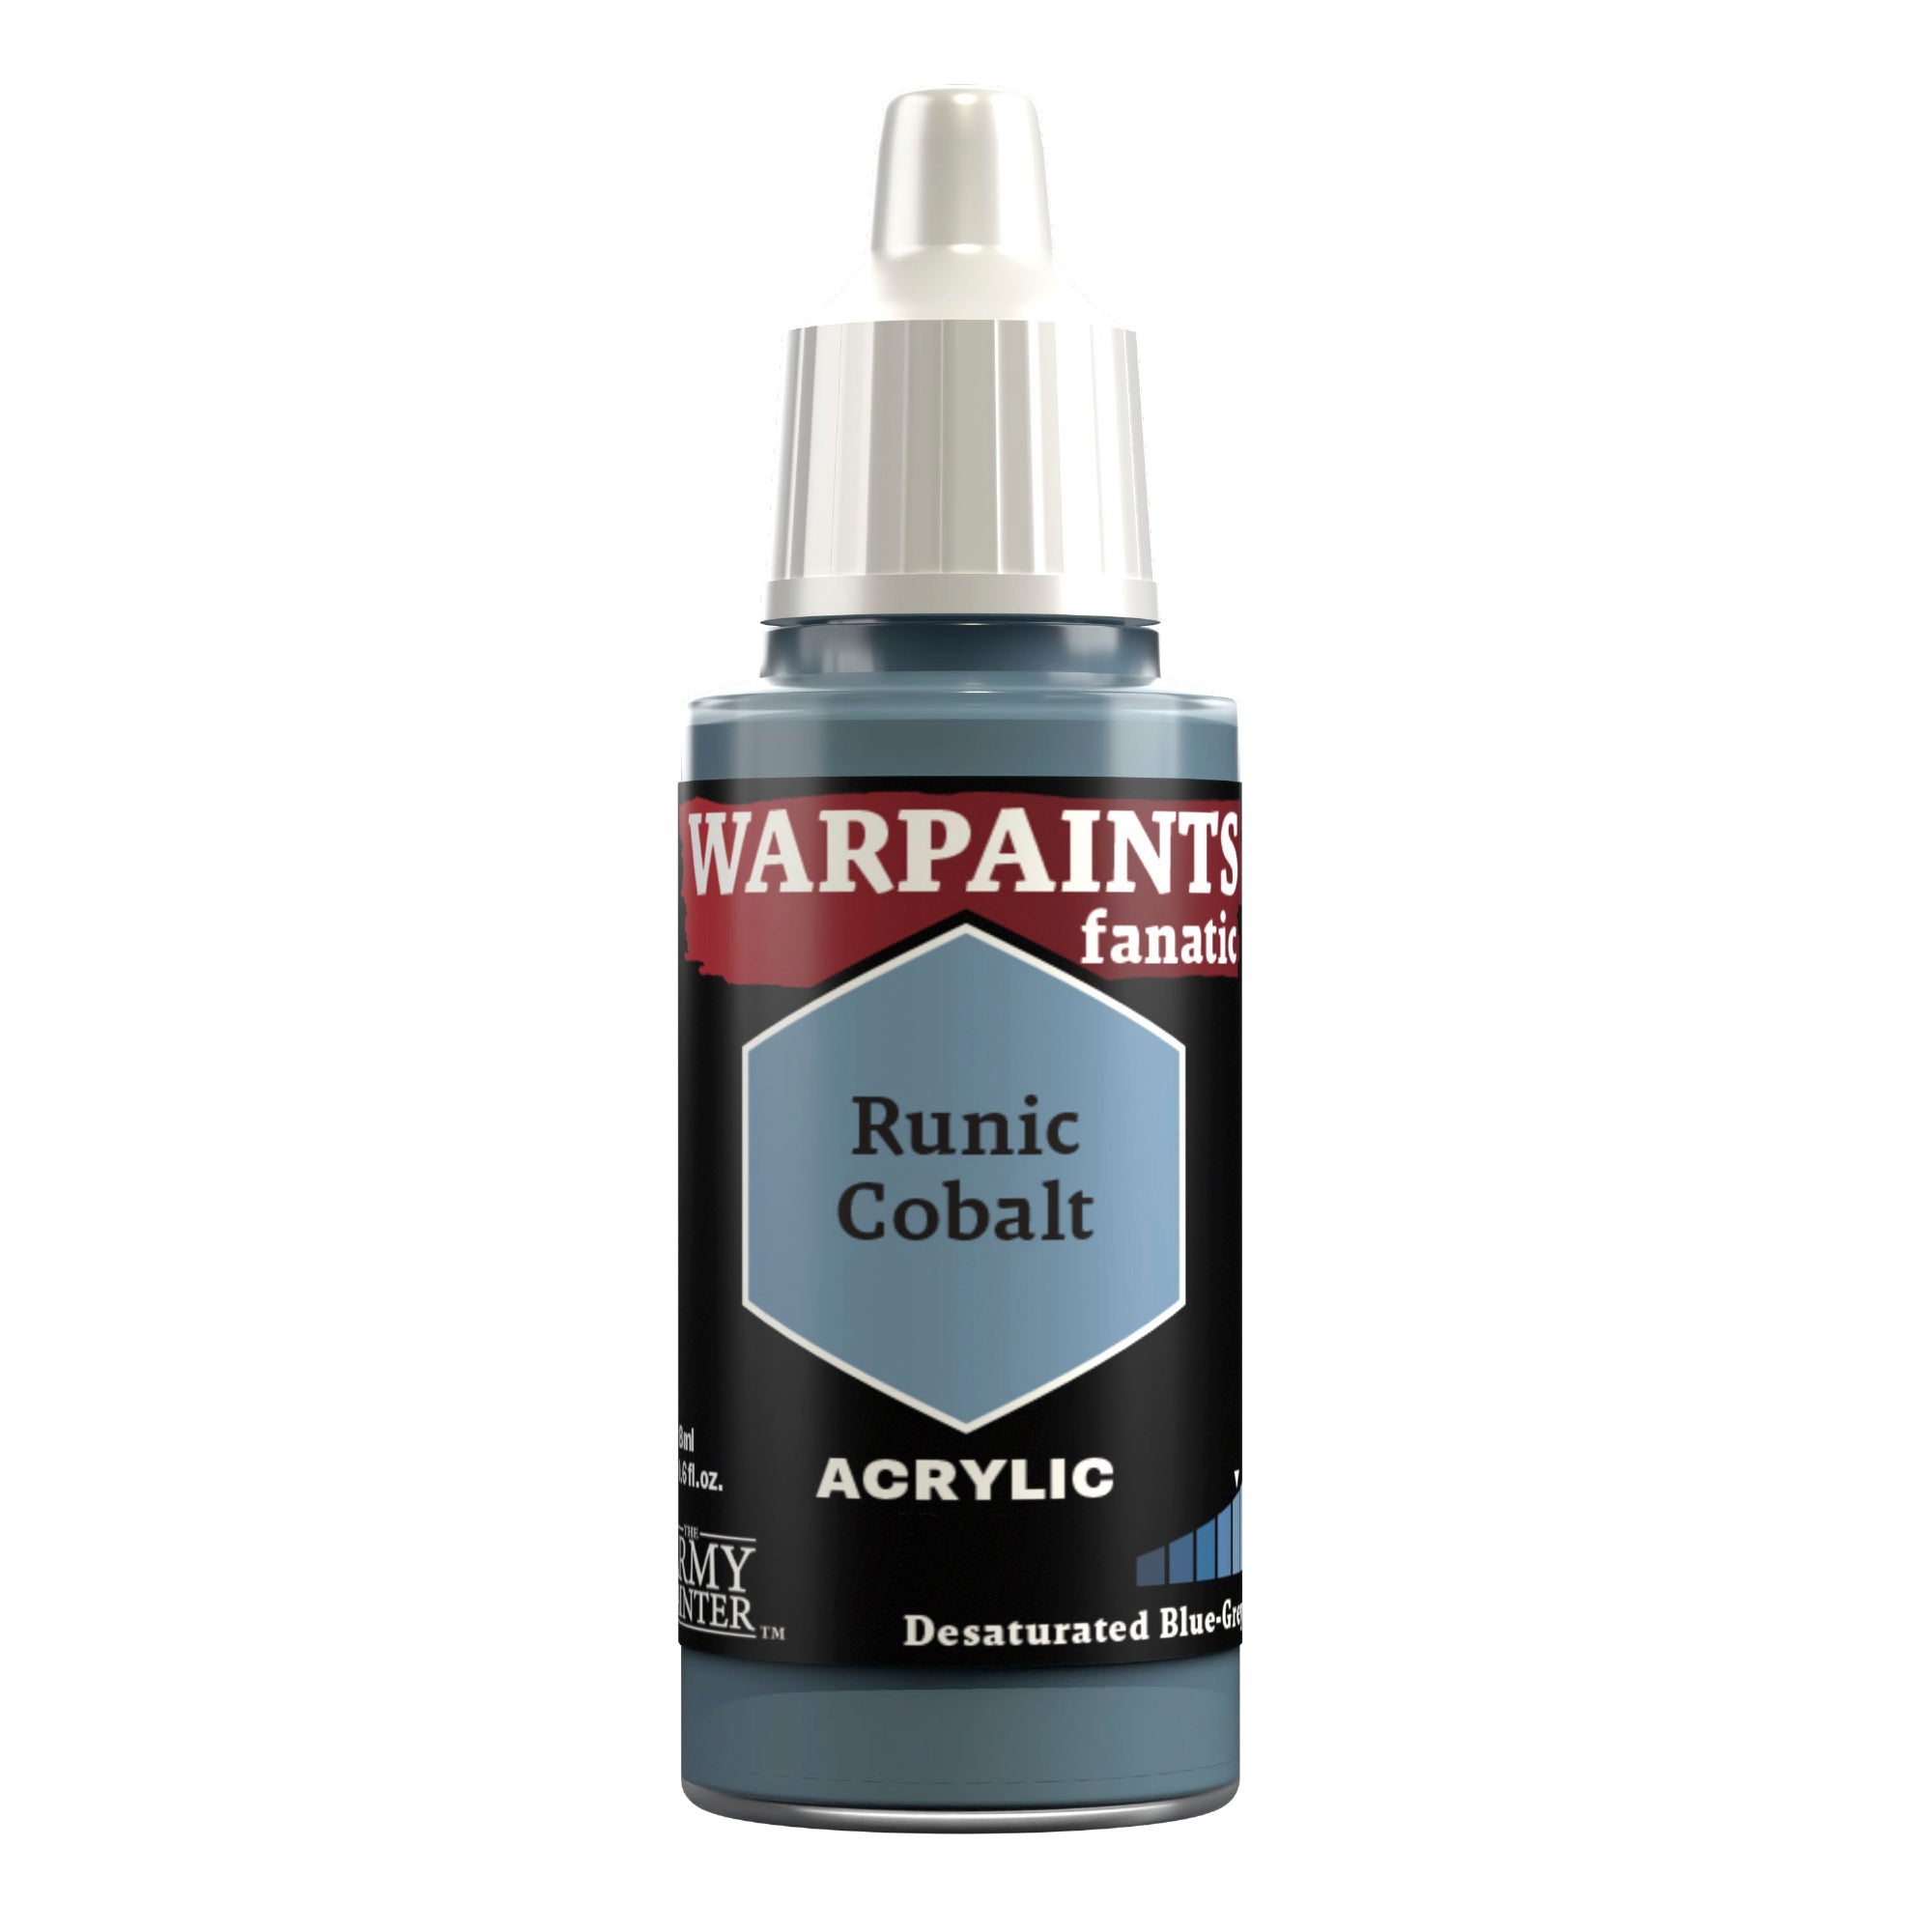
Add an edge highlight of Warpaints Fanatic Runic Cobalt. Be sure to pick out the damage you added in the previous step, so it looks like the light is catching the edges of the scratches.

Space Wolf Armour Step 5

Step 5

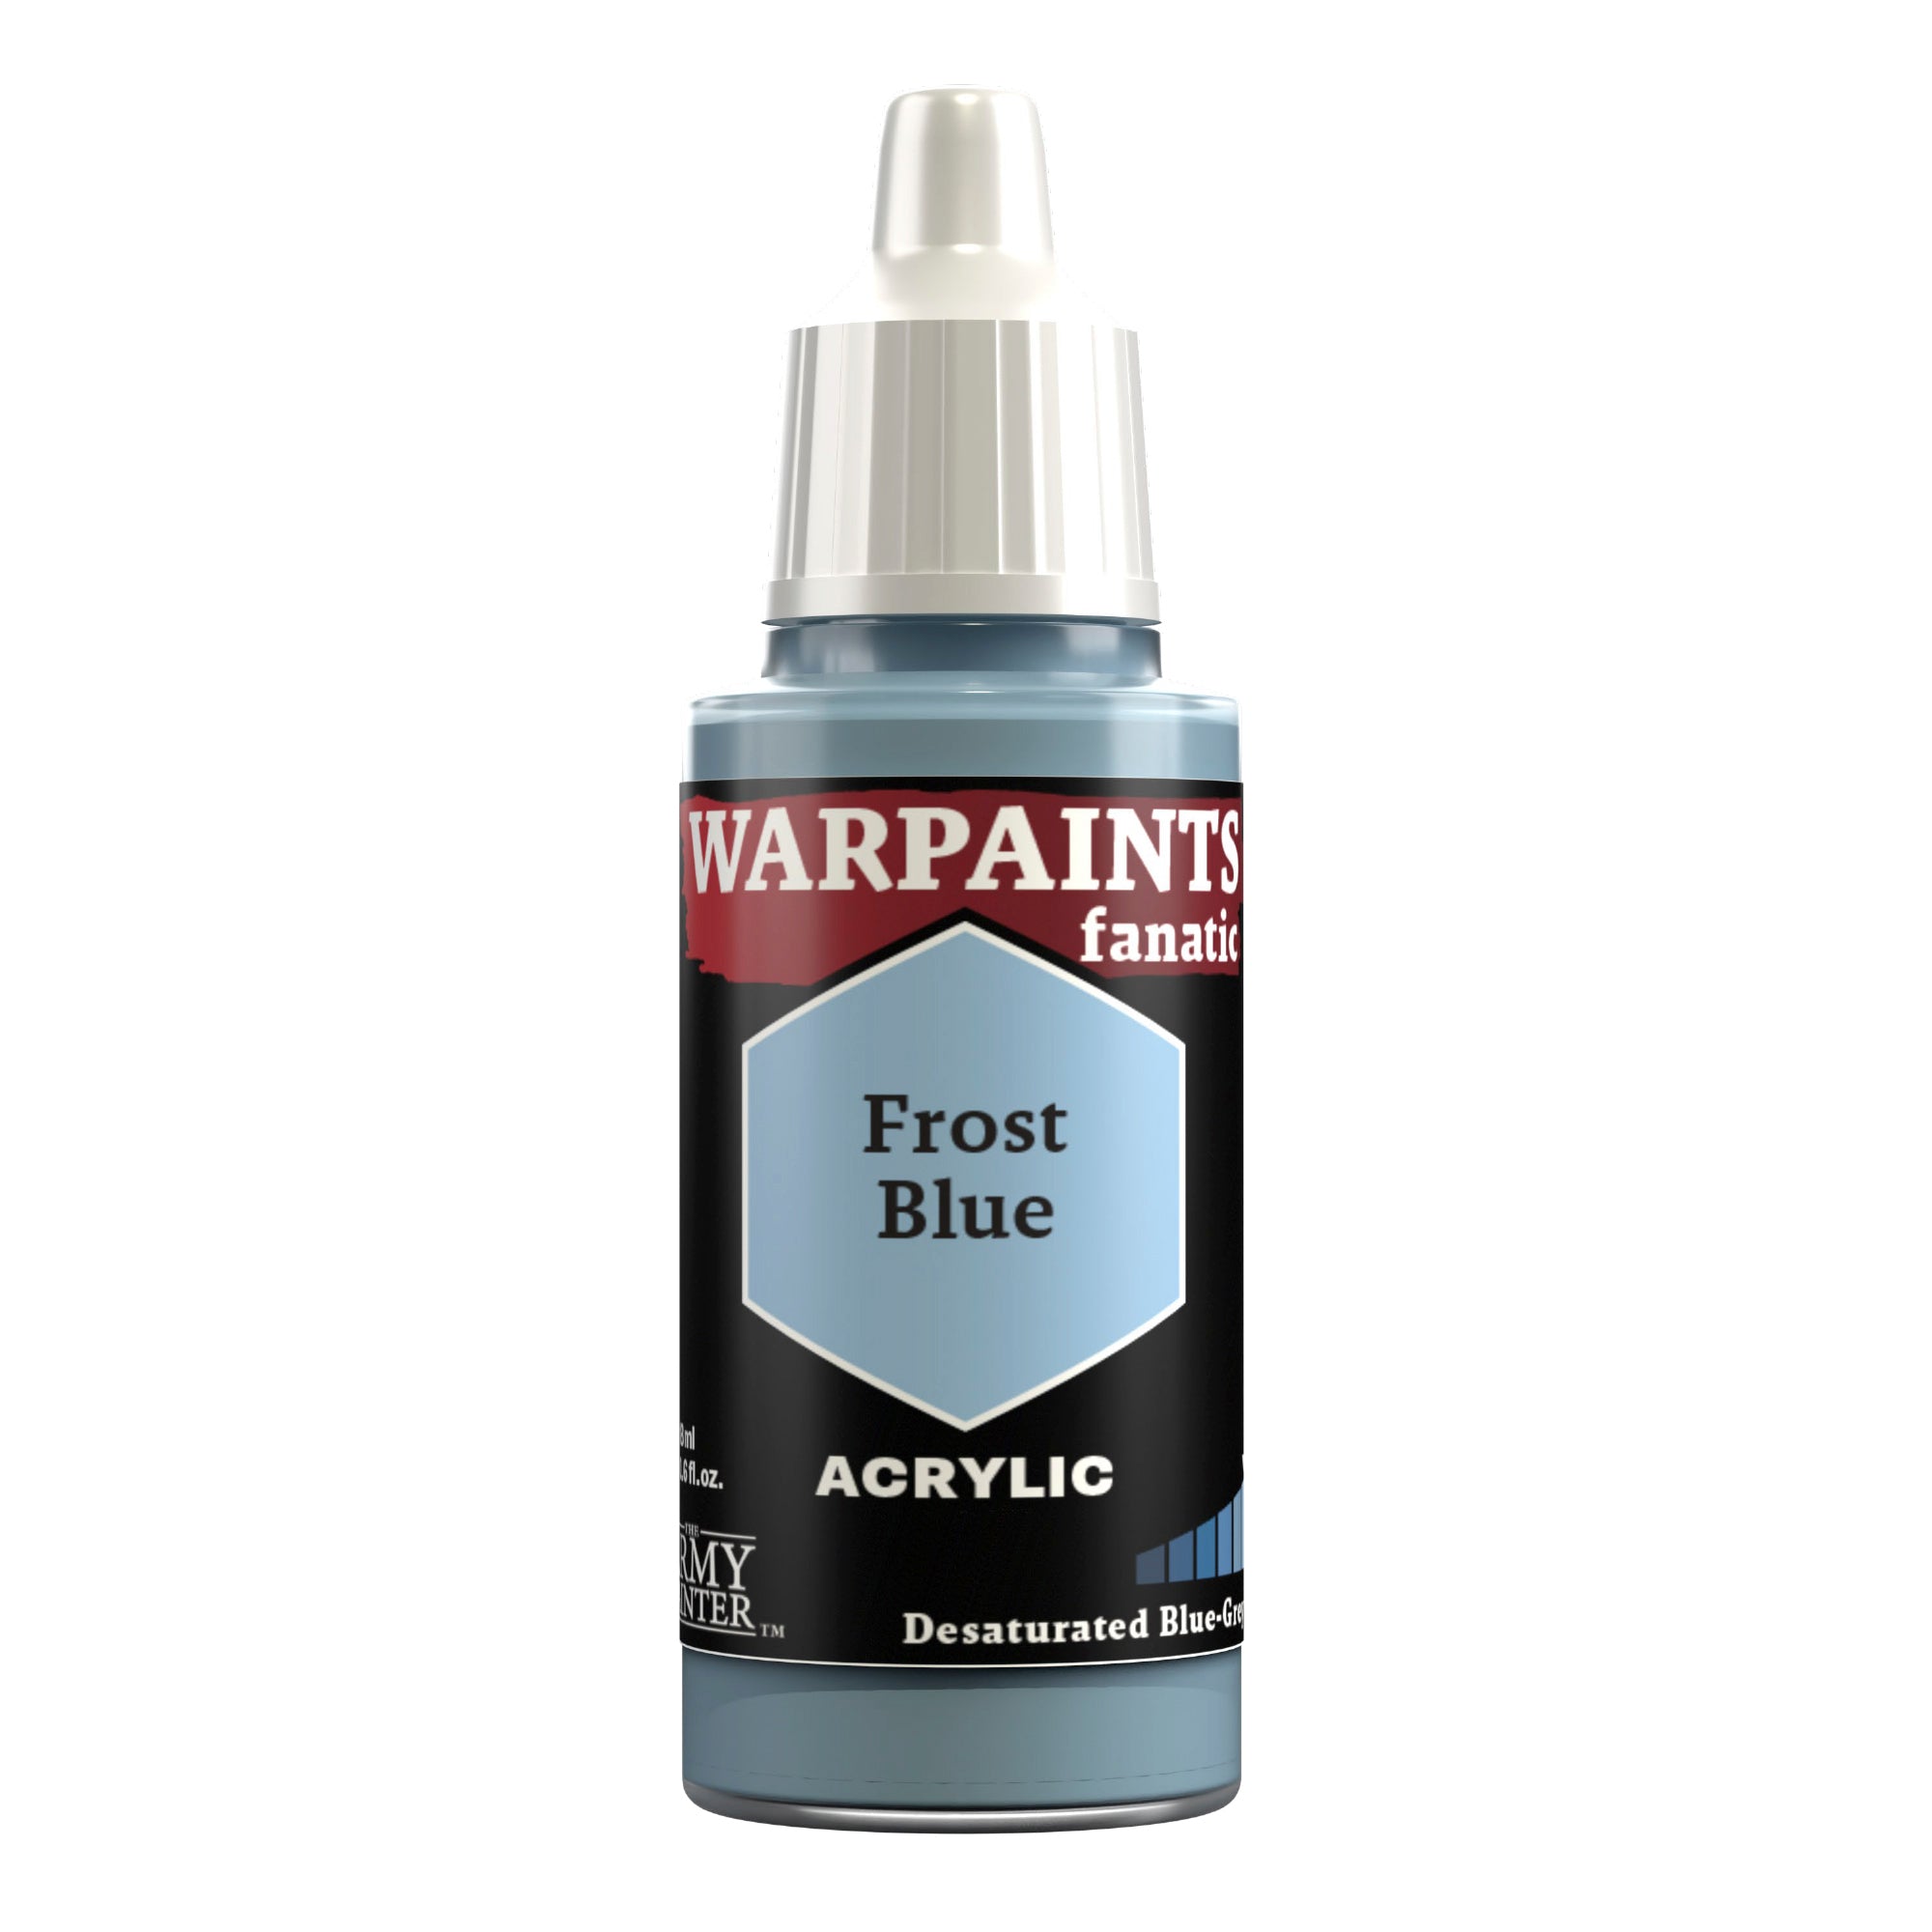
Finally, add a specular highlight of Warpaints Fanatic Frost Blue on the corners, and also where there is battle damage.

Banner

The Yellow and Red

Space Wolf Red and Yellow Step 1

Step 1

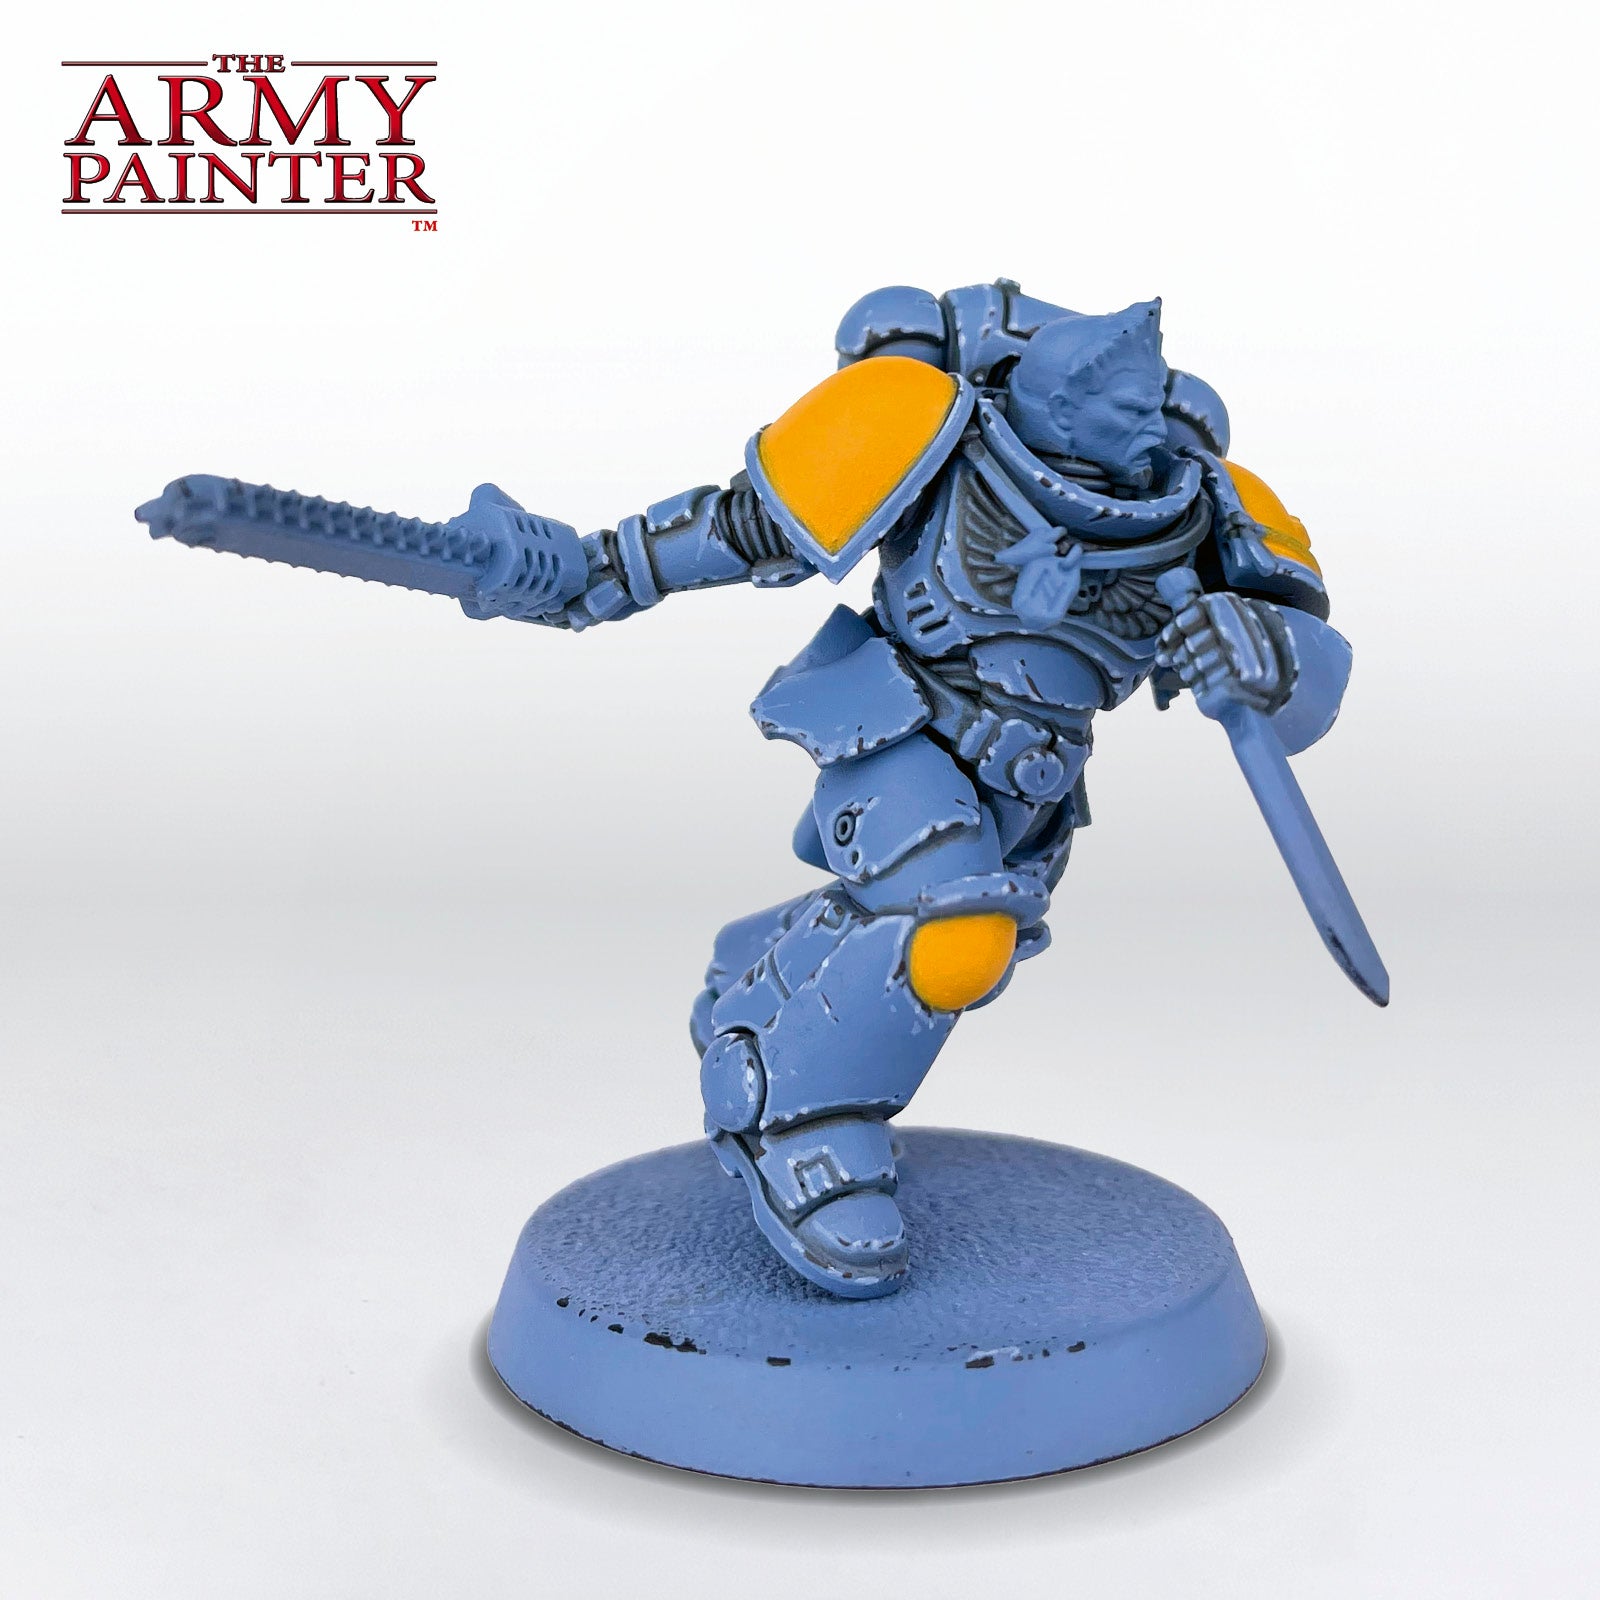
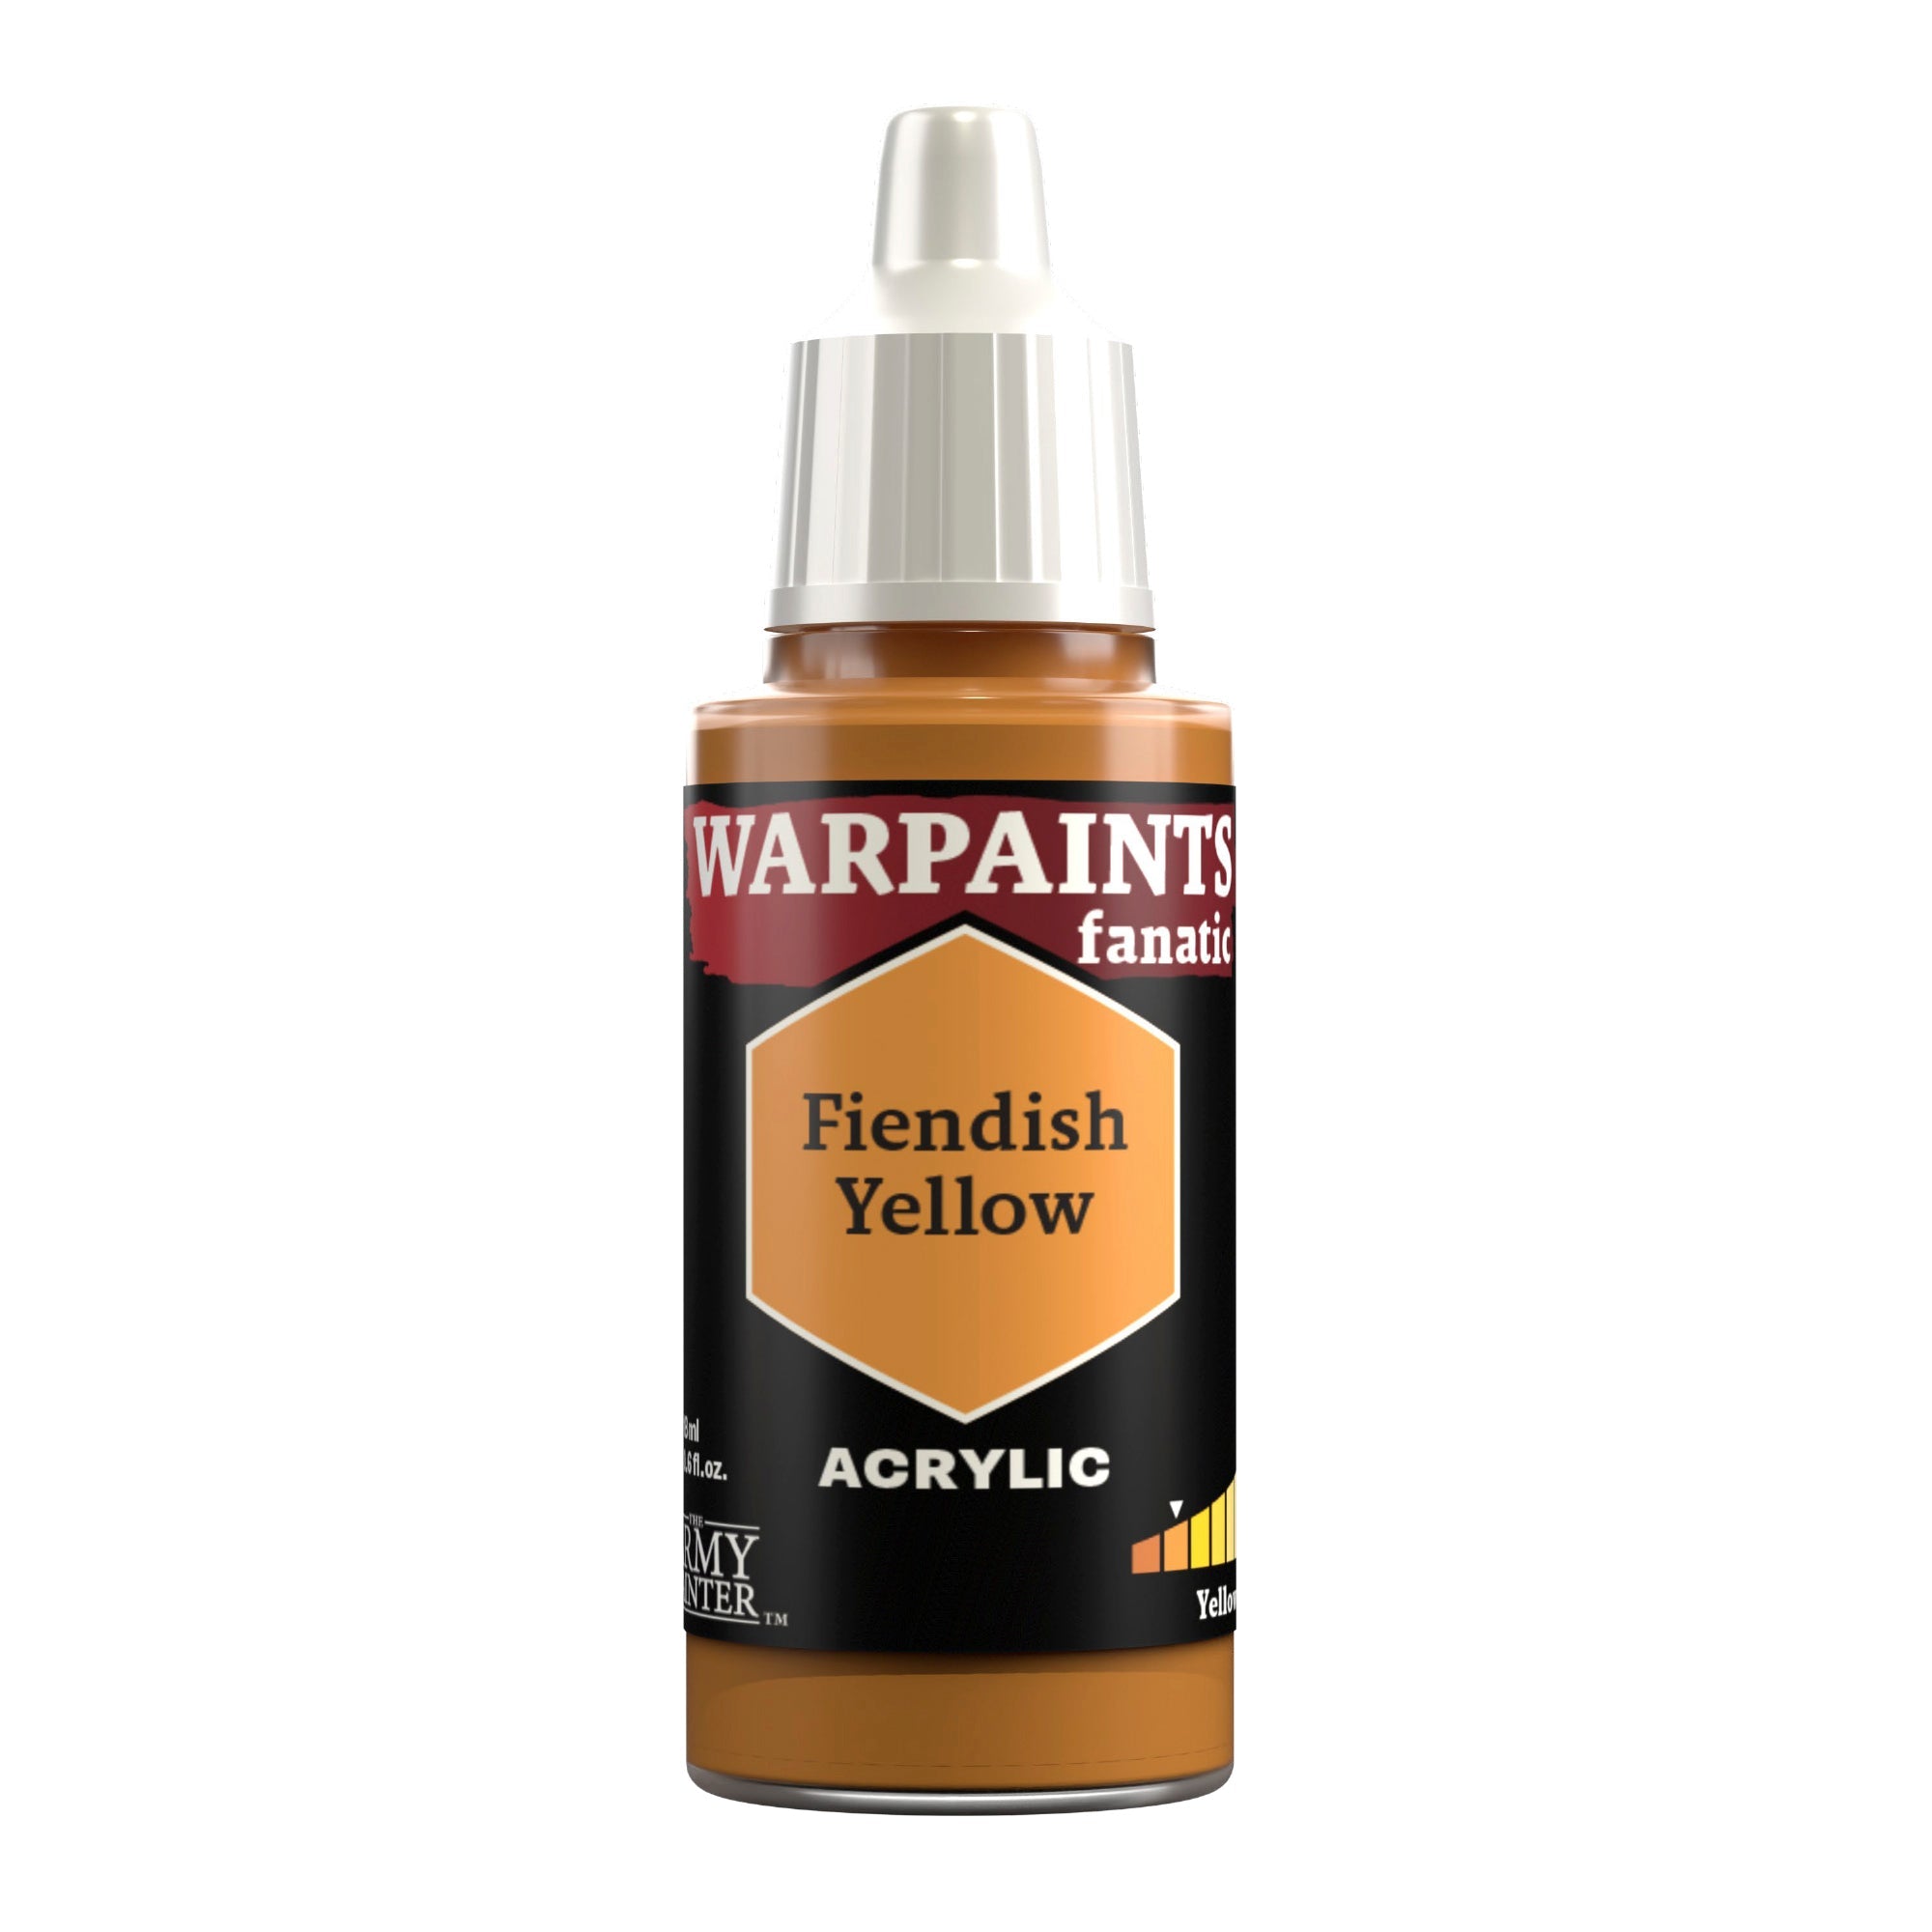
Basecoat the yellow areas with Warpaints Fanatic Fiendish Yellow. As this Marine is a Bloodclaw of the Blackmanes Great Company, that will be both of his shoulder pads and one of his knee pads.

Space Wolf Red and Yellow Step 2

Step 2

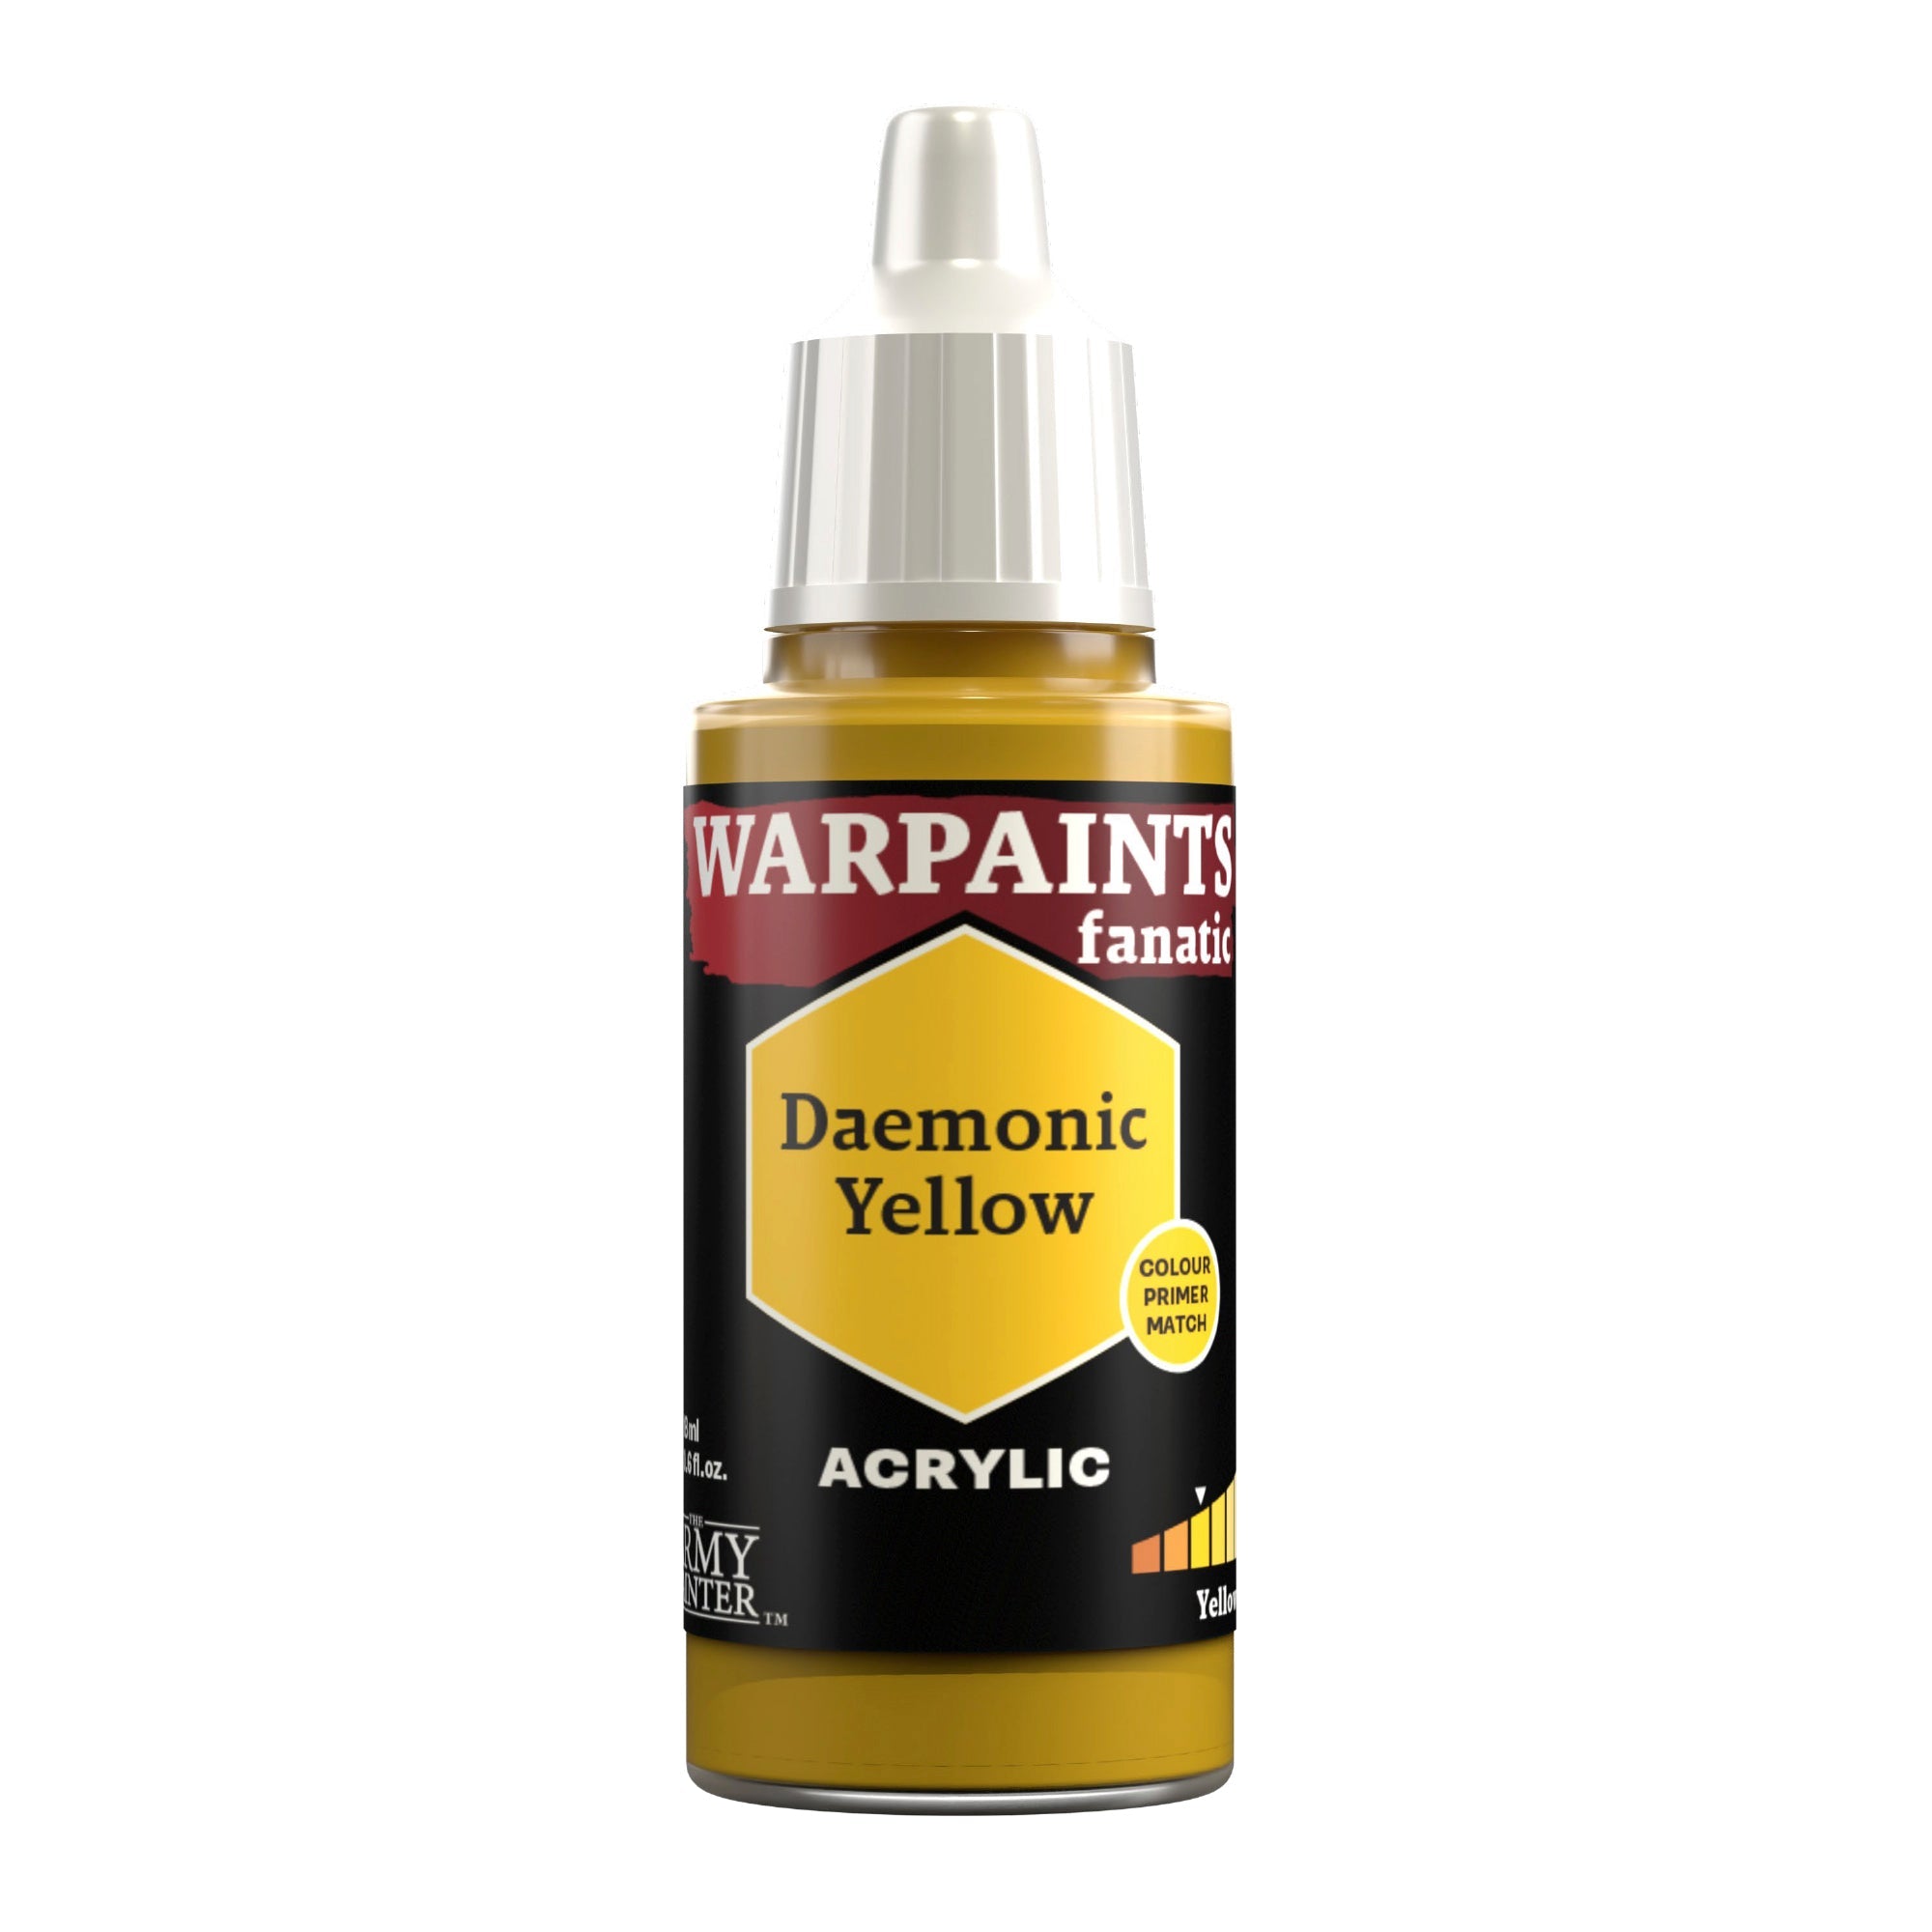
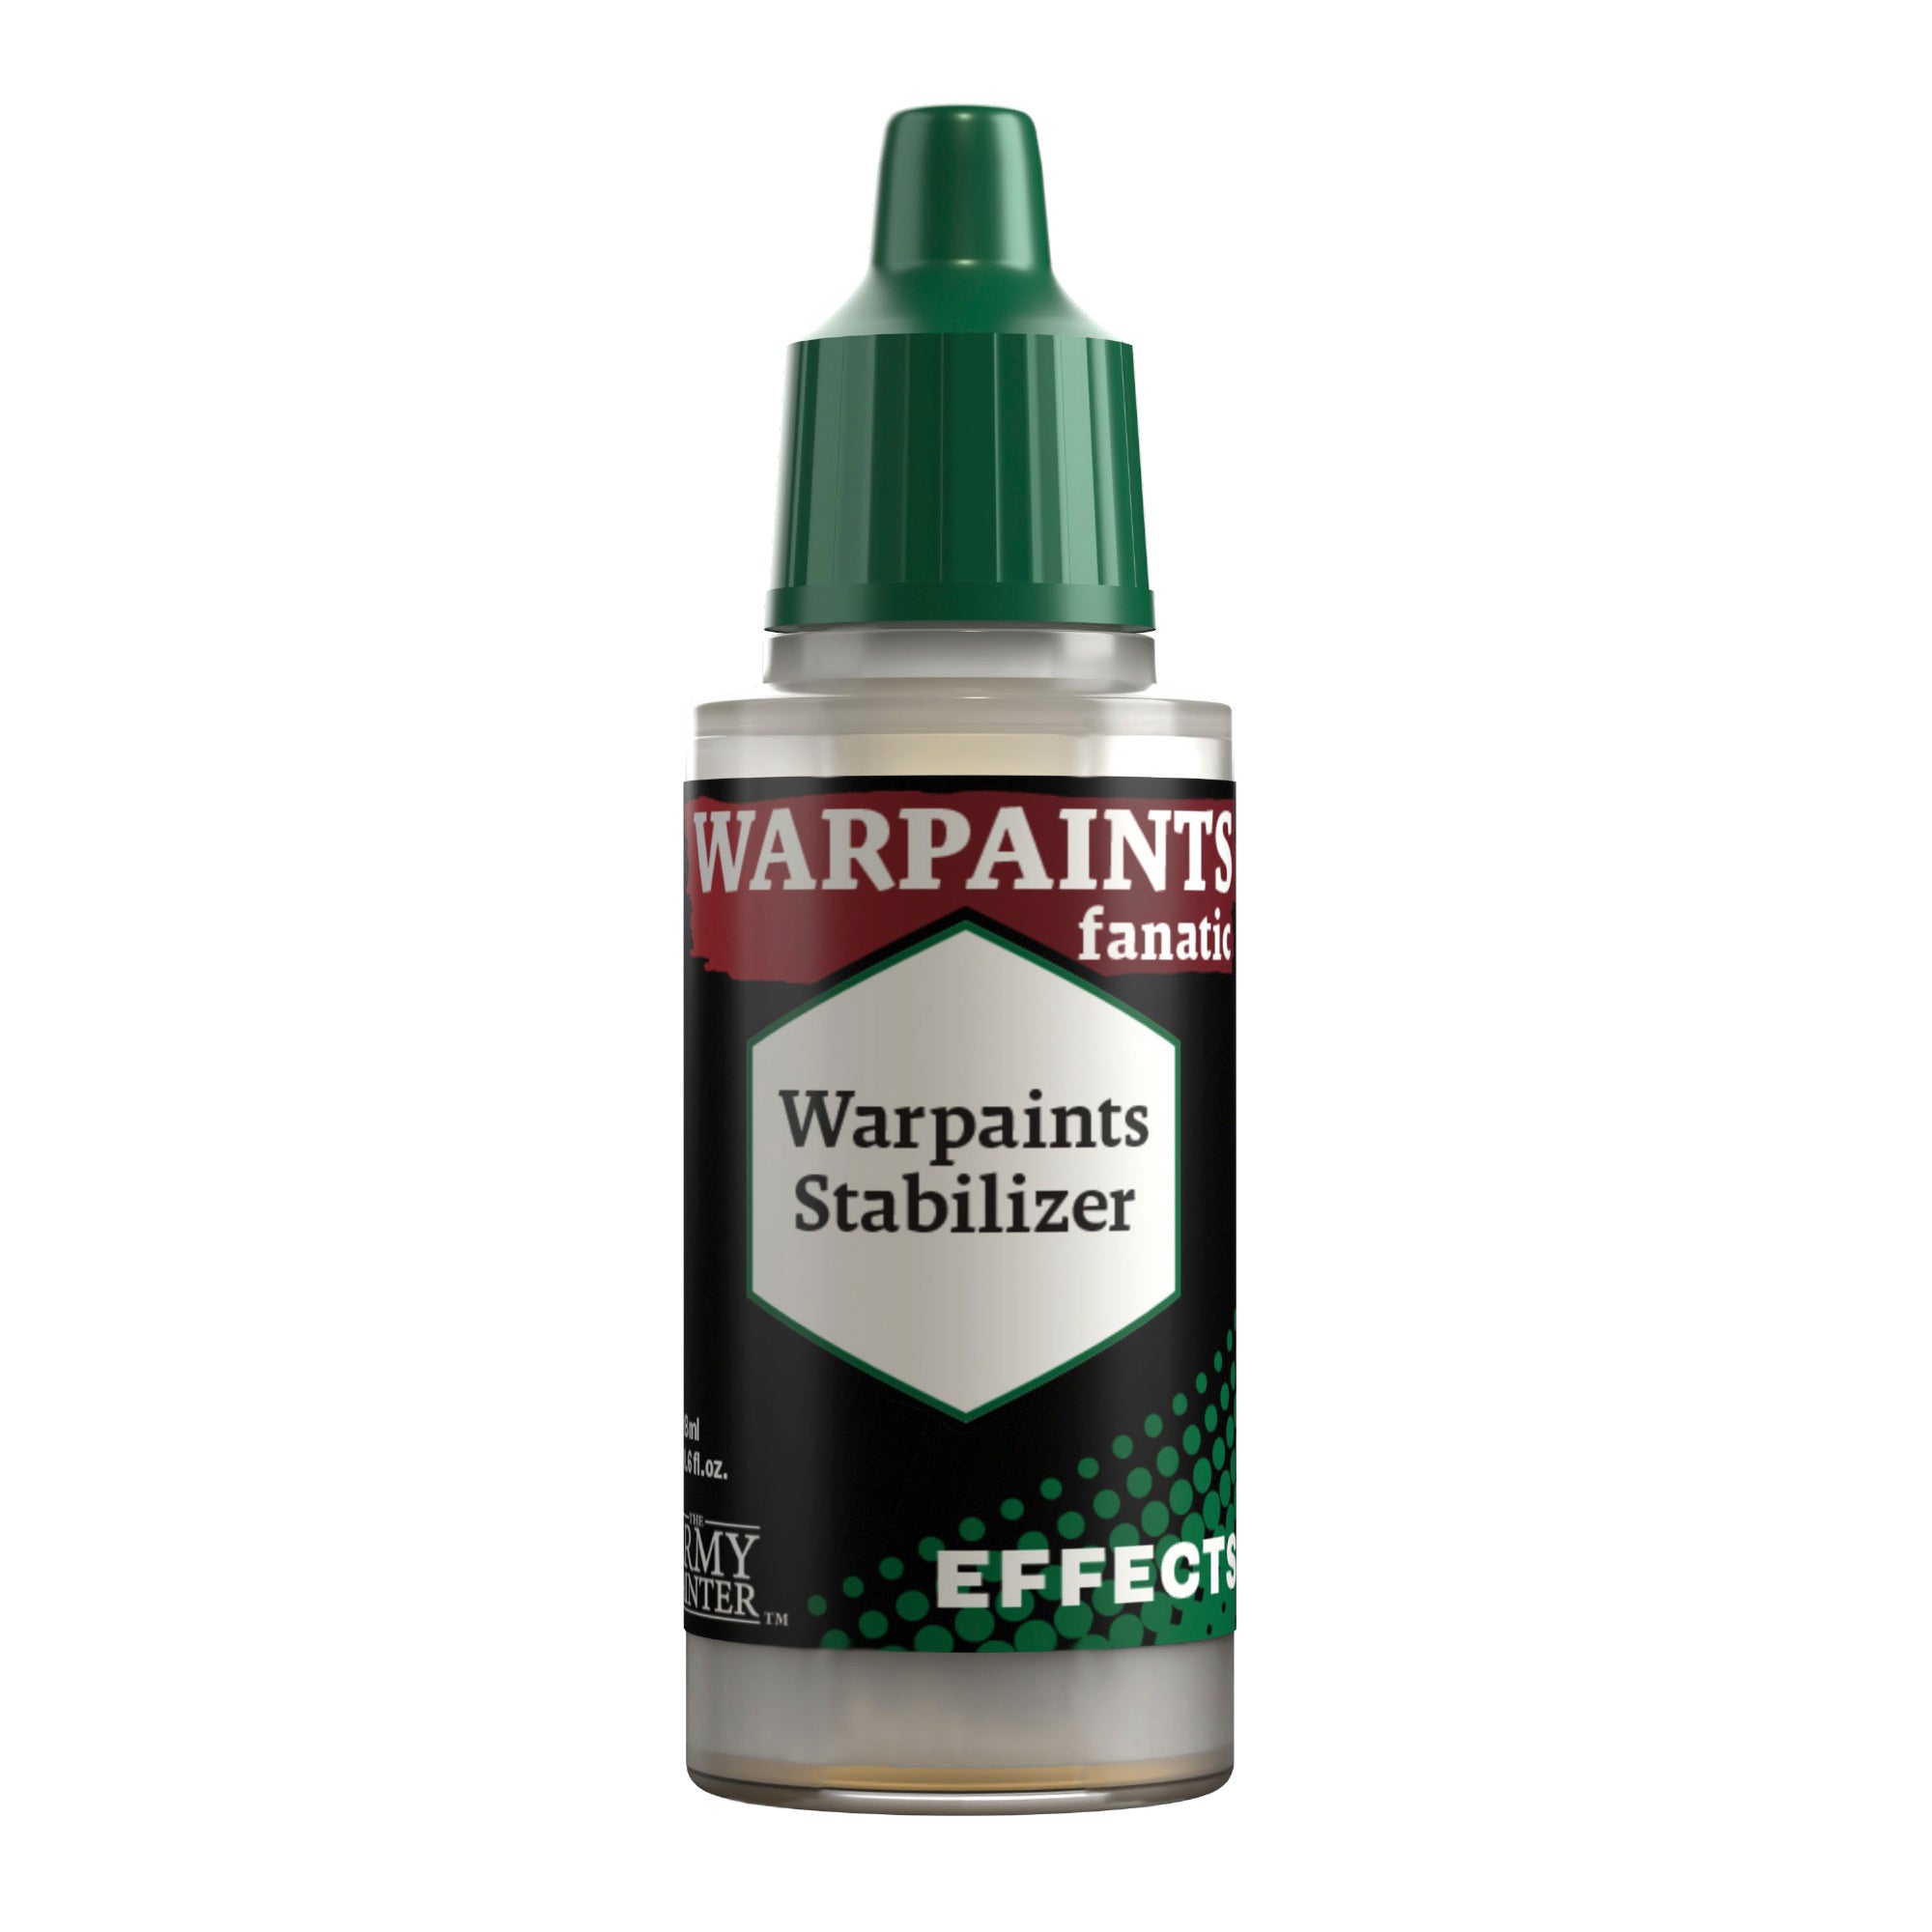
Use Warpaints Fanatic Daemonic Yellow to add some dimension to these areas by focusing on the upper surfaces. You can mix in some Warpaints Fanatic Stabilizer to build this up in thin layers for a nice gradient.

Space Wolf Red and Yellow Step 3

Step 3

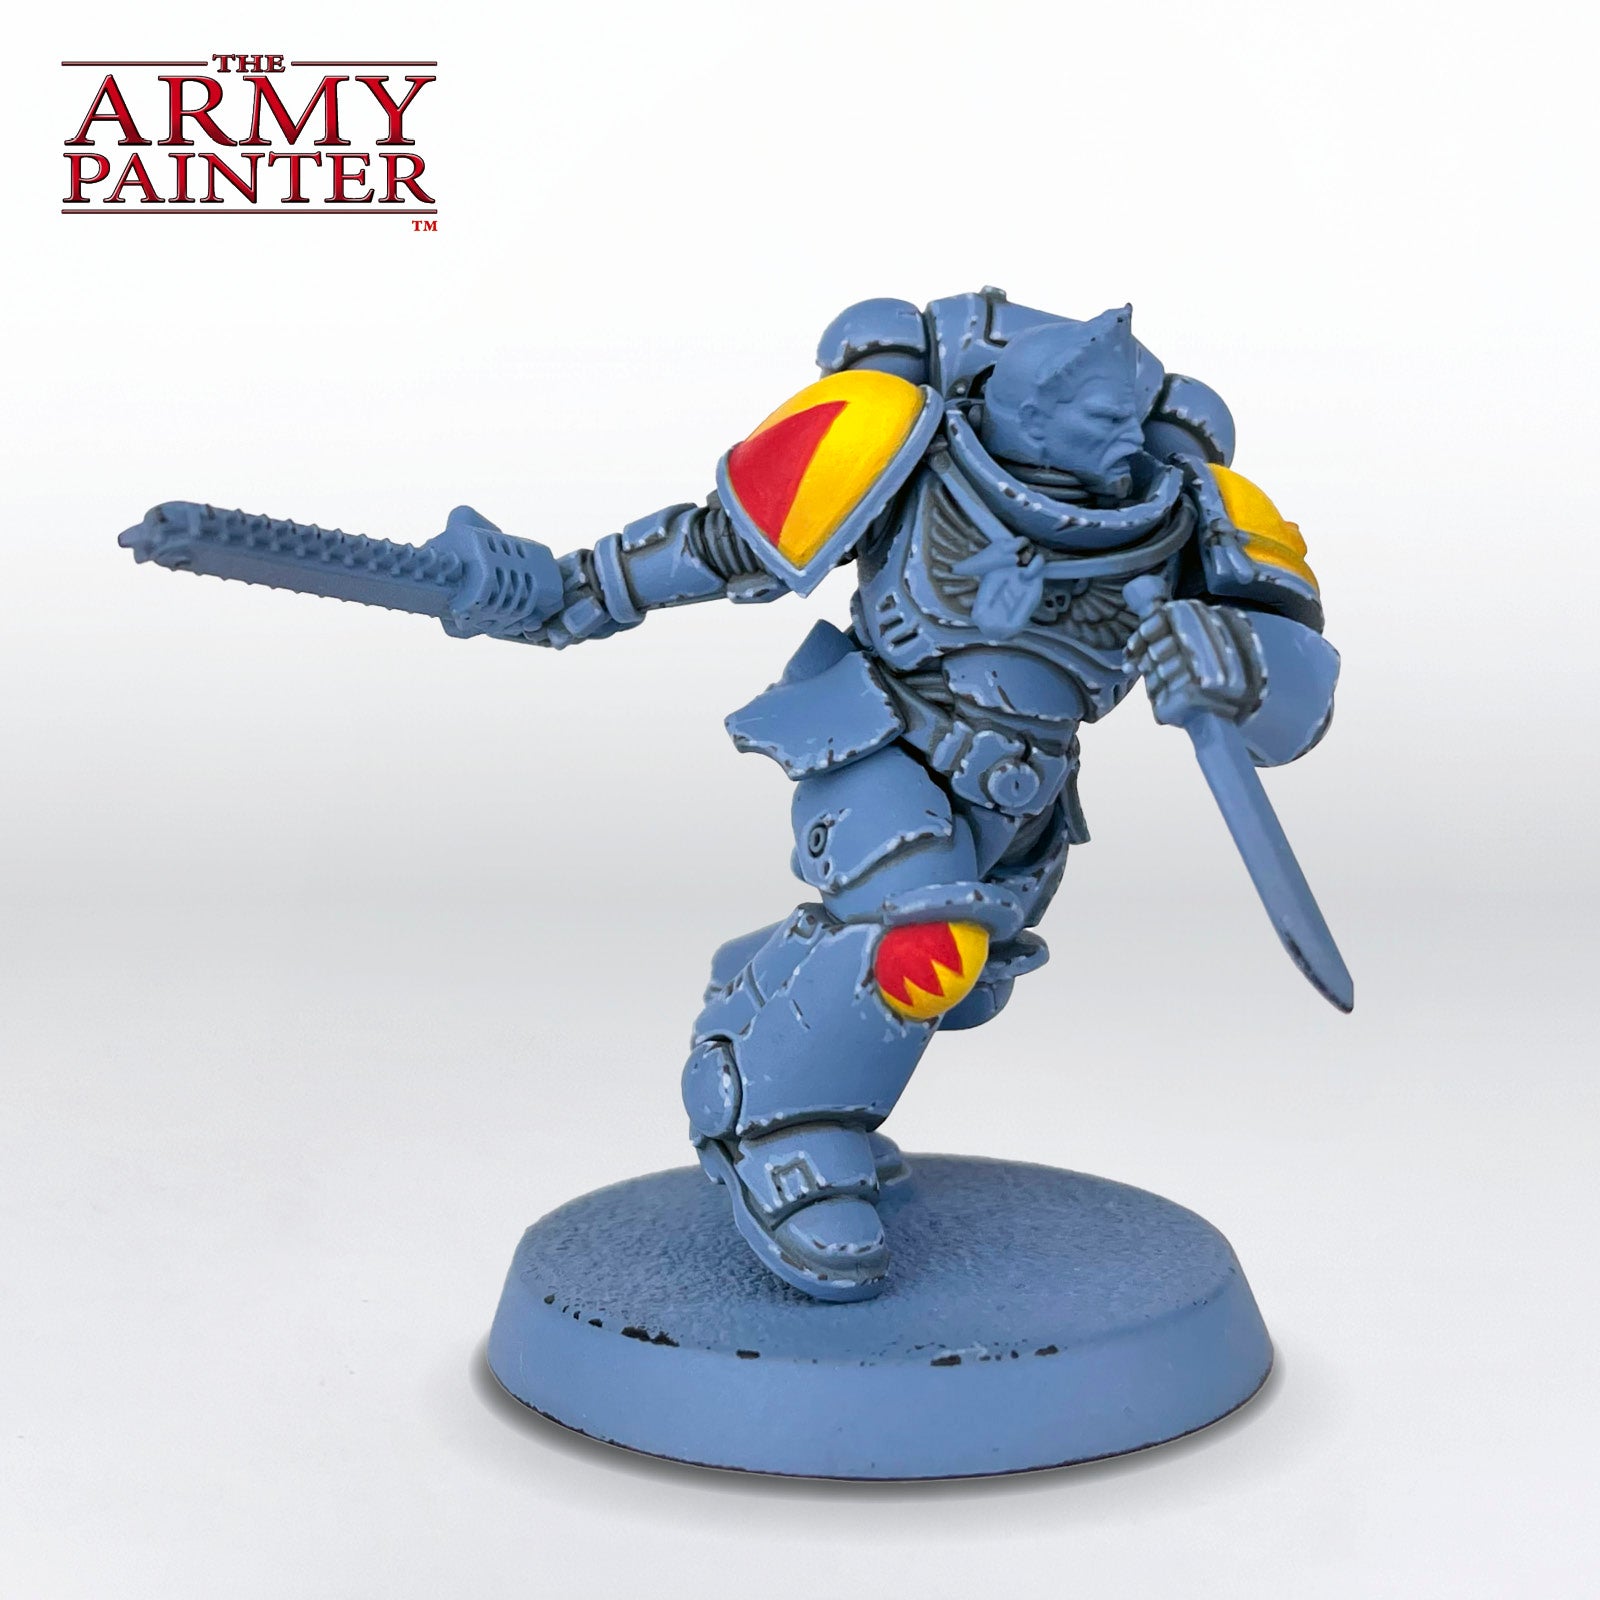
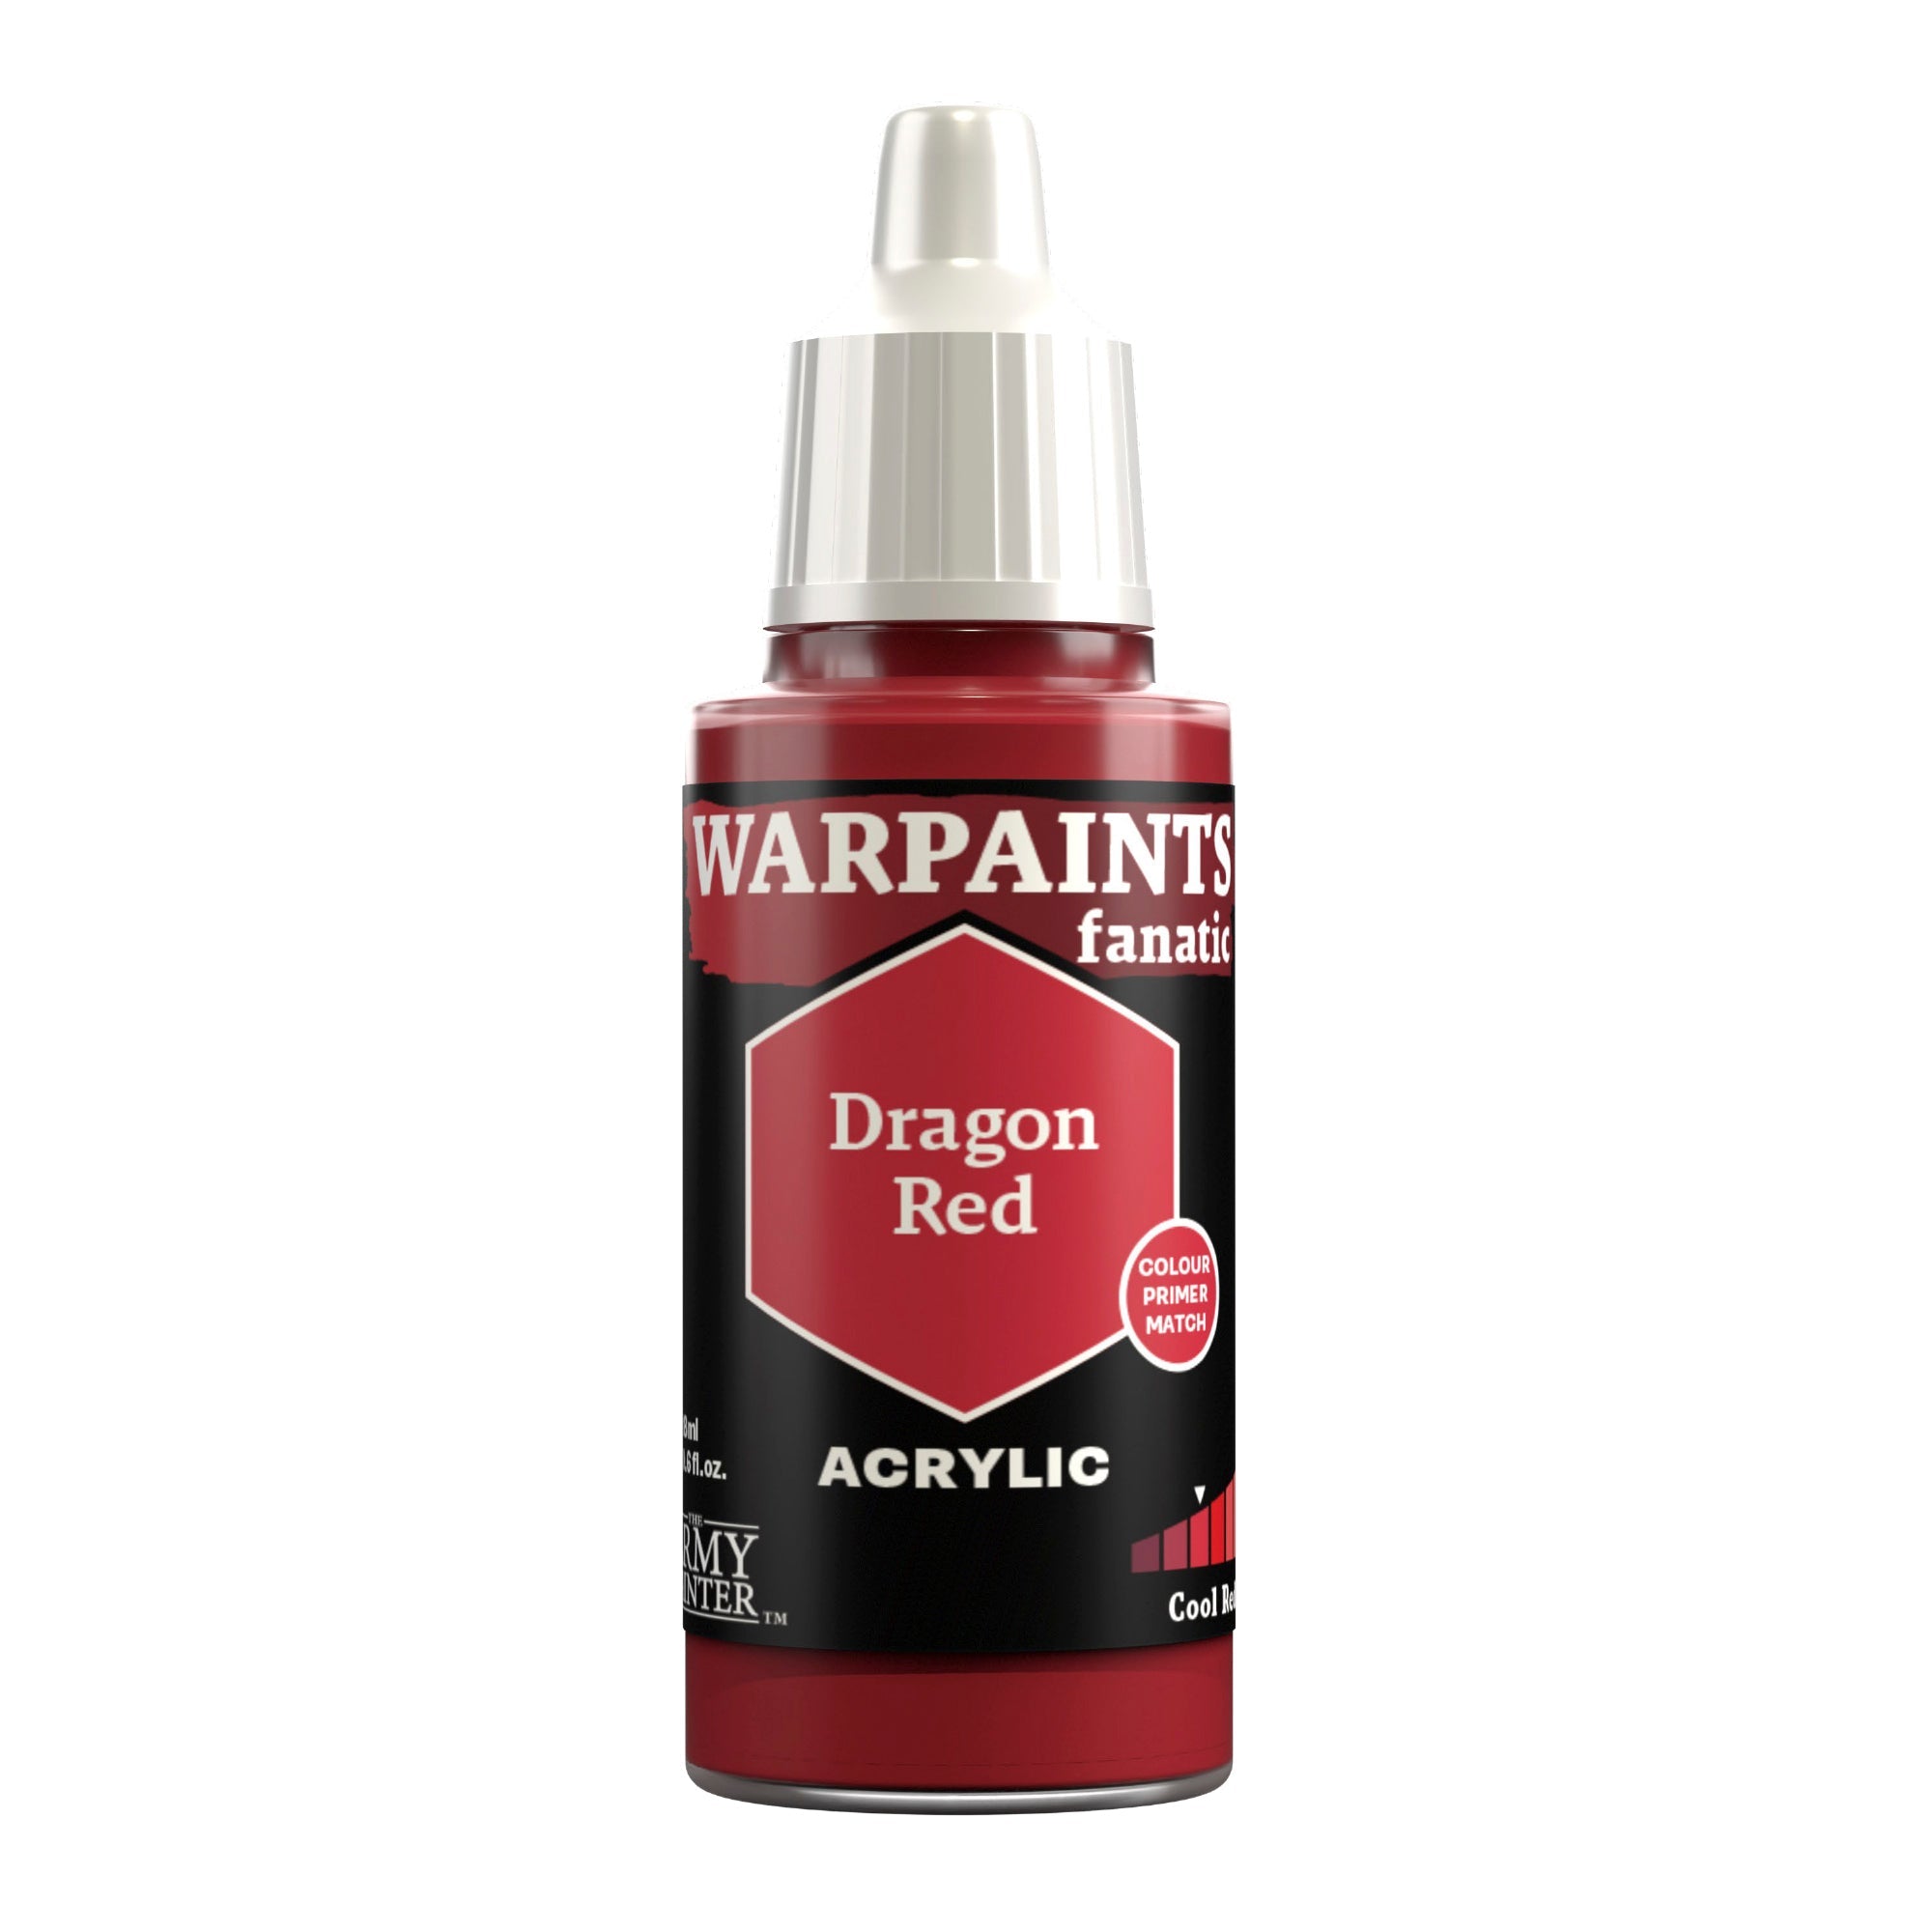
Space Wolves are festooned with pack markings, in this case, some simple geometric shapes on one of the shoulder pads and the knee pad. Paint this with Warpaints Fanatic Dragon Red.

Space Wolf Red and Yellow Step 4

Step 4

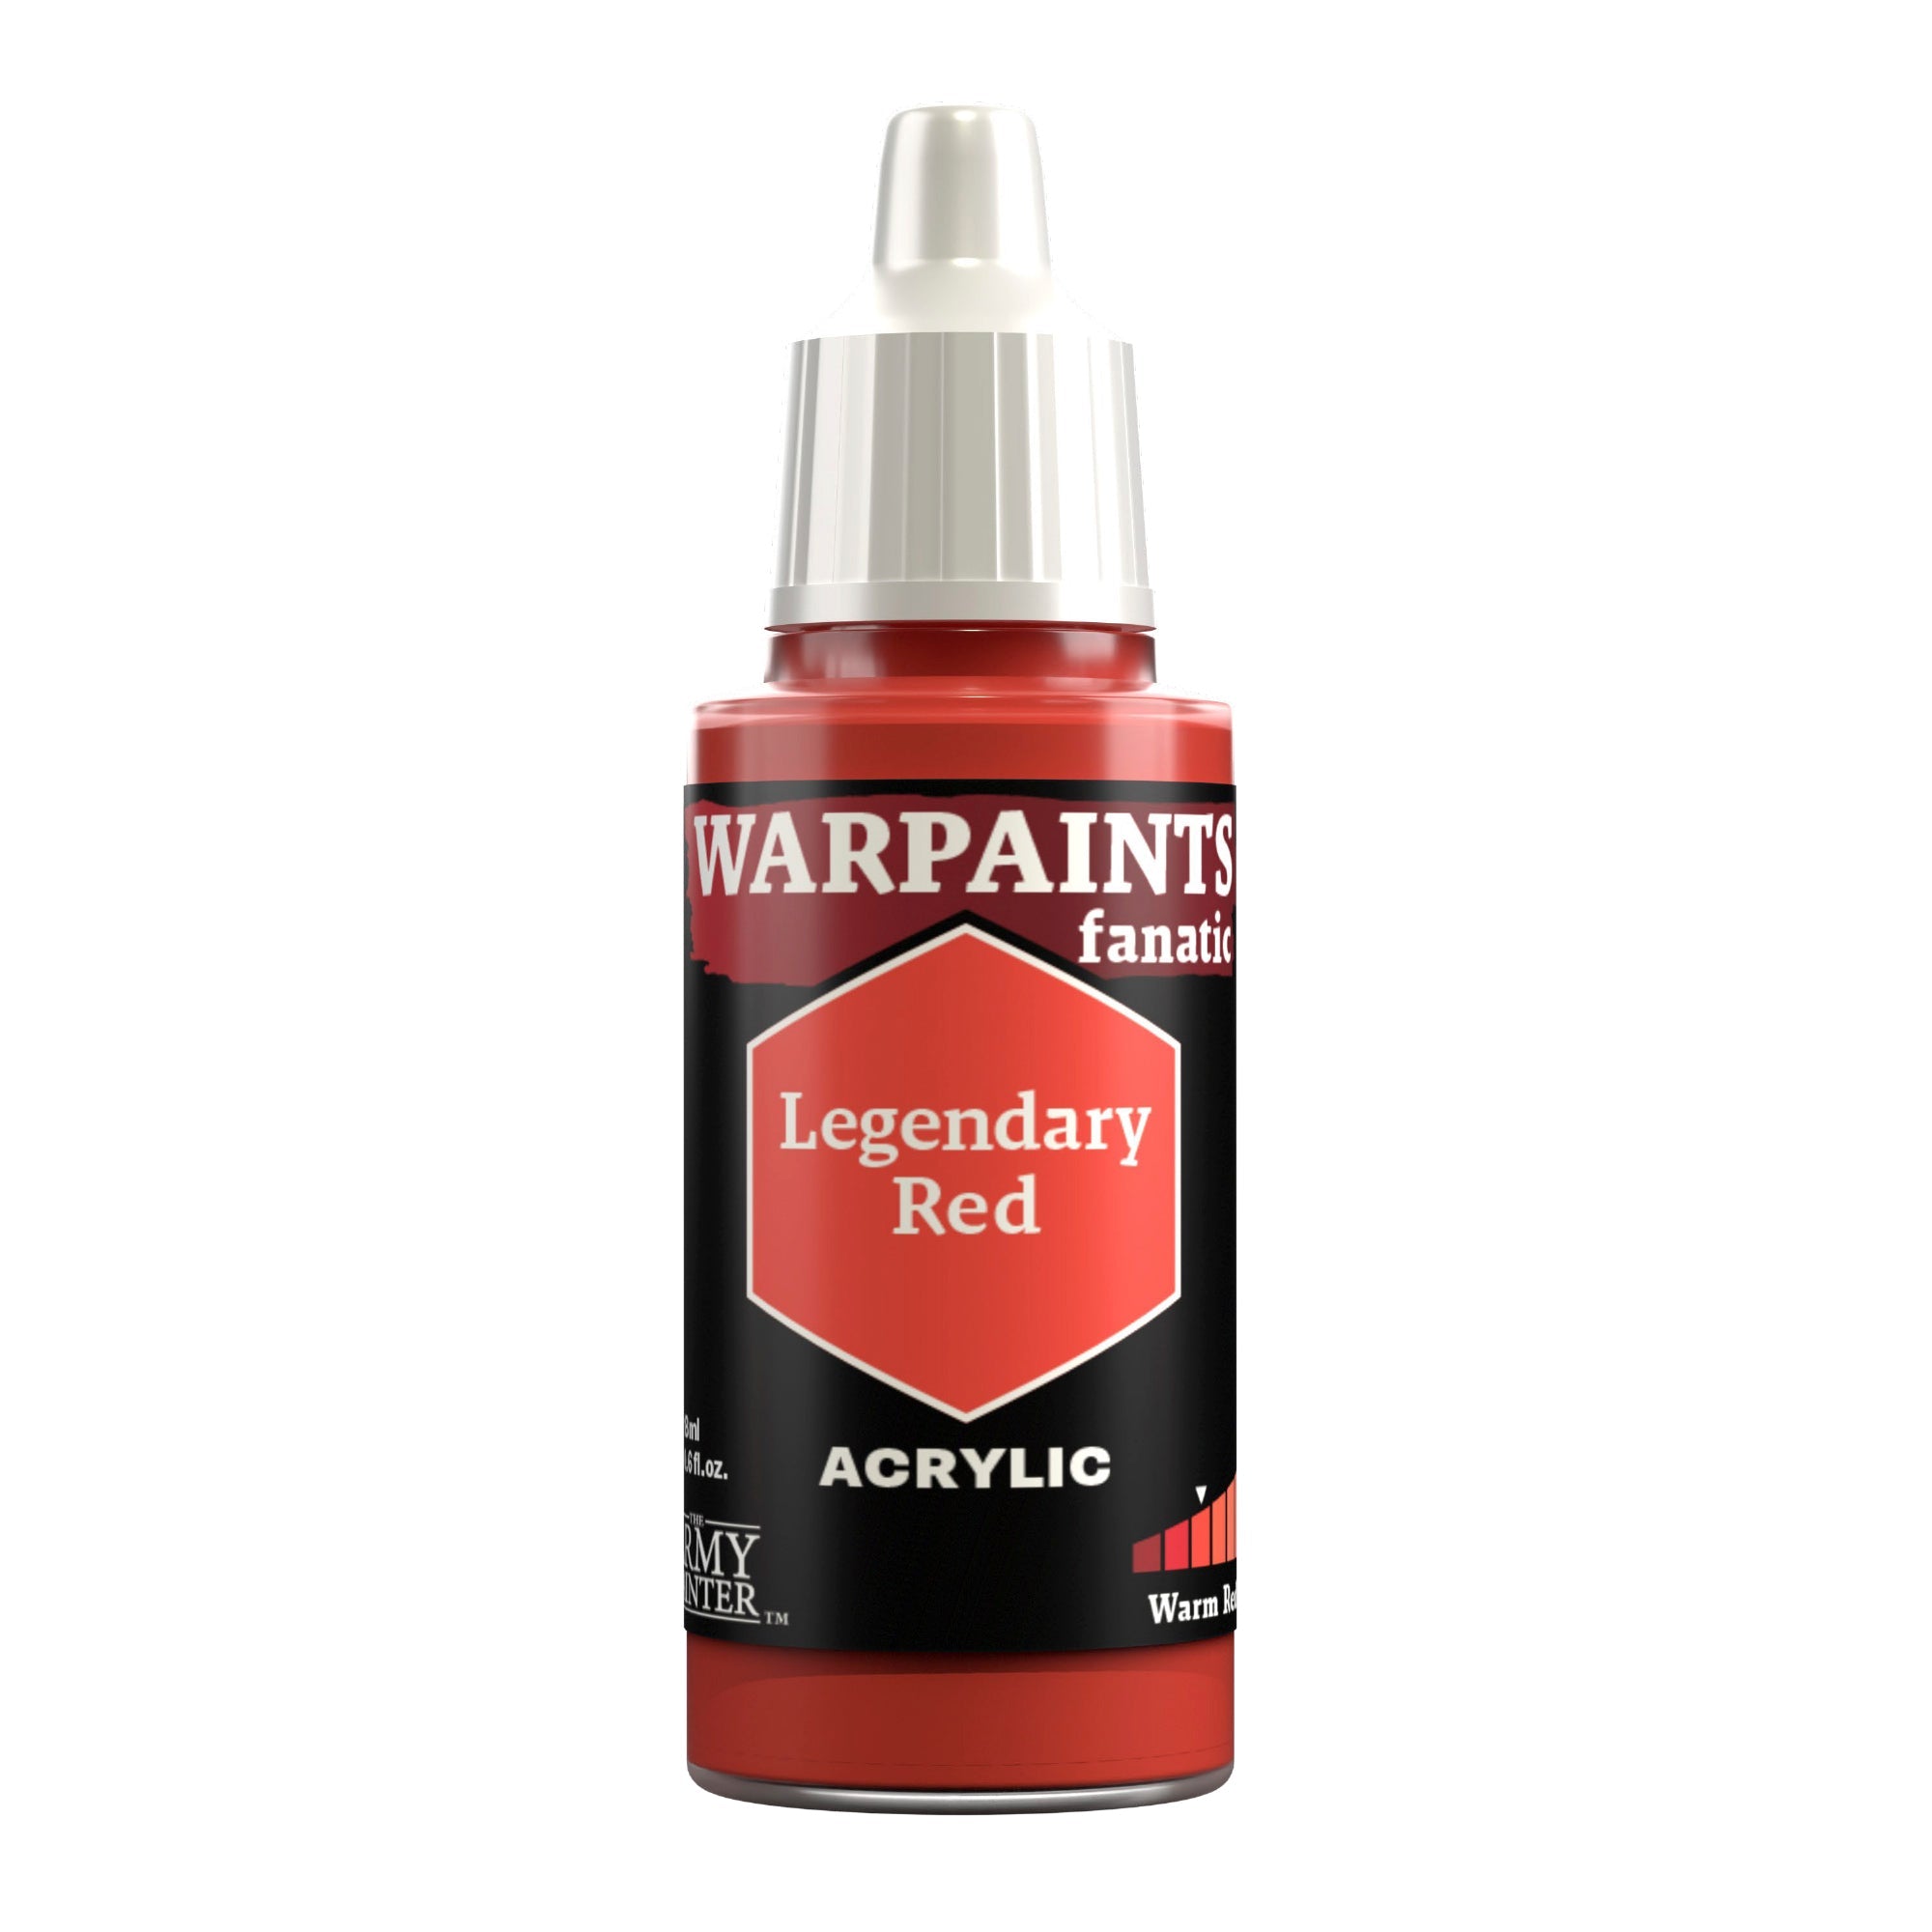
Layer this with Warpaints Fanatic Legendary Red and Warpaints Fanatic Stabilizer in the same manner as we did with the two yellows. At this point you can also tidy up the red designs as needed and add some chipping to them with the appropriate yellow colour.

Space Wolf Red and Yellow Step 5

Step 5

Paint the recesses of the shoulder pads and knee pad with Warpaints Fanatic Wash Strong Tone to add some shadows to them.

Space Wolf Red and Yellow Step 6

Step 6

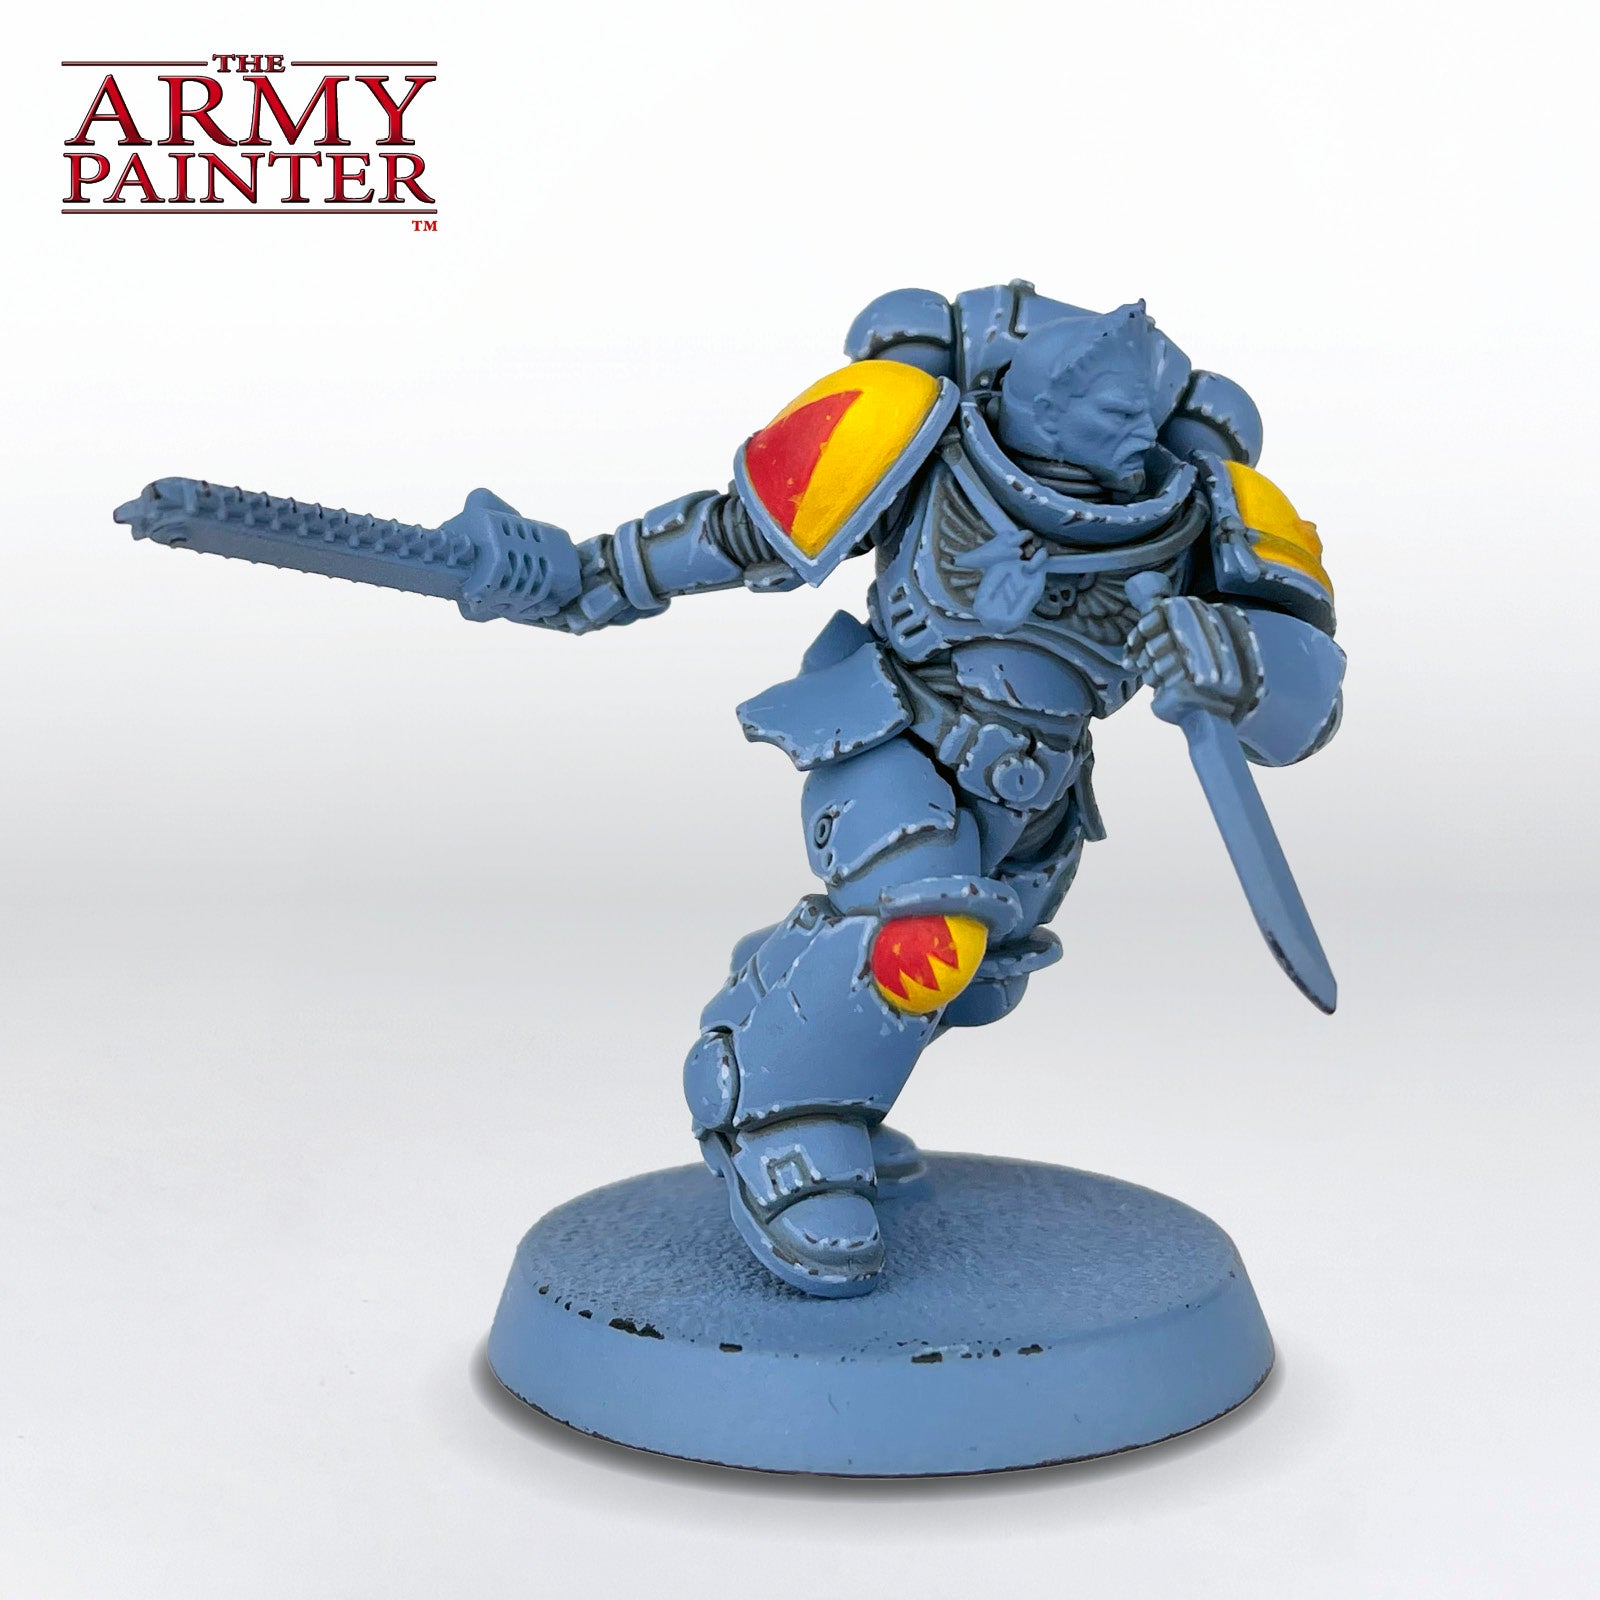
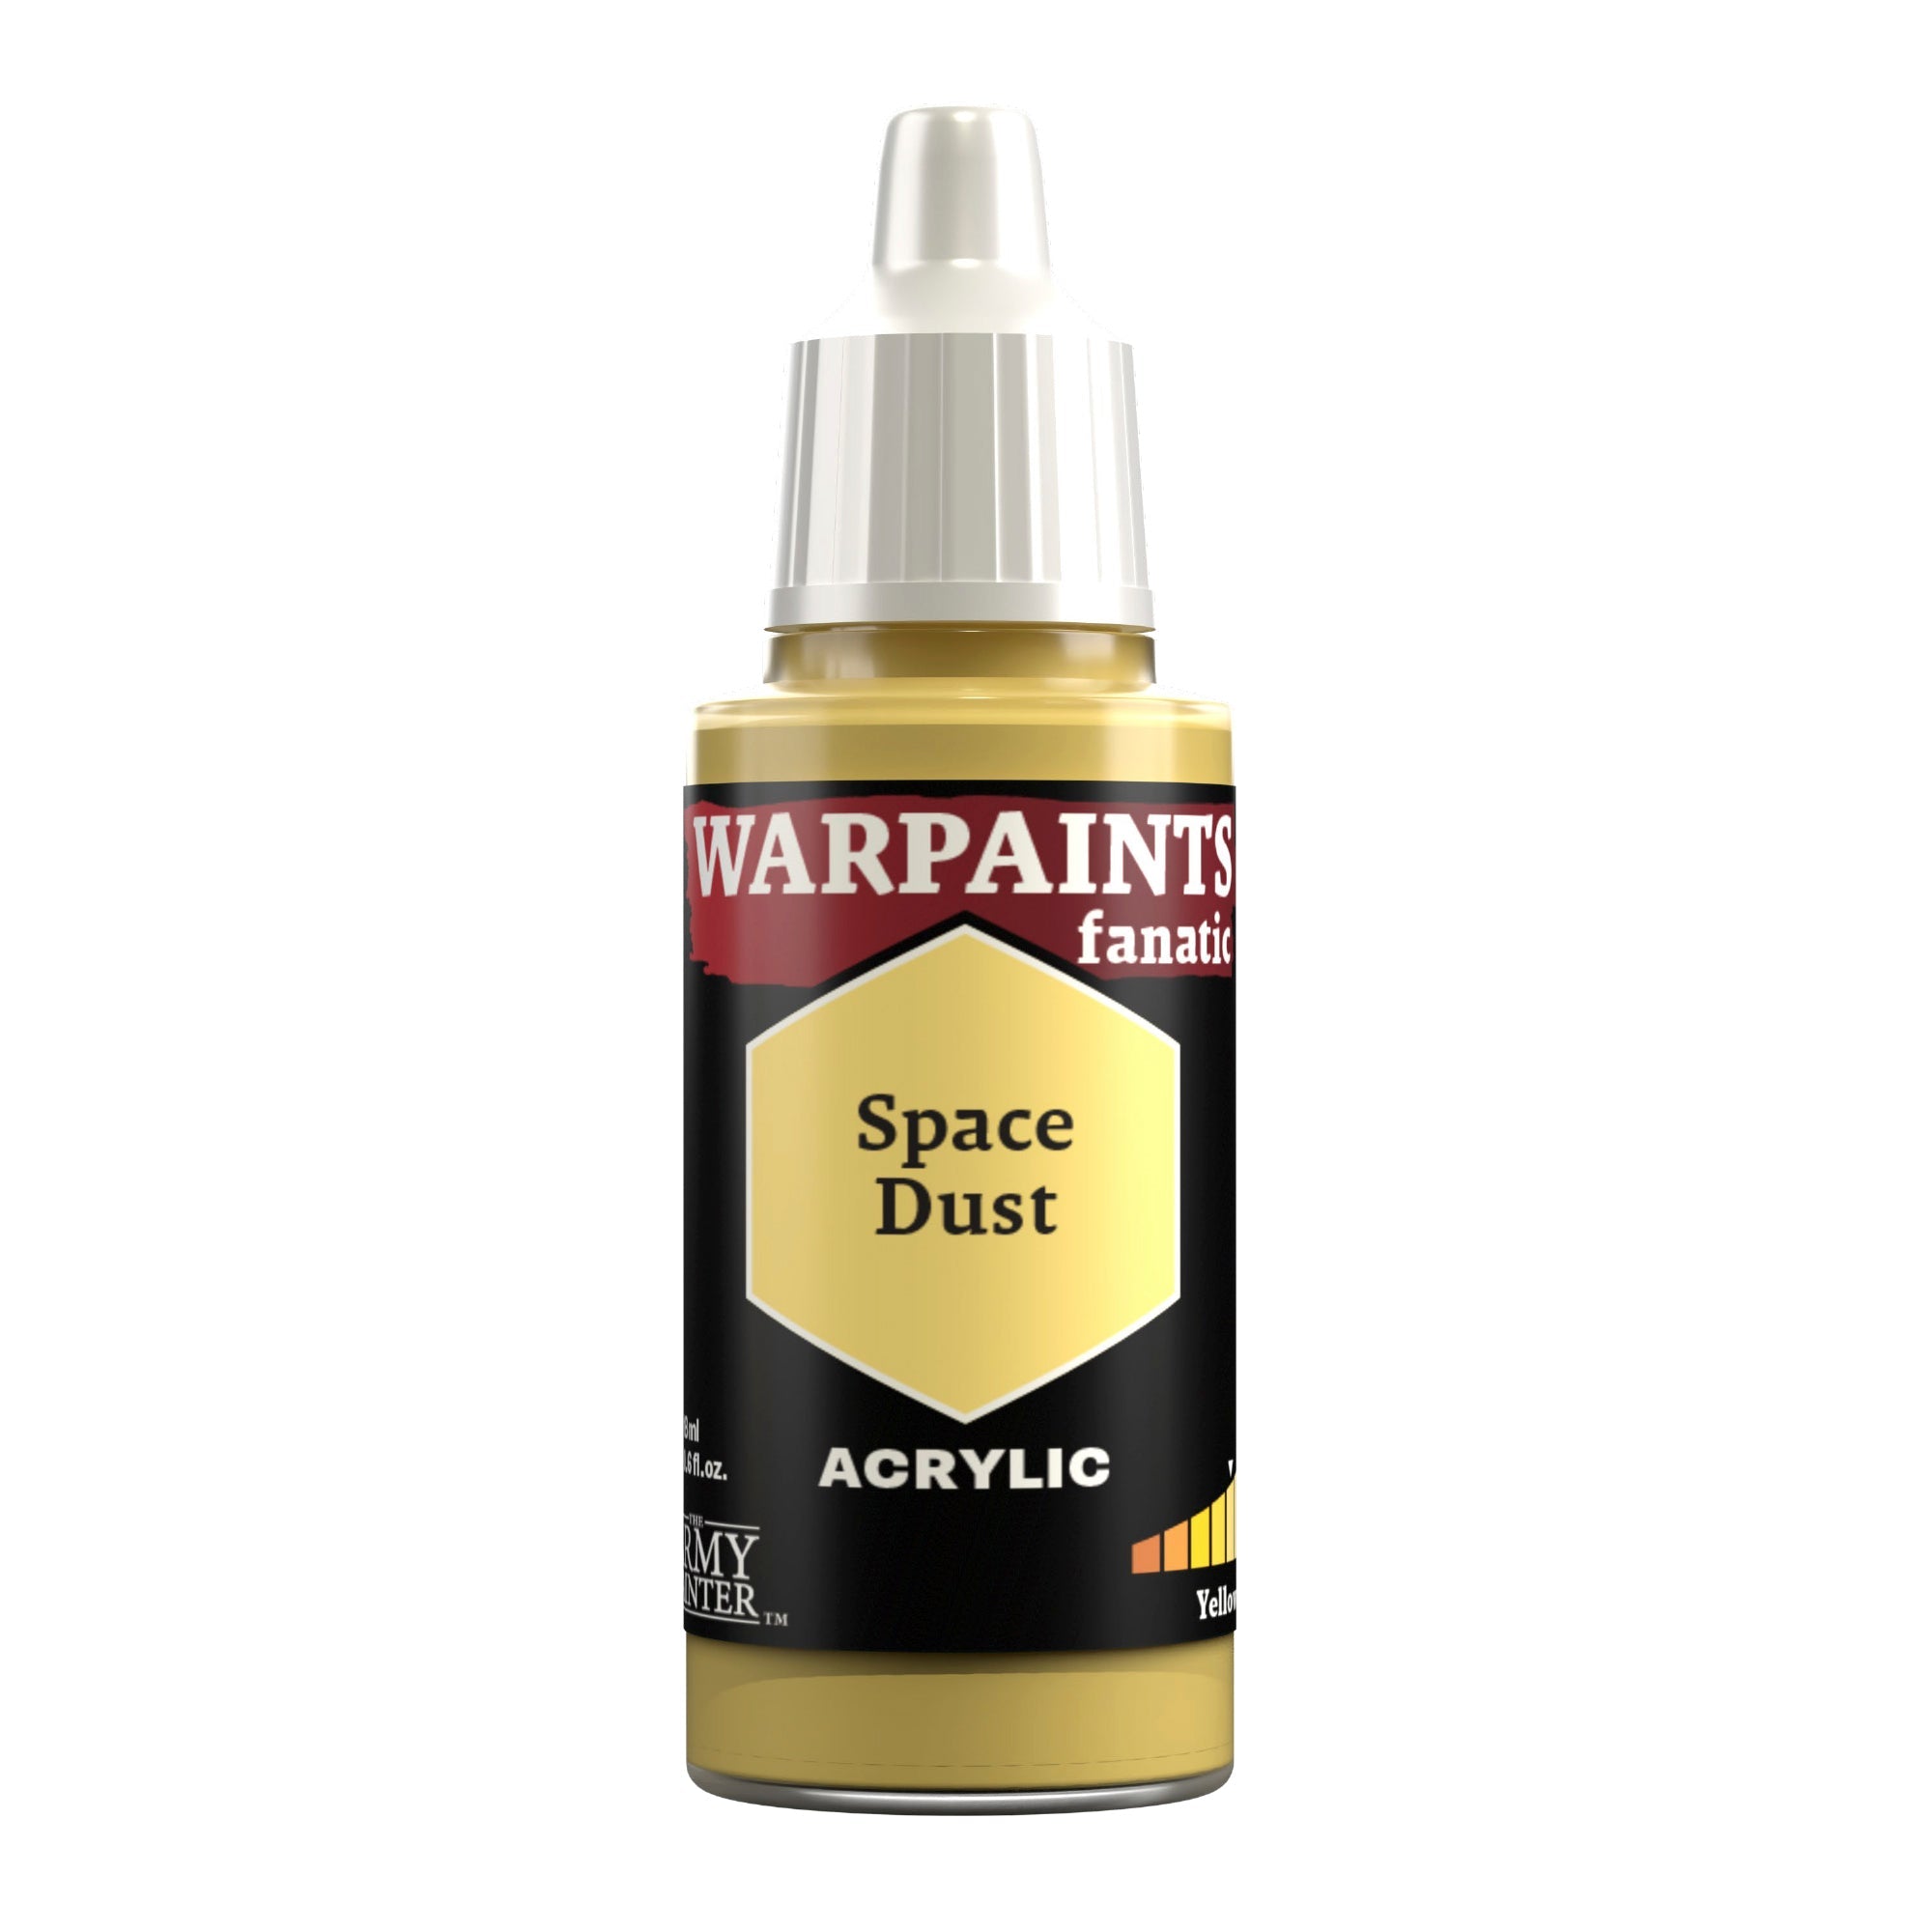
Lastly, add a small amount of chipping with Warpaints Fanatic Brigandine Brown to match the rest of the armour, and then highlight the yellow with Warpaints Fanatic Space Dust, and the red with Warpaints Fanatic Legendary Red. You only want to do this on the edges of armour panels and along the top of the shoulder pads. Don’t highlight the outlines of the red designs.

Banner

The Black

Space Wolf Black Areas Step 1

Step 1

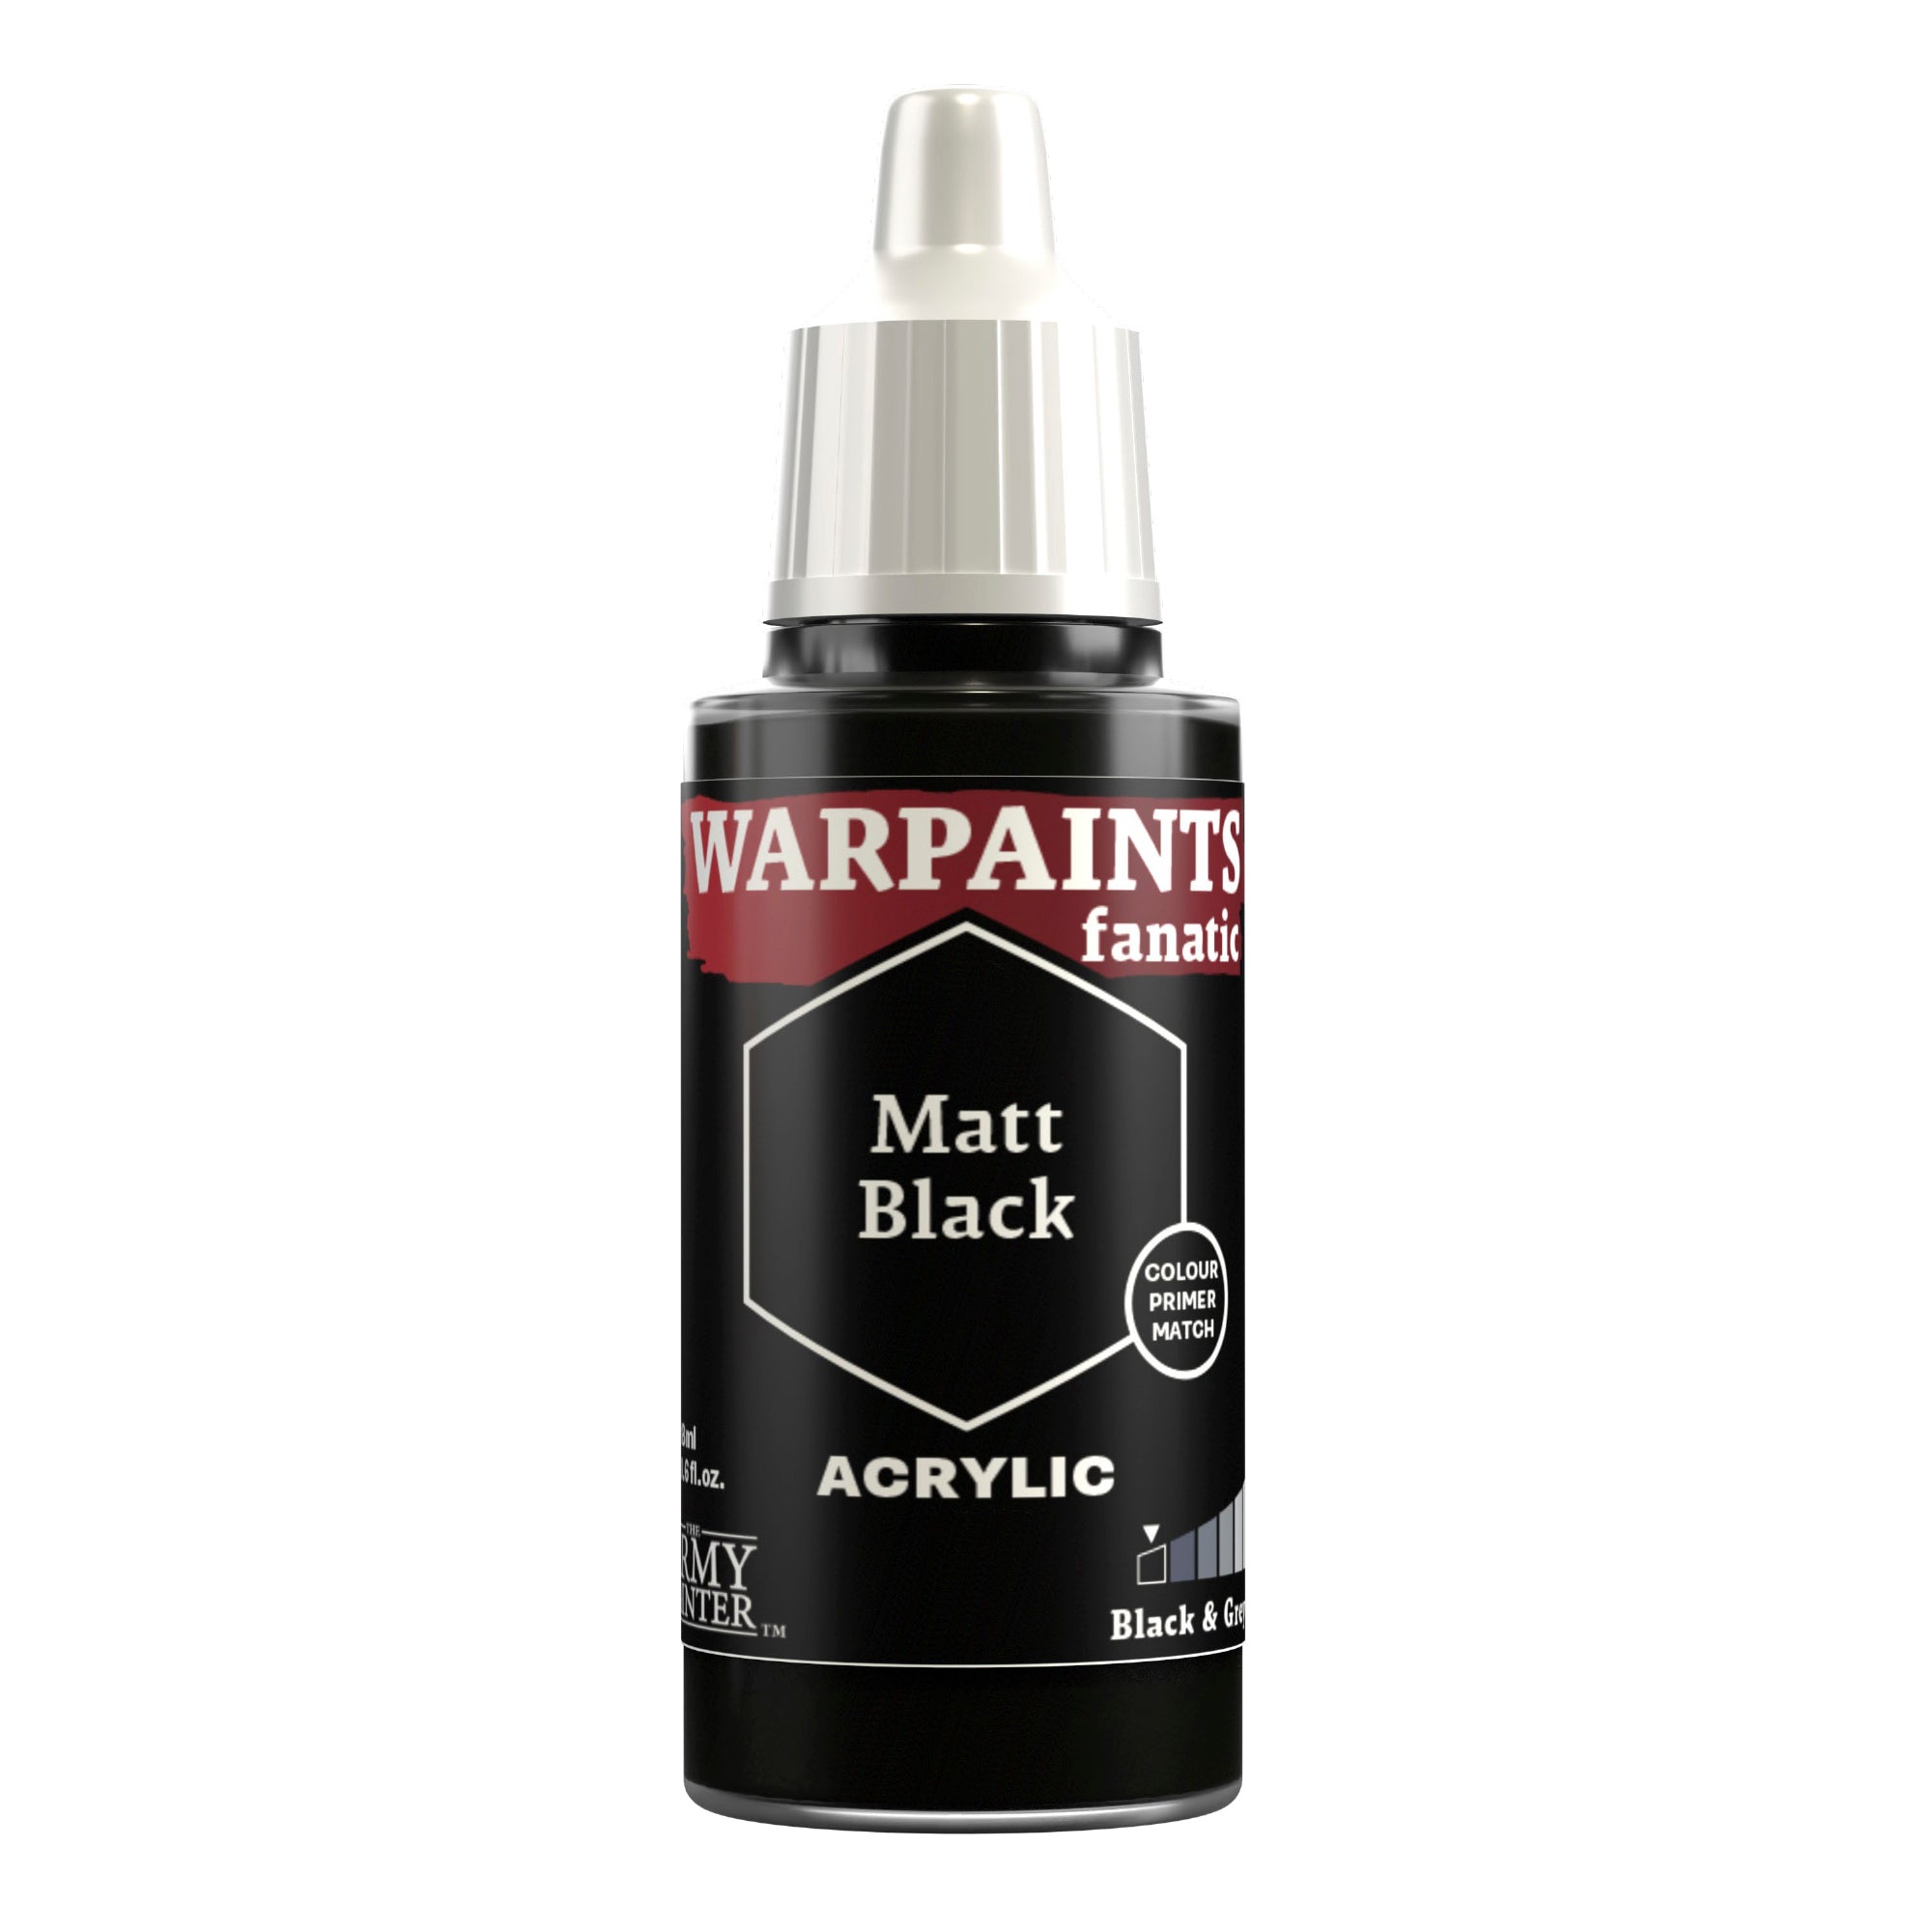
Basecoat the black areas with Warpaints Fanatic Matt Black. On this model that’s the soft armour joints, chapter symbol, and the weapon casing.

Space Wolf Black Areas Step 2

Step 2

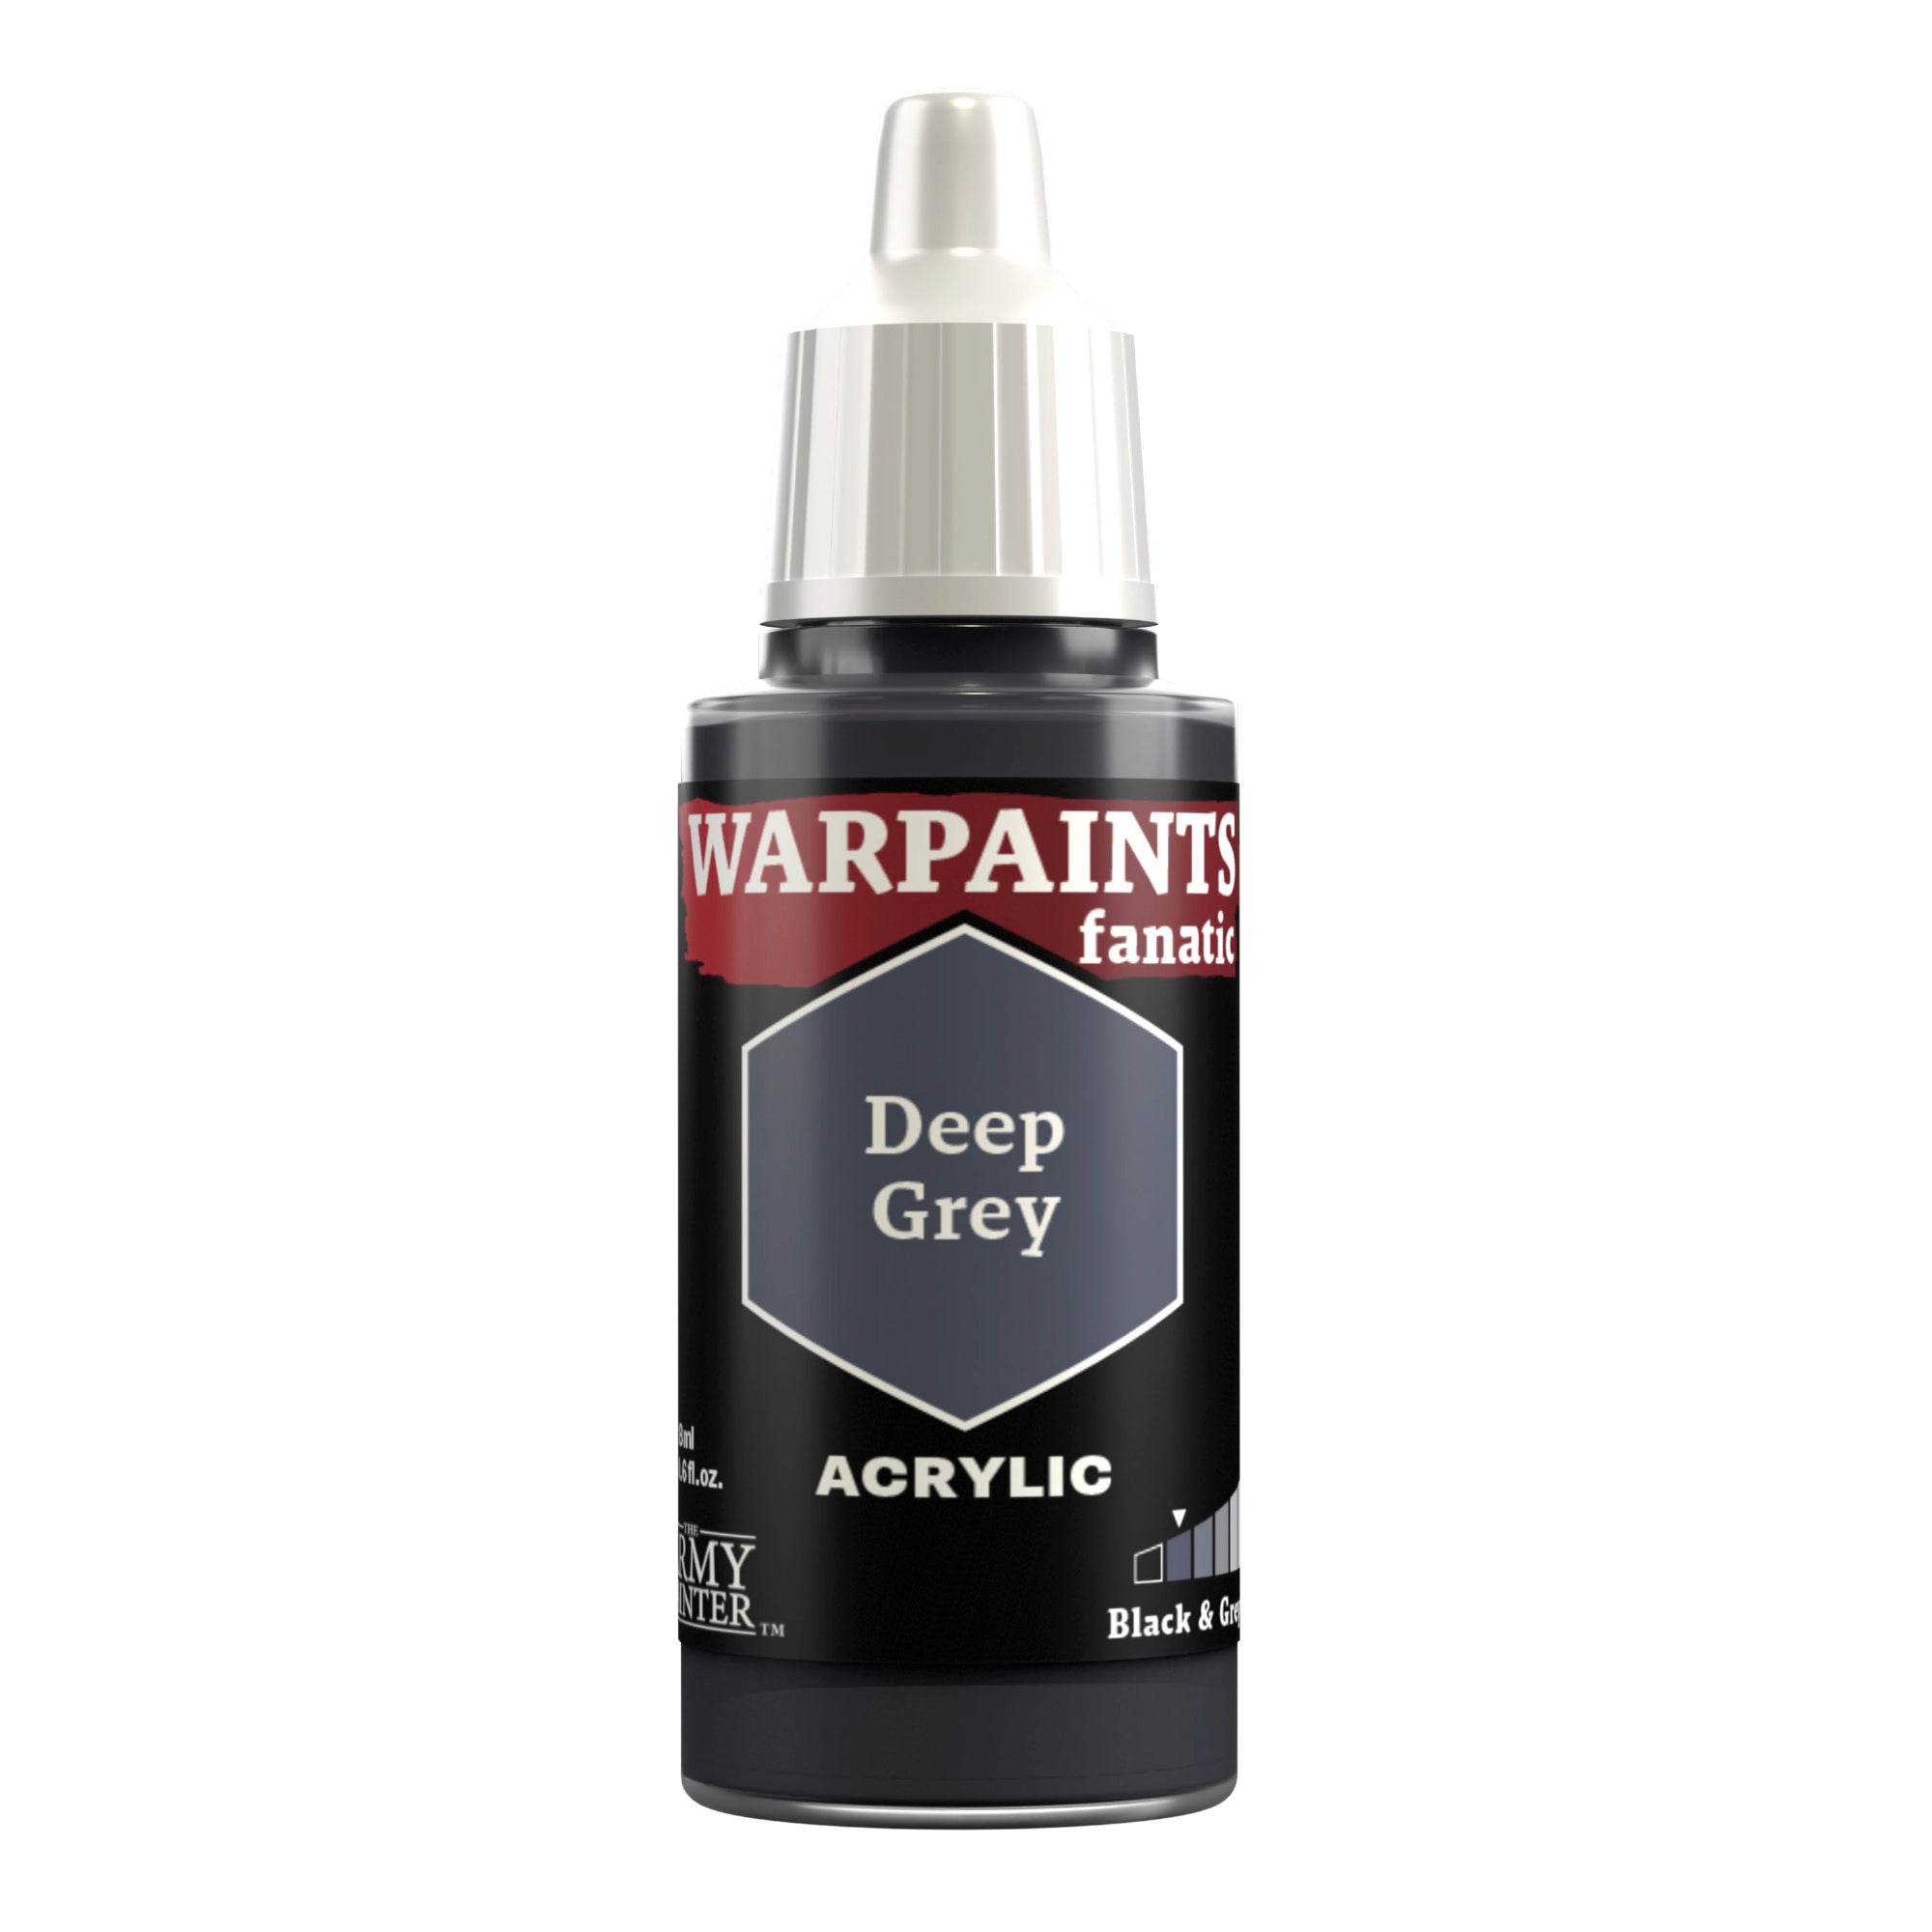
Next, highlight the soft armour with Warpaints Fanatic Deep Grey.

Space Wolf Black Areas Step 3

Step 3

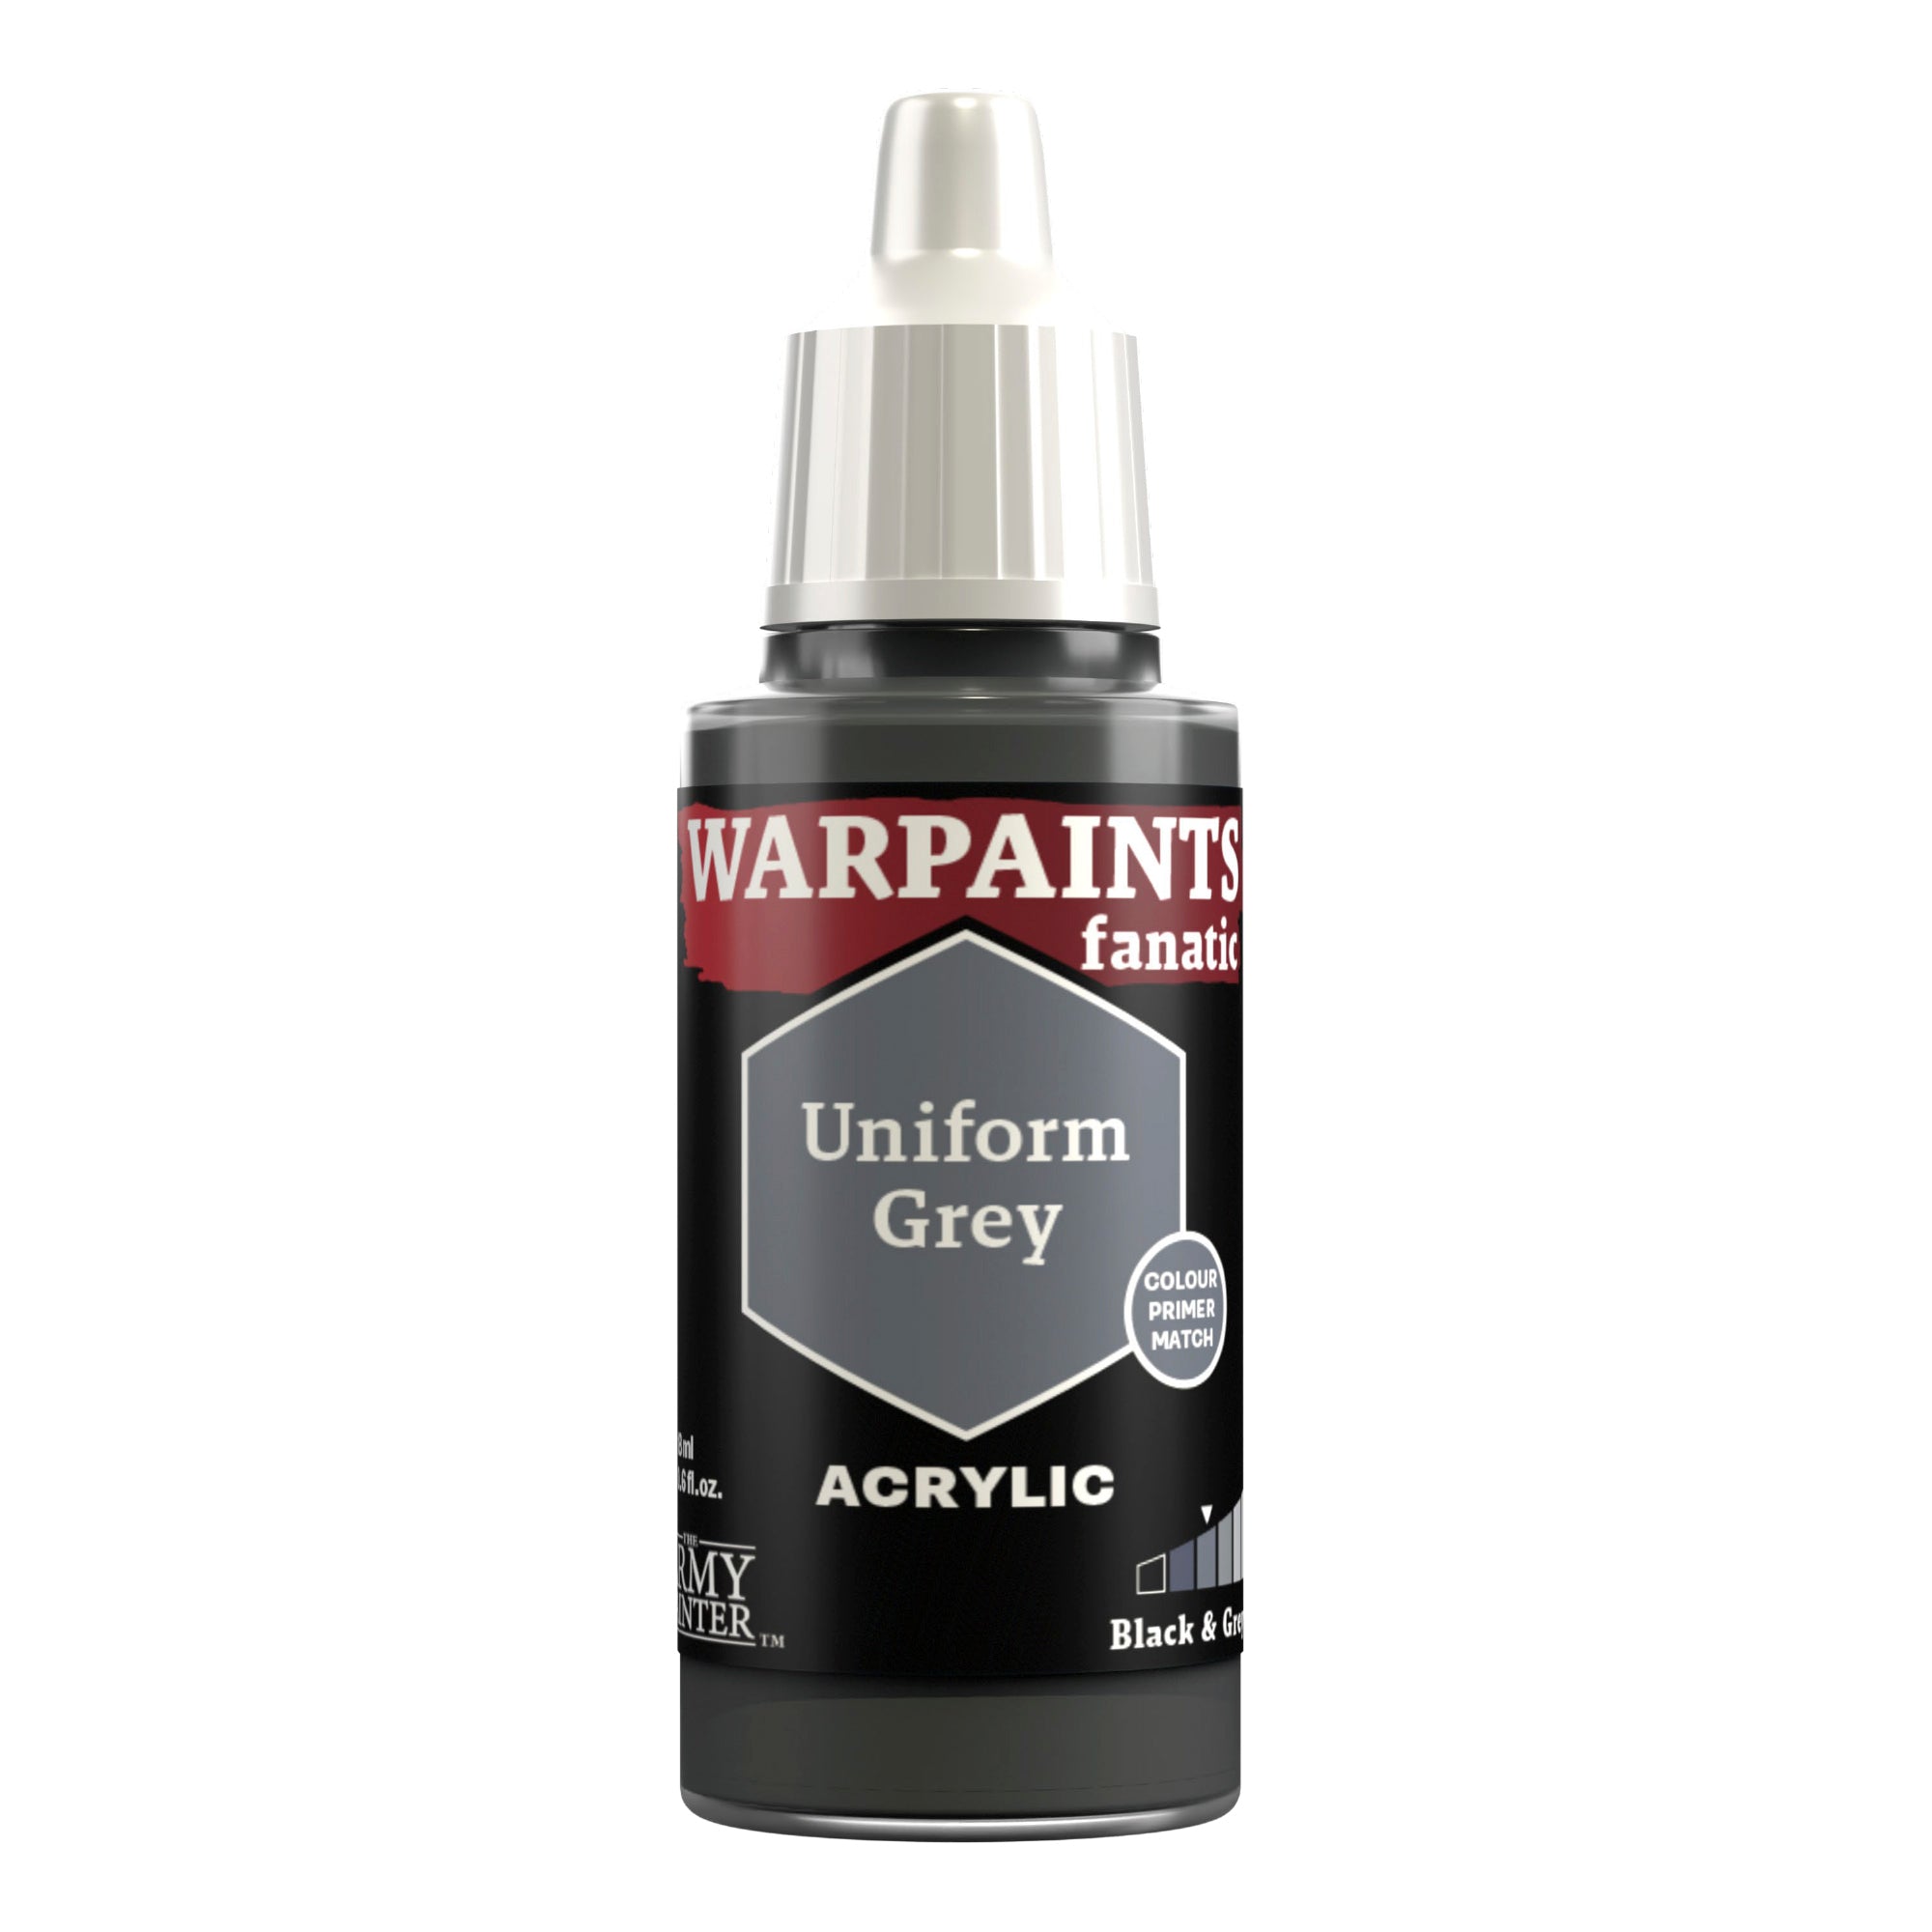
The soft armour then received a final, selective highlight of Warpaints Fanatic Uniform Grey, and this same colour was used as the first highlight on the chainsword and chapter symbol.

Space Wolf Black Areas Step 4

Step 4

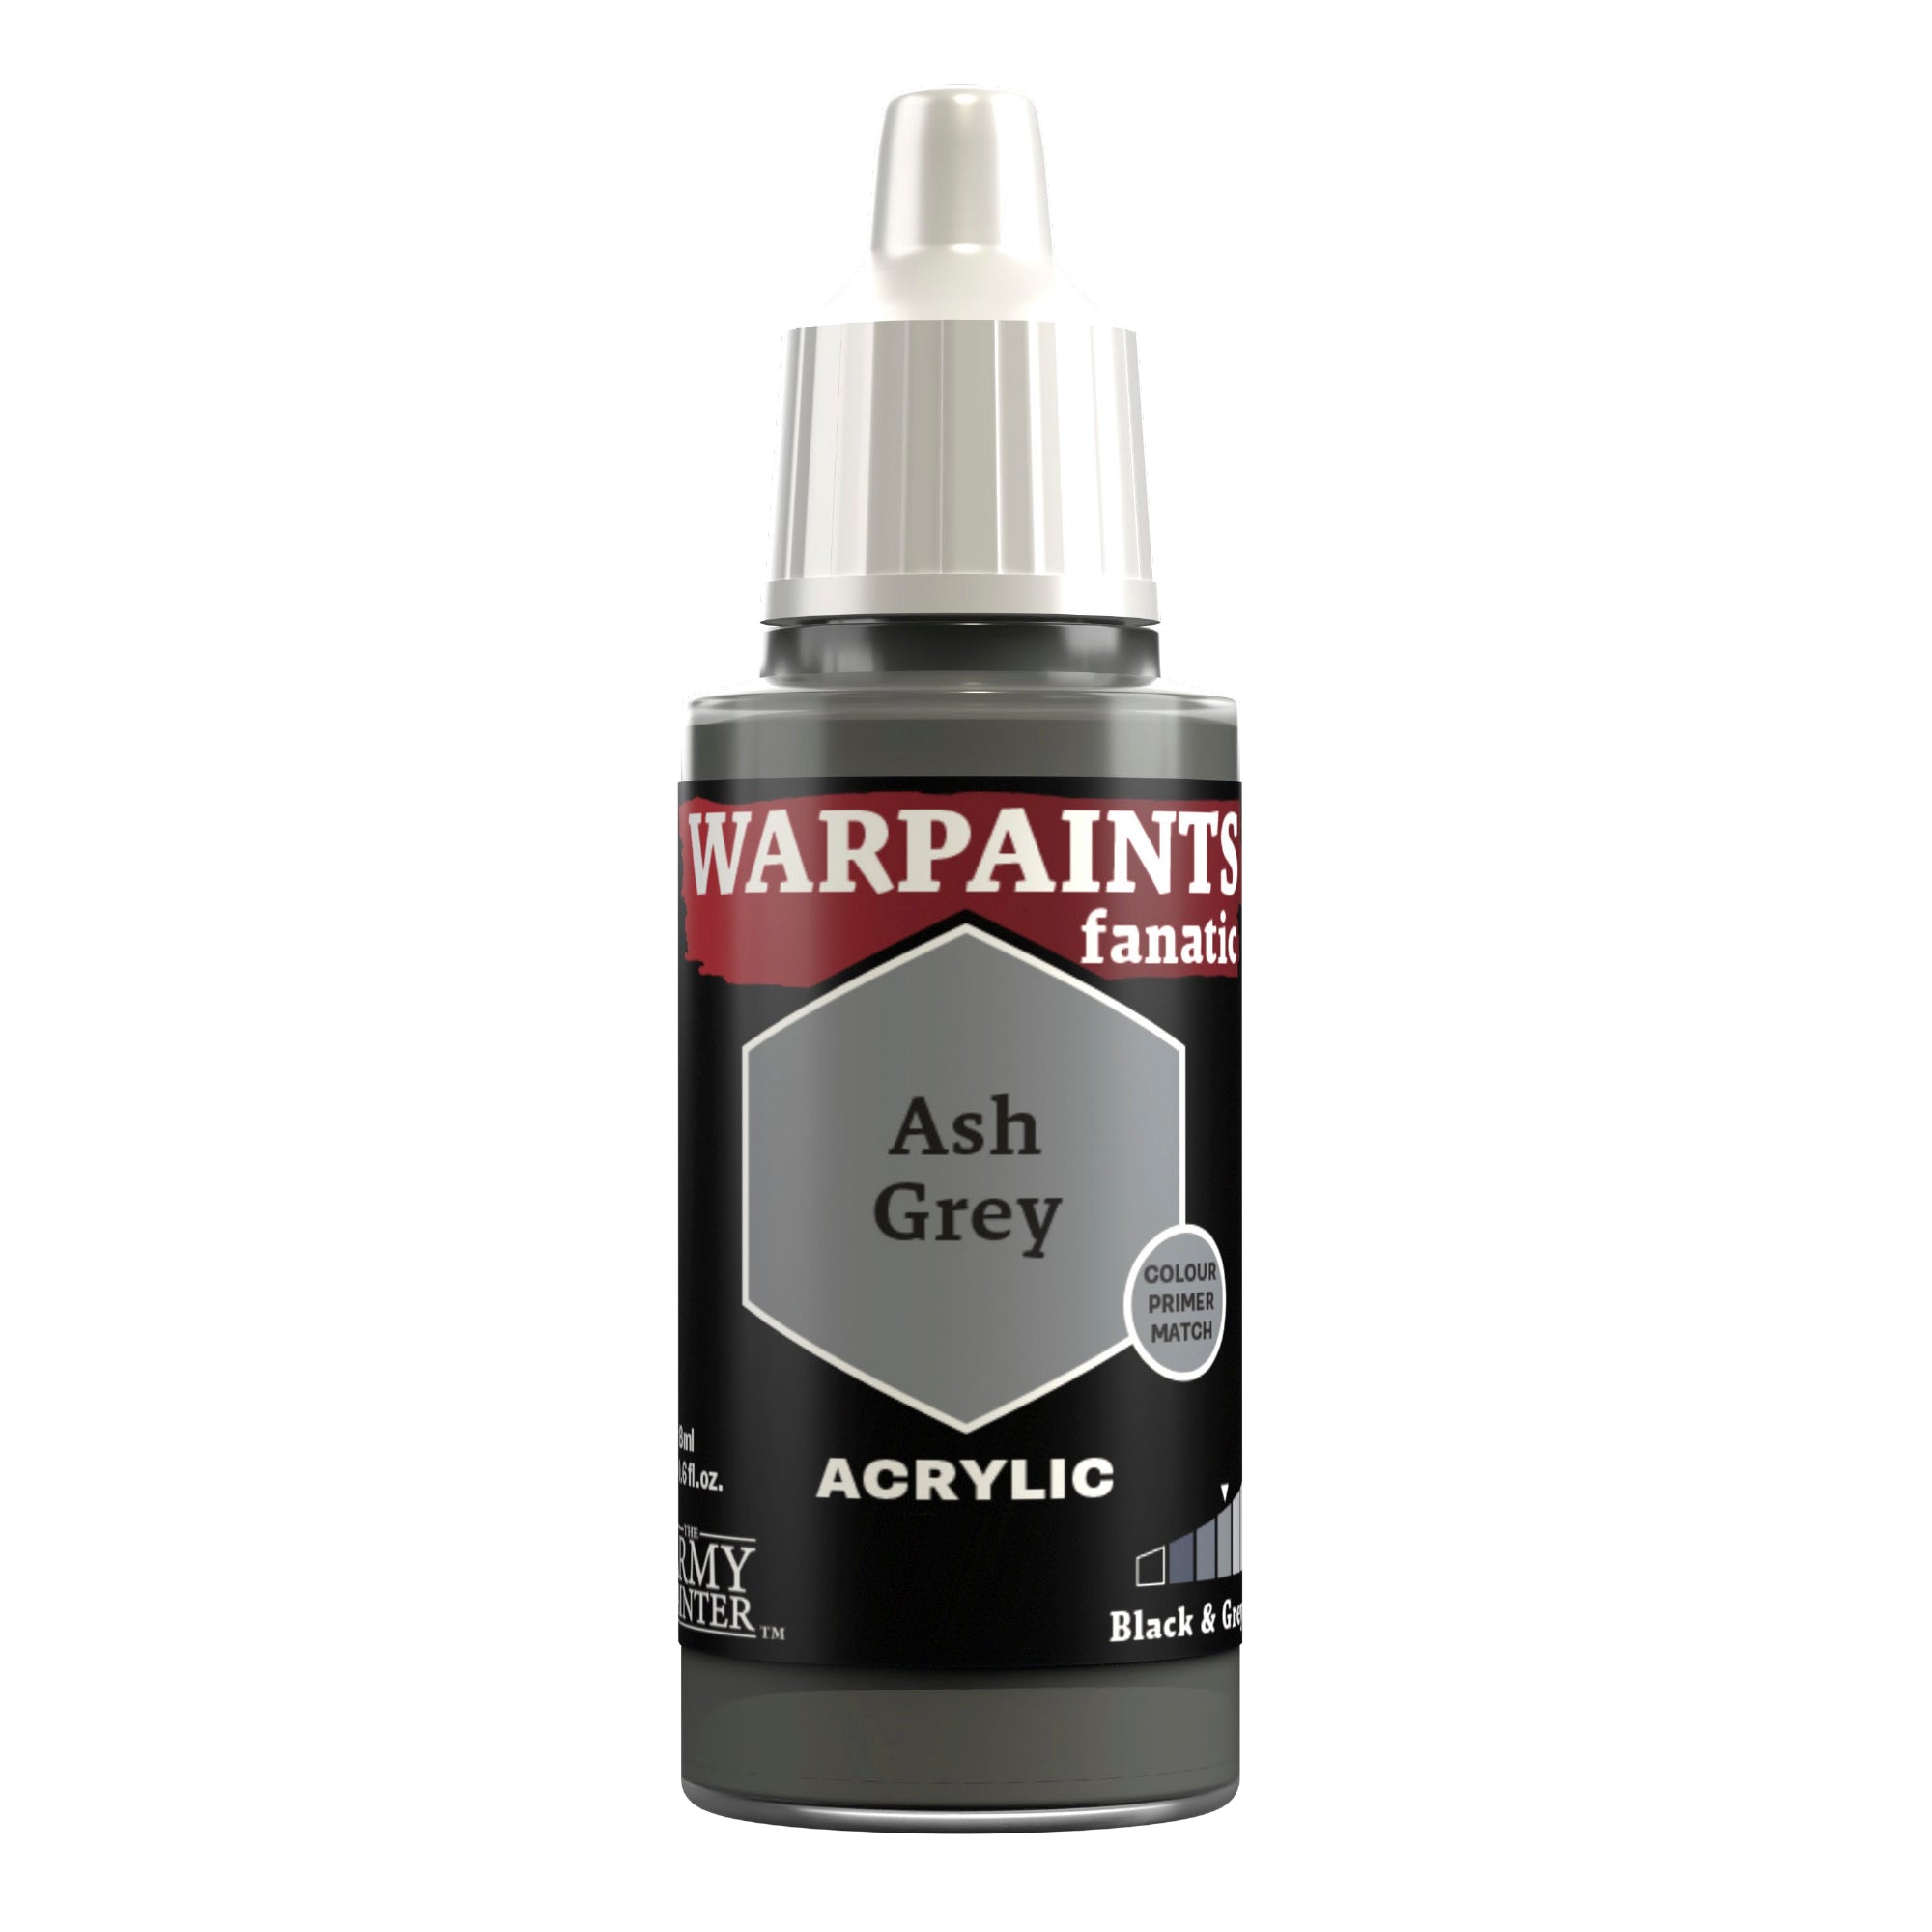
Apply a final specular highlight of Warpaints Fanatic Ash Grey to the most prominent points on the chainsword and chapter symbol.

Banner

The Face and Hair

Space Wolf Face and Hair Step 1

Step 1

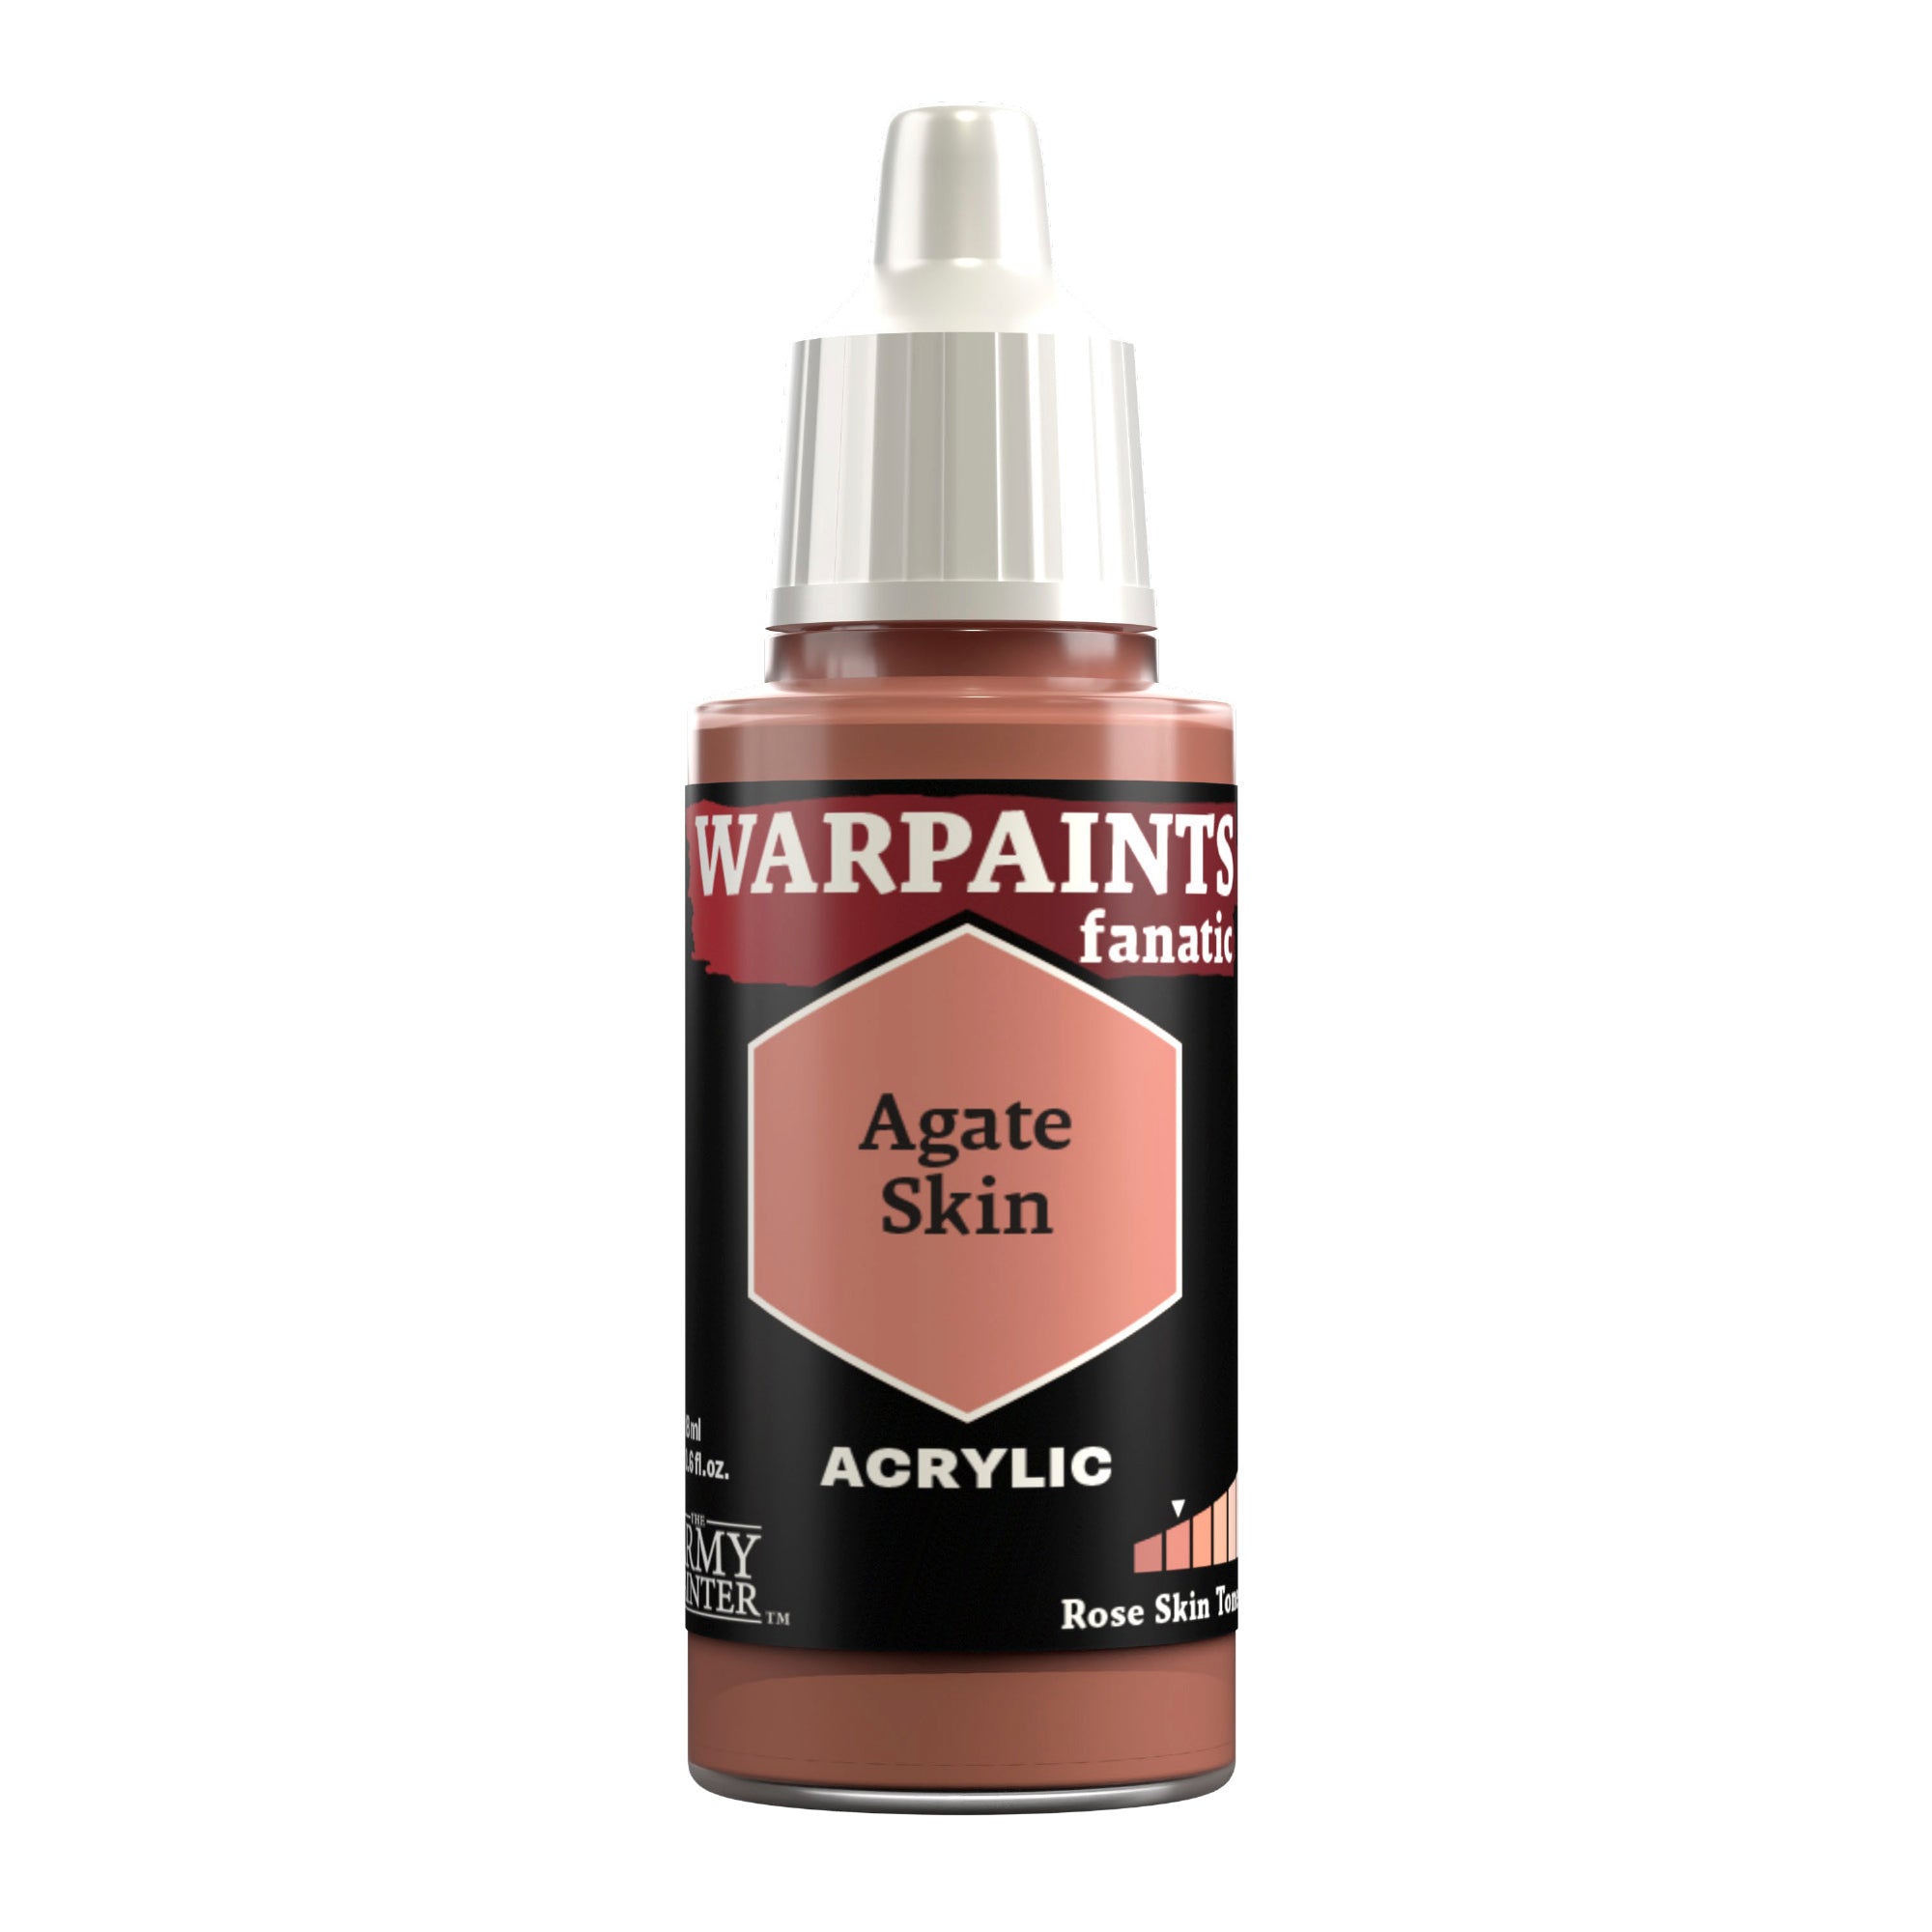
Basecoat the face with Warpaints Fanatic Agate Skin.

Space Wolf Face and Hair Step 2

Step 2

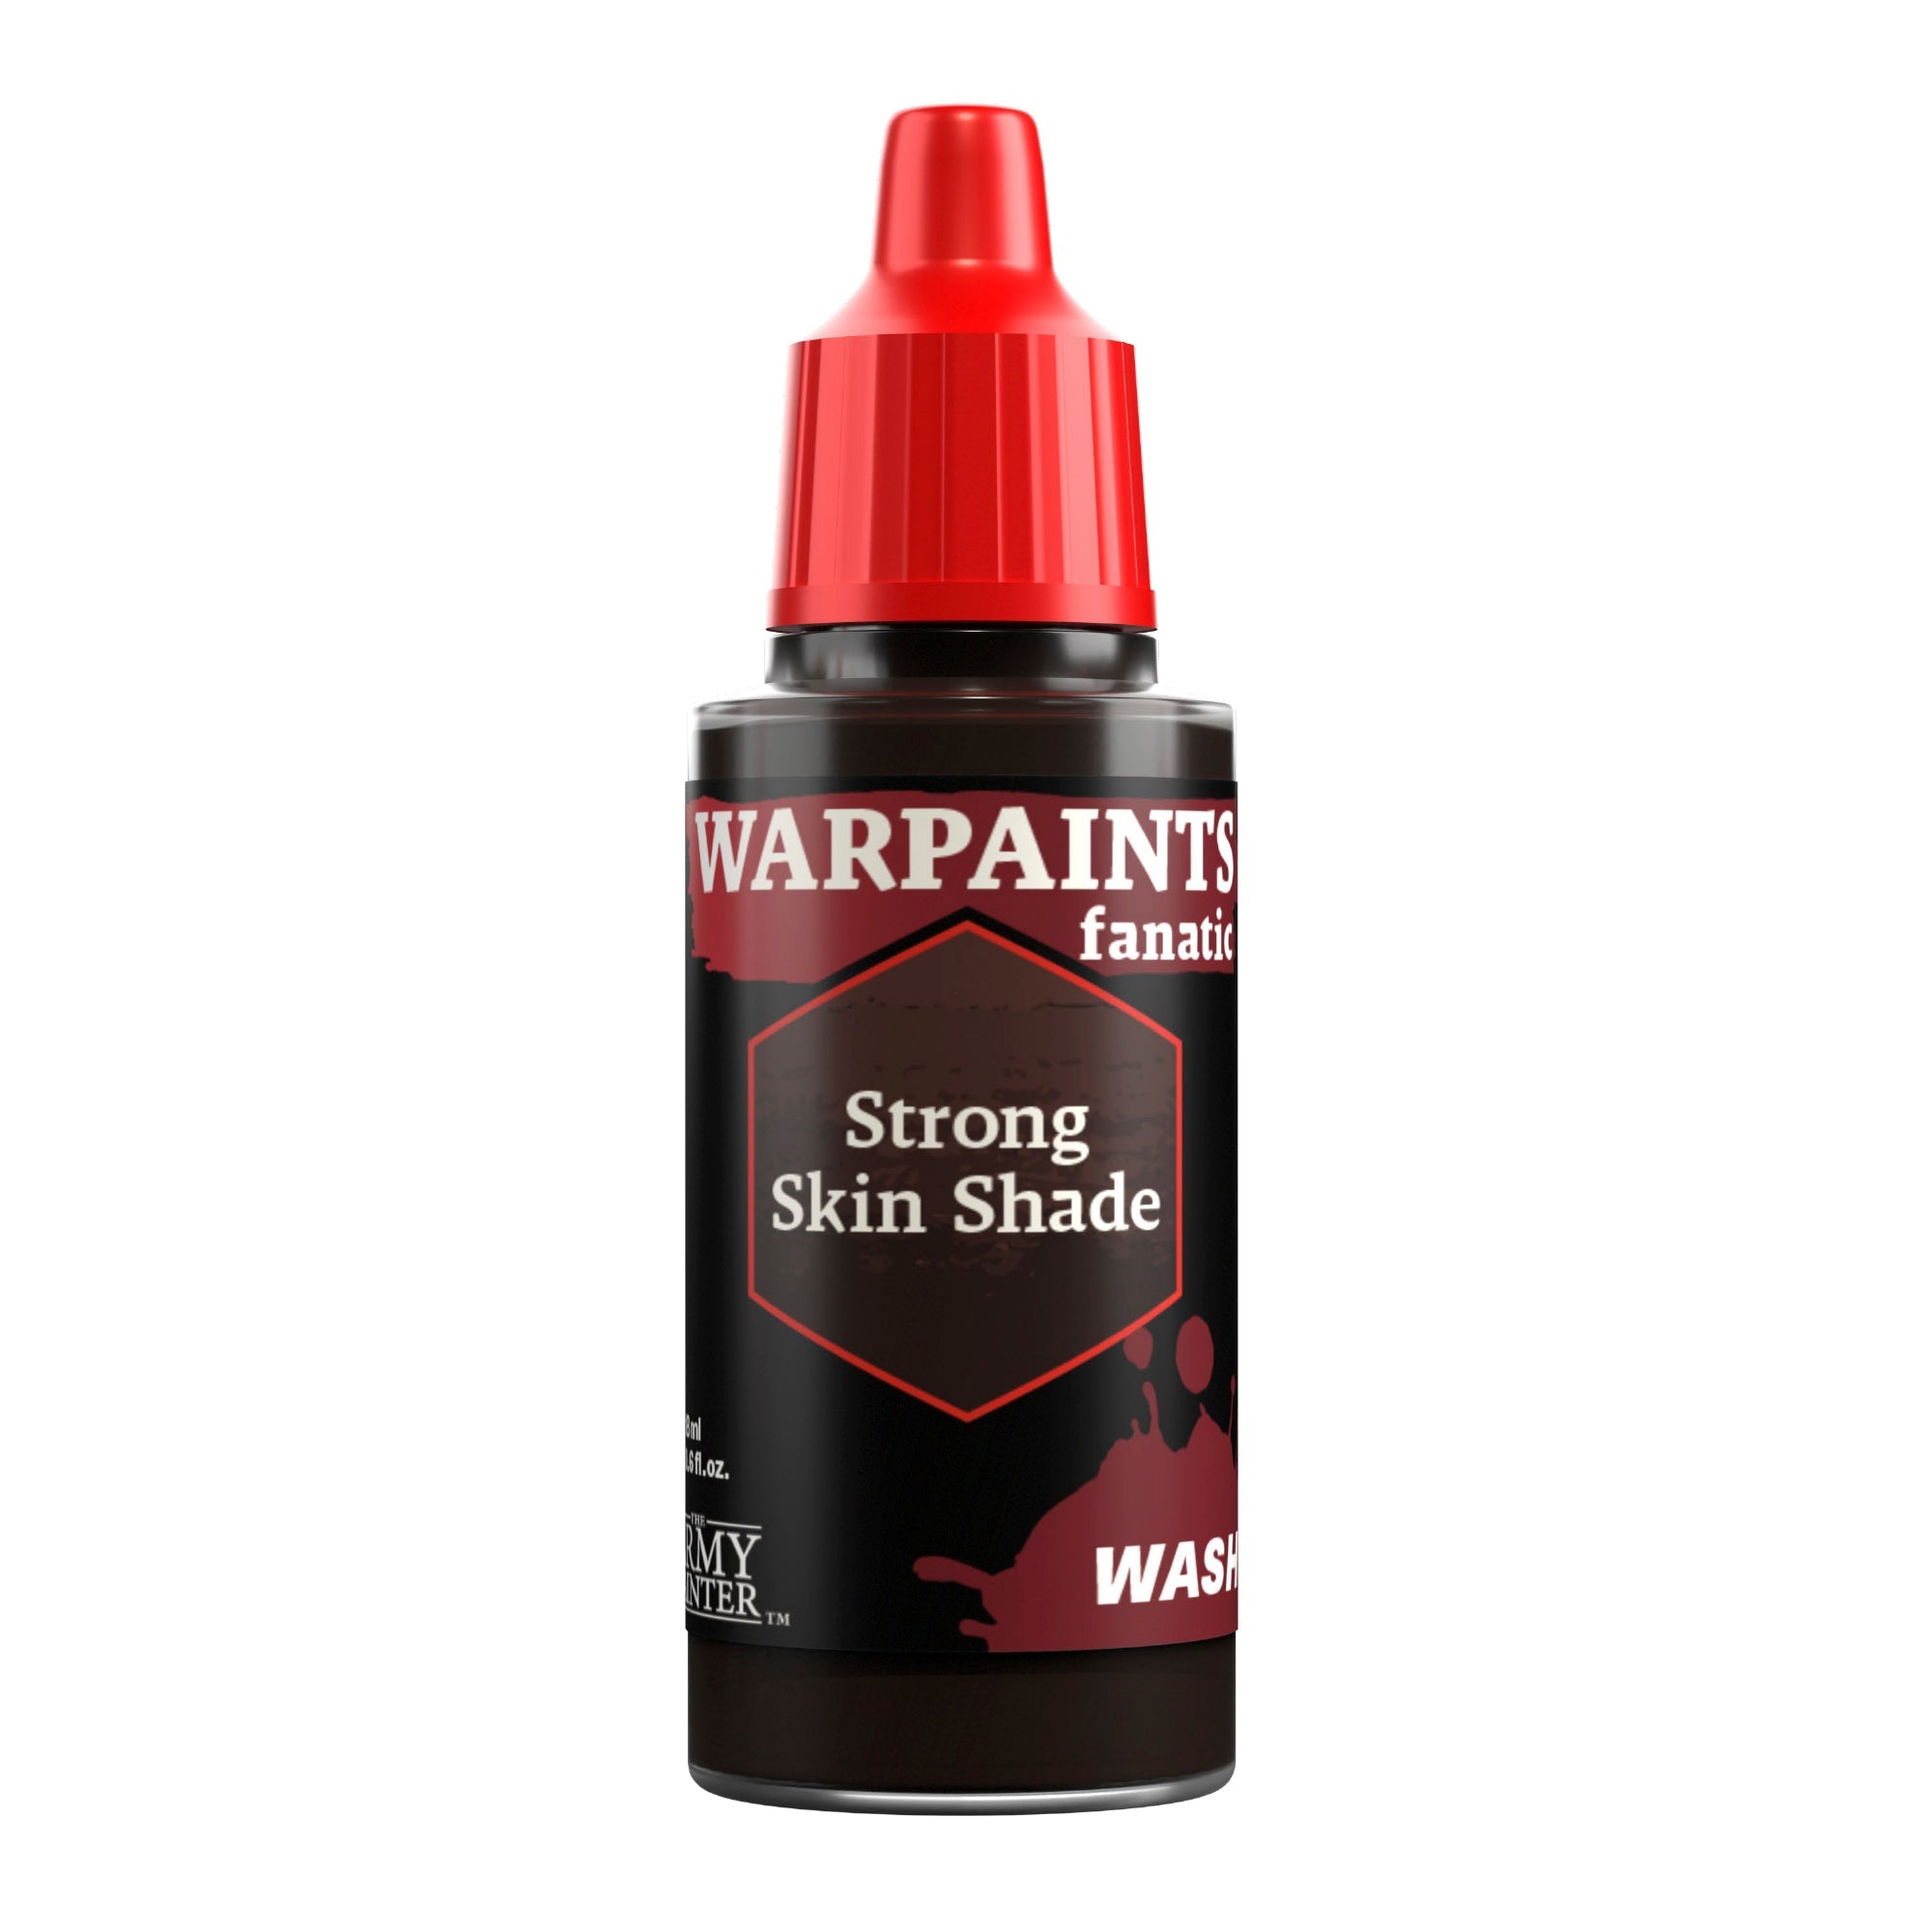
Next, shade this with a layer of Warpaints Fanatic Wash Strong Skin Shade.

Space Wolf Face and Hair Step 3

Step 3

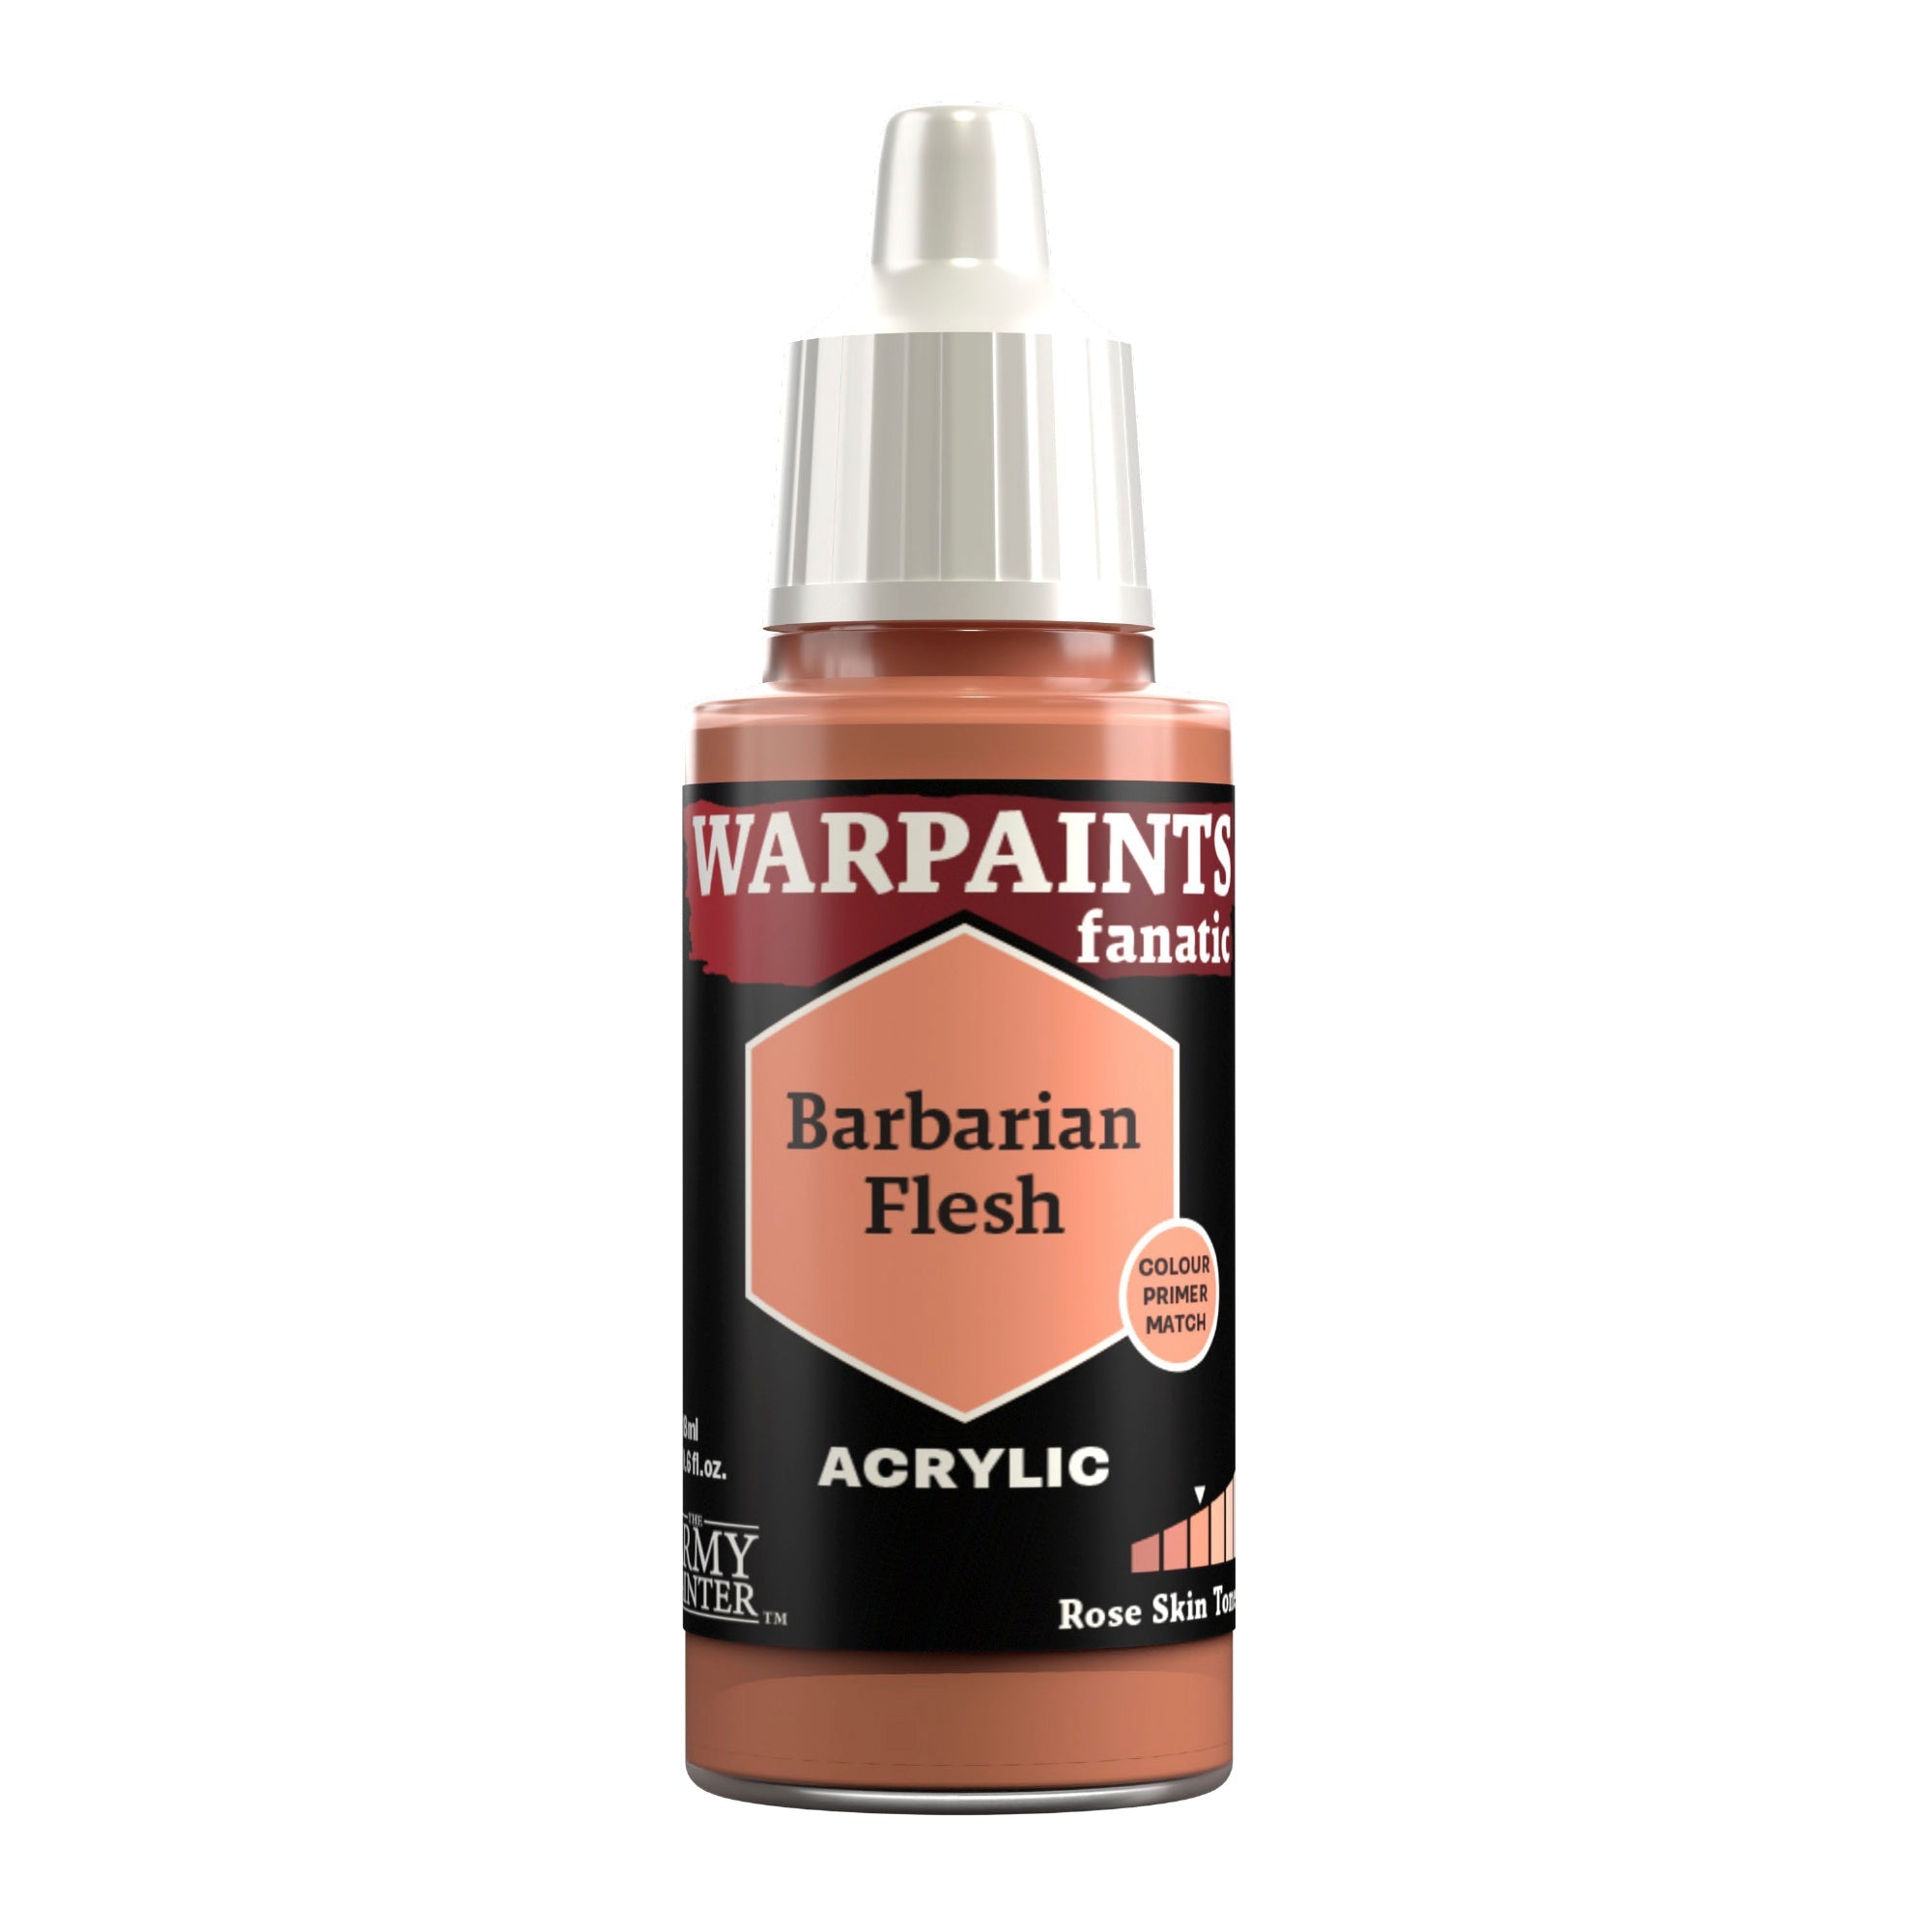
Follow this with a layer of Warpaints Fanatic Barbarian Flesh, leaving the previous step visible in the recesses.

Space Wolf Face and Hair Step 4

Step 4

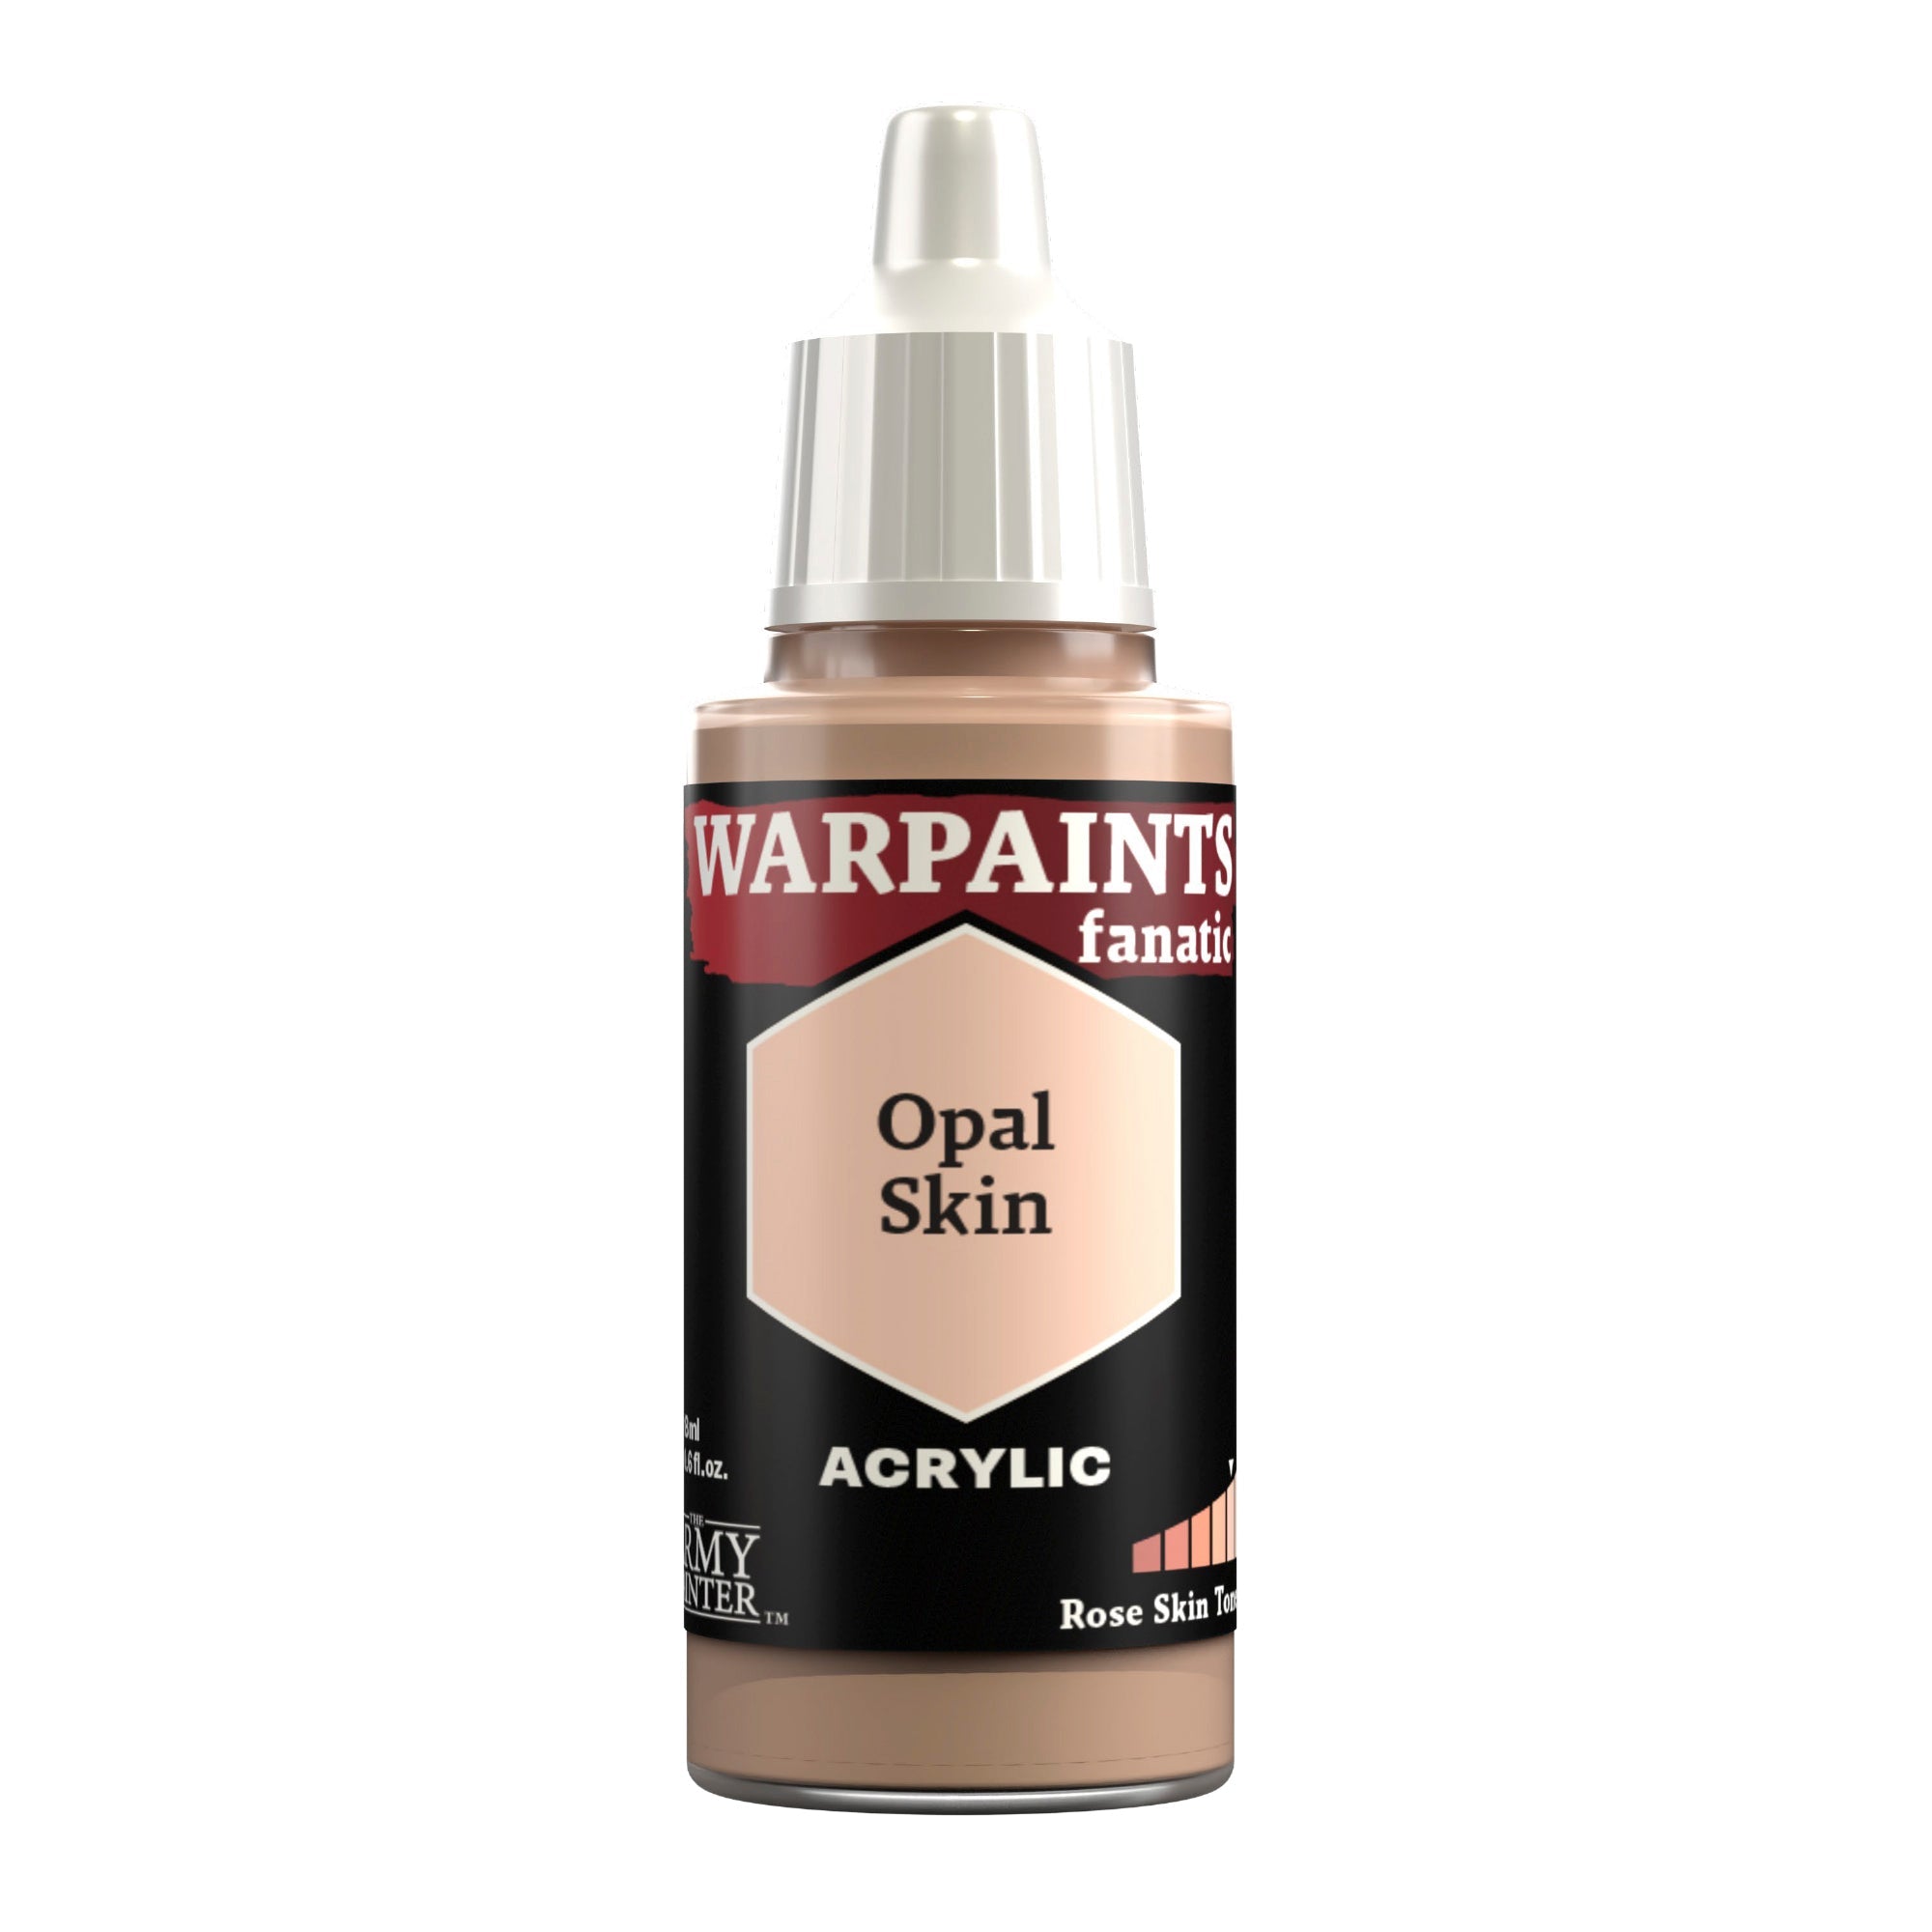
Apply a final highlight of Warpaints Fanatic Opal Skin to the most prominent areas, such as the nose and cheeks.

Space Wolf Face and Hair Step 5

Step 5

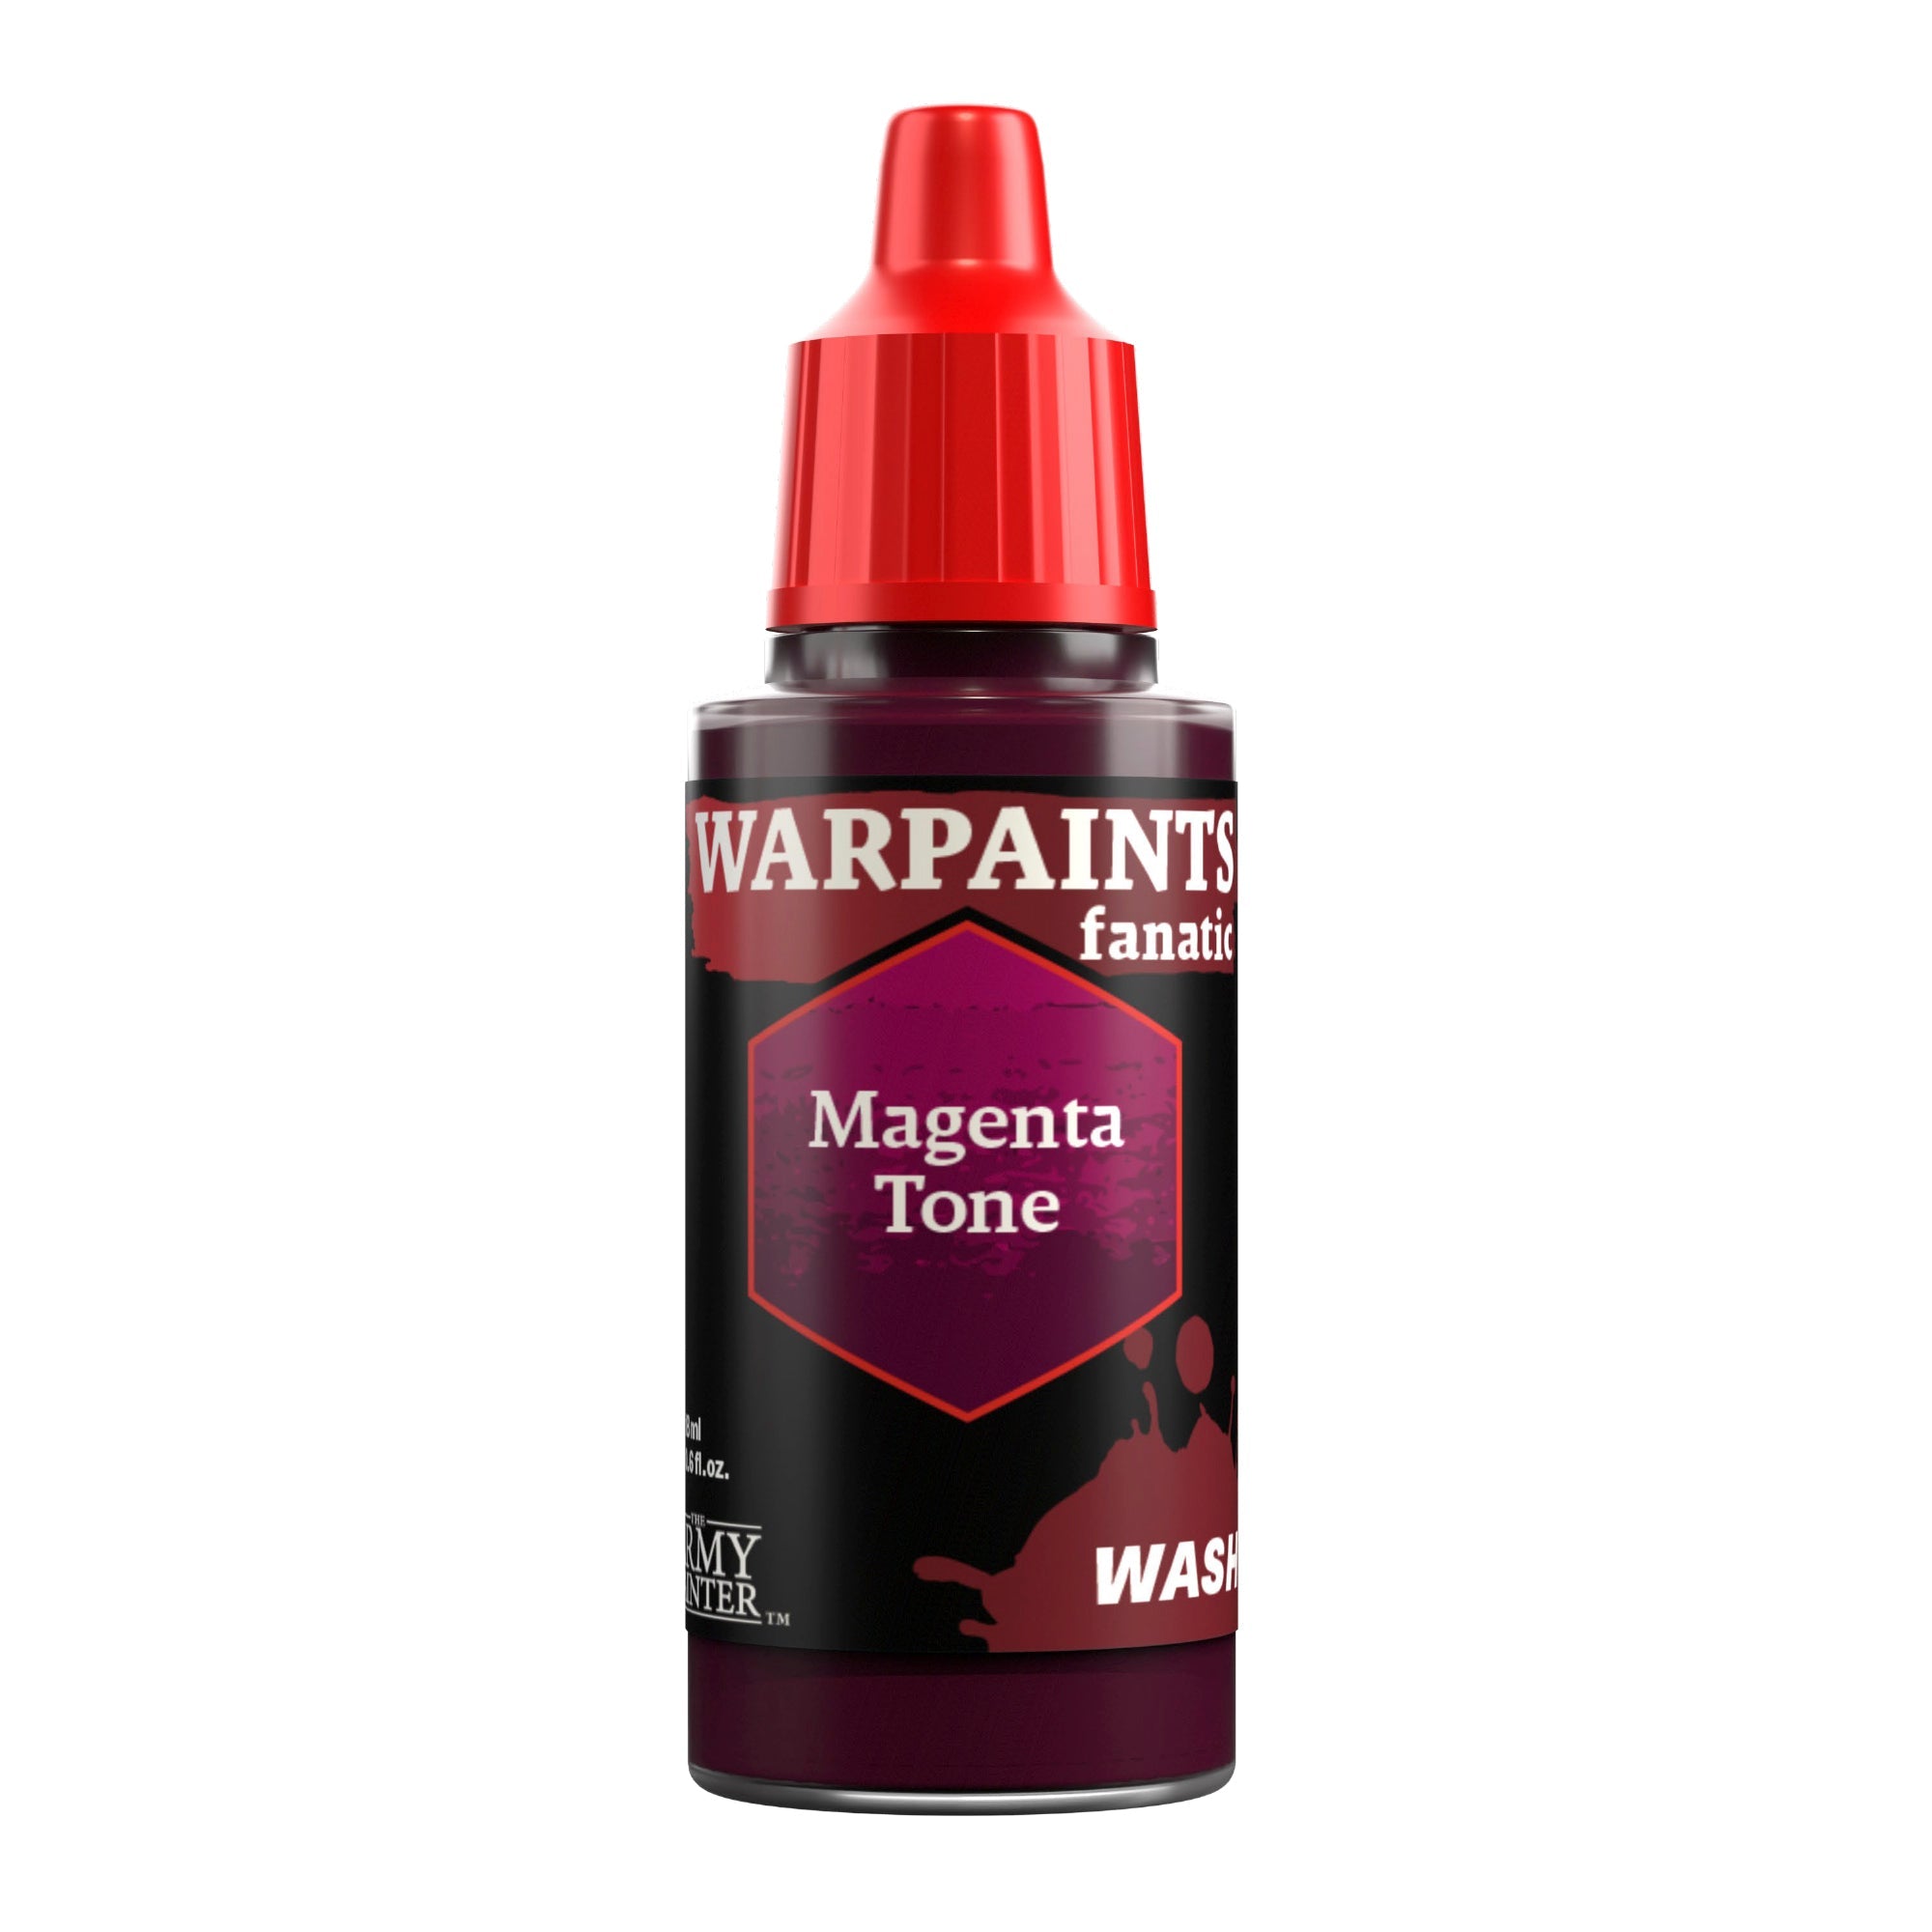
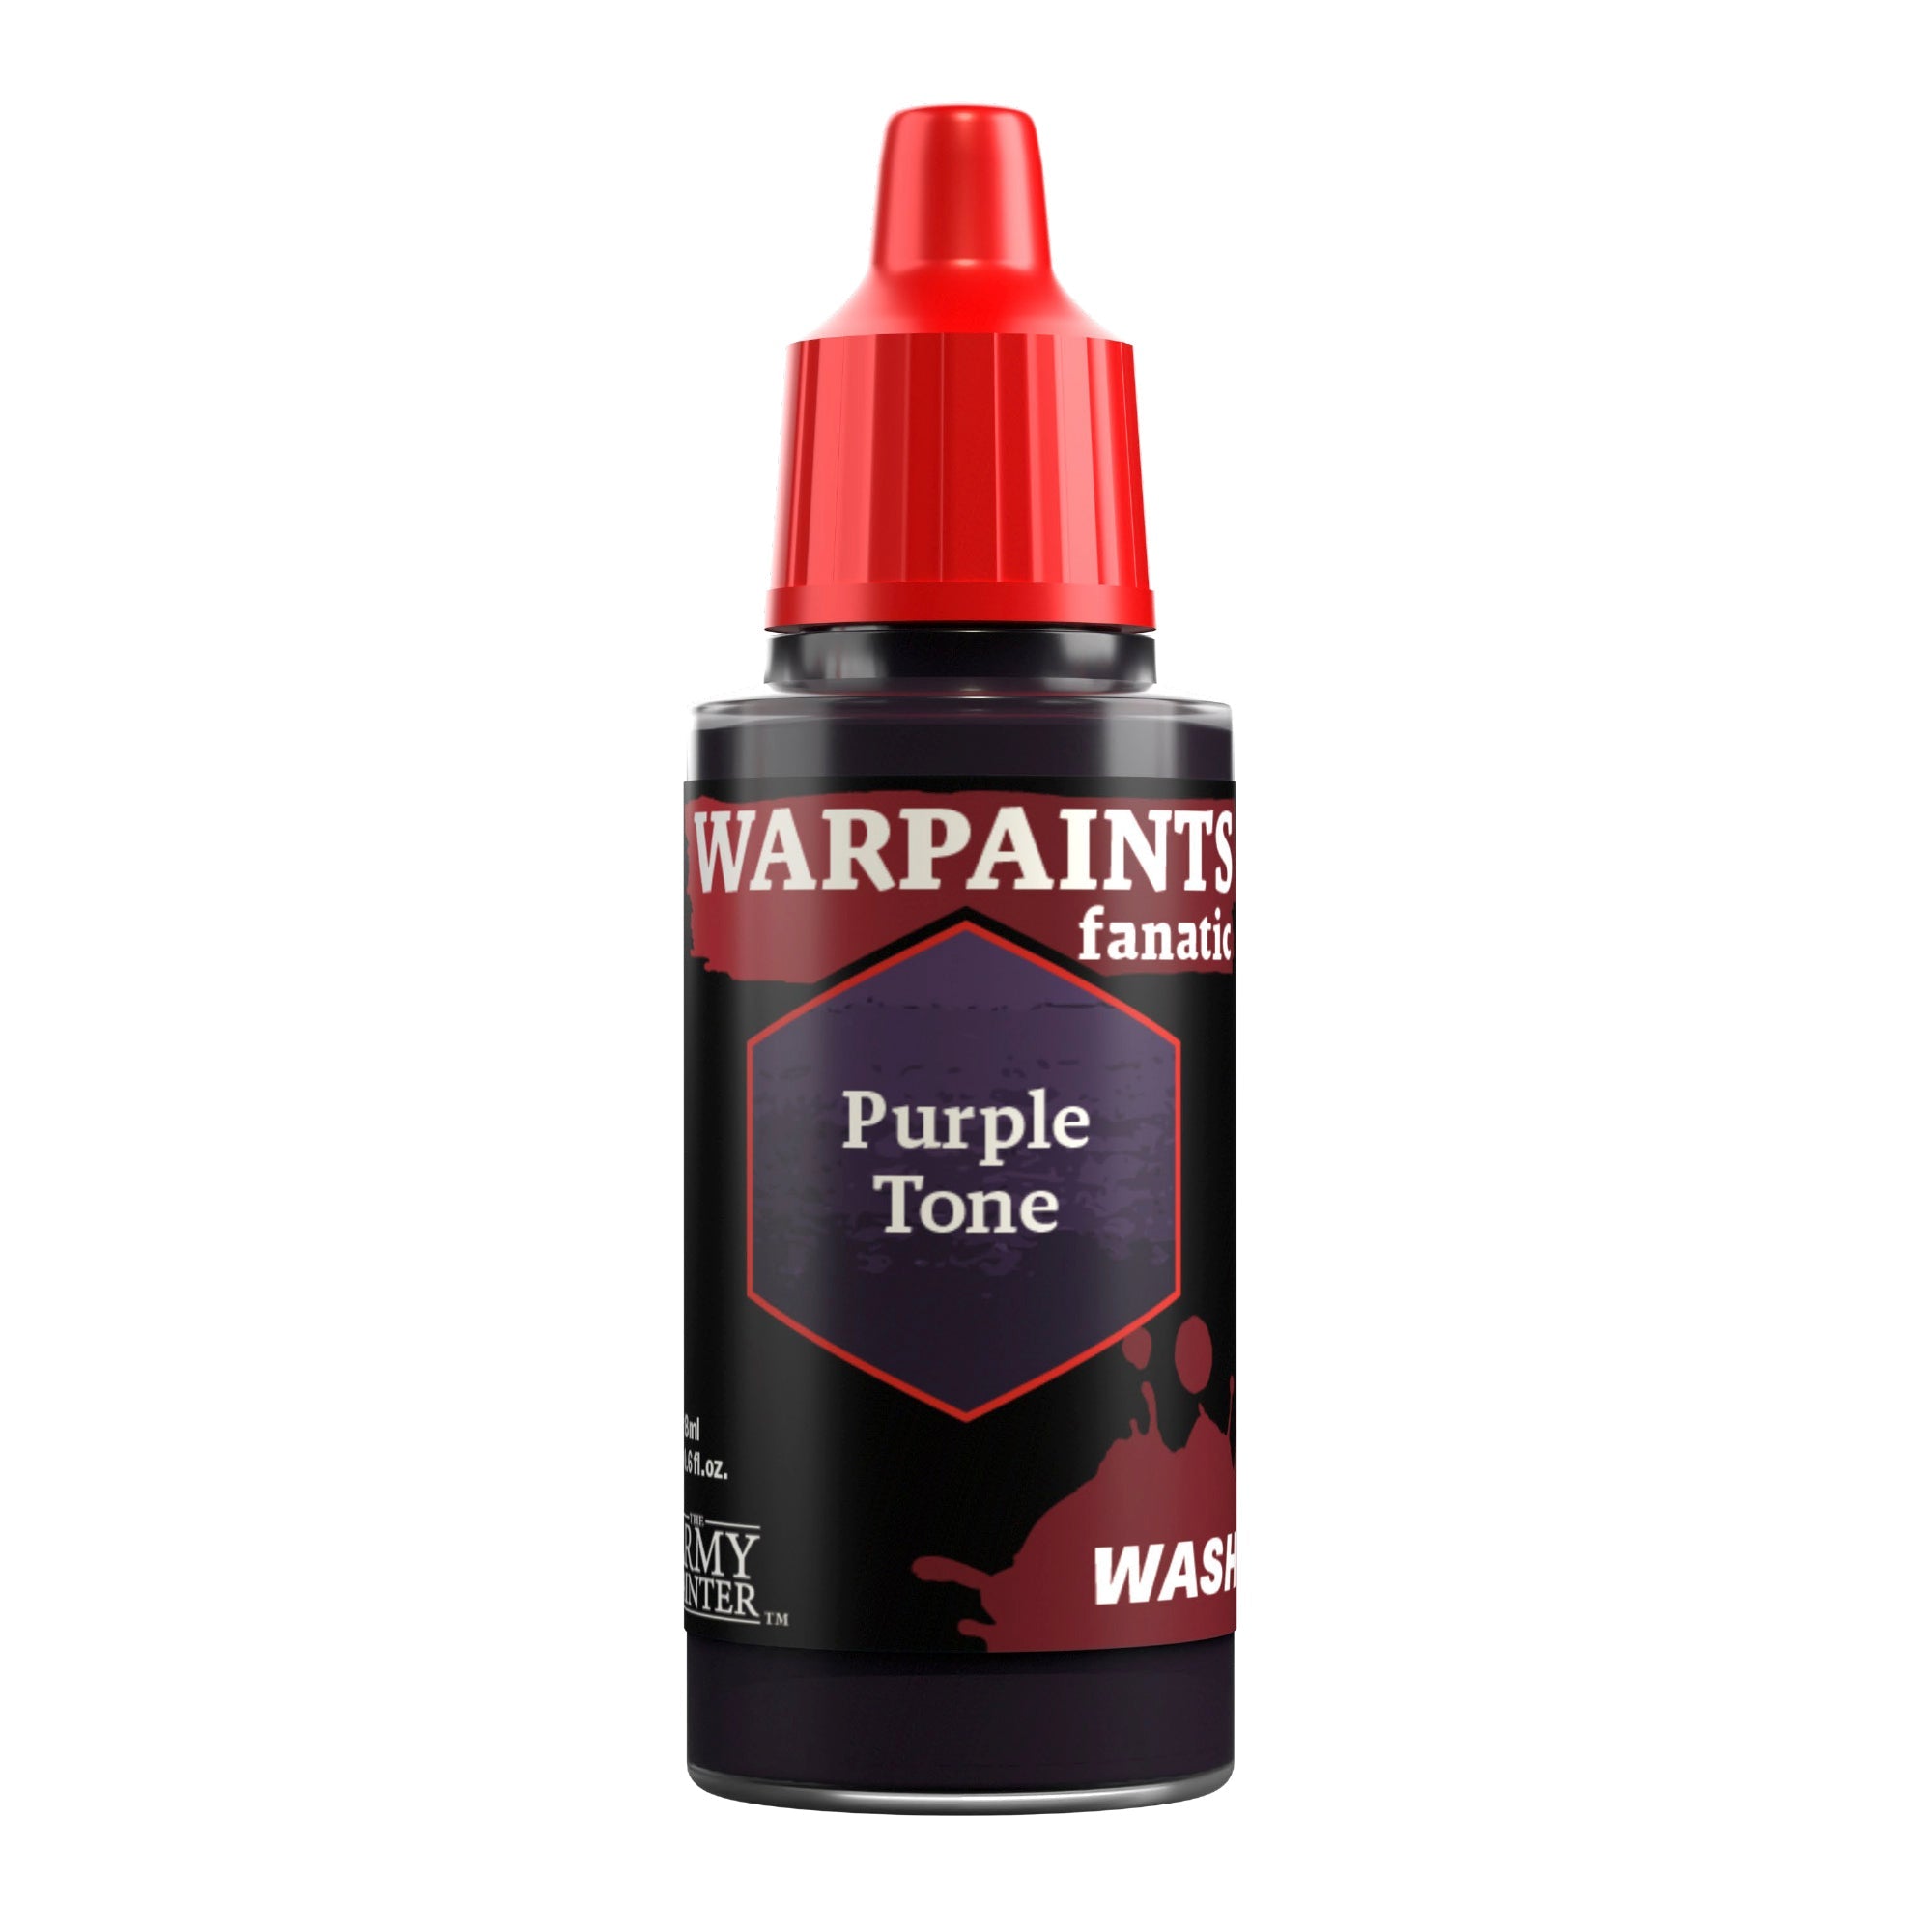
To bring a little more life into the model, use Warpaints Fanatic Wash Magenta Tone as a glaze on the bottom lip and part of the nose, and Warpaints Fanatic Wash Purple Tone on the eyes. Touch up with Warpaints Fanatic Opal Skin as needed. For extra detail you can carefully paint in the eyes with Warpaints Fanatic Matt White before dotting them with Warpaints Fanatic Matt Black.

Space Wolf Face and Hair Step 6

Step 6

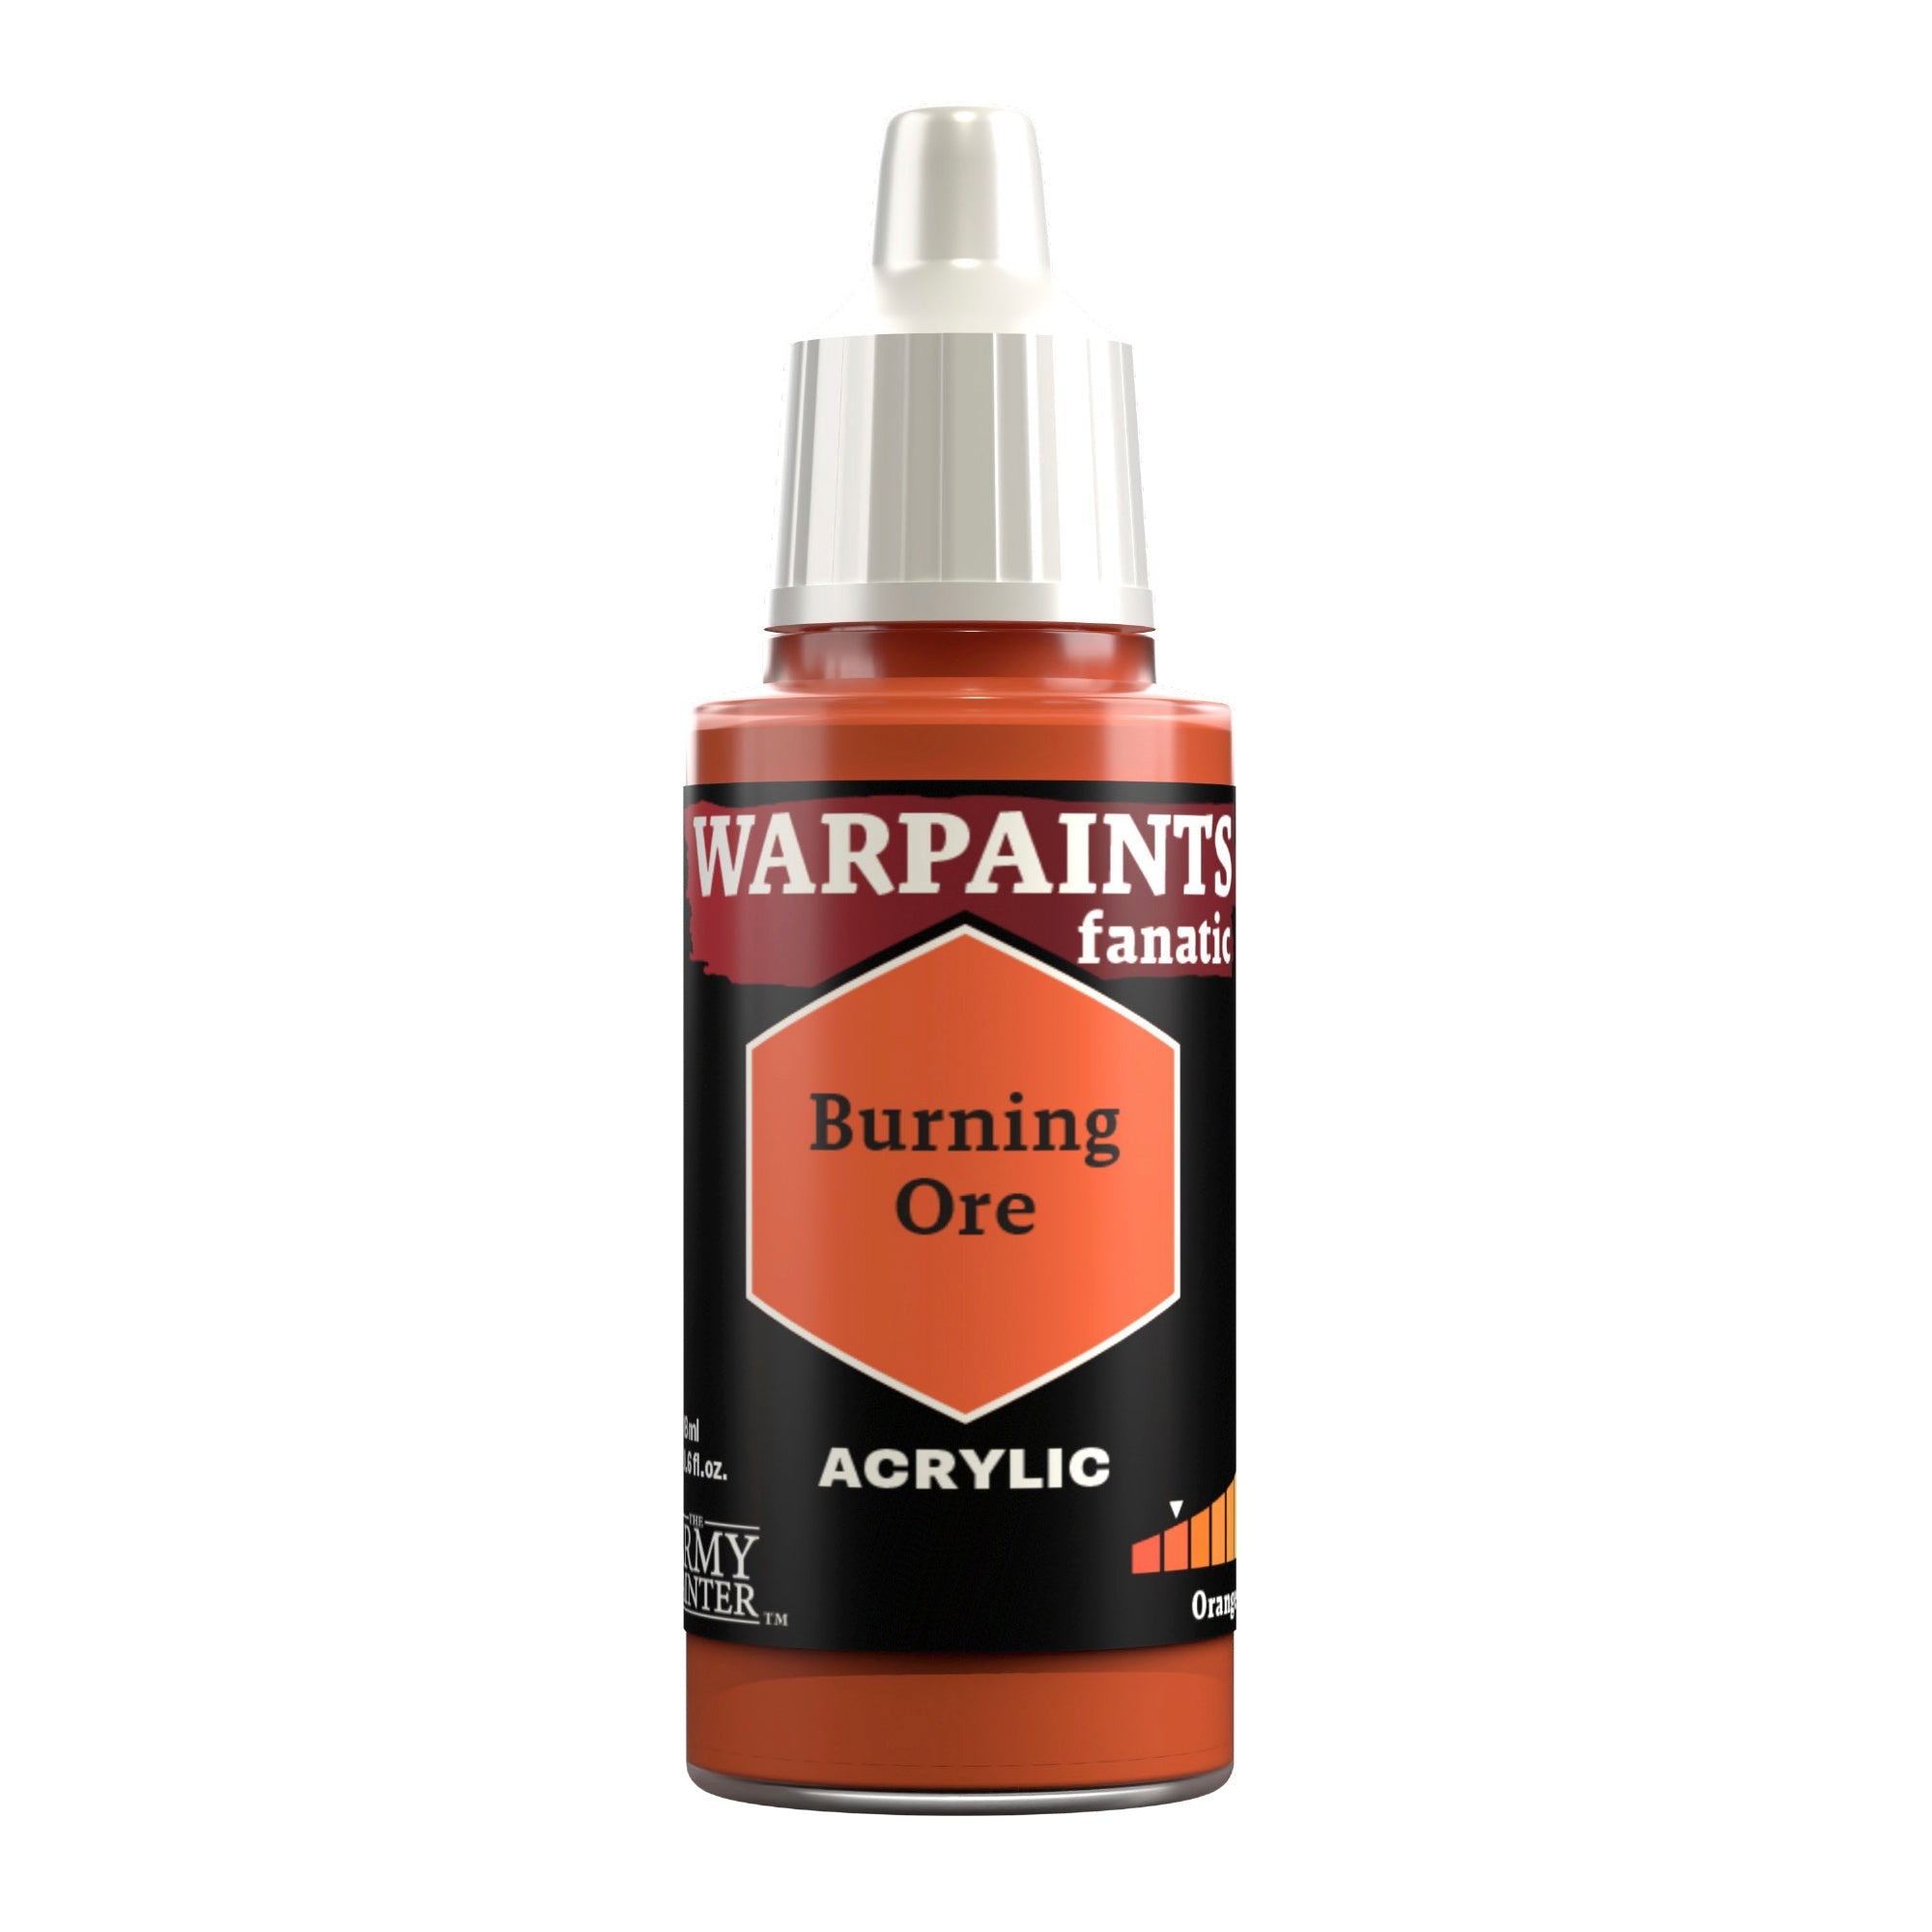
Basecoat the hair, eyebrows, and beard with Warpaints Fanatic Burning Ore for a vibrant orange look.

Space Wolf Face and Hair Step 7

Step 7

Shade these areas with Warpaints Fanatic Wash Orange Tone.

Space Wolf Face and Hair Step 8

Step 8

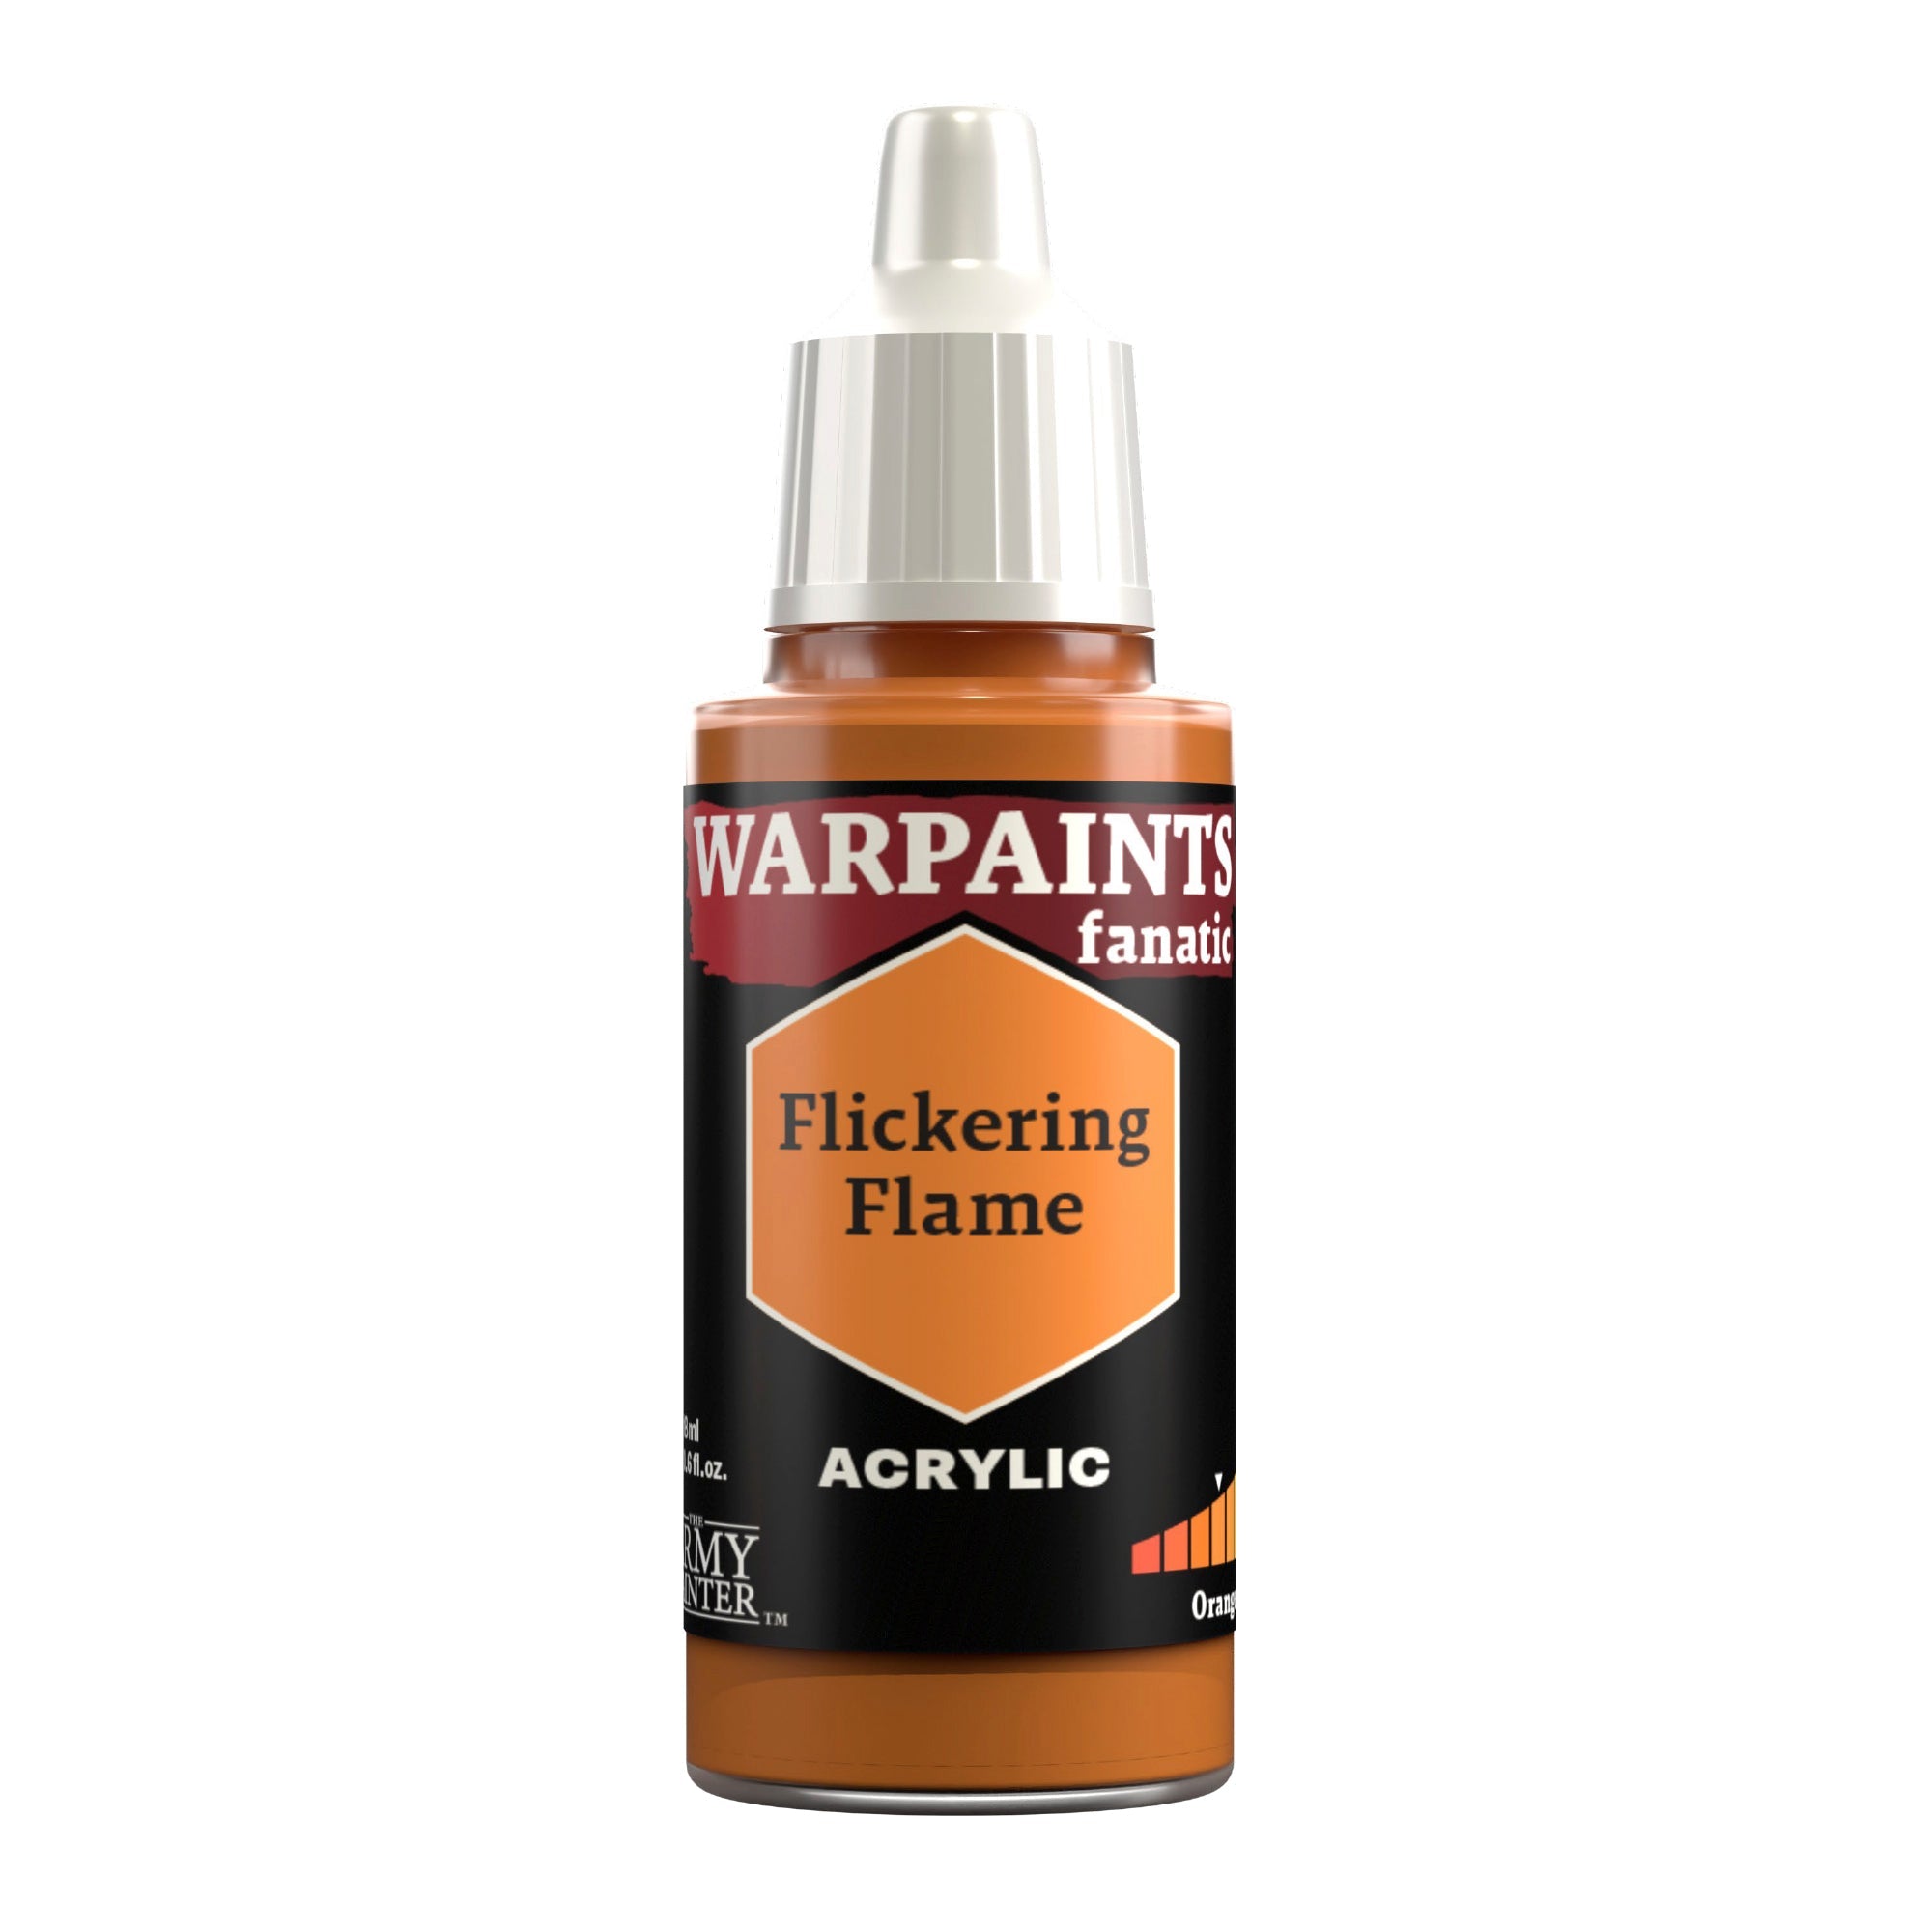
Highlight the hair with Warpaints Fanatic Flickering Flame, trying to follow the sculpted-on texture.

Space Wolf Face and Hair Step 9

Step 9

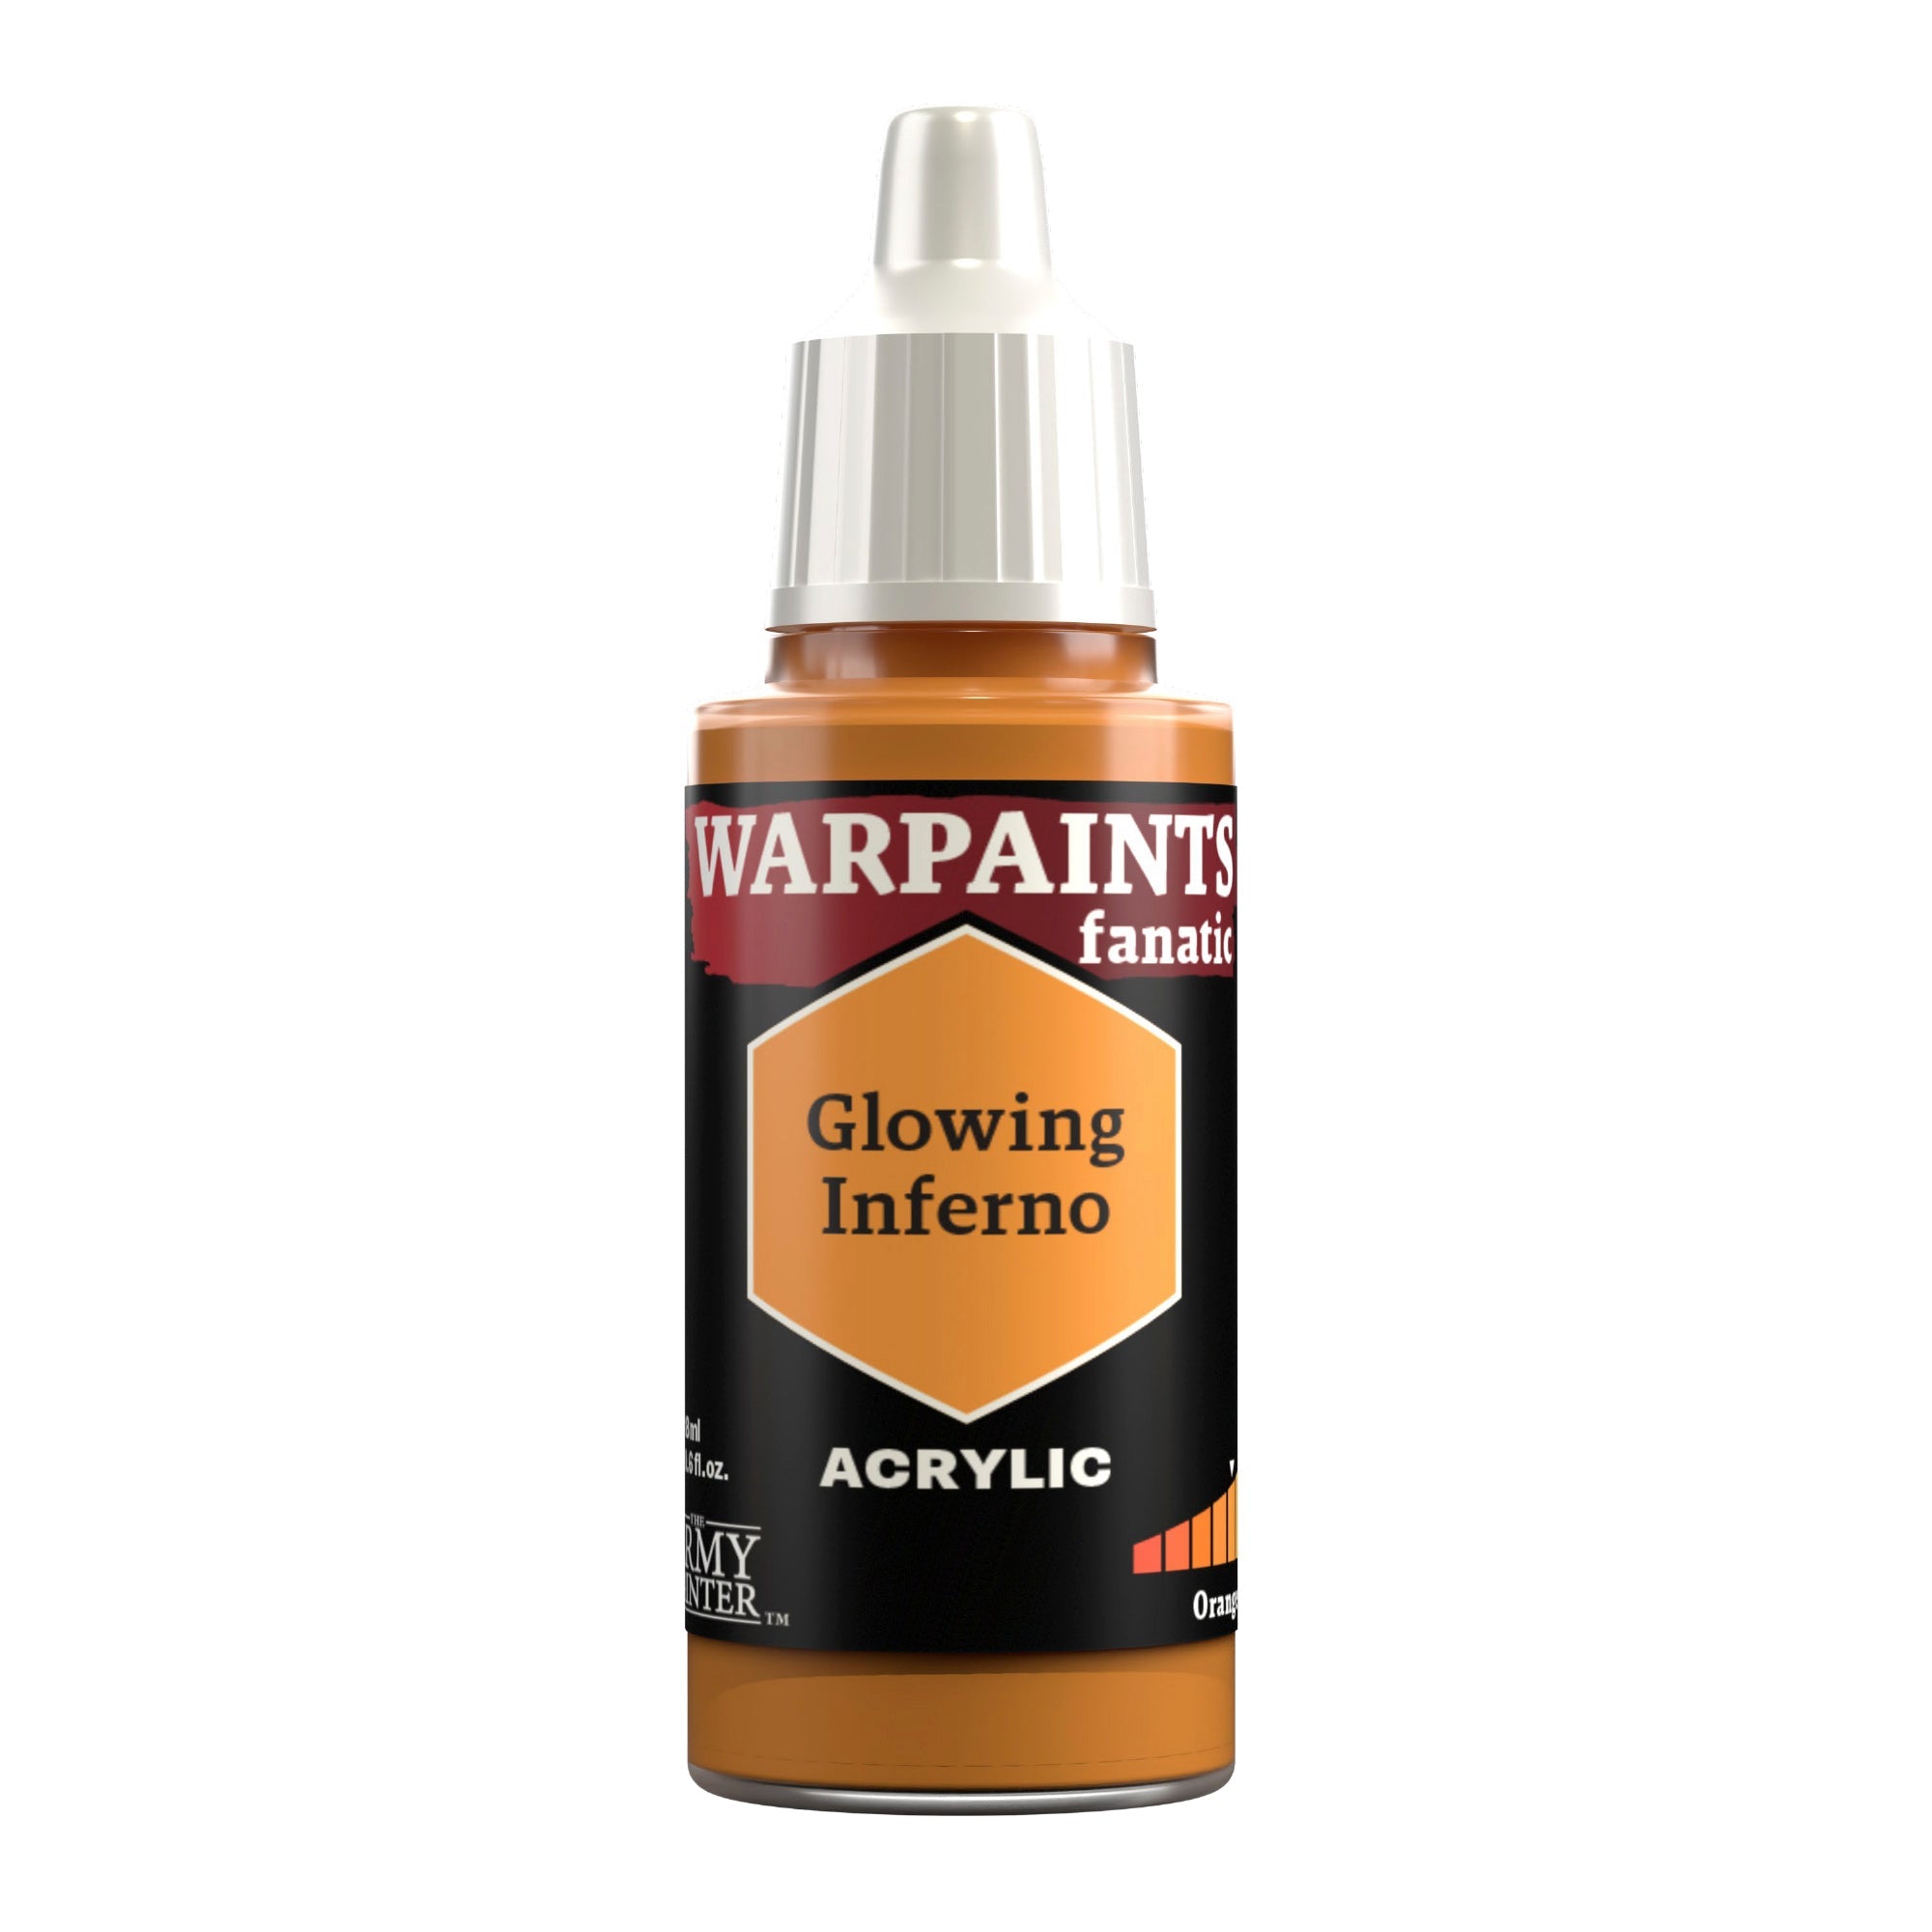
Finally, pick out the most prominent areas of the hair with Warpaints Fanatic Glowing Inferno.

Banner

The Gold

Space Wolf Gold Step 1

Step 1

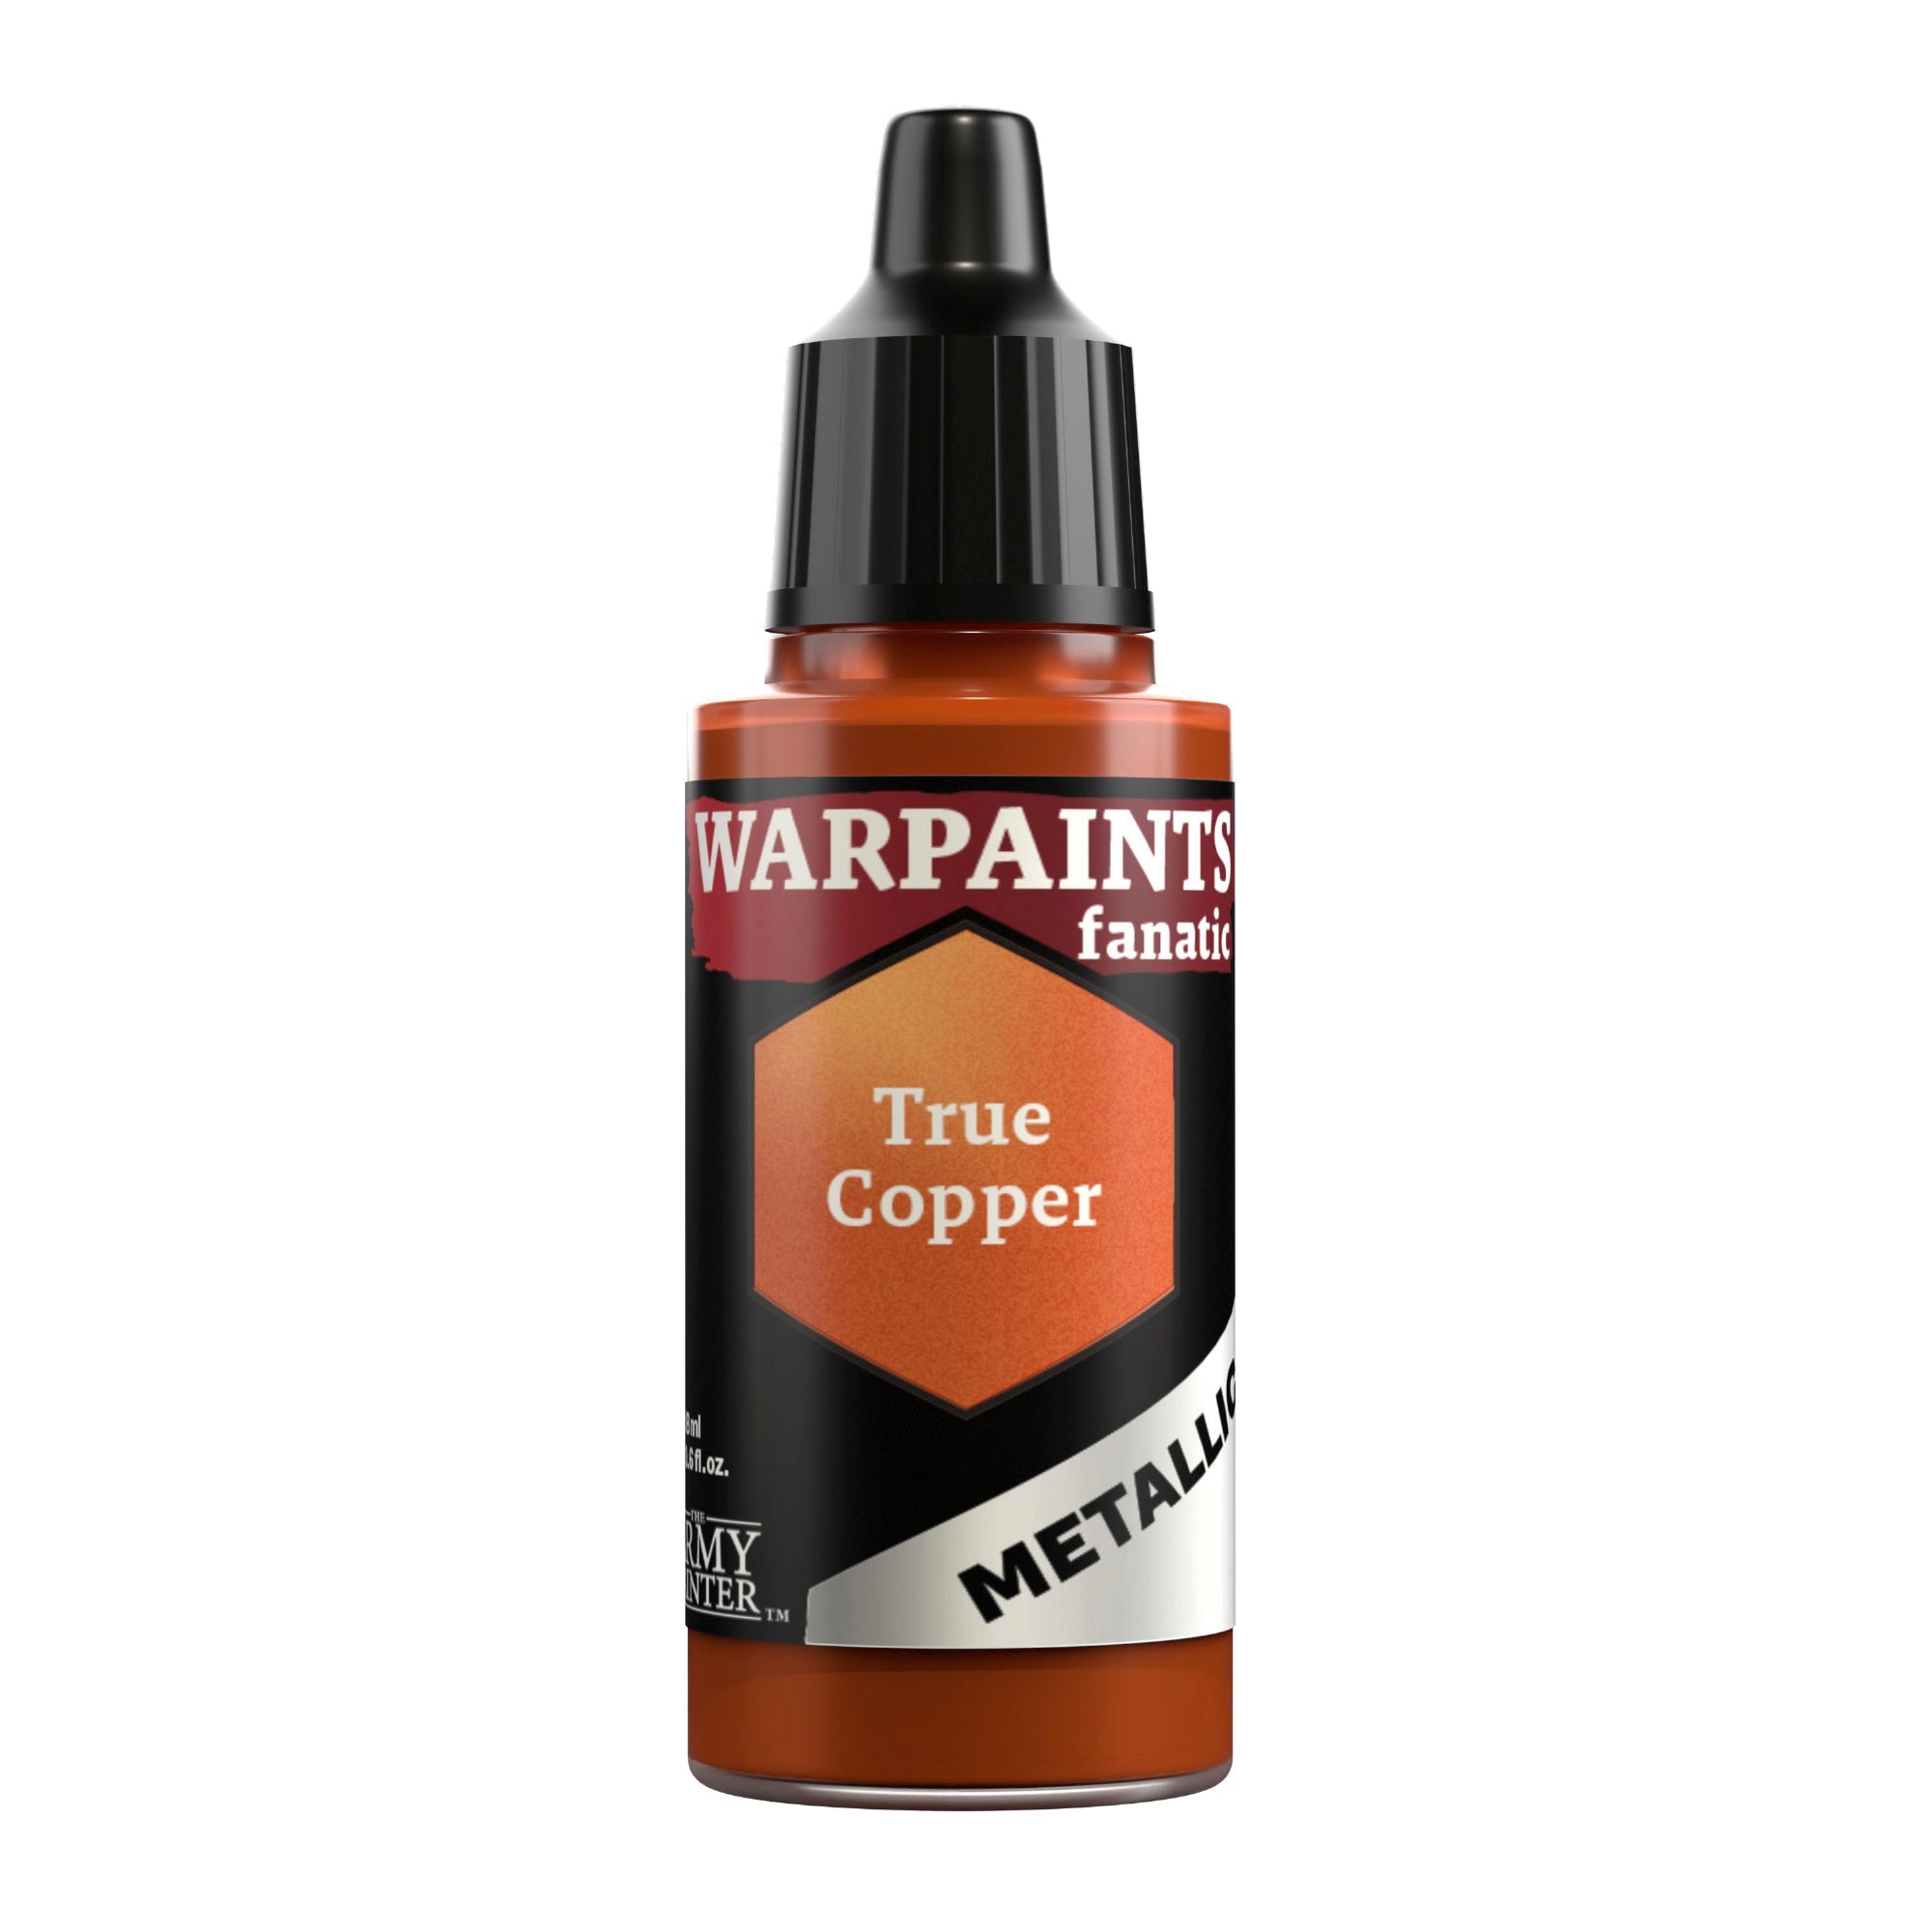
Basecoat all the gold areas with Warpaints Fanatic True Copper. On this model, that’s just the Imperialis on his chest.

Space Wolf Gold Step 2

Step 2

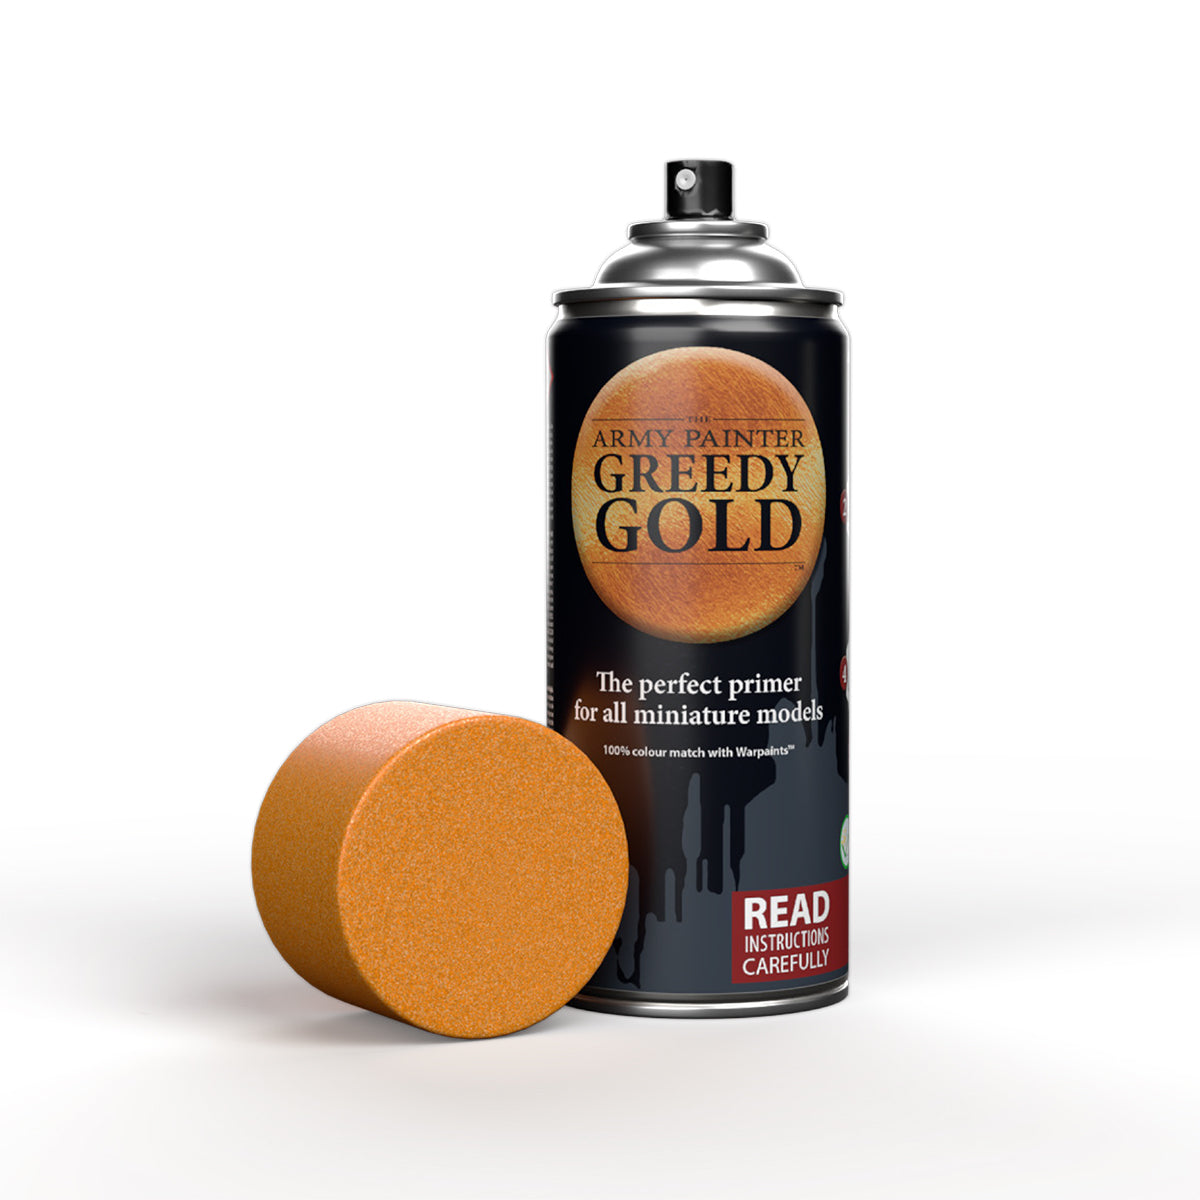
Next, layer this with Warpaints Fanatic Greedy Gold, leaving the previous layer visible in the recesses.

Space Wolf Gold Step 3

Step 3

Apply an all-over shade of Warpaints Fanatic Wash Strong Skin Shade to the gold.

Space Wolf Gold Step 4

Step 4

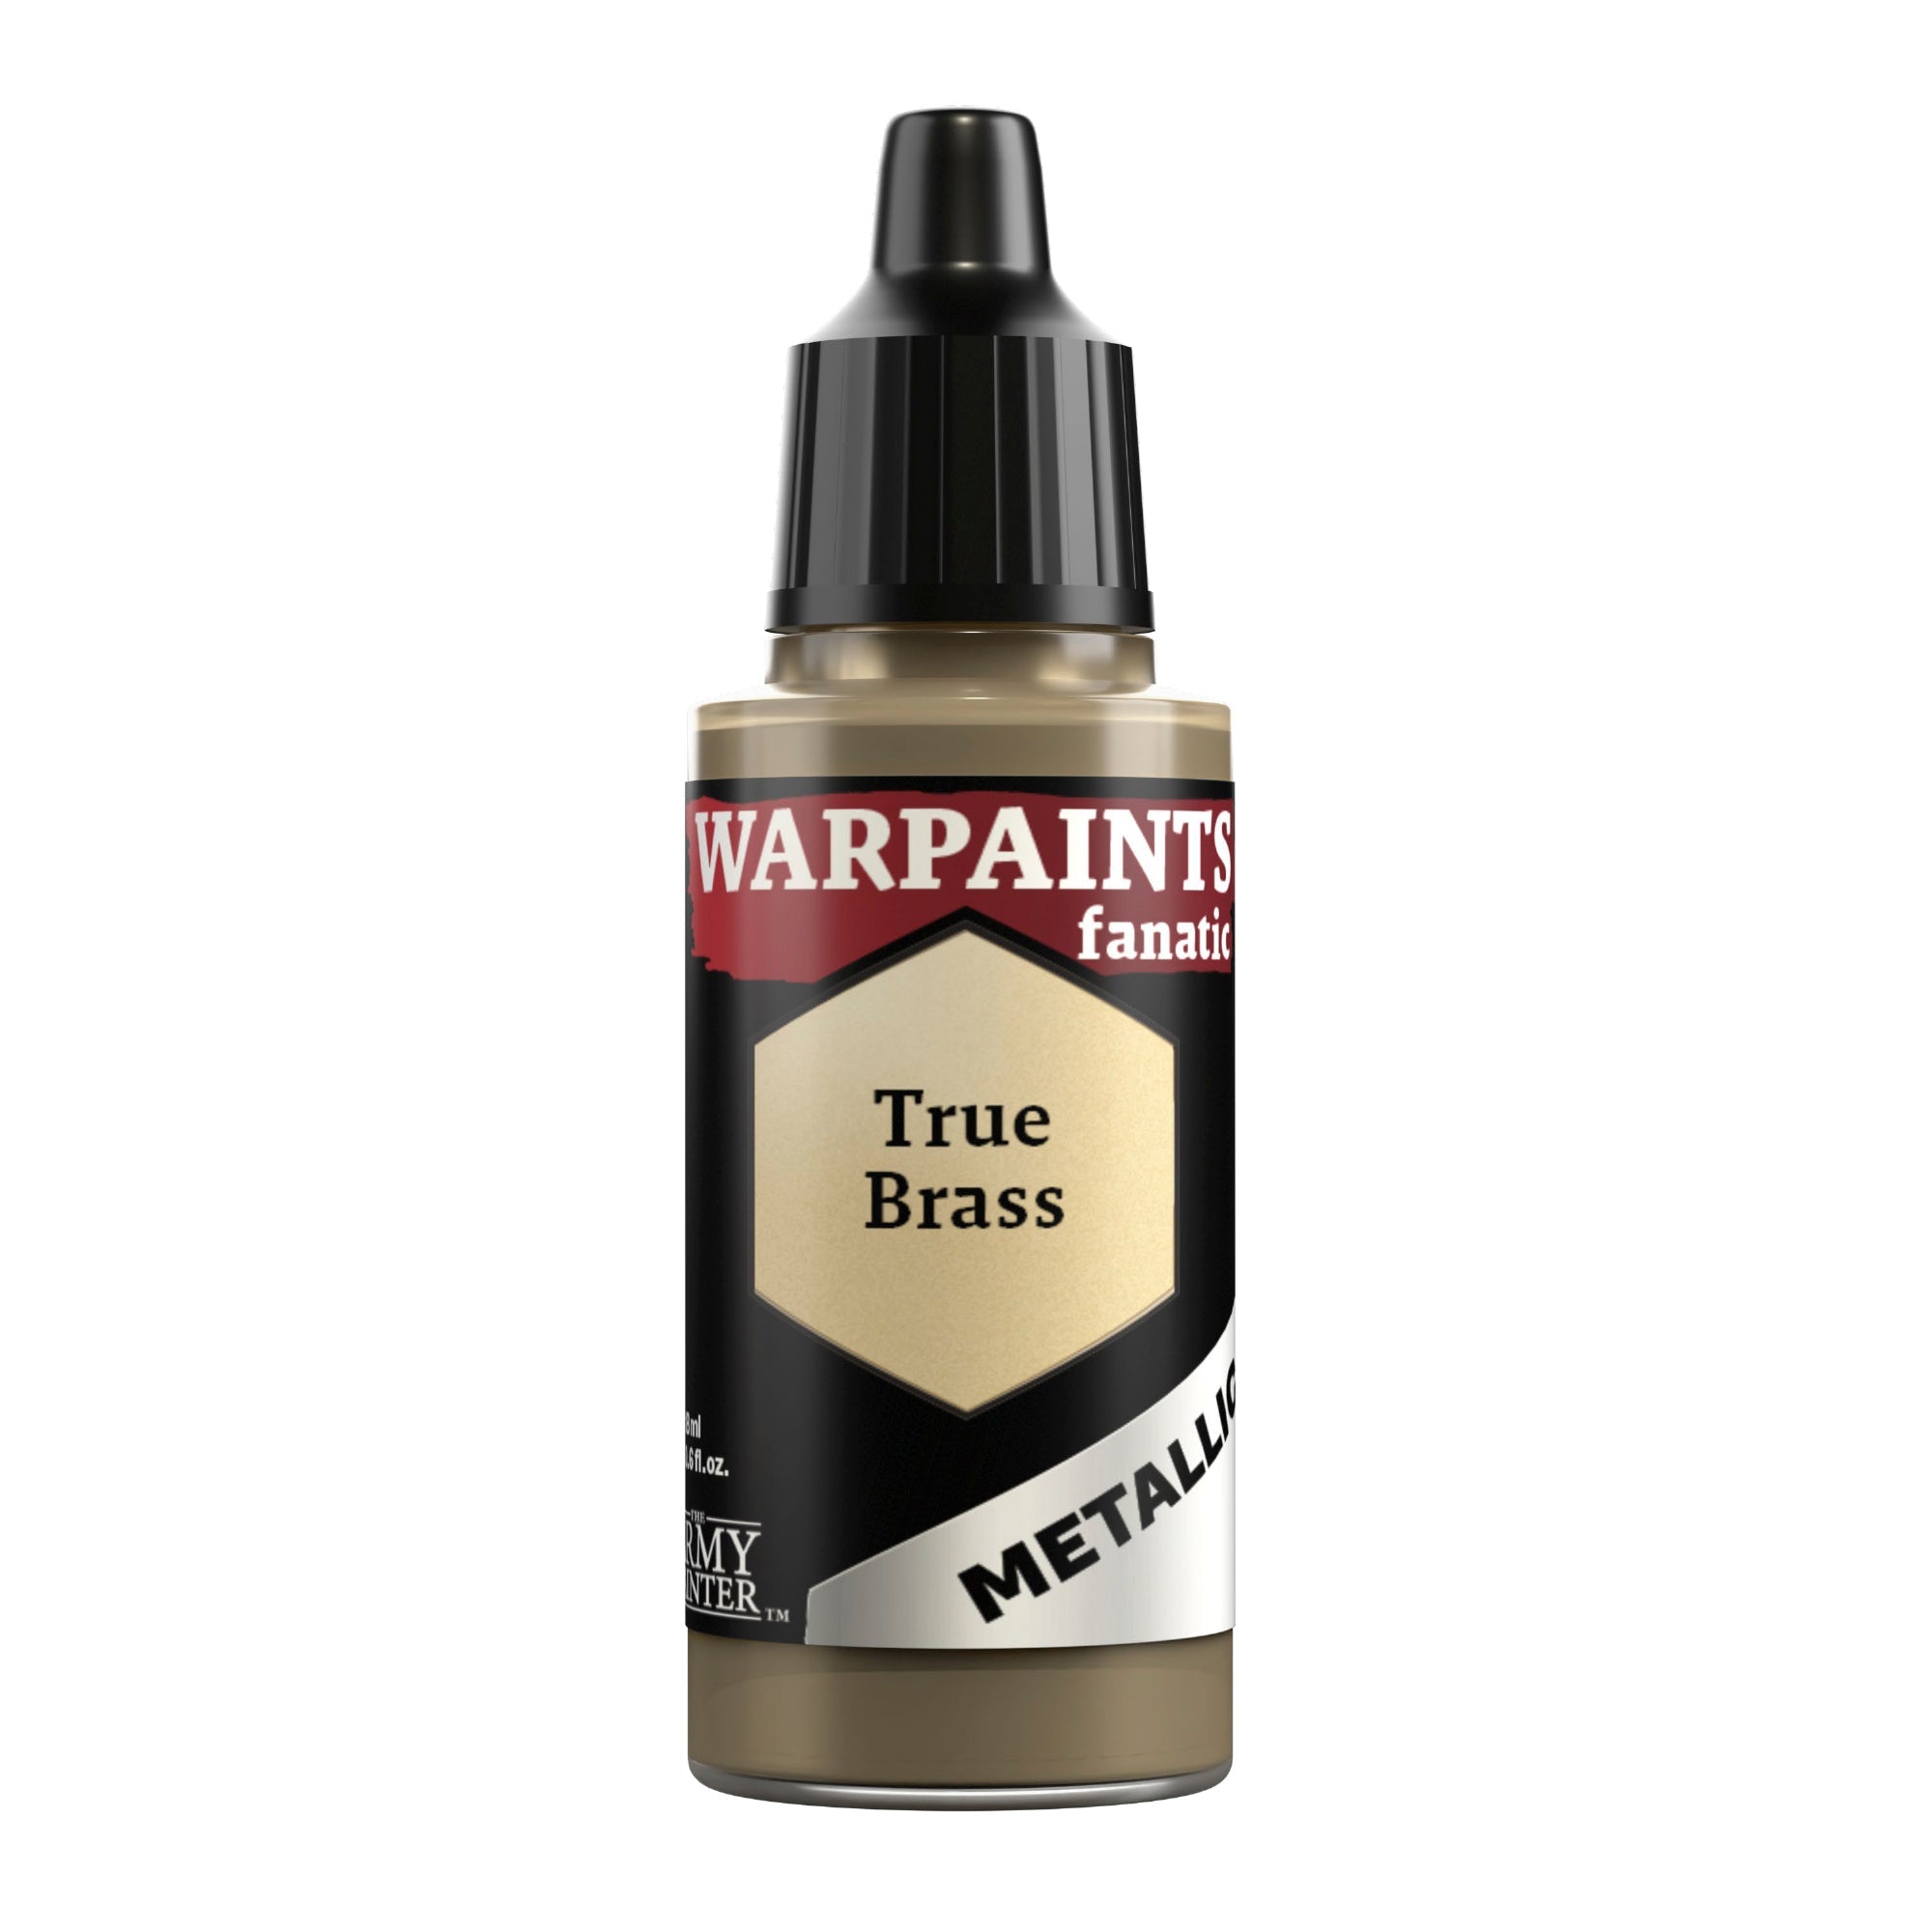
Lastly, use Warpaints Fanatic True Brass to highlight the gold.

Banner

The Leather and Trinkets

Space Wolf Leather and Trinkets Step 1

Step 1

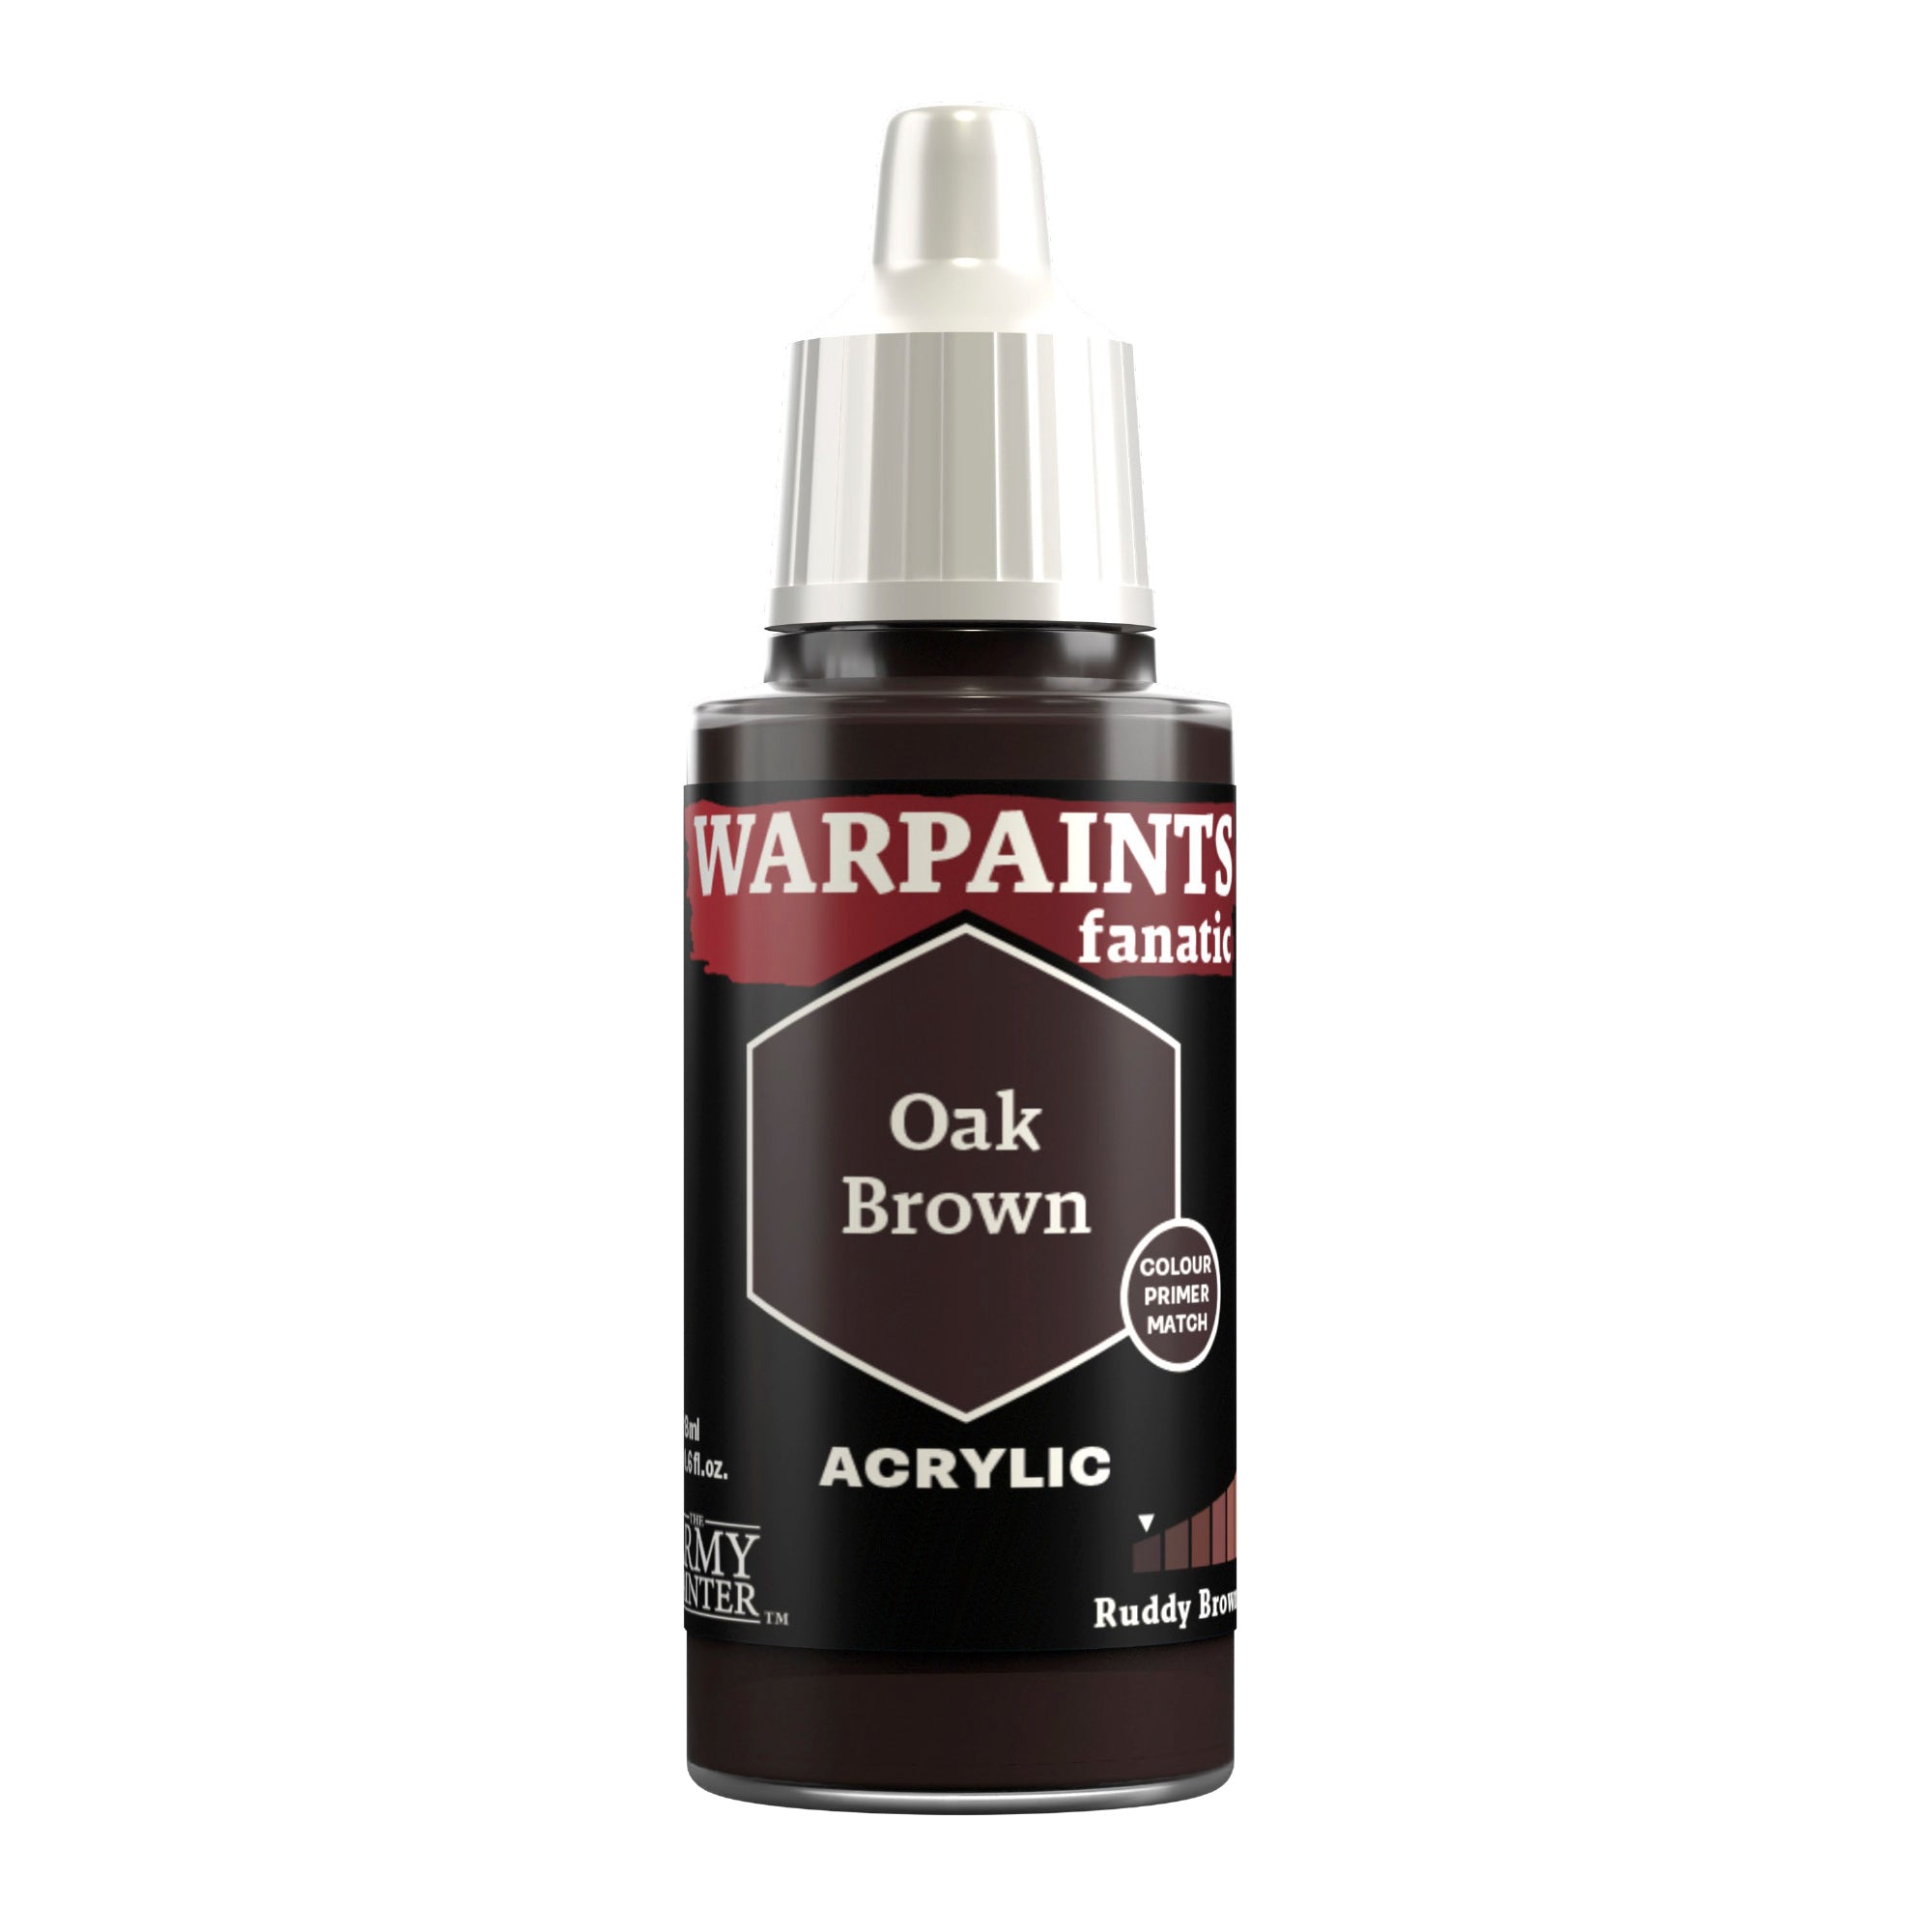
Basecoat all the brown leather areas with Warpaints Fanatic Oak Brown.

Space Wolf Leather and Trinkets Step 2

Step 2

Shade these areas with an all-over application of Warpaints Fanatic Wash Dark Skin Shade.

Space Wolf Leather and Trinkets Step 3

Step 3

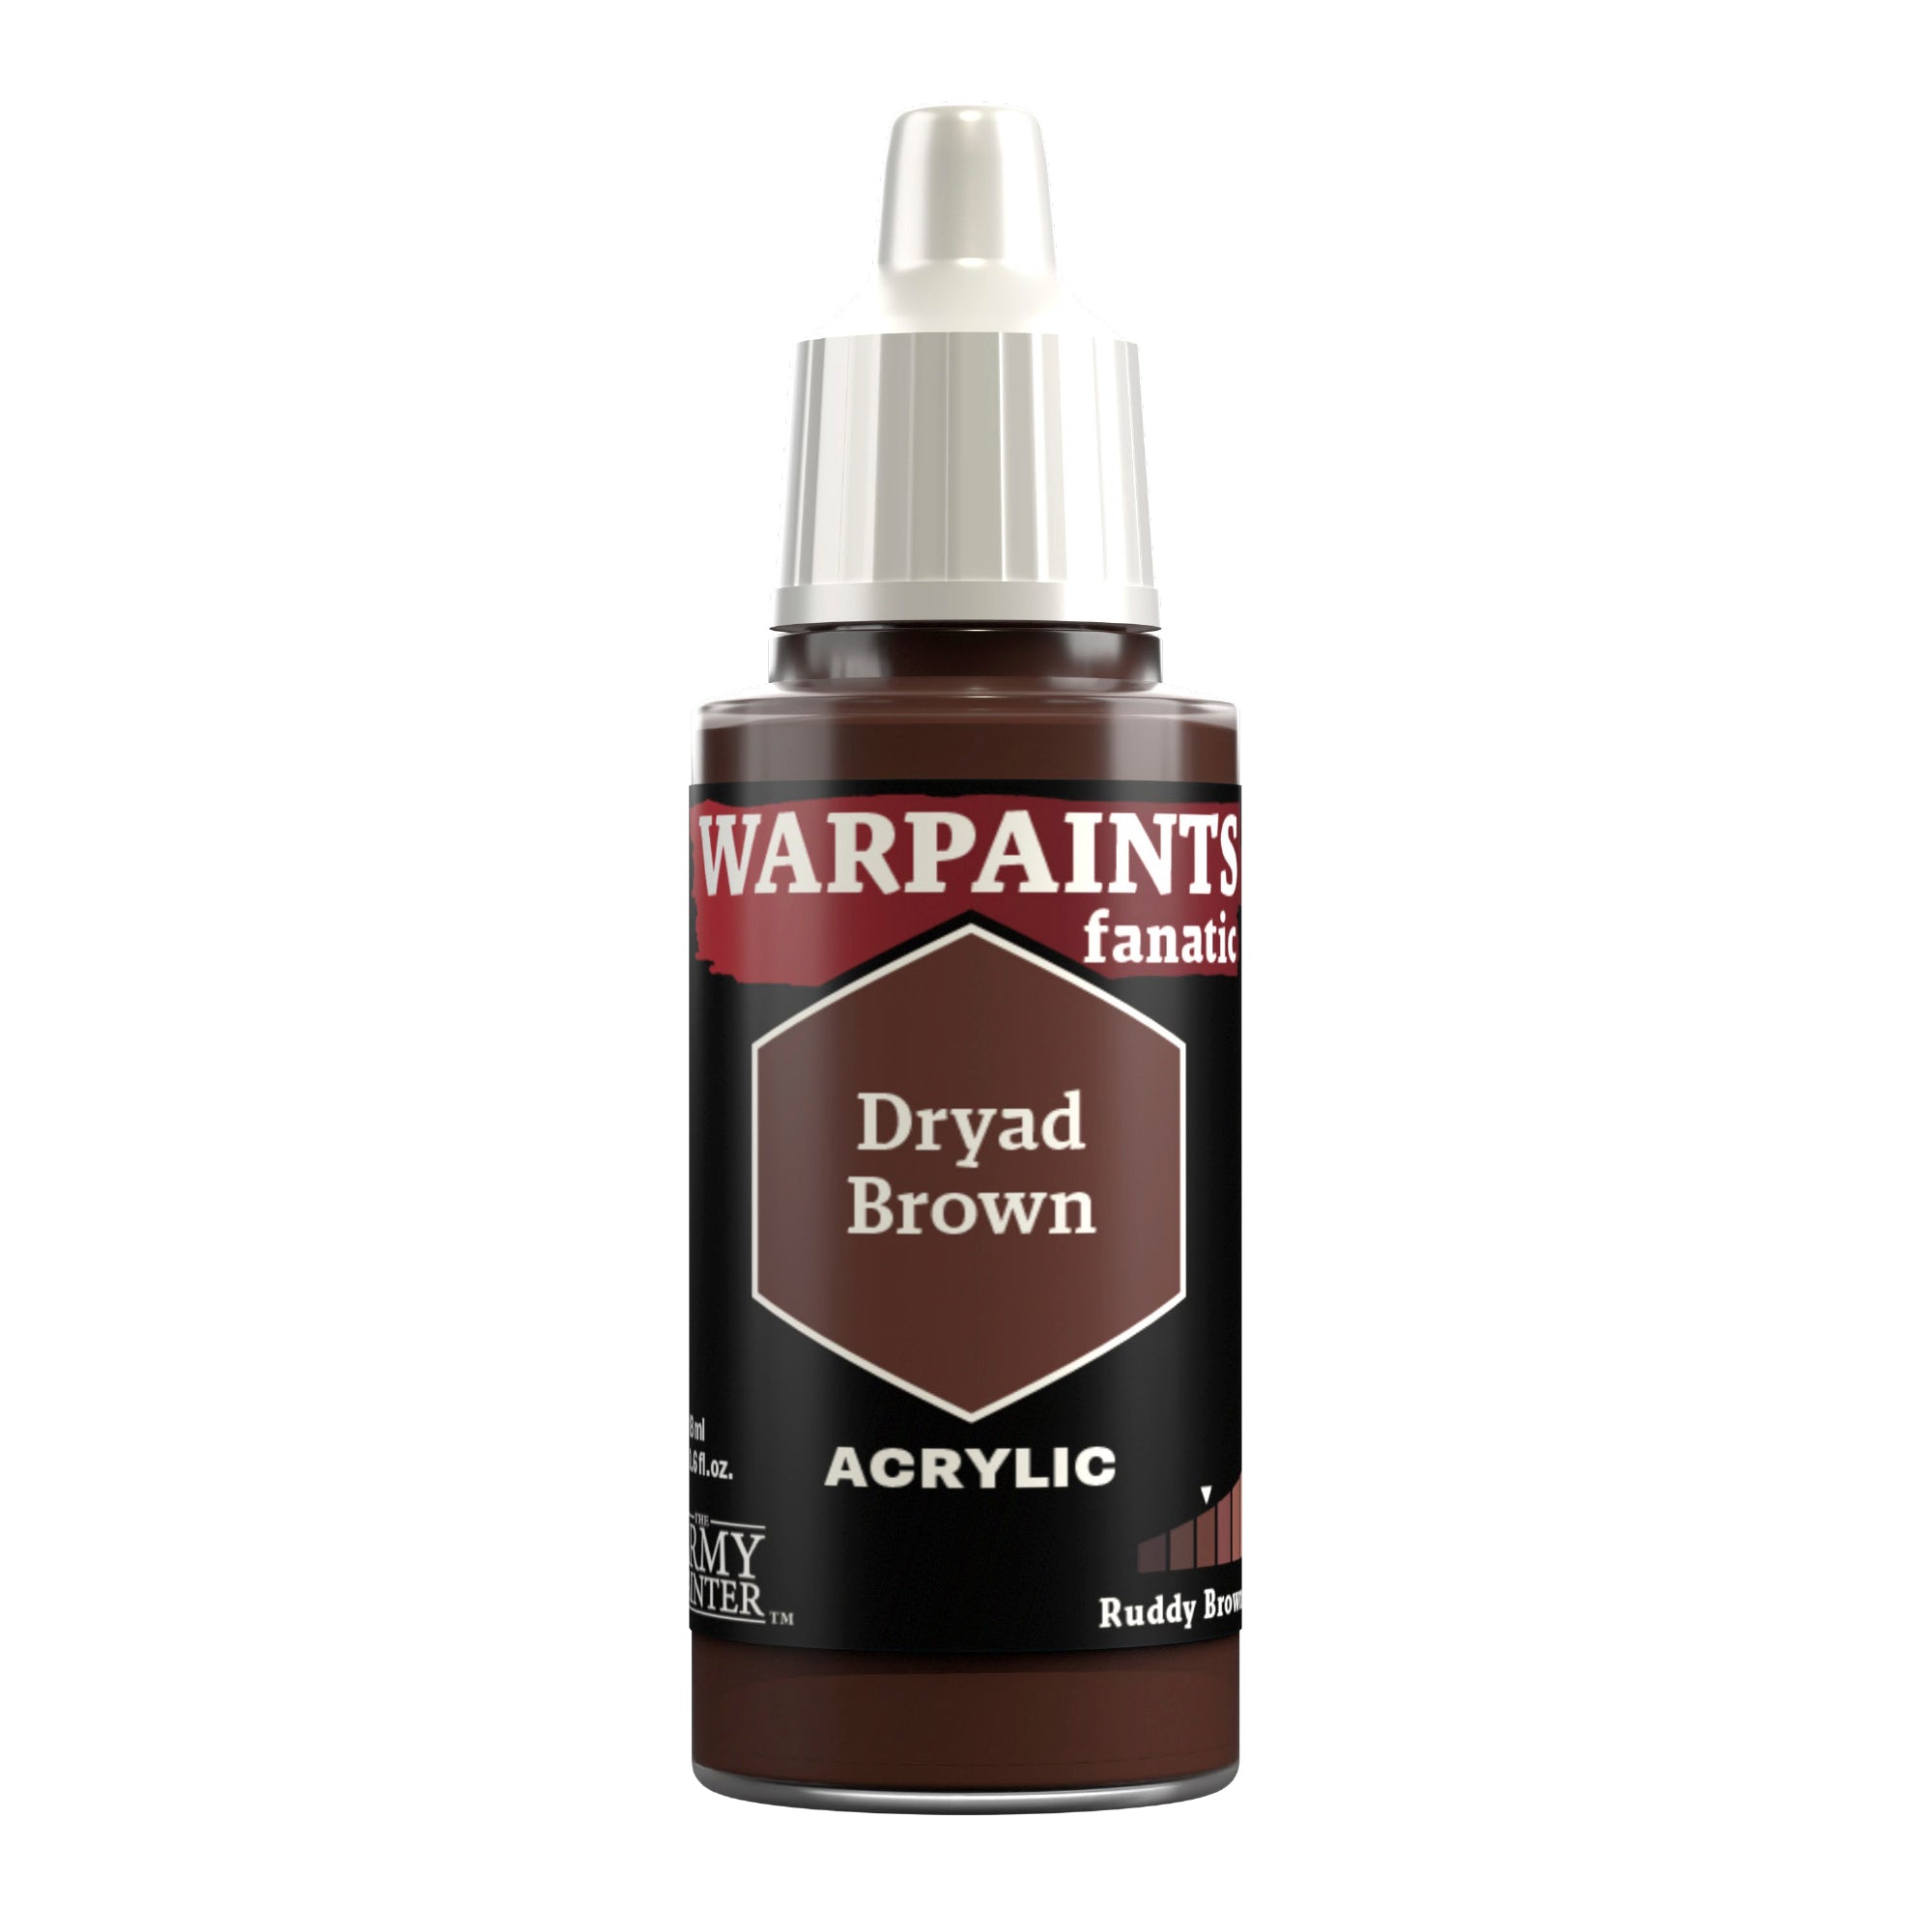
Next, highlight the leather with Warpaints Fanatic Dryad Brown.

Space Wolf Leather and Trinkets Step 4

Step 4

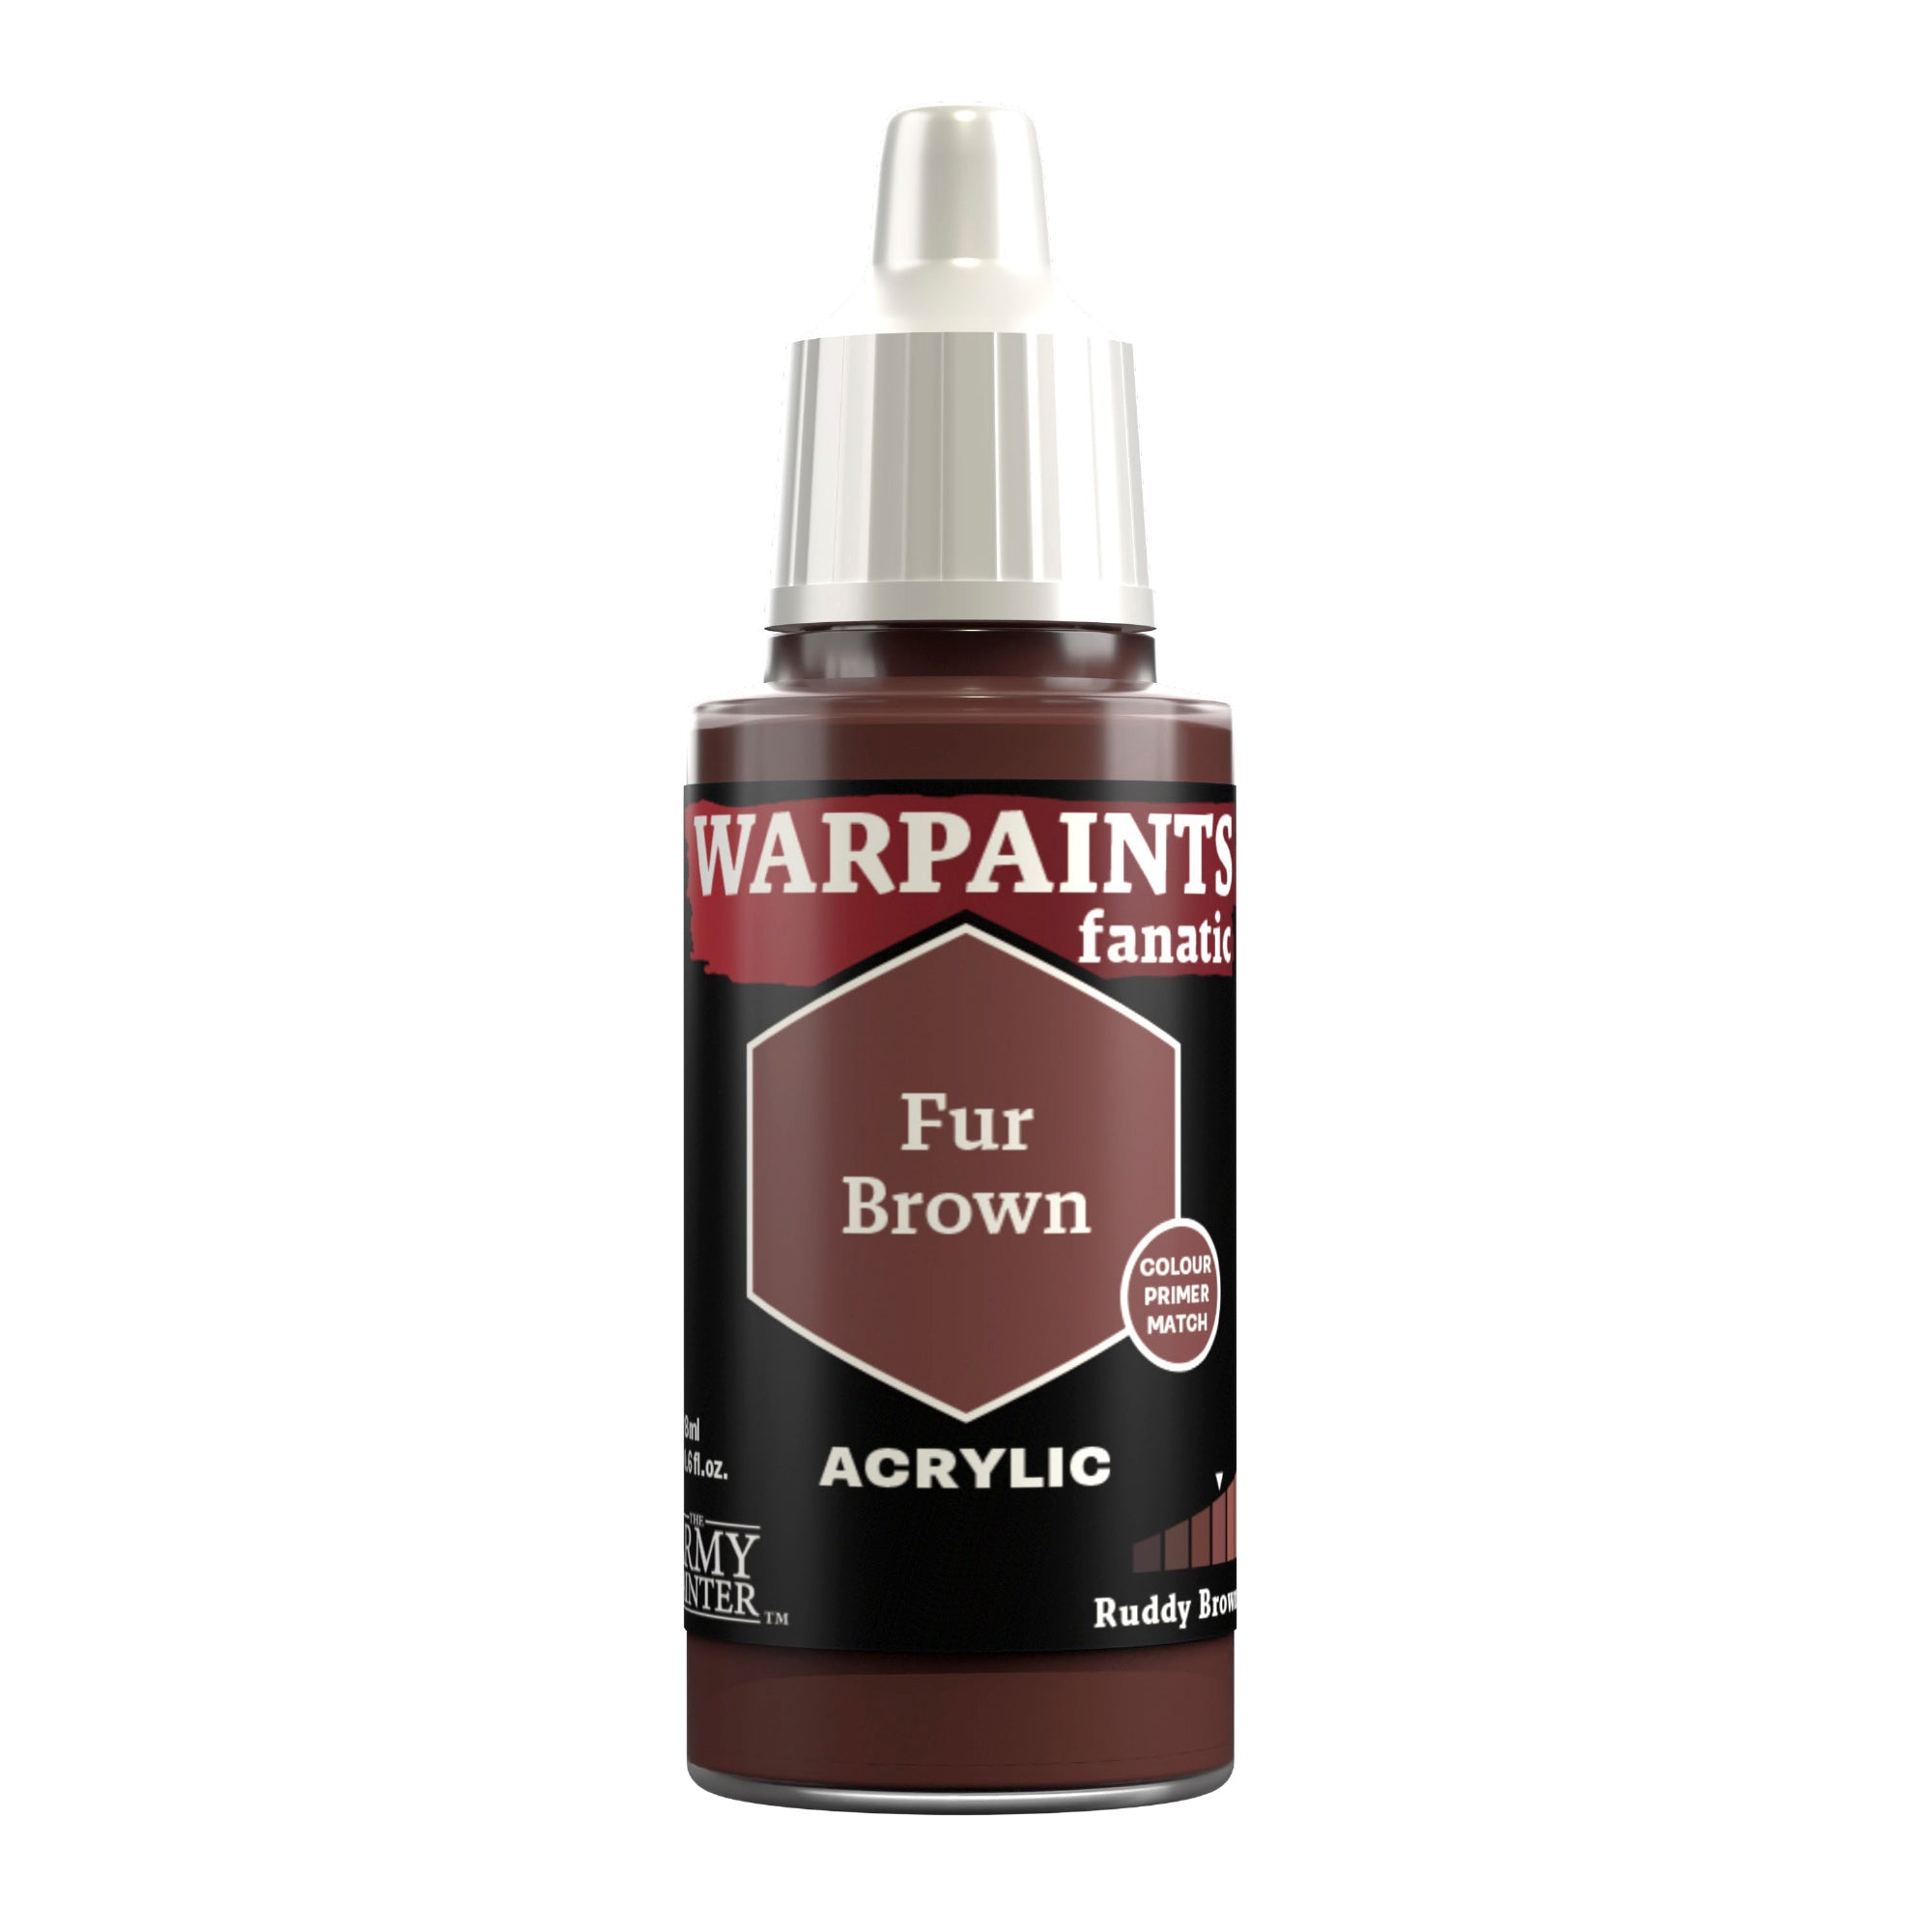
Follow this up with a final specular highlight of Warpaints Fanatic Fur Brown on the corners.

Space Wolf Leather and Trinkets Step 5

Step 5

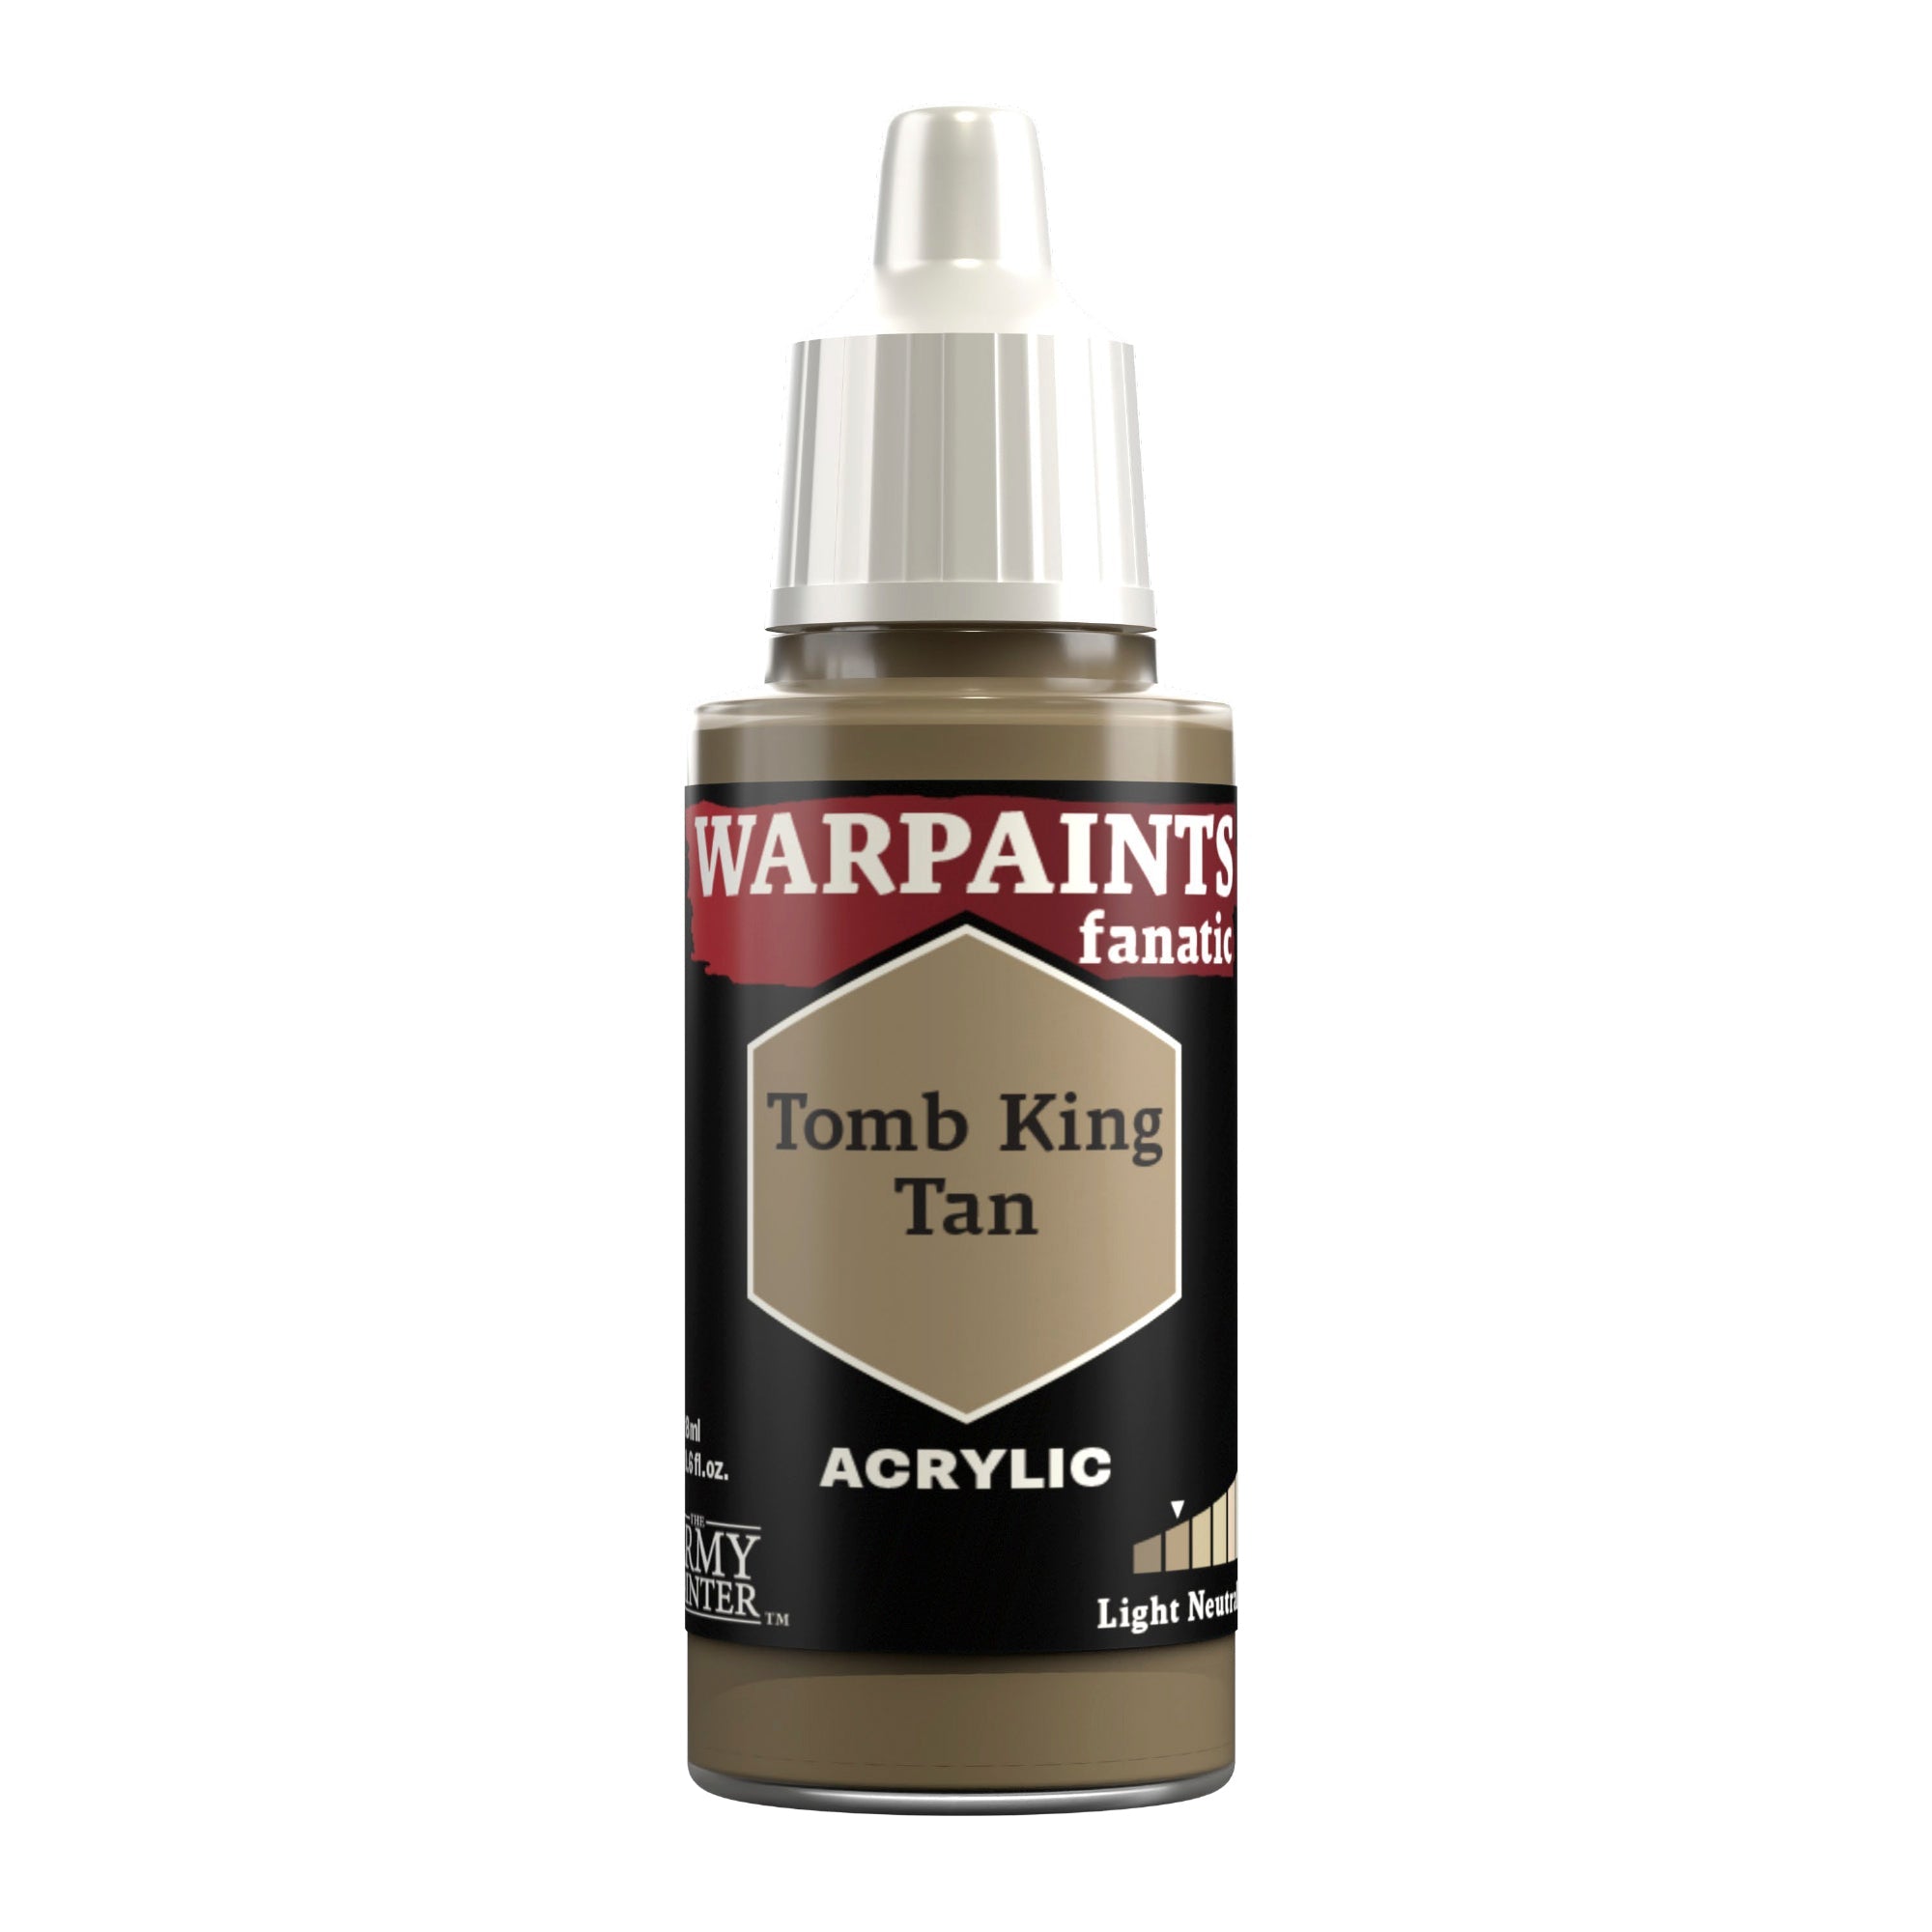
Space Wolves love to carry little trinkets with them into battle. For this model, basecoat any wolf teeth with Warpaints Fanatic Tomb King Tan and any runestones with Warpaints Fanatic Uniform Grey.

Space Wolf Leather and Trinkets Step 6

Step 6

Shade both of these areas with Warpaints Fanatic Wash Strong Tone.

Space Wolf Leather and Trinkets Step 7

Step 7

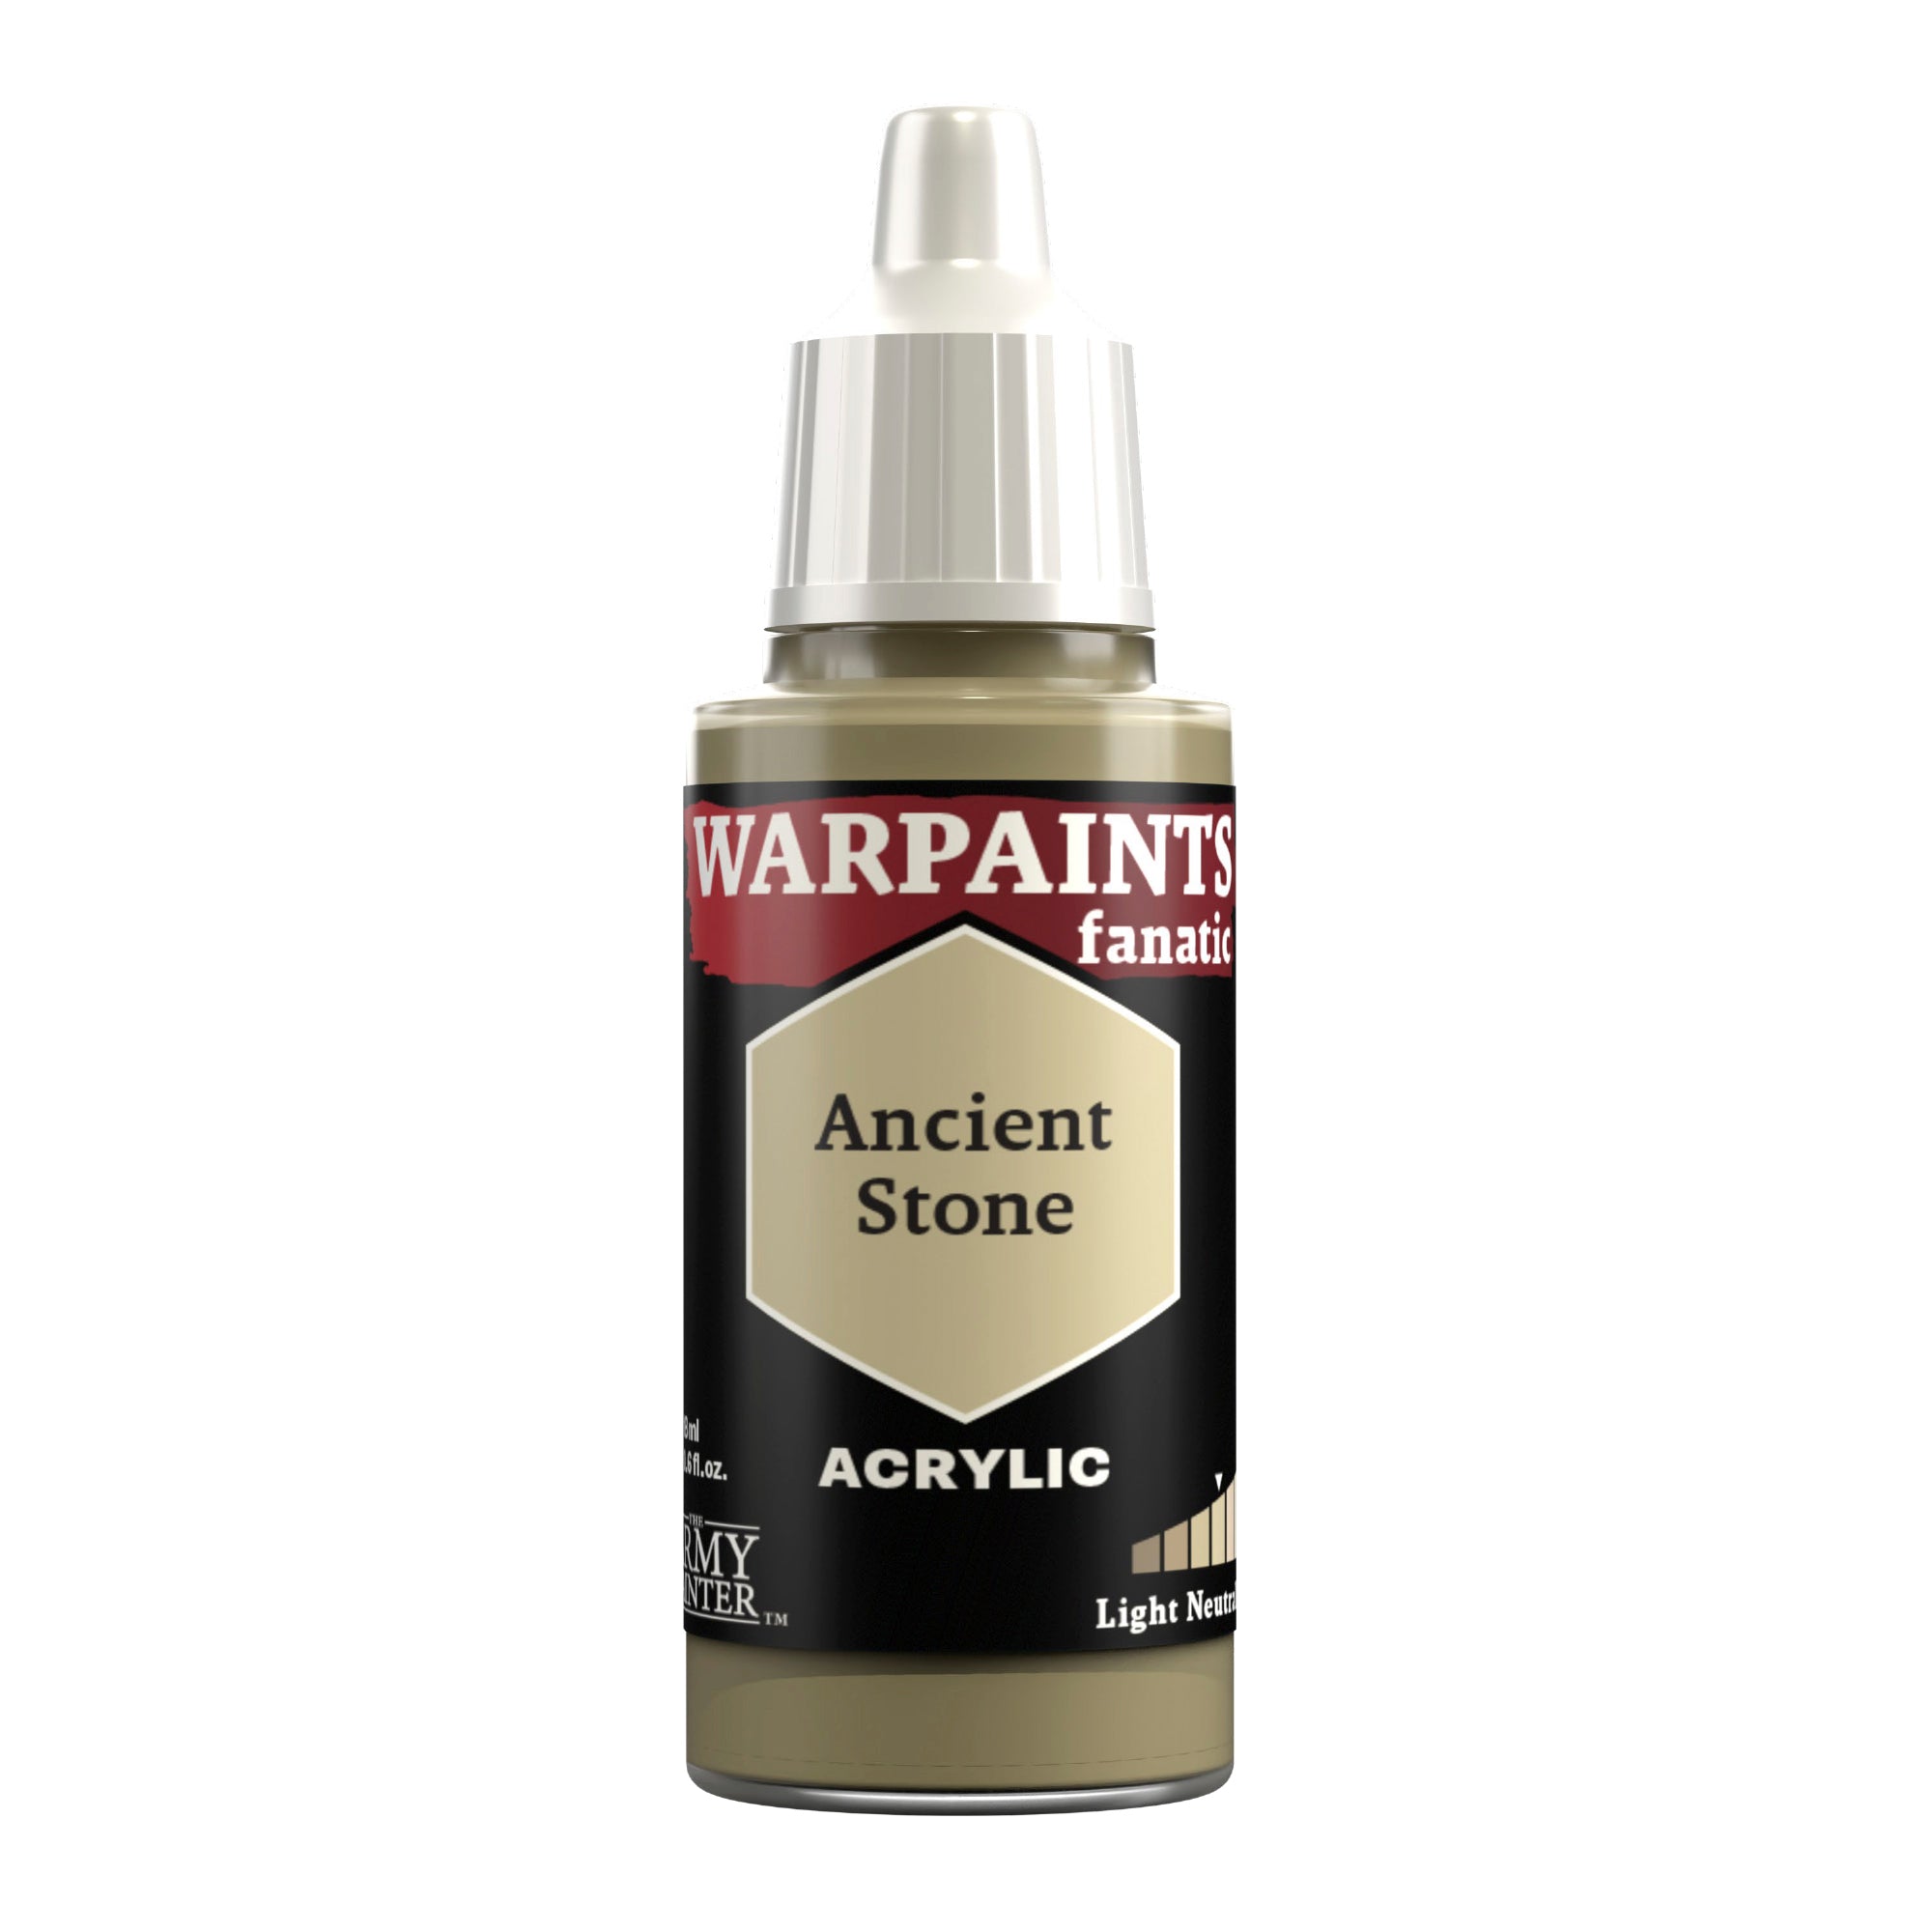
Next, highlight the teeth with Warpaints Fanatic Ancient Stone and the stone with Warpaints Fanatic Ash Grey.

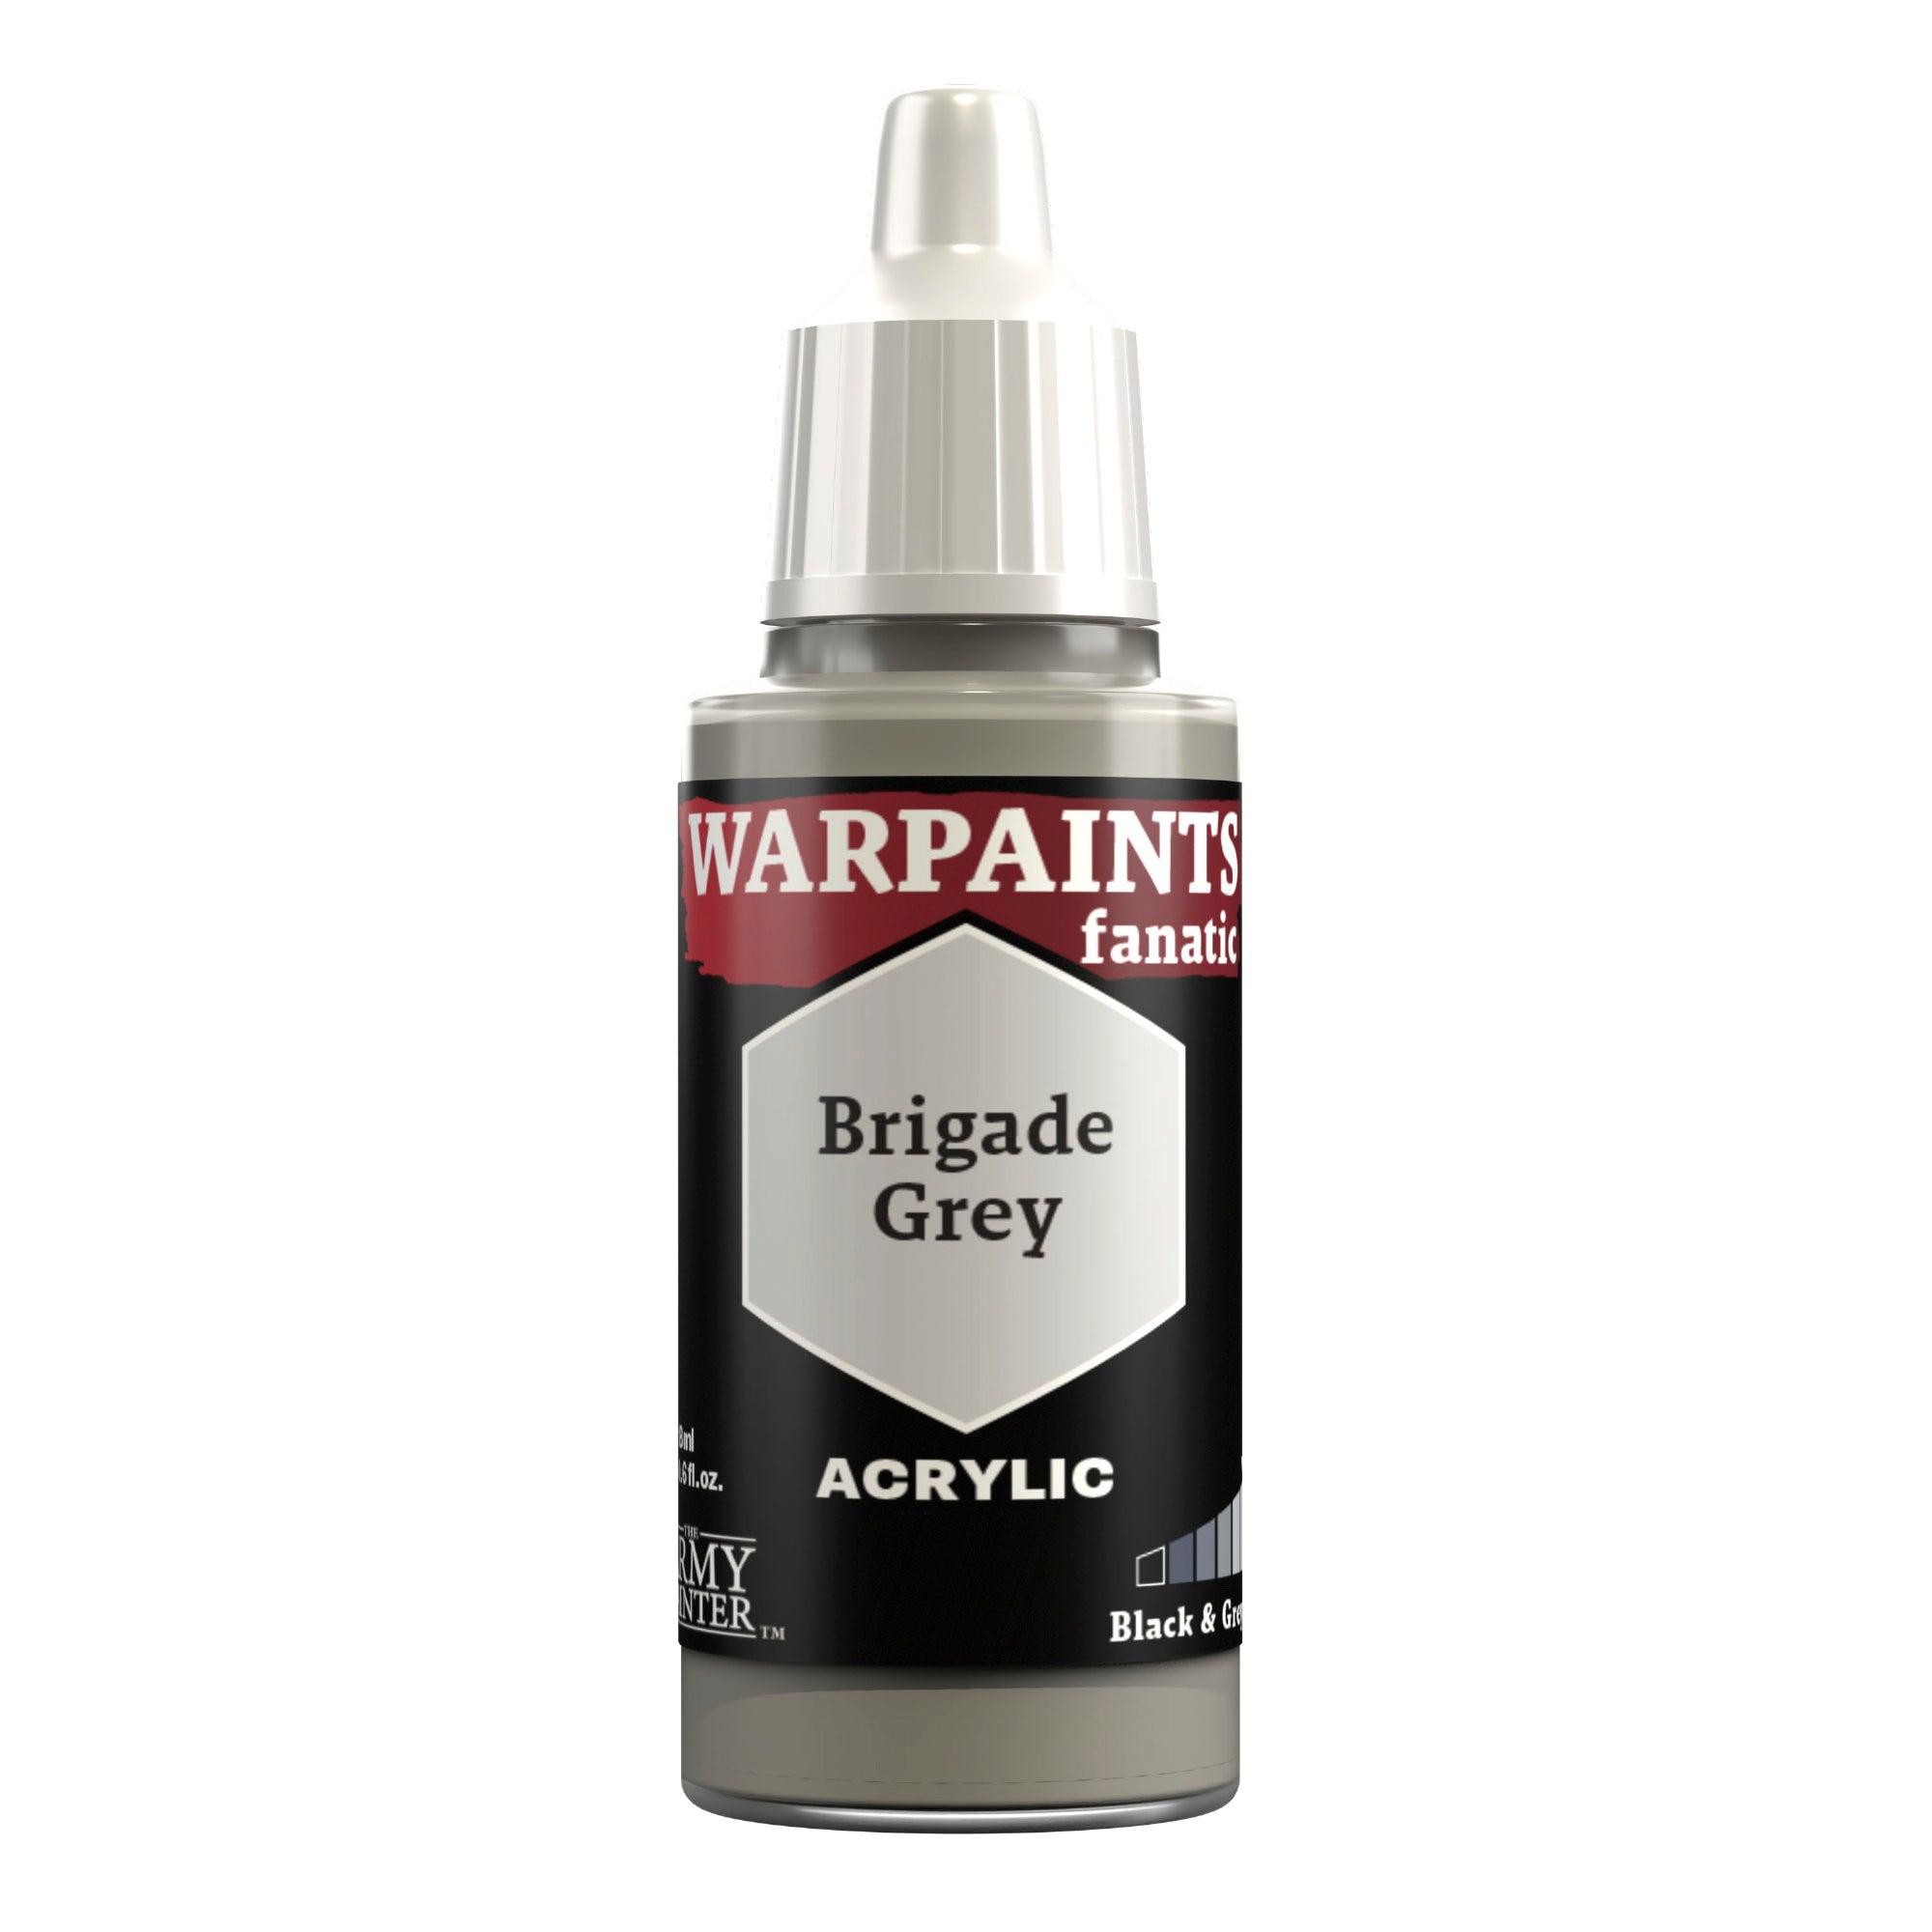
Finally, pick out the most prominent parts of the stones with Warpaints Fanatic Brigade Grey.

Banner

The Metallics

Space Wolf Metallics Step 1

Step 1

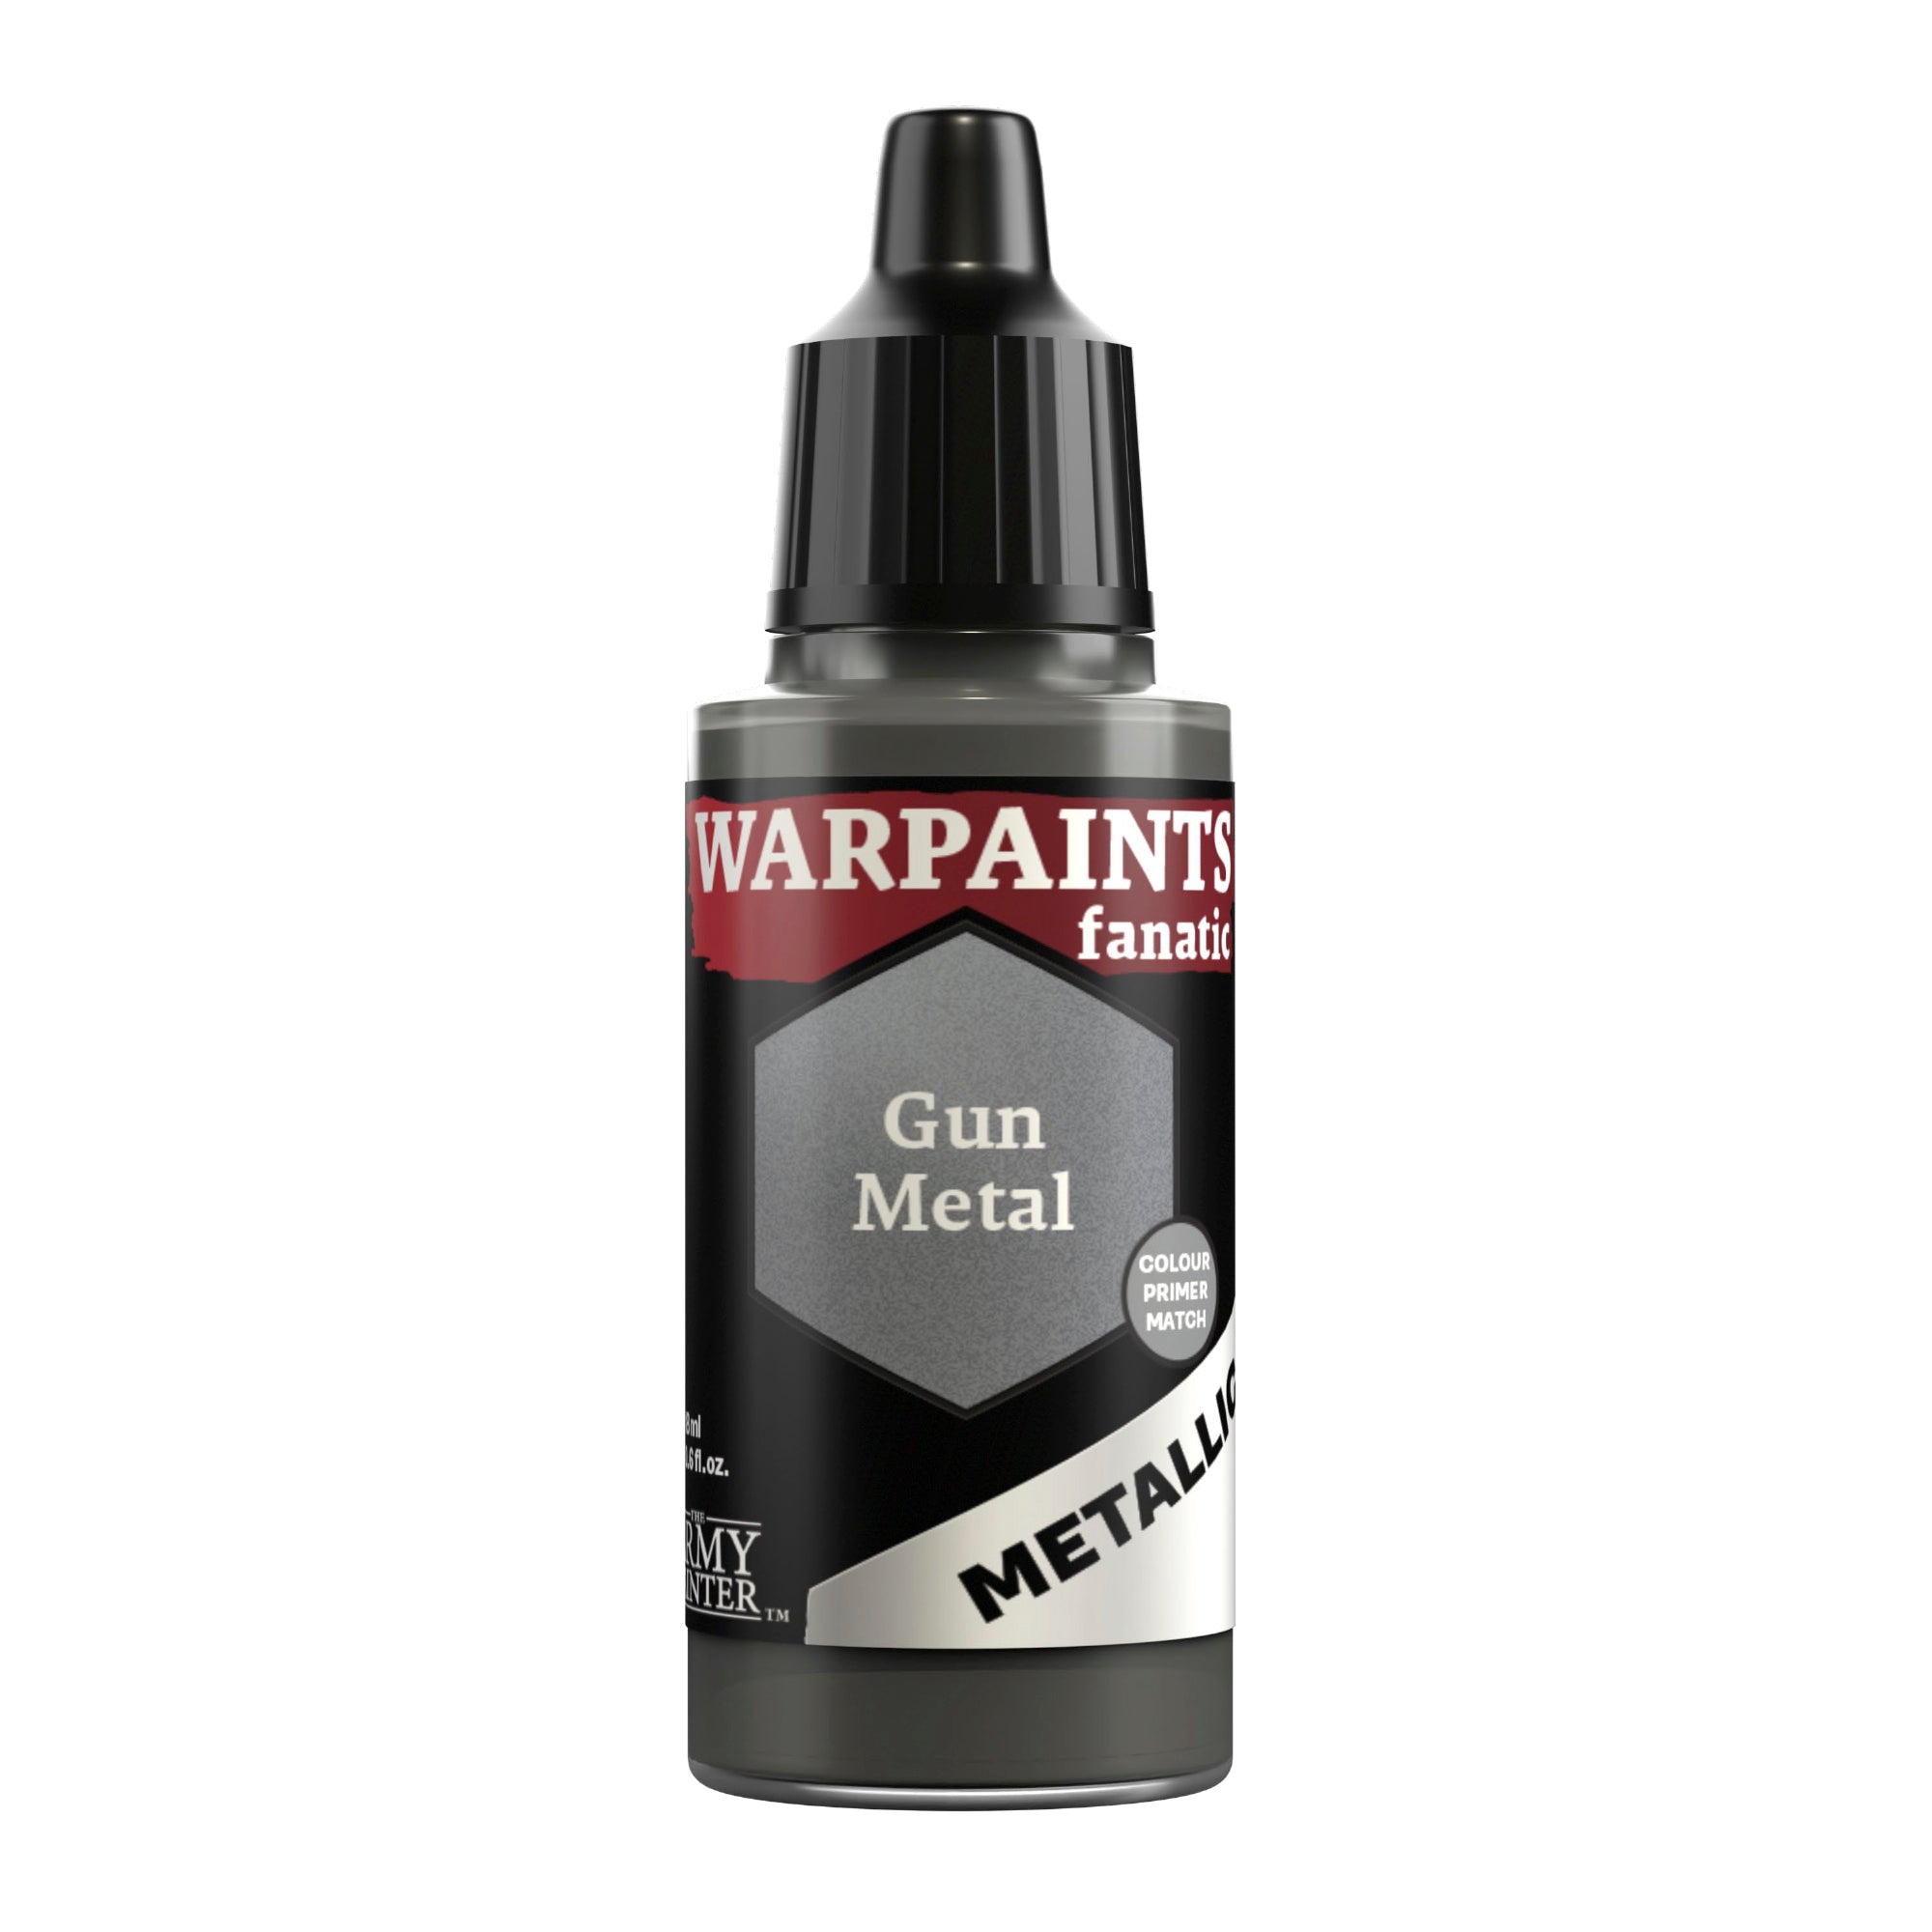
Basecoat all the silver areas on the model with Warpaints Fanatic Gun Metal.

Space Wolf Metallics Step 2

Step 2

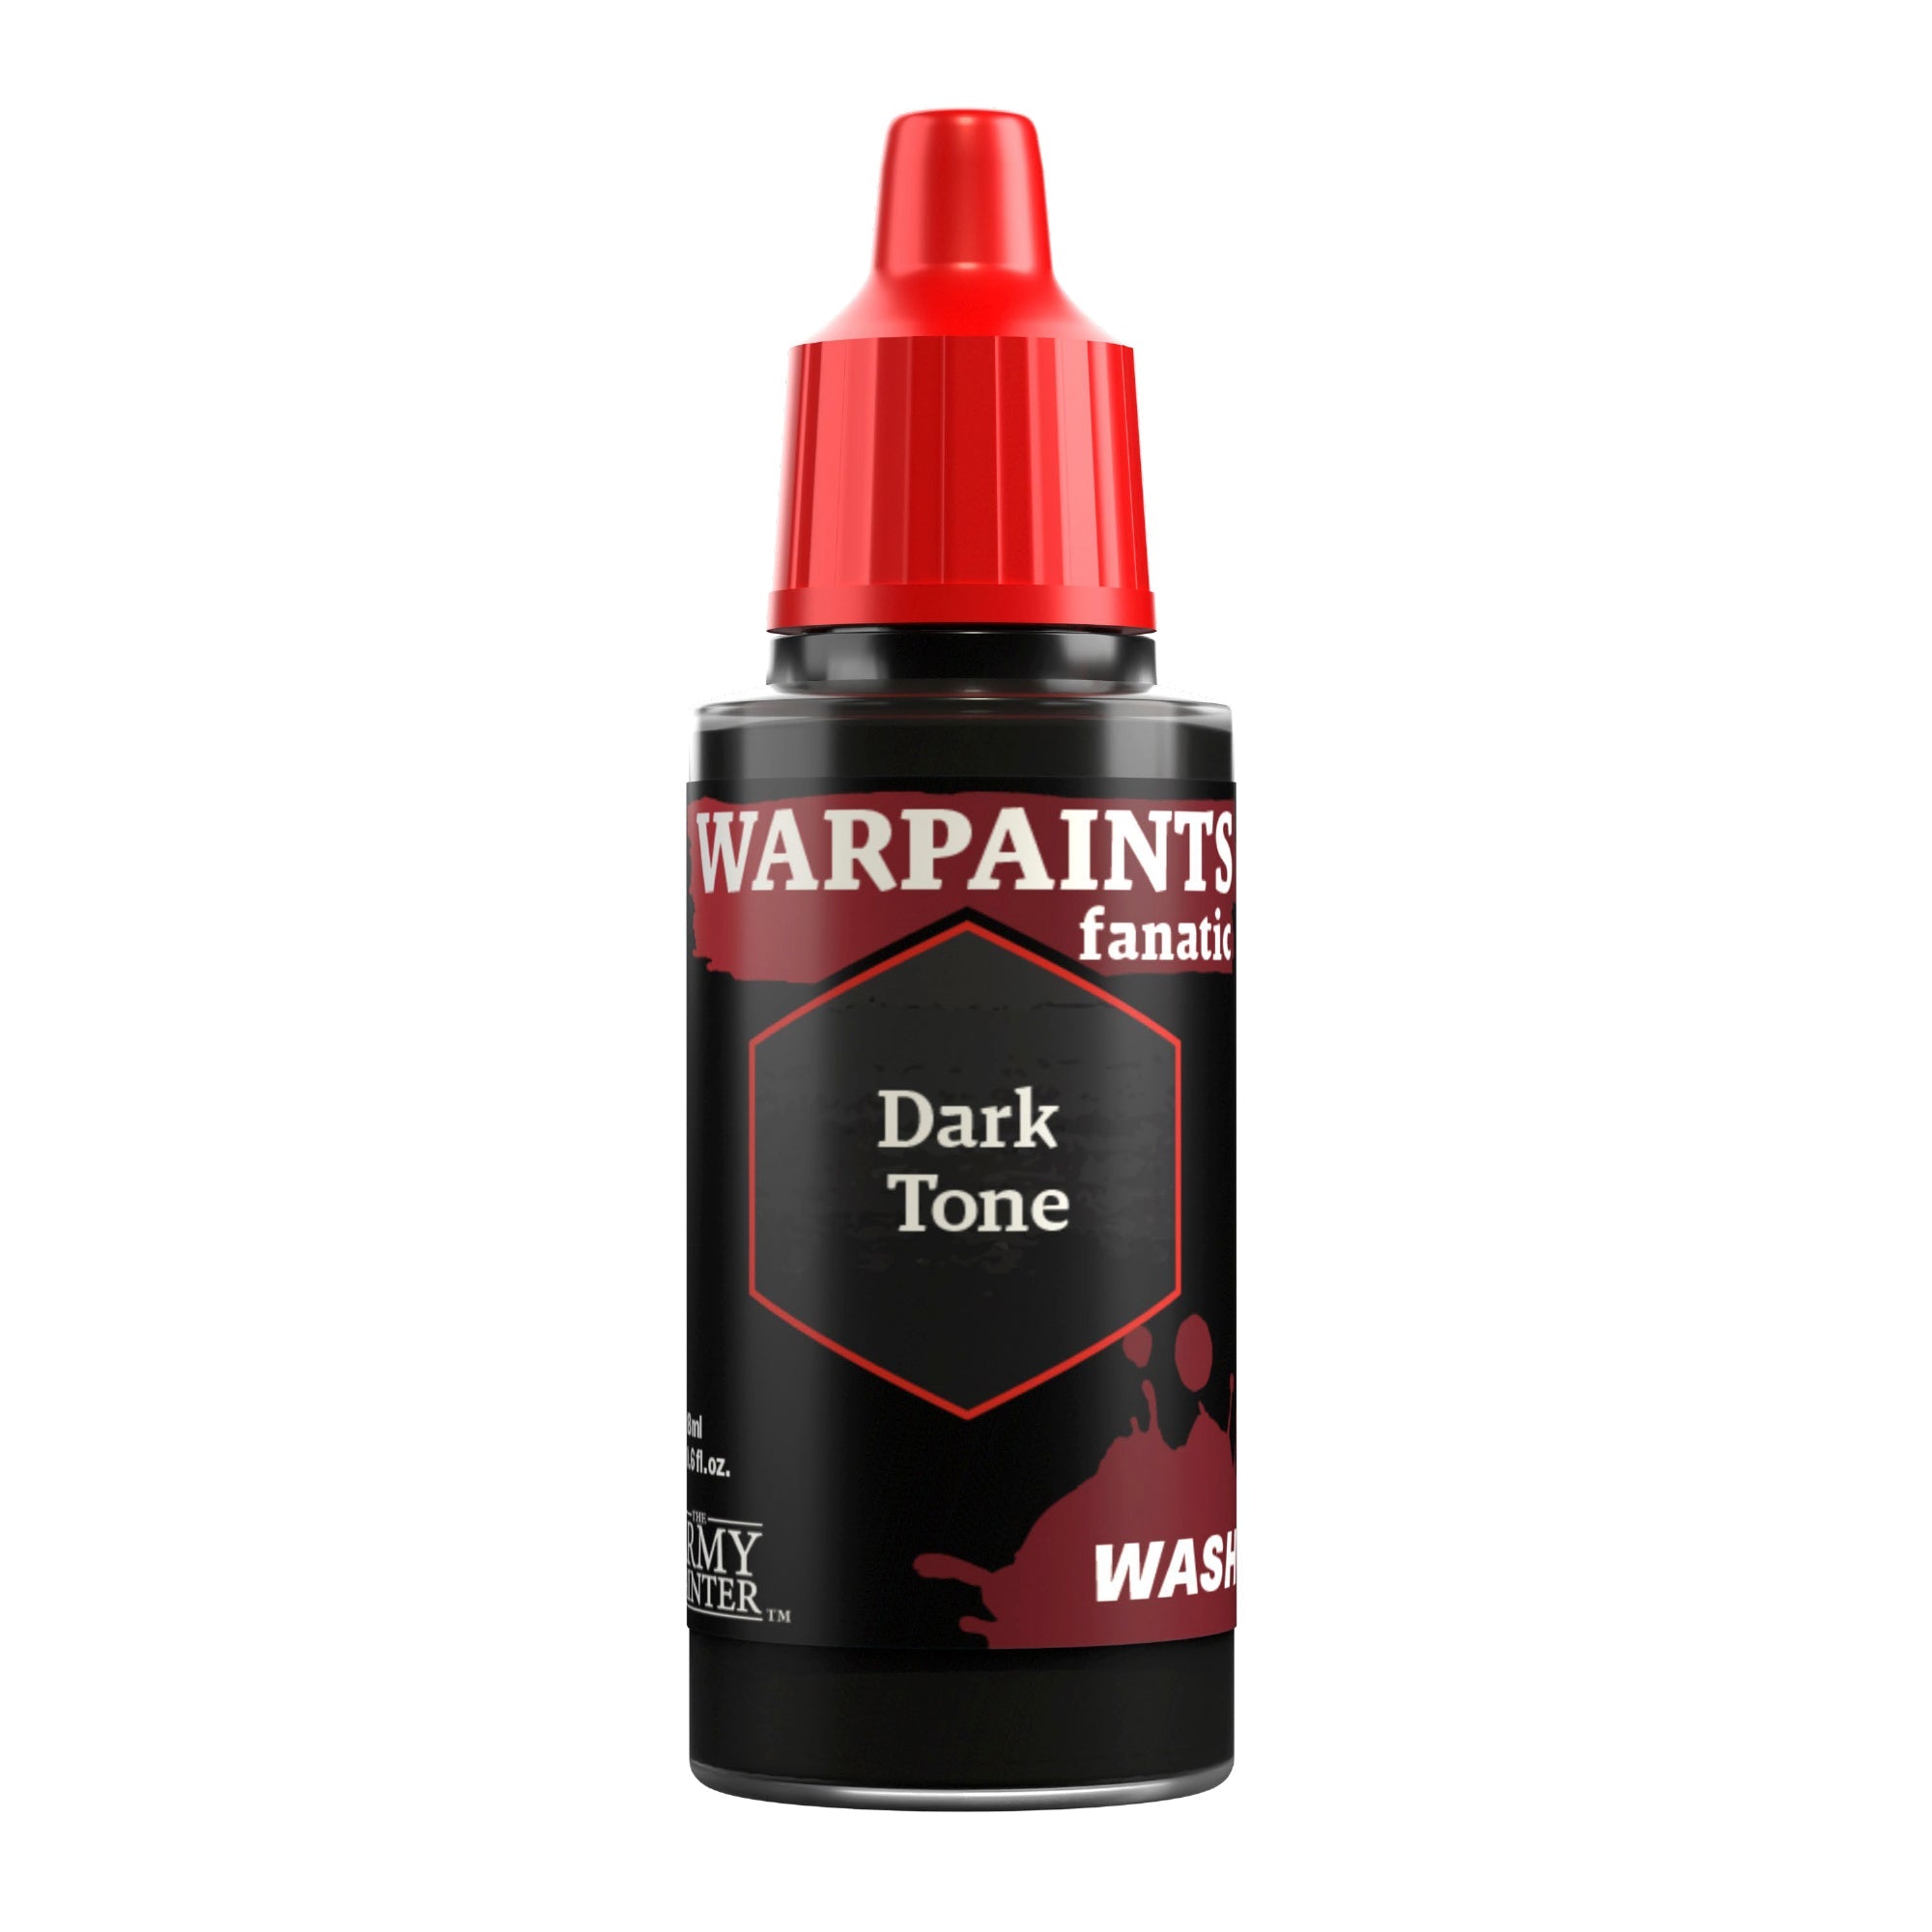
Next, shade these with Warpaints Fanatic Wash Dark Tone.

Space Wolf Metallics Step 3

Step 3

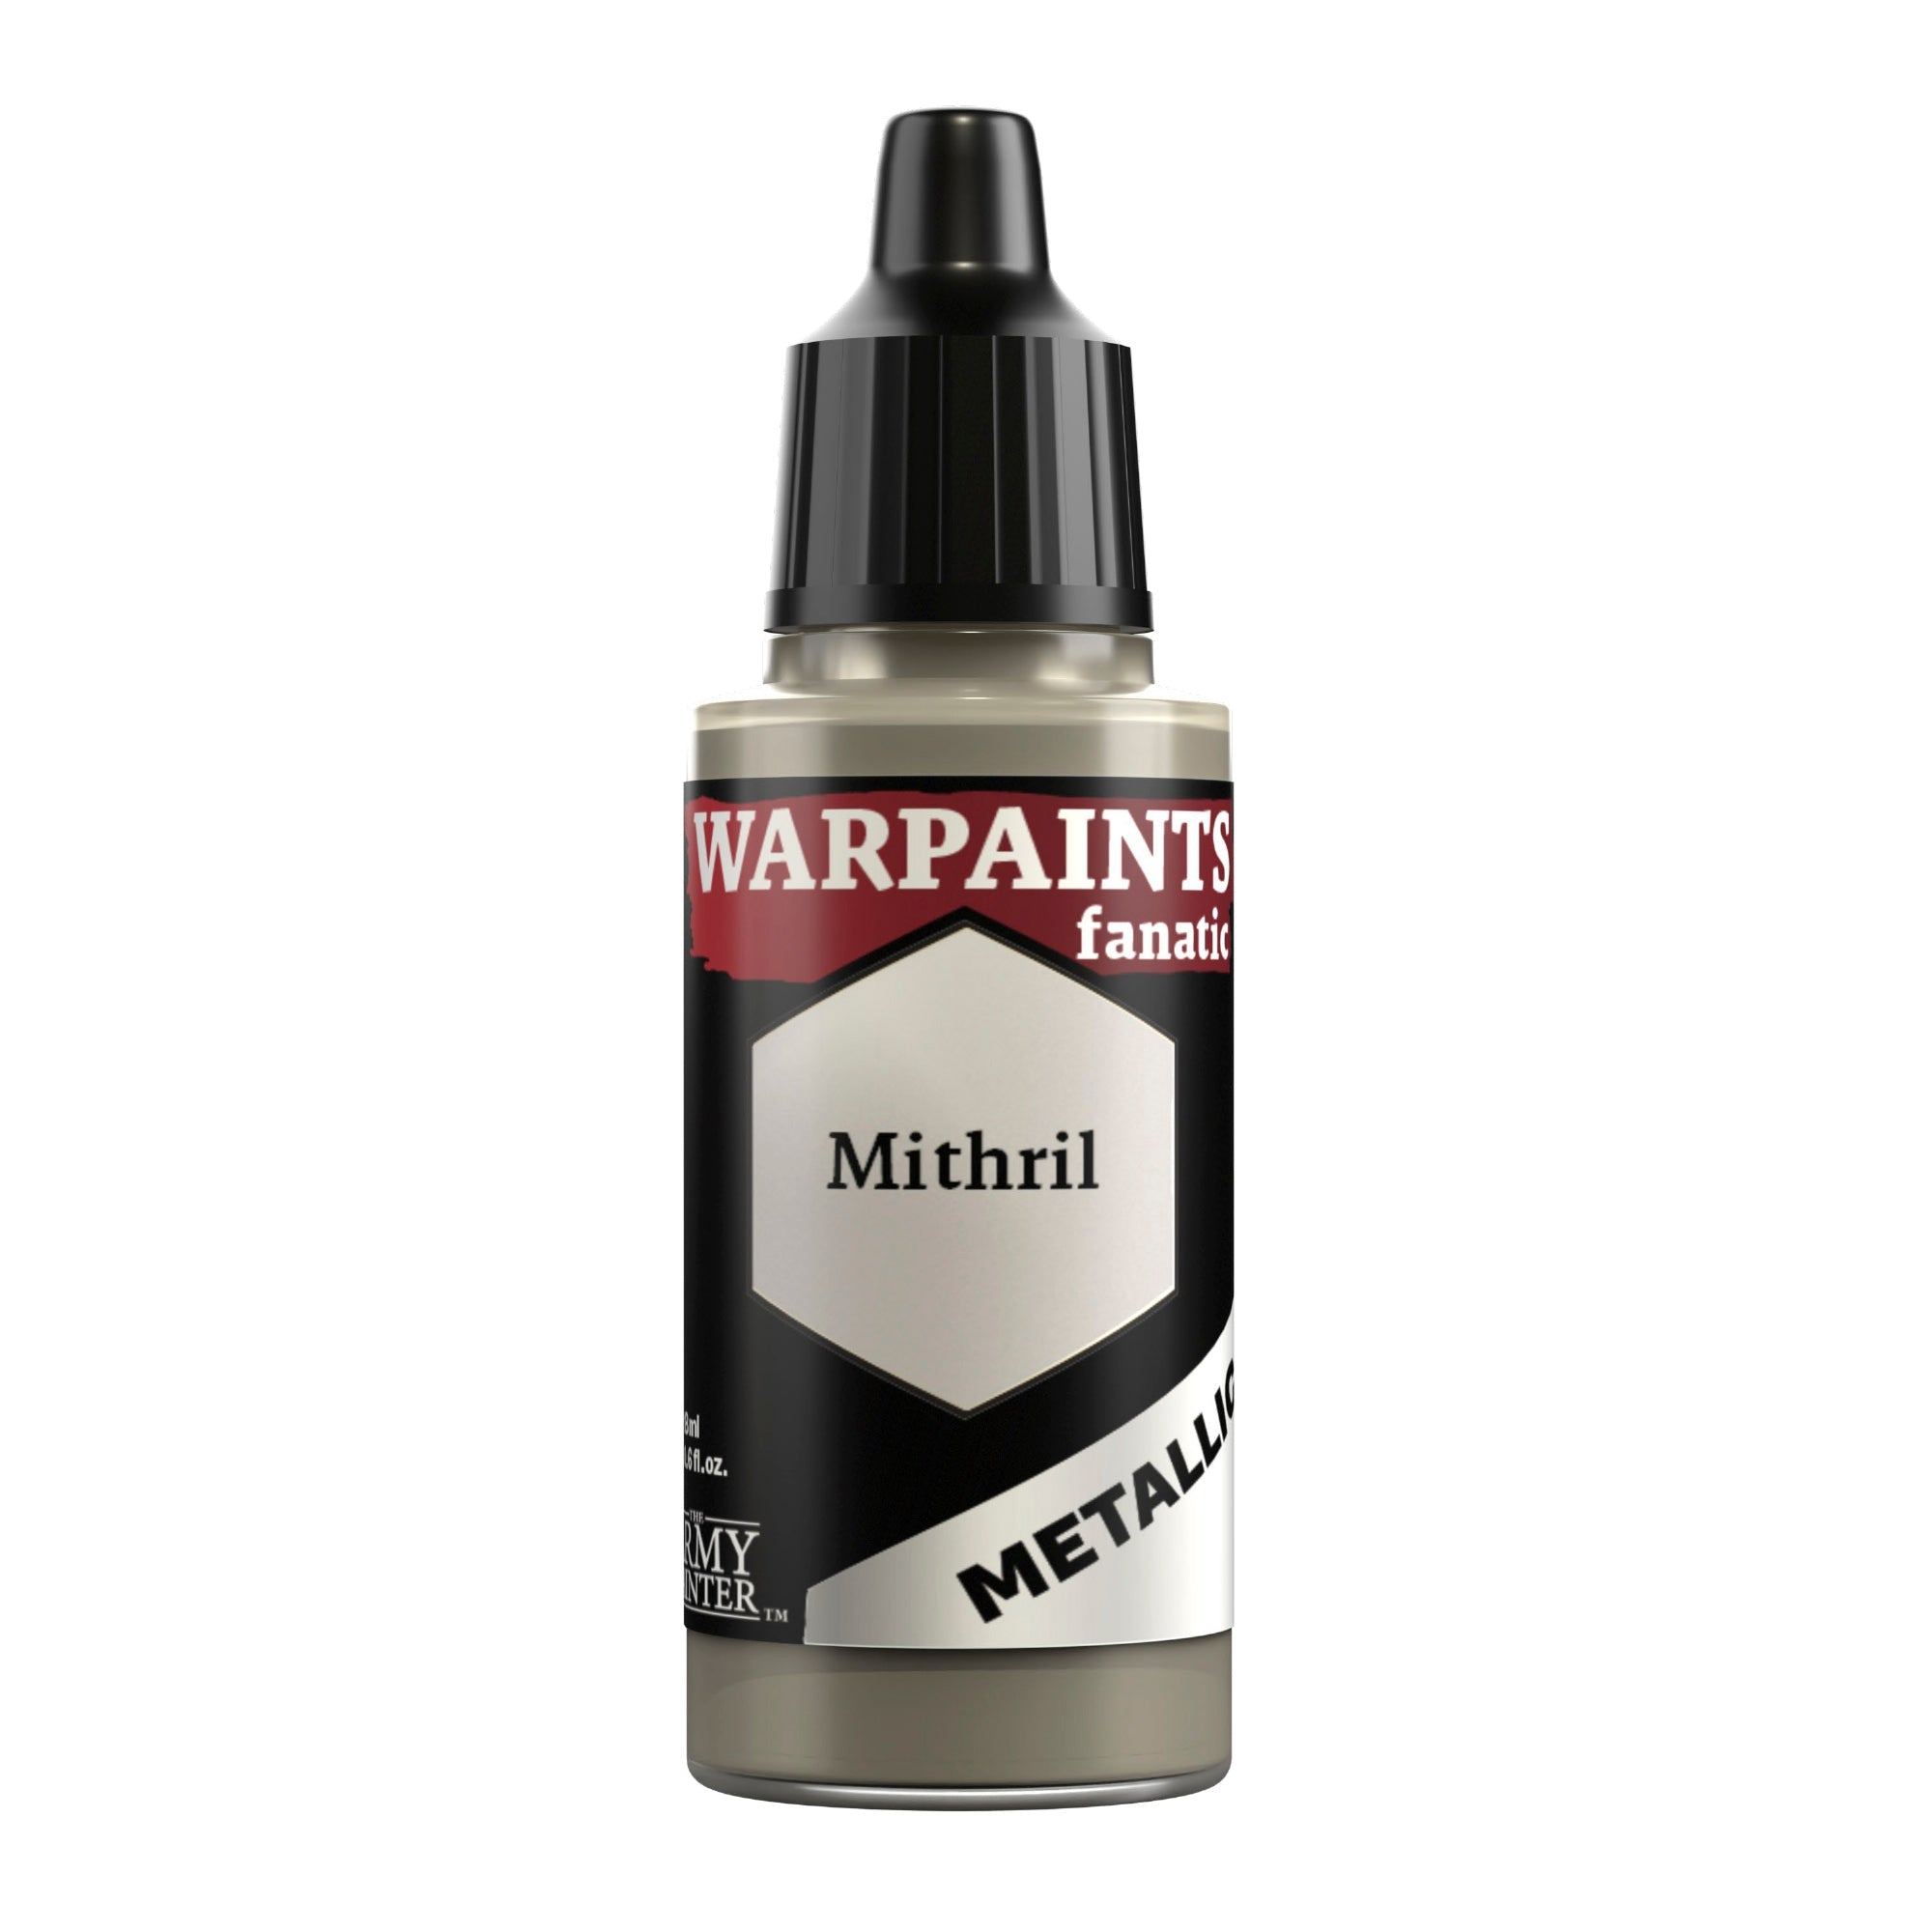
Finally, apply an edge highlight with Warpaints Fanatic Mithril. You can also add some scratches to the knife to make it look battle worn.

With that, your model is done!

Afterwards, we based him in a simple dirt and grass scheme with some of our Battlefield Snow applied on top, but you can base your model to match your collection.

If you plan on using your model for gaming, we highly recommend varnishing it with either our Spray, Warpaints Air, or Warpaints Fanatic varnishes. 

Buy The Paint Bundles

Do you want to paint up your own fearsome Fenrisian warrior? We've put together two bundles packed to the brim with all the paints used in this tutorial!

The Space Wolf Armour bundle contains everything you need to paint that distinctive slate blue armour, while the Fenrisian Faces bundle has all the skin tones and oranges needed to bring an untamed hero of the Vlka Fenryka to life - or get both and conquer the stars as a true son of Russ!

Be sure to tell us what you thought of this tutorial format, if you have any suggestions for improvements in the future, or even which models you want us to tackle. 

If you paint your own model following one of these guides, tag it with #thearmypainteracademy to share your work!