How to Paint a

World Eaters Forgefiend
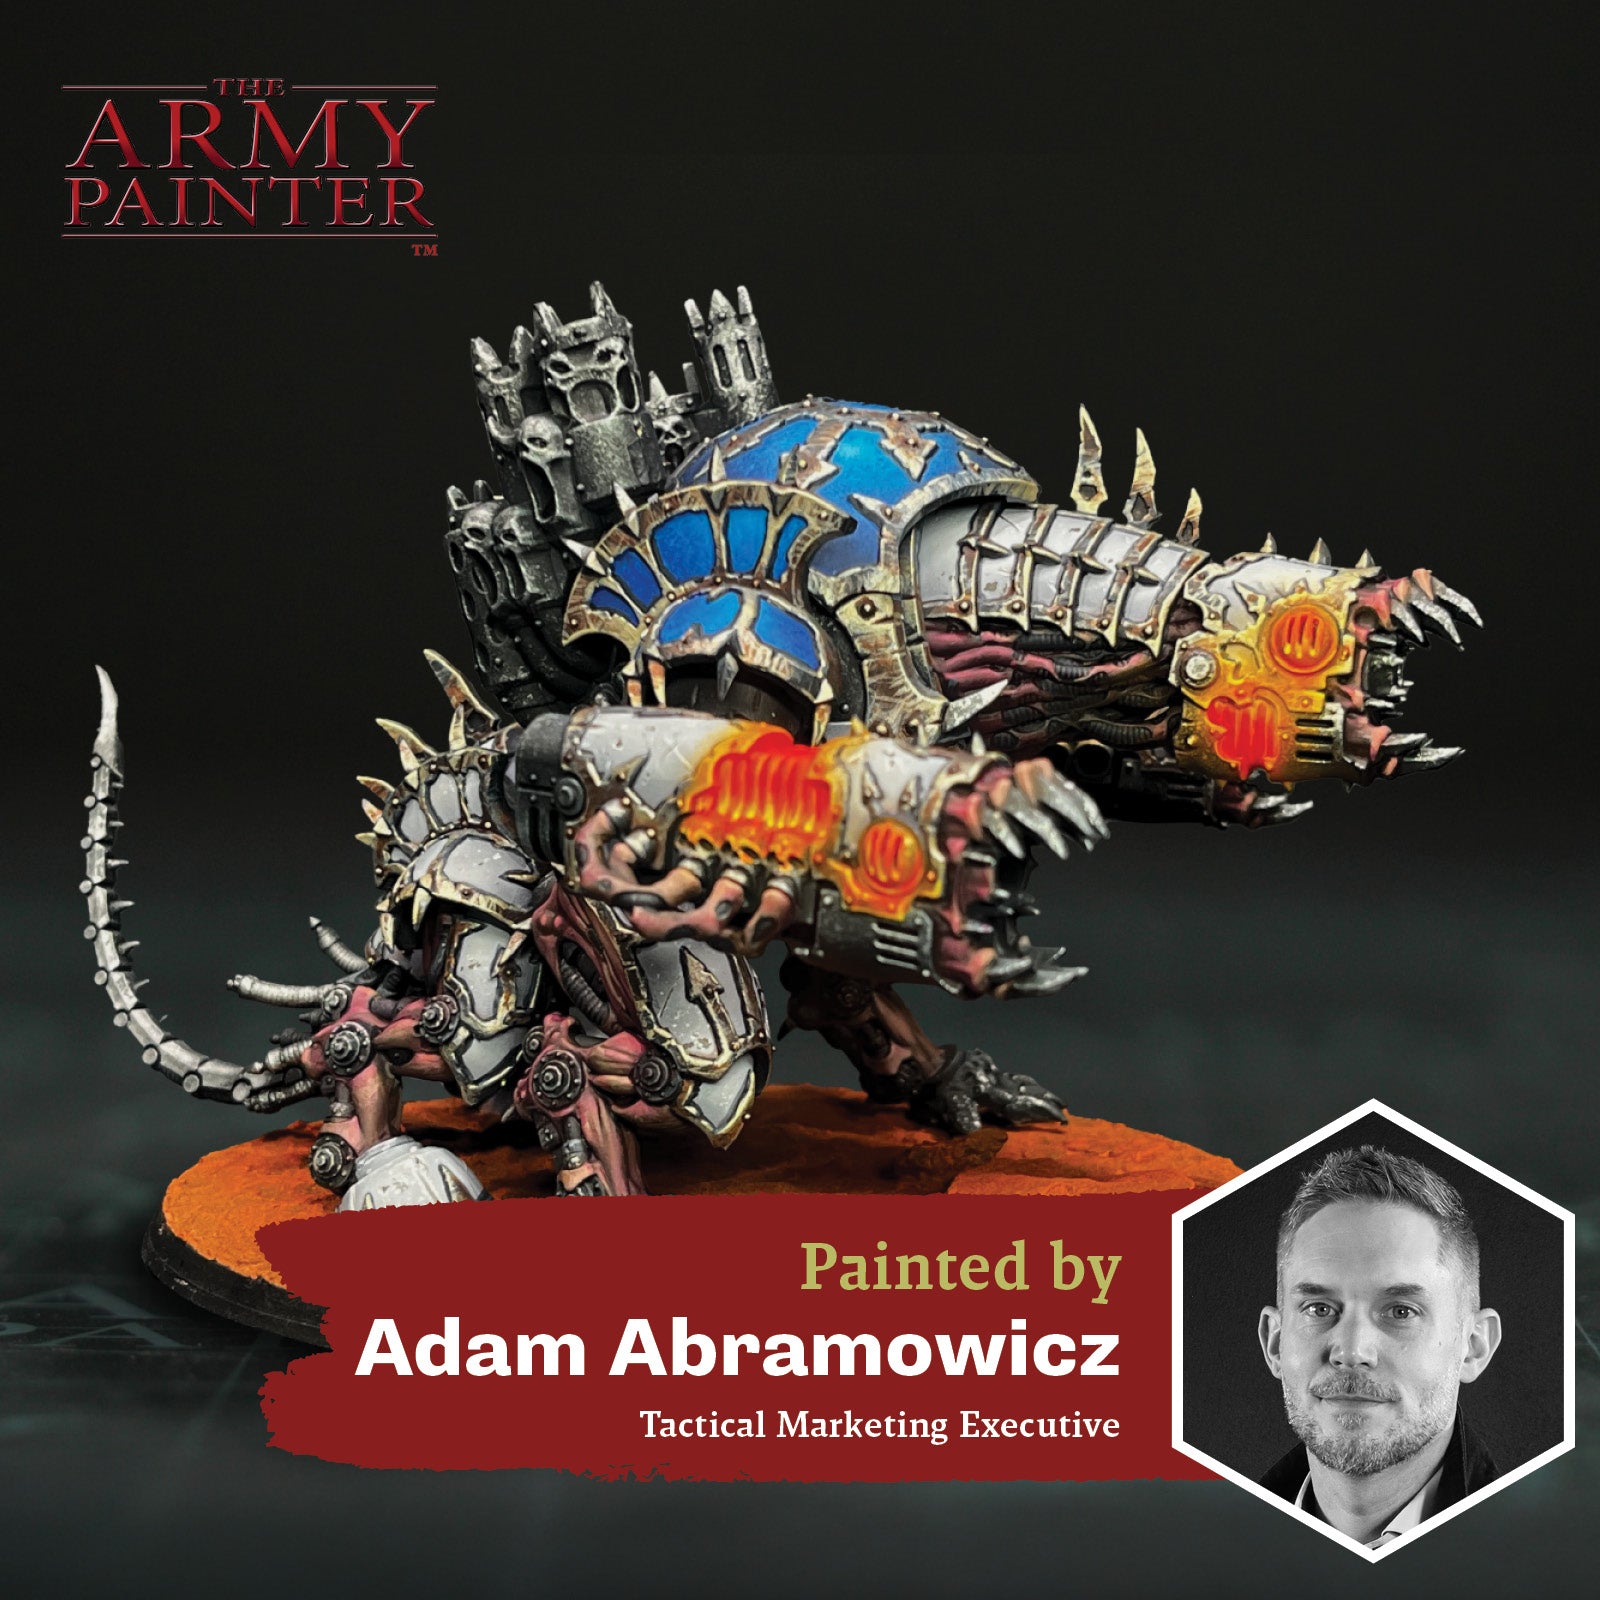
Adam's Forgefiend

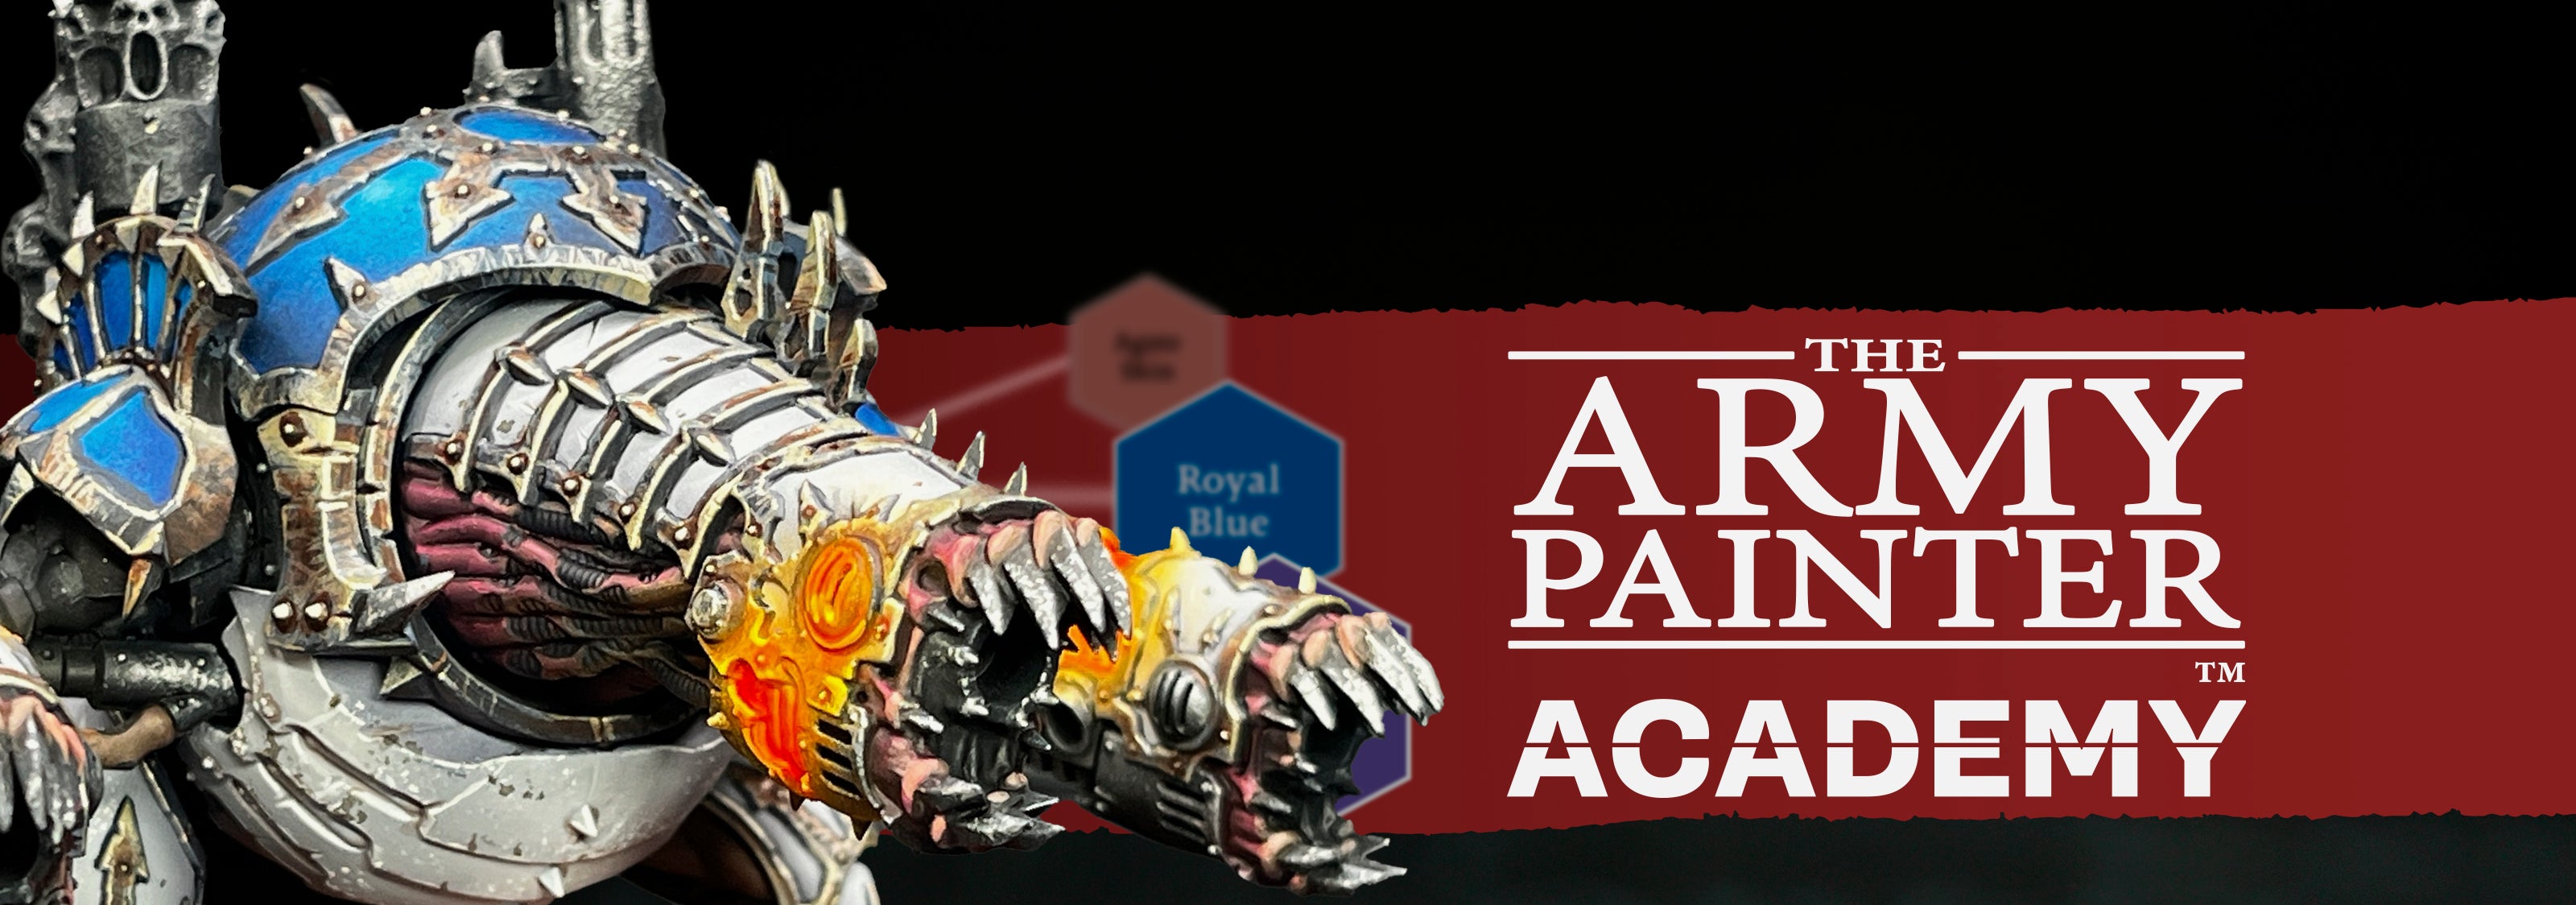
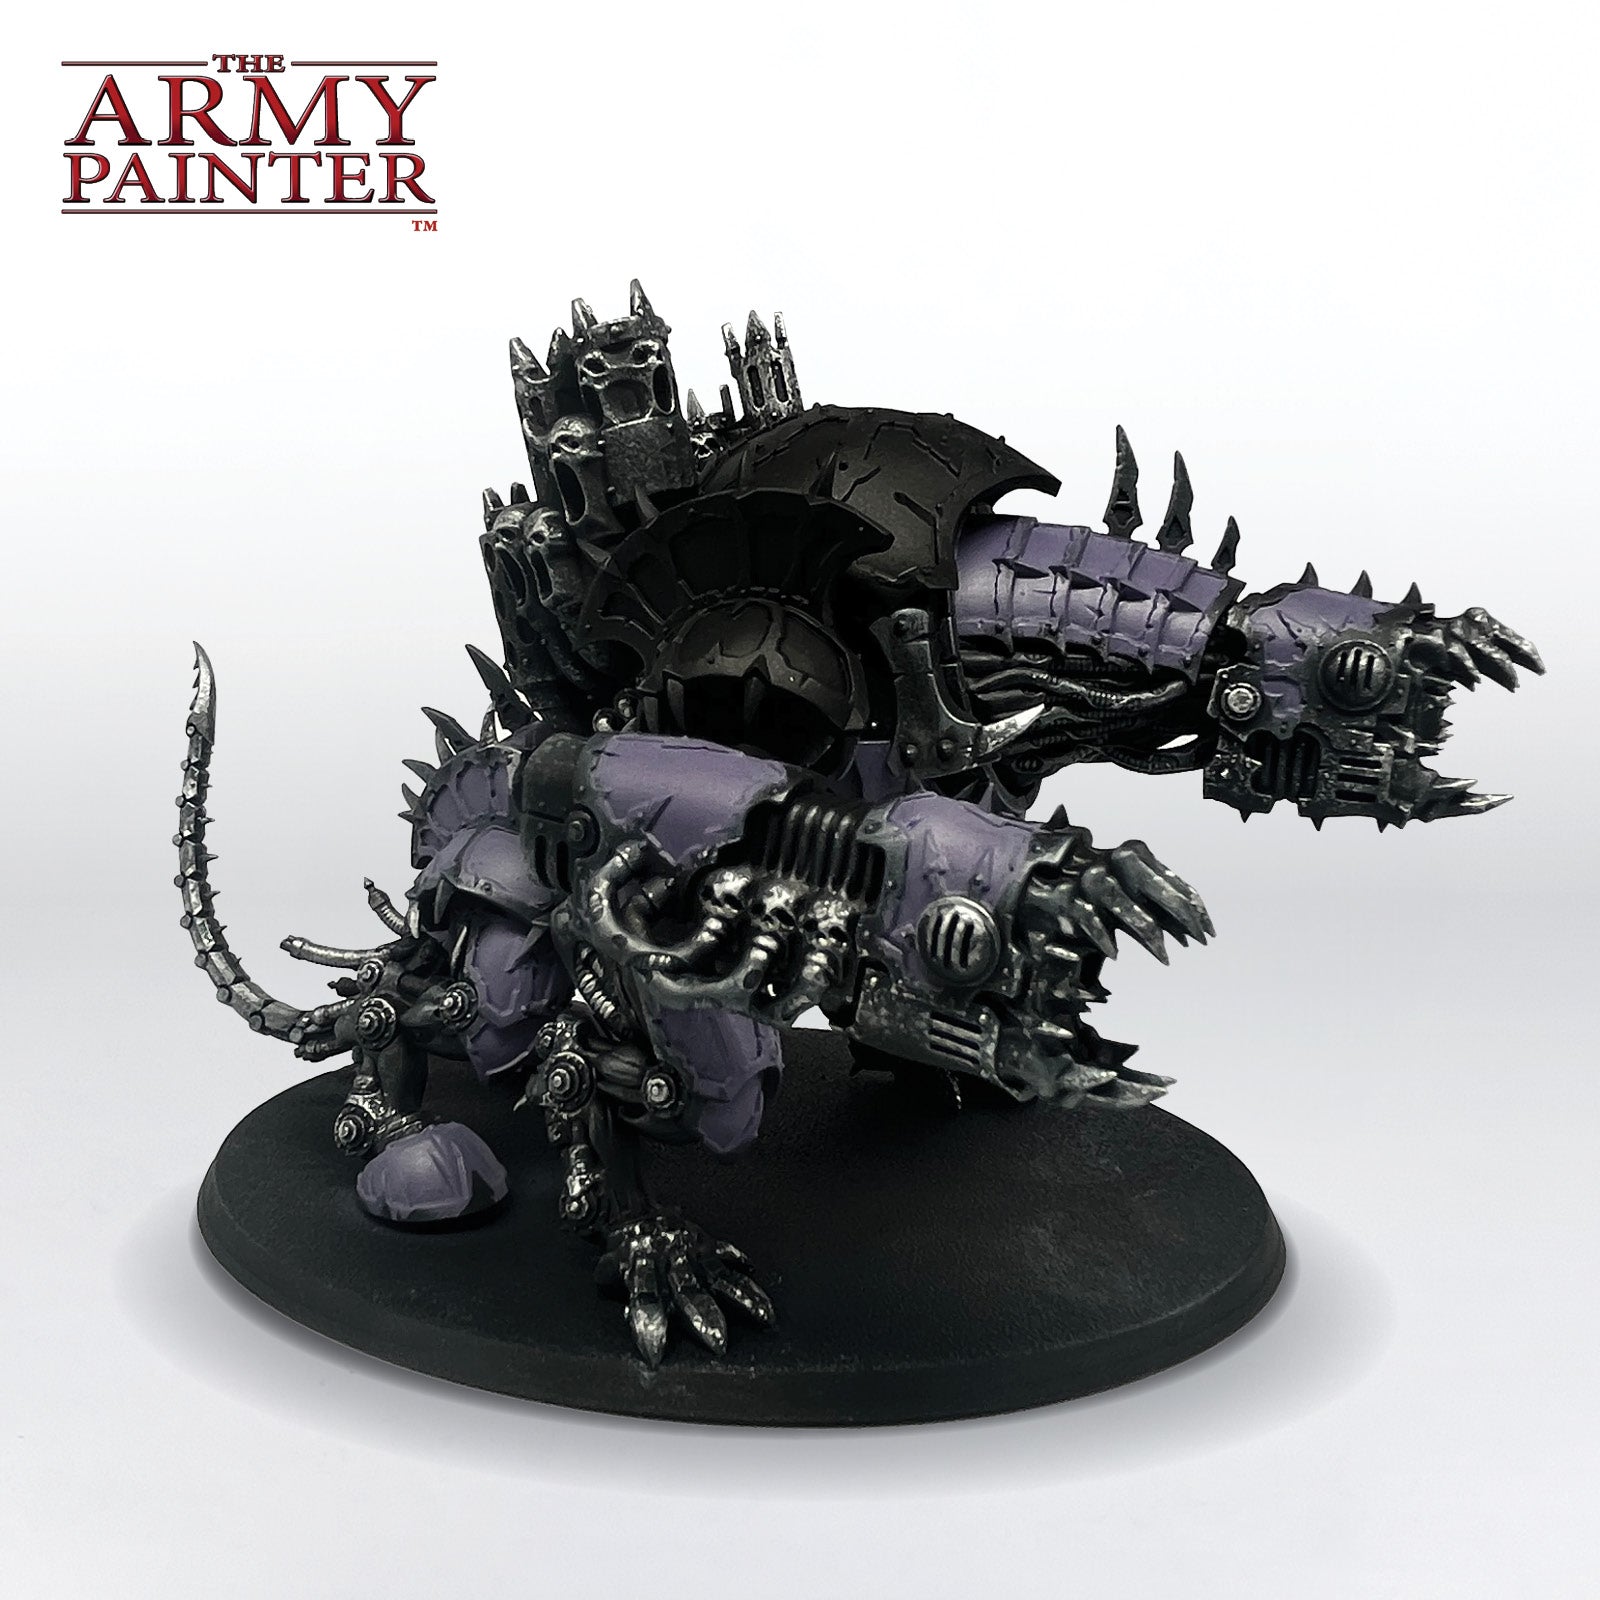
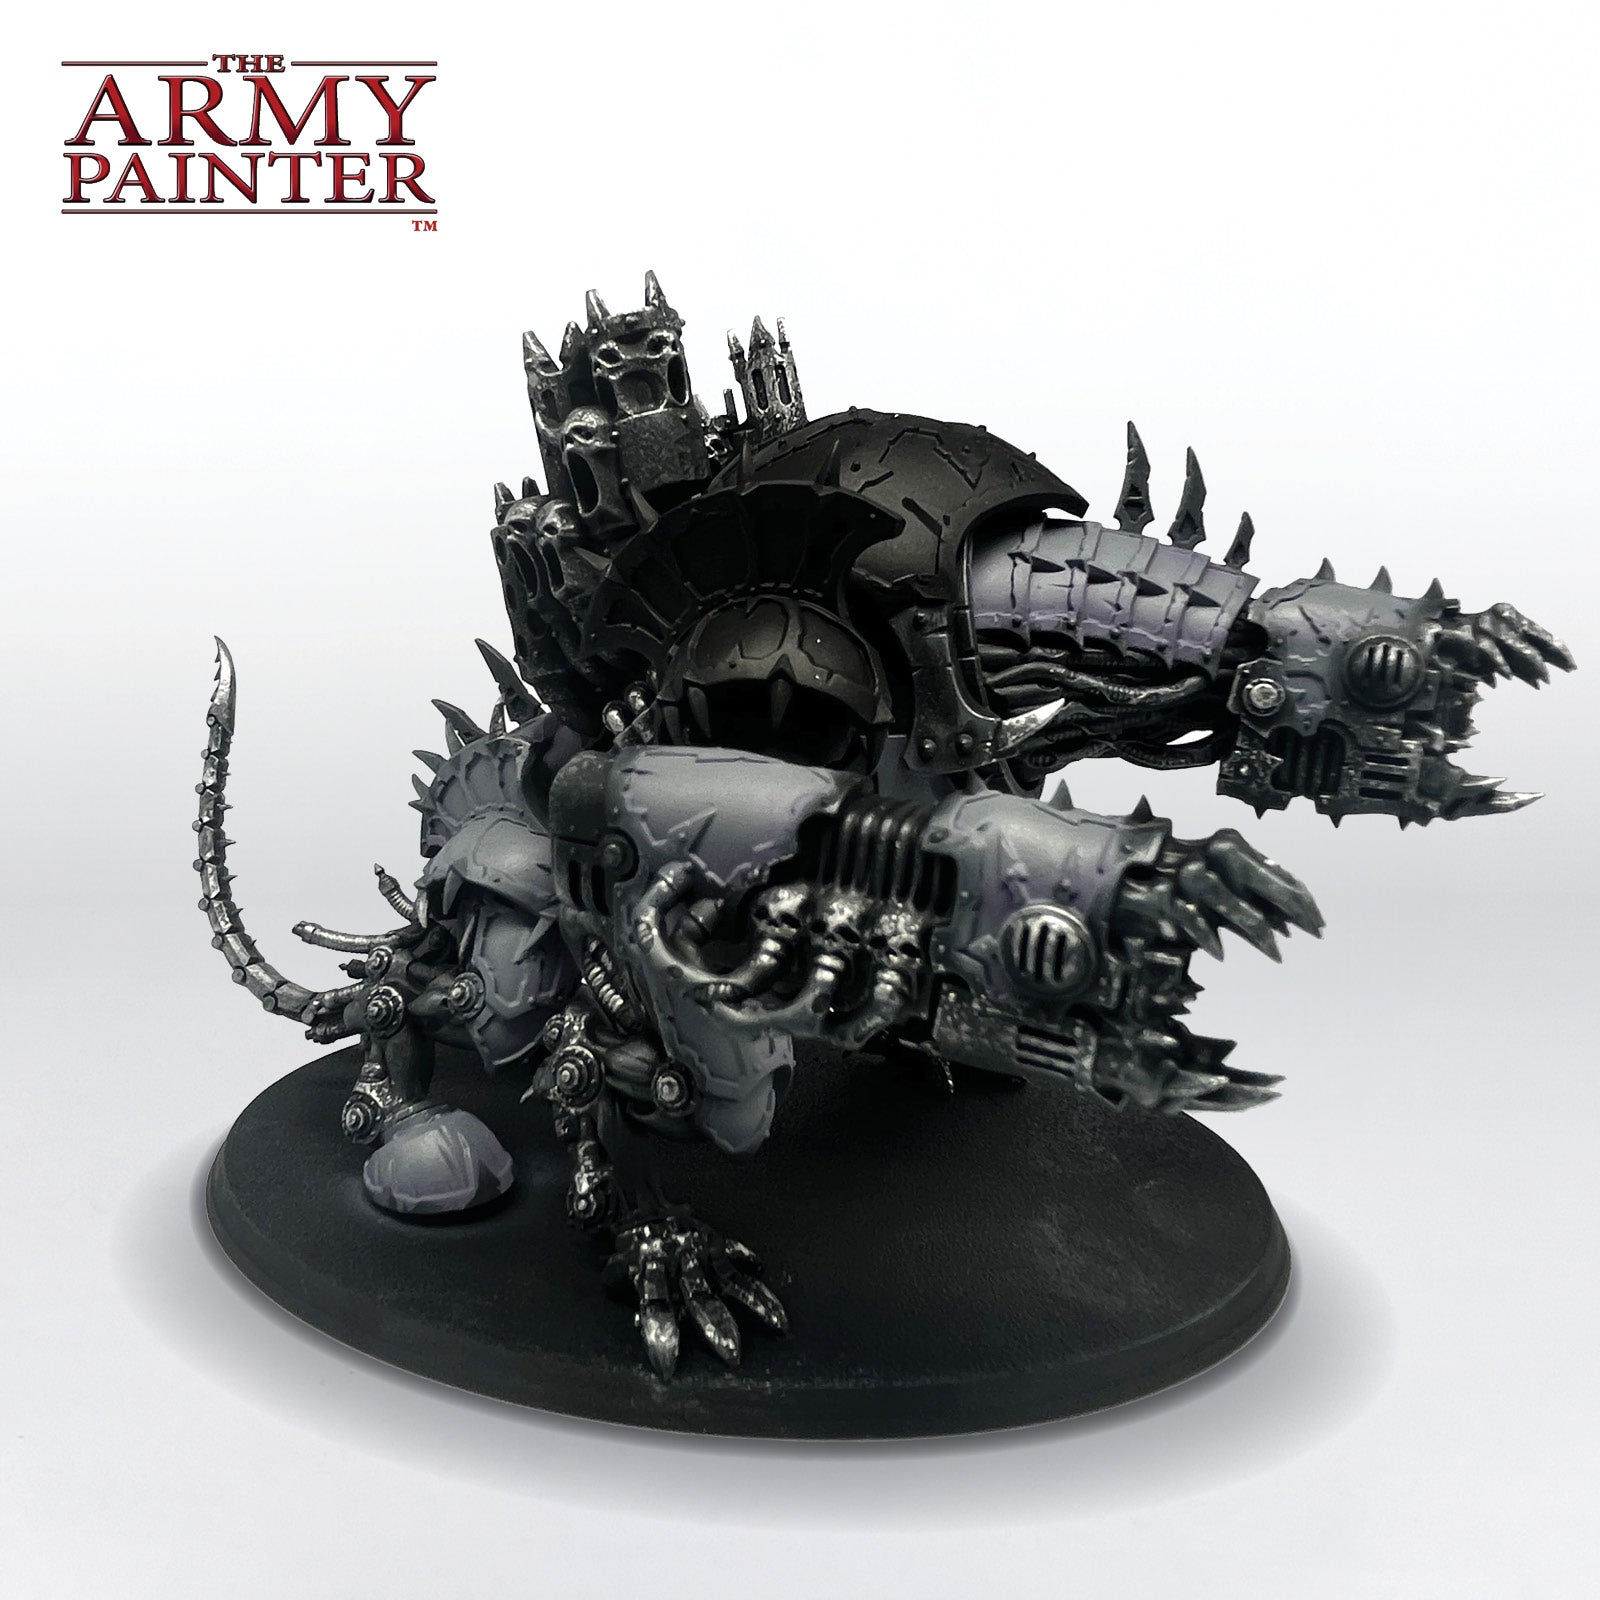
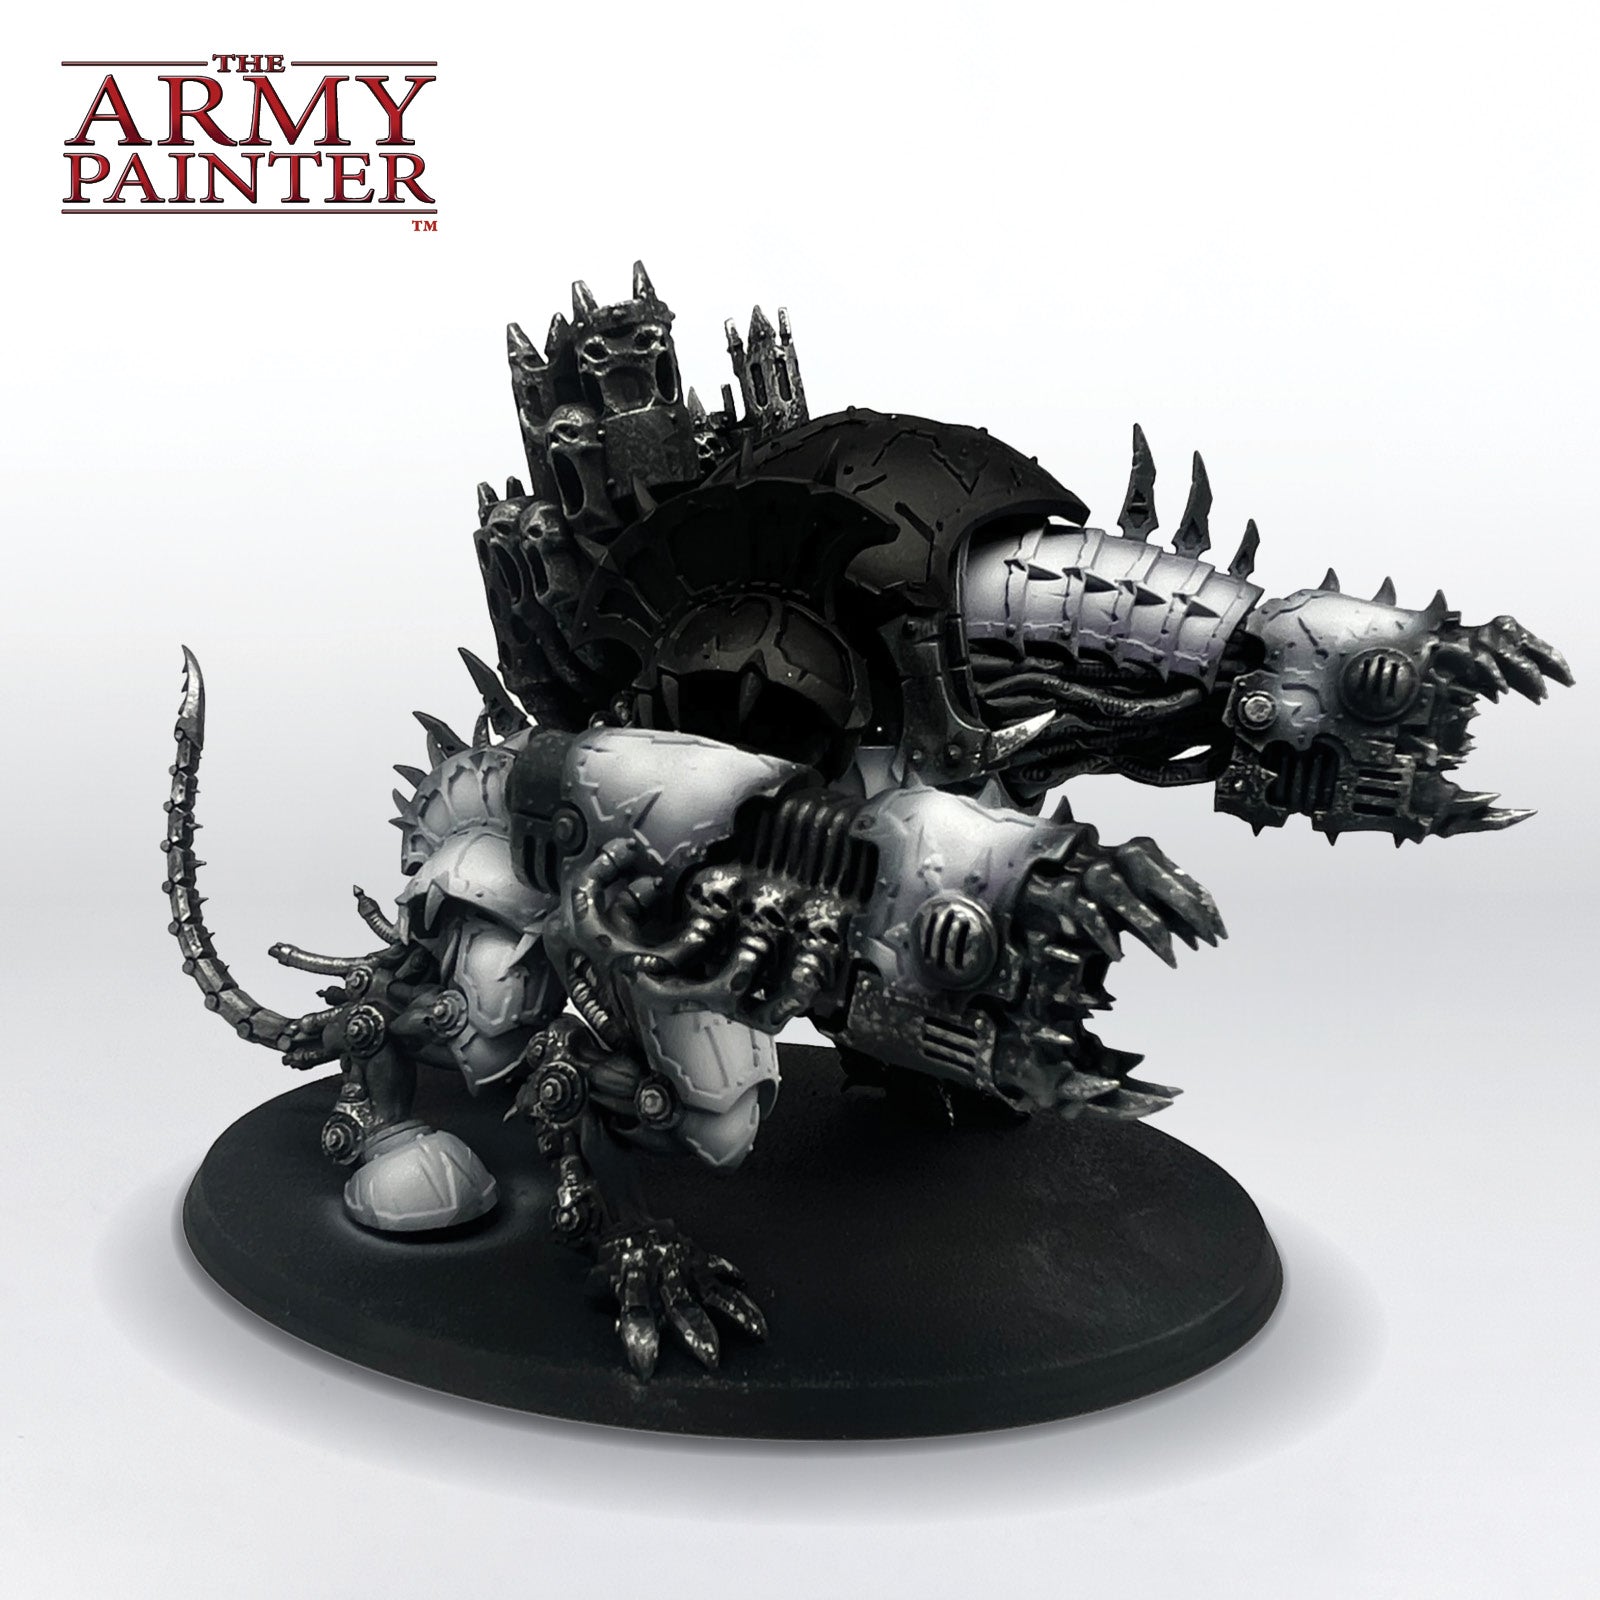
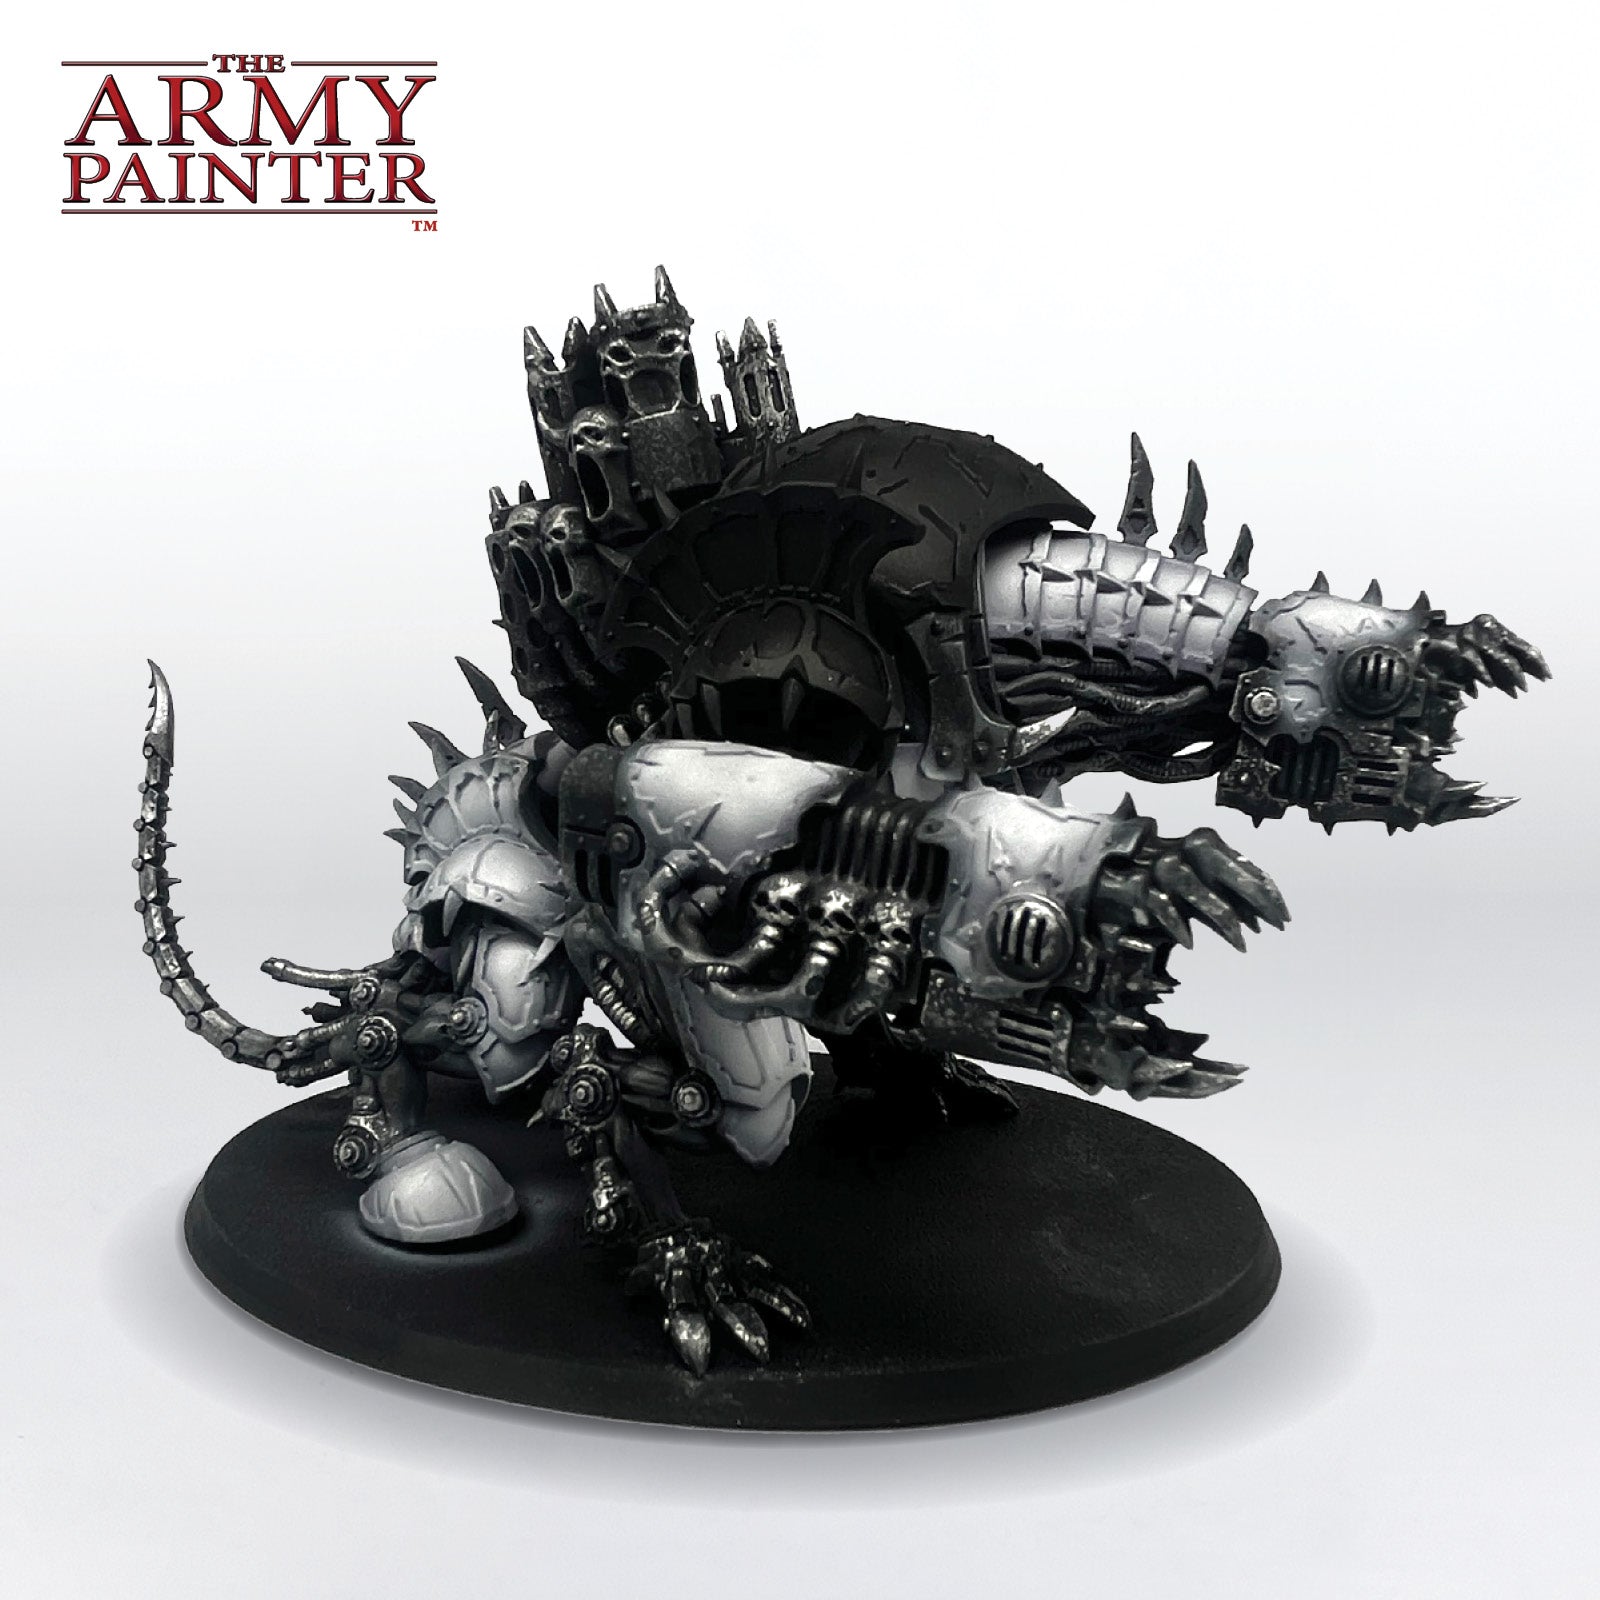
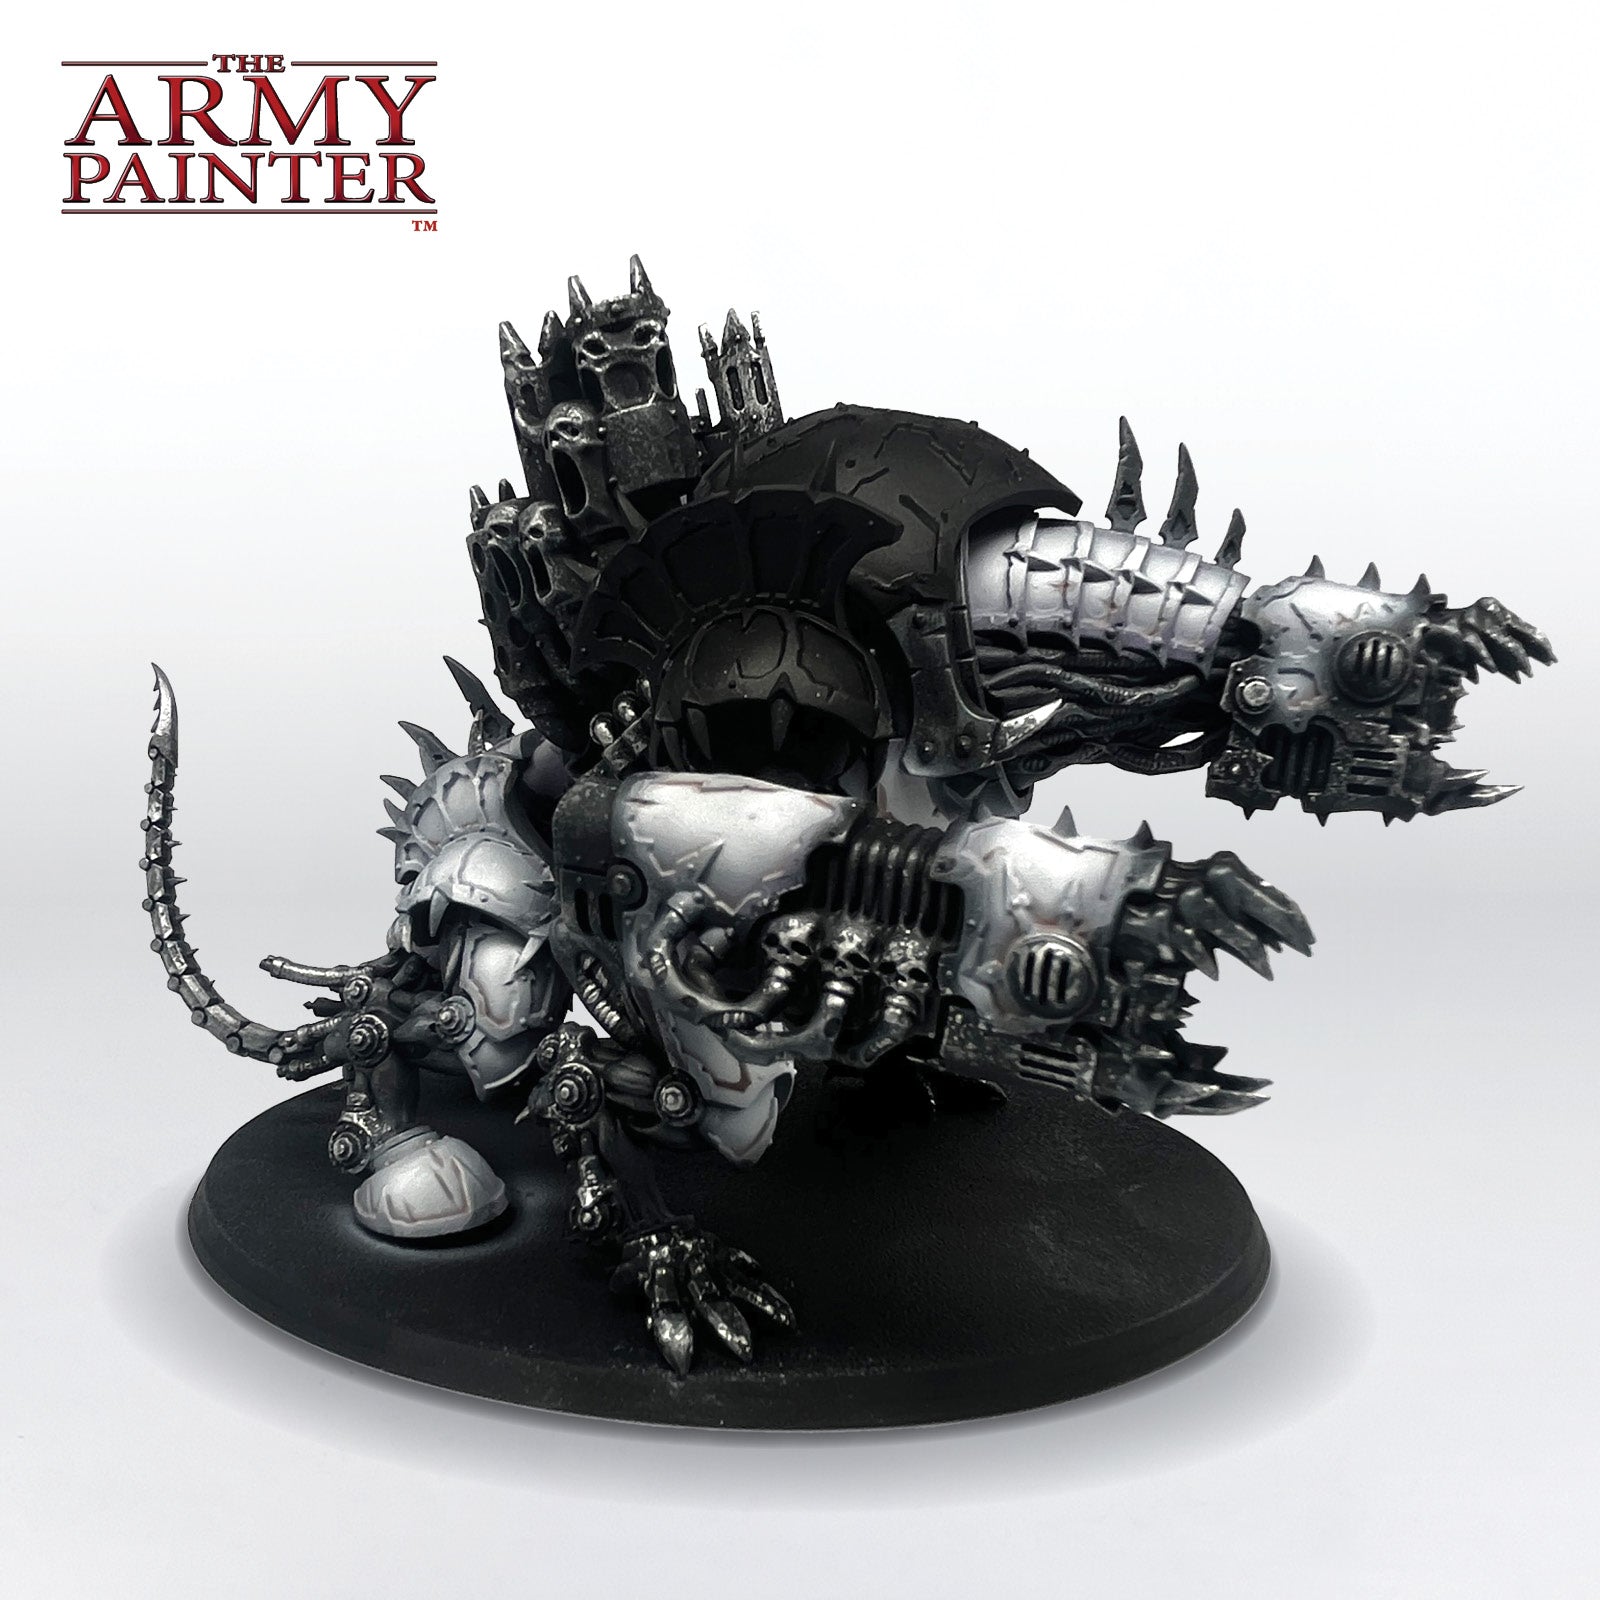
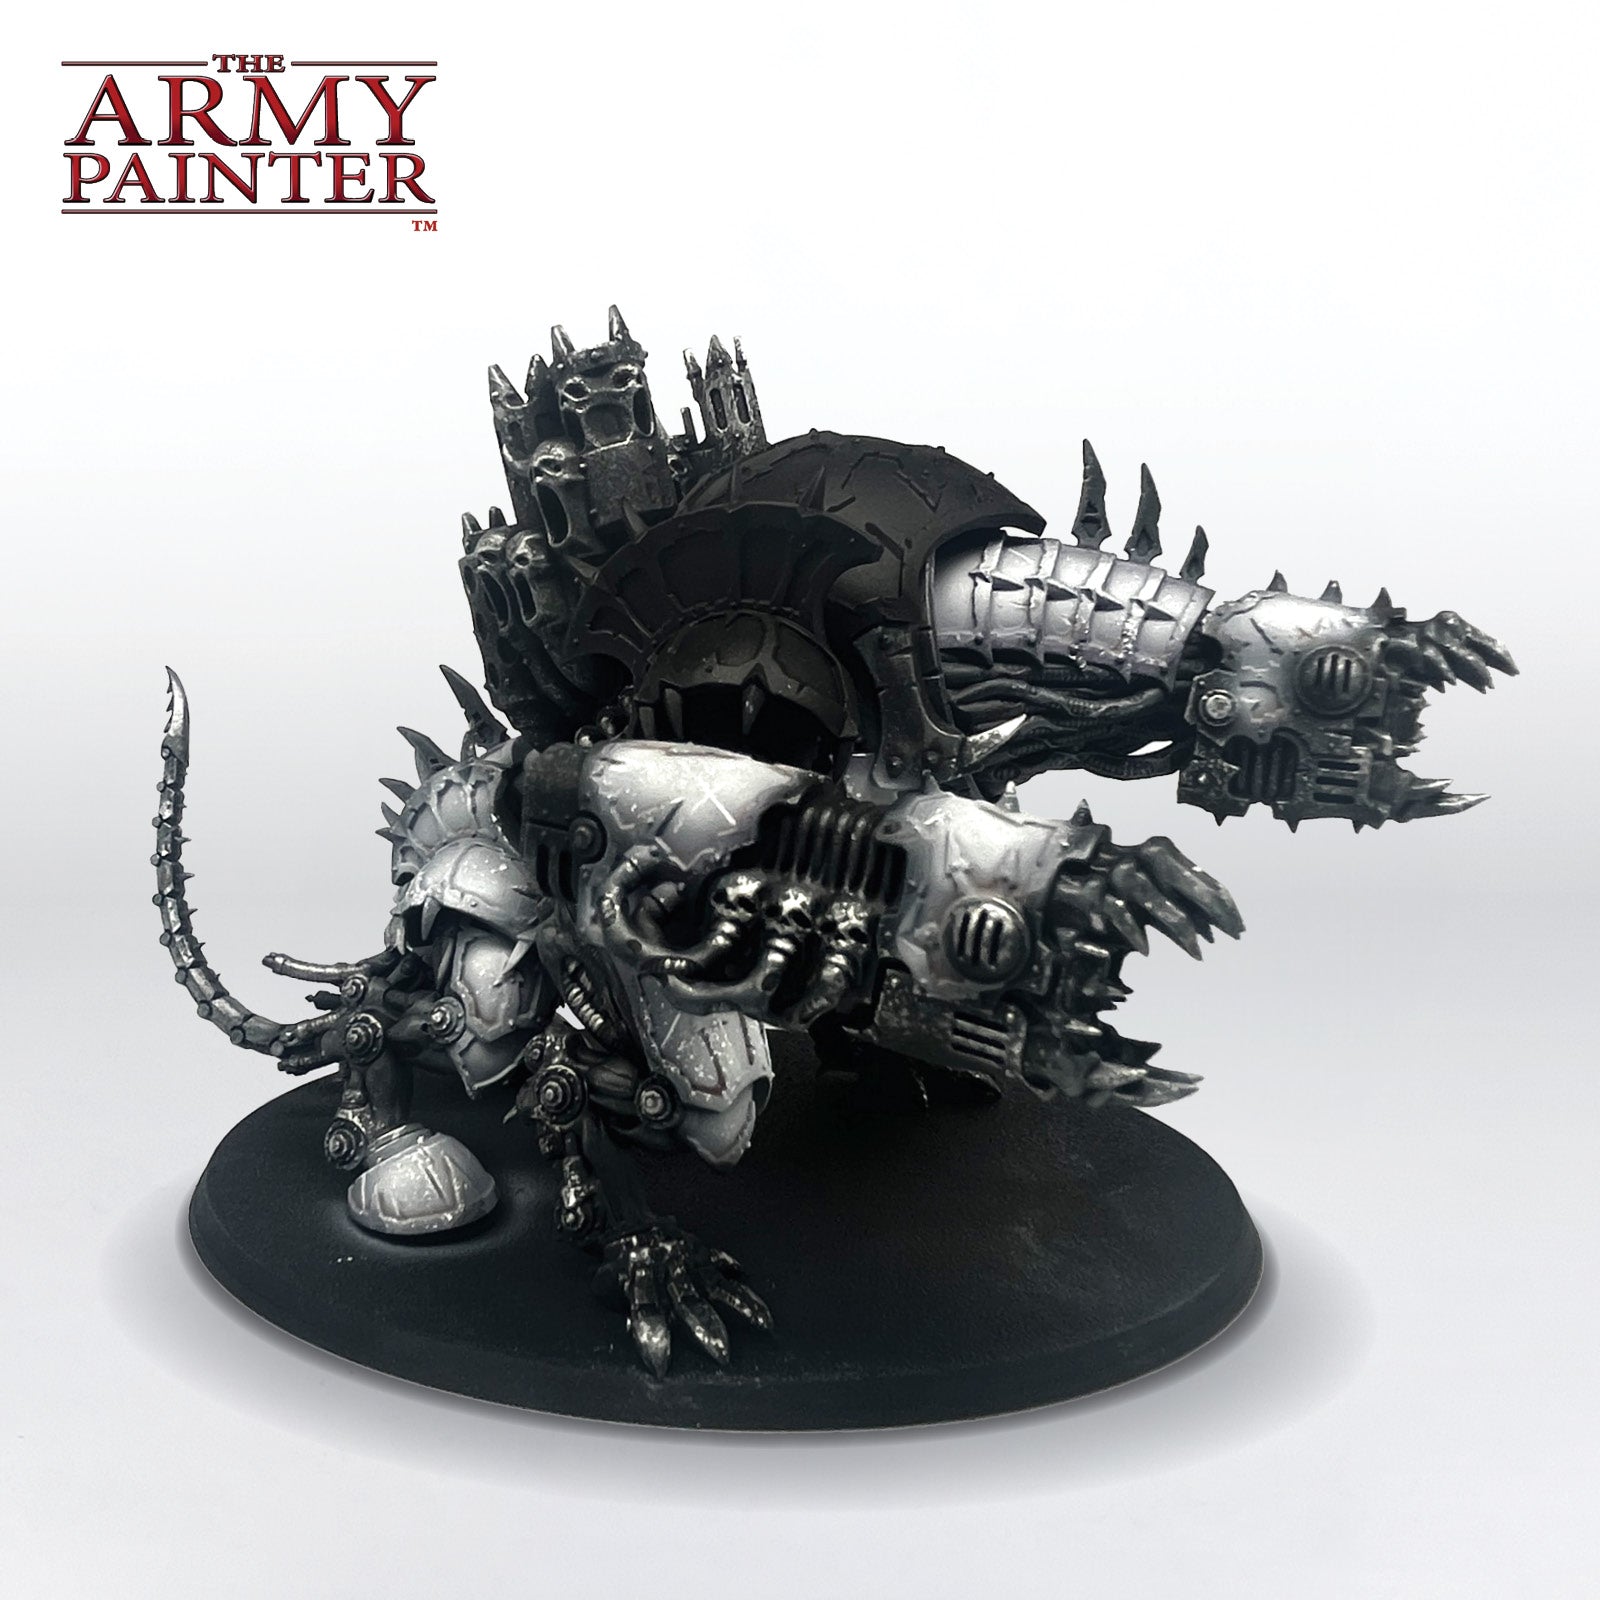
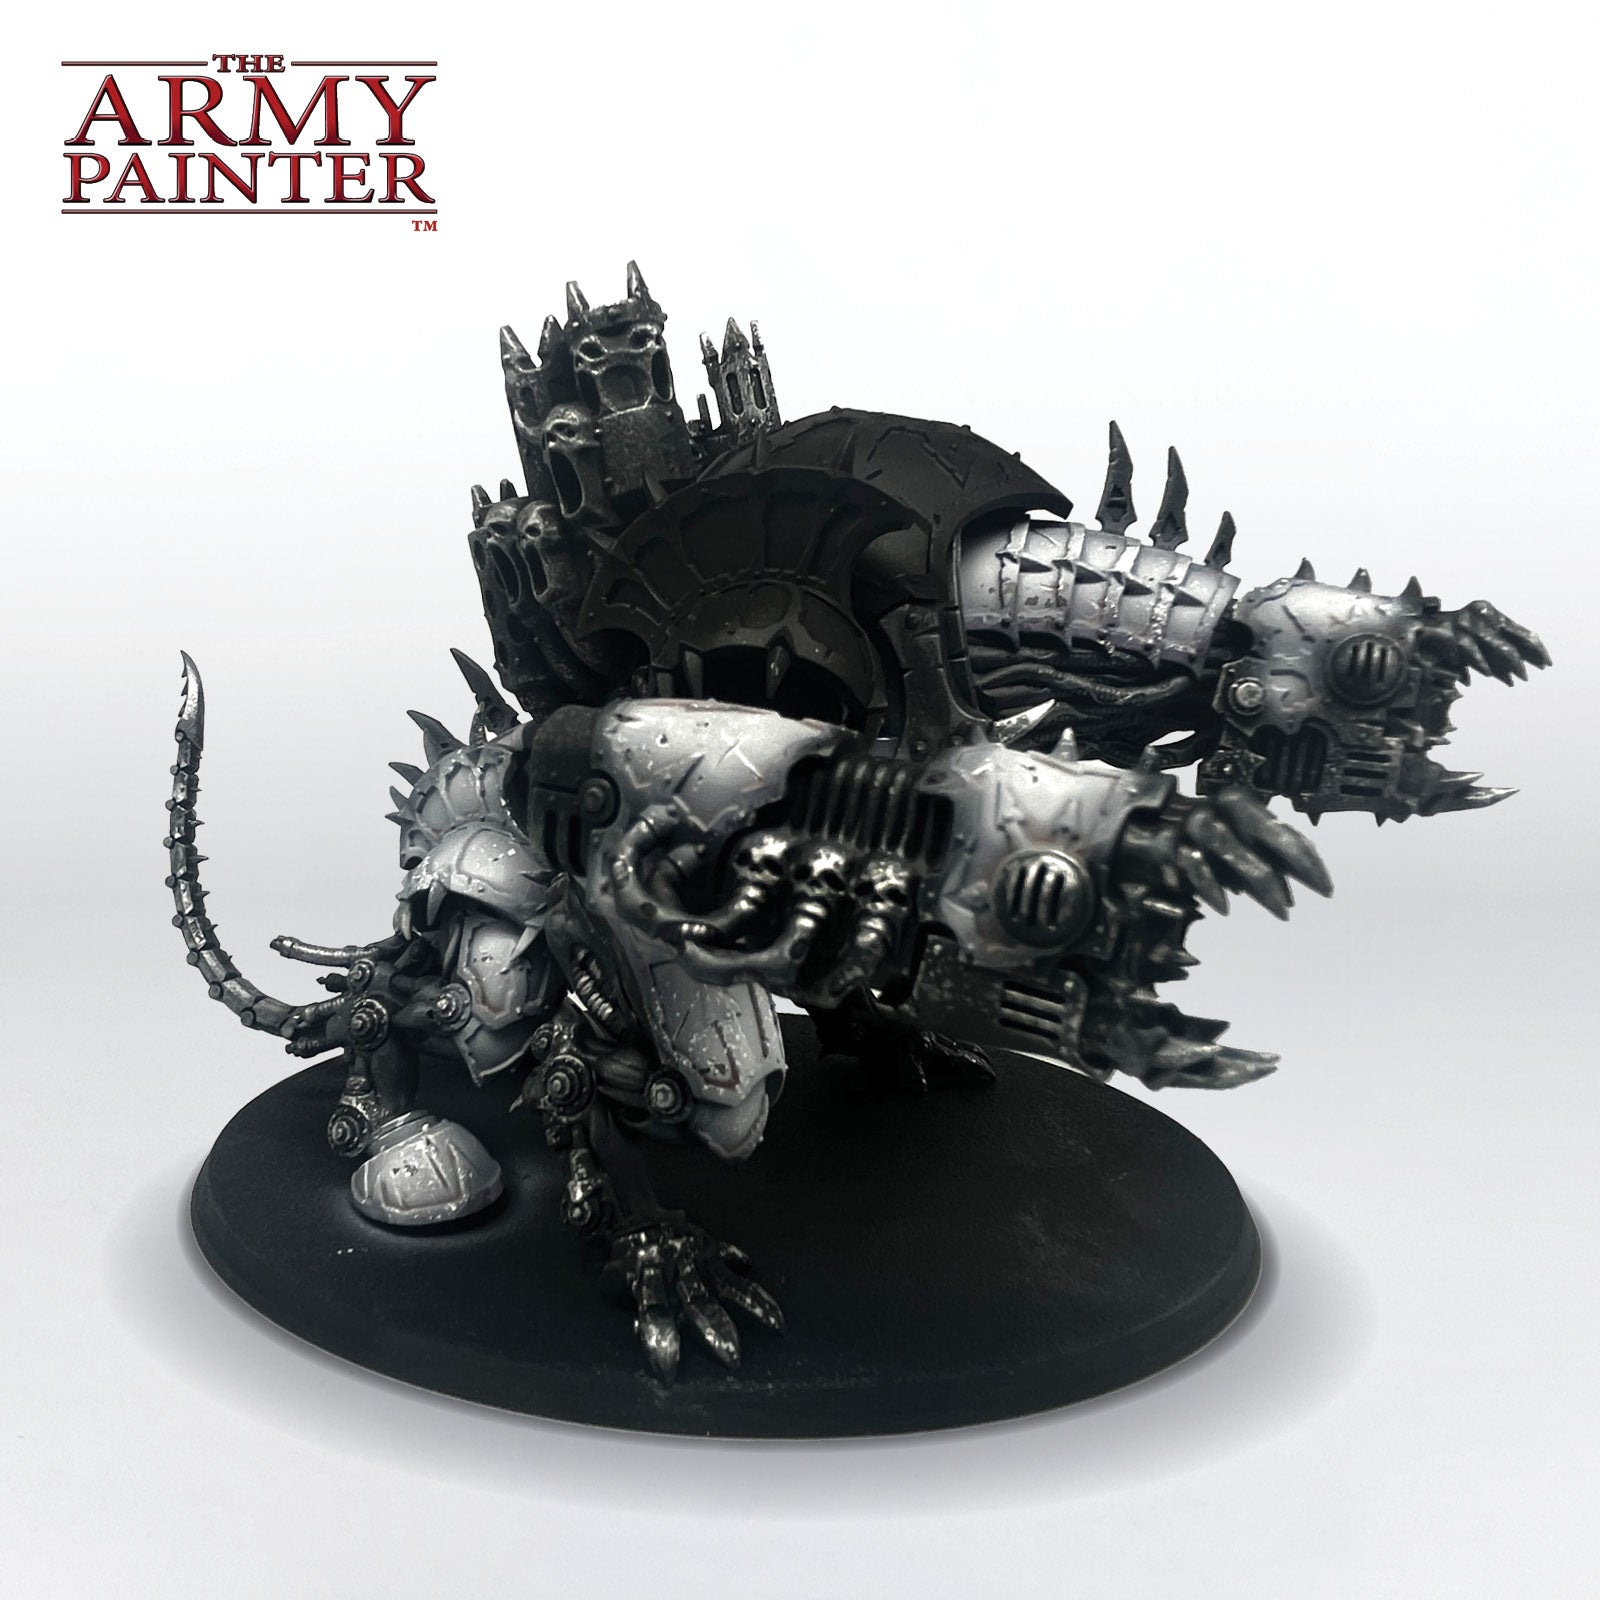
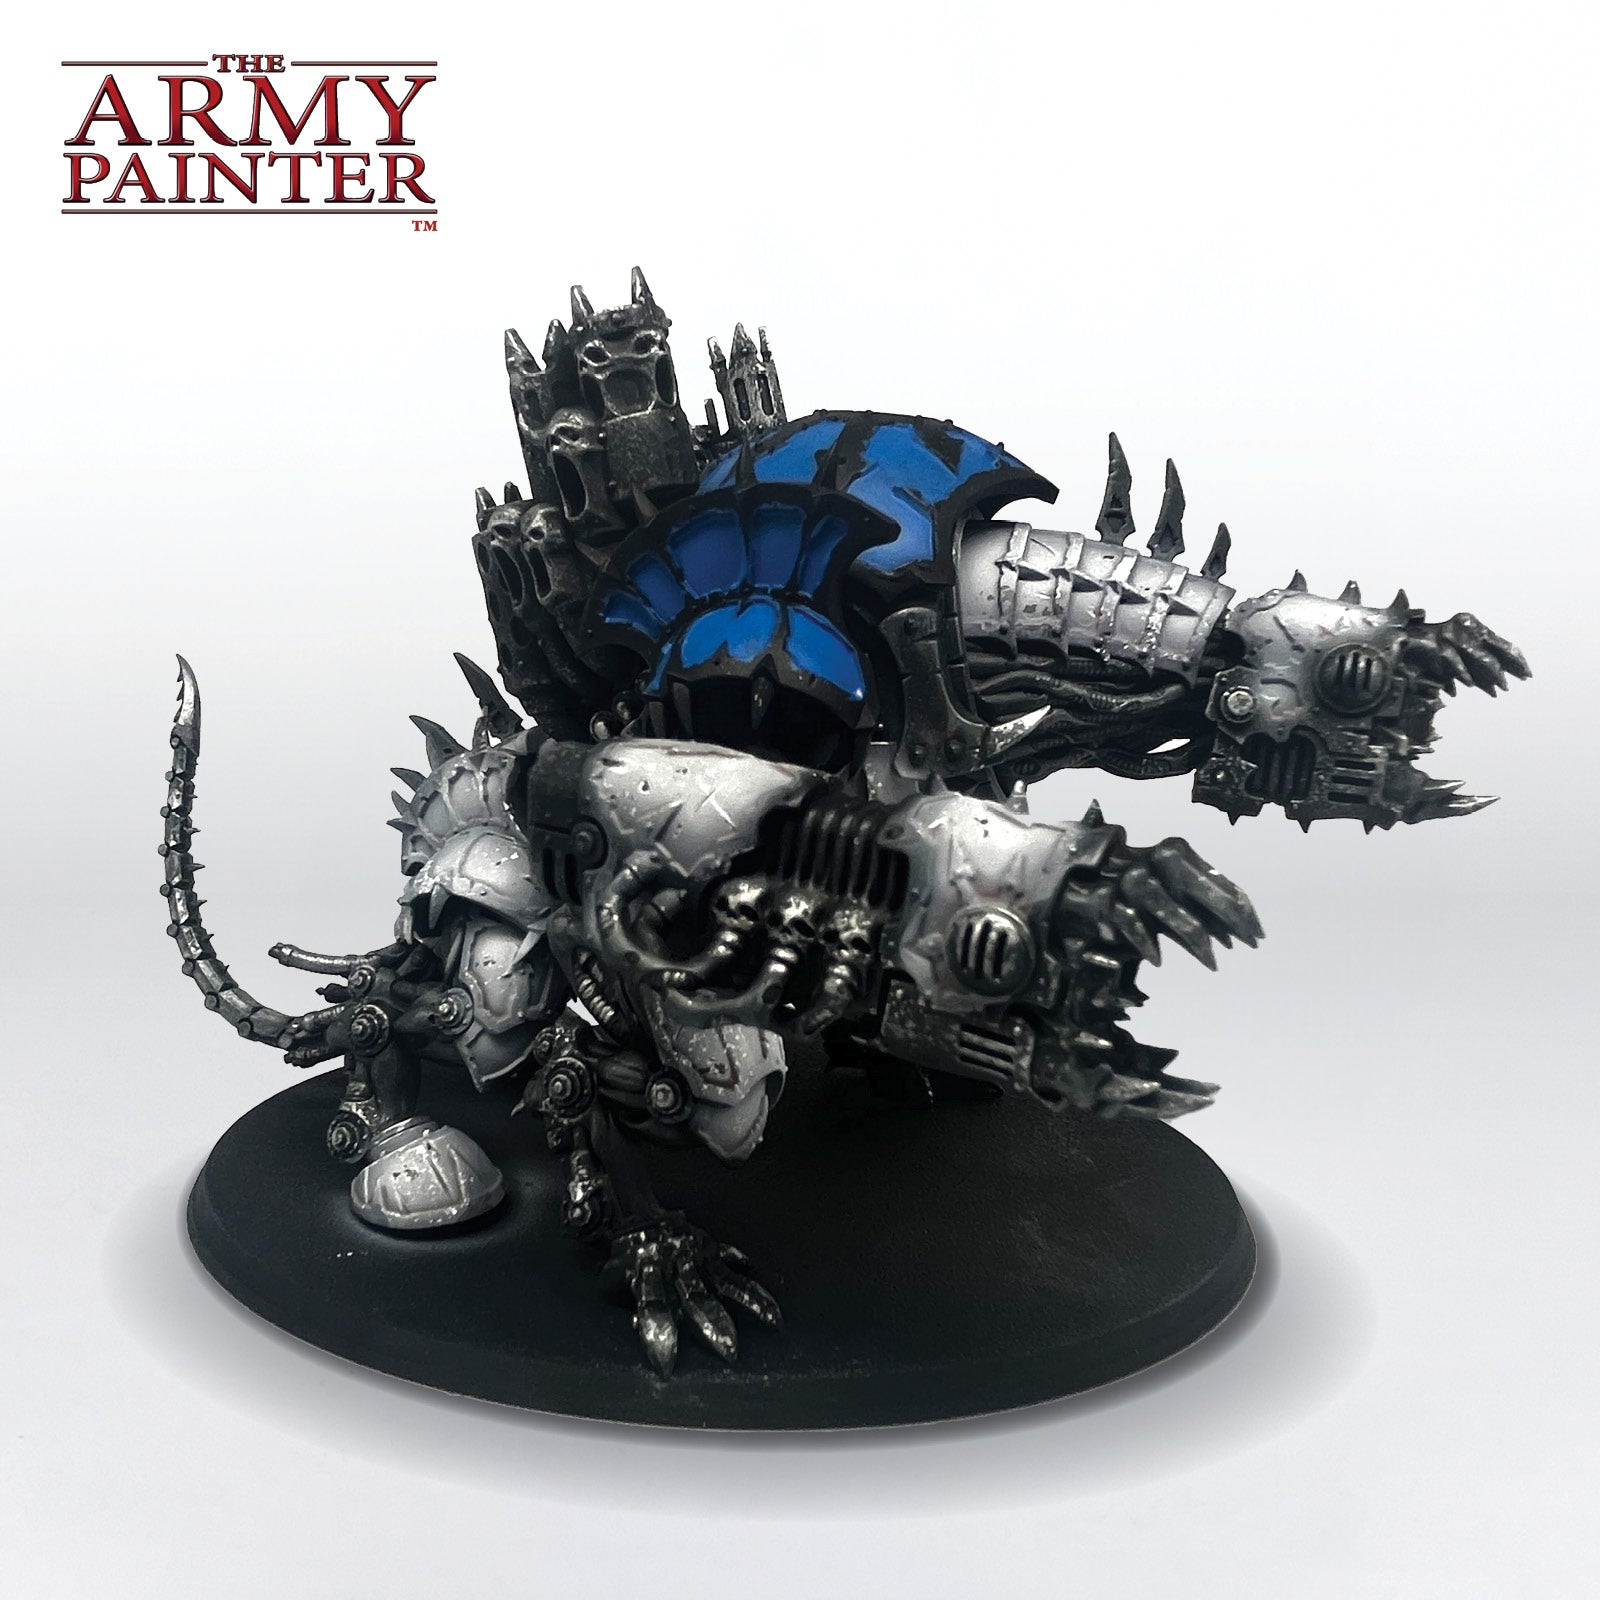
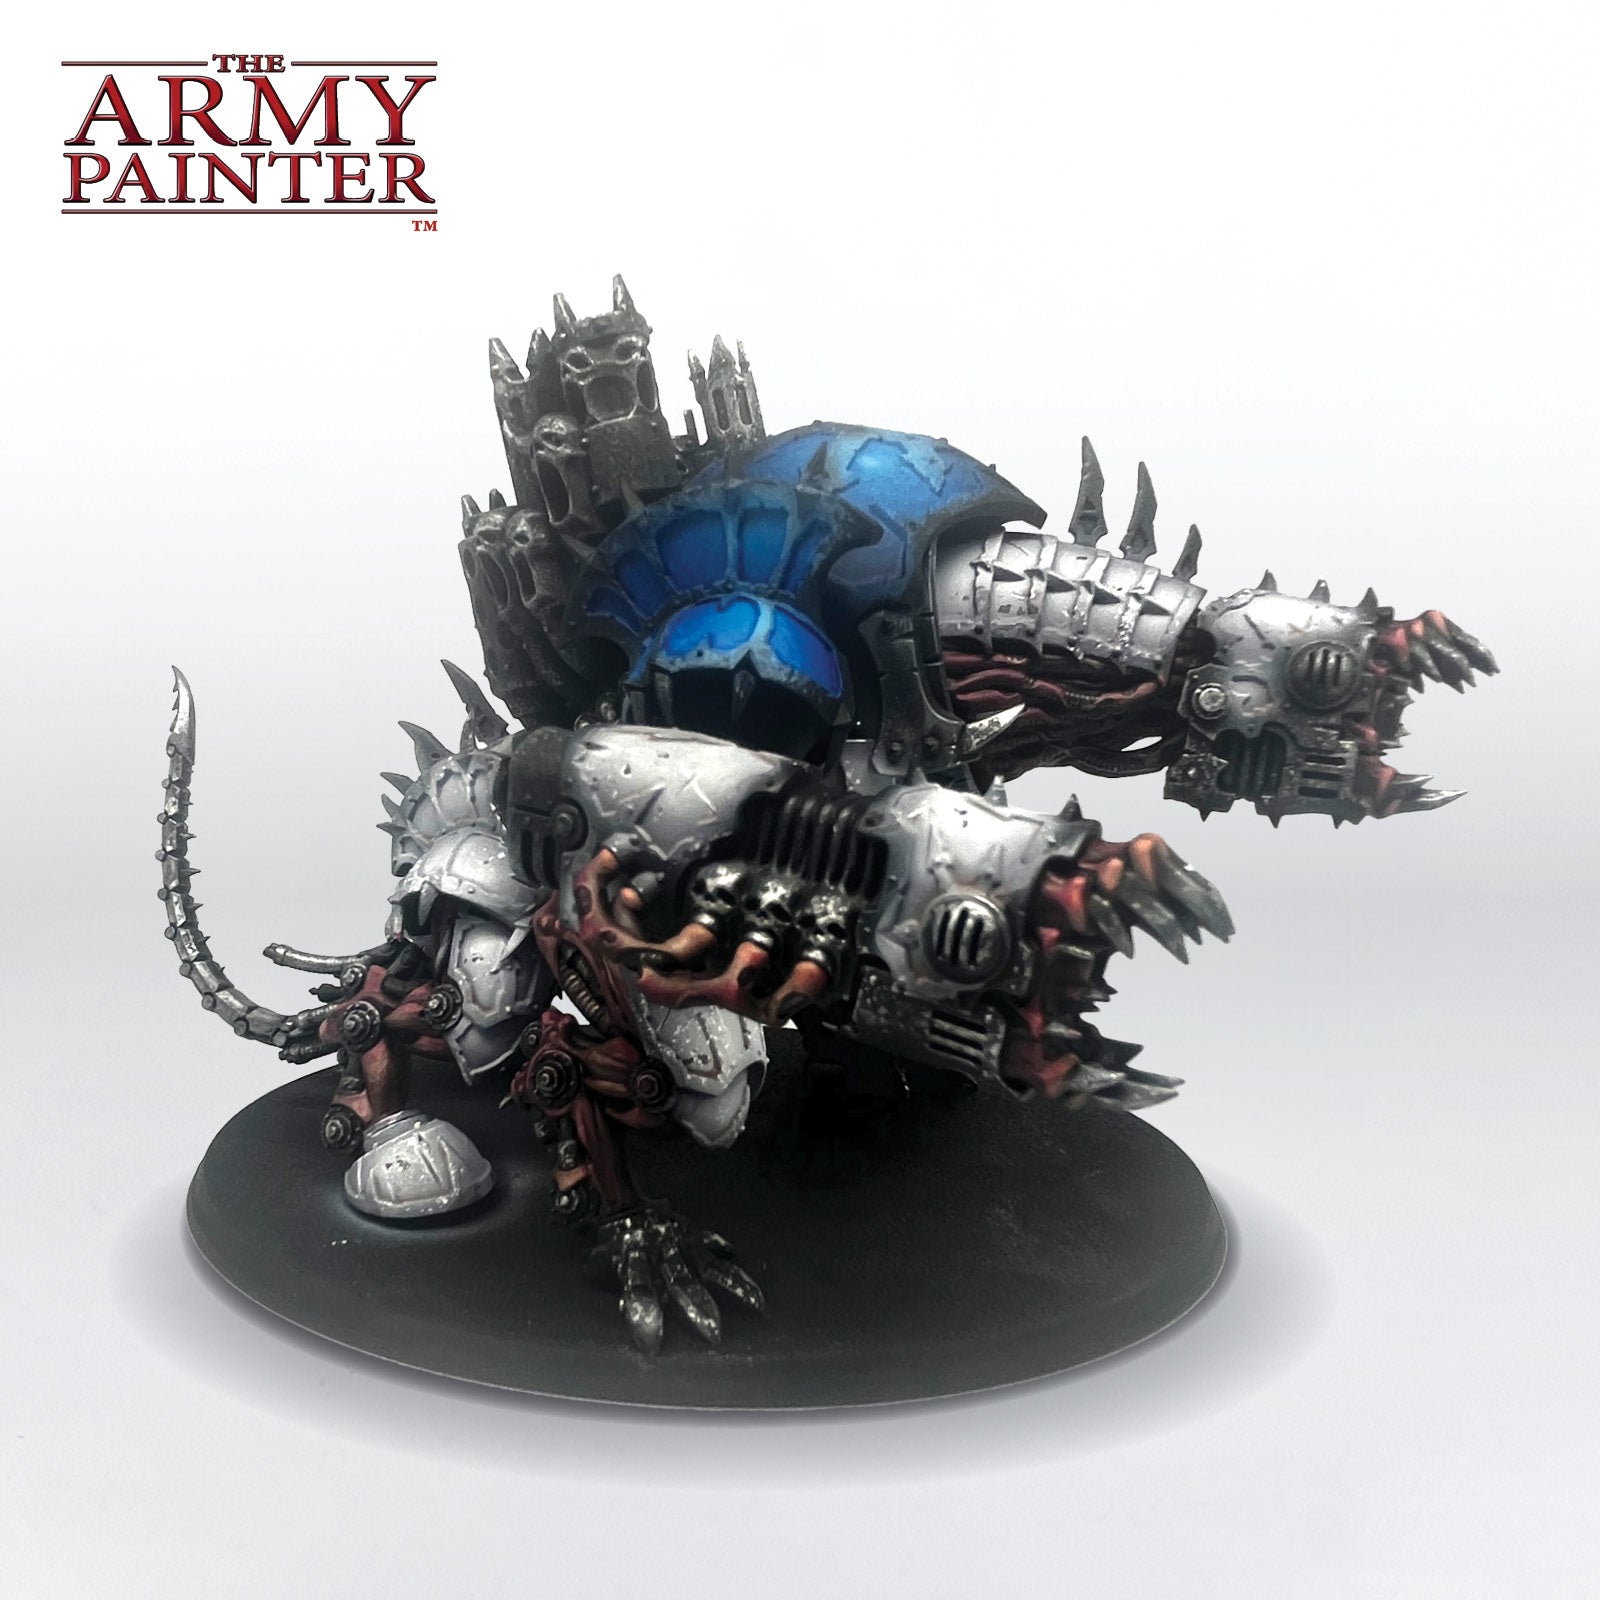
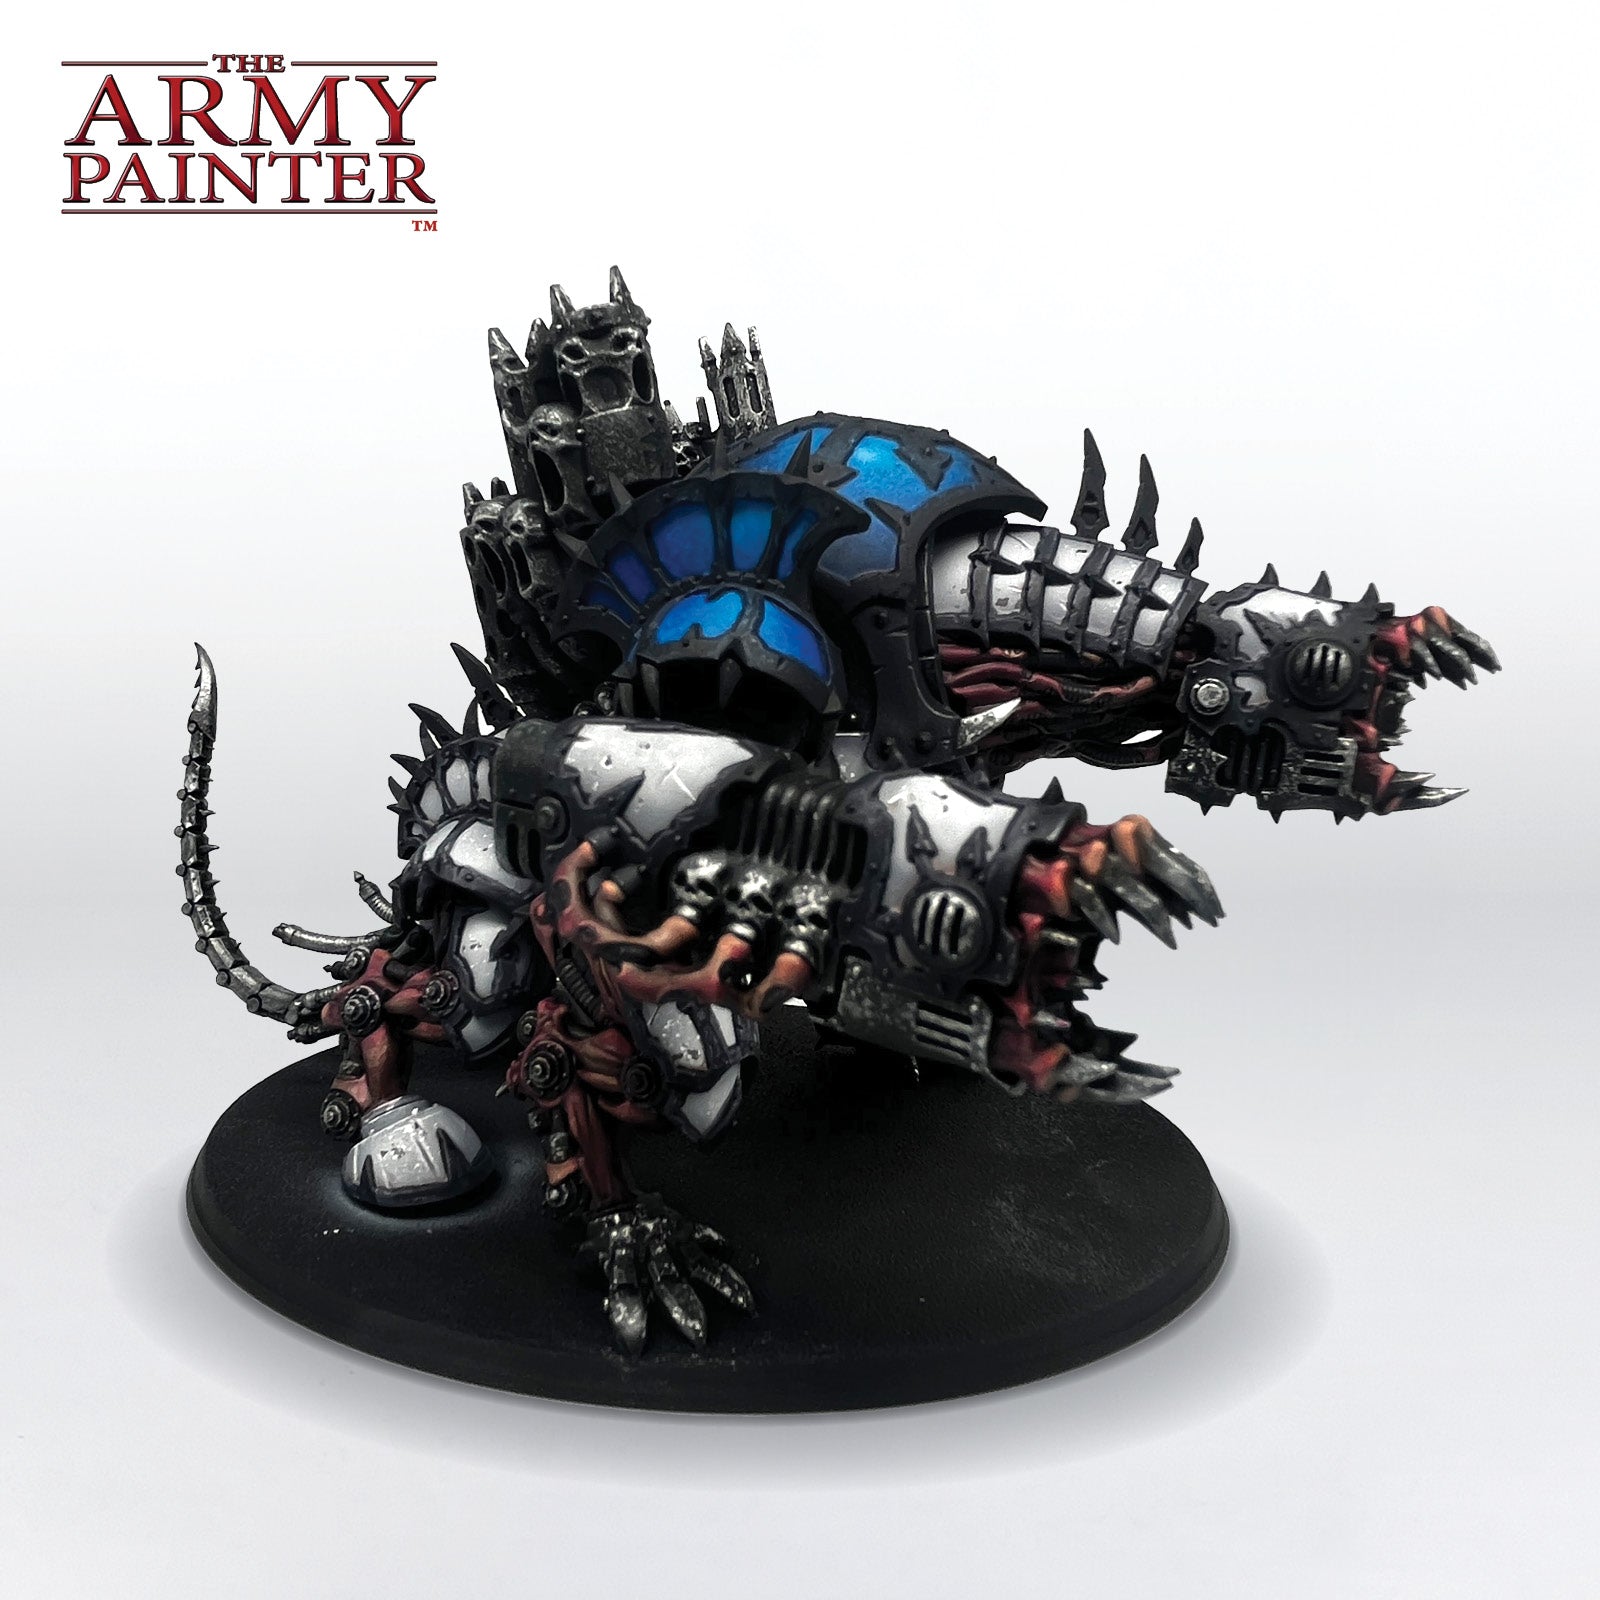
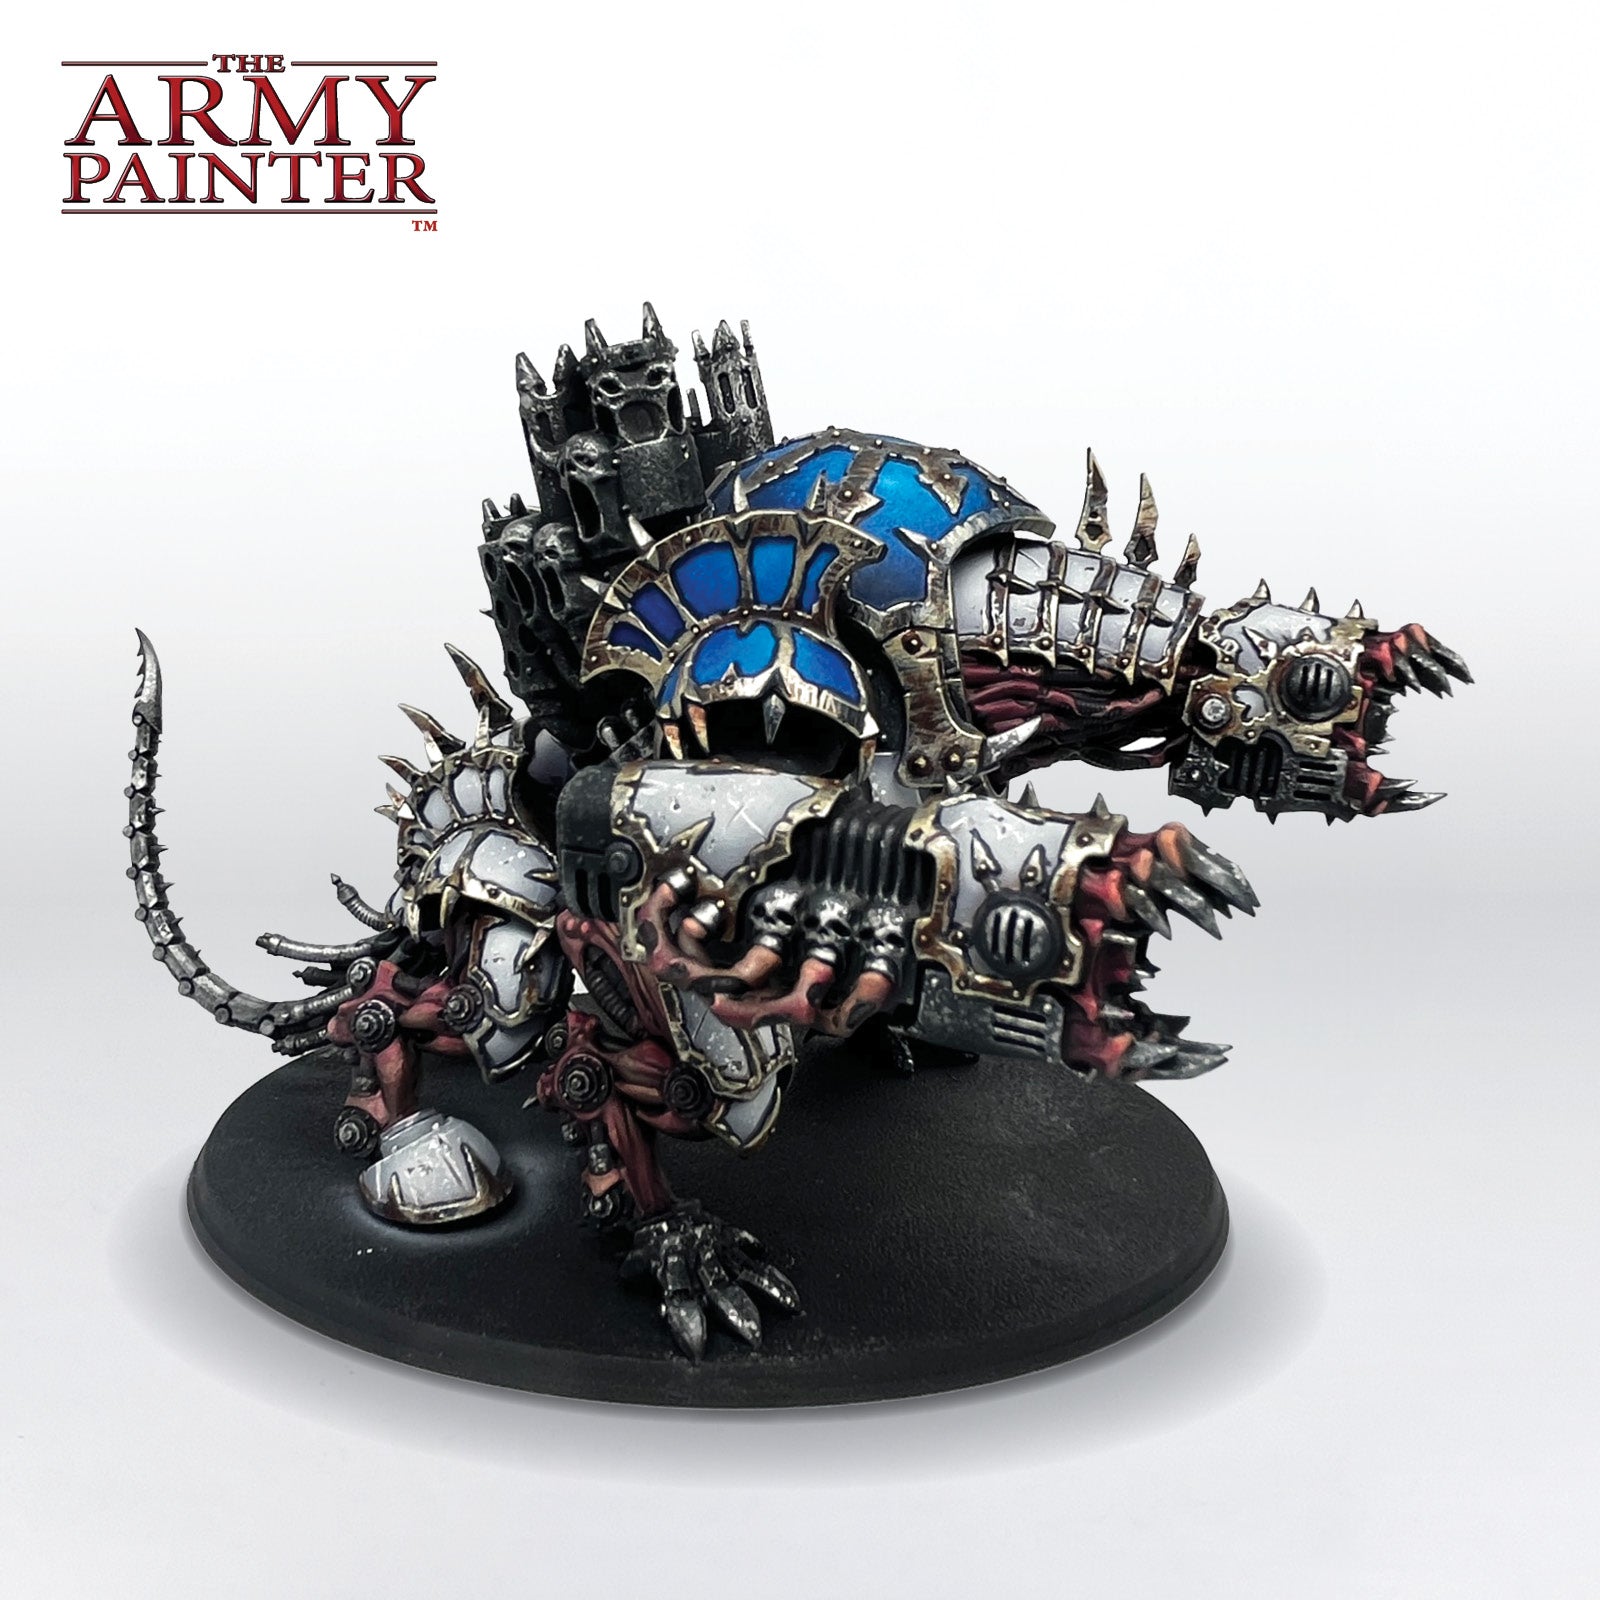
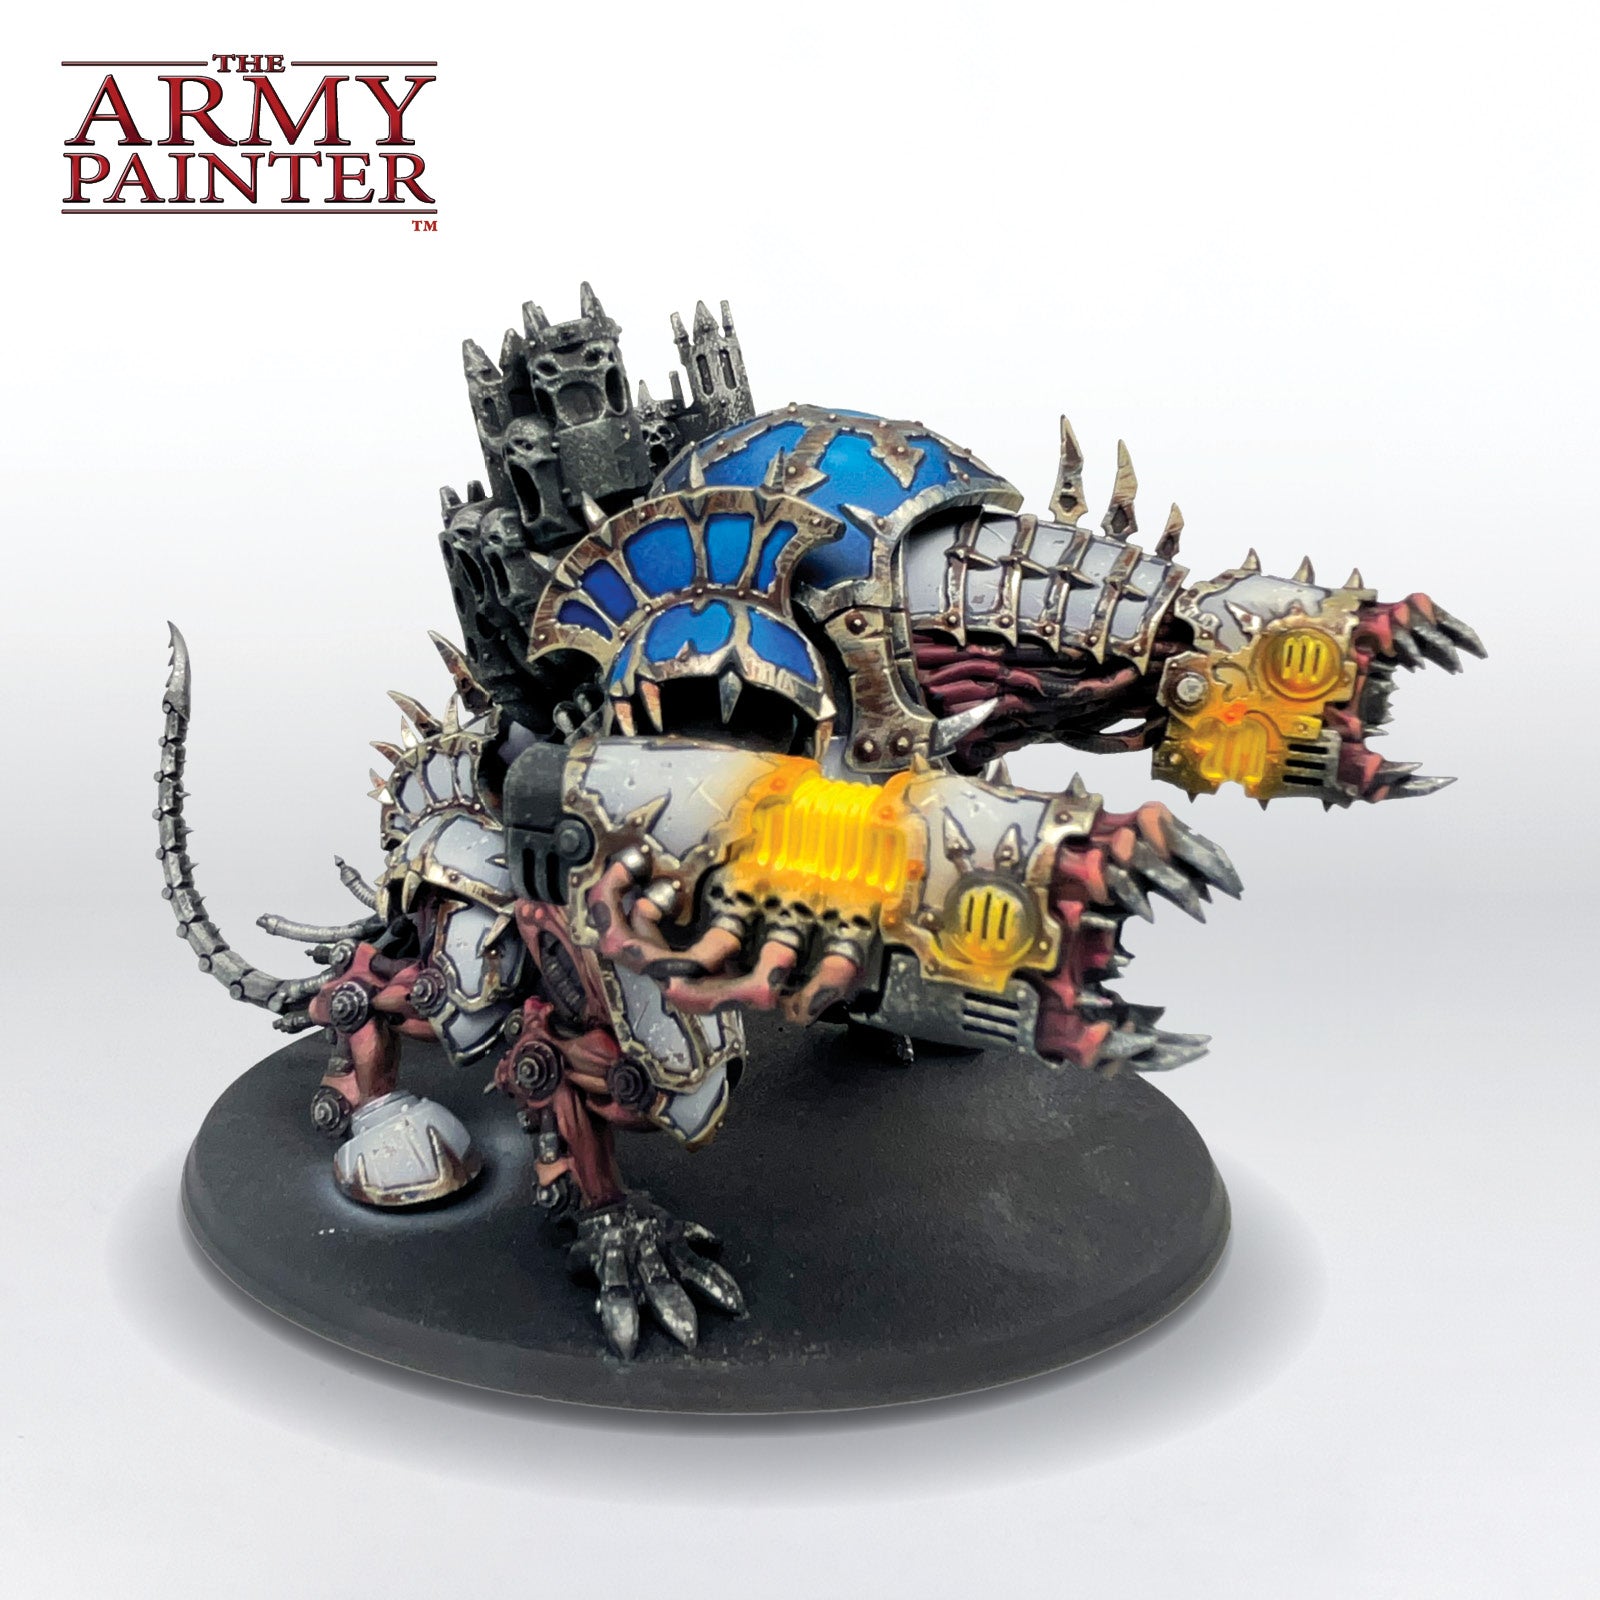
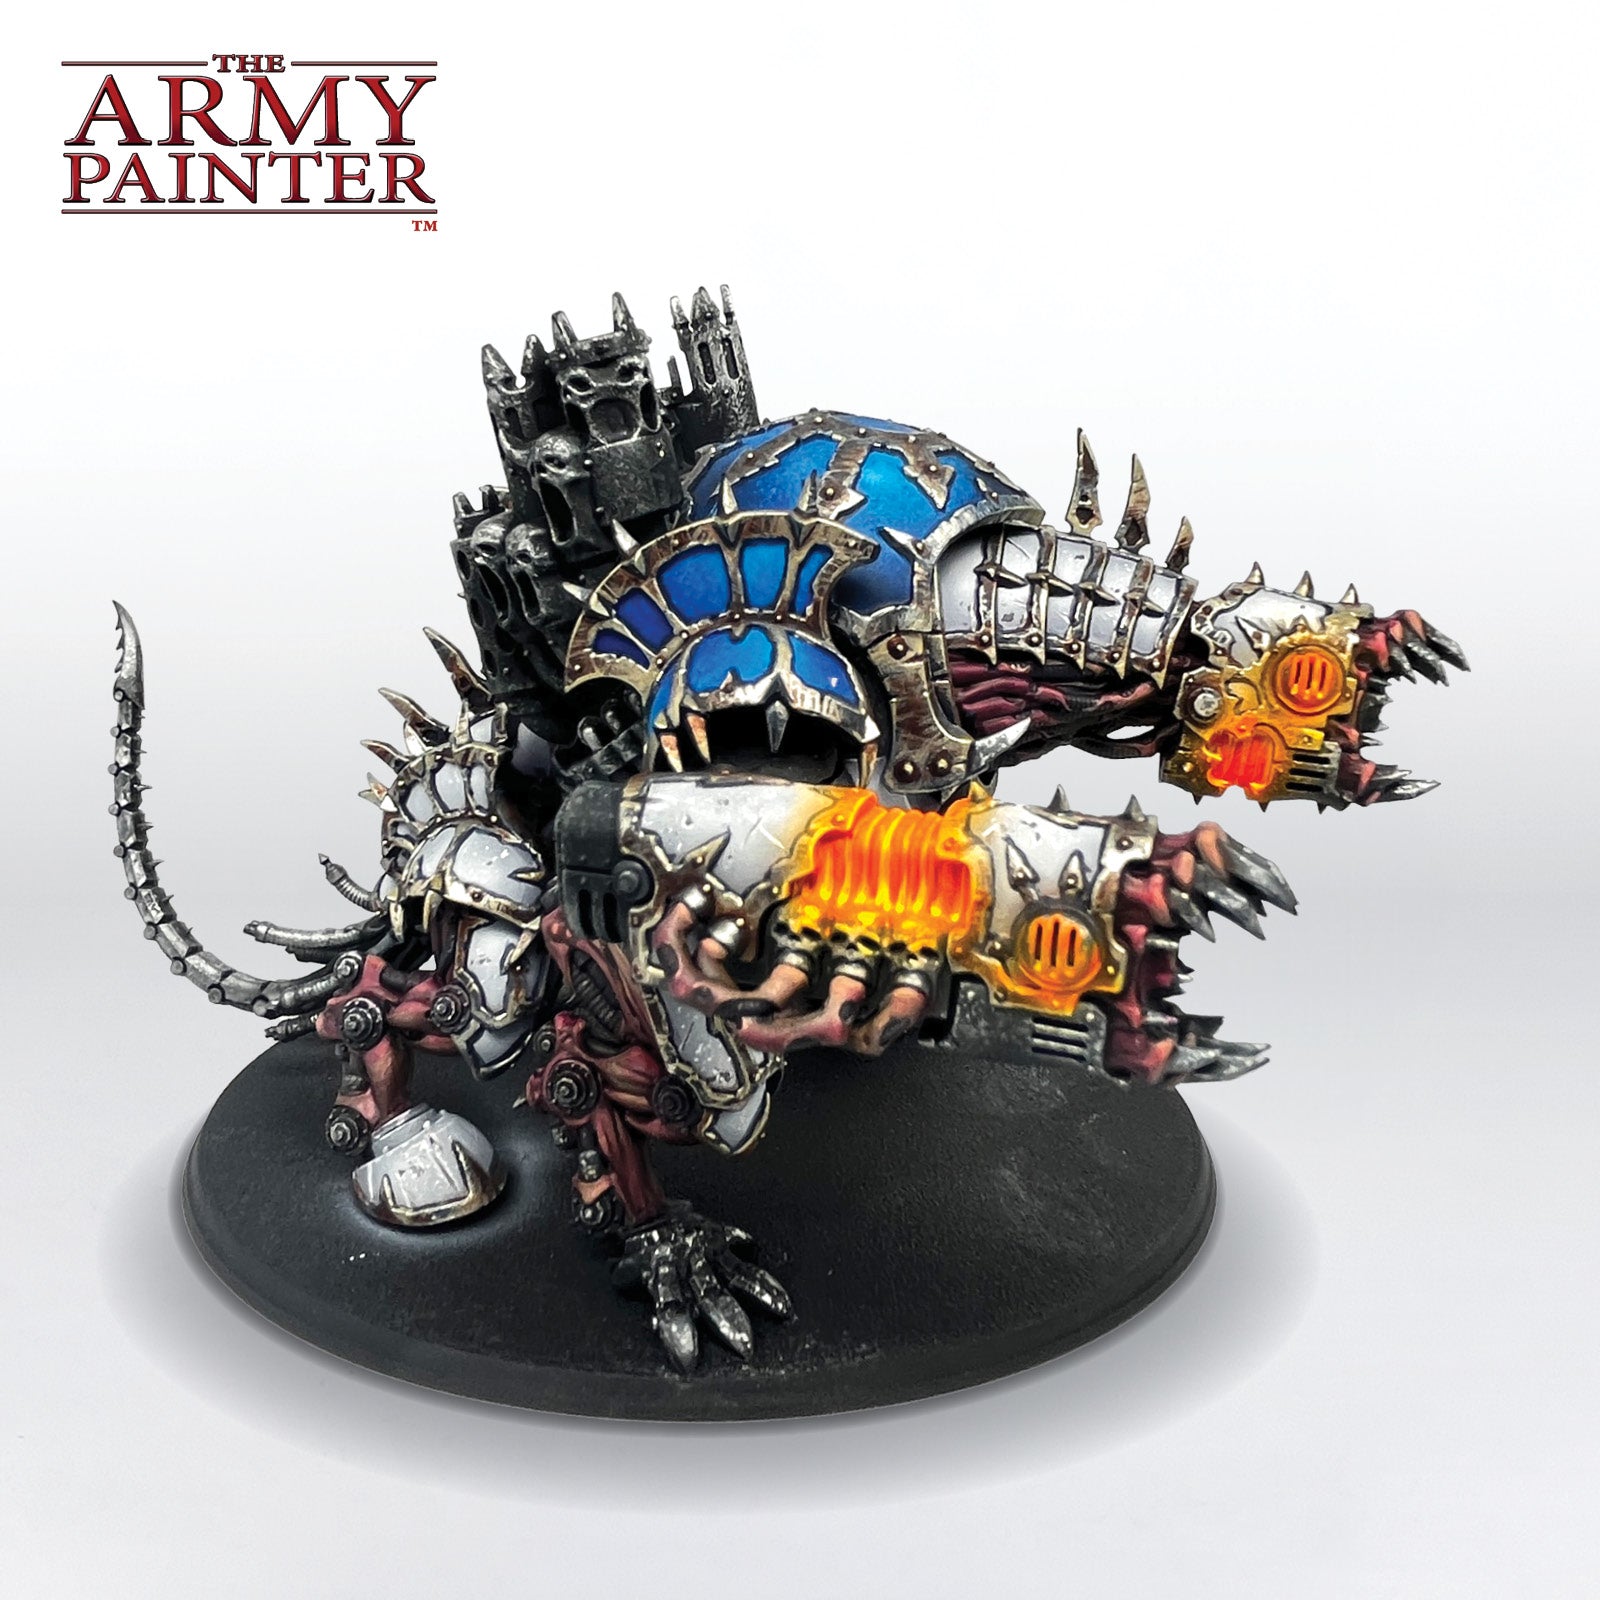
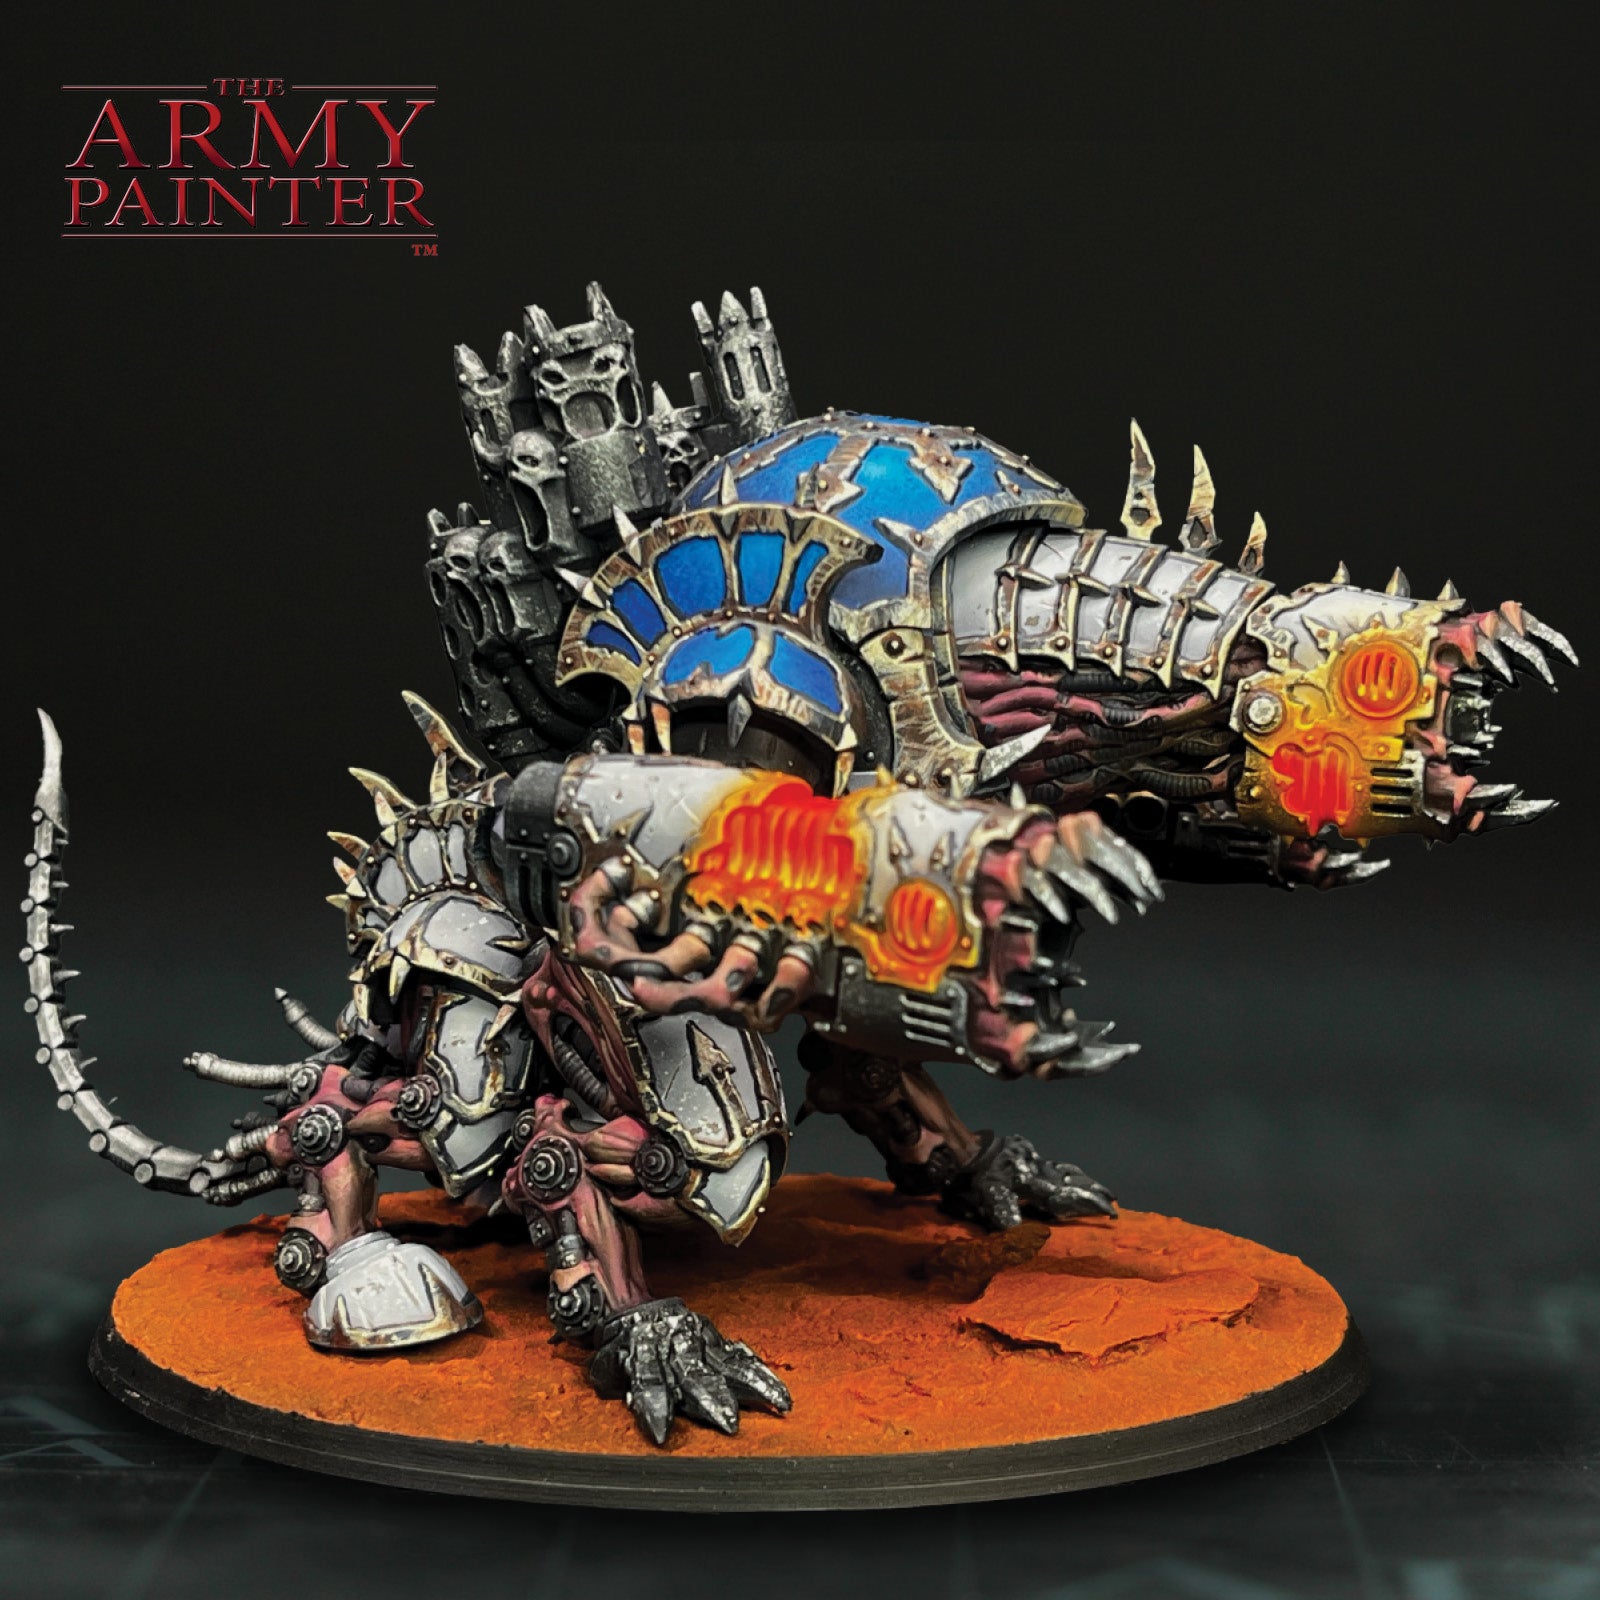
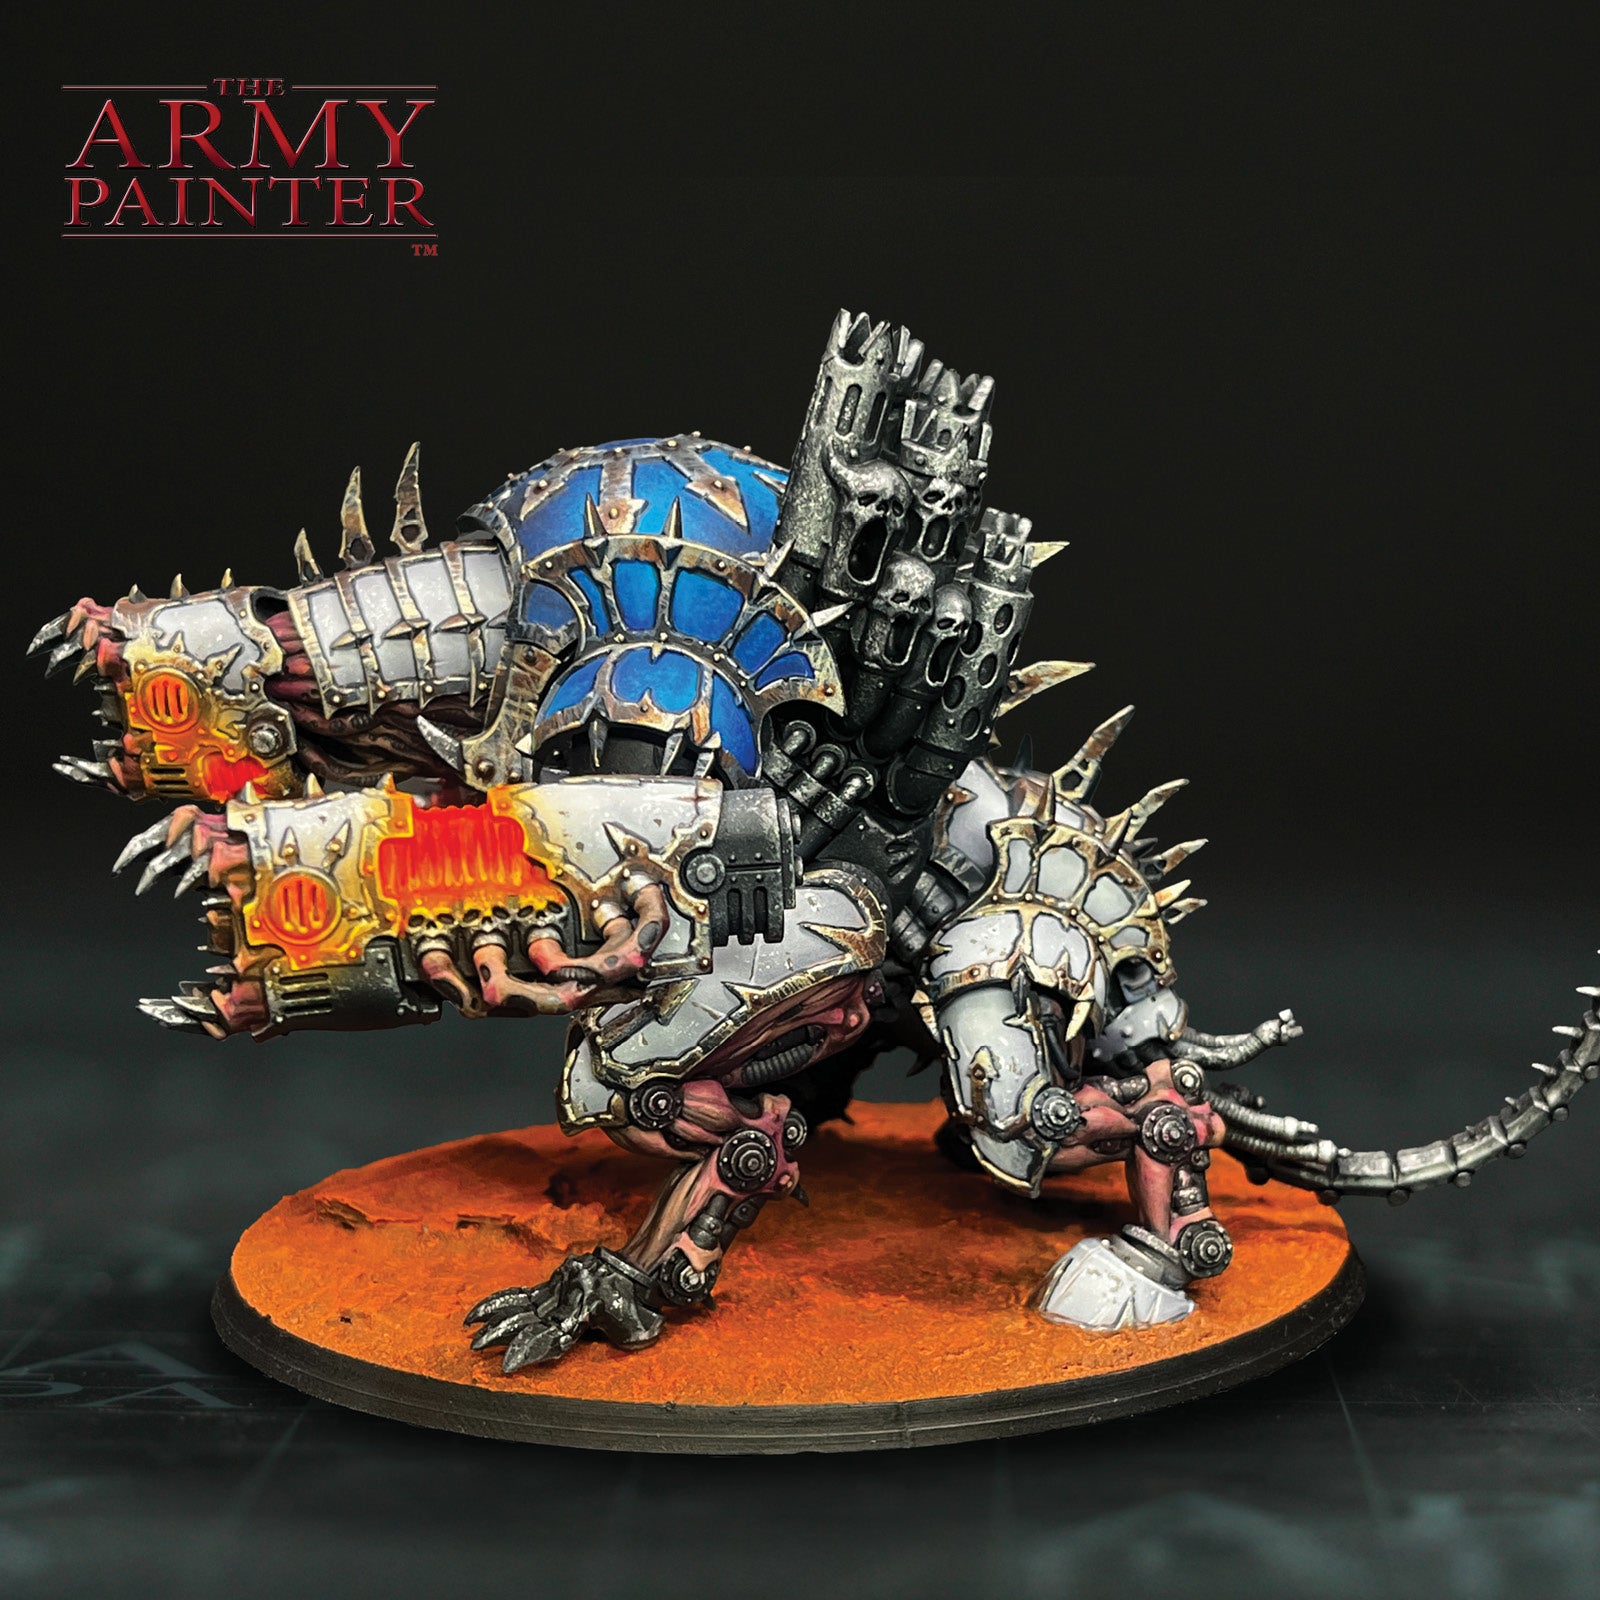
Welcome to the next instalment of The Army Painter Academy: a series where we break down how we paint a miniature step-by-step, complete with pictures for every bit of paint applied along the way. This time we're joined by Adam showing off the mechanical might of his growing World Eaters army. 

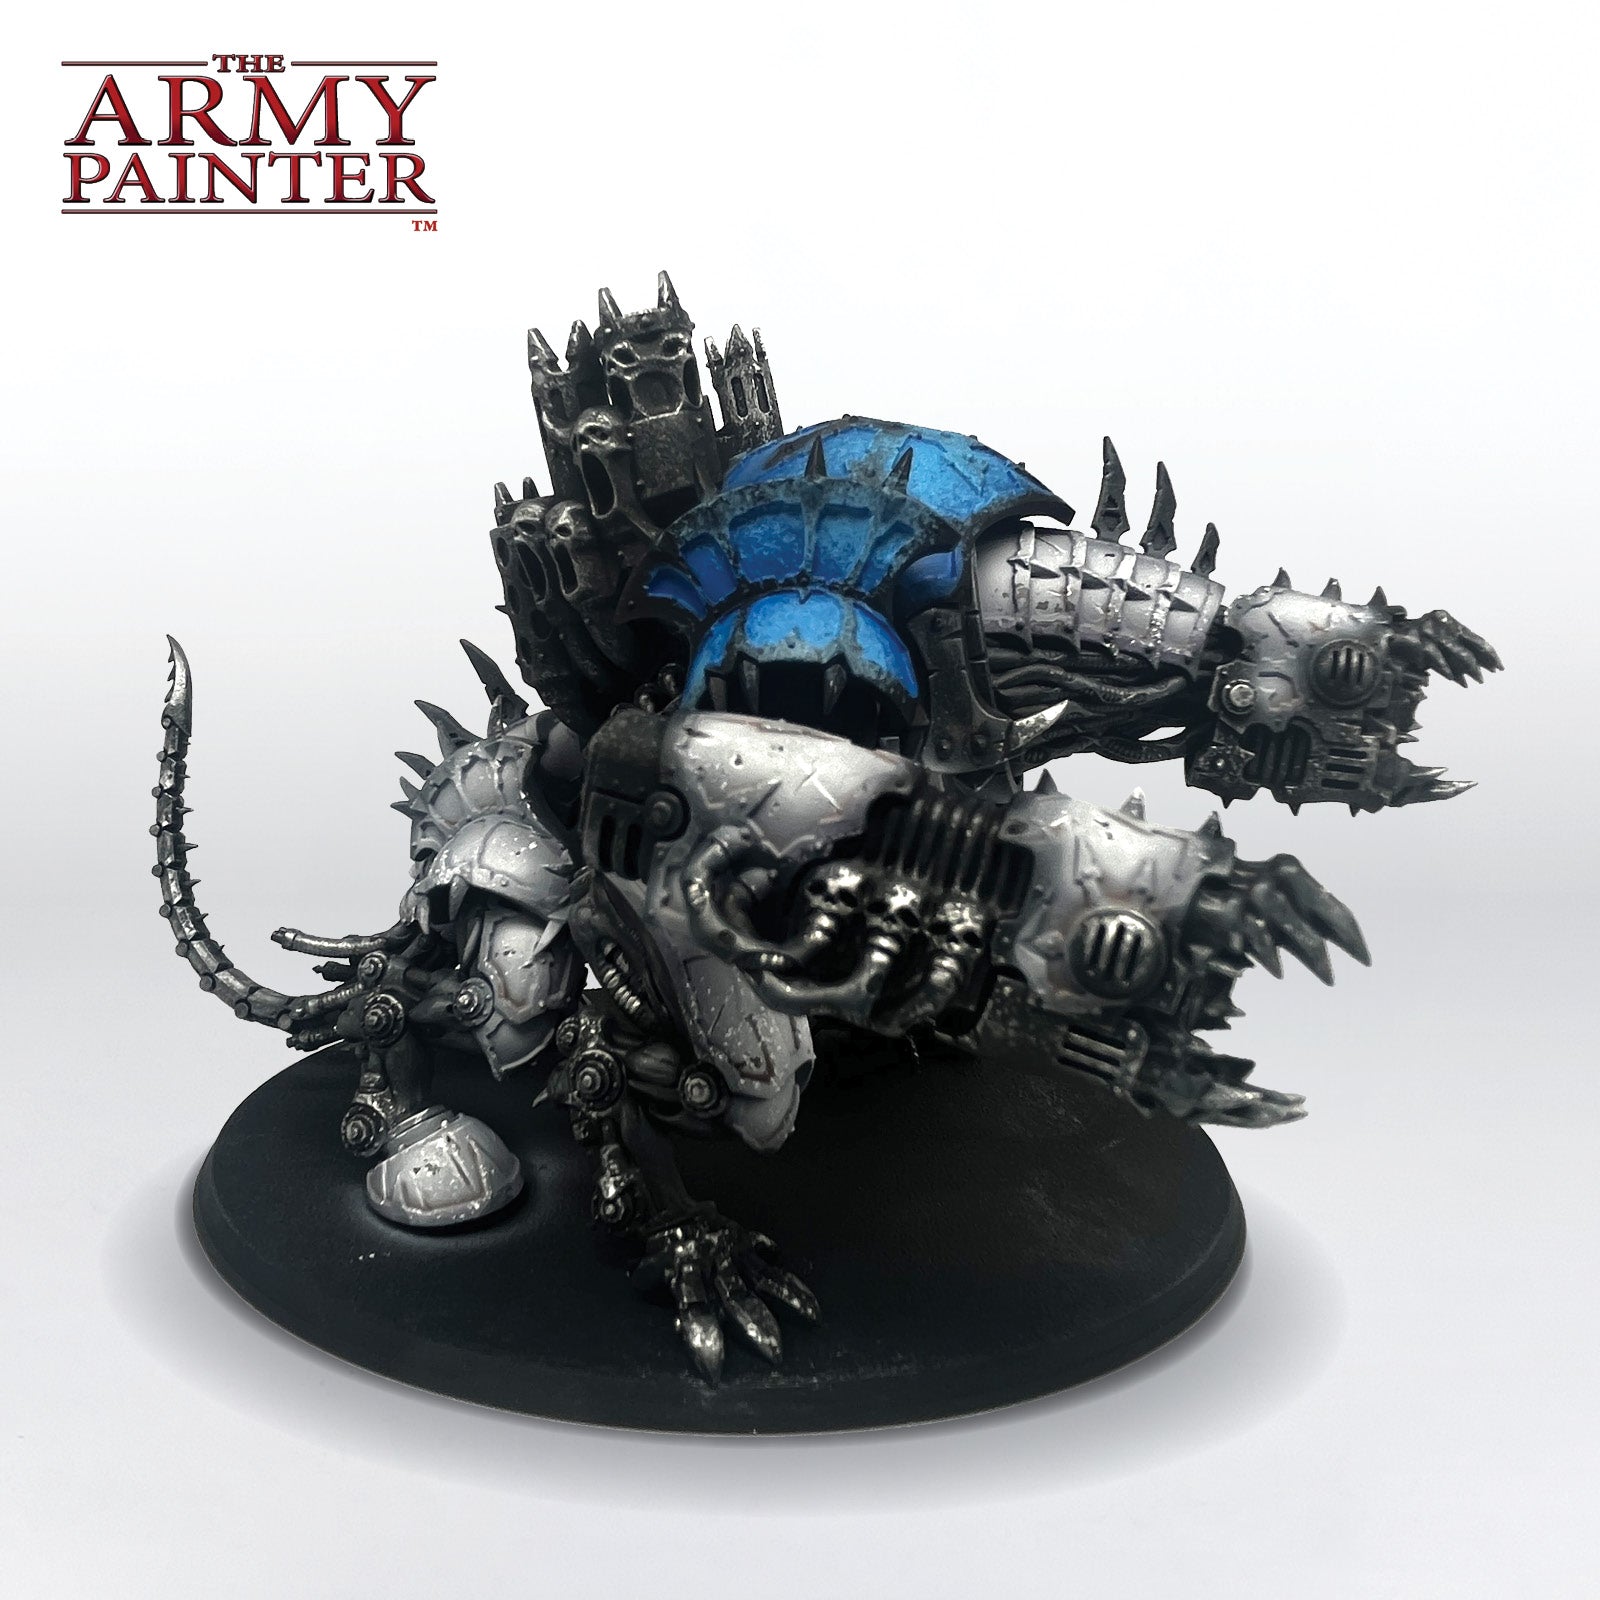
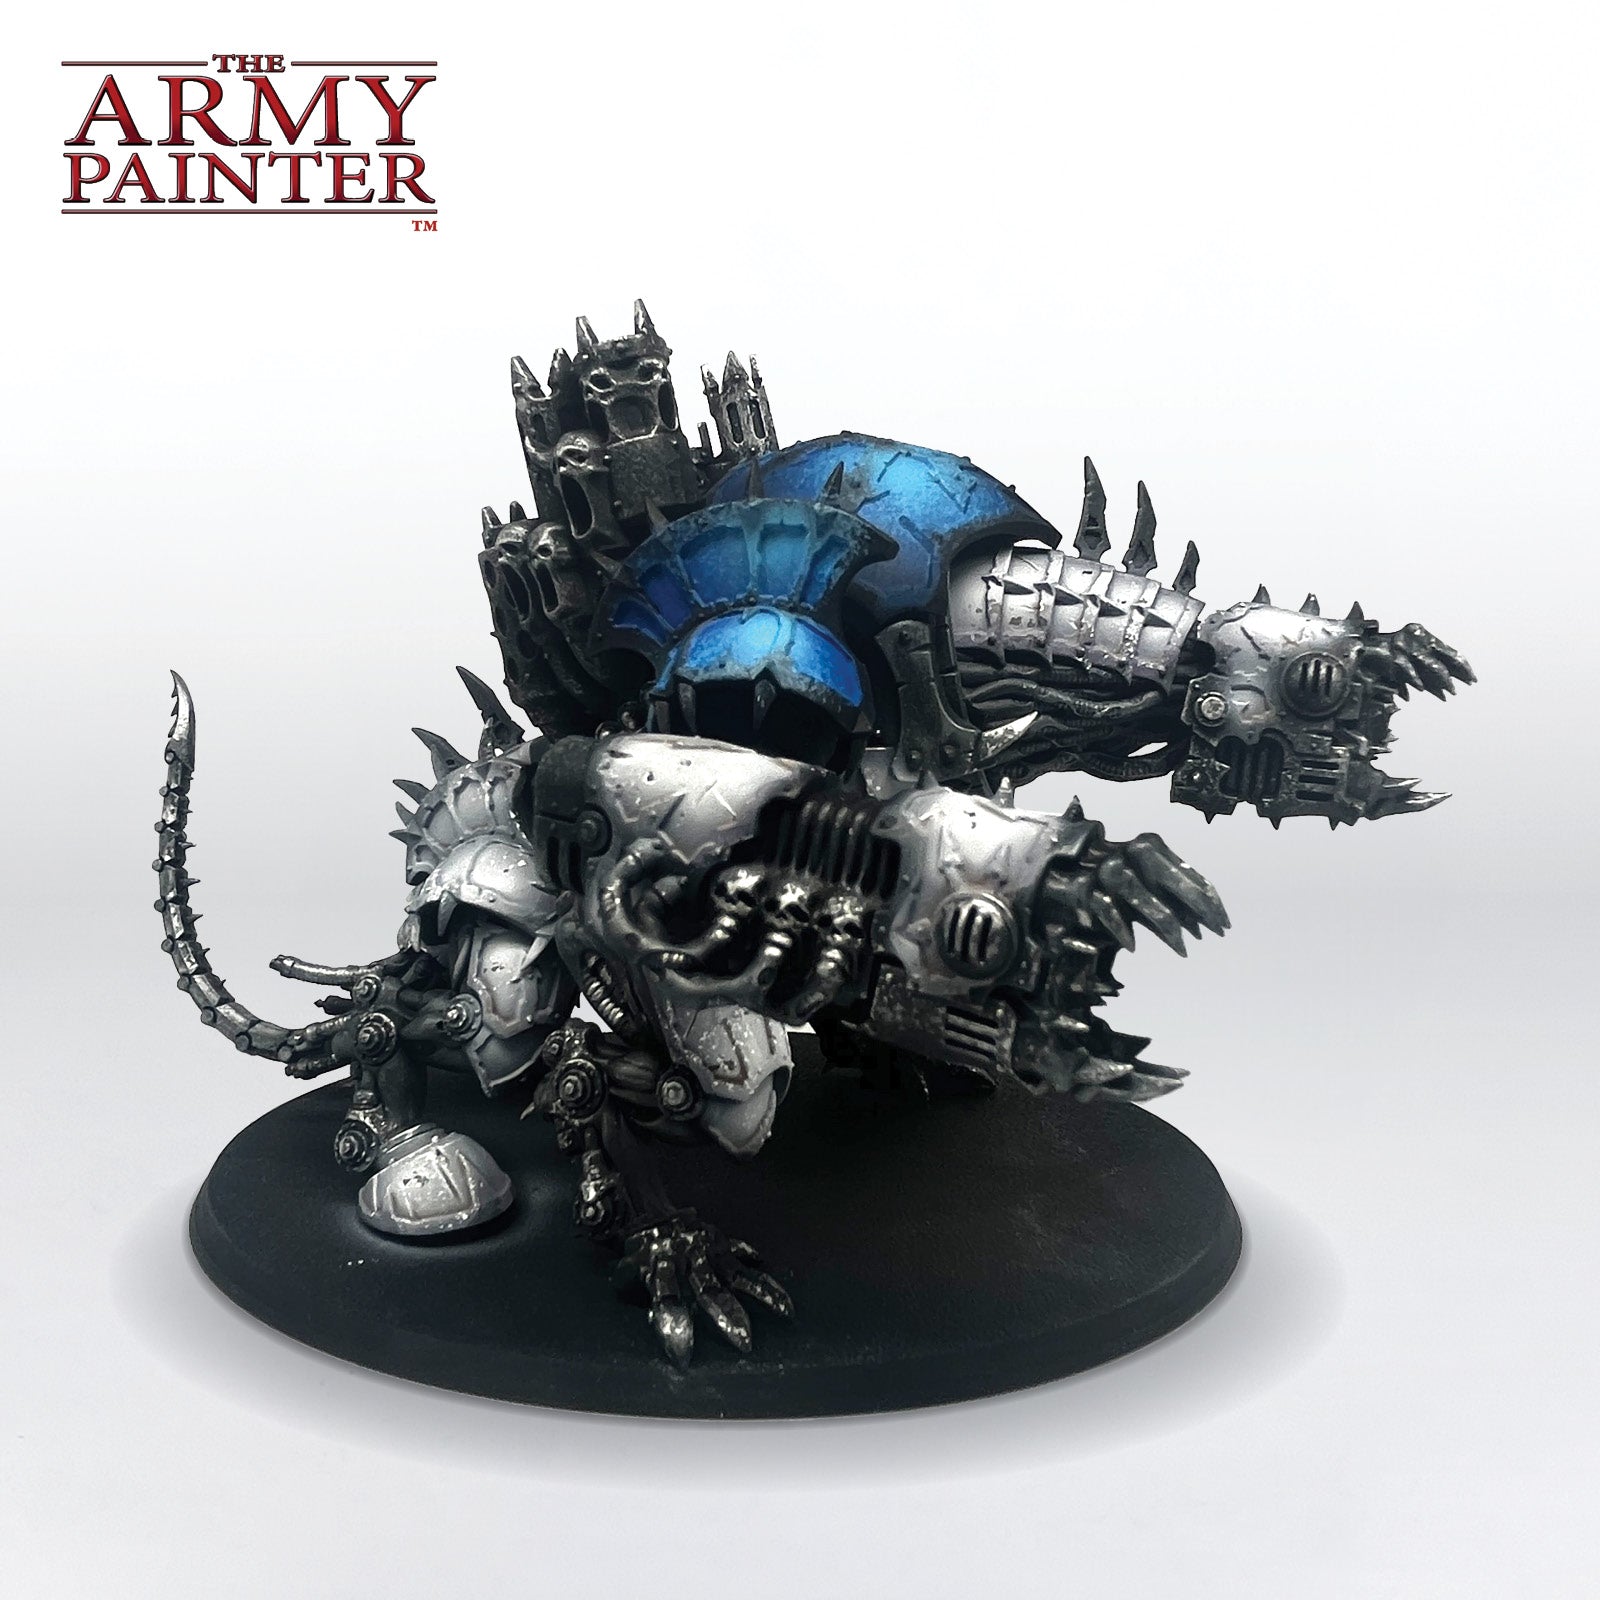
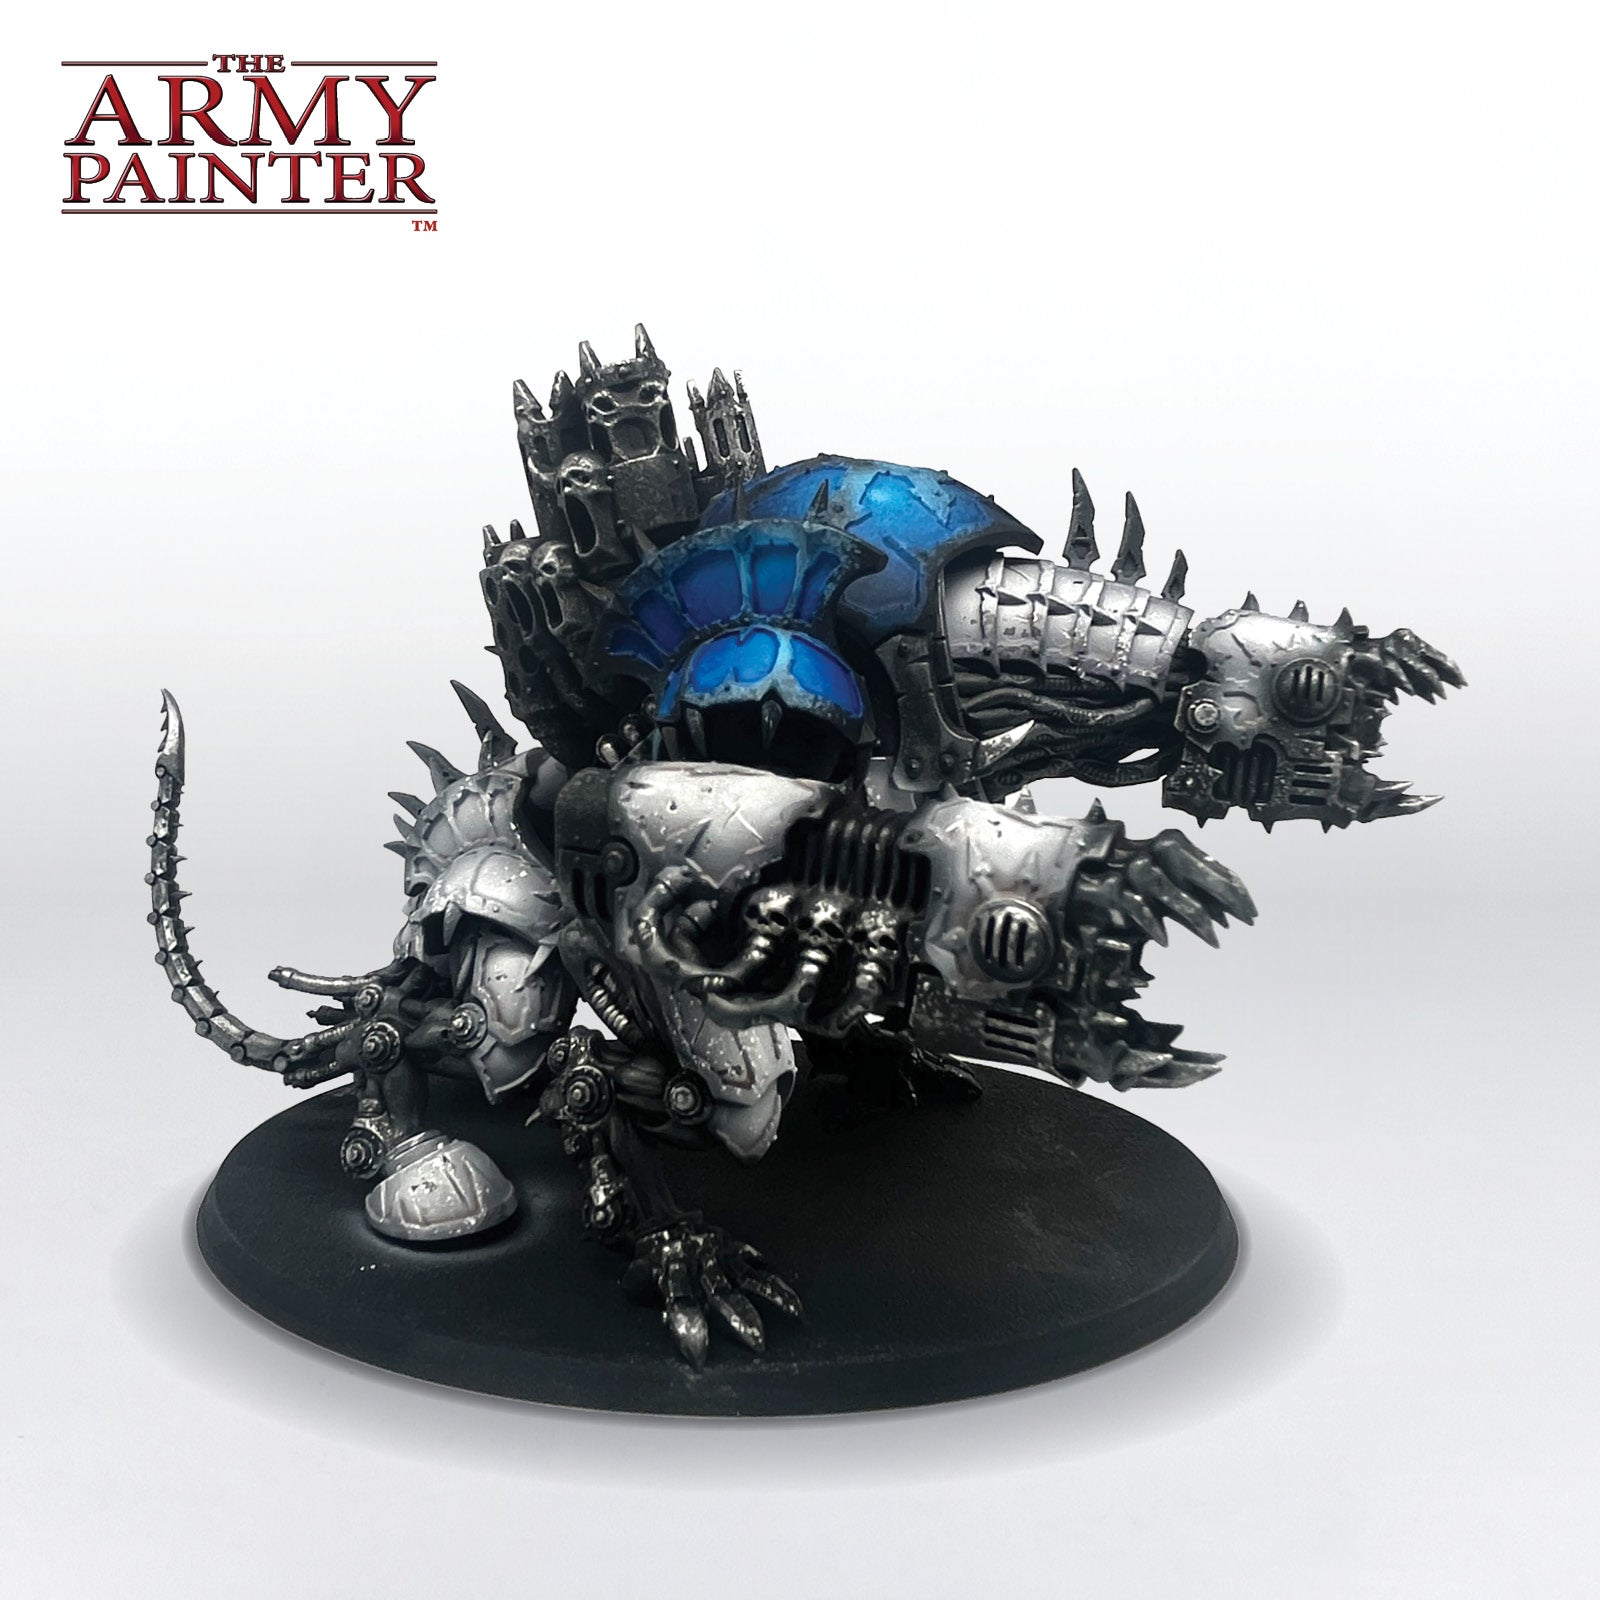
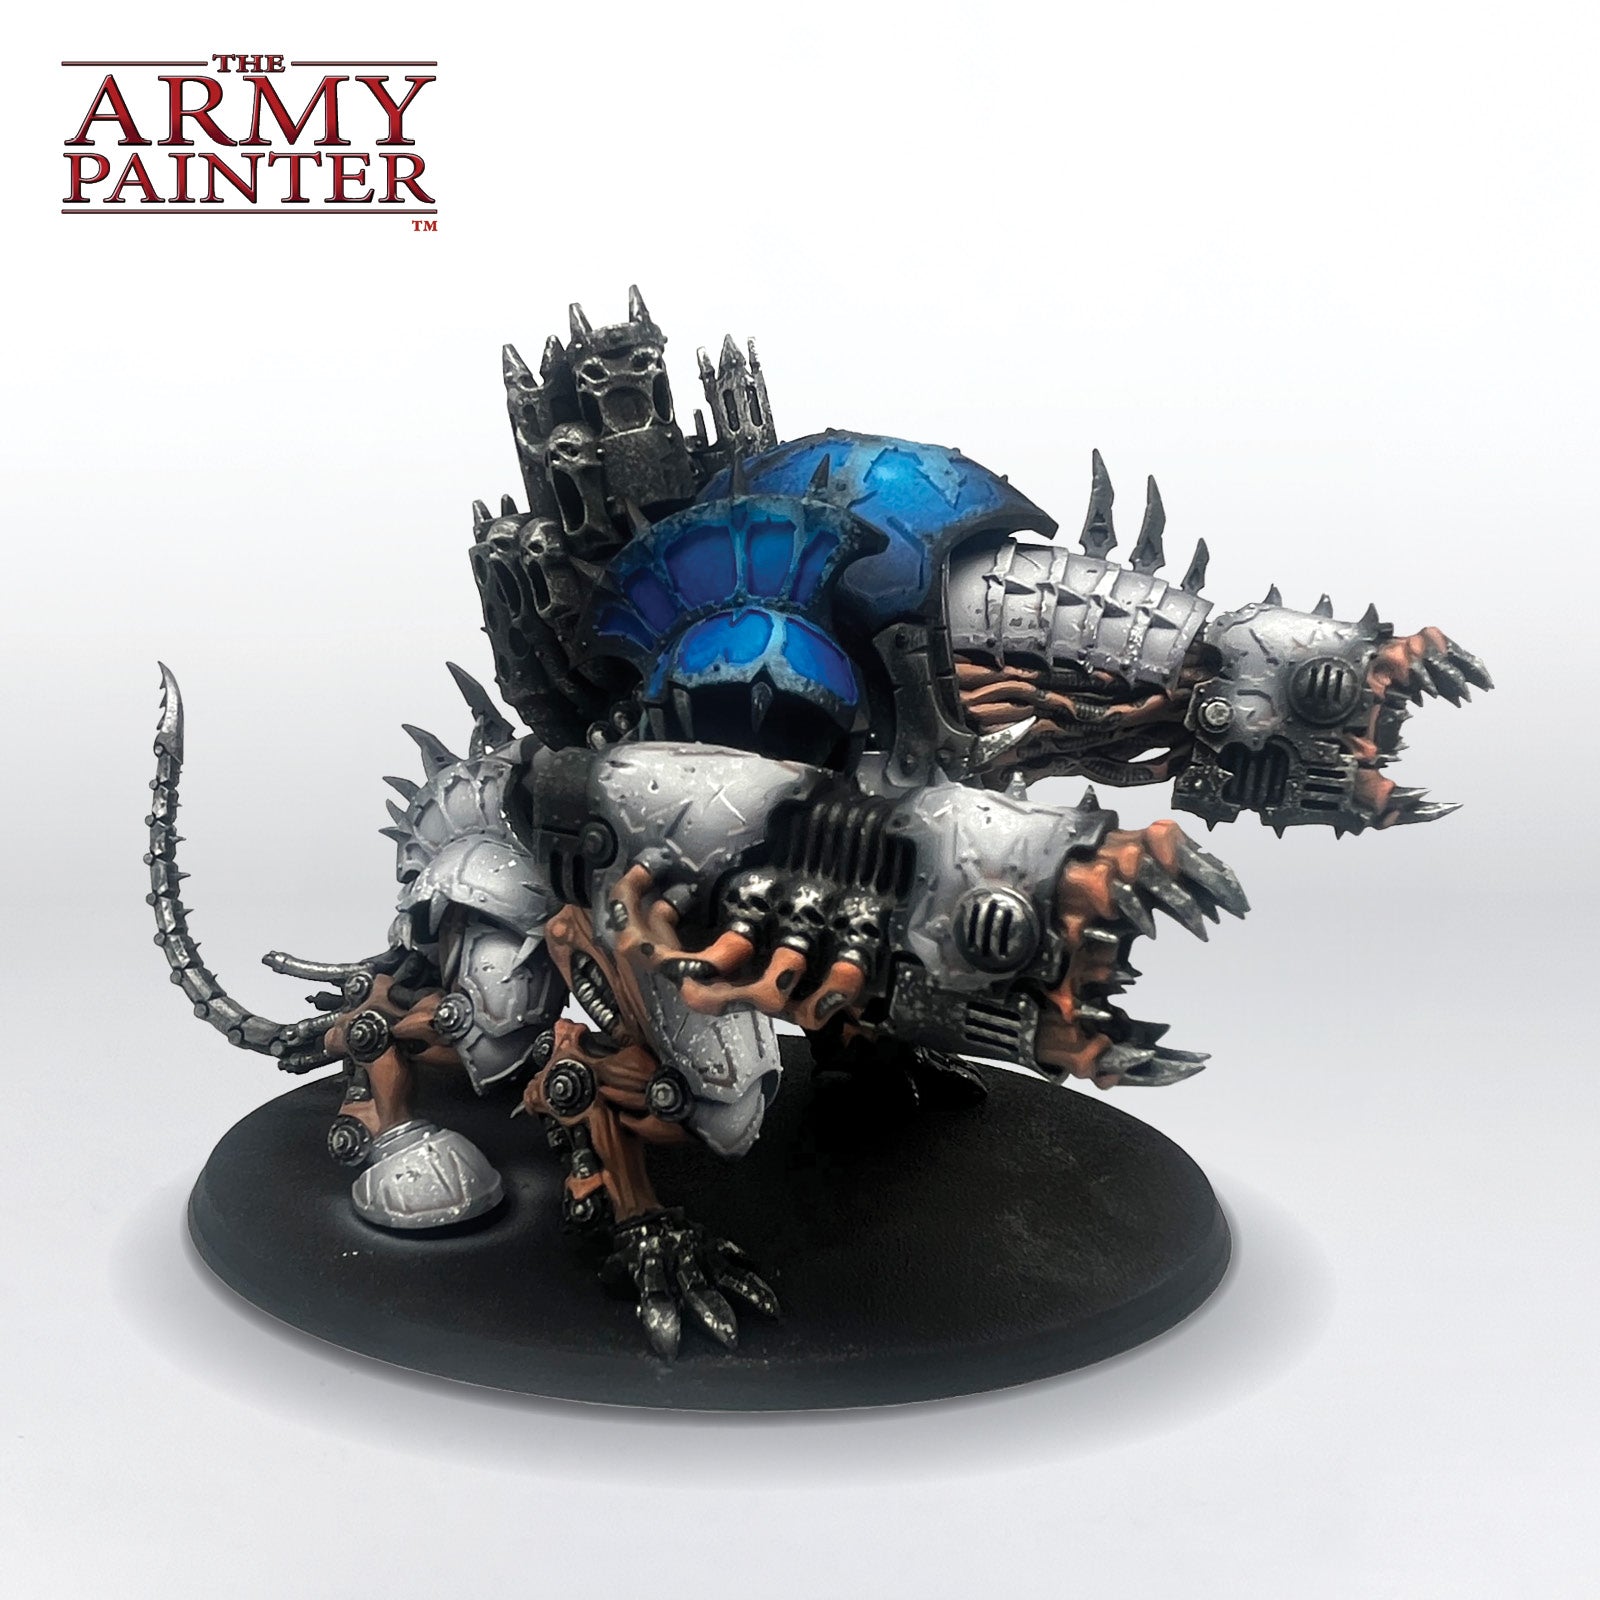
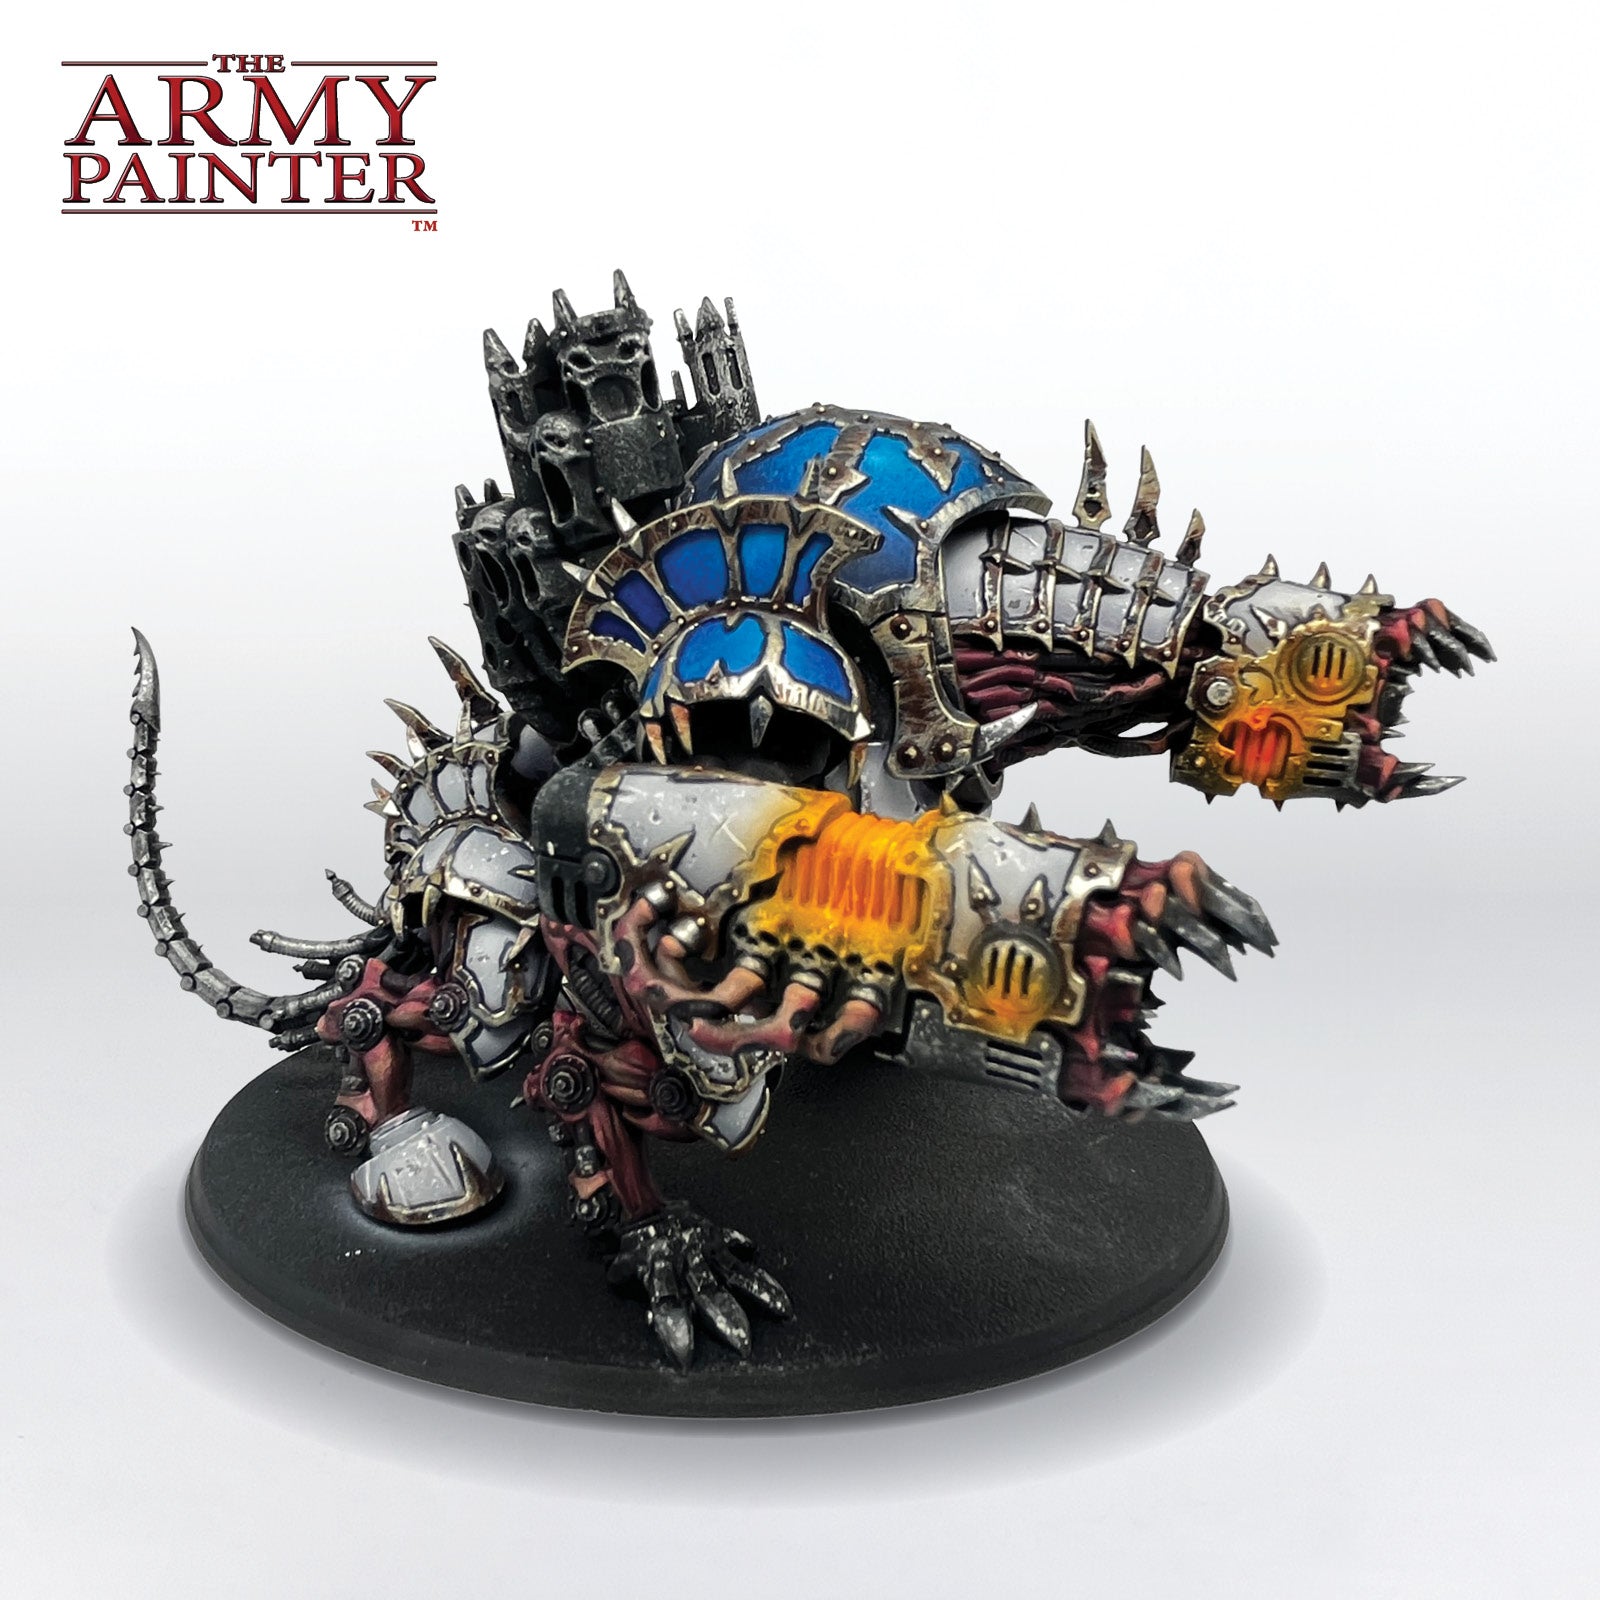
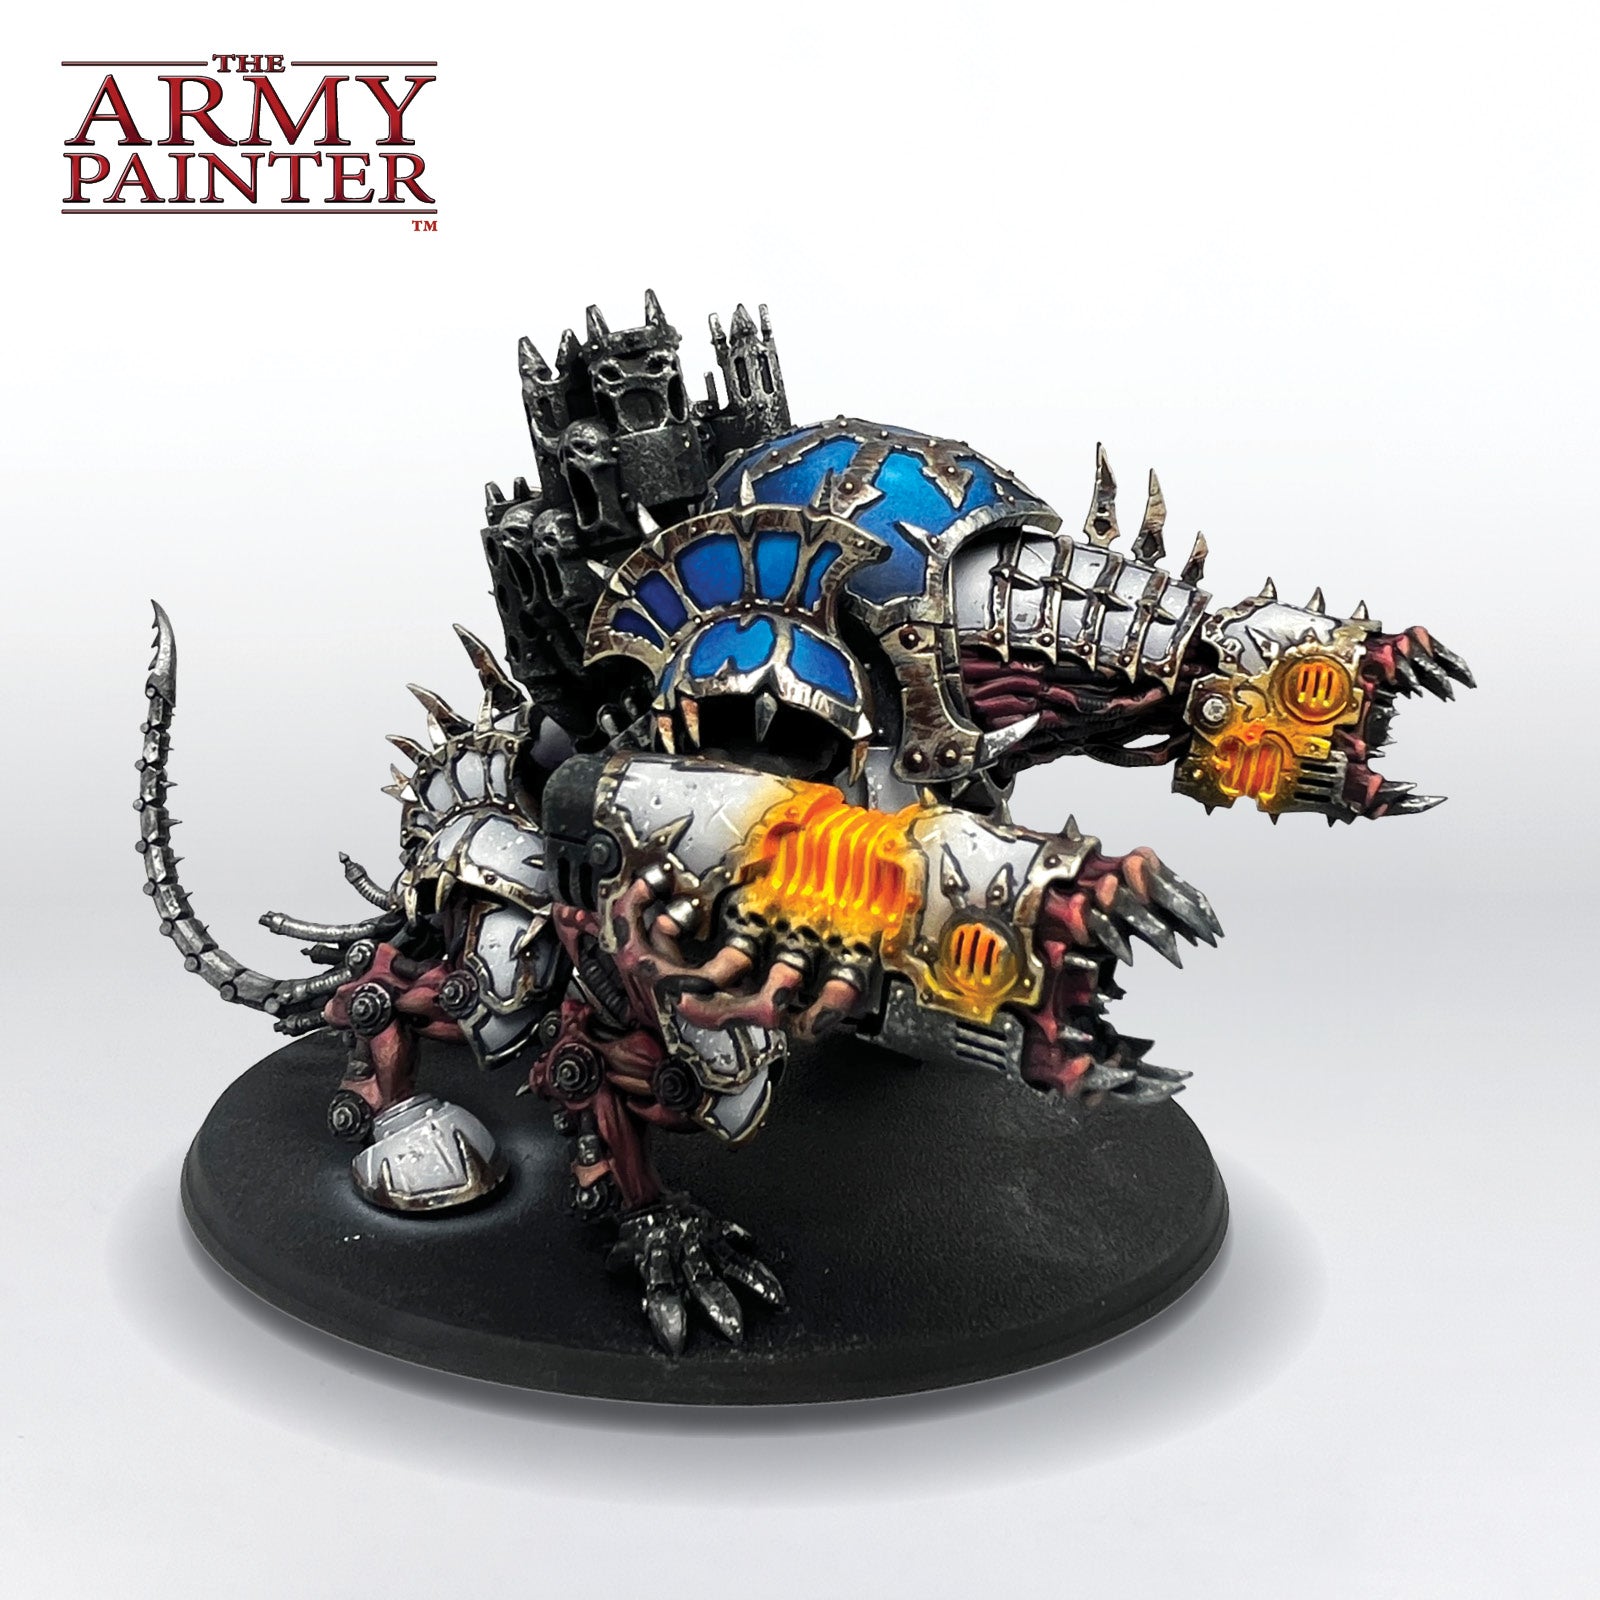
Adam: In preparation for our company’s Arena of Escalation, a slow-grow Warhammer 40K league, I took on the challenge of painting a World Eaters Forgefiend in its iconic heresy-era white, blue, and brass colour scheme. This tutorial not only showcases the brutality of the Forgefiend, but it also demonstrates how you can bring out the best in your minis using our Warpaints Fanatic, Speedpaint, and Air ranges in unison. My army painting approach highlights the versatility, depth, and compatibility of our product line, making this Forgefiend a striking representation of what our paints can achieve together.

I’m really happy with how the brass work came out. As someone who has never been confident in his metal-painting abilities. This hybrid approach using standard acrylics, layered with shiny metallics, and glazed with Speedpaint makes for a convincing effect.

I hope this step-by-step tutorial proves my old adage - That mini painting can be as easy or as challenging as you want it to be – with the right tools, and techniques, you’re sure to achieve great results! 
This tutorial is broken down by colour segments with each section further broken down into manageable steps by applying one colour at a time. If you’re on a desktop, simply click the arrows at the bottom of each section to scroll through the steps or scroll to the side on your mobile phone.

Let's get painting!

Banner

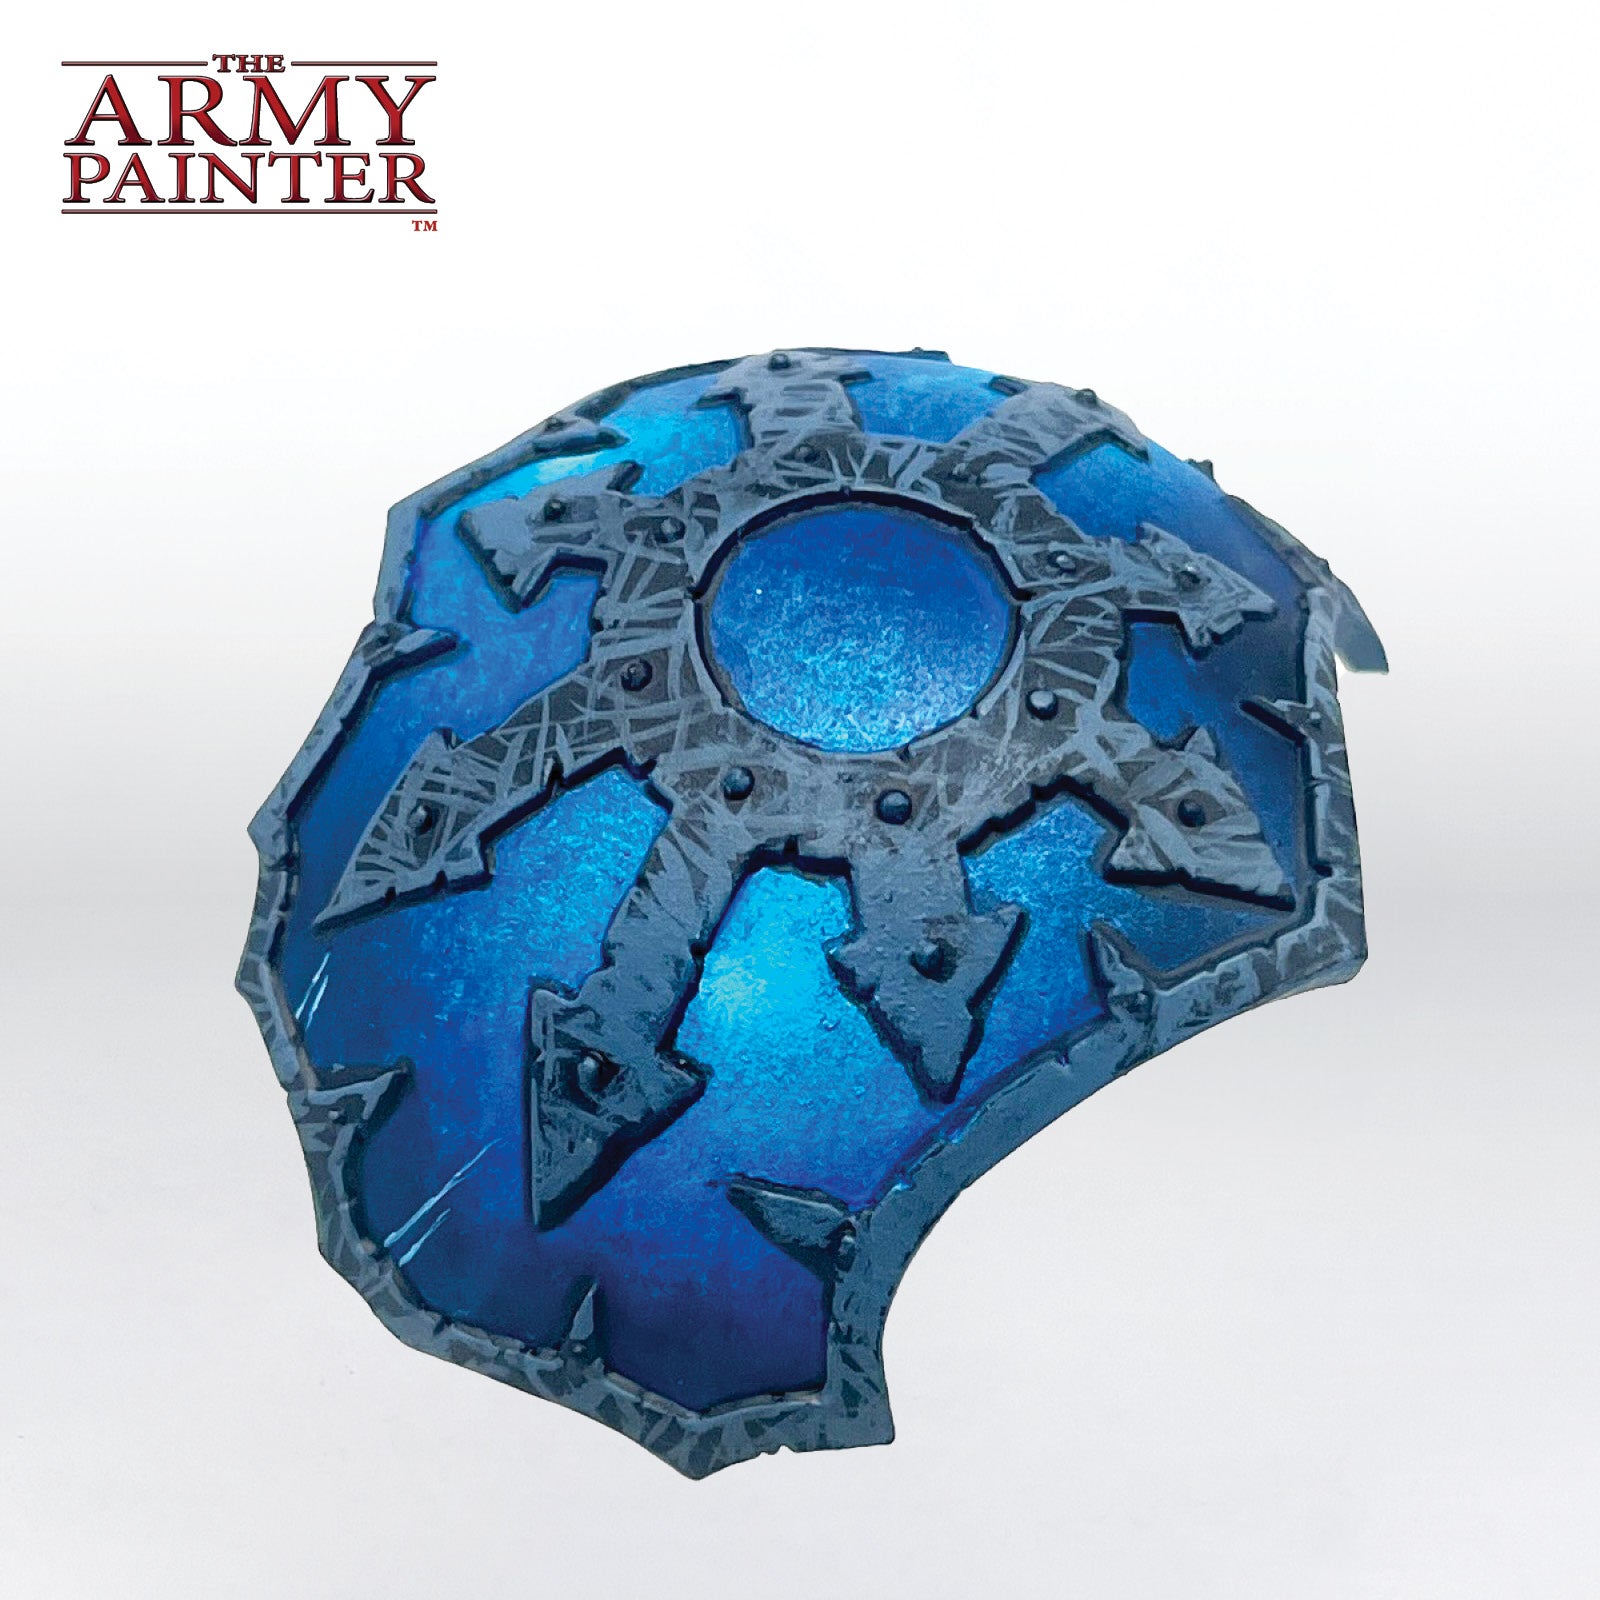
The Silver Metallics

The Silver Metallics Step 1

Step 1

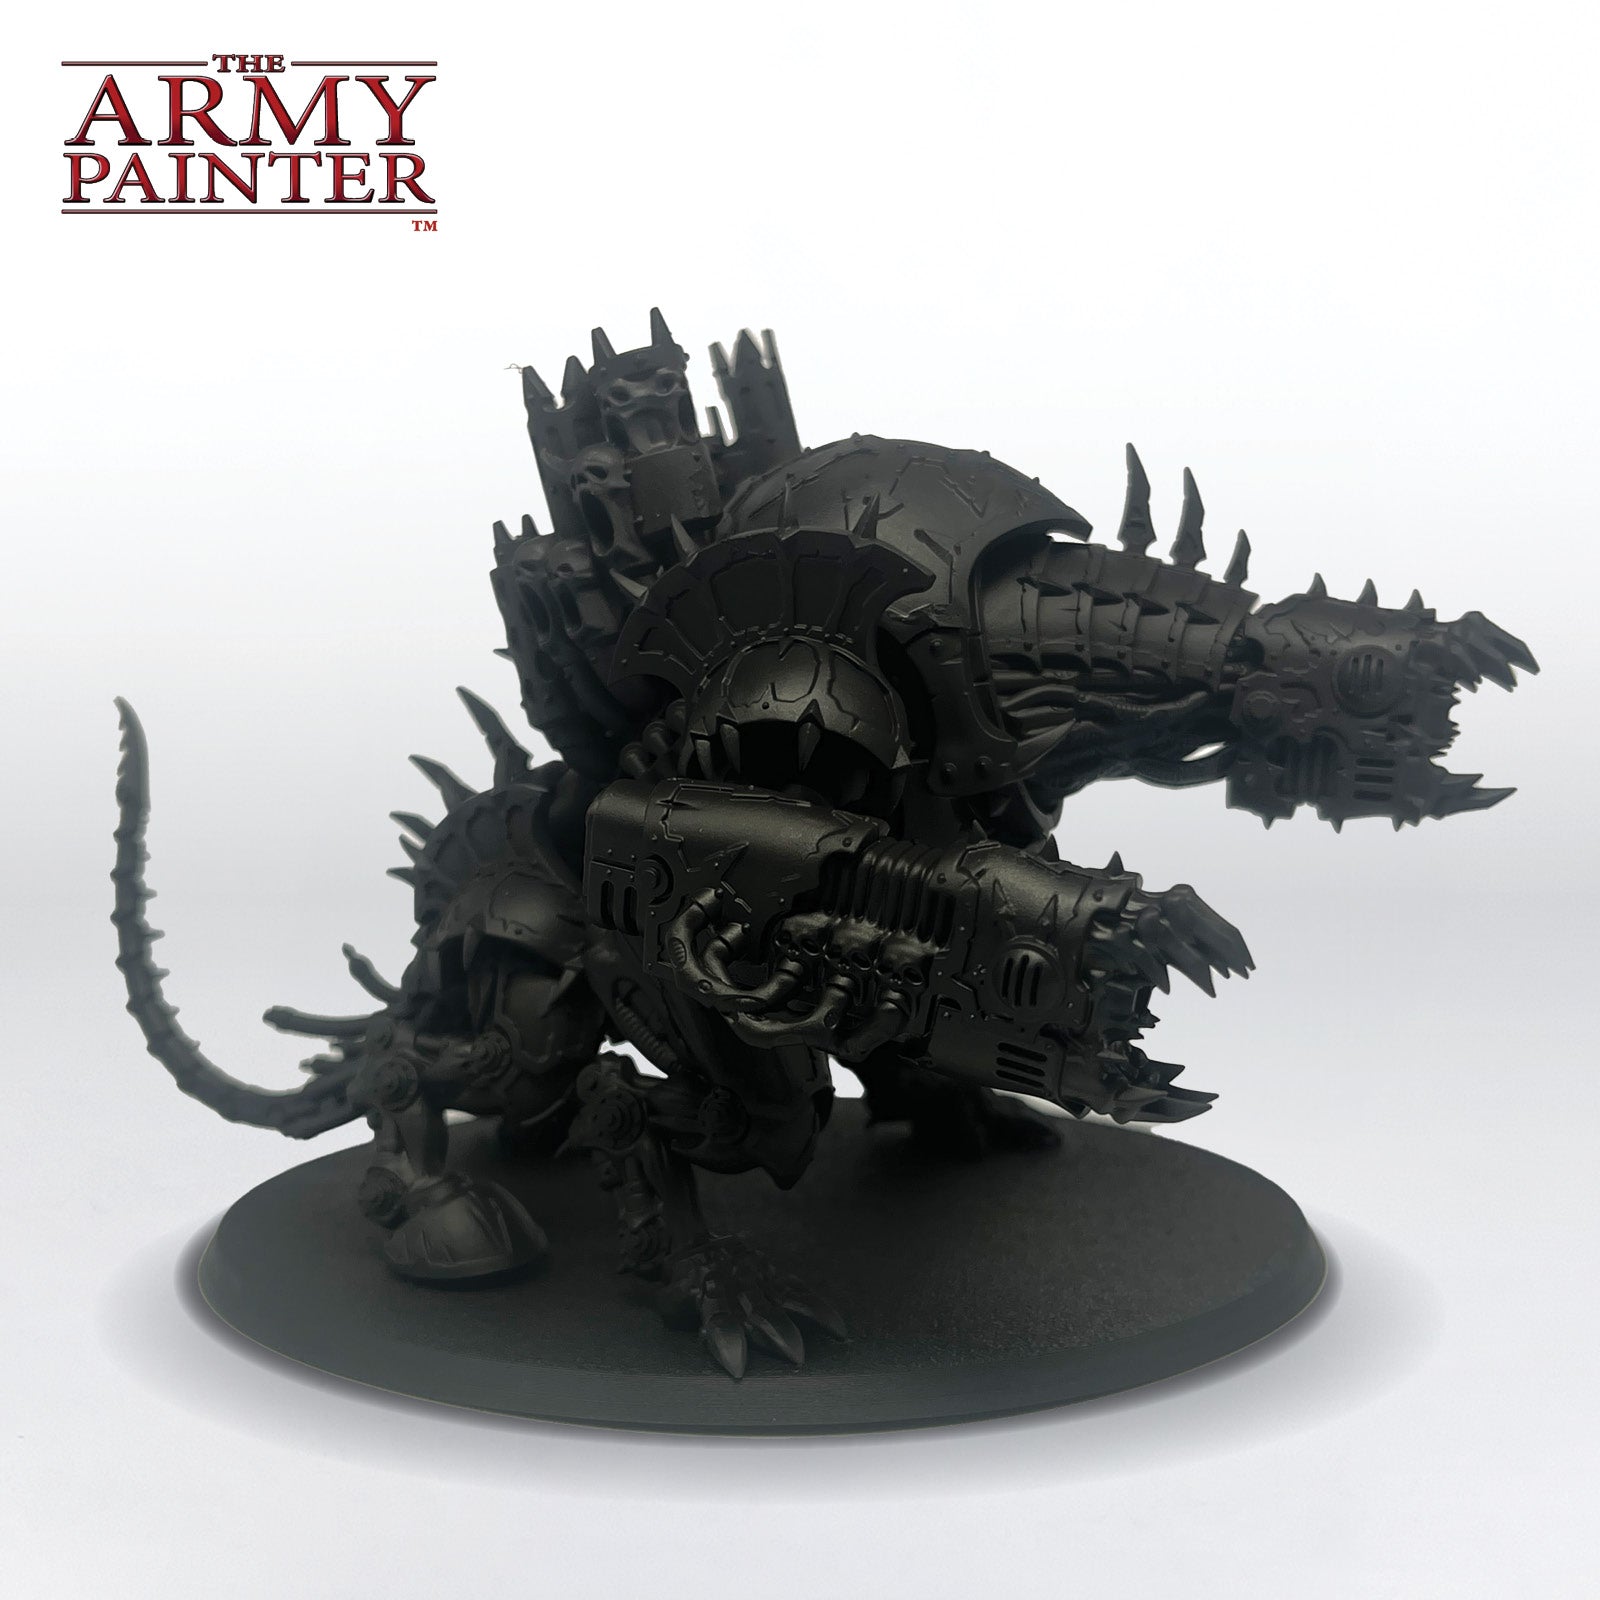
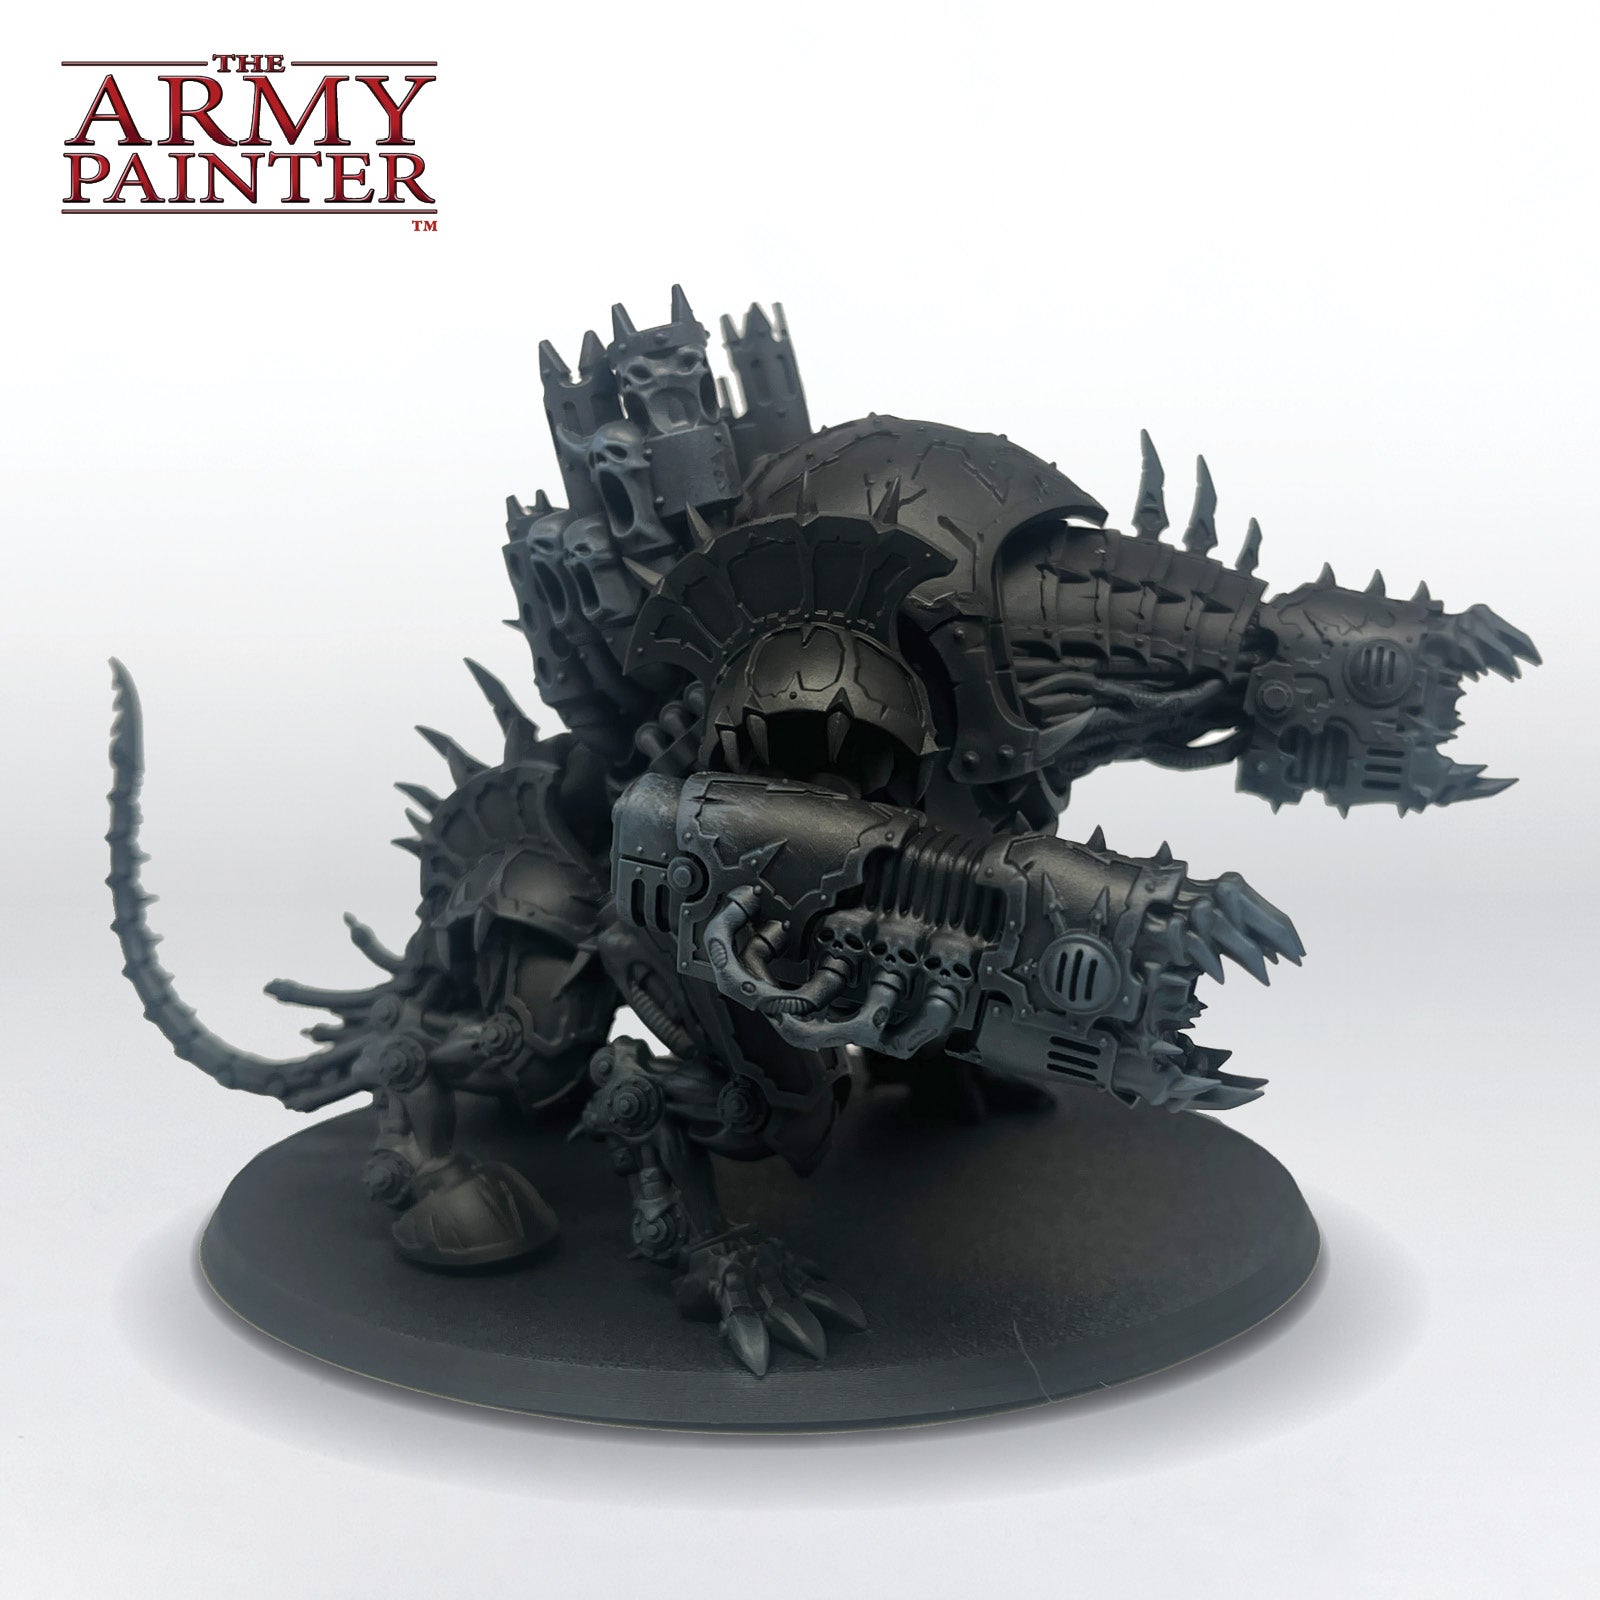
Prime the model Colour Primer Matt Black.

The Silver Metallics Step 2

Step 2

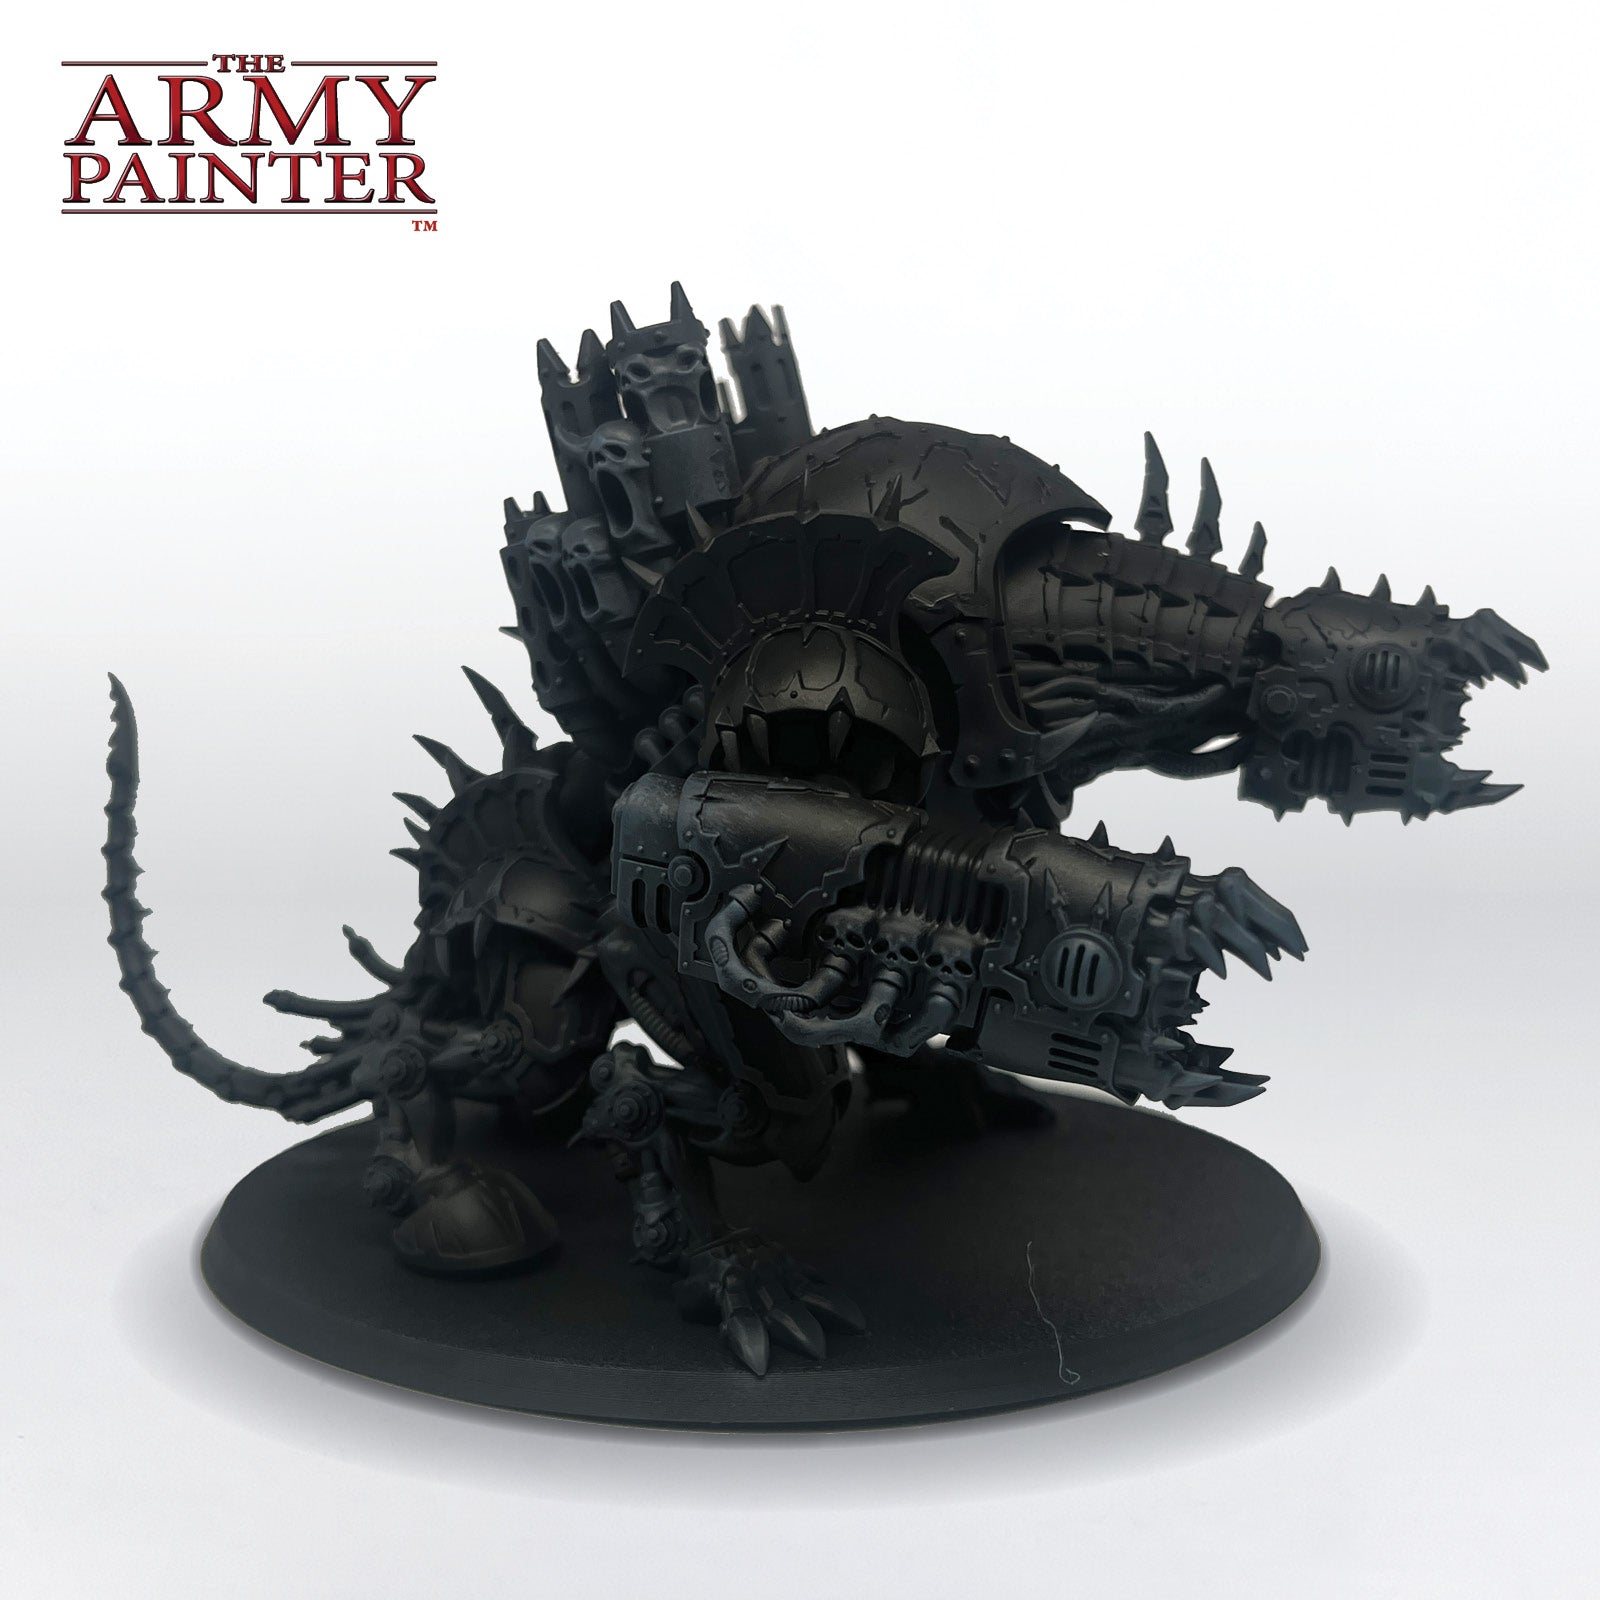
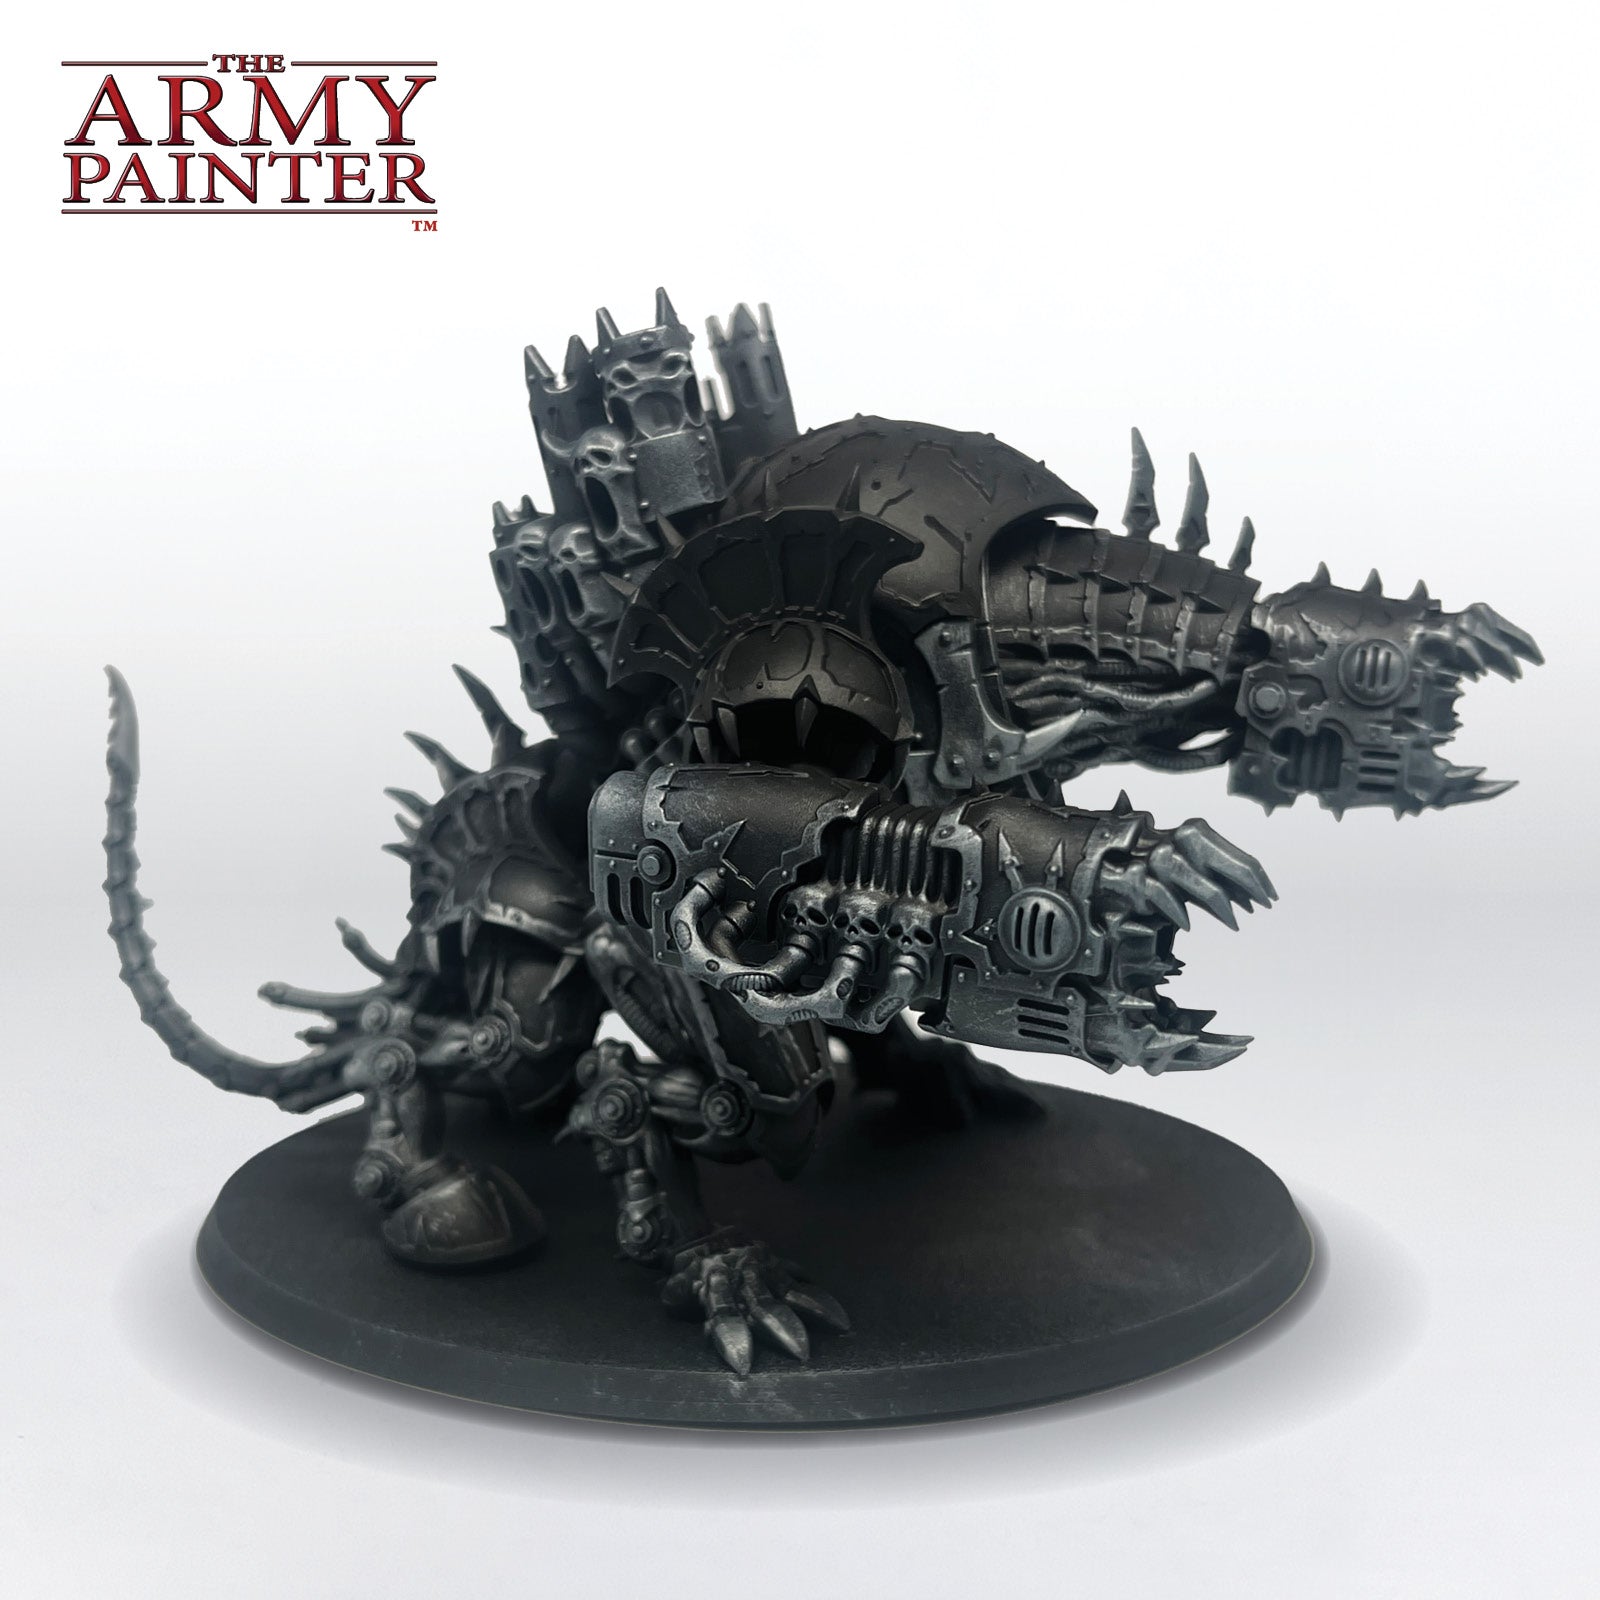
Then airbrush Warpaints Air Iron Wolf to add blue undertone highlights to the silver metal areas.

The Silver Metallics Step 3

Step 3

Next, drybrush Warpaints Fanatic Night Sky, focusing on the inner metal areas and undercarriage to subtly pick out details.

The Silver Metallics Step 4

Step 4

Then drybrush Warpaints Fanatic Cobalt Metal sparingly across the same areas and apply a thinned-down wash of Warpaints Fanatic Dark Tone all over the metal areas to reestablish some shading and smooth out some of the transitions from the previous steps.

The Silver Metallics Step 5

Step 5

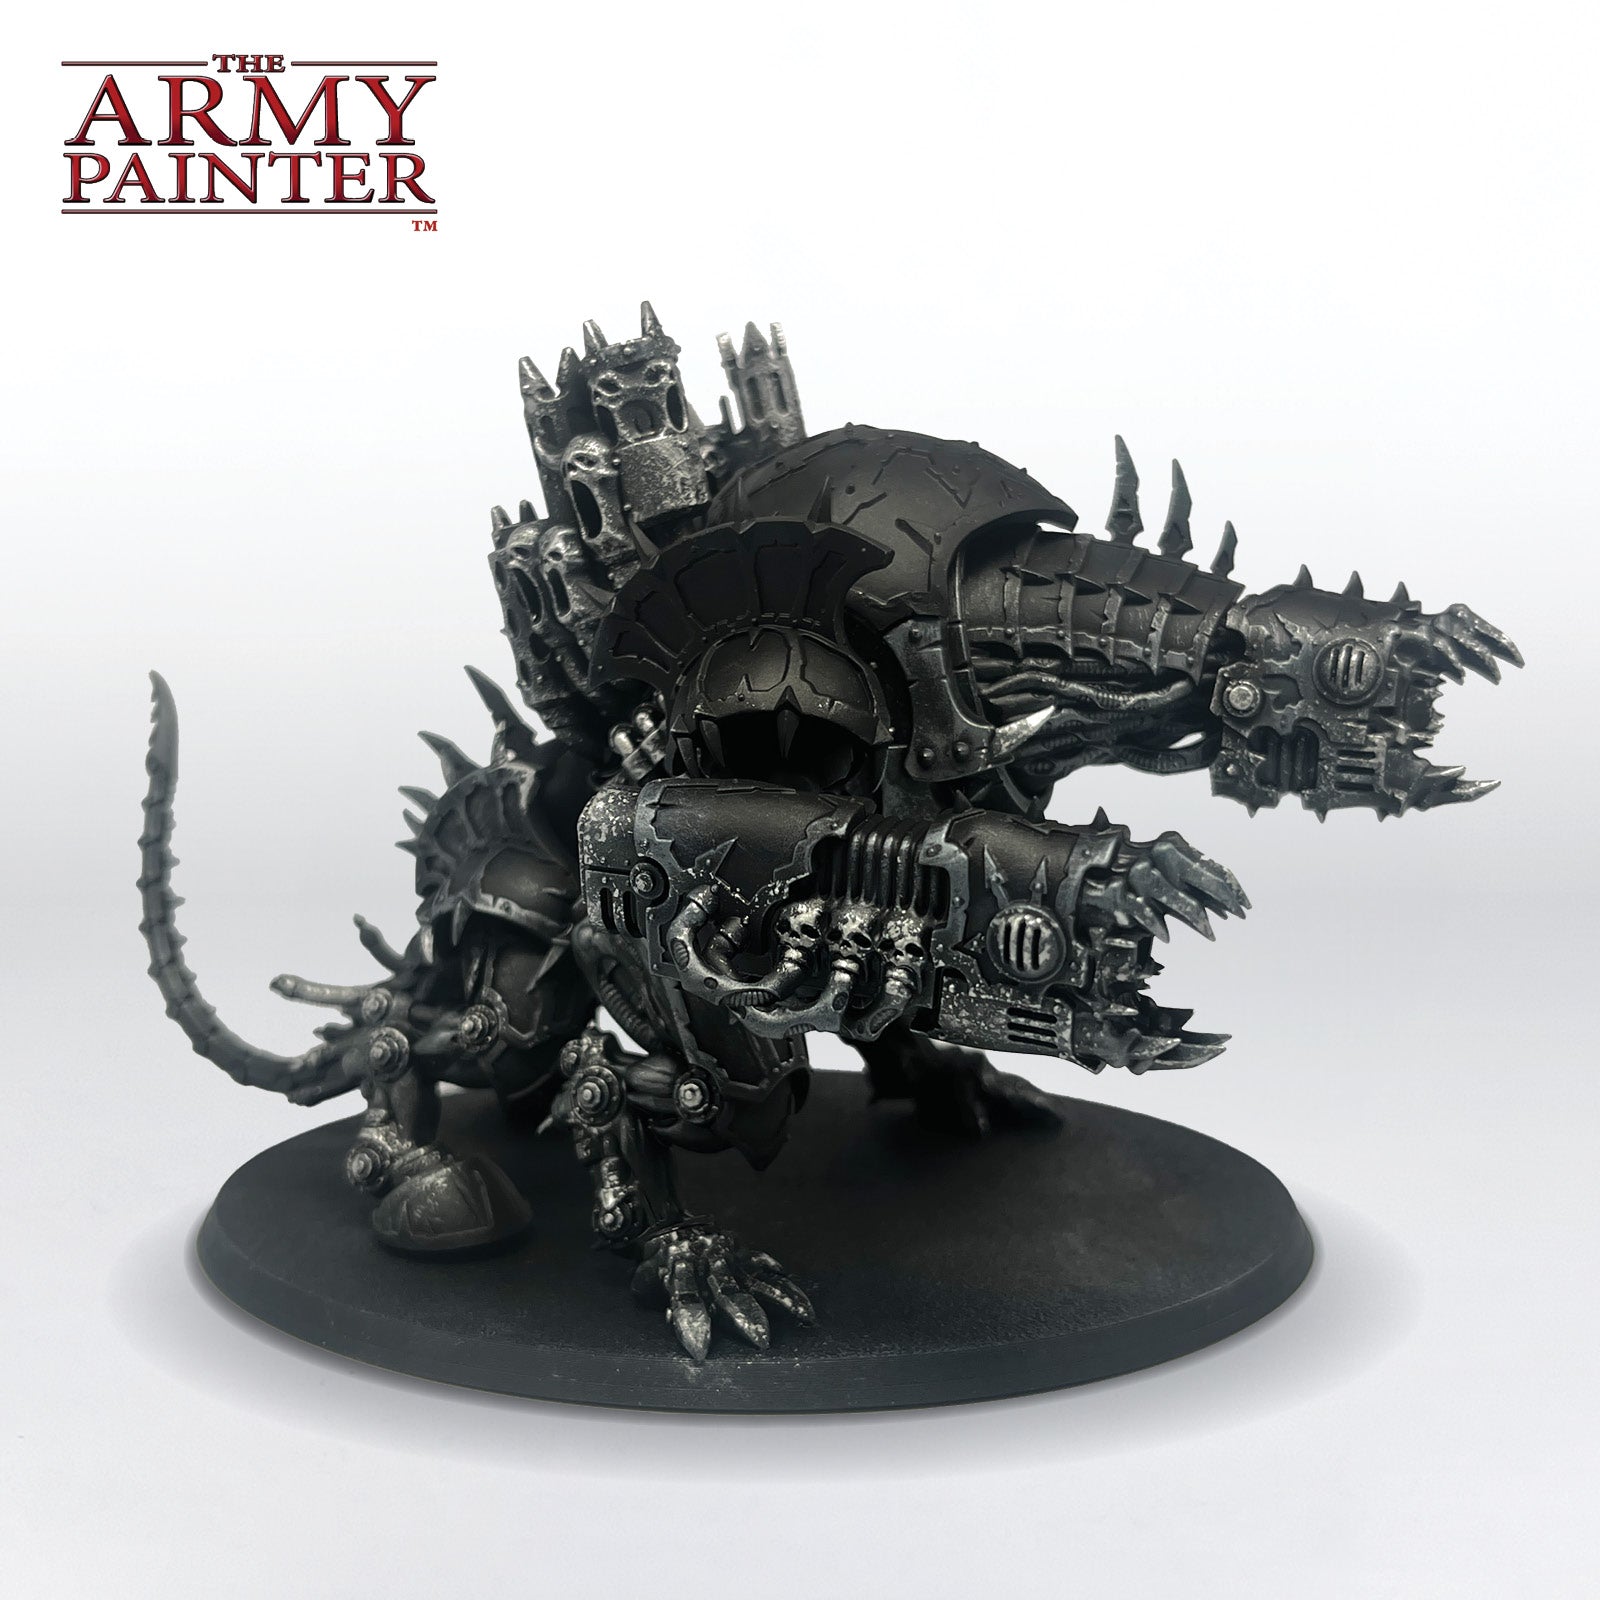
Stipple or sponge Warpaints Fanatic Mithril conservatively across the metal areas and pick out any prominent details with a brush.

The Silver Metallics Step 6

Step 6

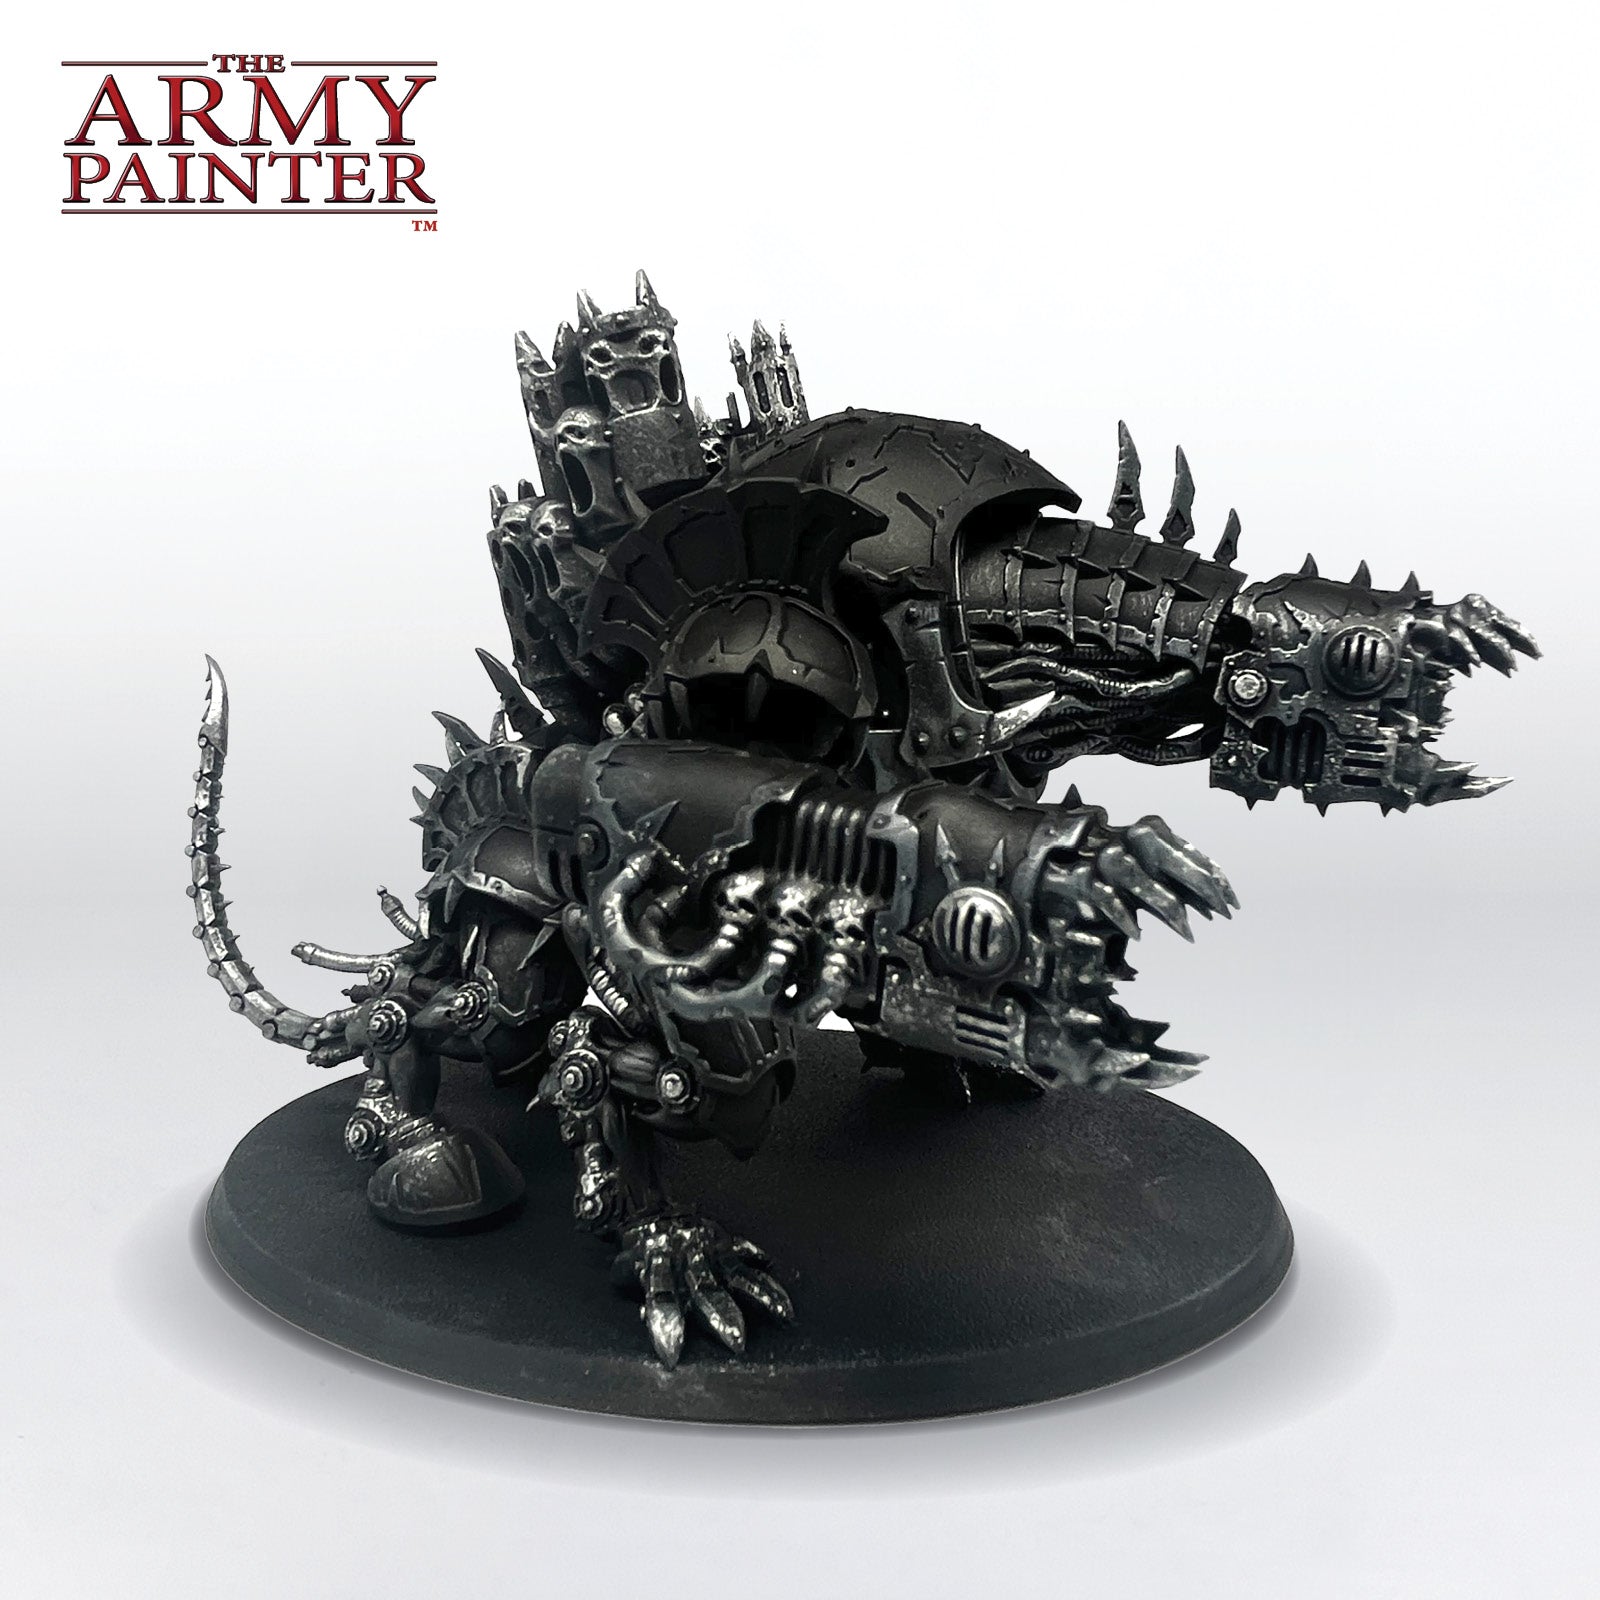
Finally, apply a glaze of Speedpaint Grim Black in the recesses of the silver areas.

Banner

The White Armour

The White Armour Step 1

Step 1

Airbrush a 50/50 mix of Warpaints Air Alien Purple and Warpaints Air Uniform Grey onto the white armour panels. You can use the same ratio in the Warpaints Fanatic versions with a brush to get the hard-to-reach and more precise areas.

The White Armour Step 2

Step 2

Next, airbrush Warpaints Air Uniform Grey, leaving some of the previous colour showing near the trim.

The White Armour Step 3

Step 3

Apply a refined airbrush highlight with Warpaints Air Yeti White.

The White Armour Step 4

Step 4

Then, apply a liberal application of a 4:1 mix of Speedpaint Blinding Light and Speedpaint Medium all over the white armour.

The White Armour Step 5

Step 5

Add a bit of Speedpaint Warrior Skin to the previous mix and apply this to the rivets and over deeper details as a focused wash.

The White Armour Step 6

Step 6

Using a sponge and Wargamer Detail Brush, add chipping, scratches, and rough edge highlights with Warpaints Fanatic Matt White.

The White Armour Step 7

Step 7

Repeat this process in a more conservative application with Warpaints Fanatic Brigandine Brown.

Banner

The Blue Armour

The Blue Armour Step 1

Step 1

Apply a basecoat of Warpaints Fanatic Royal Blue to the blue armour panels.

The Blue Armour Step 2

Step 2

Using a Masterclass Drybrush, stipple Warpaints Fanatic Arctic Gem on the desired highlight areas.

The Blue Armour Step 3

Step 3

Repeat this process with Speedpaint Tyrian Navy in the desired shadow areas. If you’d like, reinforce the highlights with an airbrush or stipple technique in this step too.

The Blue Armour Step 4

Step 4

Next, apply a glaze of a 4:1 mix of Speedpaint Magic Blue and Speedpaint Medium to tie the previous steps together and then finish off the armour with simple highlights of Warpaints Fanatic Arctic Gem.

Banner

The Daemonic Flesh

The Daemonic Flesh Step 1

Step 1

Roughly blend Warpaints Fanatic Onyx Skin and Agate Skin together as a basecoat. Apply this in a wet blending fashion, blending the paints together on the model while they’re both still wet. You can mix in some Warpaints Fanatic Retarder to extend the drying time of your paints to make this easier as well.

The Daemonic Flesh Step 2

Step 2

Apply a glaze with Speedpaint Noble Skin thinned with Speedpaint Medium over all of the skin areas. Finally, glaze Warpaints Fanatic Wash Magenta Tone near the joints and other areas on the flesh.

Banner

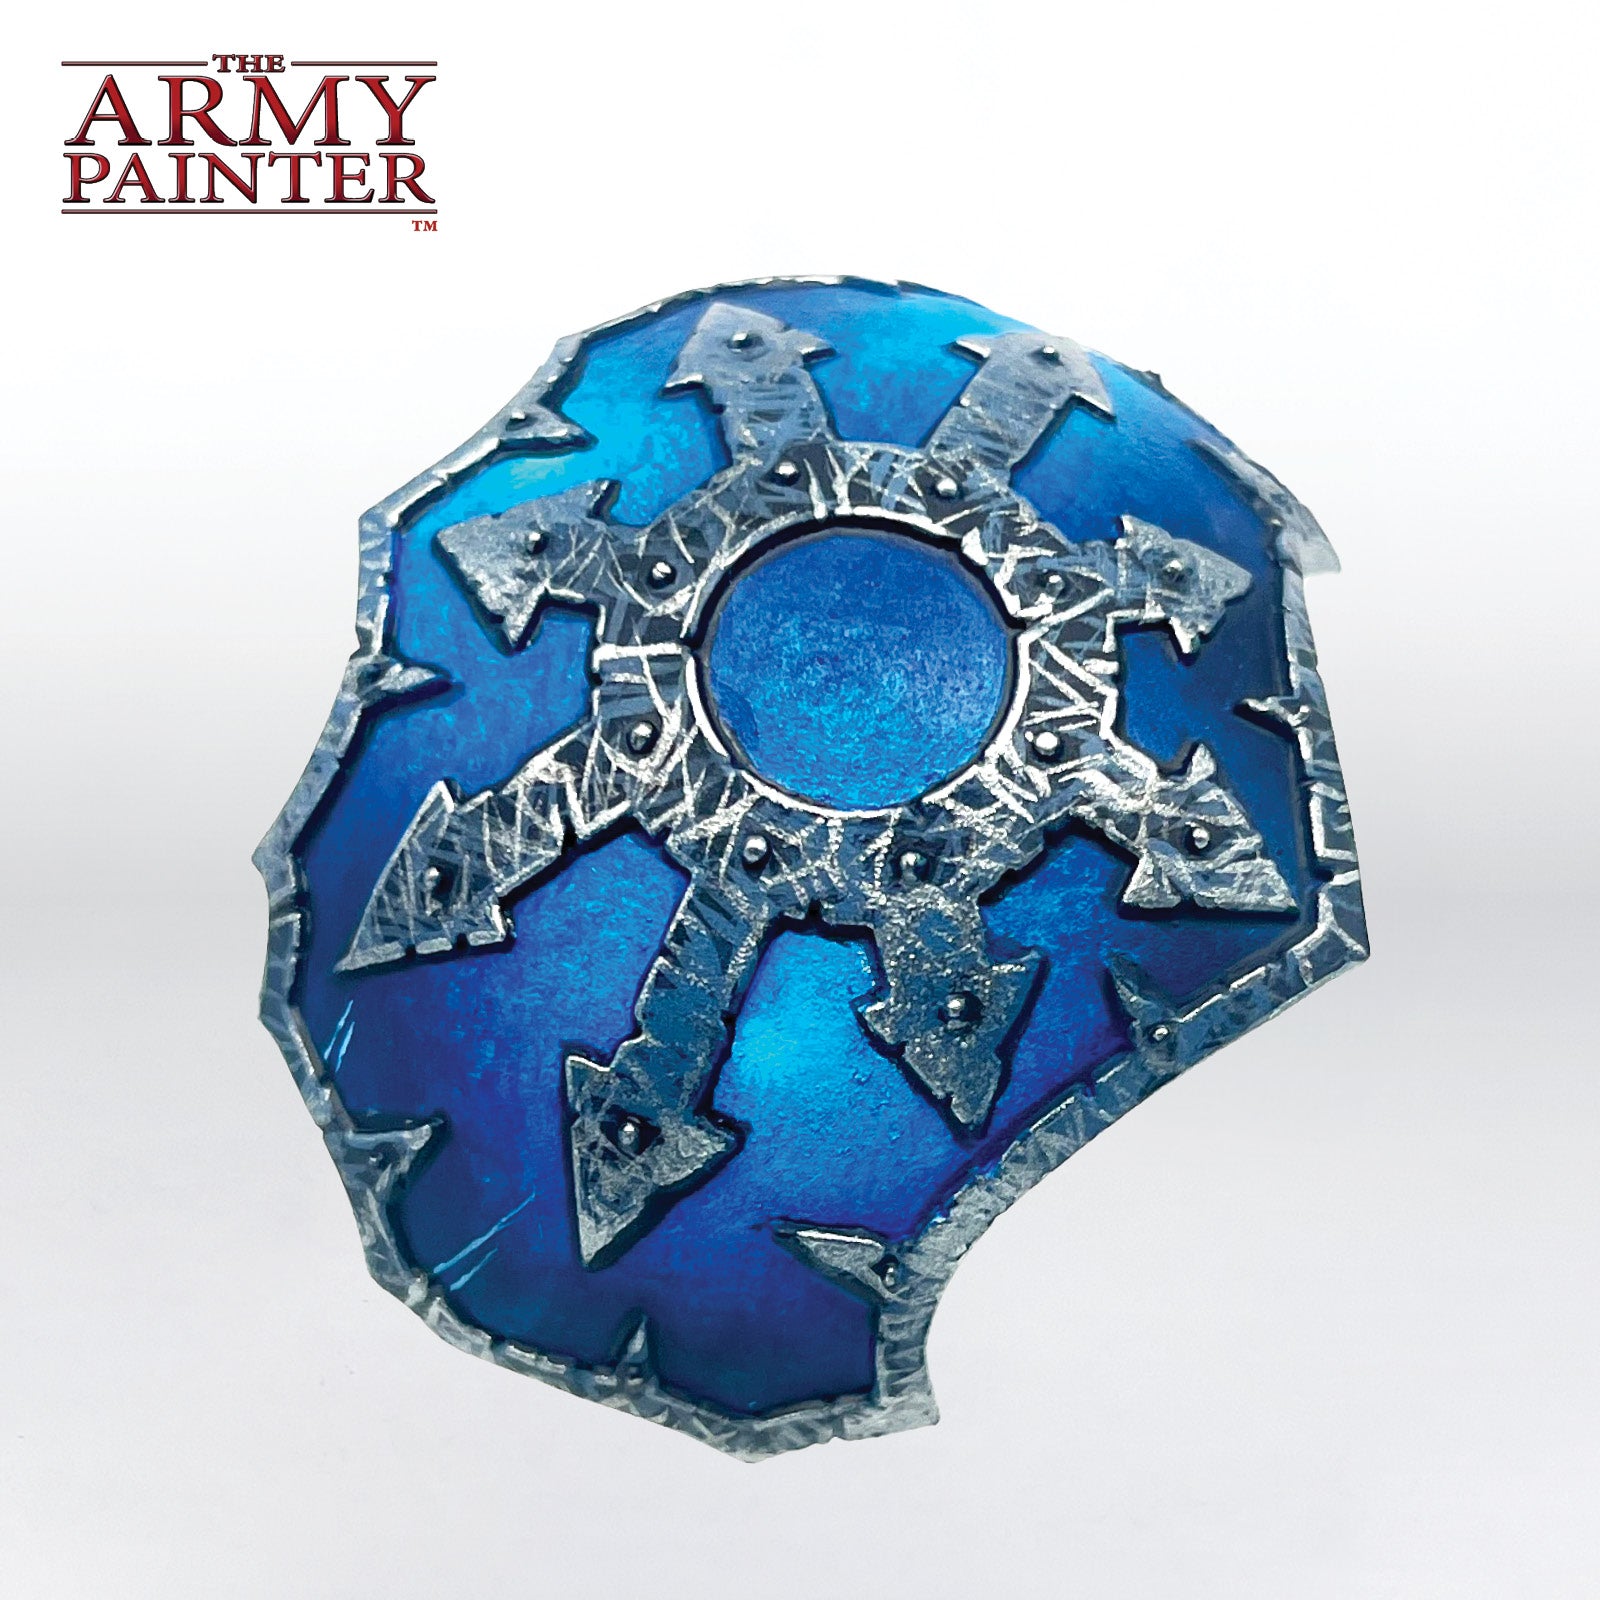
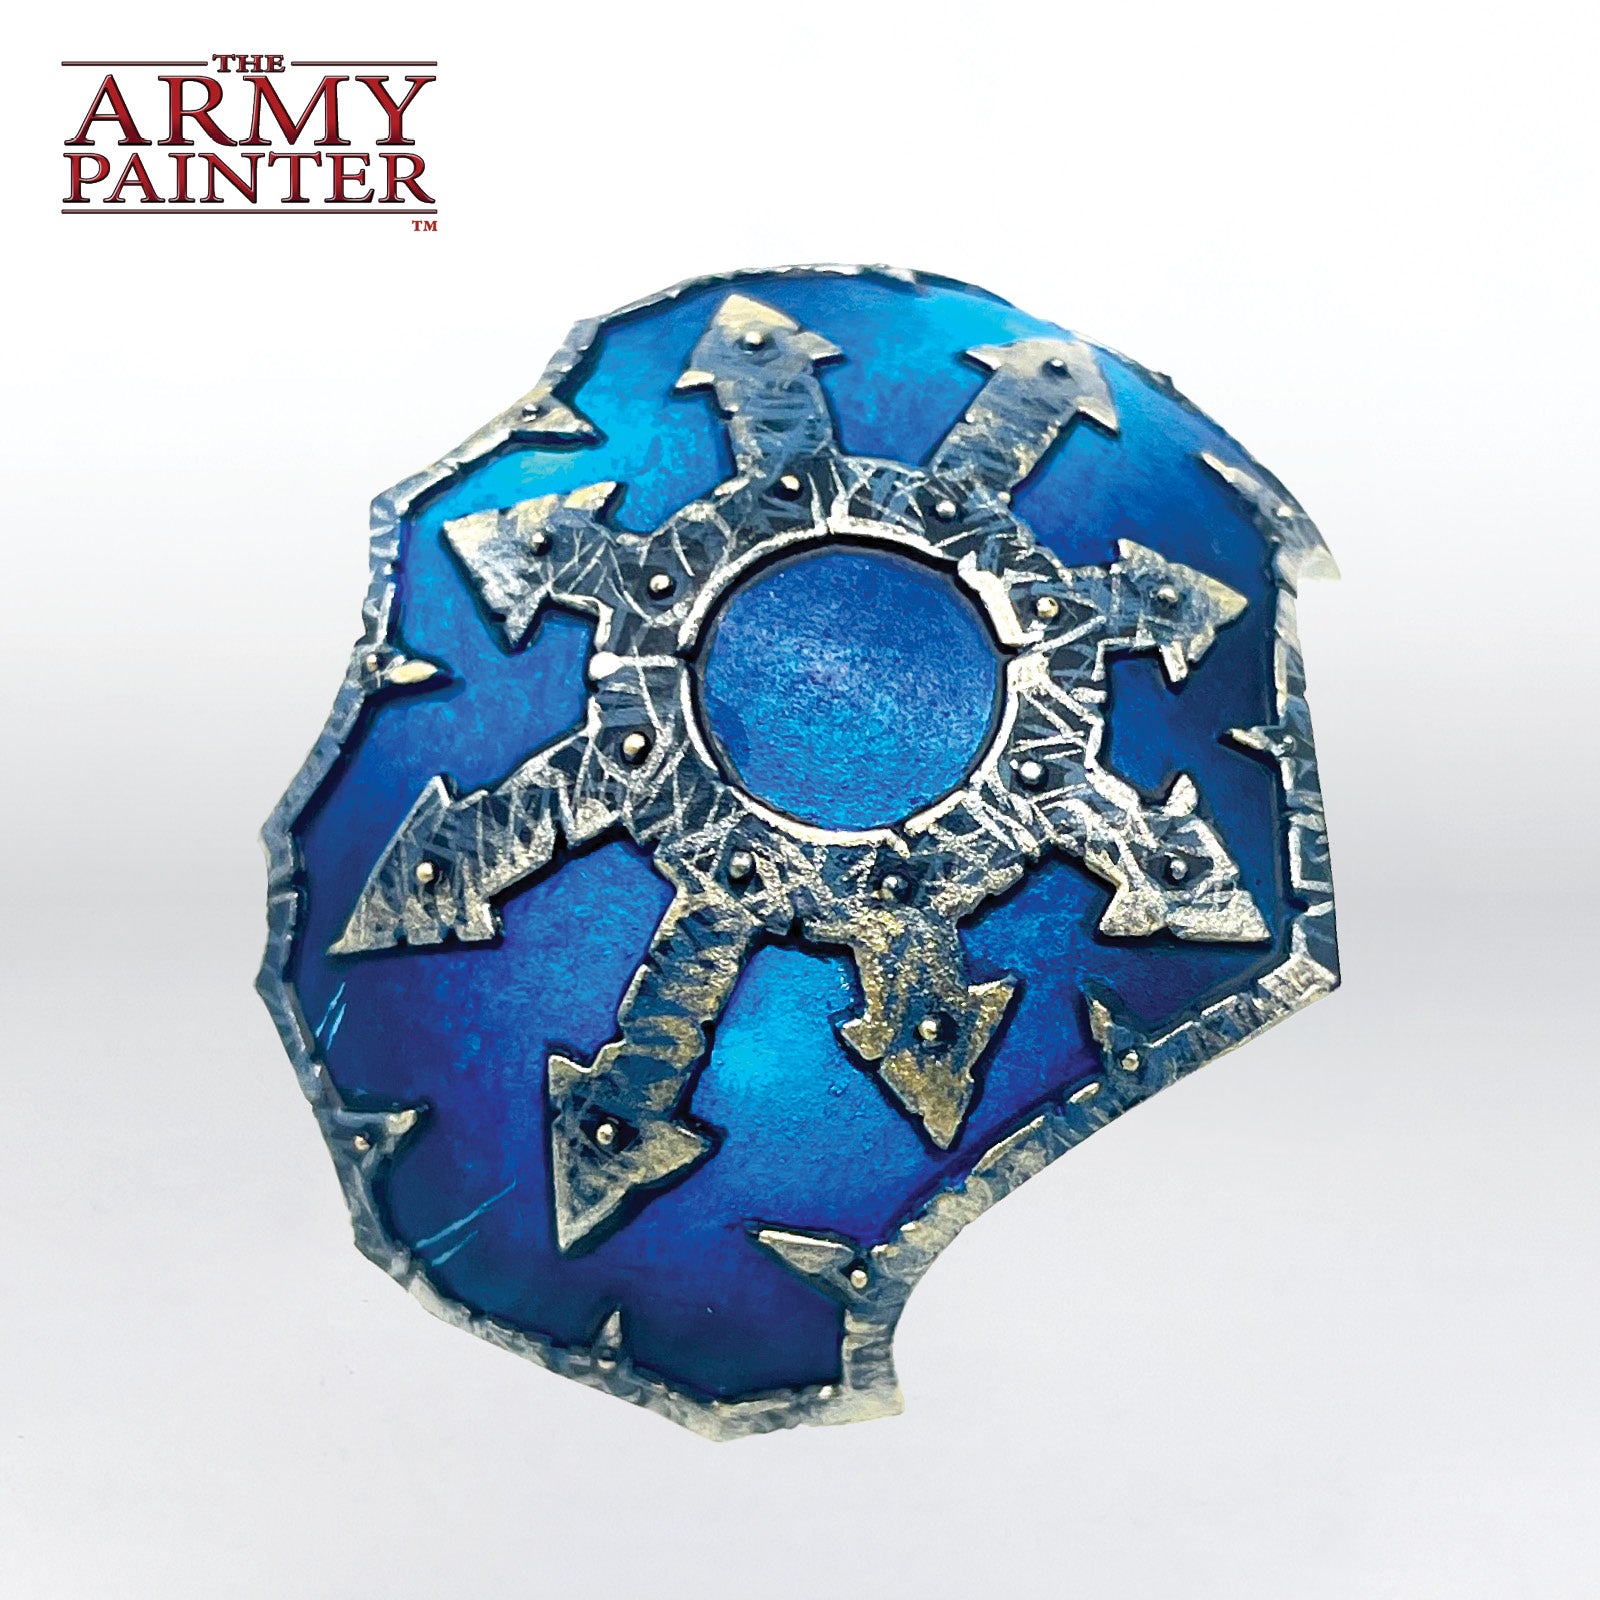
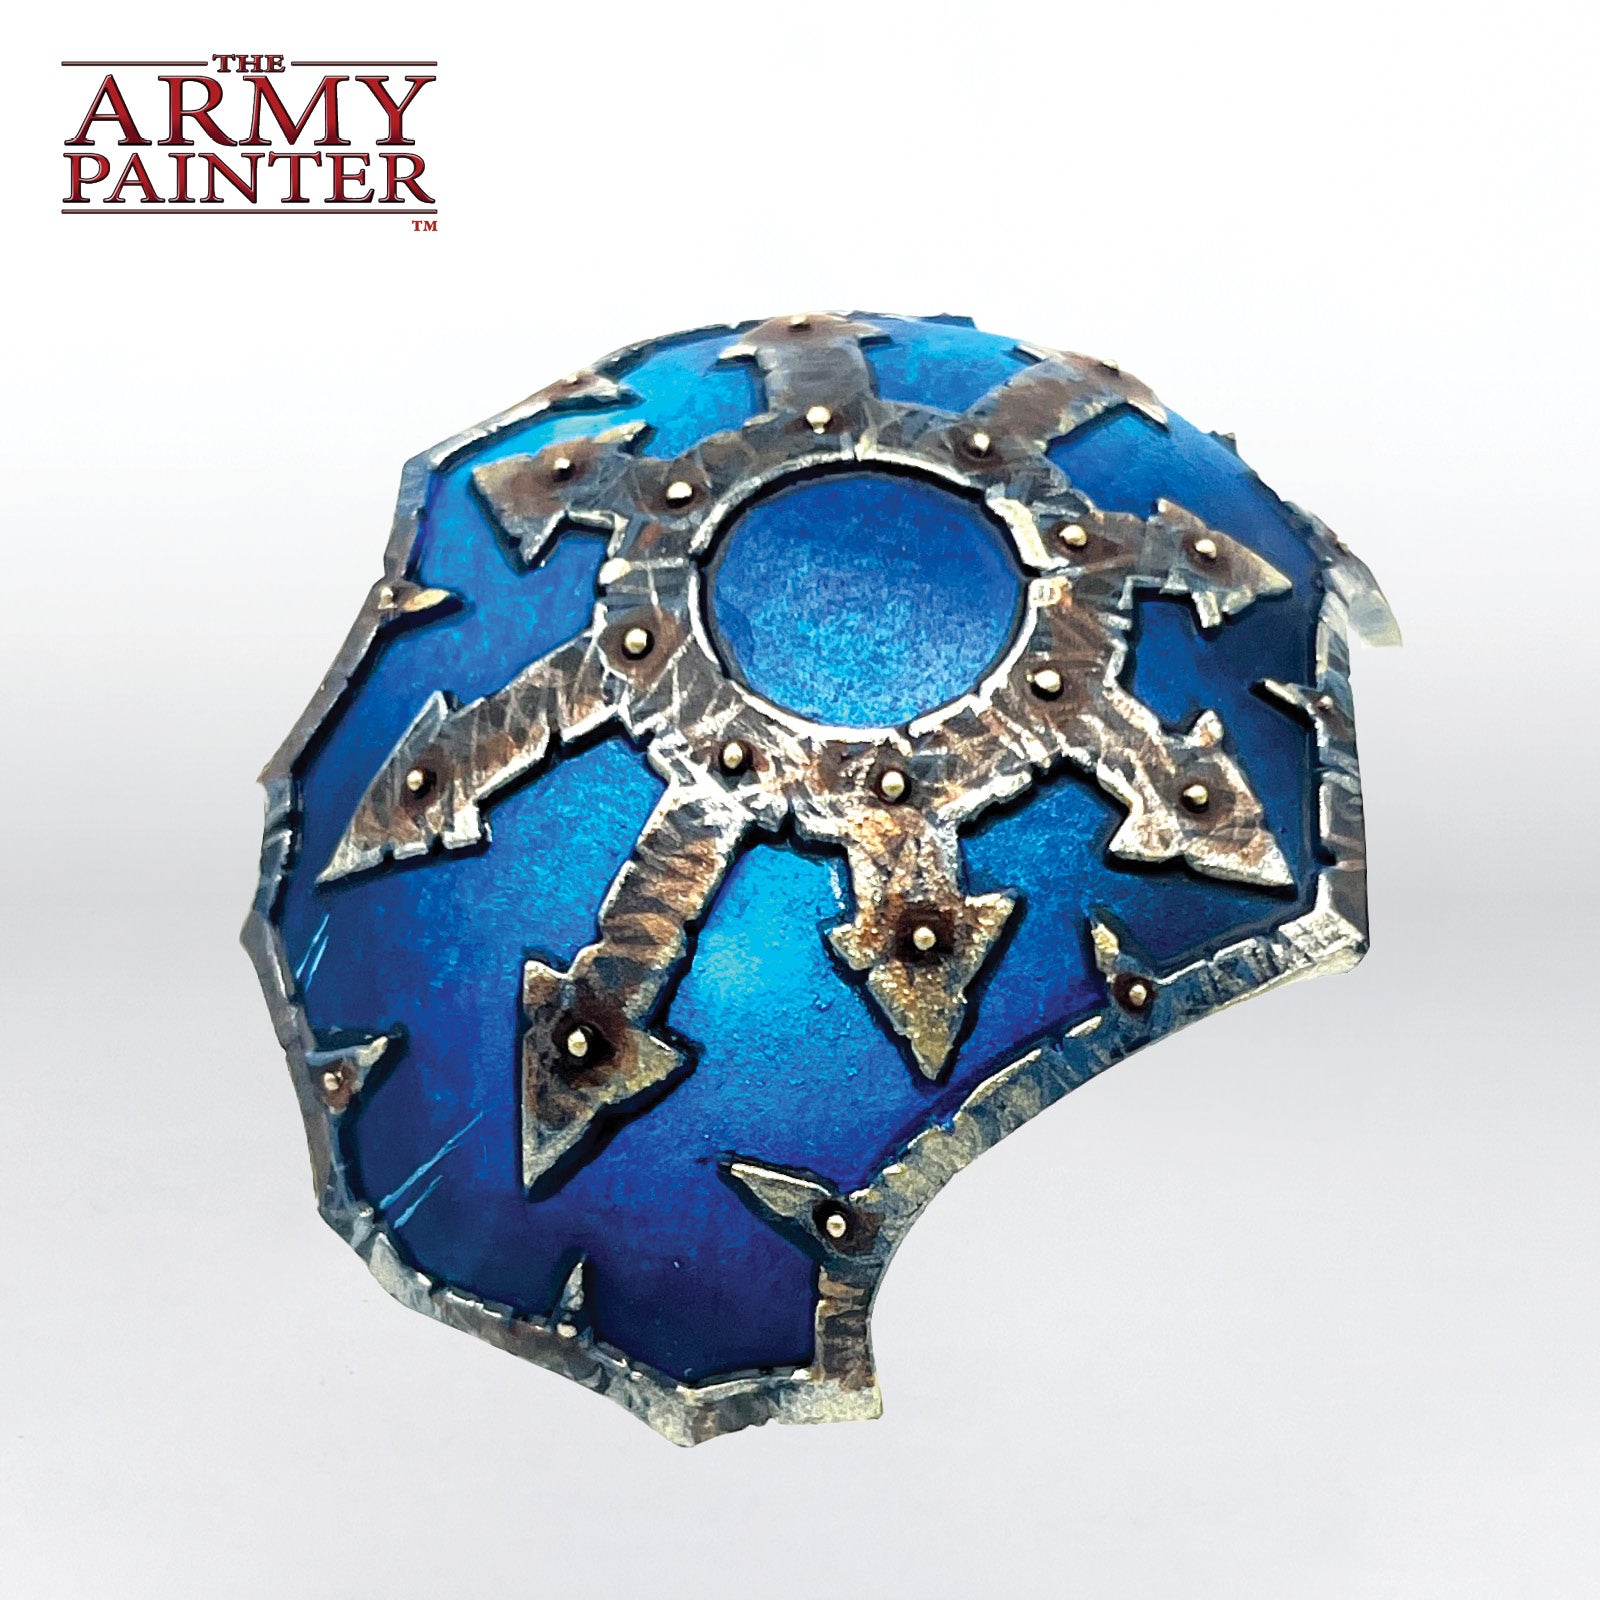
The Brass Trim

The Brass Trim Step 1

Step 1

Basecoat the trim with Speedpaint Occultist Cloak.

The Brass Trim Step 2

Step 2

Apply highlights in a scratchy, random manner using Warpaints Fanatic Night Sky.

The Brass Trim Step 3

Step 3

Begin establishing the reflective areas with a more refined highlight of Warpaints Fanatic Cobalt Metal.

The Brass Trim Step 4

Step 4

Next, establish the brass reflections using Warpaints Fanatic True Brass.

The Brass Trim Step 5

Step 5

Finish the trim with a glaze of Speedpaint Warrior Skin around the rivets and into the shadows.

The Brass Trim Step 6

Step 6

Tidy up any of the highlights and details with Warpaints Fanatic True Brass.

Banner

The Plasma Glow

The Plasma Glow Step 1

Step 1

Begin by airbrushing Warpaints Air Matt White anywhere you’d like some object source lighting to appear. Next, use Warpaints Air Fluorescent Safety Orange over those same areas.

The Plasma Glow Step 2

Step 2

With a Regiment Brush, apply a solid basecoat of Warpaints Fanatic Warped Yellow to the inner glowing areas.

The Plasma Glow Step 3

Step 3

Then paint the inside of the coils and other details with Warpaints Fanatic Lave Orange.

The Plasma Glow Step 4

Step 4

Next, airbrush Warpaints Air Fluorescent Safety Orange all over the glowing areas, leaving some of the yellow in the innermost areas. Then glaze the cooler glowing areas, such as the top of the coils, with a mix of Speedpaint Poppy Red and Warpaints Fanatic Effects Radiation Glow

With that, your model is done!

Afterwards, the model was based following the our favourite rust method devided by Thomas and seen in the tutorial for The Lion, but you can base your models to match your collection. 

If you plan on using your model for gaming, we highly recommend varnishing it with either our Spray, Warpaints Air, or Warpaints Fanatic varnishes. 

Be sure to tell us what you thought of this tutorial format, if you have any suggestions for improvements in the future, or even which models you want us to tackle. 

If you paint your own model following one of these guides, tag it with #thearmypainteracademy to share your work!