How to Paint a Poxwalker Mobile

How to Paint

Poxwalker Zombies
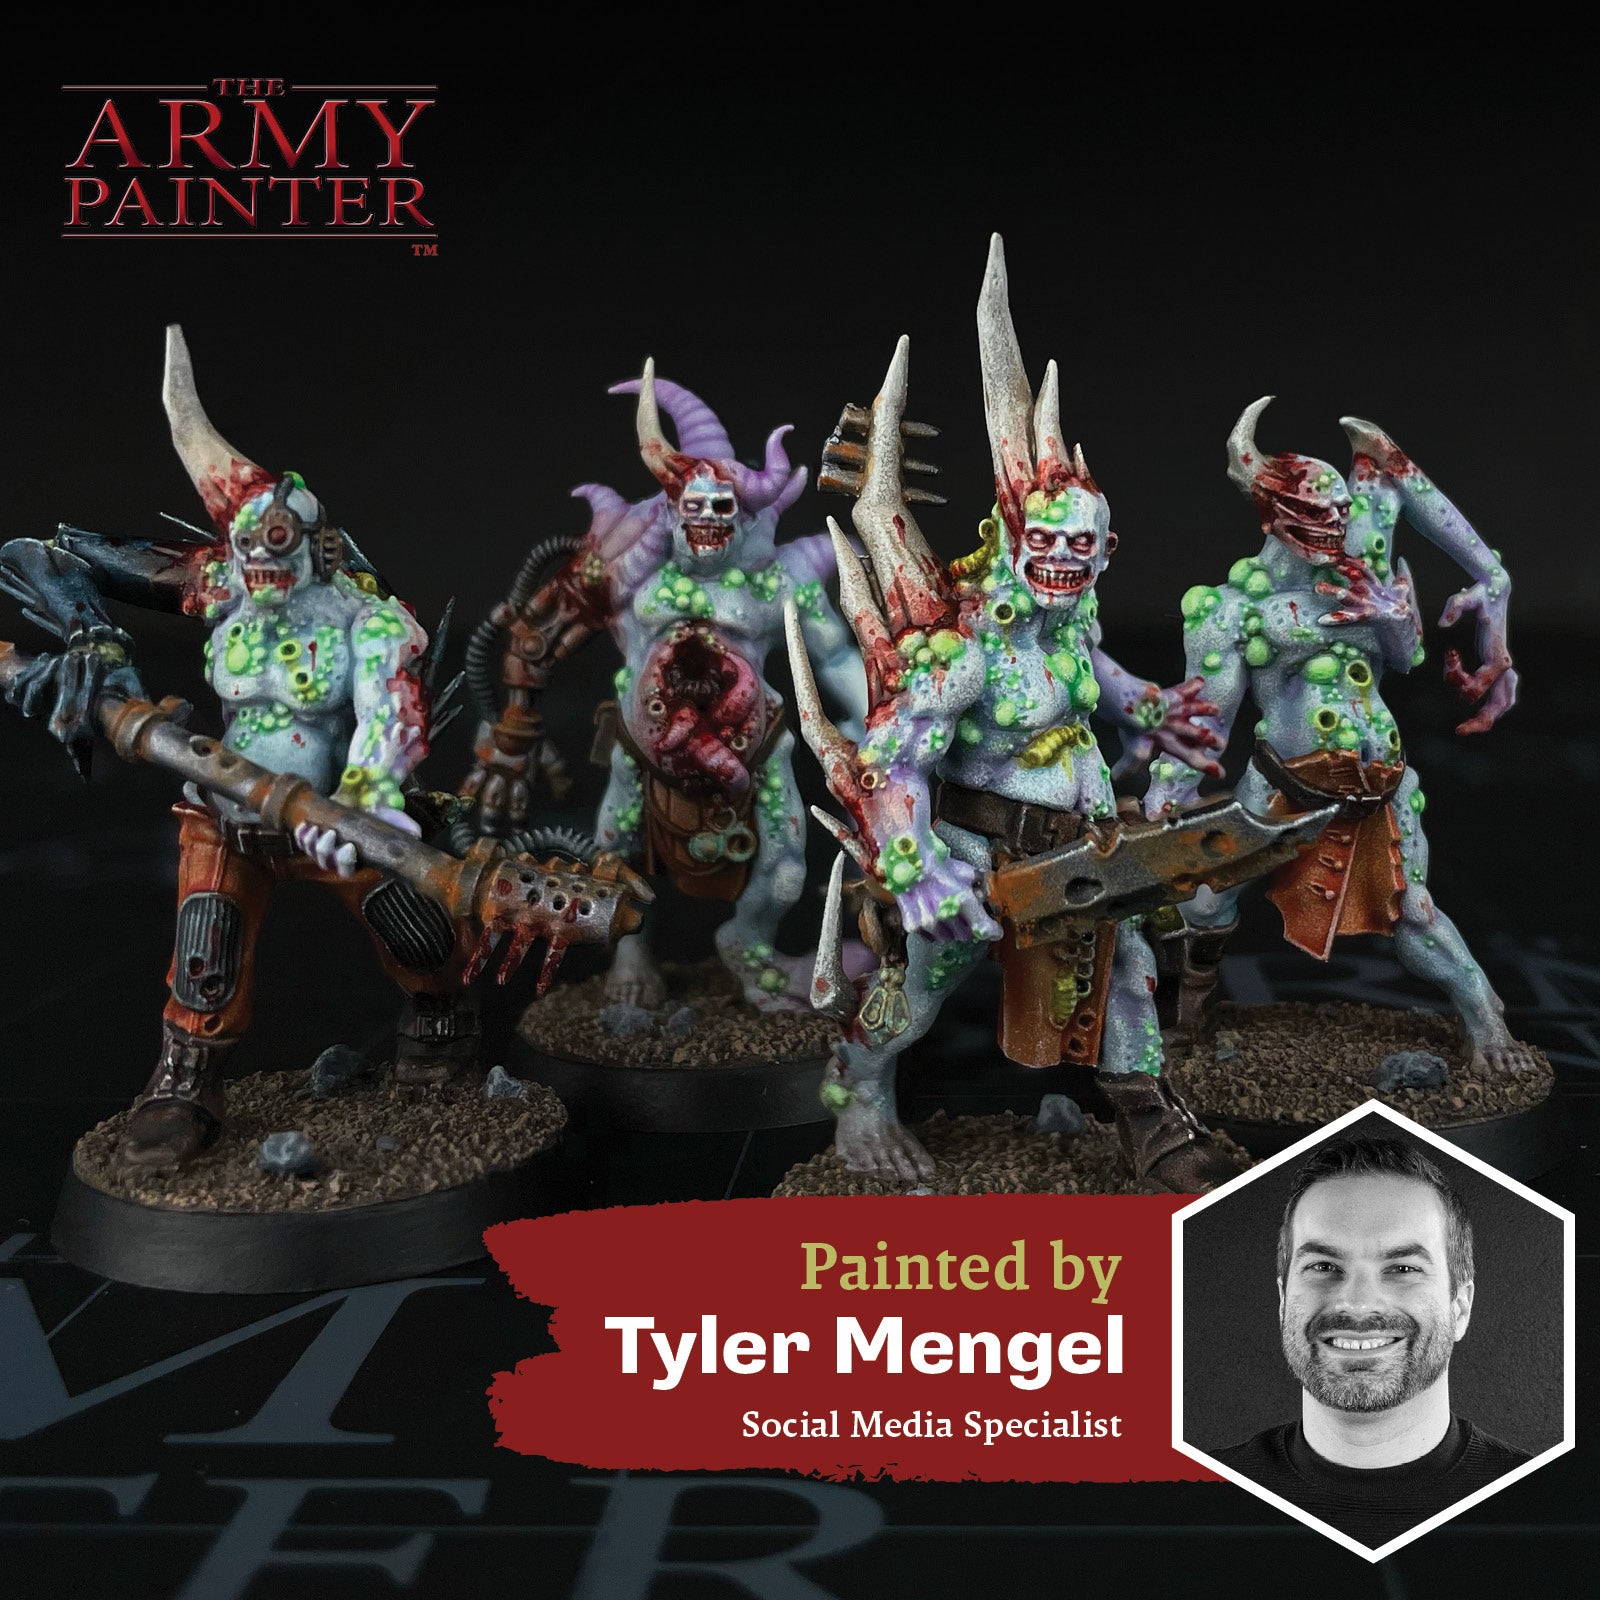
Poxwalkers Group

Welcome to the next instalment of The Army Painter Academy: a series where we break down how we paint a miniature step-by-step, complete with pictures for every bit of paint applied along the way. 

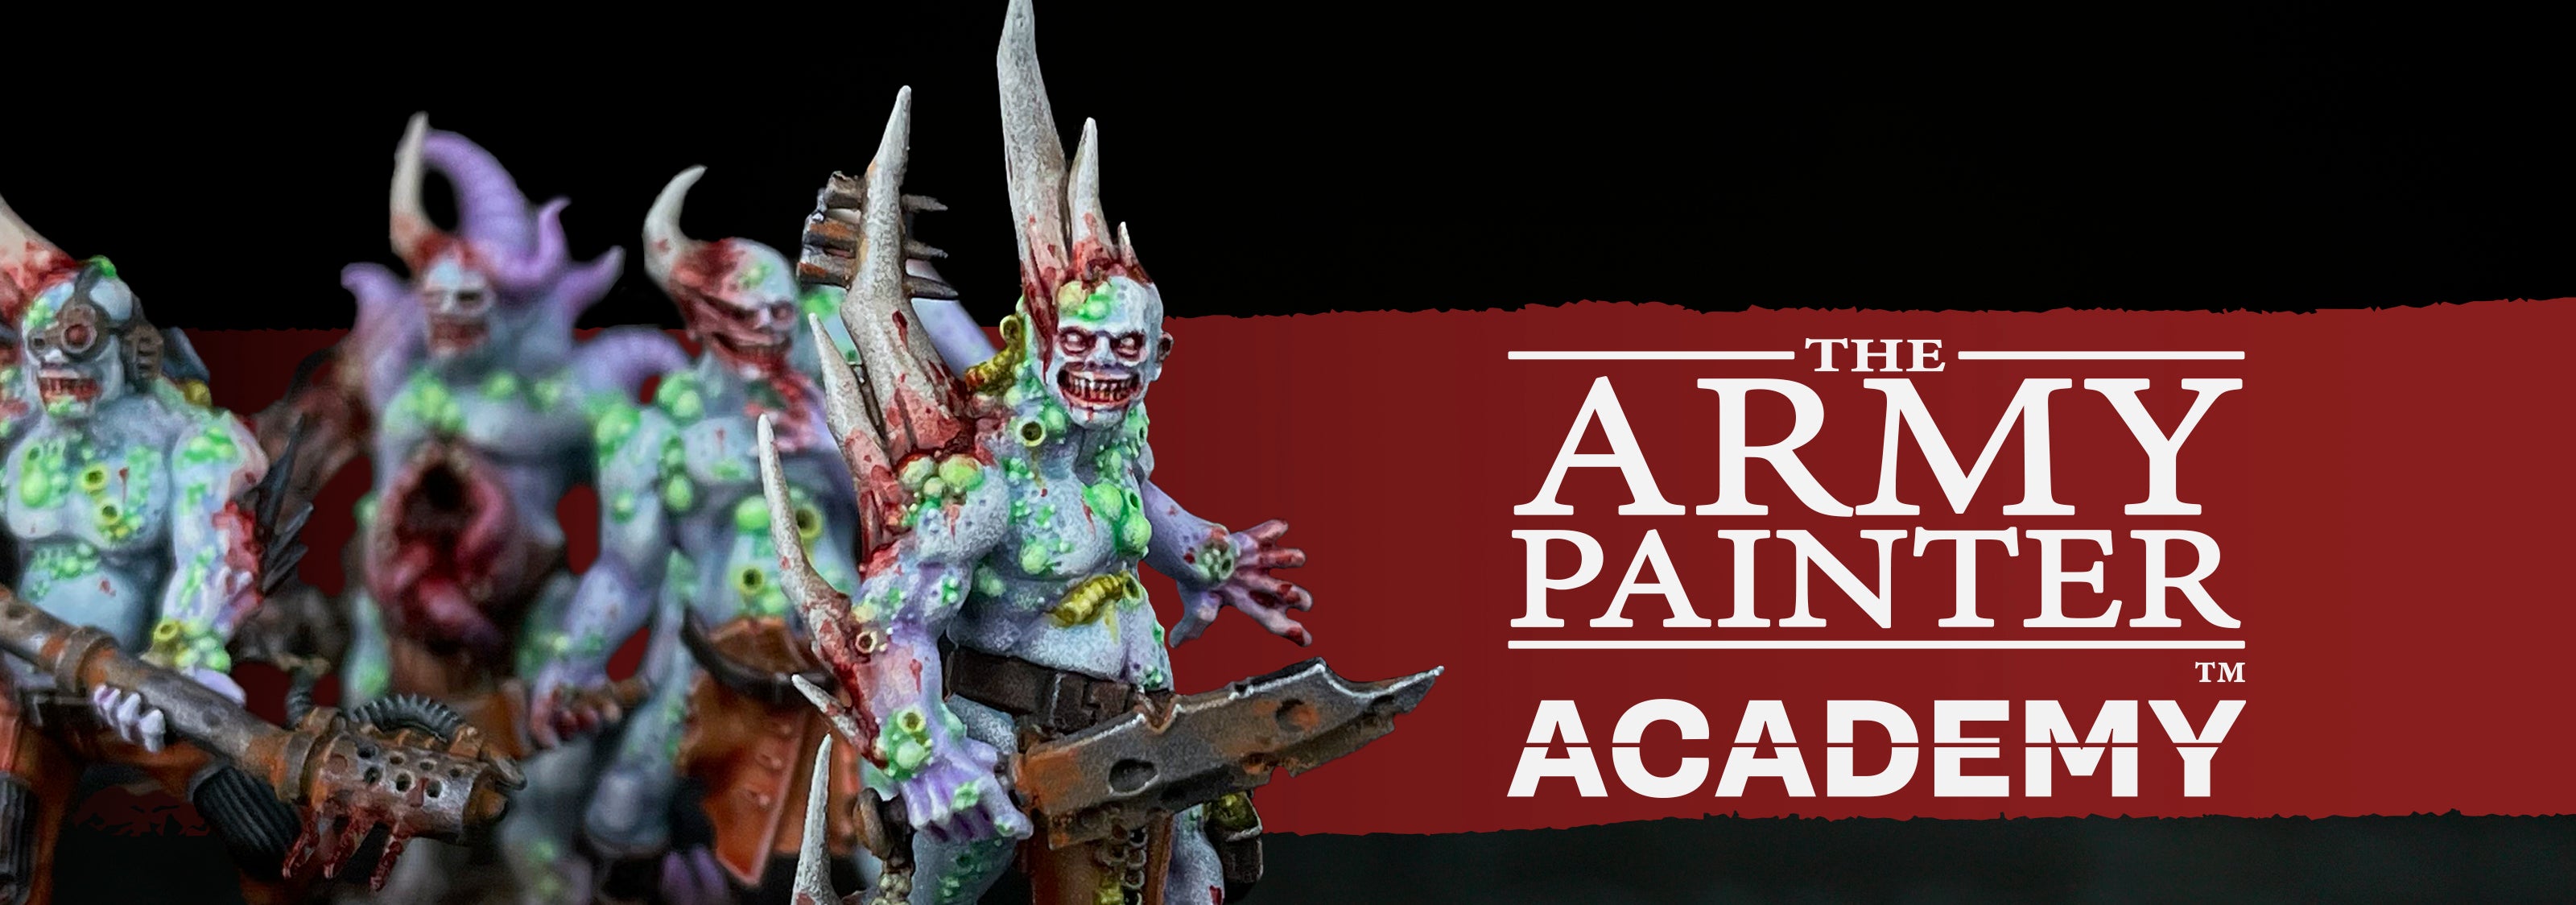
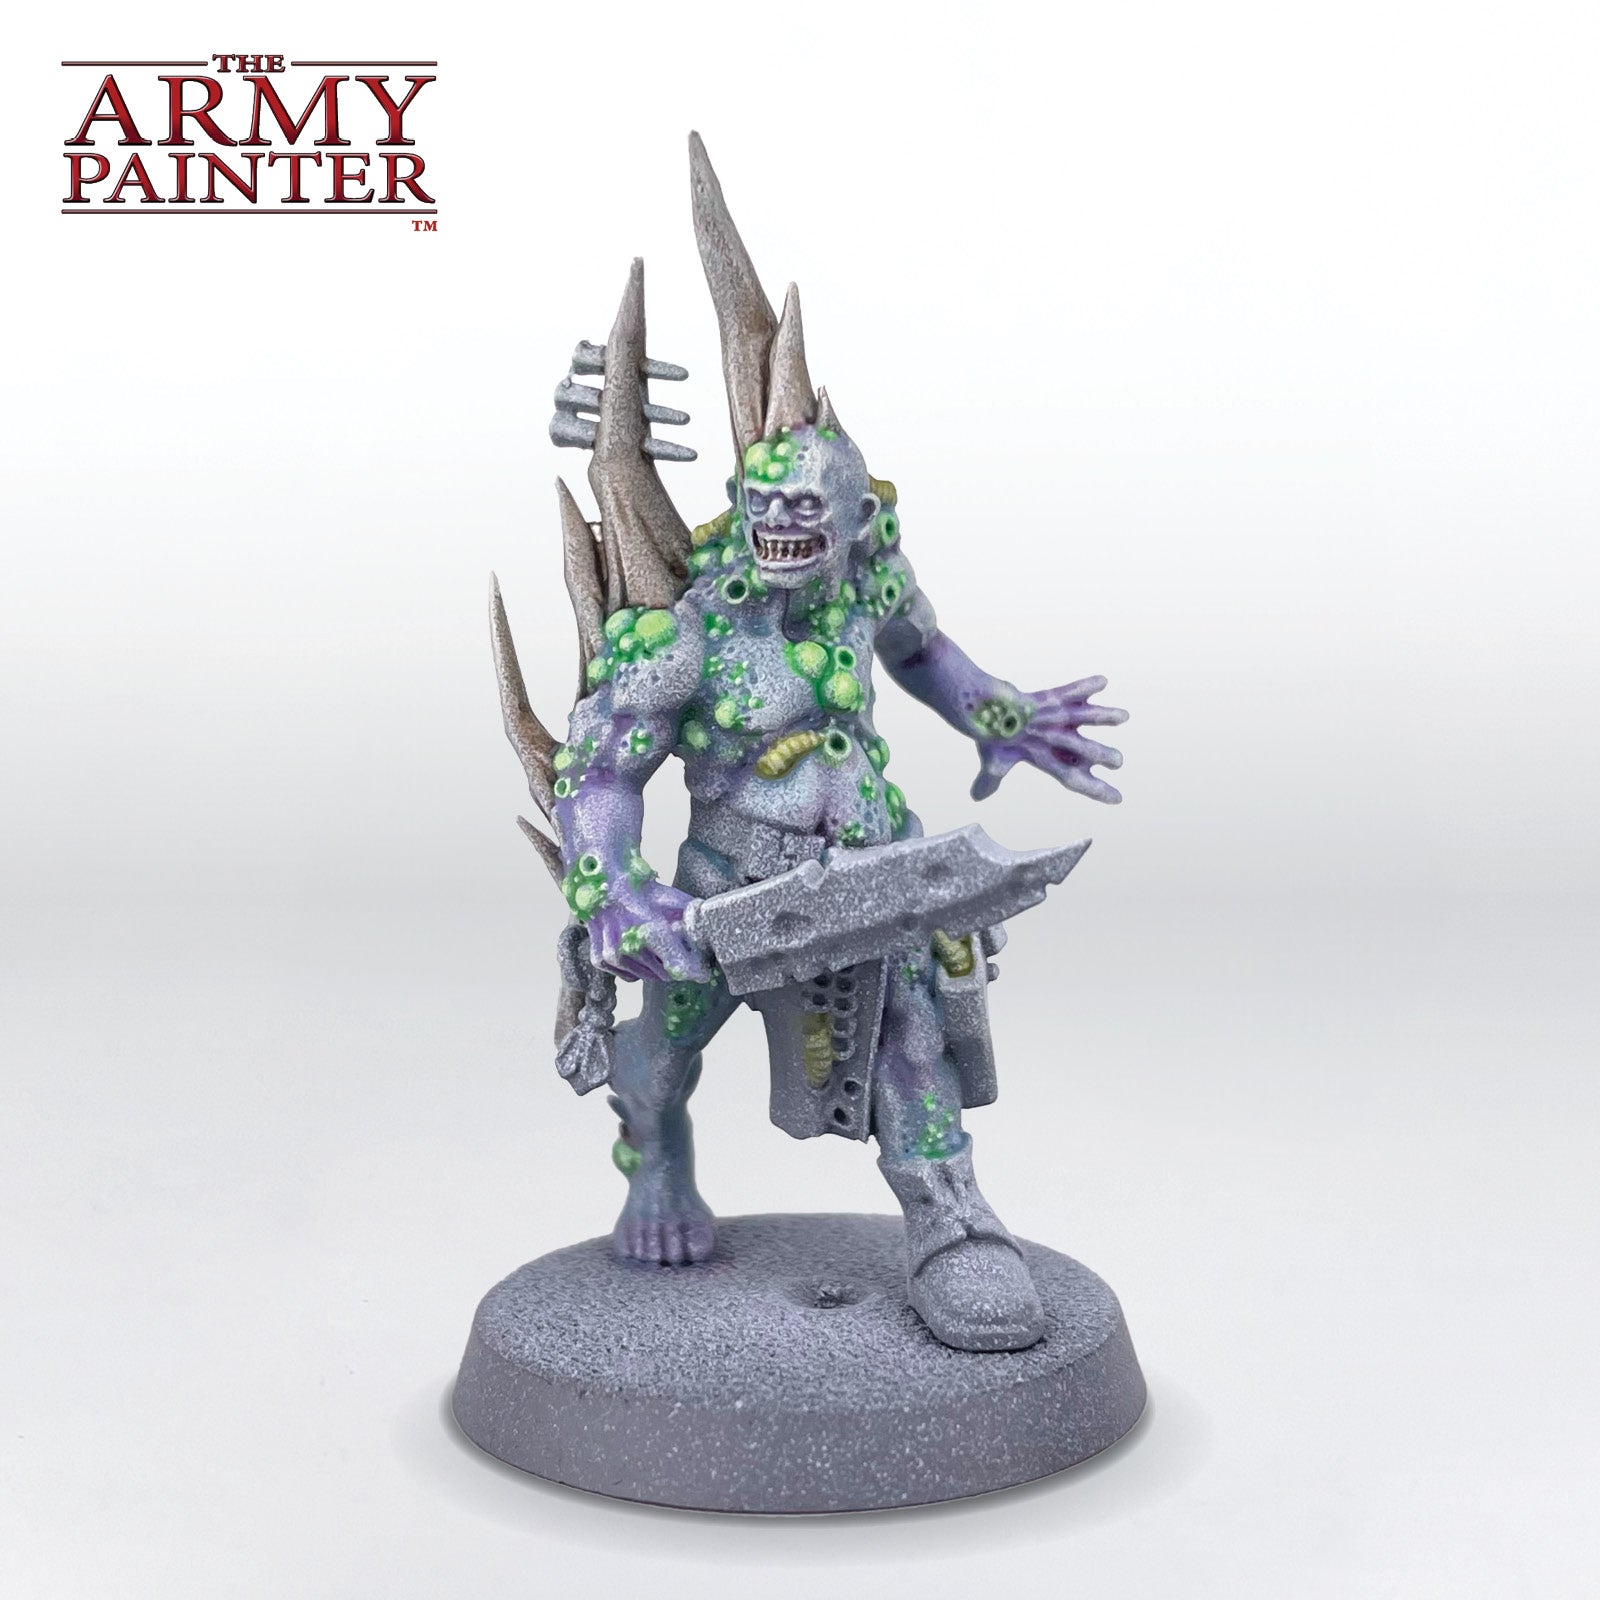
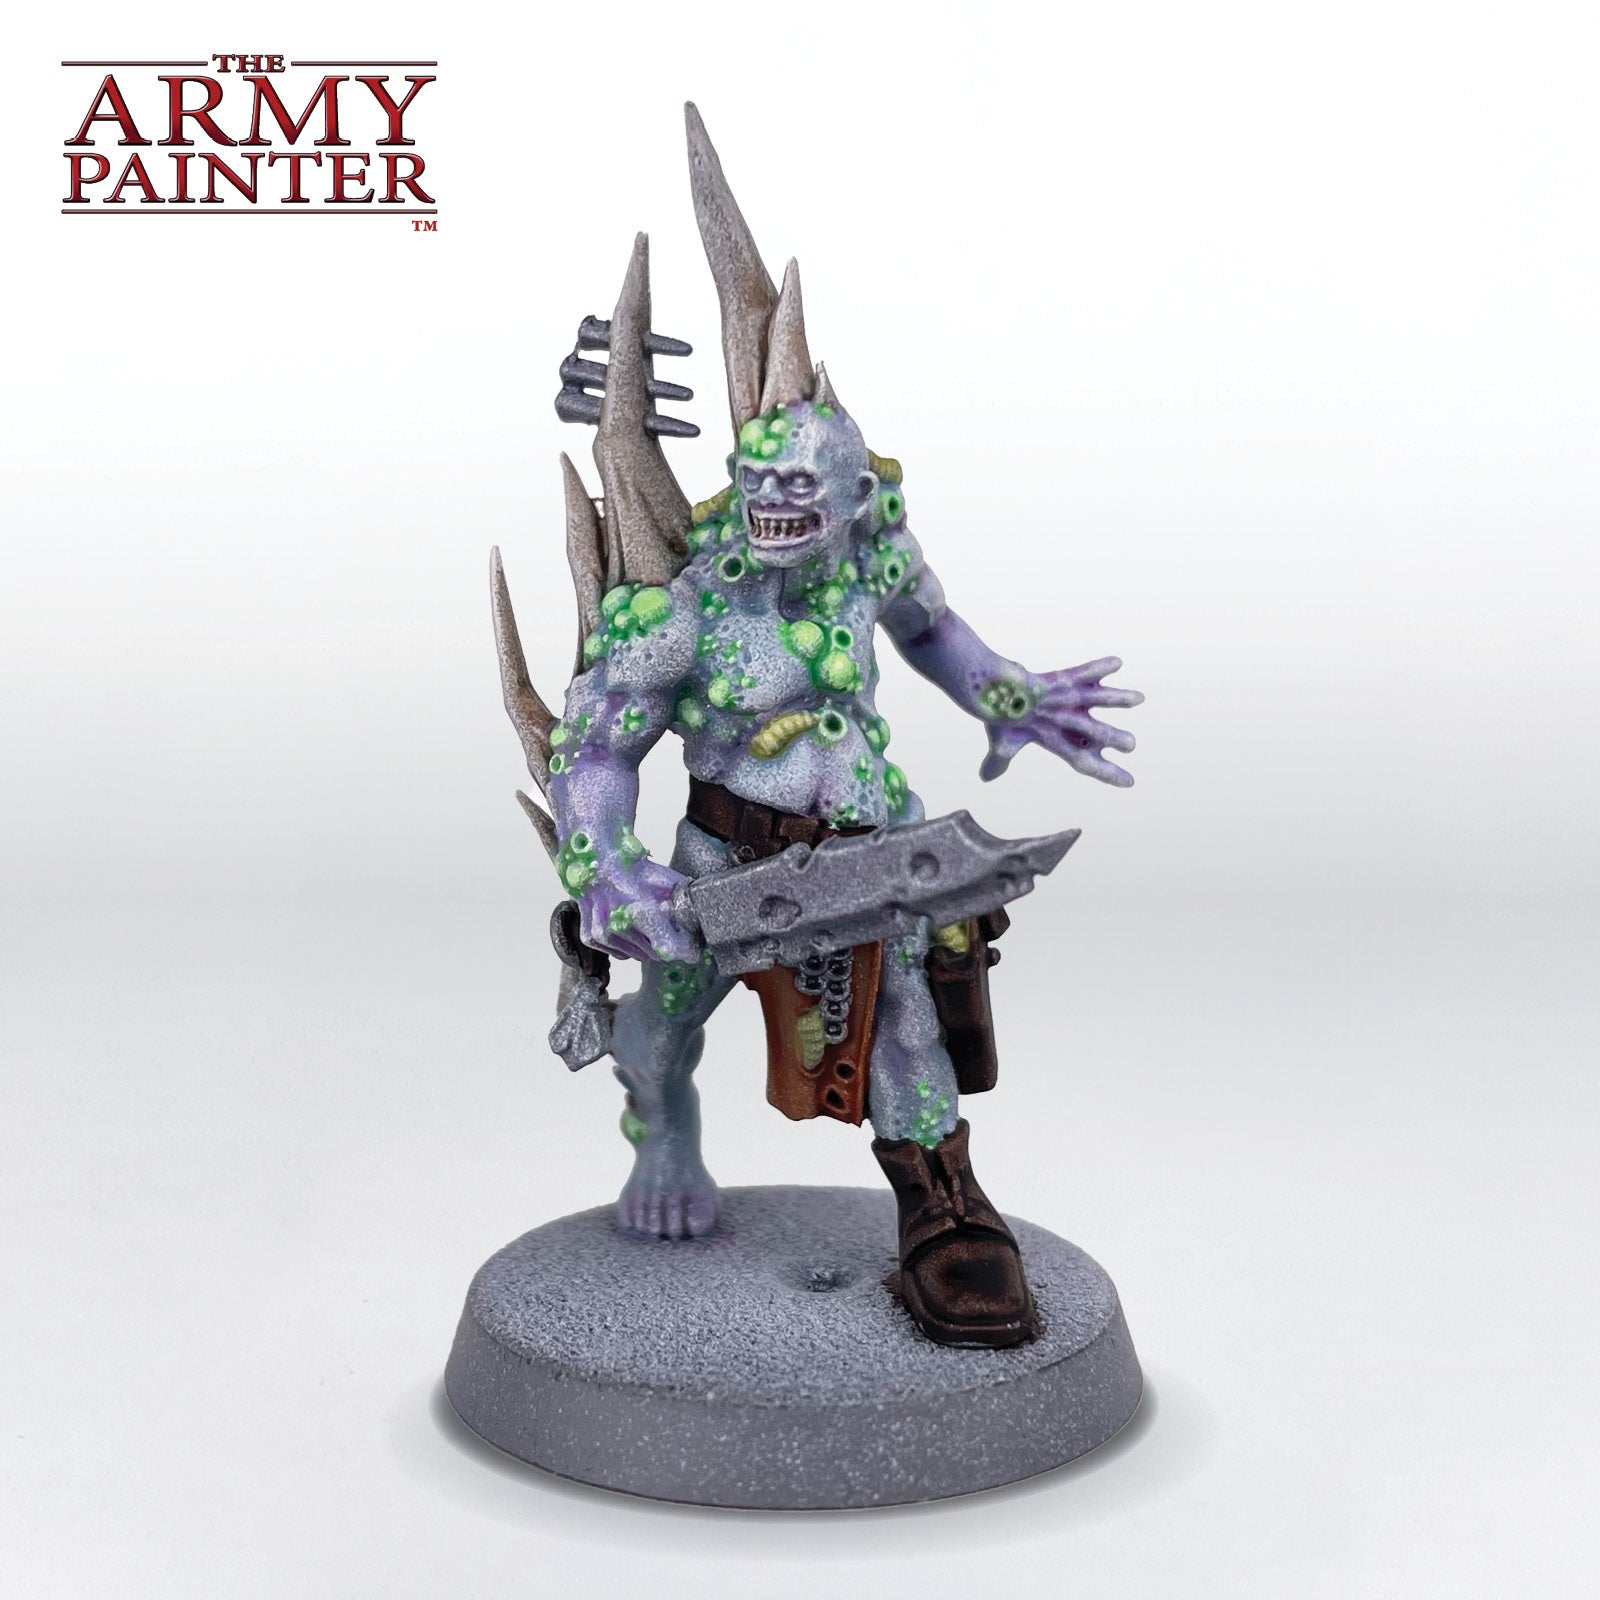
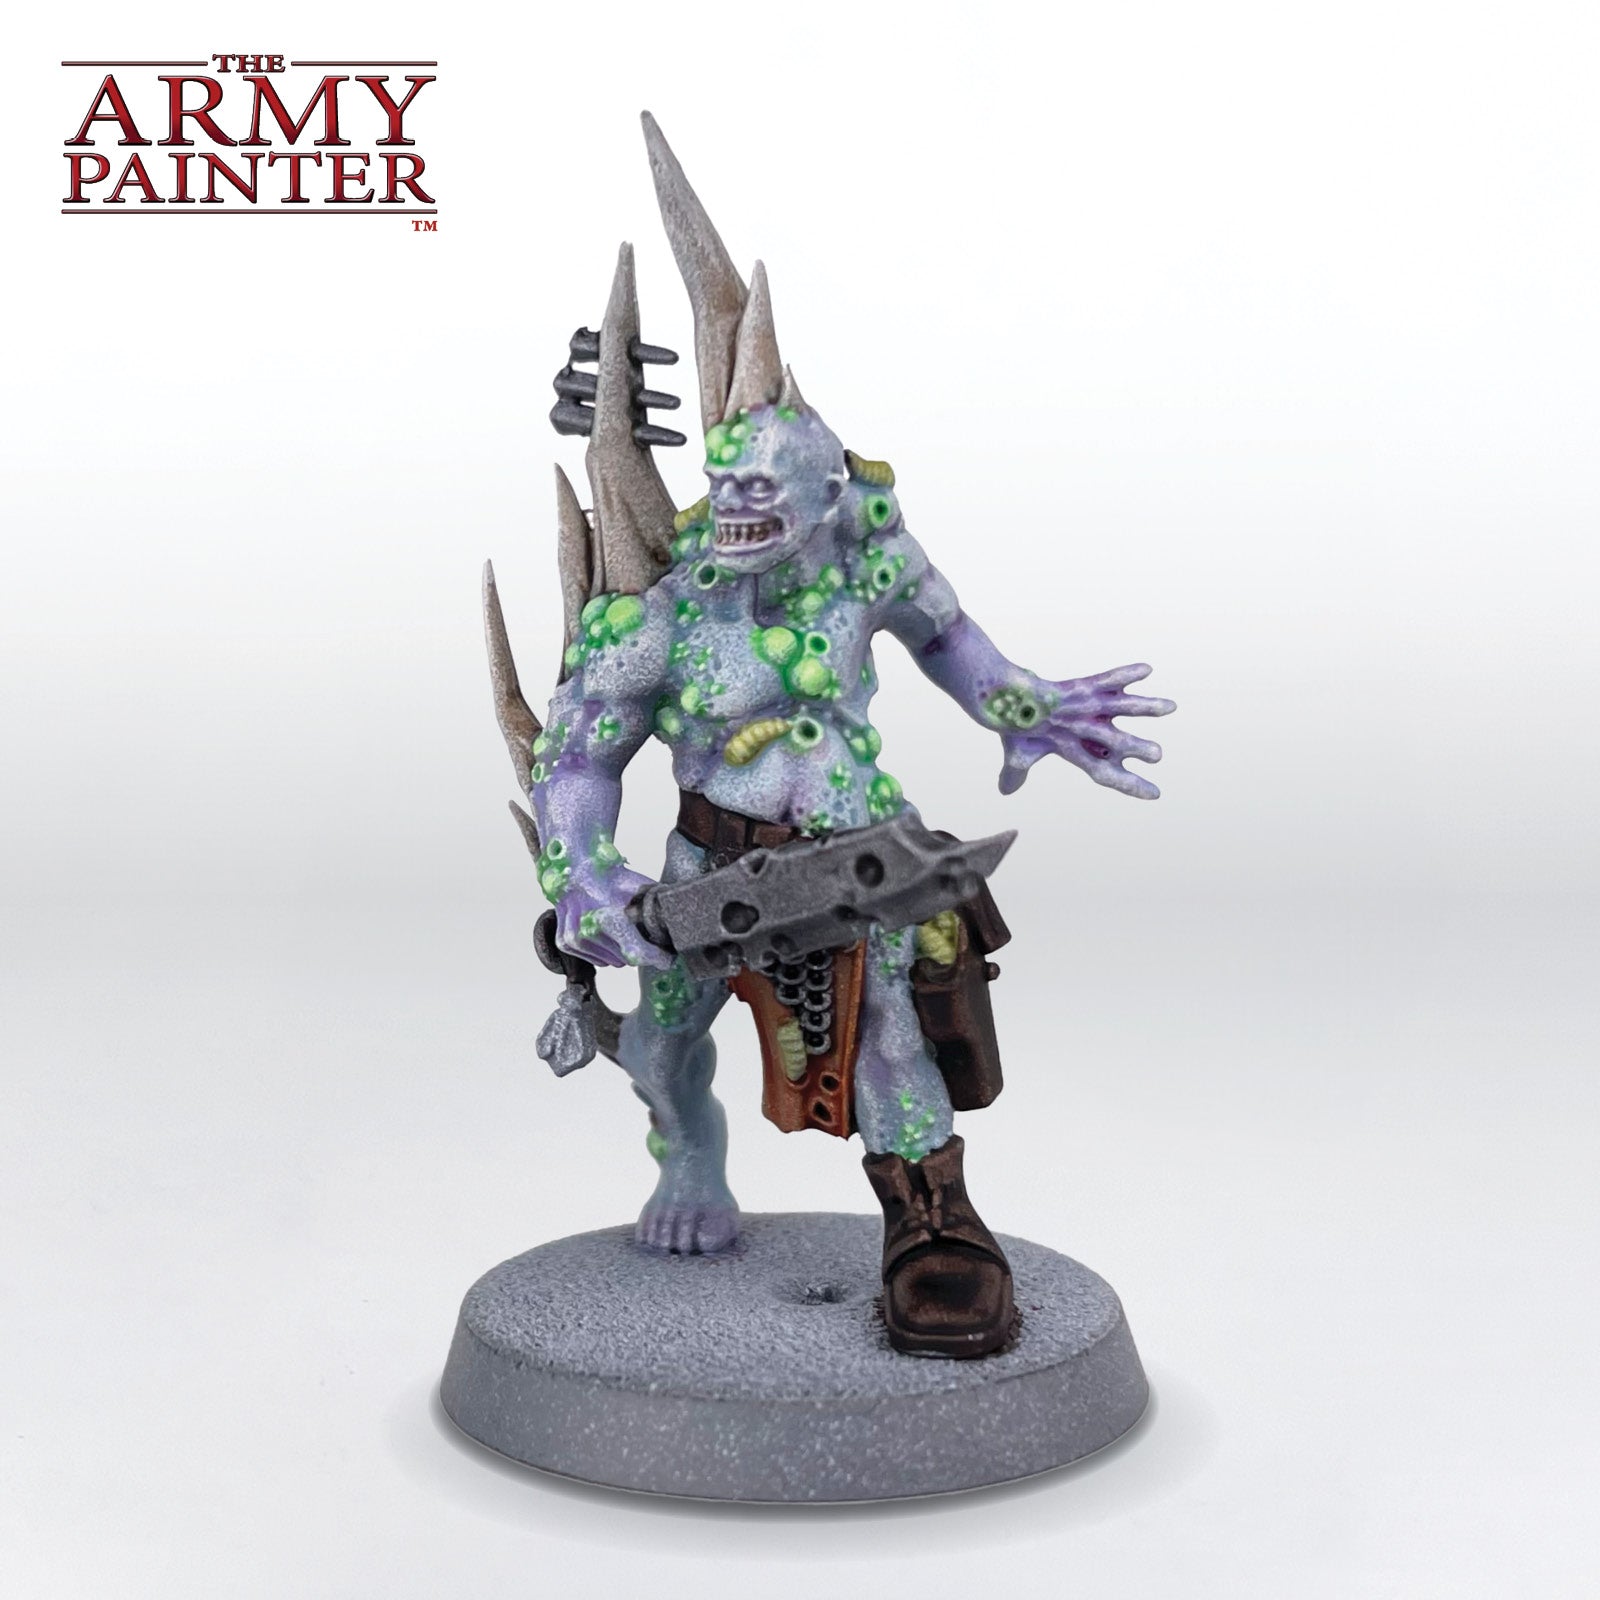
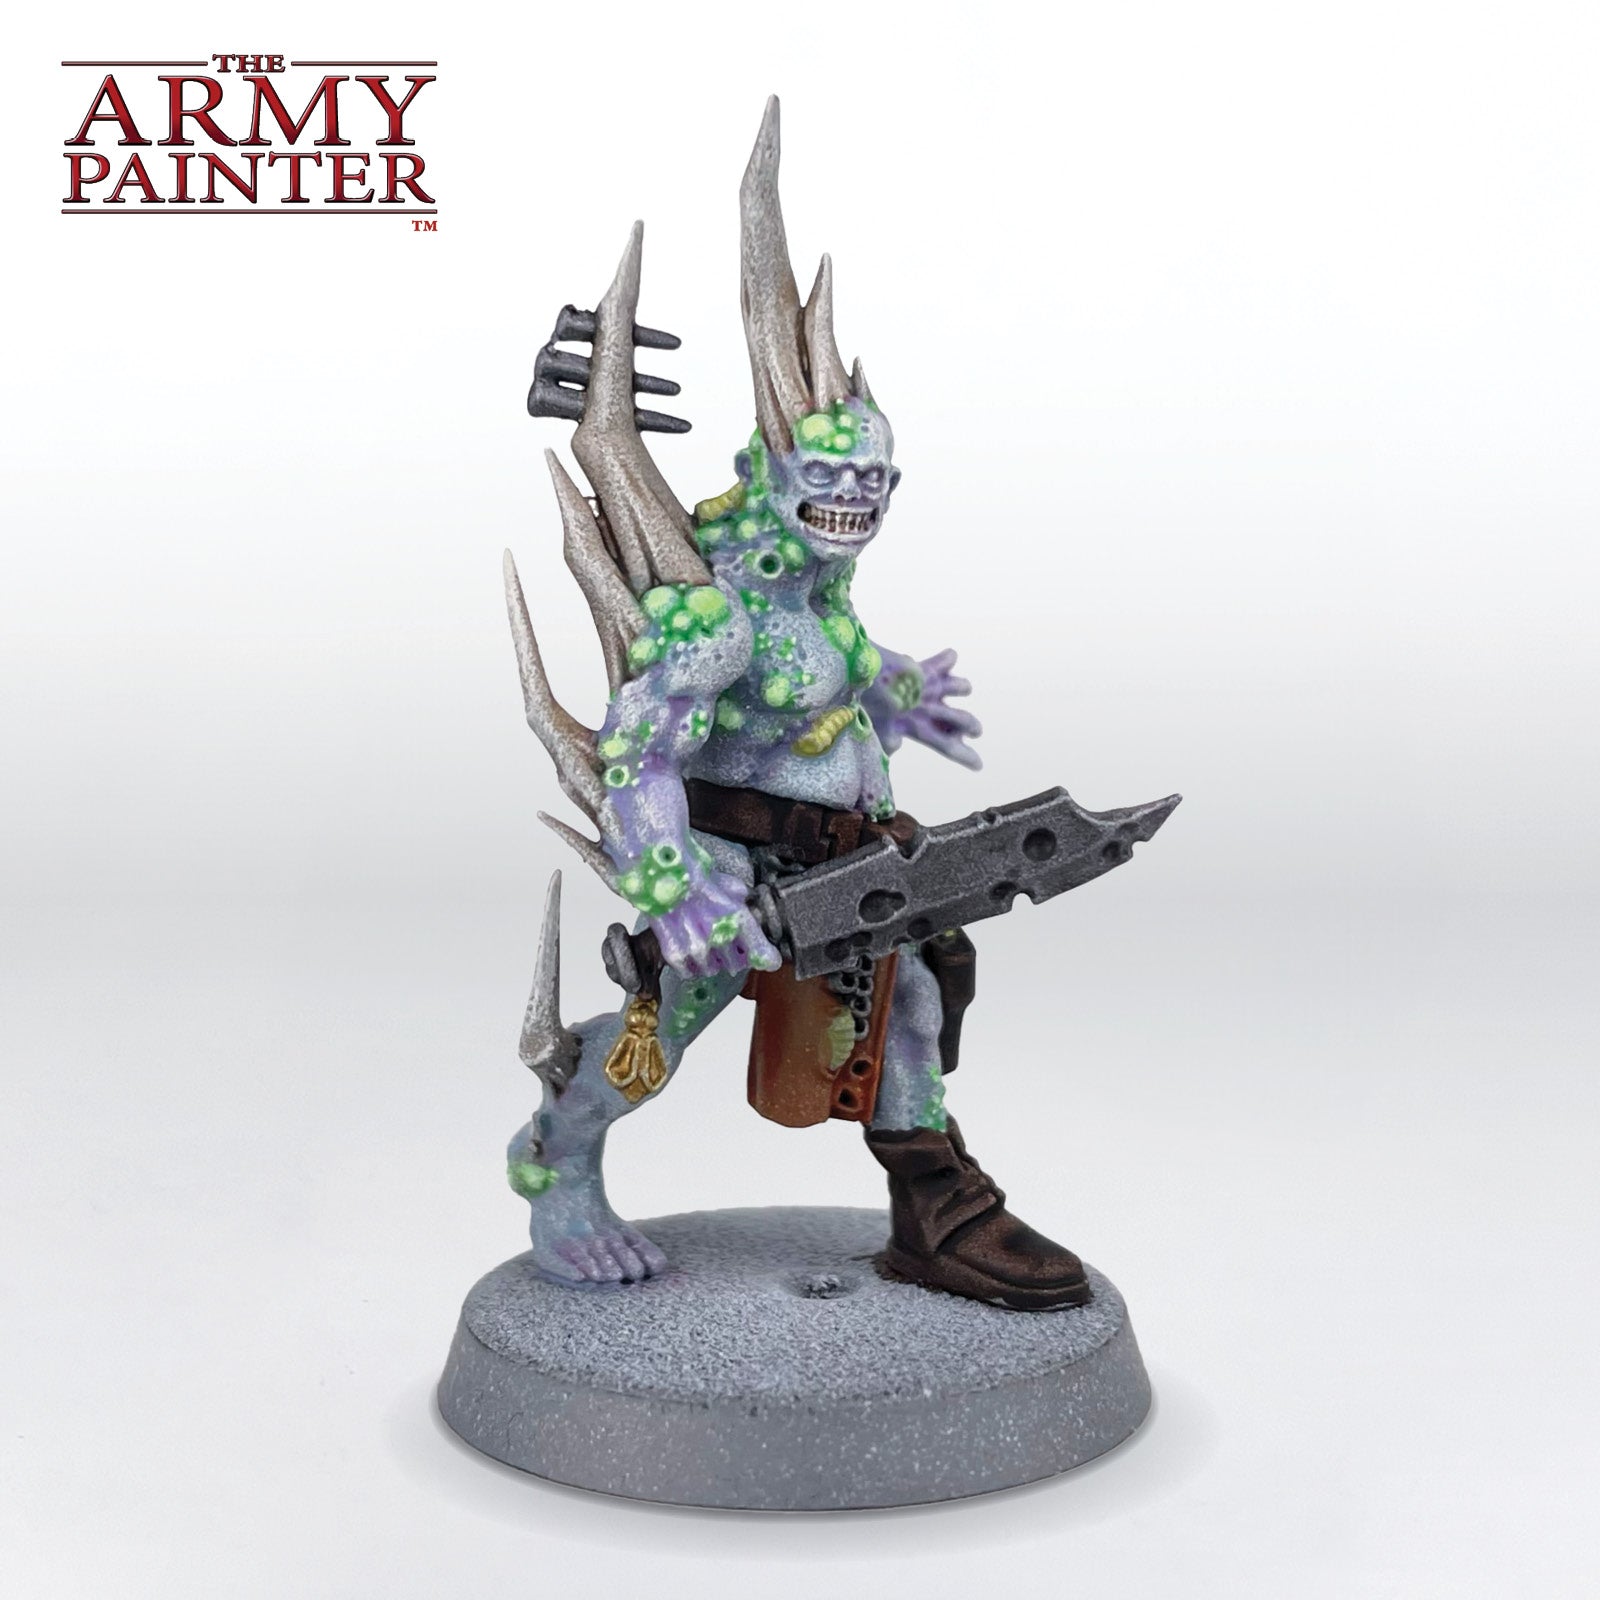
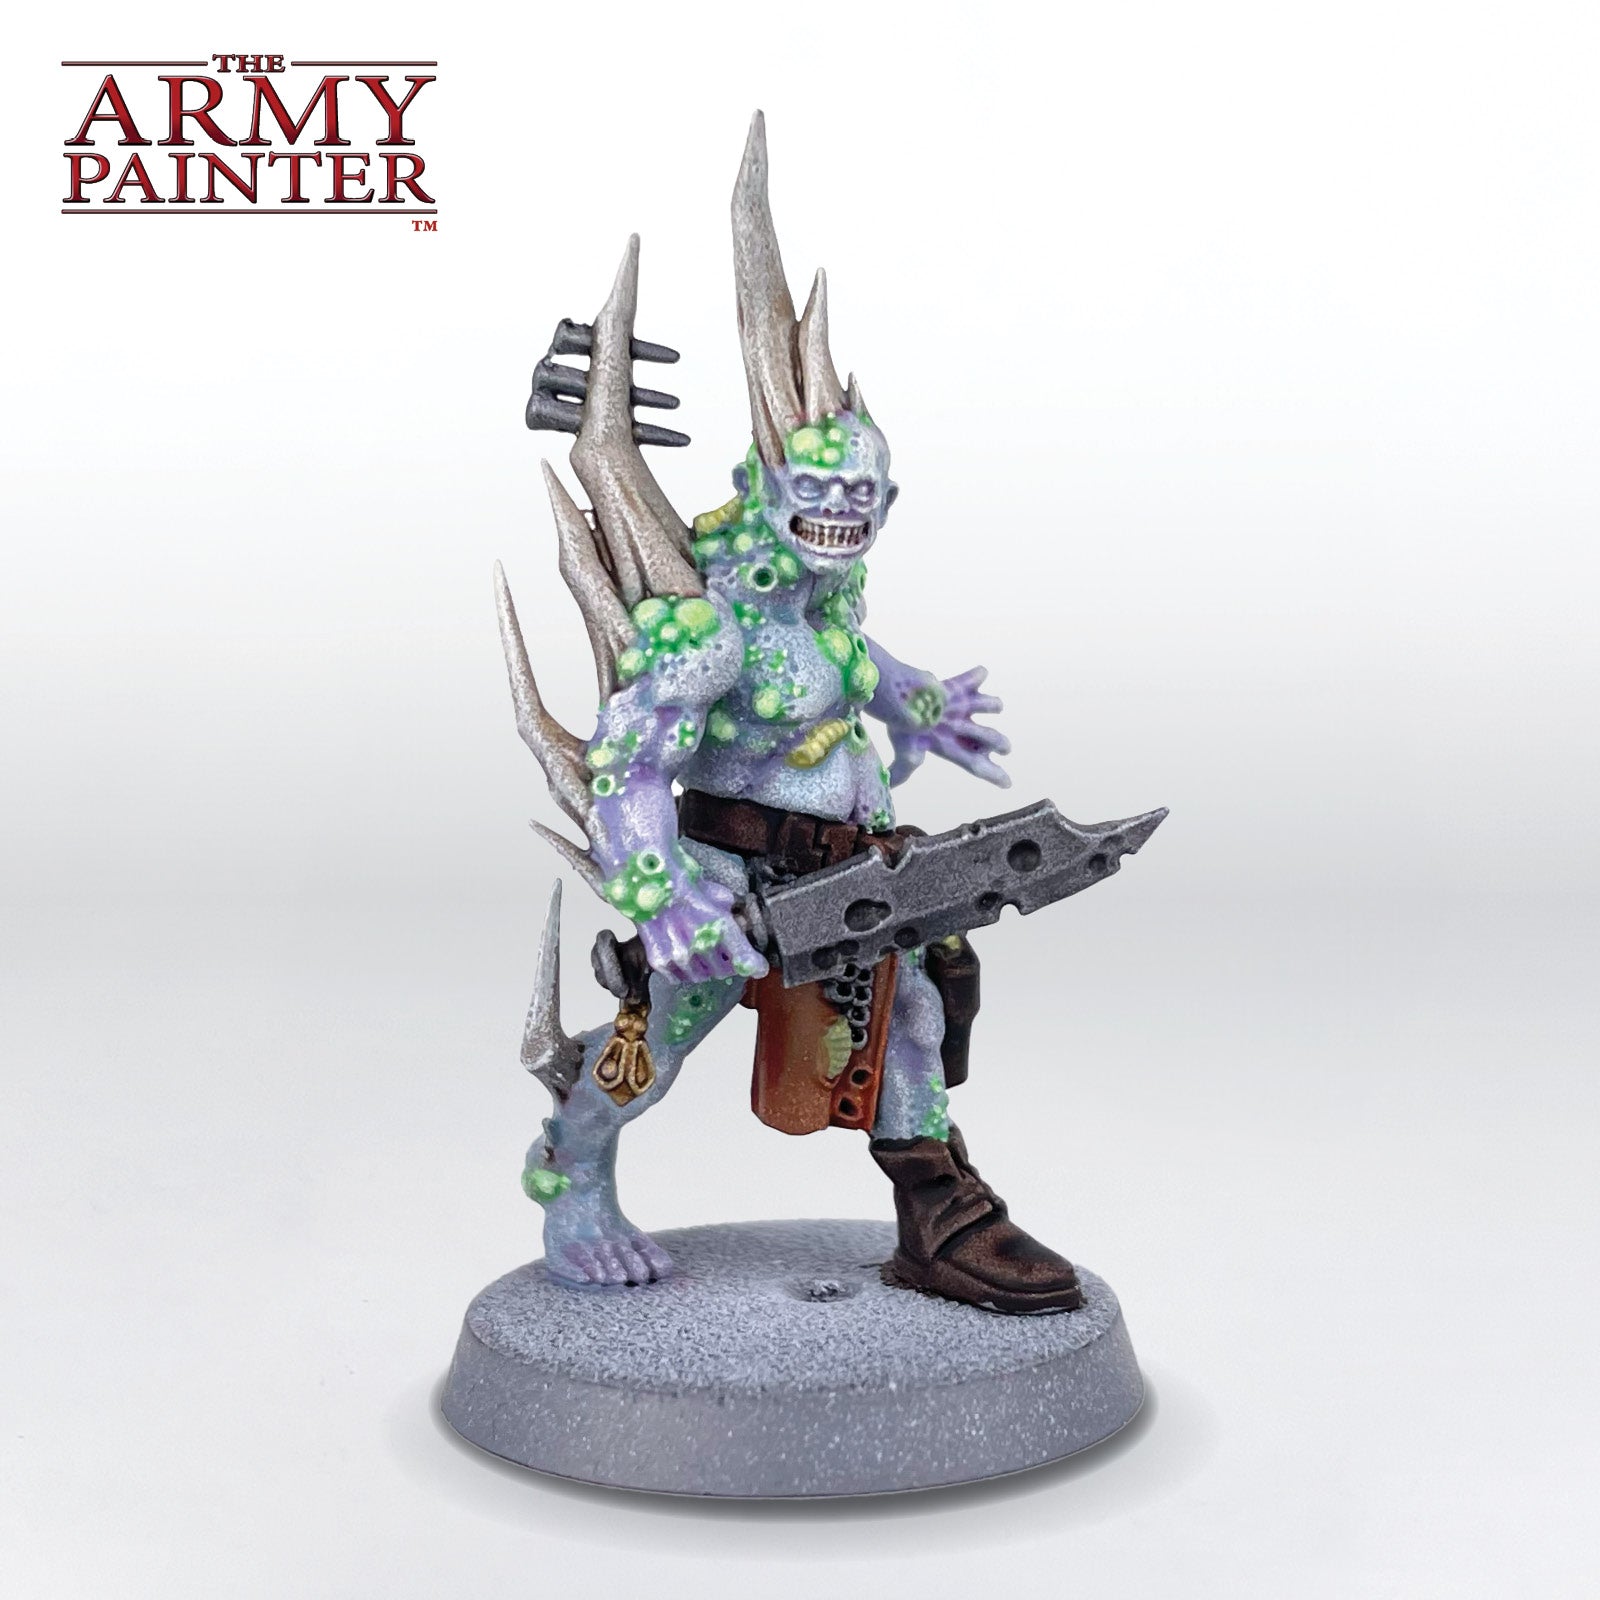
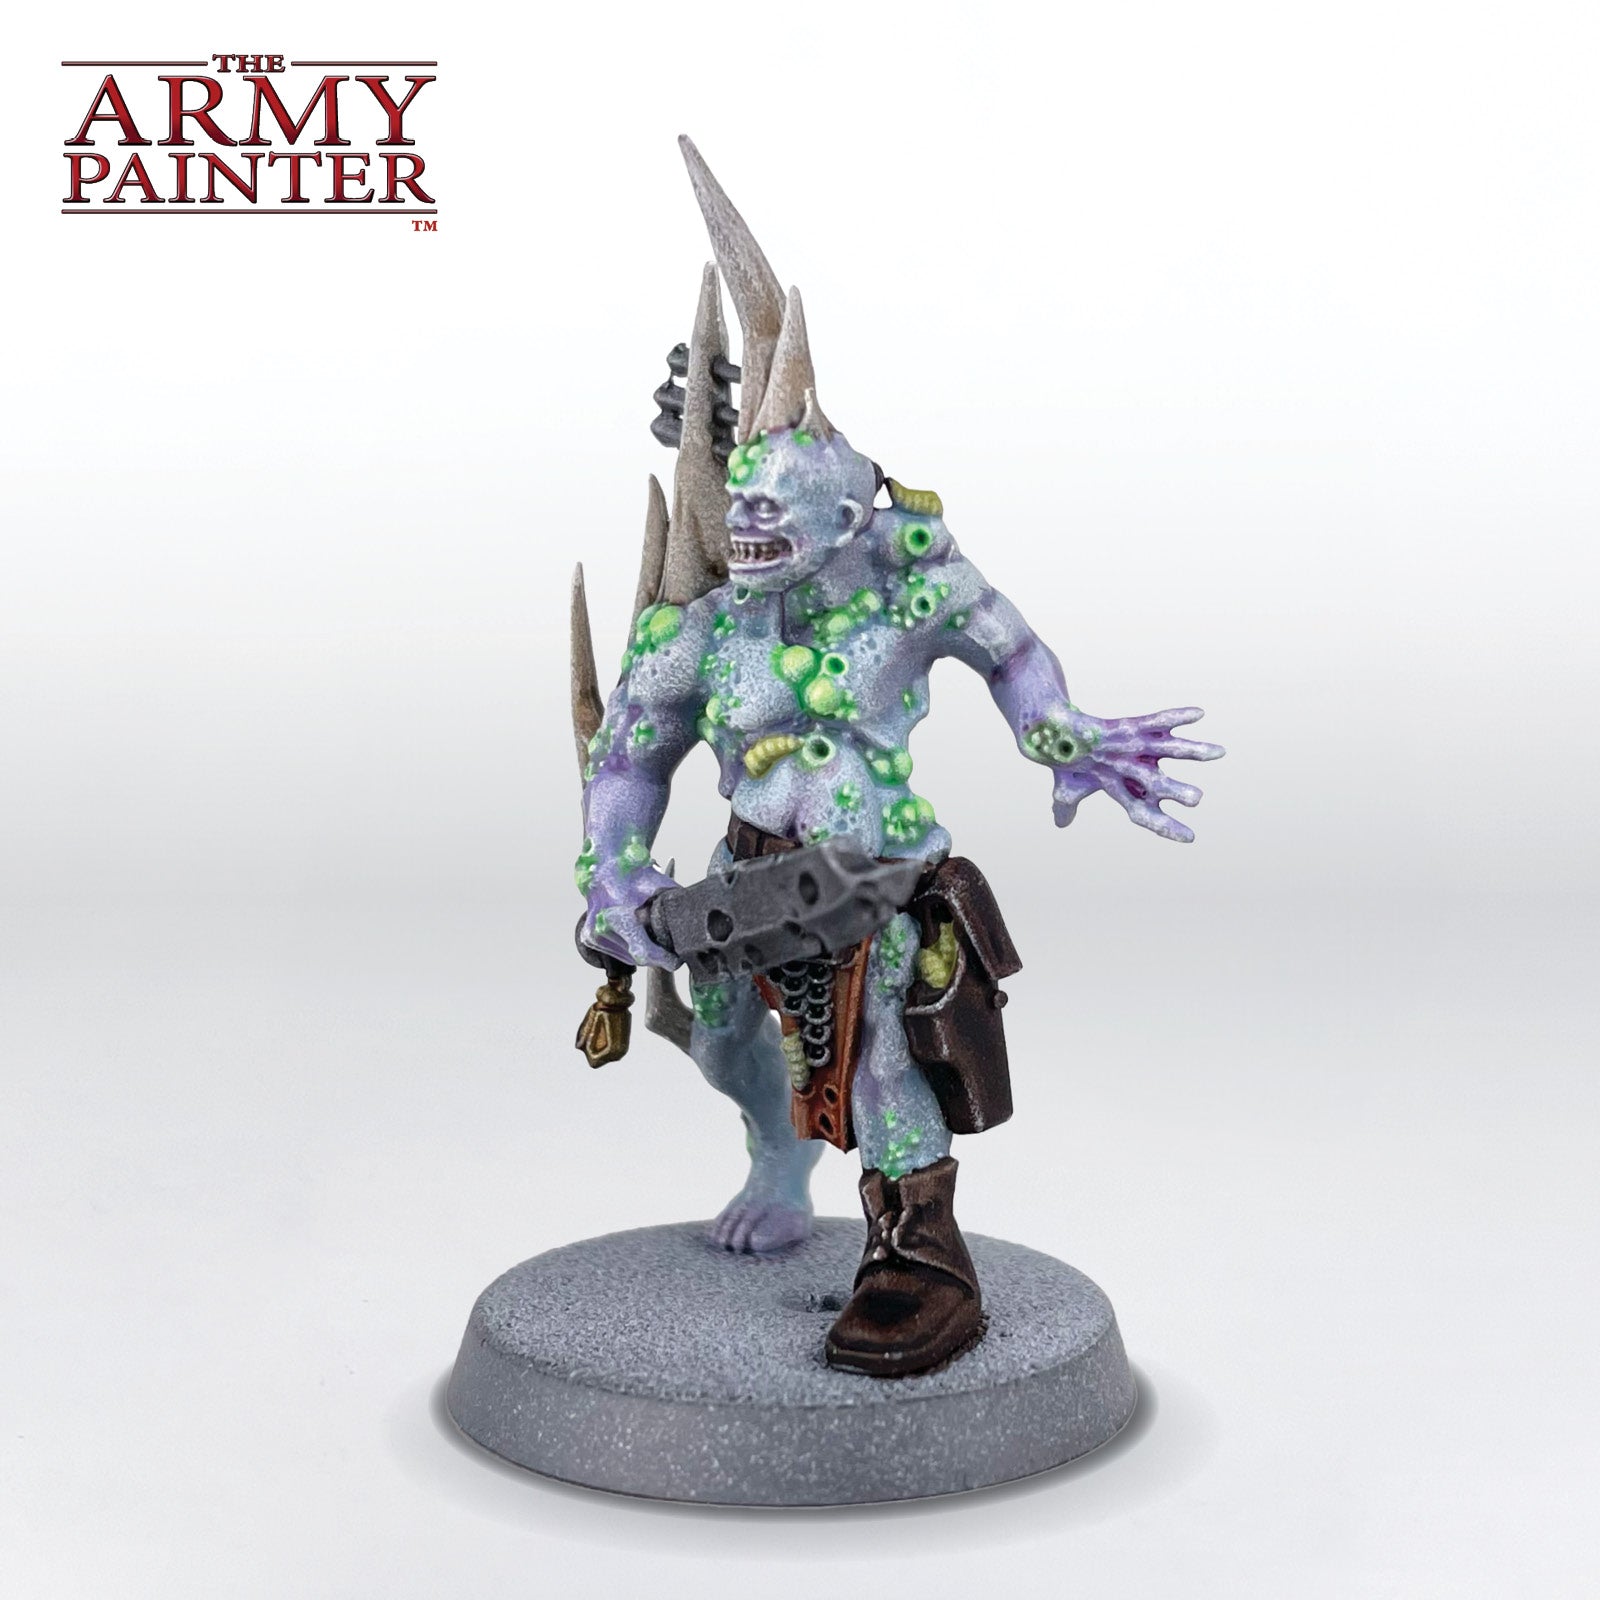
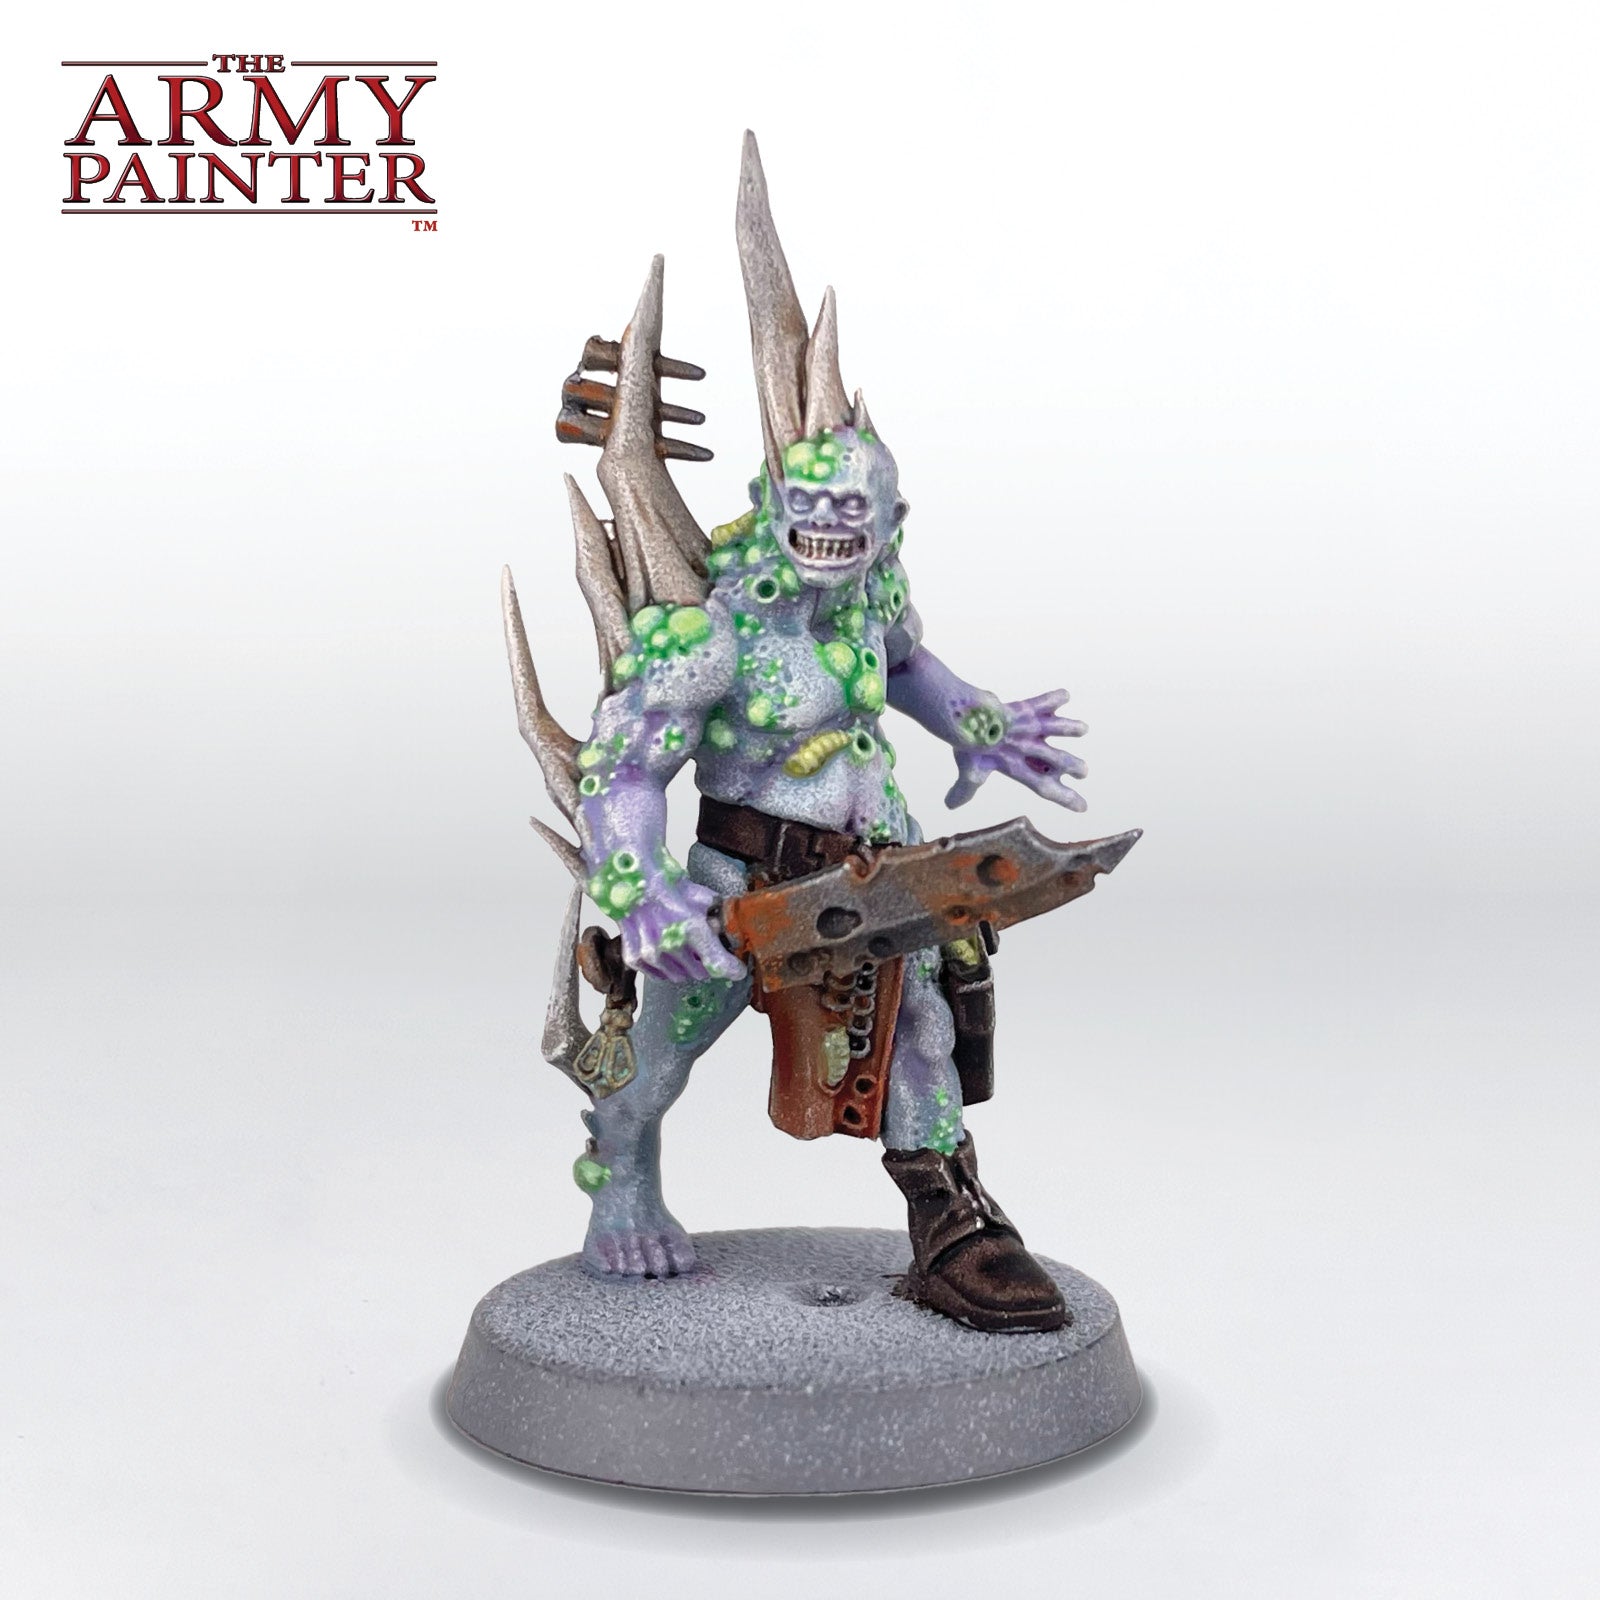
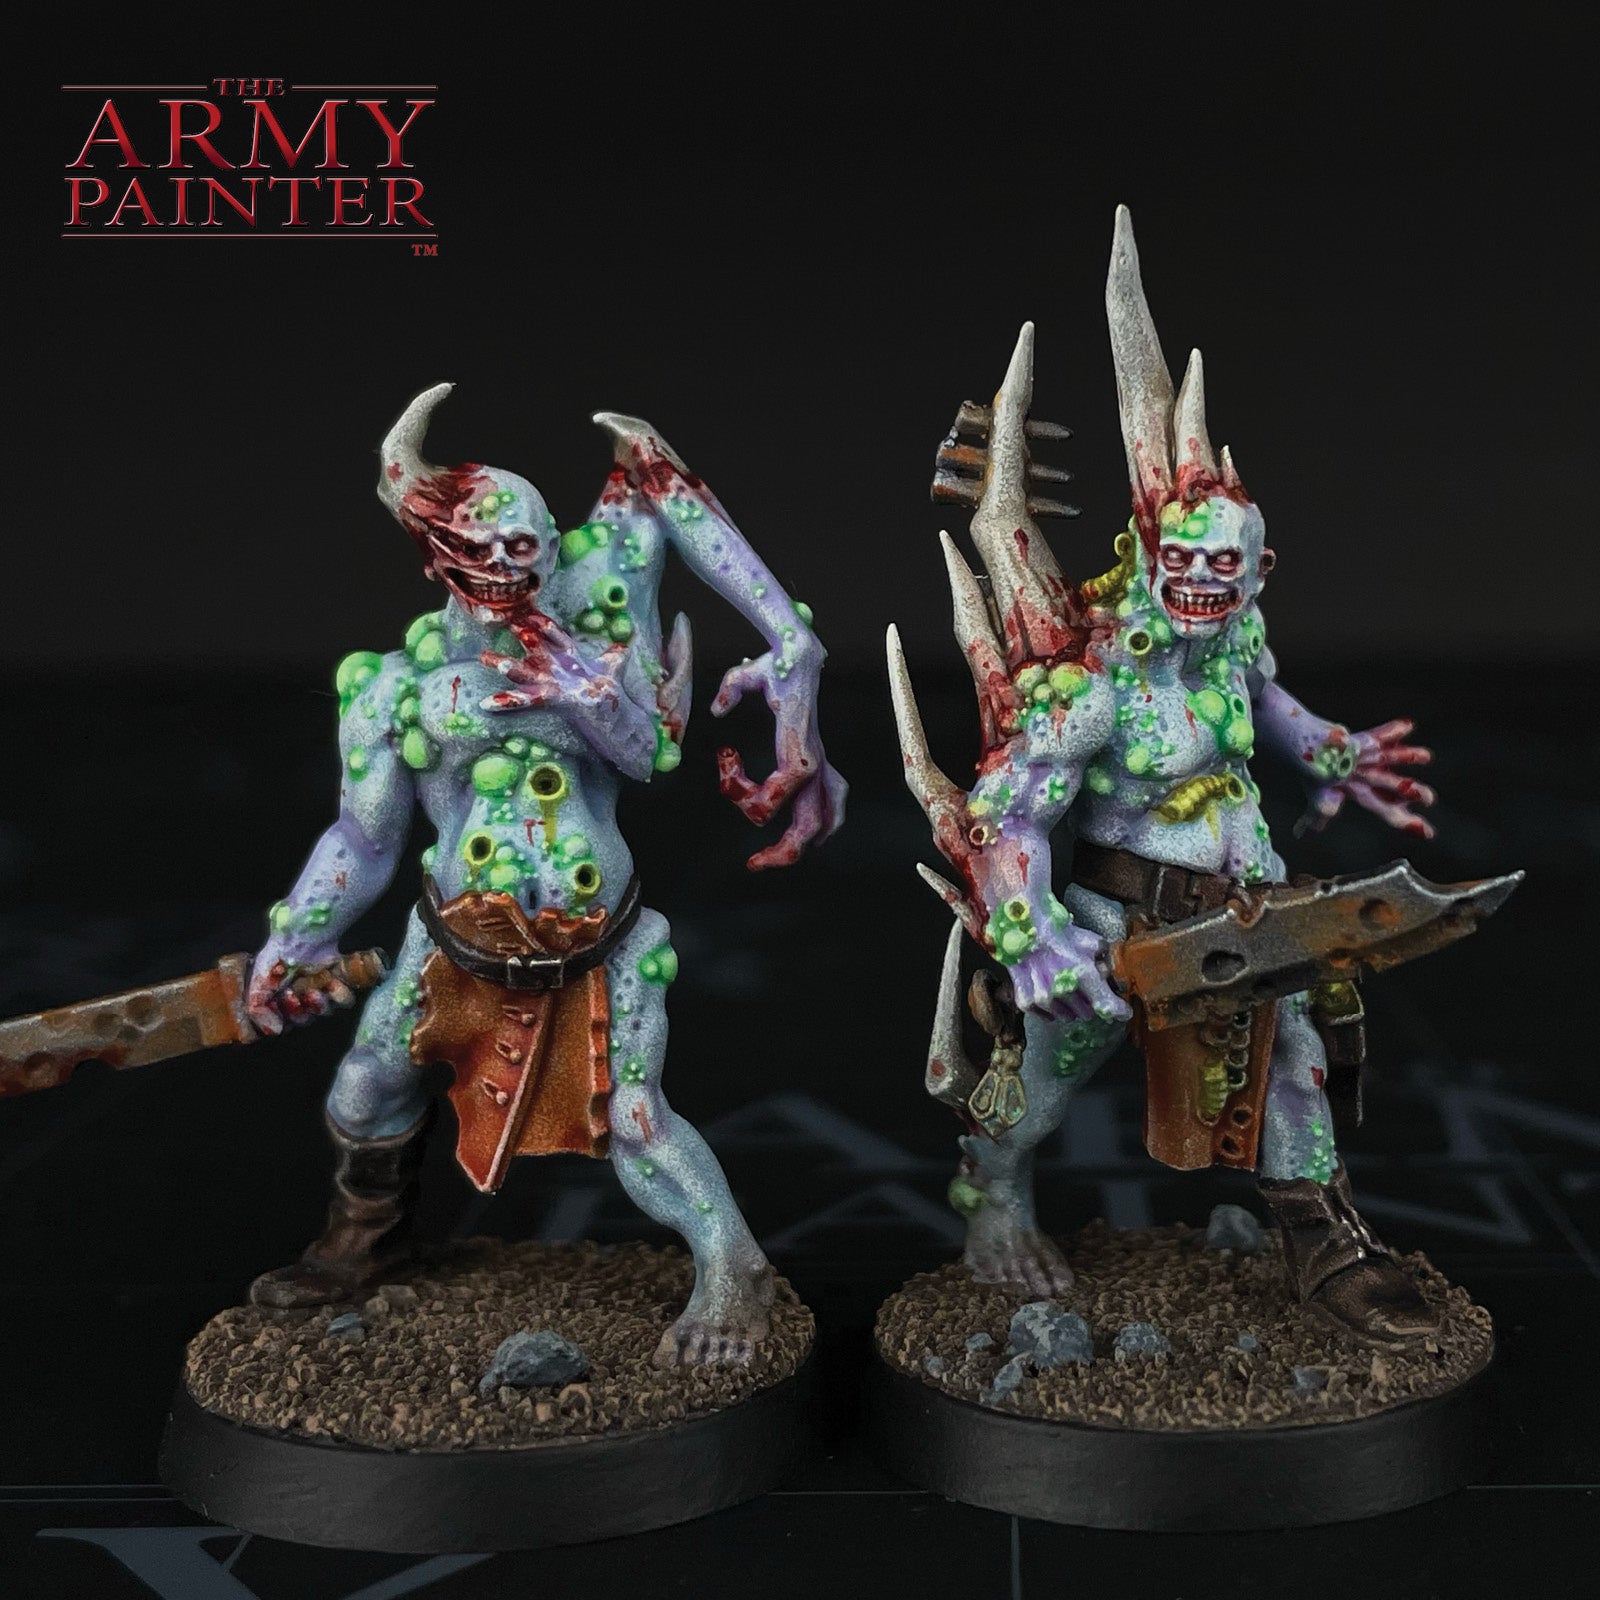
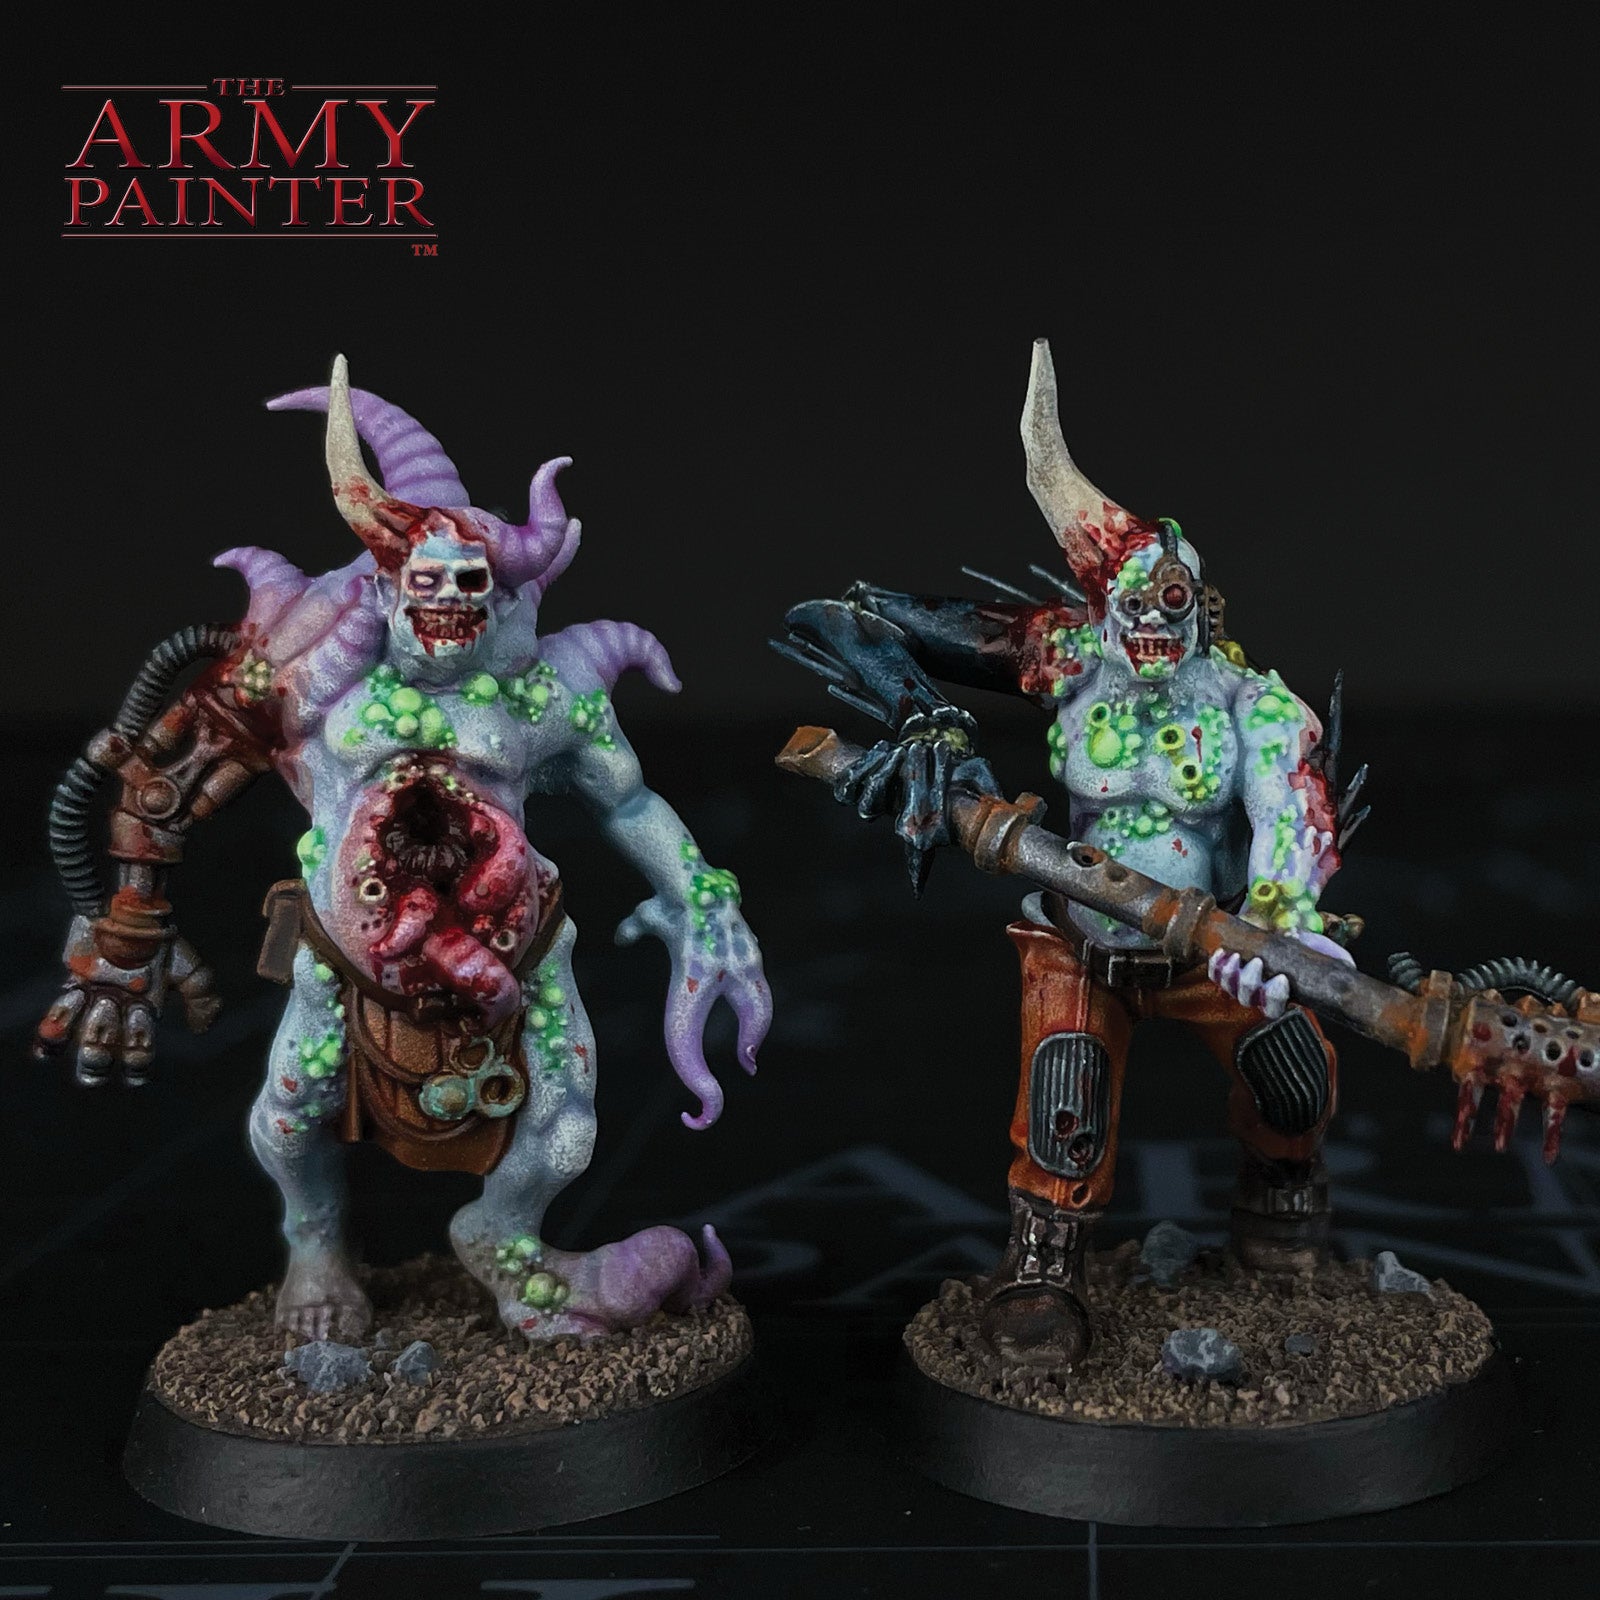
It’s that special time of year when candy fills all our bowls, and ghosts and goblins parade through the streets. That’s right, it’s Halloween time, and that can only mean one thing for The Army Painter Academy – it’s time to paint some zombies! There are many different types of zombies out there amongst the various miniature games and collections. You have your modern-day zombies, your fantasy zombies, and, of course, we can’t forget about our beloved space zombies. In Games Workshop’s Warhammer 40,000 setting, those space zombies come in the form of the jovial-looking Poxwalkers. Reanimated corpses riddled with horrible diseases, sprouting horns and tentacles, and with faces locked in rictus grins, they’re the perfect grim-dark answer to the zombie motif.
As with any zombie, you’re likely to be painting a lot of these. What’s a zombie without a horde to surround itself with, after all? As such, we actually painted up four of these models at the same time and focused on methods that will get them done quickly and efficiently, but still looking great on the tabletop. Speedpaint, drybrushing, and the Warpaints Fanatic Effects range are the names of the game in this undead tutorial! 

This tutorial is broken down by colour segments with each section further broken down into manageable steps by applying one colour at a time. If you’re on a desktop, simply click the arrows at the bottom of each section to scroll through the steps or scroll to the side on your mobile phone.

Let's get painting!

Banner

The Skin and Horns

The Skin and Horns Step 1

Step 1

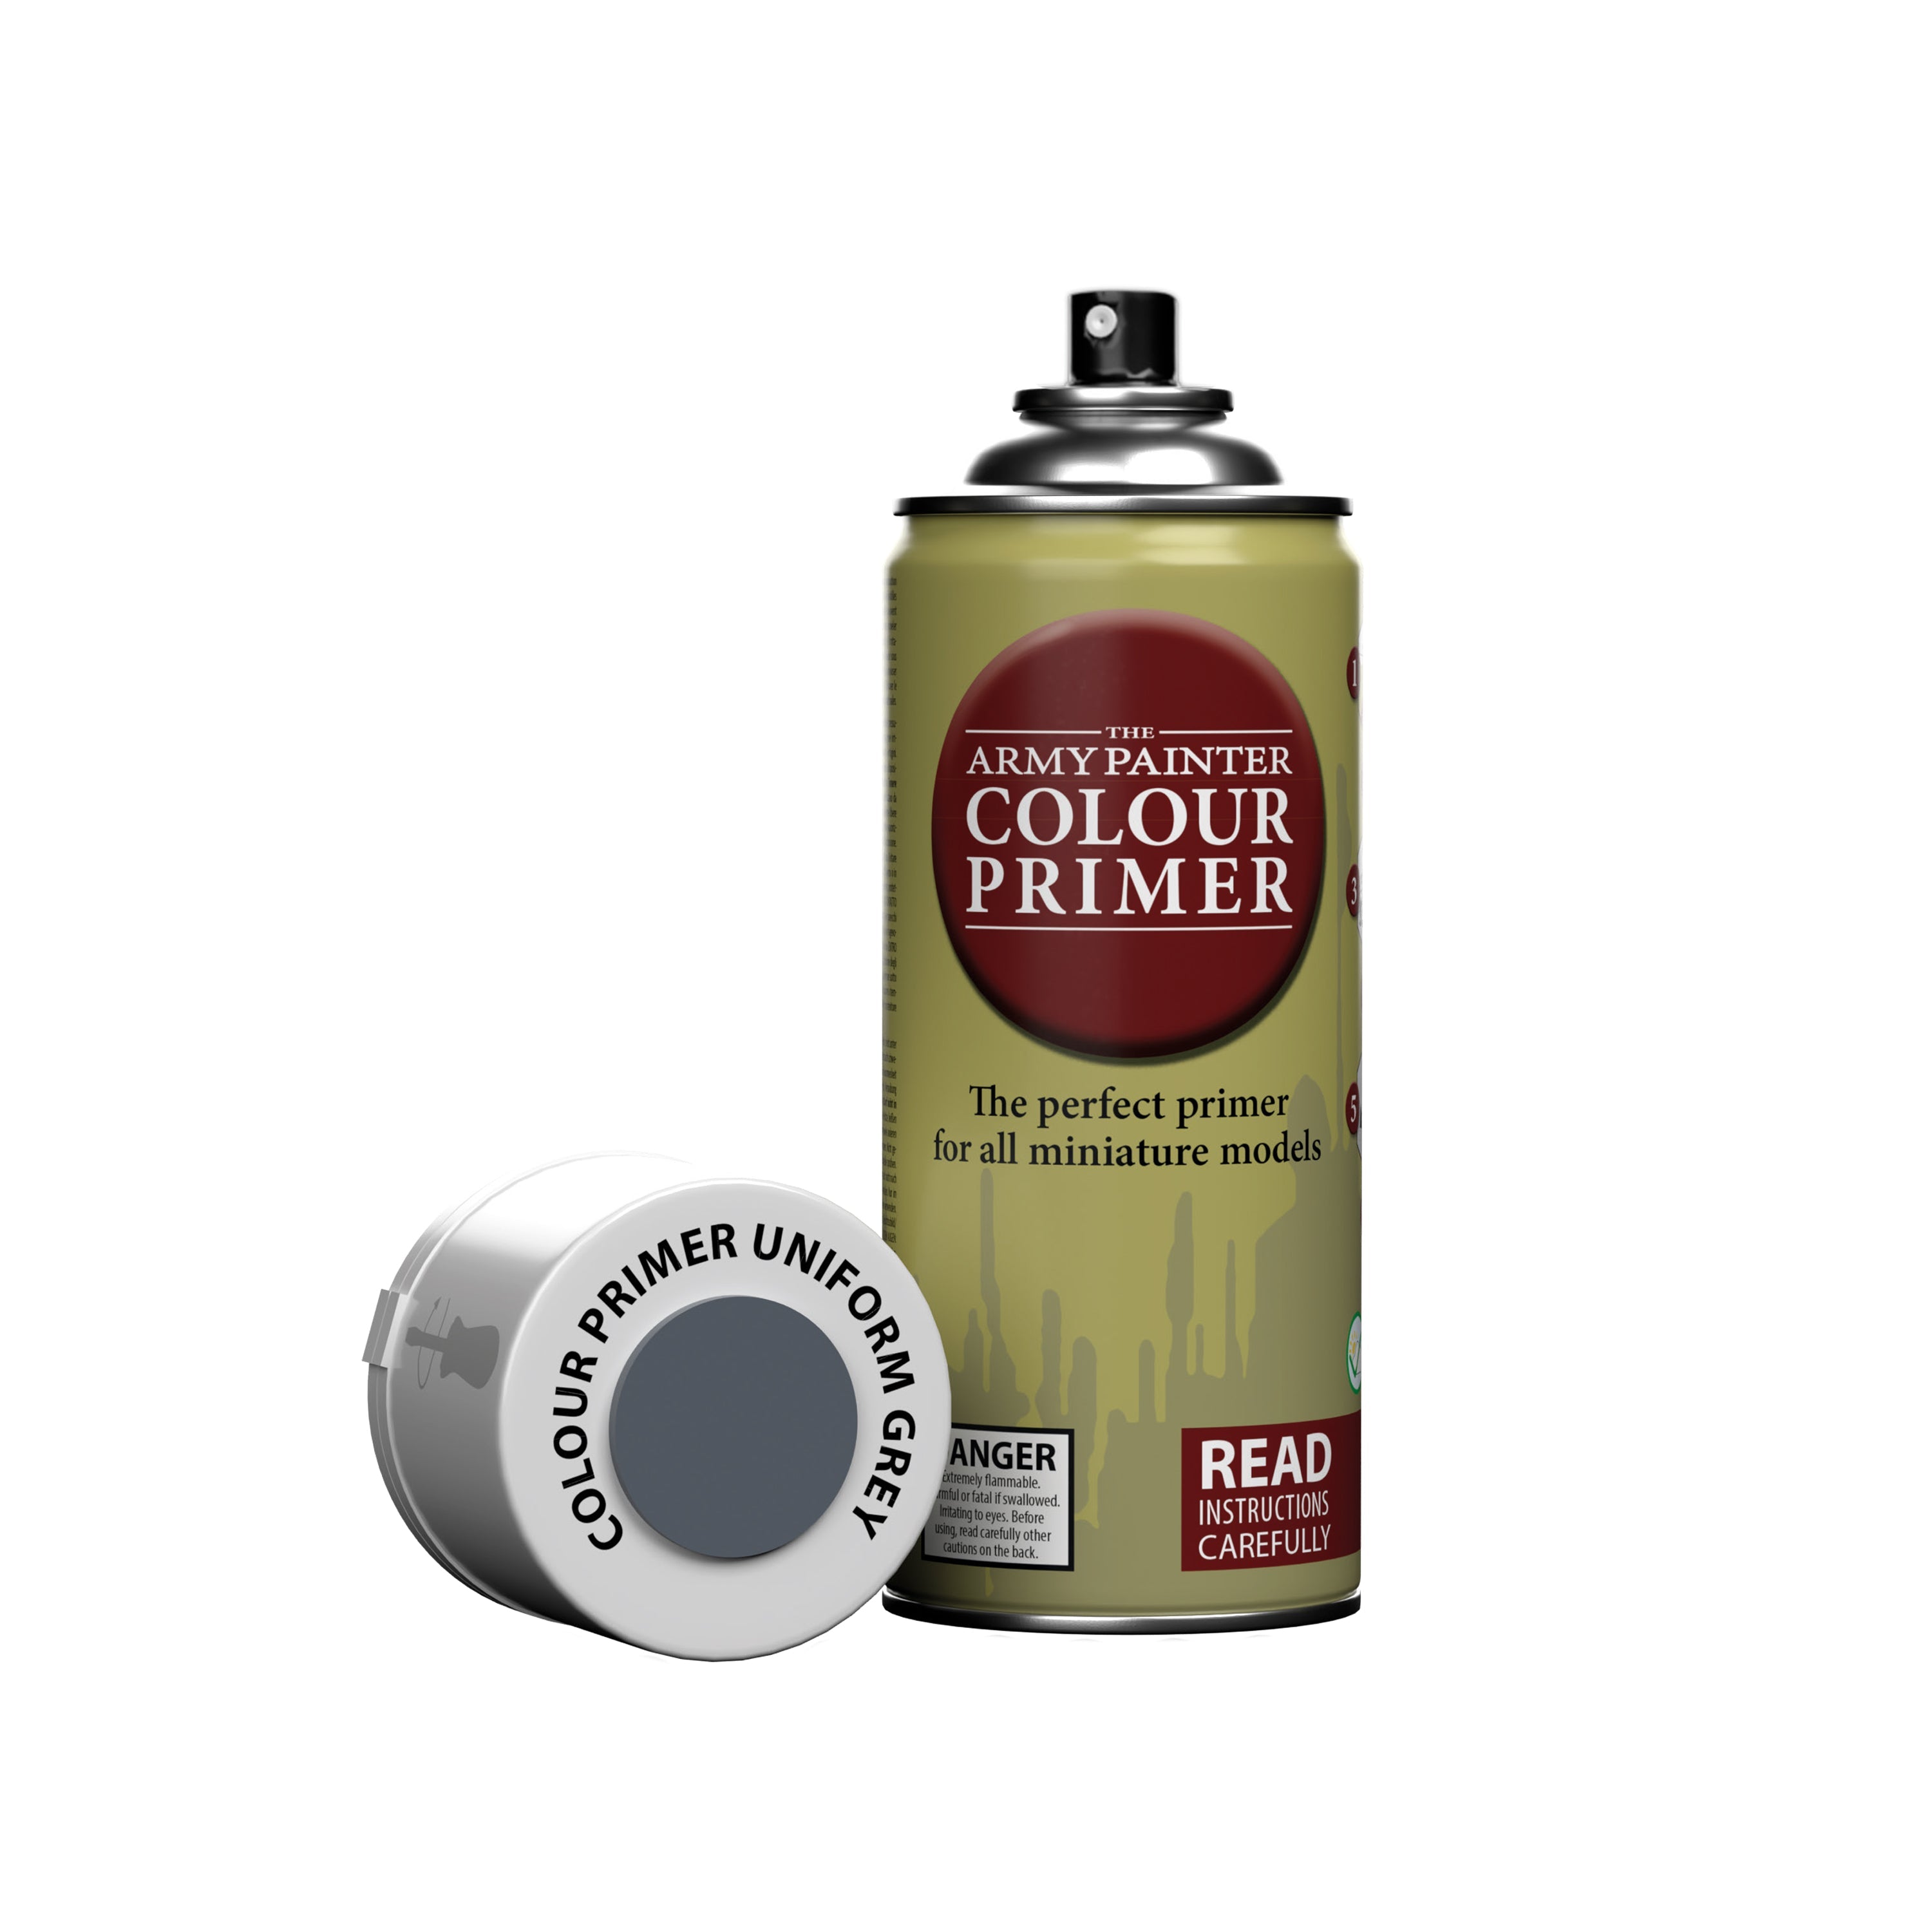
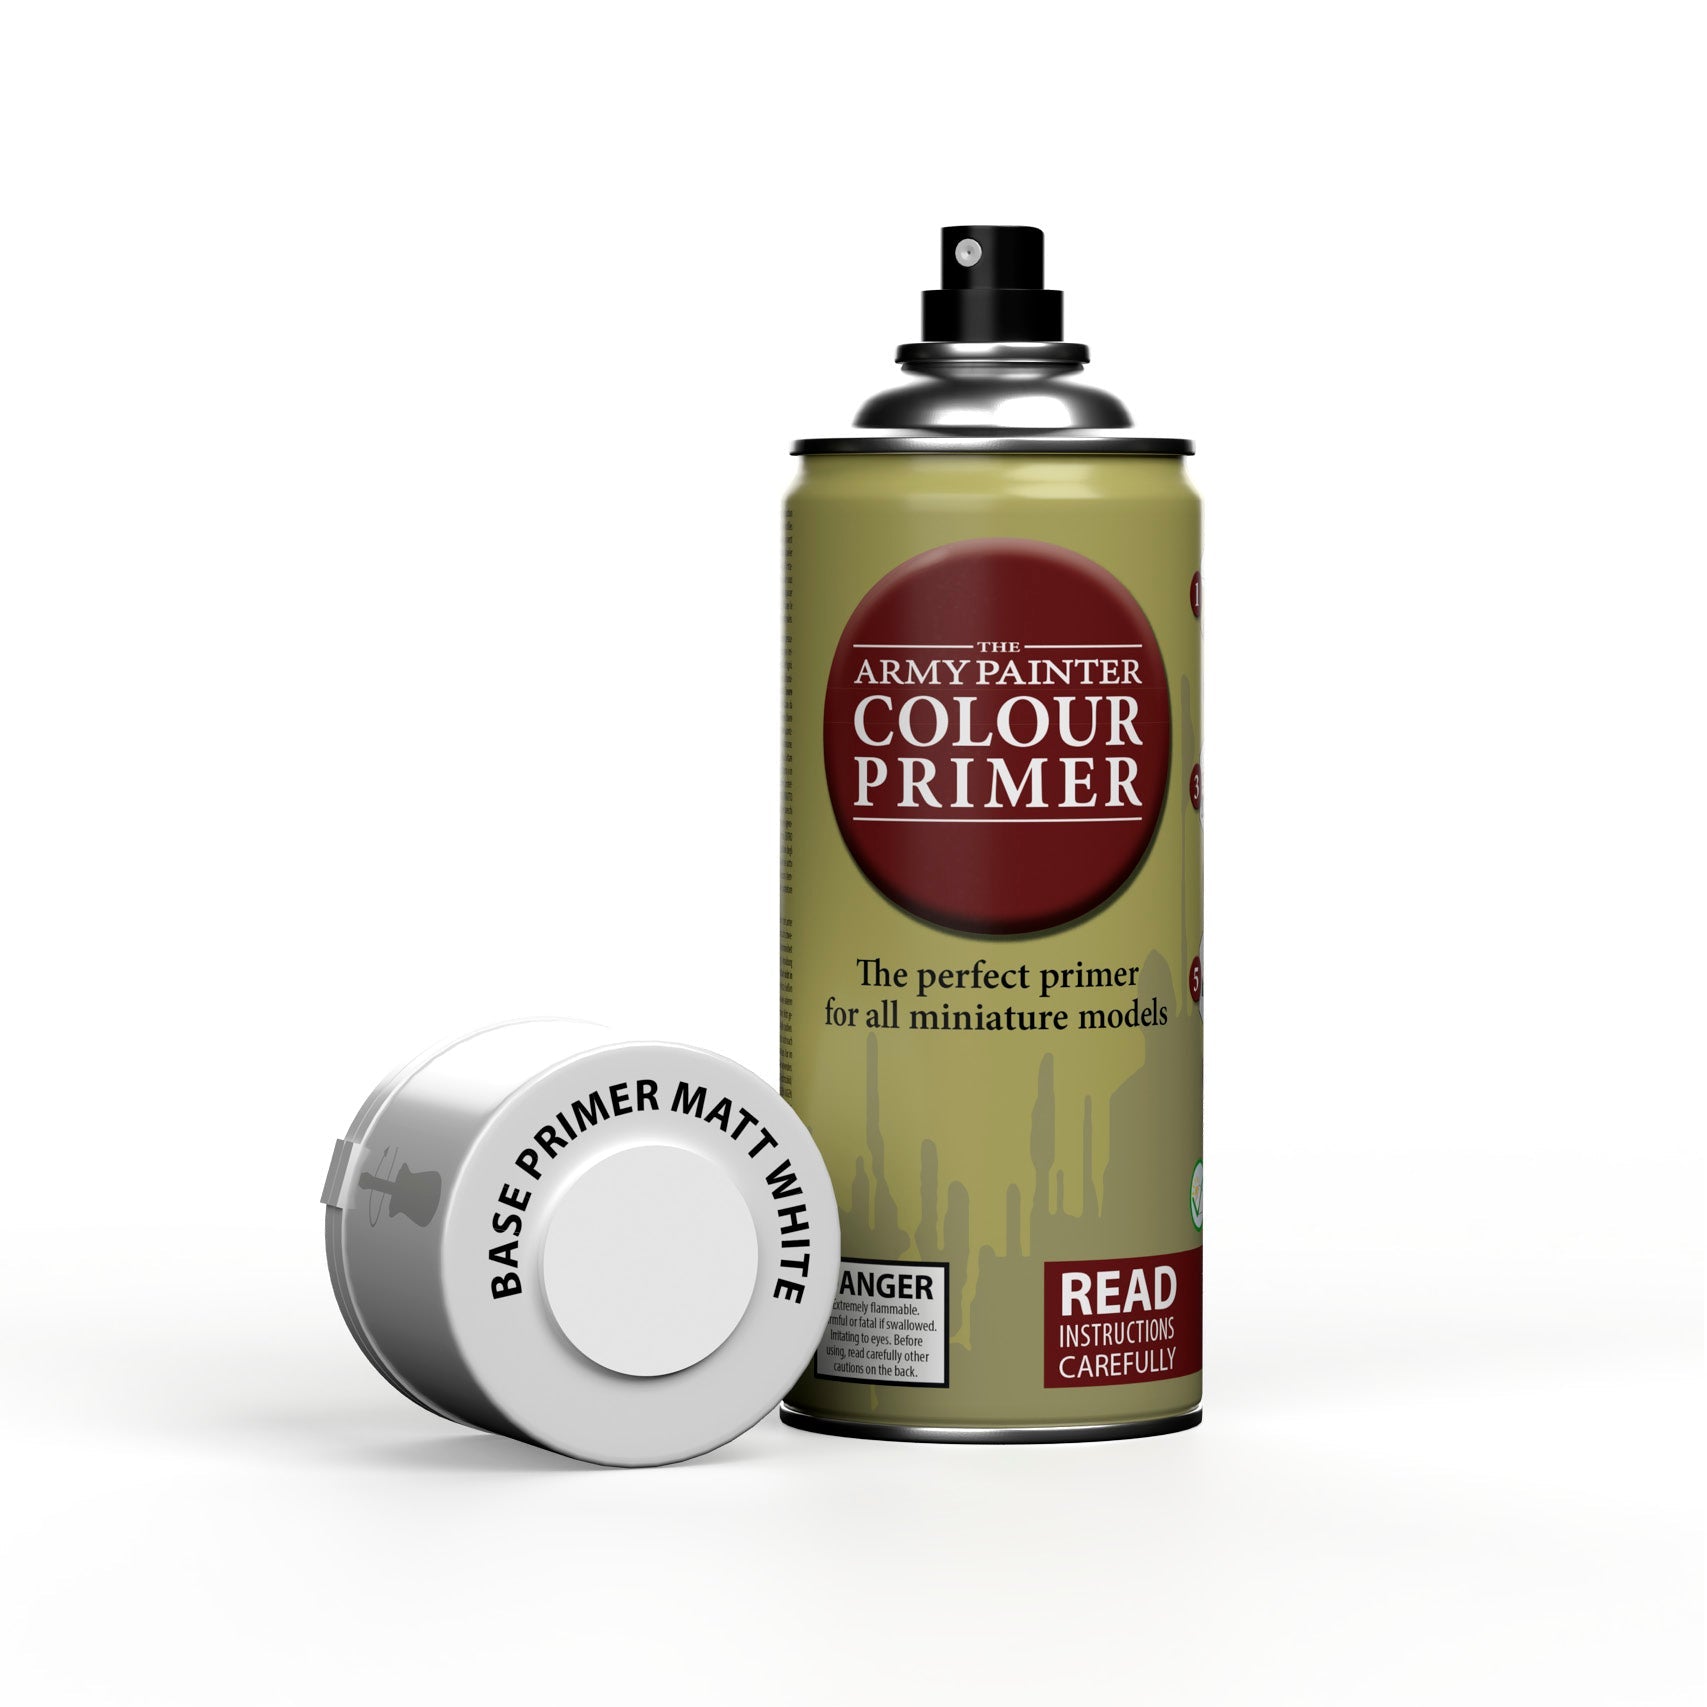
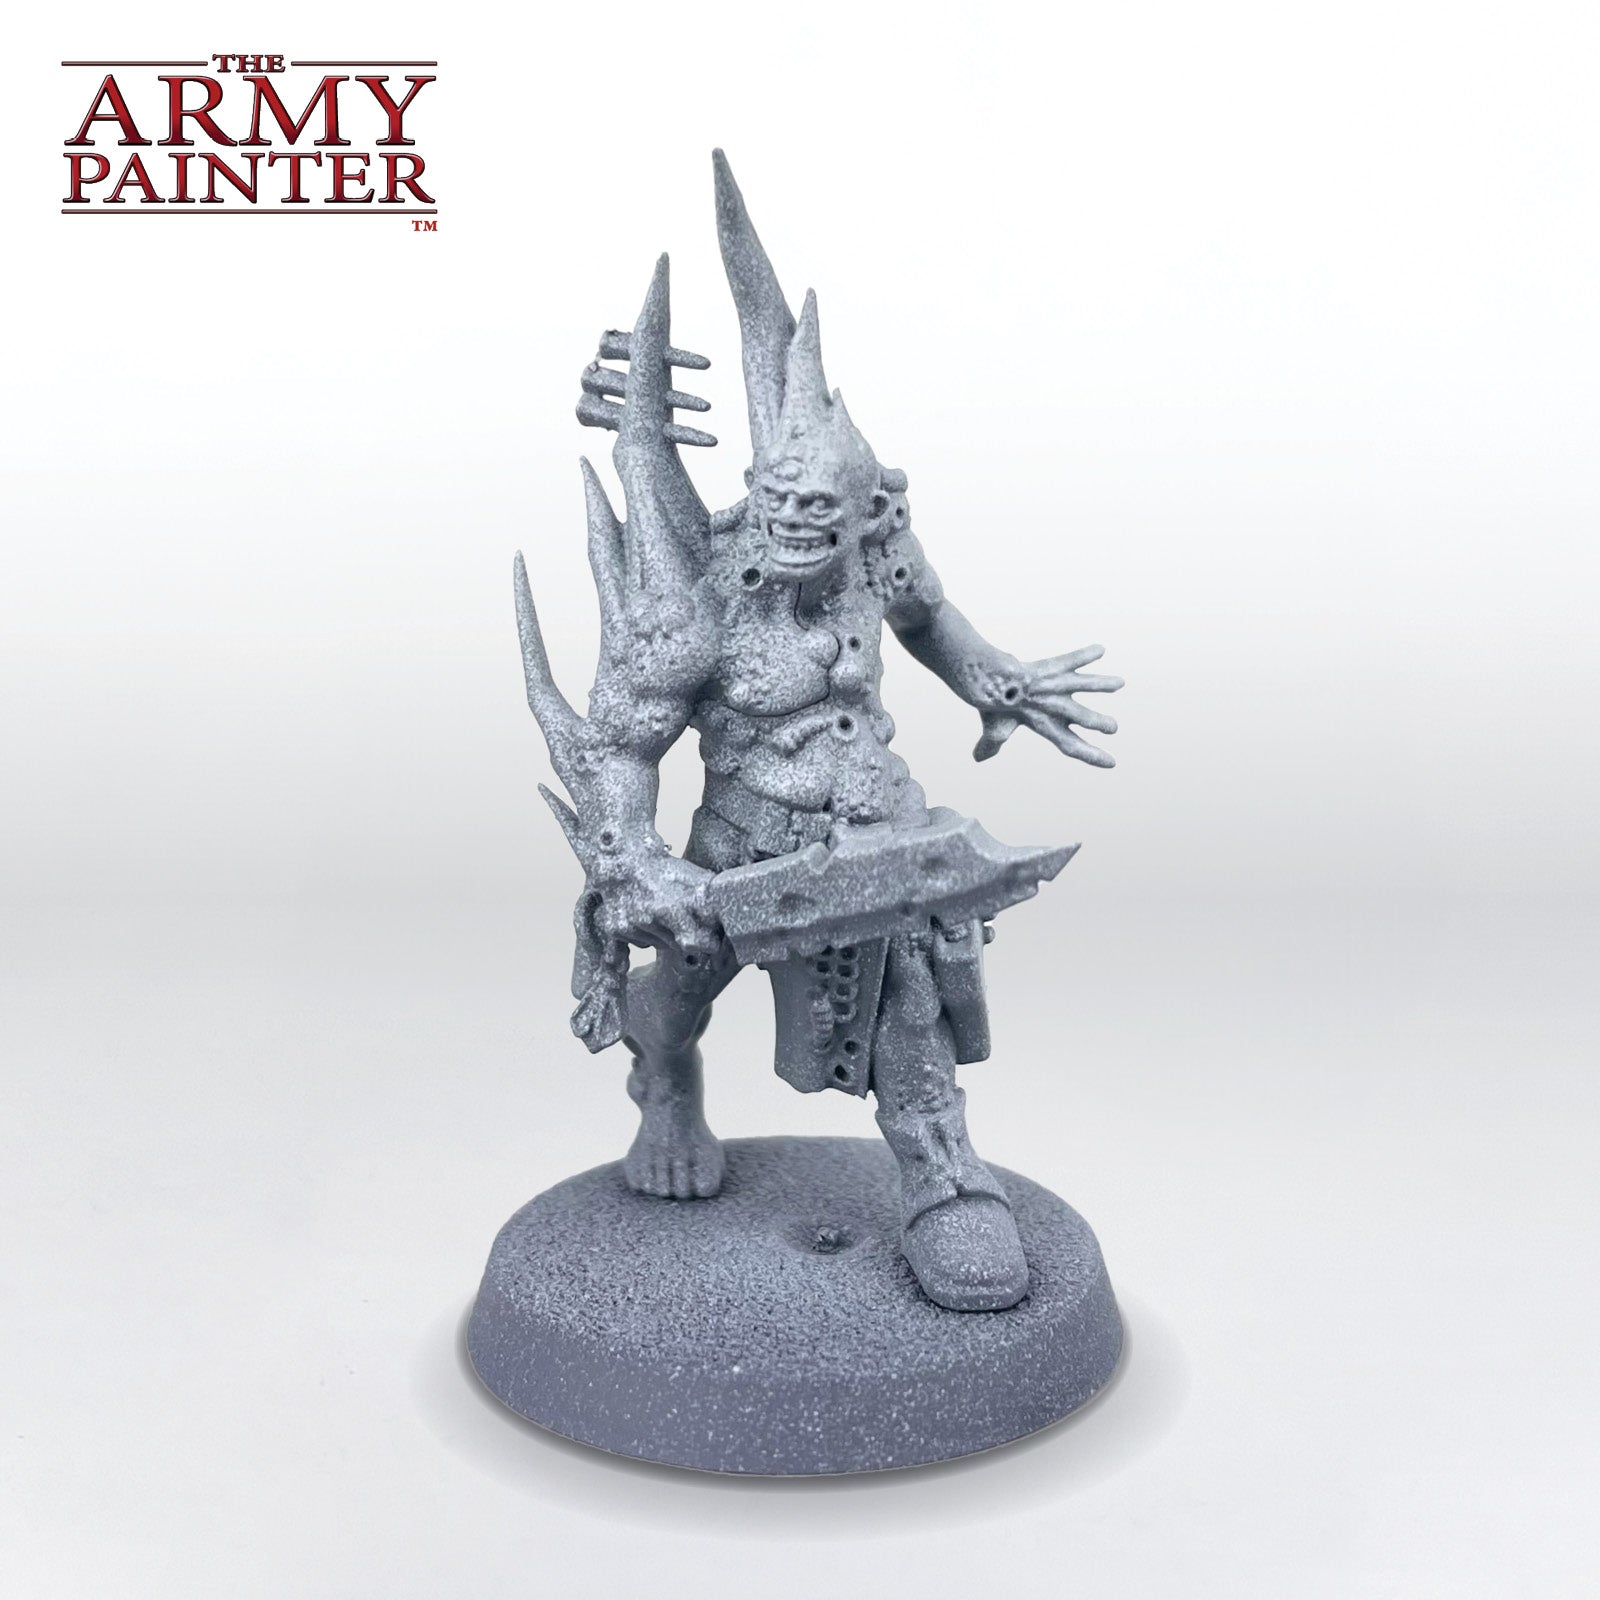
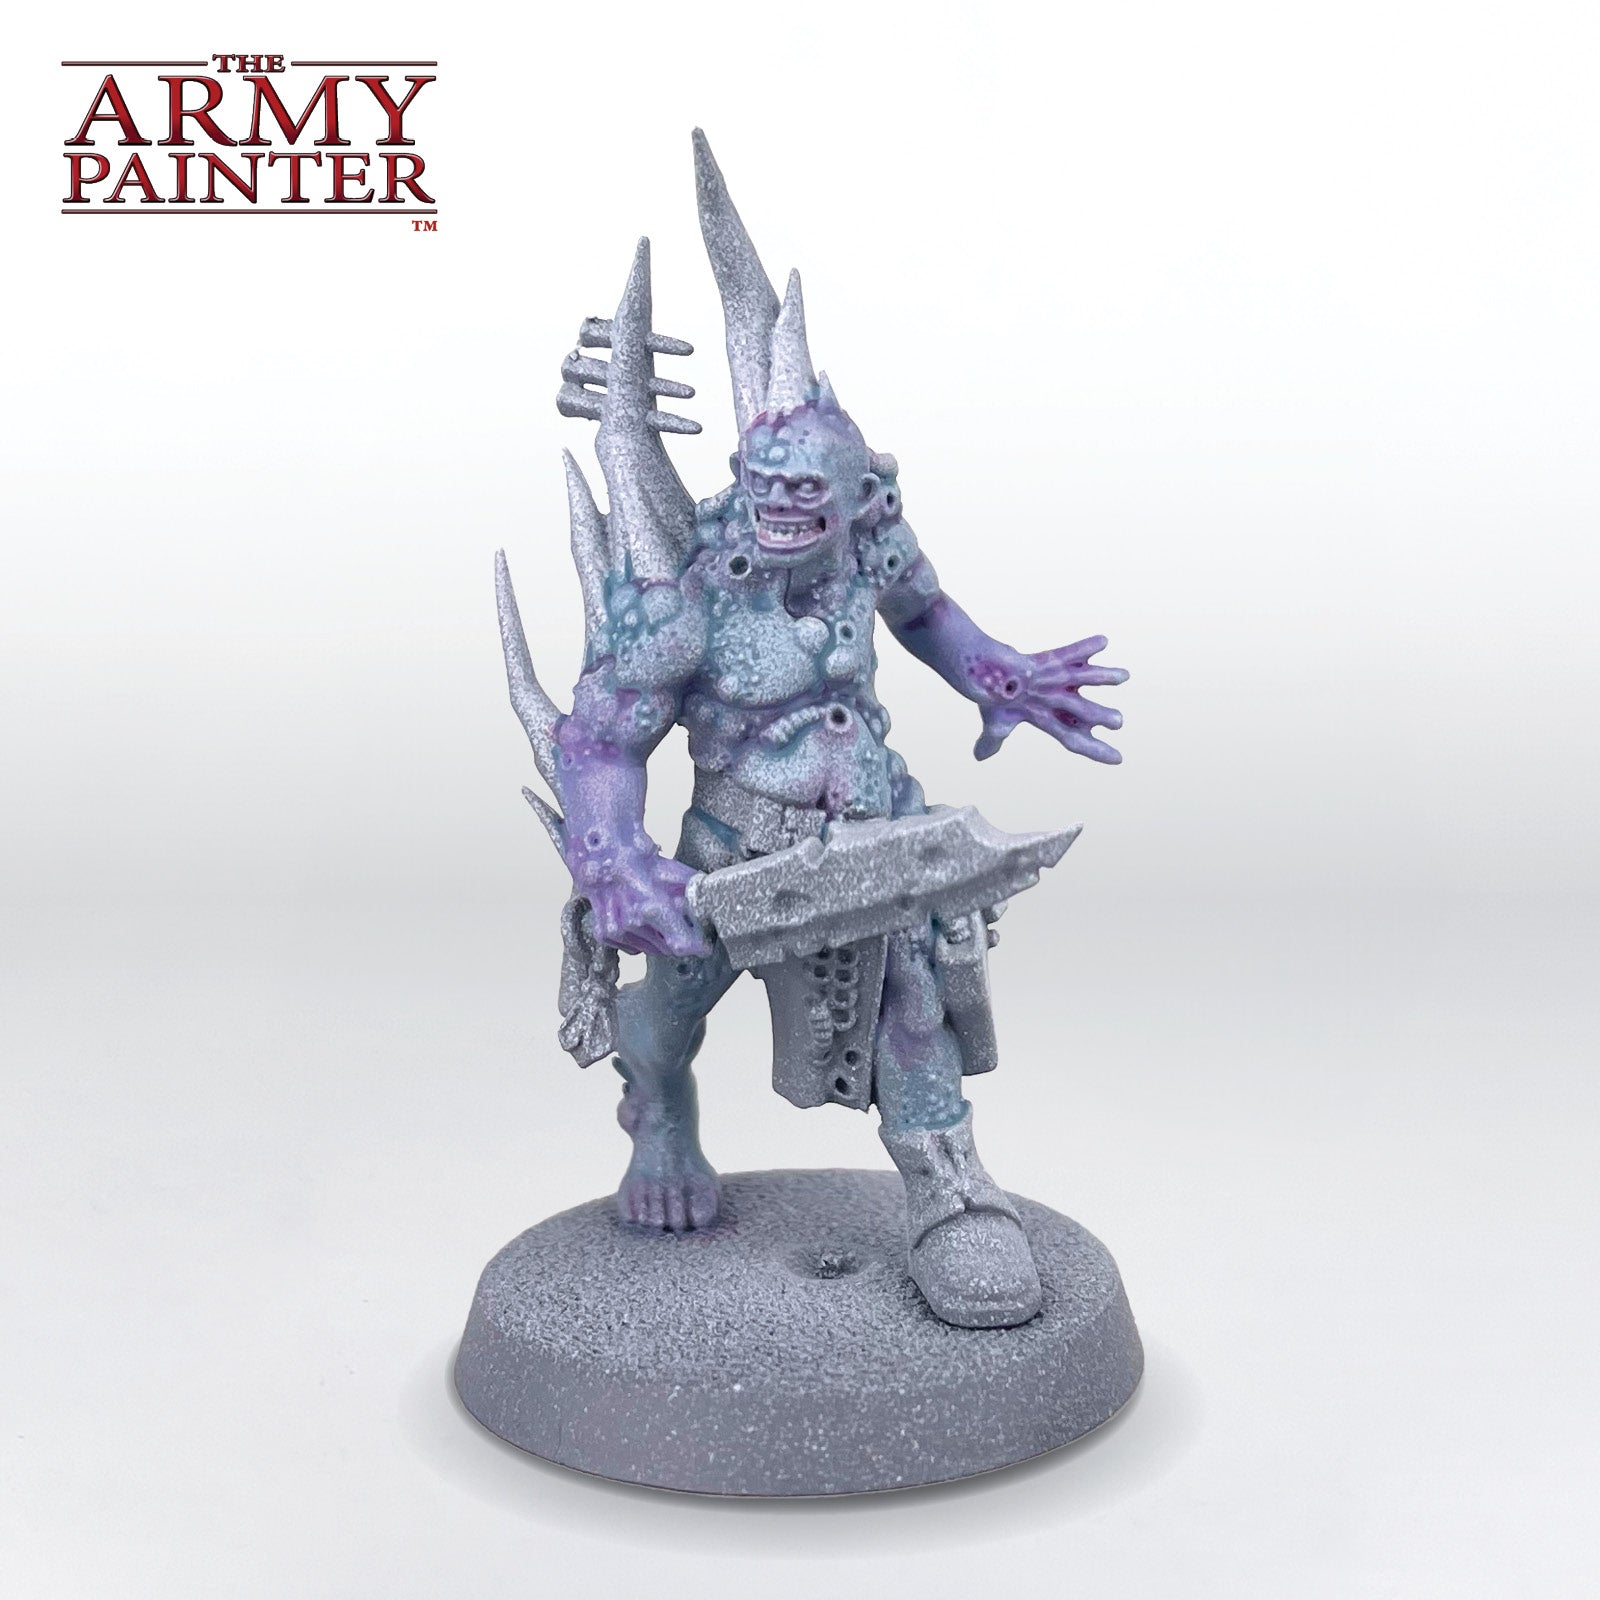
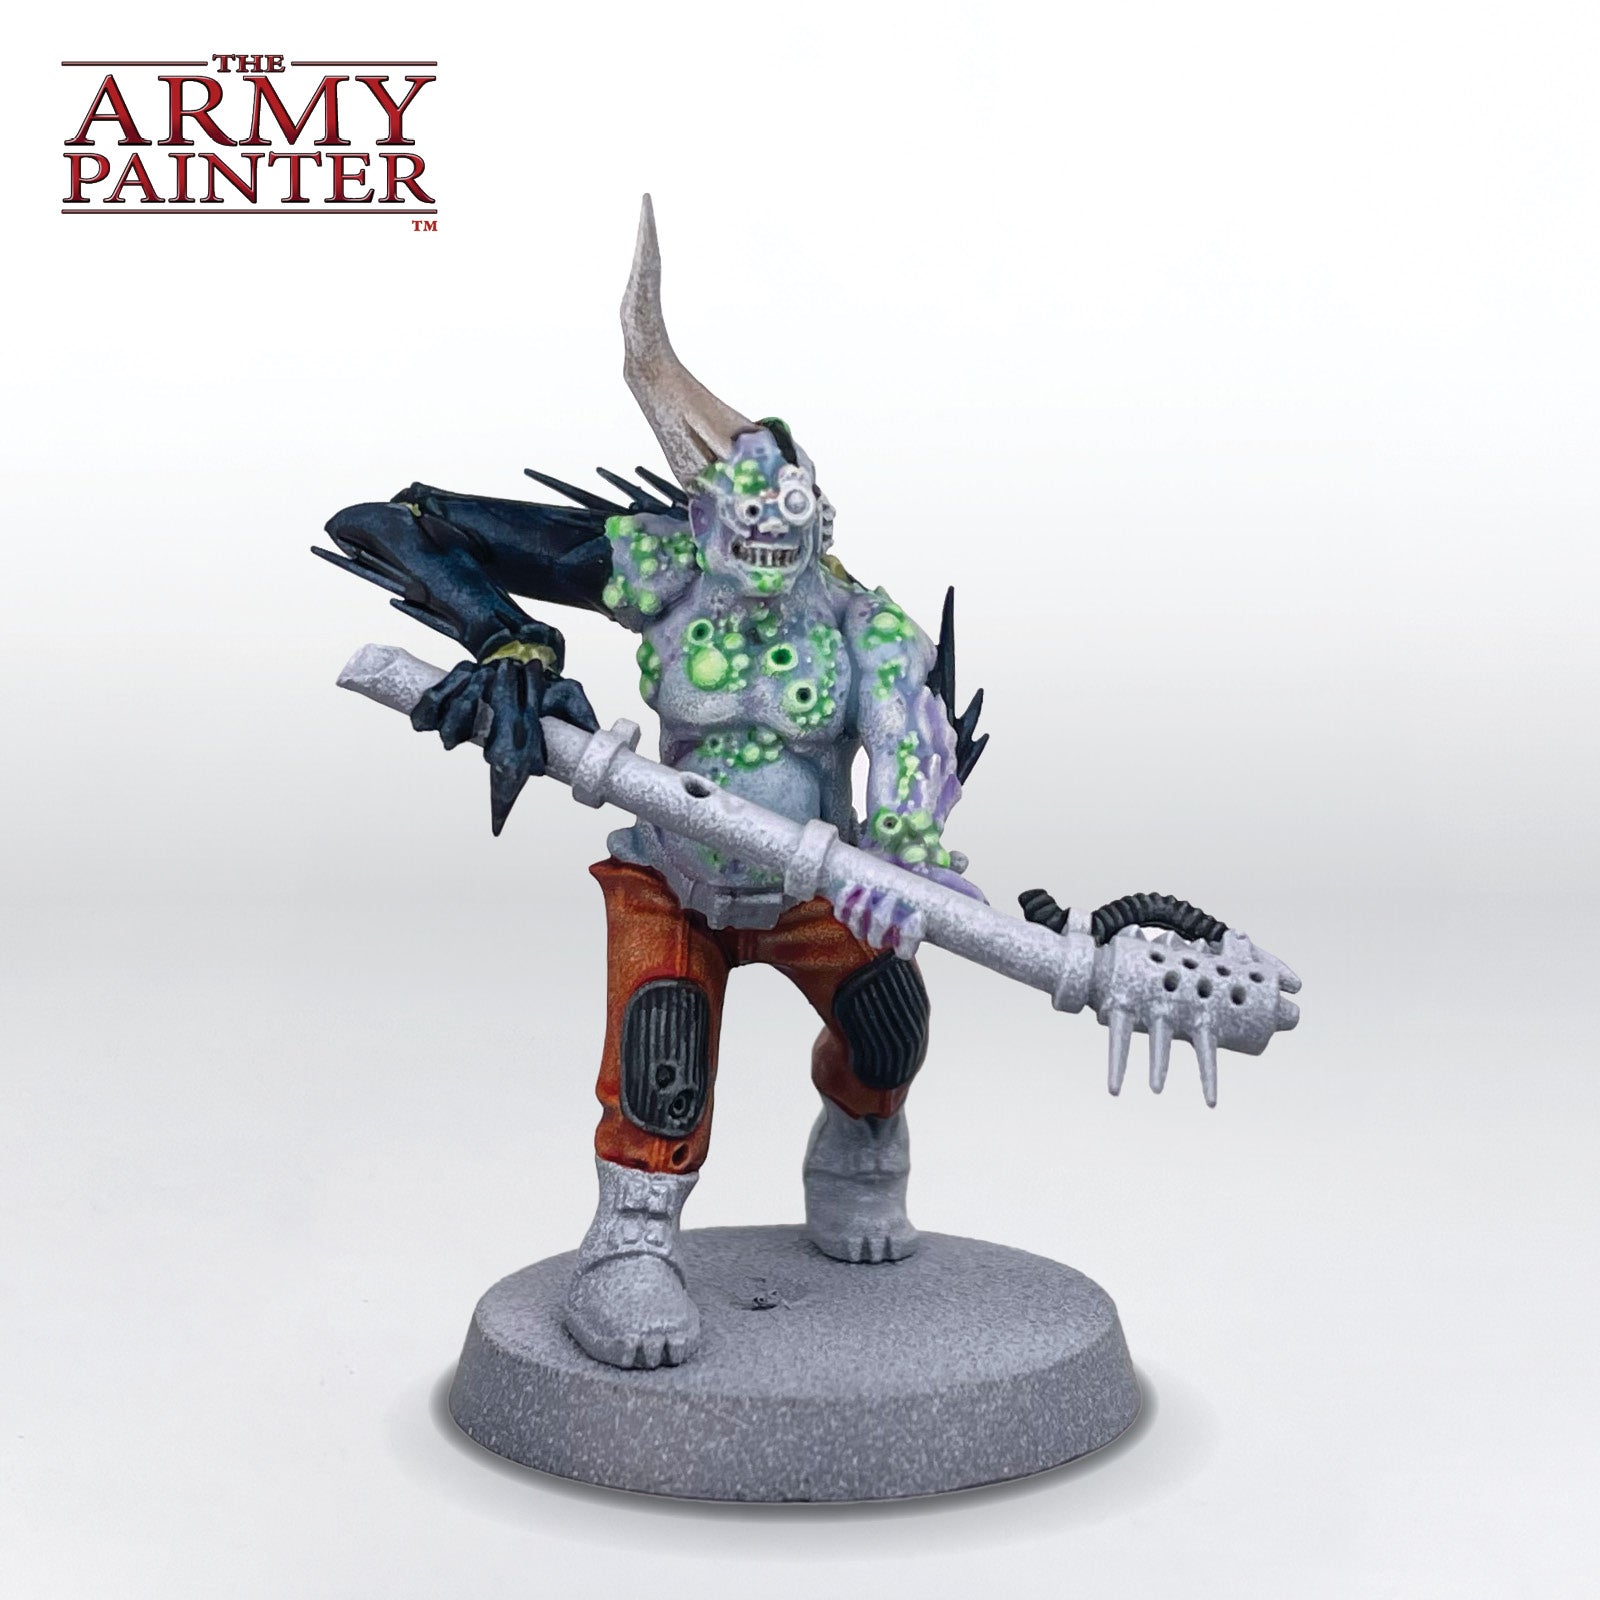
Prime the model with Uniform Grey Colour Primer, and then apply a second, light zenithal prime of Matt White Colour Primer.

The Skin and Horns Step 2

Step 2

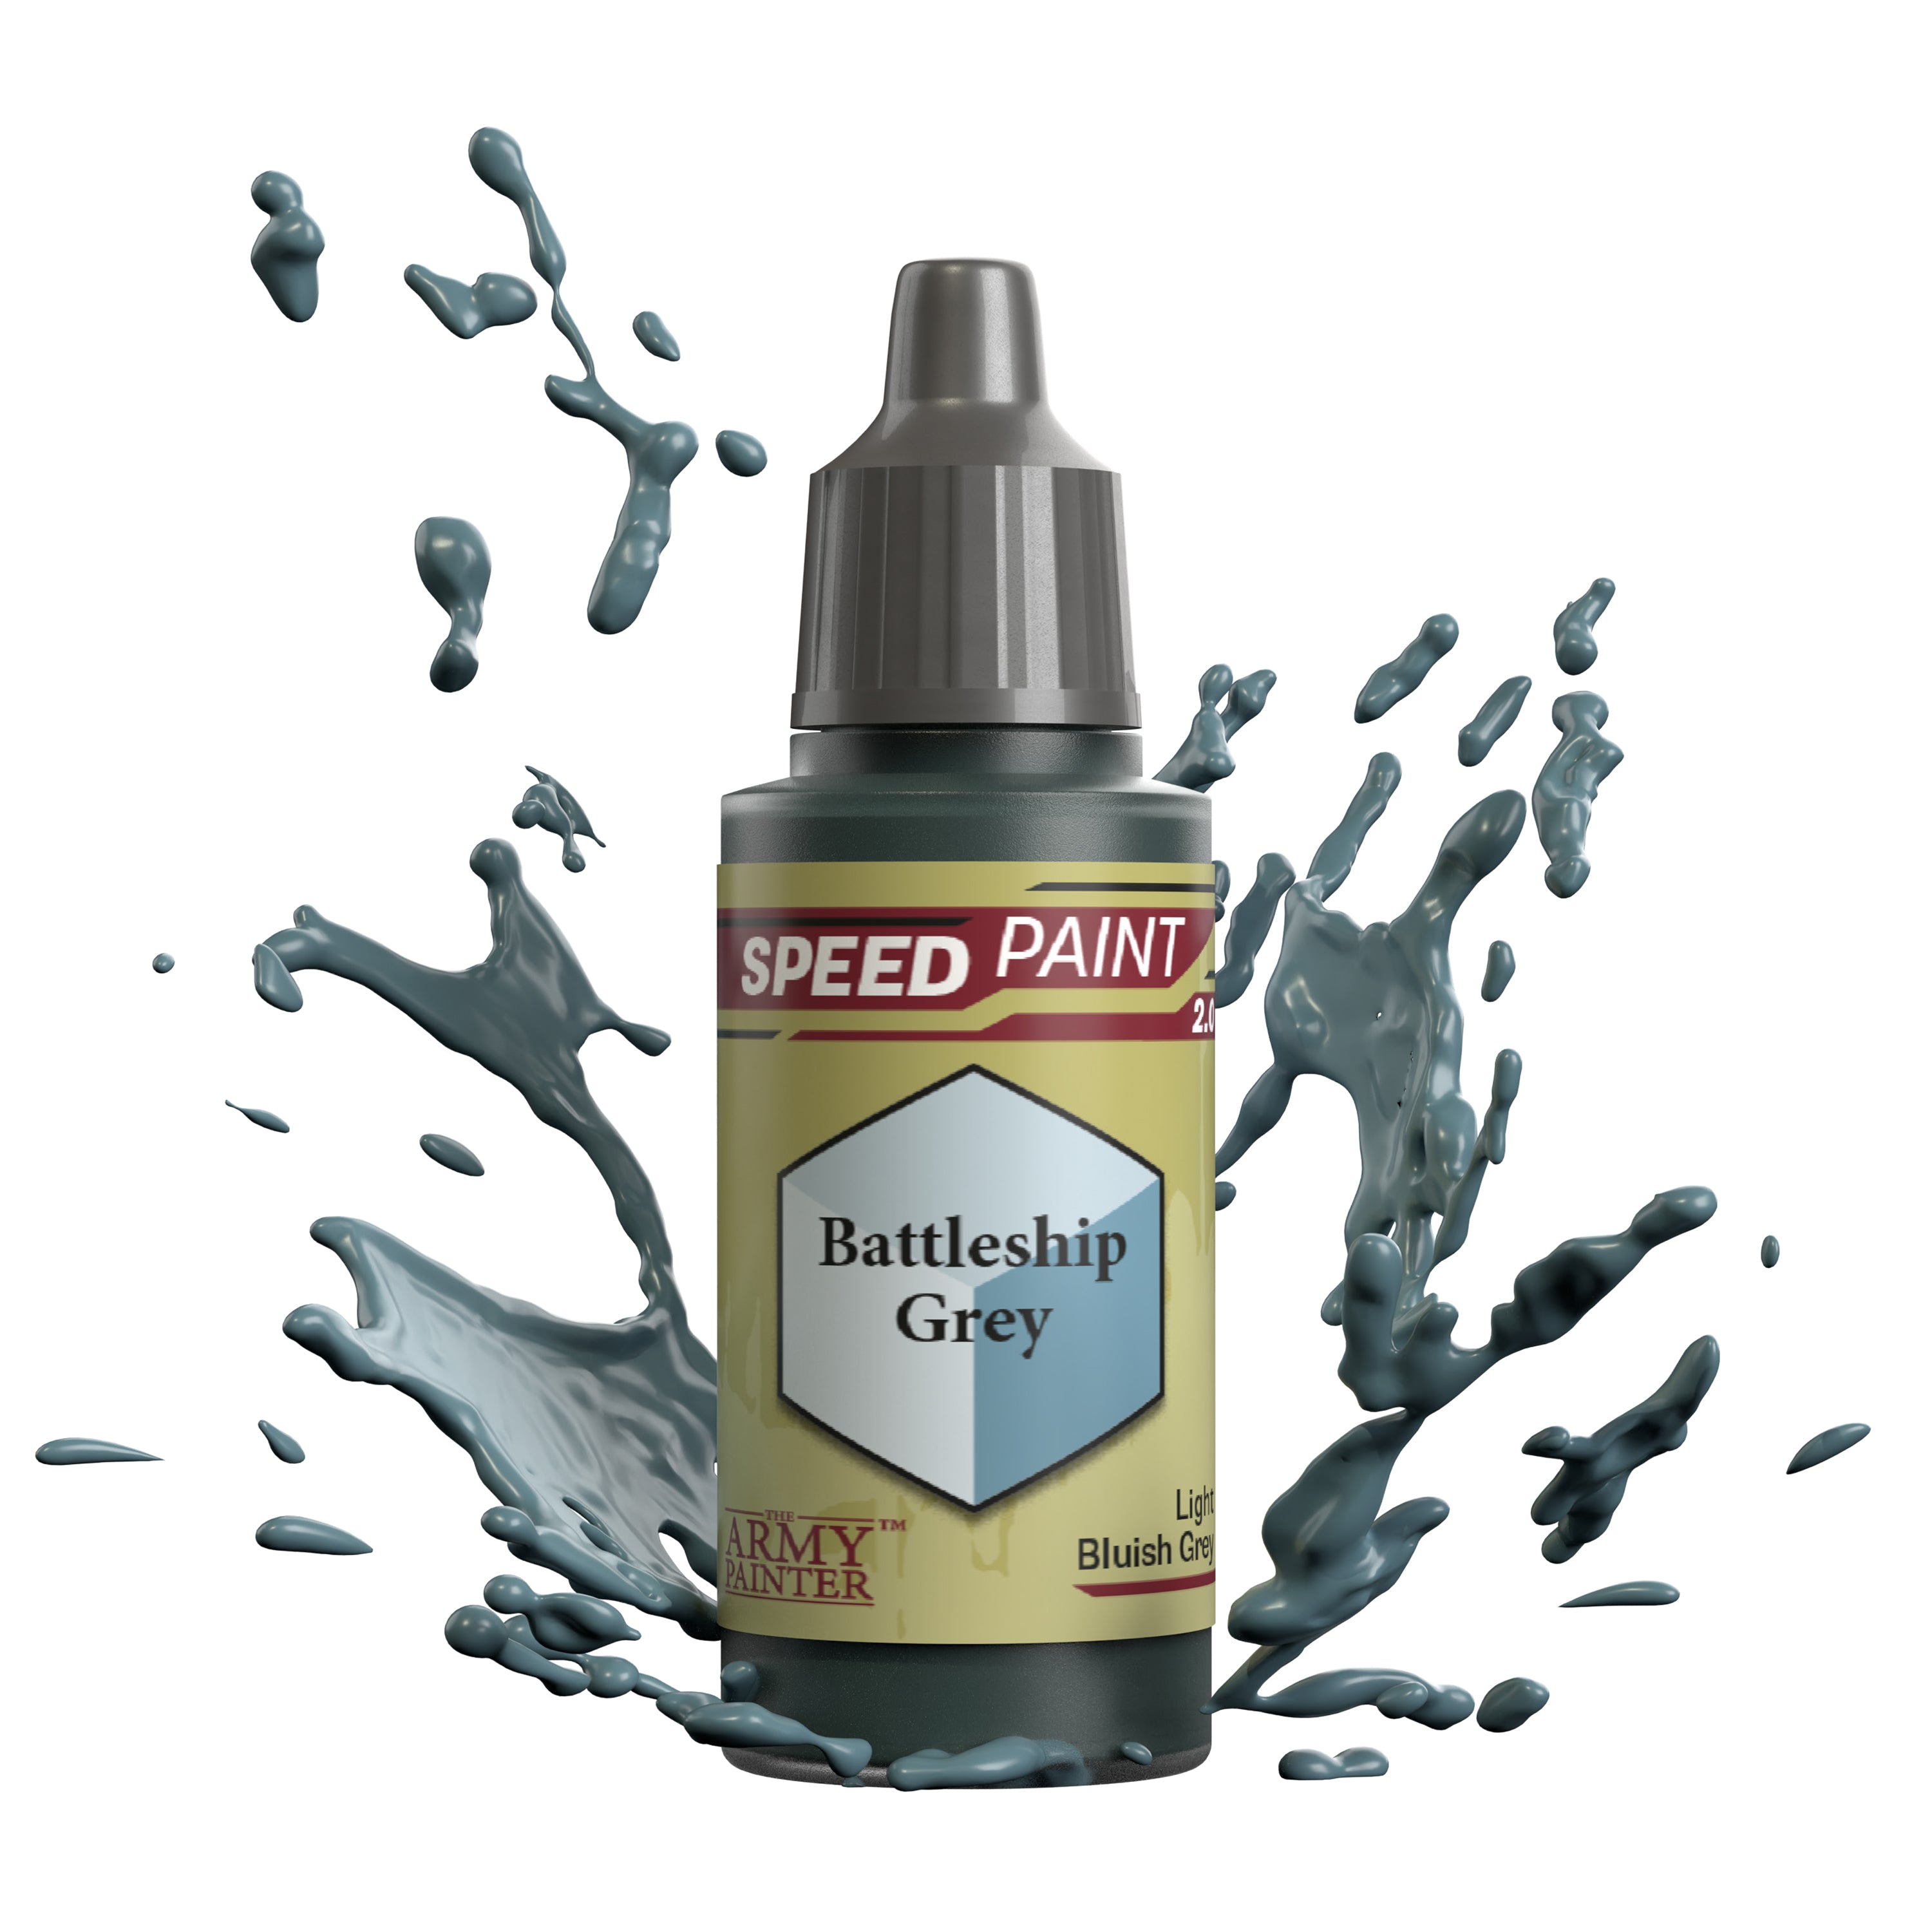
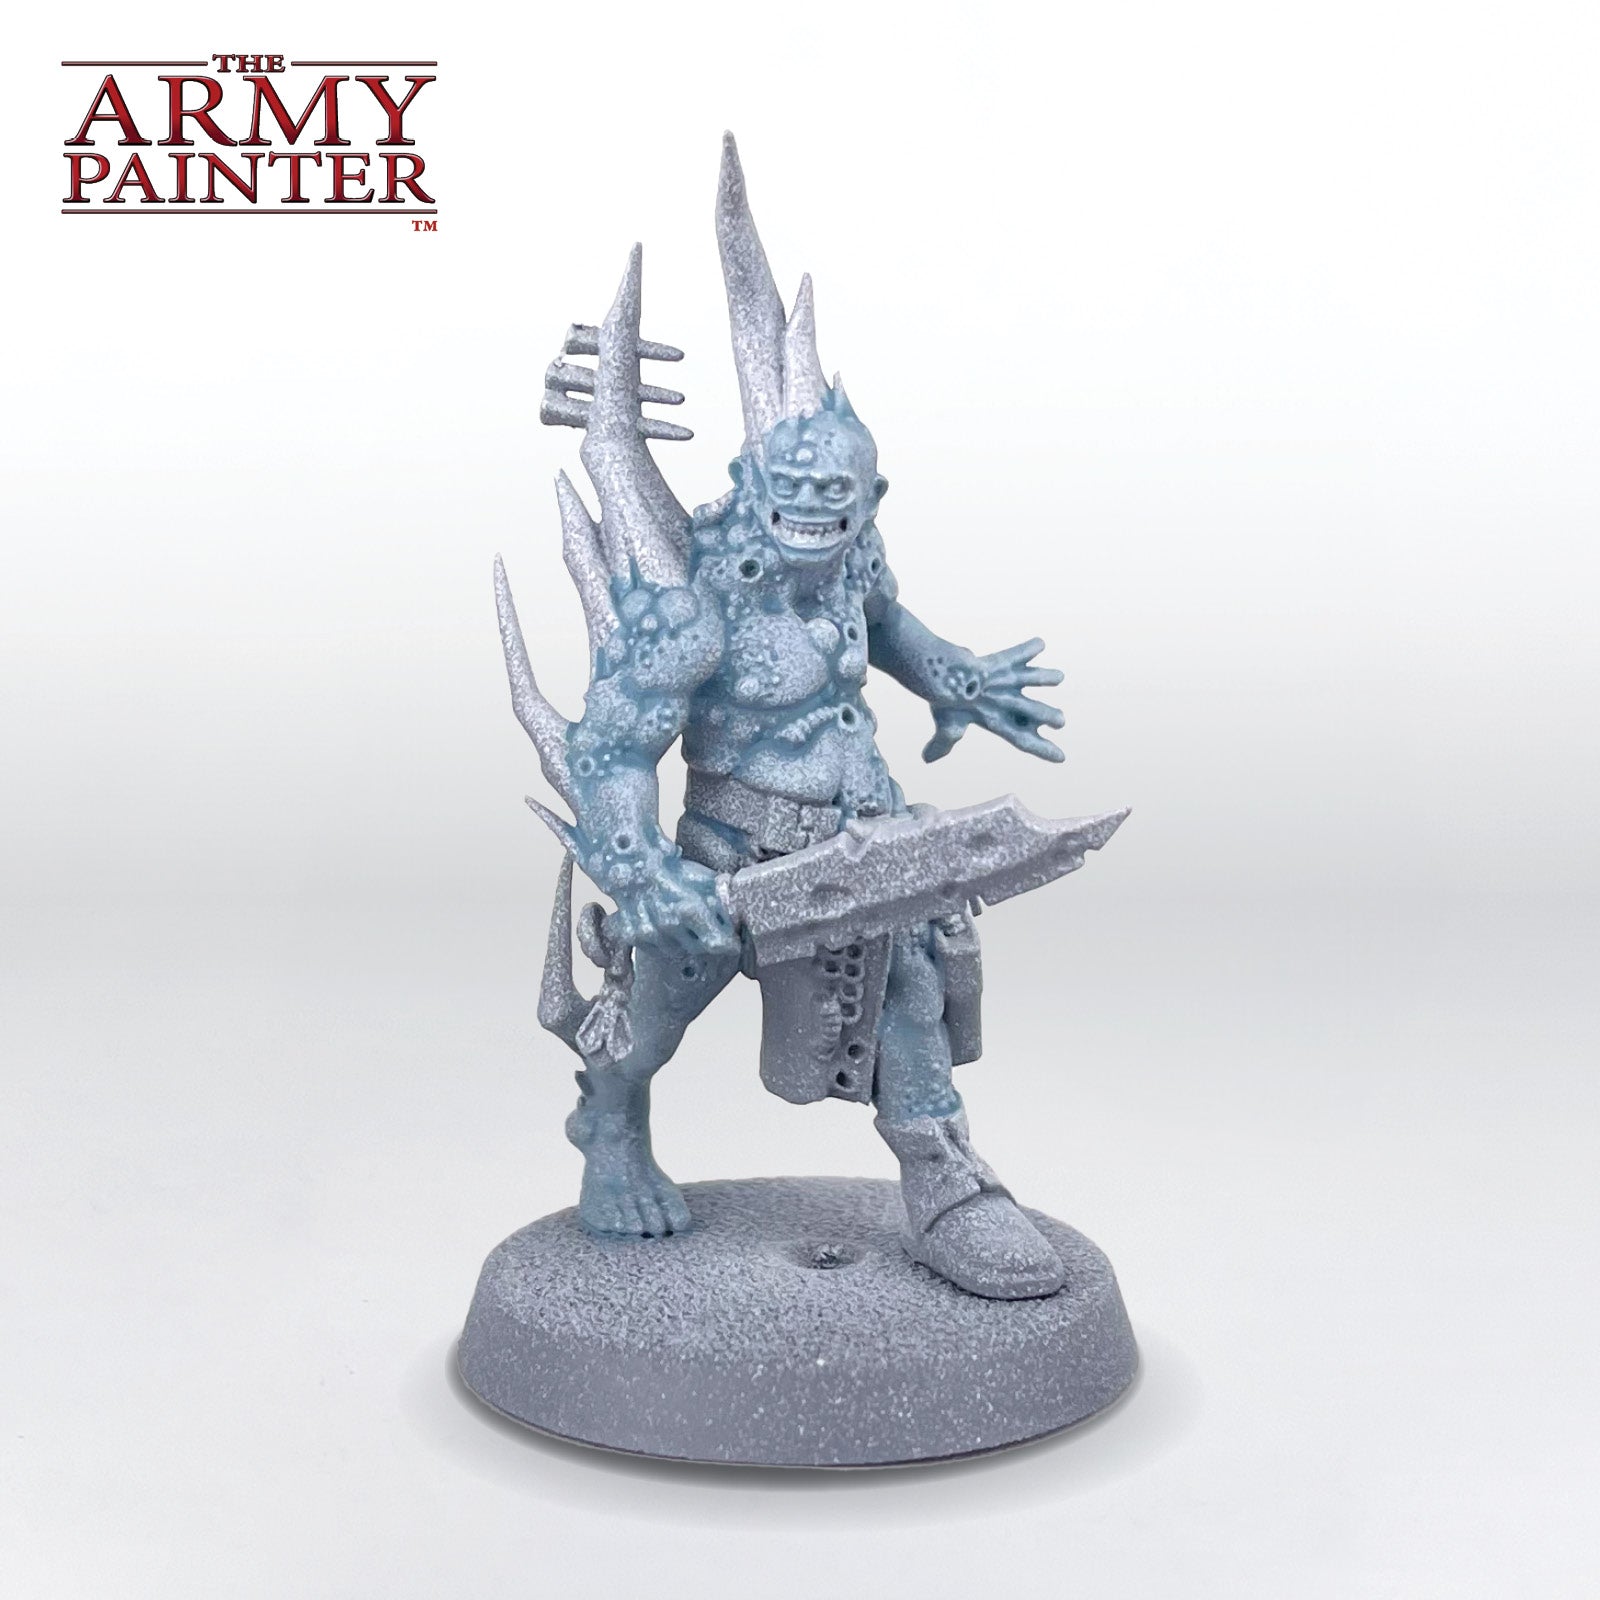
Apply a coat of Speedpaint Battleship Grey to all the skin areas. While there are many different skin tones you can go with for zombies, we're using a pale, cold tone to contrast well with the pustules and gore later for this one.

The Skin and Horns Step 3

Step 3

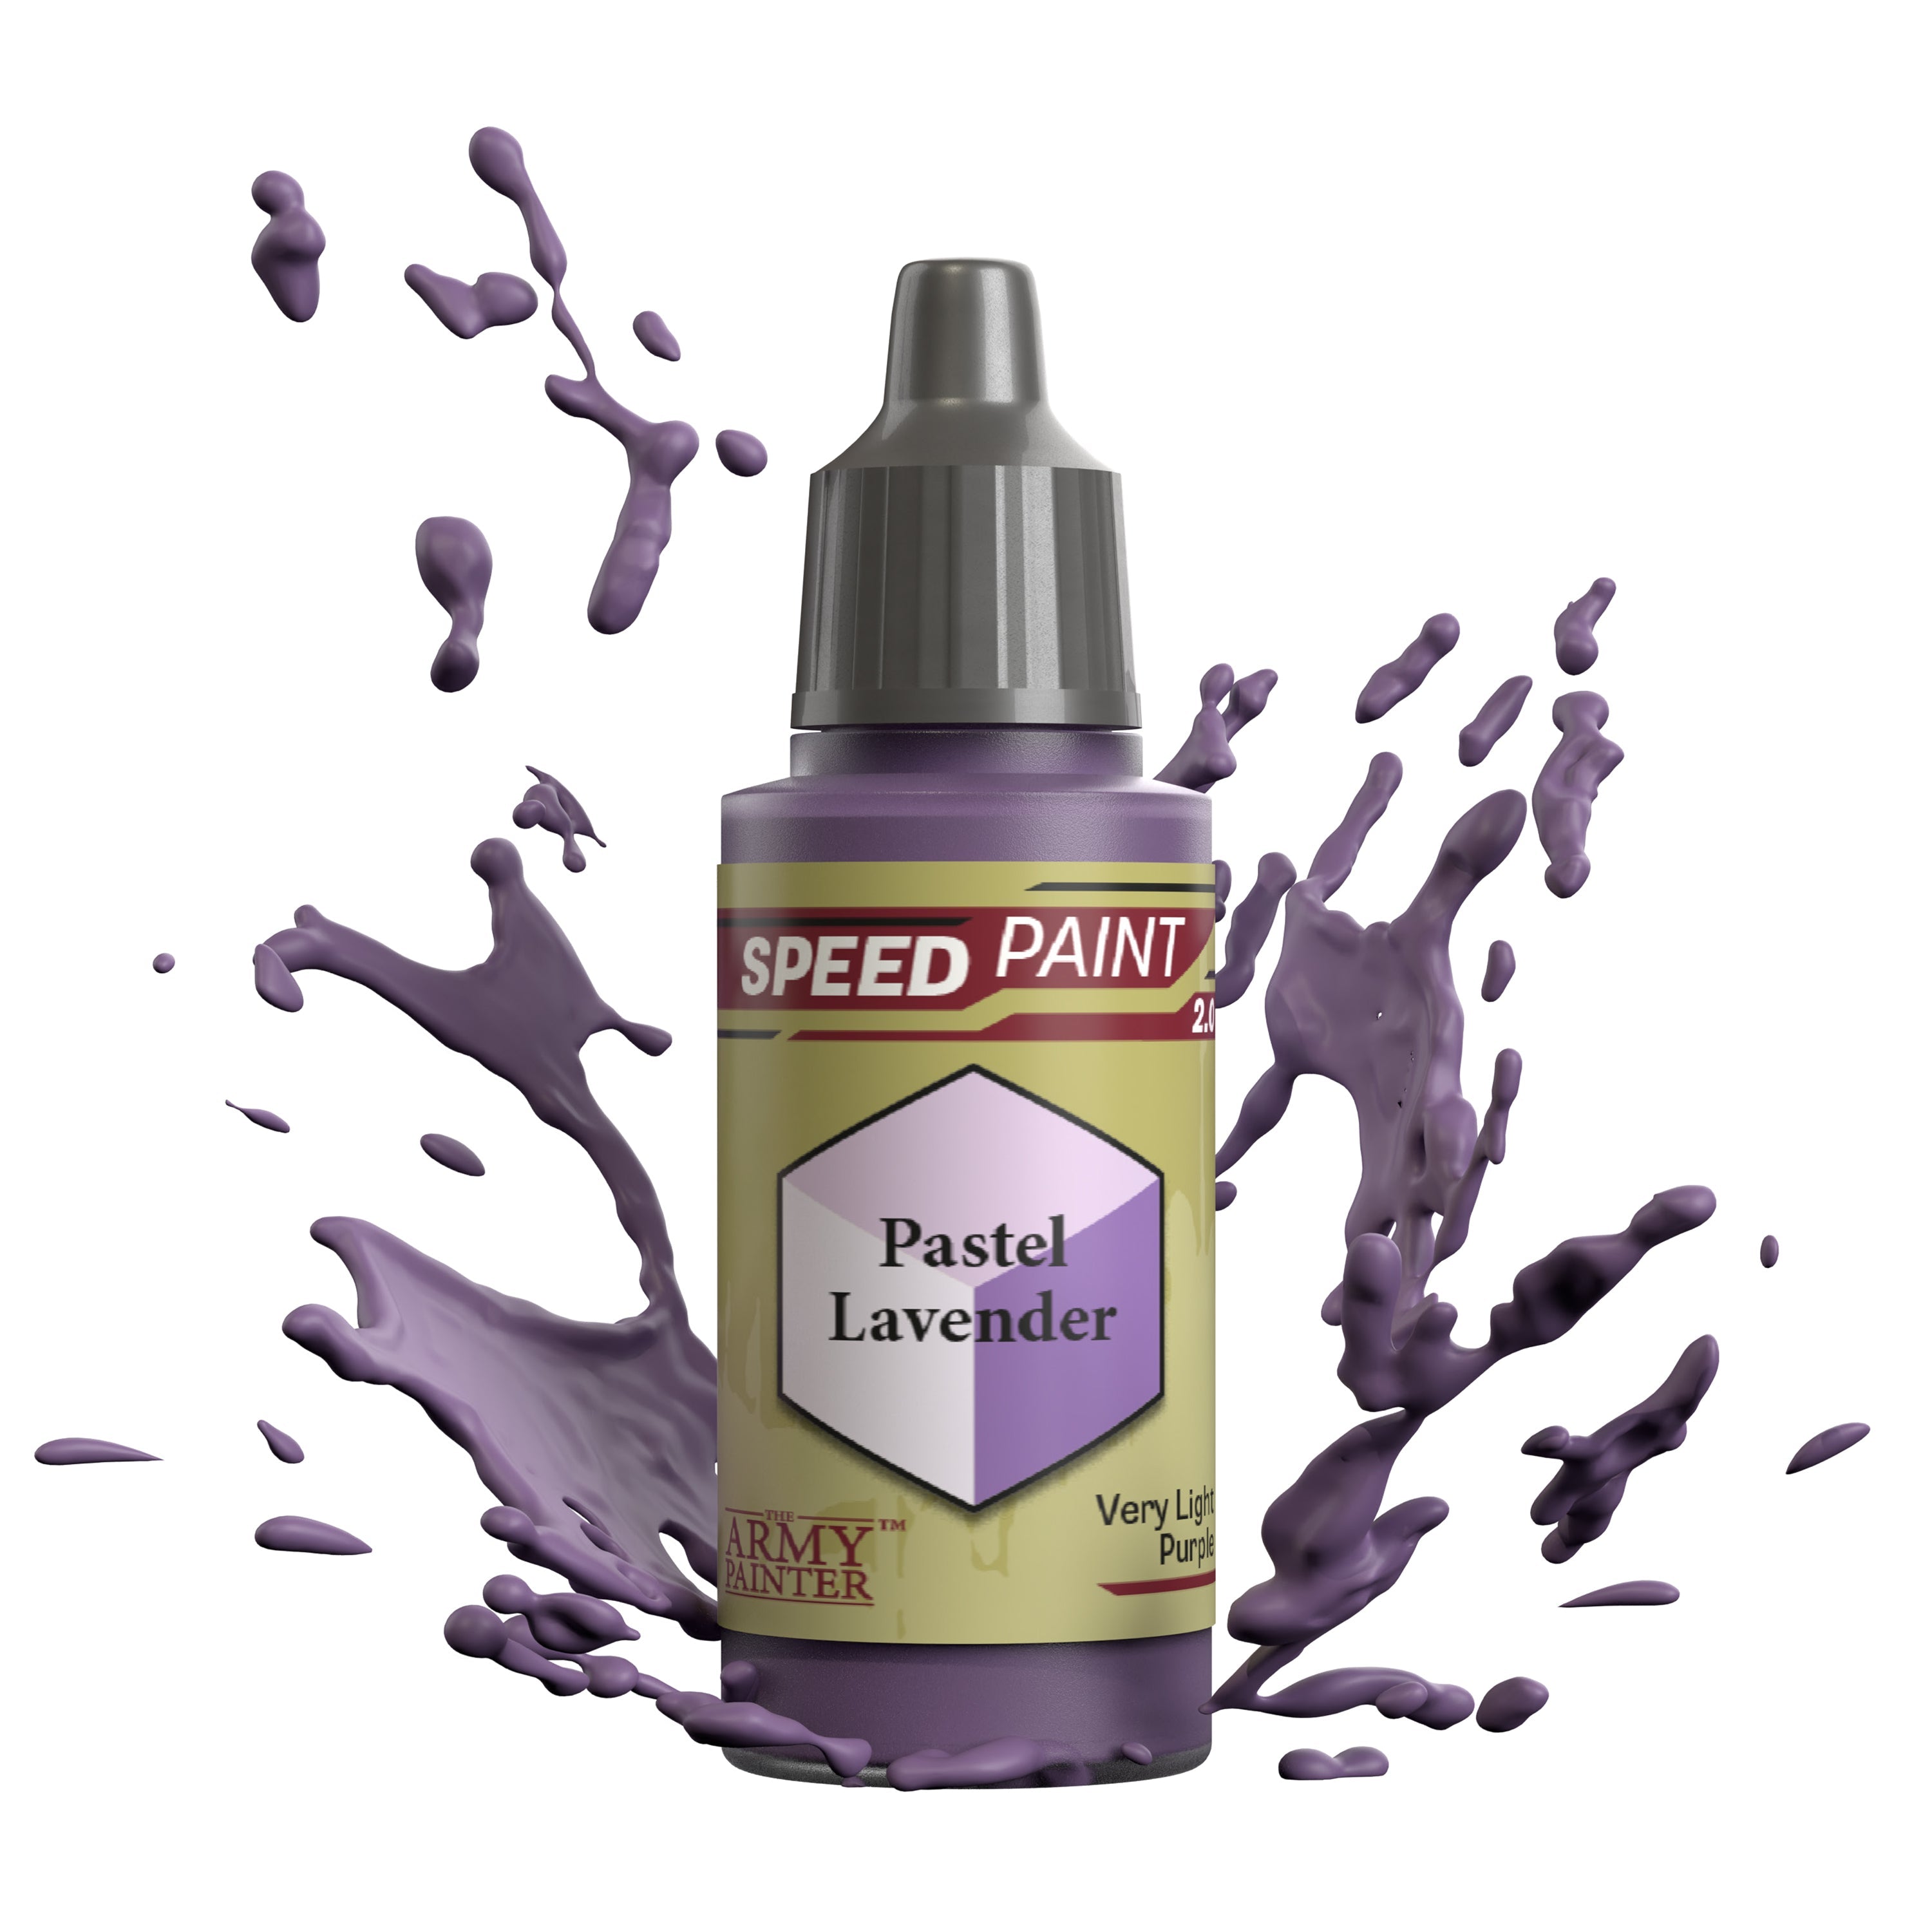
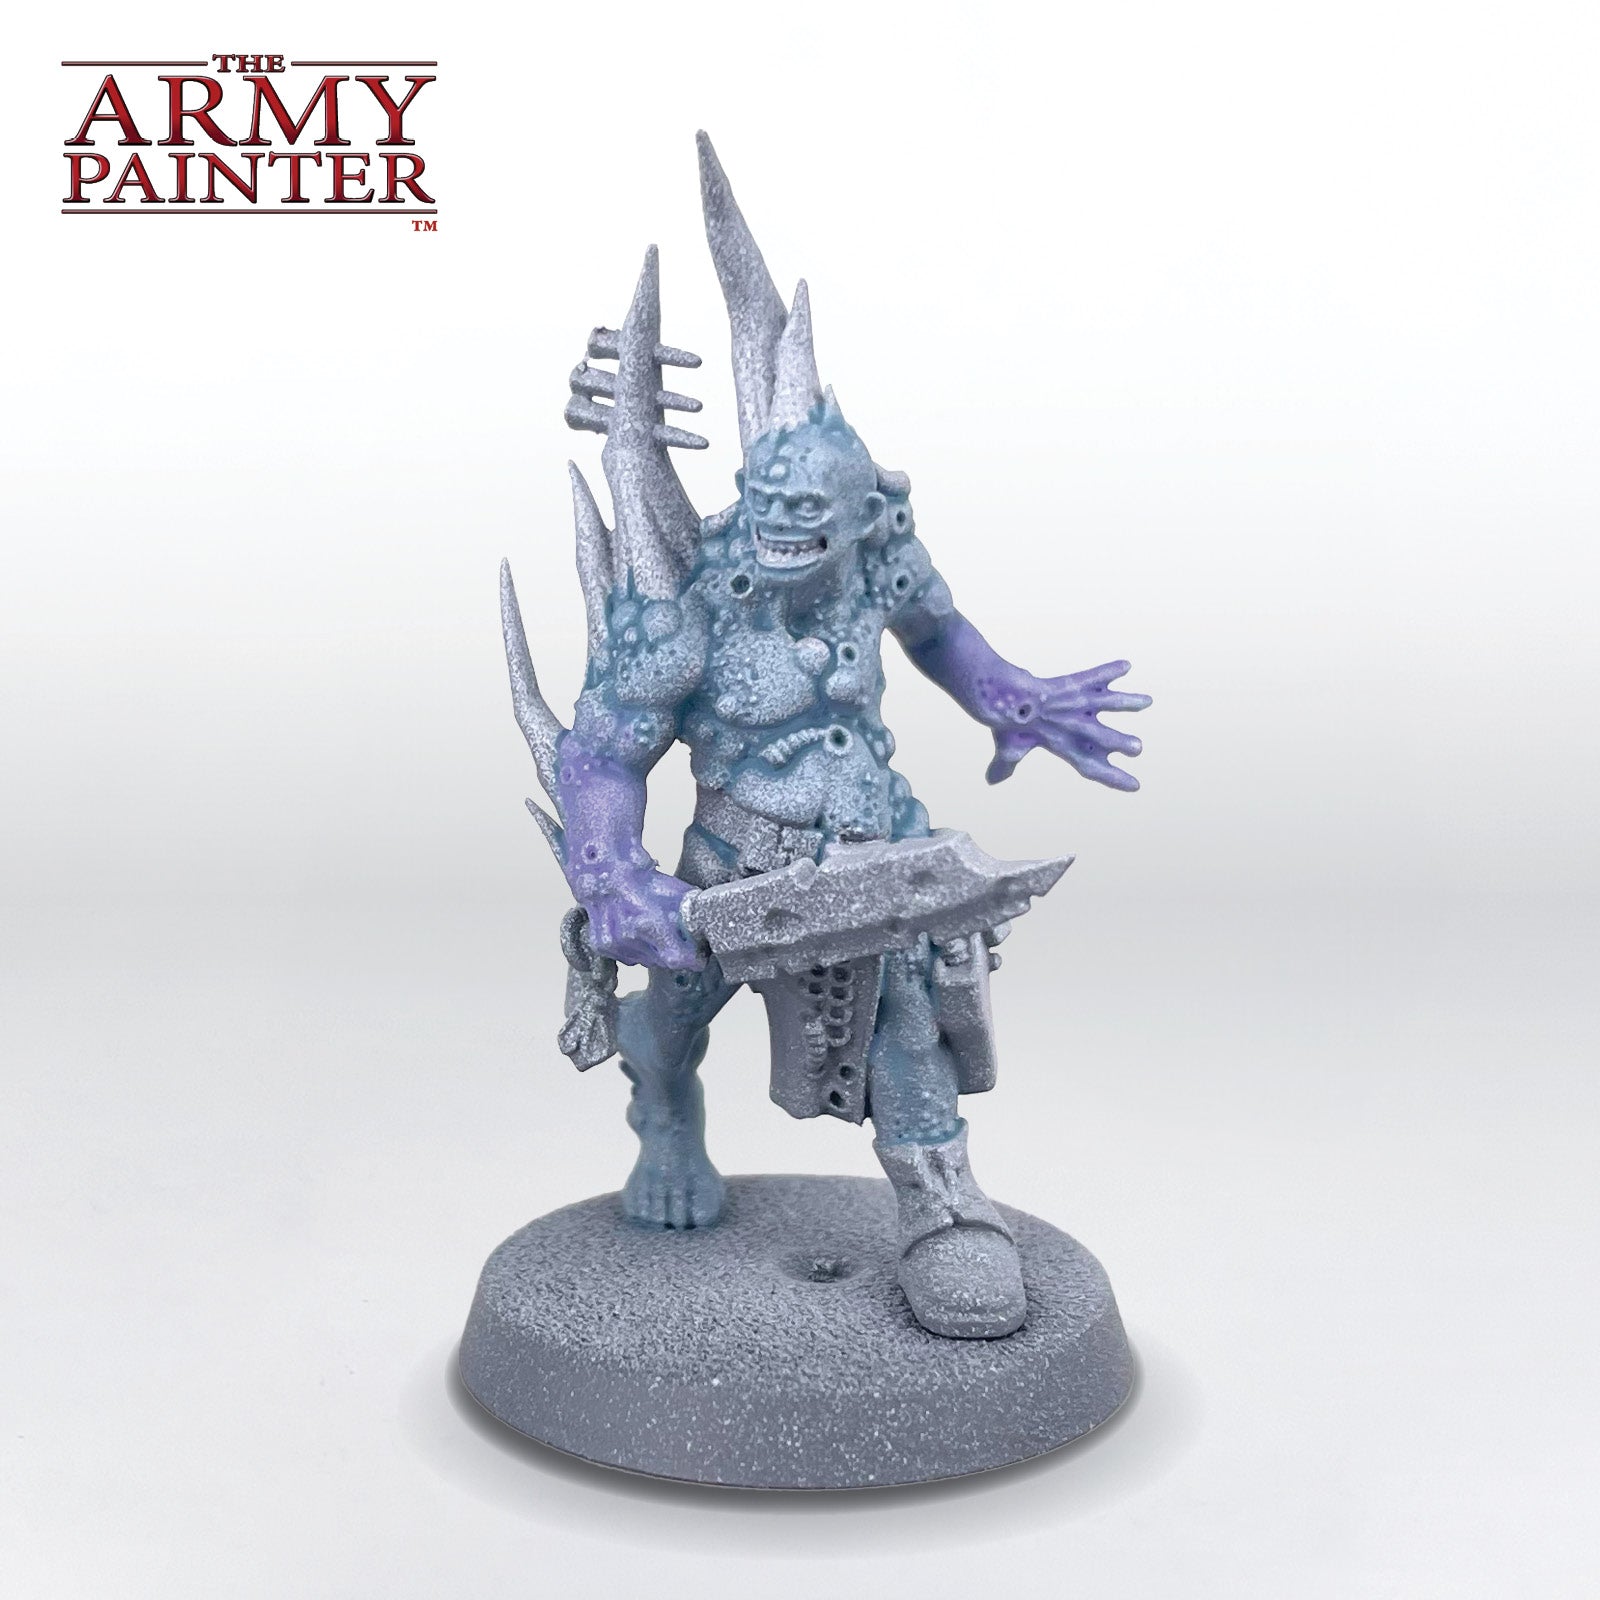
Next, apply a coat of Speedpaint Pastel Lavender to the lower half of the arms and any tentacles. While it’s still wet, use a clean brush to lightly feather out the edge of this to blend it into the Battleship Grey colour. This prevents a hard edge between the two colours.

The Skin and Horns Step 4

Step 4

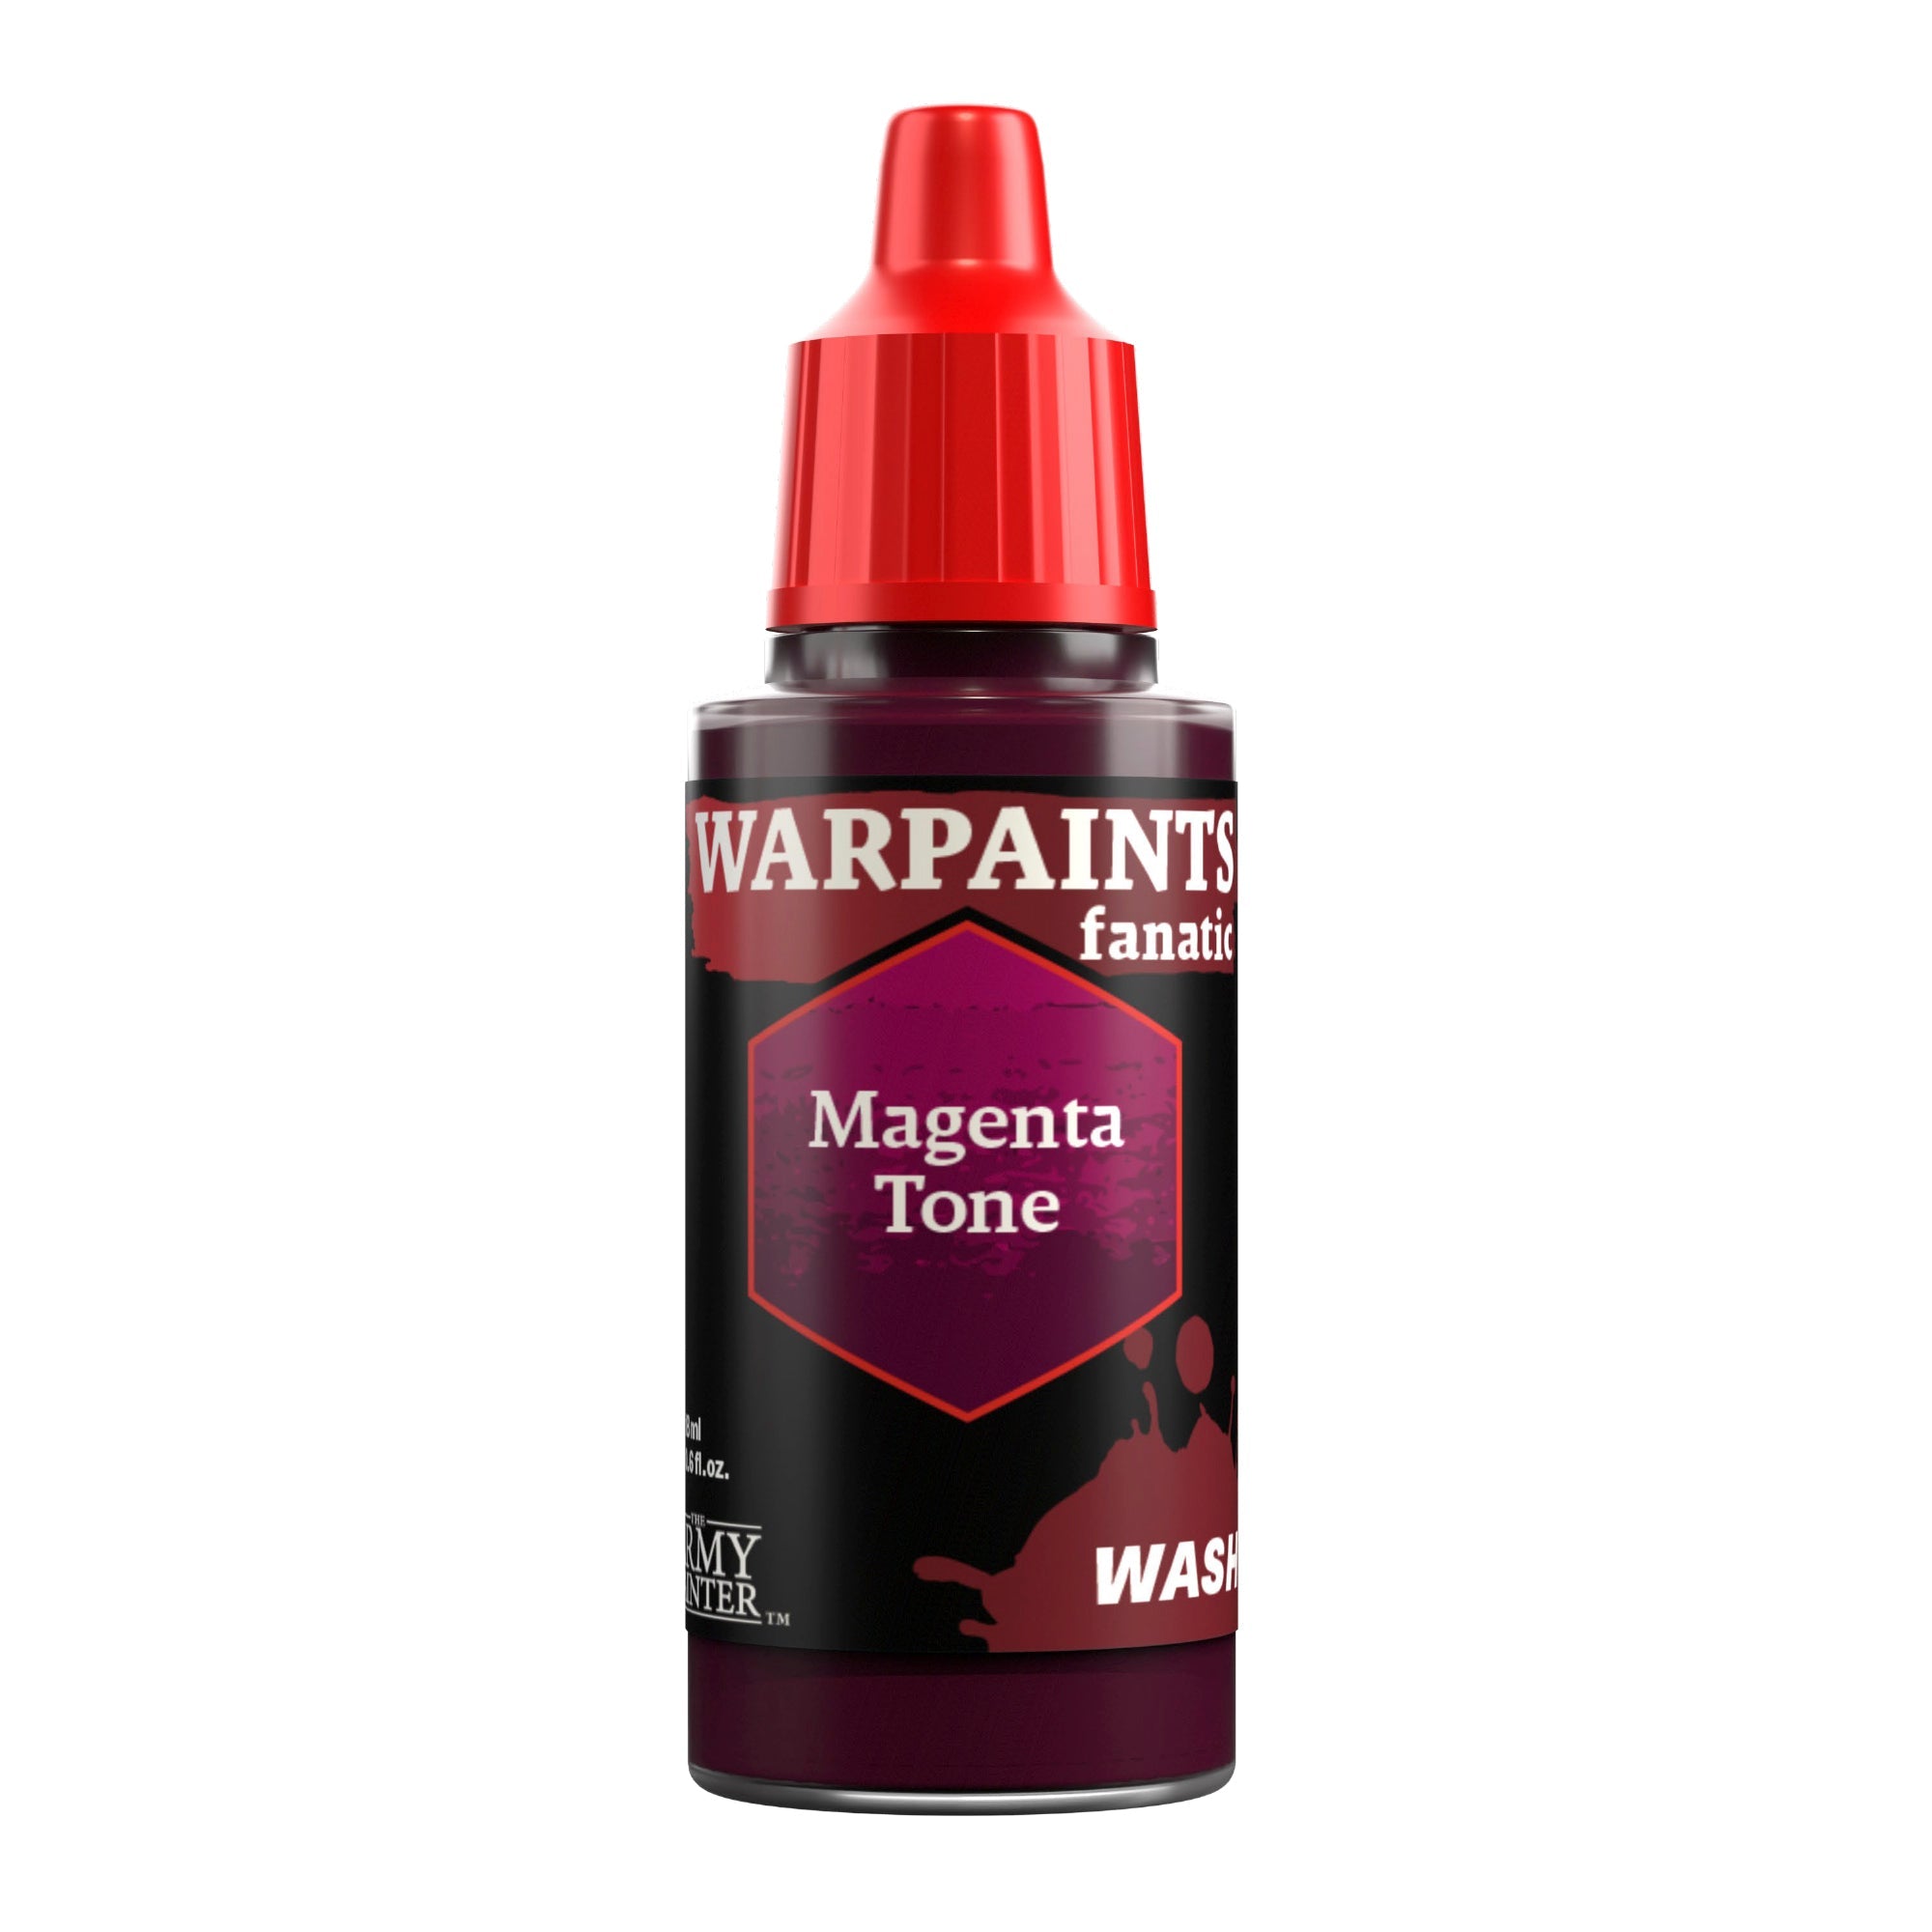
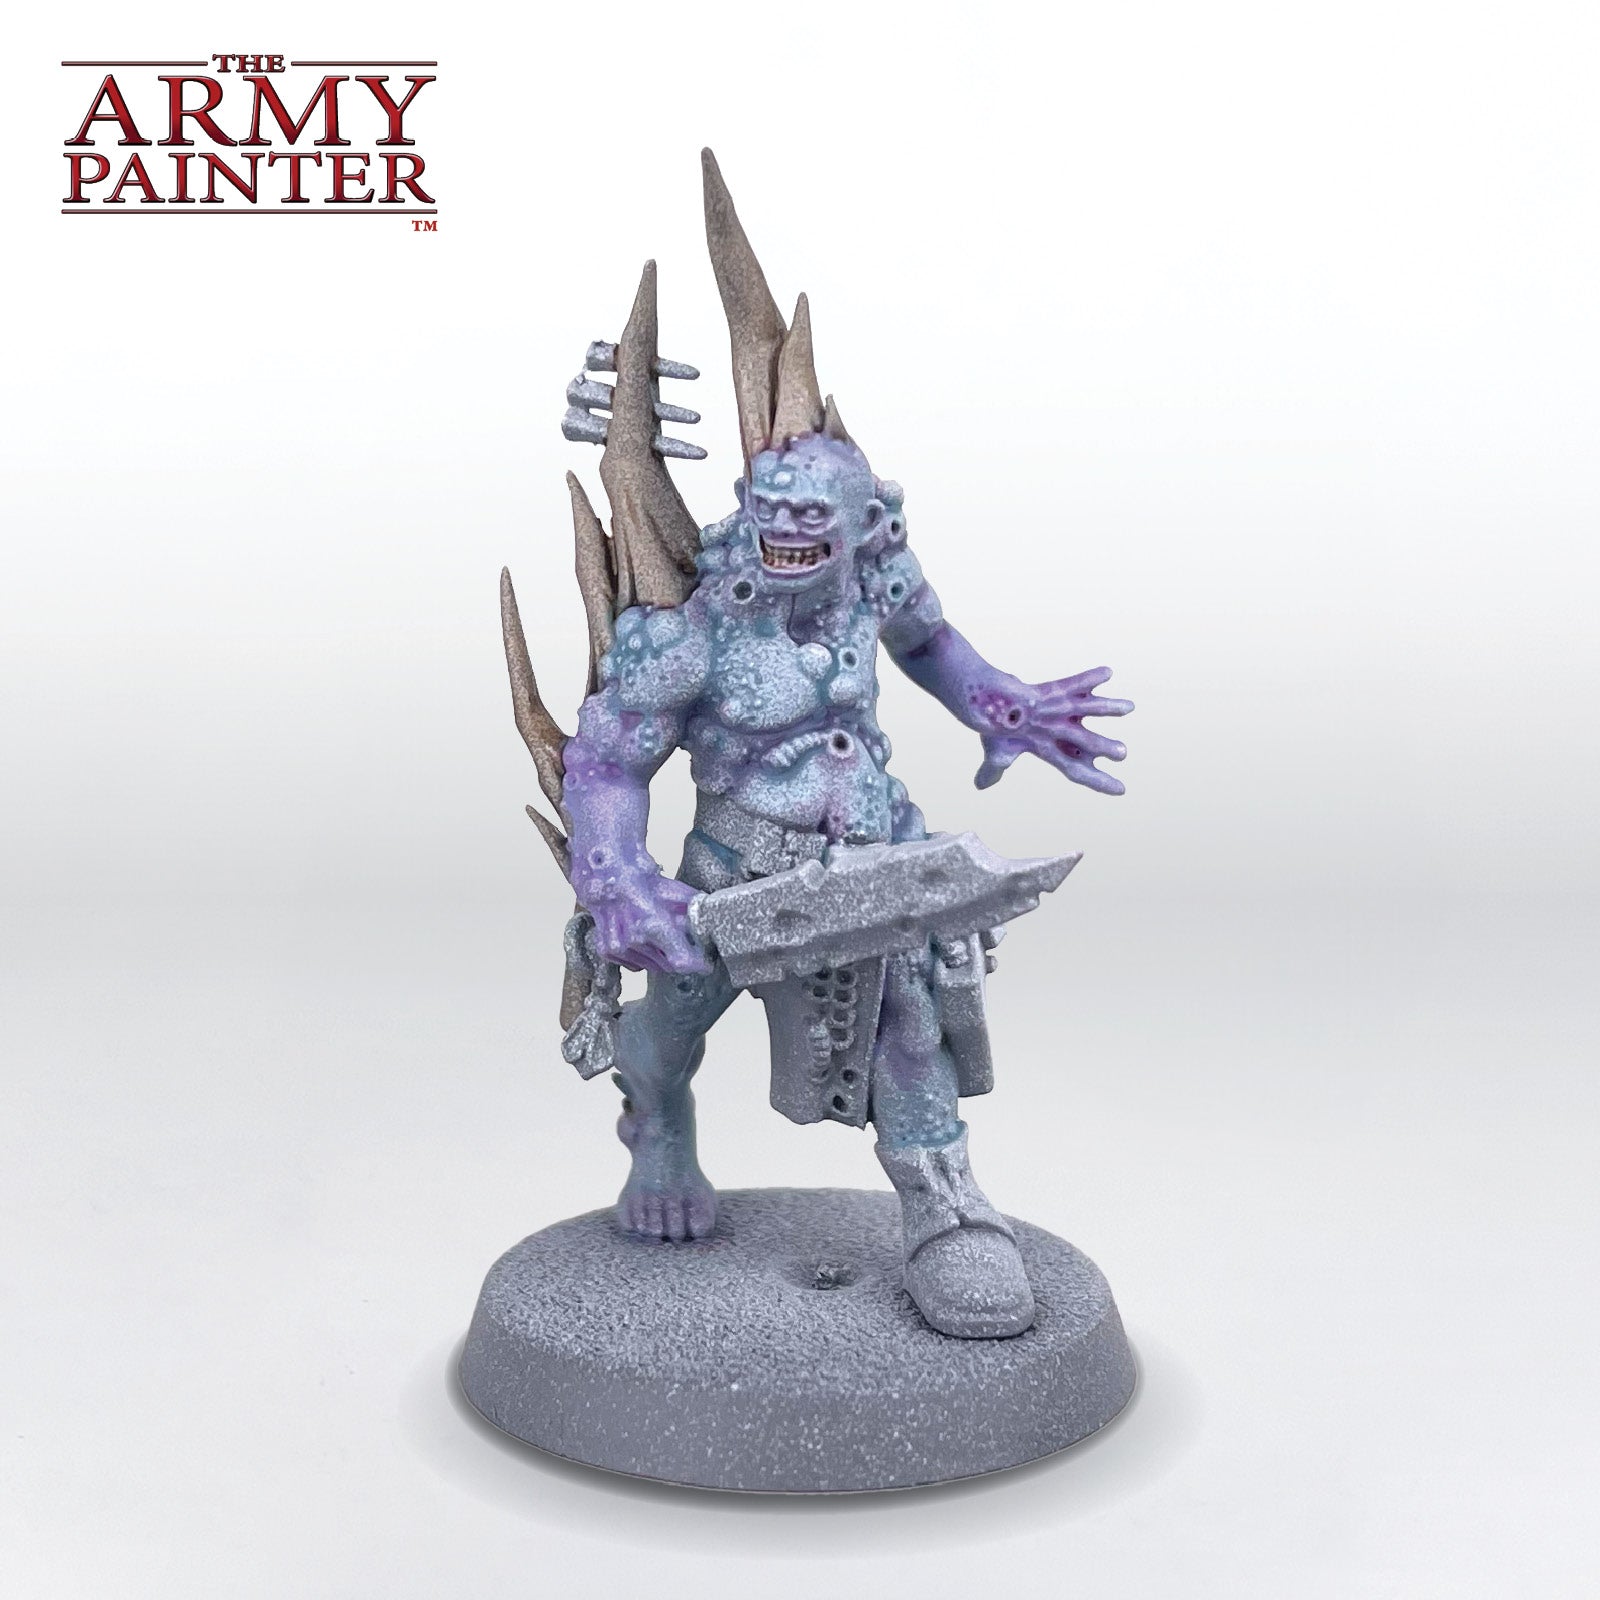
Use Warpaints Fanatic Wash Magenta Tone thinned with water to apply shading to the purple areas, as well as some of the blue areas. Instead of an all-over application, paint this colour directly into the spots you want it to go, such as knees, armpits, the face, and so on.

The Skin and Horns Step 5

Step 5

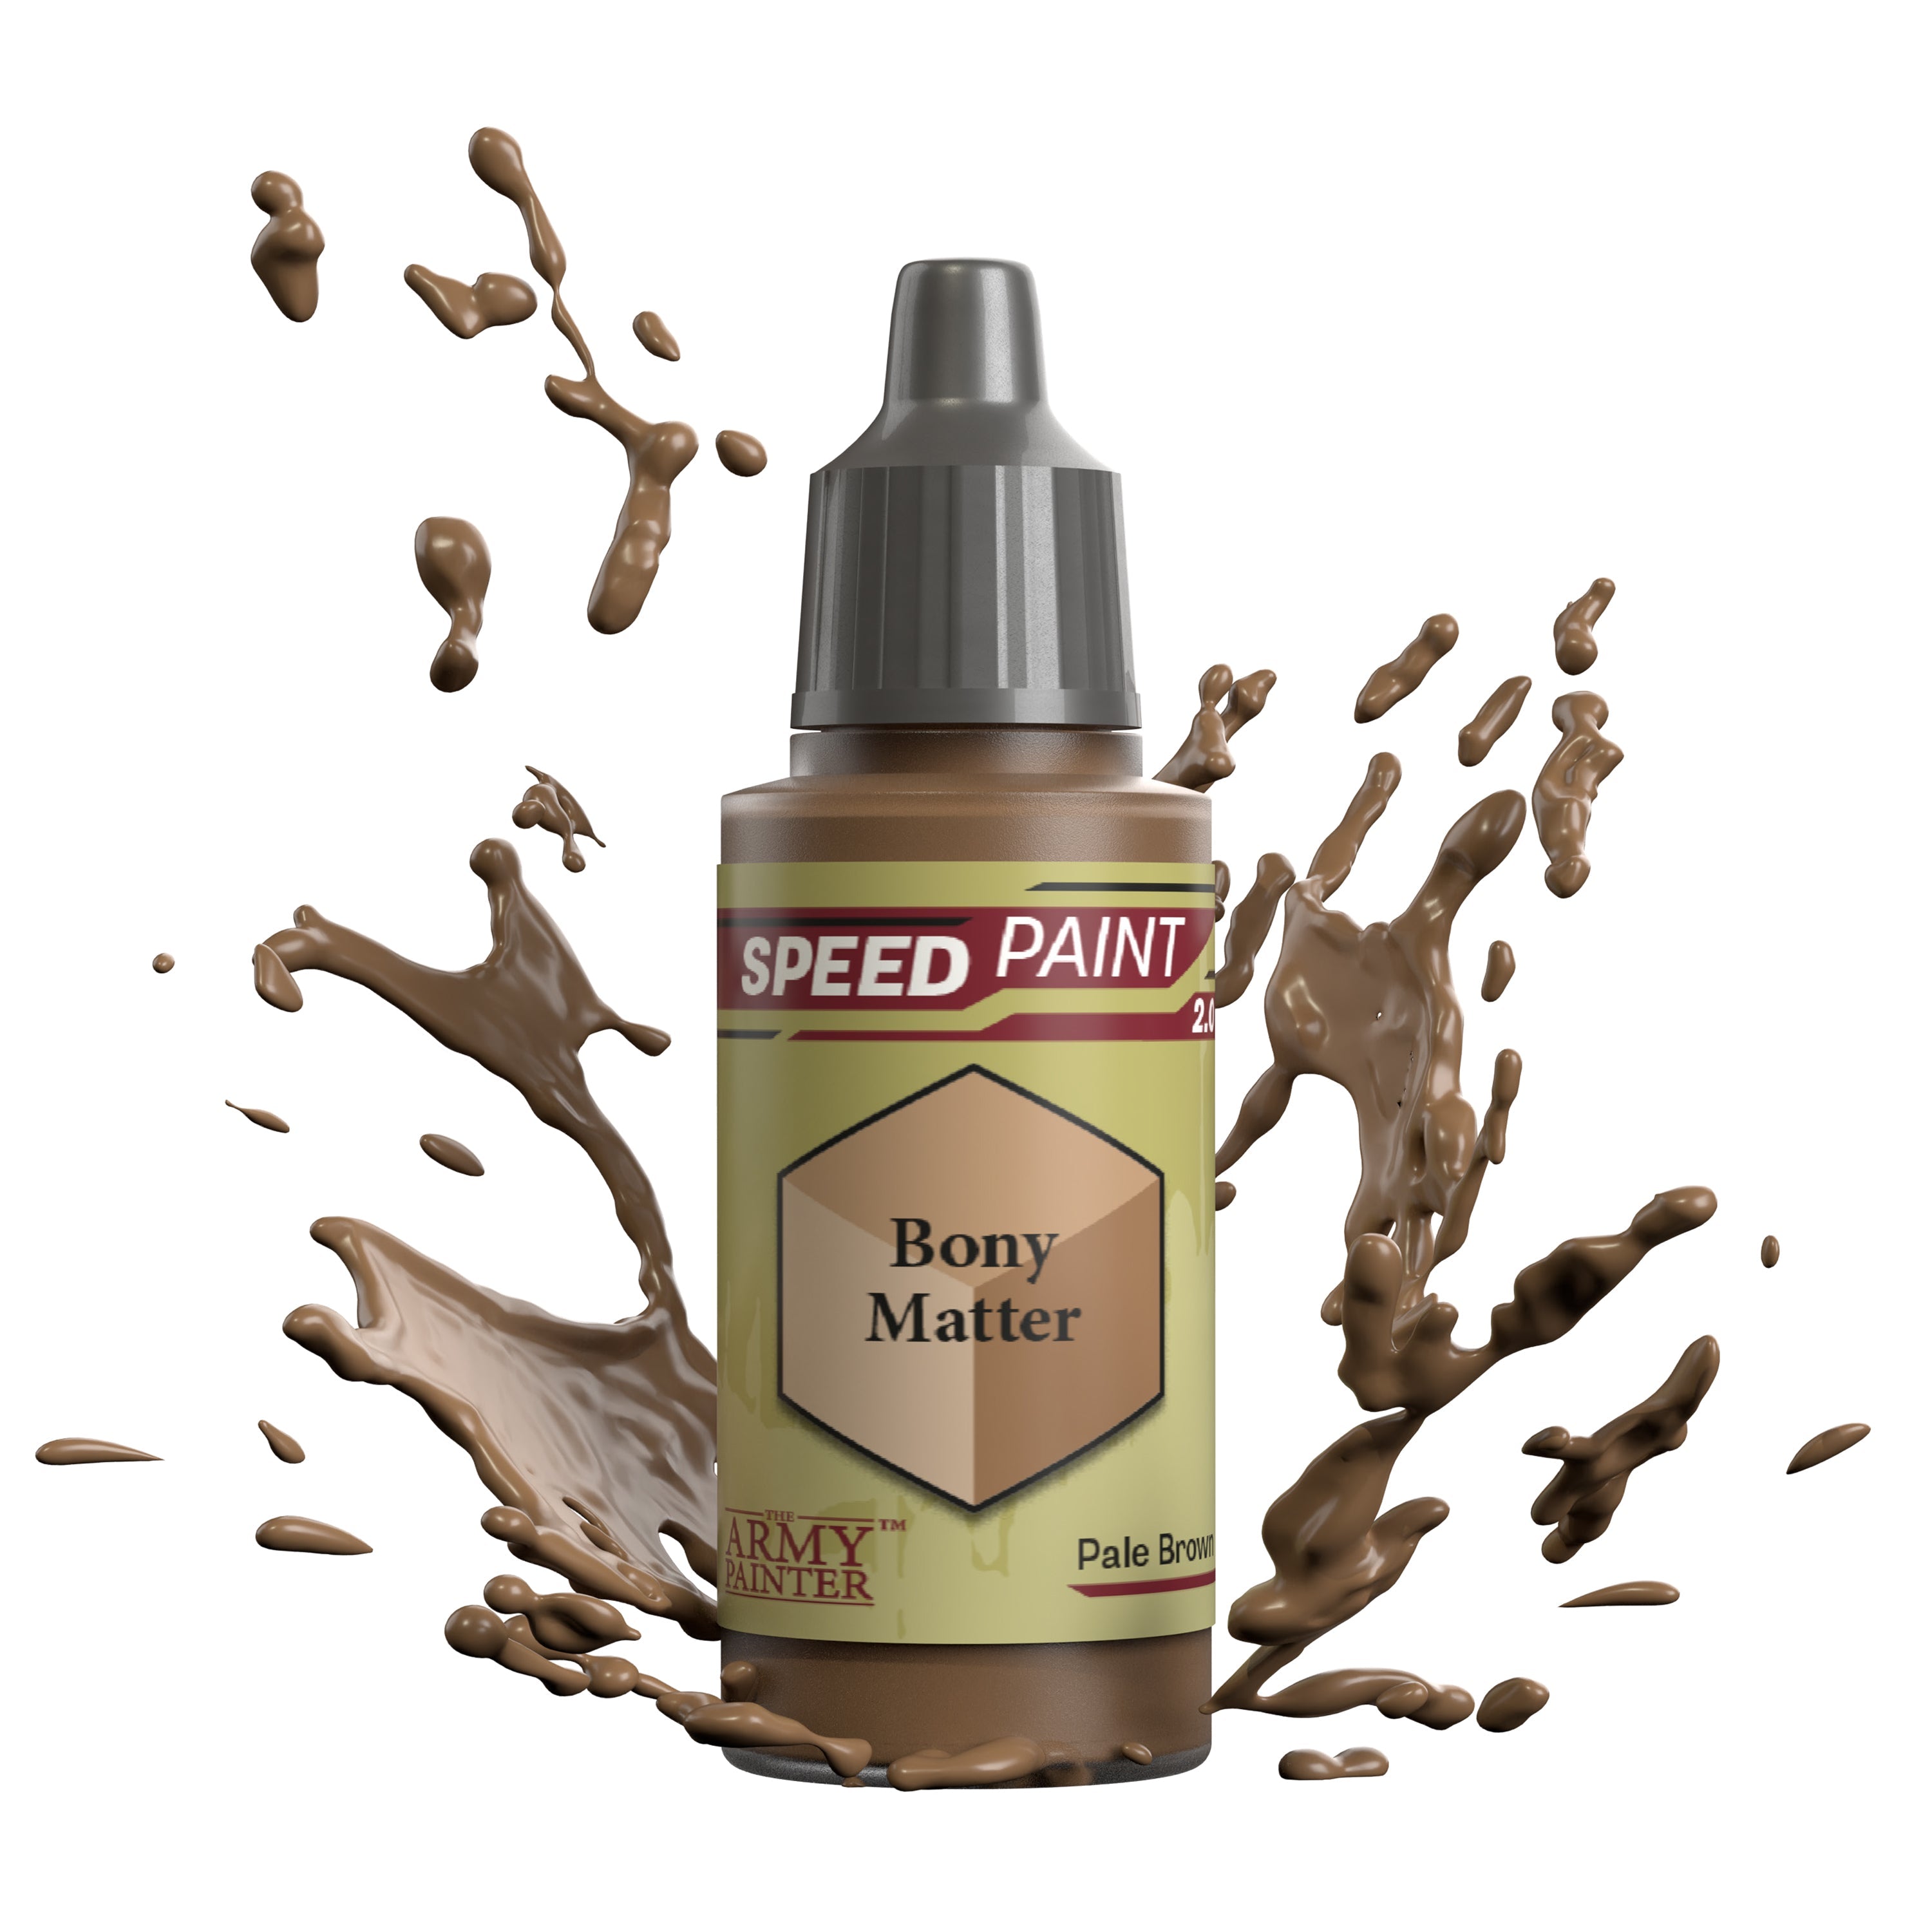
Apply a solid coat of Speedpaint Bony Matter to all the horns and teeth on the model.

The Skin and Horns Step 6

Step 6

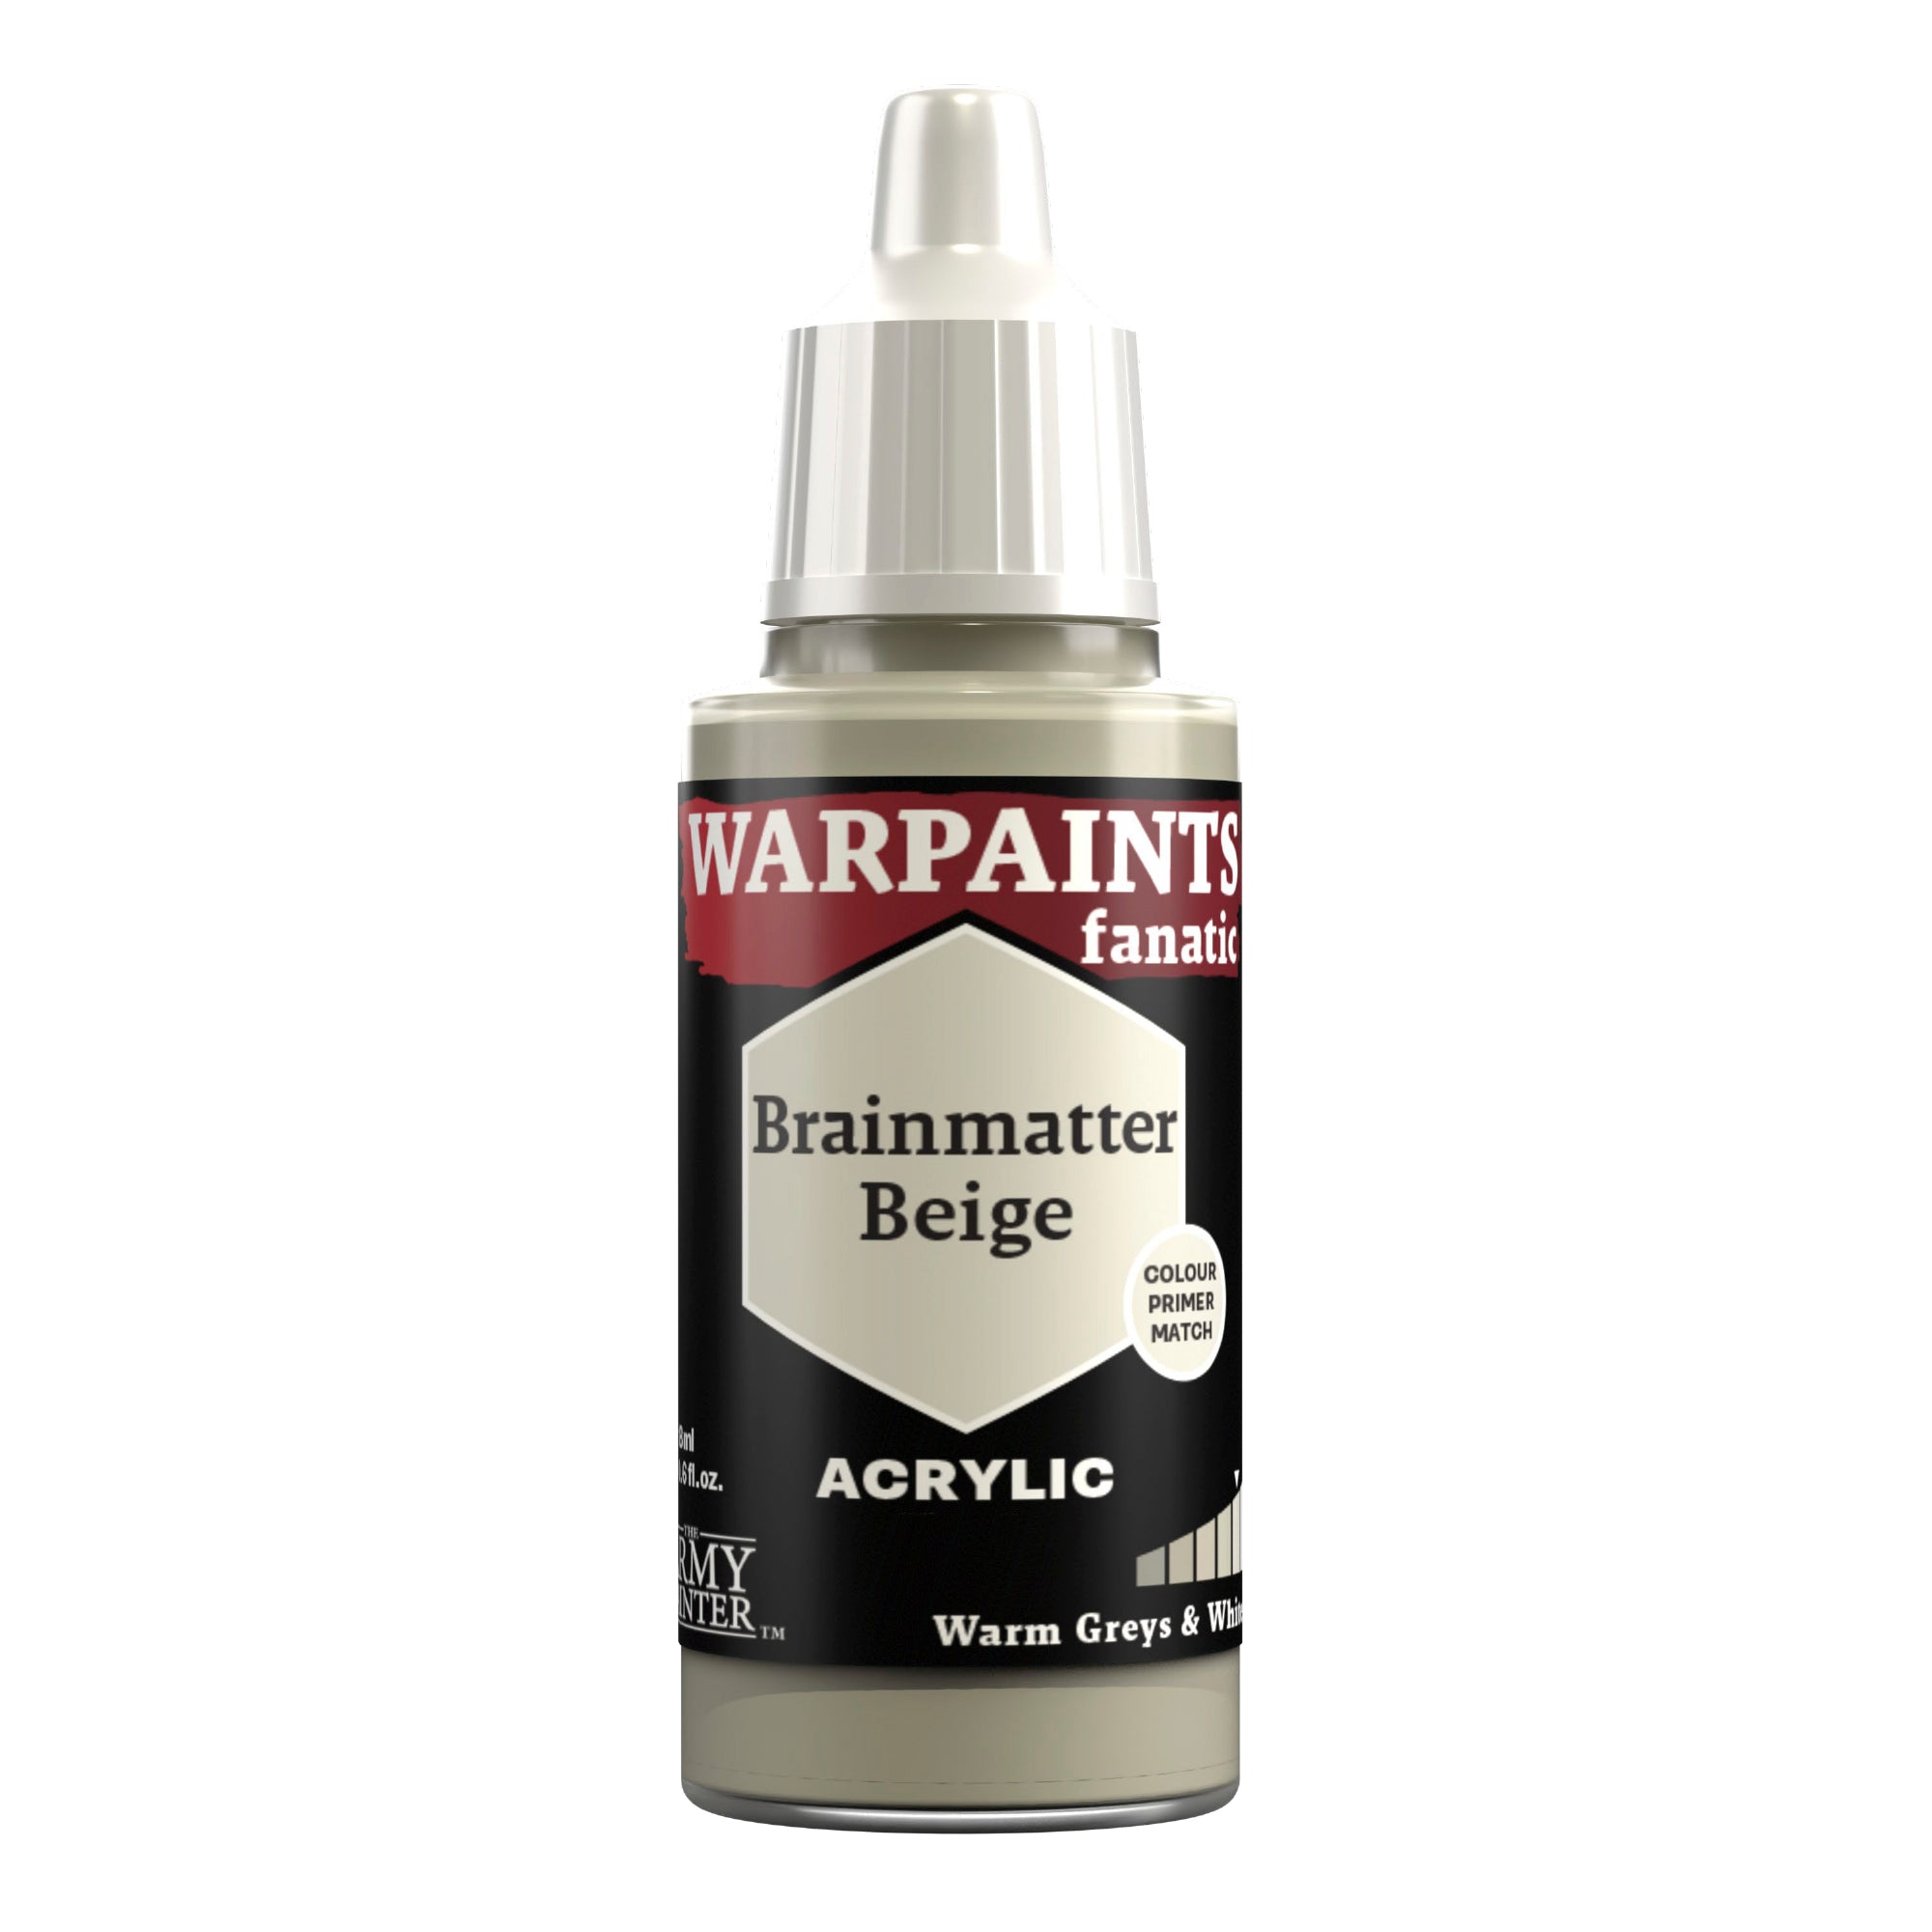
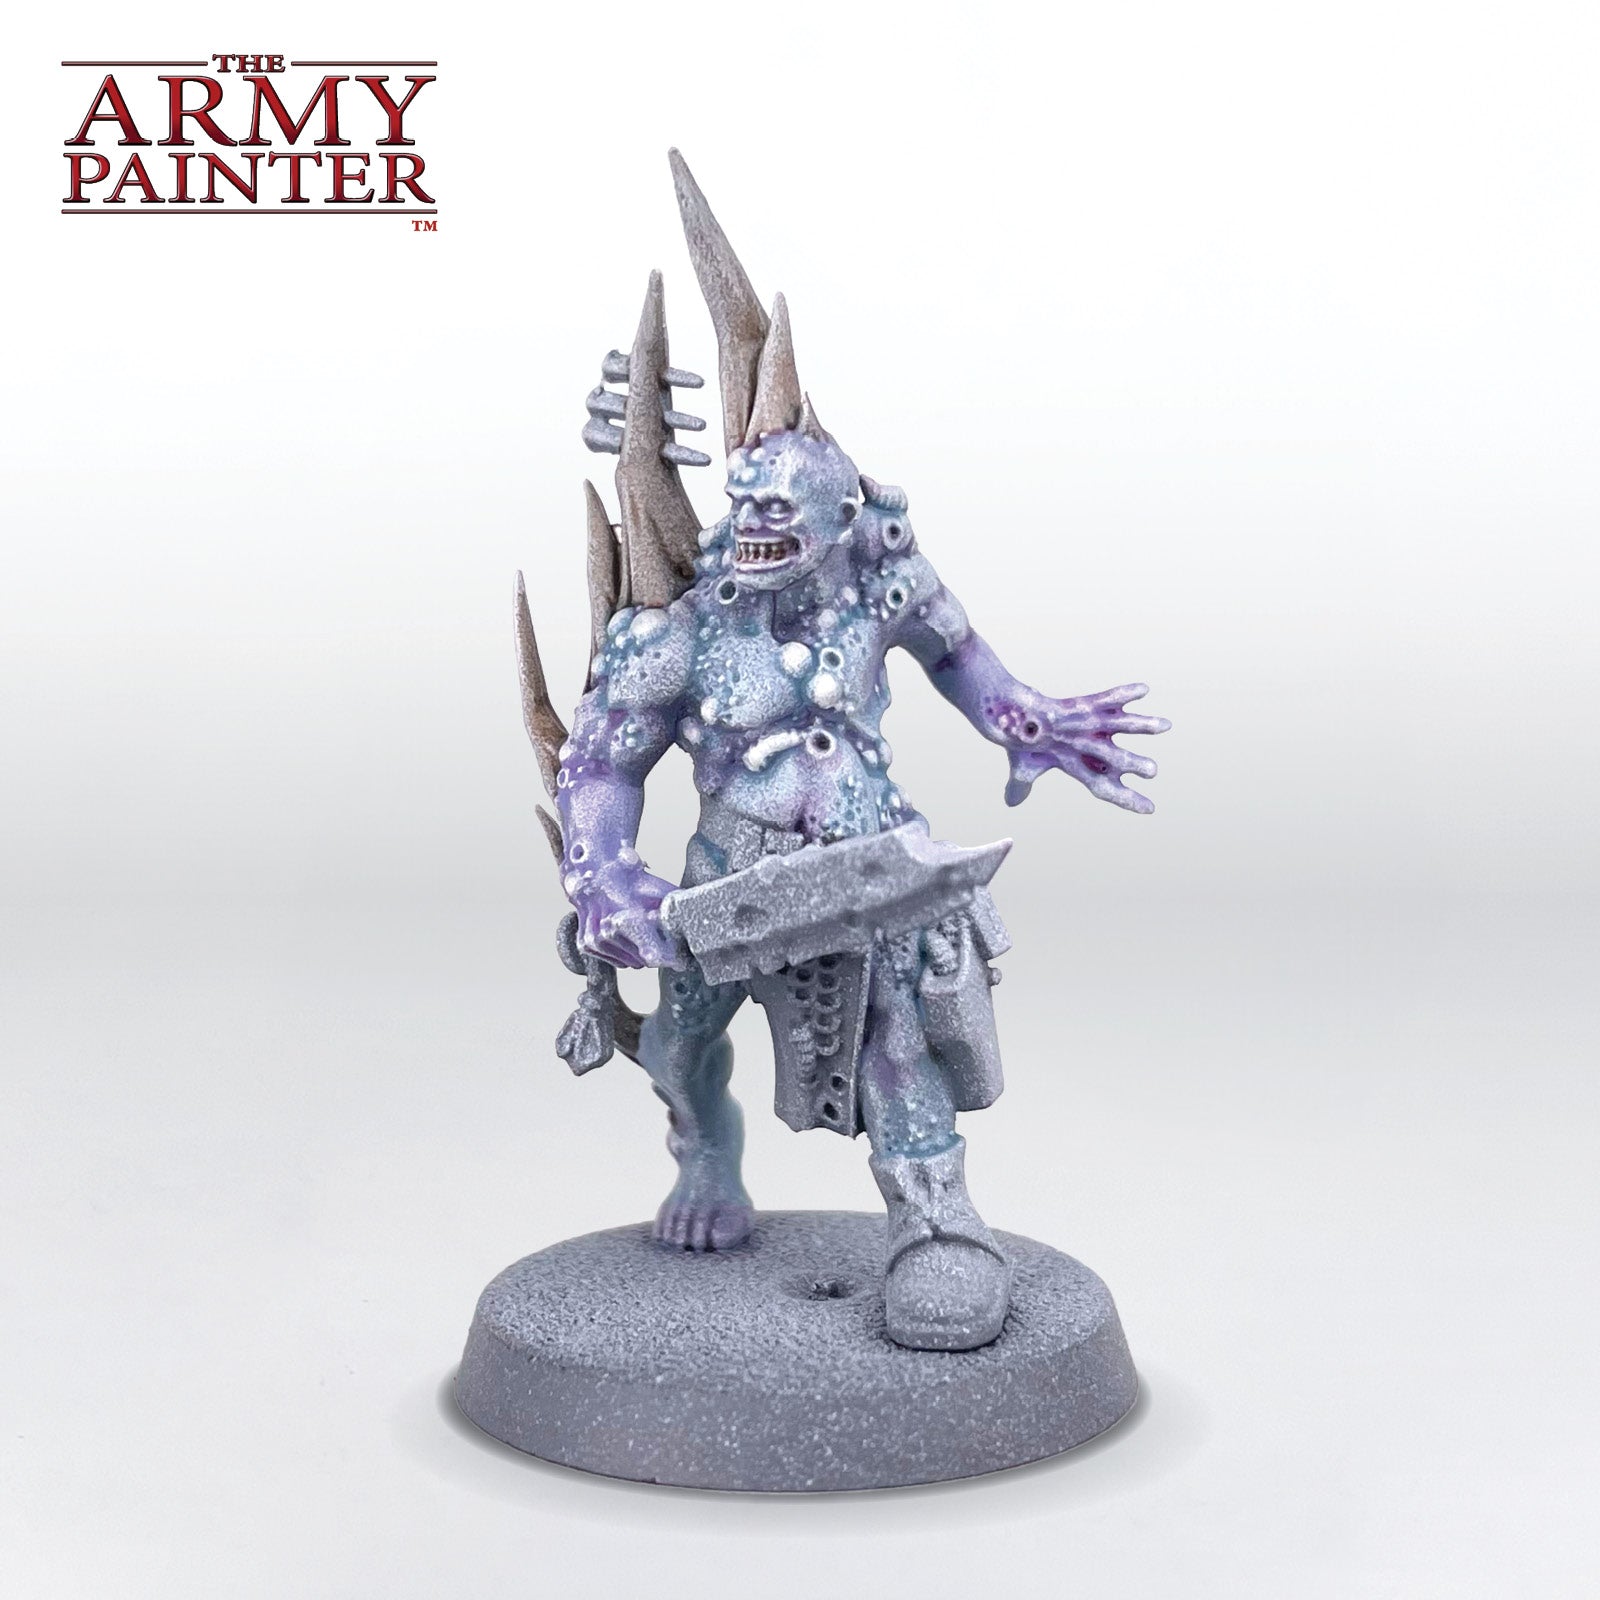
Finally, apply a drybrush of Warpaints Fanatic Brainmatter Beige with the Masterclass: Miniature Drybrush to all the skin and bone areas. Go lighter on the tentacles with this to maintain more of the purple colour. At this point, also apply a solid layer of Brainmatter Beige to all the pustules and maggots on the model using a Wargamer: Character Brush.

Banner

The Pustules and Maggots

The Pustules and Maggots Step 1

Step 1

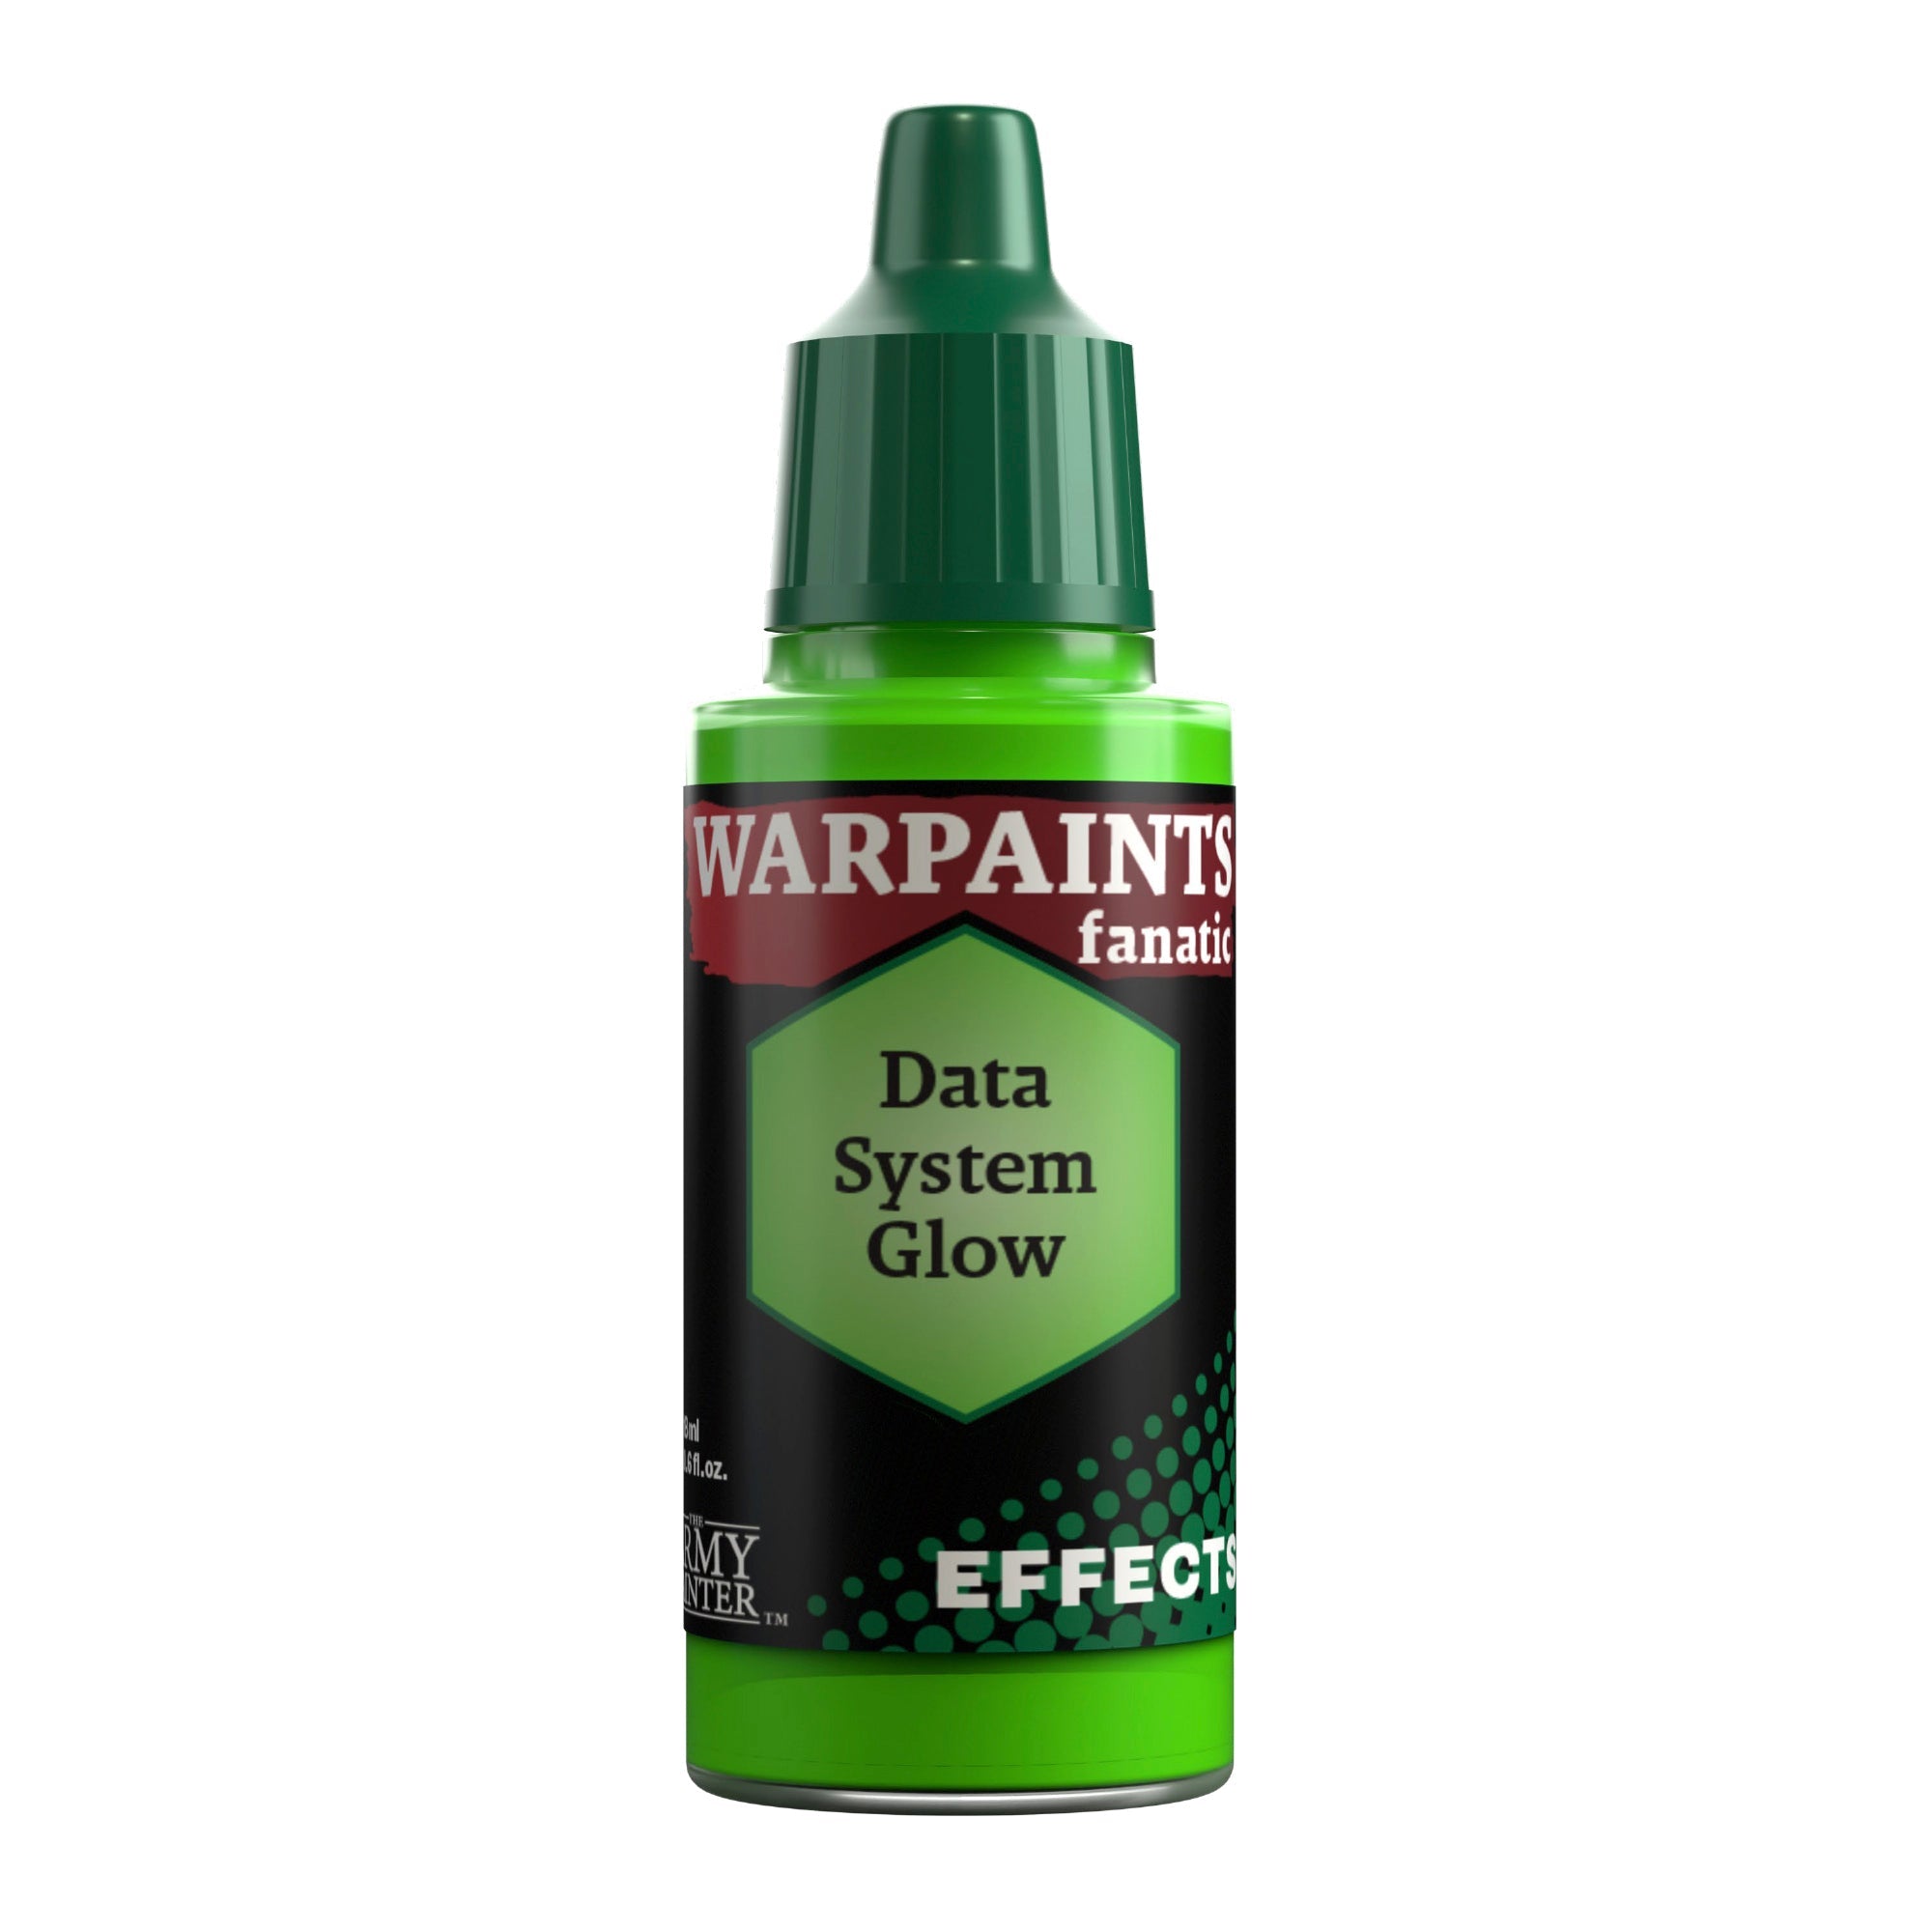
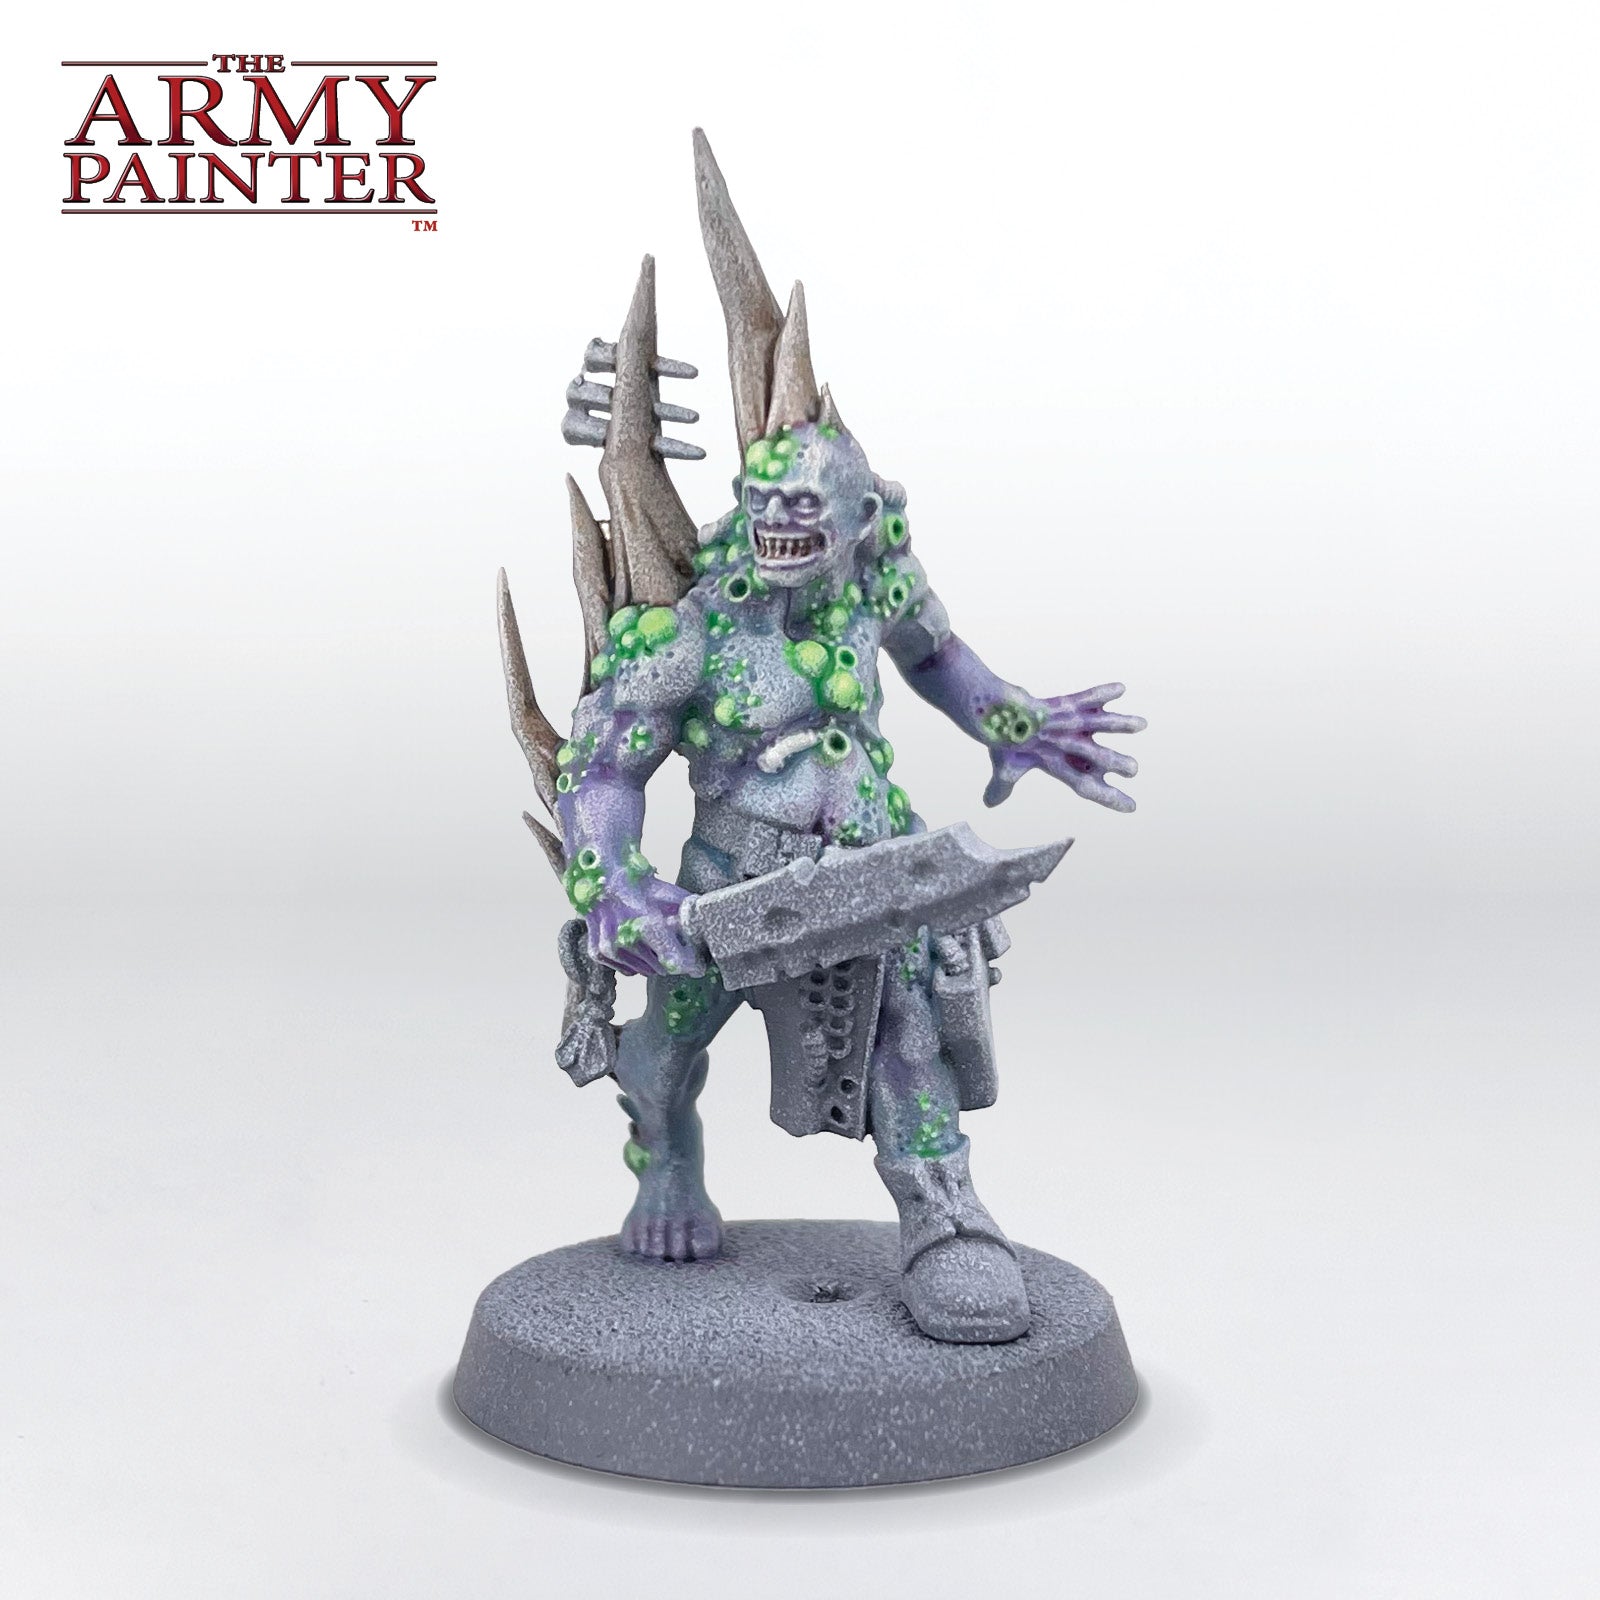
Now for one of the most fun parts of the model - the pustules! Apply a solid coat of Warpaints Fanatic Effects Data System Glow to all the pustules. You can apply a second coat to some if you want to darken them more.

The Pustules and Maggots Step 2

Step 2

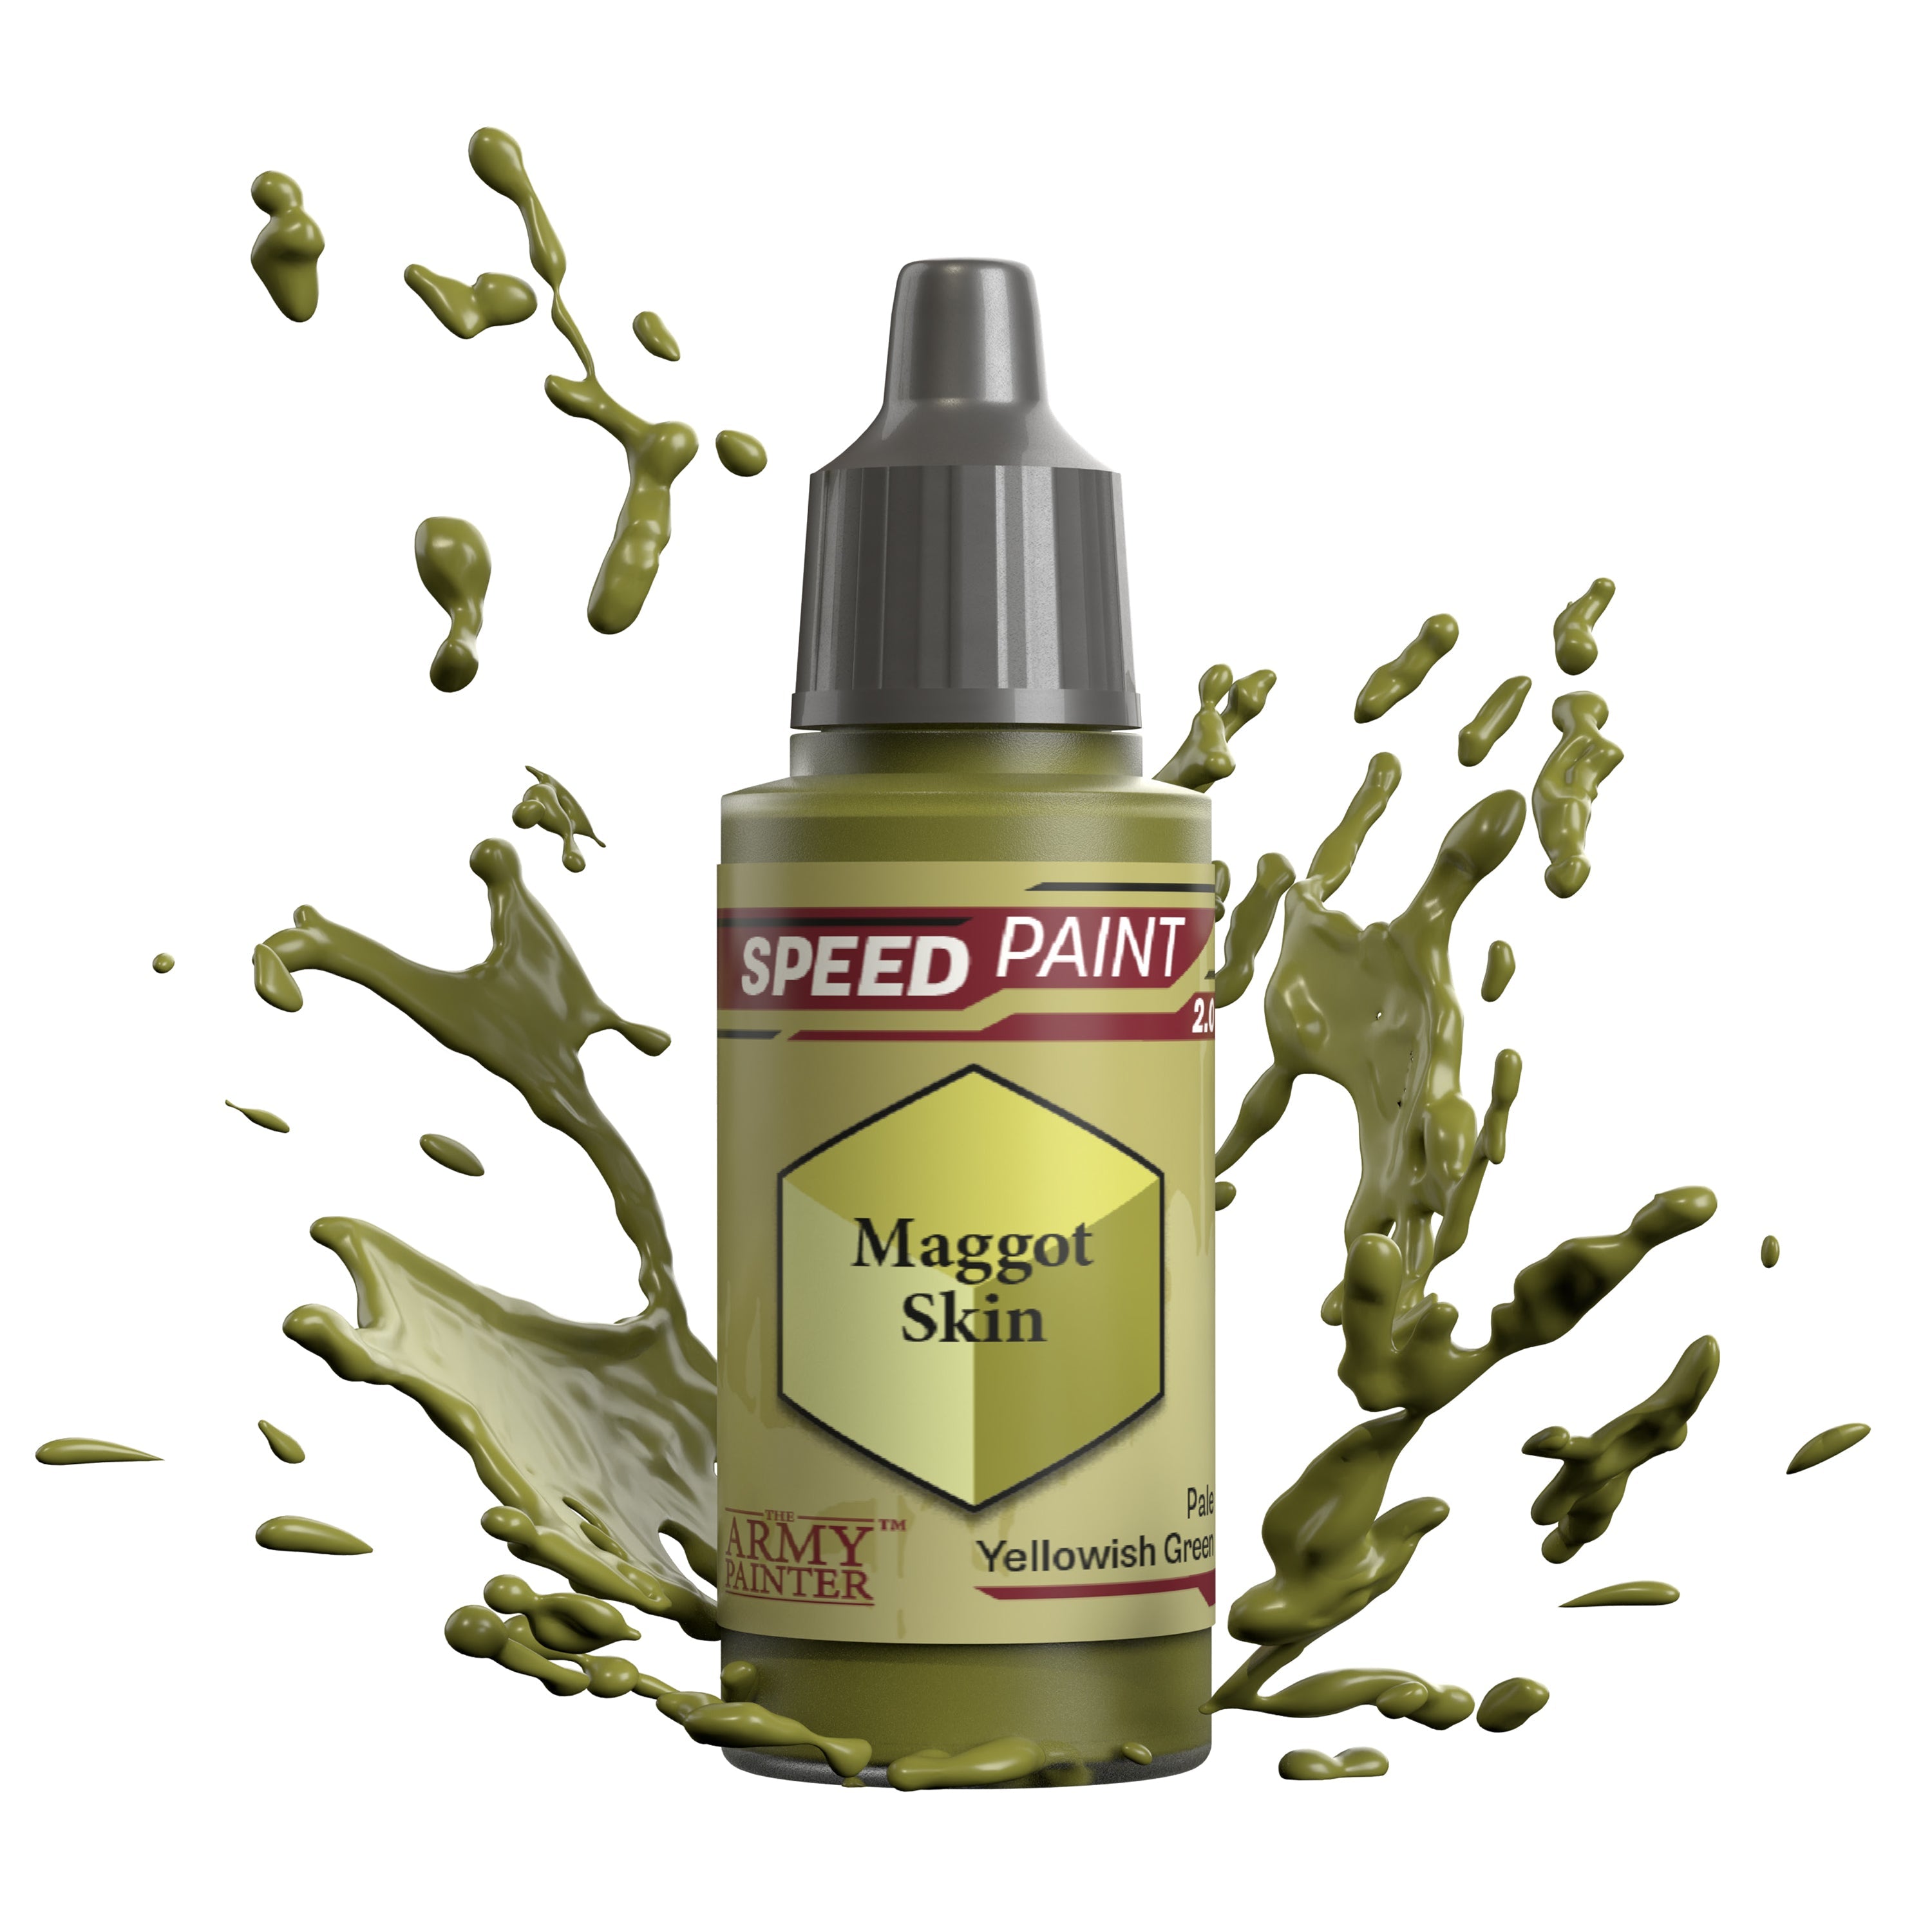
The maggots were then painted with the appropriately named Speedpaint Maggot Skin. This was also applied to the joints on the insect arm.

The Pustules and Maggots Step 3

Step 3

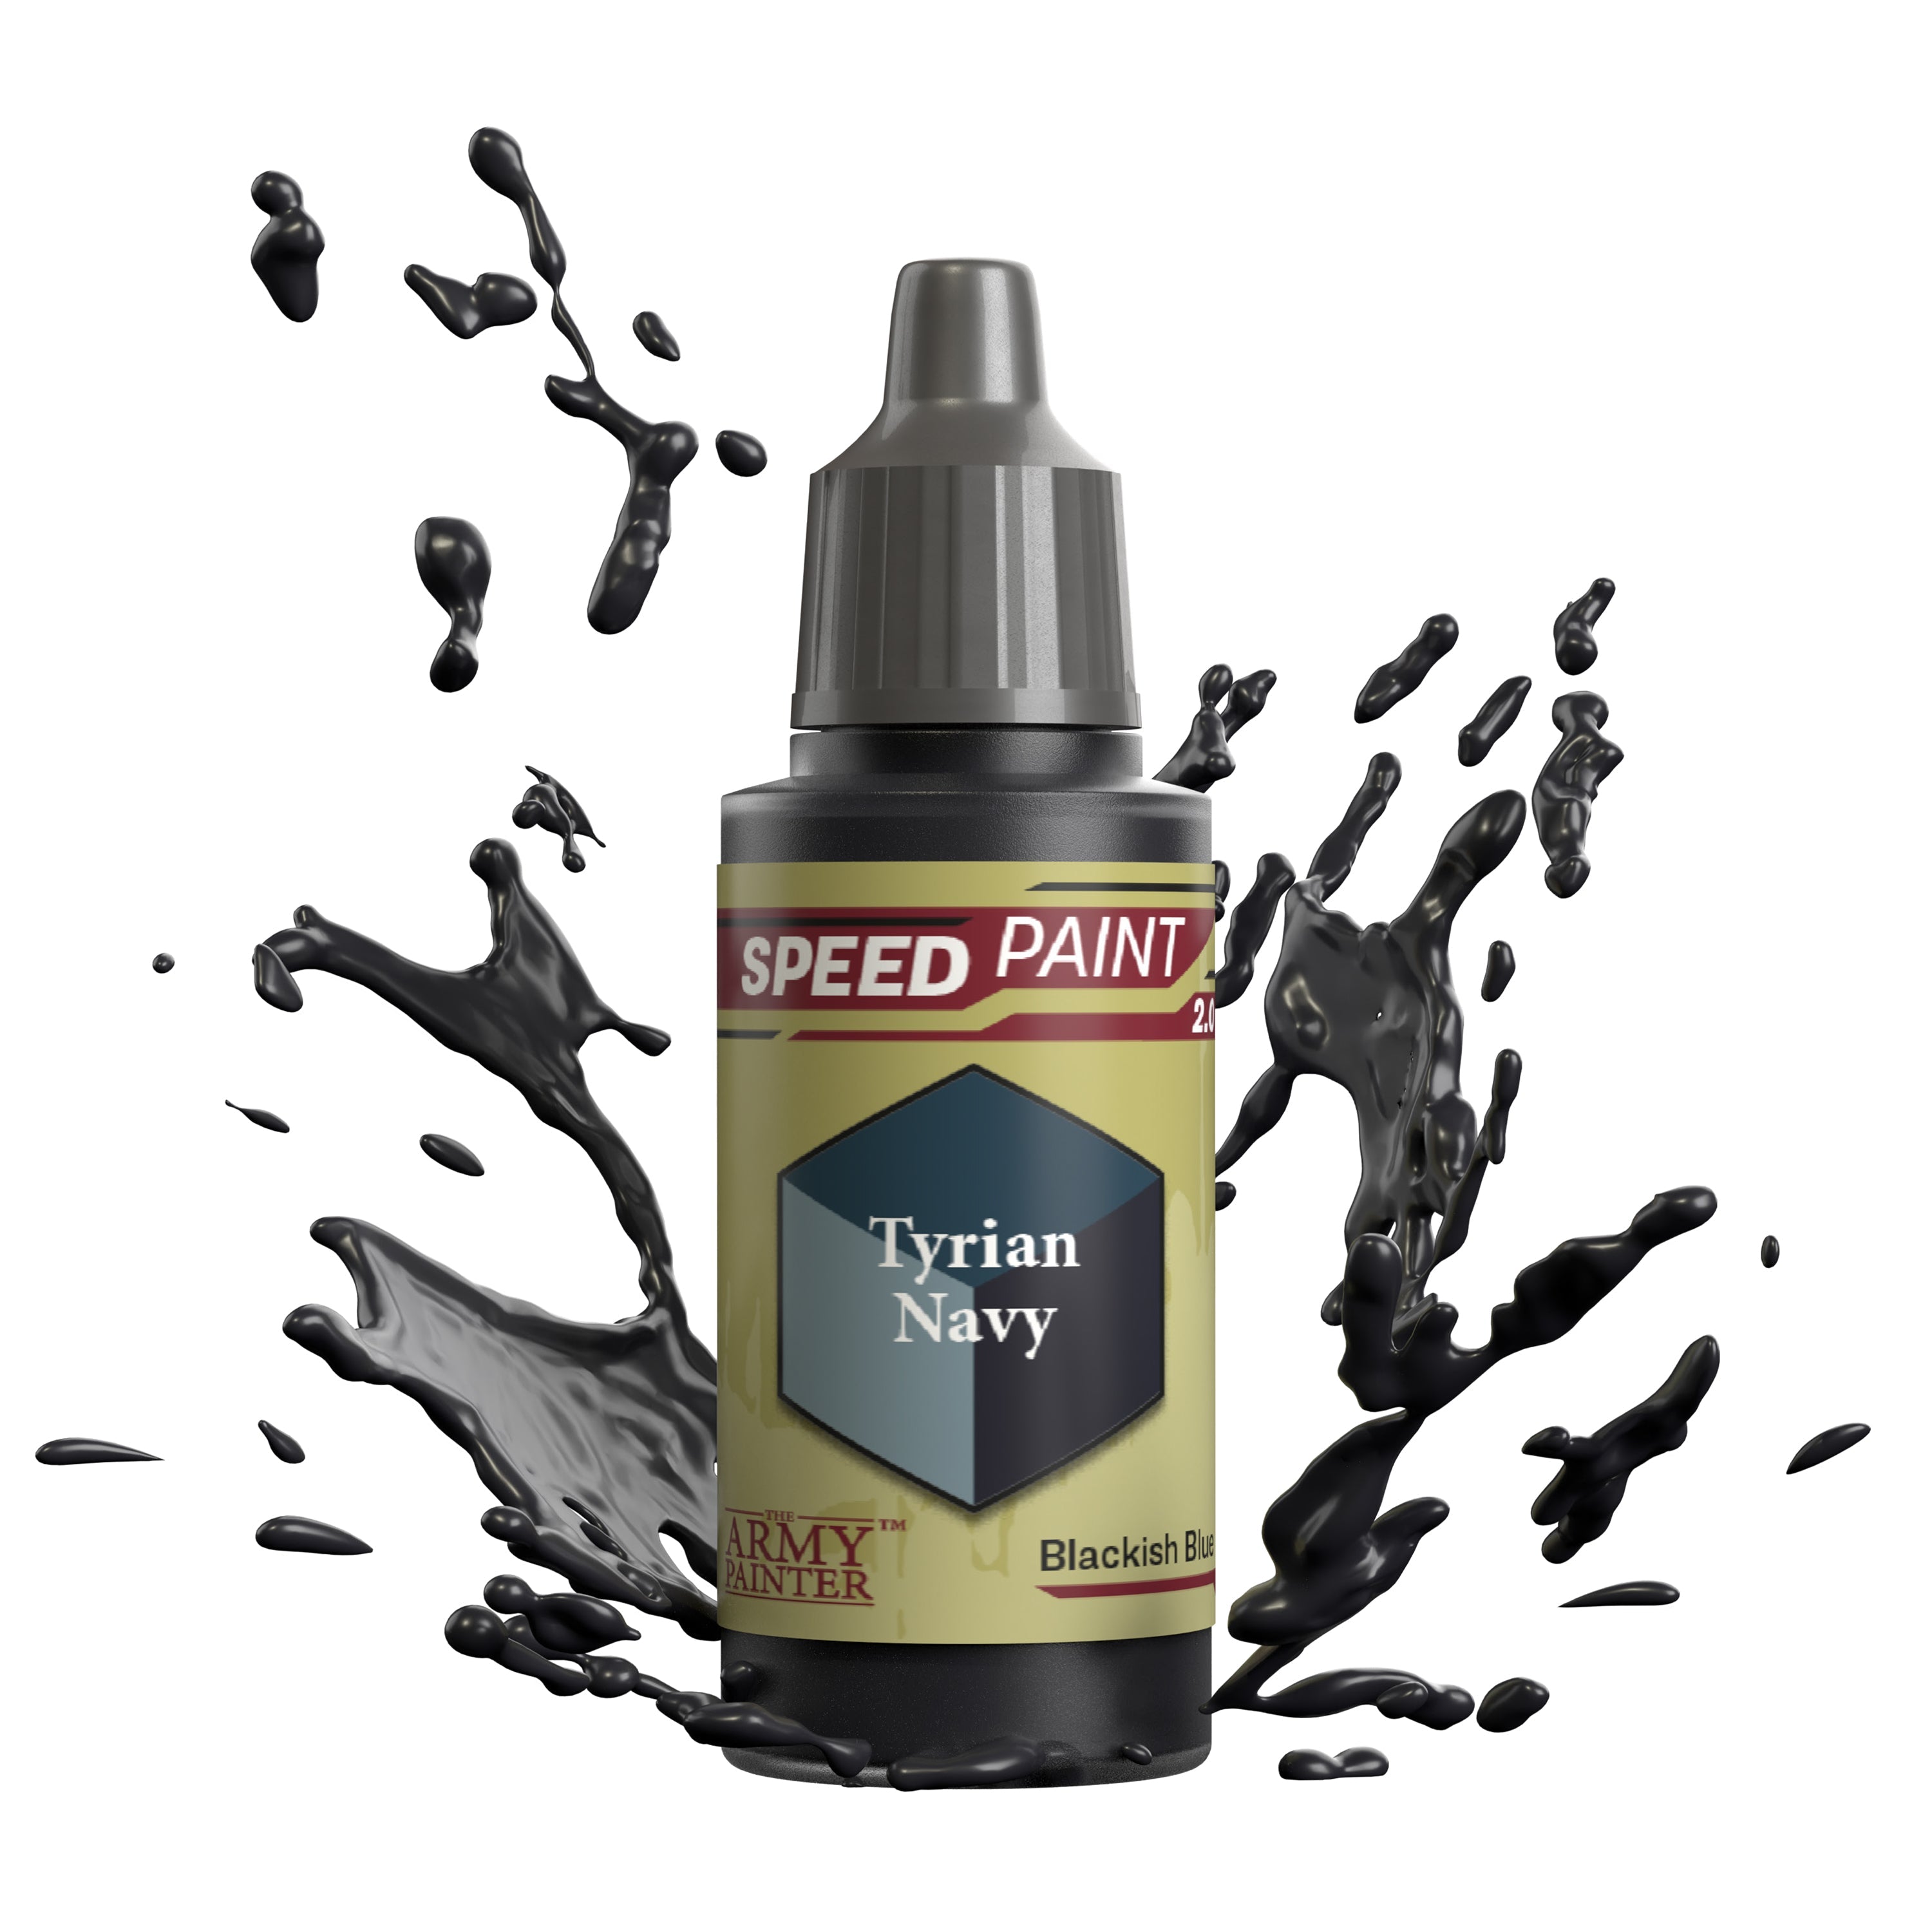
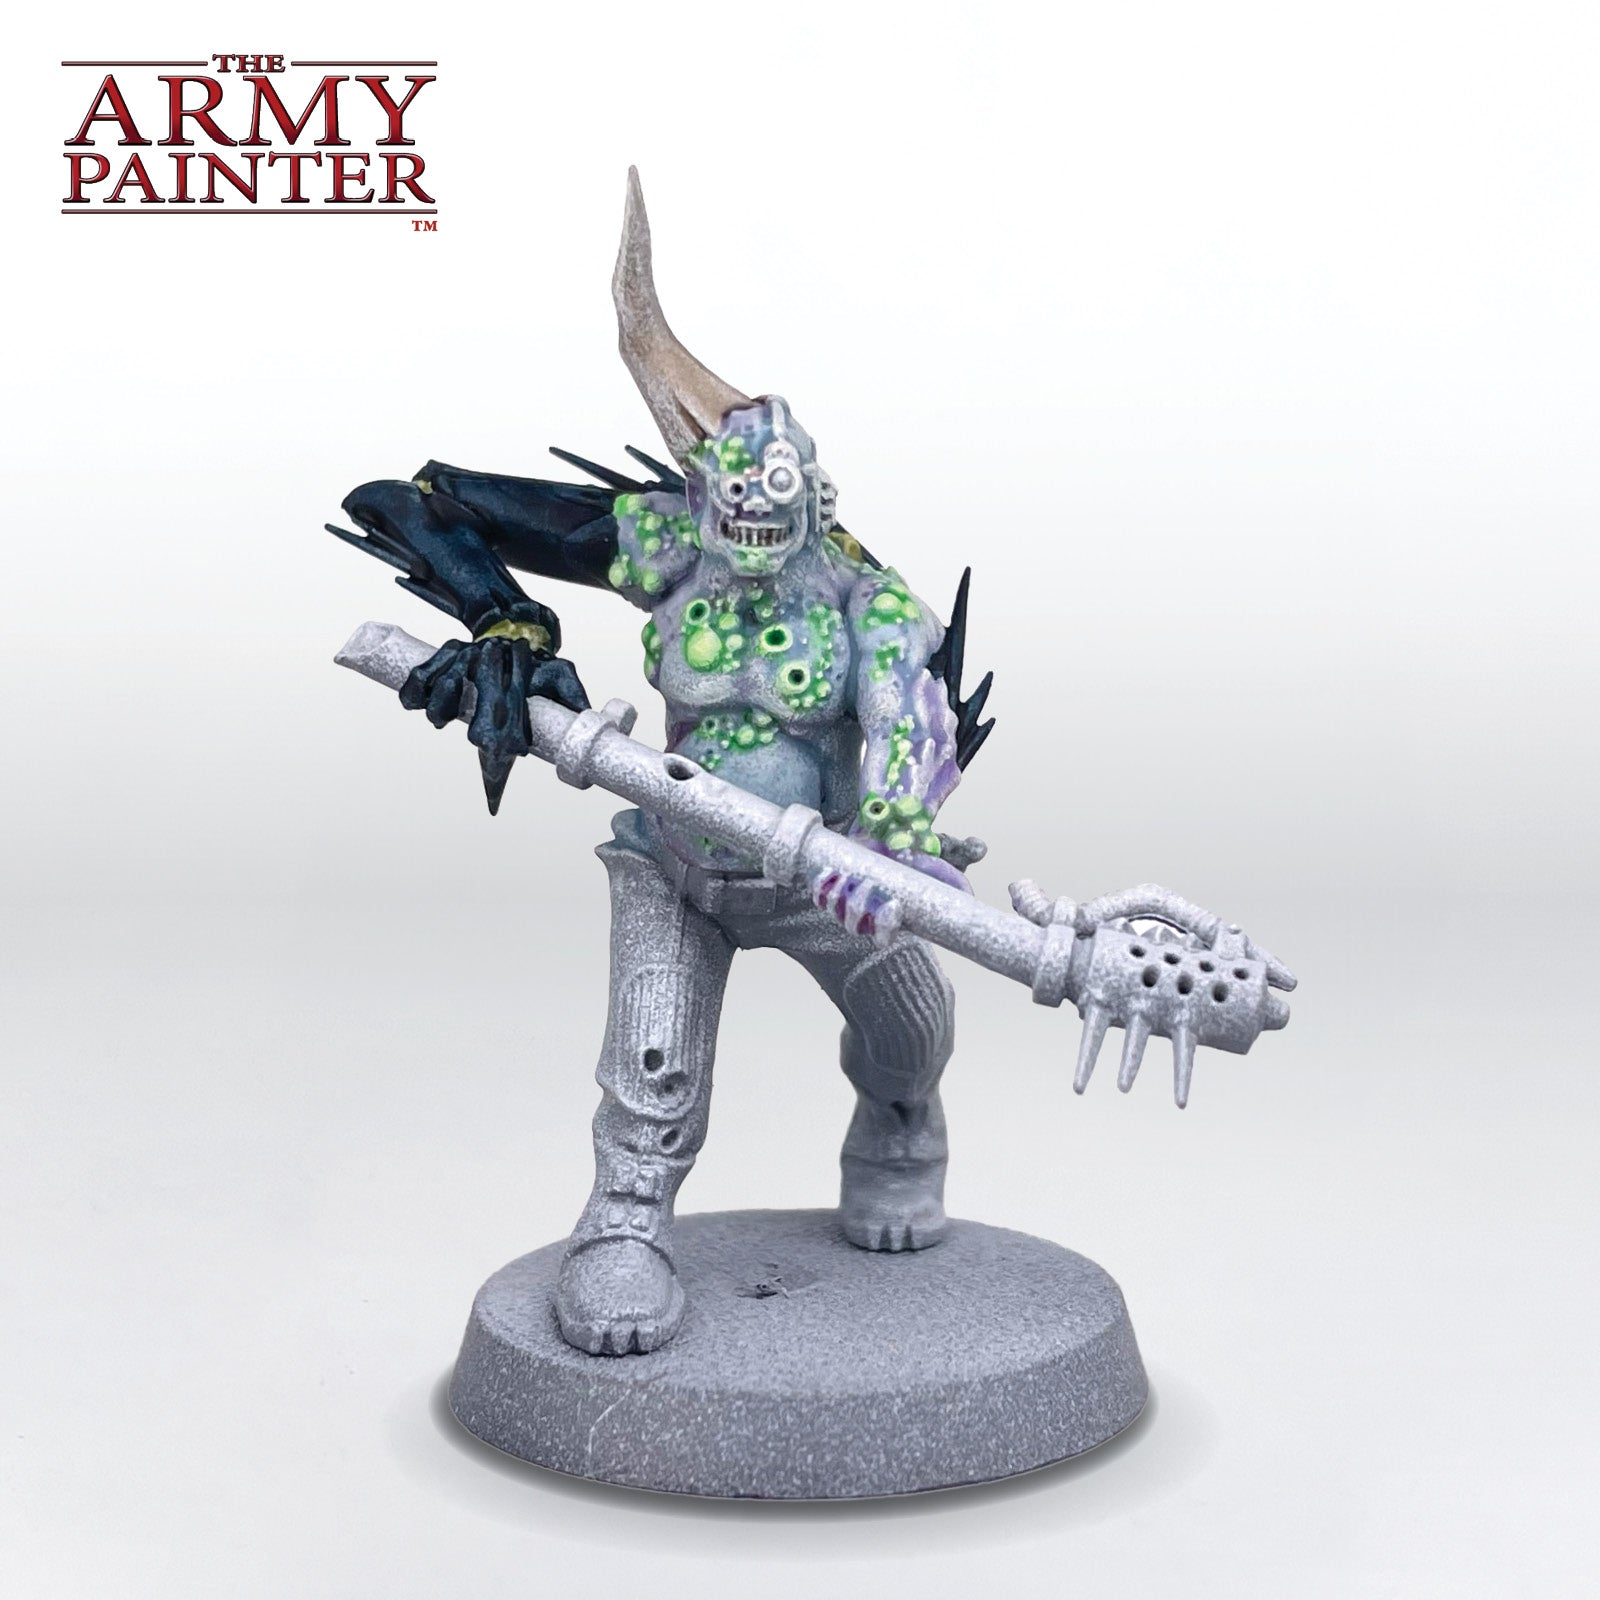
One of the models has a large insect arm and spines bursting through his skin. Paint these with Speedpaint Tyrian Navy.

Banner

The Cloth and Leather

The Cloth and Leather Step 1

Step 1

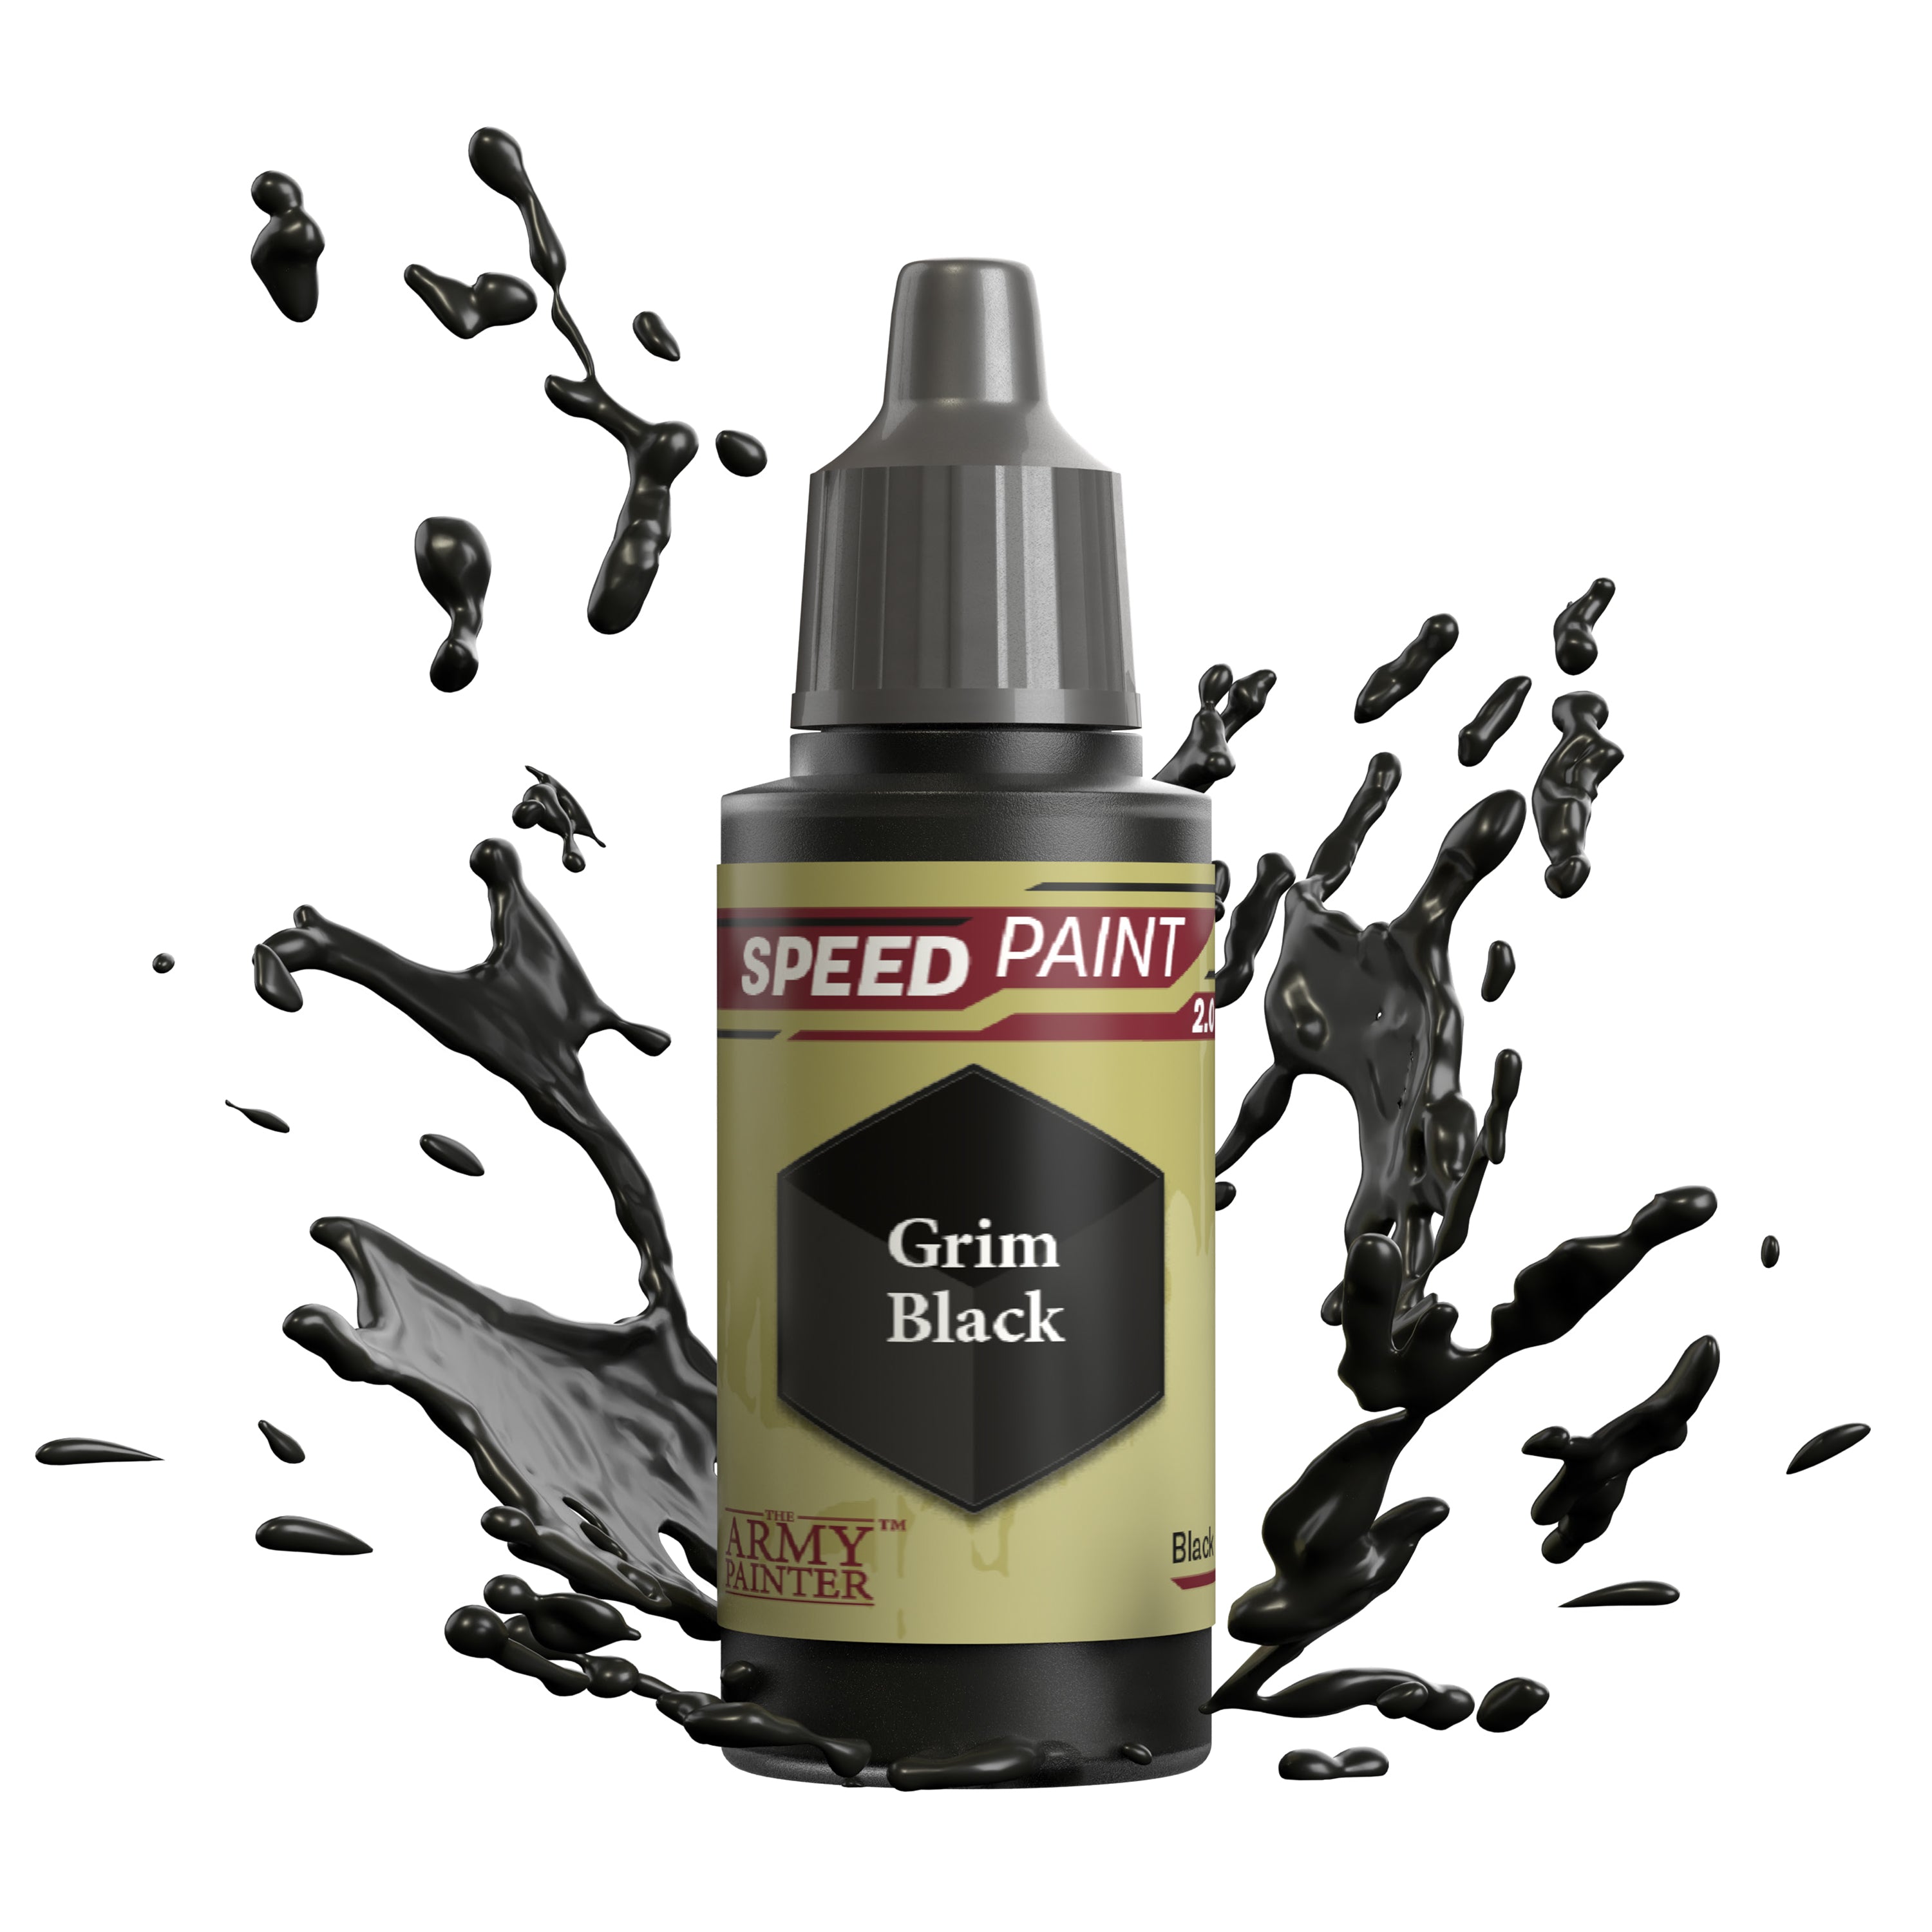
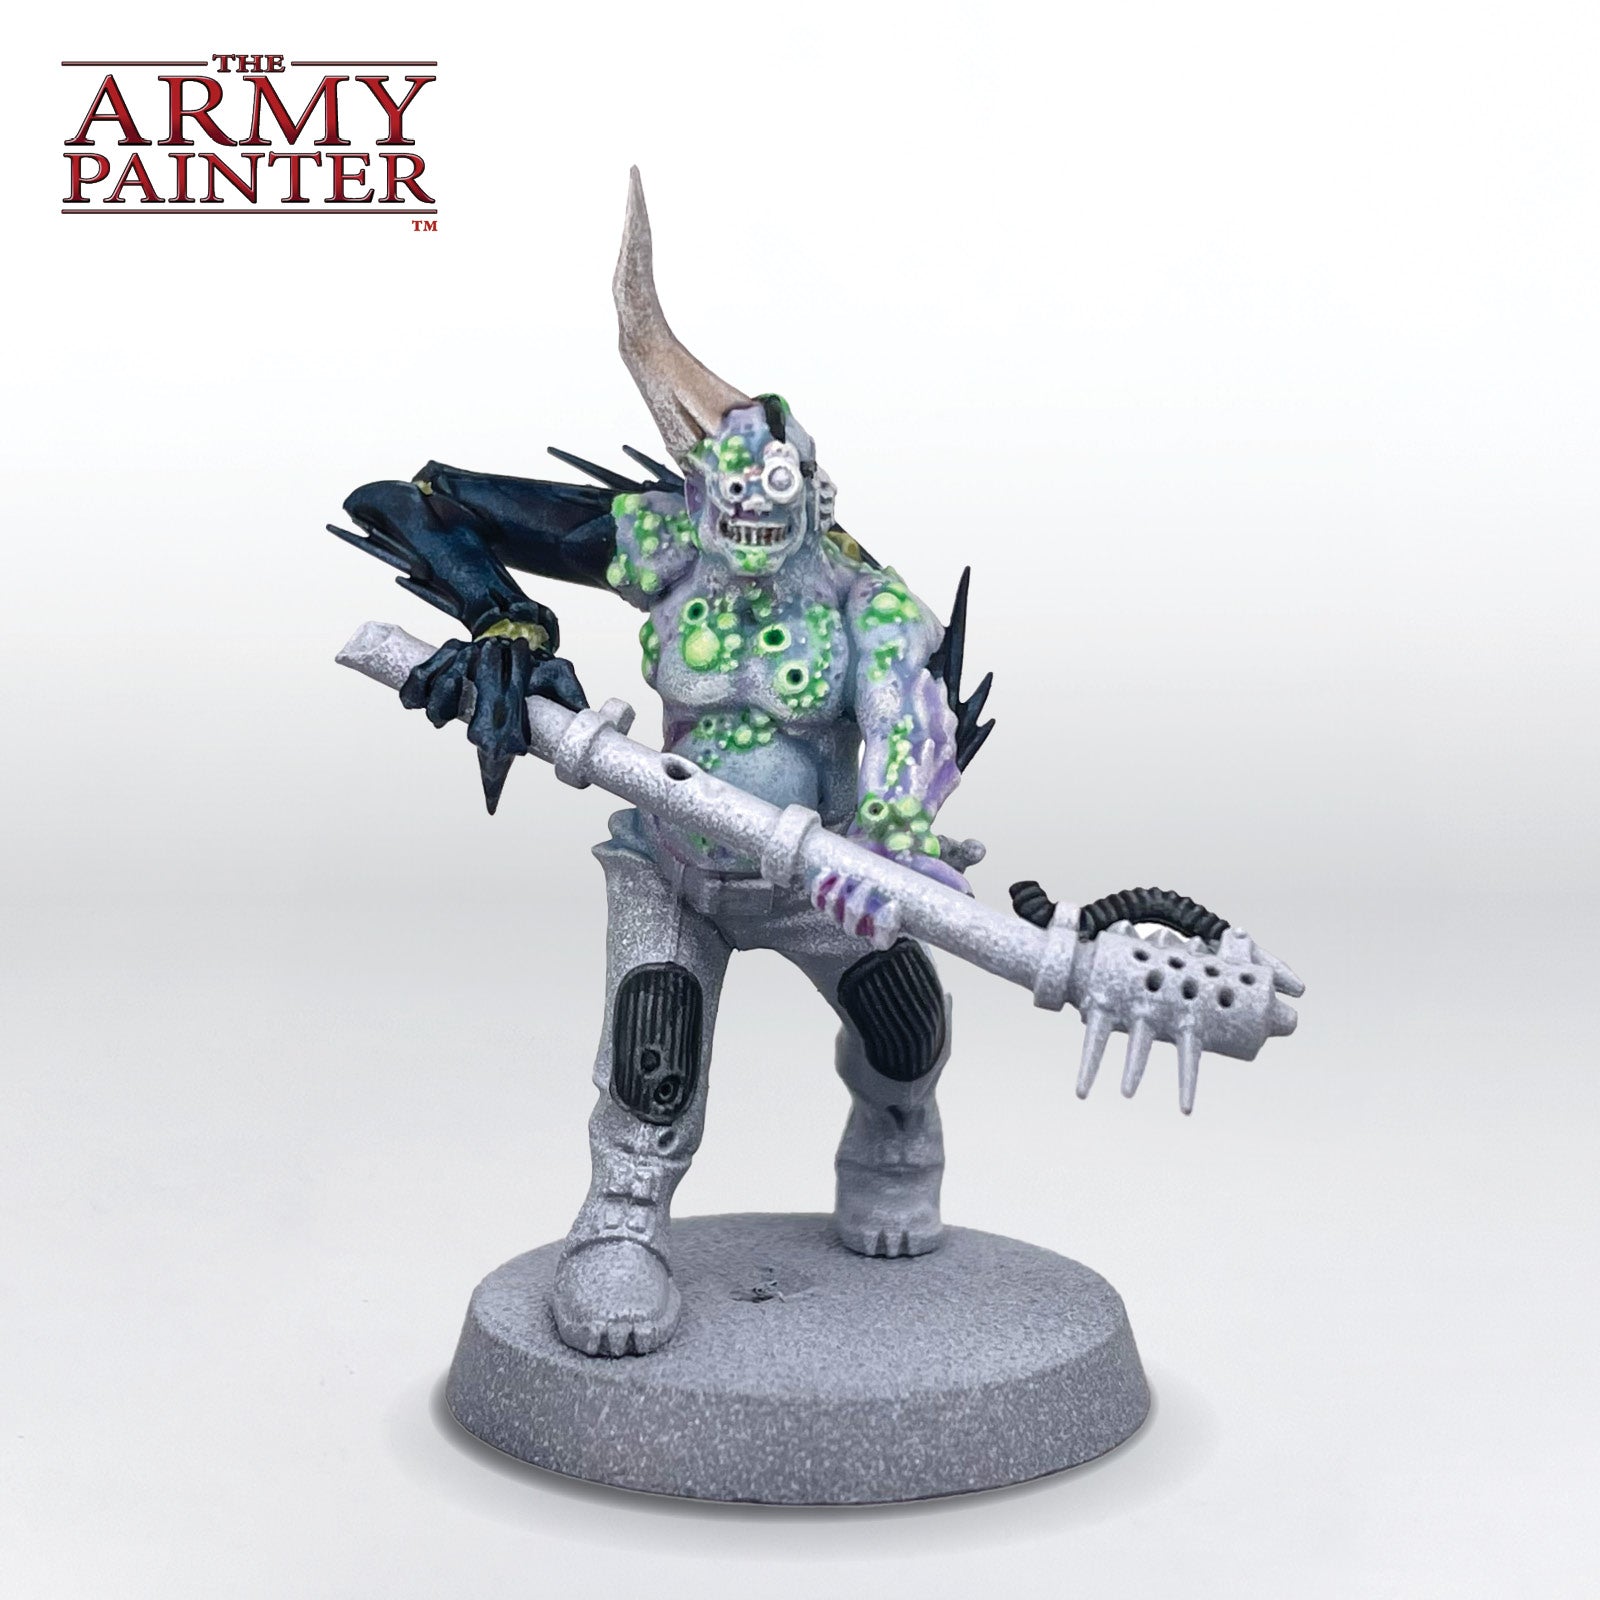
Paint any tubes or other rubber areas with Speedpaint Grim Black.

The Cloth and Leather Step 2

Step 2

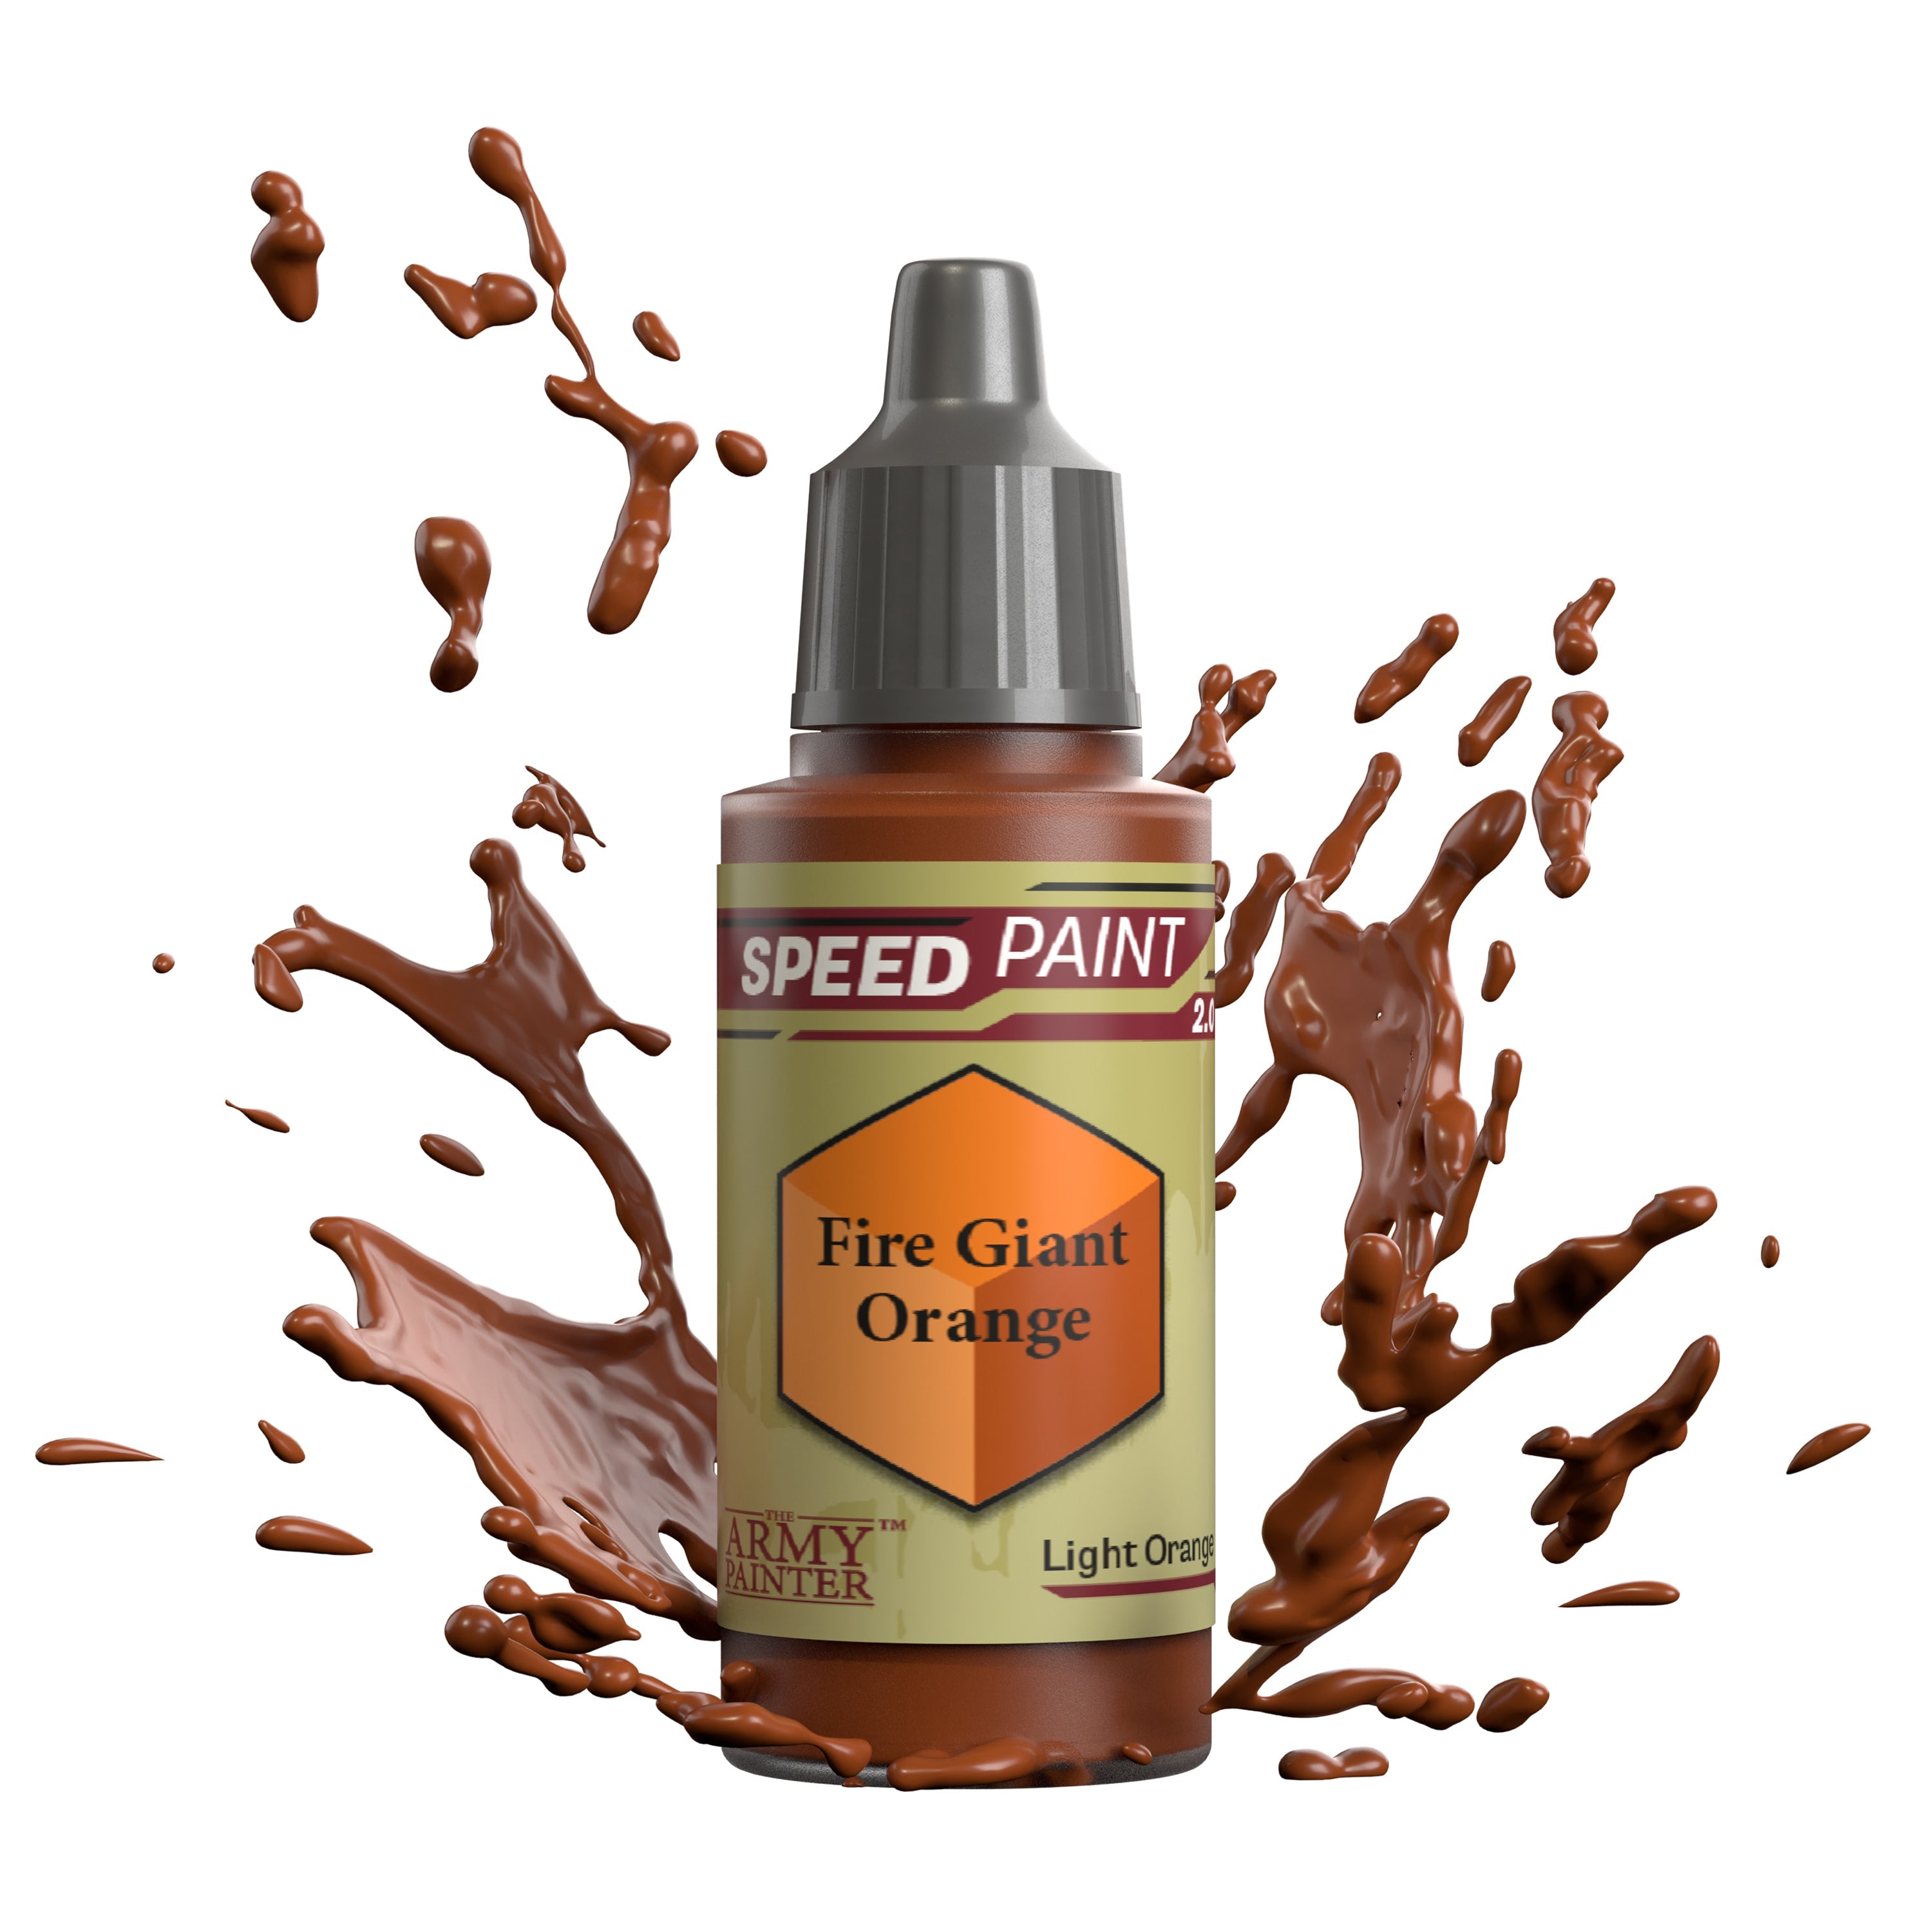
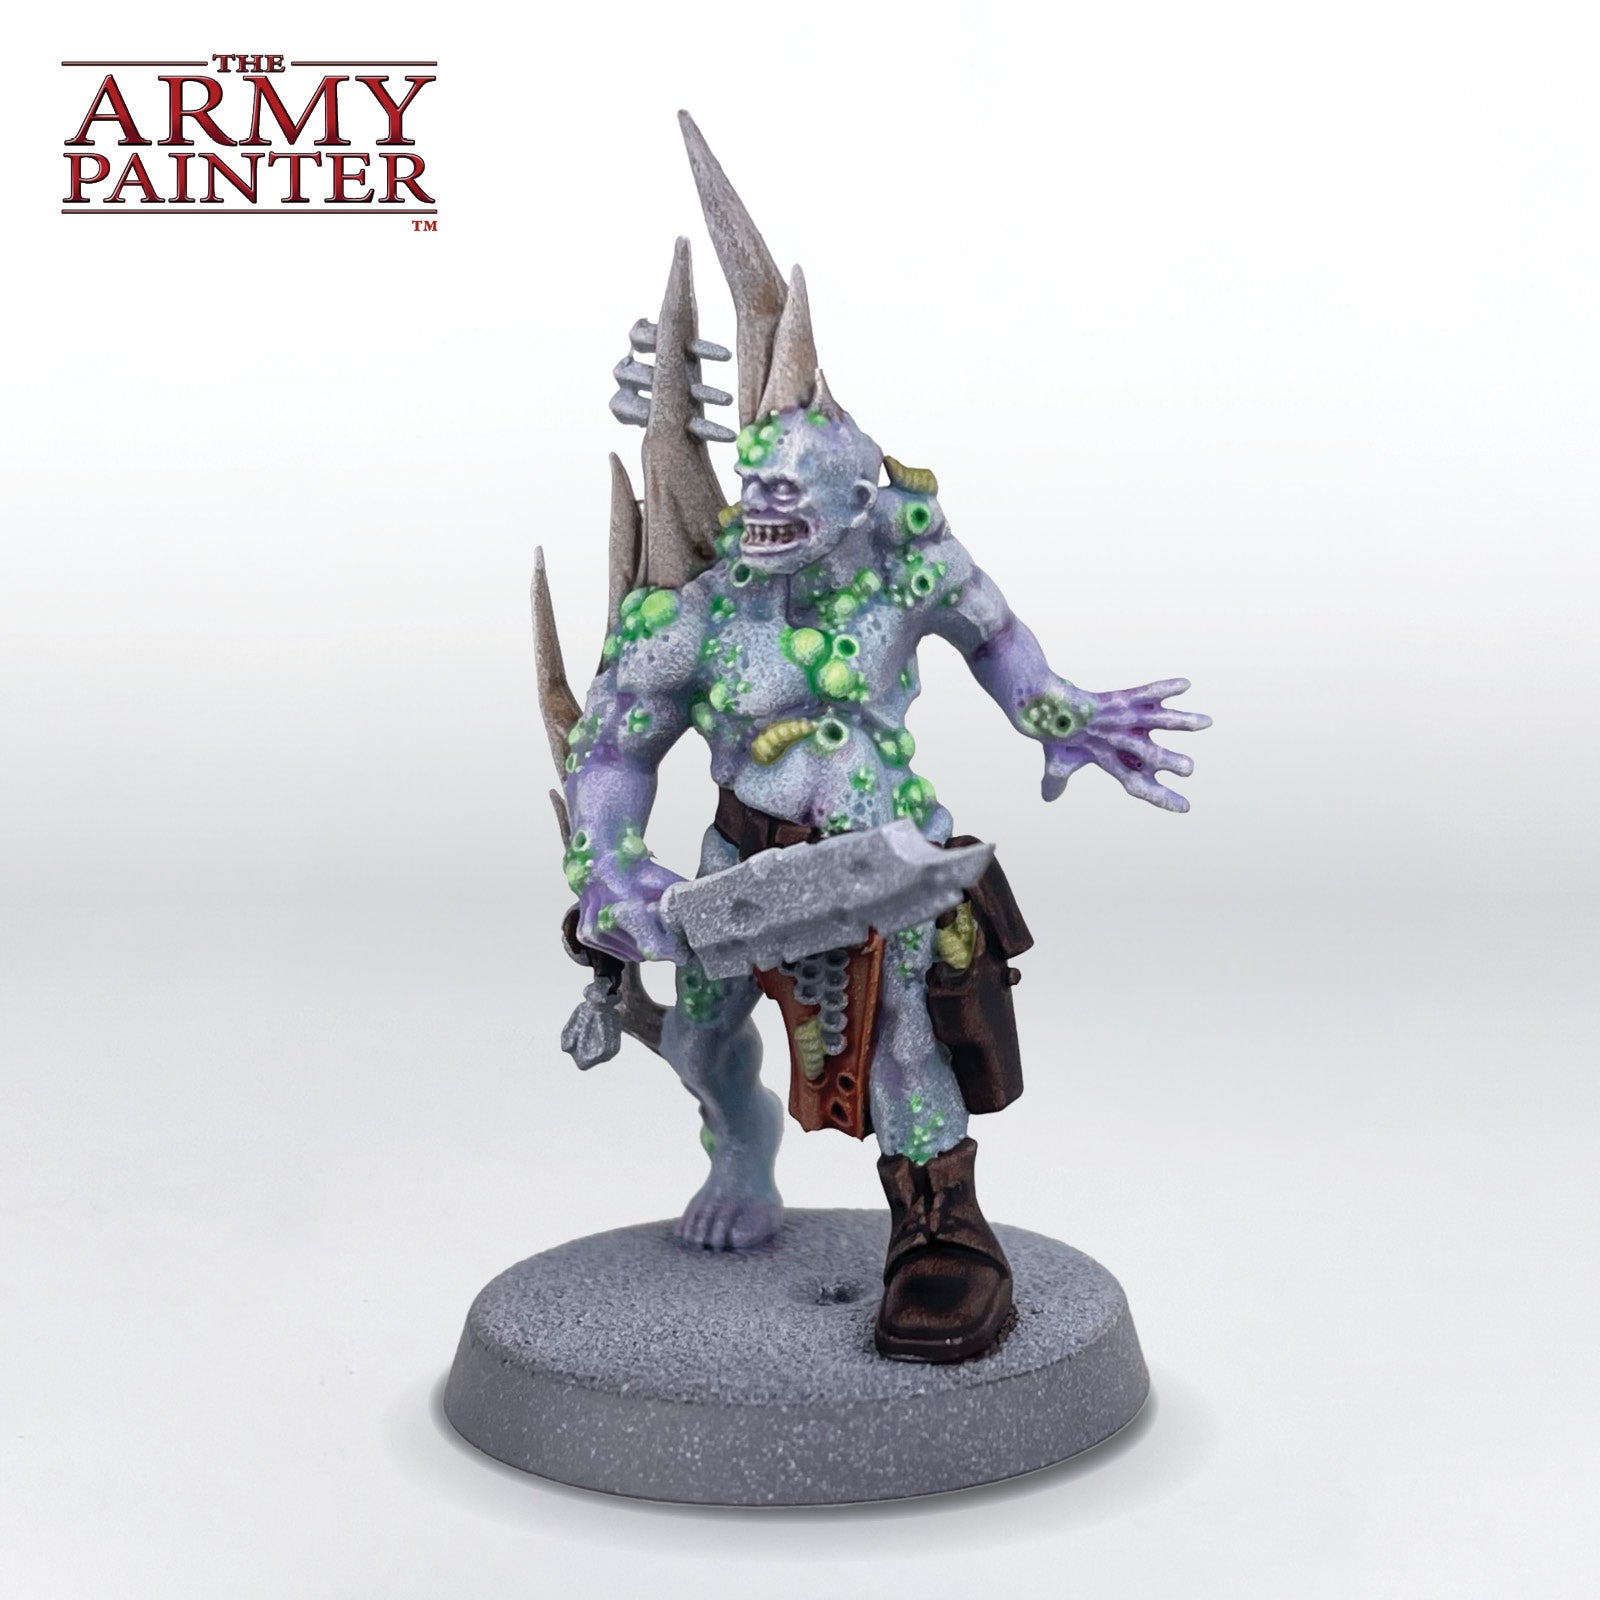
Next, paint all the cloth with Speedpaint Fire Giant Orange. This was chosen to contrast with the colder colours of the skin, but you can paint the cloth in whatever colours you want.

The Cloth and Leather Step 3

Step 3

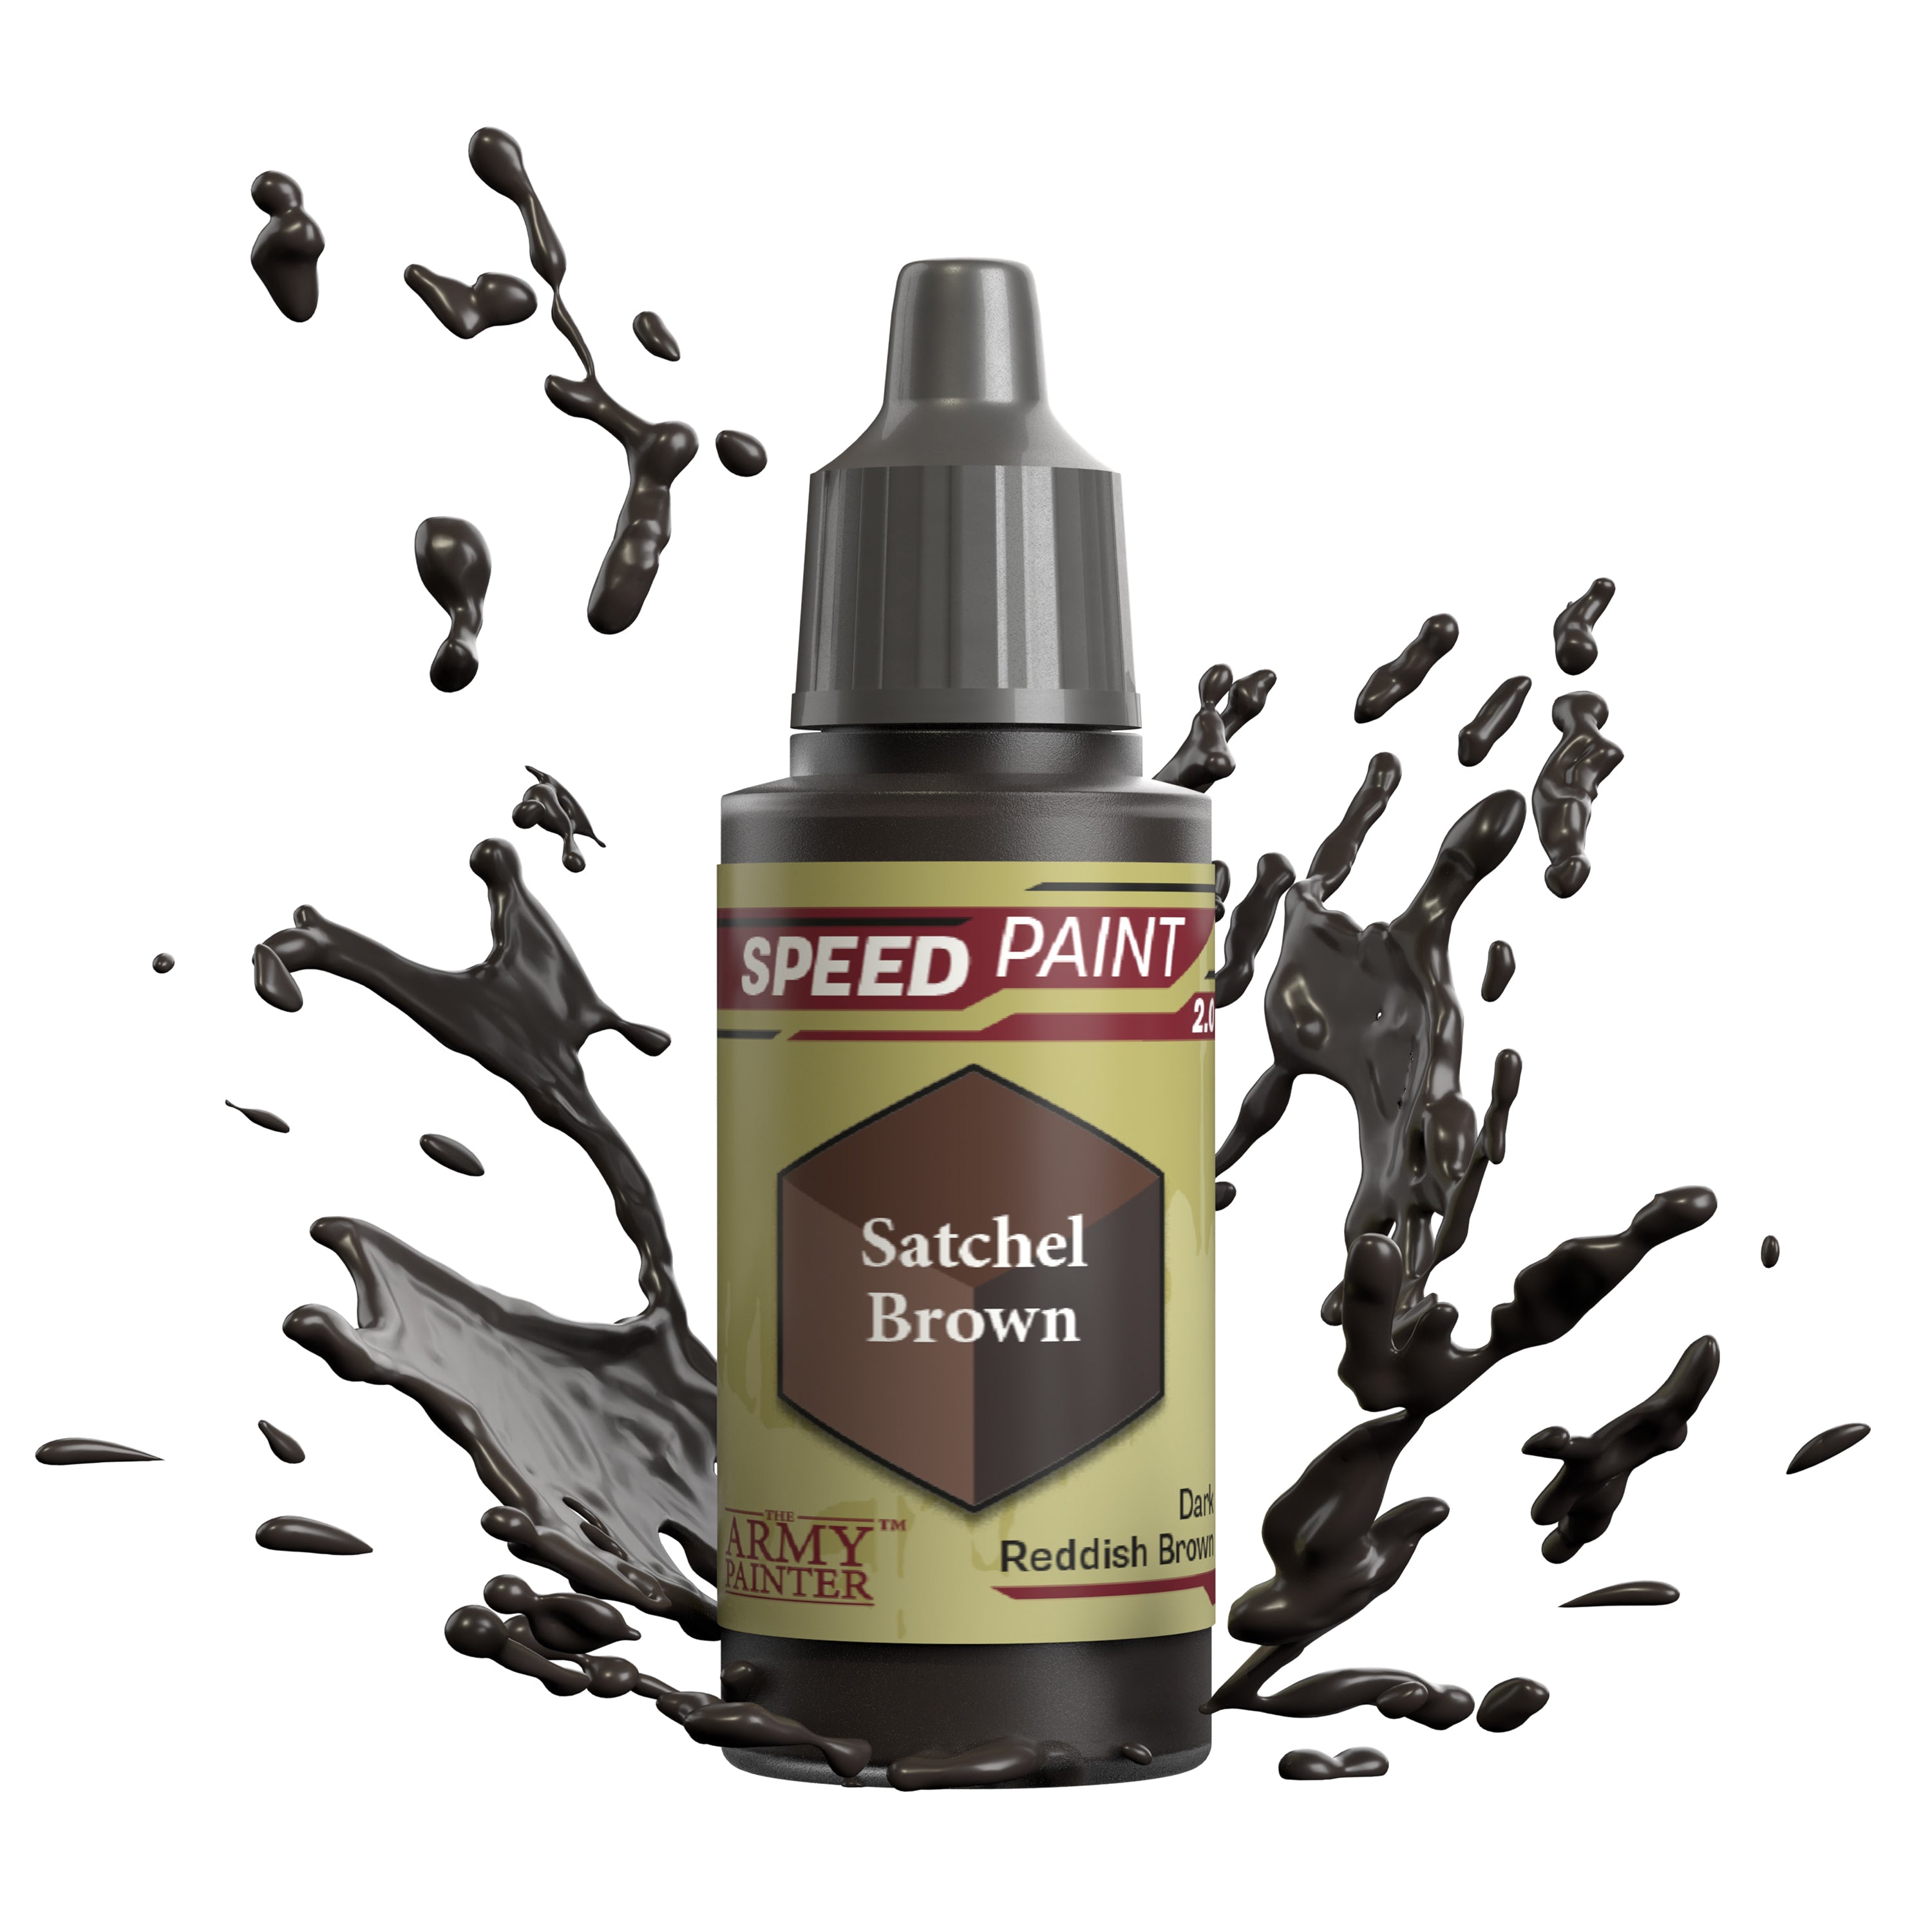
Finally, apply a coat of Speedpaint Satchel Brown to all the leather areas such as the boots, belts, and pouches.

Banner

The Metallics

The Metallics Step 1

Step 1

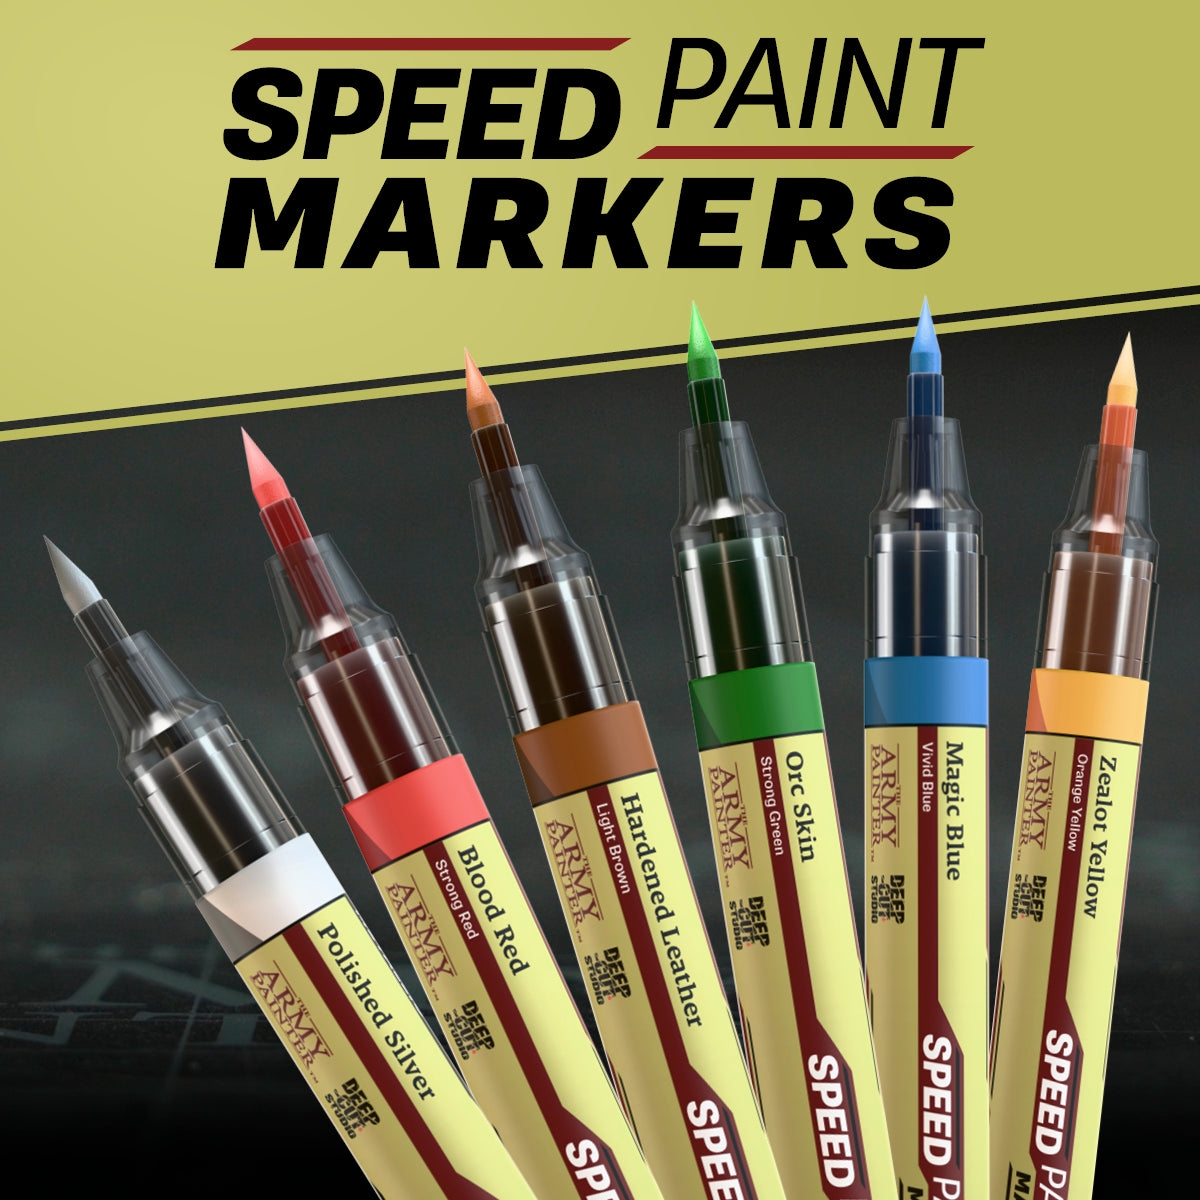
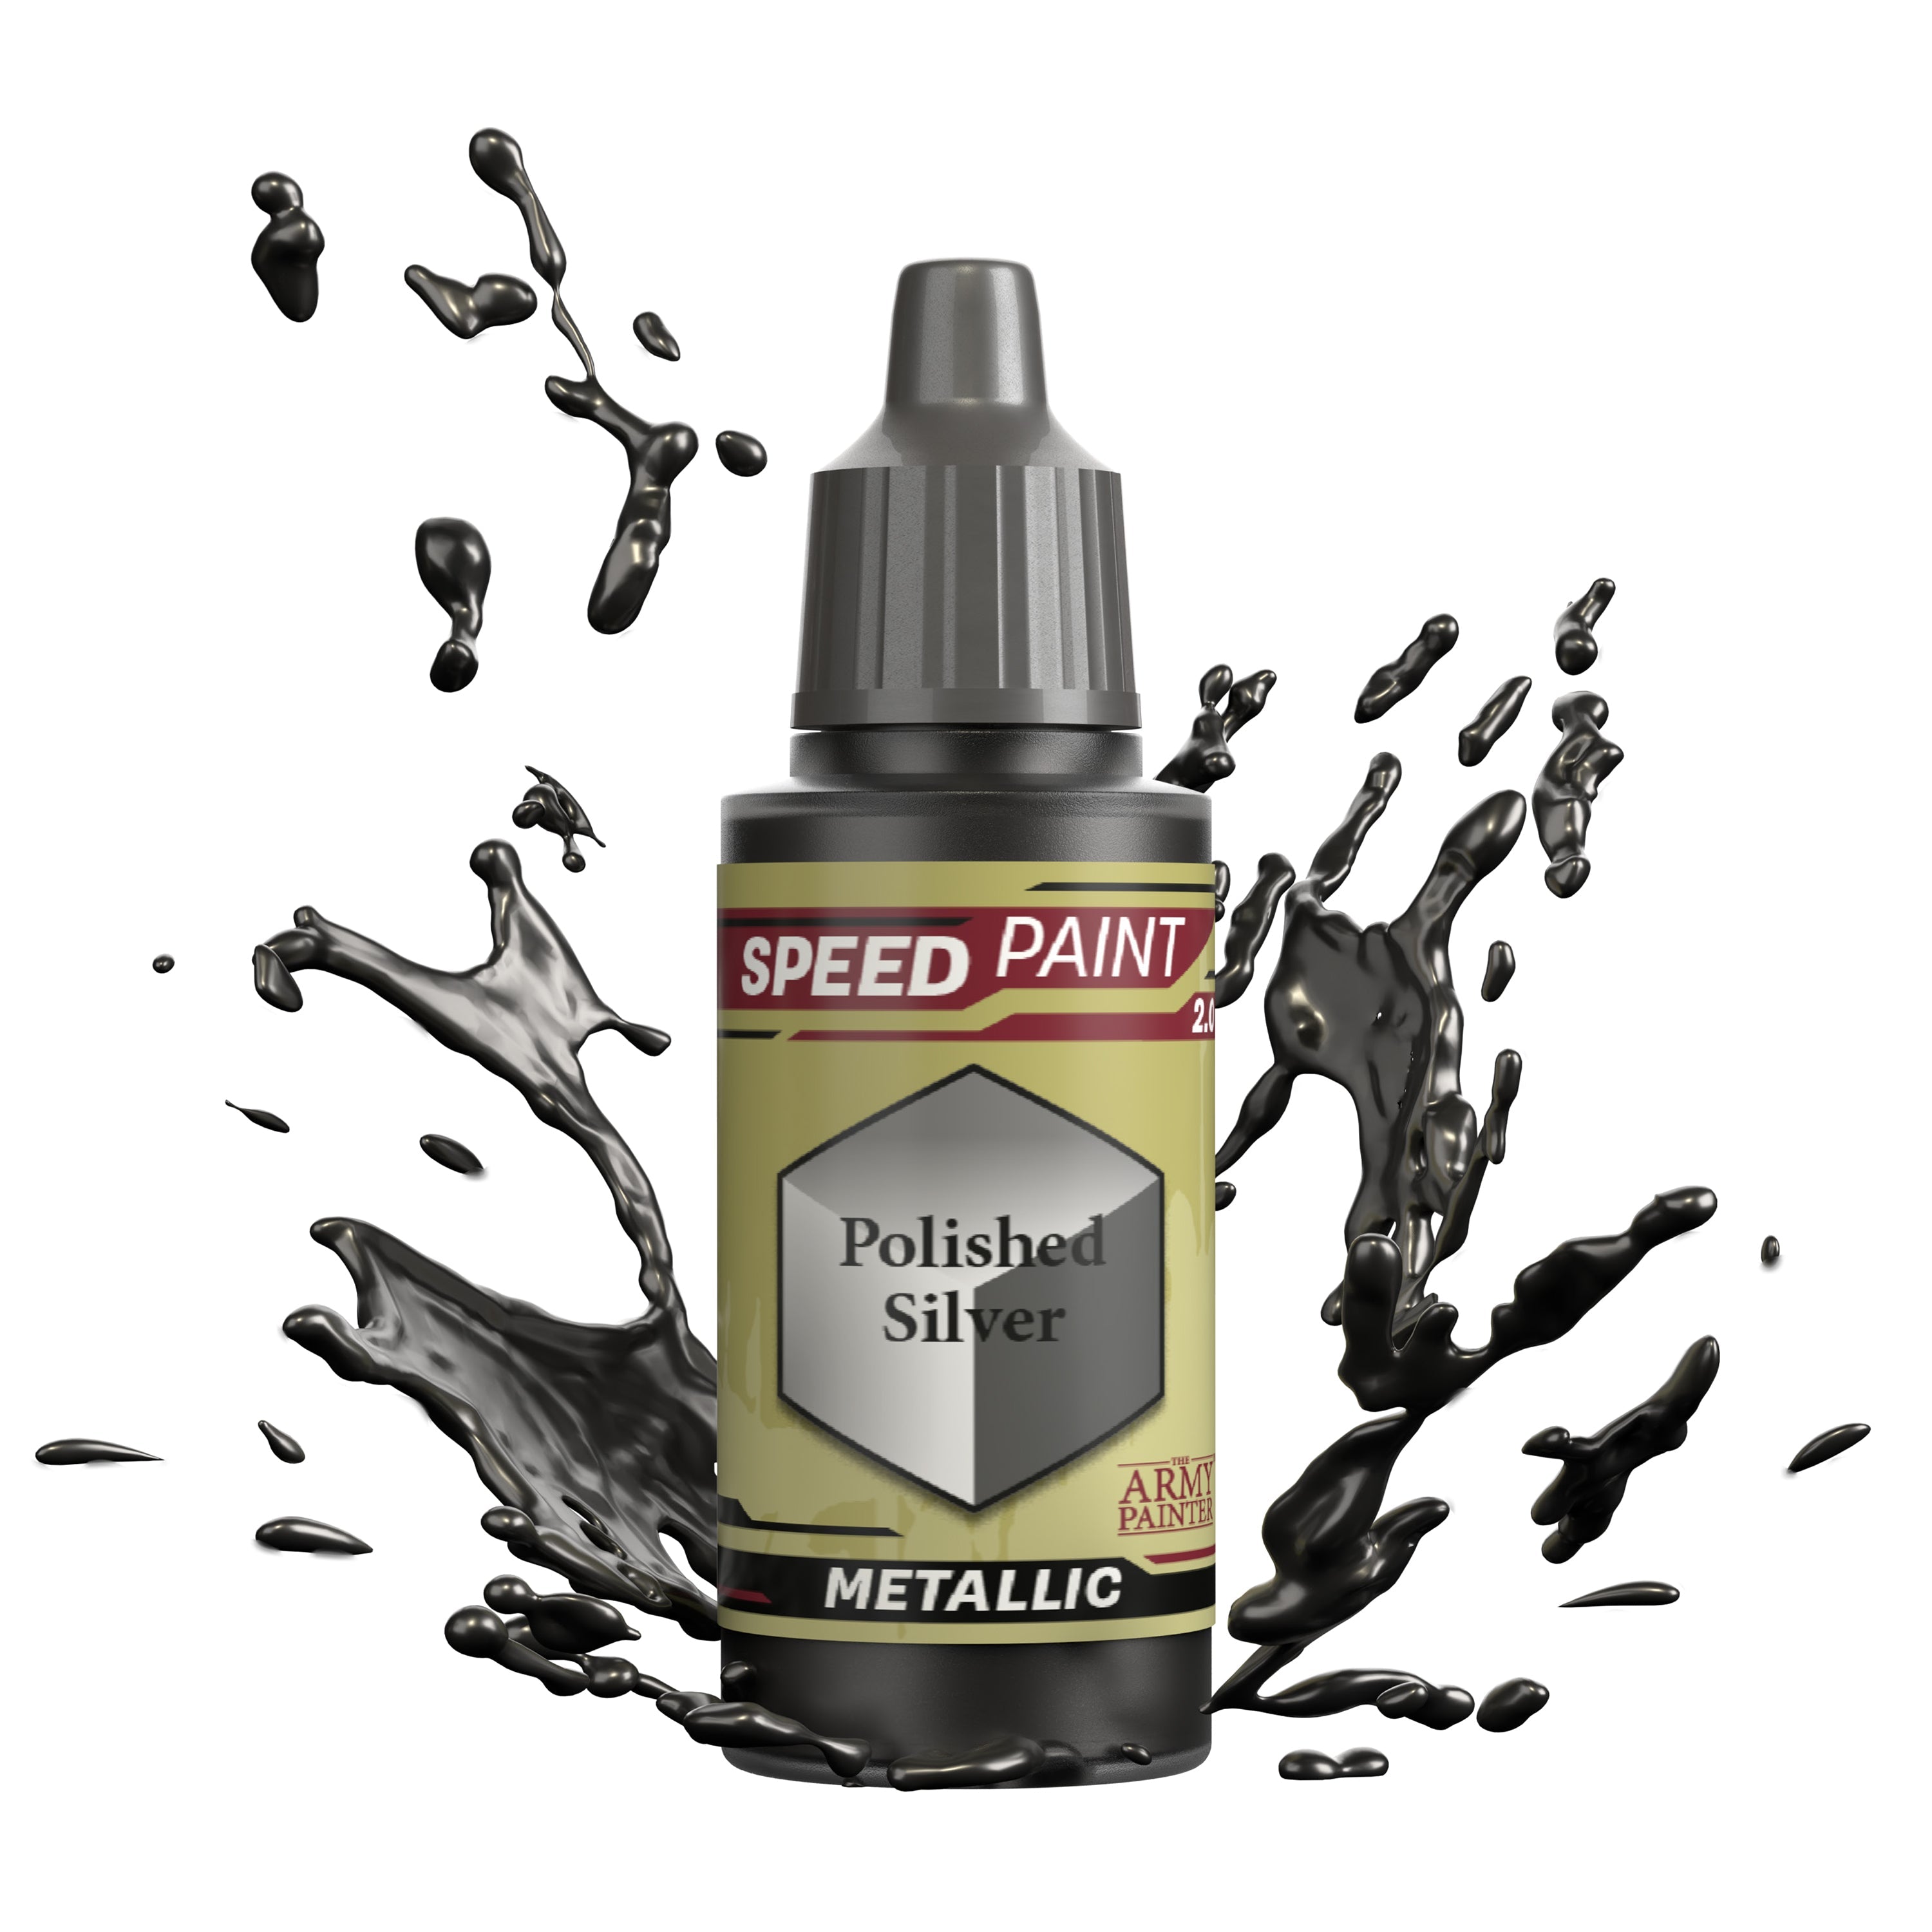
Paint all the silver areas with Speedpaint Polished Silver.

The Metallics Step 2

Step 2

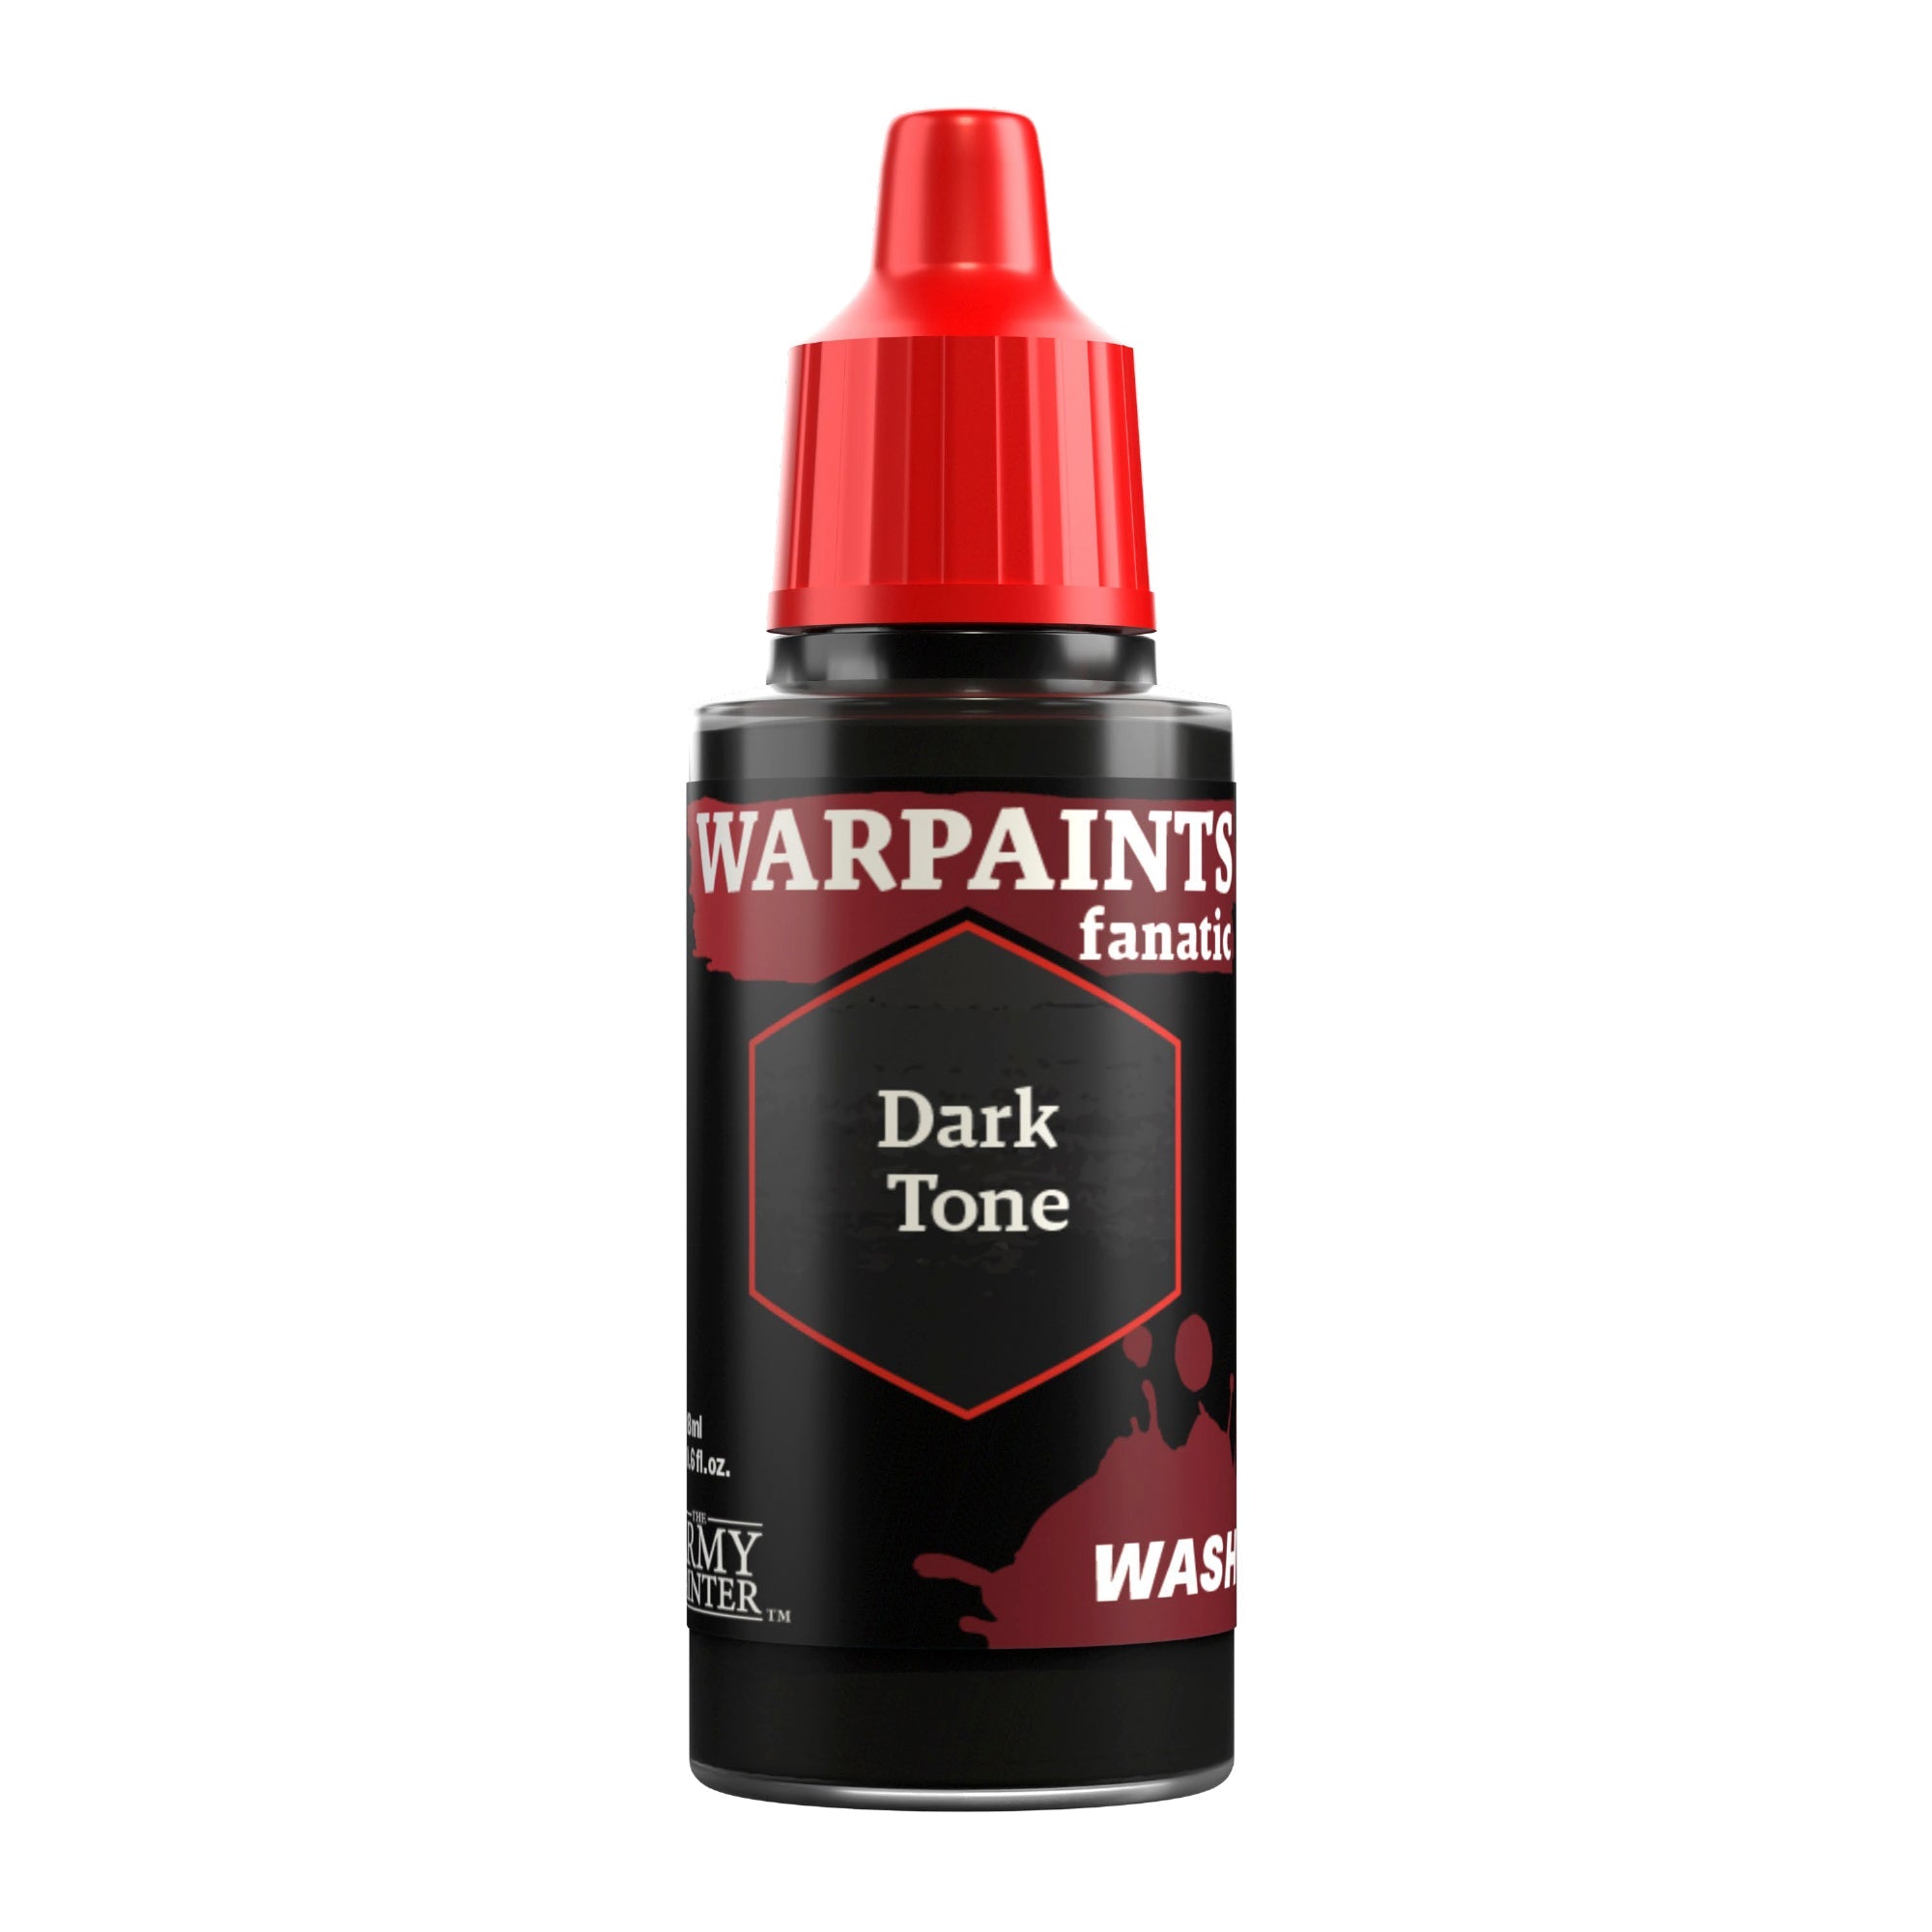
Next, apply a coat of Warpaints Fanatic Wash Dark Tone to these same areas.

The Metallics Step 3

Step 3

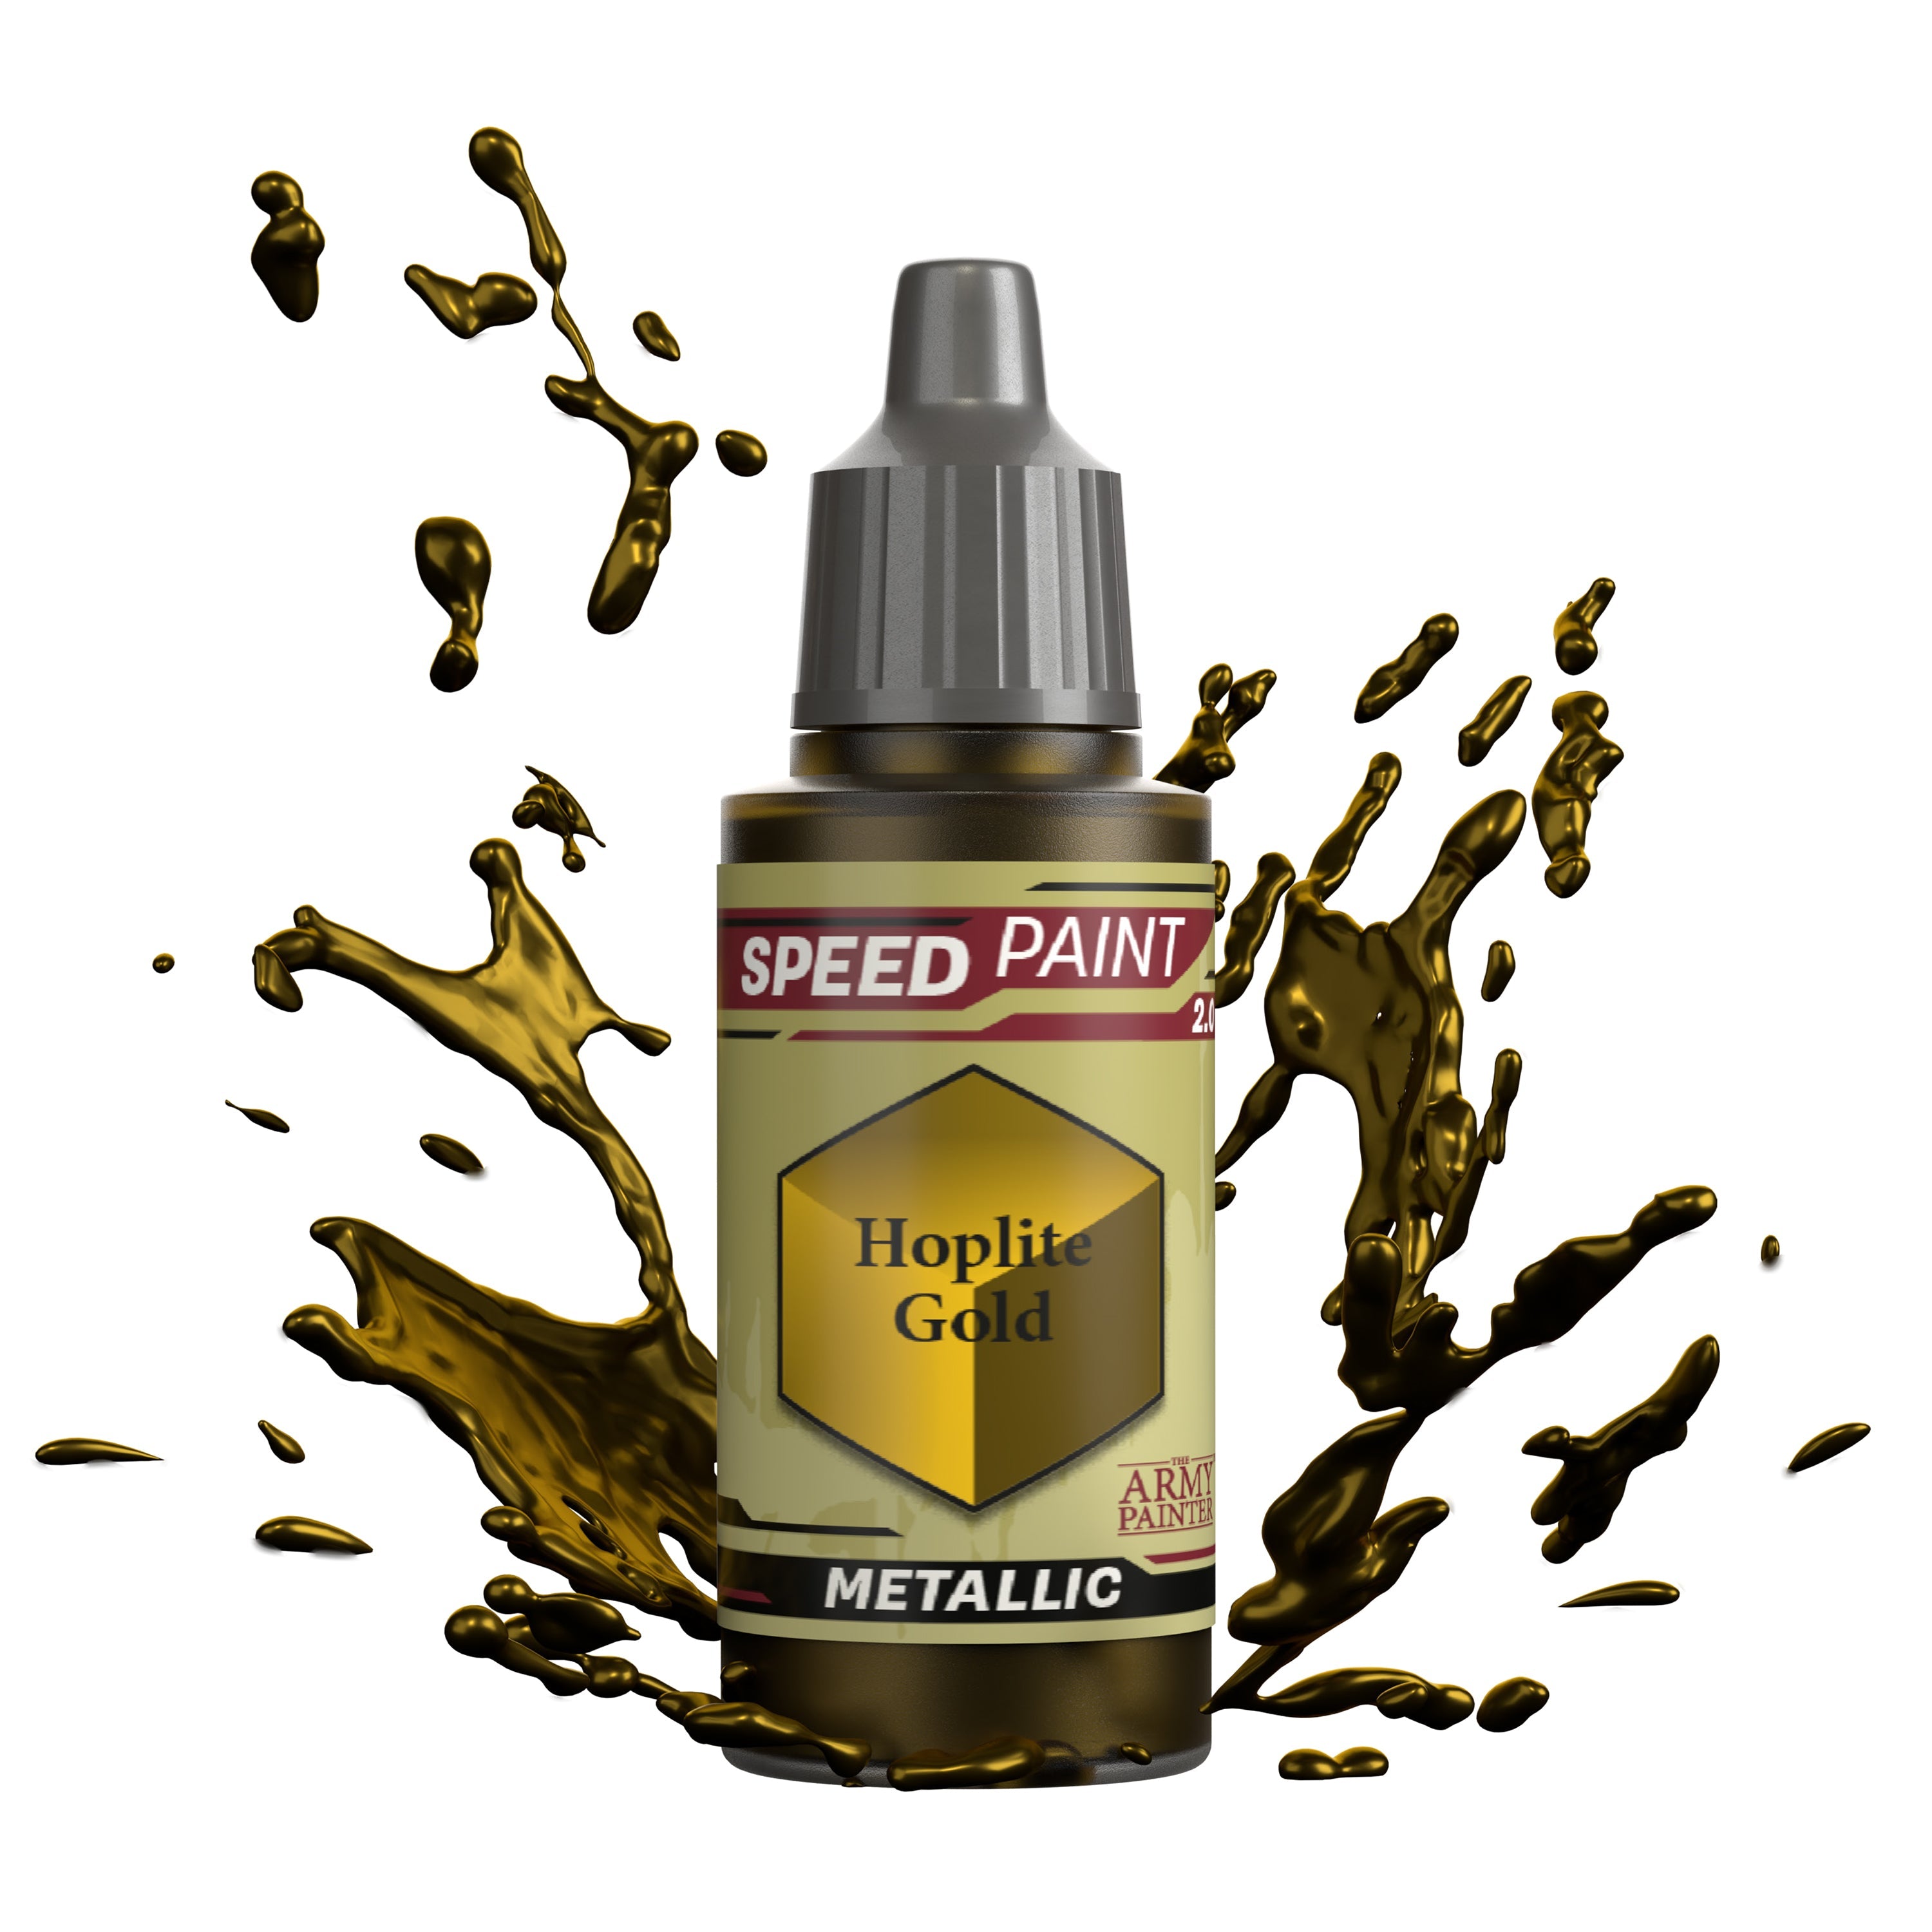
Paint the gold areas with Speedpaint Hoplite Gold. This is mostly just small trinkets hanging off the models.

The Metallics Step 5

Step 5

Finally, apply a light drybrush of Warpaints Fanatic Brainmatter Beige to all the metallics, cloth, leather, and black areas, as well as the insect parts on the one model. You just want to lightly pick out the edges of everything for a bit more definition as opposed to the heavier drybrush applied to the skin earlier.

Banner

The Rust, Gore, and Pus

The Rust, Gore, and Pus Step 1

Step 1

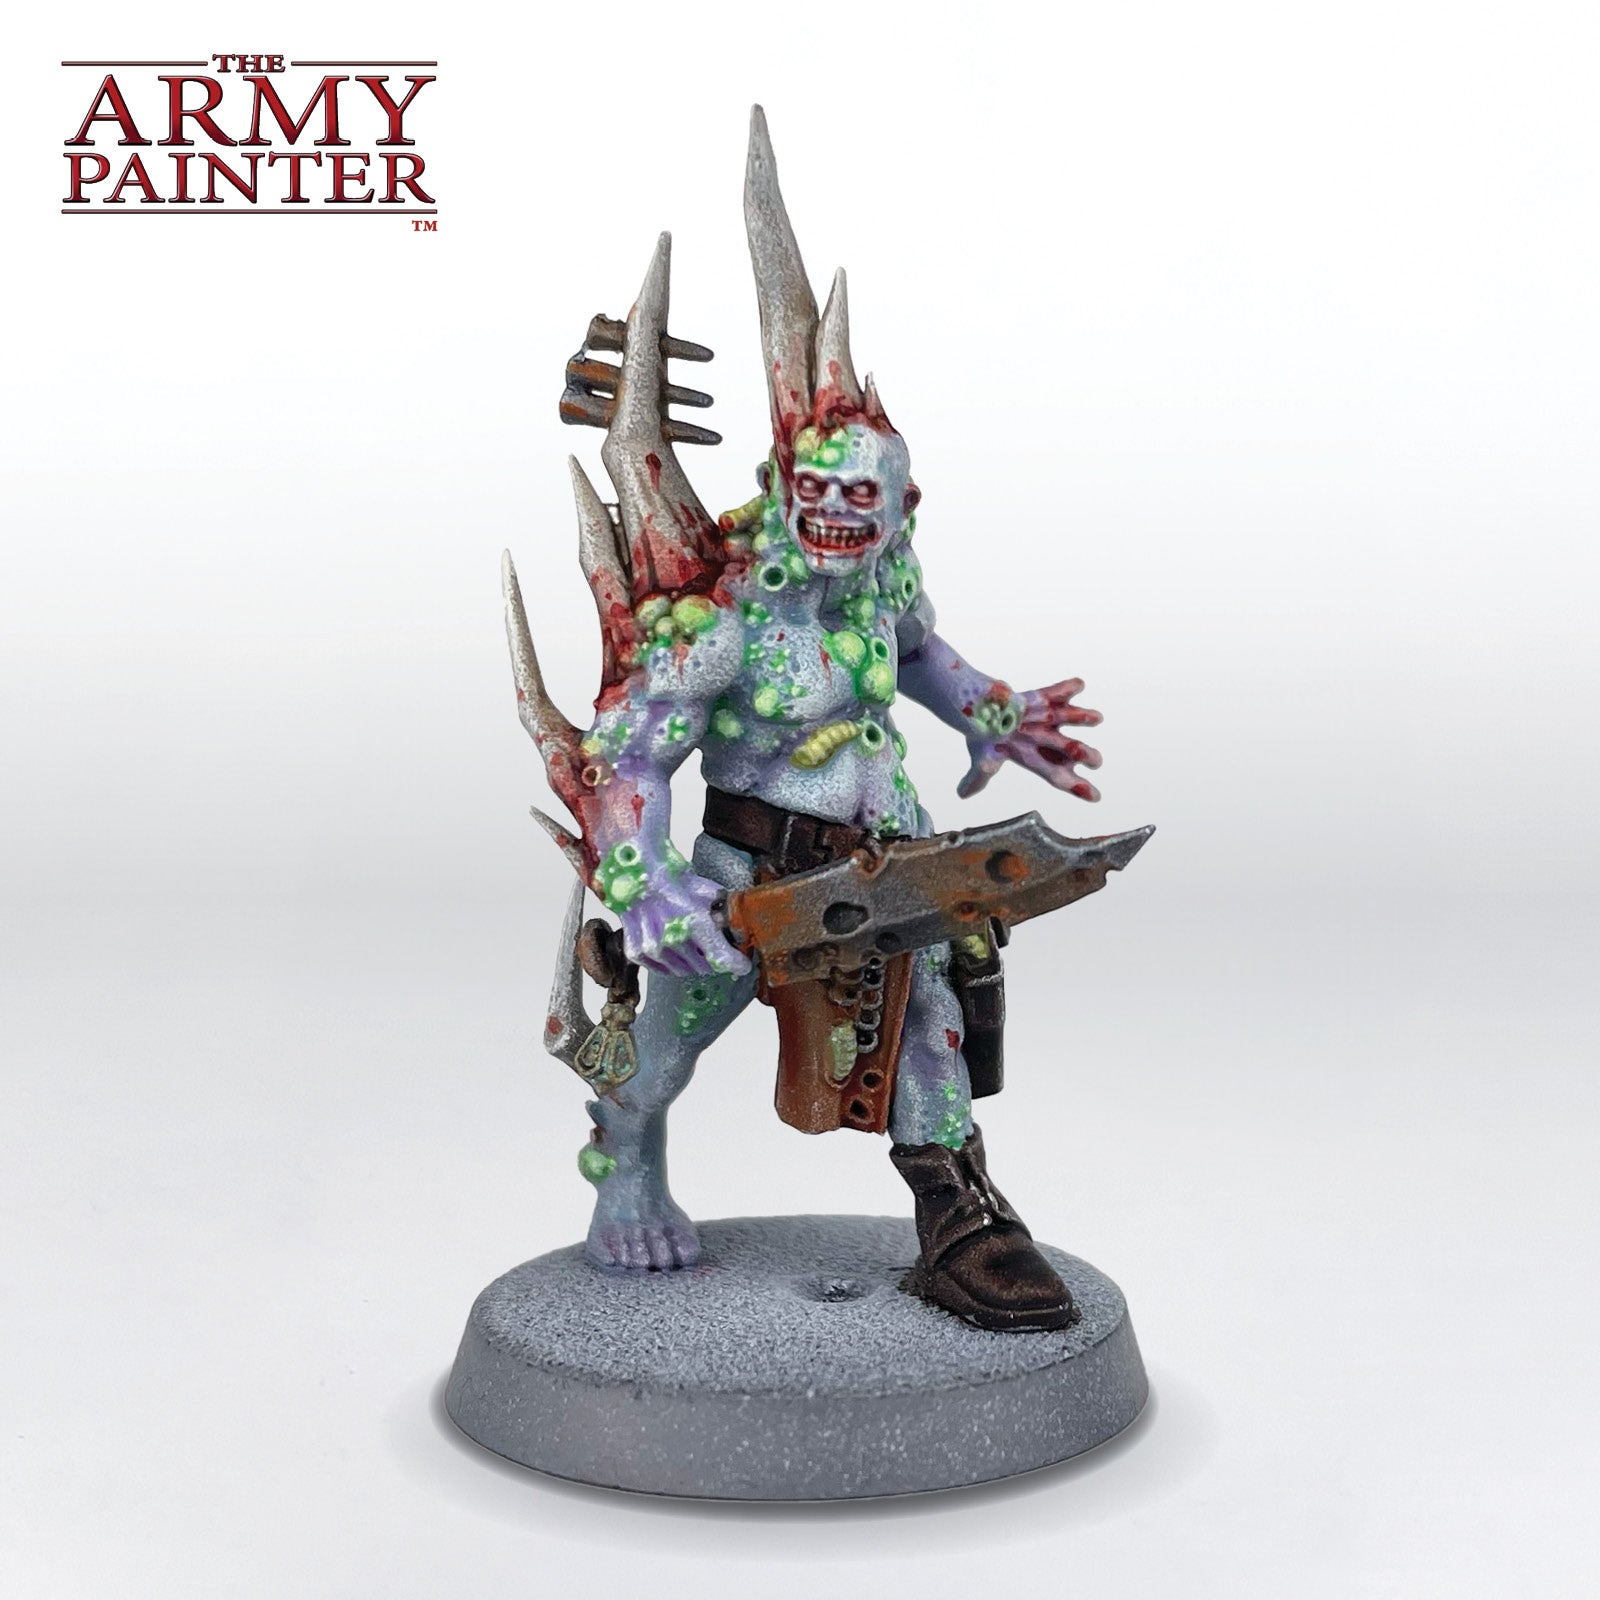
Use Warpaints Fanatic Effects Fresh Rust on all of the silver areas. Thin this down with water first to apply some larger splotches, and then build up more concentrated areas of rust with undiluted Fresh Rust in a random pattern. Remember, less is more, and you can always go back later and apply more if needed.

The Rust, Gore, and Pus Step 2

Step 2

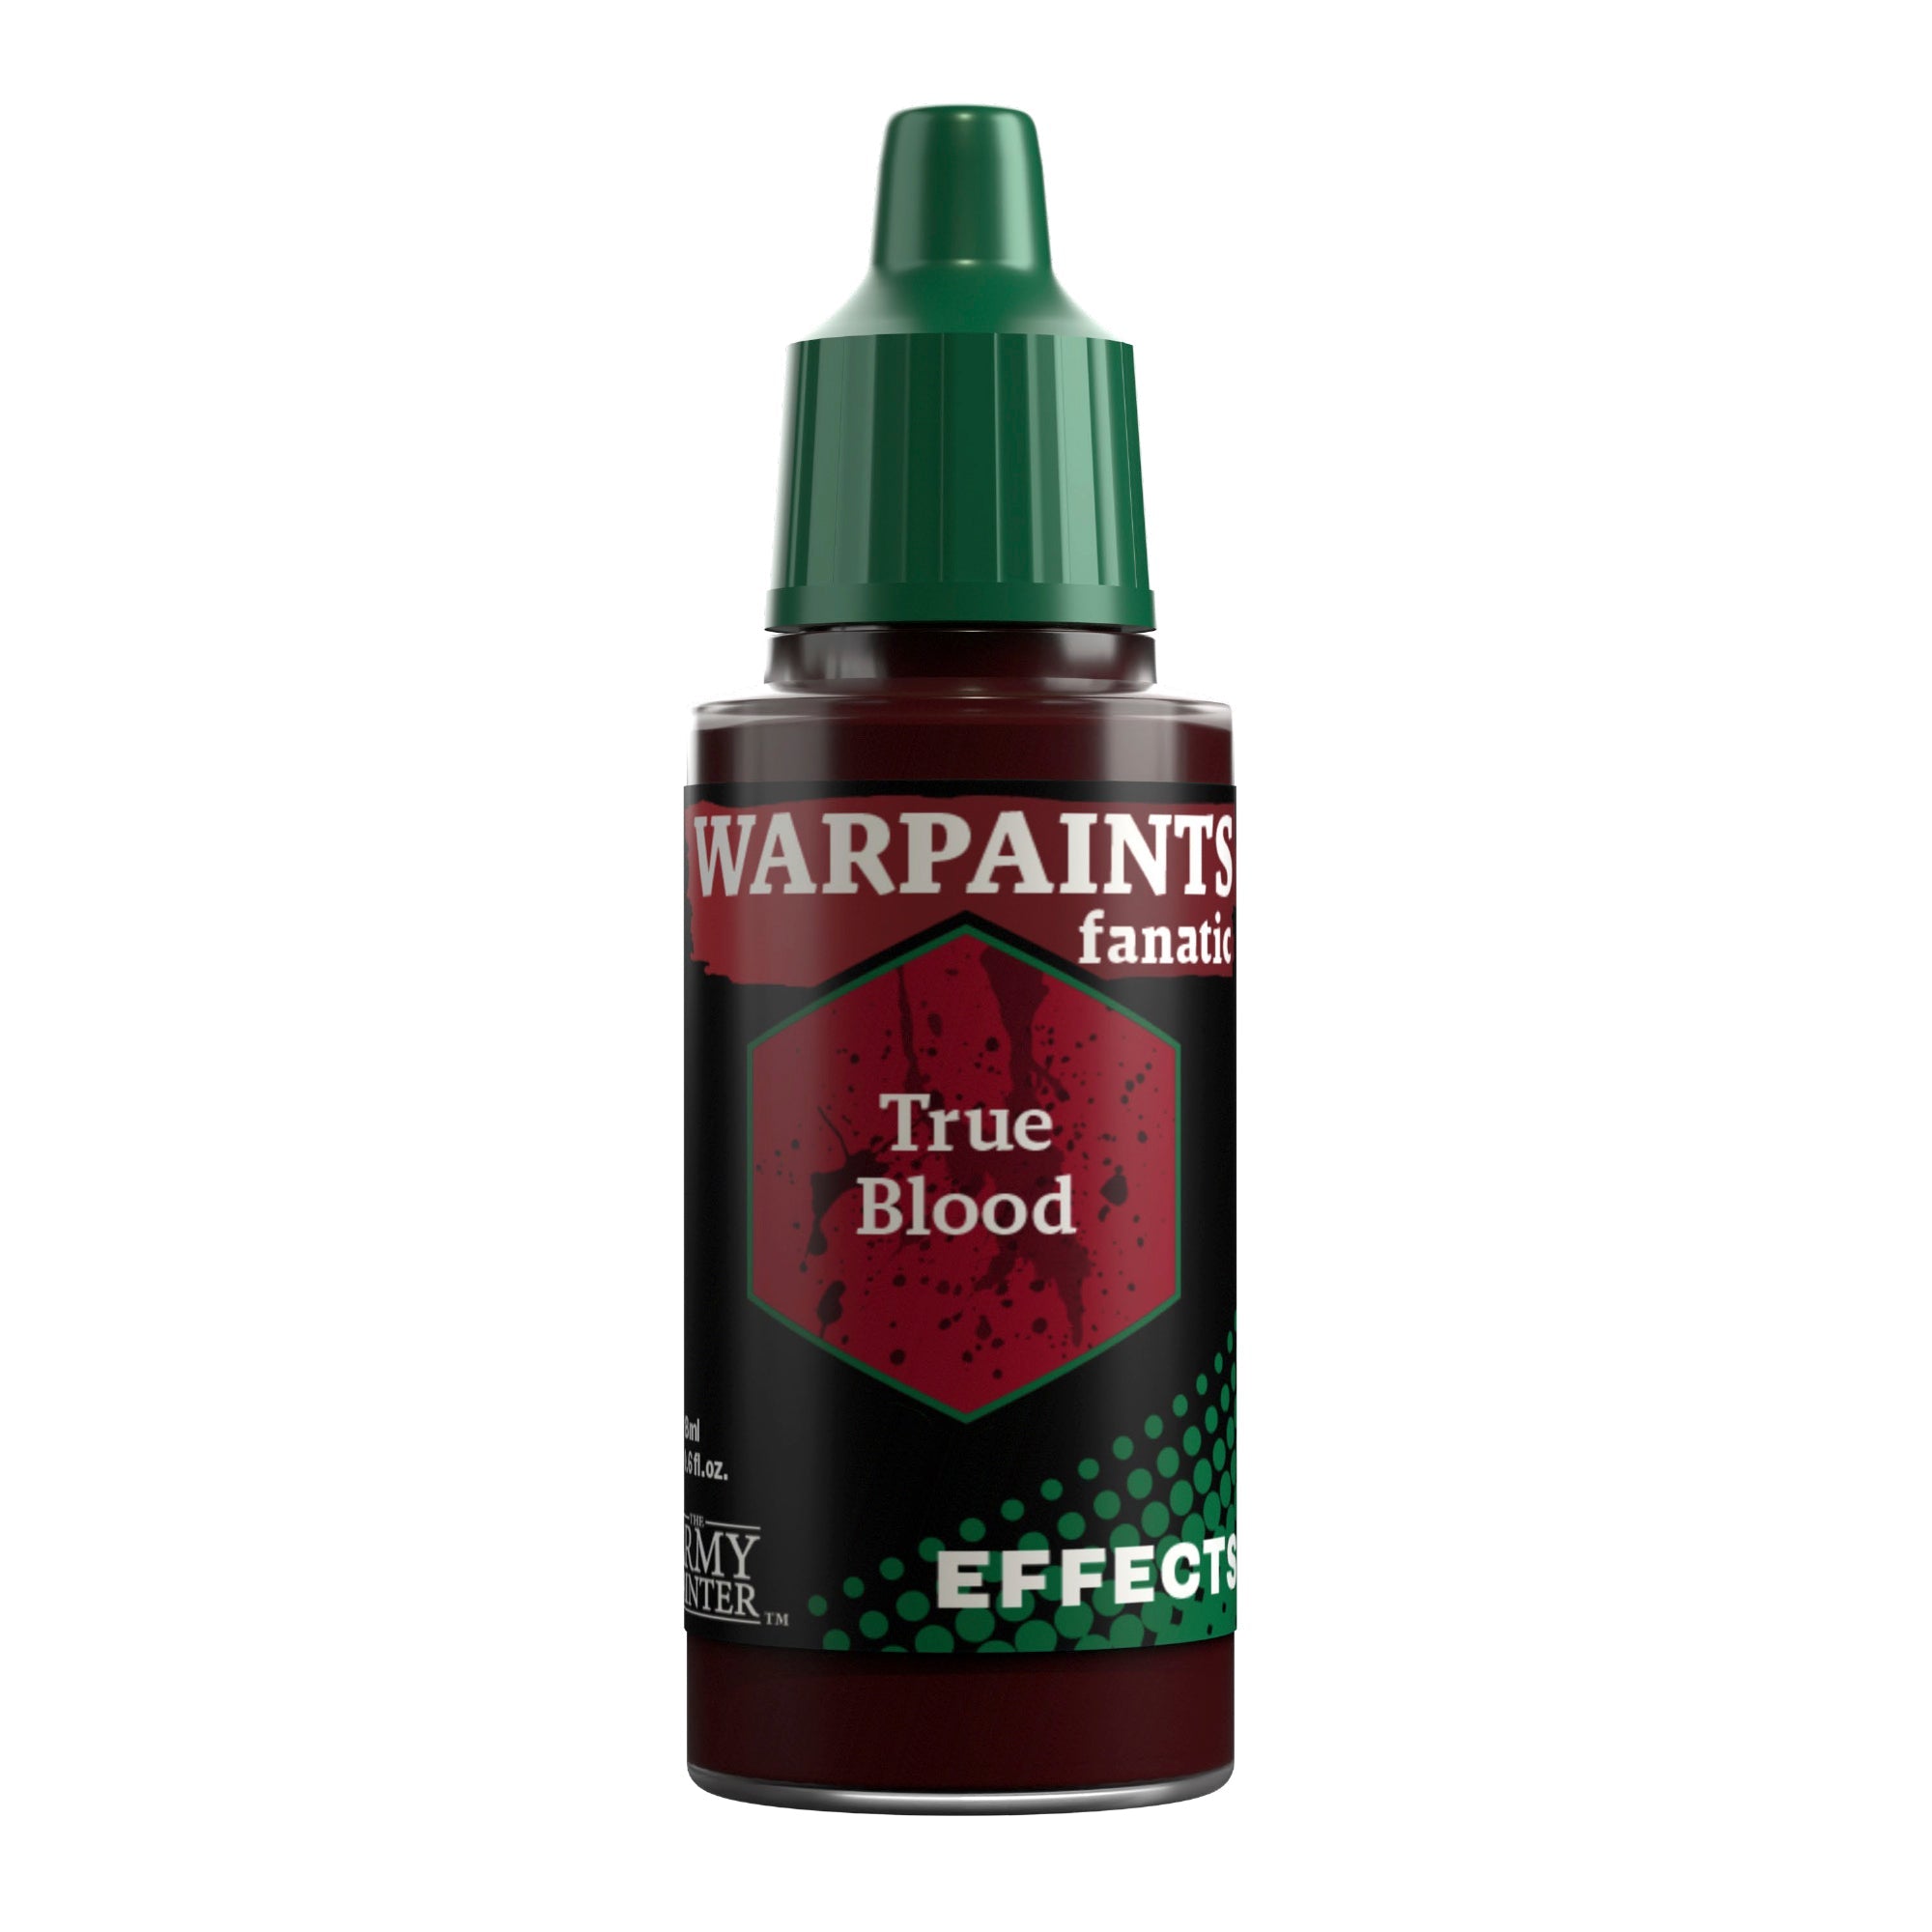
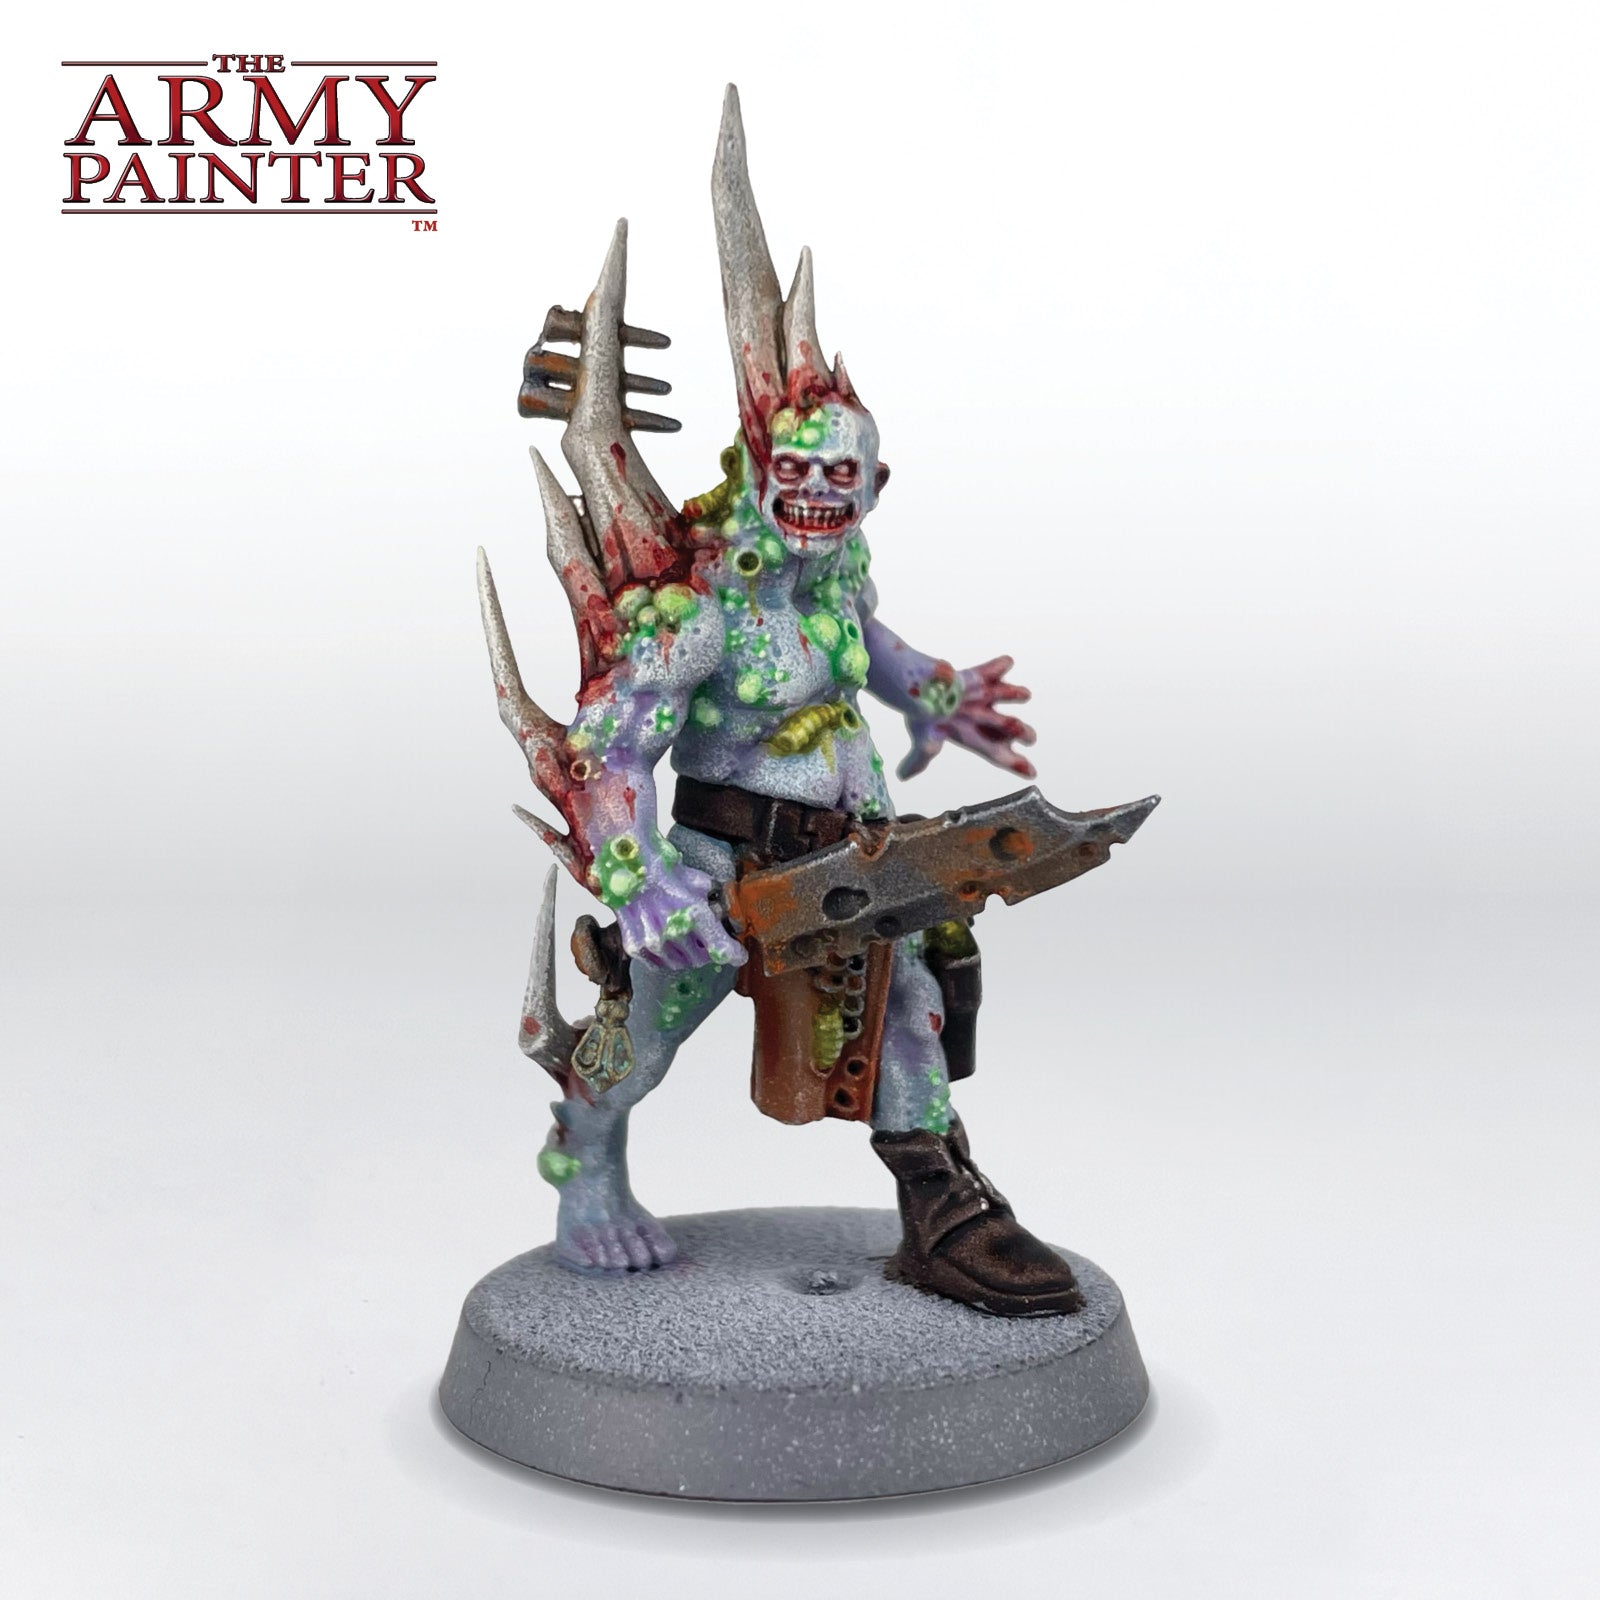
Now for the second most fun part, the gore! Using Warpaints Fanatic Effects True Blood thinned with some water, paint some larger areas of gore where it would make sense. On these models, this was mostly around any area where something is bursting through the skin, such as the horns. Then paint undiluted True Blood in those same areas, building up smaller splotches of it in the same manner as the Fresh Rust in the last step, and adding small drops of it elsewhere on the model, as well as in the mouth. At this point, also pick out the eyes with some thinned True Blood, and then highlight them with Warpaints Fanatic Brainmatter Beige.

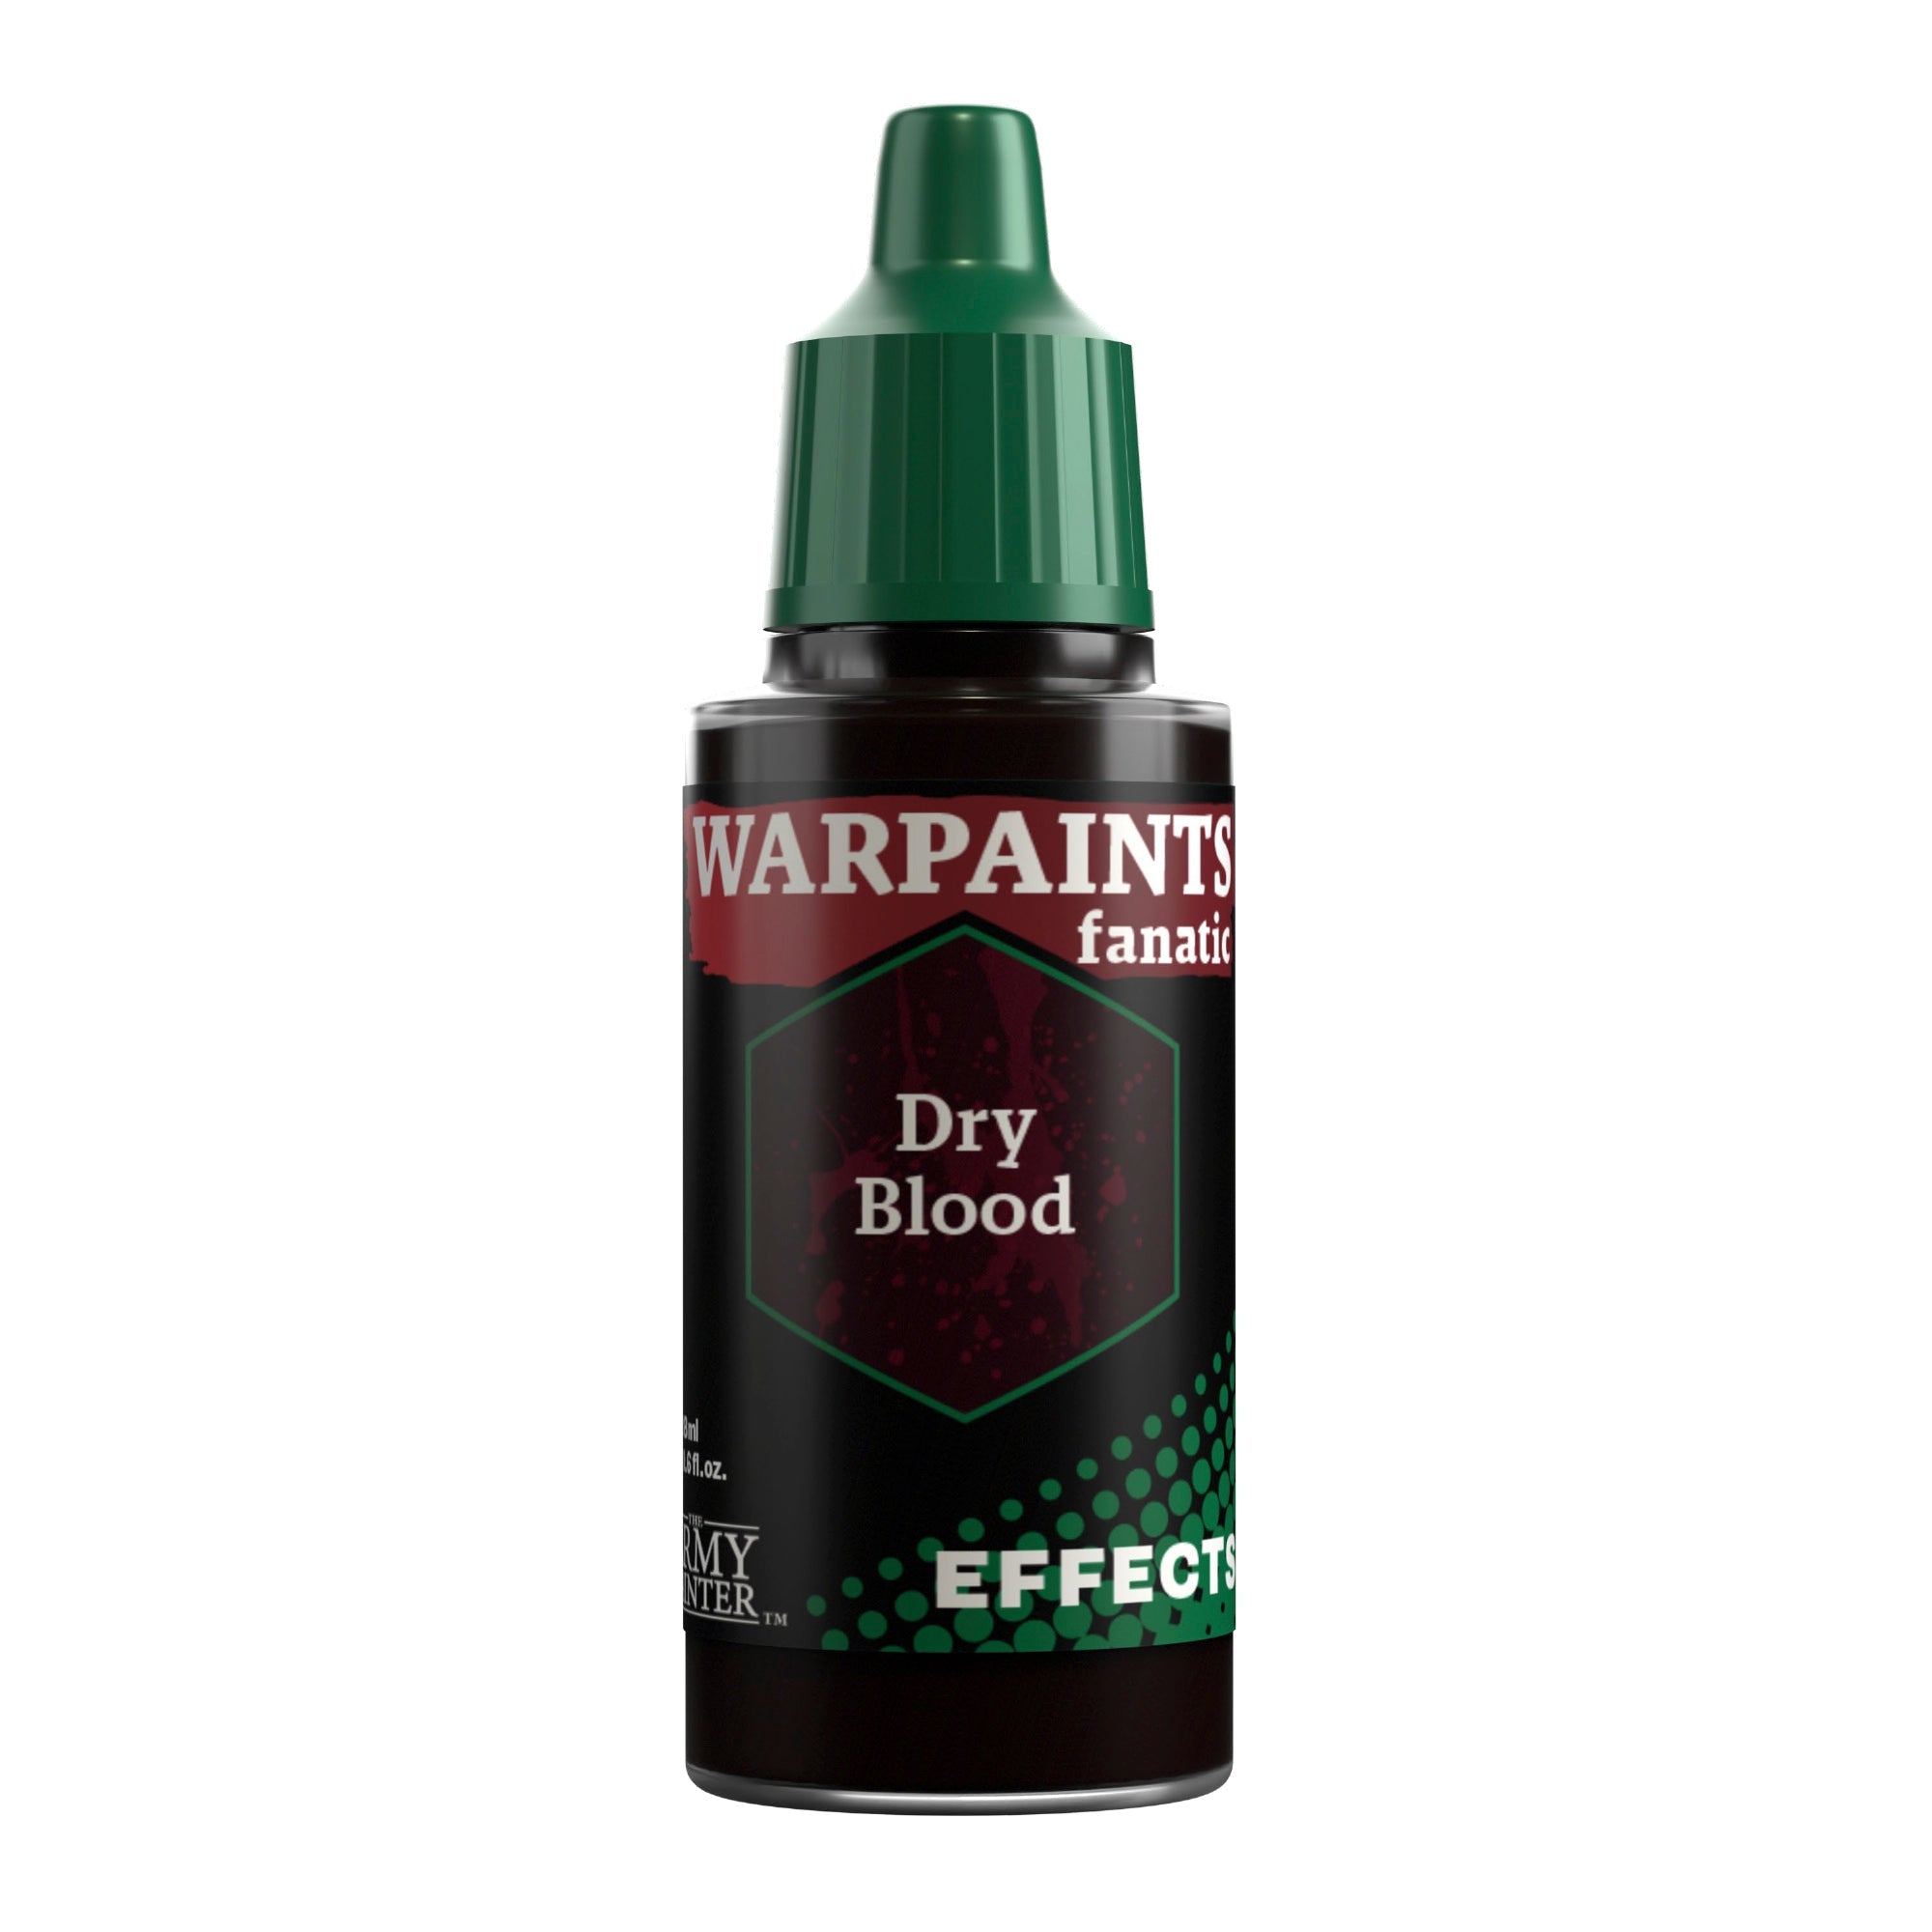
Warpaints Fanatic Effects Dry Blood can also be painted on in small areas to further enhance the darkness and gore effect. Again, less is more for this step, so start small and build it up slowly to avoid coating the whole model in gore.

The Rust, Gore, and Pus Step 3

Step 3

Finally, paint some Warpaints Fanatic Effects Oozing Vomit around the maggots and into some of the burst-open pustules.

With that, your model is done!

Afterwards, we based them in a simple dirt scheme, but you can base your models to match your collection. 

If you plan on using your model for gaming, we highly recommend varnishing it with either our Spray, Warpaints Air, or Warpaints Fanatic varnishes. 

Be sure to tell us what you thought of this tutorial format, if you have any suggestions for improvements in the future, or even which models you want us to tackle. 

If you paint your own model following one of these guides, tag it with #thearmypainteracademy to share your work!